
Baldur's Gate 3: Cathedral of Bhaal Walkthrough & Loot Guide
This Baldur's Gate 3 walkthrough guides players through the Cathedral of Bhaal, detailing how to defeat Sarevok and Orin, acquire powerful legendary weapons and rare armor, and complete crucial side quests.
Return to the tombstone shop behind the Elfsong Tavern.
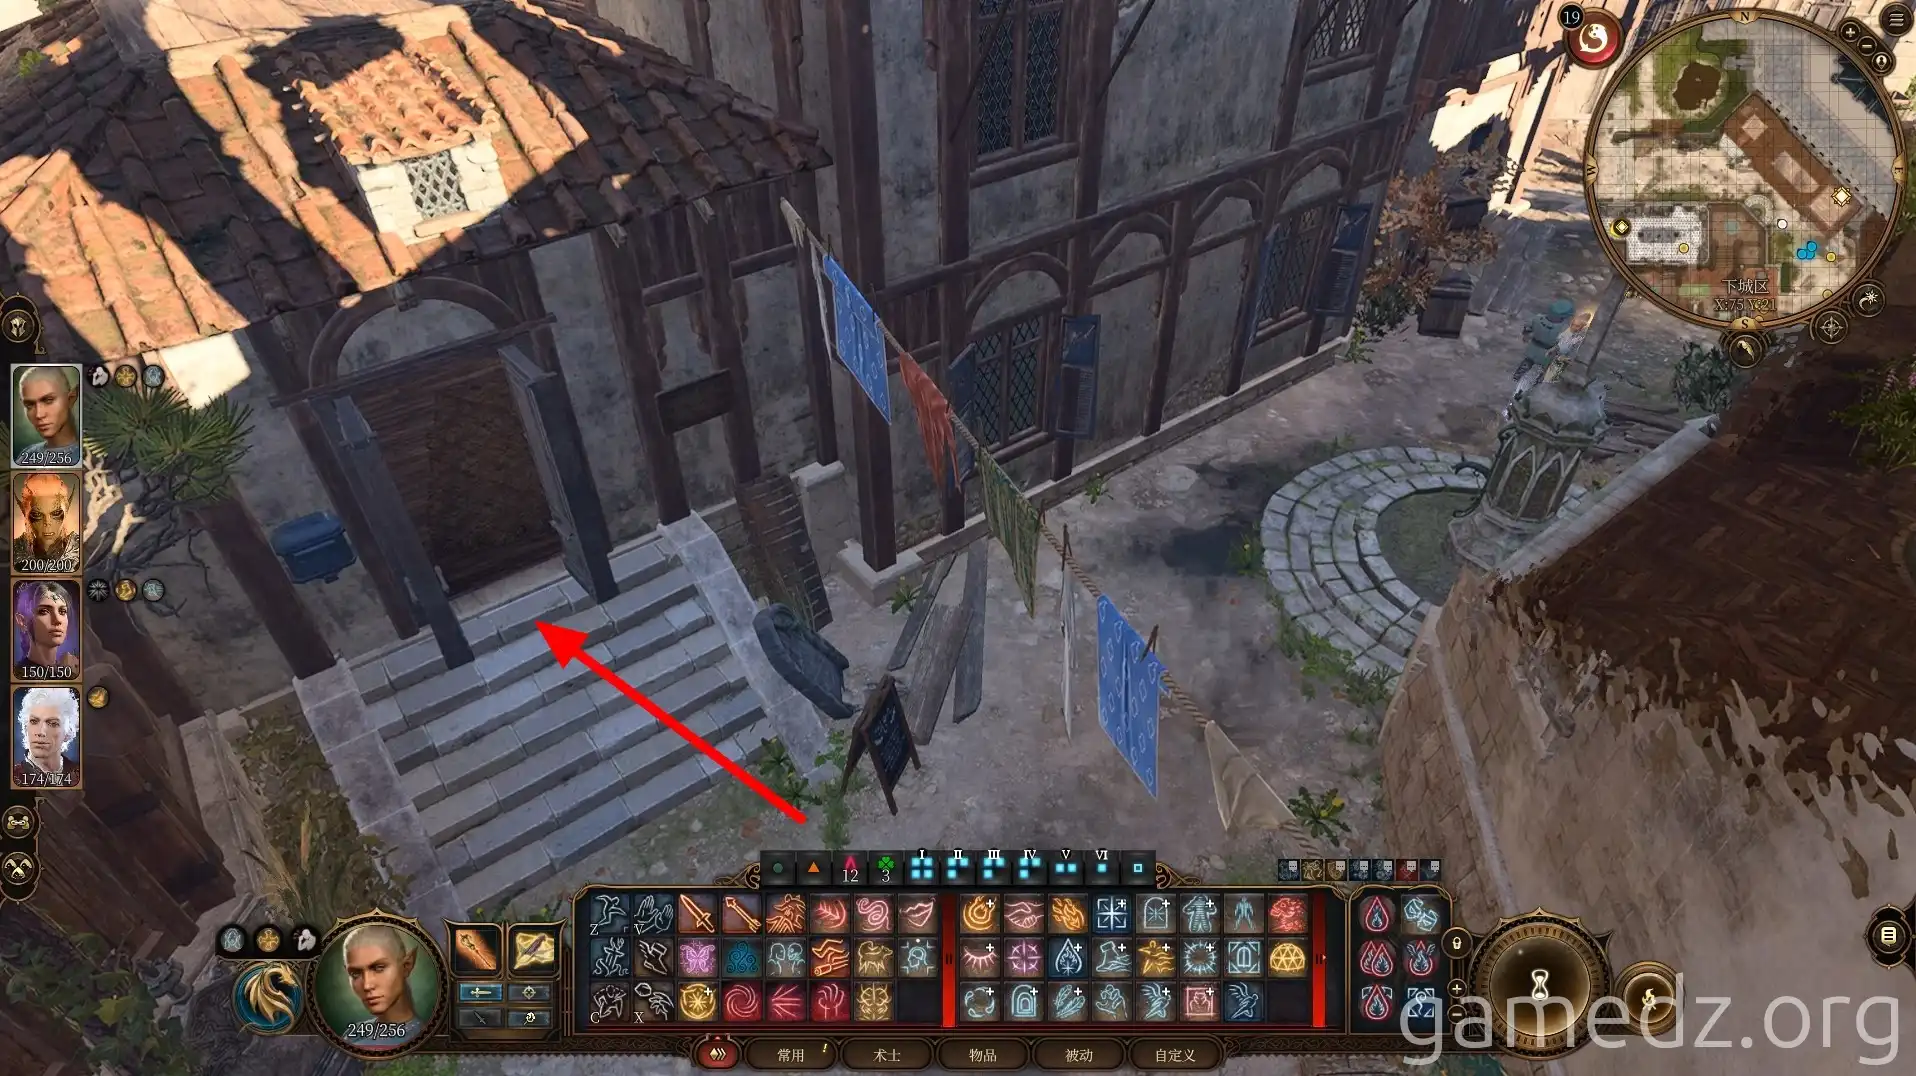
Approach the cellar door you discovered earlier and use the passphrase "Sarevok" to enter the basement.
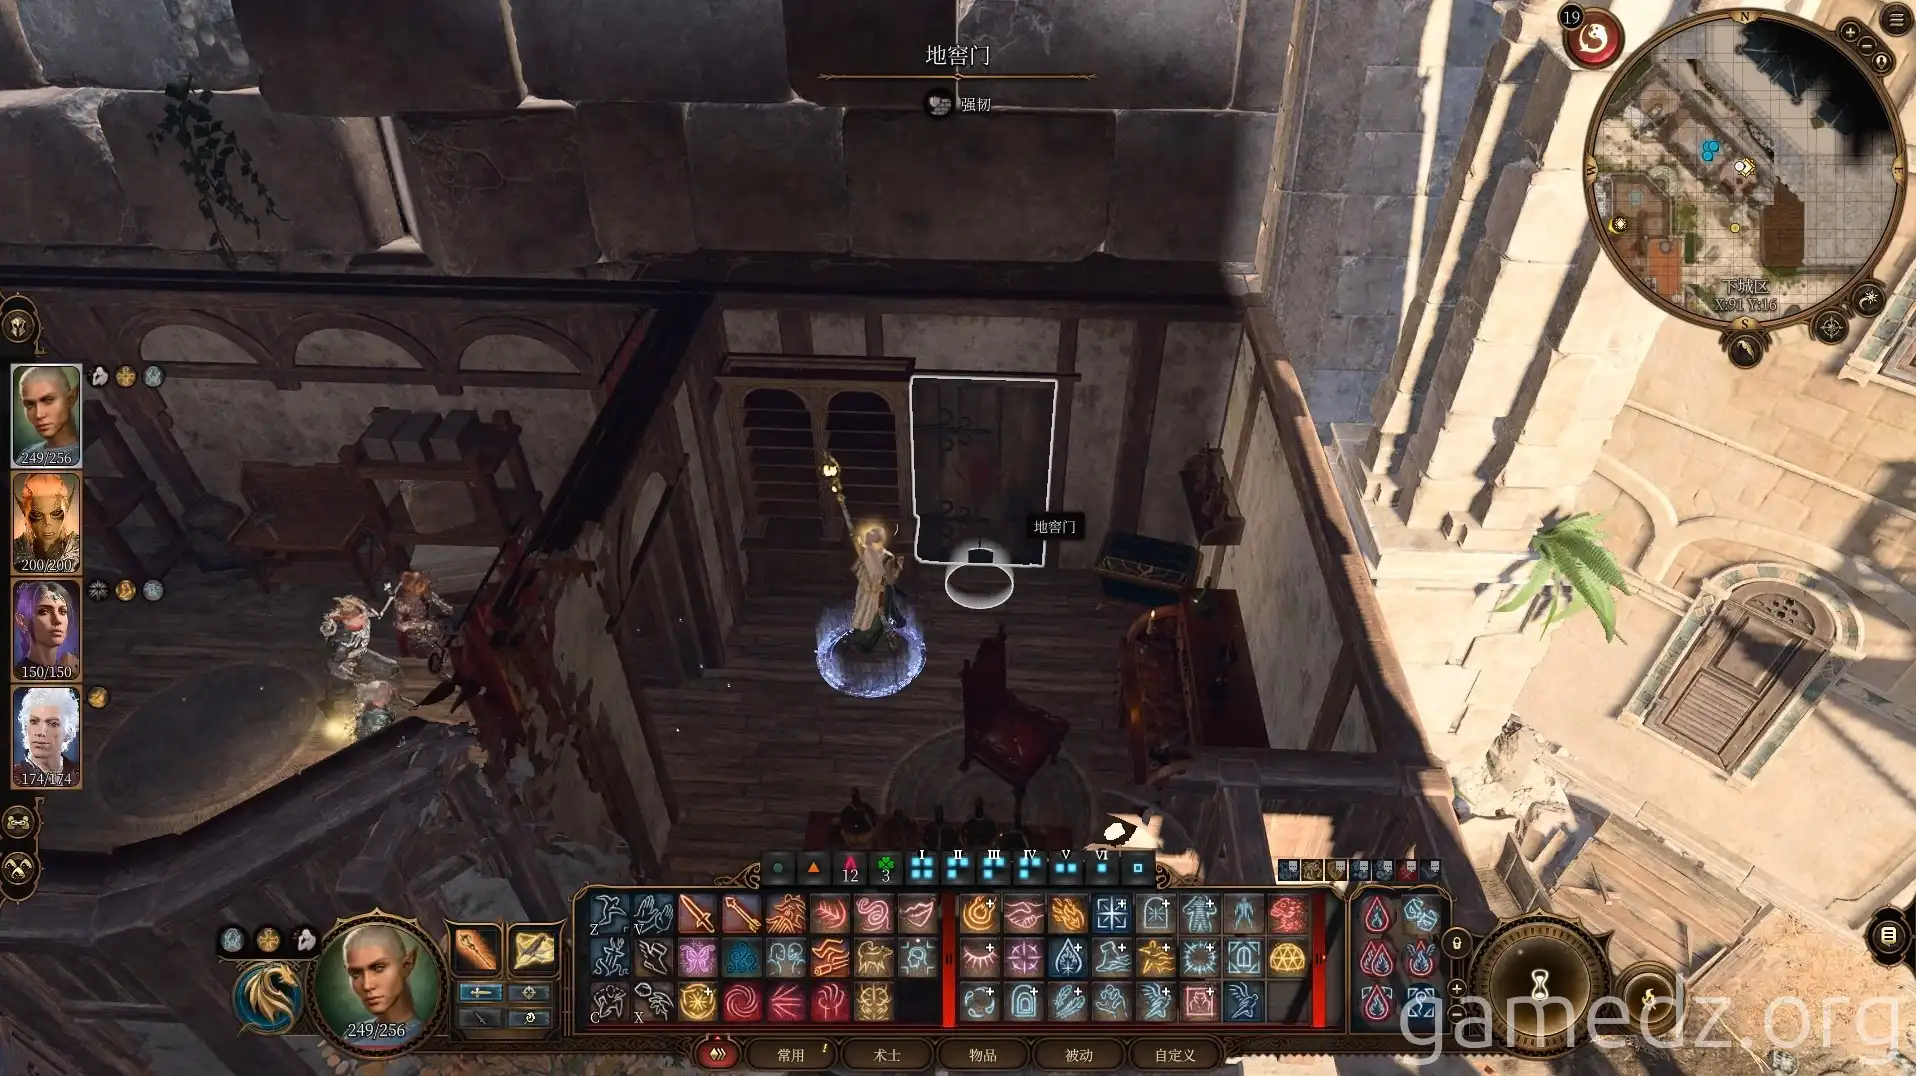
At the fork in the road, head north first. Be mindful of the traps on the ground.
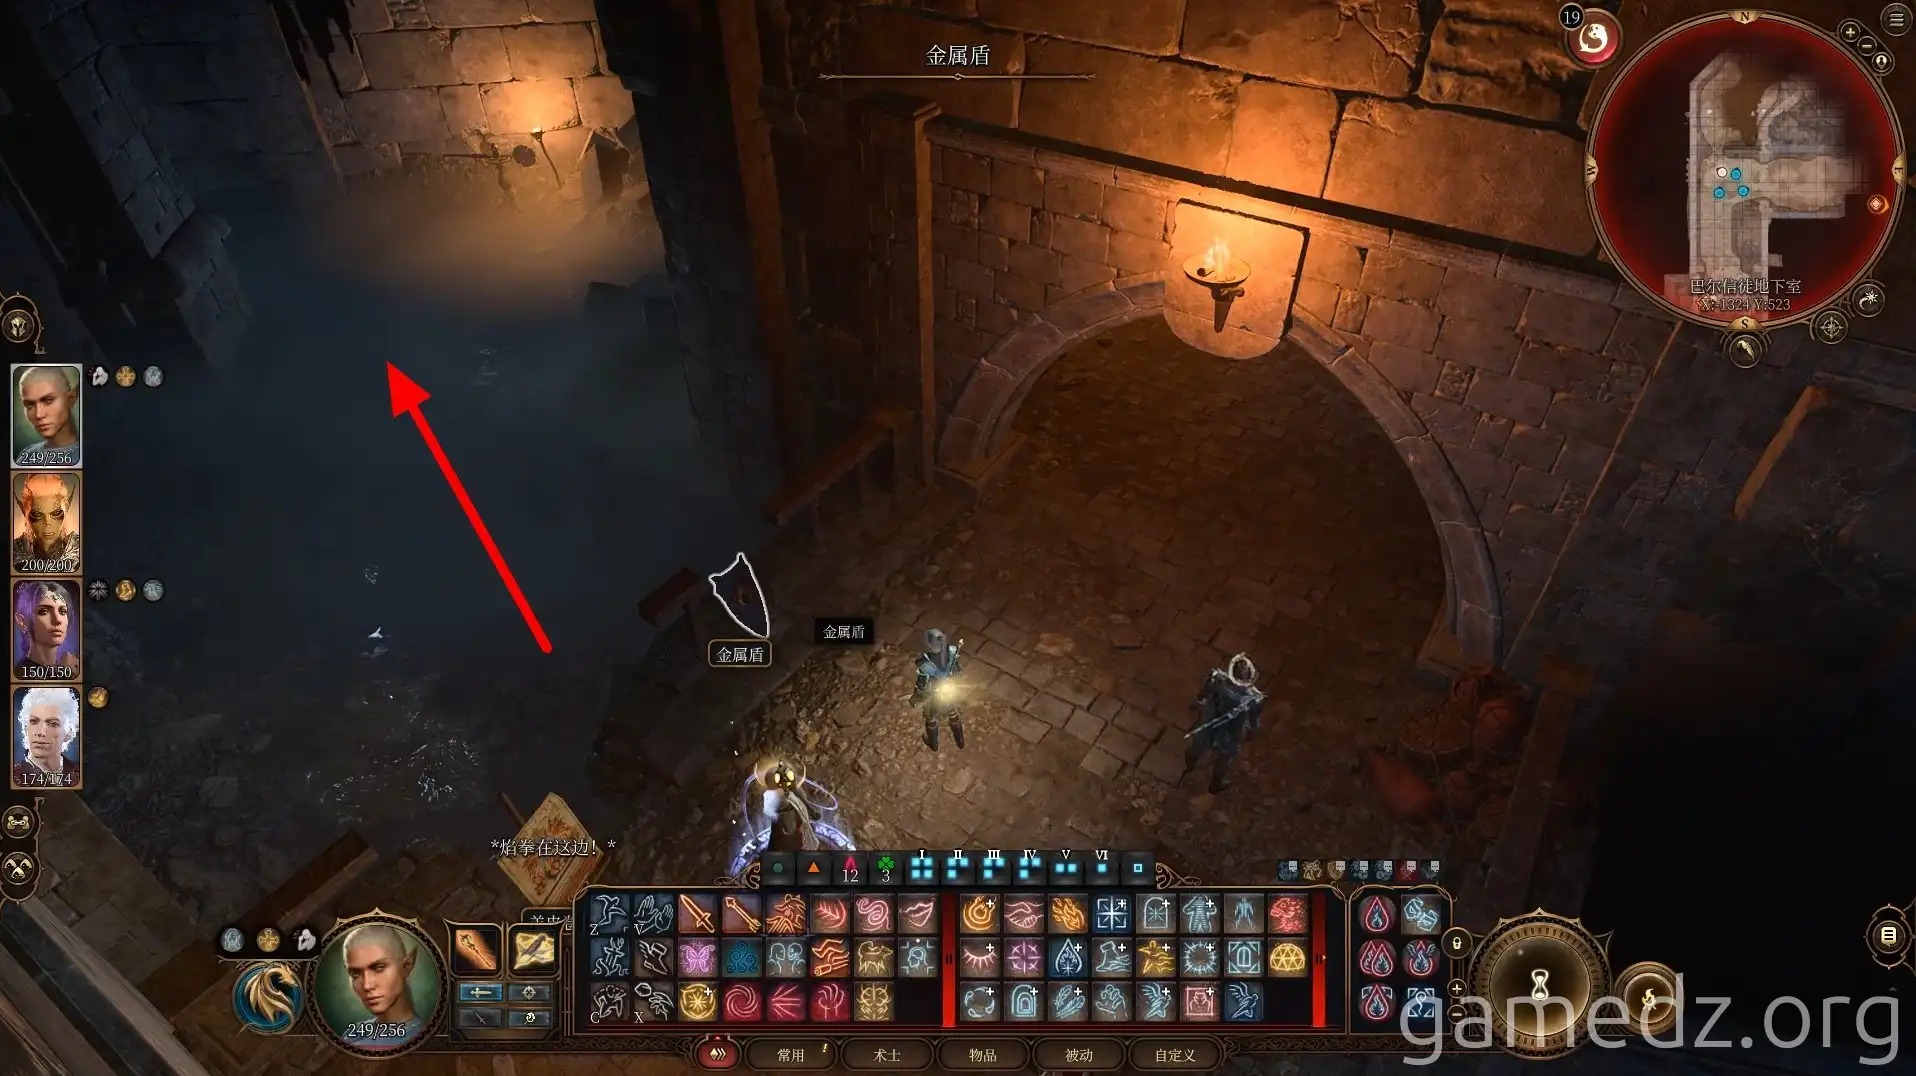
You'll find a chest in the corner ahead.
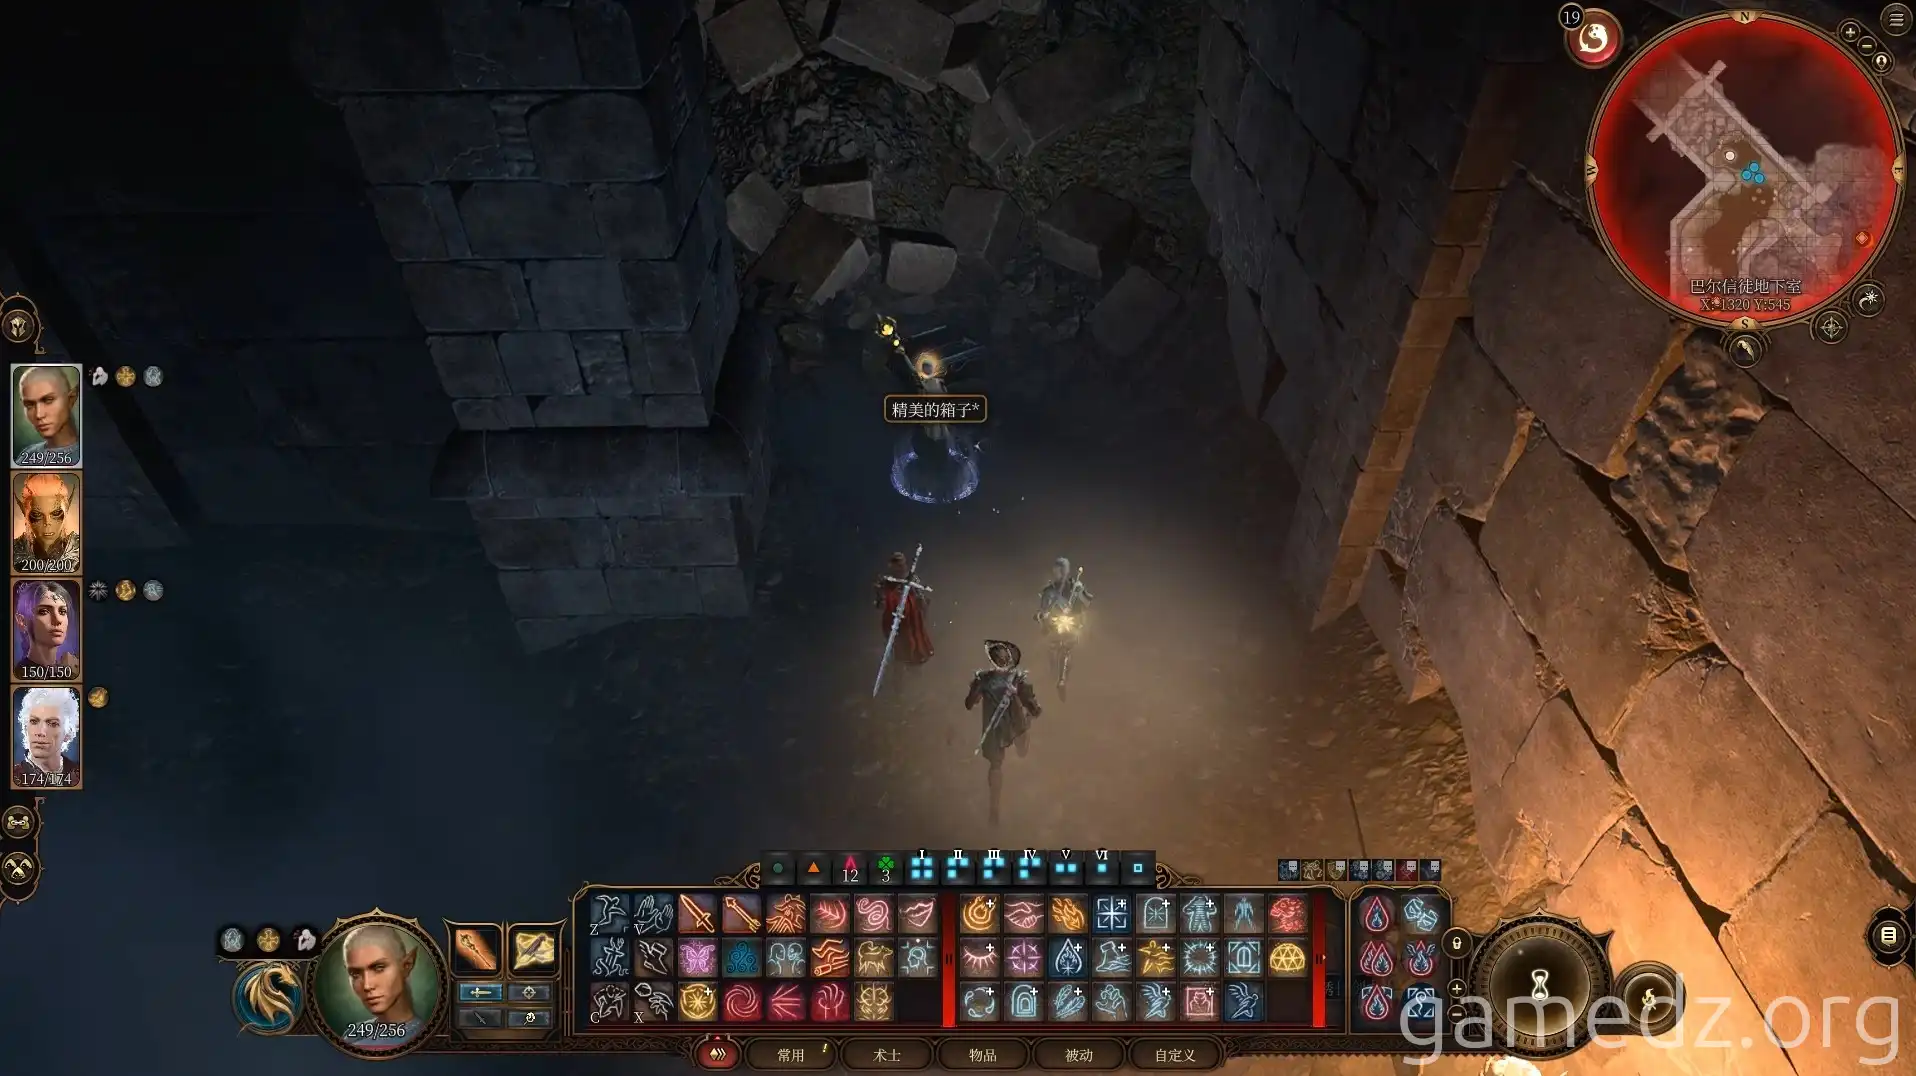
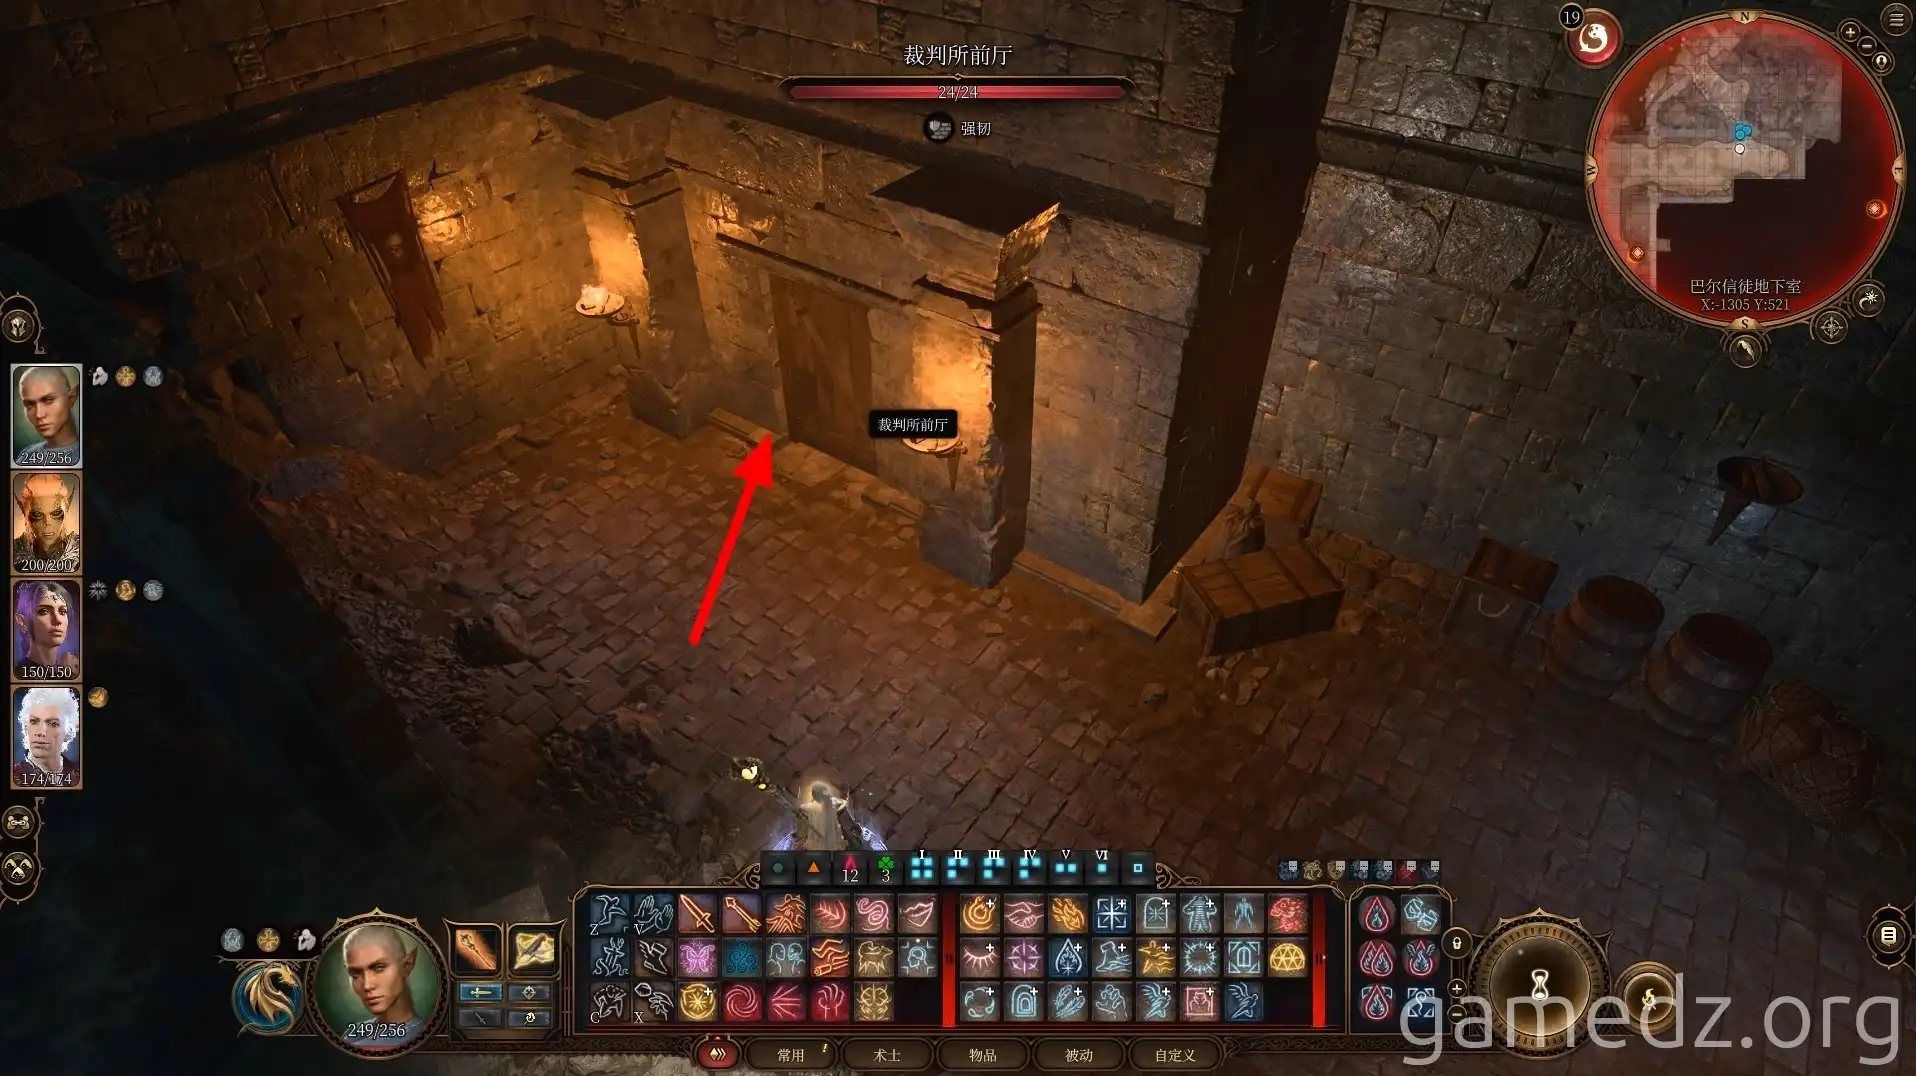
Next, proceed through the small door in the southeast corner to enter the antechamber of the courthouse.
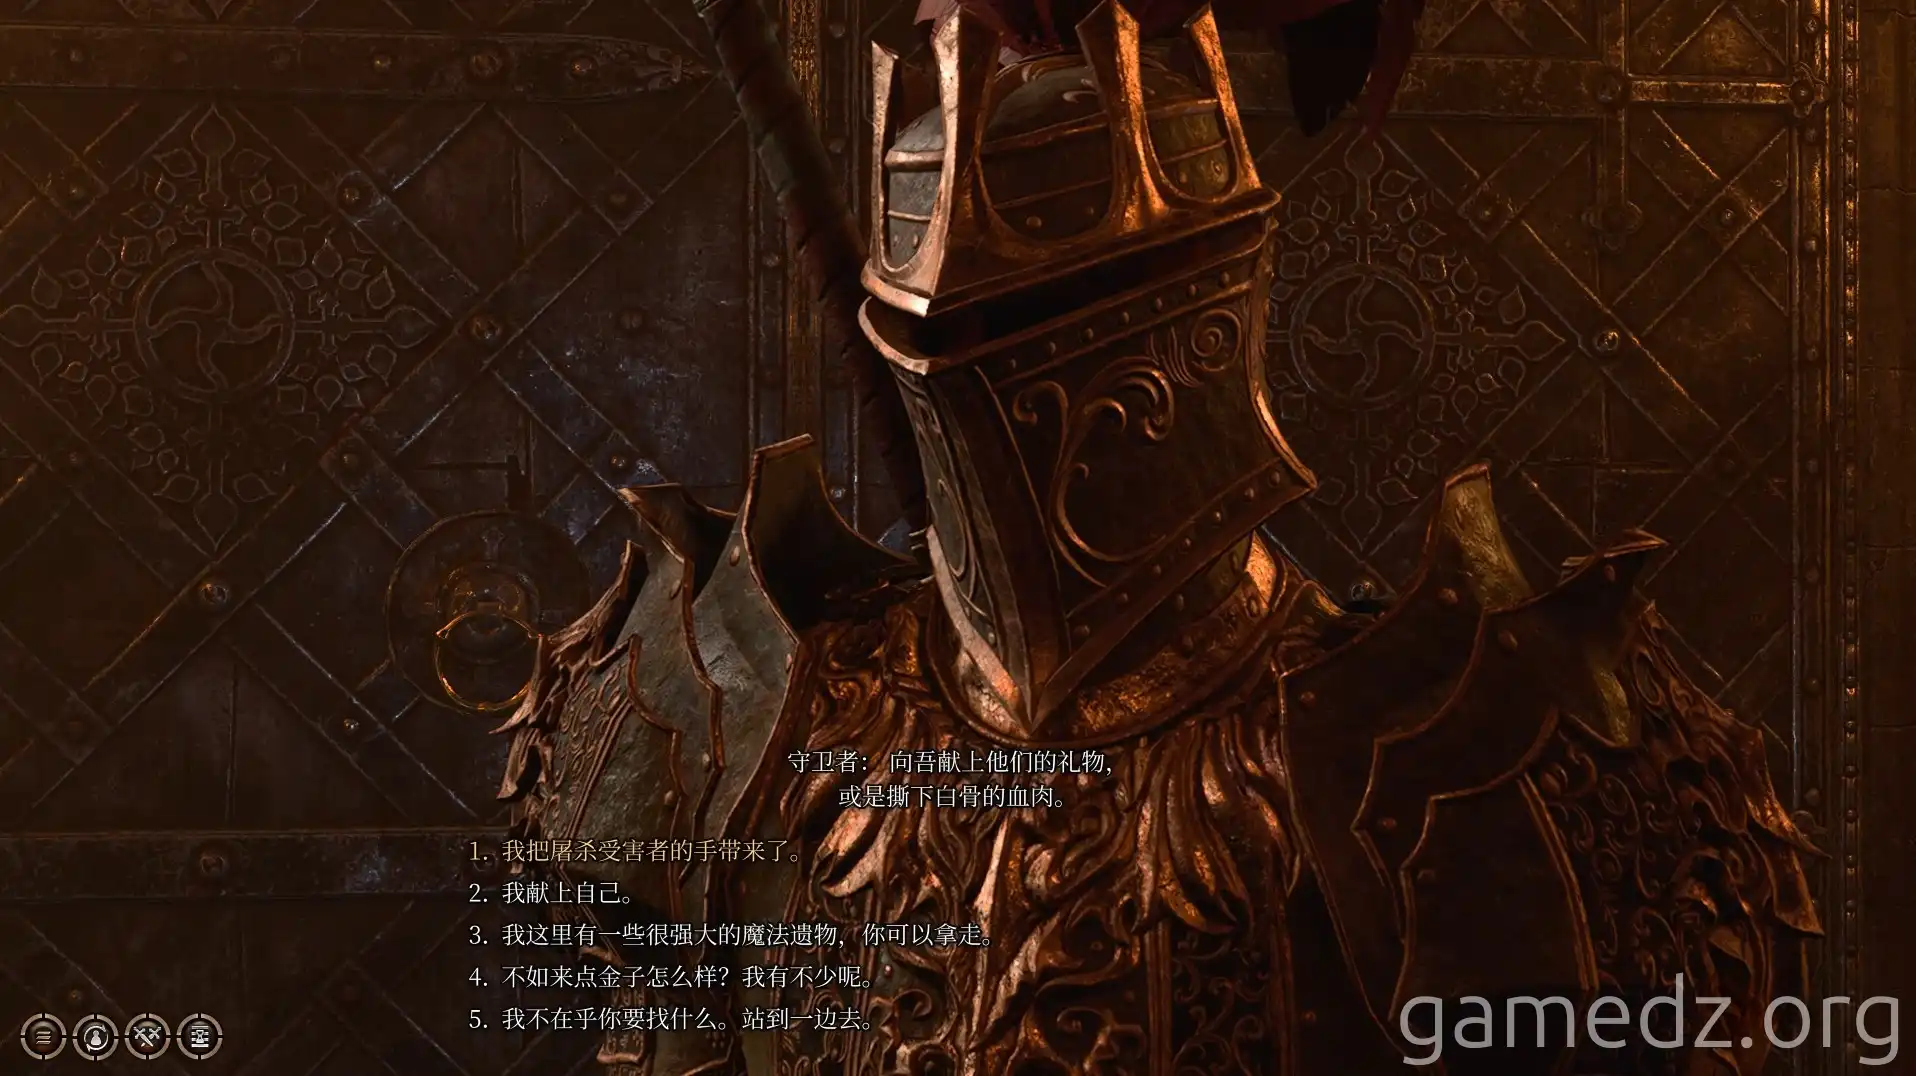
You'll be stopped by guards in the antechamber. To proceed, present the victim's hand.
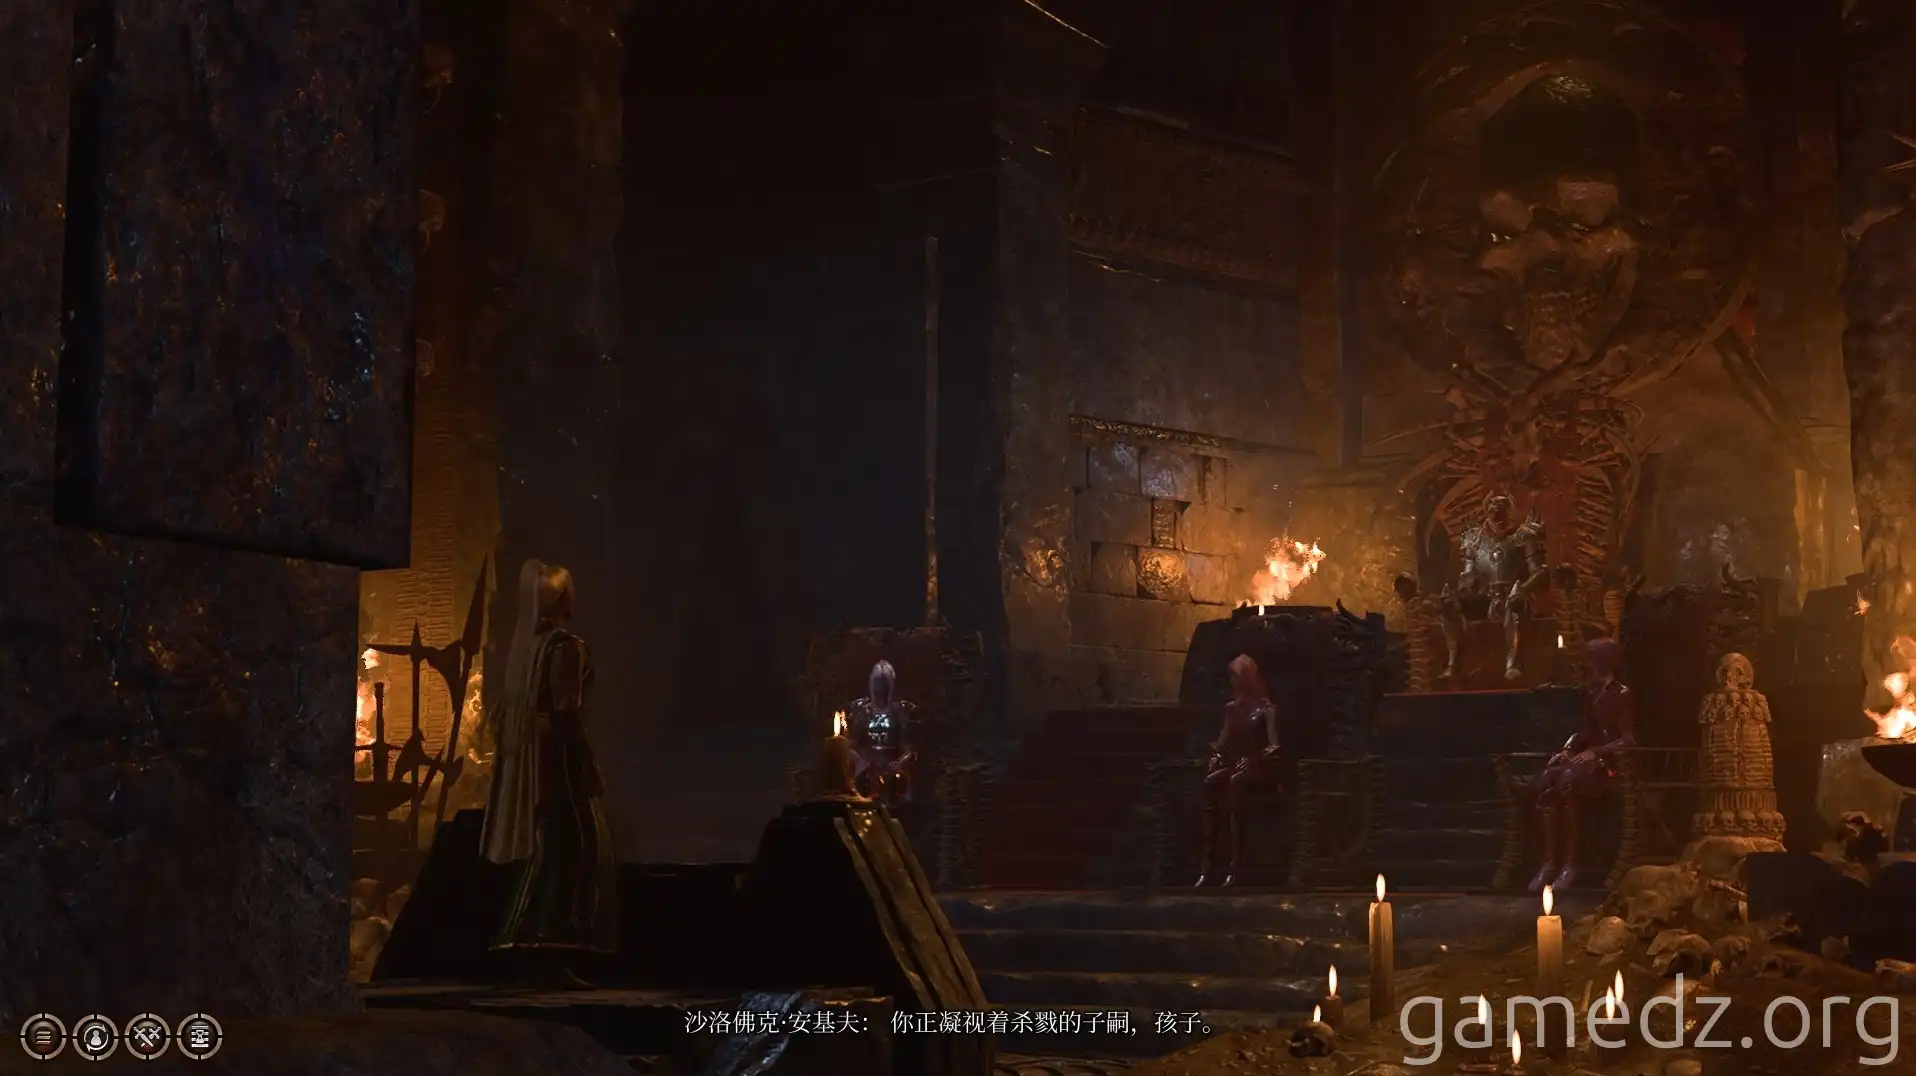
Inside the courthouse, speak with Sarevok and the three Echoes. During the conversation, choose to accept judgment and then, through deception, claim you are the murderer.
After the dialogue, Sarevok will head towards the slaughterhouse, but the three Echoes will teleport there directly. By acting now, you'll only have to face Sarevok.
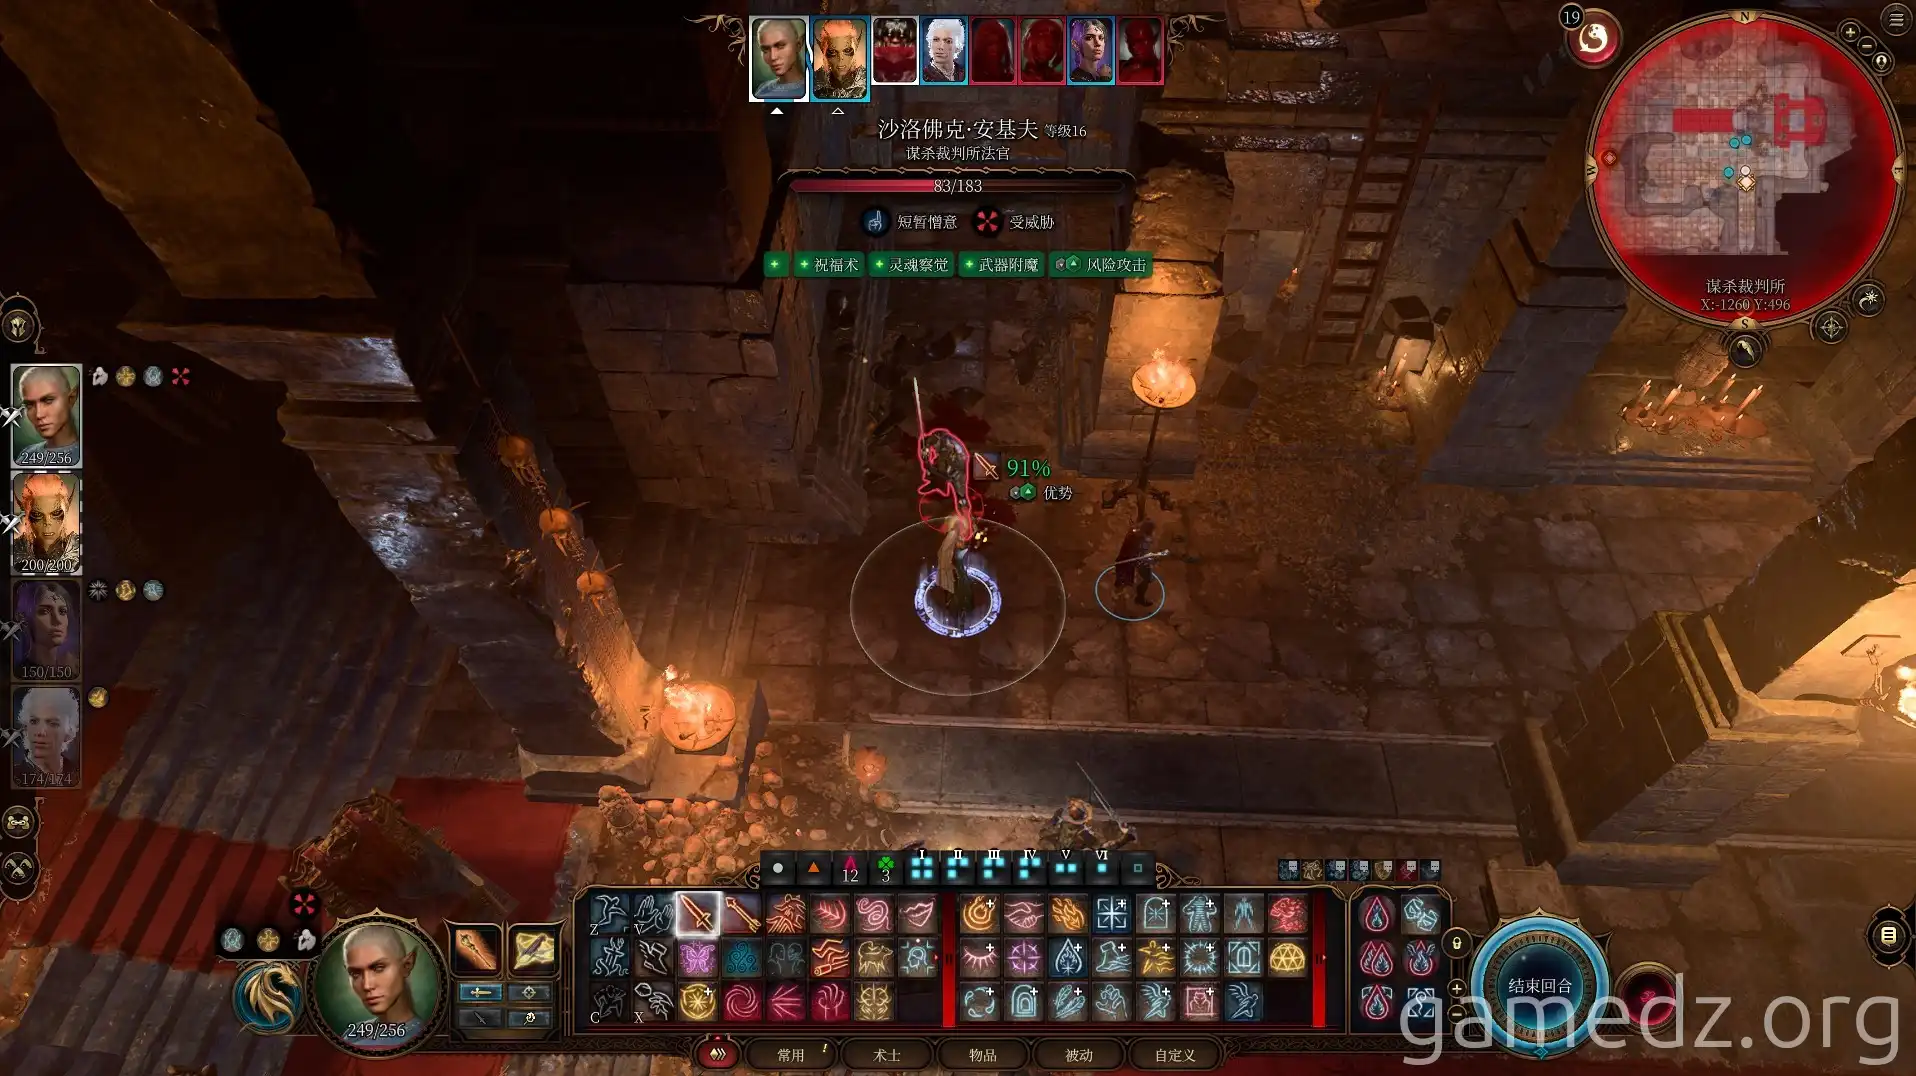
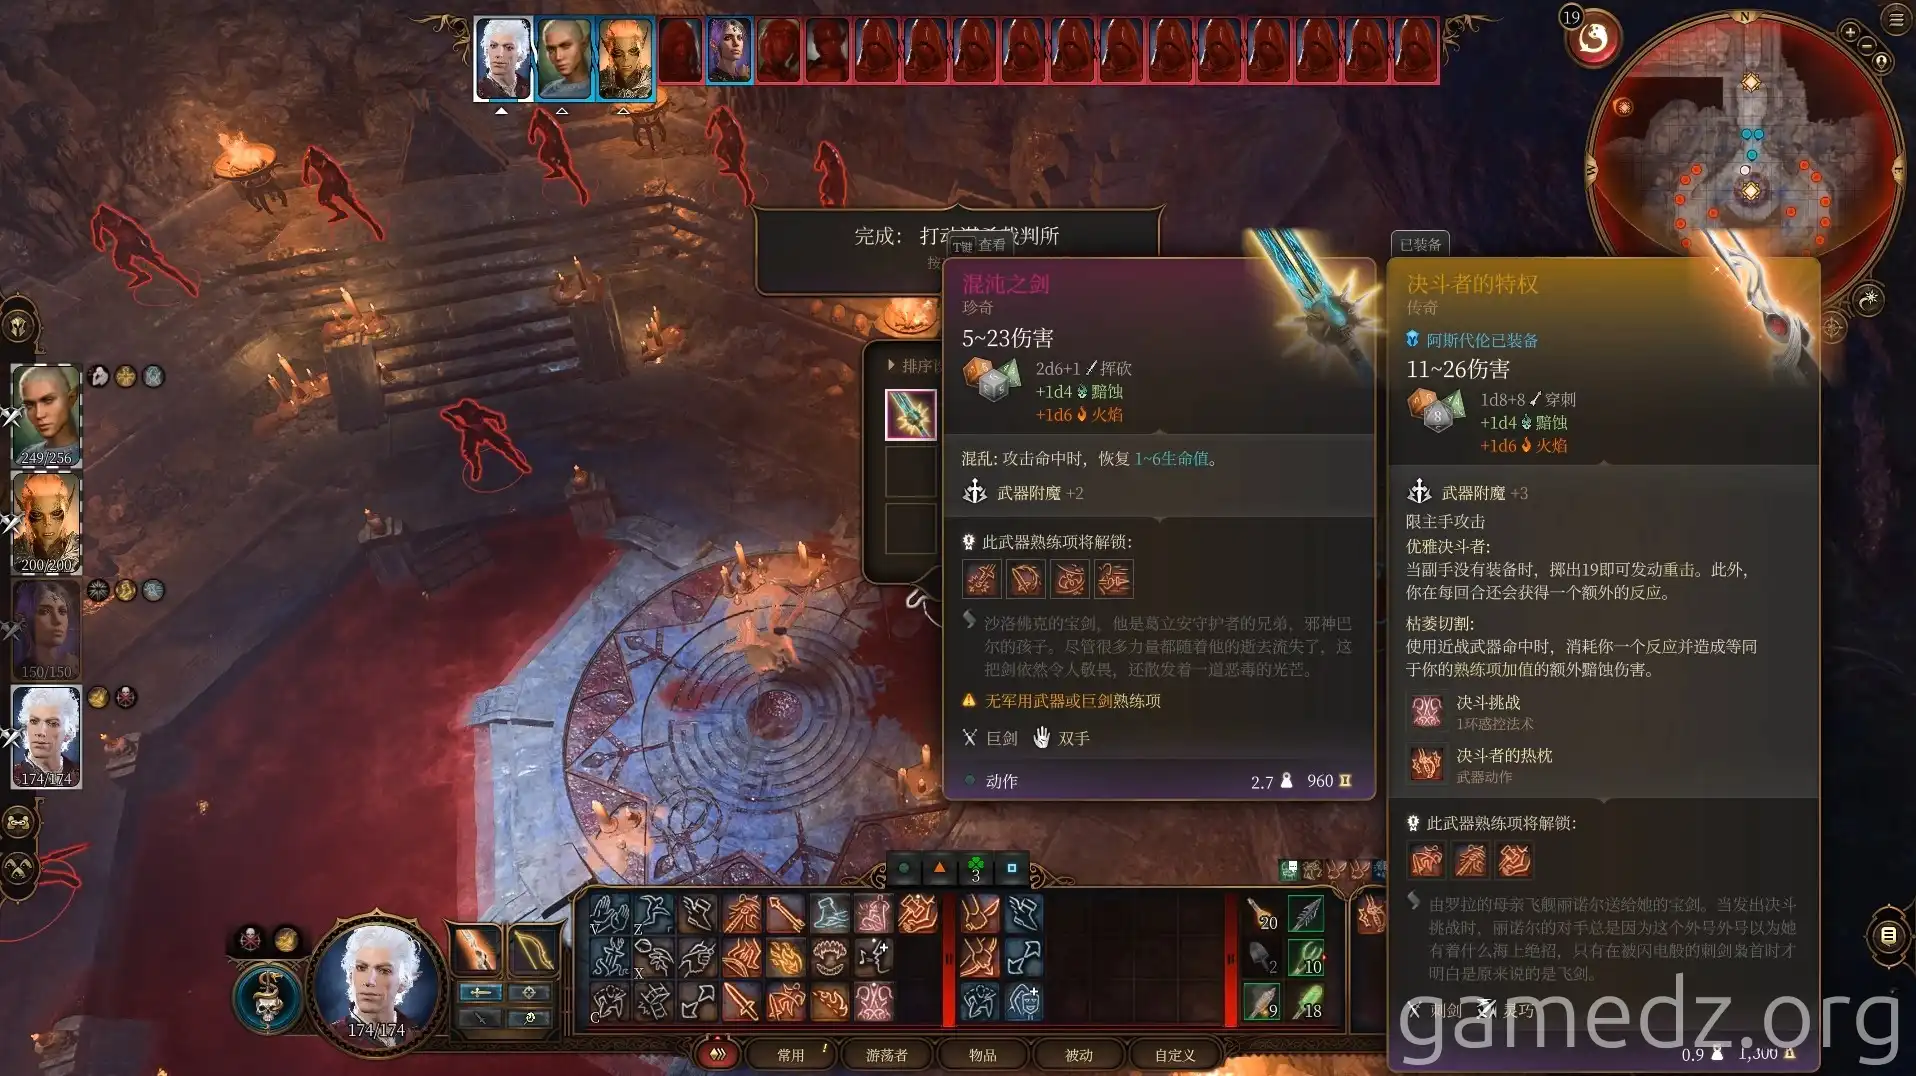
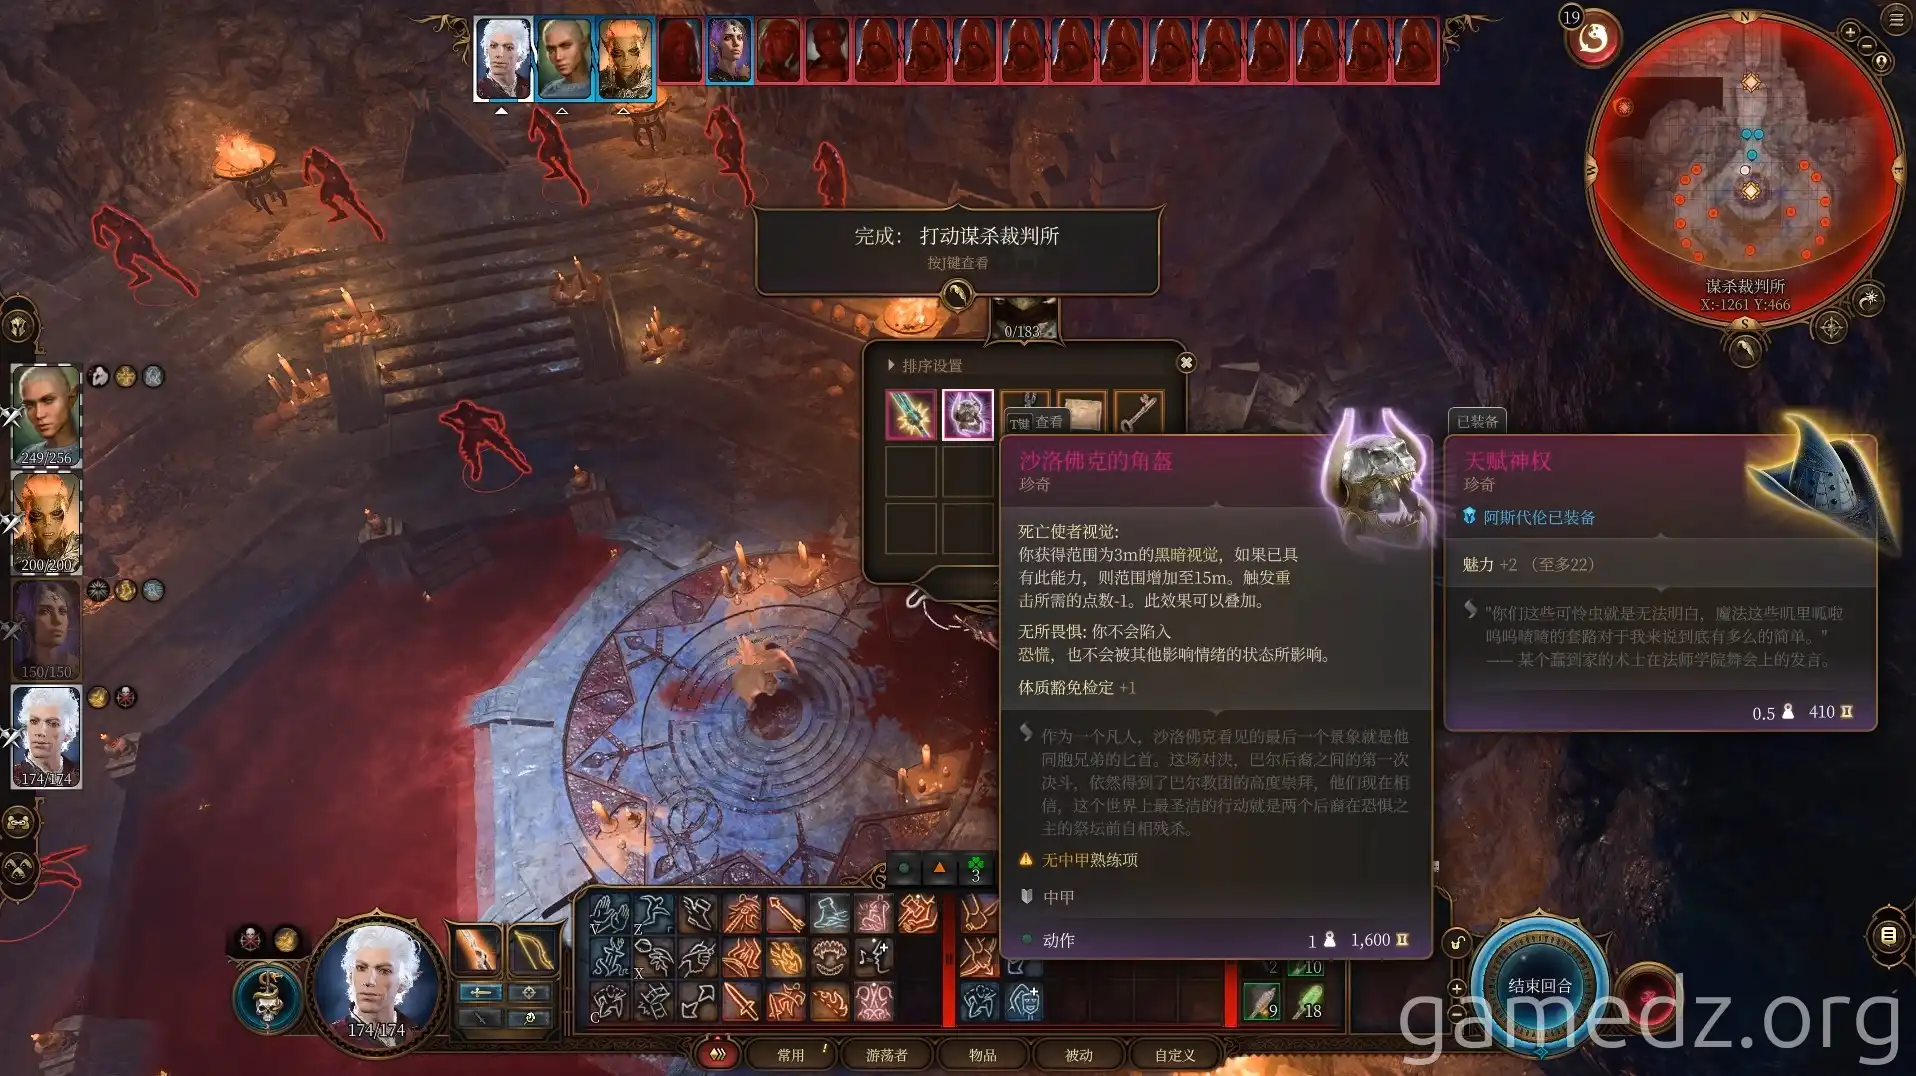
Upon defeating Sarevok, you'll obtain the rare weapon Sword of Chaos, the rare armor Sarevok's Horned Helmet, and the crucial items Amulet of Bhaal and the Slaughterhouse Key.
Here are the stats for Sarevok's Horned Helmet:
Subsequently, use the Slaughterhouse Key from Sarevok to open a hidden door leading to the room shown below. Defeat the three Echoes here.
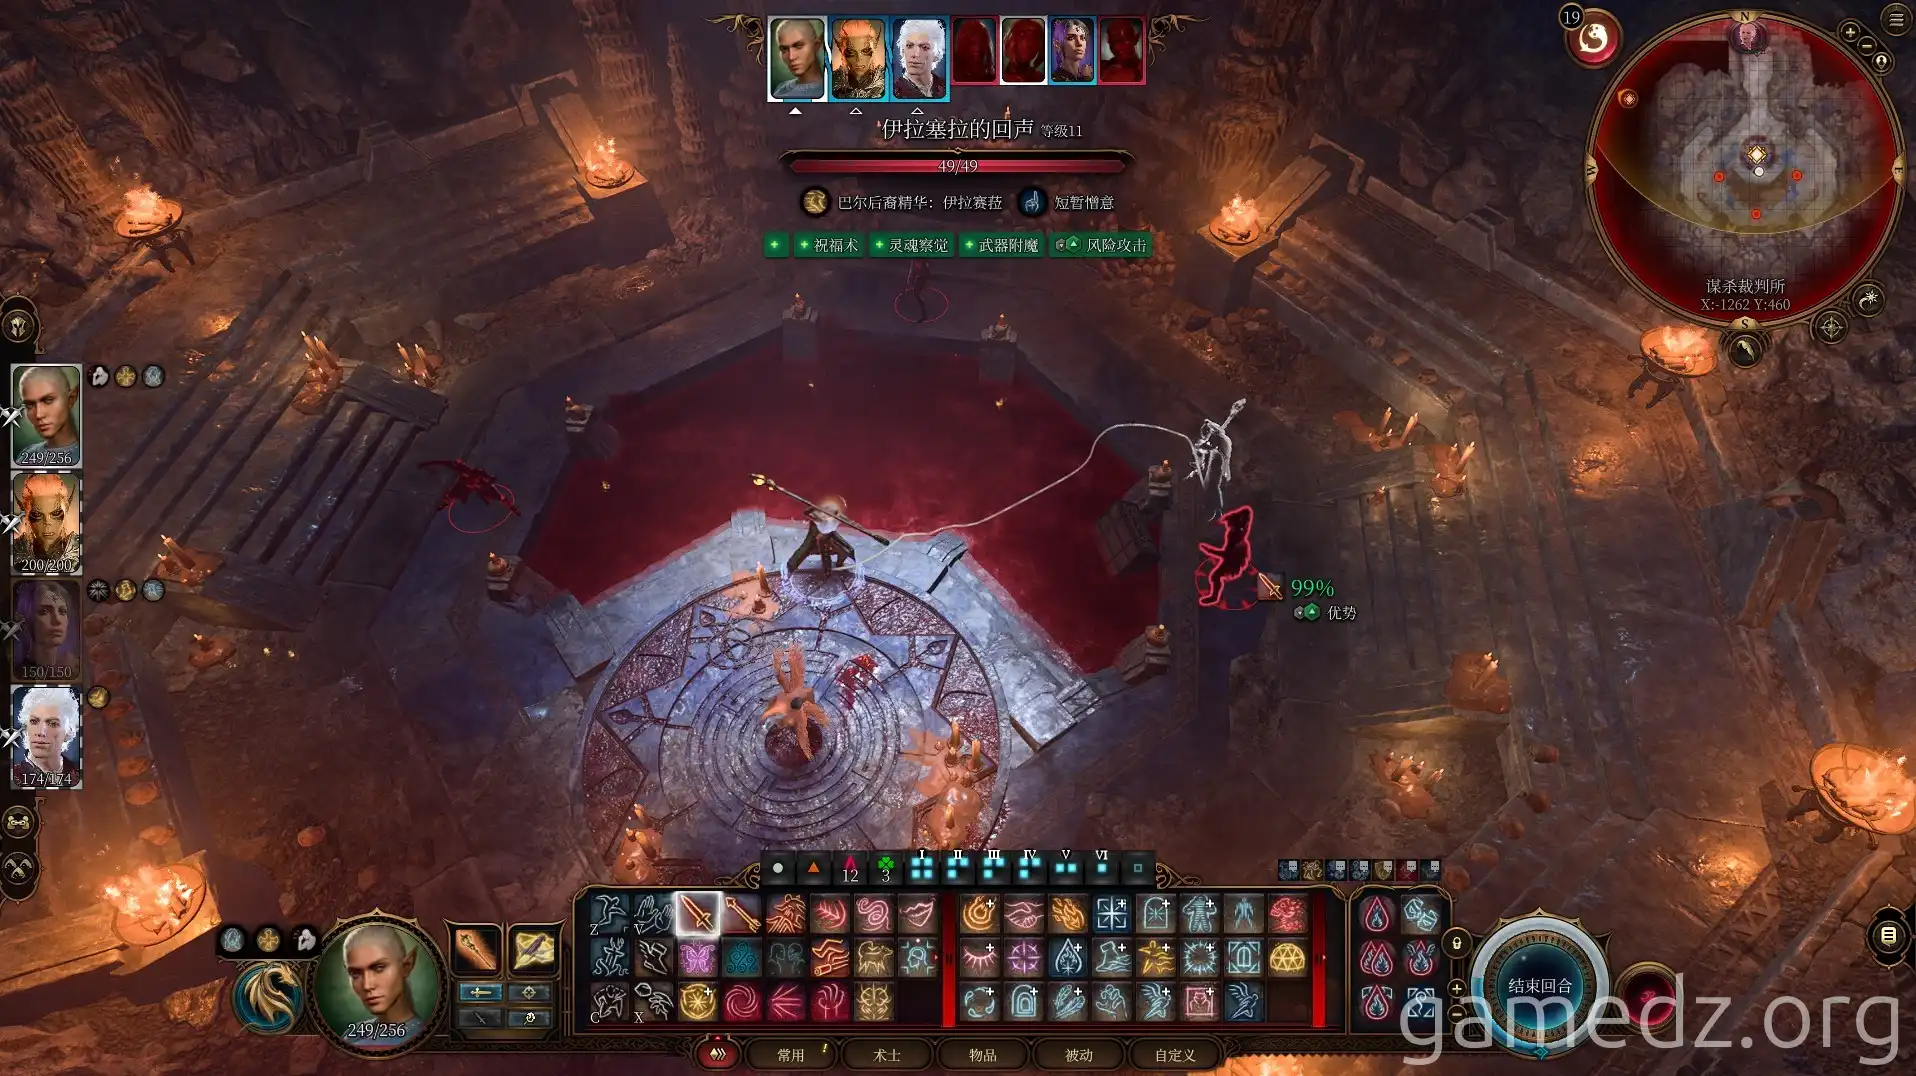
This will significantly reduce the number of enemies. You can compare the enemy count to the screenshot of Sarevok's equipment stats above to see how many fewer foes you'll face.
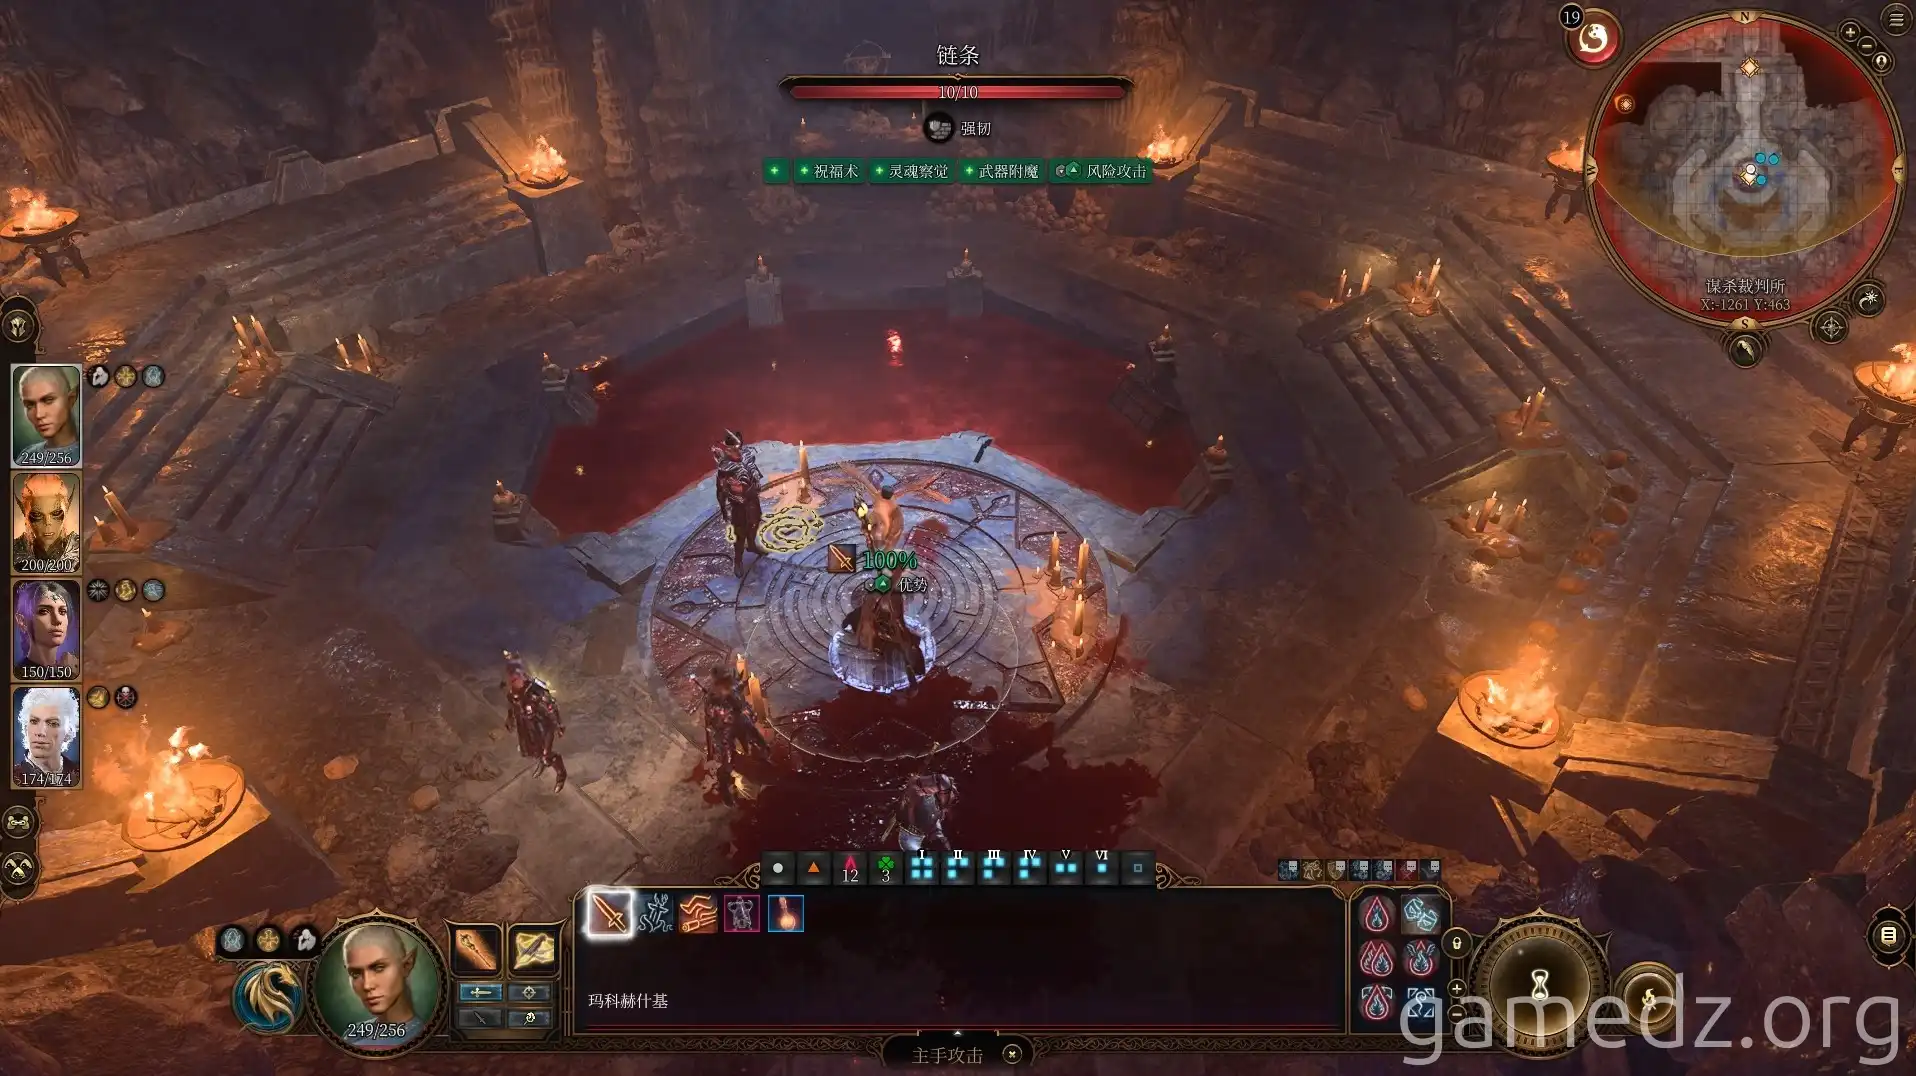
After eliminating all enemies, use your lockpicks or destroy the chains to free the little elephant. Following a conversation, the little elephant will depart, concluding the murder investigation side quest. The little elephant will also offer some assistance during the final battle.
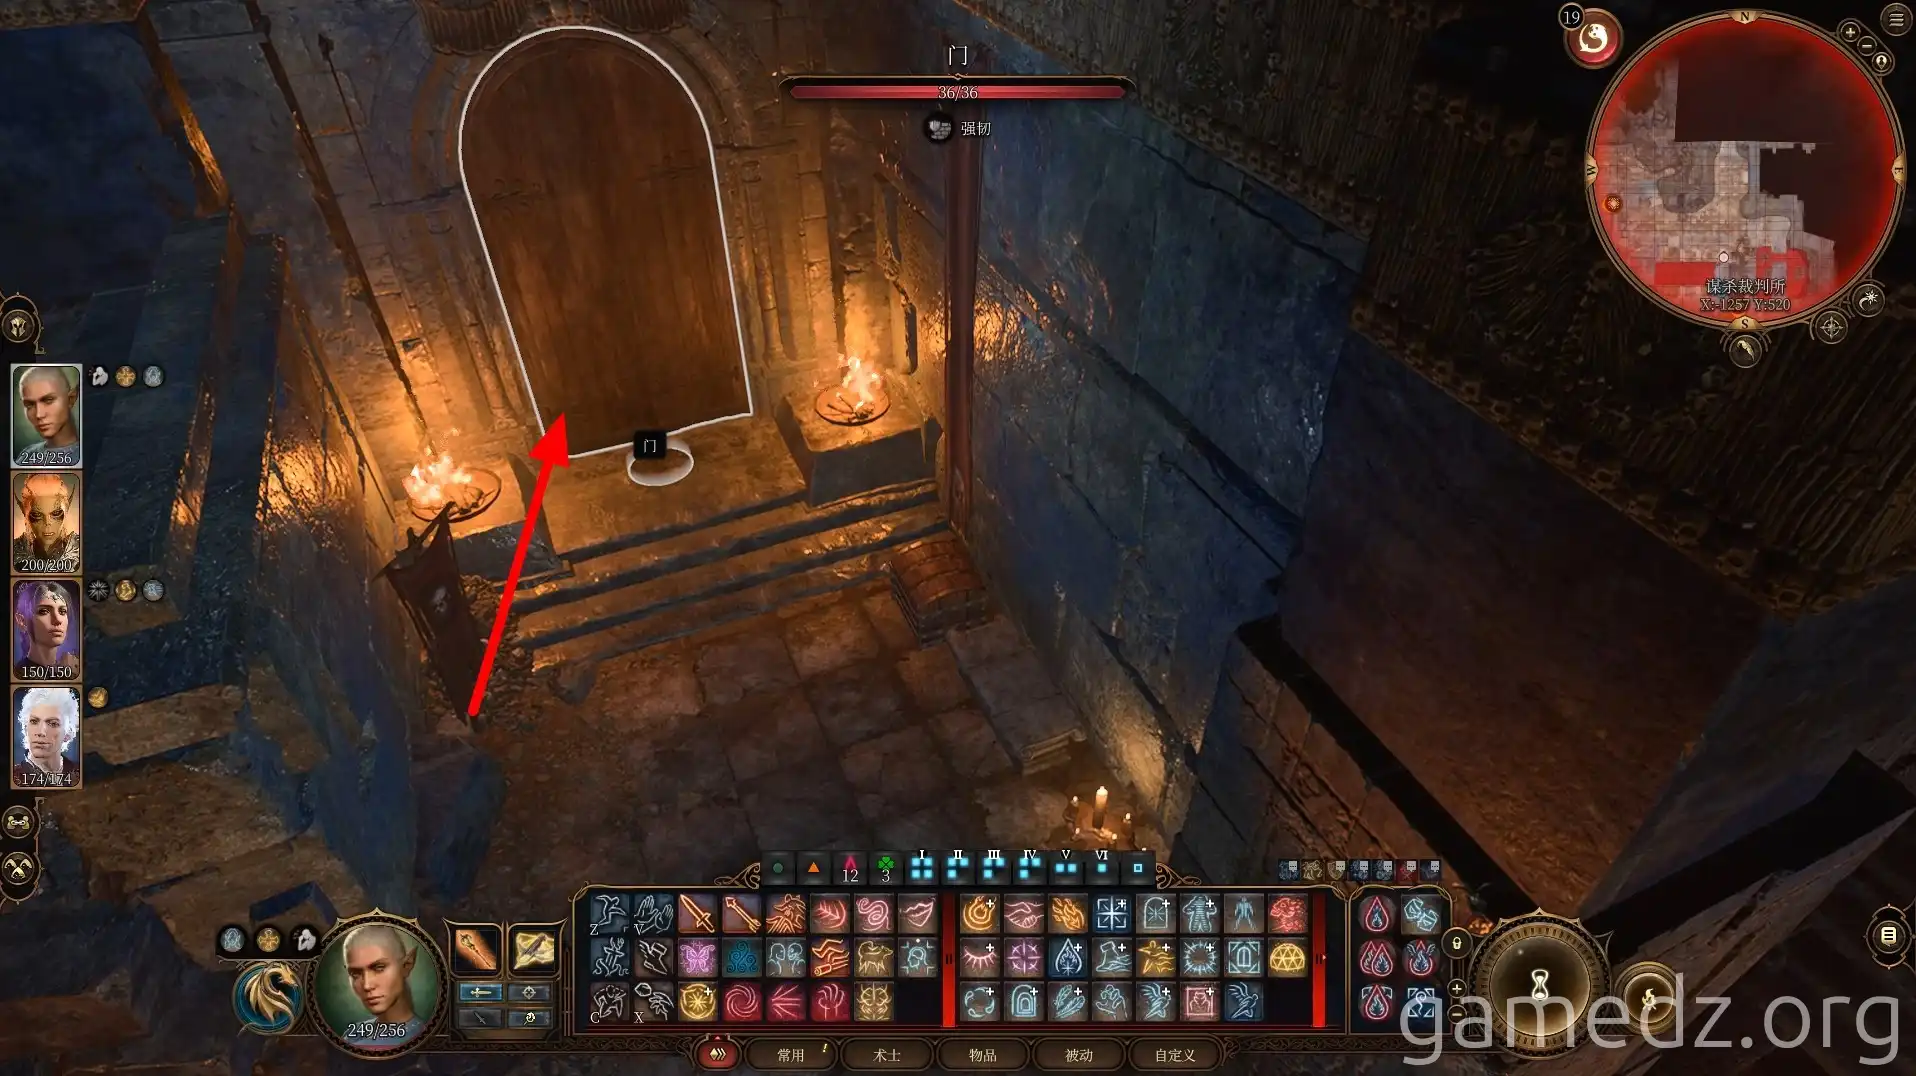
Return to the courthouse hall and enter the northern room. There's nothing particularly special inside, so just loot the area and move on.
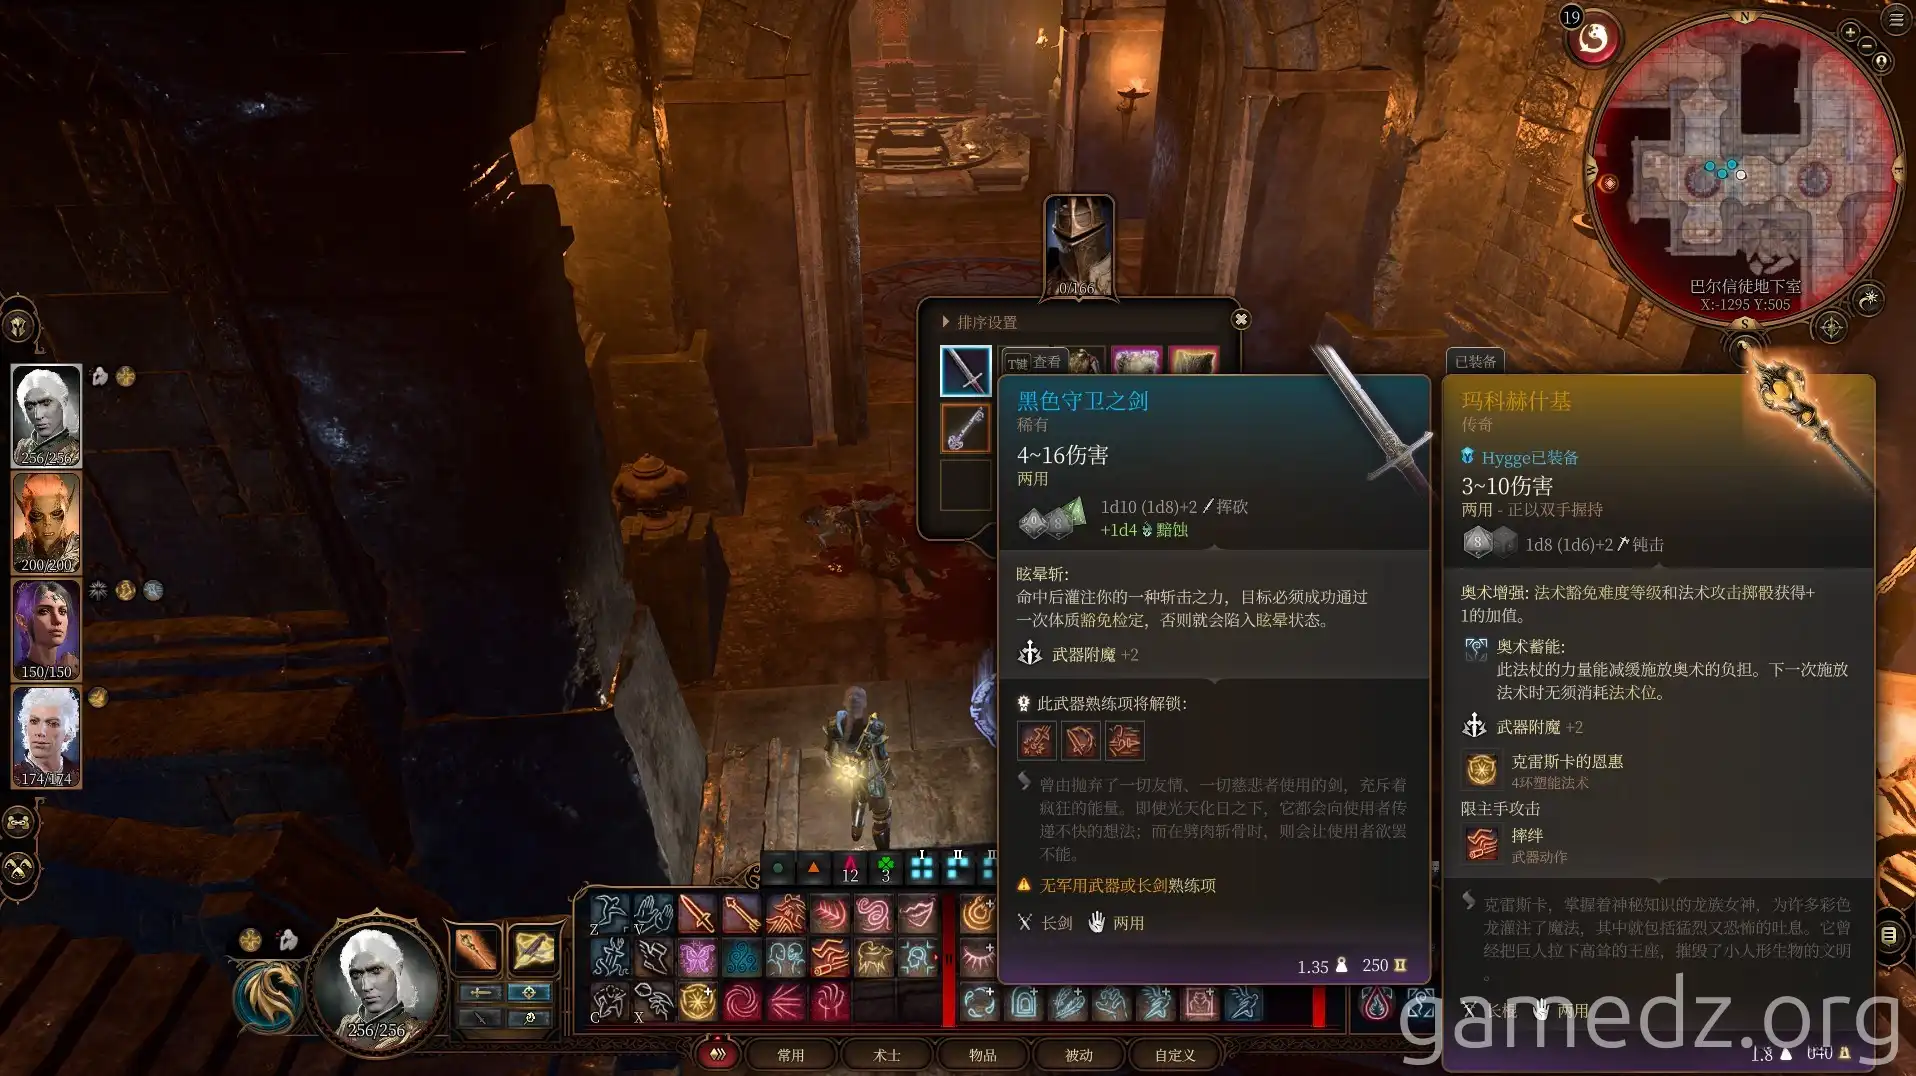
Don't forget to grab the items from the chest near the door.
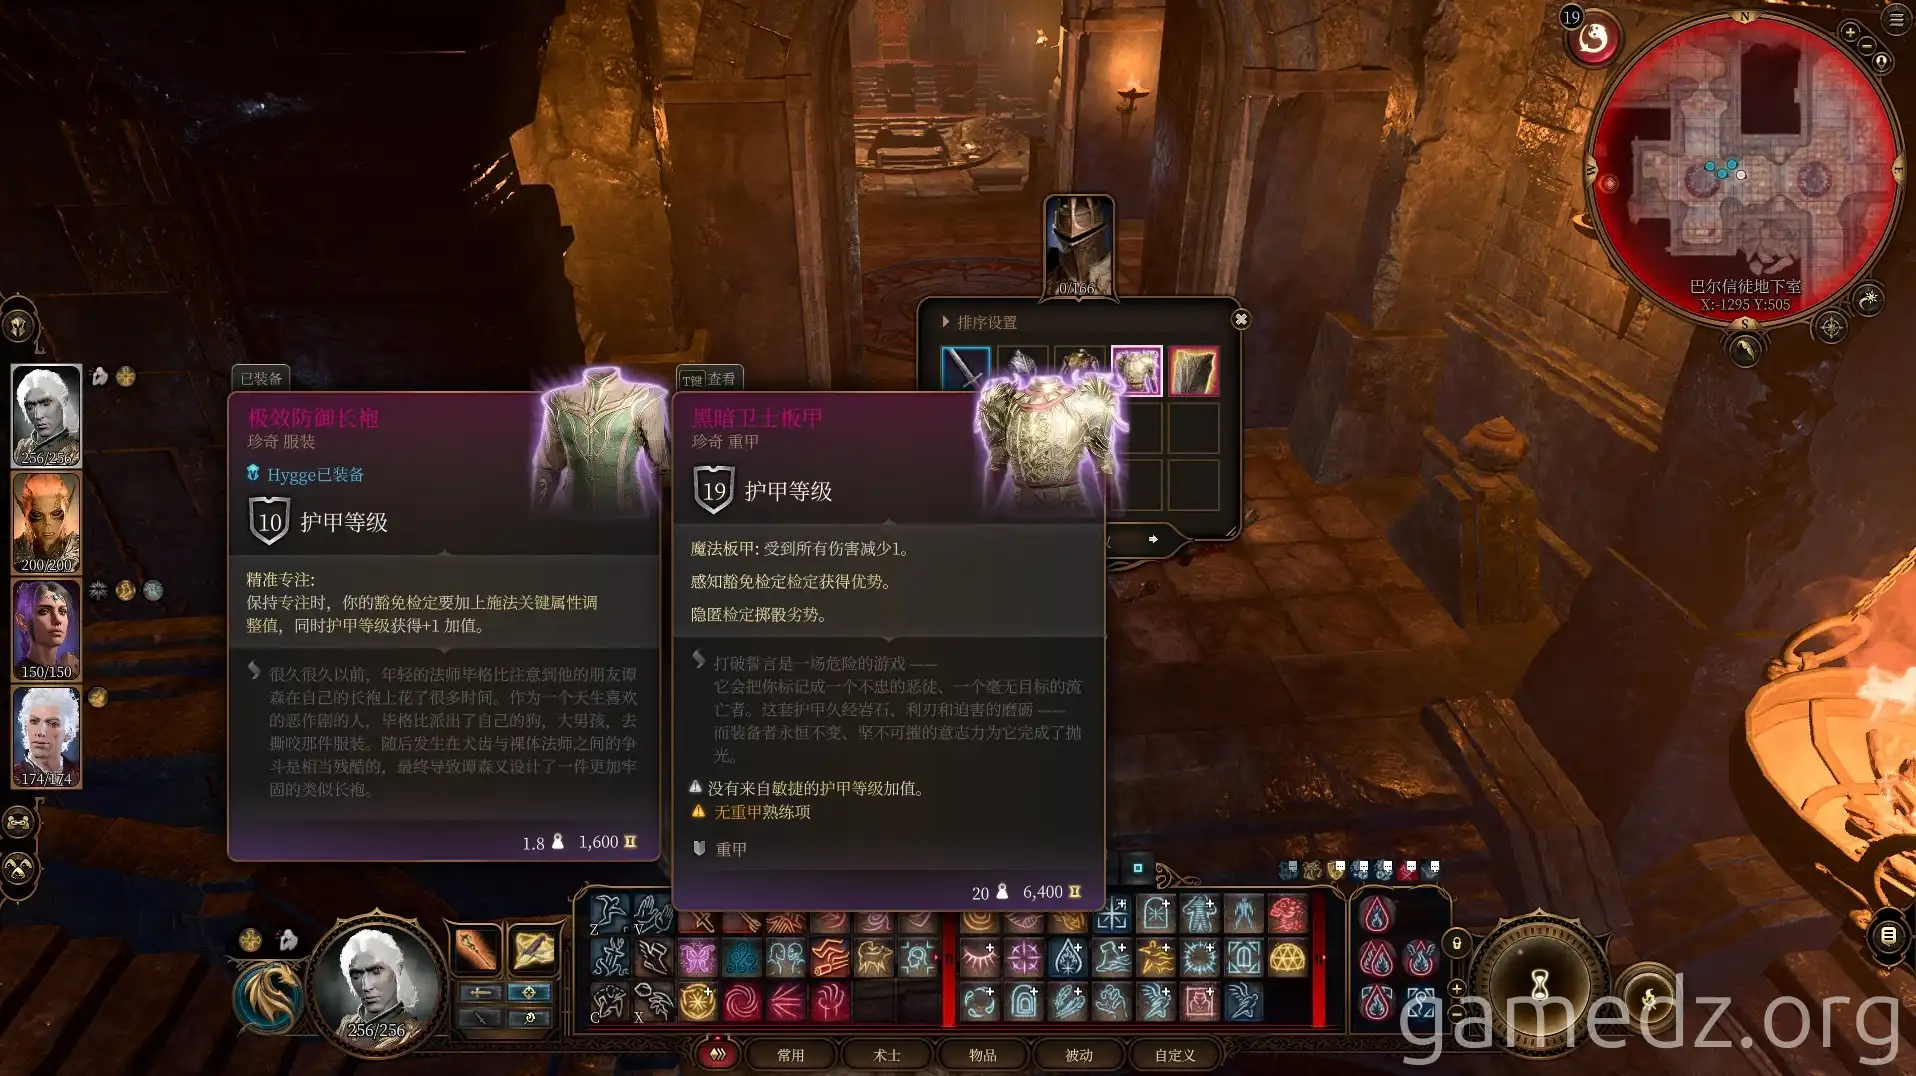
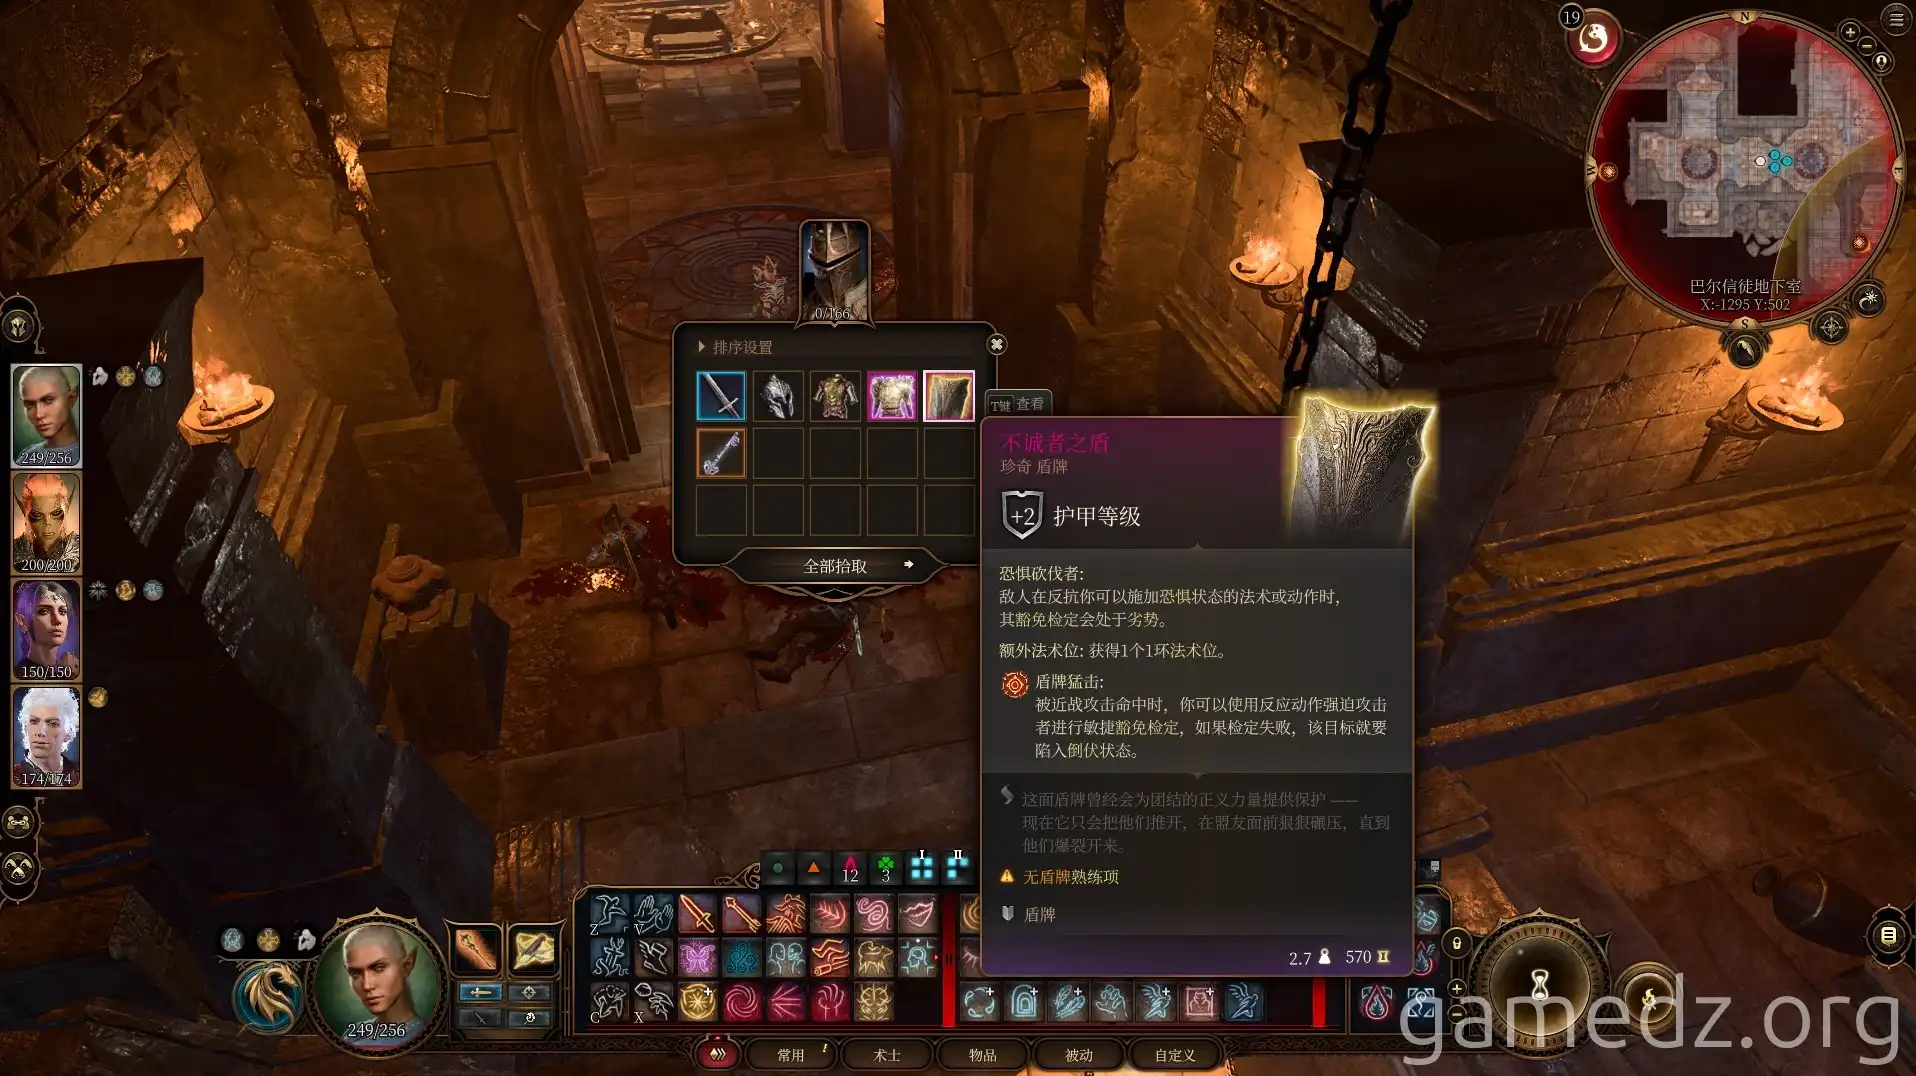
Upon reaching the courthouse entrance, you'll find the three gatekeeper brothers dead. Looting their bodies will yield the rare weapon Blackguard's Sword, the rare armor Dark Justiciar Plate, the rare weapon Shield of the Unworthy, and the rare armor pieces Dark Justiciar Greaves and Dark Justiciar Gauntlets.
Here are the stats for the Dark Justiciar Plate:
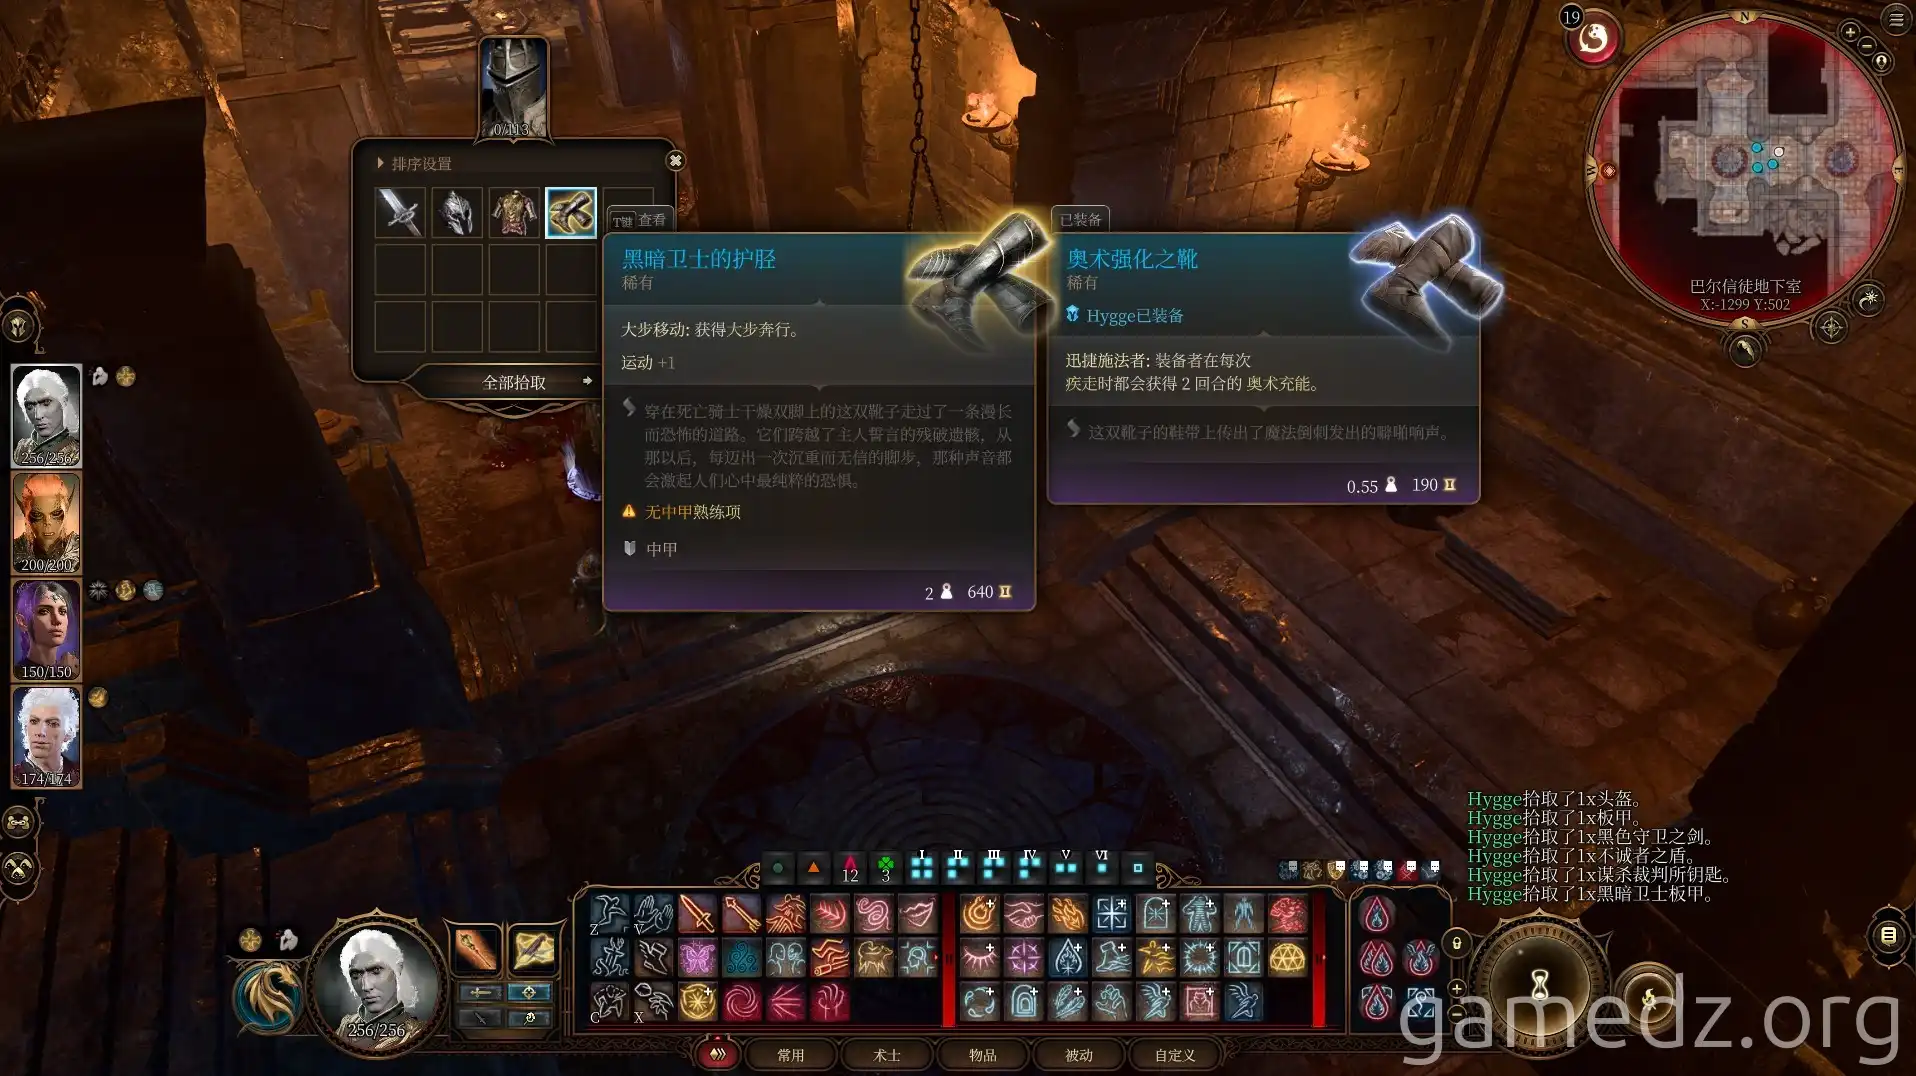
Here are the stats for the Shield of the Unworthy:
Here are the stats for the Dark Justiciar Greaves:
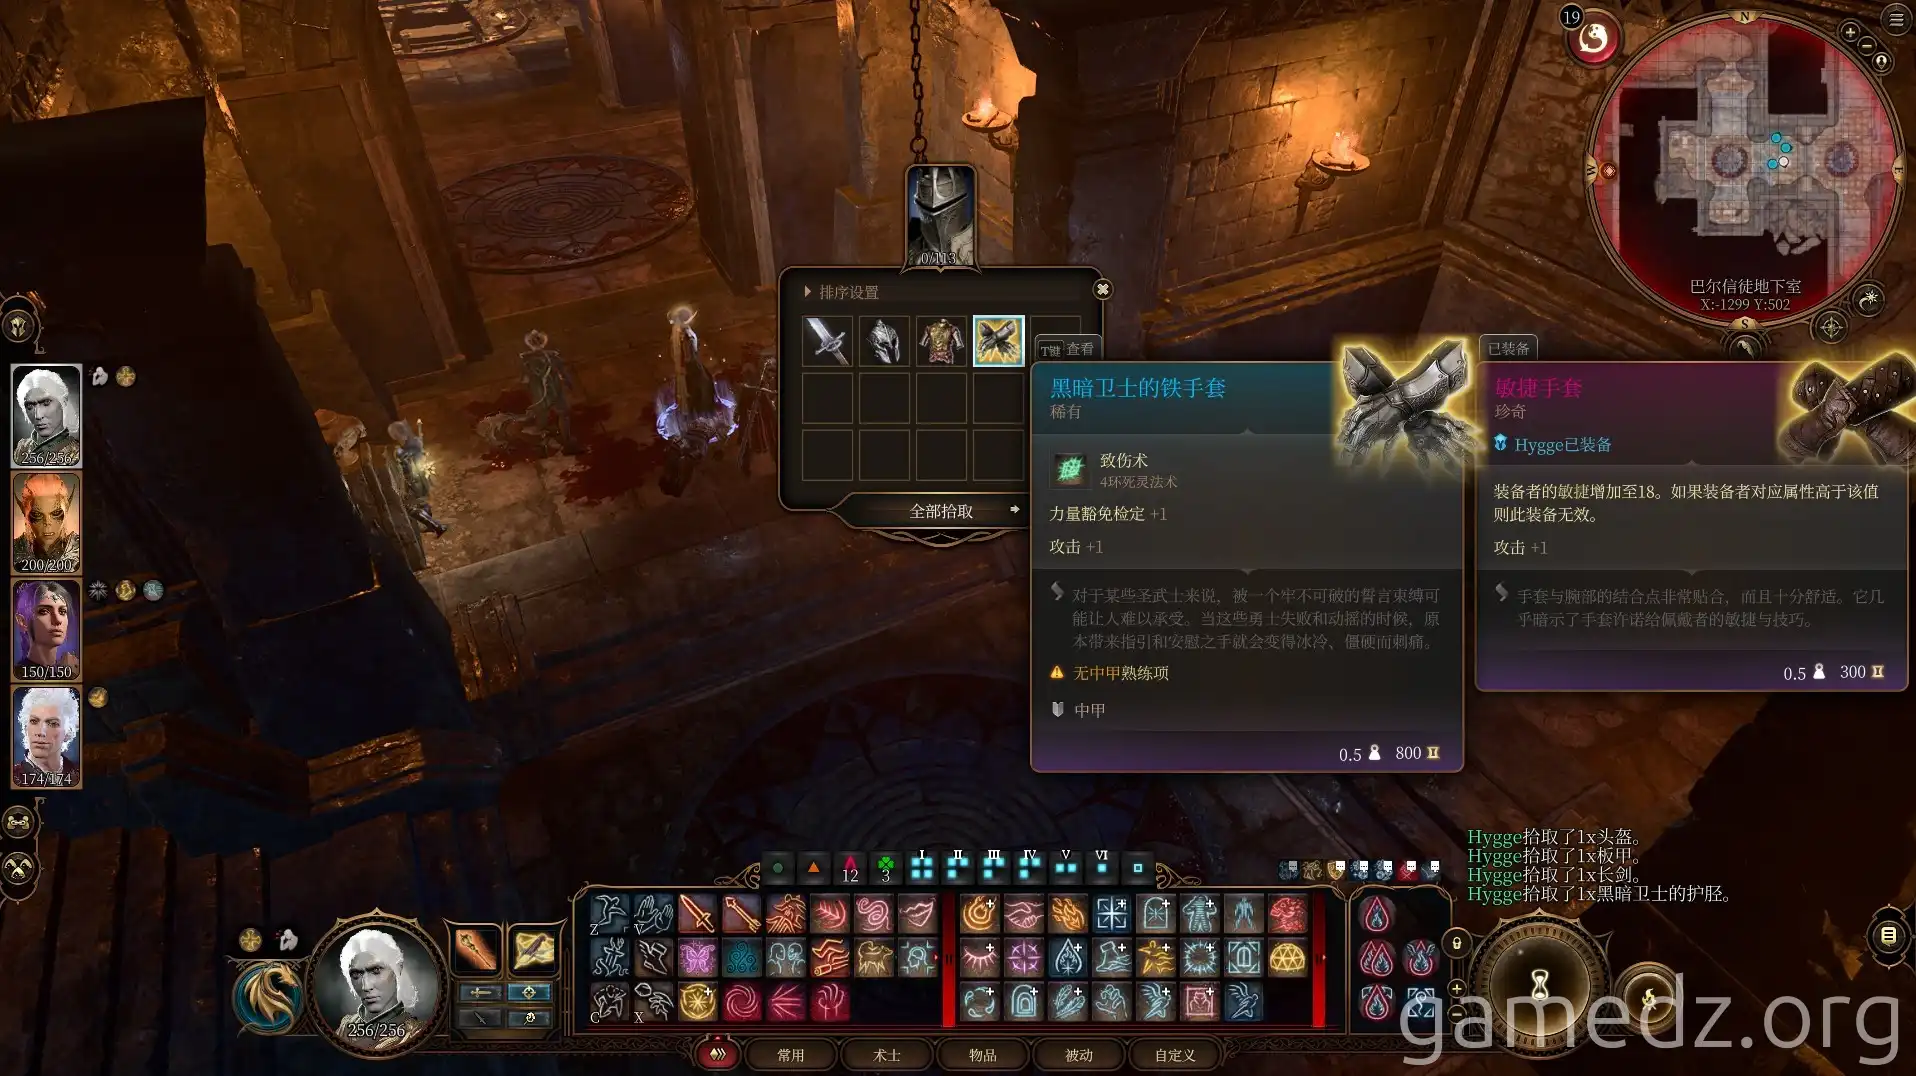
Here are the stats for the Dark Justiciar Gauntlets:
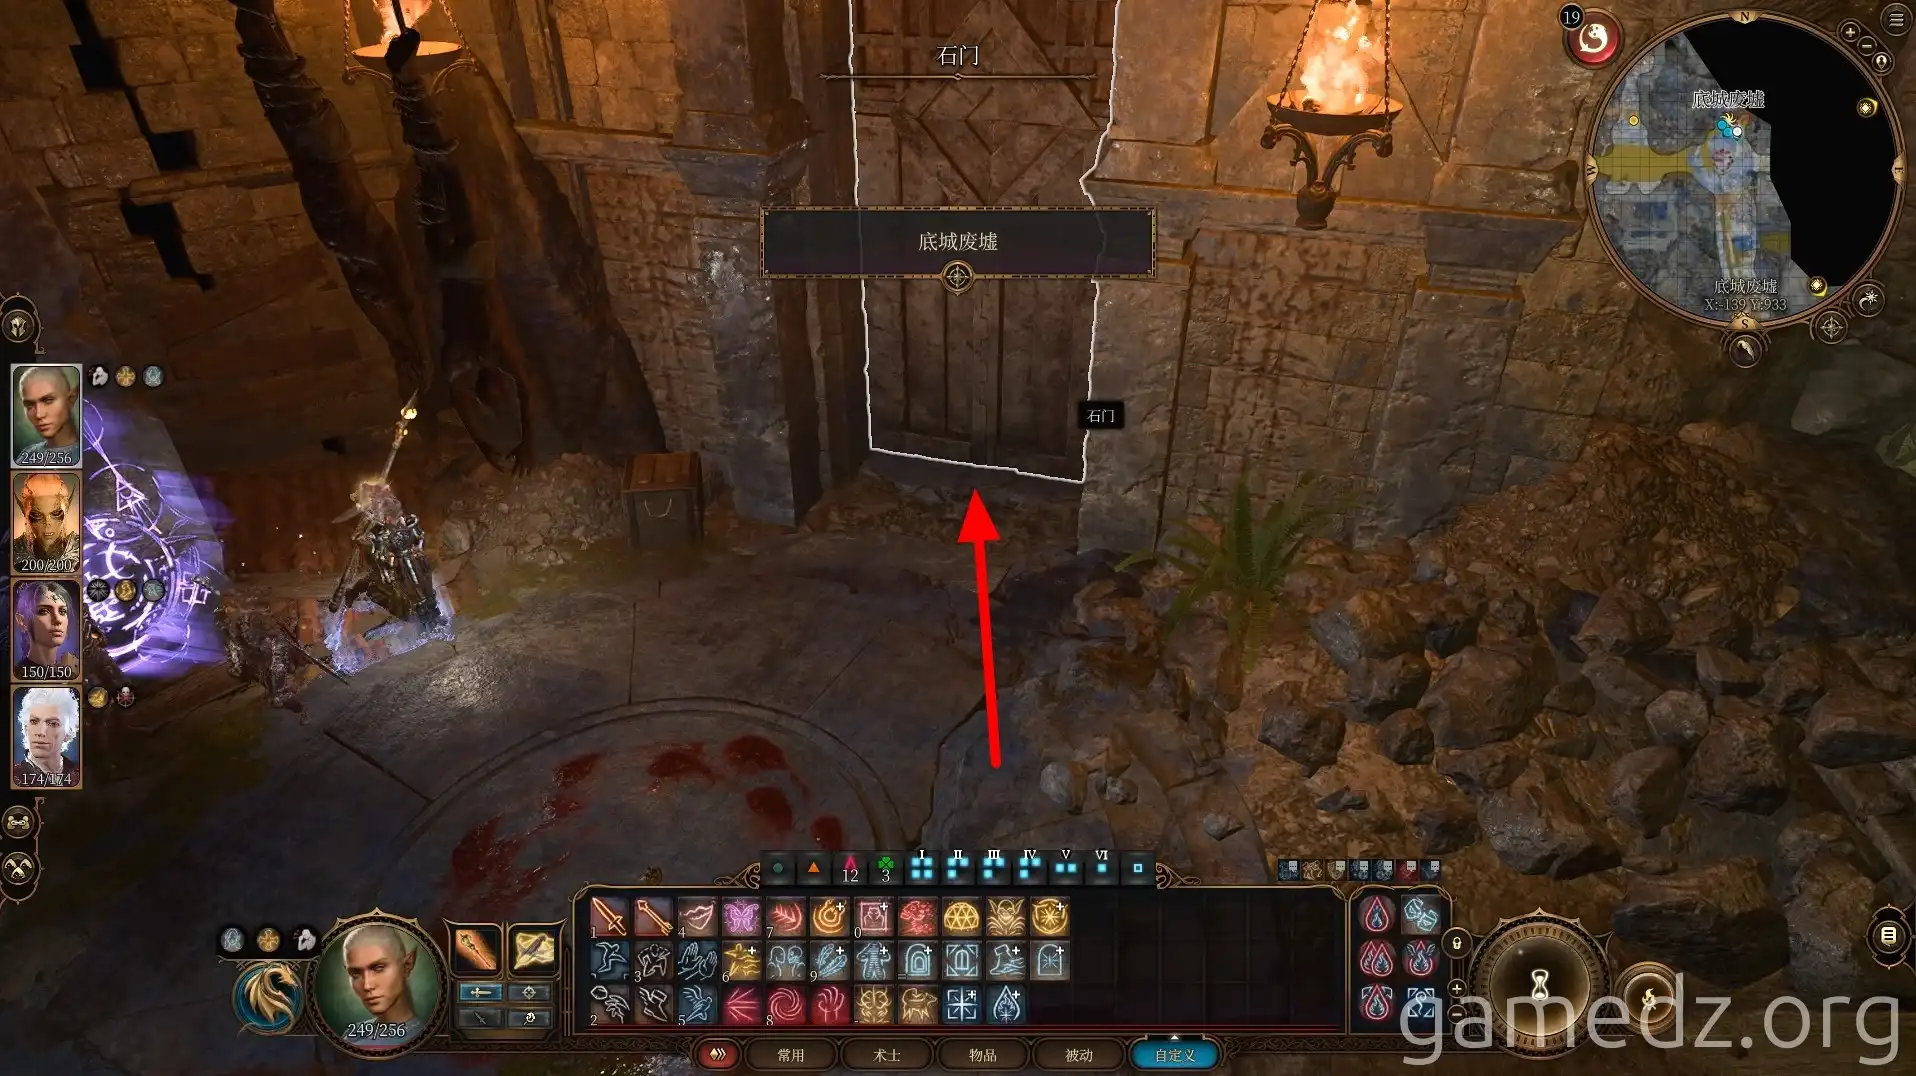
After leaving the courthouse, teleport to the Lower City Ruins. Use the Amulet of Bhaal to open the stone door on the east side and delve deeper into the ruins.
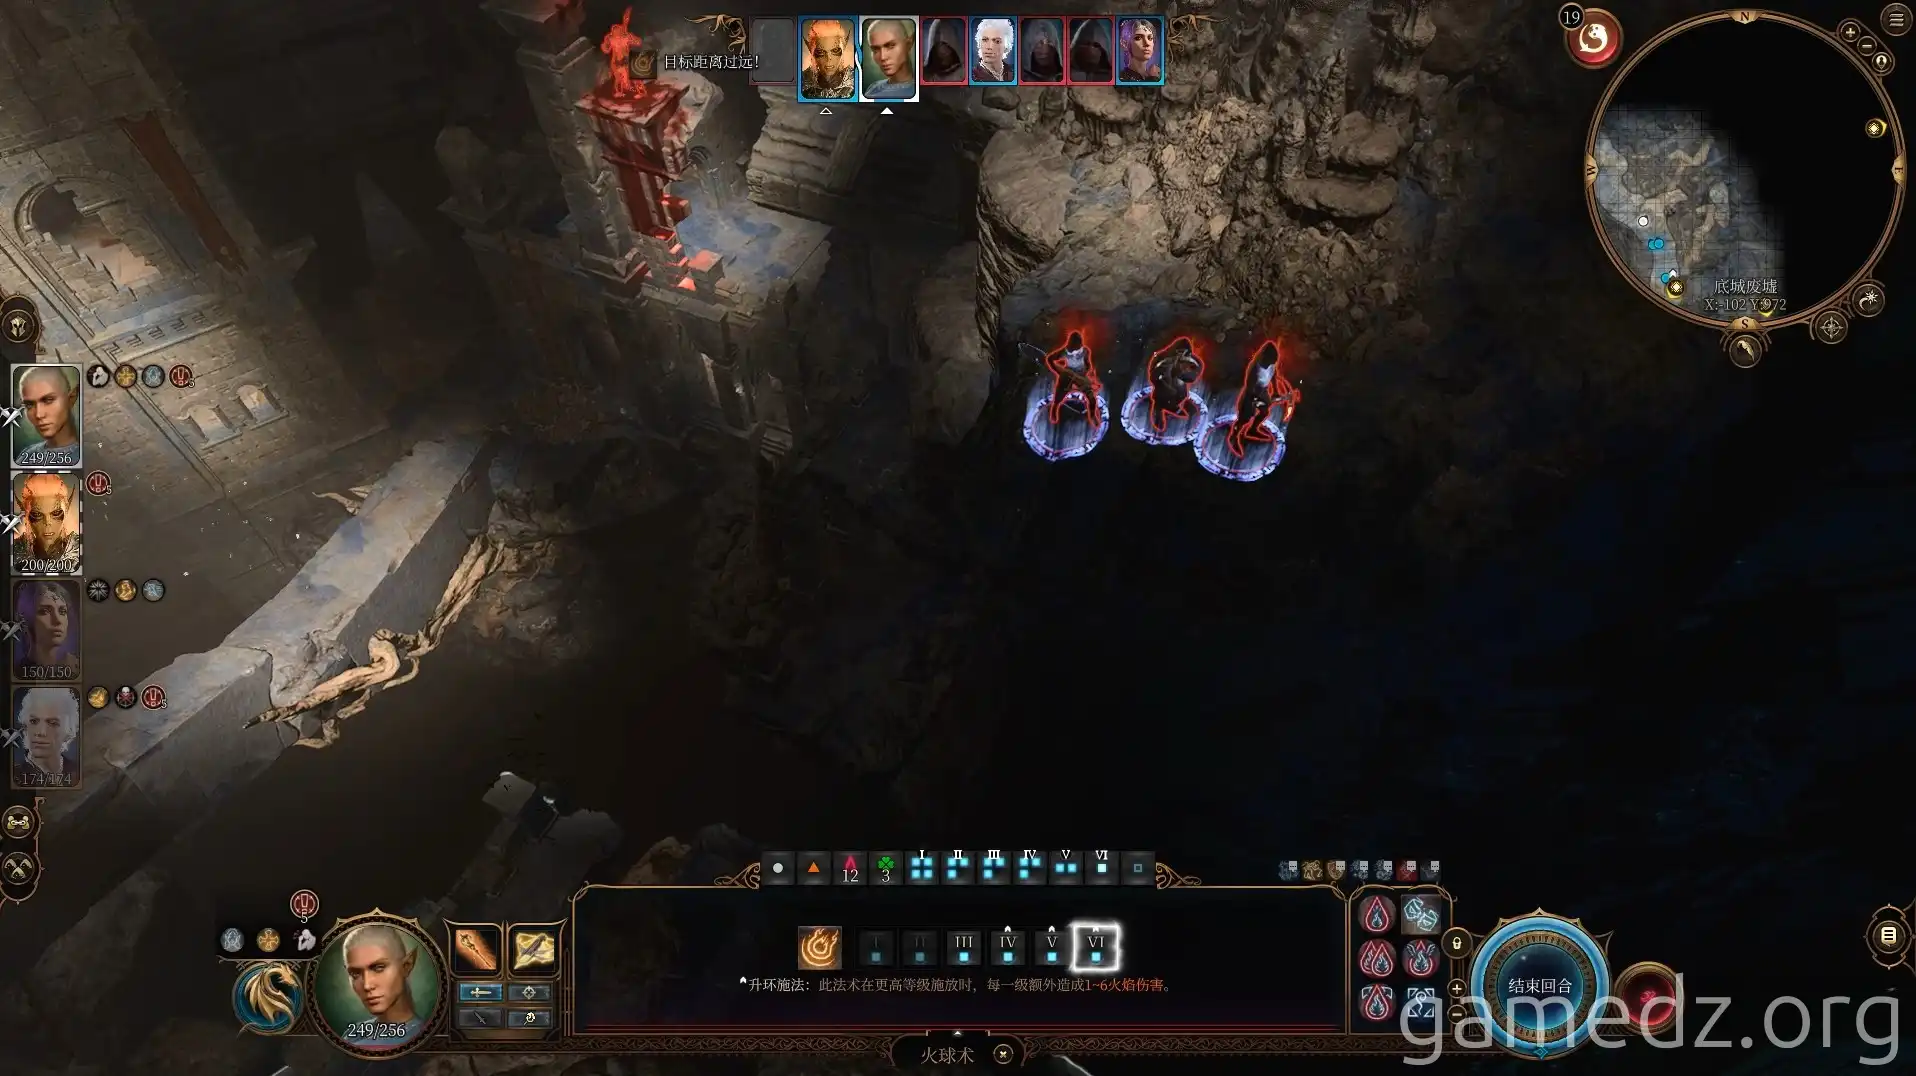
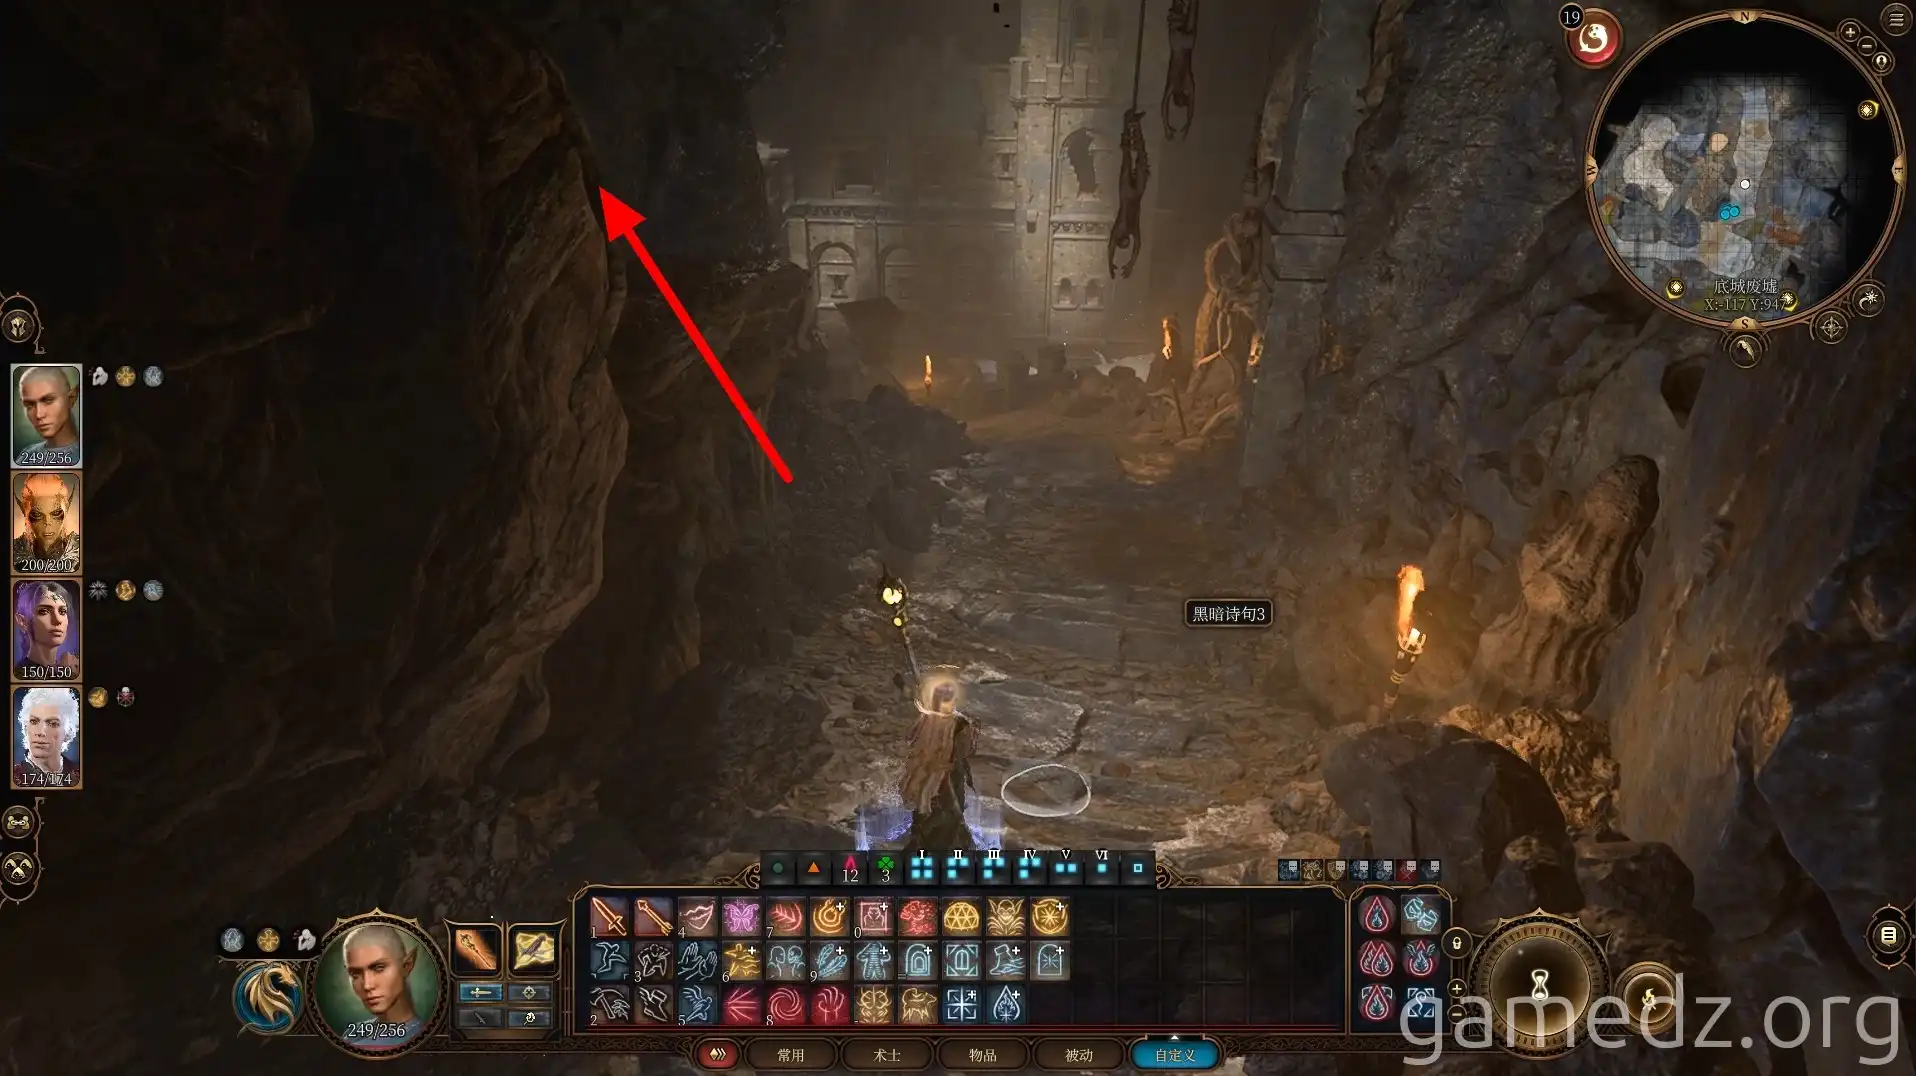
Follow the ramp north. At the location shown below, you can reach the upper level via the rock platform on the left to open a chest and obtain some items.
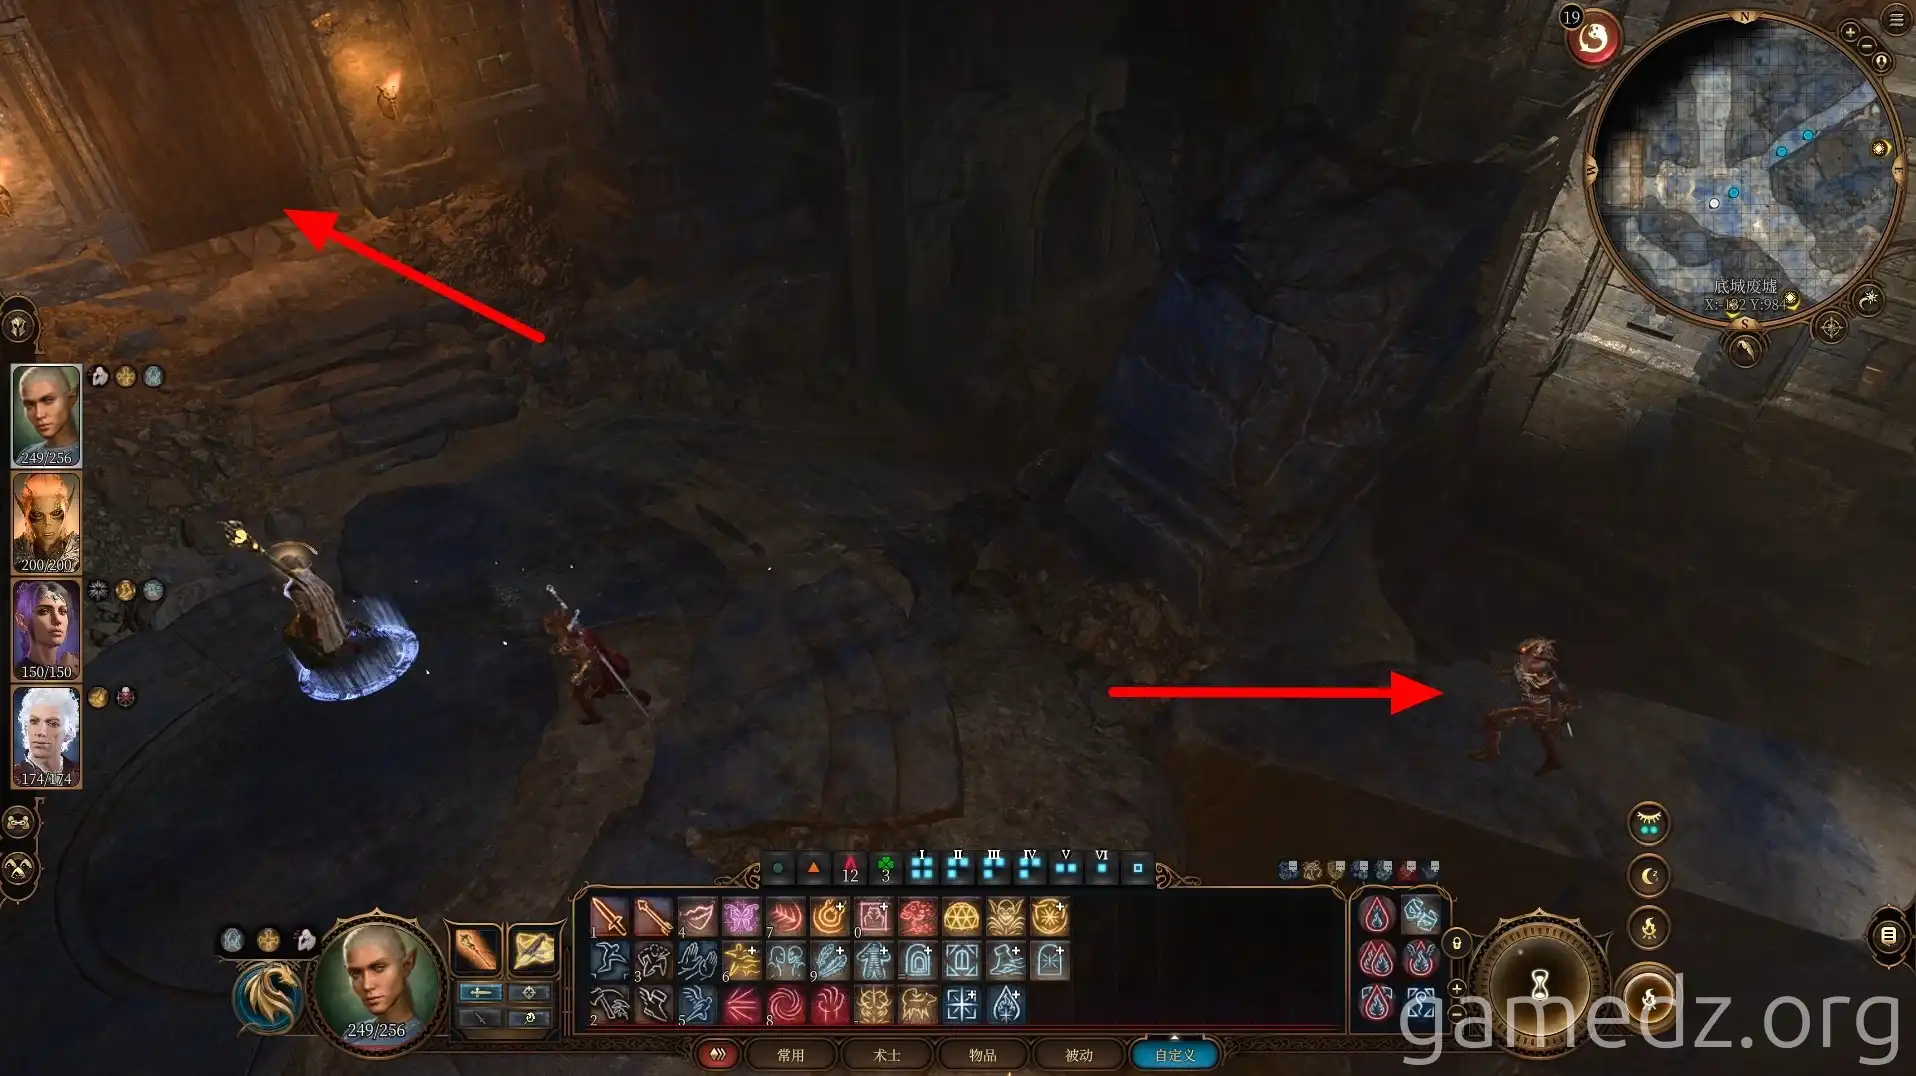
Continuing forward, you'll be ambushed by several cultists of Bhaal. Eliminate them all.
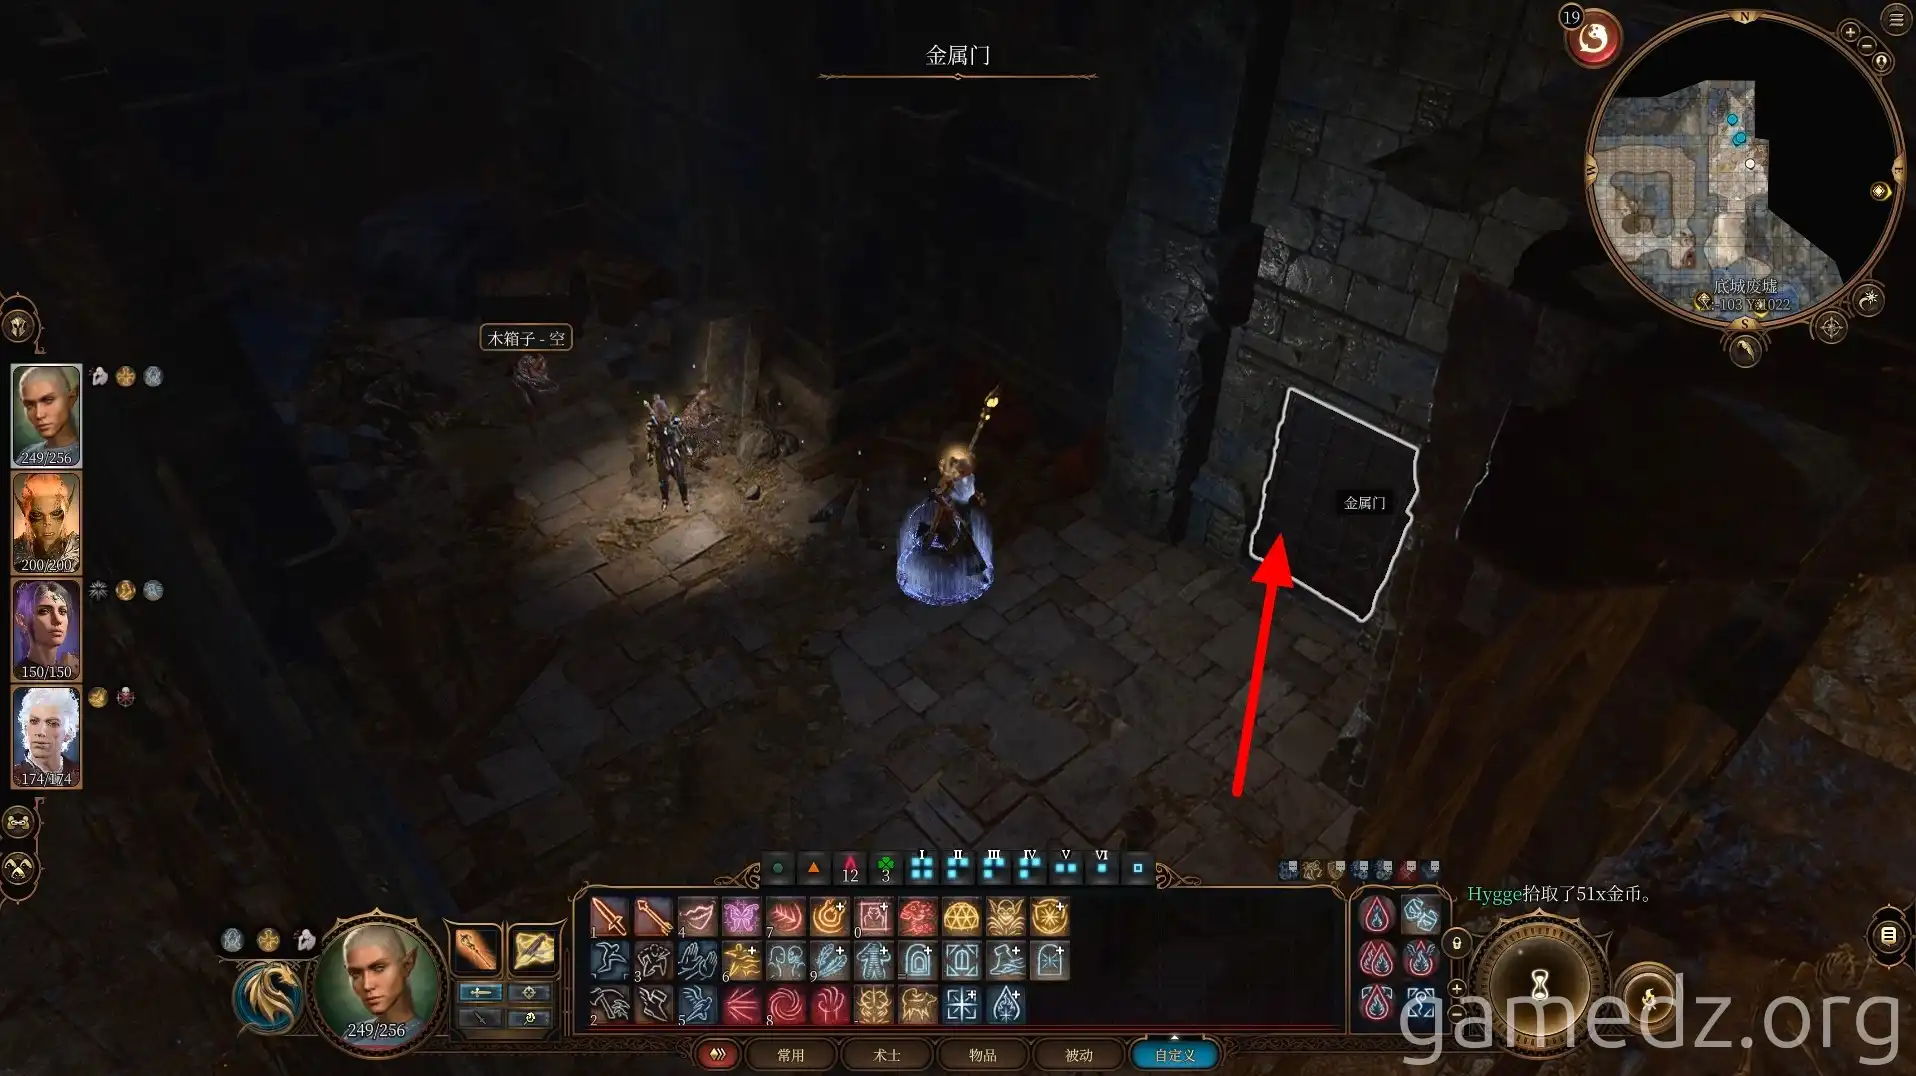
After defeating all enemies, you'll reach a fork in the road. The room to the west is quite large but only contains items like spell scrolls. If you're not inclined to search, you can proceed east through the fallen stone pillars.
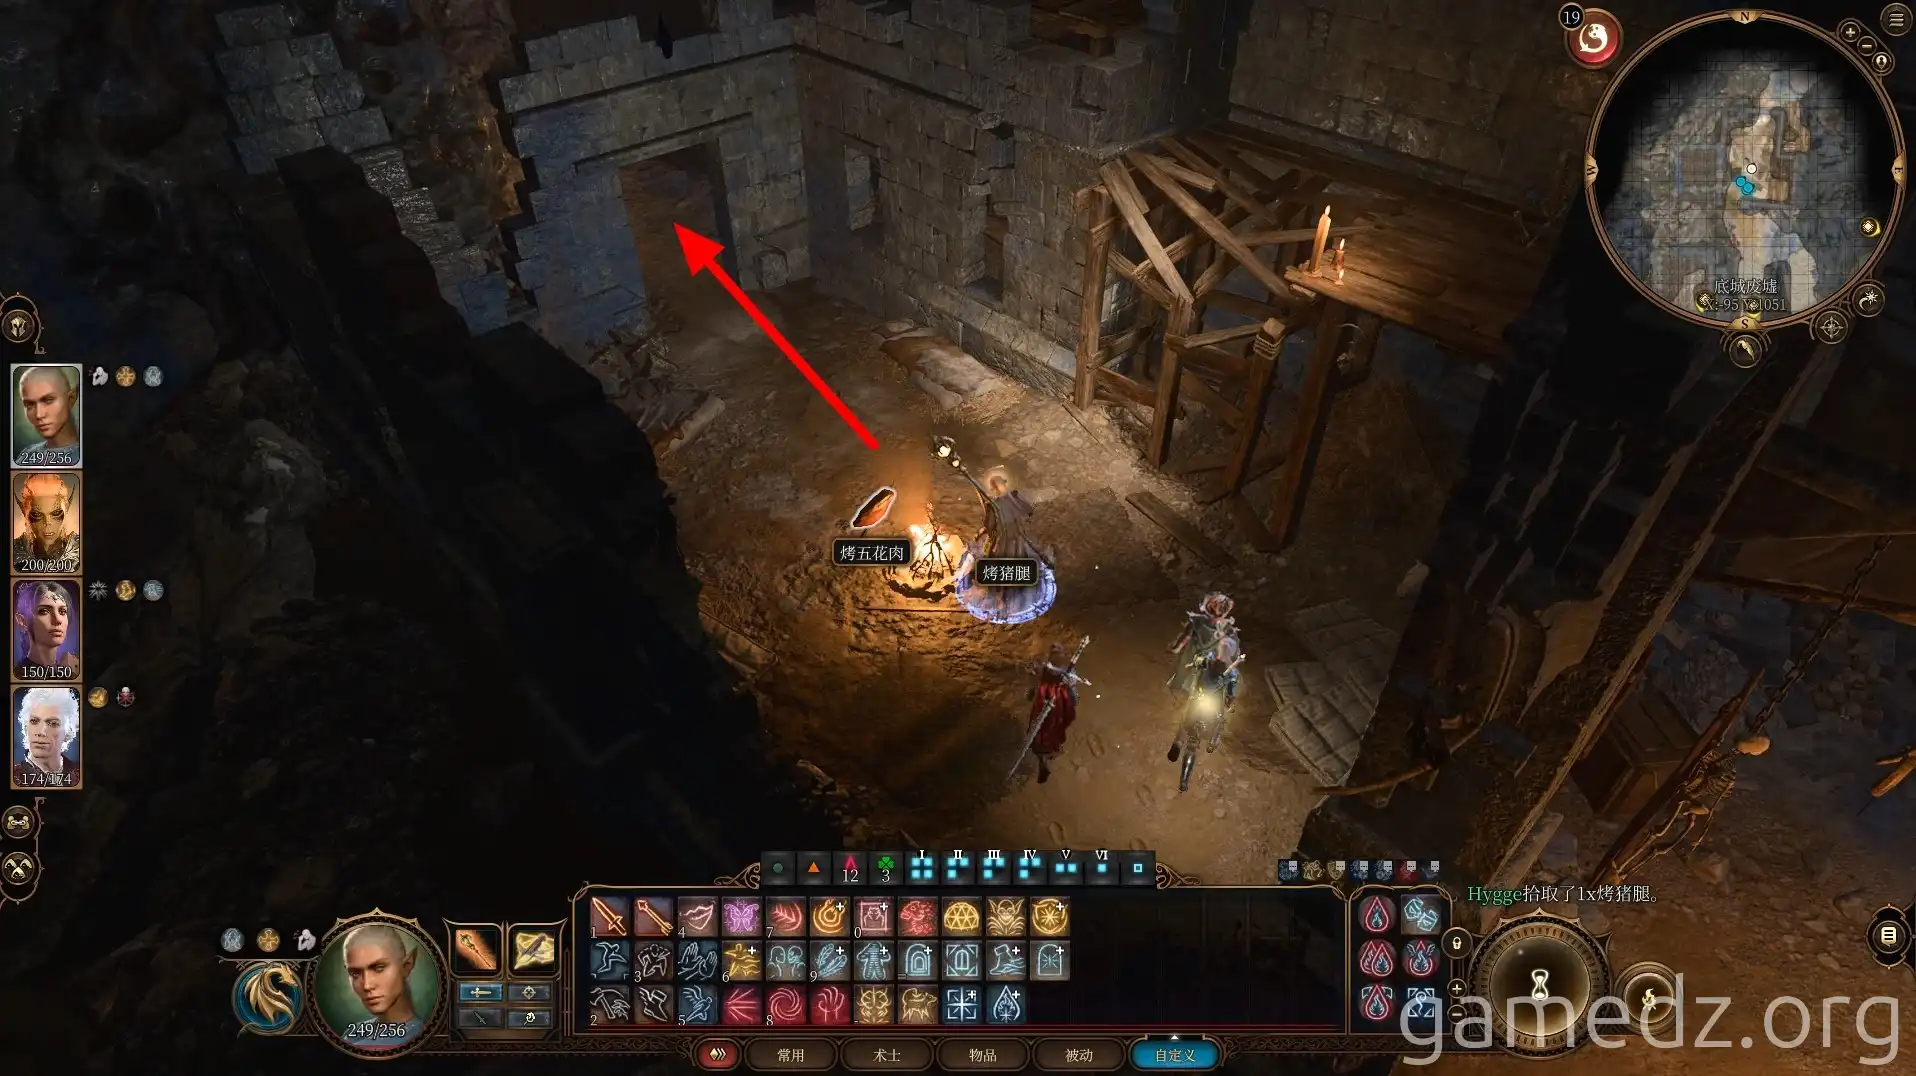
Regardless, you'll eventually reach the east side of the fallen stone pillars. Continue deeper into the ruins through the metal door.
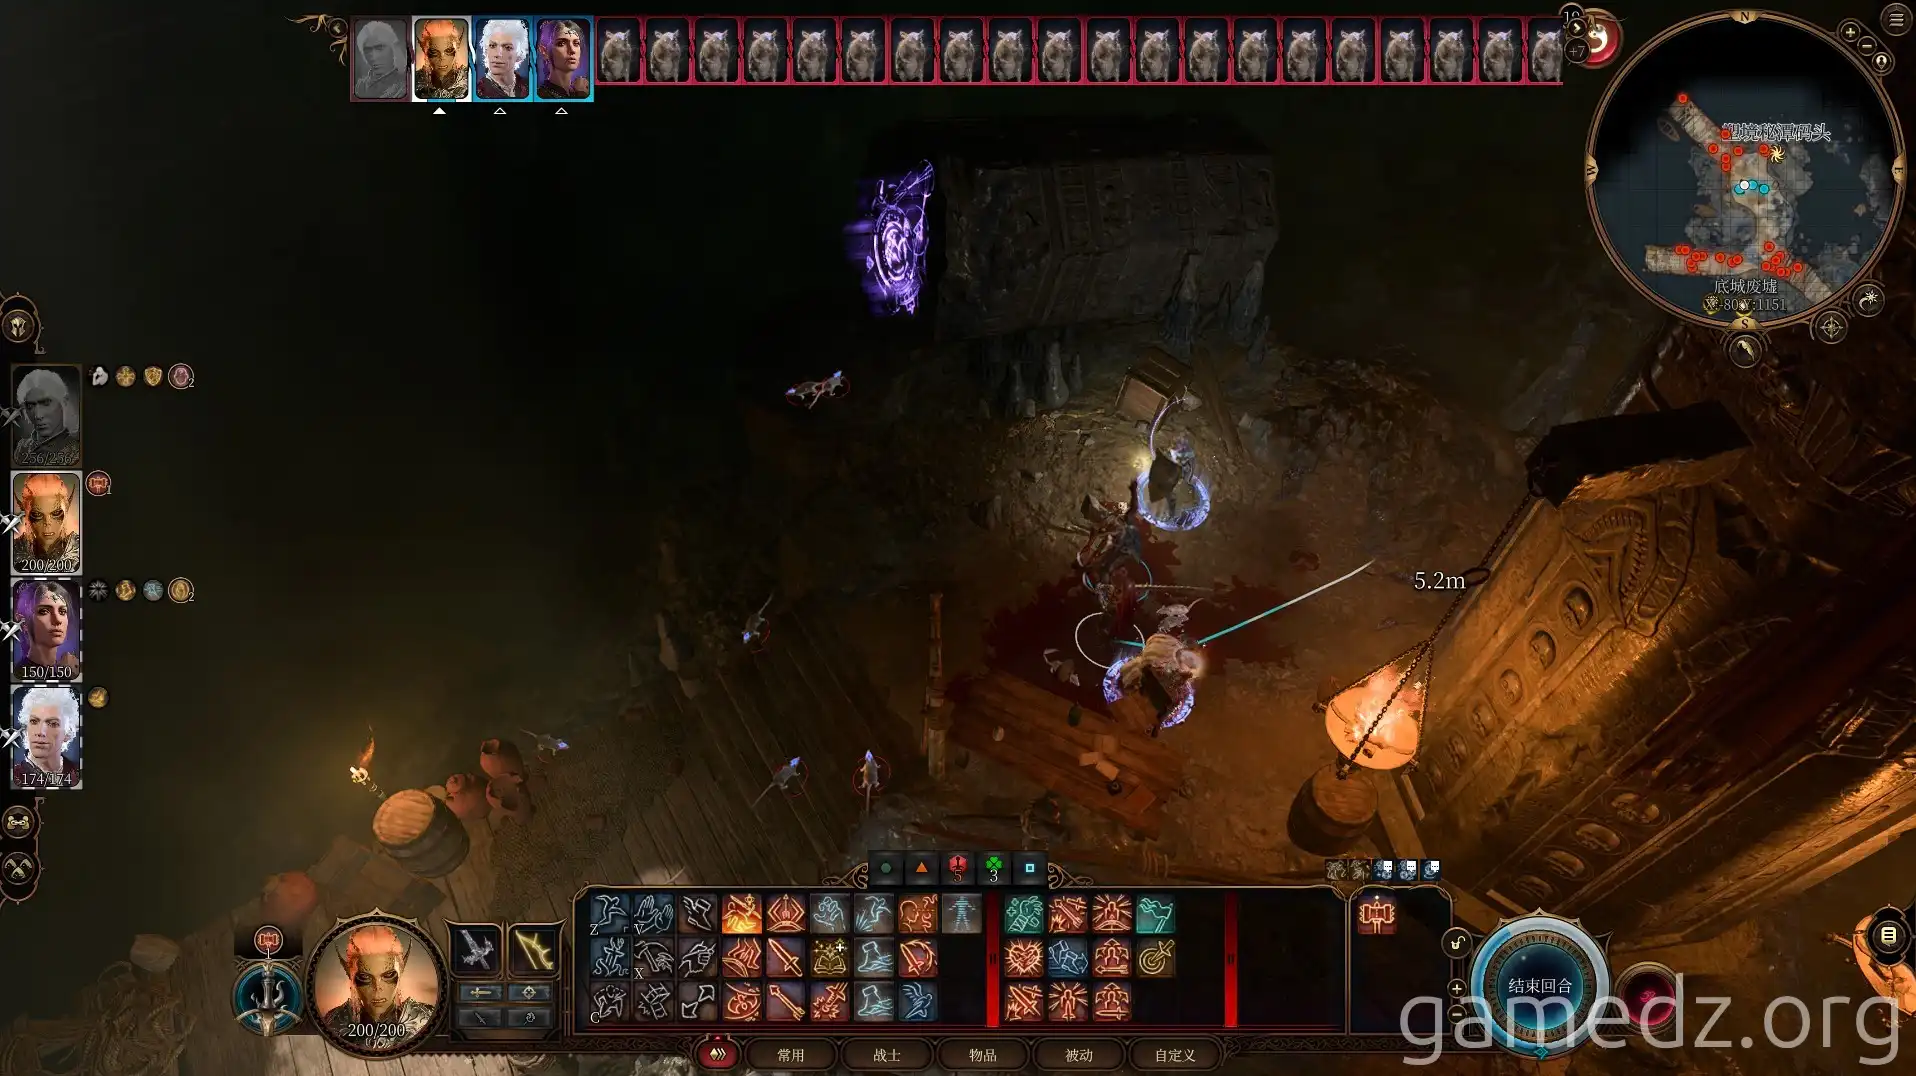
Upon reaching a campfire, head straight north along the path until you reach the end.
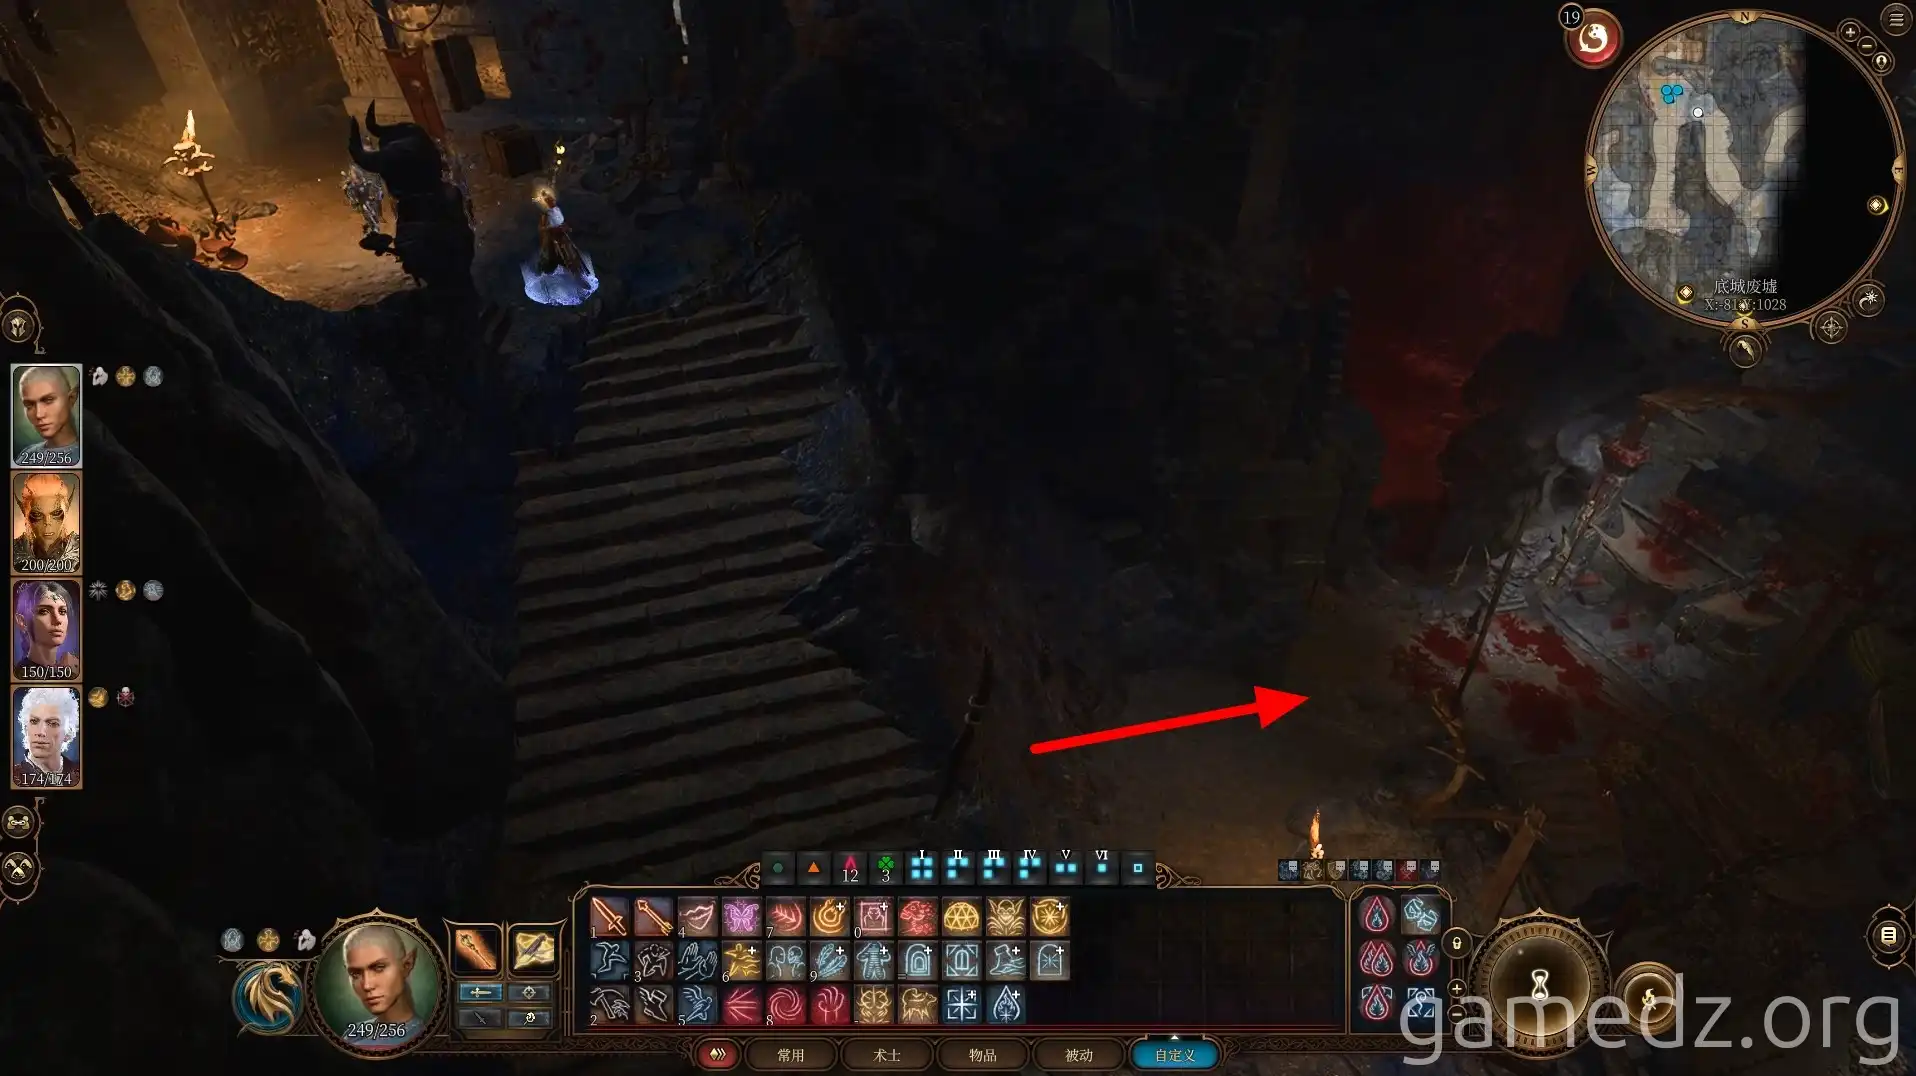
At the end, activate the waypoint Lower City Sewers. Simultaneously, defeat all the skull rats in the area. The small boat nearby leads directly to the Mind Flayer's location, so avoid returning the way you came.
Return to the campfire room and descend the stairs to the east.
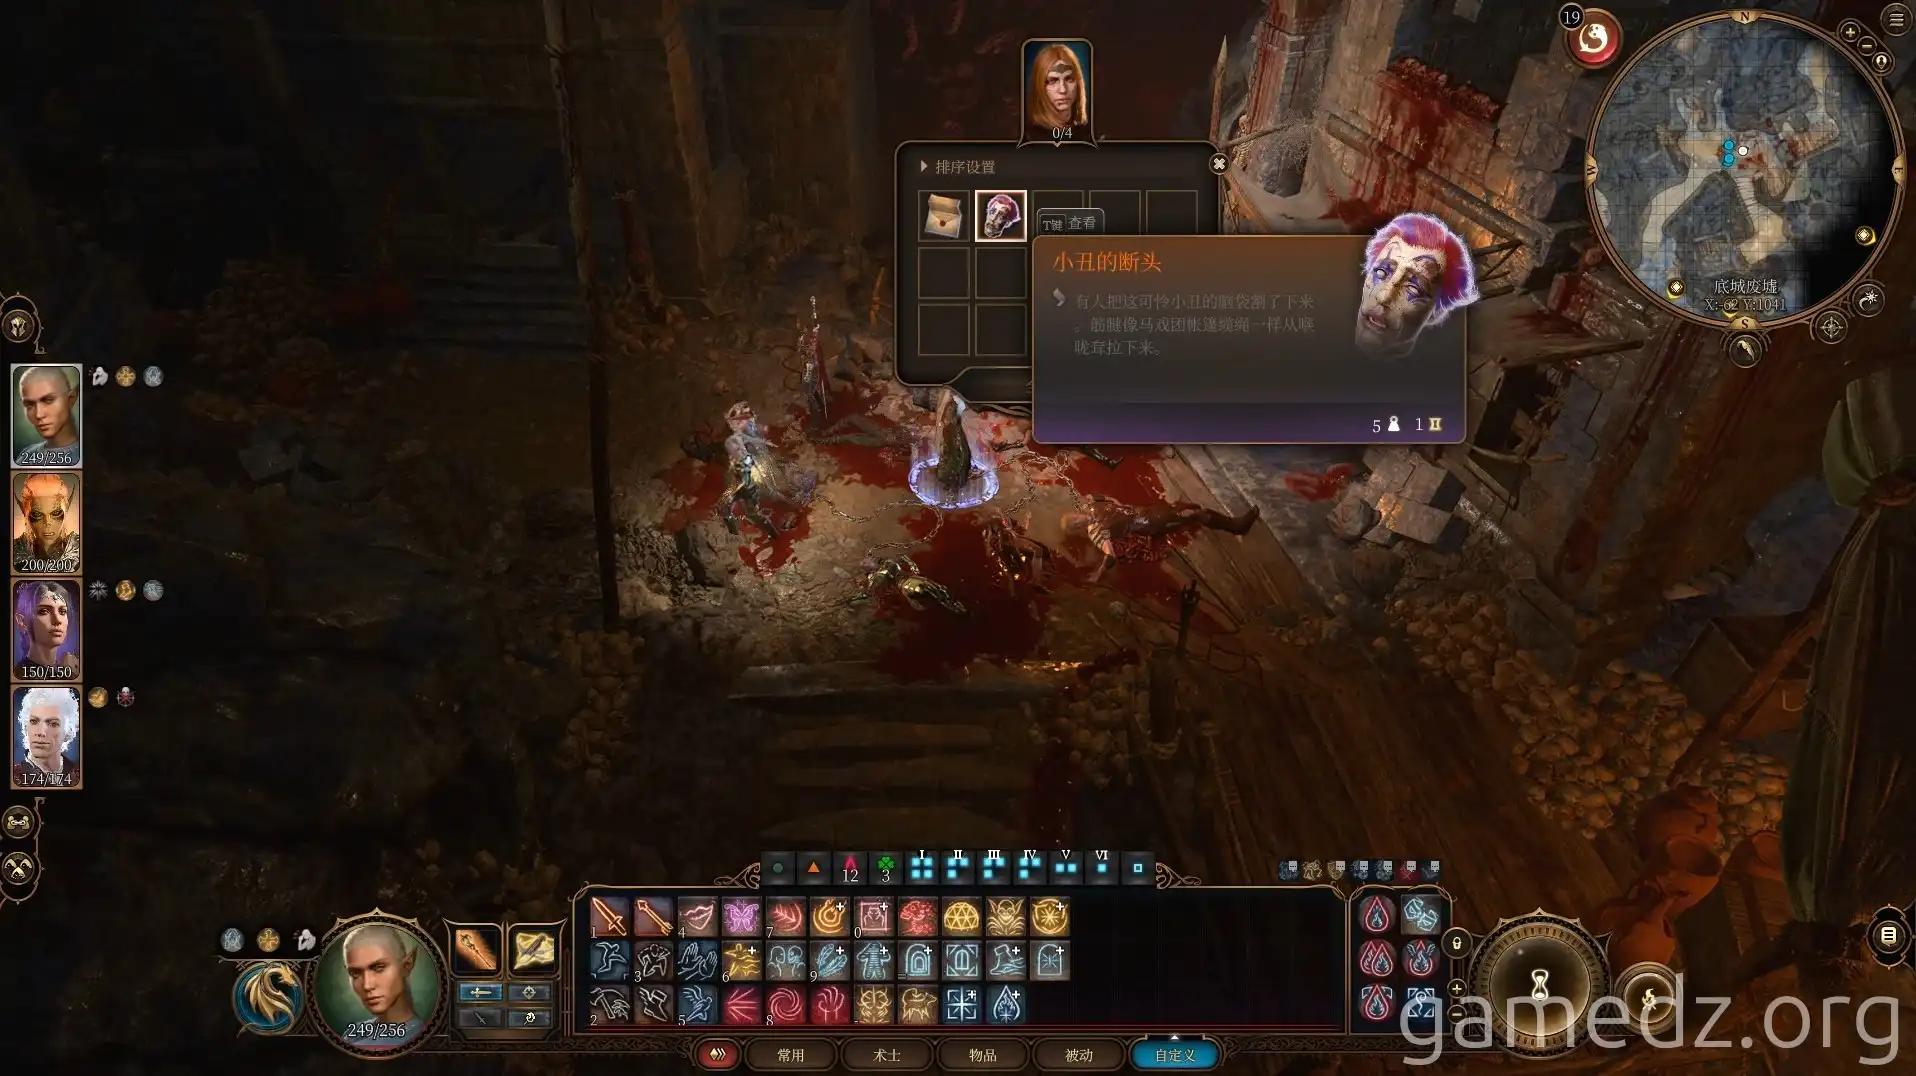
On the lower platform, you'll find the corpse of a Wildling, from which you can obtain the Jester's Head.
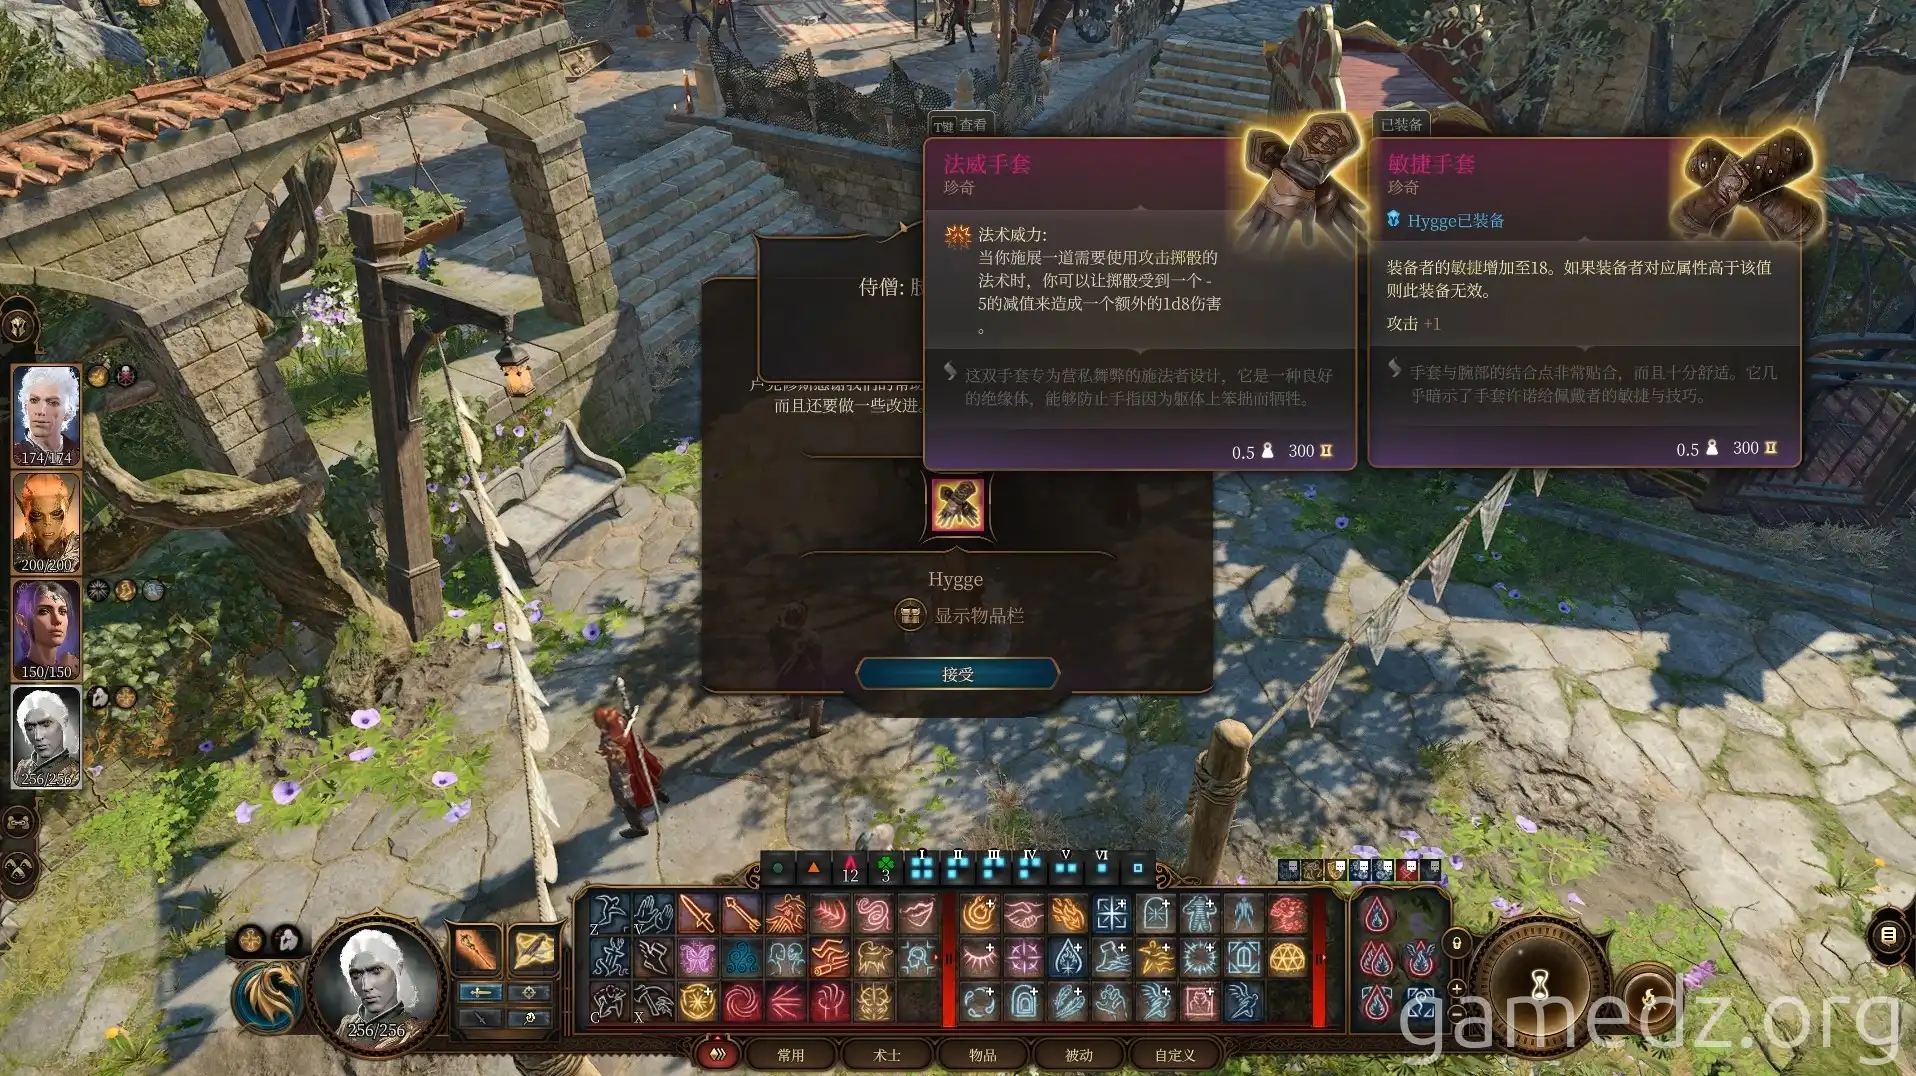
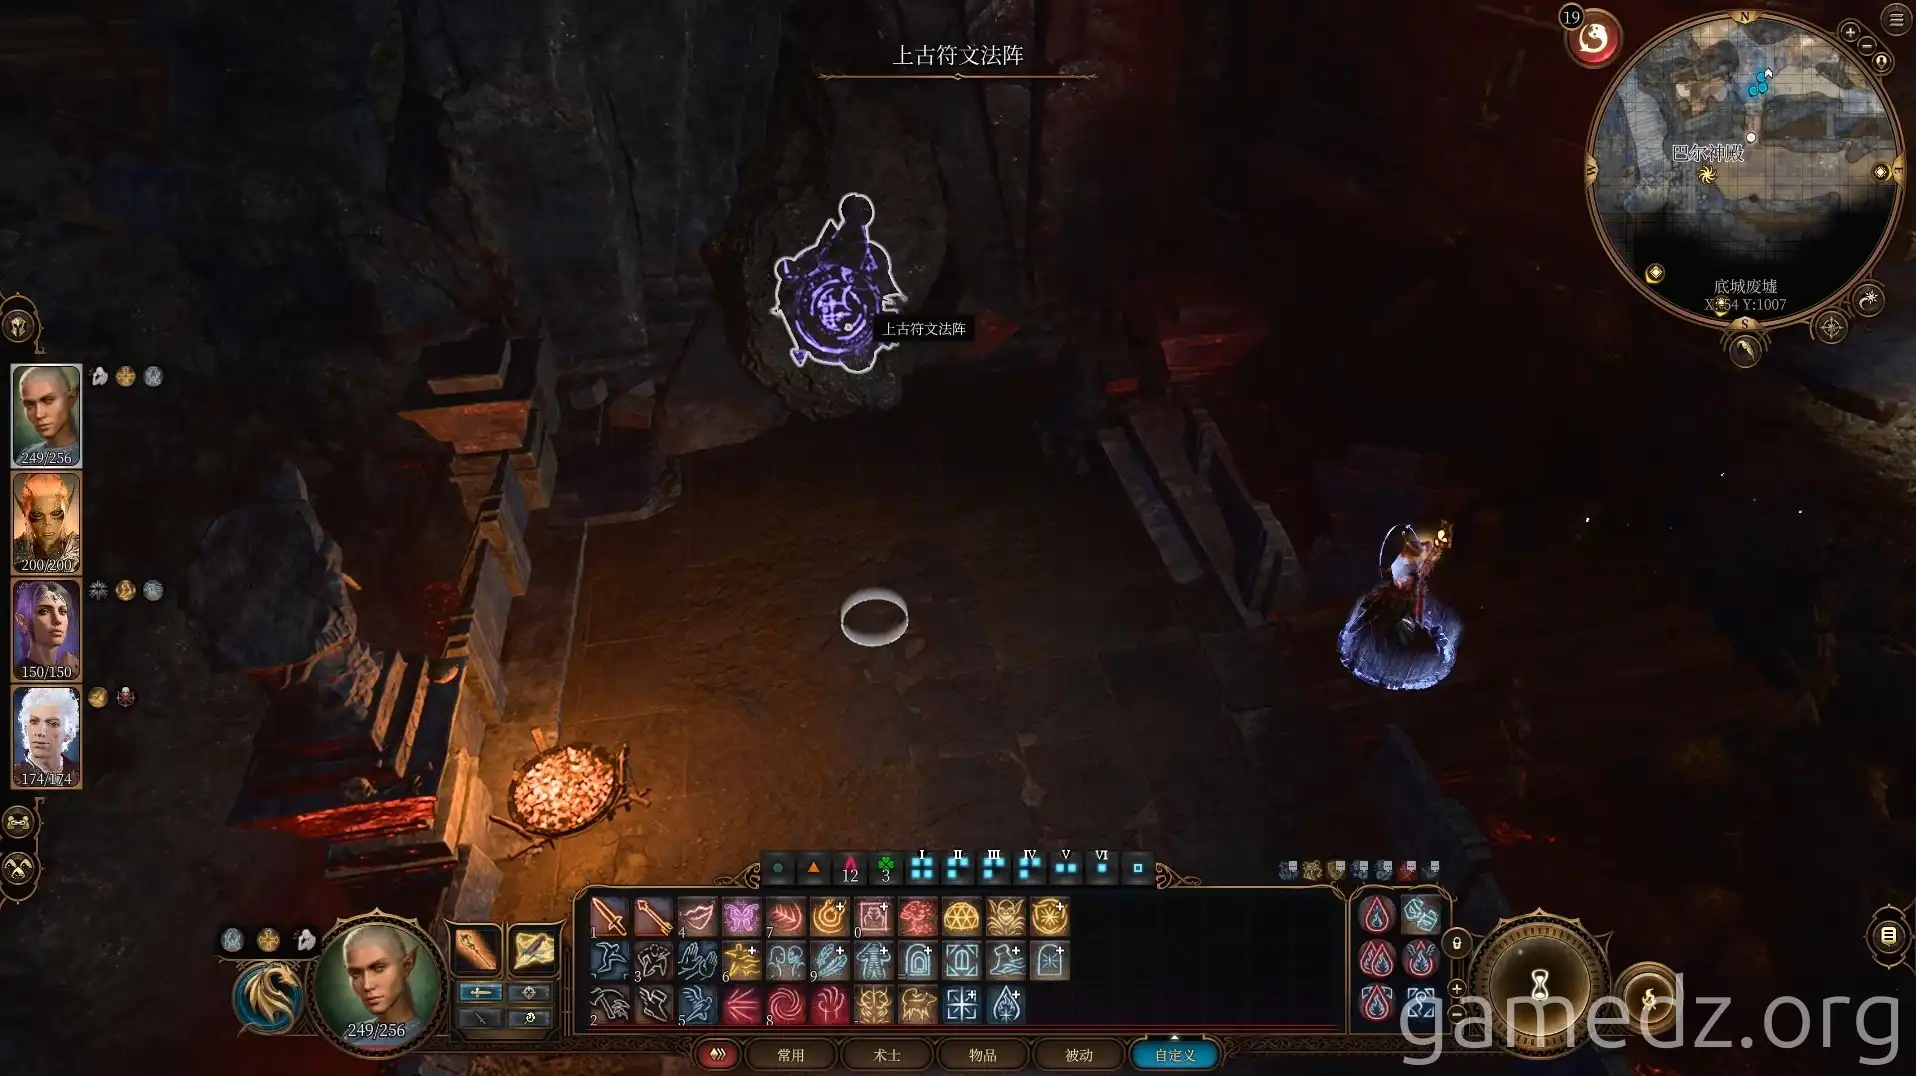
Continue descending along the path and activate the waypoint Temple of Bhaal ahead.
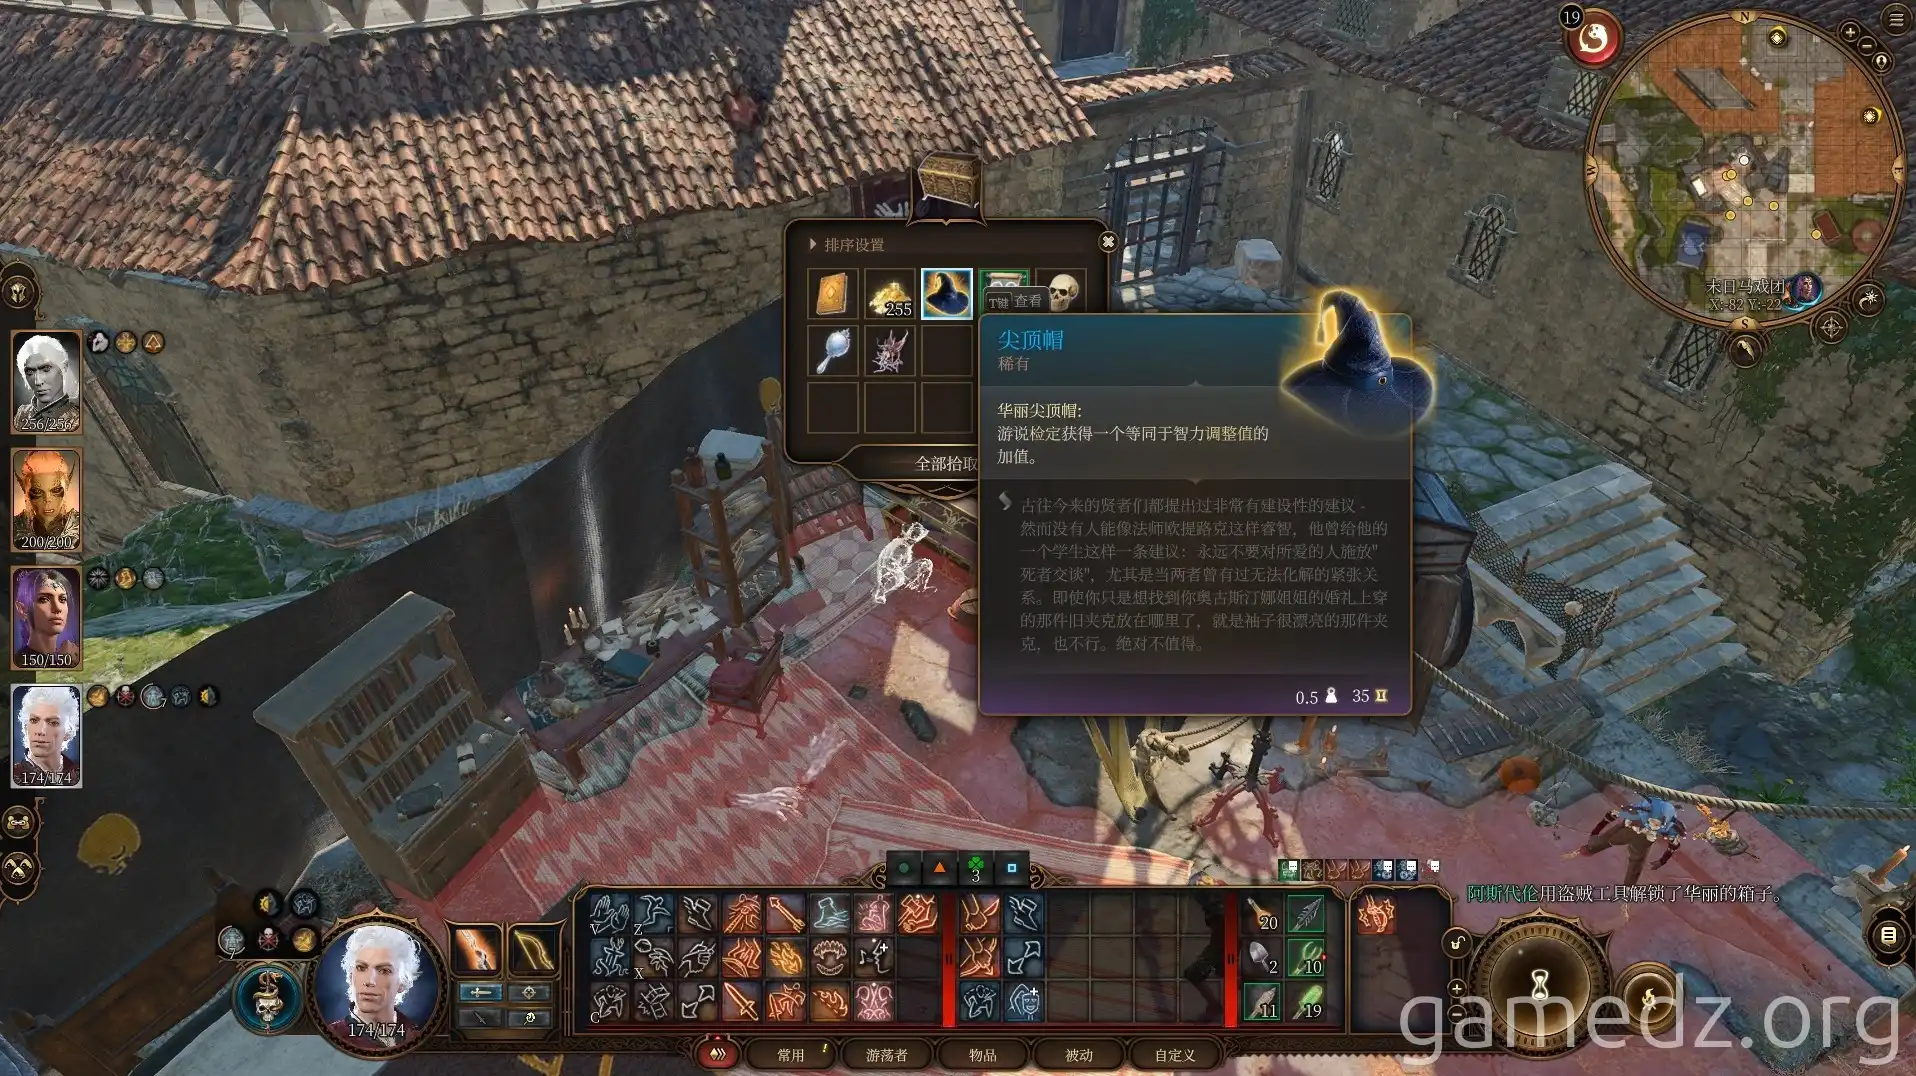
You can then teleport back to Rivington and hand over the Jester's body to the Circus Master to complete the side quest "Find the Missing Circus" and receive the rare armor Feywild Gladius.
Characters with the Acolyte background will receive an inspiration when completing this quest.
Using invisibility, you can steal the rare armor Spiked Helm from inside the Circus Master's tent, then teleport back to the Temple of Bhaal.
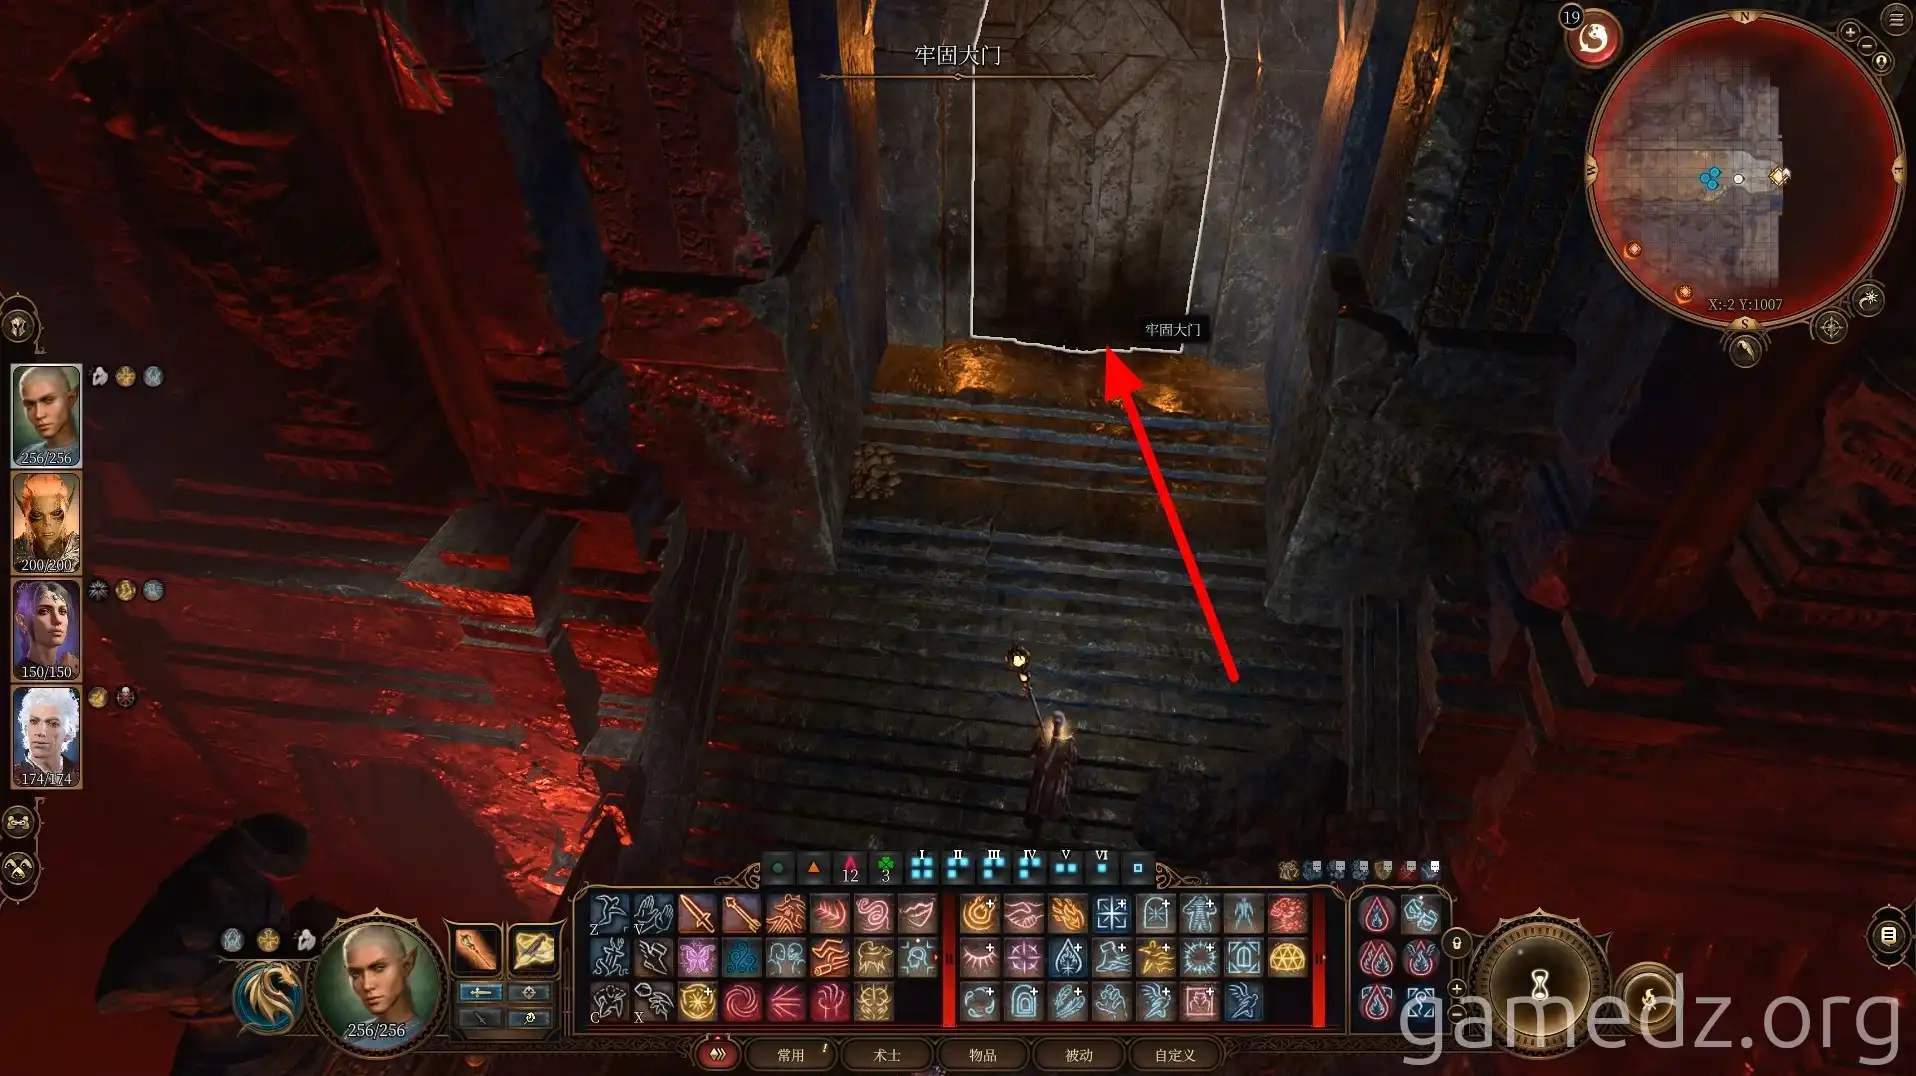
Proceed to the portal and follow the platform east, passing through a sturdy door to enter the Temple of Bhaal. Upon entering the temple, characters with the Acolyte and Outlander backgrounds will receive an inspiration.
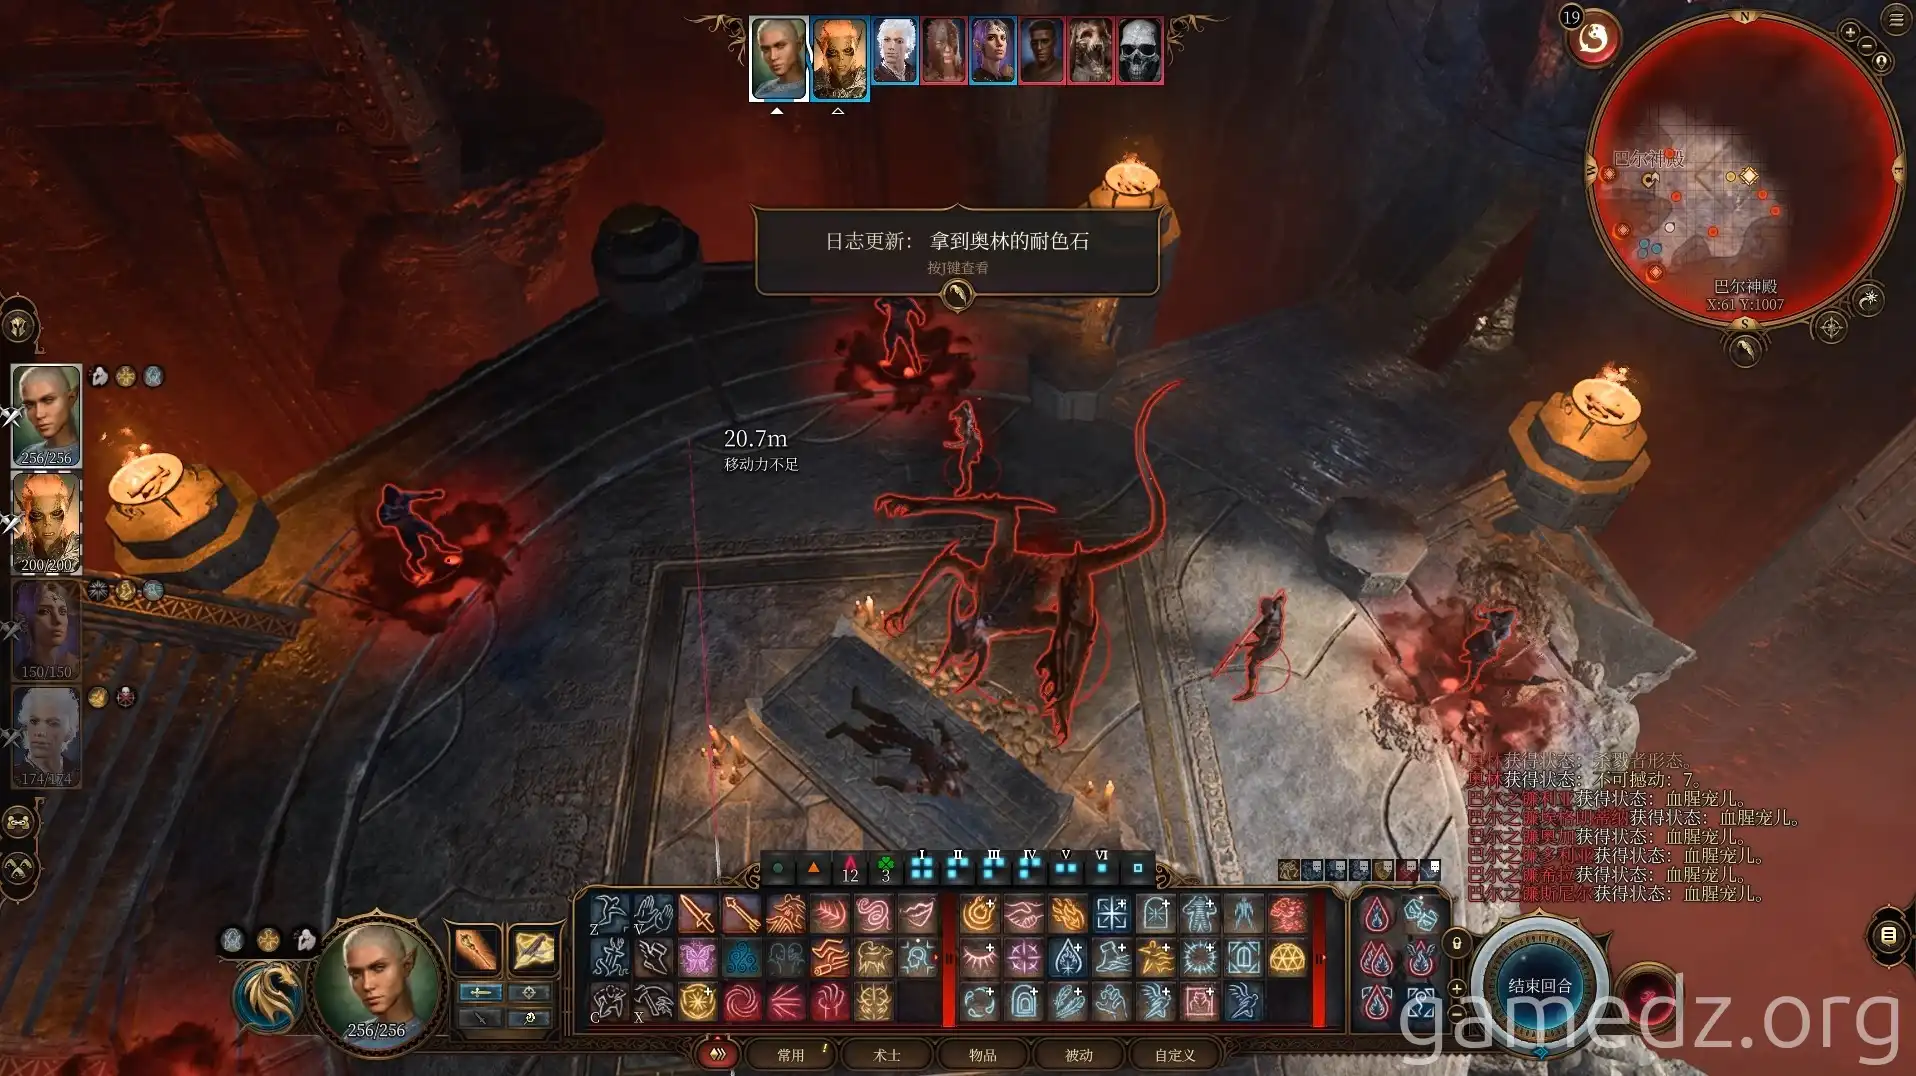
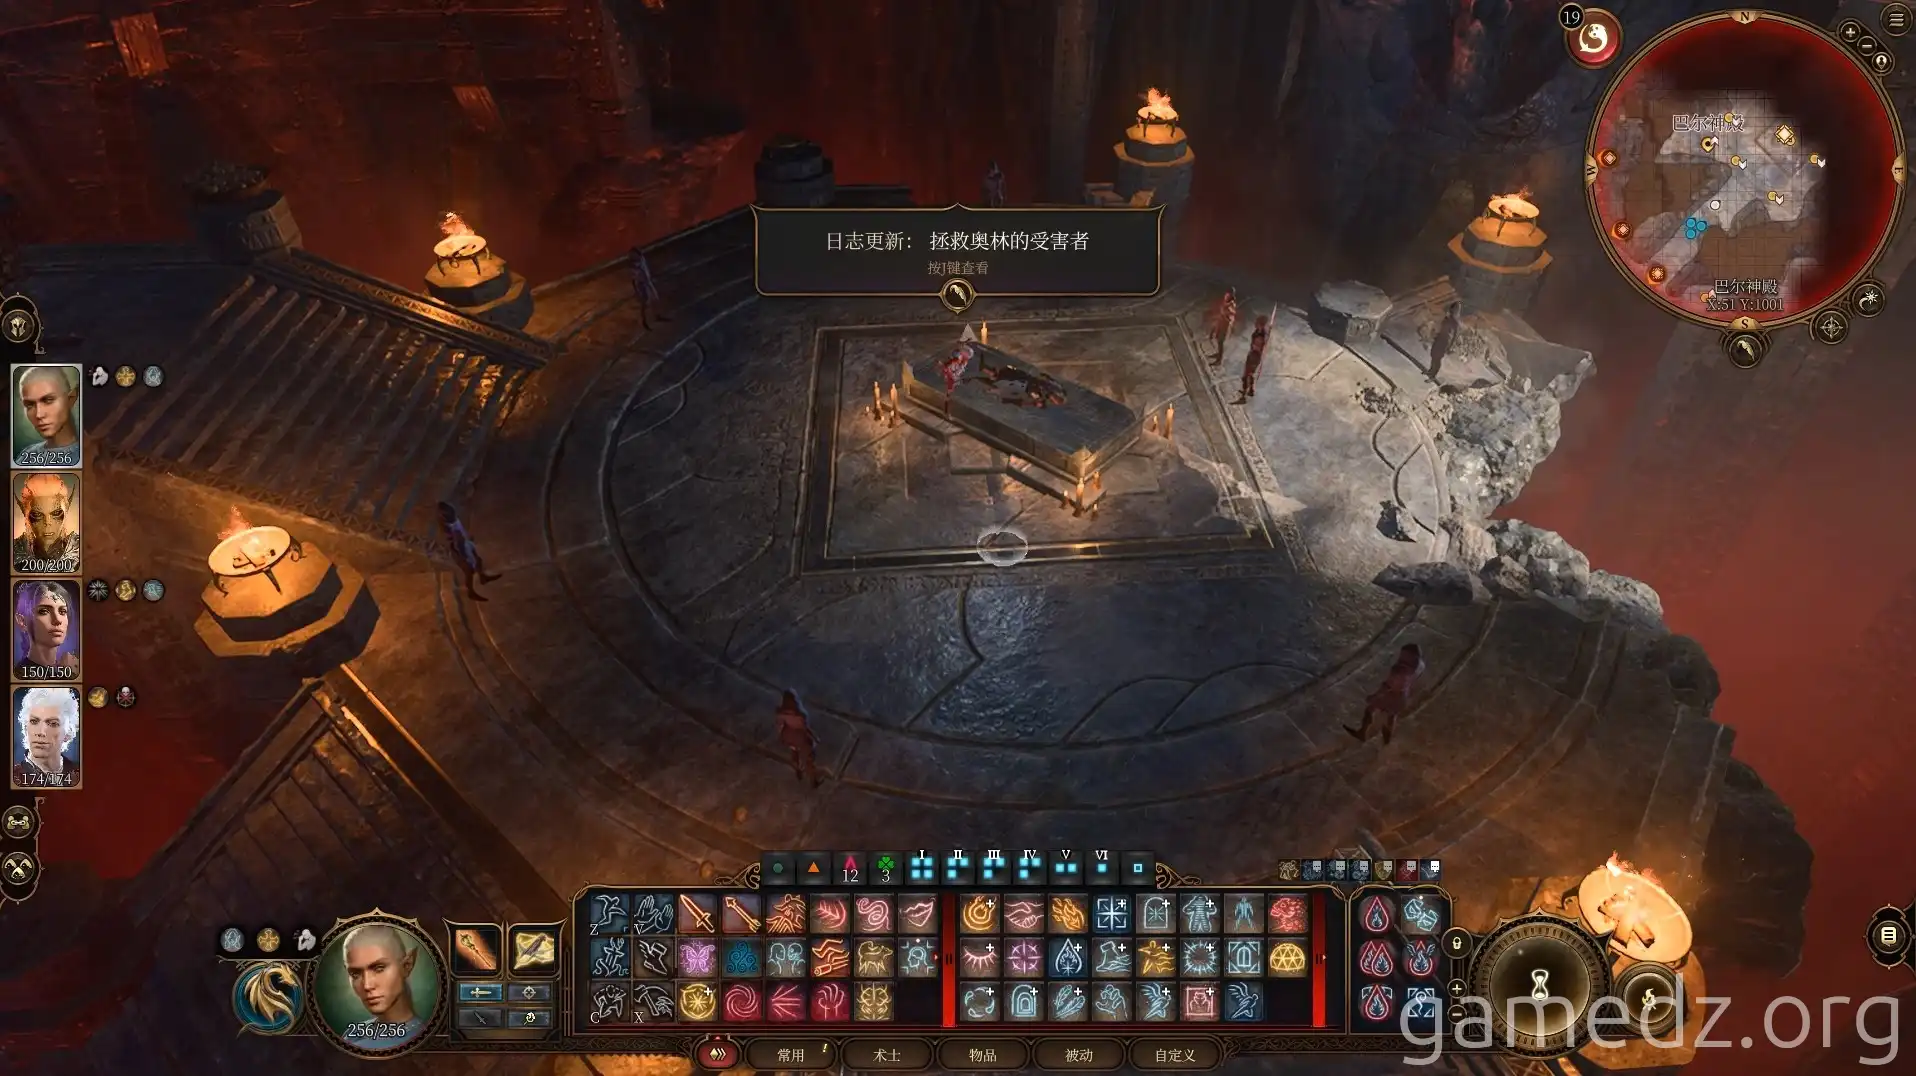
Upon entering the Temple of Bhaal, head directly to the altar below. Here, you will encounter Orin and your kidnapped companion.
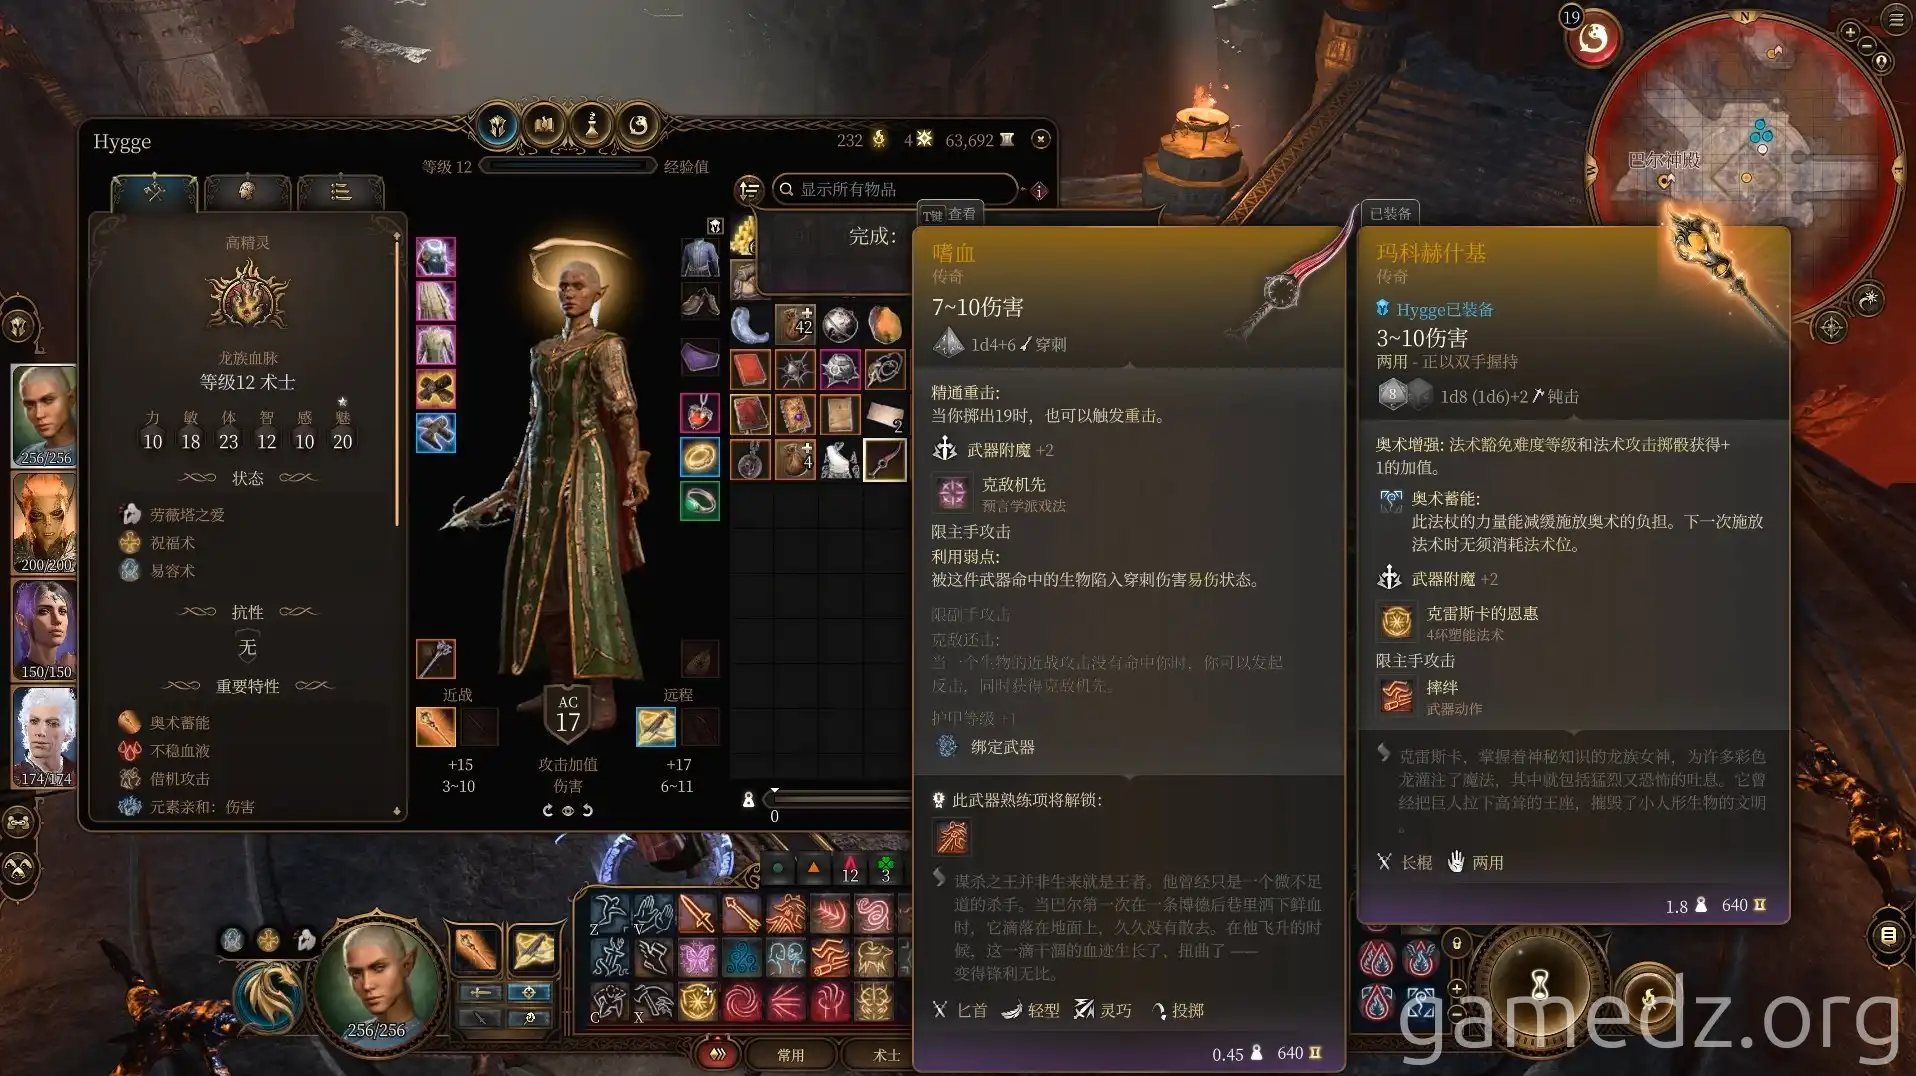
After some dialogue, Orin will reveal her true form, initiating combat. In addition to Orin, several cultists of Bhaal will join the fight.
If your character has the Dark Urge origin, you can also choose to transform here and engage Orin in a one-on-one battle. Upon defeating Orin, you will receive Bhaal's divine gift, likely the only level 9 spell in the game, Power Word: Kill. However, accepting Bhaal's boon will cause some companions to leave directly, so choose wisely.
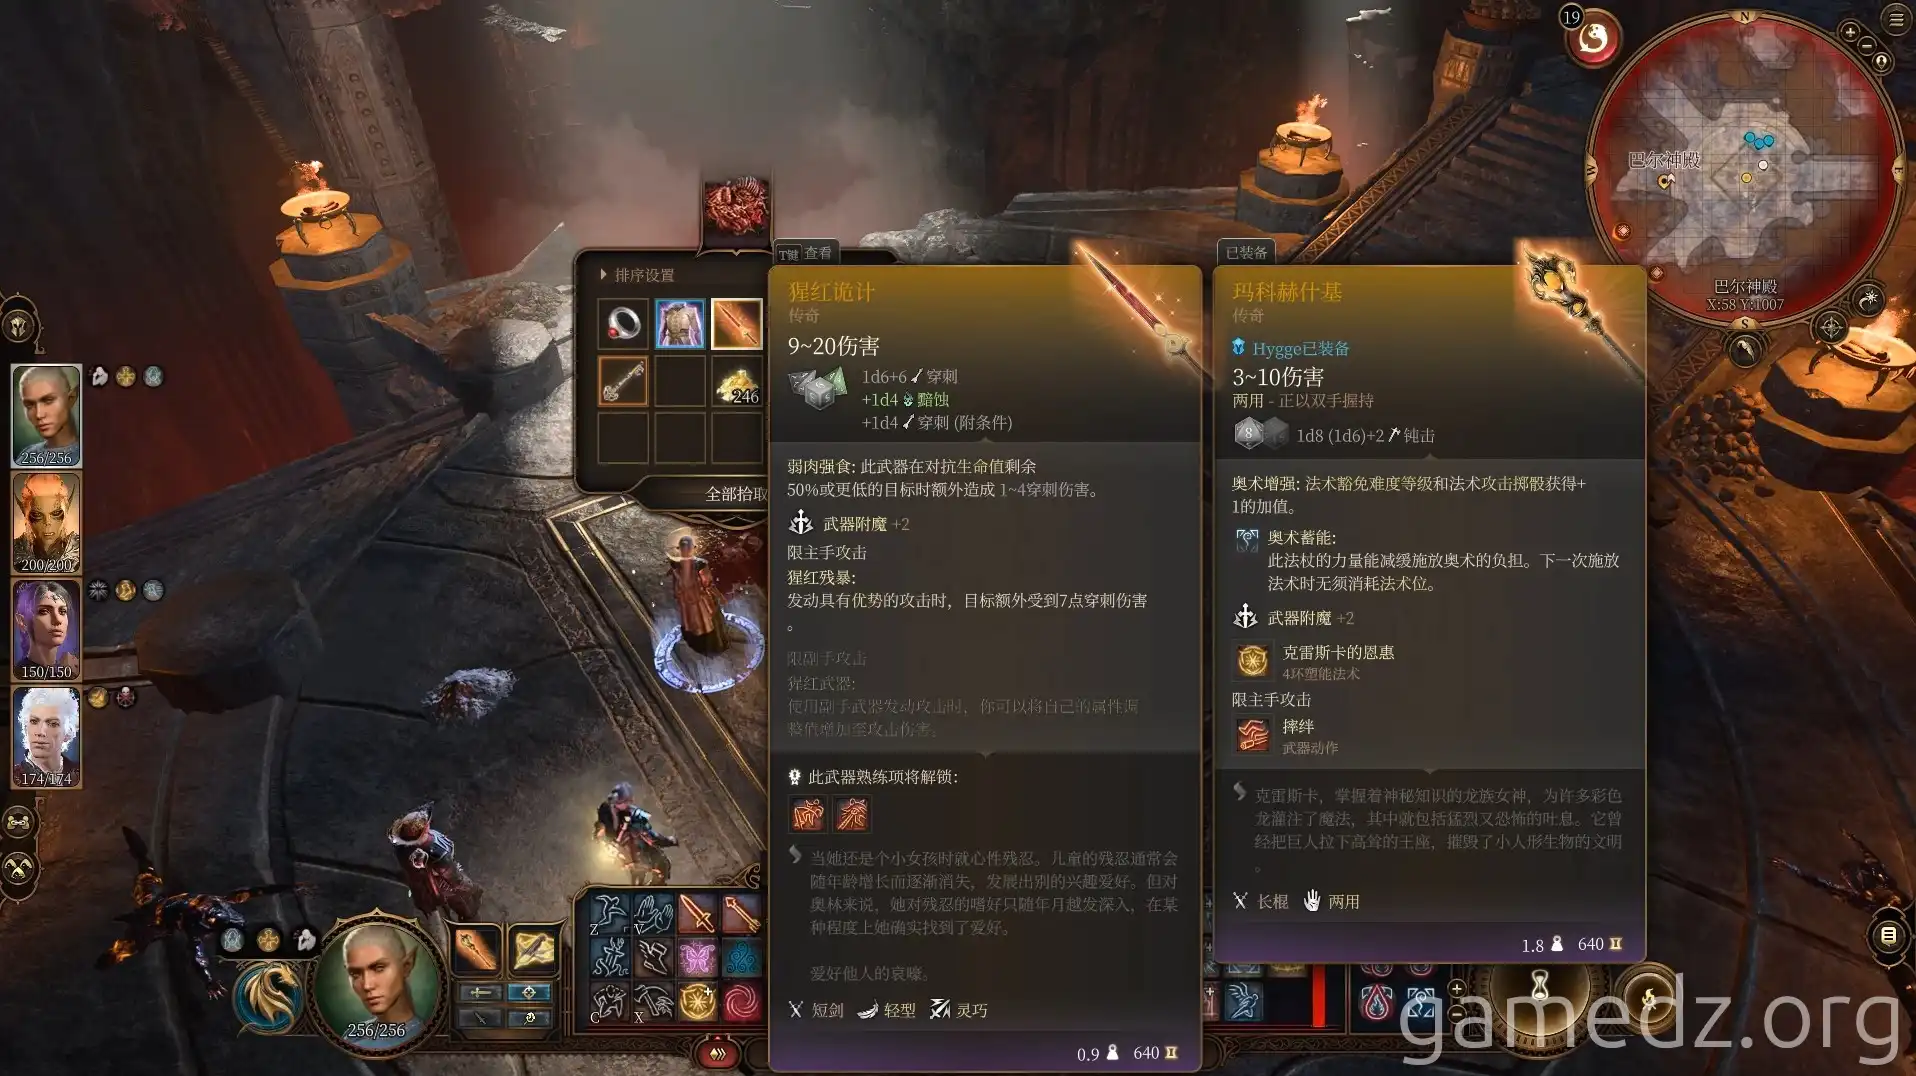
After successfully defeating Orin, take her Netherstone and the legendary weapon Bloodthirst. Additionally, characters with the Soldier background will receive an inspiration.
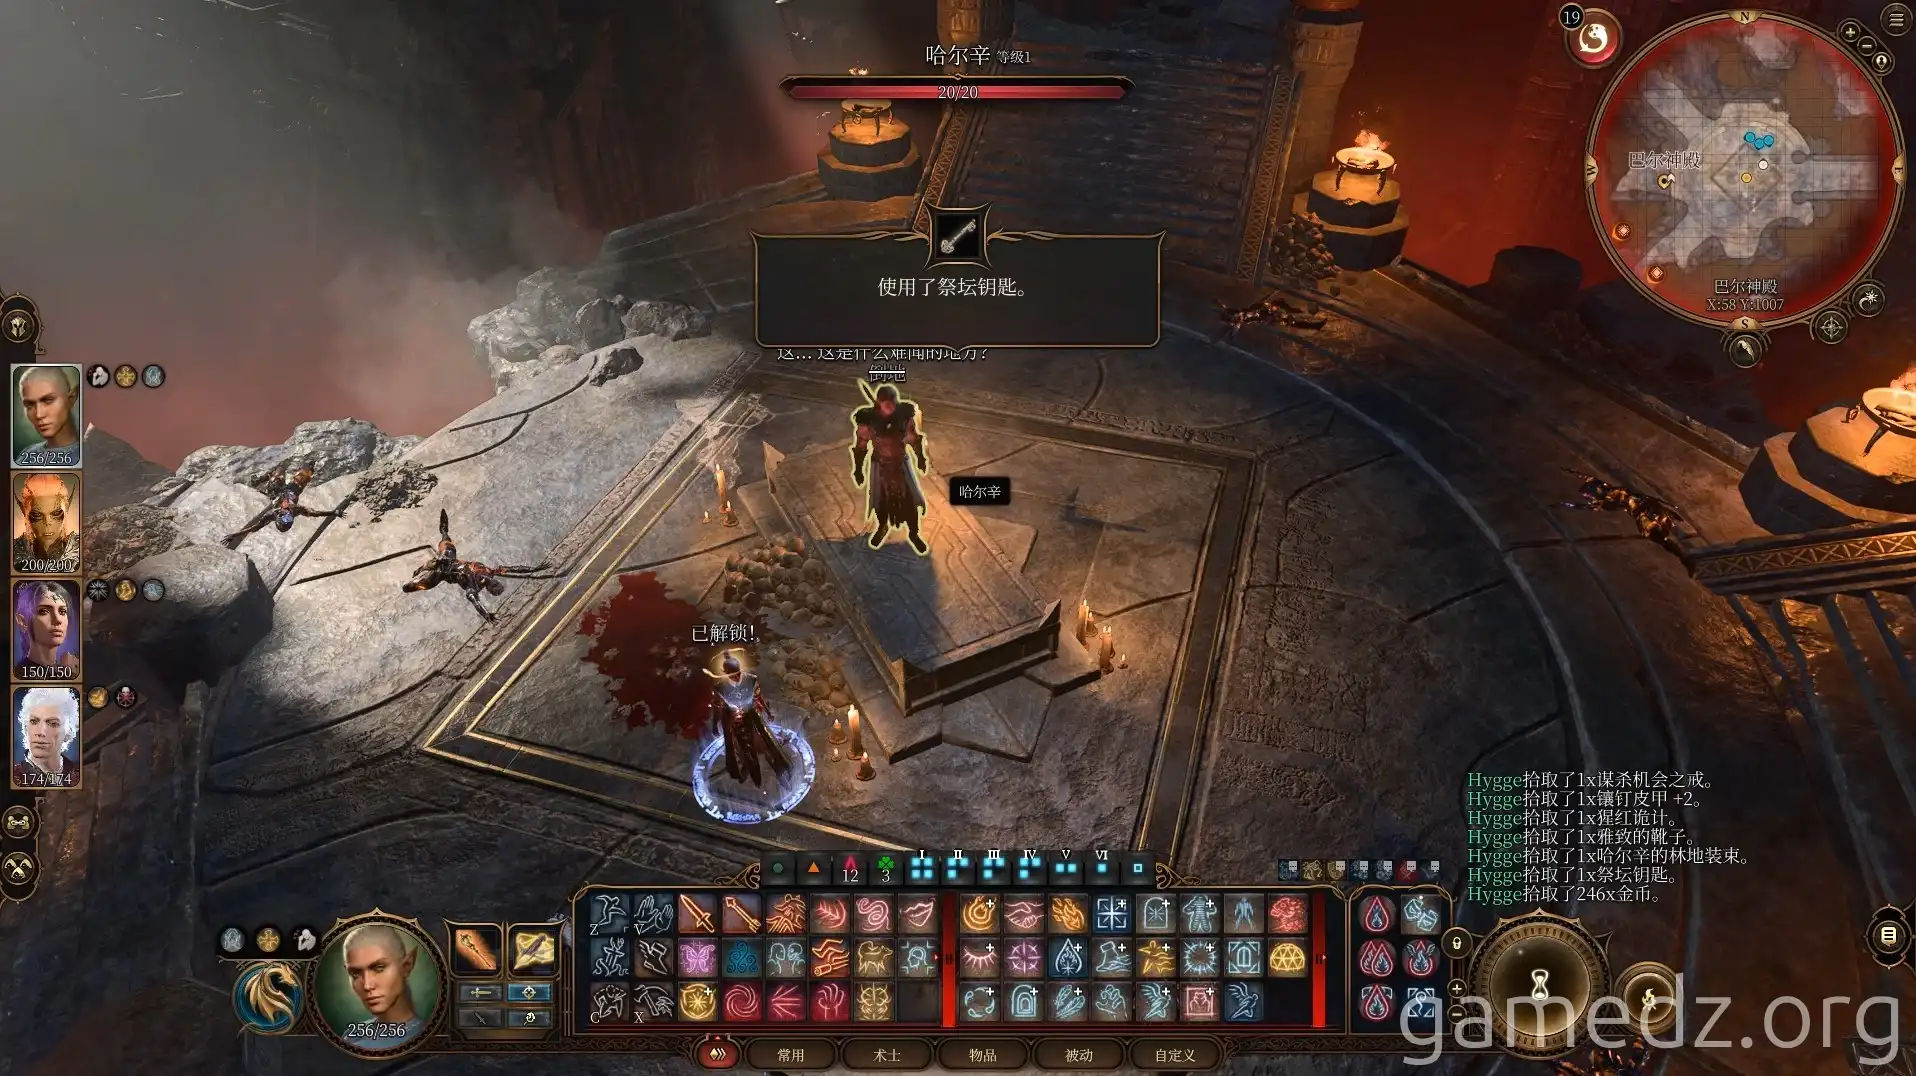
Investigating Orin's corpse will yield another legendary weapon, Crimson Mischief, and the key to the altar.
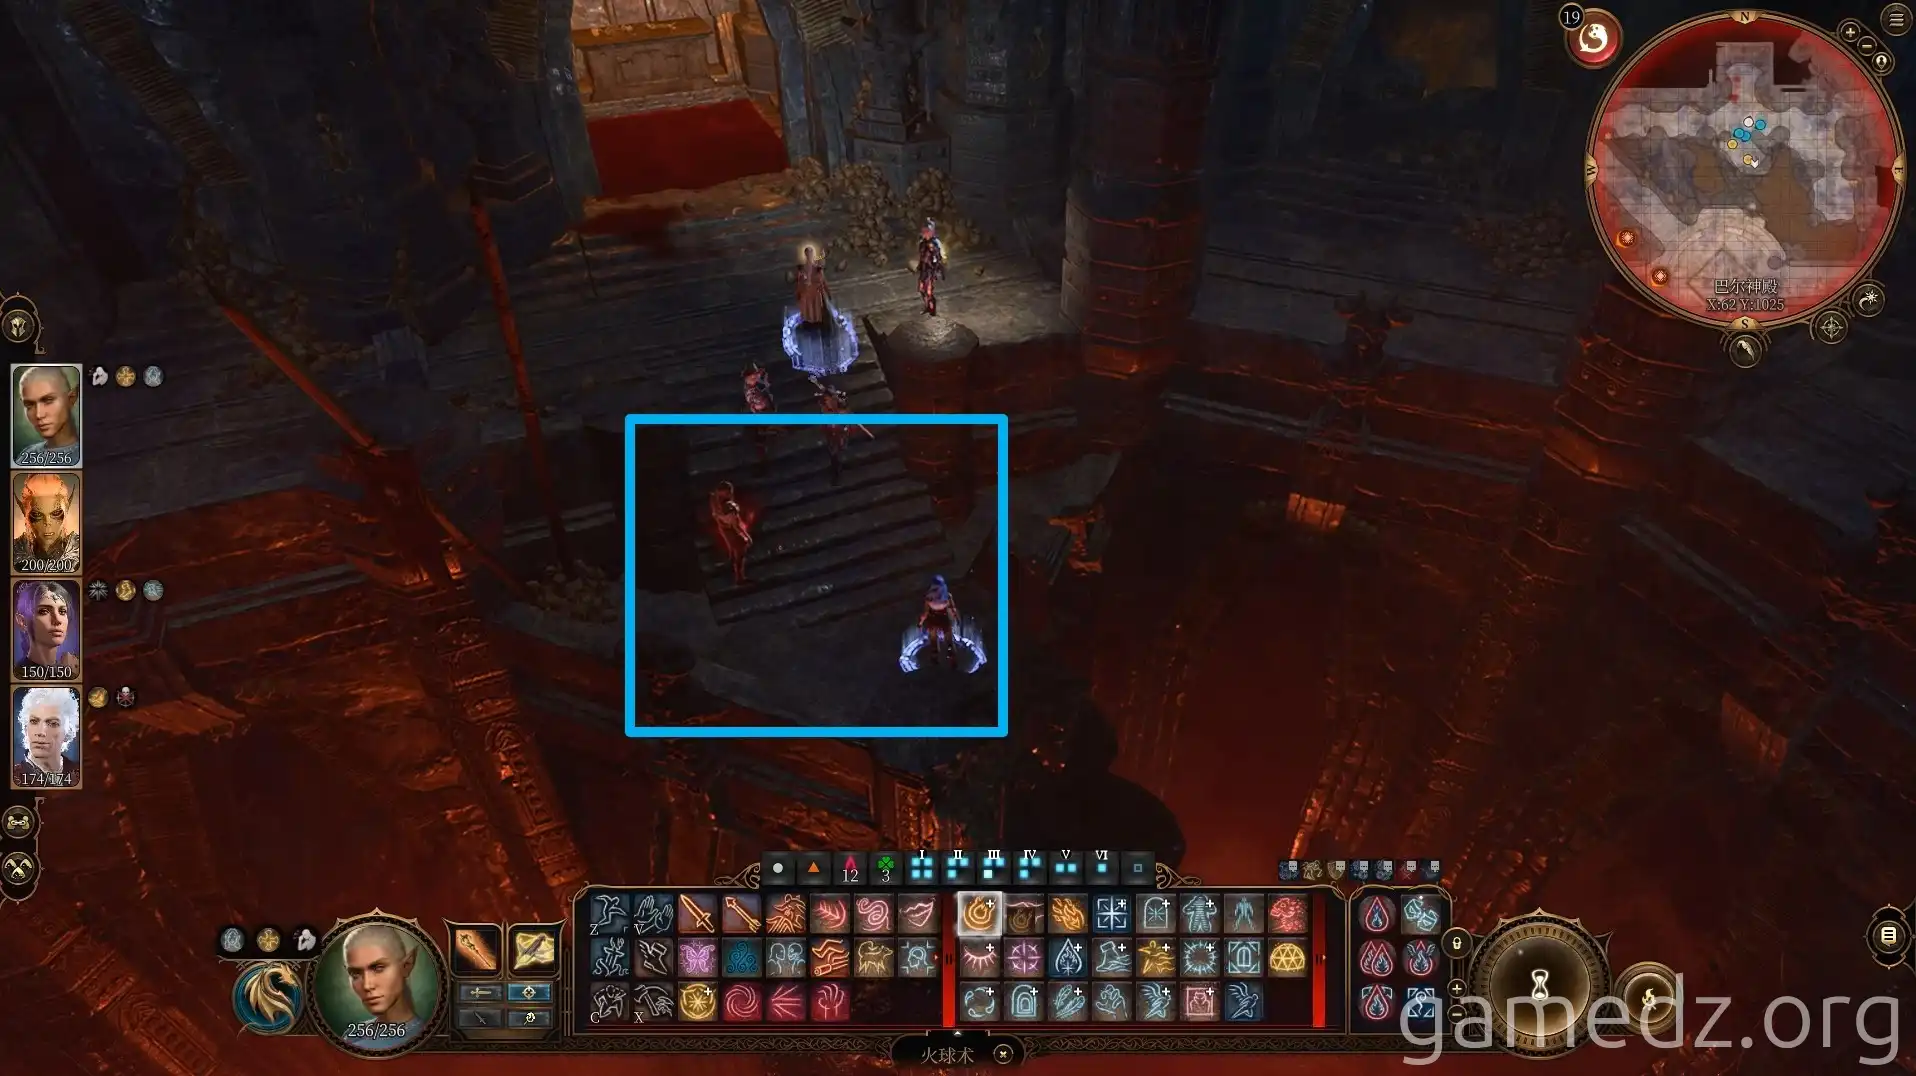
Use the key to open the altar and rescue your kidnapped companion.
Afterward, loot the area. You can also take the opportunity to kill any other cultists of Bhaal you encounter along the way, as they are certainly not good people.
You can then leave the Temple of Bhaal and teleport back to the Baldur's Gate waypoint.

