
Baldur's Gate 3: Crypt Walkthrough & Shar's Temple Trials
This Baldur's Gate 3 guide details the Crypt and Shar's Temple exploration, including defeating Balthazar, completing trials, and rescuing the Nightsong in the Shadowfell.
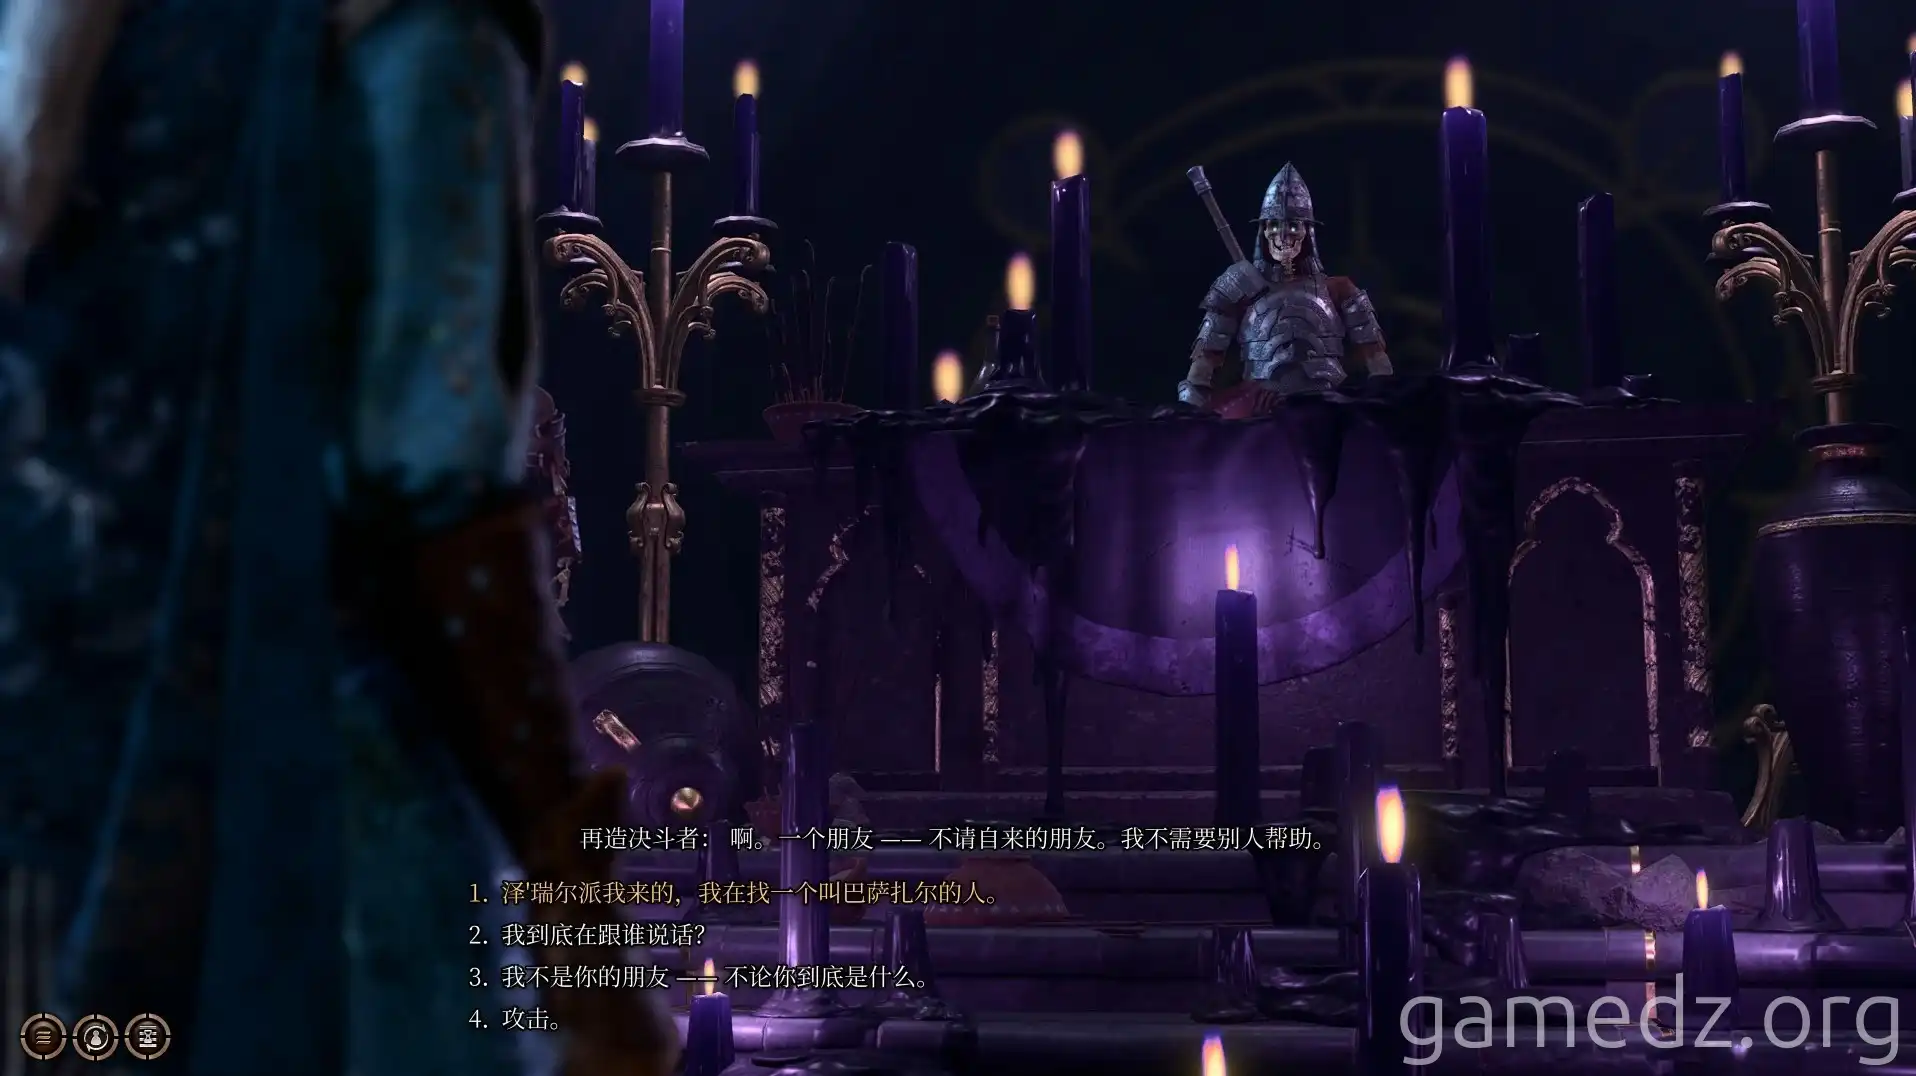
Upon arriving at the west hall, speak with the skeletal soldiers controlled by Balthazar. Claiming to be working for Zariel will allow you to avoid conflict.
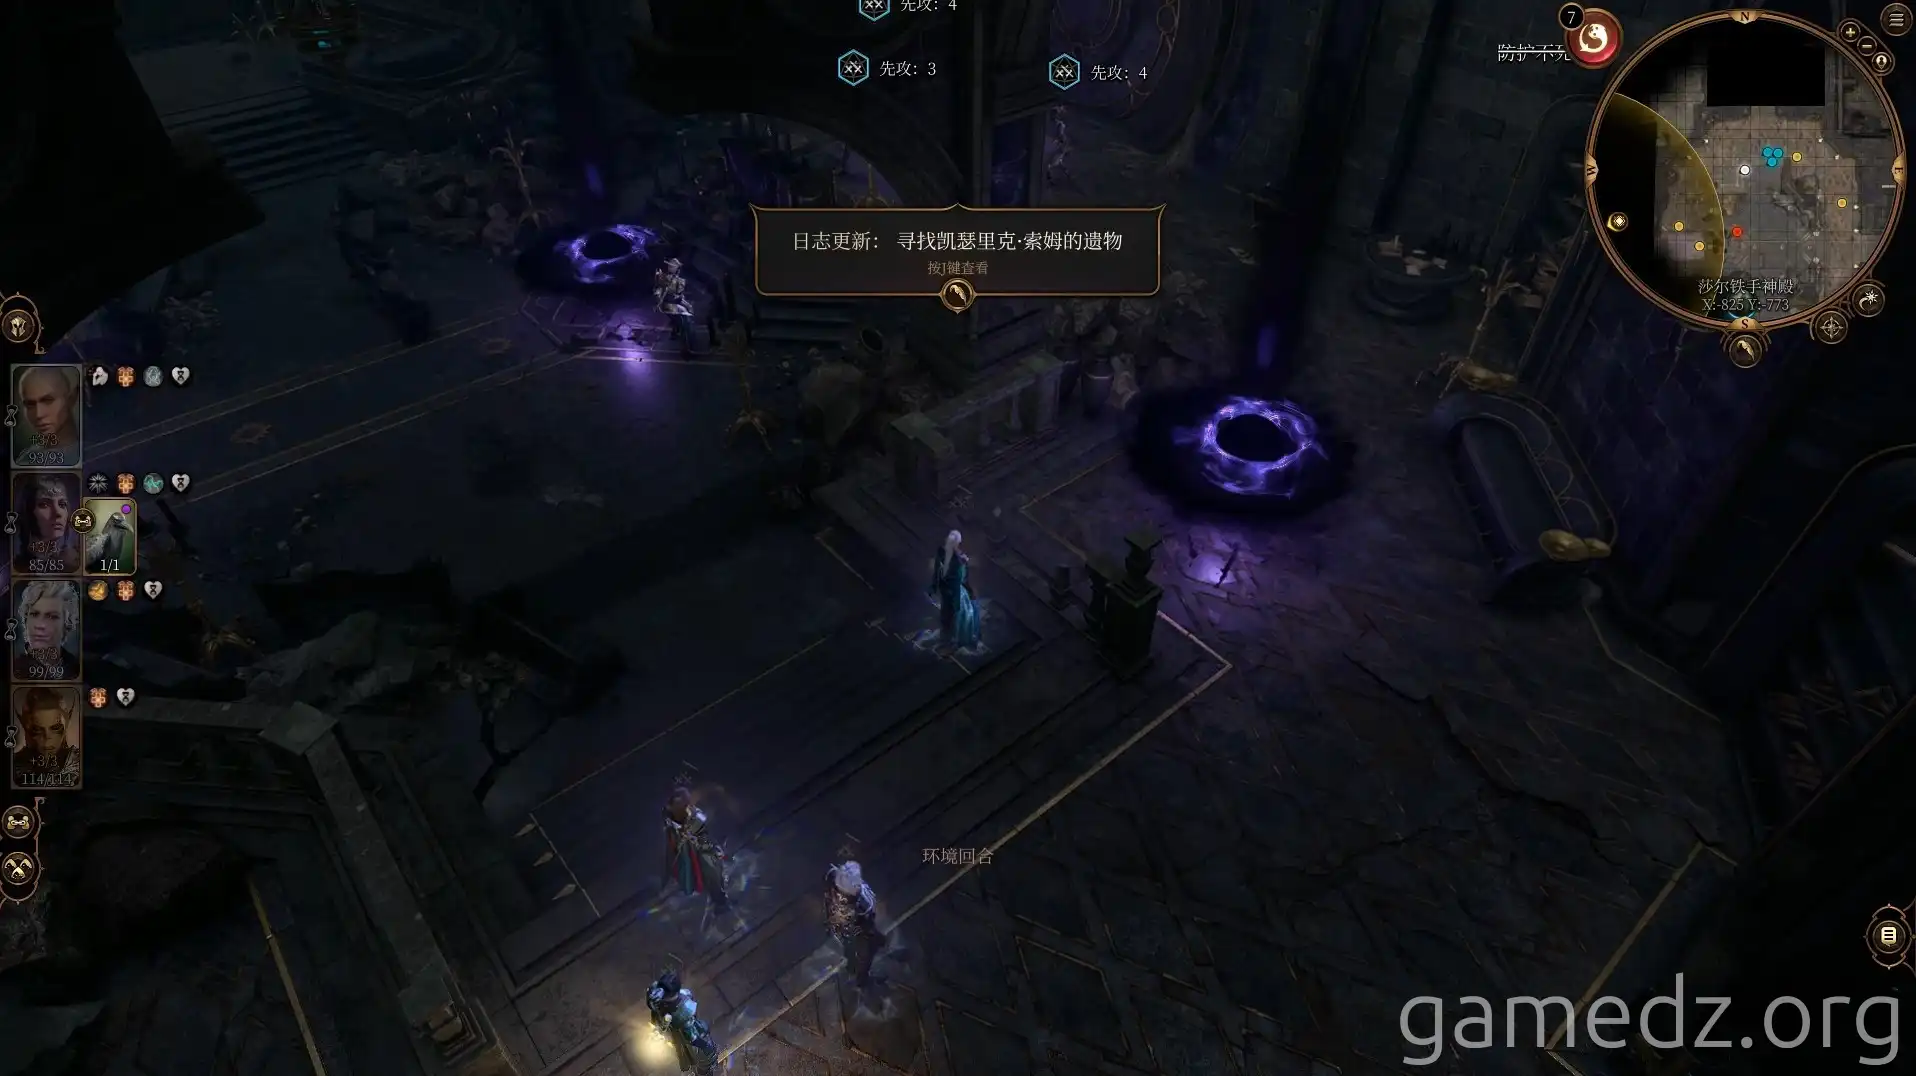
Next, defeat Shar's guards alongside Balthazar's skeletal soldiers.
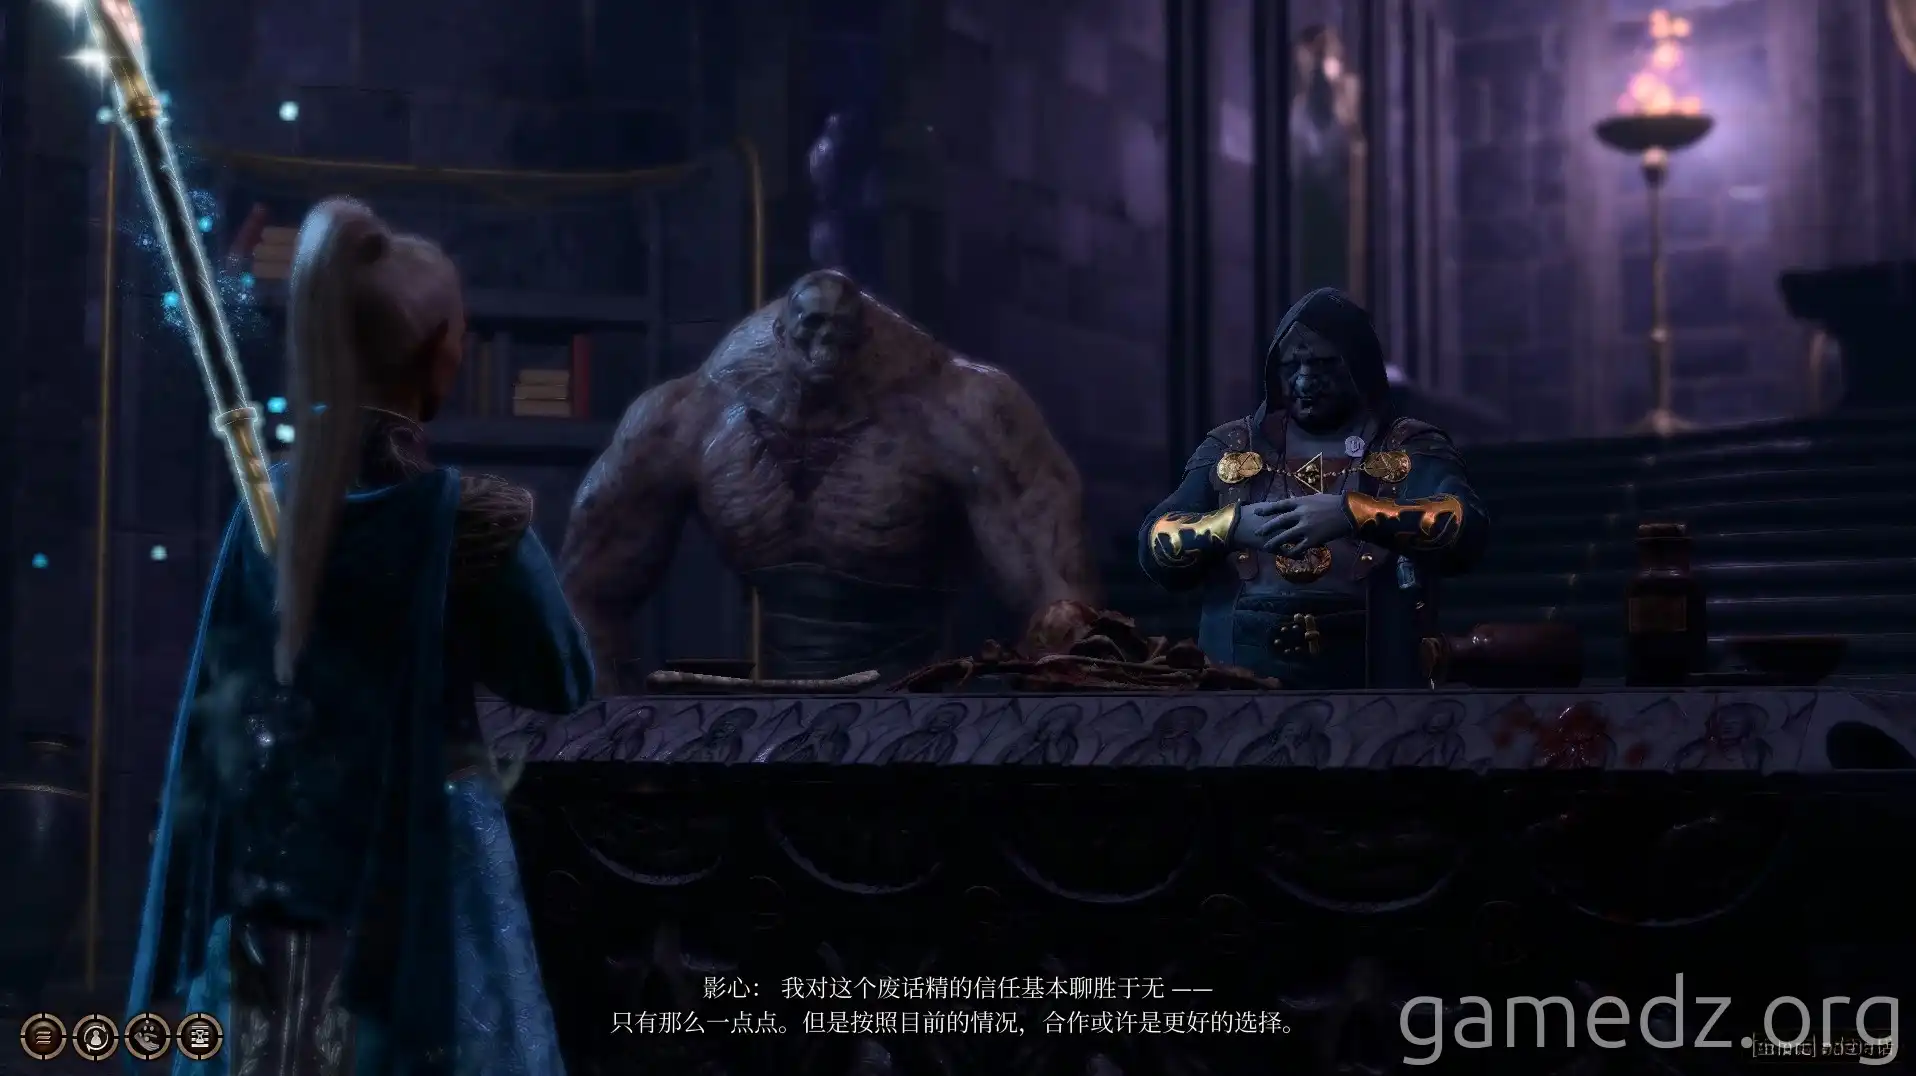
After defeating the enemies, enter the west room and speak with Balthazar. He will ask you to find the Nightsong.
During the conversation, ask him for some assistance. Balthazar will then give you the bell to summon a Flesh Golem.
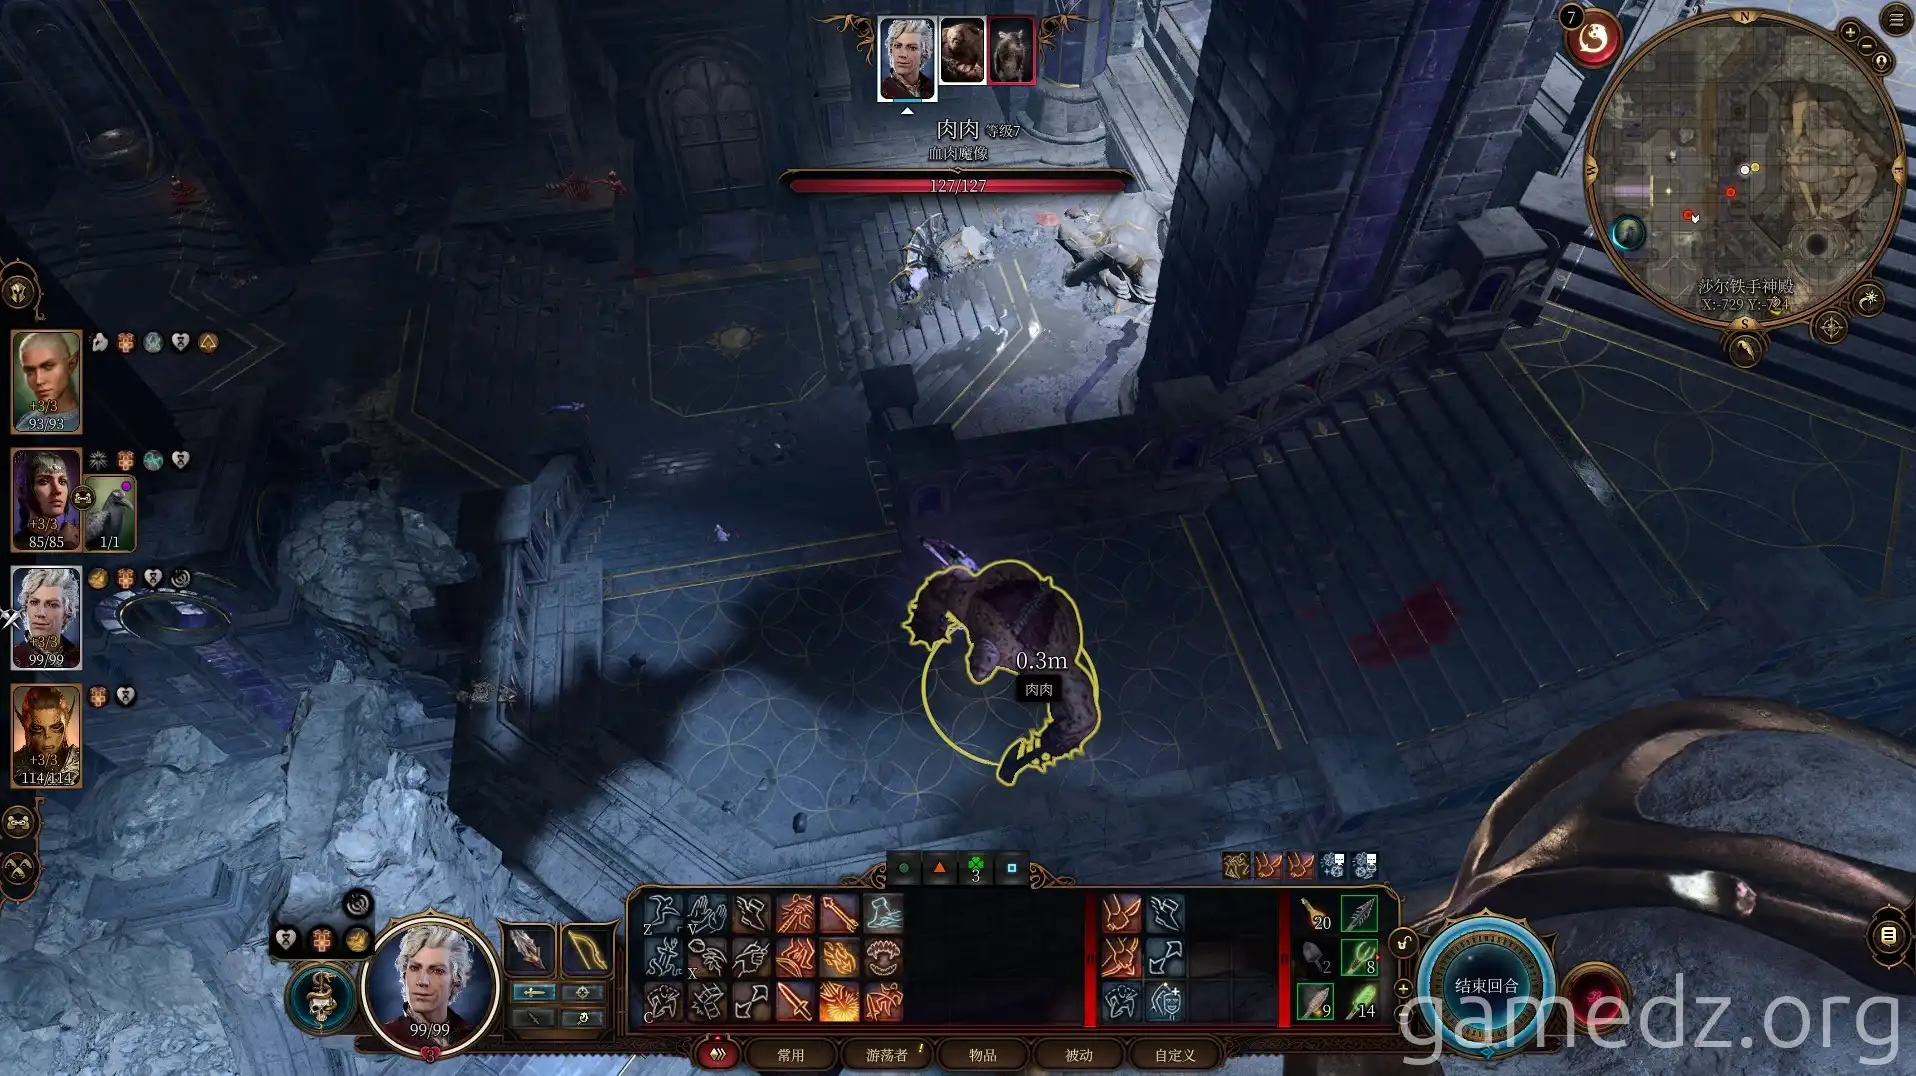
First, have one character take the bell deeper into the temple and engage some rats in combat. During the fight, summon the Flesh Golem. Teleport back to the House of Healing and proceed north along the passage to find the rats.
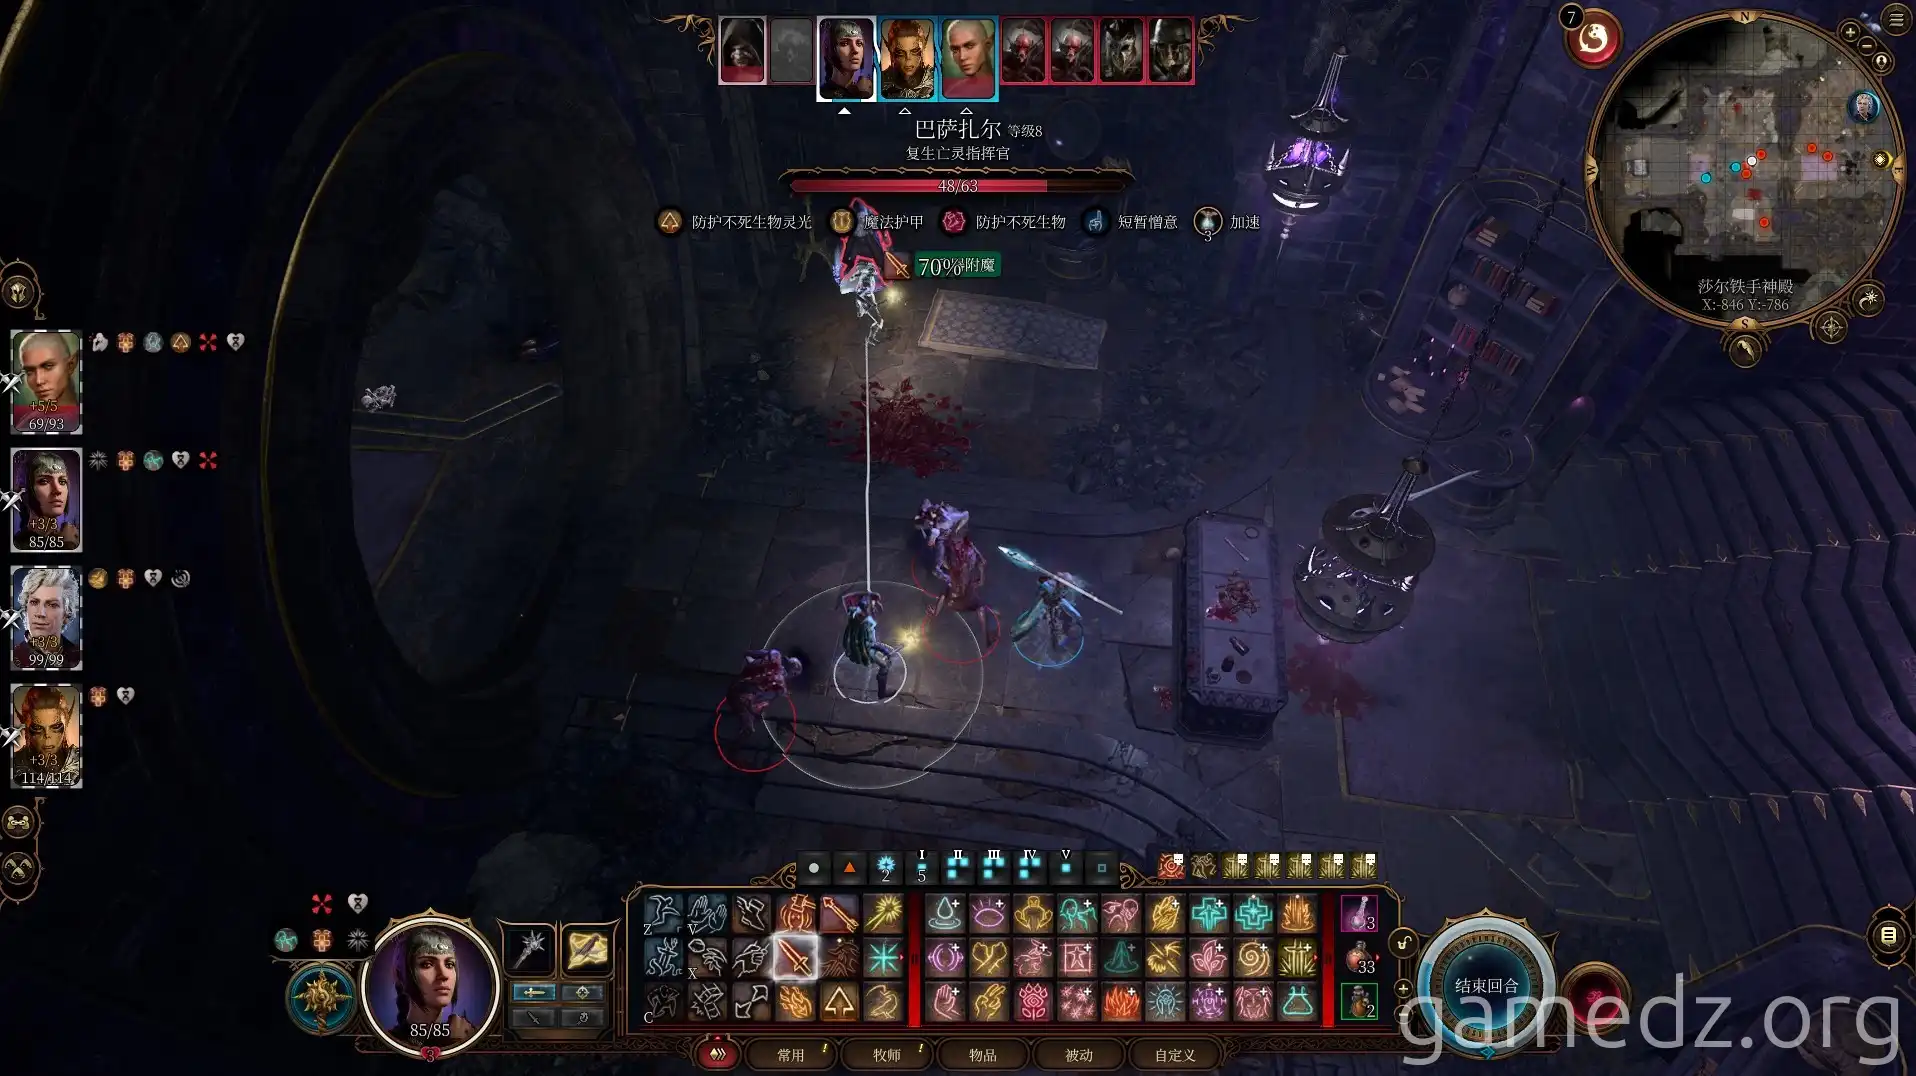
The remaining characters should attack Balthazar. This will reduce the number of powerful enemies you face in the battle. However, this strategy involves a one-for-one trade, so consider your party's current situation before deciding whether to employ it. After defeating Balthazar, most of the skeletal soldiers will immediately perish. Eliminate the remaining few to end the combat.
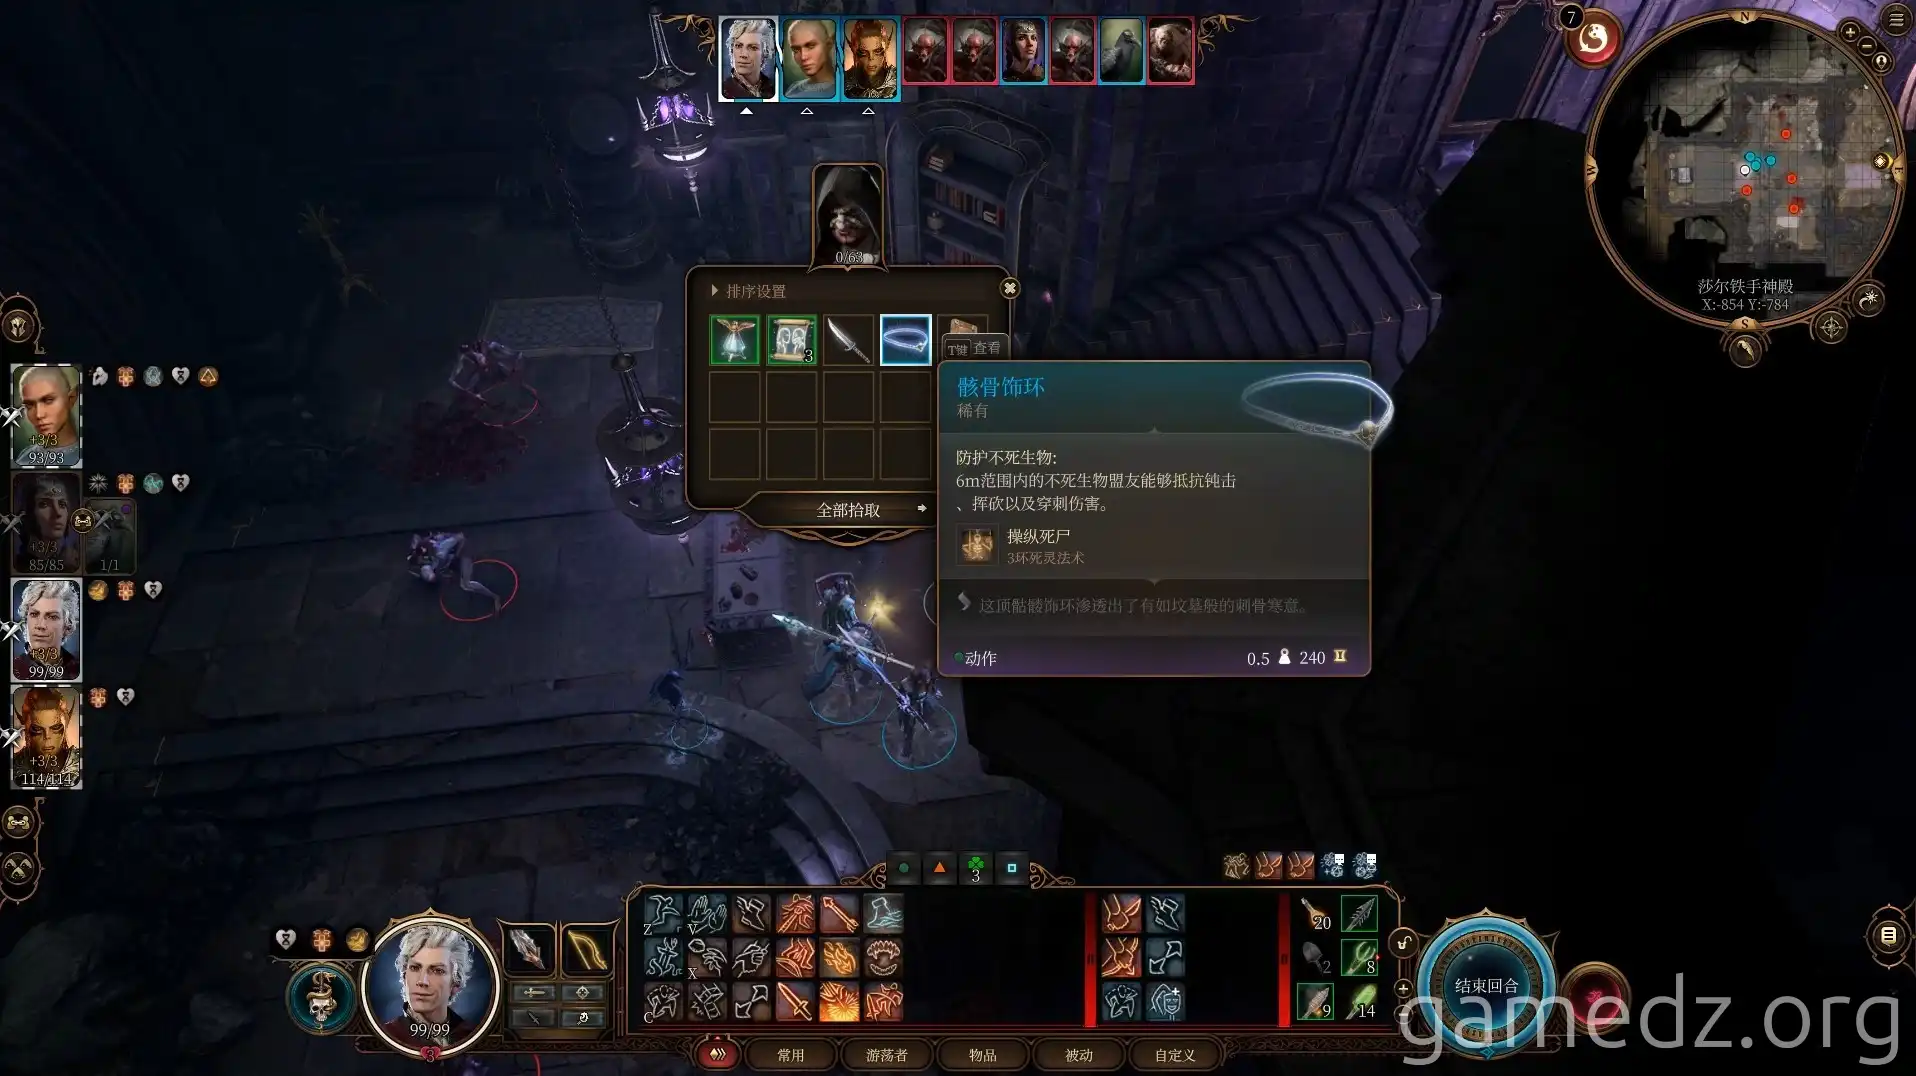
You can obtain the rare equipment, the Bone Circlet, from Balthazar. Additionally, characters with the Acolyte background will receive an Inspiration buff upon defeating Balthazar.
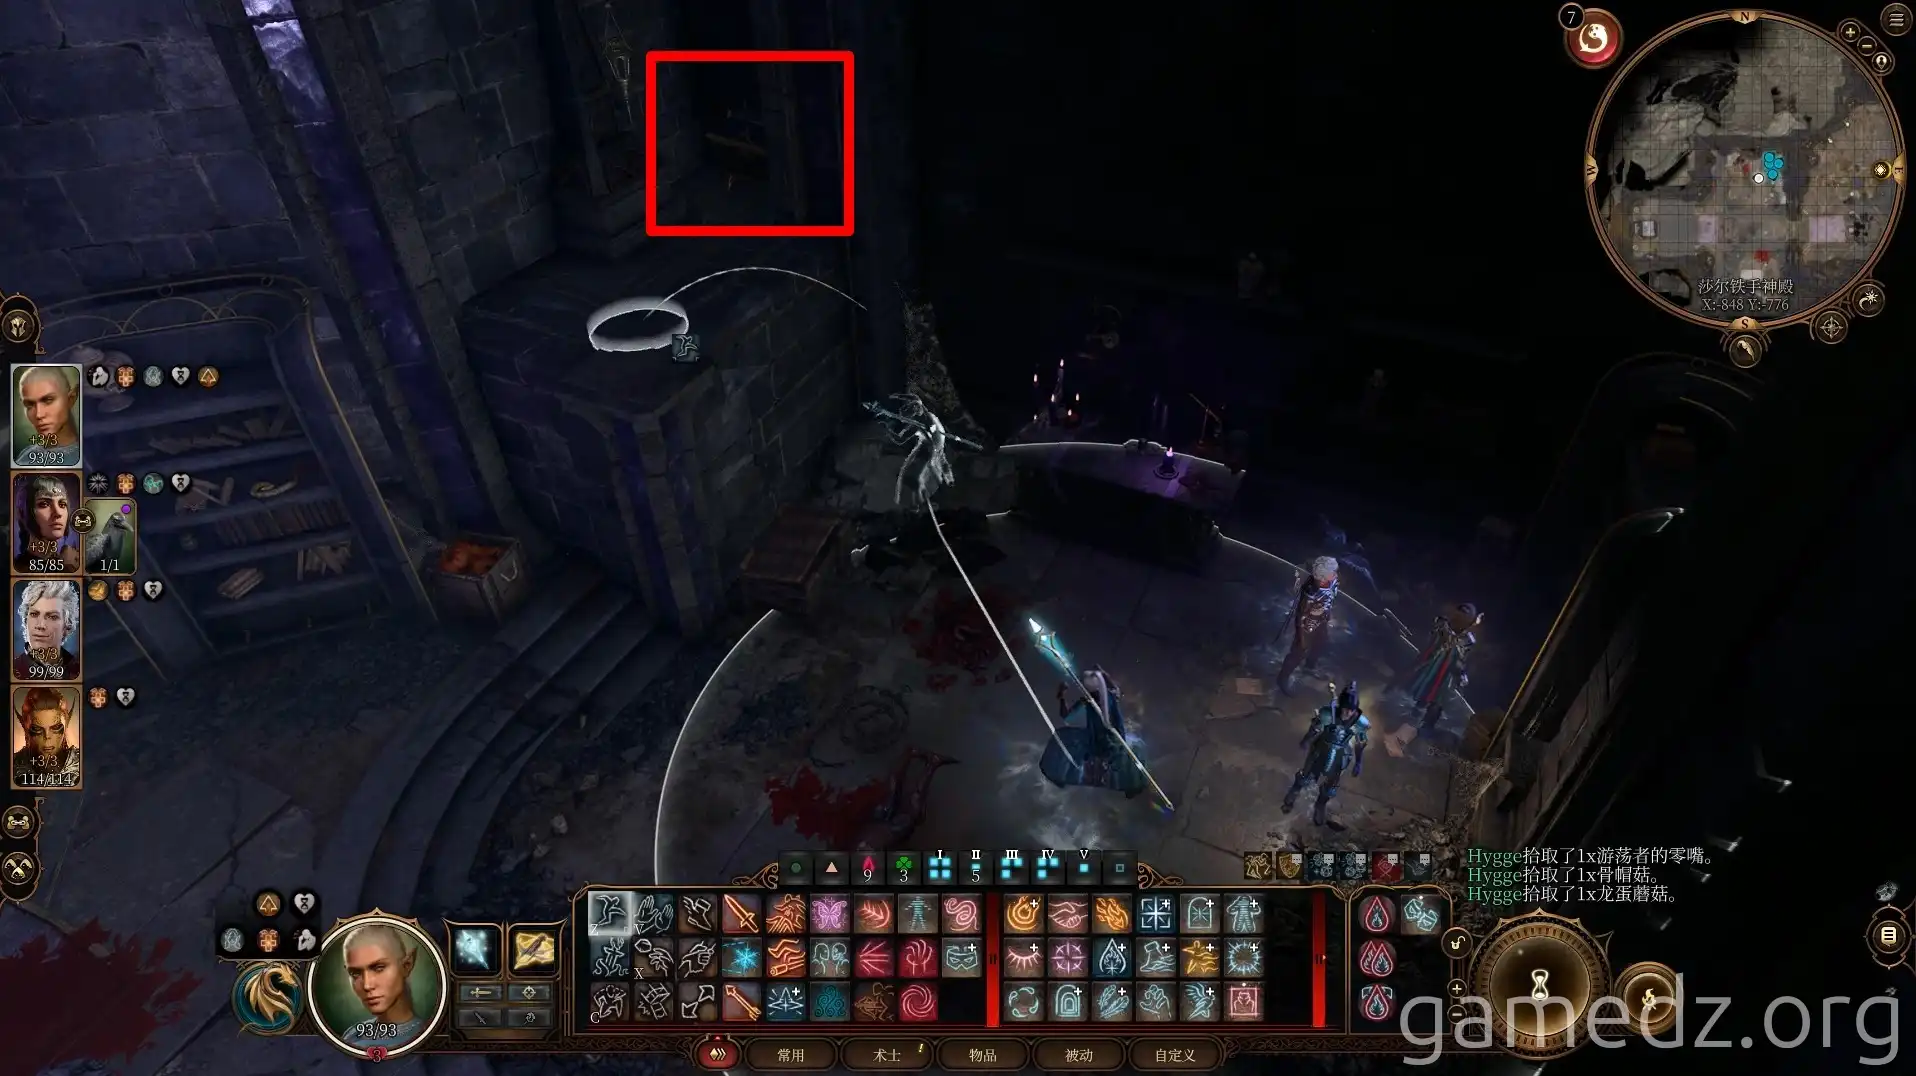
There is a chest in a high corner of the room. Loot it and then leave the room.
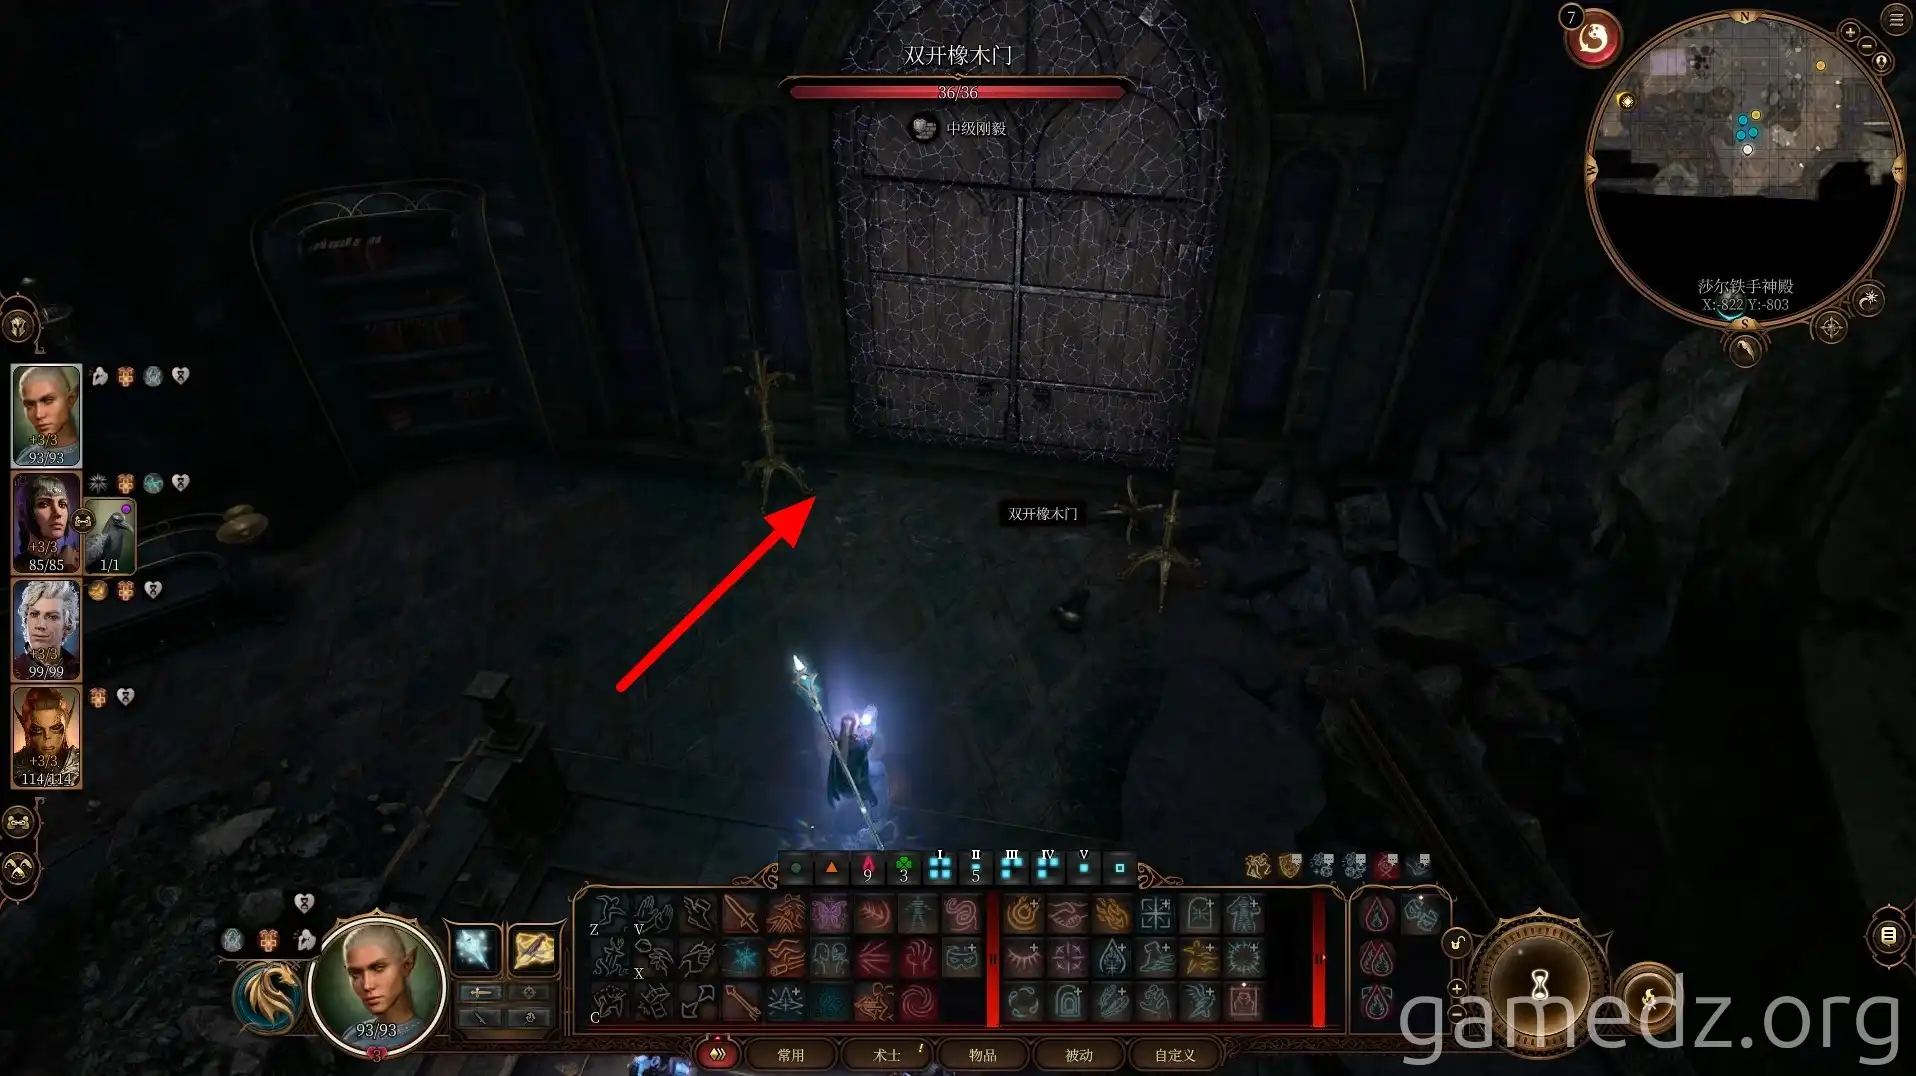
Enter the room on the south side of the hall.
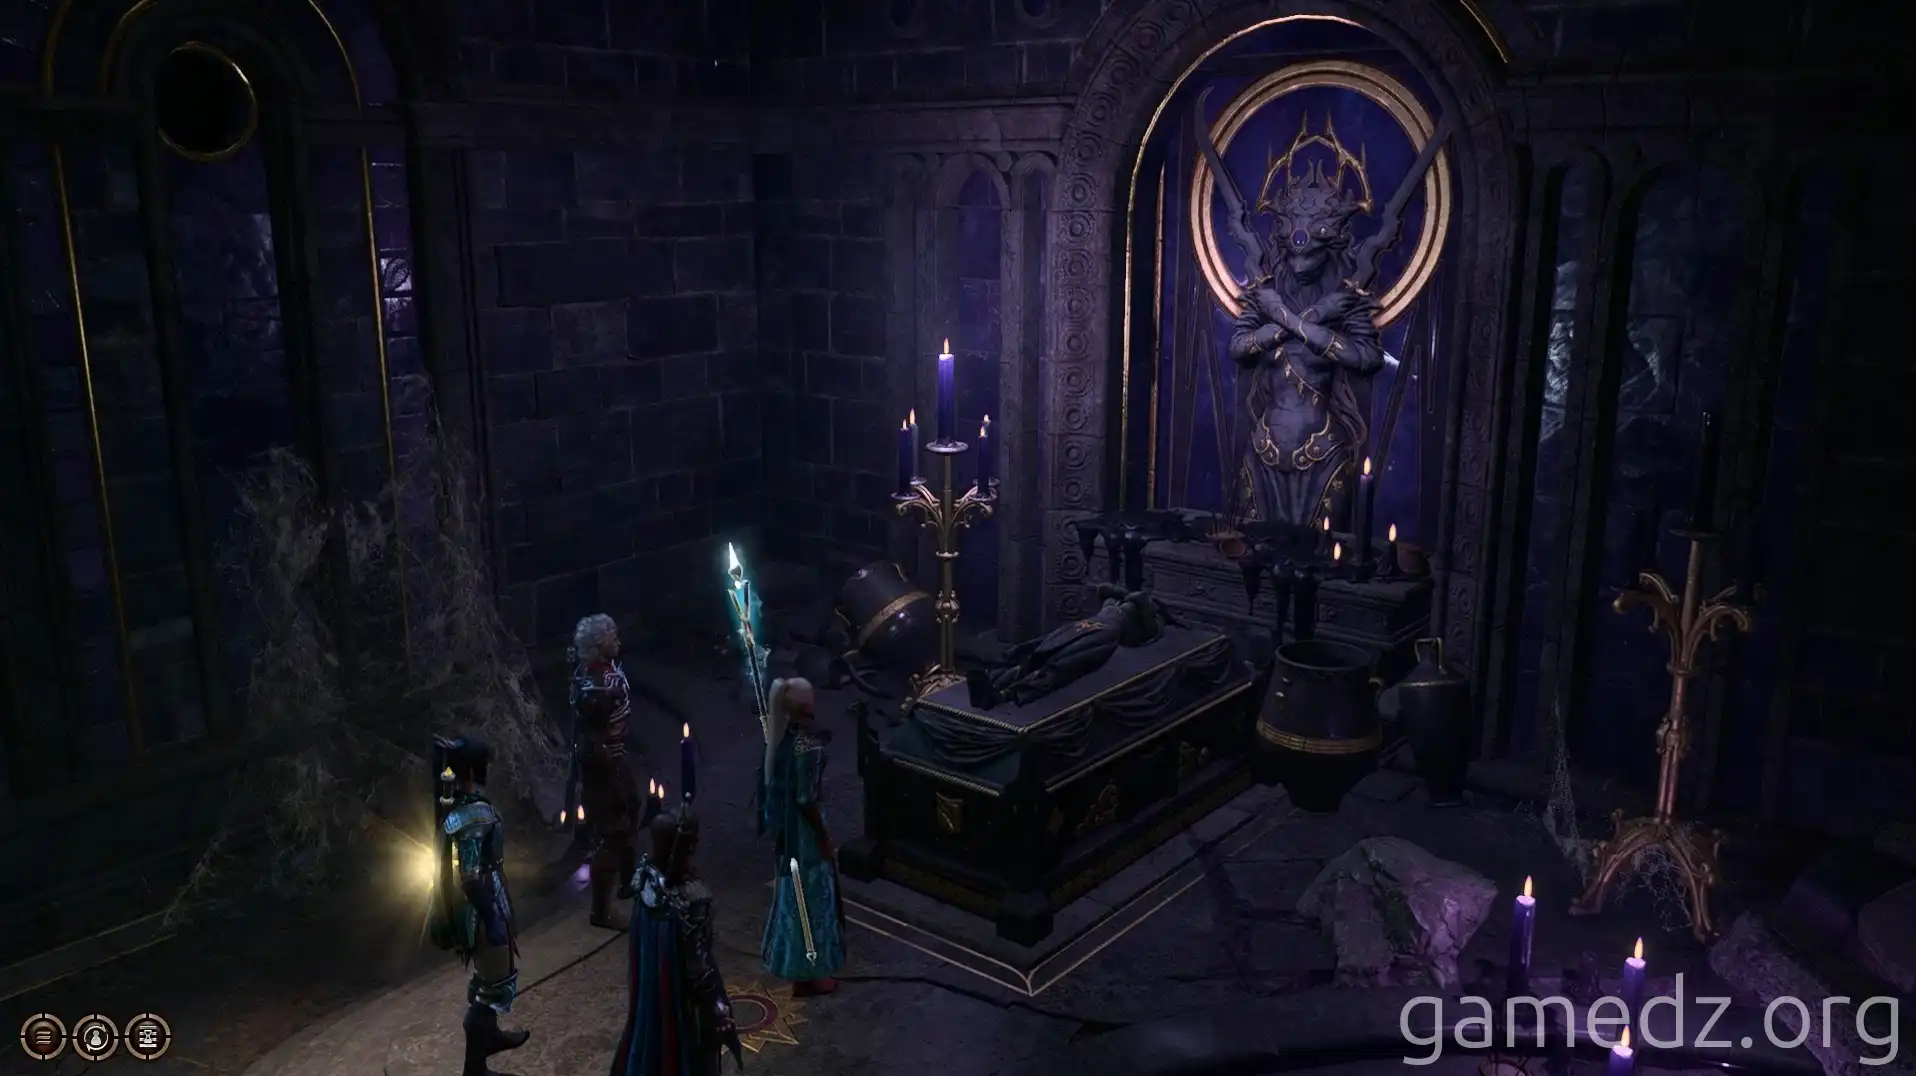
In the small east room ahead, you can find a shrine to Shar. Praying at it will grant you the Moonmaiden's Blessing buff, providing resistance to necrotic damage until your next Long Rest.
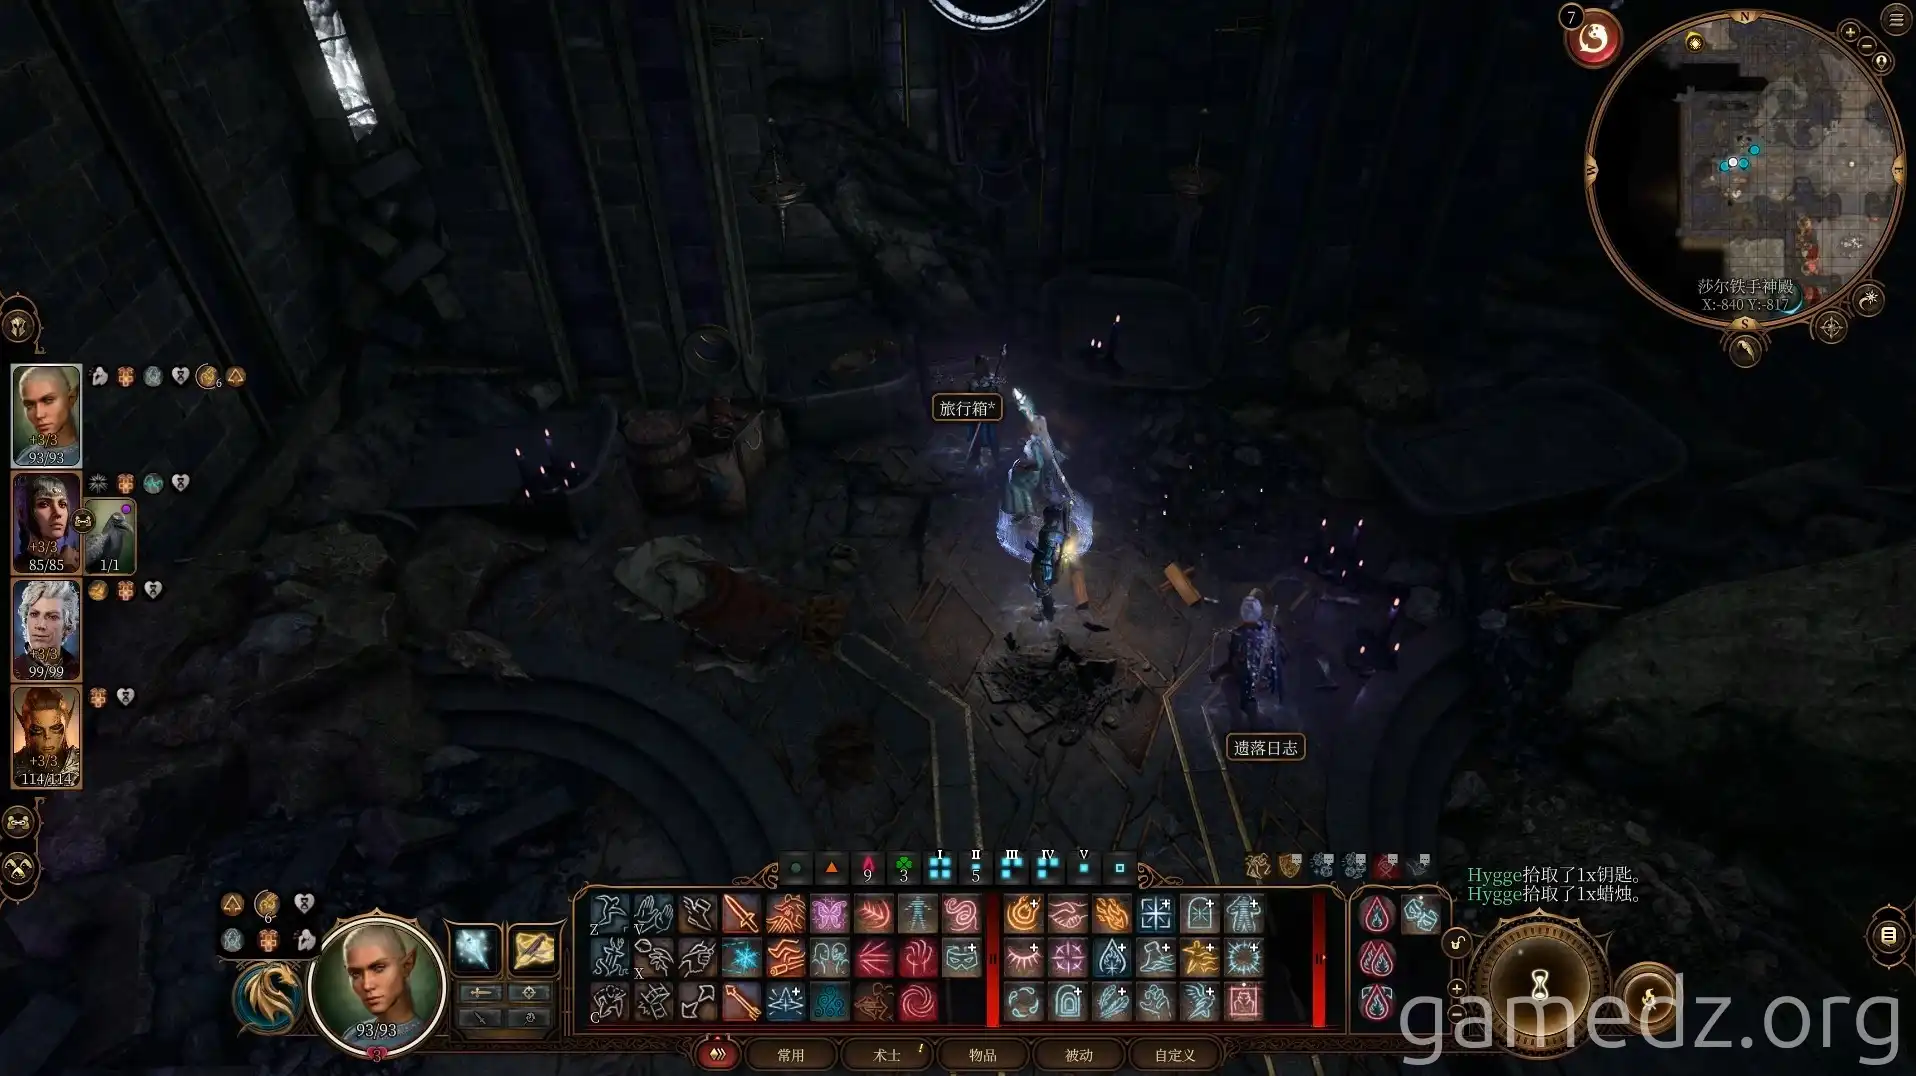
The west small room contains a chest with some item supplies.
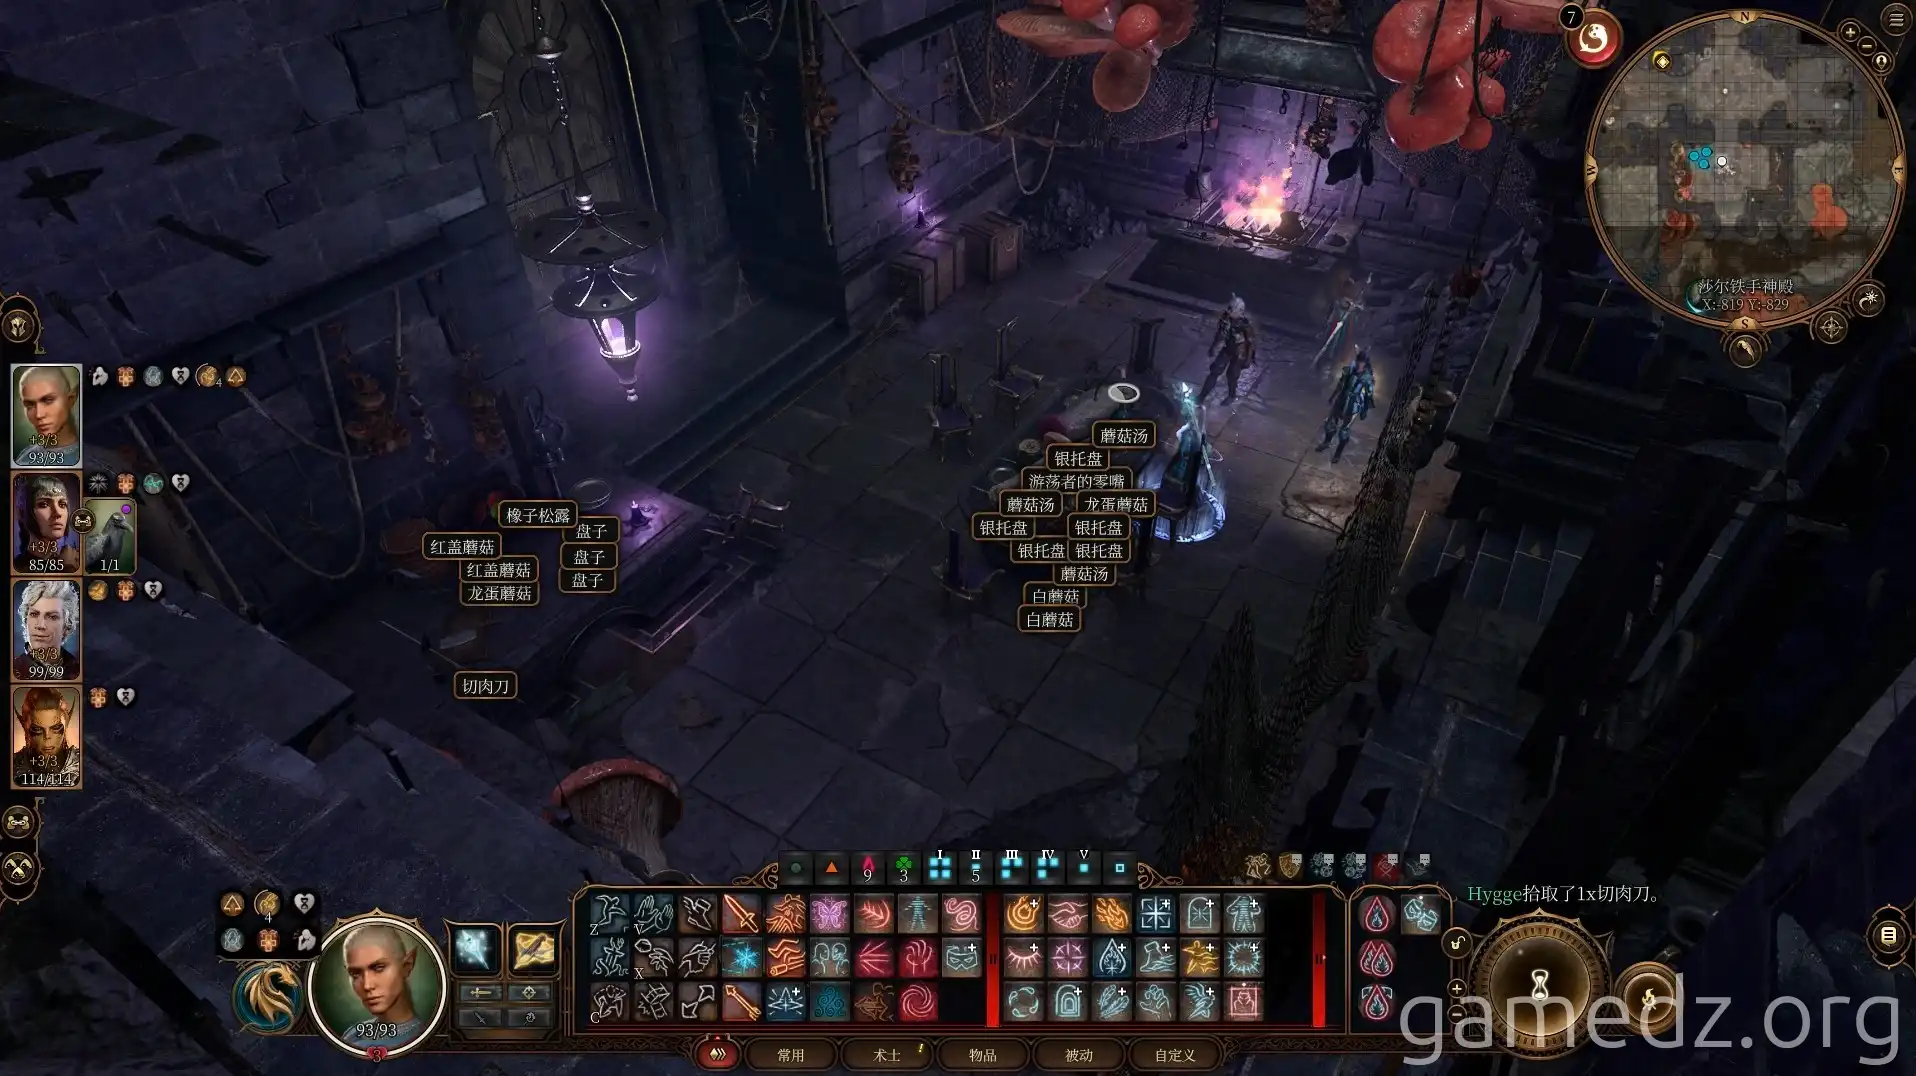
The south room is a kitchen, where you can find some camp supplies. Opening the wooden door will lead you back to the area where you fought the lurking pseudo-creatures.
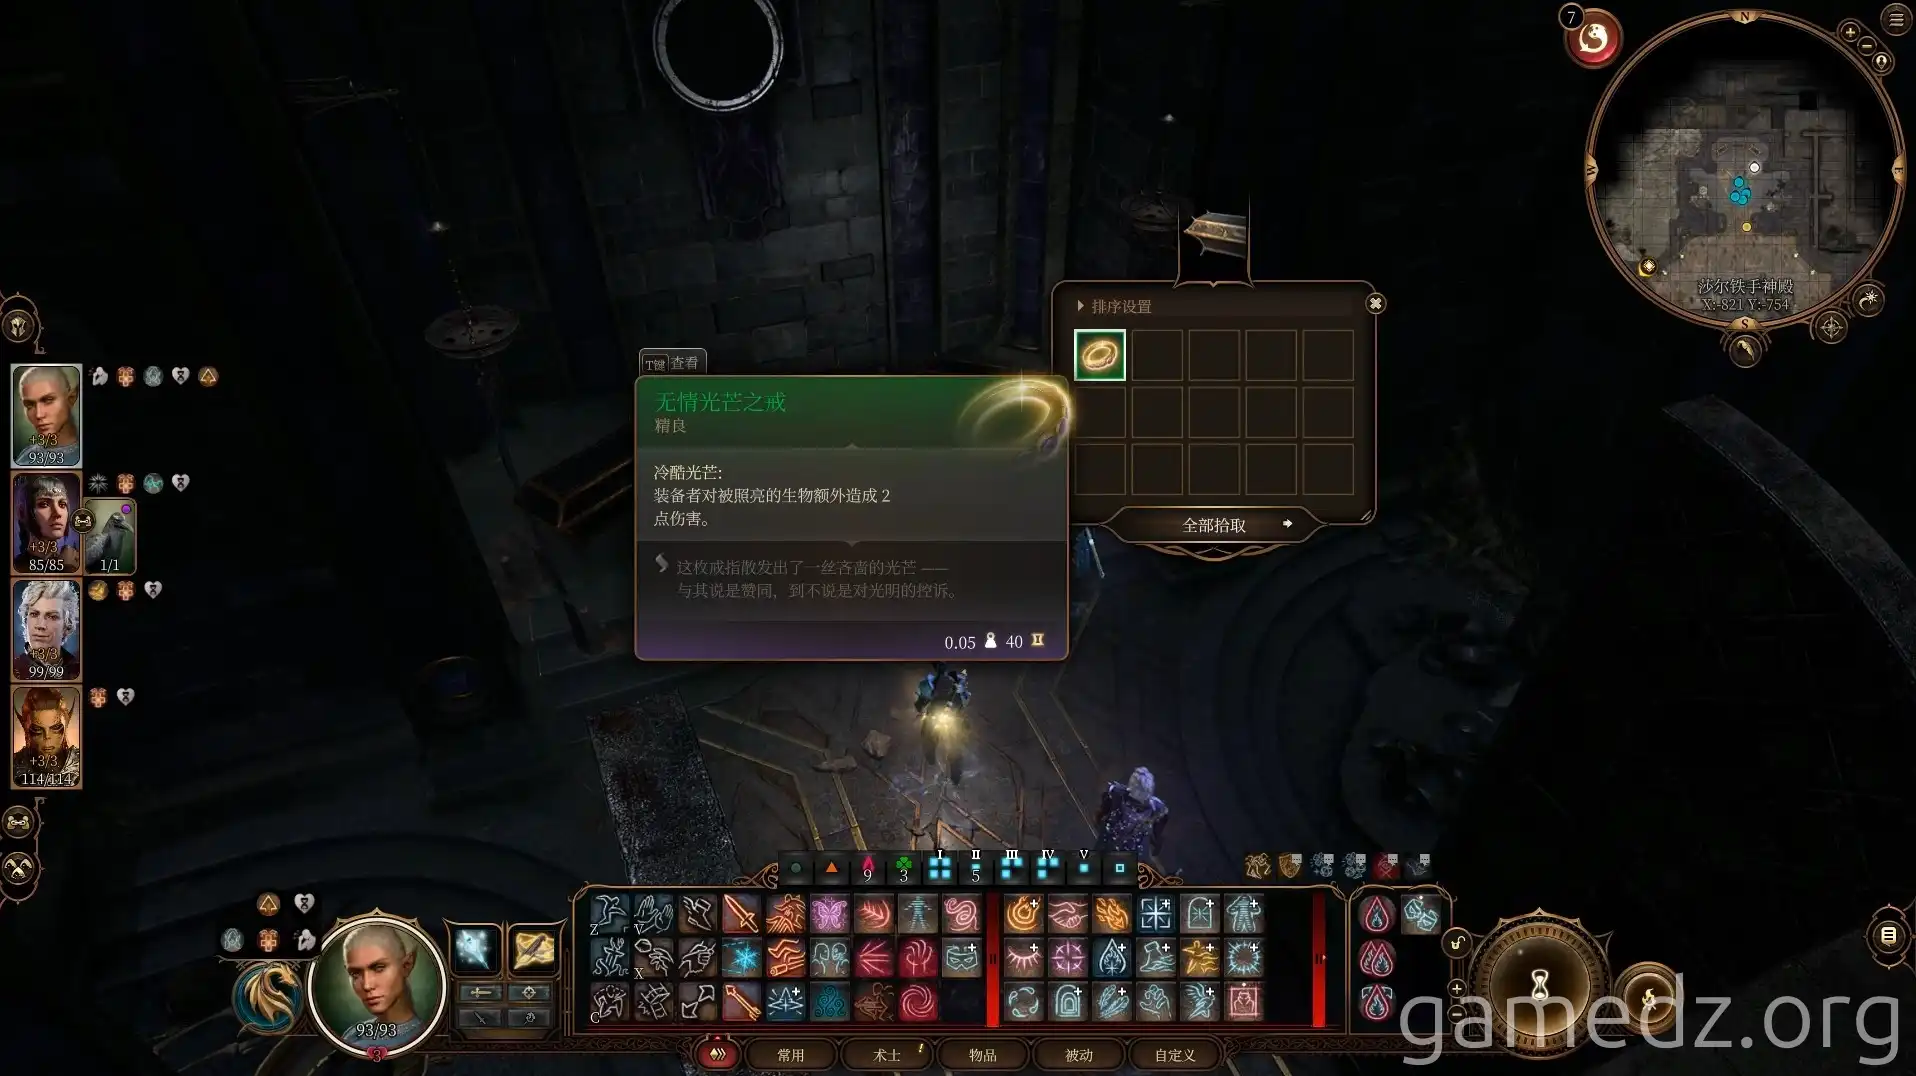
Return to the hall and enter the north room. This room is a vault, and within it, you can find the uncommon accessory Ring of Unwavering Precision, a piece of Infernal Iron, and a large quantity of items.
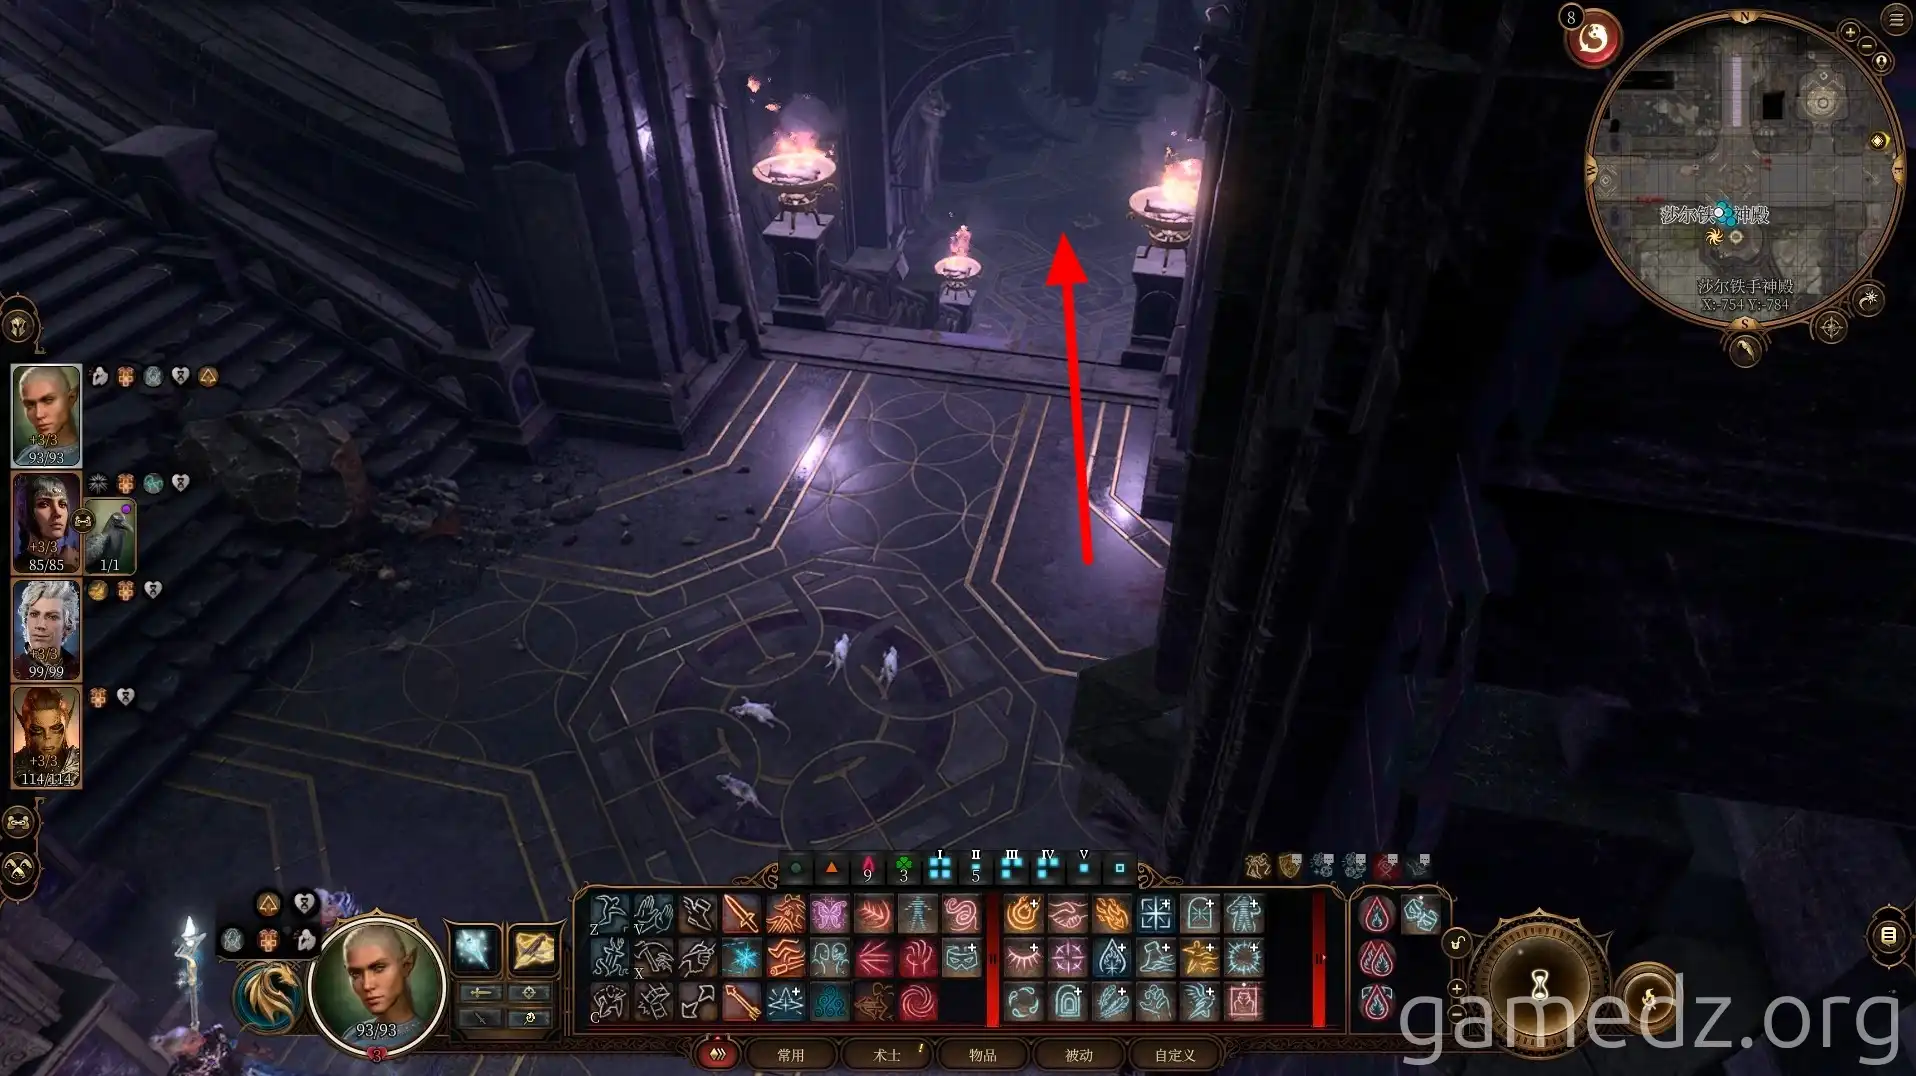
Return to the House of Healing's teleportation circle and proceed north along the path. Prepare to undergo the trials of Shar's temple.
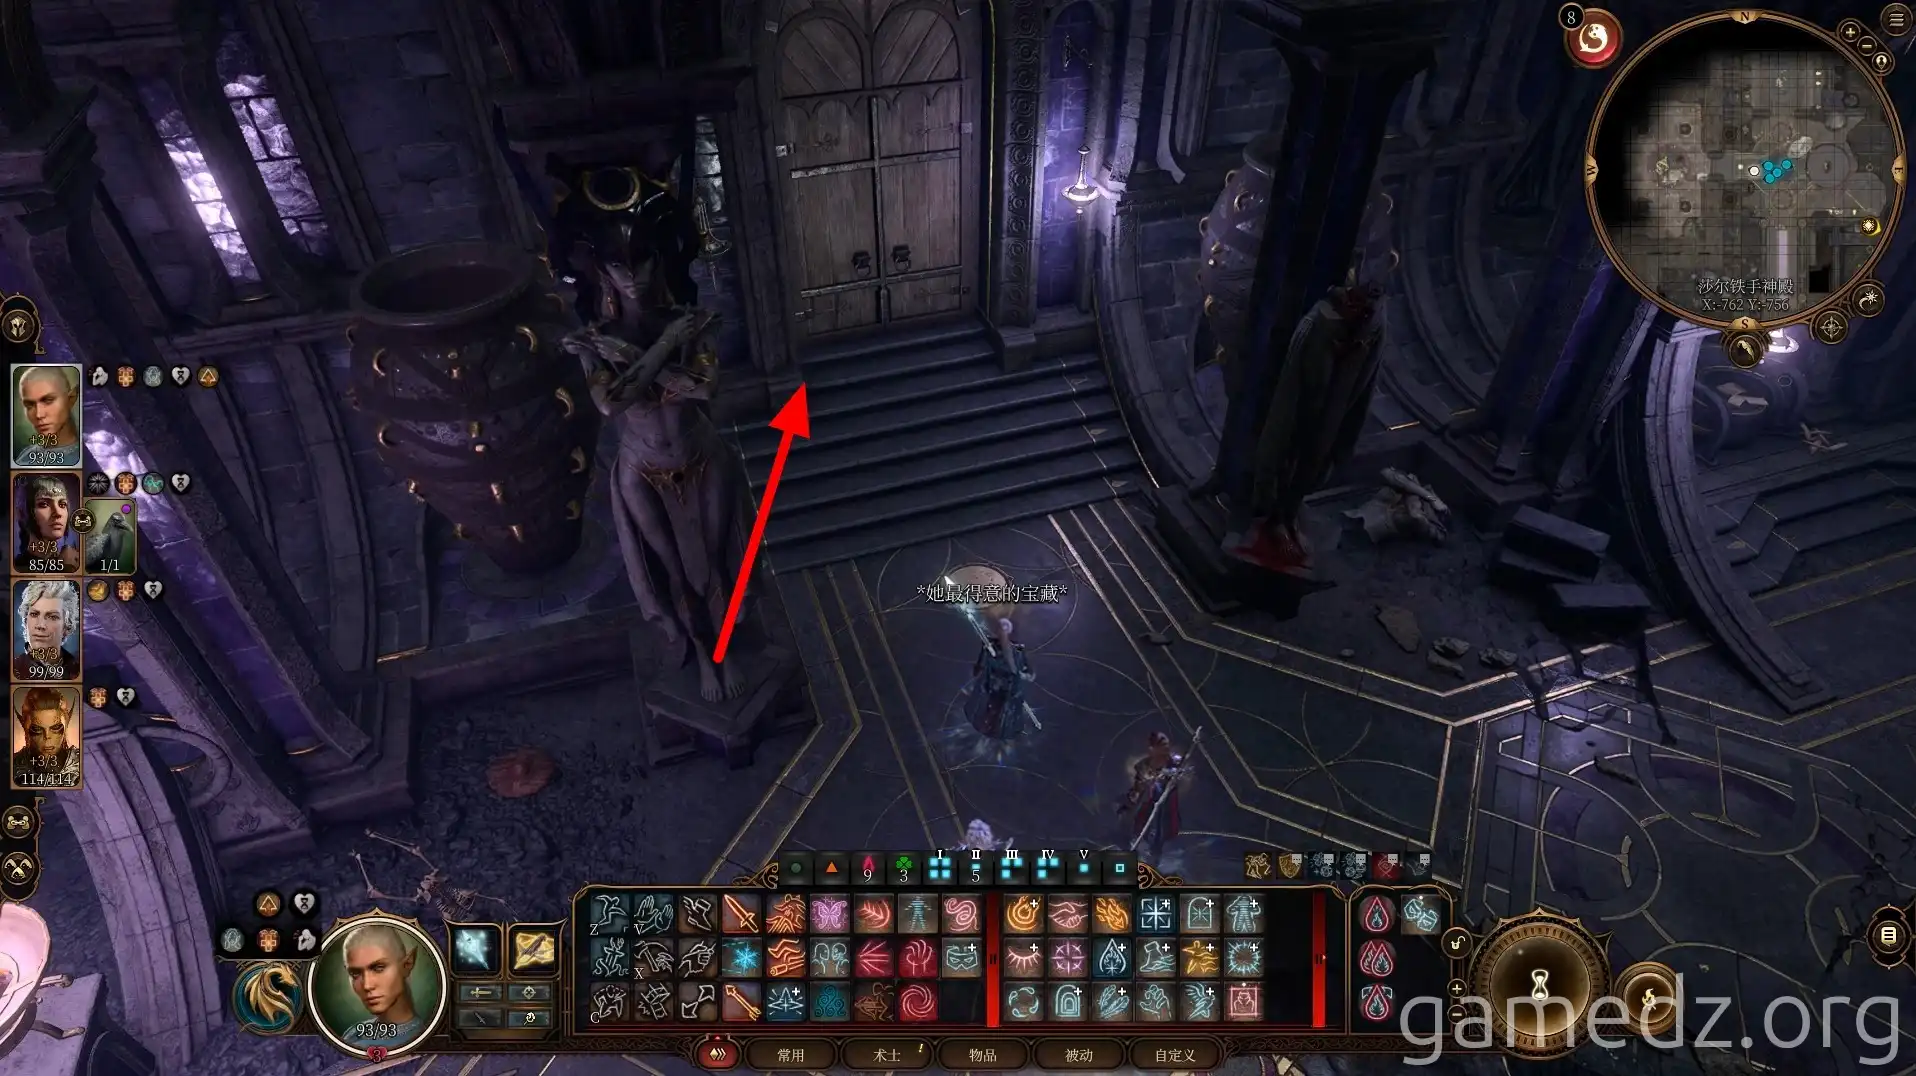
Upon reaching the lower level, first enter the room with the inscription "Her Most Cherished Treasure" above the door.
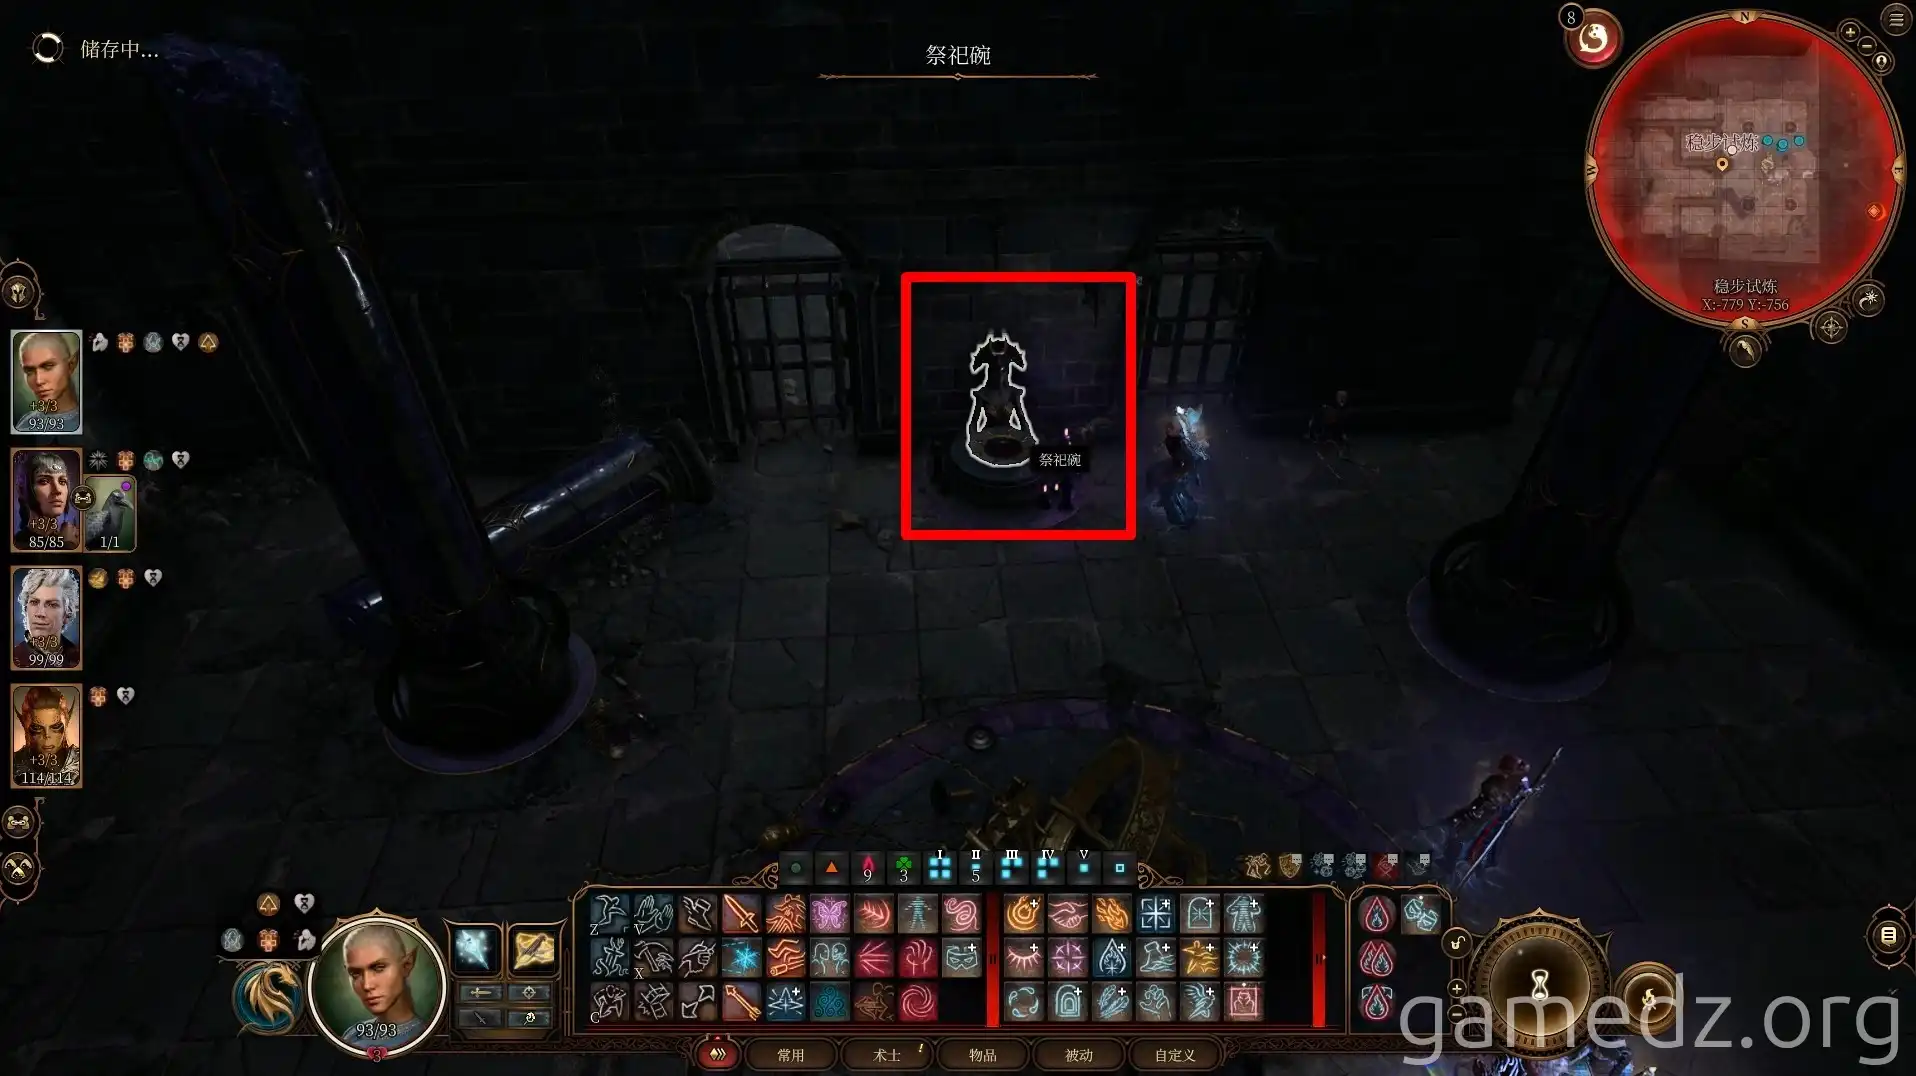
Interact with the sacrificial bowl in the room to begin the Steadfast Trial. This trial requires you to sneak through a maze without being detected by the shadows that roam within.
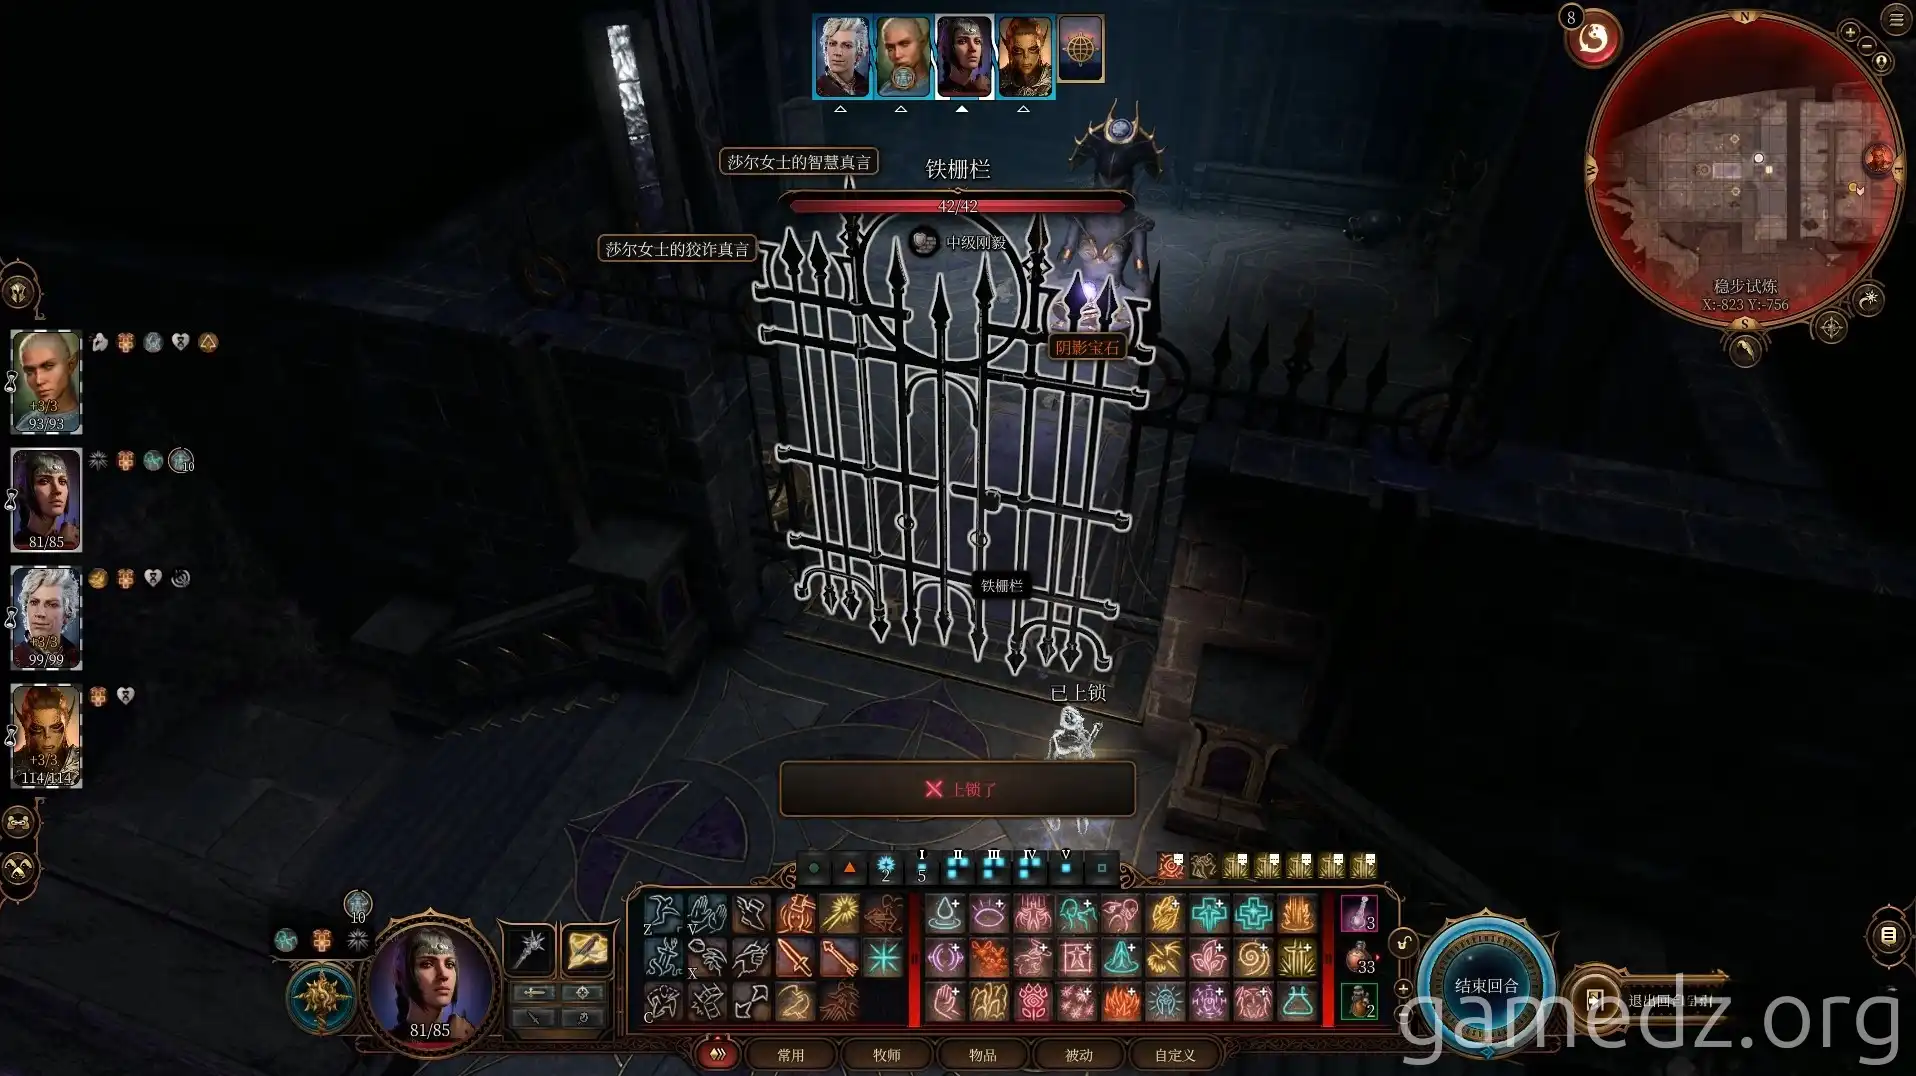
Simply cast Invisibility and walk through casually. You can find a lever in the maze to open the main gate, or you can use methods like Lockpicking or Misty Step to enter and retrieve the second Shadow-Cursed Pearl.
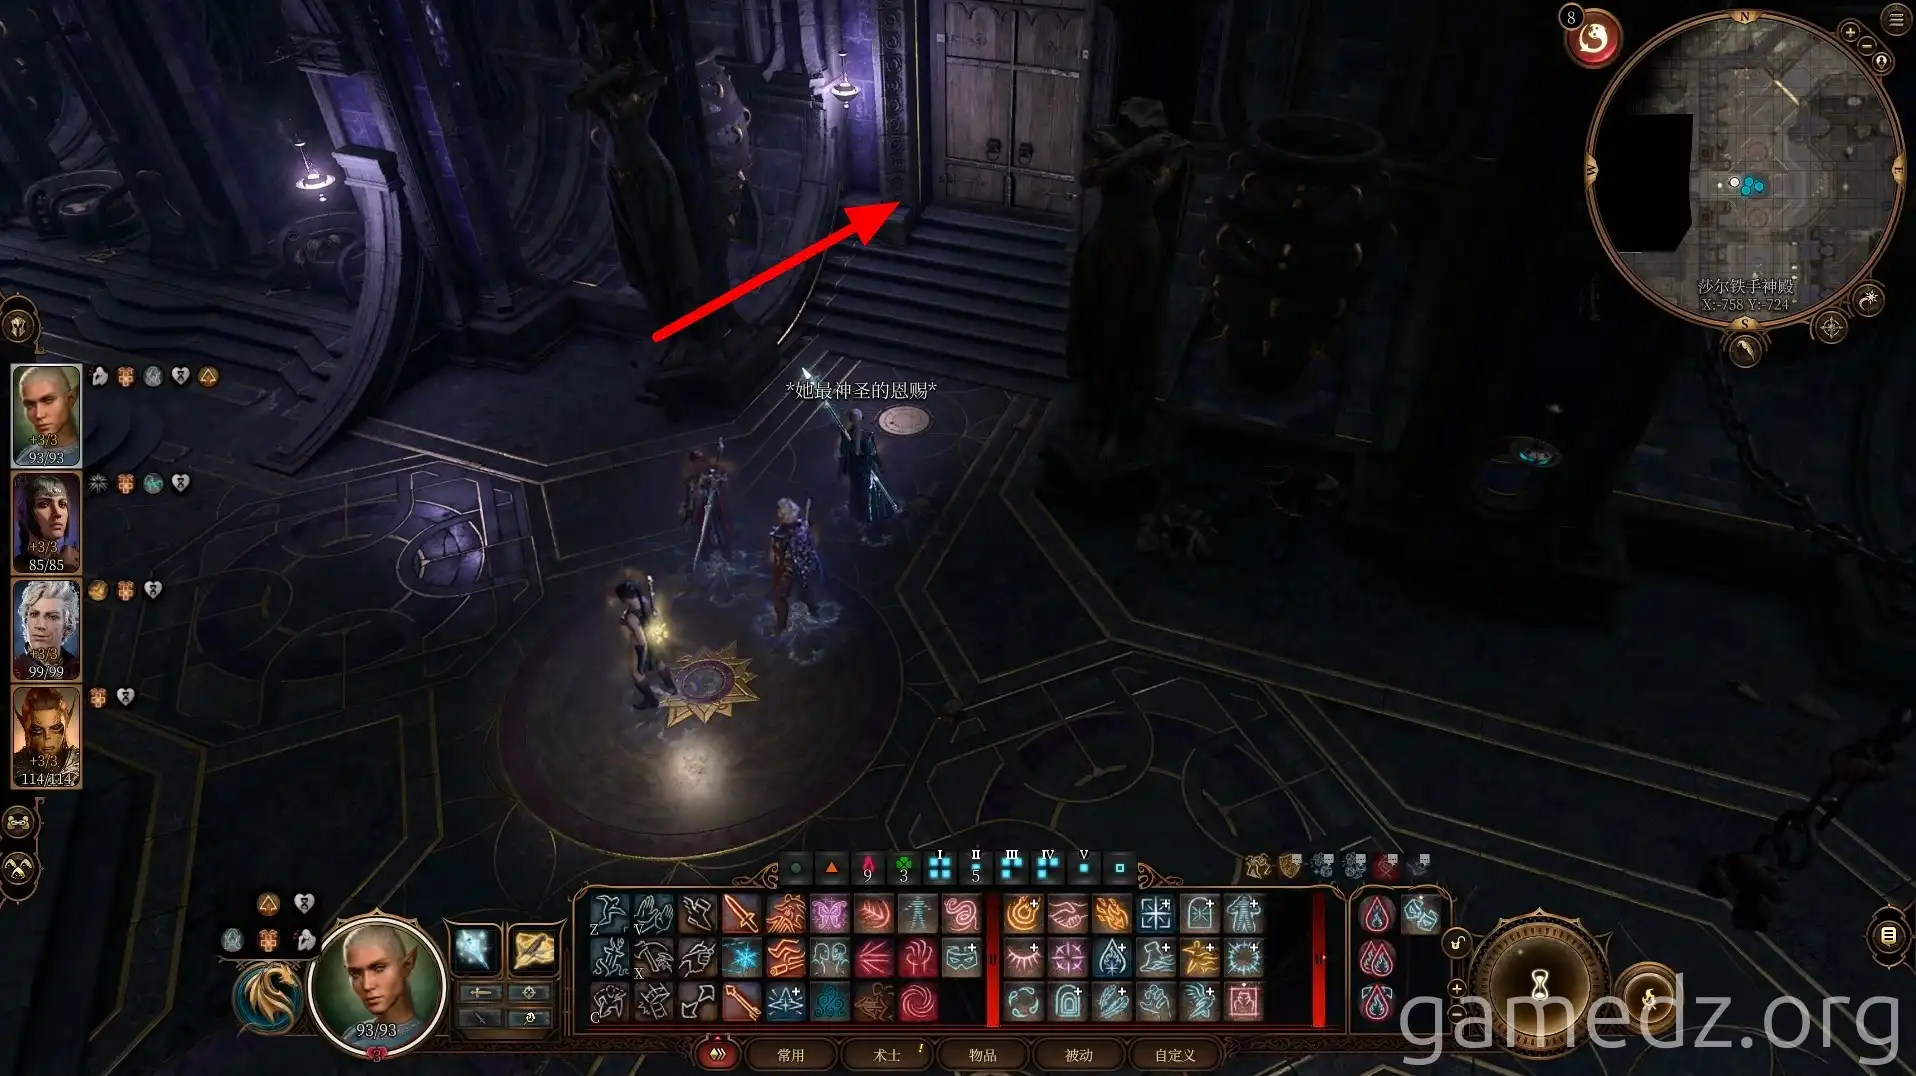
Enter the second room ahead. Be mindful that this room can only be entered by Shadowheart alone; the rest of your party should wait outside.
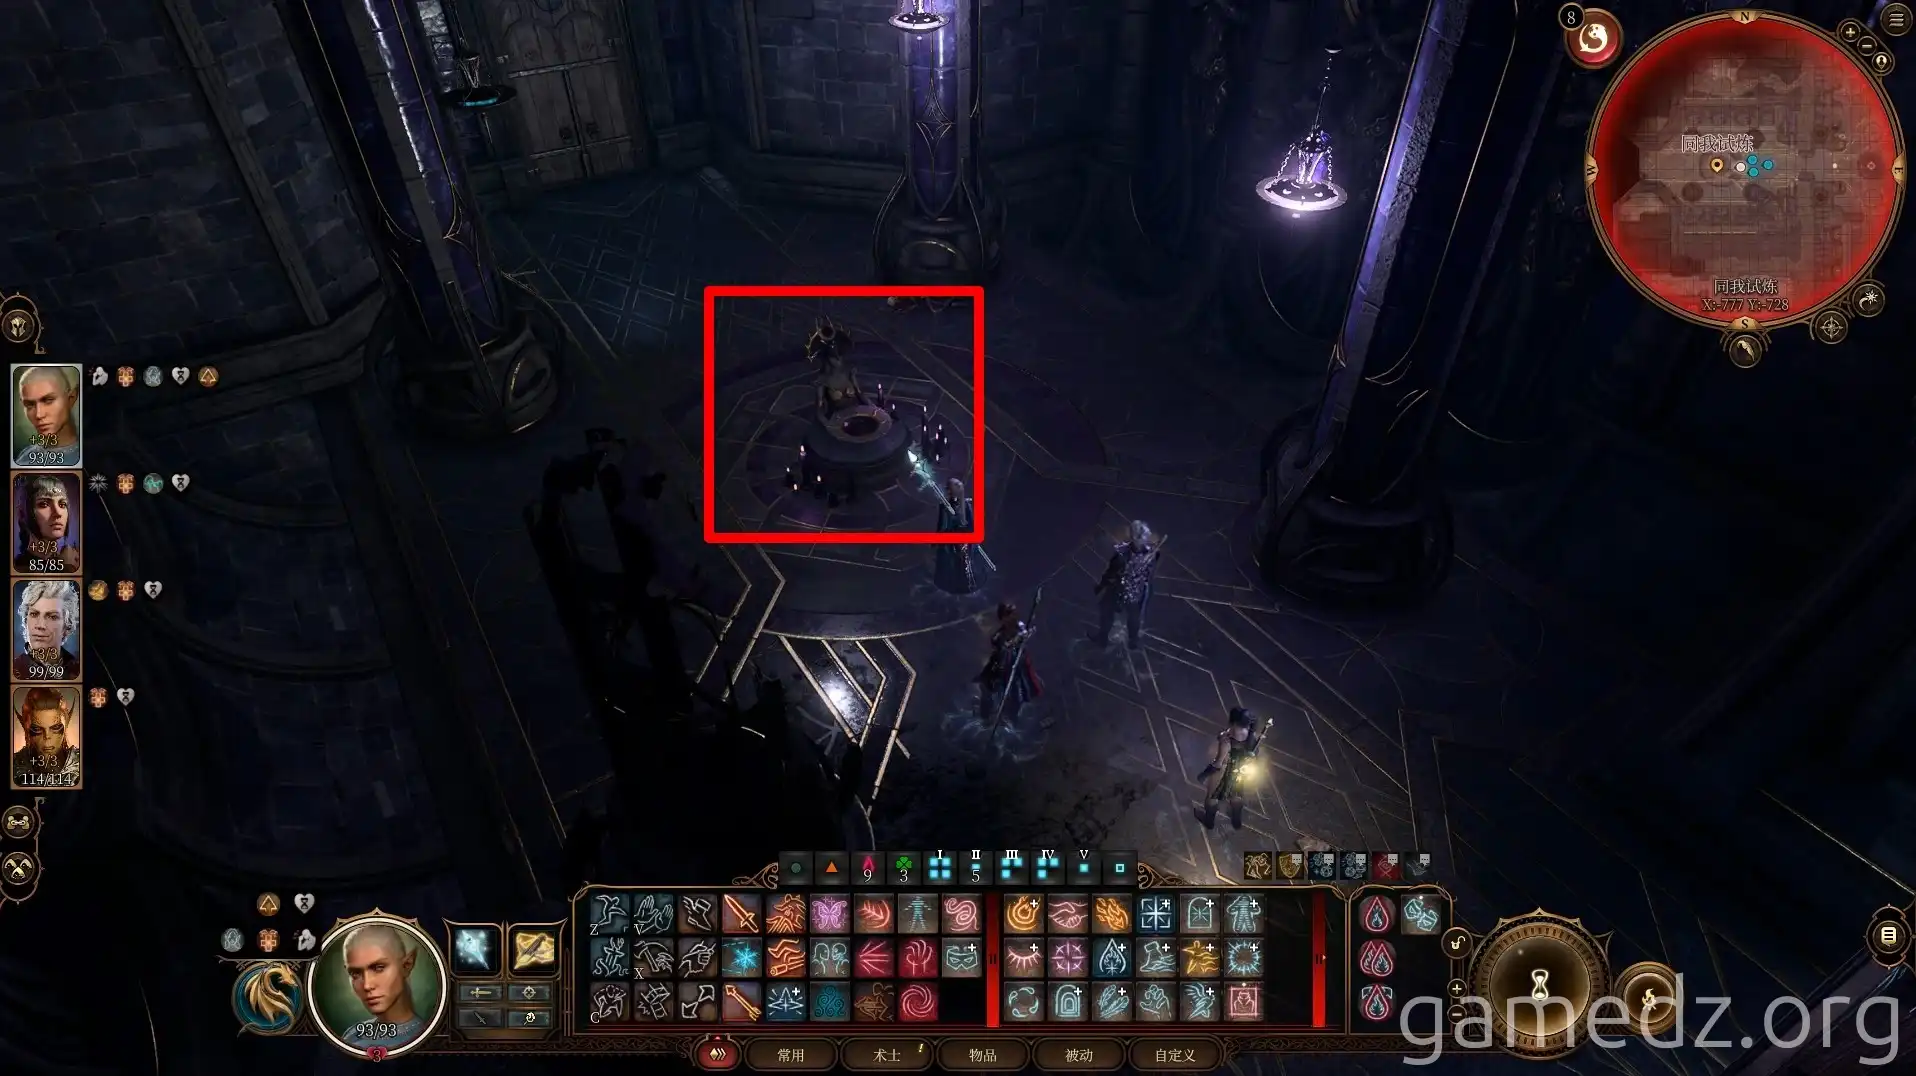
Interact with the sacrificial bowl again to initiate the Follow My Lead Trial.
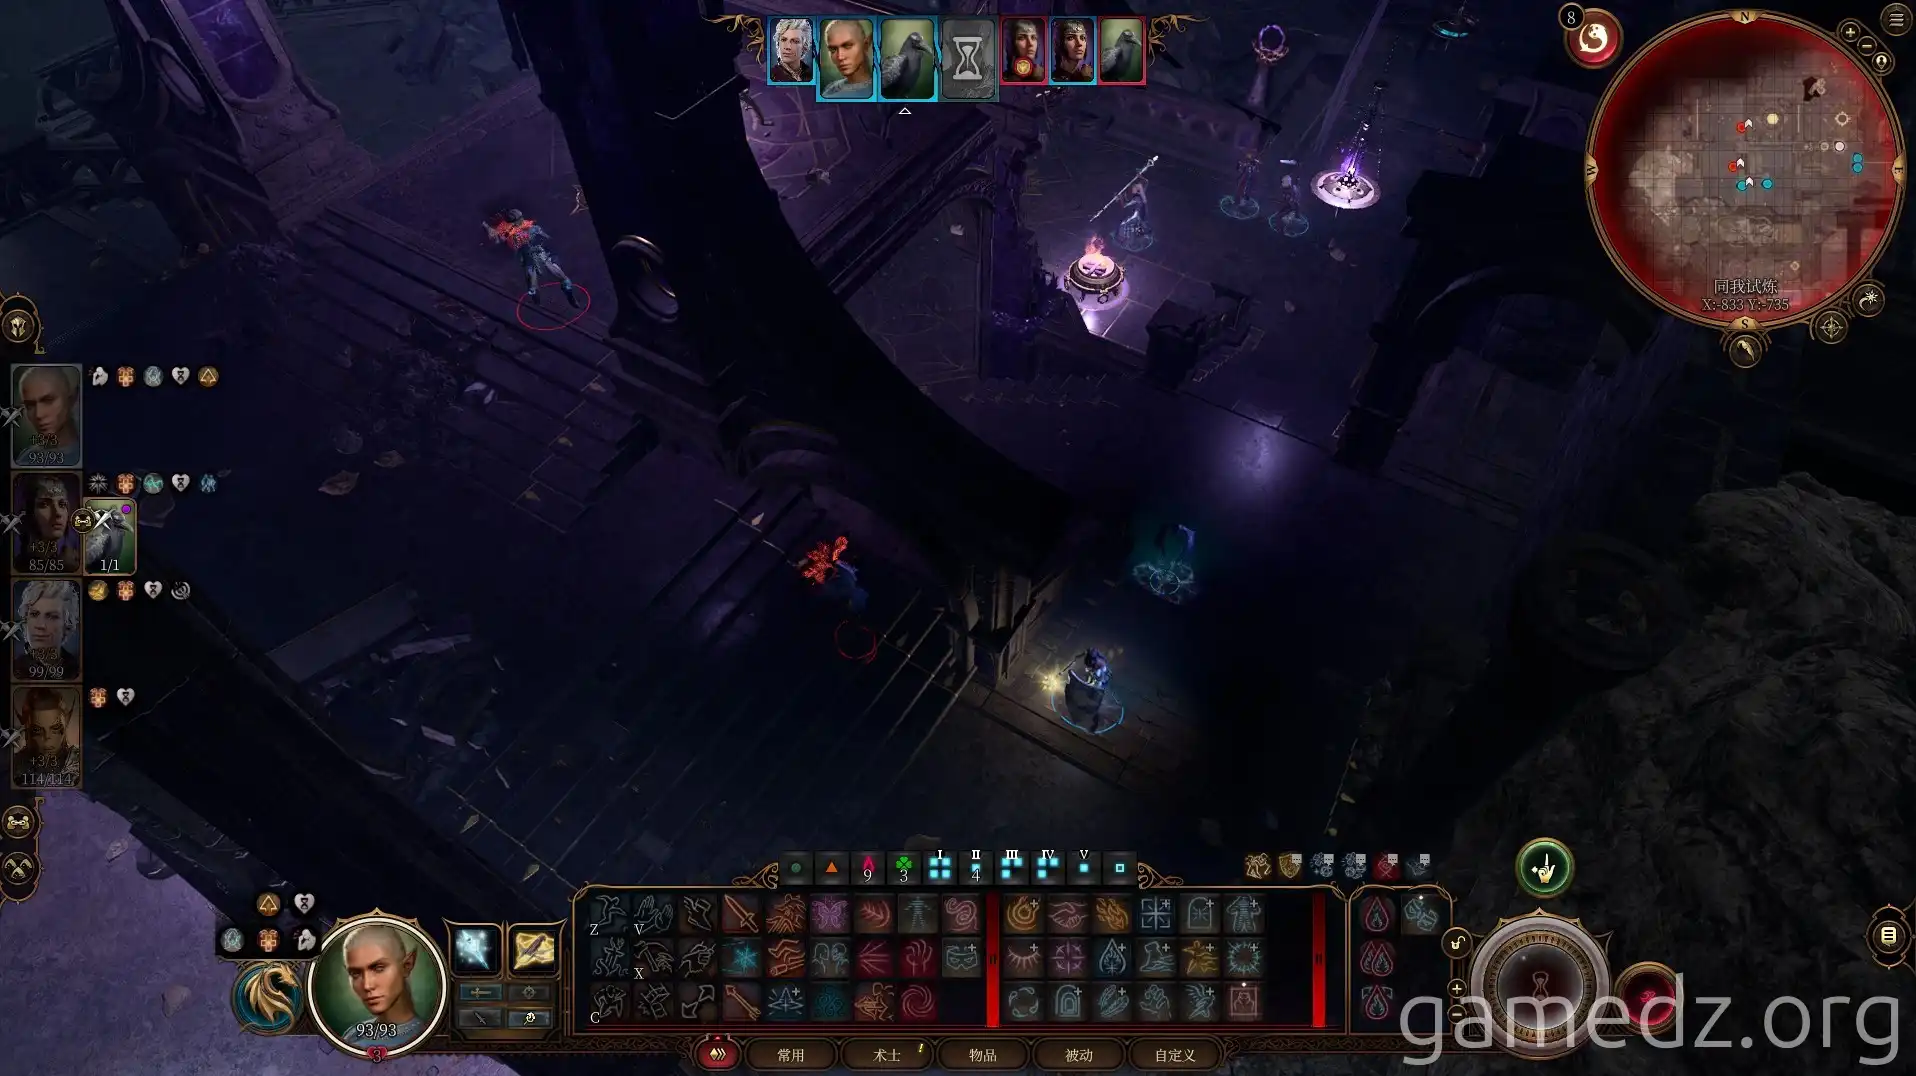
Proceed further into the room to trigger combat. When only one person enters the room, the enemies will only be duplicates of the person who entered. At this point, have the others enter the room to create a situation where you outnumber the enemies.
Note that summoned creatures and various companions will also be duplicated. Remember to dismiss your summons before starting the trial.
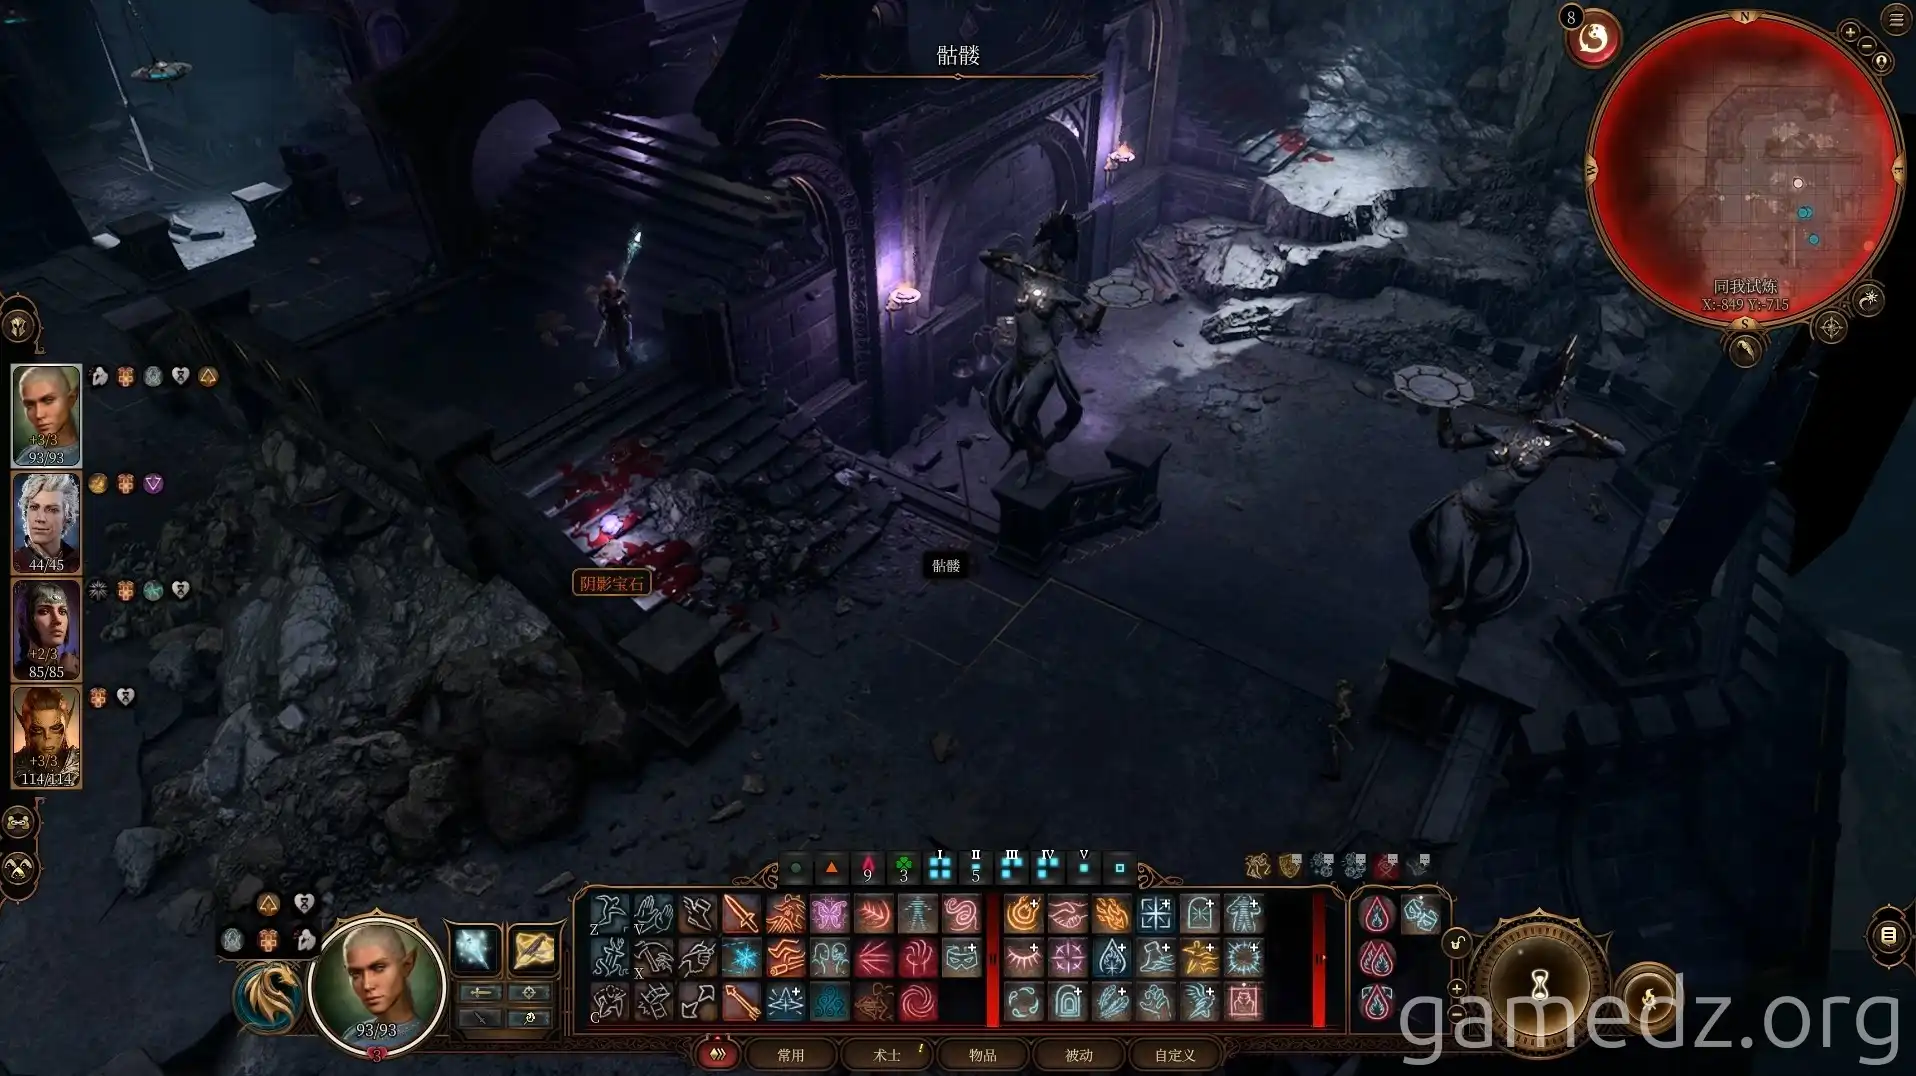
You can obtain the third Shadow-Cursed Pearl from the duplicates.
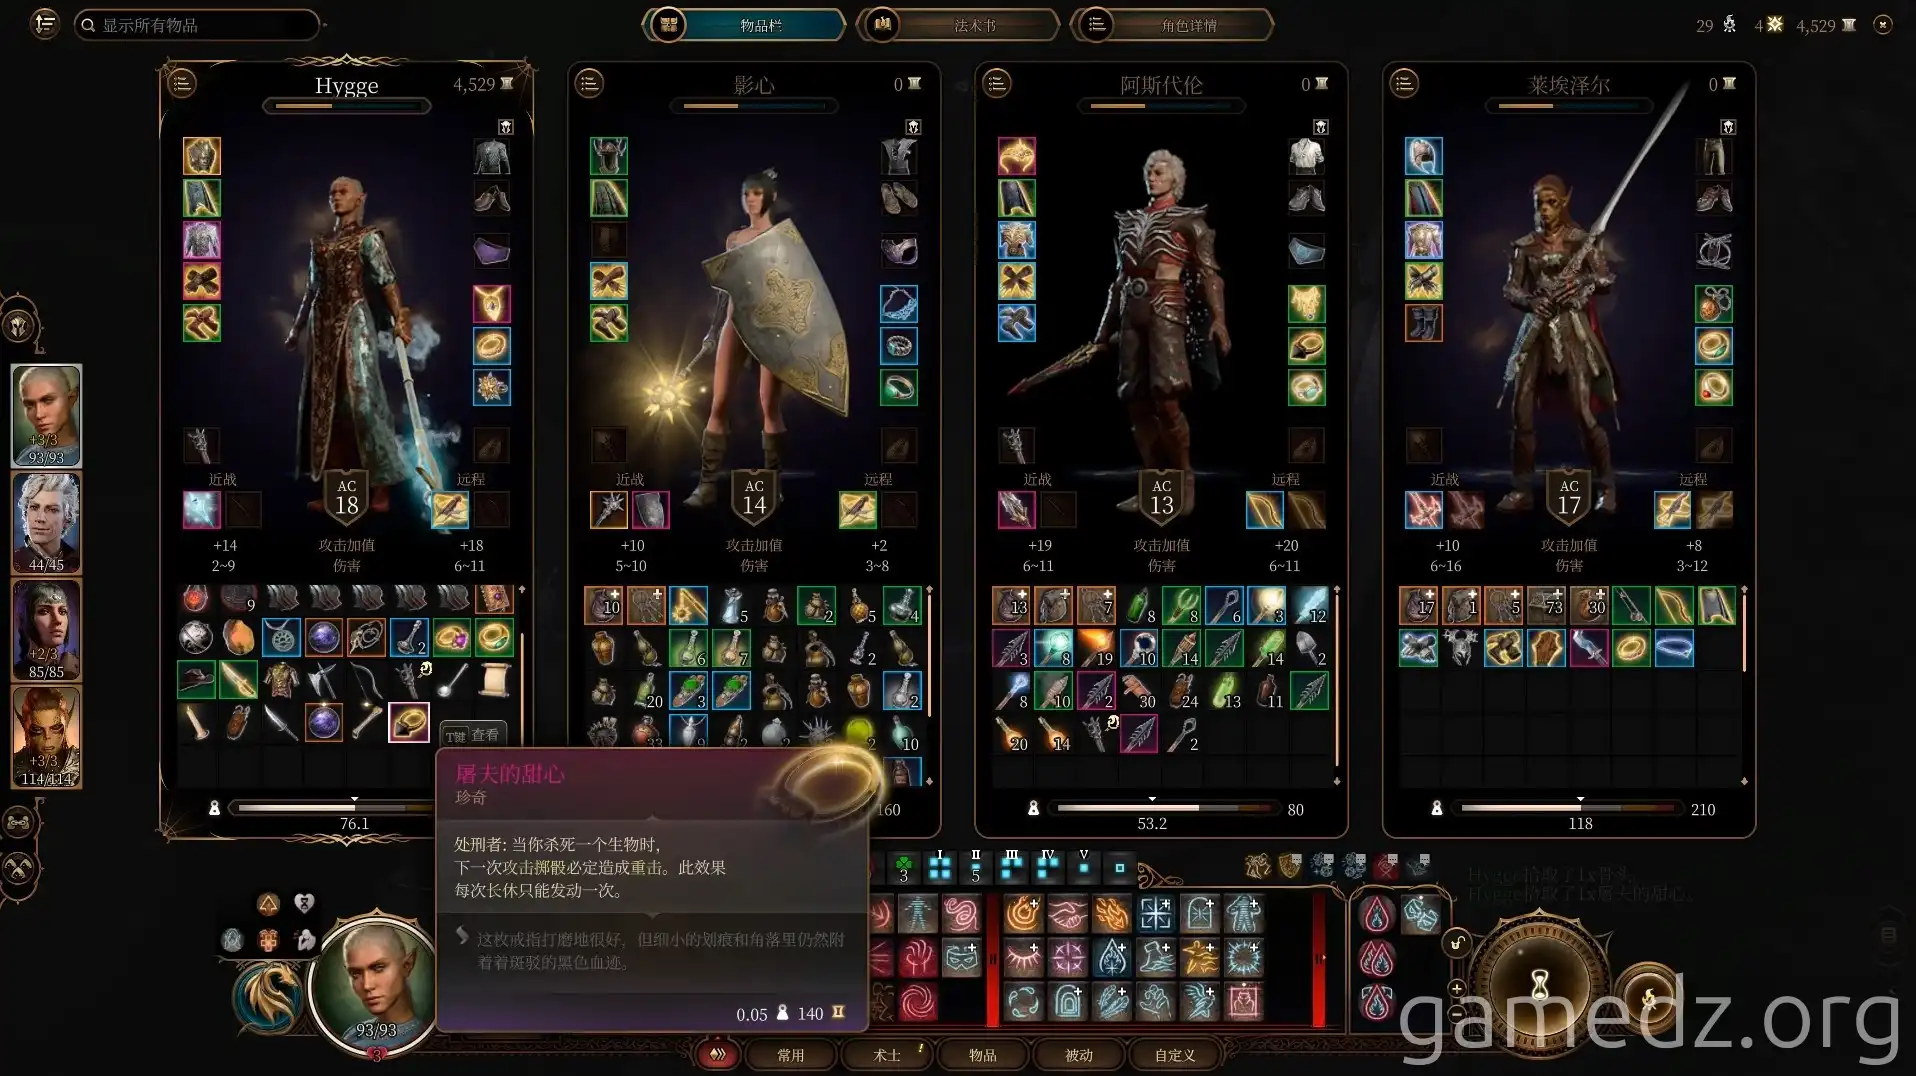
You can also acquire the rare ring Butcher's Sweetheart.
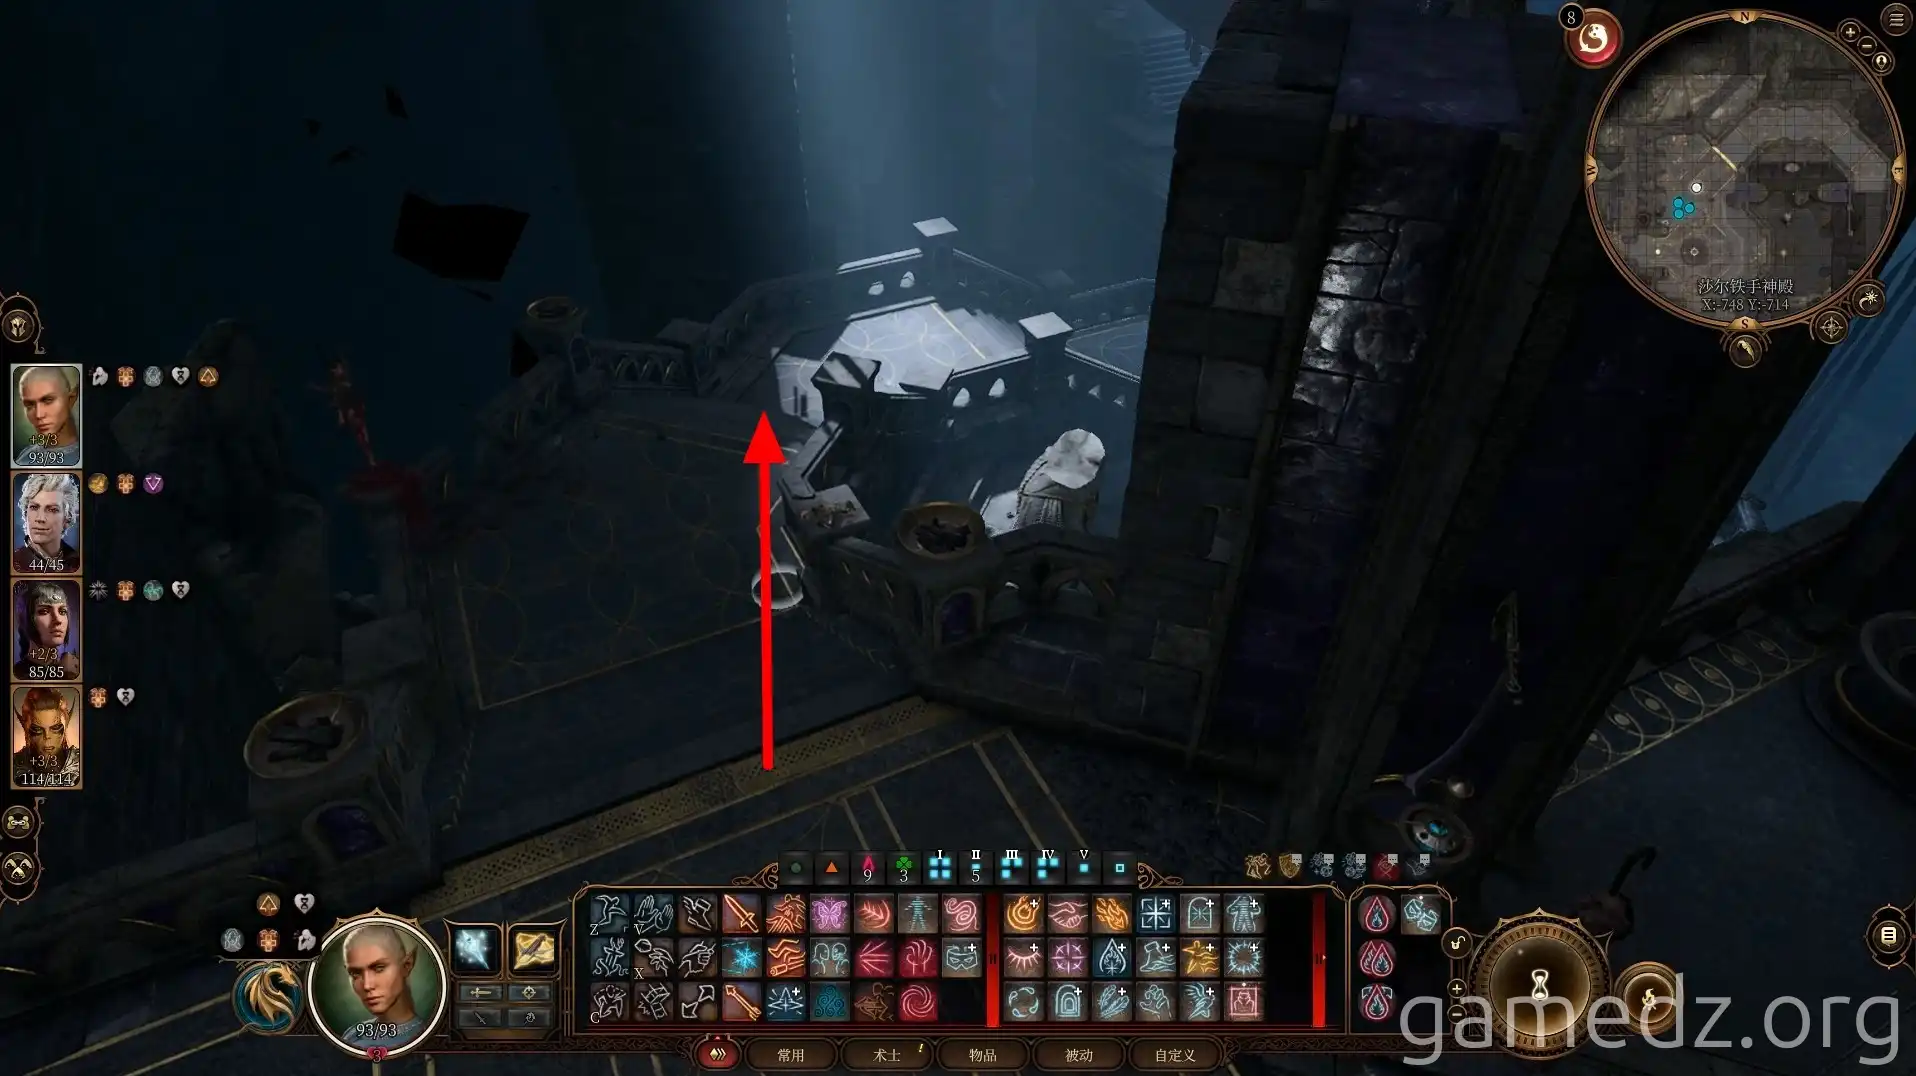
Leave the room and proceed down the stairs ahead.
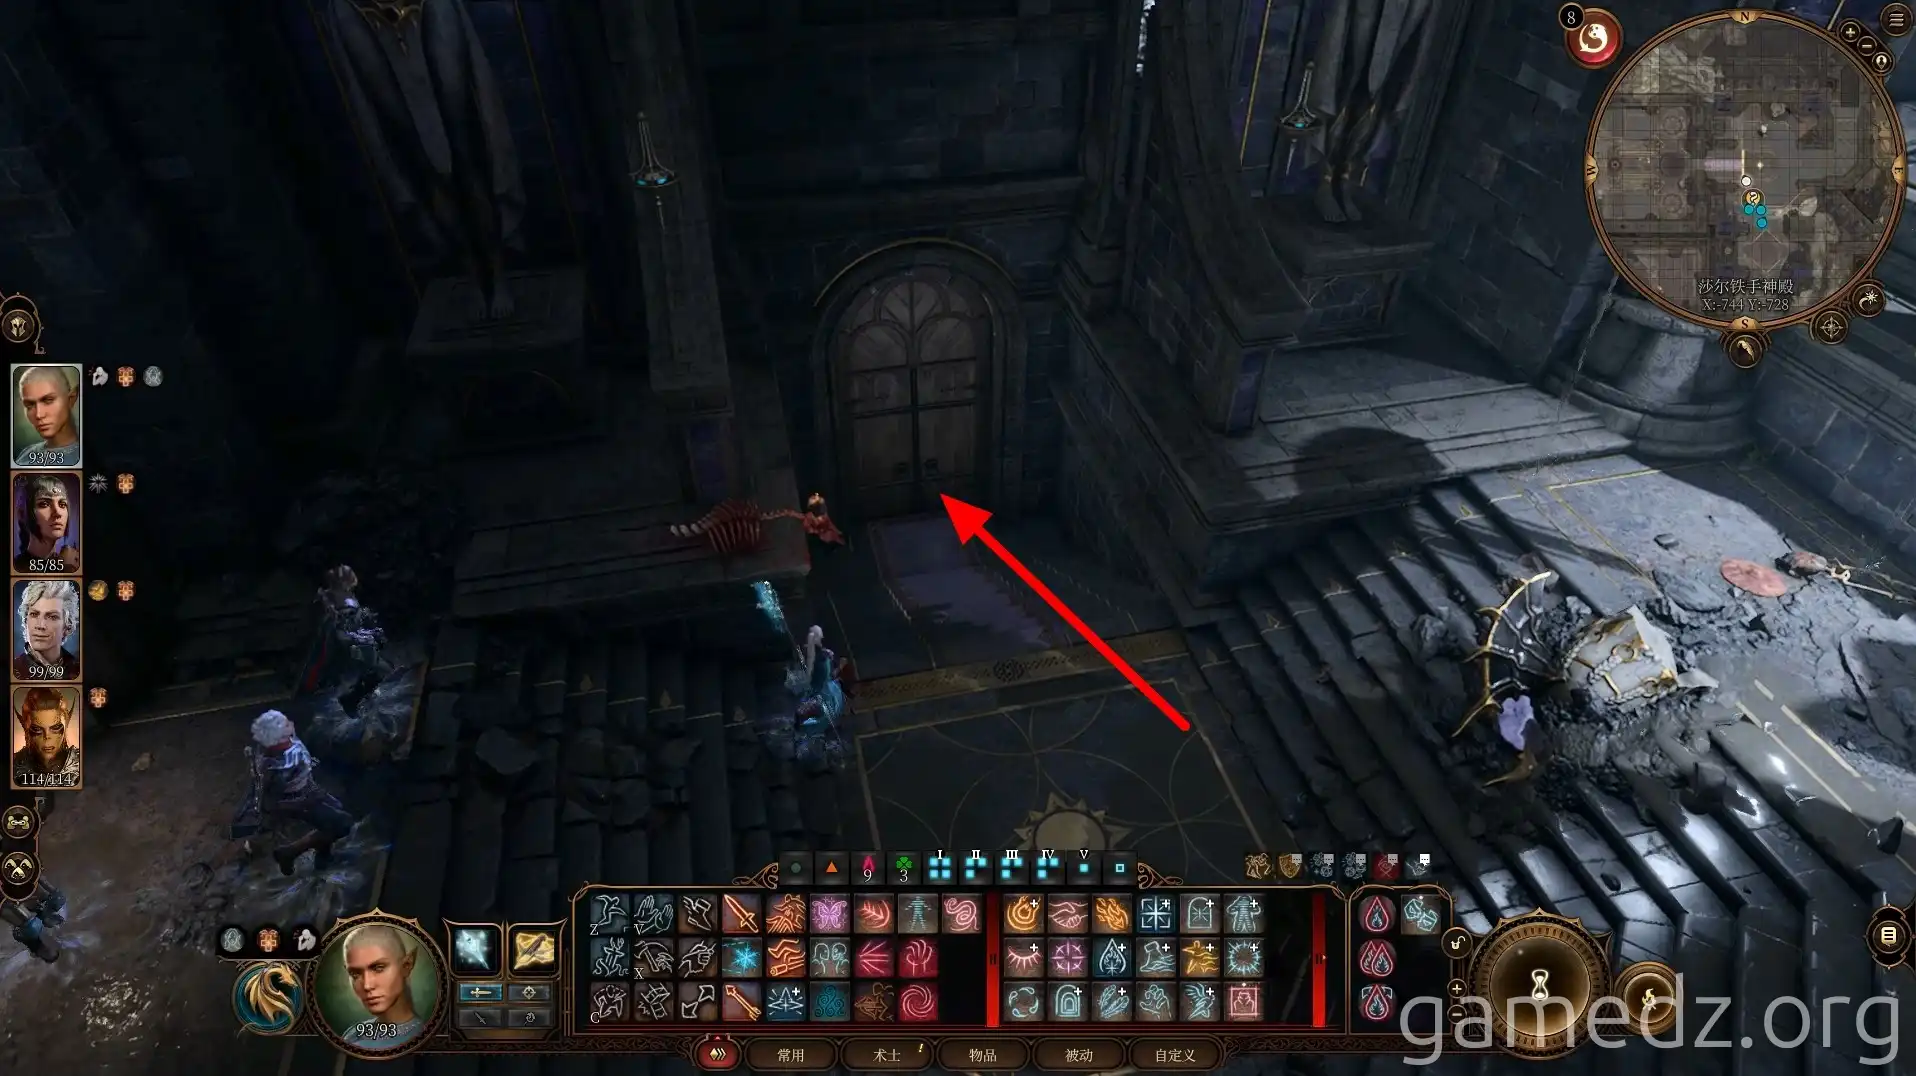
Upon reaching the lower level, enter the first room to begin the Leap of Faith Trial.
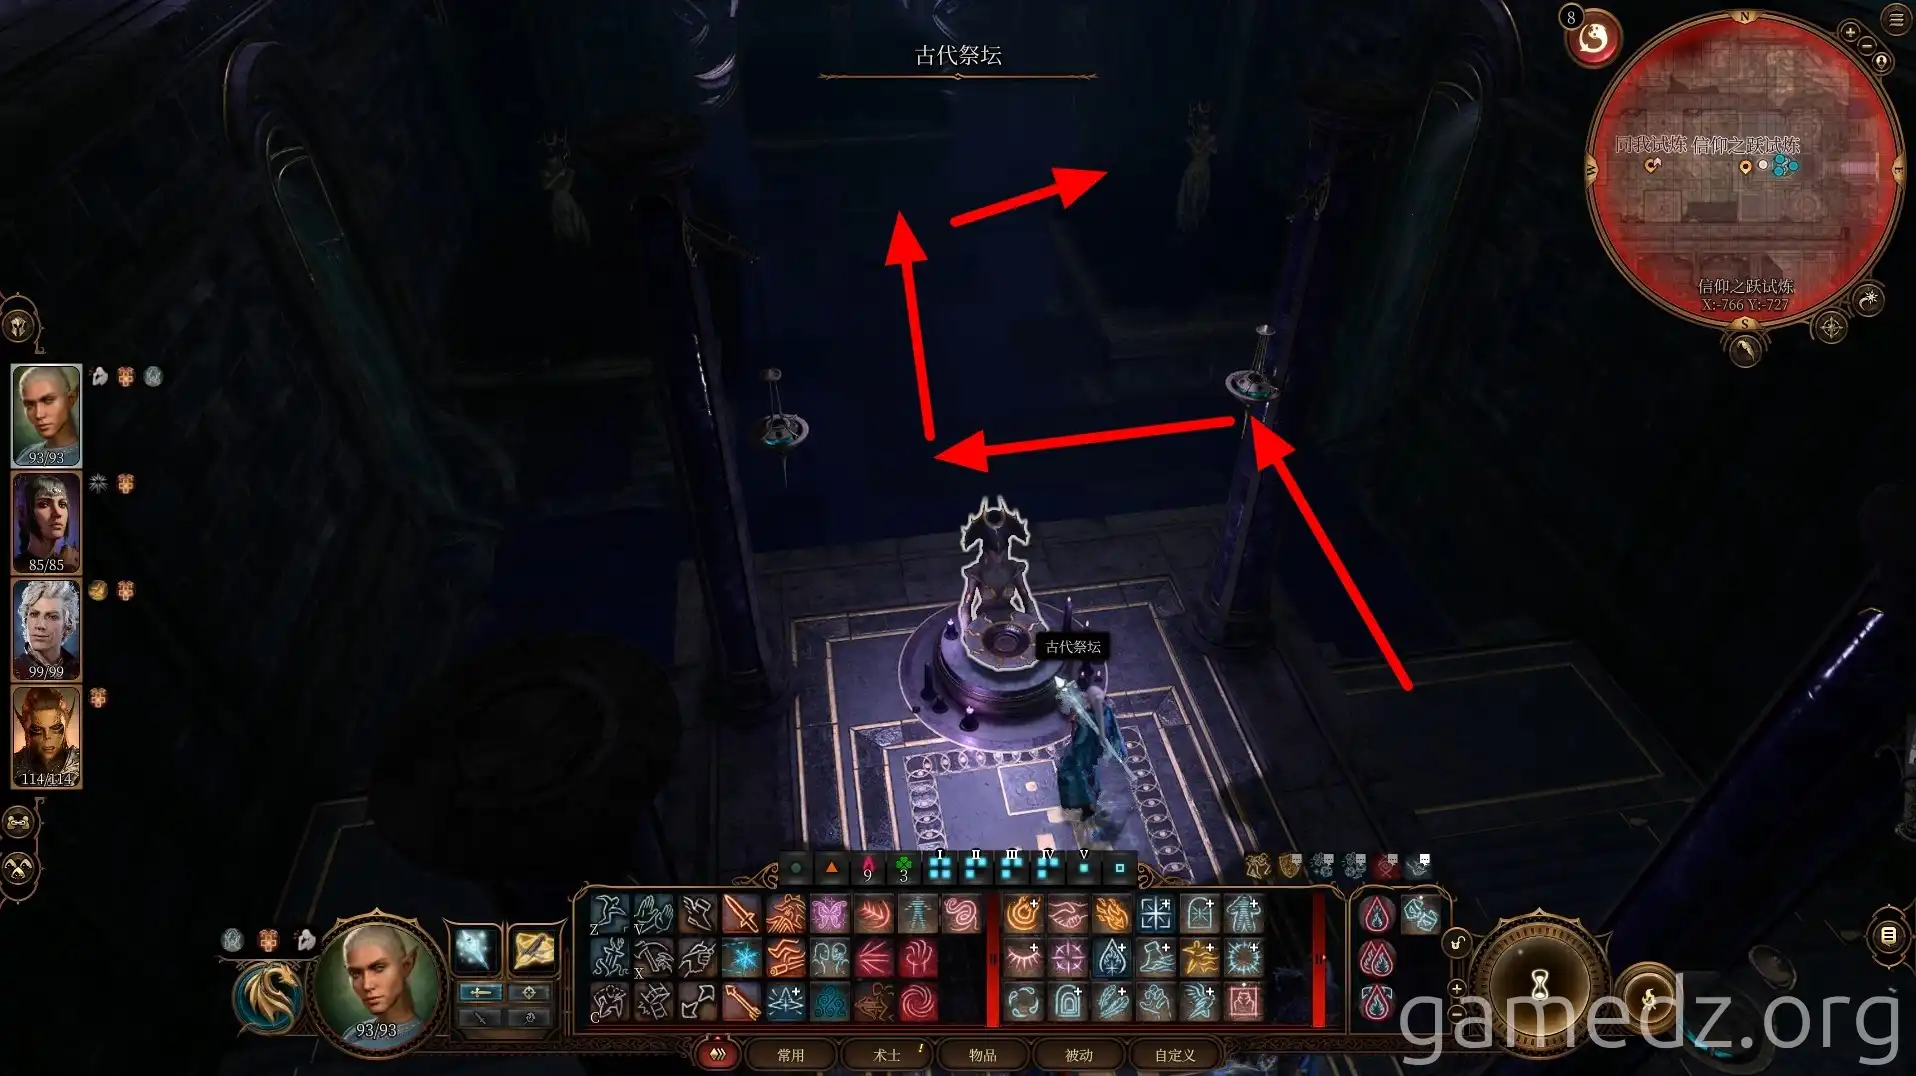
In the game, you can clearly see darker shadows underwater. Follow these shadows to the deepest part of the room.
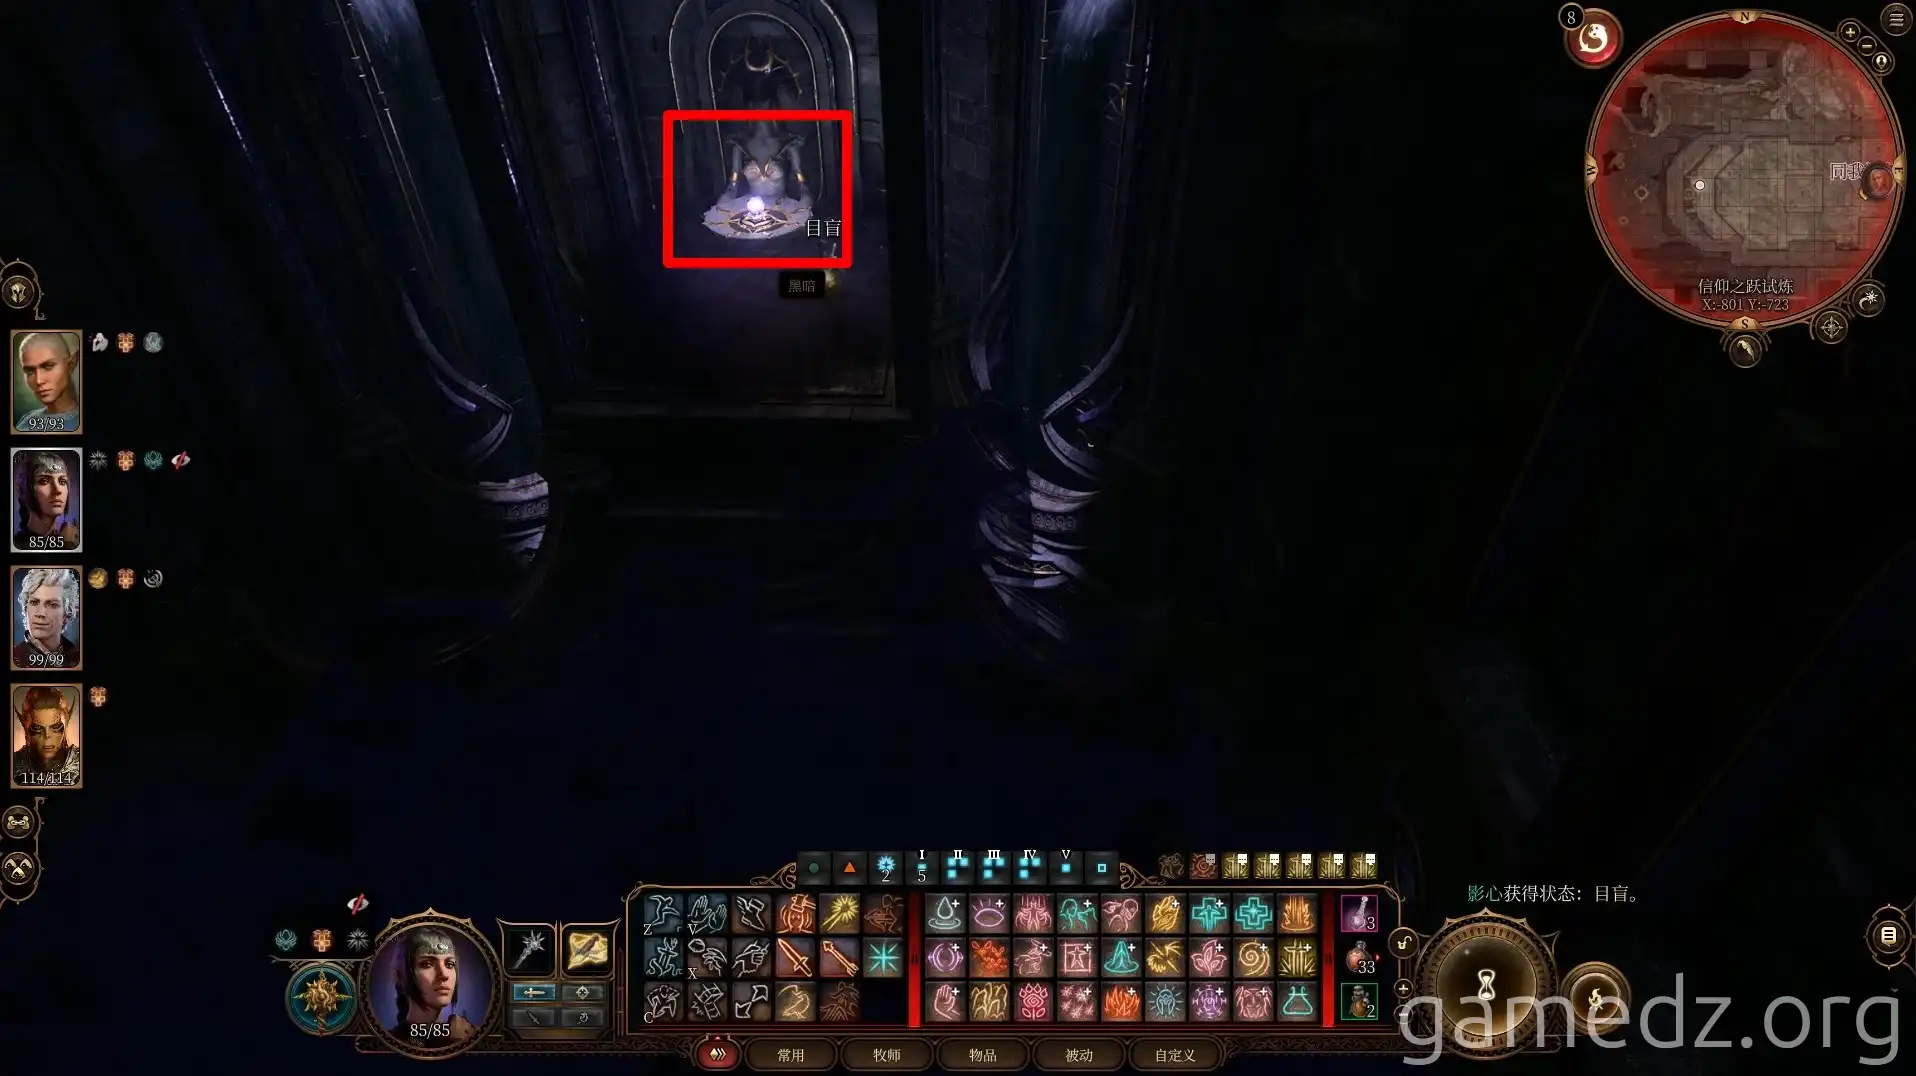
In the room ahead, you will find the fourth Shadow-Cursed Pearl.
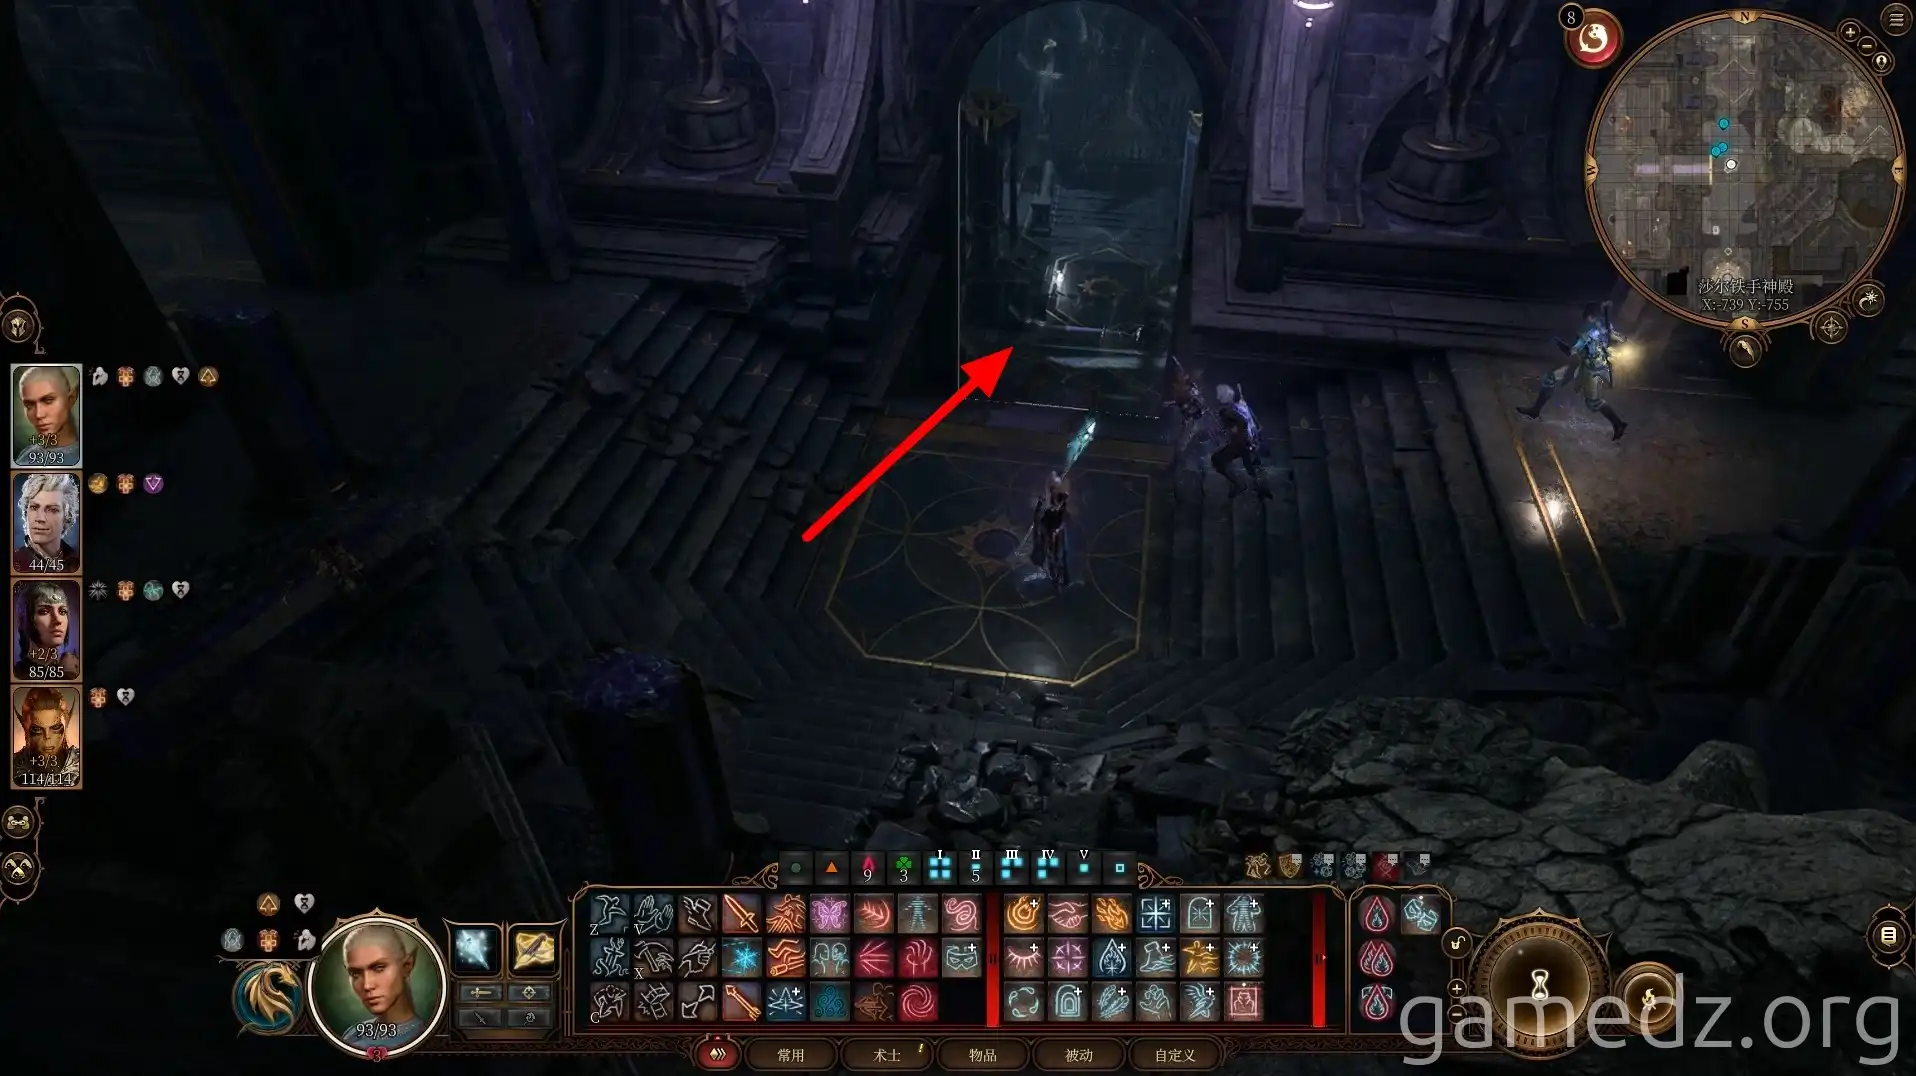
Continue south on the lower level and enter the Silent Library.
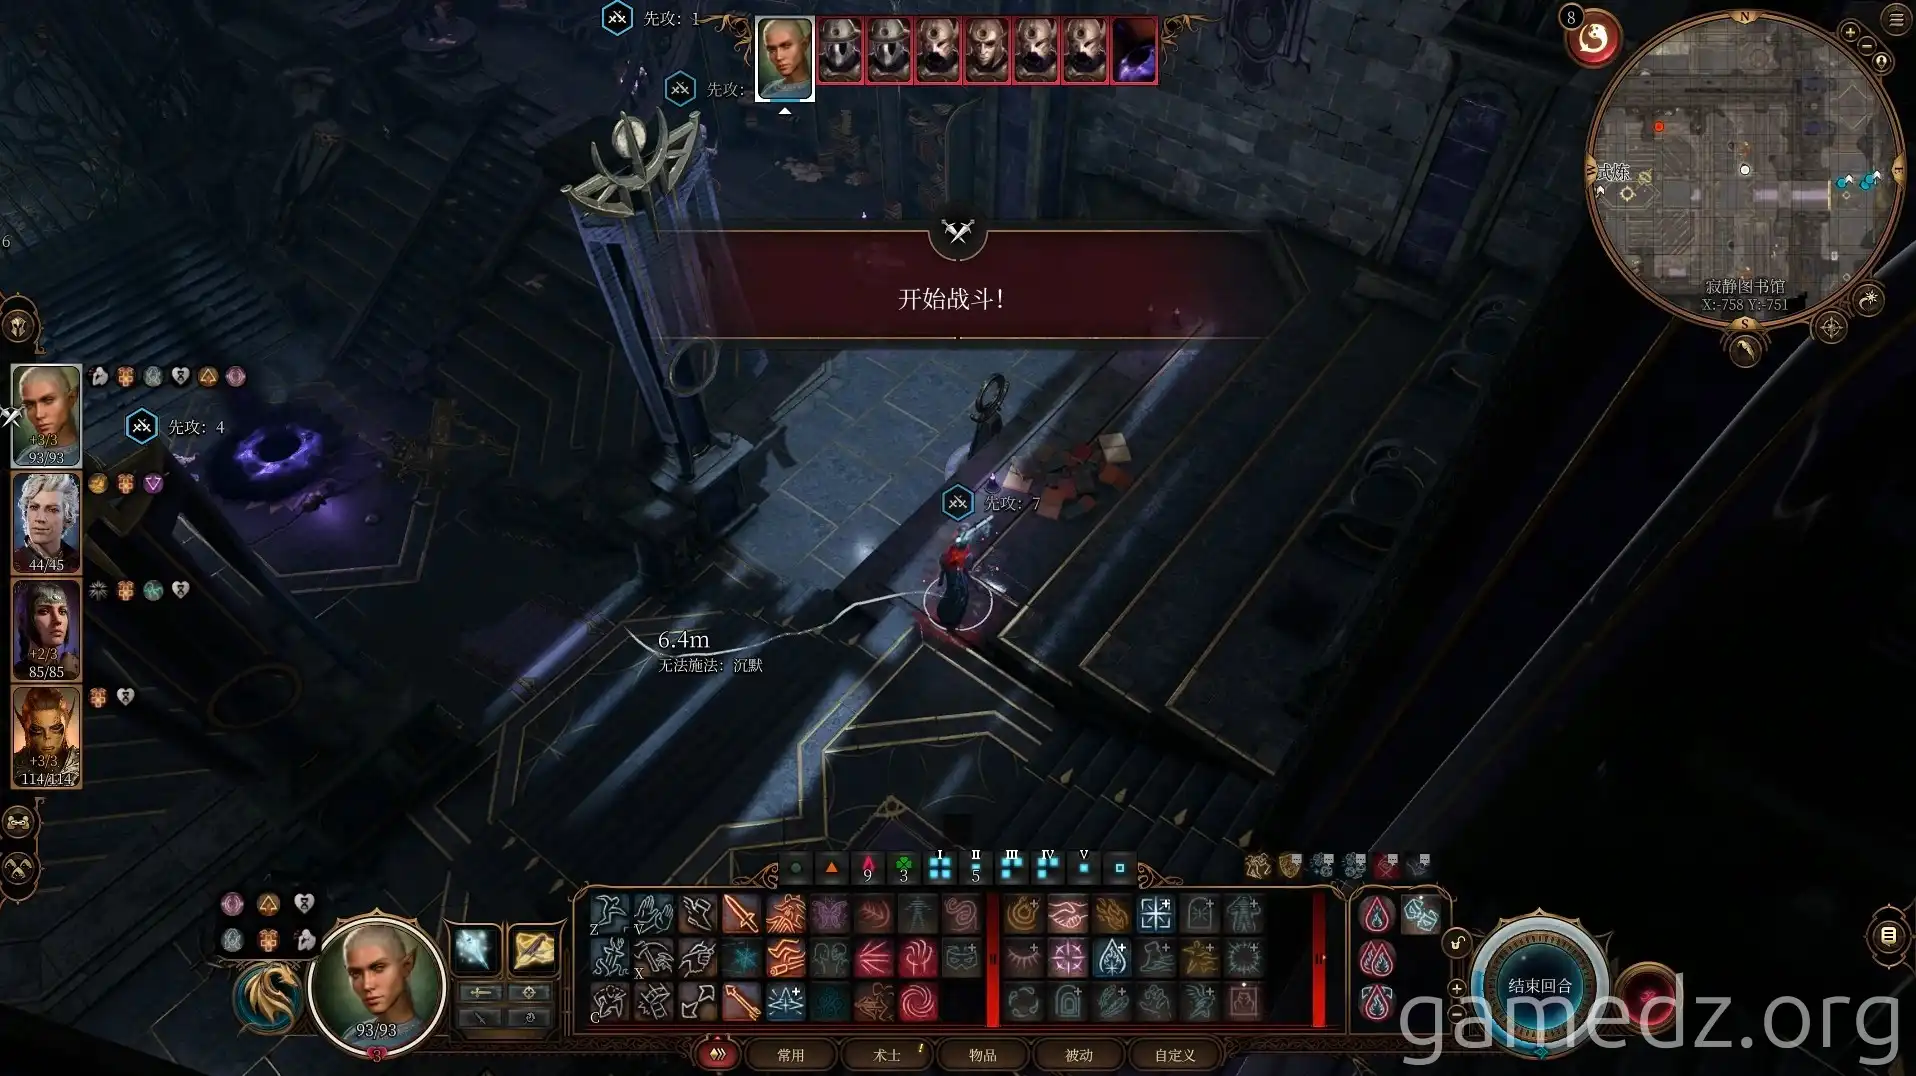
Upon entering the library, you will encounter combat. However, the entire library is currently under a Silence spell, meaning you can only defeat enemies using physical attacks.
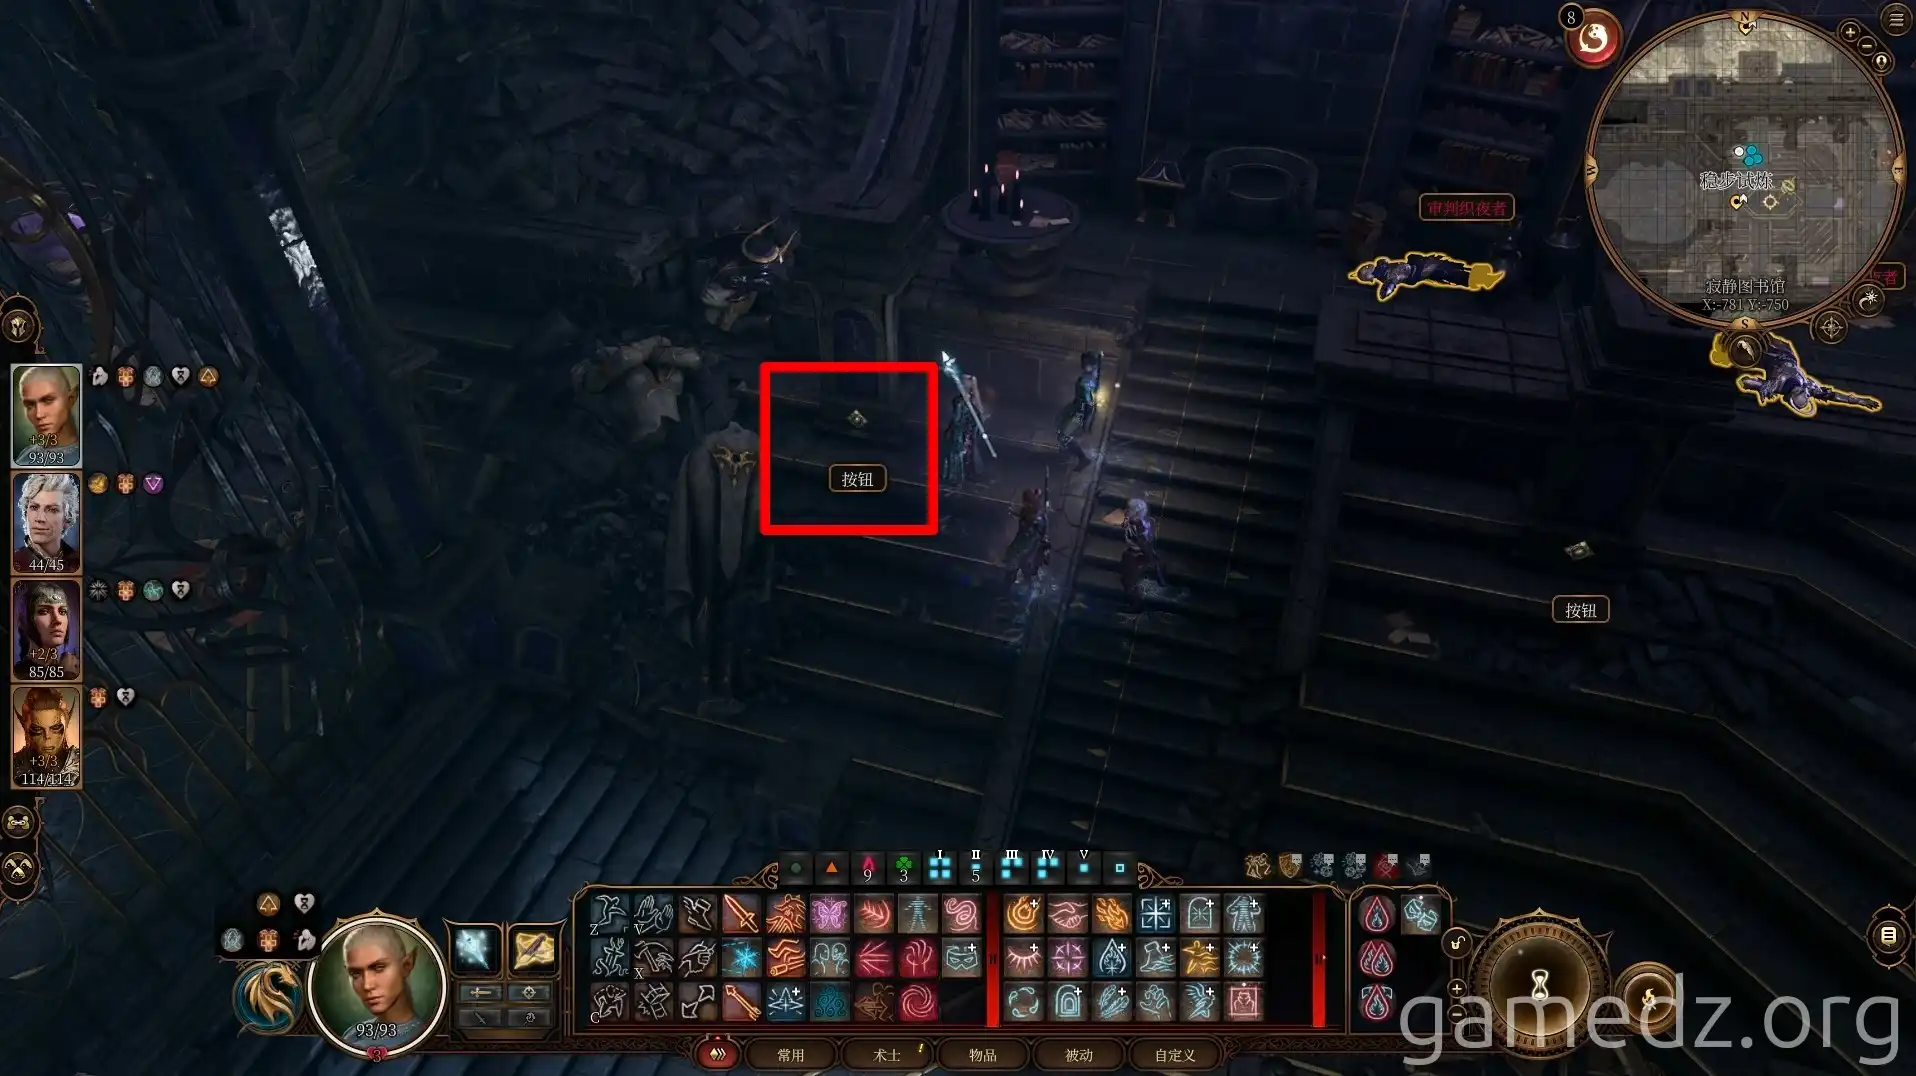
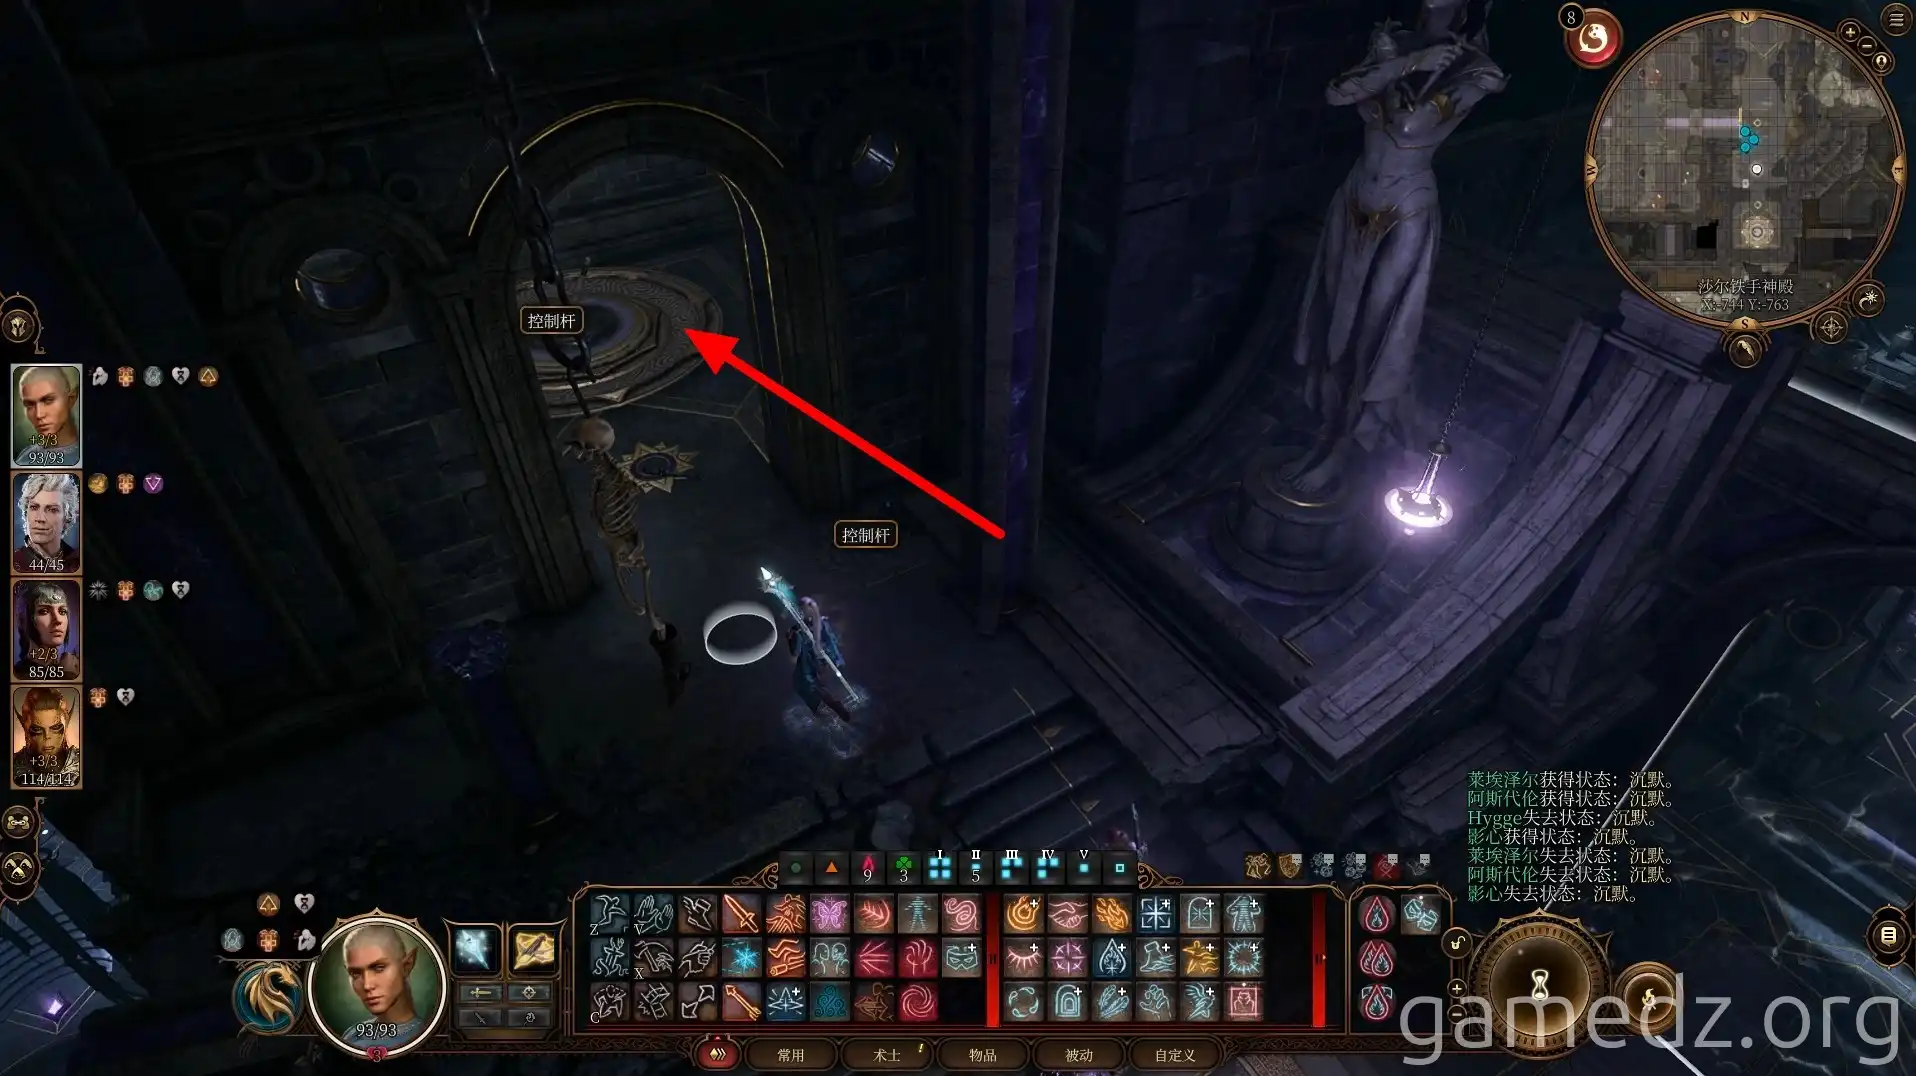
After the battle, disarm the four buttons around the library to open the door leading to the inner area.
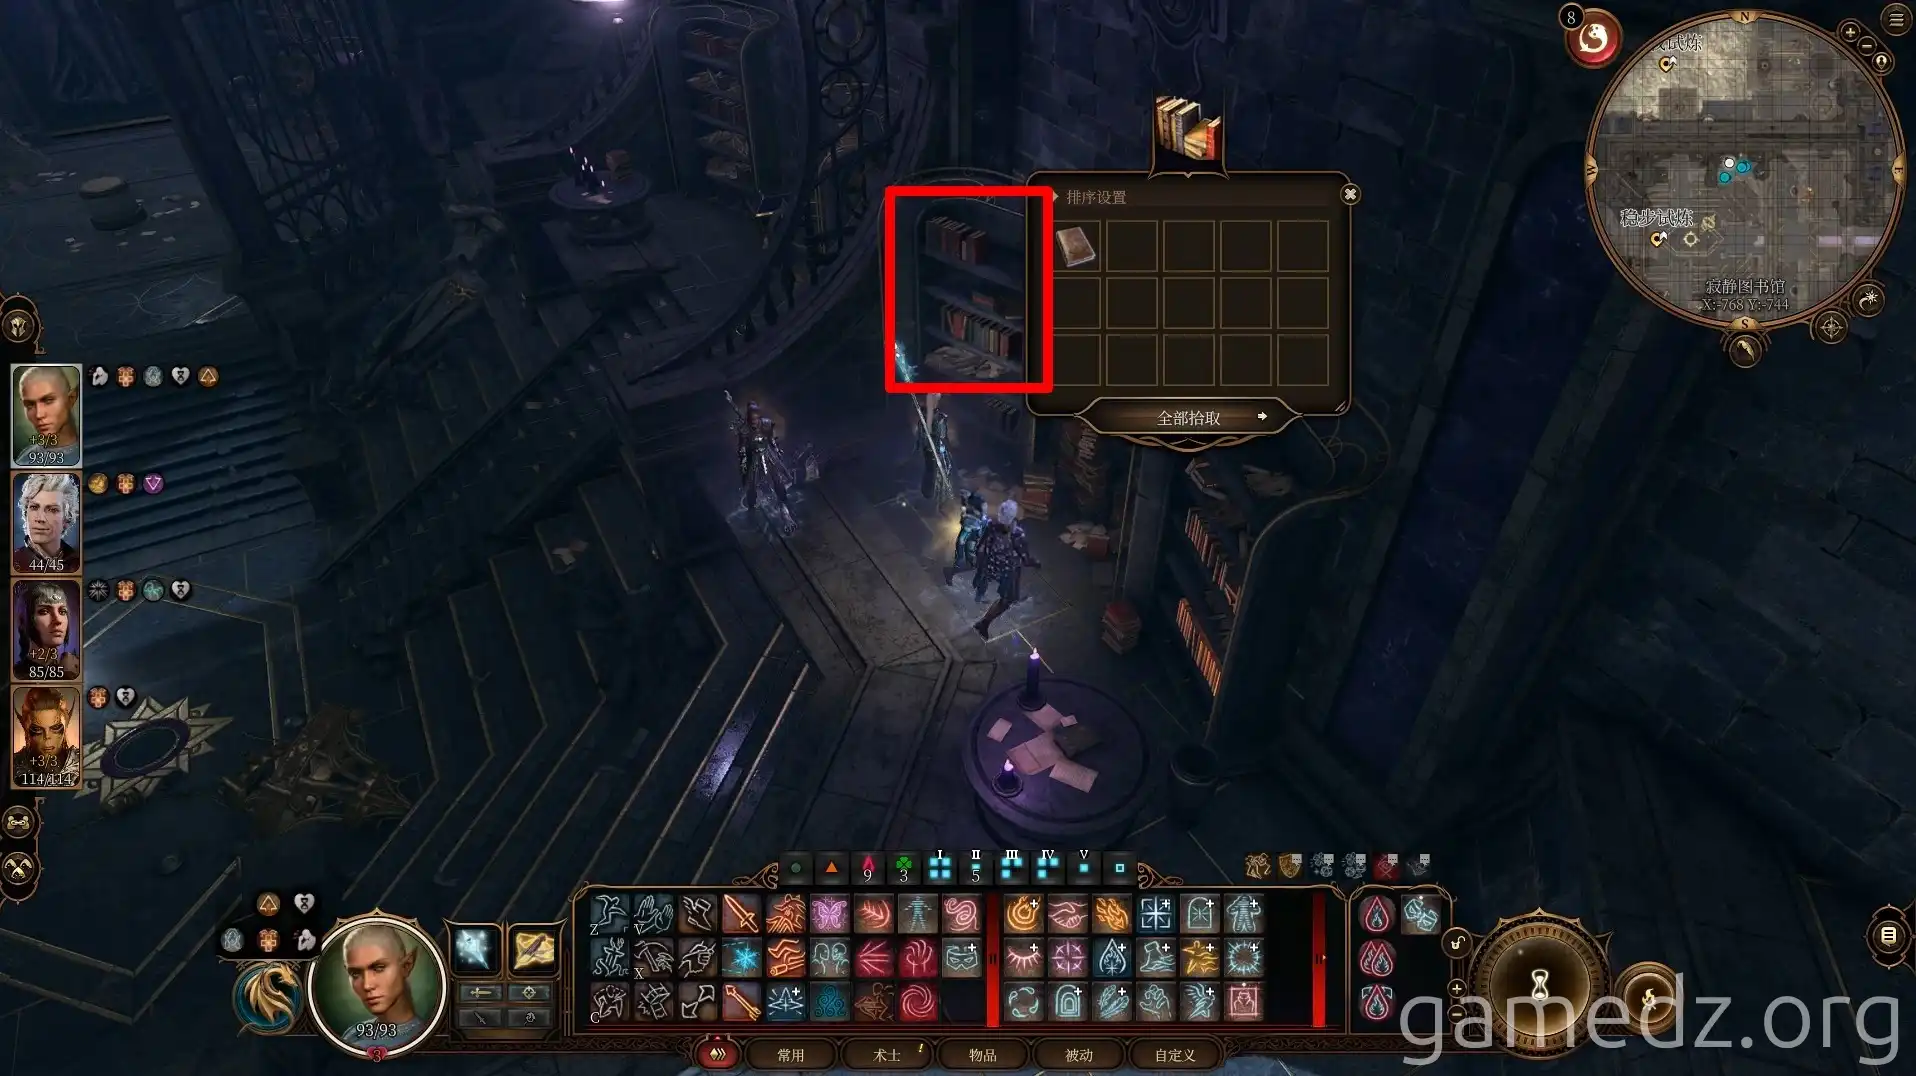
Then, disarm the trap on the bookshelf on the north side of the library and retrieve the book Lost Teachings: The Nightsong. After looting the area, enter the inner section of the library.
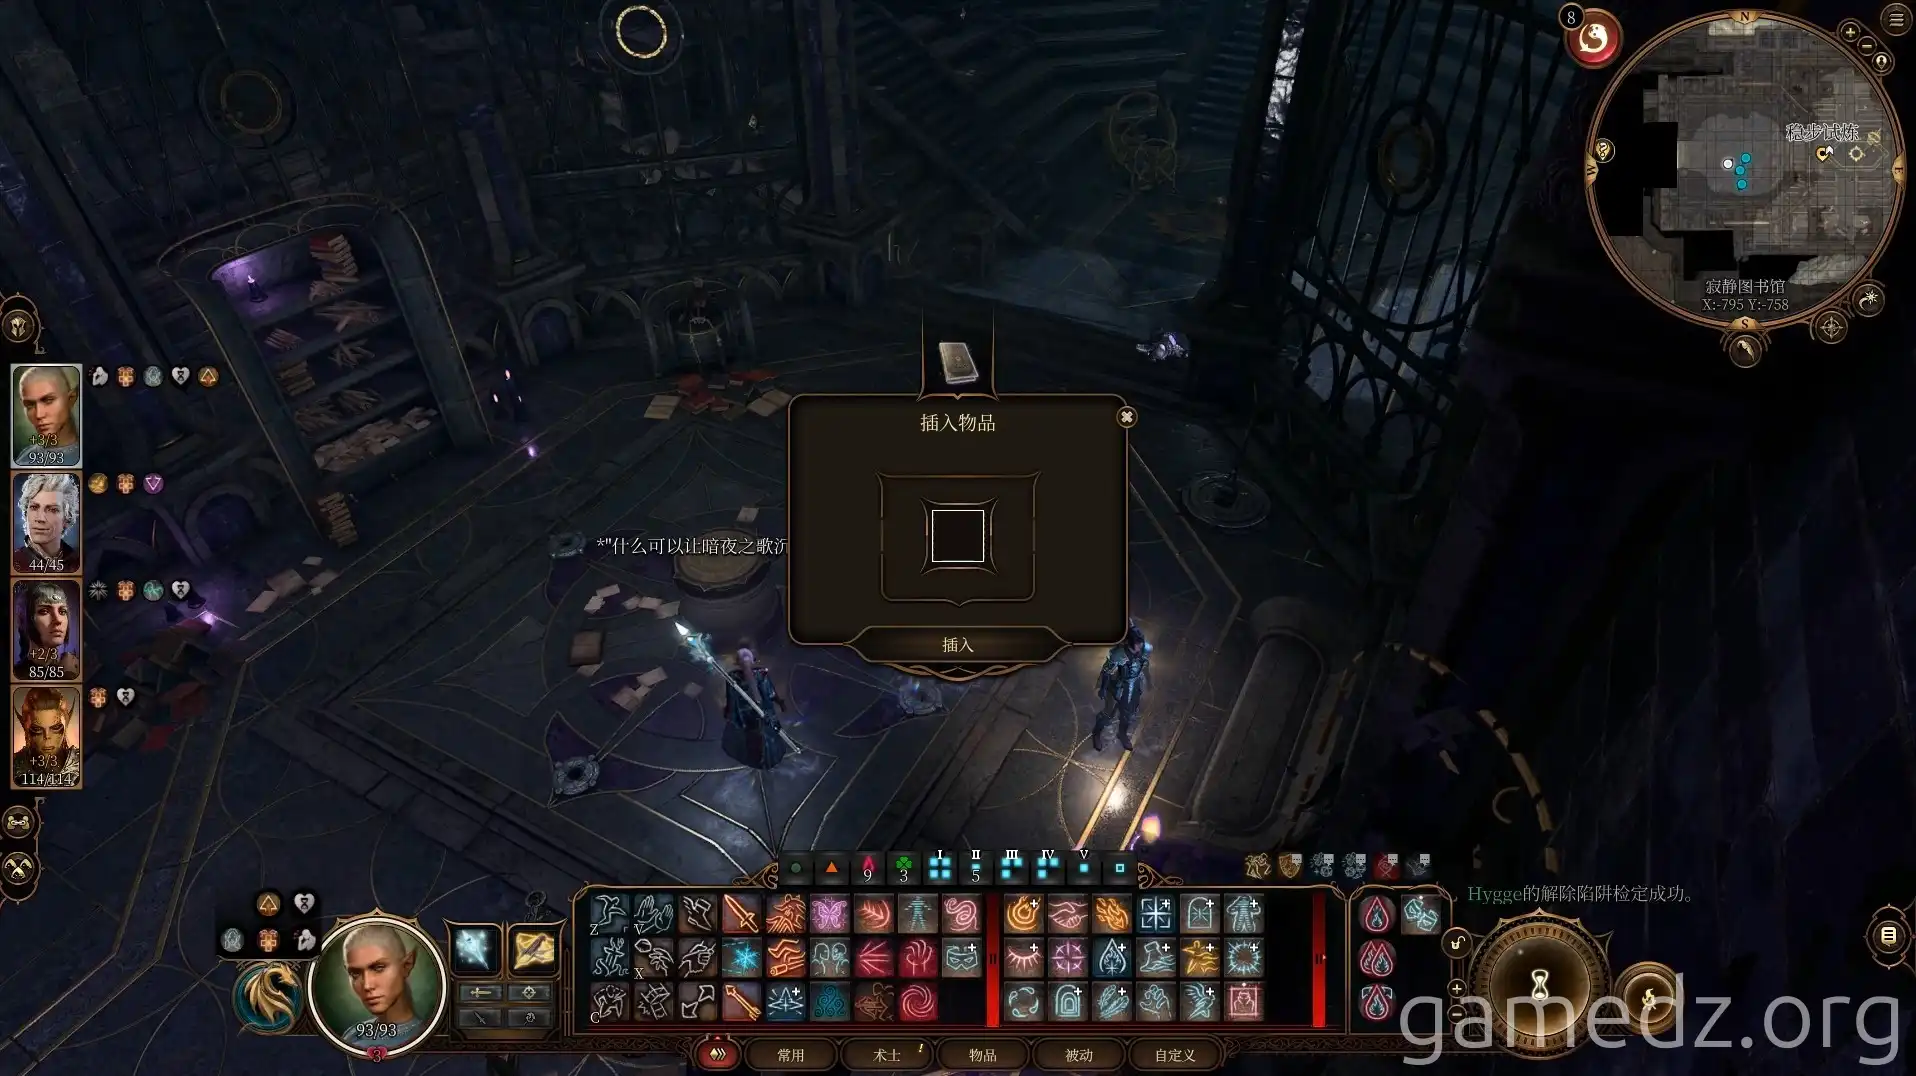
Place Lost Teachings: The Nightsong on the altar in the center to open the door to the west room.
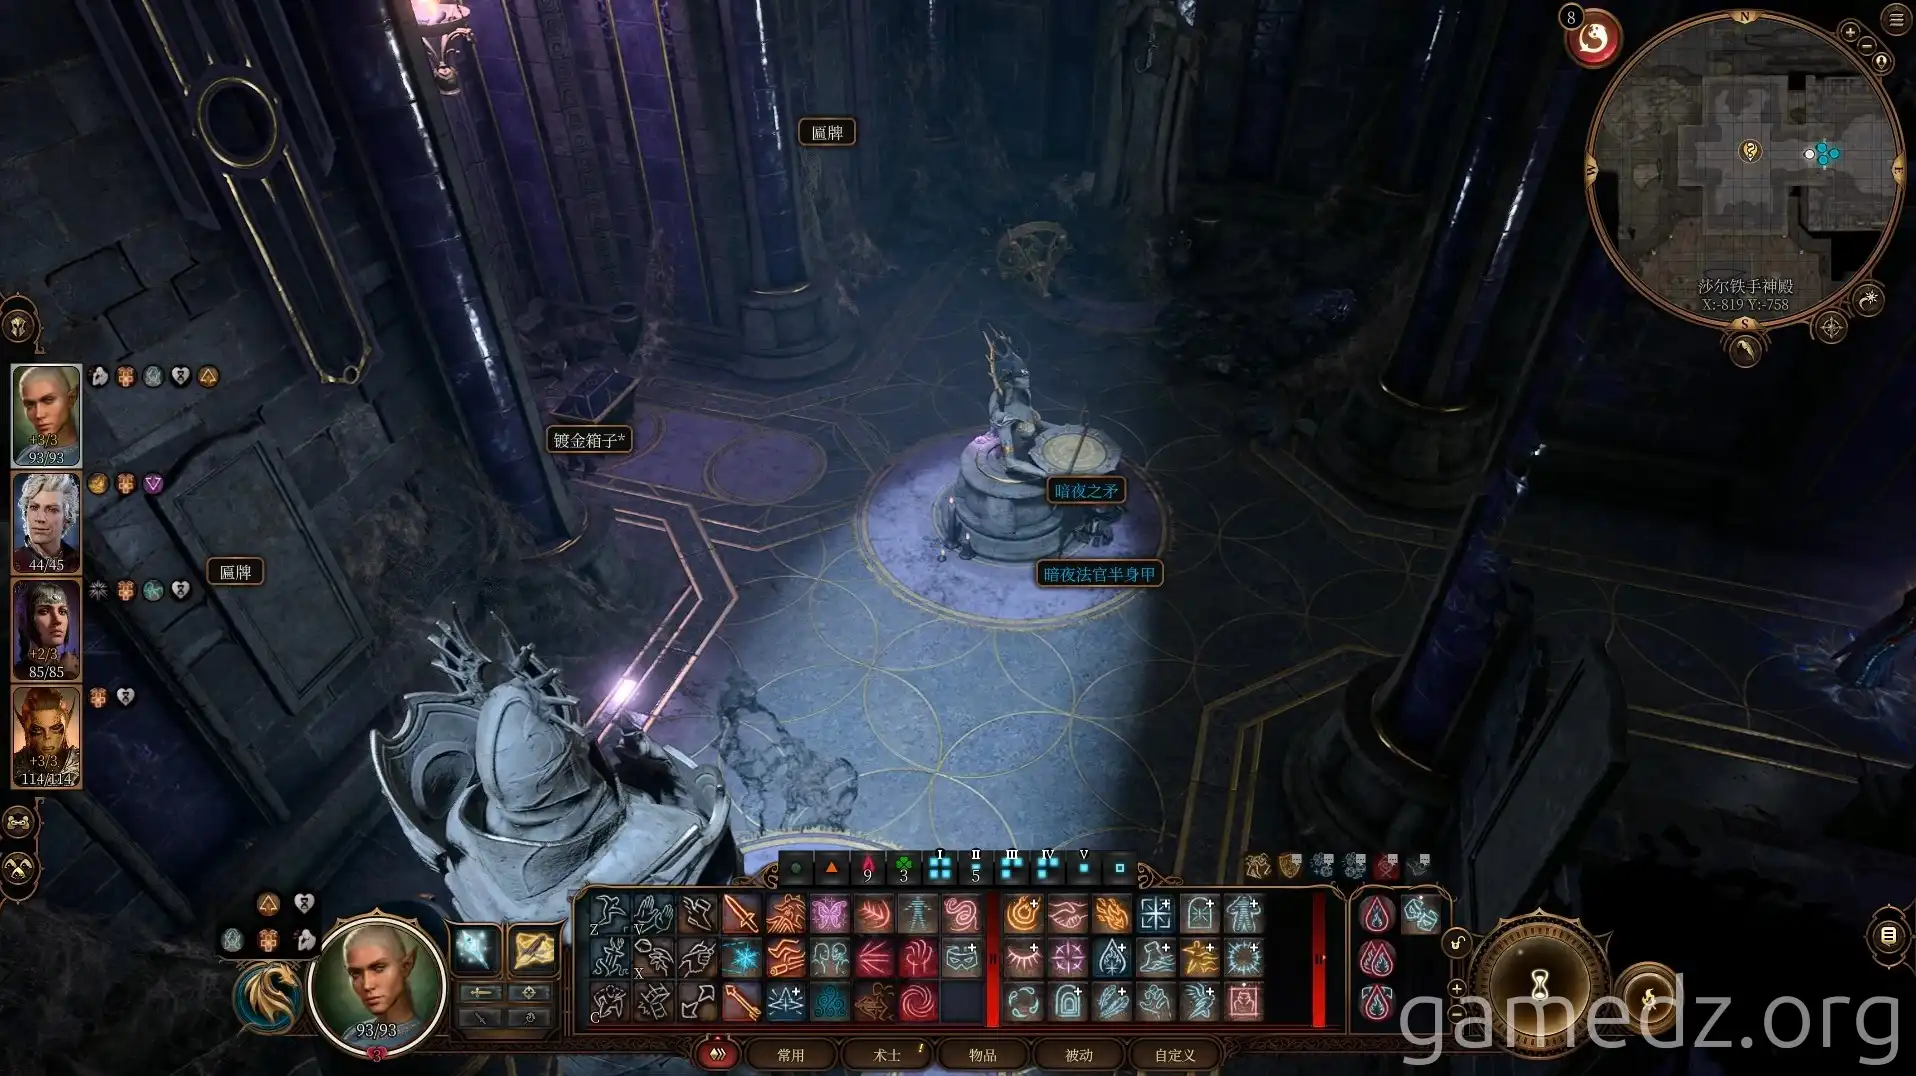
In the west room, you can obtain the rare weapon Spear of the Night and the rare equipment Night Judge's Breastplate.
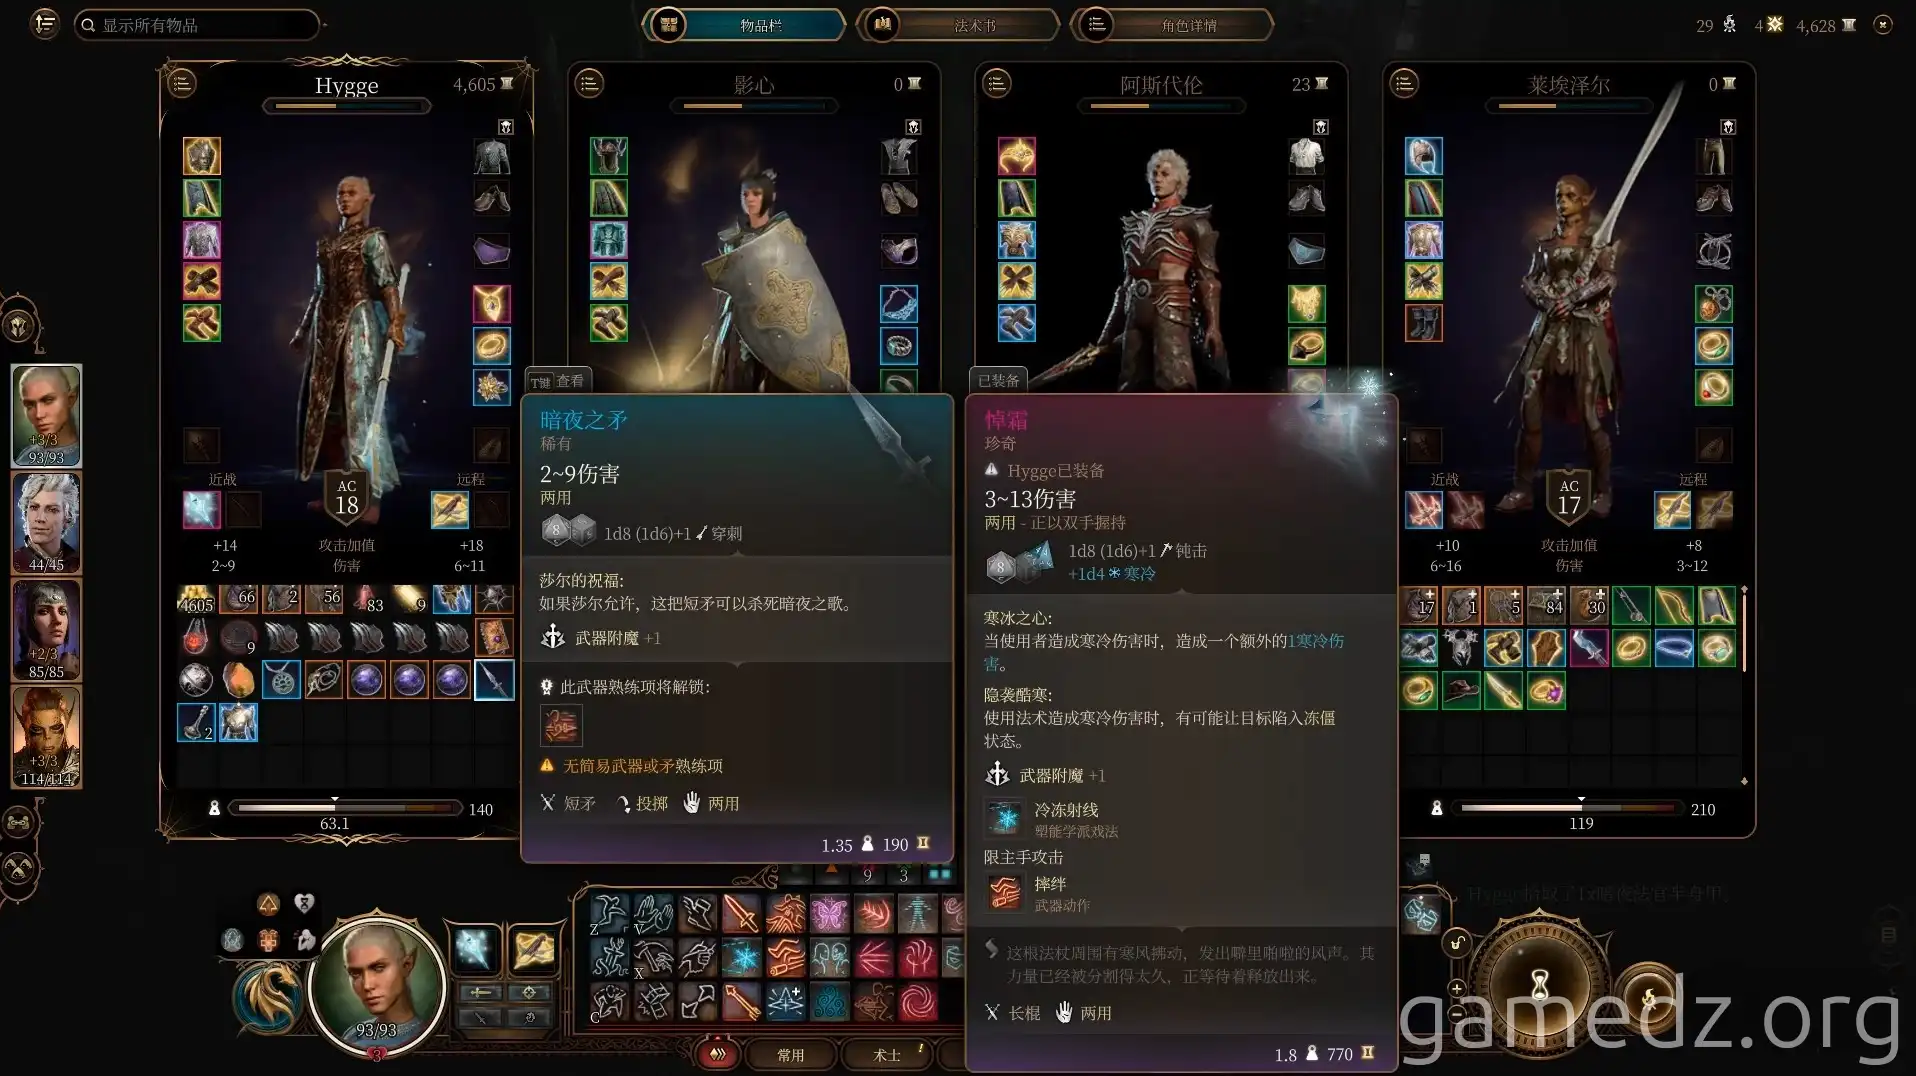
The stats for the Spear of the Night are as follows. Make sure to keep this weapon with you, as it will be useful later.
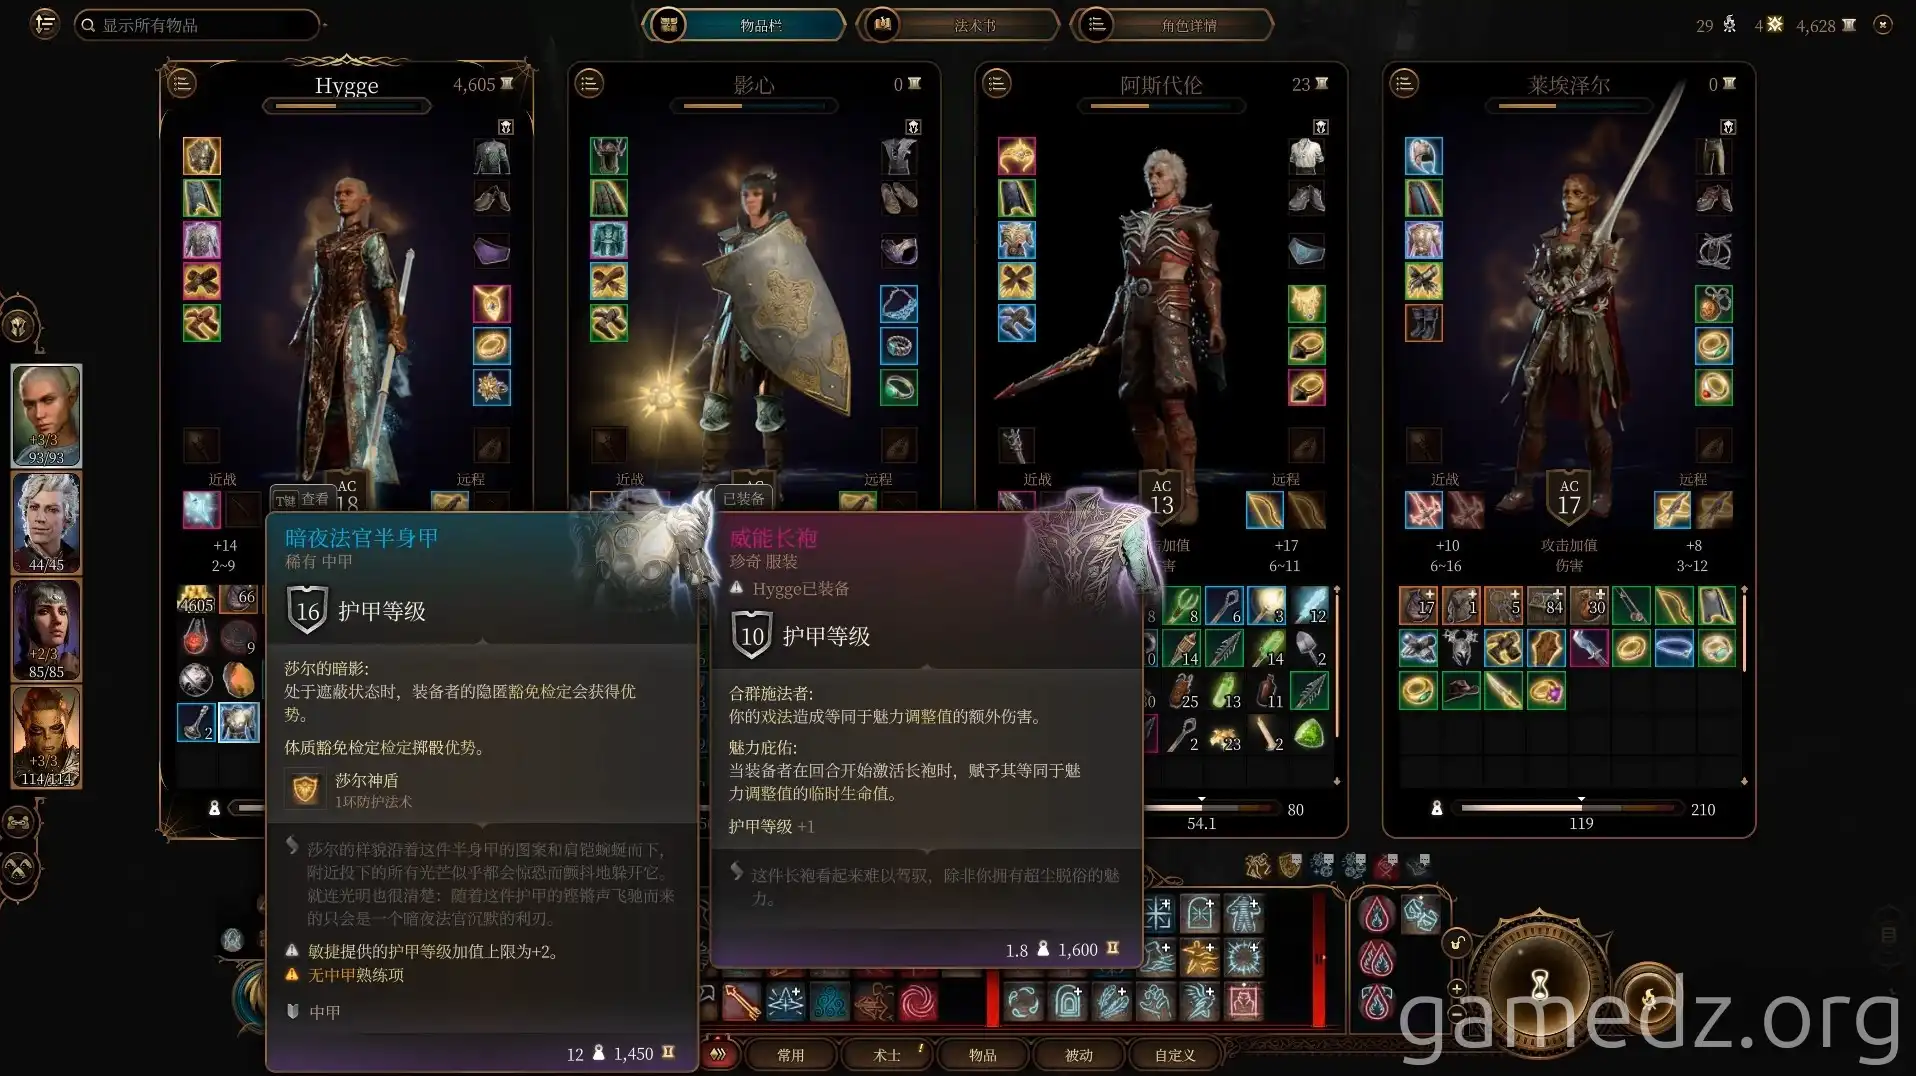
The stats for the Night Judge's Breastplate are as follows.
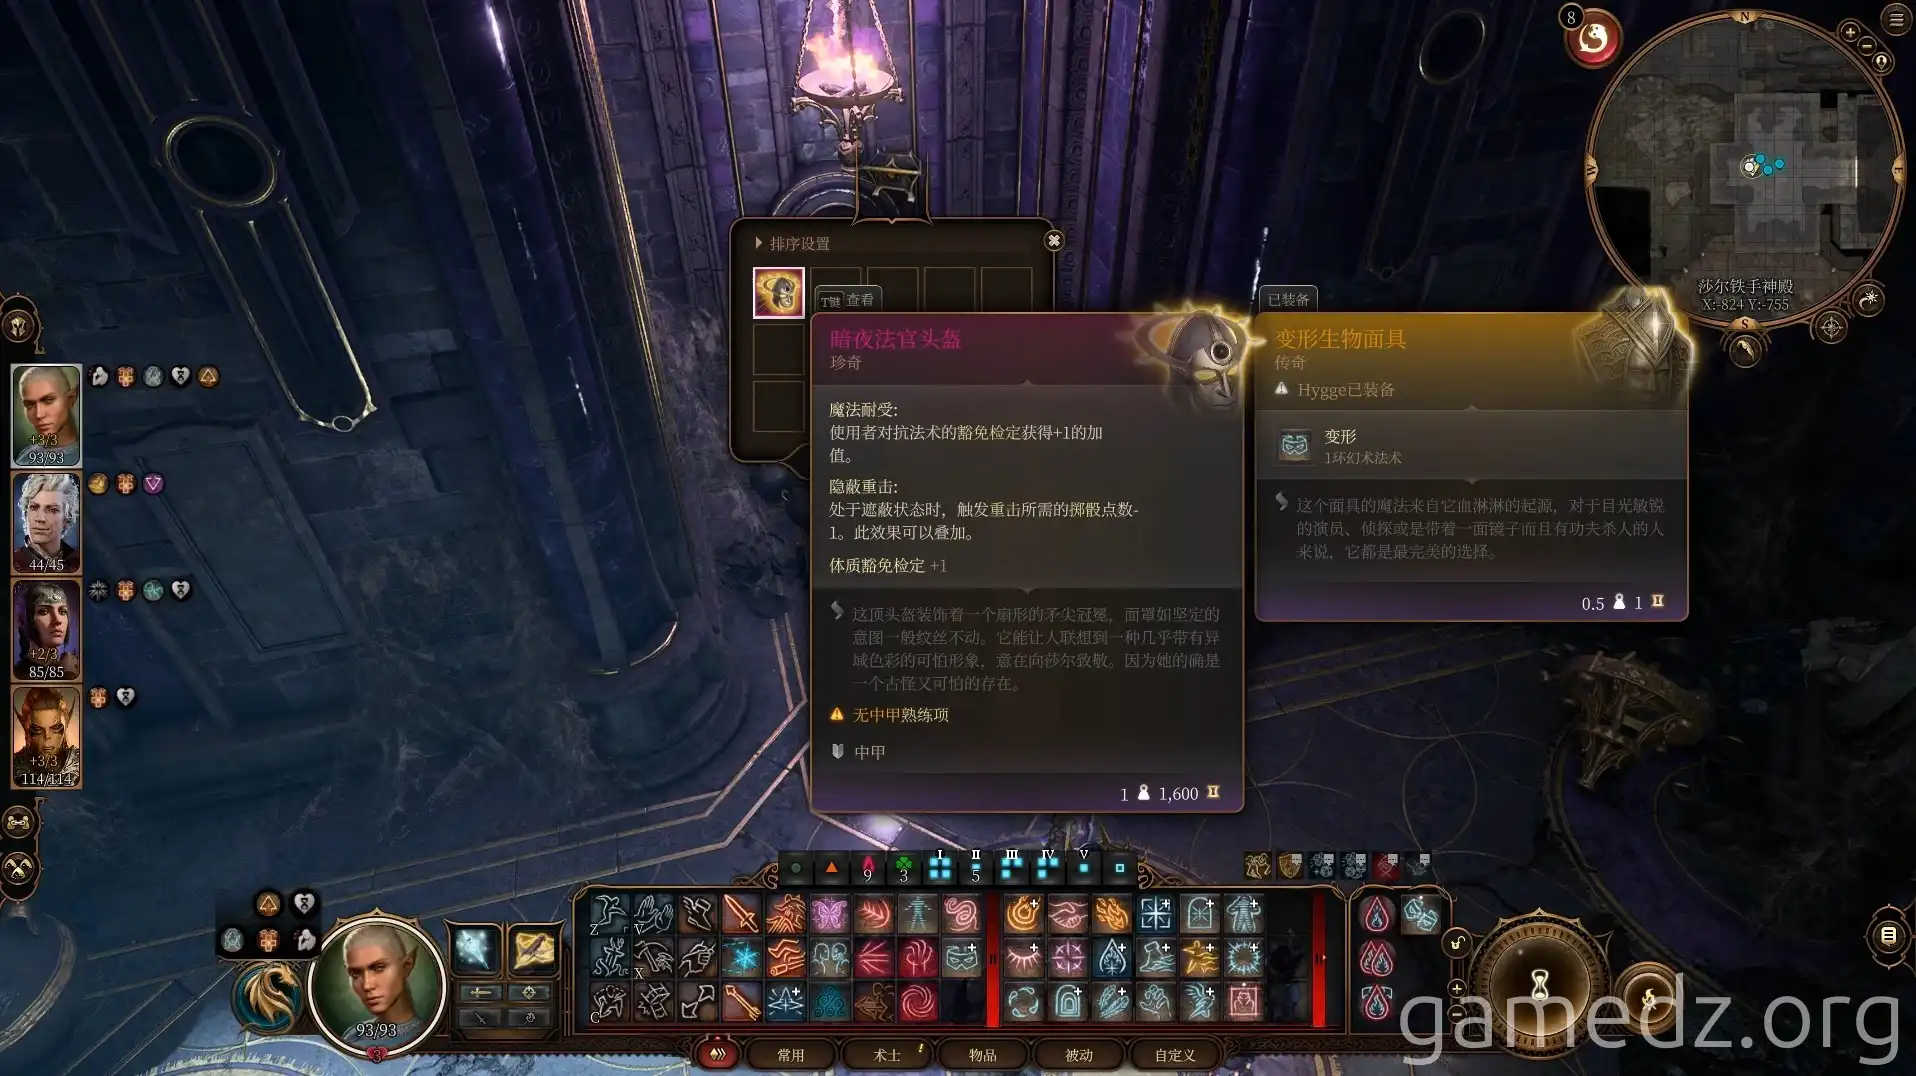
In the gilded chest nearby, you can find the rare equipment Night Judge's Helm.
Leave the library and take the adjacent elevator back to the upper level.
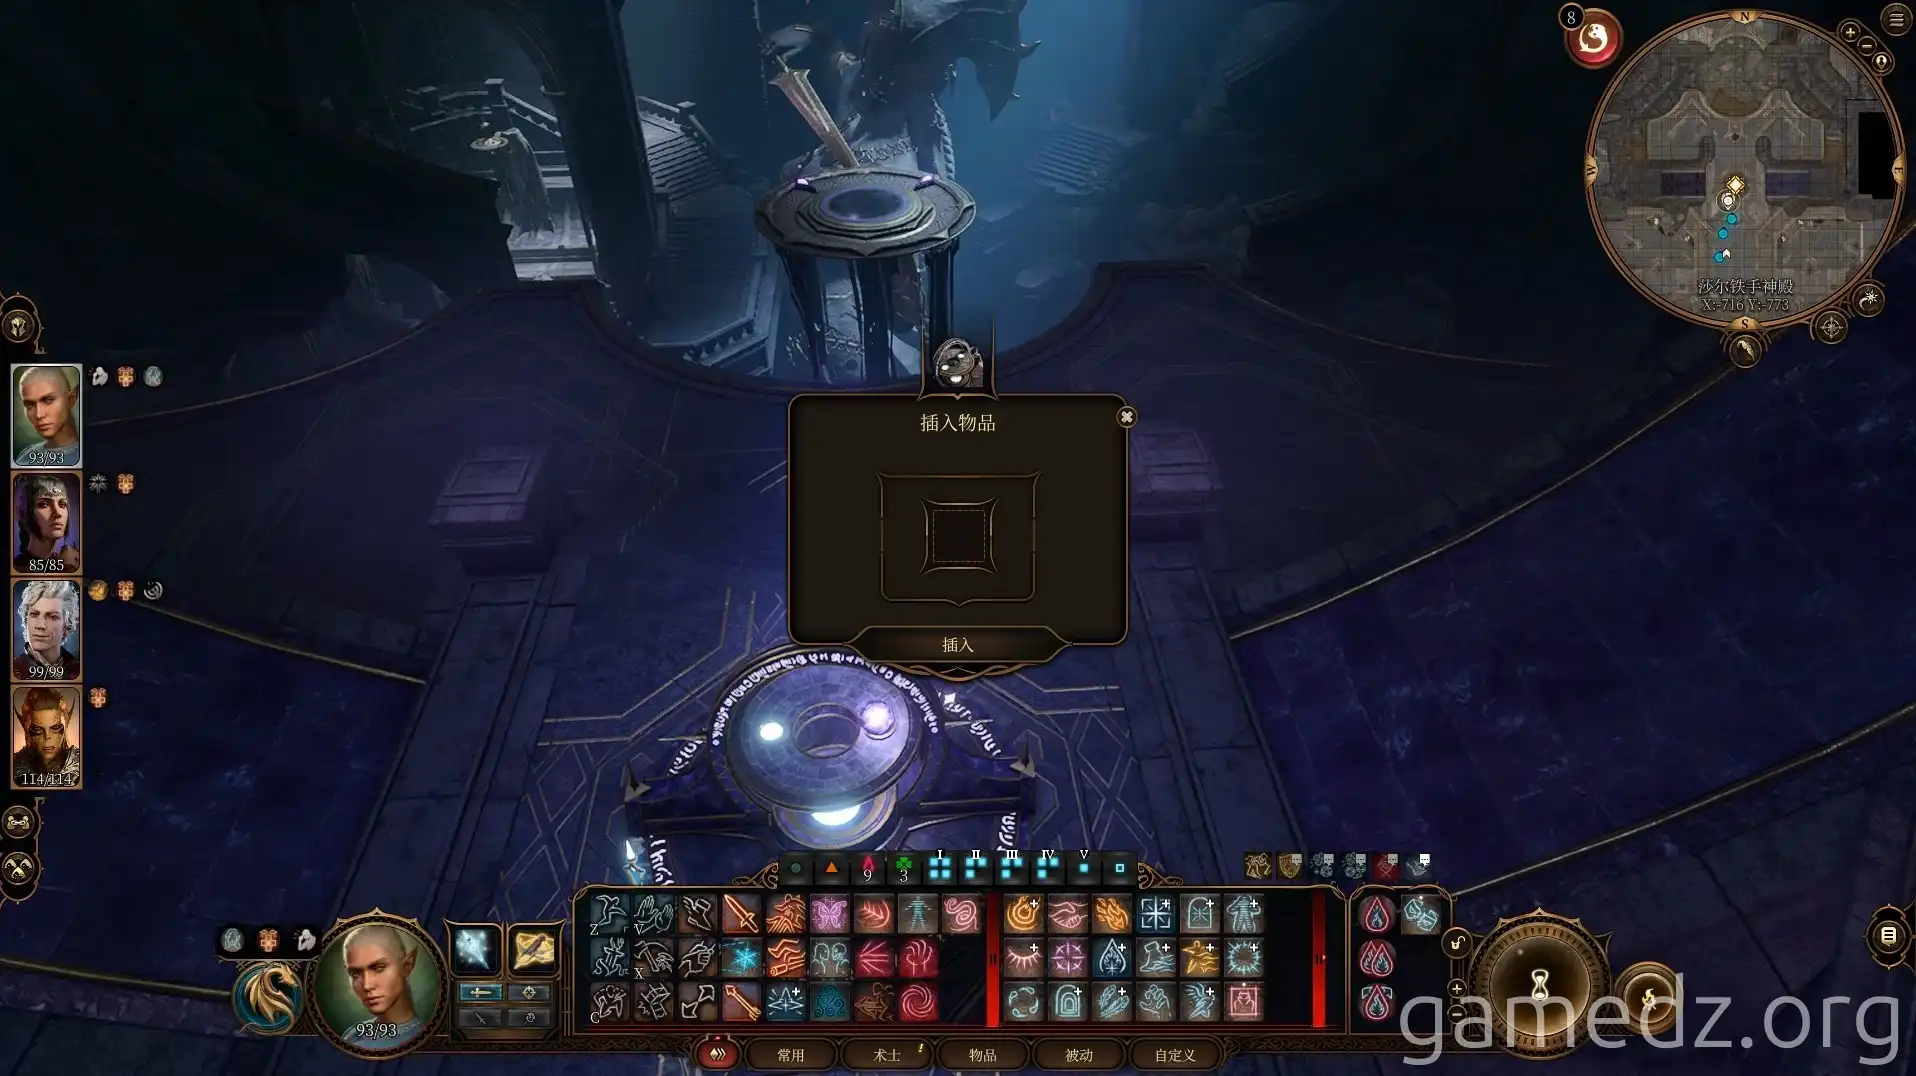
Return to the fork in the road where you first entered the House of Healing. Insert one Shadow-Cursed Pearl into the circular mechanism in the center of the hall to activate the moving platform ahead, bringing you to the edge of your current location.
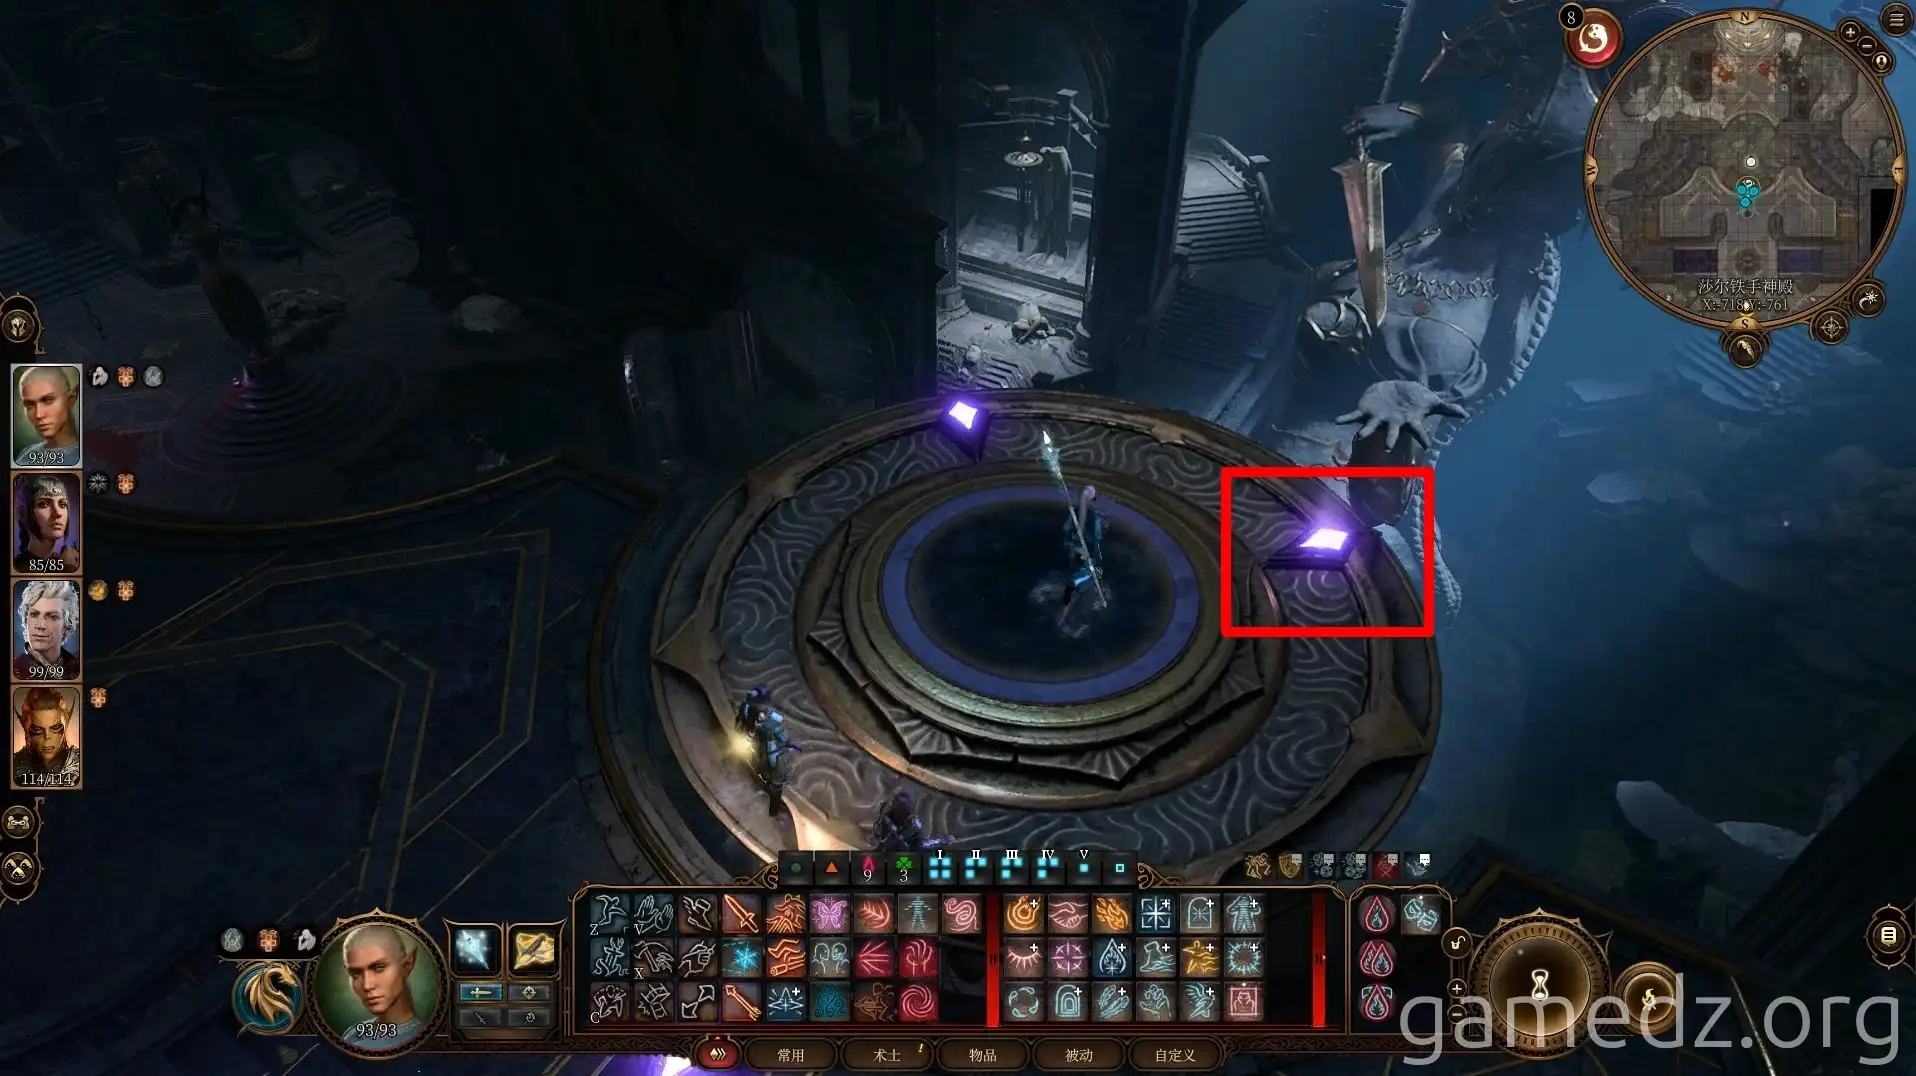
Once all party members are on the moving platform, interact with the Translocation Stone on the floor to enter the temple's interior.
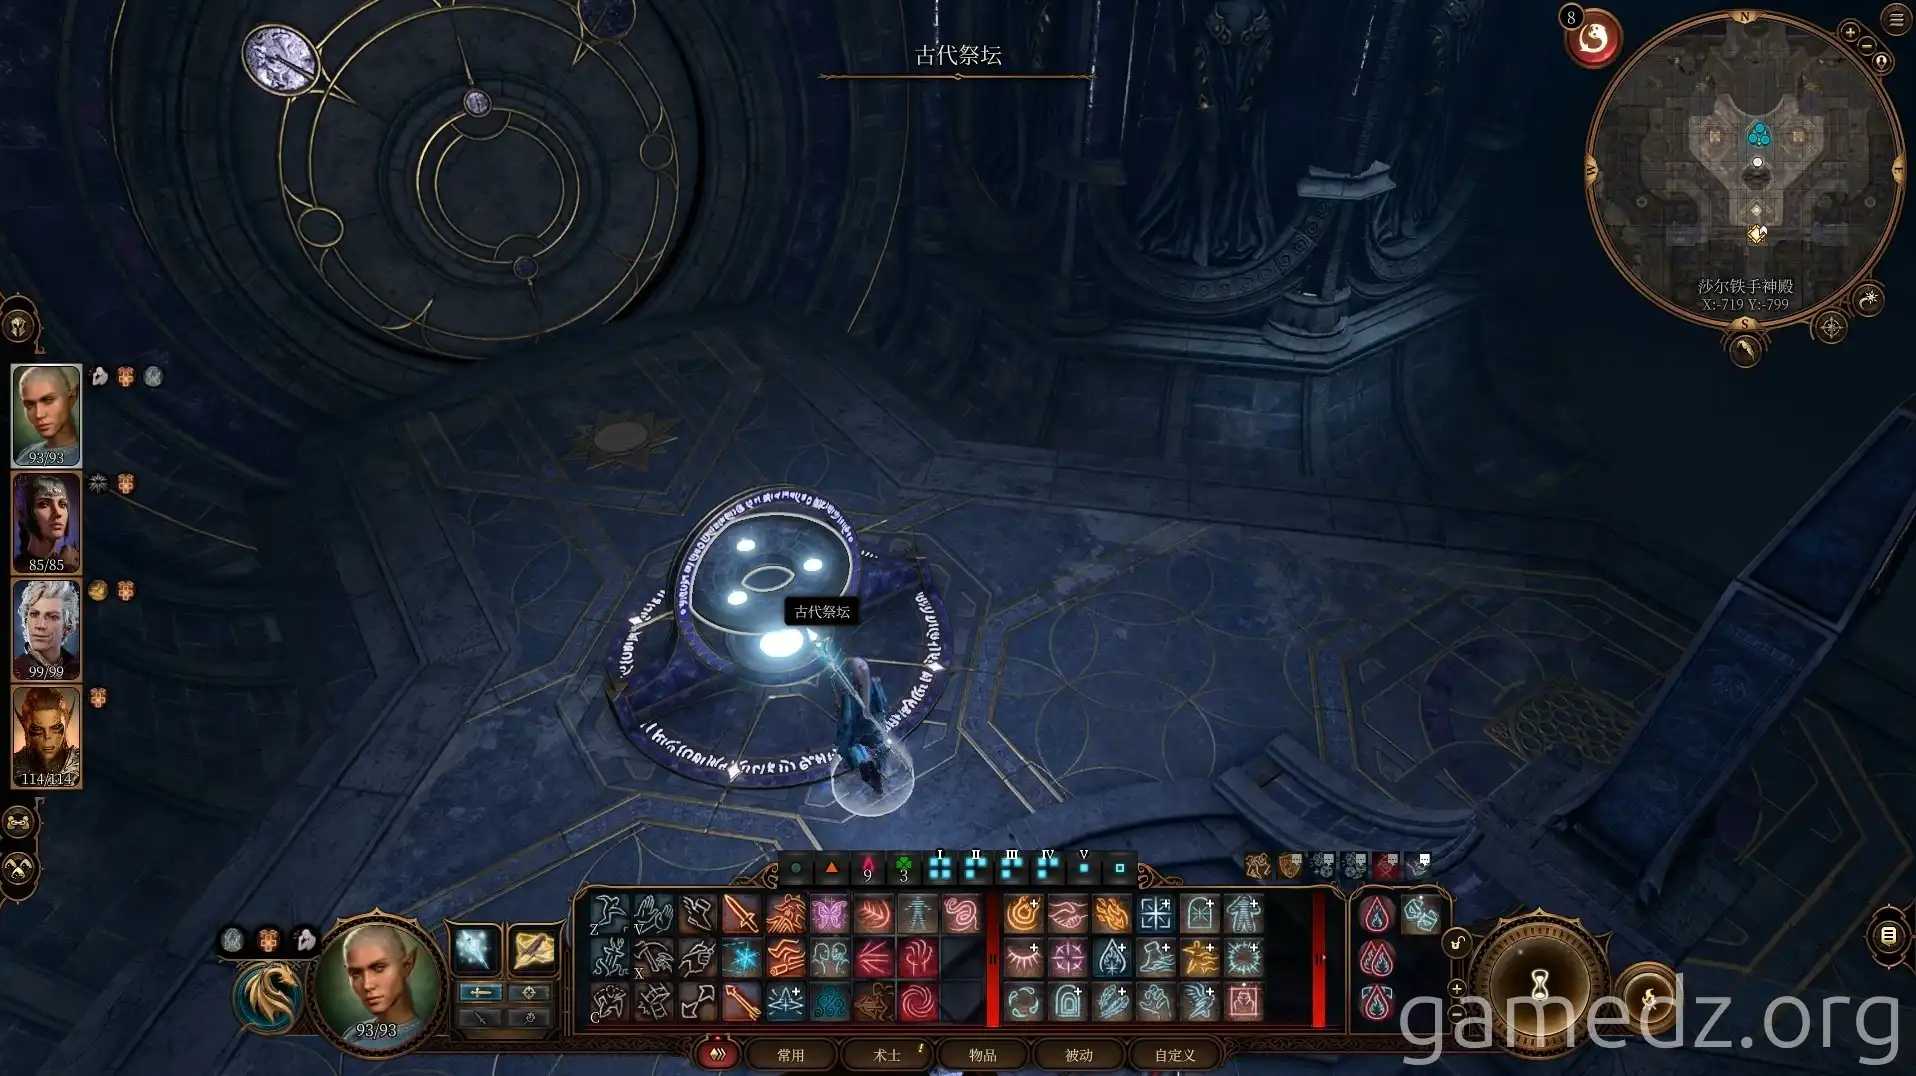
Upon arriving inside the temple, insert the remaining three Shadow-Cursed Pearls into the ancient altar to open the door.
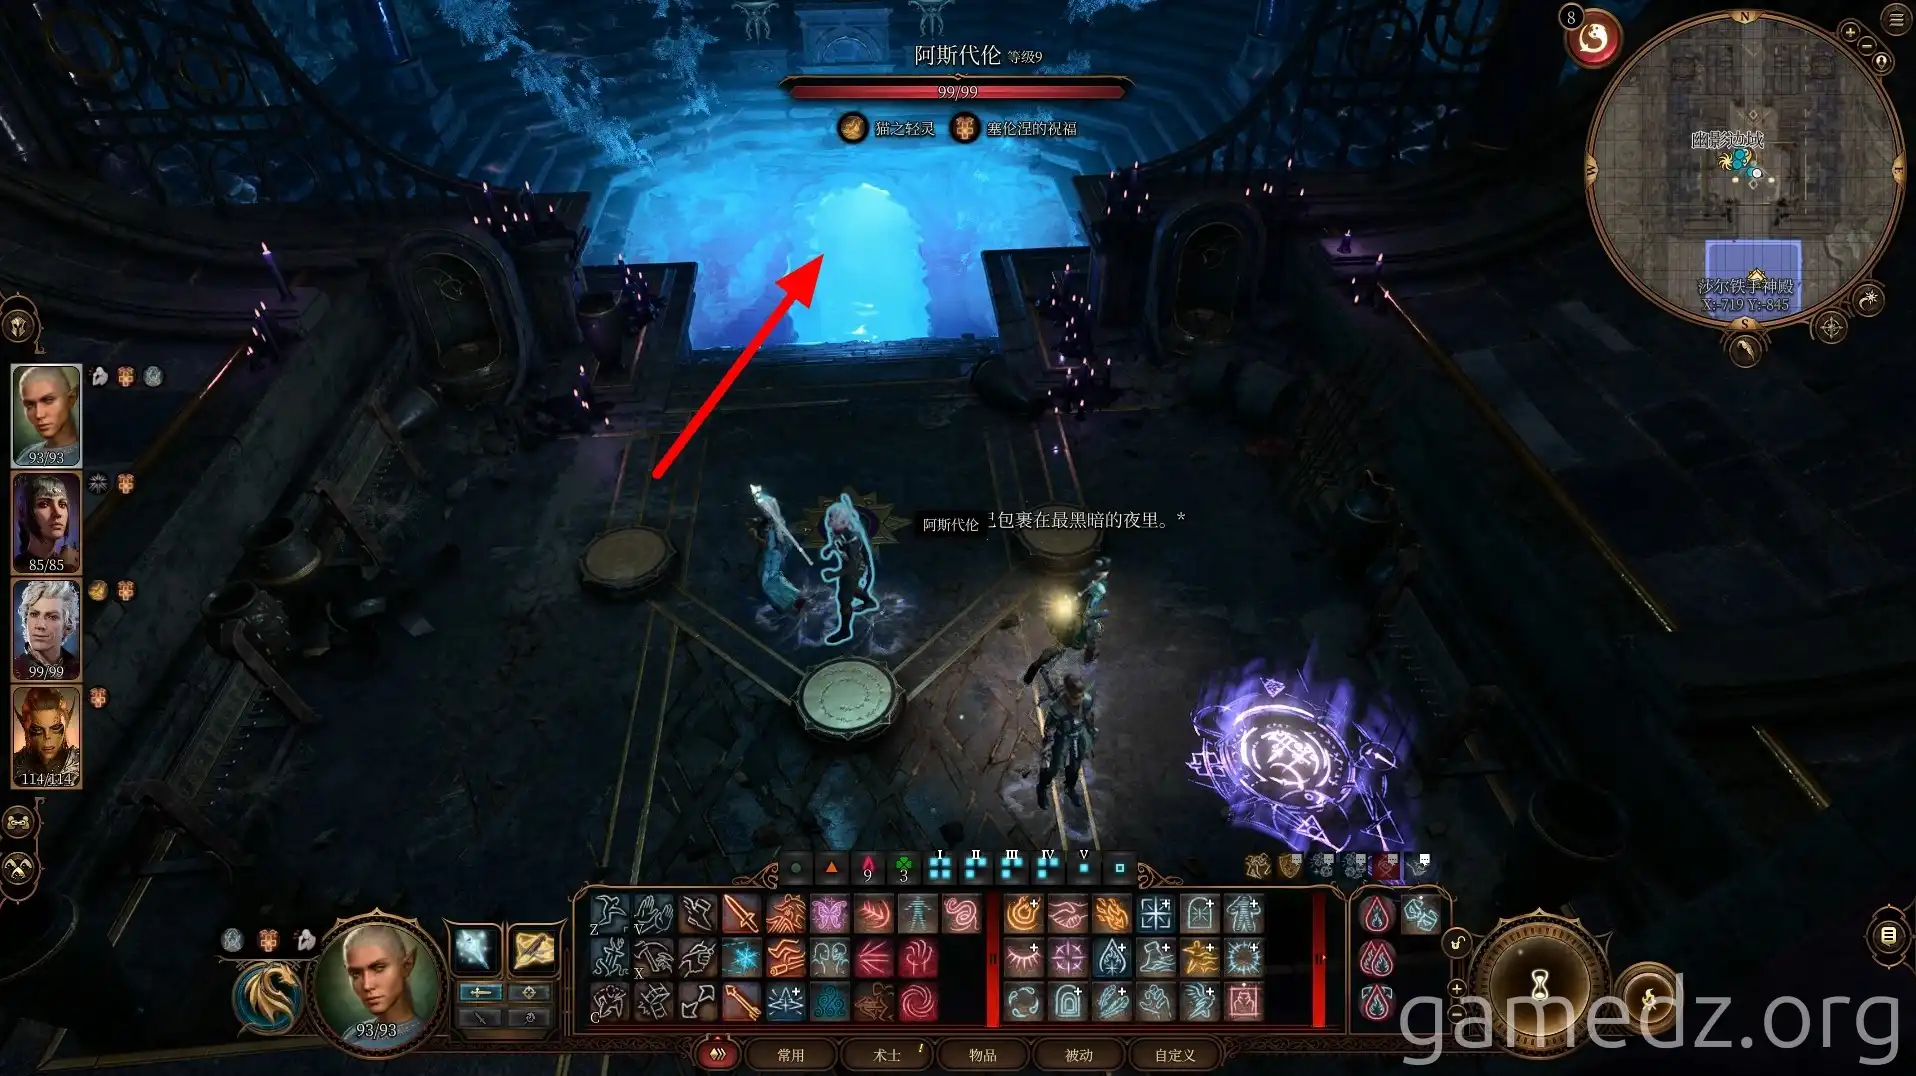
Activate the Shadow-Cursed Lands portal in the room and then enter the Shadowfell through the water ahead.
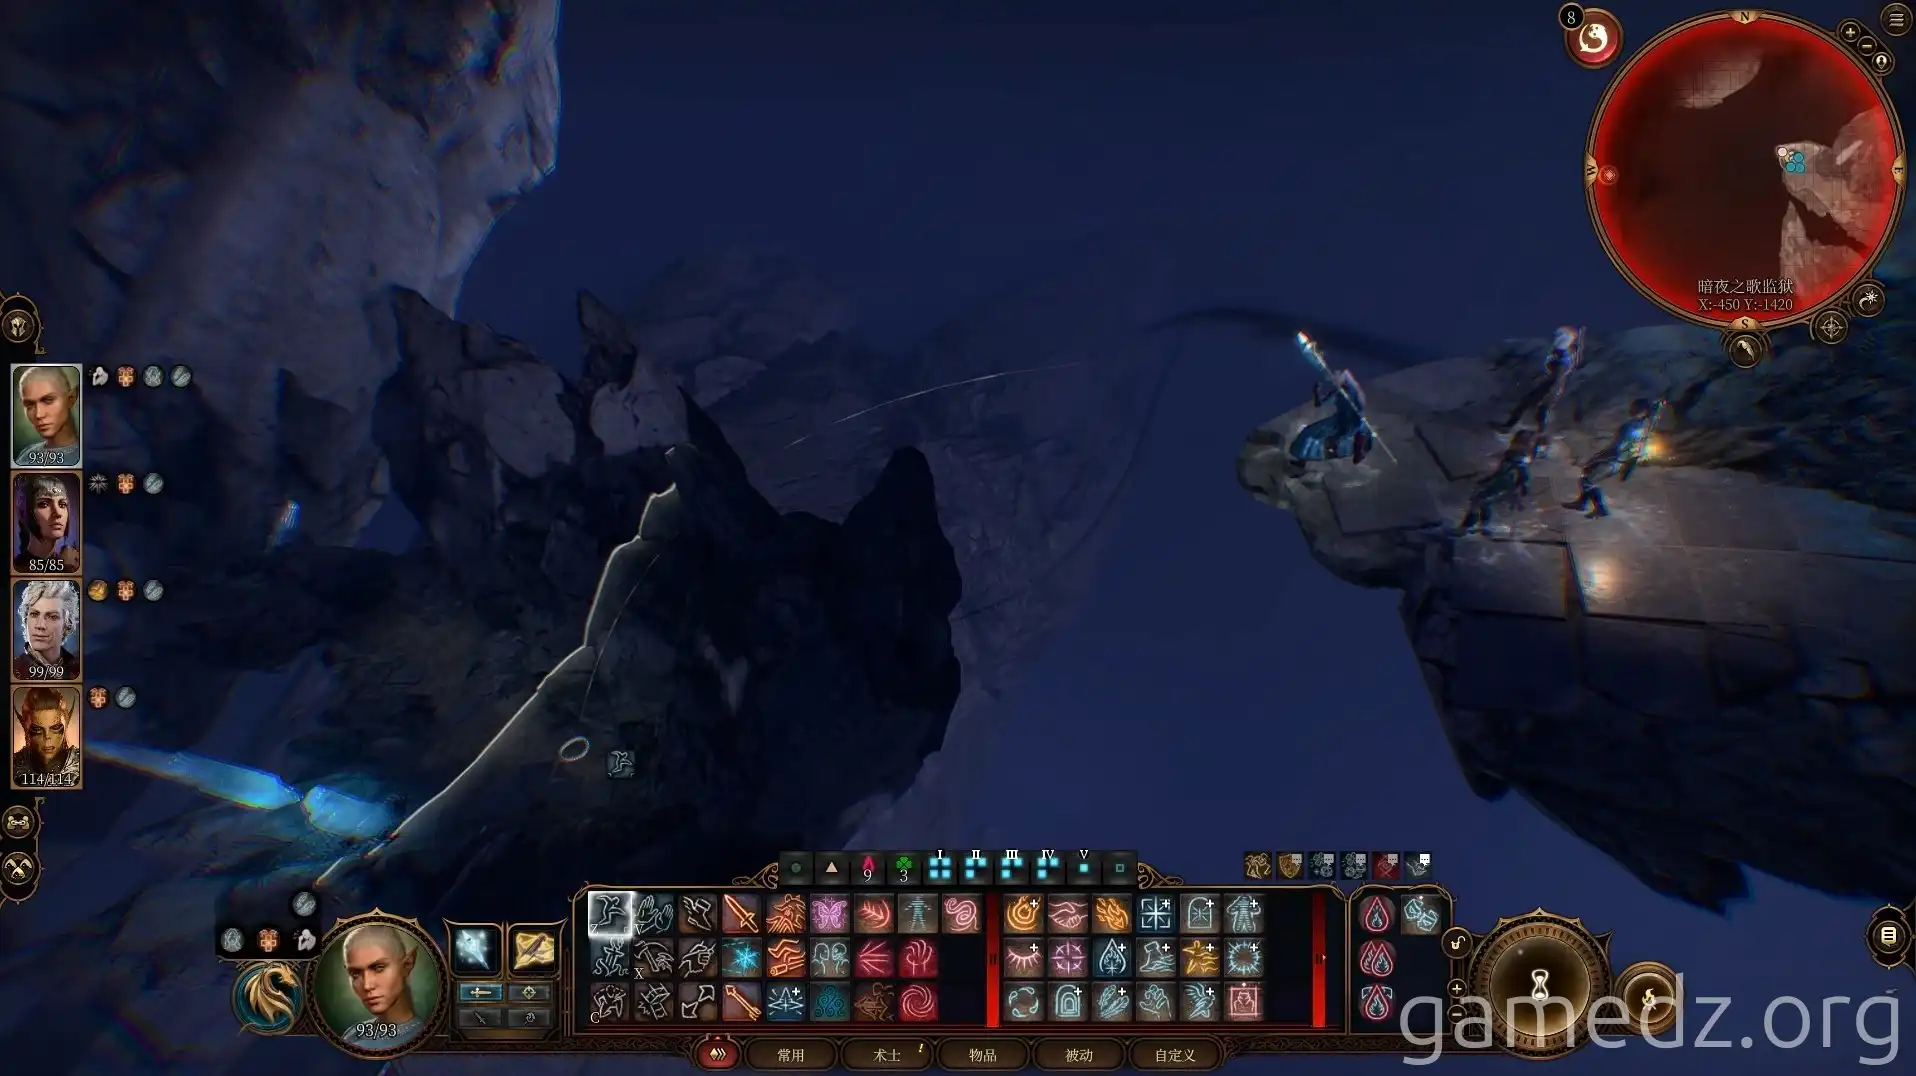
Once in the Shadowfell, proceed forward along the path. Since this area is not within conventional space, you will not take fall damage.
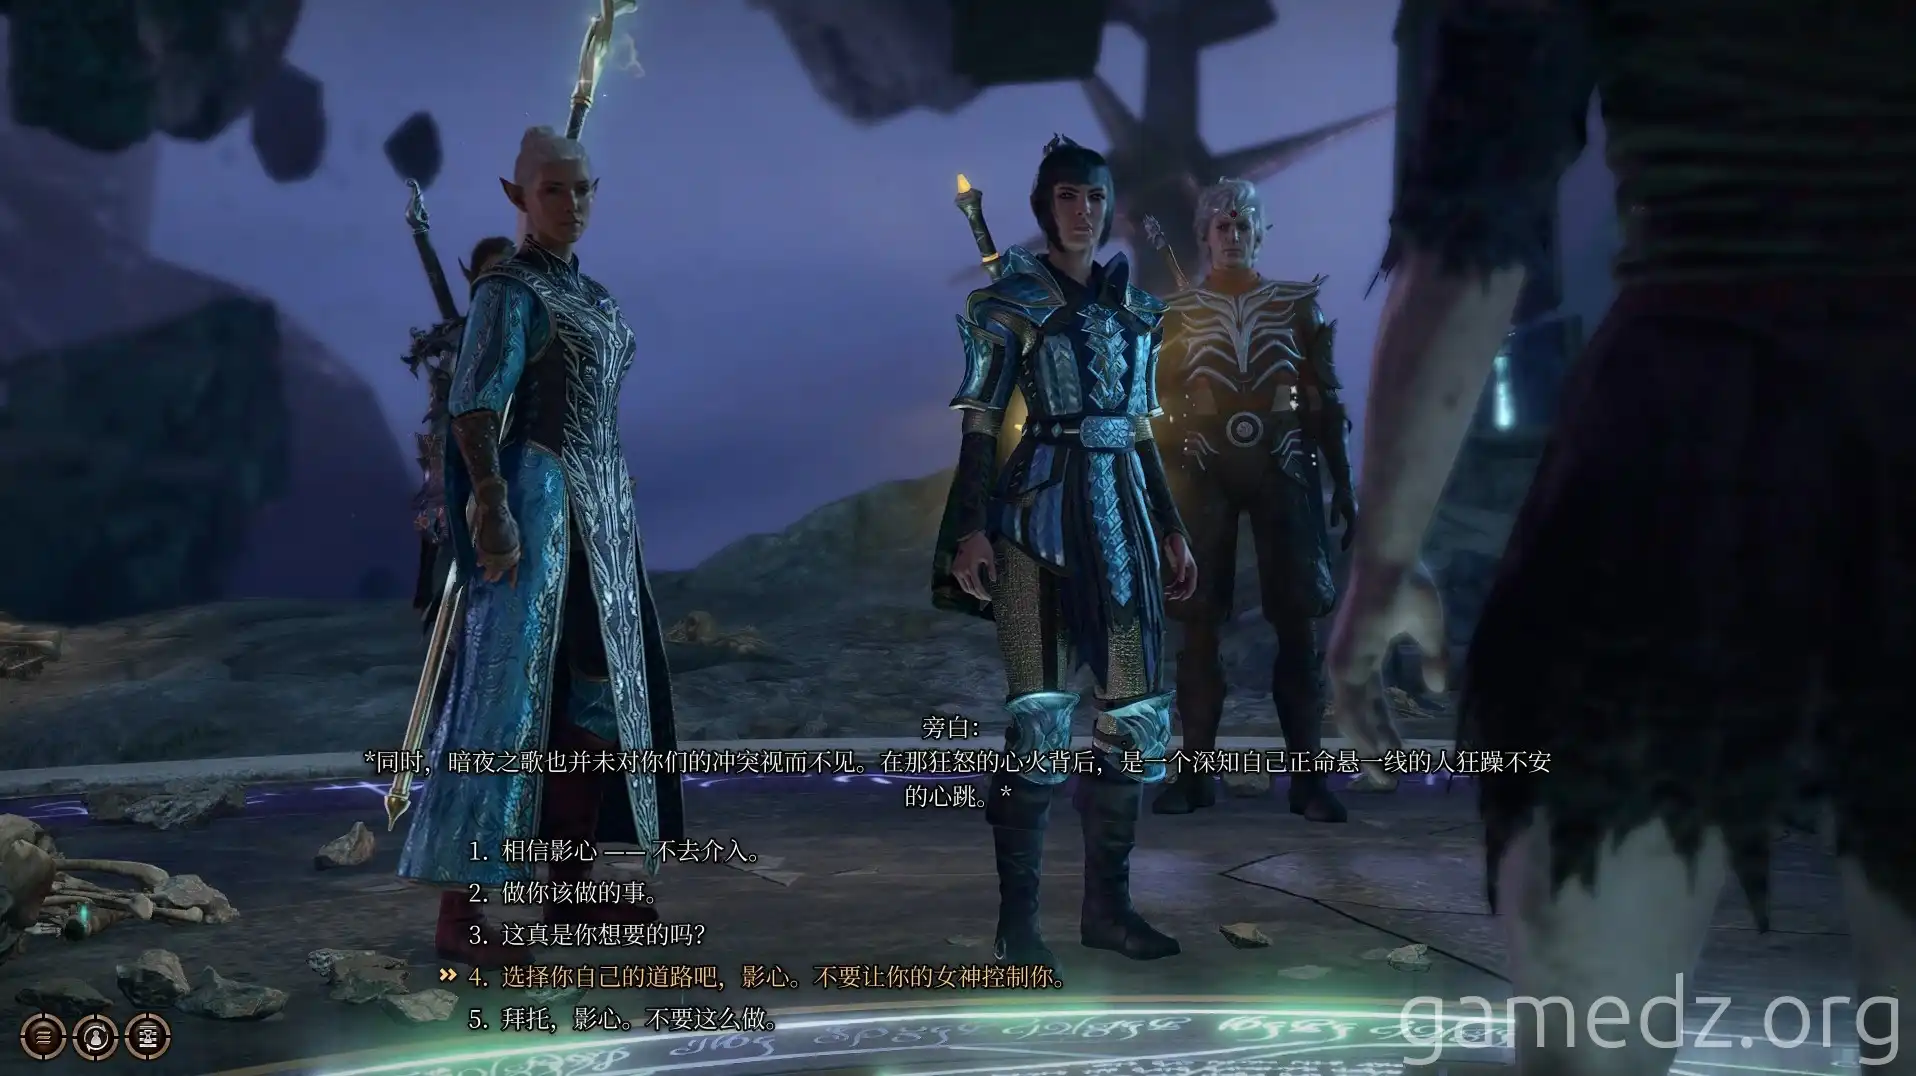
At the very front of the Shadowfell, you will find the Nightsong imprisoned. While Shadowheart was initially prepared to obey Shar's command and kill the Nightsong, you will need to persuade Shadowheart to abandon this course of action here.
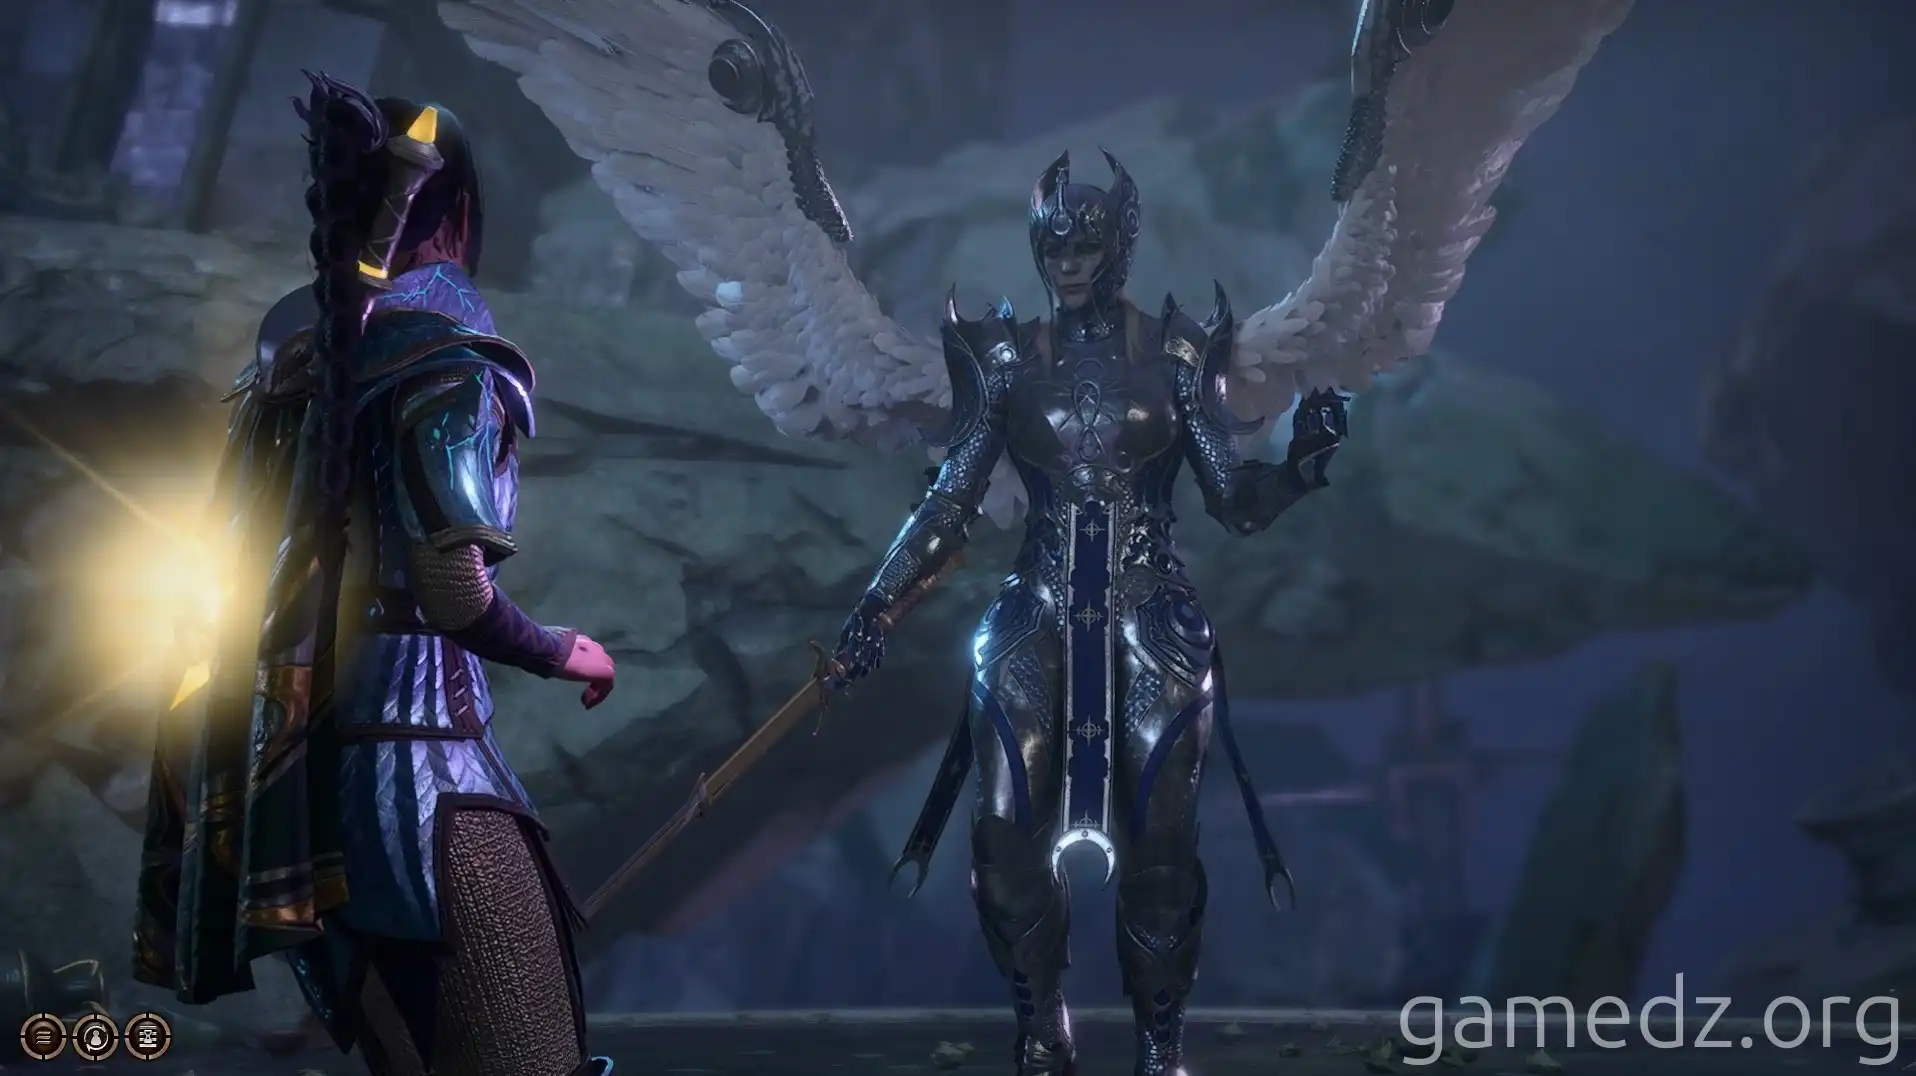
After defying Shar's orders, Shadowheart will discard the Spear of the Night she previously acquired, causing it to fall into the depths of the Shadowfell. Simultaneously, the Nightsong will be freed from her prison and will immediately head to Moonrise Towers to confront Ketheric Thorm directly.
Following the Nightsong's liberation, Ketheric's immortality will also immediately cease.
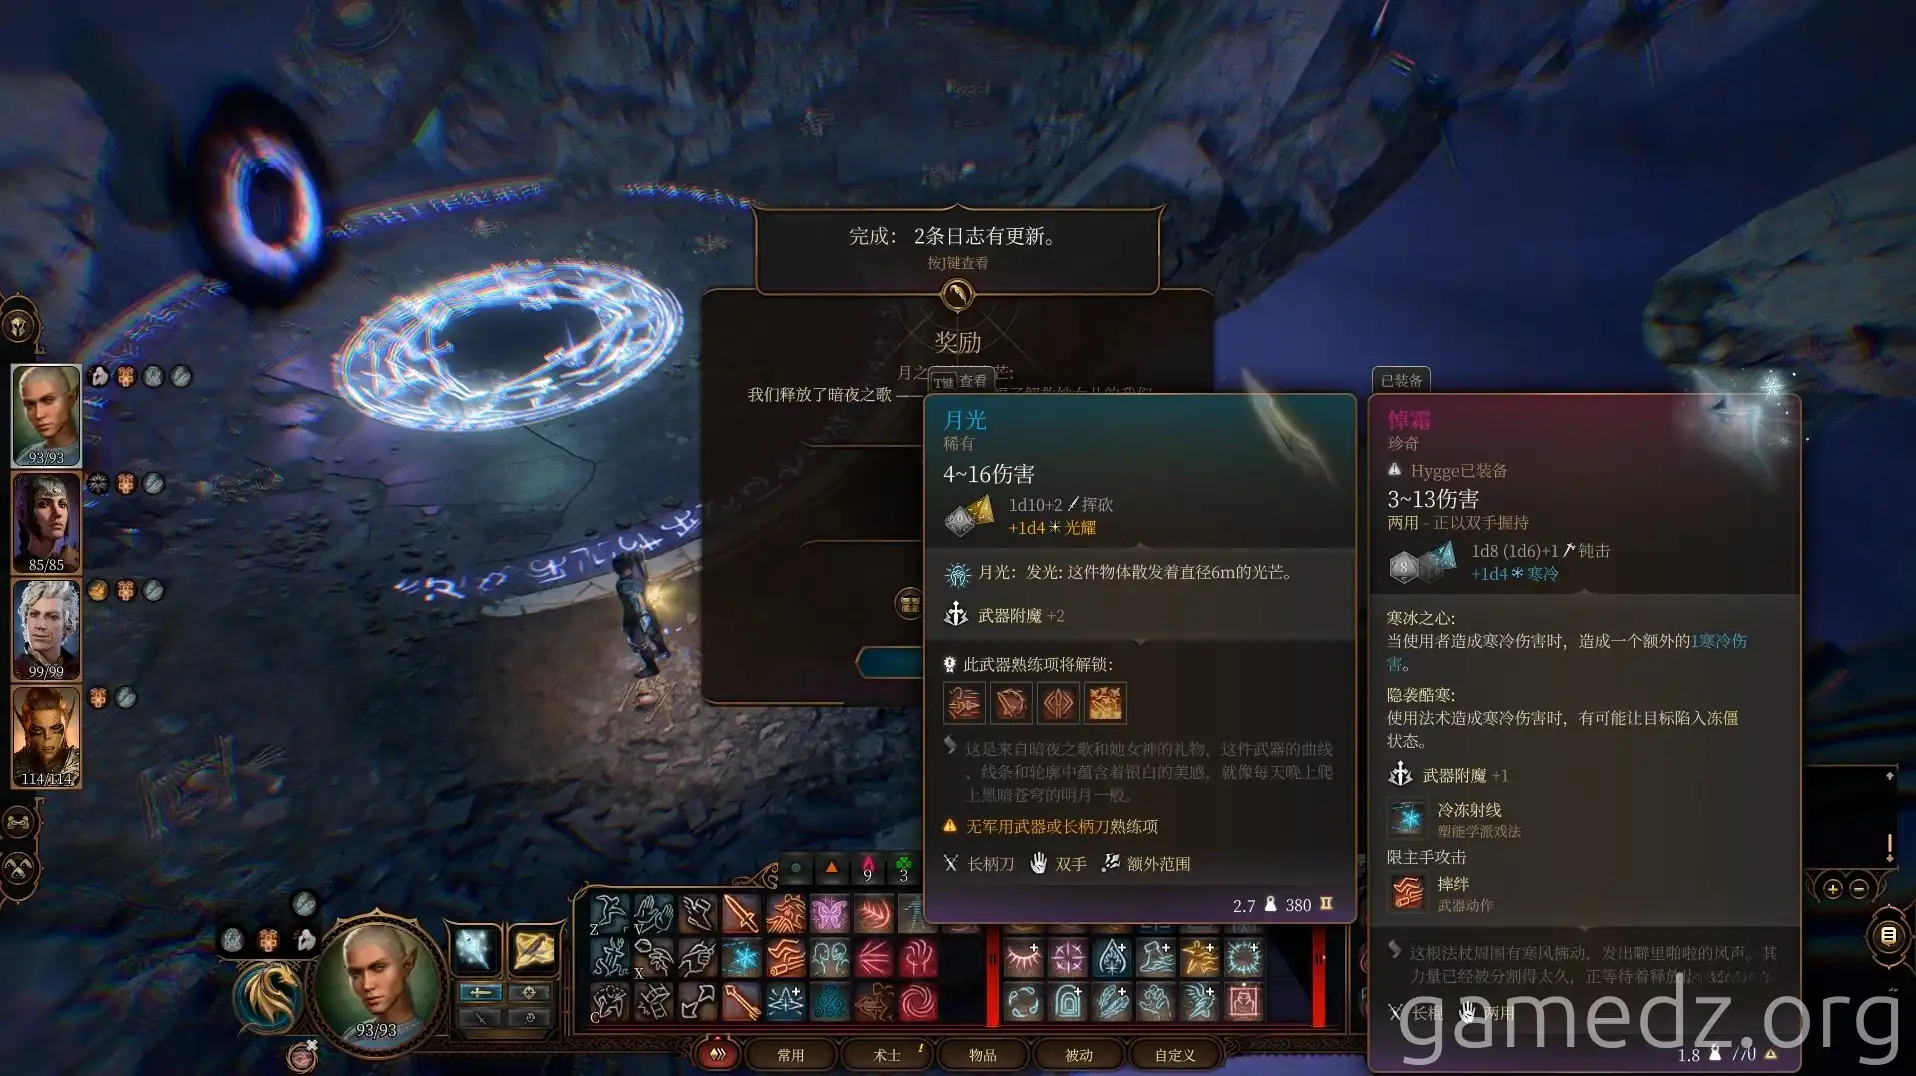
Upon rescuing the Nightsong, you will receive the rare weapon Moonlight. Afterwards, leave the Shadowfell through the portal nearby and proceed to Moonrise Towers to prepare for the final confrontation.

