
Baldur's Gate 3: Full Walkthrough and Exploration Guide Act I
In Baldur's Gate 3, players take on the role of an adventurer parasitized by a Mind Flayer, journeying with companions to find a cure
In Baldur's Gate 3, players take on the role of an adventurer parasitized by a Mind Flayer, journeying with companions to find a cure. Here is a complete illustrated guide to the full story of Baldur's Gate 3, which we hope will be helpful to you.
This guide will primarily follow a lawful good route, but will also explore various methods to obtain items and complete the game with as much exploration as possible.
Nautiloid
Upon starting the game, you will awaken on the Nautiloid. You can investigate the nursery in the room, but do not touch it, or it will explode.
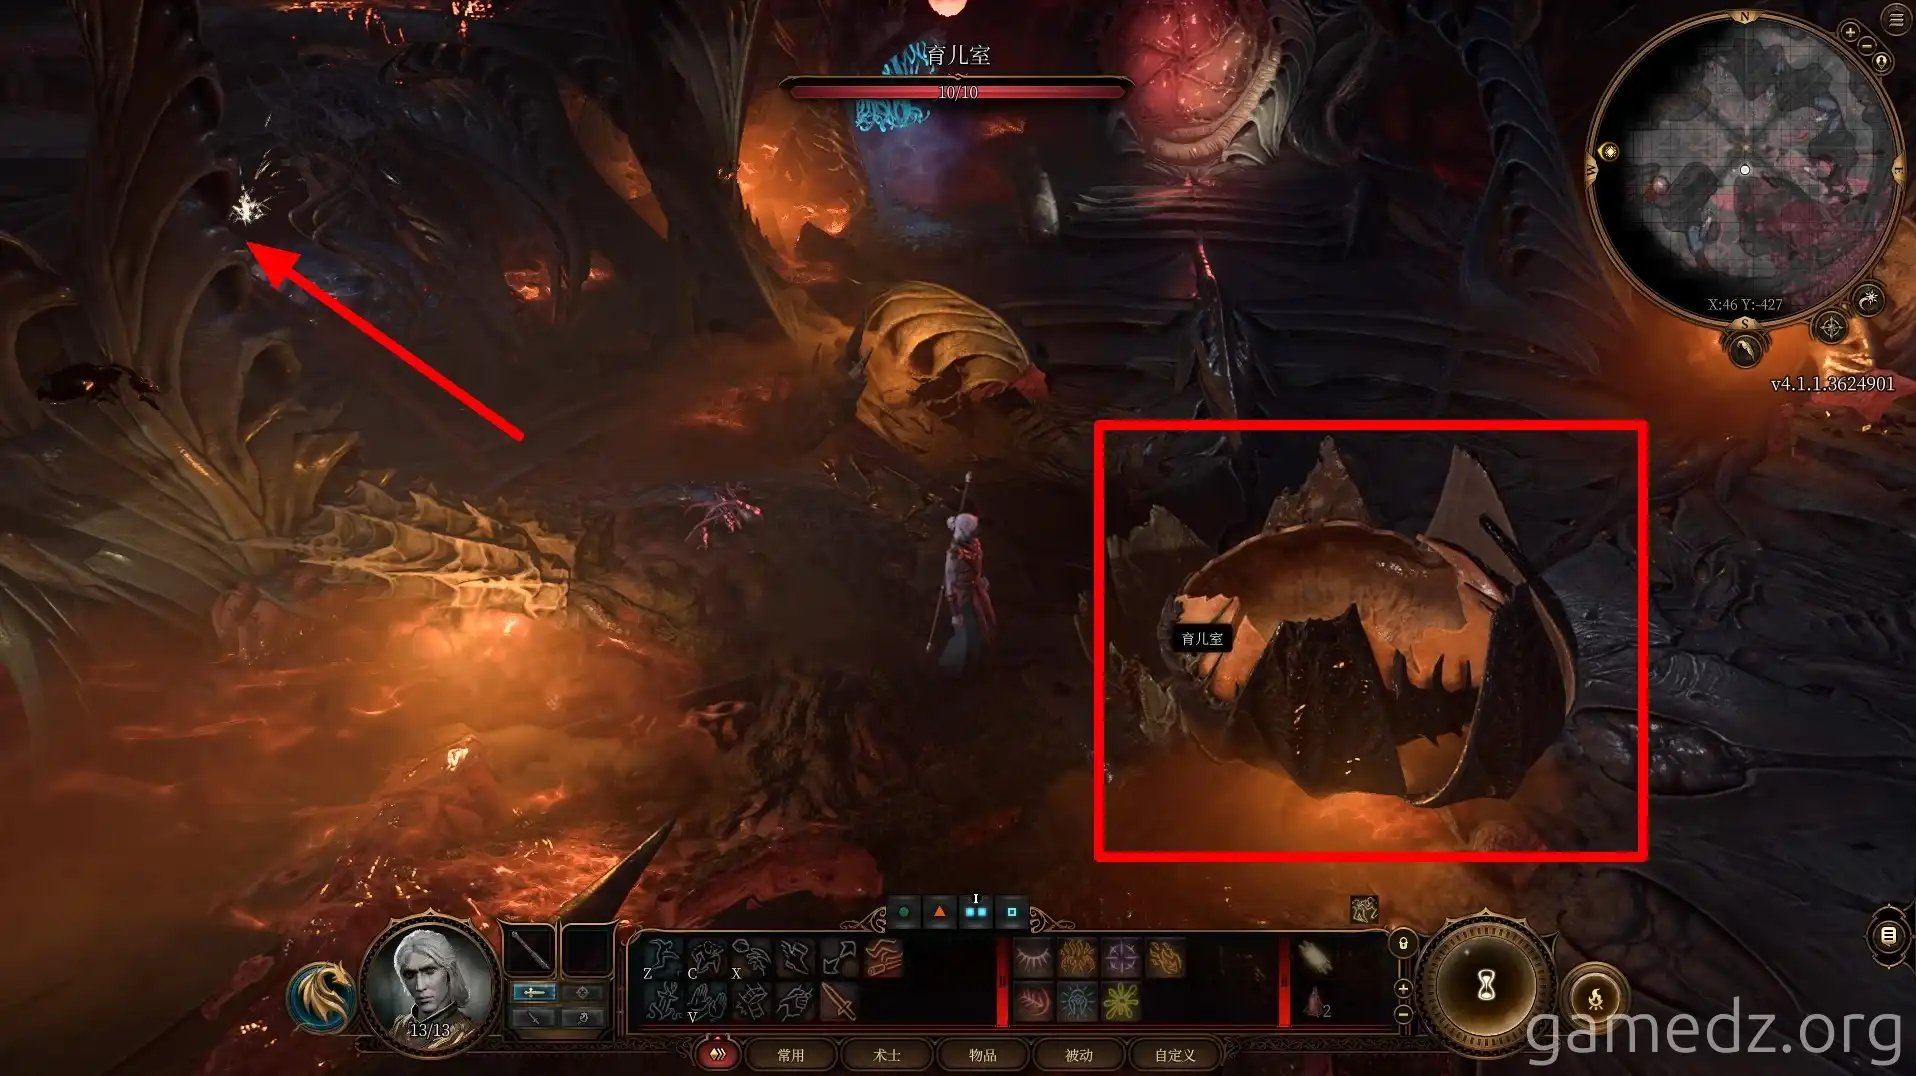
Take the ramp on the south side of the room to the second floor, where you can find a cartilage chest with random items.
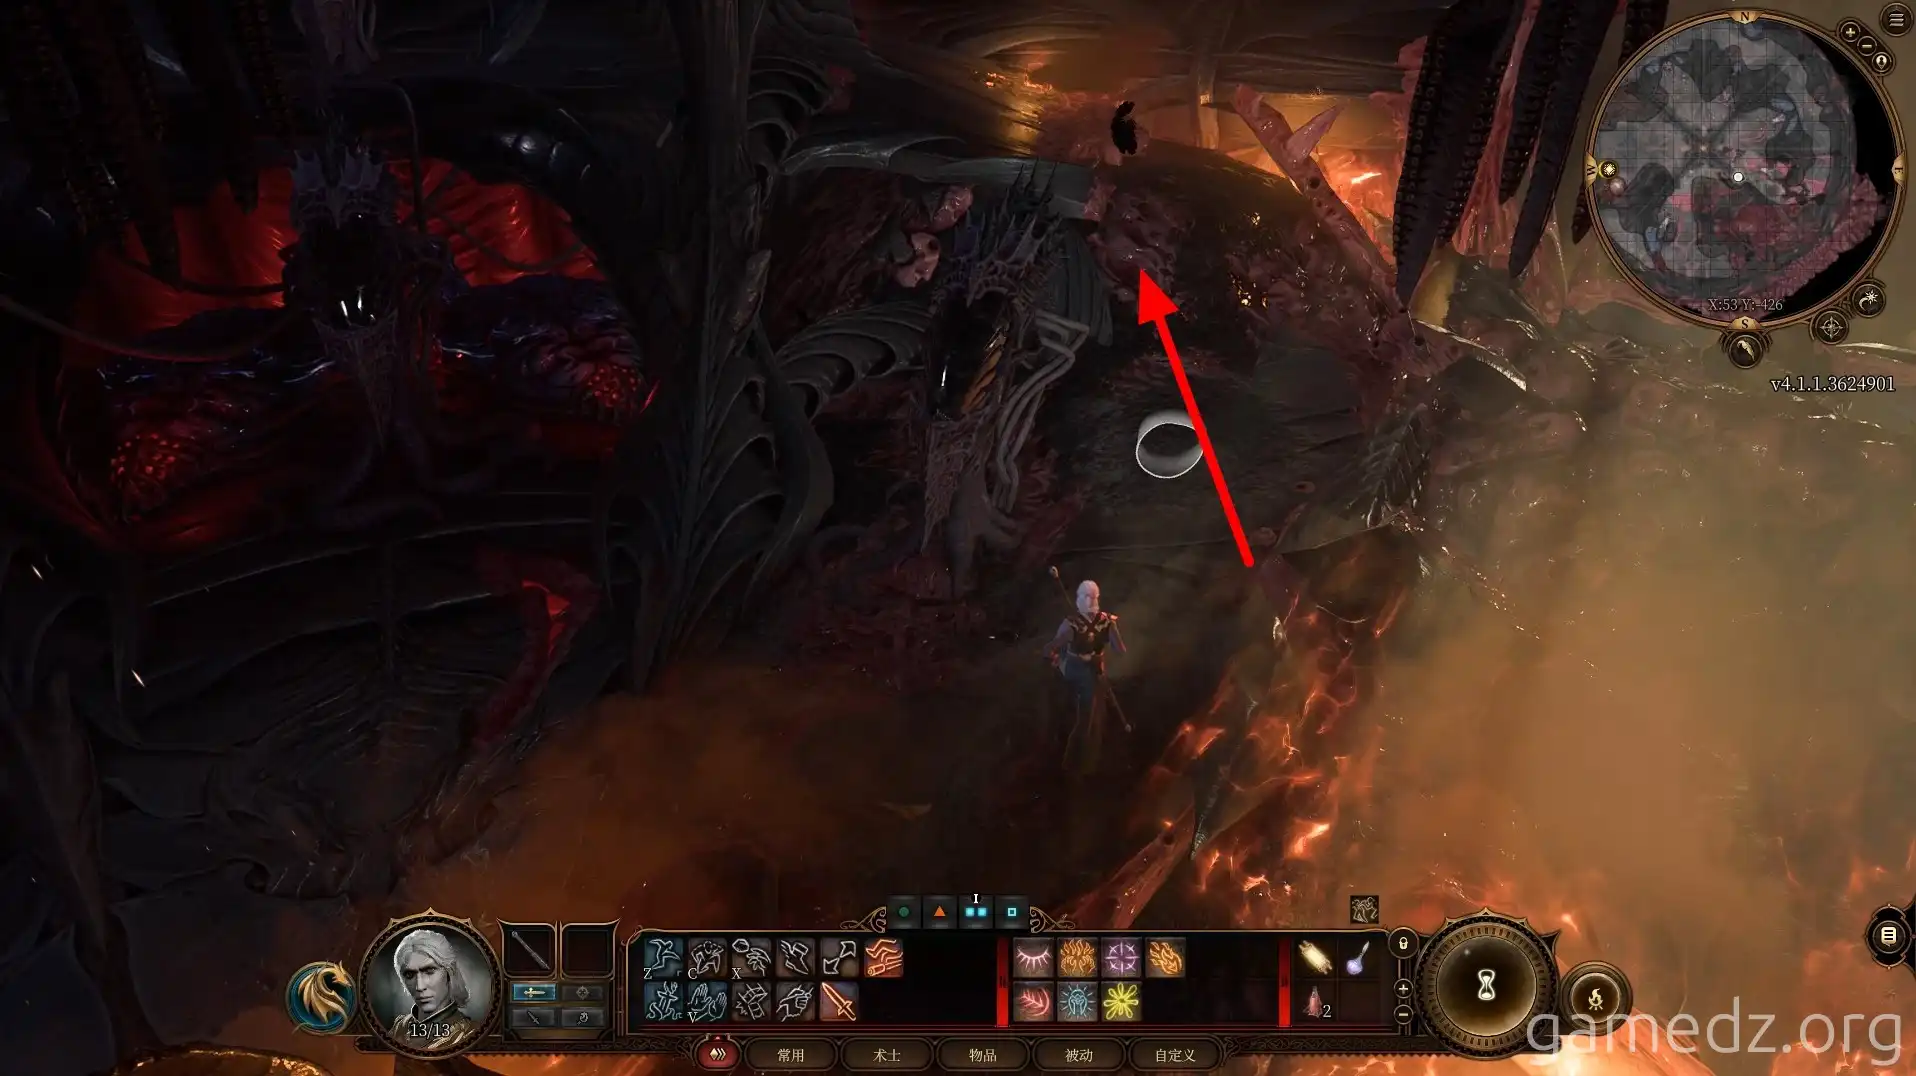
You can also reach the second floor from beside the incubation pod where you woke up. At the end of the path, after passing through the black smoke, you will find a second cartilage chest.
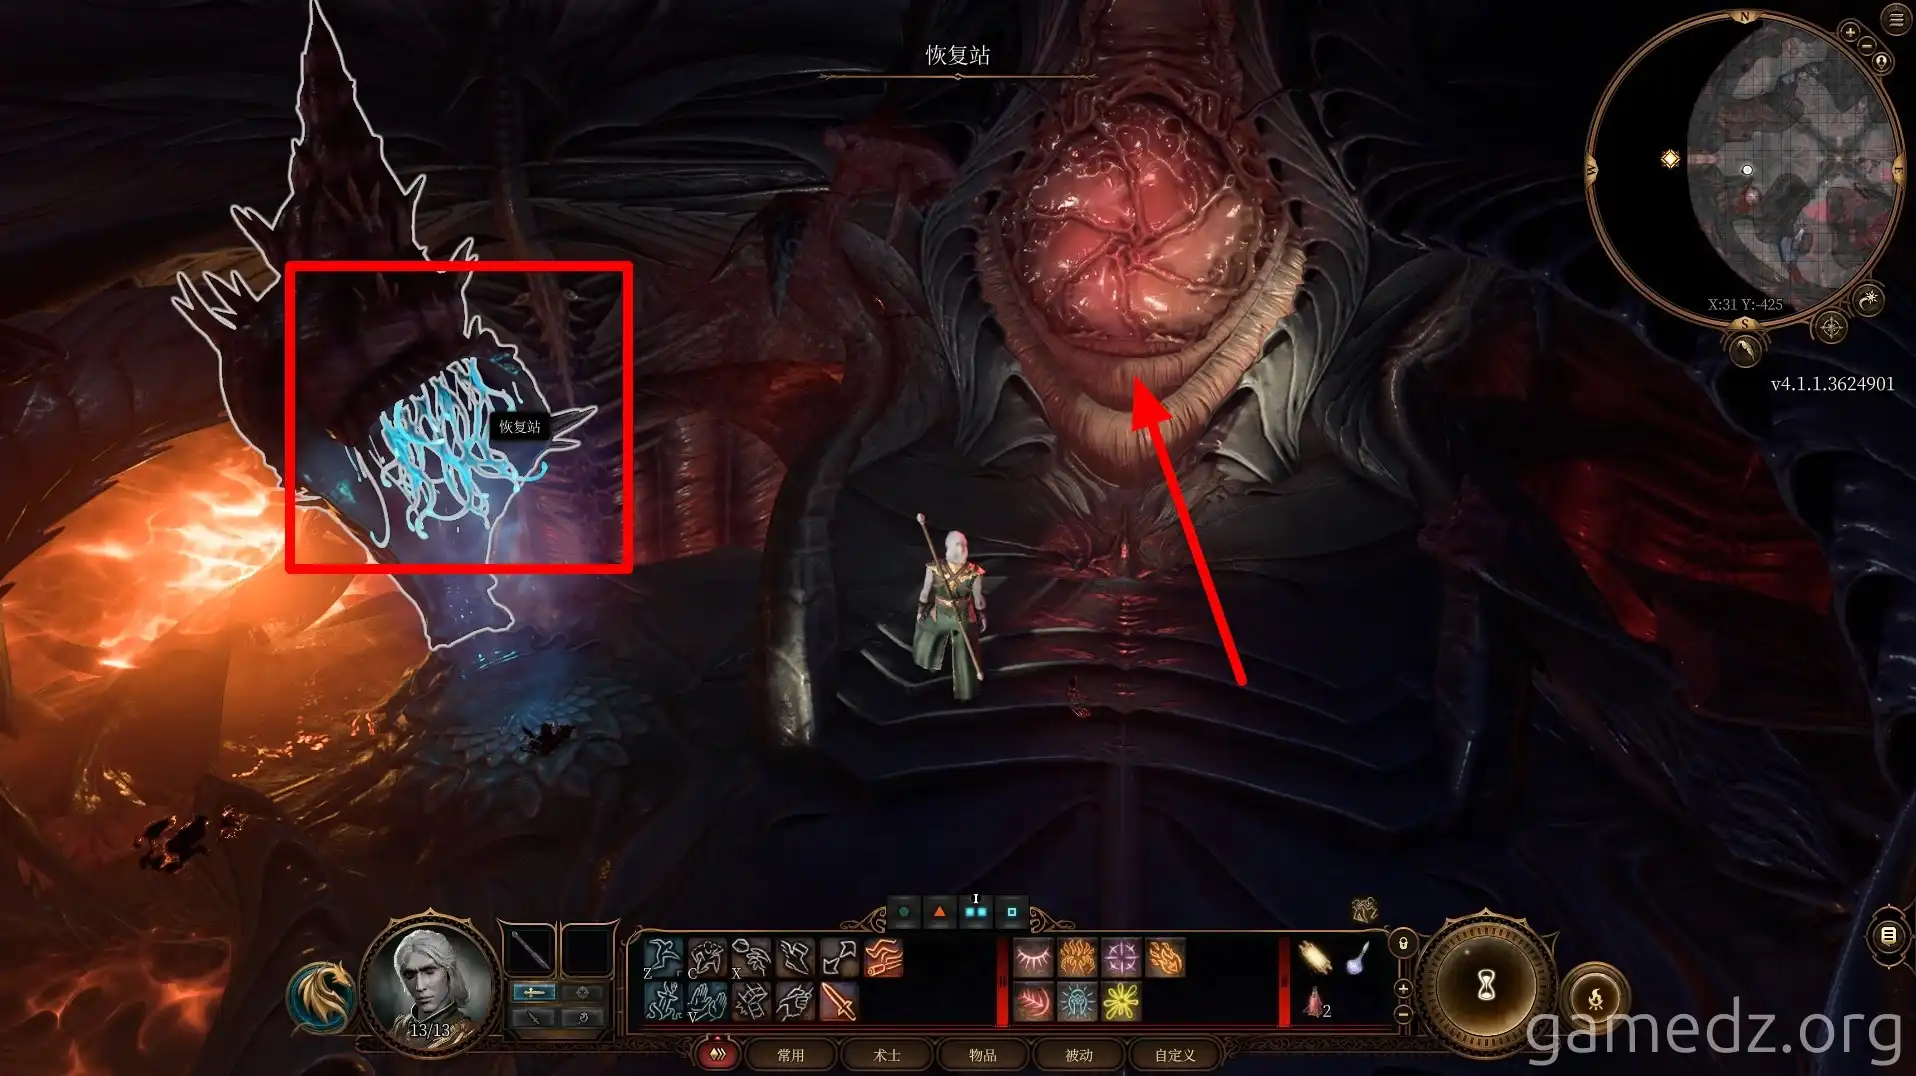
If you lost health due to the nursery pool explosion, you can use the restoration station in the room to recover before heading through the large door into the next room.
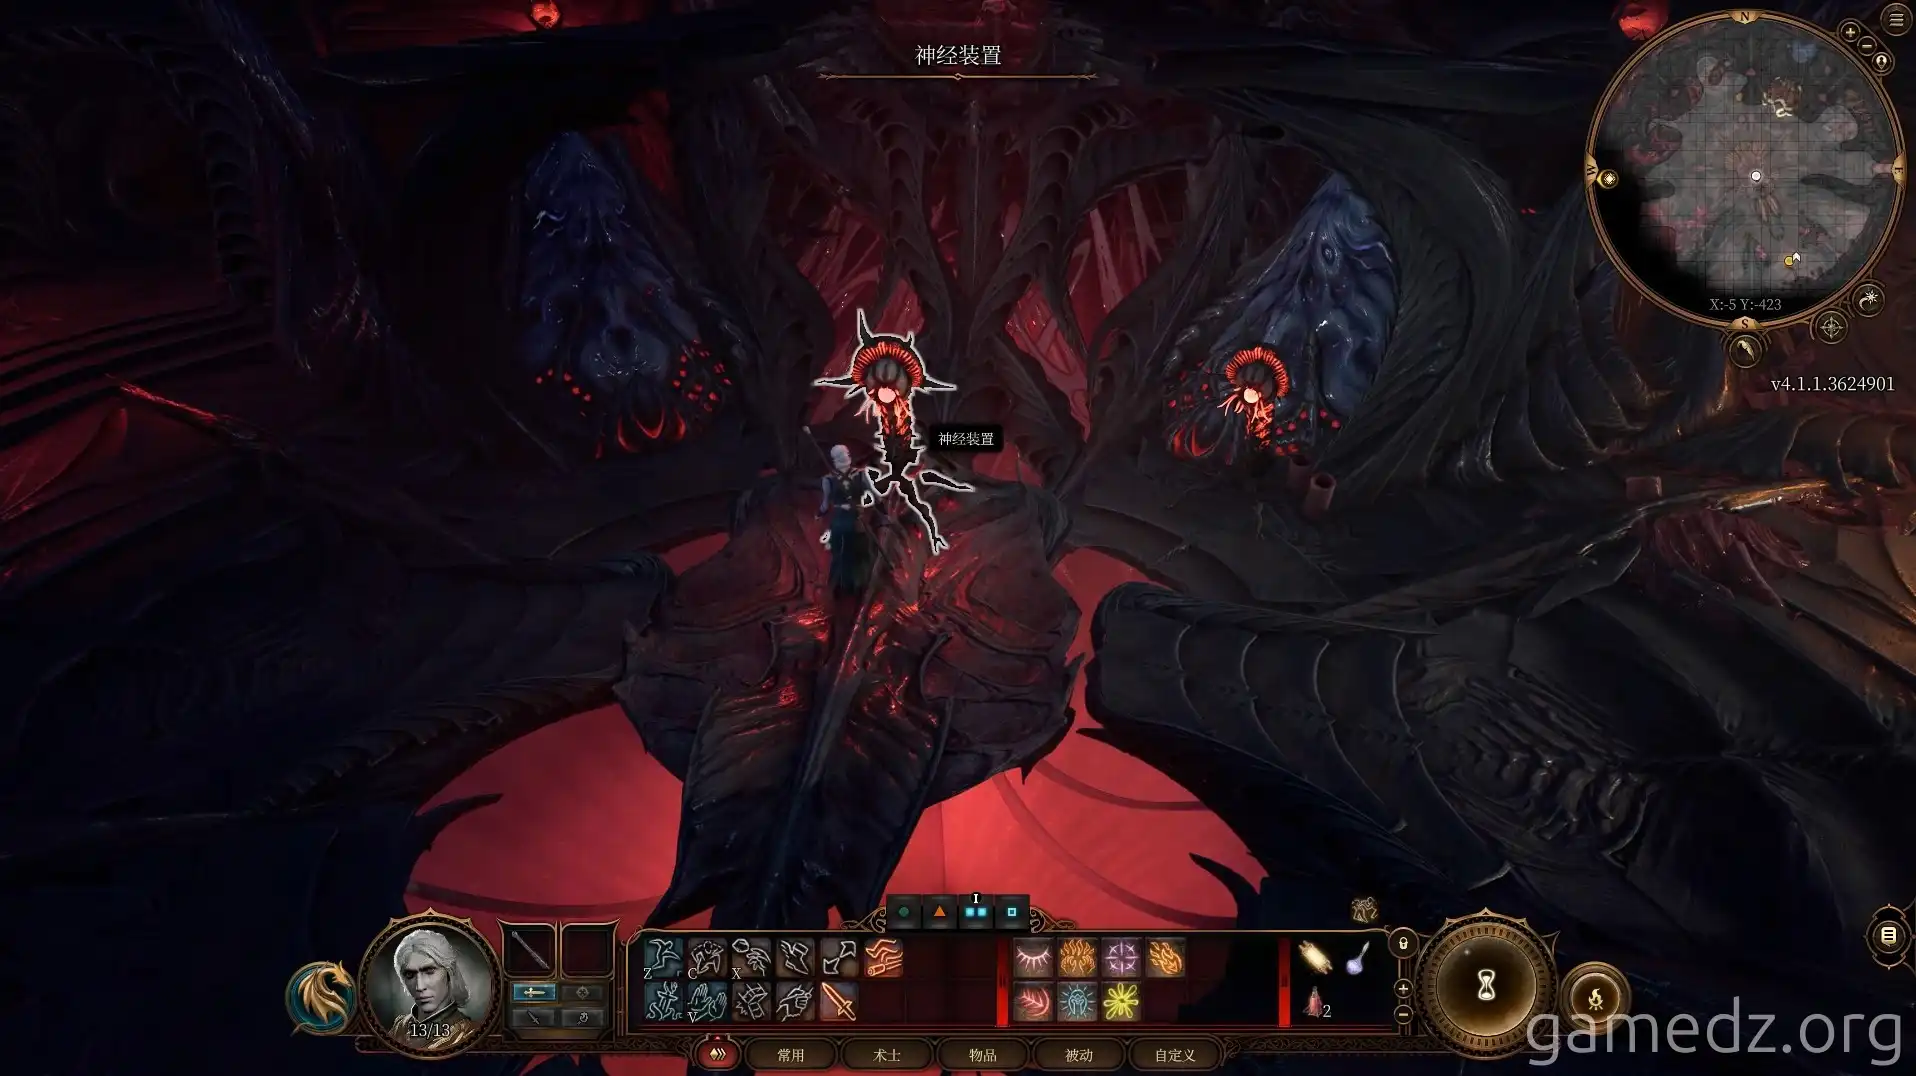
In the second room, use the neural device to ascend to the second floor.
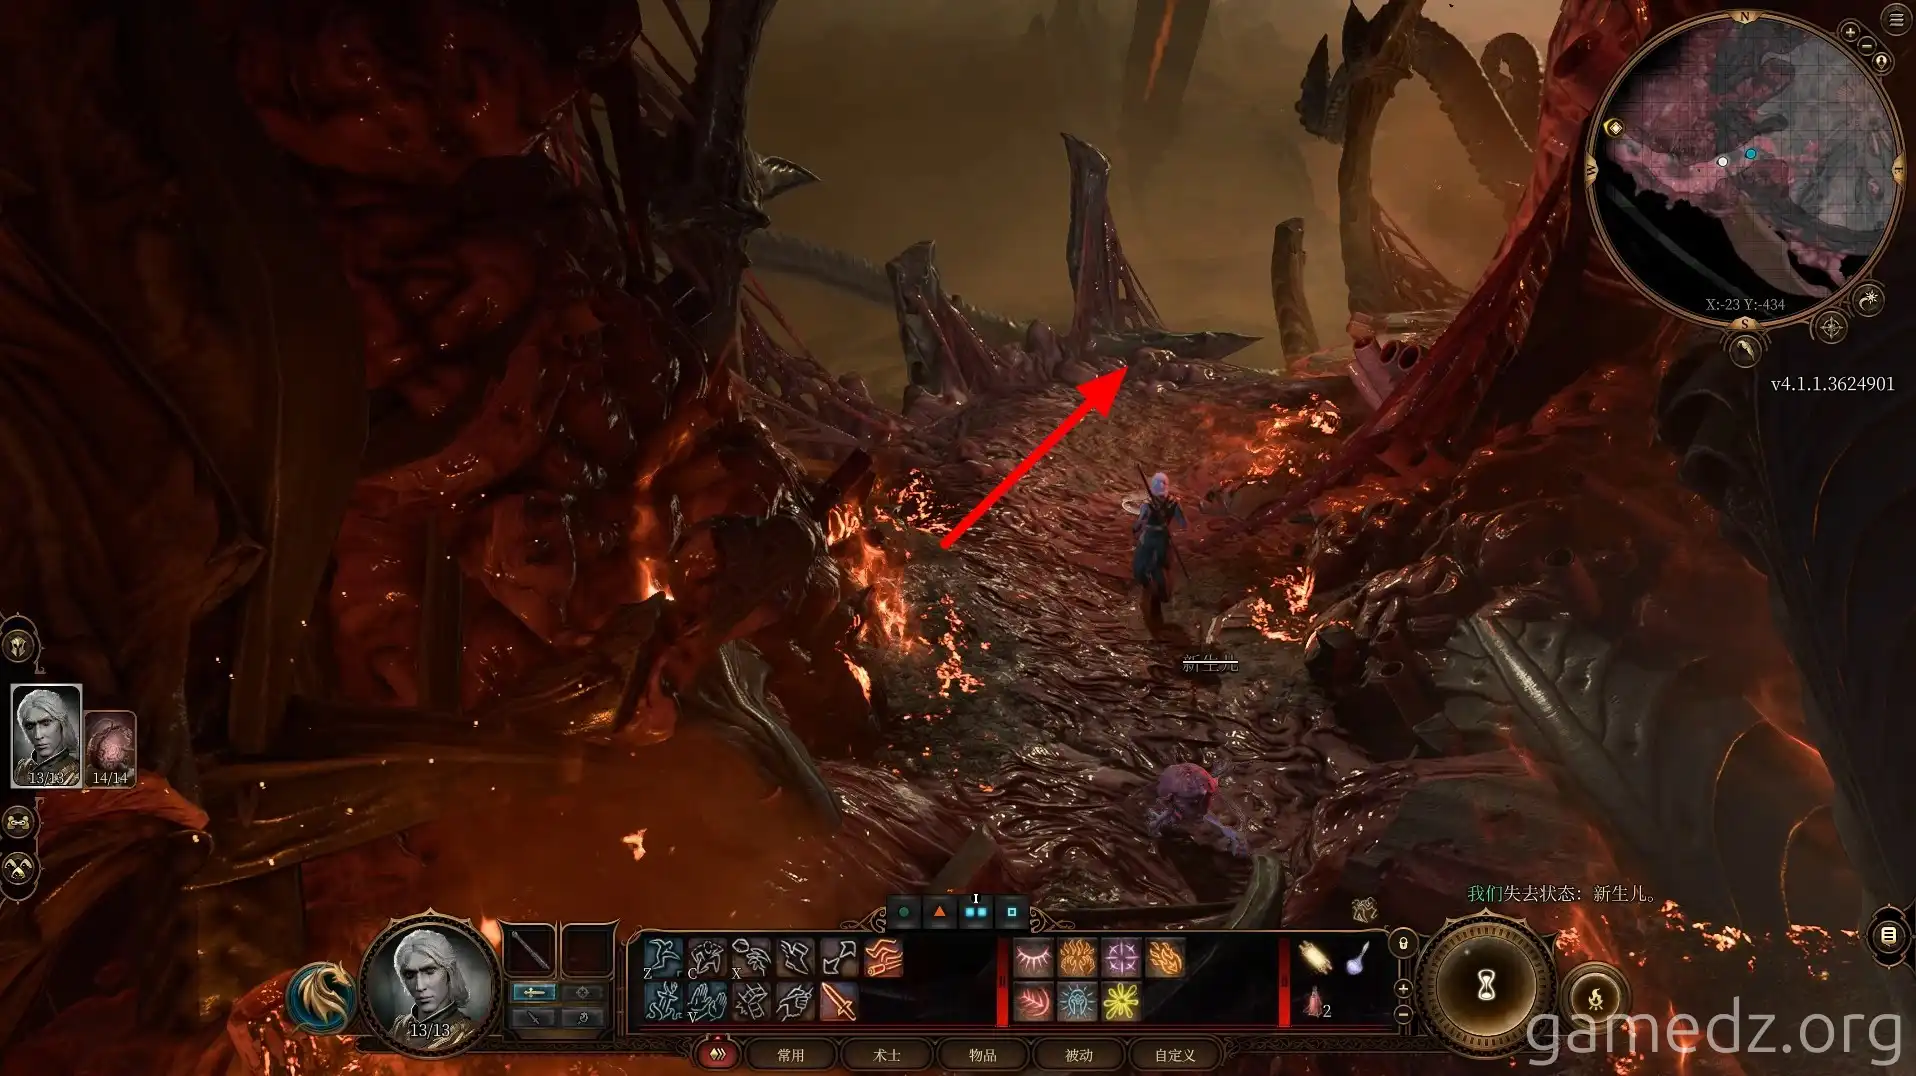
Once on the second floor, investigate Myrnath's body. In all dialogue options, do not harm the brain. Successfully removing the brain will grant you an Intellect Devourer follower, which has additional story content later on.
Then, proceed along the exposed ramp.
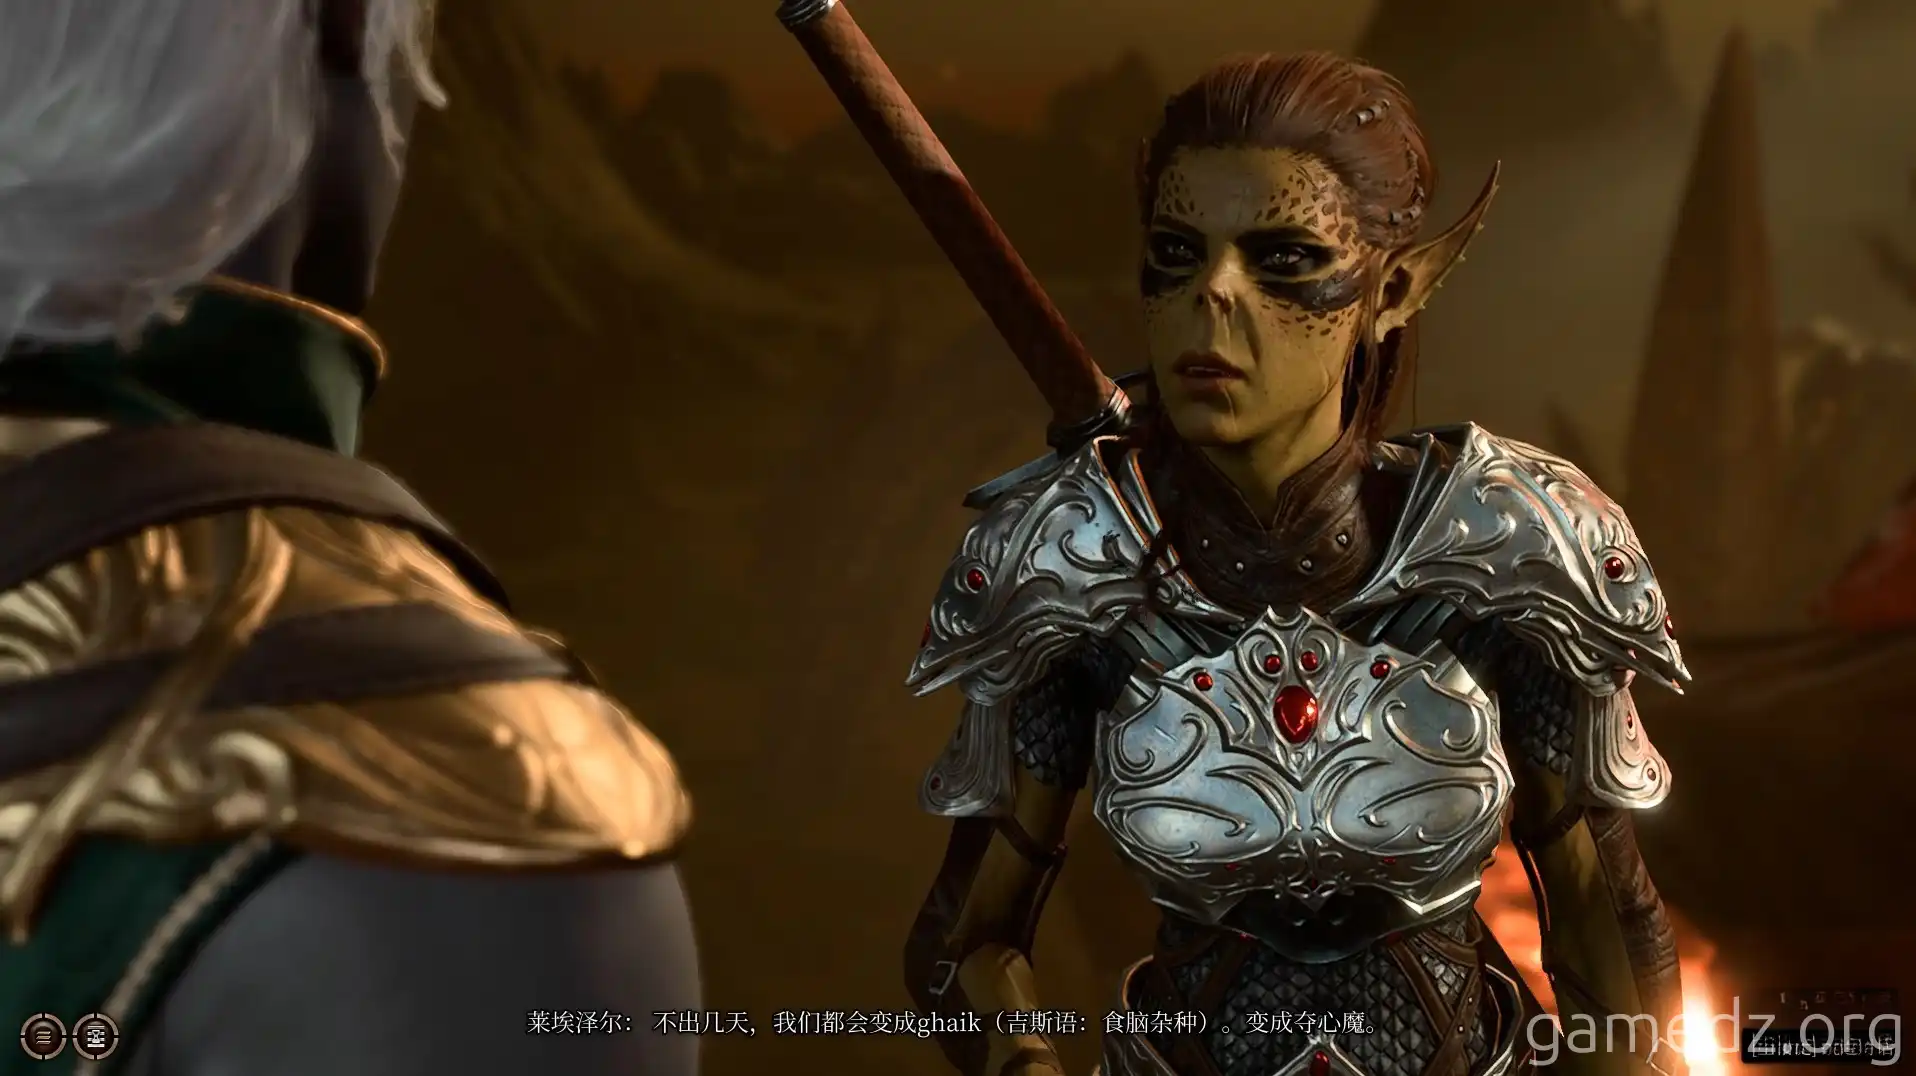
Along the way, you will encounter a Githyanki, Lae'zel, who is also infested with a tadpole. After a conversation, she will join your party.
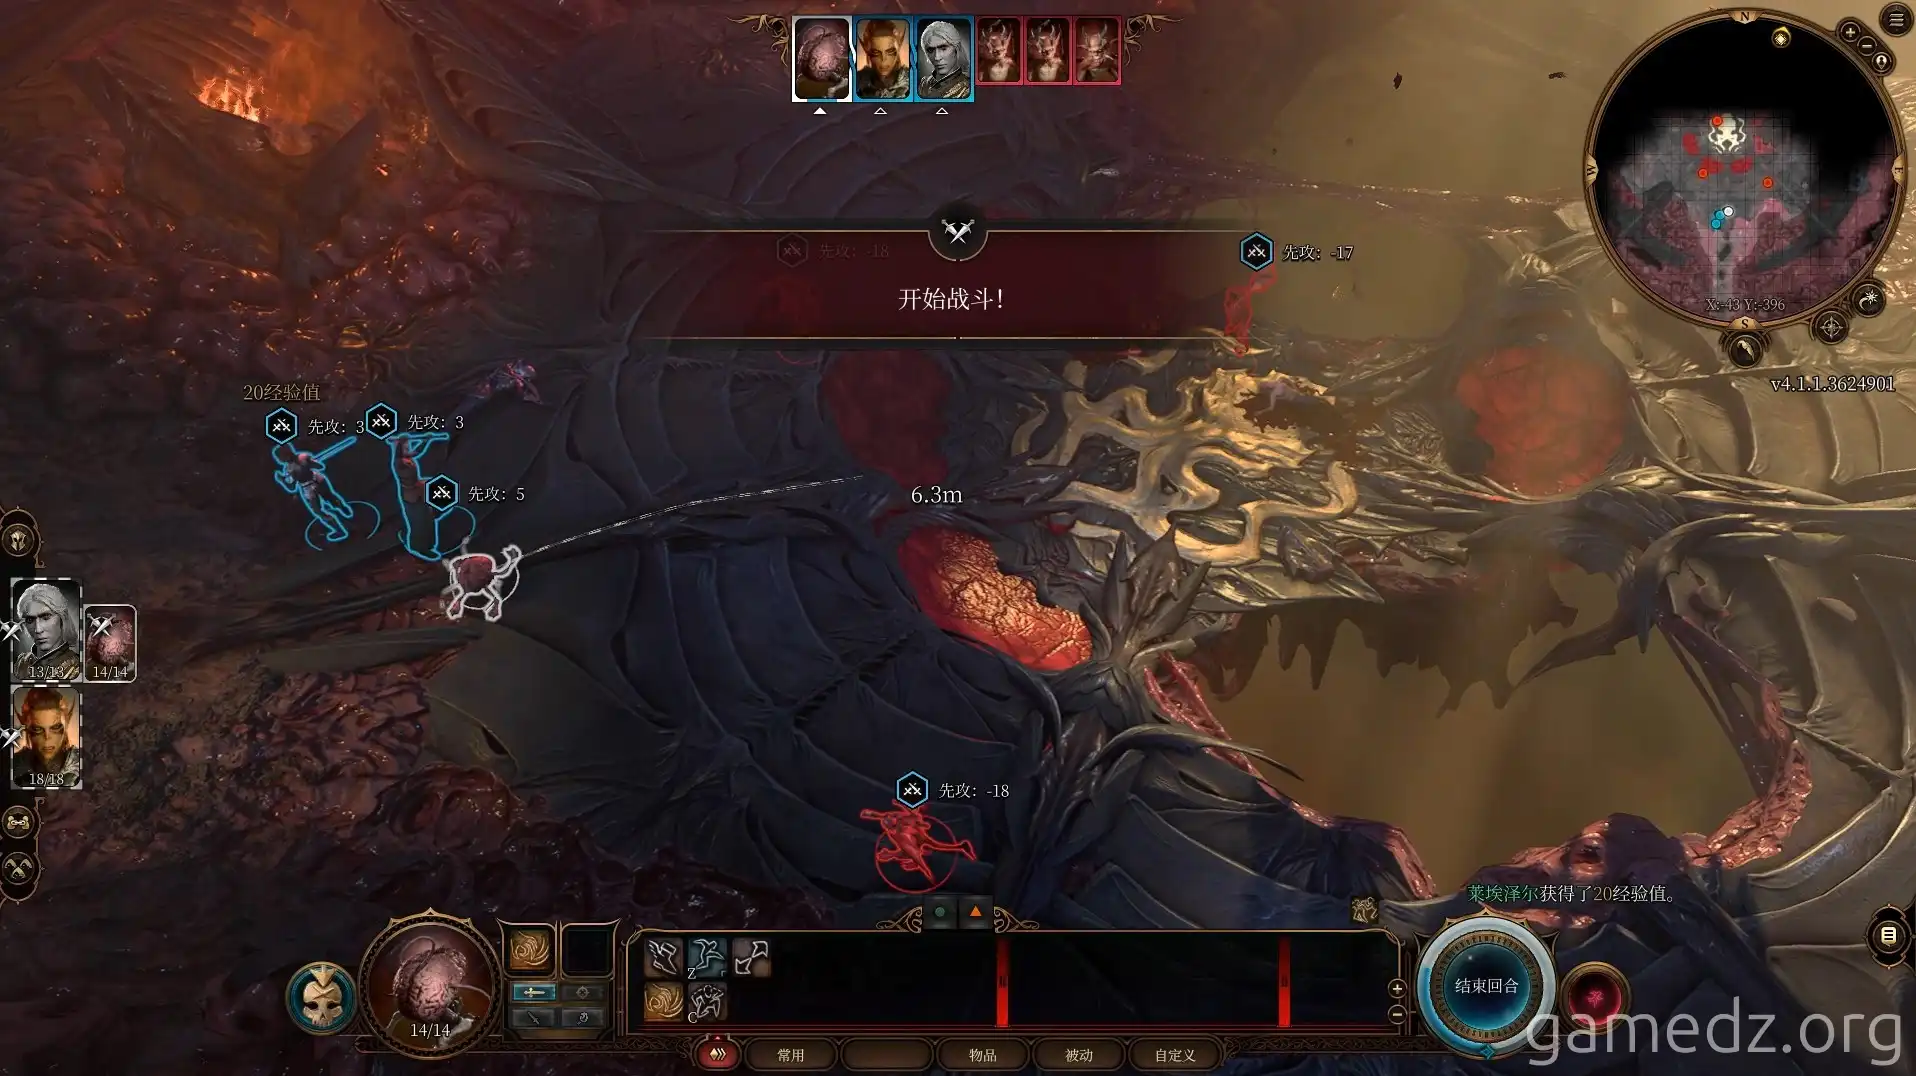
You will then enter combat. Simply eliminate the three imps in the room. This is a tutorial-like battle and is very simple, especially with the Intellect Devourer, and can be finished in one or two rounds.
At the beginning of each battle, an initiative roll is made based on each character's dexterity to determine the turn order.
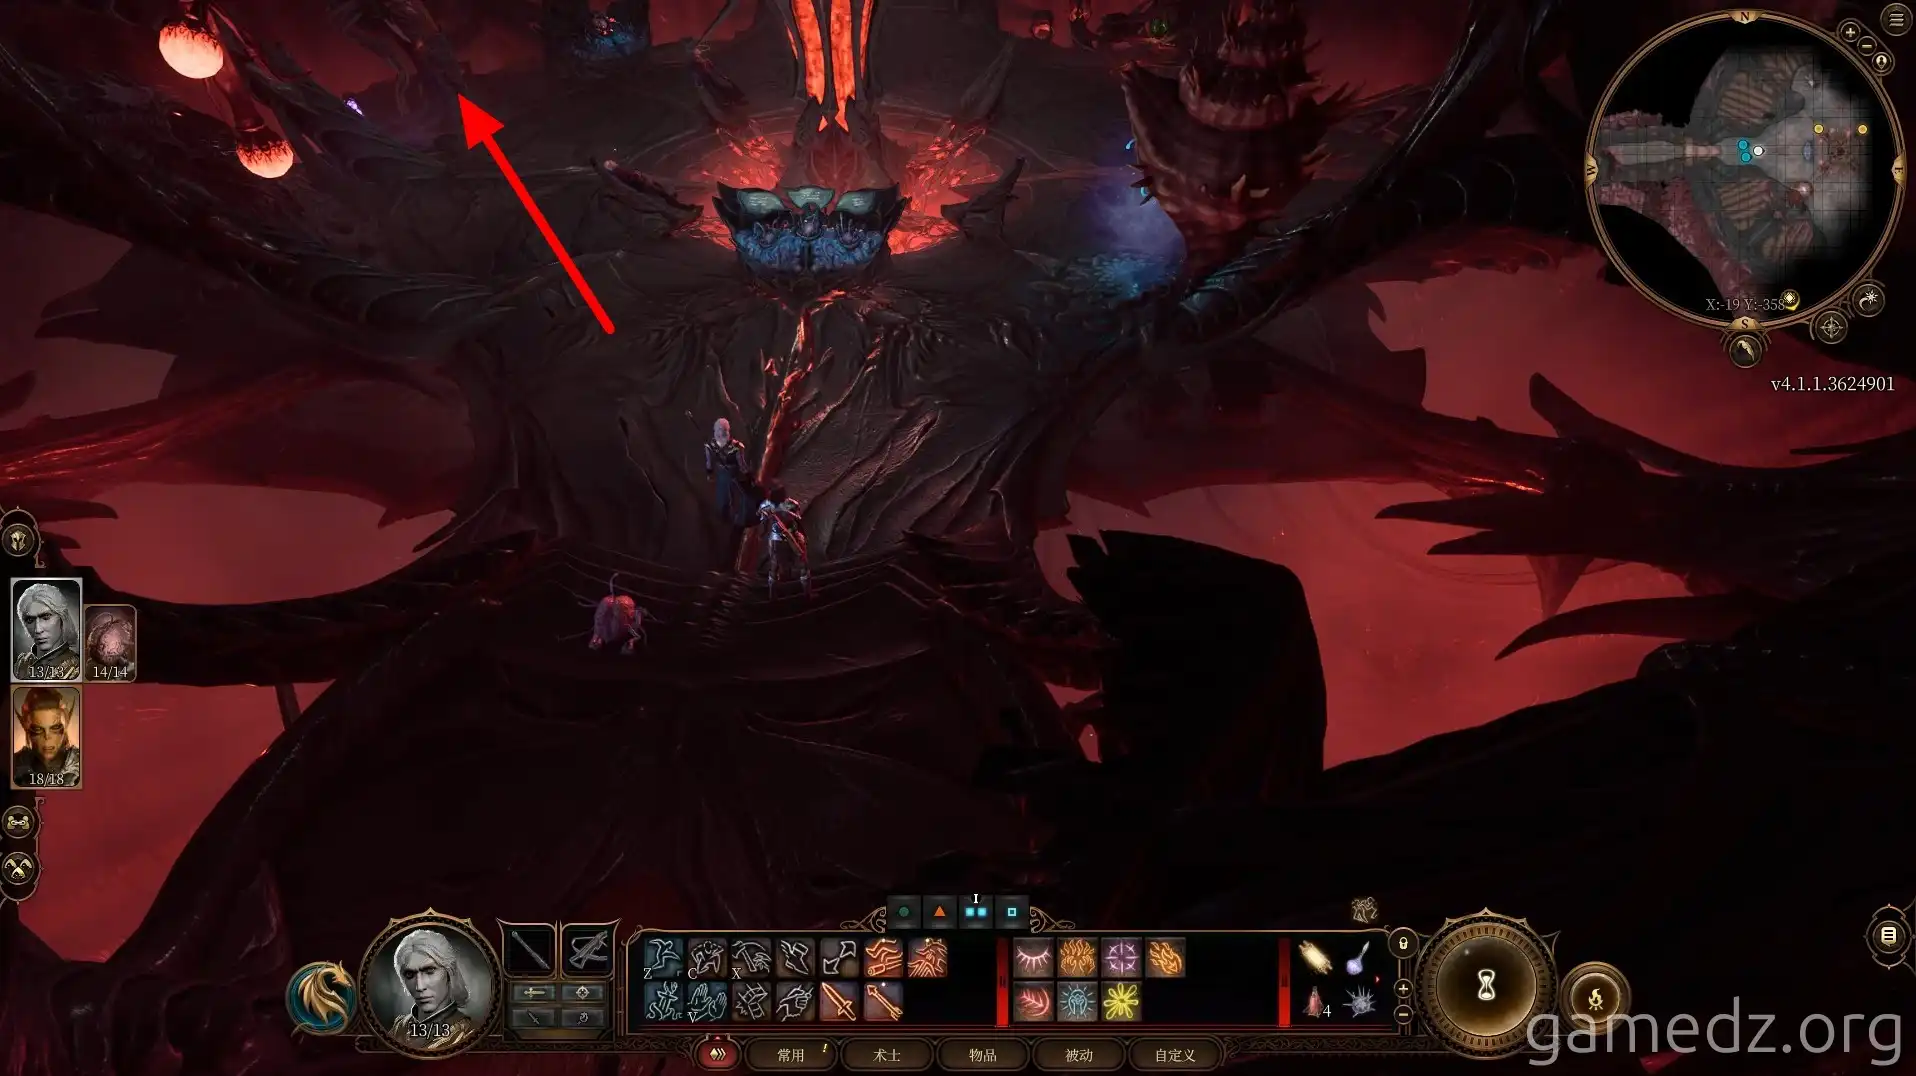
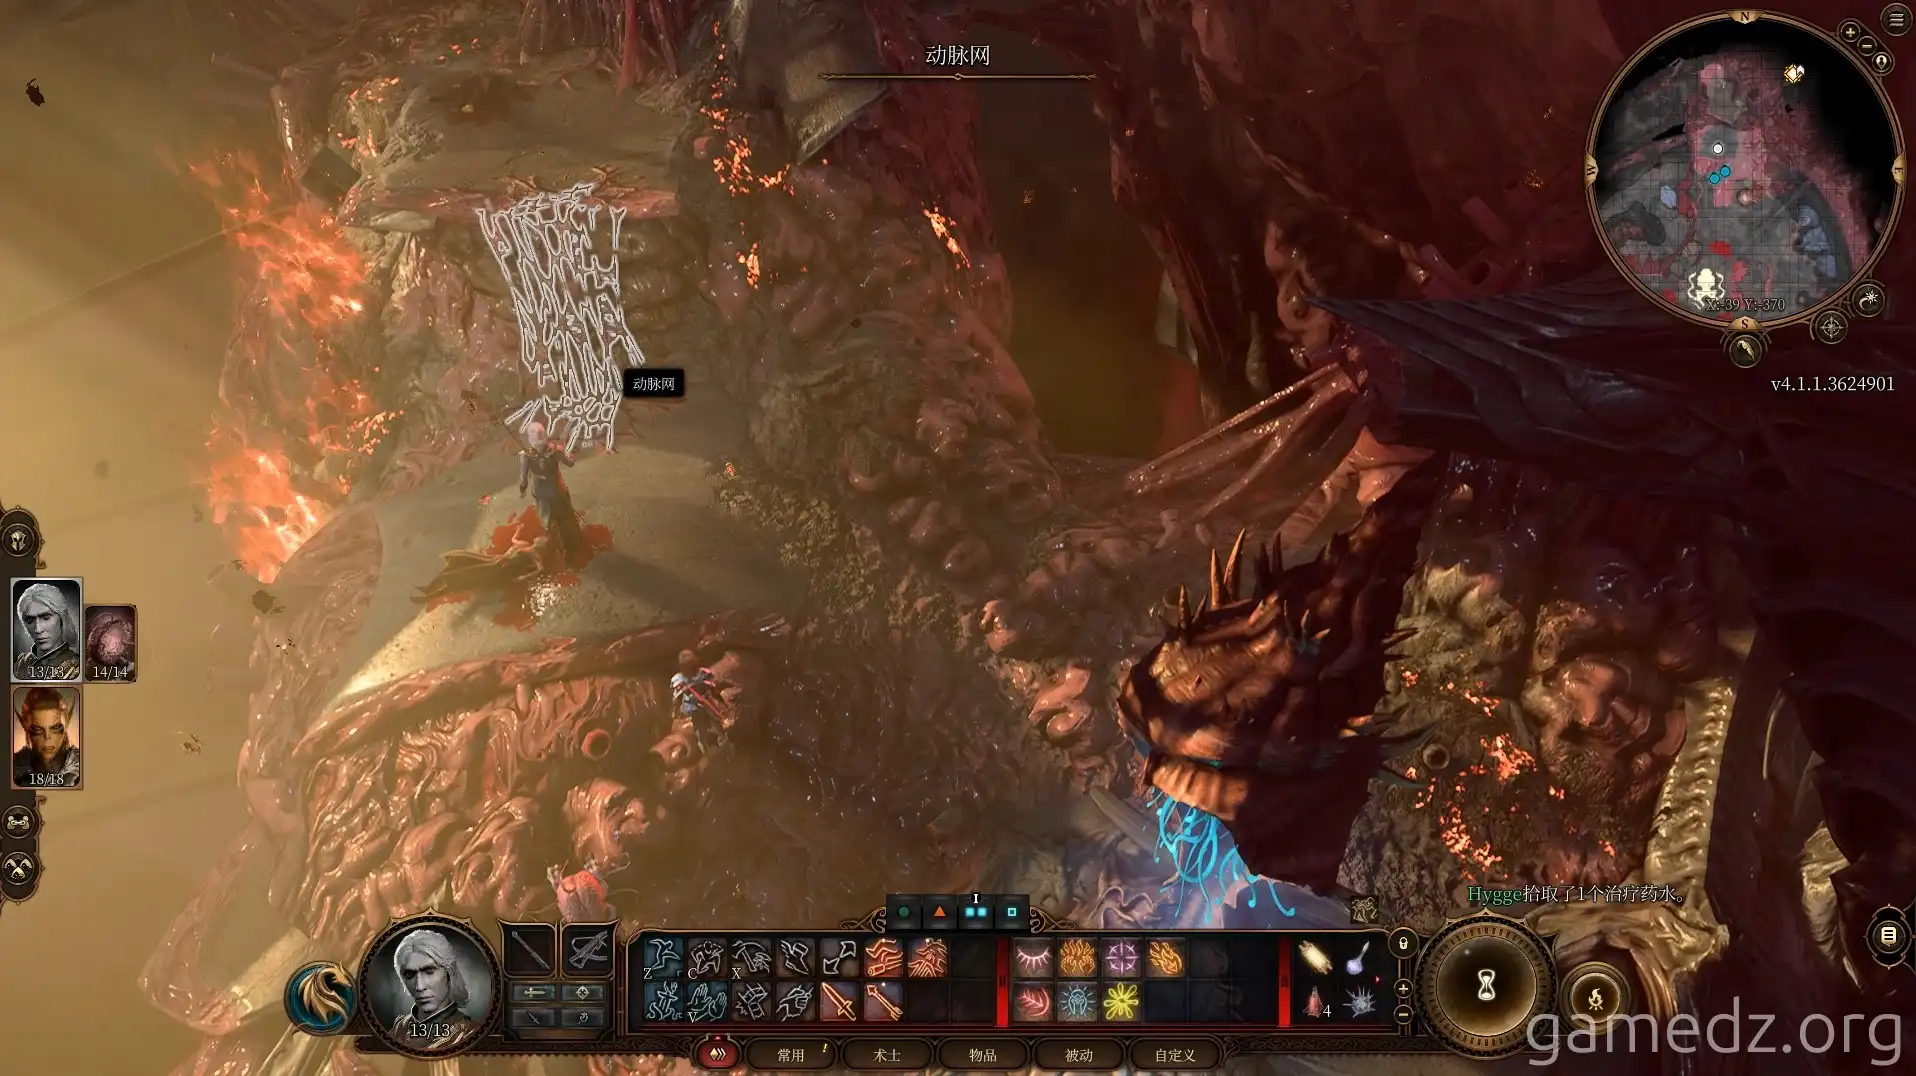
After the battle, proceed through the arterial network on the north side of the room.
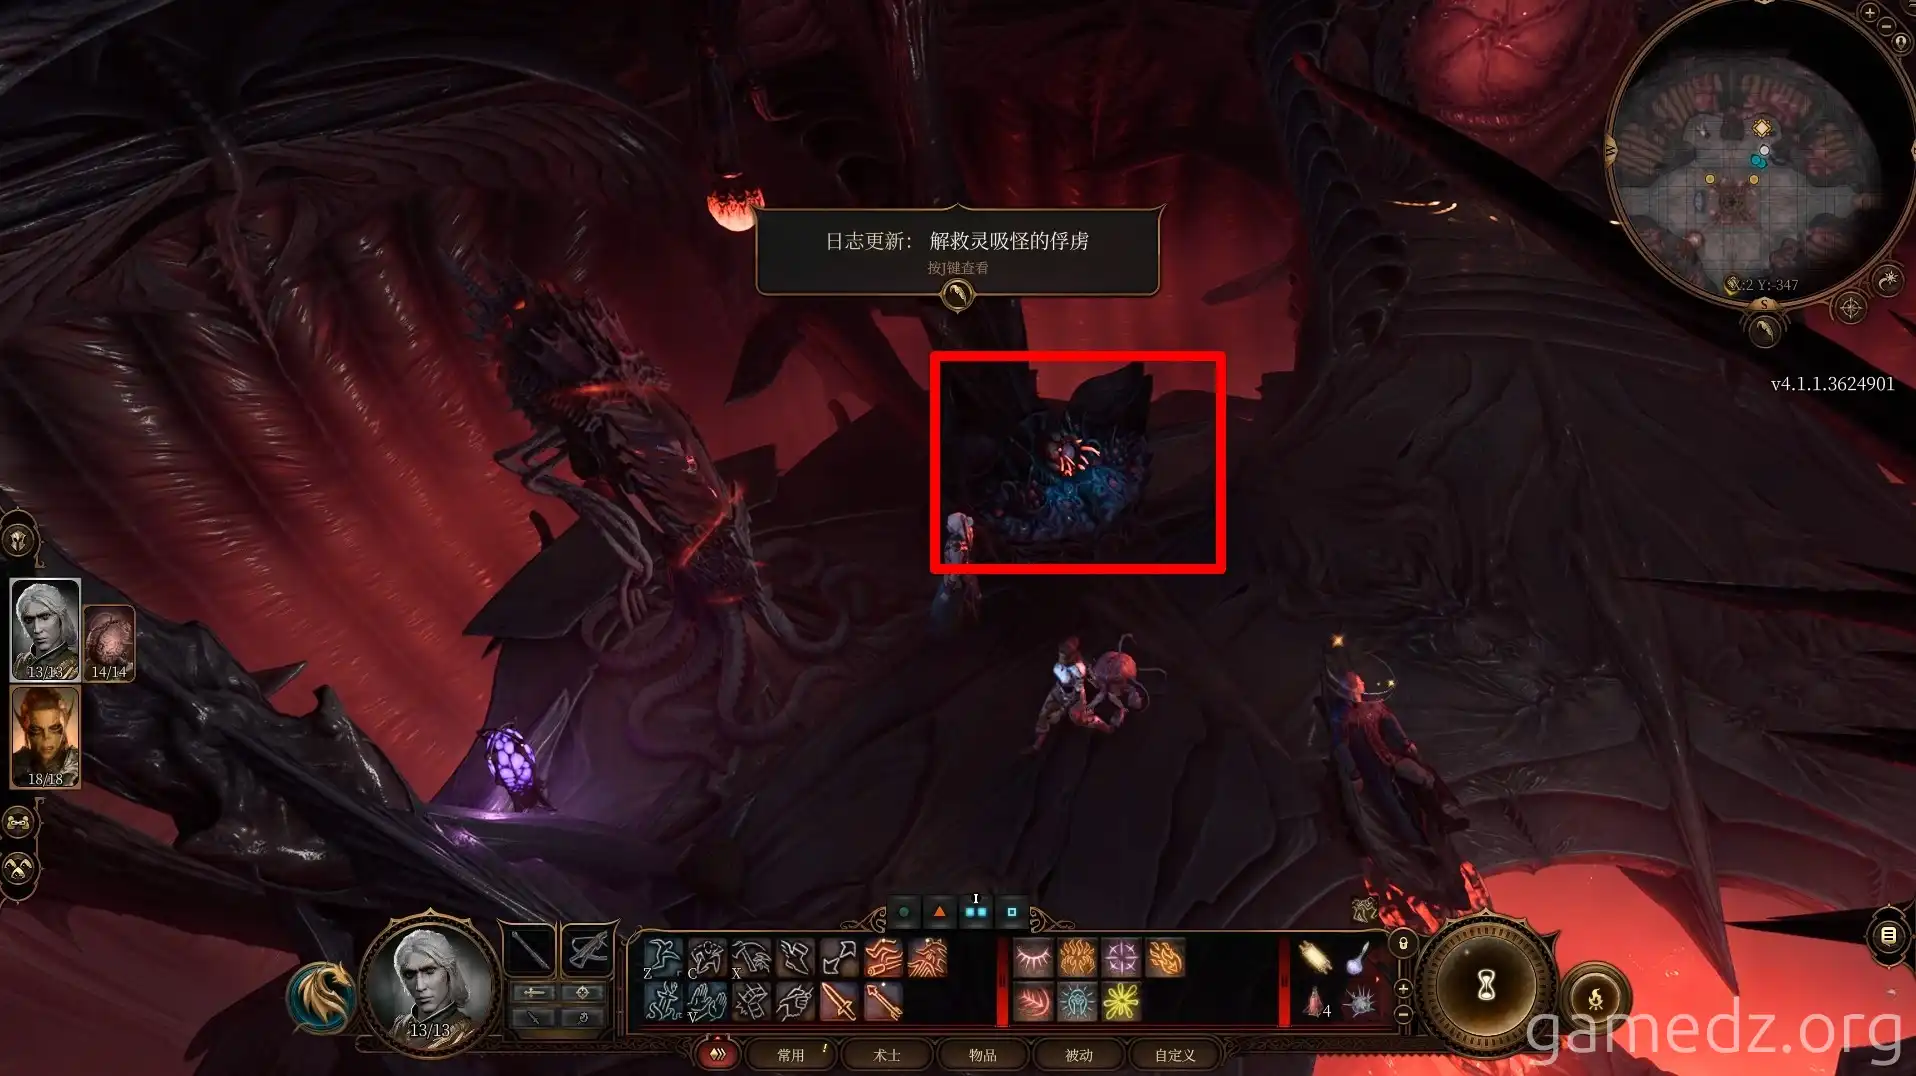
In the next room, do not touch the console in the center, as it will summon new enemies and trigger a battle. Instead, go to the north side of the room and try to rescue Shadowheart from the incubation pod.
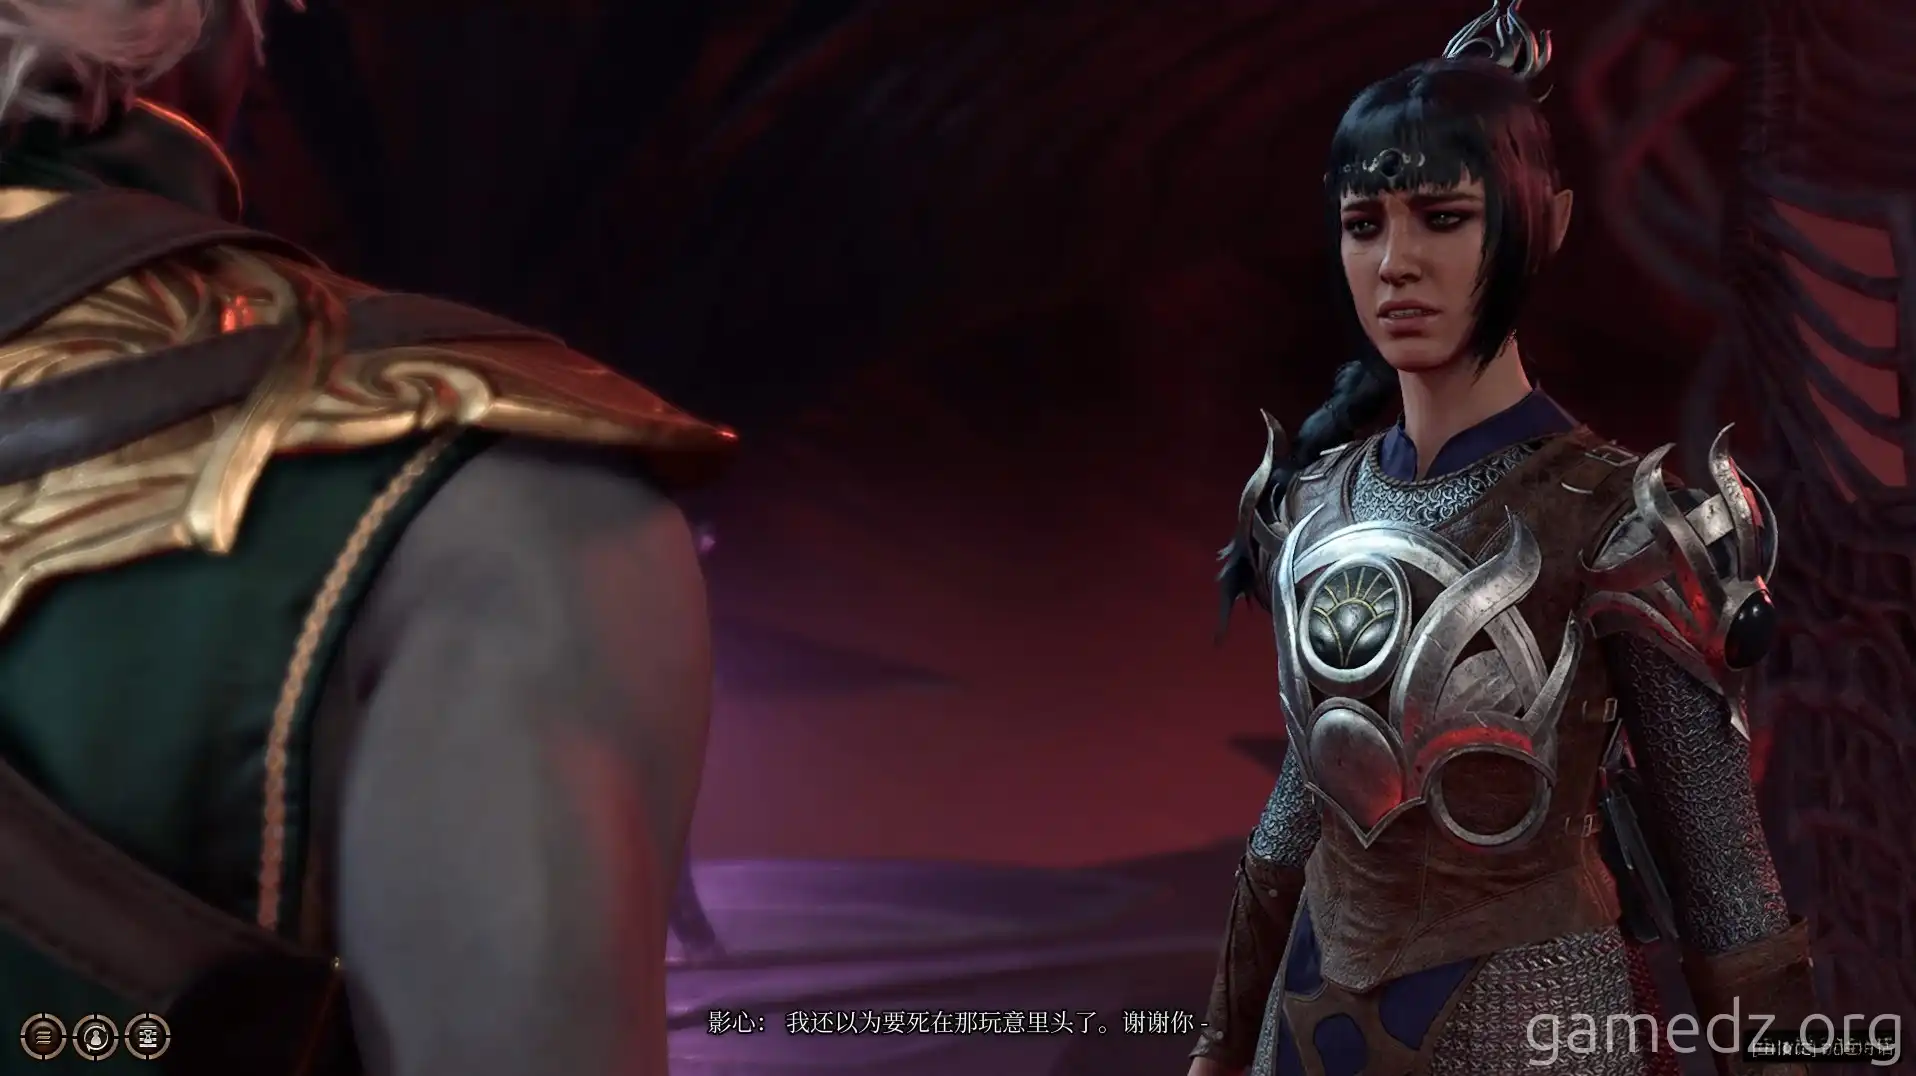
You can rescue Shadowheart using the console next to her pod. Since some investigations require a skill check, it's a good idea to save your game before you act.
If your character is not a spellcaster, you may not be able to activate the console by drawing a rune. In that case, leave it for now and continue exploring the room.
Successfully rescuing Shadowheart from the pod will have her retrieve a mysterious artifact and join your party.
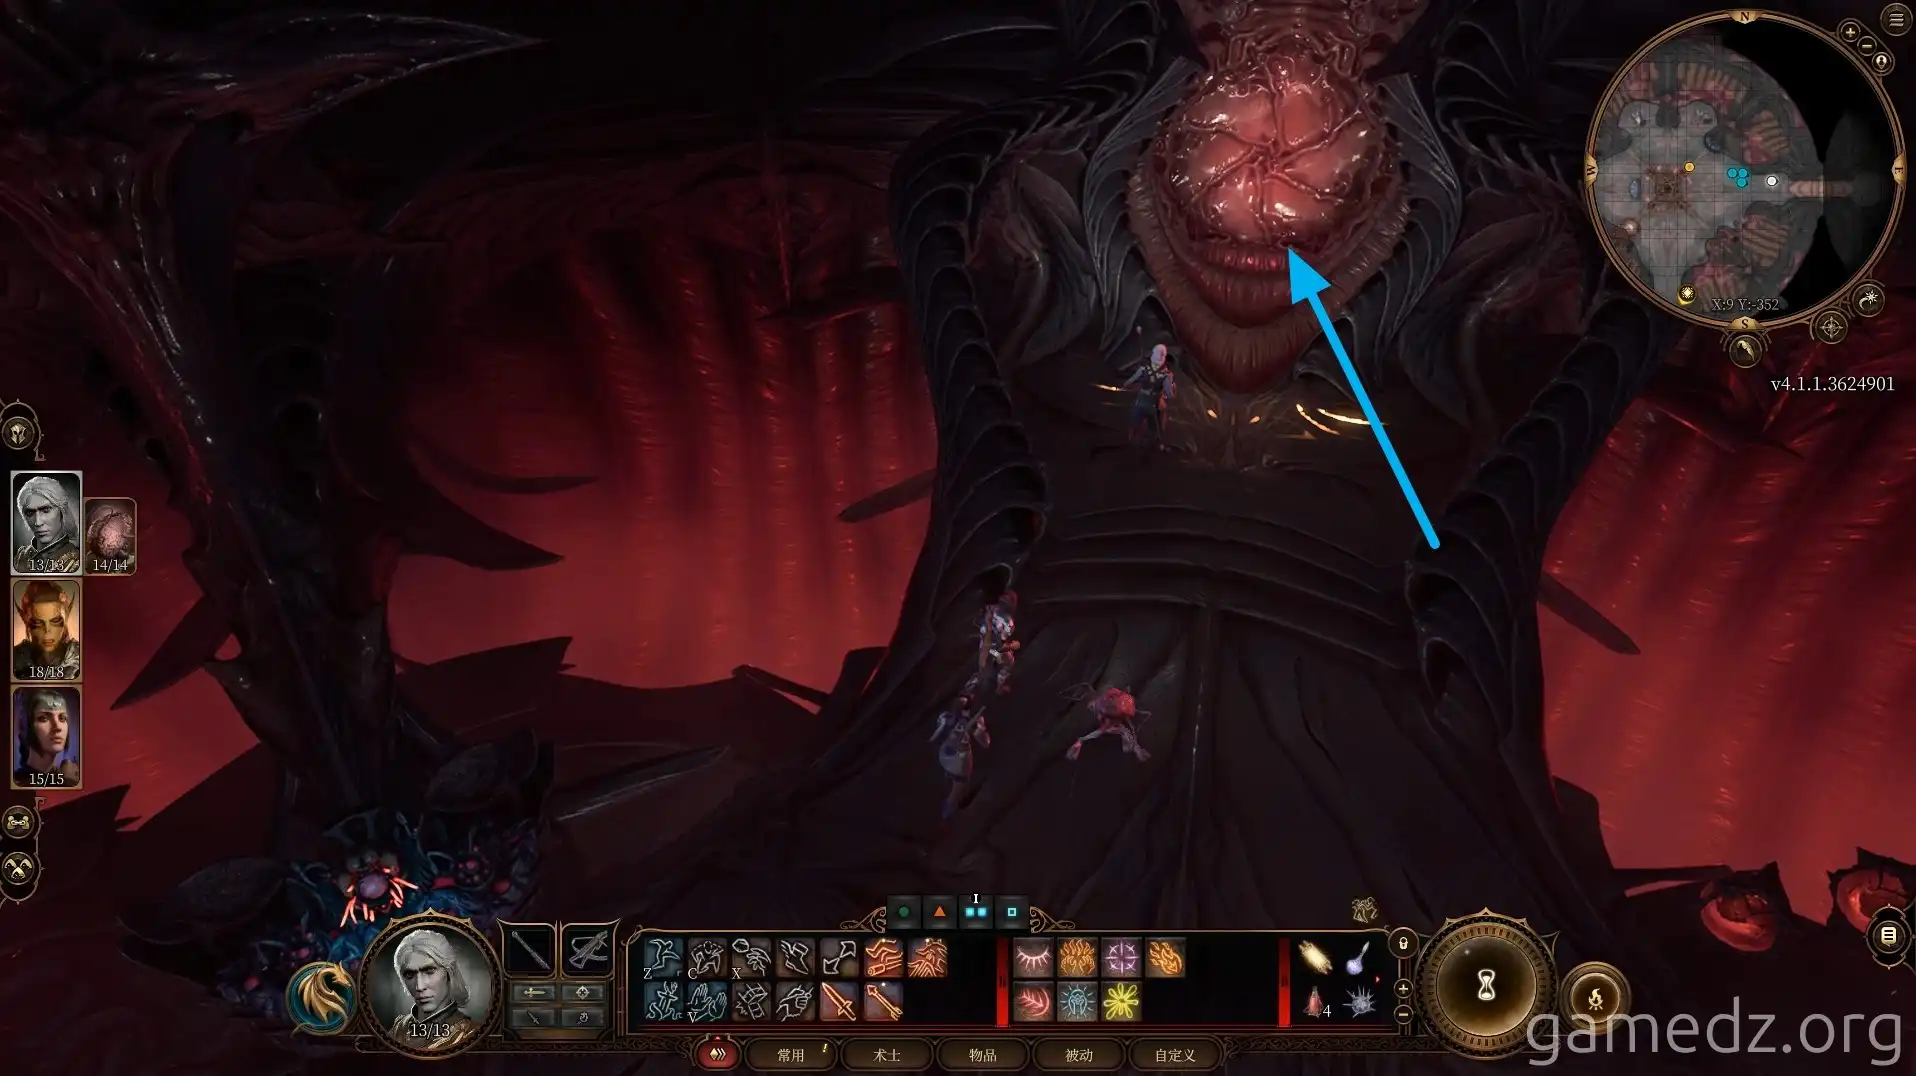
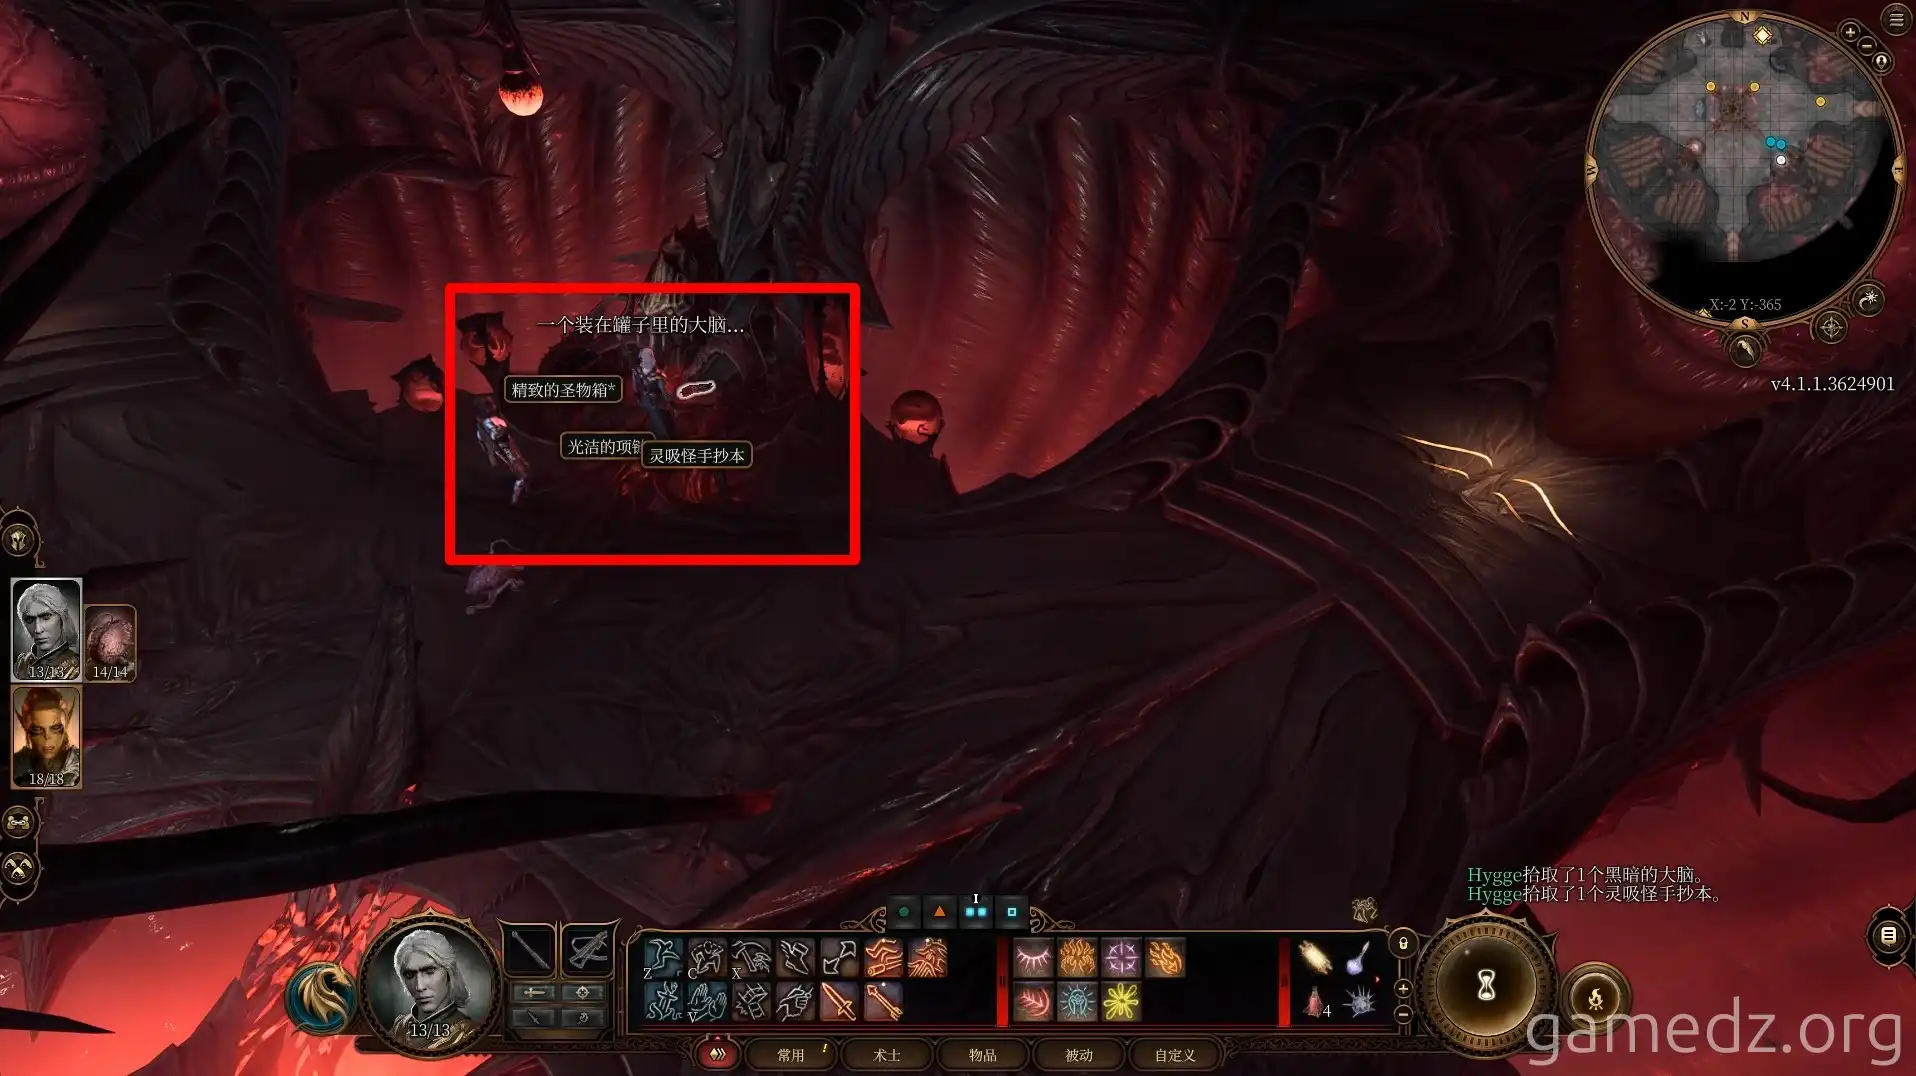
In the southeast corner of the room, you can find an elaborate reliquary. You can't open it yet, so just take it with you.
Next, head to the room on the east side.
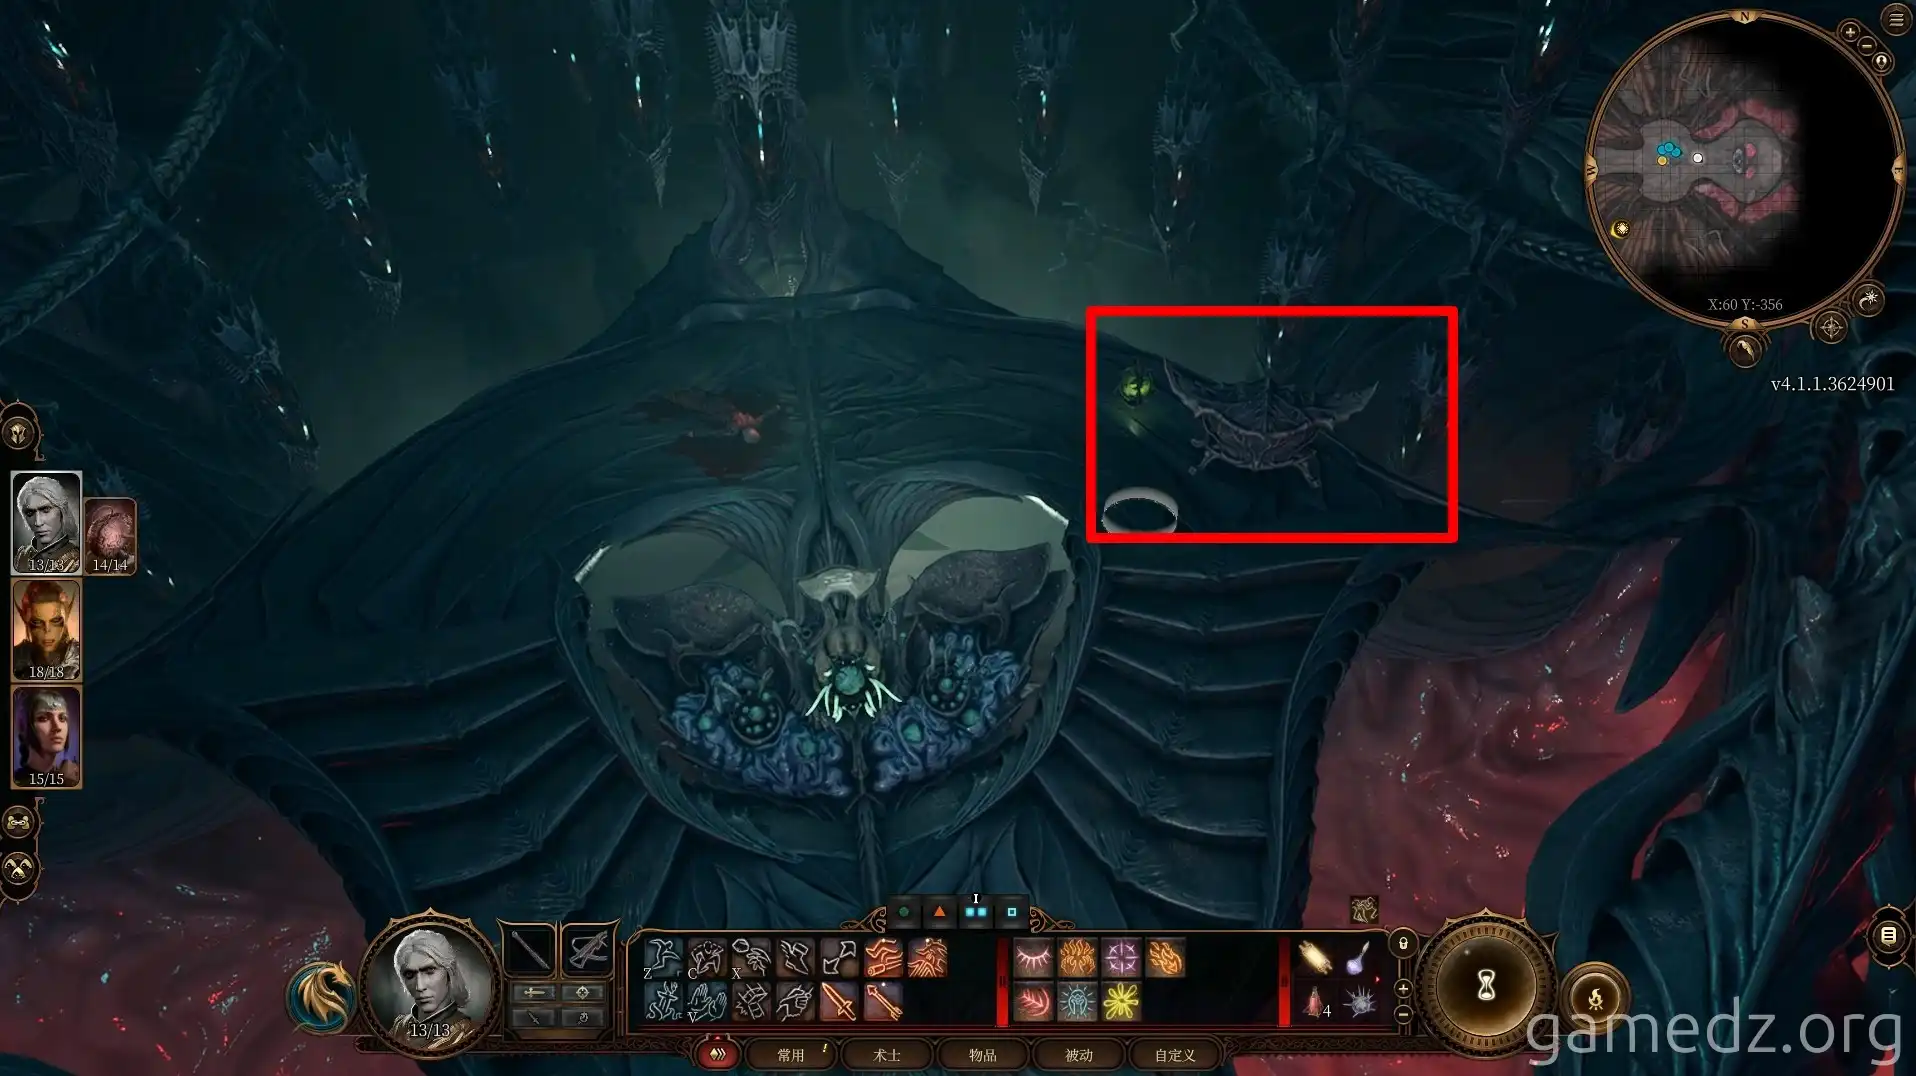
As you enter the room, you'll see a second Intellect Devourer. It won't attack you, and you can't recruit it. Since it has a fair amount of health and doesn't drop anything valuable, and might even turn your own Intellect Devourer against you, it's best to ignore it.
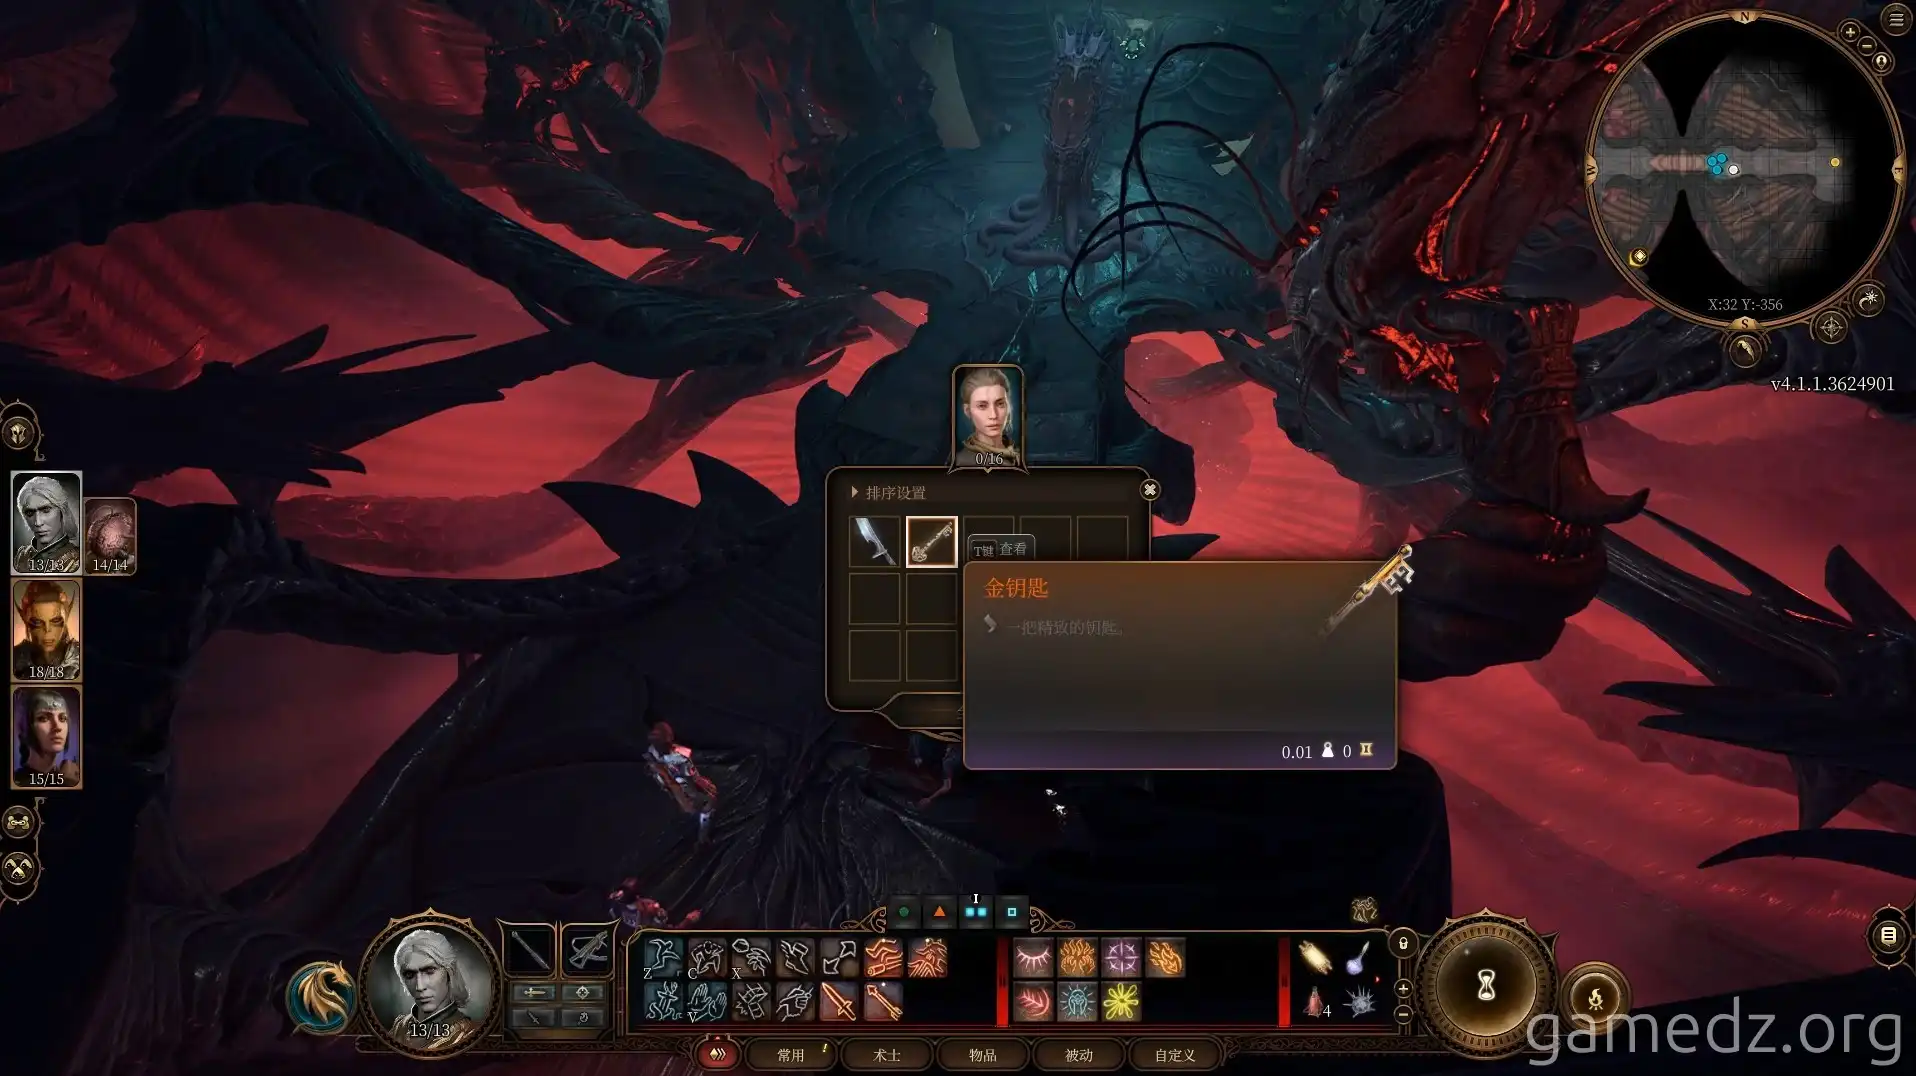
You can find a gold key on a dead slave in the room, which can be used to open the reliquary you just picked up.
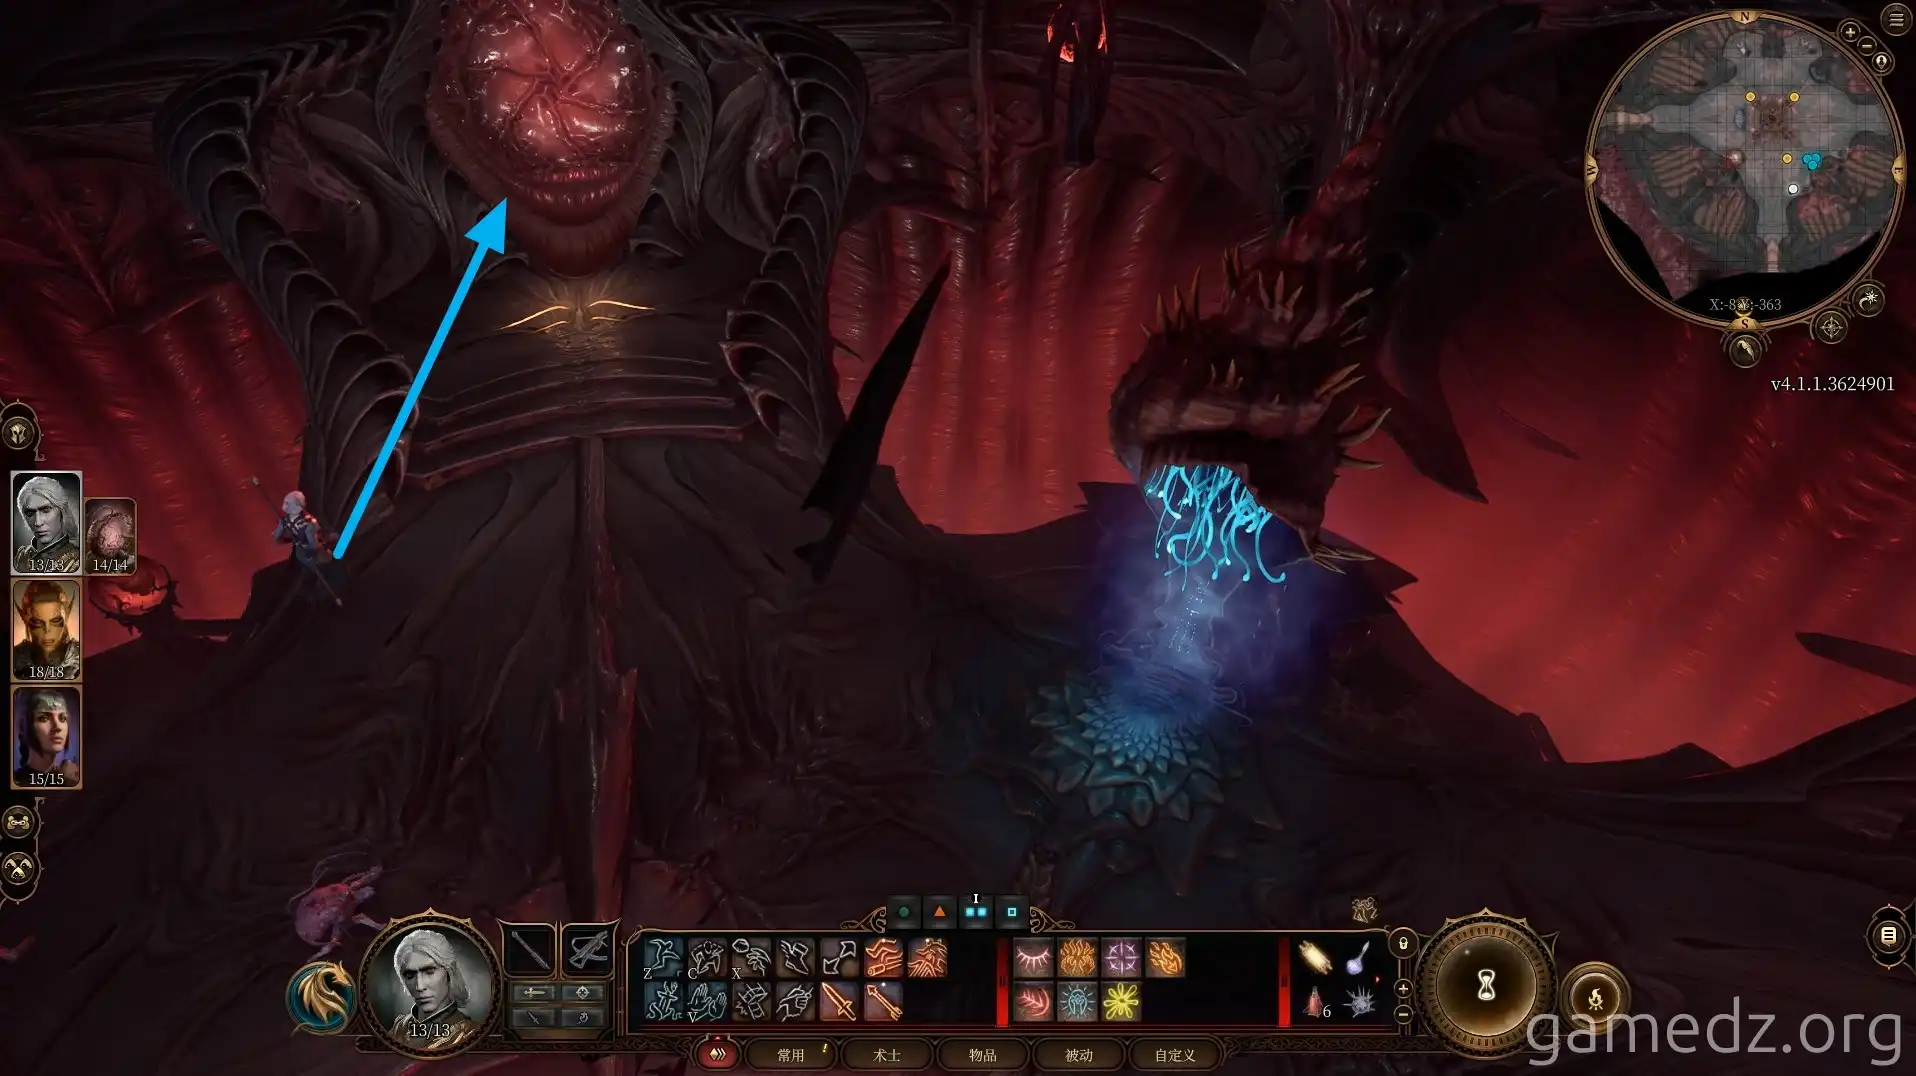
Do not touch the console in this room. You can just grab the contents of the cartilage chest in the innermost part of the room and leave.
On a slave's body near the cartilage chest, you can find a rune. Non-spellcasters can use this rune to activate the console and rescue Shadowheart.
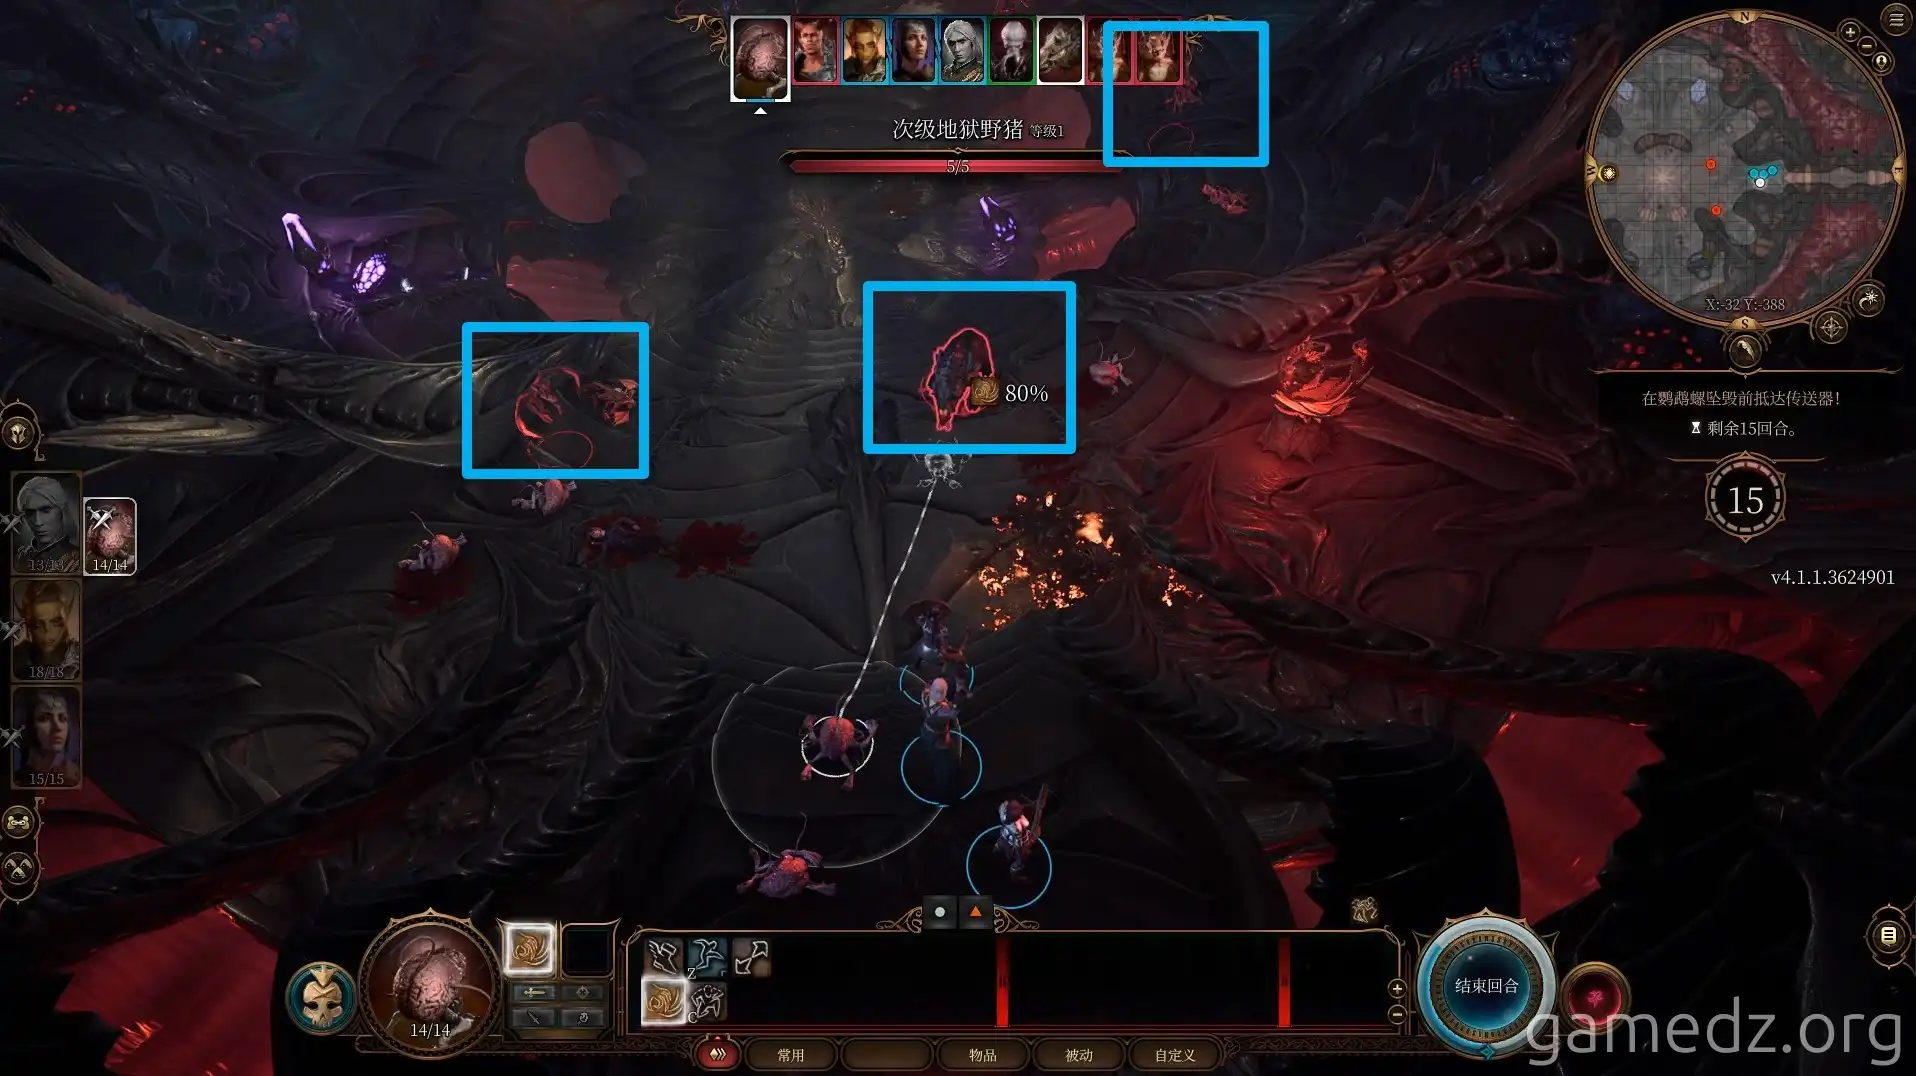
Return to the previous room and go through the door next to the restoration station to the south to enter the helm.

At the helm, first deal with the two imps and the hellboar in the front while moving towards the other side of the hall.
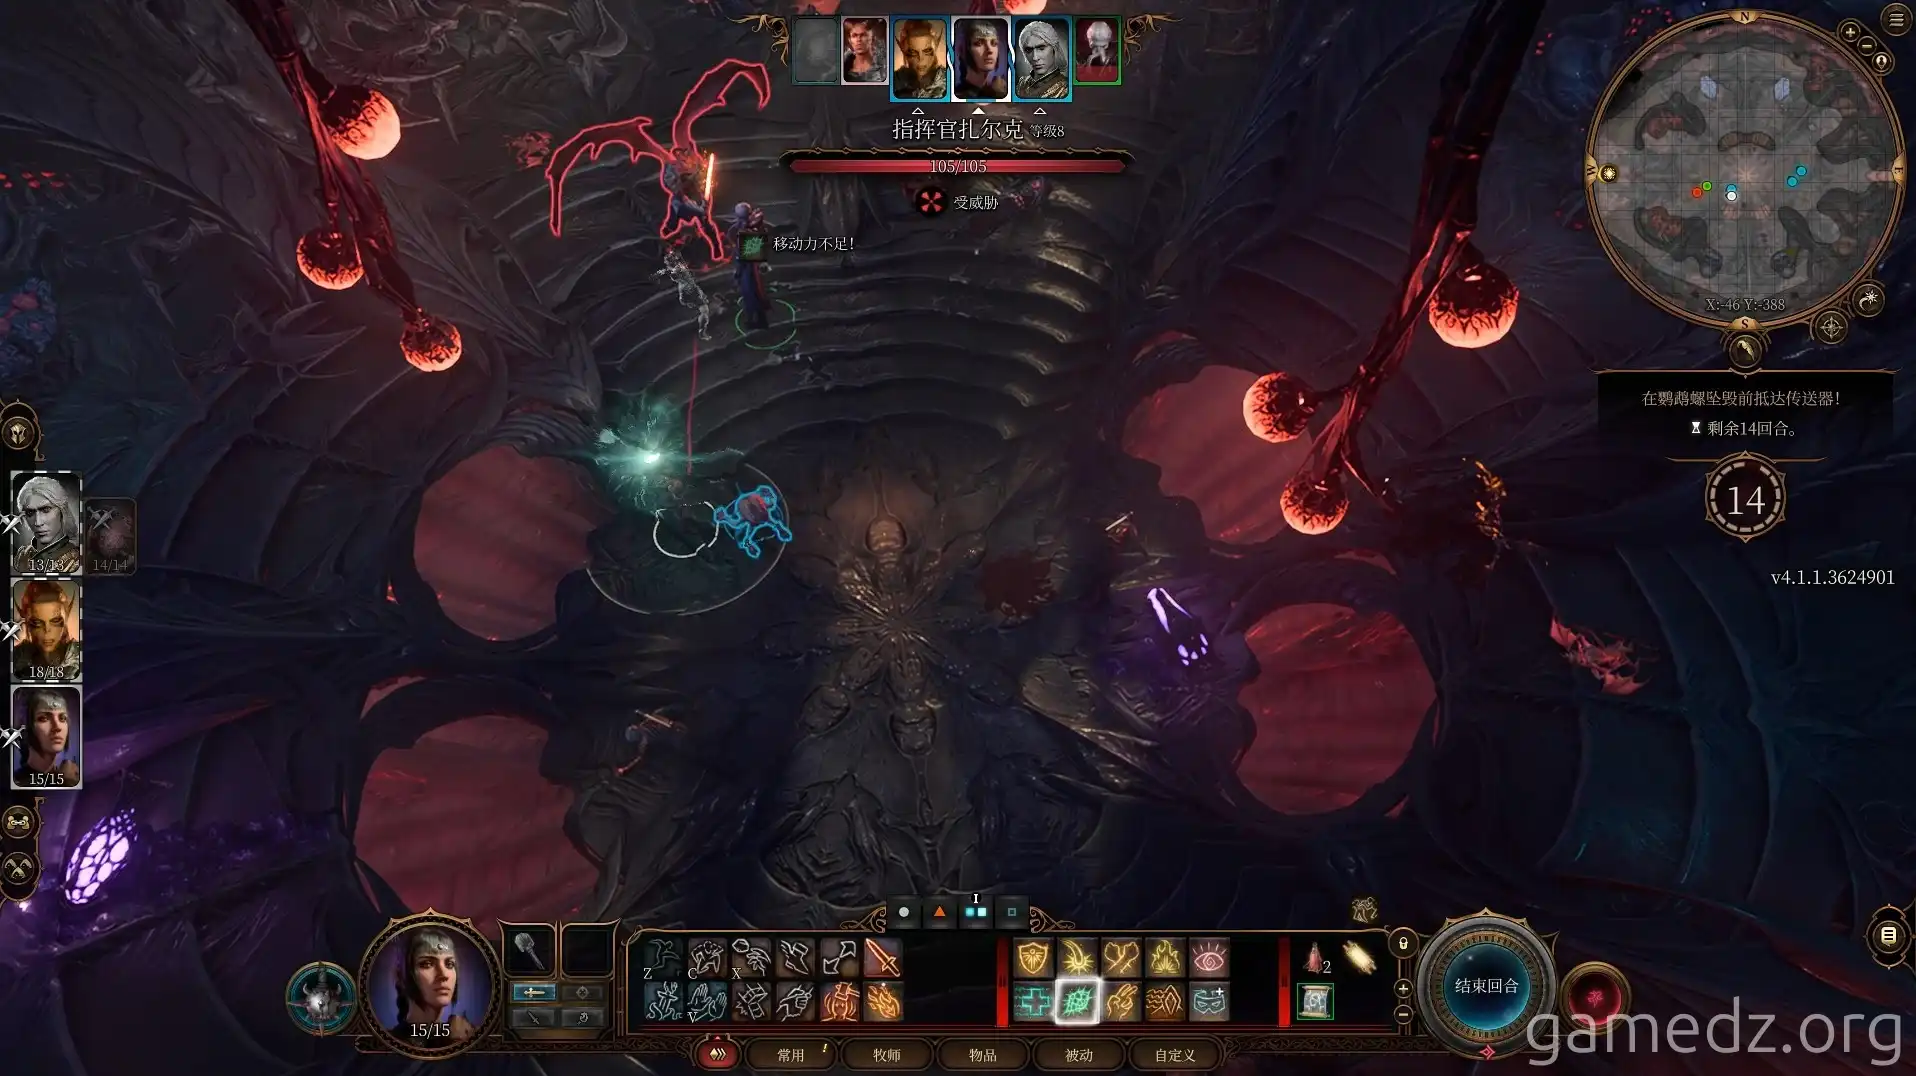
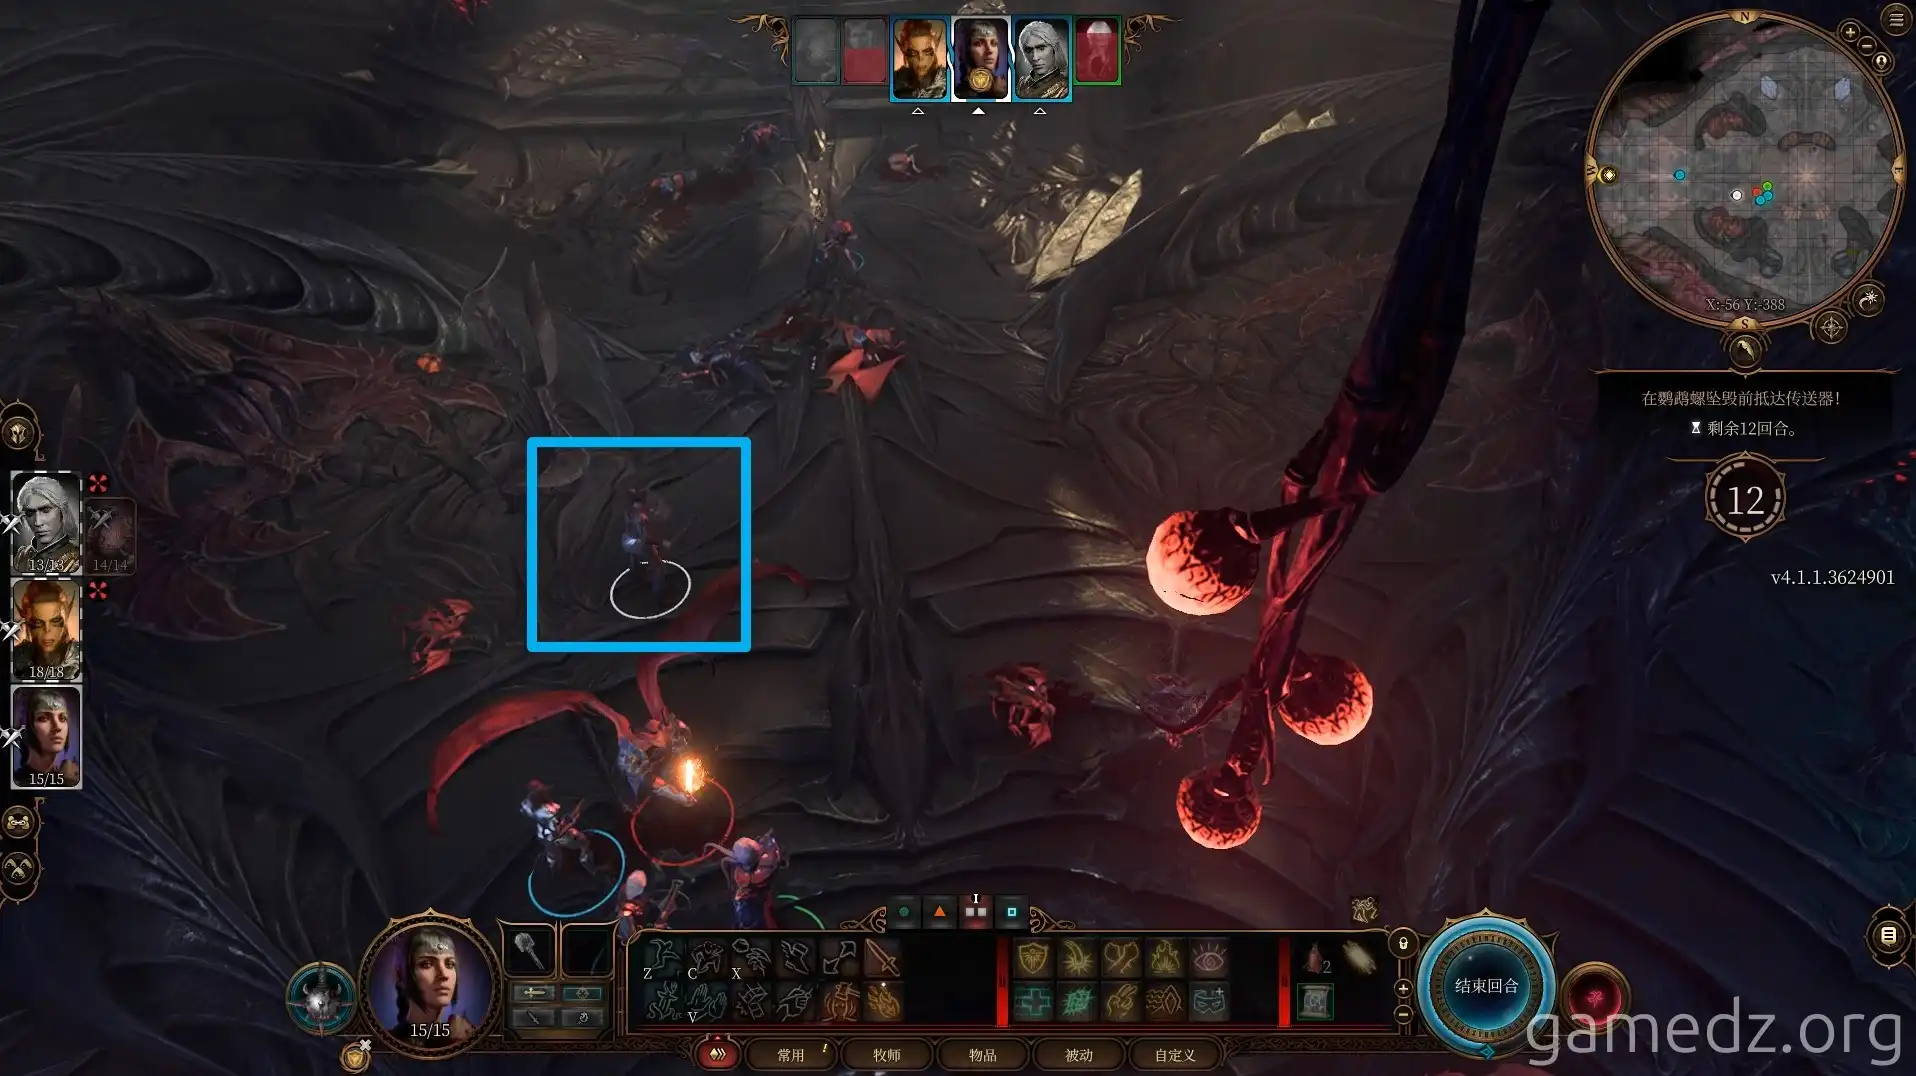
At this point, Commander Zhalk and the Mind Flayer will be hostile to each other. We need to take advantage of the Mind Flayer drawing aggro to eliminate Zhalk, or at least lower his health as much as possible.
There is a large health difference between Zhalk and the Mind Flayer, so consider using buffs and healing on the Mind Flayer to help it last longer.
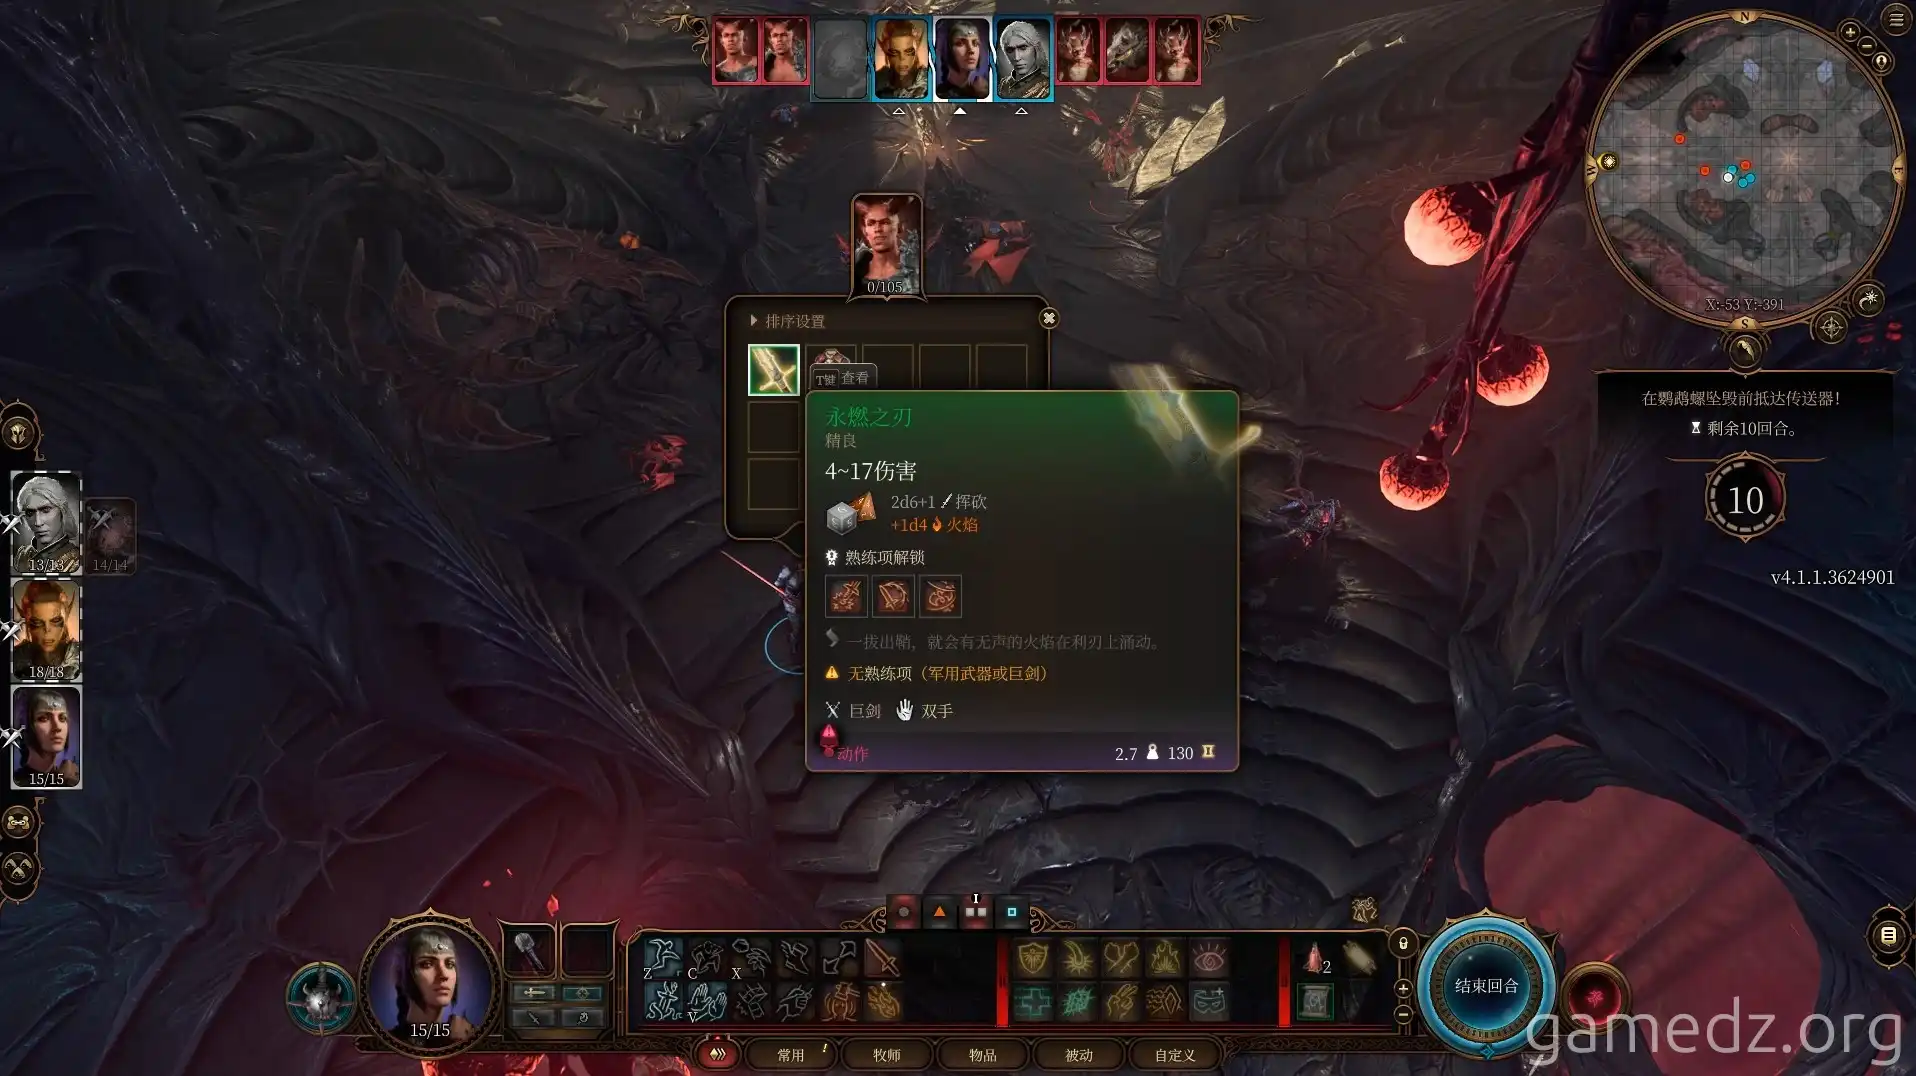
While attacking Zhalk, you need one of your party members to move to a position behind him and slightly farther away, as shown with Shadowheart in the image below.
This is to trigger a cutscene that summons two new imps and a boar. This way, if the Mind Flayer is still alive after Zhalk is defeated, it will not target you. Your Intellect Devourer follower cannot trigger this cutscene, so just have it focus on attacking Zhalk.
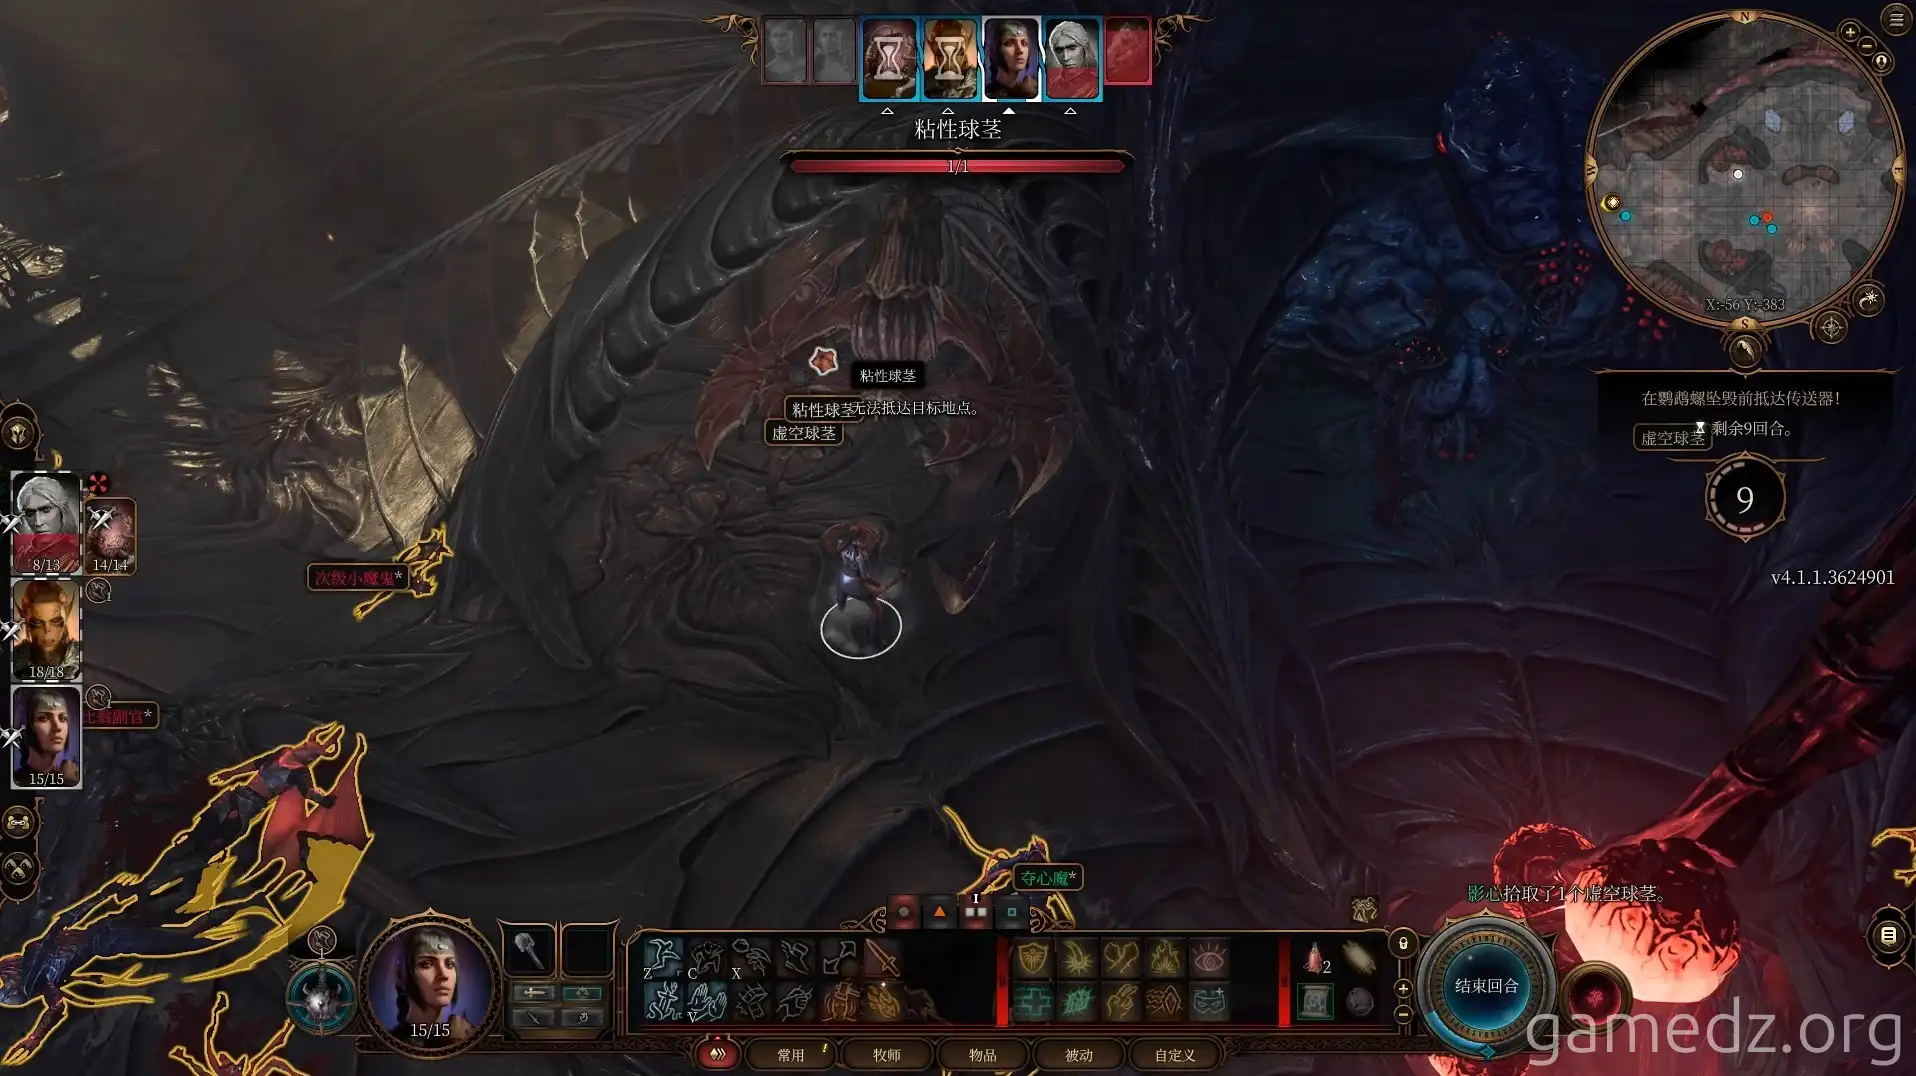
The ideal situation is to defeat Zhalk in the round after he kills the Mind Flayer.
Defeating Zhalk will reward you with the Everburn Blade, a very powerful early-game weapon that can be used by characters with martial weapon proficiency, like Lae'zel.
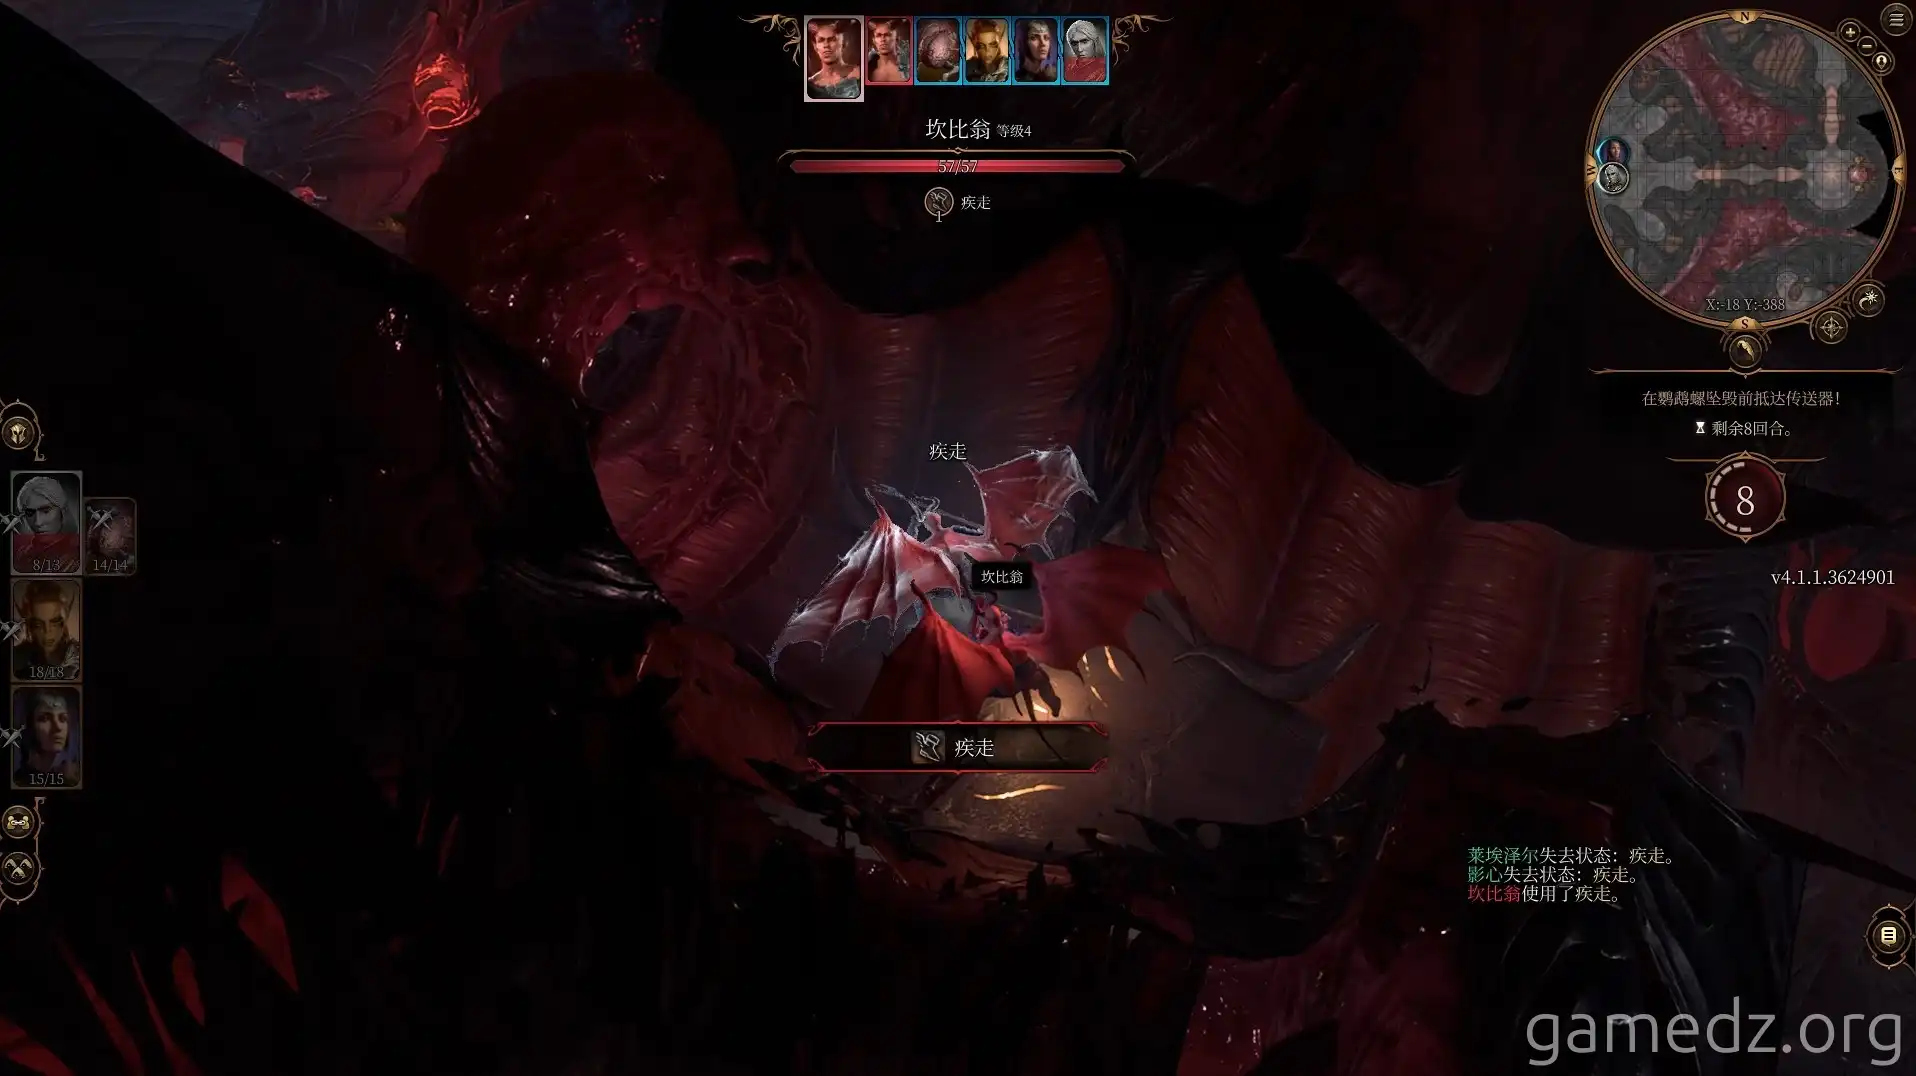
Afterward, send one party member to the console on the west side of the room, while the others can use this time to loot the bodies for items.
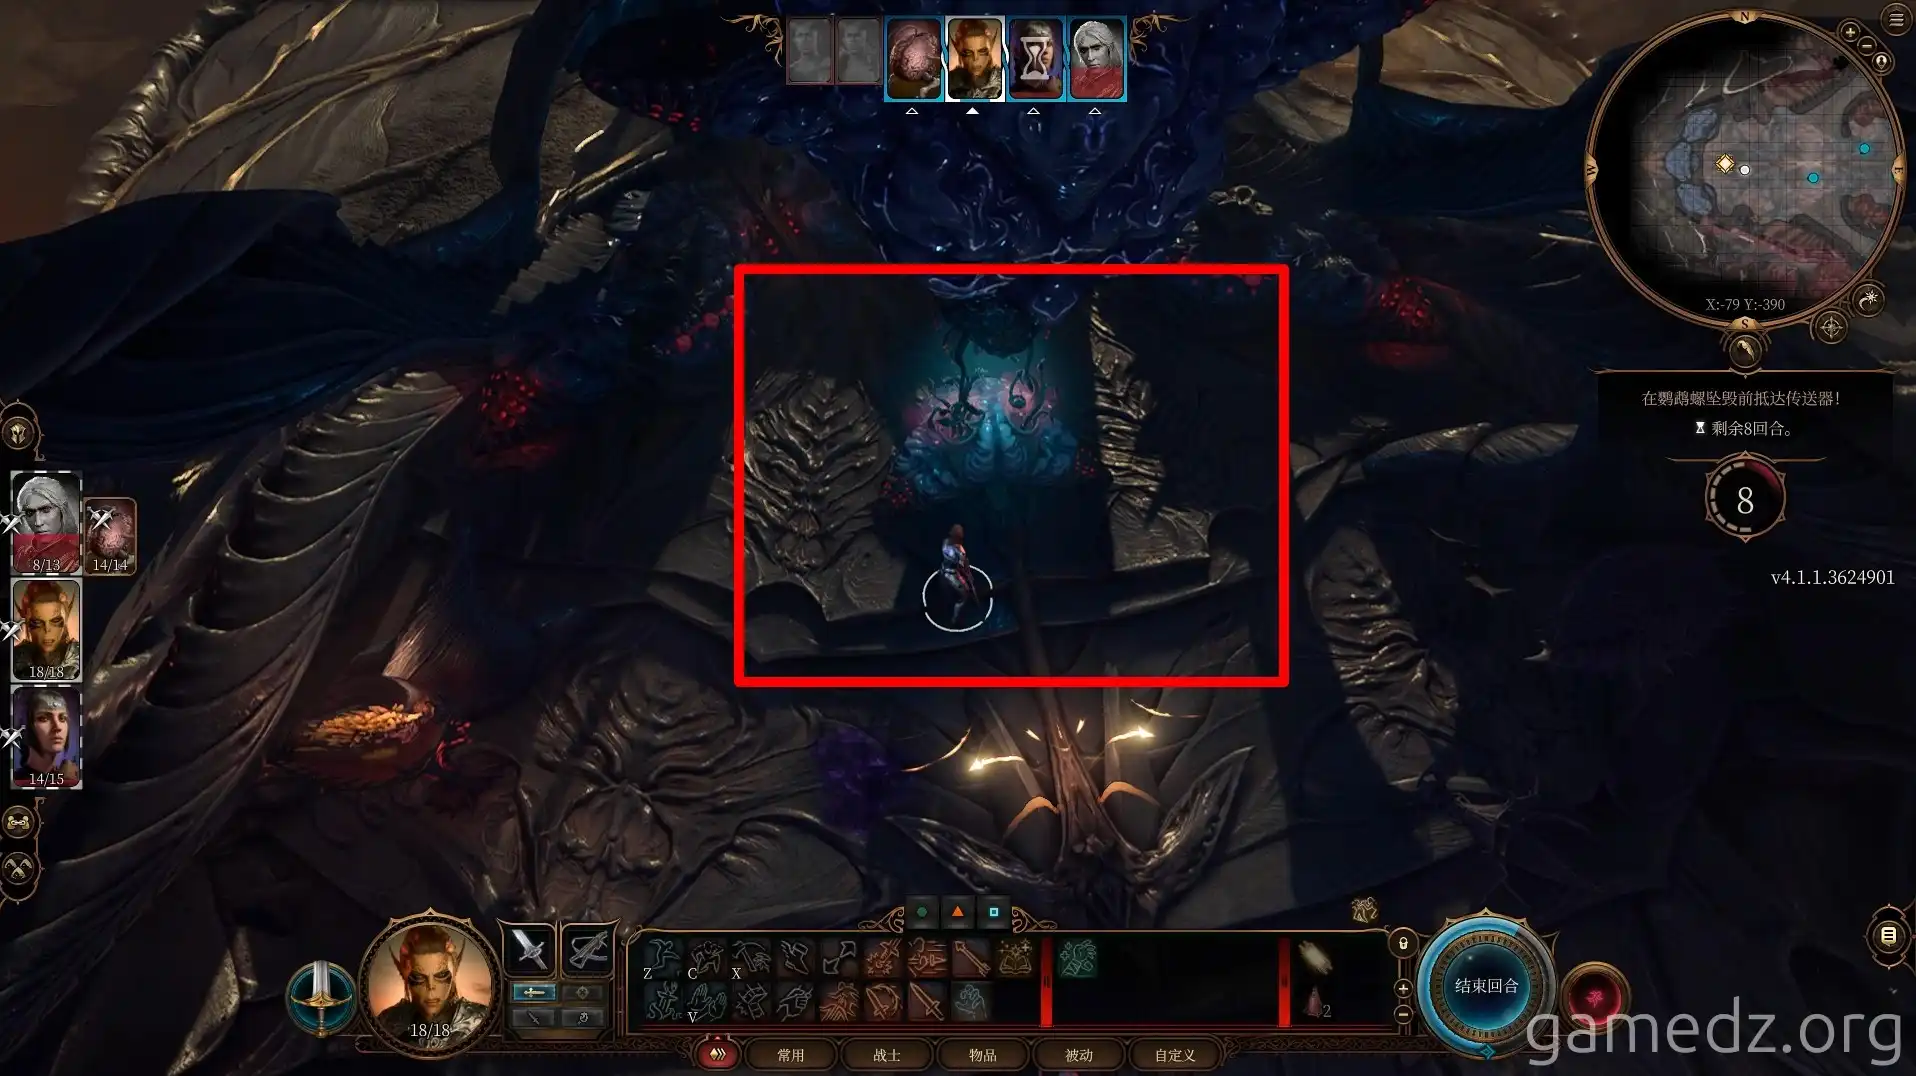
When Zhalk's health drops to a certain level, he will summon two Cambion deputies. It is best to reach the console before they arrive on the battlefield.
When your character reaches the console, operate it to make the Nautiloid teleport, thus escaping from Hell and returning to your original plane.

