Baldur's Gate 3 Full Walkthrough - Chapel
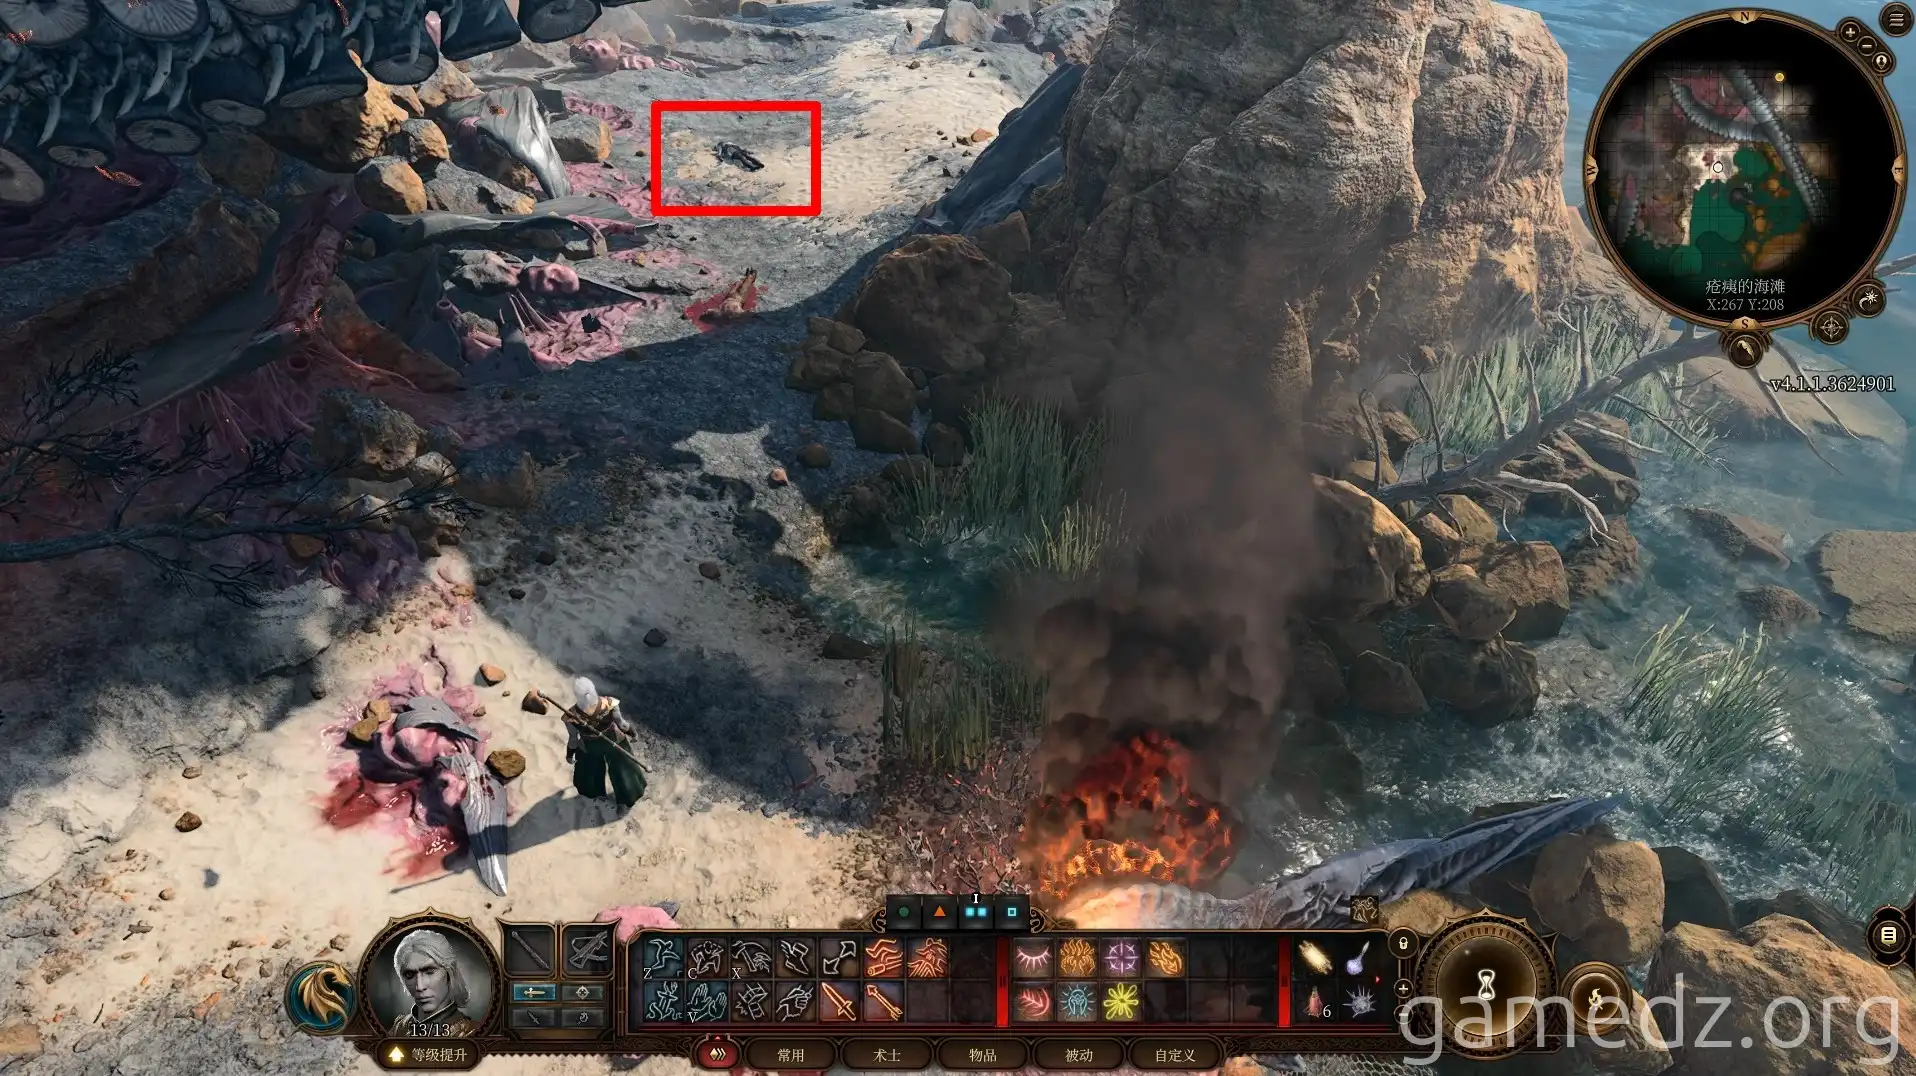
After the Nautiloid crashes, we wake up on a beach. Follow the beach and awaken Shadowheart. At this point, investigating her mysterious artifact will yield no results
After the Nautiloid crashes, we wake up on a beach. Follow the beach and awaken Shadowheart. At this point, investigating her mysterious artifact will yield no results and will make her more alert, so it is recommended to just wake her up.
,
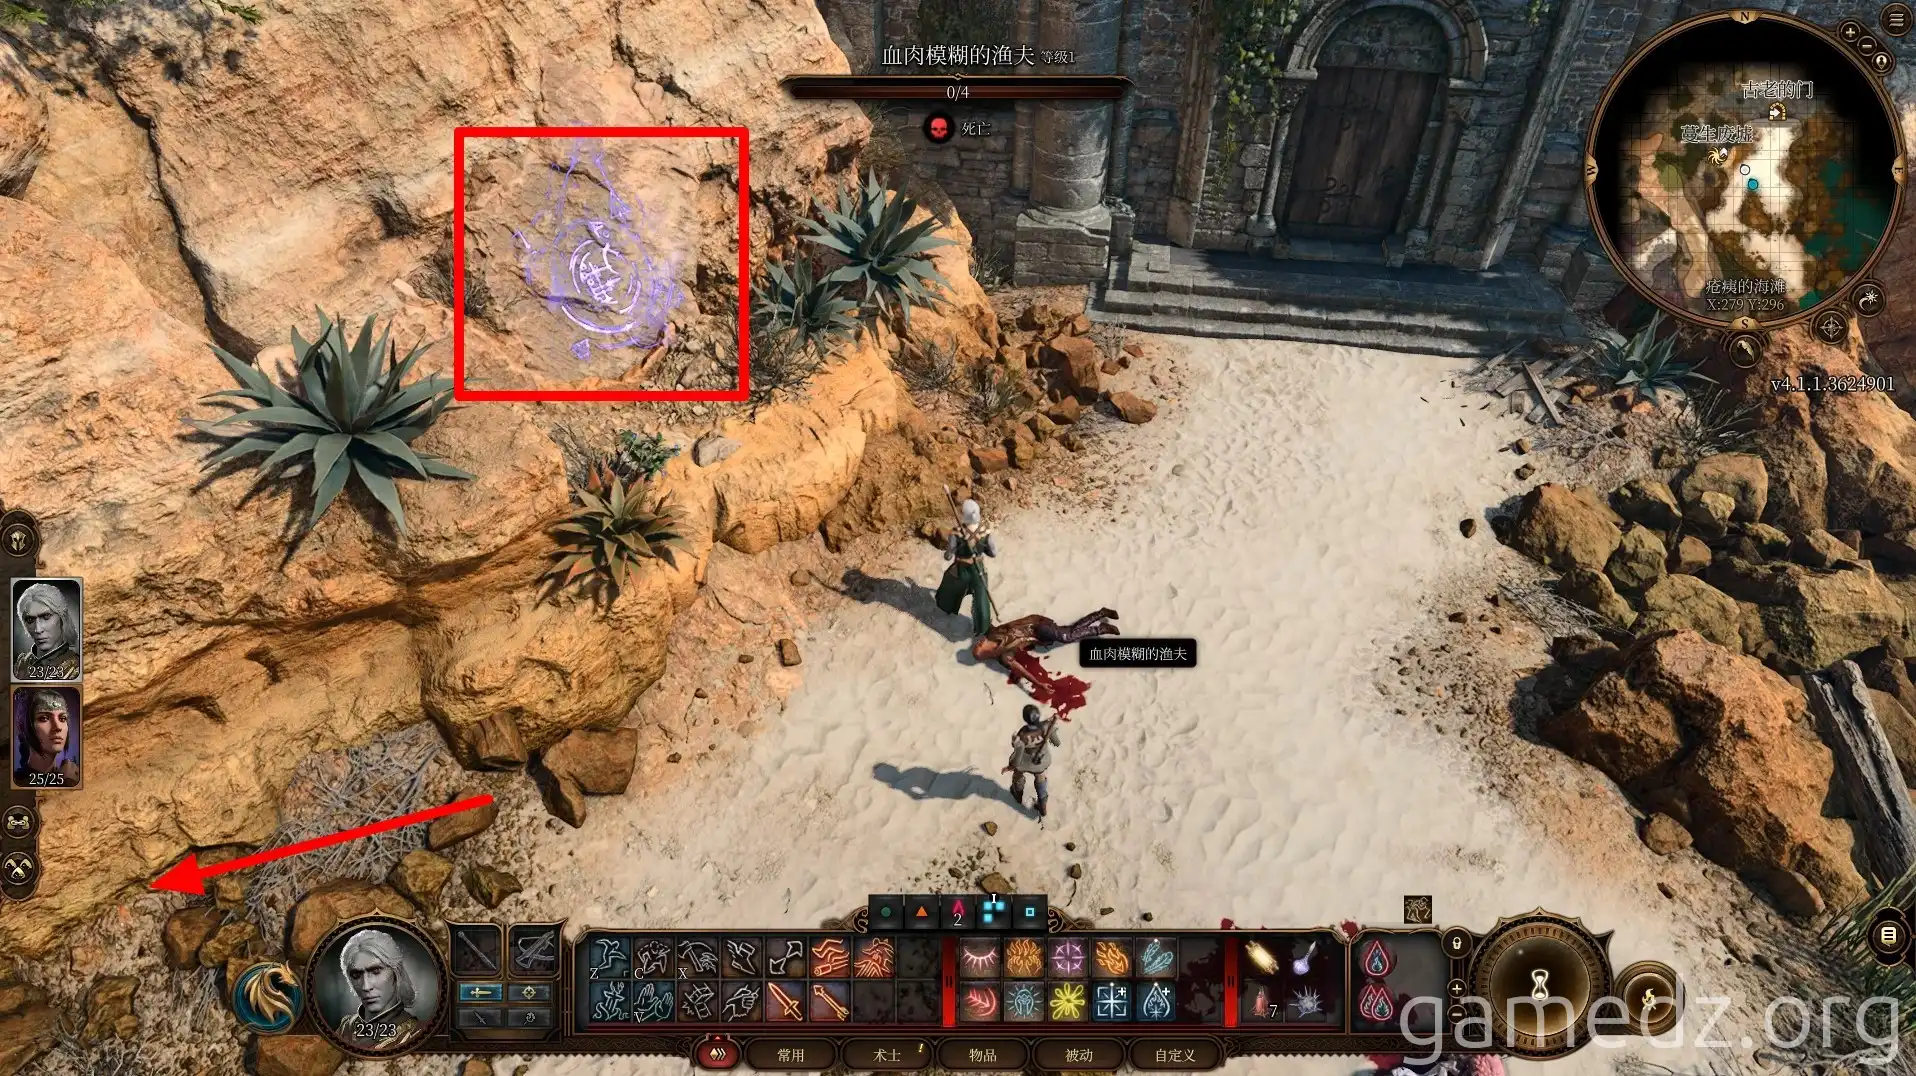
Continue along the beach, looting nearby corpses and chests for some supplies. Before a chapel, you can see a magic circle on the cliff to the left, which can be used for fast travel back to this point later.
There are two battles inside the chapel, so it's best to wait until you have a full party of four. Afterwards, head southwest towards the Nautiloid wreckage.
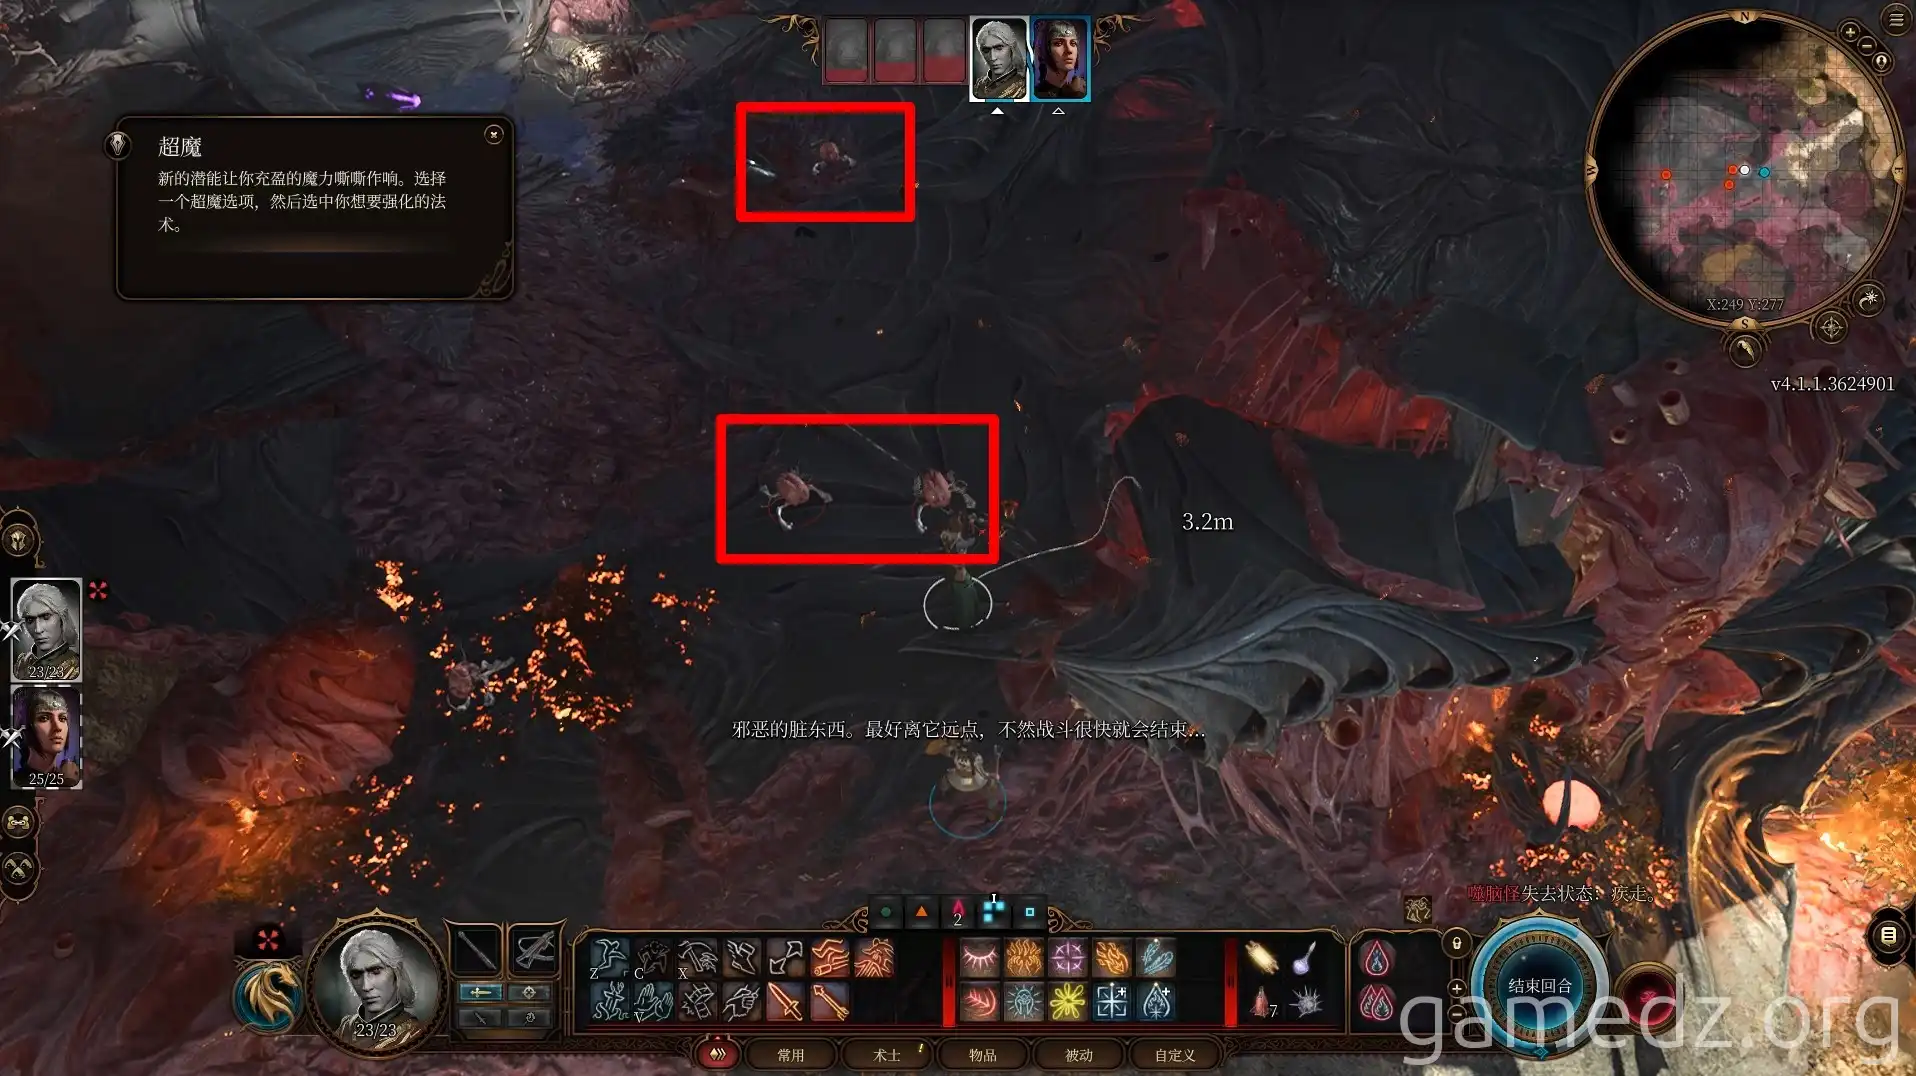
Upon arriving at the Nautiloid wreckage, a battle will immediately trigger against three Intellect Devourers. Two are close to us, and one is further away.
When entering the wreckage, we can first jump to the high ground on the right to gain a high-ground advantage for the first one or two rounds.
After defeating all enemies, you can find a cartilage chest in the upper level of the Nautiloid wreckage. The Mind Flayer corpse nearby can also be looted for some useful items or potions.
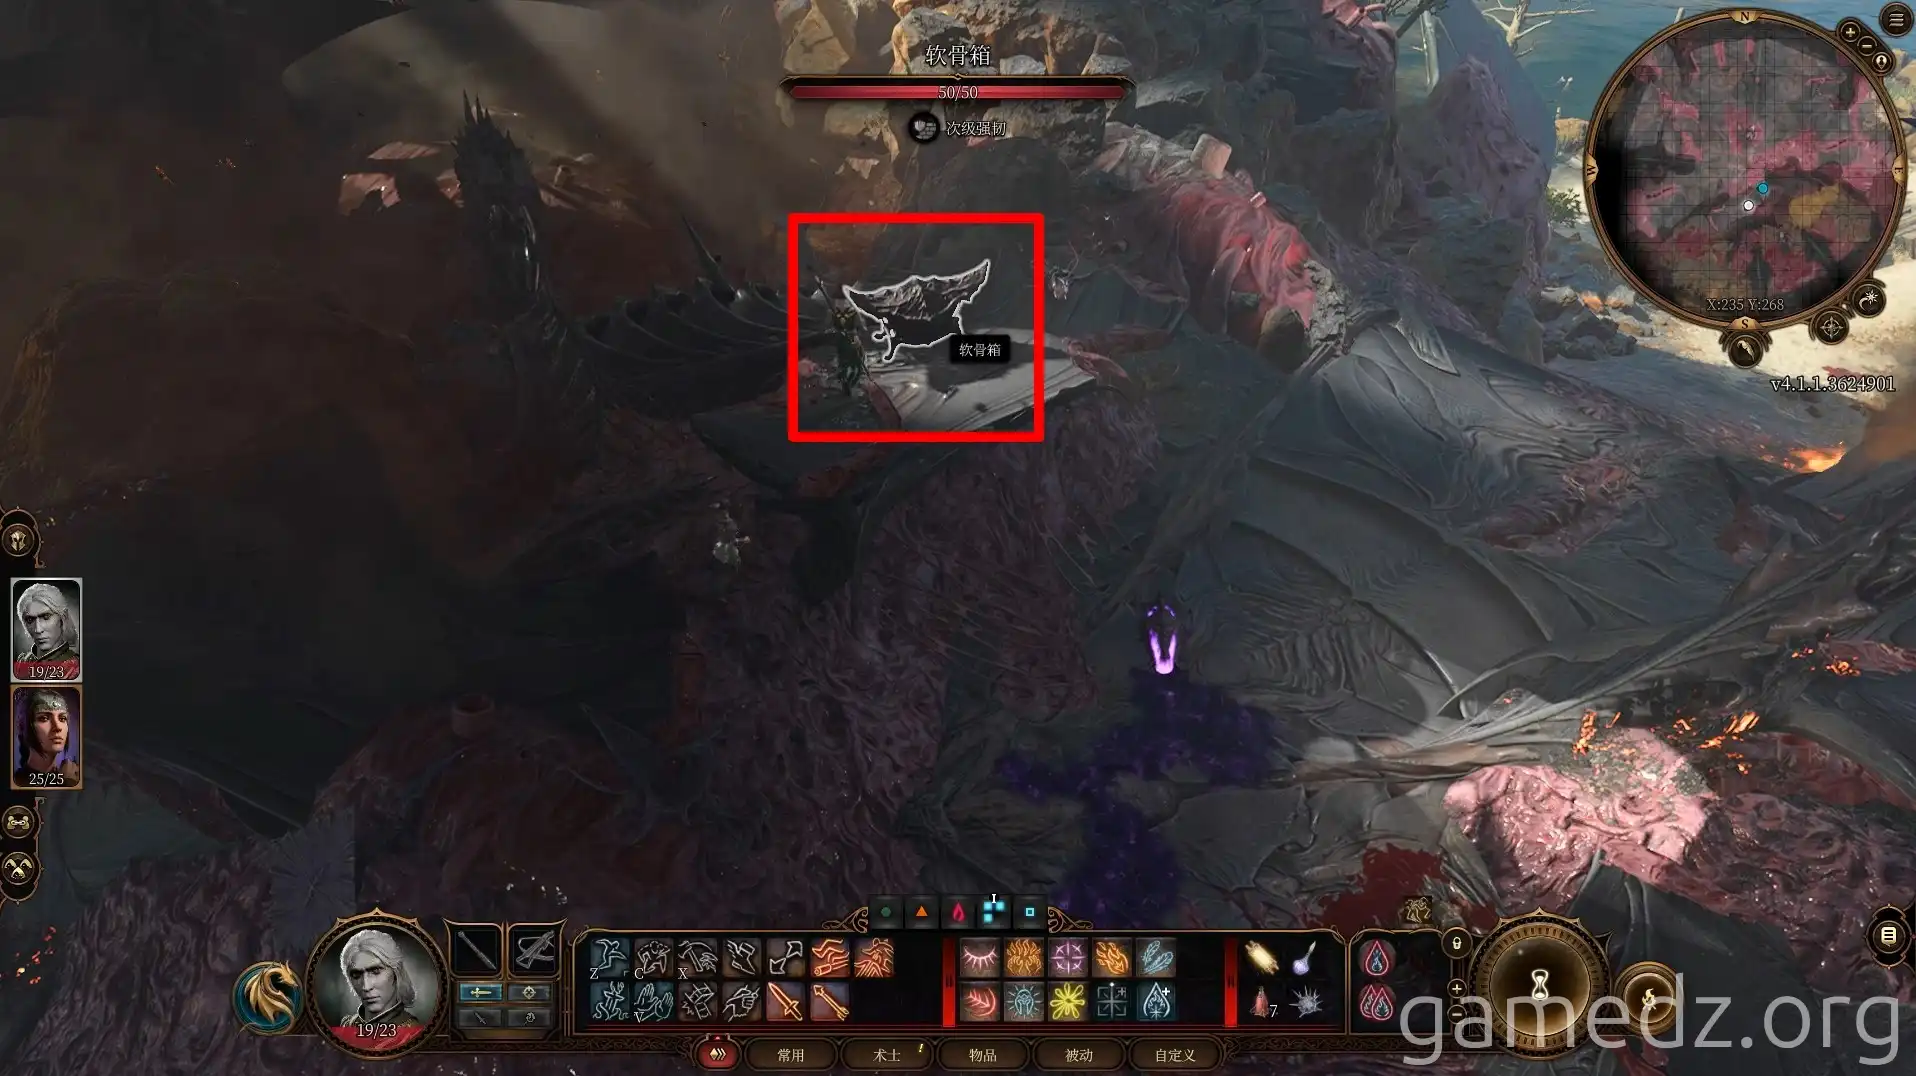
Go through the Nautiloid wreckage and head northwest along the beach.
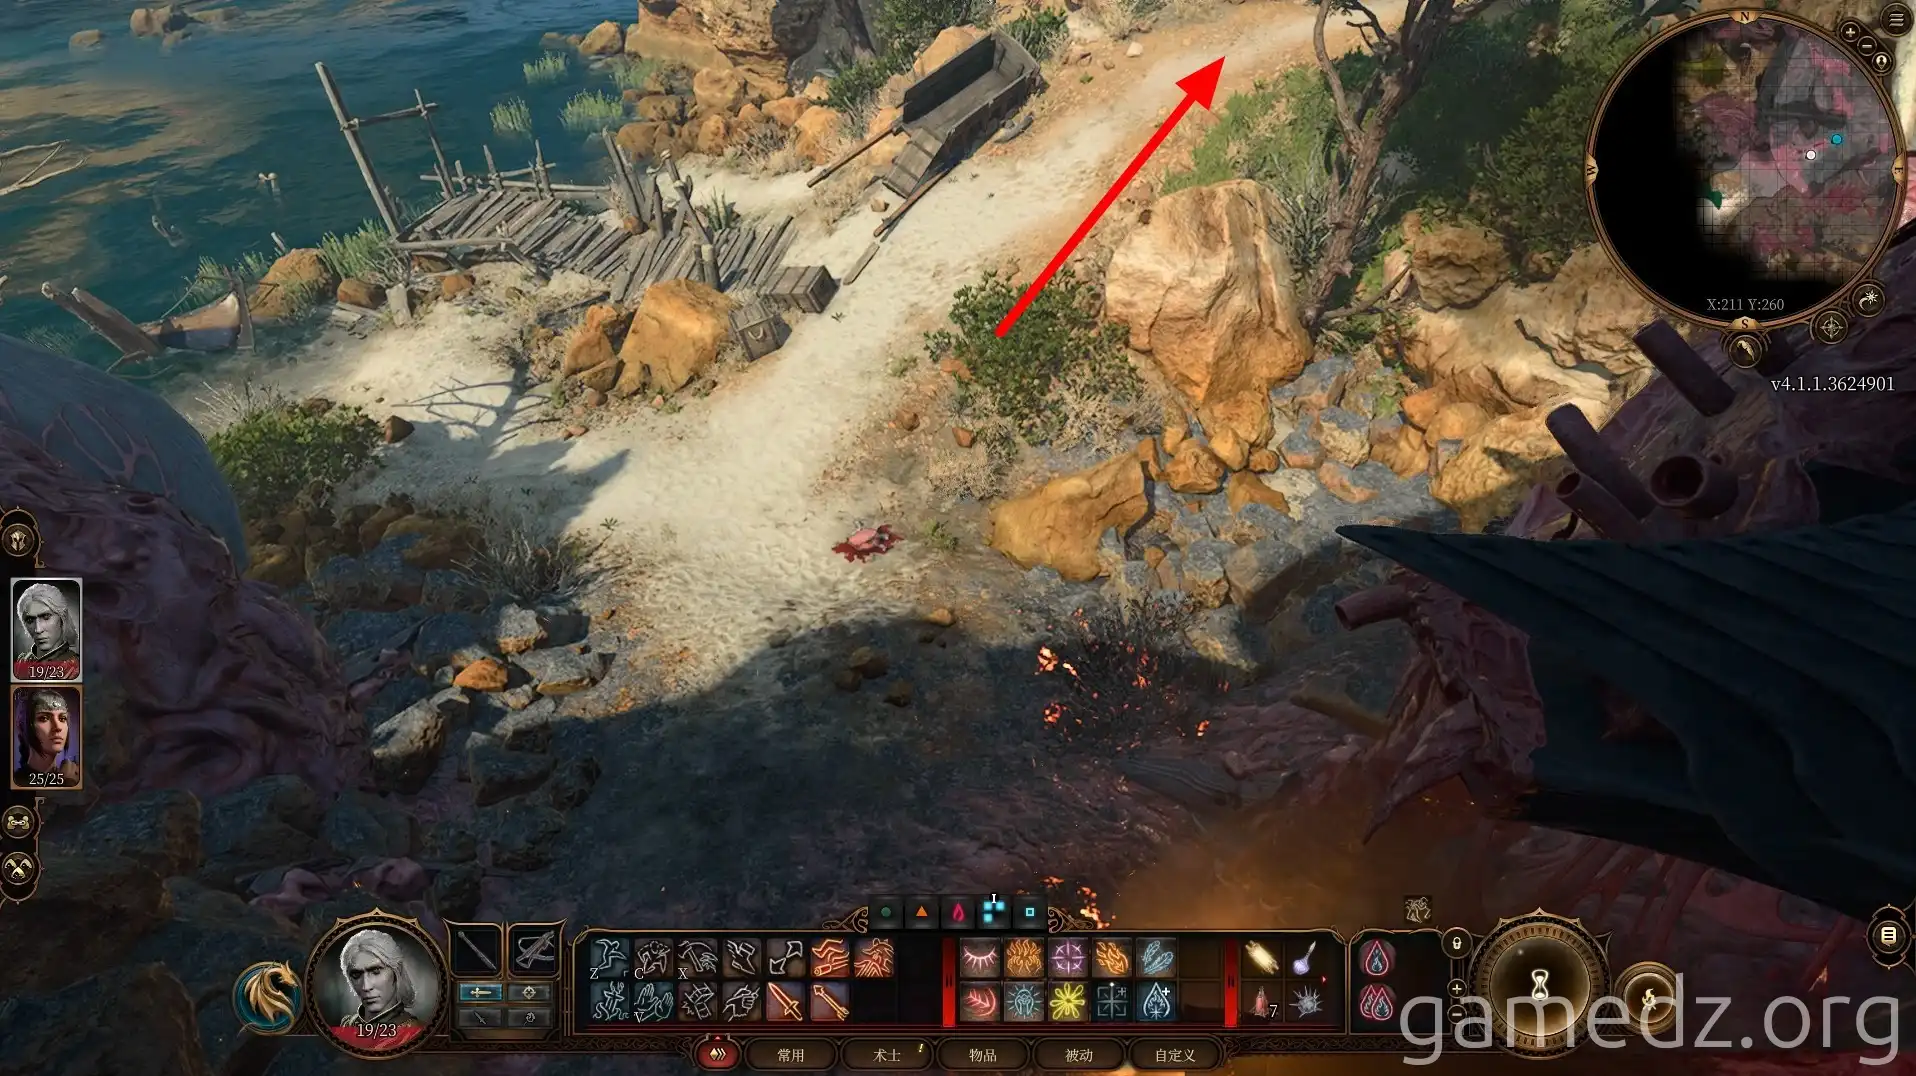
When you reach the position shown in the image below, use the jump action to get to the rock below and cross the water to the cave on the other side.
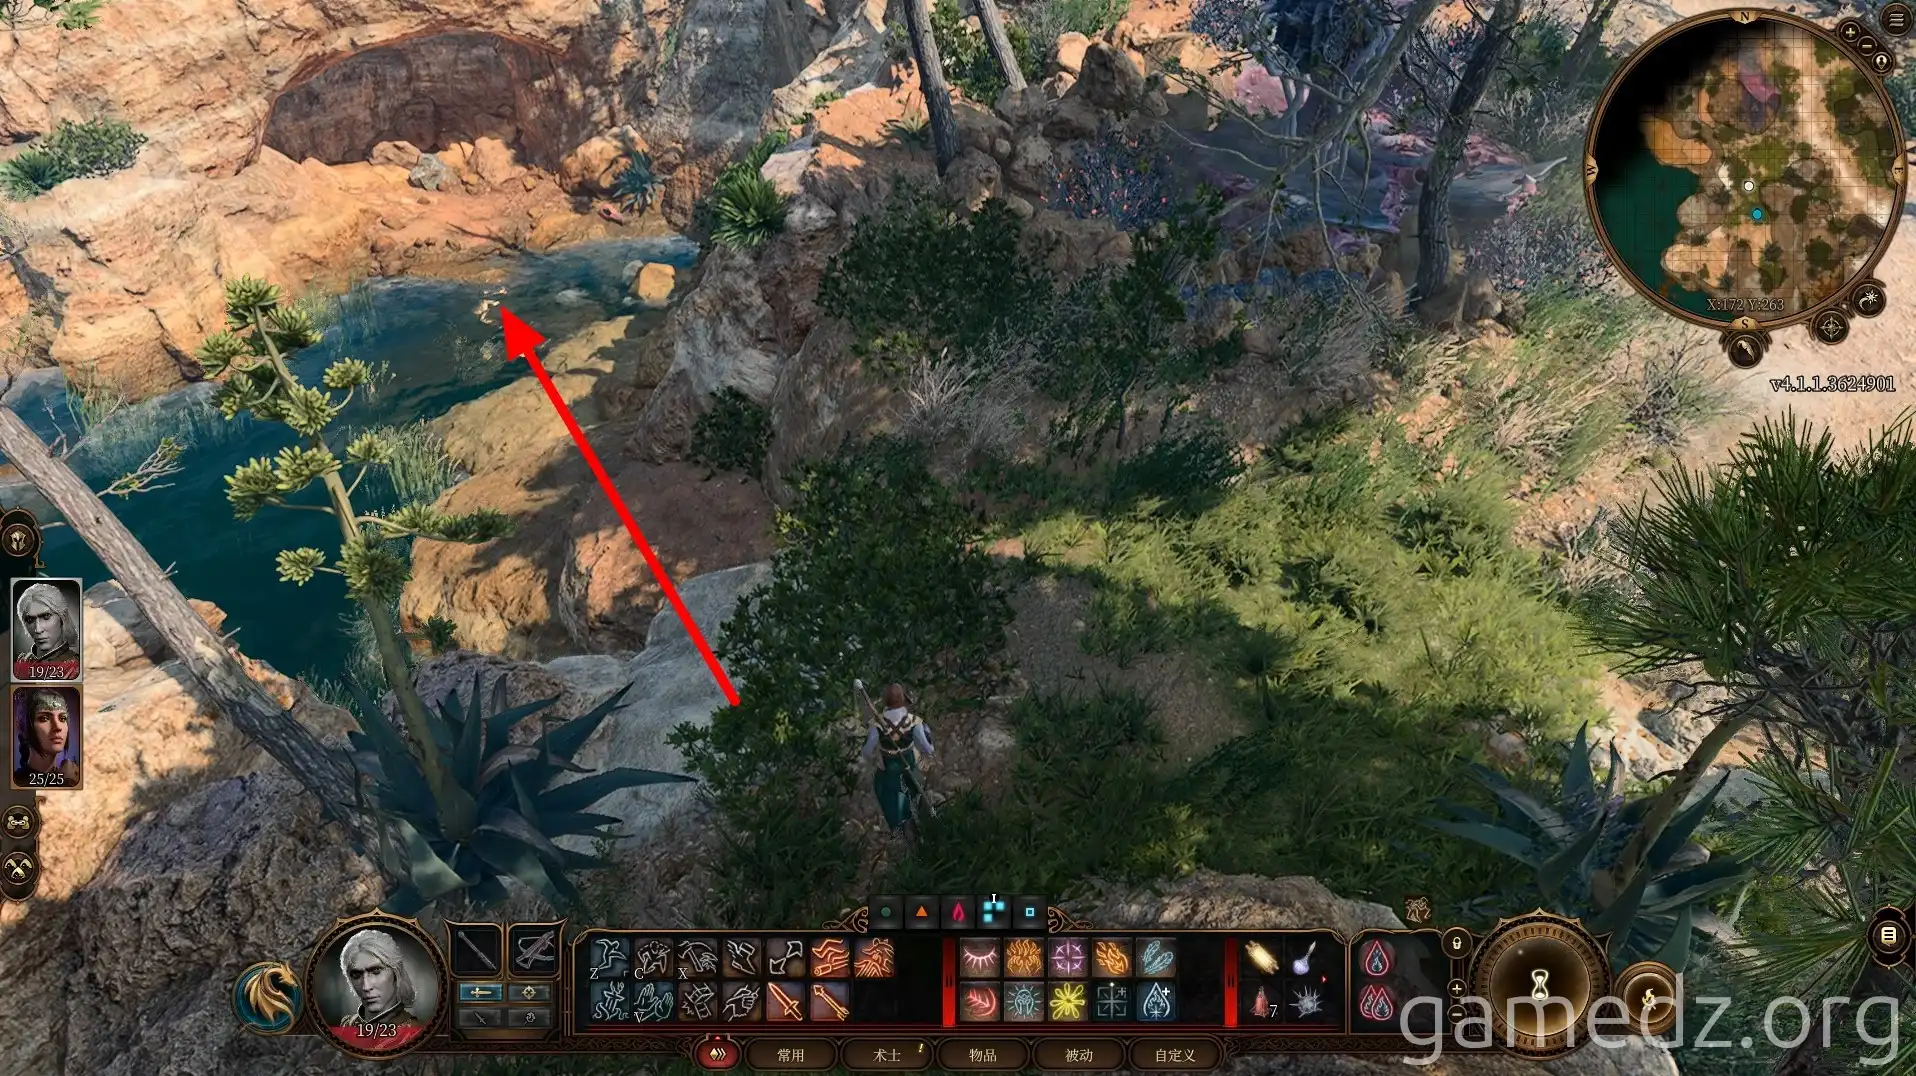
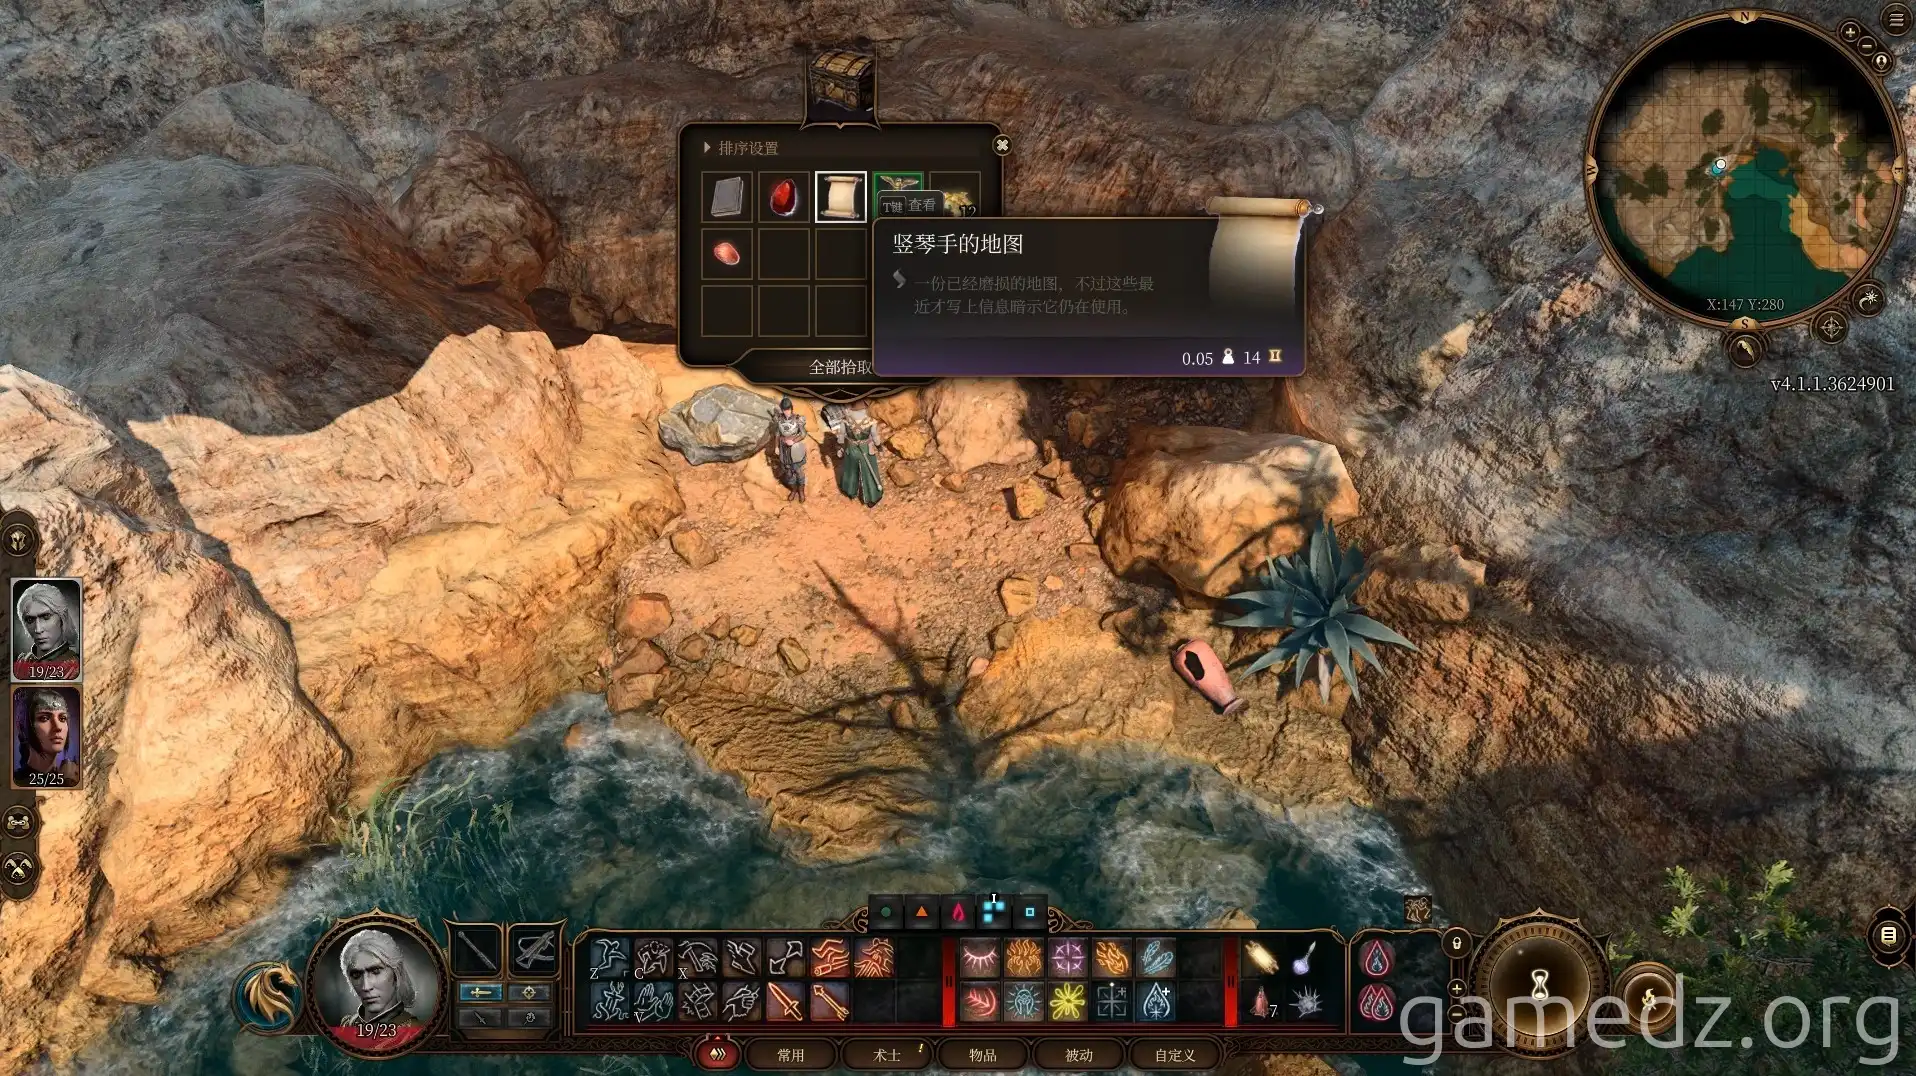
Using Shadowheart, you can move the rock in the cave to find a chest underneath. Open the chest to get the "Harper's Map", which will mark a hidden camp on your map.
Return to the beach and head north along the mountain road. You will encounter Astarion, who will join your party after a conversation.
When you first meet Astarion, he will hold you hostage. You need to pass a persuasion check to break free.
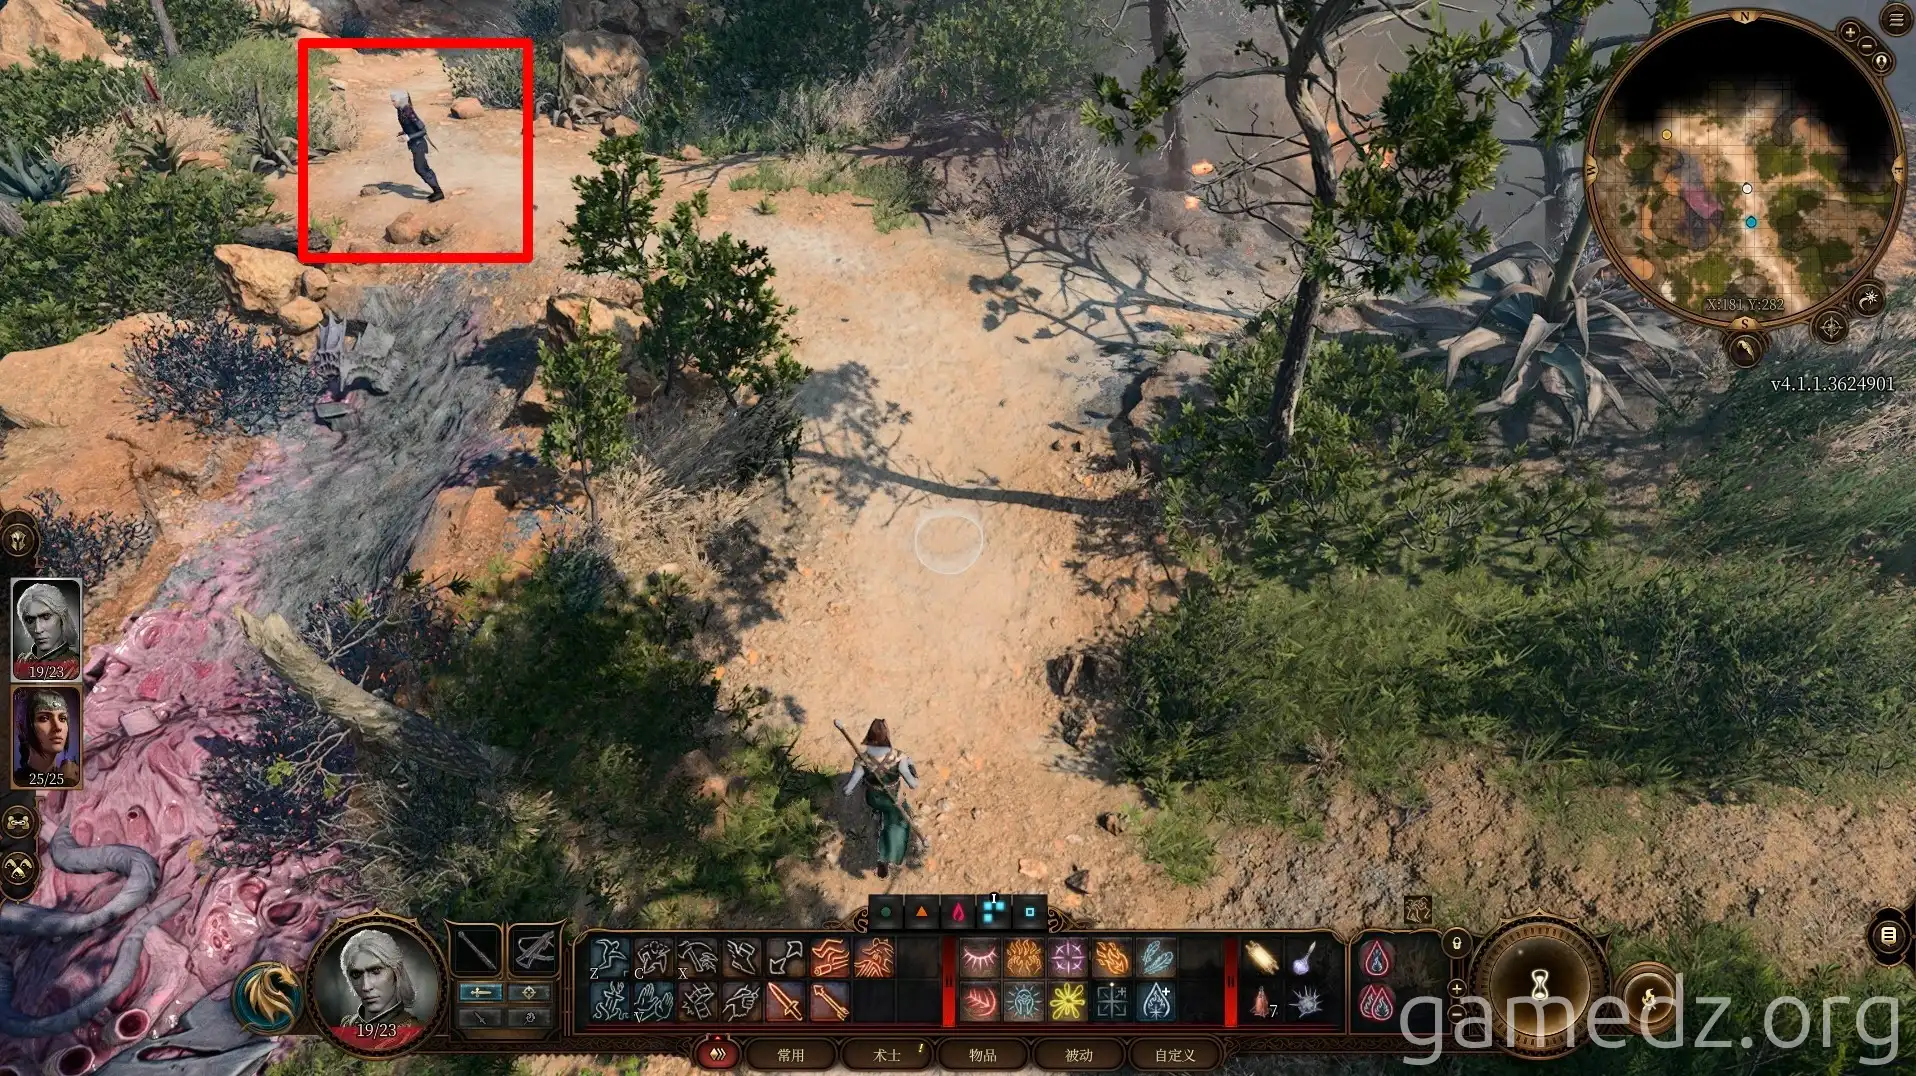
Continue along the road to the northwest of the Nautiloid wreckage, where you will find a dying Mind Flayer. Kill it during the investigation, otherwise it will control the villagers to attack you.
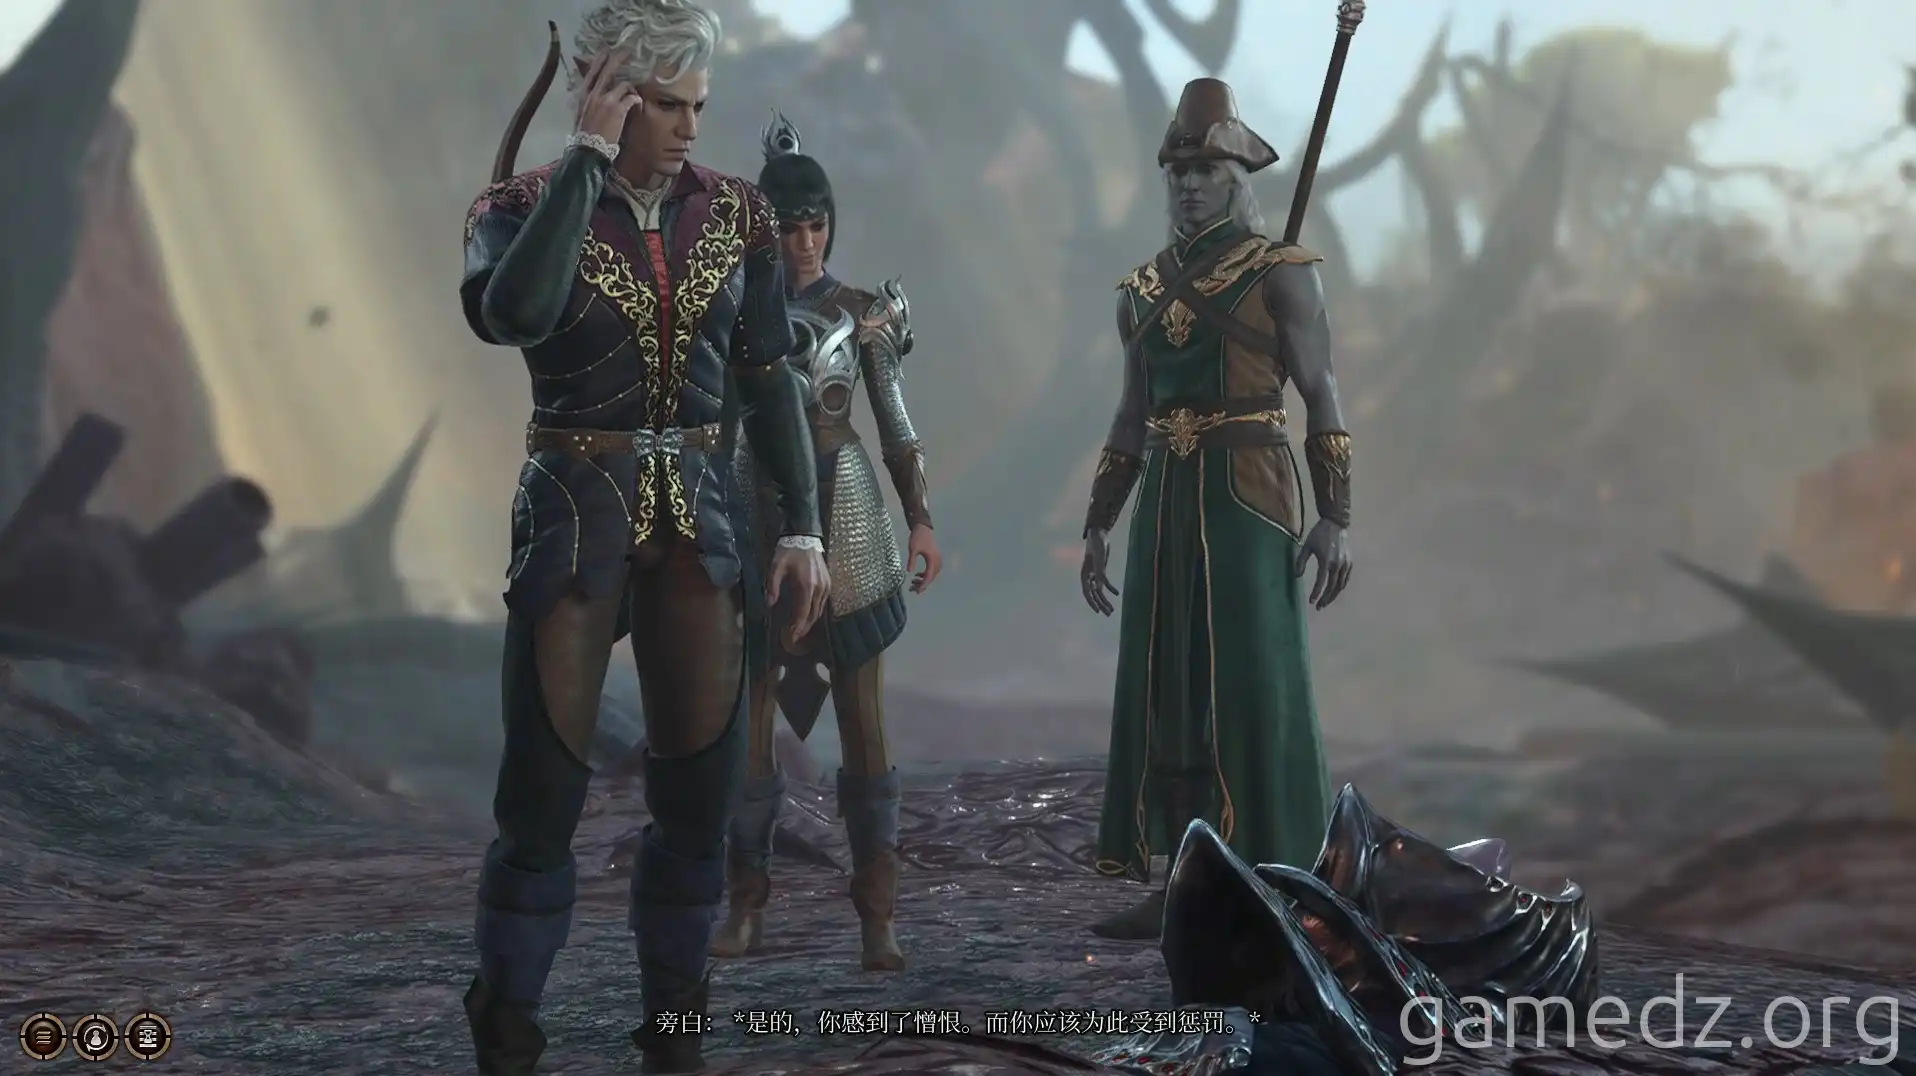
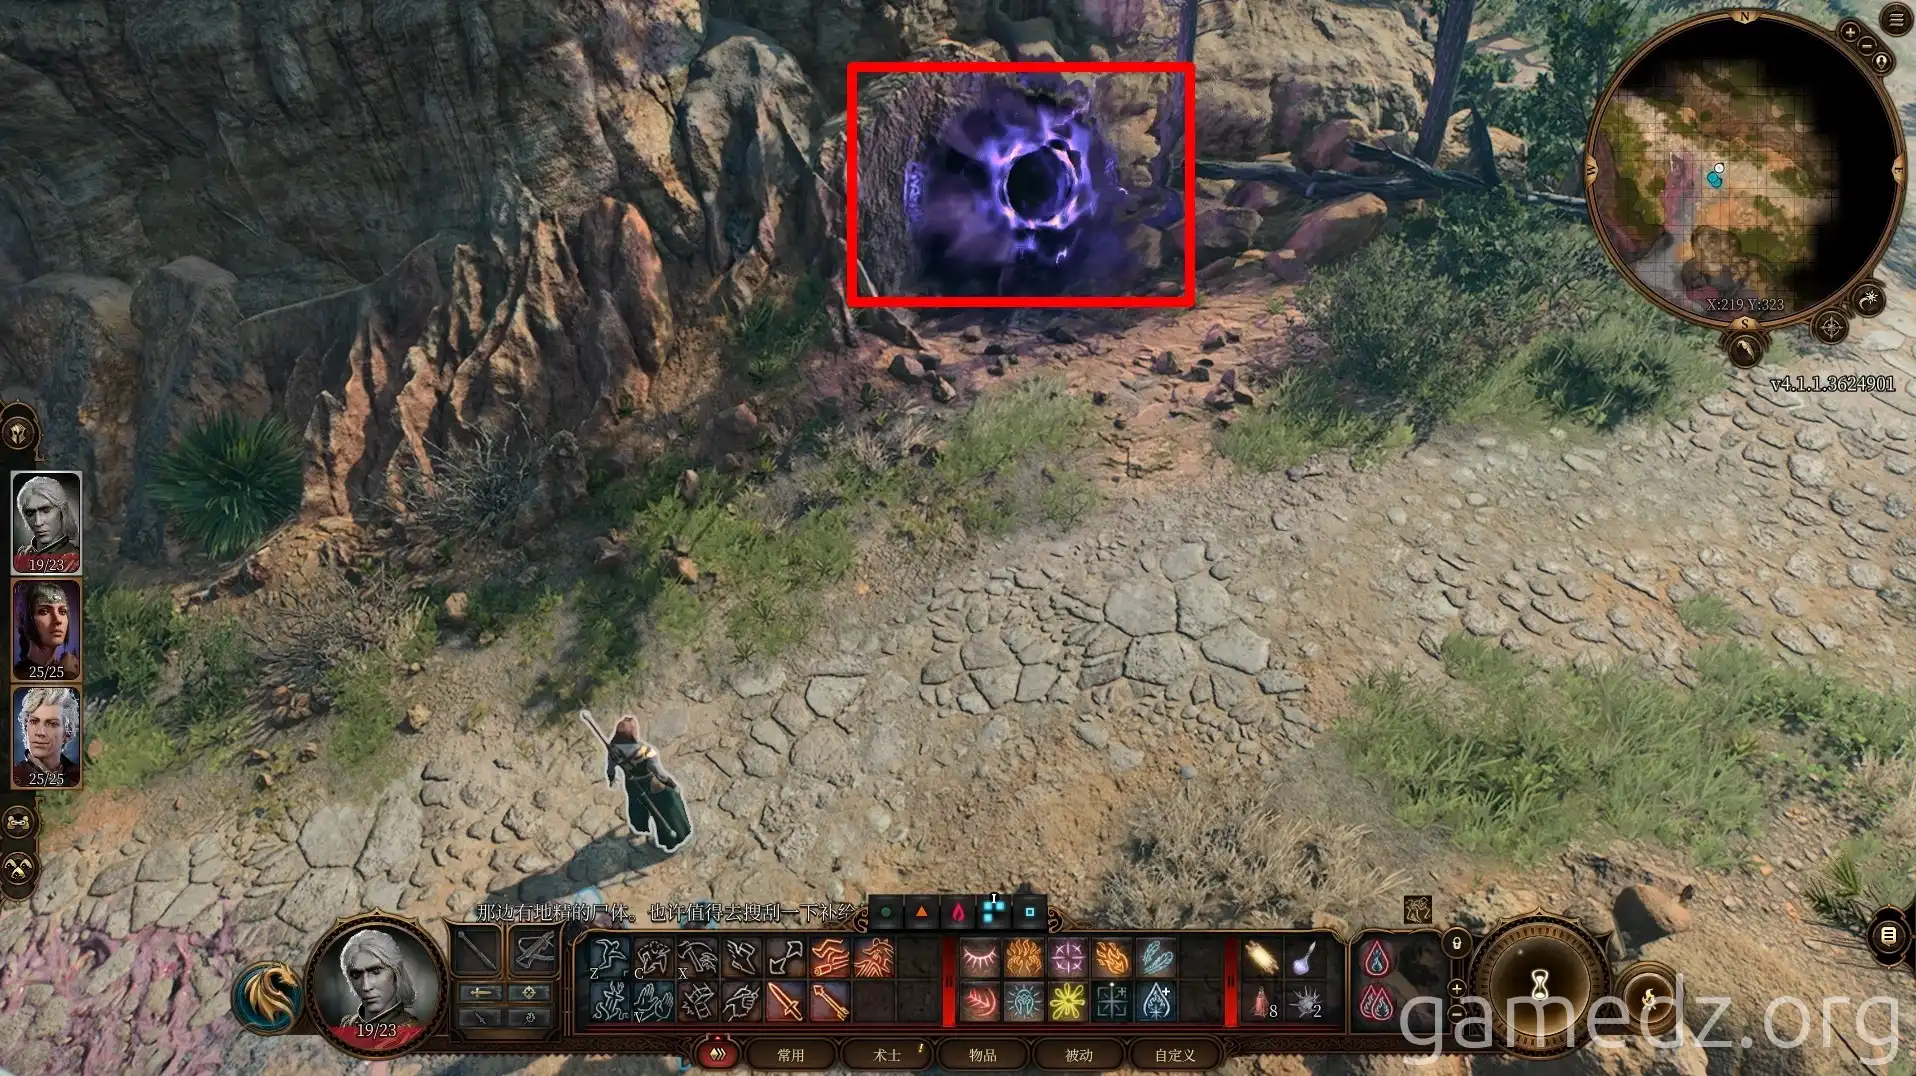
Walking north from the middle of the Nautiloid wreckage, you can see an unstable teleportation circle on the rock wall by the road.
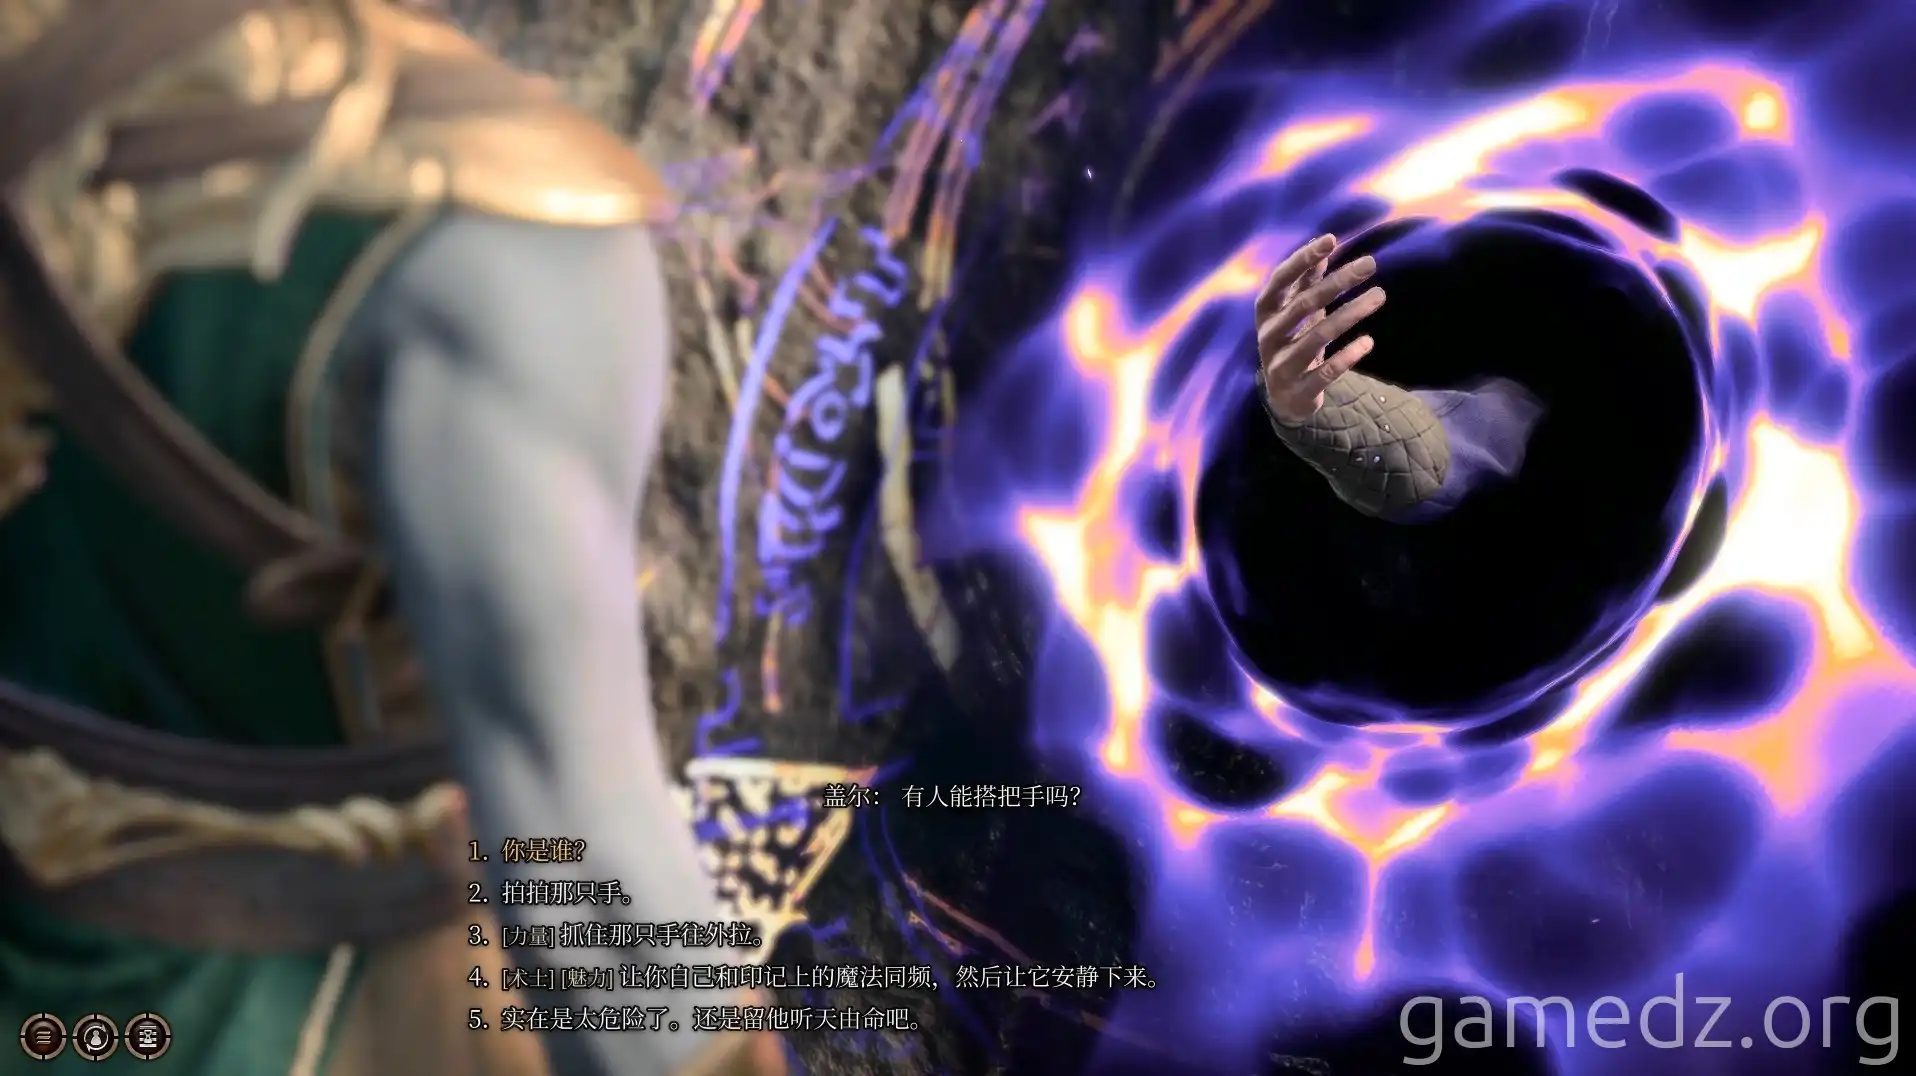
Help Gale out of the teleportation circle and he will join your party.
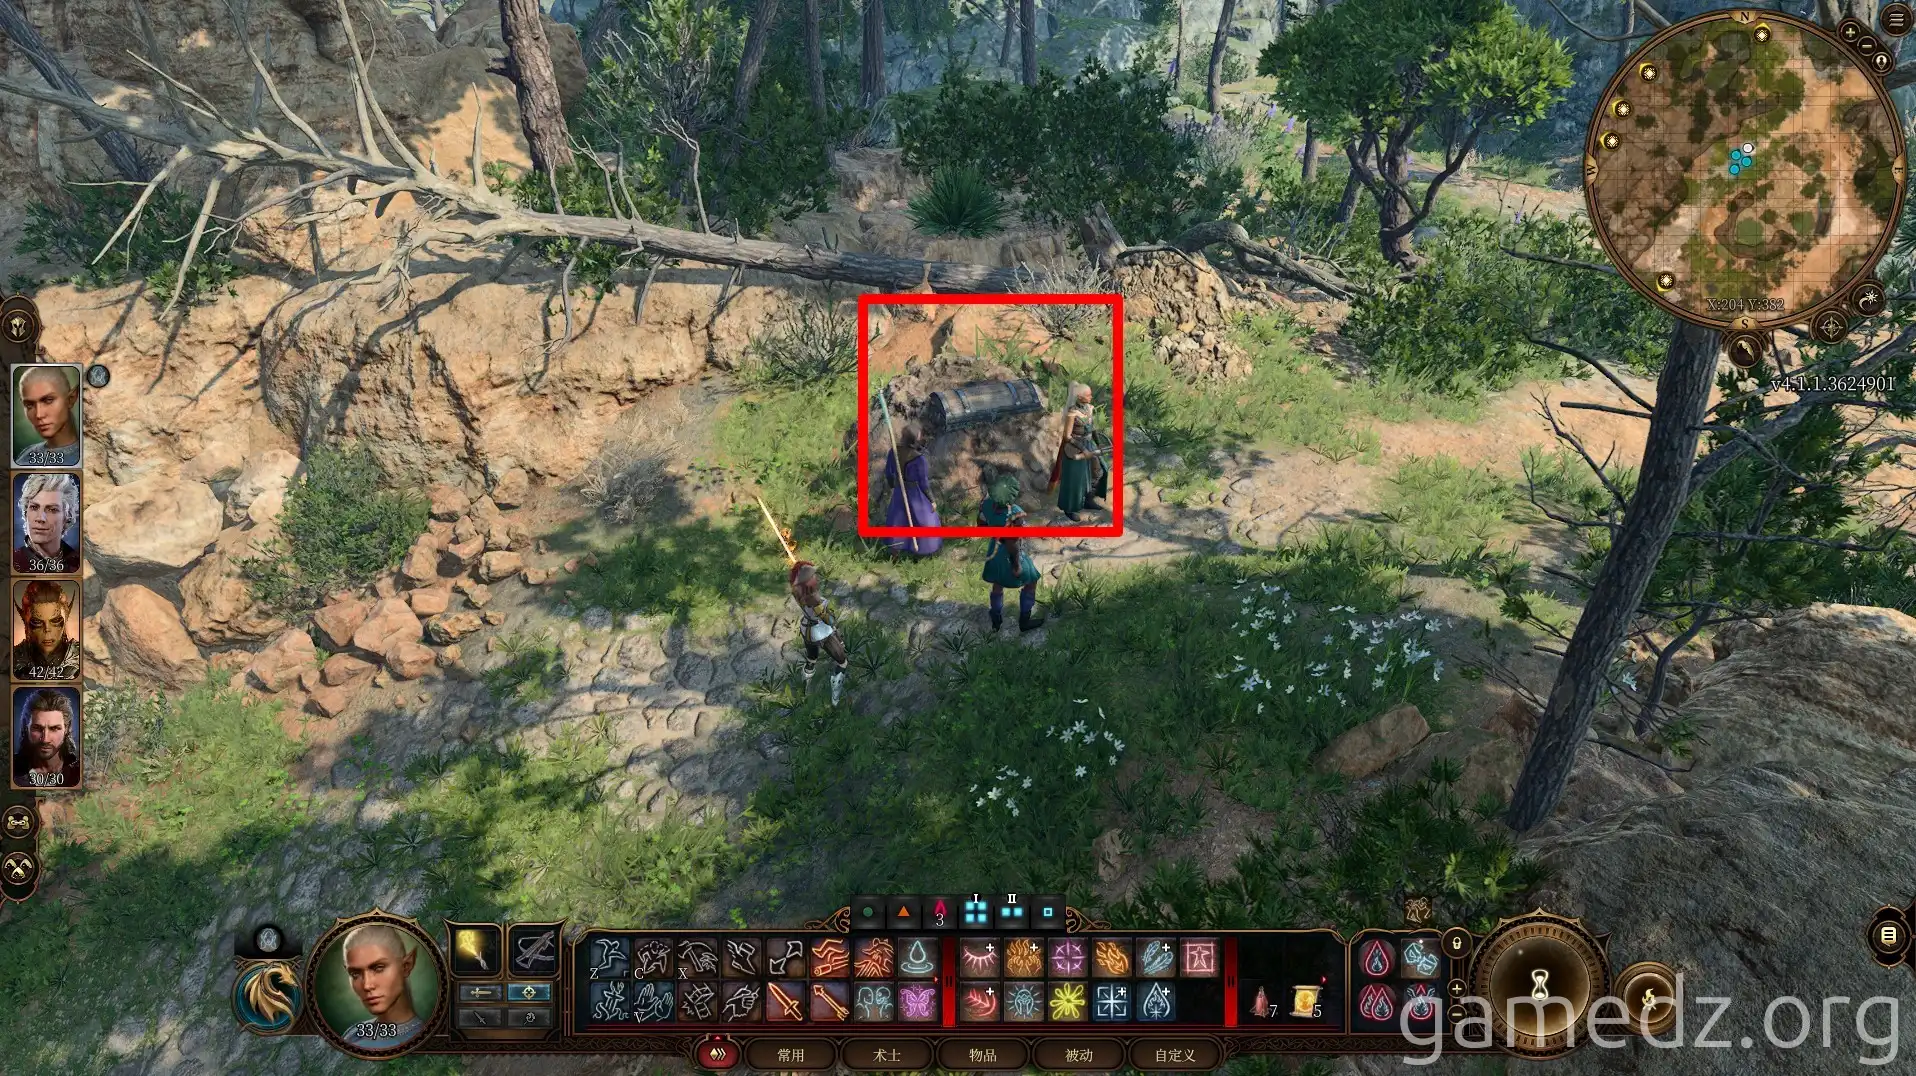
Before heading to the chapel, we can first go to the location shown in the image below.
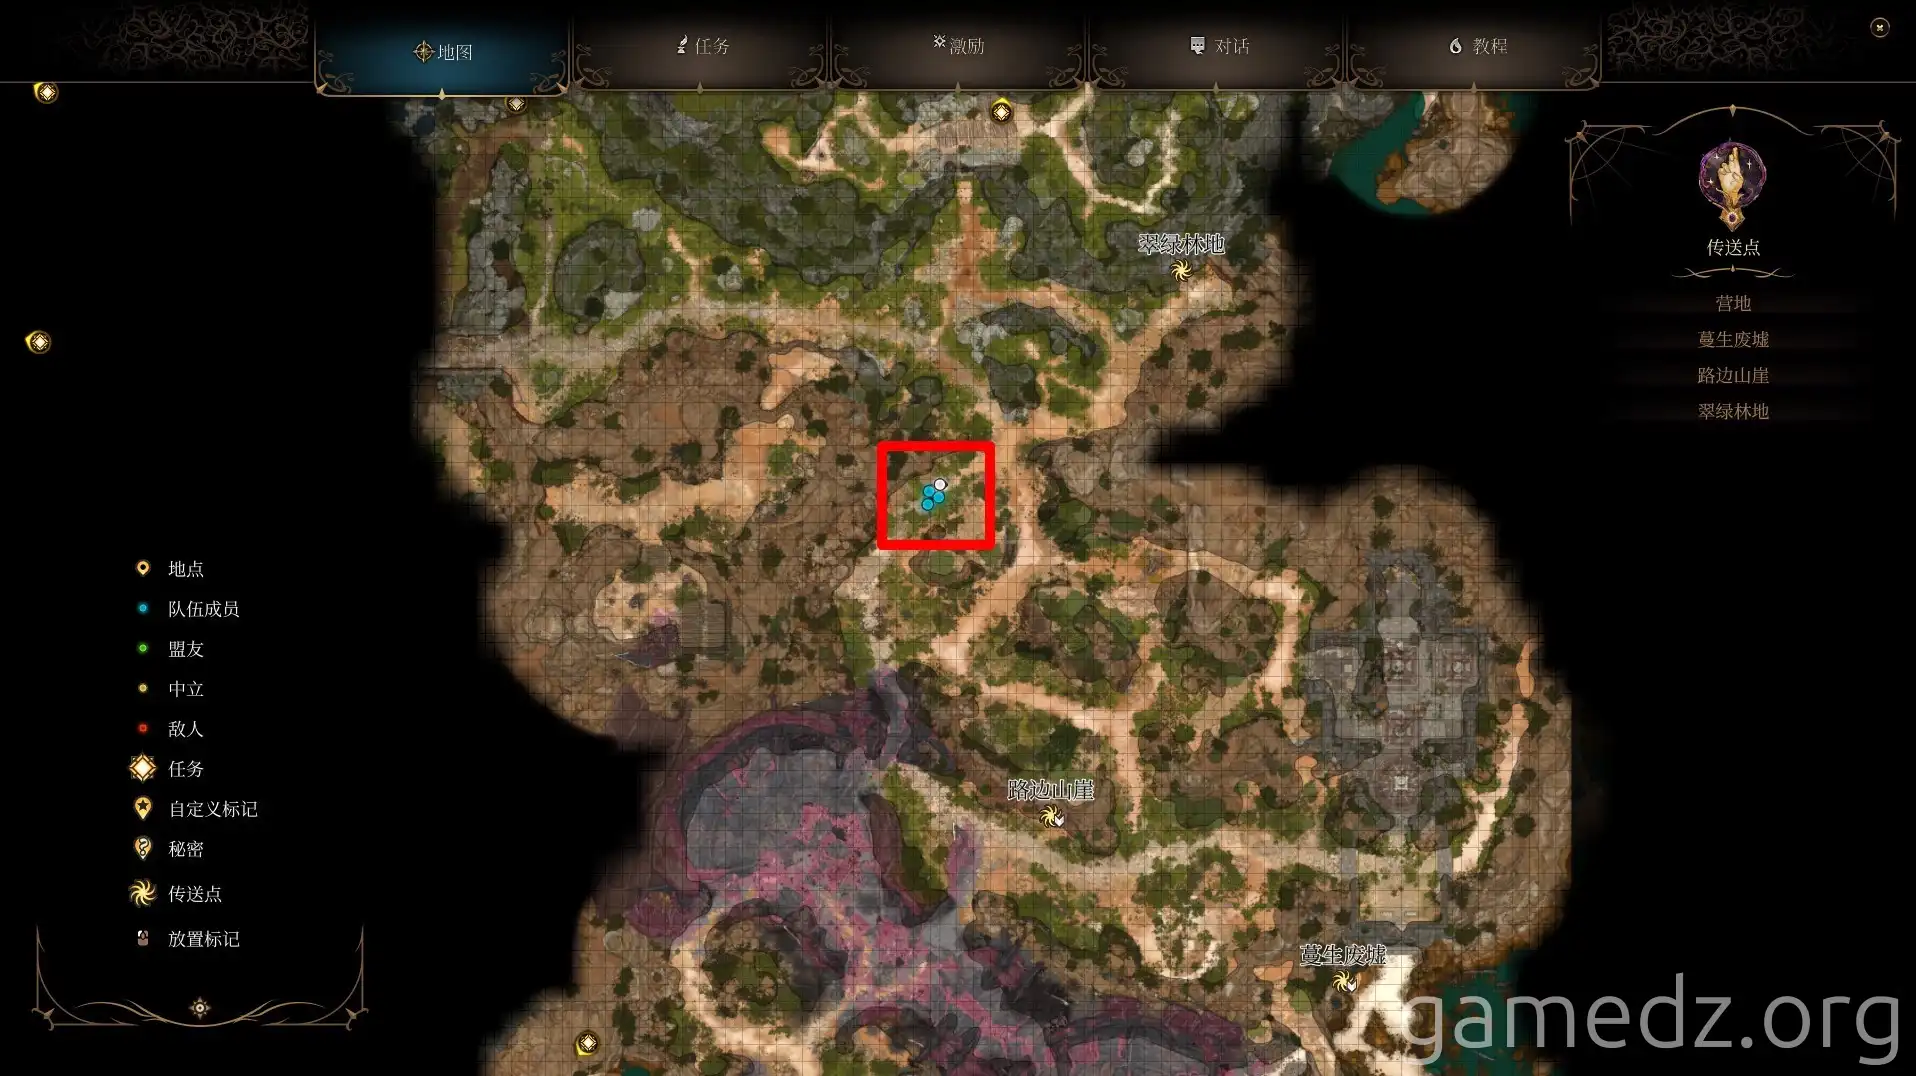
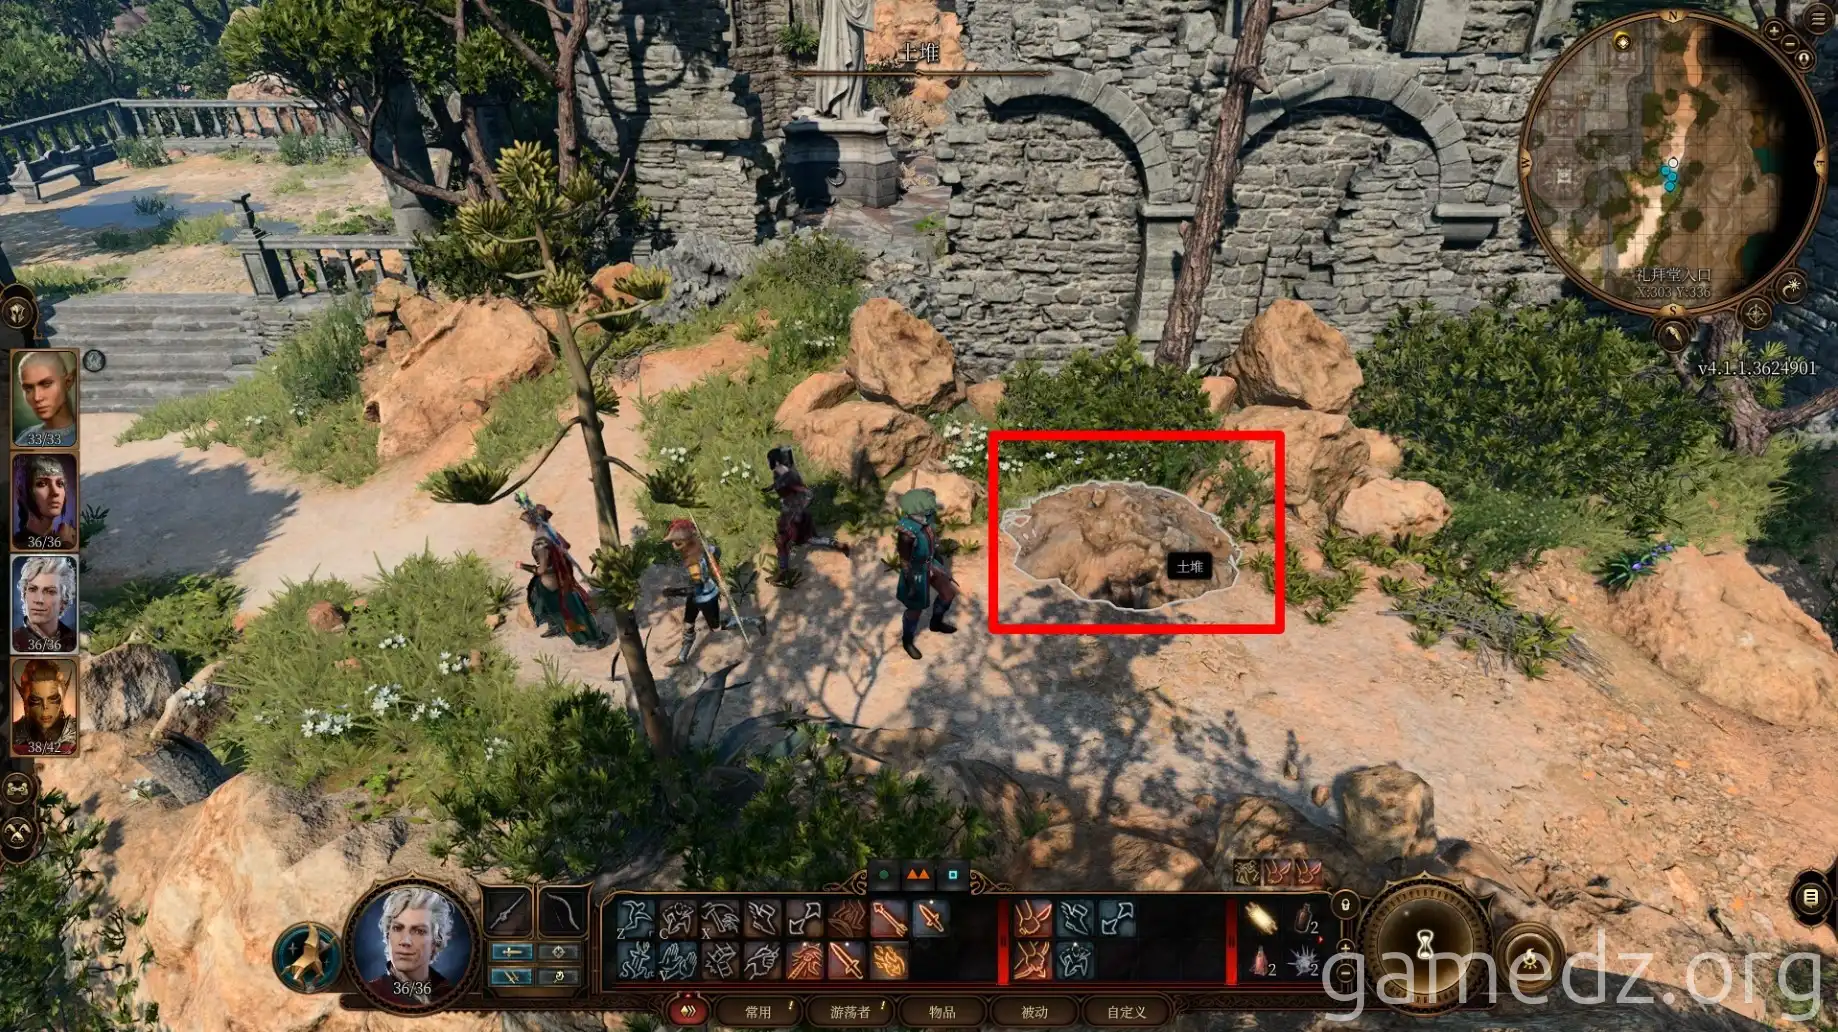
Here you can find a mound of dirt on the side of the road and get a shovel from it. Select a character with a shovel to interact with the mound to dig up a chest.
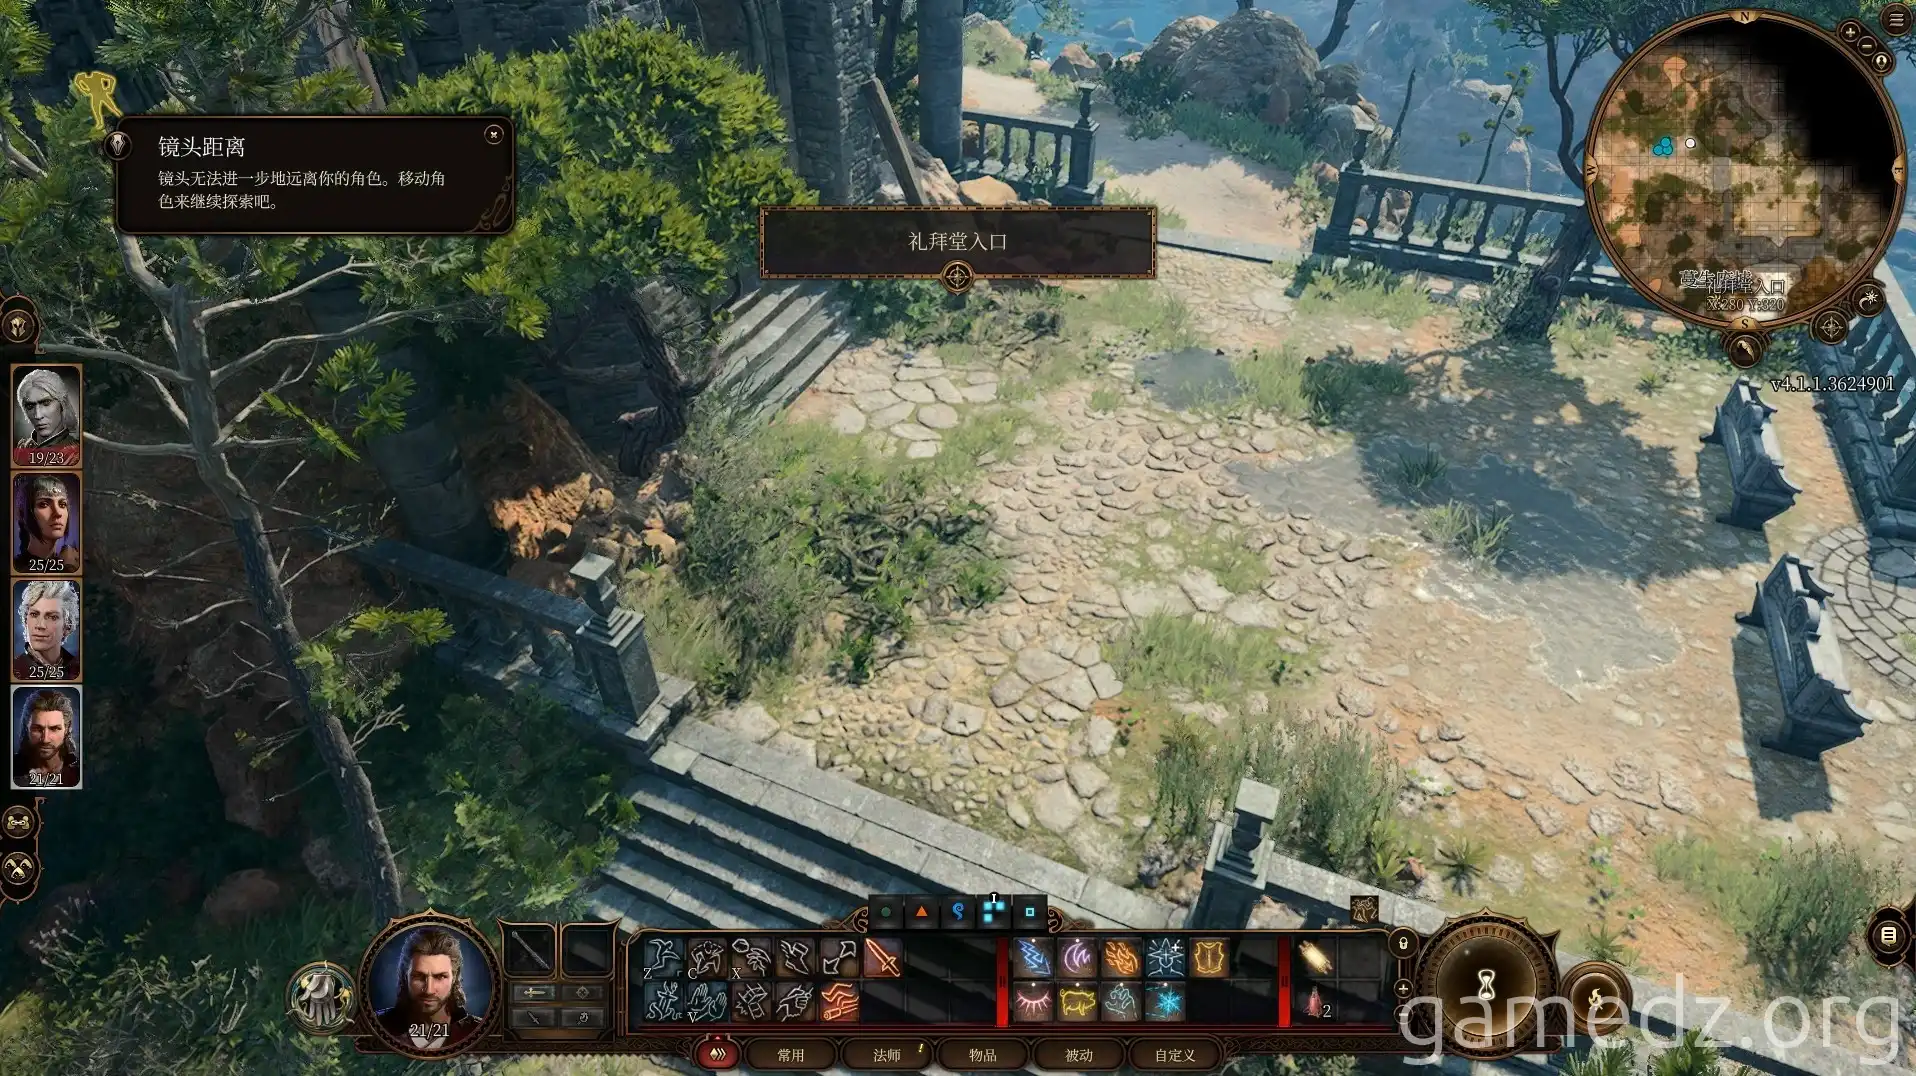
Continue east along the road to the entrance of the chapel. If you already have lockpicking and trap disarming toolkits, you can start exploring the chapel.
If not, it's best to wait until you reach the Emerald Grove, as exploring without tools is pointless and you'll have to come back later.
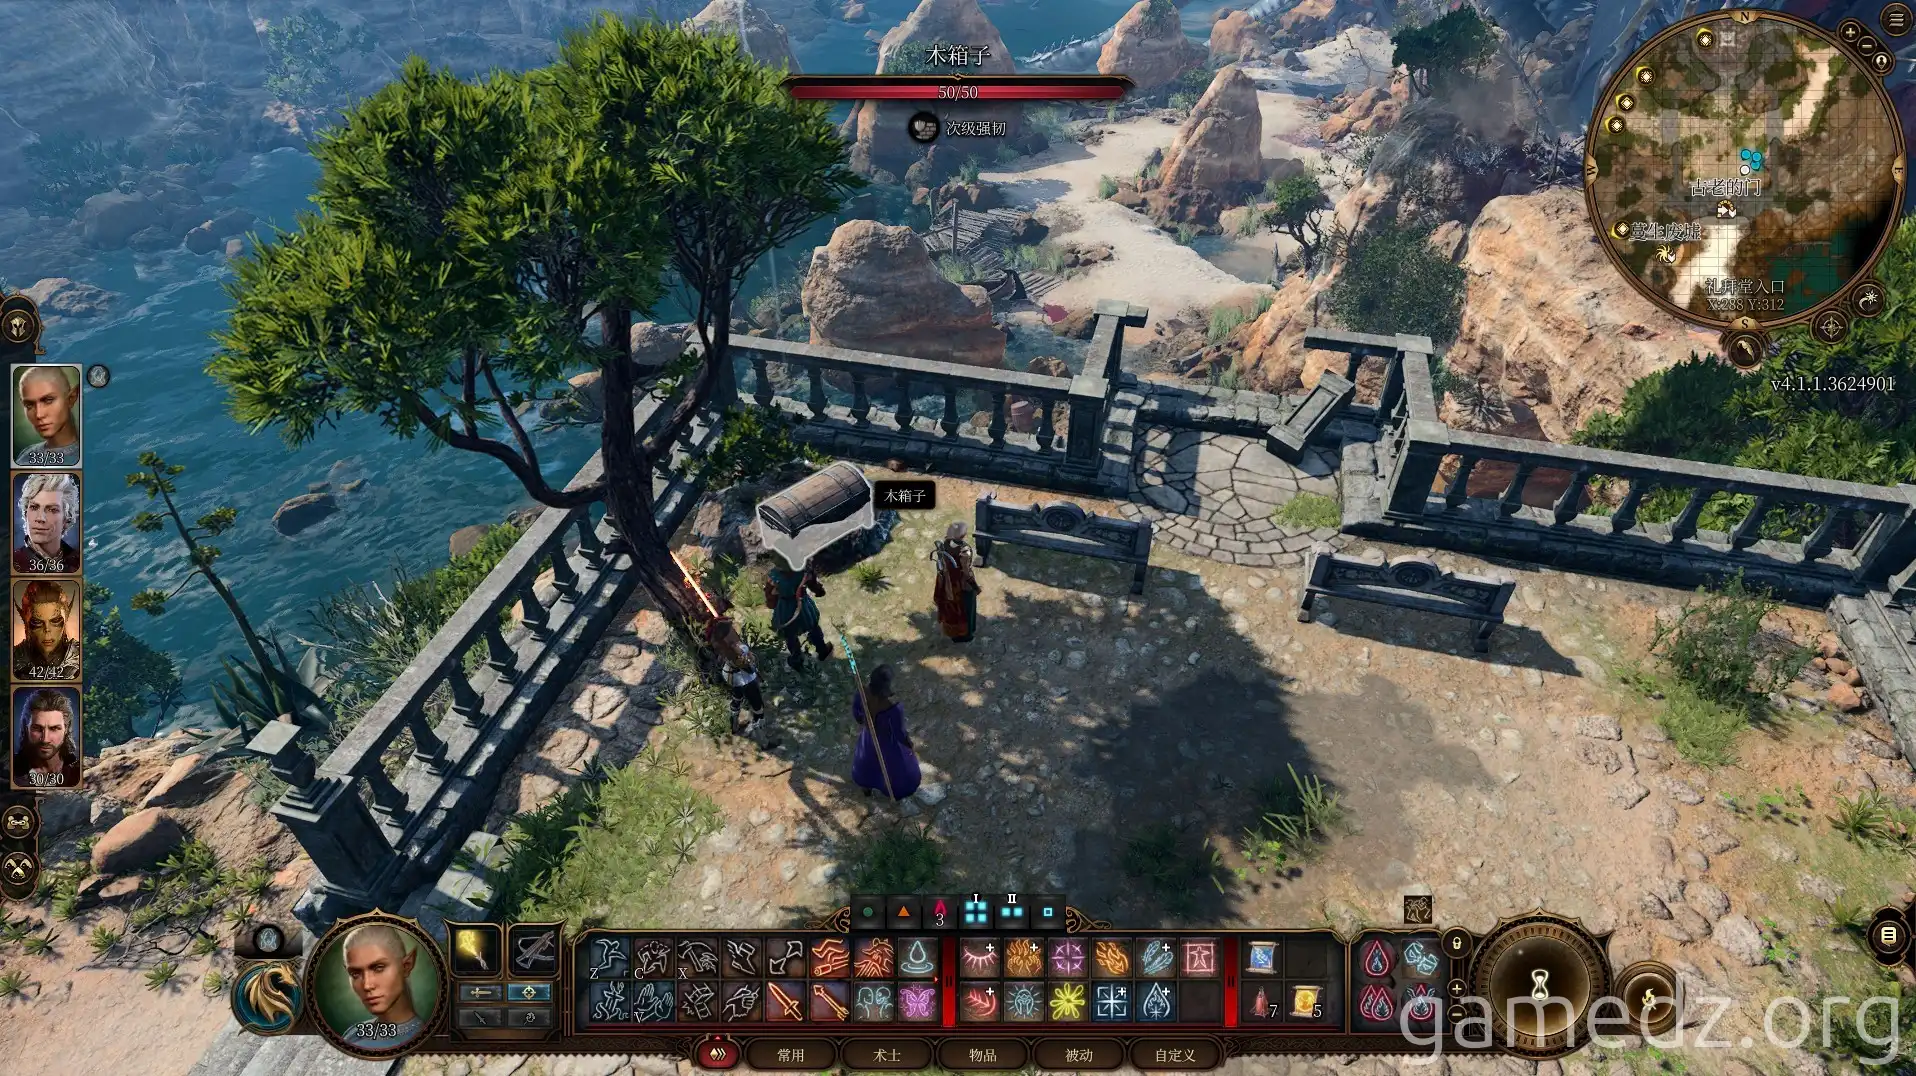
Next to the bench at the entrance of the chapel, you can find a mound of dirt by passing a survival check. Digging it up will reveal a chest. You can still dig up the chest without passing the check. We will find many similar mounds later.
At the end of the path on the east side of the chapel, there is a locked door. Pick the lock to go directly to the chapel's basement.
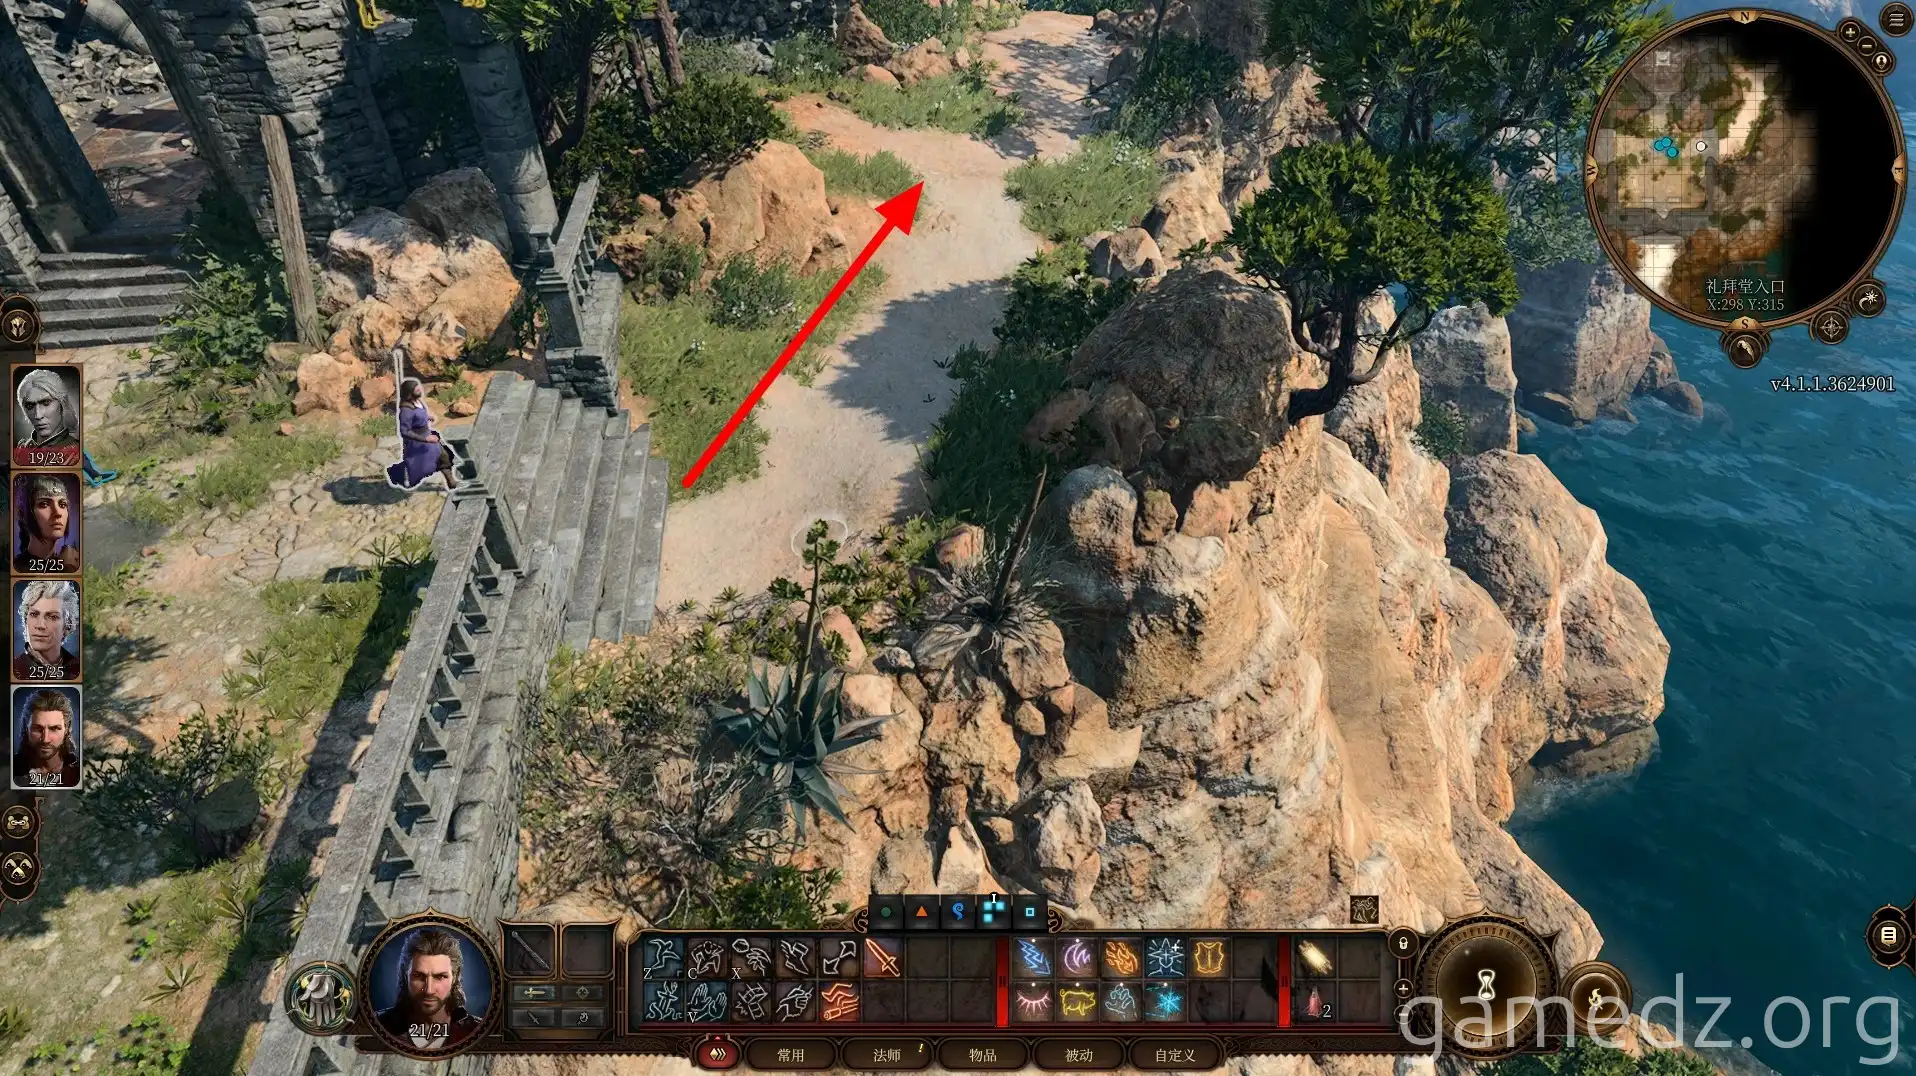
On the side of the path, you can find a mound with a buried chest by passing a survival check.
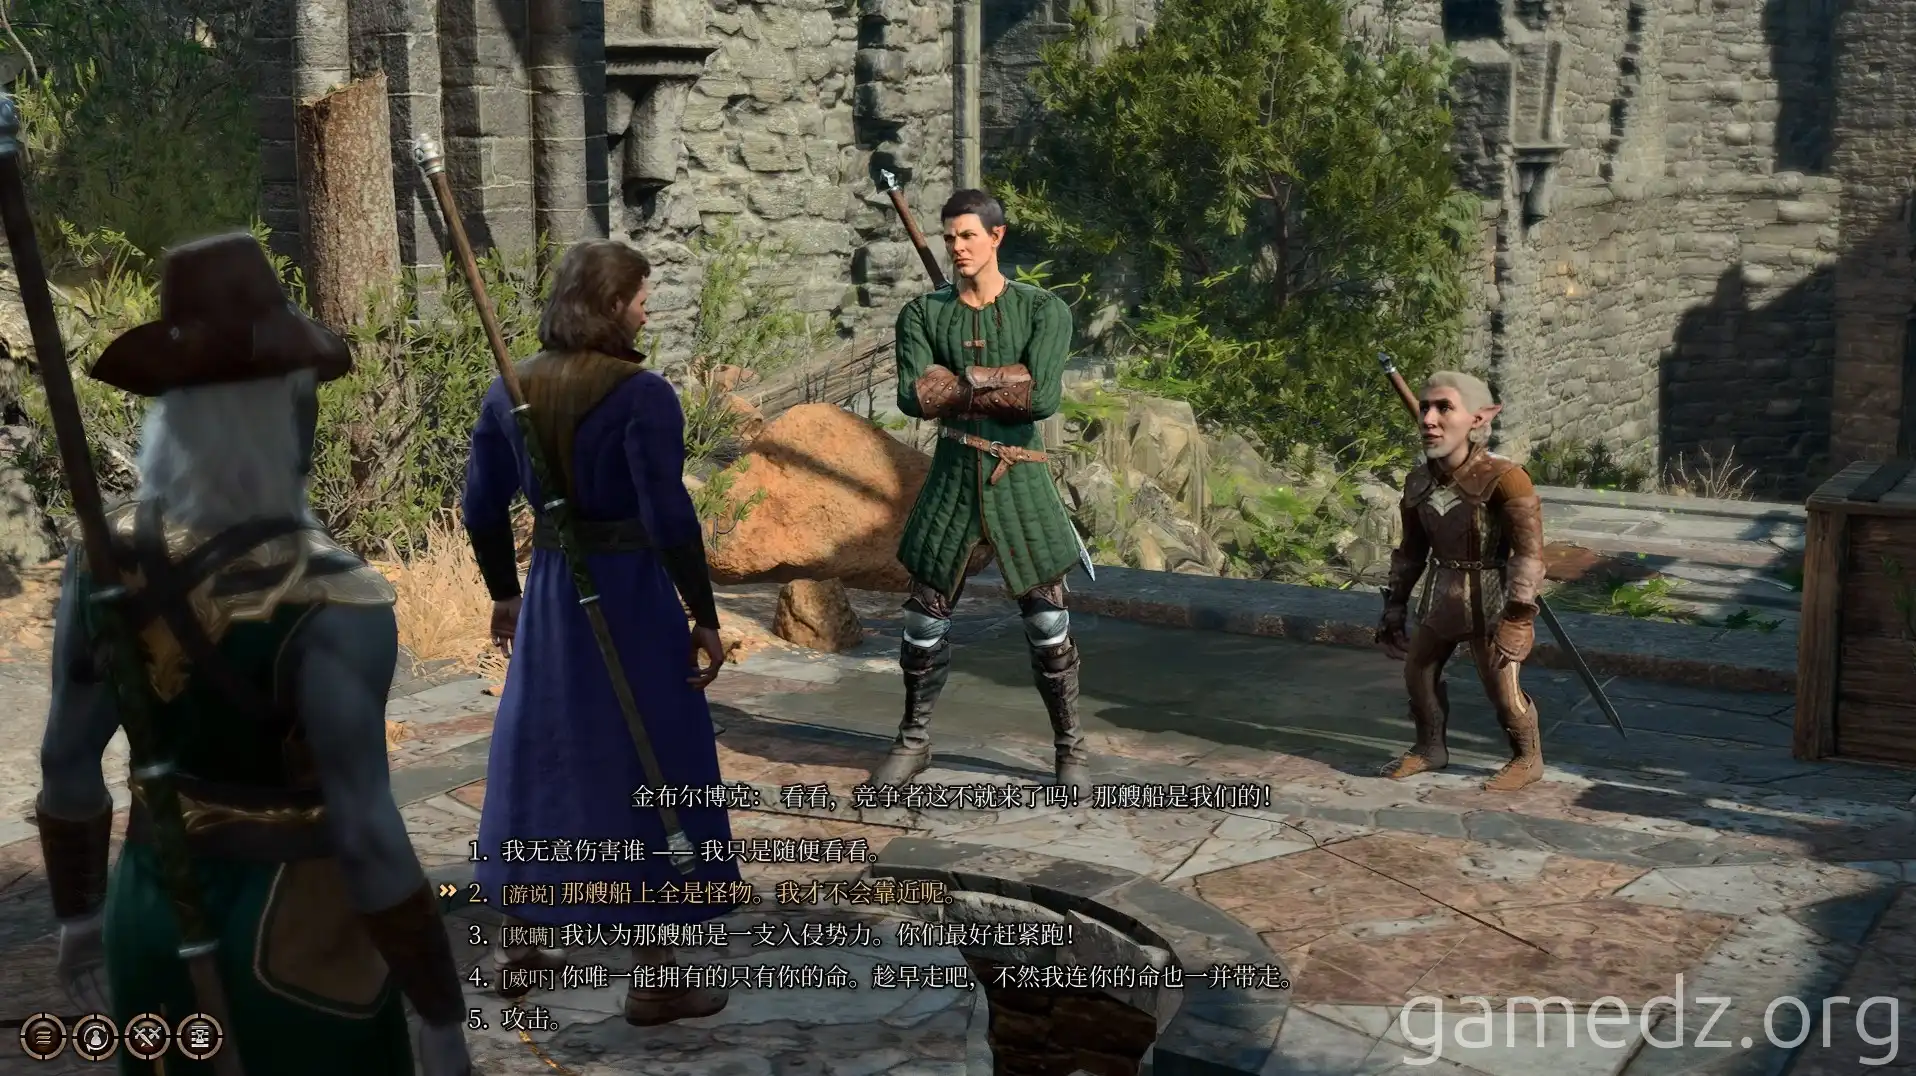
Entering the chapel directly will lead to an encounter with several marauders. You can make them flee through a persuasion check, otherwise, you will enter into a battle. Defeating them won't yield any good loot, so it's recommended to talk them into leaving to save time.
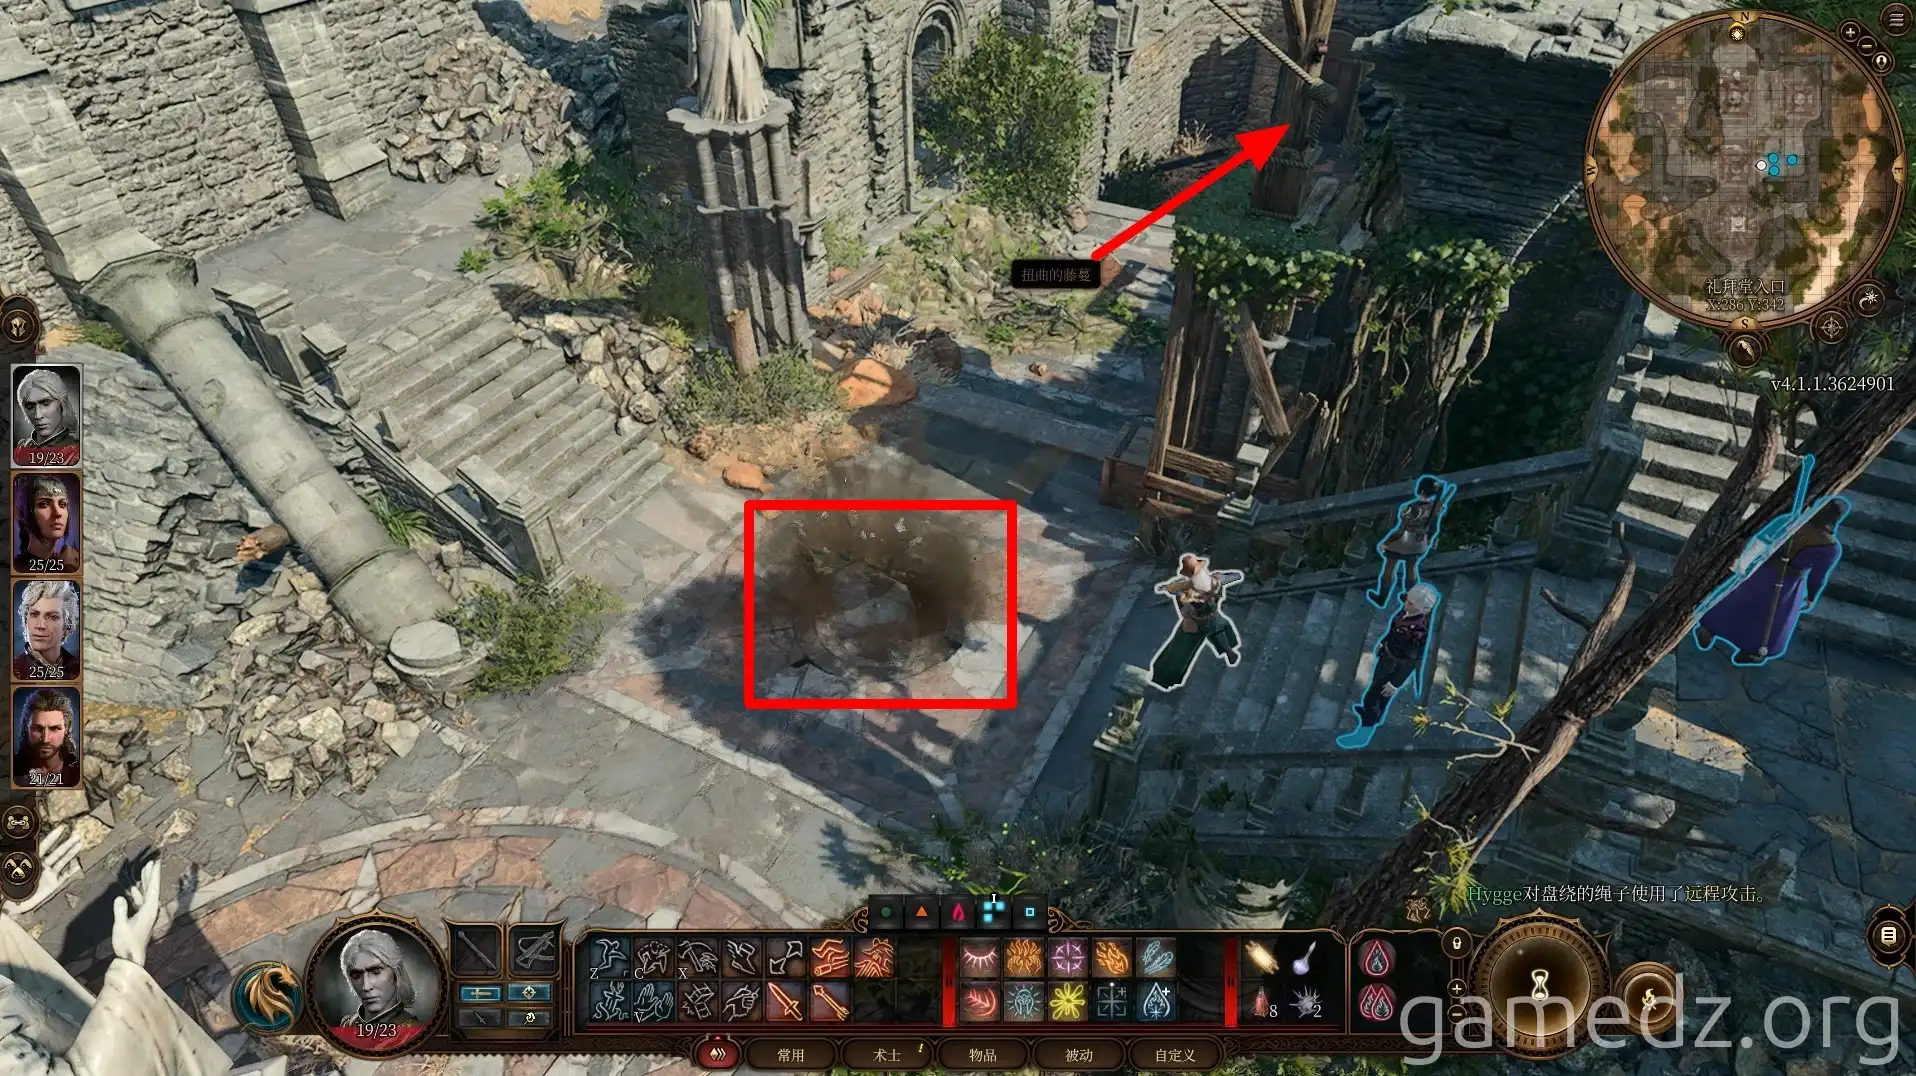
Afterwards, you can shoot the rope holding the hanging rock above to create a hole to enter the chapel. You can also choose to knock on the door and deceive the other marauders inside to open it for you.
It is recommended to use deception to open the door. A successful deception will inspire characters with the "Charlatan" background.
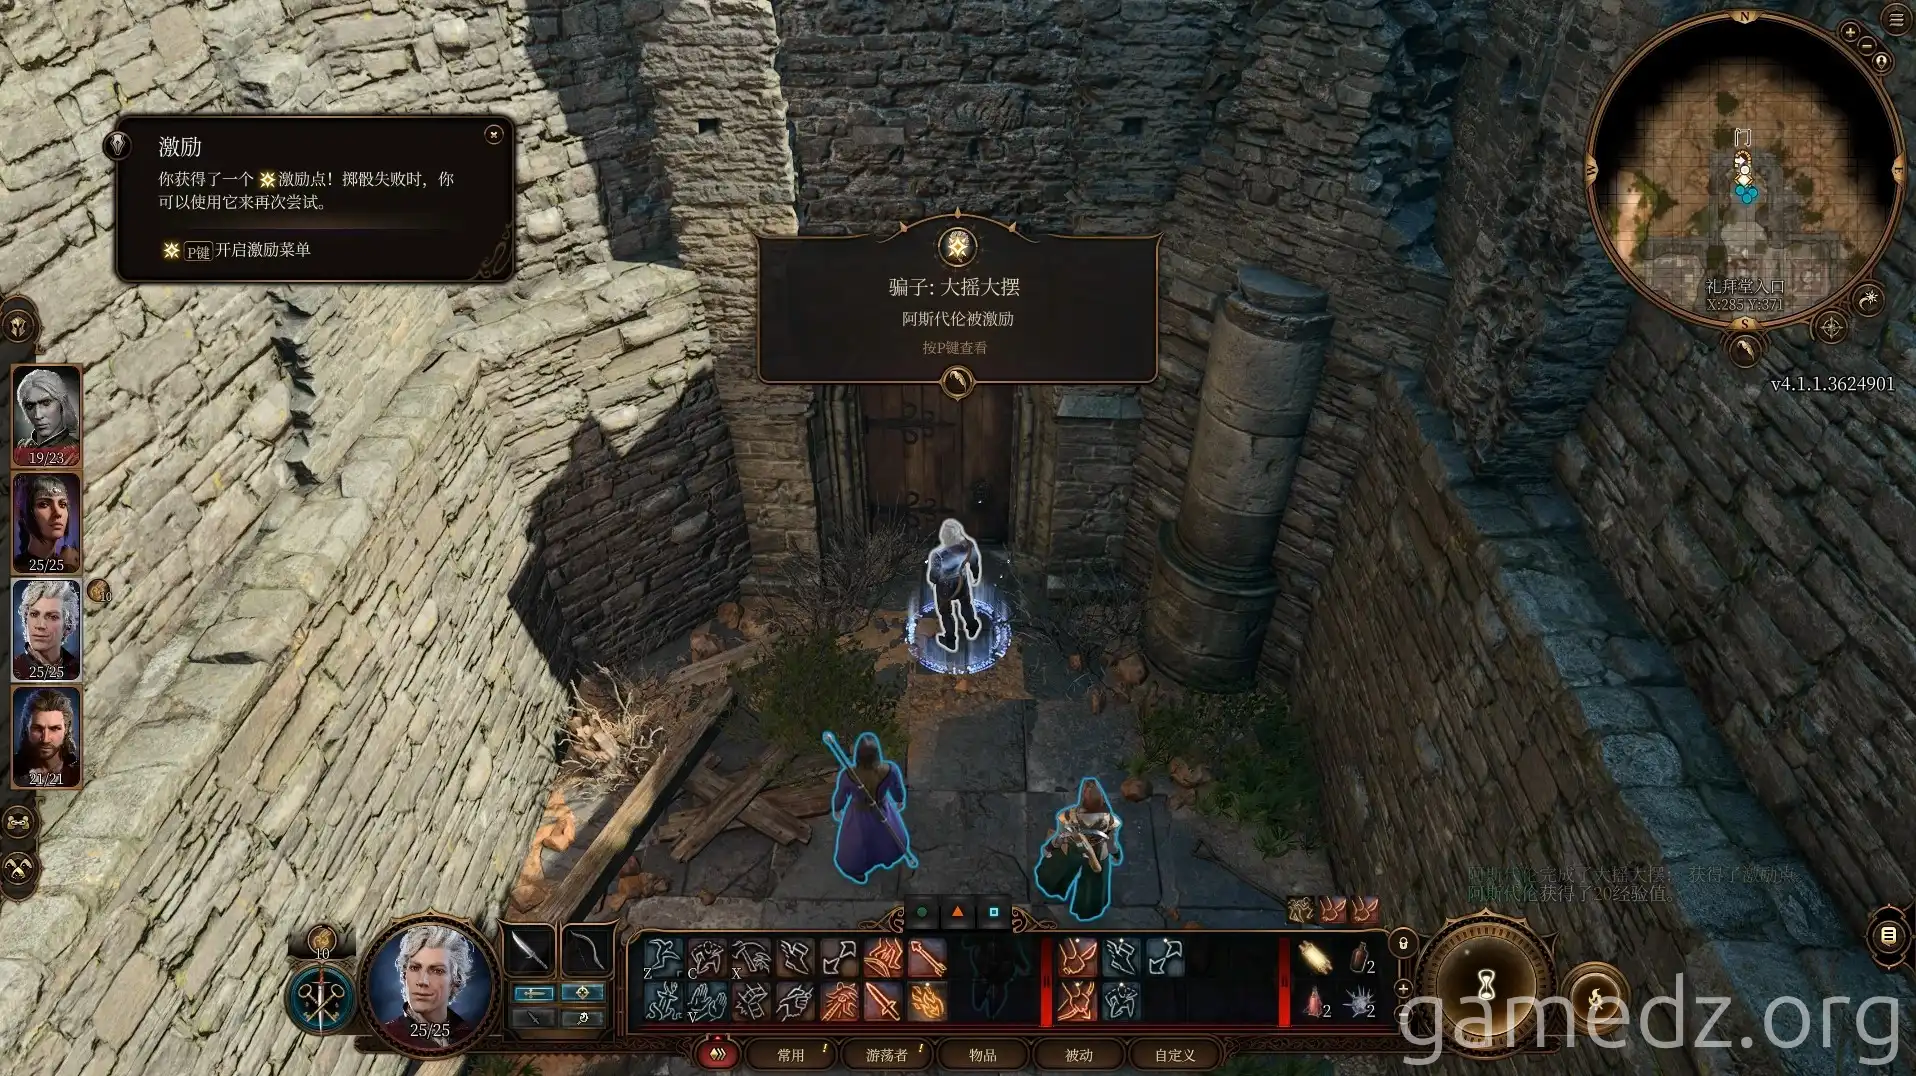
After entering the chapel, you will fight an enemy who is frightened and cannot act in the first round.
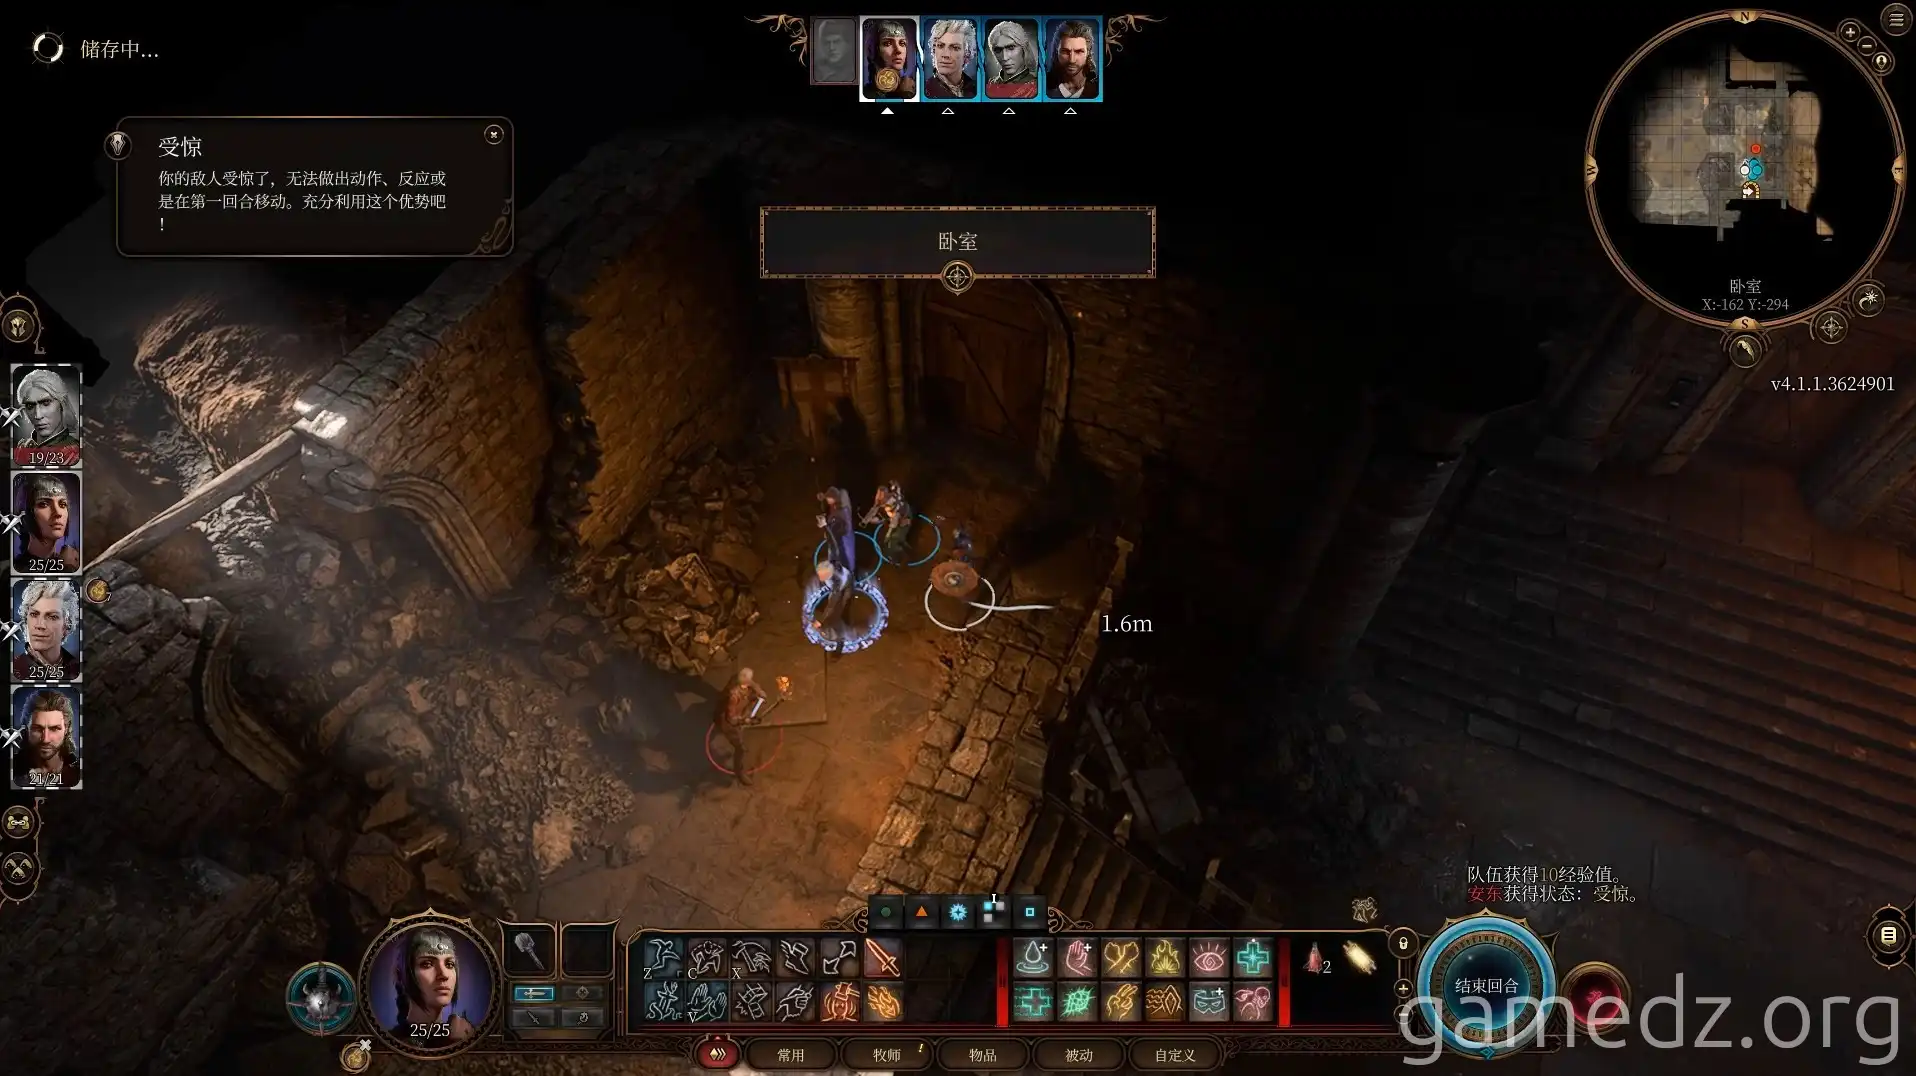
After looting the room, go to the door in the middle of the room and pull the lever to prepare for battle.
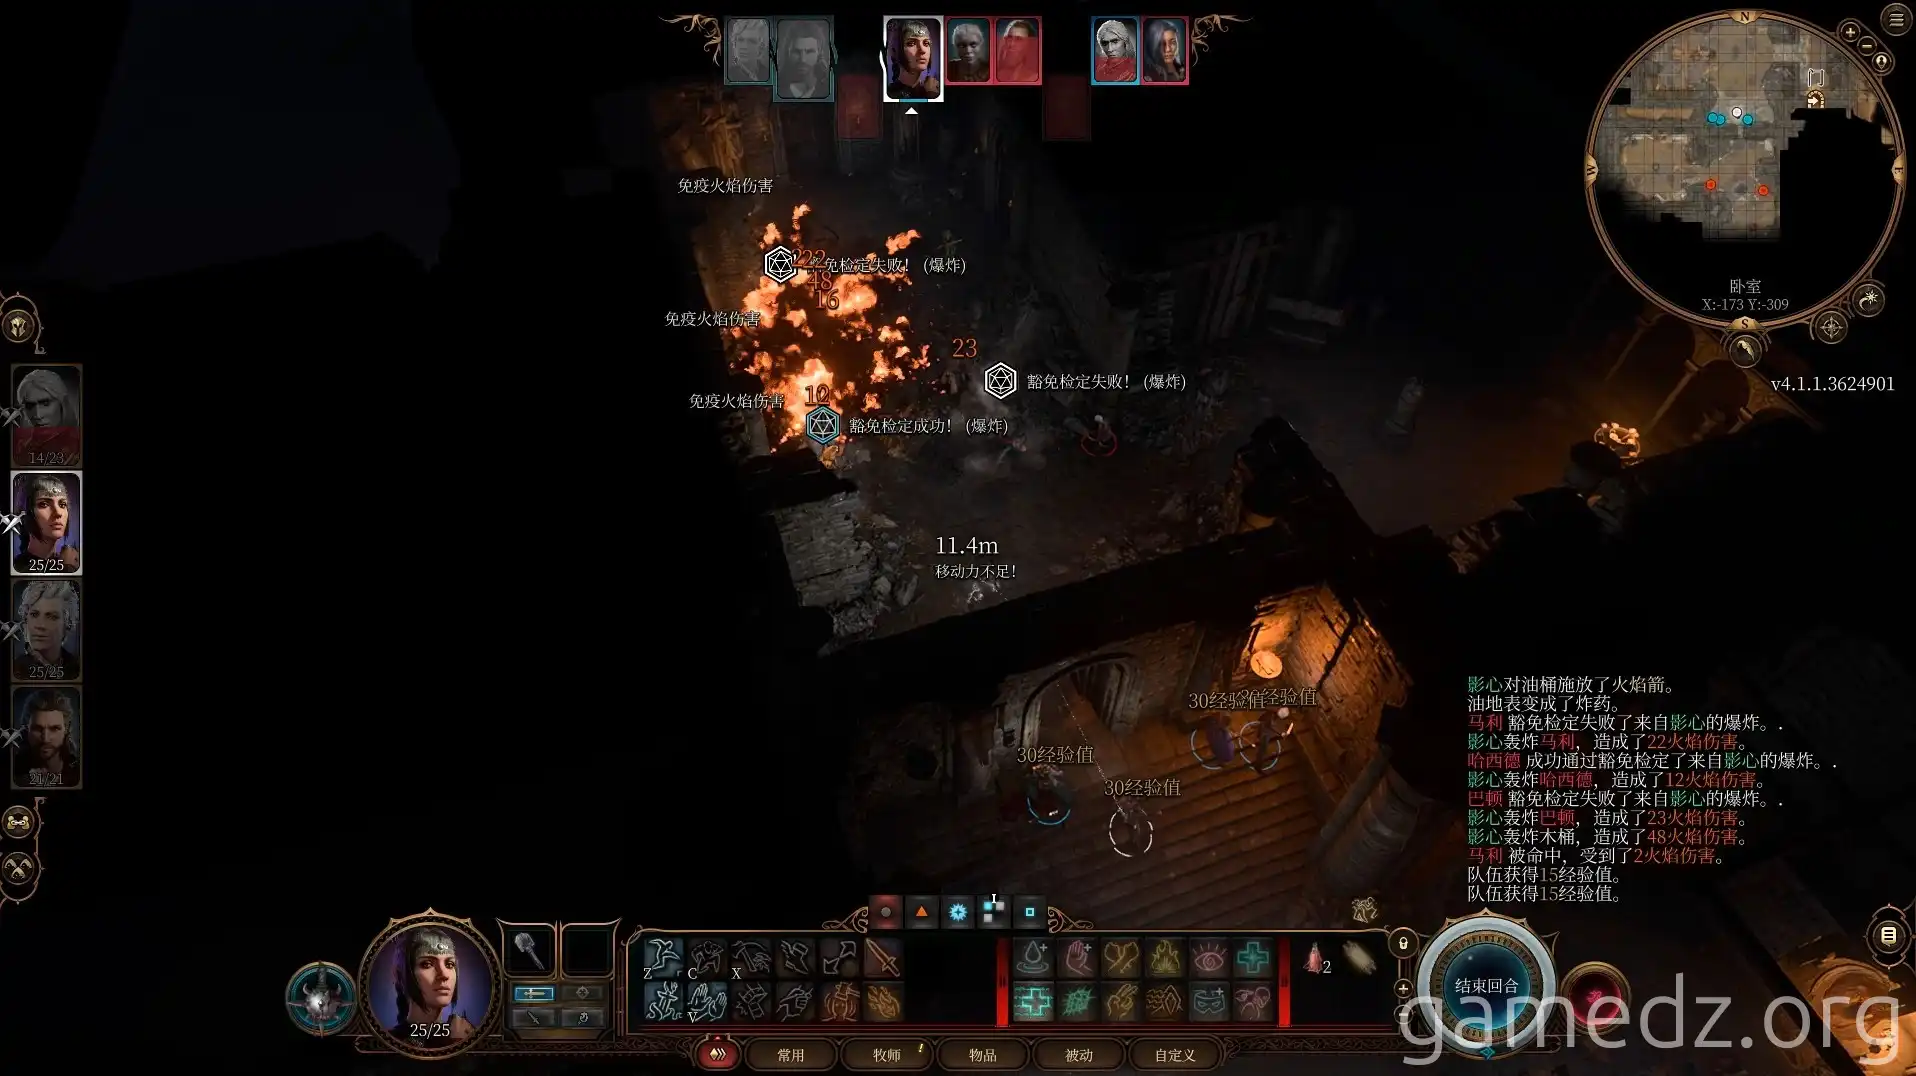
Using a fire attack on the oil barrels in the room can create a violent explosion, instantly killing enemies within the blast radius who fail their saving throw.
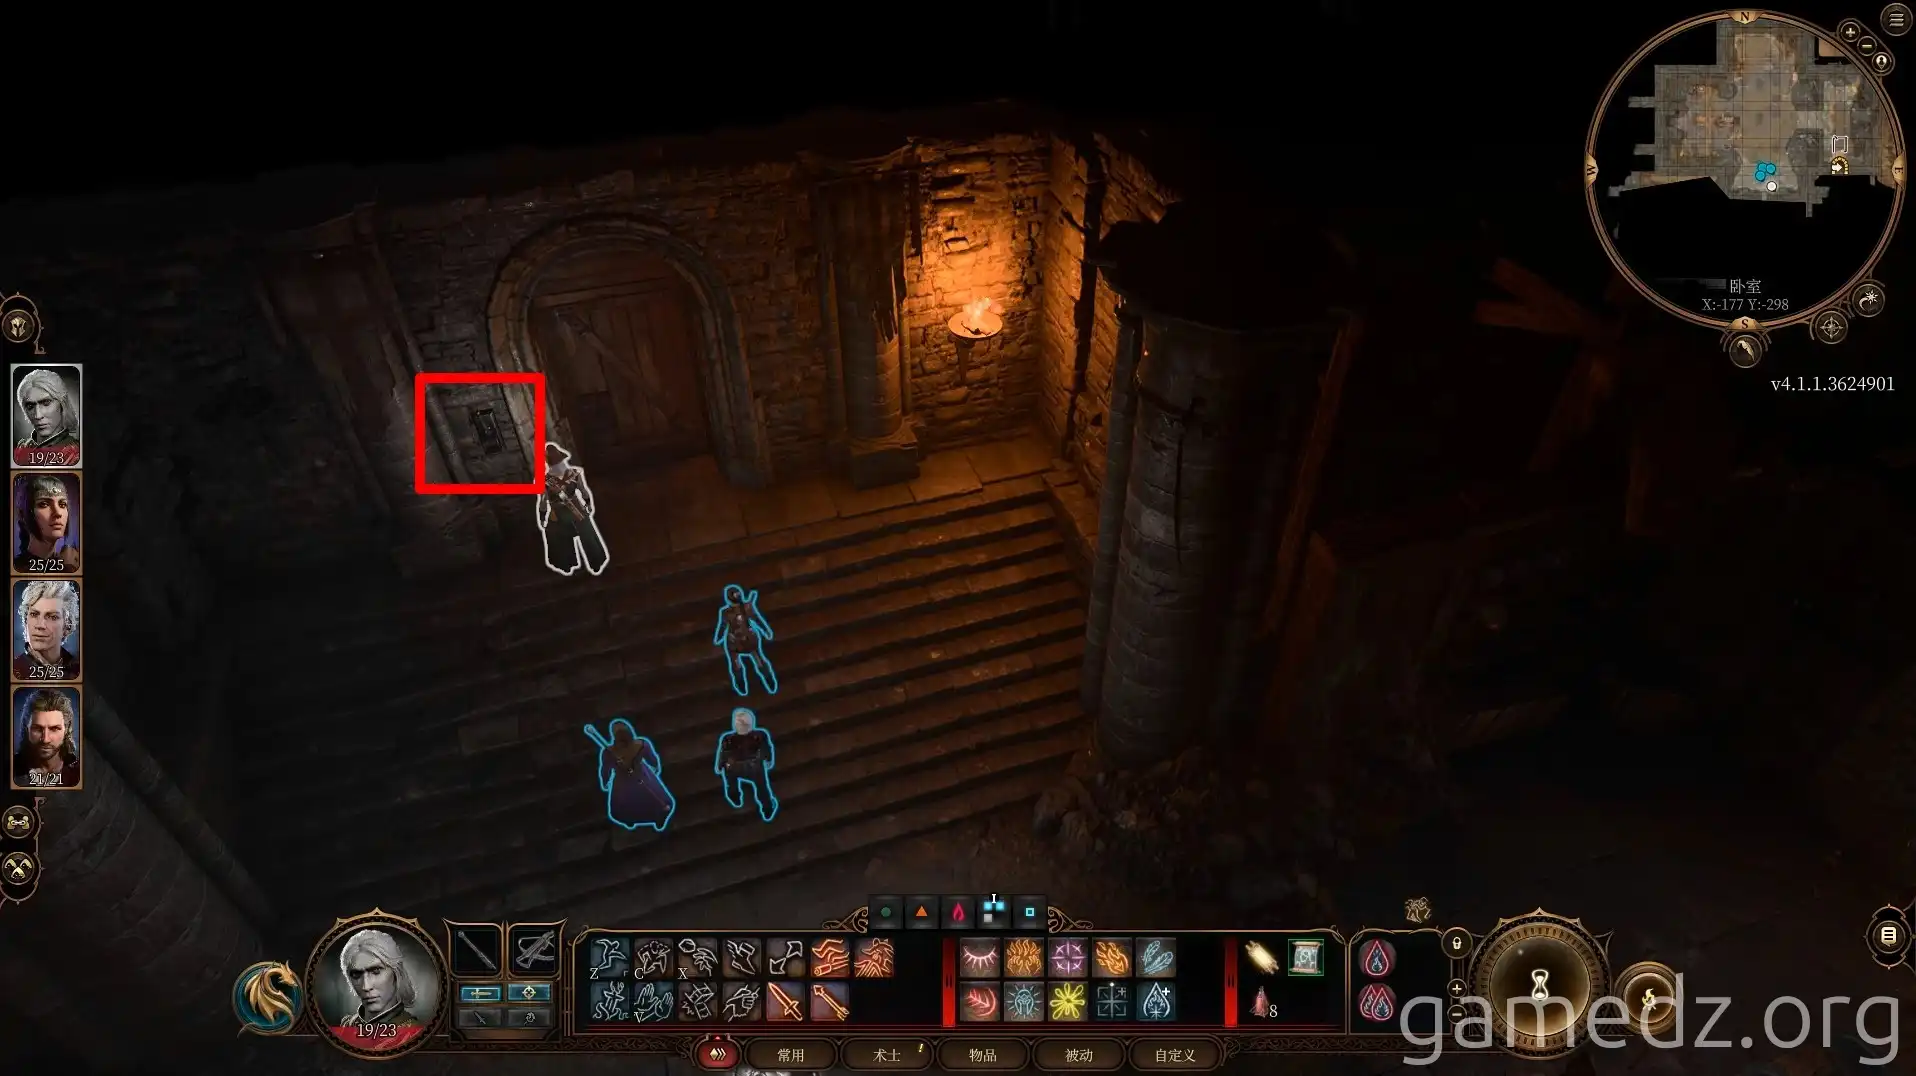
After looting the room, you can open the locked door to the Dank Crypt by using the lever behind the statue. If you fail the perception check, you can only enter the Dank Crypt through the path outside the chapel.
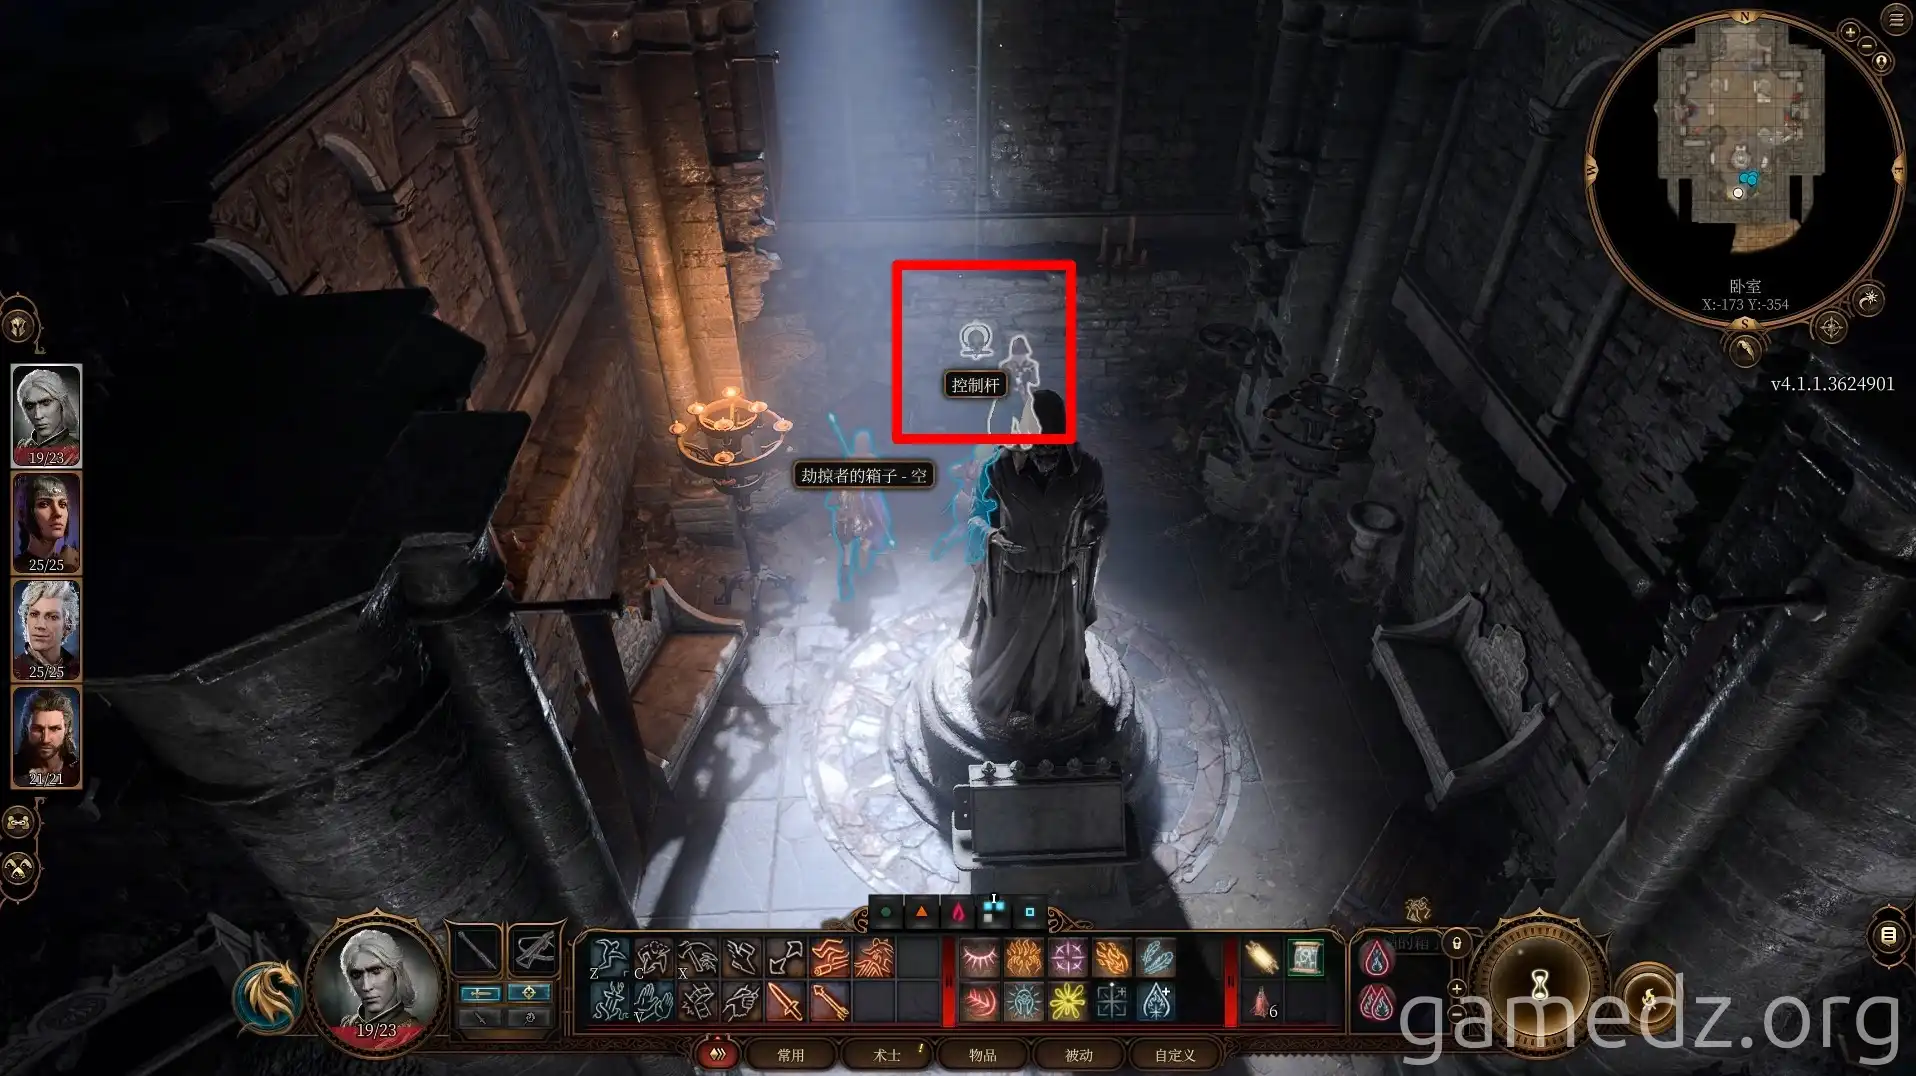
In the Dank Crypt, there are several ornate chests containing some spell scrolls and other items.
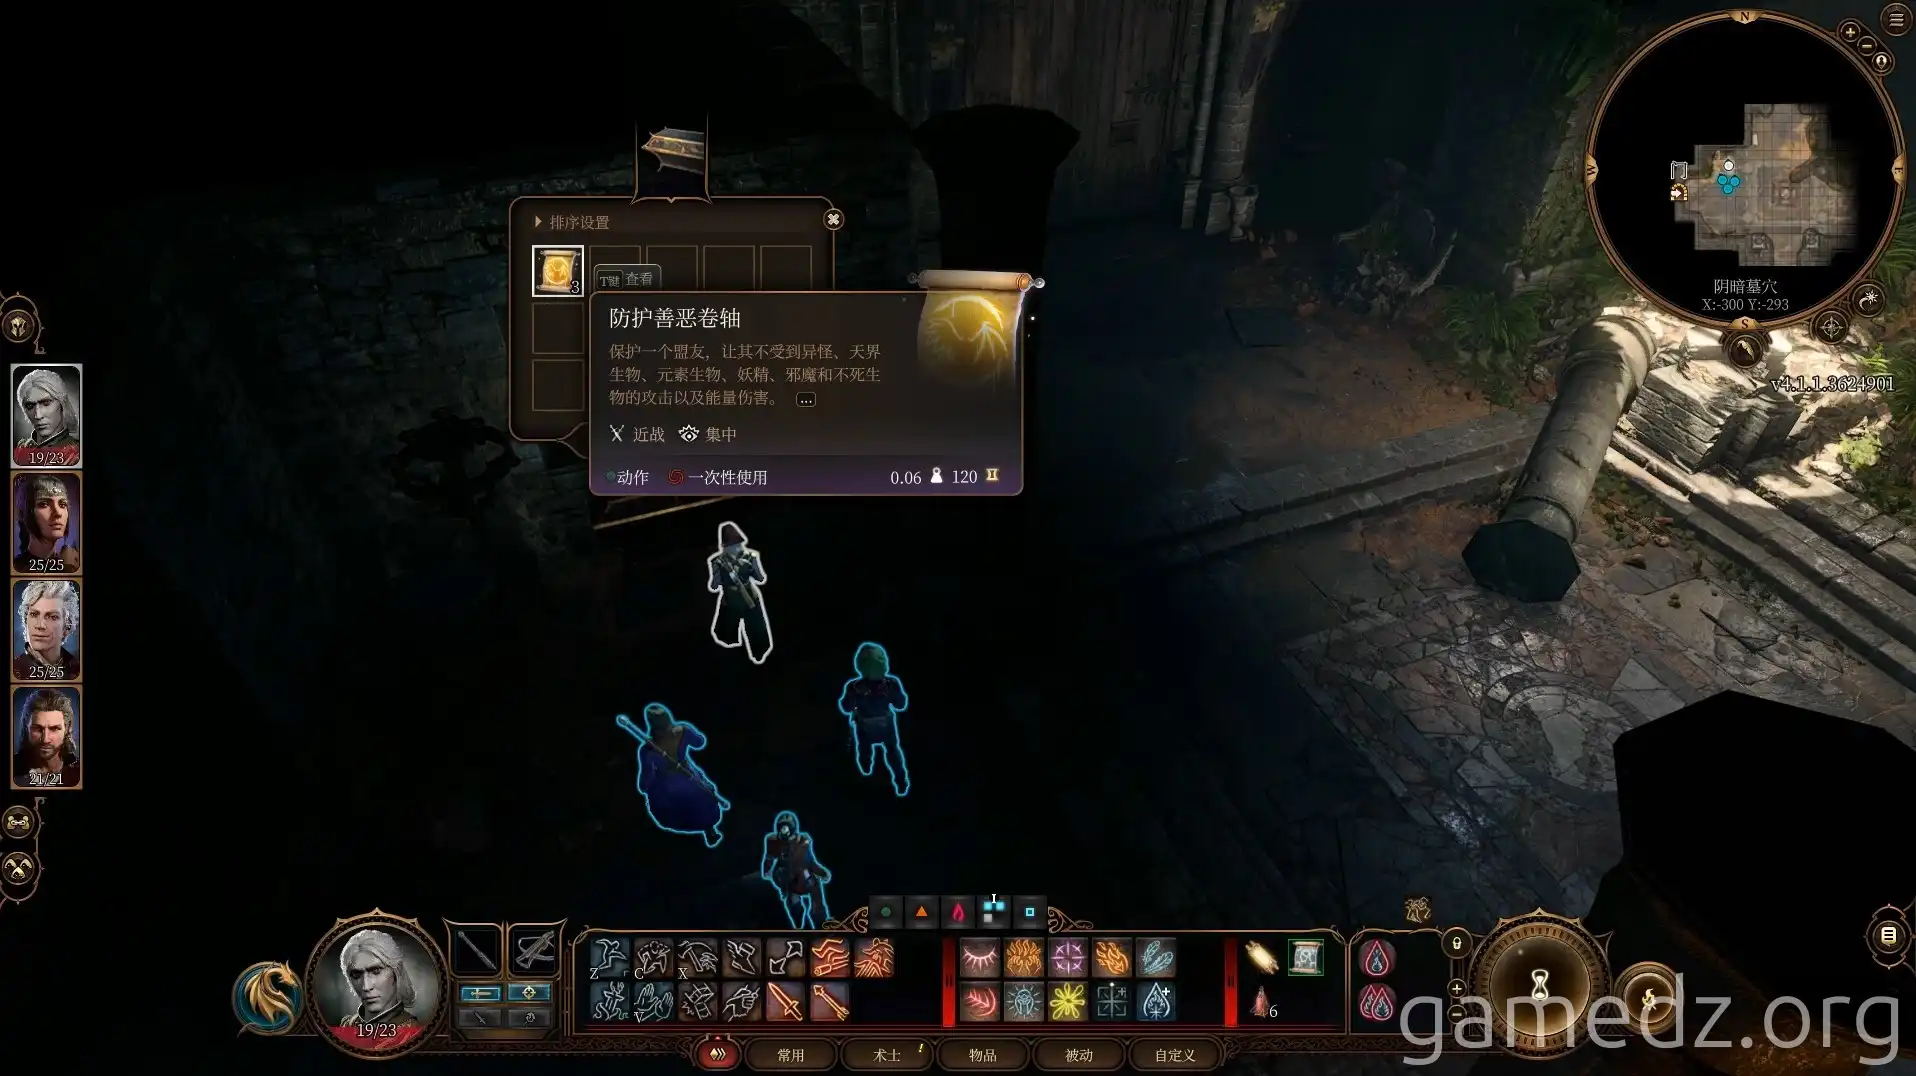
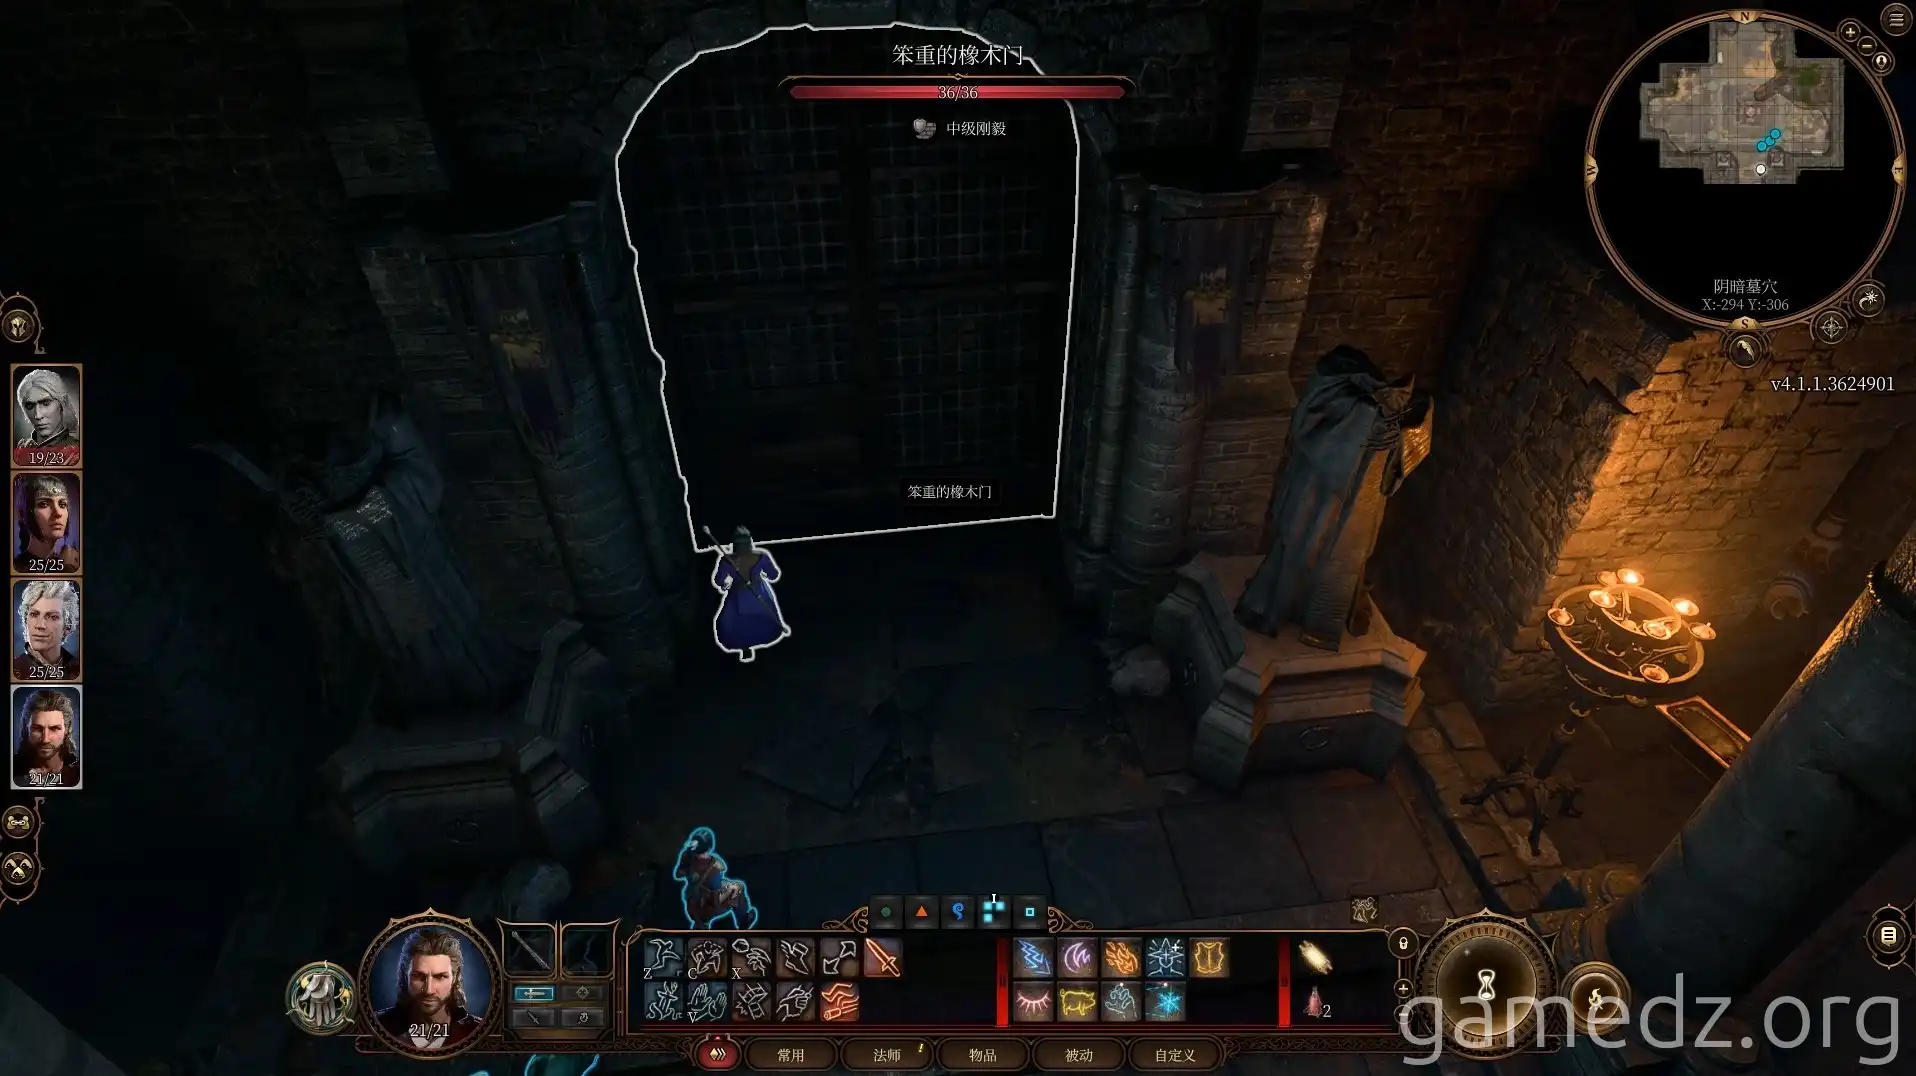
Pick the lock to open the heavy oak door on the north side of the room.
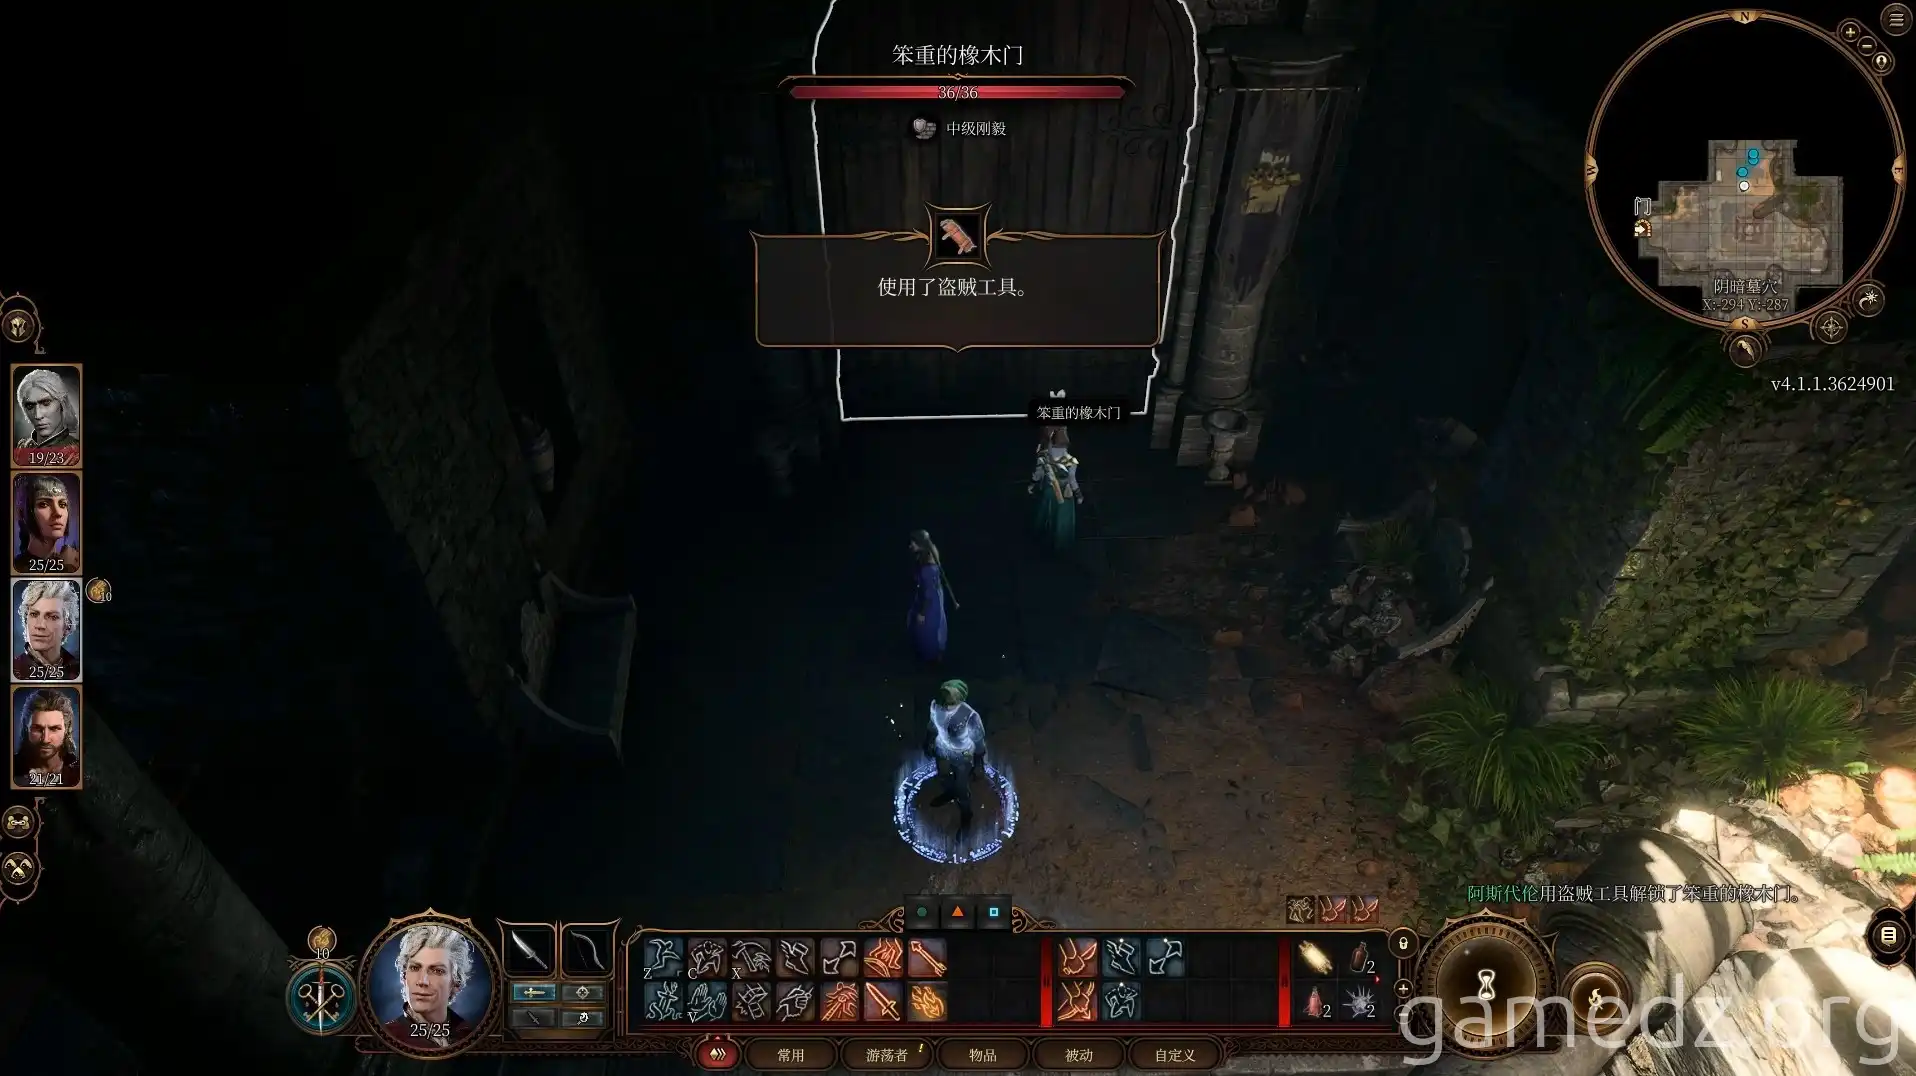
Continue to loot the room. You can find the key to the Dank Crypt on the Scribe's skeleton, and take all their equipment as well.
The tunnel on the east side leads to the path on the east side of the chapel.
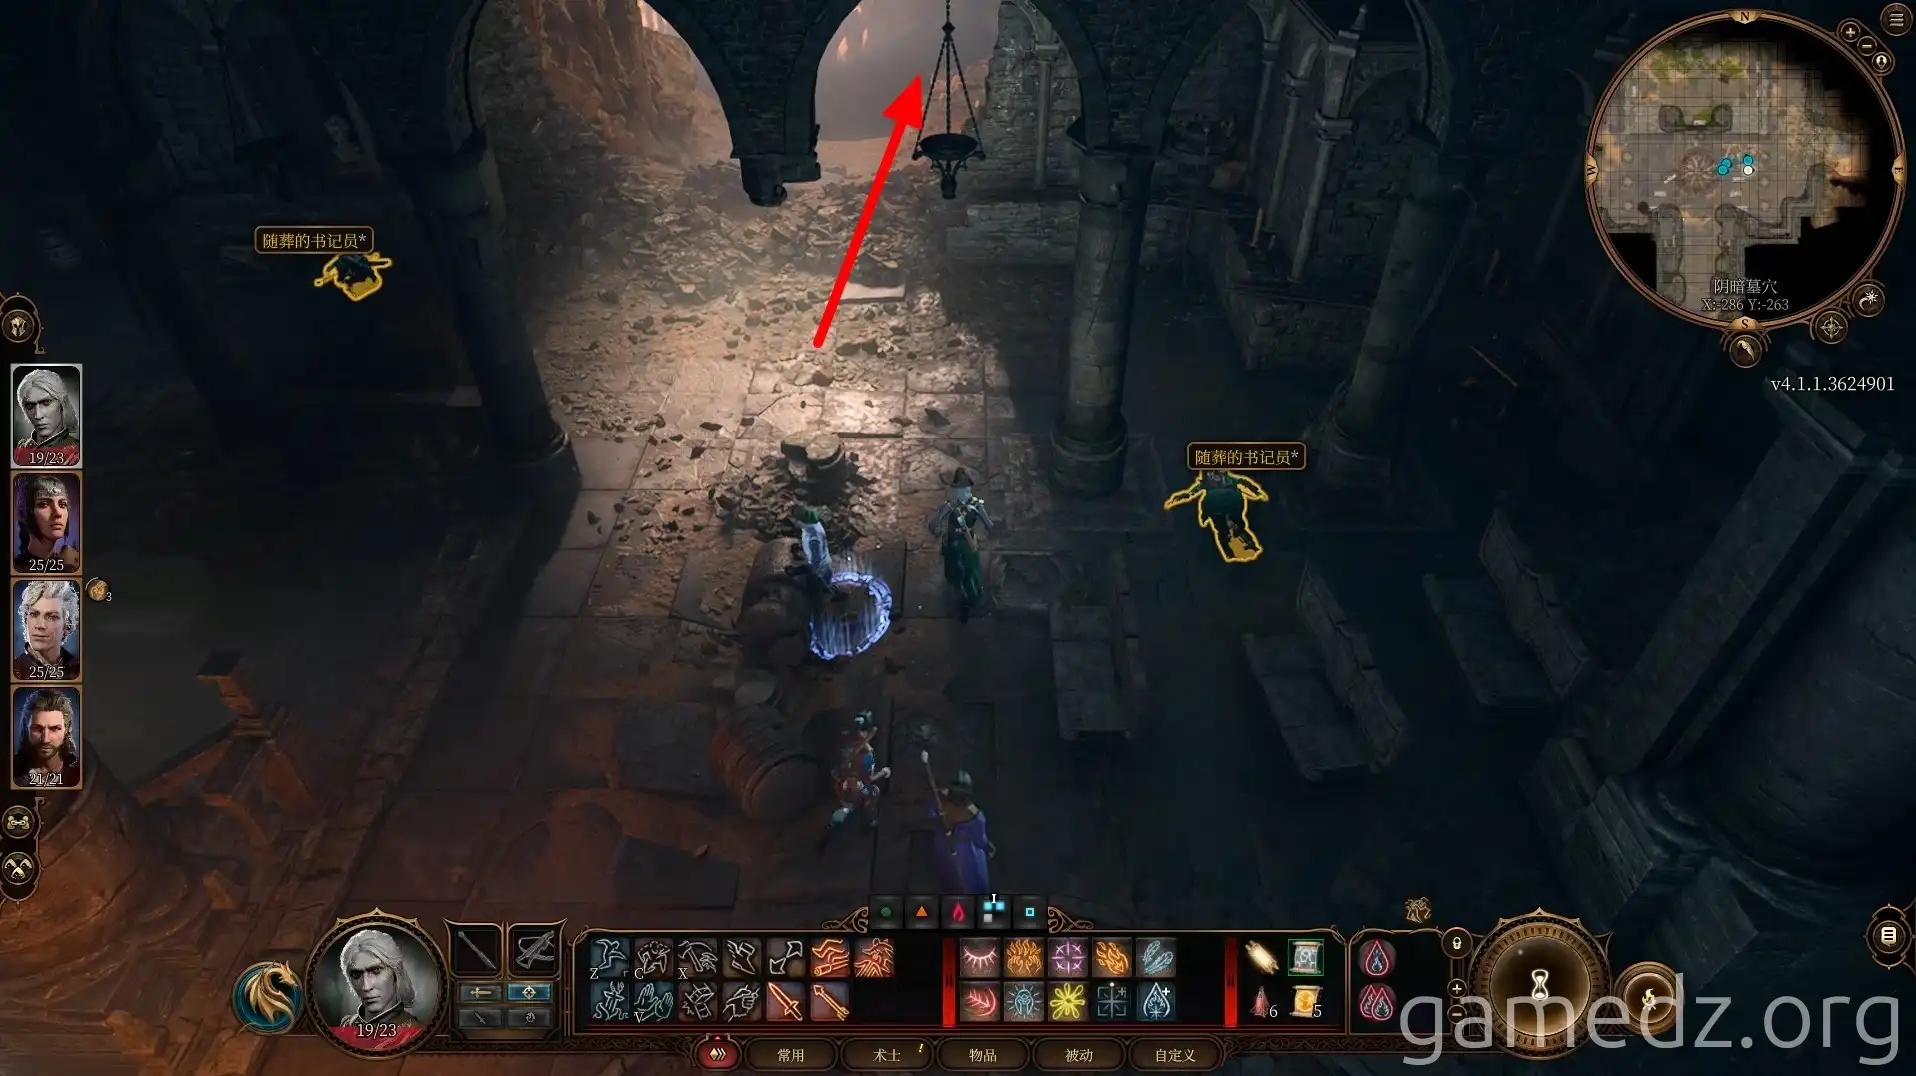
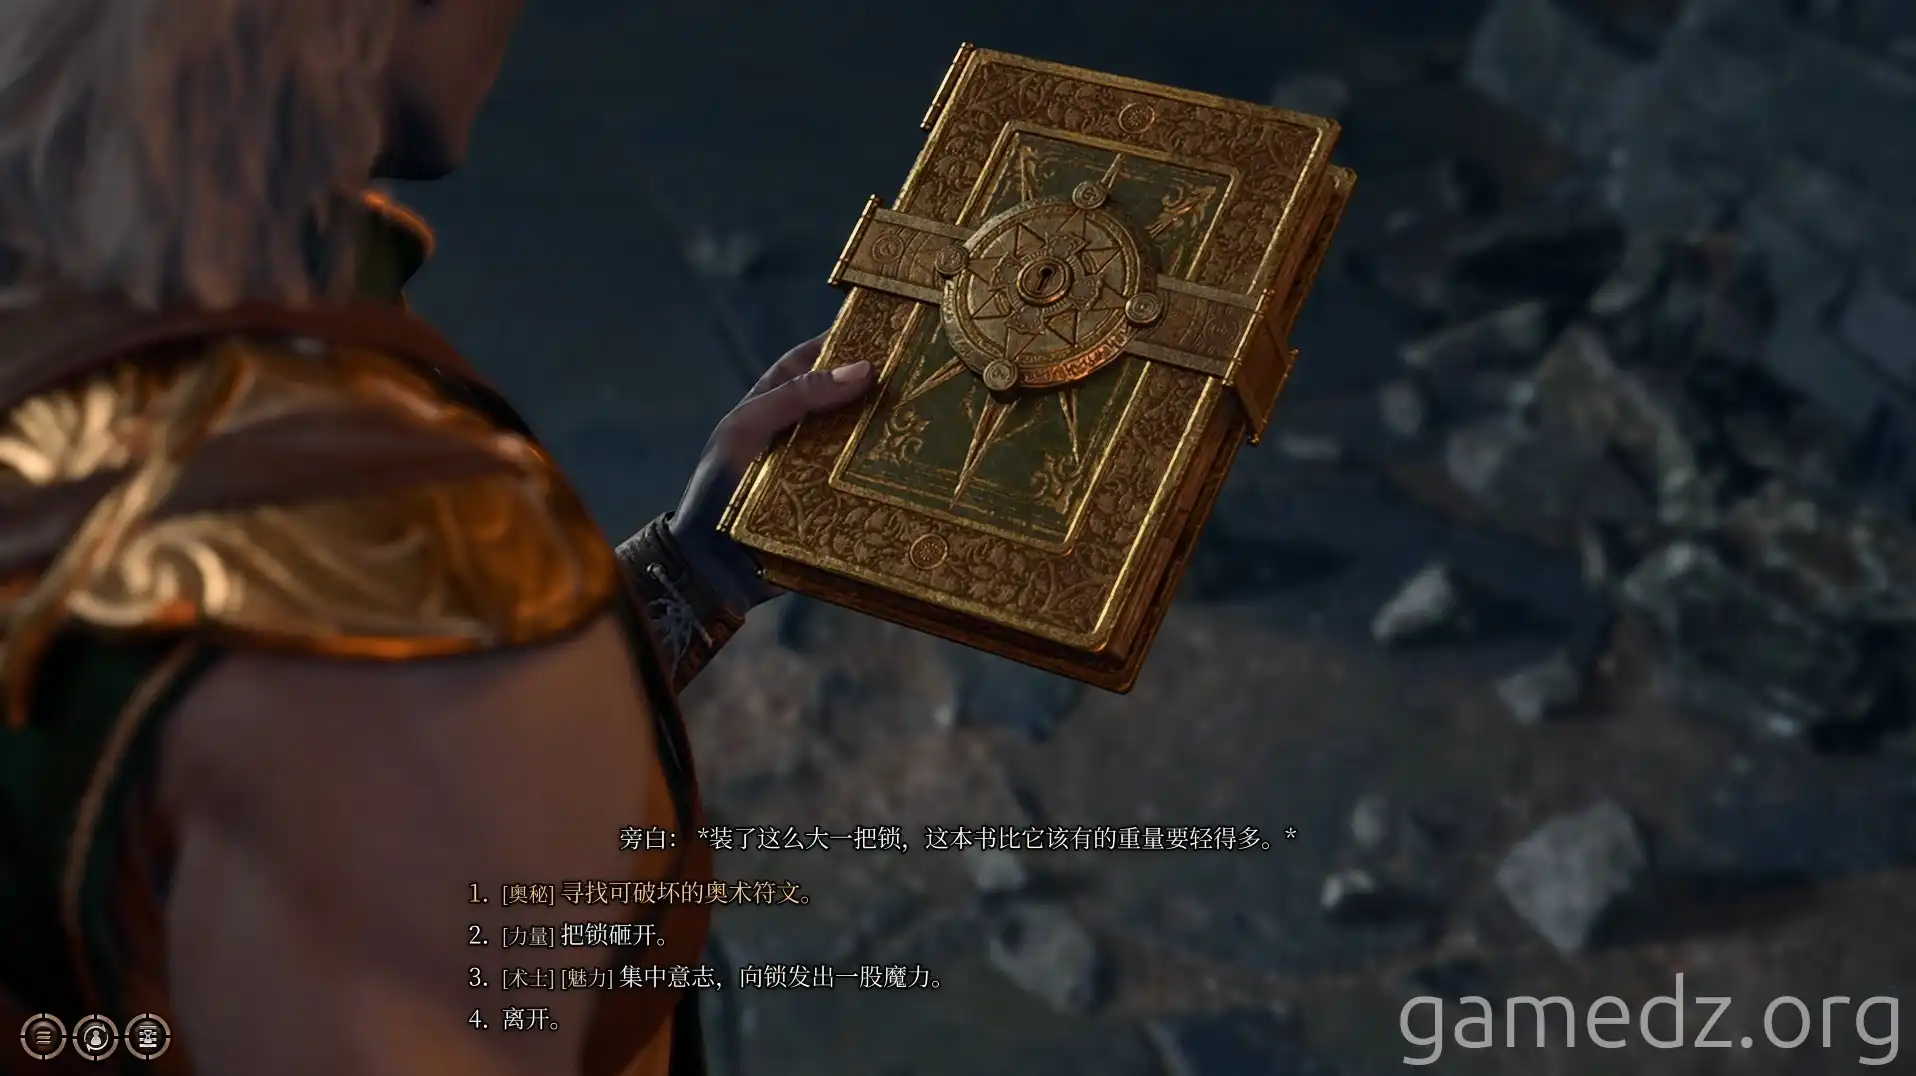
In the bedroom, you can find a locked book. After successfully picking the lock and passing a history check, you can learn that the book records the fall and rebirth of a god.
Successfully learning the secrets of the book will inspire characters with the "Acolyte" and "Sage" backgrounds. In addition to the inspiration point, you will also get a Ray of Sickness scroll.
If you entered the chapel by jumping through the hole created by the falling rock, you will arrive directly in this room.
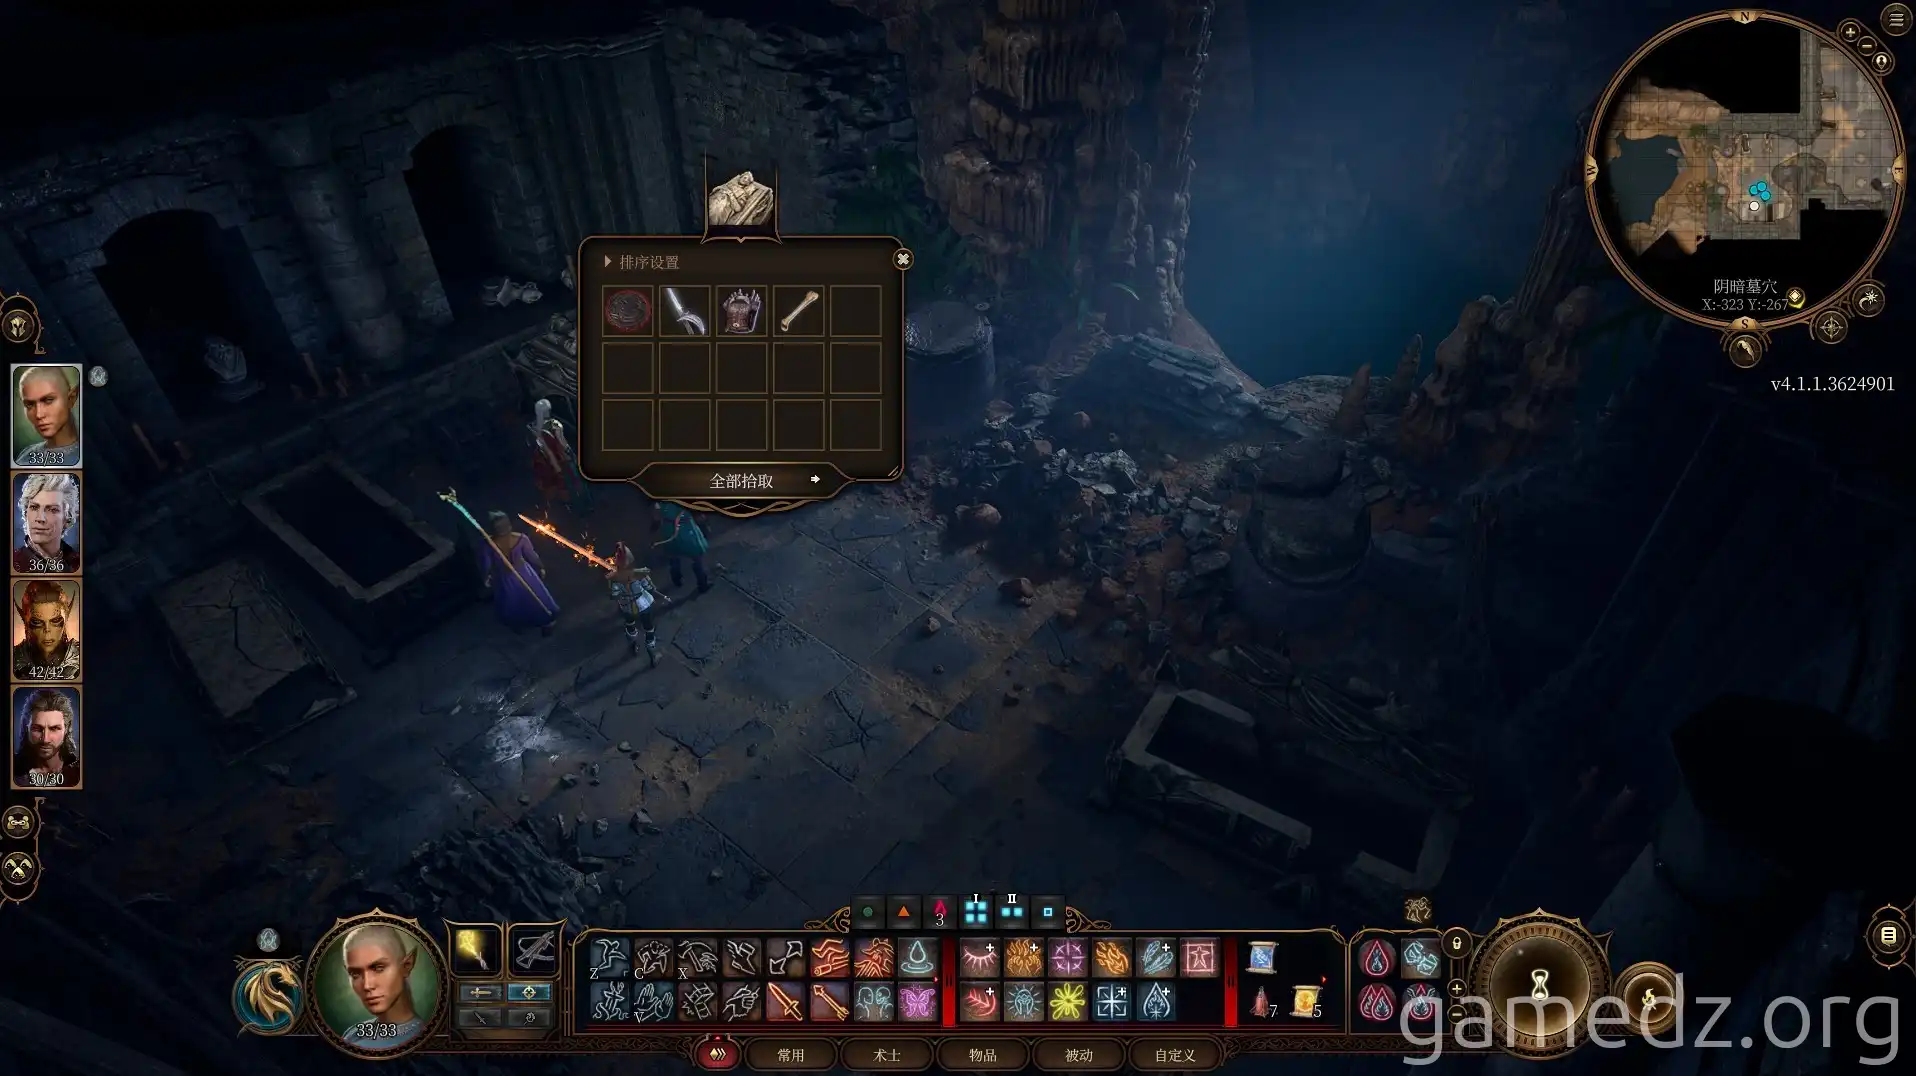
In the sarcophagus in the room, you can get a Soul Coin and other items.
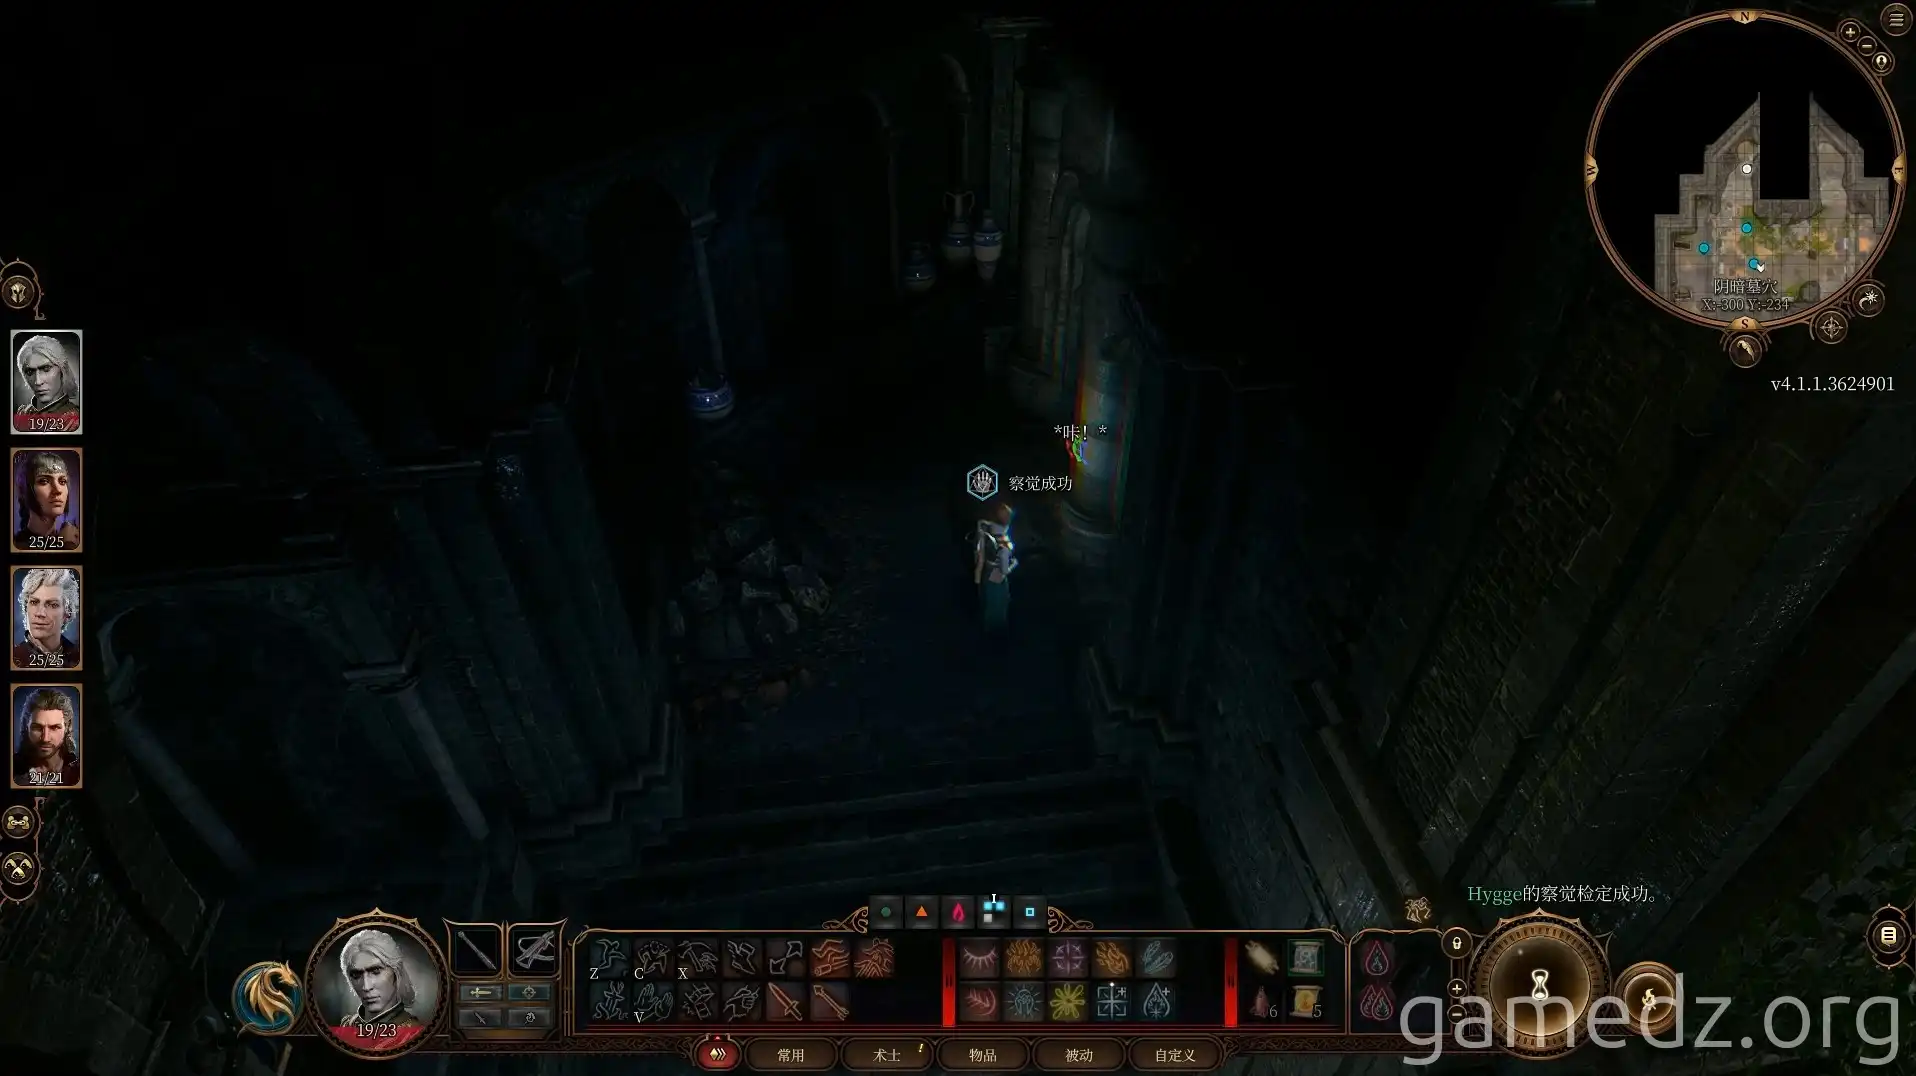
To the left of the statue of Jergal, you can find a button by passing a perception check.
Before pressing the button, it is recommended to separate your party of four using the button below the portraits on the left.
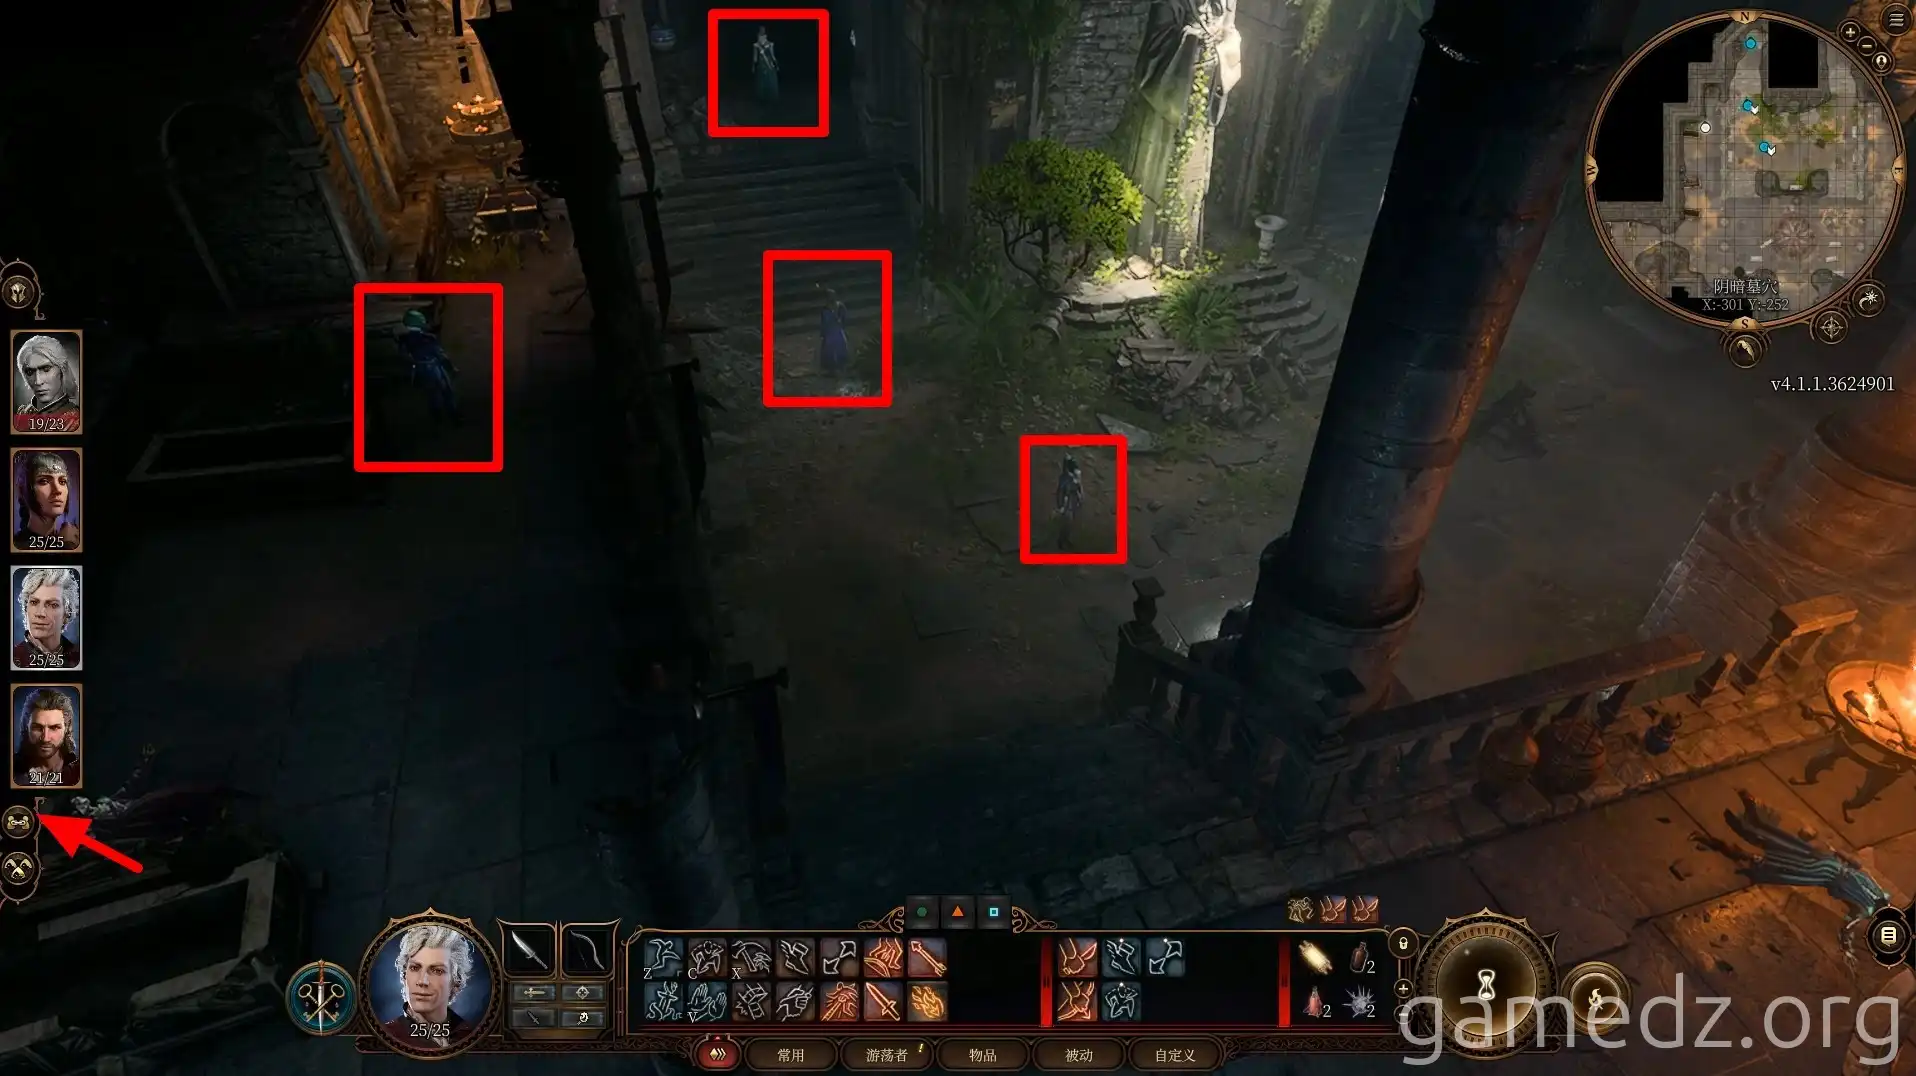
Pressing the button on the wall will open a hidden room, but at the same time, the dead scribes will be resurrected, and a battle will begin immediately. The enemy will use a large-area silence spell. If you don't separate your characters in advance, getting caught in a key position can make the battle very difficult.
If you didn't take the scribes' weapons when searching the room, they will be armed. If you took their weapons, they will fight you bare-fisted.
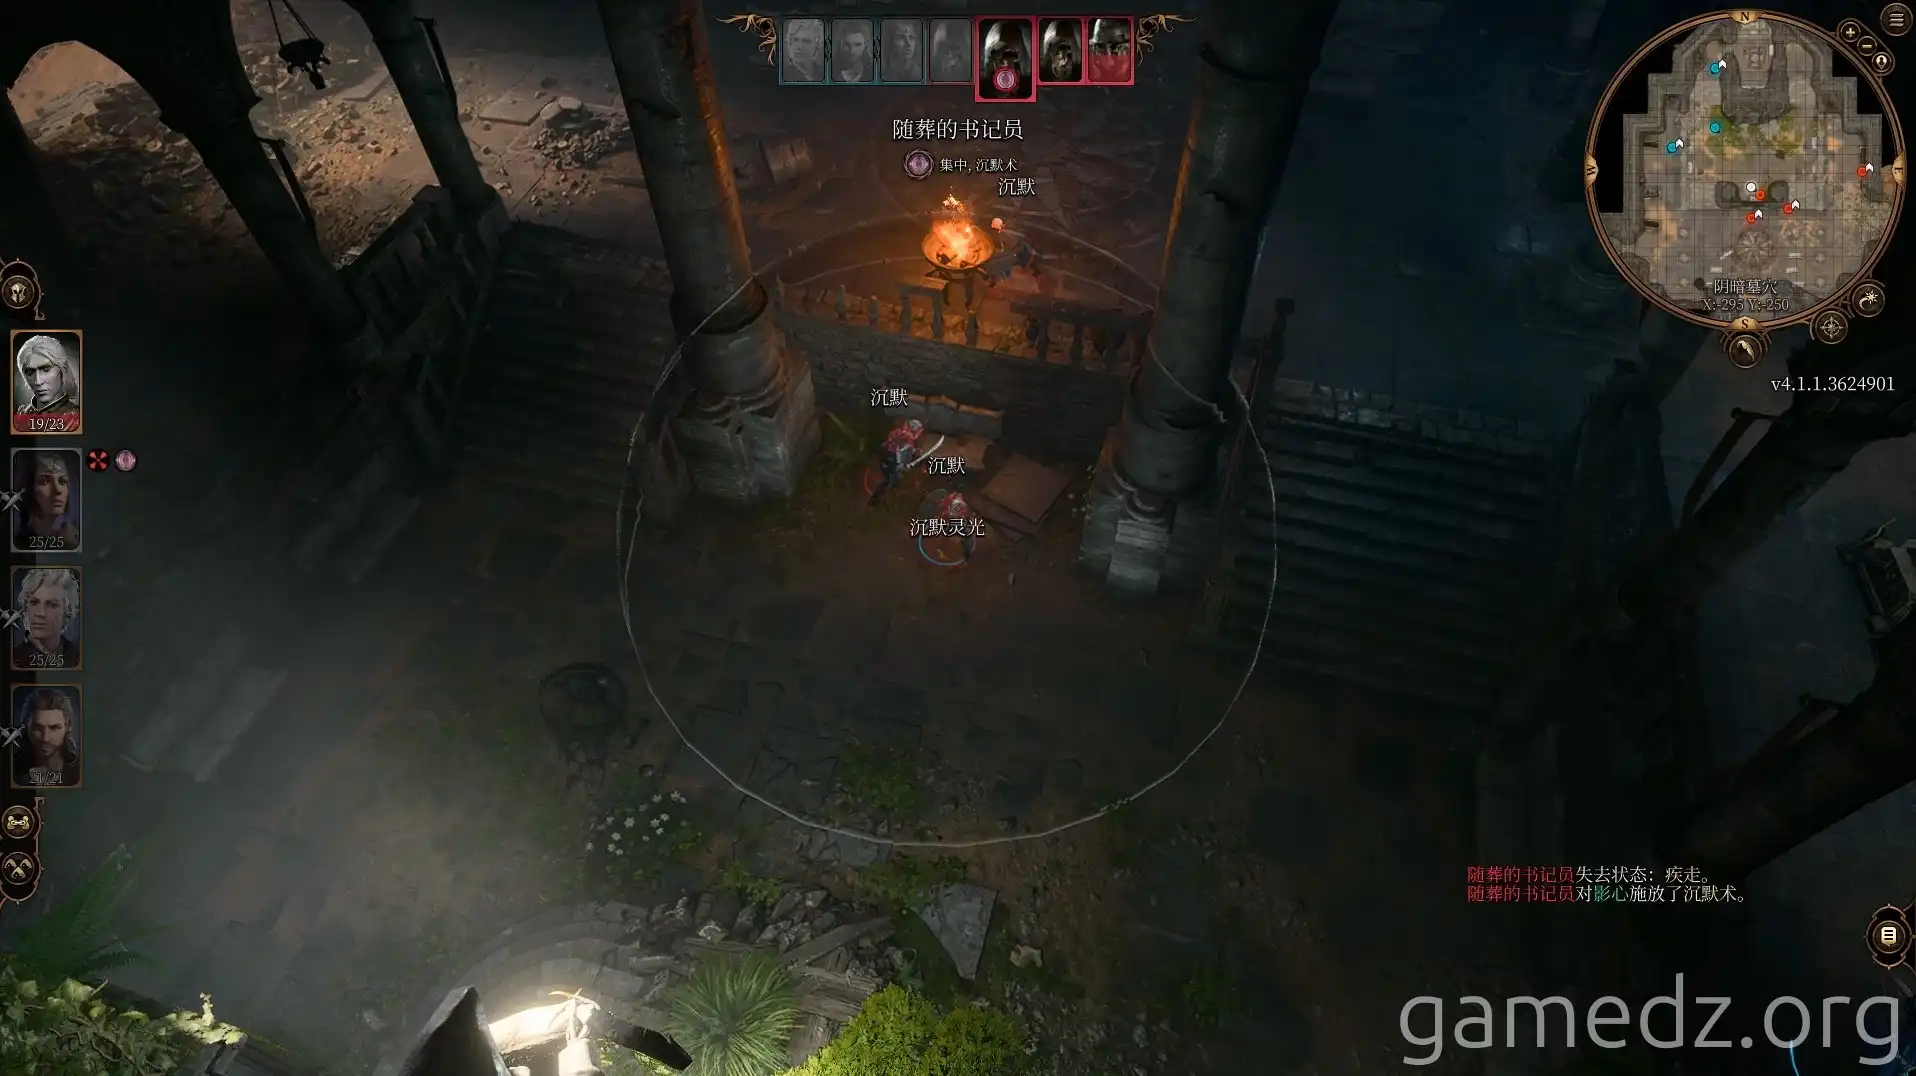
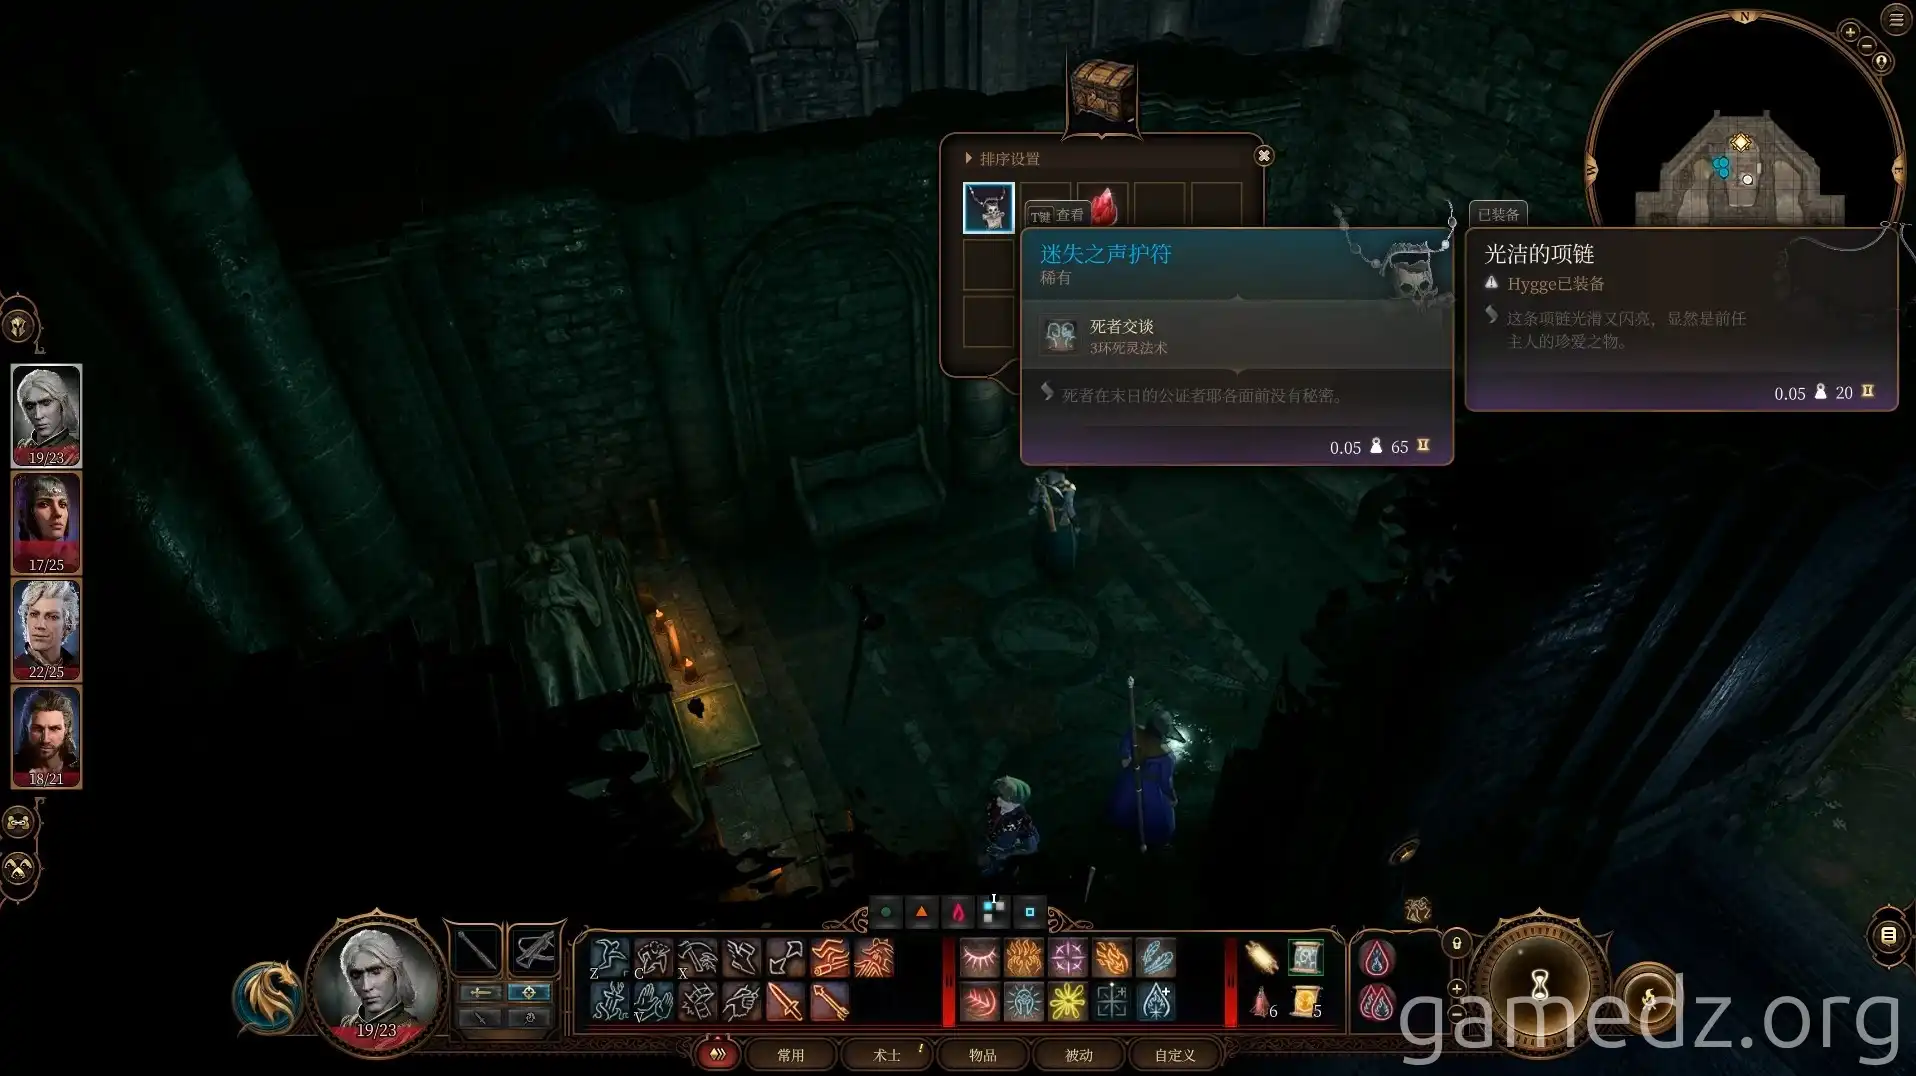
After defeating all enemies, investigate the secret room. In the chest, you can find an amulet that allows you to speak with the dead.
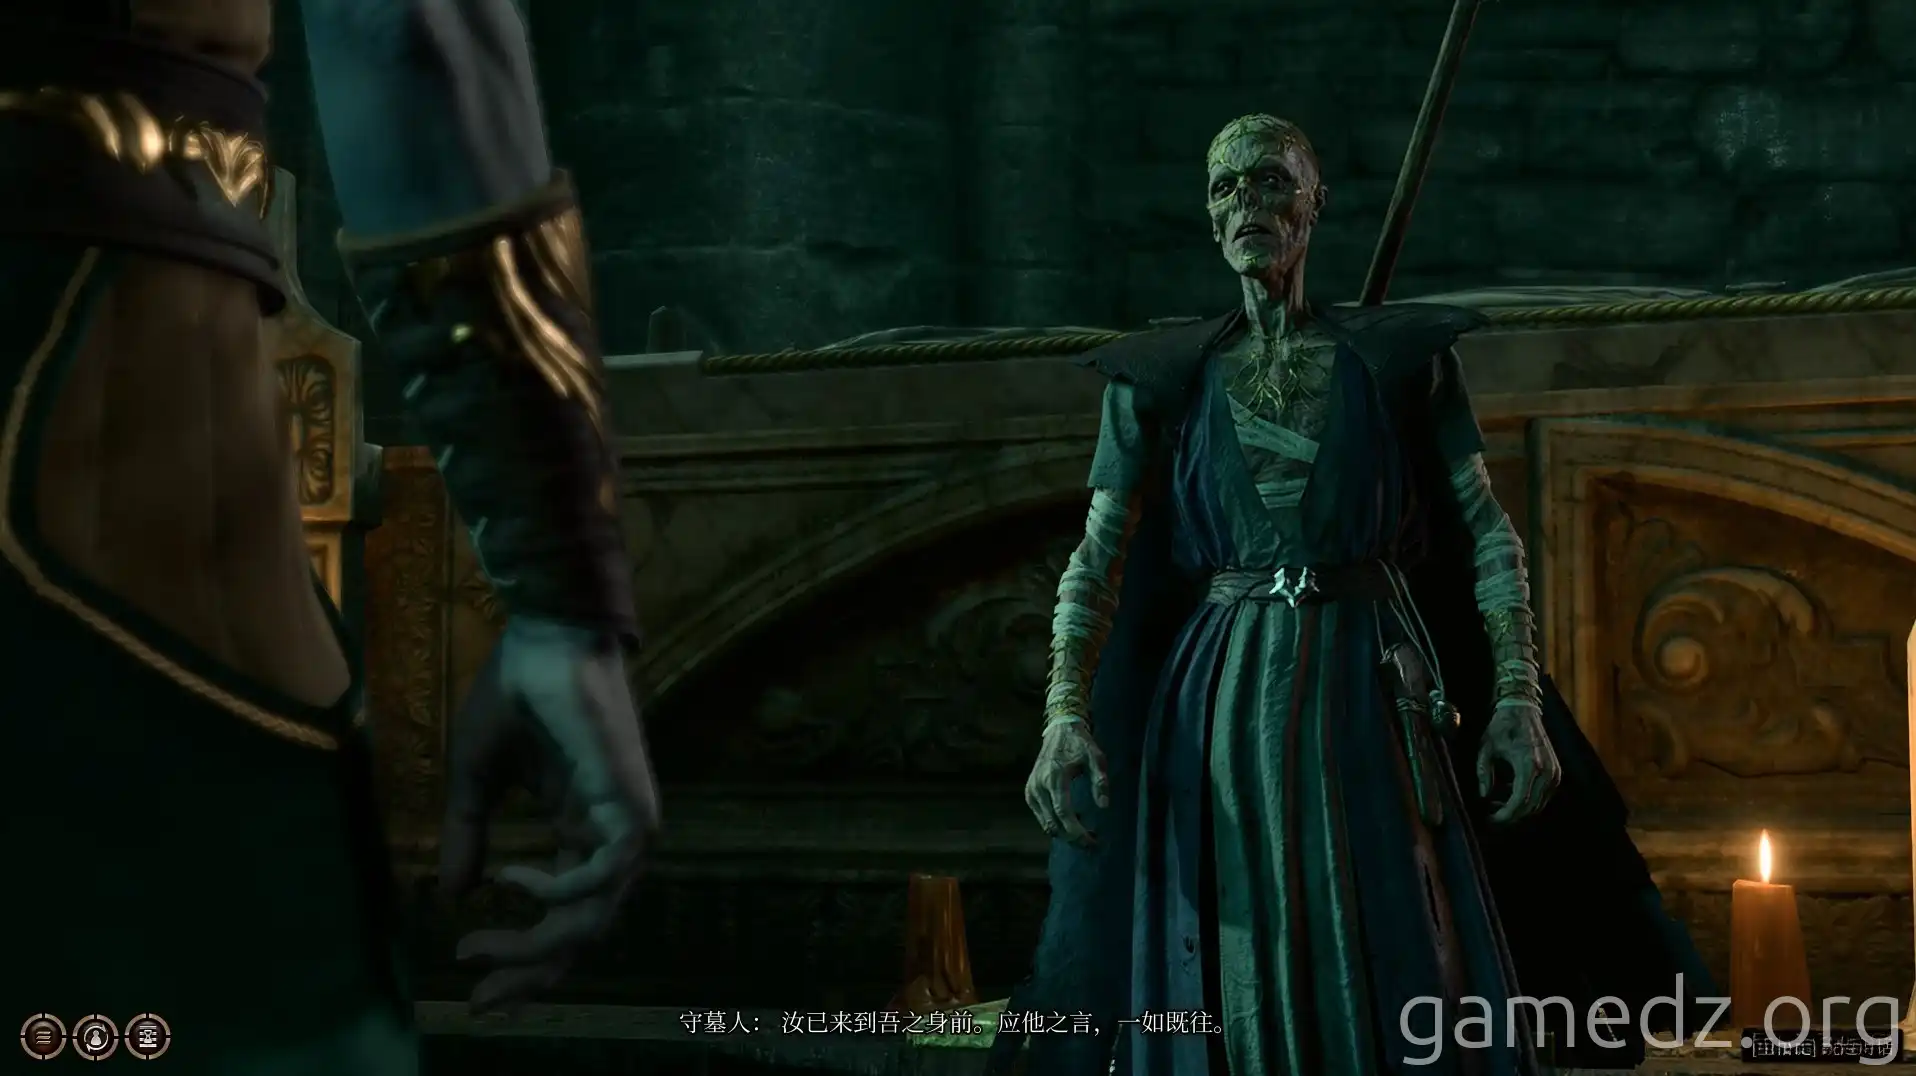
Then, investigate the sarcophagus. The Hooded Skeleton will appear from it. After a conversation, he will leave.
You can find him in your camp later. He will offer to resurrect your companions for 200 gold and respec your character for 100 gold.
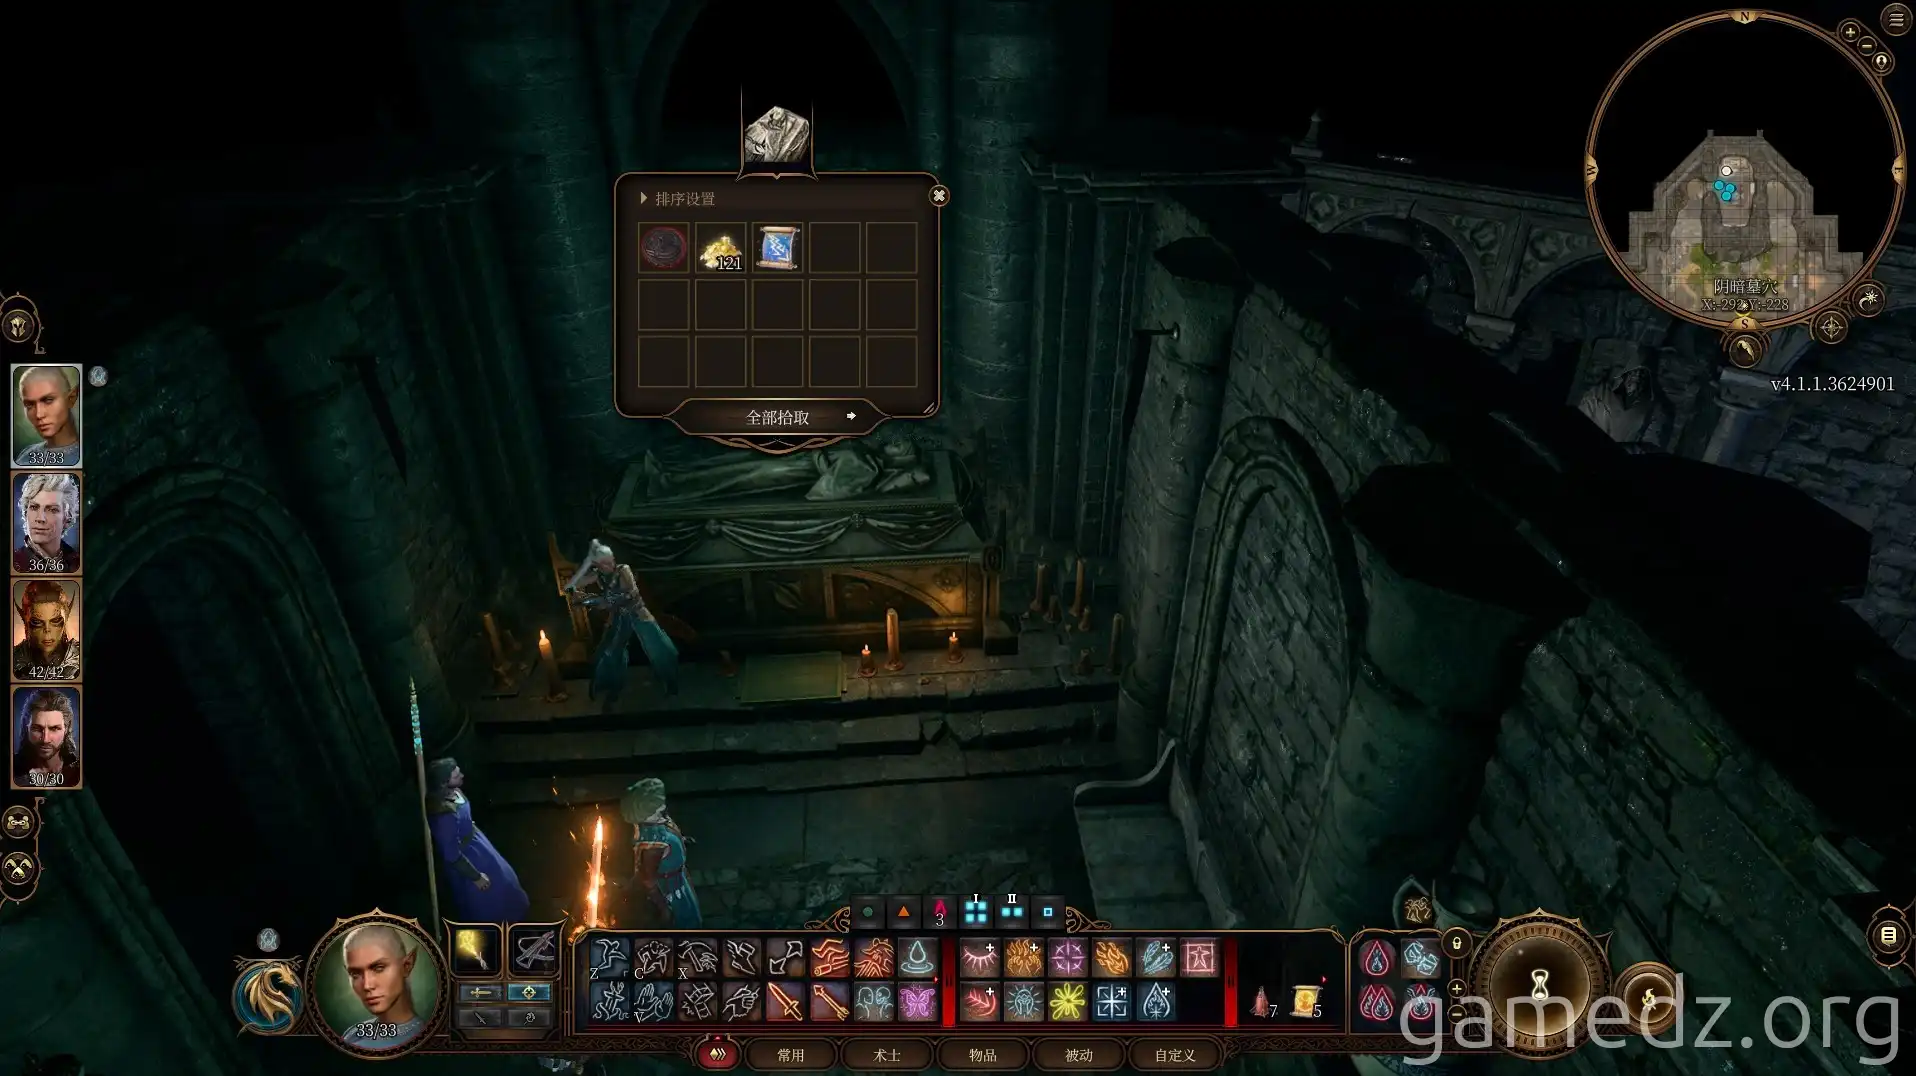
After the Hooded Skeleton leaves, you can get a Soul Coin and other items from the sarcophagus.
Return to the room where you first entered the Dank Crypt and pick the lock on the heavy oak door on the south side of the room.
You must first use a trap disarming toolkit to disarm the trap before opening the sarcophagus in the room.
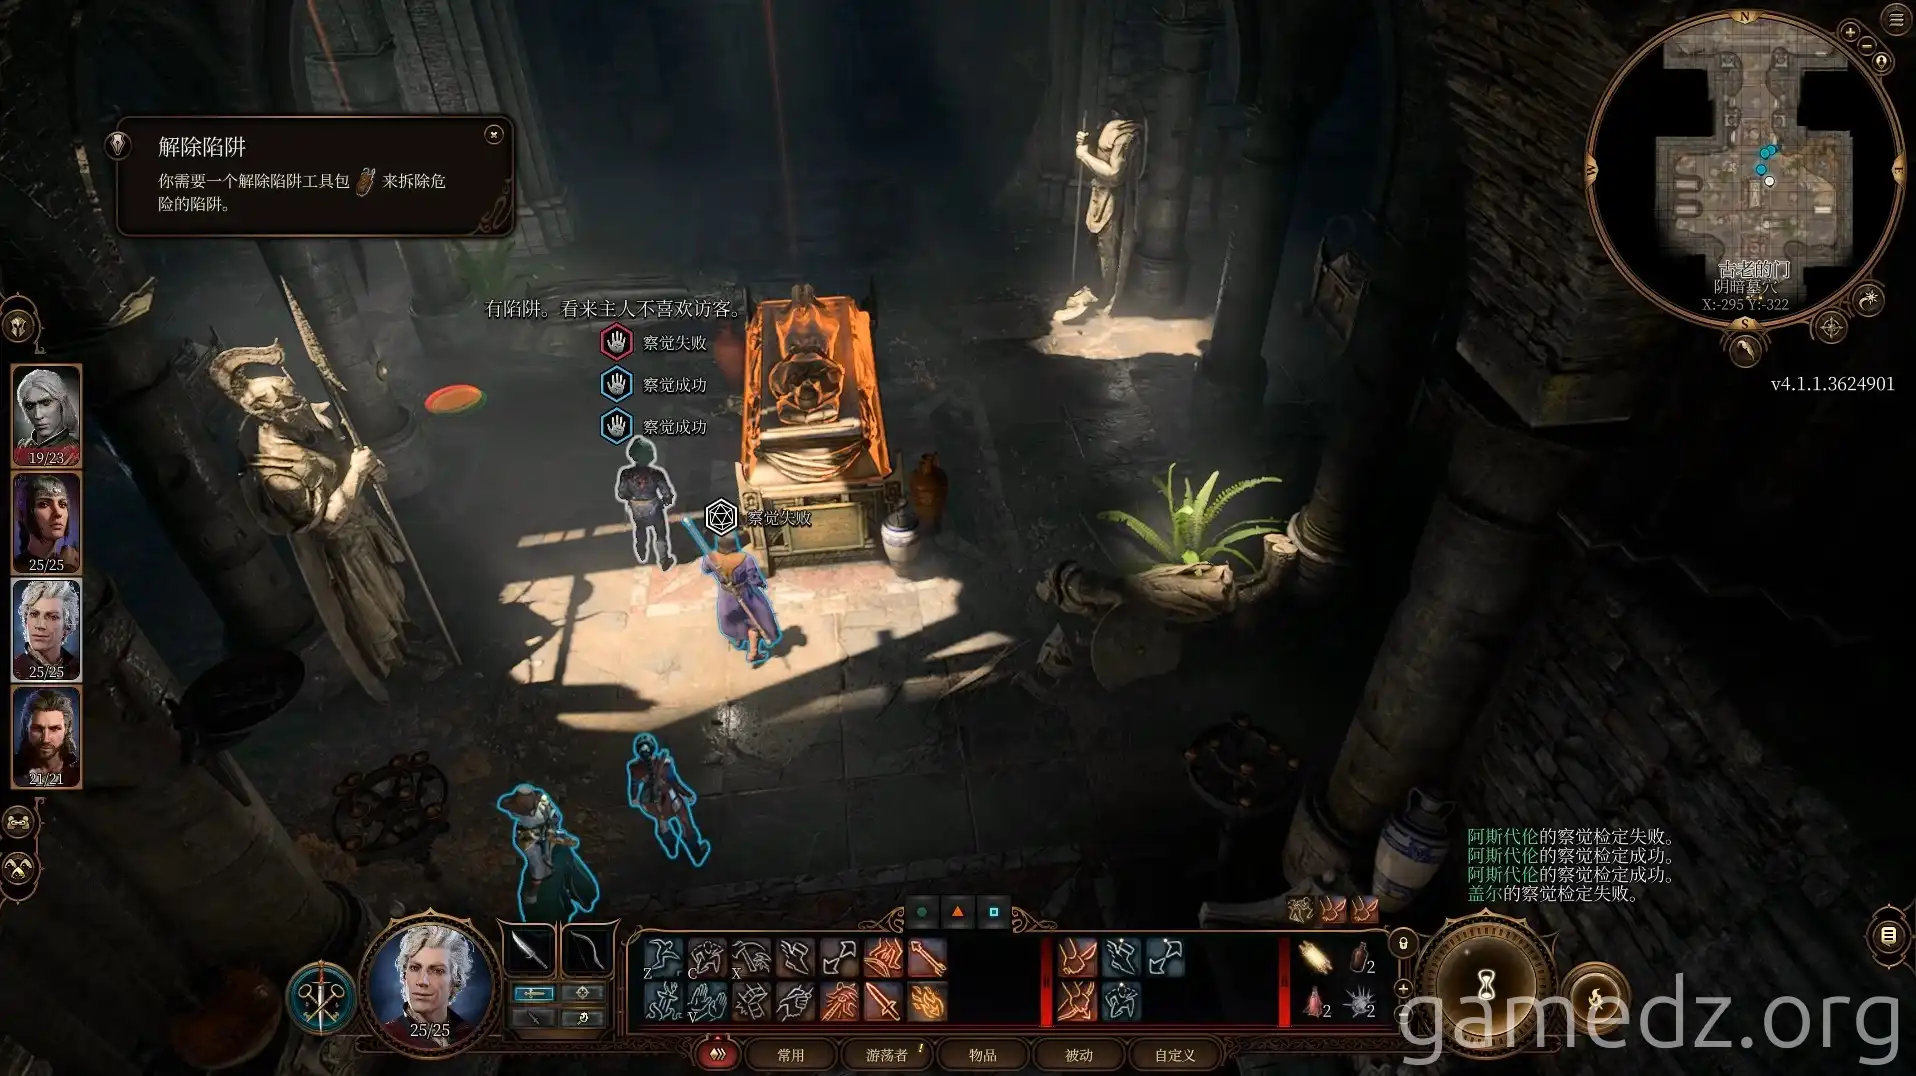
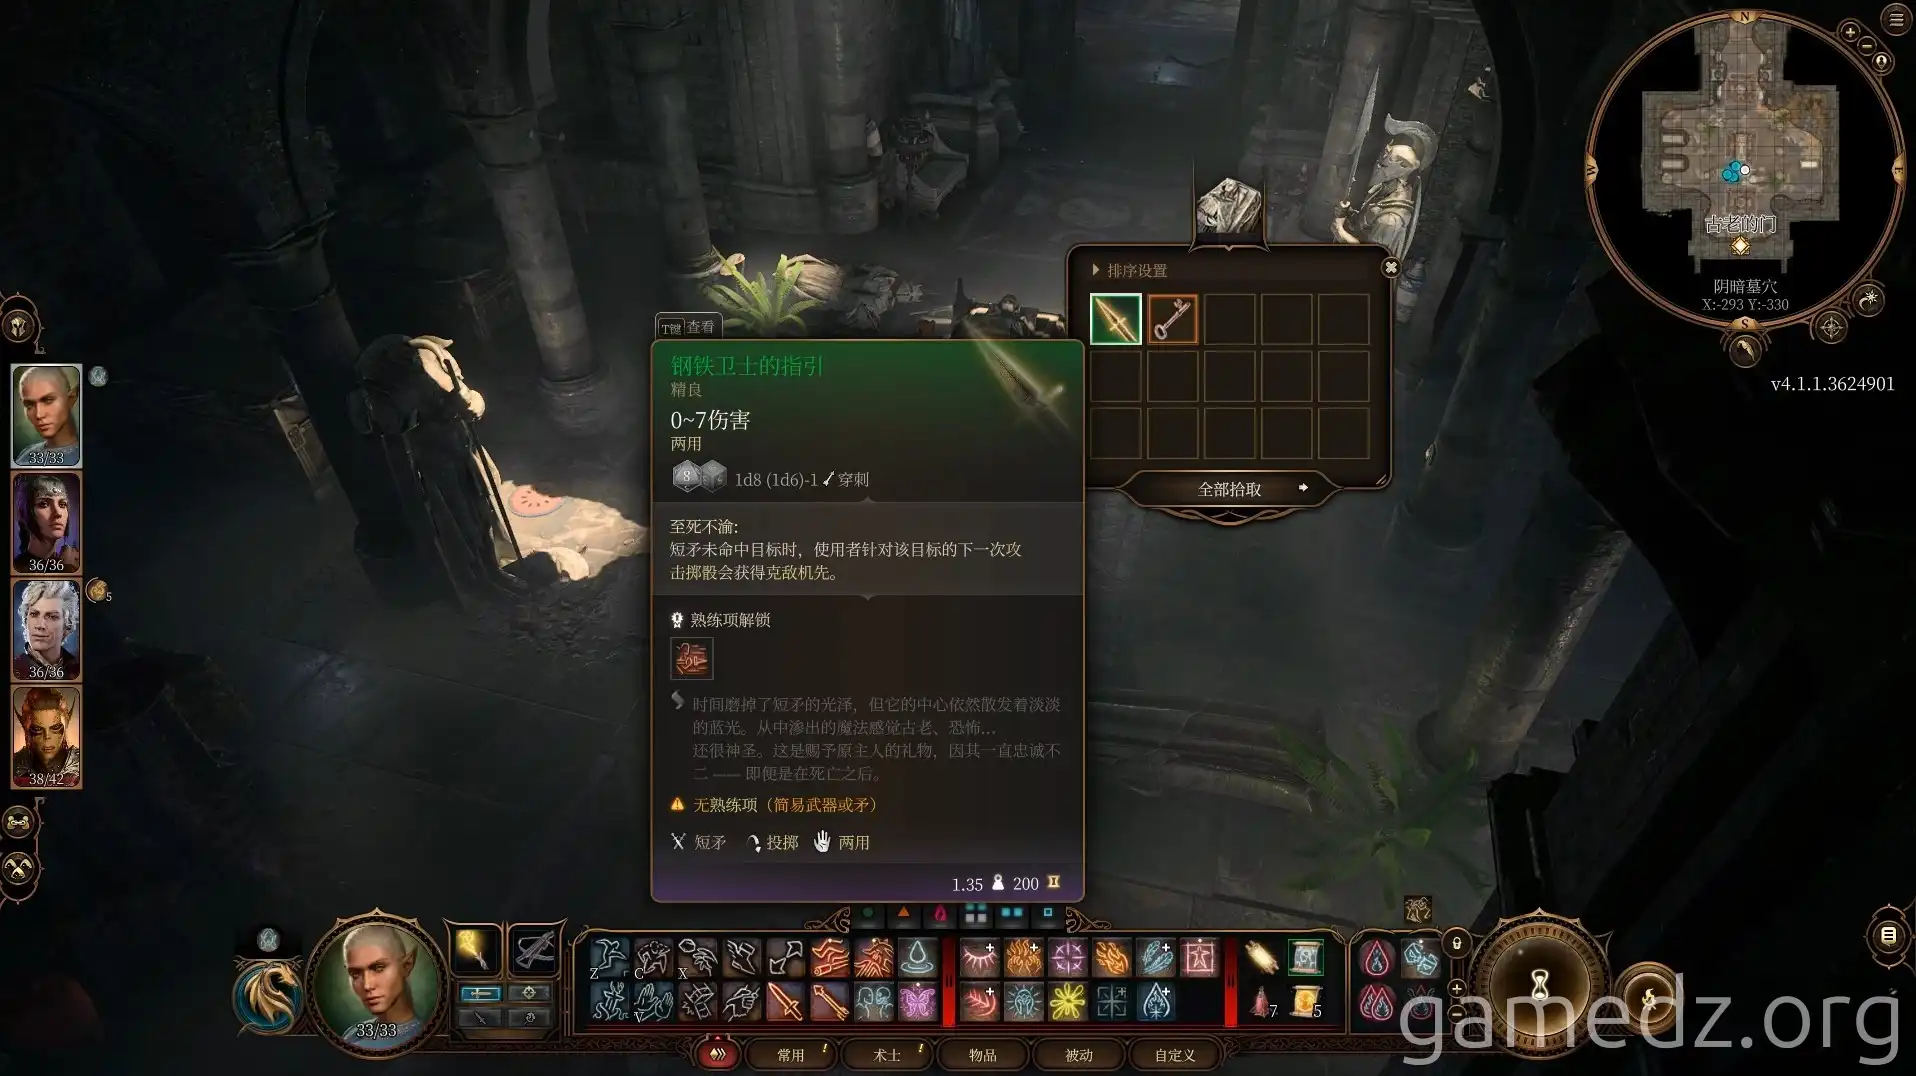
In the sarcophagus, you can get a rare weapon, "The Watcher's Guide". At this point, the entire Dank Crypt has been explored, and you can leave.
Opening the ancient door on the south side of the room will take you back to the Overgrown Ruins teleportation circle.
