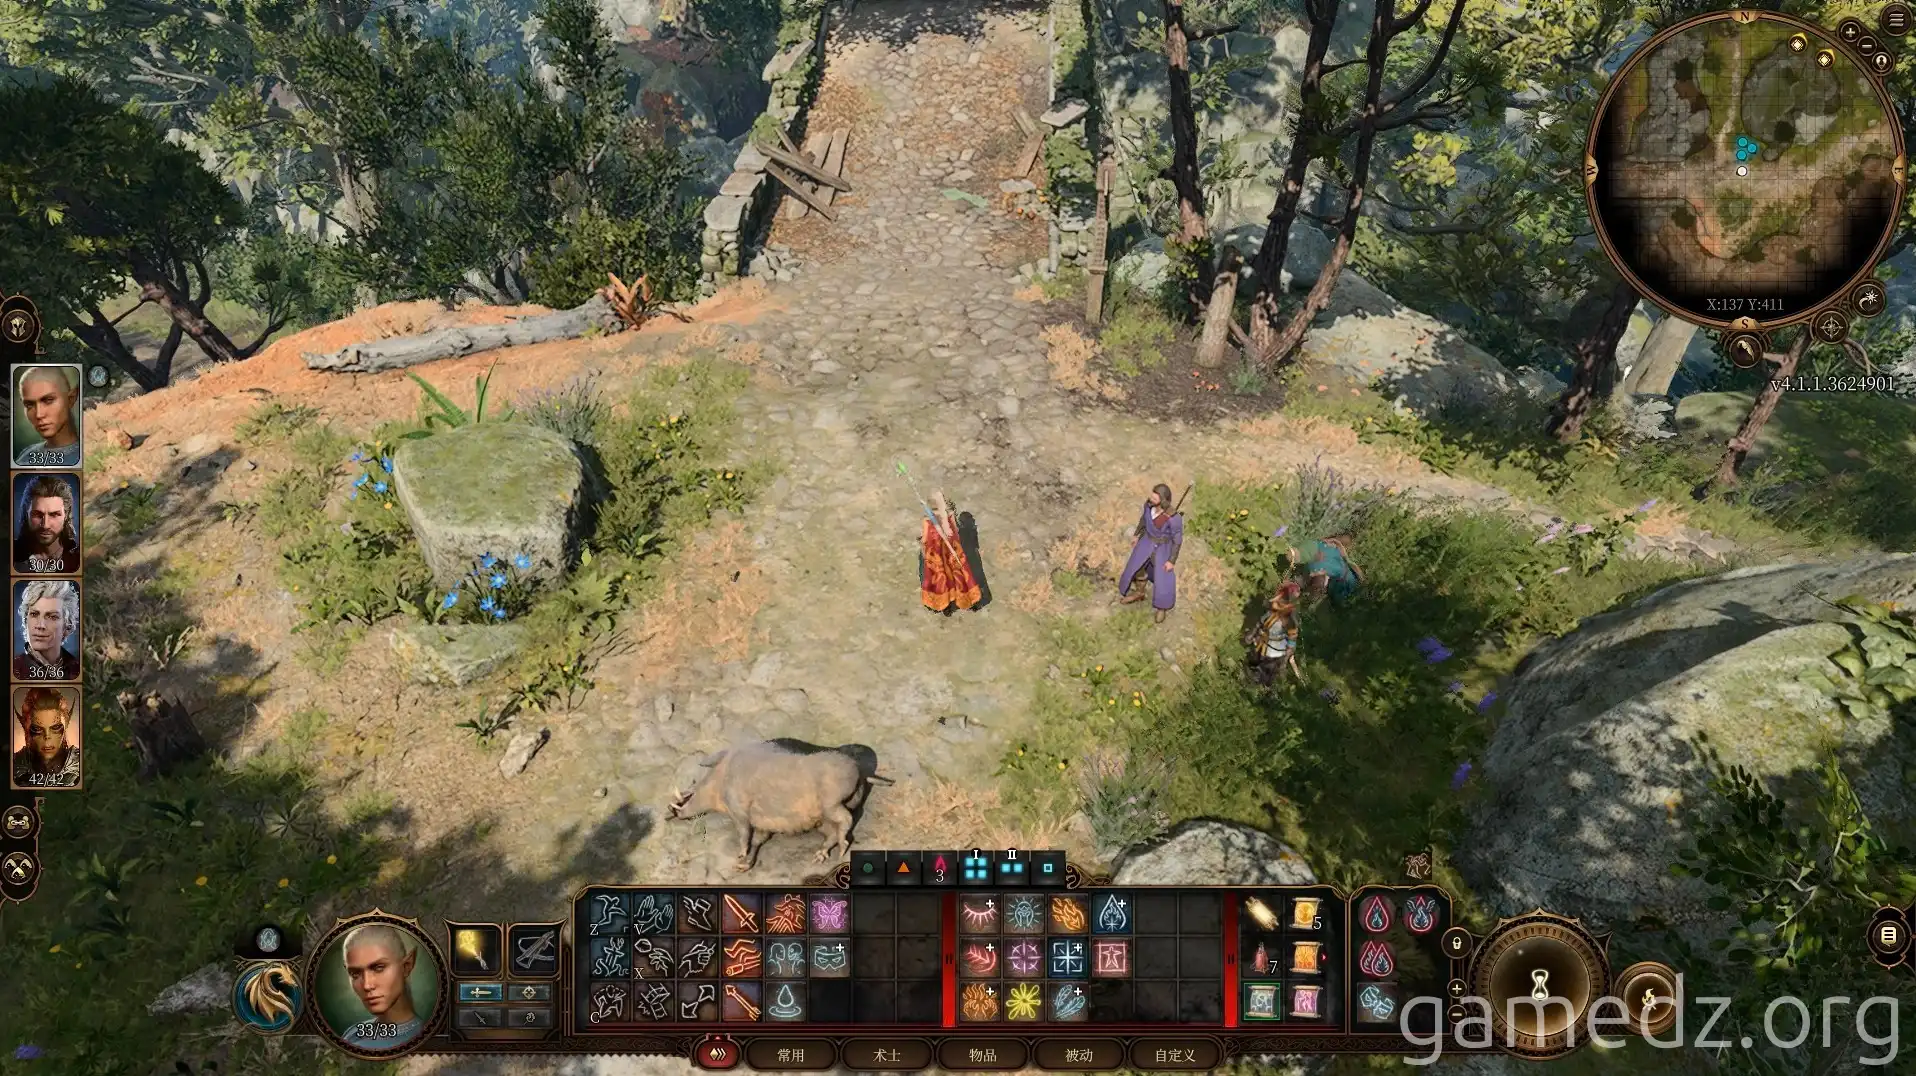
Baldur's Gate 3 Full Walkthrough - Emerald Grove Outskirts
This guide details the exploration of the Emerald Grove and the Tiefling Refuge in Baldur's Gate 3. It begins with instructions on finding the healer Nettie in the Druid's Chambers
Head northwest from the chapel entrance.
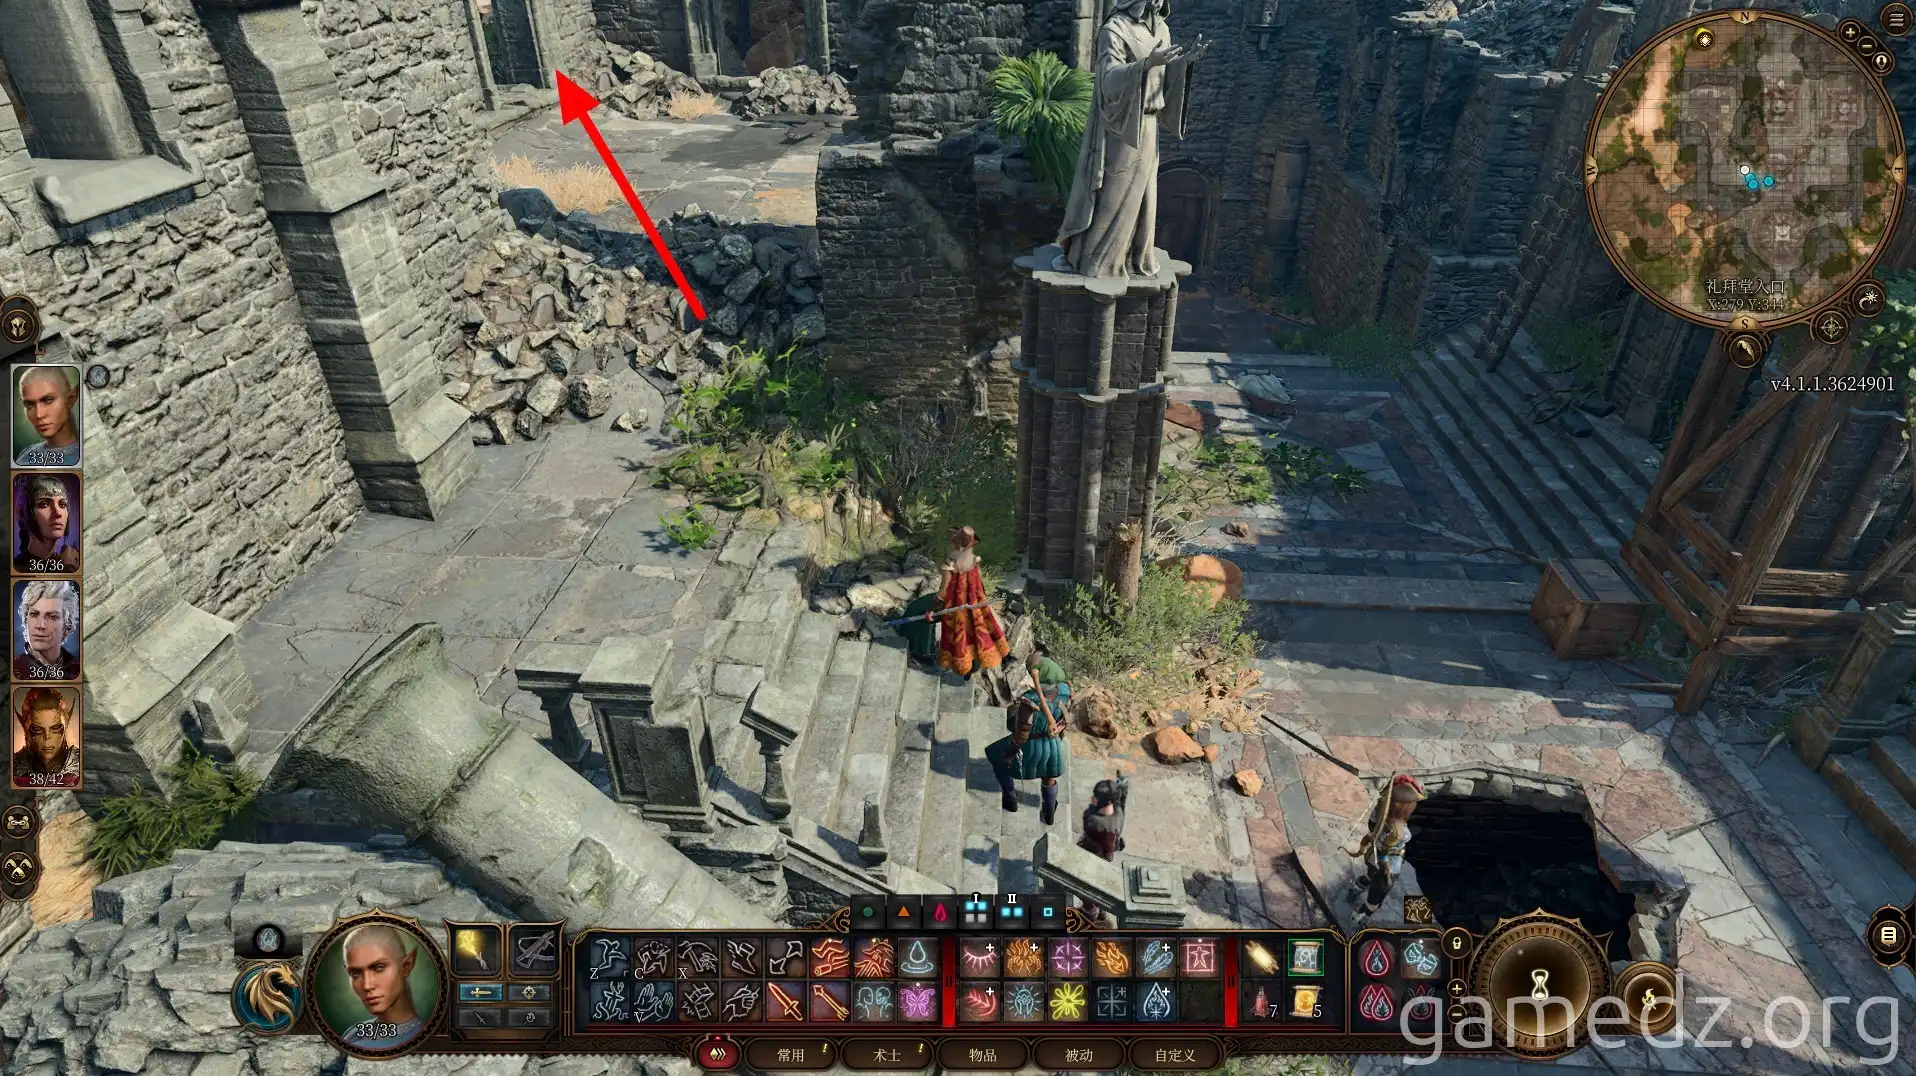
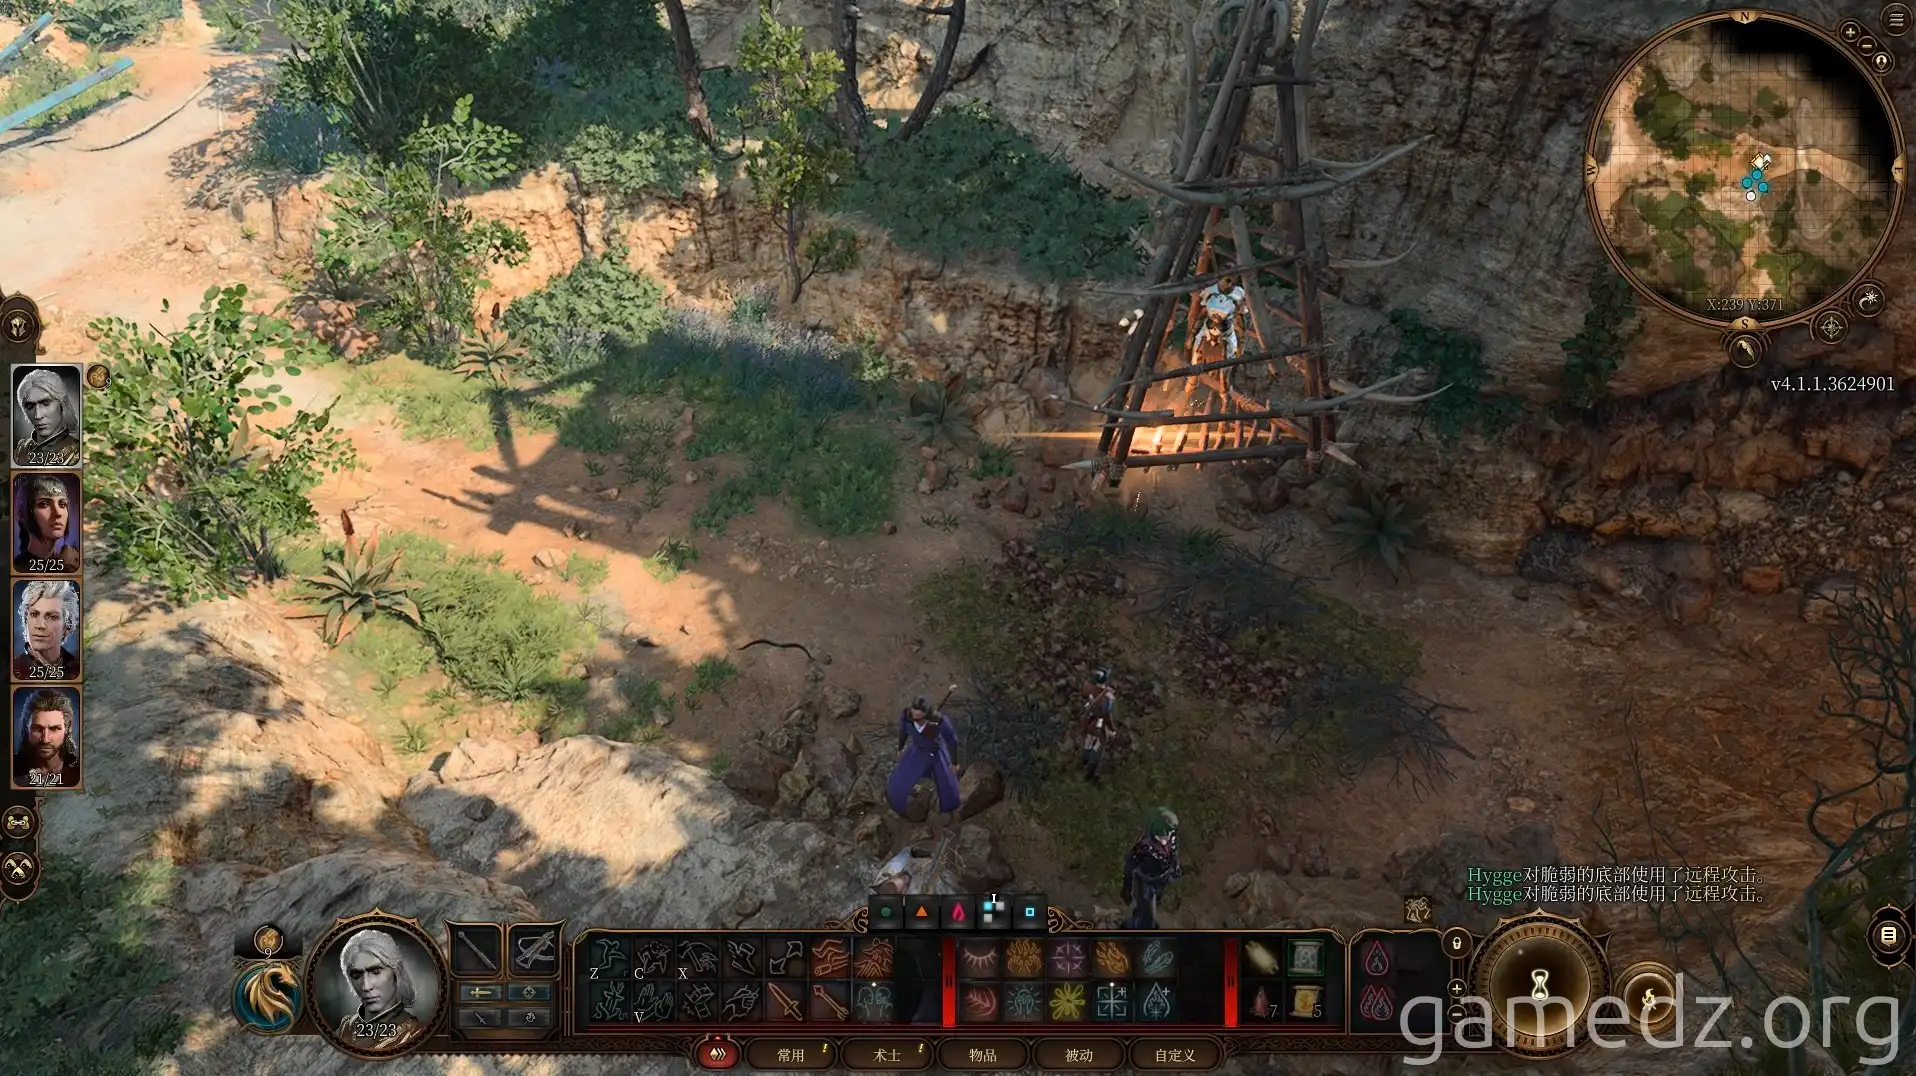
On the path ahead, we can see Lae'zel trapped in a cage, held by two Tieflings.
We can intimidate the Tieflings to leave, avoiding an unnecessary fight. Then, use a bow or a cantrip to make a ranged attack on the bottom of Lae'zel's cage to free her. After a conversation, Lae'zel will join the party.
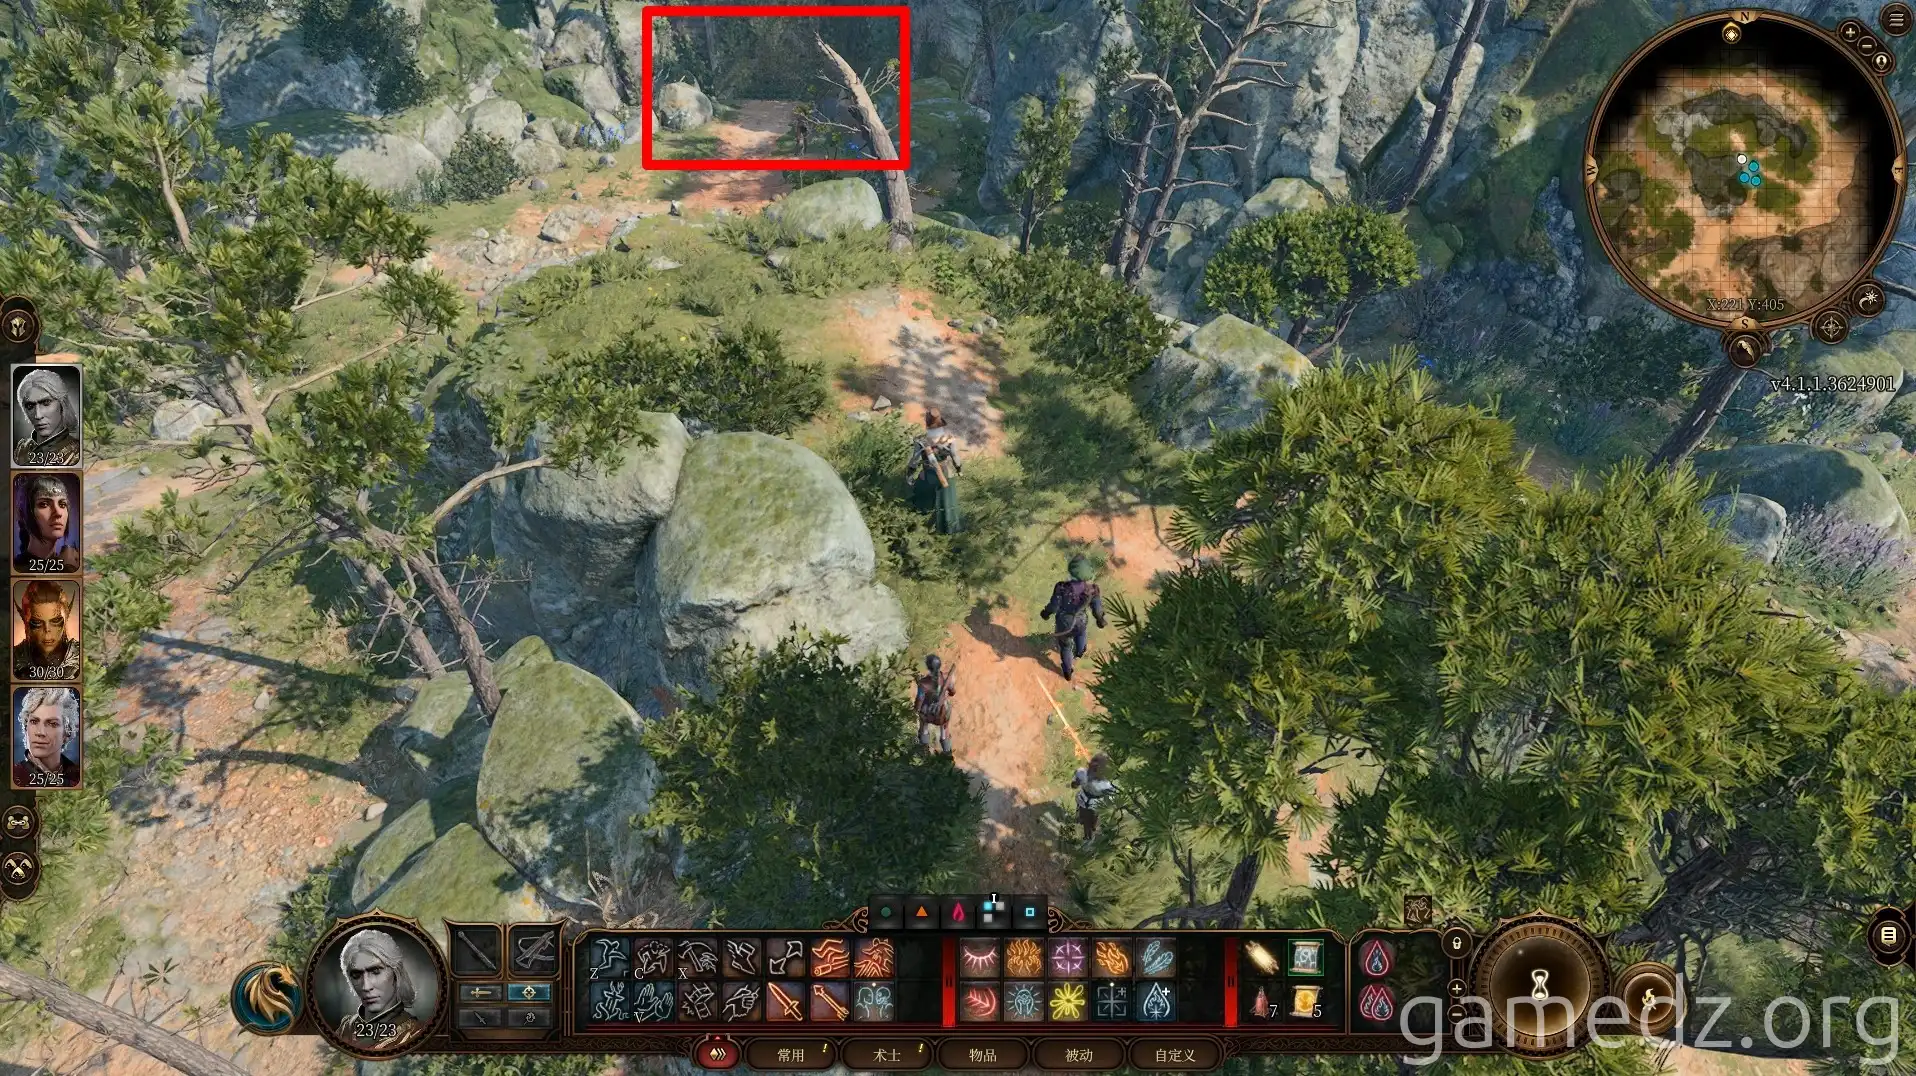
Next, we continue north towards the Emerald Grove. The location marked in the image below is the main entrance to the Emerald Grove.
At the end of the path east of the gate, you can find the [Emerald Grove] waypoint.
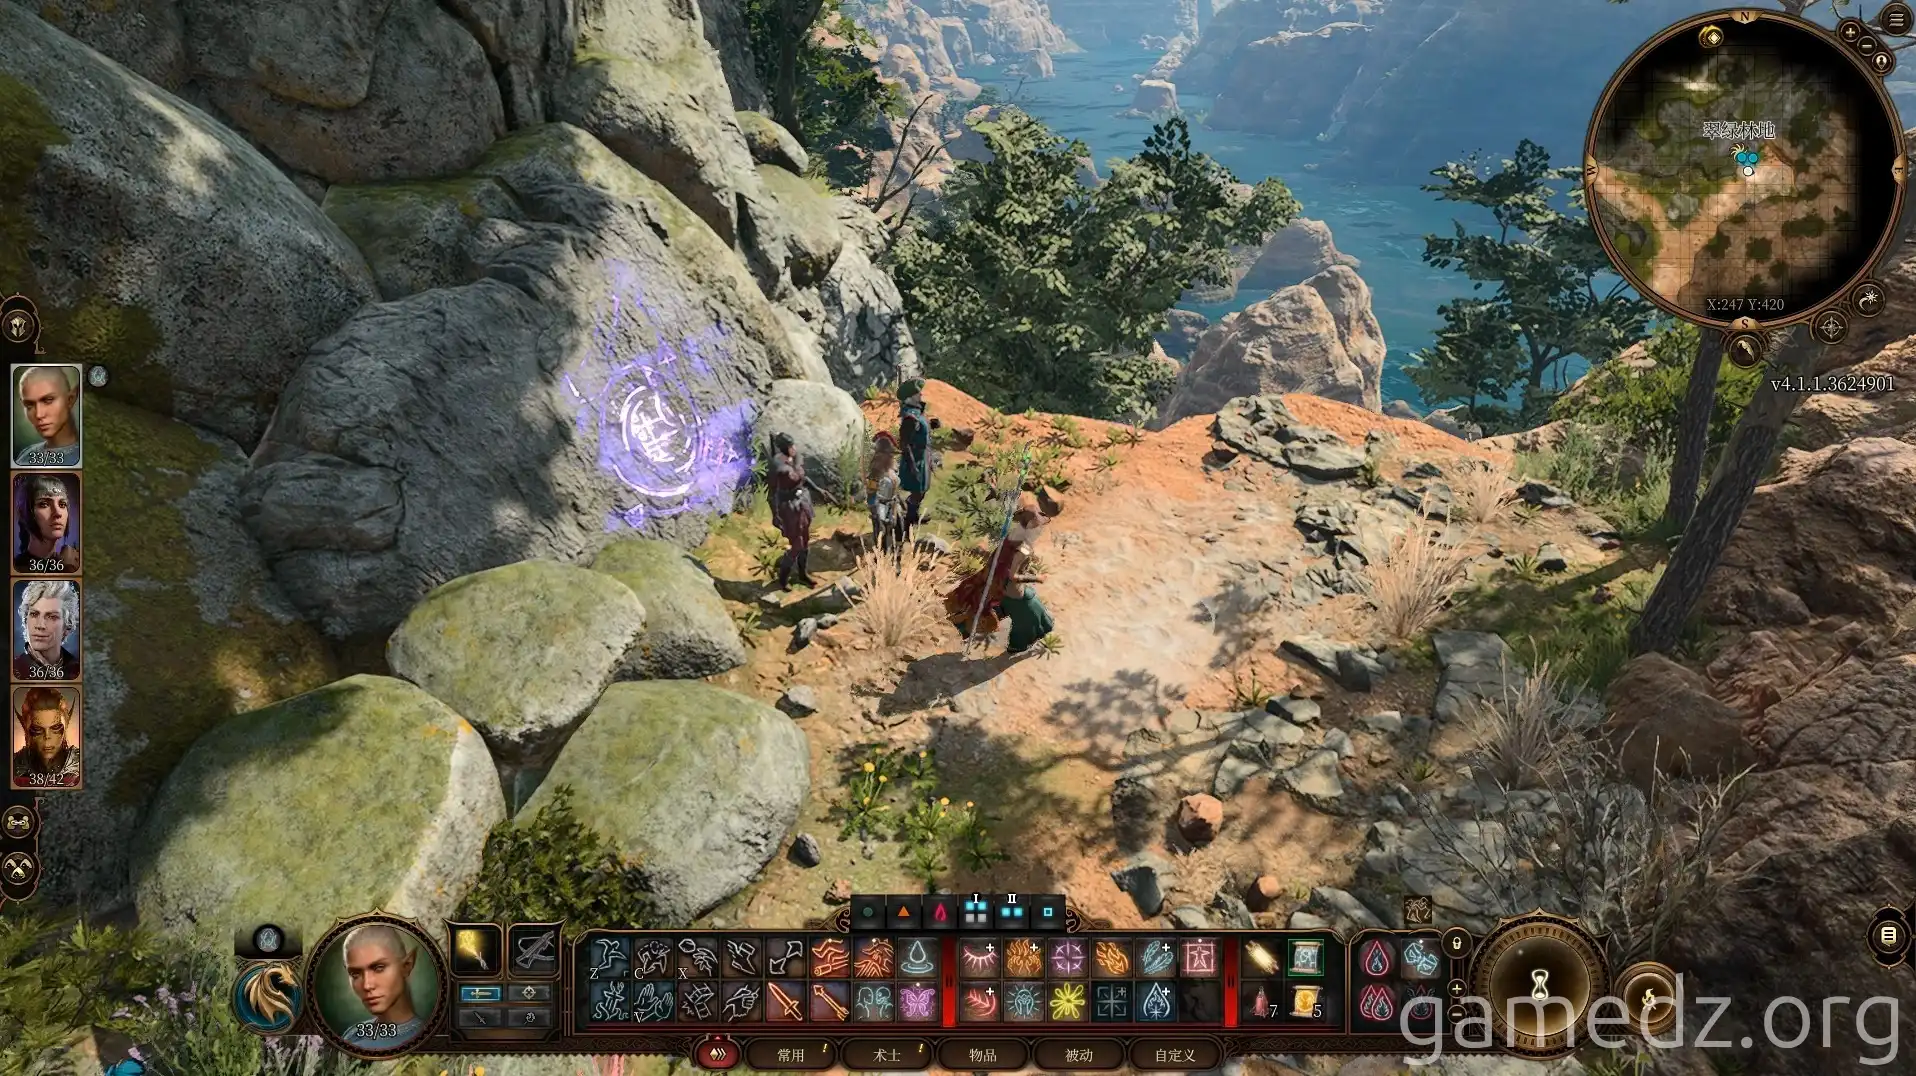
As you approach the gate, you will be drawn into a battle. It is recommended to get to the hillside shown in the image below before the battle starts to gain a high-ground advantage from the beginning.
Once the battle begins, first eliminate the two enemies on the same high ground as us.
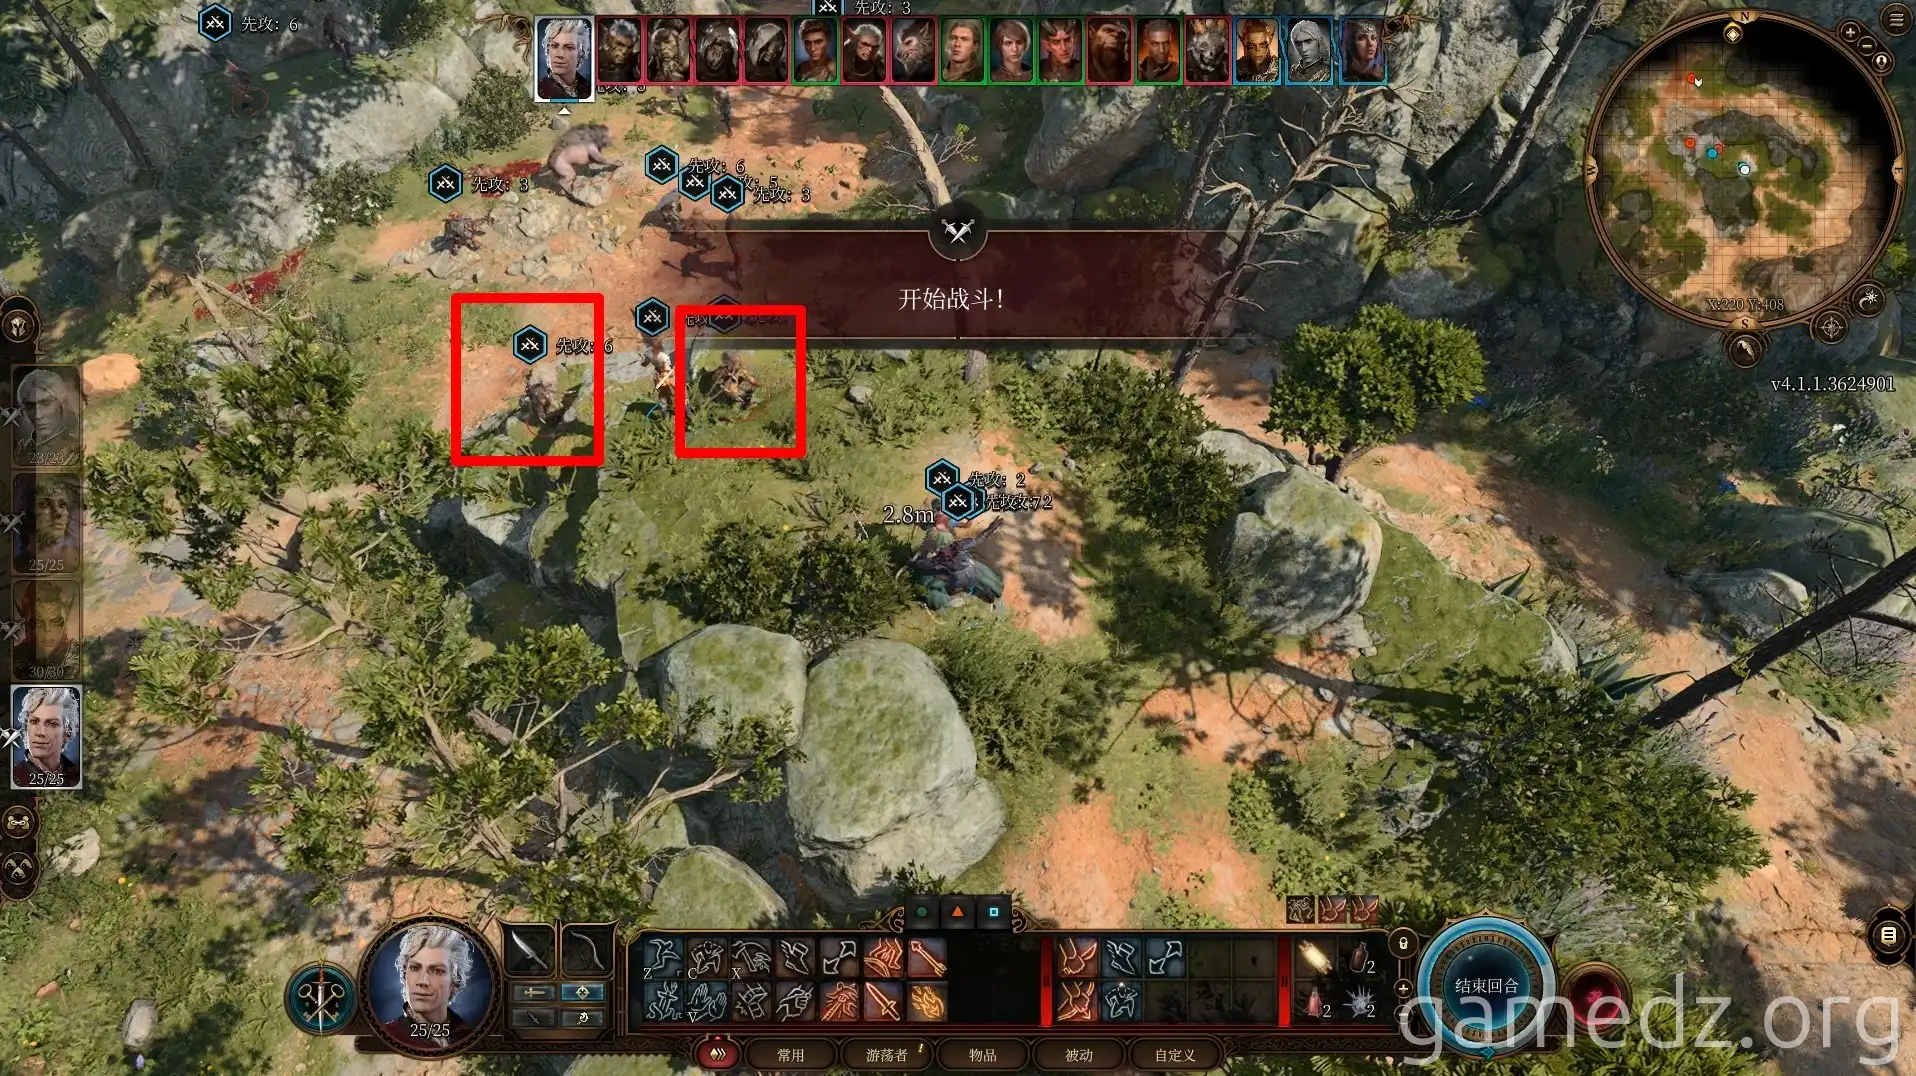
The enemies below are focused on the adventuring party at the entrance of the Emerald Grove and will not prioritize attacking us. We just need to cooperate with the adventuring party to eliminate all enemies.
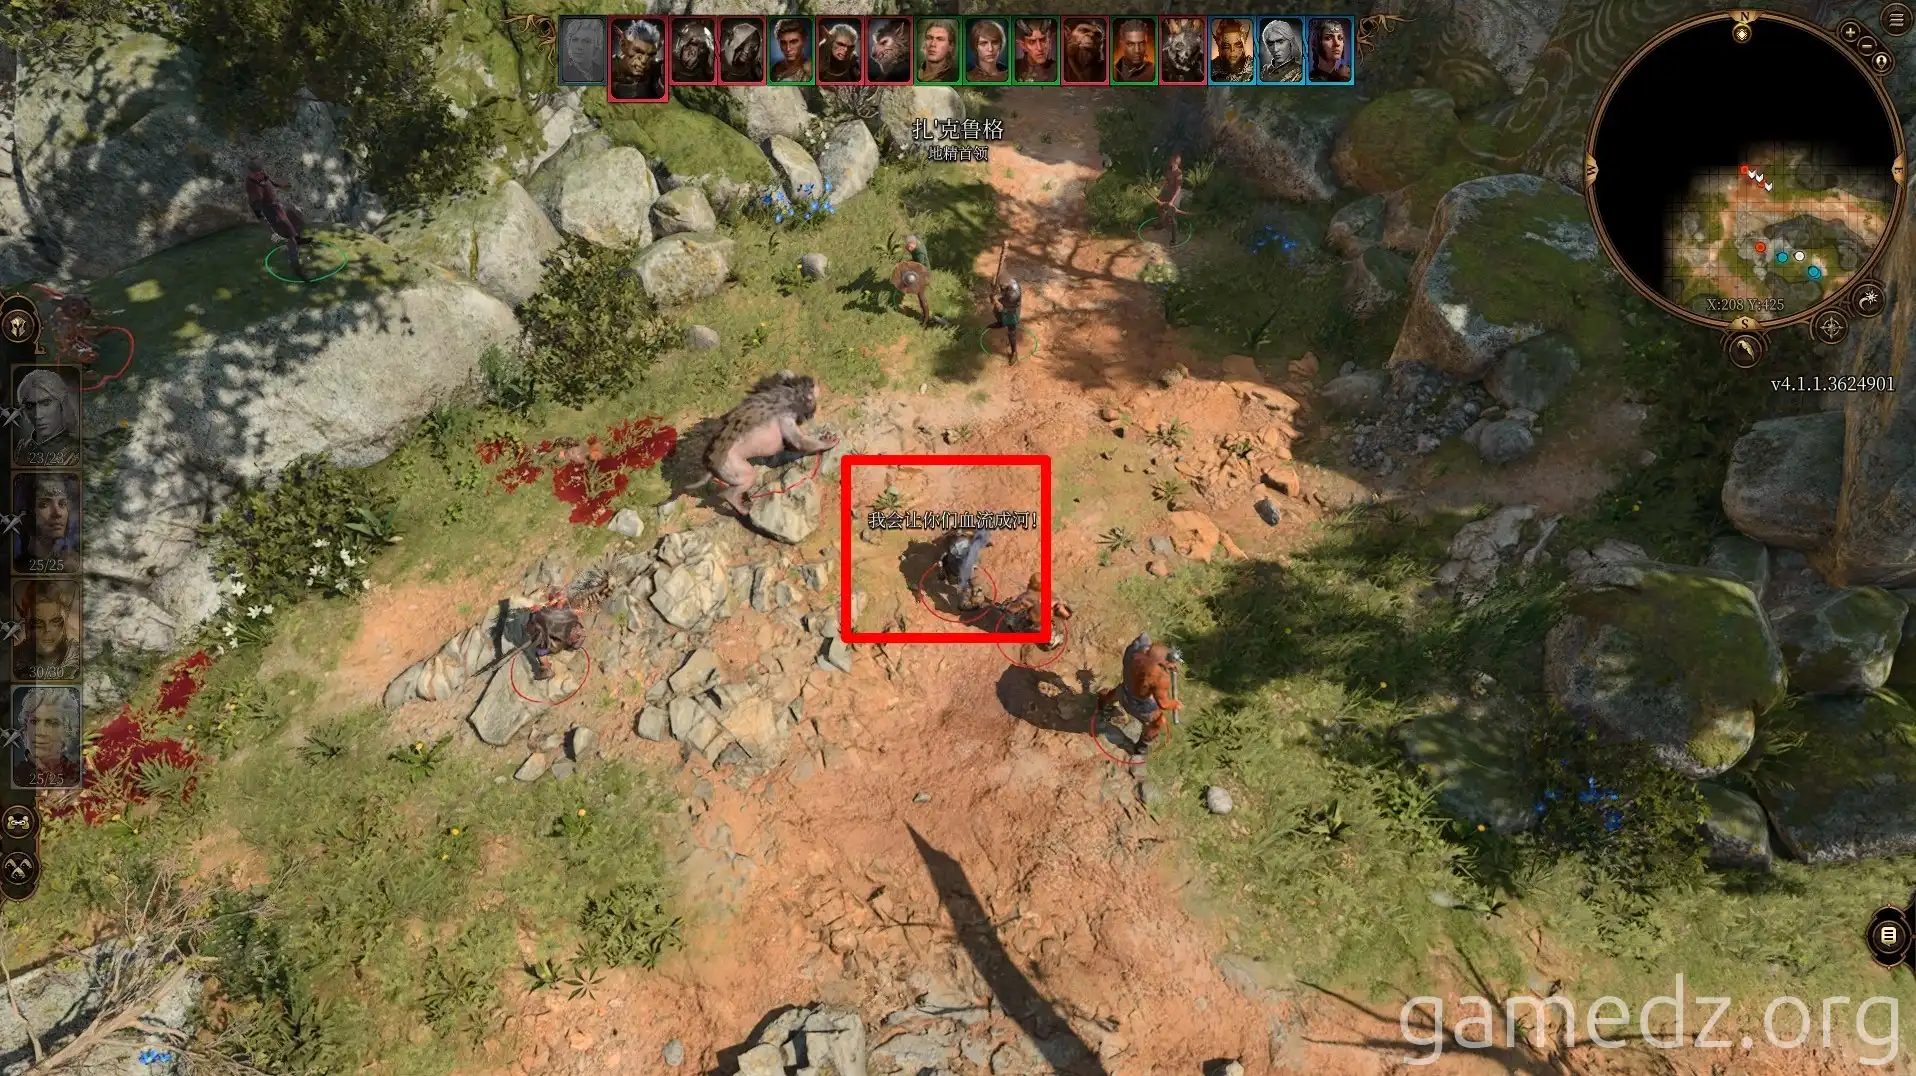
It is recommended to prioritize eliminating the goblin leader [Zagrulg], marked in the image below. This enemy uses the buff skill [Fearless War Cry] to strengthen other enemies.
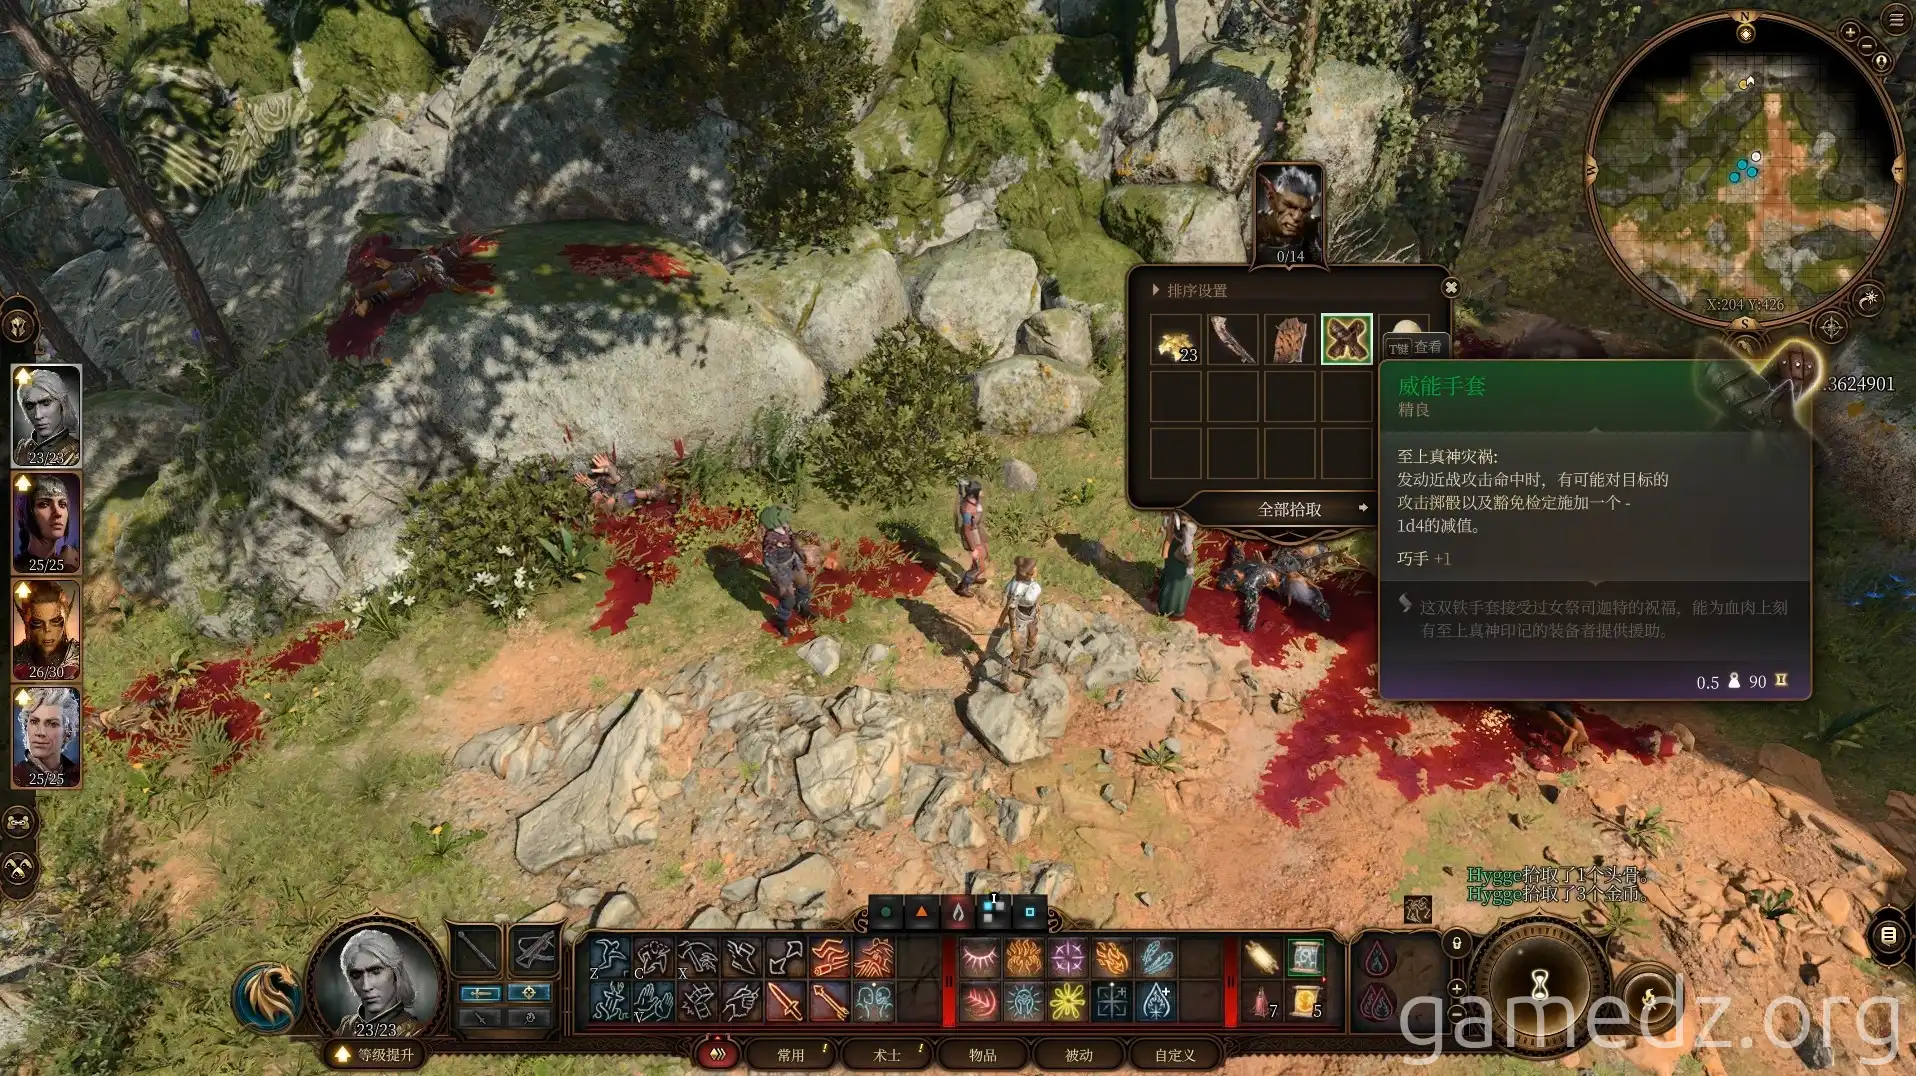
If no one in the adventuring party dies after the battle, characters with the Soldier background will be inspired. You can obtain the fine armor [Gloves of Power] by looting the corpse of the goblin leader Zagrulg.
Wait in front of the Emerald Grove gate for a moment, and it will open, allowing you to enter the camp.
After entering the camp, speak with the Tiefling refugee commander, Zevlor. When he learns we are looking for a healer, Zevlor recommends the druid Halsin and his apprentice, Nettie.

After speaking with Zevlor, continue deeper into the grove. Ahead, you will see the druid merchant Arron, where you can sell useless items and restock on supplies and equipment.
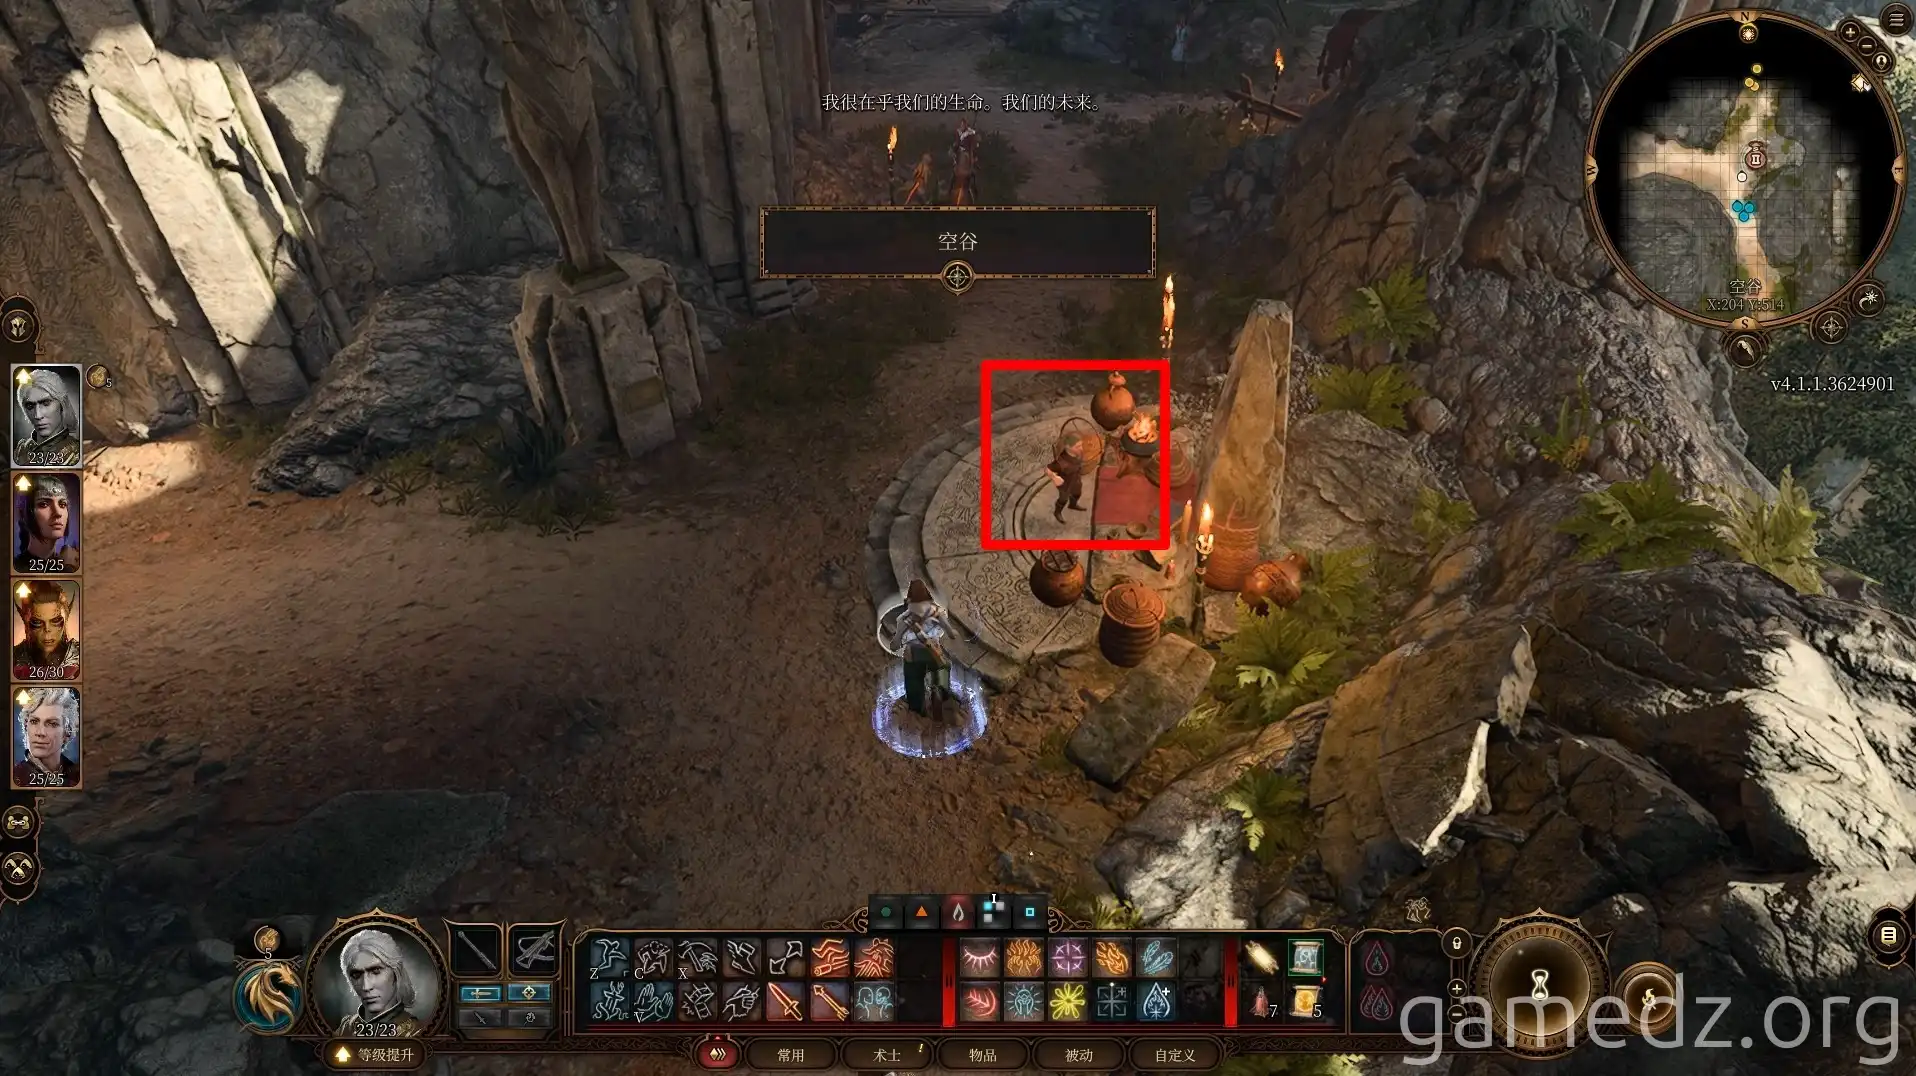
Arron sells a rare piece of equipment, the [Gloves of Starpicking], and several fine weapons and armor. You can also buy lockpicks and trap disarming kits here.
If you were previously unable to explore the chapel due to a lack of tools, you can restock here and then go back to explore.
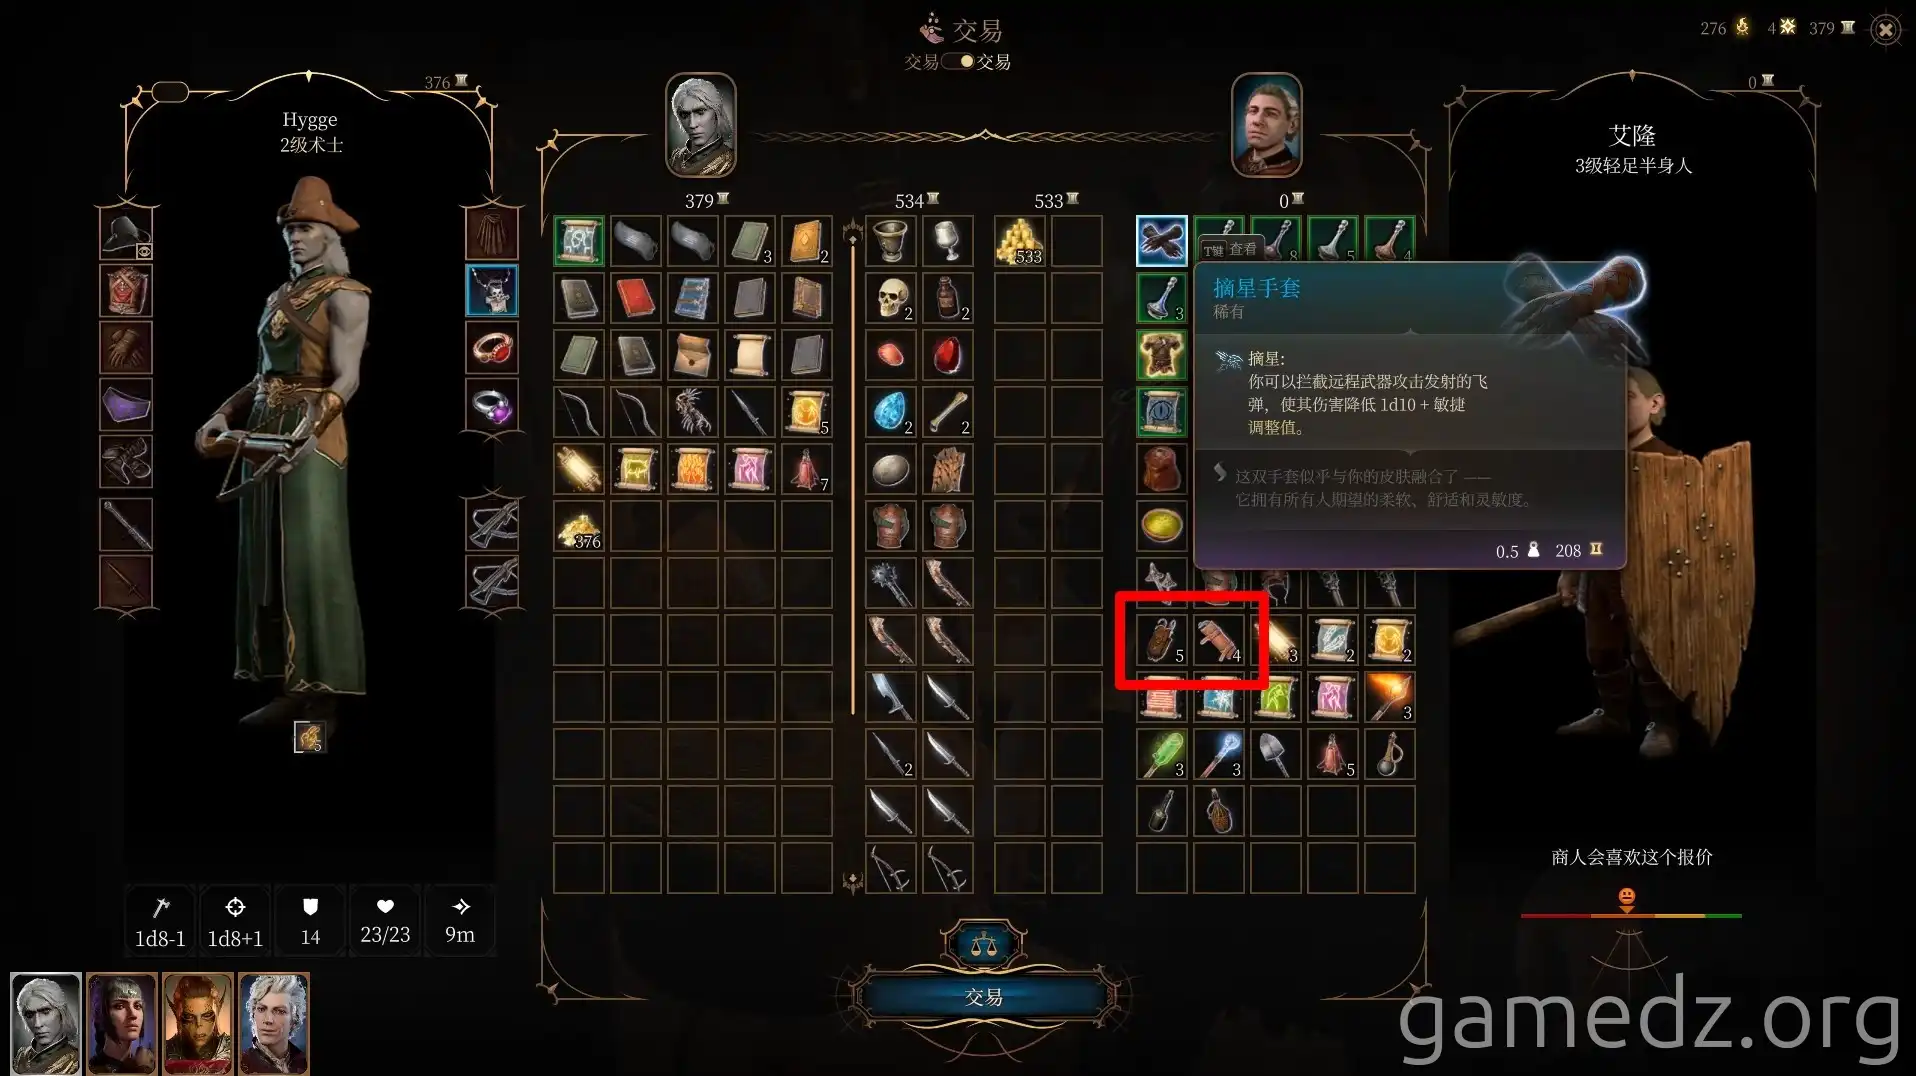
The list and stats of the unique equipment sold by Arron are as follows.

After restocking, don't continue exploring the Emerald Grove just yet. Leave through the main gate and head west. Below the cliffside on the western path, you can find a stone door (coordinates: 172, 426).
It is recommended to have a character who can cast Mage Hand in your party when exploring the underground passage behind the stone door.
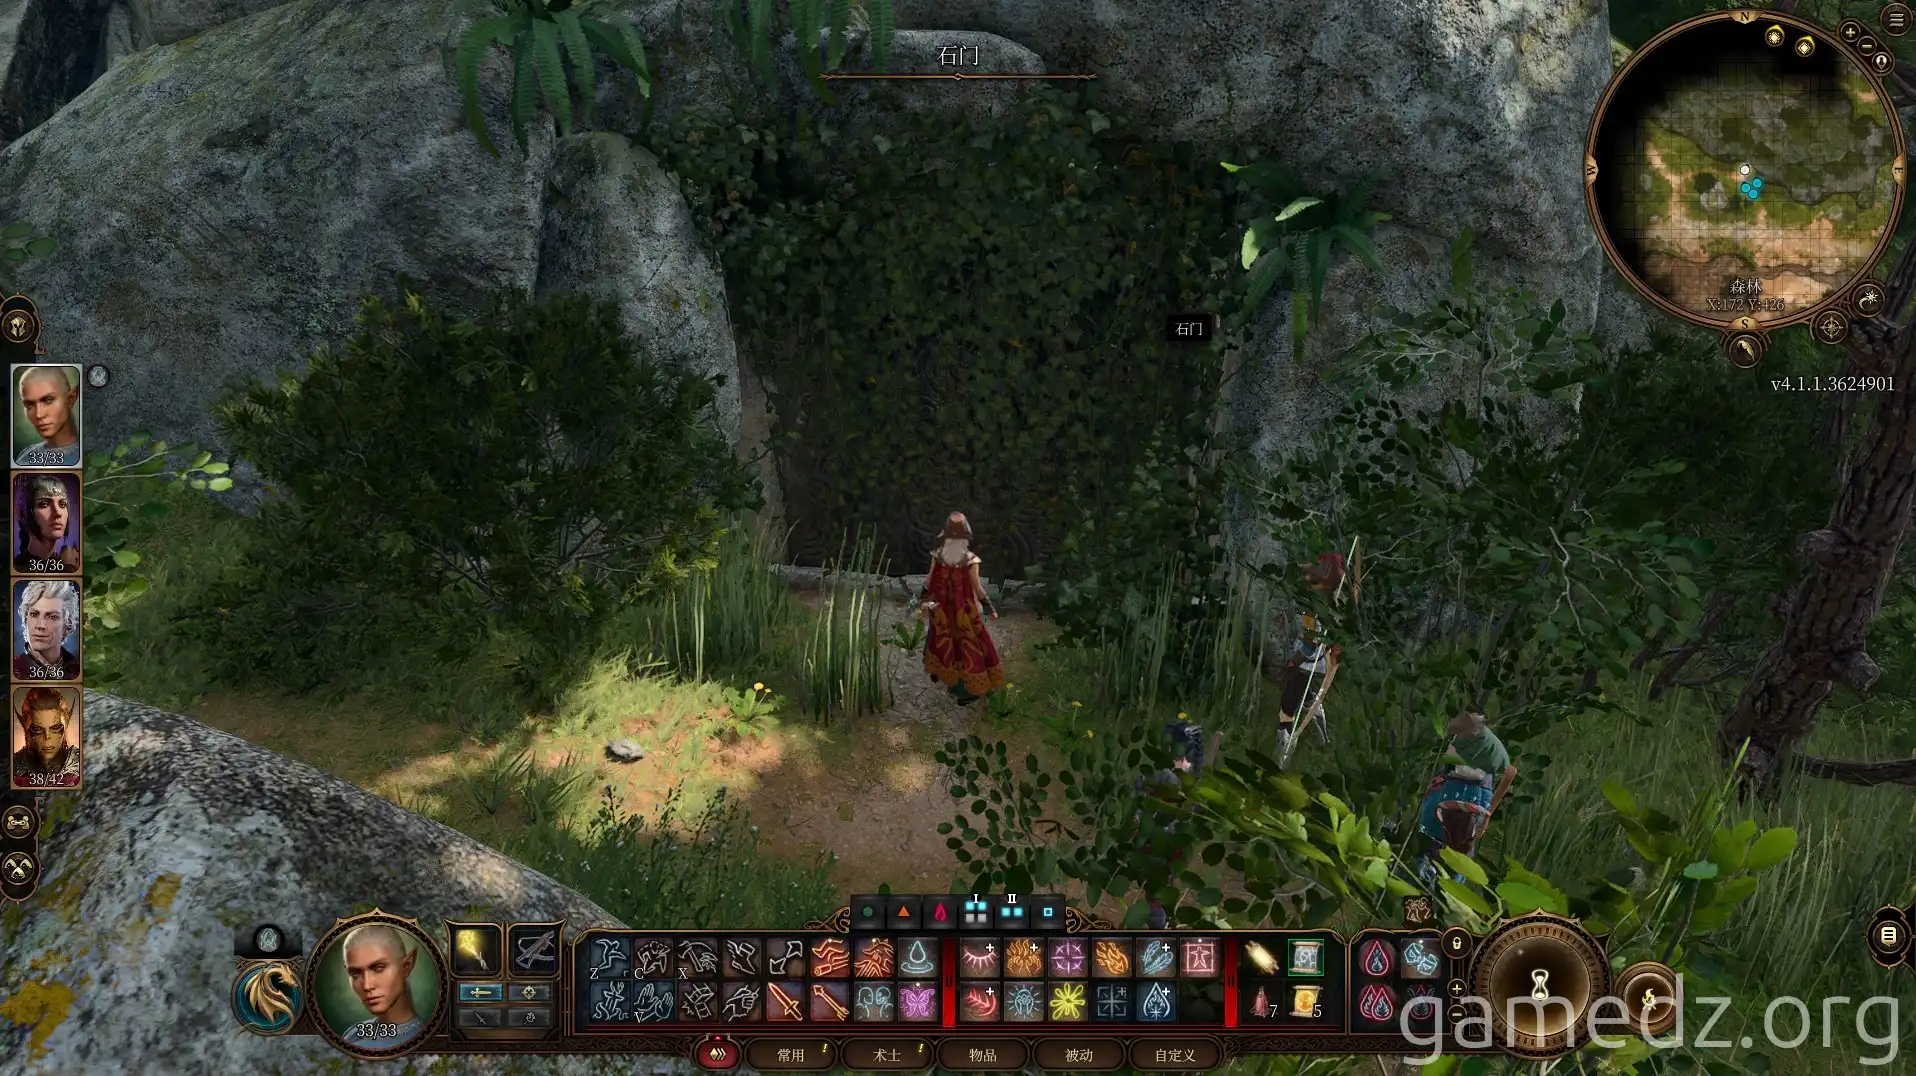
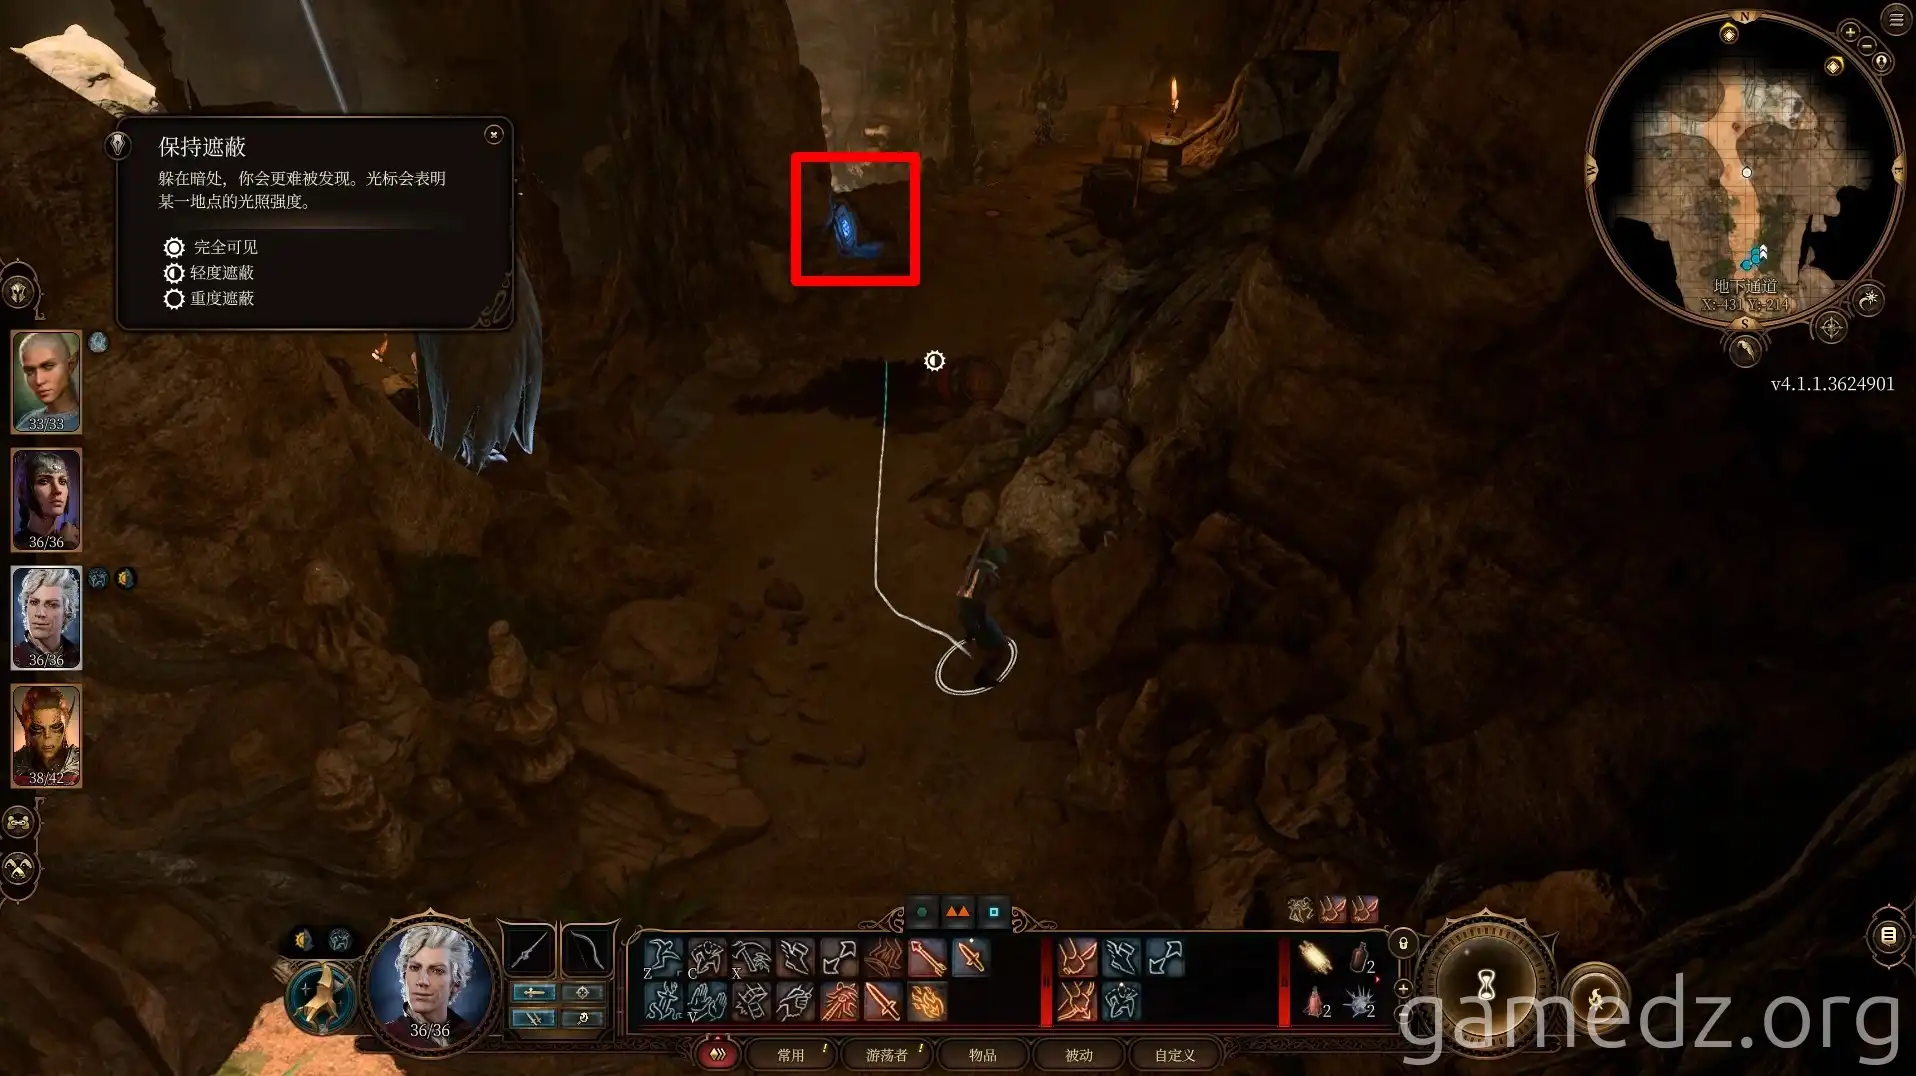
There are four guardian statues in the underground passage. The first statue is located on the path just after entering. The statue will attack us with fire arrows when we get close.
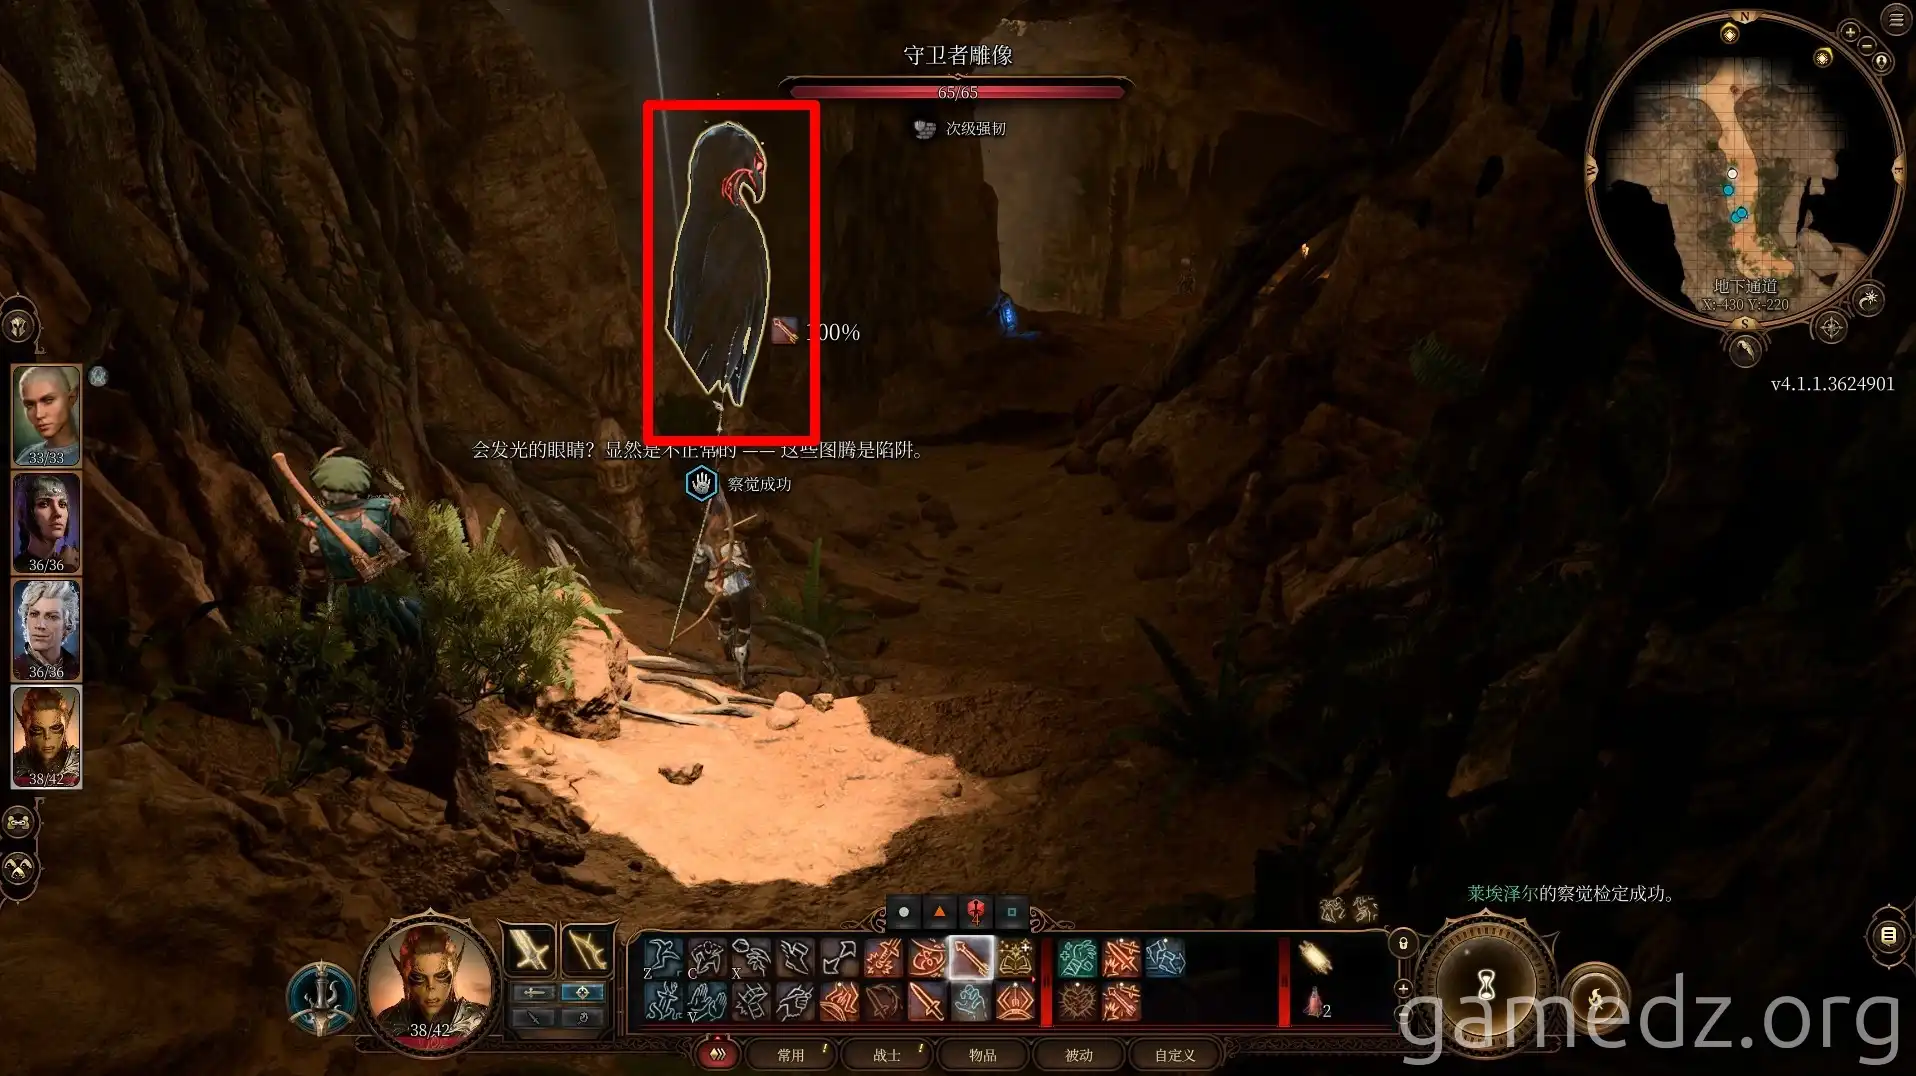
You can use a character like a Rogue to get past it. Press the glowing blue eagle rune ahead to deactivate the statue.
Mage Hand can also interact with the rune to deactivate the statue, but most Mage Hands can't survive two hits and are often destroyed by a single shot from the statue. It's recommended to save before summoning Mage Hand, otherwise, you'll need a short rest to use it again.
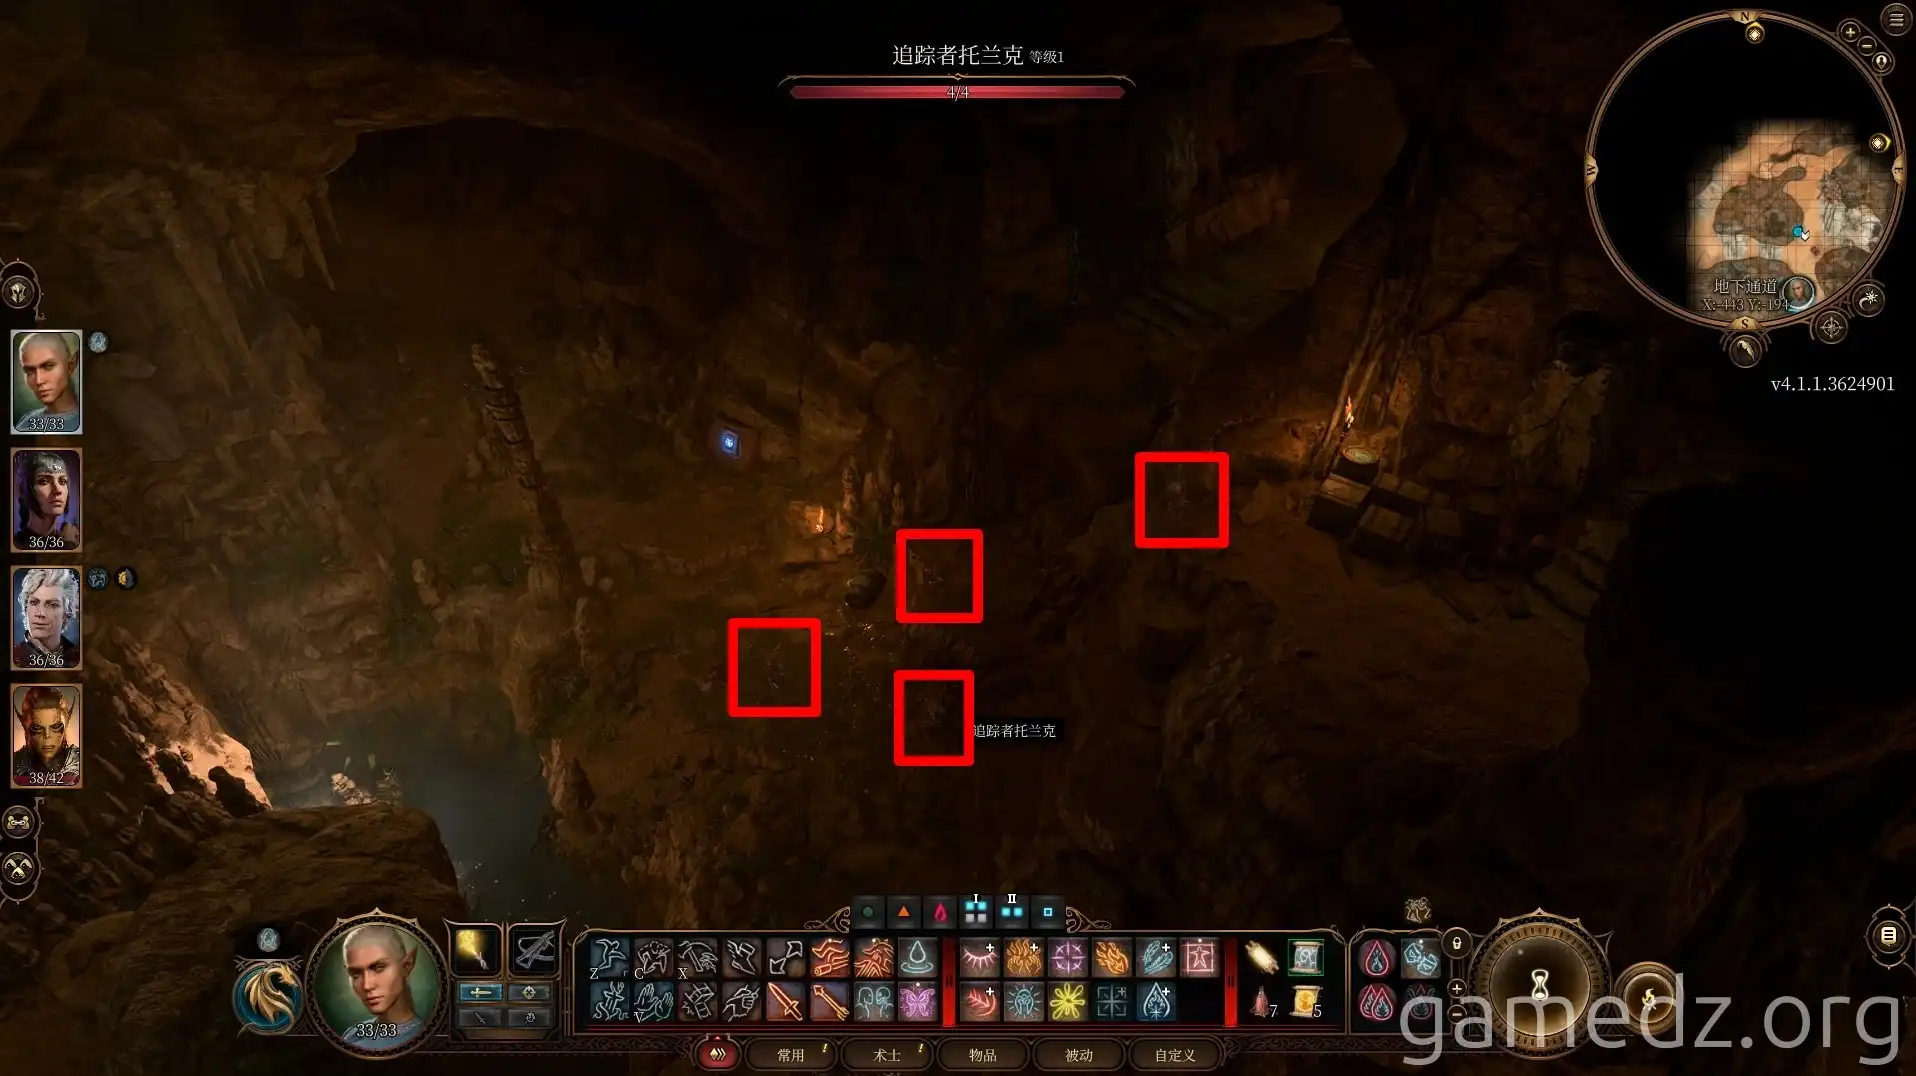
There are four goblins in the cave ahead, with their positions marked in the image below. First, eliminate the one in front of you, then you can easily defeat the three enemies below from the high ground.
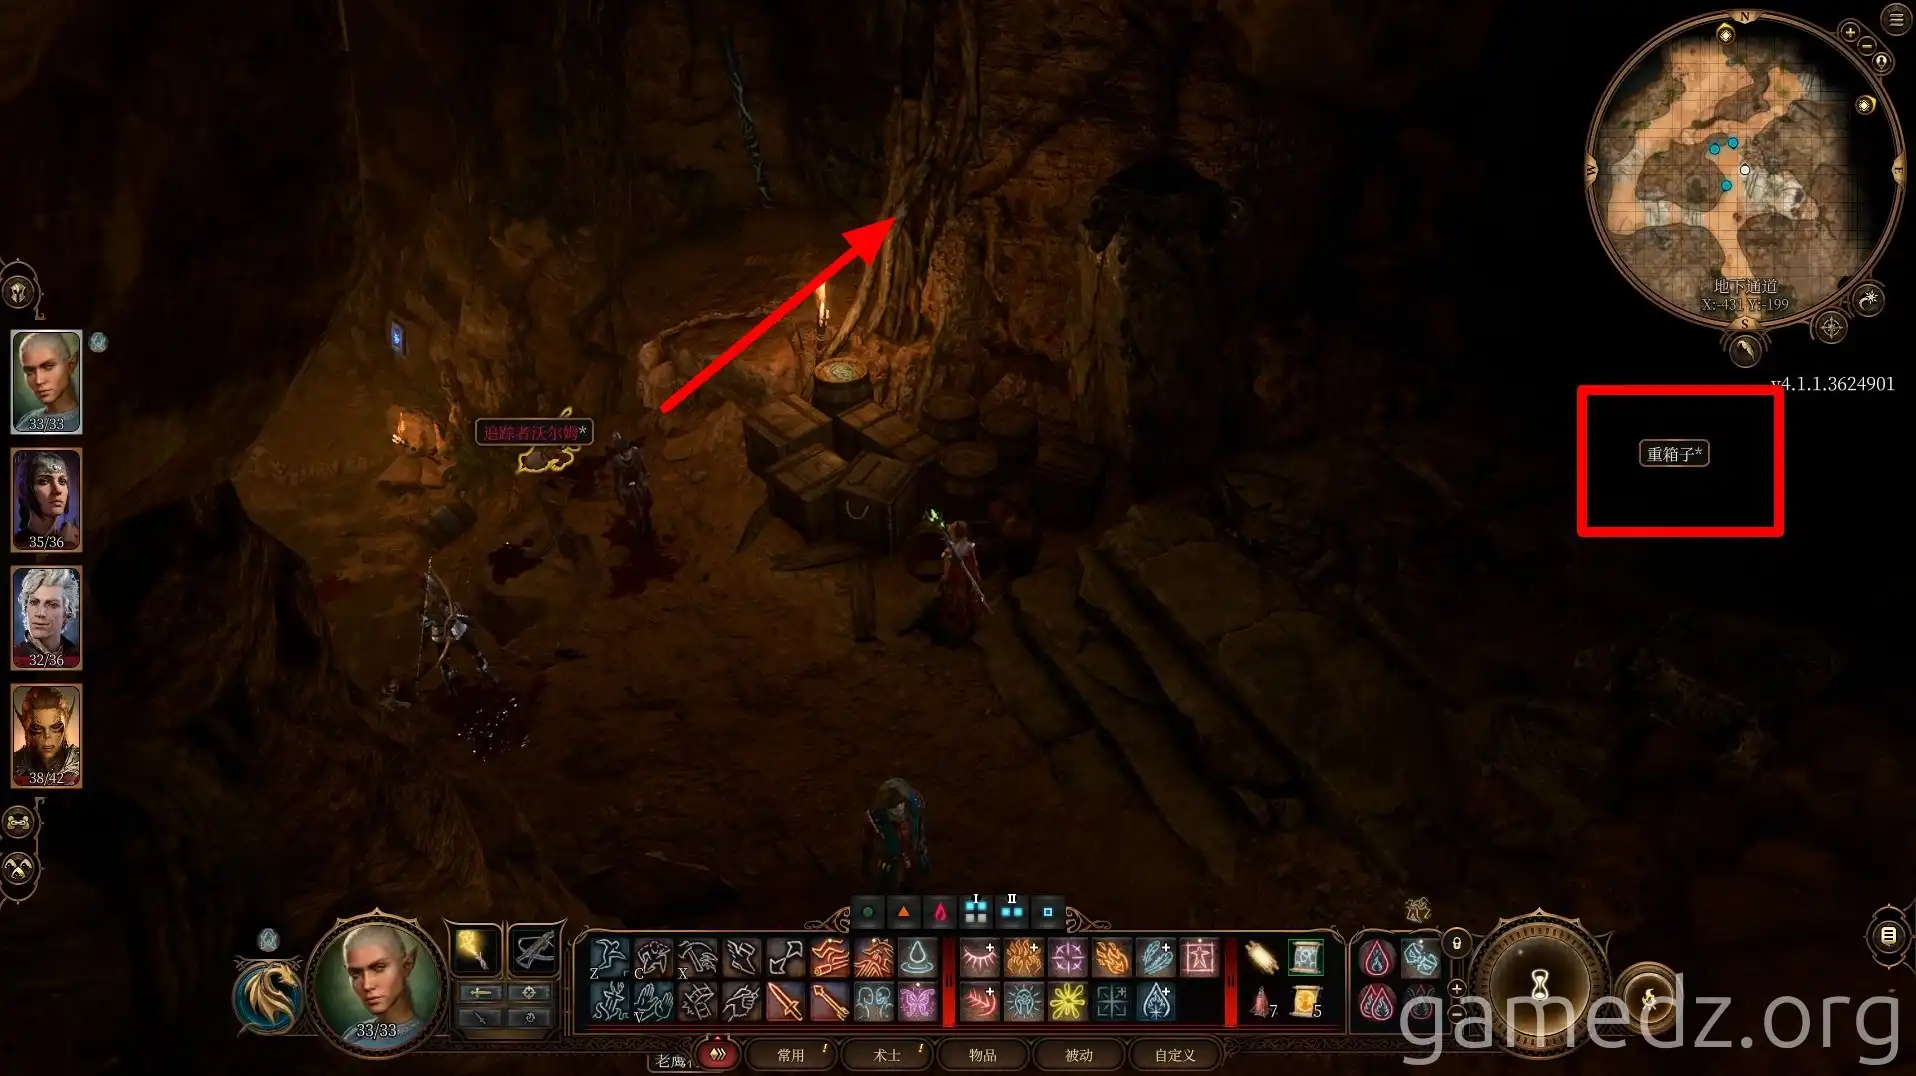
After defeating all enemies, you can find a heavy chest opposite the eagle rune, but leave it for now. The stone door to the right leads to the [Secluded Library] in the Emerald Grove.
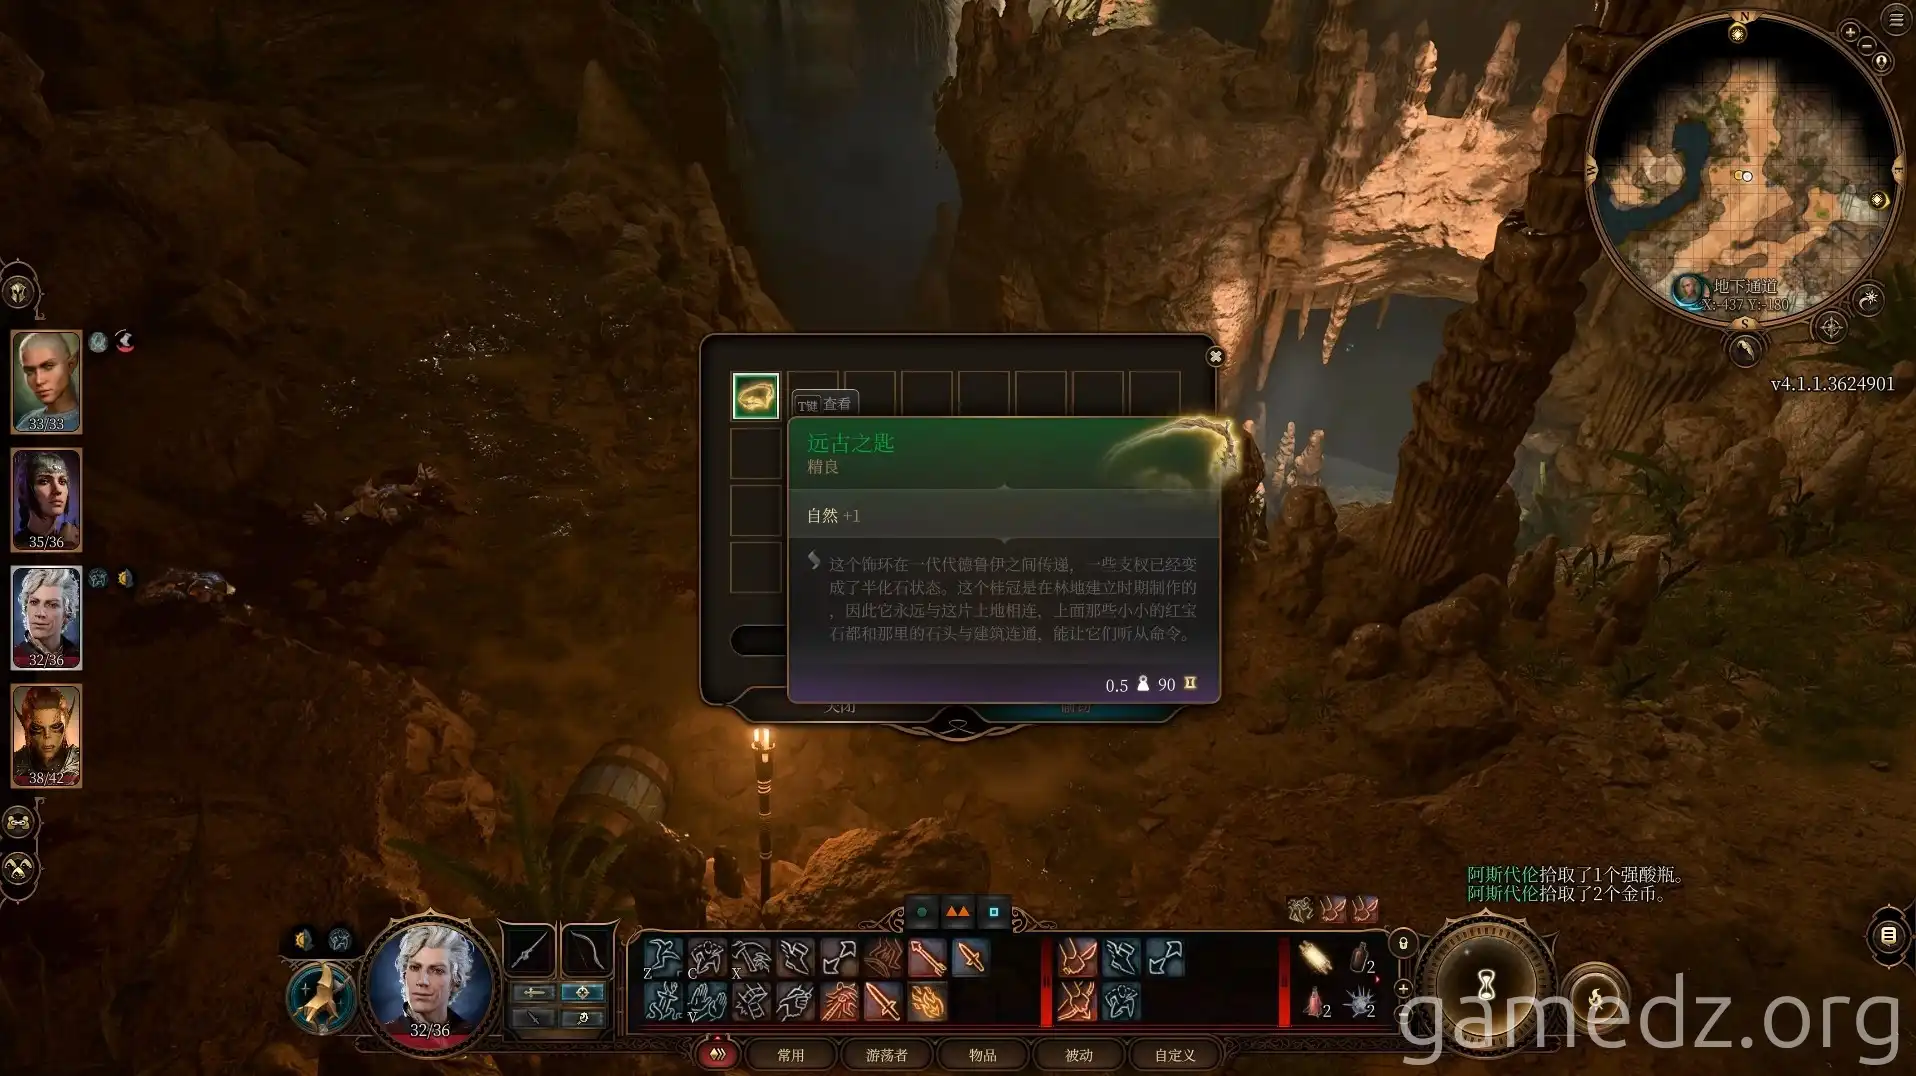
At the location where the goblins were, you can find the unconscious Findal. You can steal the fine headpiece [Ancient Key] from him. Equipping this item allows you to open the door to the Secluded Library, but we will go there later, so there's no need to enter from this entrance.
After taking his things, throw a healing potion at him or use a healing spell to wake him up.
Stand at the edge of the passage and summon Mage Hand right next to the wolf rune. Use the Mage Hand to deactivate the rune.
The Mage Hand will be attacked by the statue immediately after being summoned. If you feel you don't have enough time to act, you can use a wizard's Misty Step to teleport directly next to the rune, take one hit, and then deactivate the statue.
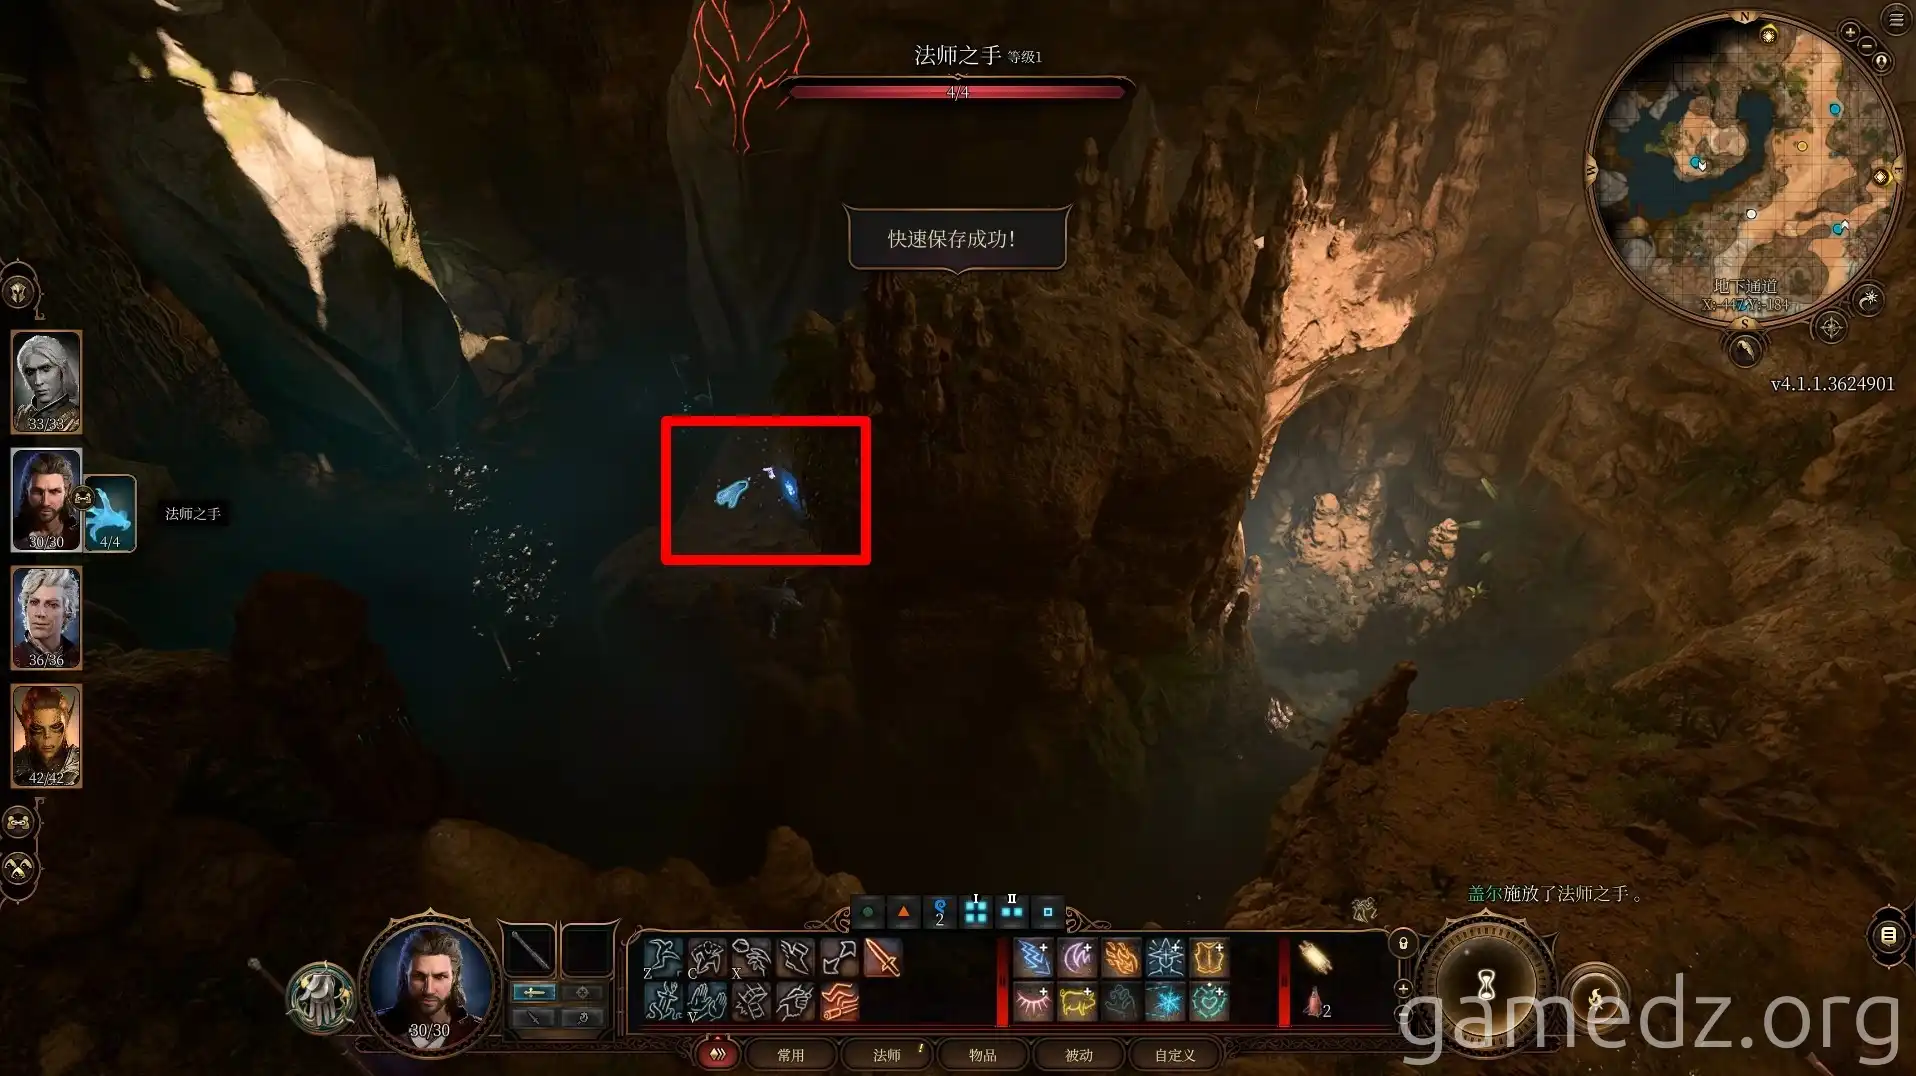
A wizard using Misty Step can teleport directly to the rune and get the [Scorched Key] from the nearby corpse.
If you don't have a wizard with Misty Step, you can also stack boxes to jump over, get the key, and then teleport away.
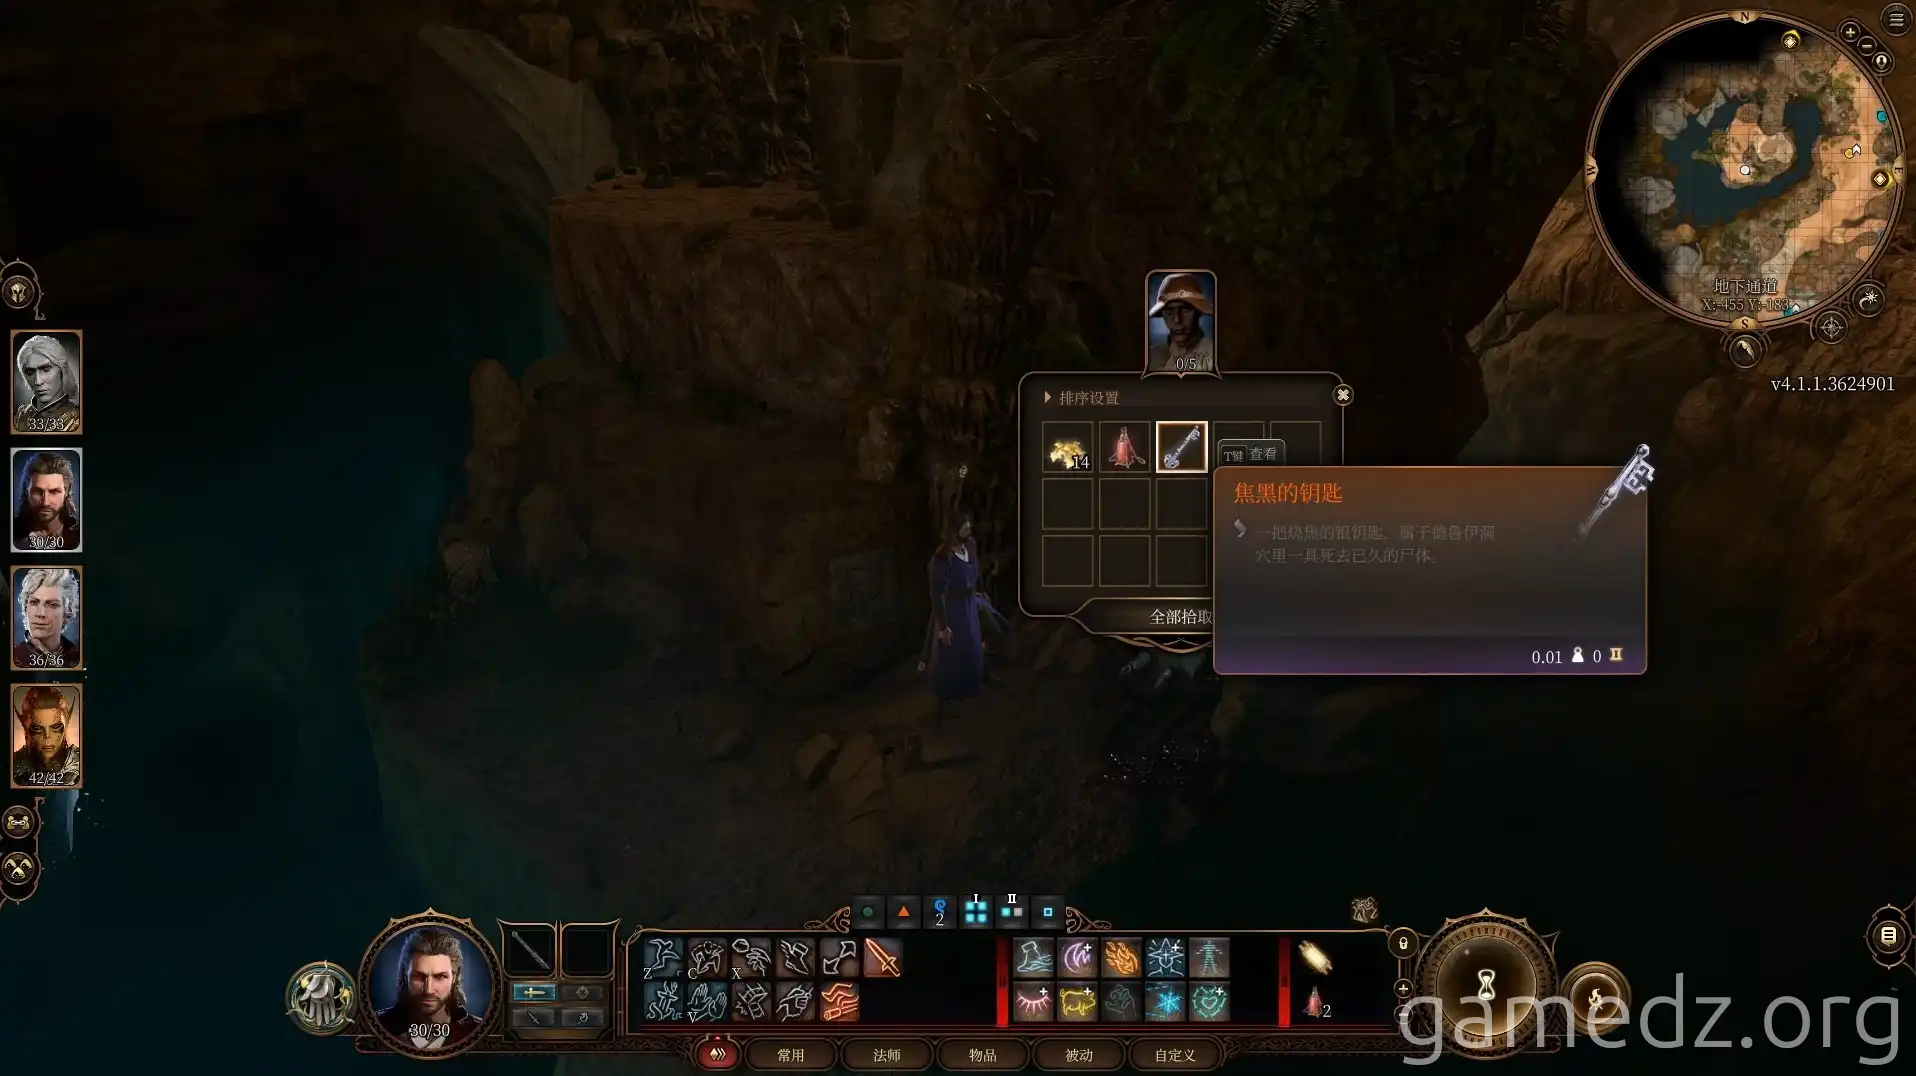
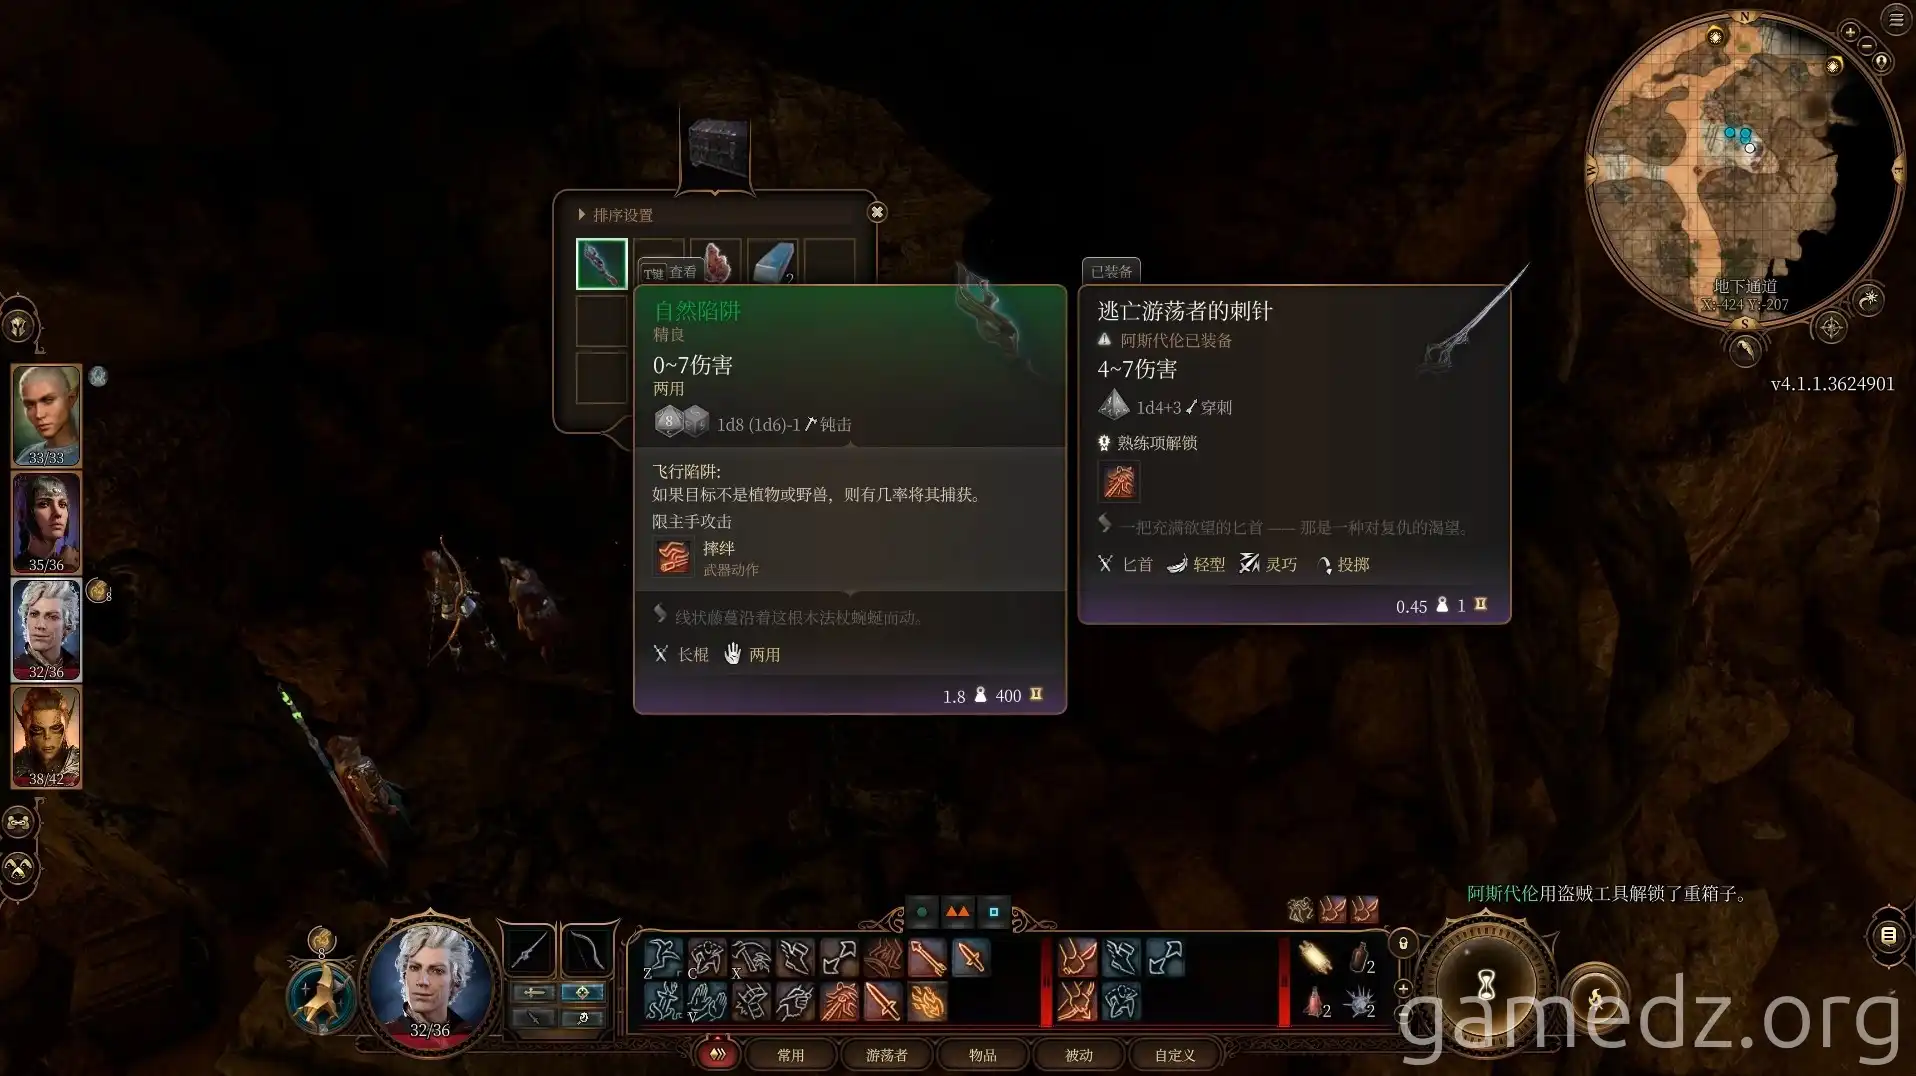
Use the Scorched Key to open the heavy chest, which contains a fine quarterstaff, [Nature's Snare].
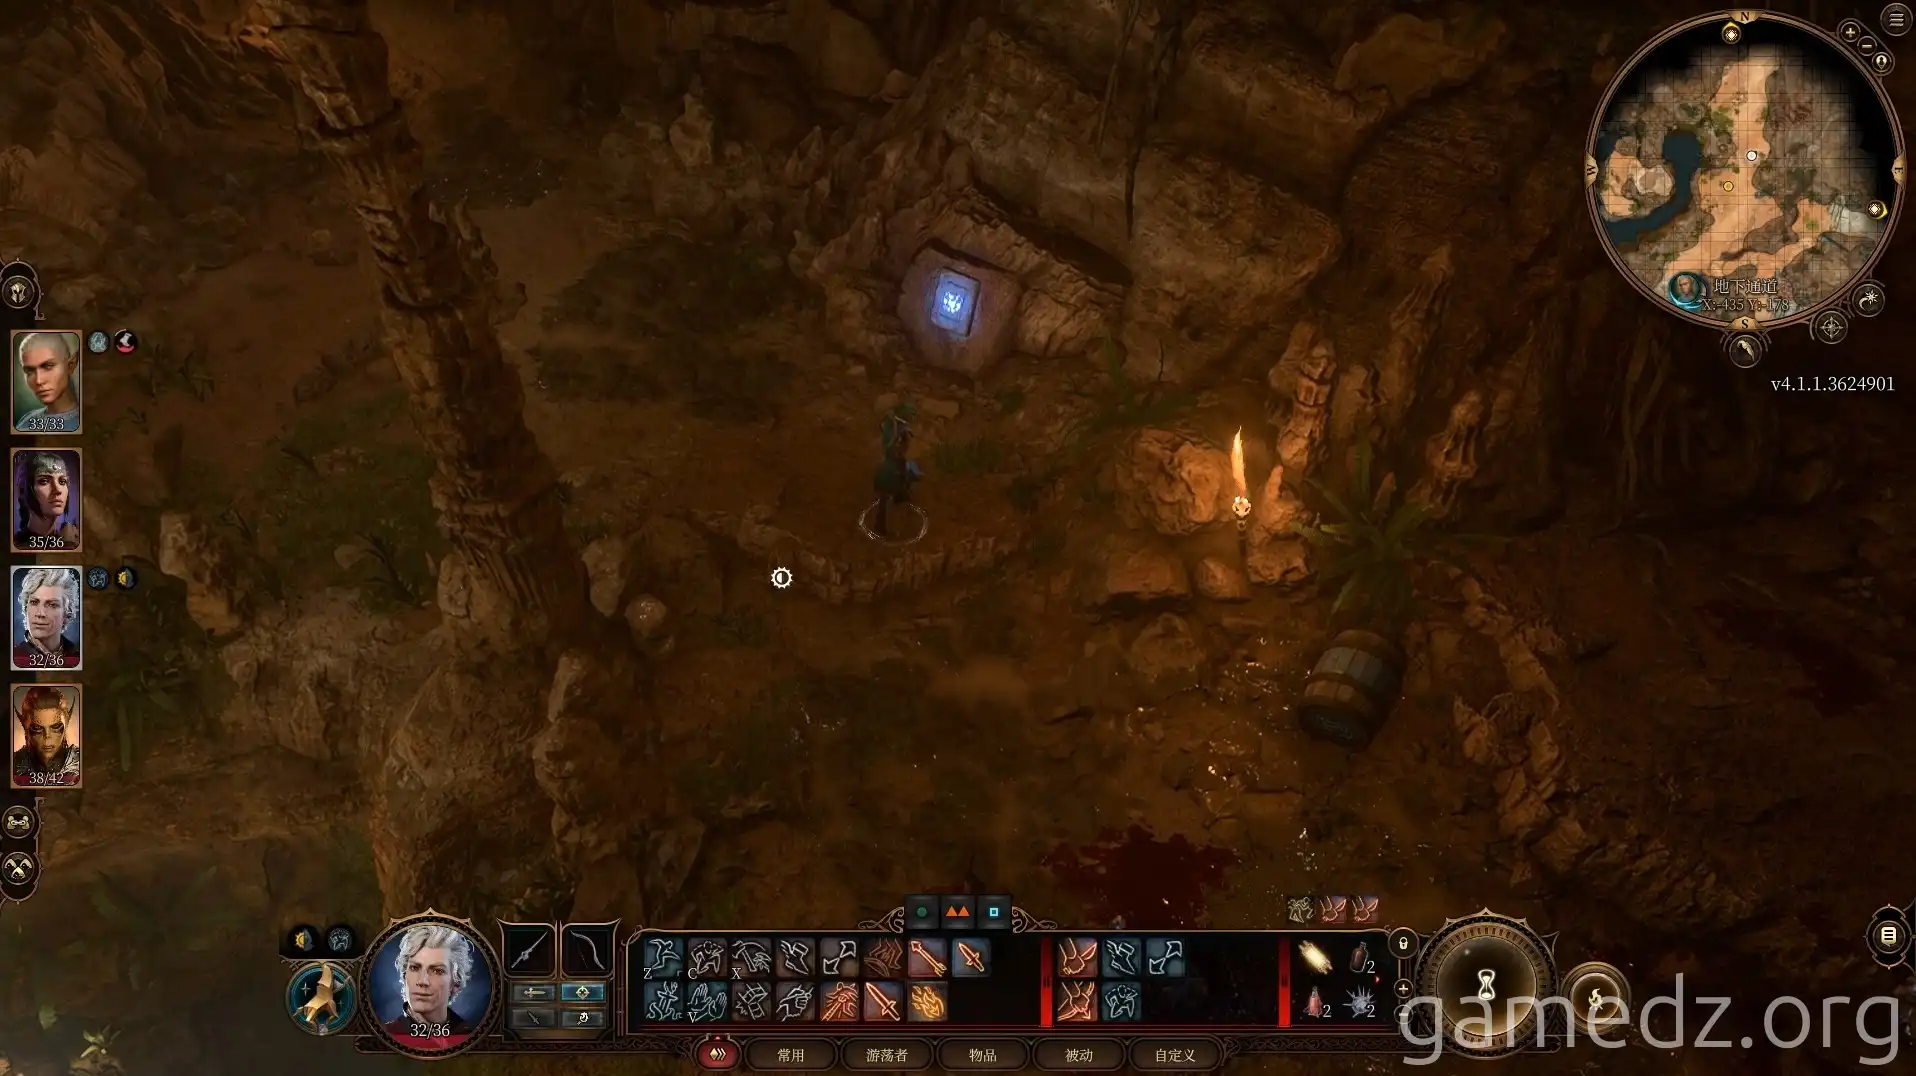
Deactivating the final bear rune at the end of the passage will disable all the statues in the underground passage.
The stone door at the end of the passage leads to the area behind the Emerald Grove prison. There's nothing much there, so you can just return the way you came and leave the underground passage.
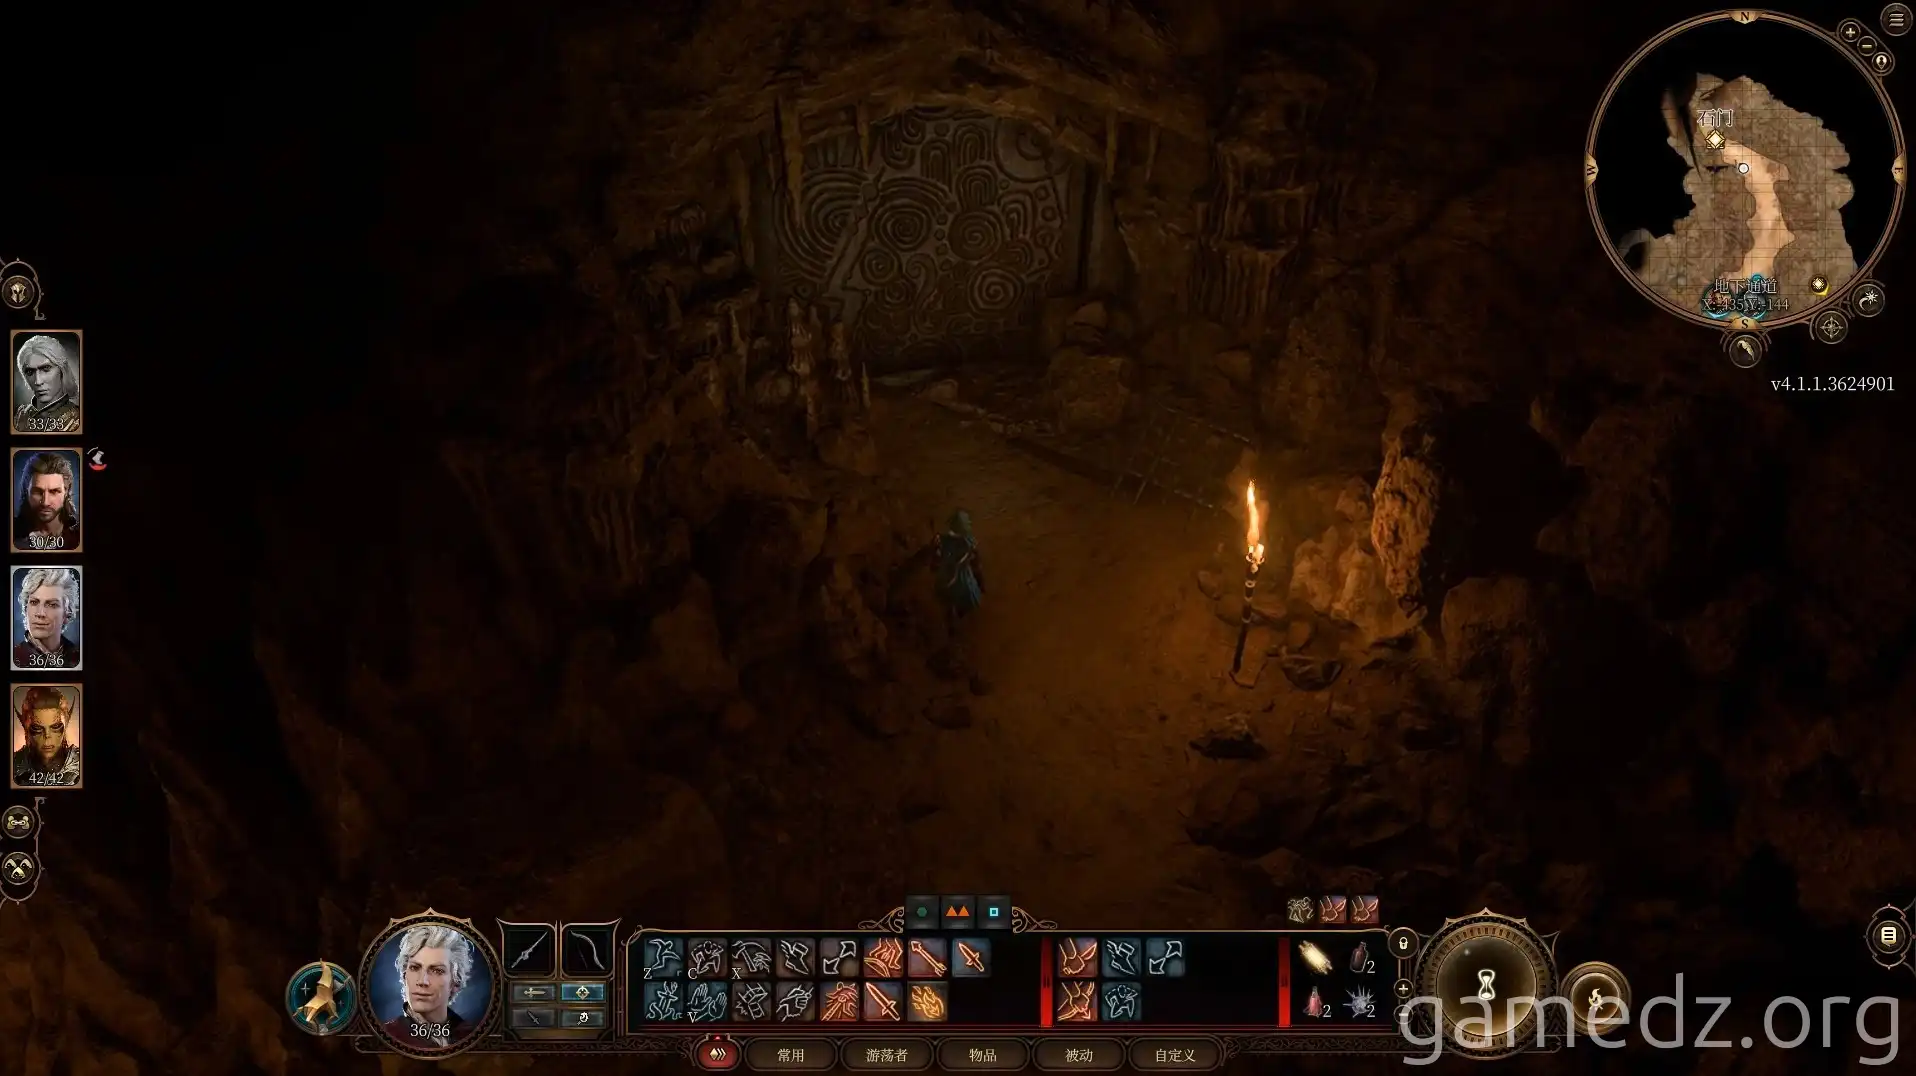
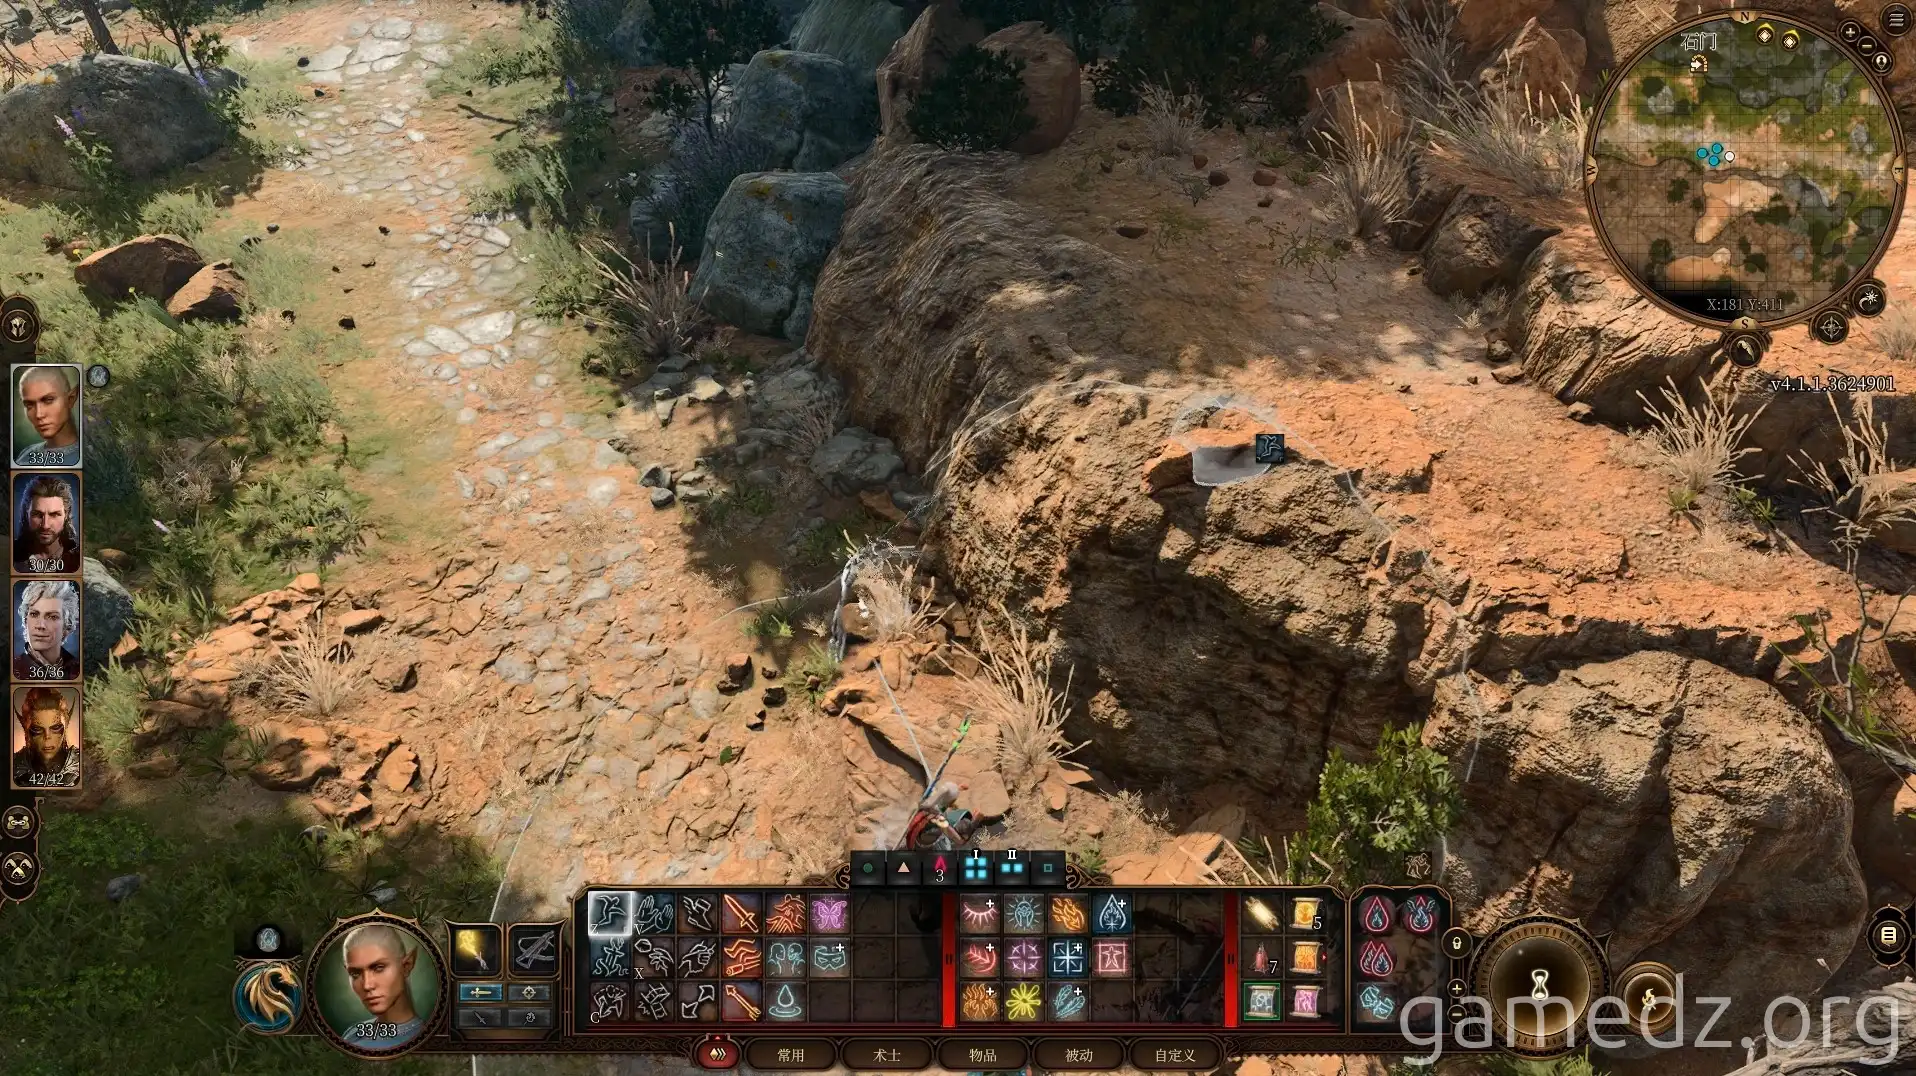
Opposite the stone door is a high ground. We can use the jump action to get up there.
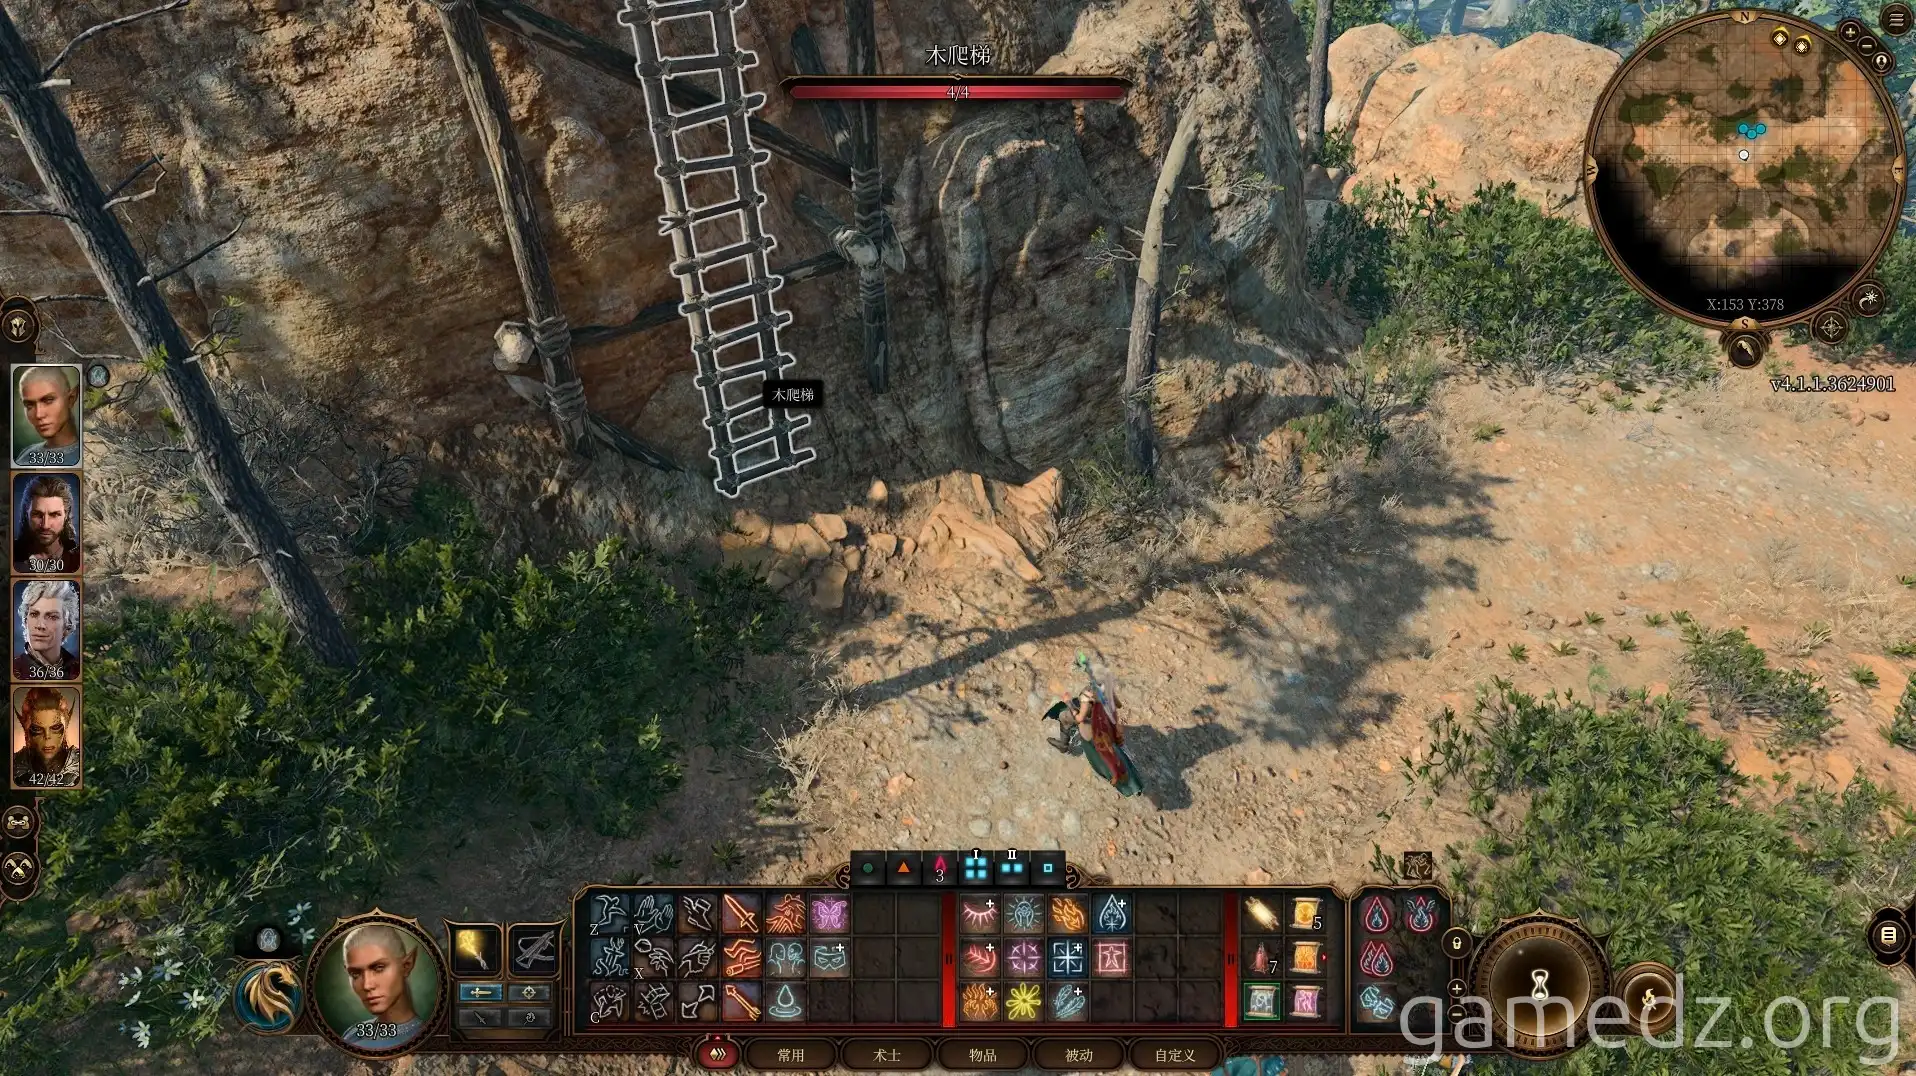
Continue upwards using the wooden ladder ahead.
At the top level, you can find a simple camp. This is the location marked by the Harper's map earlier. There will be some items in the barrels in the camp.
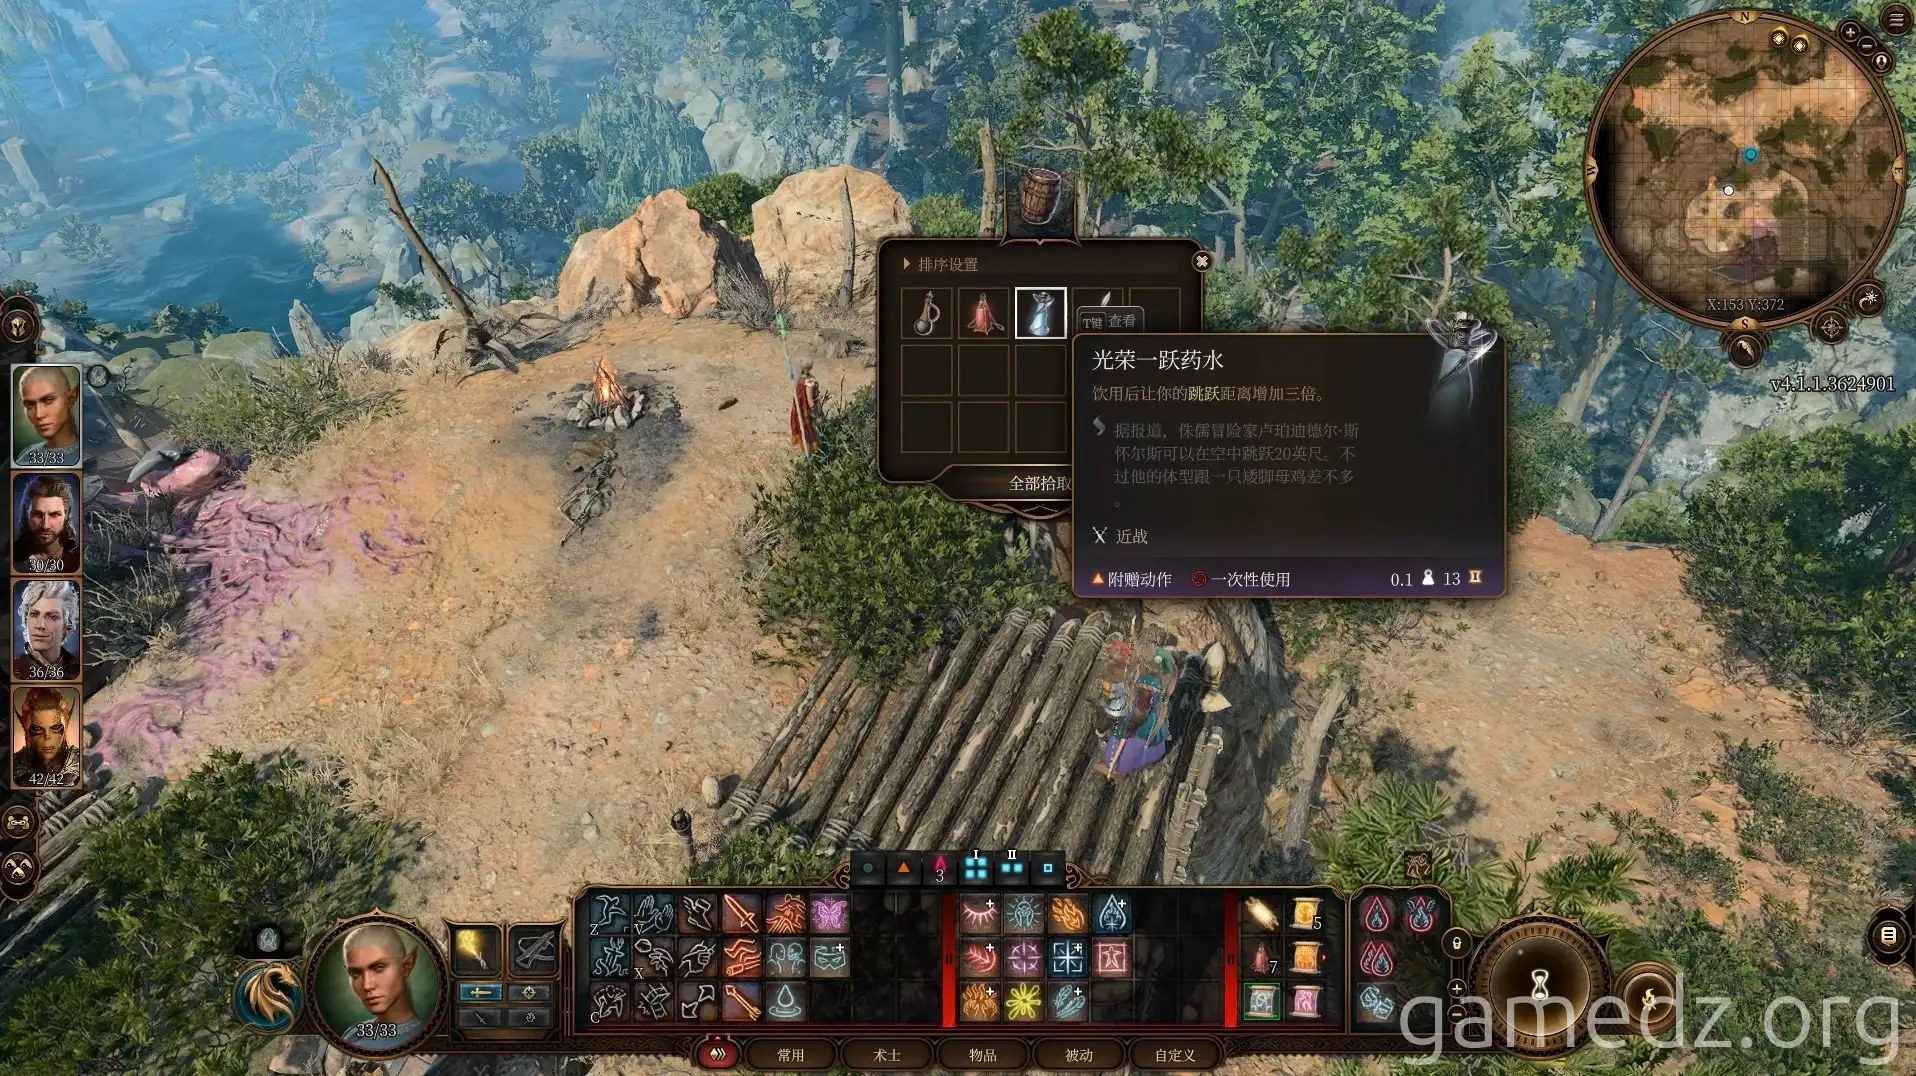
On the westernmost side of the camp, you can find a rugged crevice by passing a perception check.
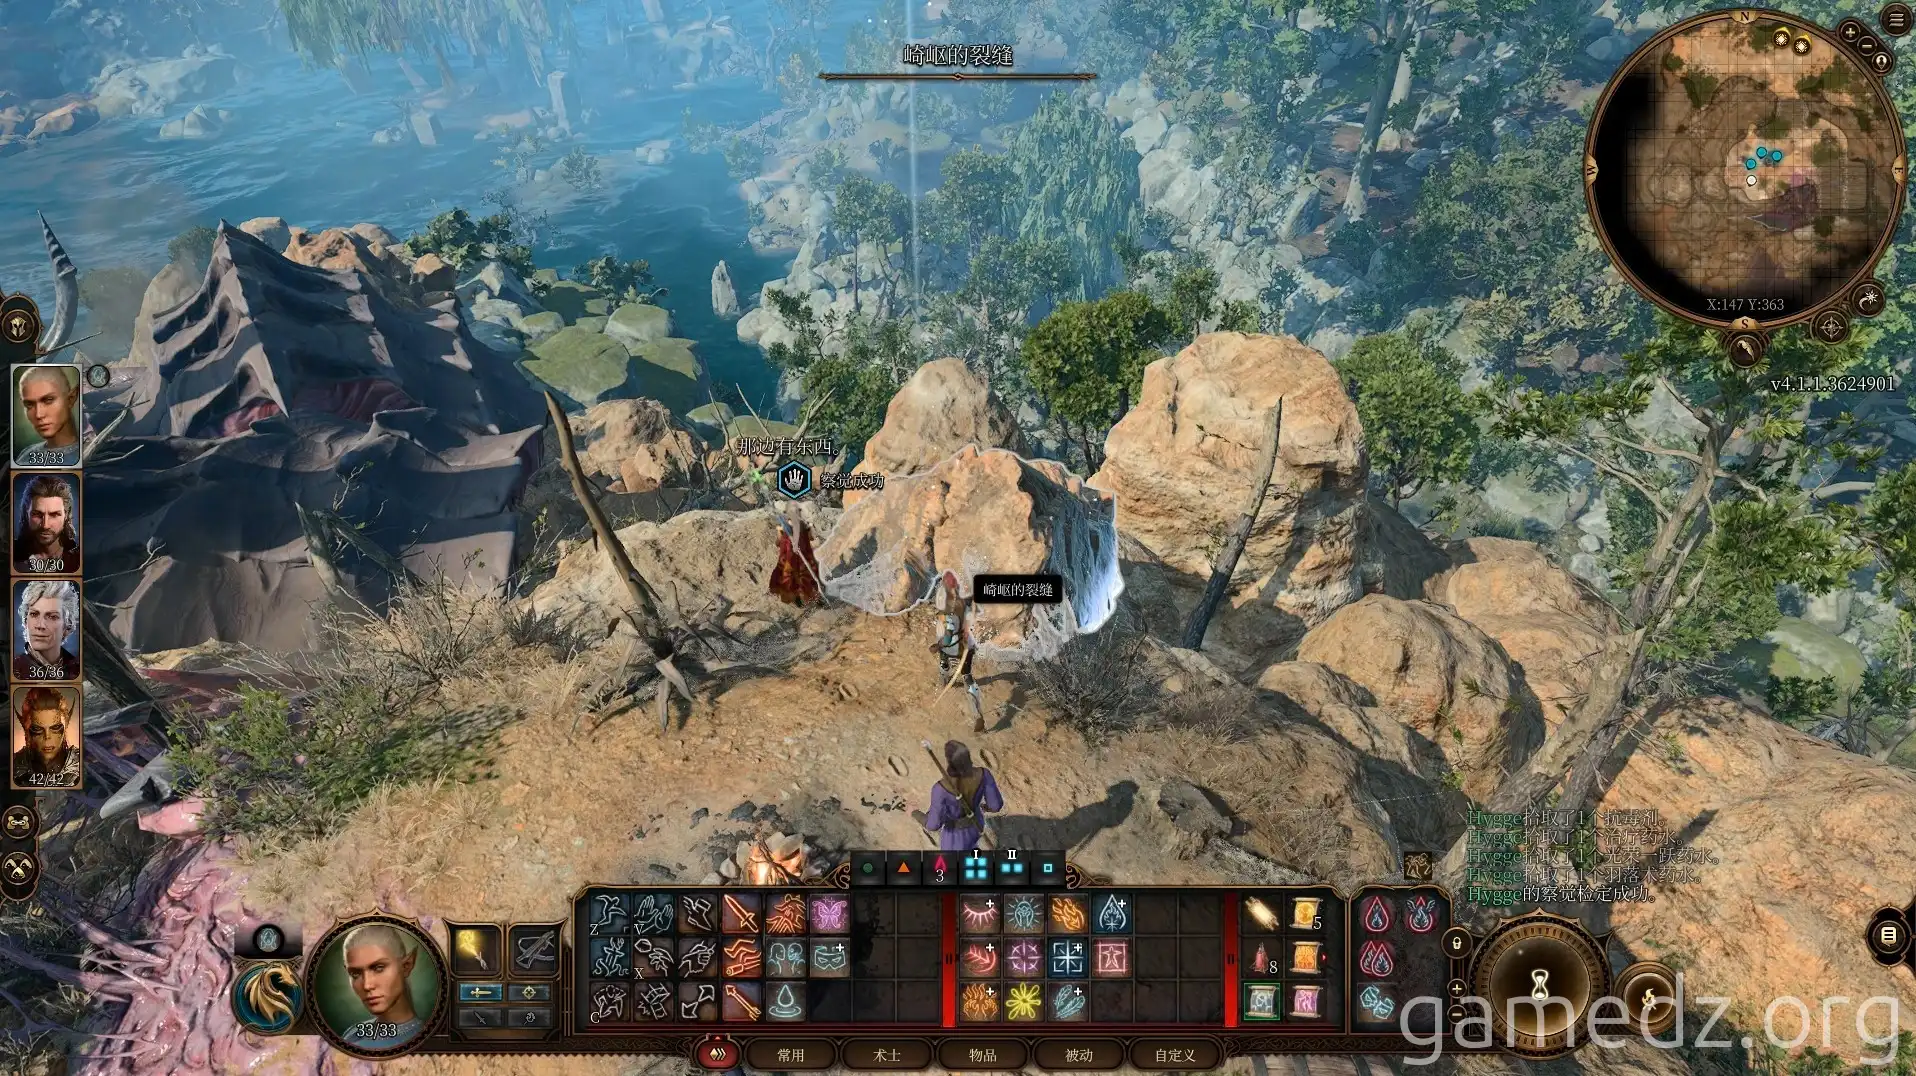
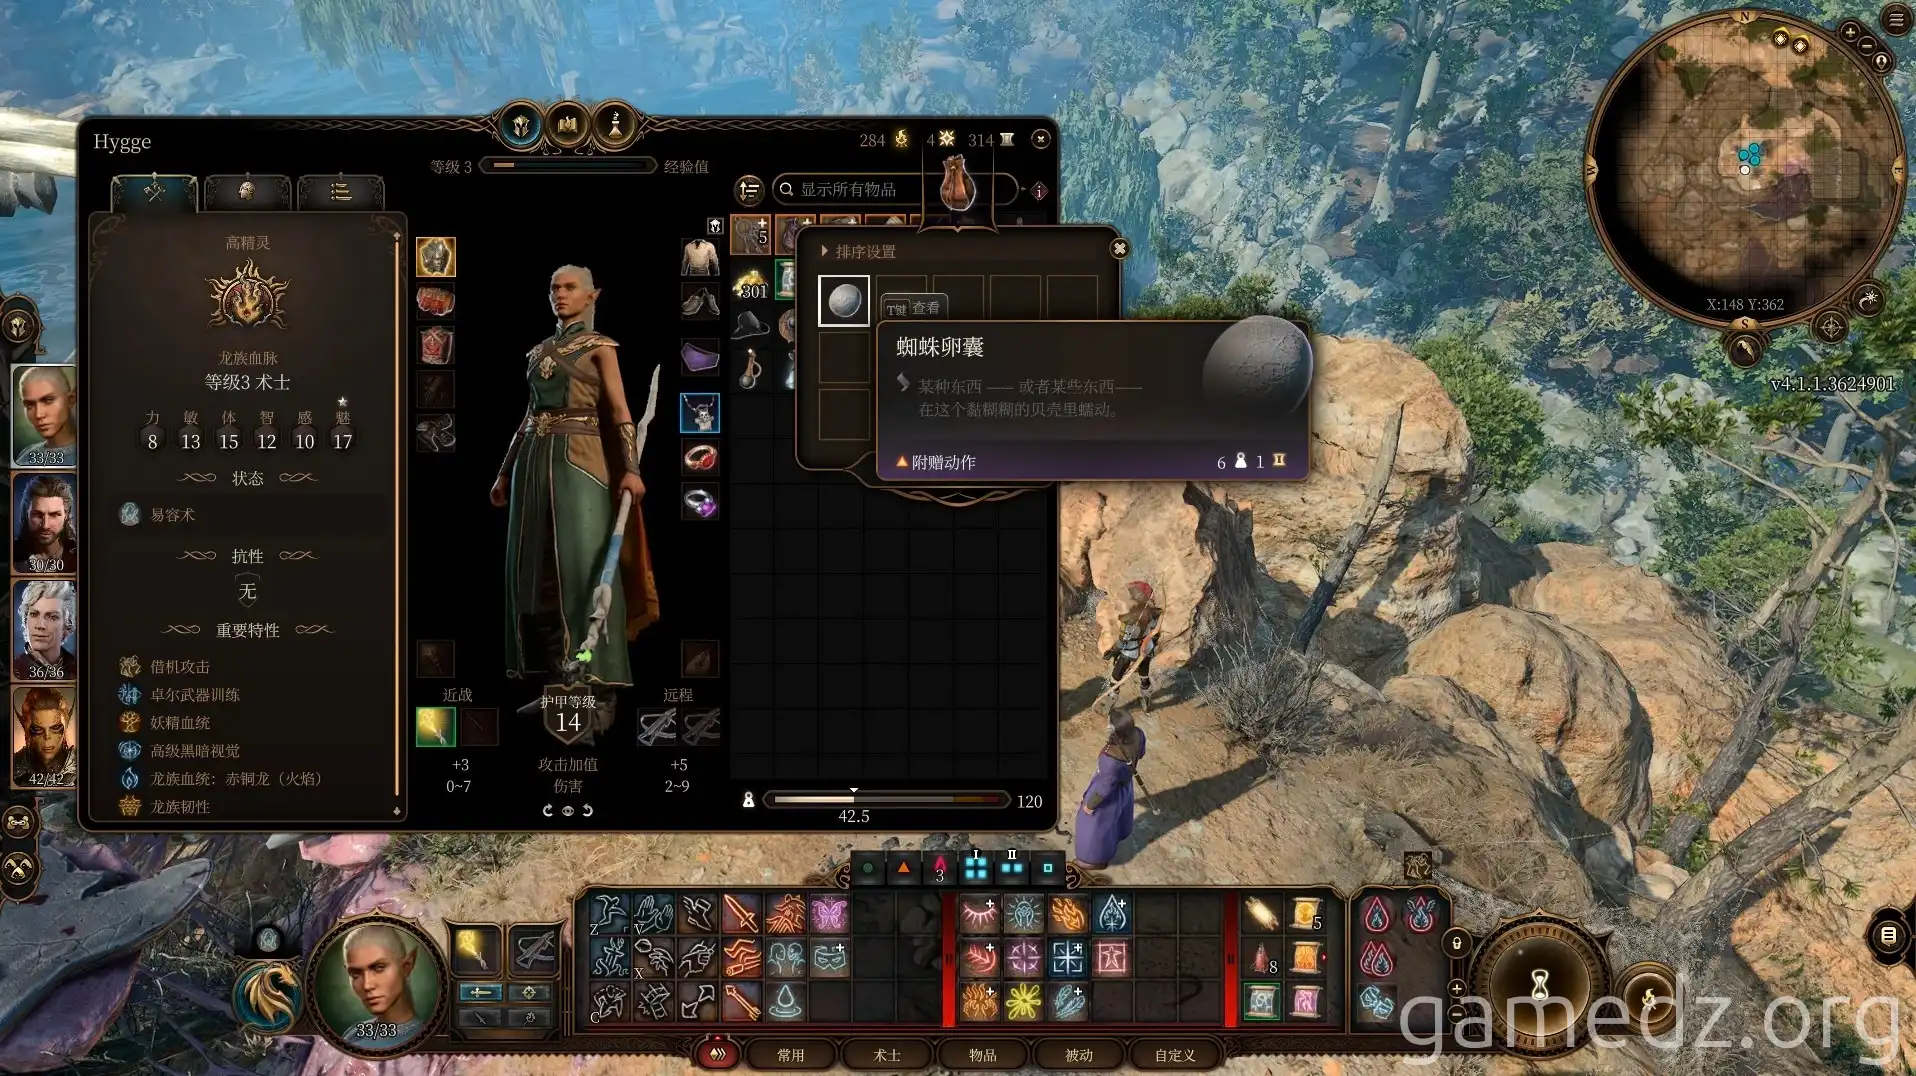
After passing a nature check, you can find a small pouch in the crevice of the rock. Then, by passing another animal handling or sleight of hand check, you can retrieve the pouch.
Inside the pouch, you will find a [Spider Egg Sac]. Throwing this sac will summon five level-one spider followers with four health points each.
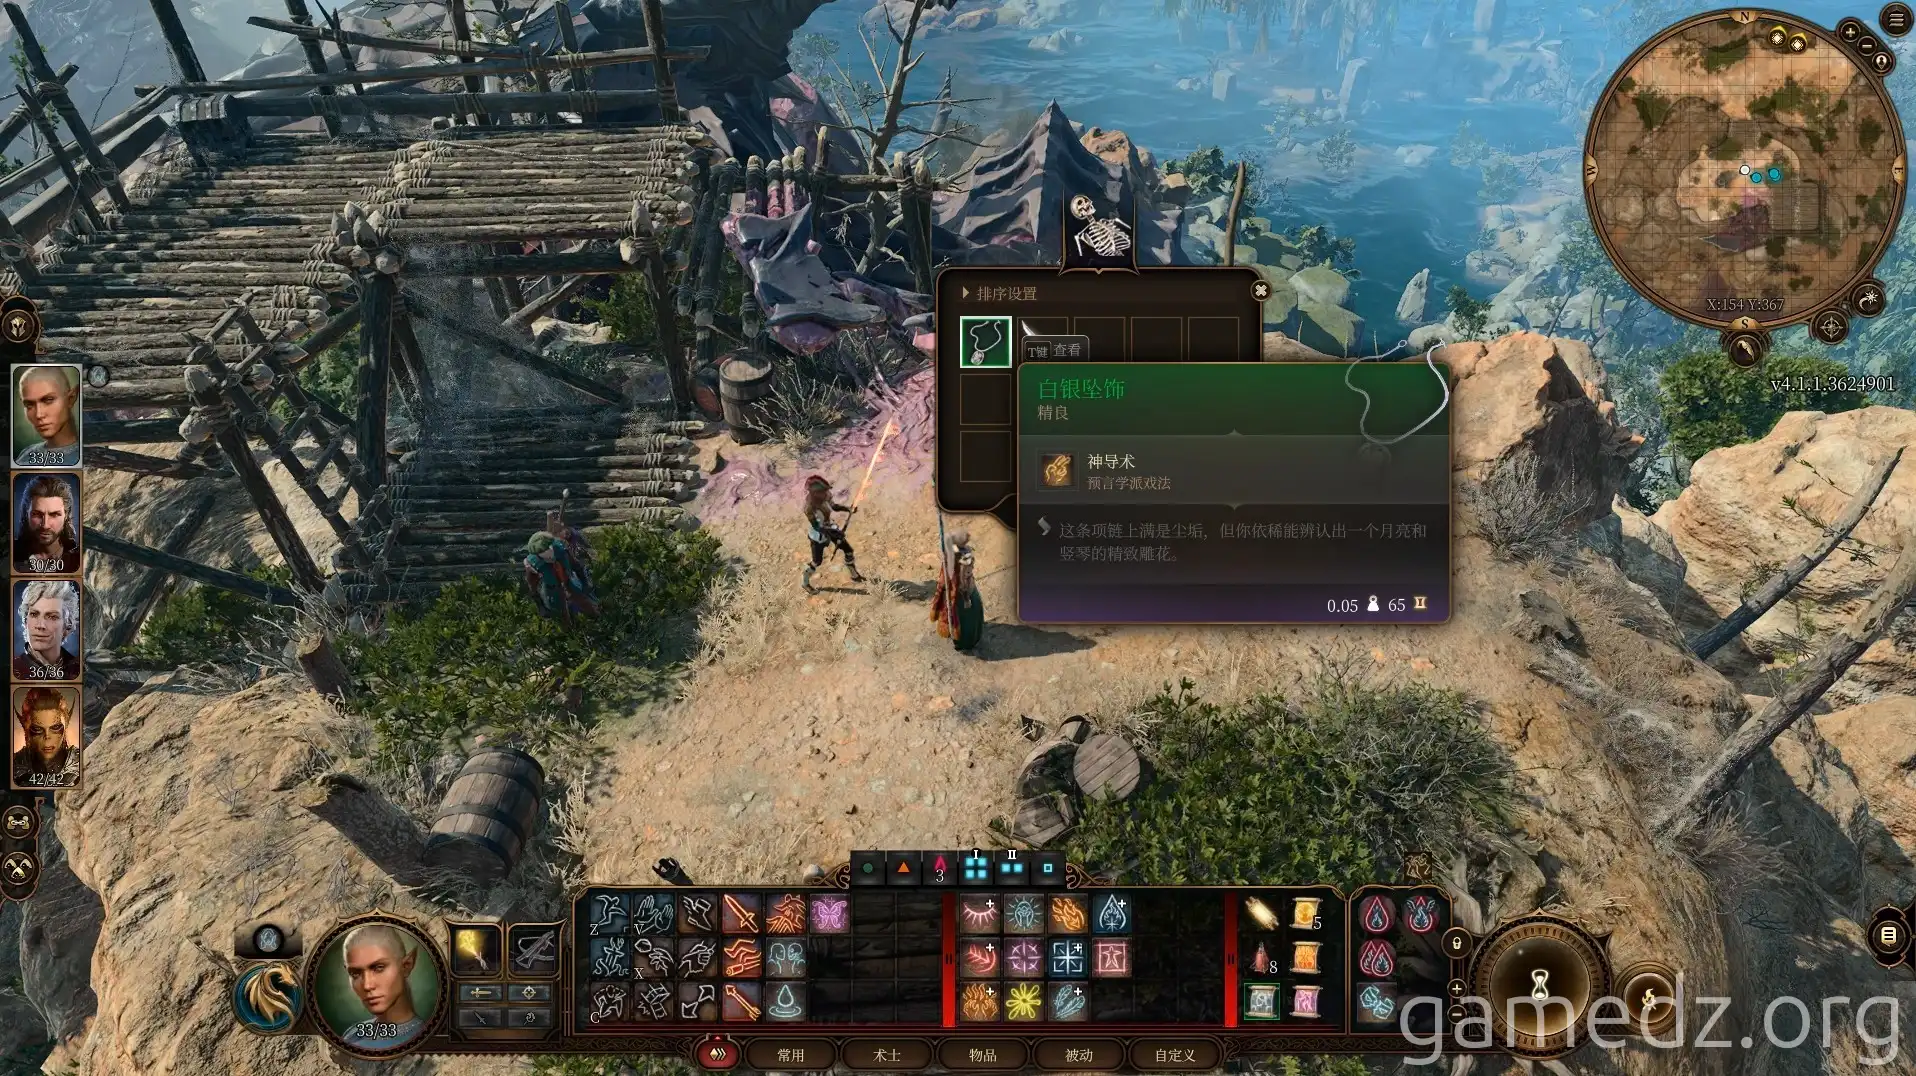
On the skeleton next to the campfire, you can find a fine accessory, the [Silver Pendant].
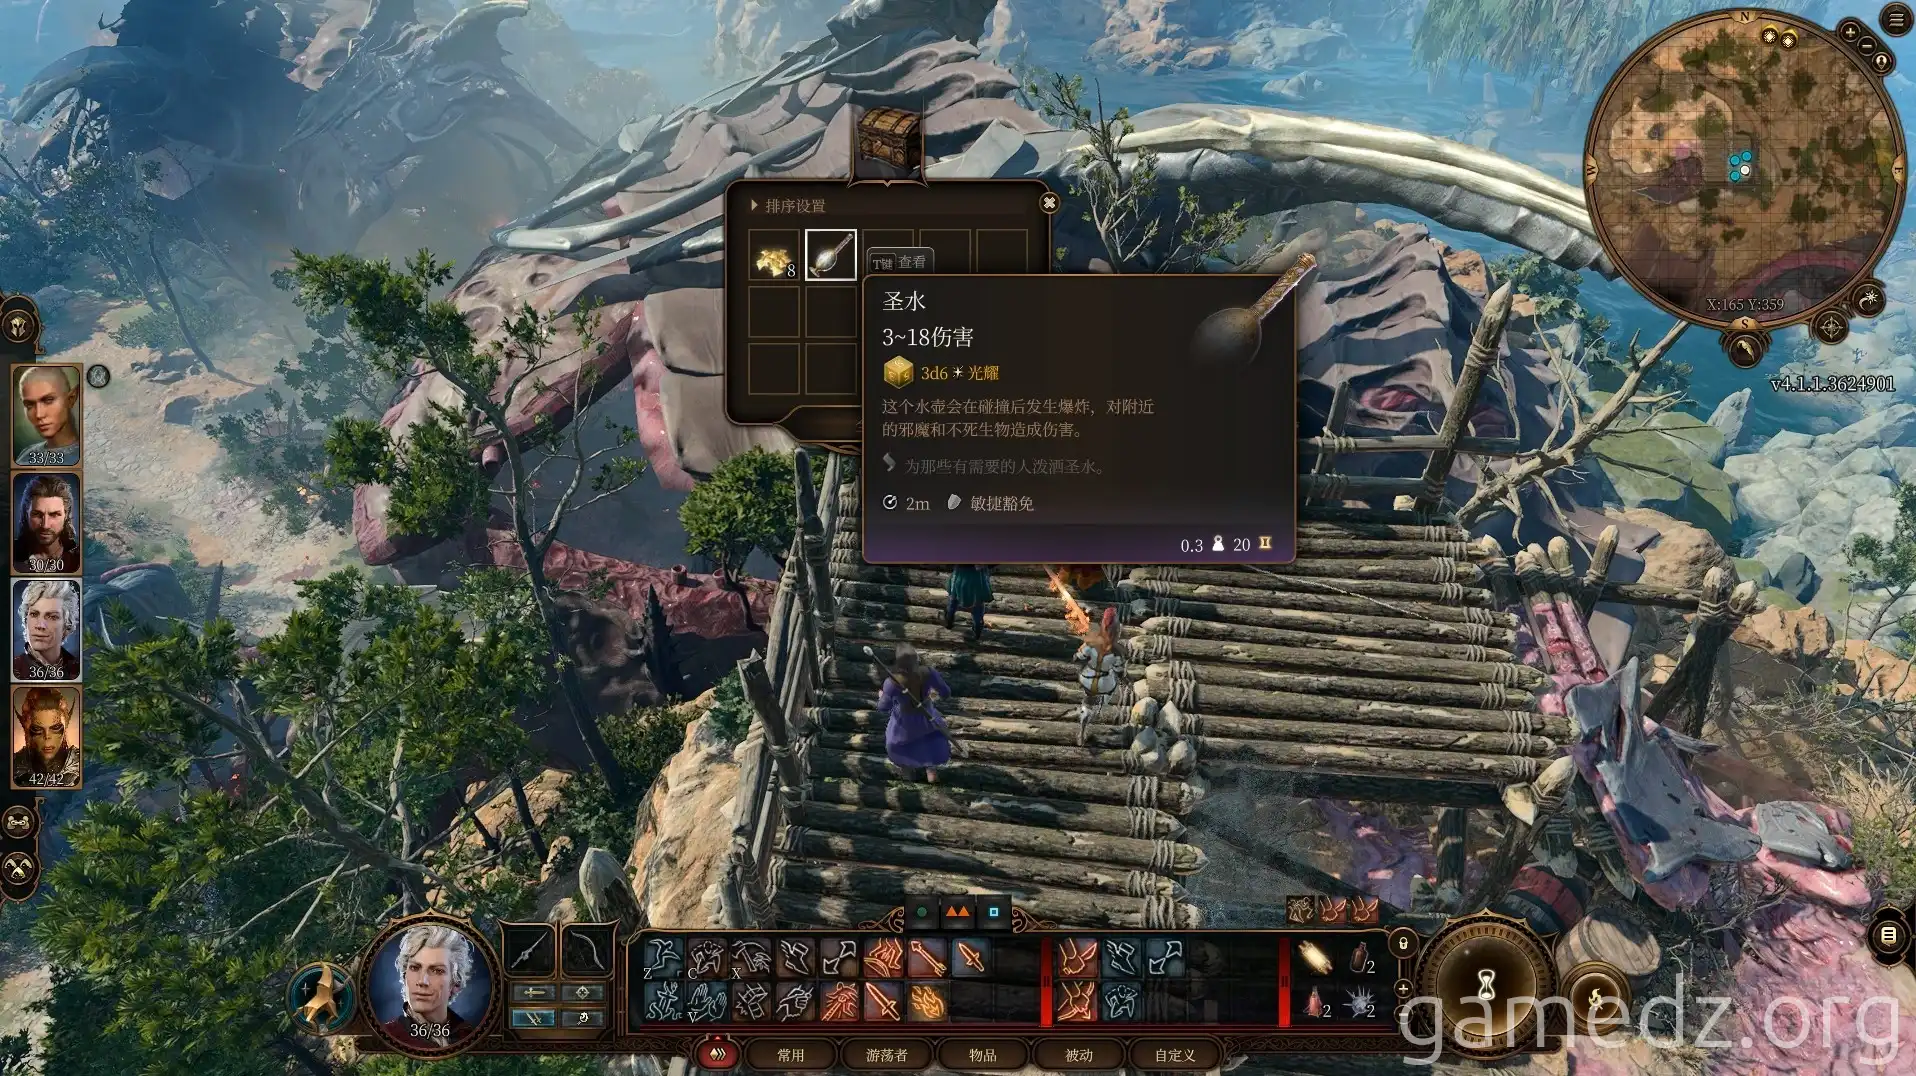
There is a chest on the wooden rack next to the camp.
Return to the front of the stone door and continue west along the path. Here we will meet a person called a [True Soul] and his two disciples.
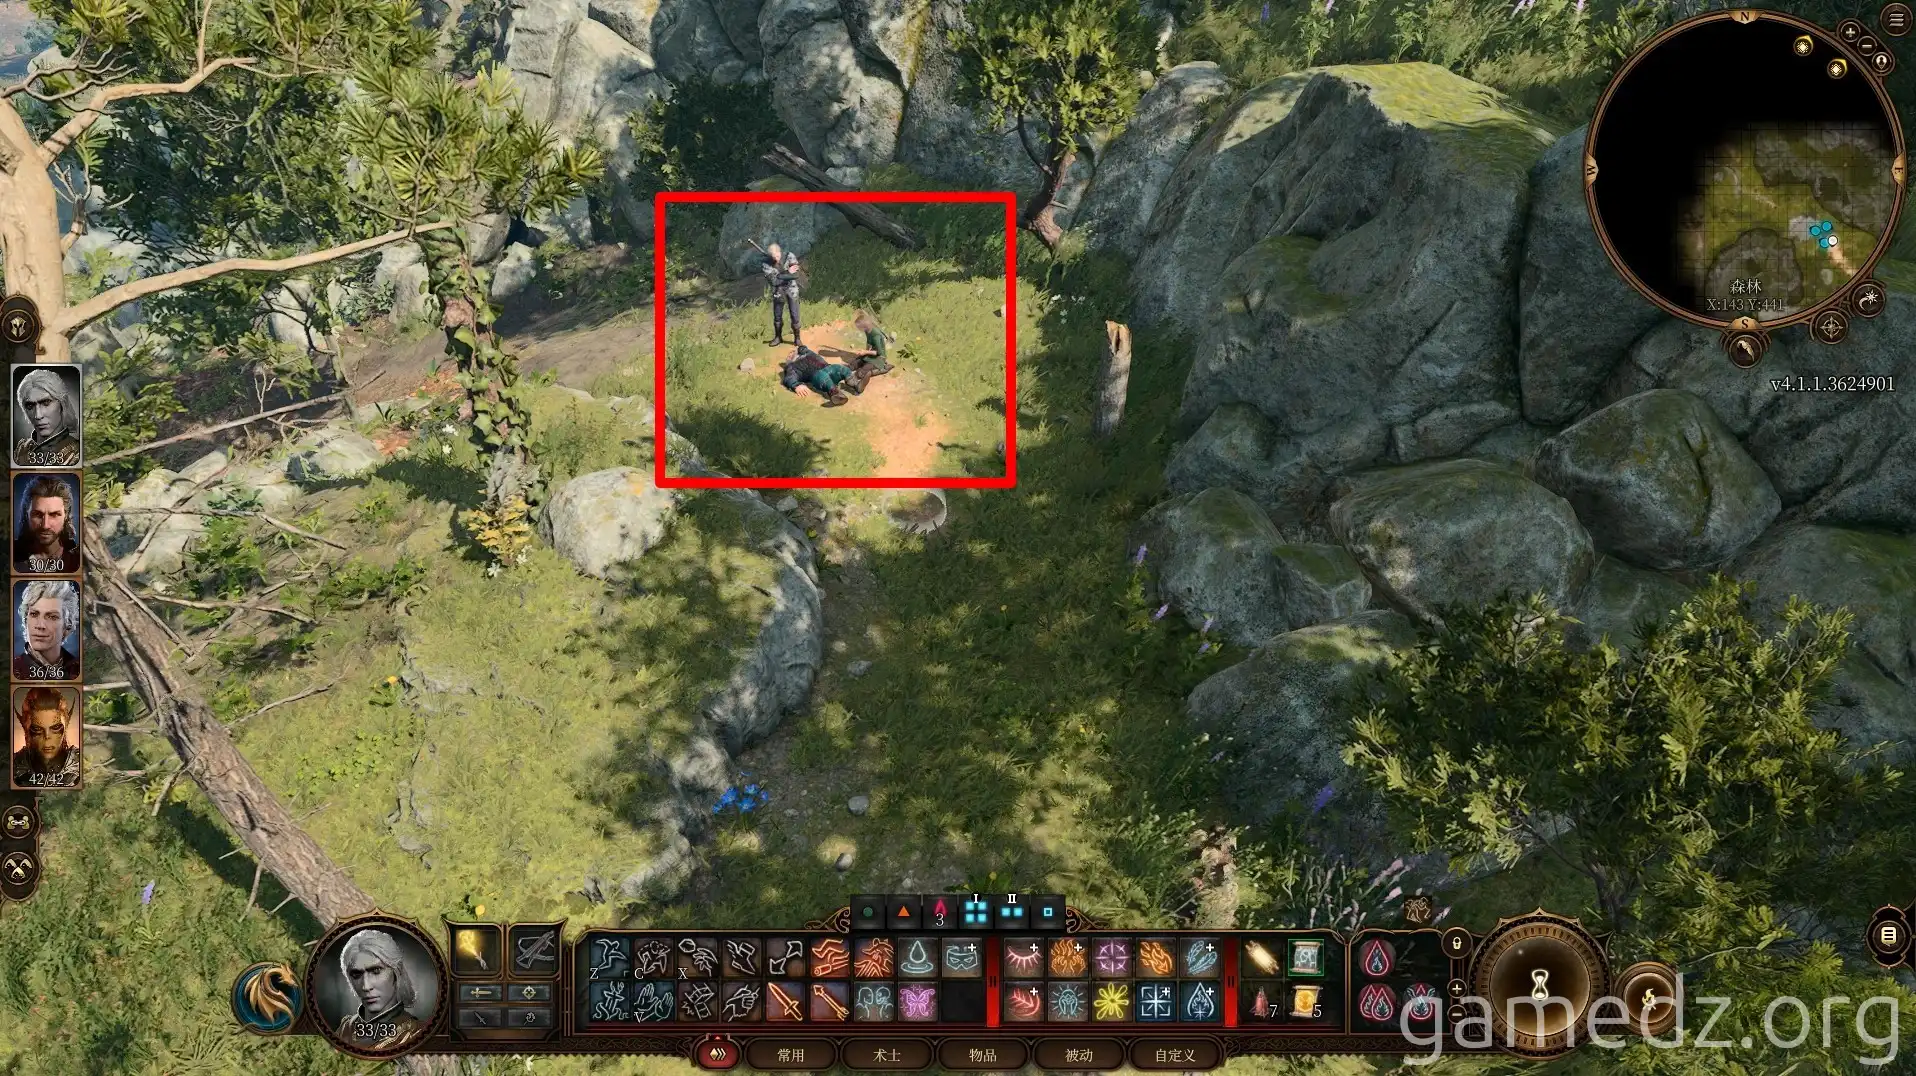
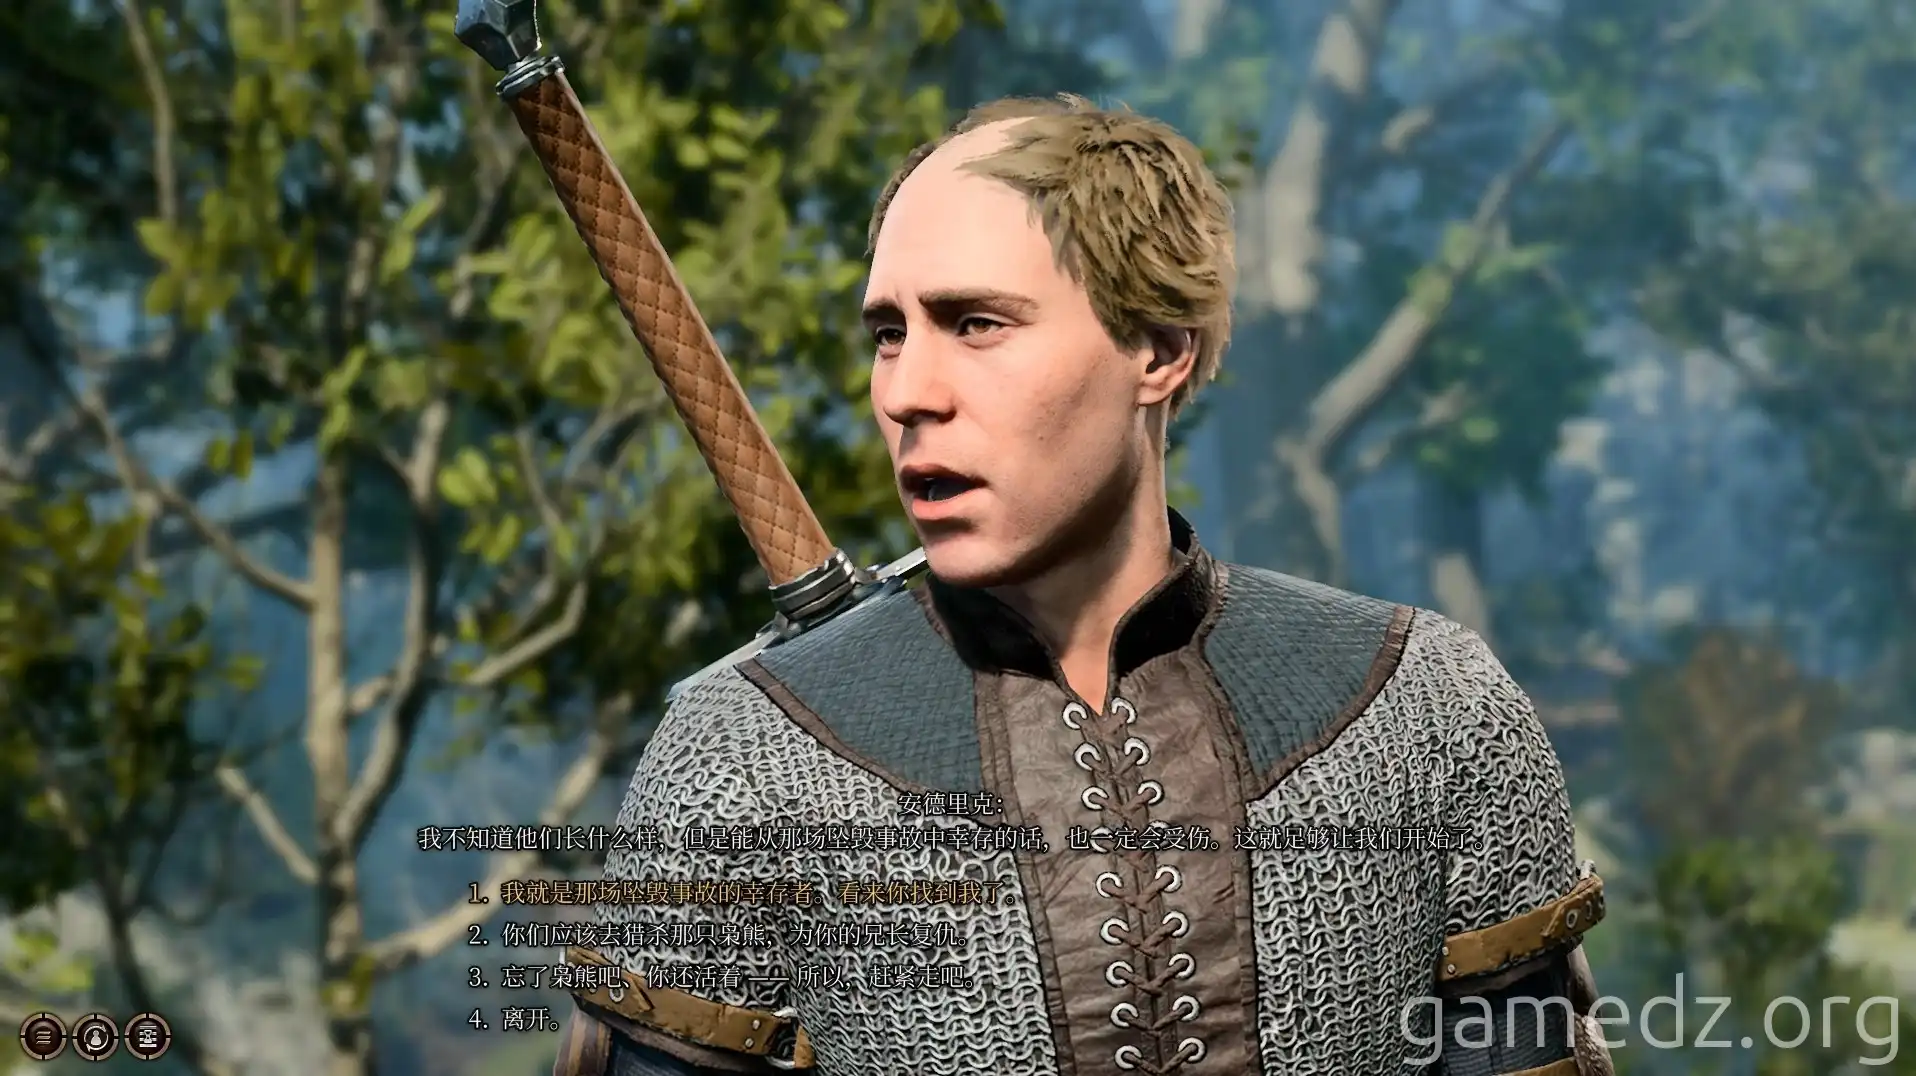
After a conversation, we learn that the True Soul died at the hands of an owlbear, and their purpose was to hunt down the survivors of the Nautiloid.
If you admit to being a survivor during the conversation, a battle will trigger immediately. Therefore, it is recommended to persuade them to go hunt the owlbear, so we can use the owlbear to eliminate them.
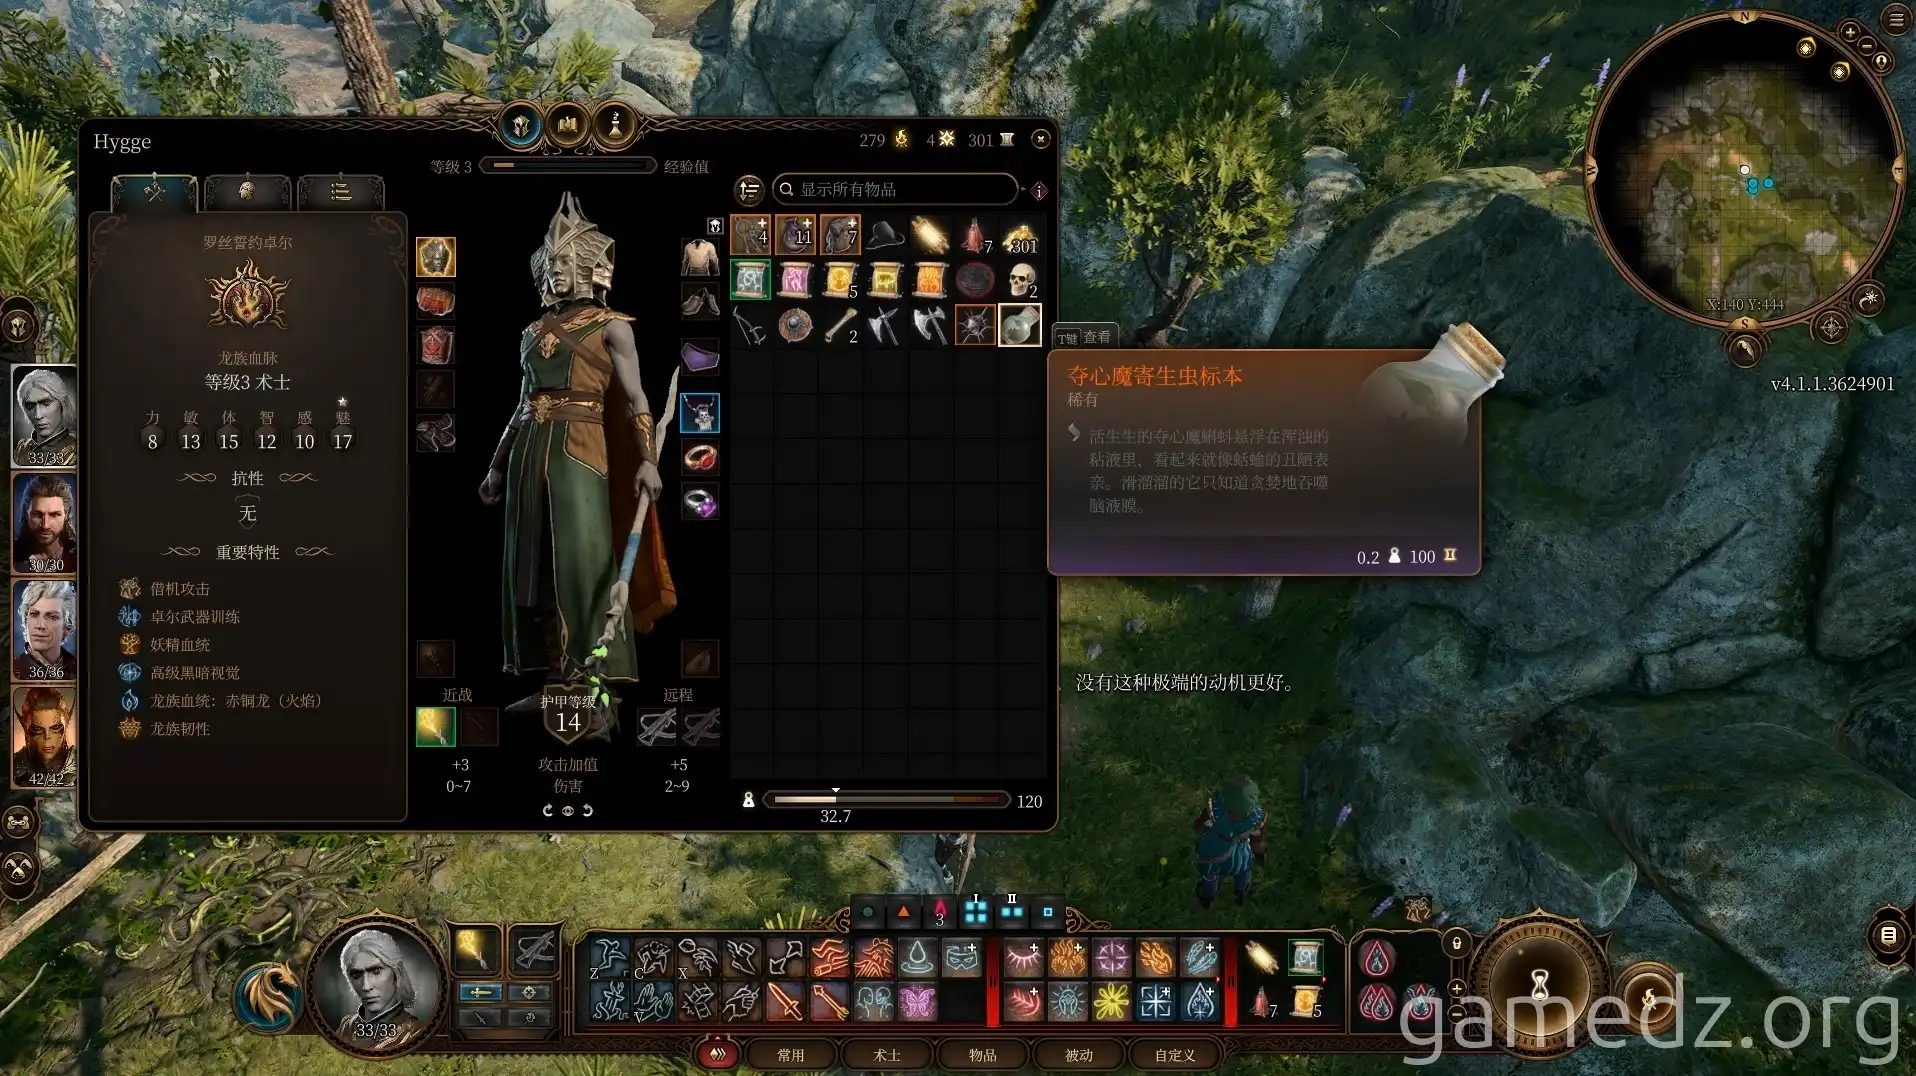
After the two leave, investigate the True Soul's body. Choose [Welcome the Mind Flayer tadpole's influence] to obtain the item [Mind Flayer Parasite Specimen]. When the Mind Flayer's influence on us deepens later, using this item can unlock some very useful Mind Flayer powers.
Loot the True Soul's body to get the item [Broken Shortspear Hilt]. Keep it, don't throw it away.
Continue west until you see a stone bridge, then you don't need to go any further. Next, we will return to the Emerald Grove to find a healer and do some exploration.
