Baldur's Gate 3: Gilded Vale Monastery Map & Loot Guide
Your ultimate Baldur's Gate 3 guide to the Gilded Vale Monastery. Discover hidden loot, powerful ritual weapons, and the Radiance of the Dawnfather buff. Full map exploration and walkthrough.
Enter the mountain pass via the stone bridge west of the Waukeen's Rest to prepare for your journey to the Gilded Vale Monastery.
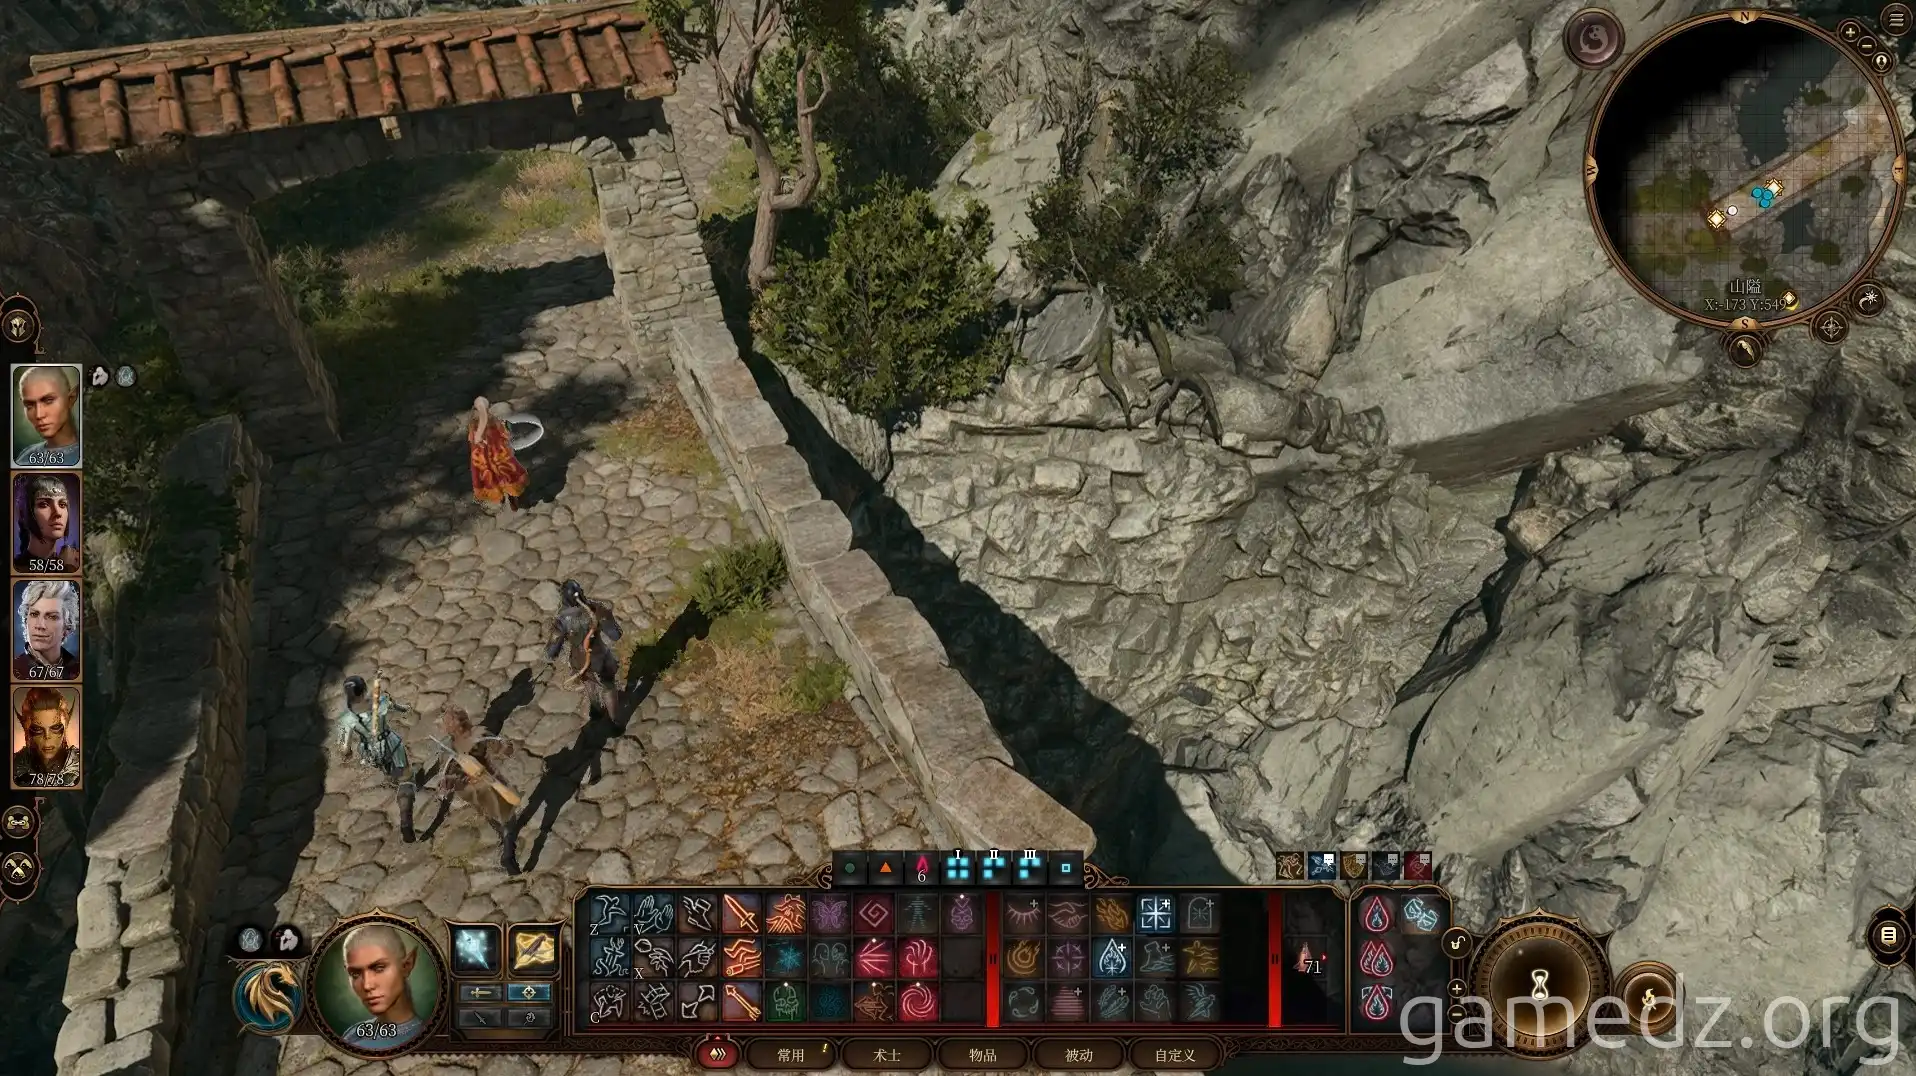
Follow the path straight ahead to activate the waypoint. Going west from here will lead you back to the Goblin Camp. Since there isn't much of interest along that route, we'll skip the details.
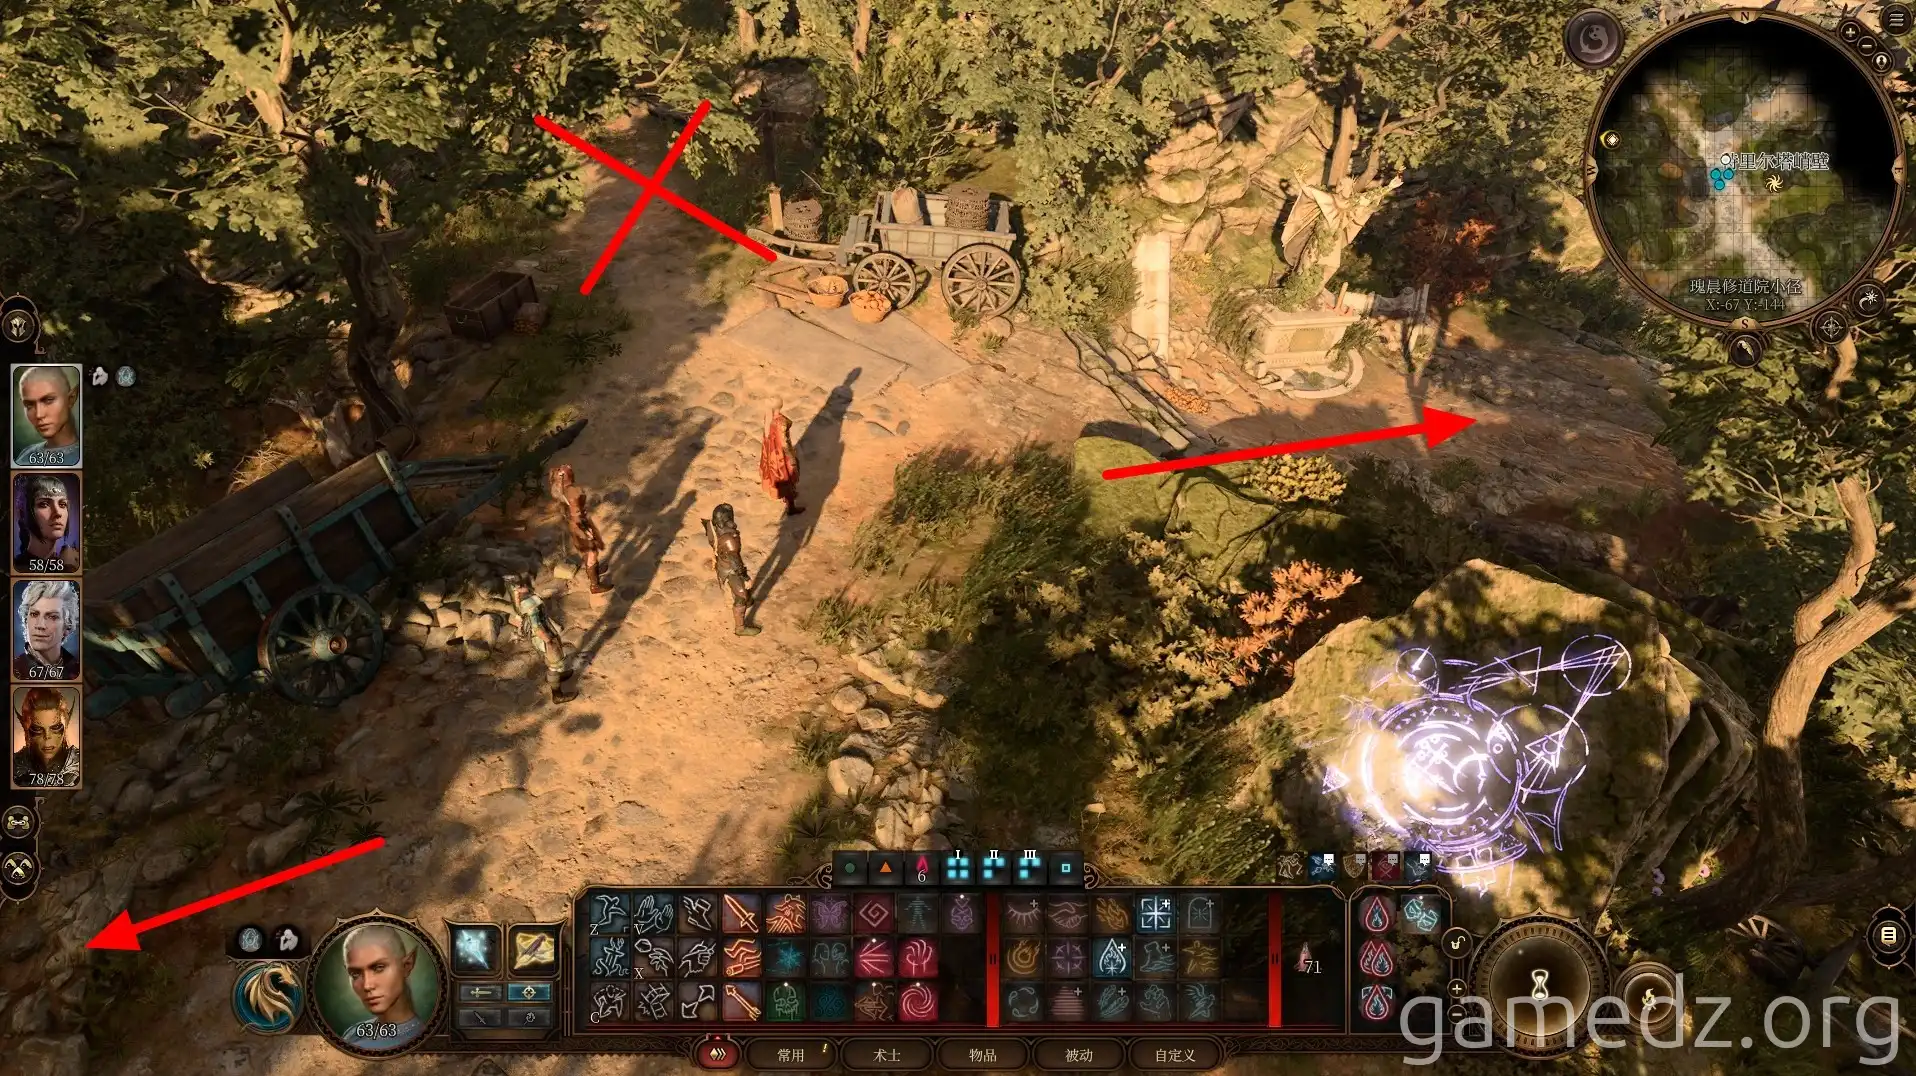
Next, head east from the path next to the waypoint. Be sure not to go further north. There are two Death Masters to the north, and they pose a significant challenge at our current level. It's recommended to tackle them after you've explored the Monastery and the Creche Y'llek.
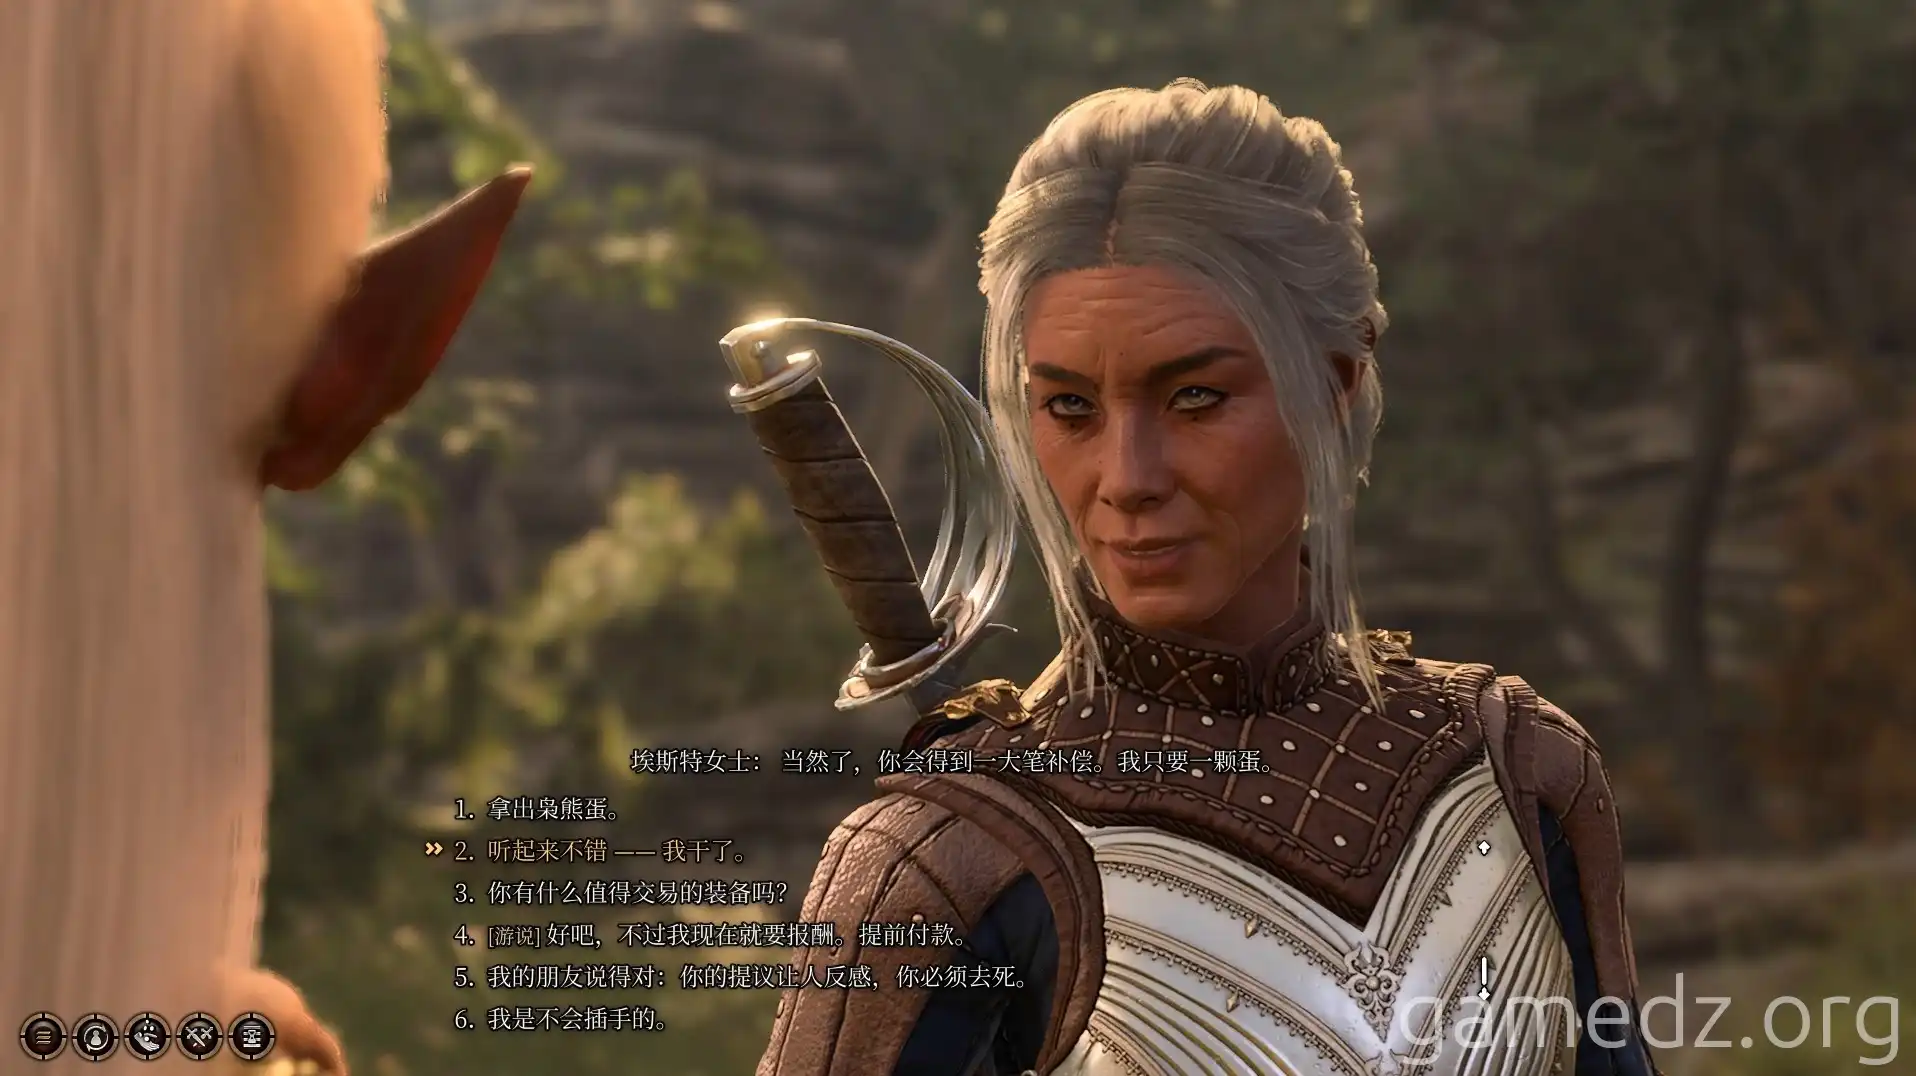
On the eastern path, you'll encounter Lady Esther. After a conversation, she will ask you to bring her a Githyanki egg.
You can use the Owlbear egg you acquired earlier to complete this quest. However, don't hand it over immediately during the dialogue, as you'll want to purchase some equipment from her first.
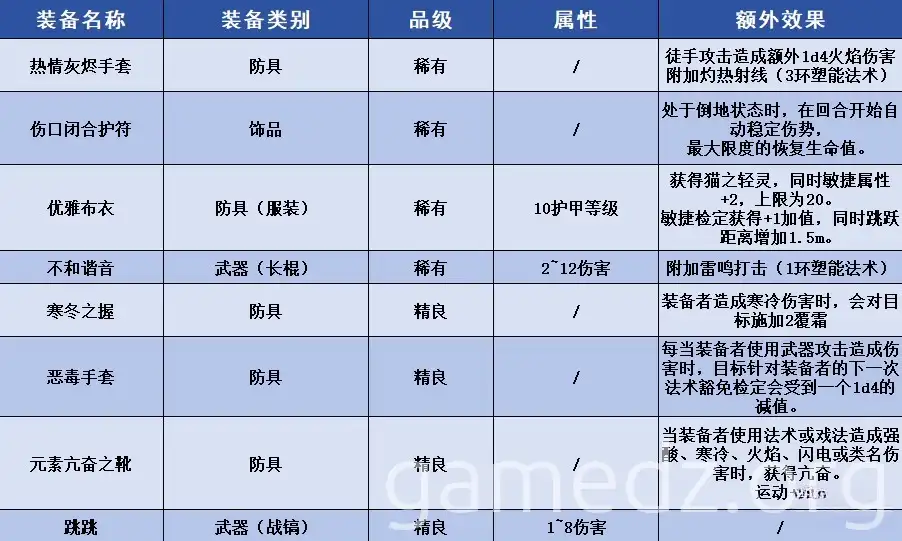
Here is a list of unique equipment sold by Lady Esther and their stats. You will be unable to trade with her after handing over the Owlbear or Githyanki egg.
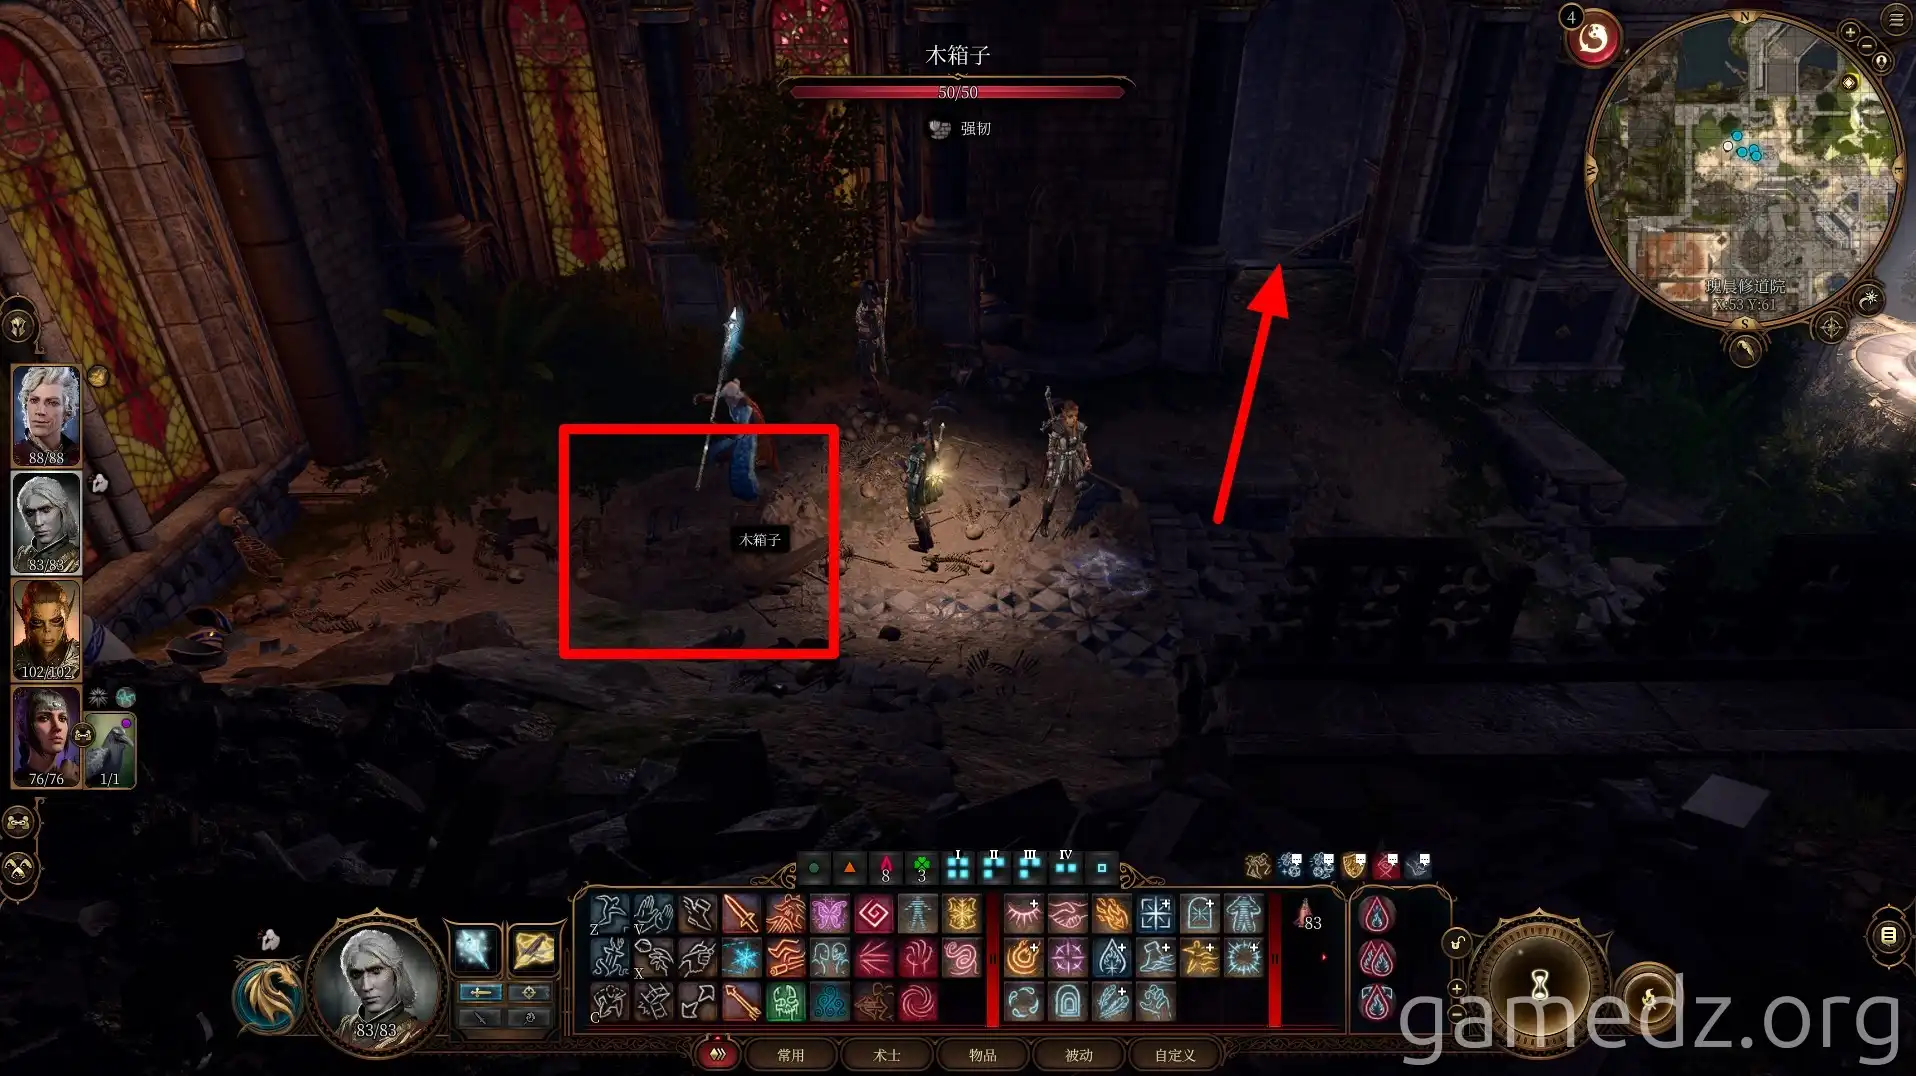
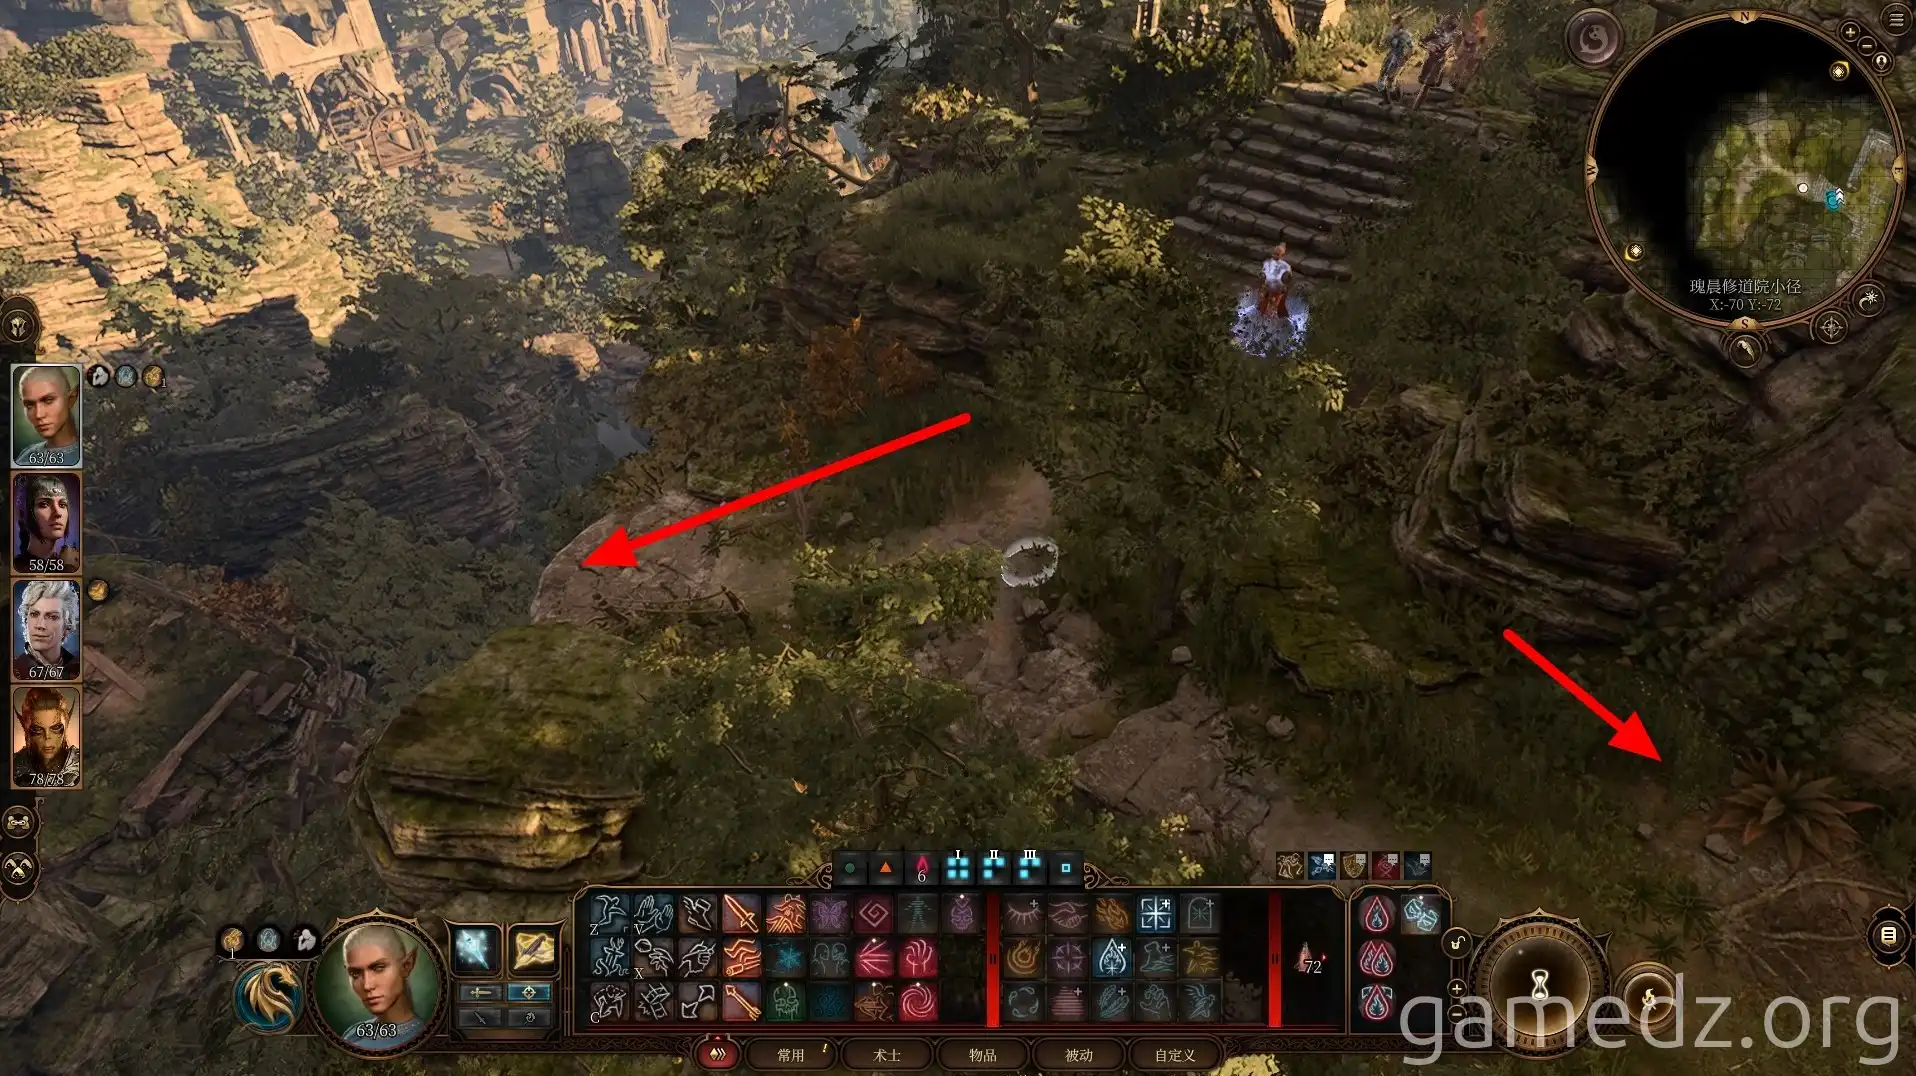
Continue along the road to the cable car. However, it's advisable to take the mountain path instead. South of the cable car, in the corner to your right, you'll find a chest. Then, follow the rugged rocks on the left to reach the lower level.
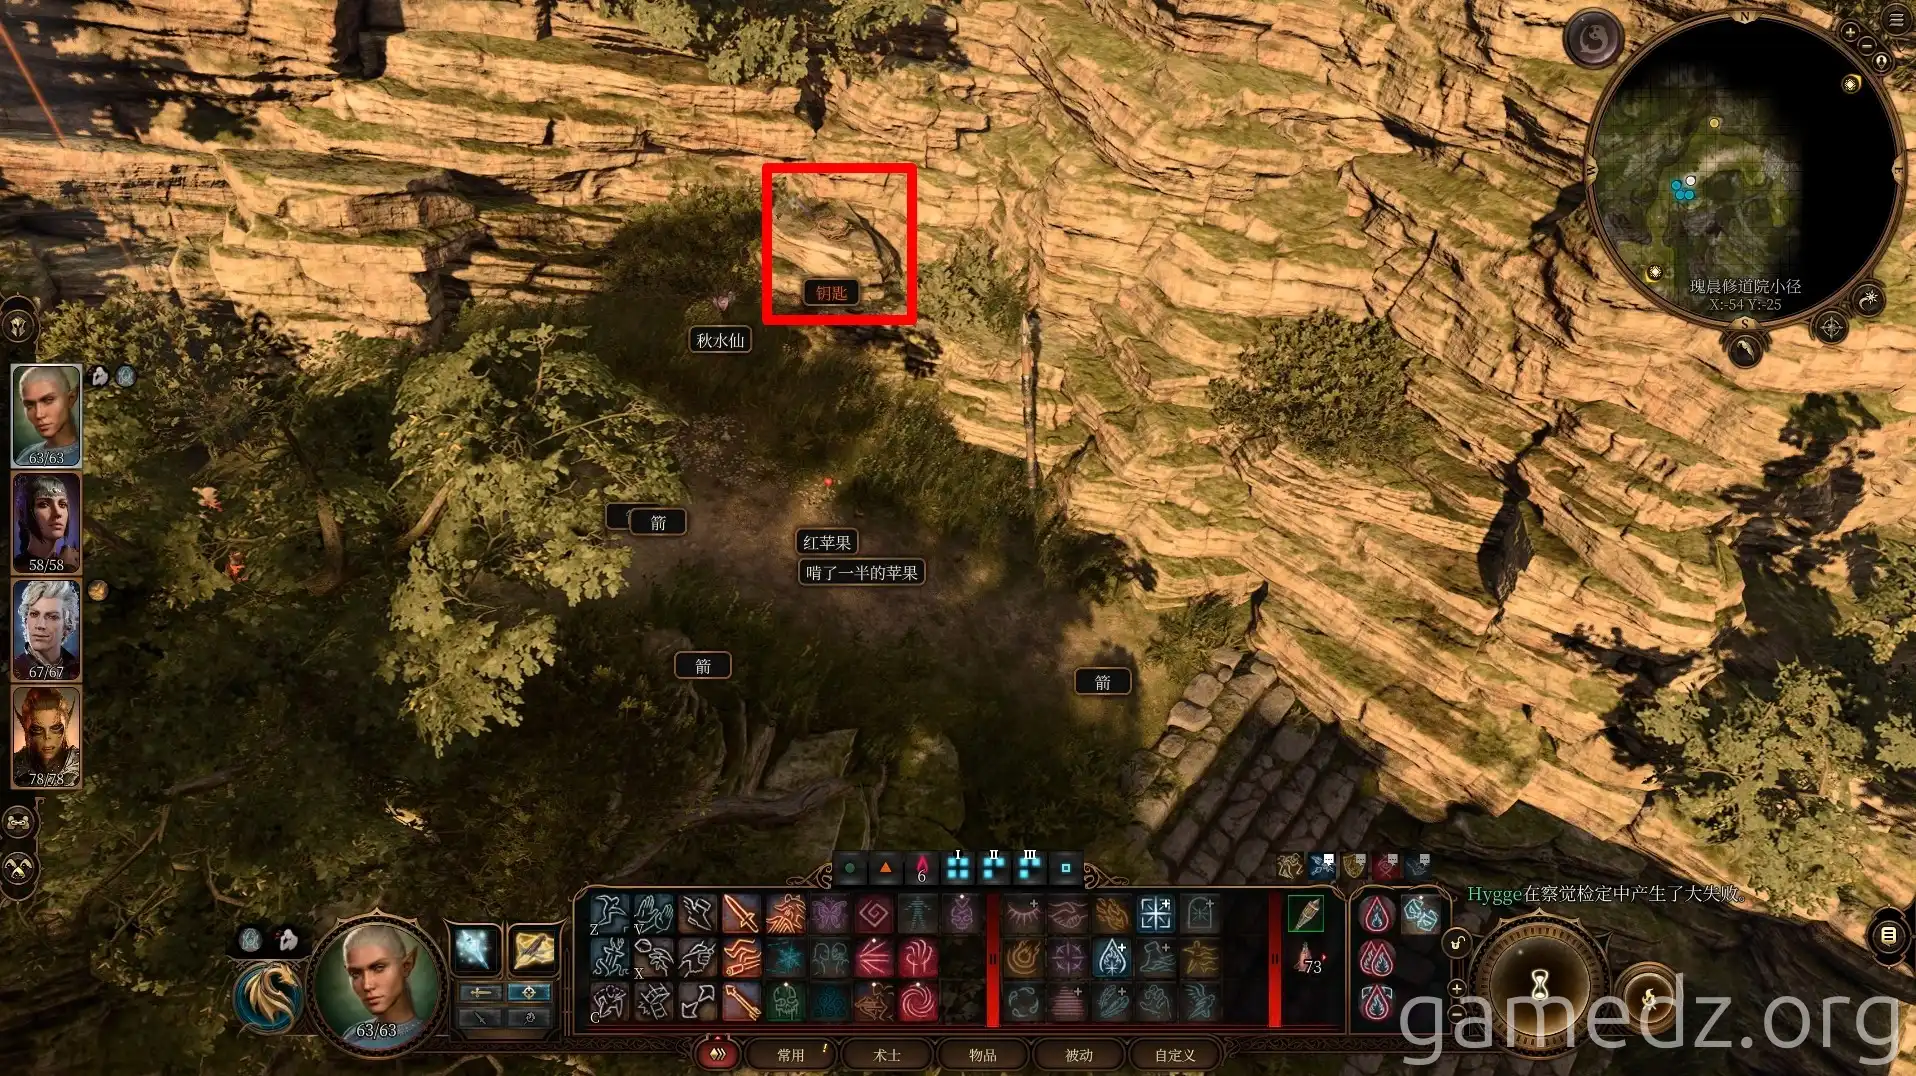
In the bird's nest ahead of the mountain path, you'll find a key. Later, after defeating the eagle on the monastery's rooftop, you can speak with it to learn about something buried at the ferry dock.
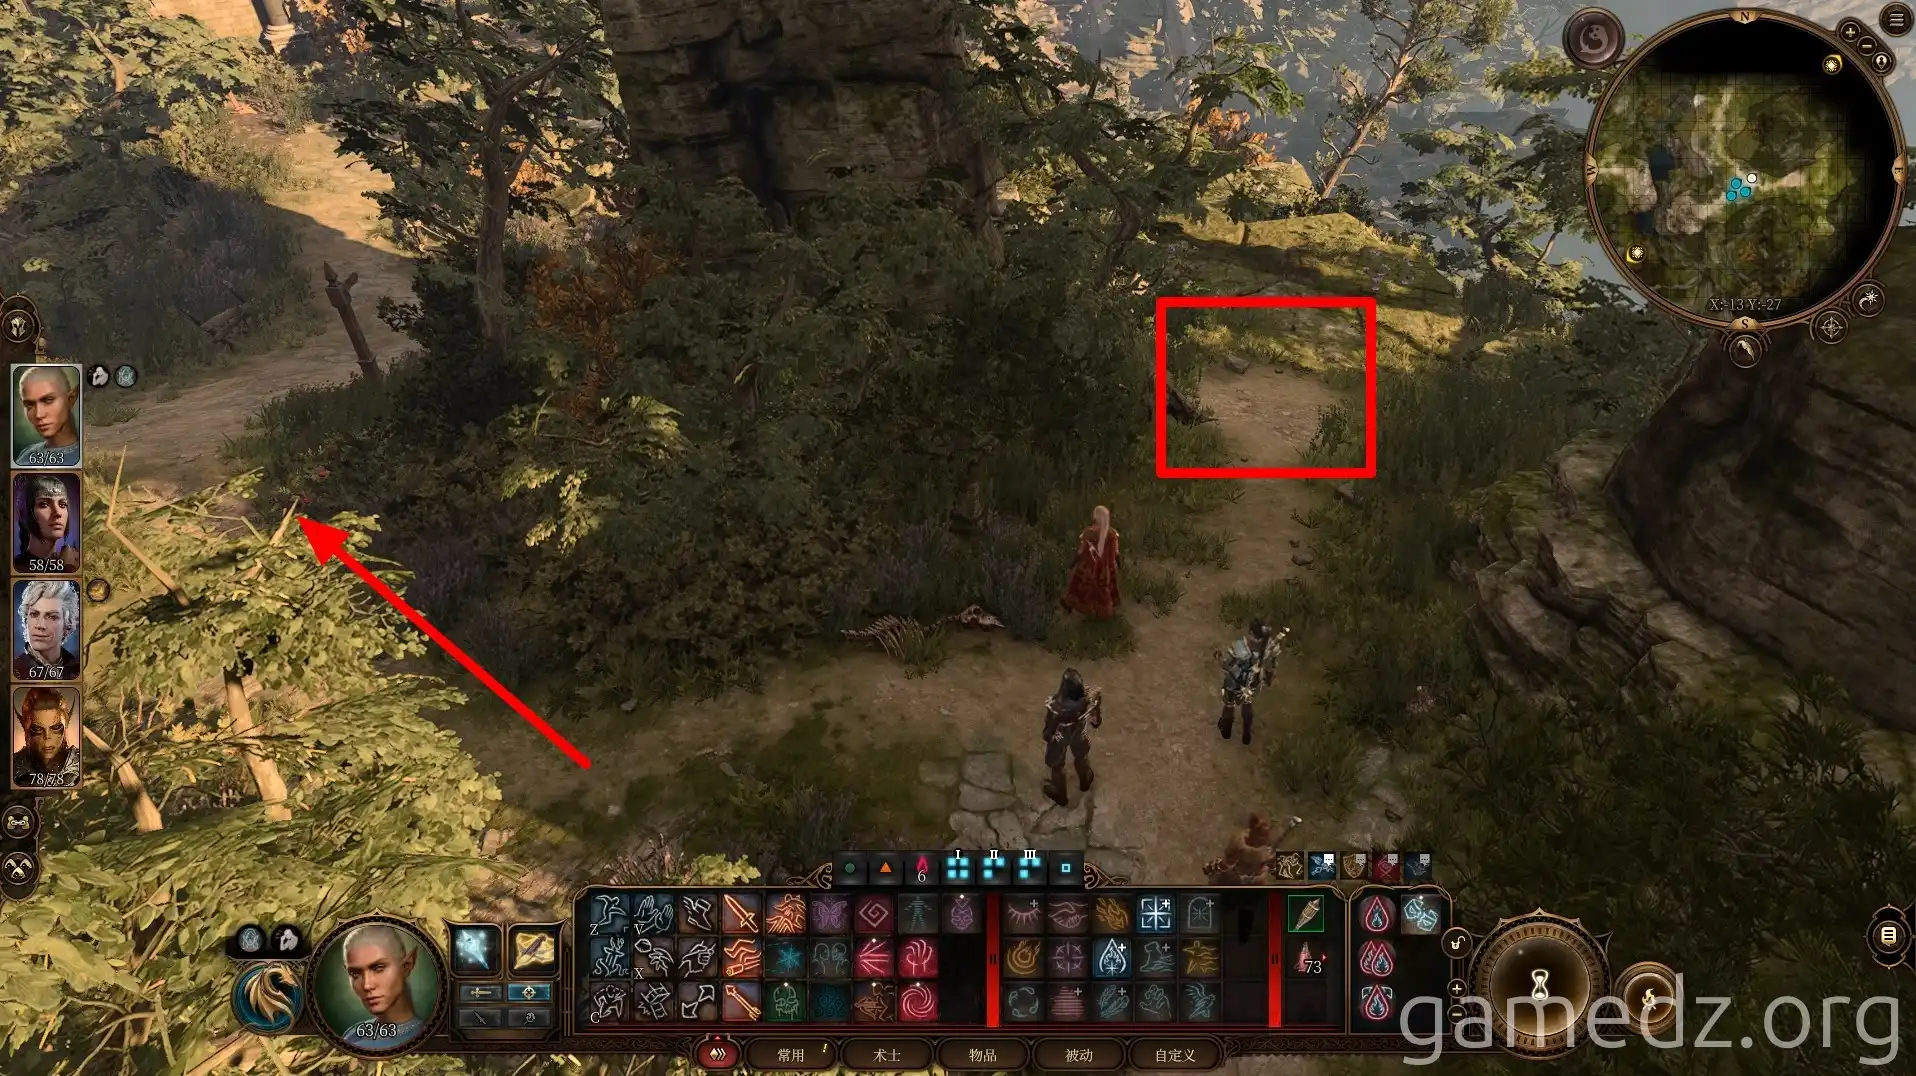
You'll reach a fork in the road. To the right, there's a dirt mound with a buried chest. Take the contents and continue forward and to the left.
In the open area near the cable car ahead, you can find some item supplies.
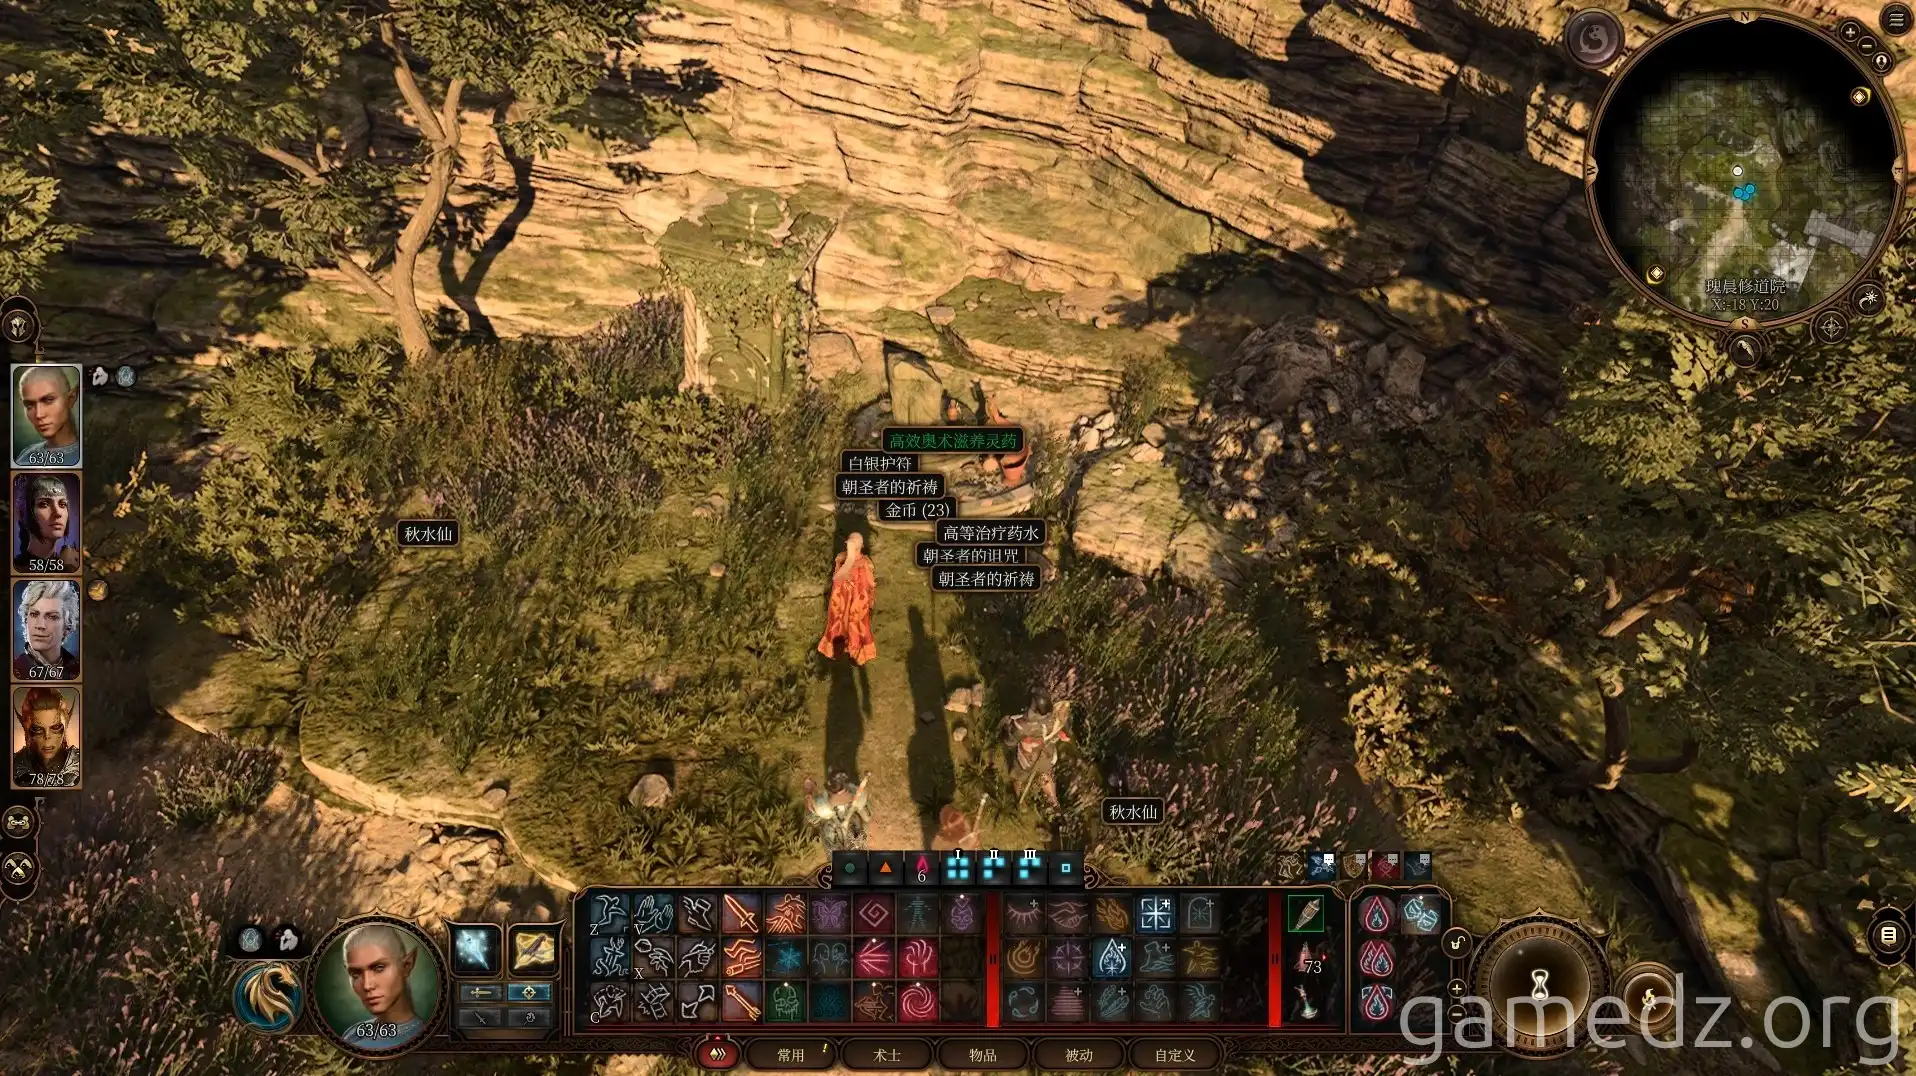
Continue along the path to activate the Gilded Vale Monastery waypoint.
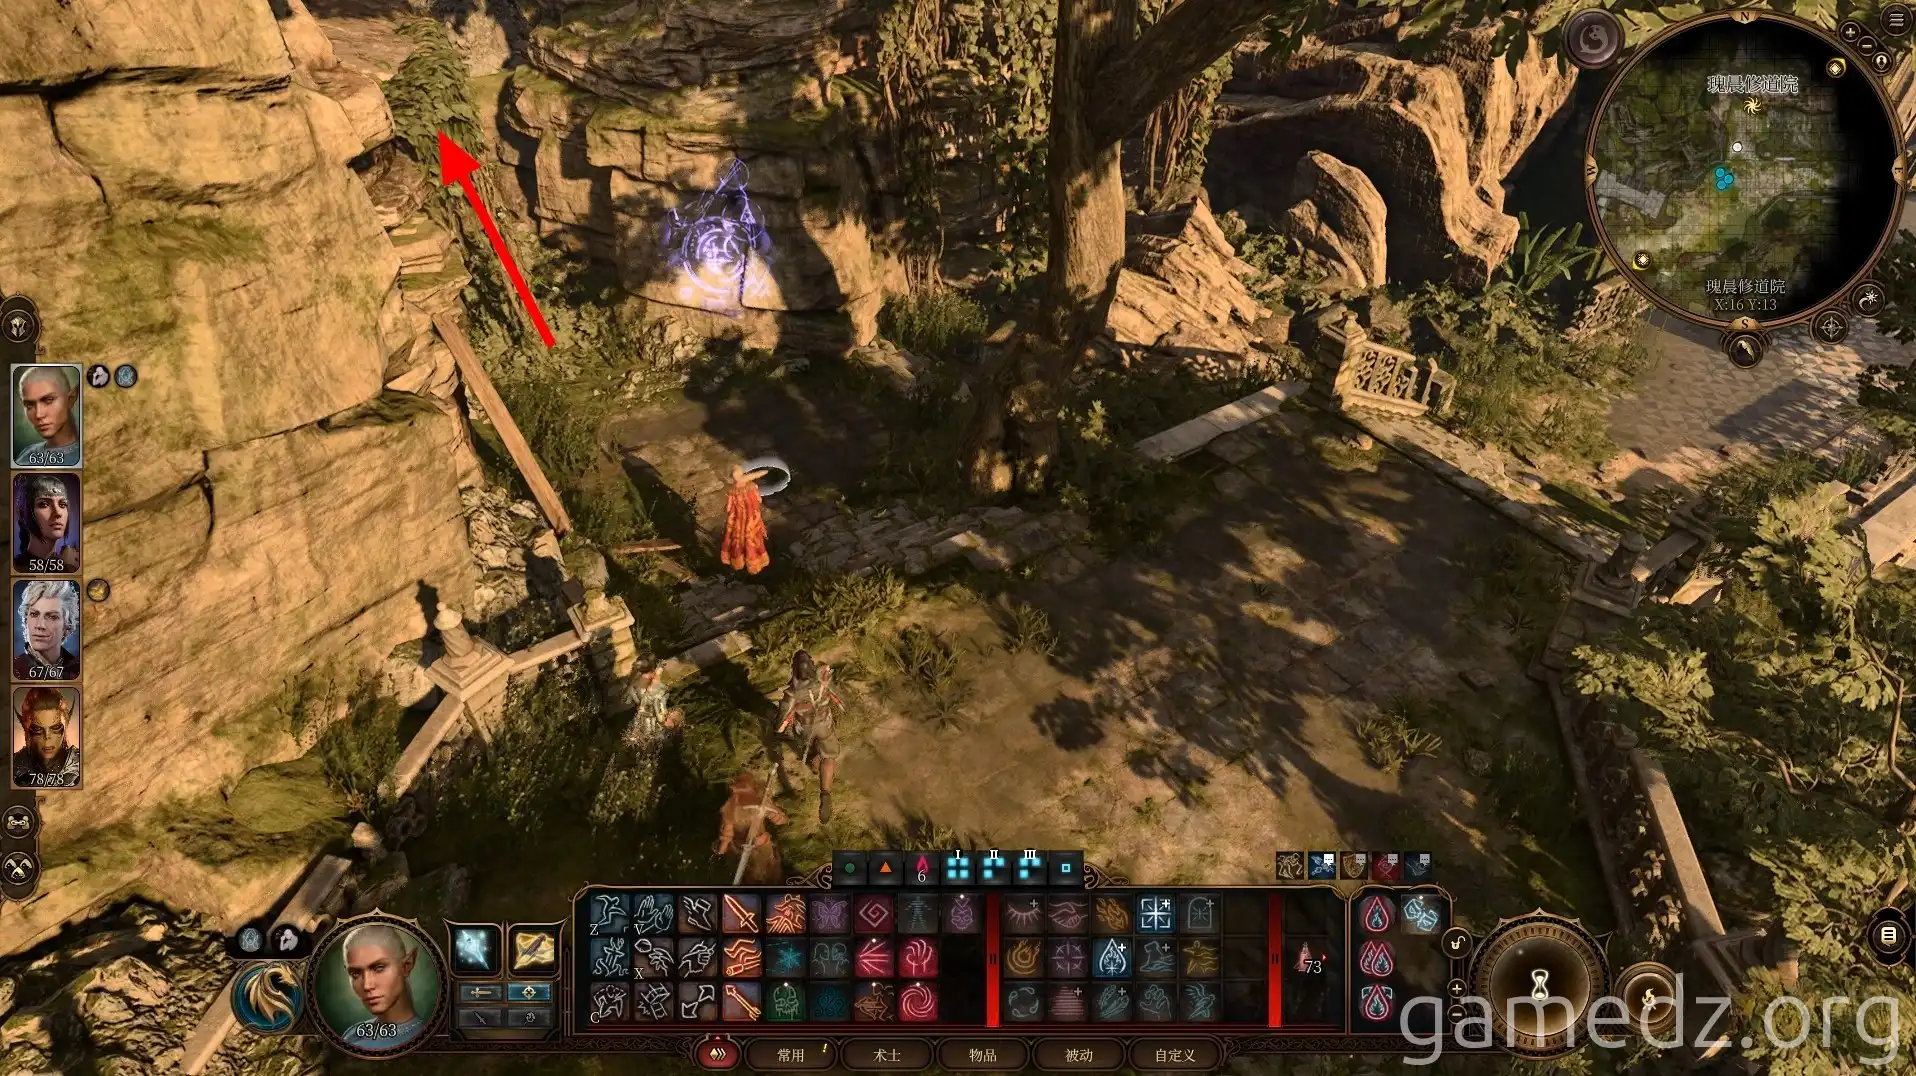
You can use the nearby vines and the upper platform to directly enter the second floor of the monastery. However, there are still some areas to explore outside the monastery, so we won't take this route in just yet.
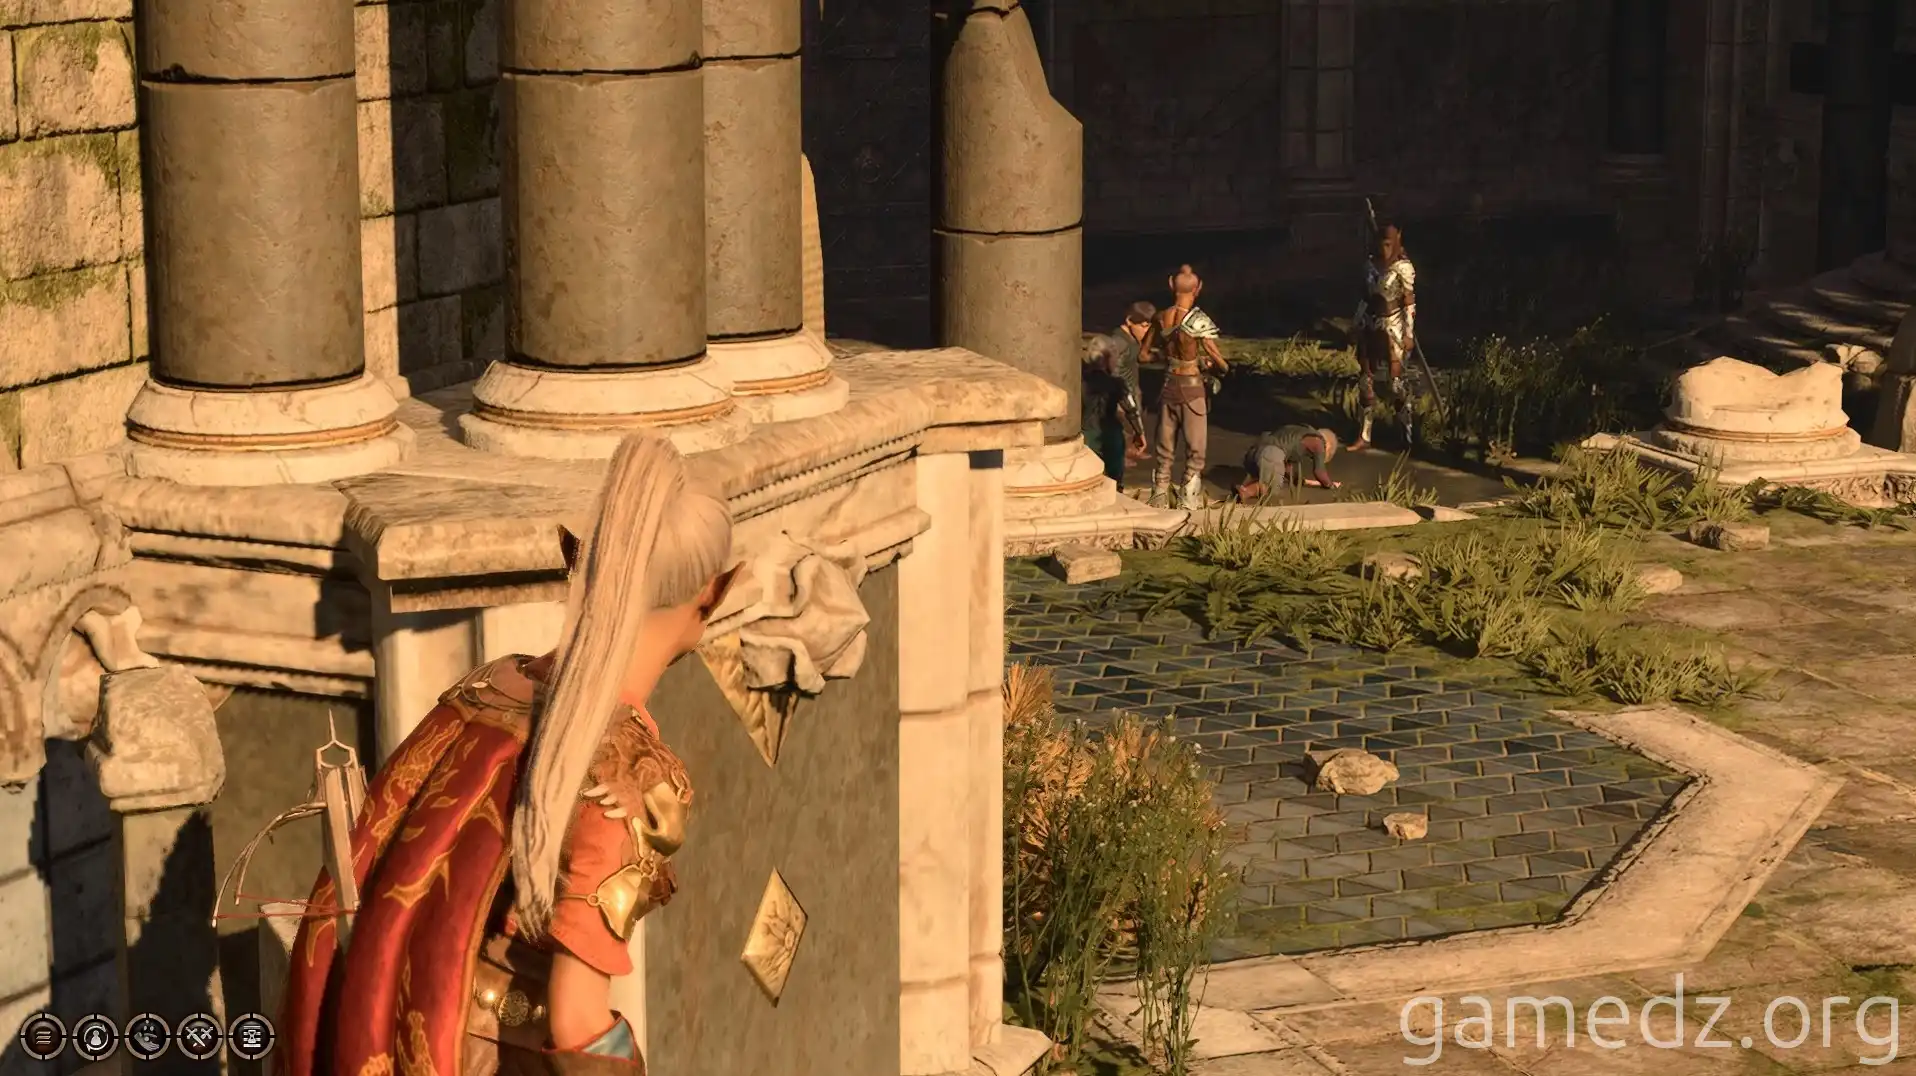
Upon reaching the main entrance of the monastery, you'll see Githyanki escorting prisoners inside. The main gate is magically sealed, preventing entry, so you'll need to find another way.
Enter the monastery through the broken window to the left of the main entrance.
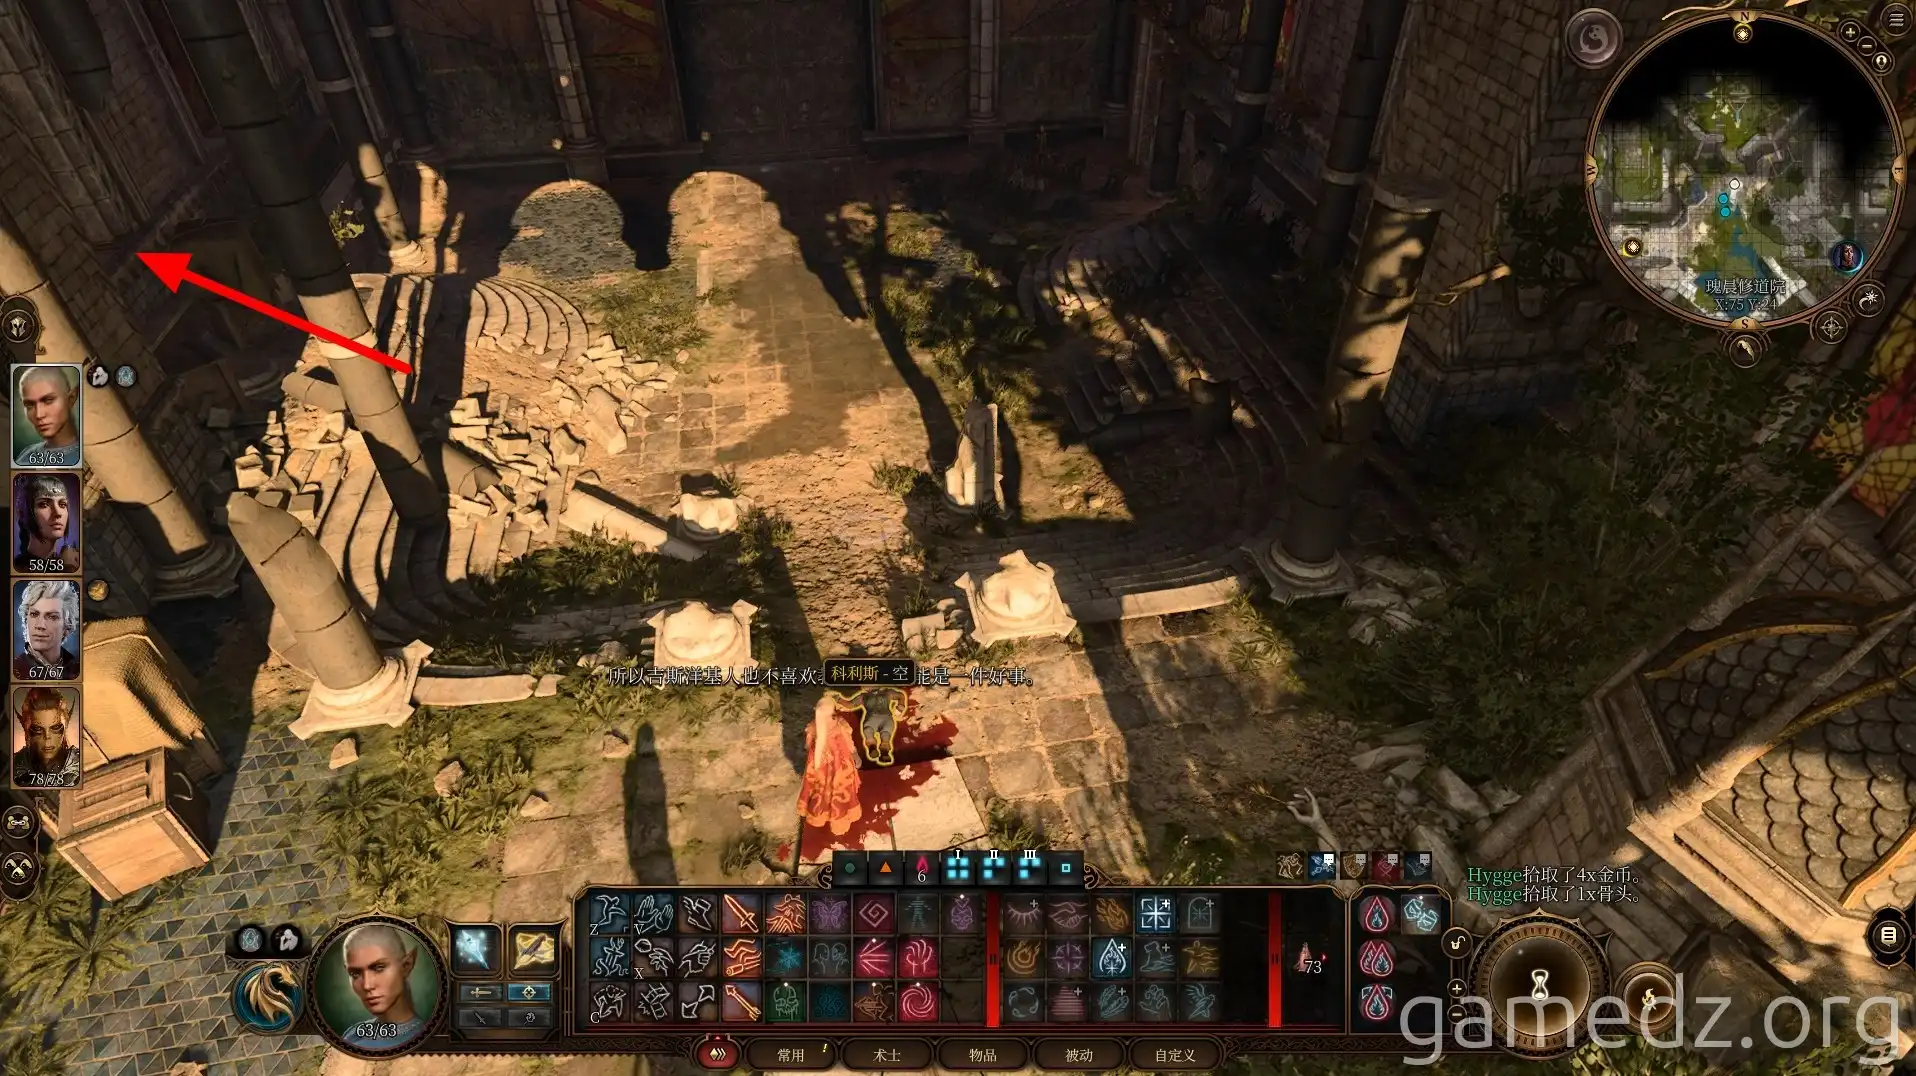
Inside the room, you'll find several Kobolds. From one of the leaders, you can obtain the rare weapon Ritual Maul. This weapon is needed for a later puzzle, but you can substitute it with any similar common weapon.
Afterward, return the way you came to the front of the monastery's main entrance.
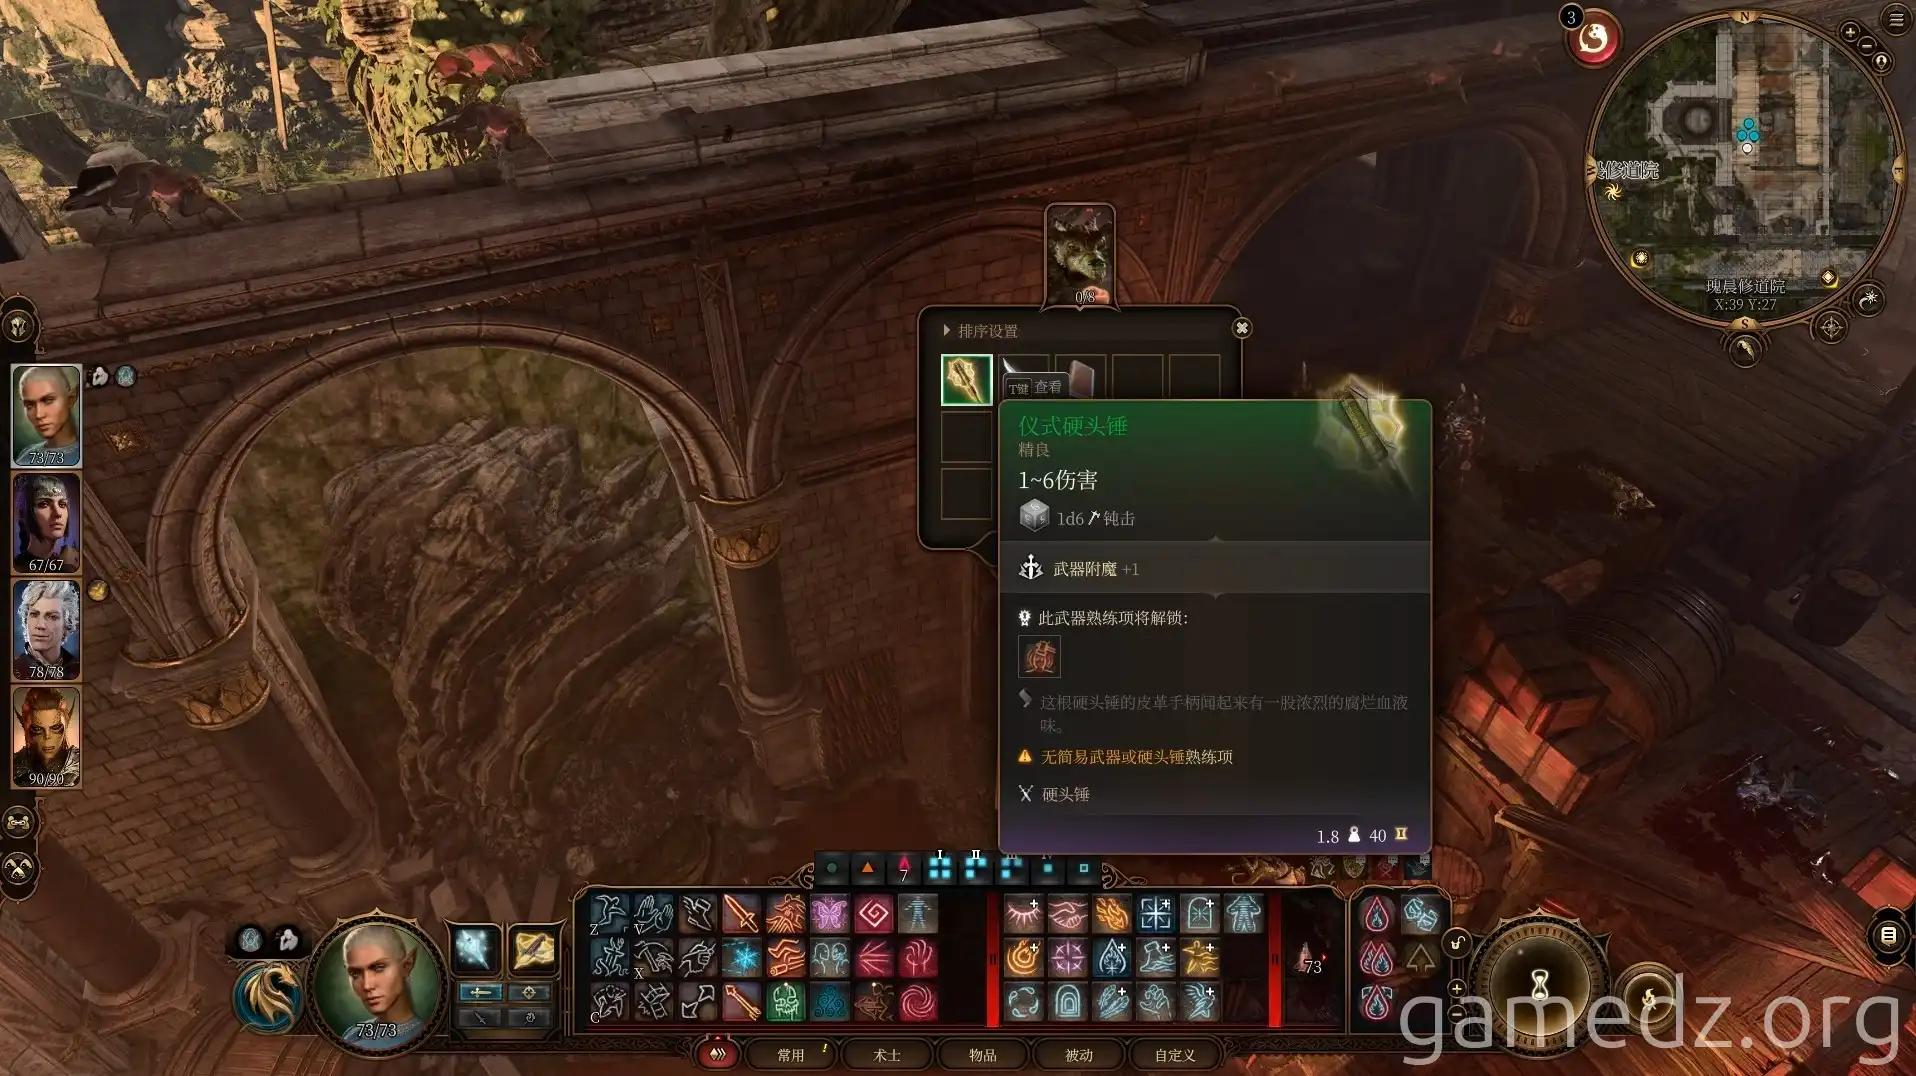
From outside the monastery's main entrance, head down the path next to the stairs you came from.
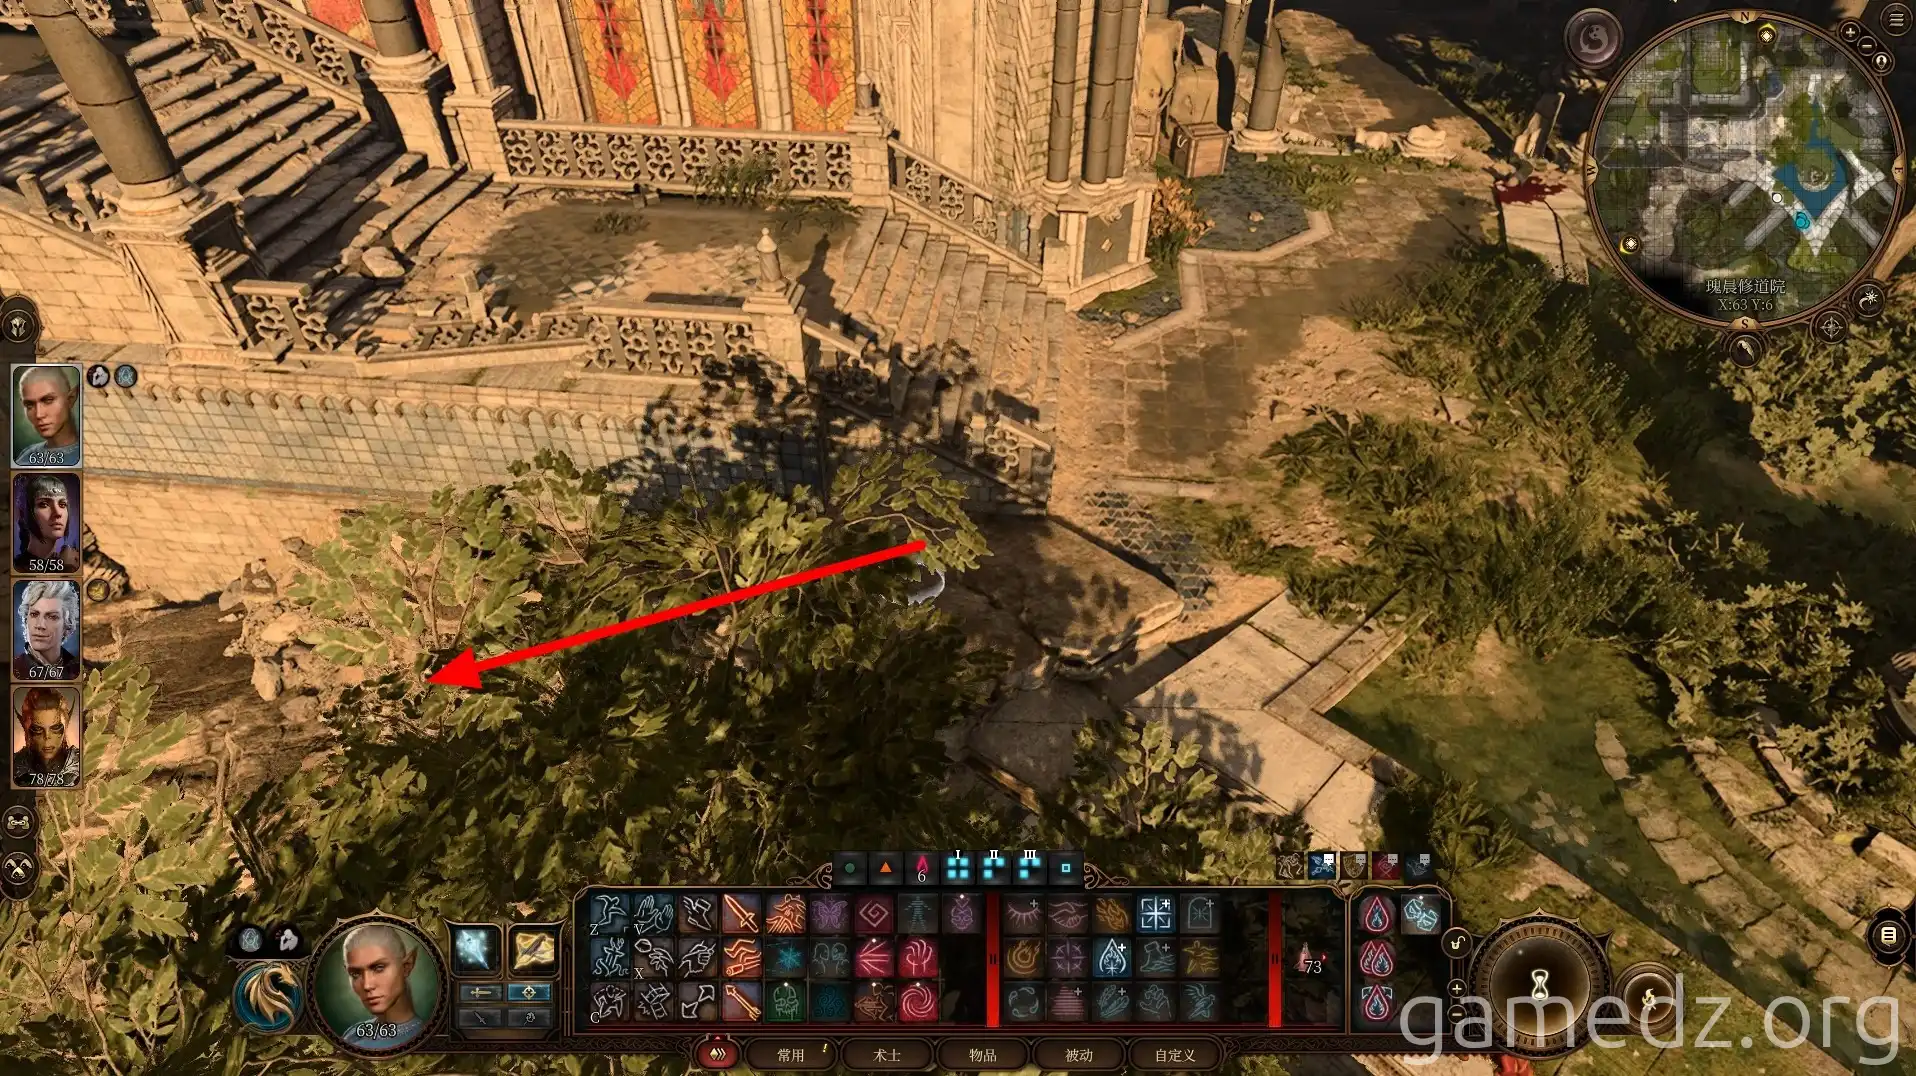
In the chest below, you can find some magic arrows. Then, continue to the right along the path.
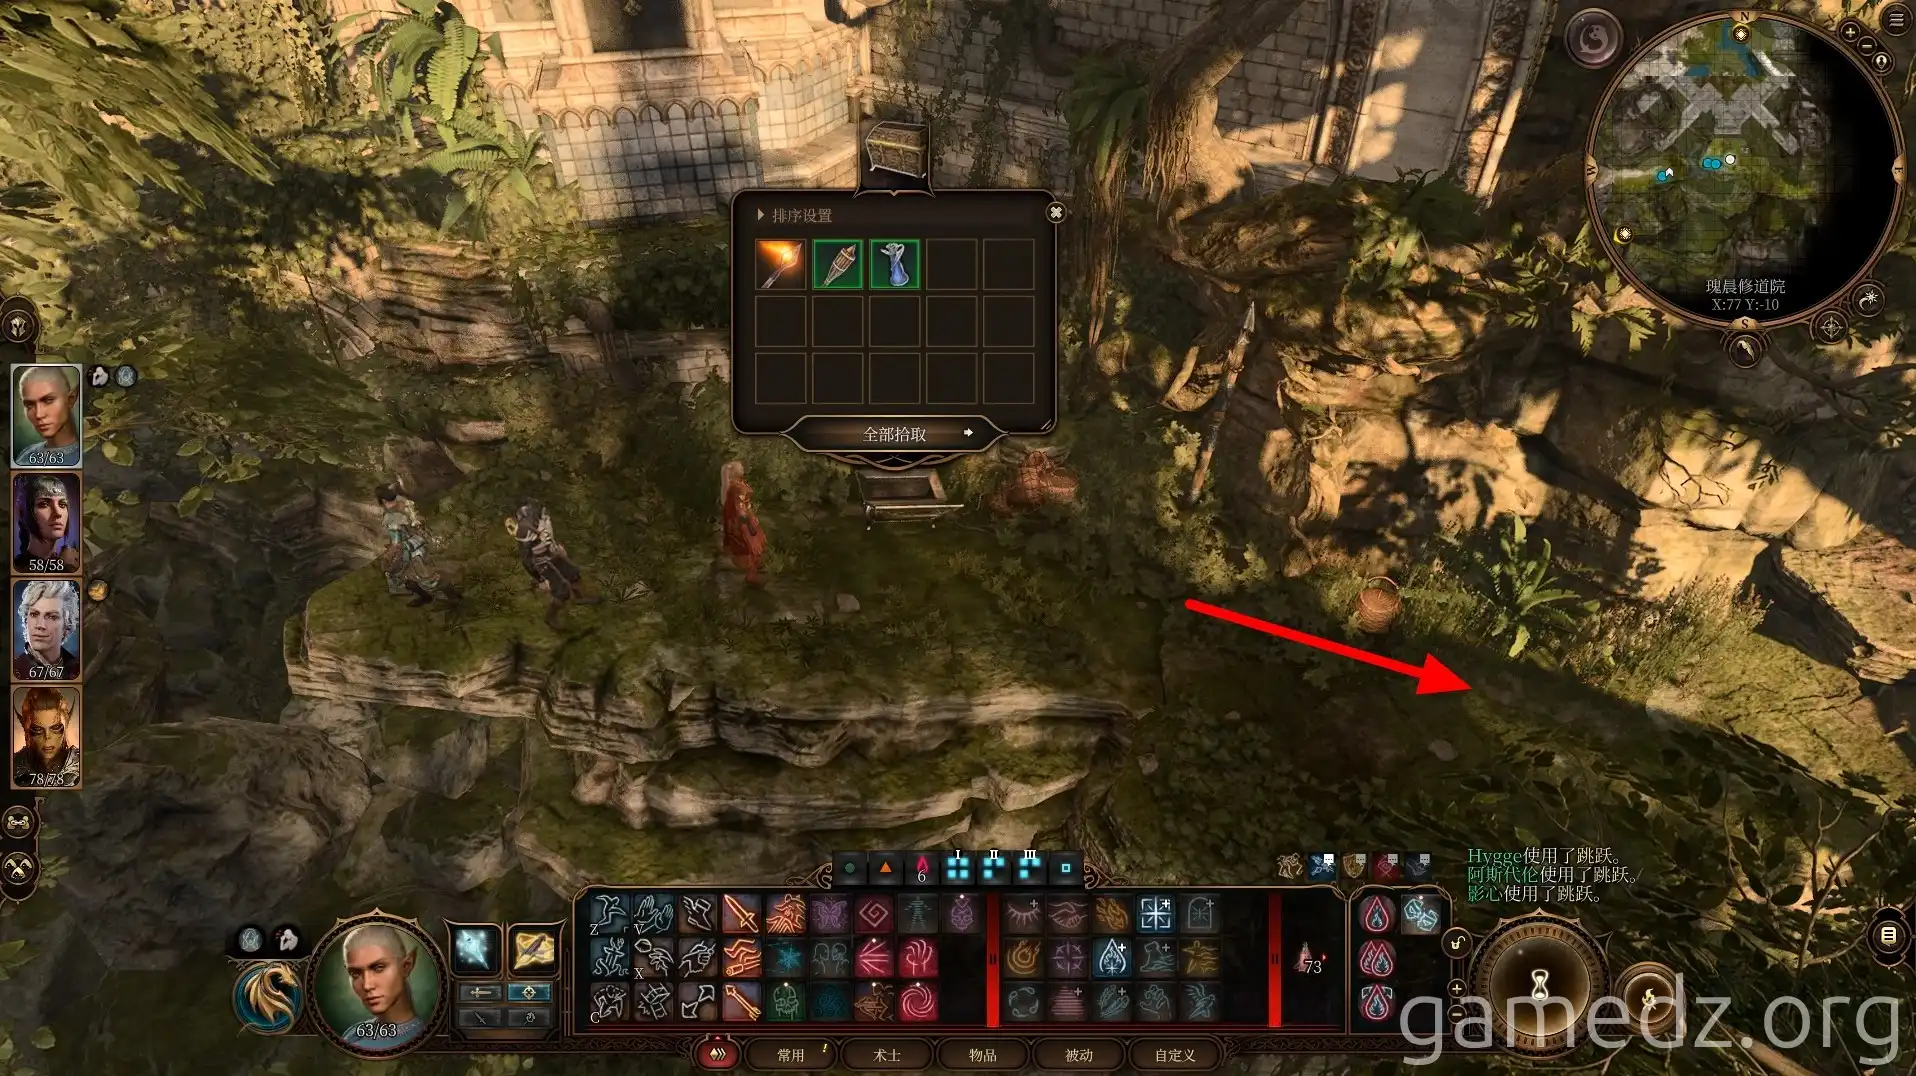
Using the vines next to the chest, you can descend through a hidden passage into the Creche. However, since the monastery is not yet fully explored, we will not take this route.
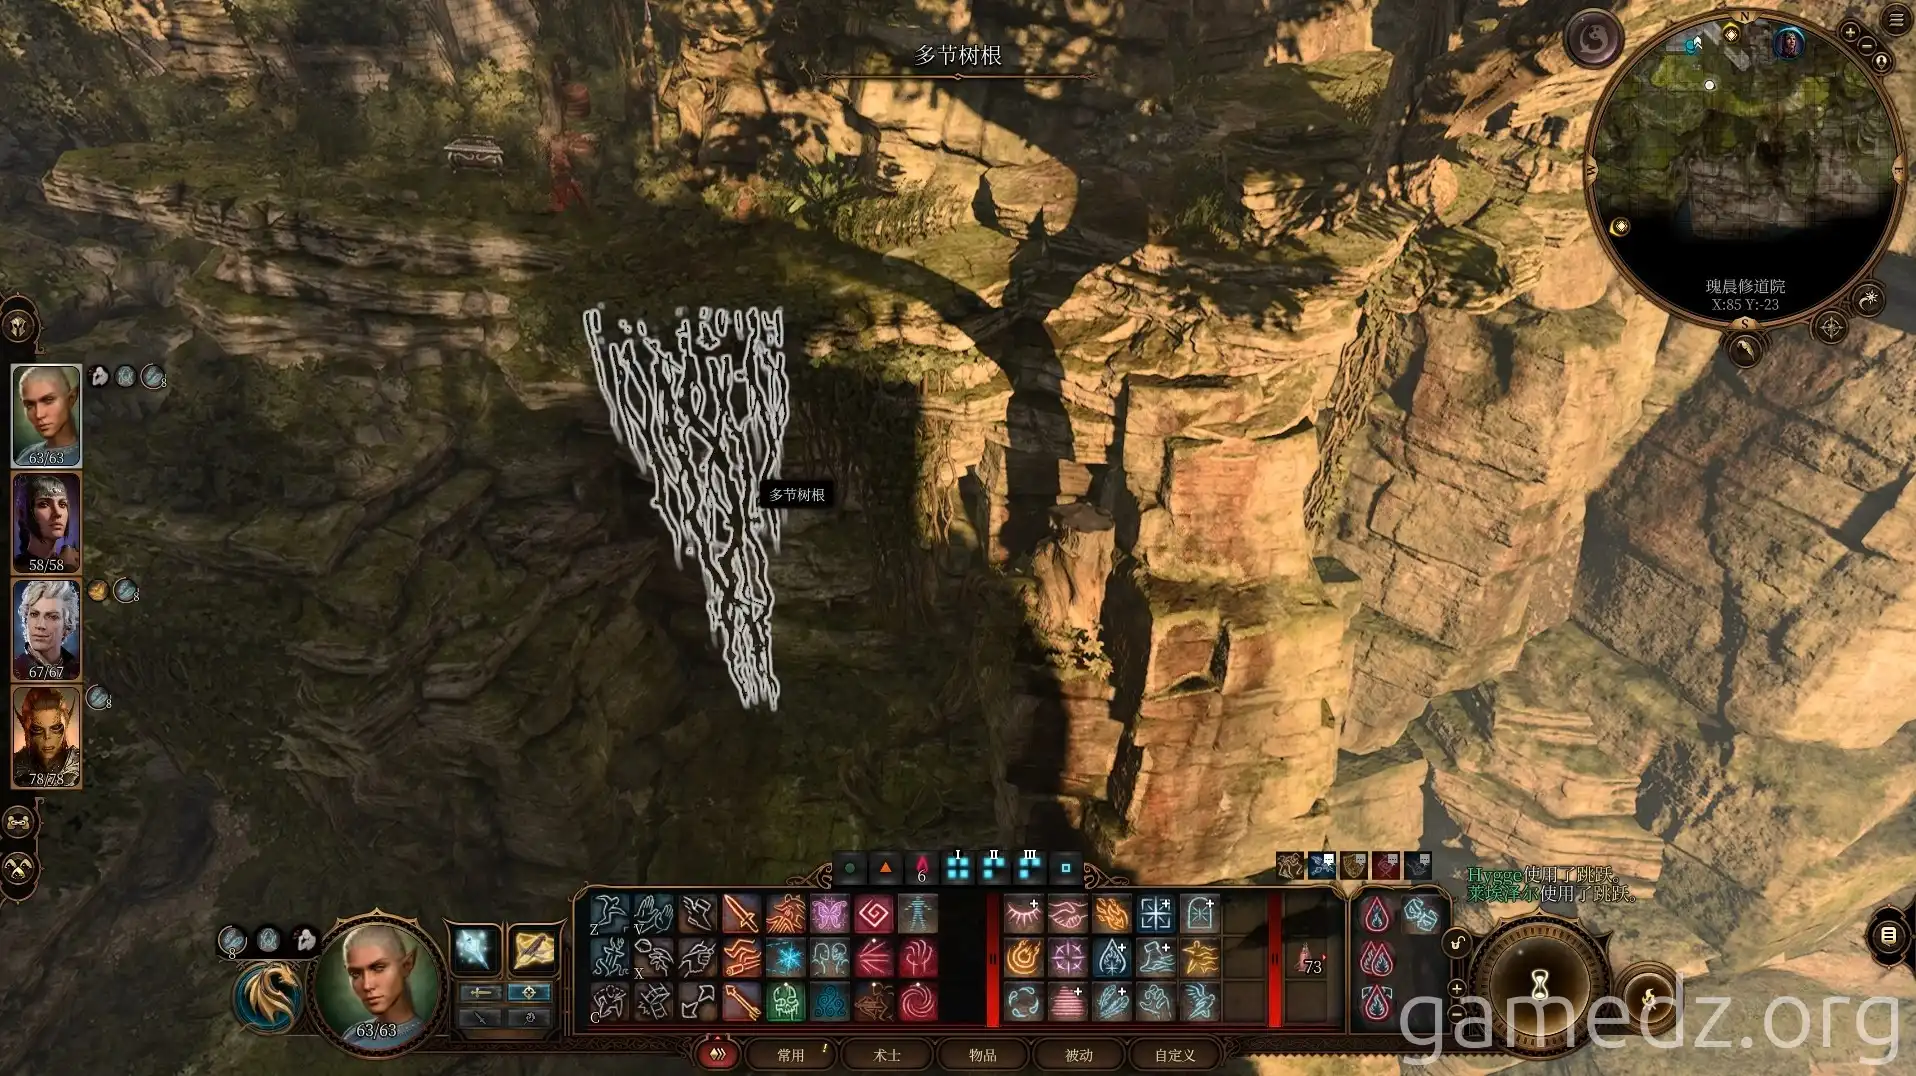
At the very end of the path, use the vines to return to the upper eastern area.
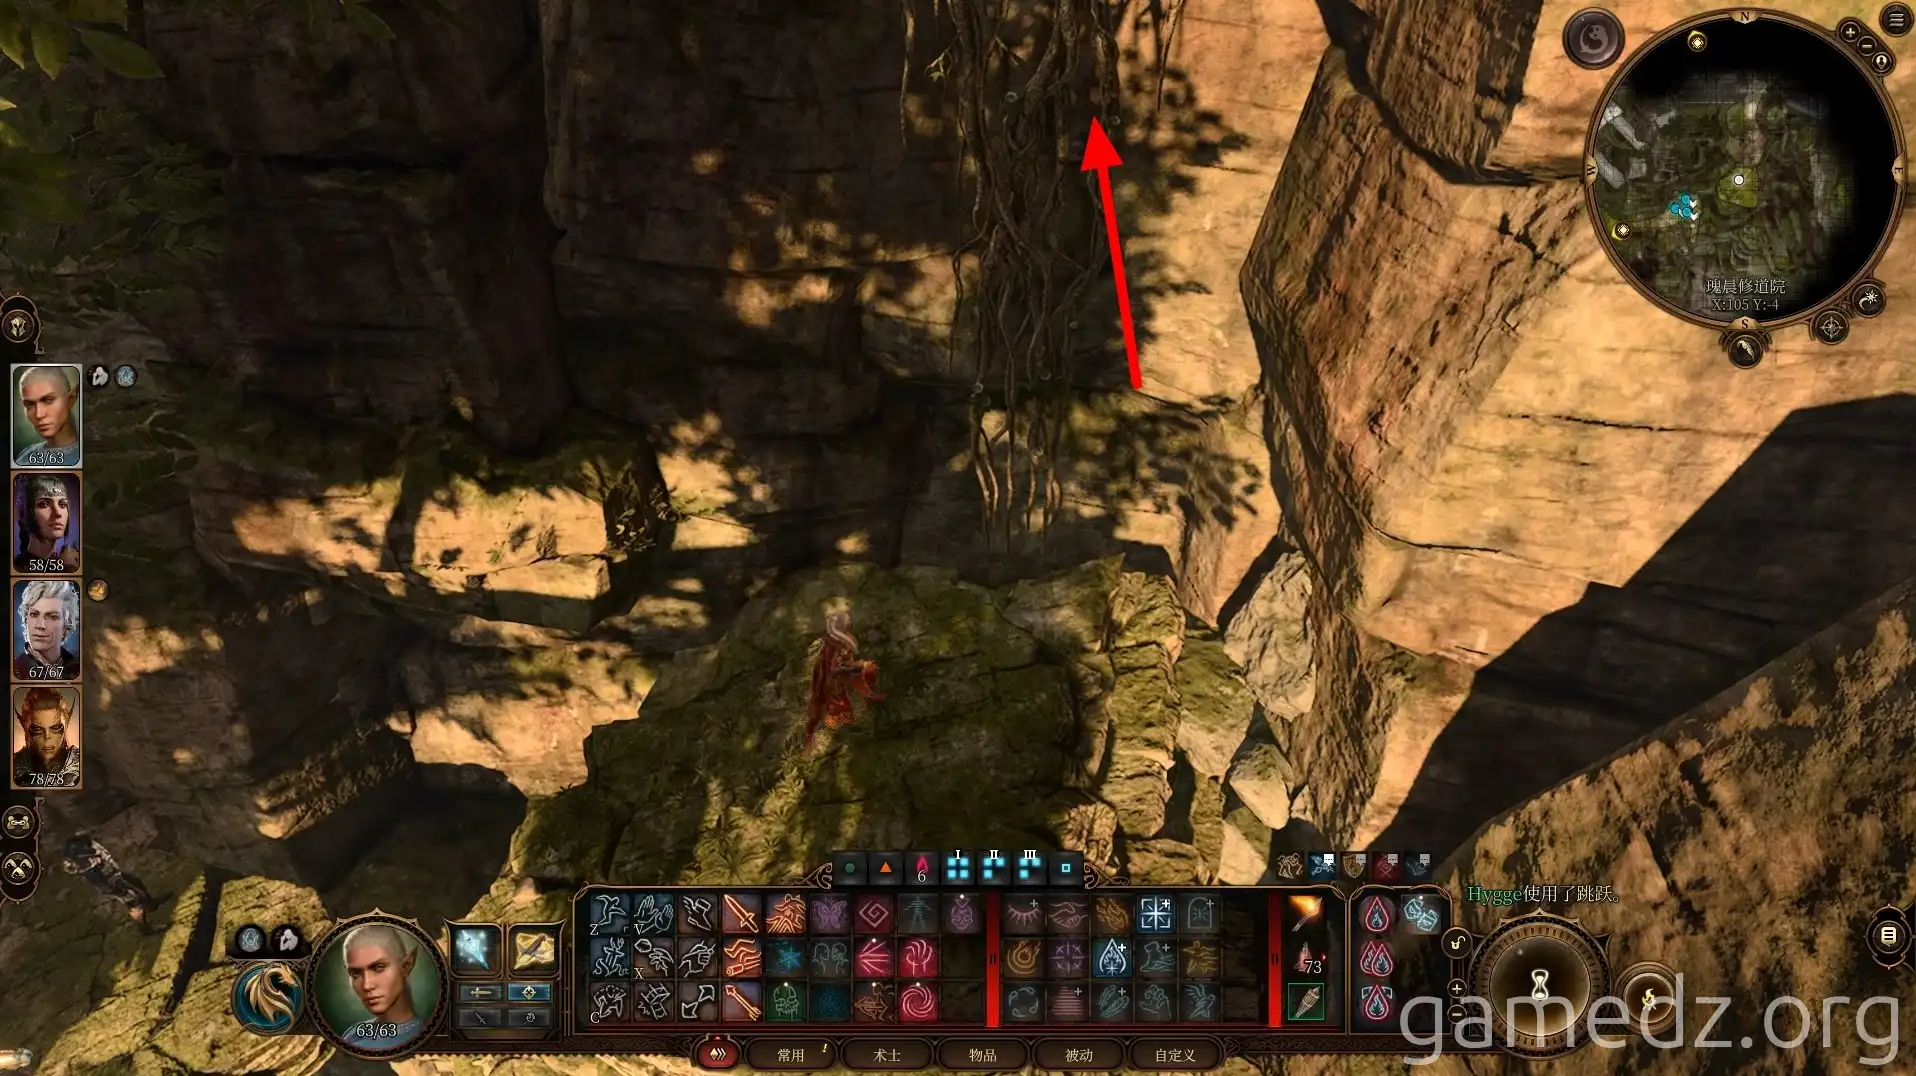
Continue upwards along the ramp.
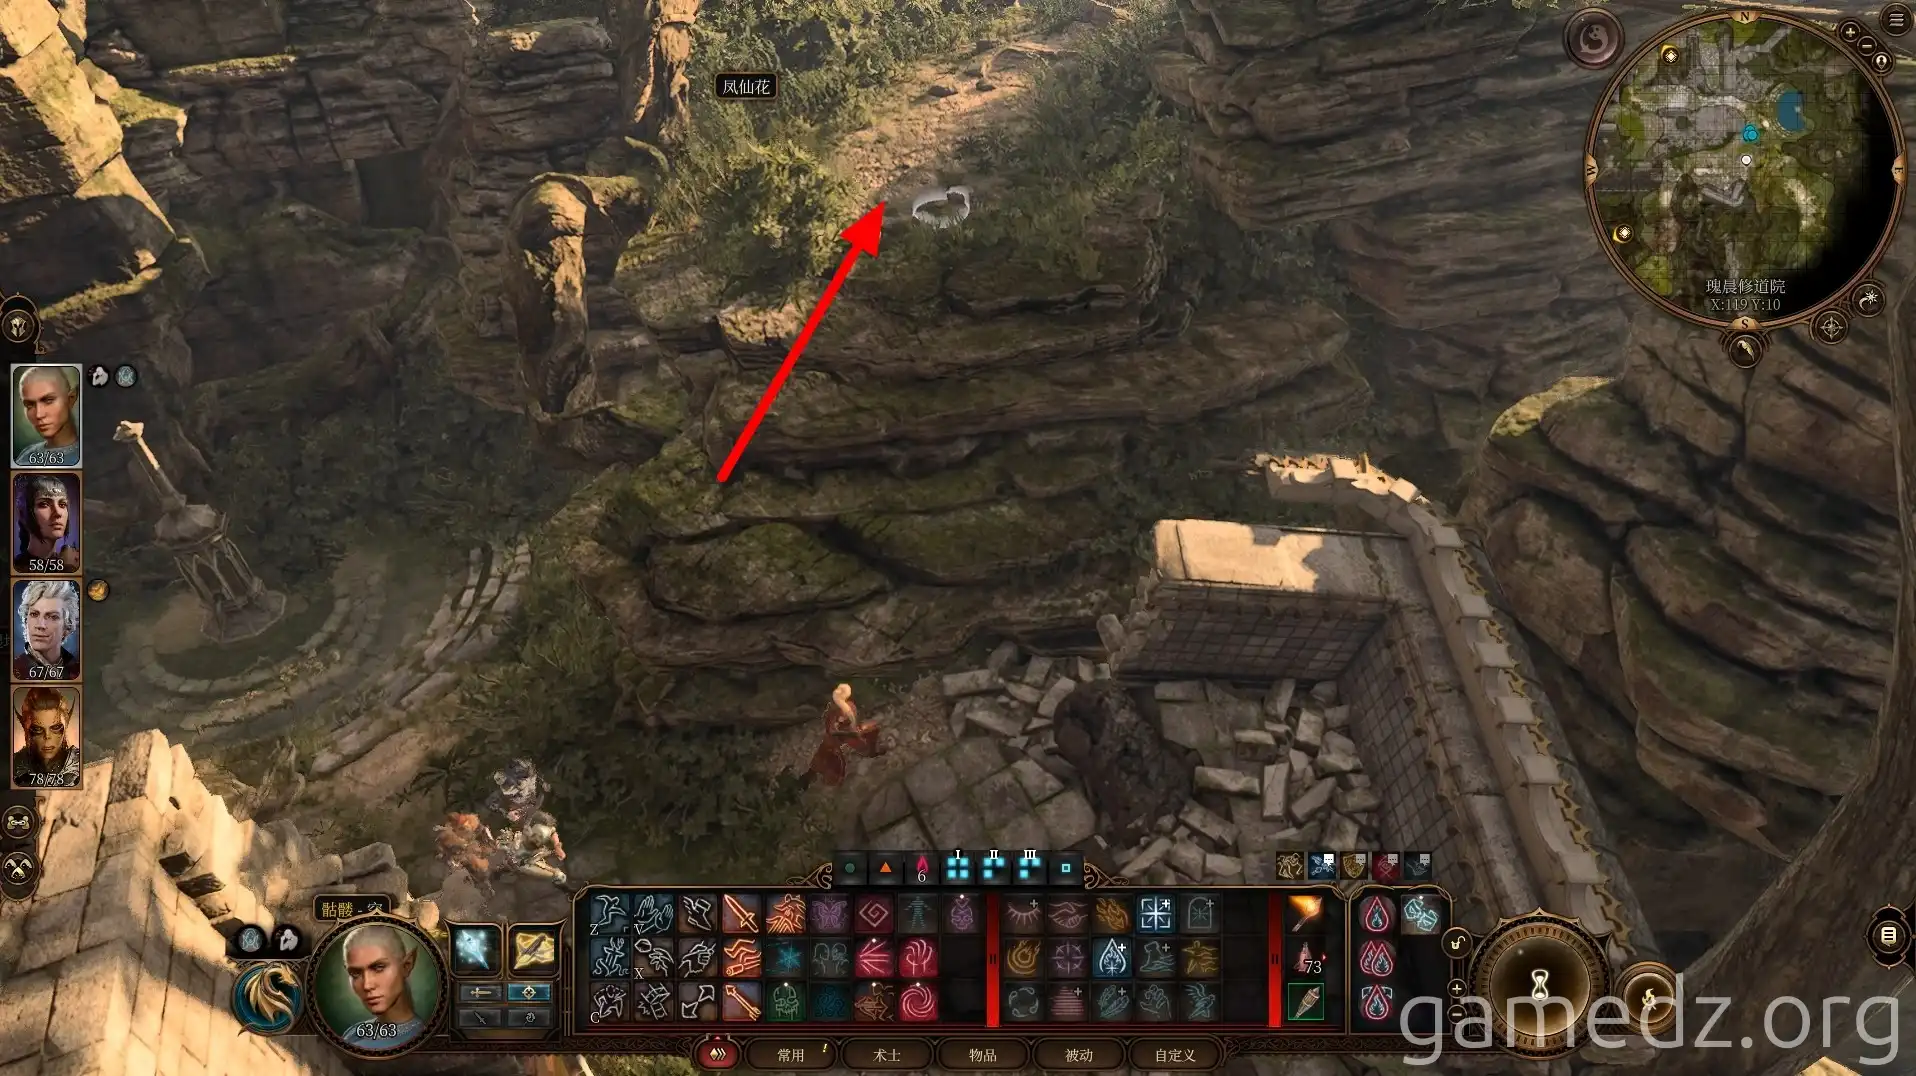
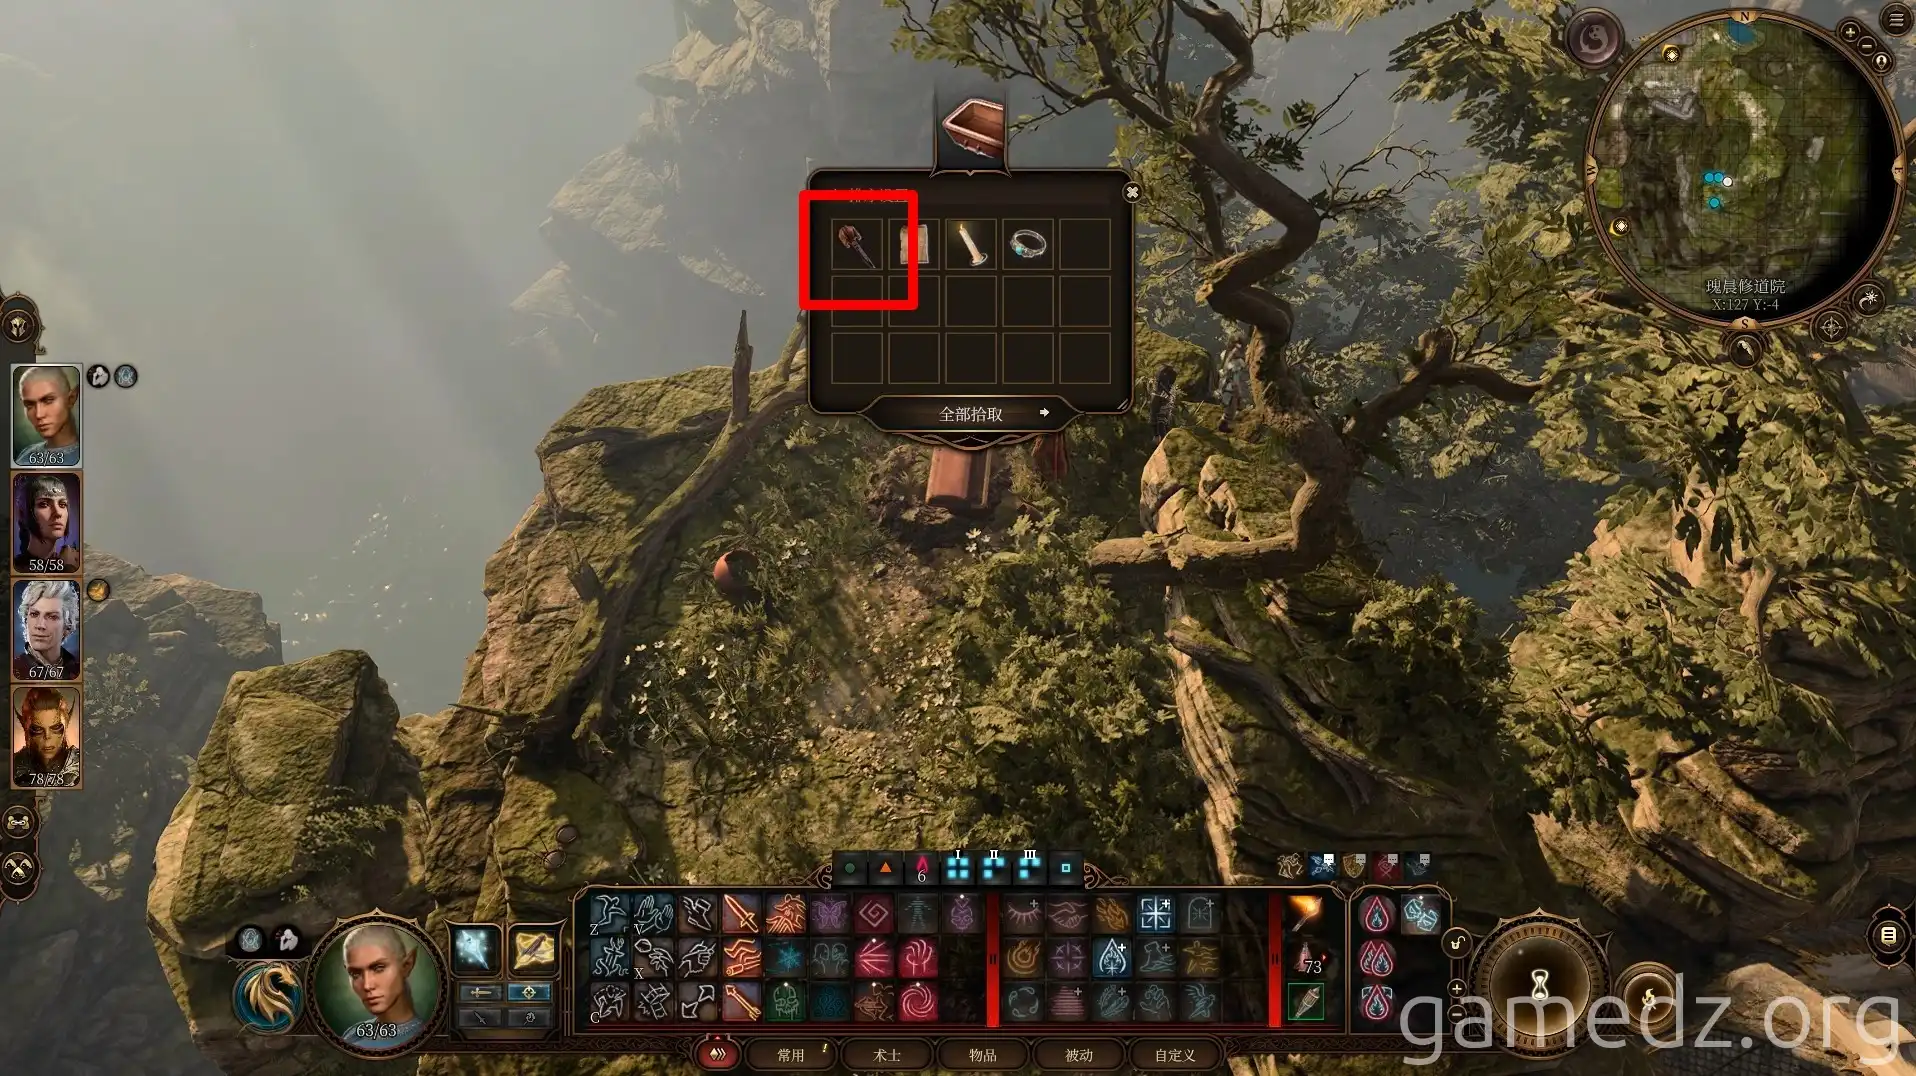
In the tombs on the upper level, you can find a Rusty Maul. This weapon can be used to substitute the Ritual Maul obtained from the Kobold for puzzle-solving.
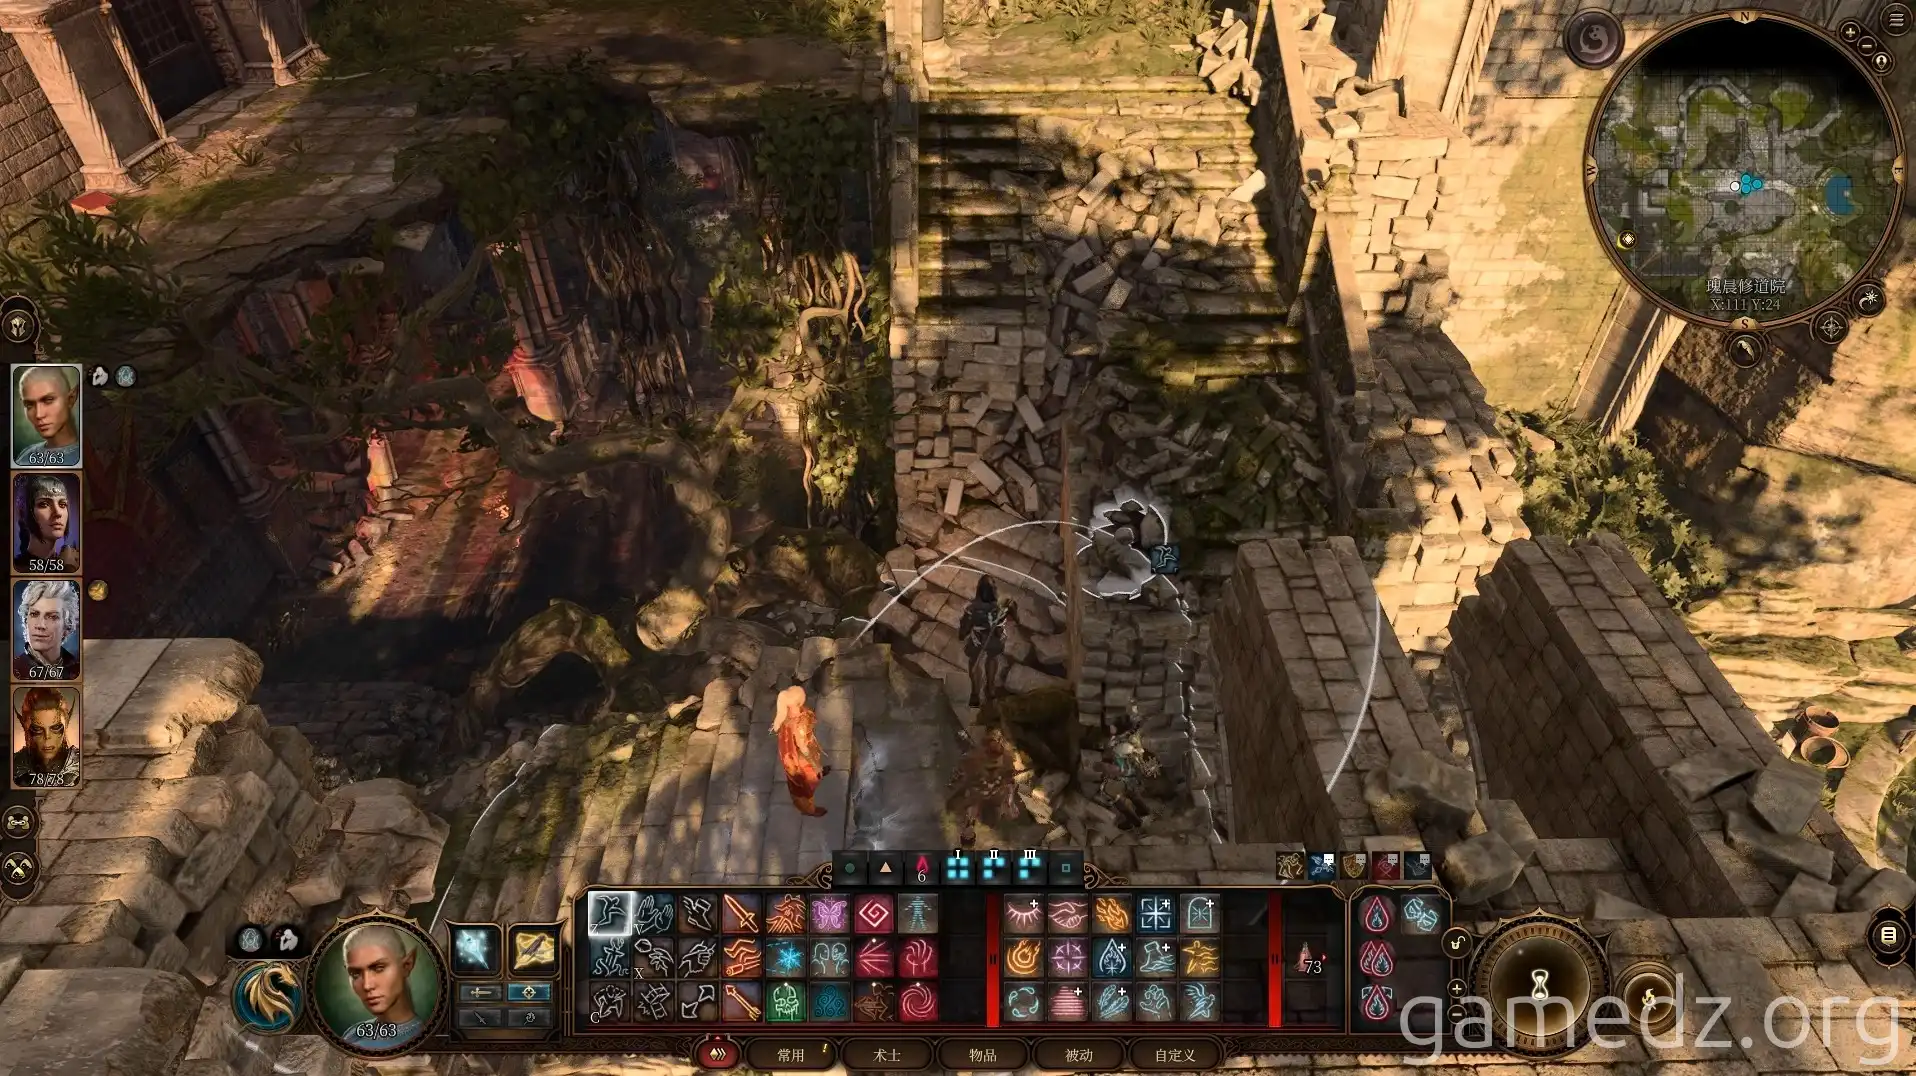
Then, return to the lower level and enter the monastery through the collapsed wall in a corner. We'll skip the first floor for now and head directly to the second.
Break the wall next to the door to enter the room.
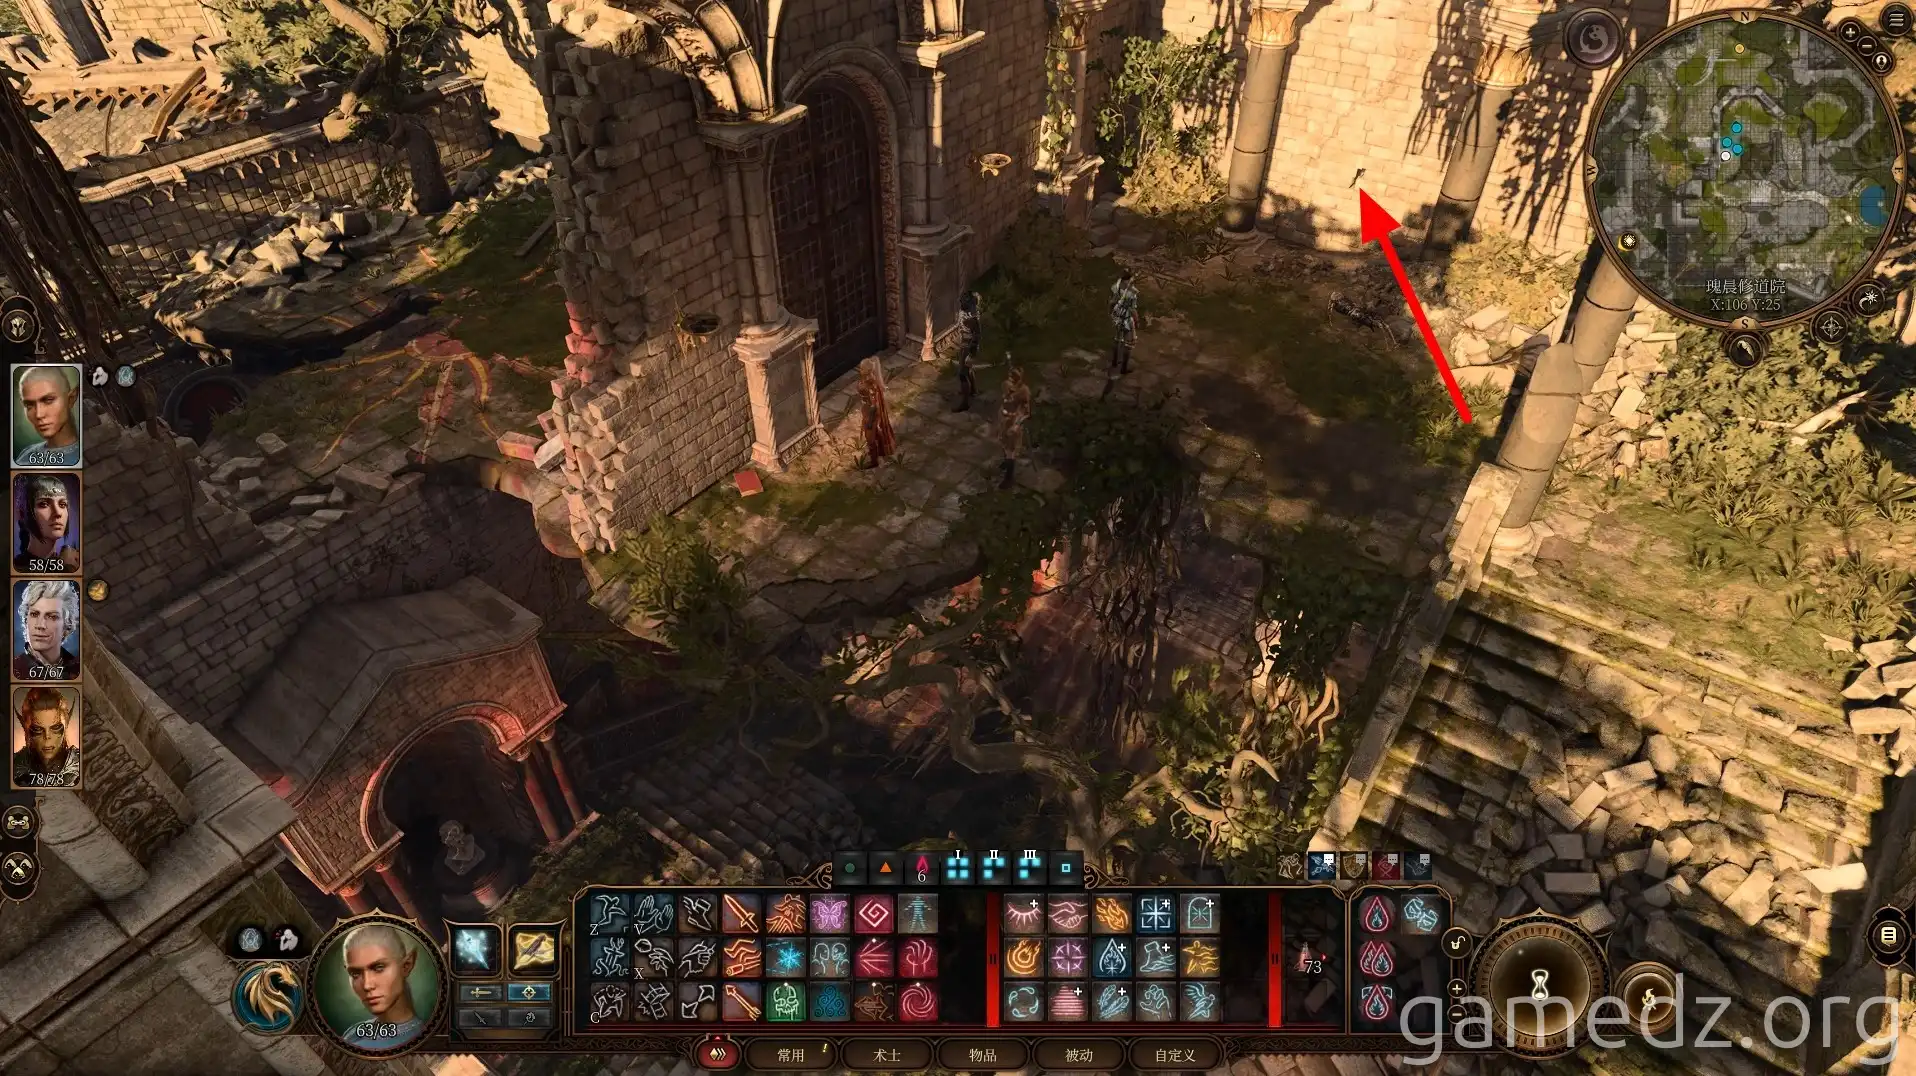
In front of the Faith Wardens in the room, there is a Ritual Battleaxe. Picking up the battleaxe will immediately trigger combat. The Faith Wardens lose health with each attack, making the fight relatively easy.
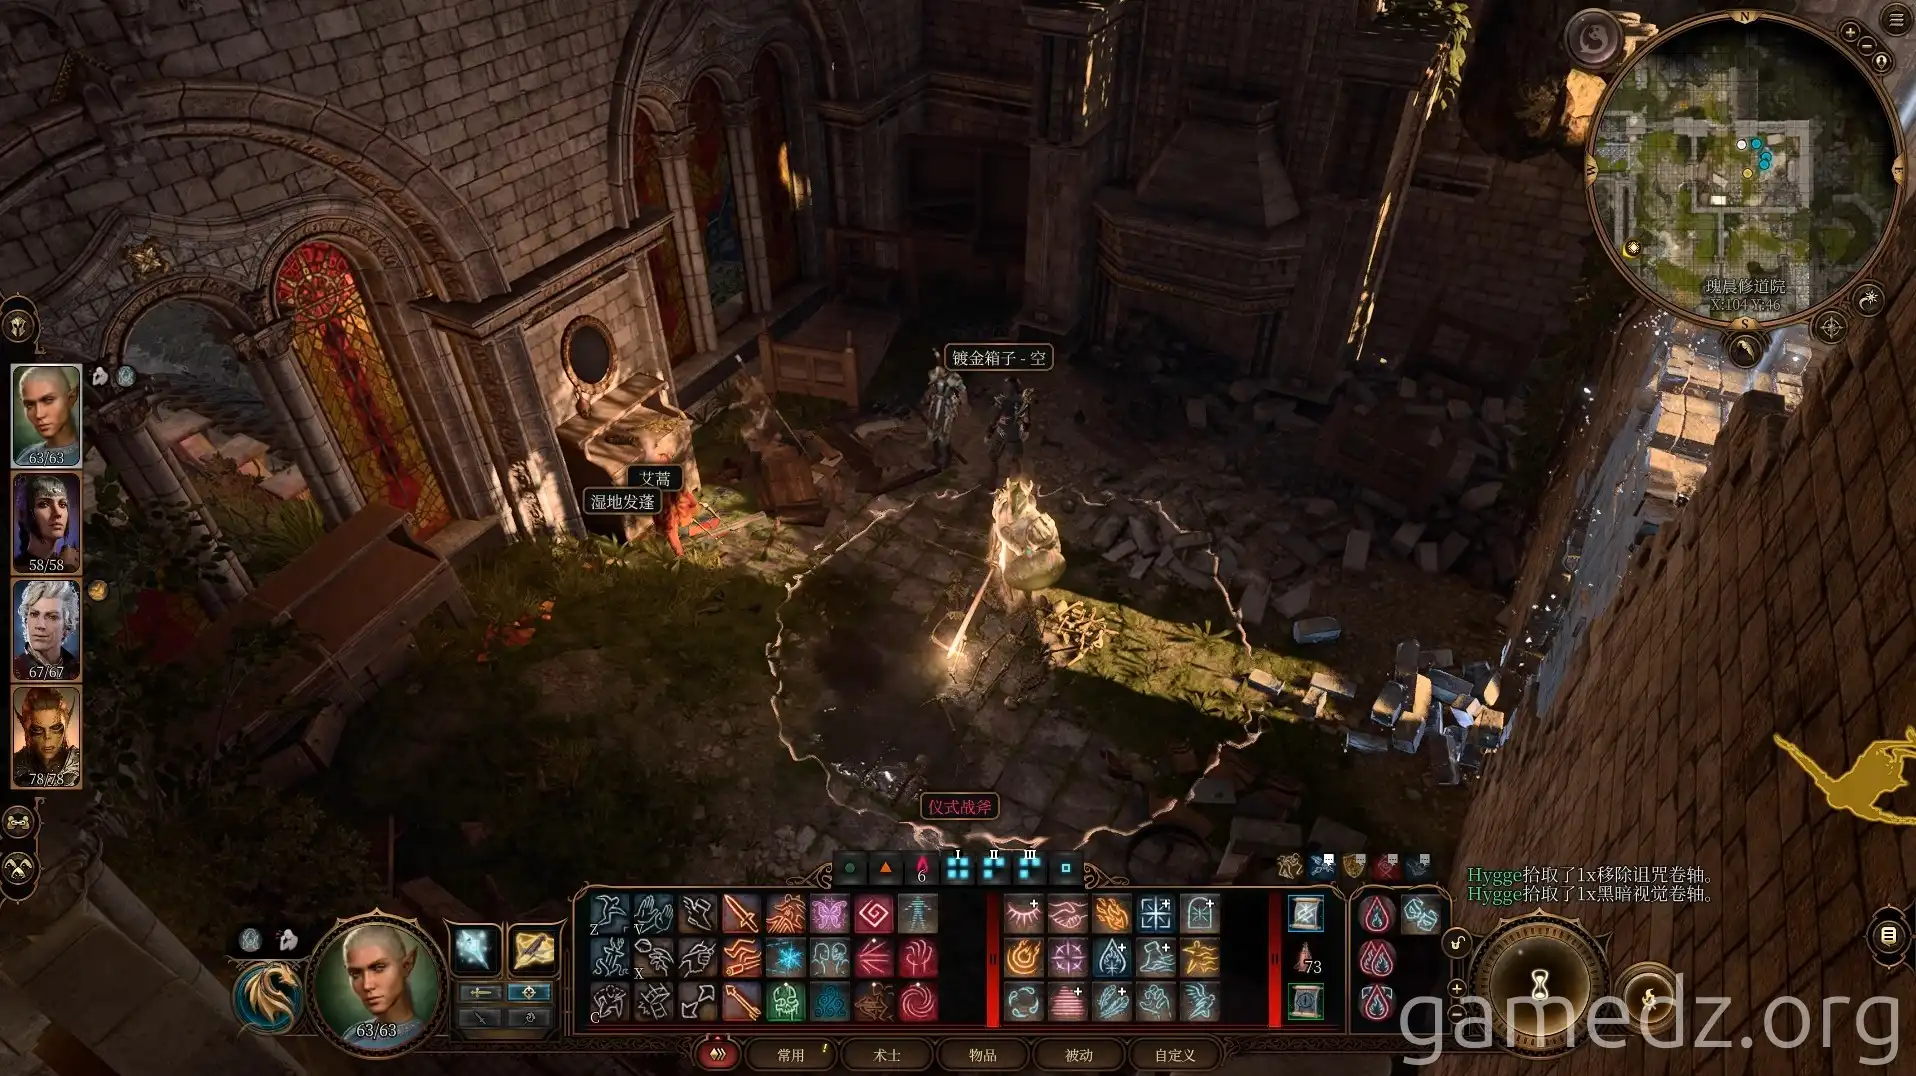
Here are the stats for the Ritual Battleaxe. Similar to the maul, you can substitute this with any ordinary battleaxe. This applies to all ritual weapons going forward.
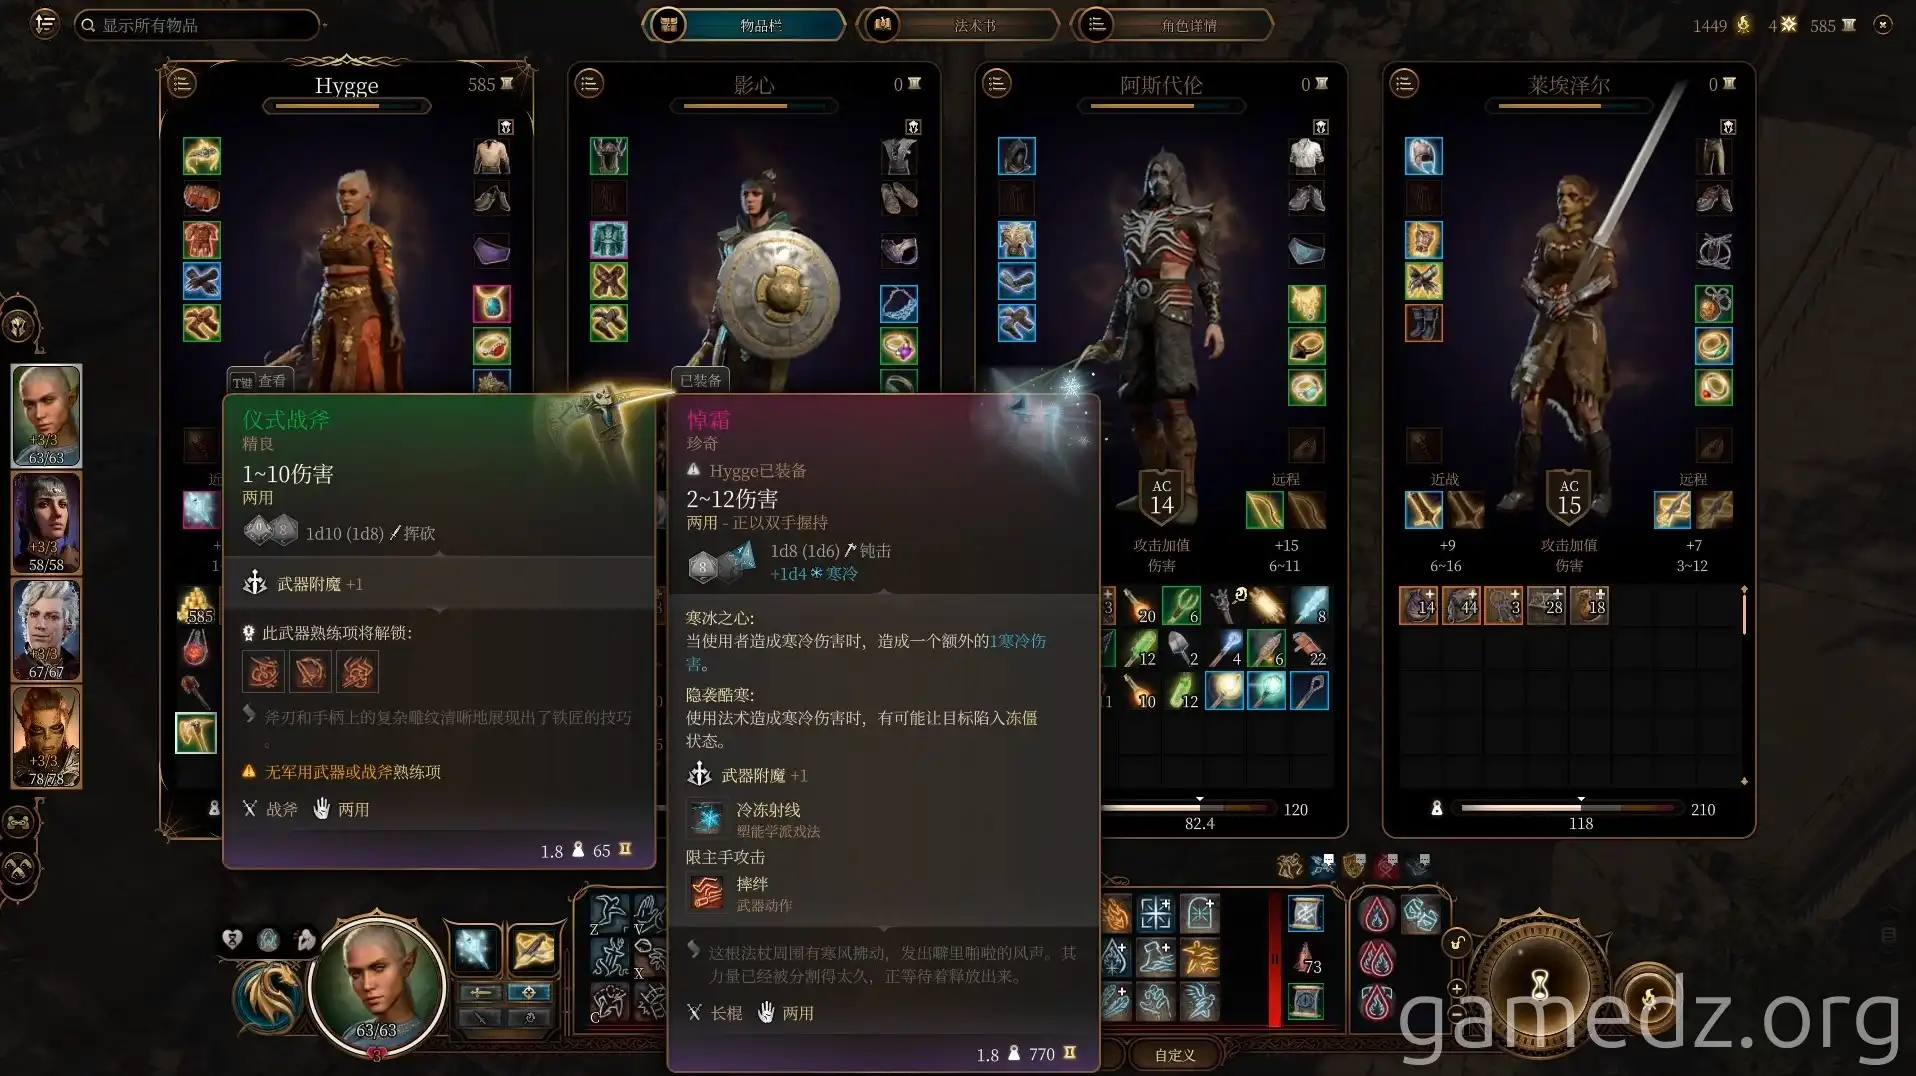
Proceed to the central area on the second floor. Before entering the room to the north, continue west.
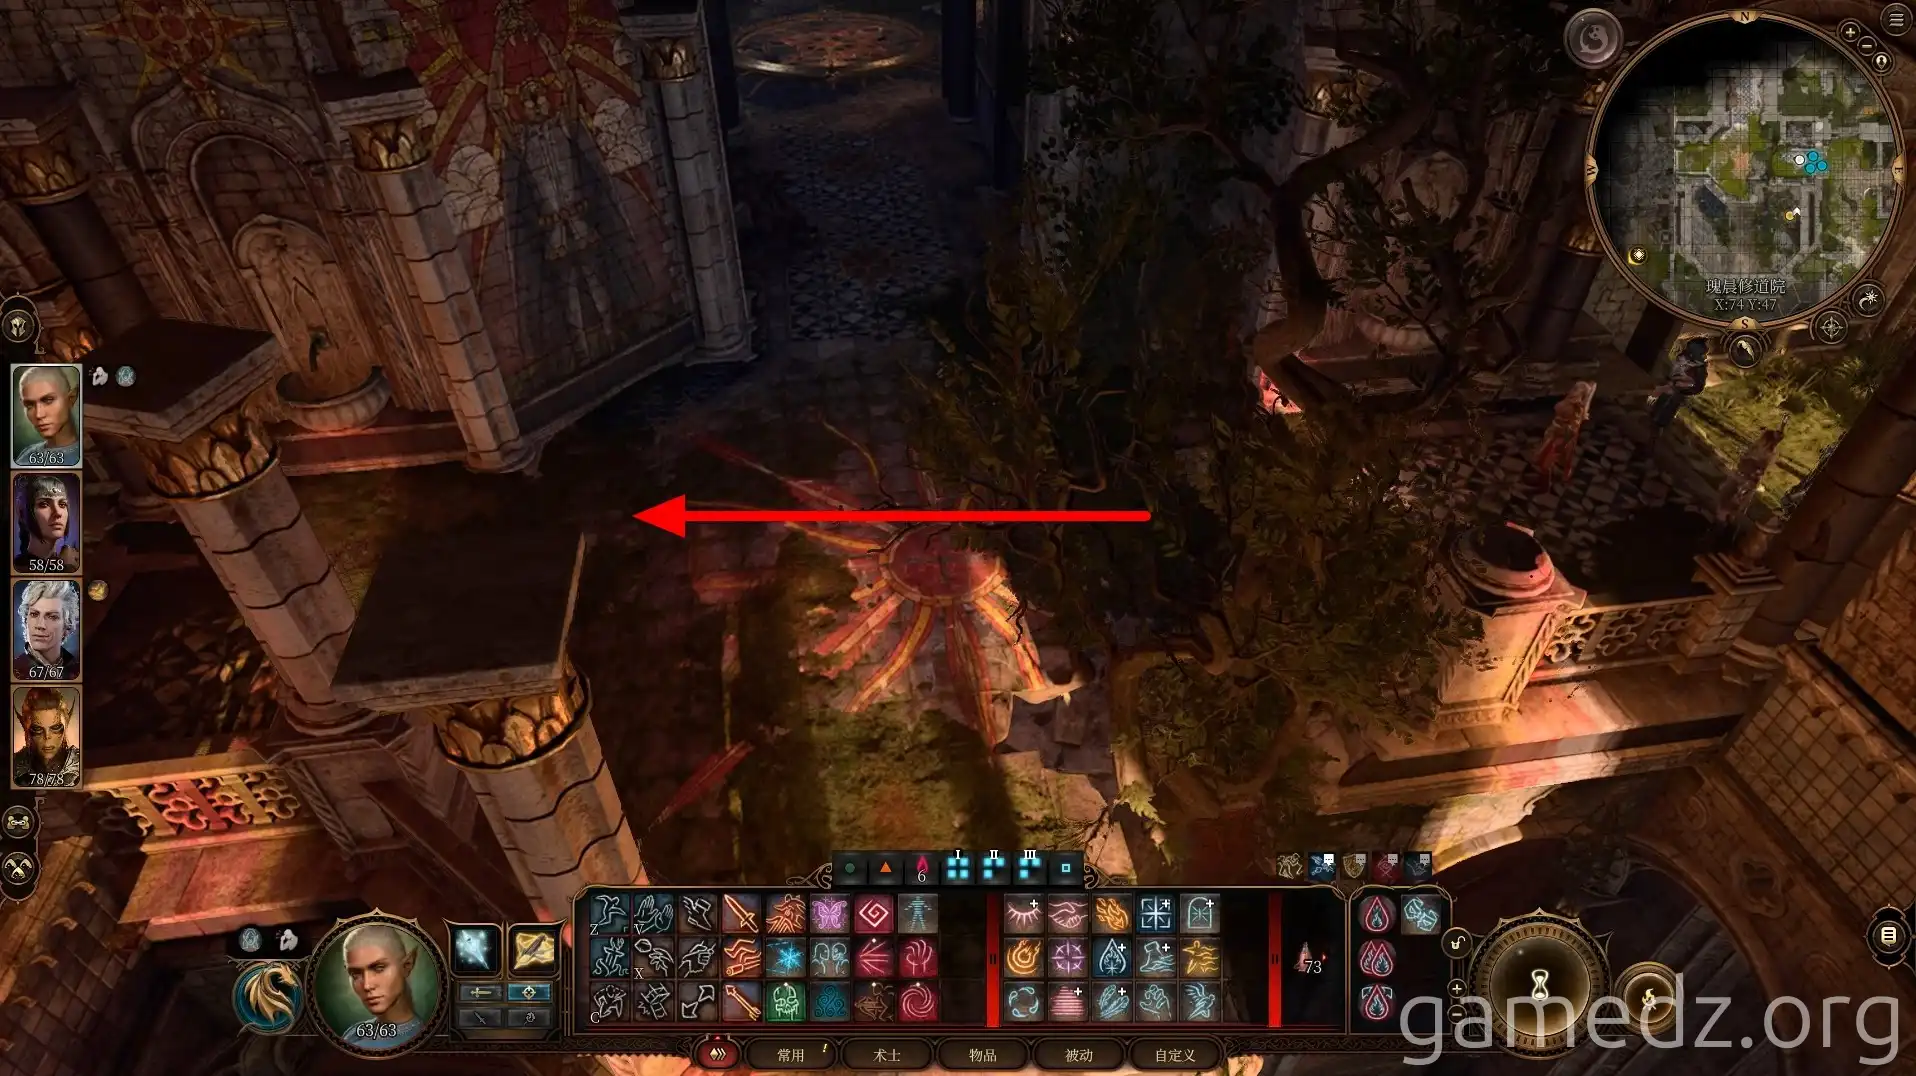
Open the door and prepare for combat. The room is filled with several Mind Flayer tadpoles, and they are easily defeated one by one.
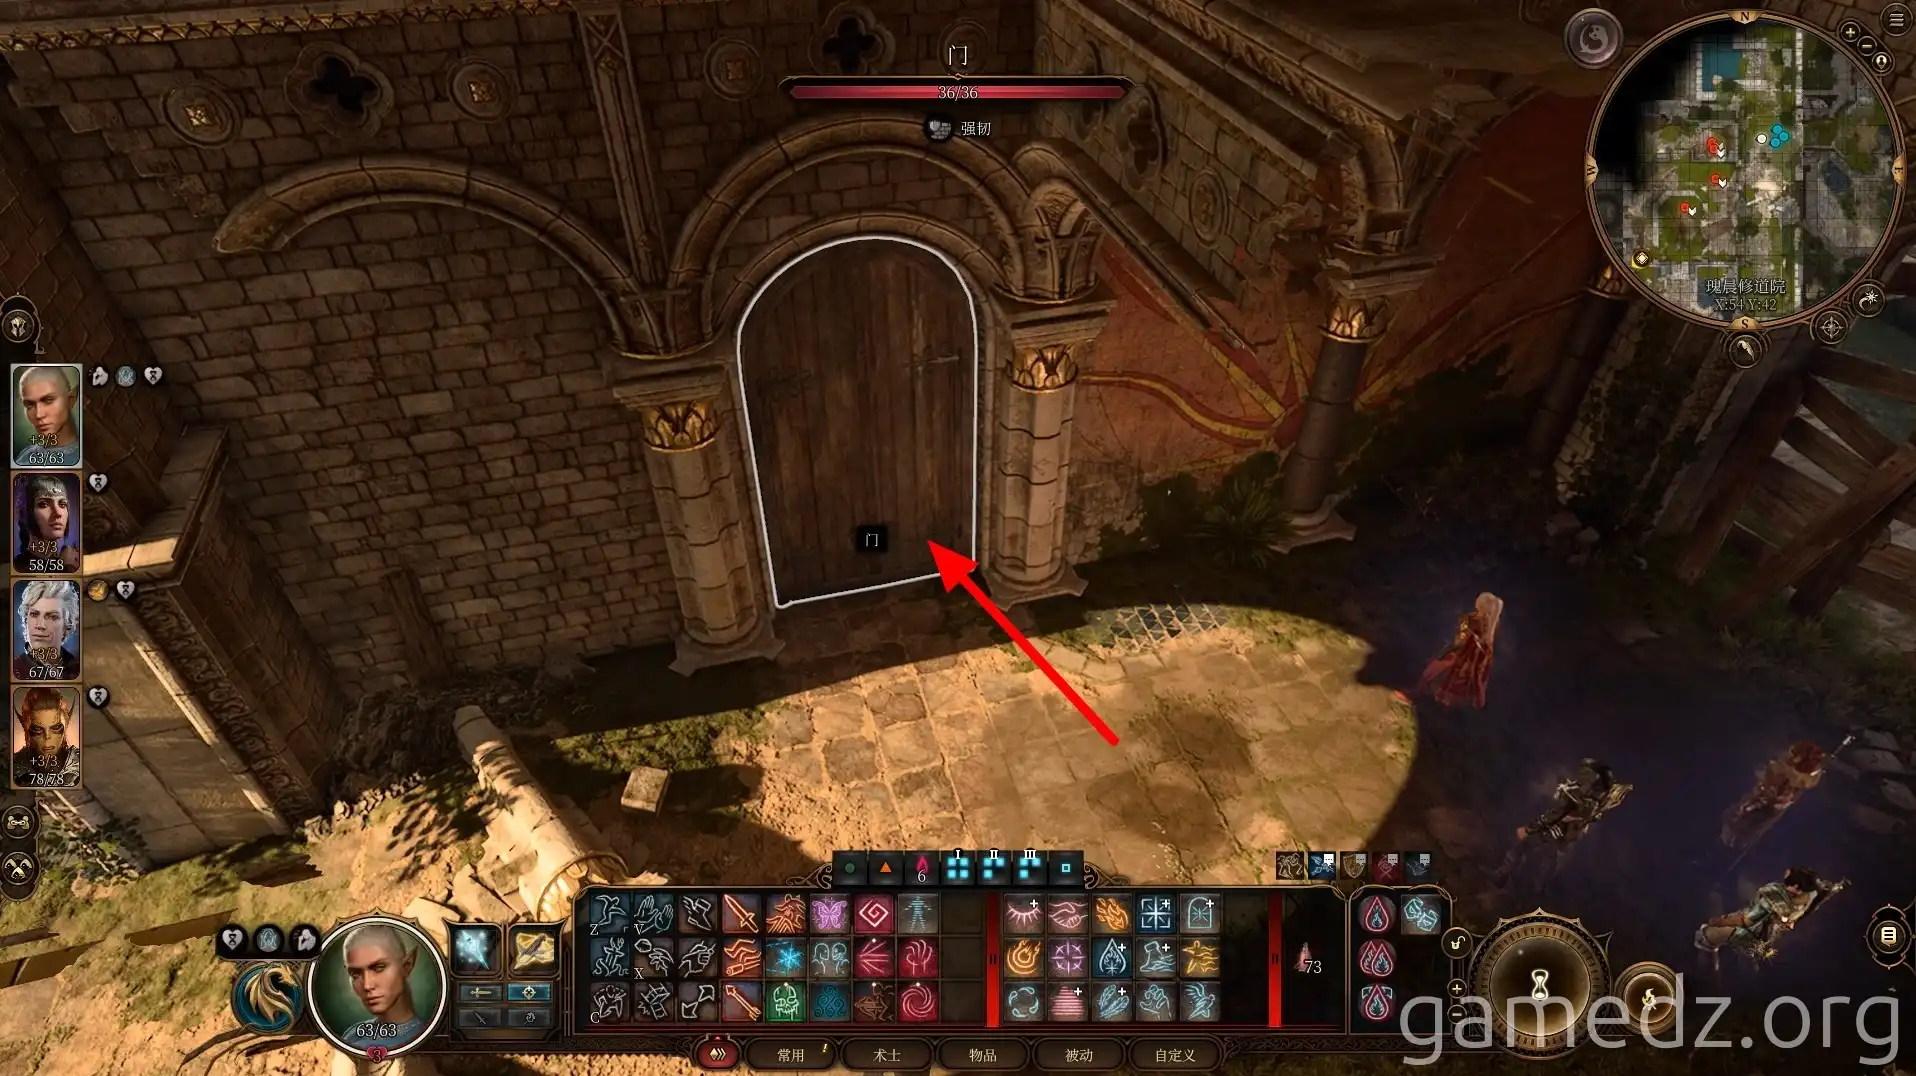
In the corner of this room, break through the wooden planks to reach the area next to the Gilded Vale Monastery waypoint.
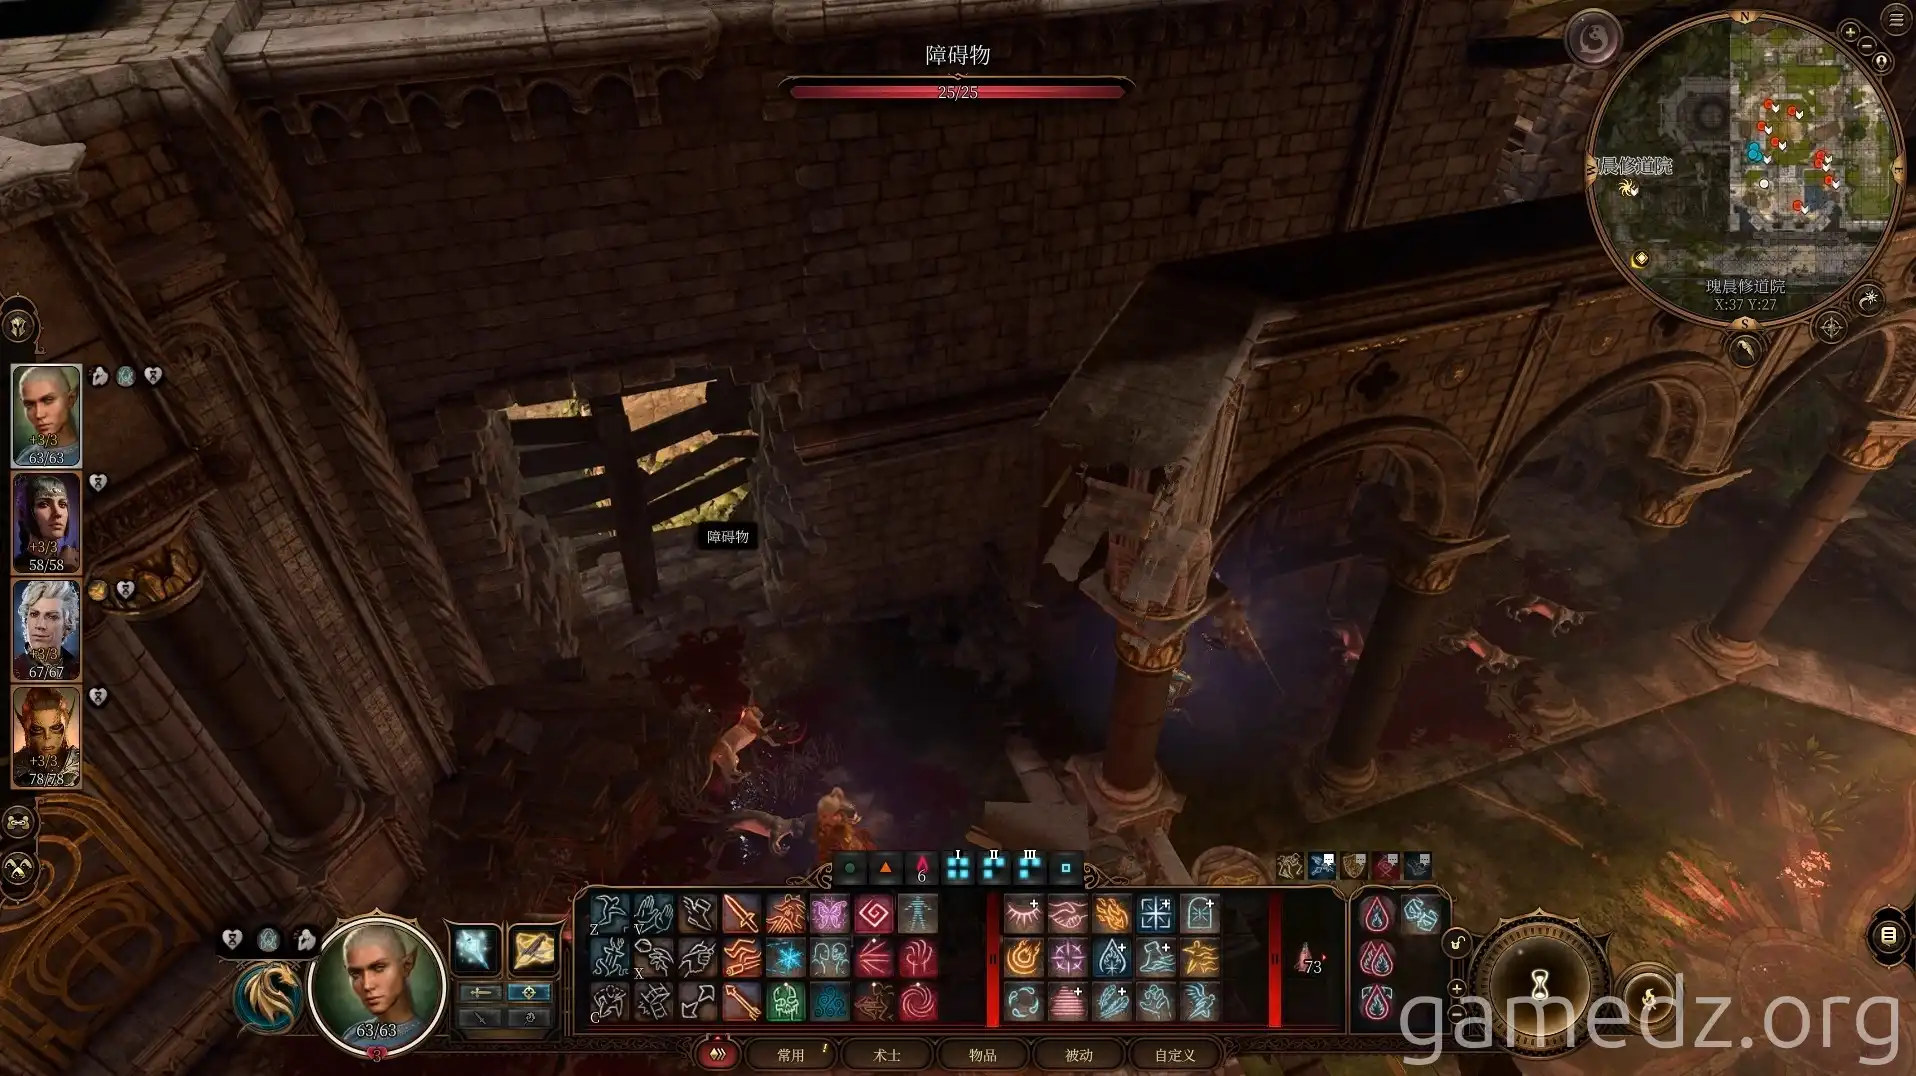
In the chest in the adjacent room, you can find some spell scrolls.
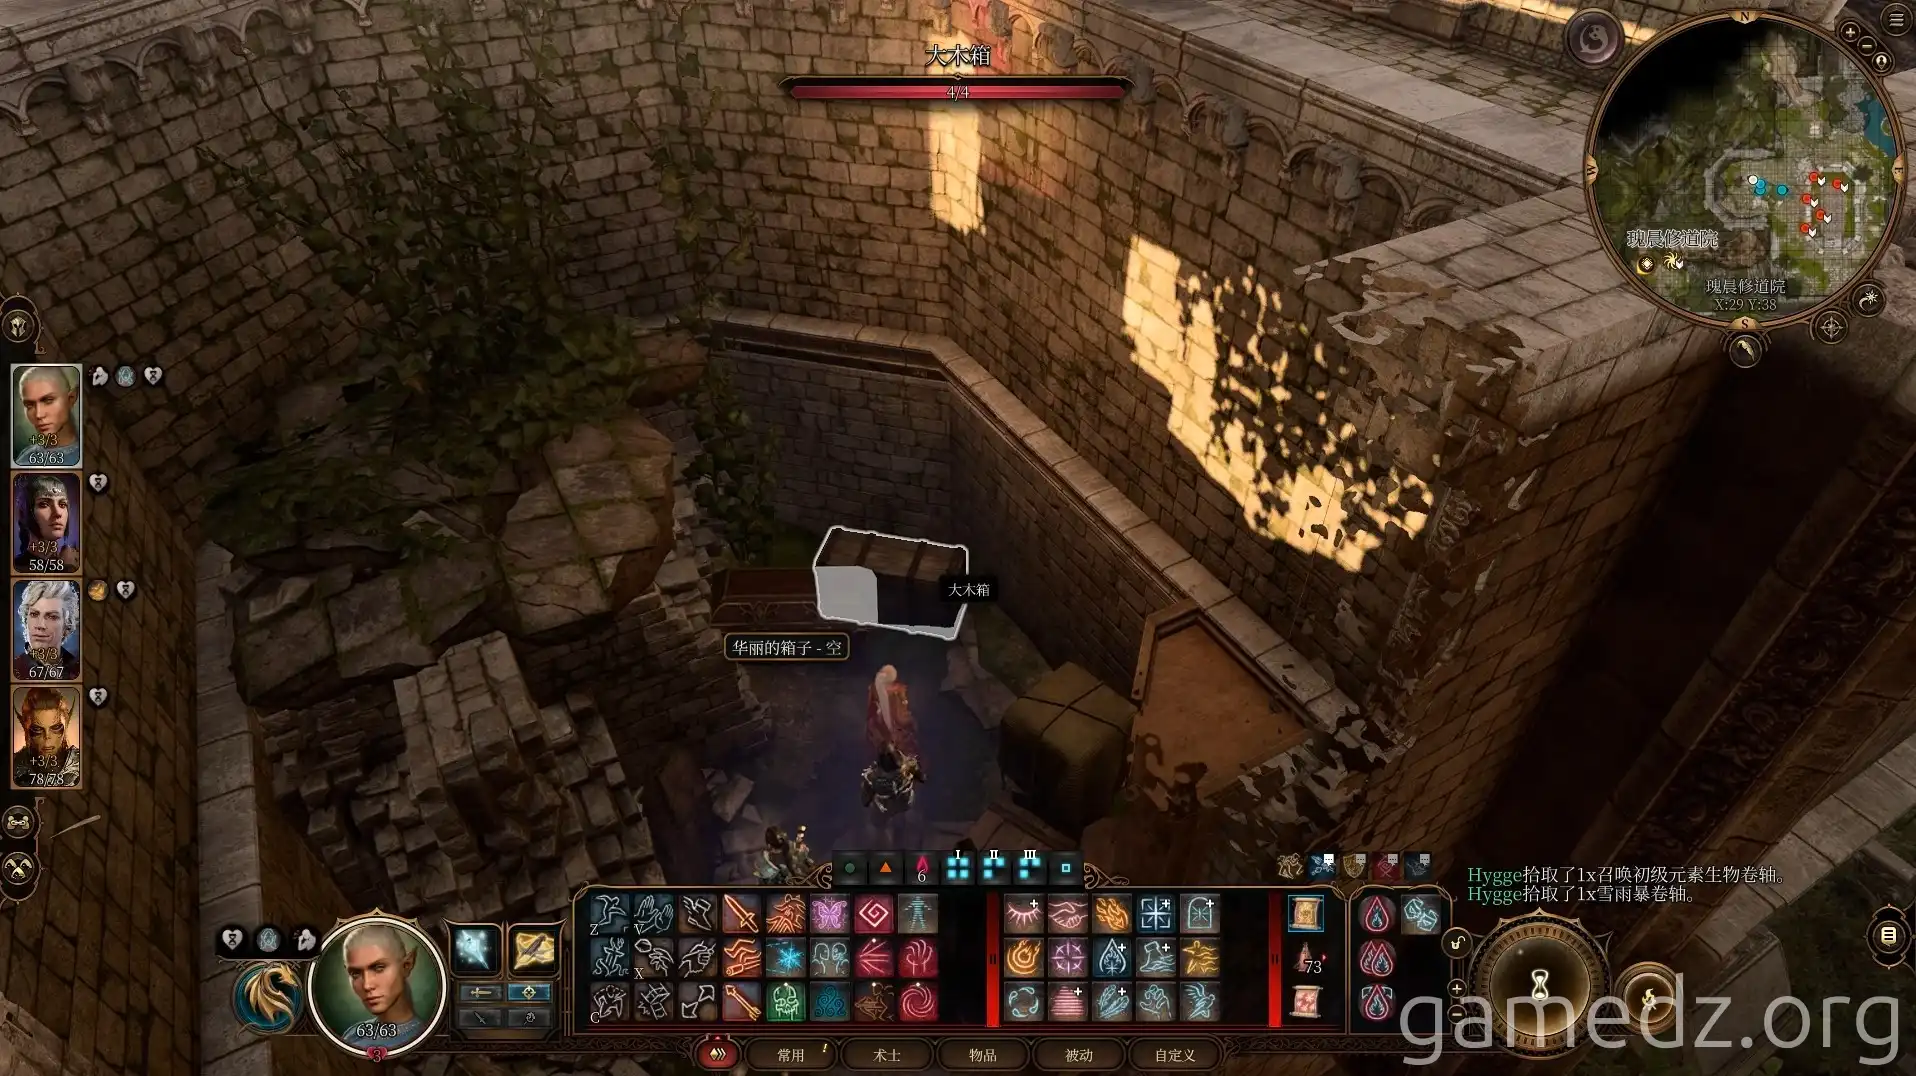
Then, return to the corridor and break through the wooden planks next to the door to access the terrace area.
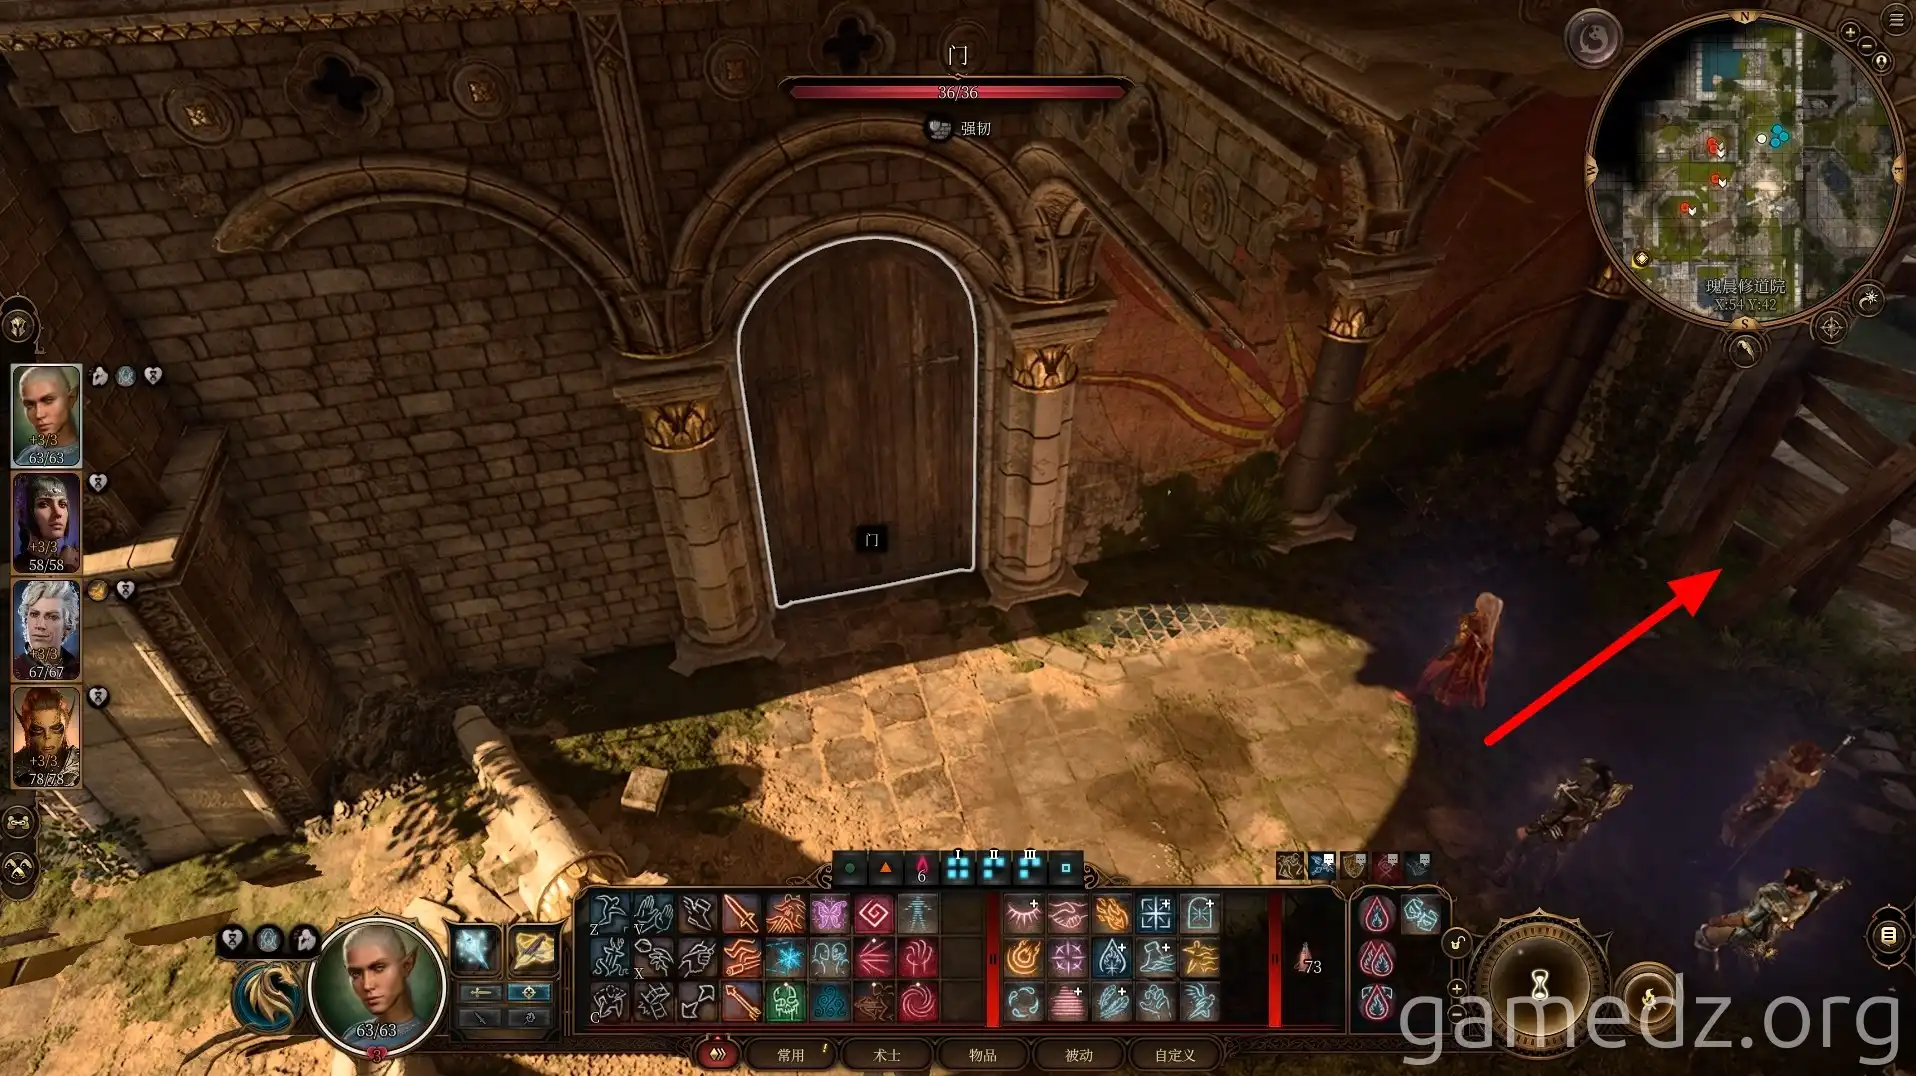
In the corner of the terrace, there is a dirt mound with a buried chest. Take the contents and then use the nearby vines to ascend to the rooftop.
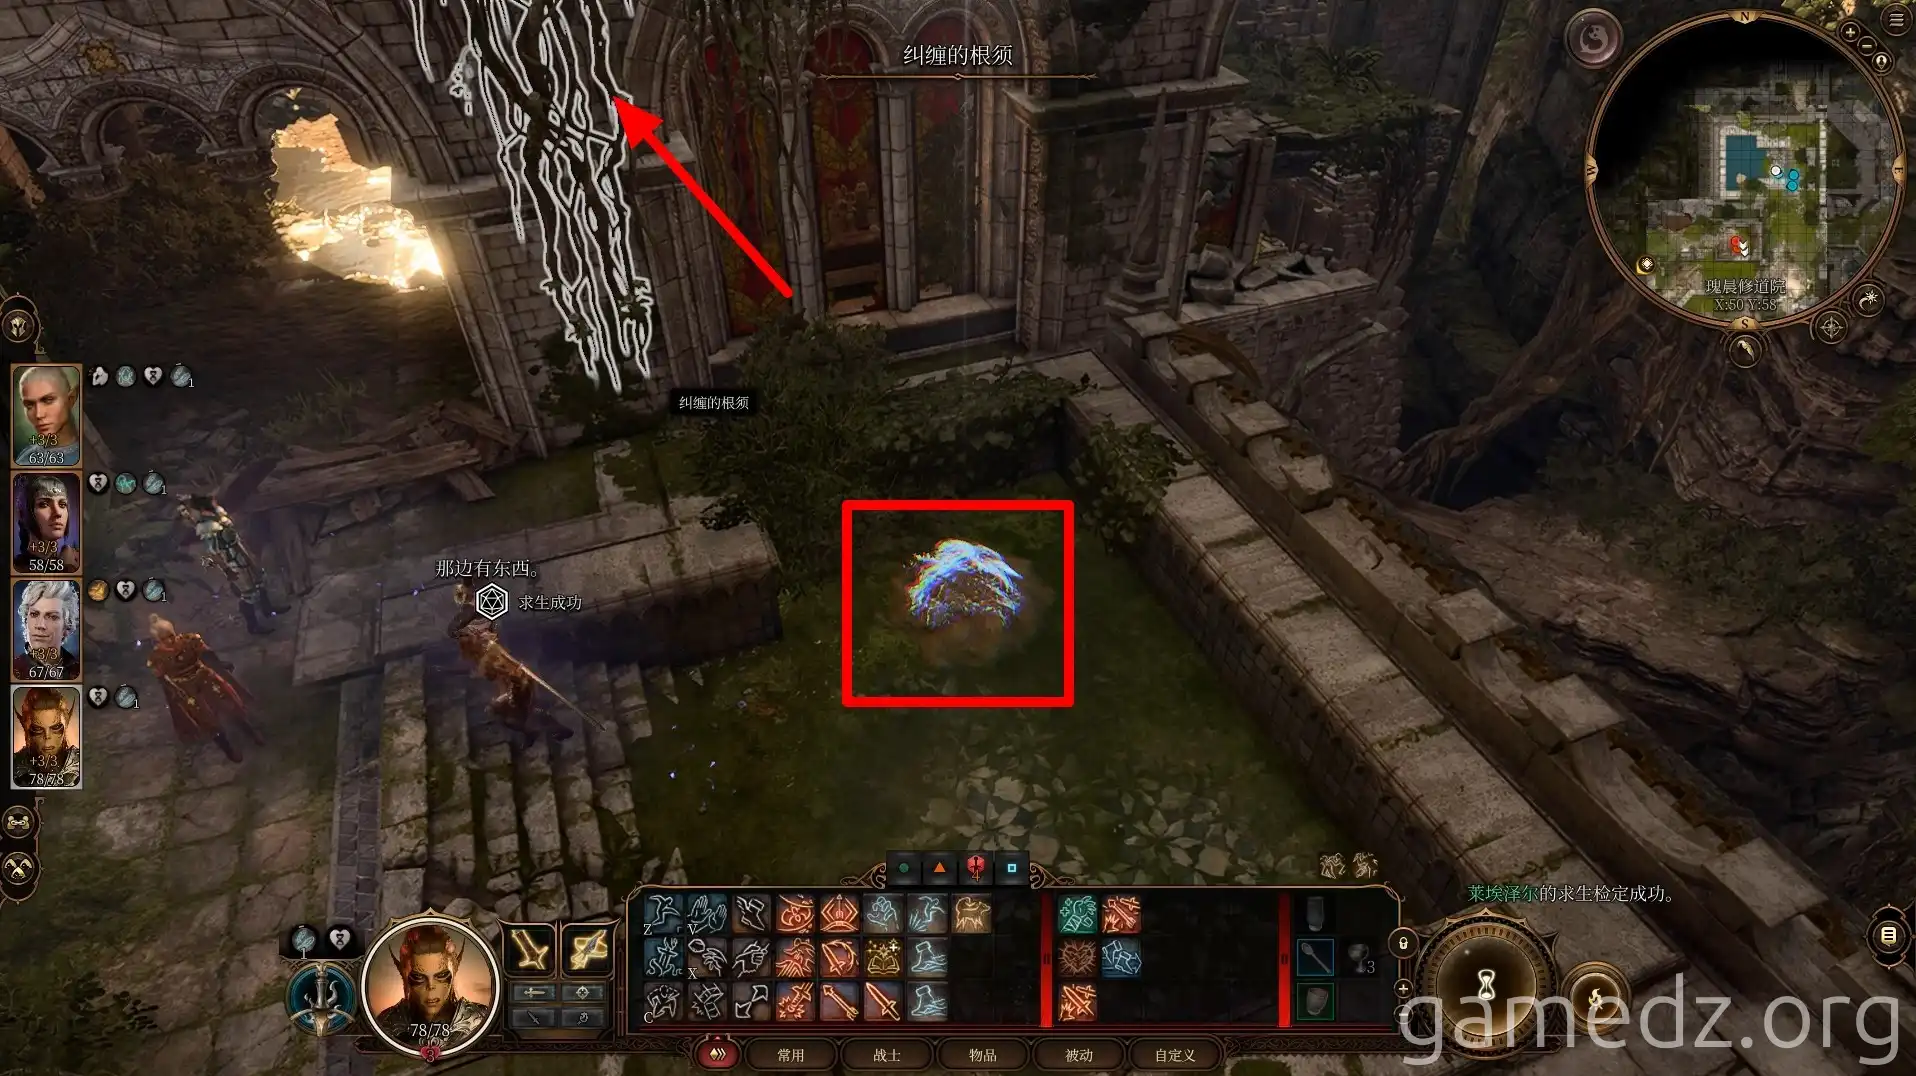
On the rooftop, you'll find two Giant Eagles. They cannot be reasoned with peacefully, so you'll have to defeat them to obtain the Ritual Warhammer from their nest.
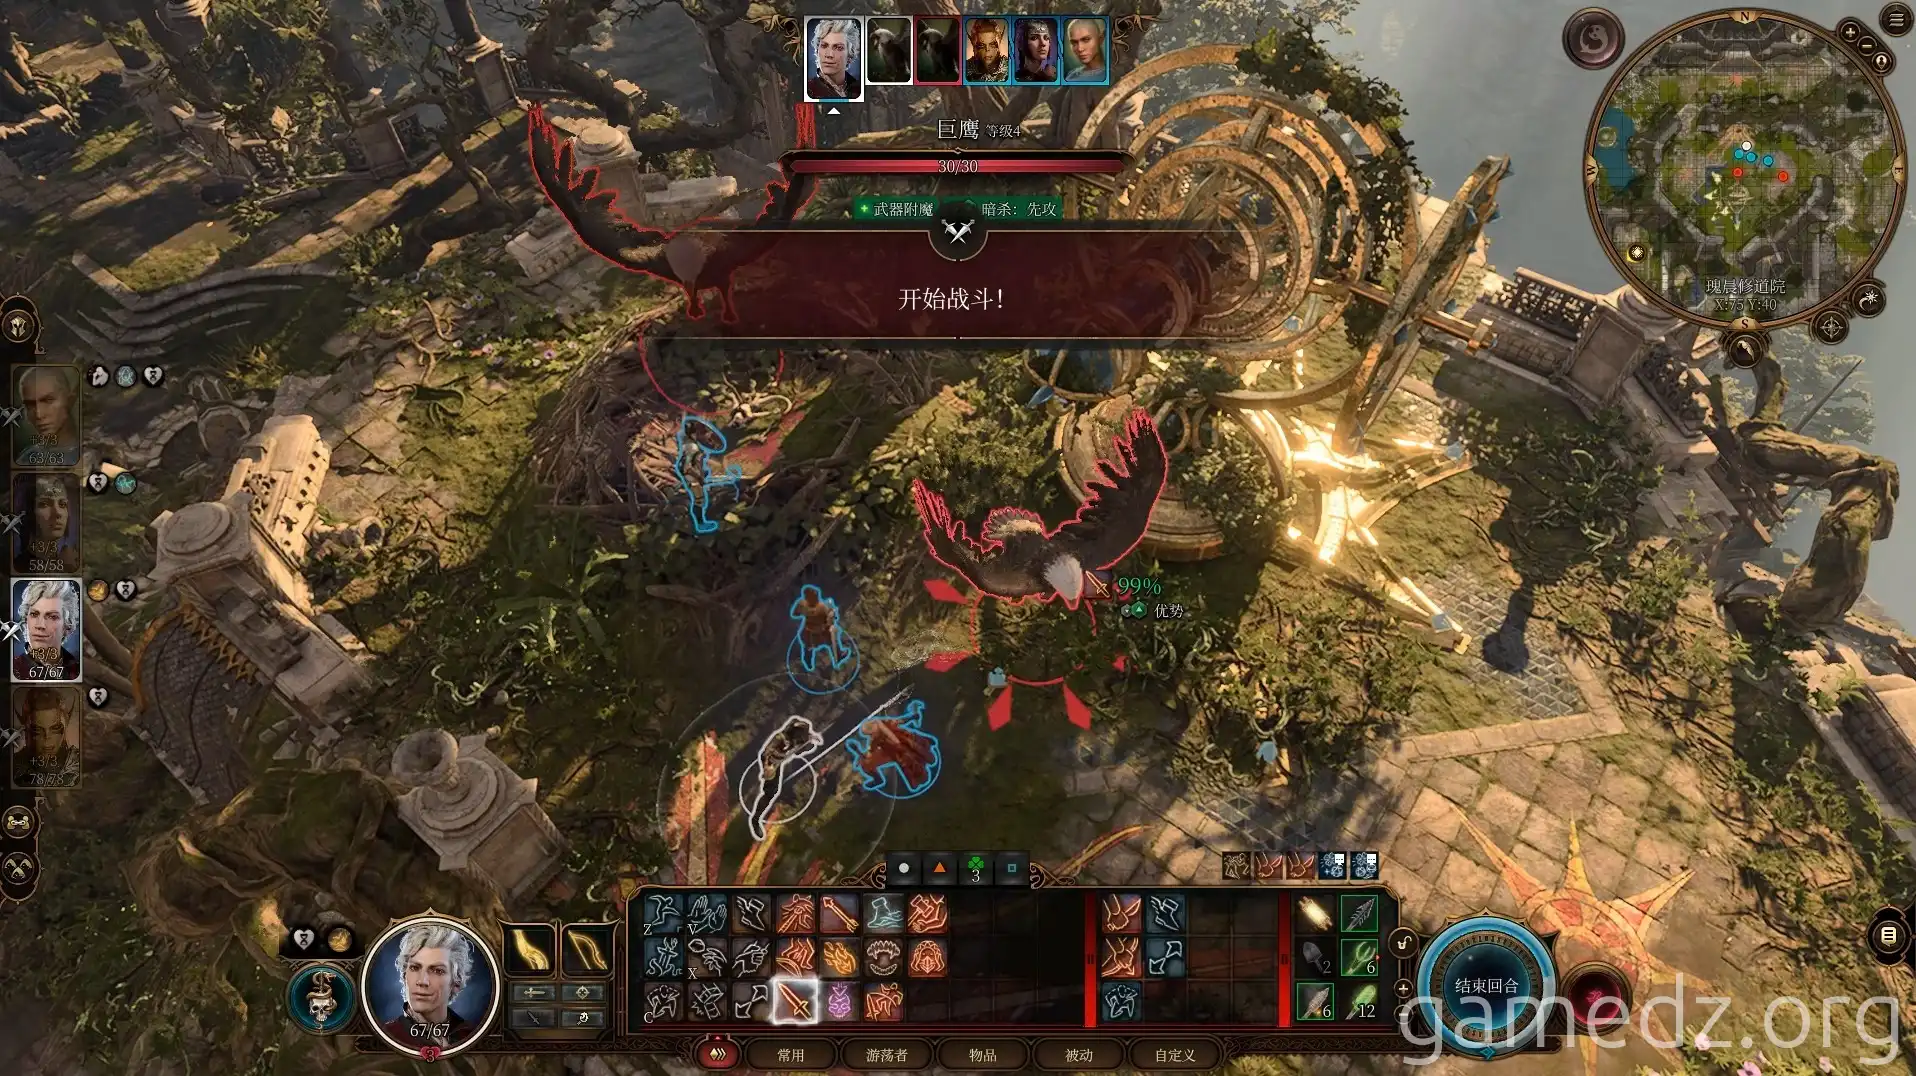
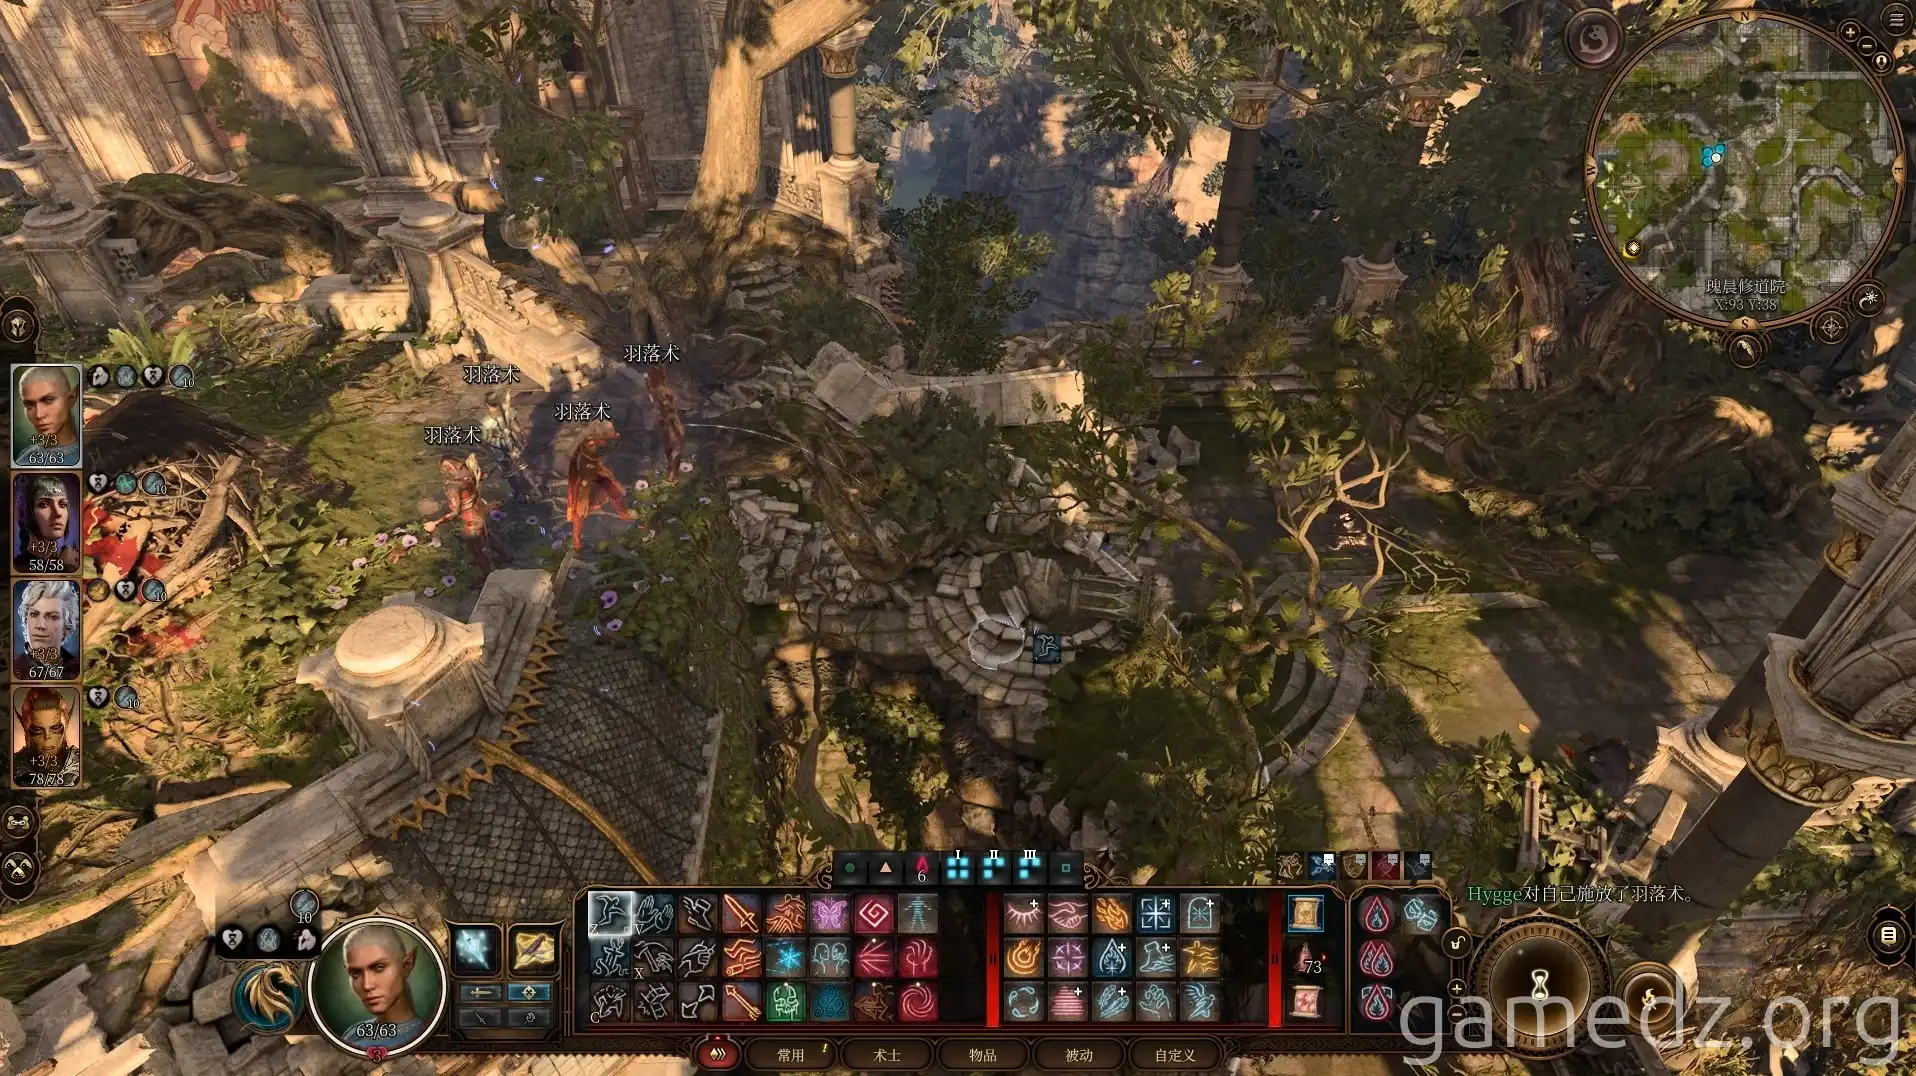
Afterward, on the other side of the eagle's nest, use Feather Fall and jump to the eastern section of the monastery's rooftop.
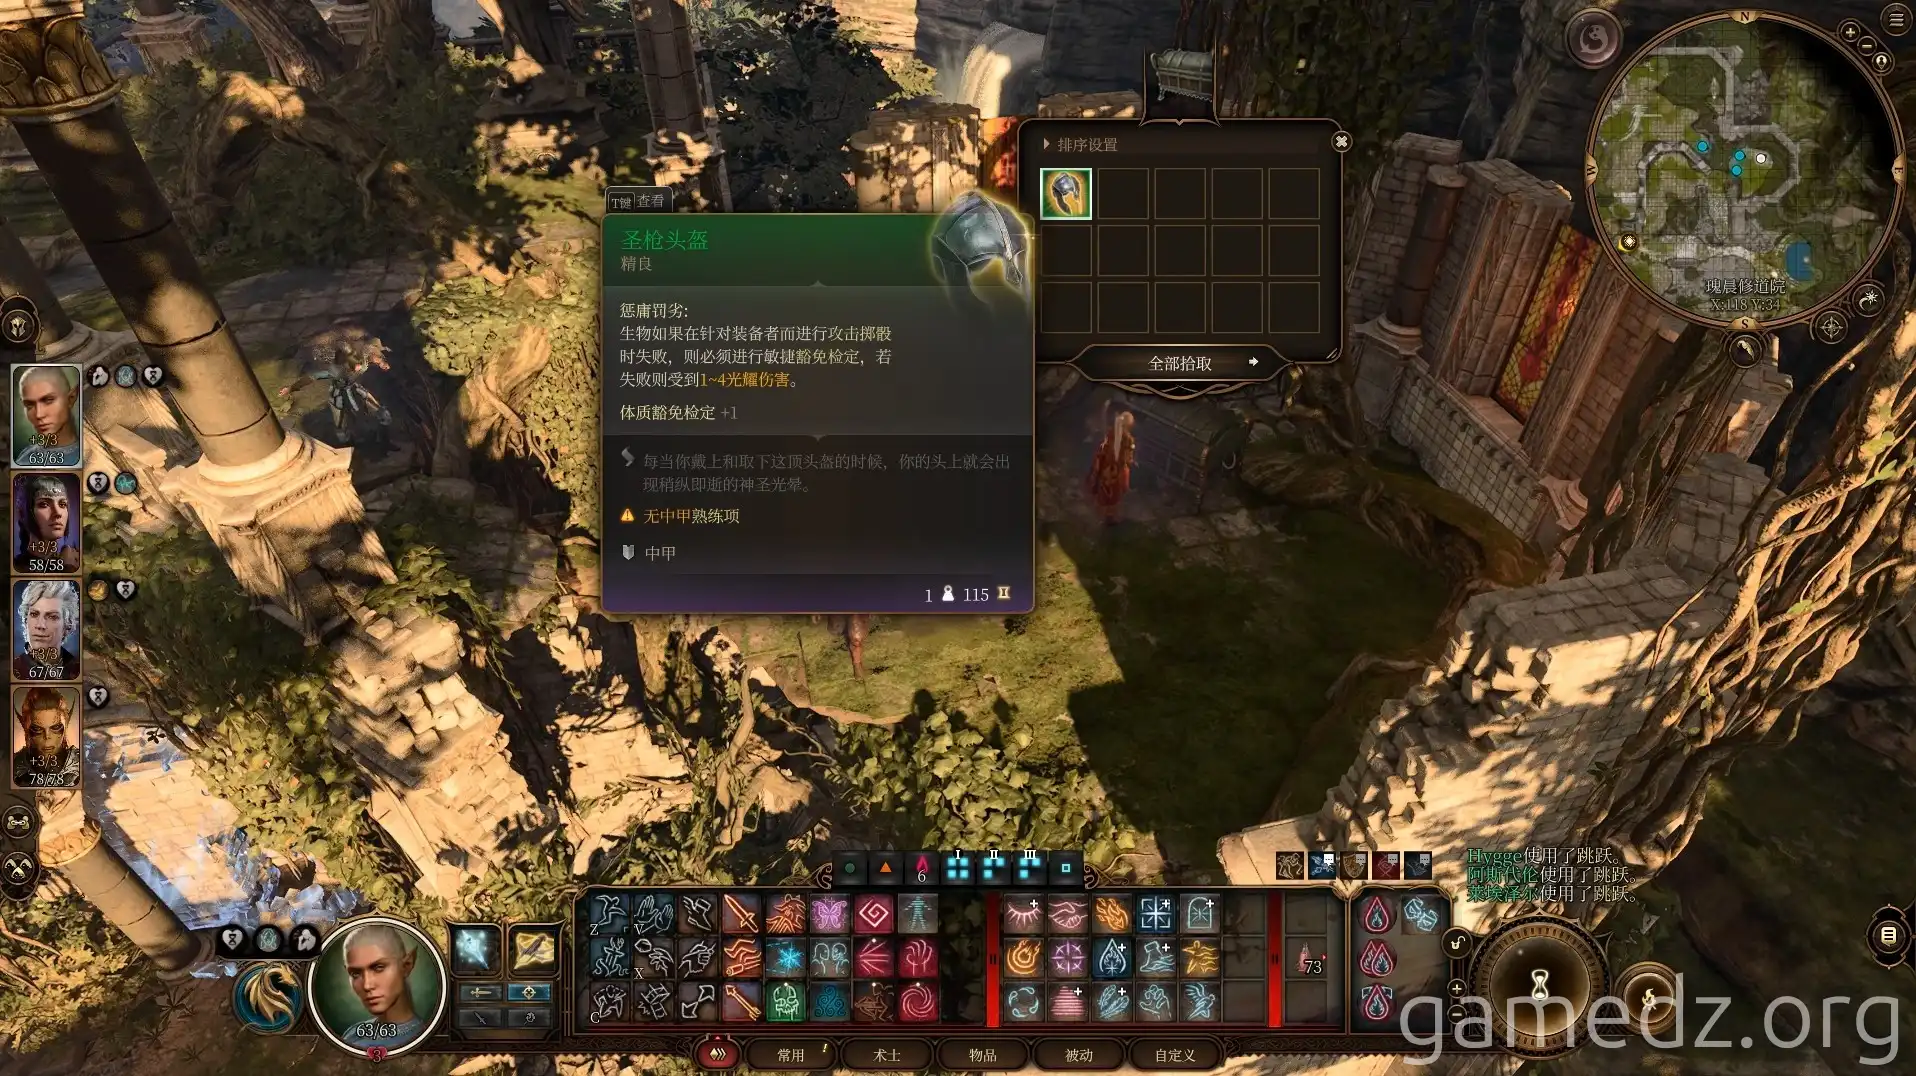
In the large chest on the westernmost side of the rooftop, you can find the rare armor piece, the Holy Lance Helm.
Now, return to the central area on the second floor of the main hall and enter the room located in the northern part of the monastery's center.
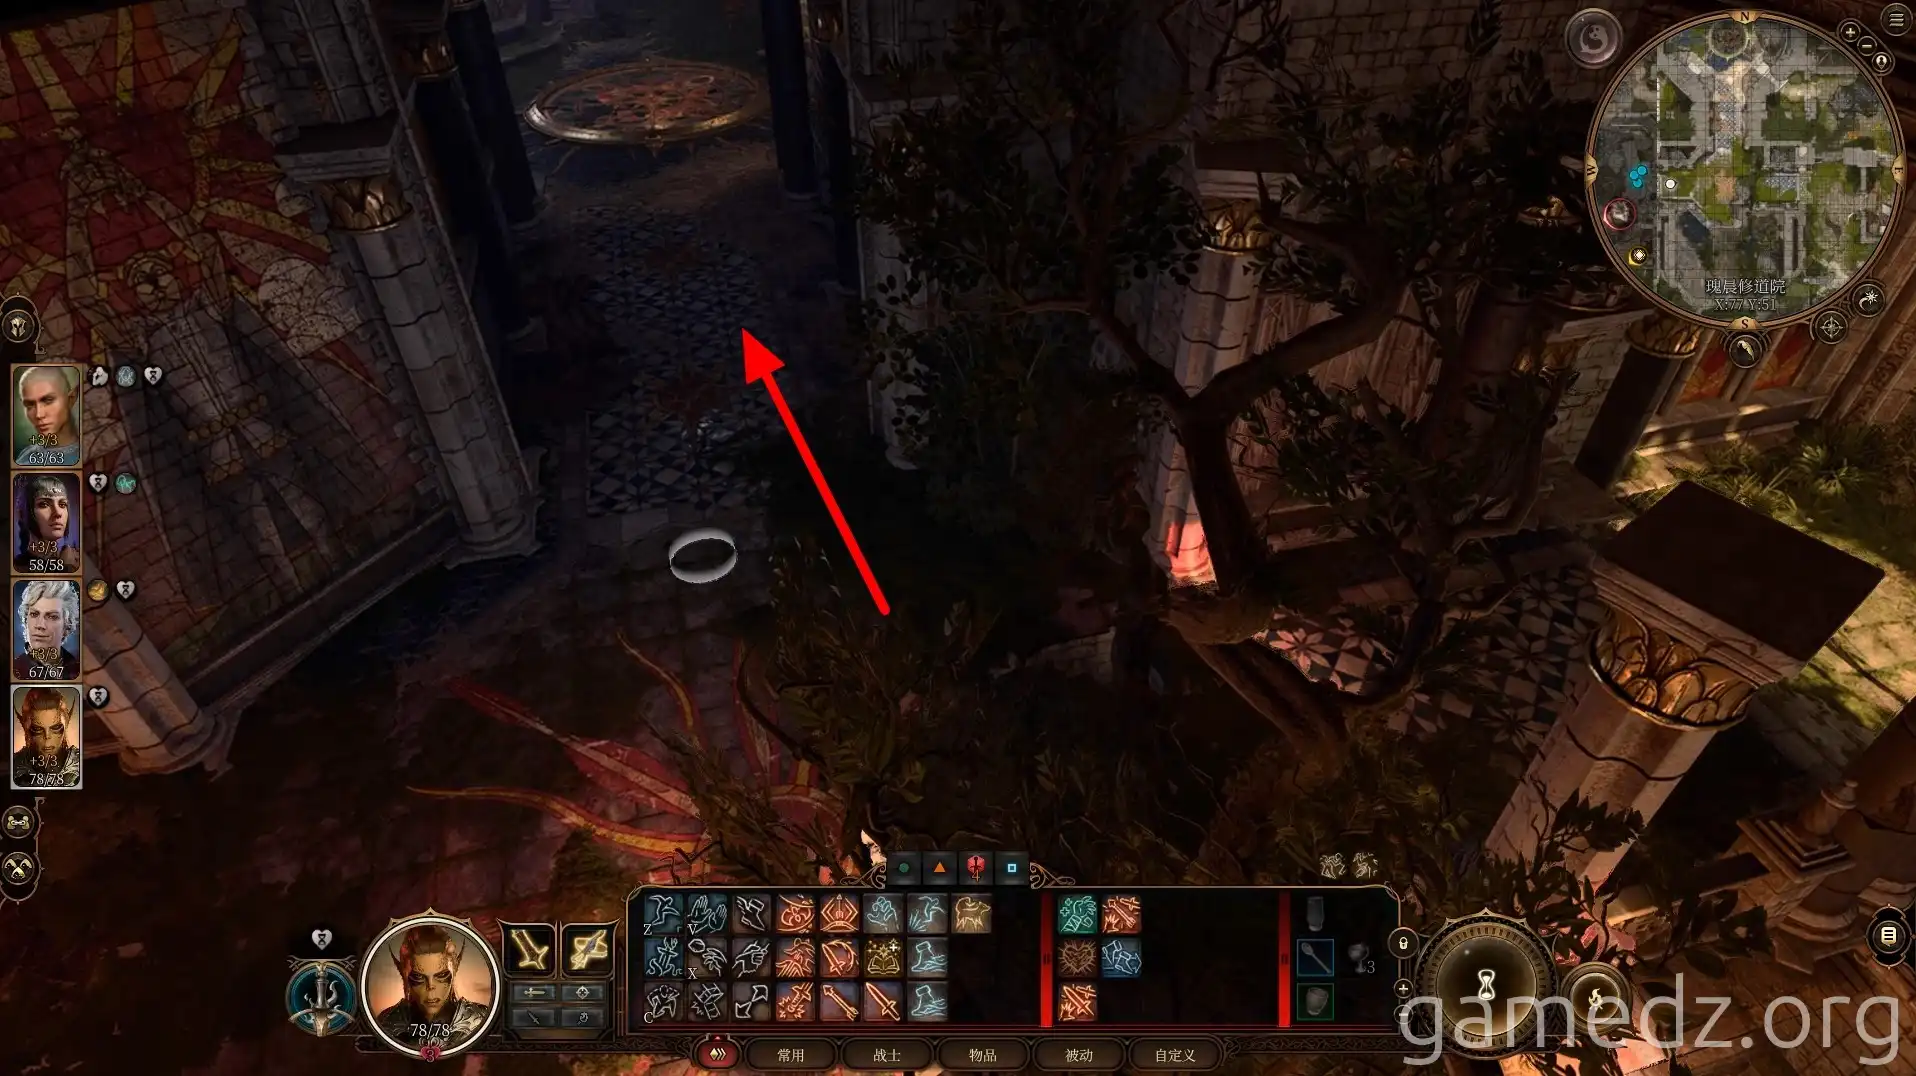
In the room, there are four pedestals. One of them holds a Ritual Longsword. You can substitute this with any ordinary longsword.
With the Ritual Longsword's direction as true north, place the battleaxe on the western pedestal, the maul on the southern pedestal, and the warhammer on the eastern pedestal.
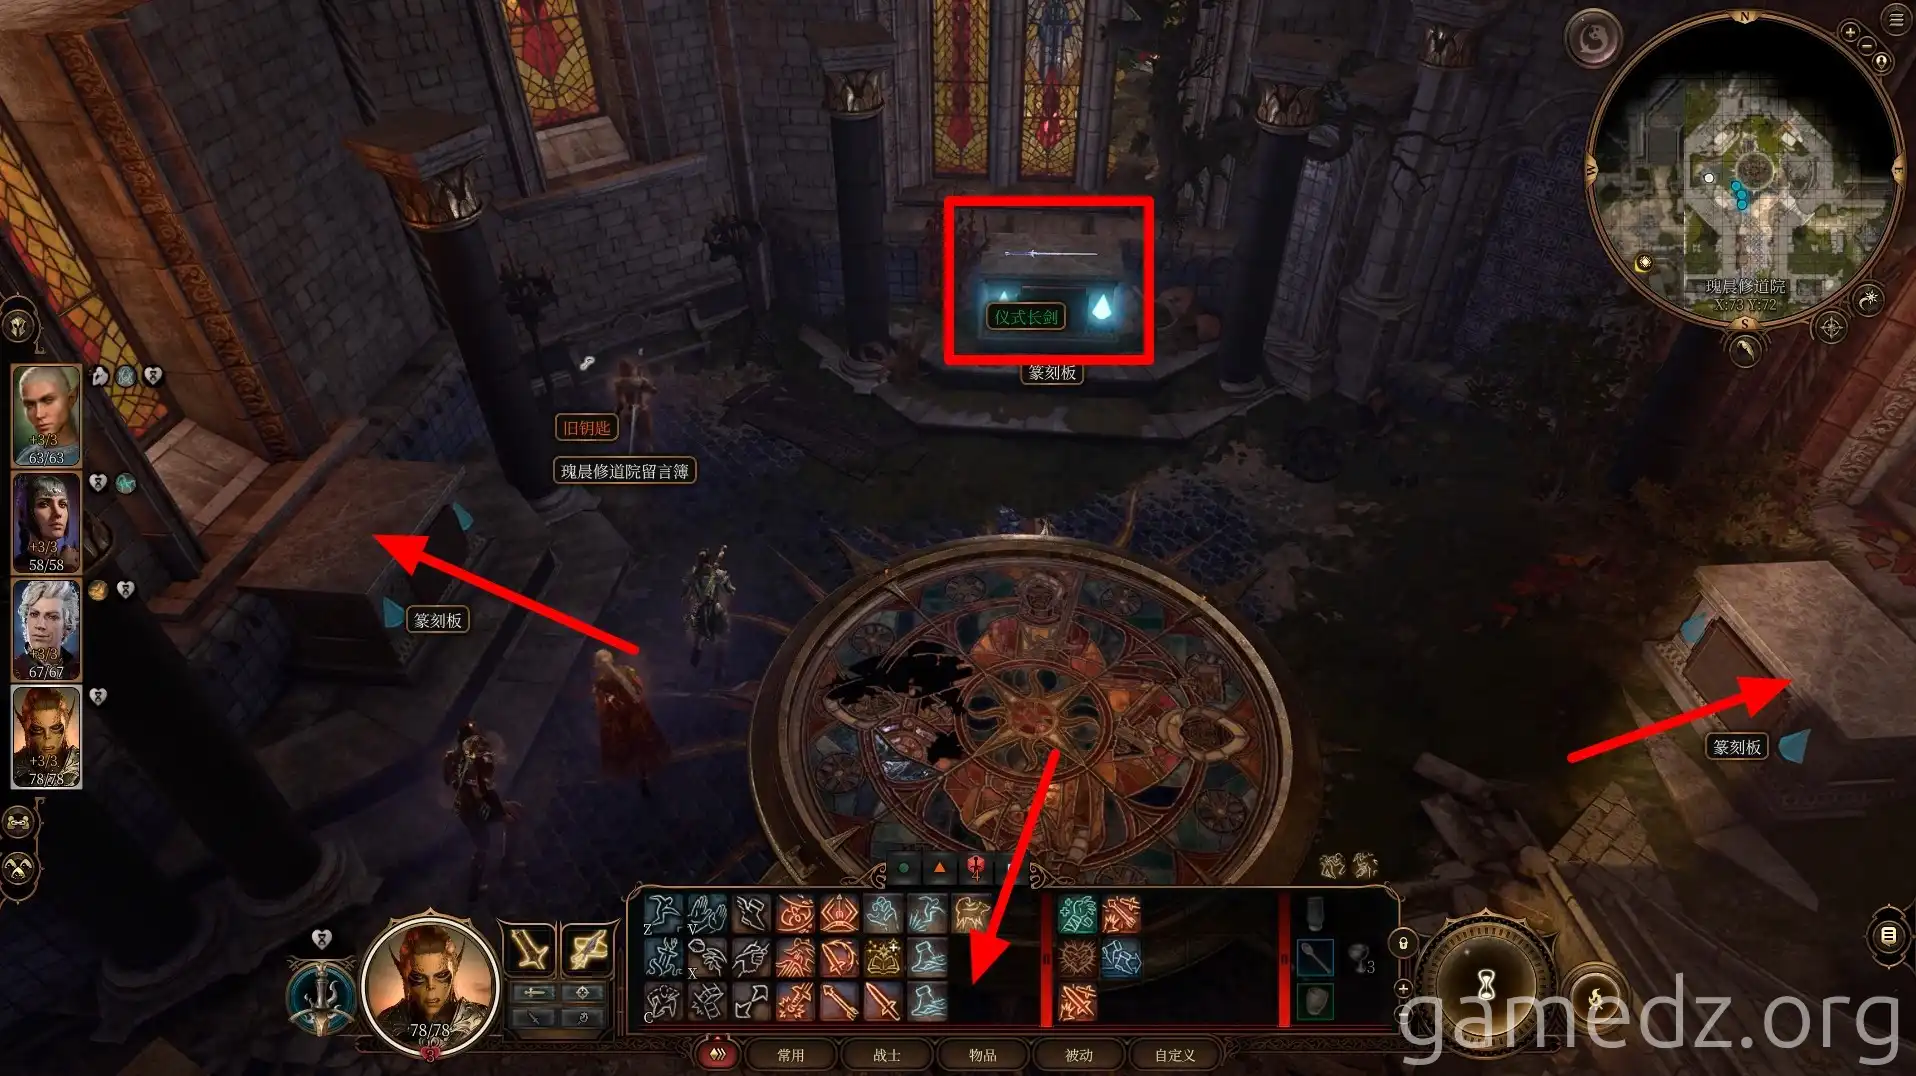
Upon completing the ritual, you will receive a permanent party buff called Radiance of the Dawnfather, granting a +1d4 bonus to radiant damage on weapon attacks.
Additionally, a hidden compartment in the corner will open. Inside a small pouch, you will find the important item, the Unusual Insignia.
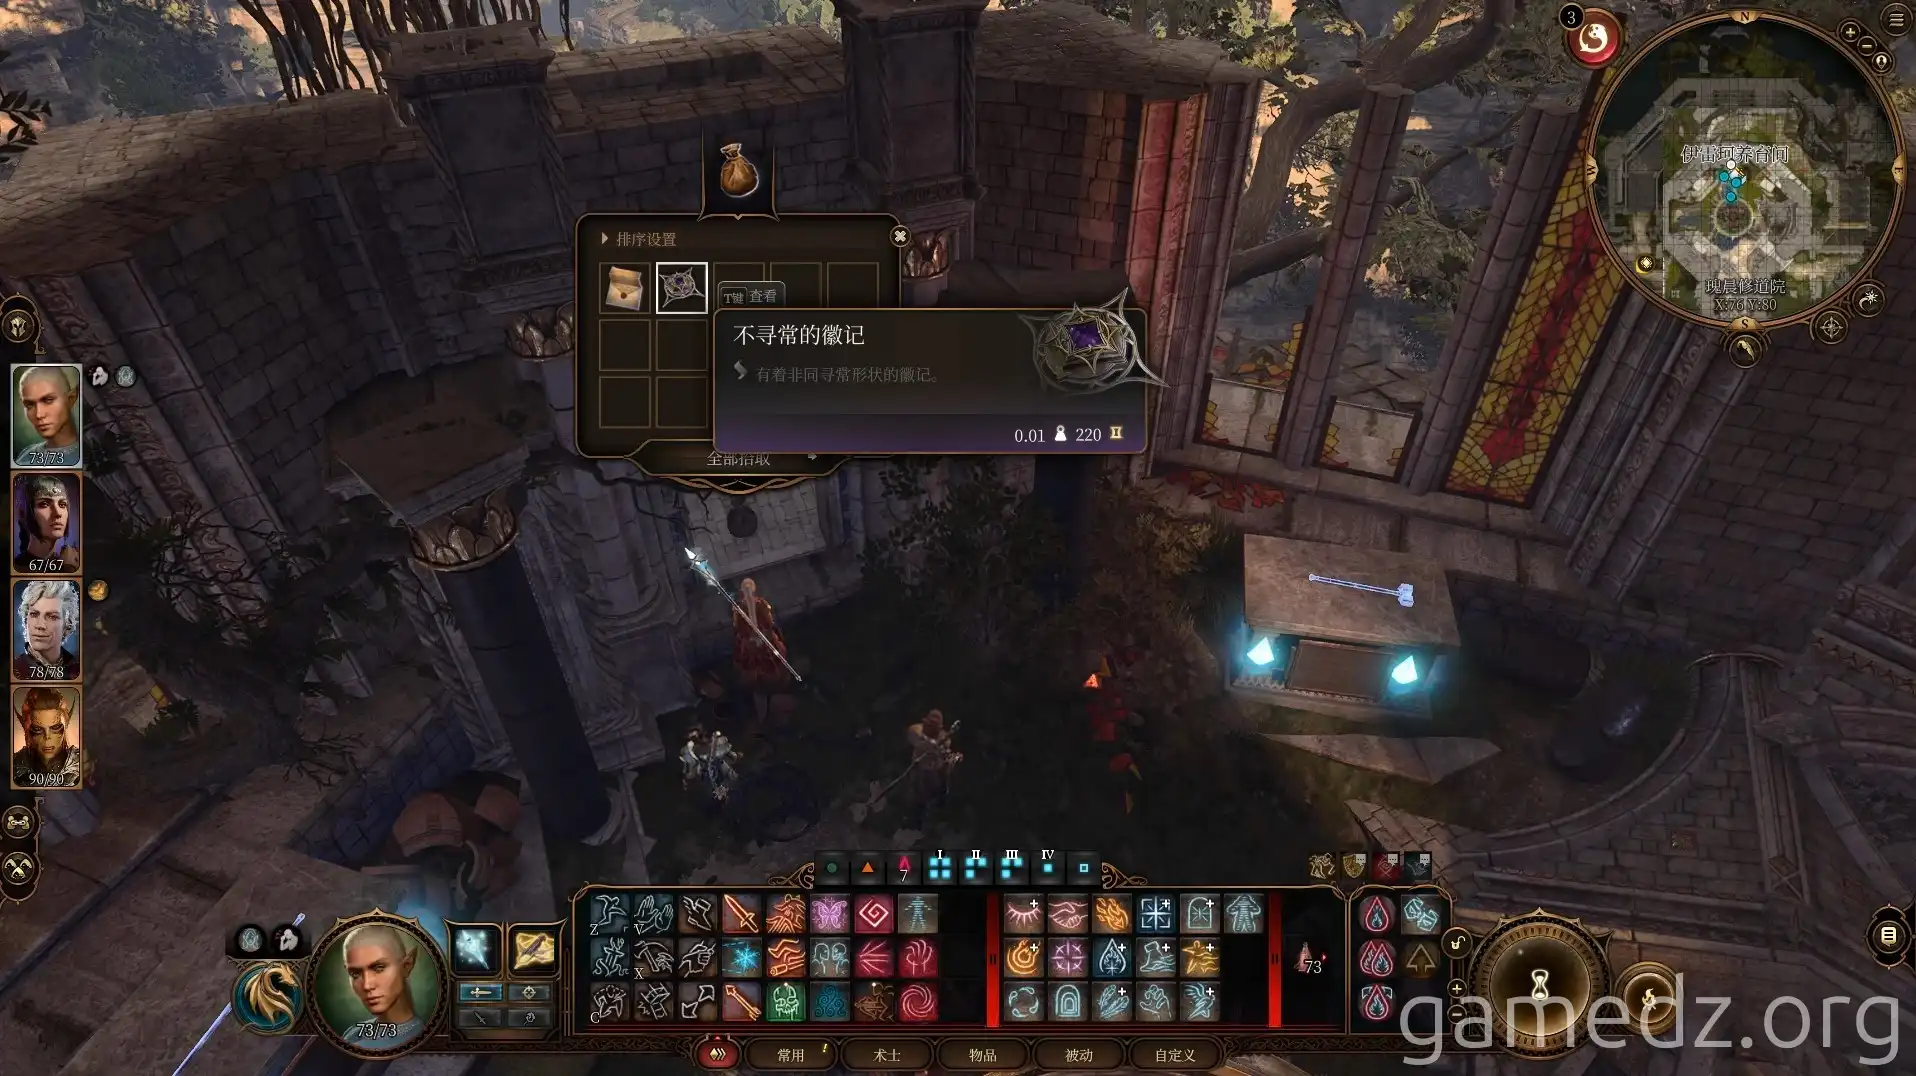
Then, exit the room through the window behind the pedestal where the warhammer was placed, onto the platform outside.
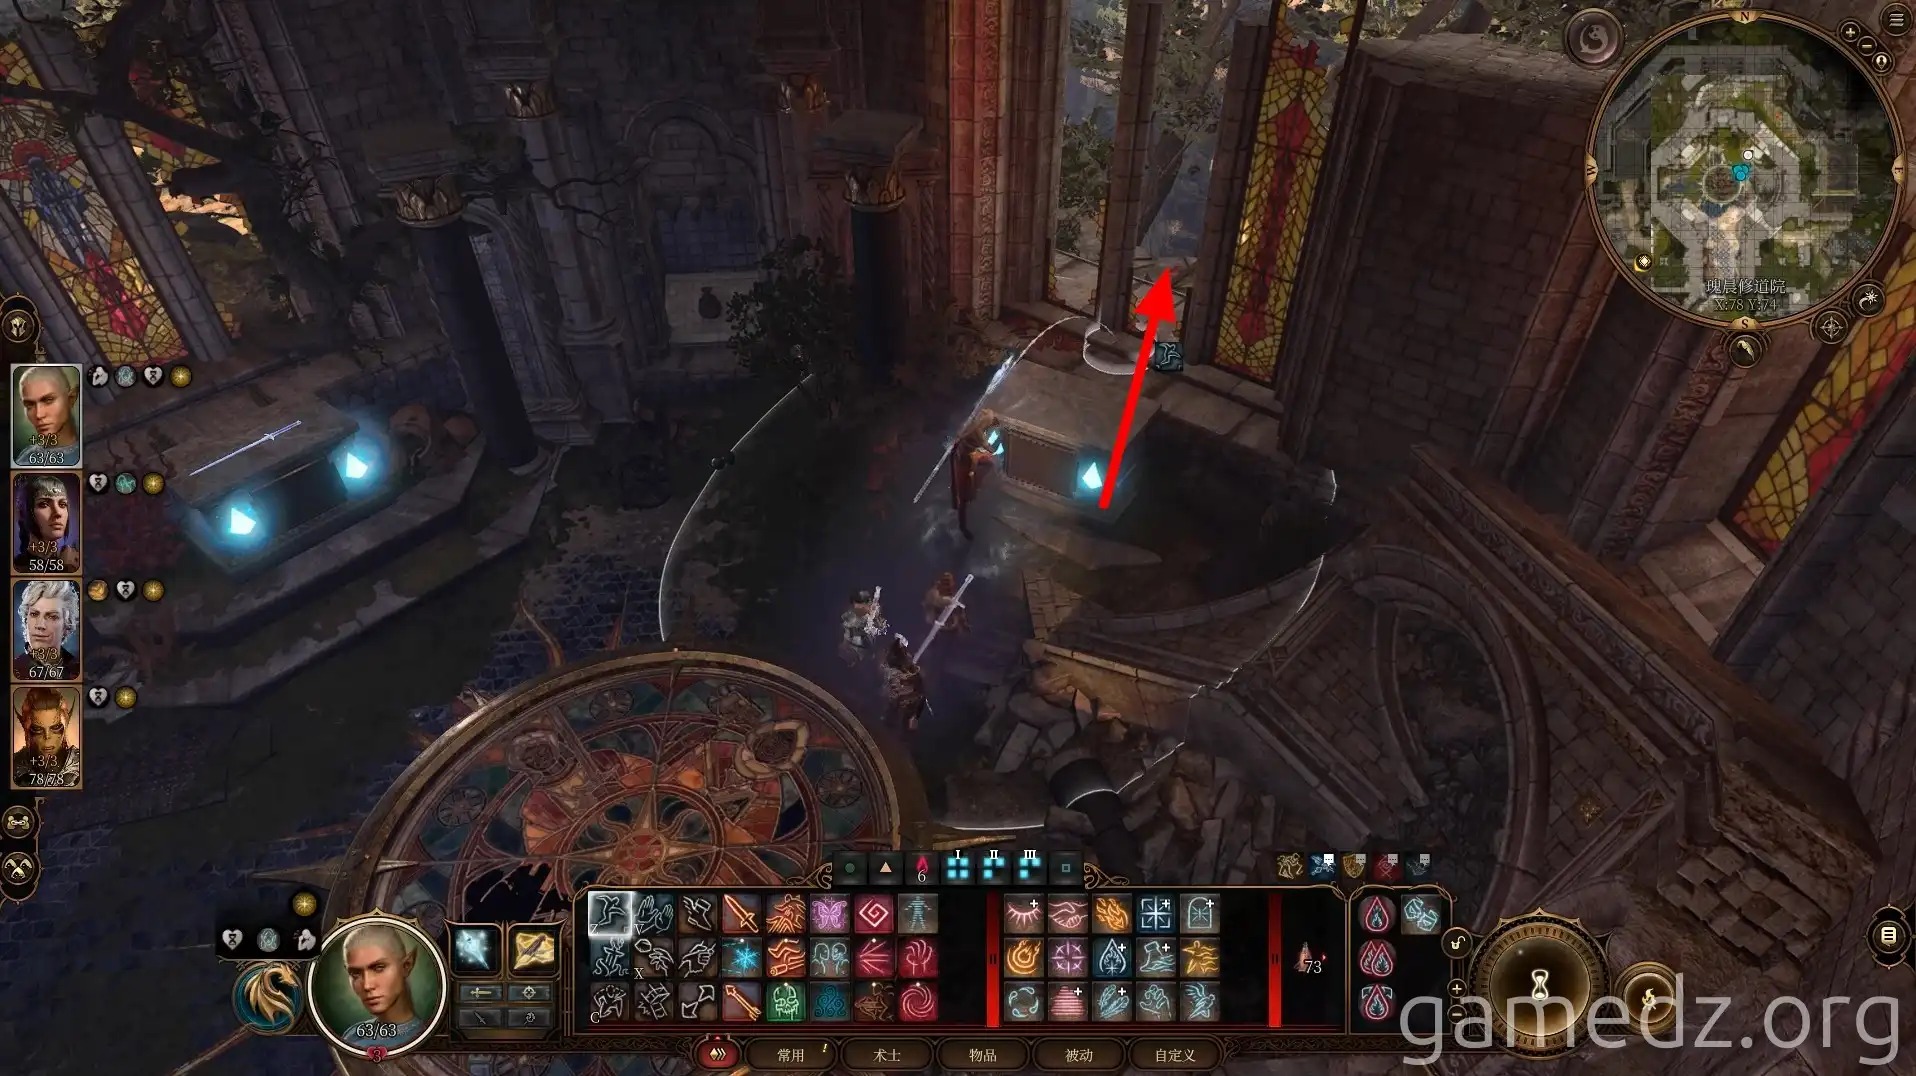
Outside the window, there is a dirt mound with a buried chest. Then, use the nearby vines to ascend.
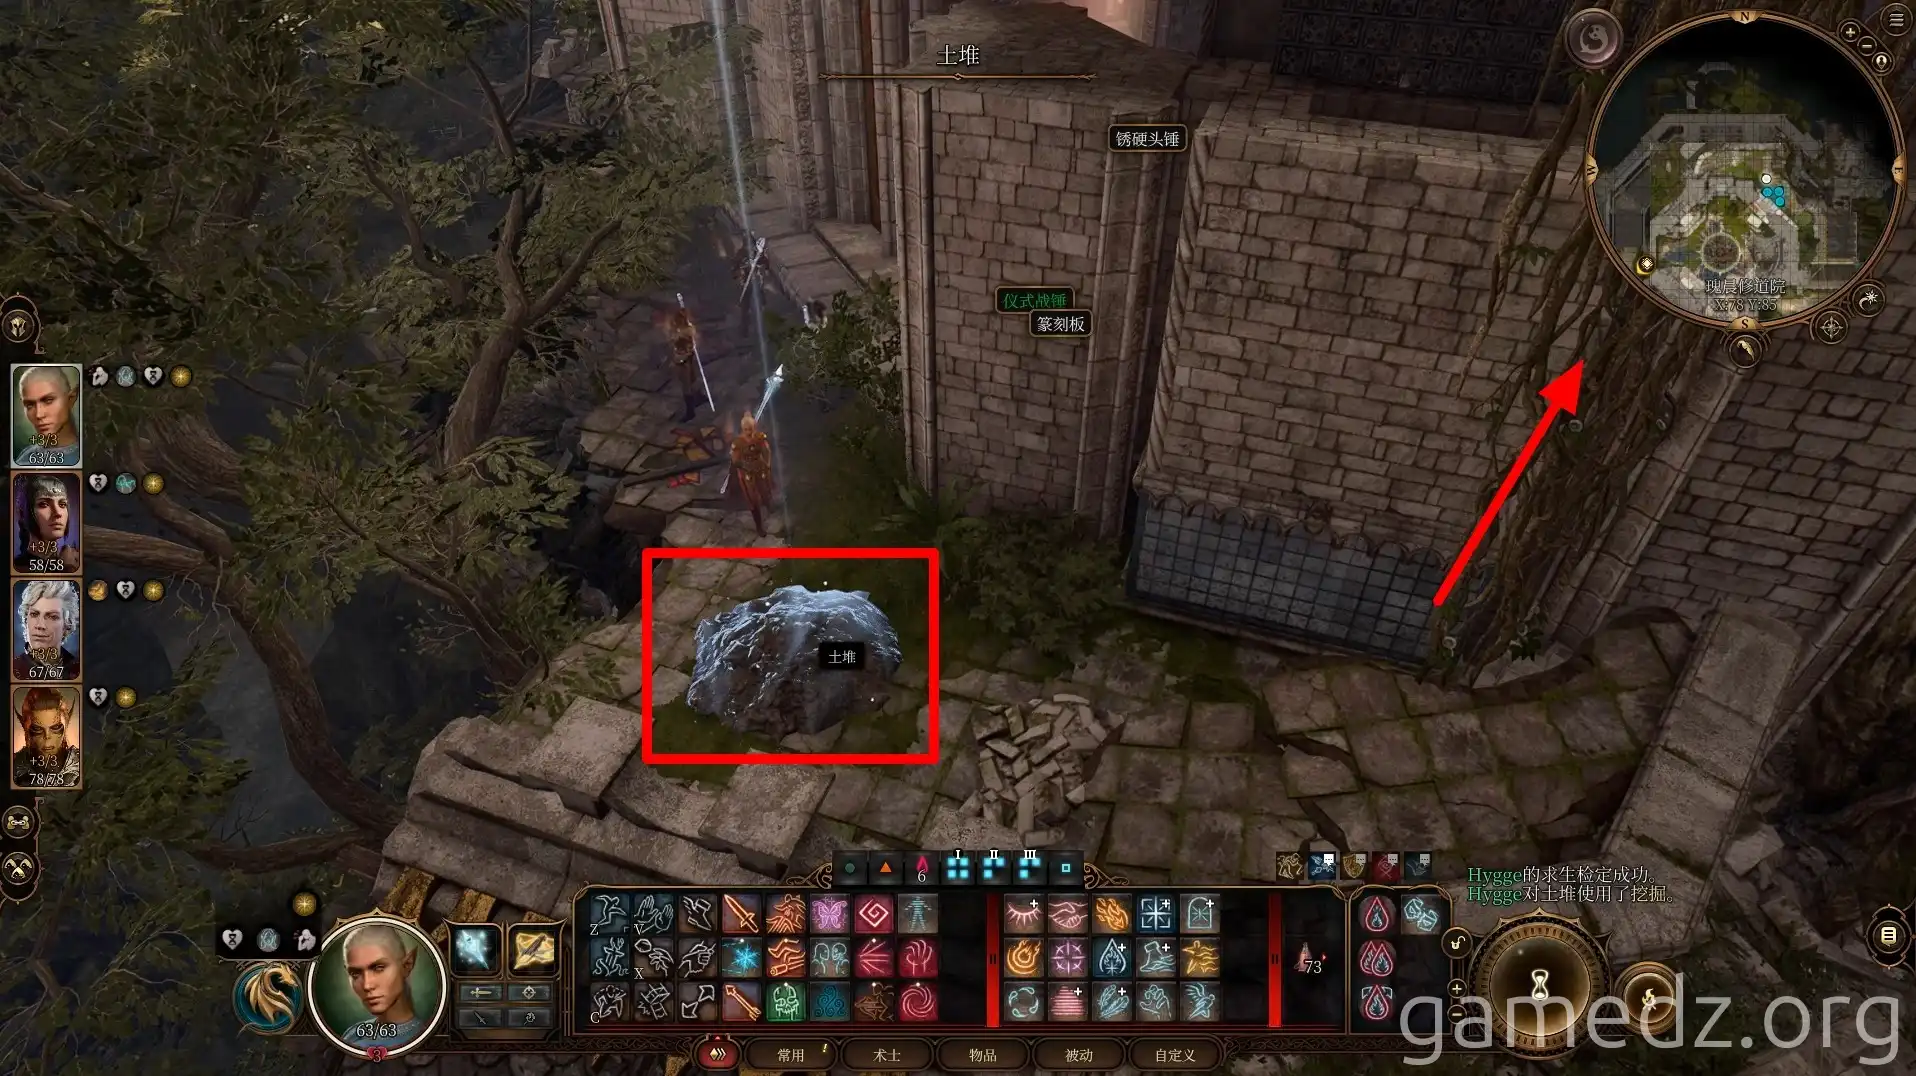
At the top, you'll find an ornate chest. Behind the nearby railing, there's a scroll of Revivify.
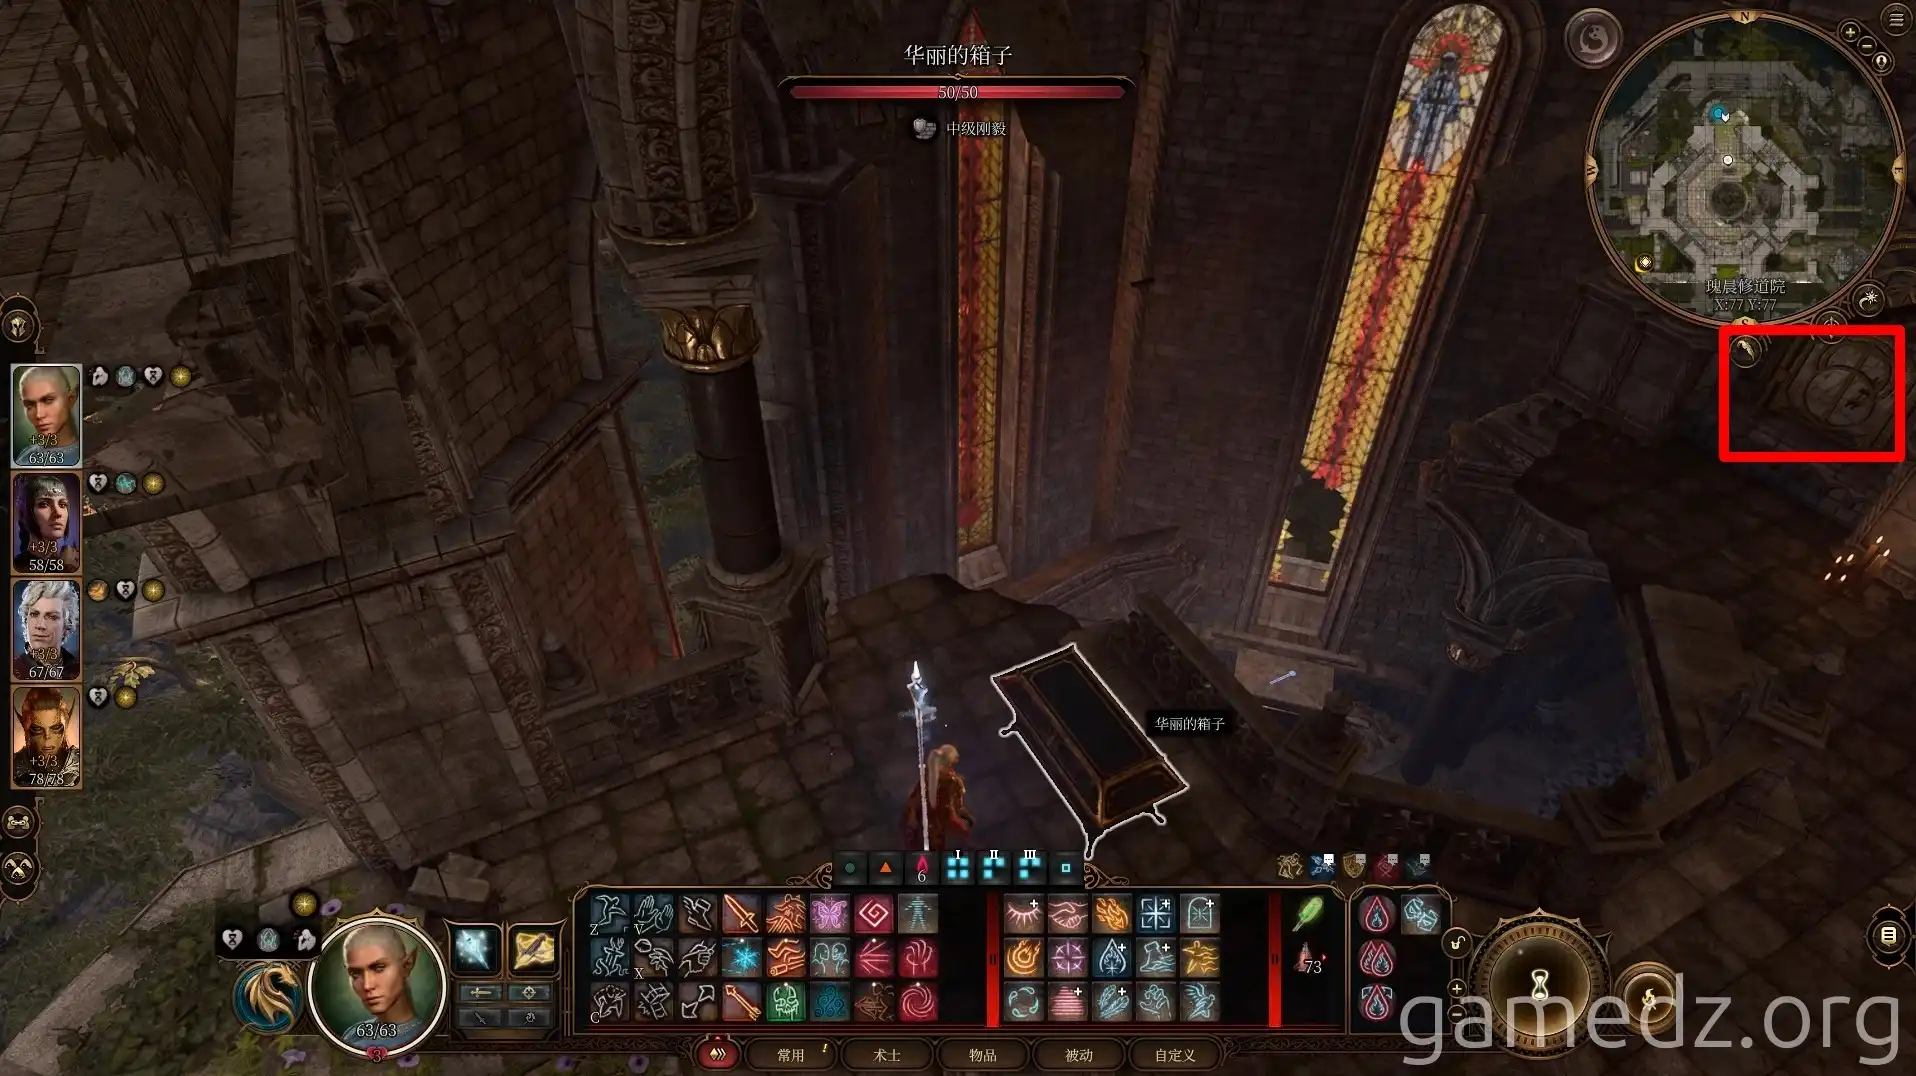
Now, return to the first floor, which you bypassed when entering through the collapsed wall. Break through the wooden planks in the northwest corner to enter the monastery's first floor interior.
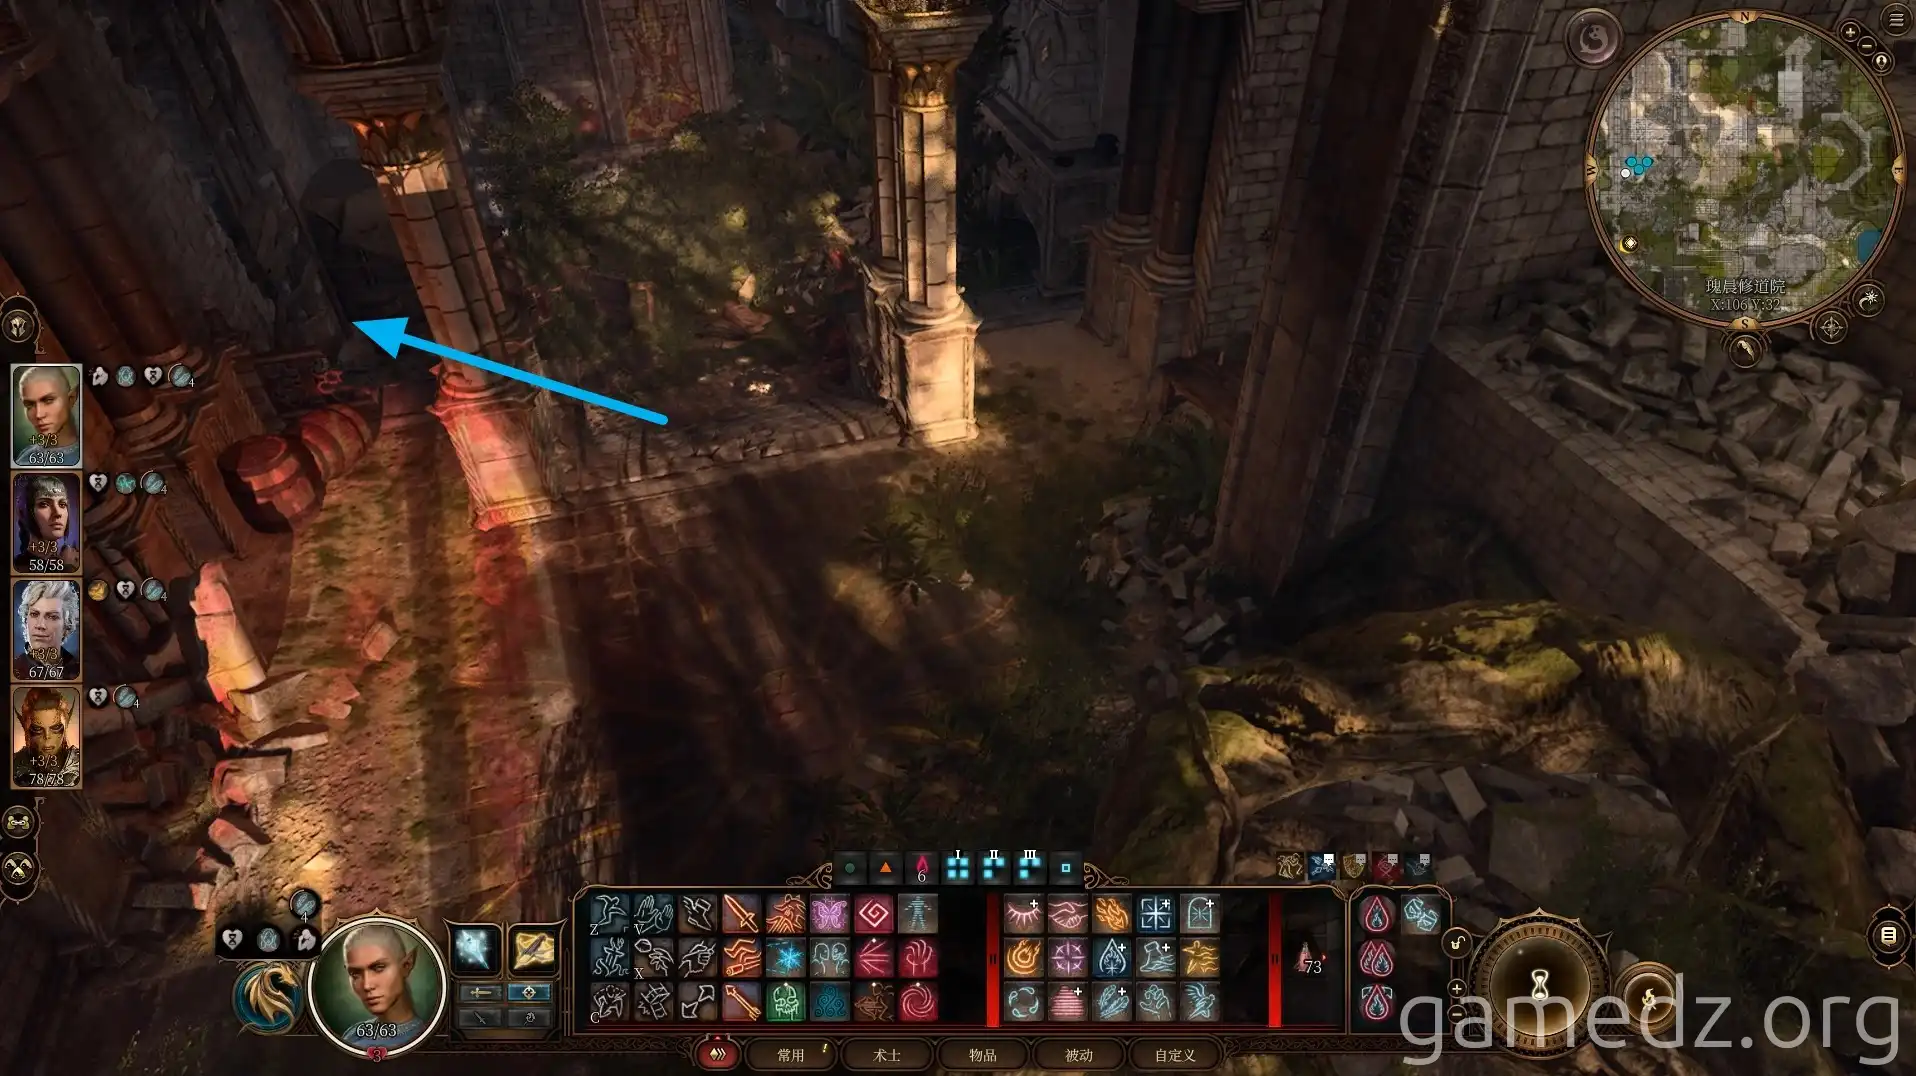
Open the small door at the very front to delve deeper into the monastery.
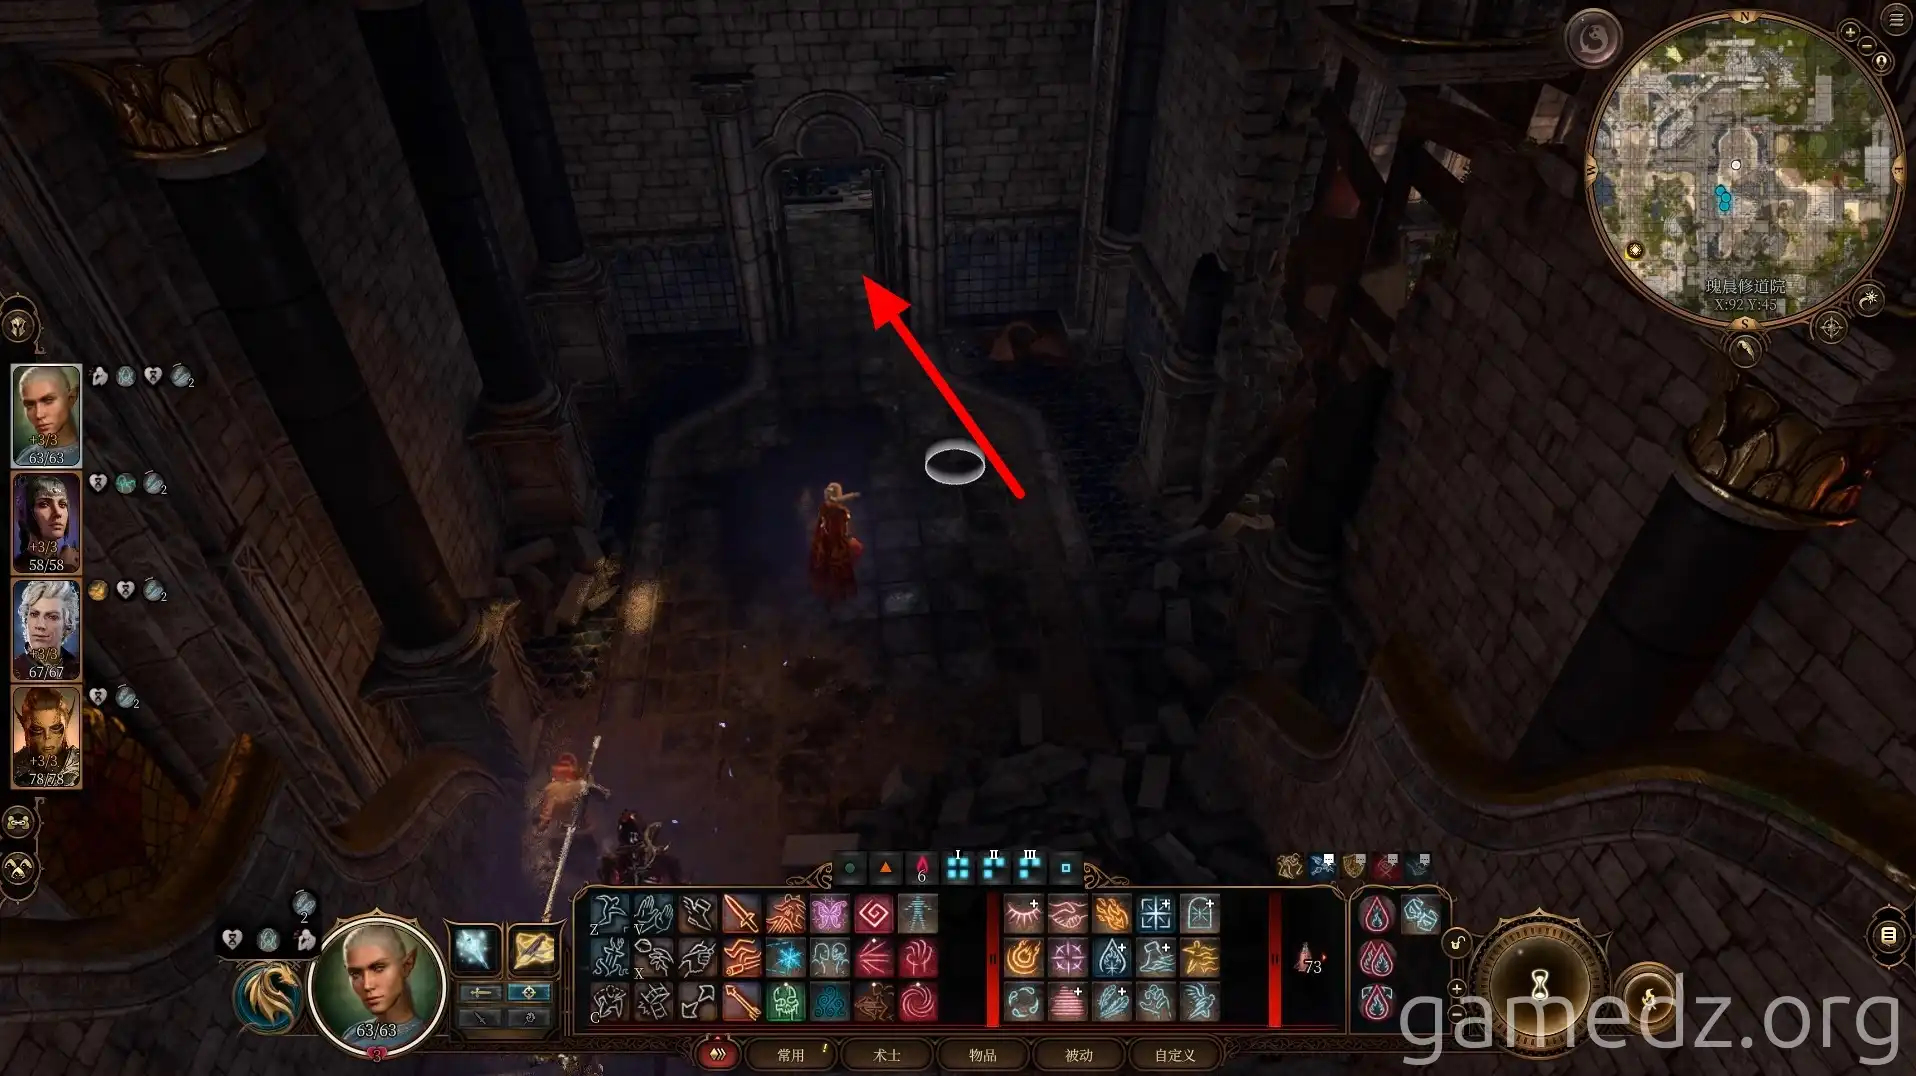
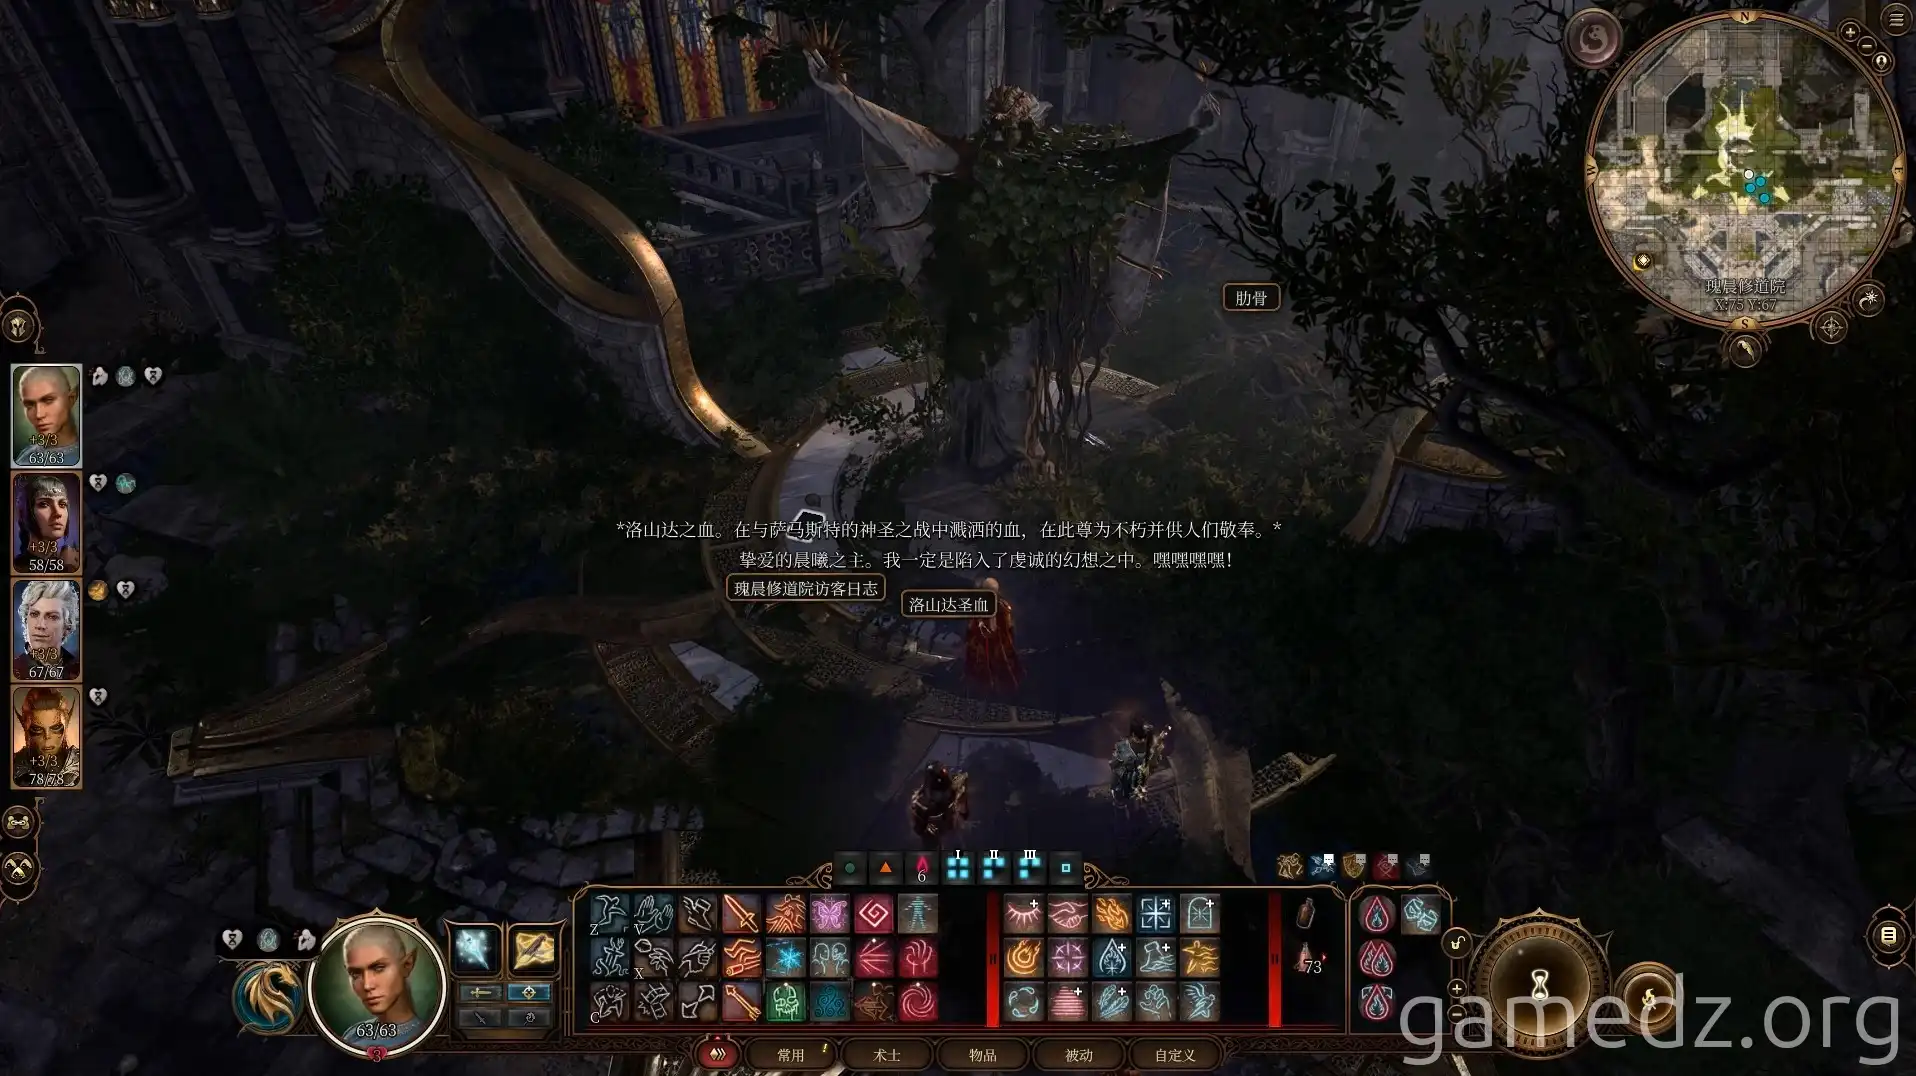
Beneath the statue in the room, read the book titled "Rosomond's Holy Blood" to uncover new clues about the artifact.
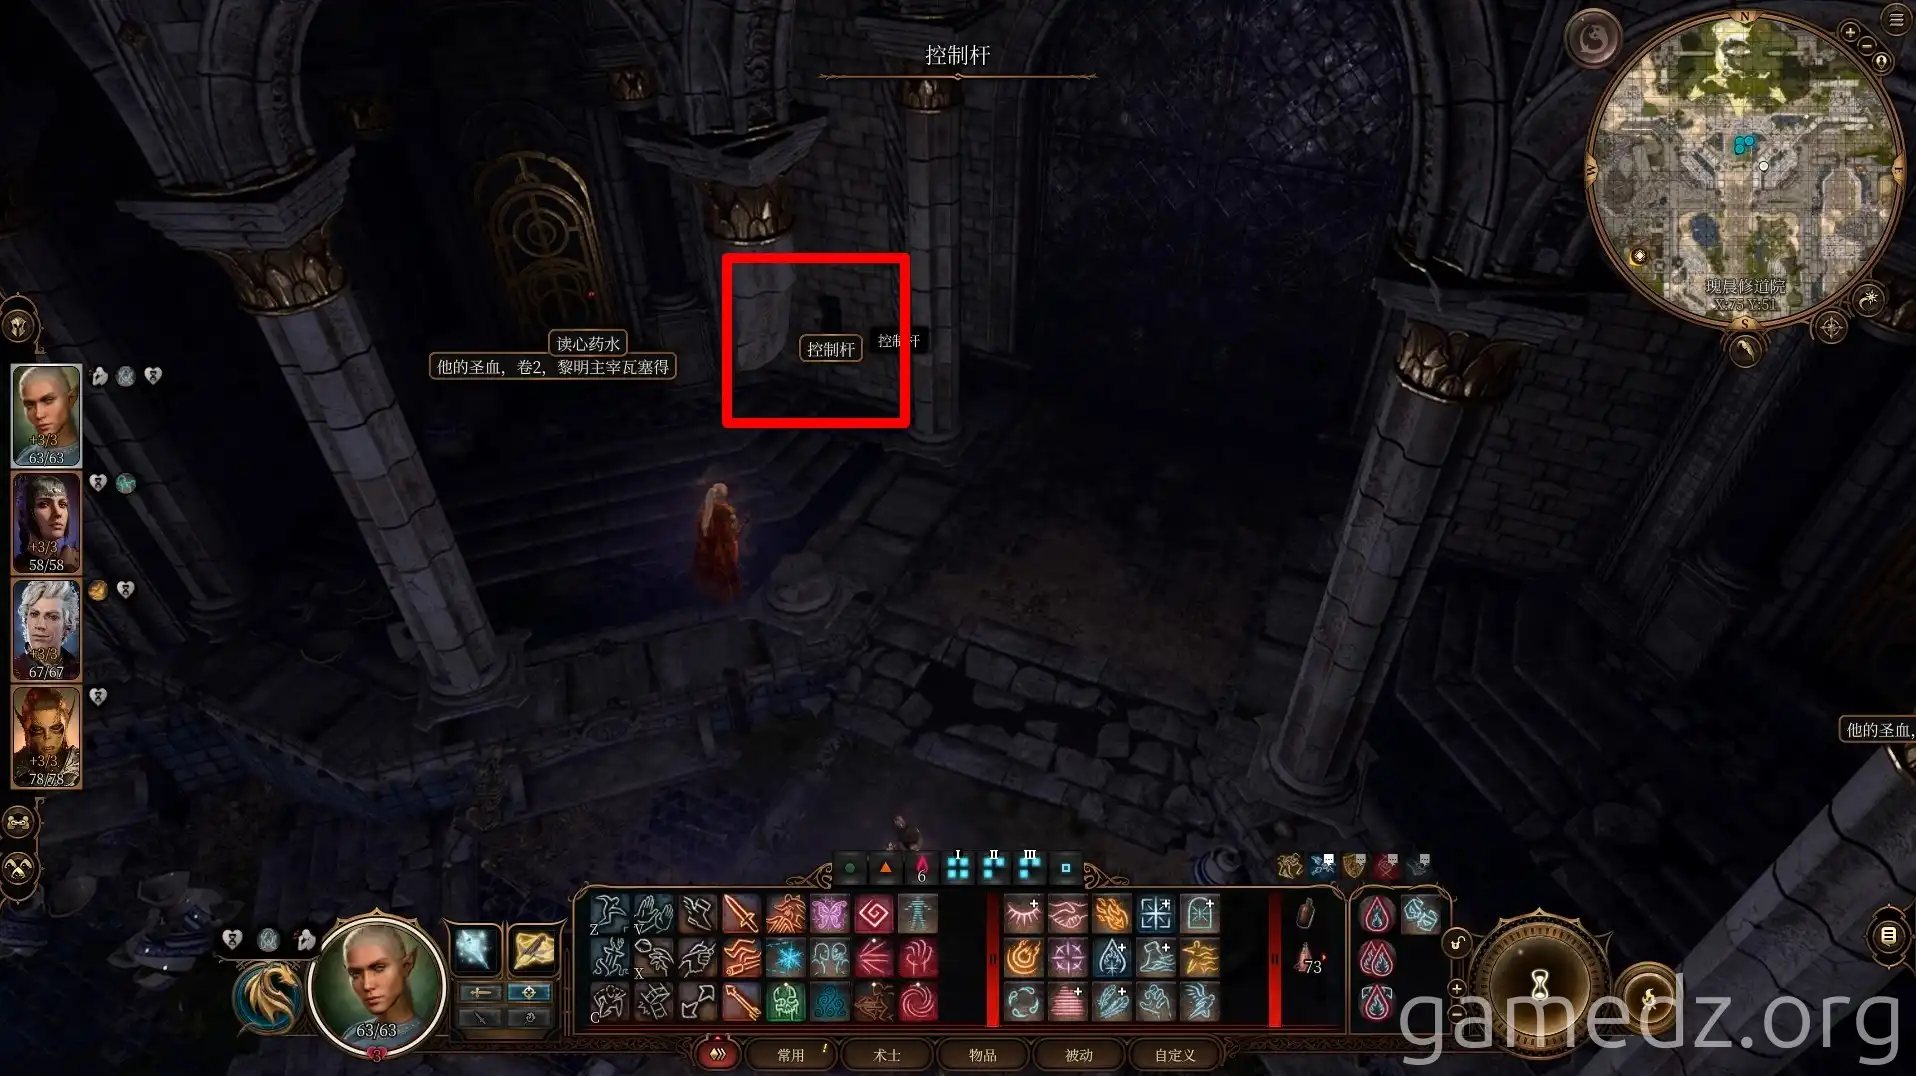
Use the control lever on the wall opposite the statue to open the large door. Behind the small iron grate nearby, you can find some other documents and potions.
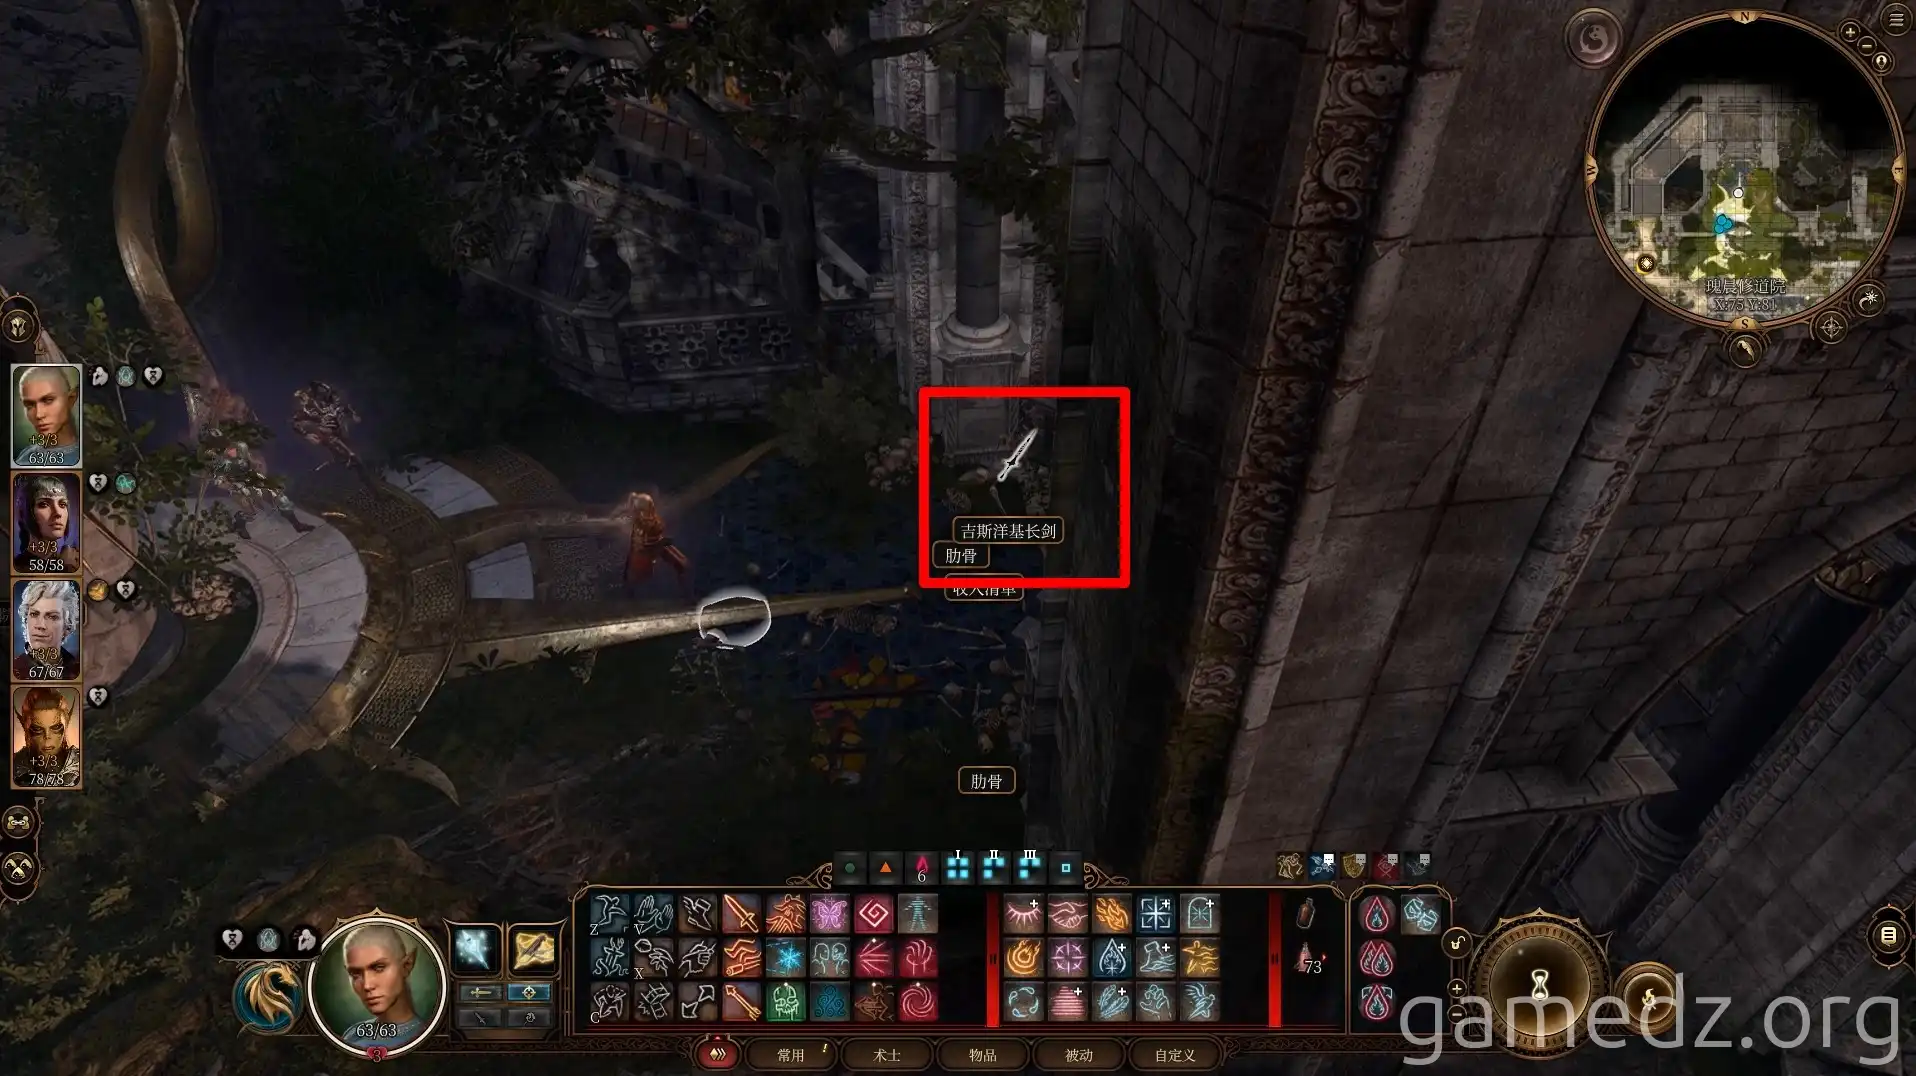
Next to the skeleton behind the statue, you can find a Githyanki Longsword. You'll find plenty more Githyanki weapons like this once you enter the Creche Y'llek.
To the west of the statue, you'll find a dirt mound. Then, proceed through the adjacent passage to the underground, entering the Githyanki Creche.
