Baldur's Gate 3 Githyanki Creche: Full Walkthrough & Loot Guide
Explore the Githyanki Creche in Baldur's Gate 3 with this detailed walkthrough. Discover secrets, defeat enemies, and collect powerful loot like the Blood of Lathander.
Welcome, adventurers, to a deep dive into the Githyanki Creche in Baldur's Gate 3! This guide will walk you through every step, from initial entry to uncovering powerful artifacts. Let's get started!
Entering the Creche
Upon arrival, let Lae'zel take the lead in dialogue. Seek out the medical officer and persuade the guards to grant you passage. While a fight is inevitable later, there's no need to draw steel just yet. Proceed through the large door ahead.
Navigating the Crossroads
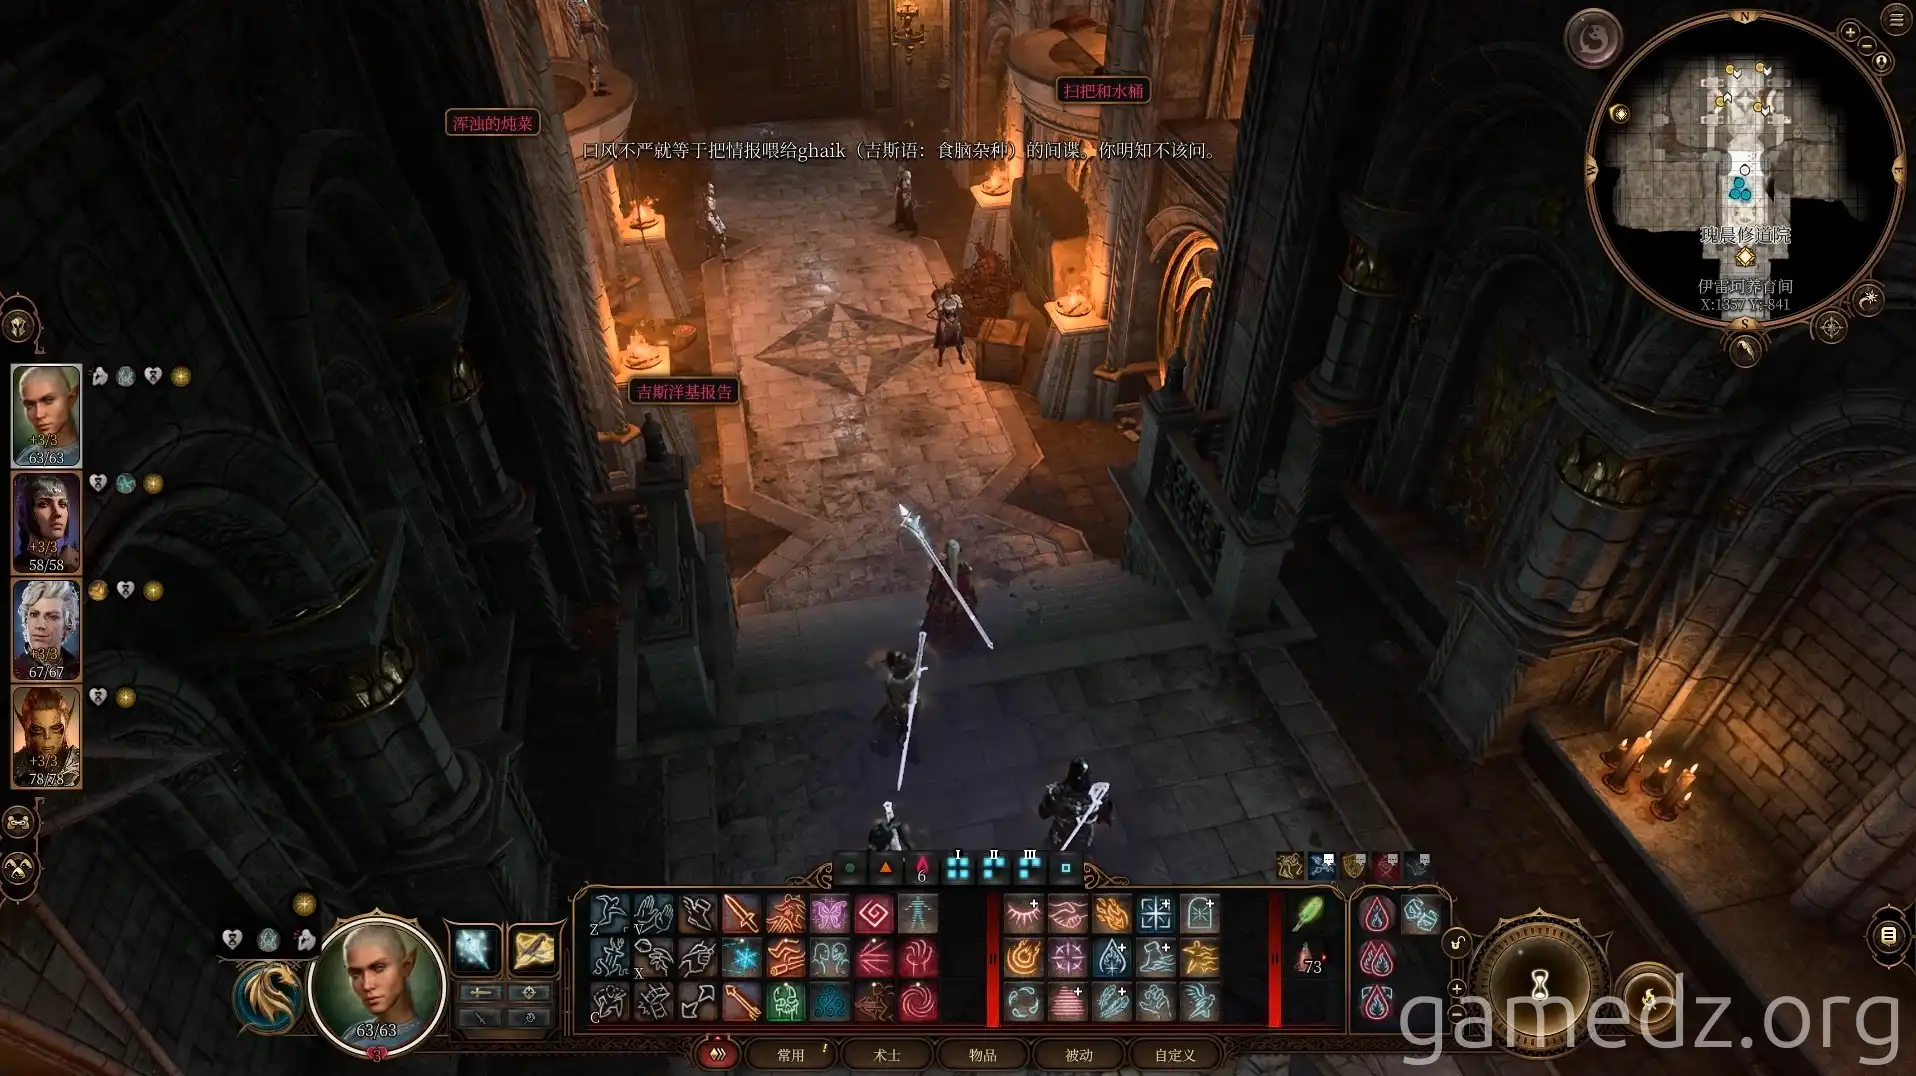
At the crossroads, speak with the Githyanki in the corner to learn about the Inquisitor's search for a weapon. Skip the northern training grounds for now and head east.
The Inquisitor's Creche & Quartermaster
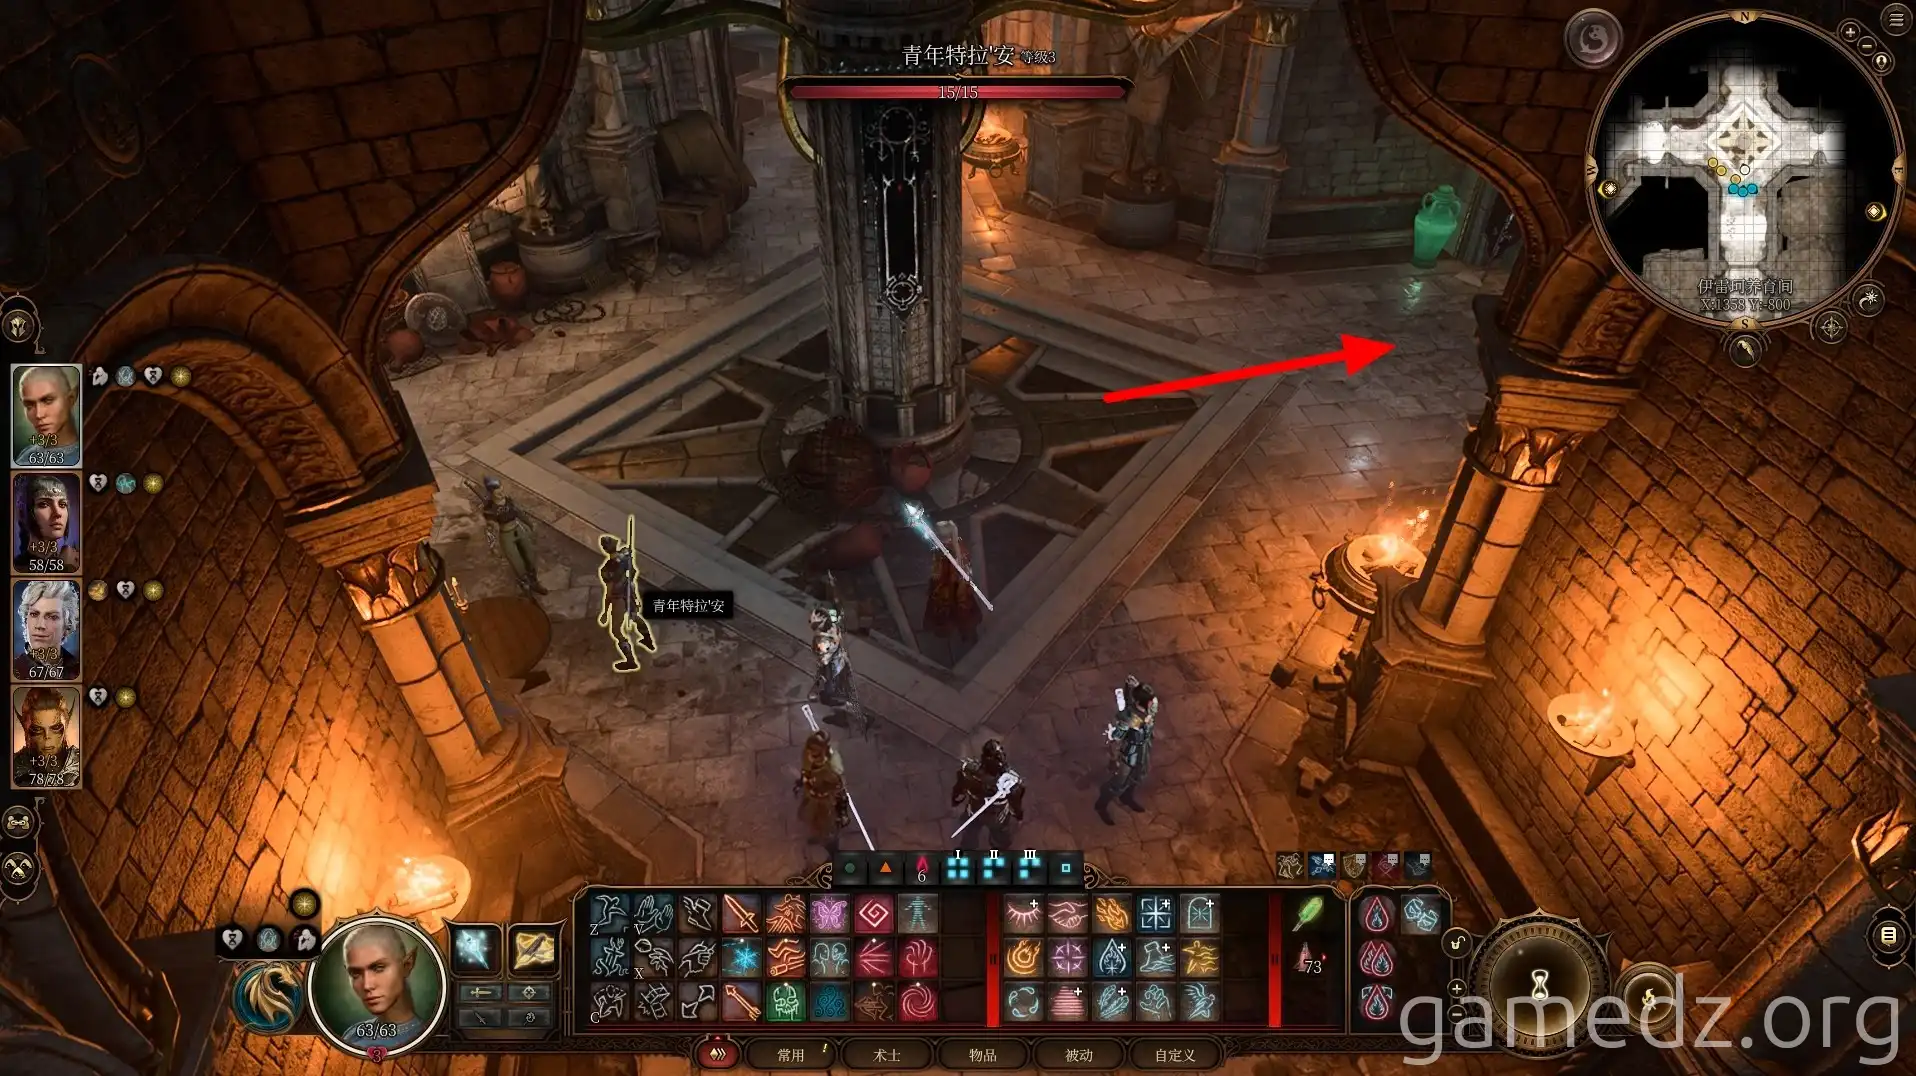
Activate the [Inquisitor's Creche] waypoint. Enter the small door south of it to find the Githyanki Quartermaster, who offers a variety of unique equipment.
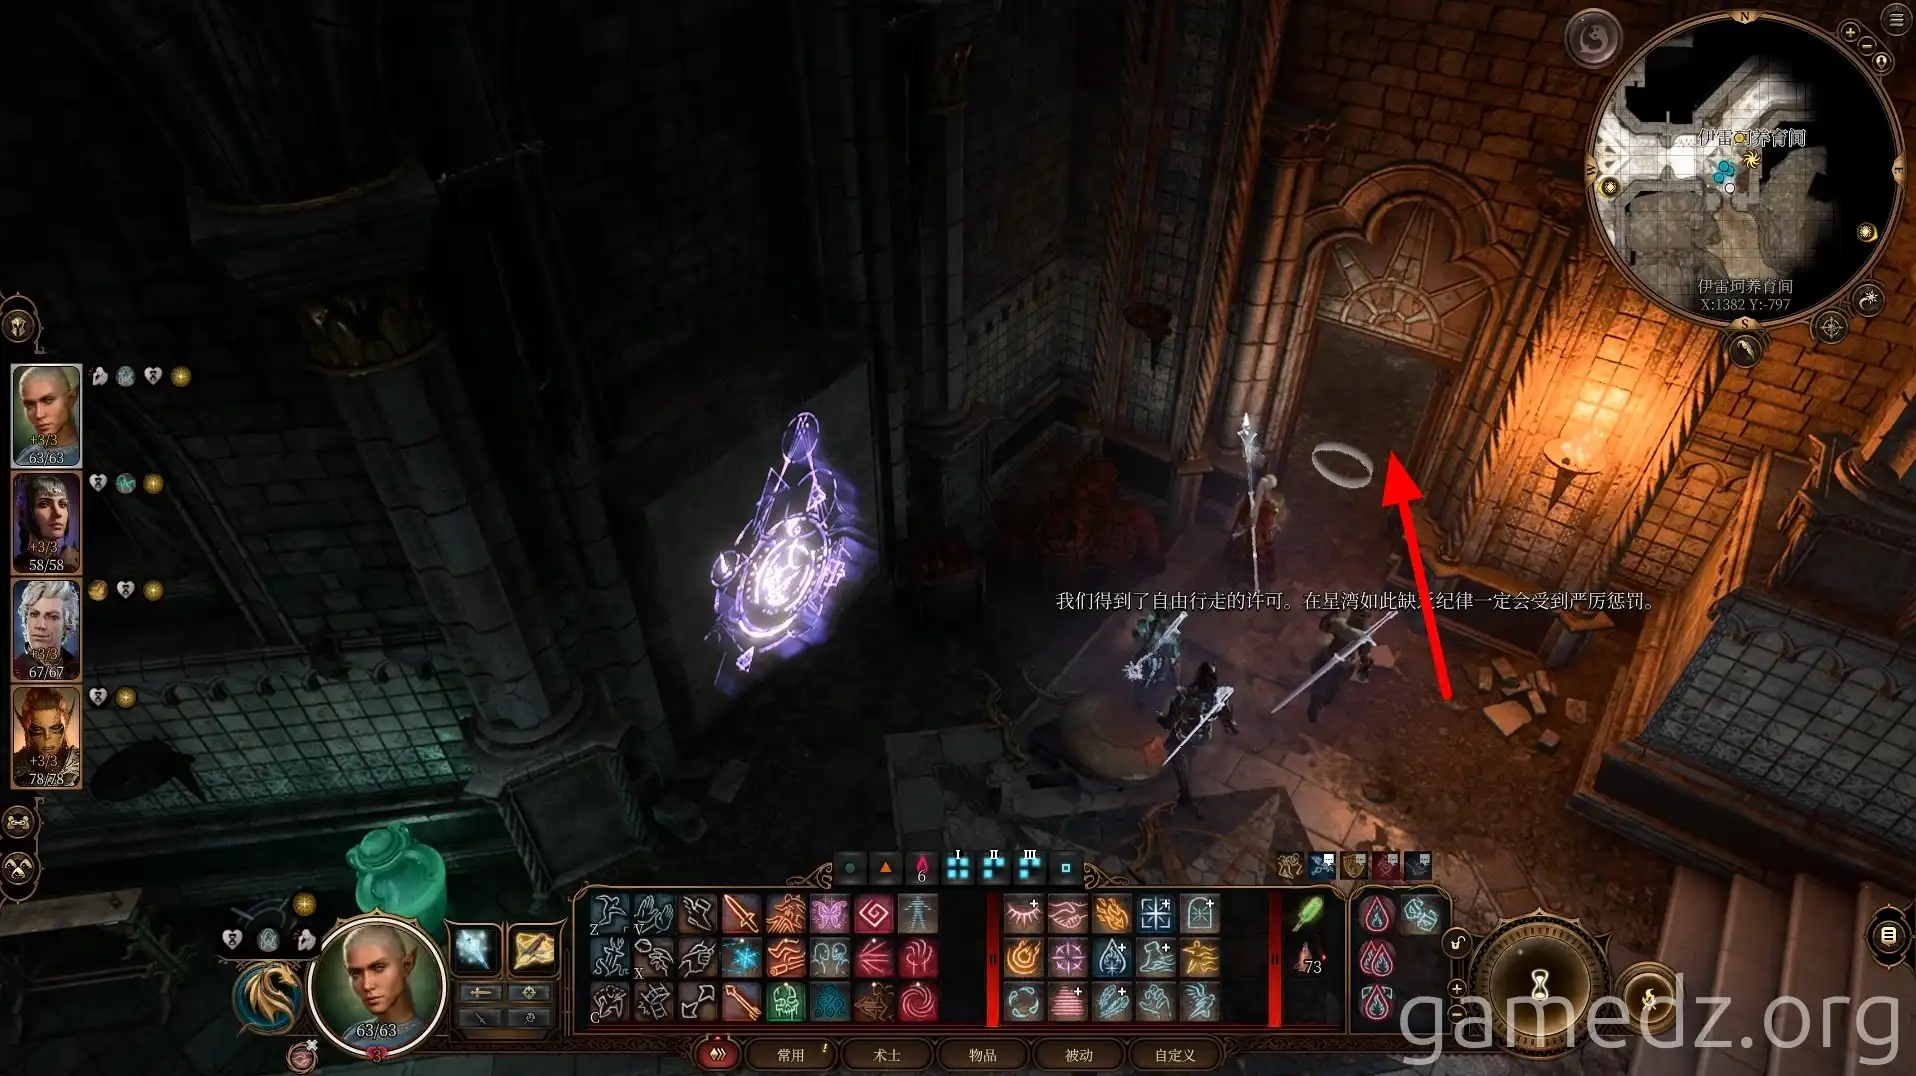
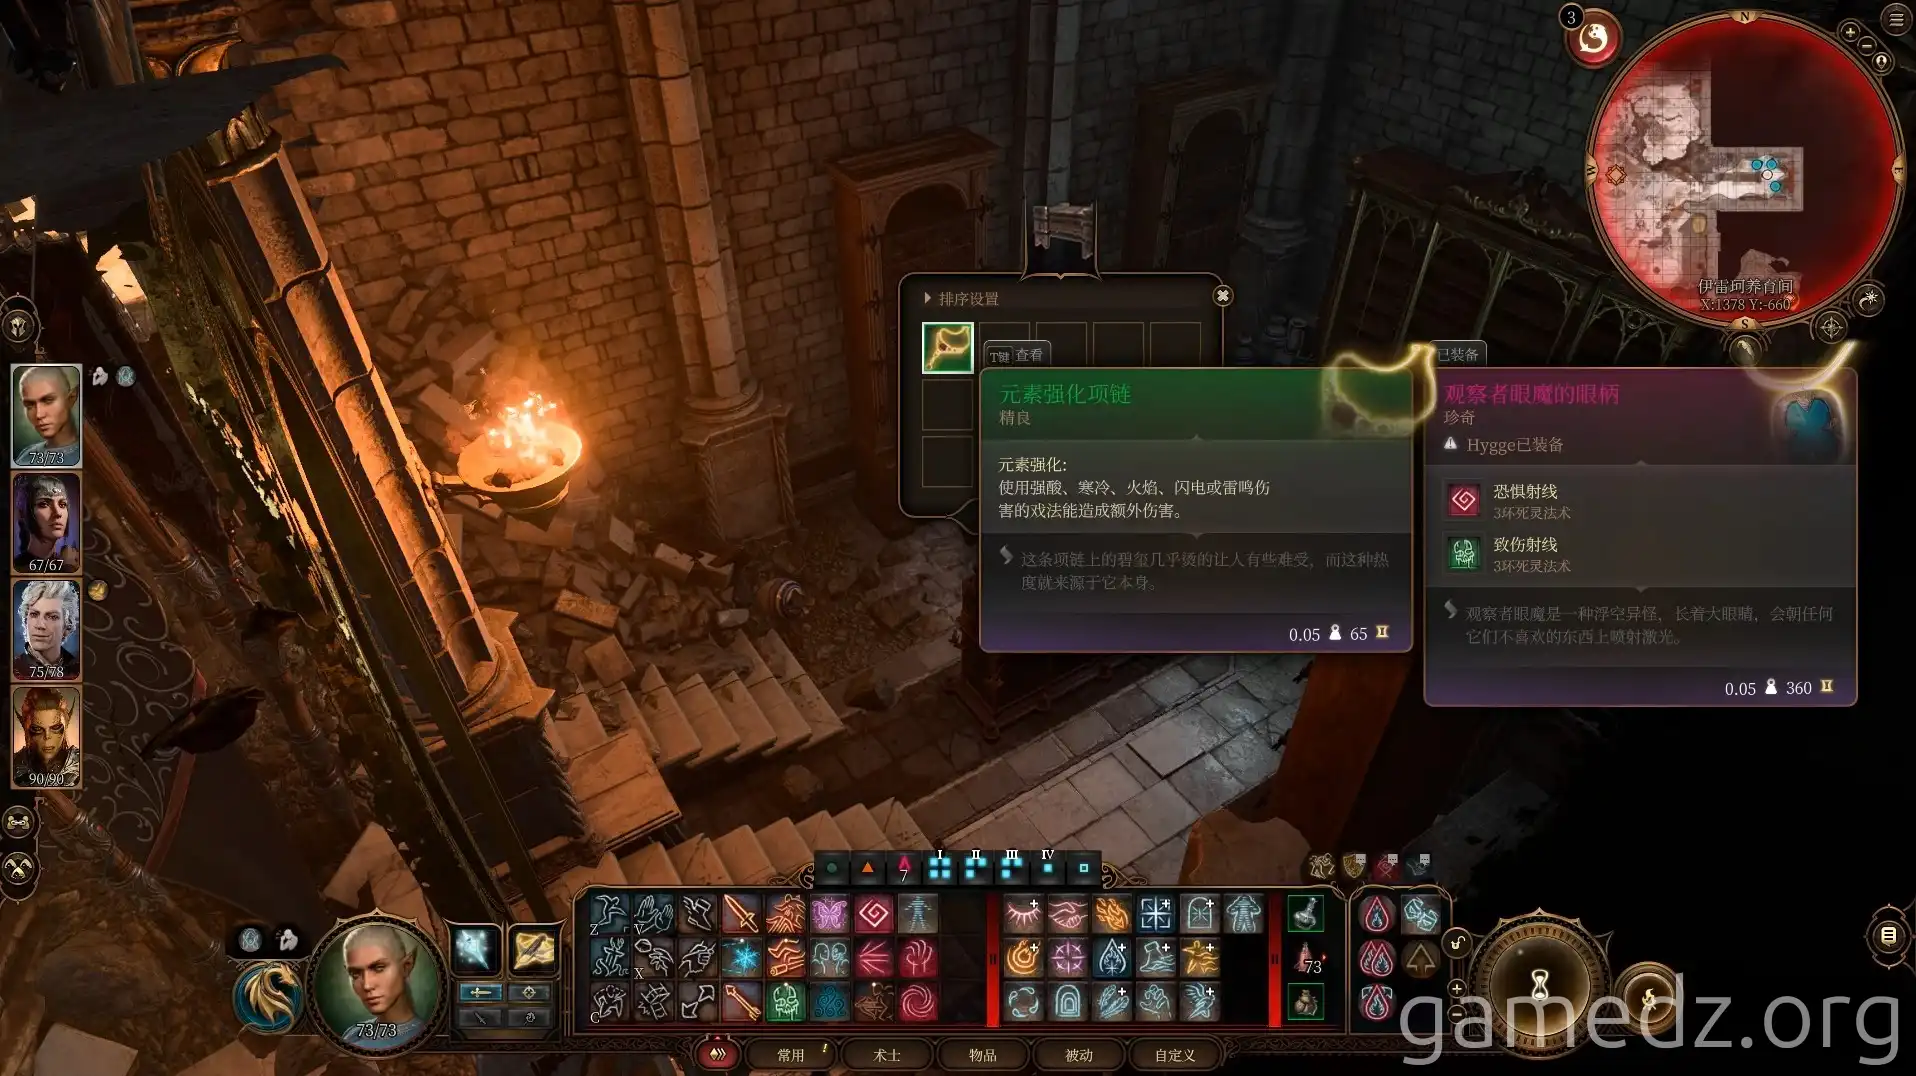
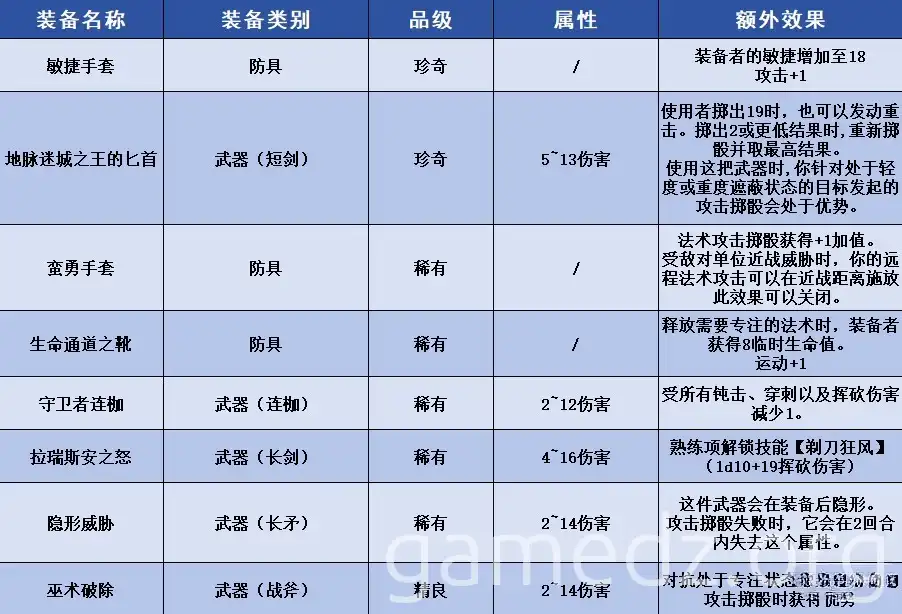
Here's a look at some of the unique gear she sells:
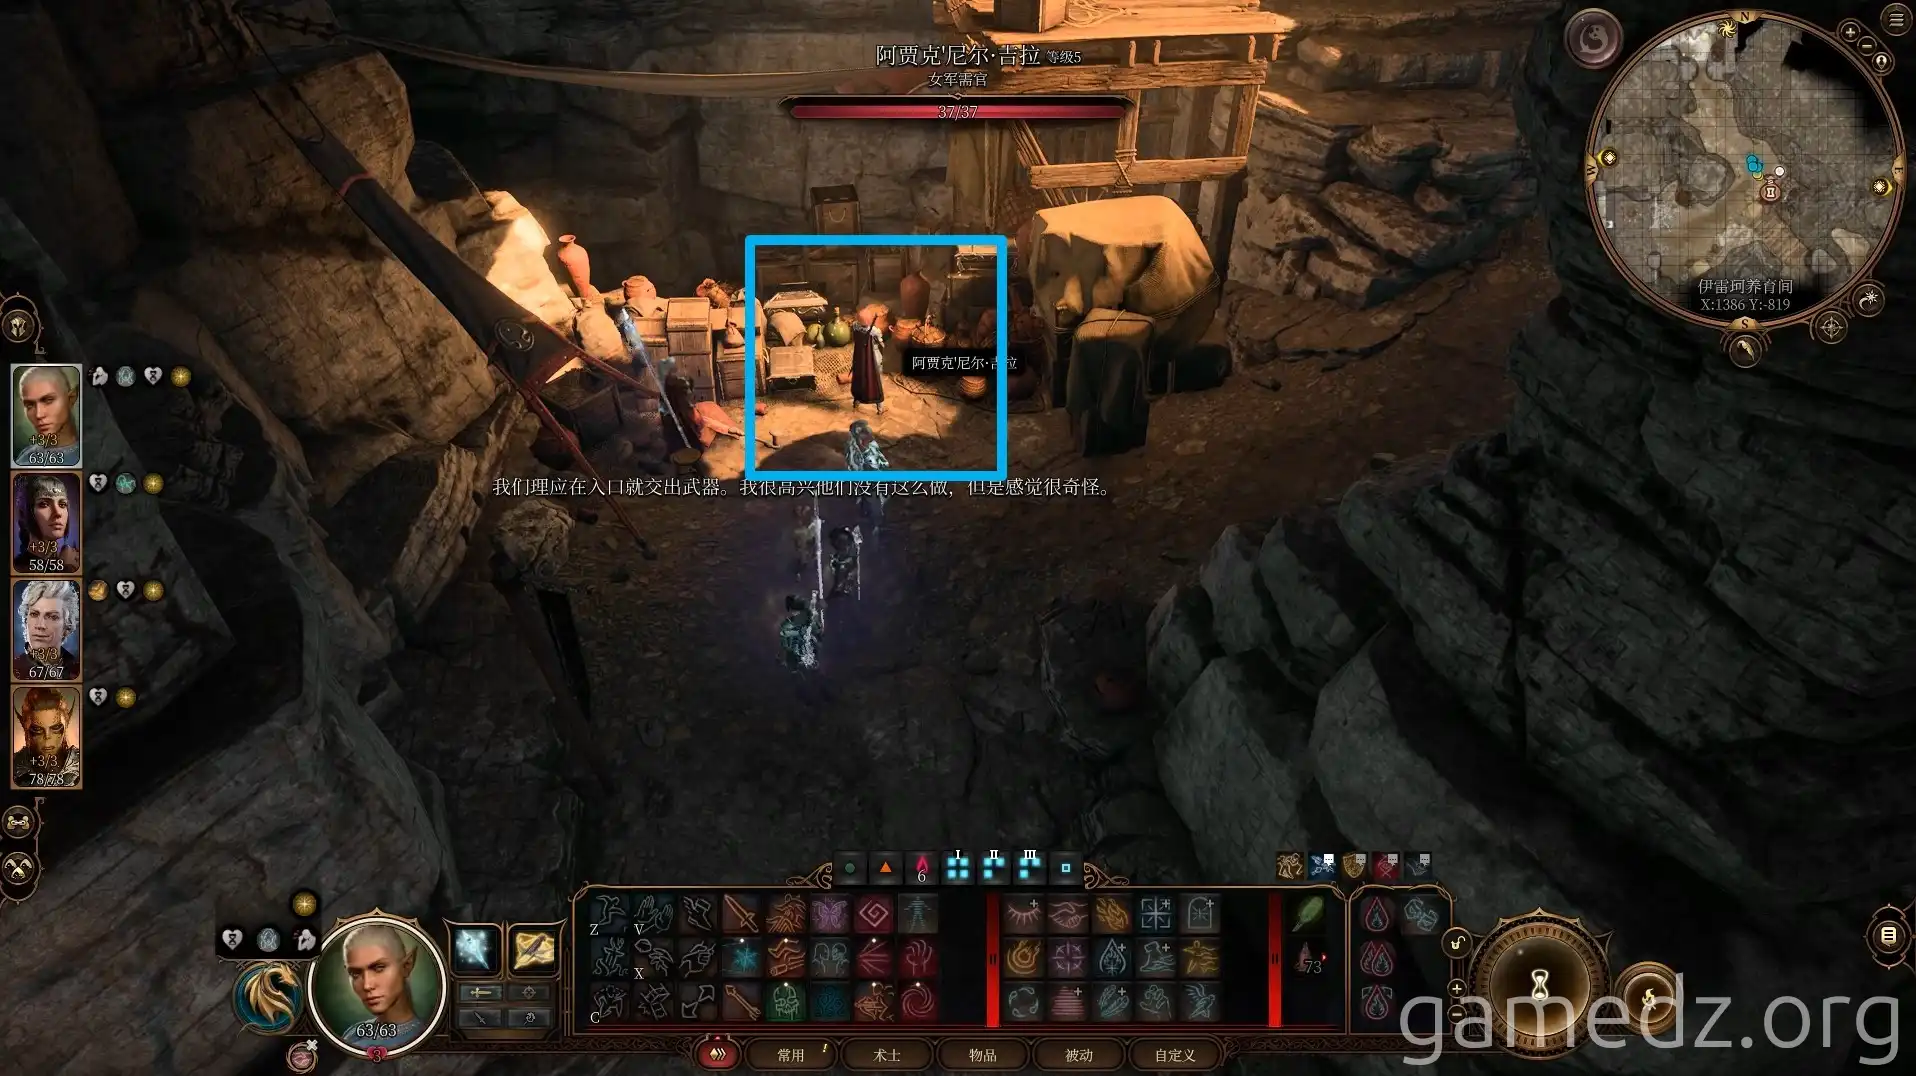
Return to the waypoint and continue down the corridor. Enter the room northeast of the Creche.
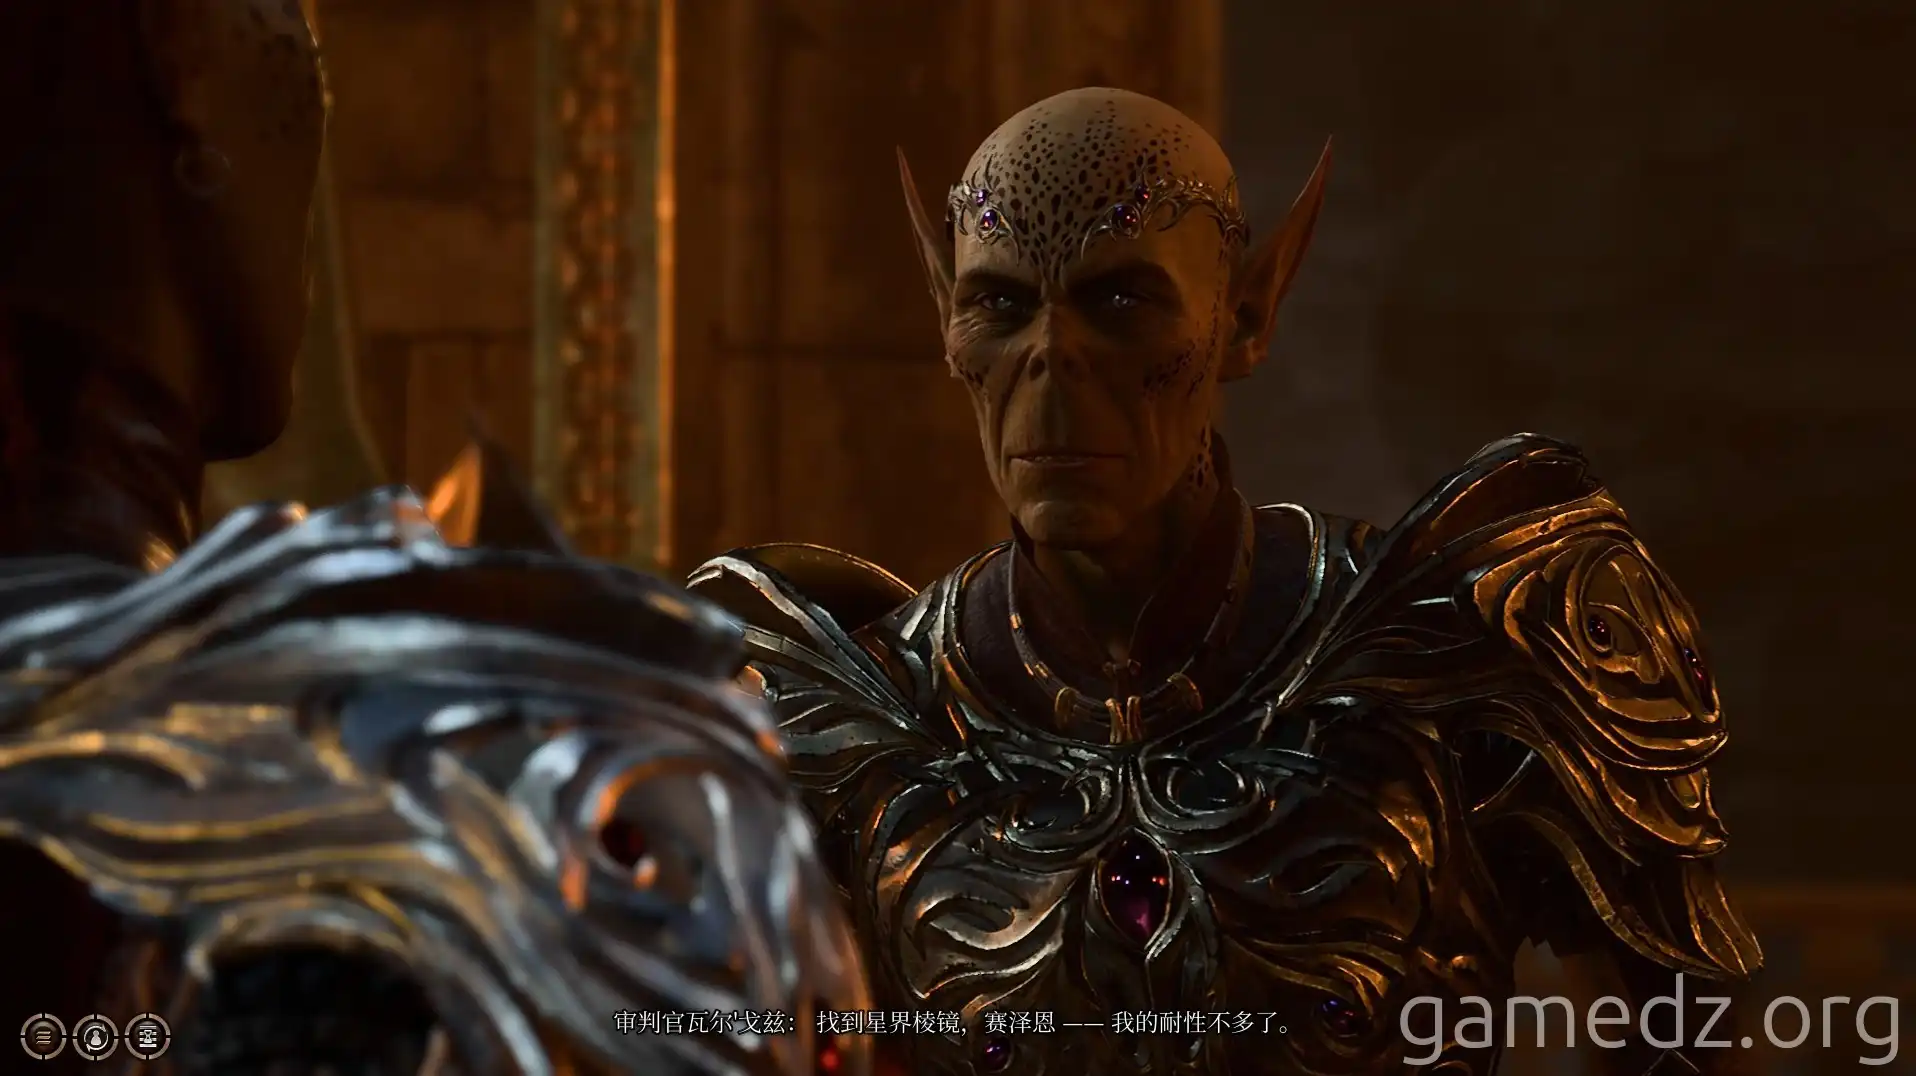
Witness the Inquisitor ordering a Centurion to find the Astral Prism. After their departure, the Centurion will also task you with finding it. Leave this area and head west from the crossroads.
The Infirmary and the Medical Device
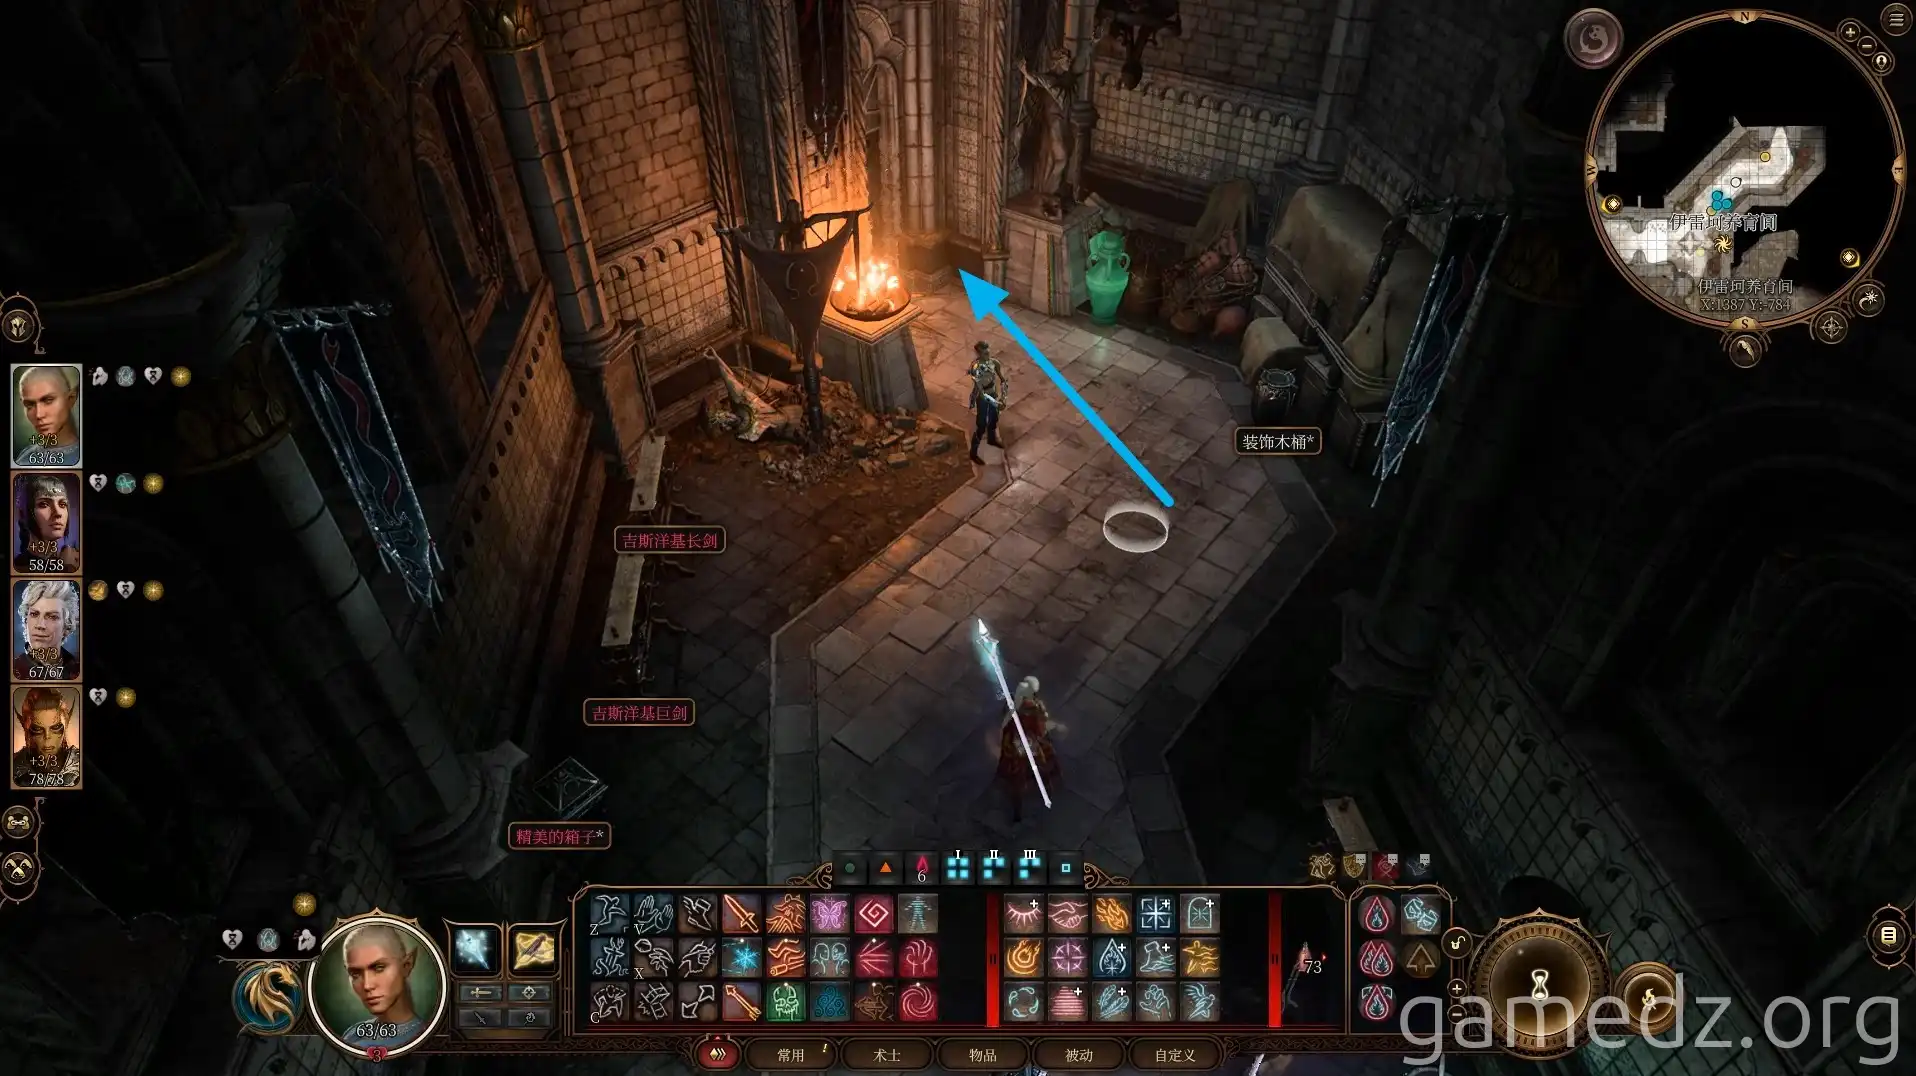
At the western fork, head south first. Vandalize the oil painting to attract a Githyanki guard. Pass through the infirmary and enter the innermost room.
Speak with the medical officer and explain your purpose. Lae'zel will volunteer to use the peculiar medical device. During the treatment, you'll discover its lethal nature. Persuade her to dismount. Success means no further consequences; failure reduces her Intelligence from 8 to 6. This scene is crucial for later persuasion checks with Lae'zel.
Alternatively, you can use the device yourself. Successful checks grant the Awakened buff, allowing Mind Flayer abilities as a bonus action.
Regardless of your choice, the device is destroyed. You'll realize the medical officer's true aim is tadpole preservation, not host healing. Collect three Mind Flayer Tadpole specimens before the officer leaves. The door locks behind you; unlock it and prepare for combat.
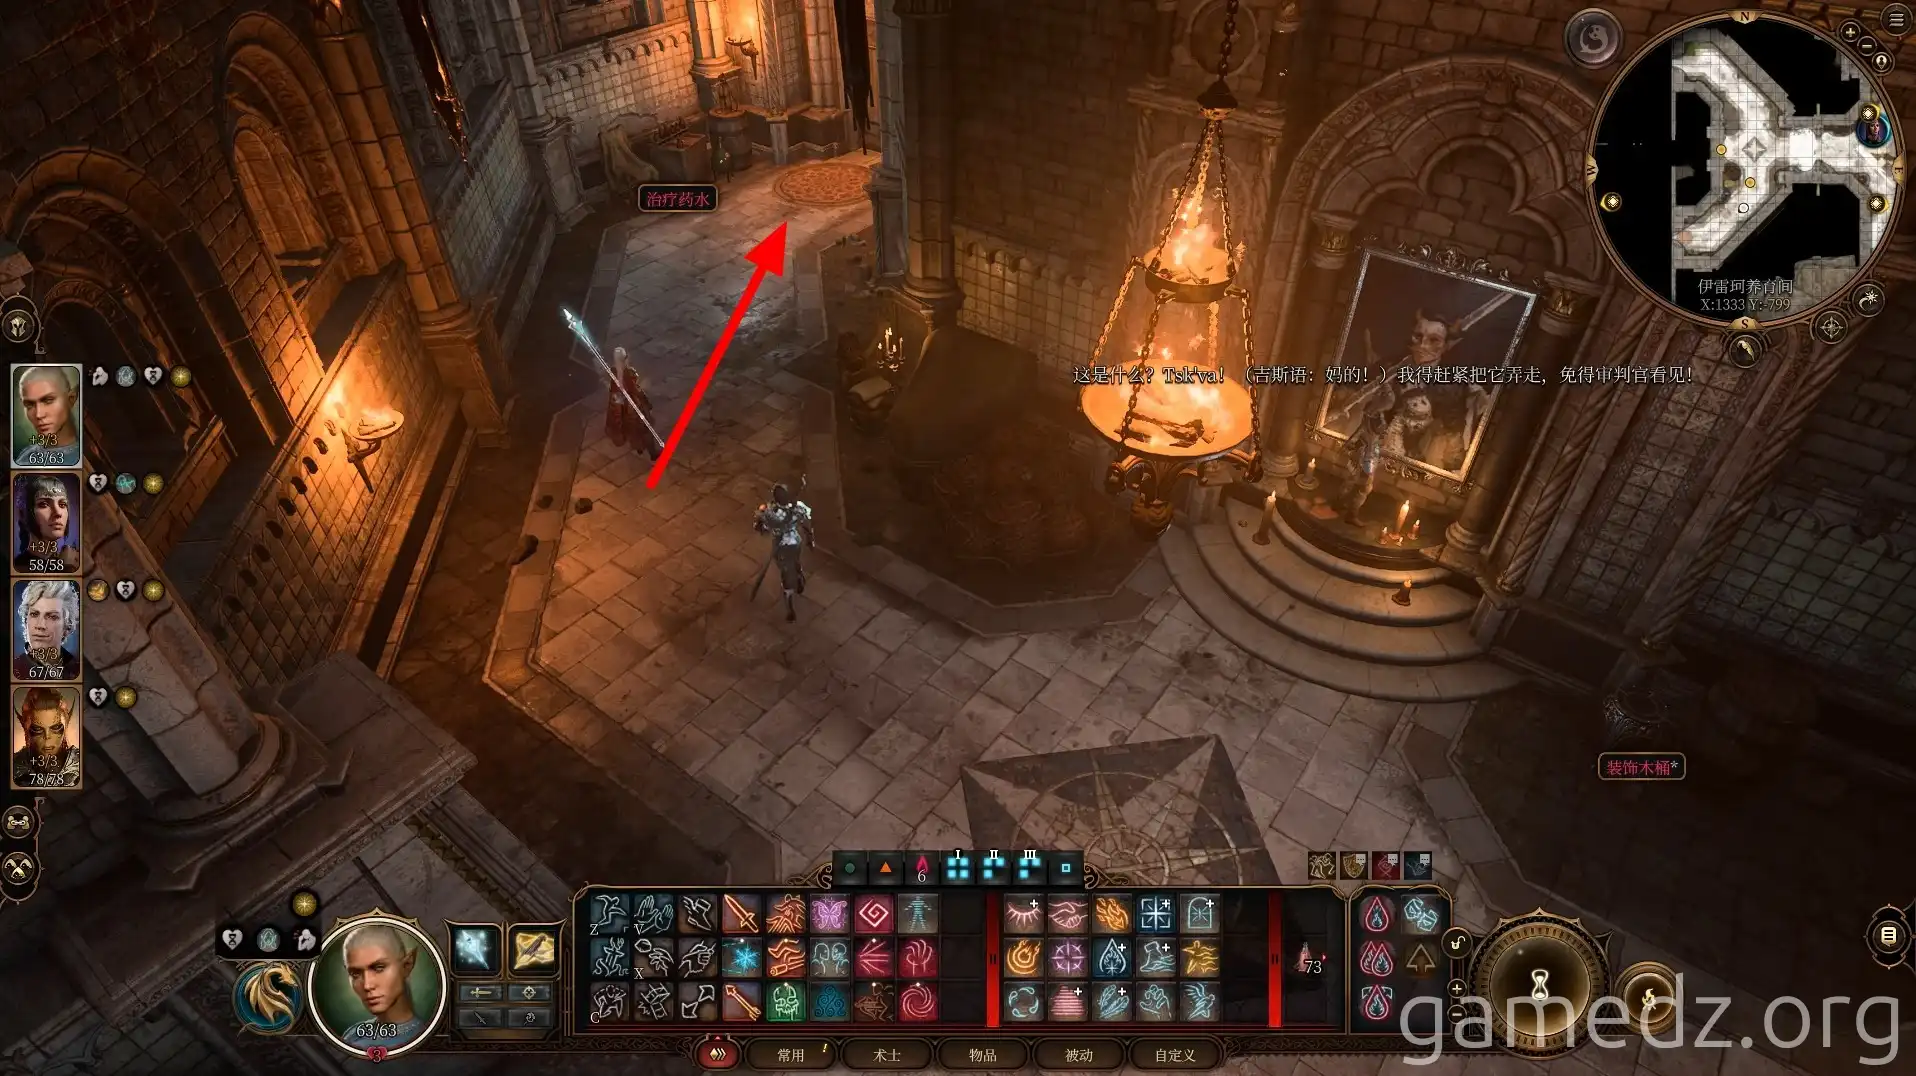
Seven enemies, including the medical officer, await. Guard the door and engage.
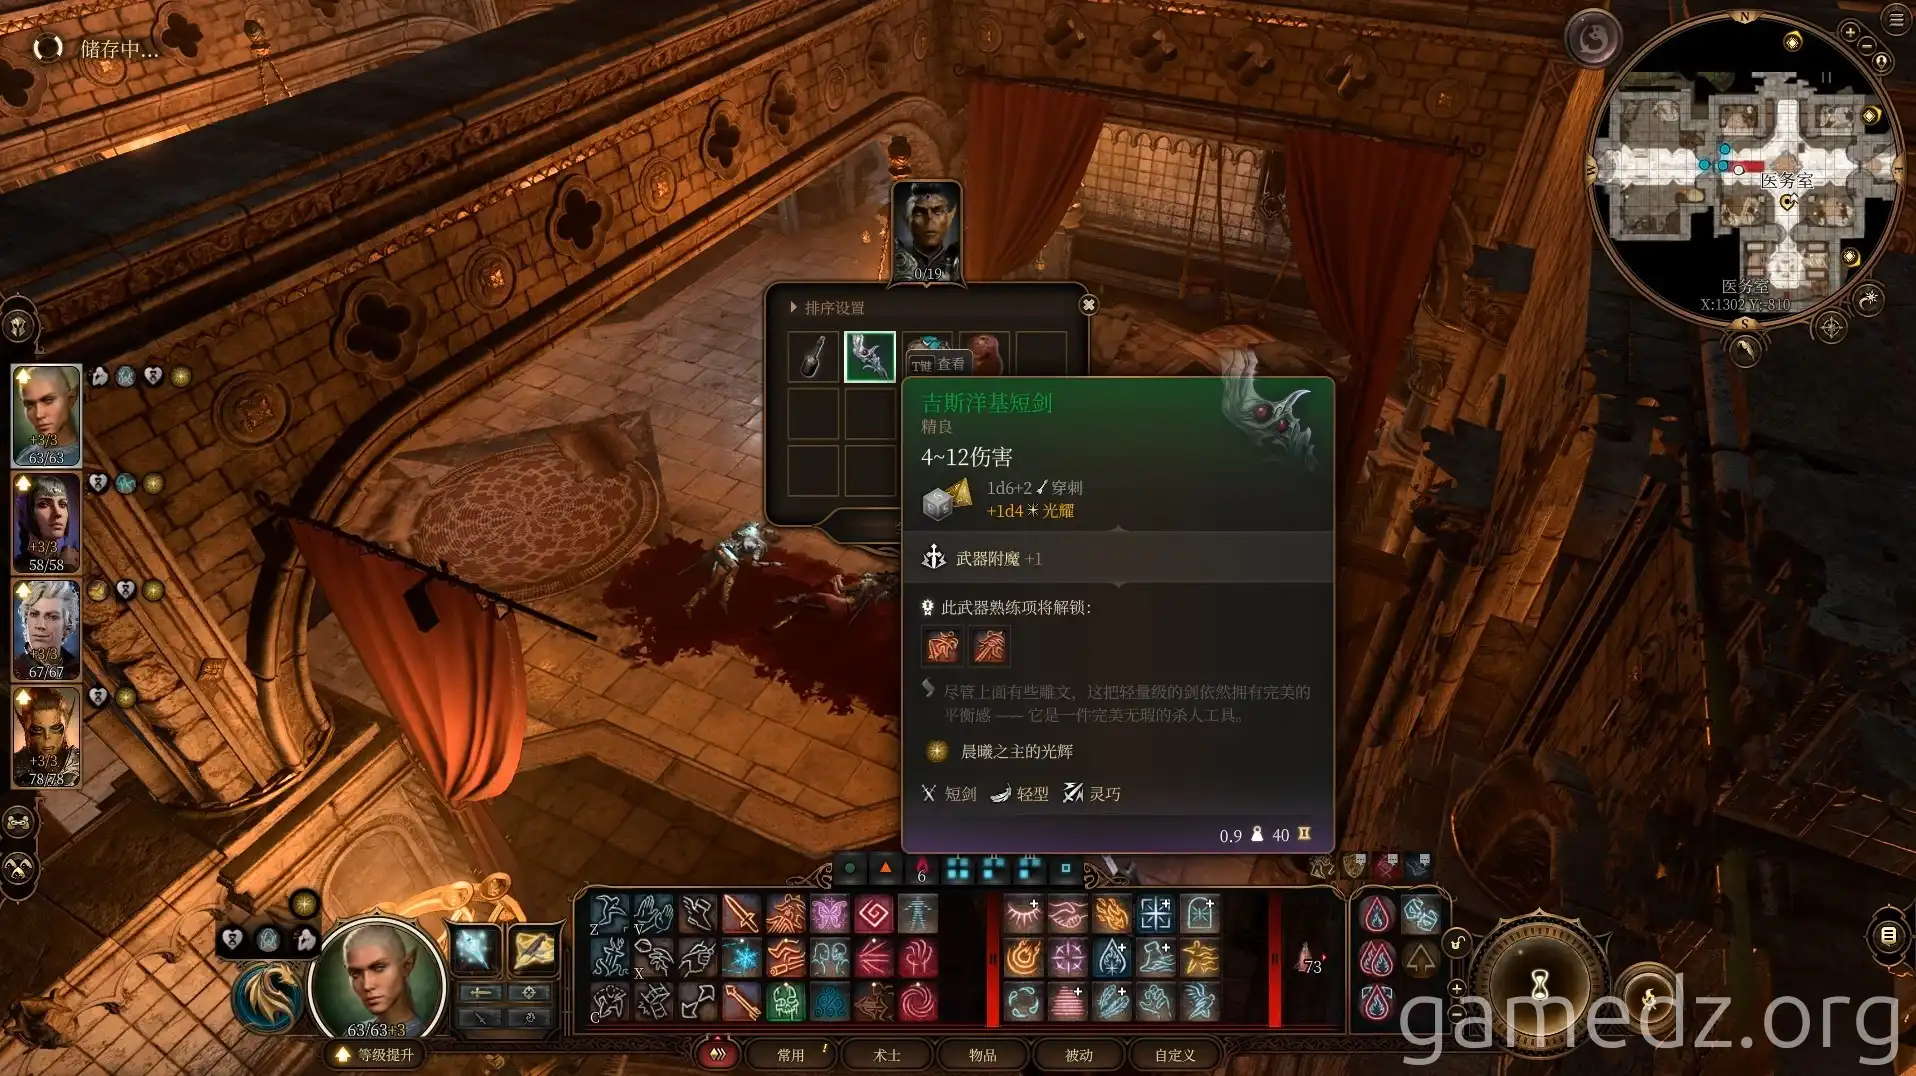
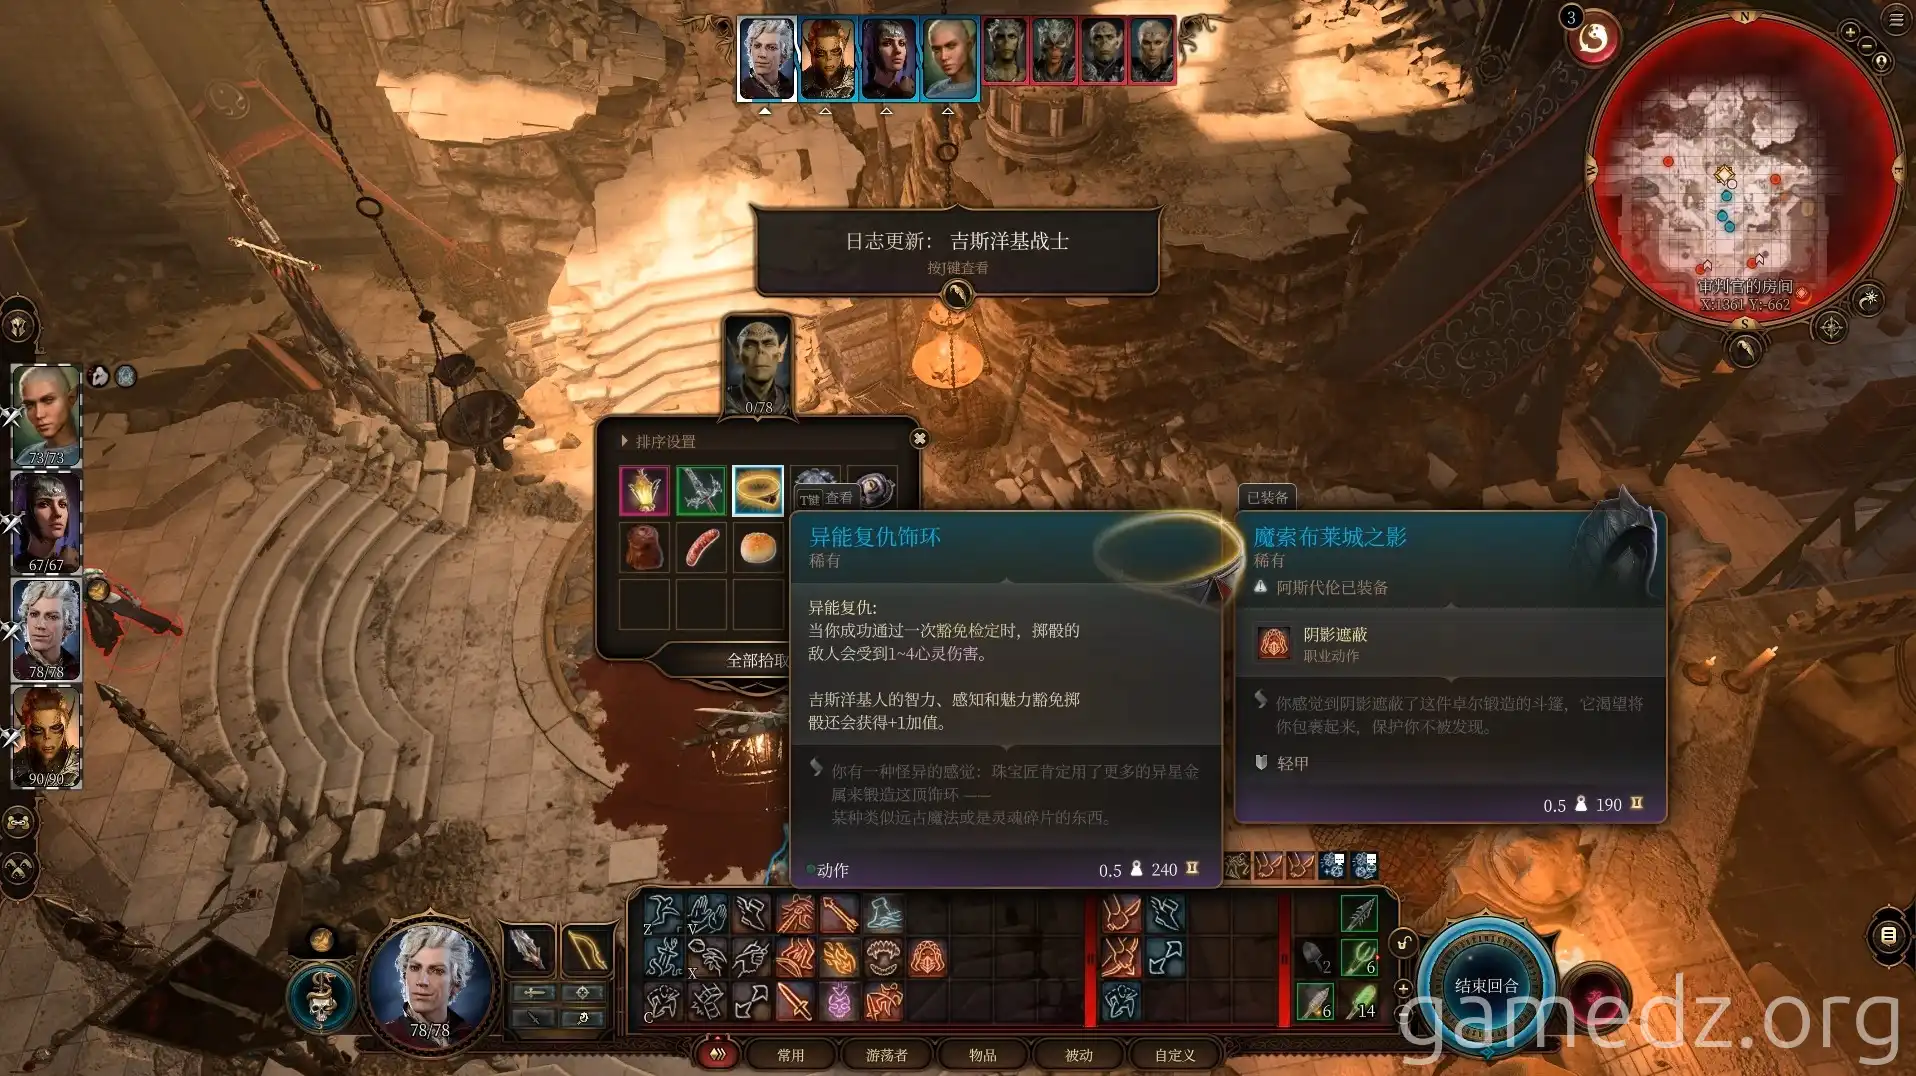
From the medical officer, loot the Amulet of the Displaced. On a Githyanki, find the Ring of Elemental Infusion. You'll also acquire valuable Githyanki weapons.
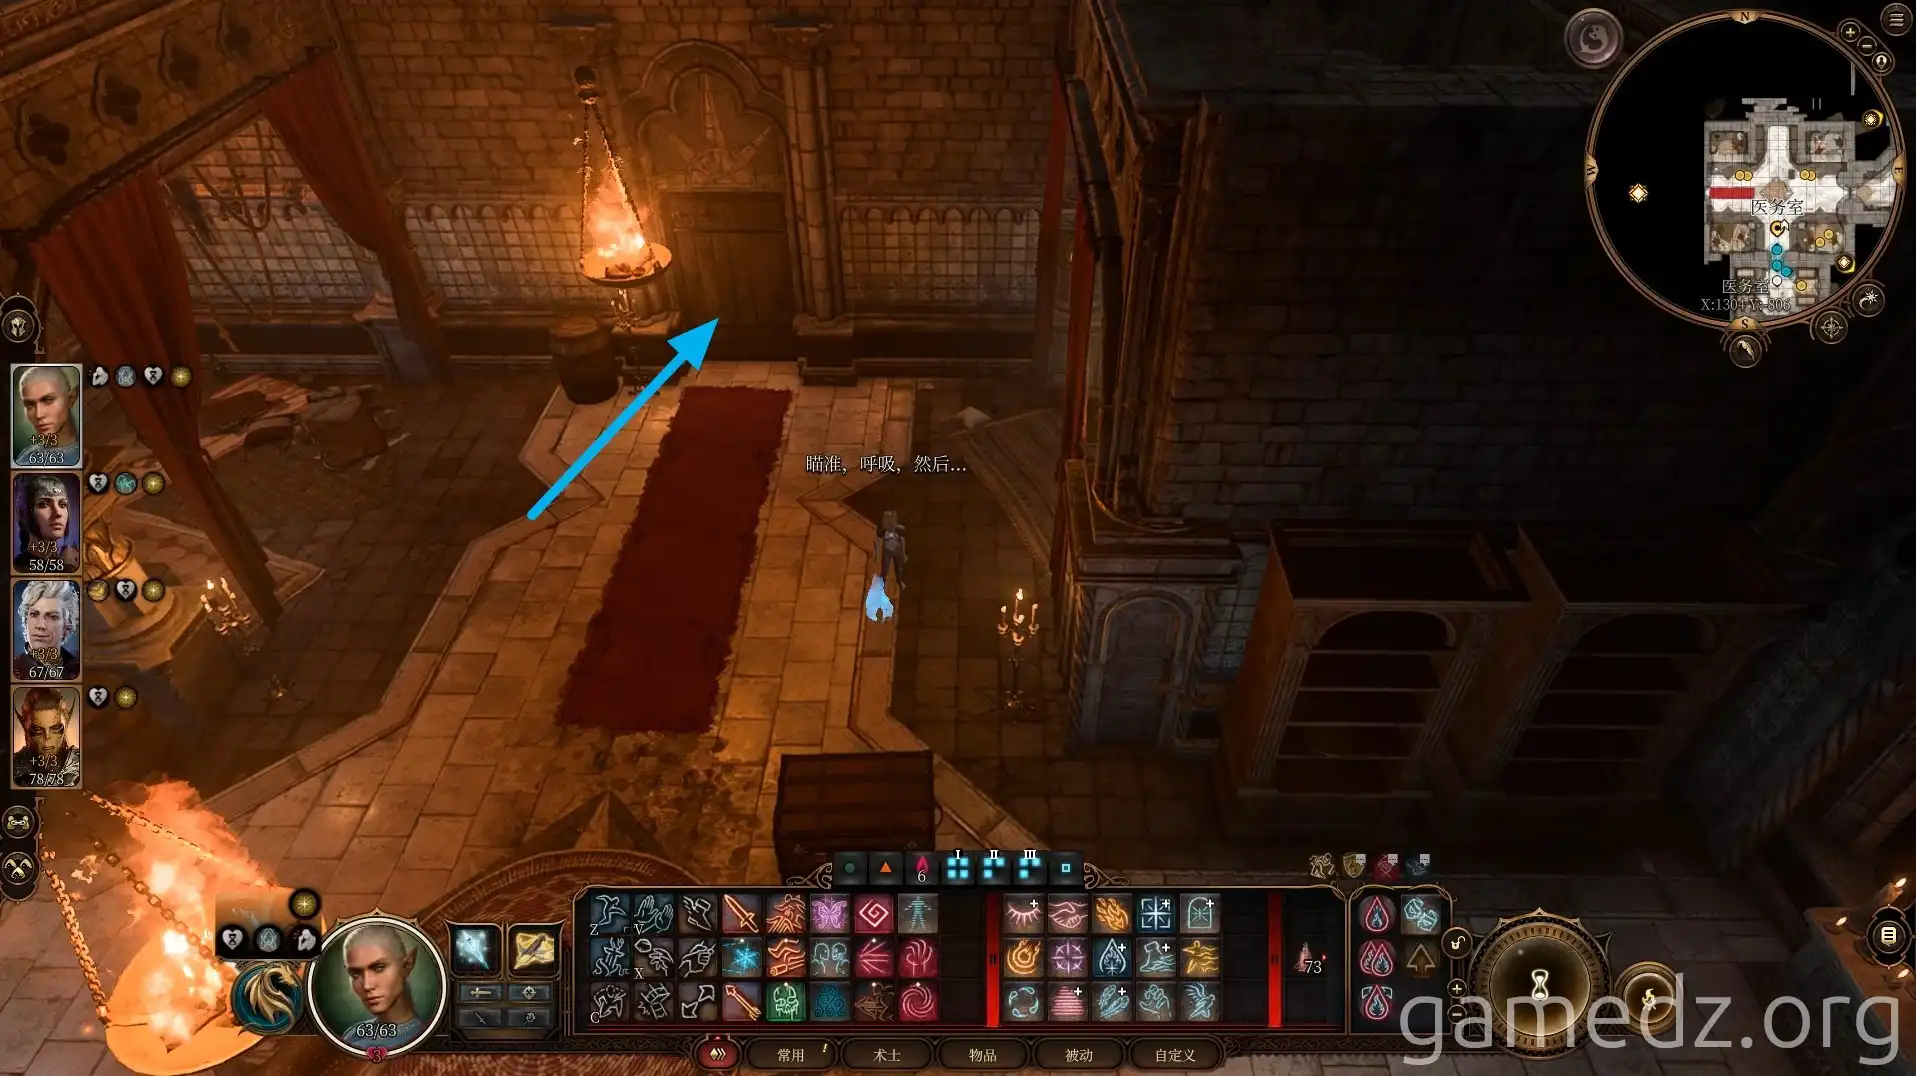
Further Exploration and the Creche Keeper
After clearing the infirmary, deal with any Githyanki in the hallway and proceed northwest.
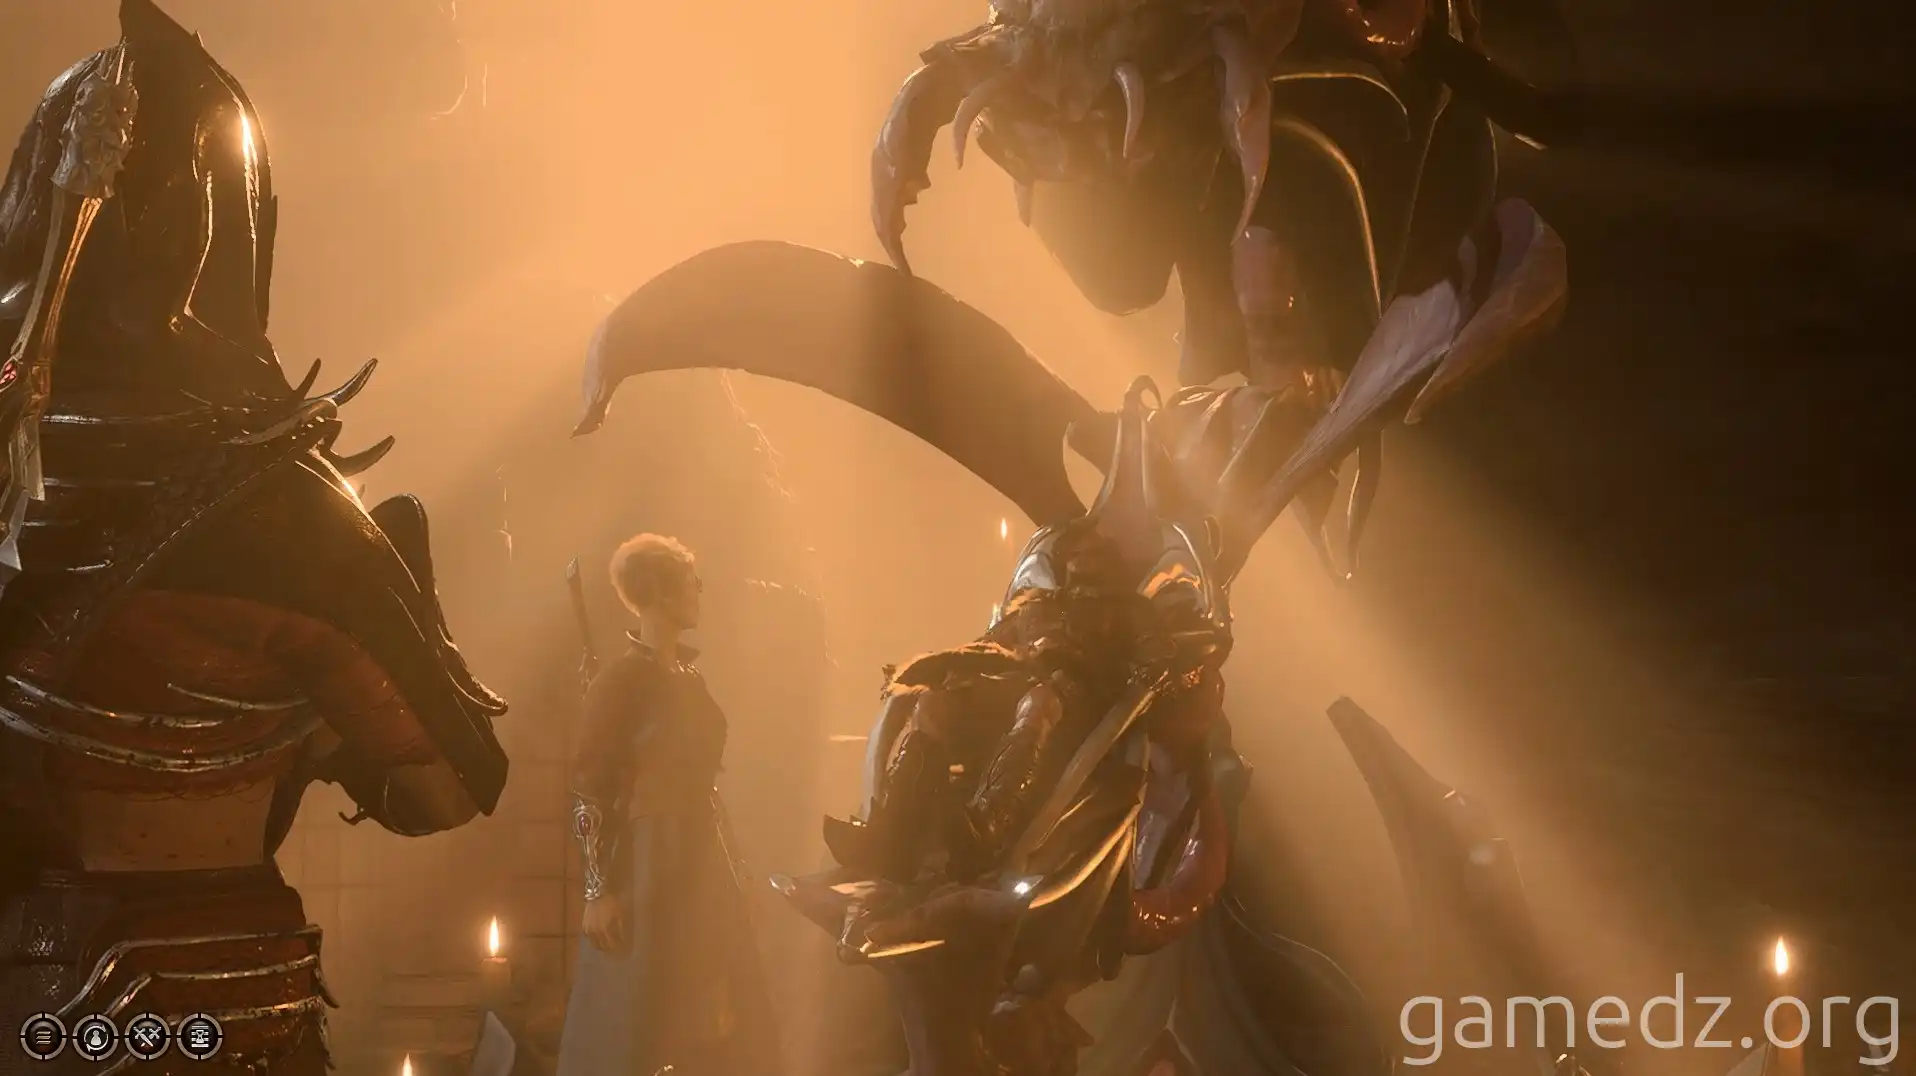
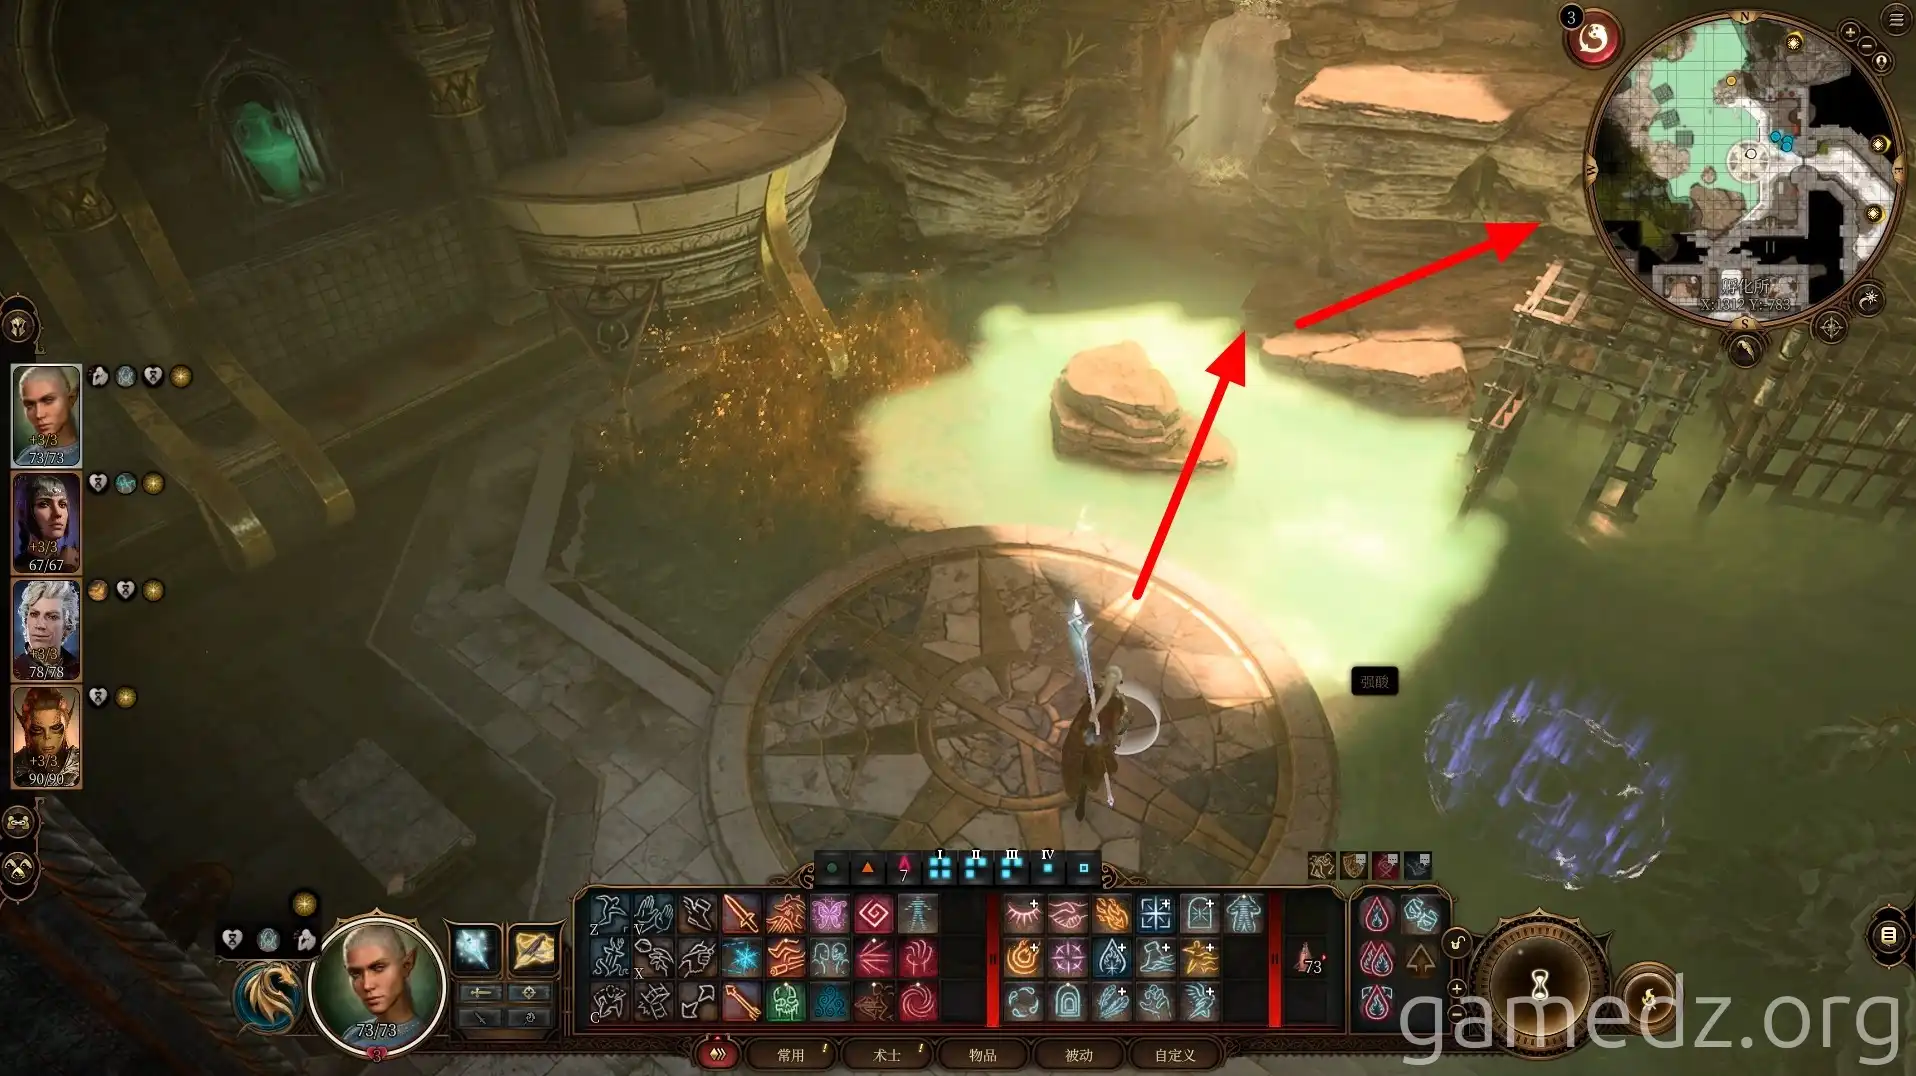
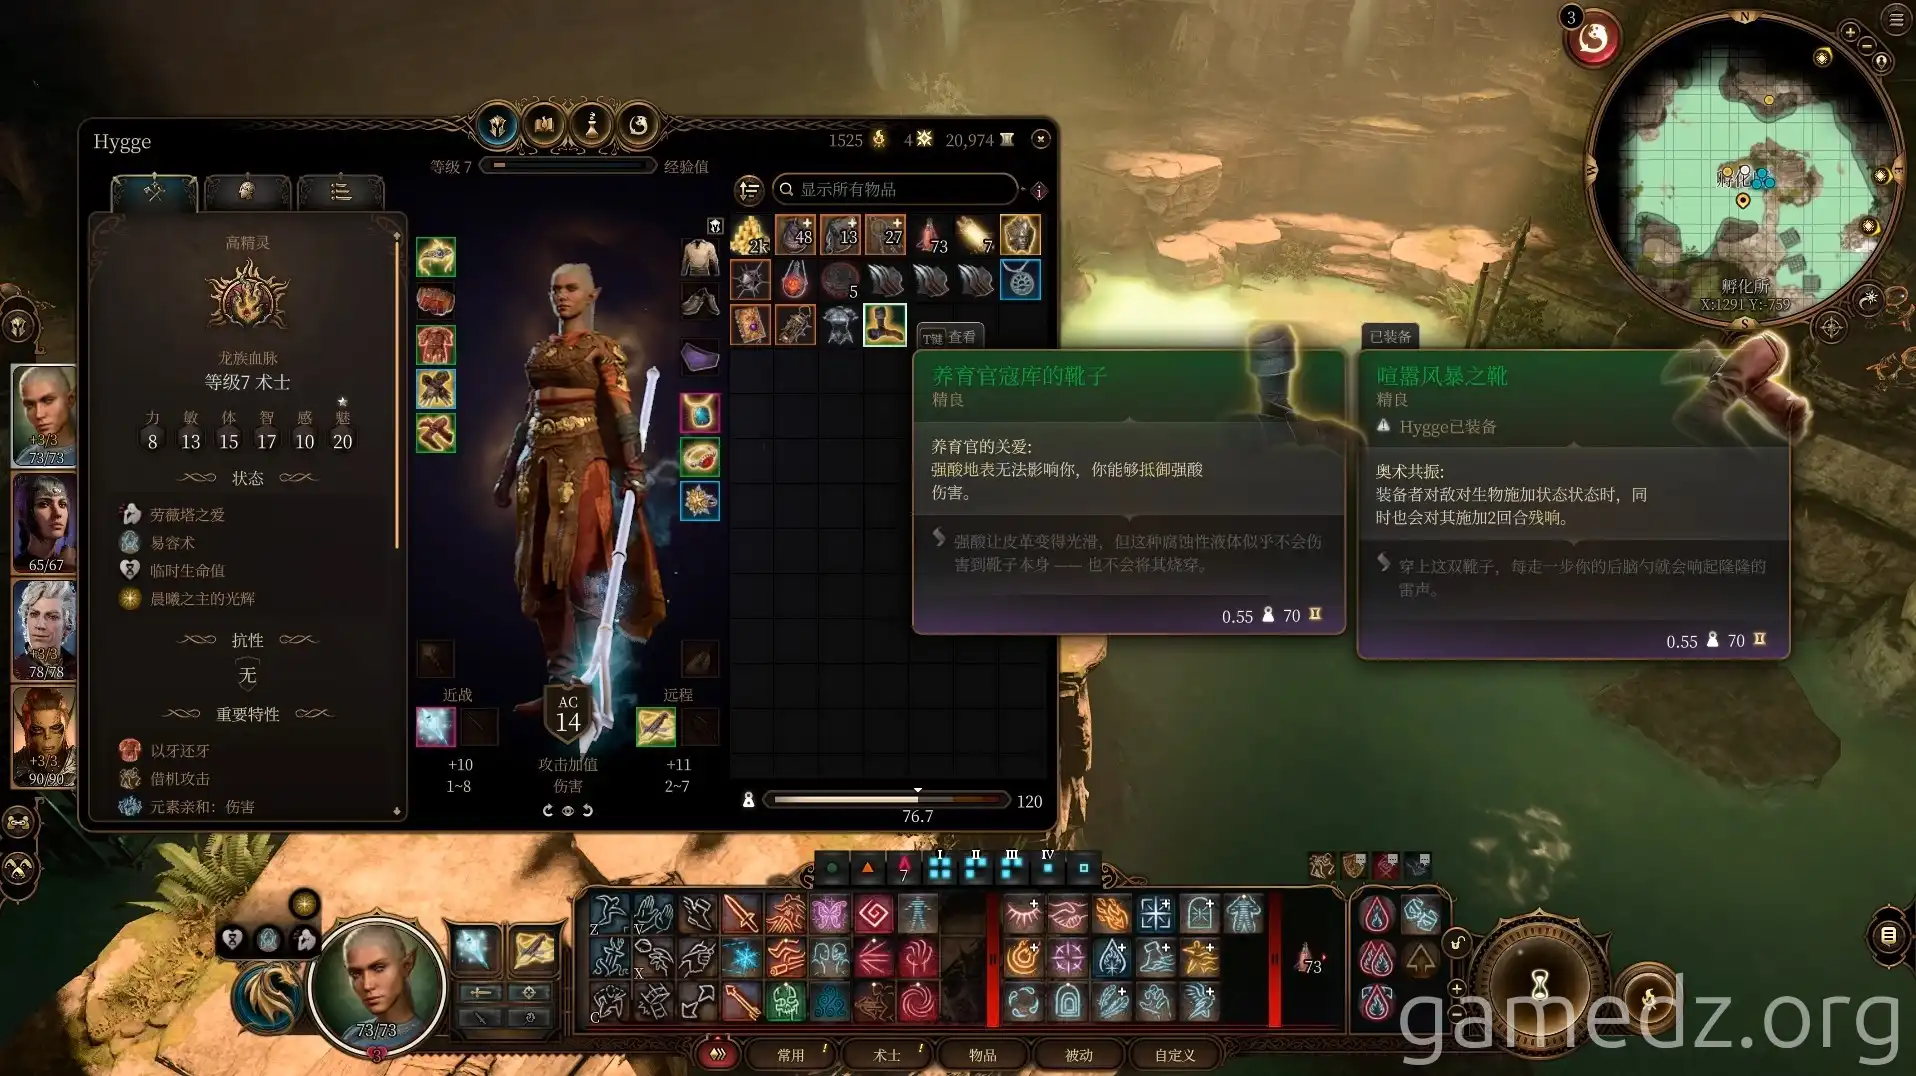
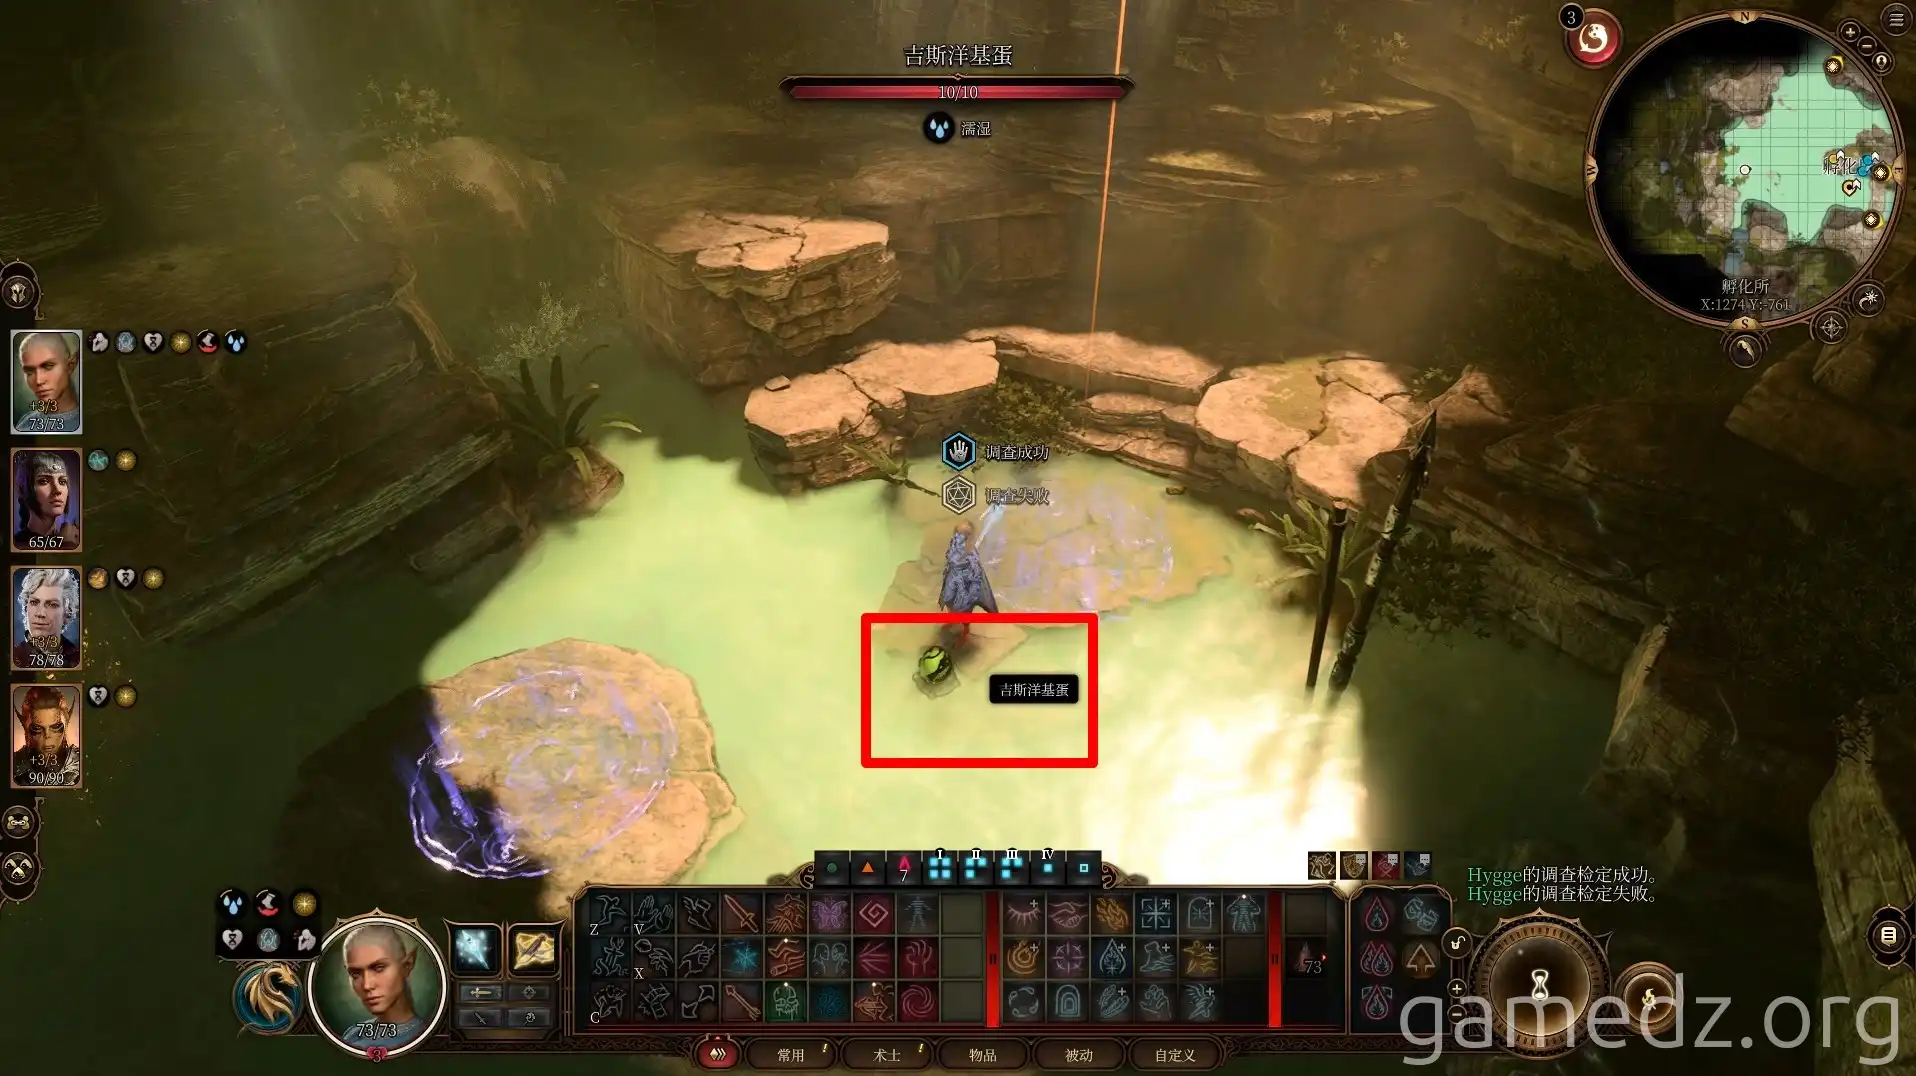
Be cautious of the acid pools on the platform. Speak with the Creche Keeper and persuade him to give you the last unhatched egg. Success rewards you with the Boots of the Weaver.
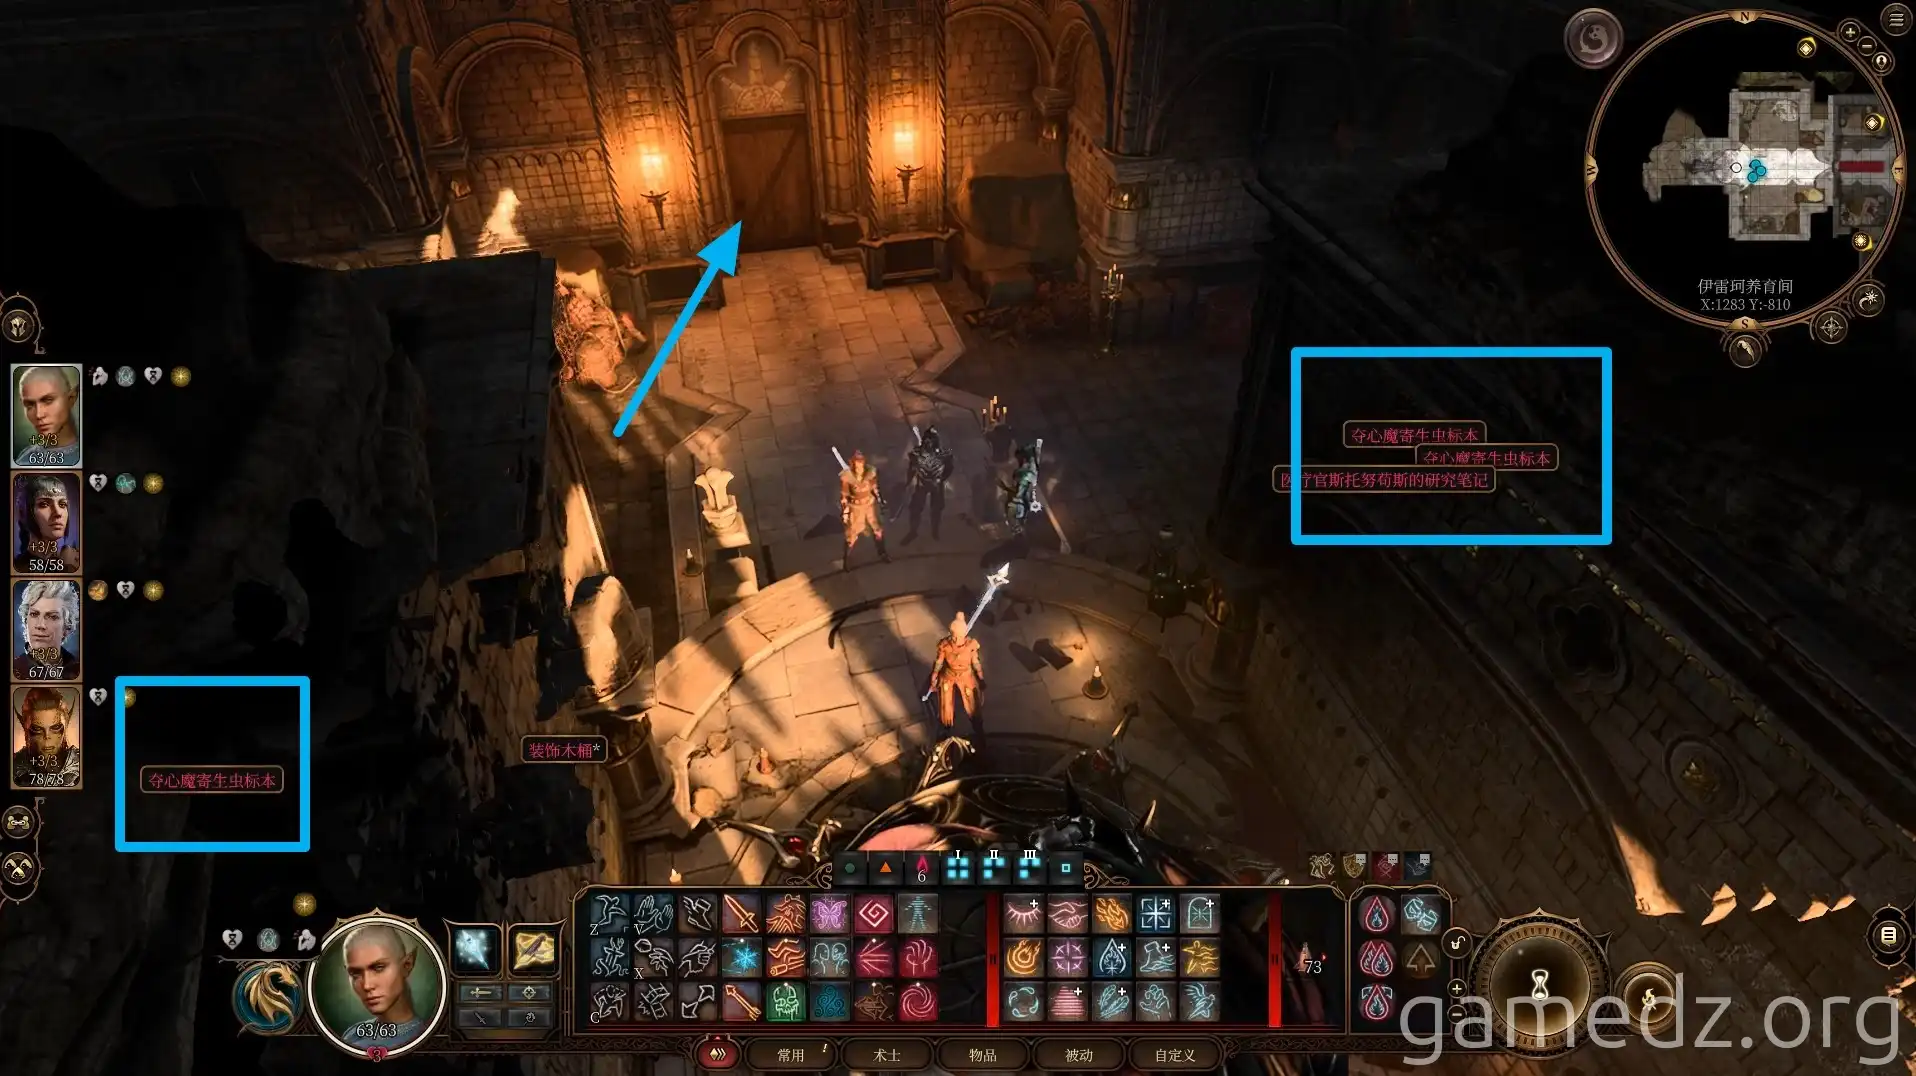
Take the egg and leave the room.
Confronting the Centurion and the Inquisitor
As you head towards the Centurion's room, eliminate any Githyanki you encounter, as they will soon become hostile. Engage the Centurion and all present Githyanki in combat.
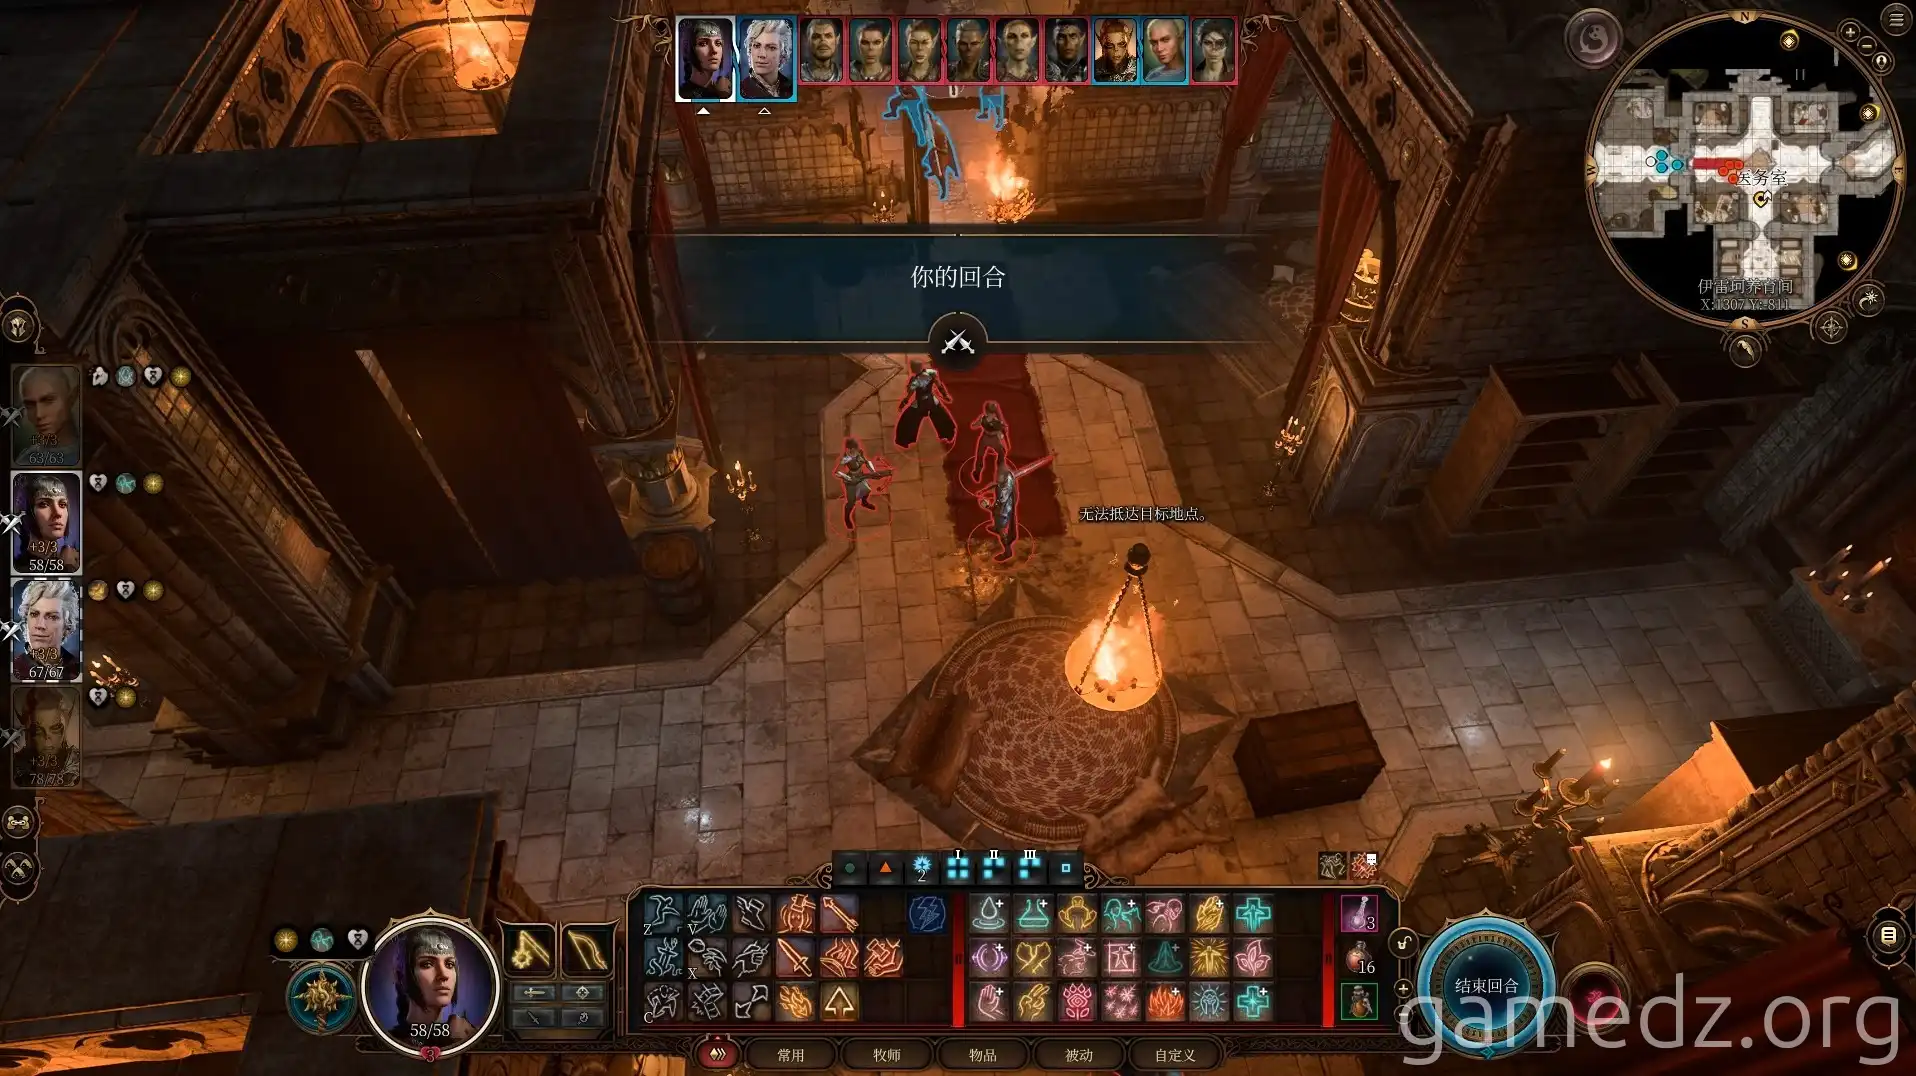
From the Centurion, obtain the Soulbreaker Greatsword and a Gith Shard. Insert the shard into the adjacent device to disable the barrier and proceed.
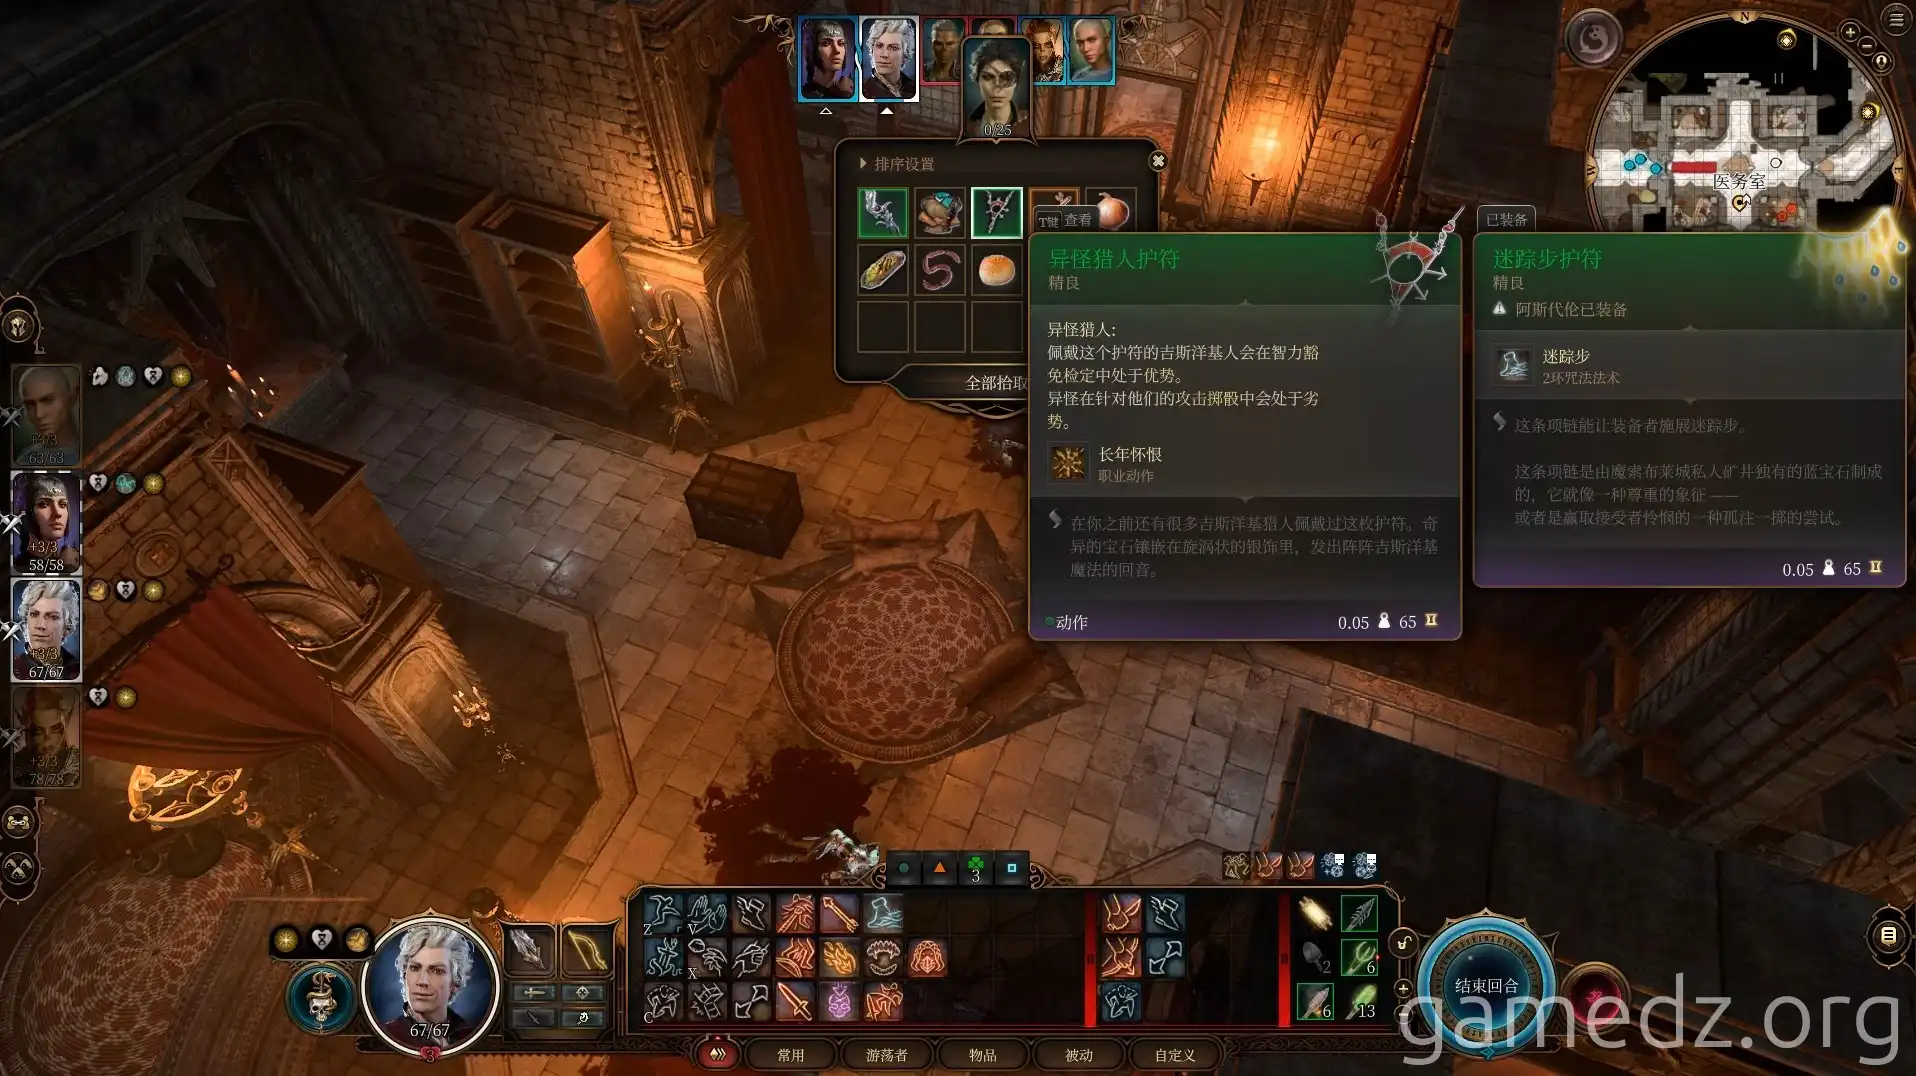
Advance across the stone bridge and enter the Inquisitor's chamber.
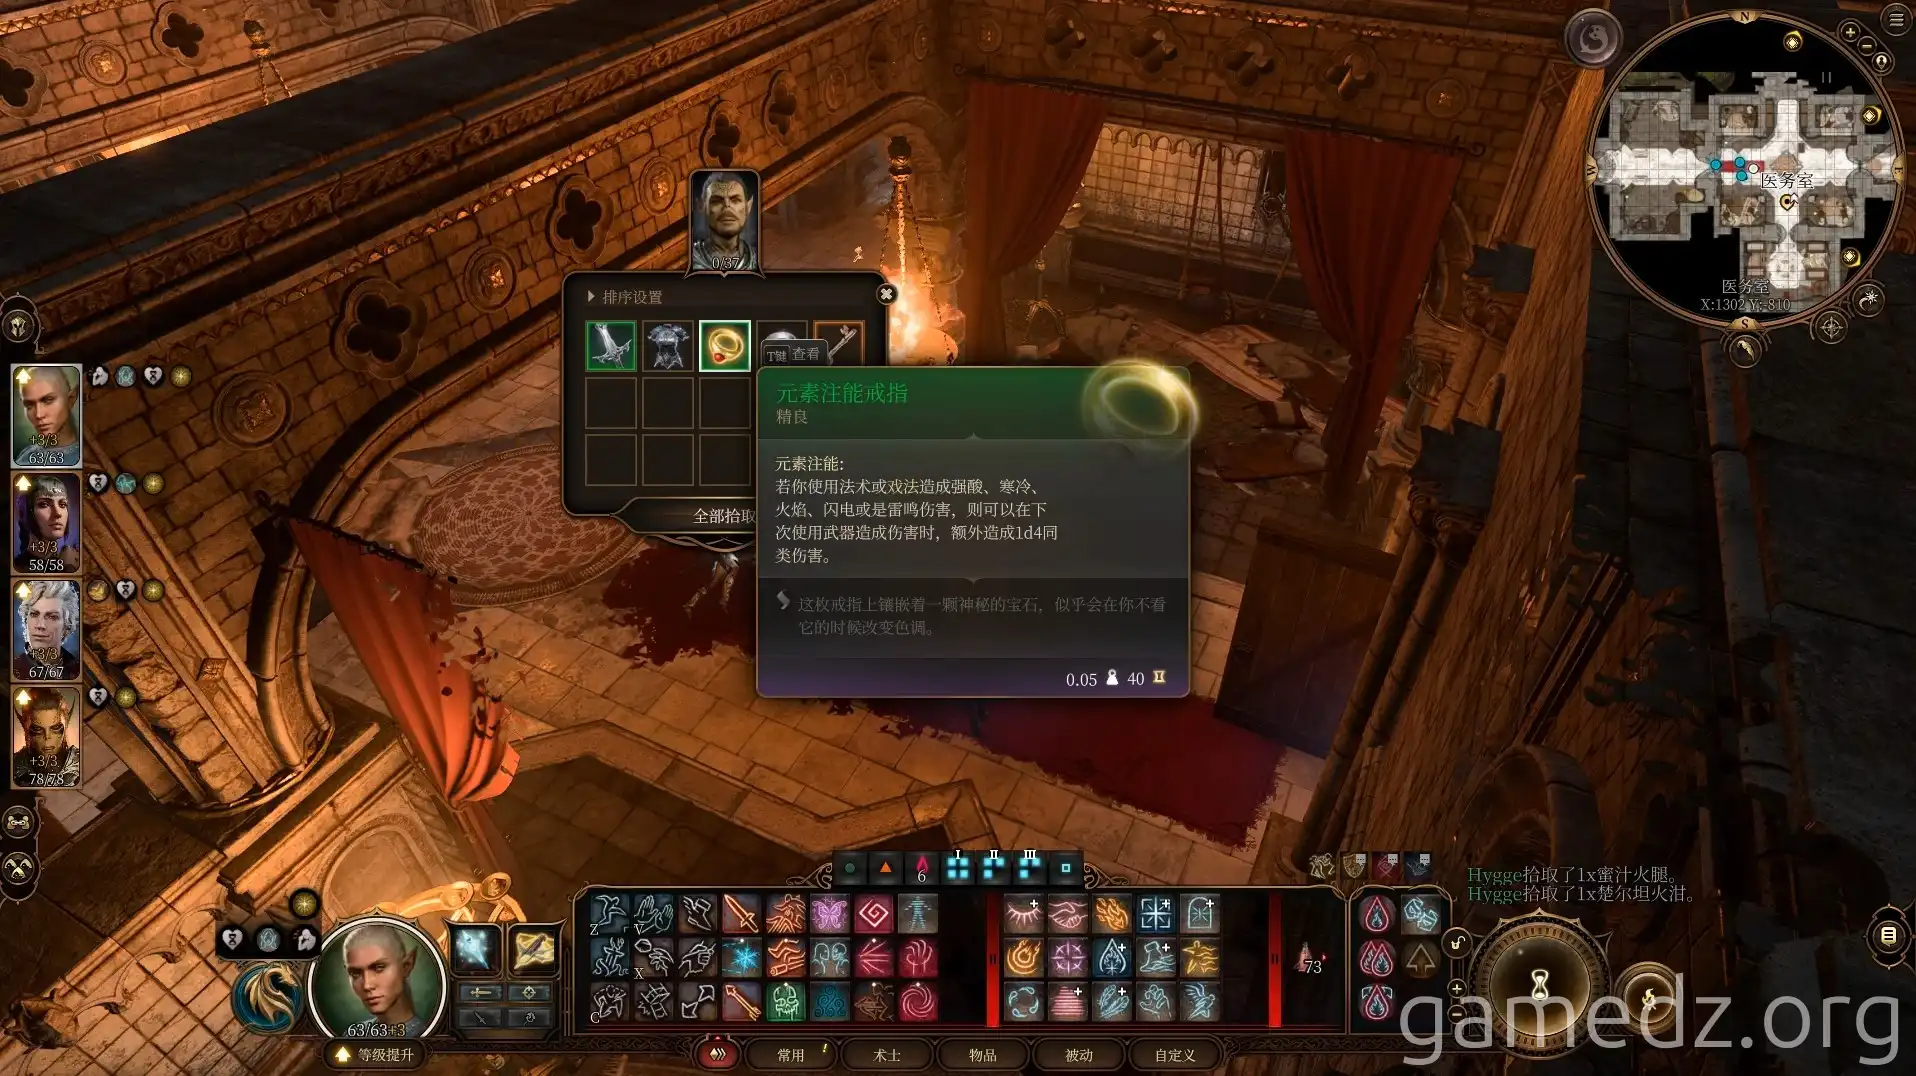
The Inquisitor will demand the Astral Prism and attack. Defeat him and his five Githyanki.
Queen Vlaakith's Appearance
After the Inquisitor's defeat, Queen Vlaakith appears. She will order you to enter the Astral Prism and kill your Guardian. Refuse her command without provoking her, or she will instantly kill you.
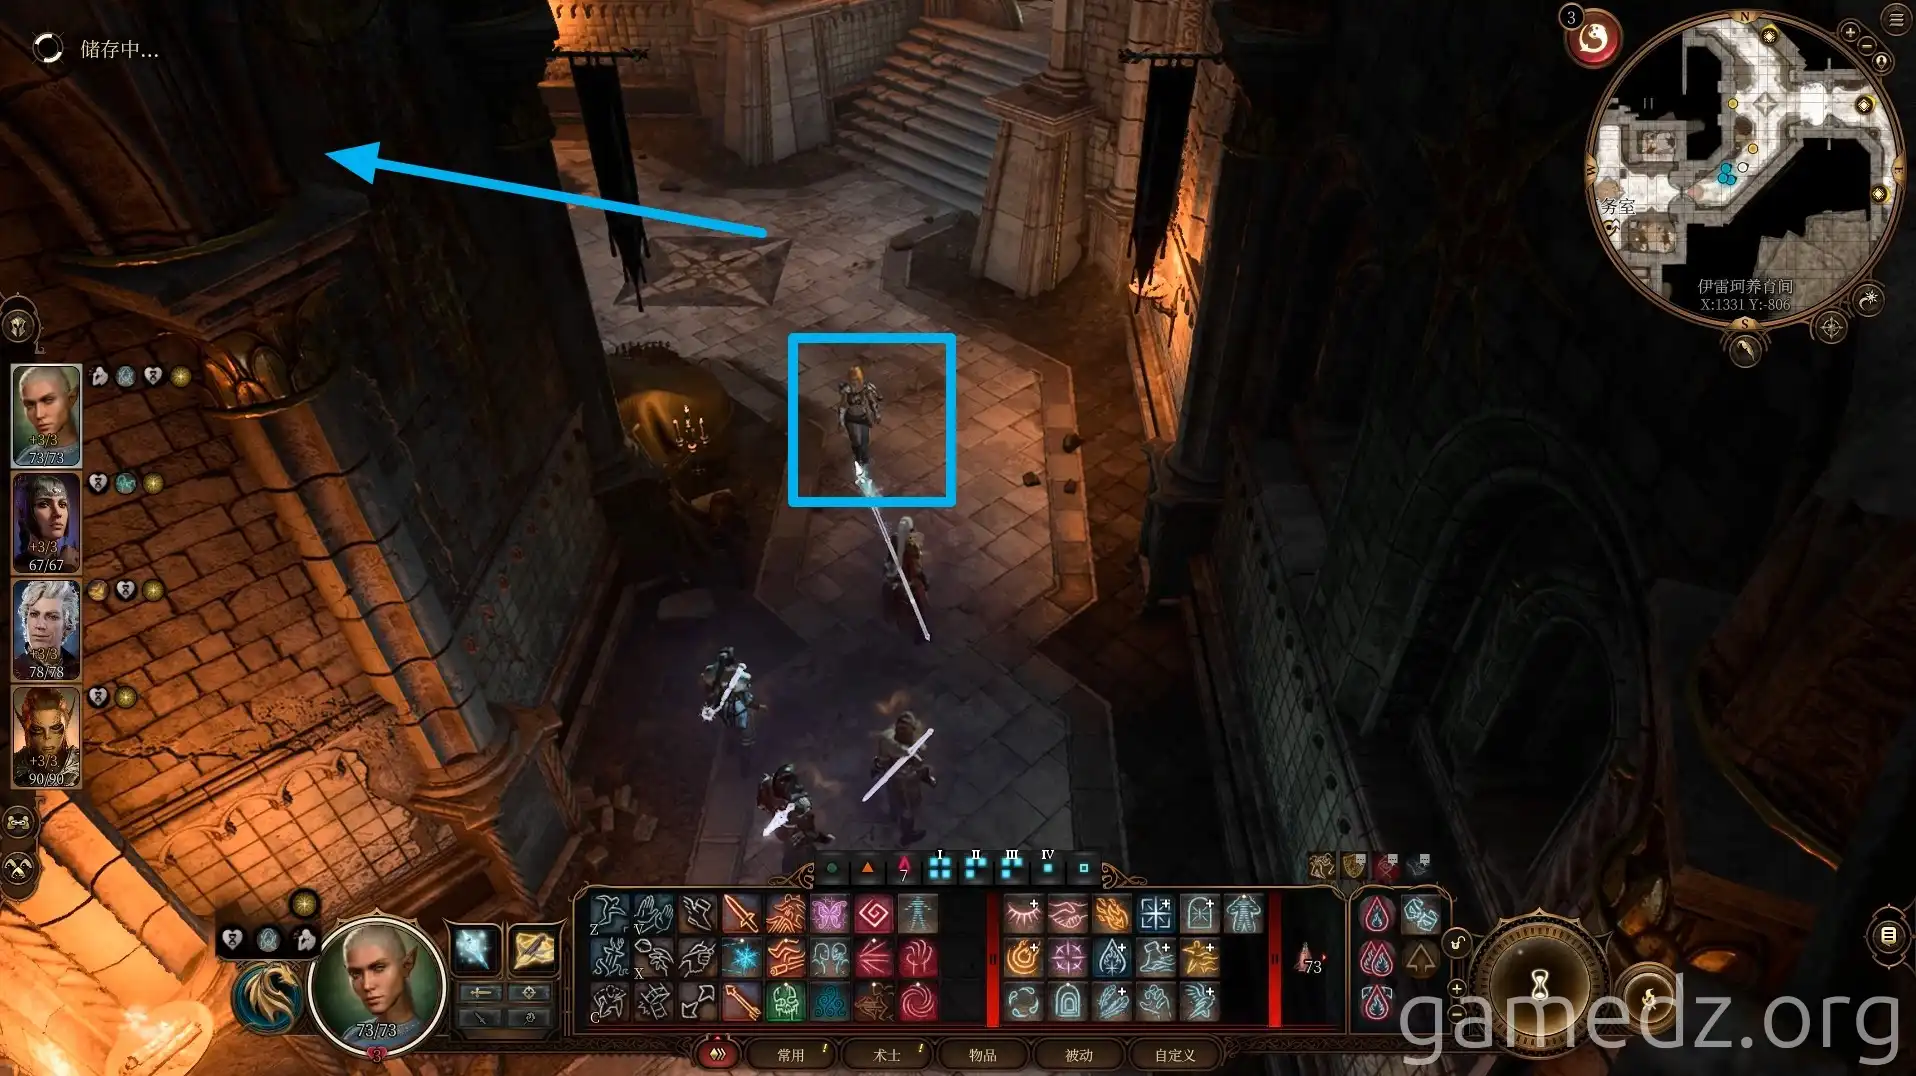
She departs, leaving the Prism entrance open. Enter and speak with your Guardian, but do not kill him. Alternatively, focus on looting. Refusing the Queen might cause Lae'zel to leave your party.
The Spoils of Victory: Looting the Chamber
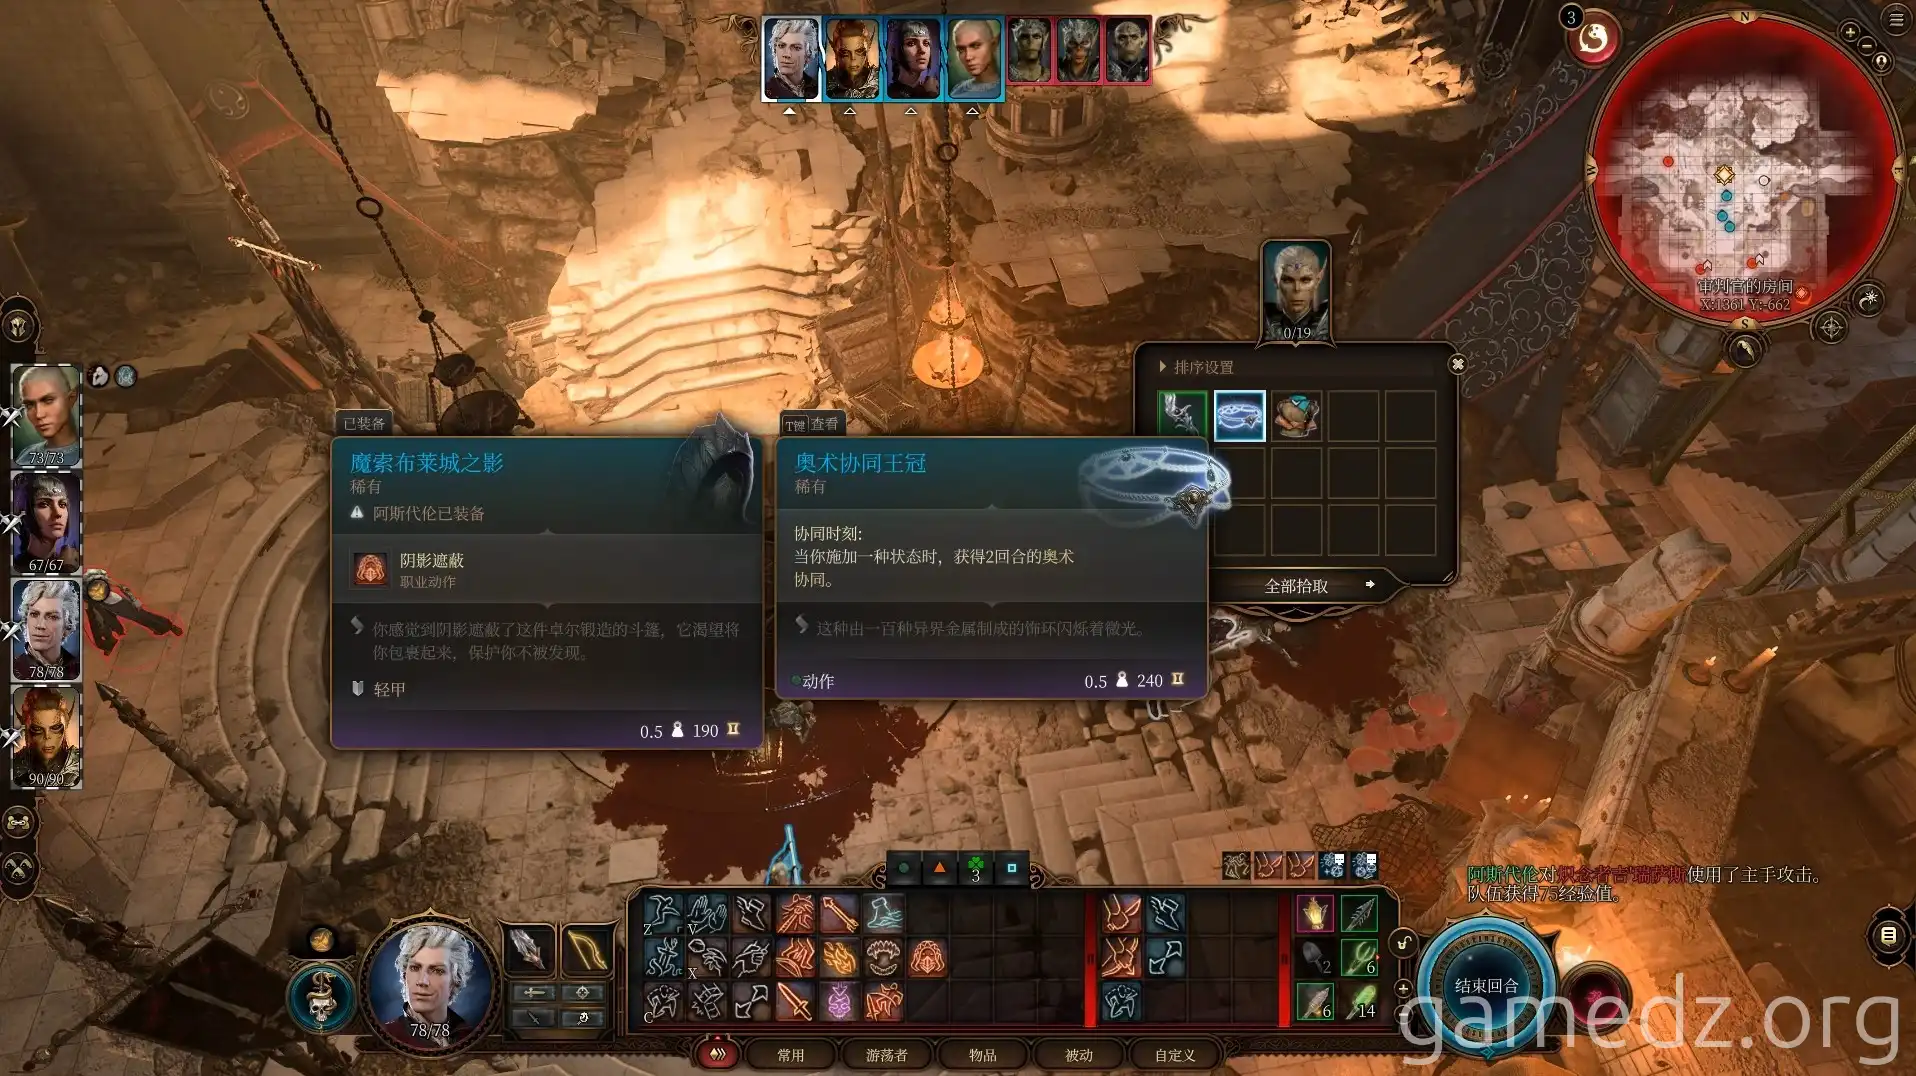
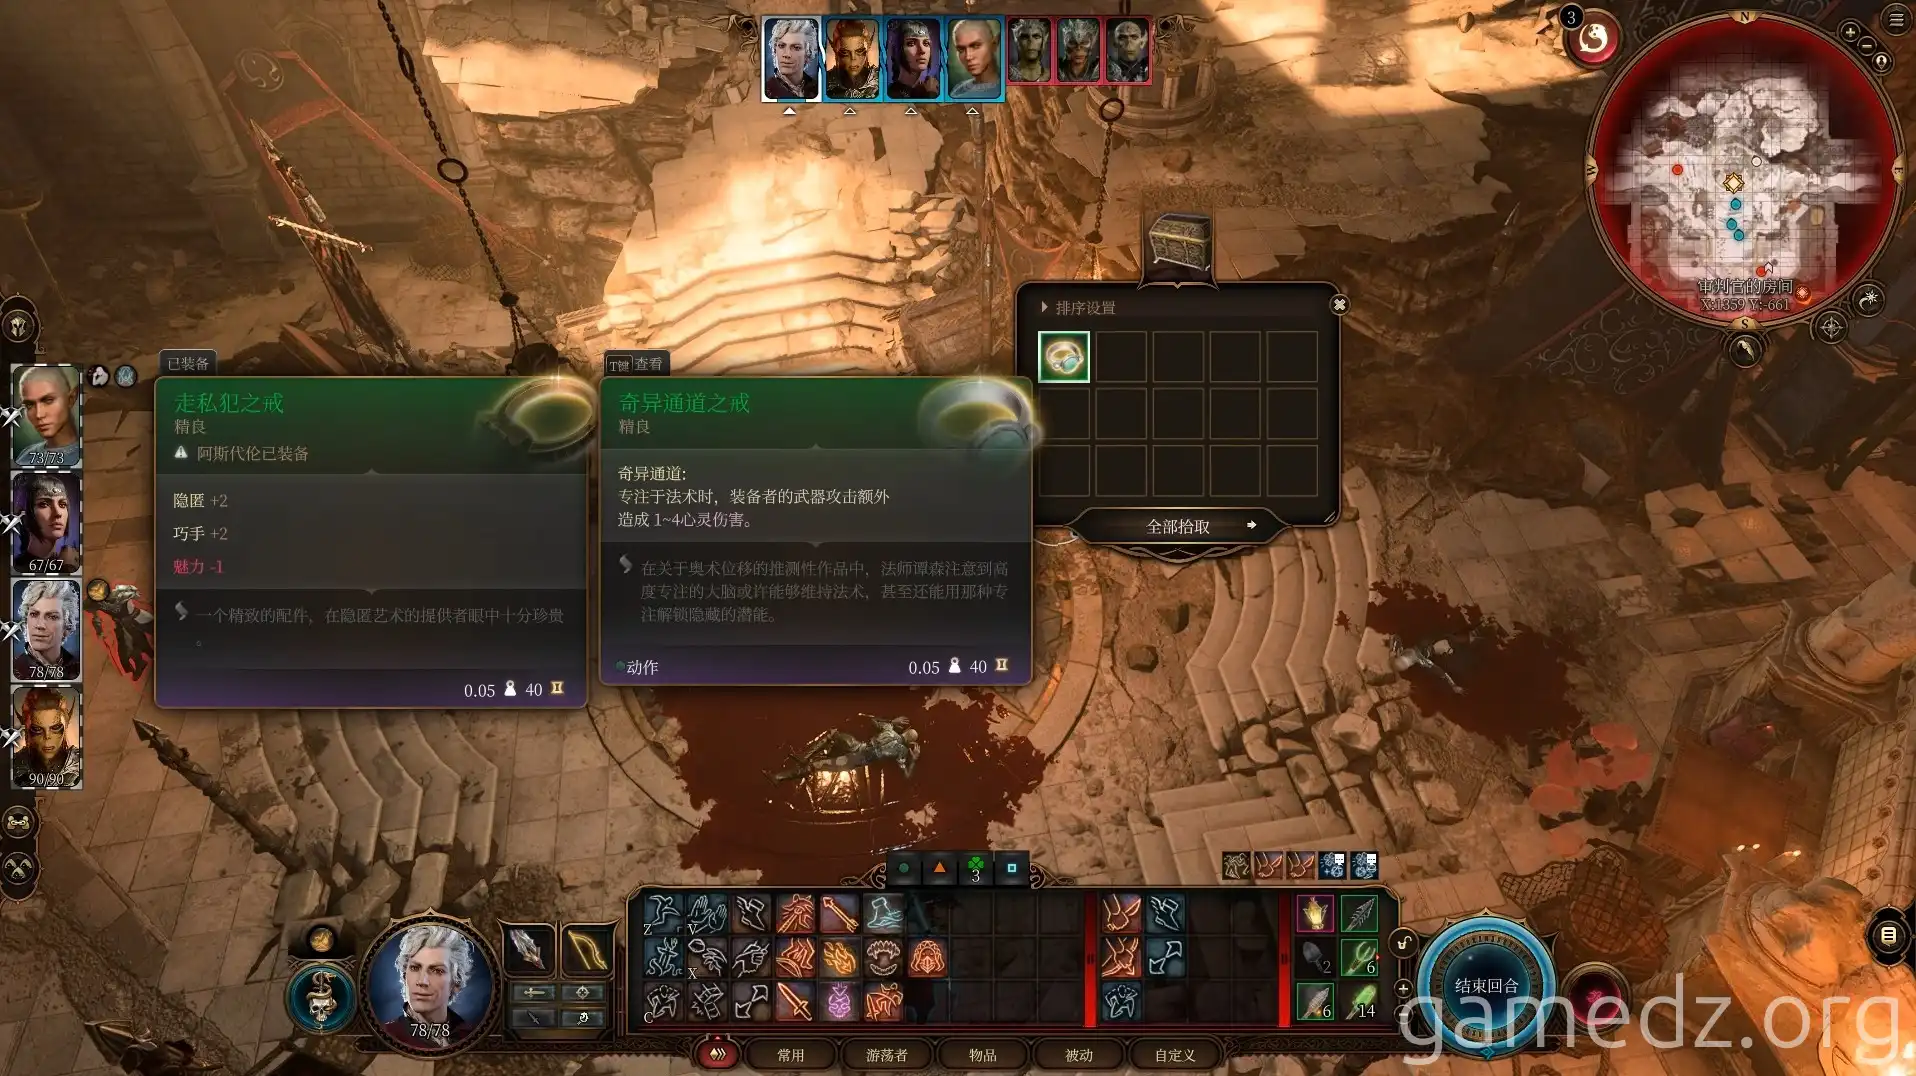
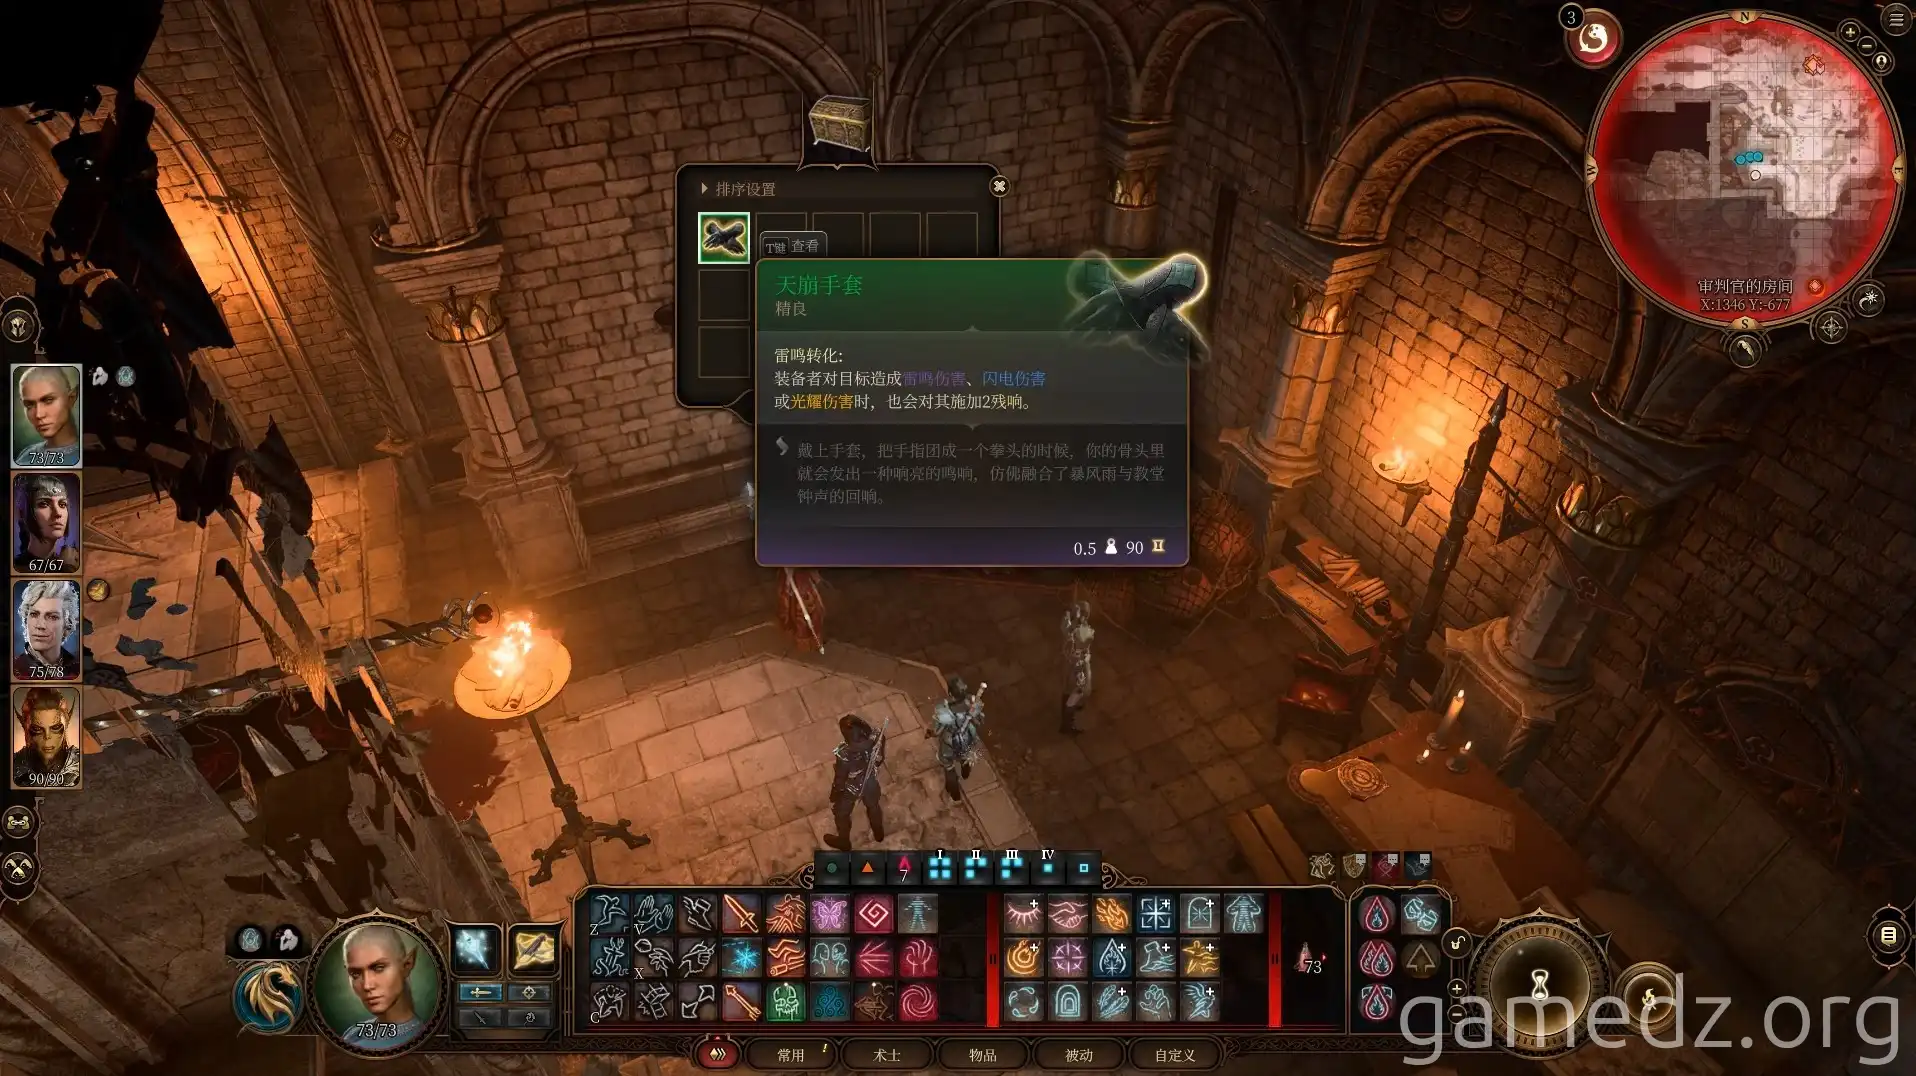
Now for the rewarding part! From the Inquisitor, acquire the Amulet of the Devout. The Illithid holds the Crown of Arcane Synergy. Inside an exquisite chest, find the Ring of Arcane Dominion. In the southwest chest, discover the Gauntlets of the Blazing Dawn.
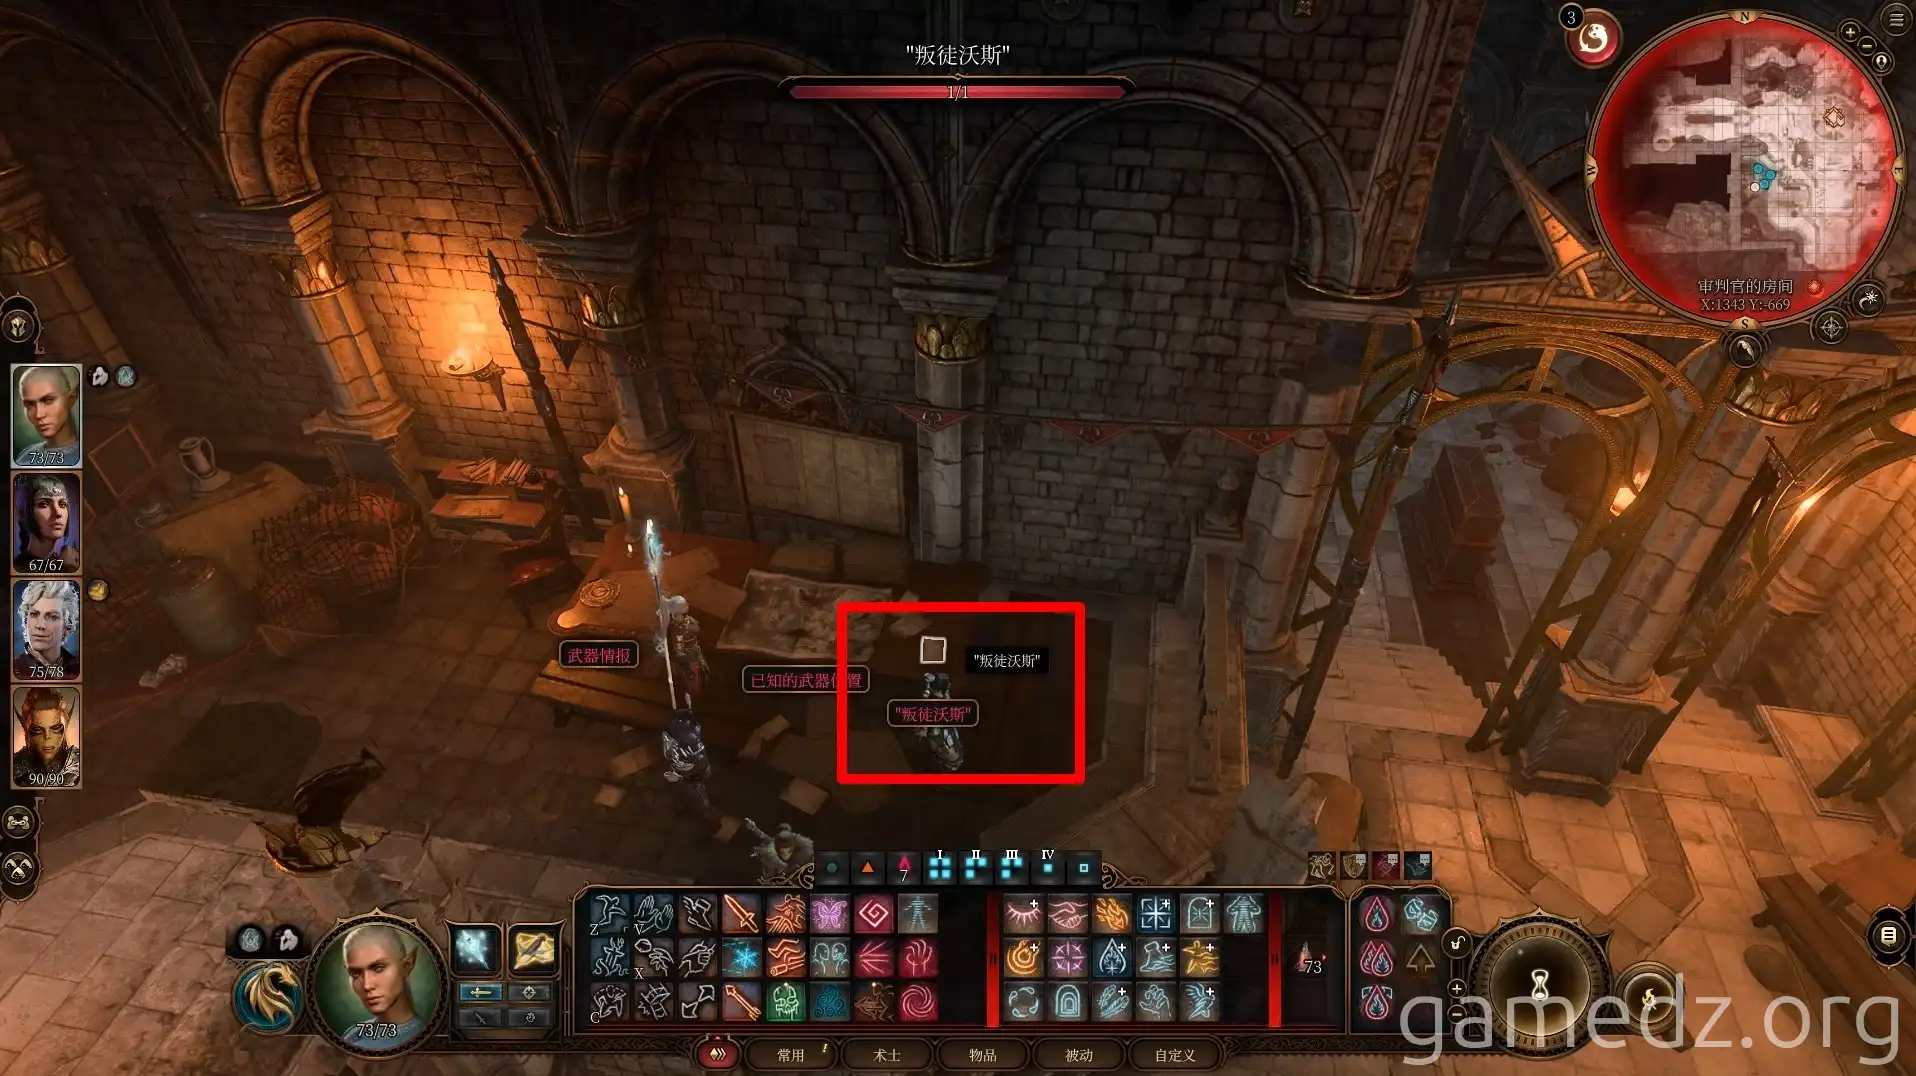
A document reveals Centurion Kith'rak Voss's betrayal. In the small east room, find the Amulet of Elemental Mastery and the Skinstealer weapon.
In the small west room, a display case holds the White Frost Boots.
The Secret Door and the Blood of Lathander
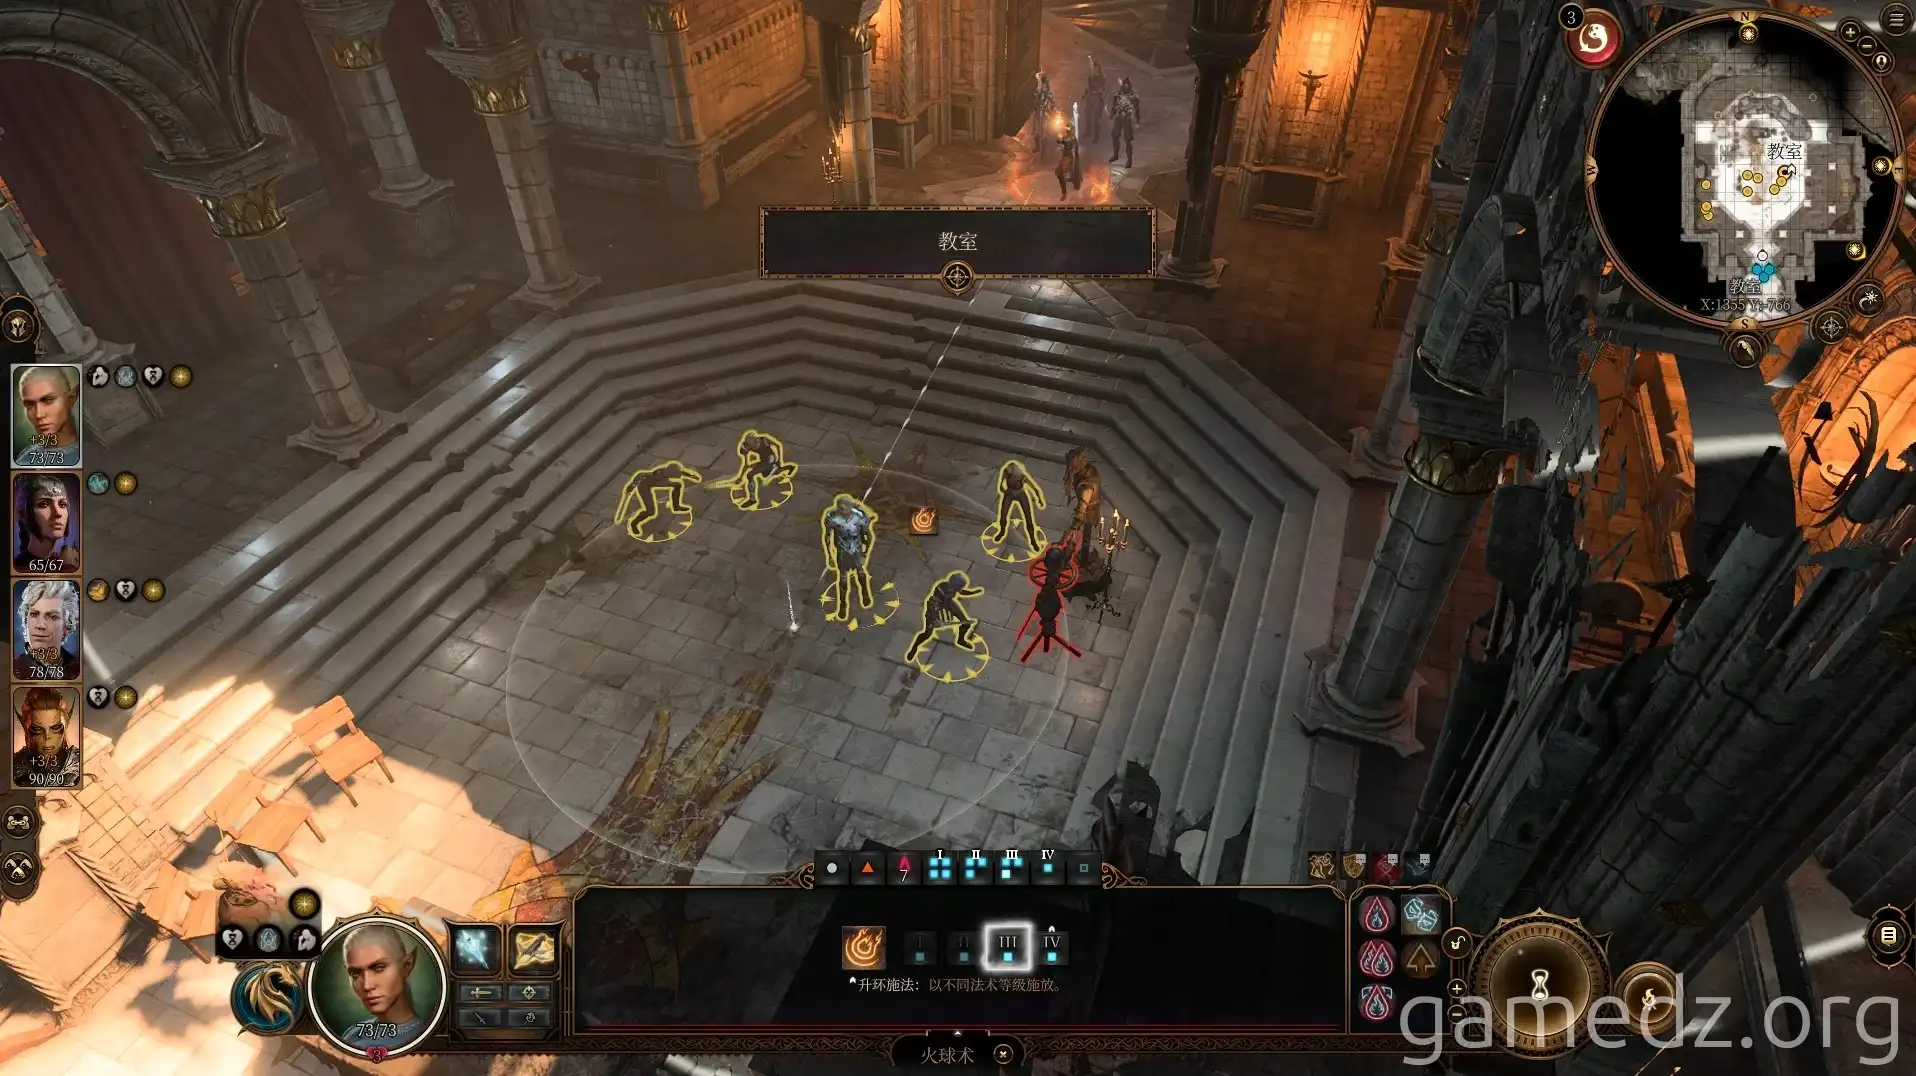
Turn the south statue to face west and the north statue to face east to reveal a secret door. Be aware that entering this area triggers an assessment of your actions and Lae'zel's loyalty. After speaking with Lae'zel, she'll need time to process.
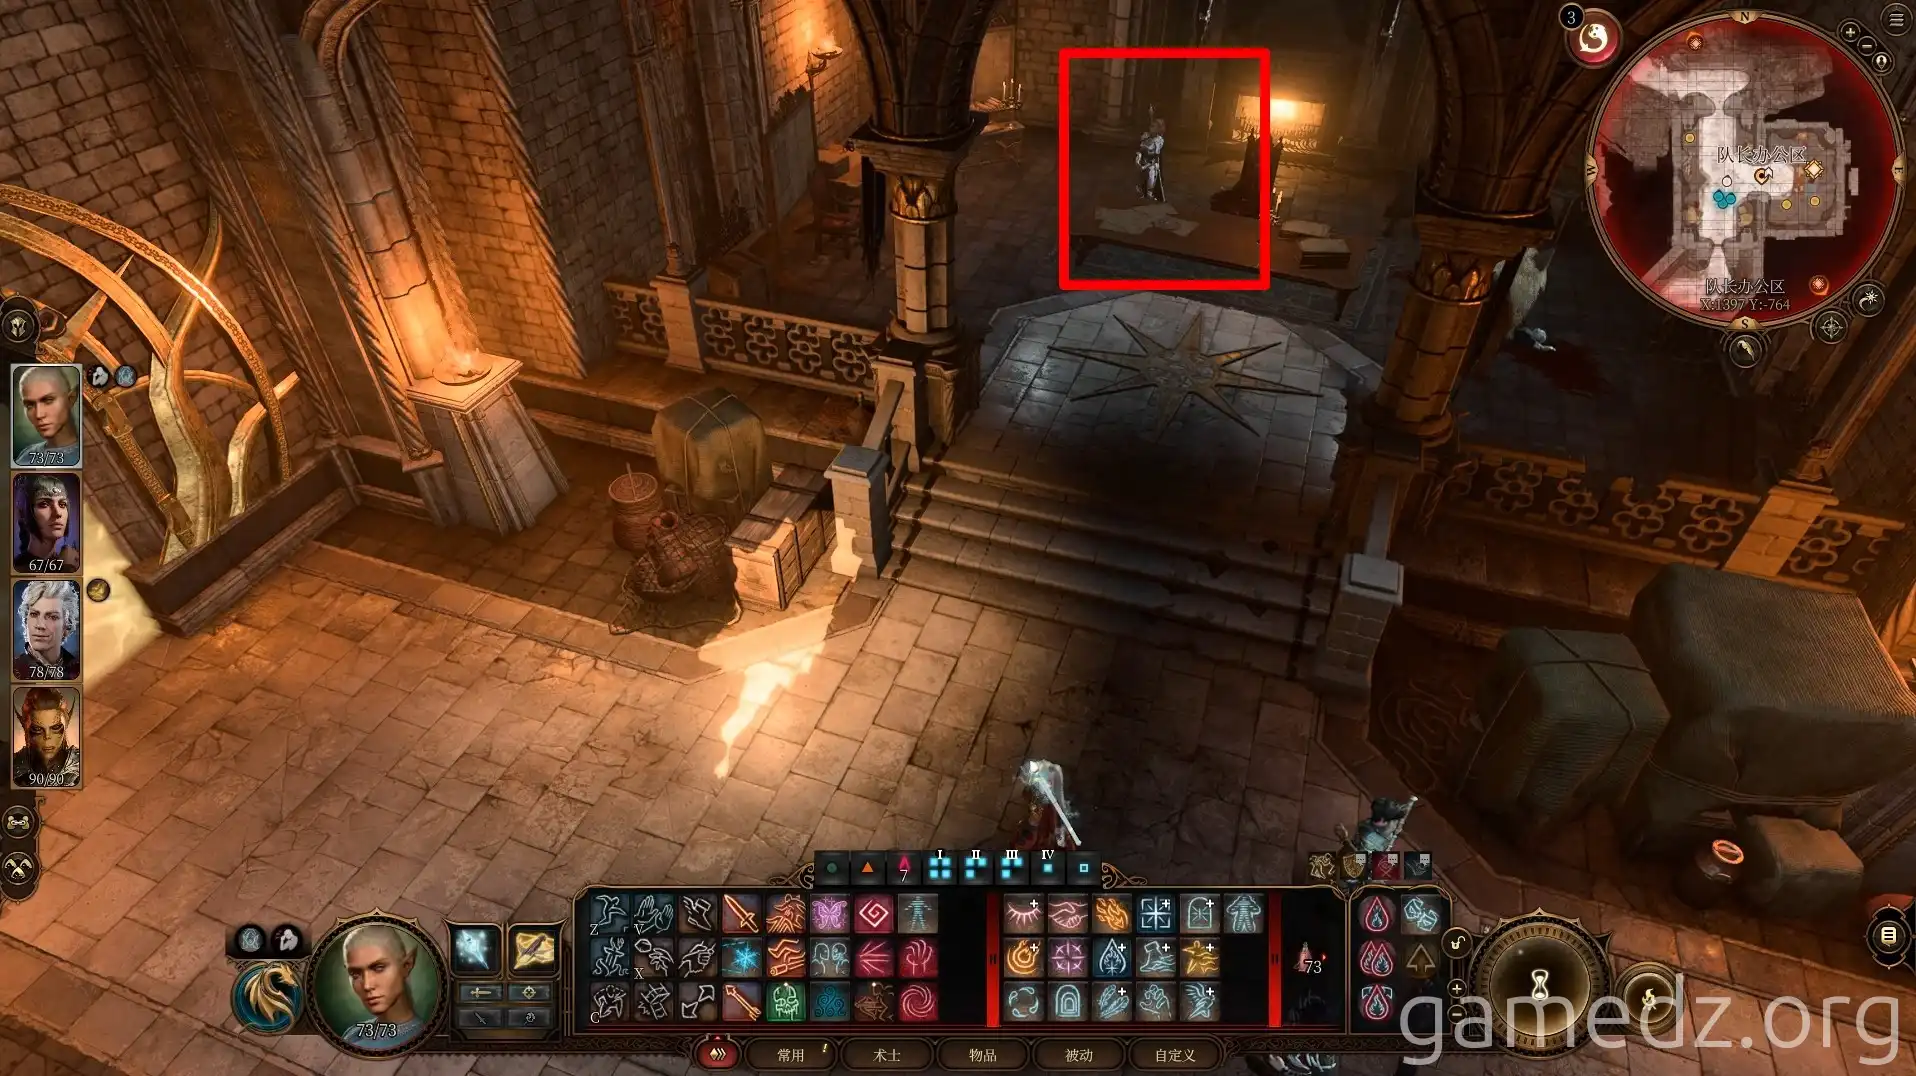
Enter the large door ahead to begin the quest for the Blood of Lathander.
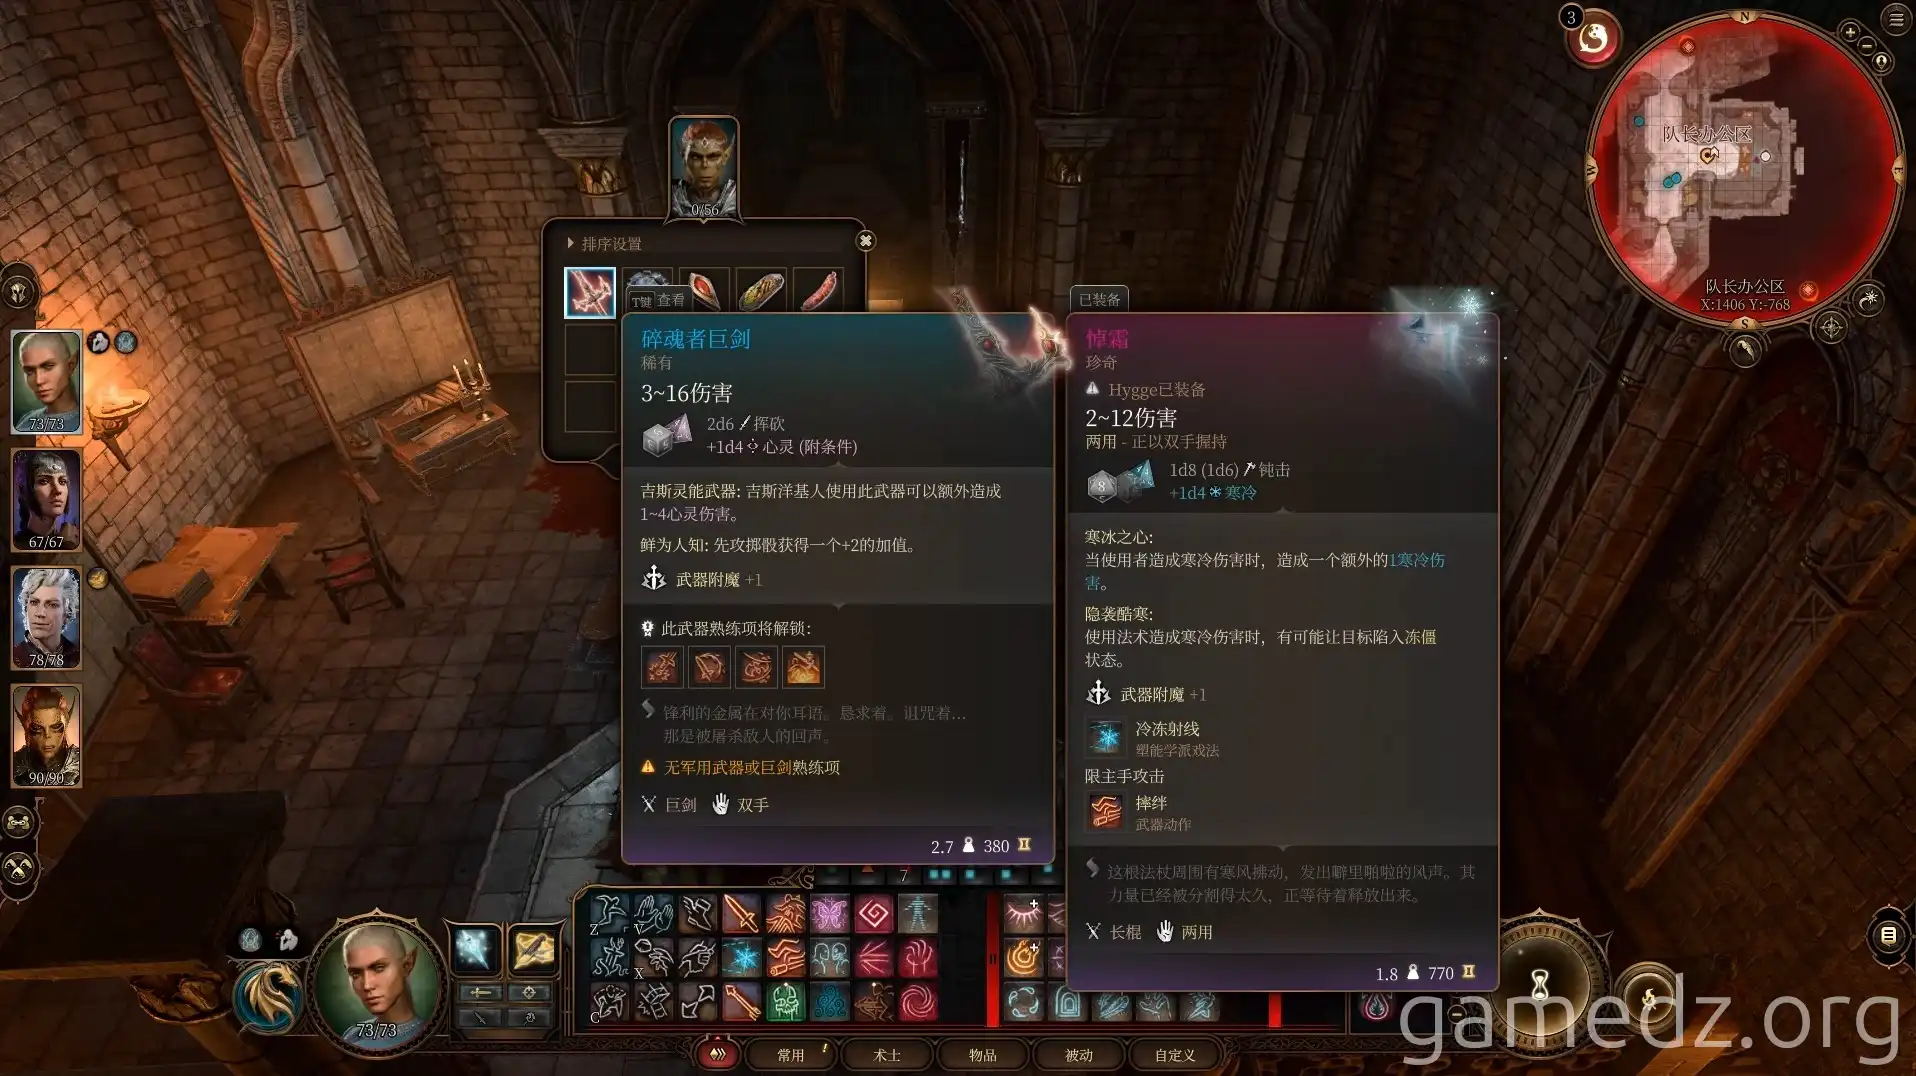
Use ranged attacks to destroy three crystal-shaped energy sources. Disarm traps and bypass barriers to reach the final energy source.
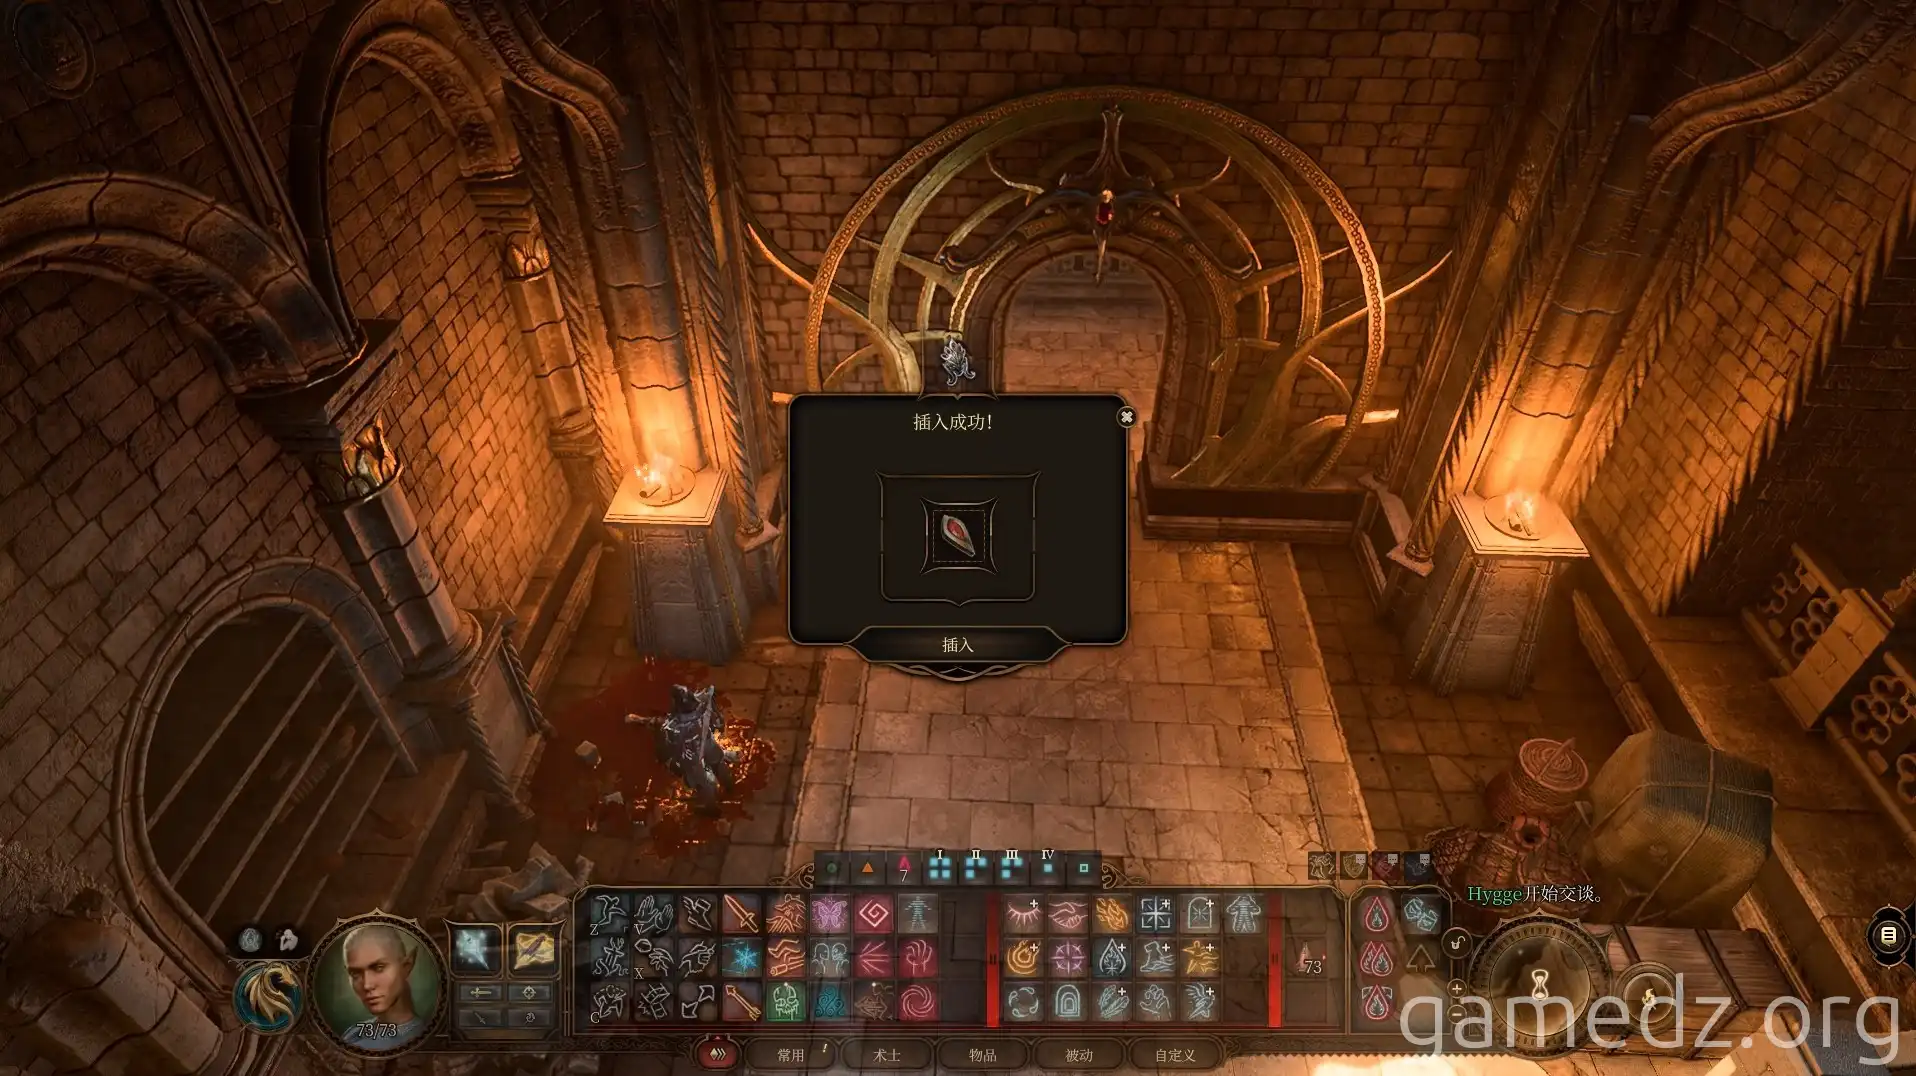
In the final room, insert the sigil from the ritual puzzle into the top panel to claim the legendary Blood of Lathander.
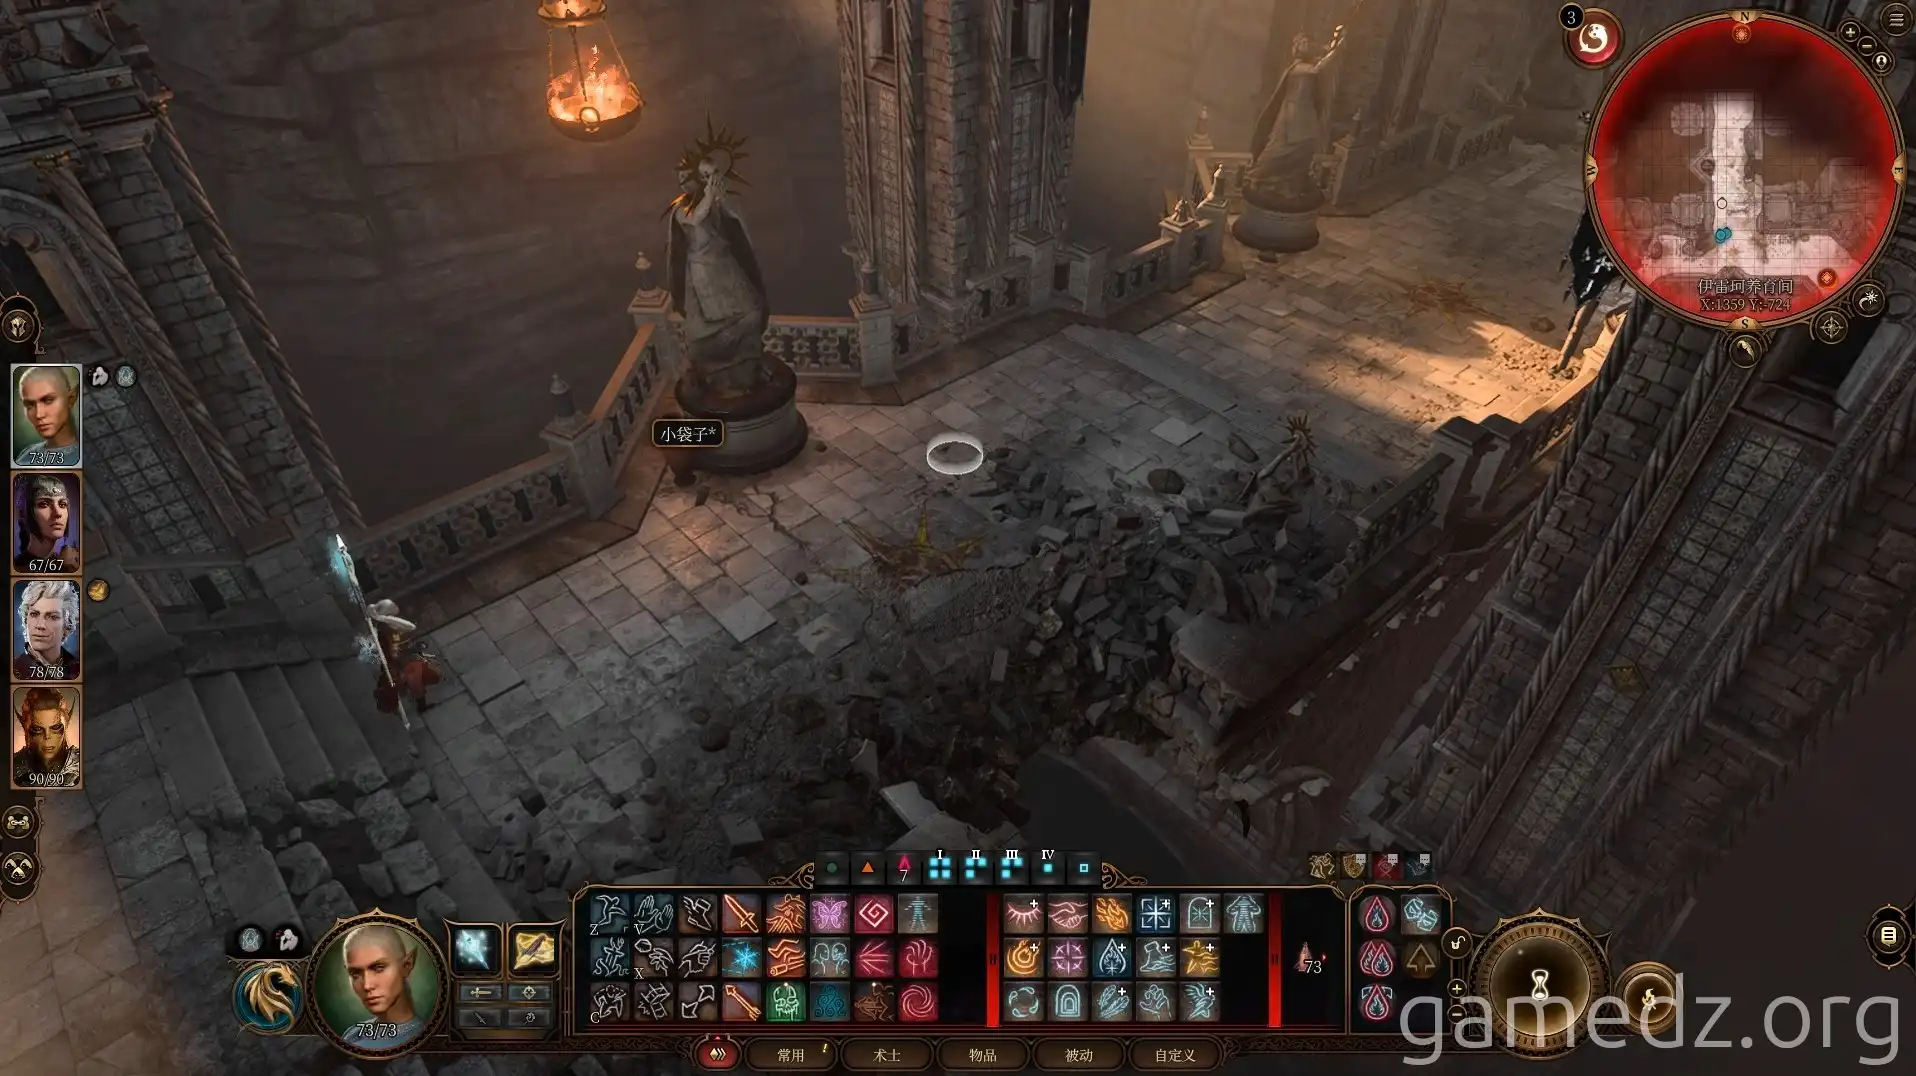
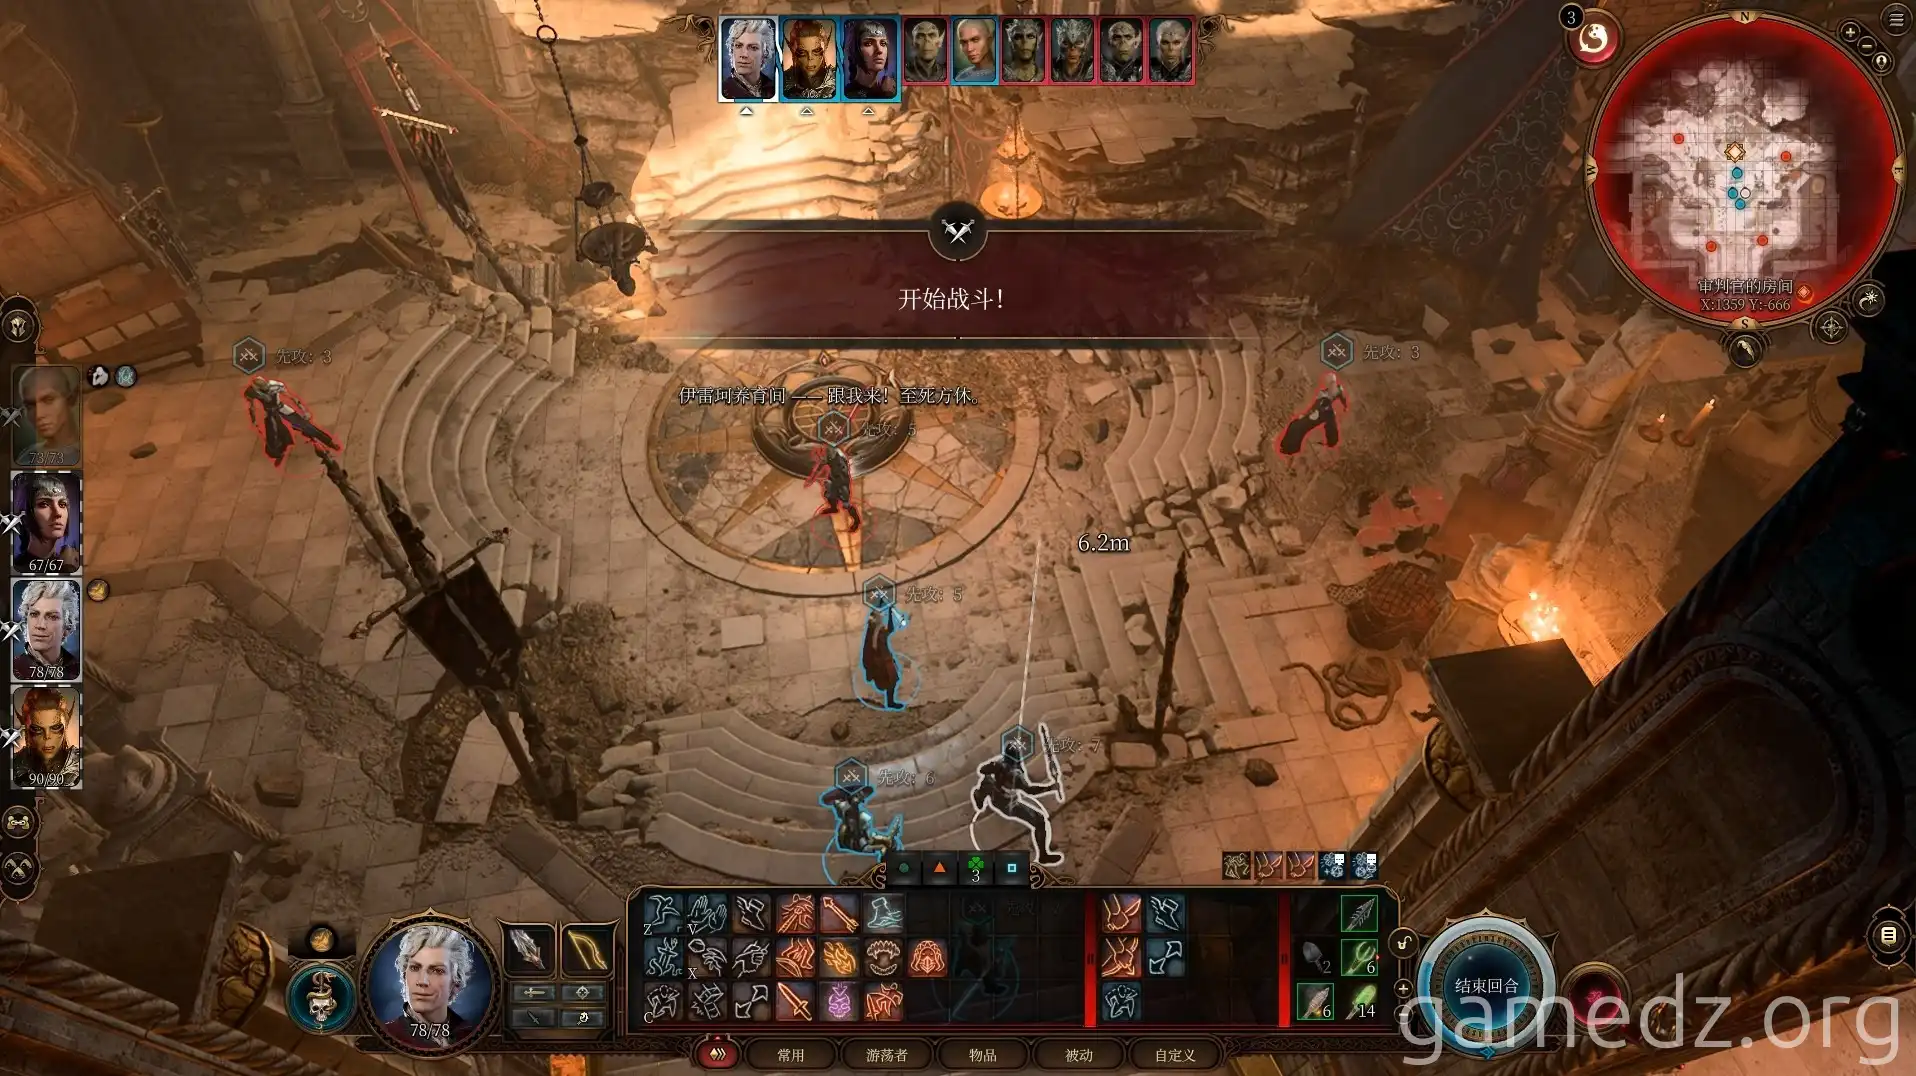
Use the teleportation device to return to the Creche. All Githyanki are now hostile. Defeat the Quartermaster and her guards, obtaining the Amulet of Branding.
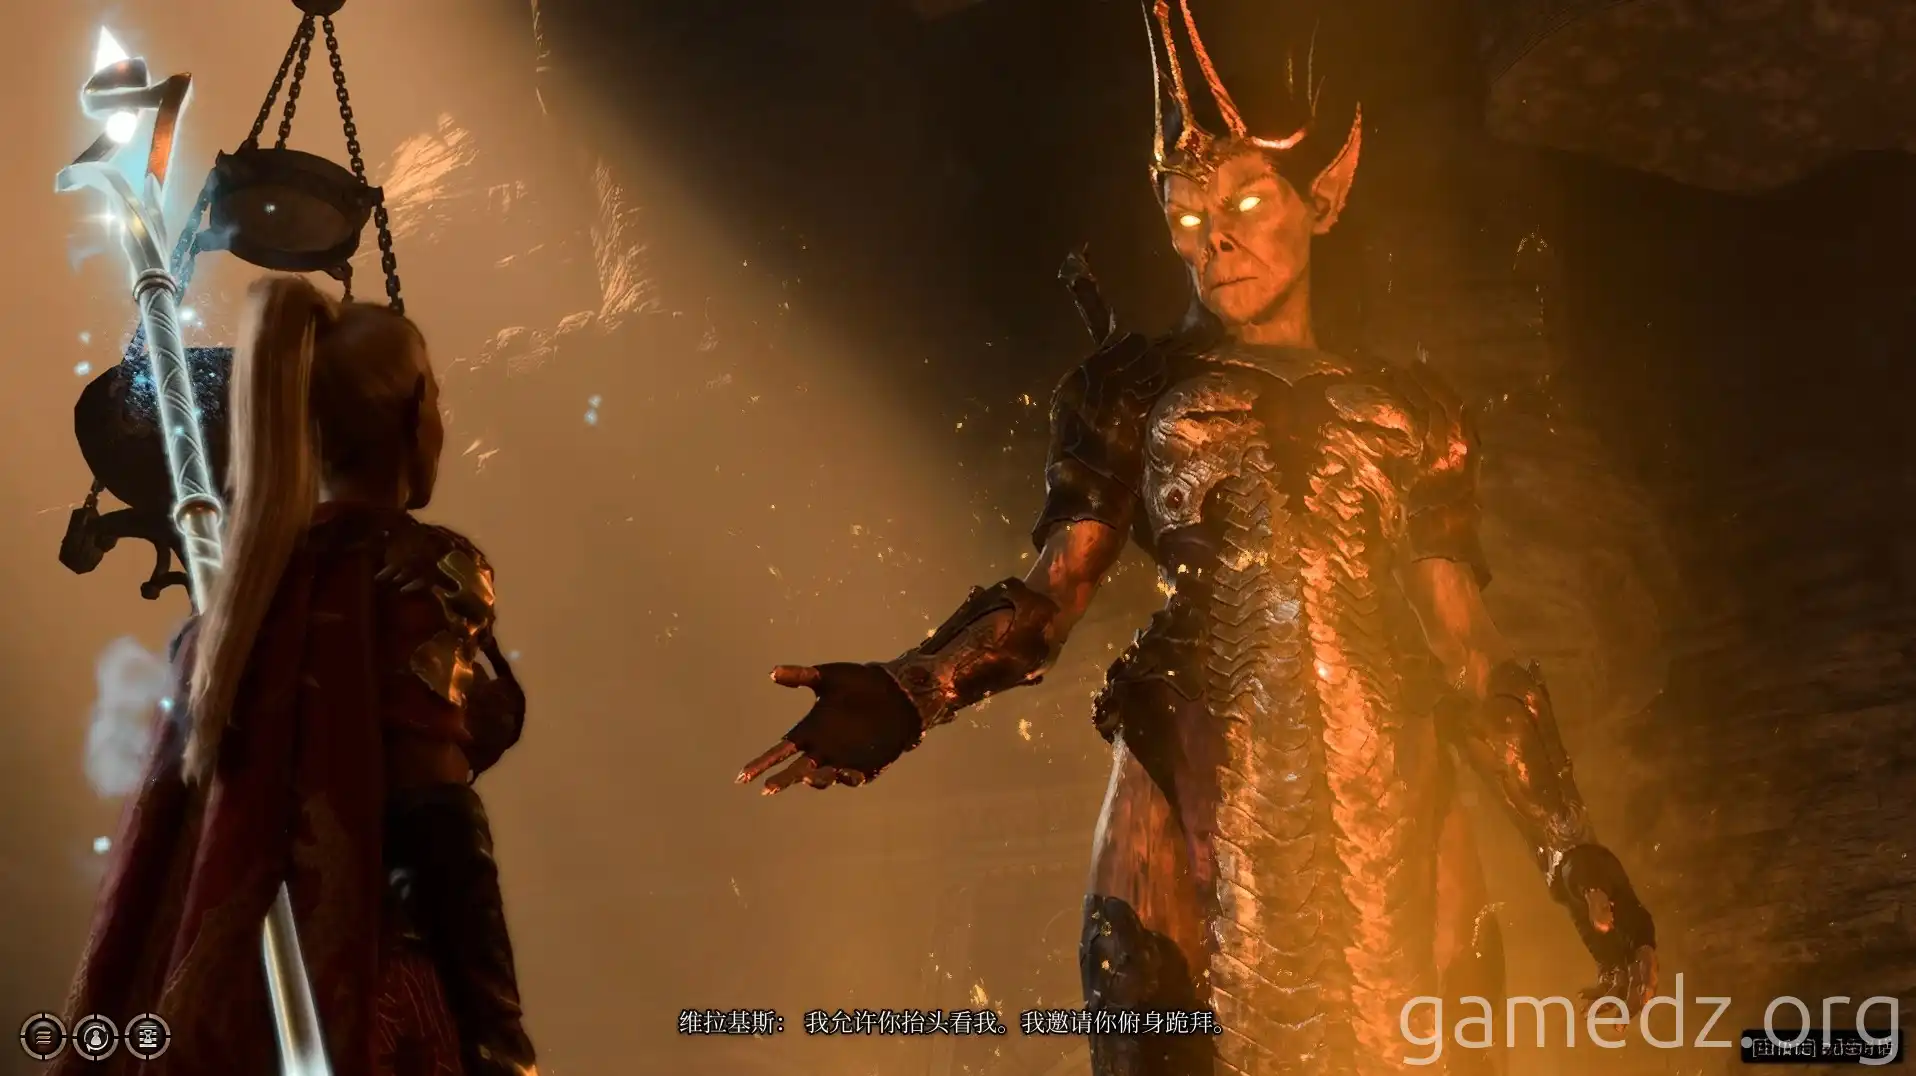
Continue through the passage, defeating two Githyanki and acquiring the Force Field Crossbow.
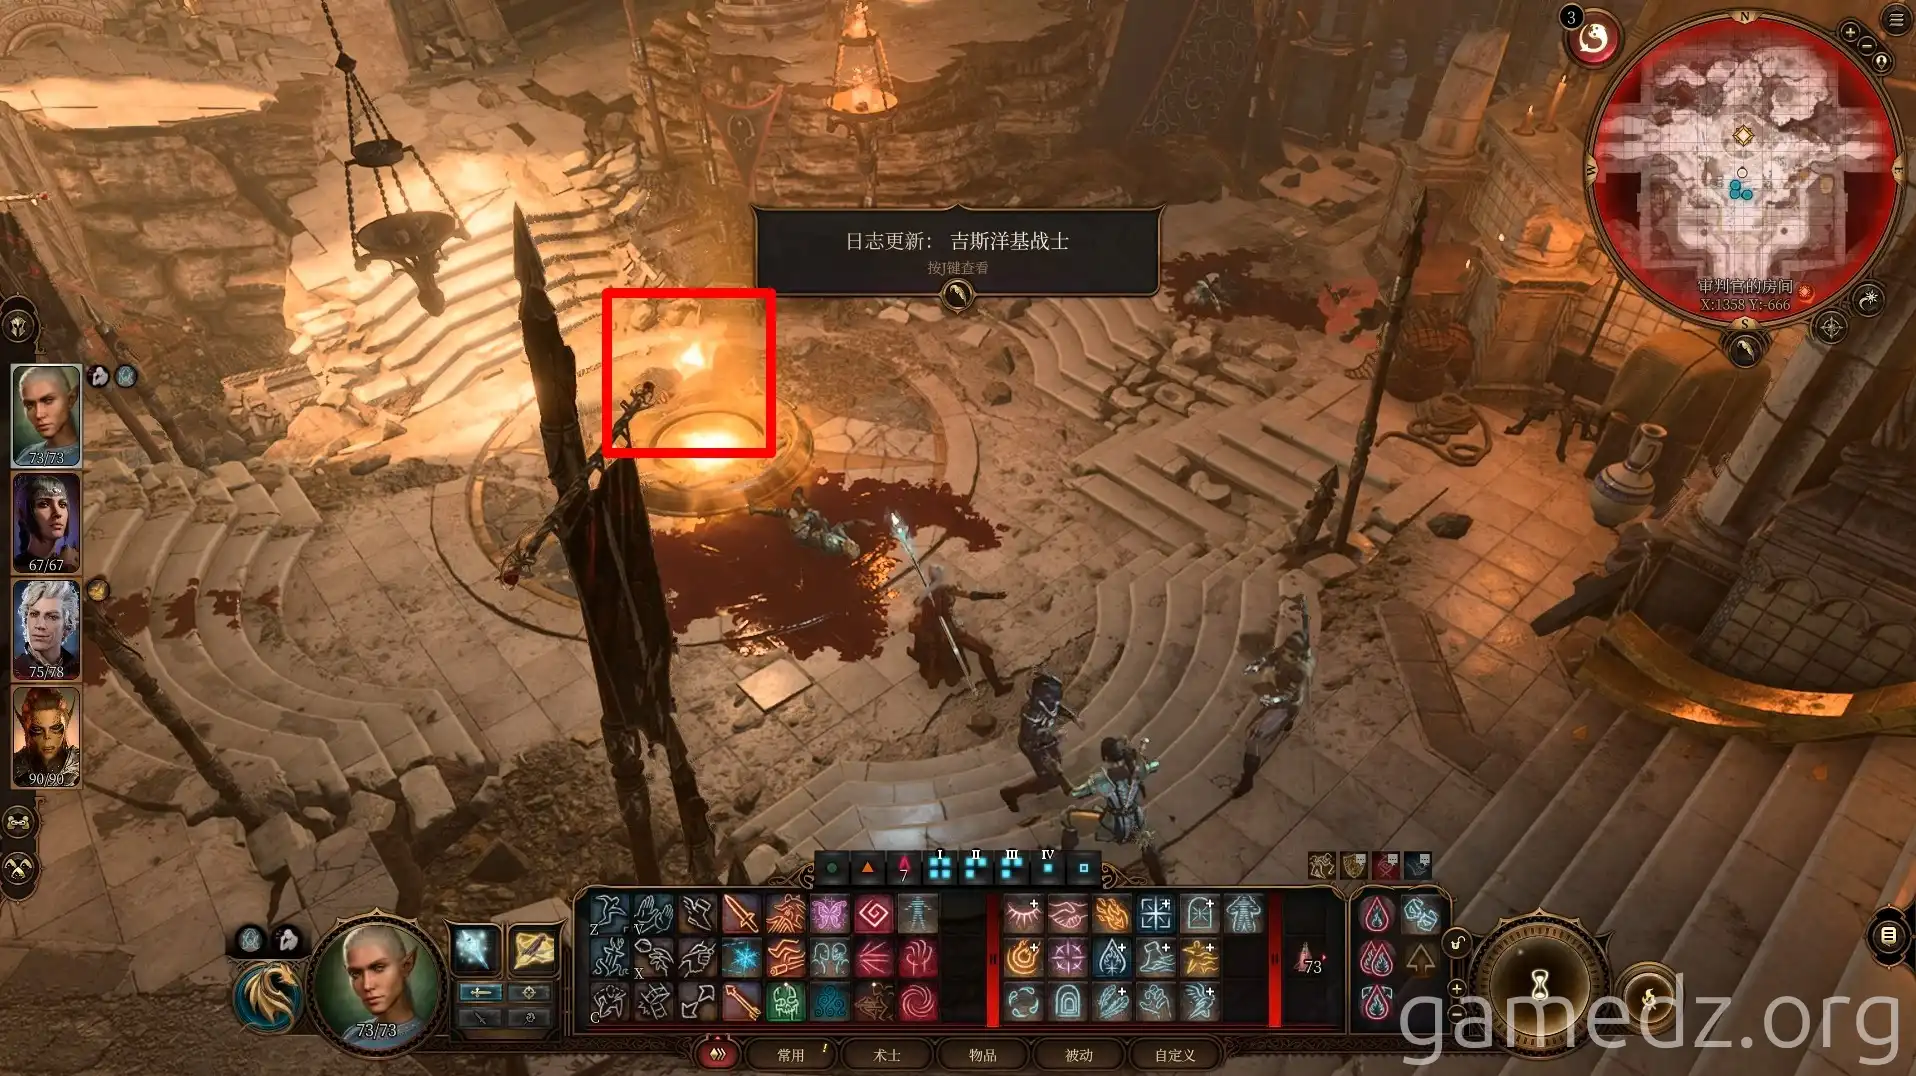
You can choose to fight the three Githyanki in the creche for experience and the Githyanki Greatsword. Finally, head to the Creche entrance and defeat the last four Githyanki, one of whom carries the Ring of Arcane Synergy.
Beyond the Creche: Triel's Cliffs and the Shadow-Cursed Lands
Return to the [Triel's Cliffs] waypoint. Head north to the crossroads and defeat the Death Priests and ghouls. Find a letter on a cultist revealing the High Duke's location.
Proceed southwest and encounter Elminster, who will join your camp to speak with Gale.
At camp, learn of Mystra's command for Gale to self-immolate. Leave camp and enter the Shadow-Cursed Lands. Save your game frequently!
Upon entering, a cutscene triggers with Kith'rak Voss, who proposes an alliance and gives you a Psionic Detector. Be aware of potential game crashes during this sequence; older saves may be necessary.
Speak with Lae'zel, who realizes the Githyanki are slaves to the Queen's ambition. After this, rest and prepare for your exploration of the Shadow-Cursed Lands.
