
Baldur's Gate 3 Goblin Camp Walkthrough: Full Map & Secrets
Explore the Baldur's Gate 3 Goblin Camp with this comprehensive walkthrough. Discover hidden chests, rare gear like the Shield of Glow and Crusher's Ring, and master strategies for clearing the area.
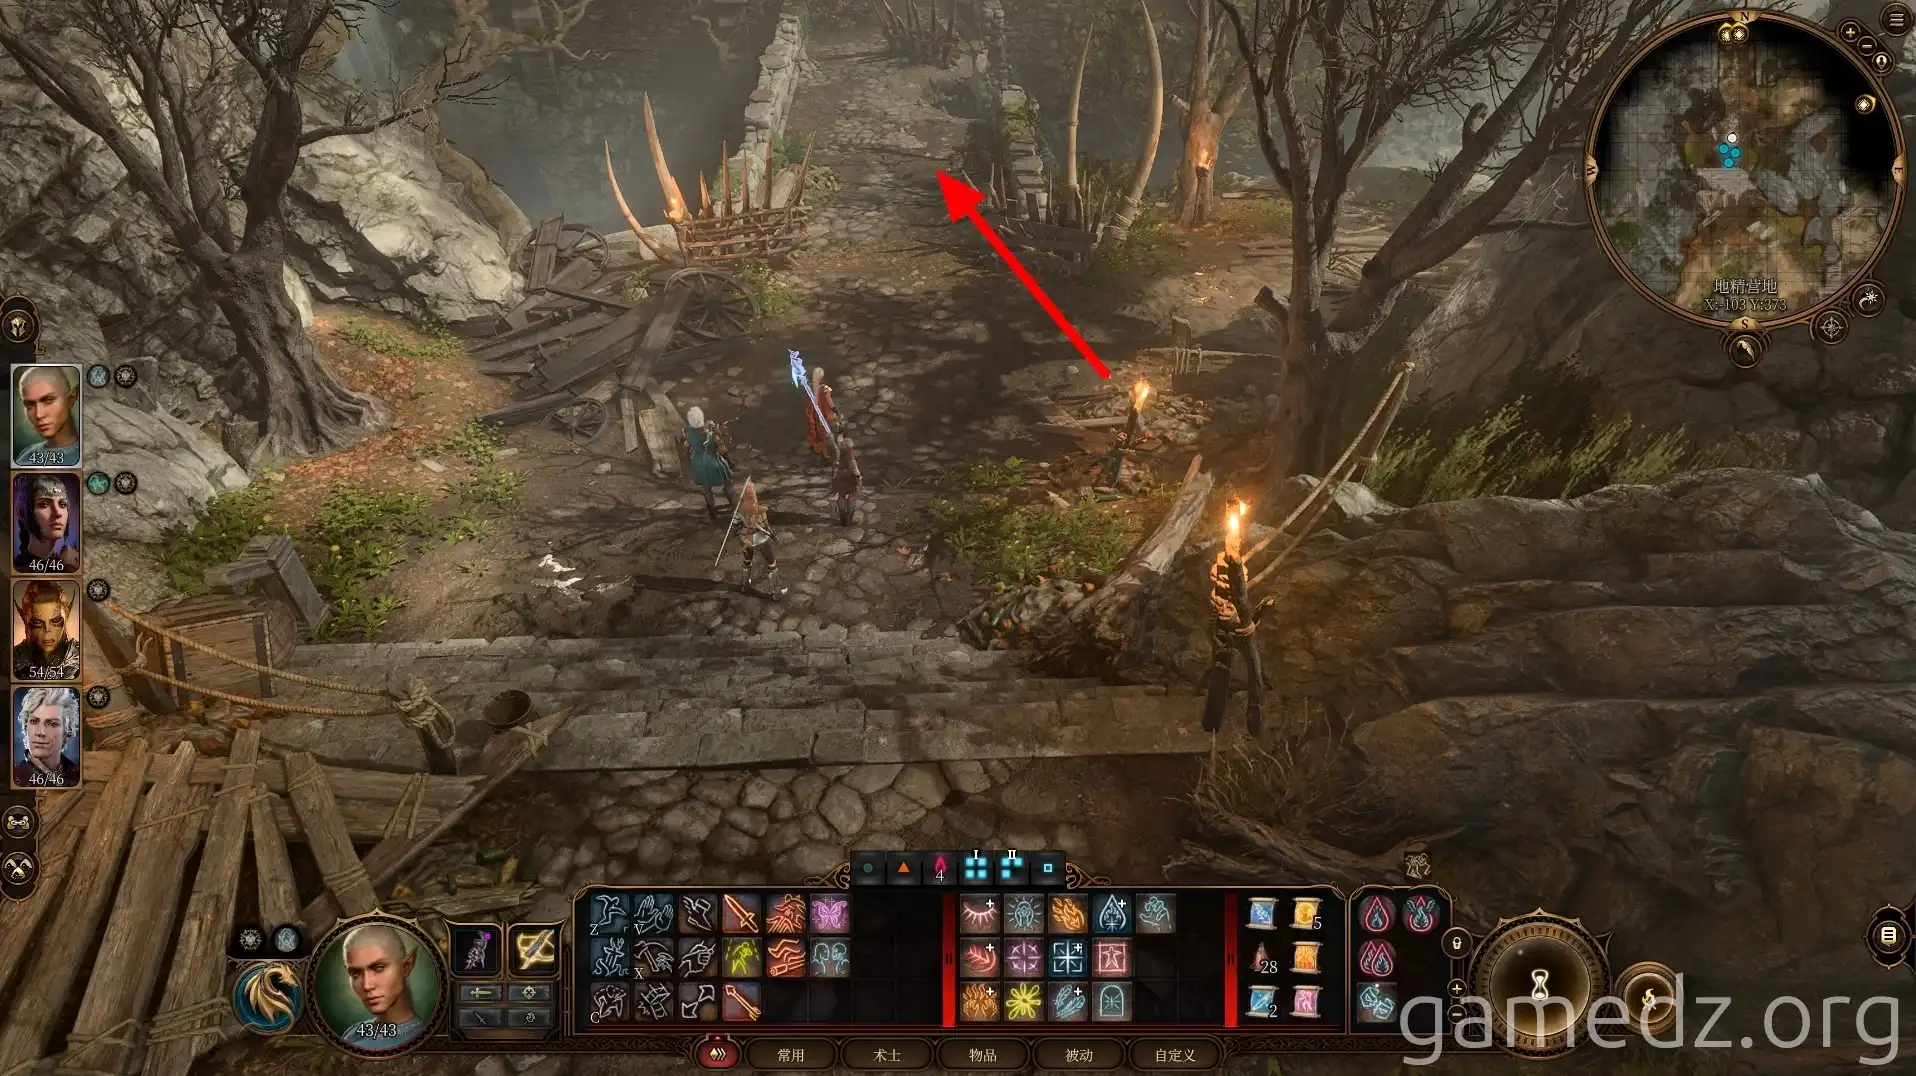
After returning to the Blighted Village, cross the wooden bridge on the west side to reach the Goblin Camp.
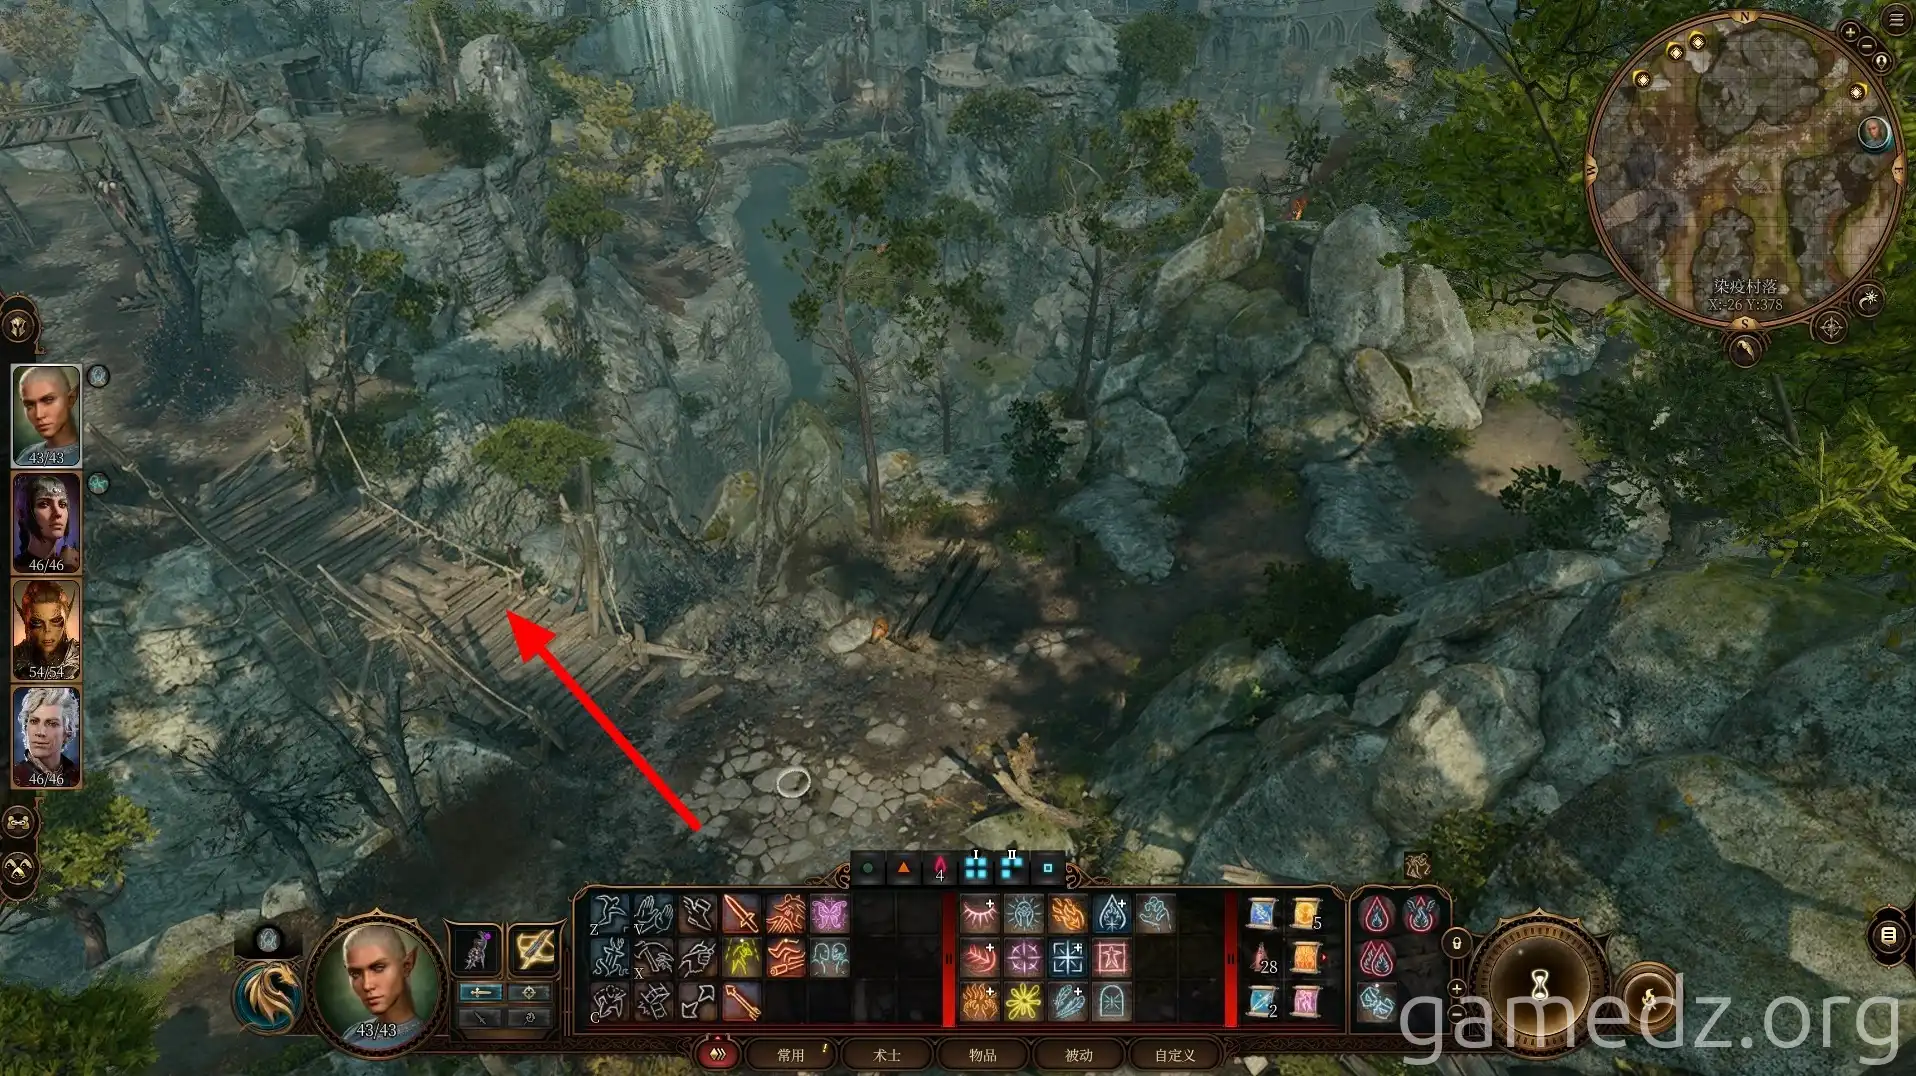
Continue west after crossing the bridge, and you'll encounter the Goblin camp's guard squad. Heading north allows you to bypass the main gate via a small path. The southern path is riddled with traps and offers little of value, so it's best to avoid it.
Given our True Soul status, we can move freely within the Goblin Camp. Therefore, it's best to approach the guard squad directly and use our Illithid abilities to gain passage. We can deal with the goblins outside the camp later. If you previously rescued the goblin from the Emerald Grove, she can now lead us into the Goblin Camp.
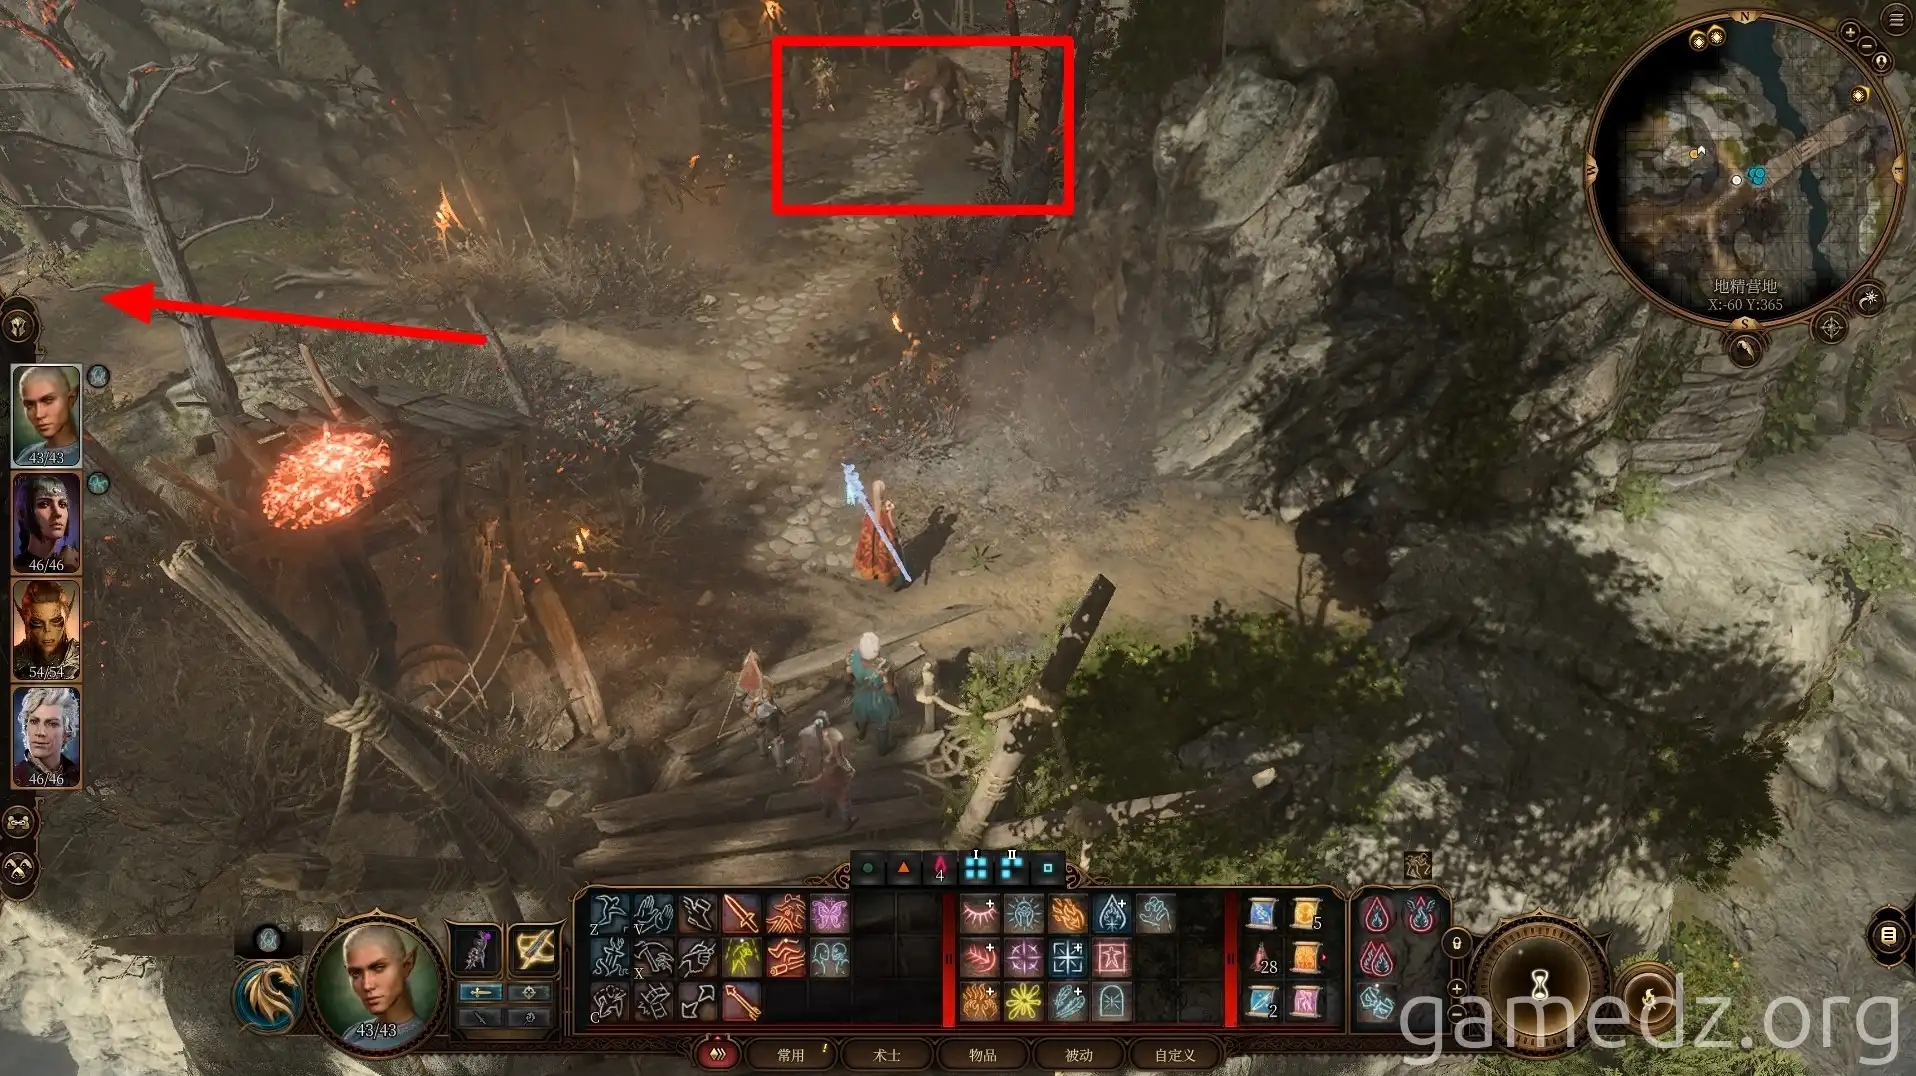
After passing through the gate, head southwest. Here you'll find three goblins playing cards. Ignore them and continue along the path.
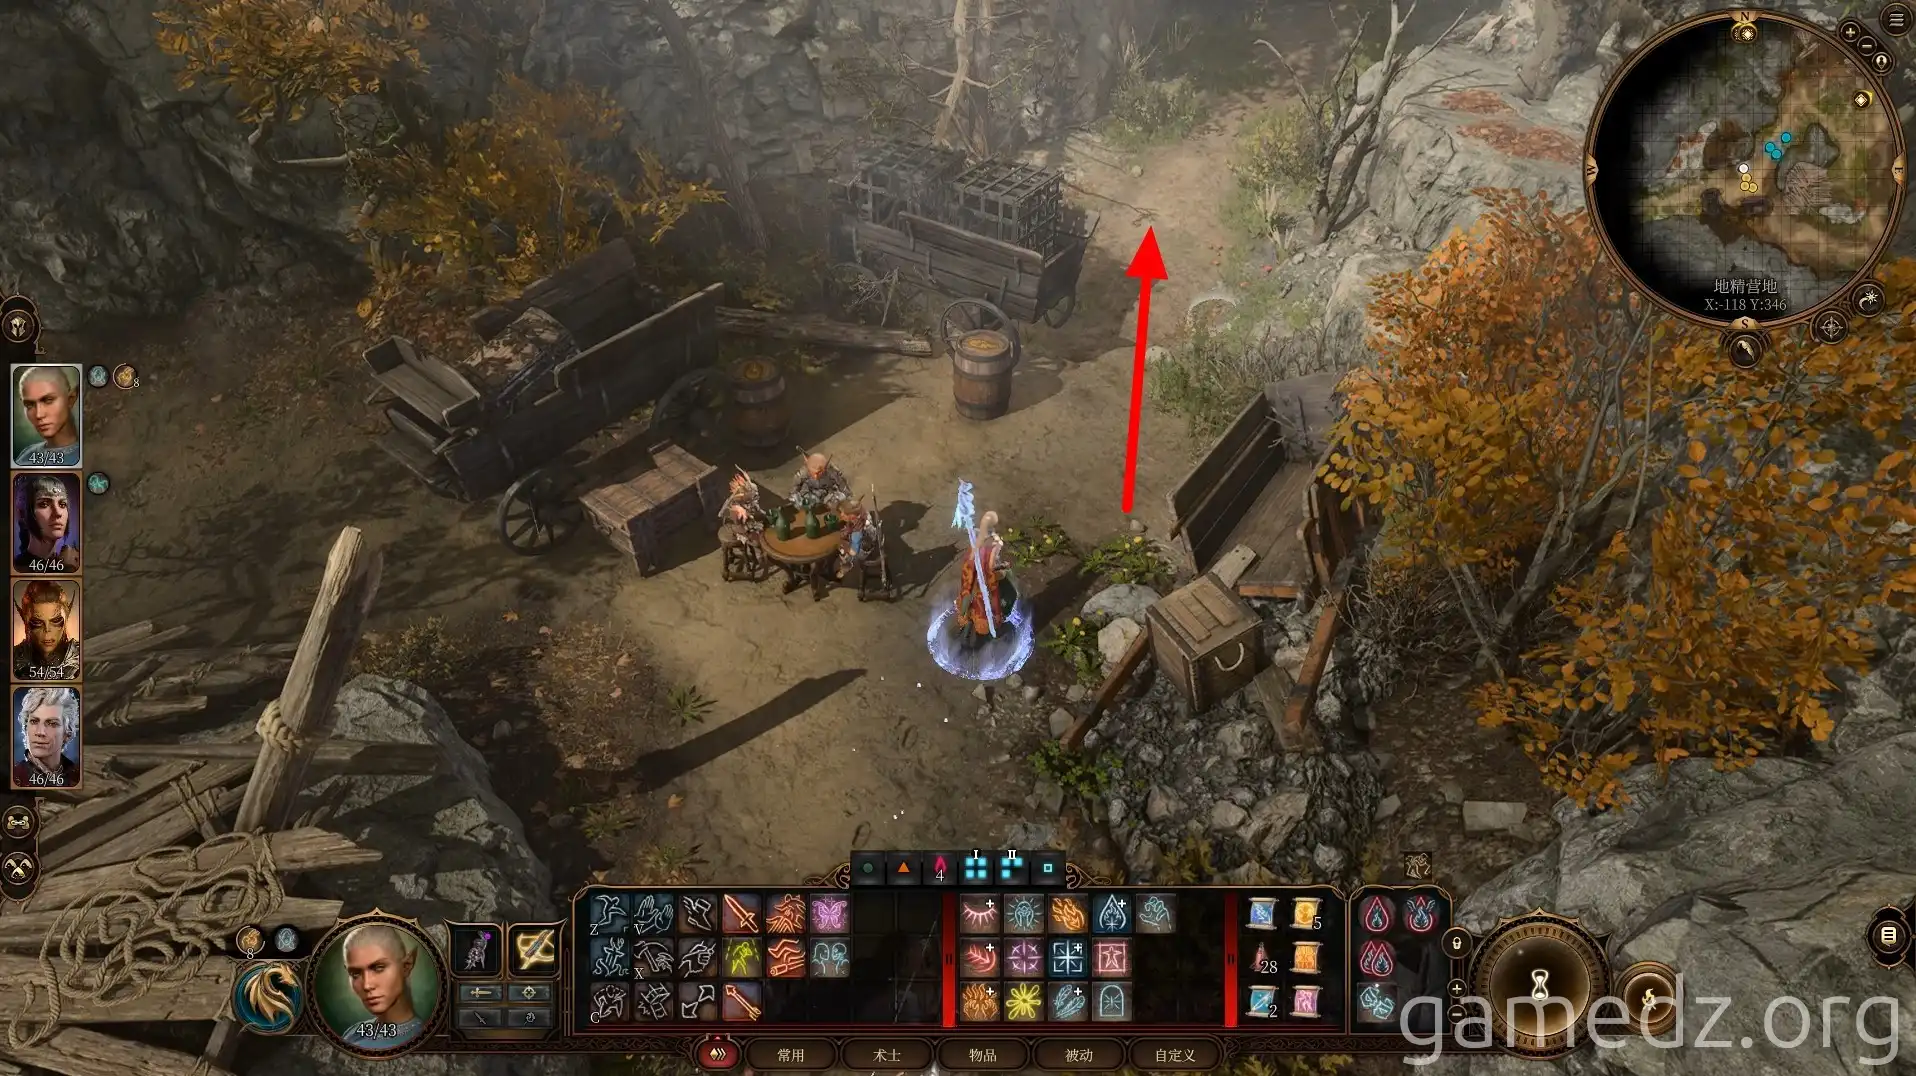
A cutscene will trigger ahead, where we experience the pressure from the so-called Absolute. Shadowheart's amulet then emits energy, helping us dispel the illusion.
If you head directly to the Goblin Camp, this scene will occur just before the camp entrance.

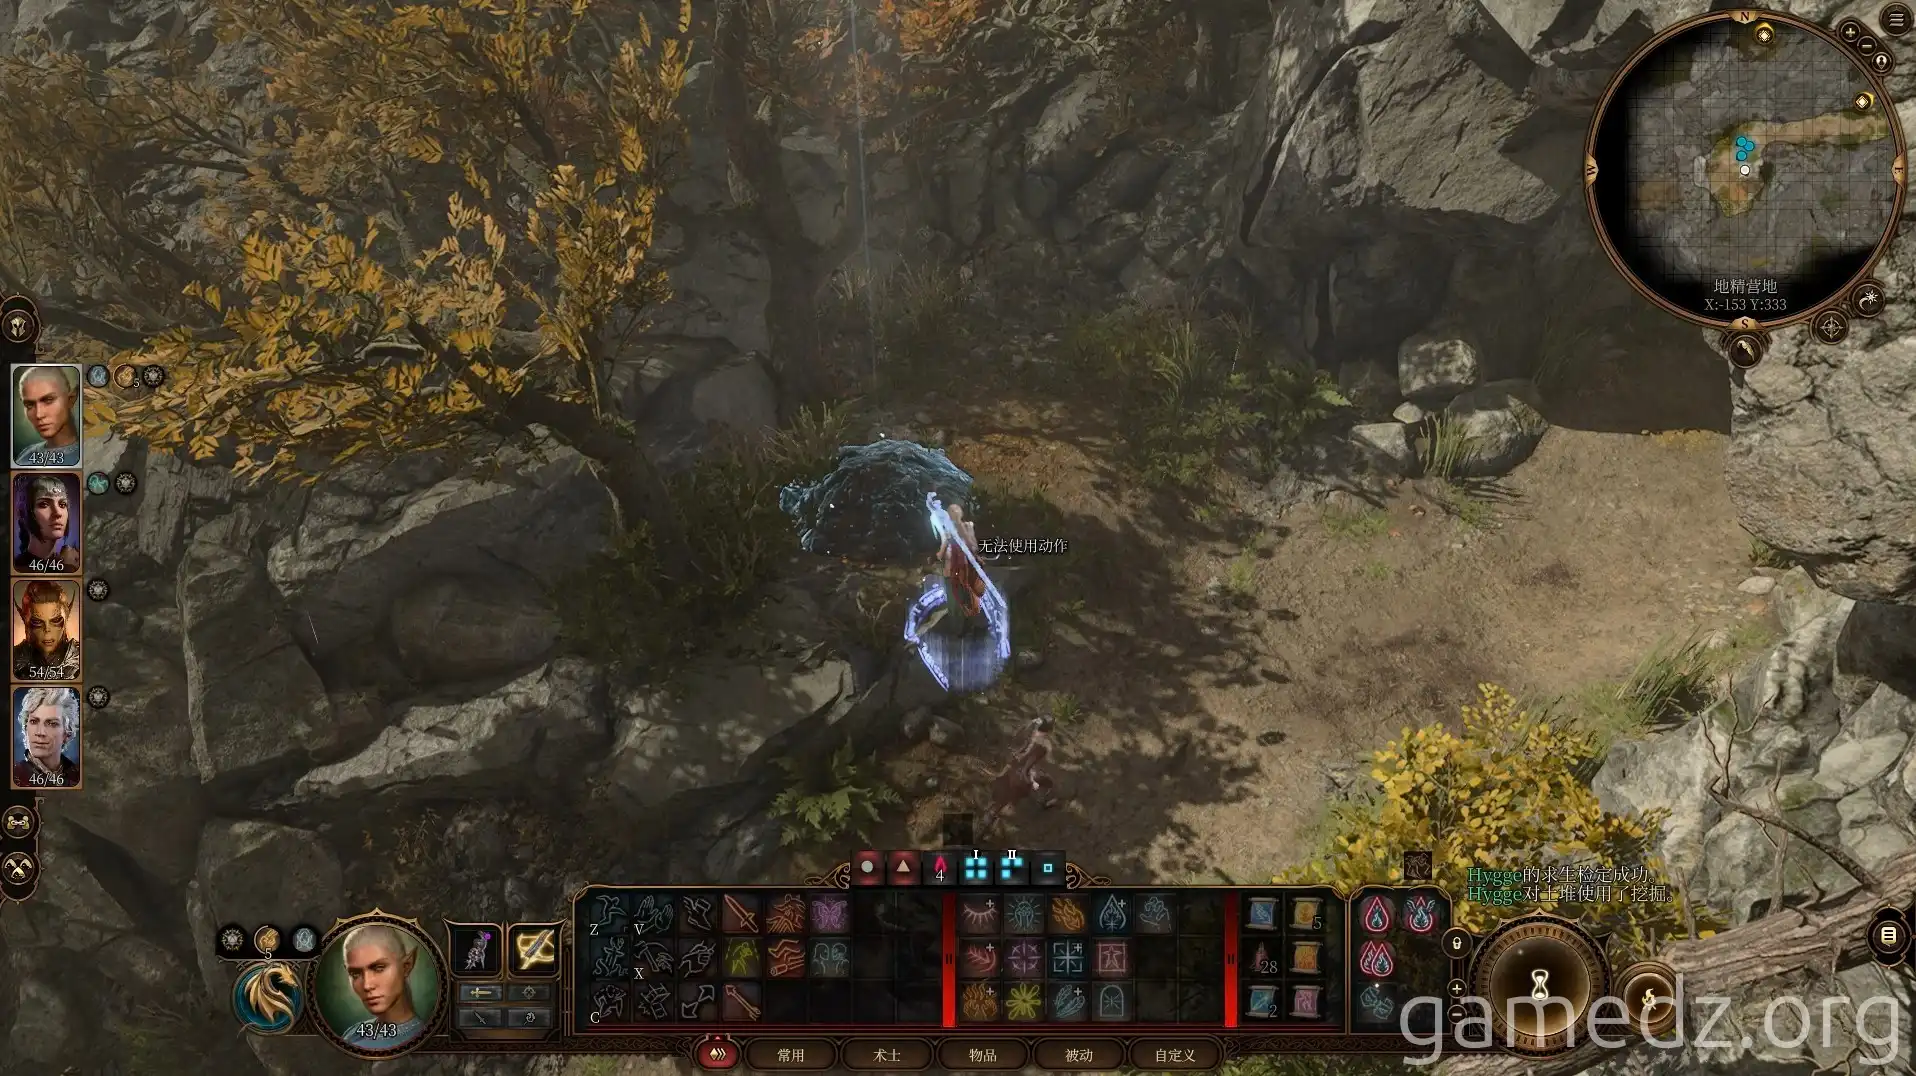
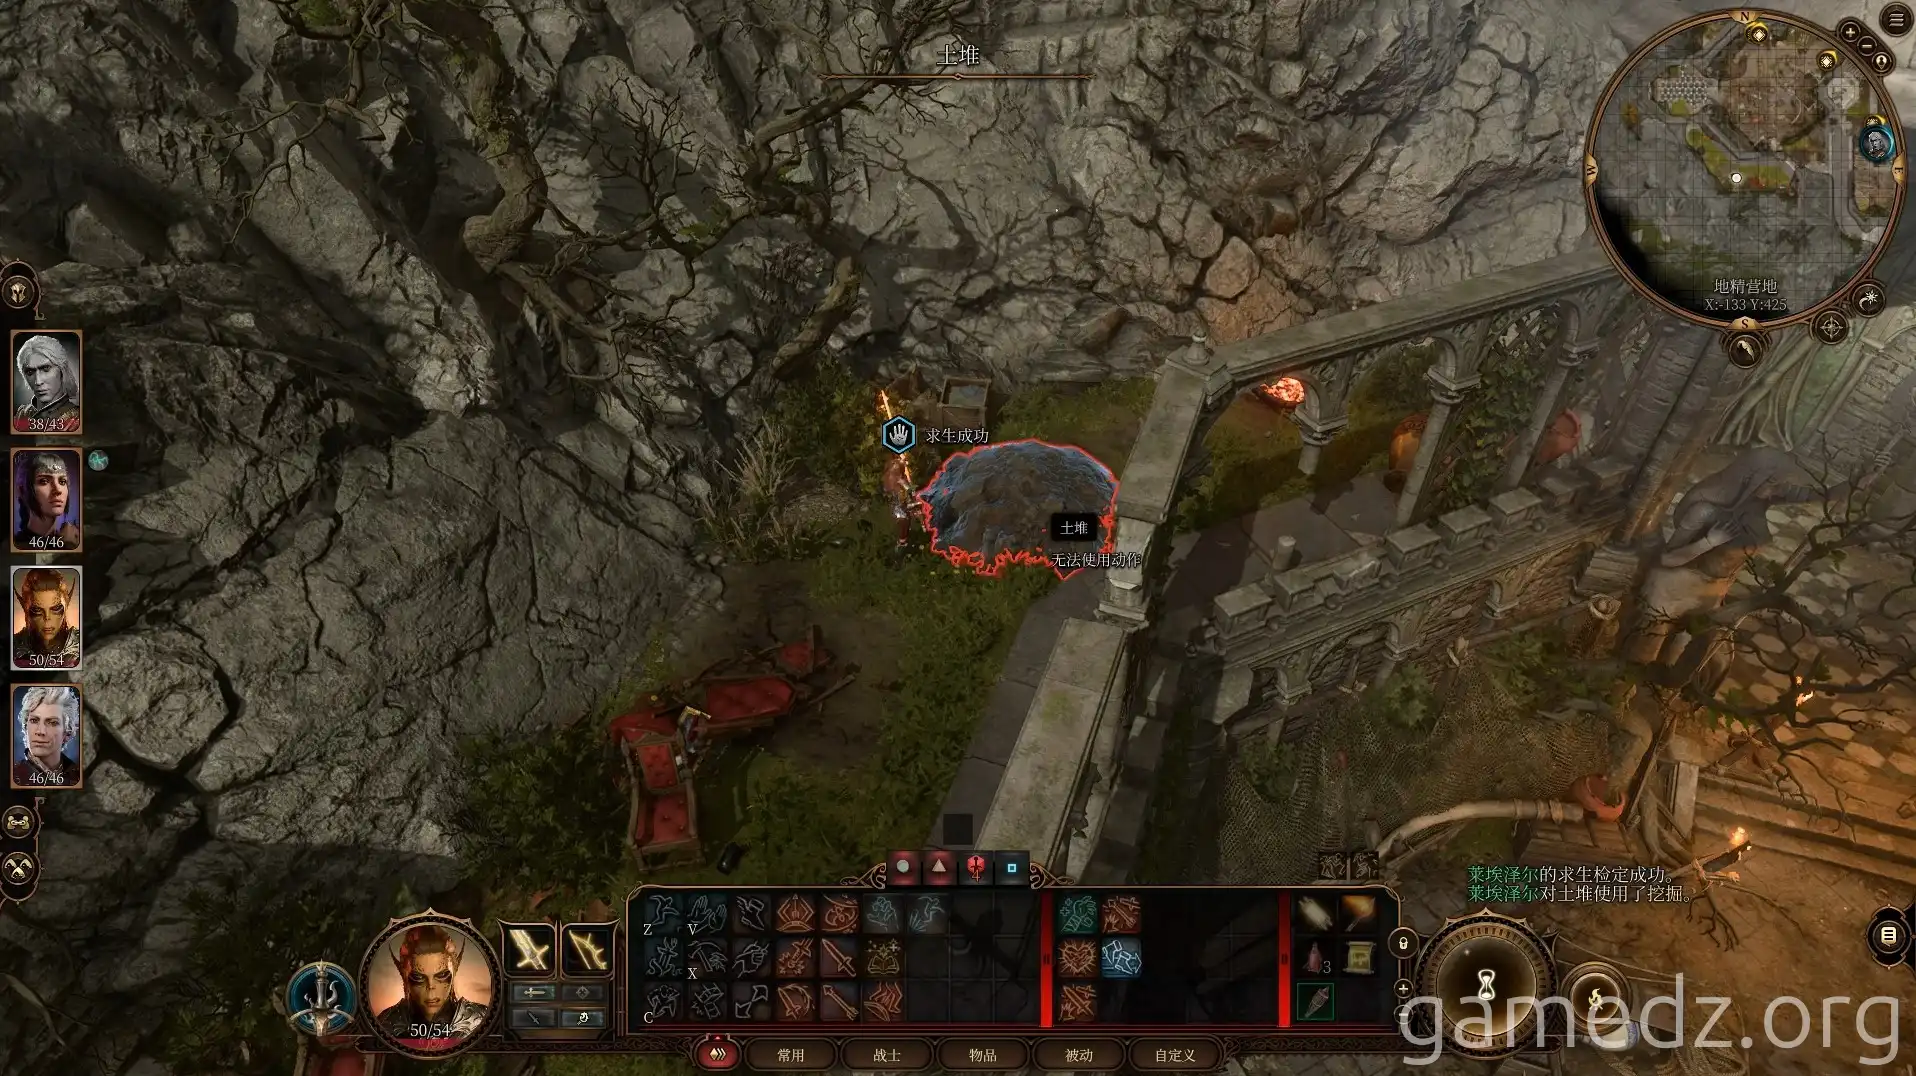
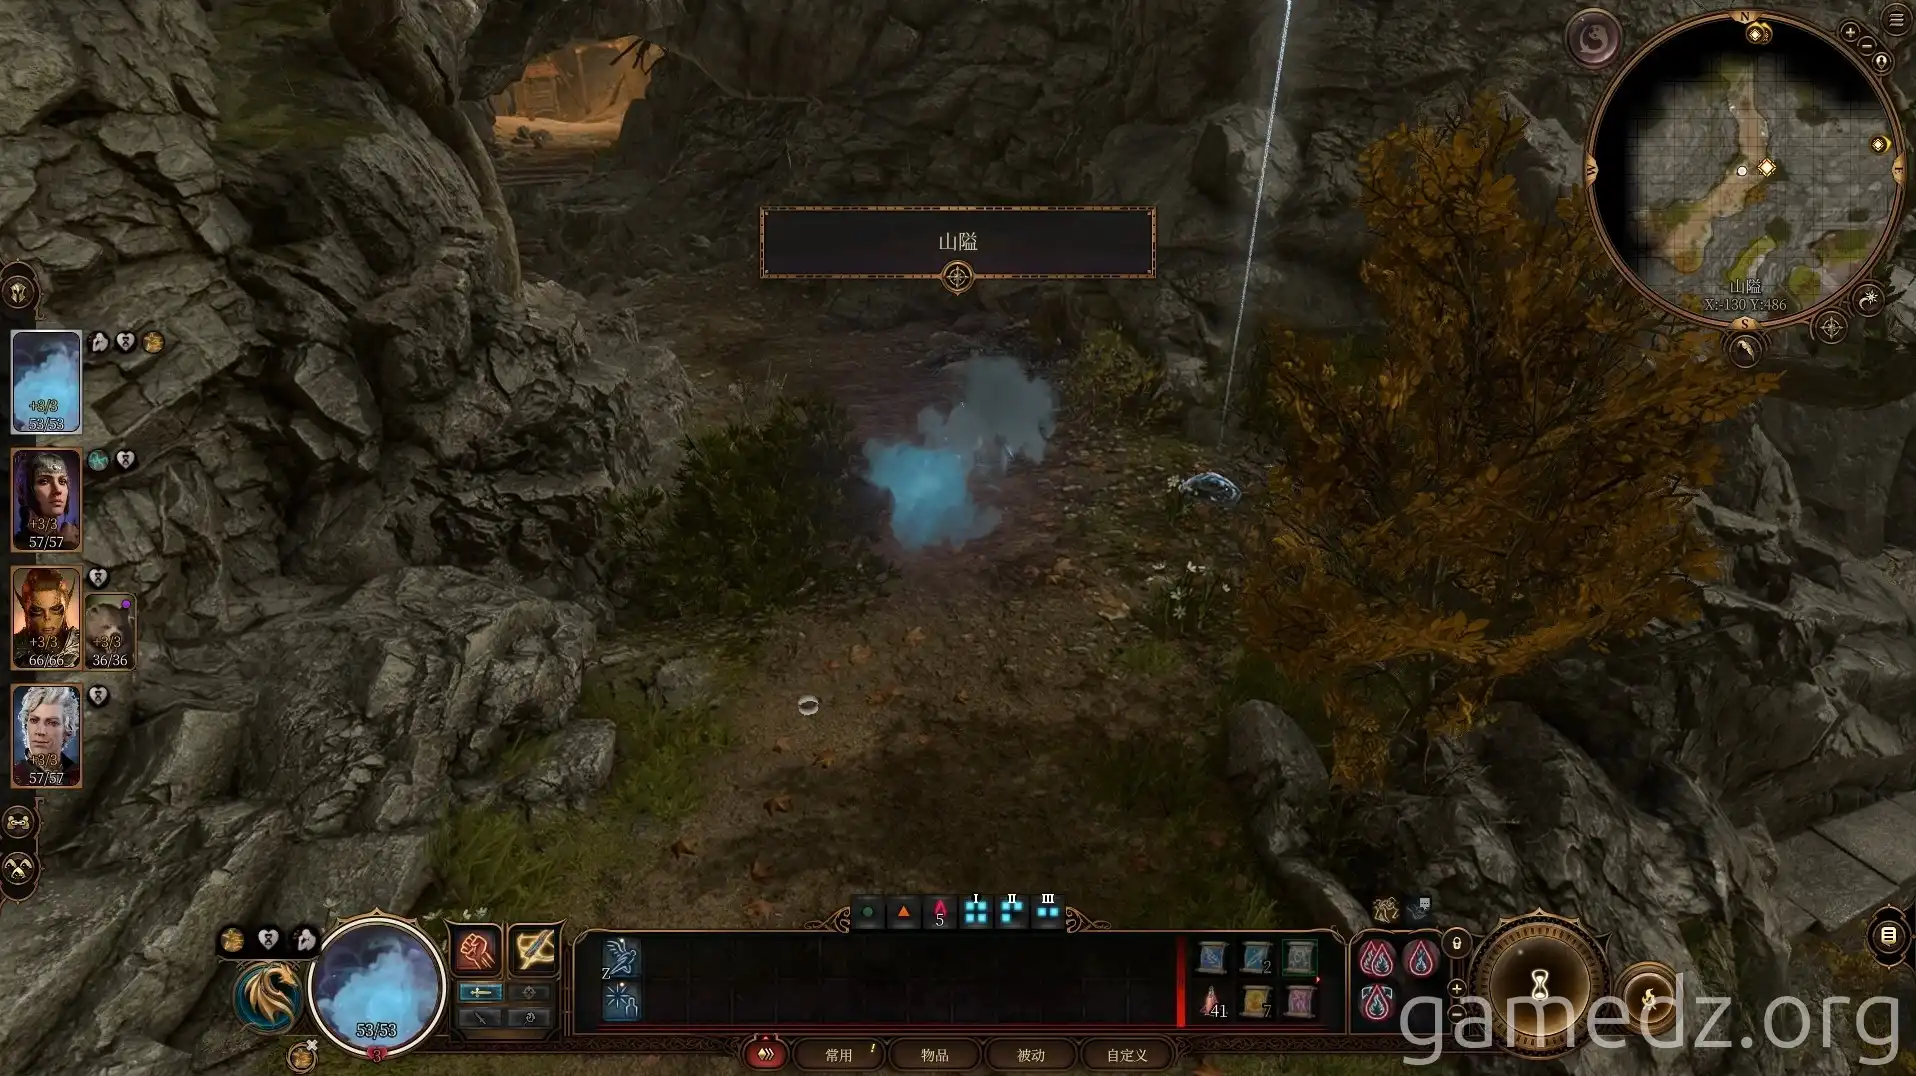
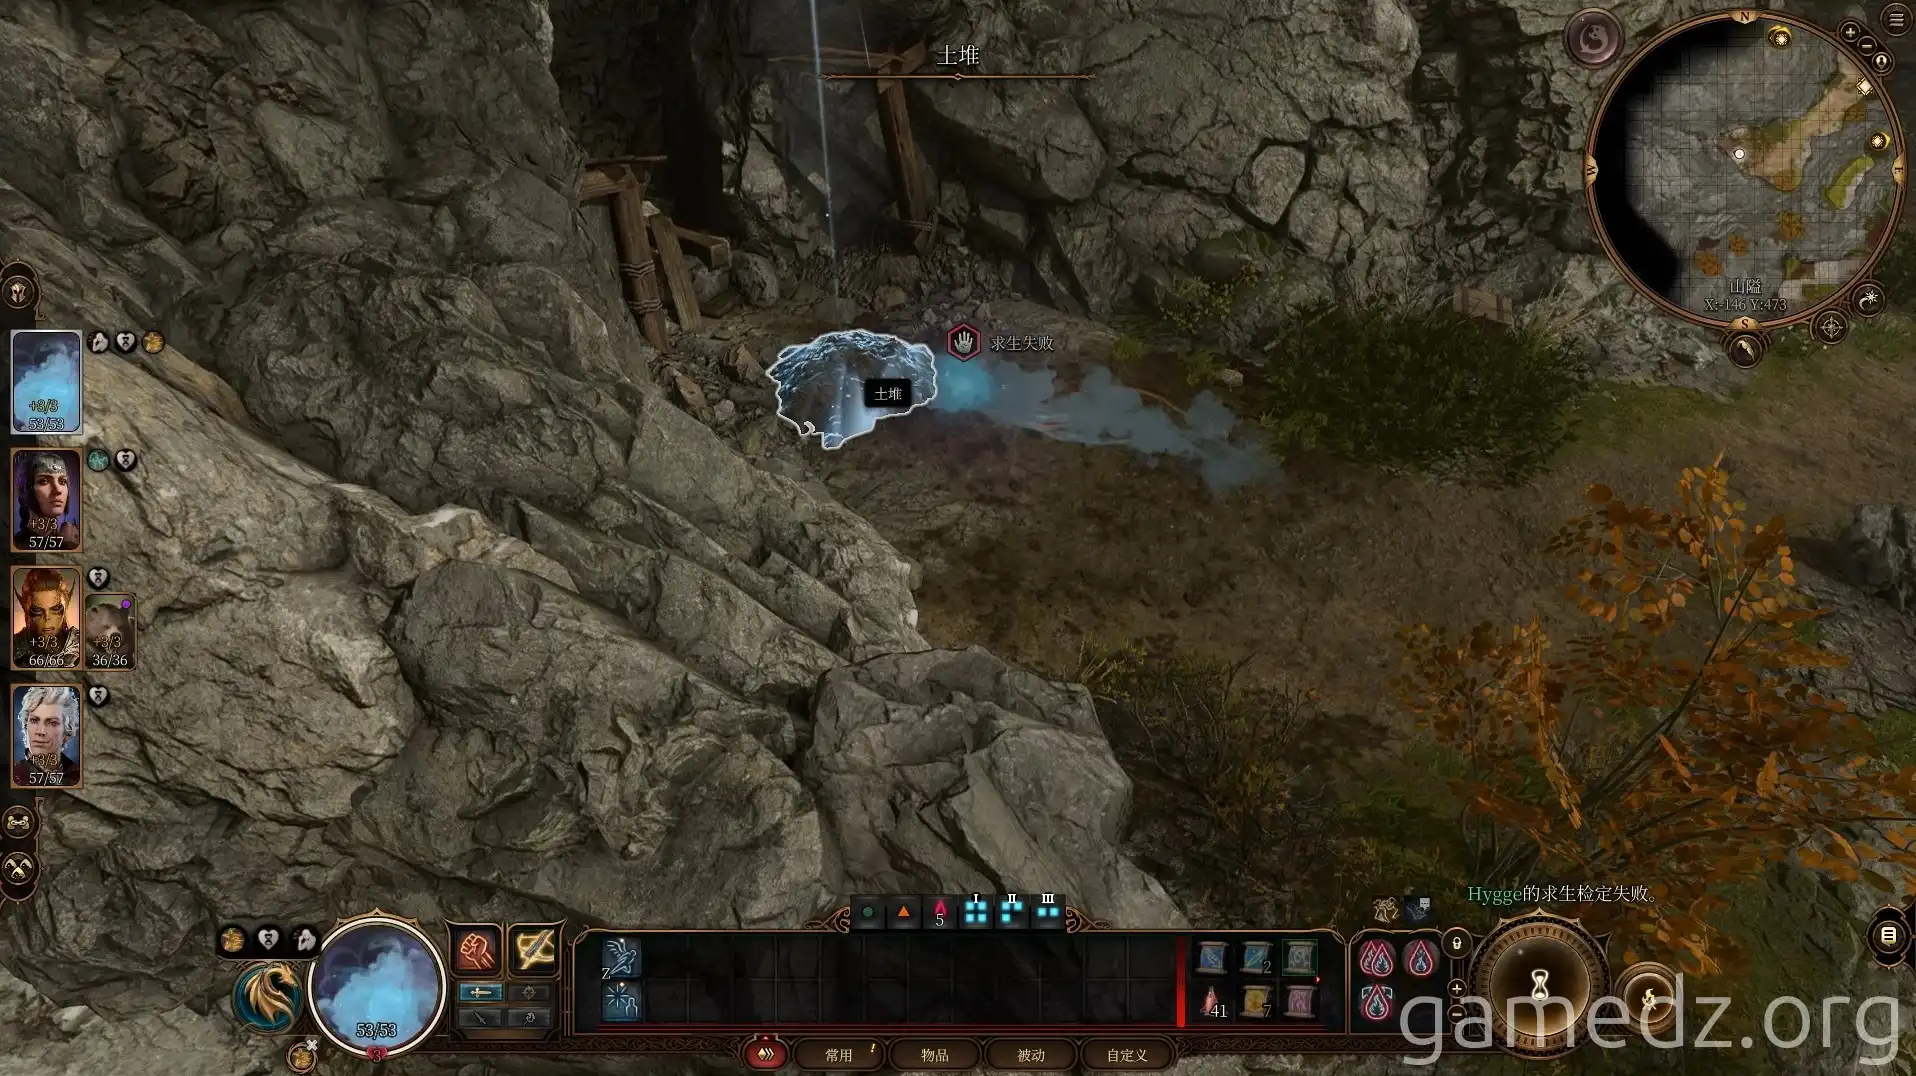
At the end of the path, you'll find a dirt mound with a buried chest.
The entrance nearby leads to the area for Chapter 2. Don't go there yet. Dig up the chest and then backtrack to the Goblin Camp.
Head north and cross the stone bridge to enter the Goblin Camp. You can use a Disguise Self spell to transform into a Drow, which will make it easier to navigate the camp.
Upon entering the camp, first visit the merchant Grat on the right to purchase some gear.
If you see three goblins surrounding an owlbear cub on the left, you can trigger the event where the owlbear cub joins the camp. Talk to the goblins and participate in the chicken chasing game. Before the game starts, use the Speak with Animals spell or a potion. Midway through the game, talk to the owlbear cub and encourage it to run to the finish line. Once it reaches the end, talk to it again and invite it to the camp. It will be scared to leave but will remember your scent.
After the chicken chasing game, the goblins will try to cheat you out of your bet. Use your Illithid dominance to make them comply. After the game, return here and speak to the goblin again. He will give you the owlbear cub. The owlbear cub will then join your camp after a Long Rest without any specific trigger.
If you haven't killed the mother owlbear yet, now is the time to head to the Owlbear Cave to retrieve the item.
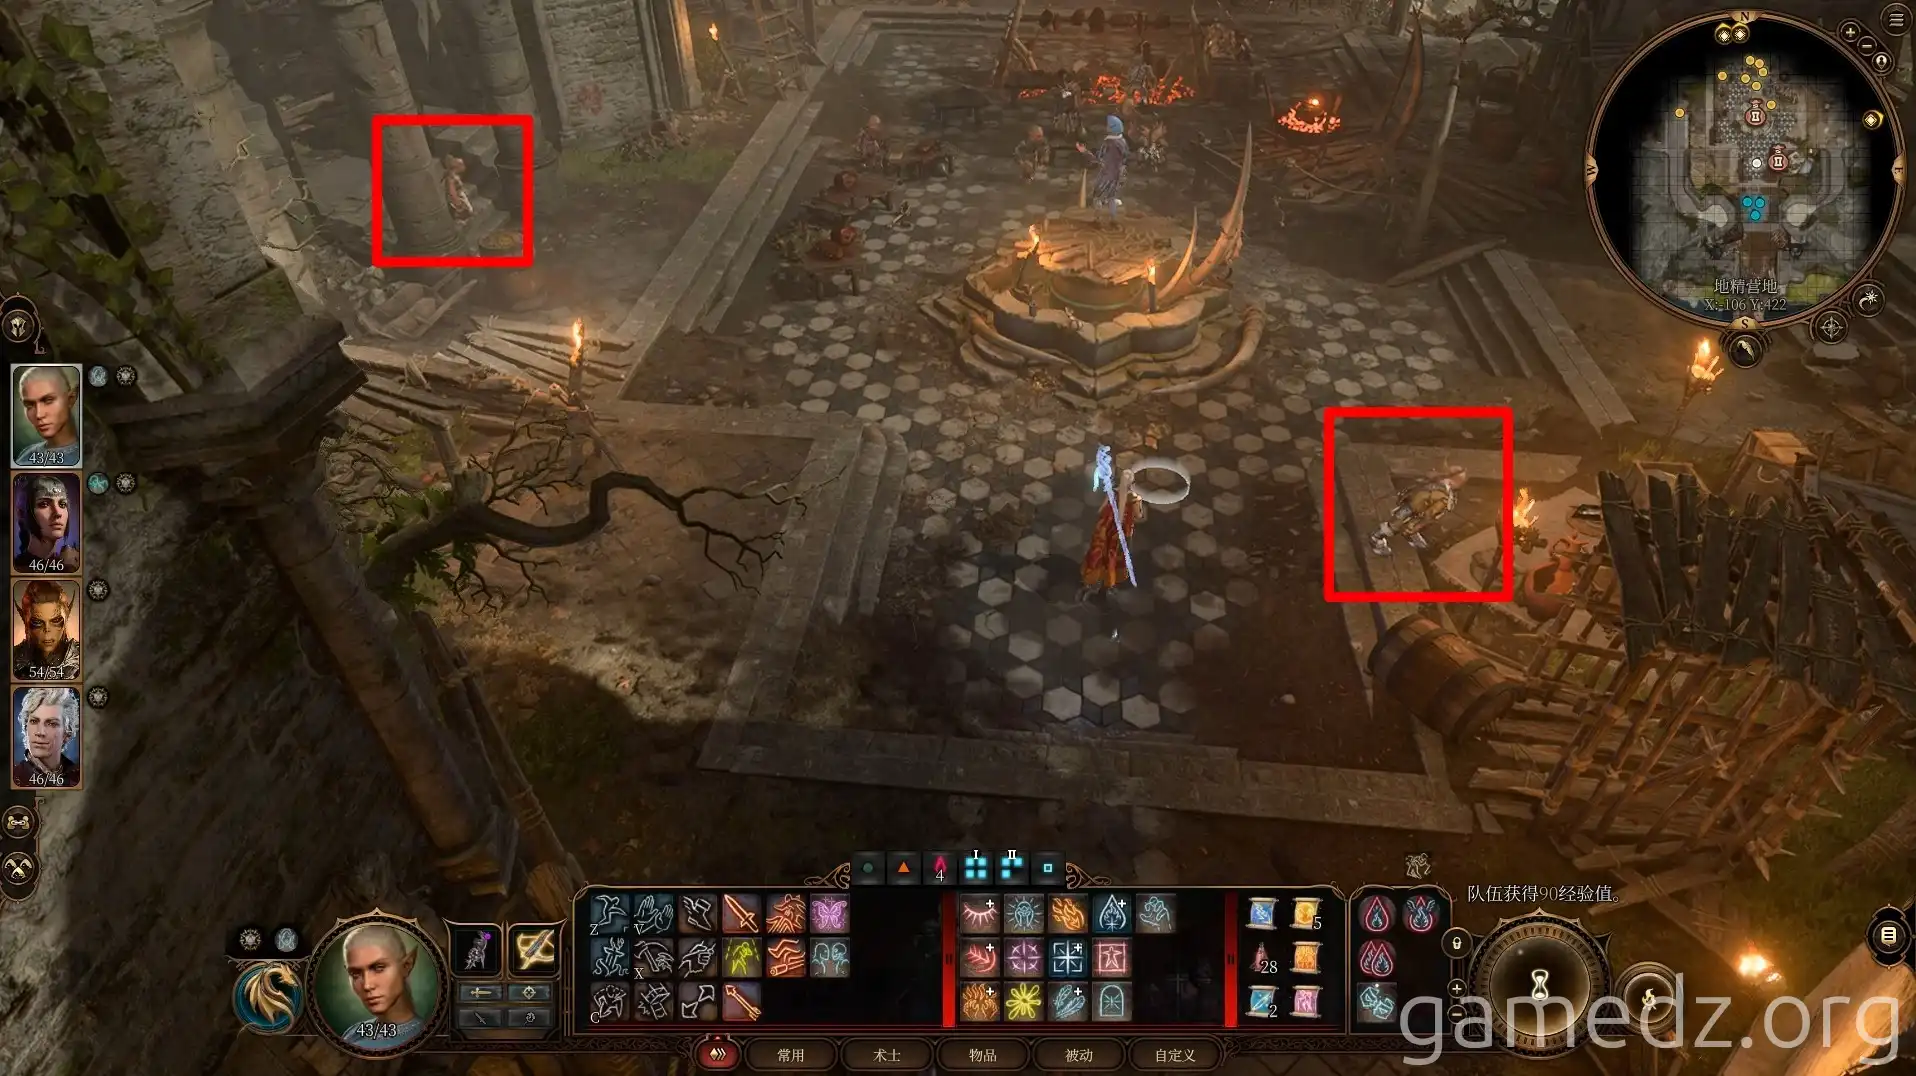
Here's a list of the unique equipment Grat sells and their stats.
Talk to the bard, Volo, and interrupt his thoughts, causing the goblins to imprison him in the camp.
Next, head to the east side of the camp. Activate the [Goblin Camp] waypoint near a minor boss called Crusher, then climb the ladder to the upper level.
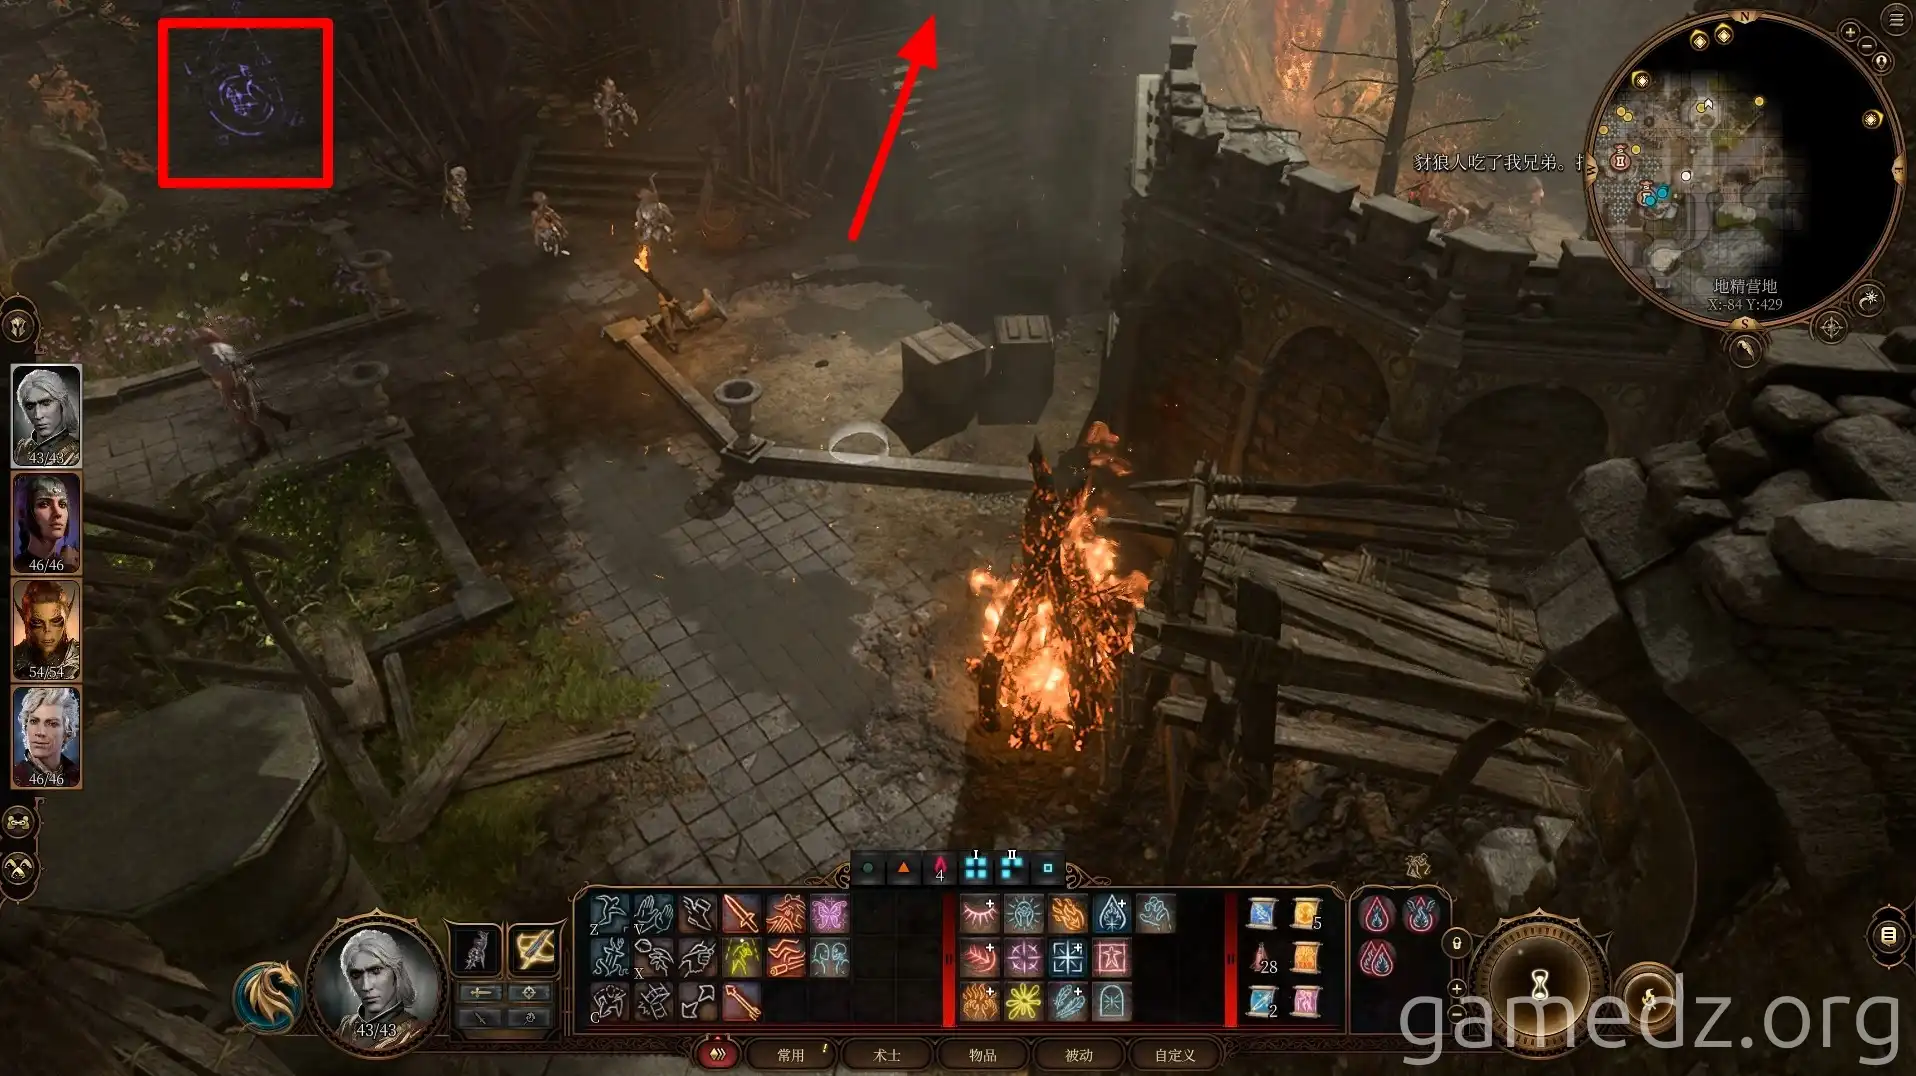
Once on the upper level, head north. At the end of the path, you'll find another dirt mound with a buried chest.
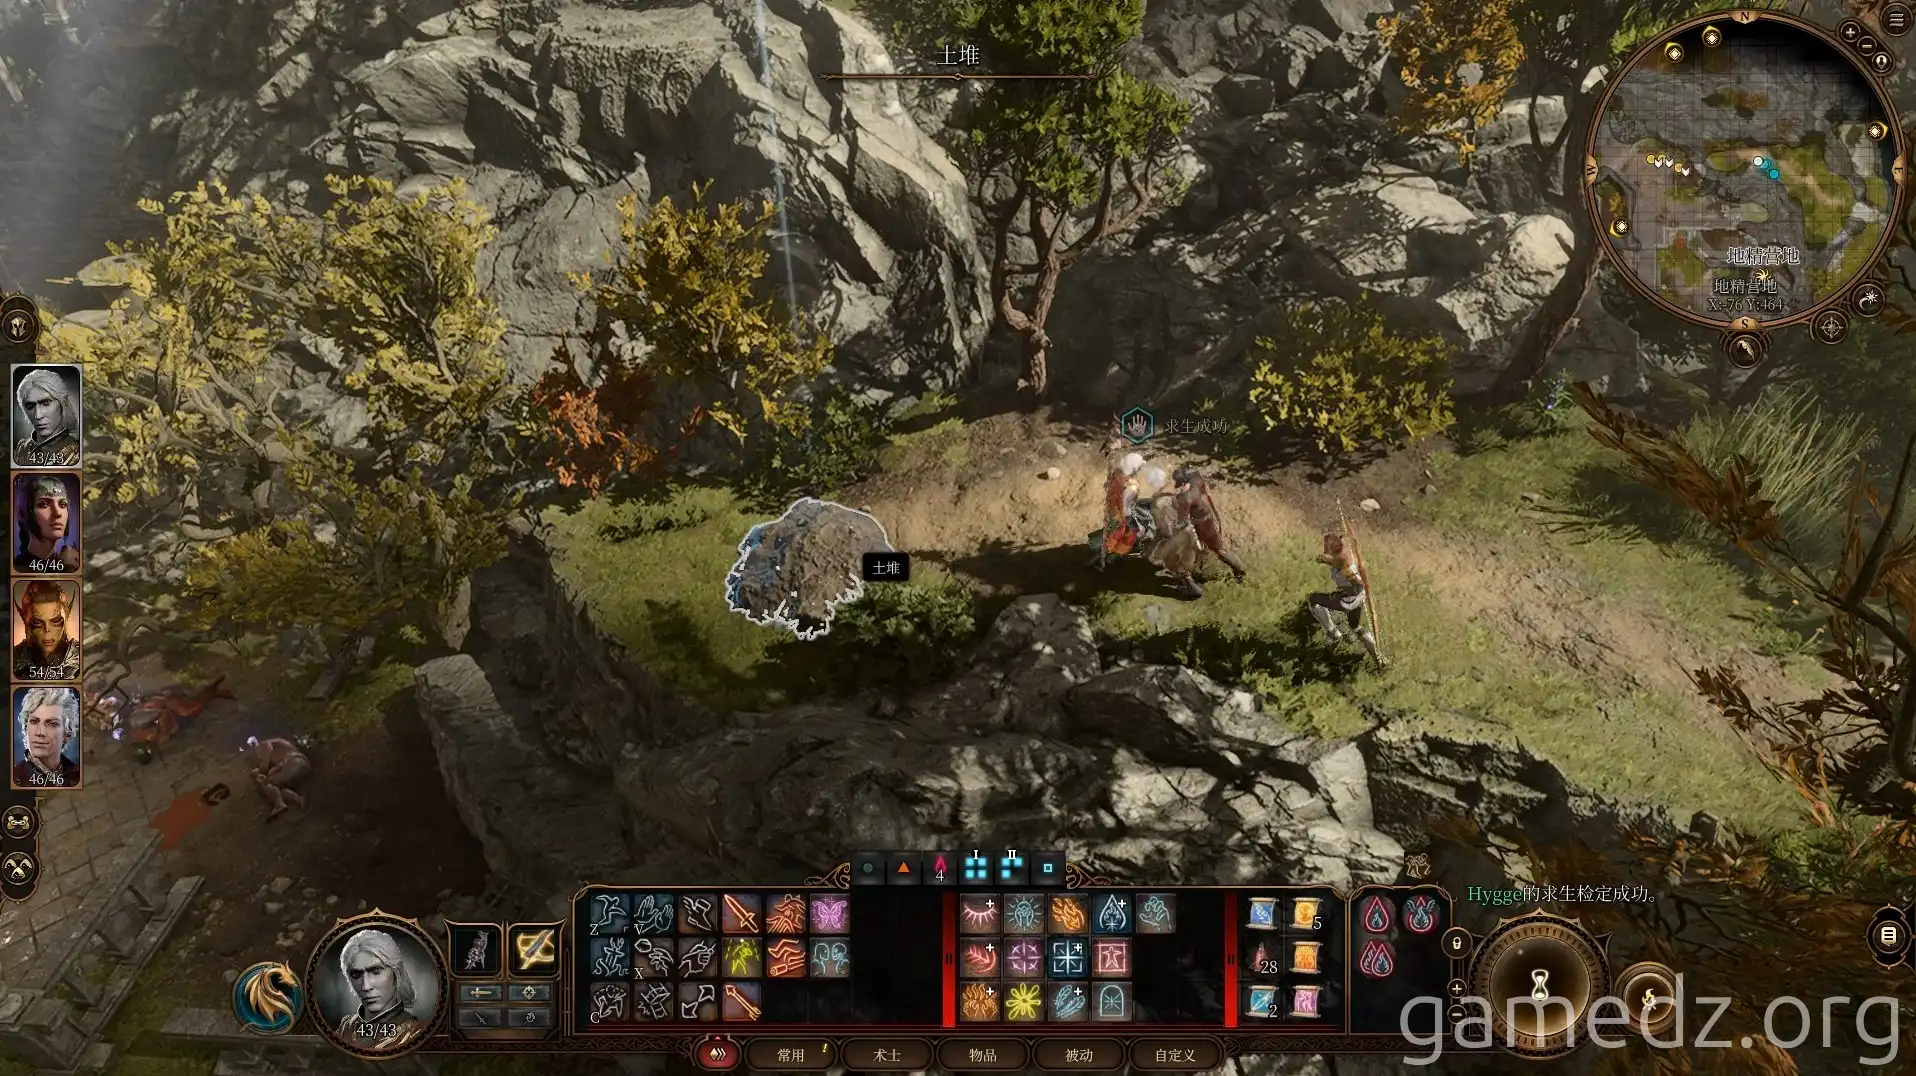
Return to the waypoint and exit the camp through the gap in the eastern wall.
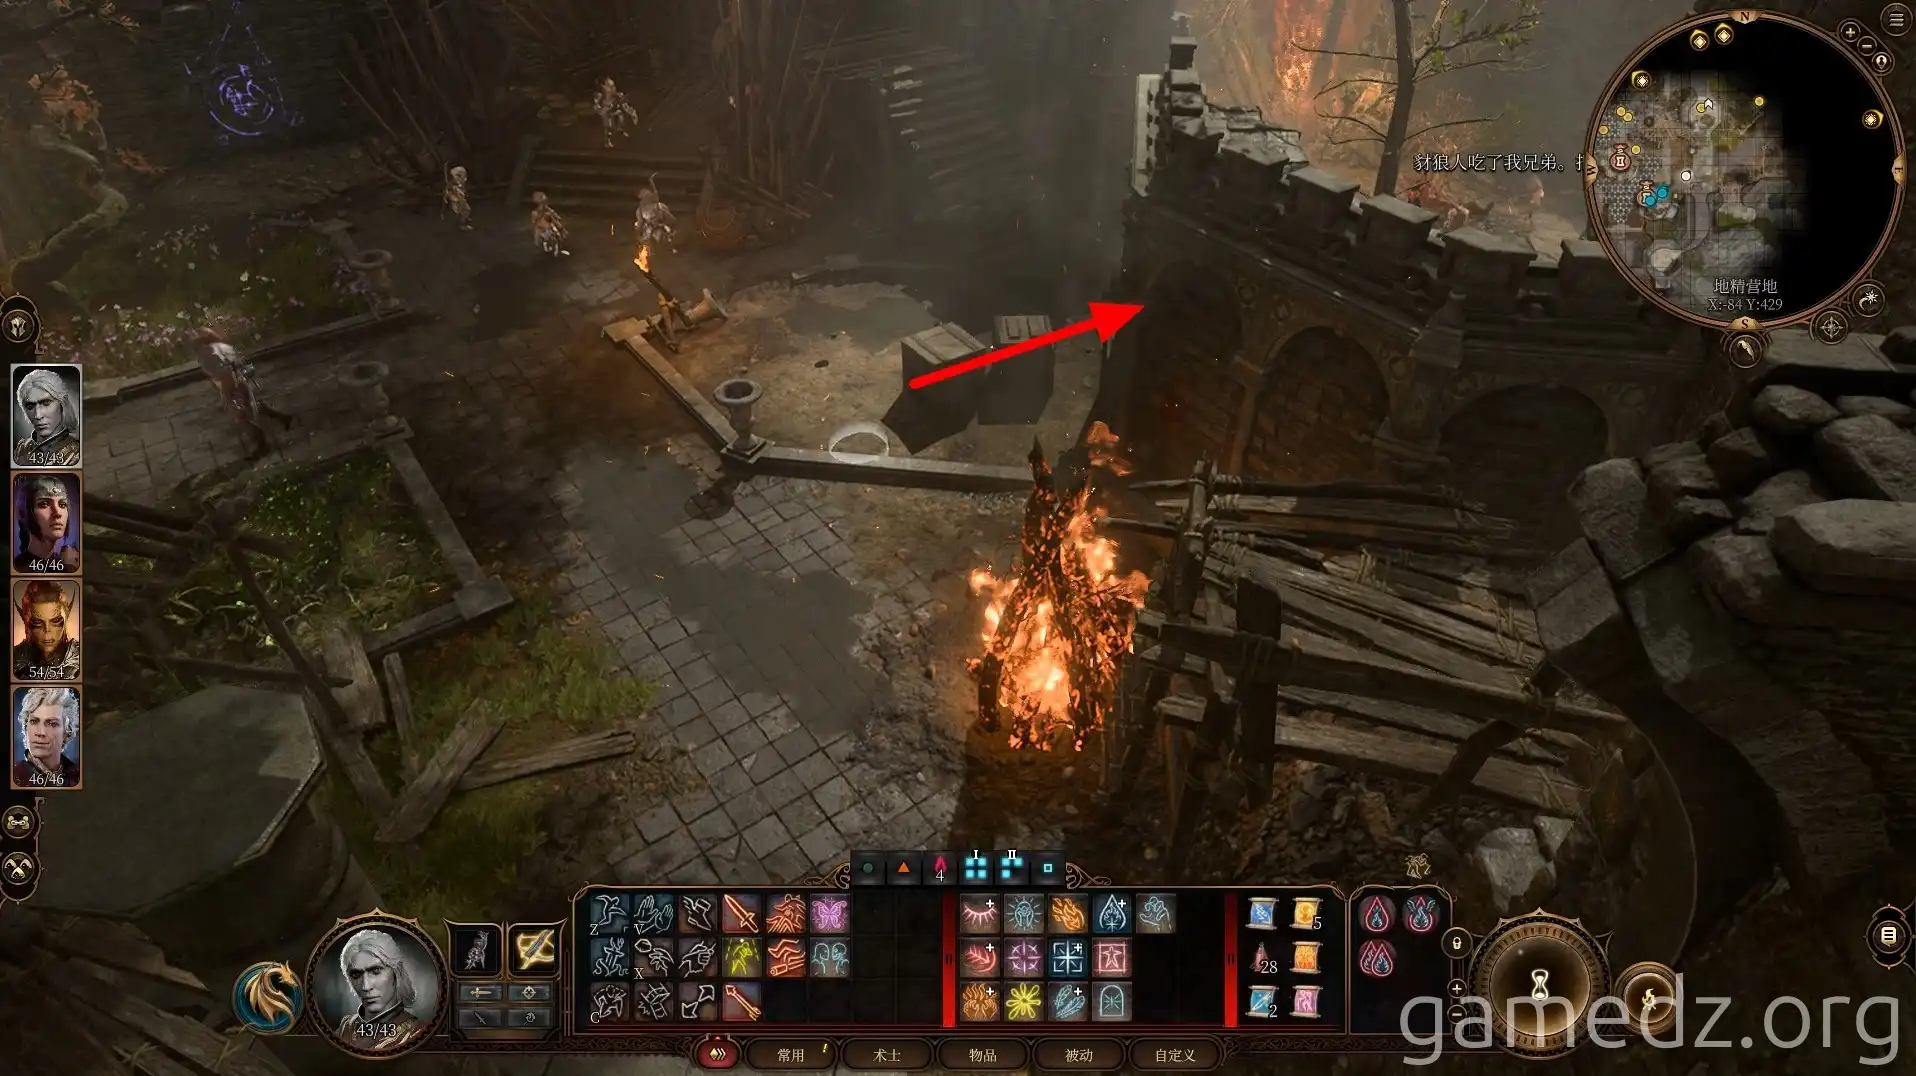
After exiting the wall, head north. Opening the chest at the end of the path will yield the rare weapon, the [Shield of Glow].
The small path is full of traps, so be cautious.
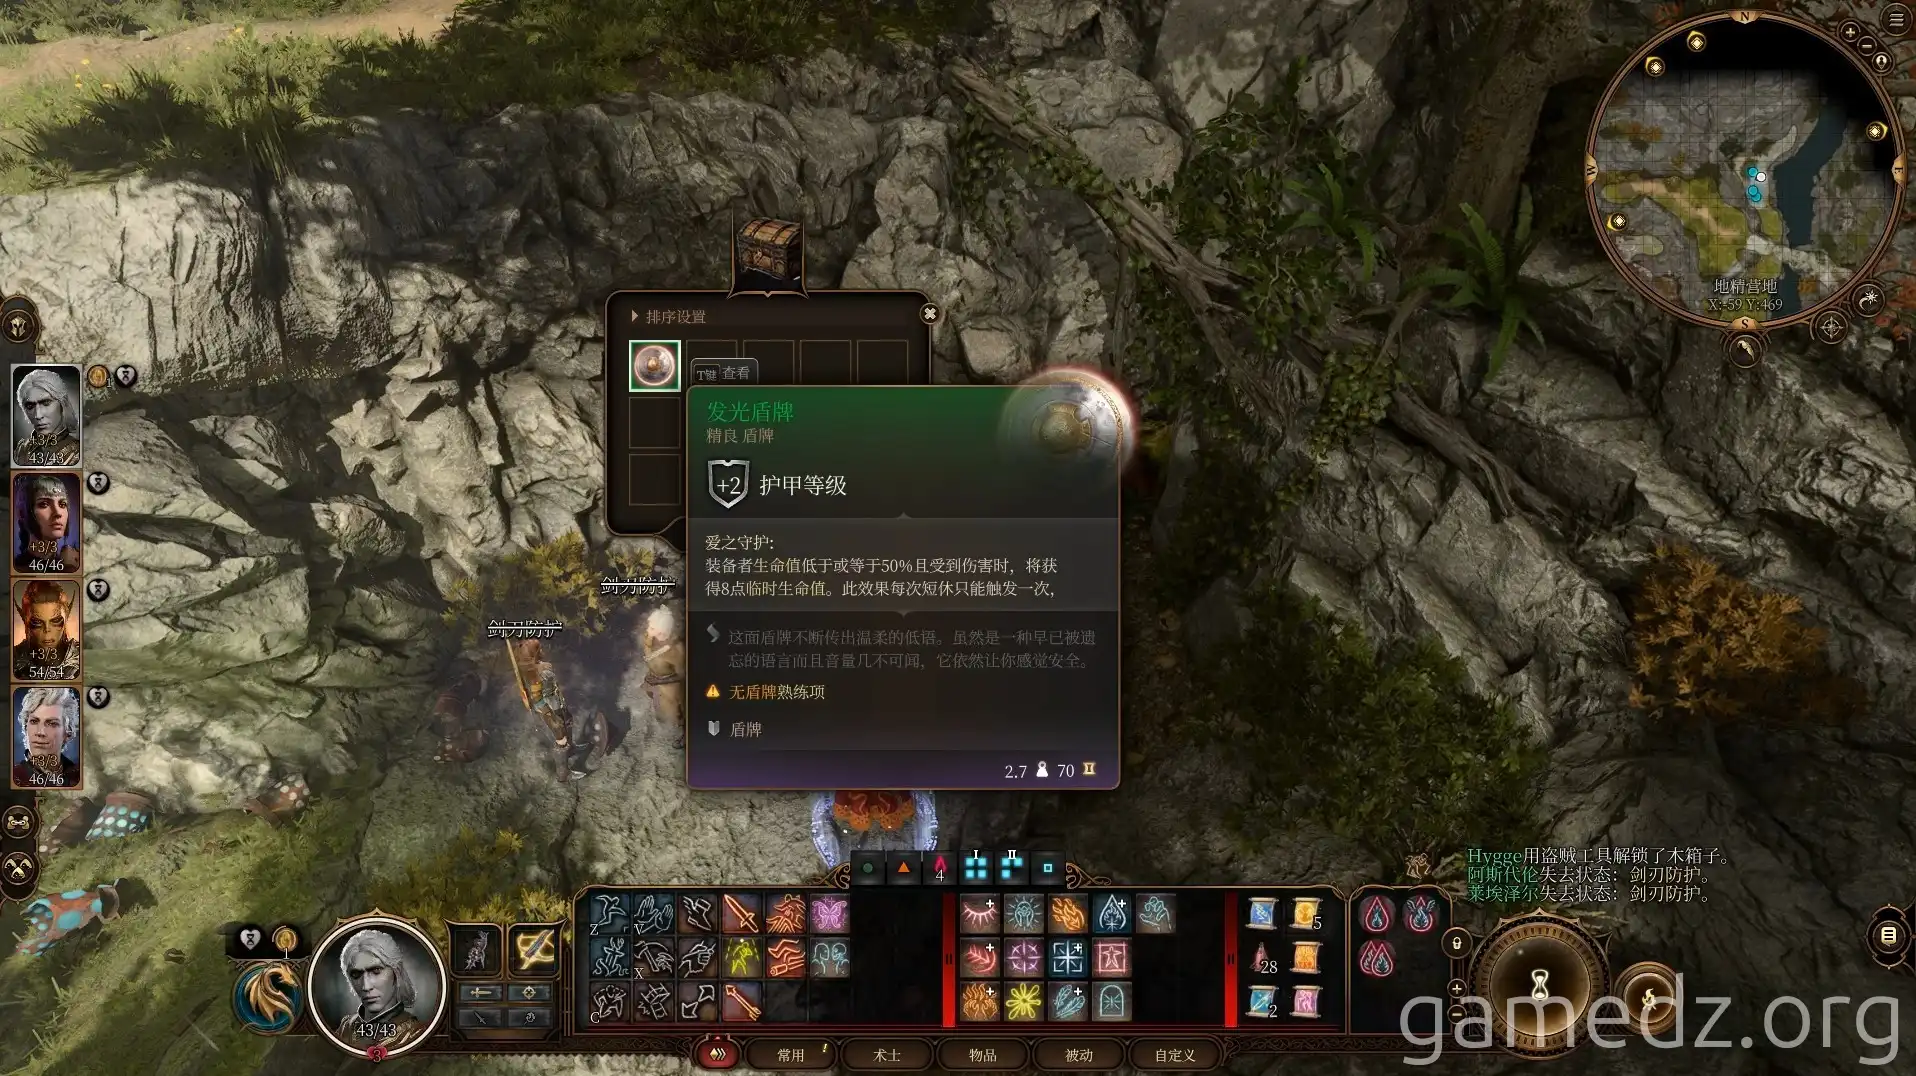
Then, continue south. Use the ladder to reach the lower level and proceed towards the waterfall.
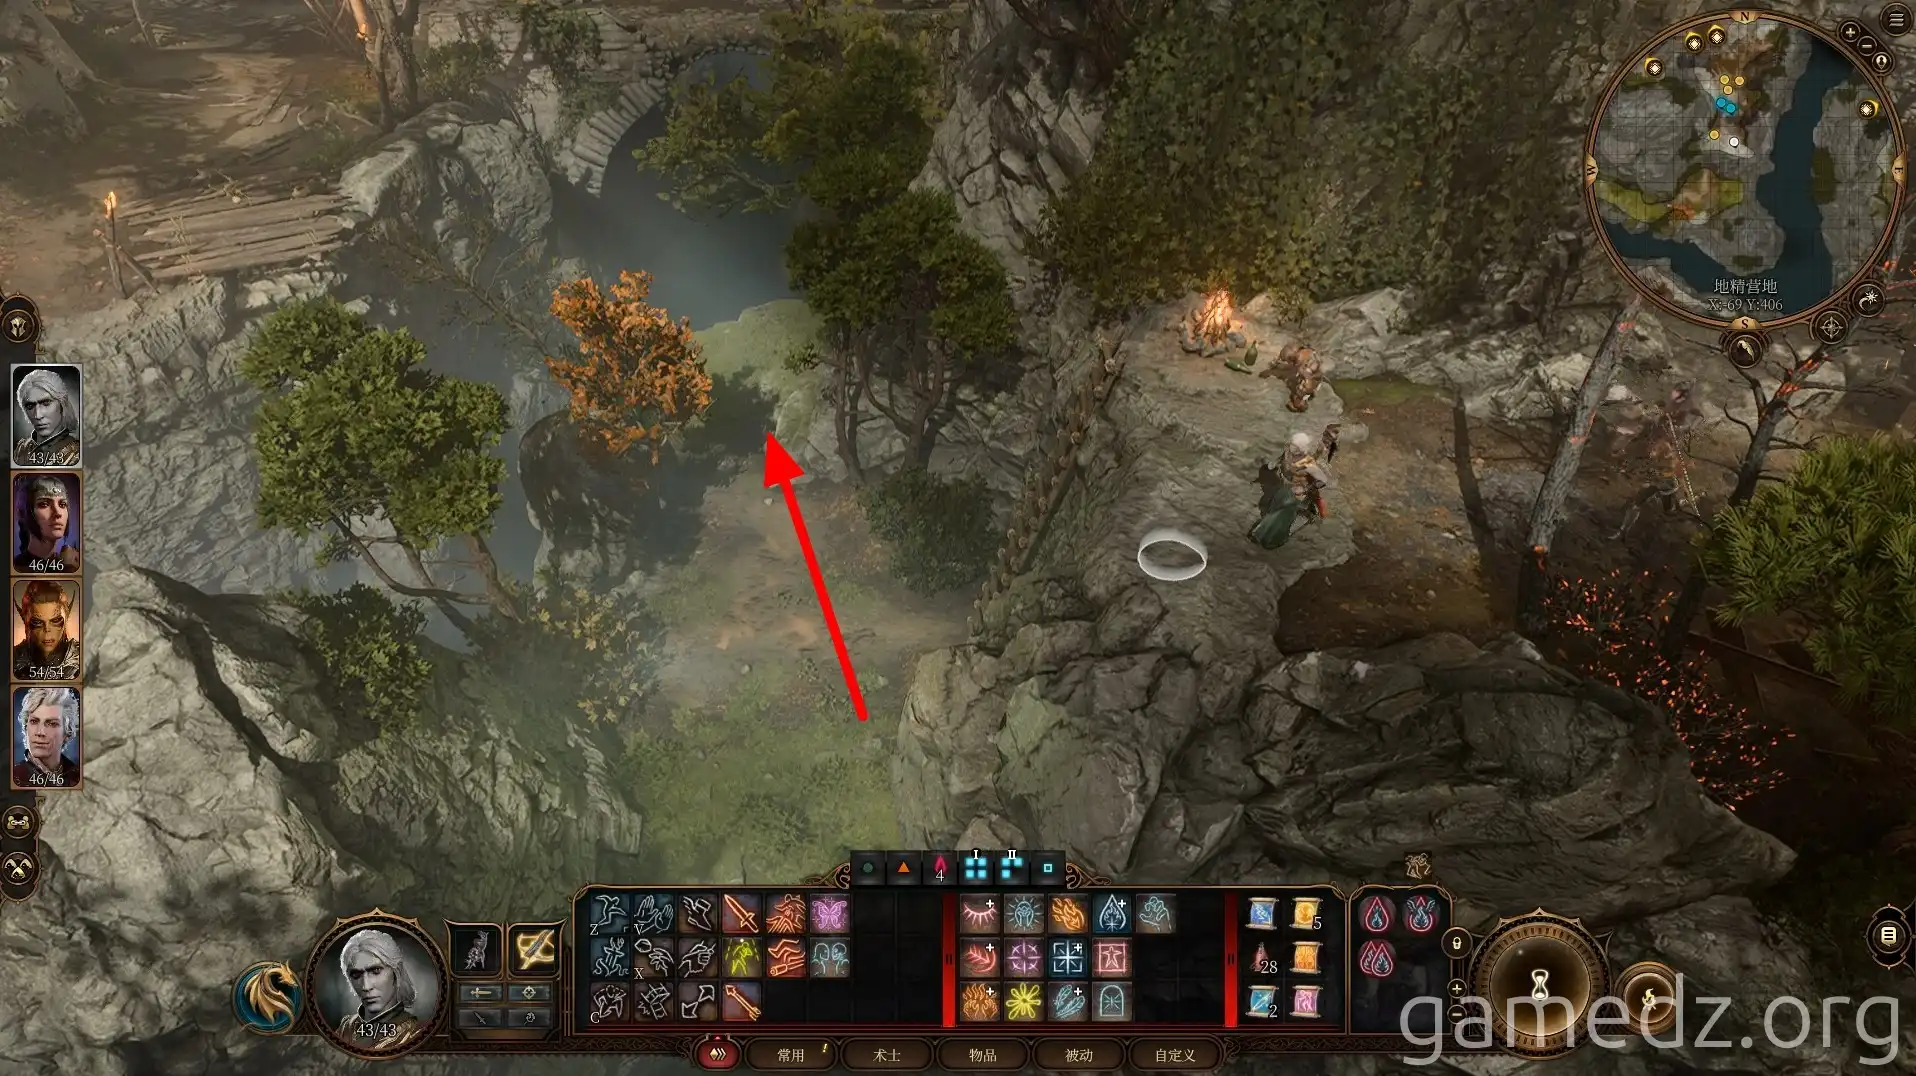
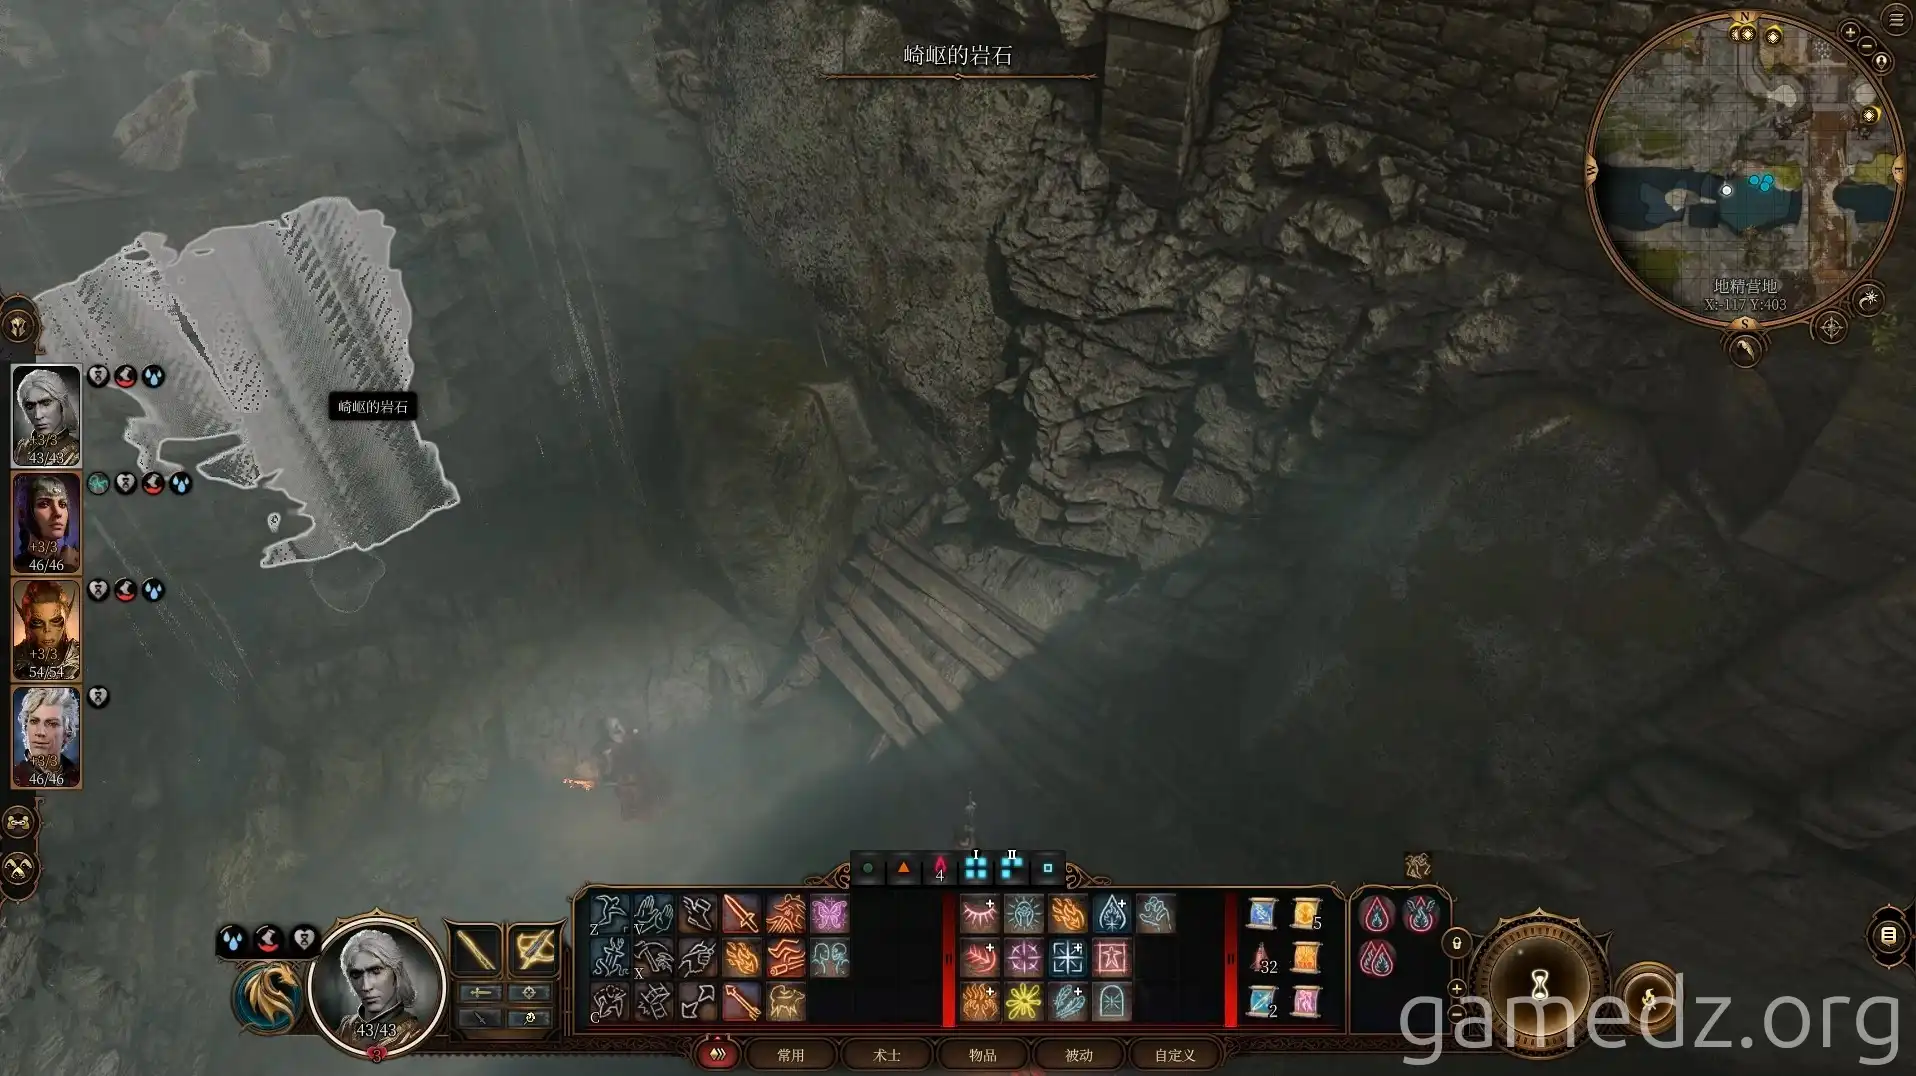
Climb the rugged rocks past the waterfall to reach a makeshift camp. Be wary of the tripwire traps within.
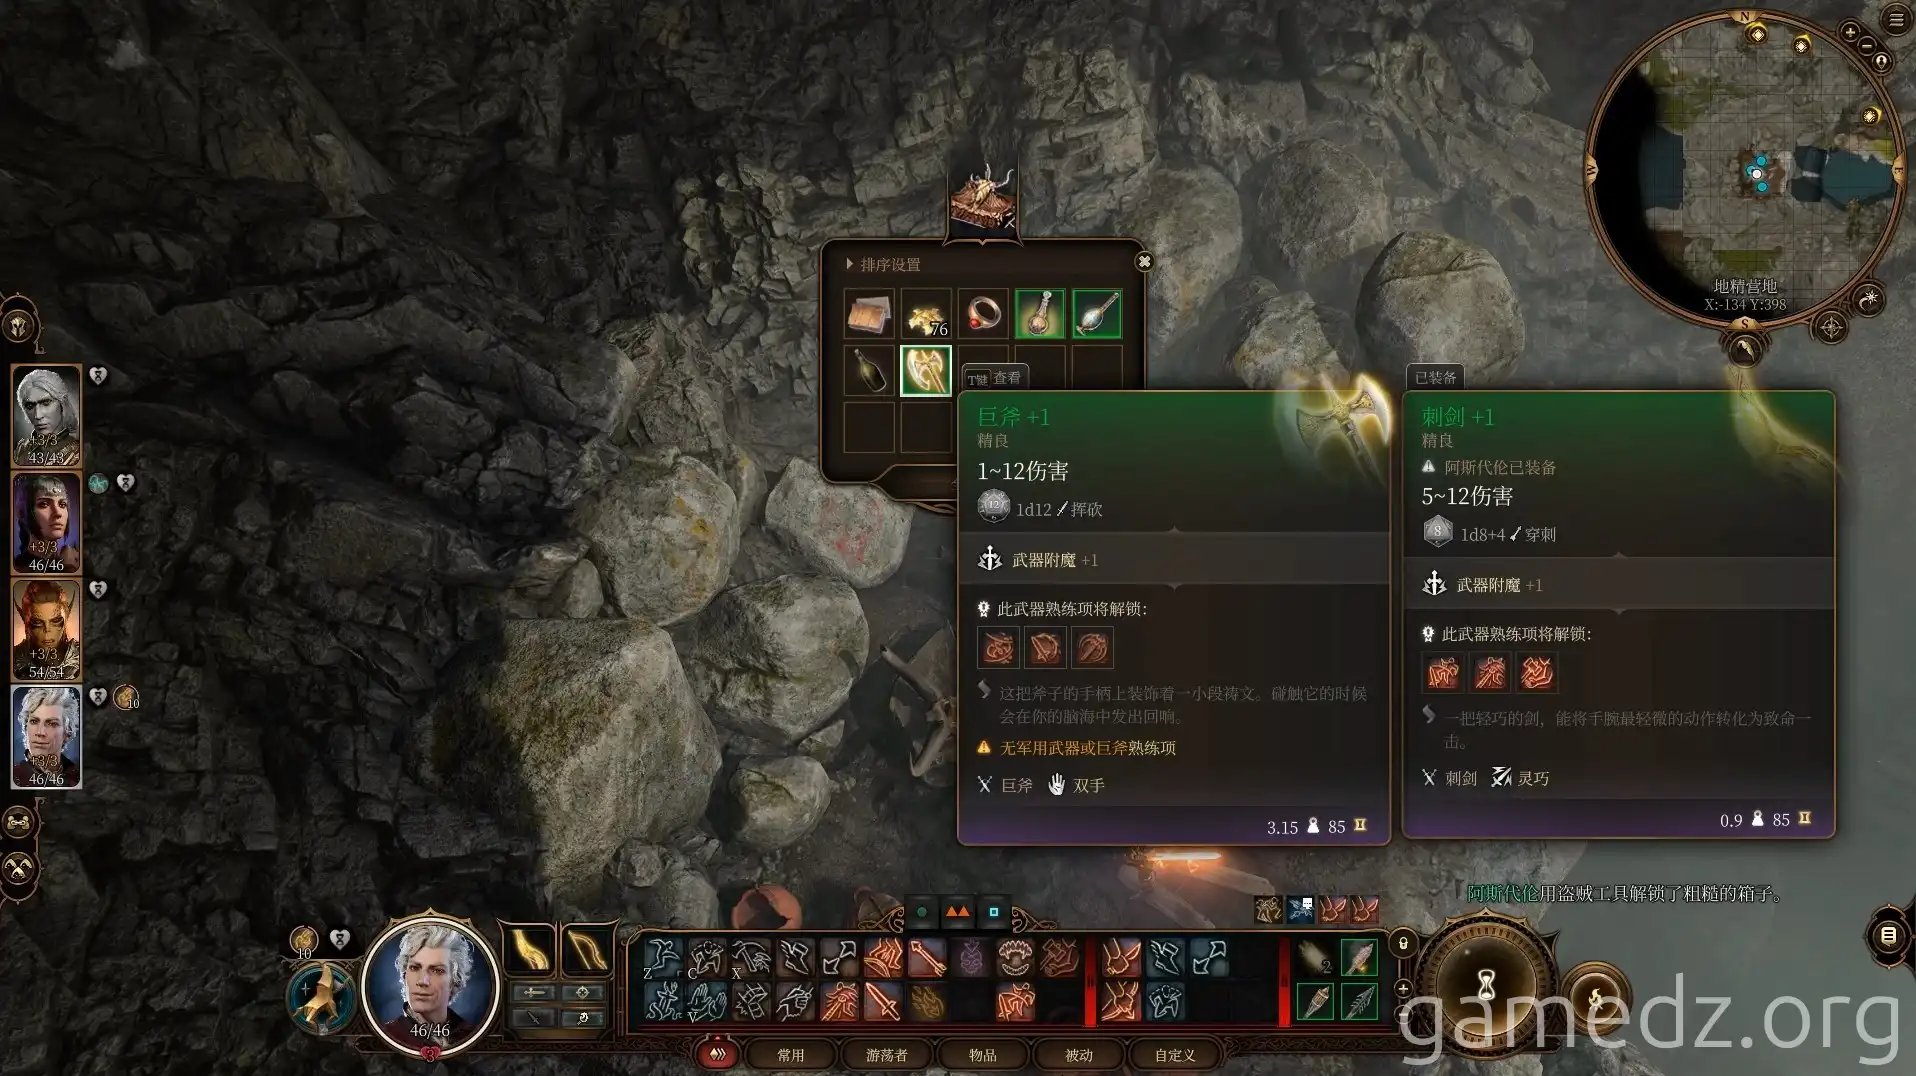
Inside a chest in the camp, you'll find a rare greataxe and some other items.
There are two main ways to proceed with the druid questline: either directly eliminate the three goblin leaders or reveal the grove's location to the goblin leaders and then defend the grove when they attack. While the defensive battle offers the advantage of terrain and the aid of Tieflings, you'll face a large number of enemies at once. Therefore, clearing the camp is more recommended, as it allows you to break down the encounters into multiple smaller, more manageable fights, offering greater flexibility and ease.
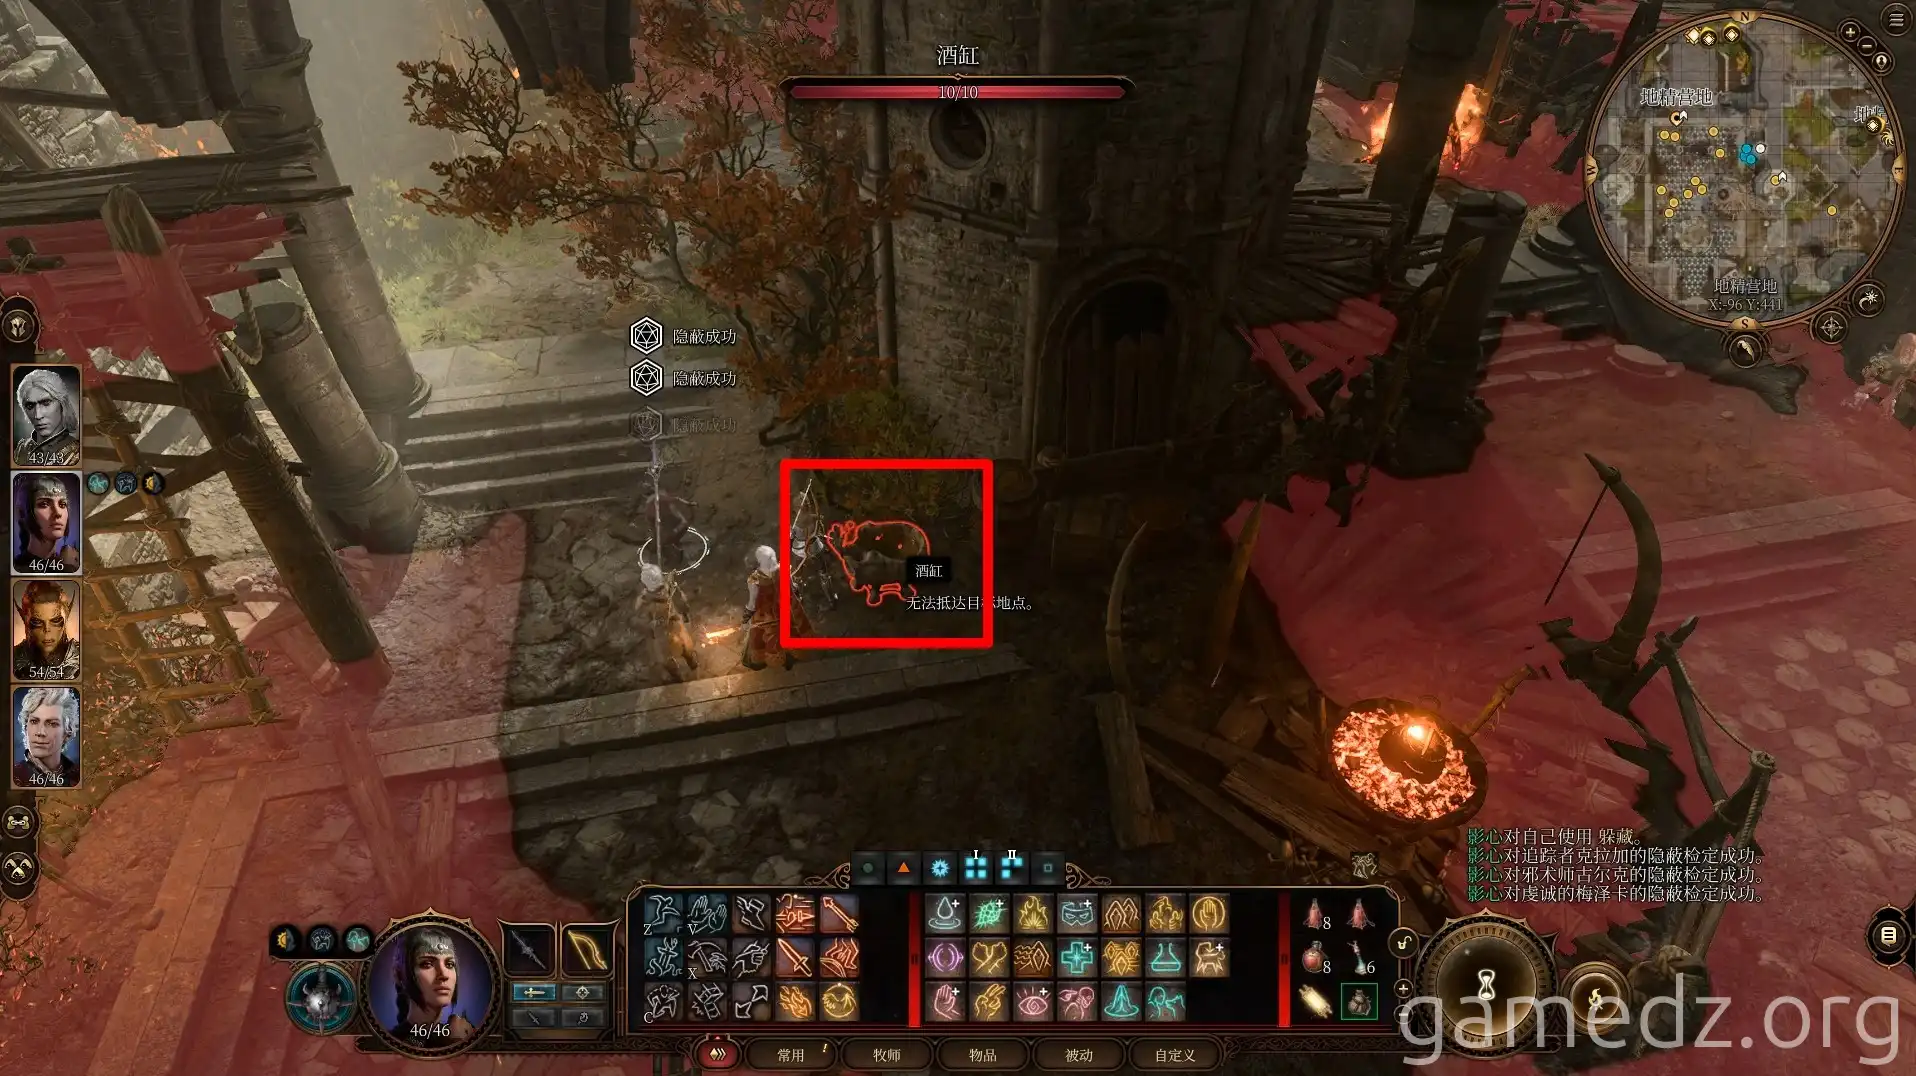
After exploring the exterior of the Goblin Camp, we'll begin clearing the camp itself. First, poison the ale barrels in a corner of the camp square. If your party includes a Bard or another character capable of performing, you can attract the goblins' attention with a performance in the square, then have another character poison the ale barrels. If you don't have a character to draw attention, it's not a major issue. The enemies have blind spots, so take the opportunity to switch to turn-based mode and poison the ale.
After poisoning the ale, a celebration scene will immediately trigger. With a successful Dexterity check, you can pretend to drink the poisoned ale, and the other goblins will follow suit.
Characters with the Charlatan background will receive an inspiration point upon successfully poisoning the ale.
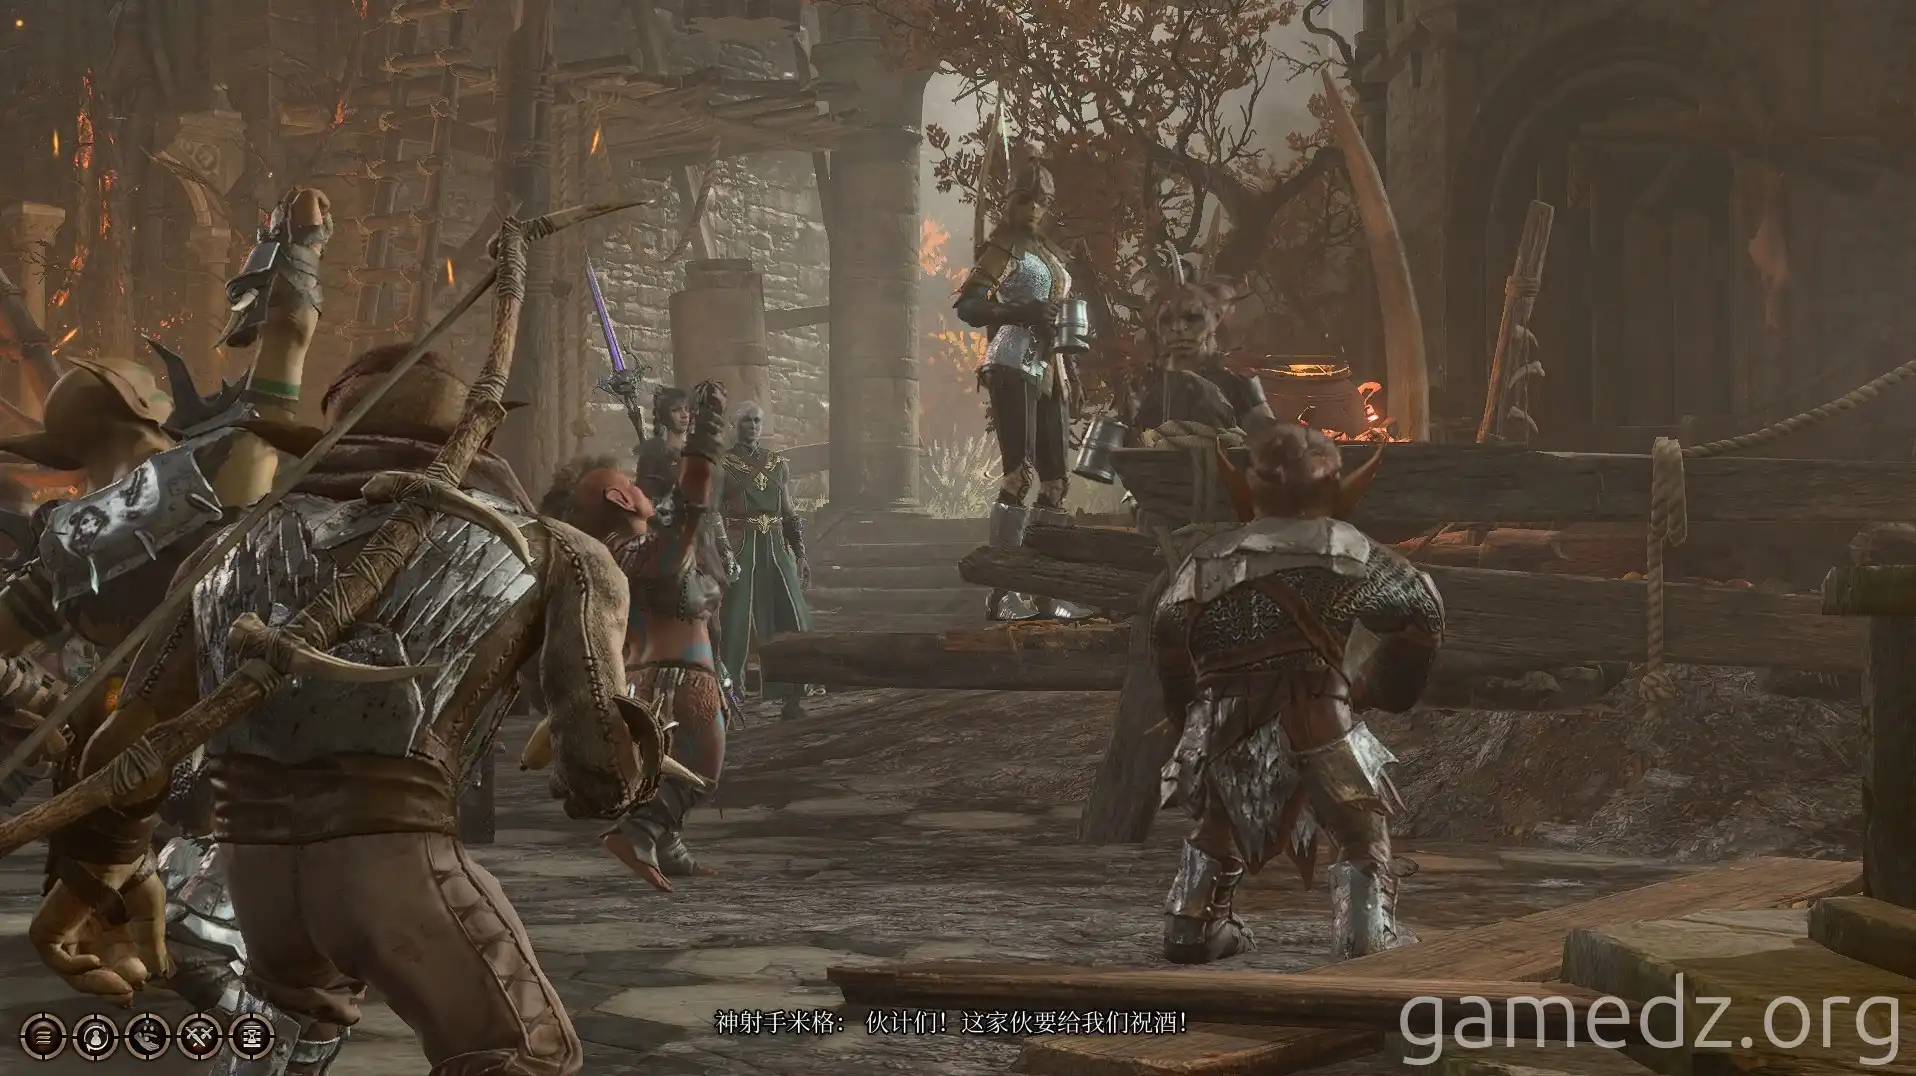
The poisoned ale can eliminate nearly half of the goblins in the square. Afterward, you can pass a Deception check to convince the goblins it wasn't you. Then, calmly set up your battlefield, choose your positions, and engage in combat.
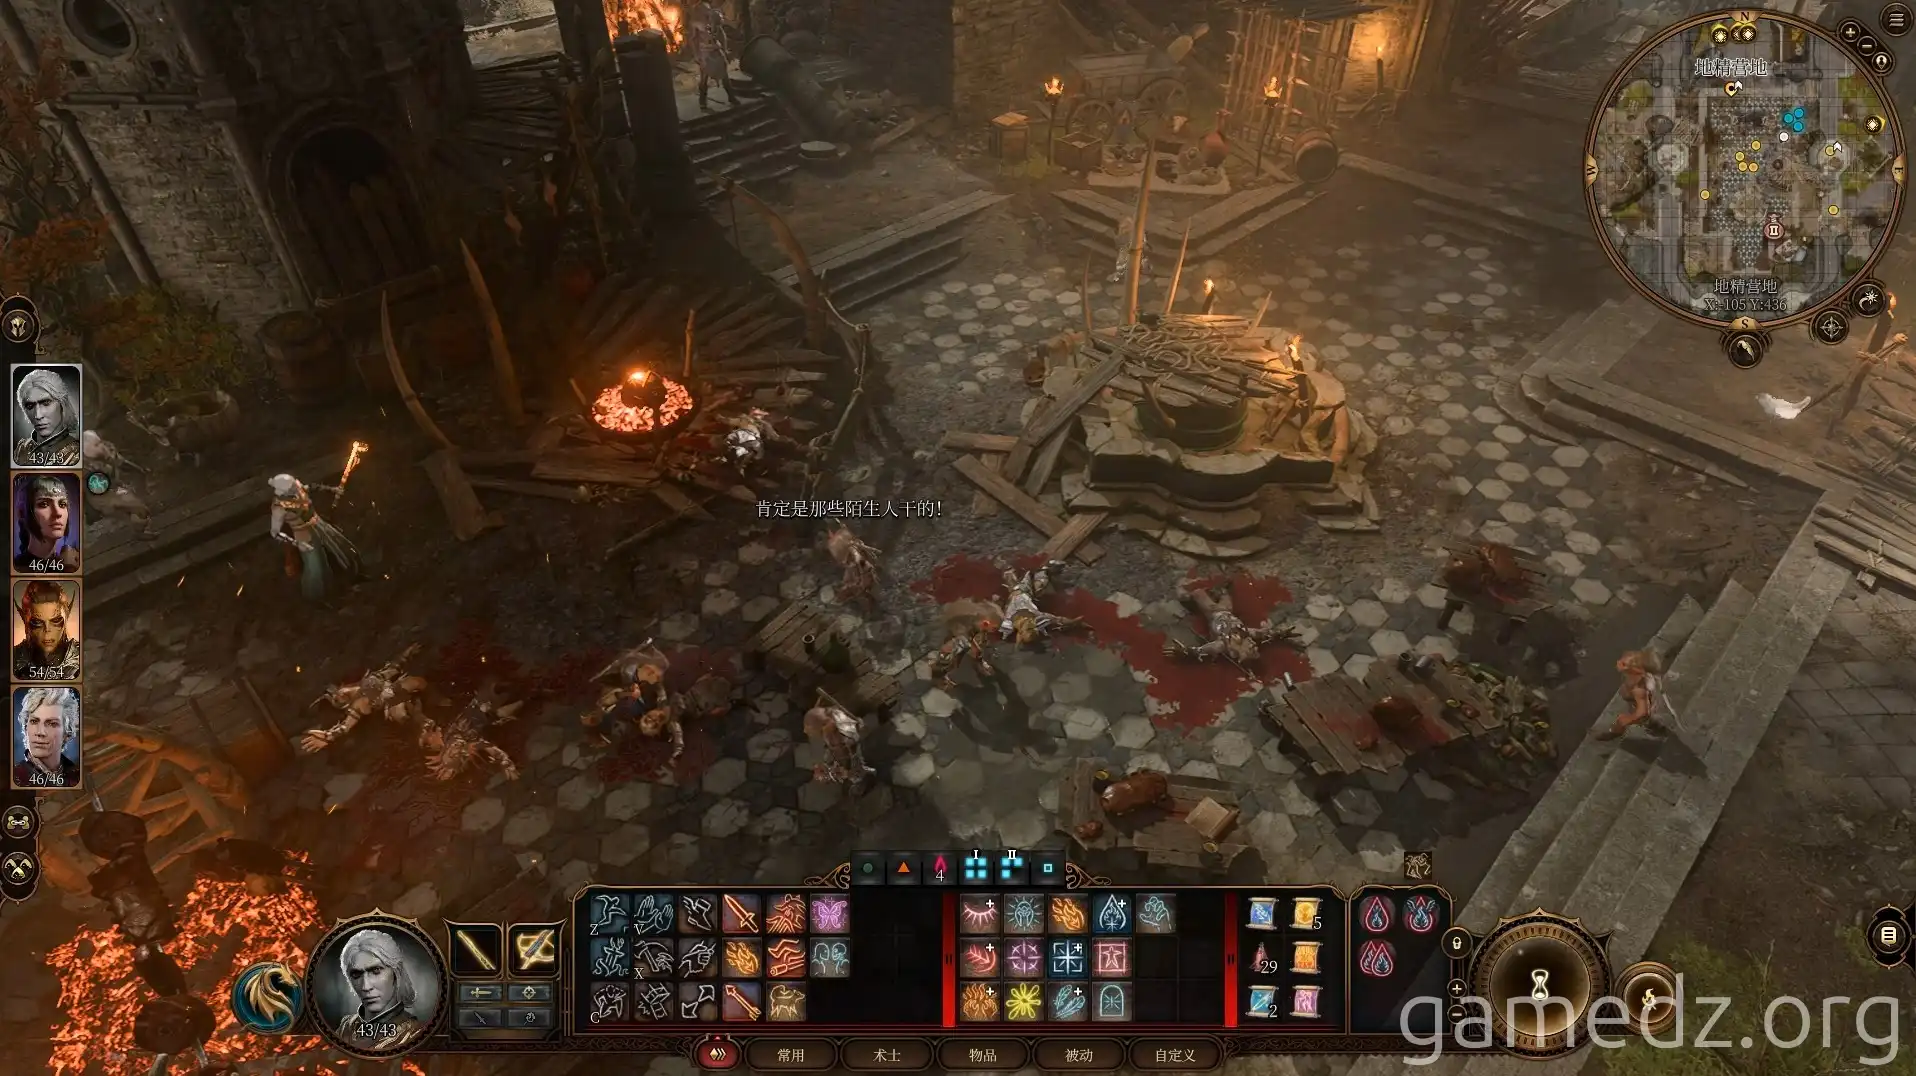
Be cautious of the Hobgoblin guards and the Ogre at the main gate. The other five goblins pose no significant threat.
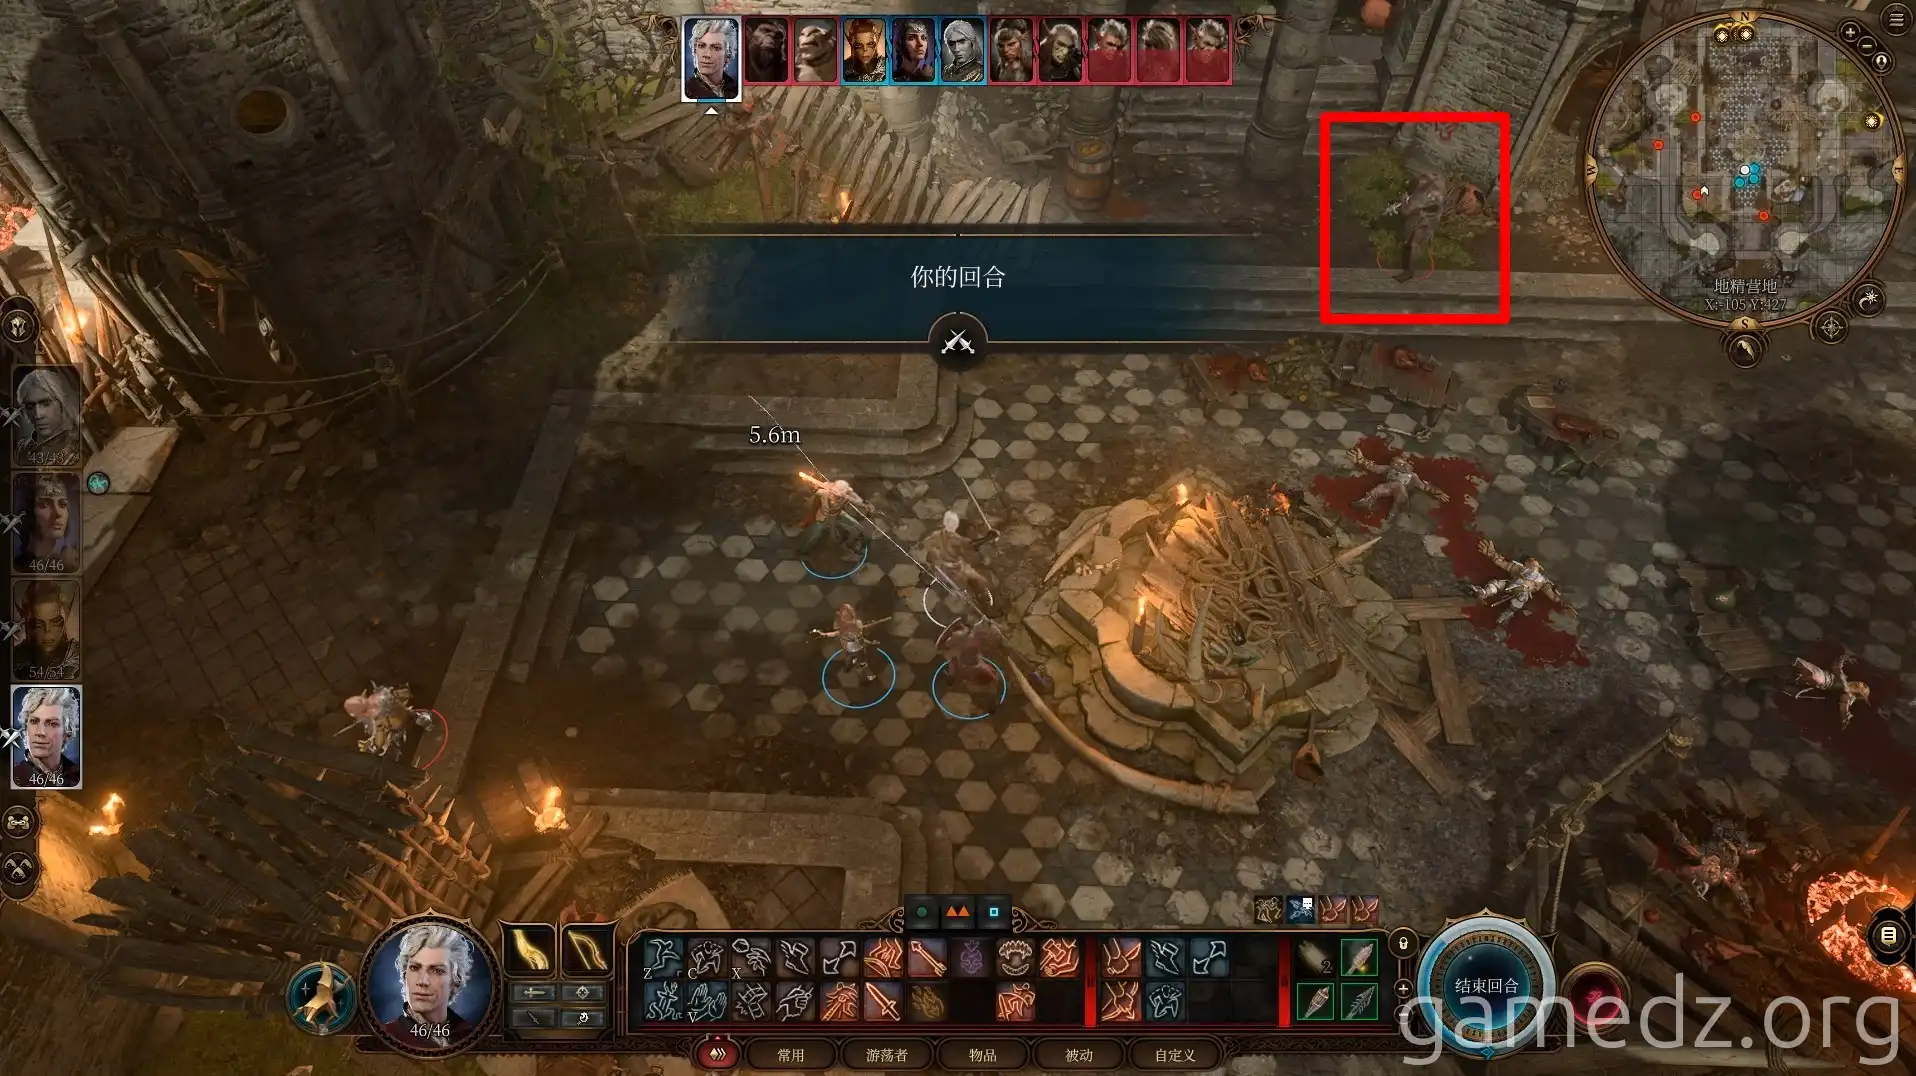
On the goblin tracker Klagga, you can obtain a [Dwarven Poem]. This poem reveals that the Nightsong is located beneath the Shattered Sanctum.
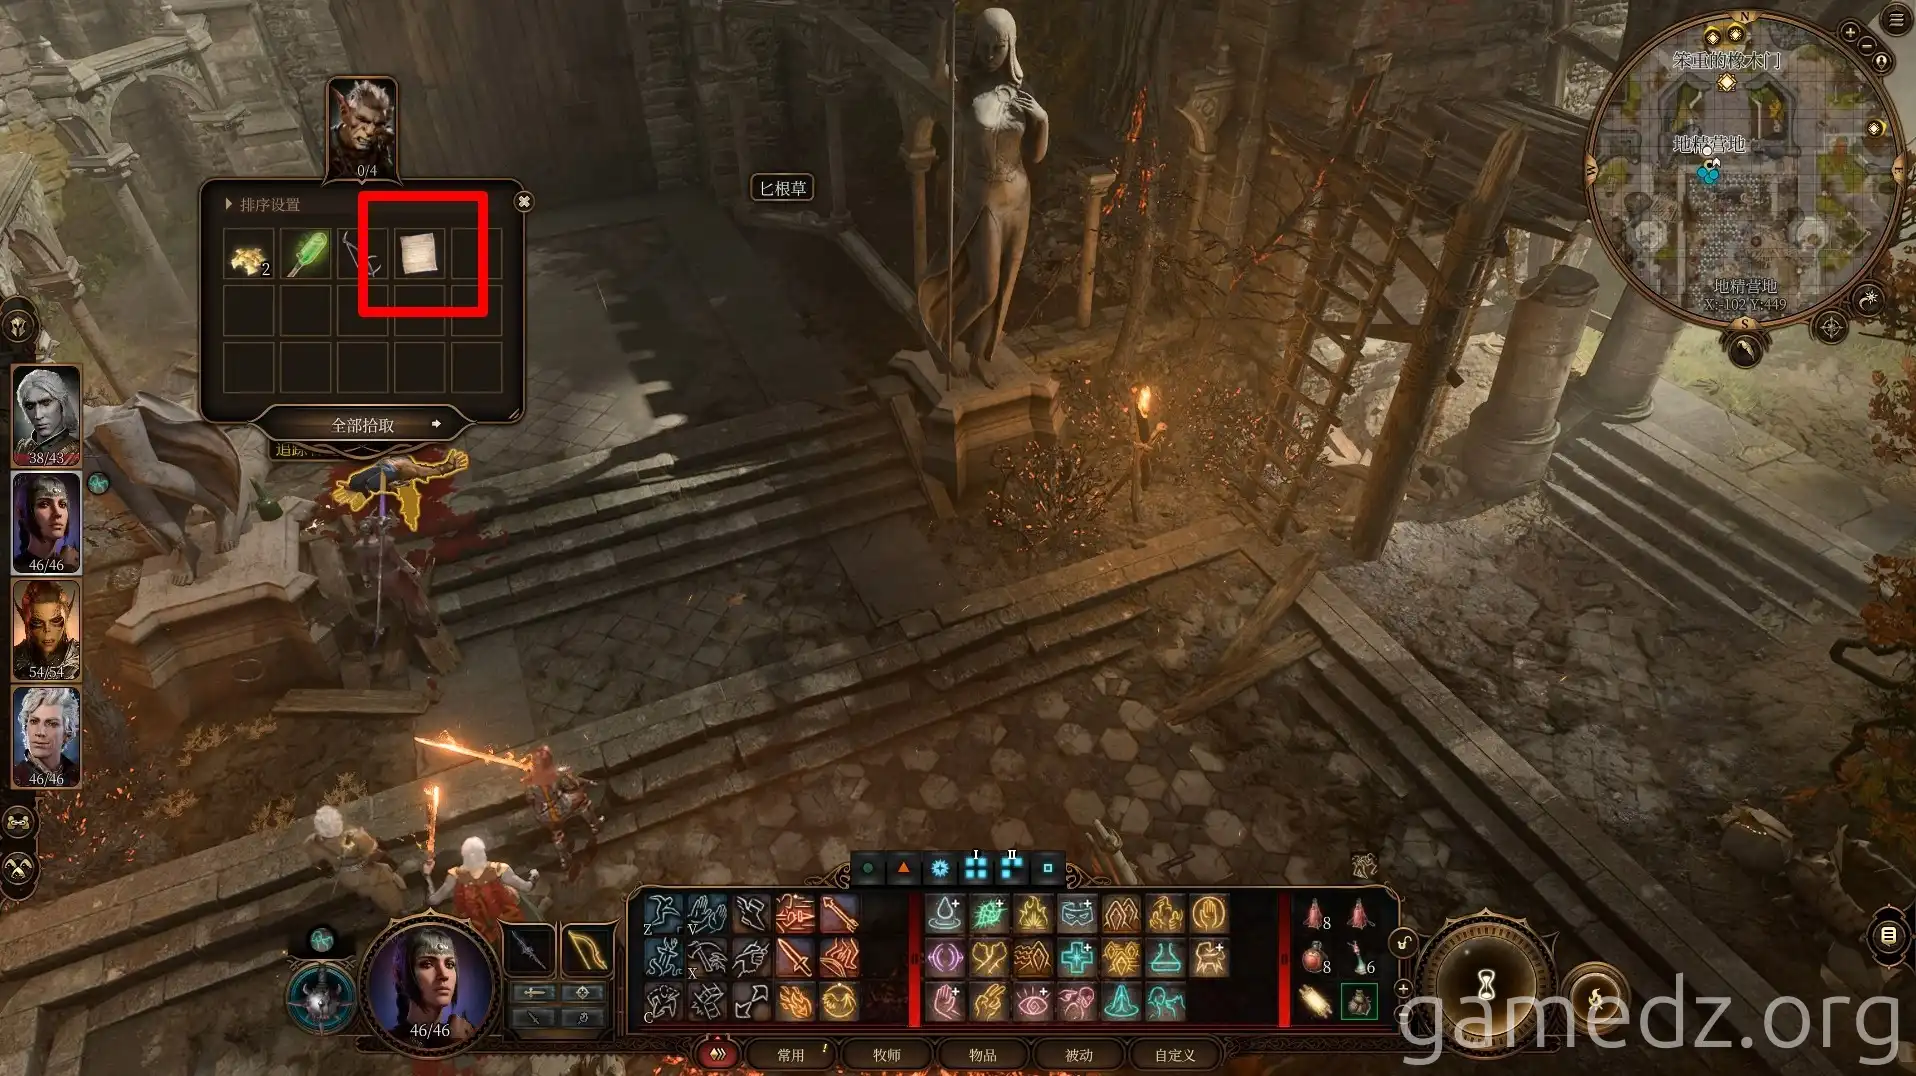
After a brief rest, head to the east side of the camp and eliminate Crusher and other goblins. The previous fight won't alert the enemies here, so you can still set up your battlefield before engaging.
It's recommended to launch your assault from the area where you found the dirt mound earlier, giving you a significant high-ground advantage that the goblins will find difficult to overcome. There are four goblins to deal with here, which should be relatively straightforward.
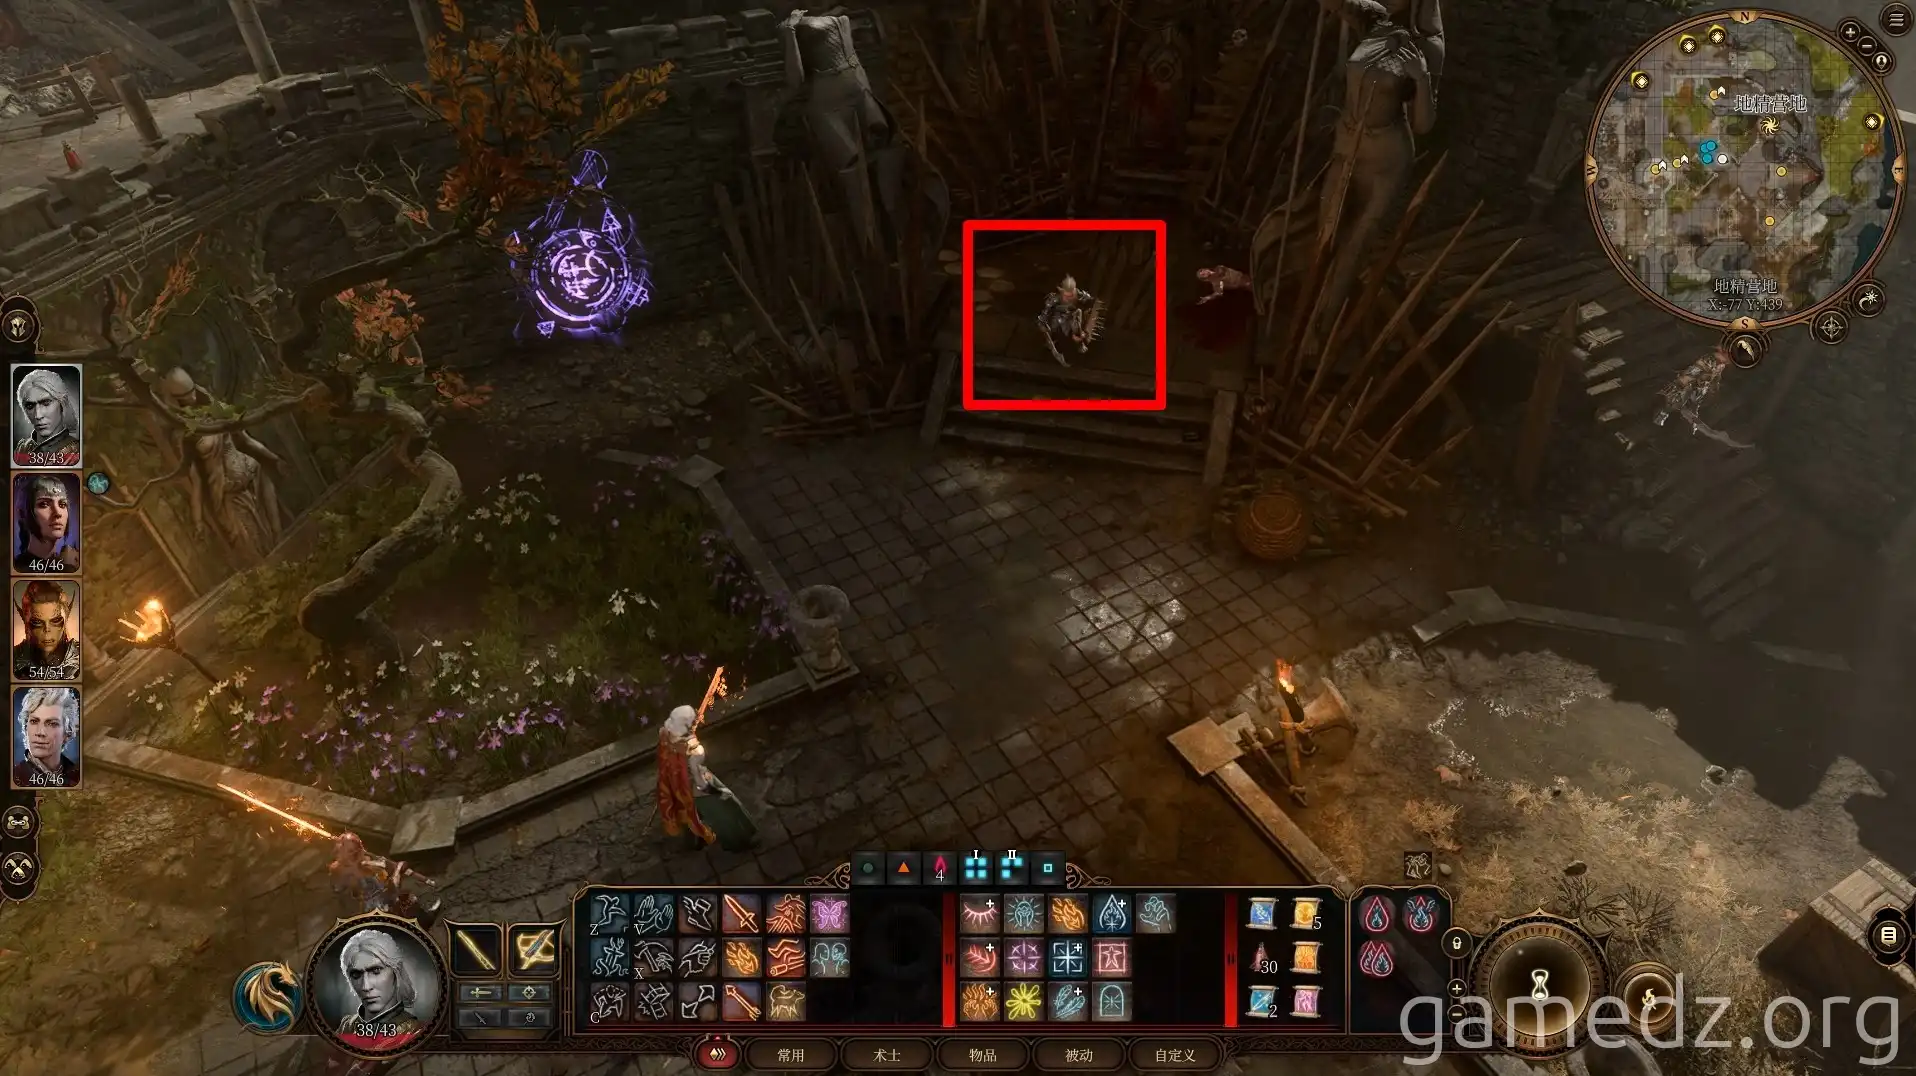
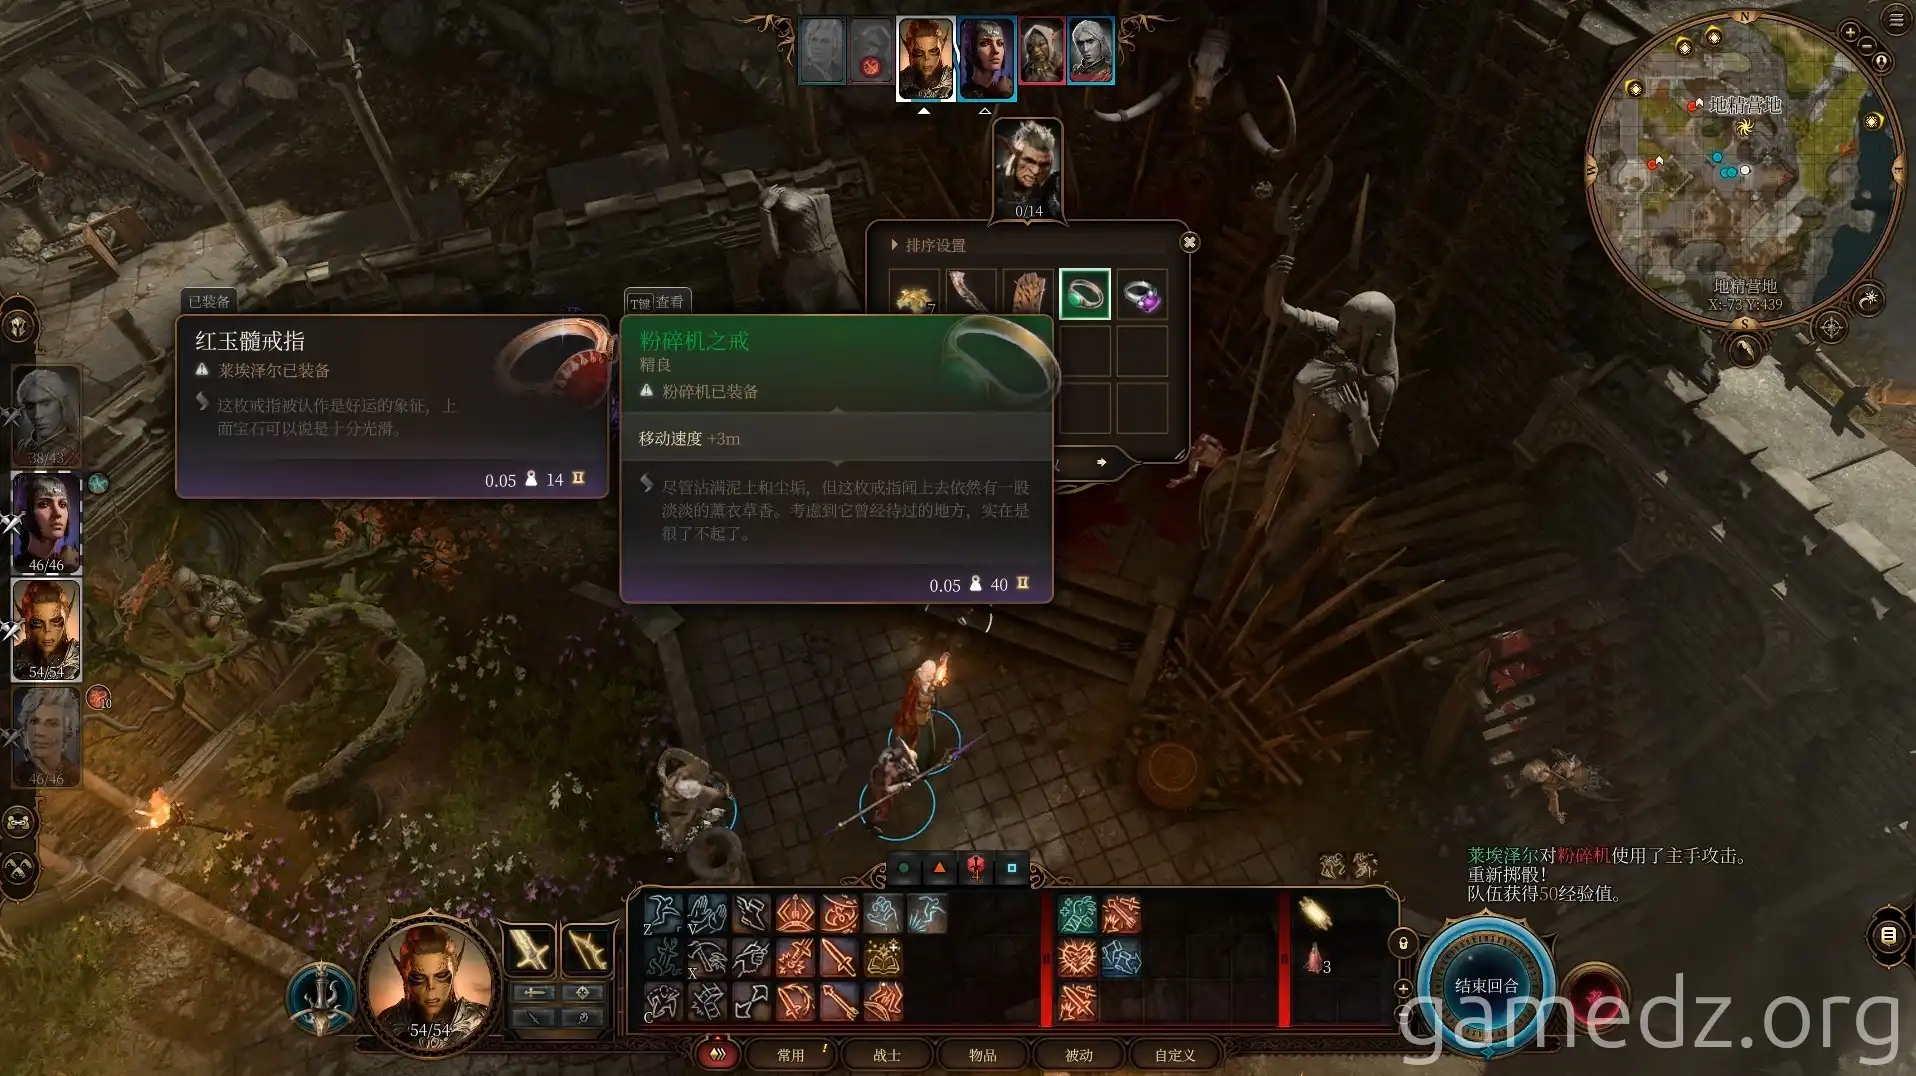
Defeating Crusher rewards you with the rare ring, [Crusher's Ring], which grants +3m movement speed – a simple but effective buff.
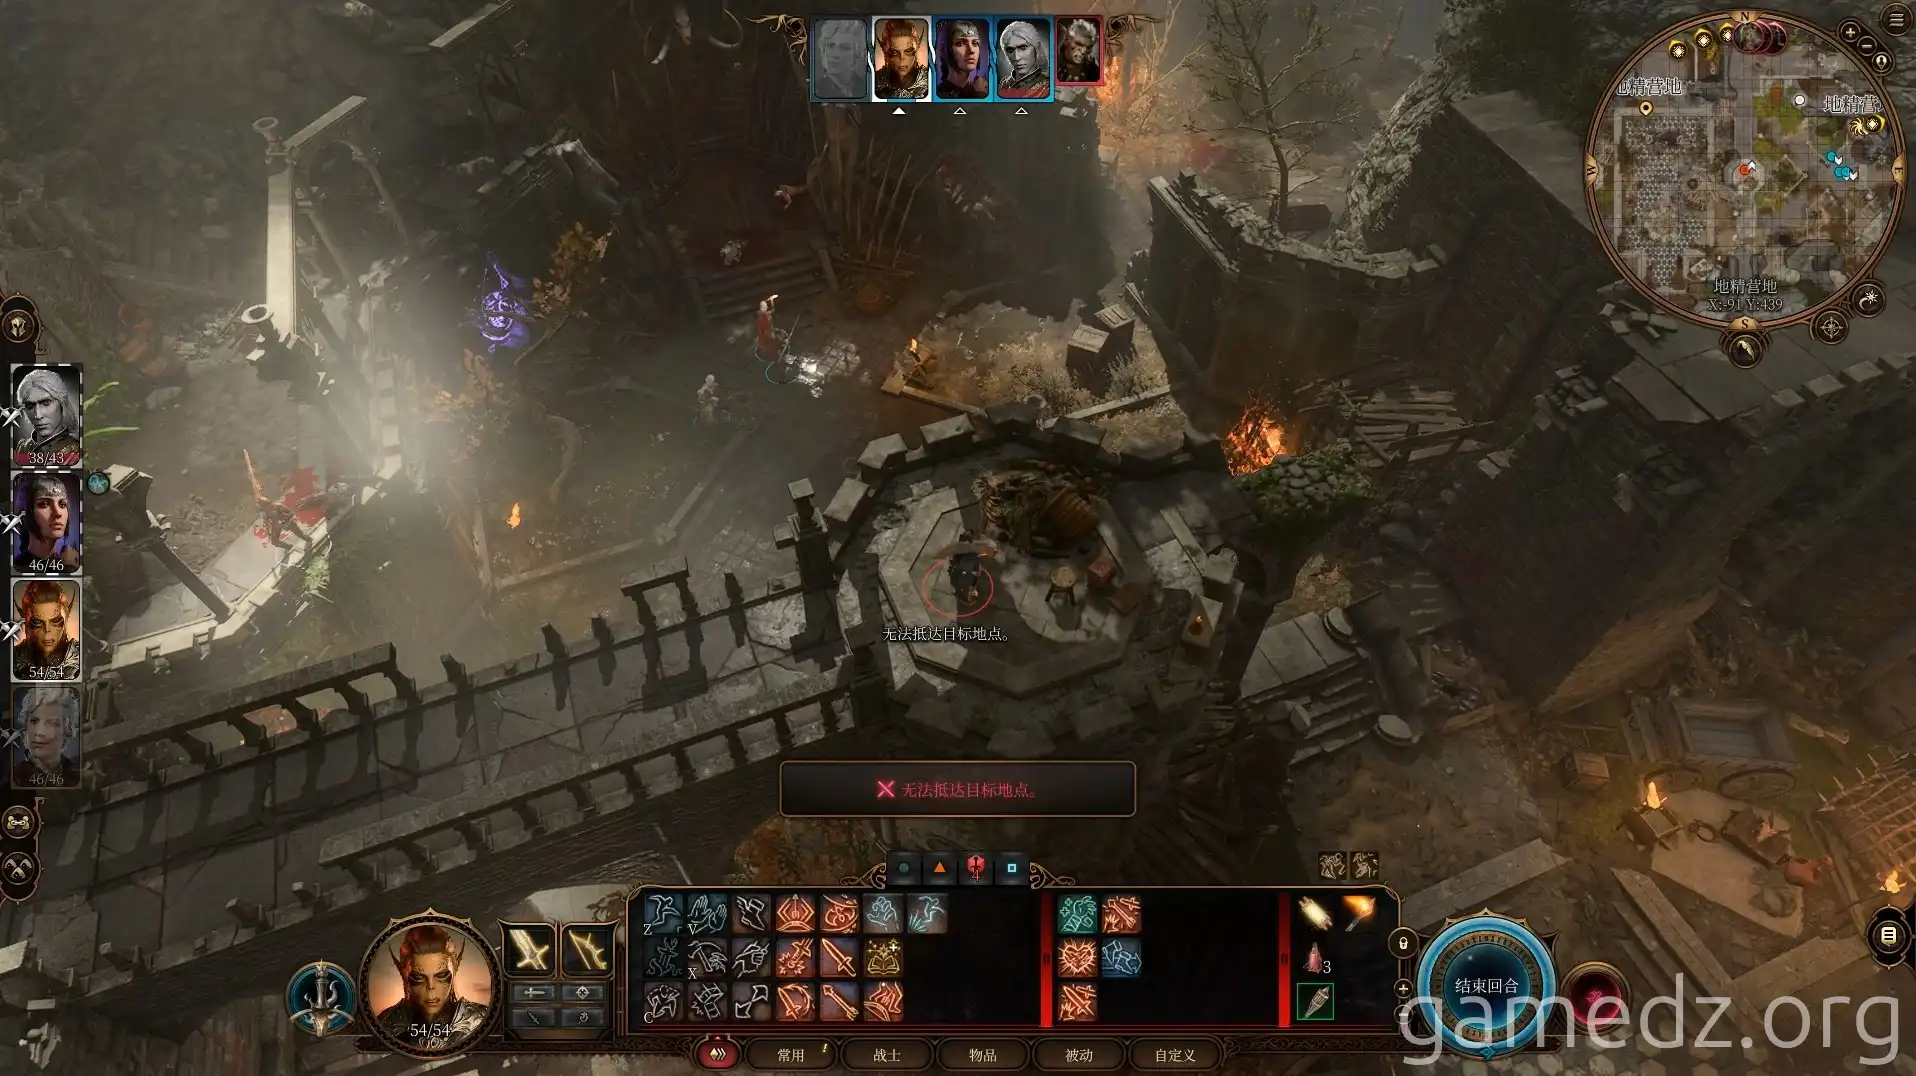
The goblin mage on top of the tower will flee if you attack him. Not killing him has no significant impact.
Head to the chicken chasing game area and use the vines to reach the upper level.
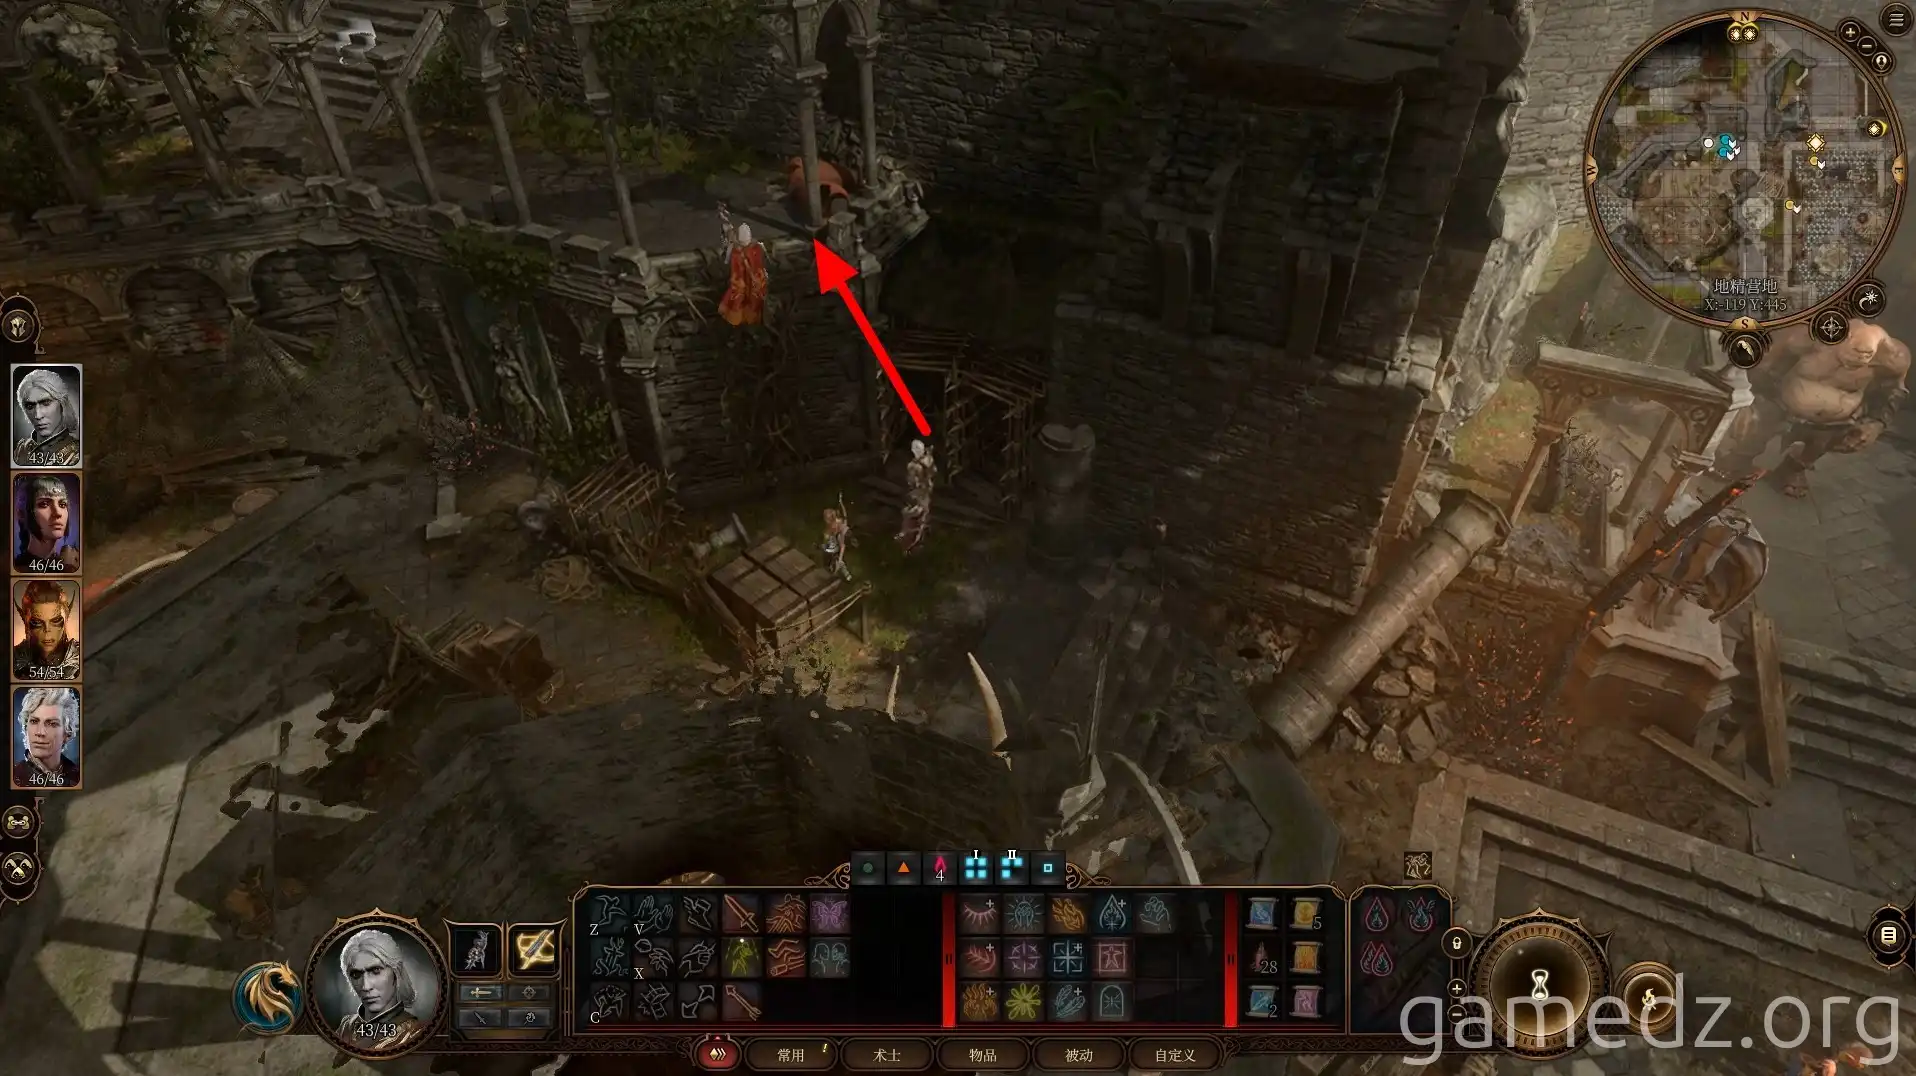
Once on the upper level, use movement abilities like Misty Step or a powerful jump to cross to the other side of the wall.
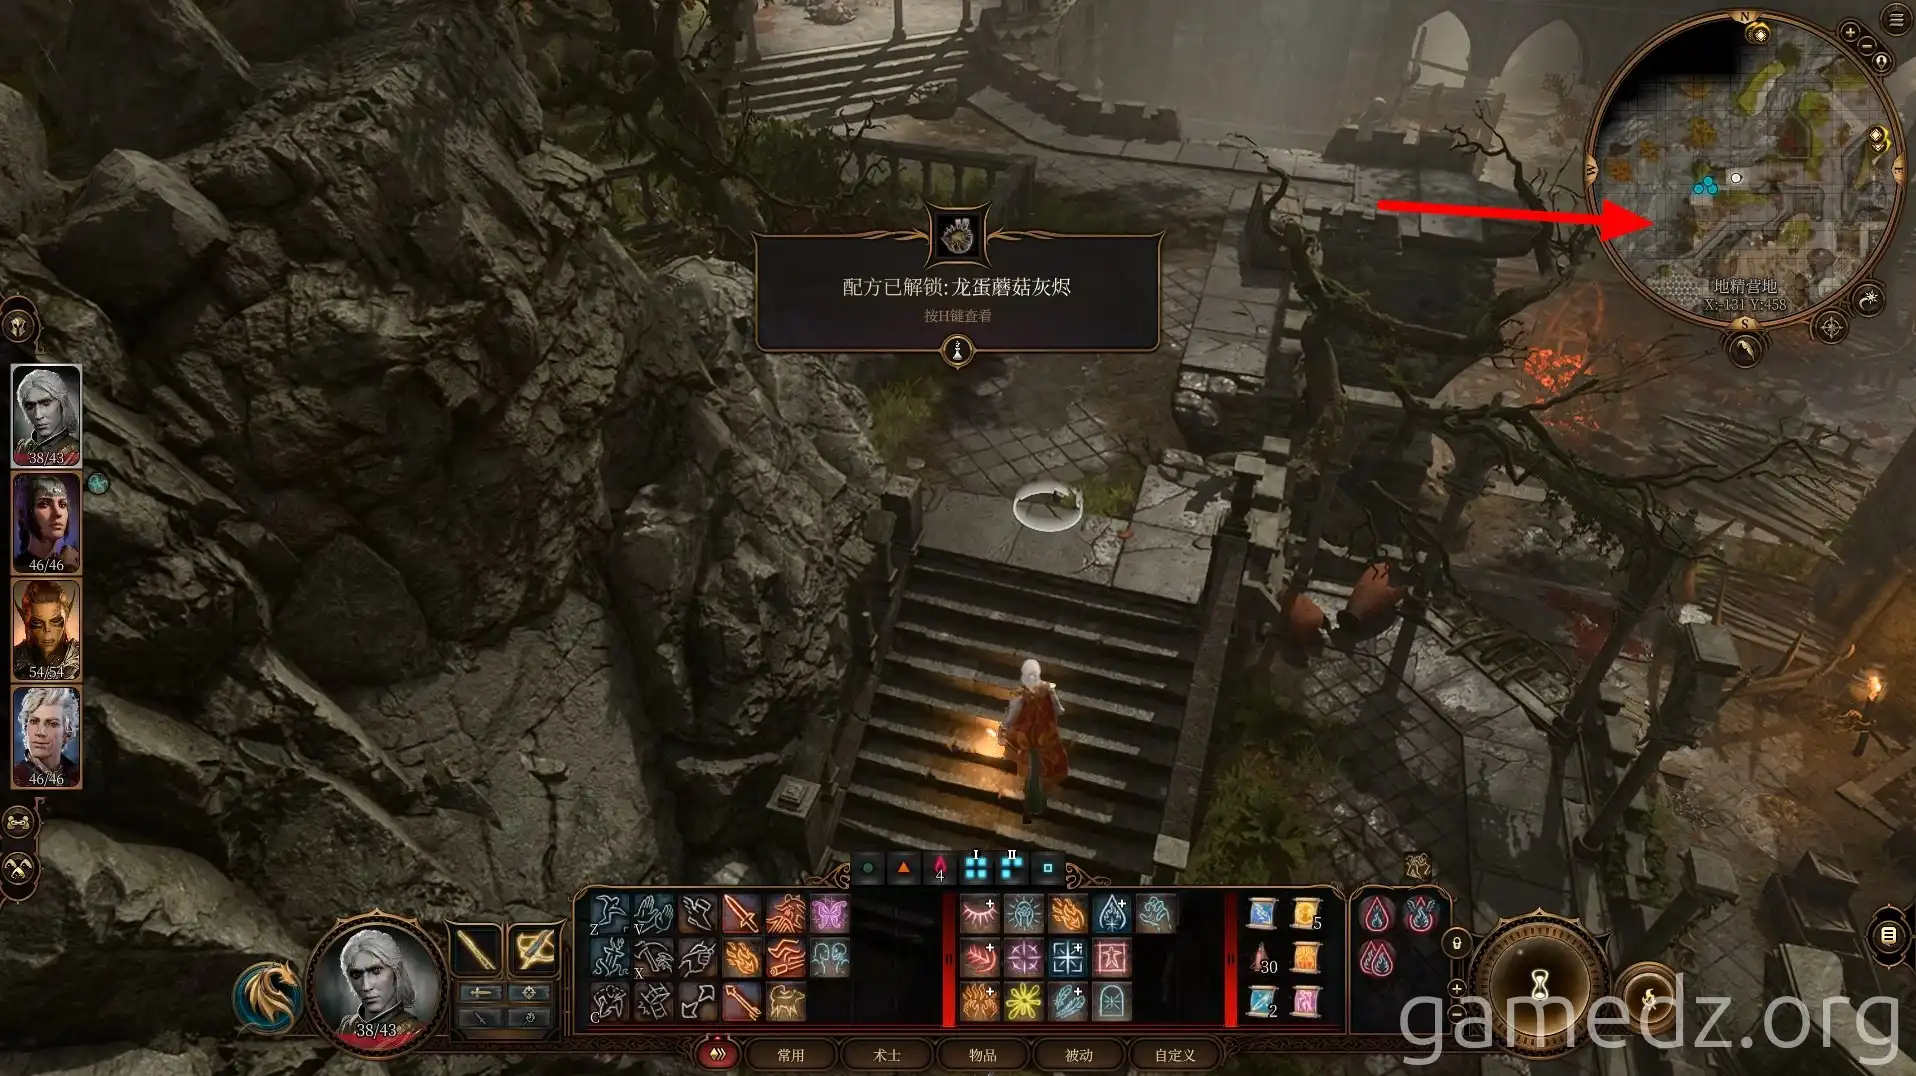
You can then jump onto the high platform west of the chicken chasing game area.
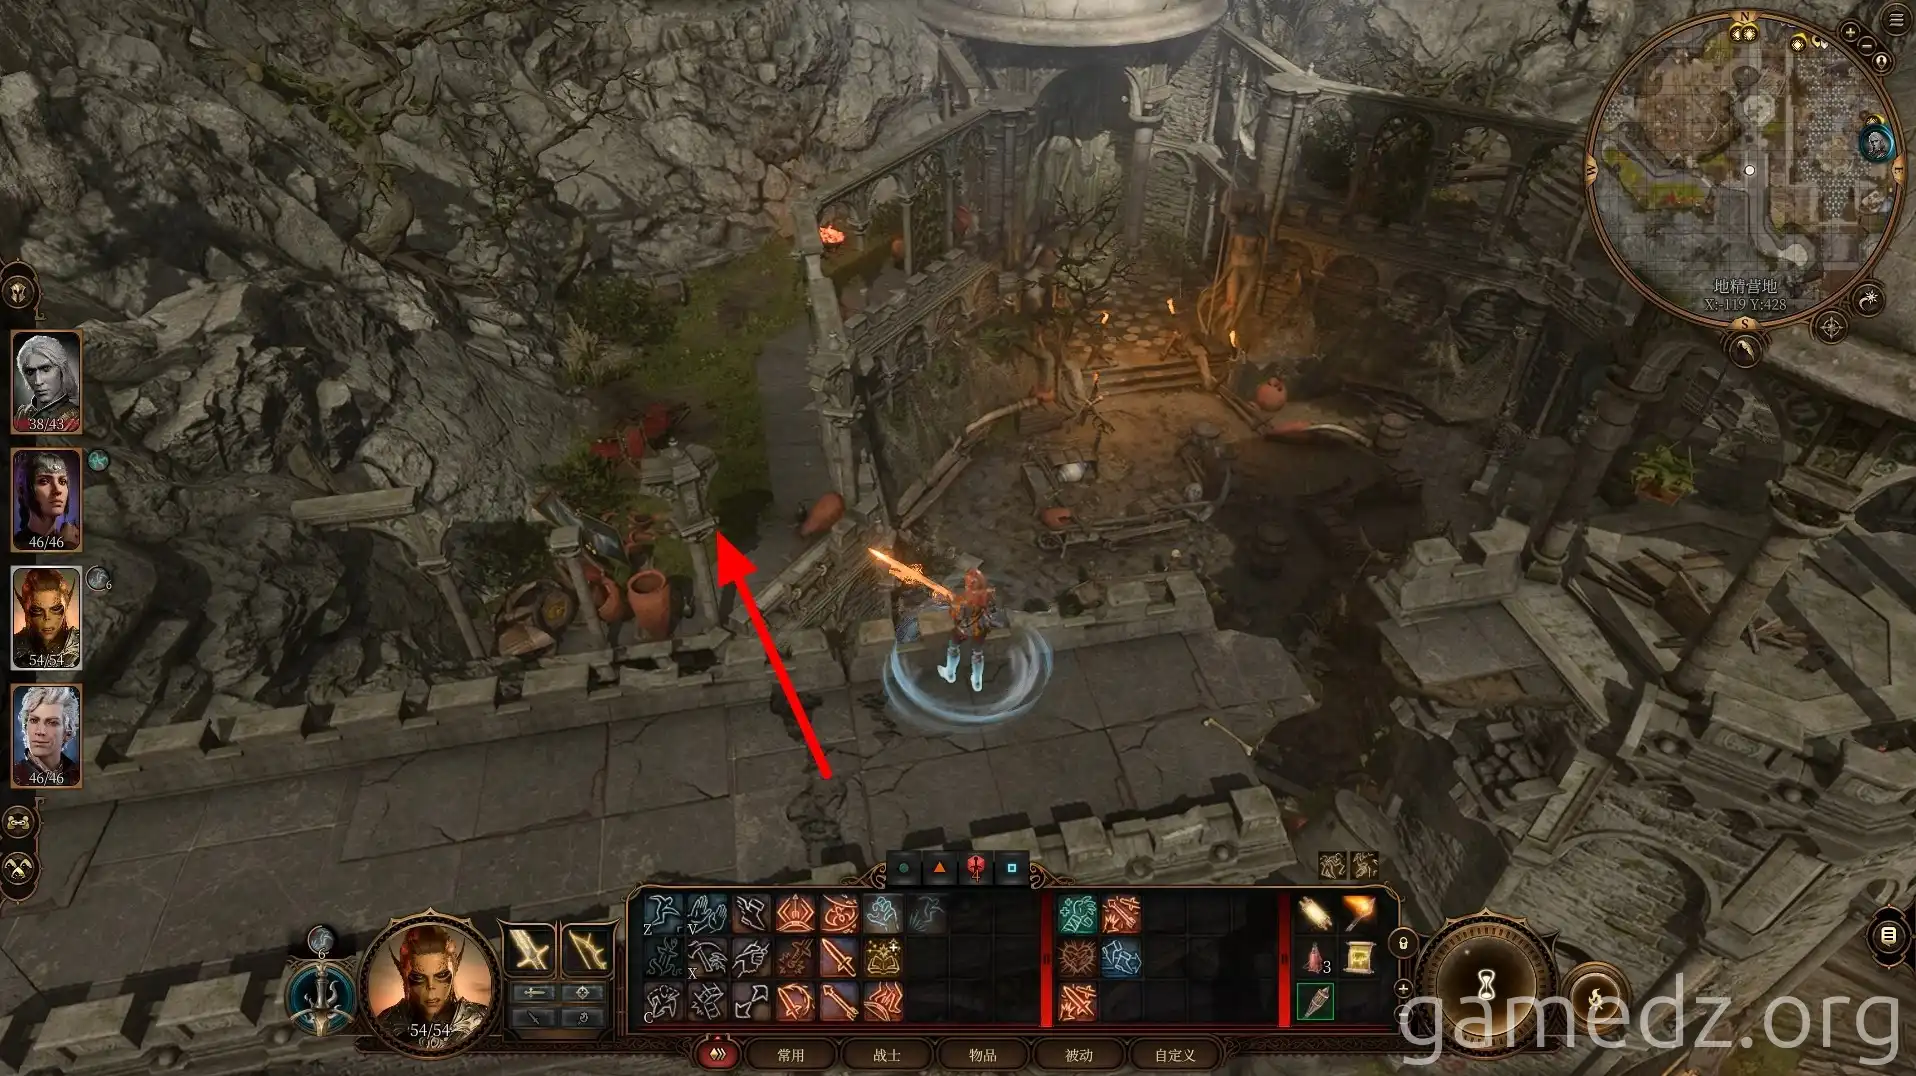
On the high platform, you can find some paintings and, in a corner, a buried chest. After looting, jump back to the chicken chasing area and then return to the upper level.
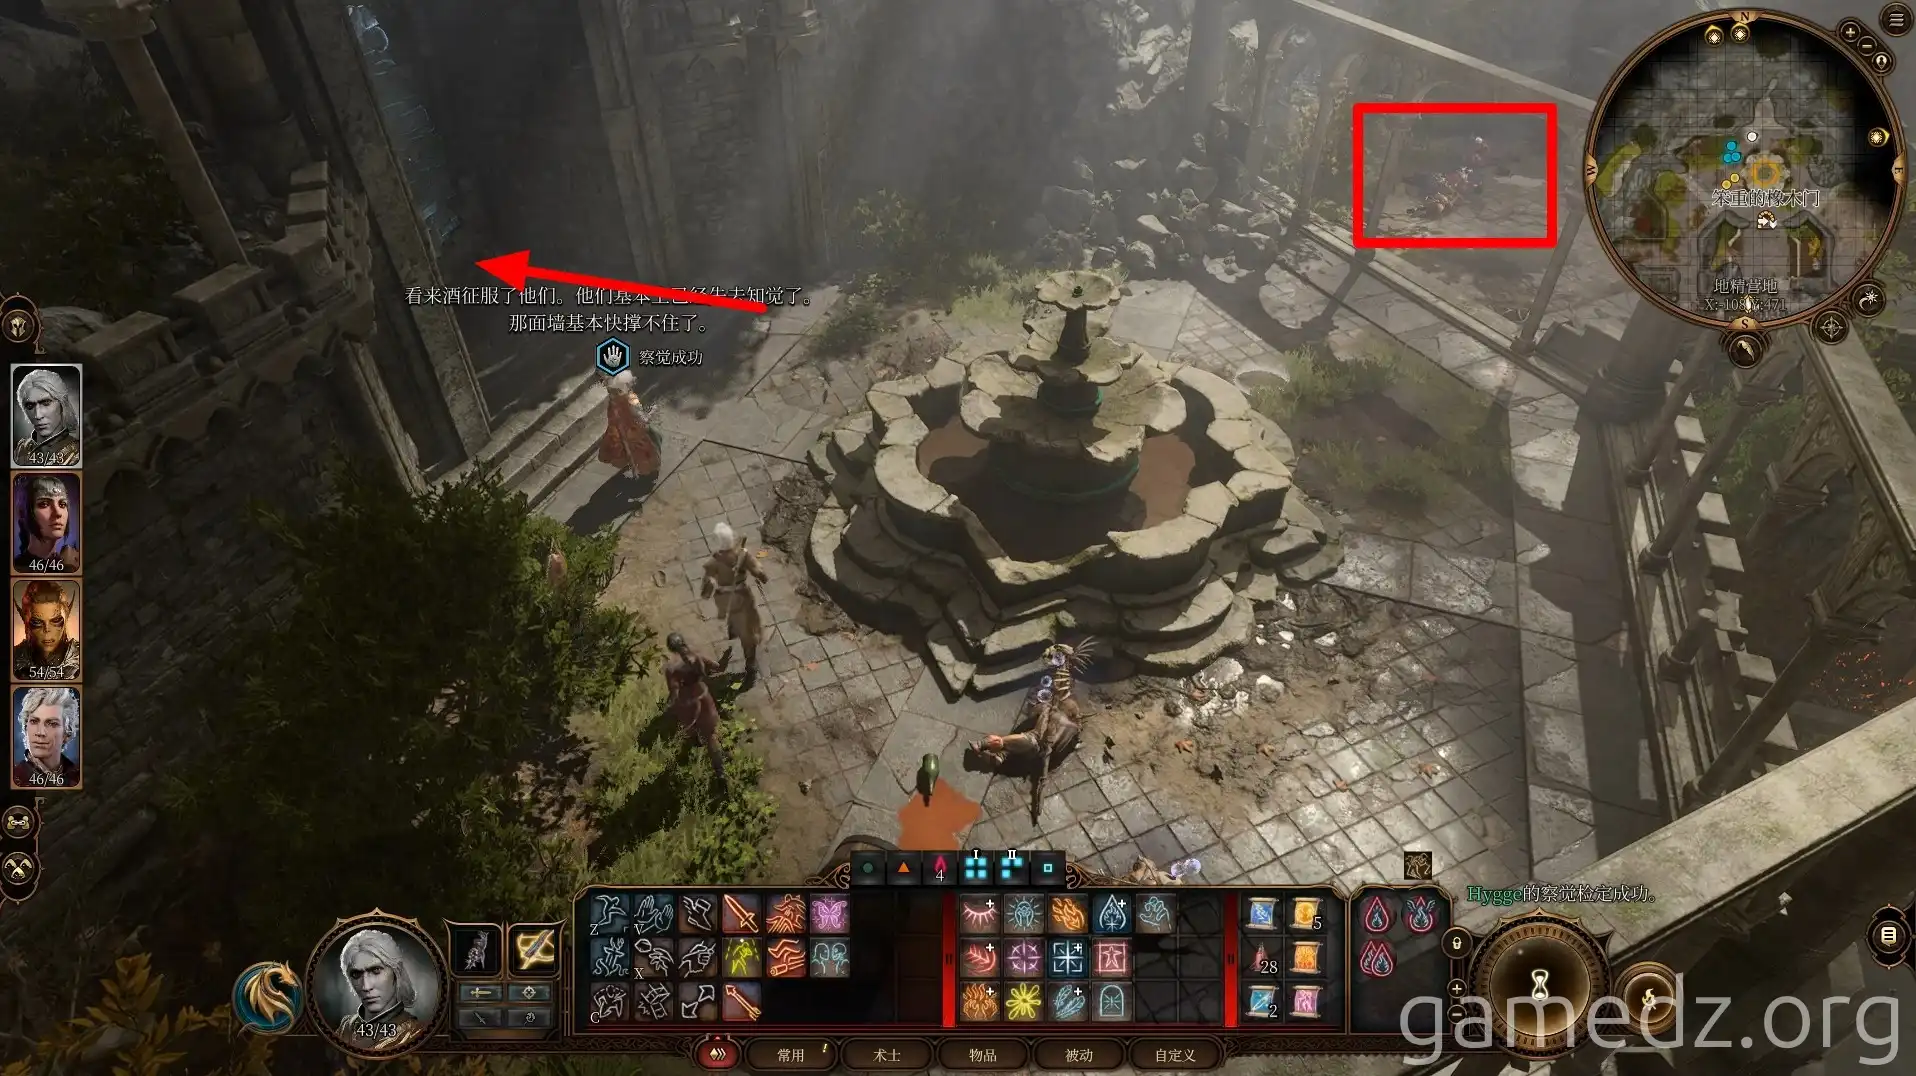
Go to the fountain on the upper level. In the center, you'll find a crumbling wall. The drunken goblins around it can be easily dispatched, one by one.
The two enemies in the distance are Hobgoblins. Attacking them will awaken them. While you can't kill them outright, you can significantly reduce their health with a preemptive strike, making the fight easier.
The wall is immune to spells and slashing damage; it requires bludgeoning damage to break.
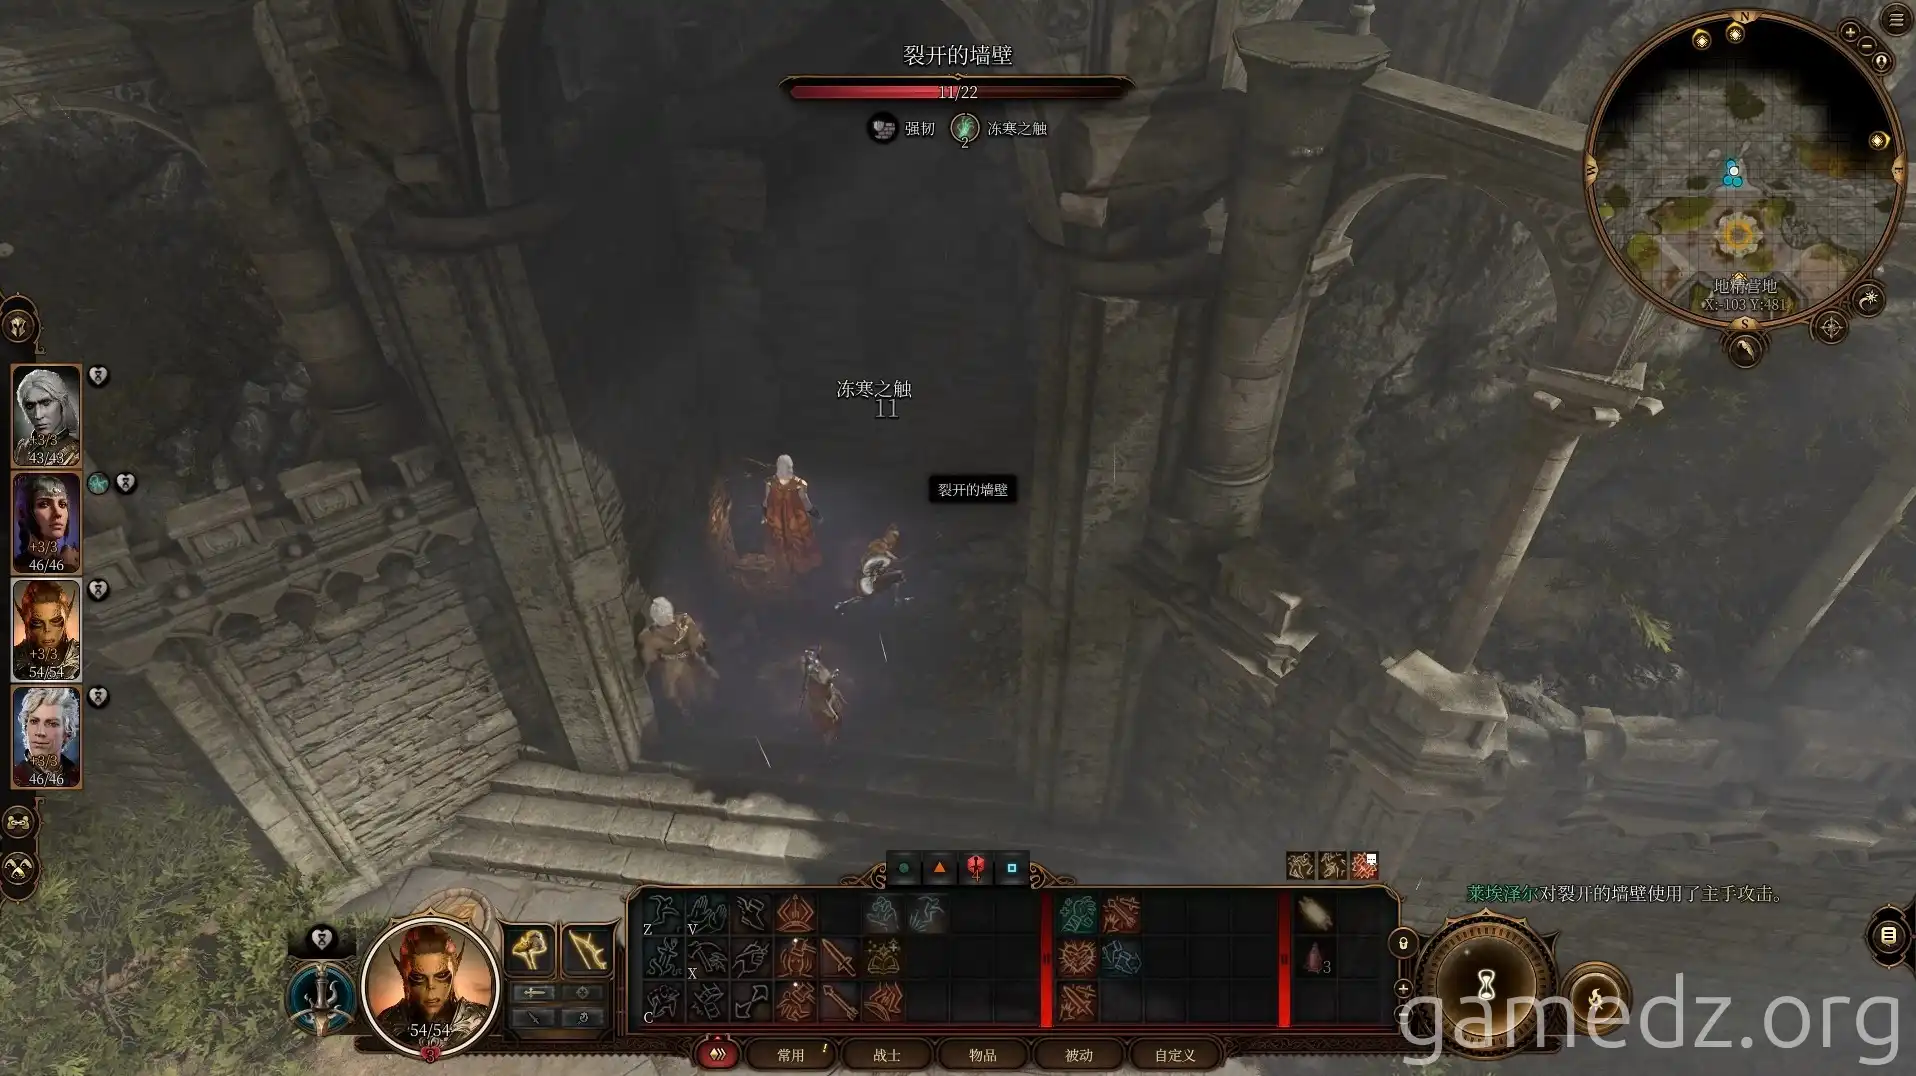
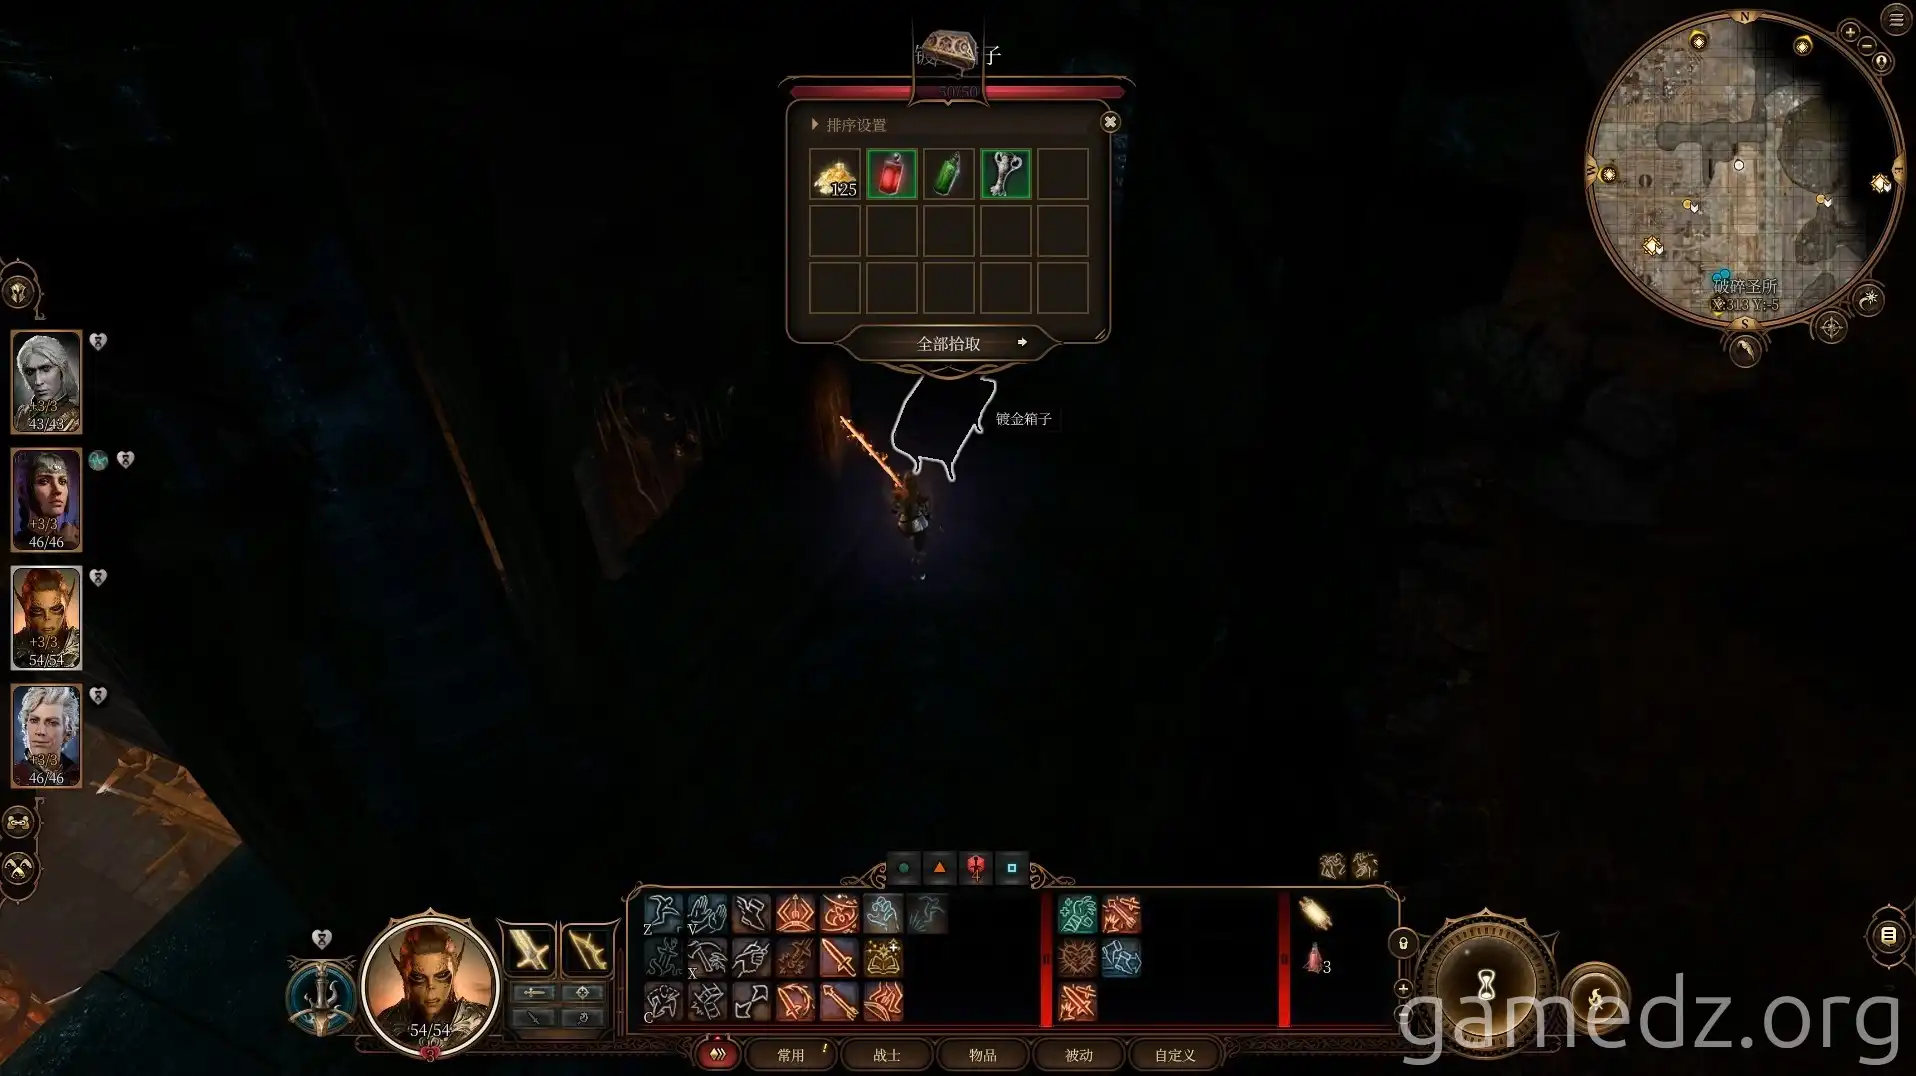
Through the broken wall, you'll reach the second floor of the Shattered Sanctum. On the other side of the platform, there's a gilded chest.
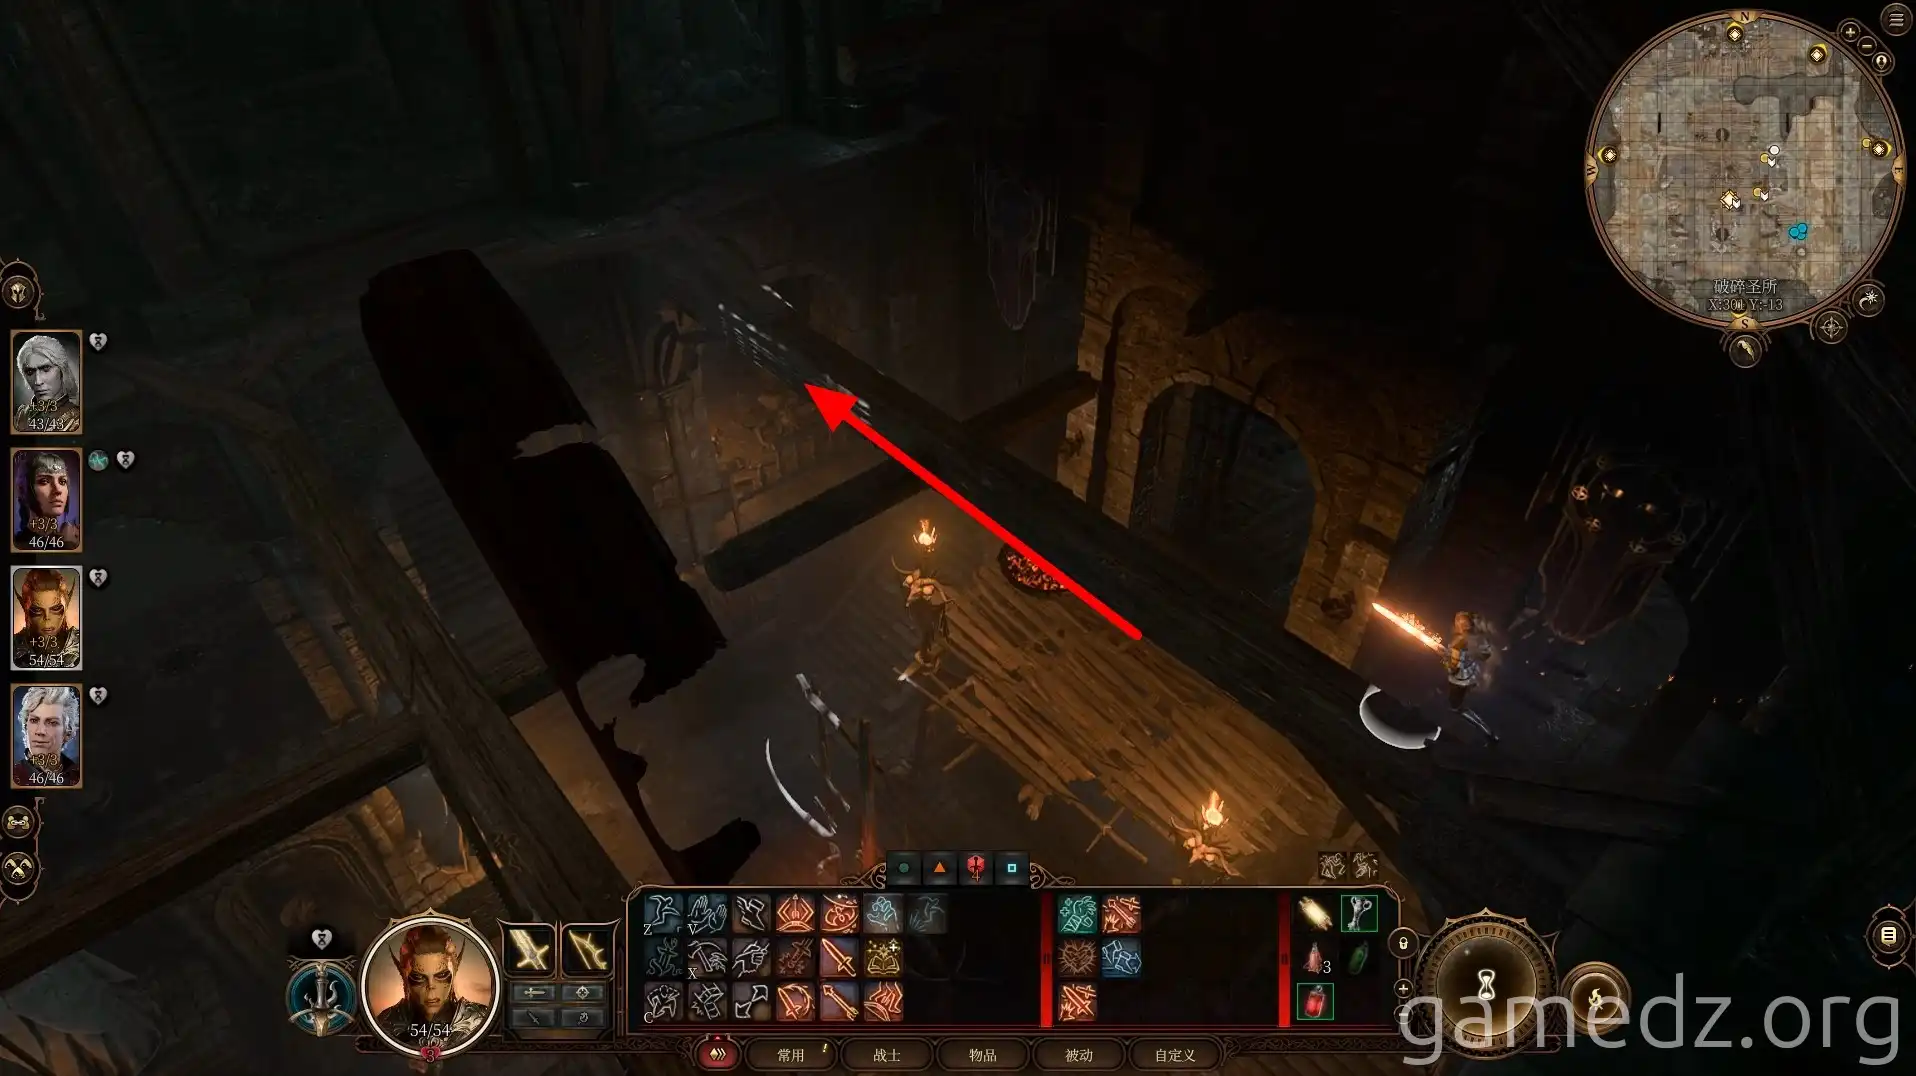
Then, cross the beam to the other side of the second floor.
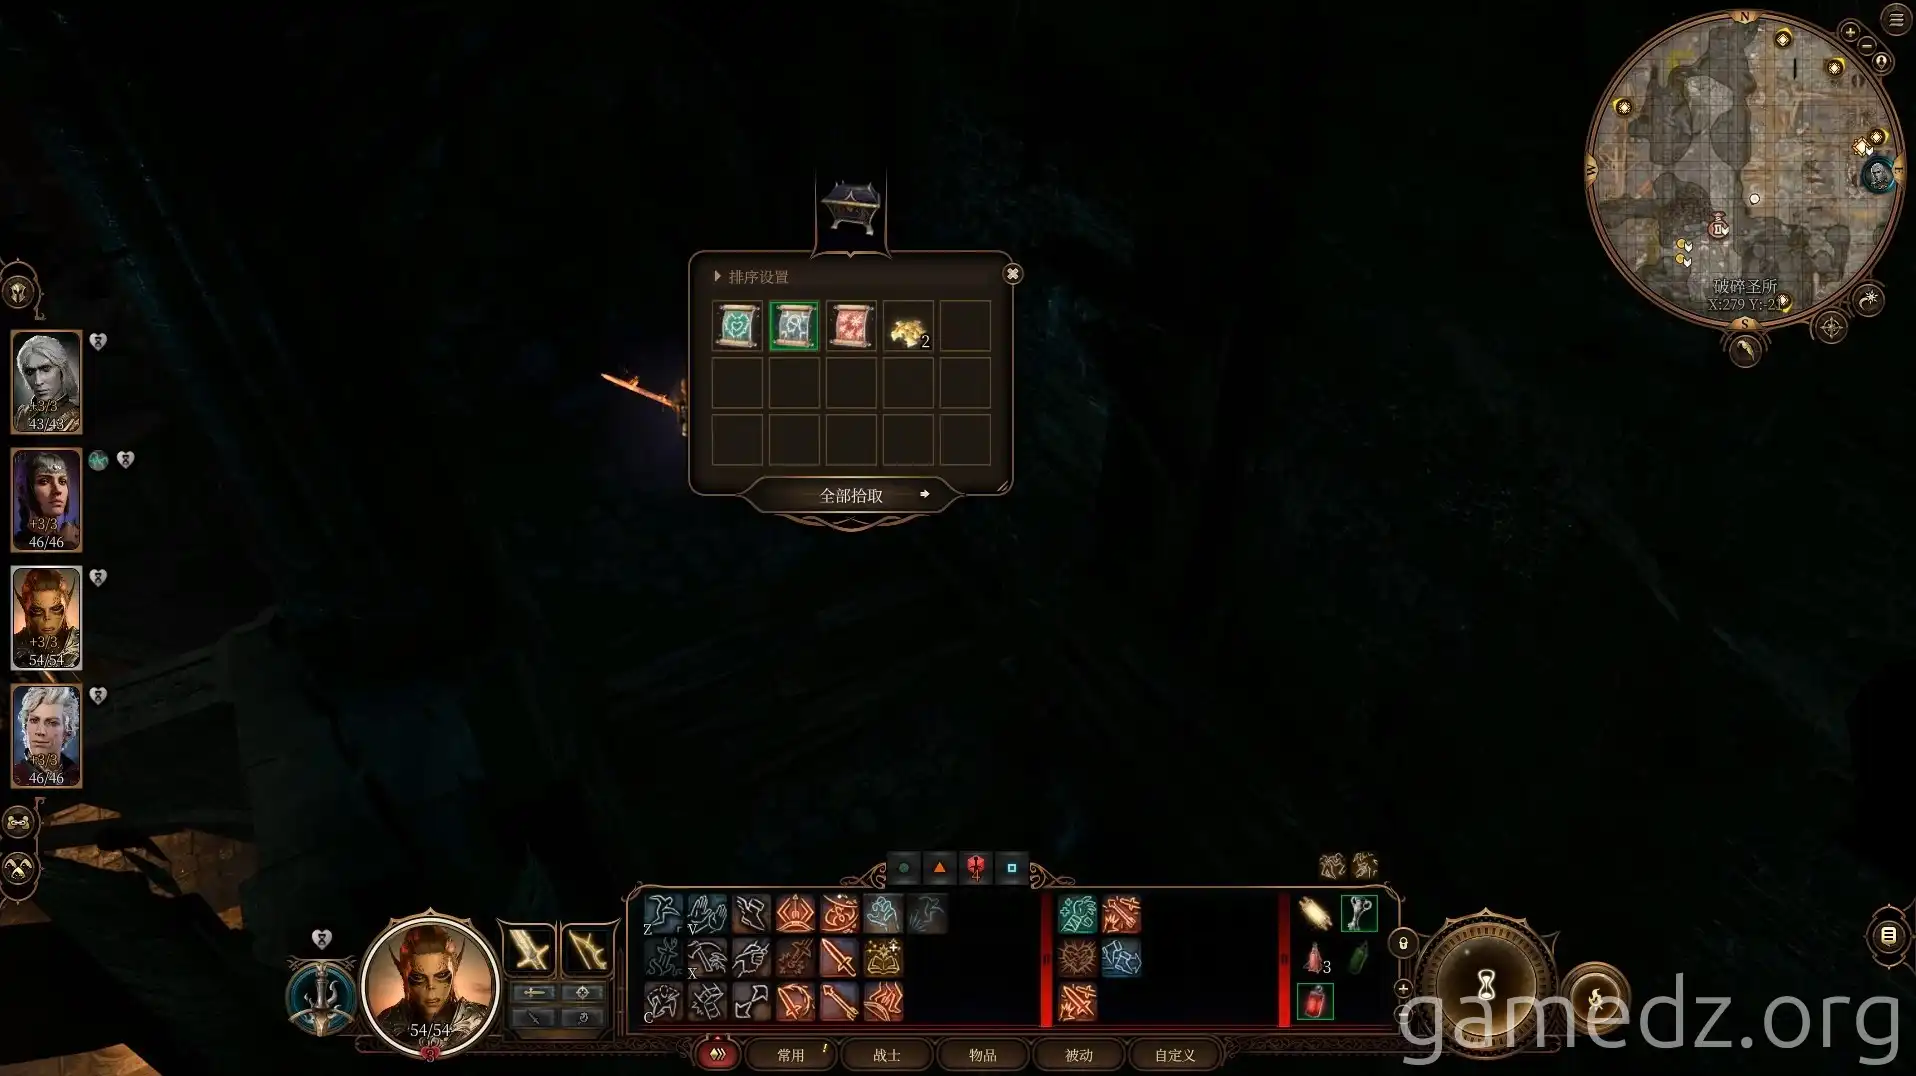
In the opposite corner, you'll also find a gilded chest.
Follow the platform north and jump through the broken wall.
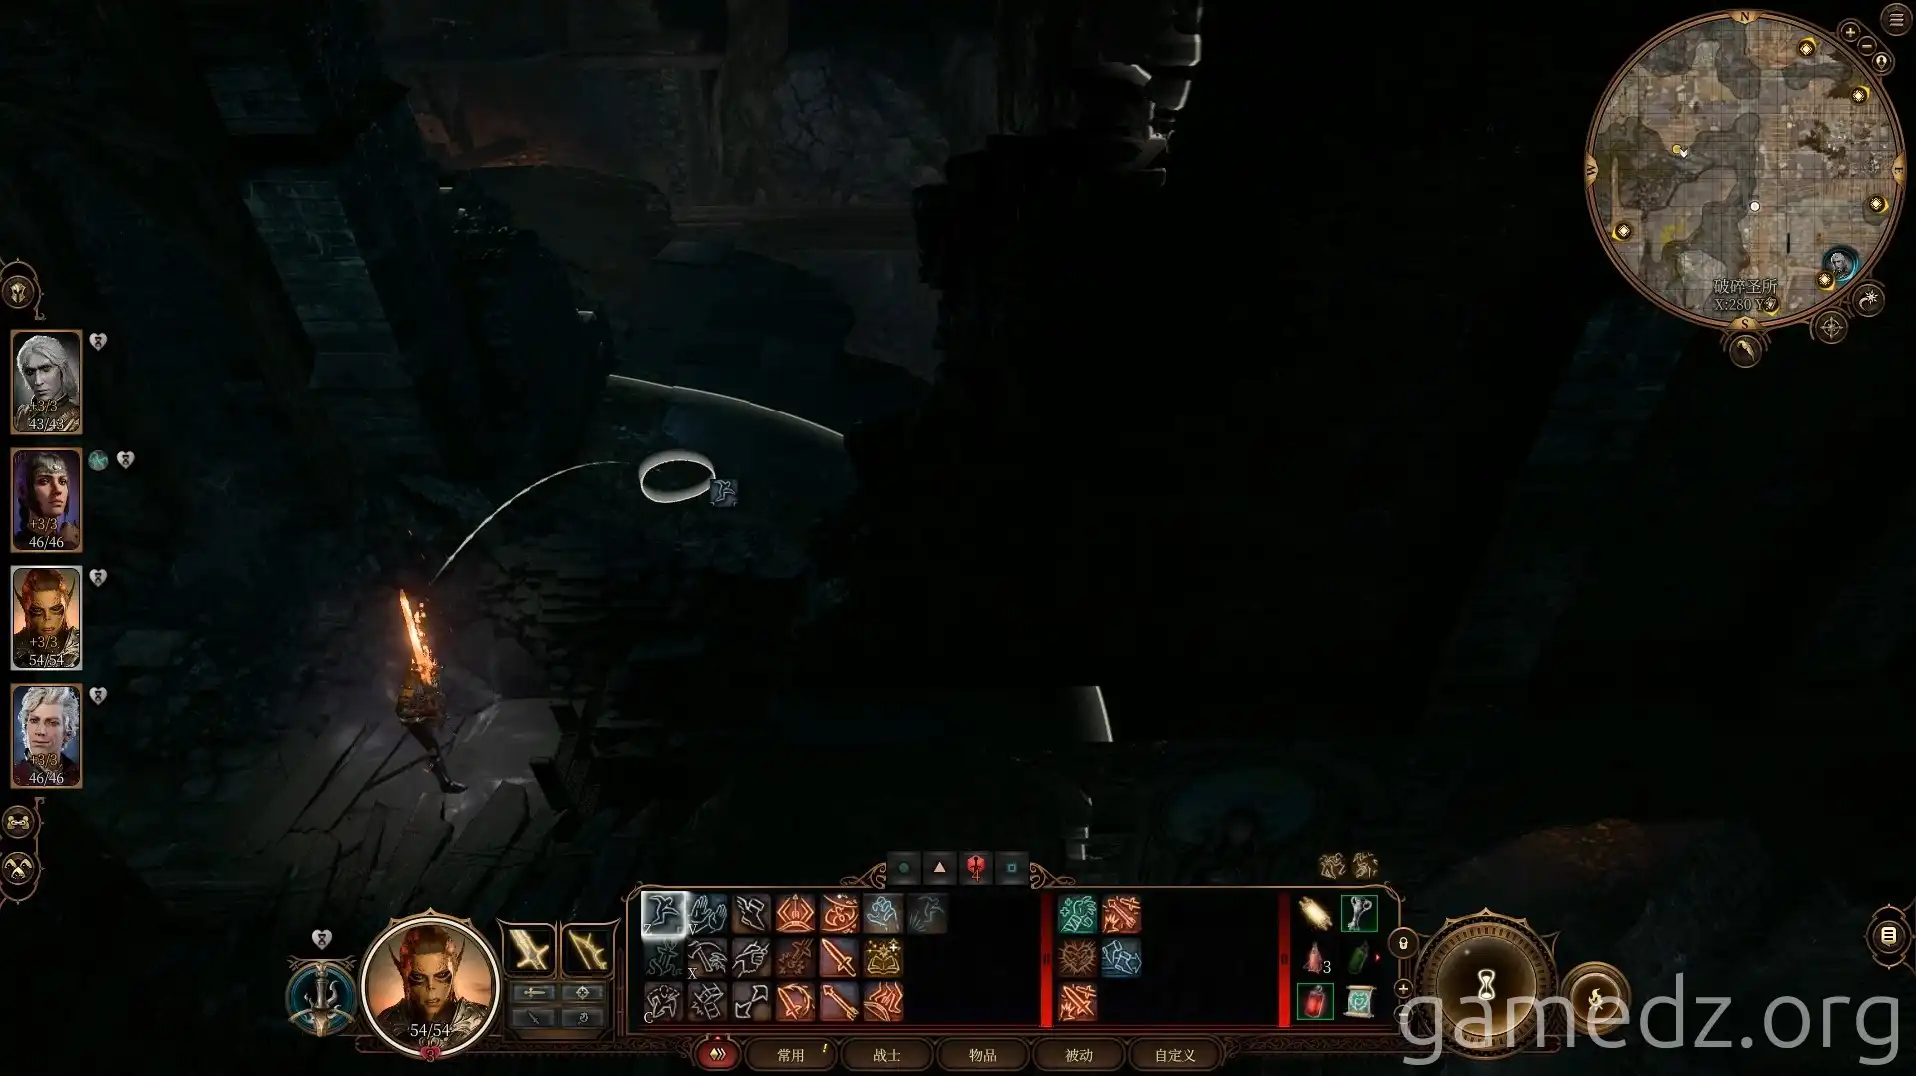
Around the corner, there's a wooden chest.
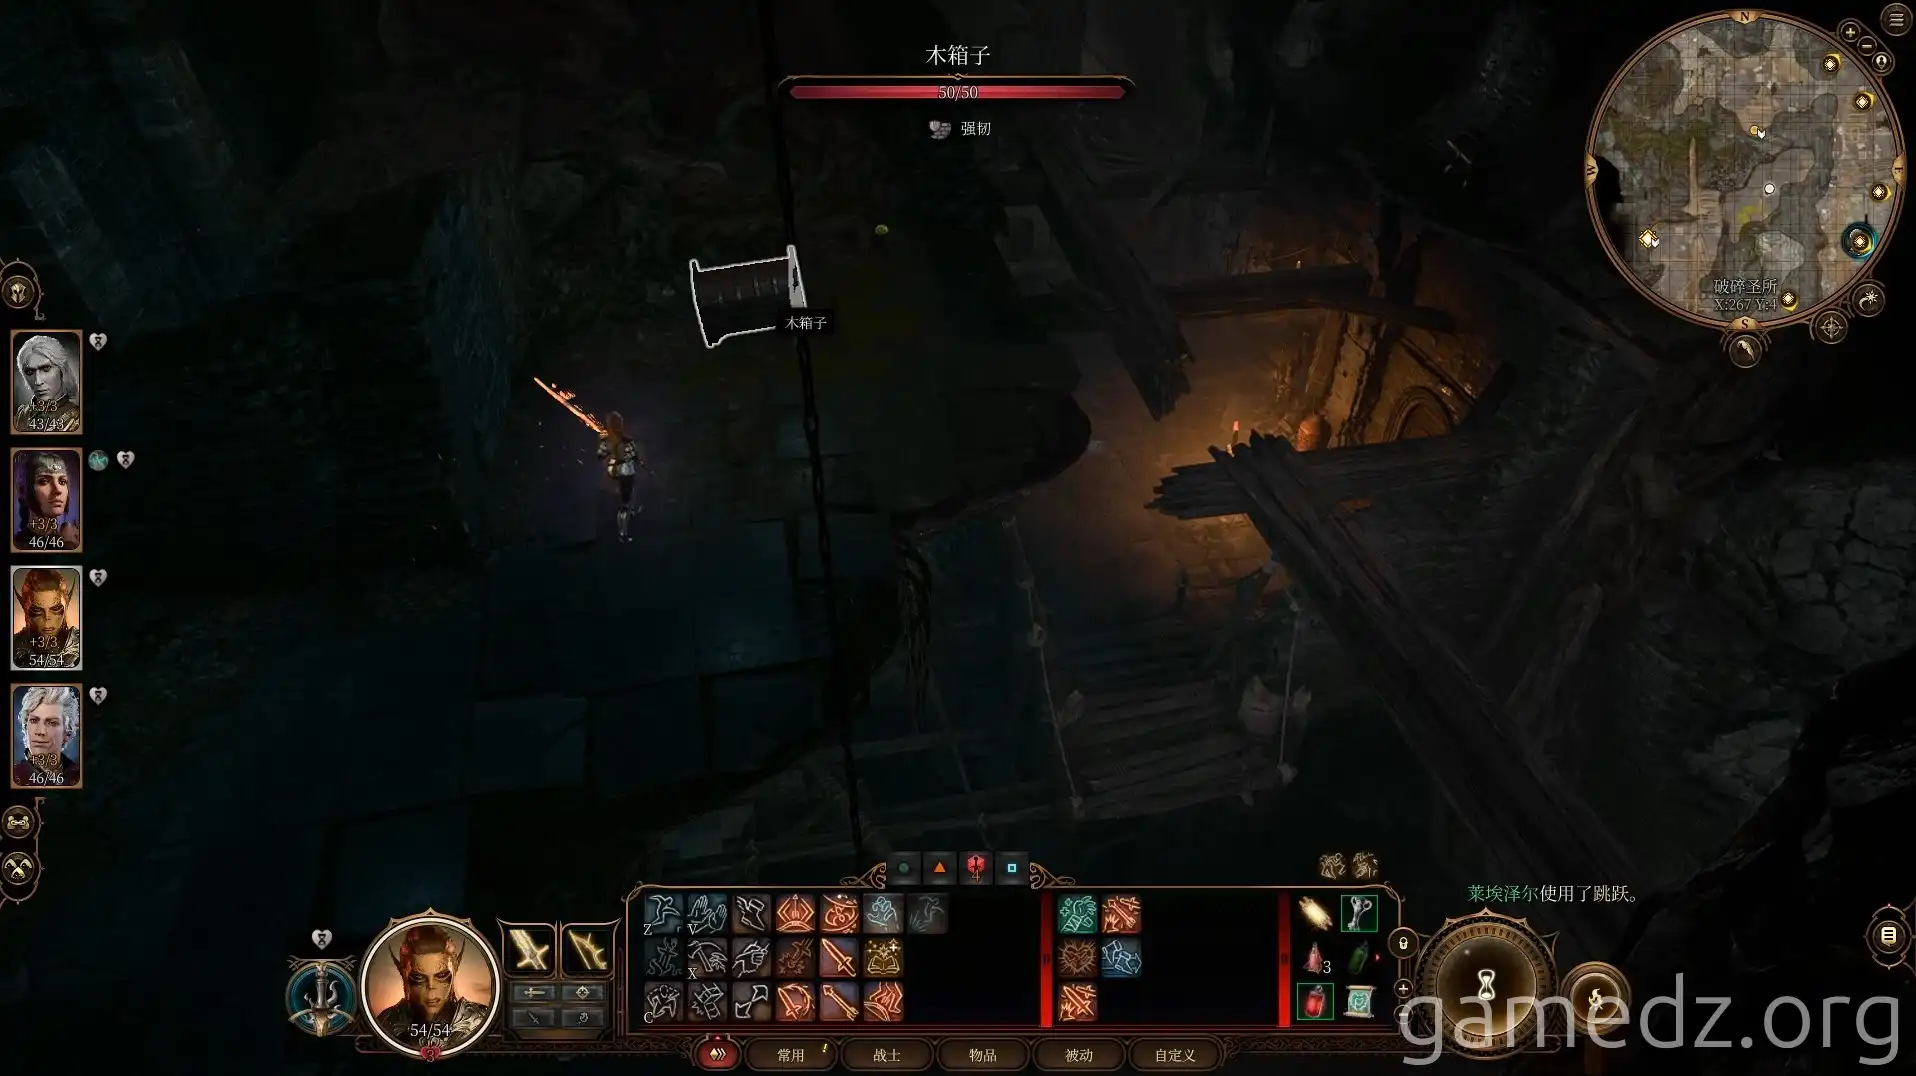
Opposite the wooden chest, there's another gilded chest.
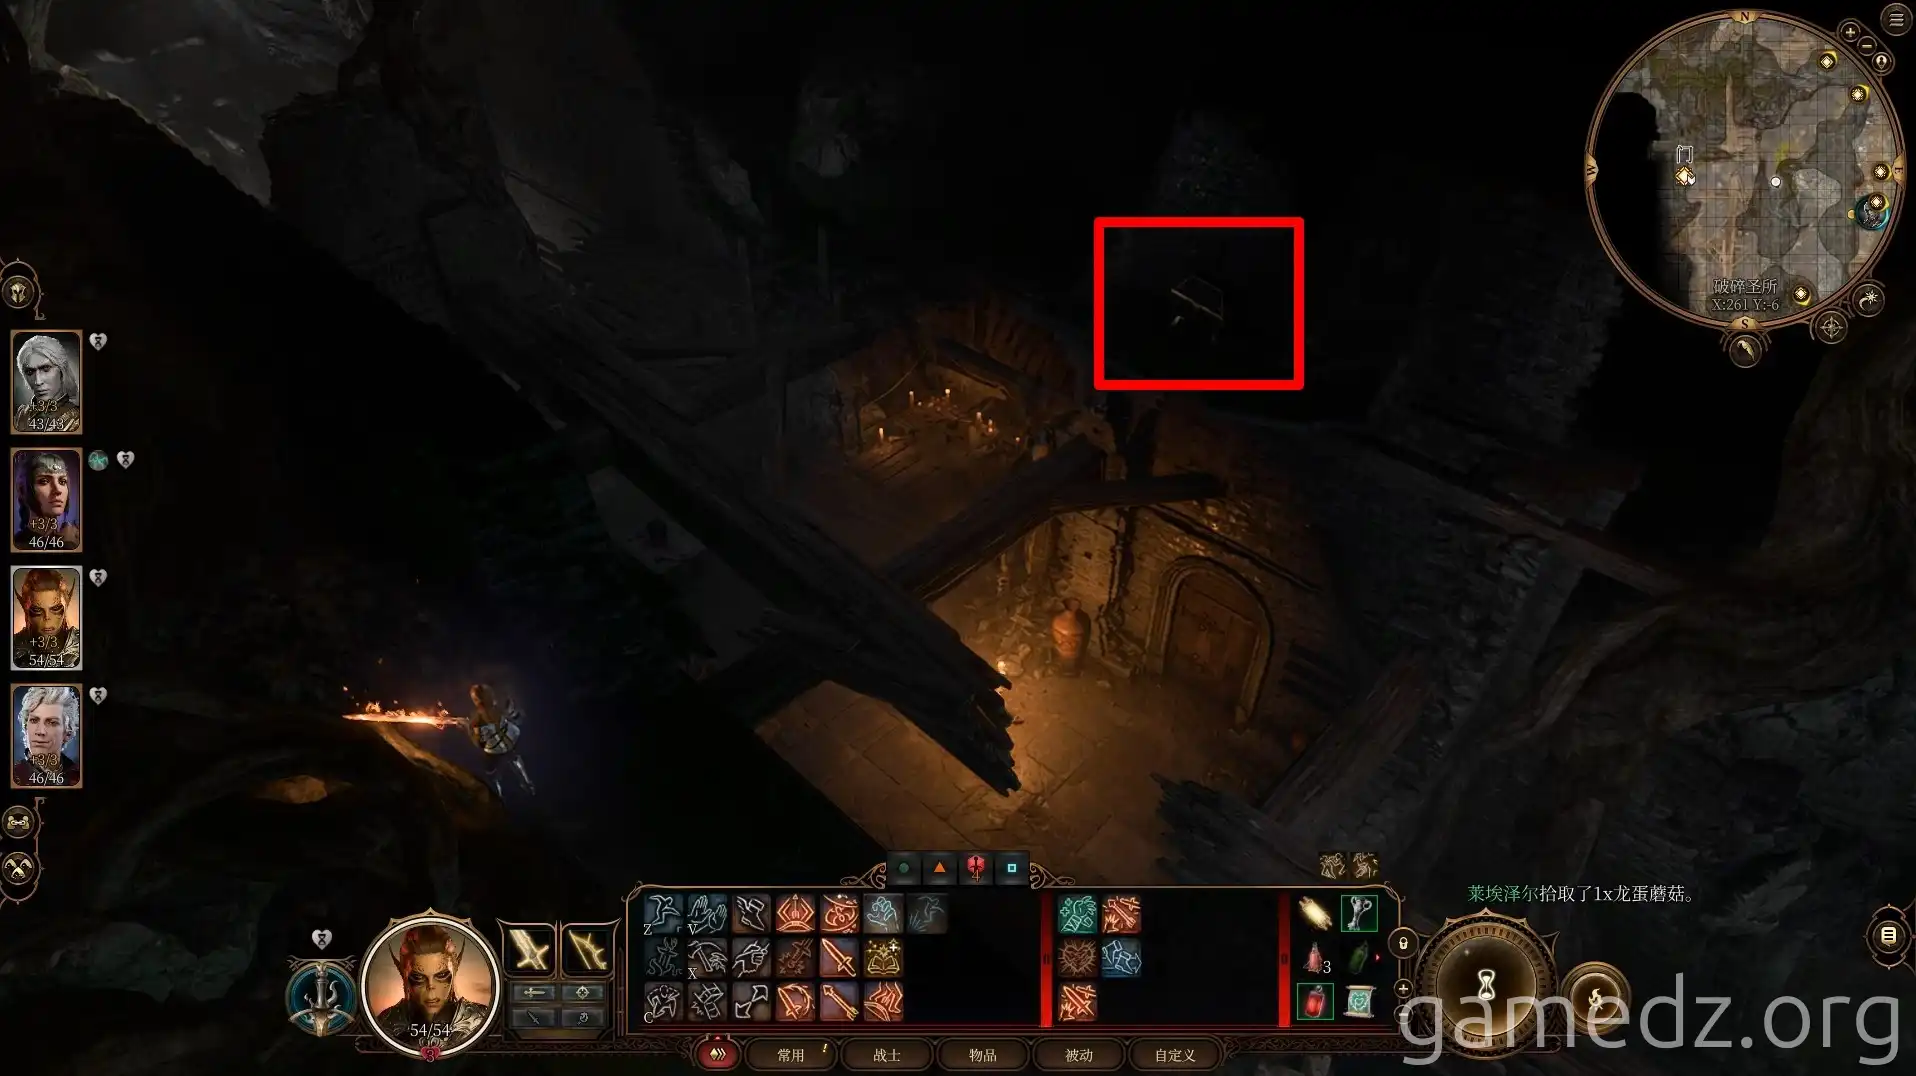
Next to the beam, there's also a Scroll of Prismatic Spray. Below and in front of it is Roah Moonglow's warehouse. You can loot it after the goblin merchant leaves.
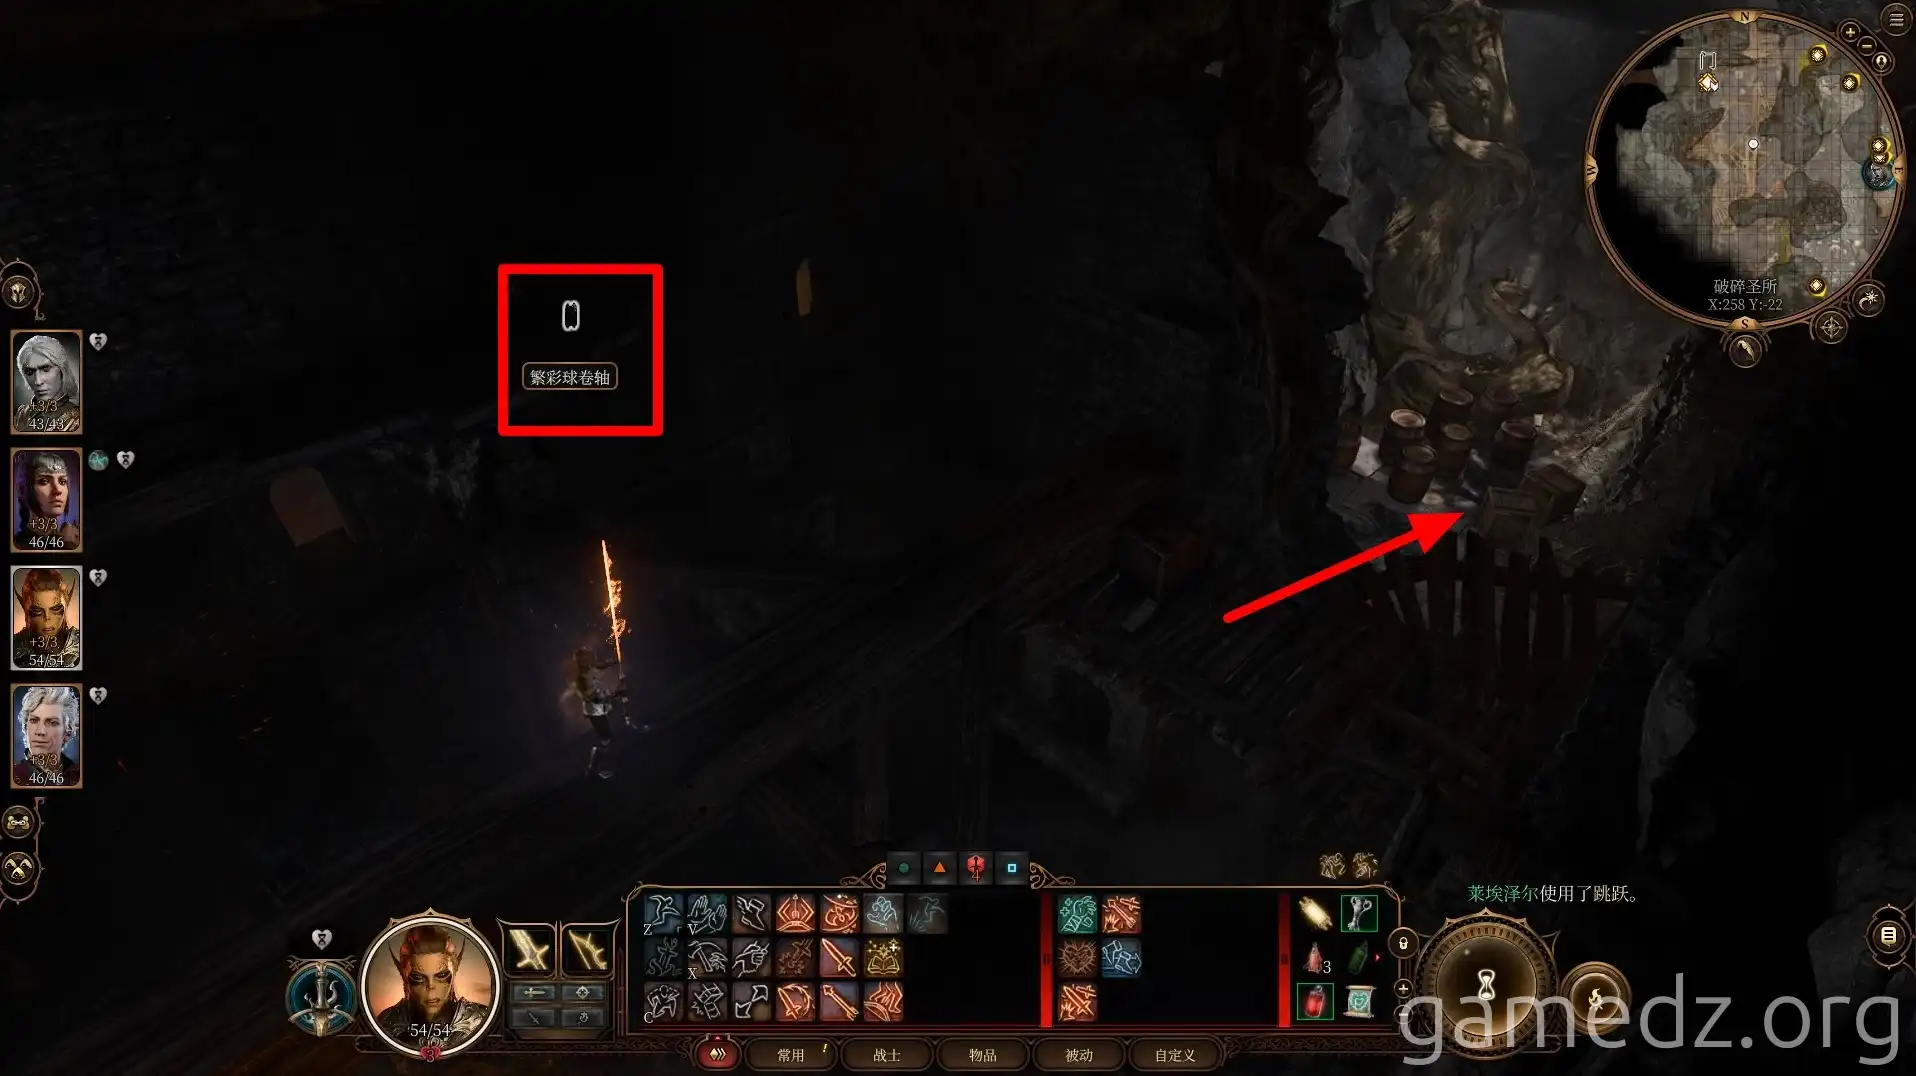
Above the warehouse, there's a hole that can only be entered in gaseous form.
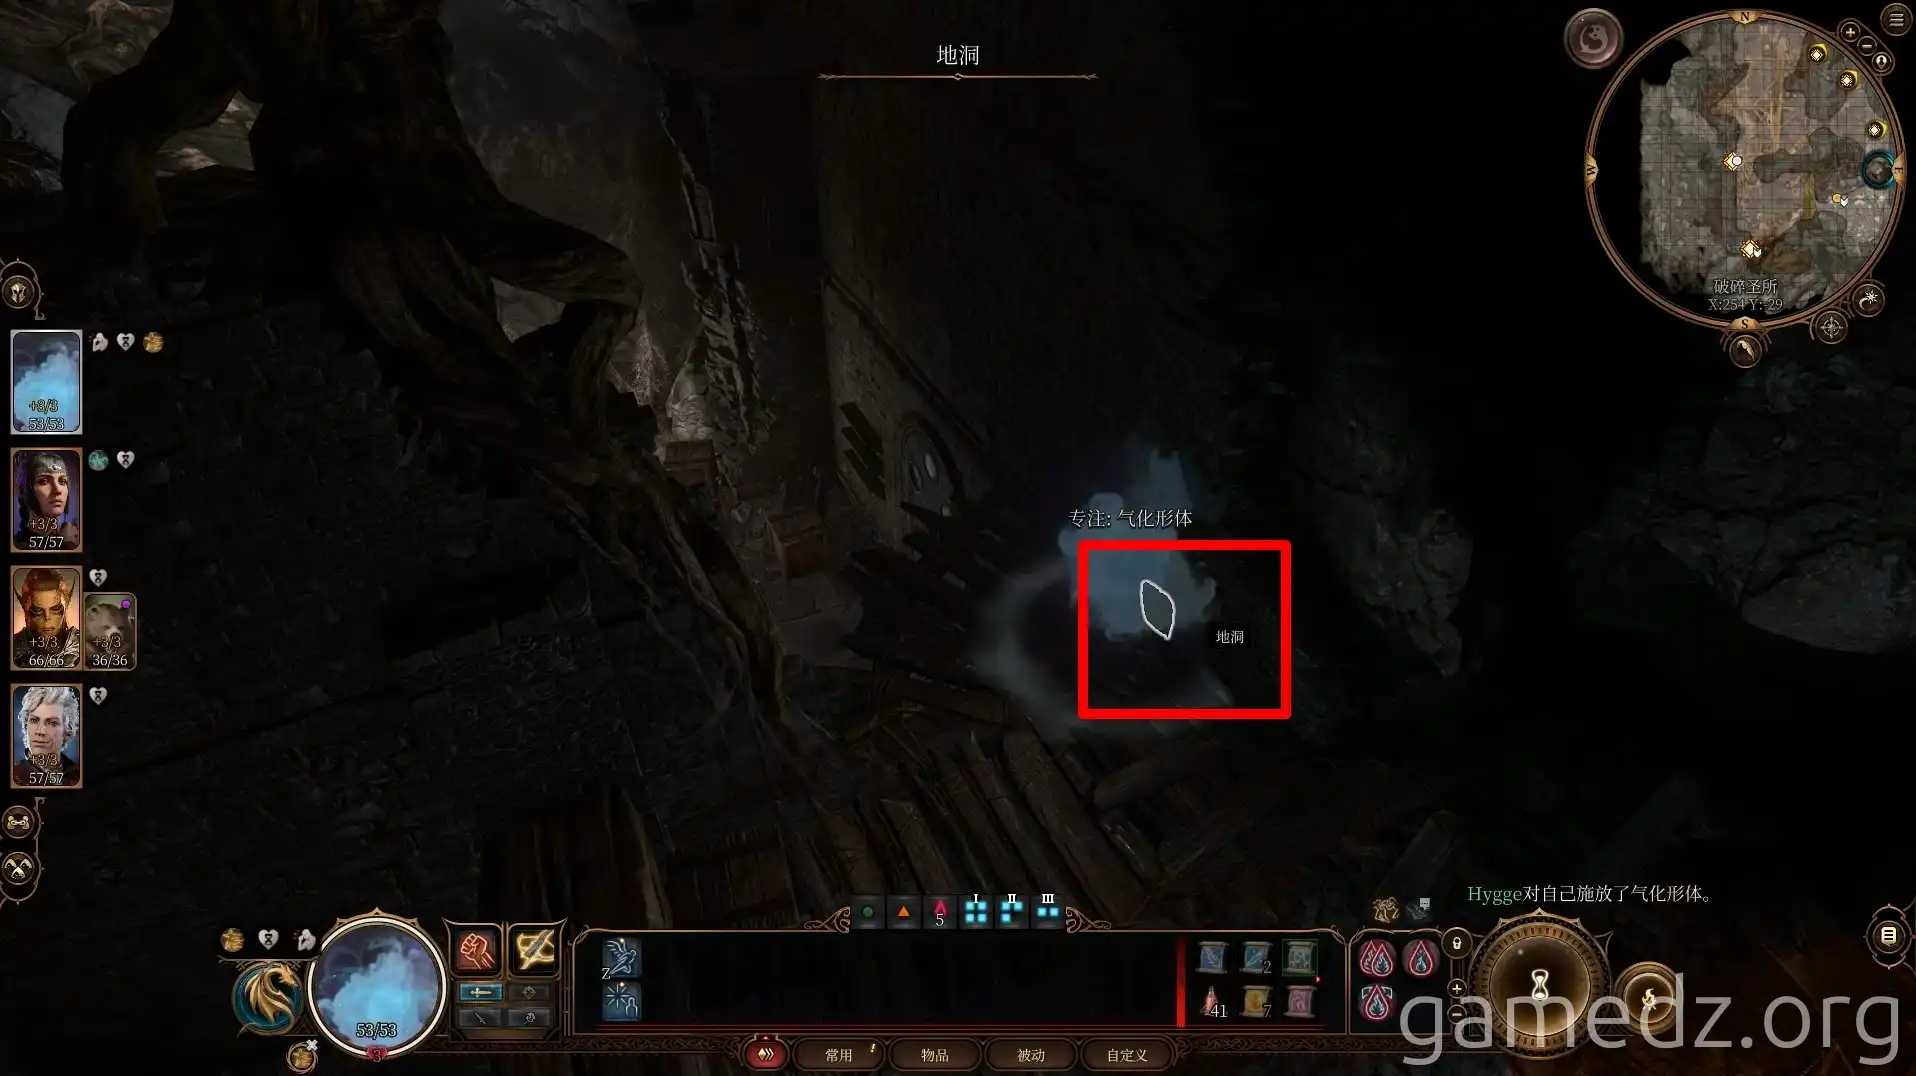
Passing through the hole will bring you to a small path in the southwest corner of the Lower City.
At the end of the path, there's a buried chest. You can also reach this spot from the Lower City. If you haven't learned the gaseous form spell, you can return later.
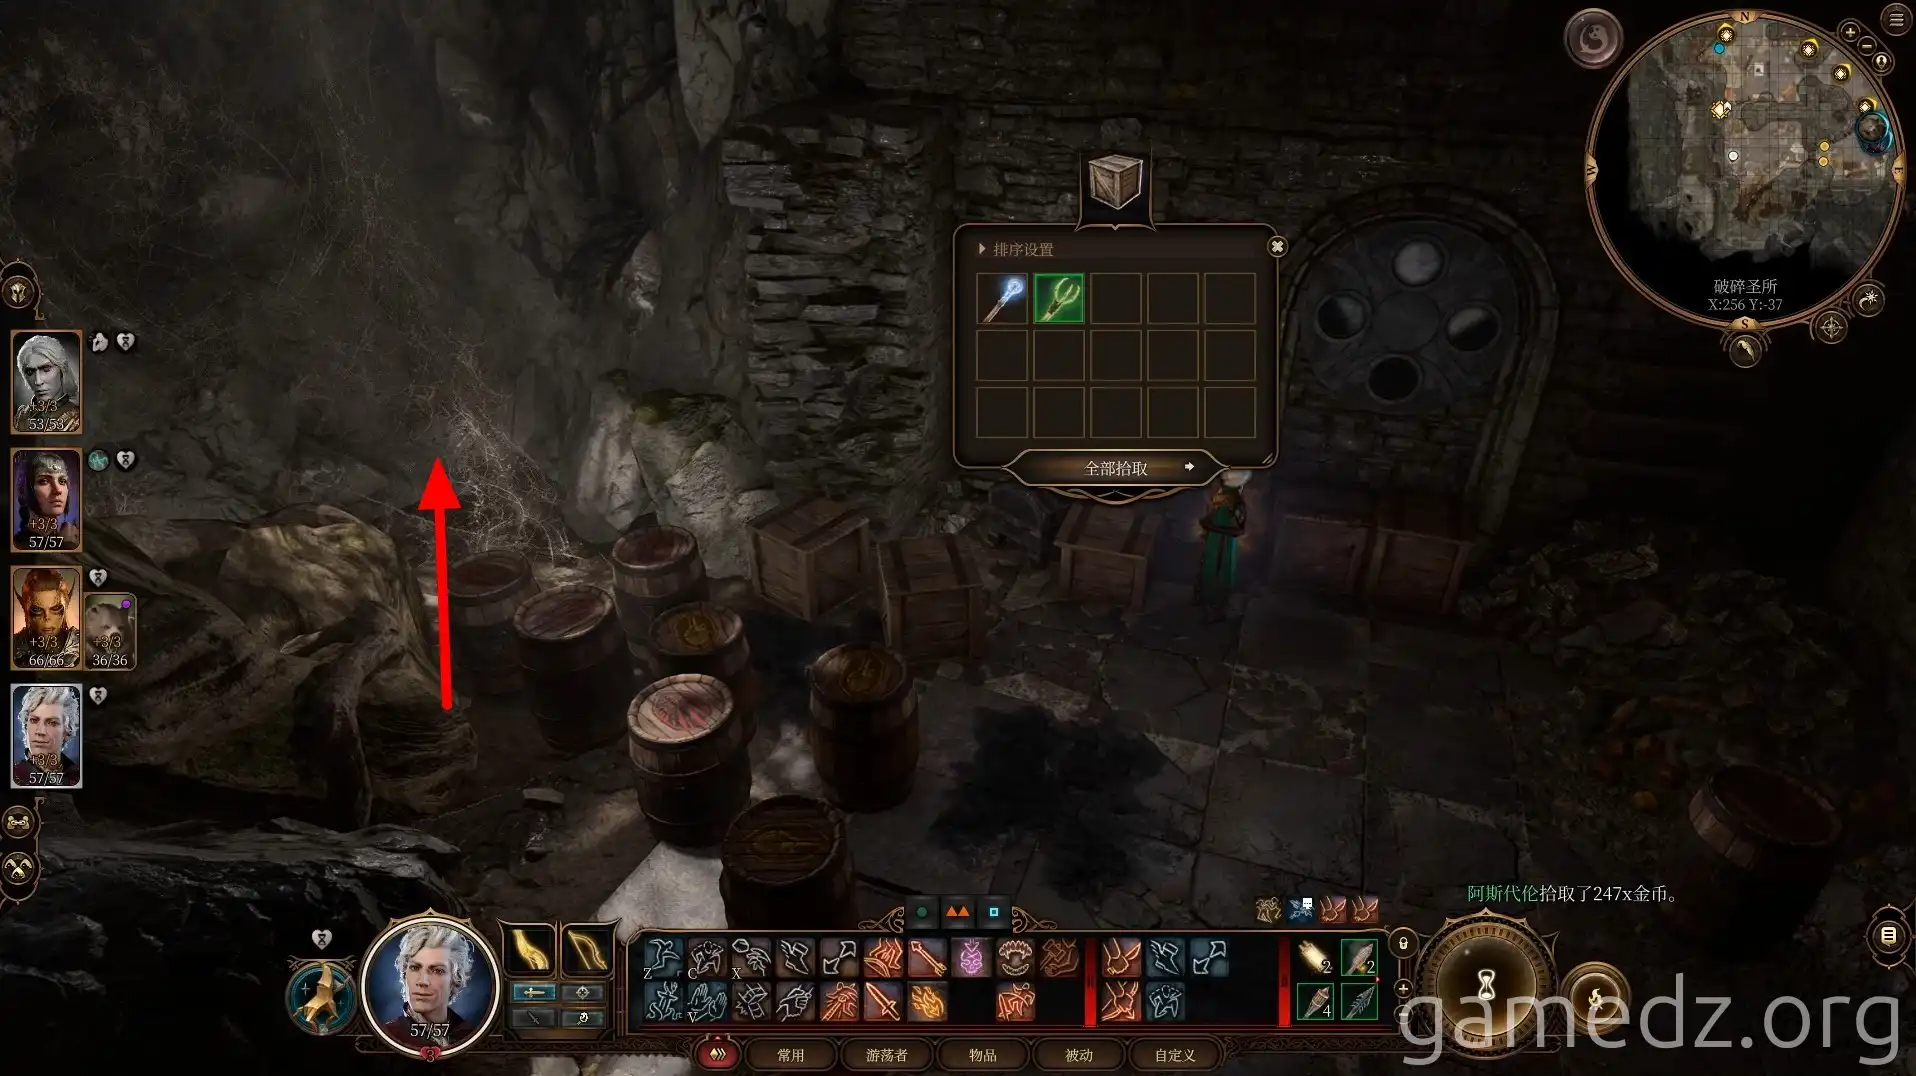
In the merchant's warehouse, you can find some supplies. In a corner, there's also a crack leading to the Desecrated Temple.
Return to where you jumped over the wall and jump back. Then, proceed up the wooden ramp directly in front of you.
On top of the wall ahead, there's a wooden chest.
Continue jumping upwards to the beam in the deepest hall of the adjacent sanctuary.
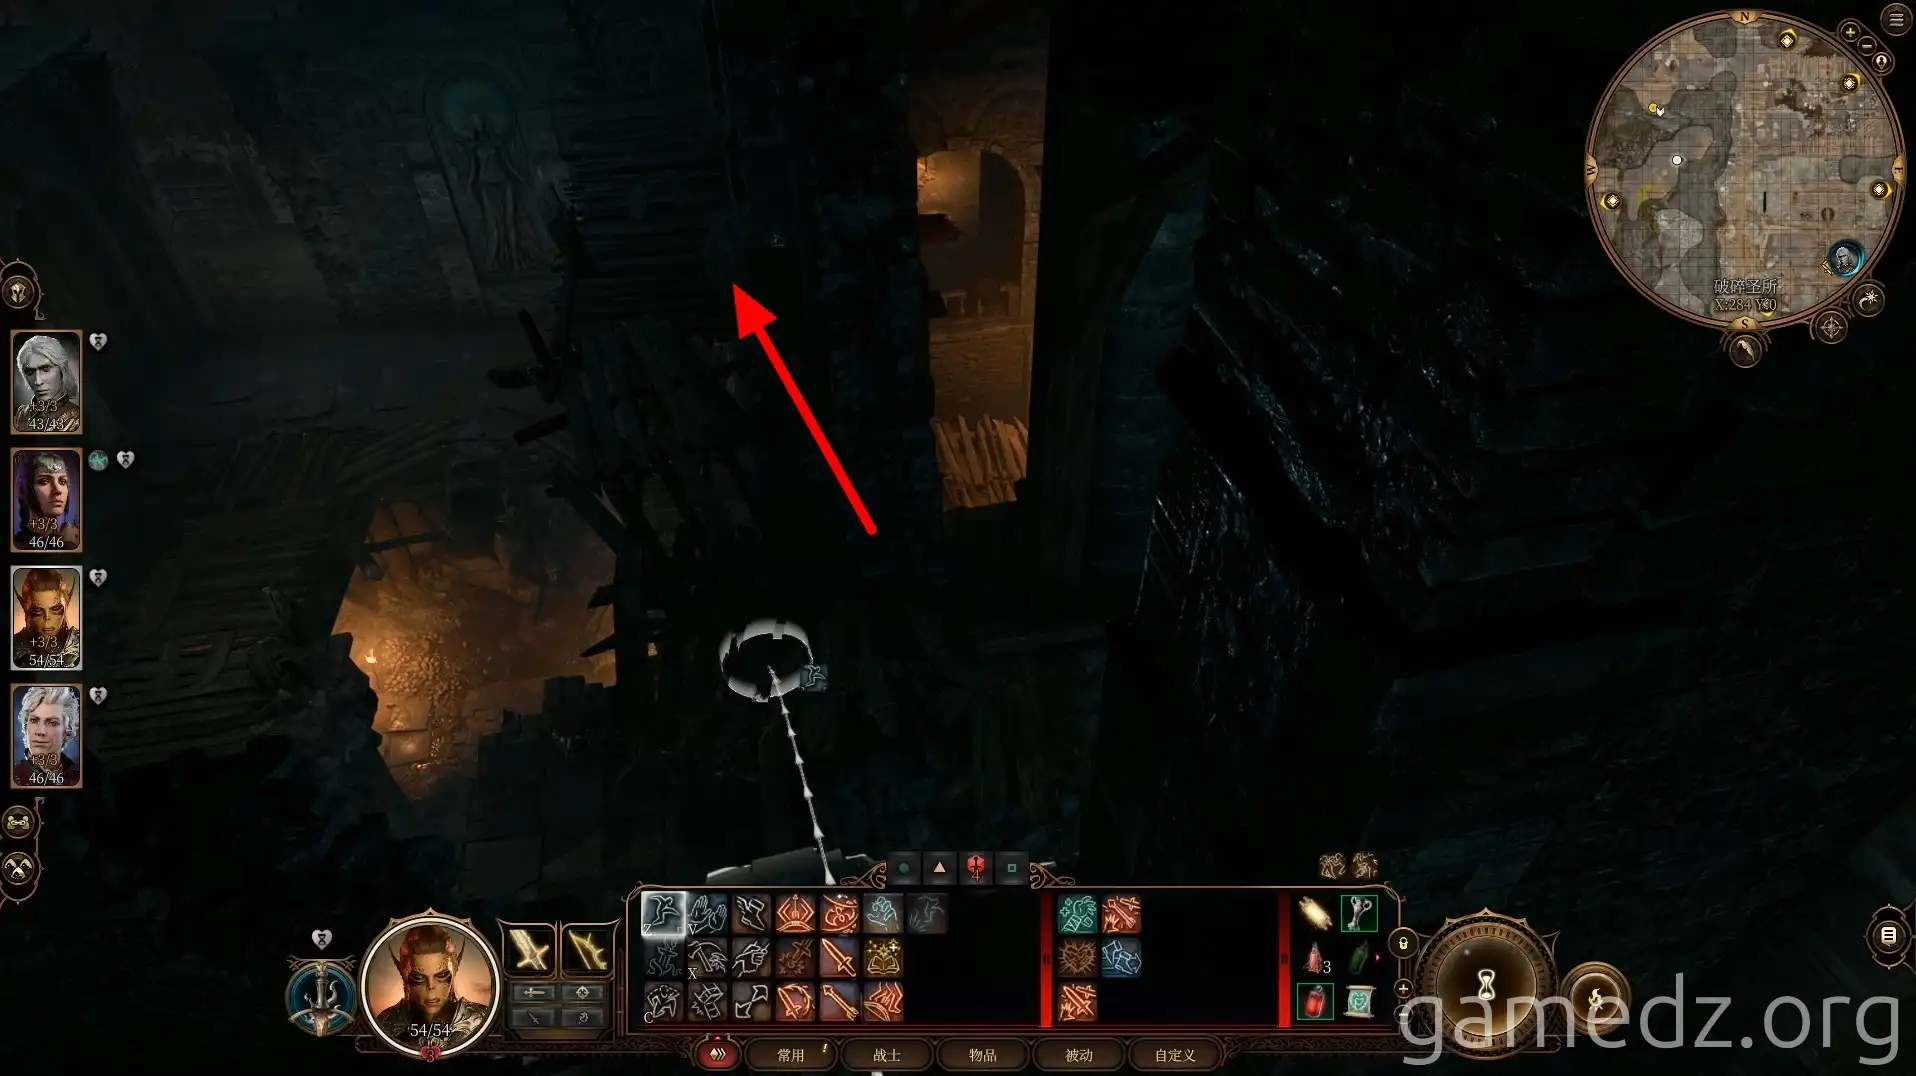
On the beam, there's a heavy chest. You can use this beam to gain a high-ground advantage when fighting the final goblin leader. With this, you've collected everything on the second floor. Now, return to the square to prepare for the full exploration of the Shattered Sanctum.

