Baldur's Gate 3 Goblin Camp Walkthrough: Loot & Secrets
This Baldur's Gate 3 walkthrough covers the Goblin Camp, detailing combat with leaders like Minthara, acquiring rare loot (Xy'tarri's Edge, Striding Boots, Drow Leather Armor), solving puzzles, and progressing the Grove storyline. It also touches on the Underdark and future quests.
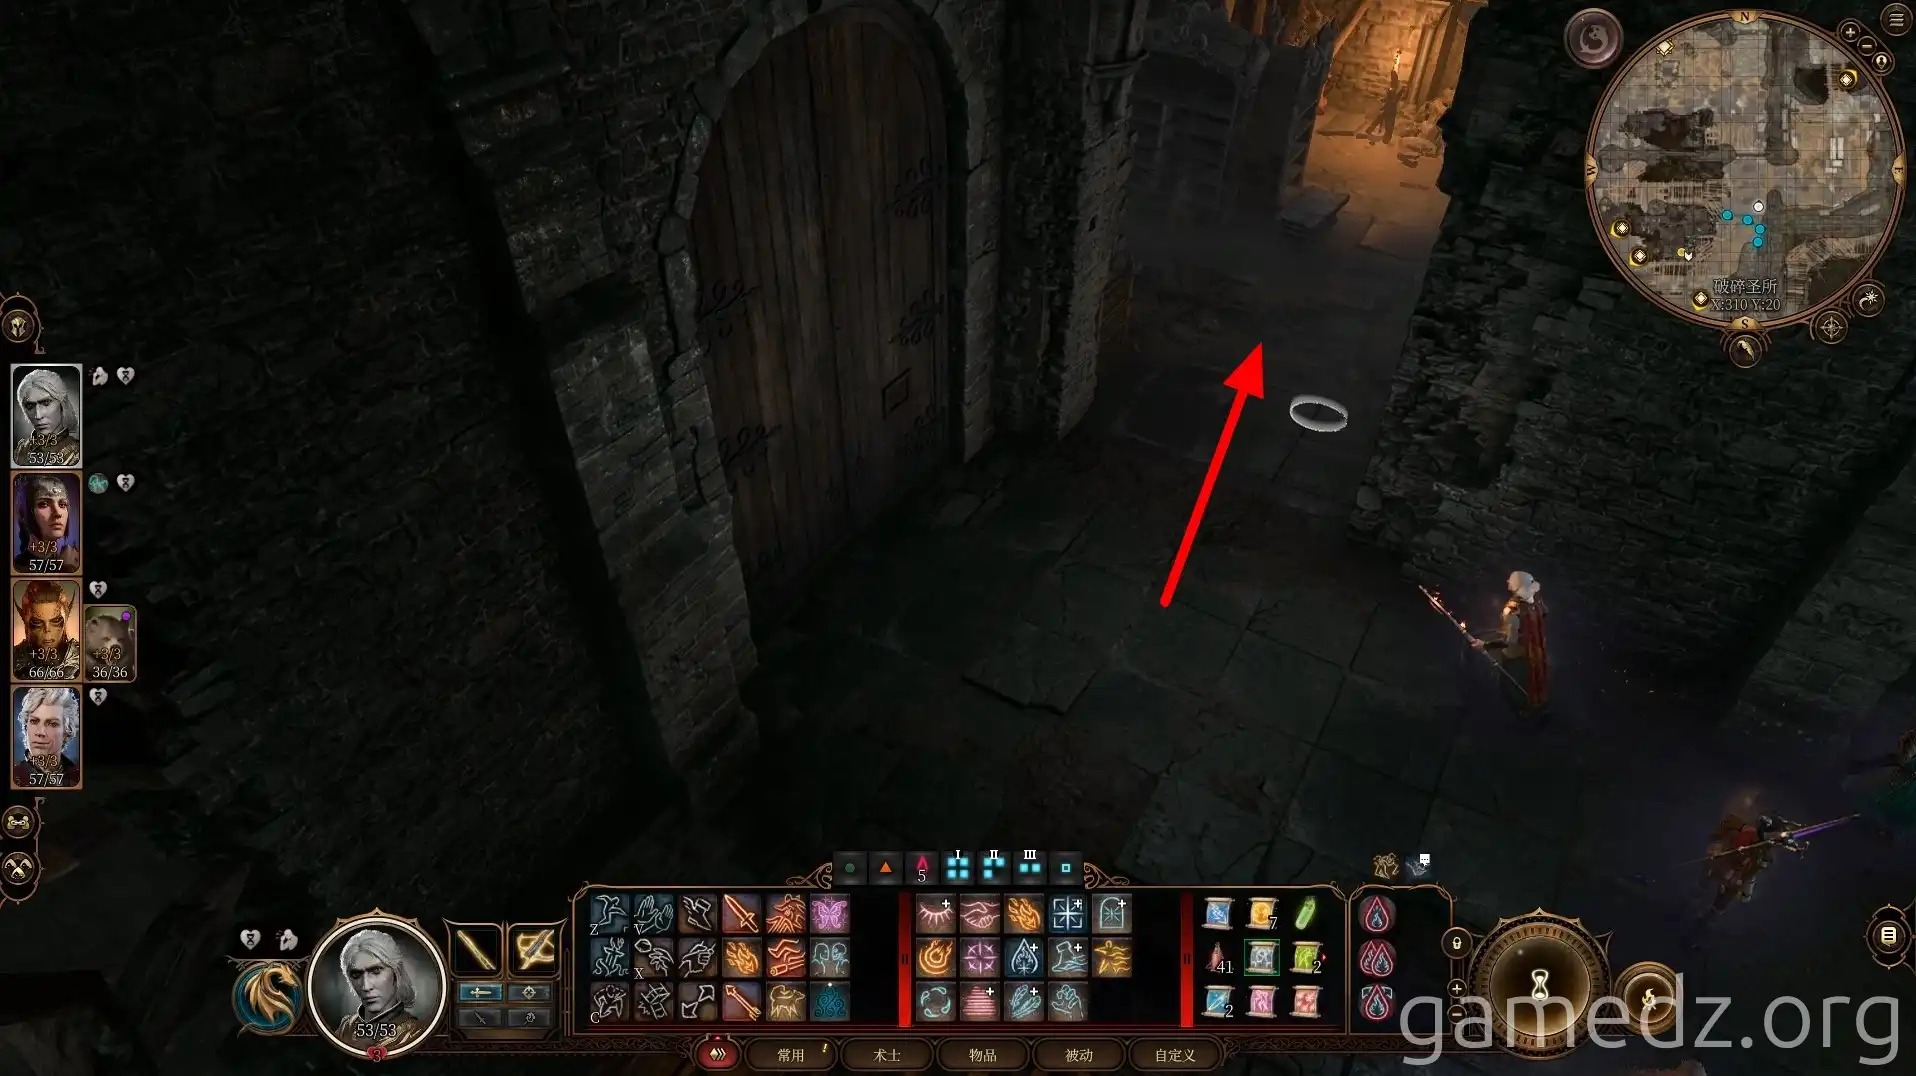
Continue to the right until you reach a locked door.
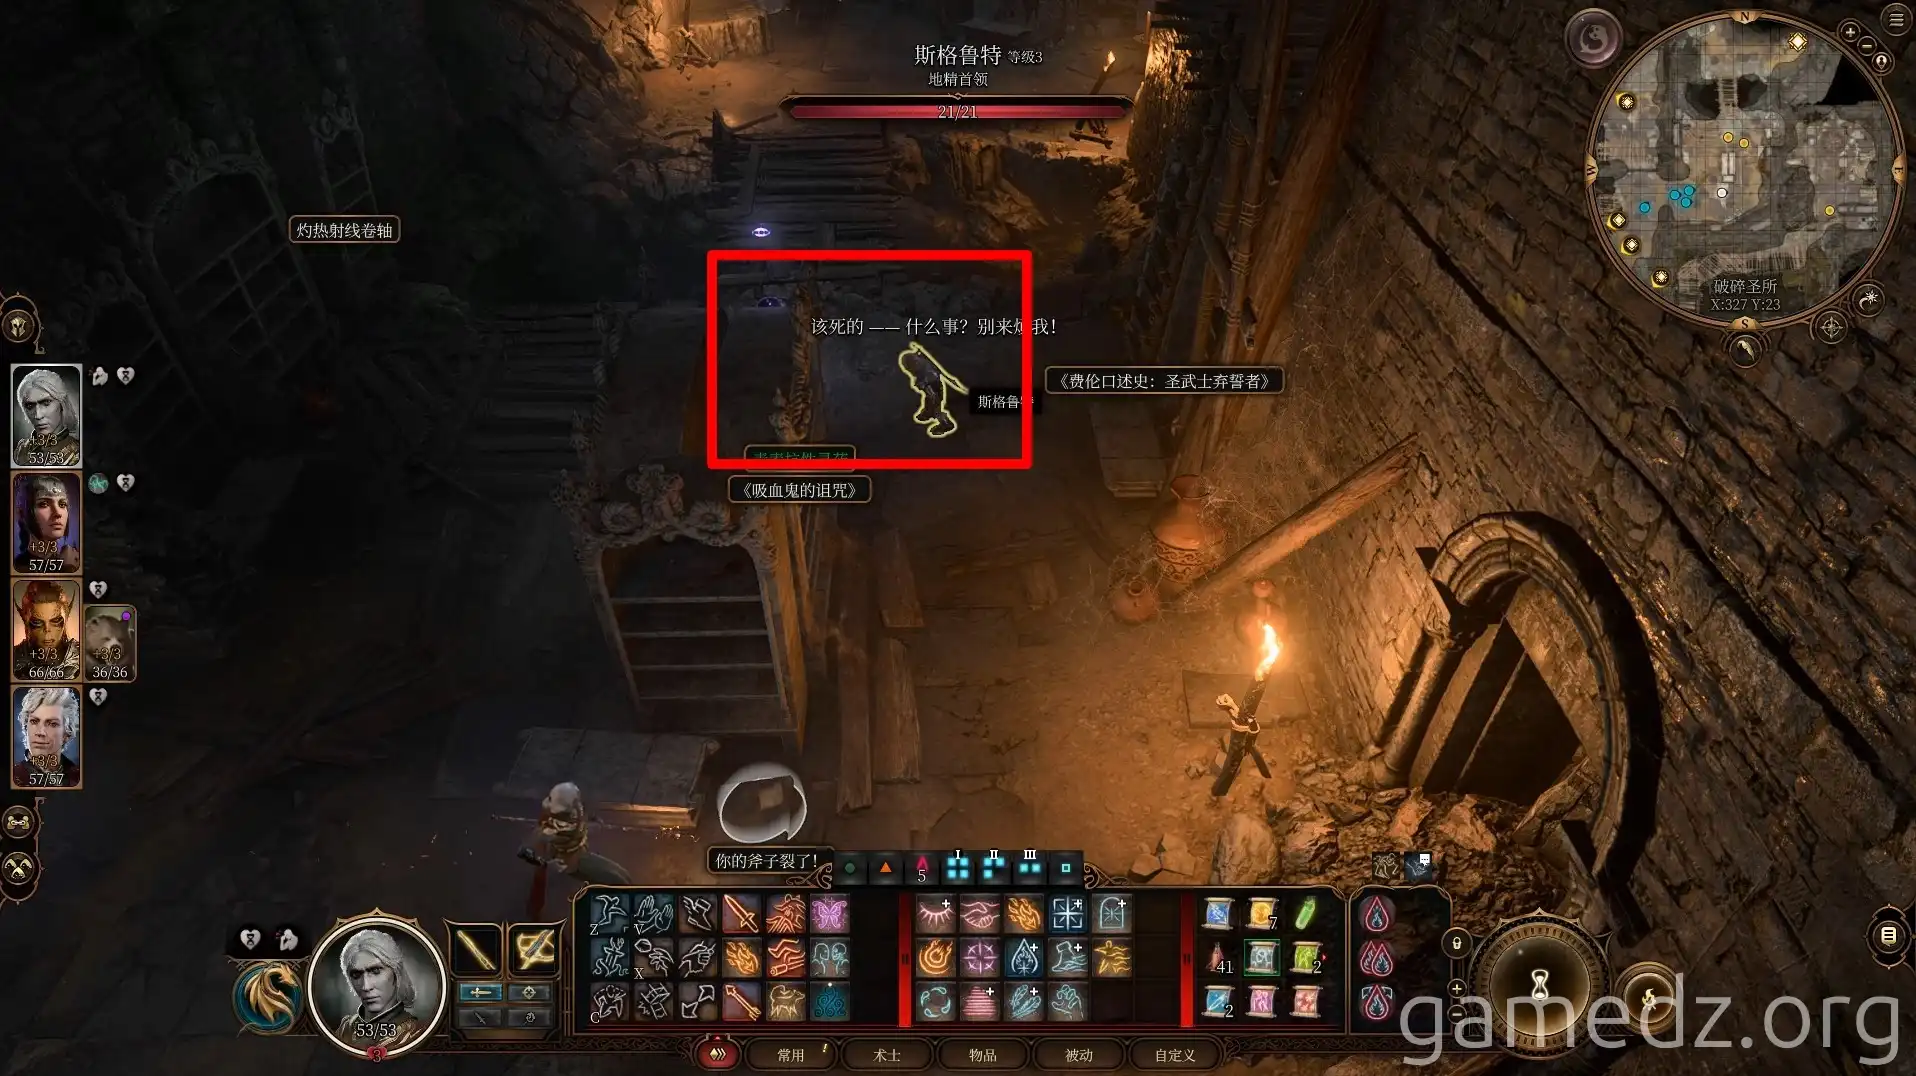
Enter the library and defeat a goblin and a magical creature called an Intellect Devourer.
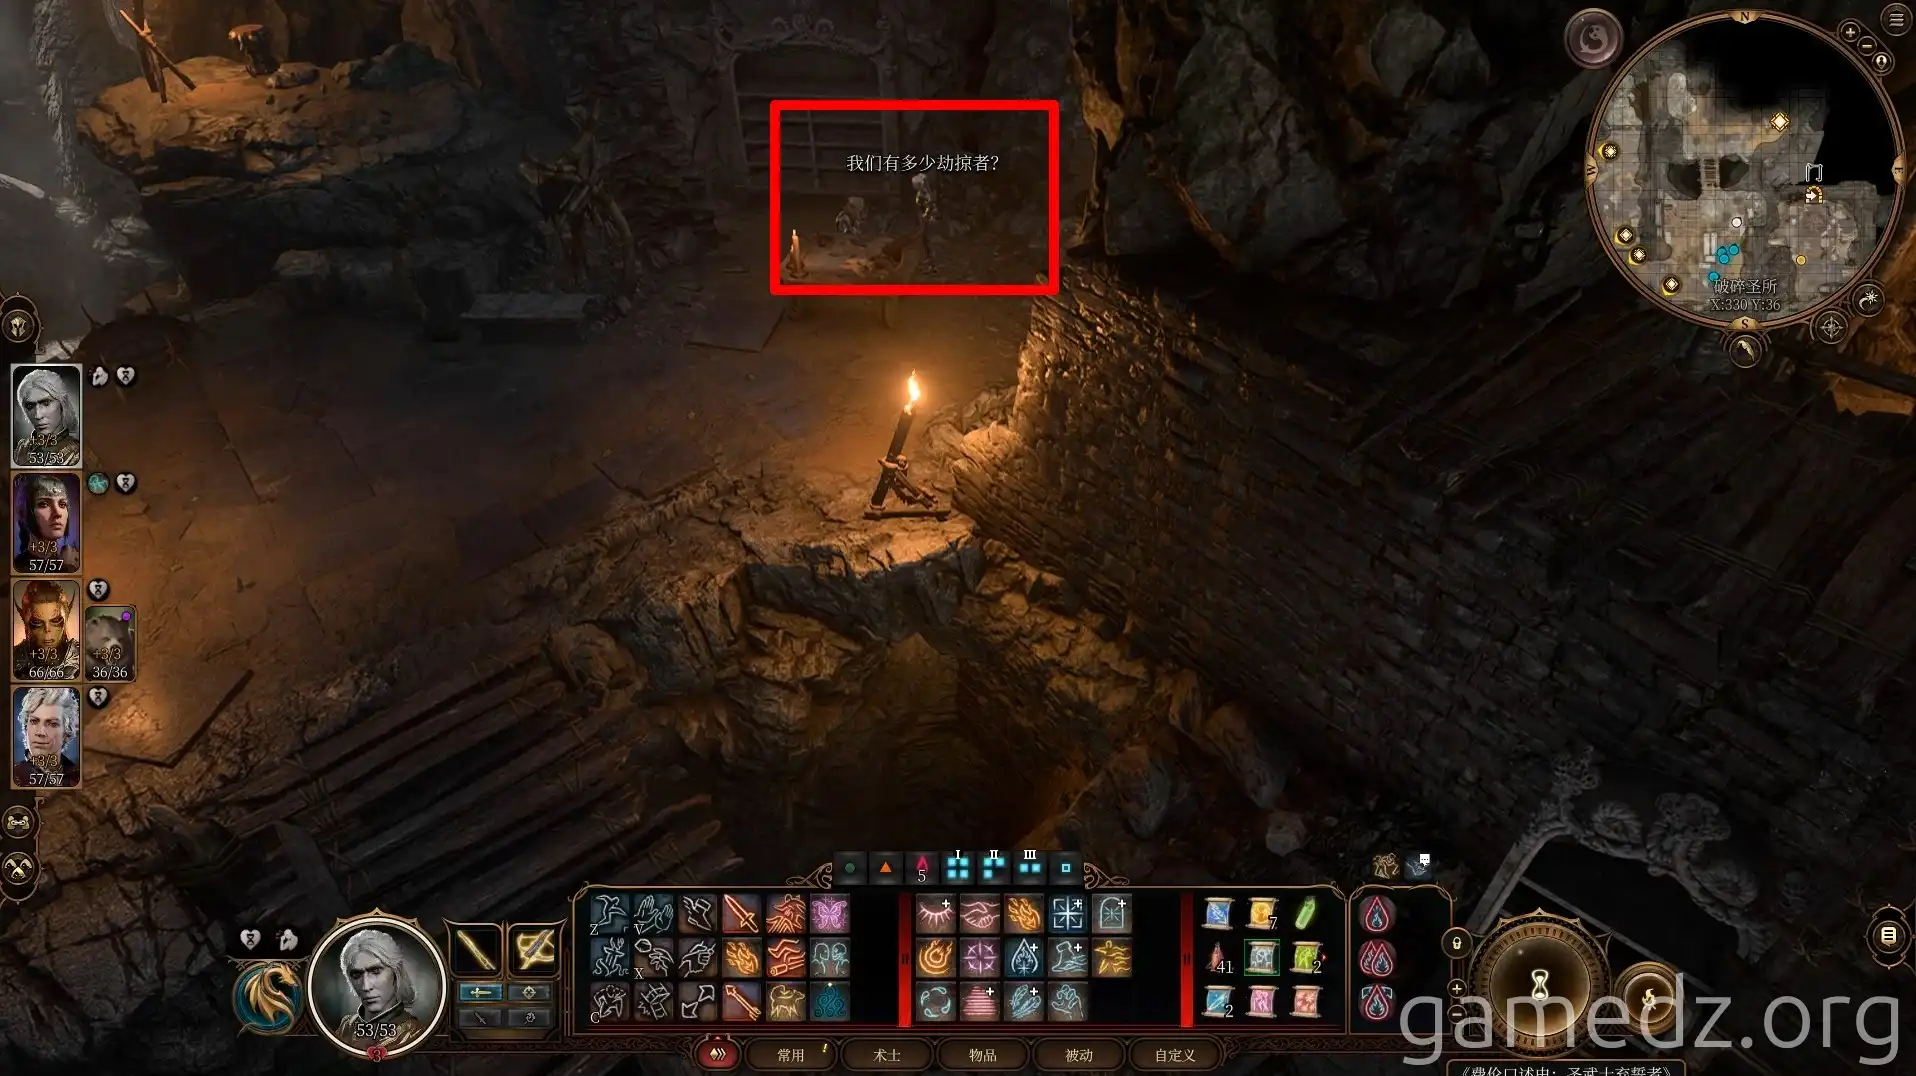
Proceeding further, you'll find Minthara, the second goblin leader. In the goblin storyline, Minthara is a character you can recruit to your party.
There seems to be a method to recruit Minthara through the Druid Grove questline as well. However, due to the extensive nature of that quest and concerns about unpredictable impacts on later story events, I've chosen to defeat Minthara directly here. Interested players can research and try this alternative method themselves.
After defeating Minthara, you'll obtain the Rare weapon Xy'tarri's Edge, the Uncommon armor Striding Boots, and the Rare armor Drow Leather Armor, along with a Mind Flayer Tadpole and various other items.
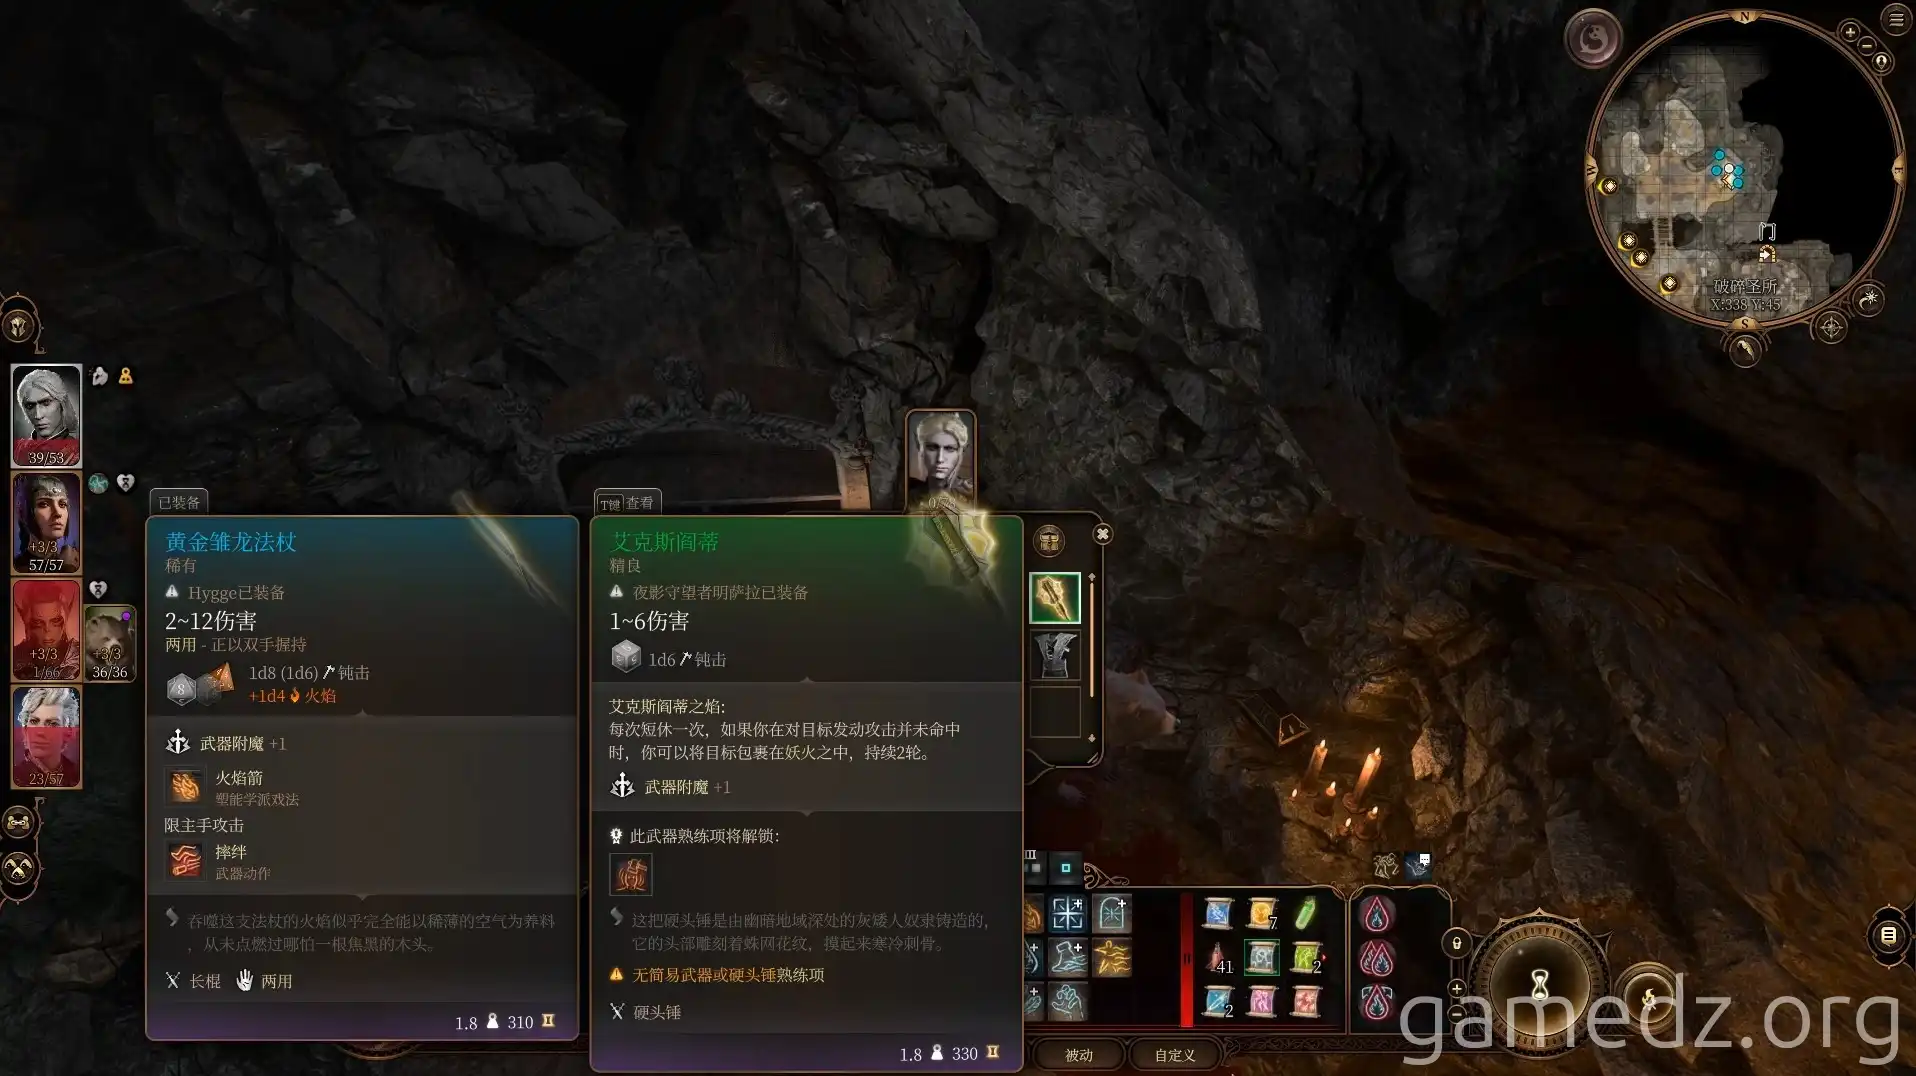
Here are the stats for the Striding Boots.
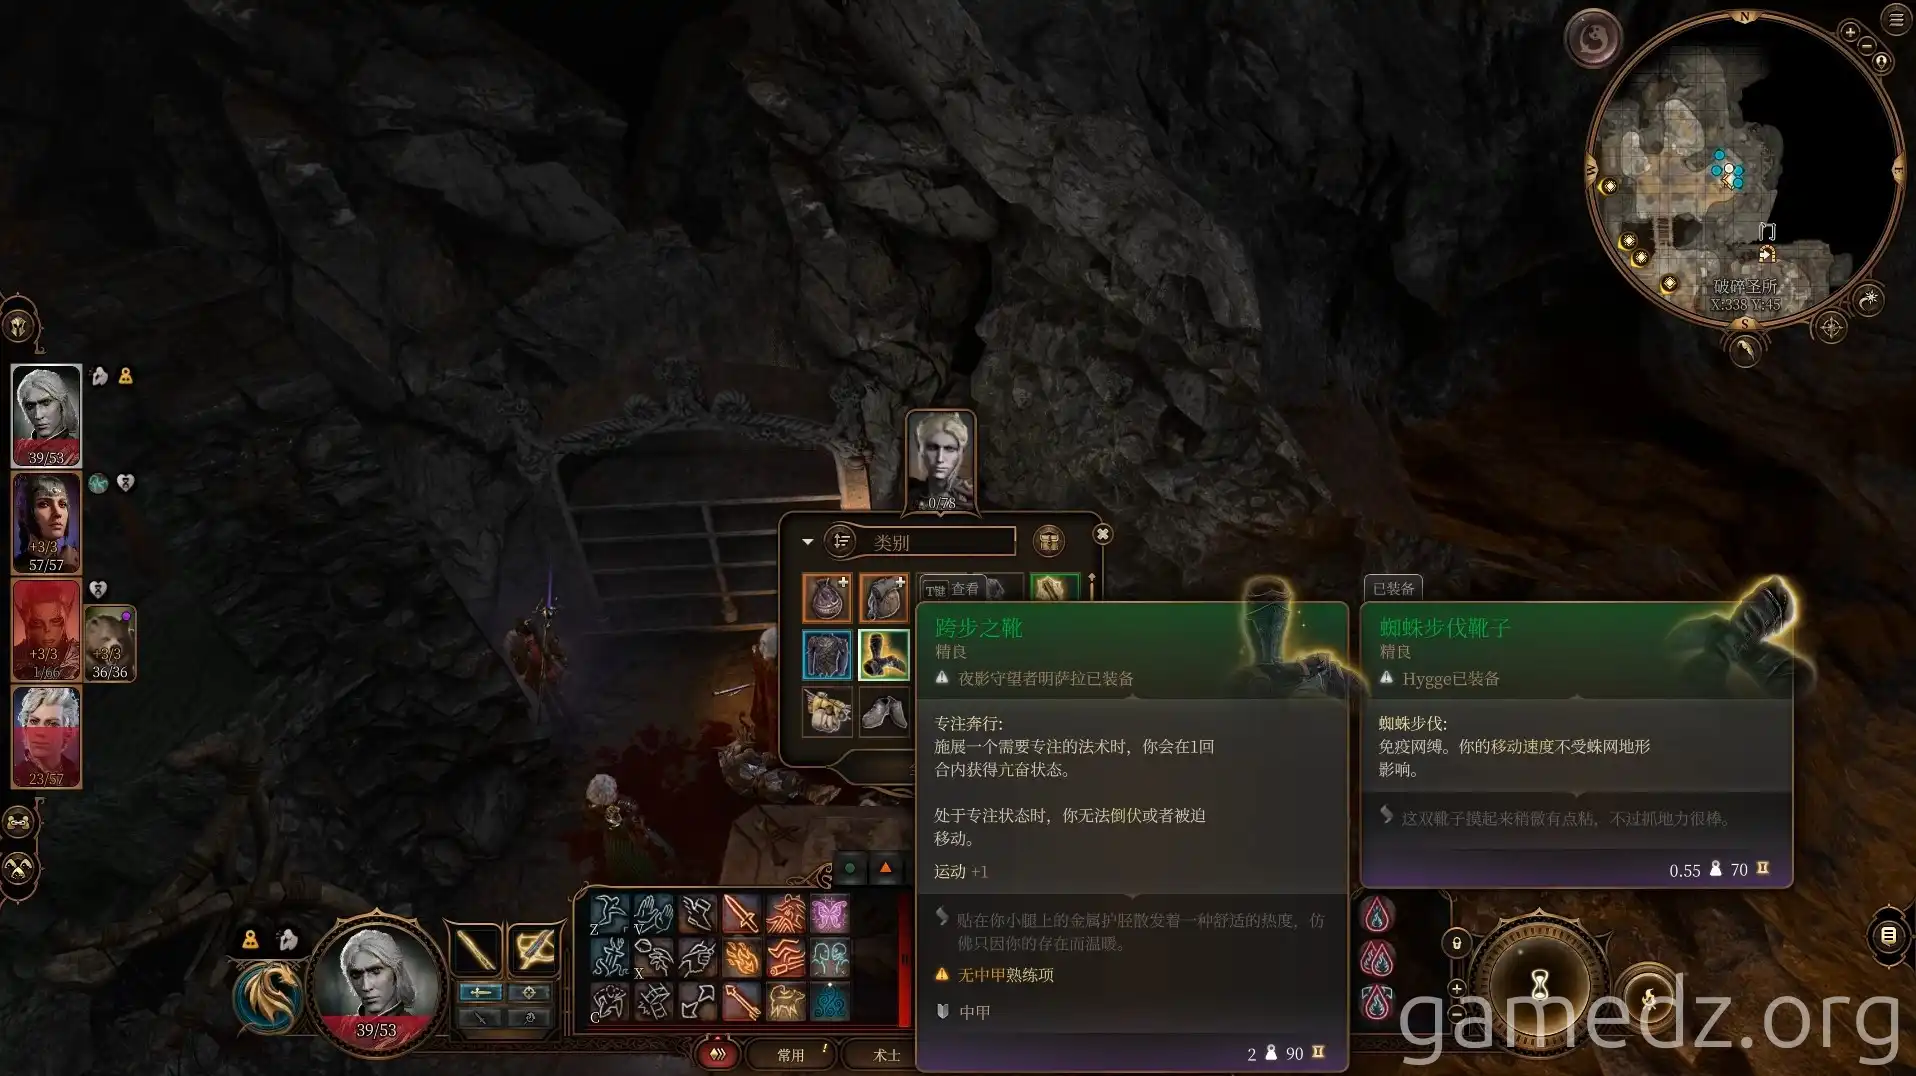
Here are the stats for the Drow Leather Armor.
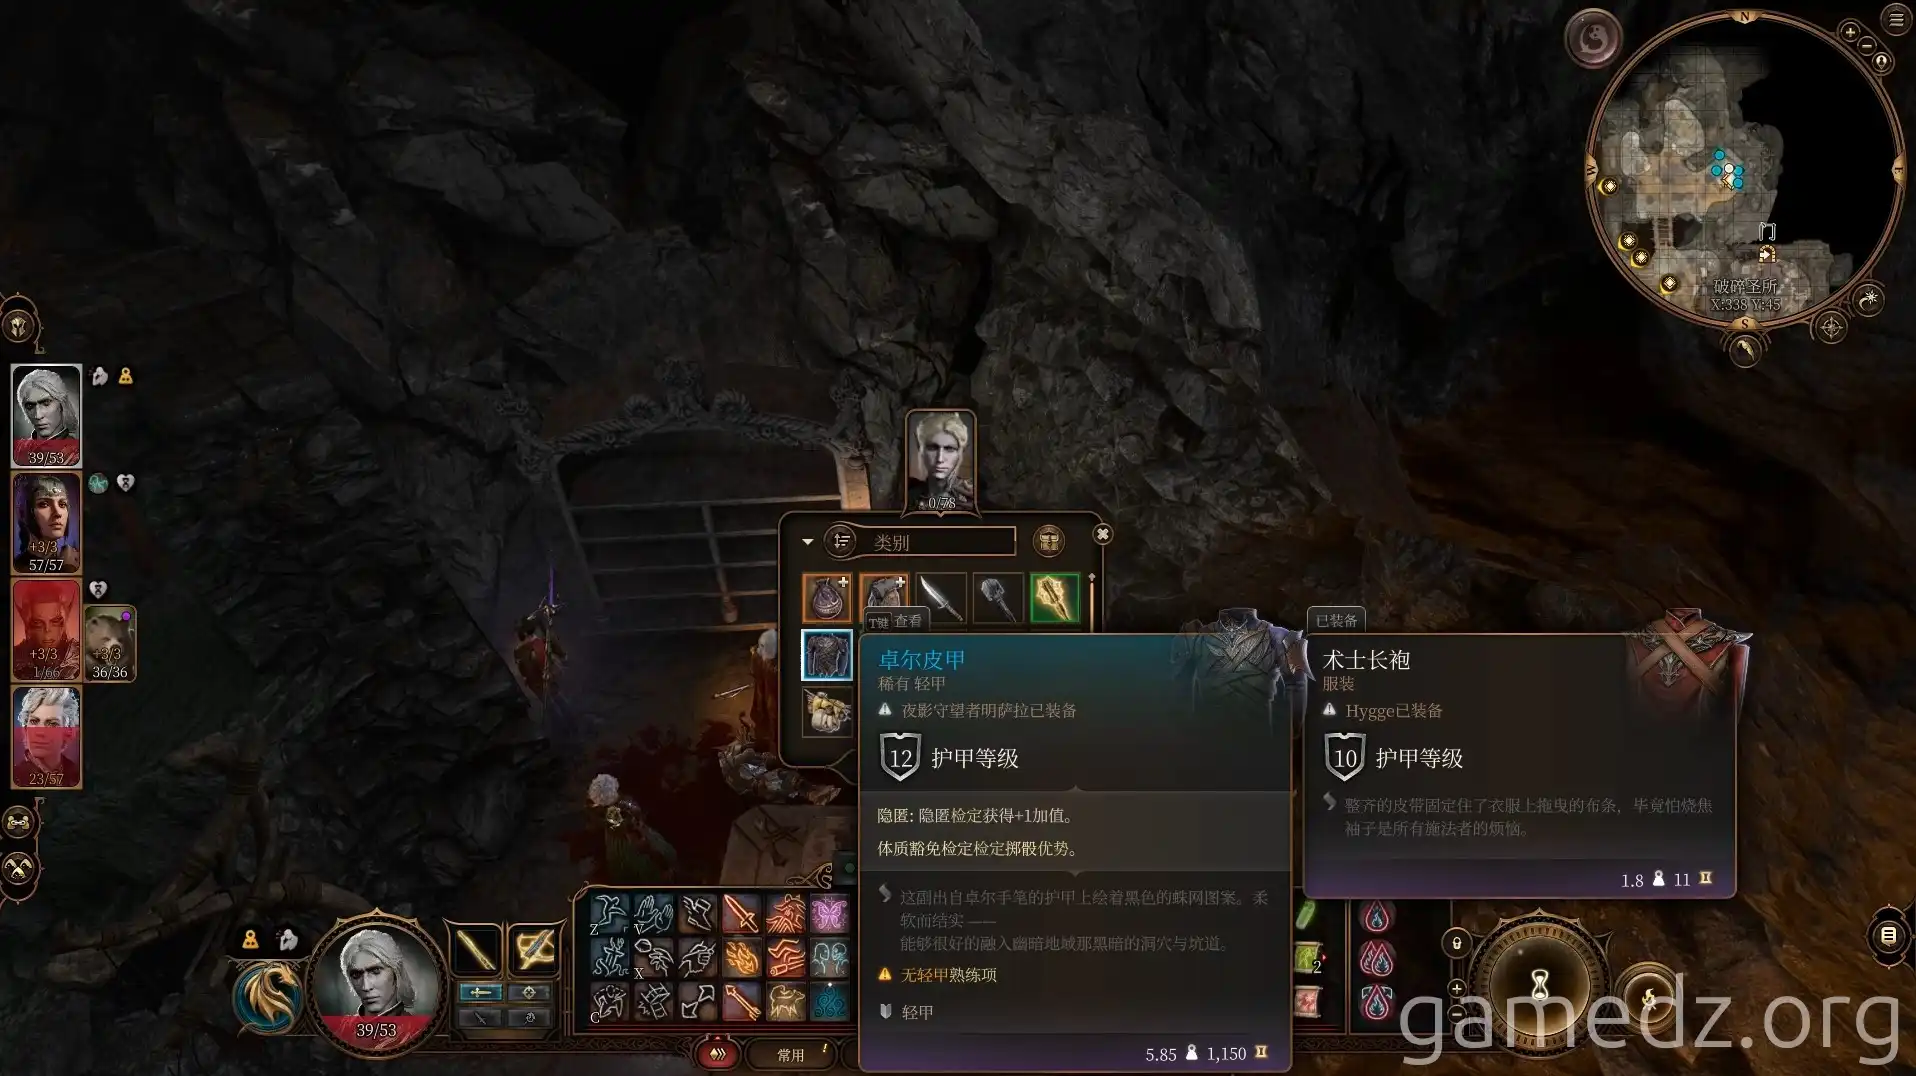
In the gilded chest next to Minthara, you can find the Rare armor Sparkling Sparkles.
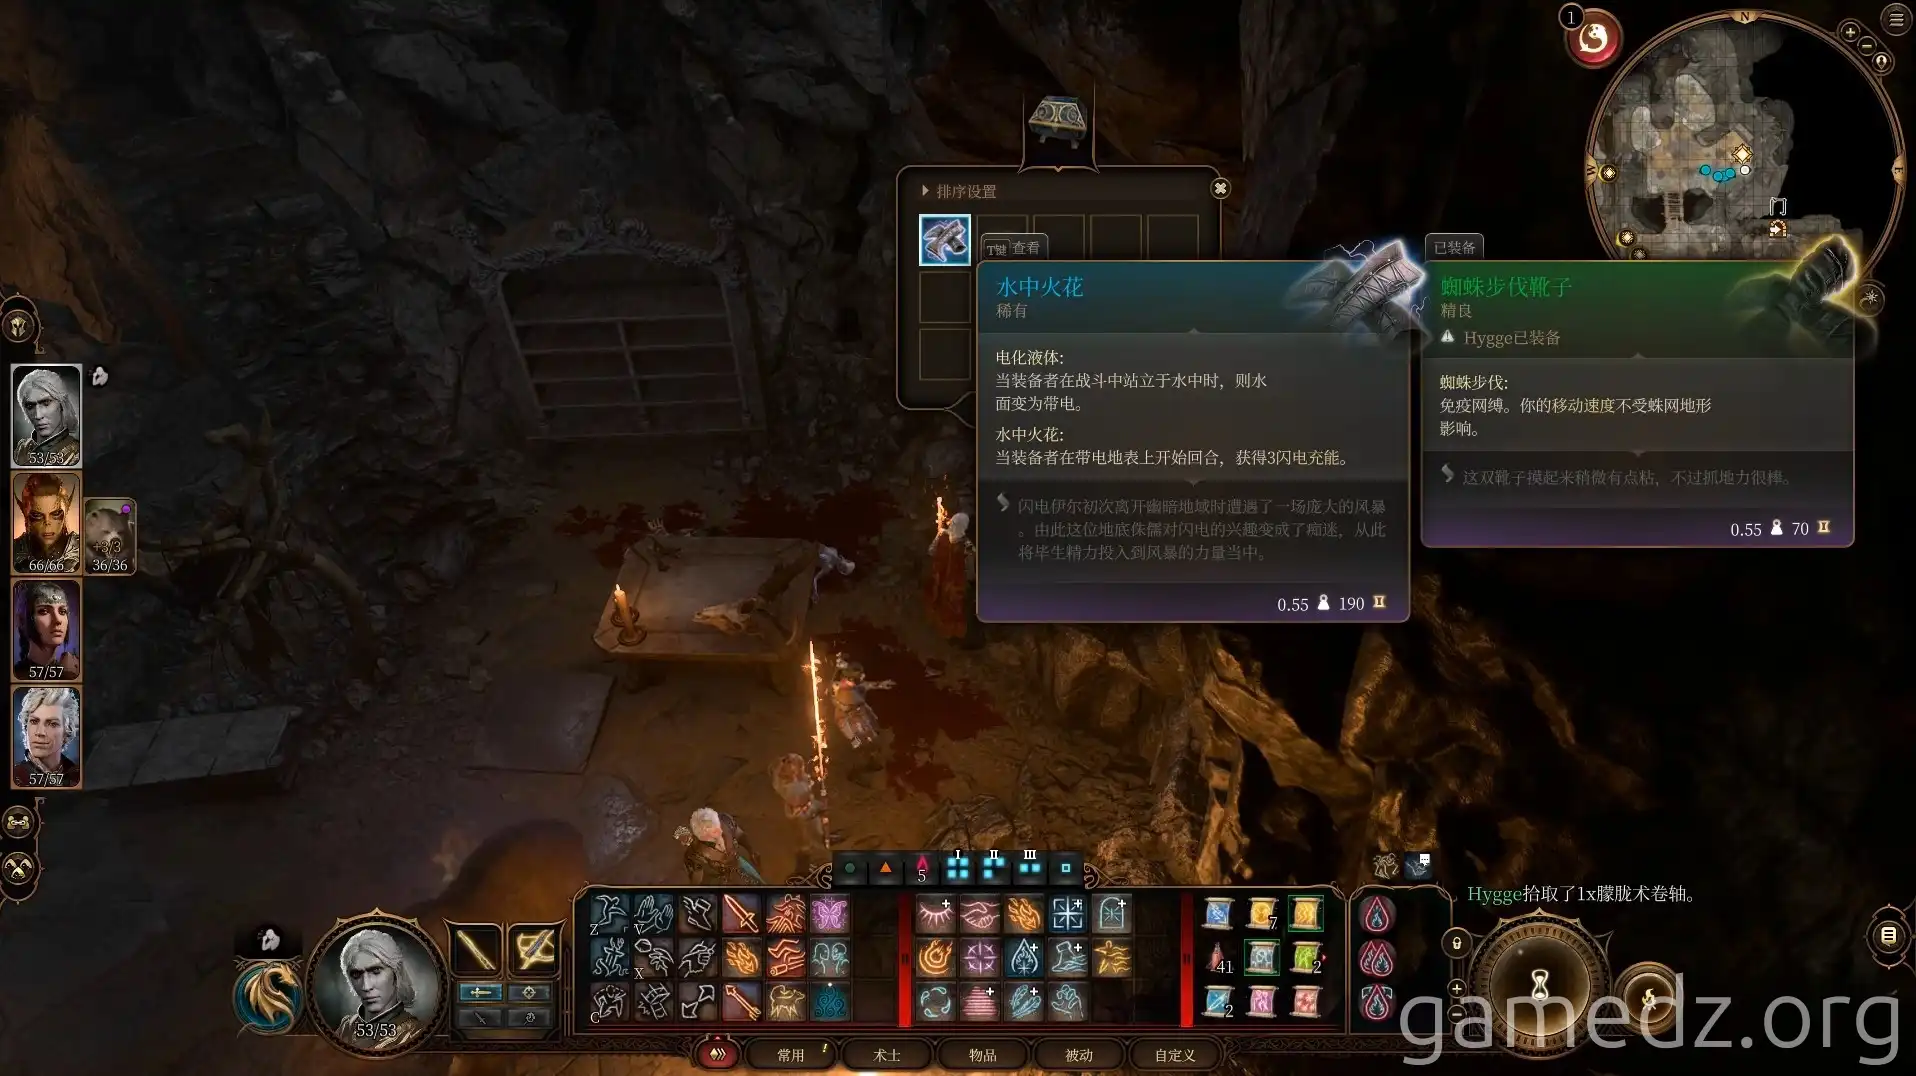
Return to the upper level of the spider tunnels and head left.
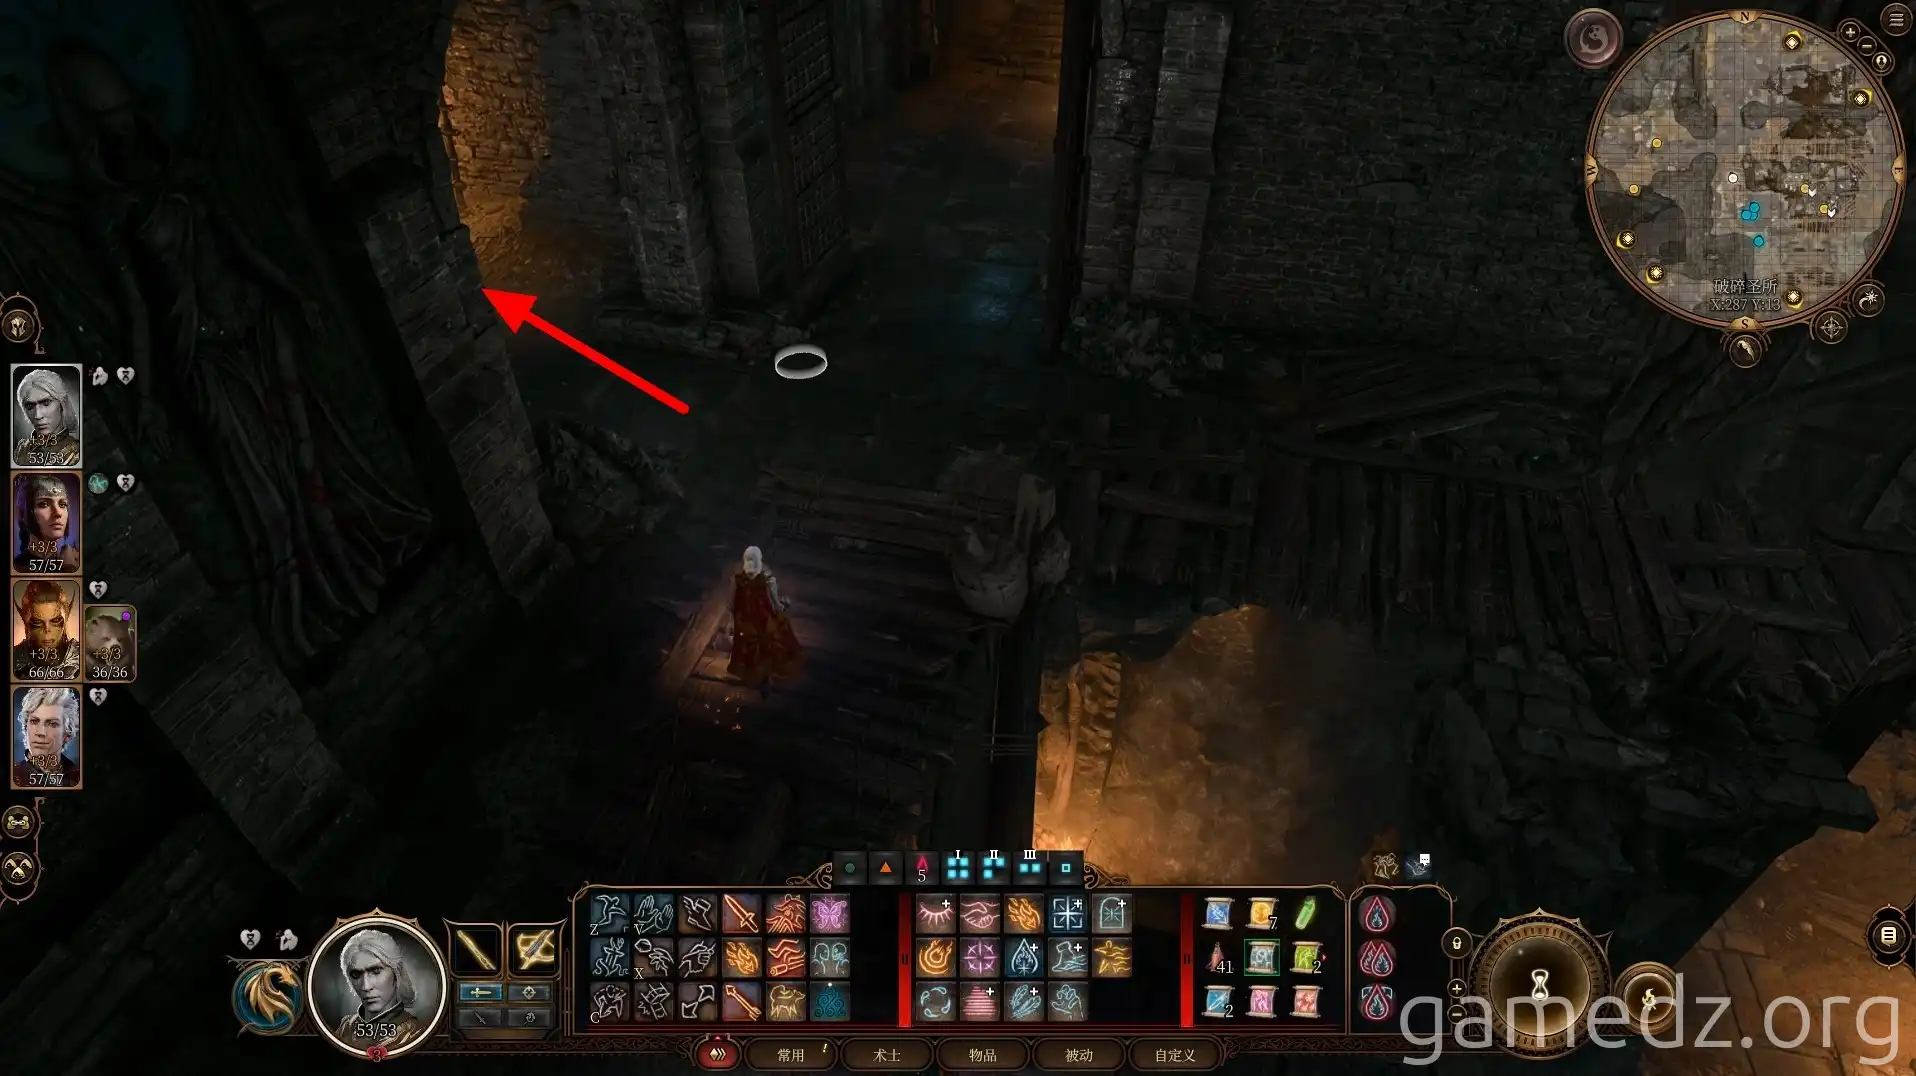
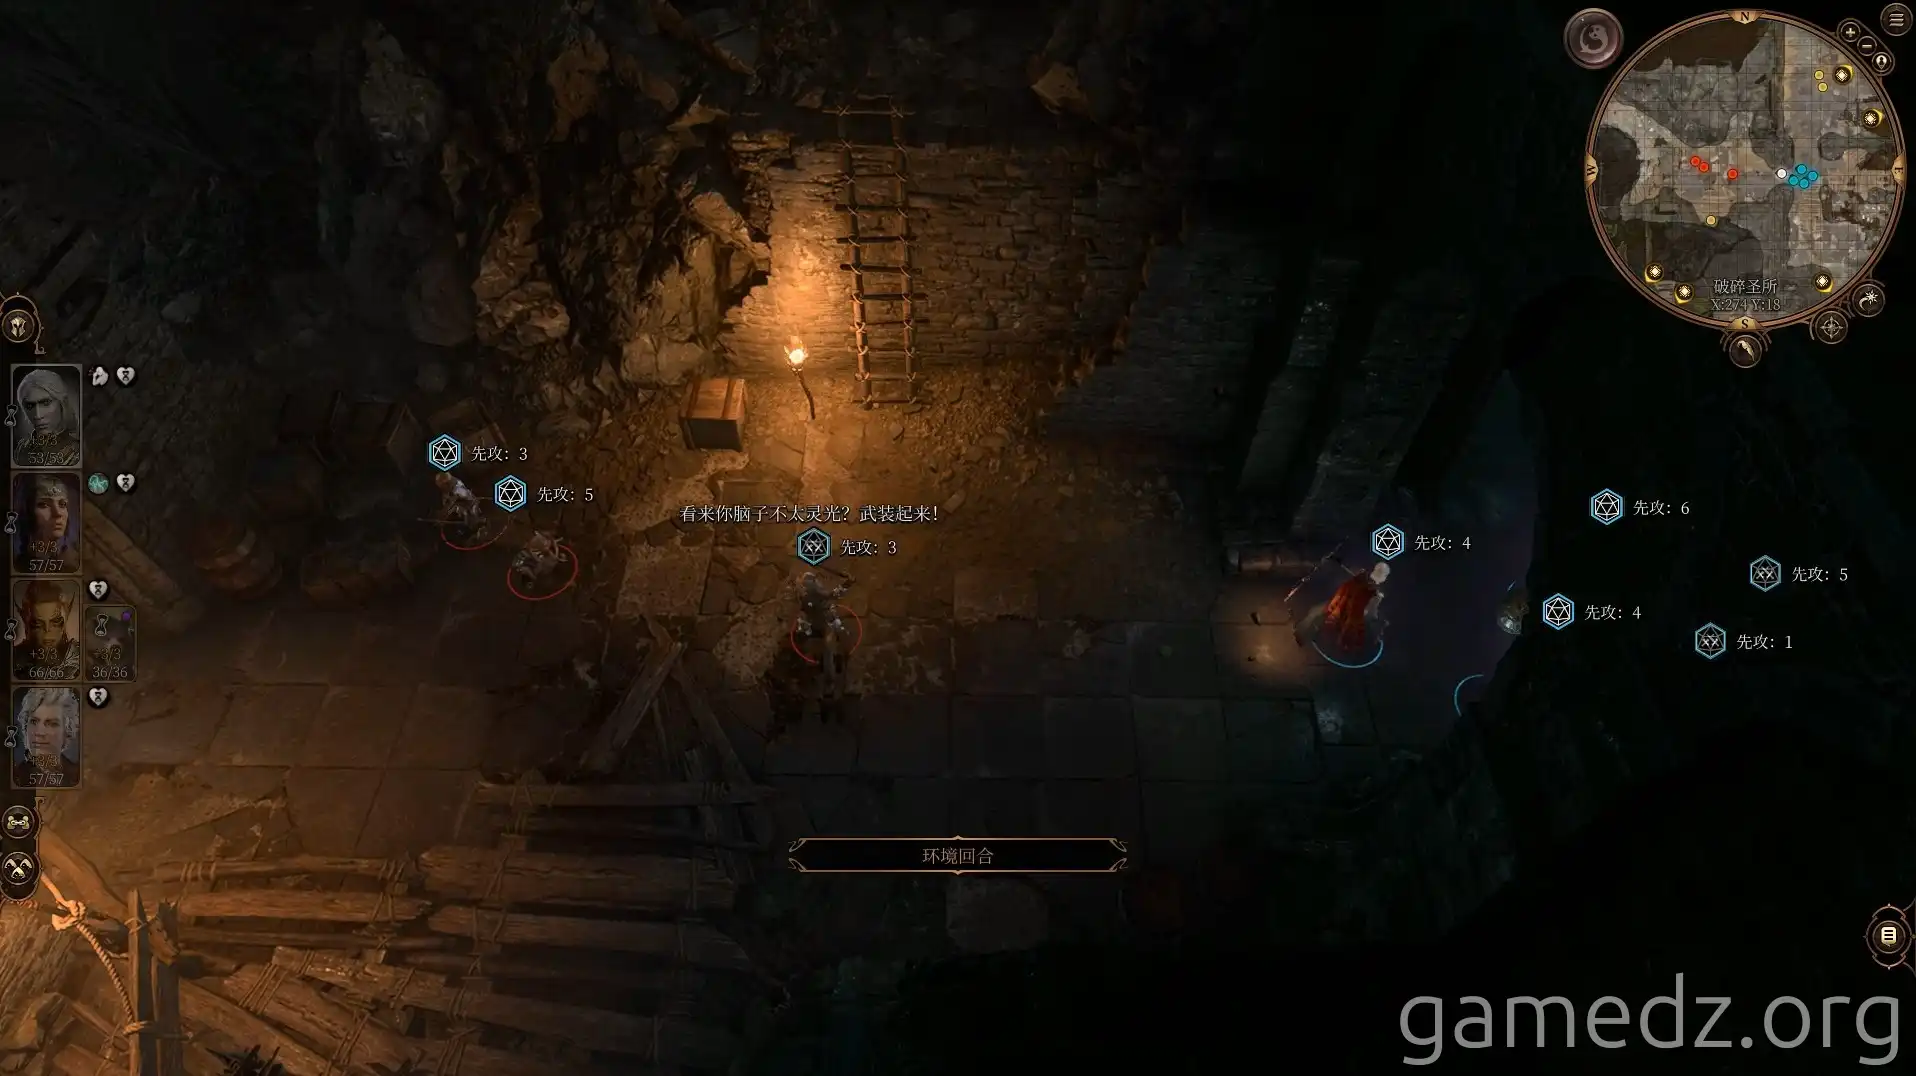
In the room ahead, there are three goblins. Defeat them all.
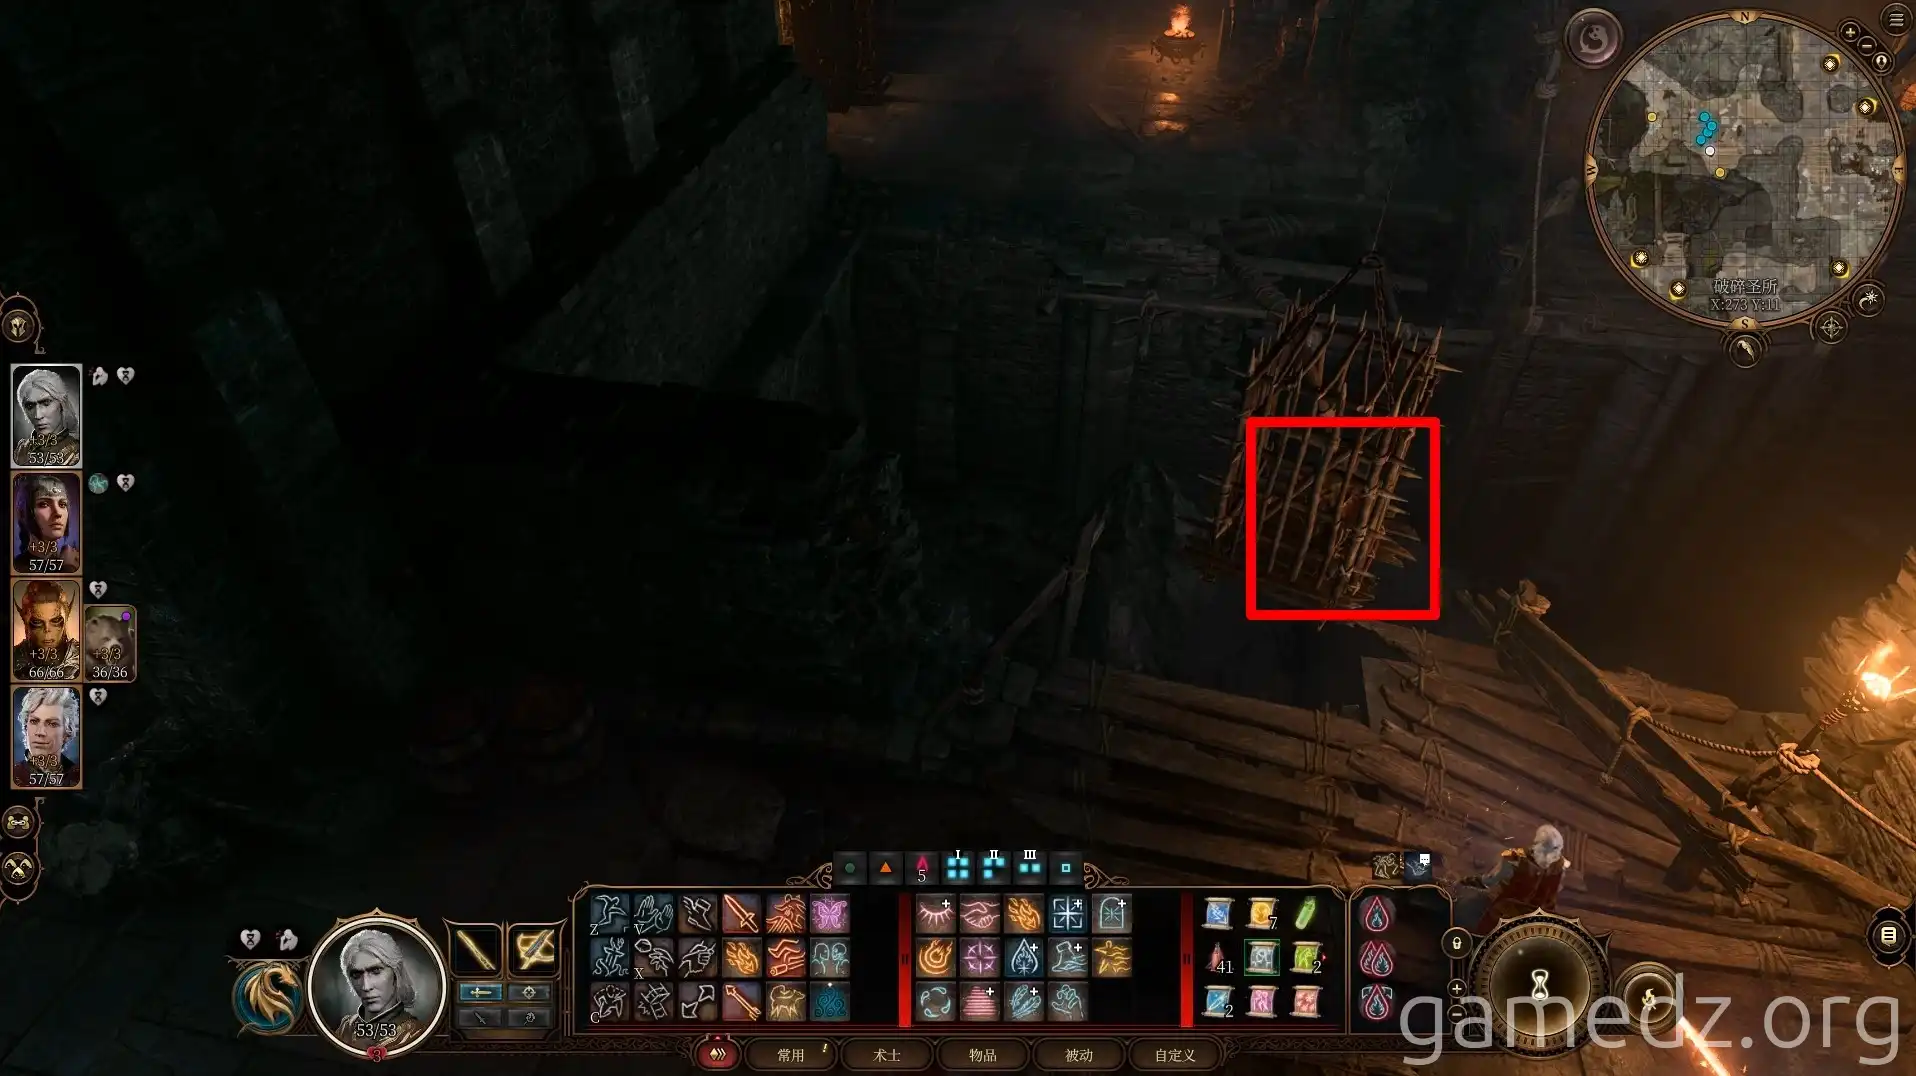
The goblin in the cage should be freed after defeating the three leaders. This can provide inspiration for characters with the Acolyte background.
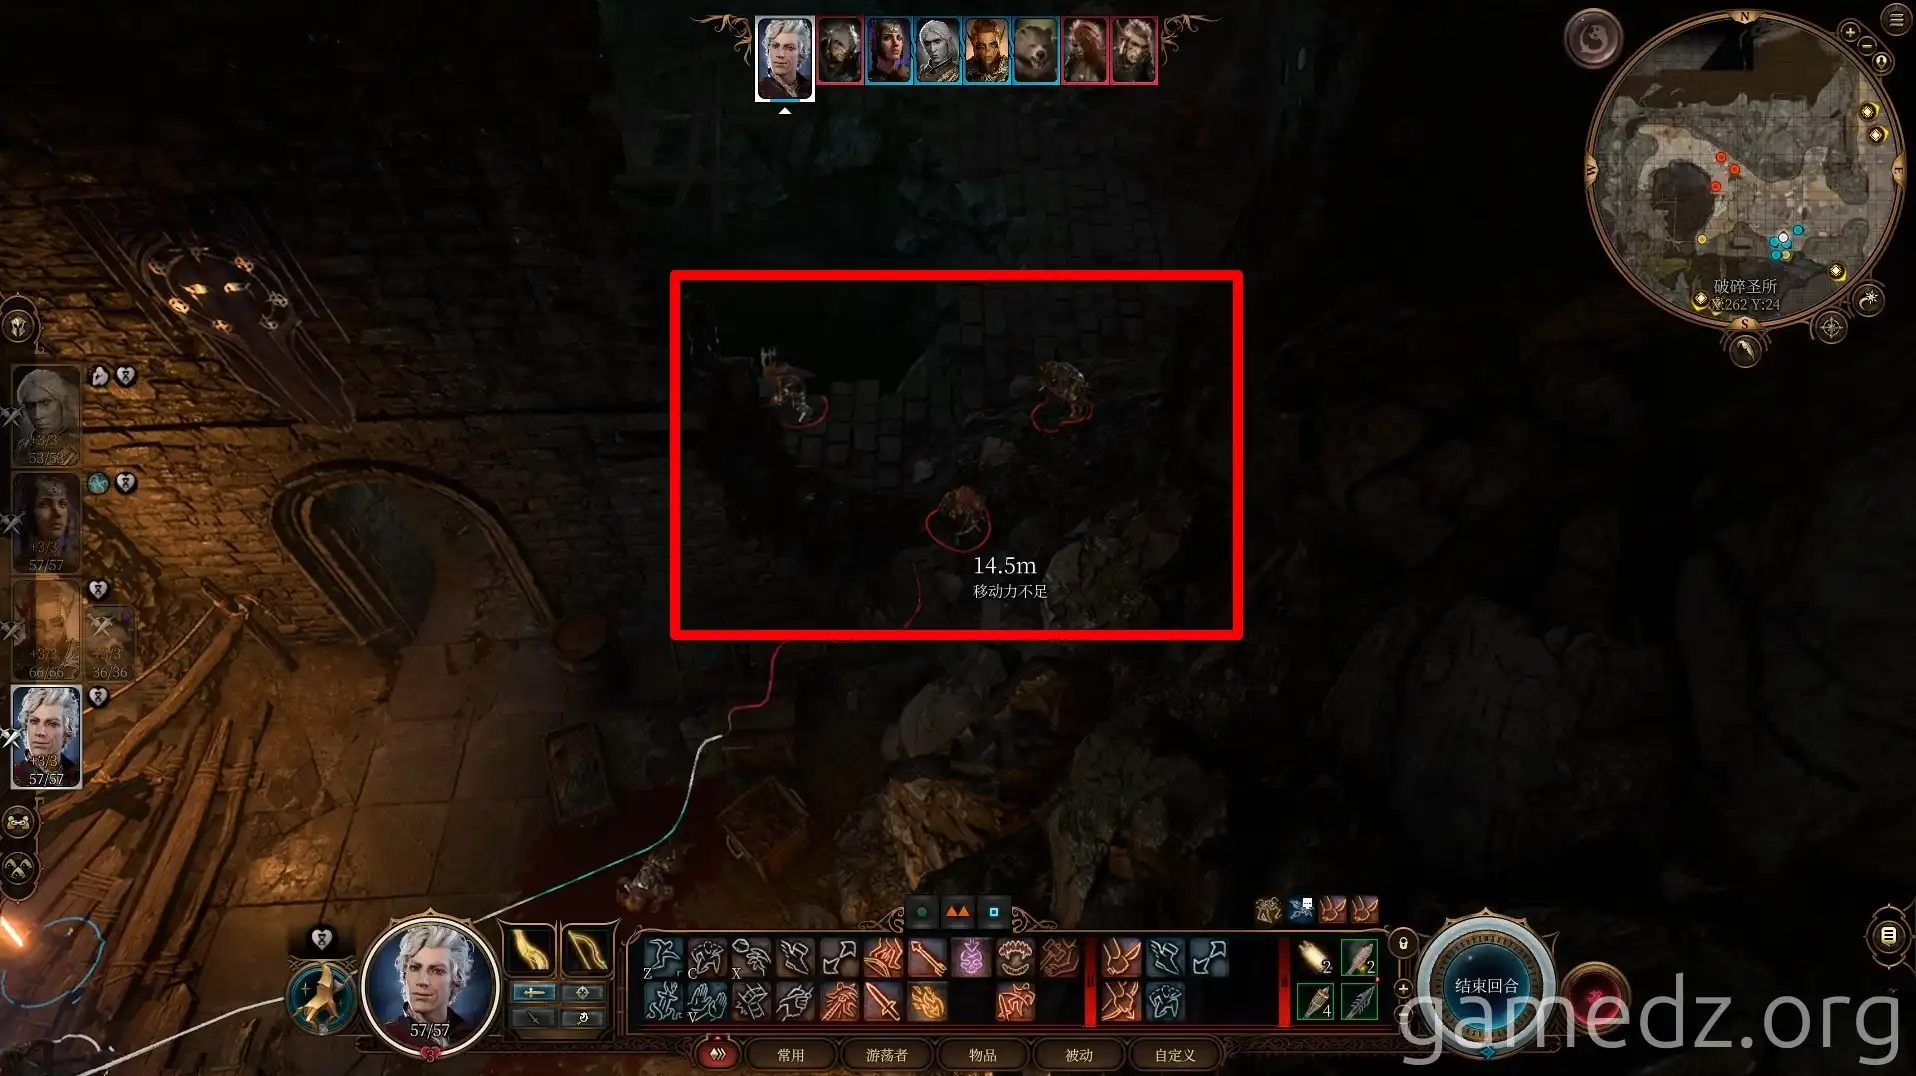
Inside the adjacent room, you'll find three more goblins. Easily defeat them all.
Return to the central area inside and prepare for the final battle in the Shattered Sanctum. This encounter involves eight enemies: one True Soul, two Drow, and five goblins.
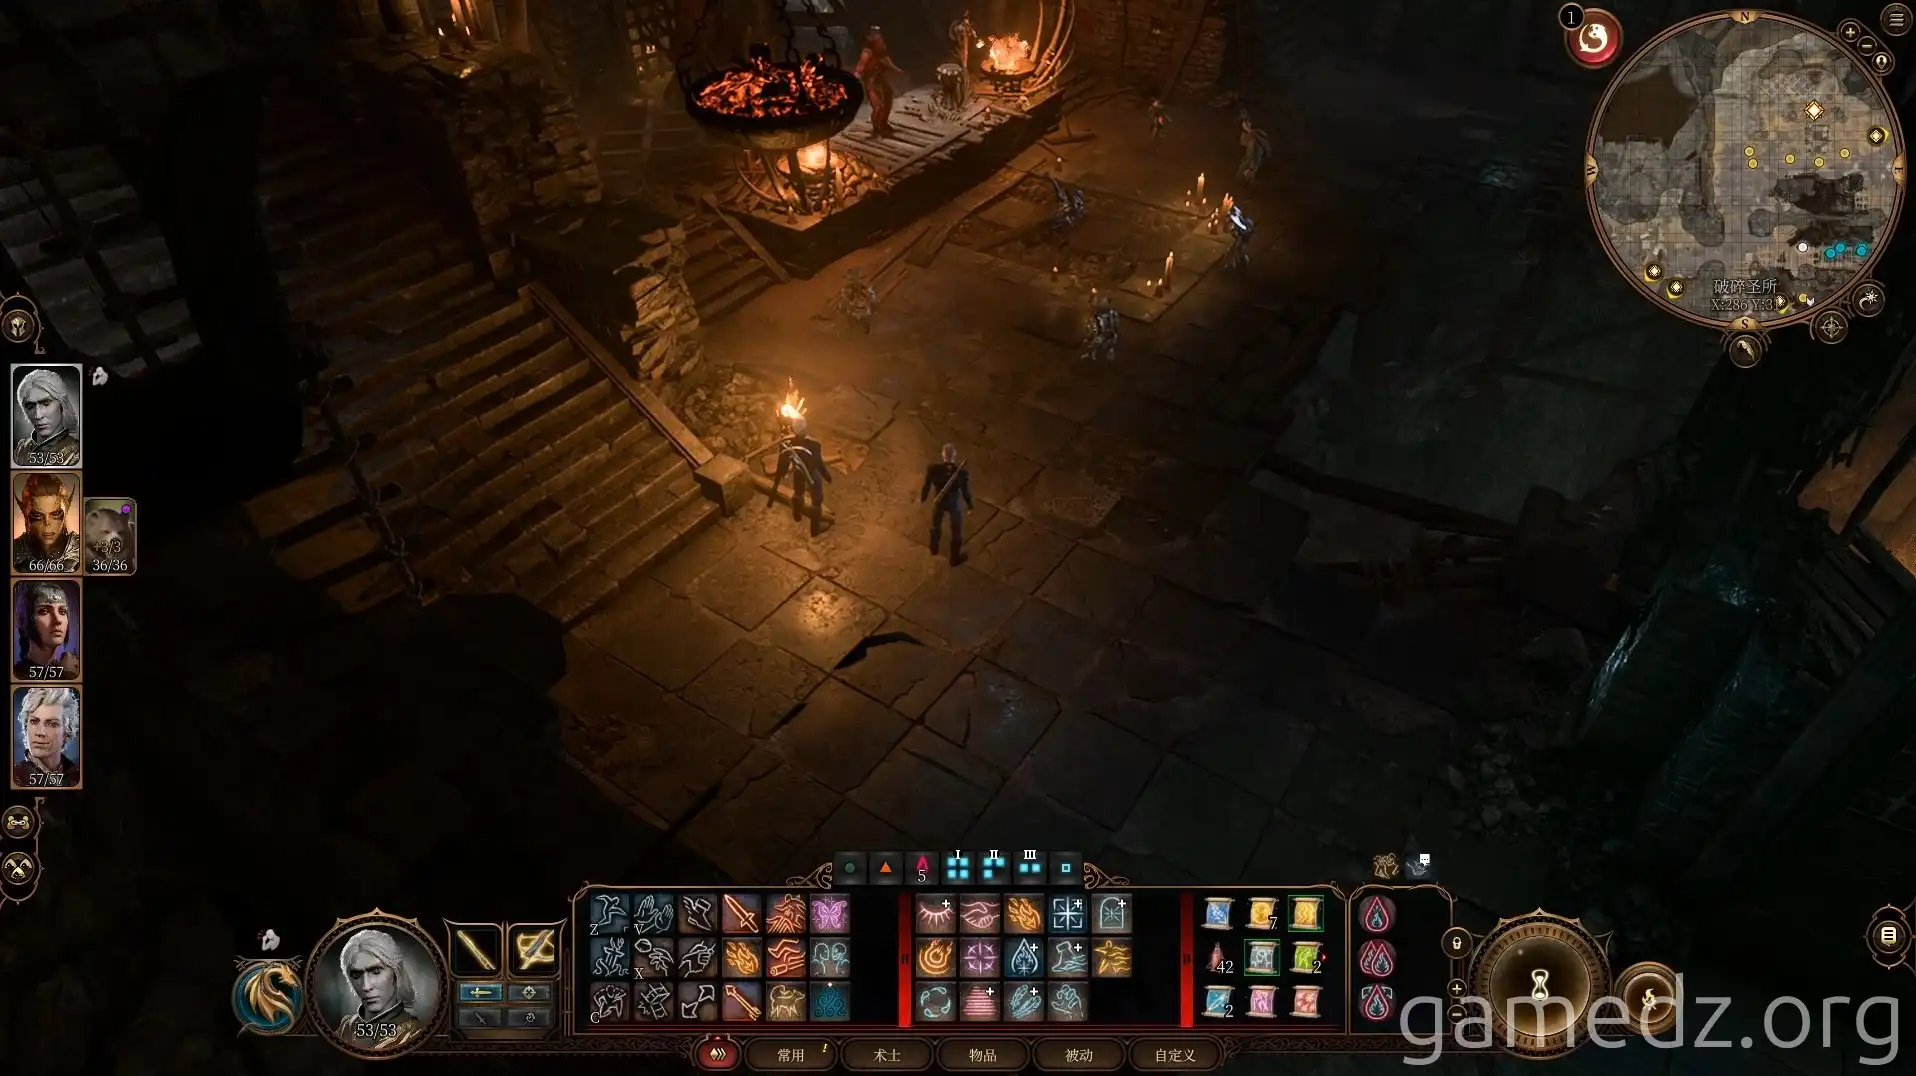
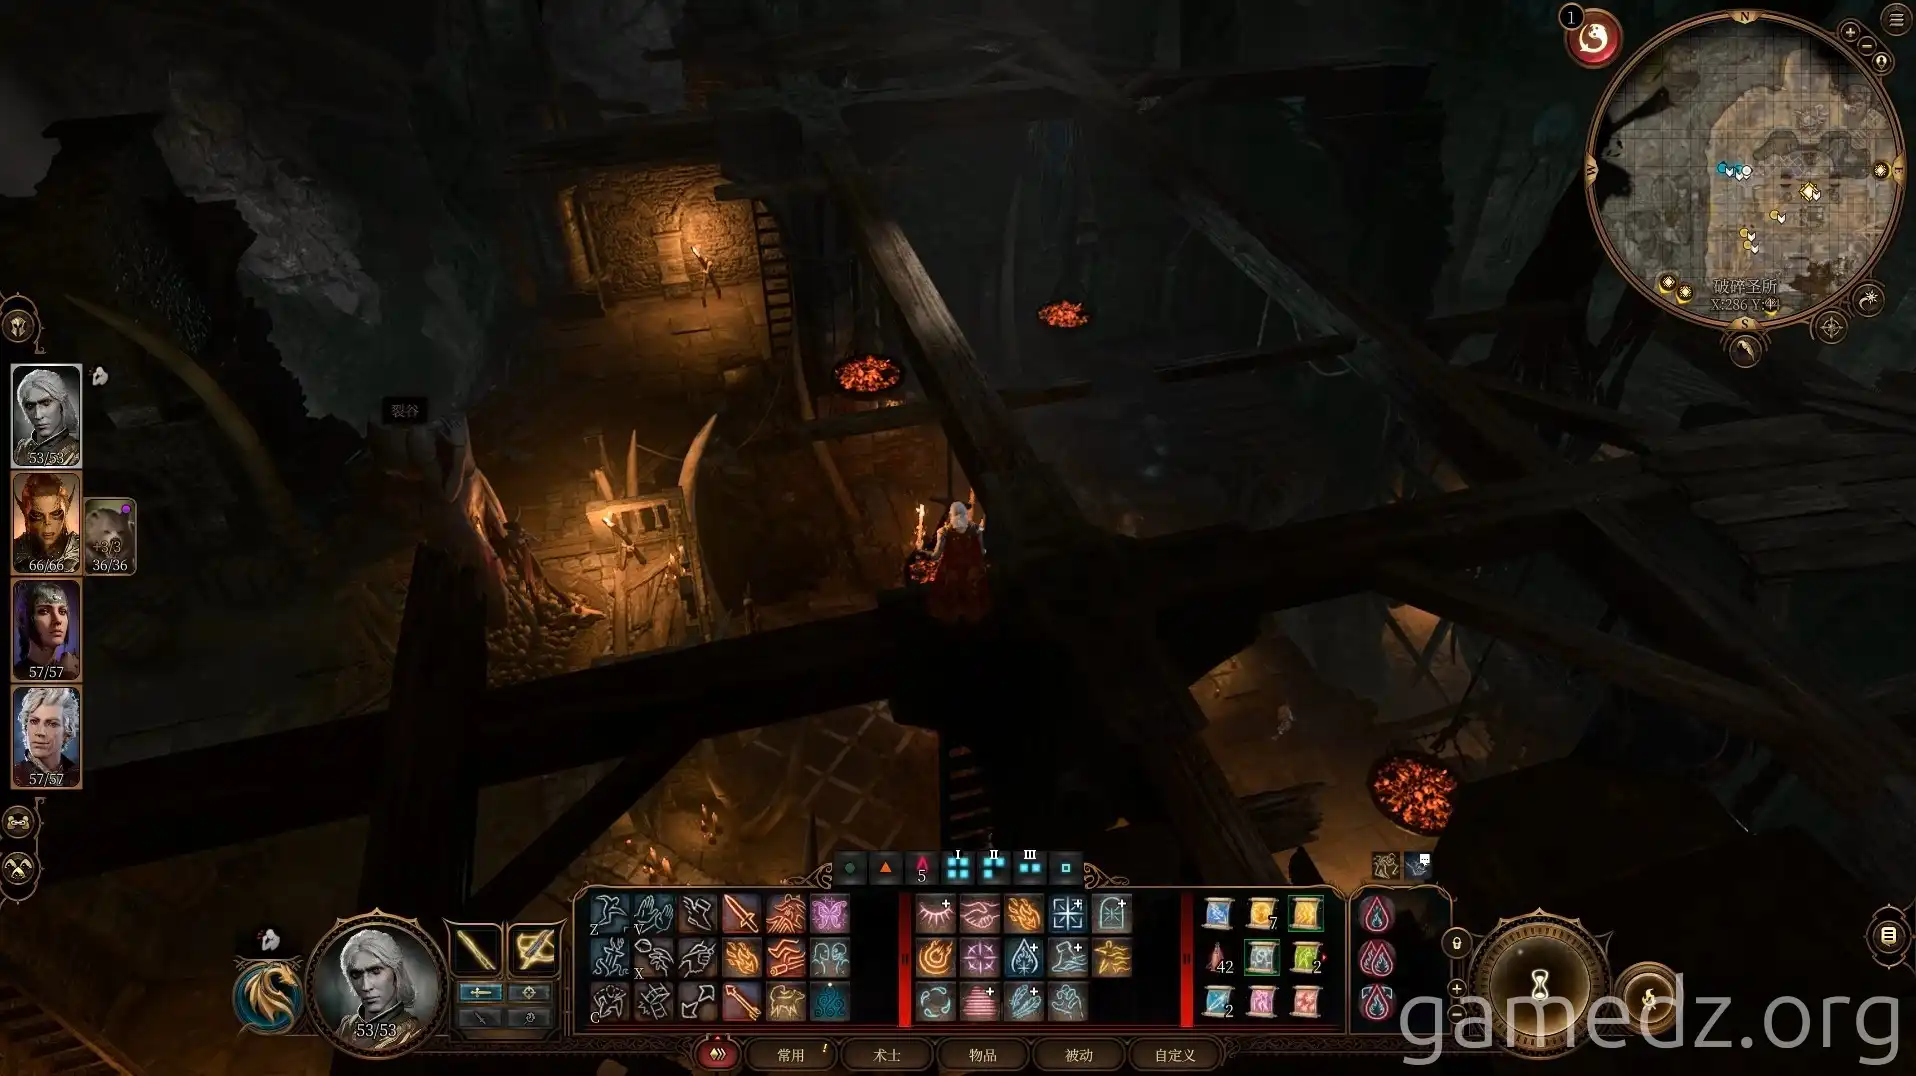
You can climb the ladders on either side to gain a tactical advantage on the beams. When initiating the attack, it's recommended to target the goblins first, aiming to reduce their numbers quickly to significantly lower the difficulty of the subsequent fight.
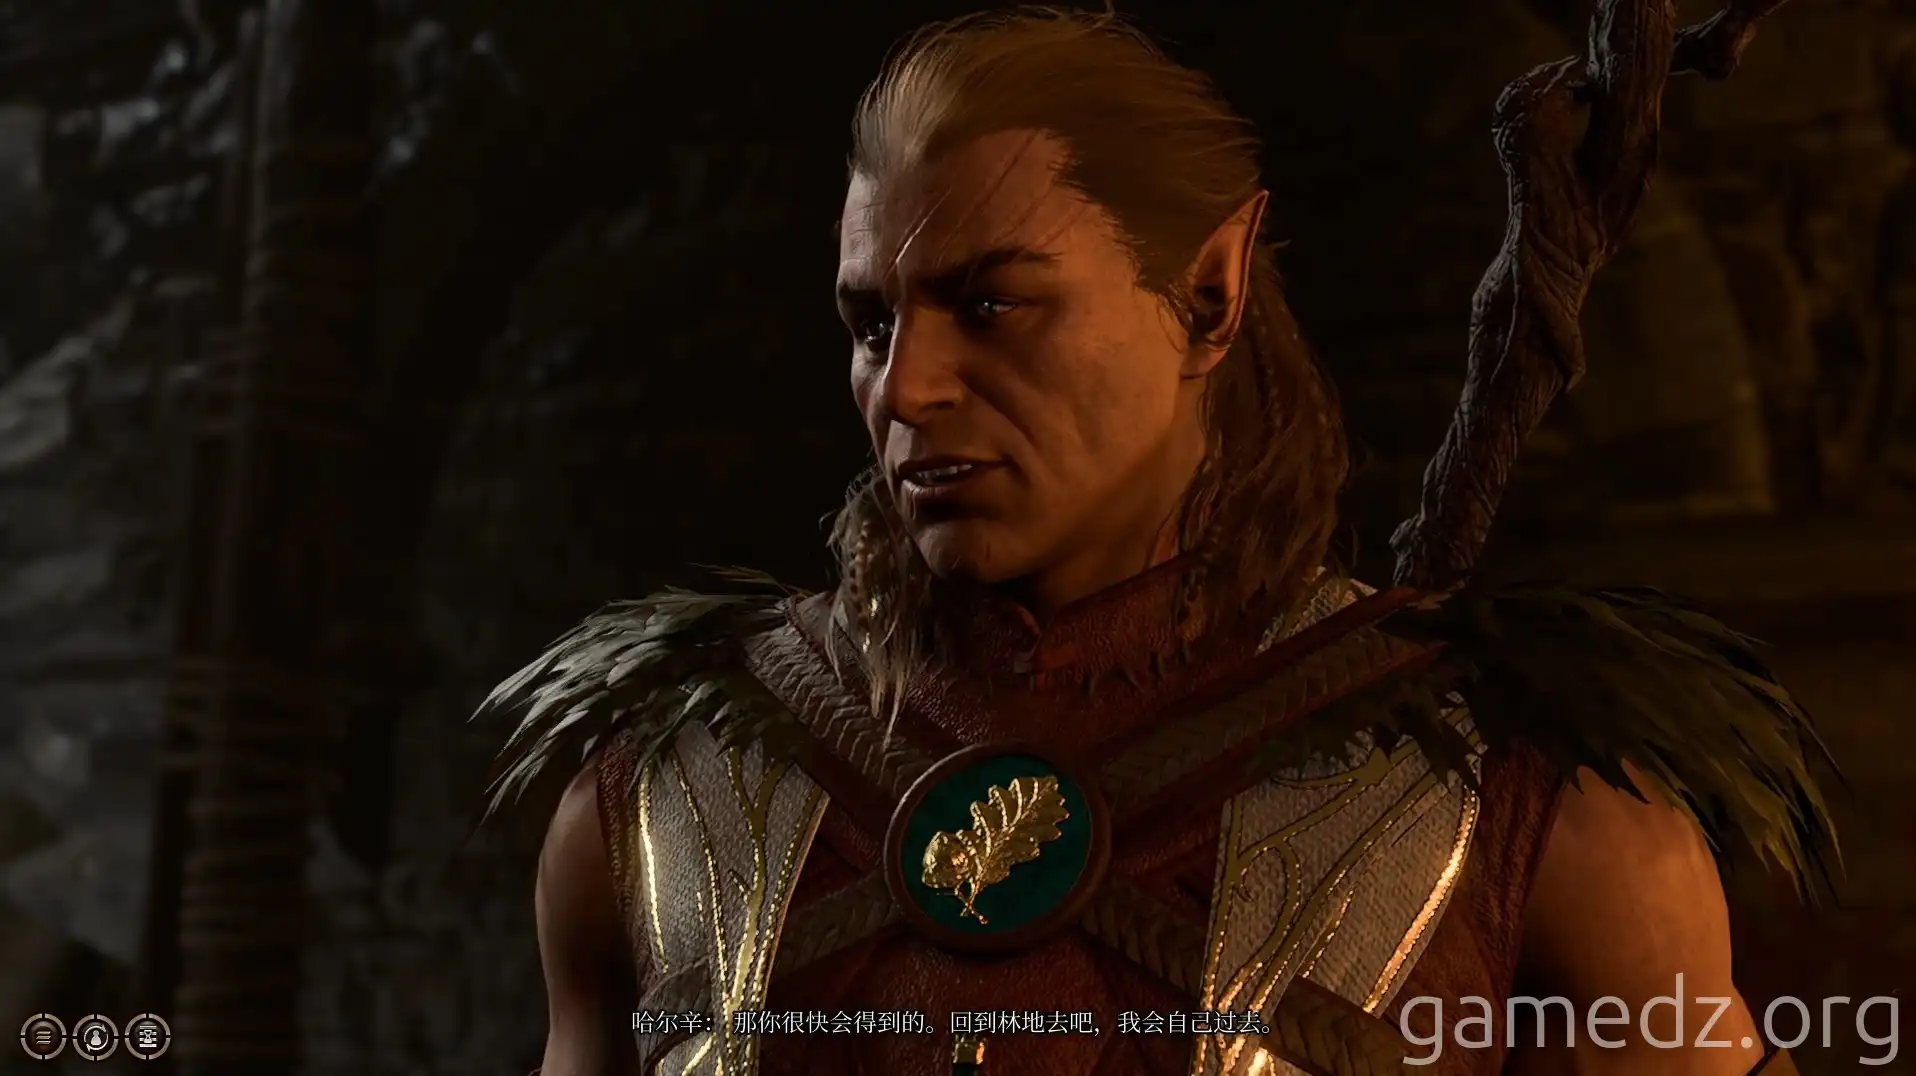
After defeating the last leader, Halsin will return to the Grove on his own, and characters with the Soldier background will receive inspiration.
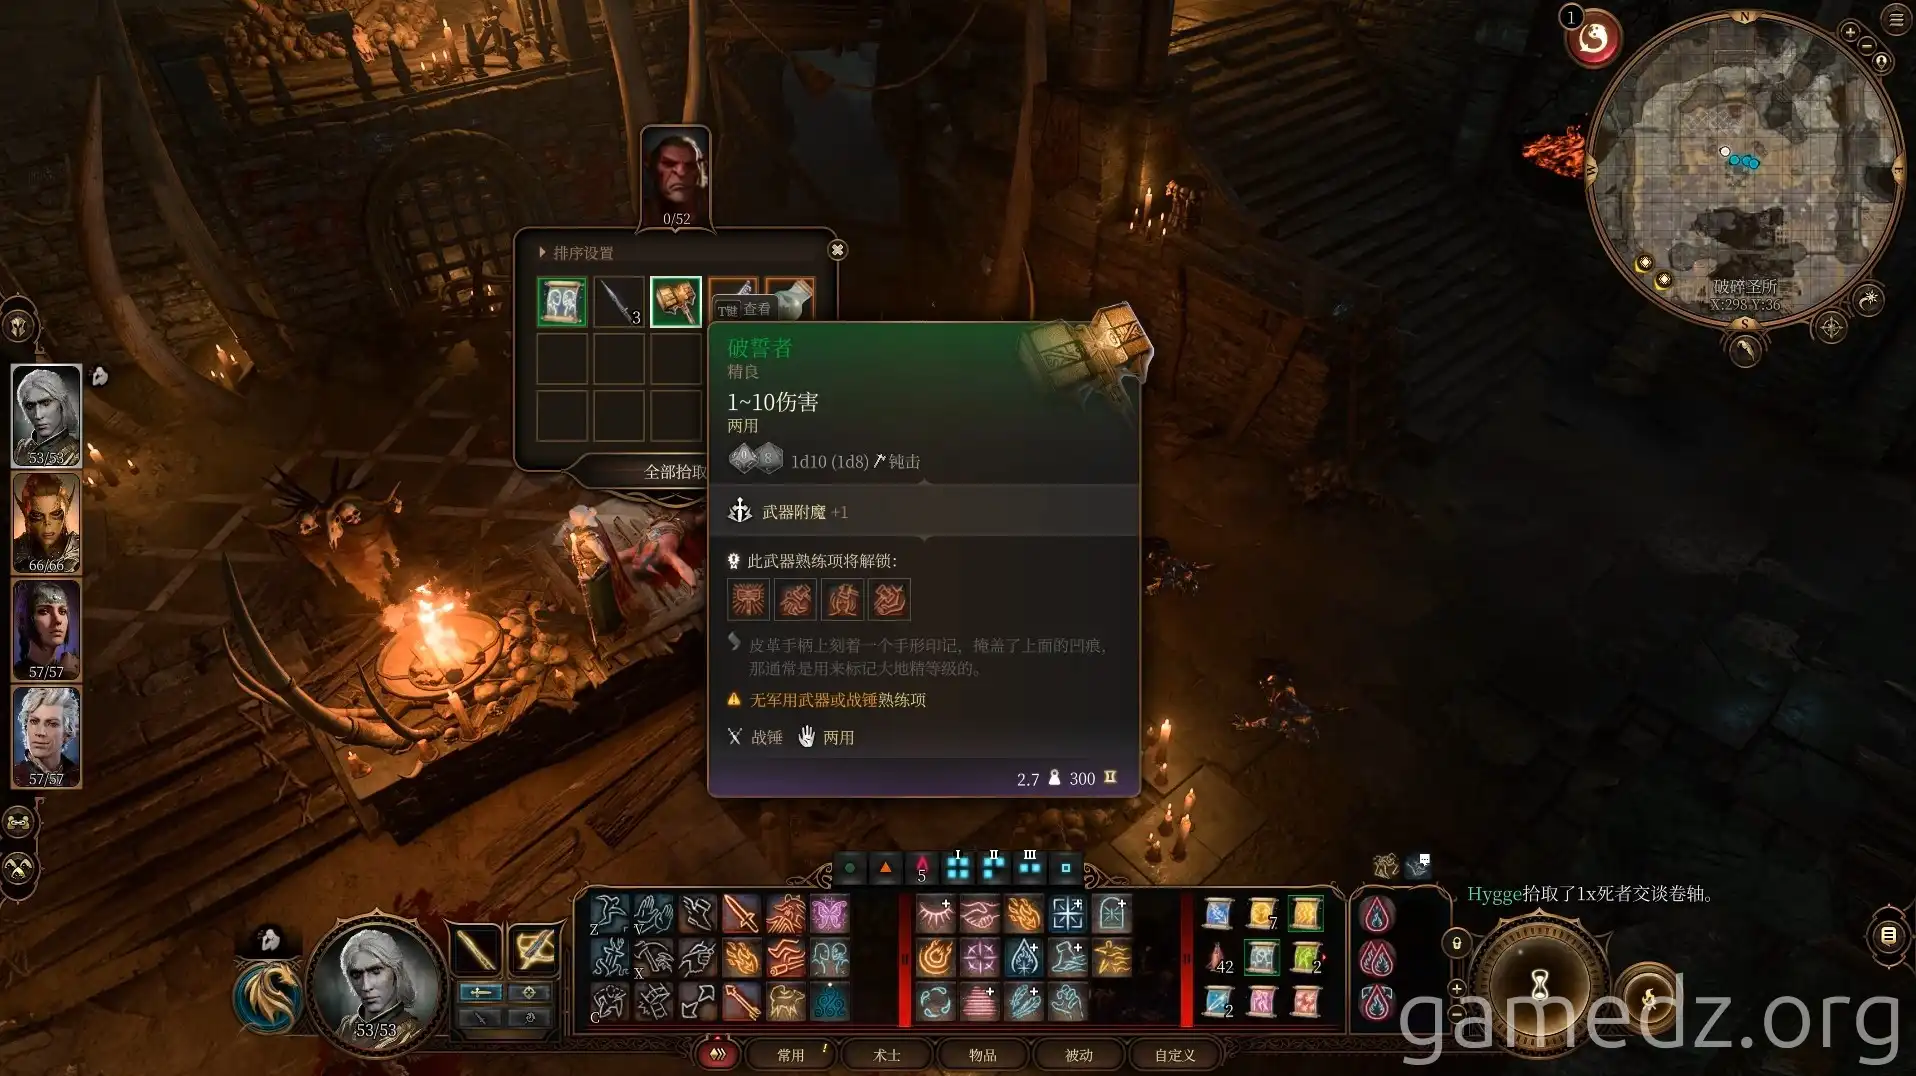
On the goblin leaders, you can obtain the Rare weapon Oathbreaker, a Vault Key, and a Mind Flayer Tadpole.
Proceed to the upper level and use the key to open the door to the vault.
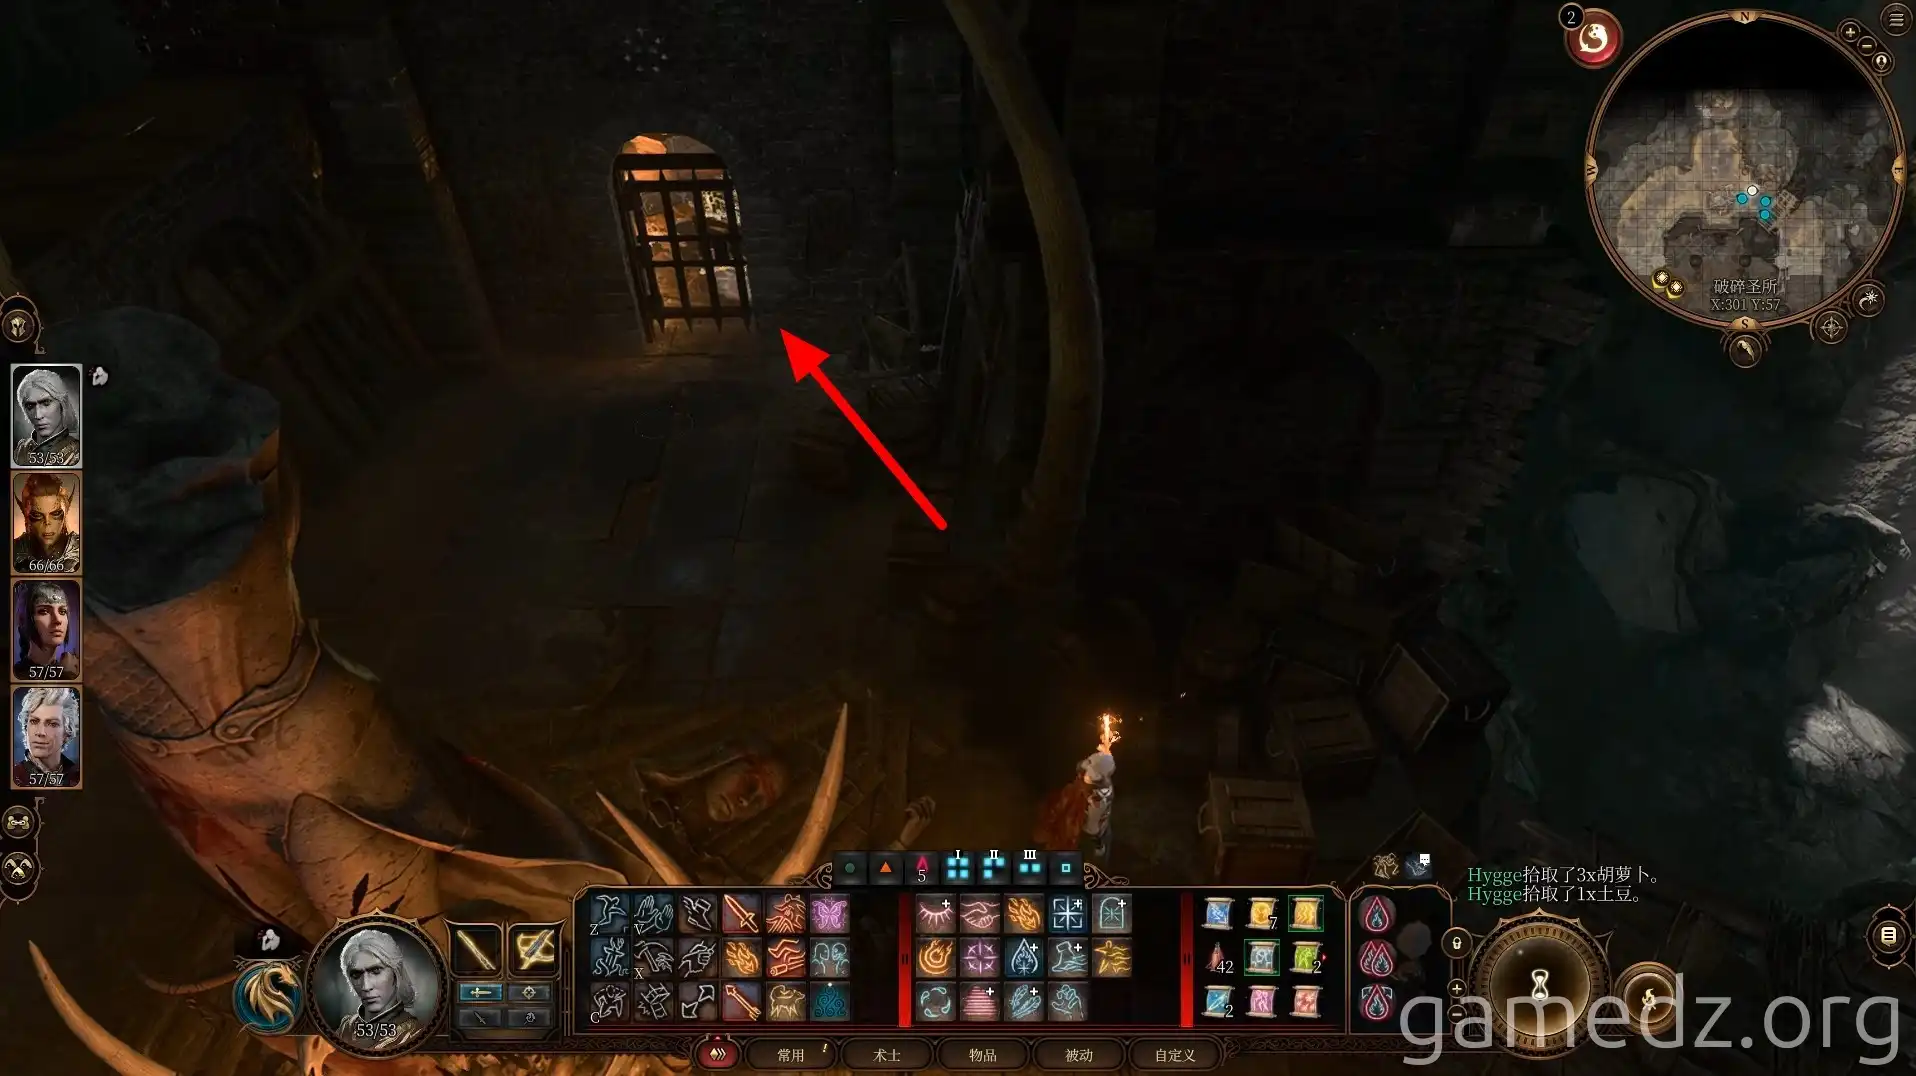
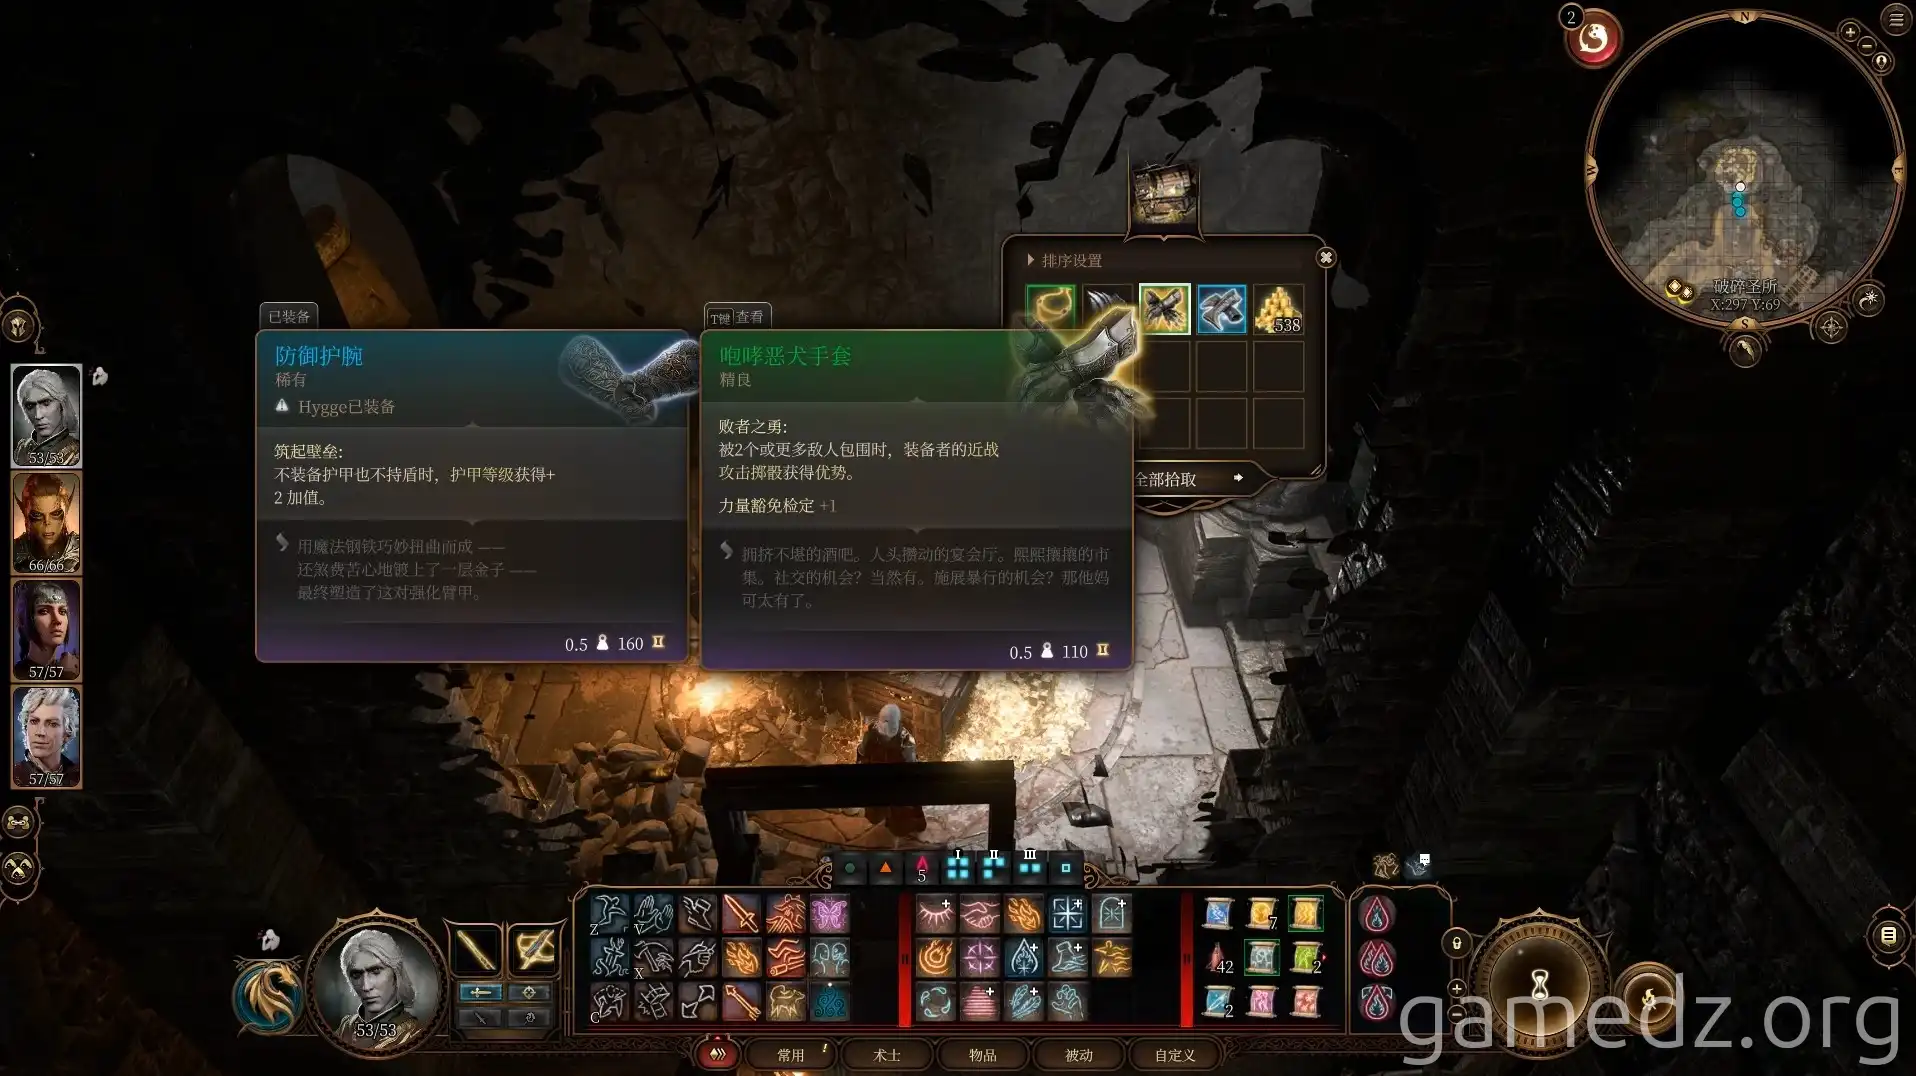
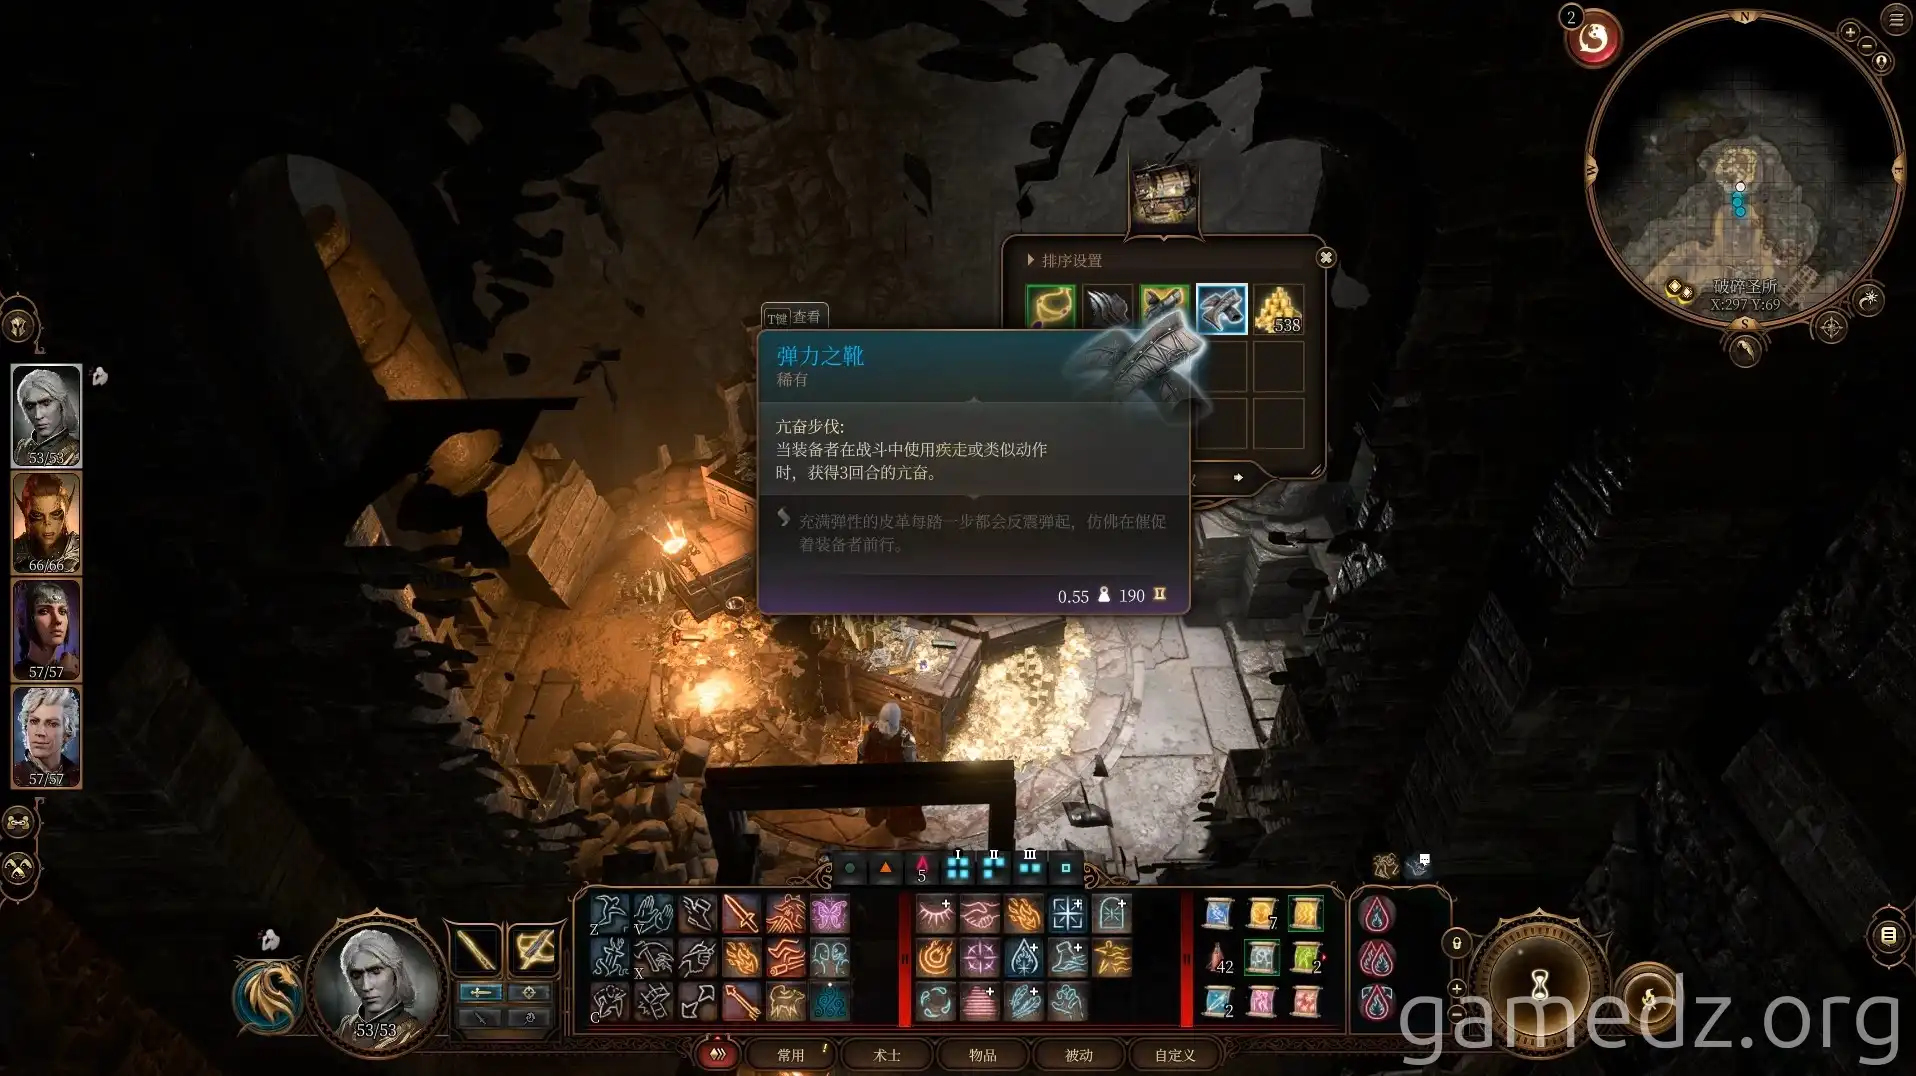
Inside the vault, you can find the Rare accessory Amulet of Selûne's Chosen, the Uncommon armor Howling Maw Gloves, the Rare armor Boots of Blinding Speed, a piece of Infernal Iron, and gold, among other items.
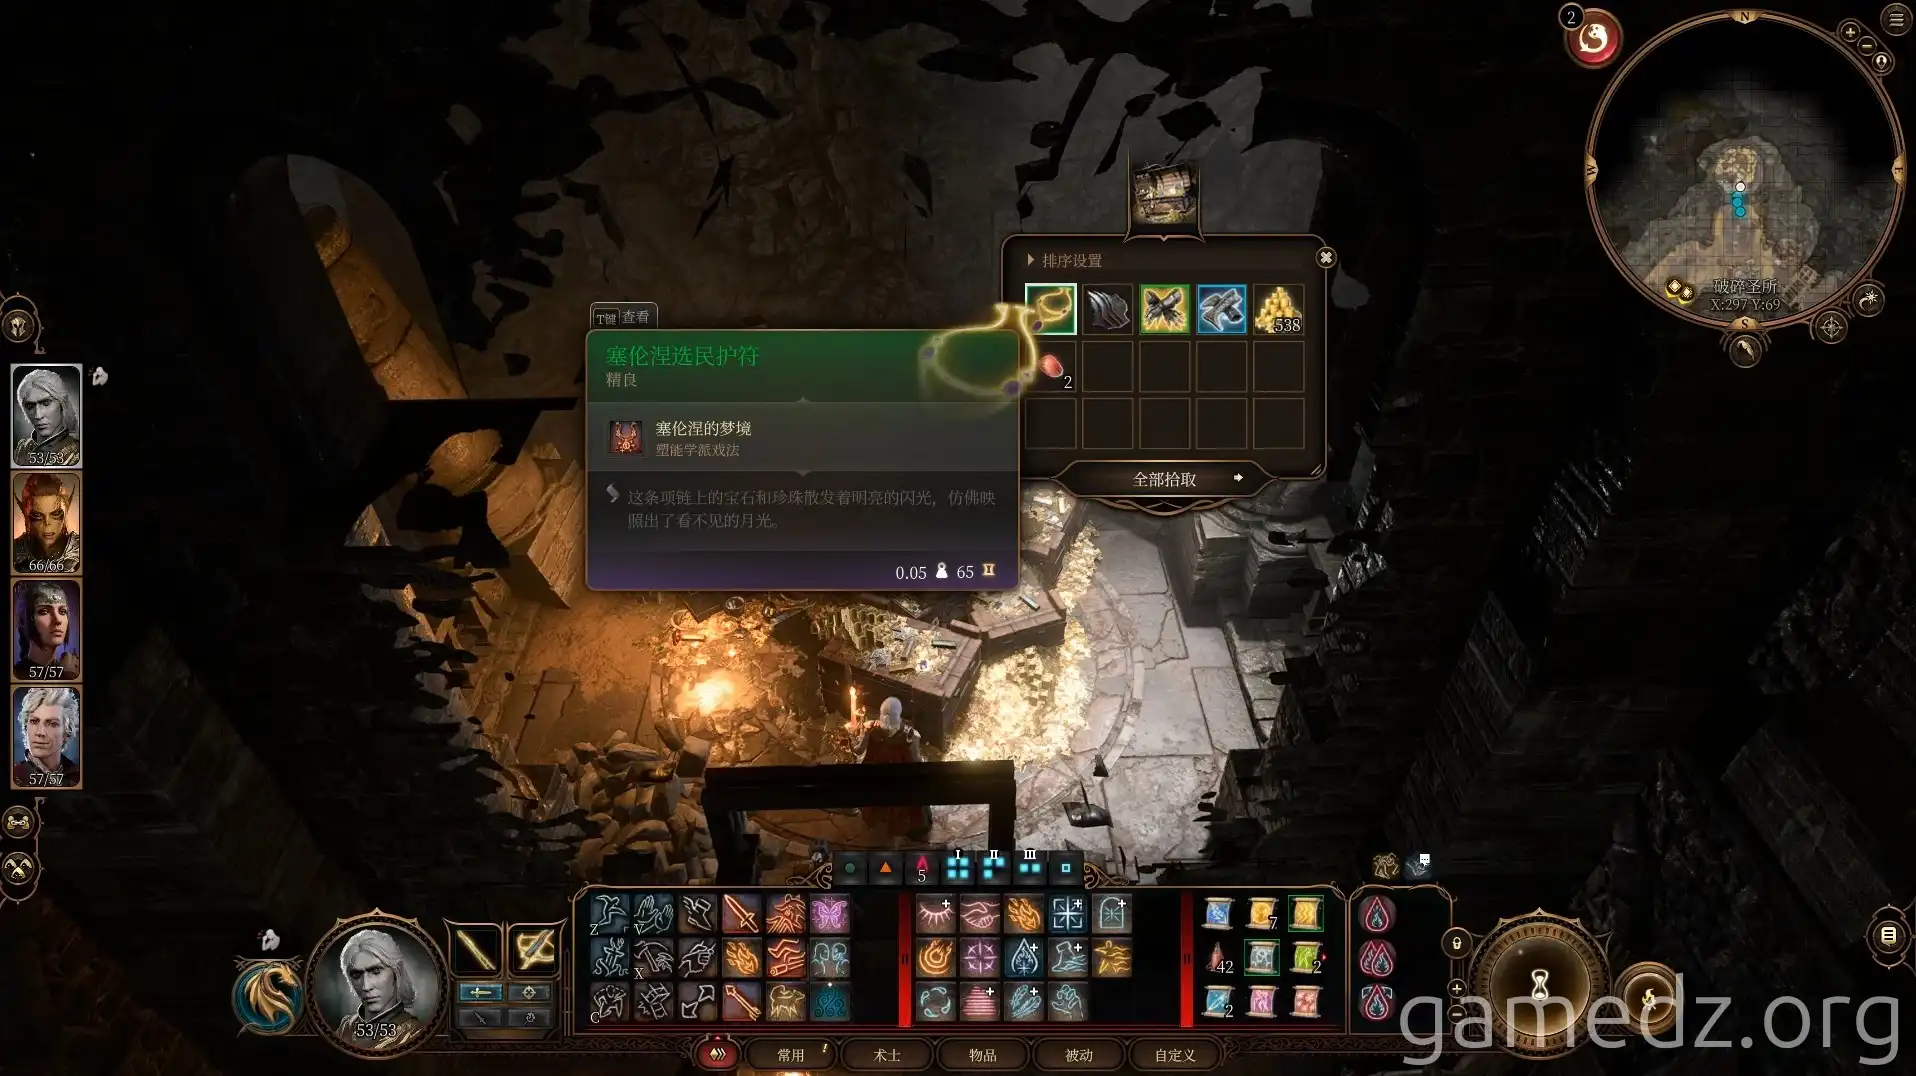
Here are the stats for the Howling Maw Gloves – they're fantastic for melee classes.
Here are the stats for the Boots of Blinding Speed.
The spider tunnels contain nothing of interest besides two spiders and an entrance to the Defiled Temple. You can skip this area.
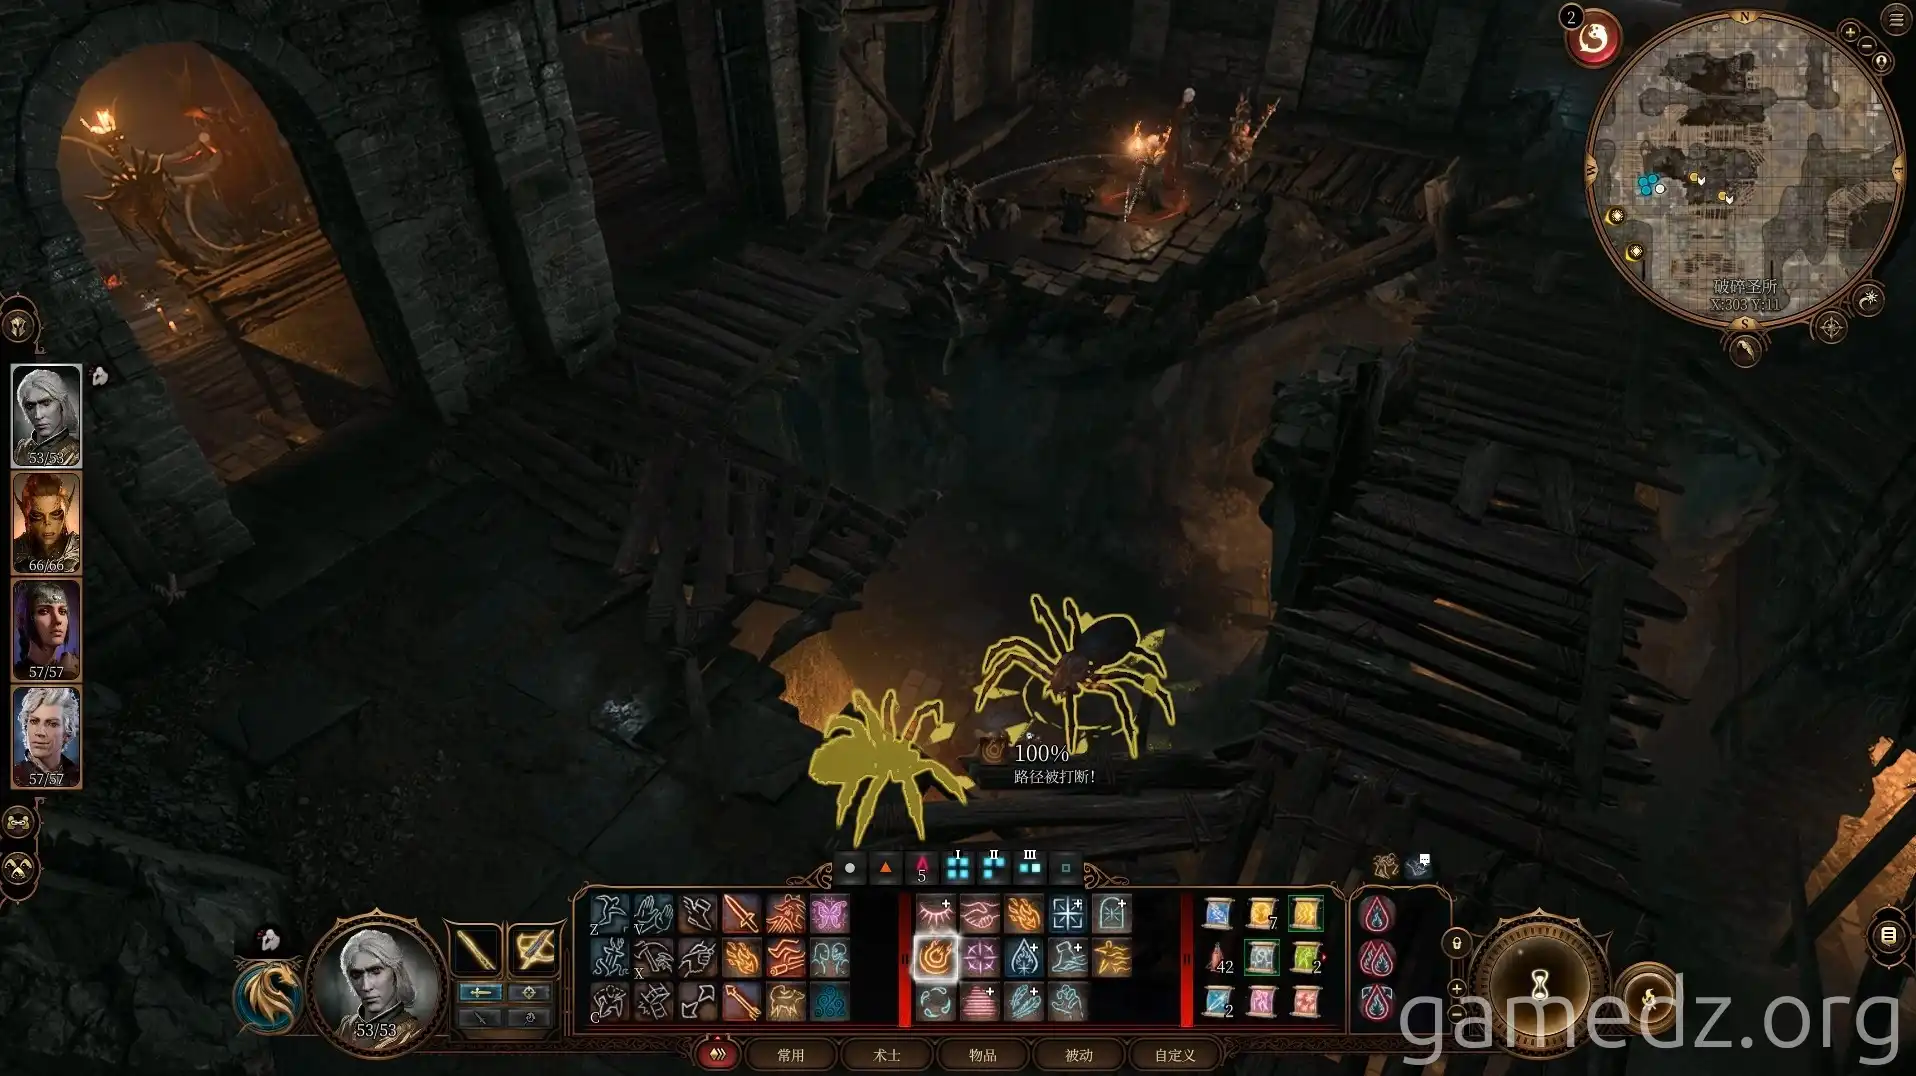
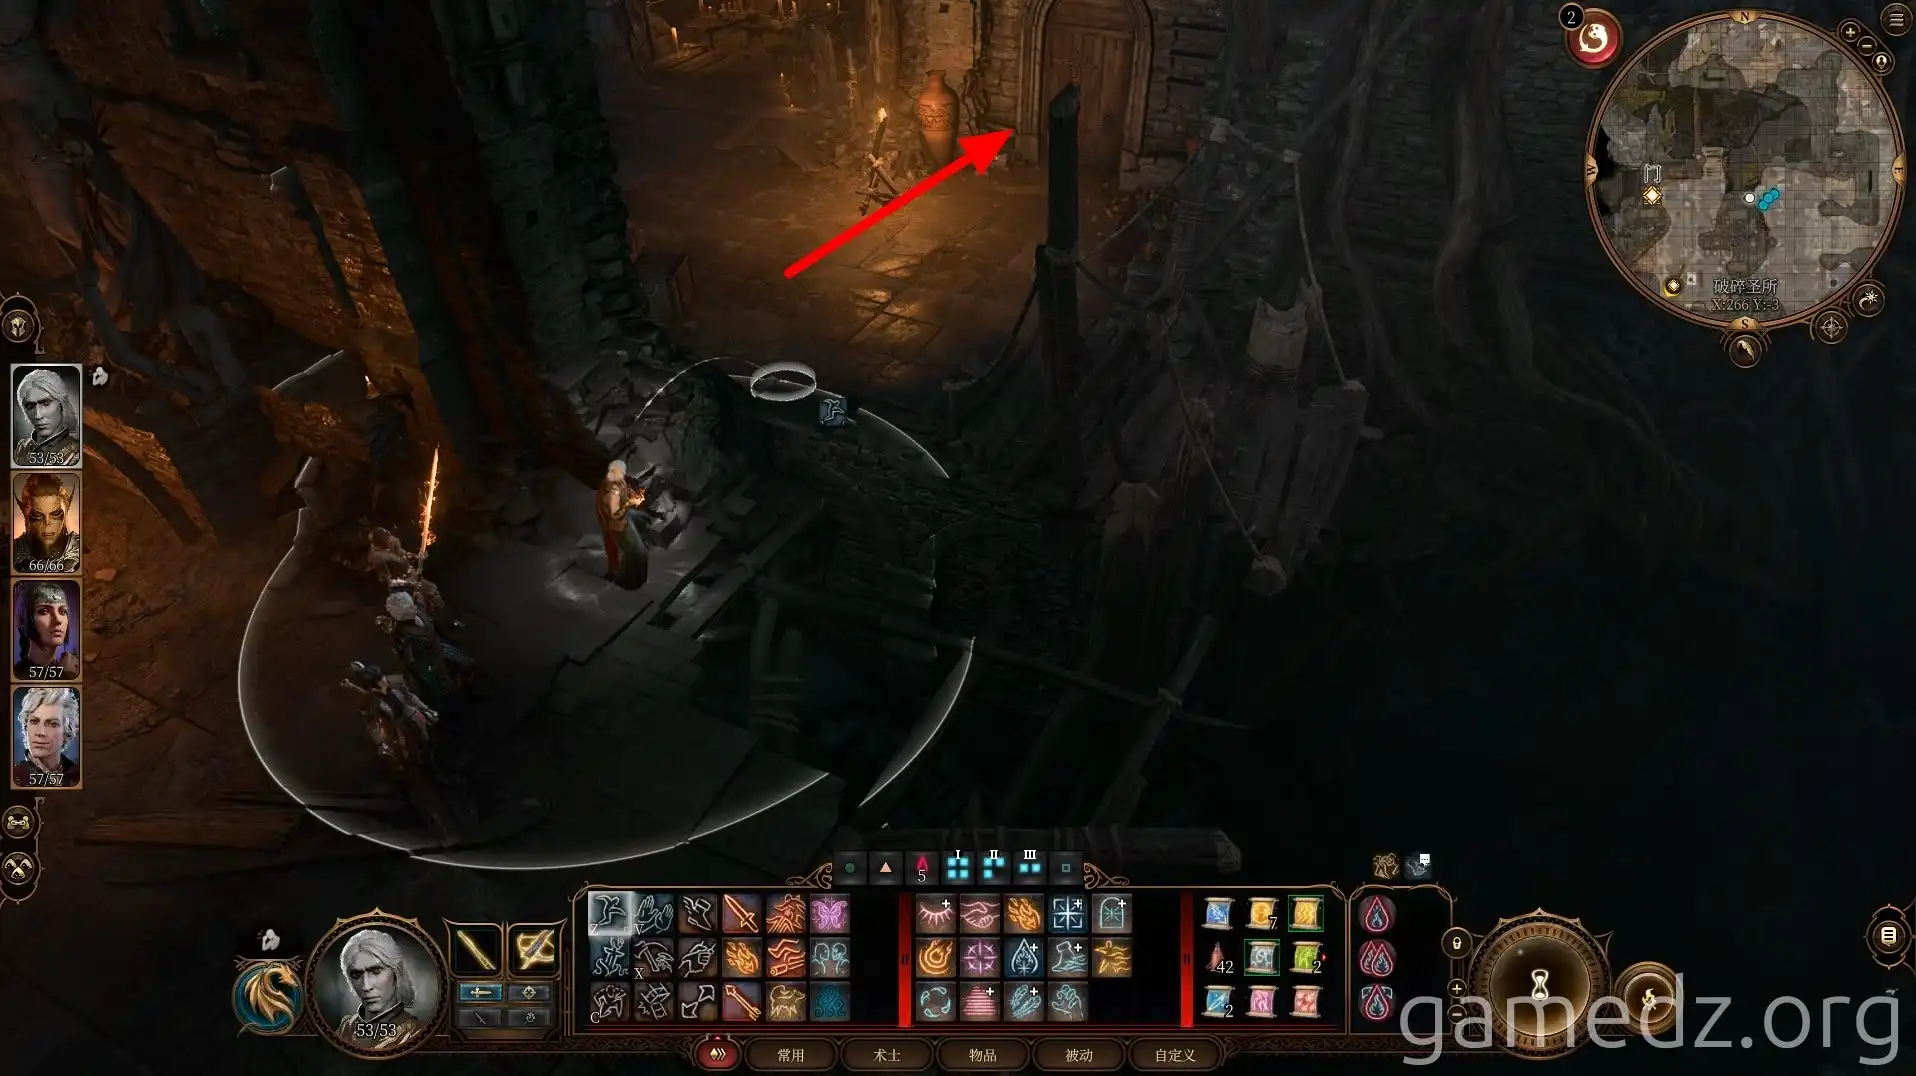
Return to the second room on the left and proceed through the small door to the Defiled Temple.
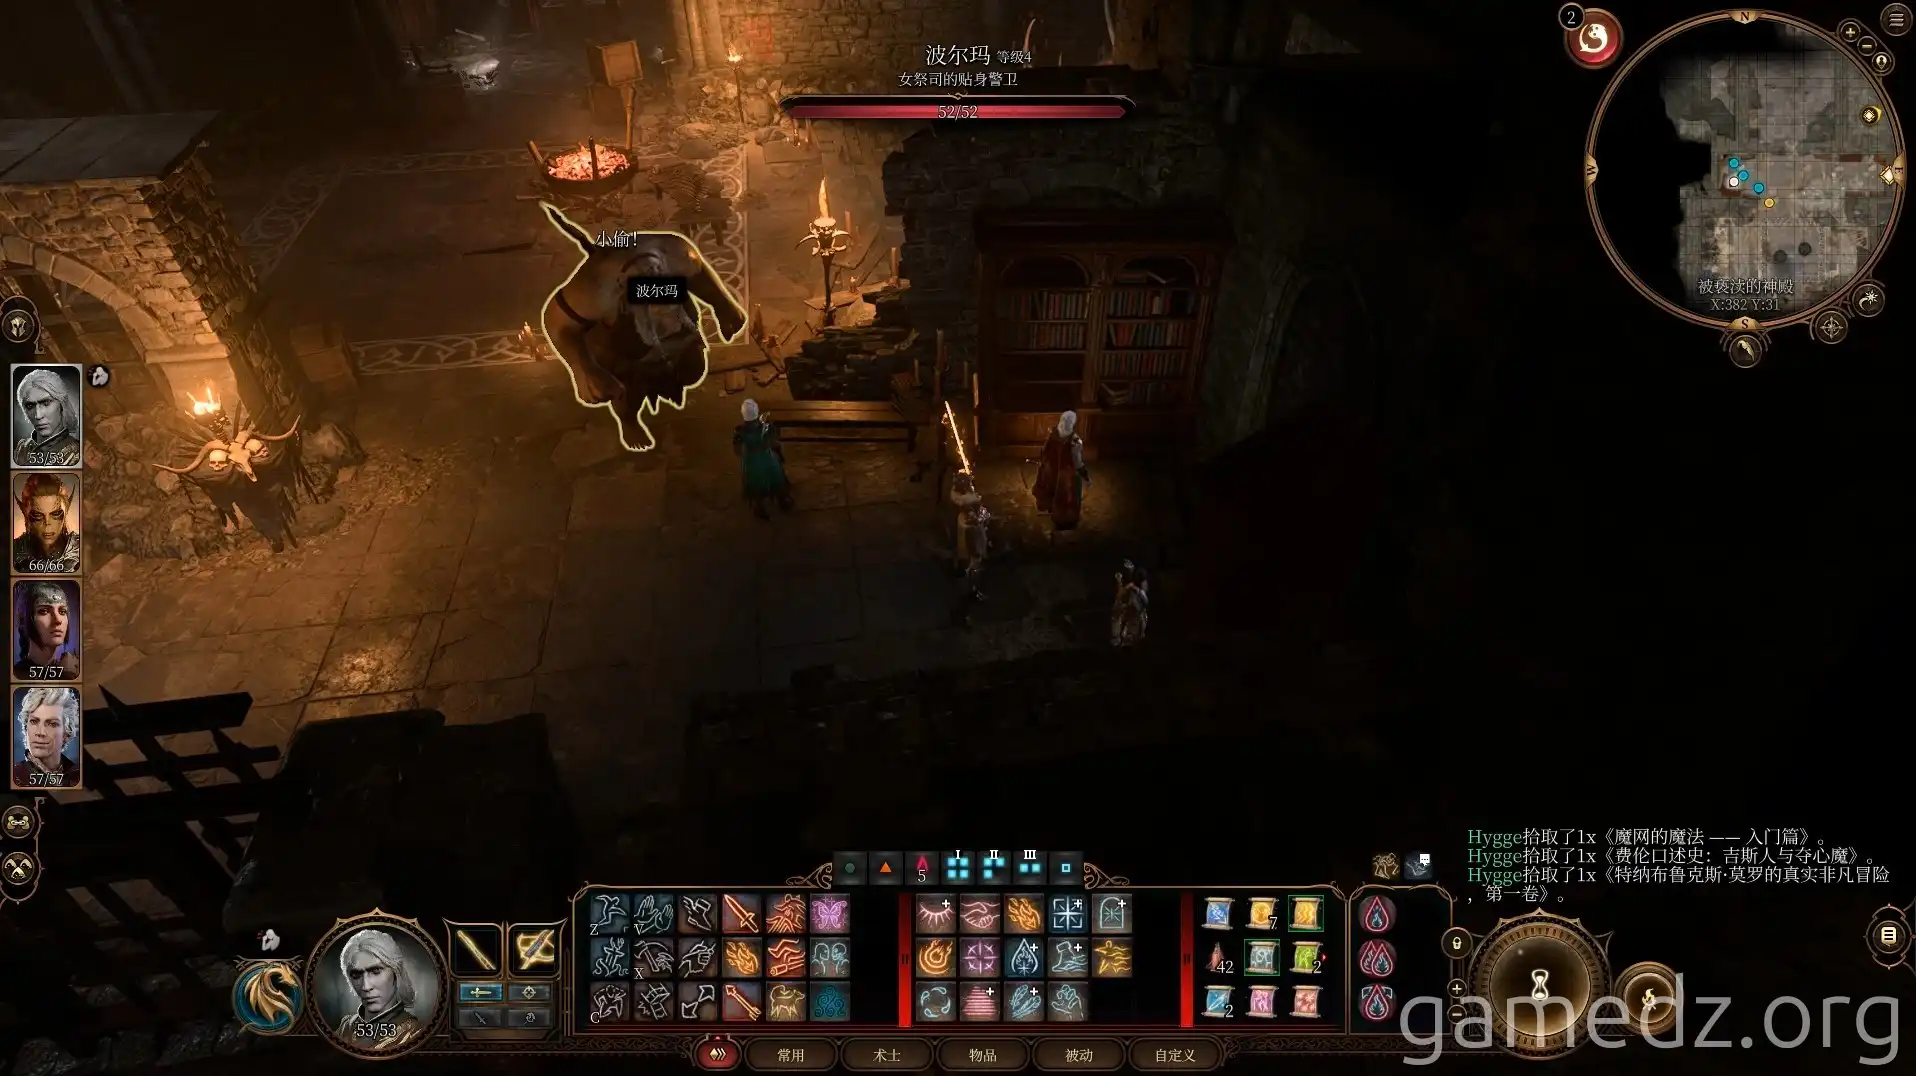
In the temple, you'll encounter a Gnoll named Polma. Defeat her.
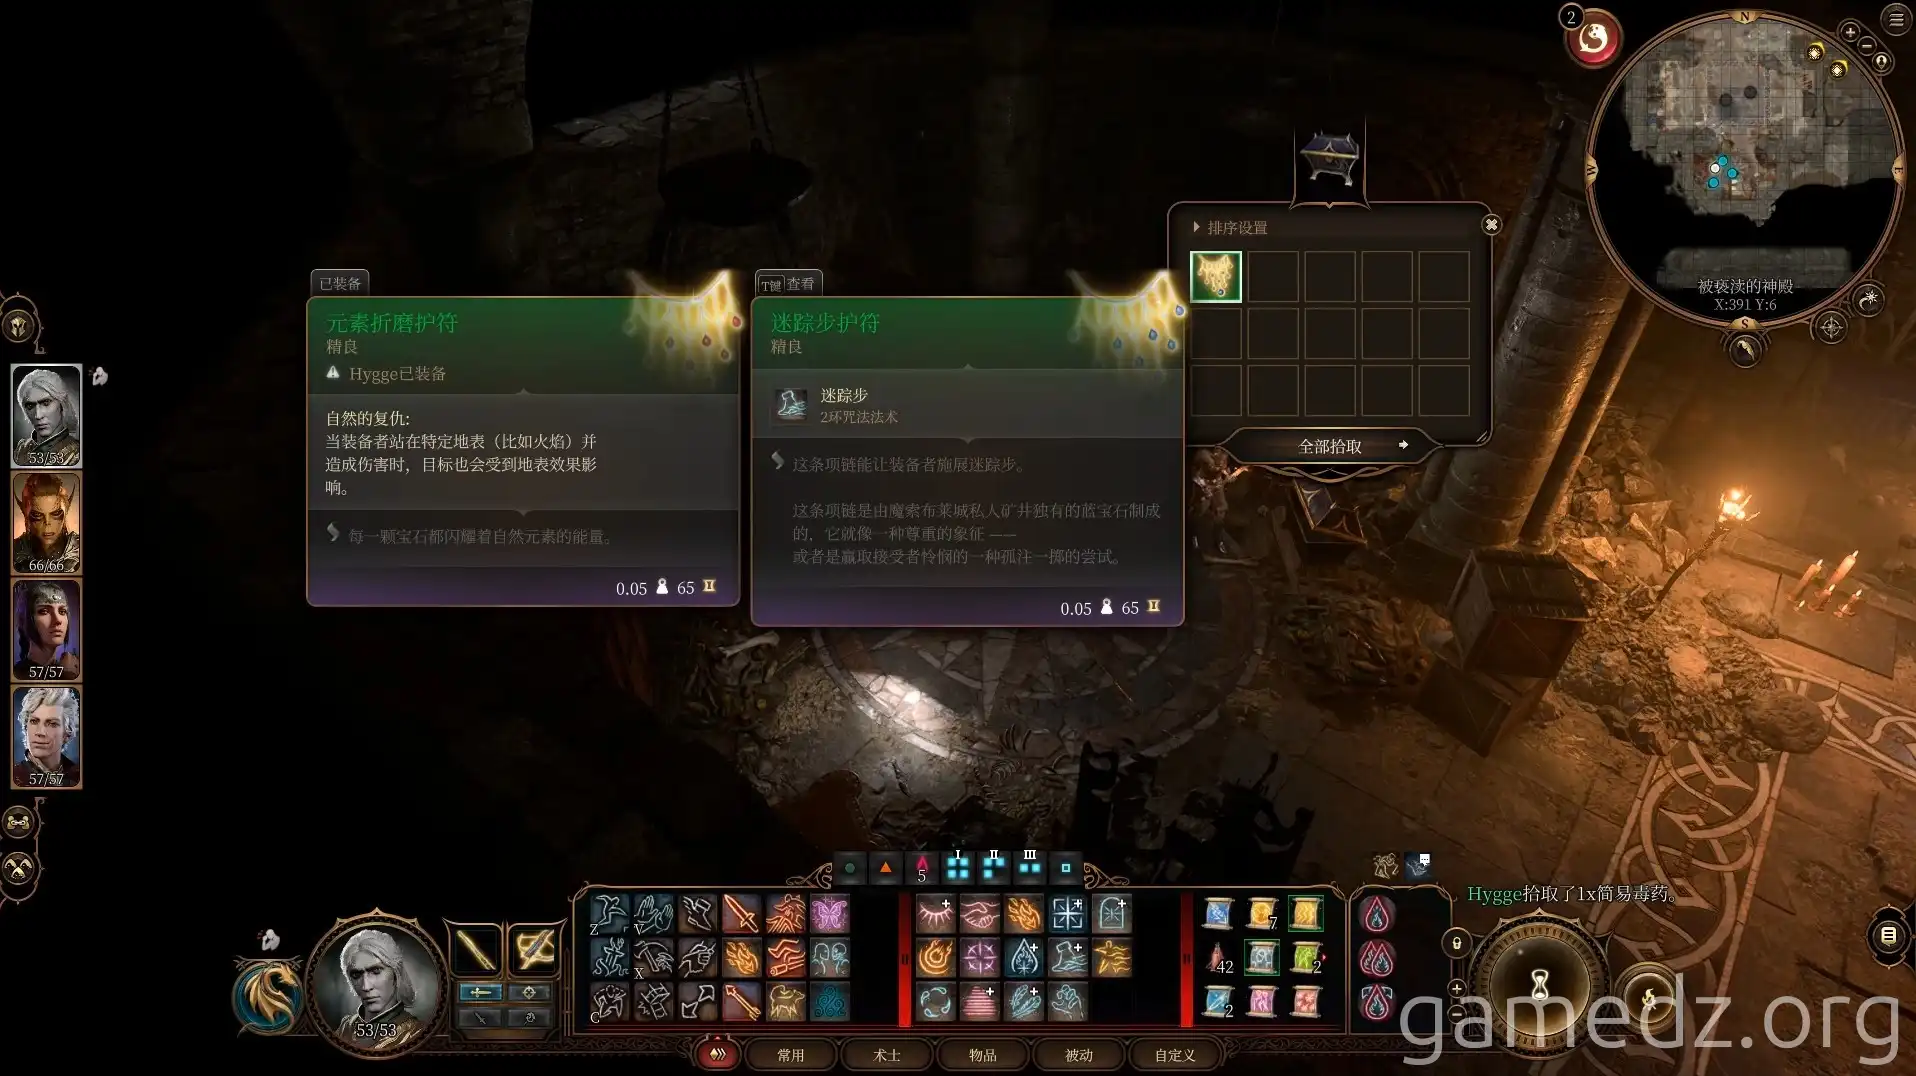
In the bedroom, you can find the Locked Chest Key on the bed. The gilded chest next to it contains the Uncommon accessory Amulet of the Devout.
Next, head deeper into the temple. Interact with the circular disc on the floor. Turn the sunlit points on the disc to black to reveal a hidden passage.
Solving this puzzle will inspire characters with the Sage background, granting them an Inspiration point.
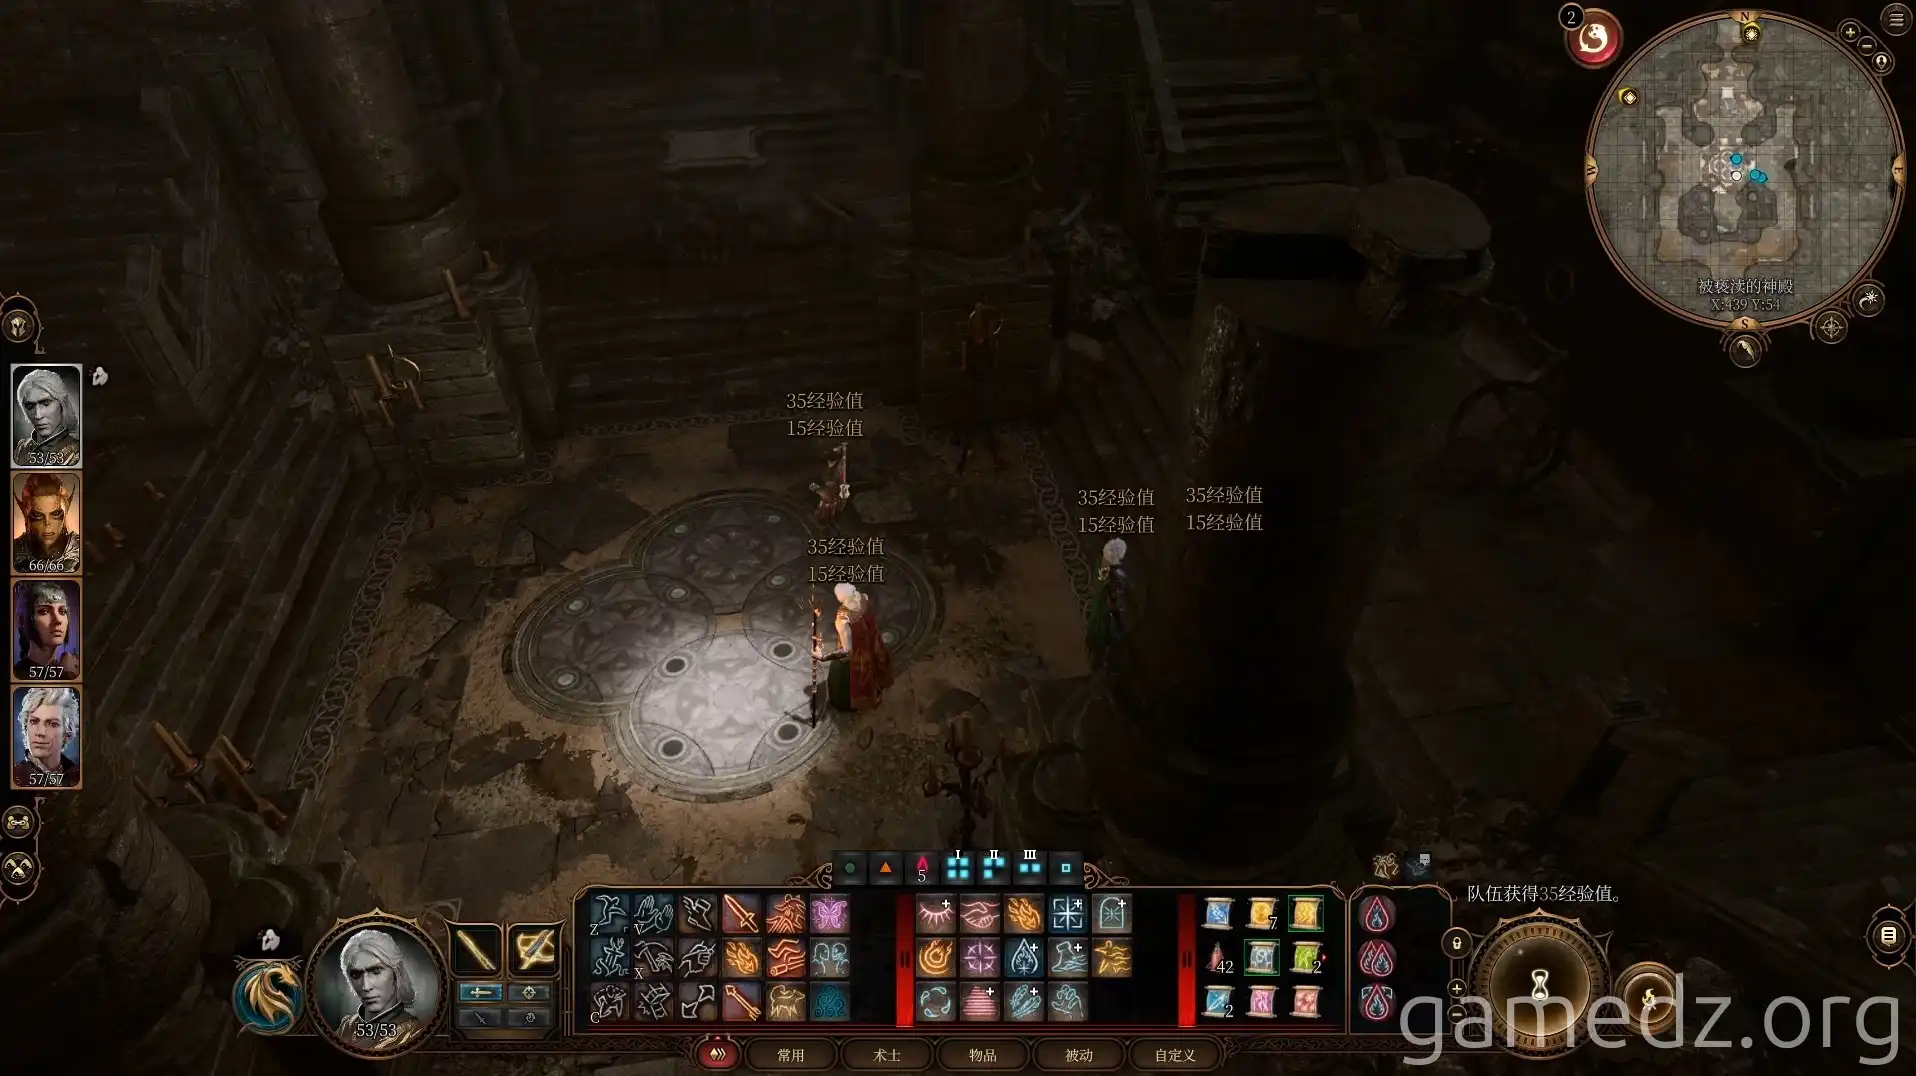
Through the hidden passage, you can access a Selûnite outpost in the Underdark.
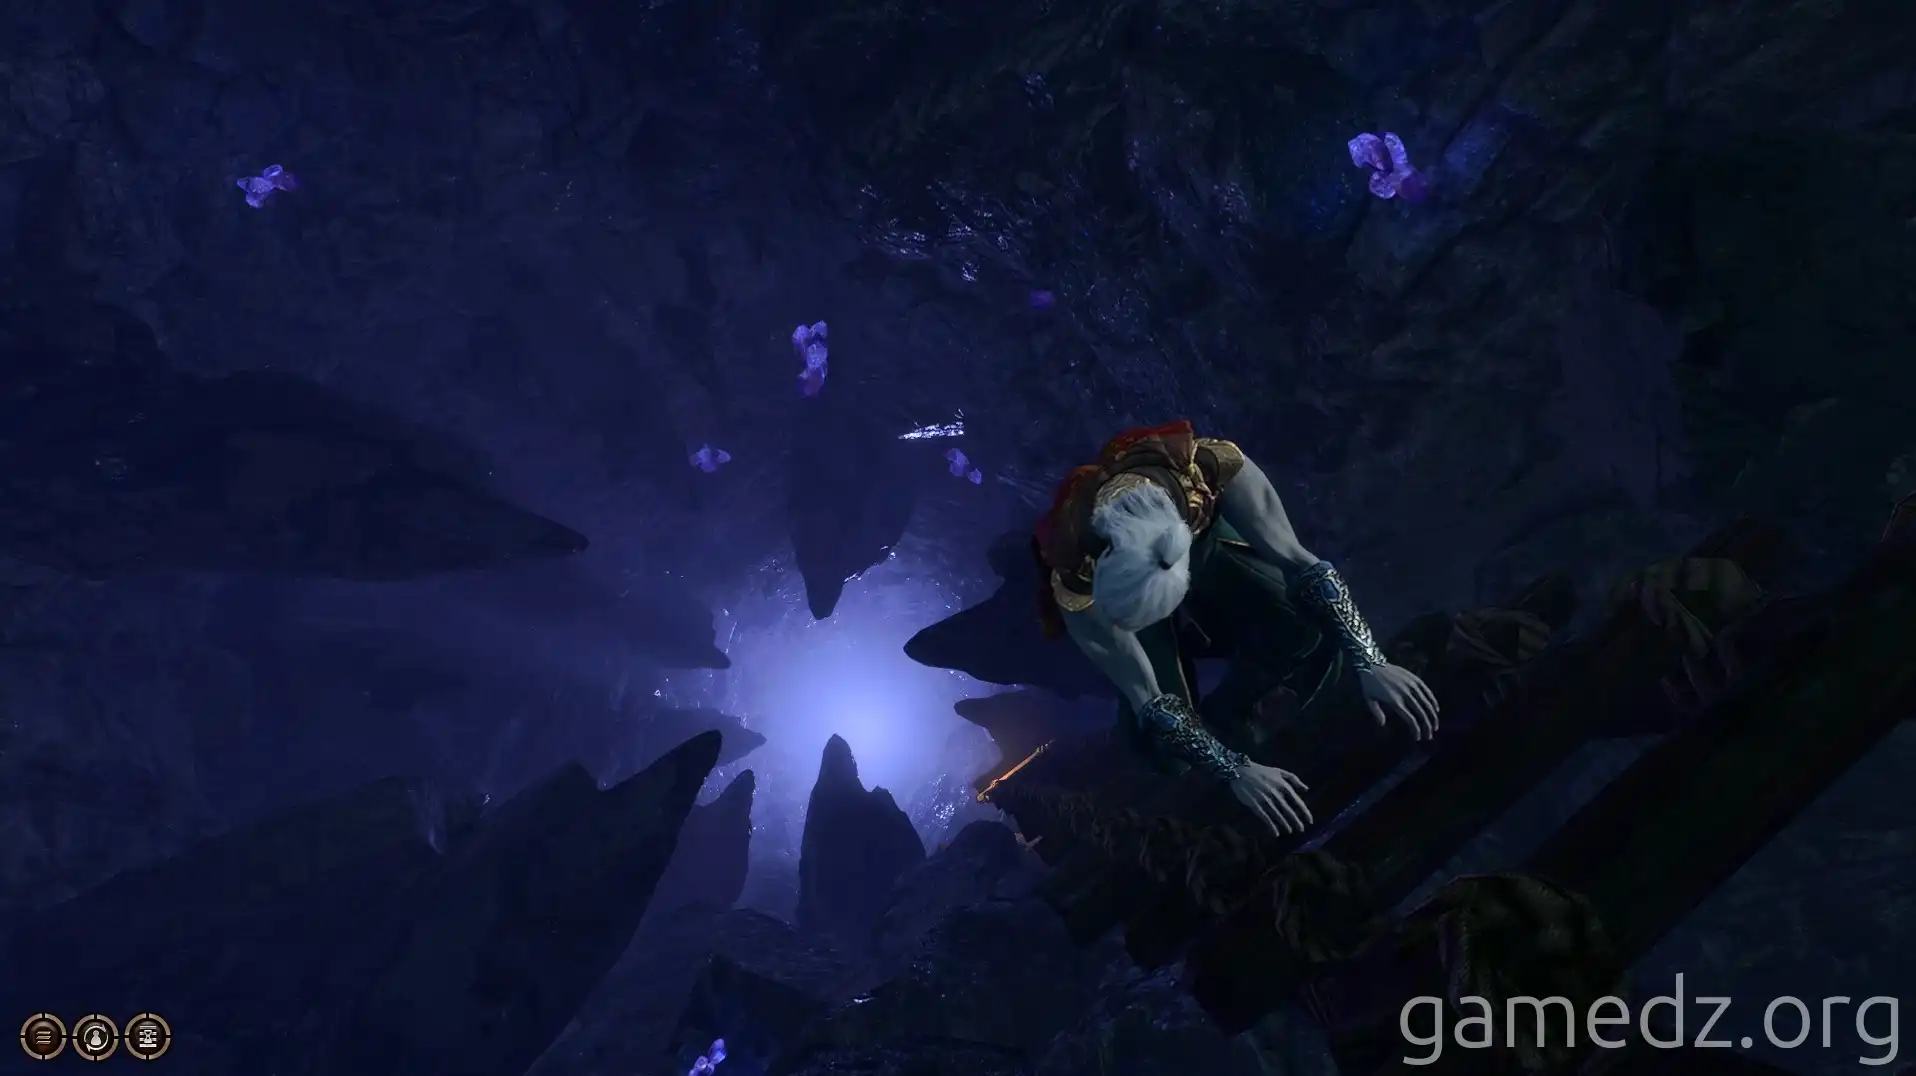
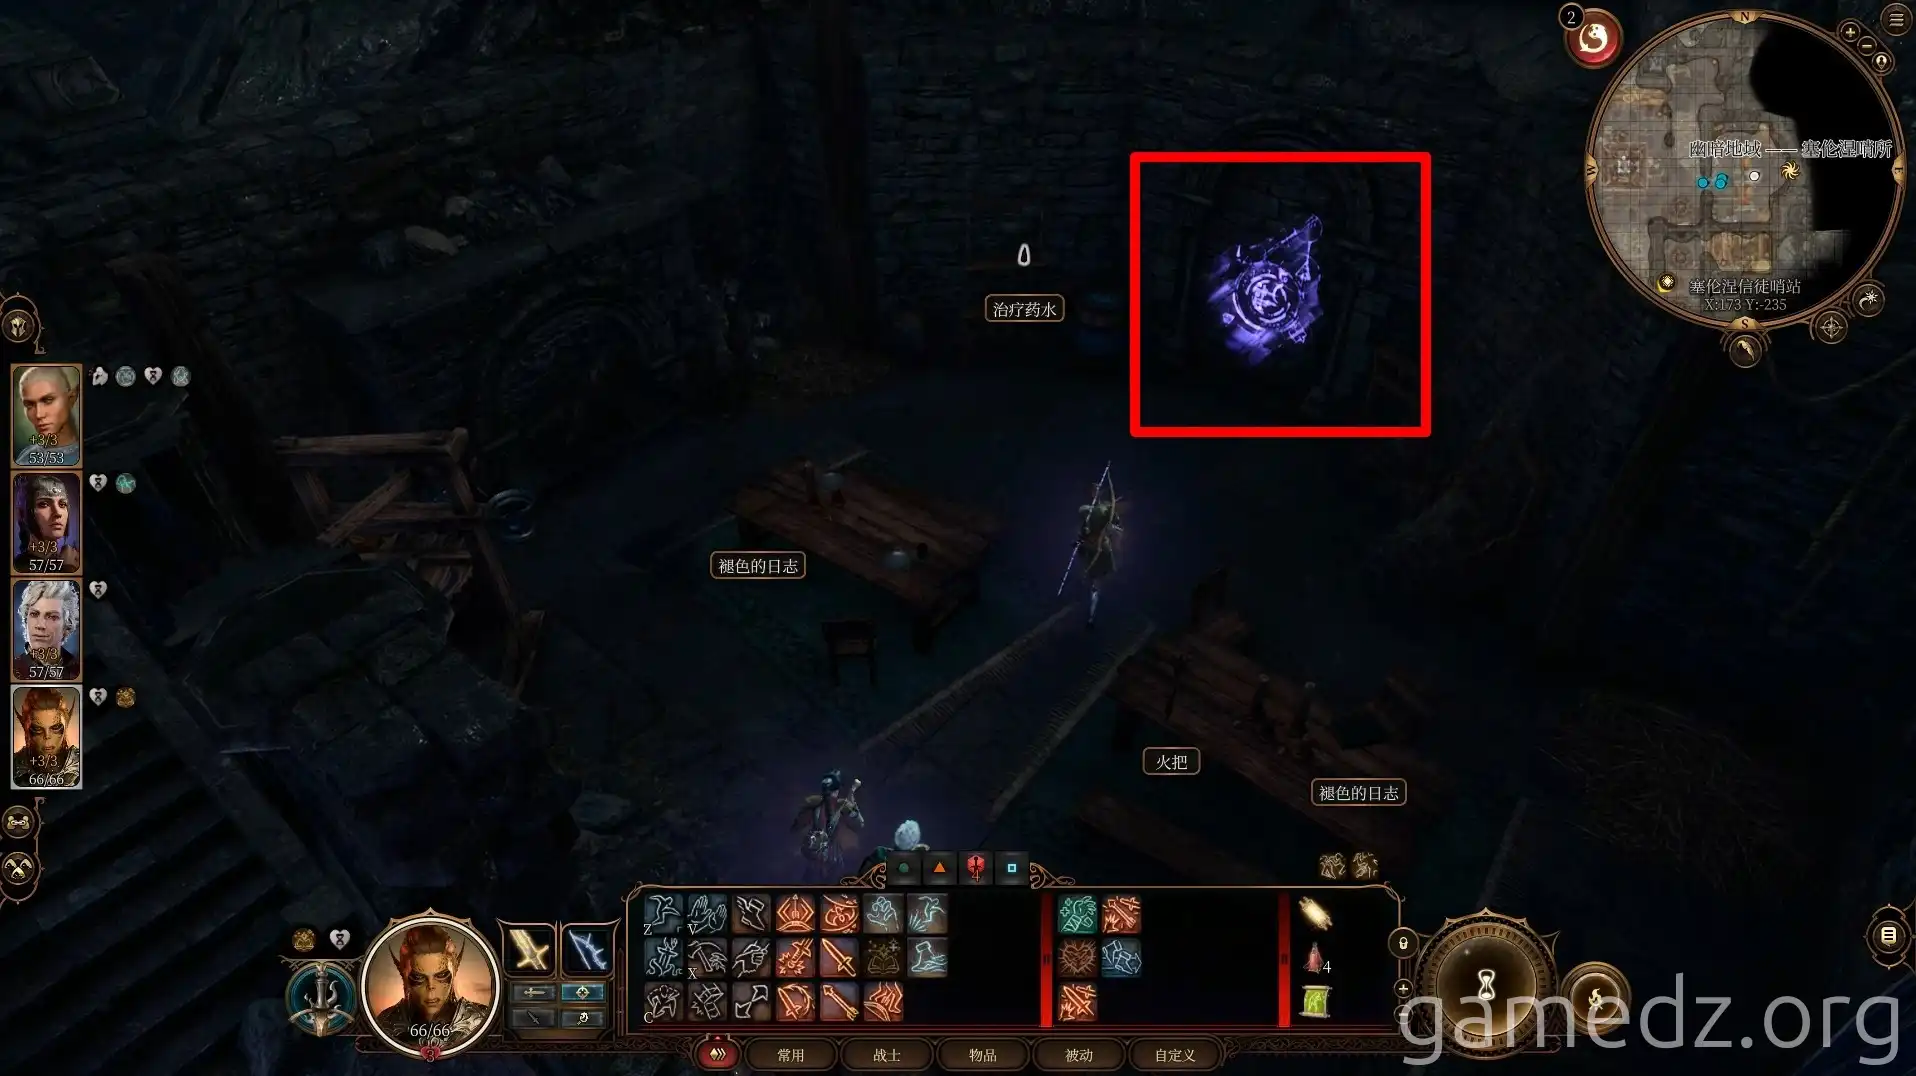
In the room in the middle-right of the outpost, activate the waypoint Underdark - Selûnite Outpost. Then, return to the Emerald Grove. We'll explore the Underdark further later.
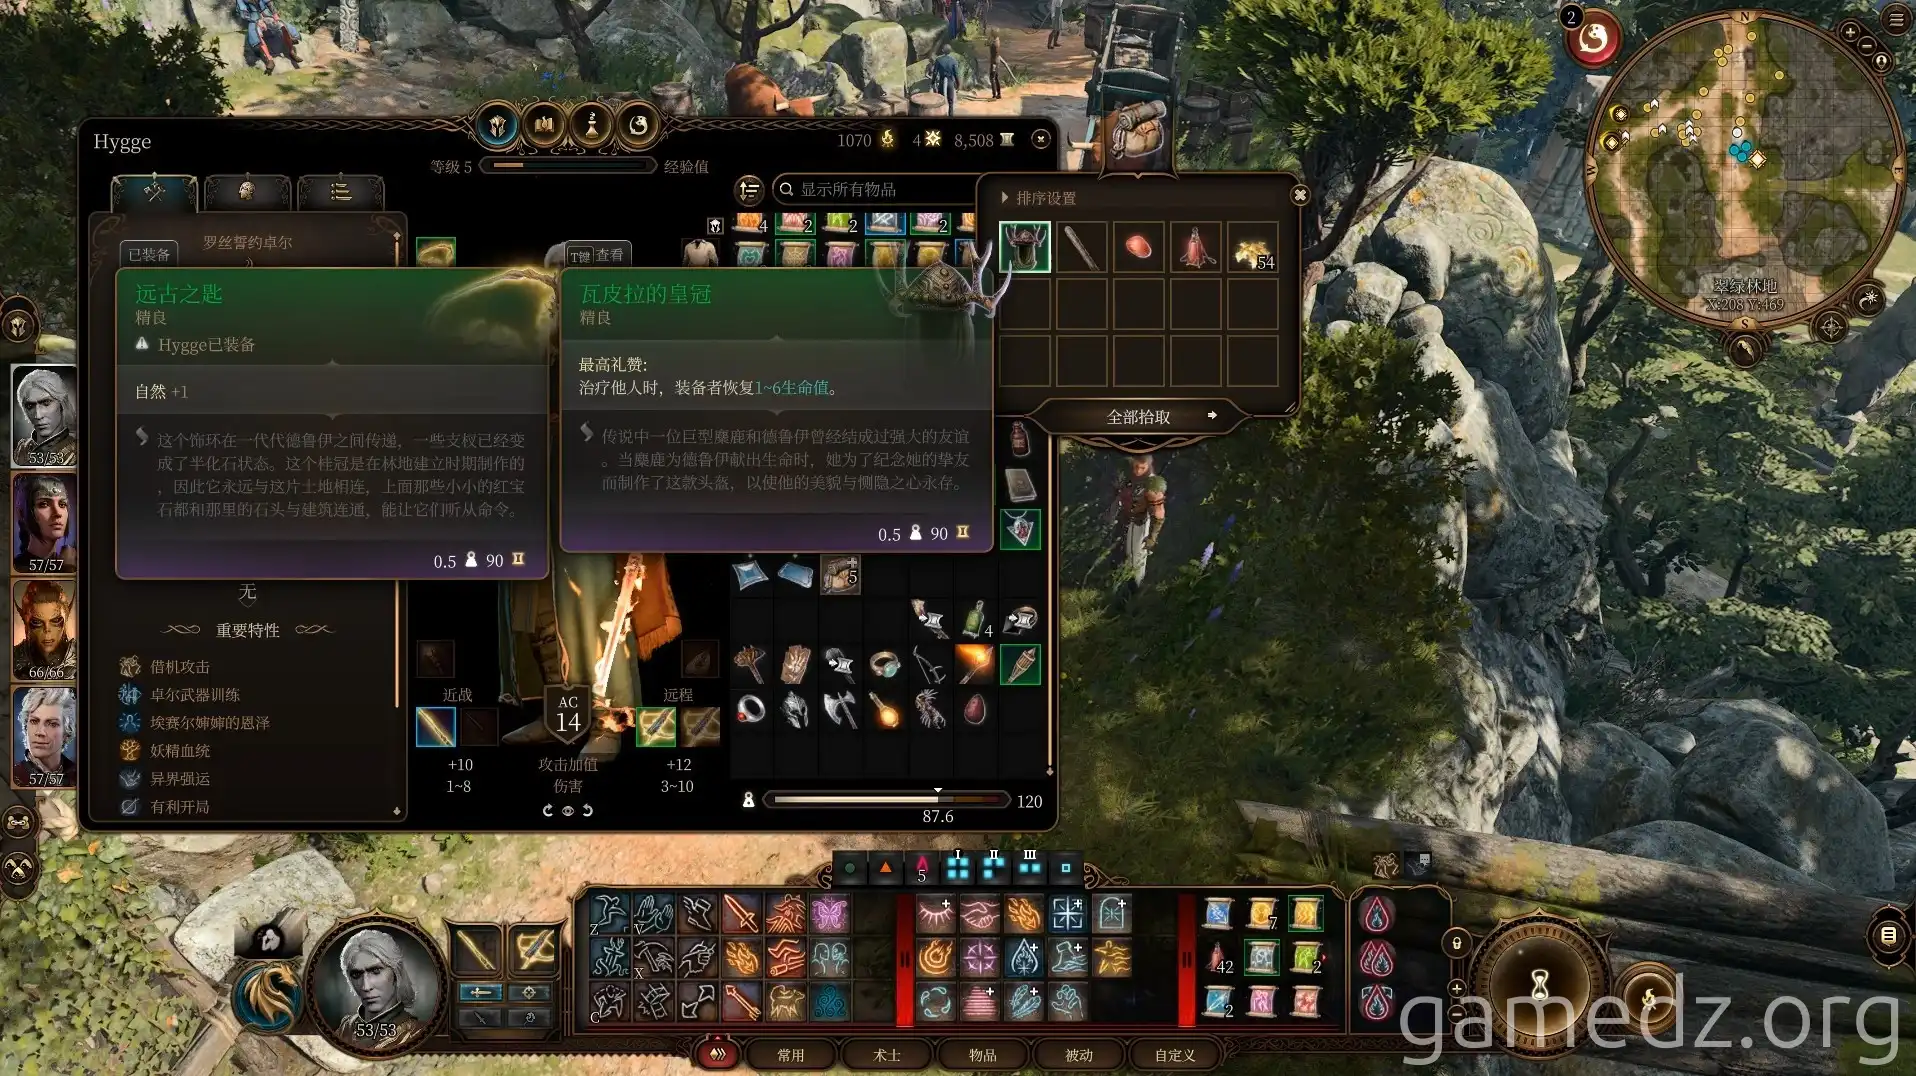
Upon returning to the Emerald Grove, speak with Zevlor to receive the Uncommon accessory Vampiric Crown.
After speaking with Halsin, he will ask you to find Rath.
Venture deeper into the Grove, and you'll find only a peculiar bull in the pen. This bull is actually a disguised Clay Golem.
It's recommended not to kill the Clay Golem at this point, as doing so will prevent you from obtaining a Rare item later.
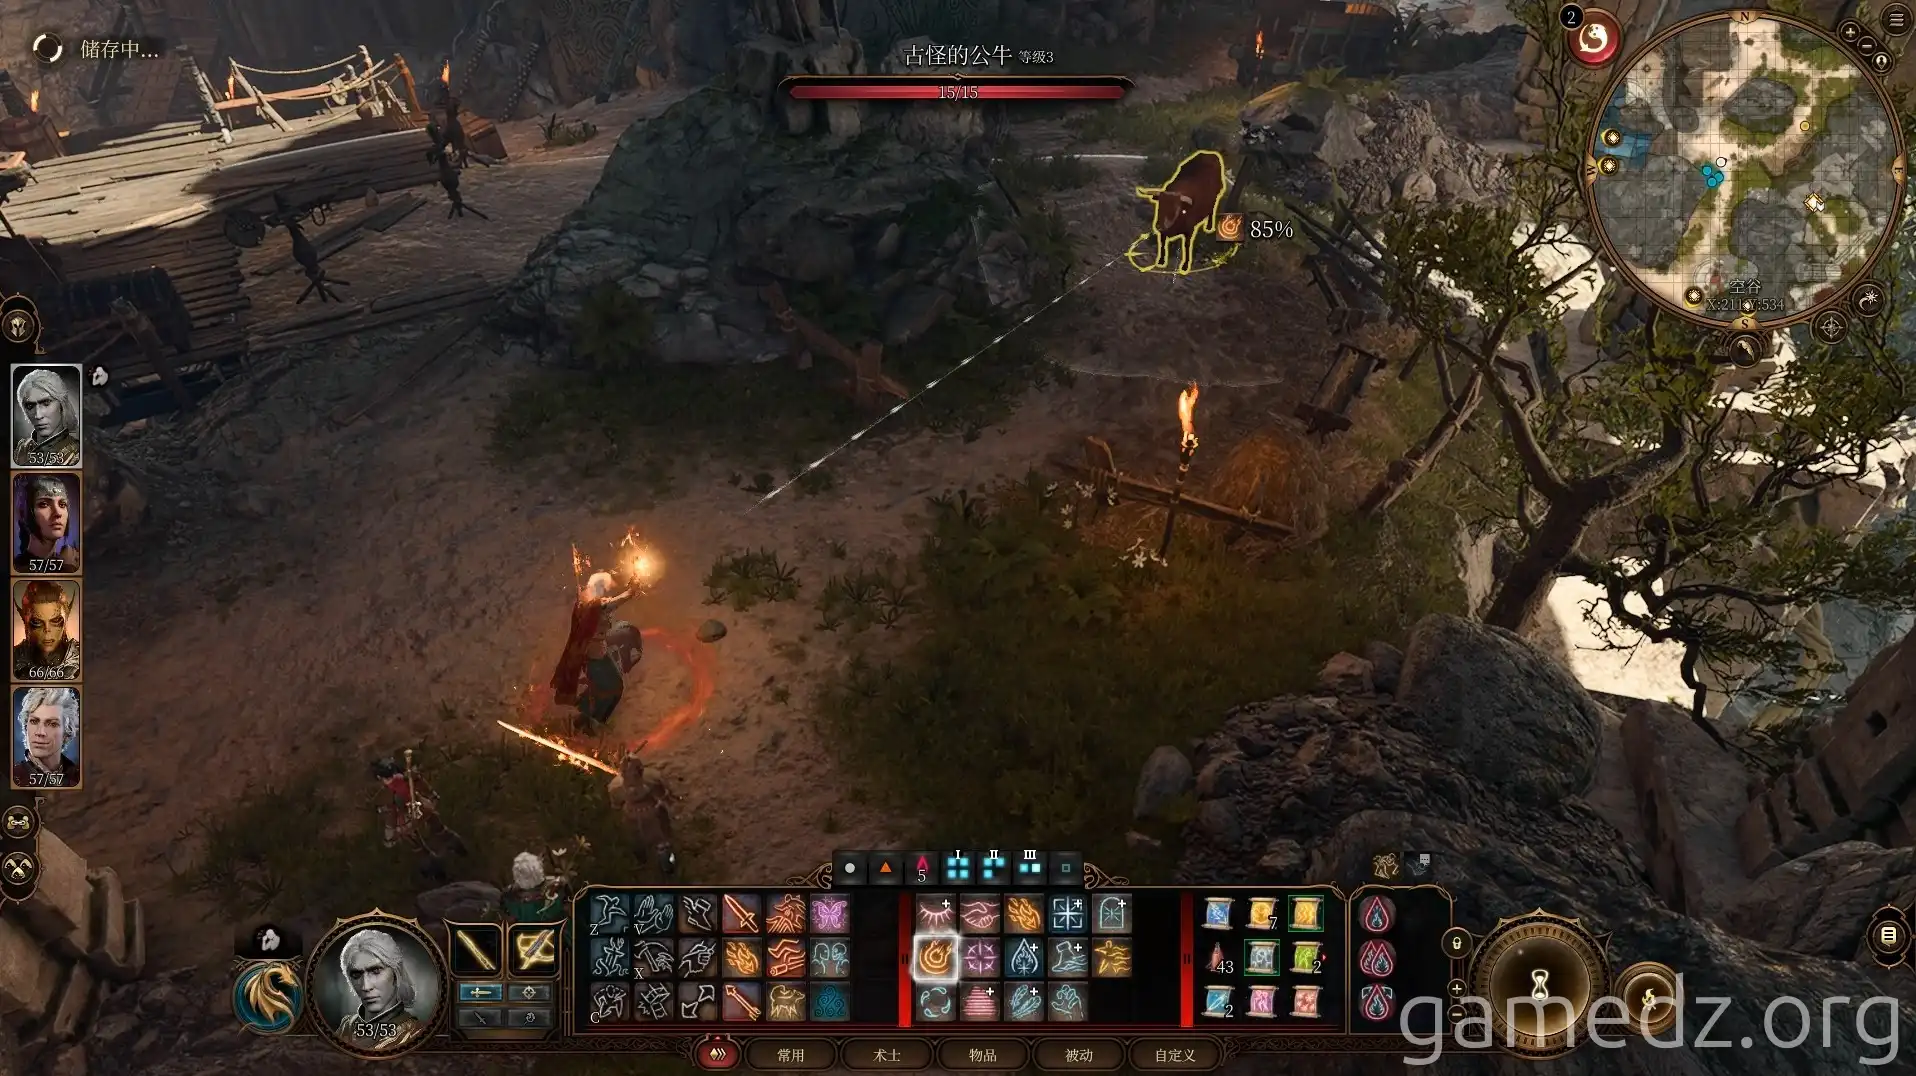
Defeating the peculiar bull will reward you with the Rare ring Ring of the Shapeshifter.
If you don't kill it and help it reach Baldur's Gate in Act 3, it will gift you the ring and assist you in combat later.
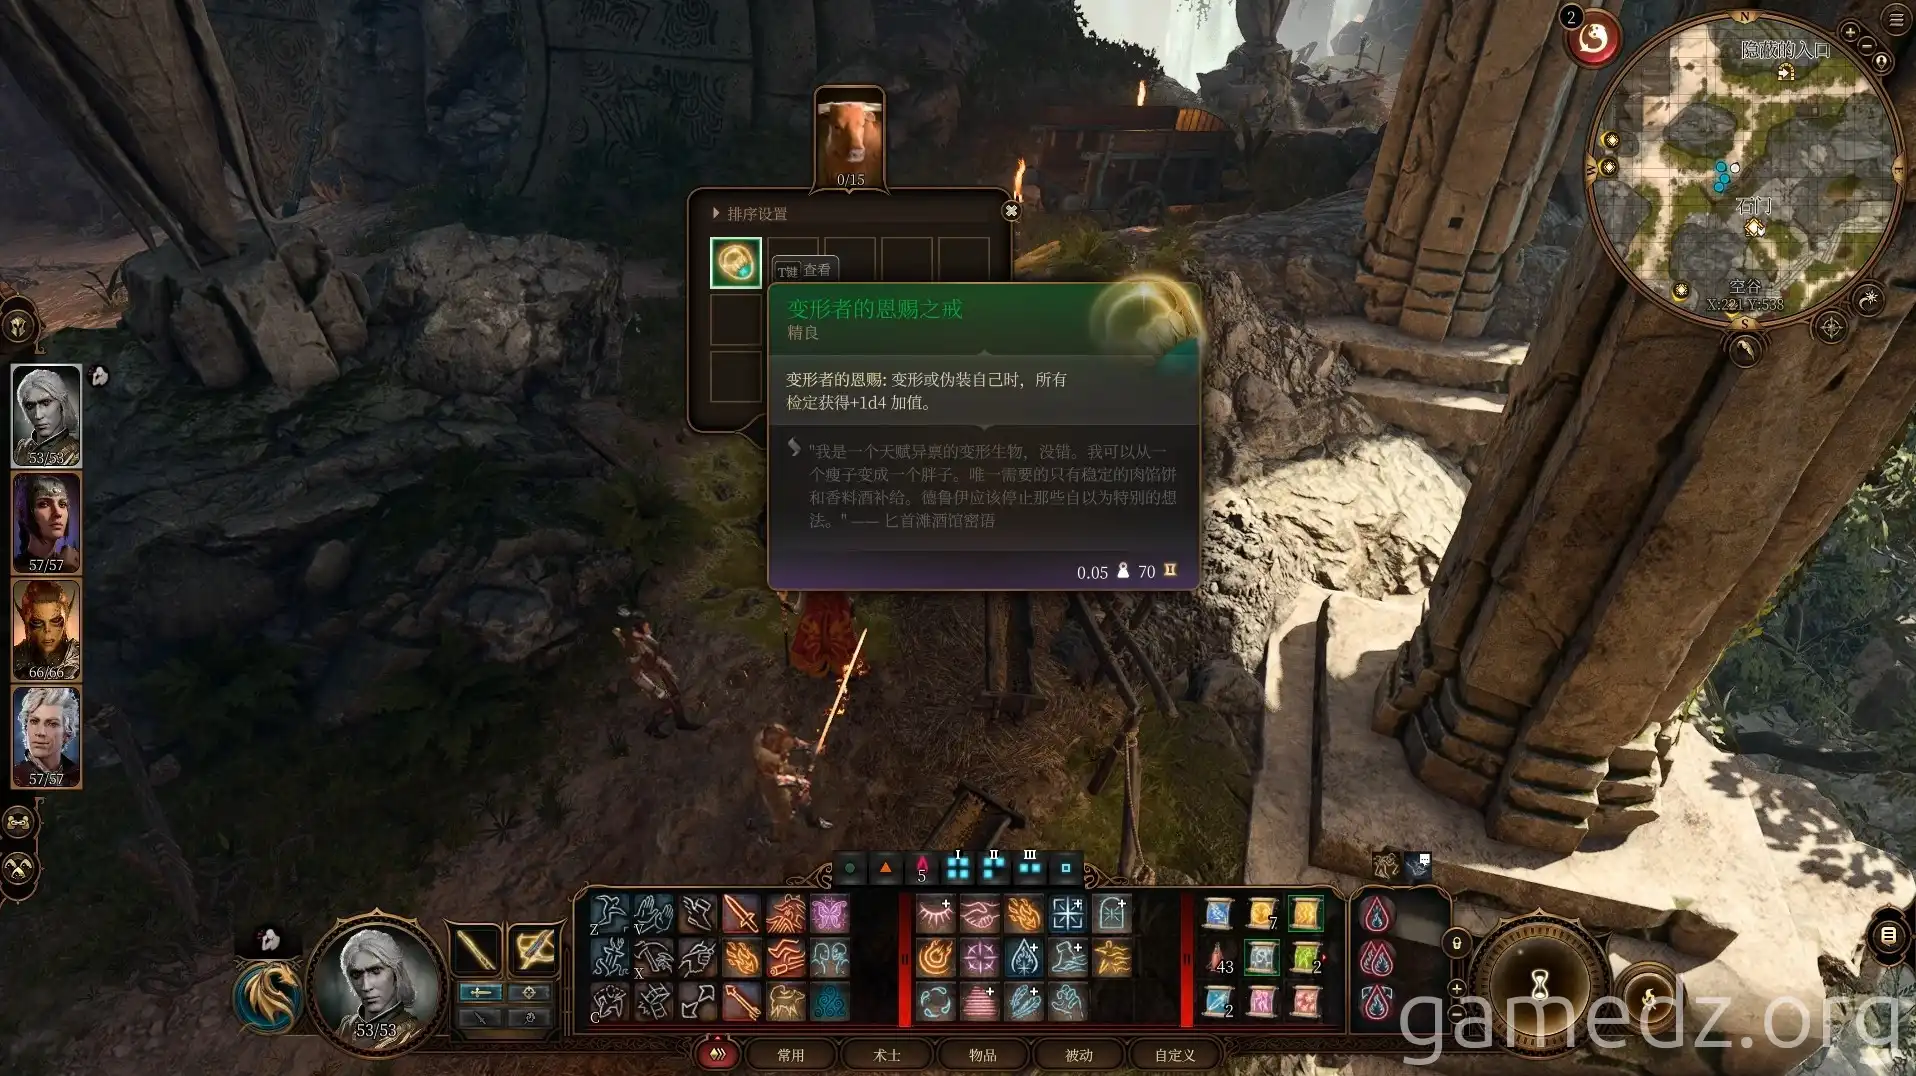
Go to the Druid's chamber and speak with Rath to obtain the Wolf Rune.
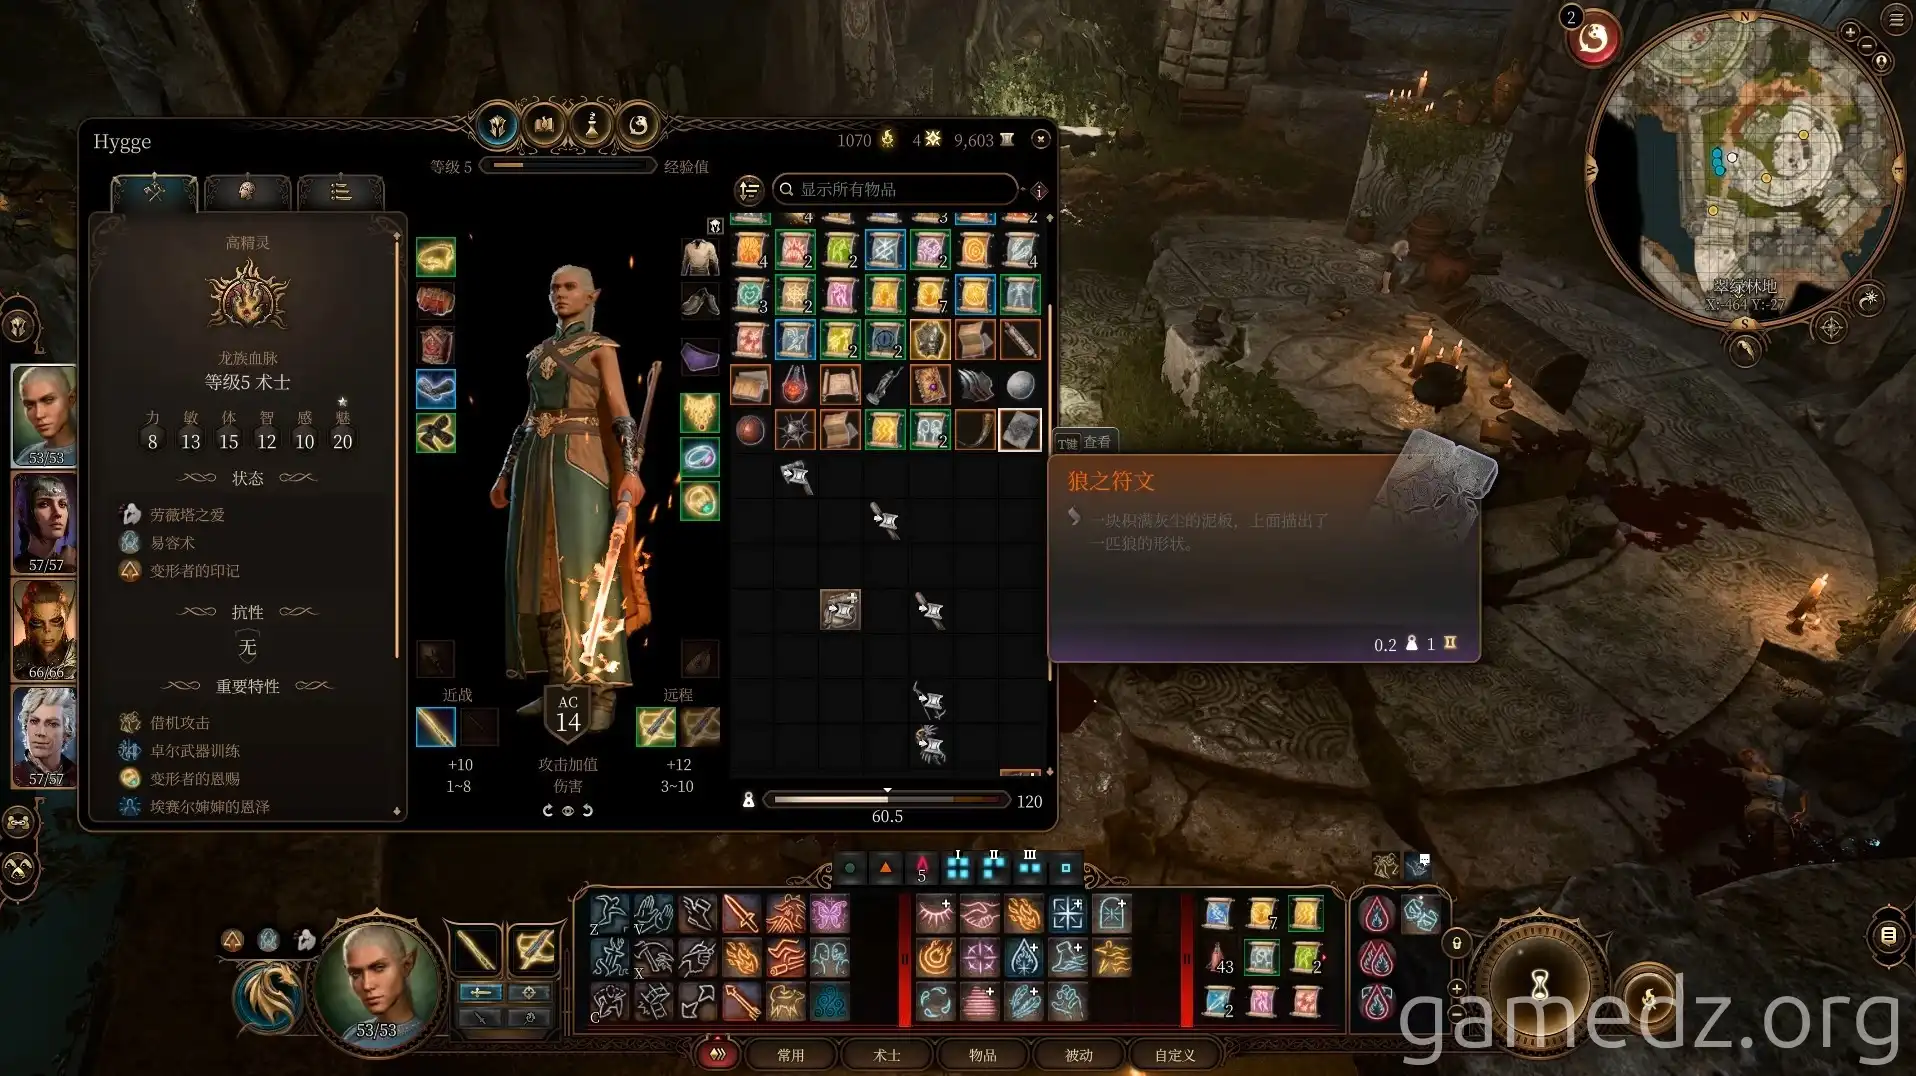
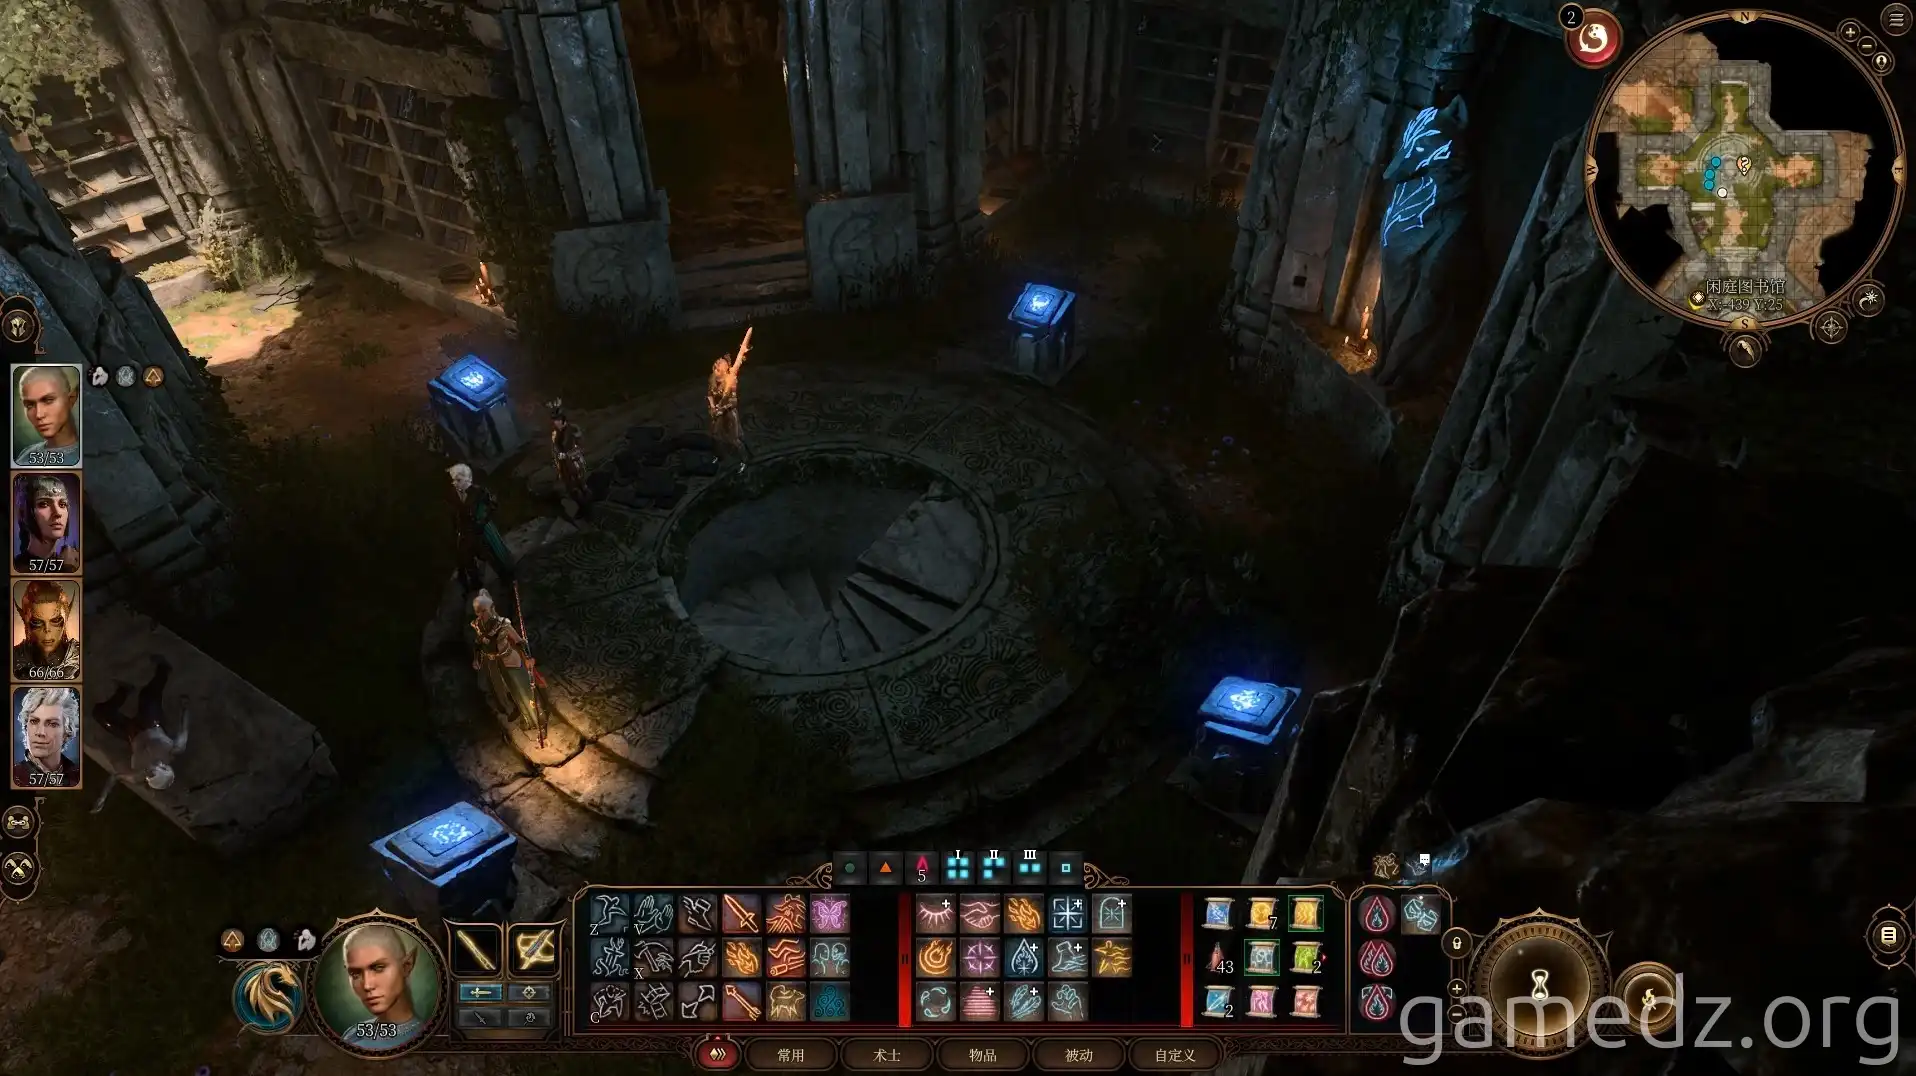
Head to the Grove Library and place the Wolf Rune into the slot. Then, illuminate all the runes simultaneously to open a path to a secret chamber.
In the secret chamber, you can find the Rare weapon Sadness.
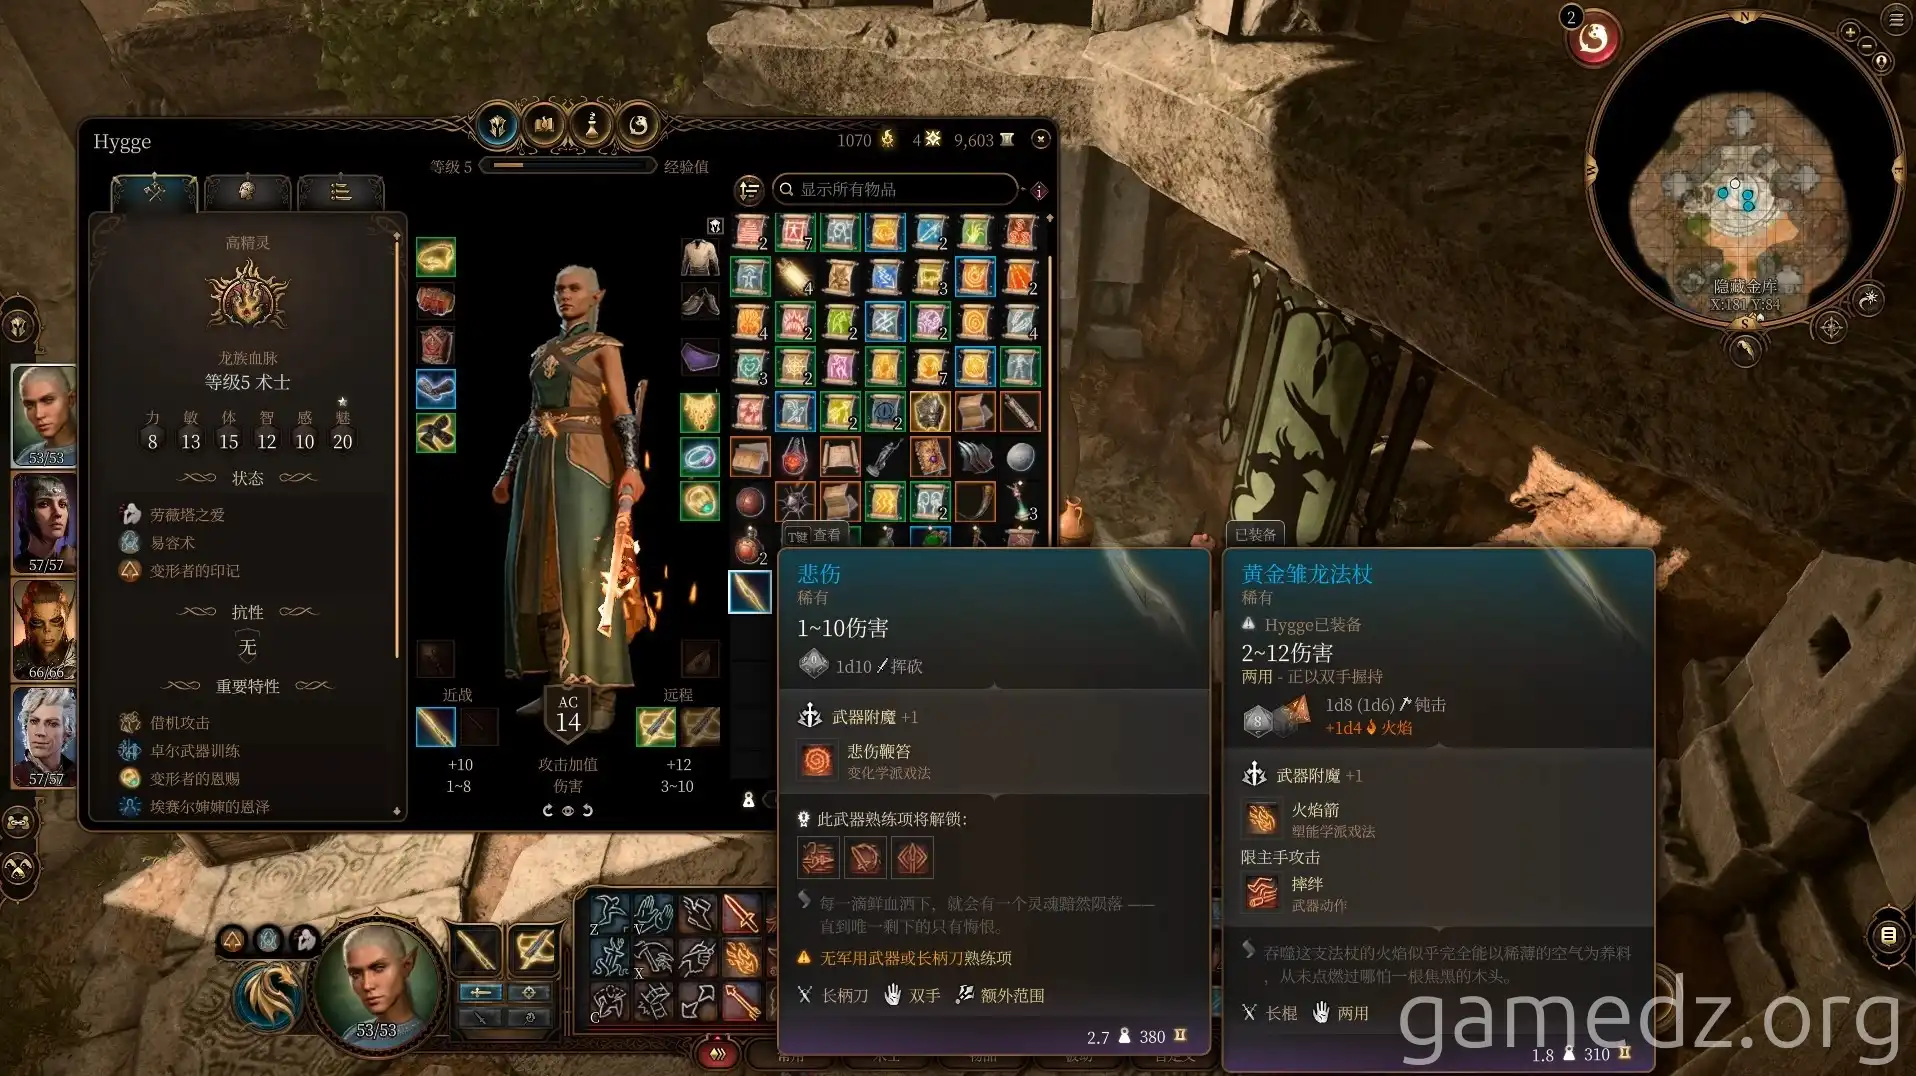
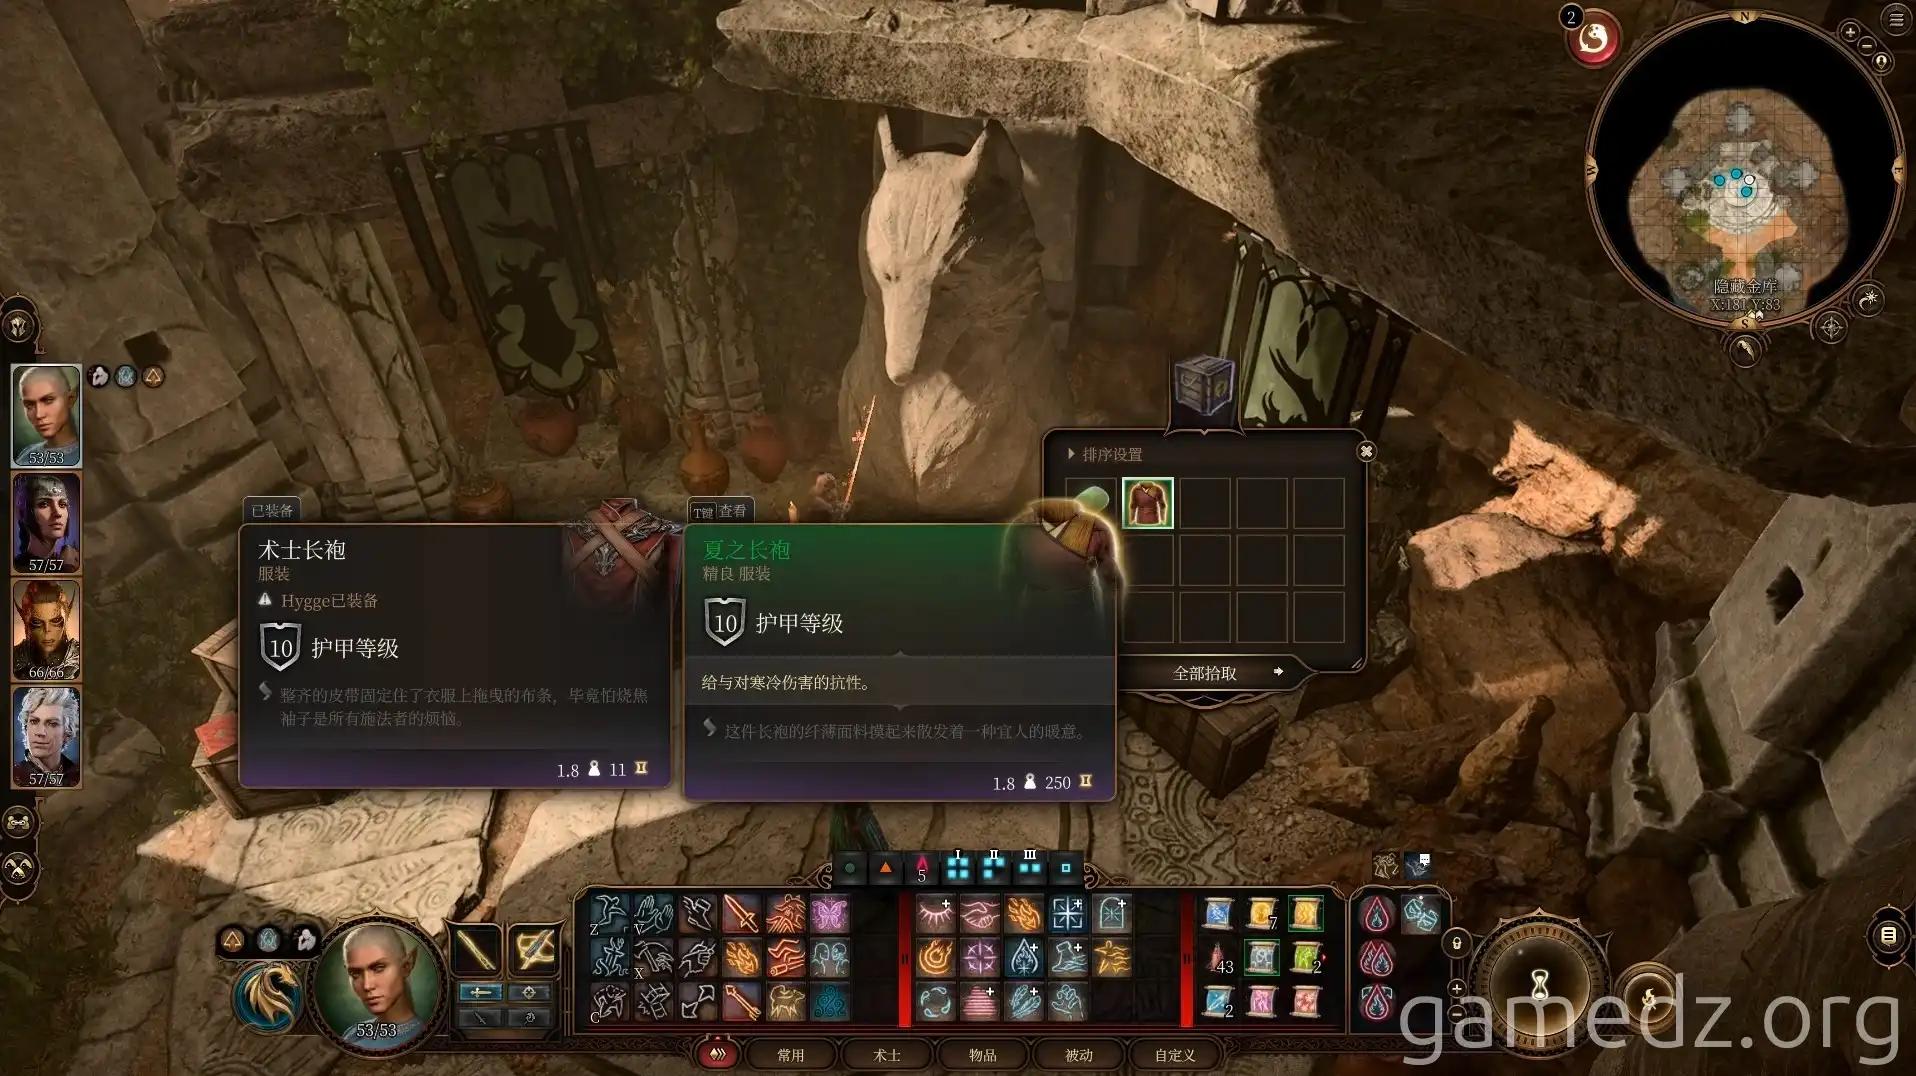
The chest next to it contains the Uncommon clothing Robe of Summer. Don't forget to grab the other items from the surrounding chests as well.
At this point, although Dammon is still in the Grove, he can no longer repair Karlach's infernal engine. Therefore, any Infernal Iron you have will have to wait until you encounter Dammon again.
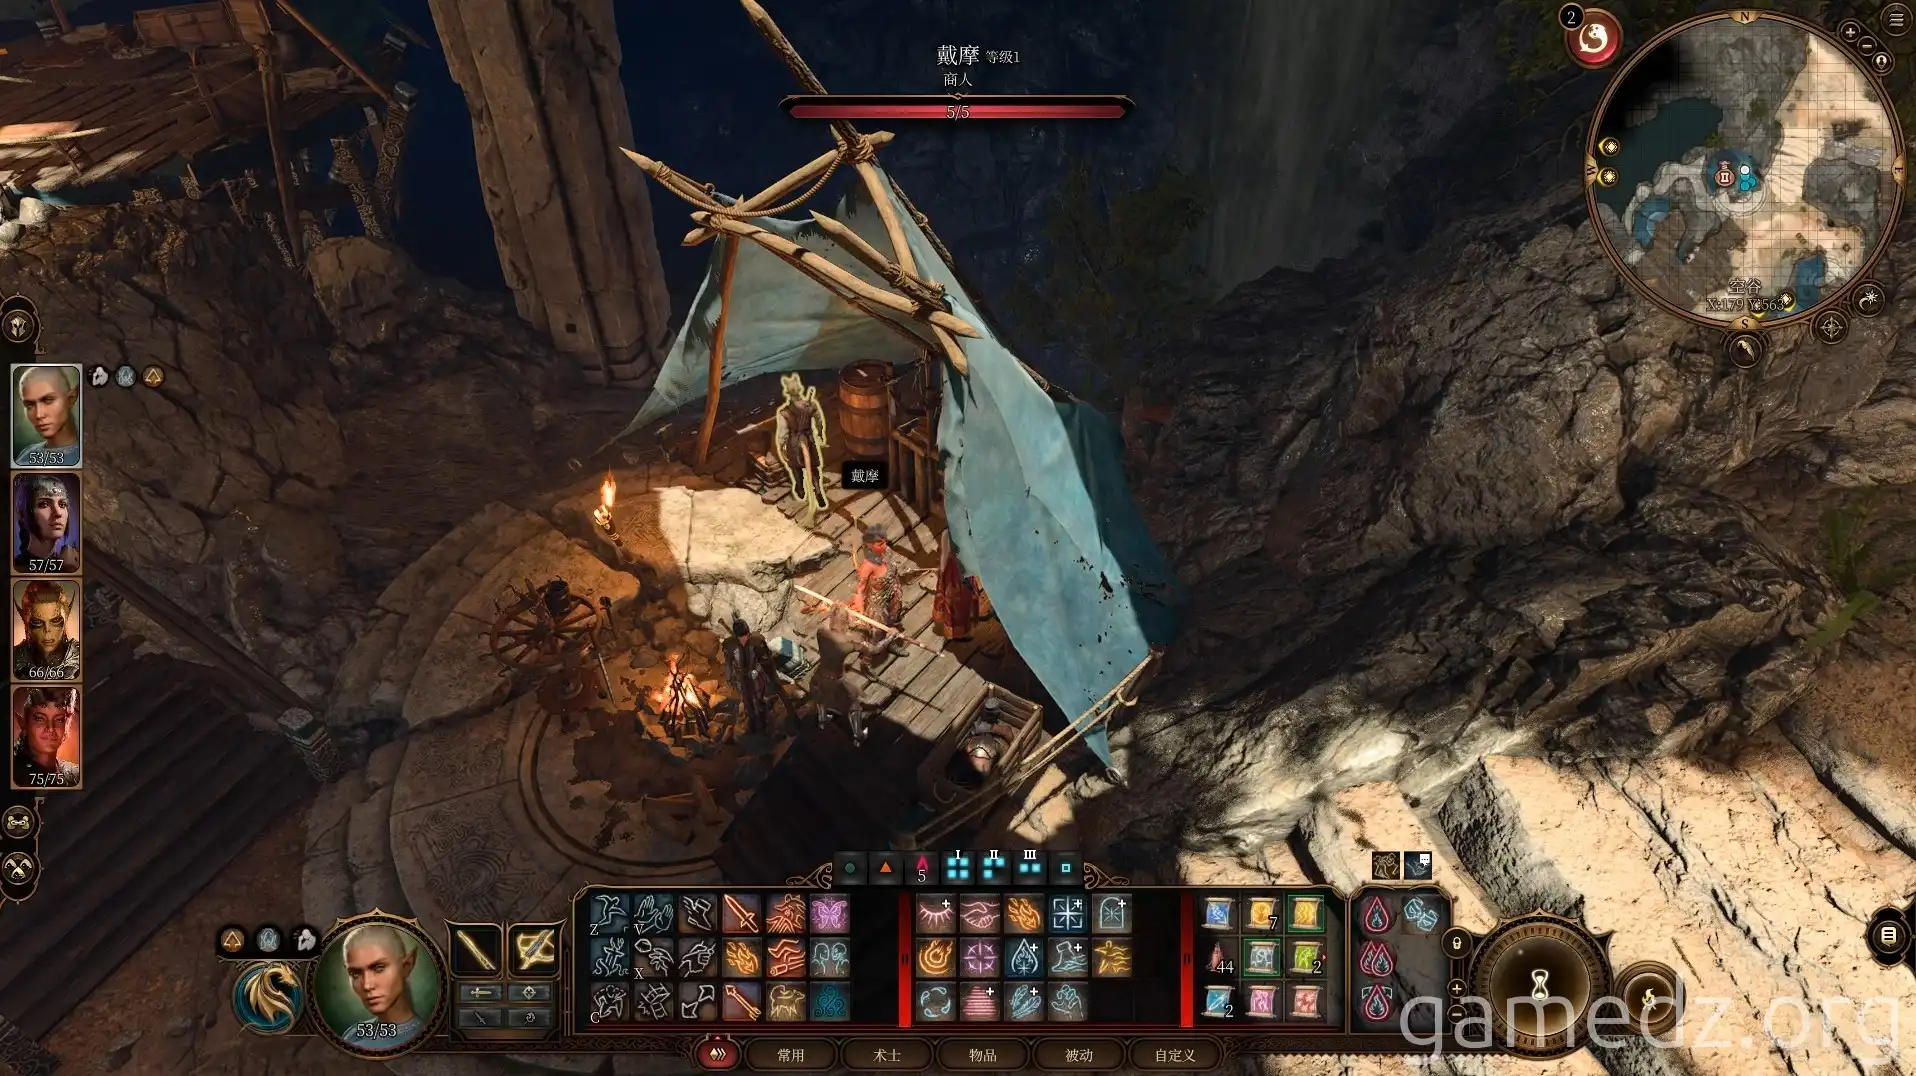
Afterward, return to your camp and take a long rest to celebrate the resolution of the Grove's crisis. The Tieflings will depart for Baldur's Gate the day after.
Halsin will join your camp at this time, but he won't become a playable character until Act 2.
With this, the entire Emerald Grove and Goblin Camp have been fully explored. Next, we will continue exploring the remaining areas of the Risen Road and prepare to venture into the Underdark.
