
Baldur's Gate 3: Goblin Camp Walkthrough - Shattered Sanctum Secrets
Explore Baldur's Gate 3's Goblin Camp with this comprehensive walkthrough. Discover the Shattered Sanctum, find rare loot like the Cloak of Protection, and defeat key bosses.
Welcome back, adventurers! This guide continues our deep dive into the Goblin Camp, focusing on the treacherous Shattered Sanctum. Prepare to uncover secrets, snag powerful loot, and overcome formidable foes.
Entering the Shattered Sanctum
Head back to the plaza and enter the Shattered Sanctum through the large north gate. Consider using the Mind Flayer's Intimidation ability to bypass initial guards, but ensure your party is positioned before engaging.
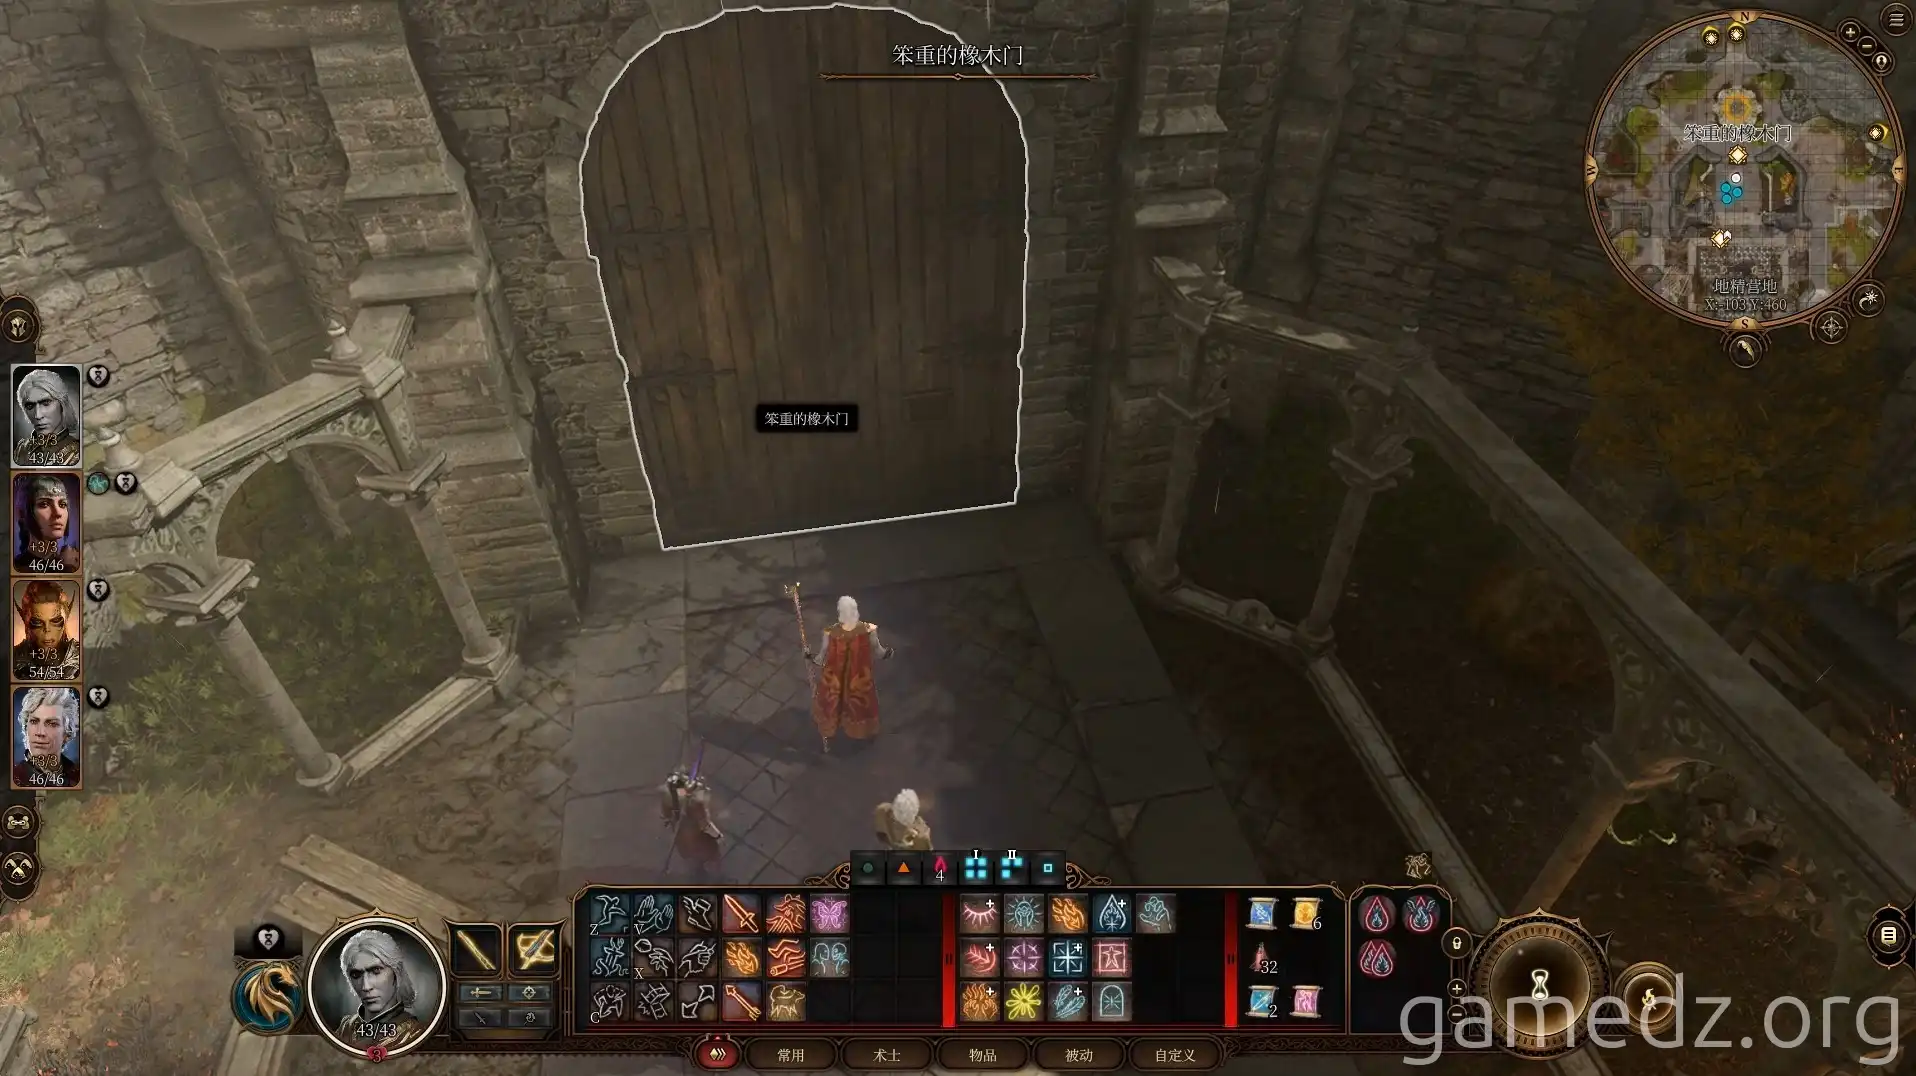
Be aware of the six goblins present: four at the entrance and two on elevated platforms. Don't miss the hole on the left platform!
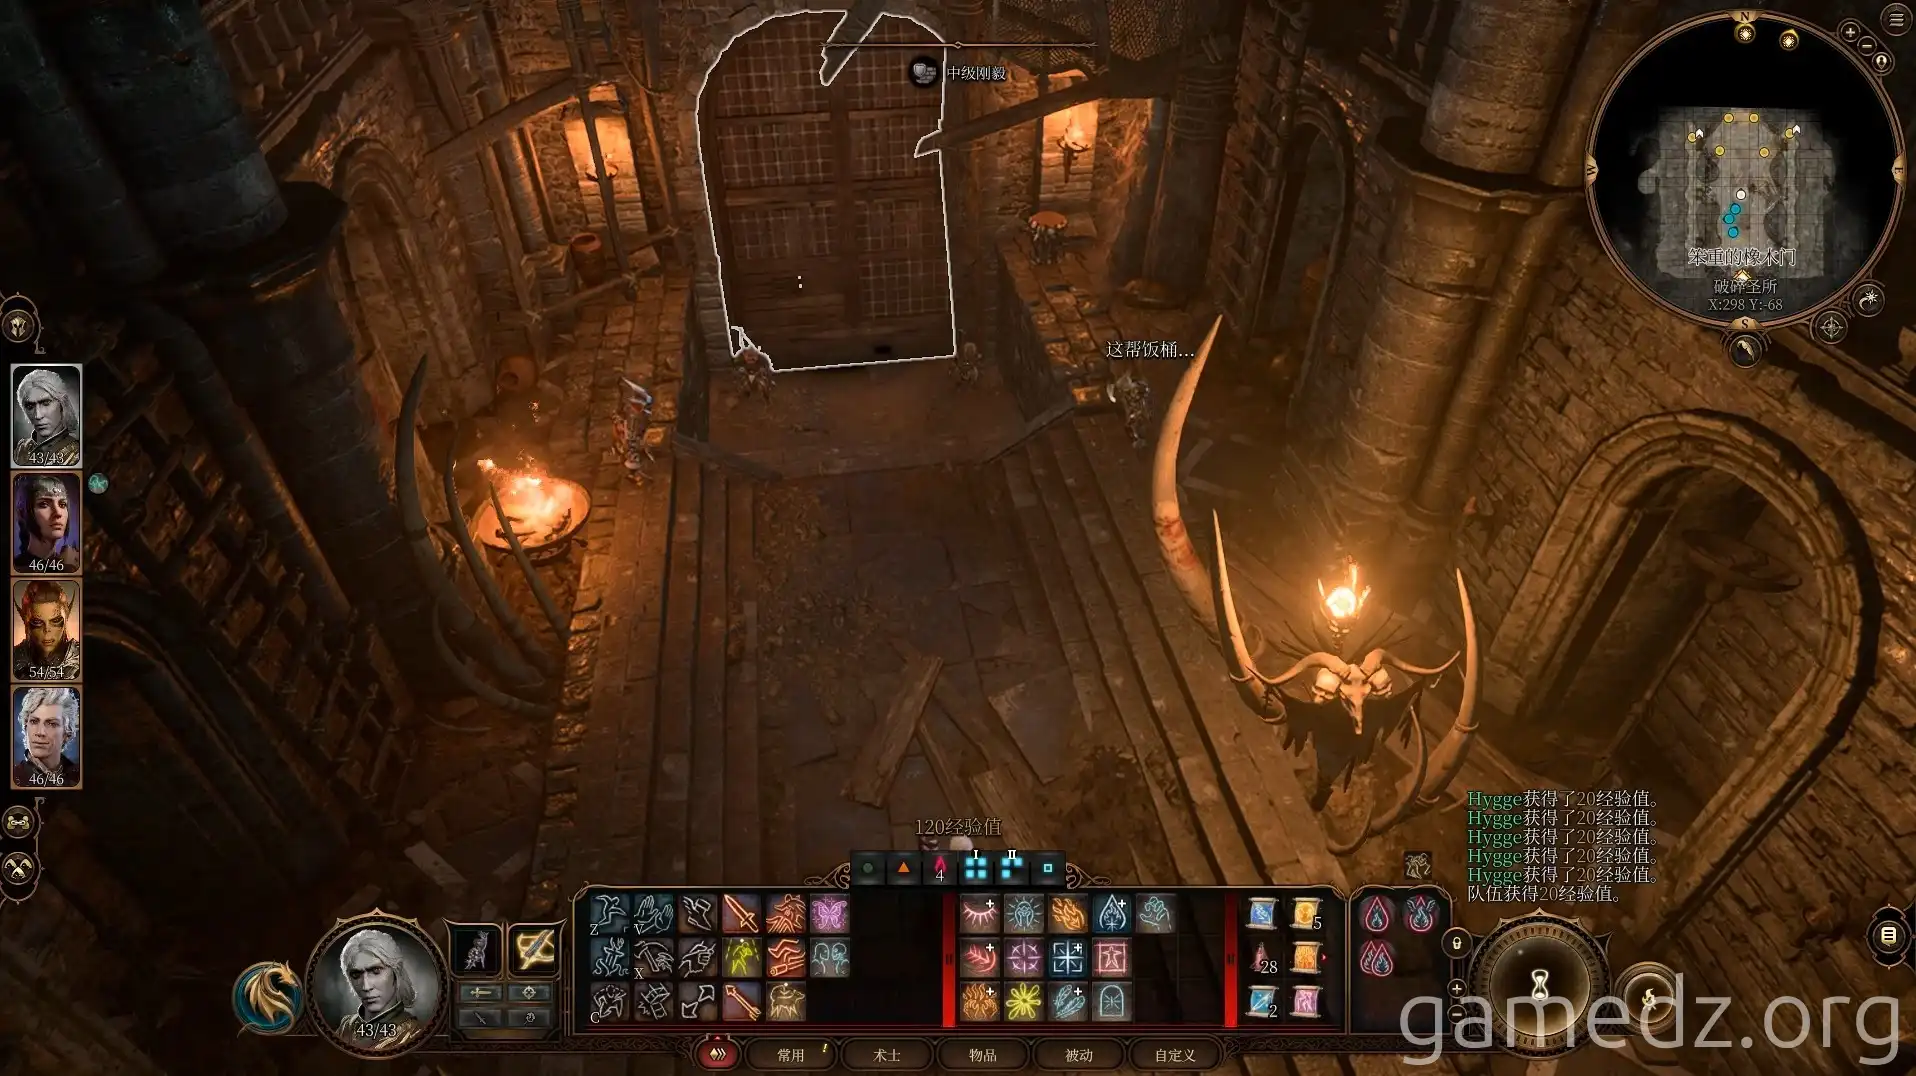
The Priestess and the Right Wing
Upon entering, you'll see the first goblin leader, the Priestess, in the main hall. For now, bypass her and head right.
Warning: Speaking to the Priestess will lead to a trap. She'll offer a cure for your tadpole, but the potion will knock you out and imprison you. It's best to deal with her later.
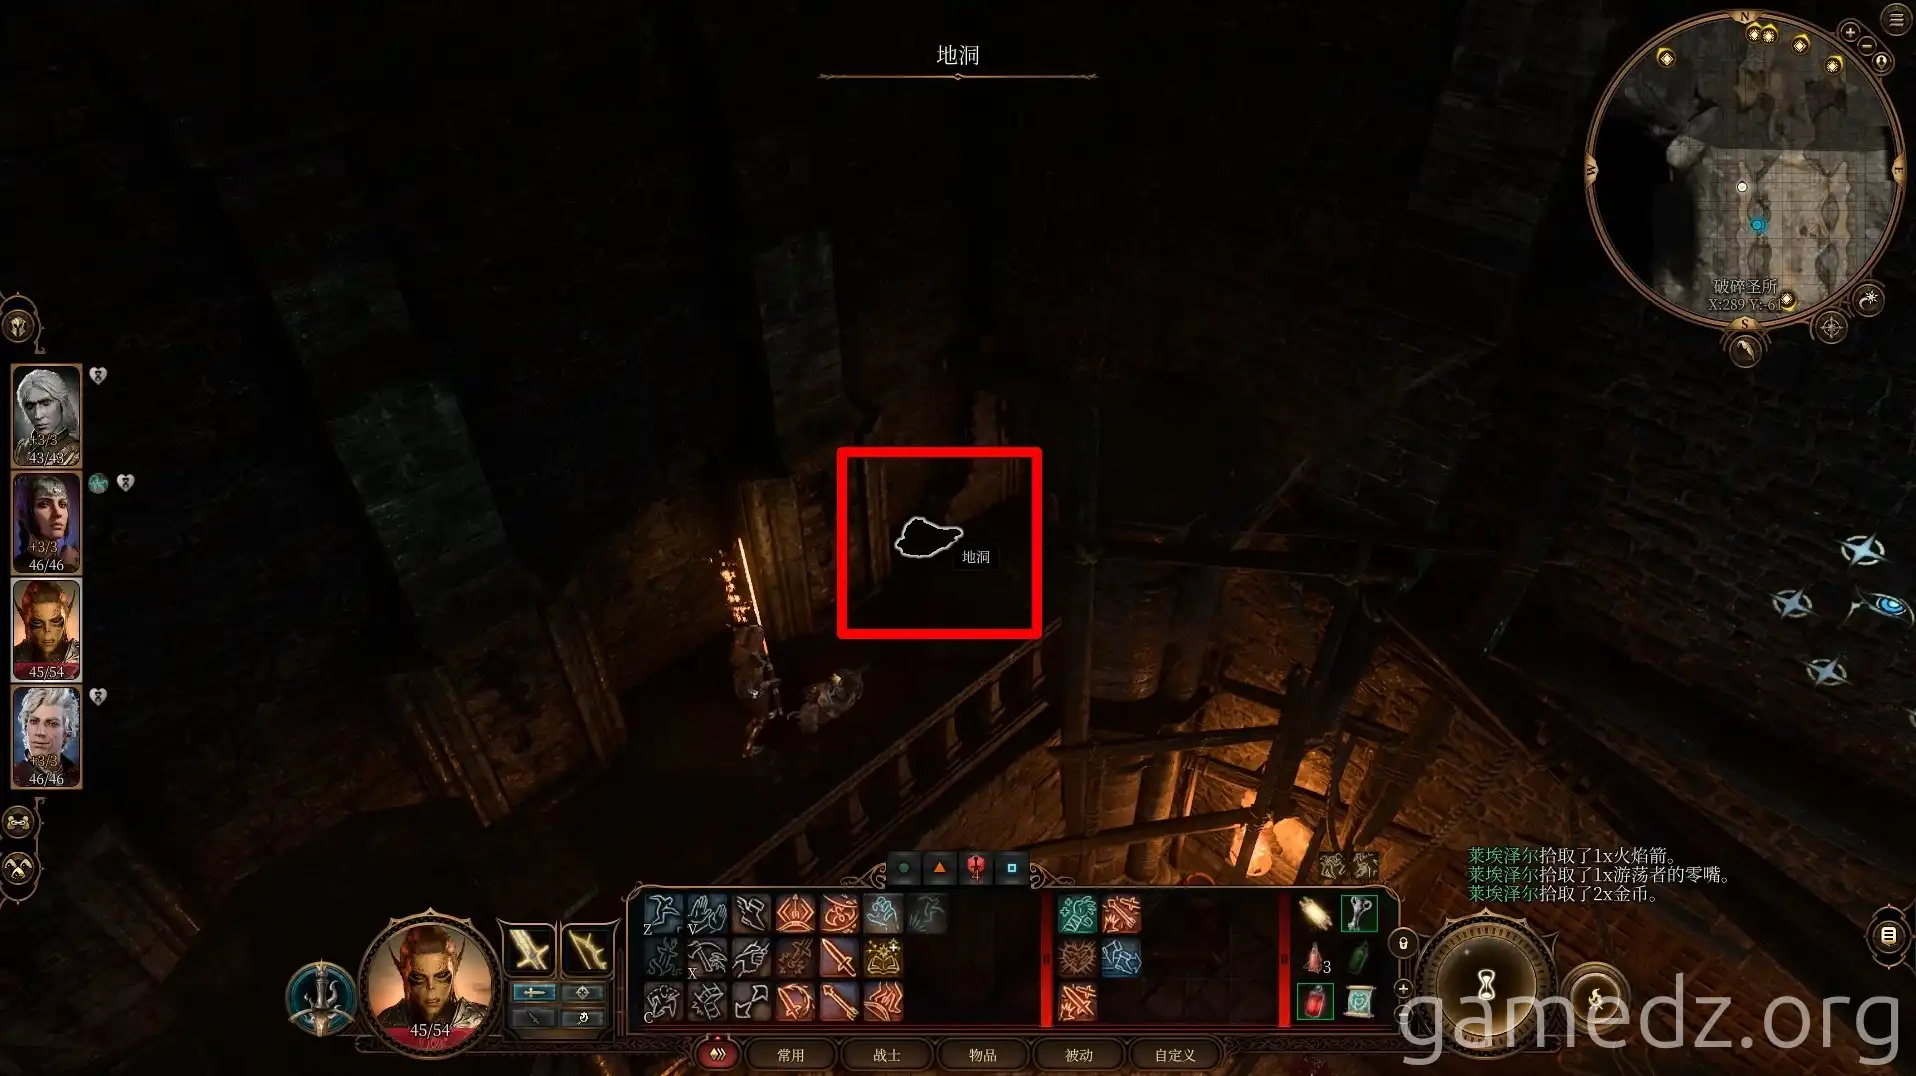
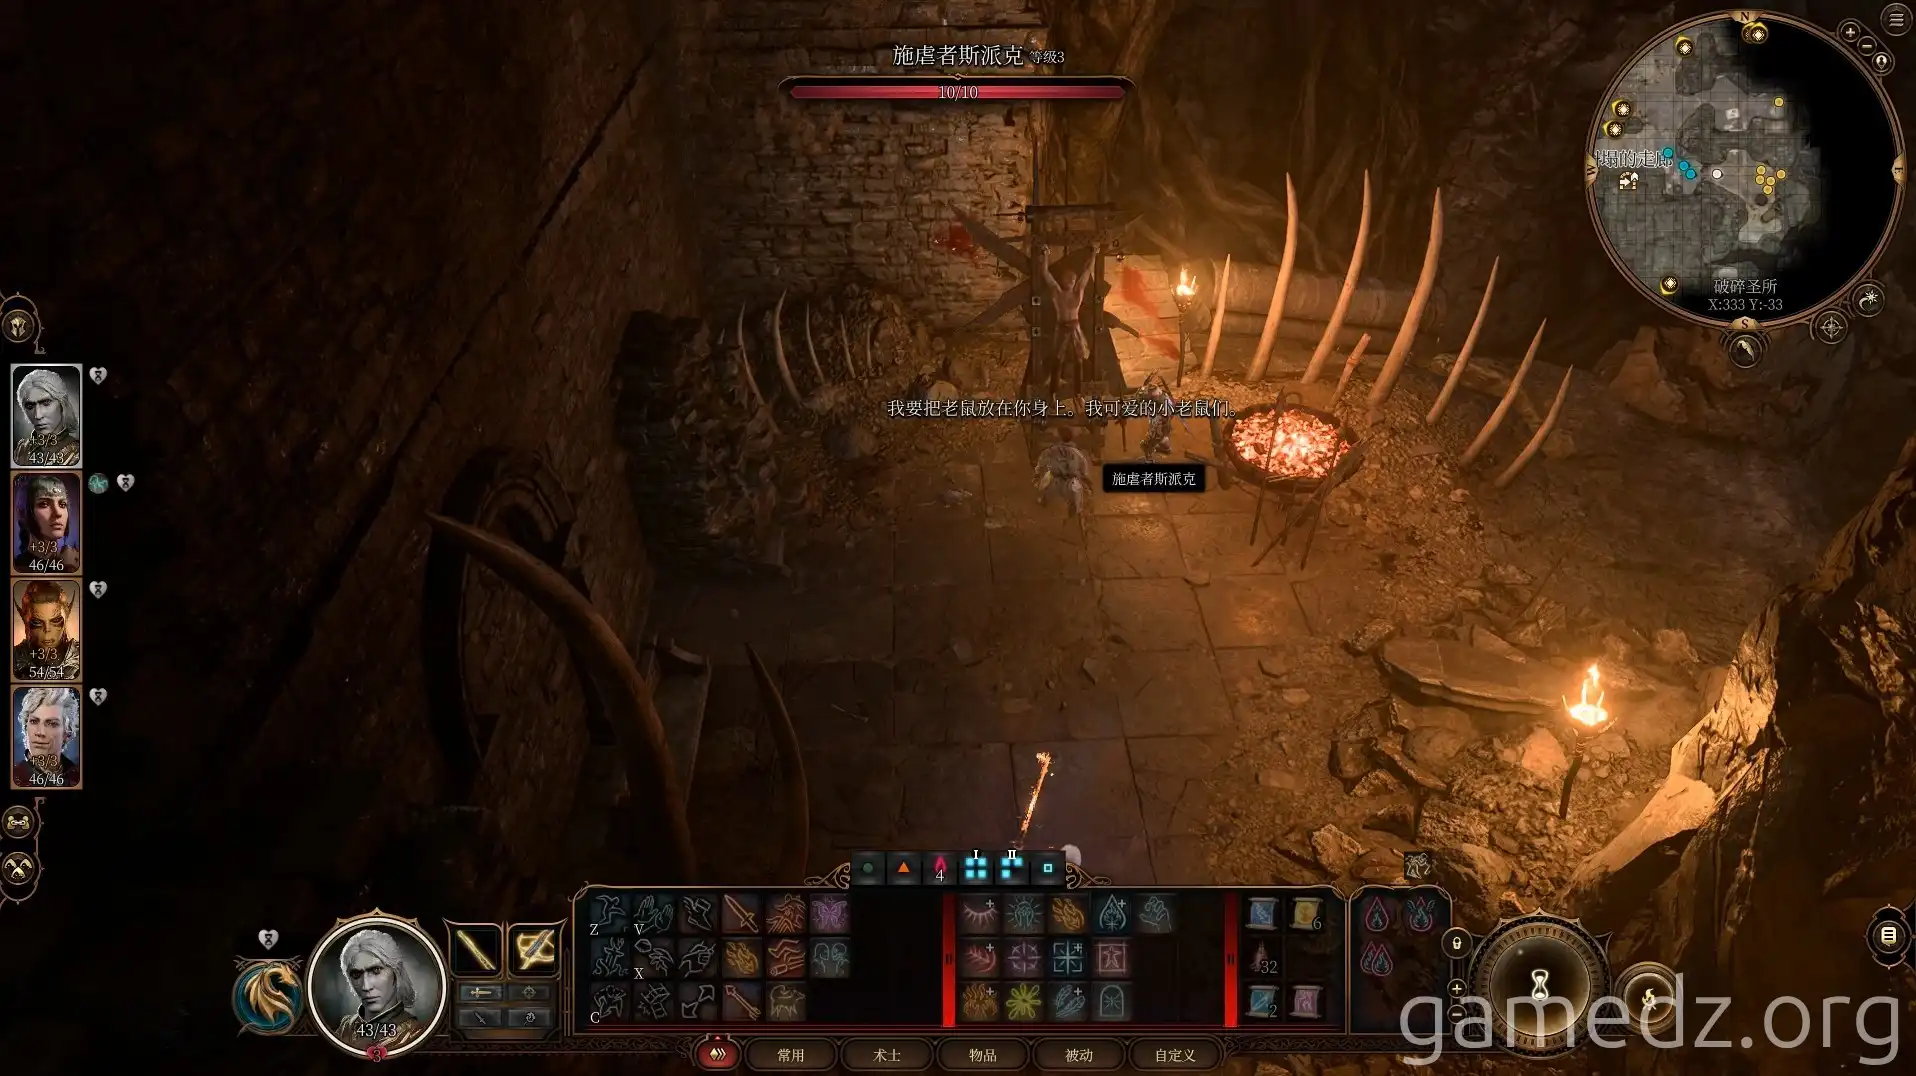
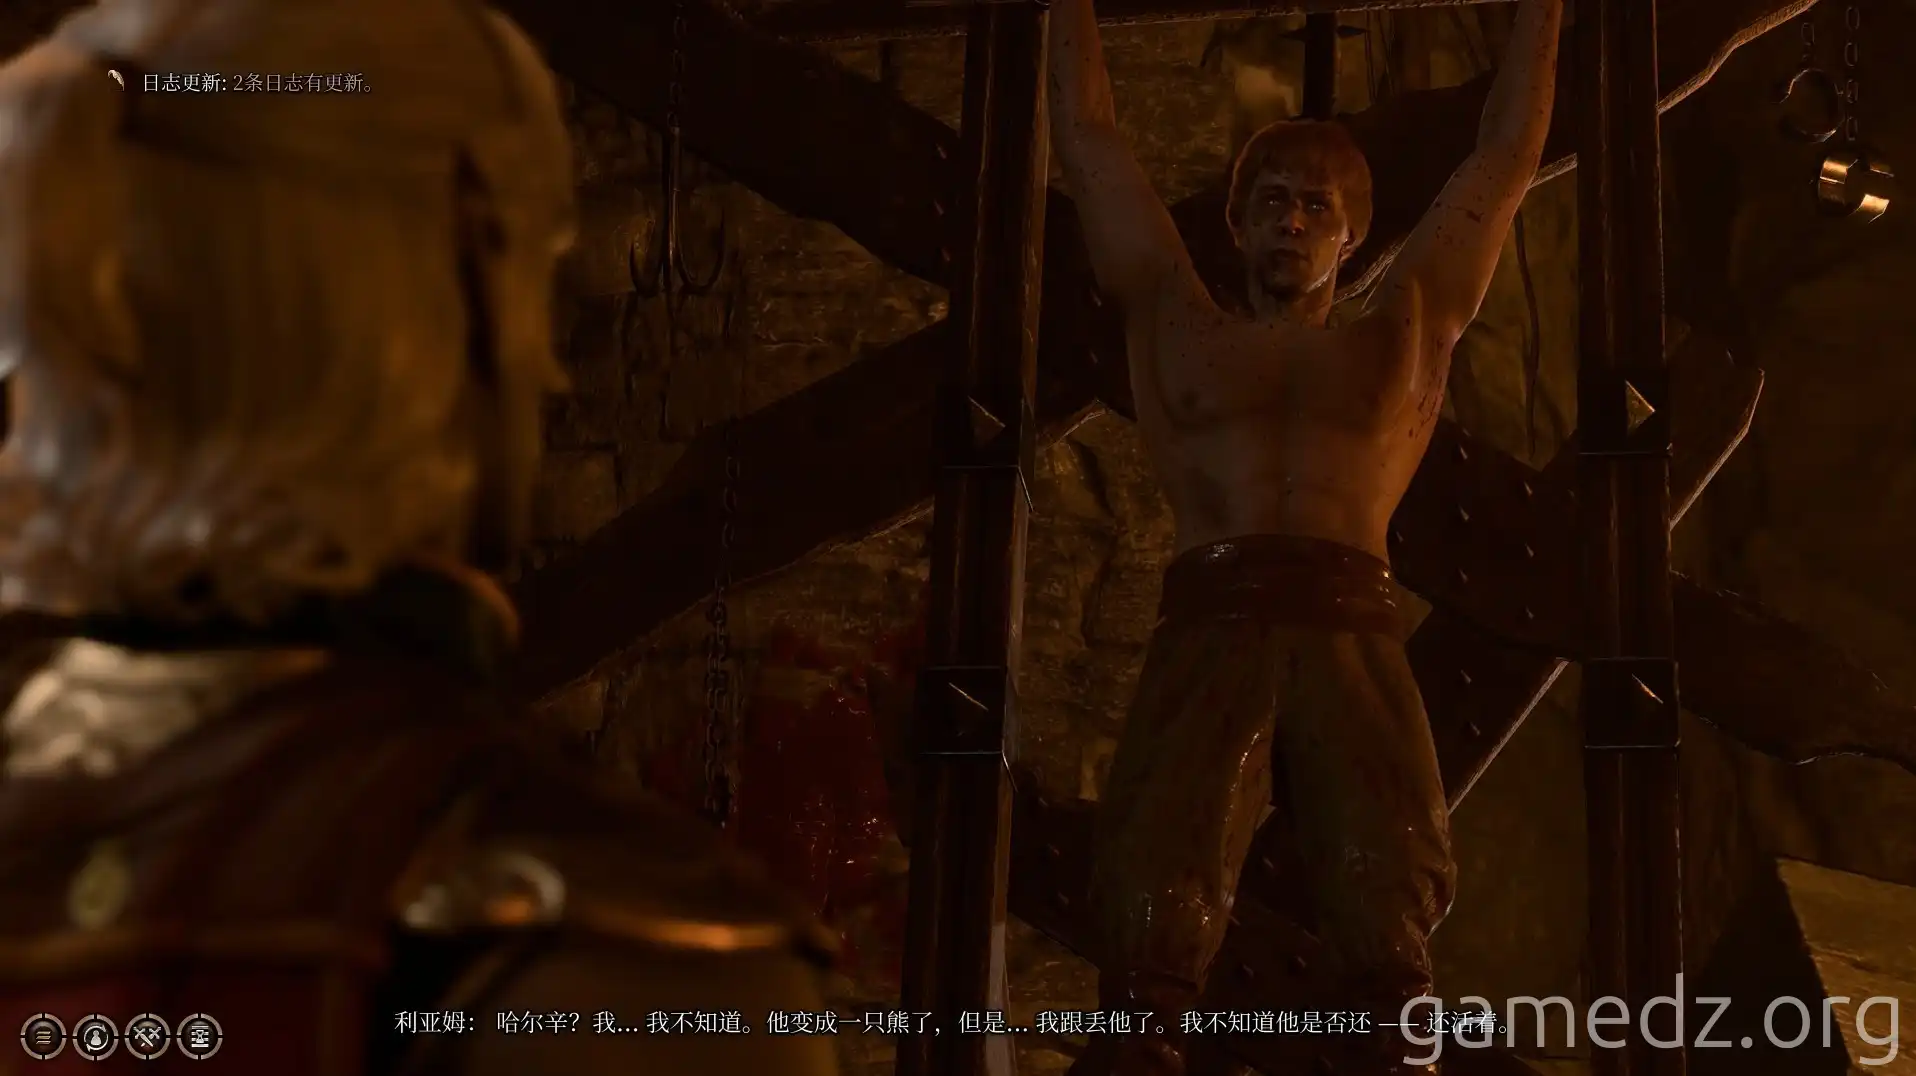
First Room (Right): Confront Breaker Spike and another goblin tormenting a human captive. Spike will leave upon your approach. The captive, a former adventurer, can provide valuable information. You'll rescue him shortly.
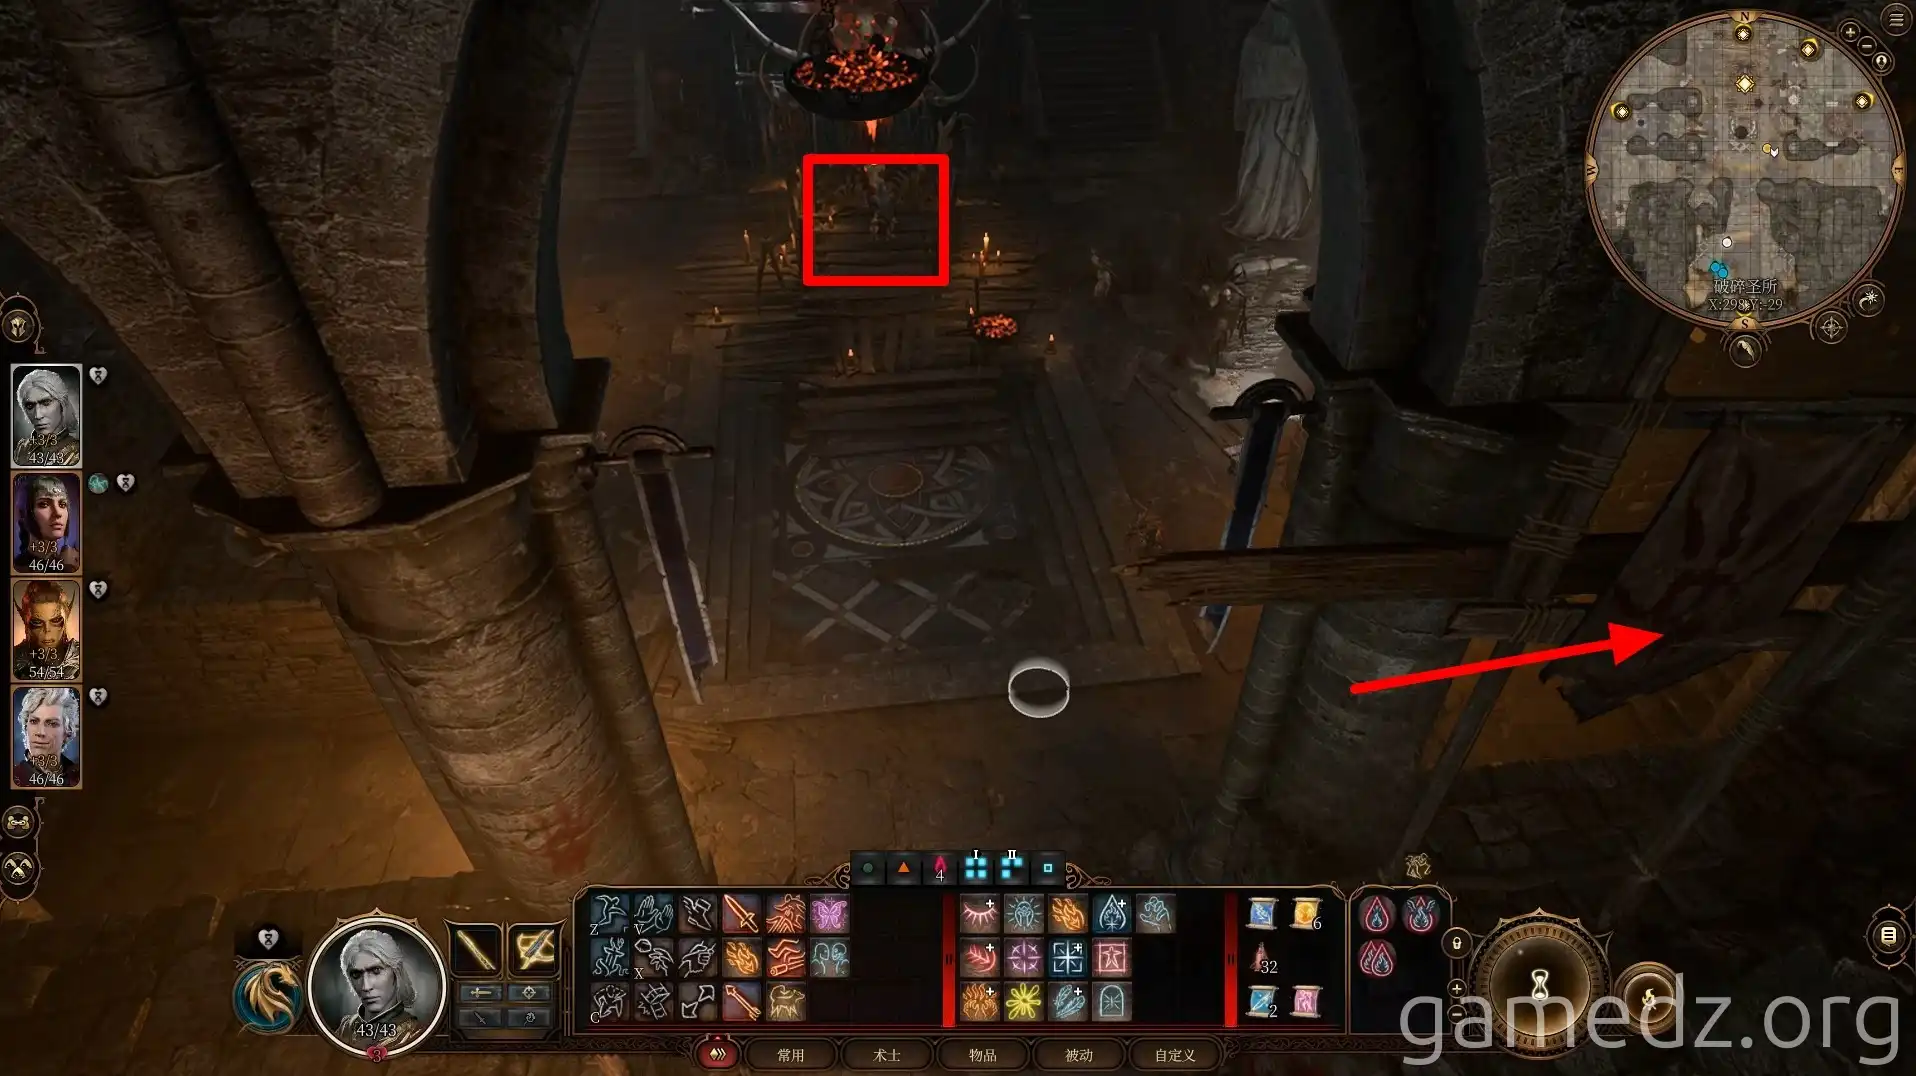
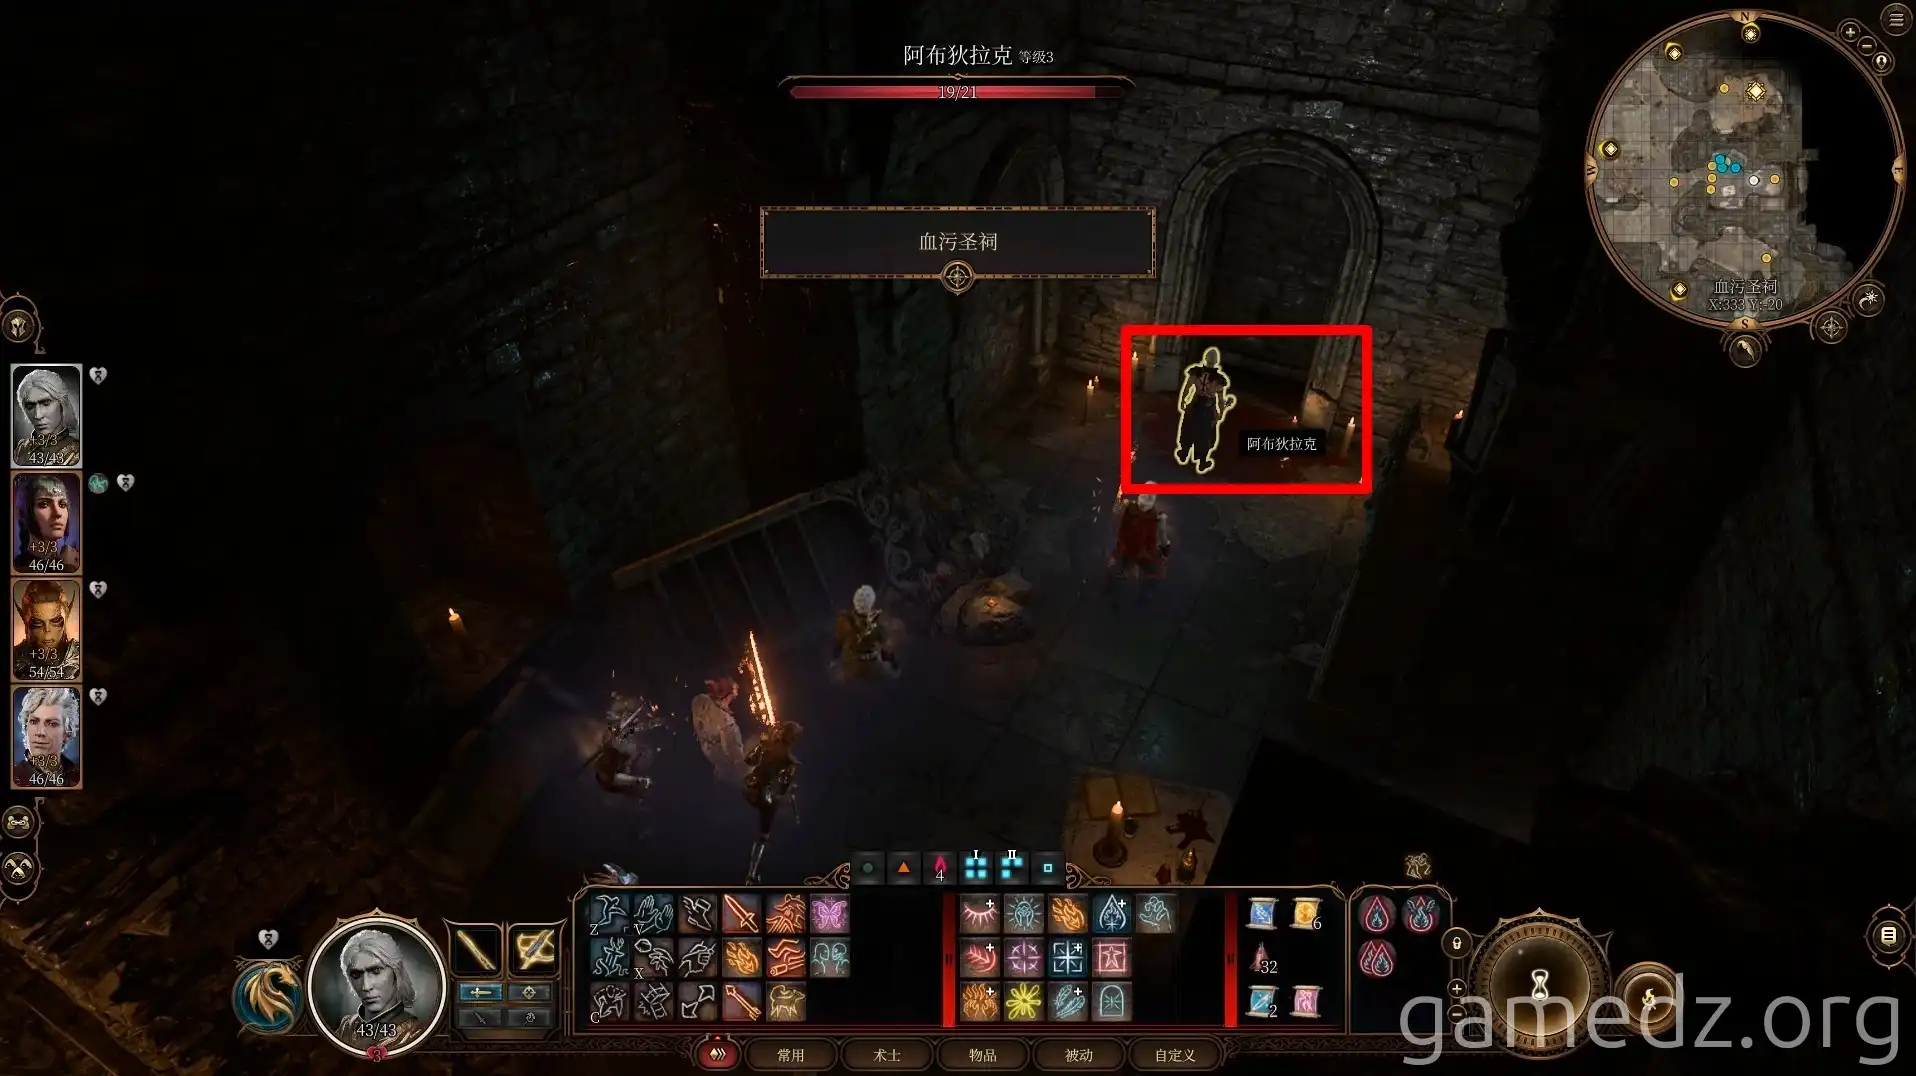
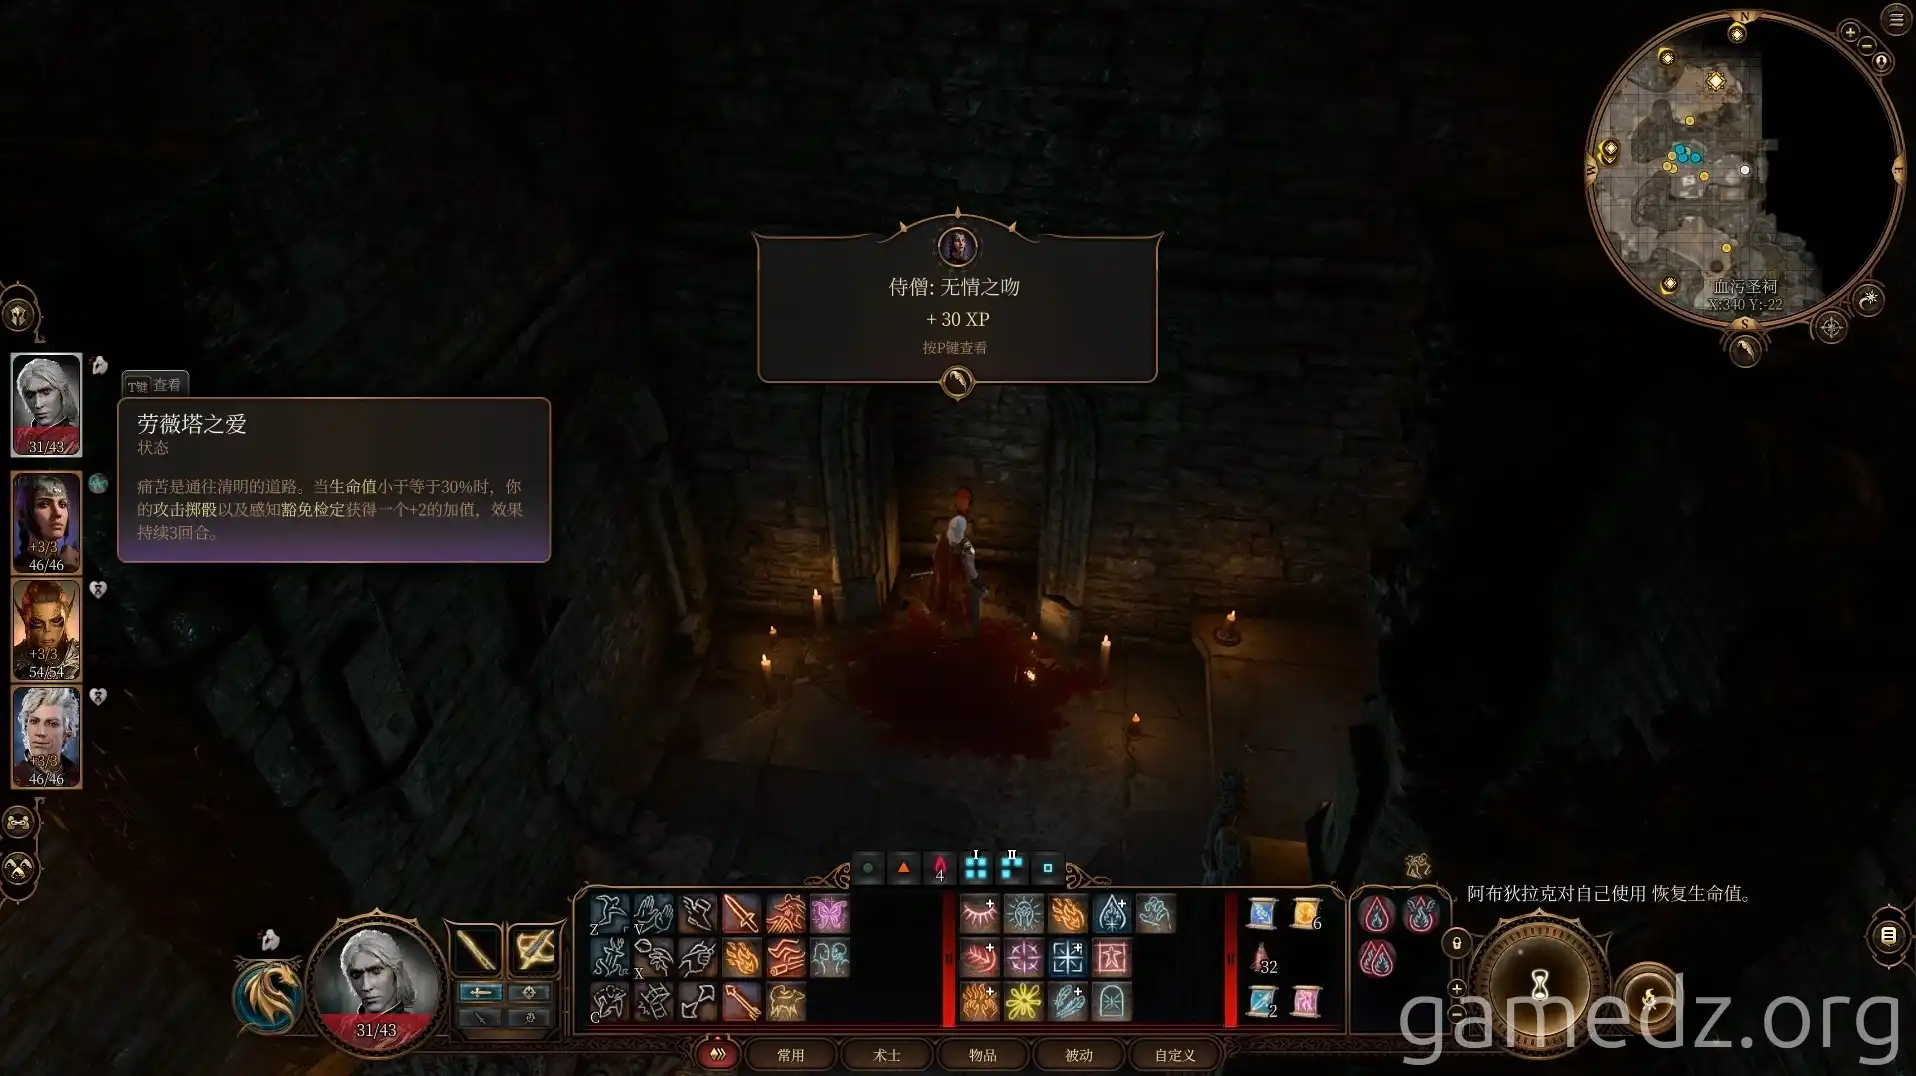
Second Room (Right) - The Bloodied Altar: Speak with Abdirak. Show curiosity about his faith and accept the whipping. Endure four whippings to gain Loviatar's Love, a buff that grants +2 to attack rolls and Wisdom saving throws when your health is at 30% or less. Acolyte characters will also receive an Inspiration point.
Third Room (Right): Find Wulbhert imprisoned. Defeat the guard to obtain the prison key. Unlocking his cell allows him to escape using an invisibility potion. You'll meet him again at your camp.
Camp Encounter with Wulbhert: Upon returning to camp, Wulbhert will reward you with the rare Cloak of Protection. He also sells powerful spell scrolls and offers healing at the cost of an eye, granting you True Sight with a prosthetic replacement.
Clearing the Area: Before proceeding, defeat a patrolling goblin that will discover bodies inside the room.
Return to the Bloodied Altar. Wait for a patrolling goblin, then defeat Abdirak and the remaining three goblins. This fight won't alert others, allowing for a safe rest.
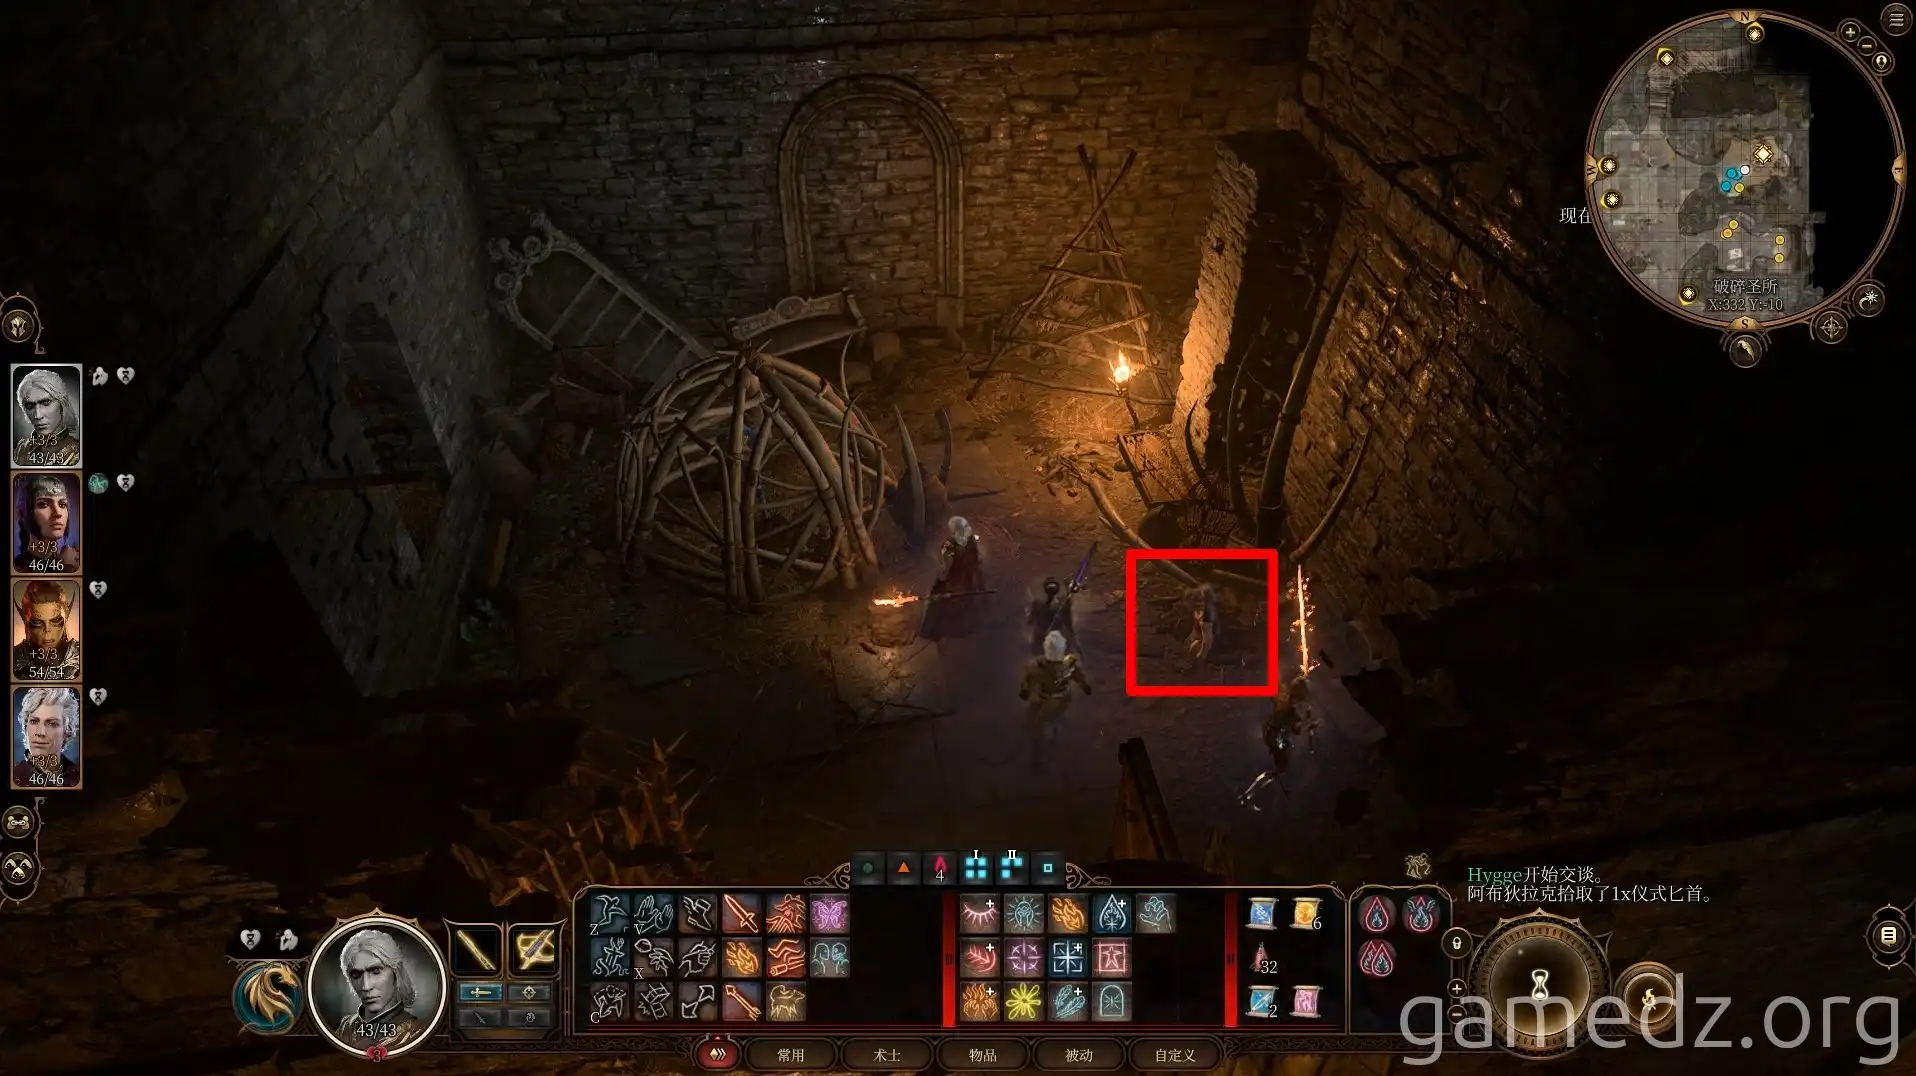
Valuable Loot:
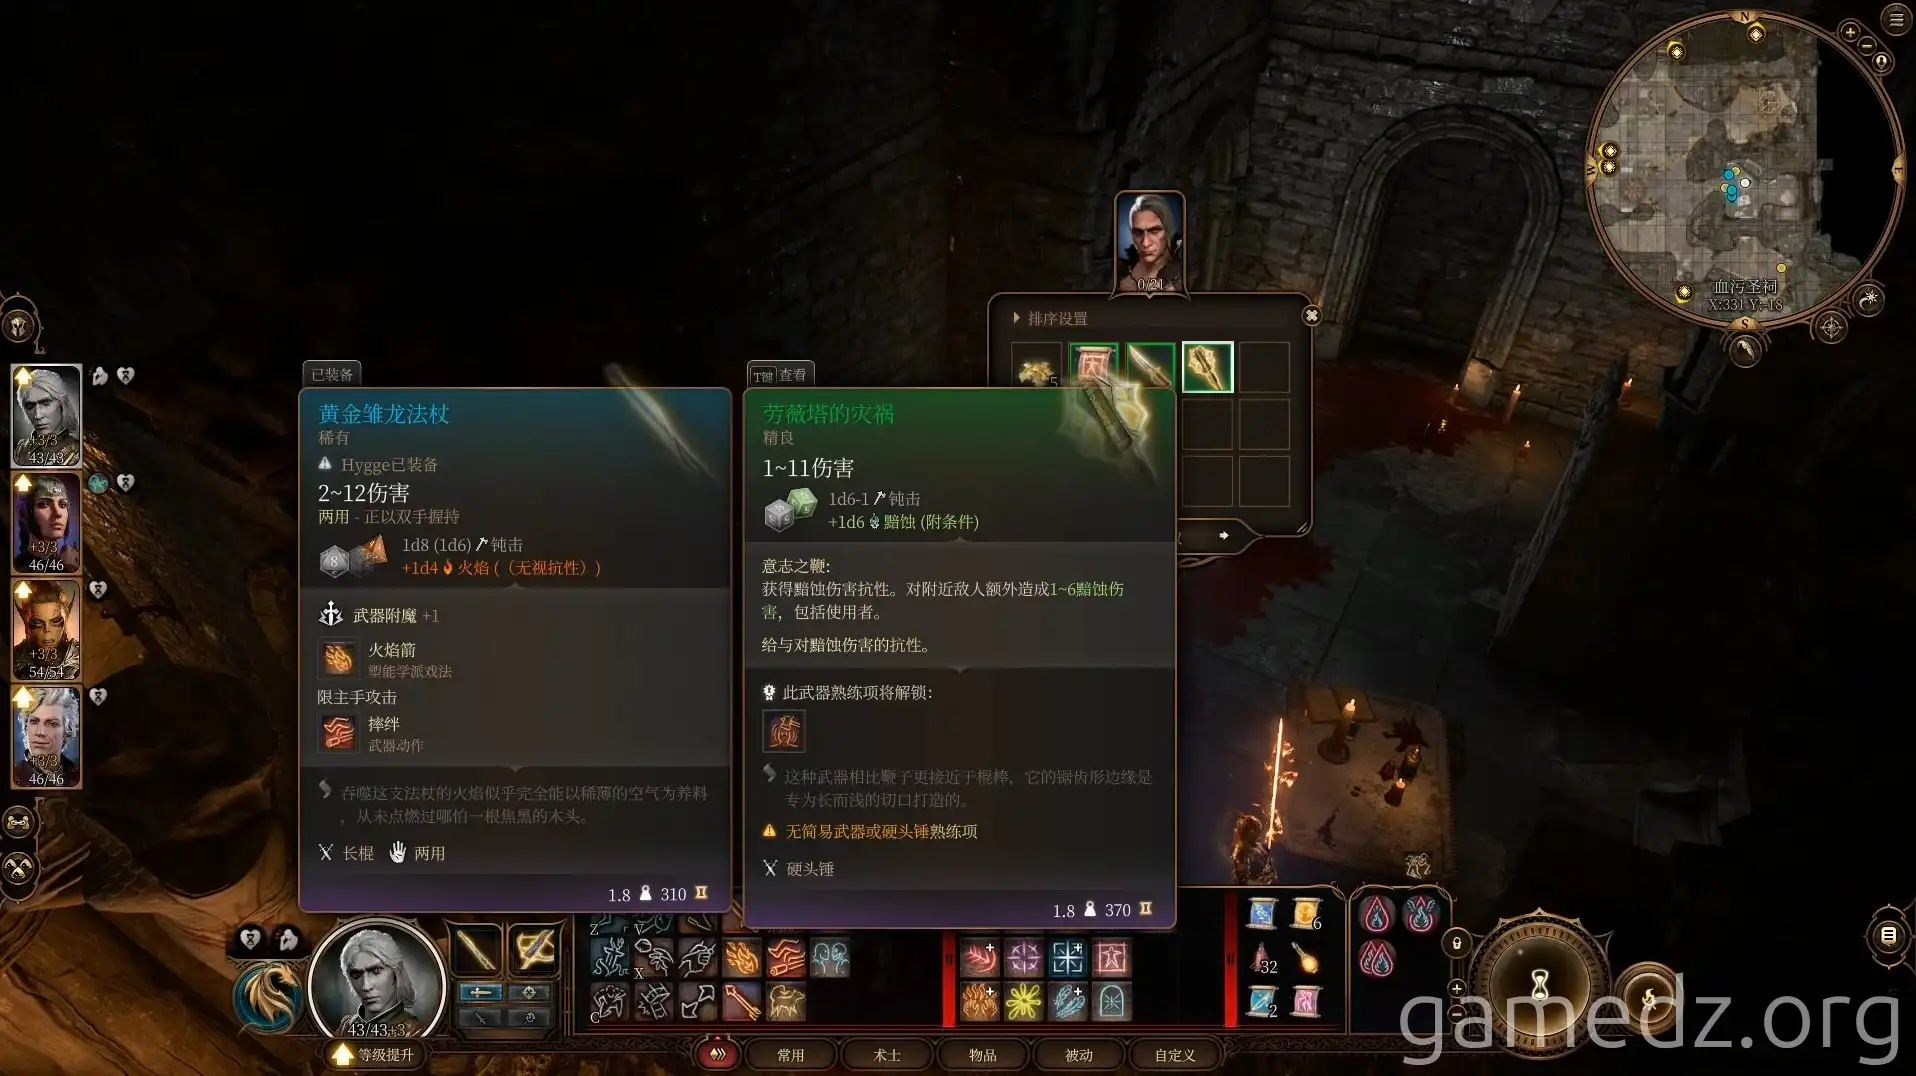
- From Abdirak: Ritual Dagger, Loviatar's Scourge
- Nearby bench: Ritual Axe
- From Breaker Spike: Torturer's Key
Deeper into the Sanctum
Use the Torturer's Key to free Liam in the first room.
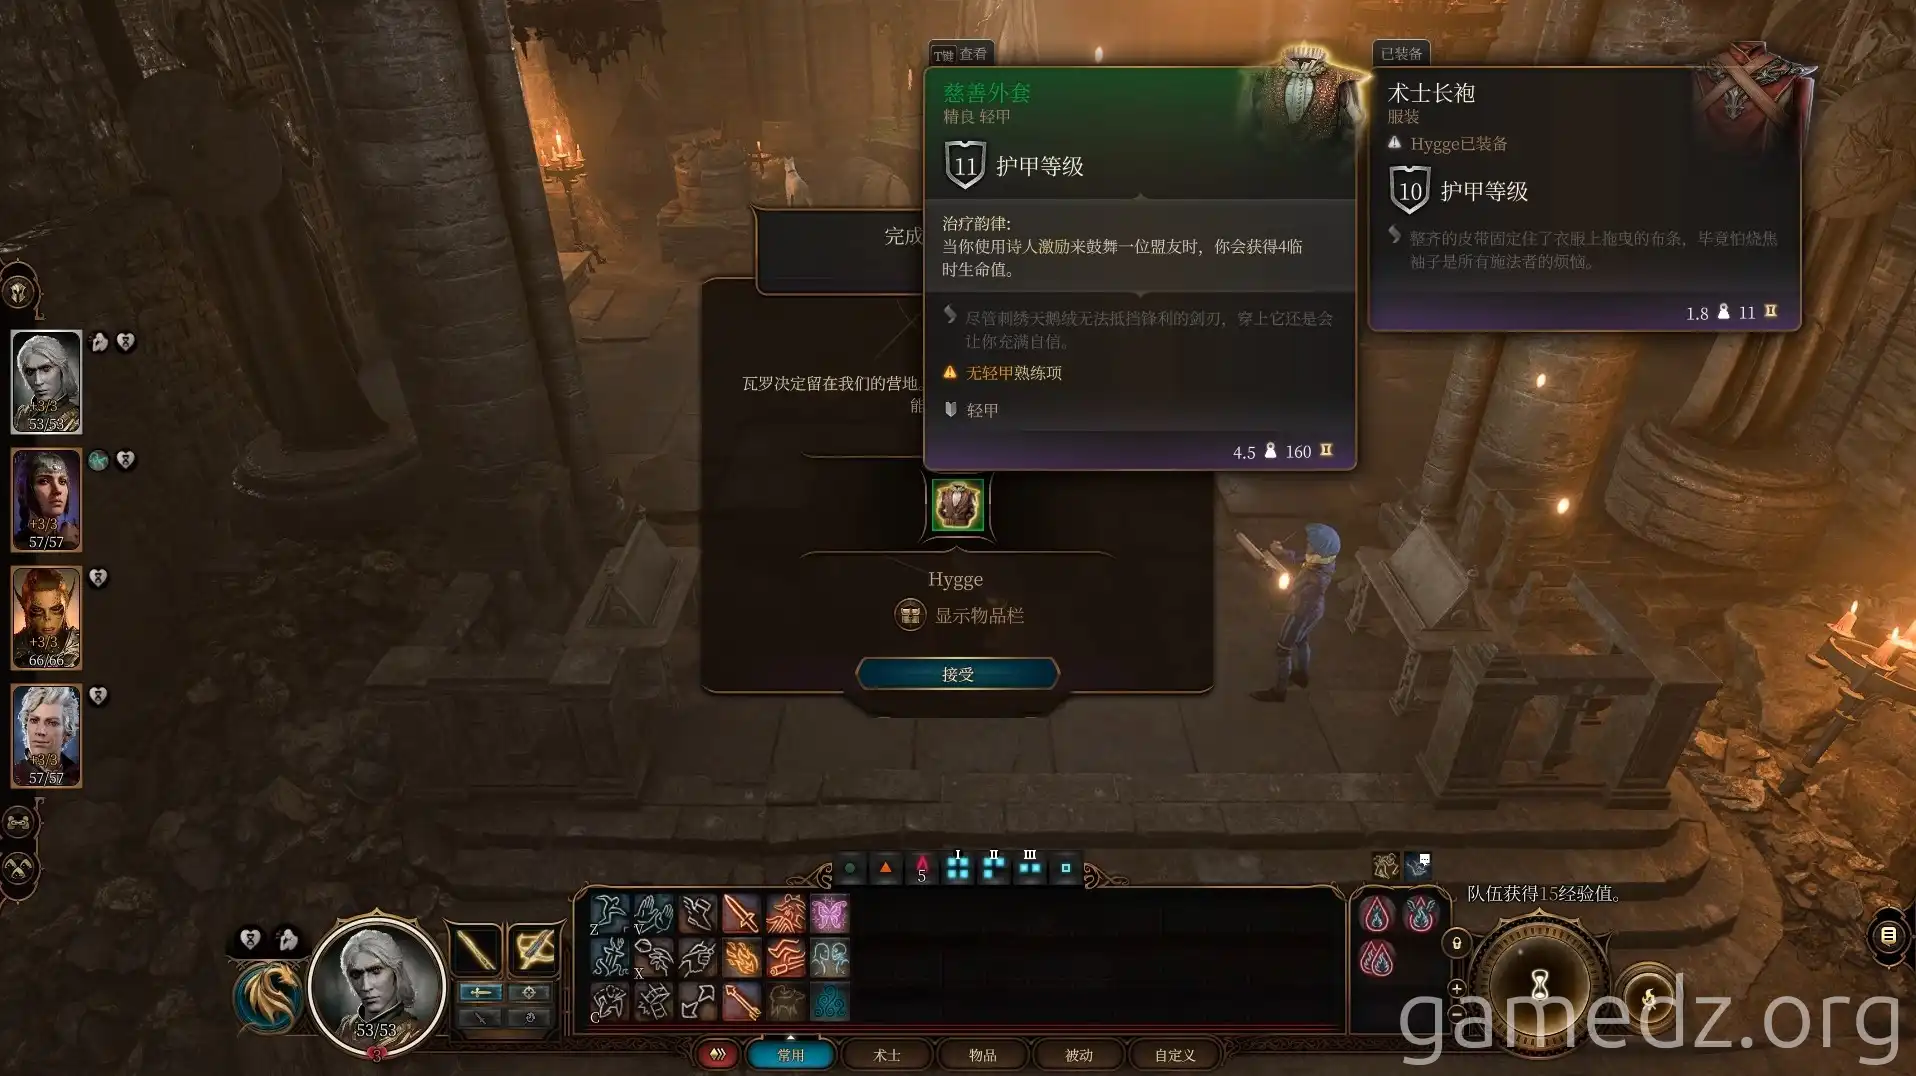
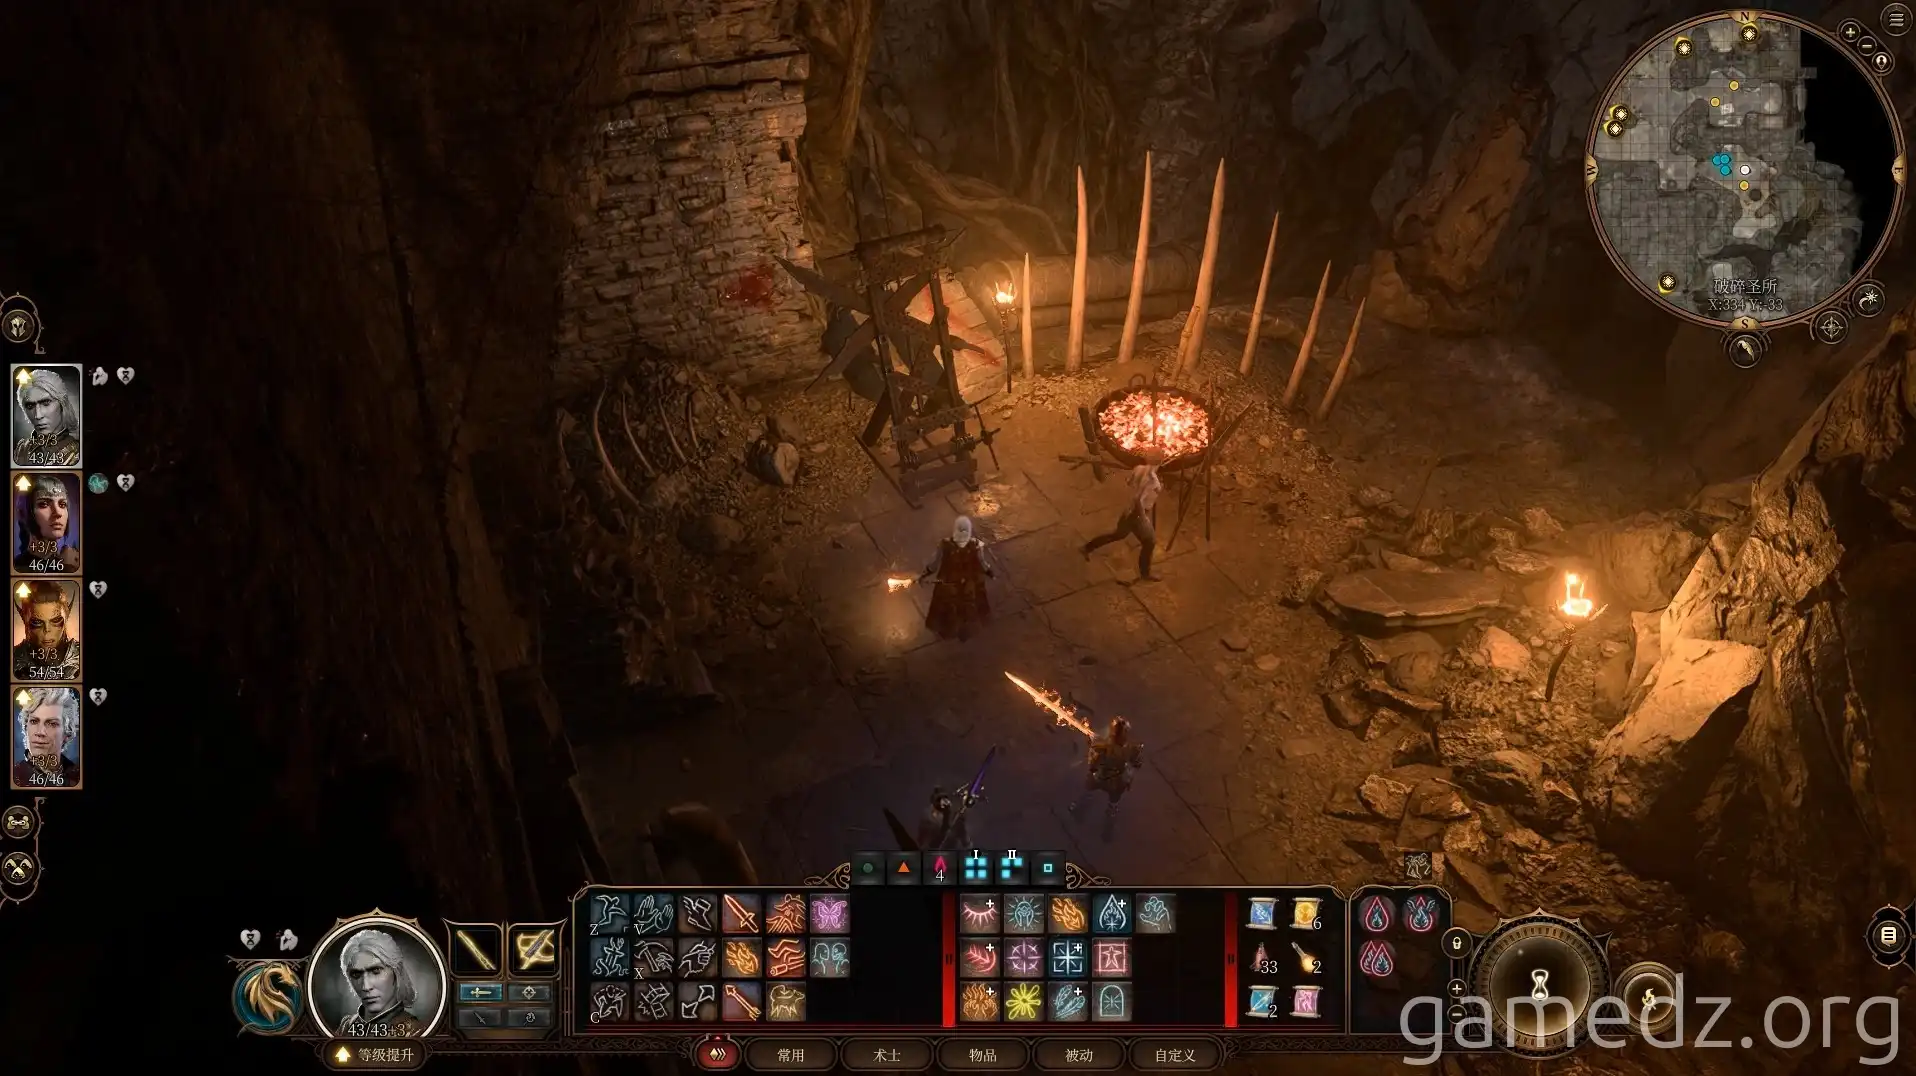
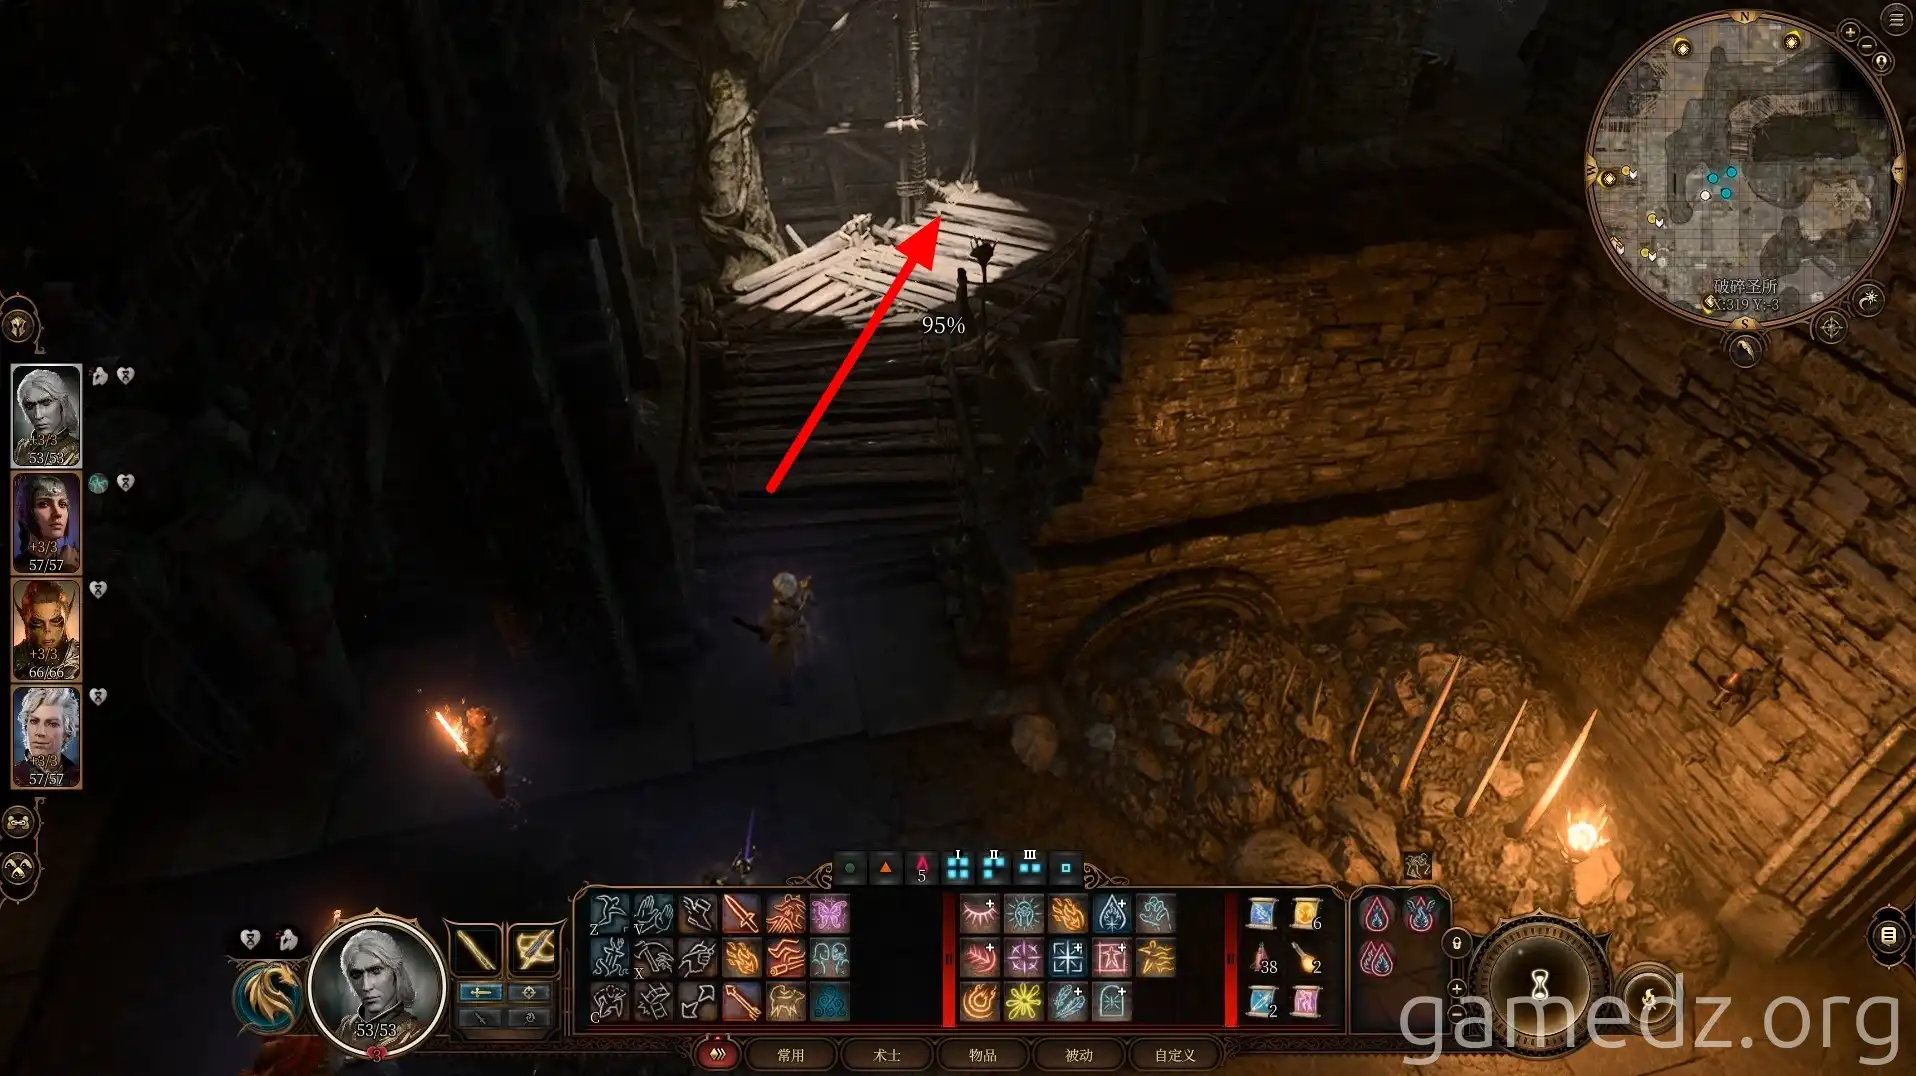
Proceed through the wooden platform on the front right.
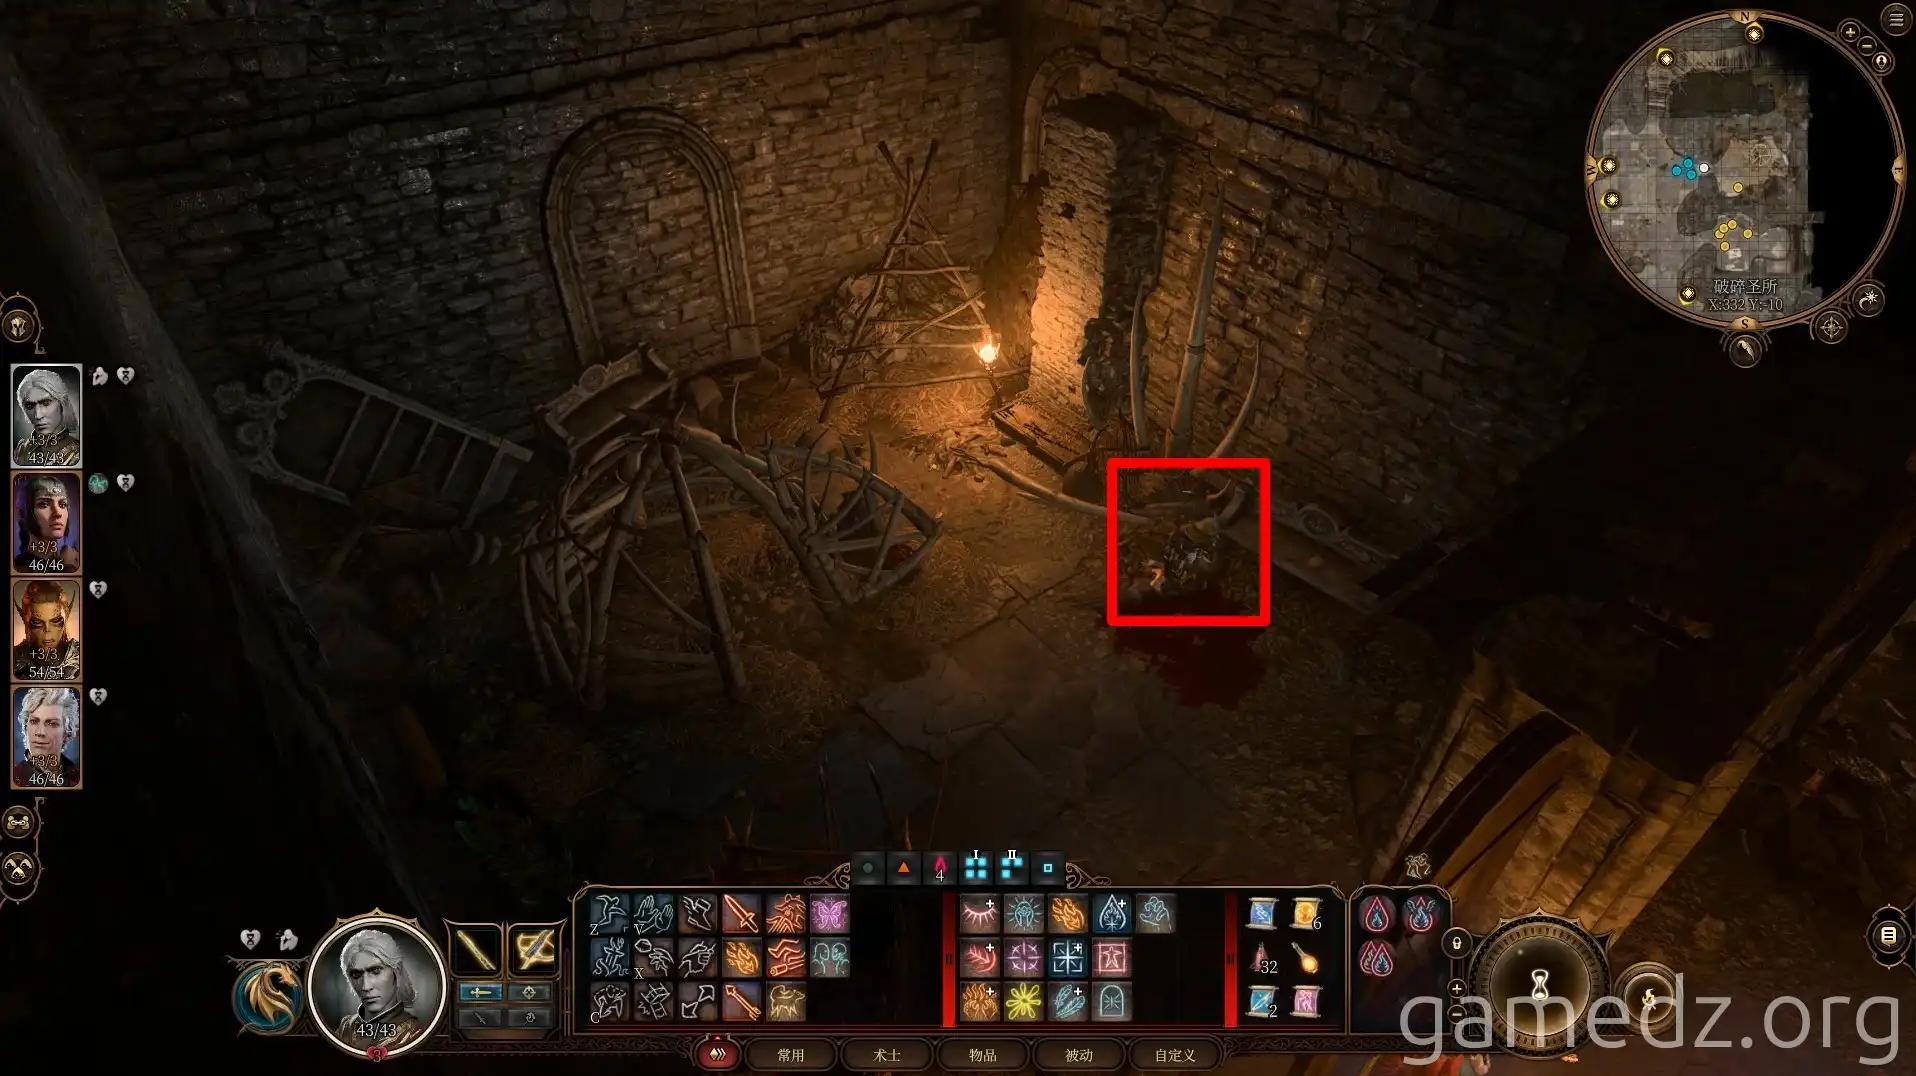
Defeat the three goblins ahead with ease.
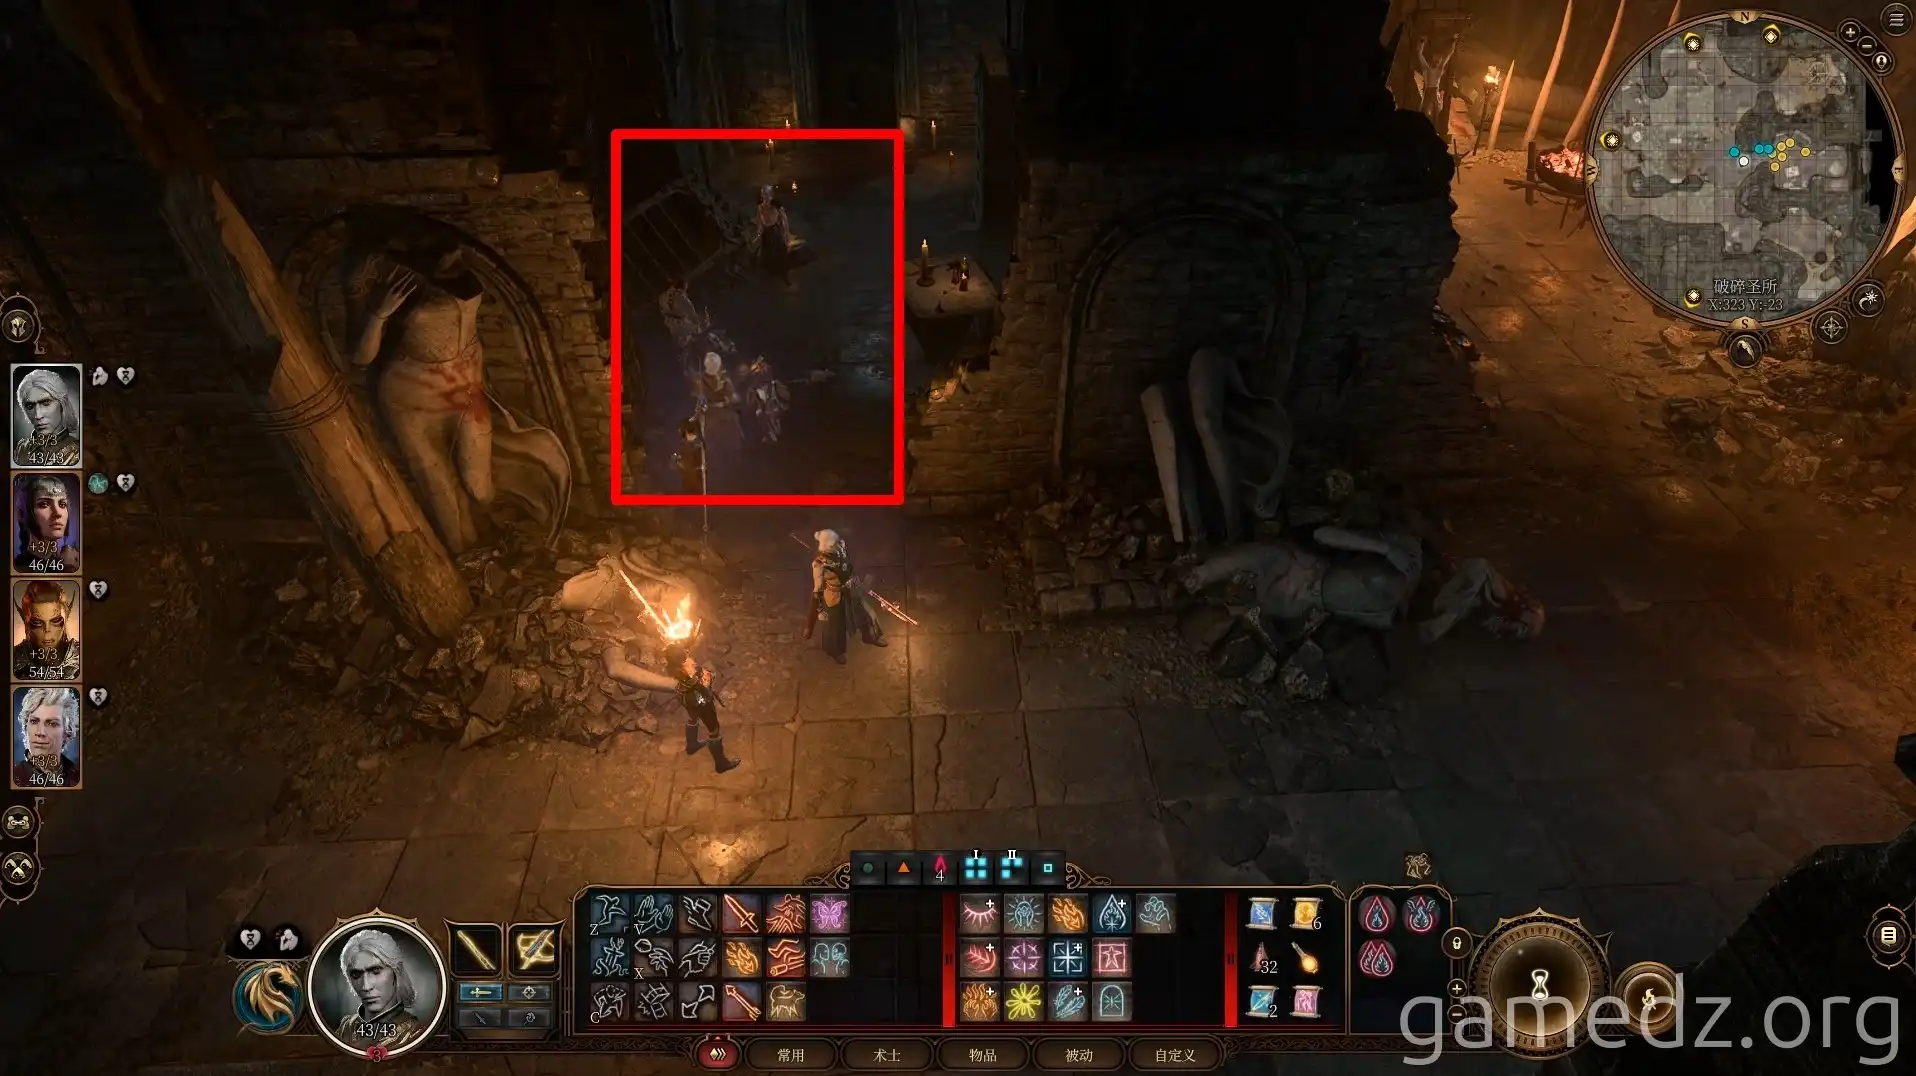
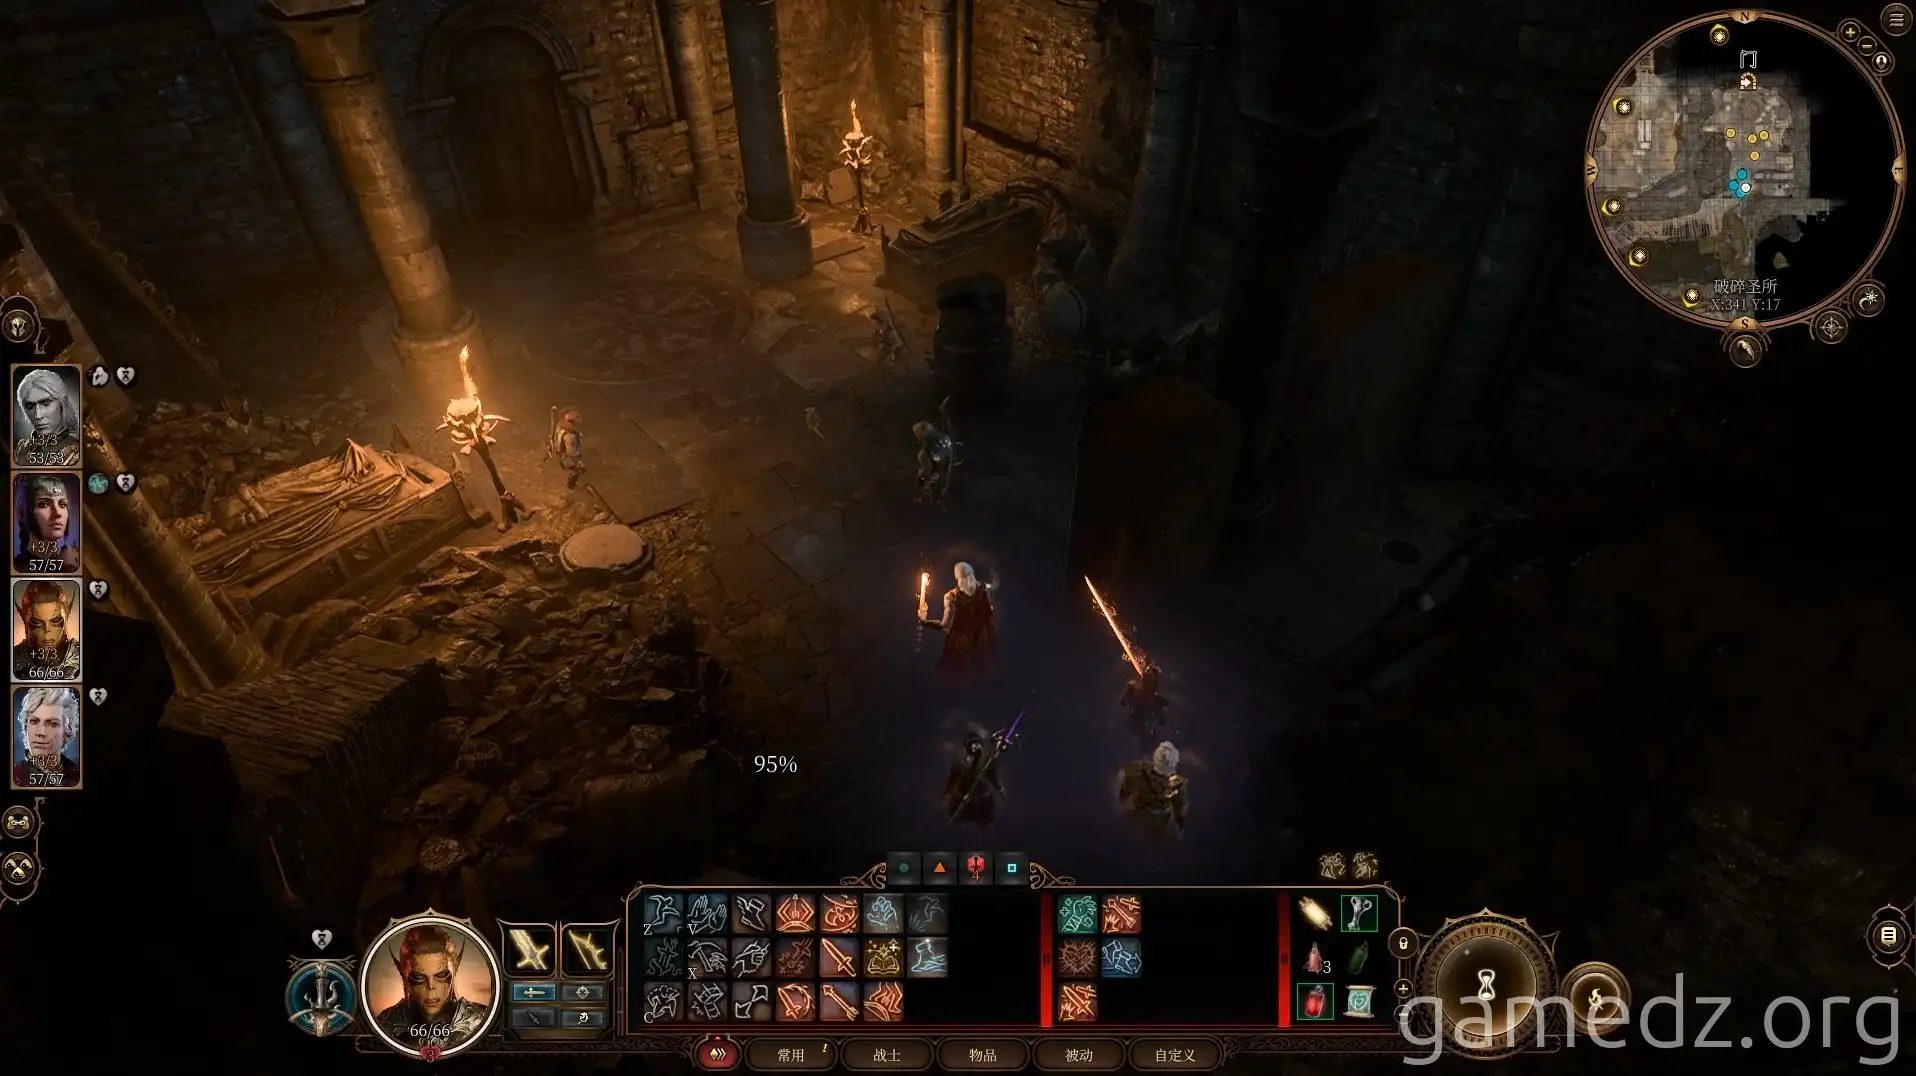
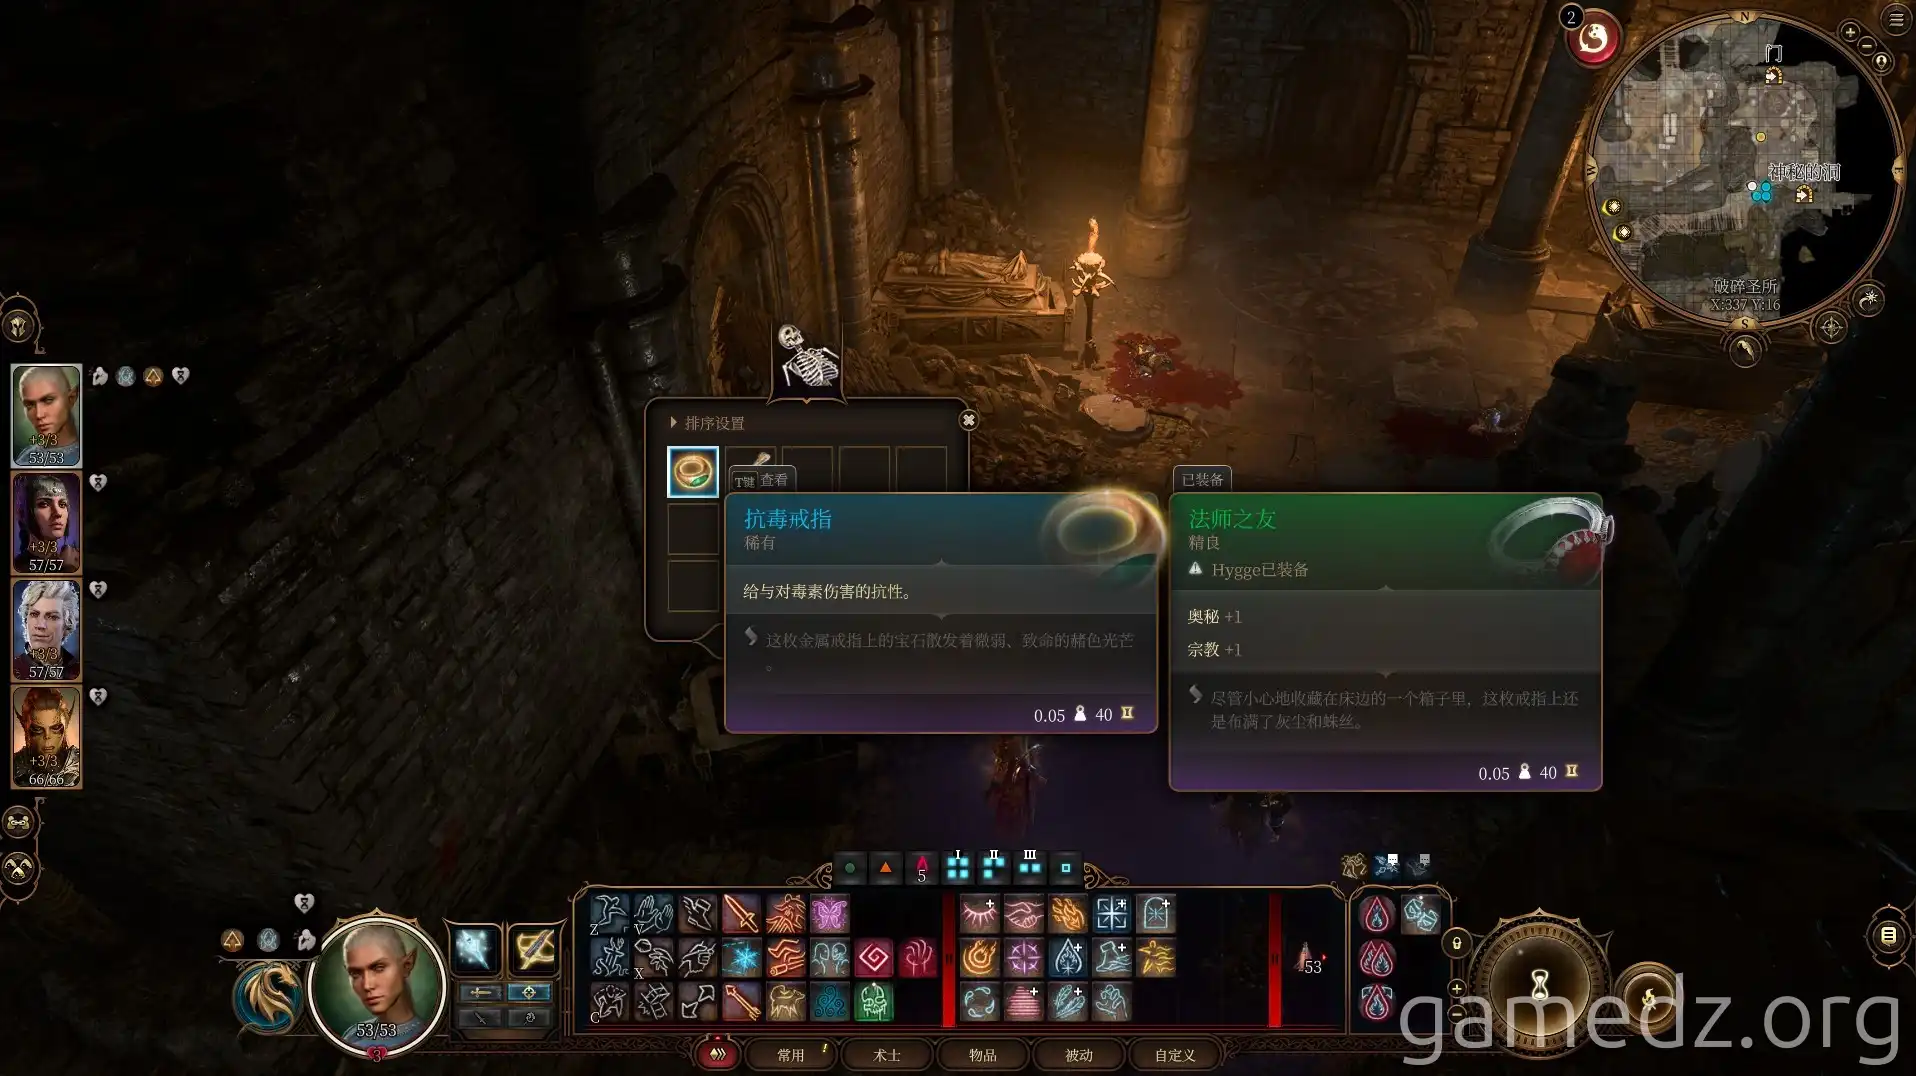
From a skeleton in a stone sarcophagus, acquire the Amulet of Poison Resistance.
The Owlbear Pen and Halsin
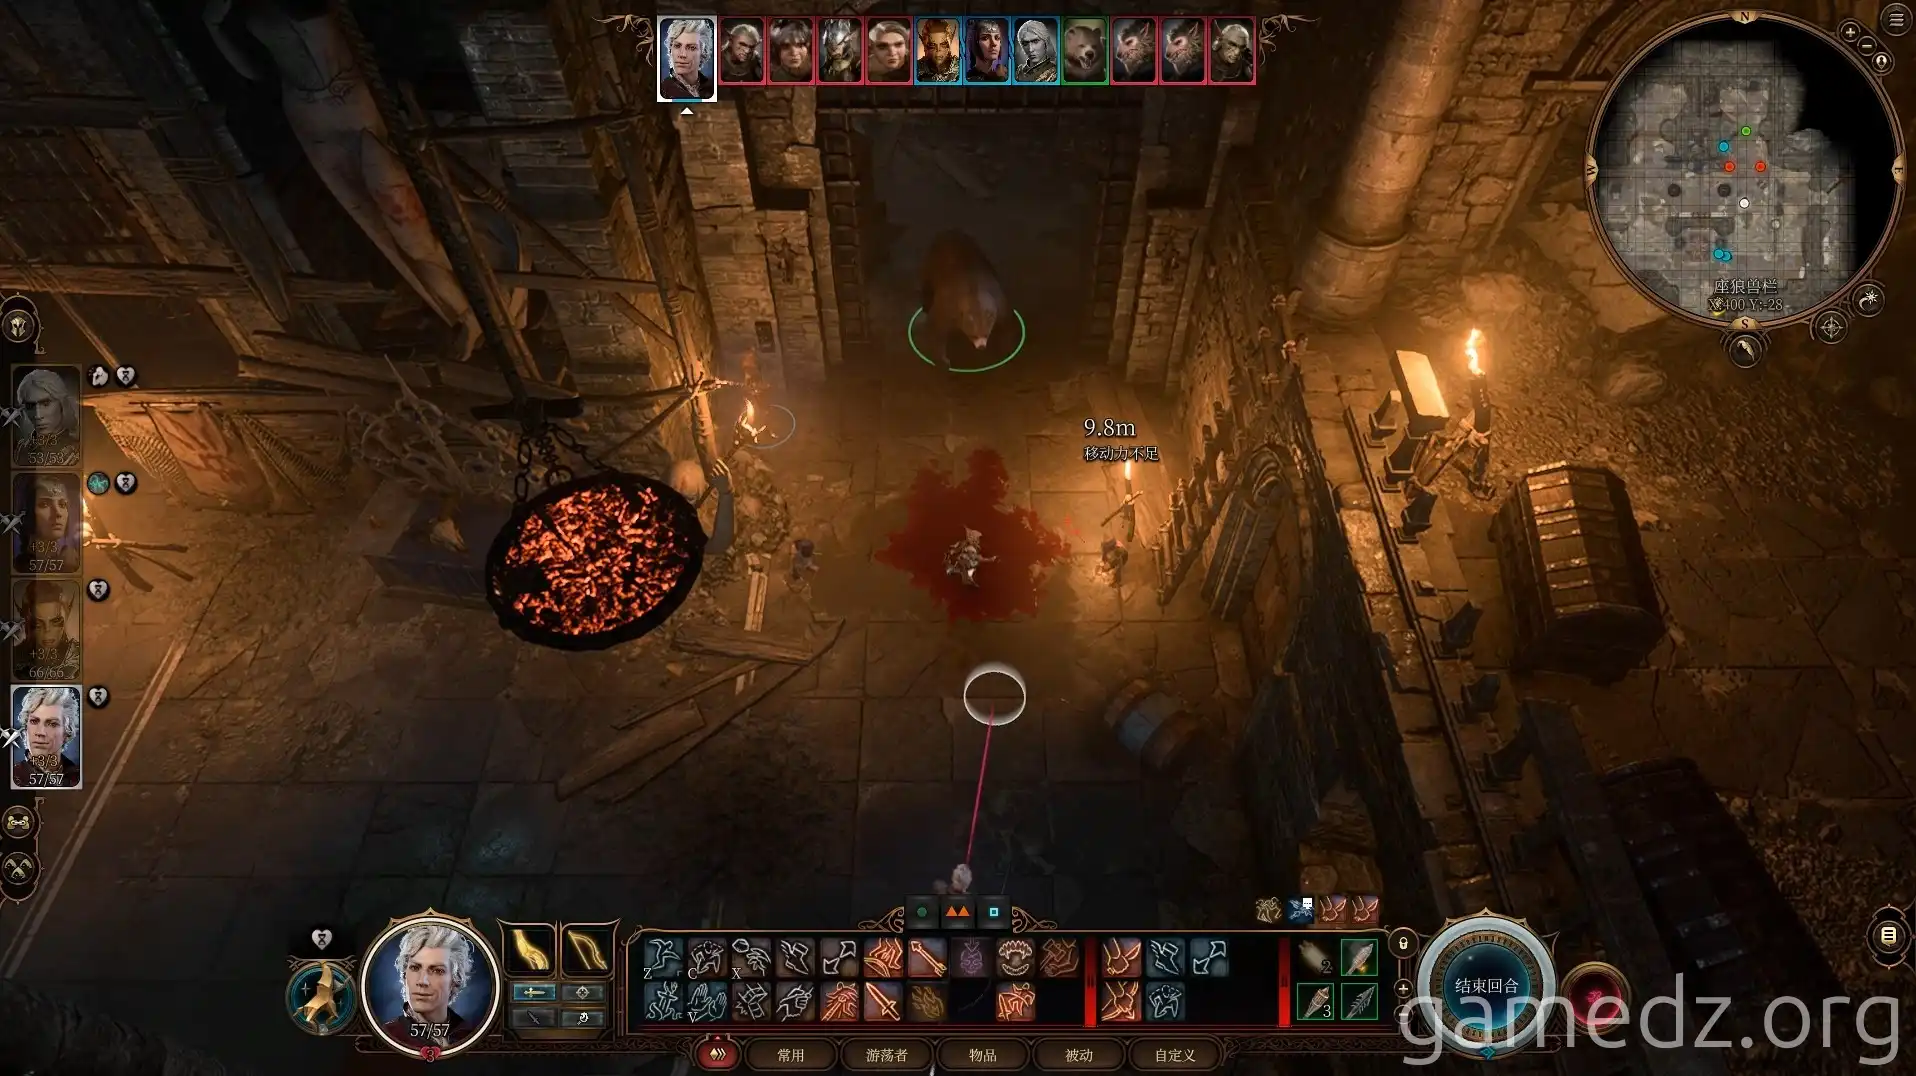
Approach the cages on the front right to trigger a cutscene. Choose "I want to end this" to initiate combat.
Halsin will transform into a bear and join your fight against five goblins and two owlbears.
Loot from the Owlbear Pen:
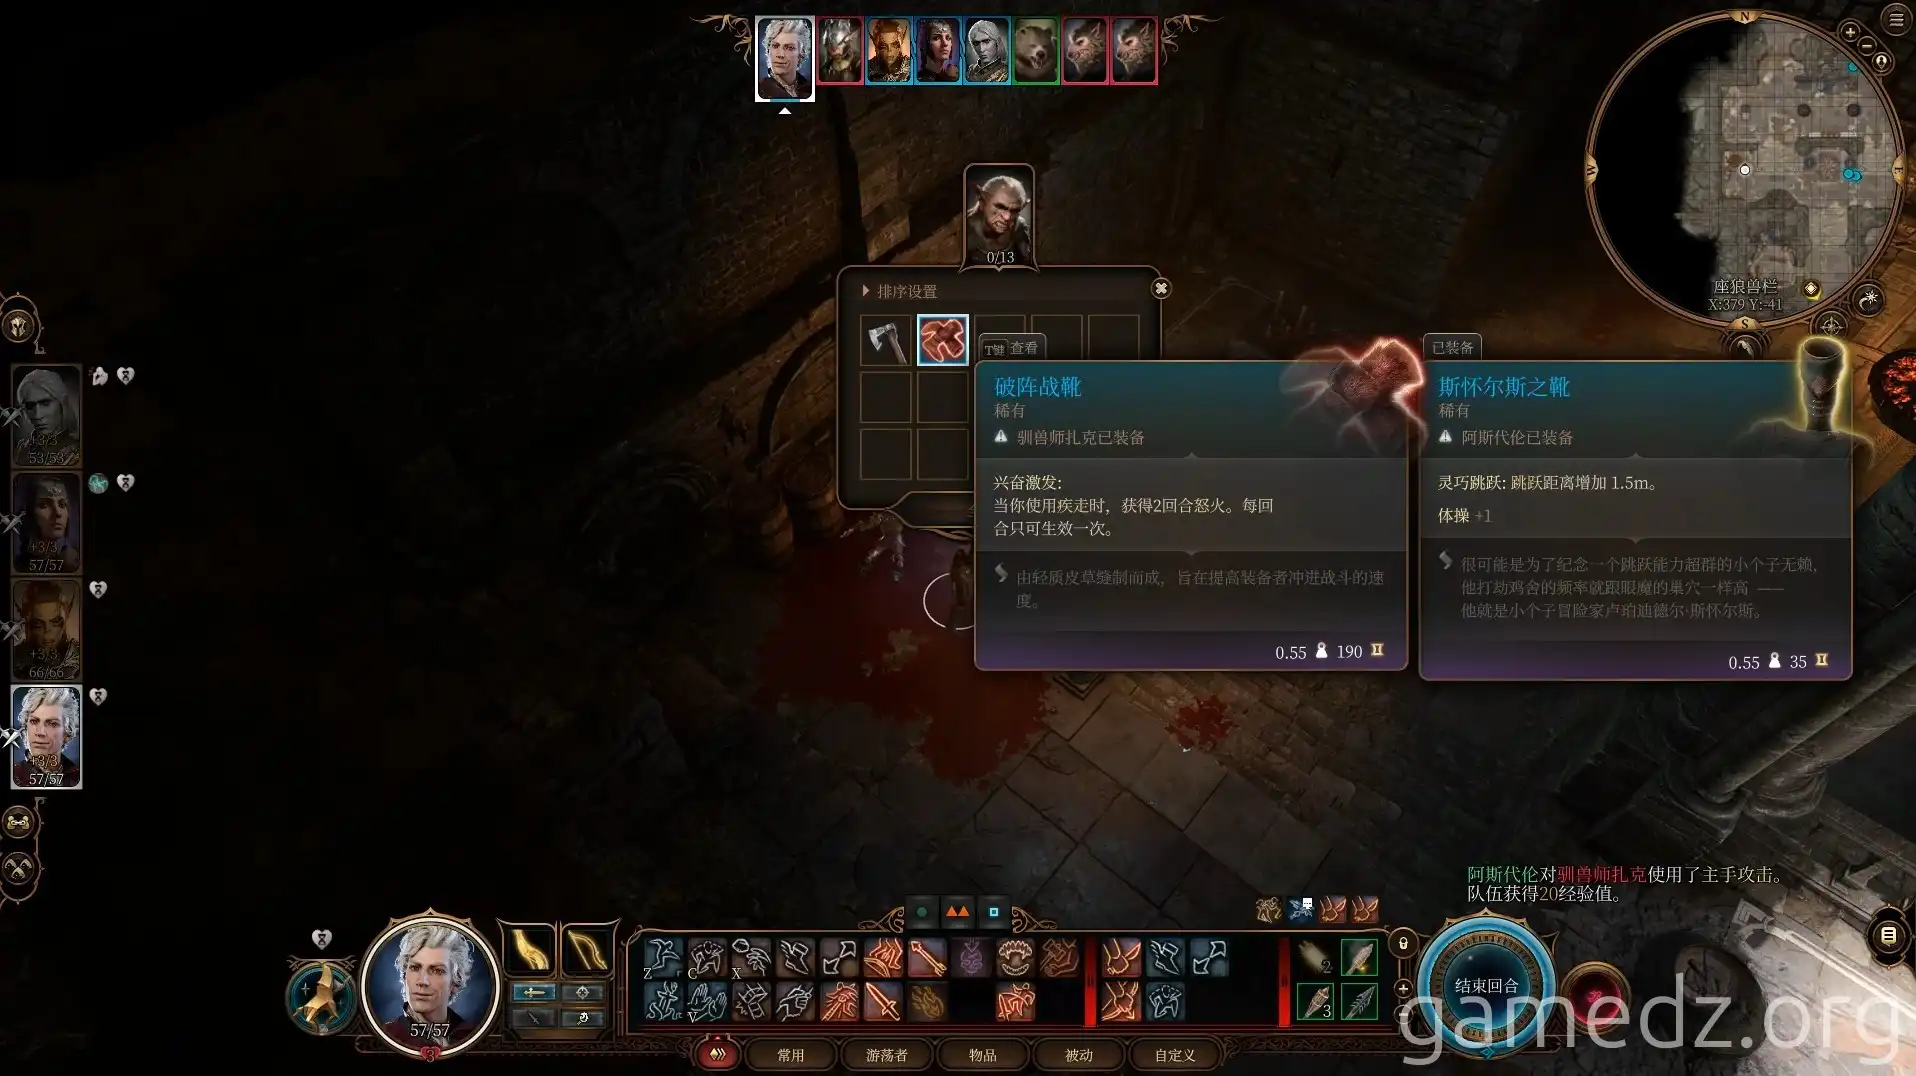
- From Beast Master Zevlor: Boots of Grounding
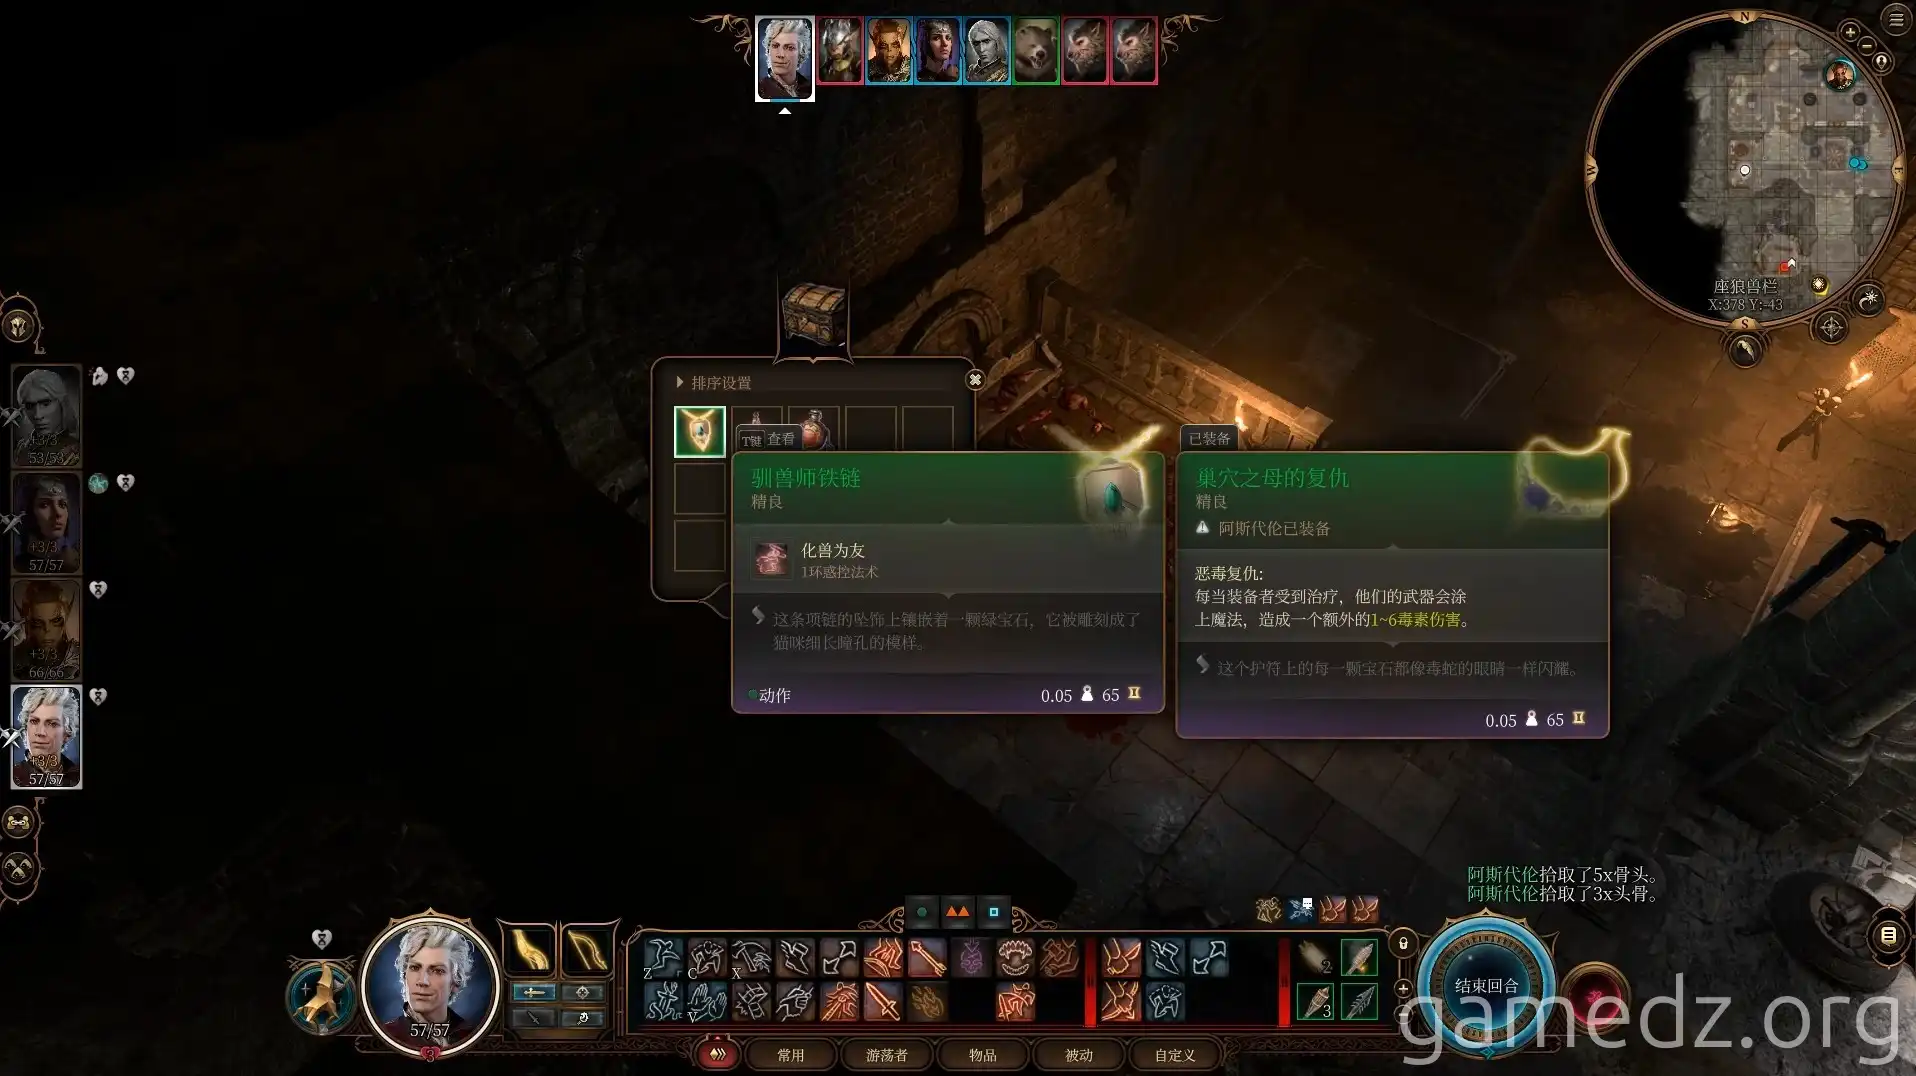
- Chest in the corner: Beast Master's Chain
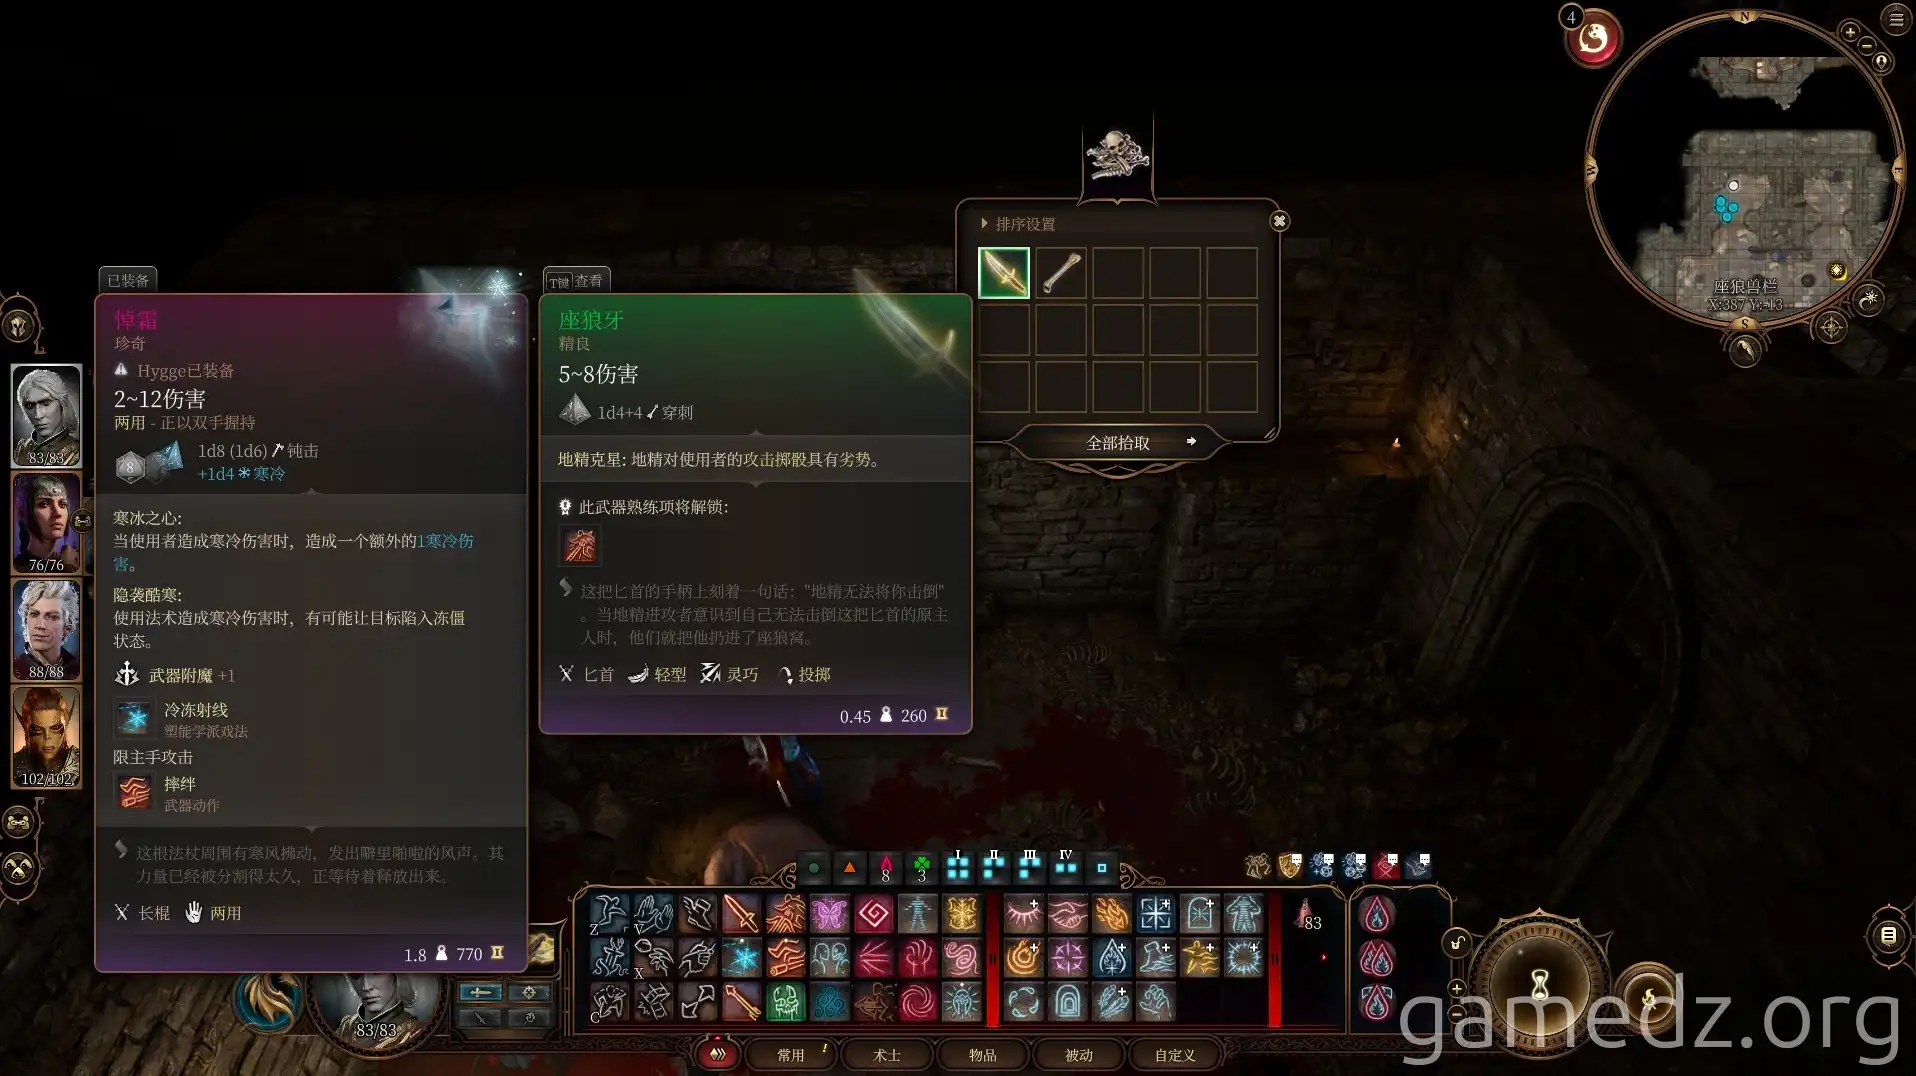
- Pile of bones in the left pen: Owlbear Claw
After the battle, speak with Halsin. He'll share information about the Underdark and Moonrise Towers. Helping him resolve the grove crisis will lead him to accompany you.
Confronting the Goblin Leaders
Return to the main hall of the Shattered Sanctum to face the remaining goblin leaders. You'll encounter the Priestess and a total of seven goblins.
Strategy: Use the Sleep spell on the Priestess to incapacitate her, alerting only two goblins on the right. If you defeat them quickly, the Priestess will wake up to a less overwhelming situation.
Loot from the Priestess:
- Absolute's War Shield
- Amulet of the Absolute
- Mind Flayer tadpole and other items.

The Merchant and Hidden Paths
On the left side of the main hall, find the merchant Roah Moonglow. She will depart once all goblin leaders are defeated. Avoid entering the area to her left directly, as it can decrease her approval.
Roah Moonglow's Wares: Check her inventory for unique equipment.
Bypass Locked Door: Before the second room on the left, jump over the wall to enter the room, bypassing the locked door. This leads to the Desecrated Temple, accessible later.
Continue deeper into the Shattered Sanctum.
Proceed to the front right via the steps in front of the main hall to continue your exploration. Stay tuned for the next part of our guide!

