Baldur's Gate 3 Grymforge: Full Map & Gear Guide
This guide details Baldur's Gate 3's Grymforge, covering map exploration, rescuing gnomes, defeating bosses like N Under and Grym, and acquiring rare gear. Learn how to craft Adamantine items and navigate the Adamantine Forge.
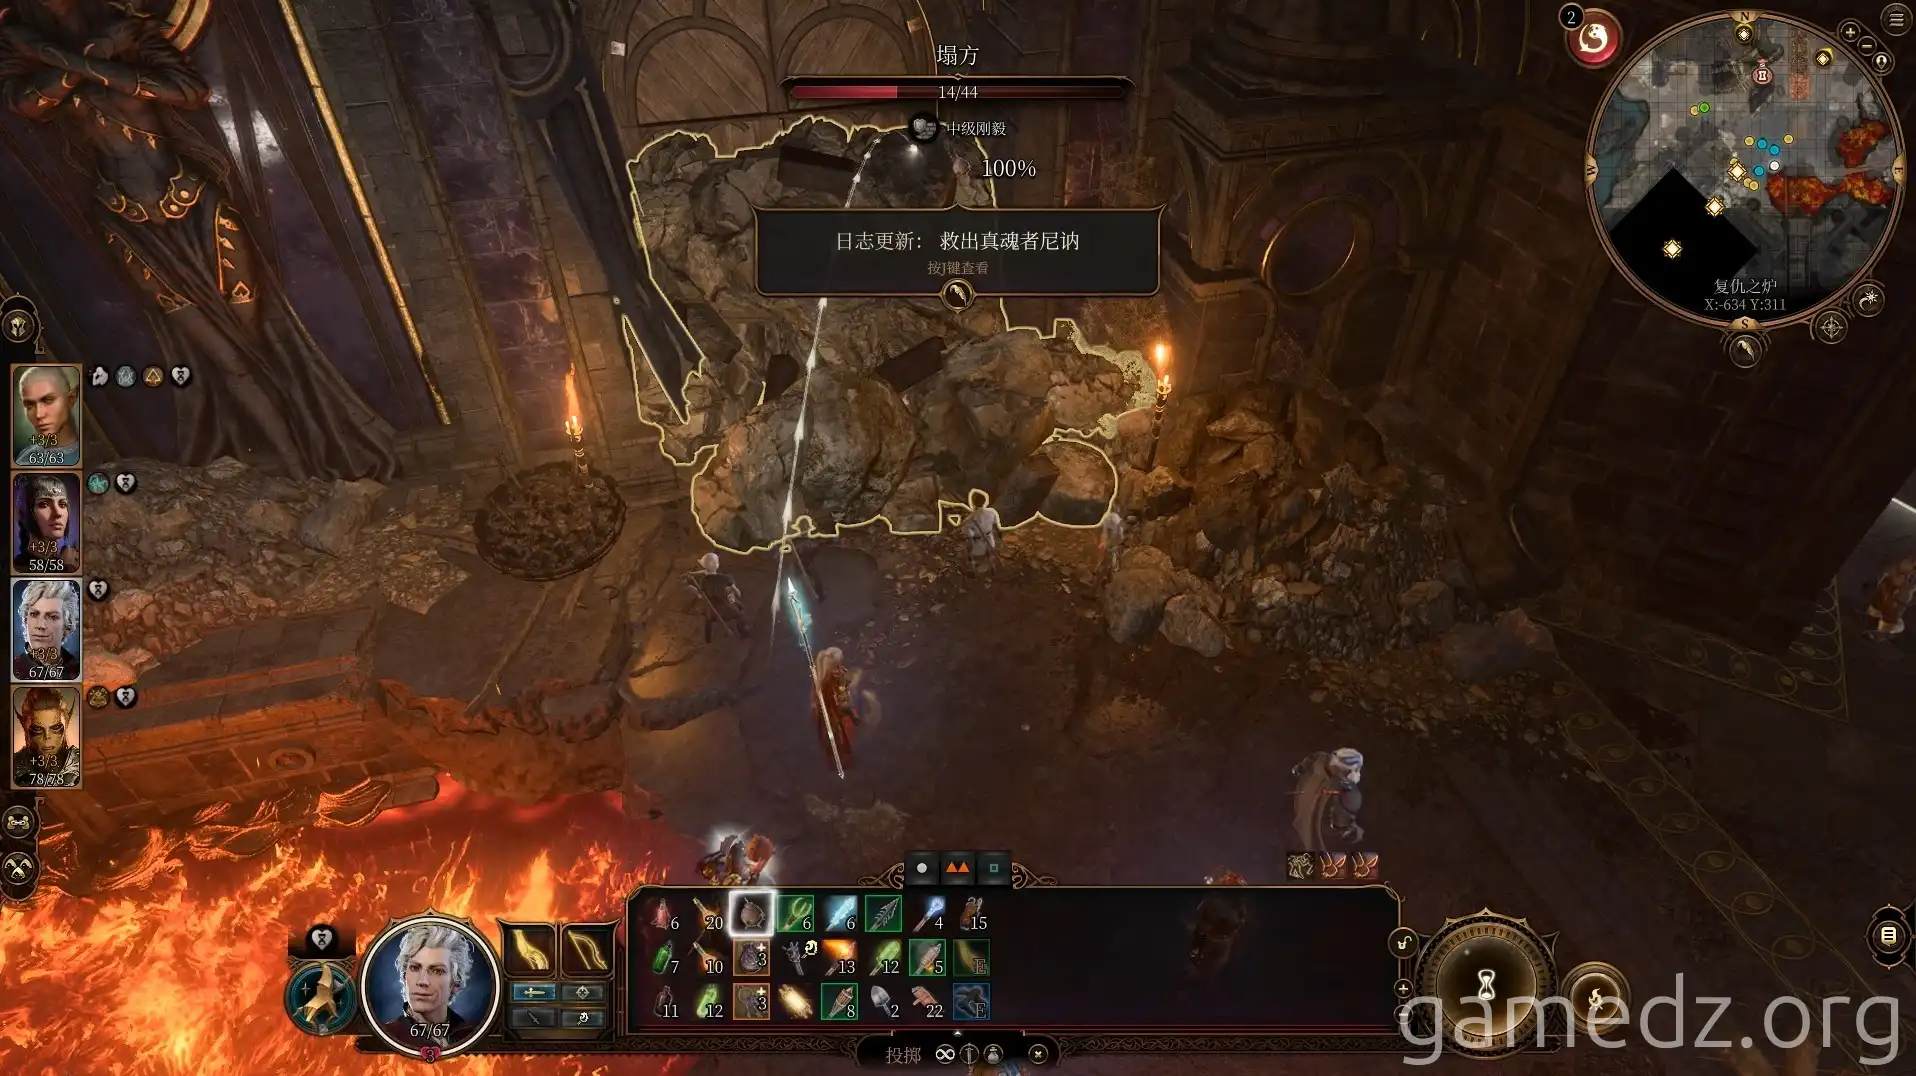
Return to the main hall and break the rubble to rescue N Under. When using explosives to break the rubble, aim for the upper part of the debris as much as possible to avoid accidentally harming the gnomes.
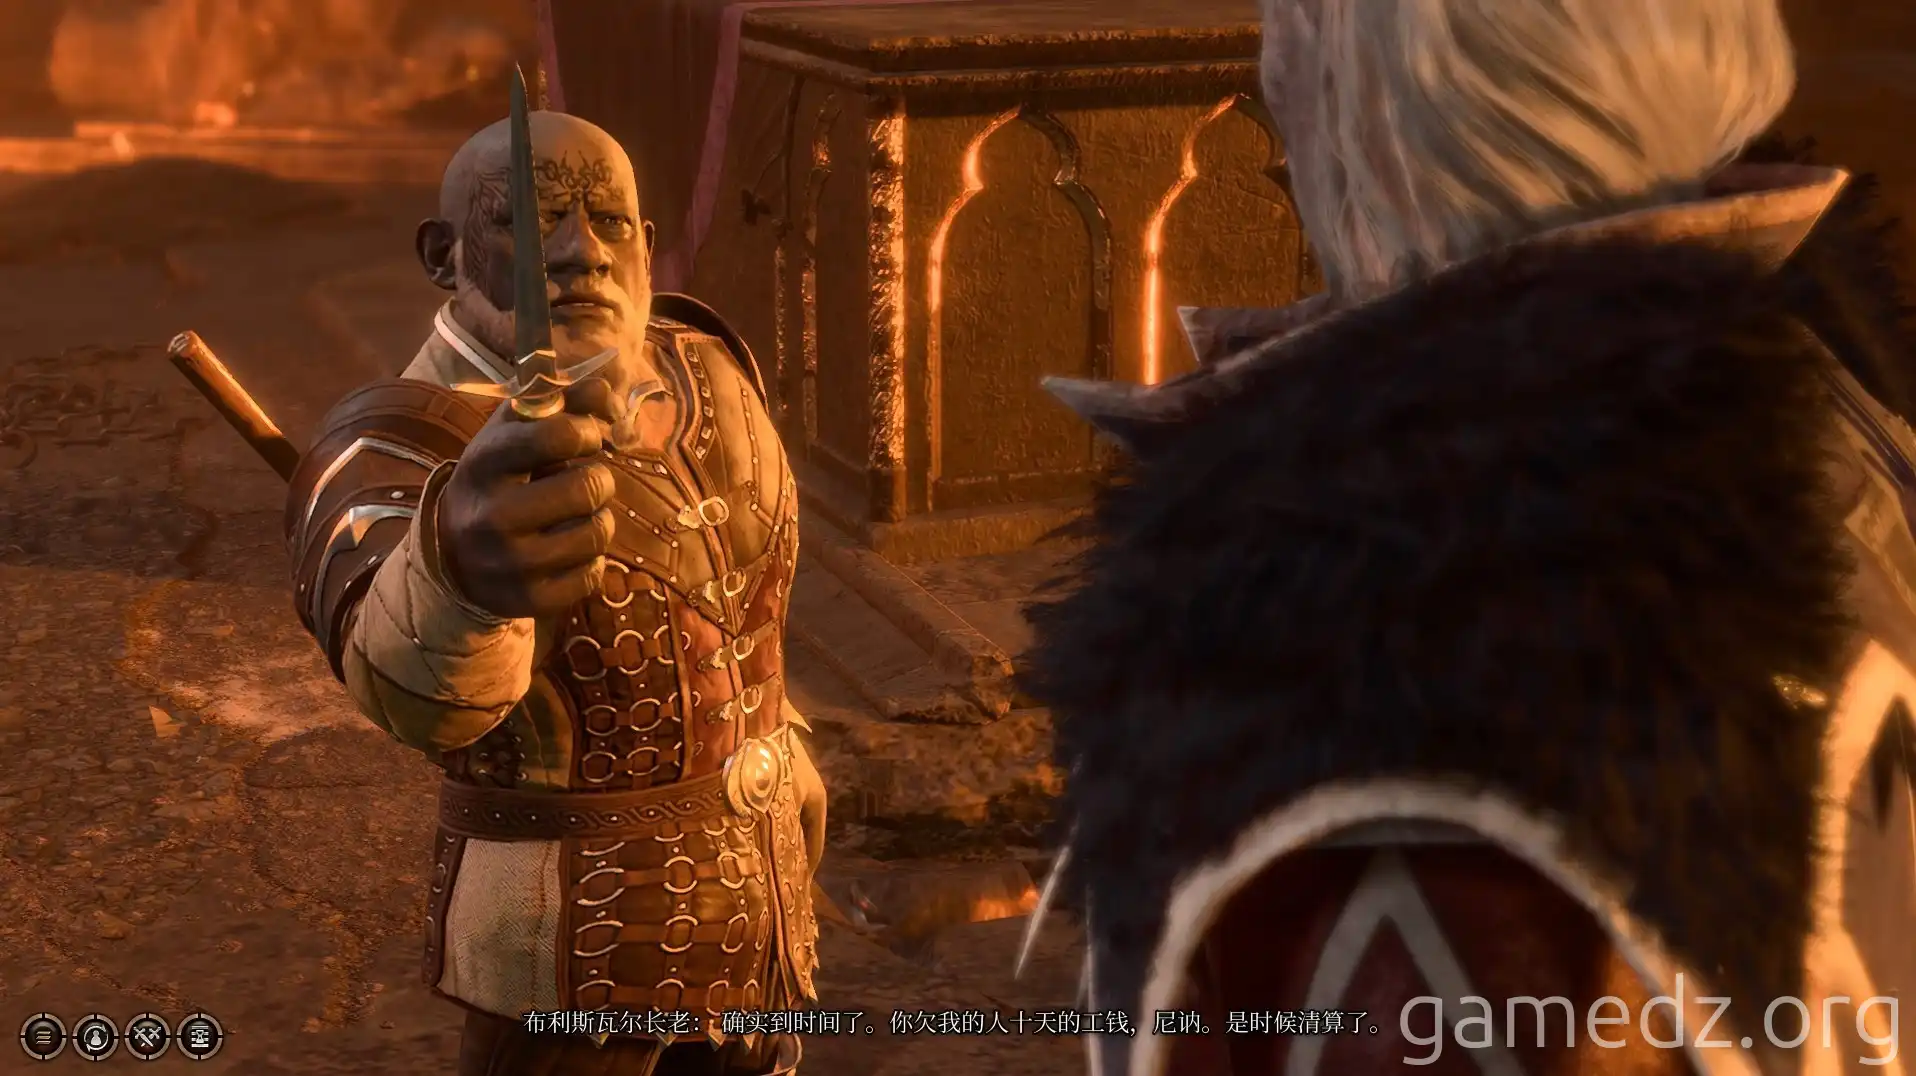
After rescuing N Under, your first dialogue choice should be to stop him from killing the gnomes. Then, Blisval will betray you. Choose to support Blisval and engage in combat.
Thanks to your thorough preparation, the number of enemies has been significantly reduced. With the assistance of Blisval and his subordinates, defeat N Under and the Legion Commander.
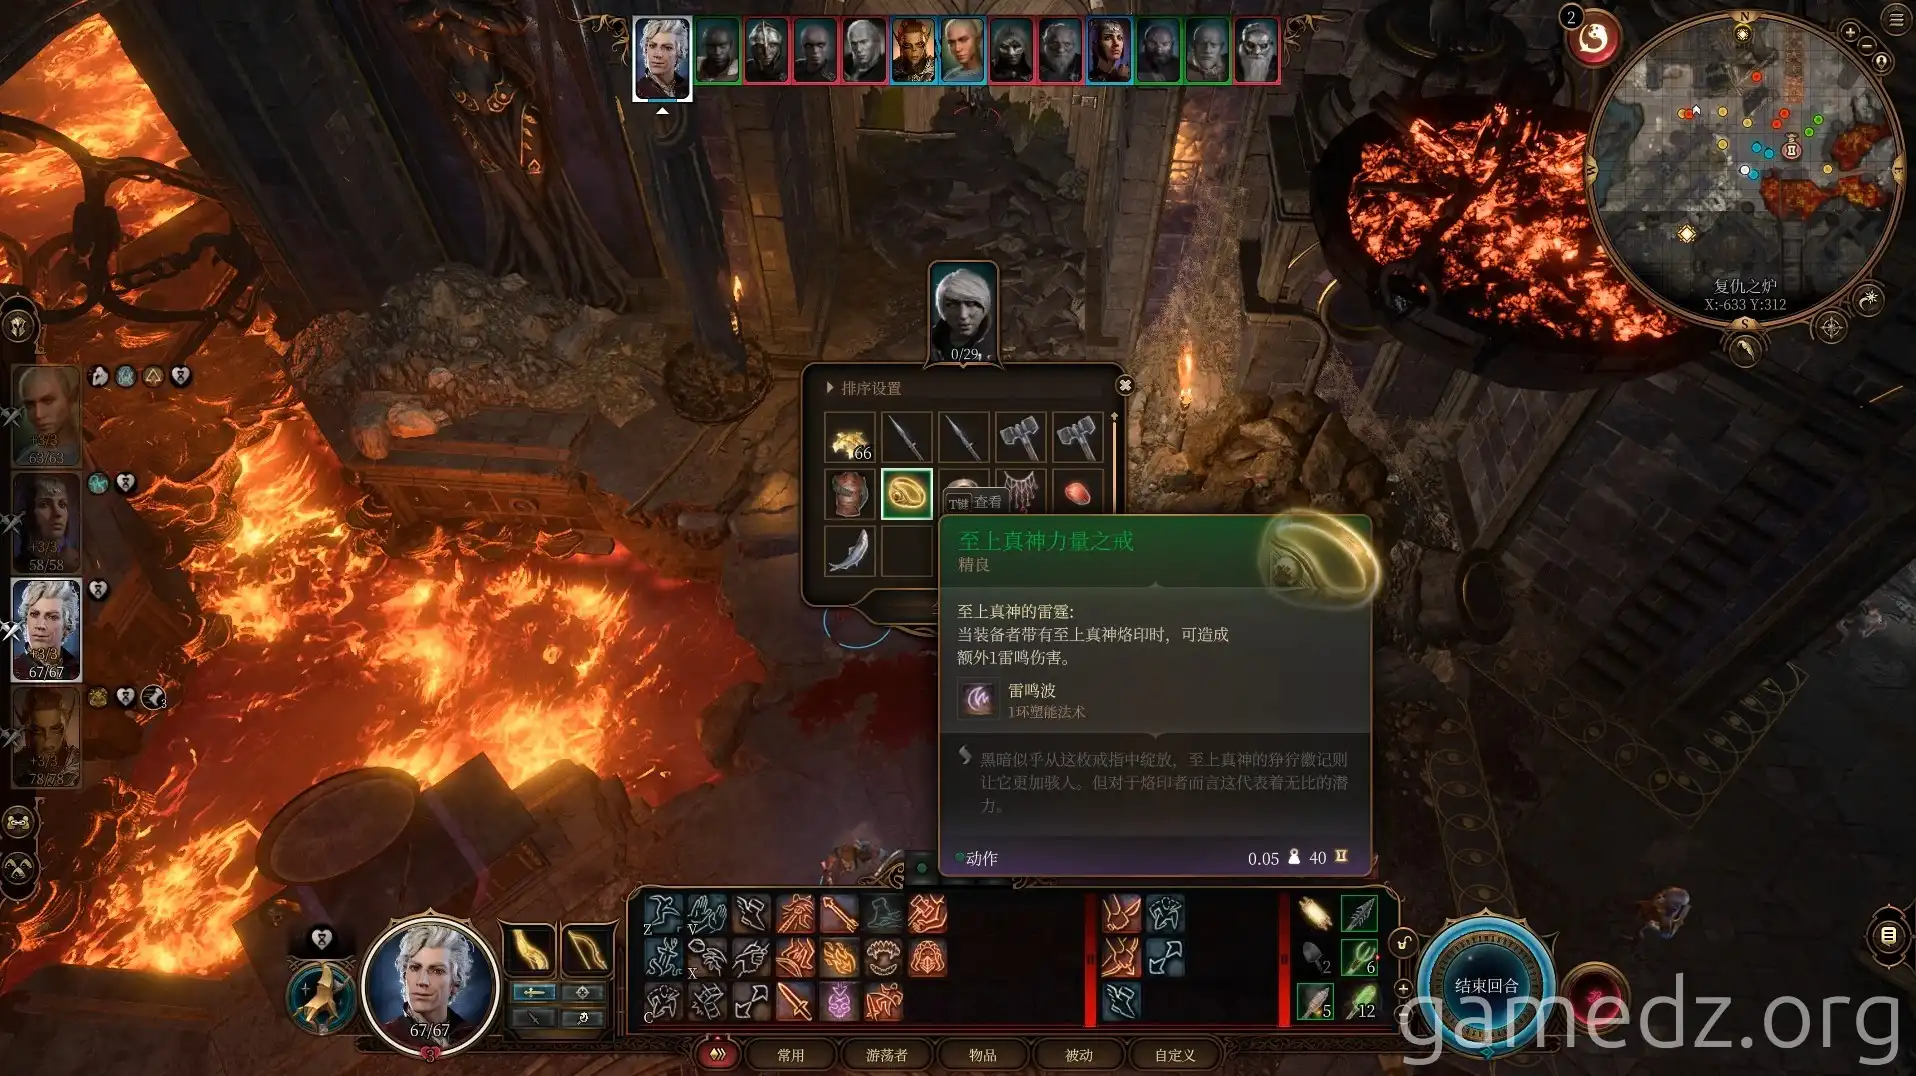
From the Legion Commander, you can obtain the uncommon ring Ring of the Underdark.
From N Under, you can acquire the uncommon weapon Screaming Sword, the rare item Disintegrating Displacer Beast Cloak, the quest items Broken Moonlantern and N Under's Head, as well as a Mind Flayer Parasite specimen.
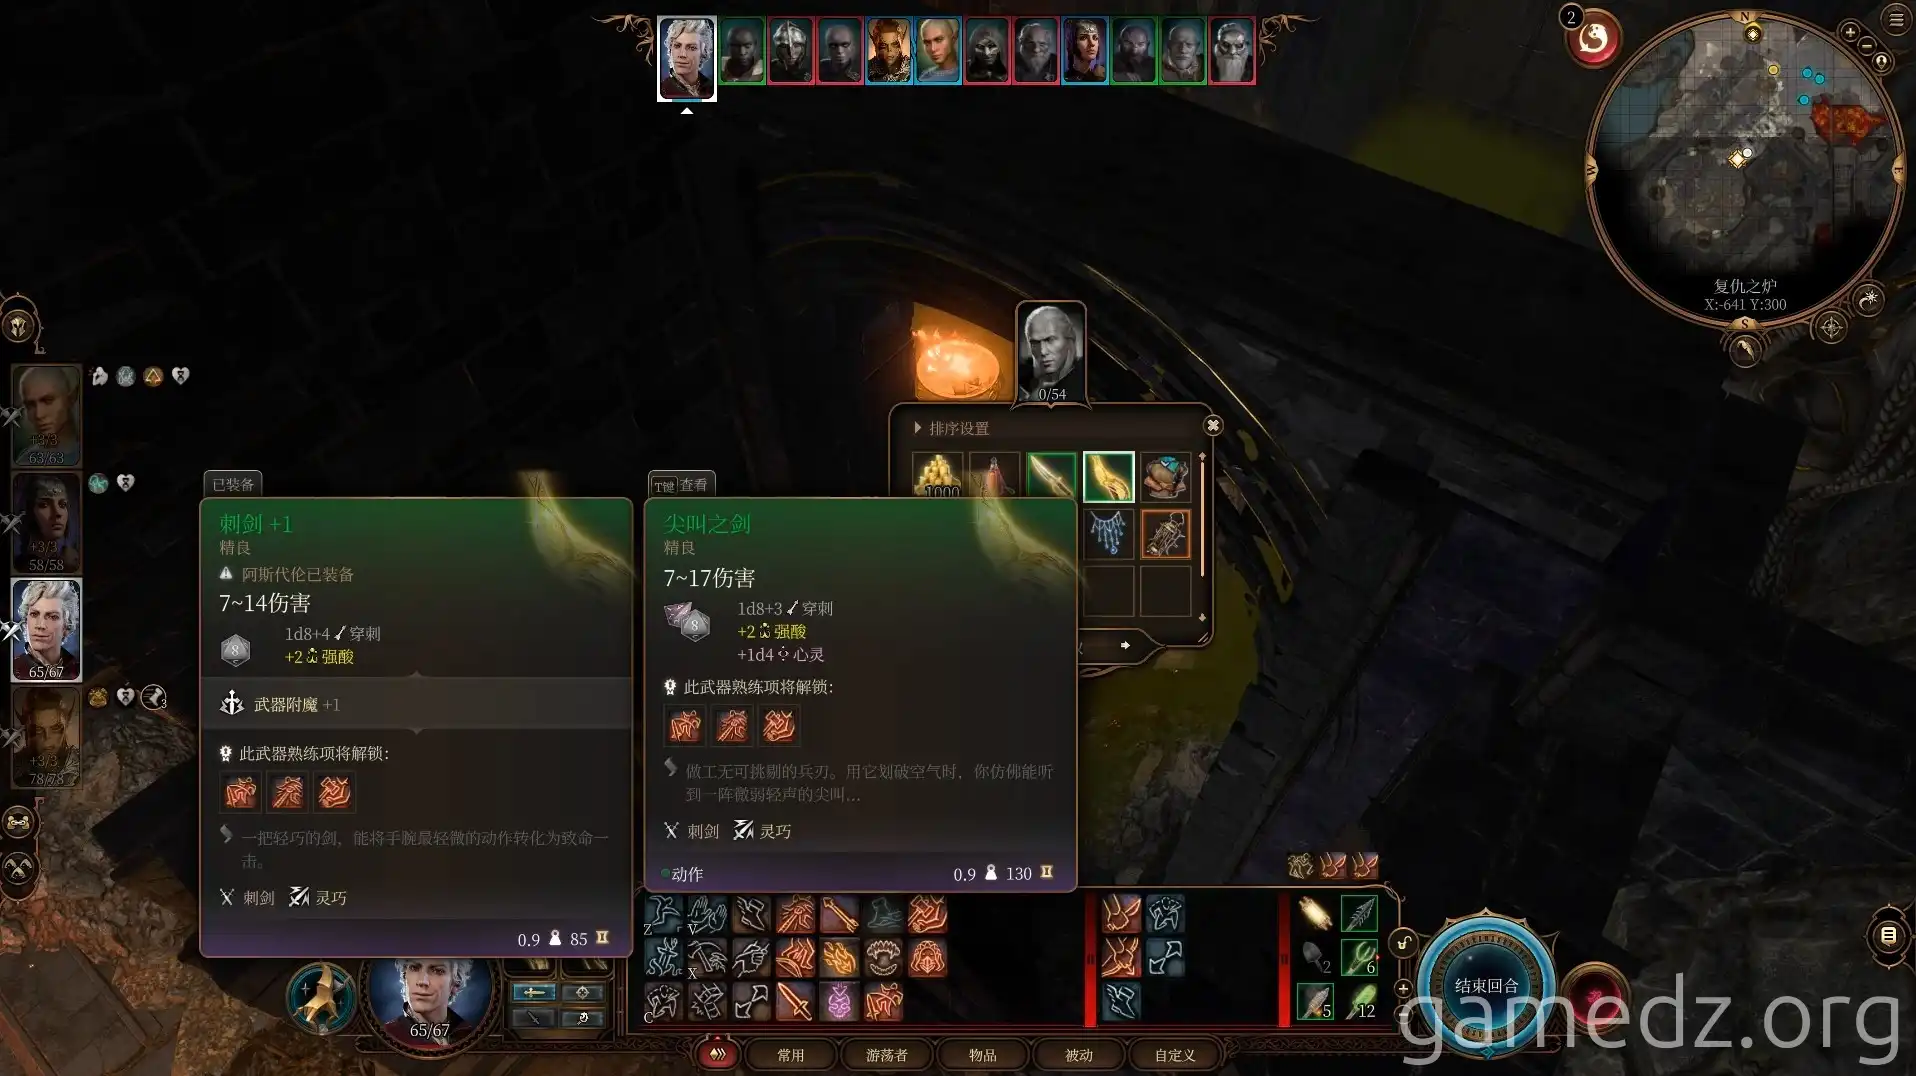
The stats for the Disintegrating Displacer Beast Cloak are as follows.
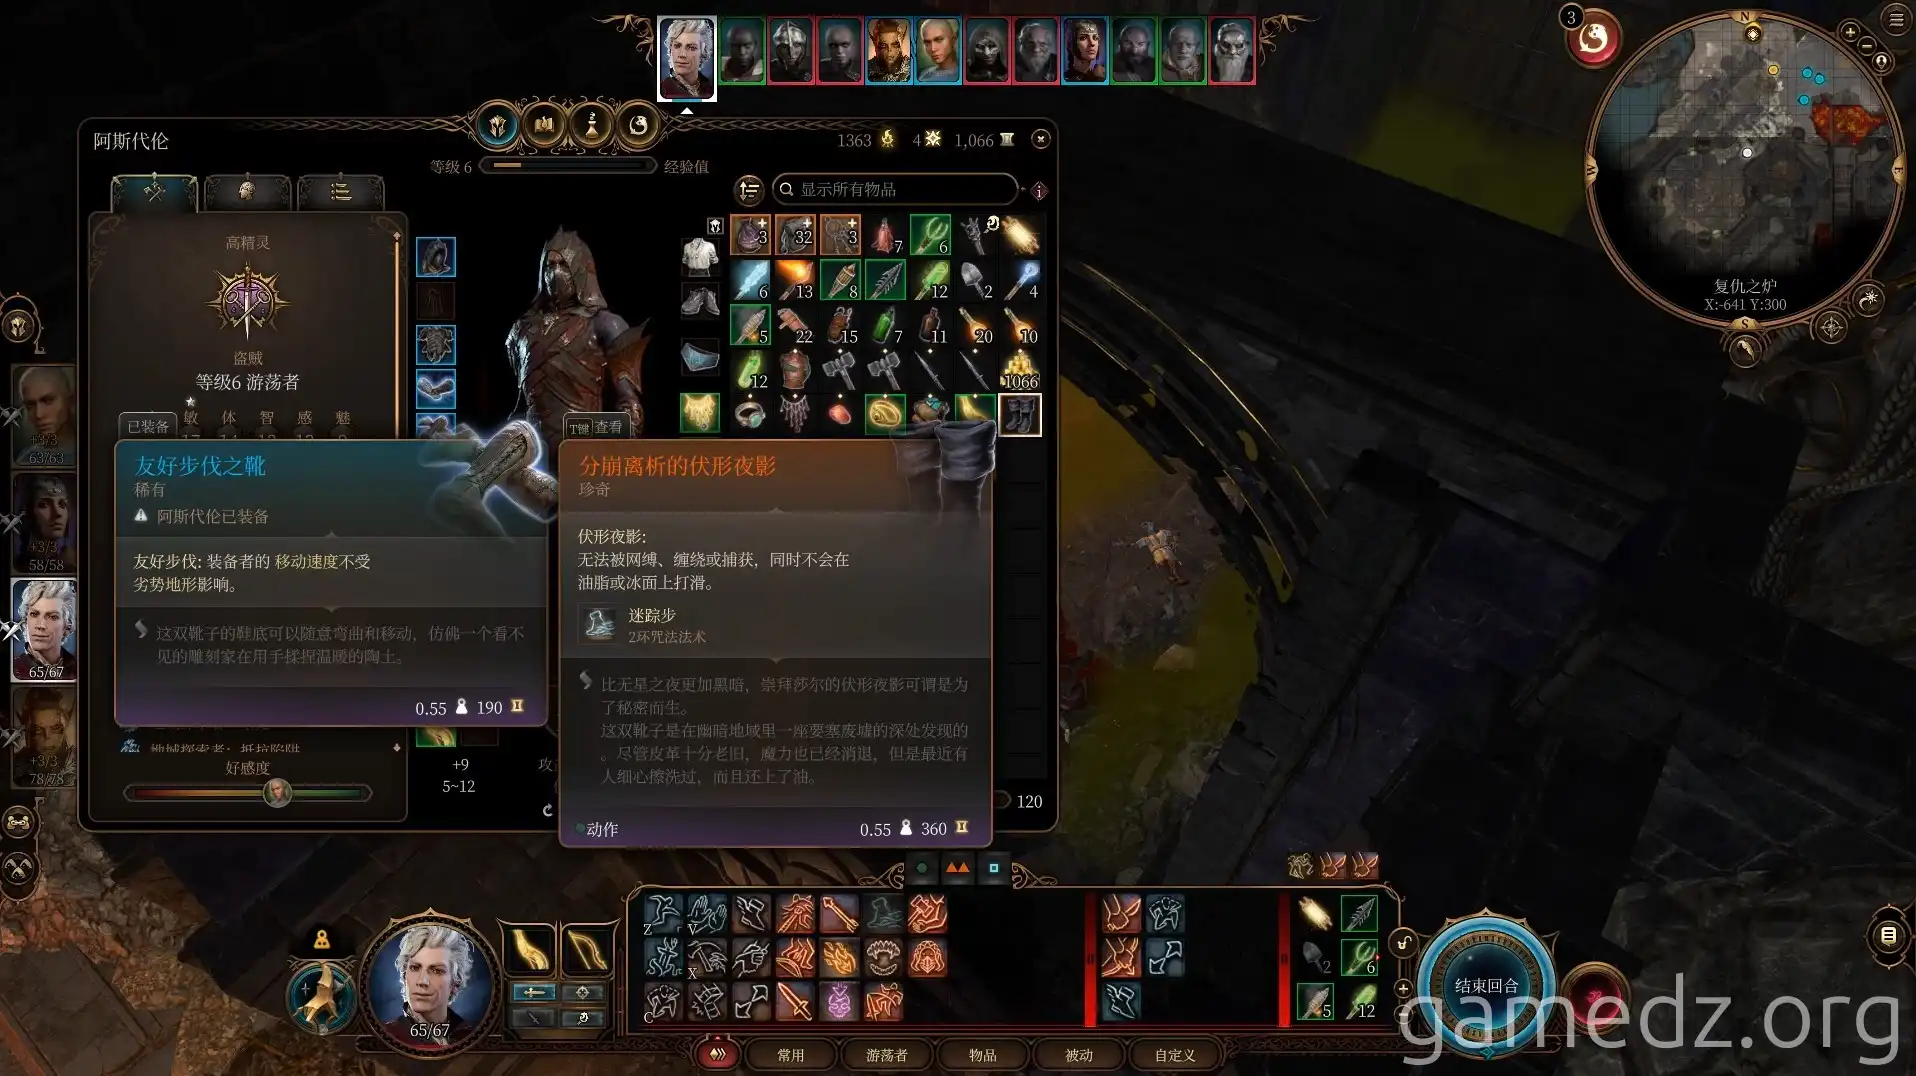
After the battle, you can persuade the Deep Gnome Elder to release all the gnomes.
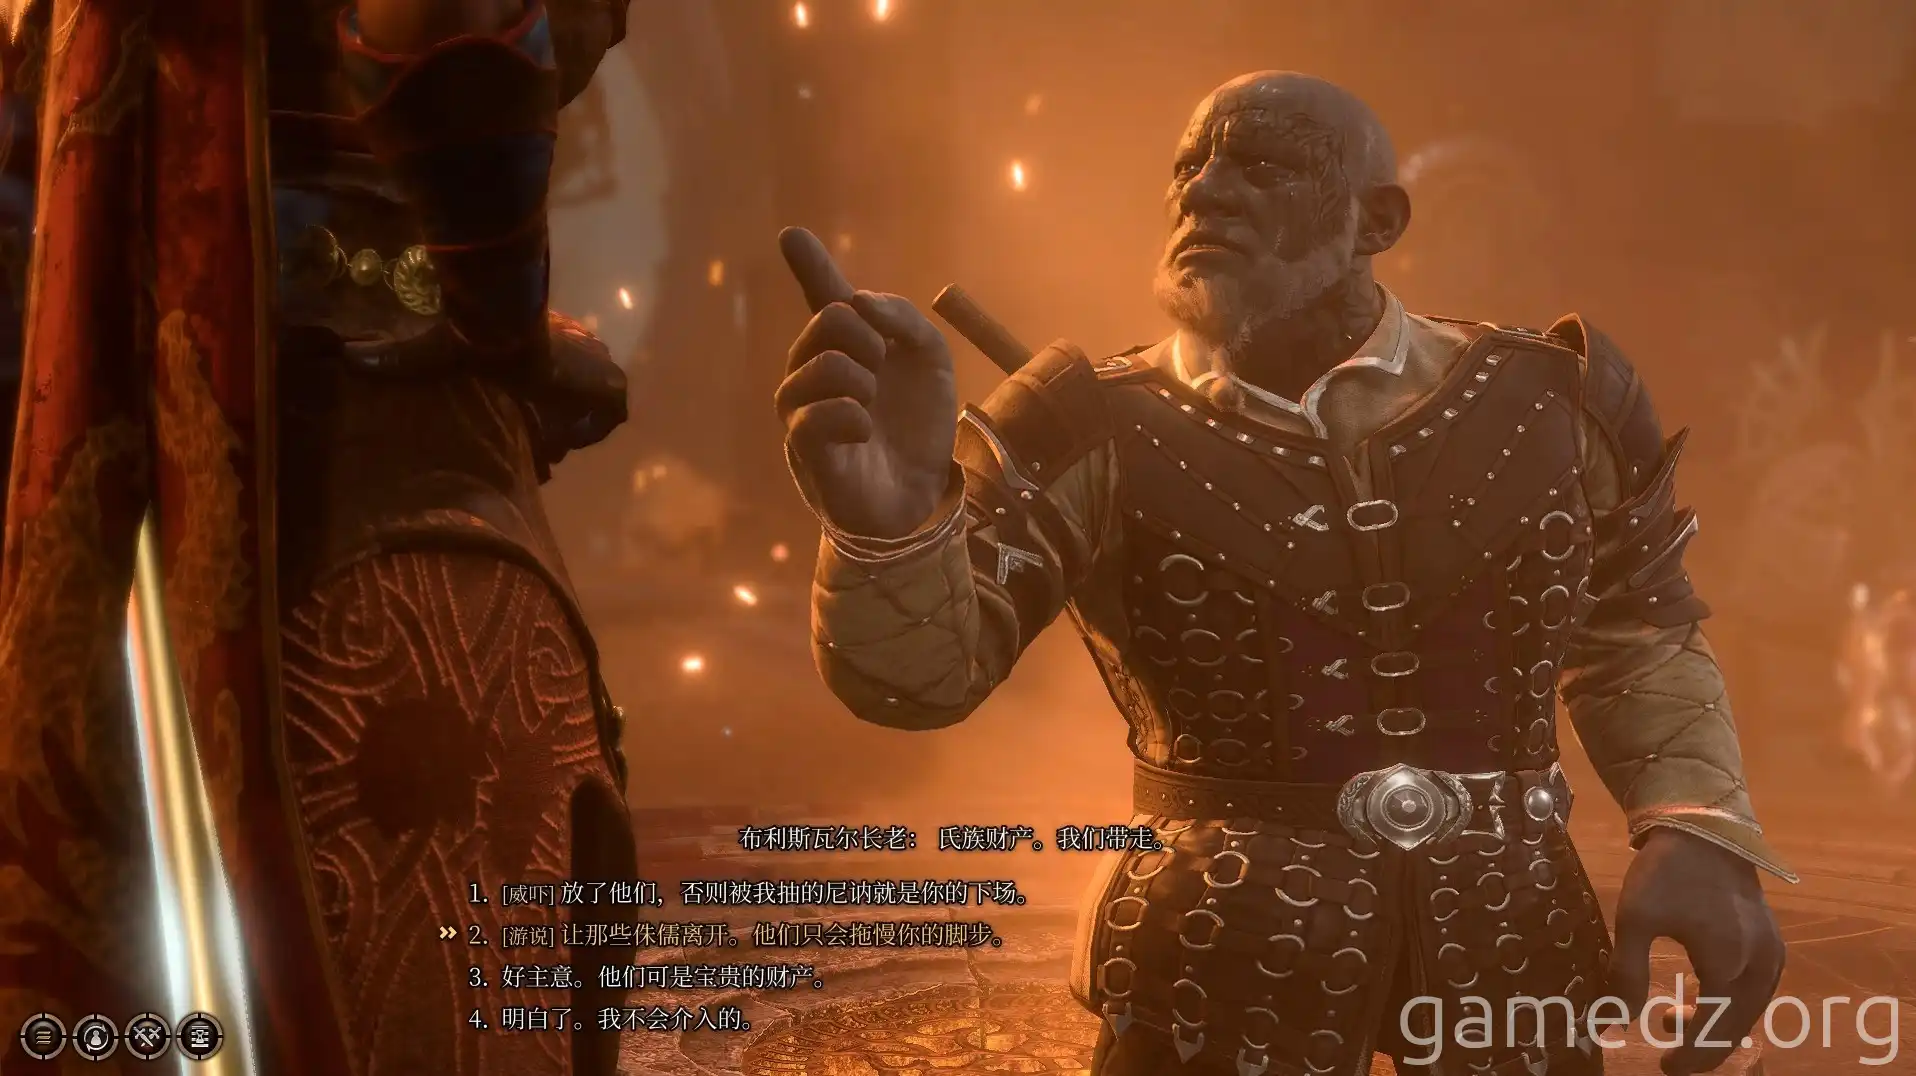
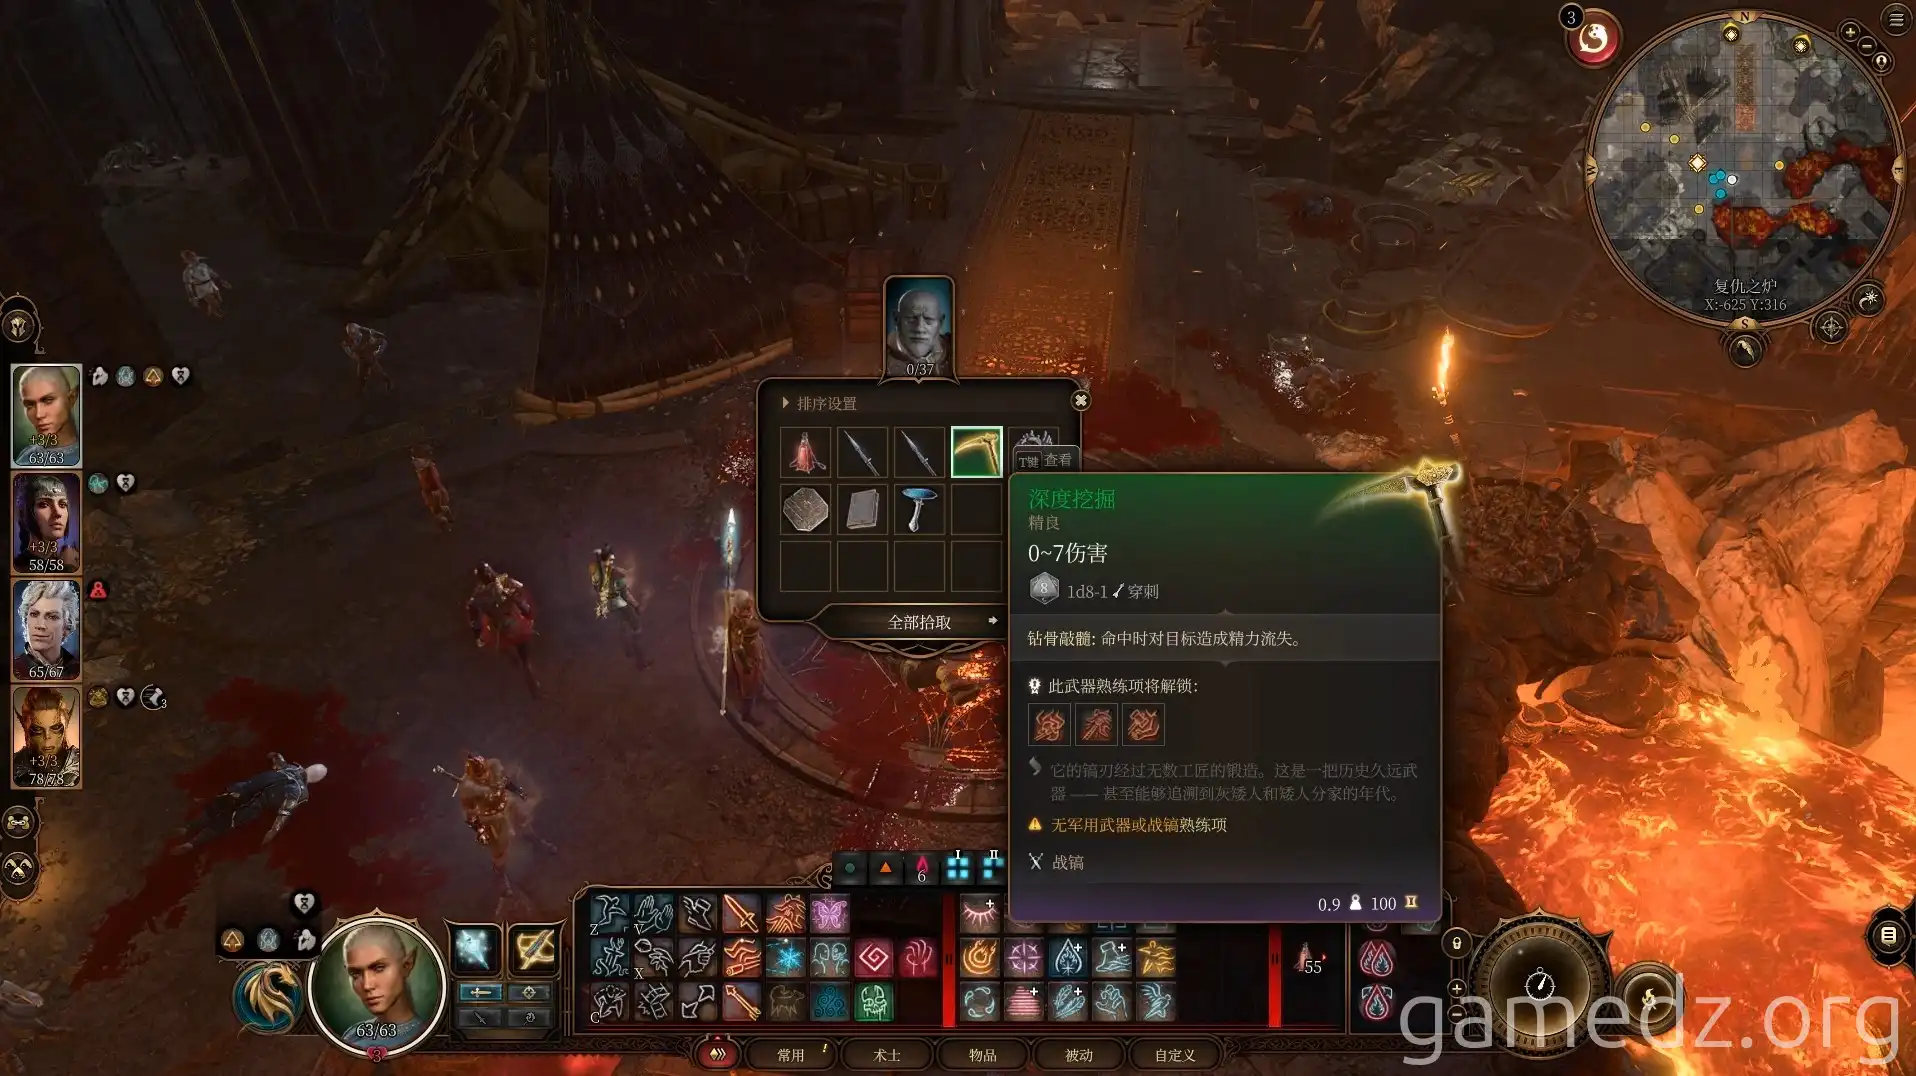
Then, engage in combat with the Deep Gnome Elder. After defeating him and his subordinates, you will obtain the rare equipment Helmet of Arcane Force and the uncommon weapon Deep Delver.
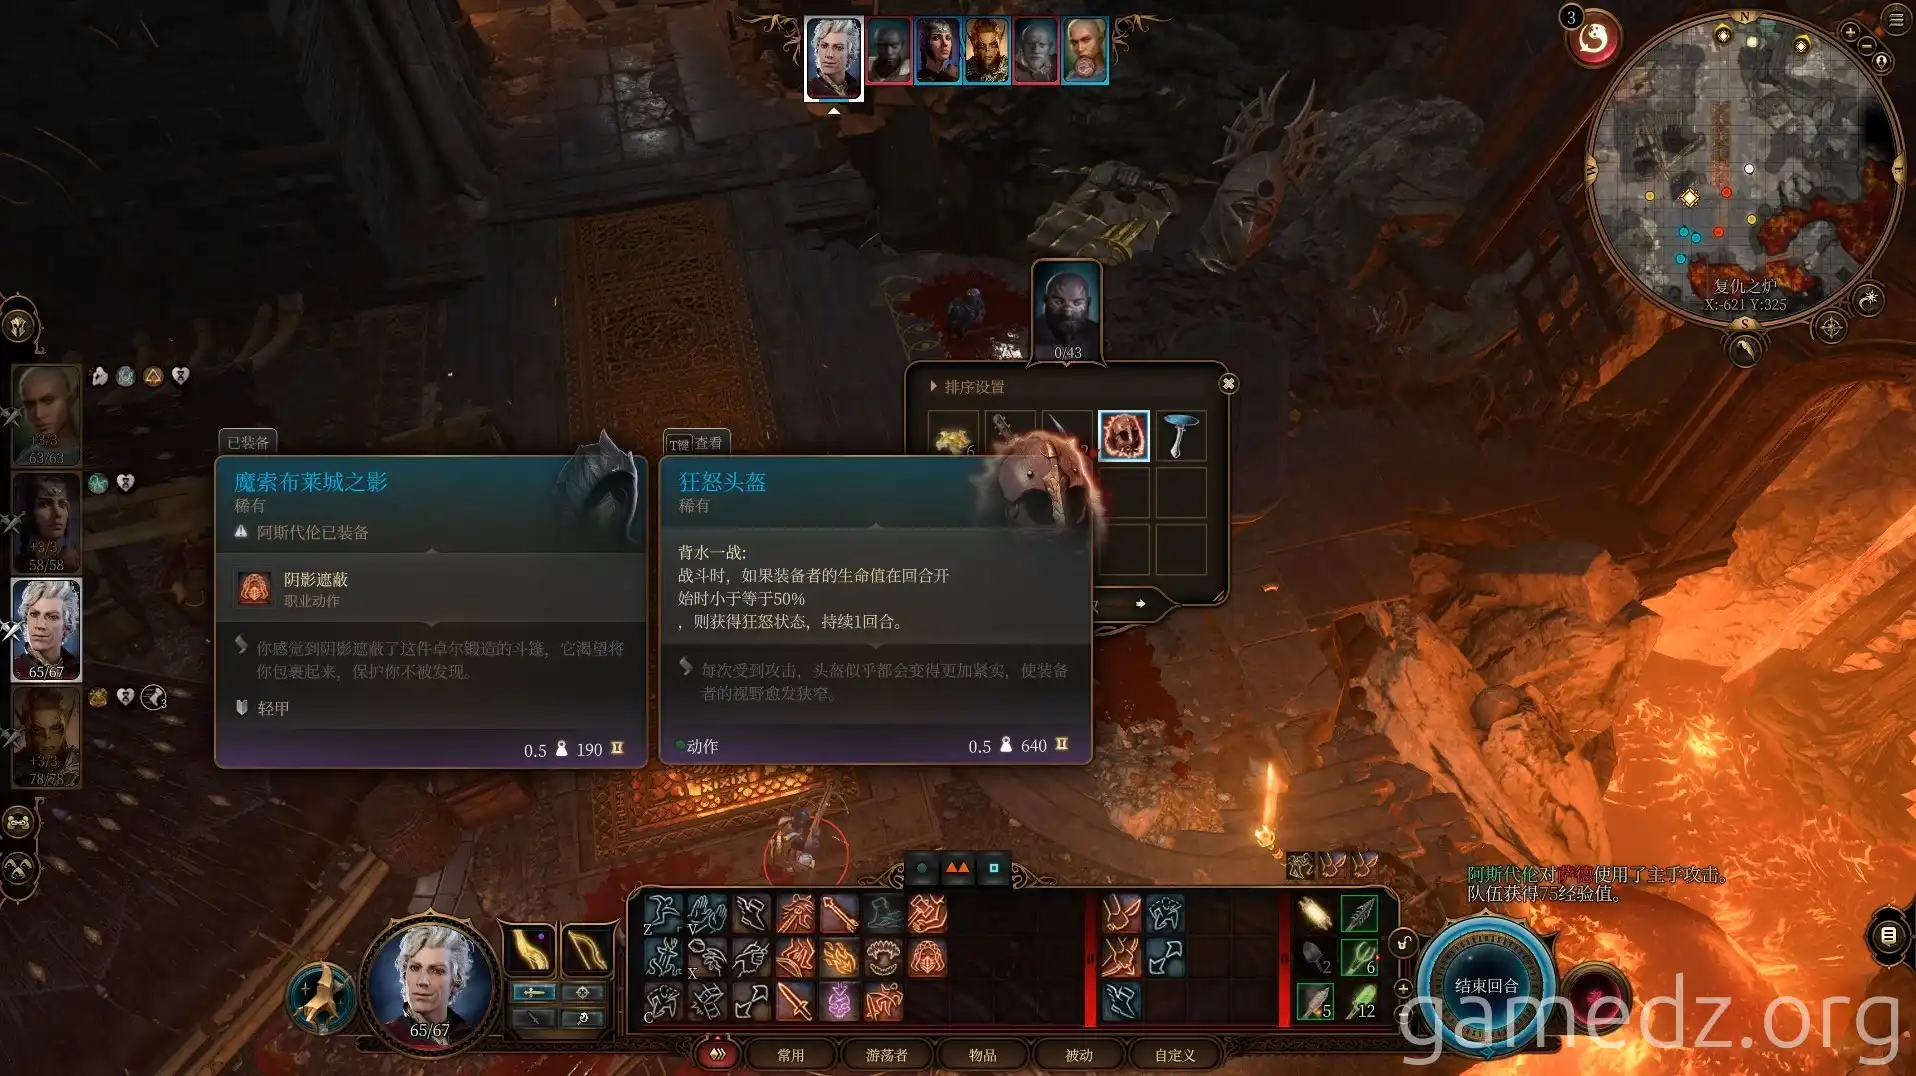
The stats for Deep Delver are as follows.
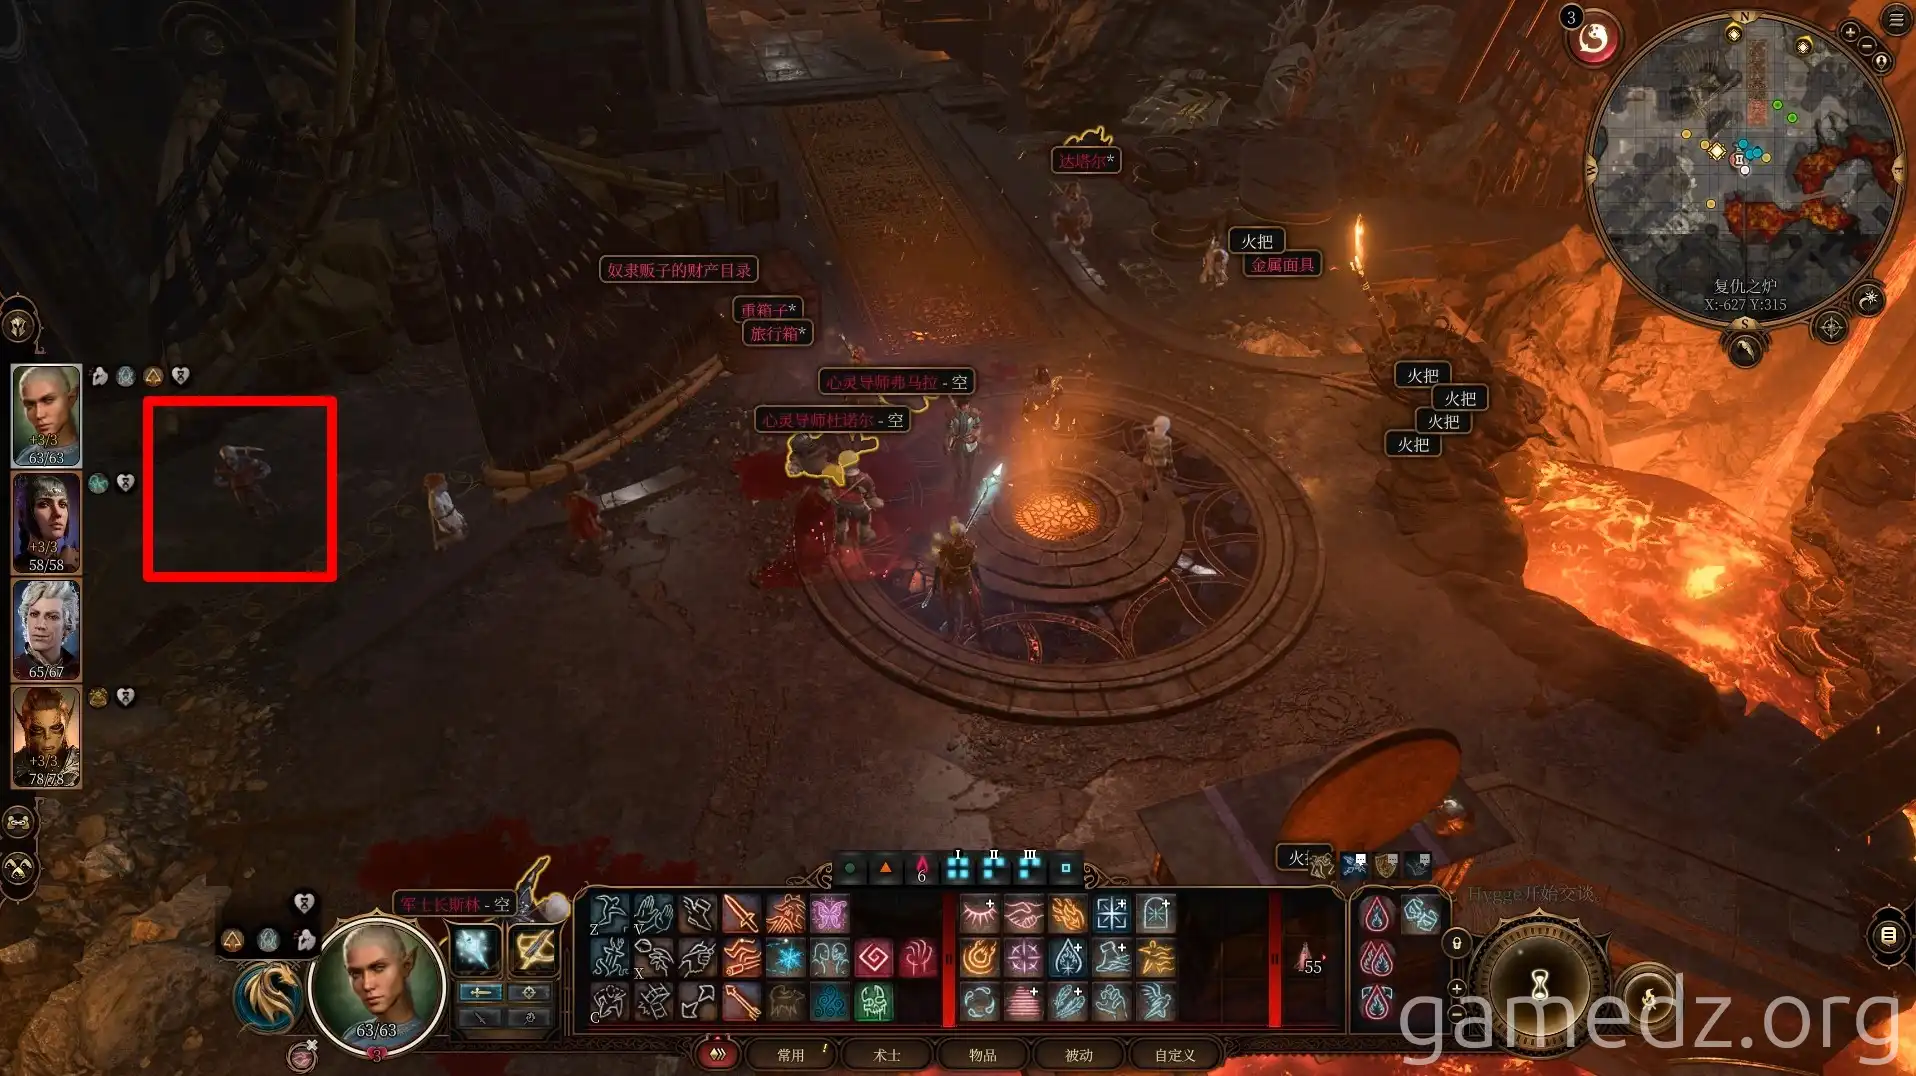
Once the dust settles, speak with Balthus and Balduran. You will learn that the gnome leader Ulder Ravenglass, who possesses the formula for rune gunpowder, has been taken to Moonrise Towers by the True Souls. They will ask you to rescue him. Finally, don't forget to speak with Balthus alone, otherwise, some NPCs may disappear later.
Passing through the room where N Under was trapped will lead you to the Shadow-Cursed Lands area, but you cannot enter the temple from here. You will access this area through a different entrance later. After a Long Rest, all the gnomes will leave the Grymforge.
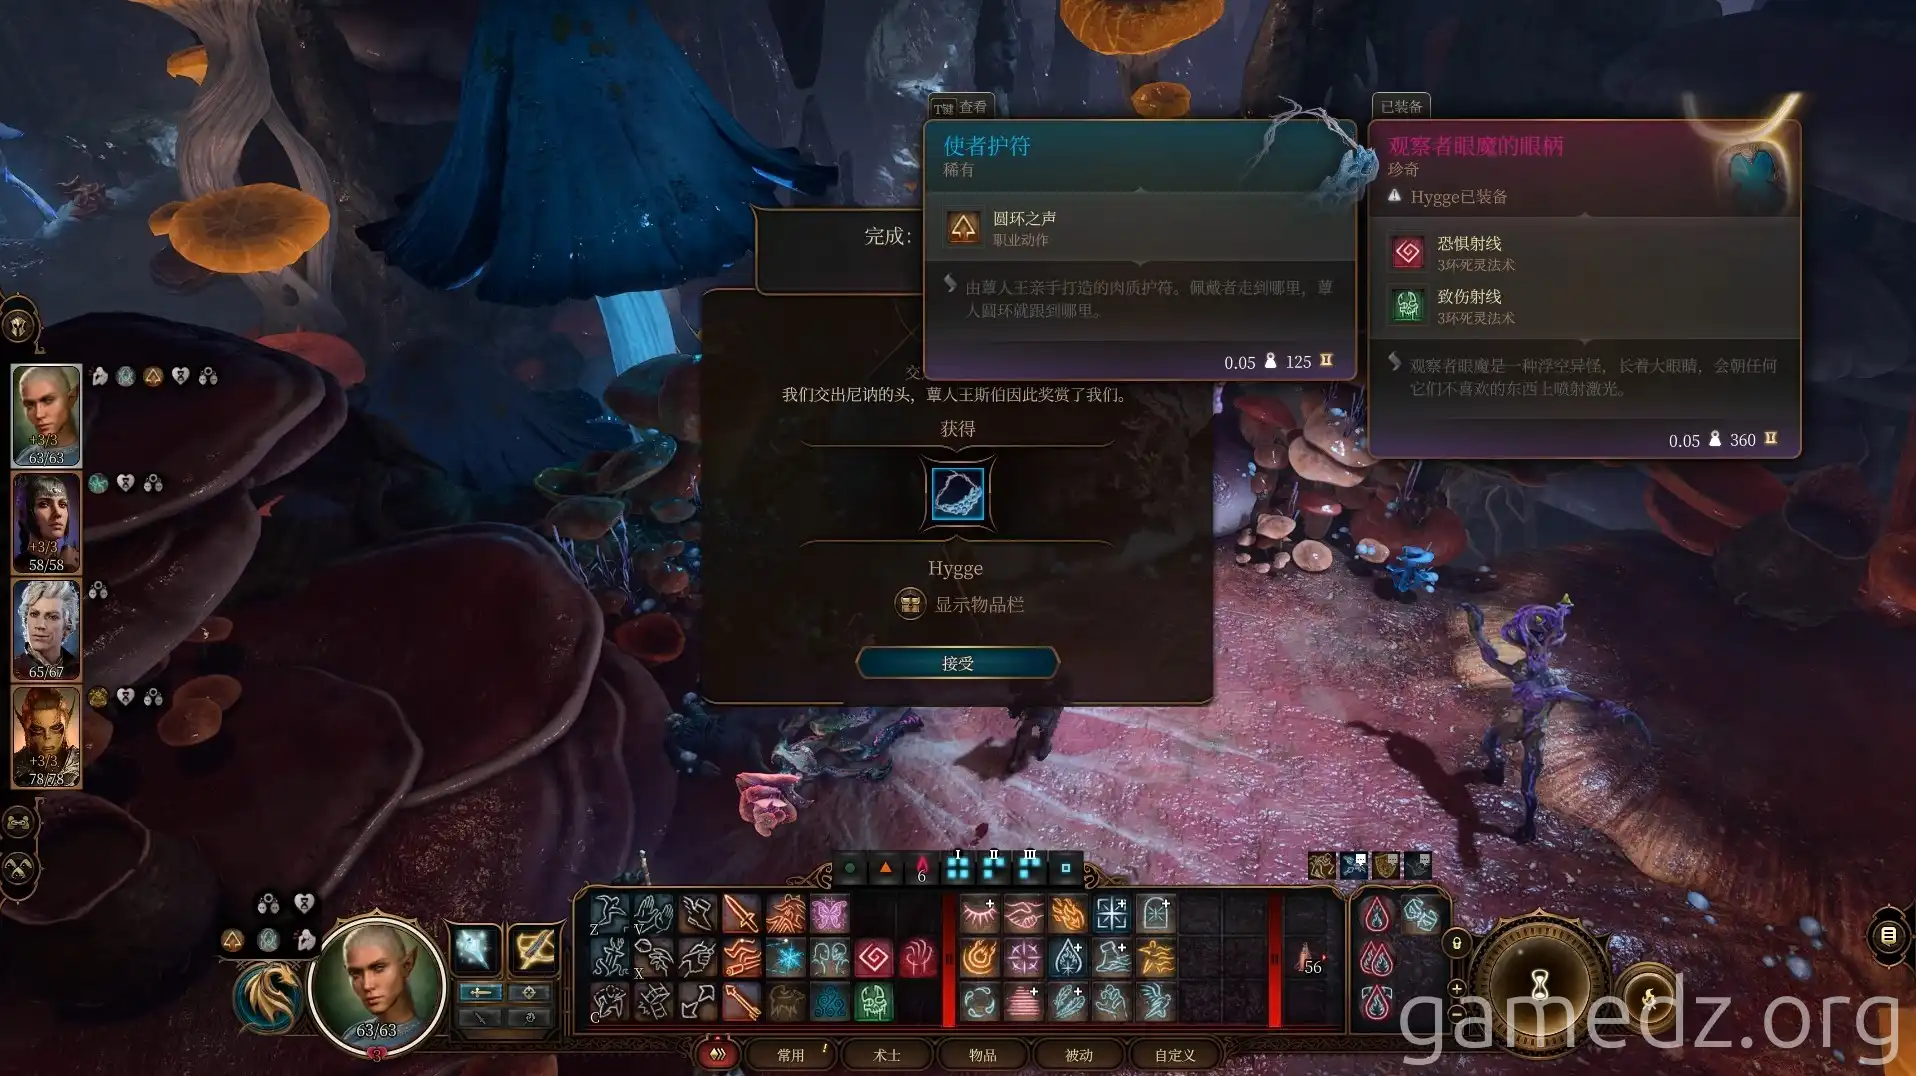
Next, go to the Myconid Colony and hand over N Under's head to the Myconid Sovereign to receive the rare accessory Amulet of the Devout and complete this questline. At the same time, all the gnomes from the Grymforge will arrive here. Speak with Thulla again, and she will express her welcome for you to visit her in Baldur's Gate.
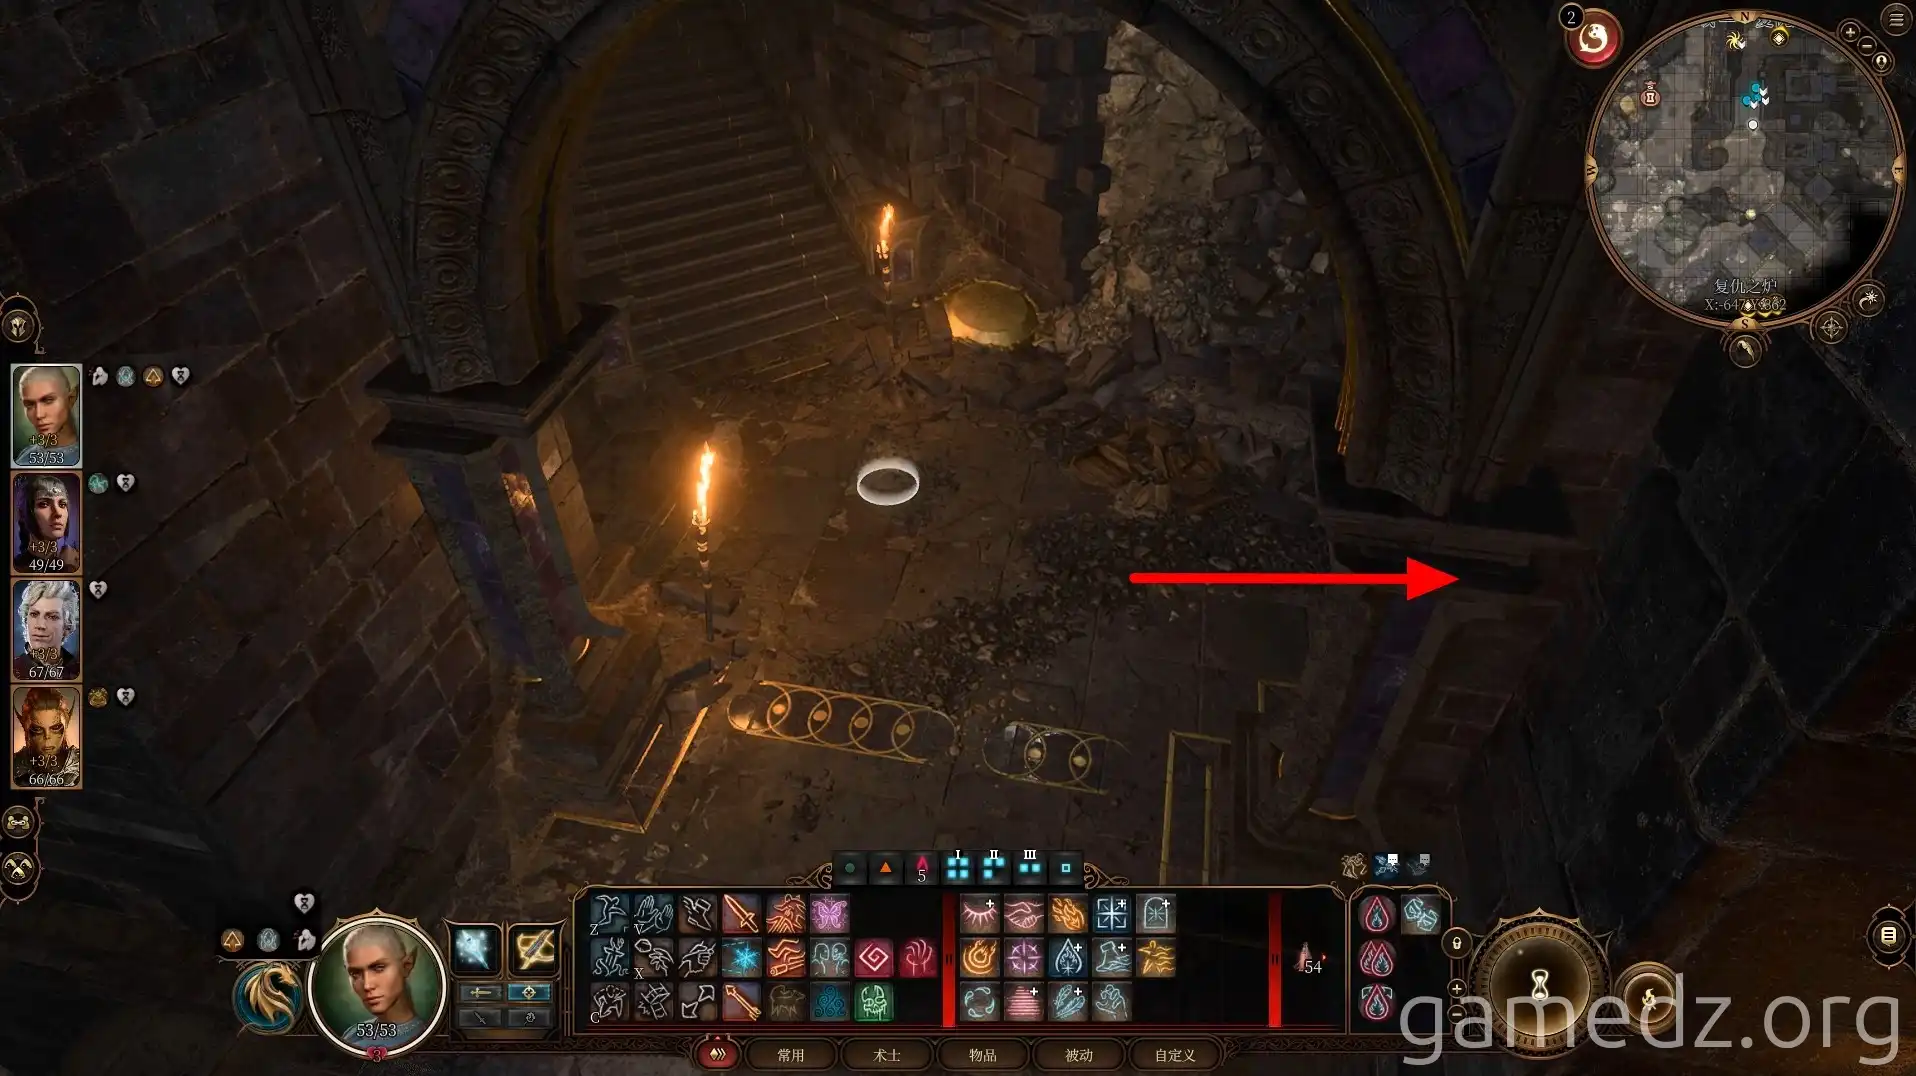
Afterward, return to the Grymforge and head west at the fork in the road south of the portal.
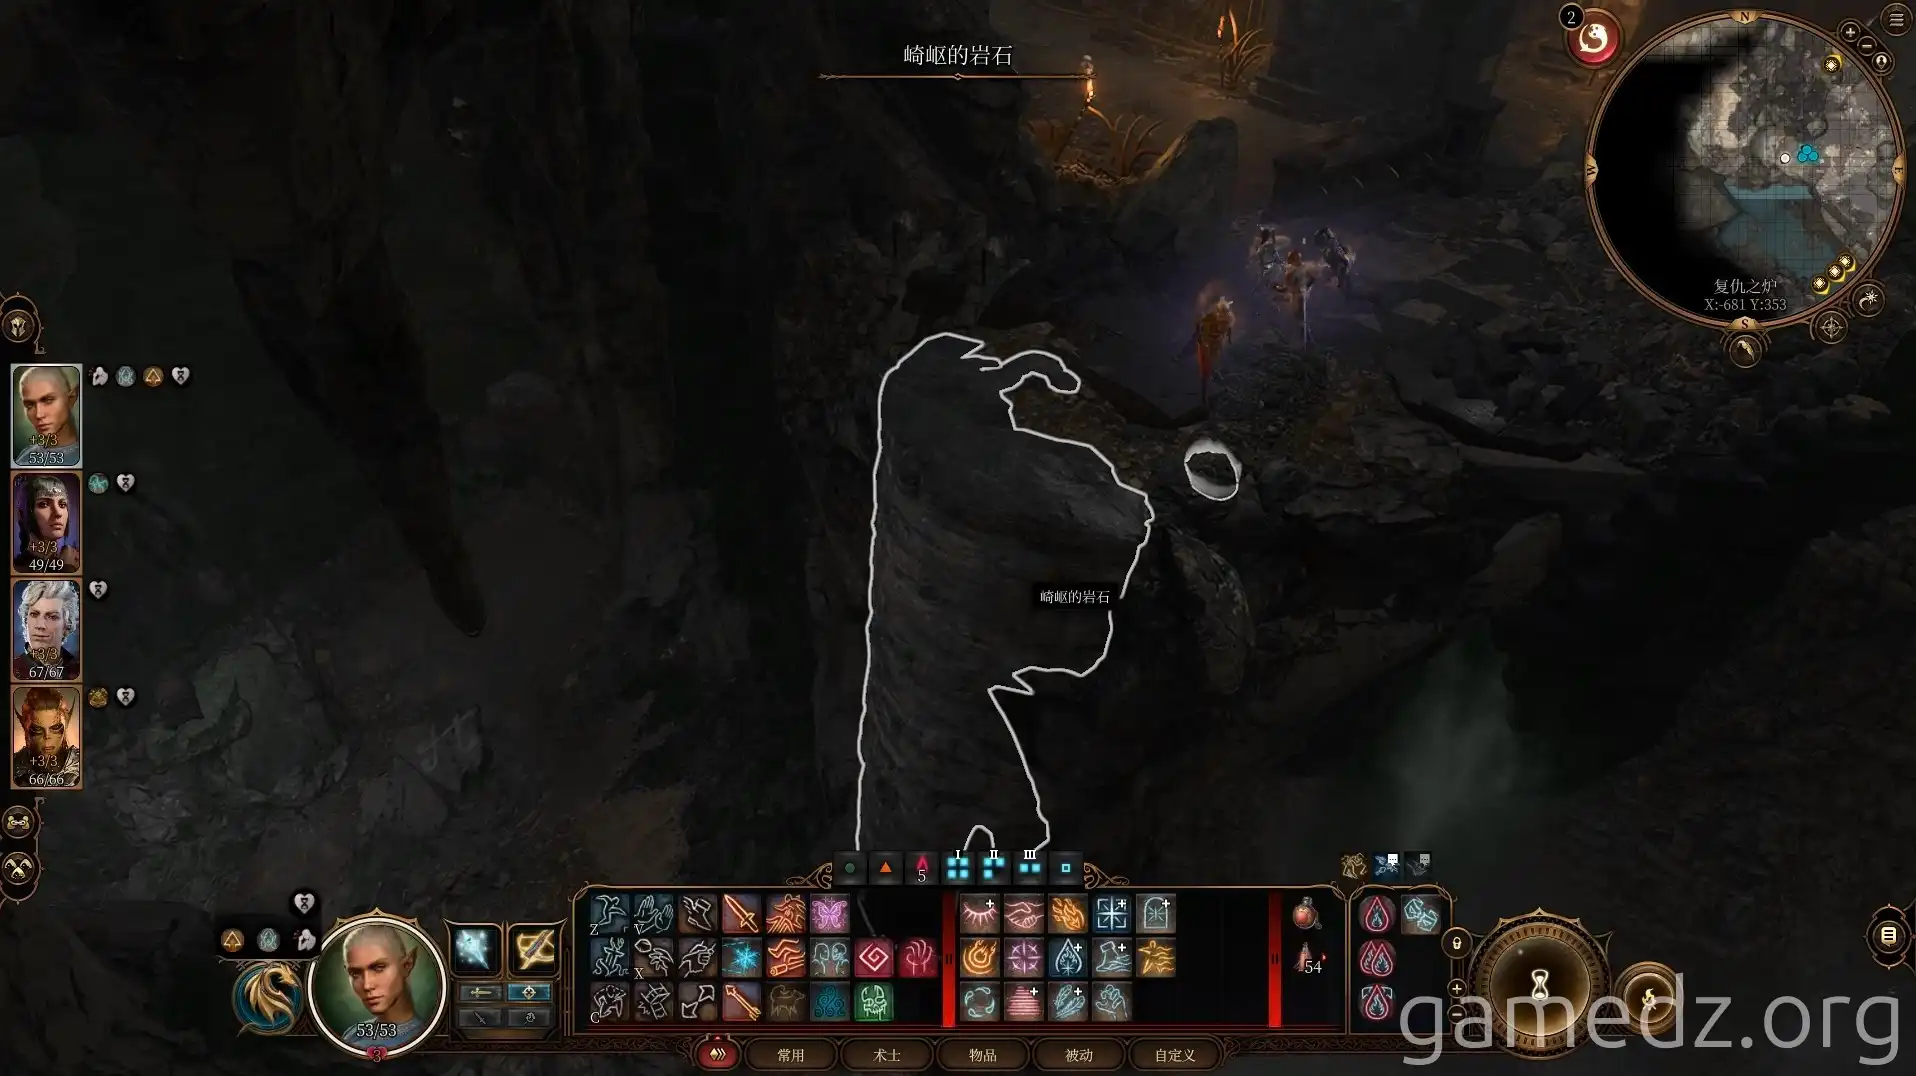
Descend the rugged rocks ahead.
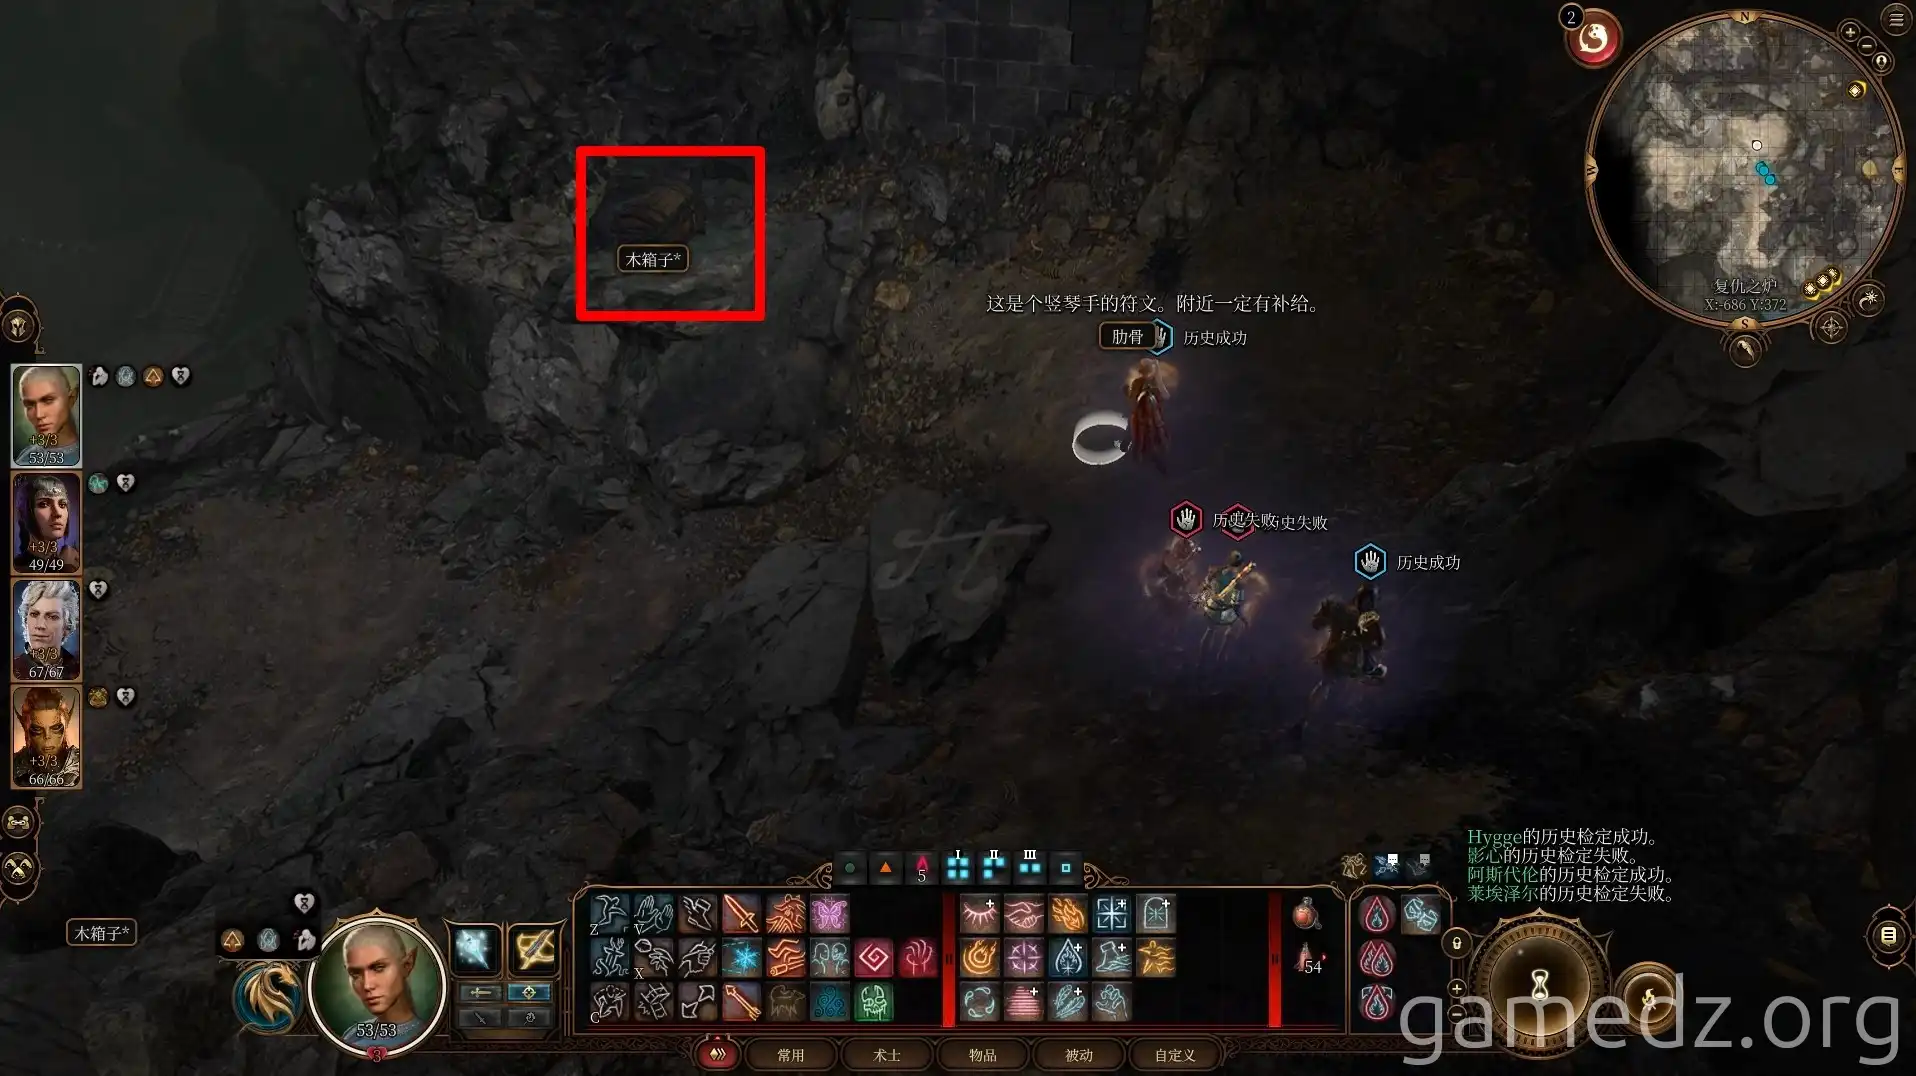
The three wooden chests in the area below are Mimics. Prepare for combat.
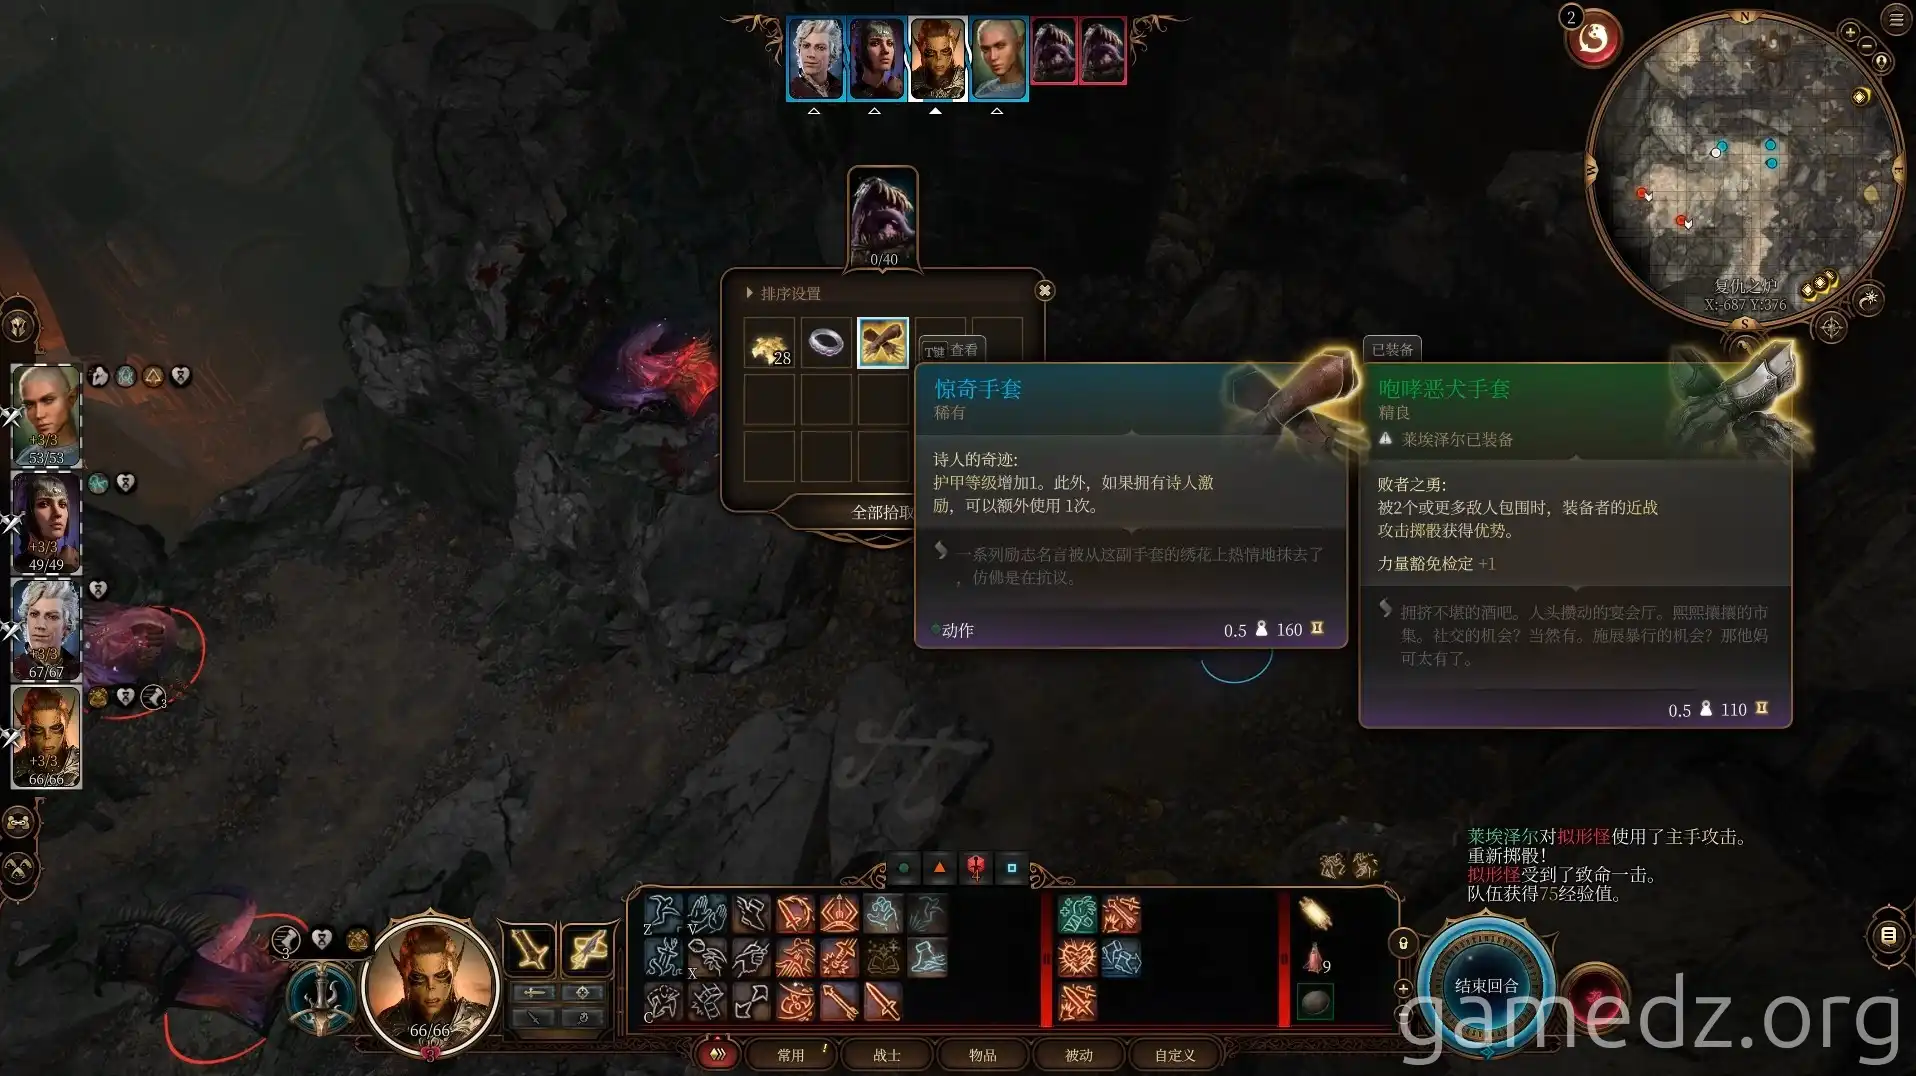
After defeating the Mimics, you can obtain the rare equipment Gloves of Soul Catching and the uncommon weapon Handaxe +1.
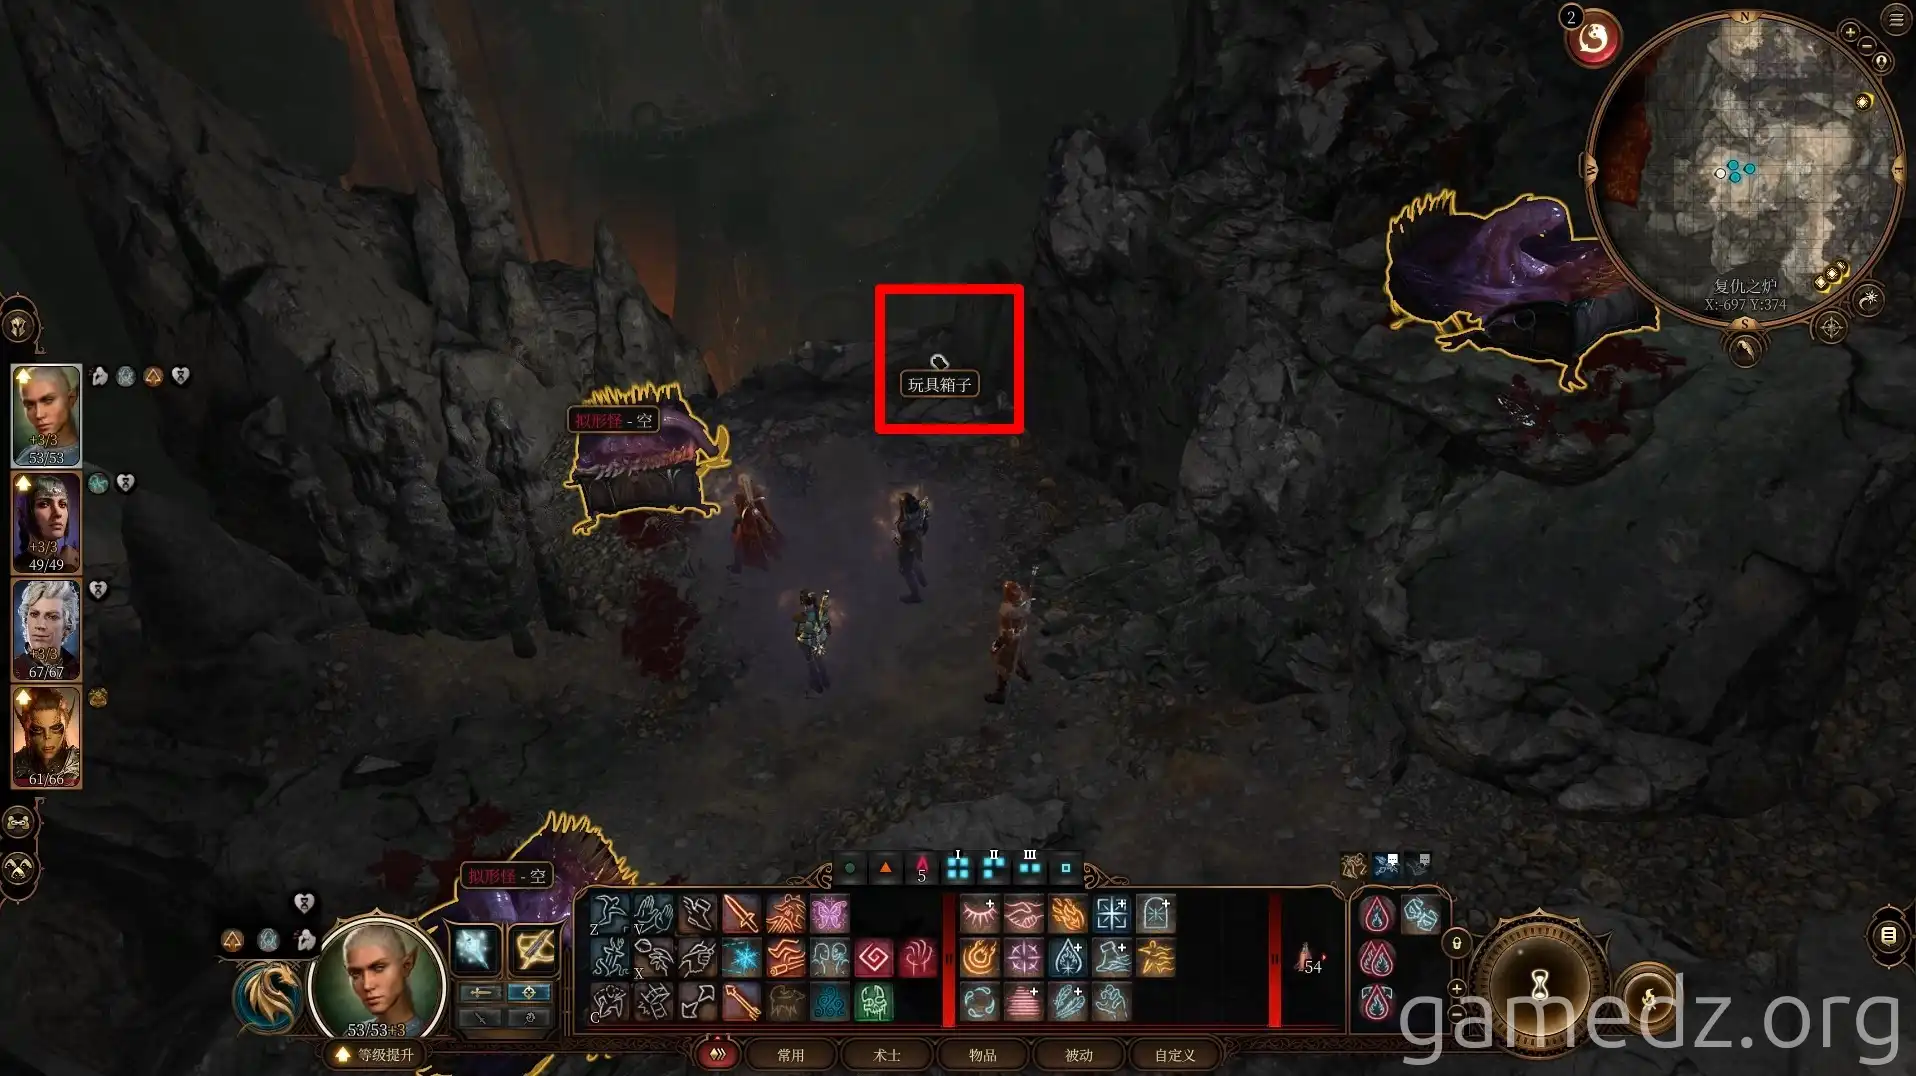
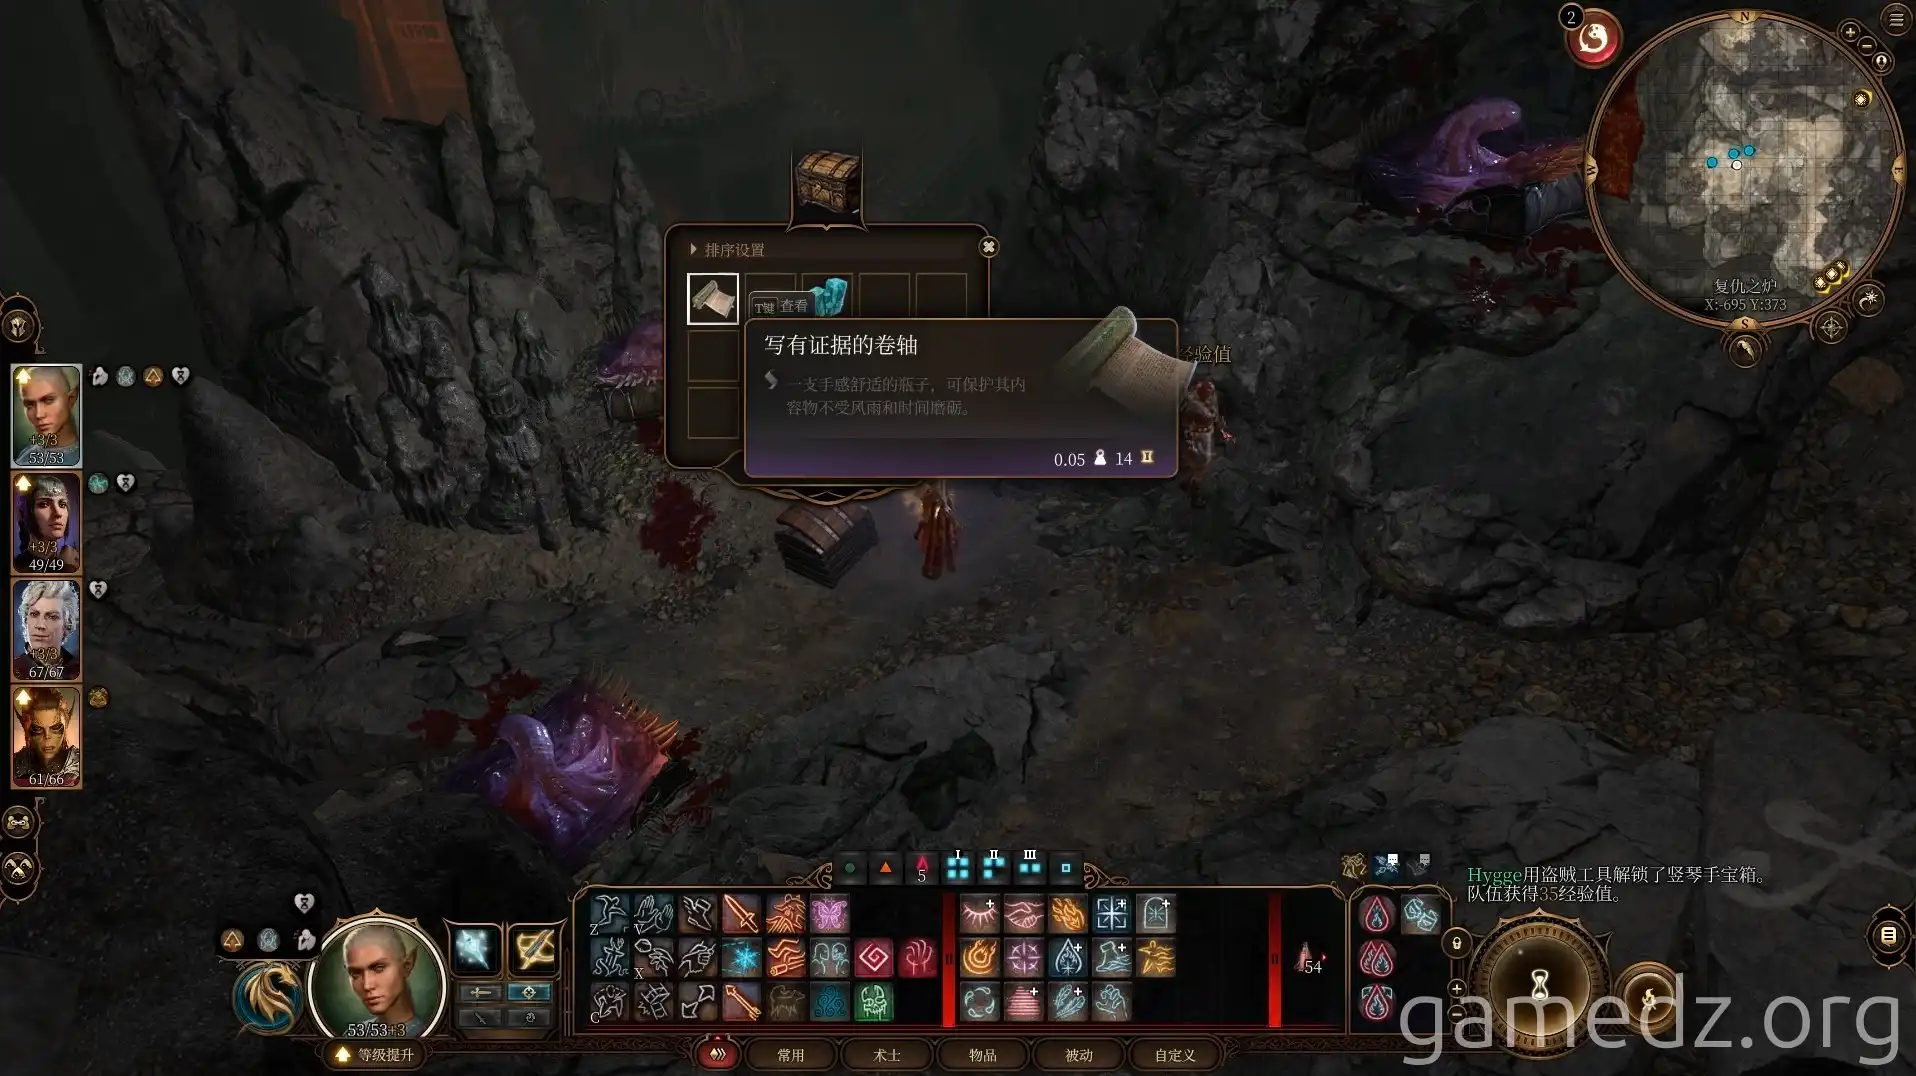
Then, pick up the toy chest in the corner to discover a trapped and locked large chest in the center of the area.
Using the secret letter you previously obtained, you'll learn that casting a light spell on the chest will disarm the trap. Then, use the Thieves' Tools key to open the chest. Inside, you will find letters from the Guild of Harpers and the Emerald Enclave.
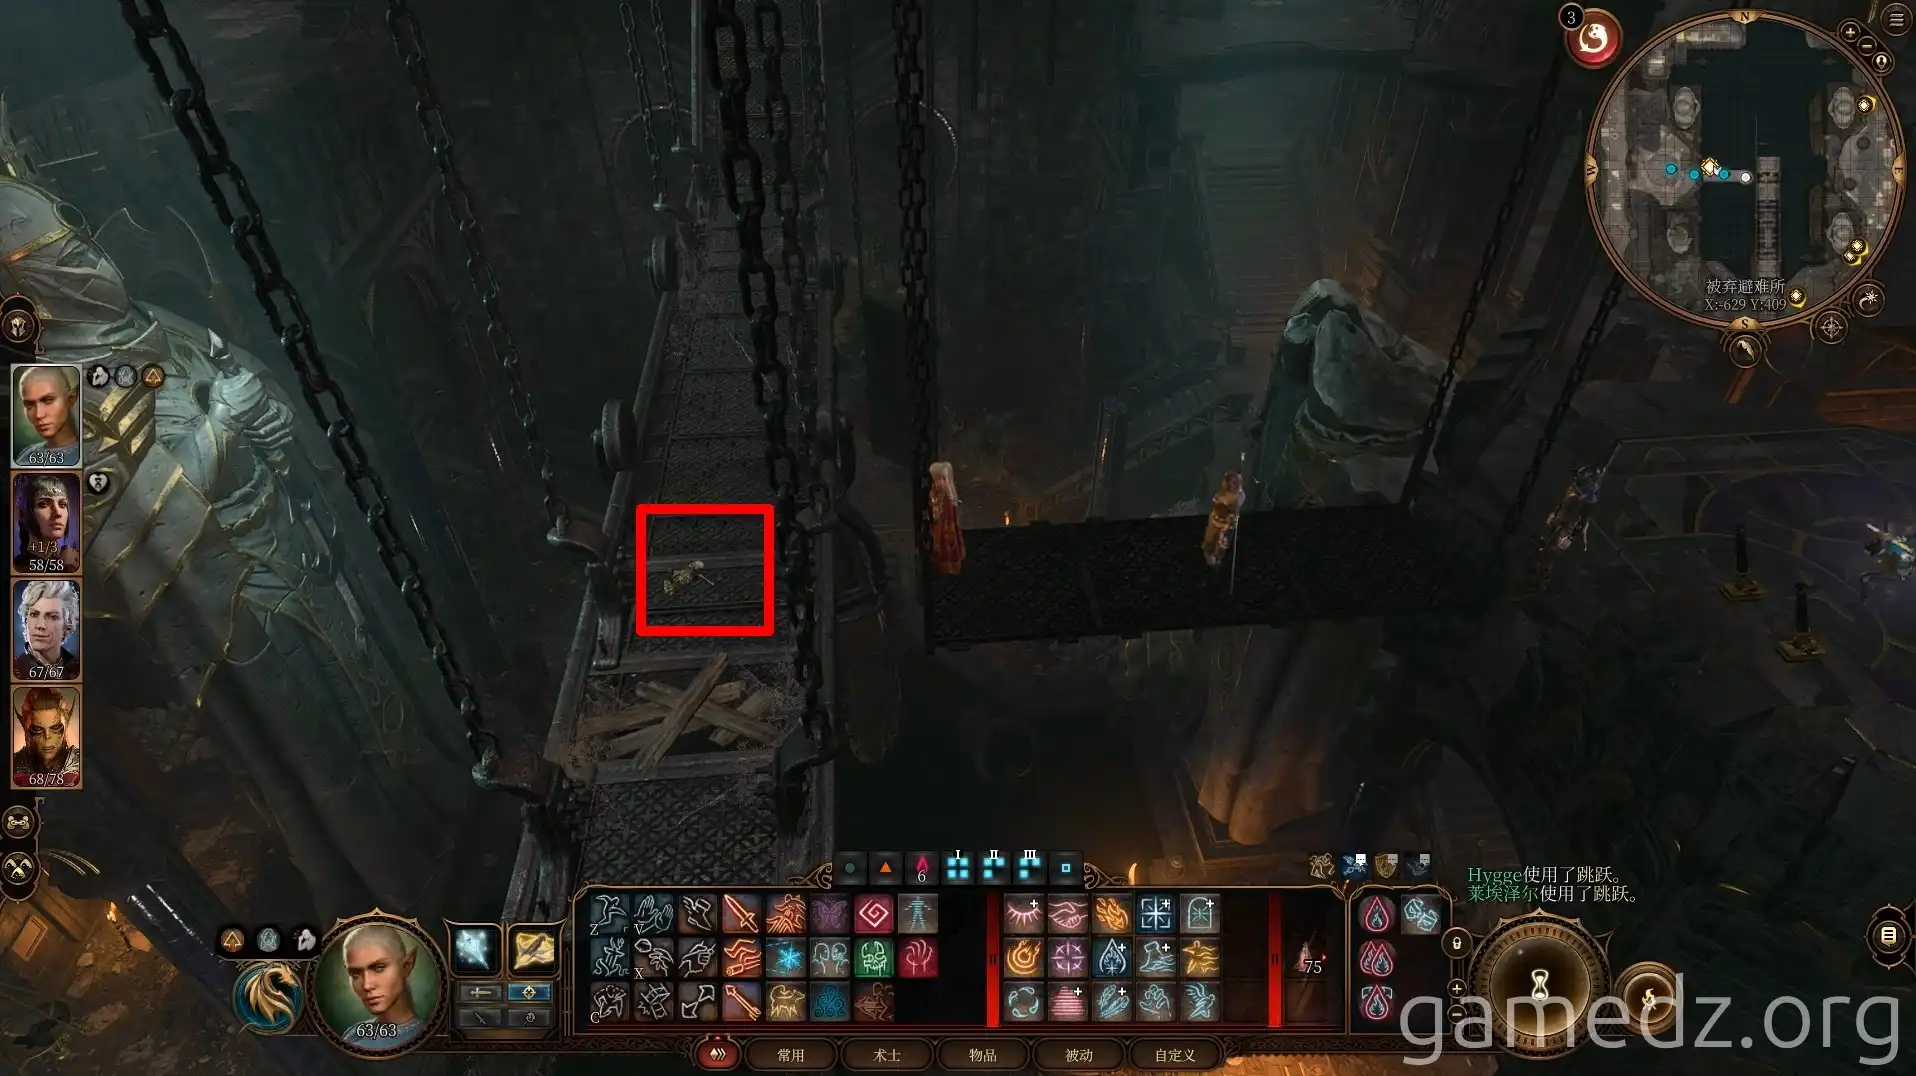
Return to the upper level and jump onto the steel platform in the middle. You can find the Longsword Mould next to the skeleton on the platform. Then, proceed south along the platform.
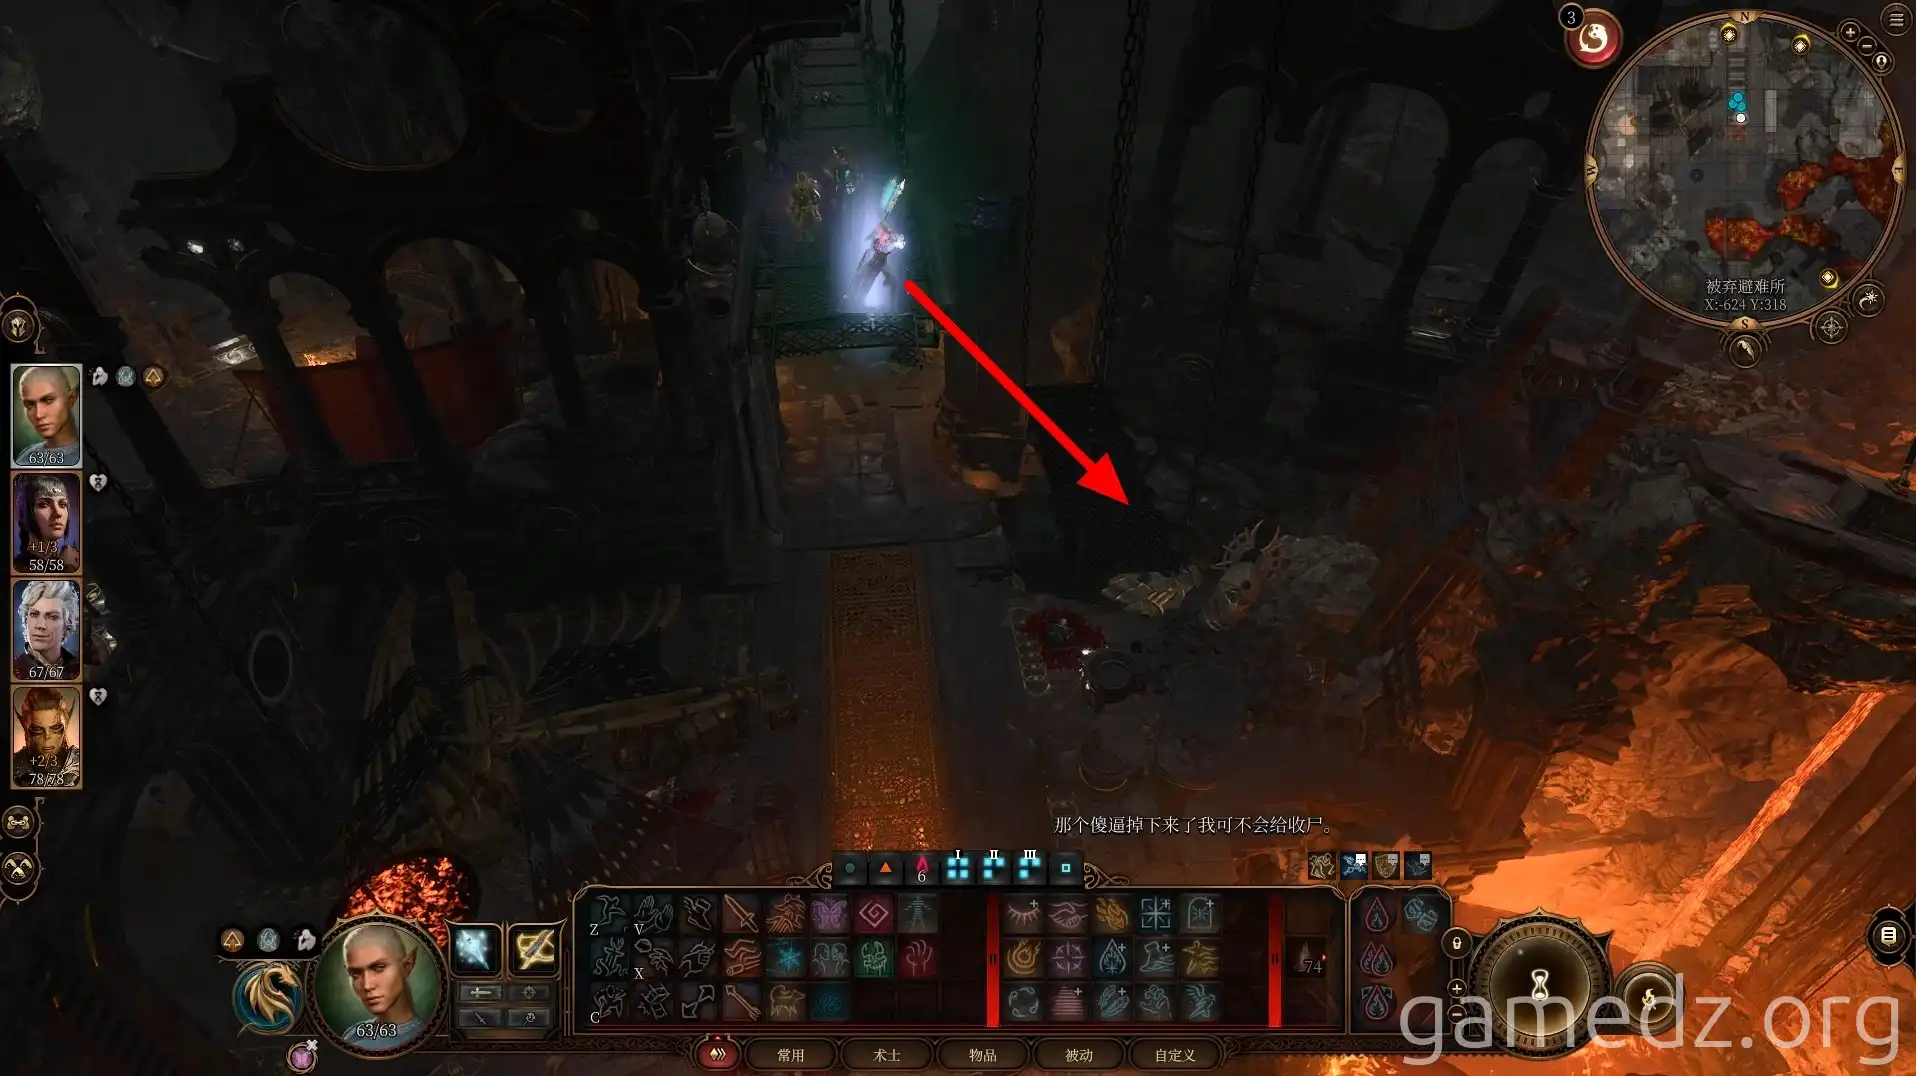
At the end of the platform, jump onto the moving platform below.
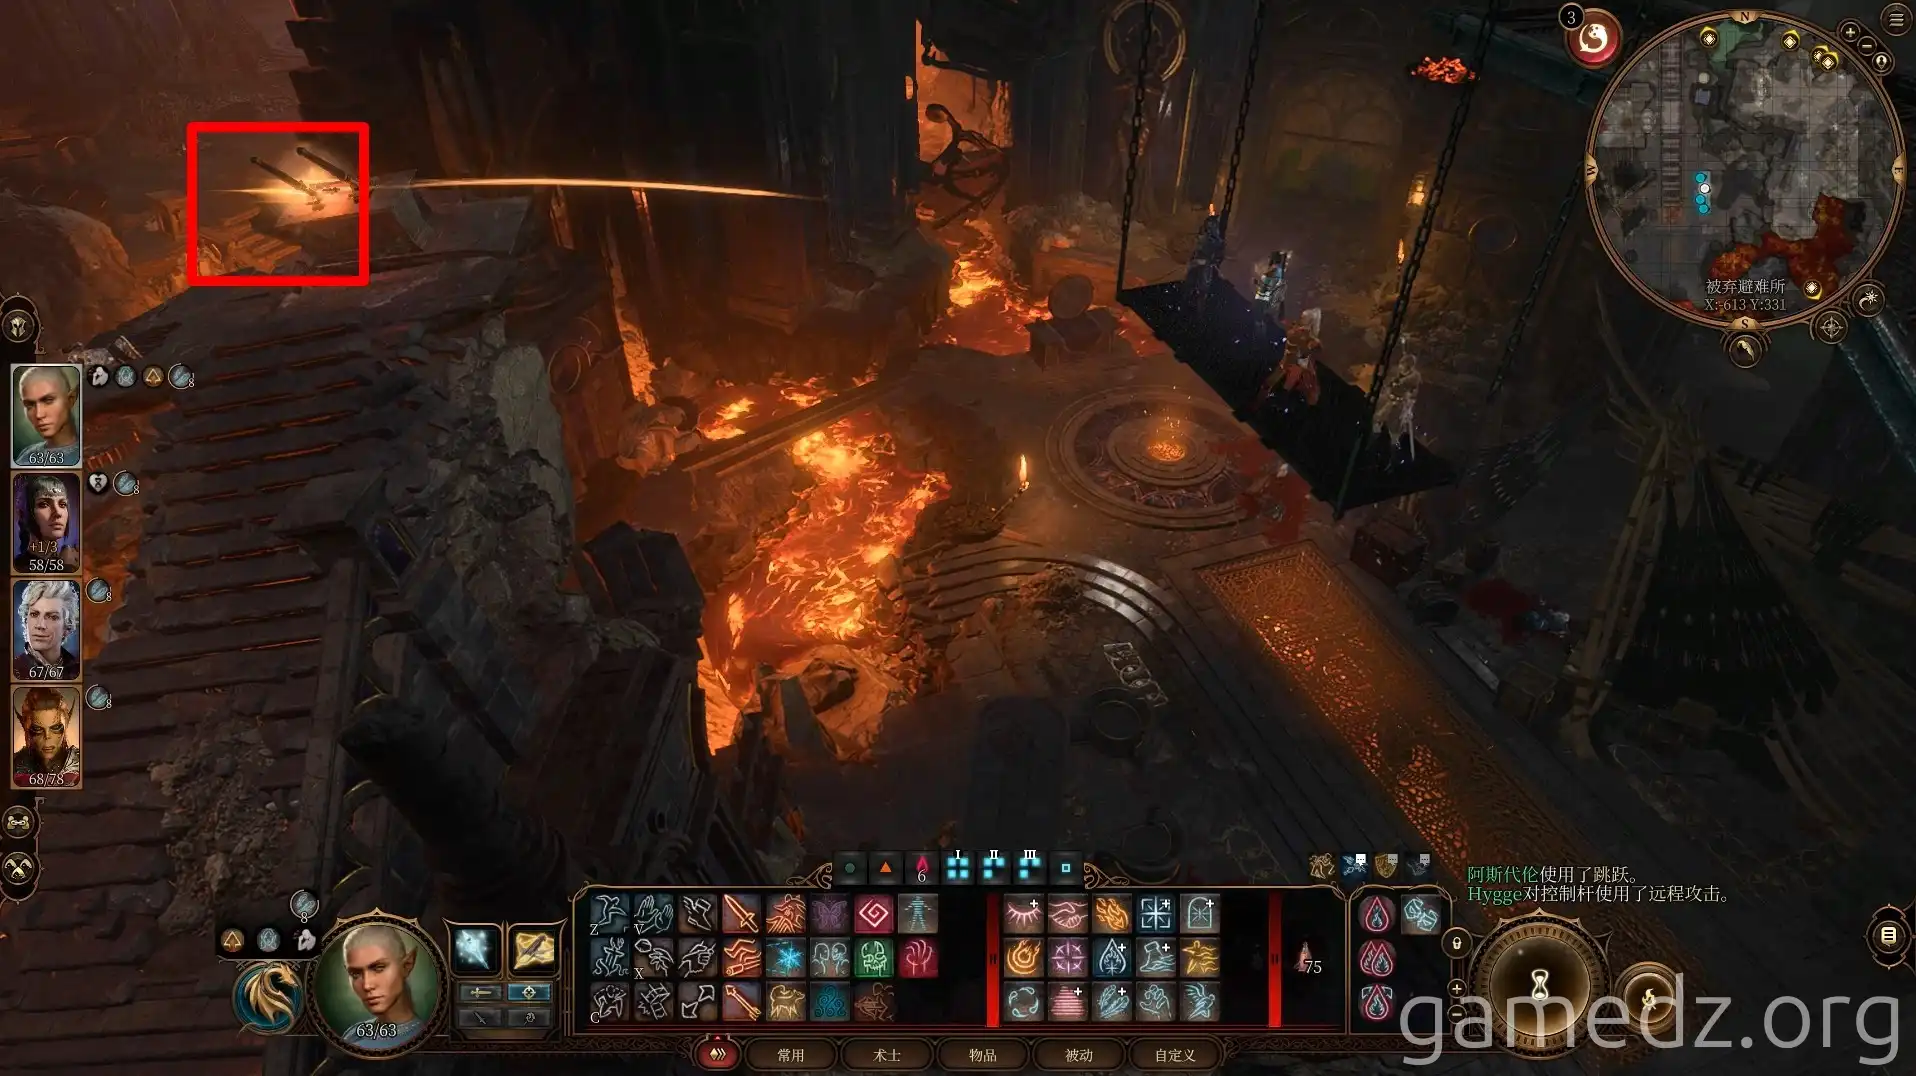
Then, use a ranged attack to hit the left lever on the console nearby to advance via the moving platform.
Upon arrival, jump onto the central platform and enter the Grymforge.
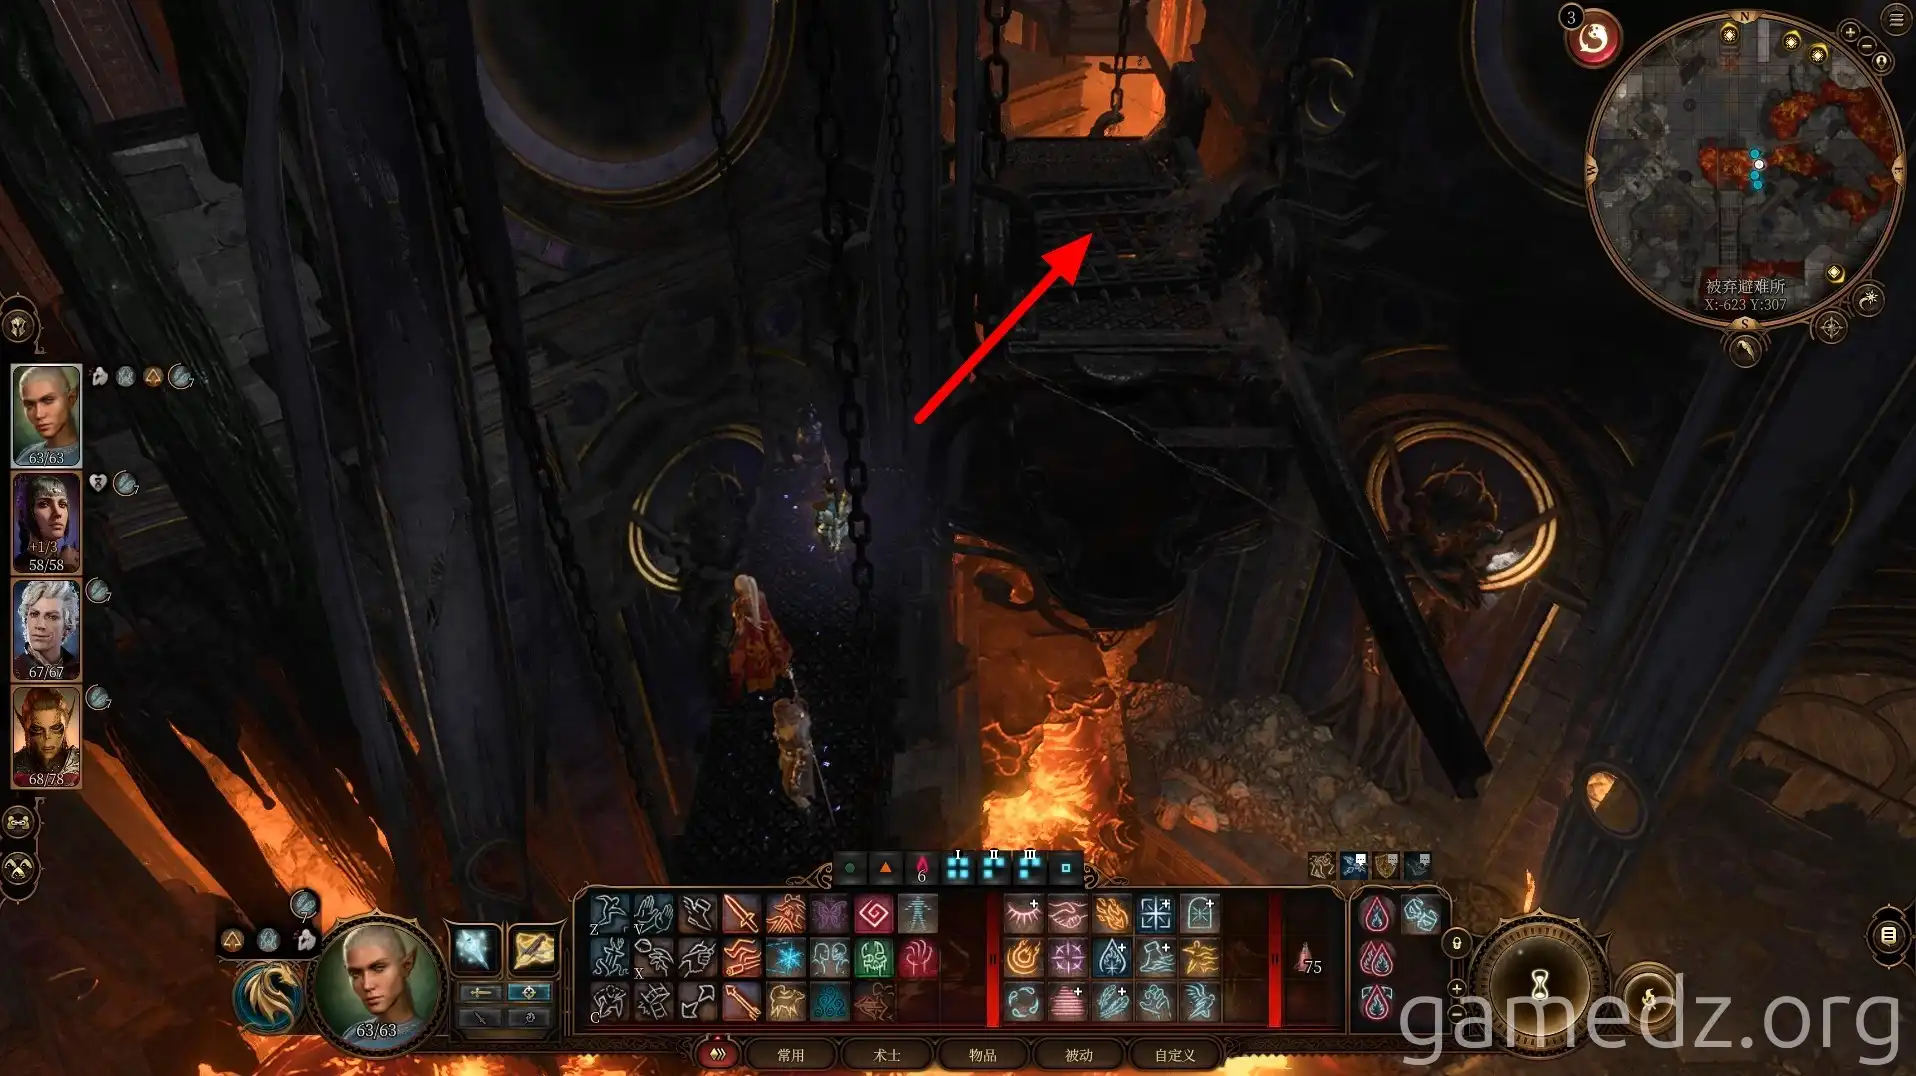
After jumping back to the ground, you can find the Mace Mould on the stone table. Activate the portal Ancient Forge nearby.
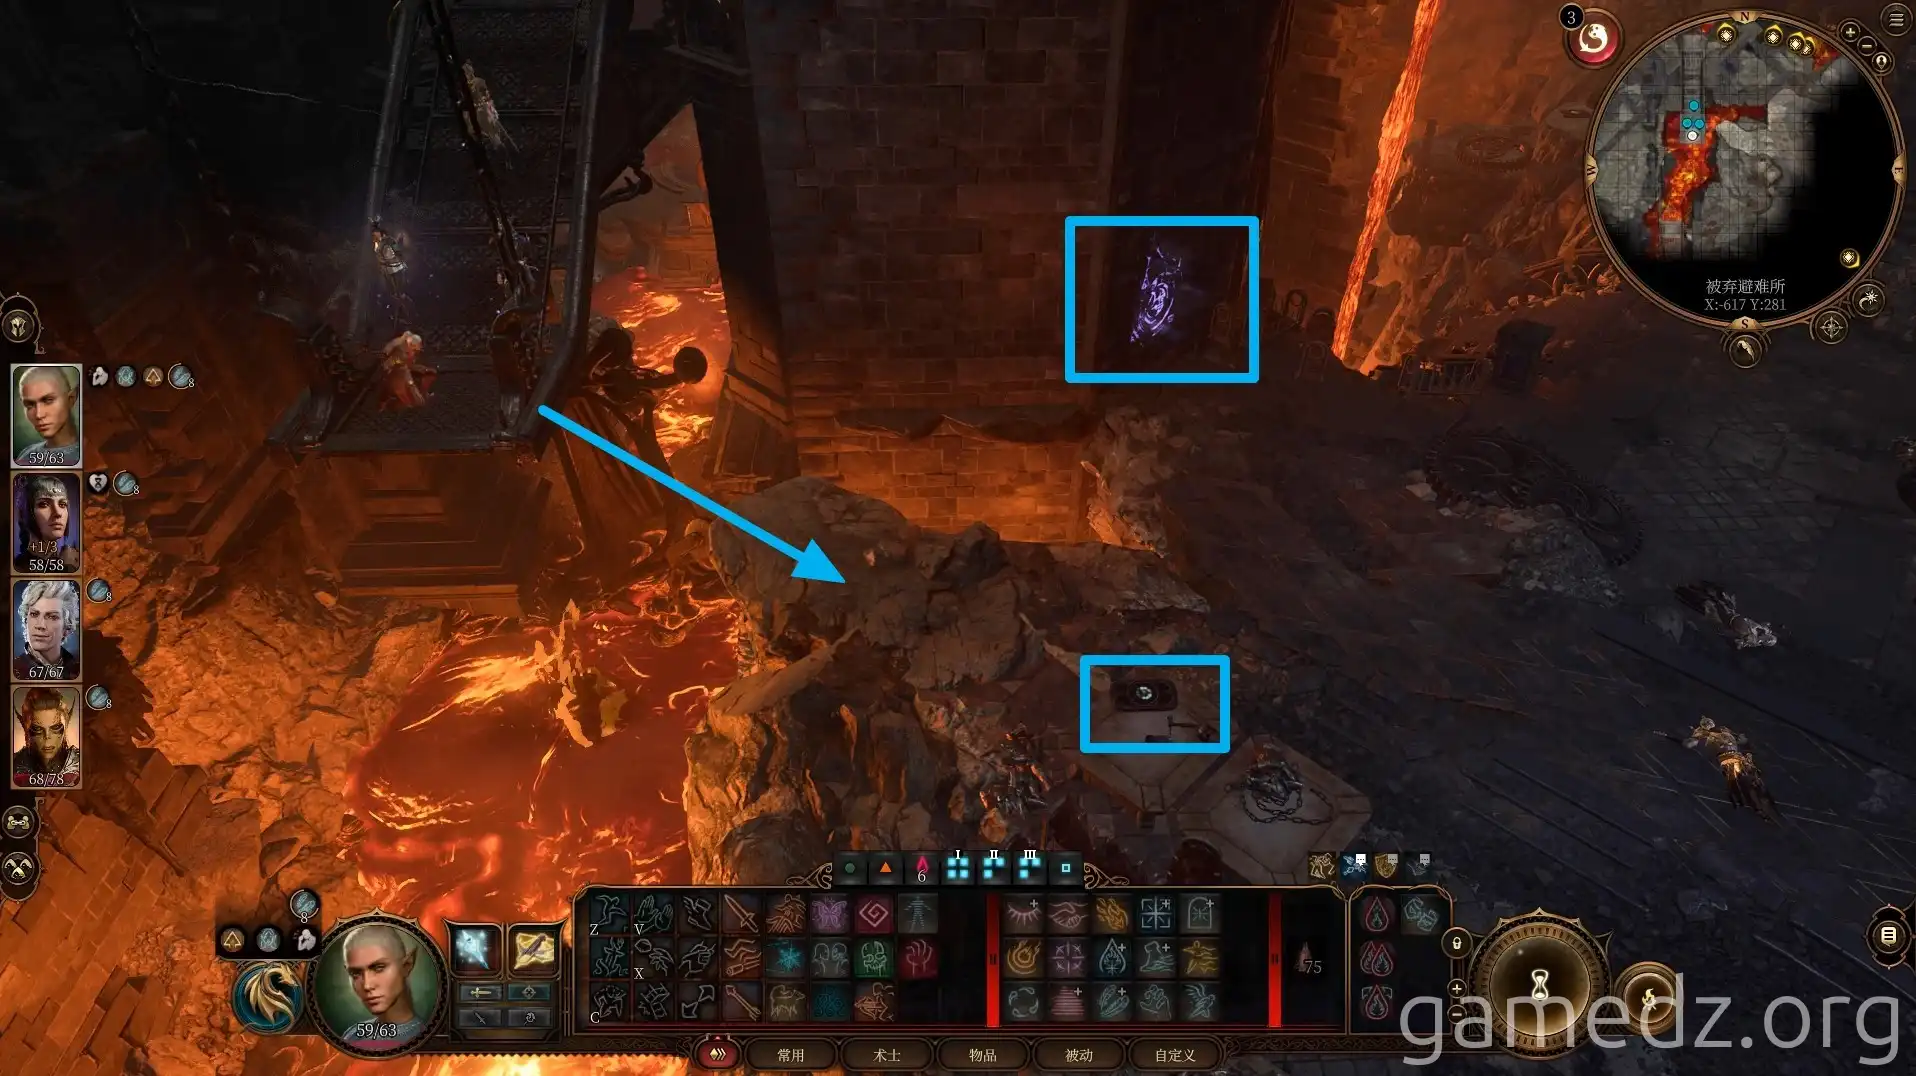
First, proceed northeast from the portal.
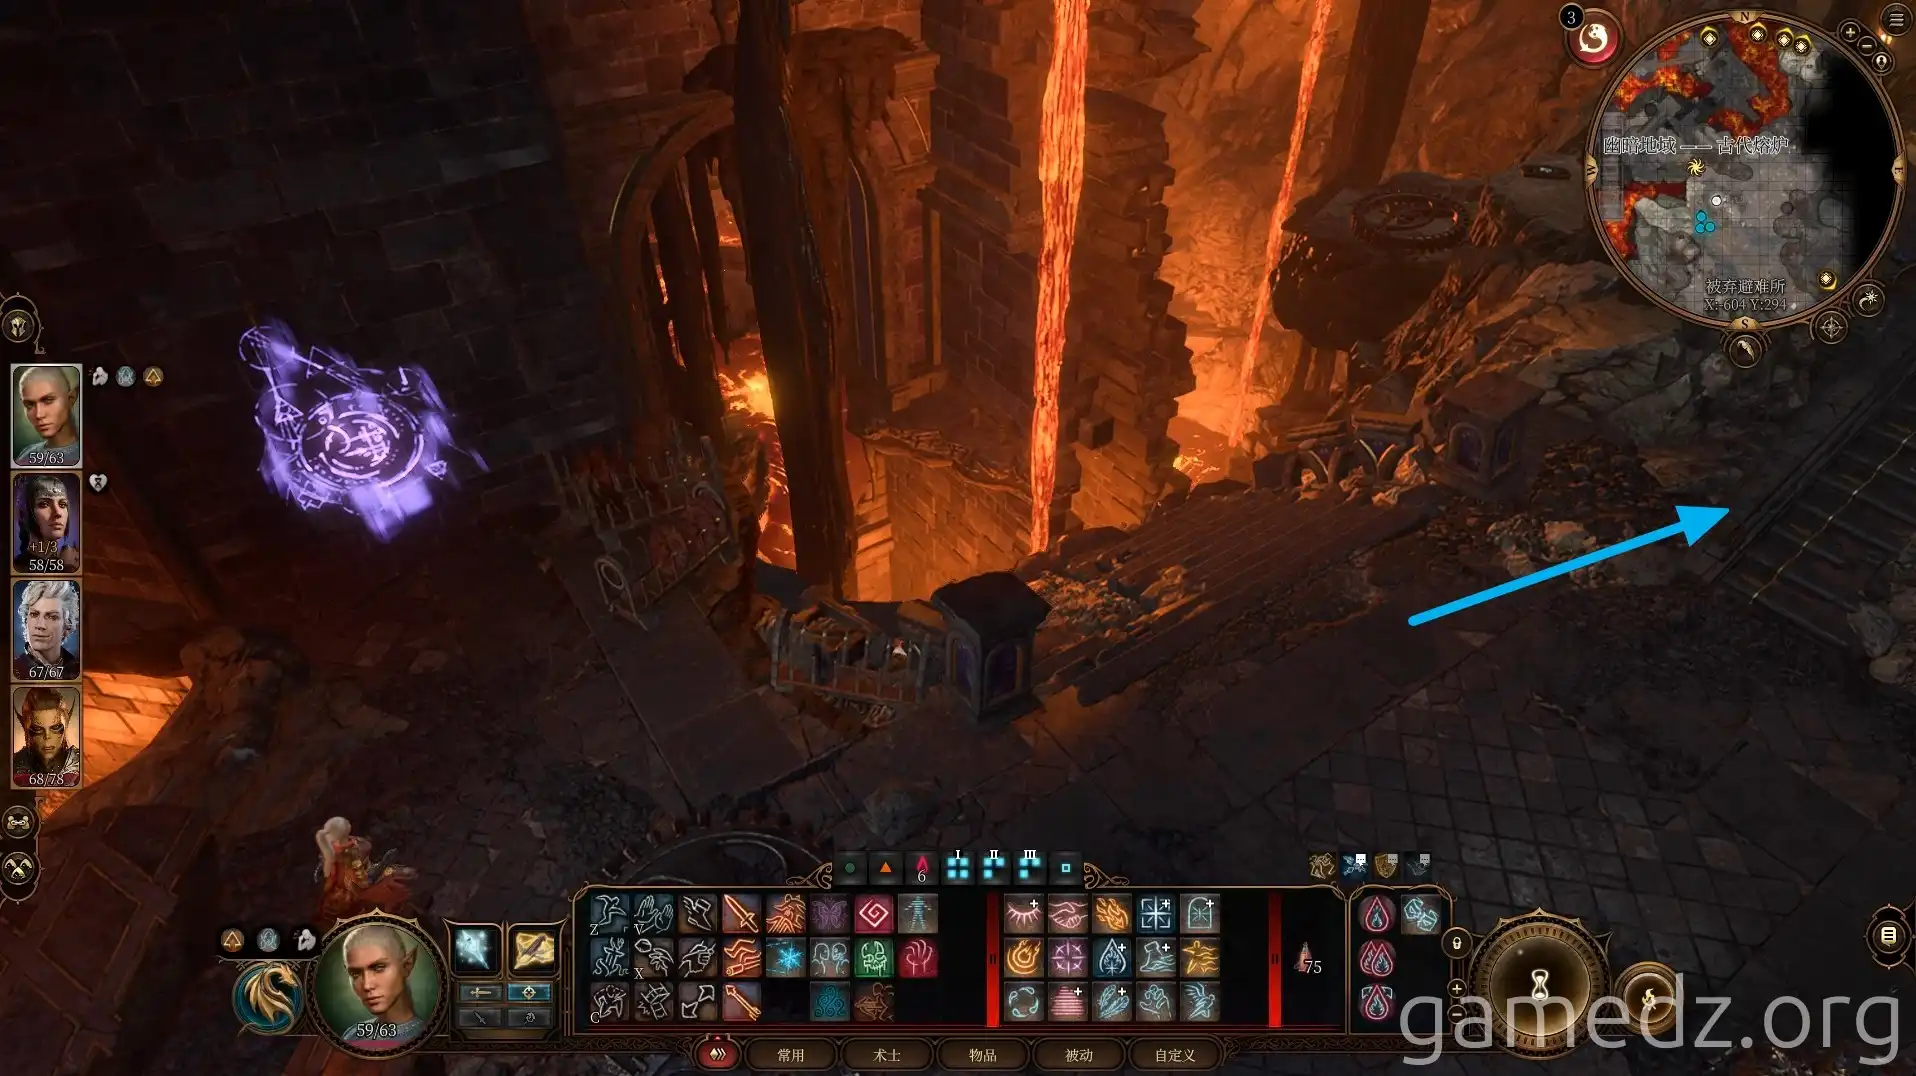
You can find the Plate Armour Mould at the edge of the platform.
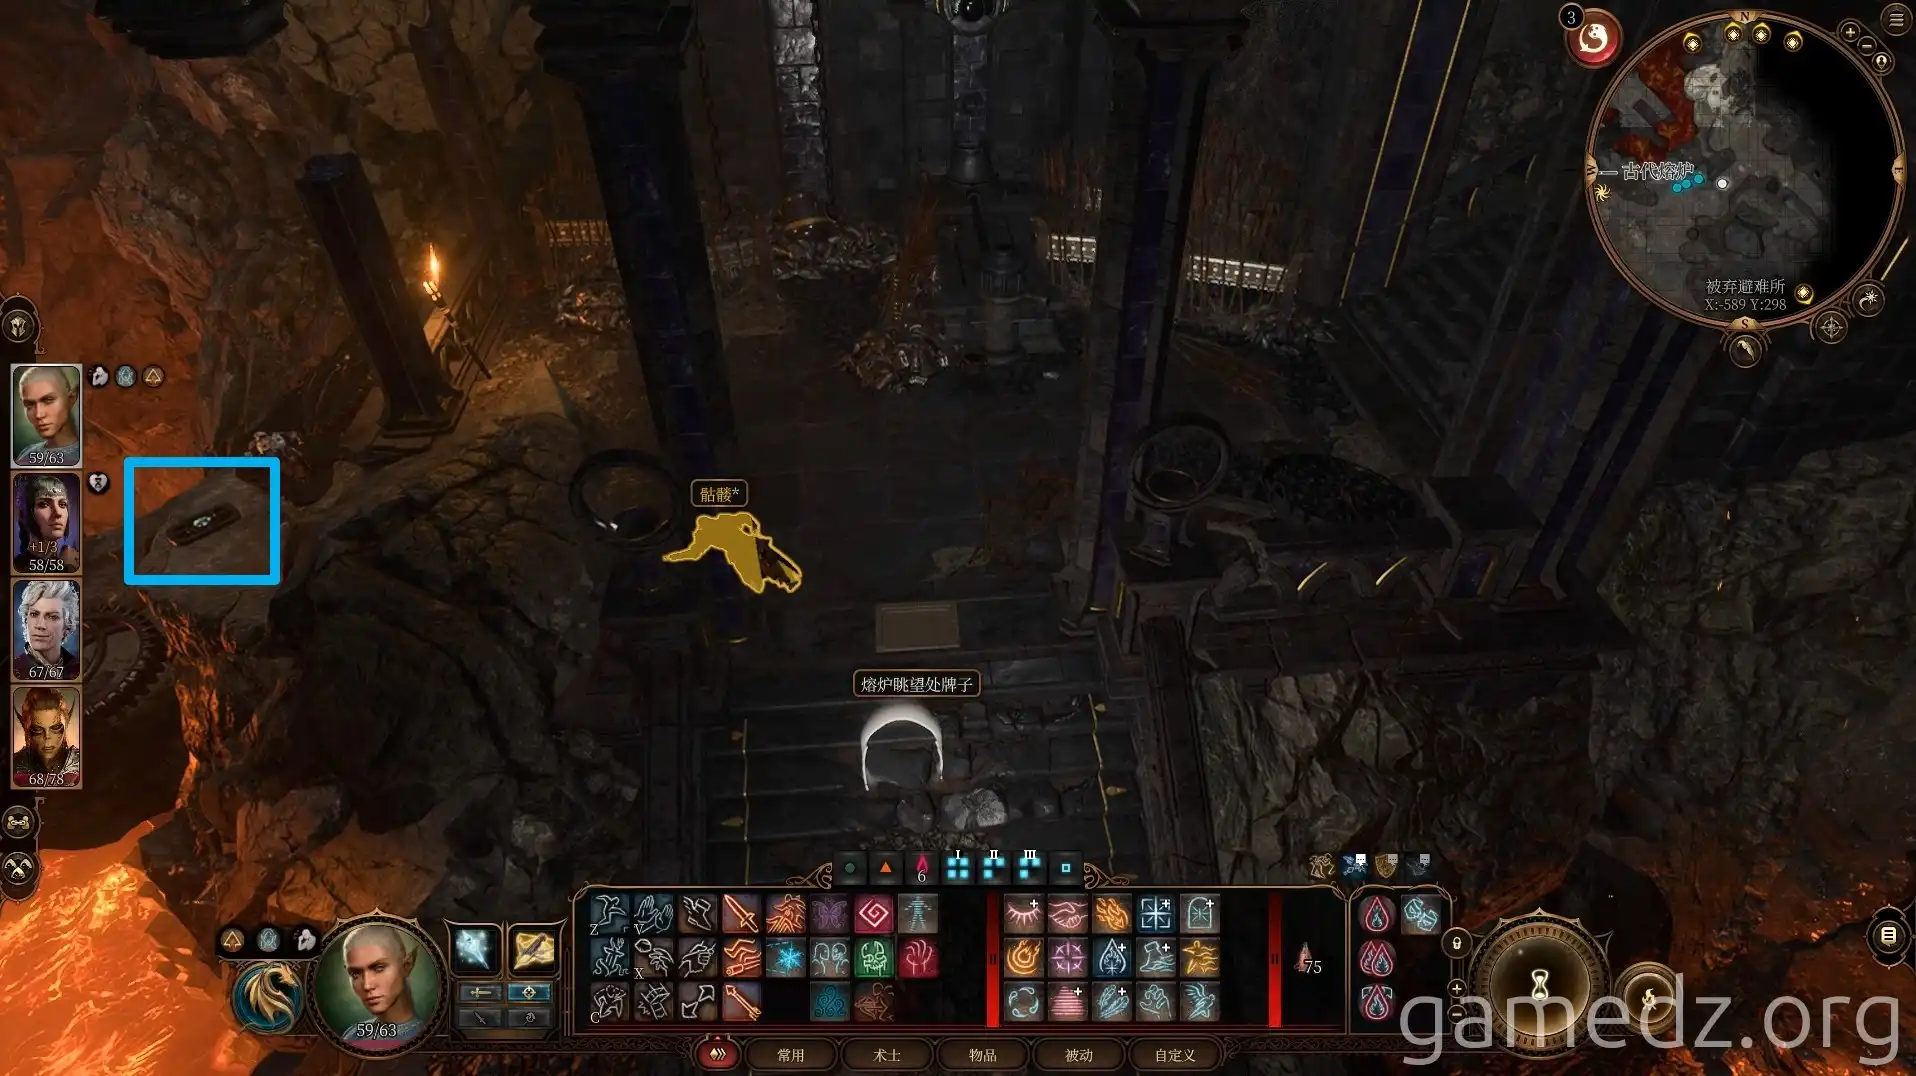
Go up the stairs from the other side.
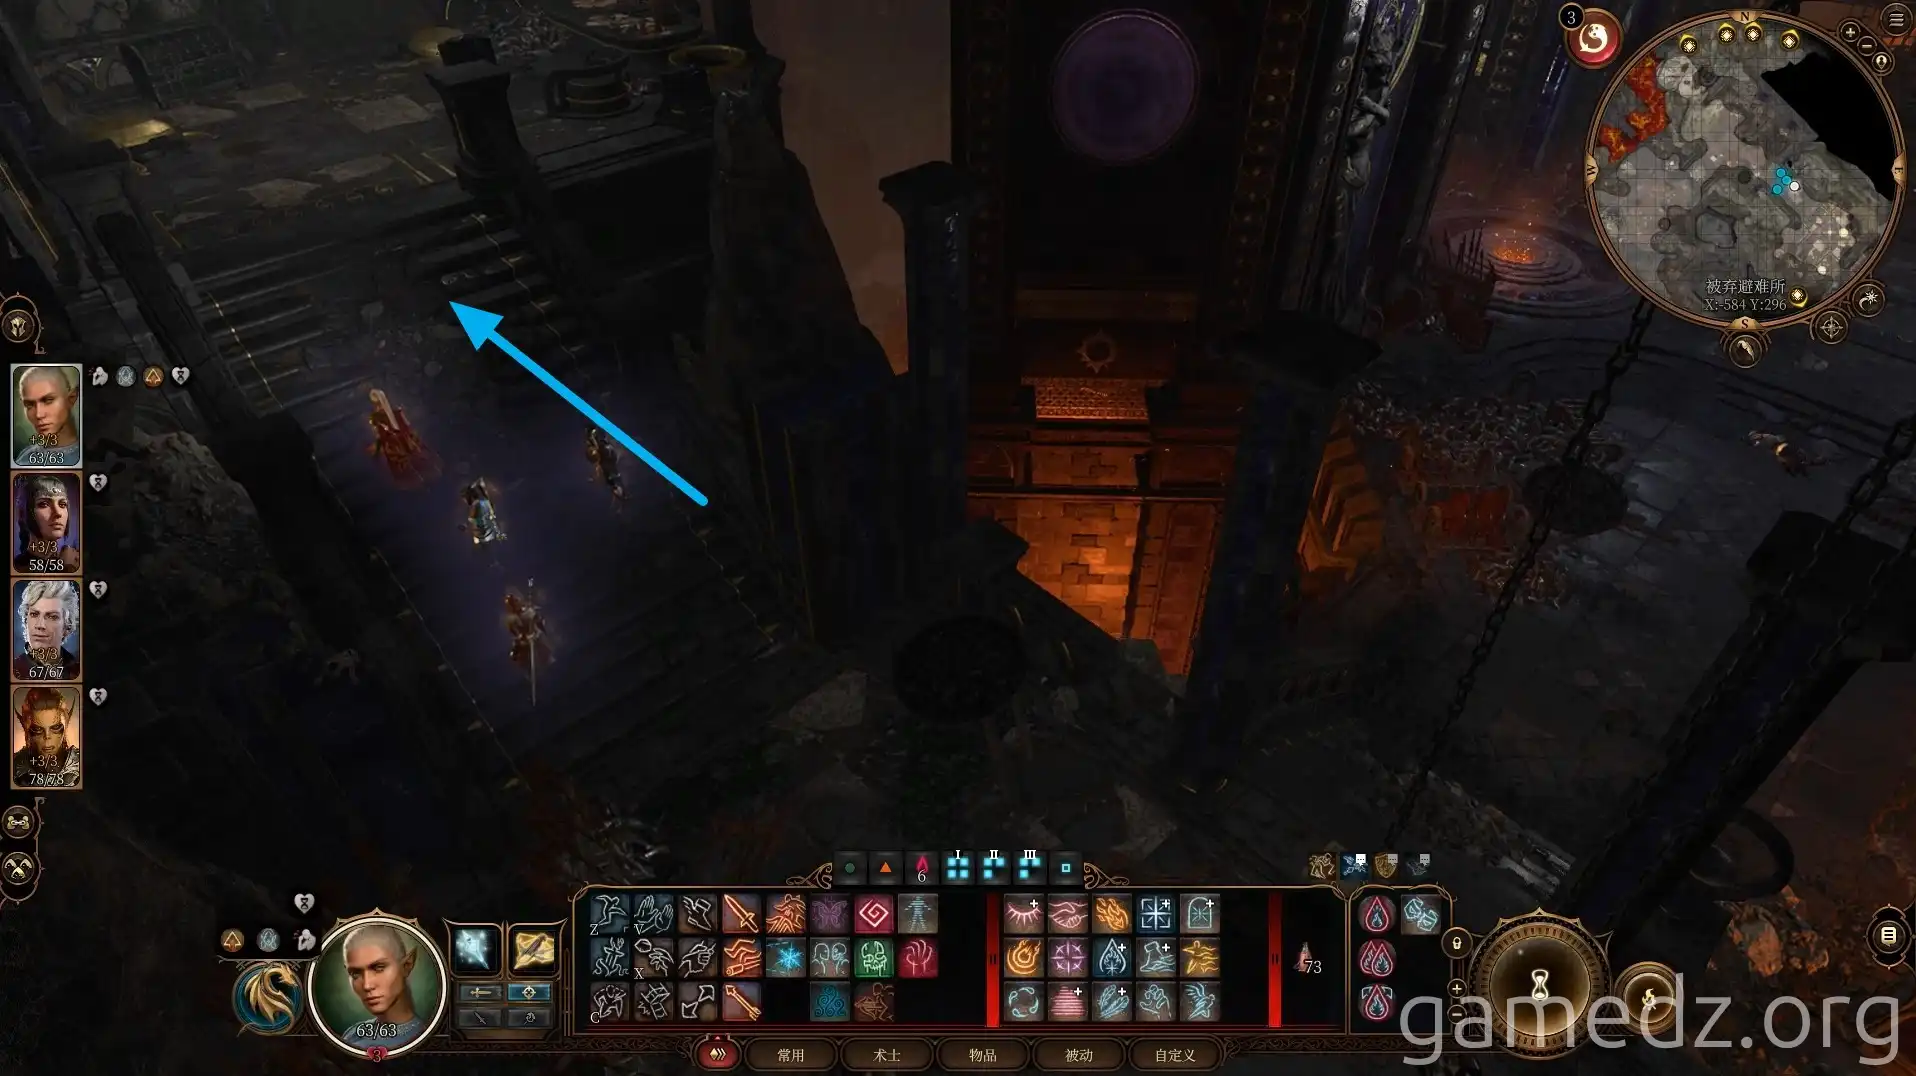
You can find some item supplies in the chest ahead.
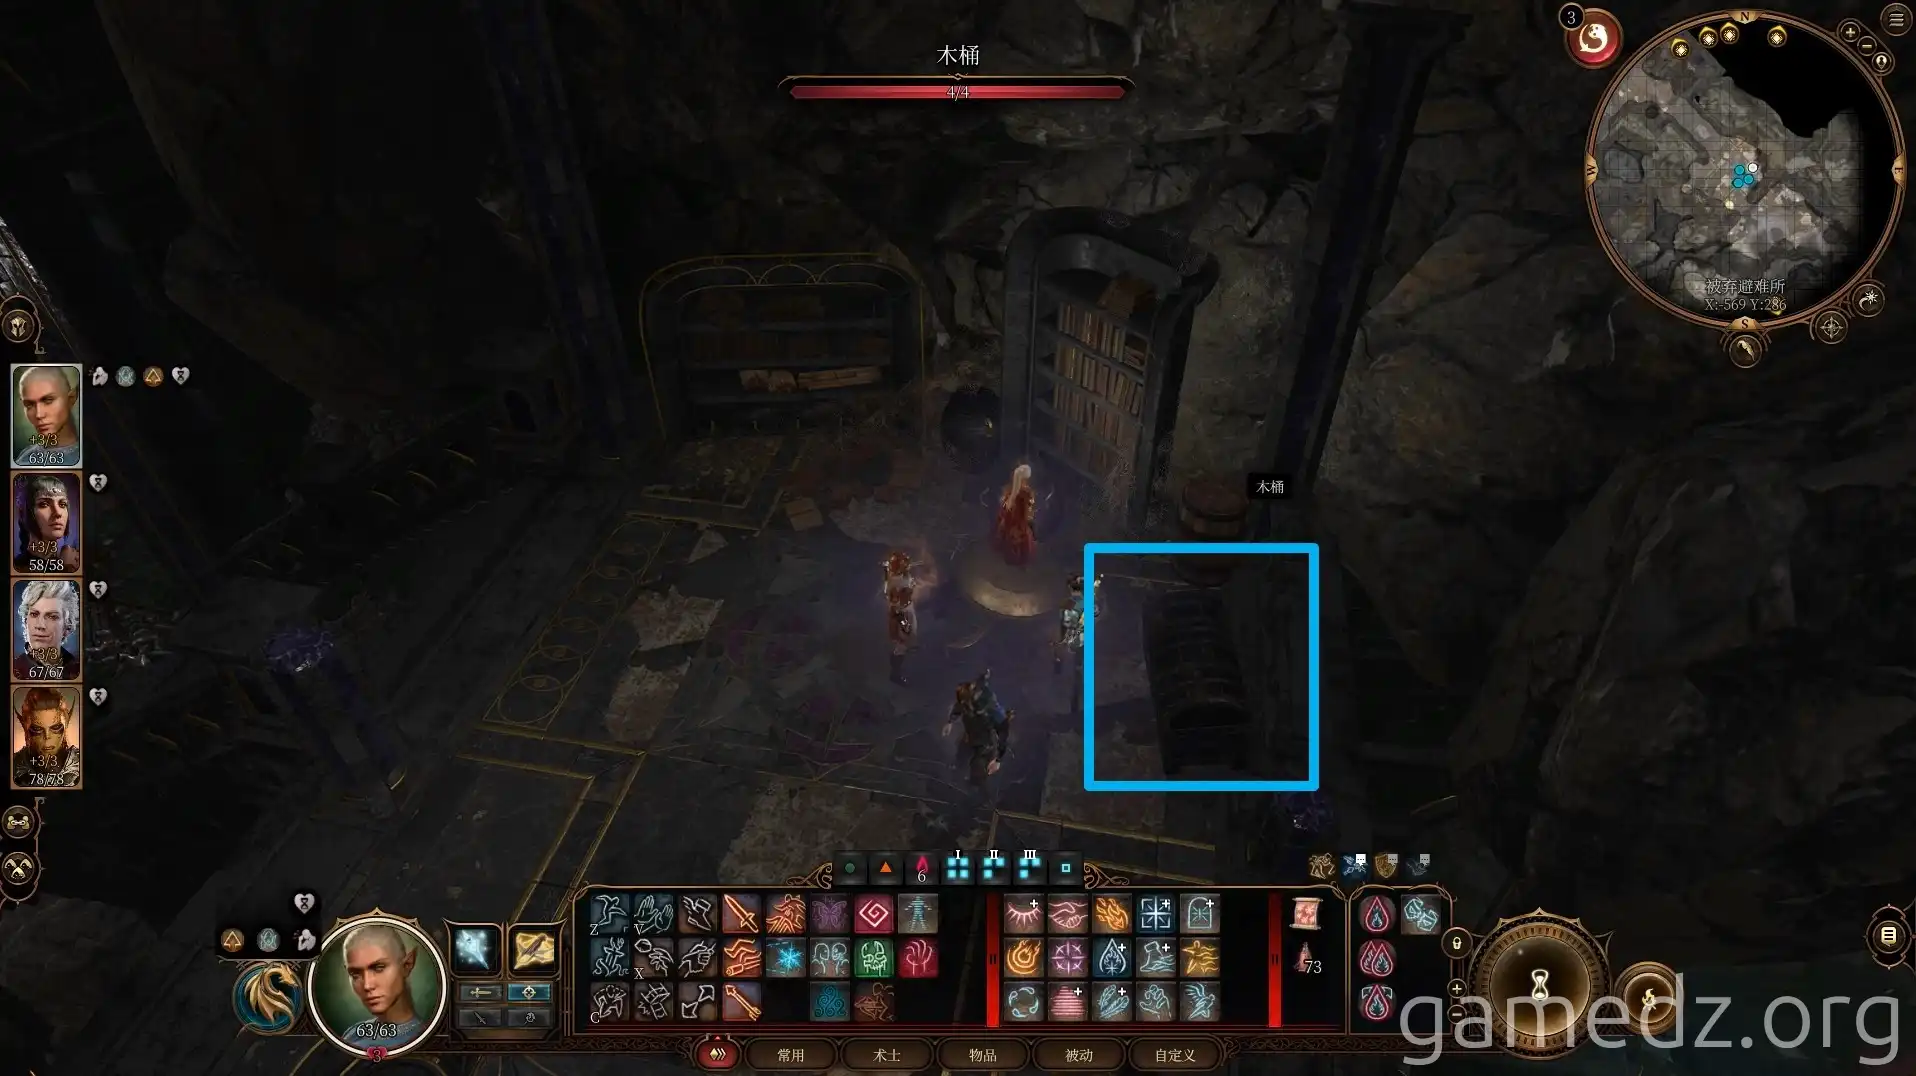
Then, head southwest from the portal. You will find the Scale Armour Mould ahead, but combat will be triggered as you approach the area.
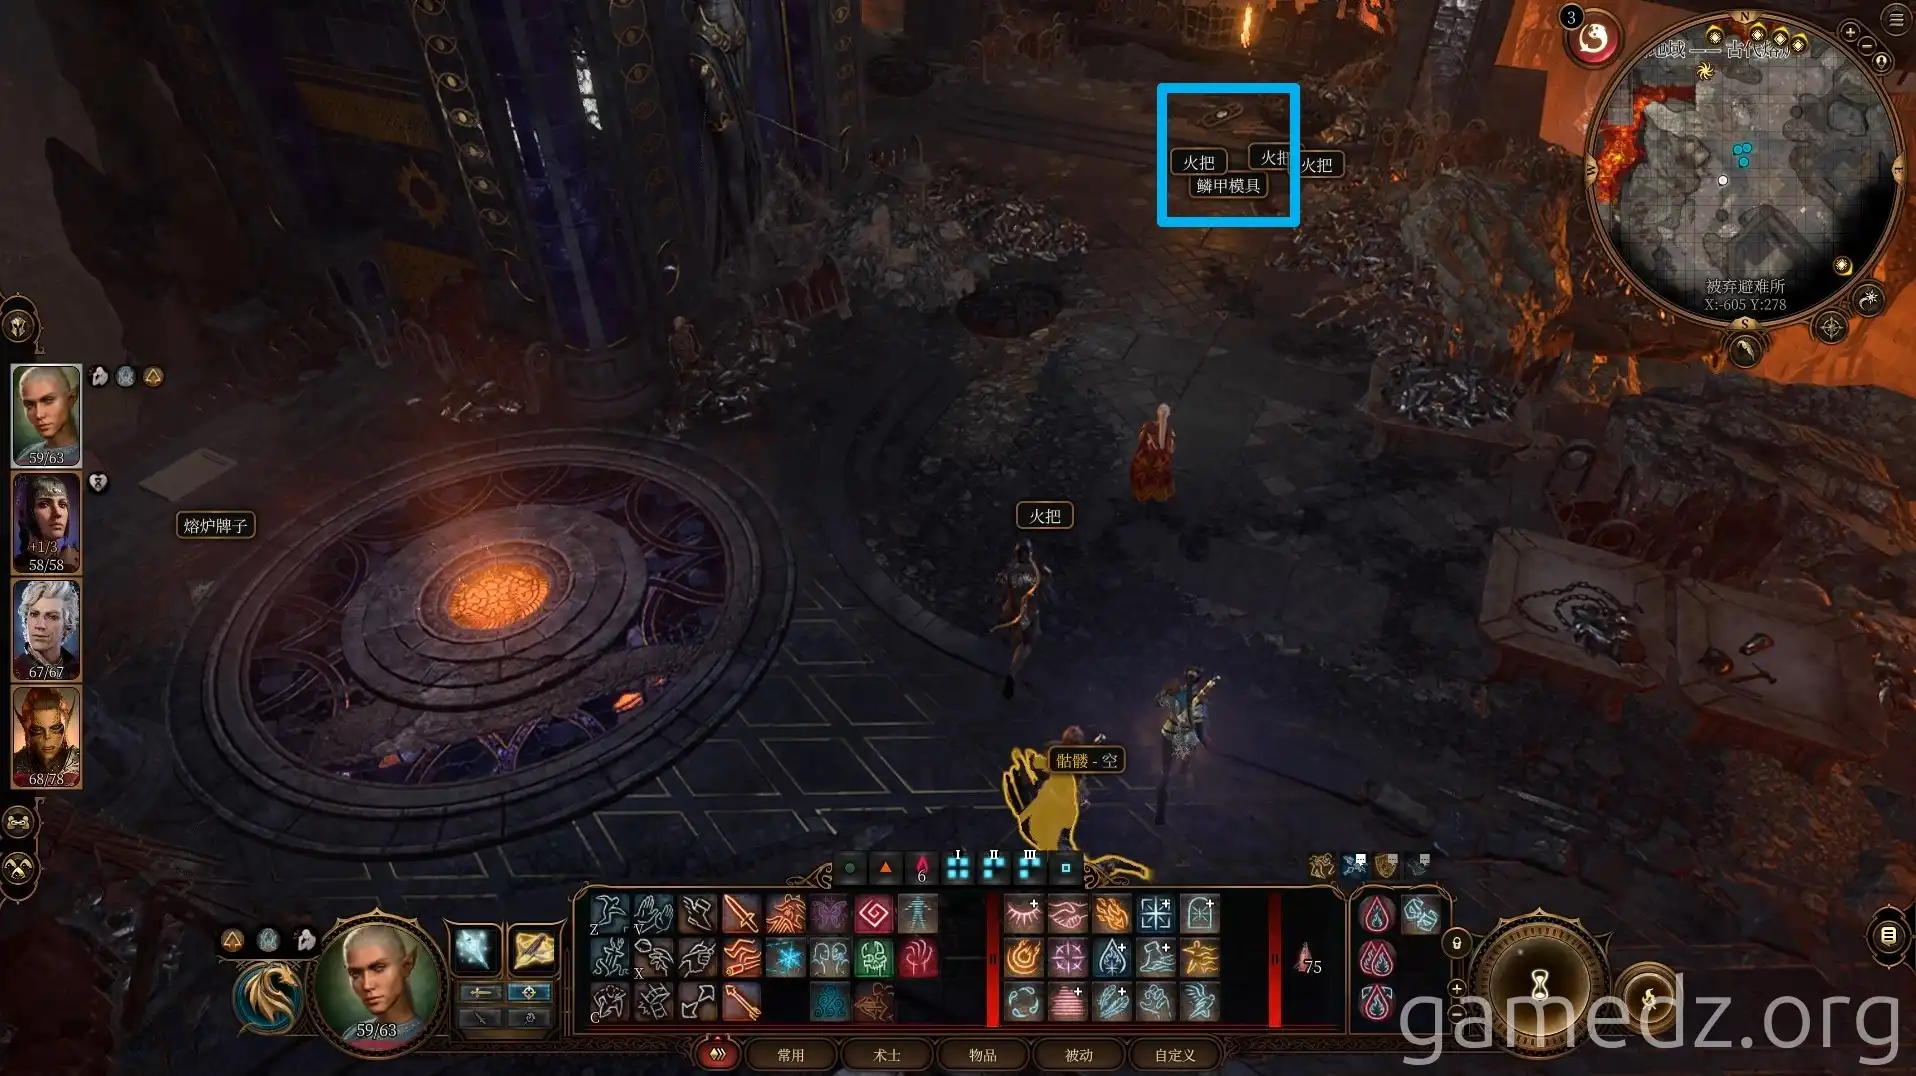
The enemies are four Animated Armors. One is located around the corner of the left wall, and three are on the steel platform ahead.
From one of the Animated Armors, you can obtain the uncommon equipment Darkfire Chain Mail. However, given the previous experience with Darkfire Judge equipment, the item drops from Animated Armors might also be random.
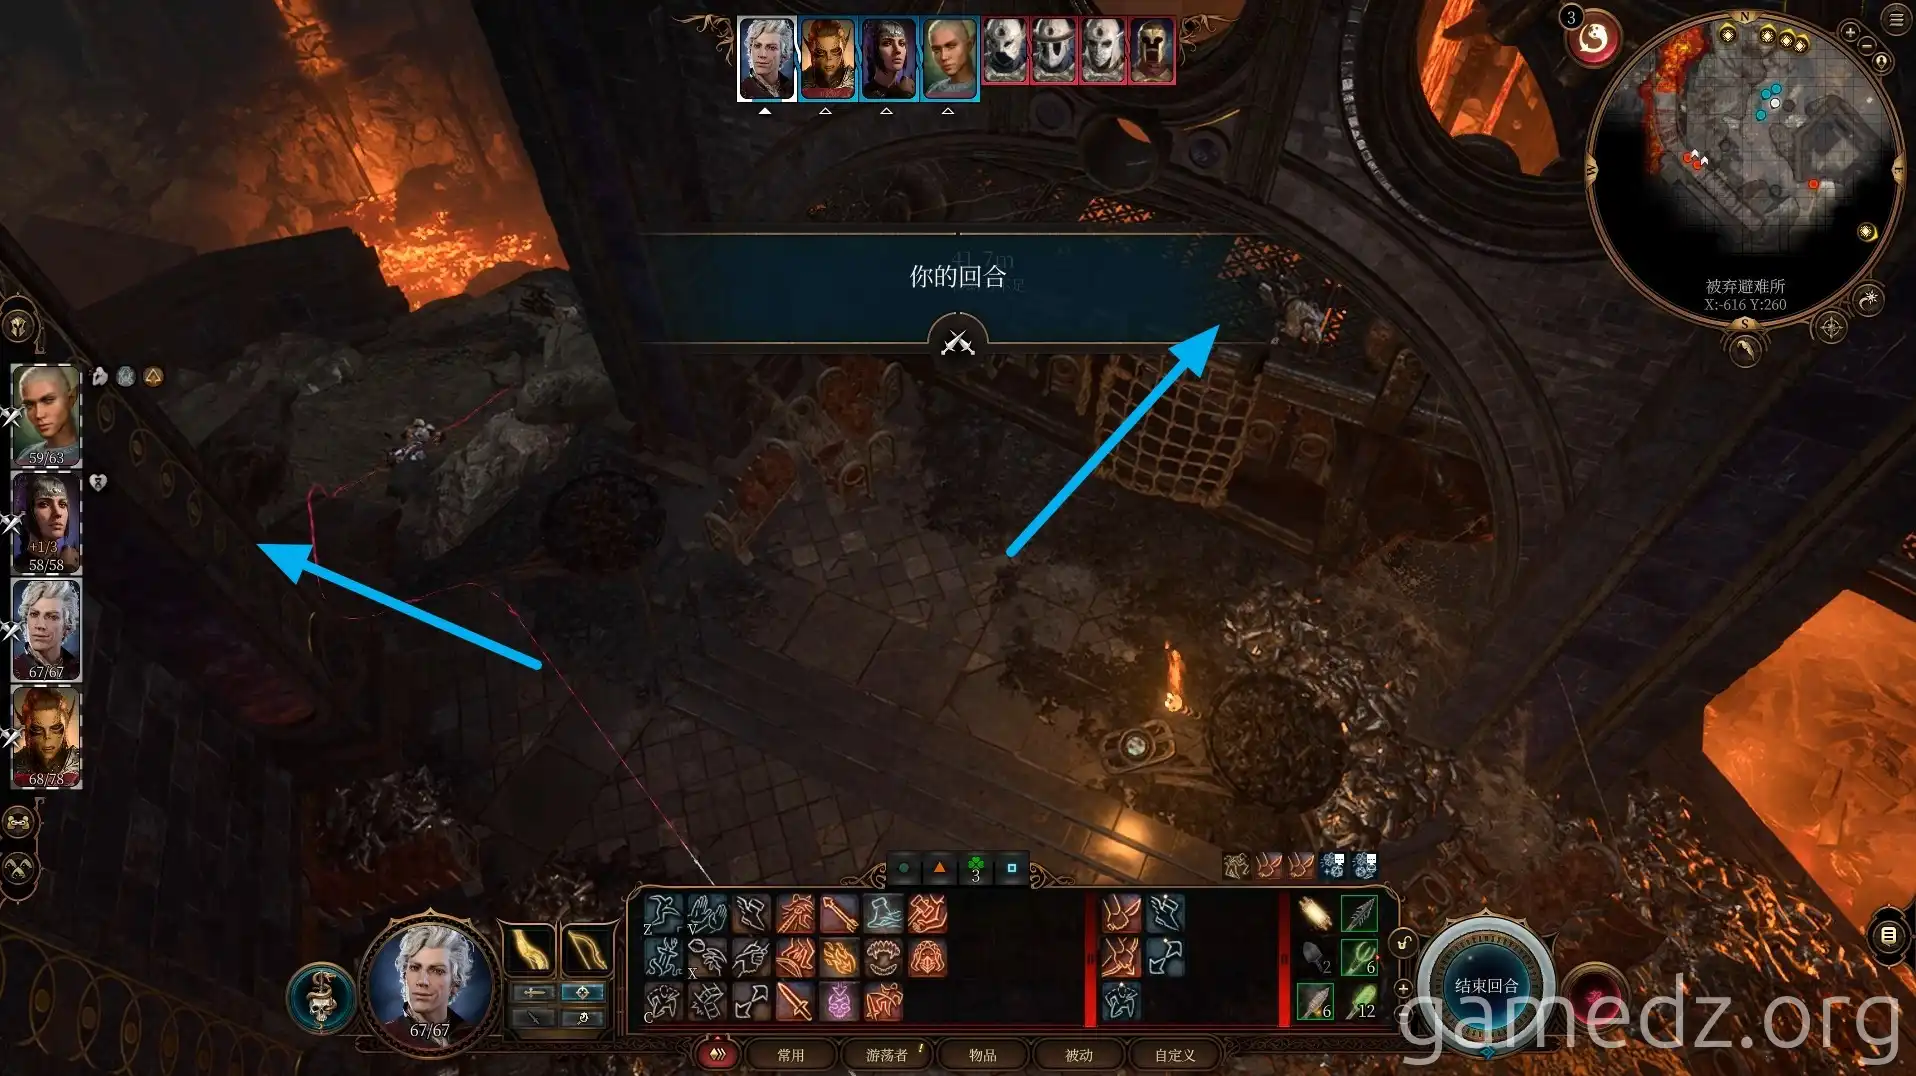
After defeating the Darkfire Judge, proceed down the ramp.
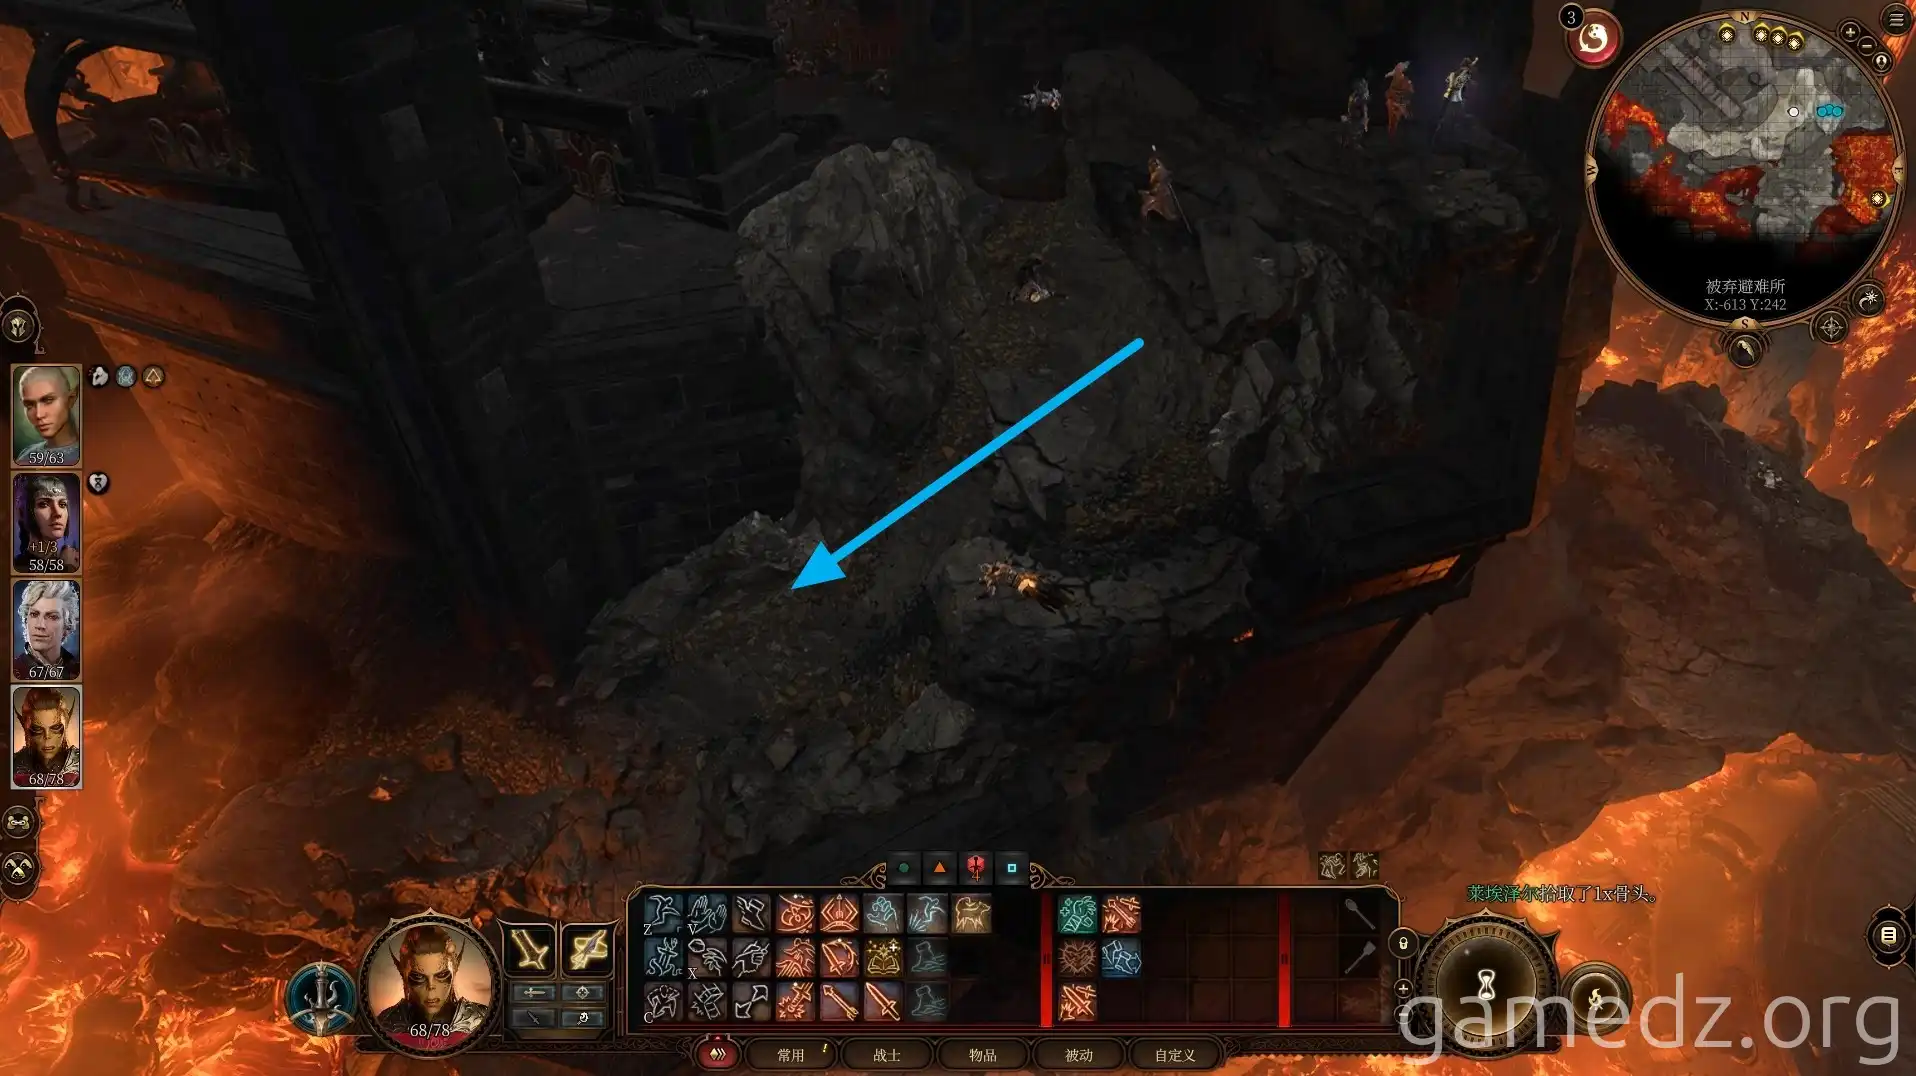
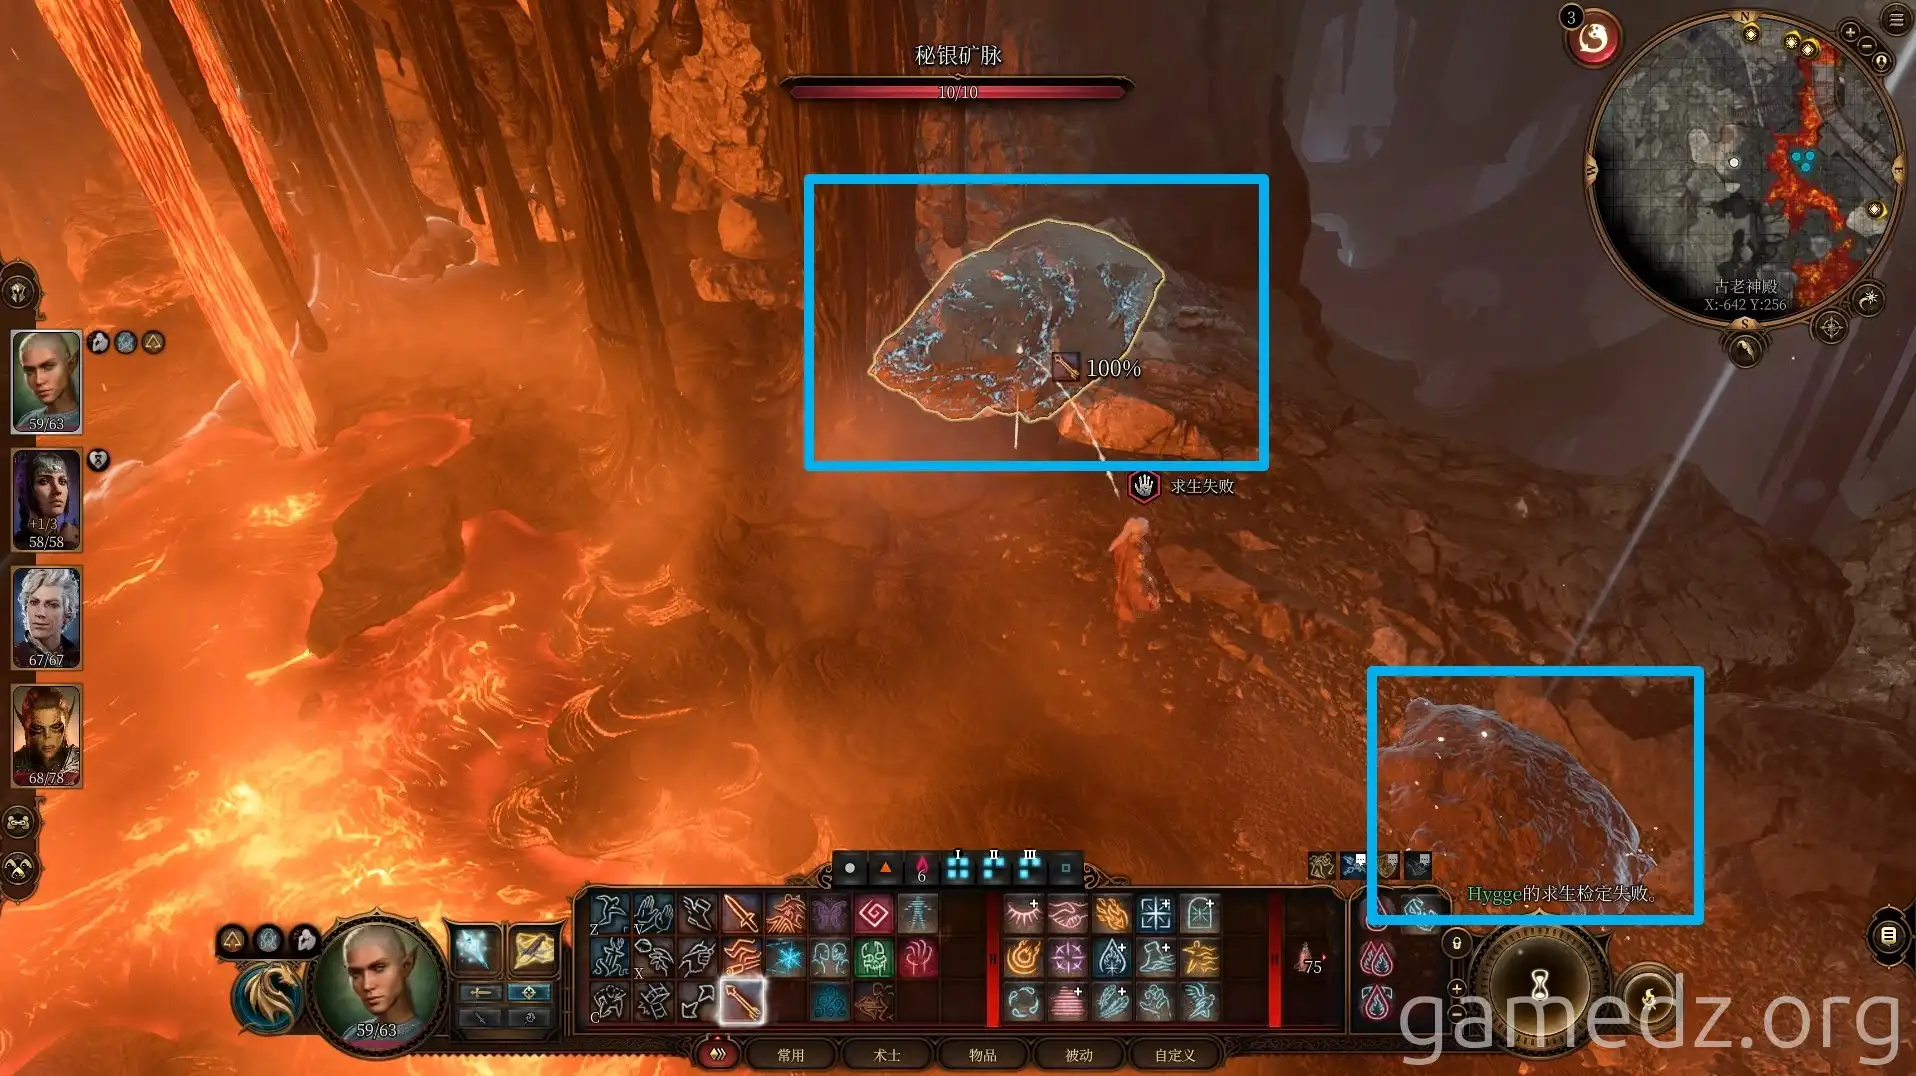
Below, you will find a mound of earth with a buried chest and a Mithral Vein. Break the vein to obtain Mithral Ore, which can be used to craft Adamantine equipment.
Return to the upper level and go down the central stairs.
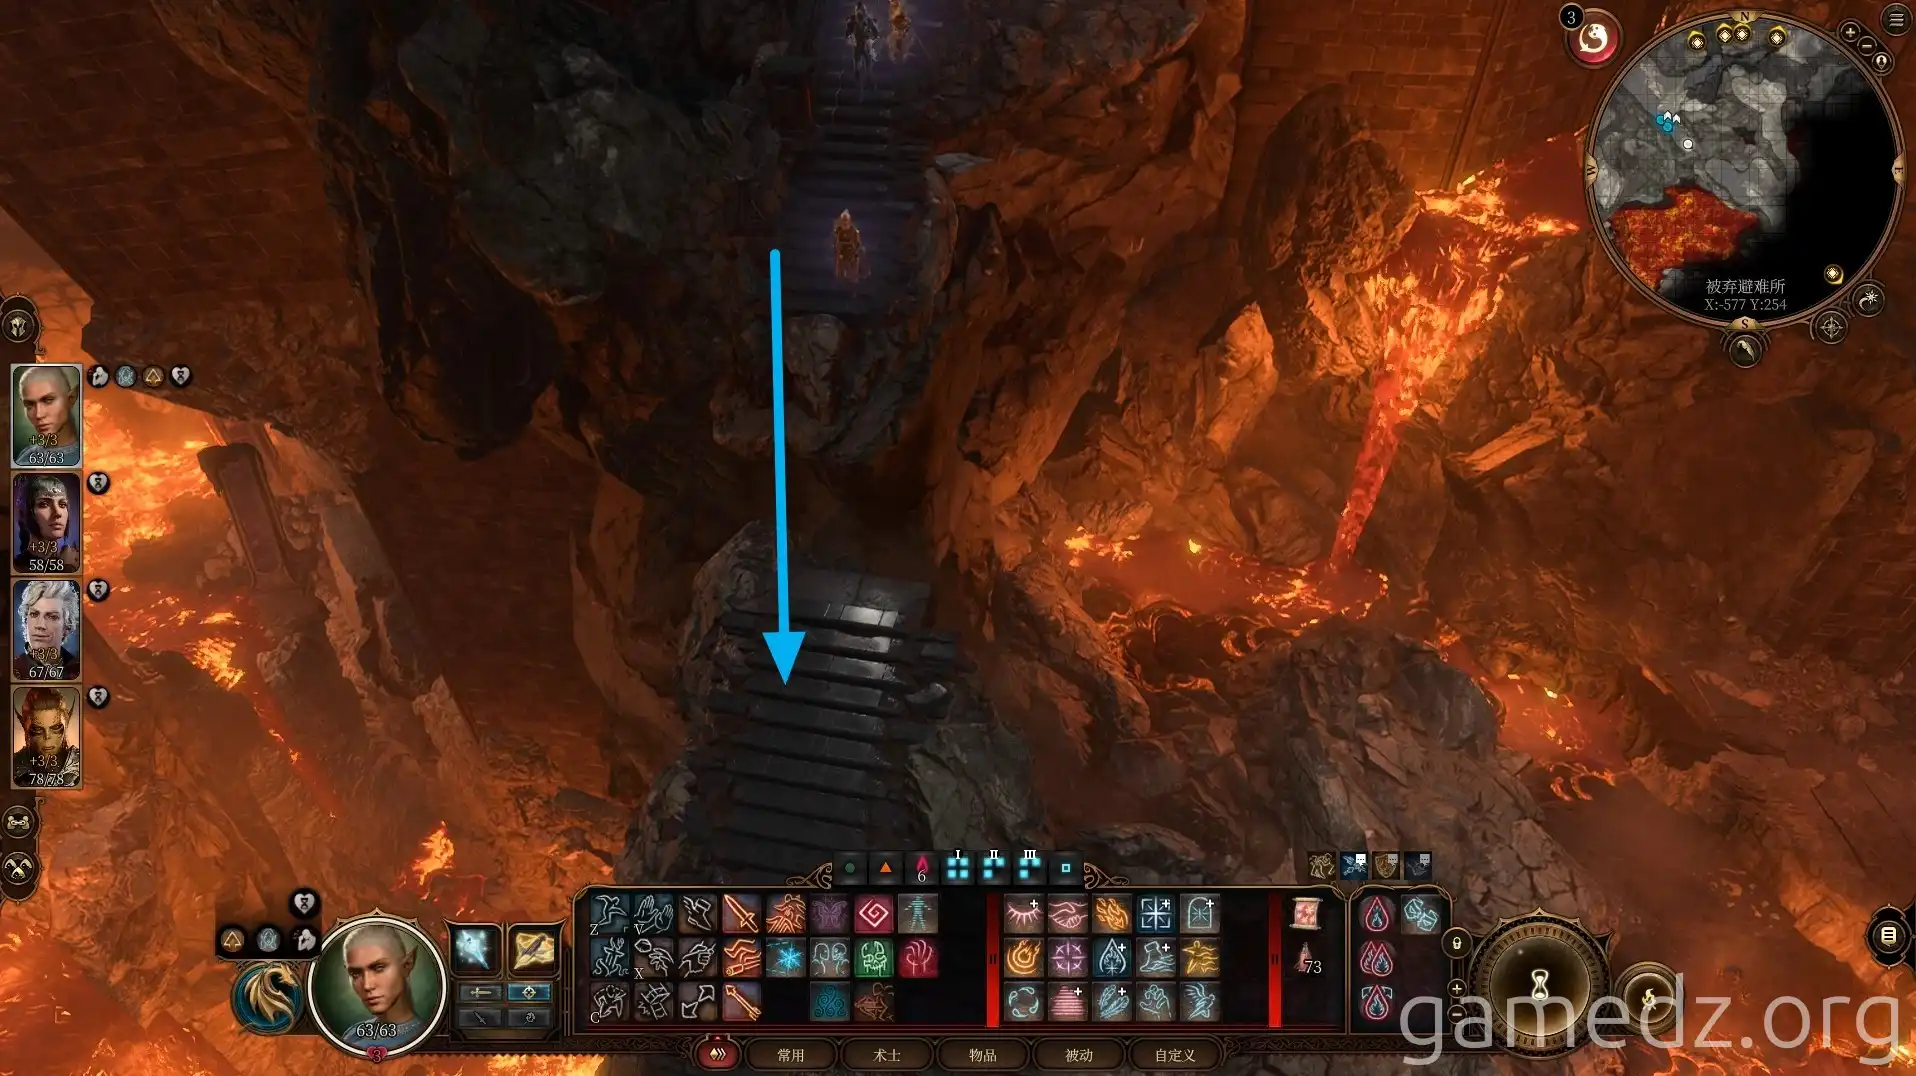
Once you reach the lower level, head northeast first.
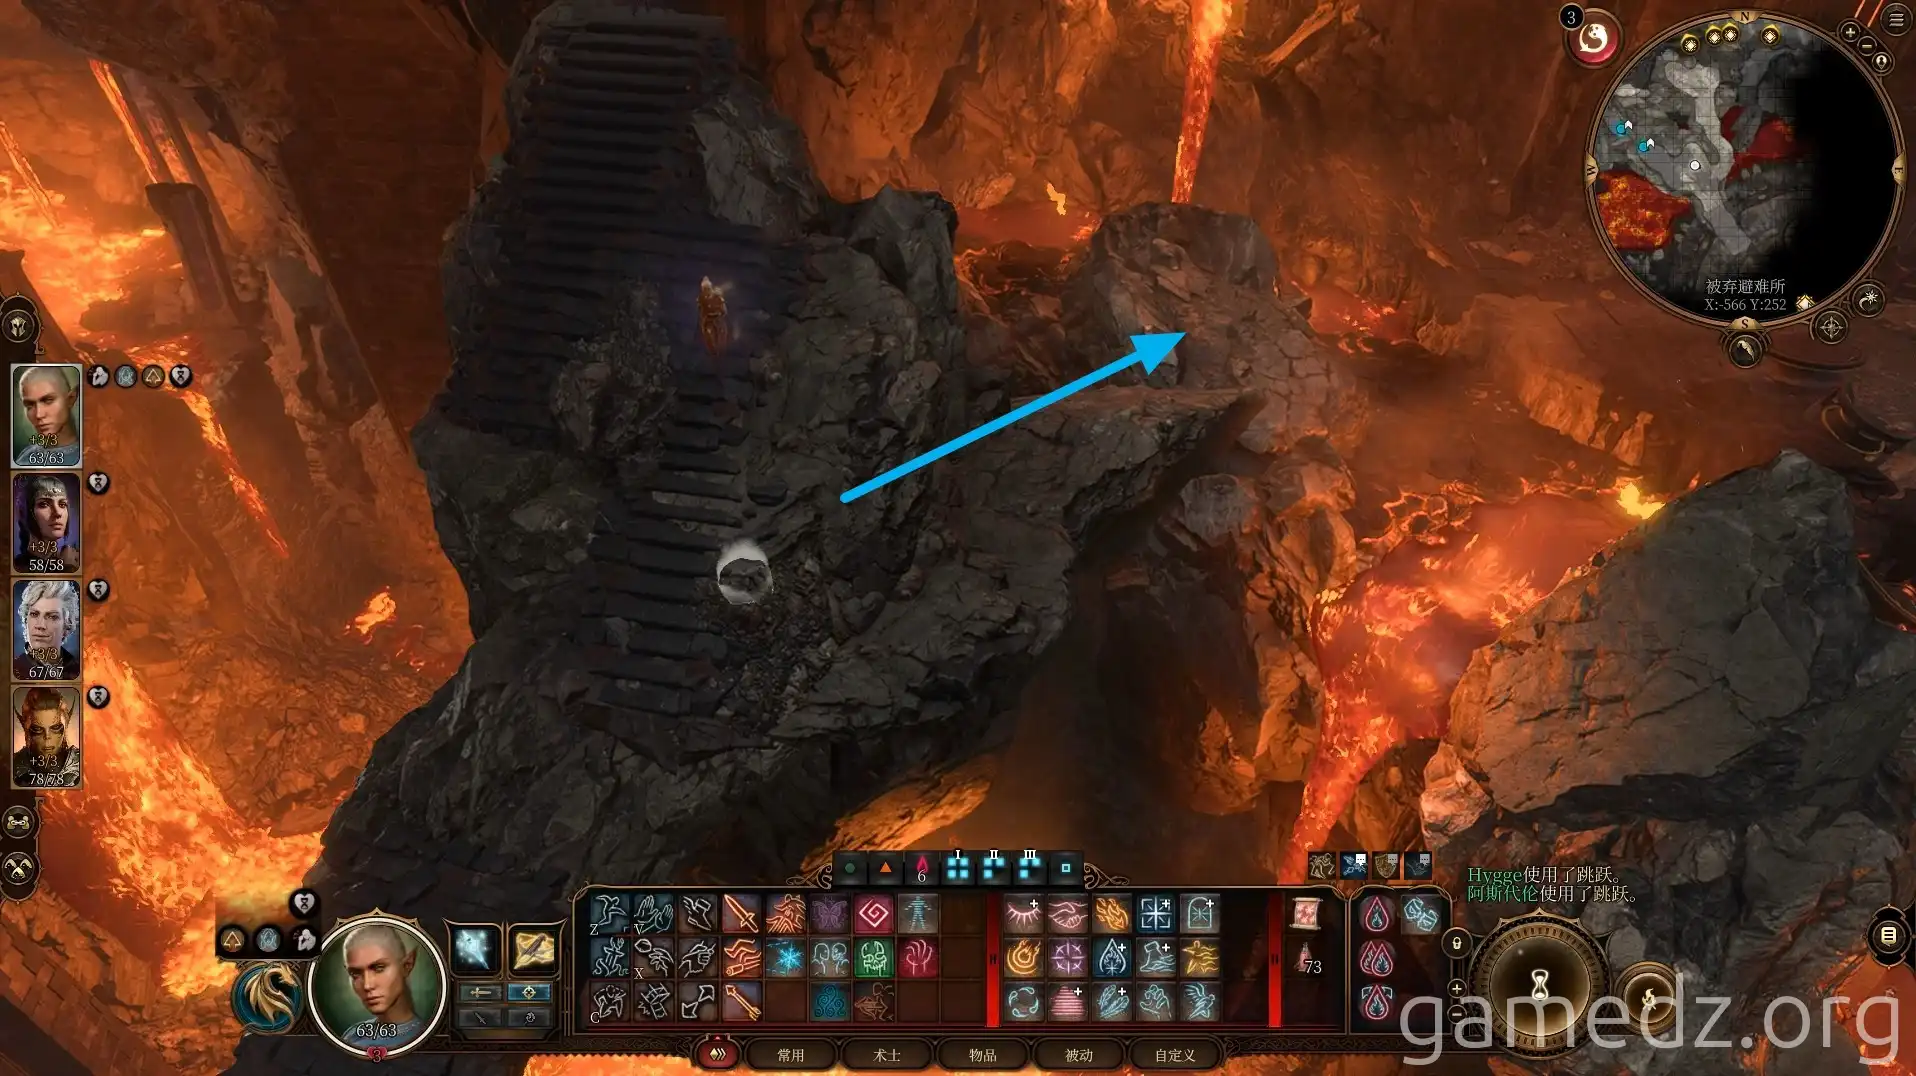
Ahead, you will encounter a large number of Magma Mephits. After being defeated, the Mephits will explode. It is recommended to fight them with ranged attacks.
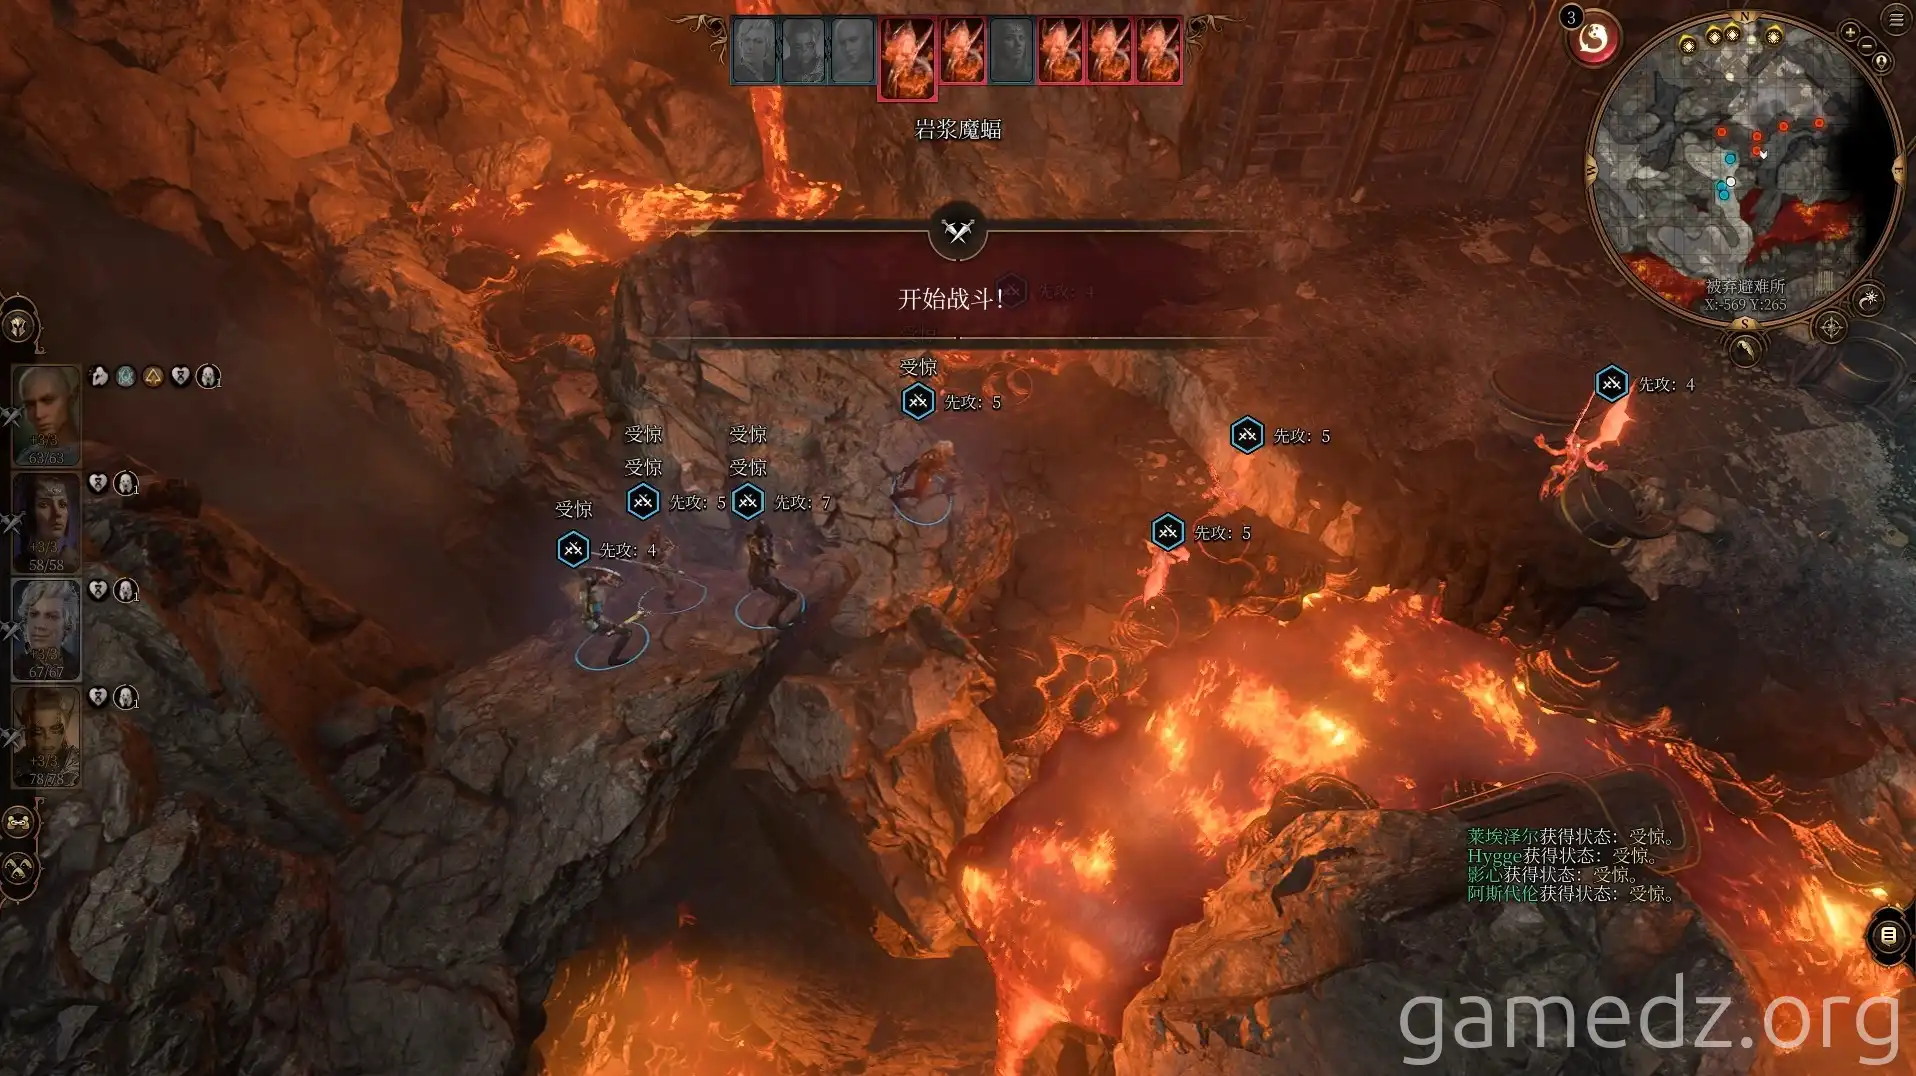
After defeating the Mephits, continue forward. You will find the second Mithral Ore in a corner ahead. There are only two Mithral Ores in the entire game, meaning you can only choose two out of six Mithral equipment pieces to craft.
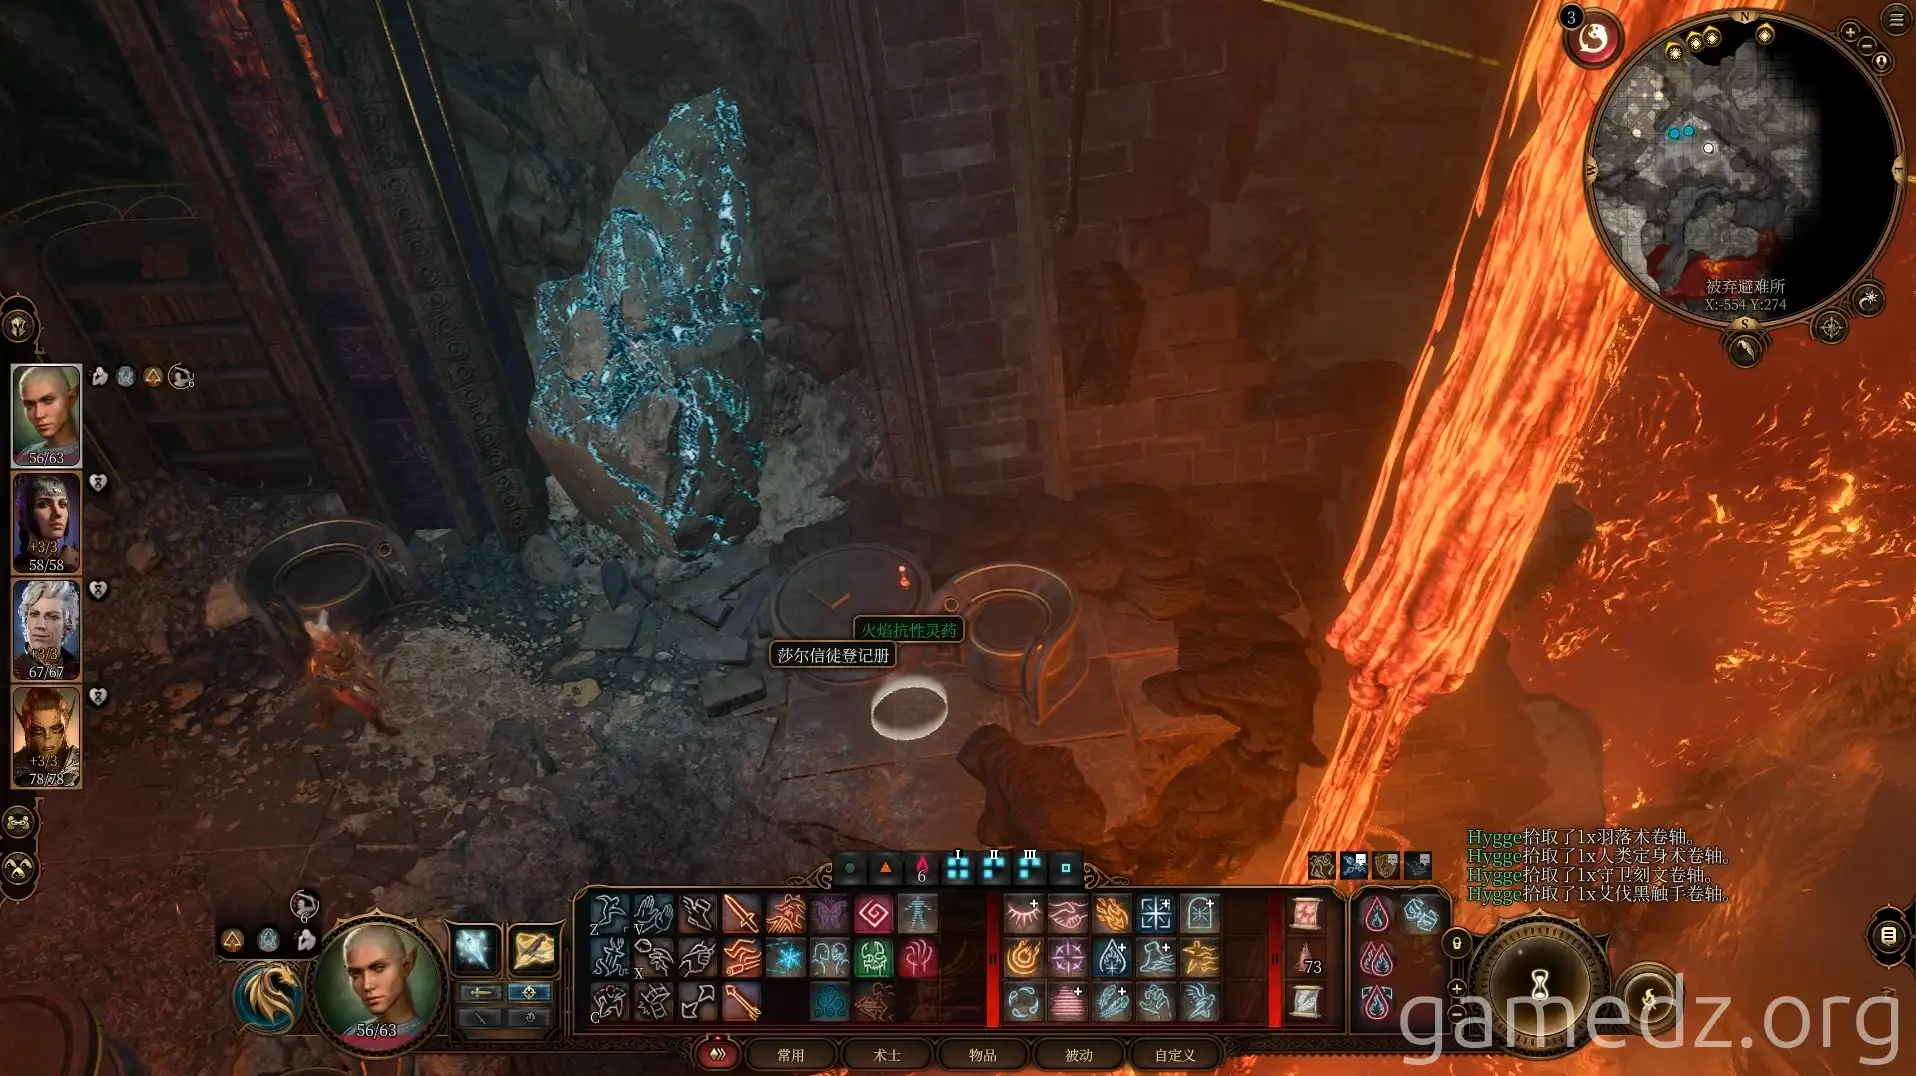
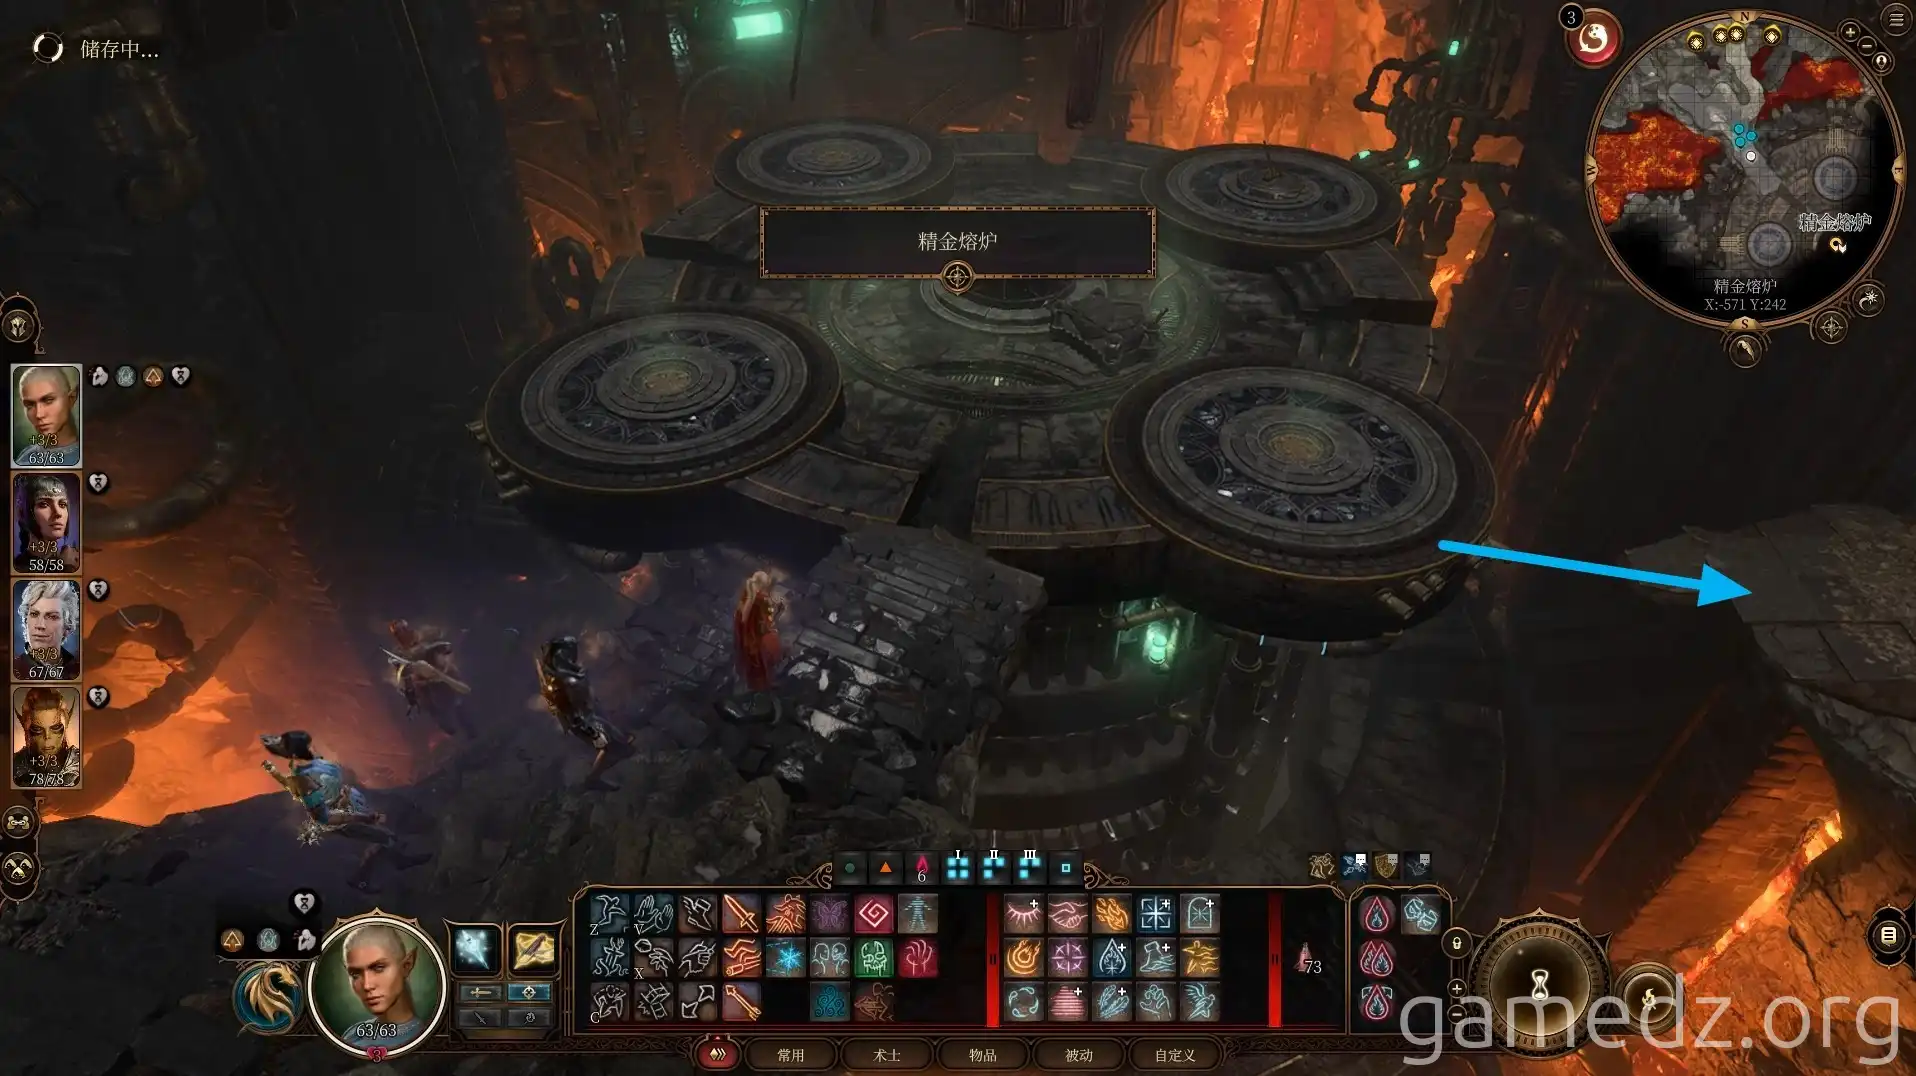
After a long and arduous journey to the Adamantine Forge, do not use the forge's functions immediately. Instead, proceed southwest on the map.
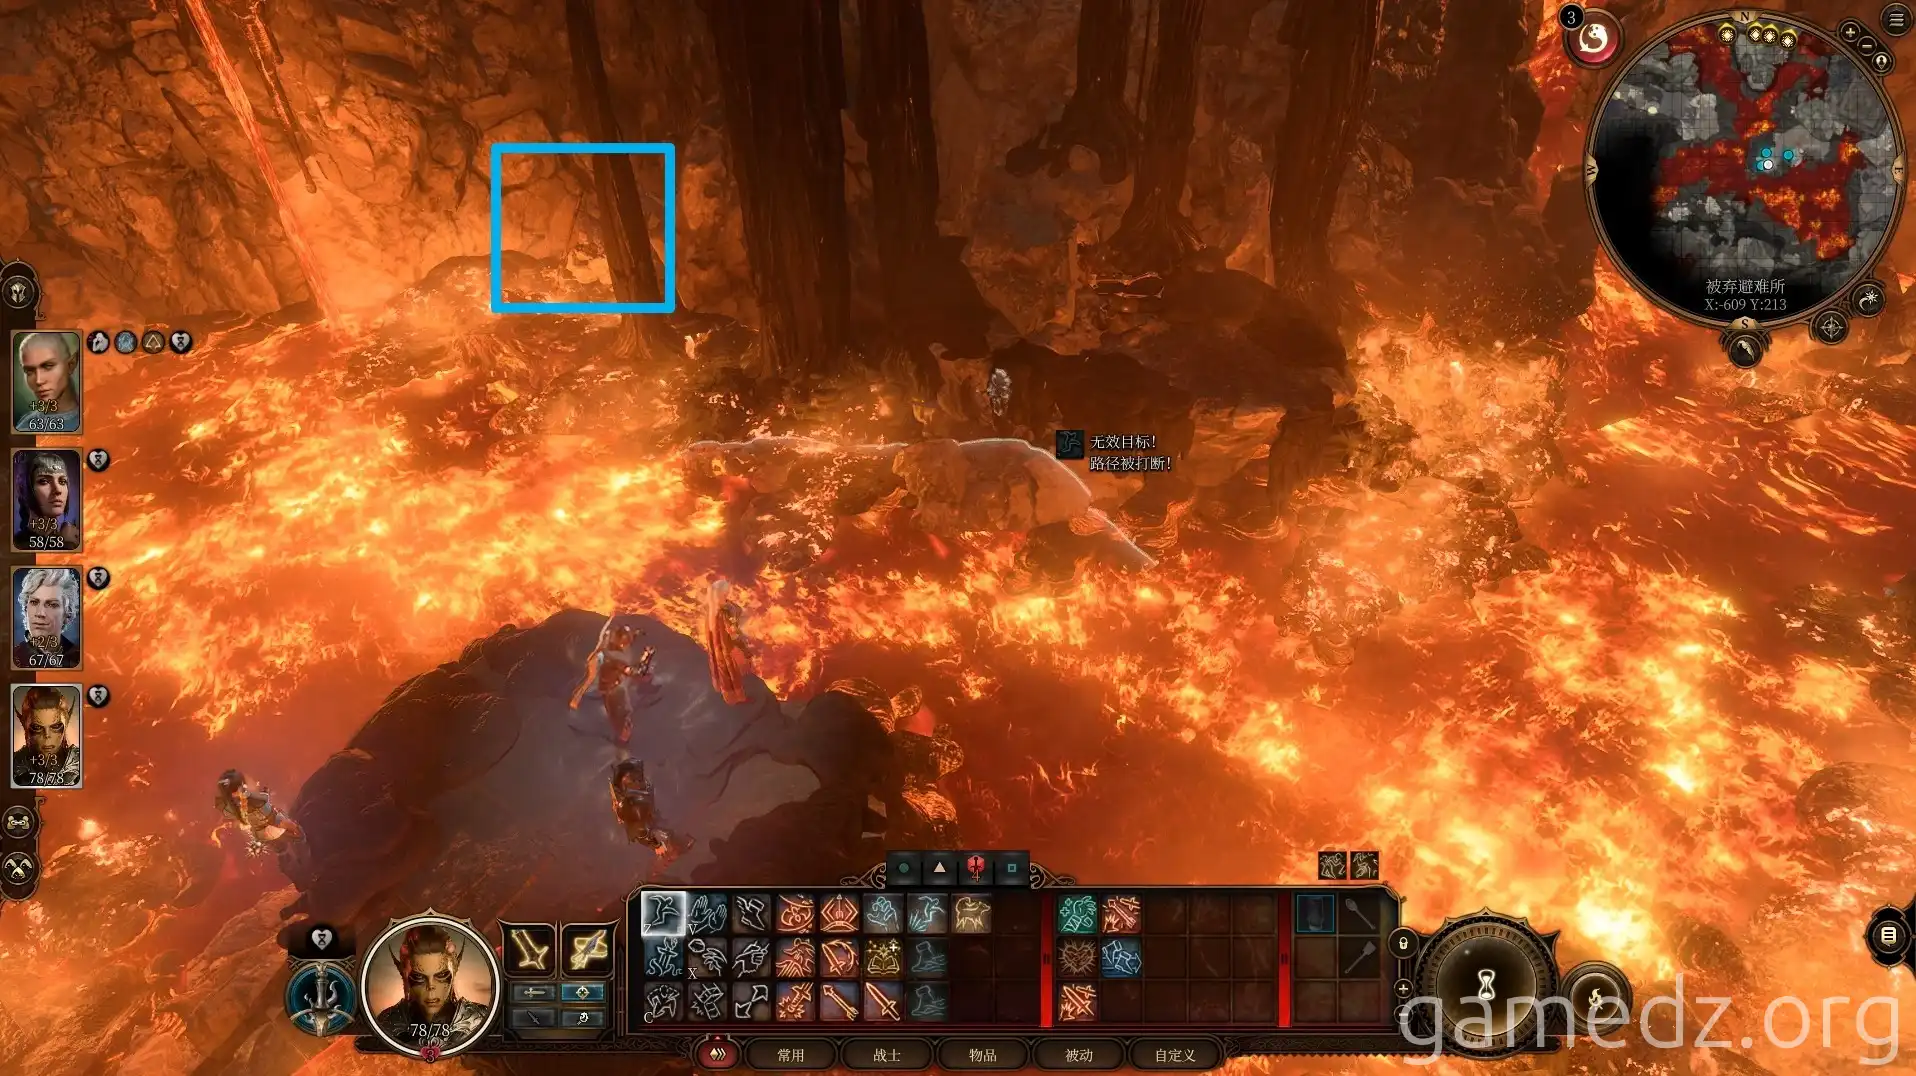
In the lava area ahead, the second Legionnaire's Halberd can be found beneath the cliff face in the southwest corner.
In the chest on the central platform, you can obtain the rare accessory Amulet of Perception.
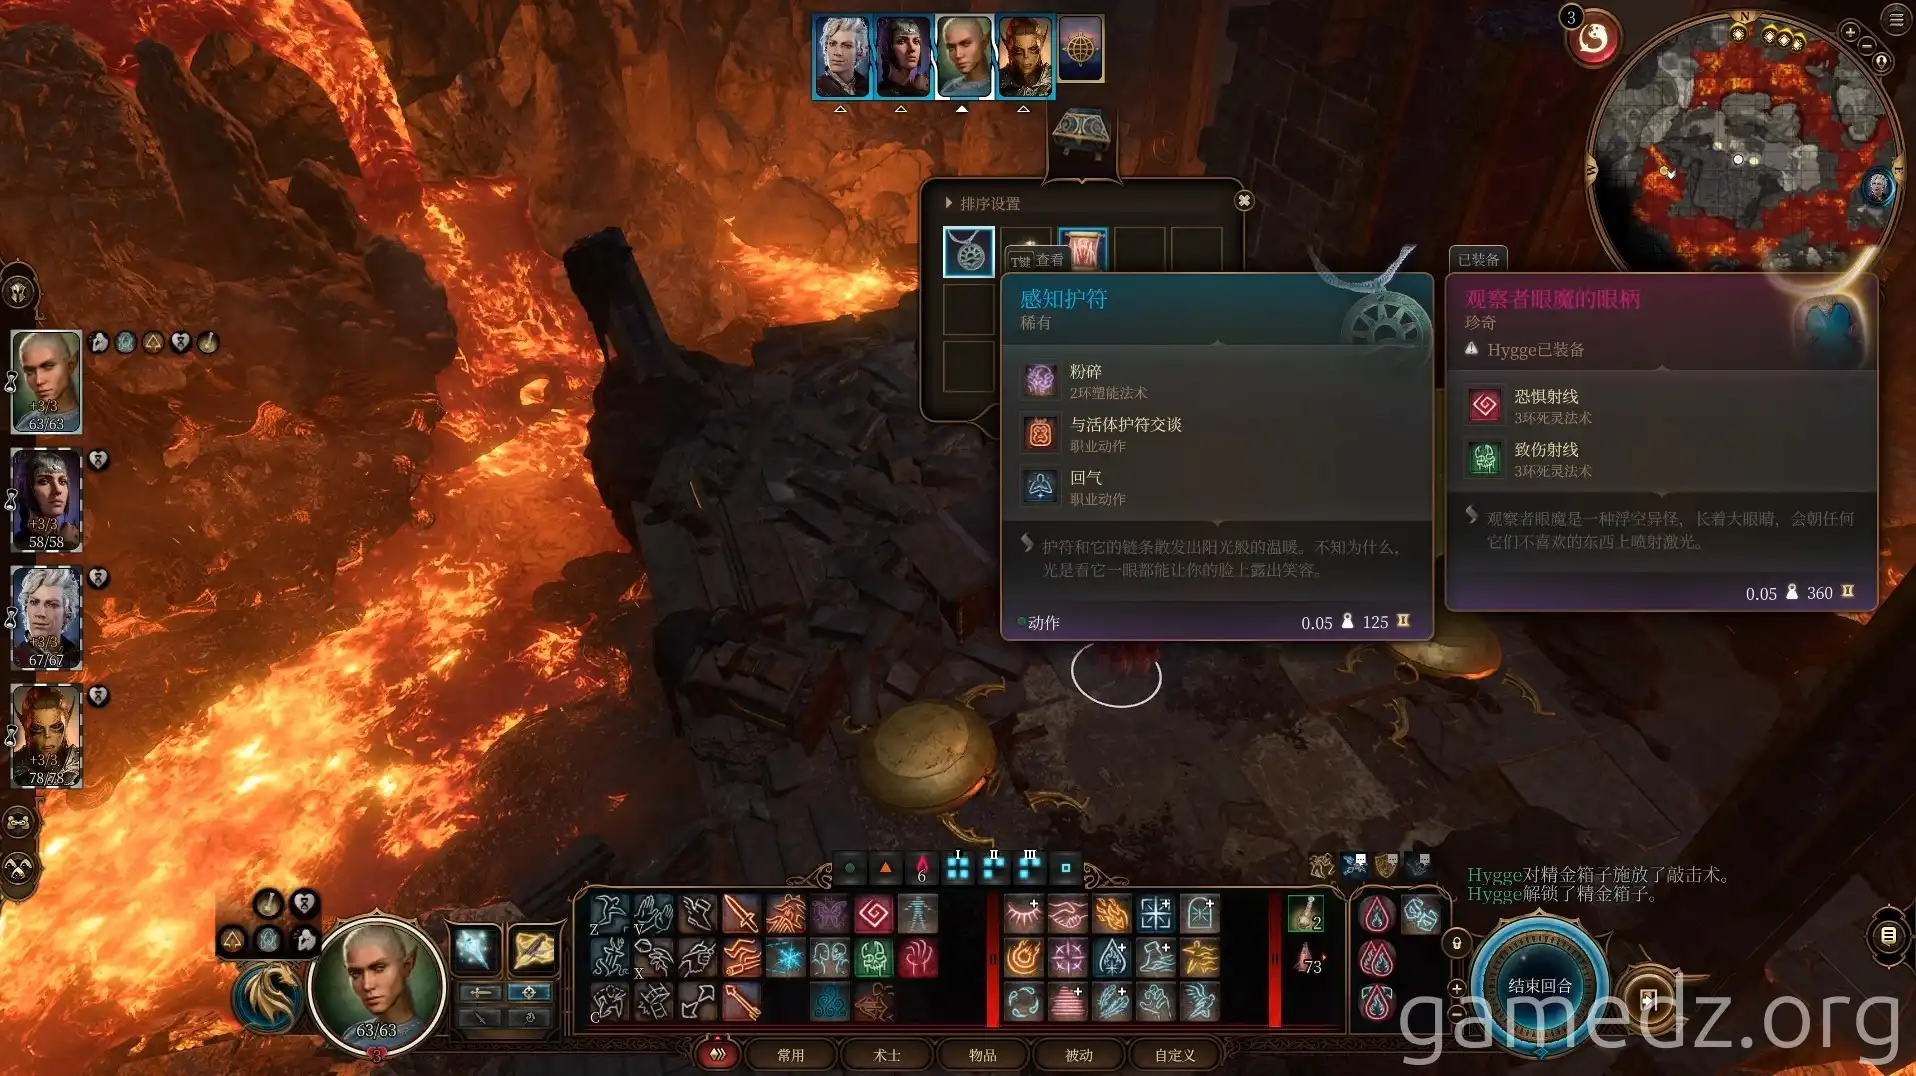
After obtaining the amulet, a side quest will be triggered. The monk spirit residing in the amulet ask you to deliver it to his granddaughter, Shira Craven, who is located in the Dragon's Gate.

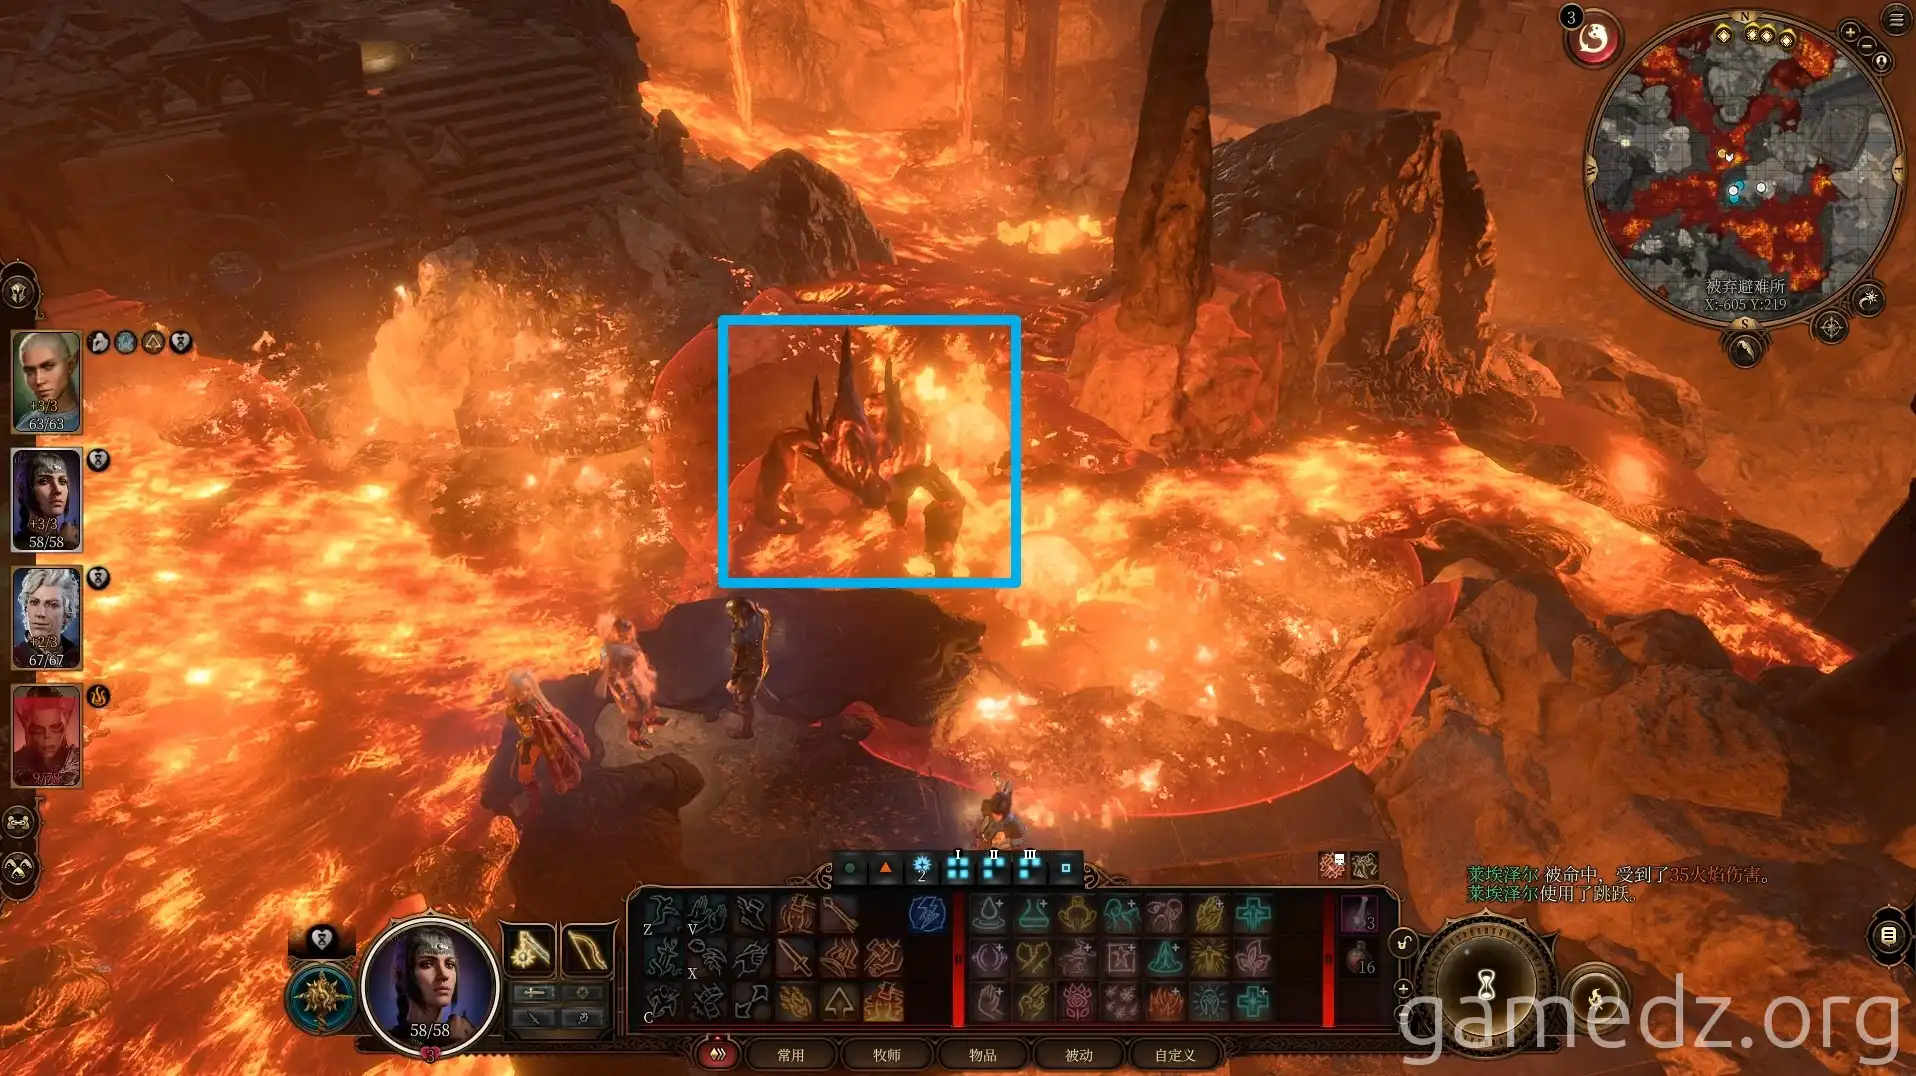
In this area, there is also an active Lava Elemental. It is very difficult to fight and drops nothing. Although characters with the Outlander background will be inspired after defeating it, it is recommended to grab your items and leave, as it's not worth provoking.
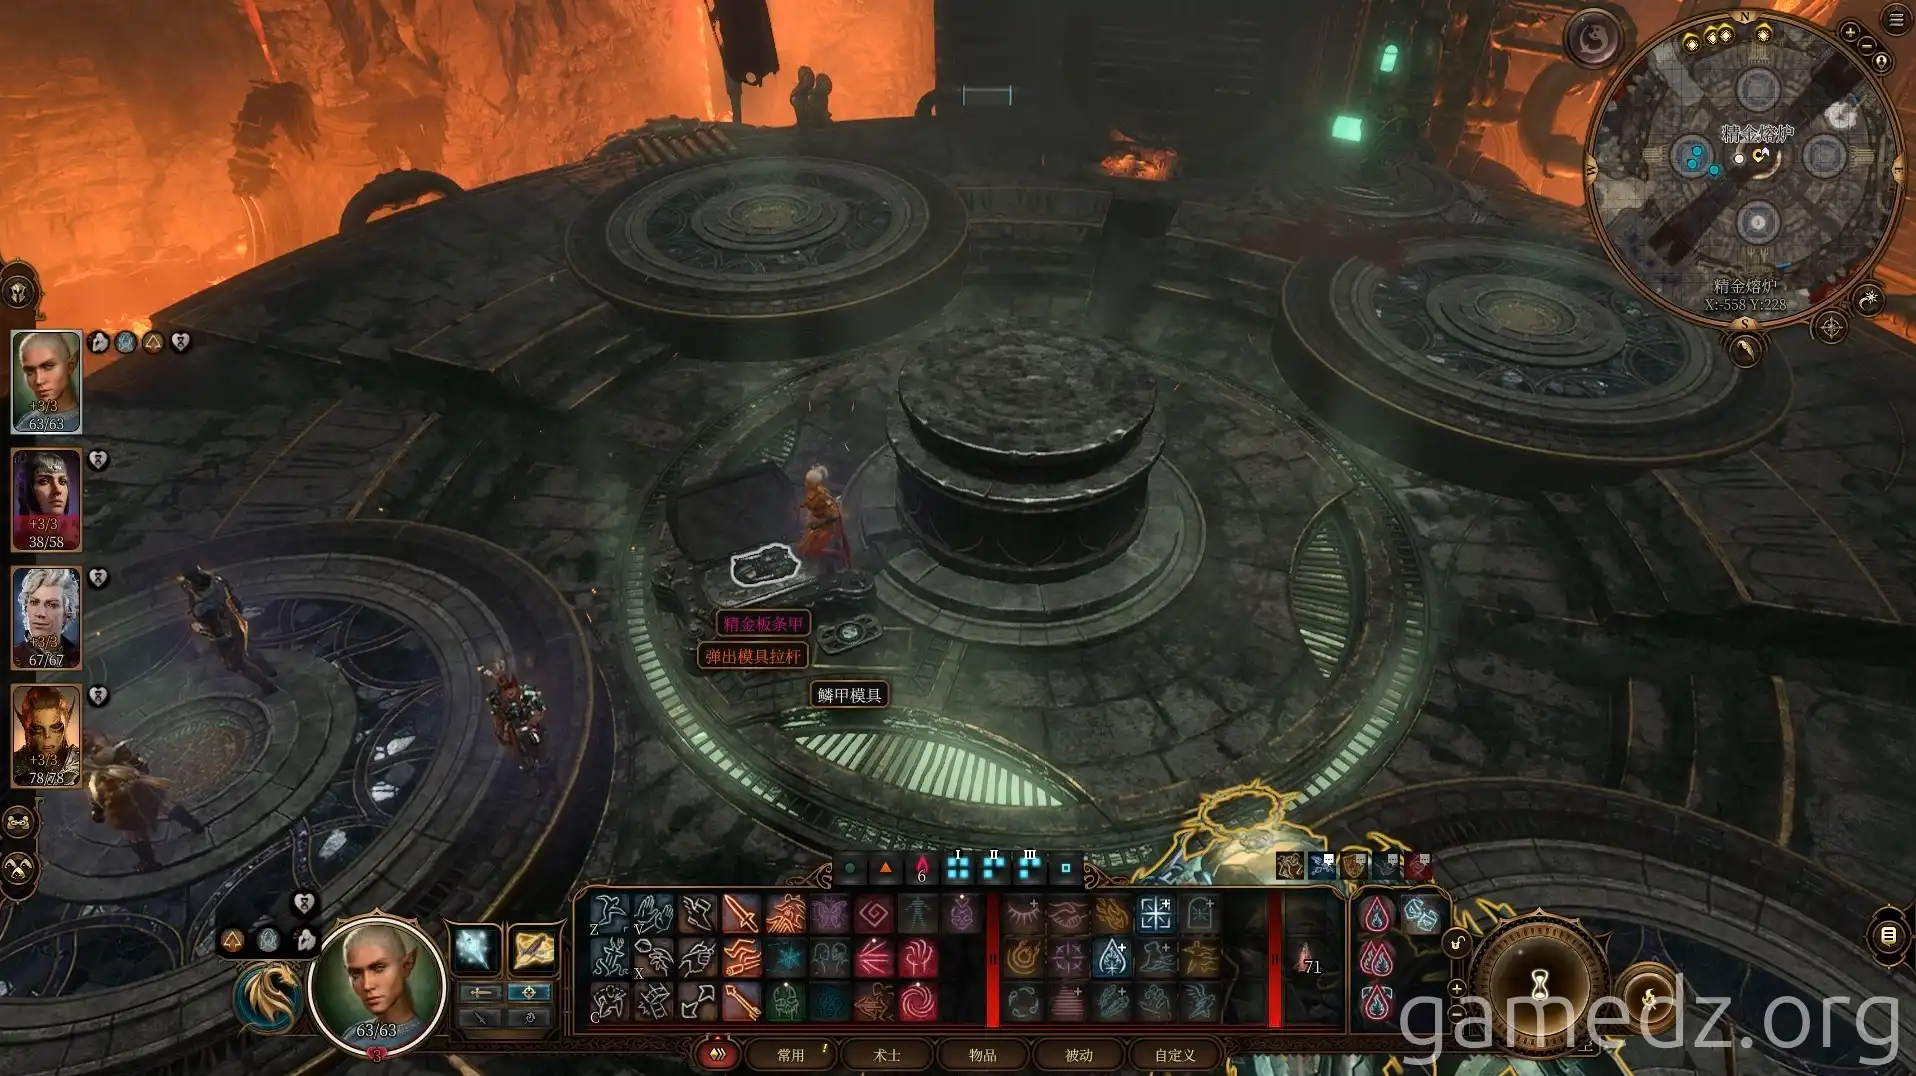
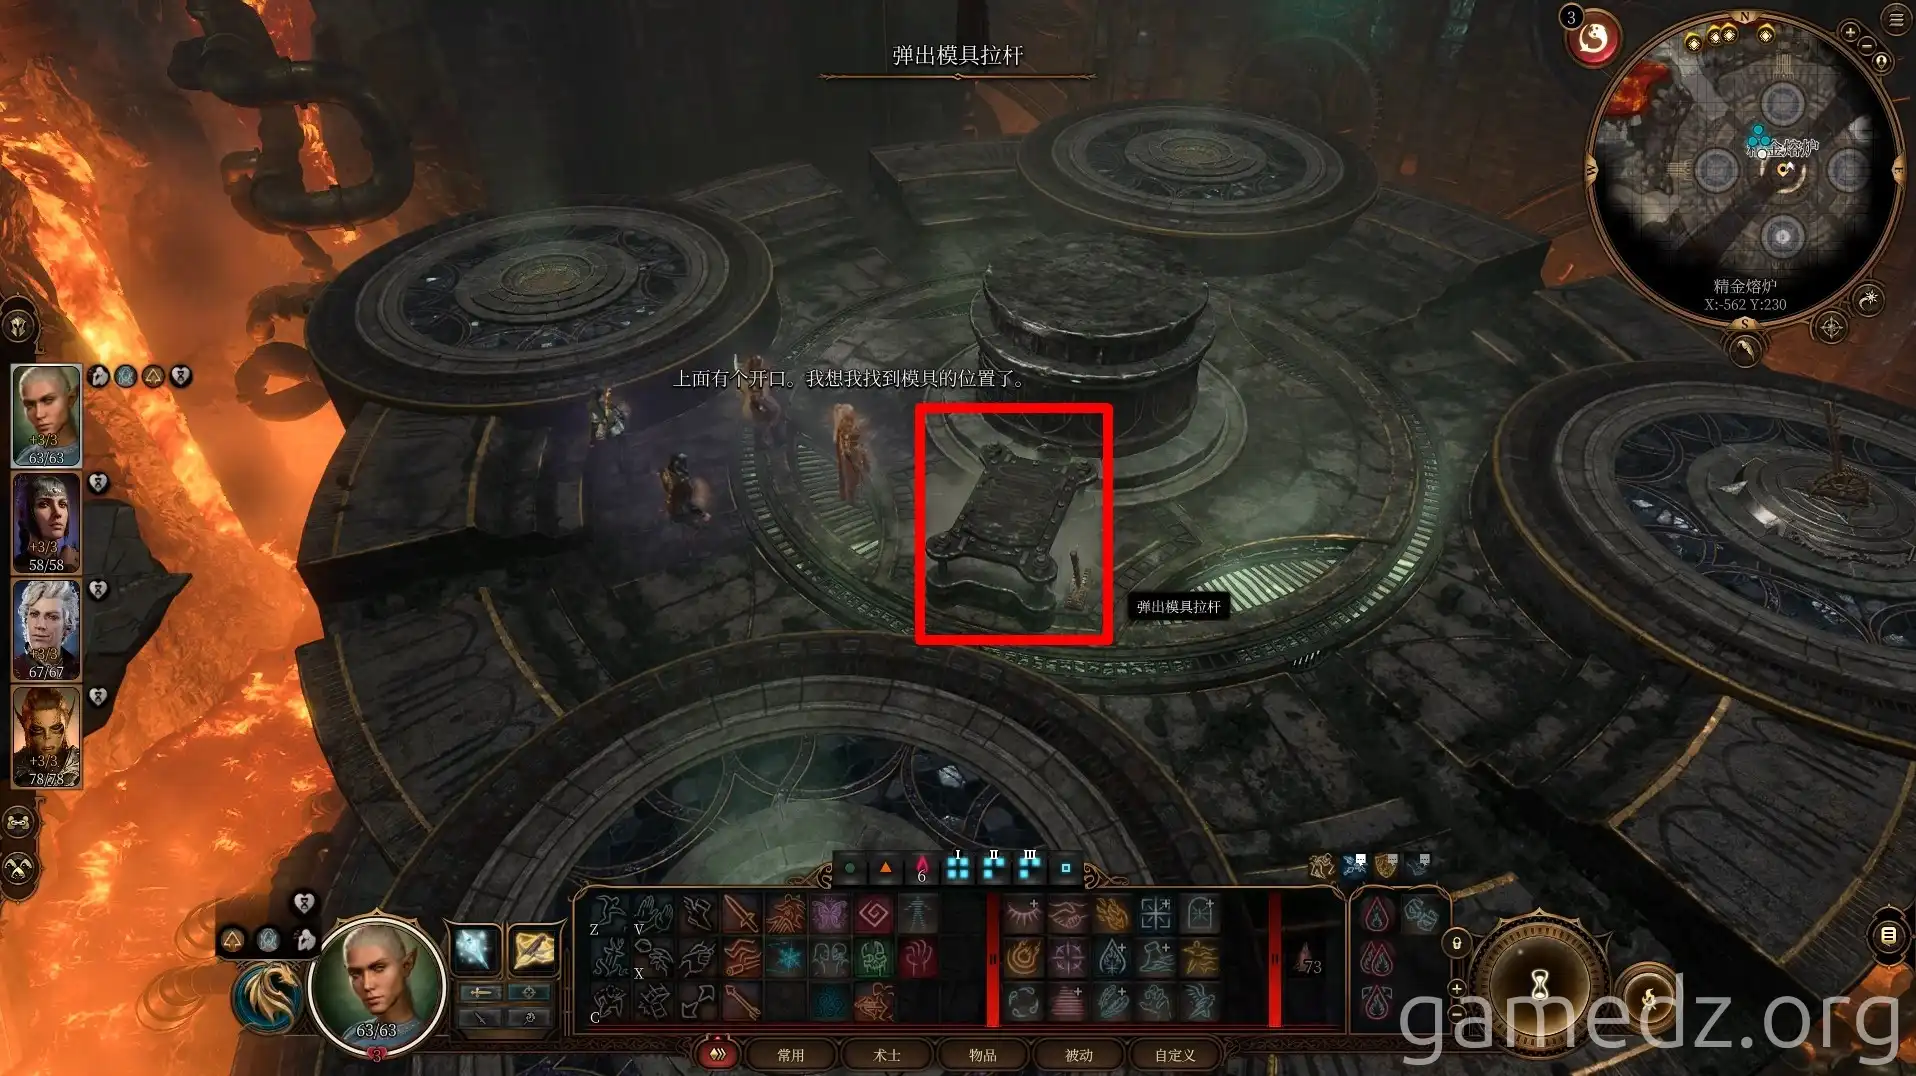
Upon arriving at the forge, first place the desired Adamantine equipment mould in the mould chamber. For the second crafting, you need to click the lever next to it to eject the previous mould.
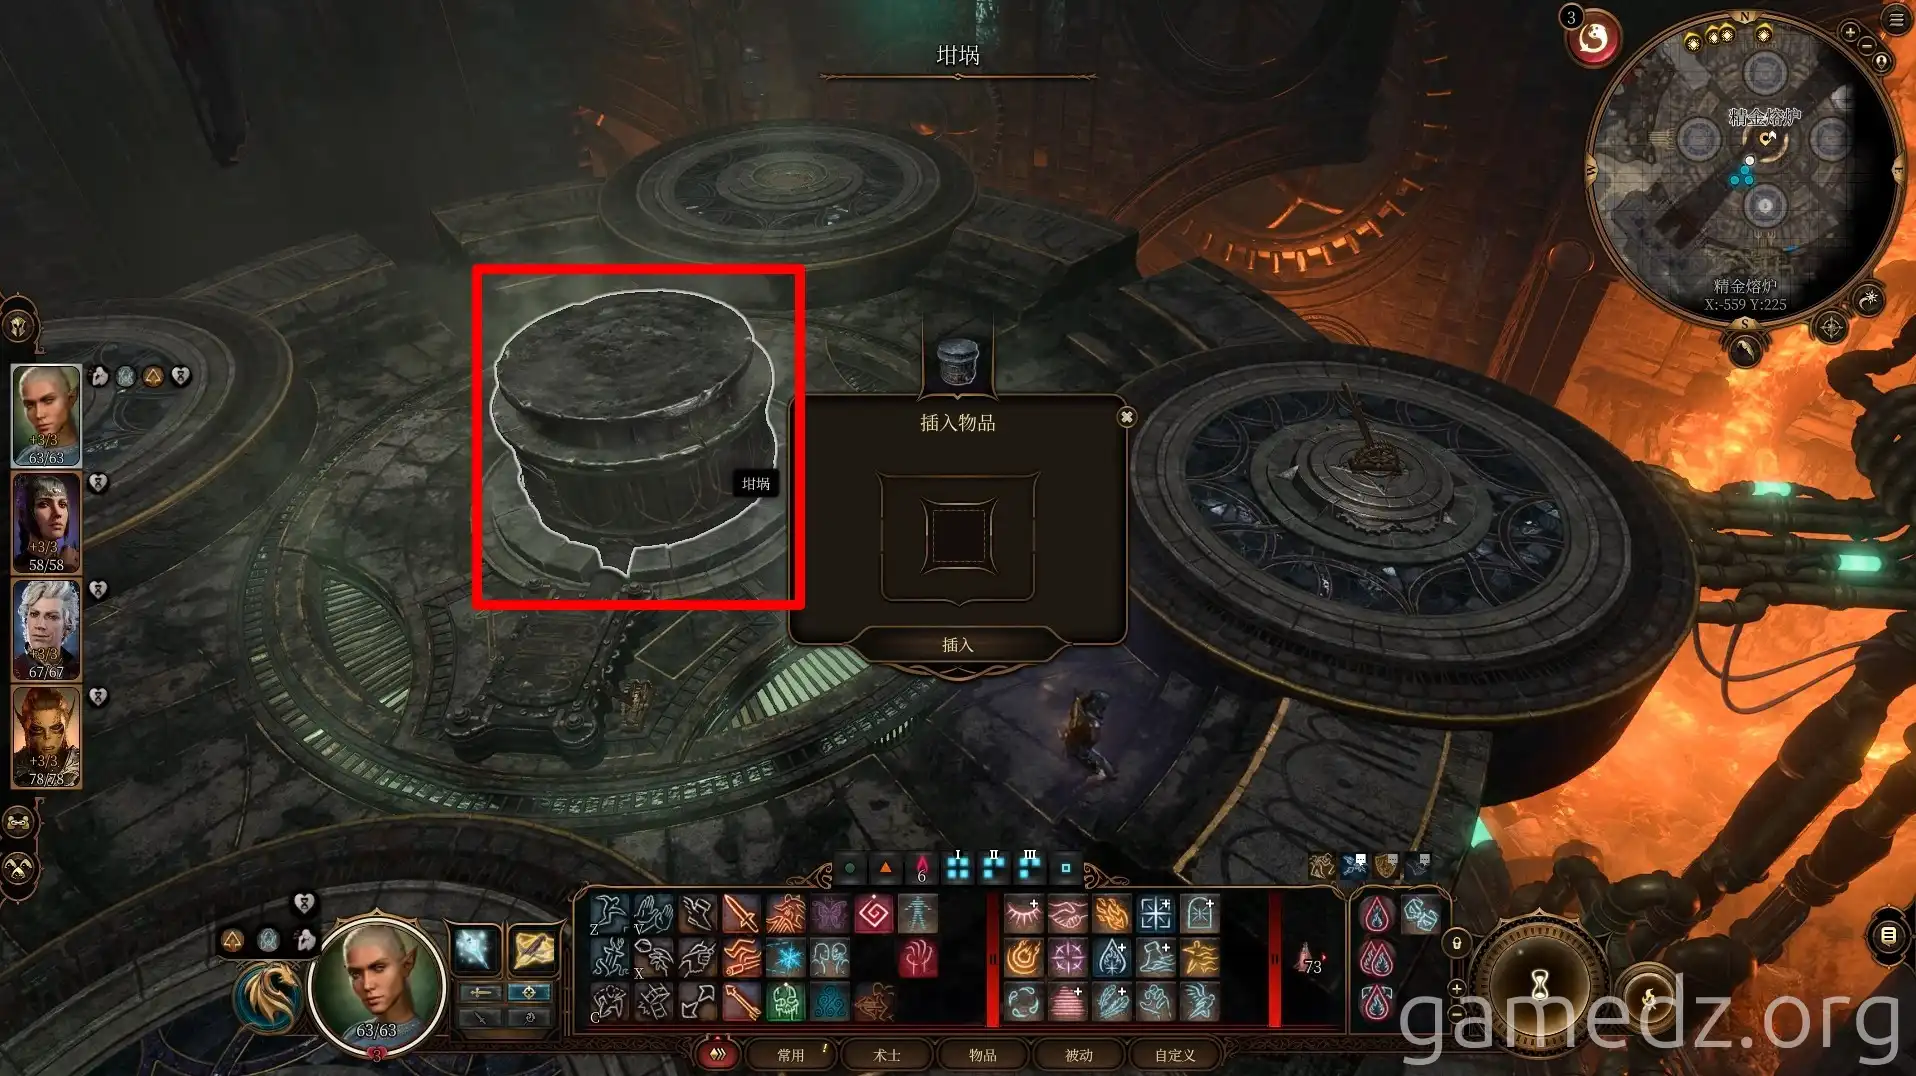
Then, add Mithral Ore to the crucible in the center.
Next, pull the lever to have the hammer above strike the crucible, causing the entire platform to descend.
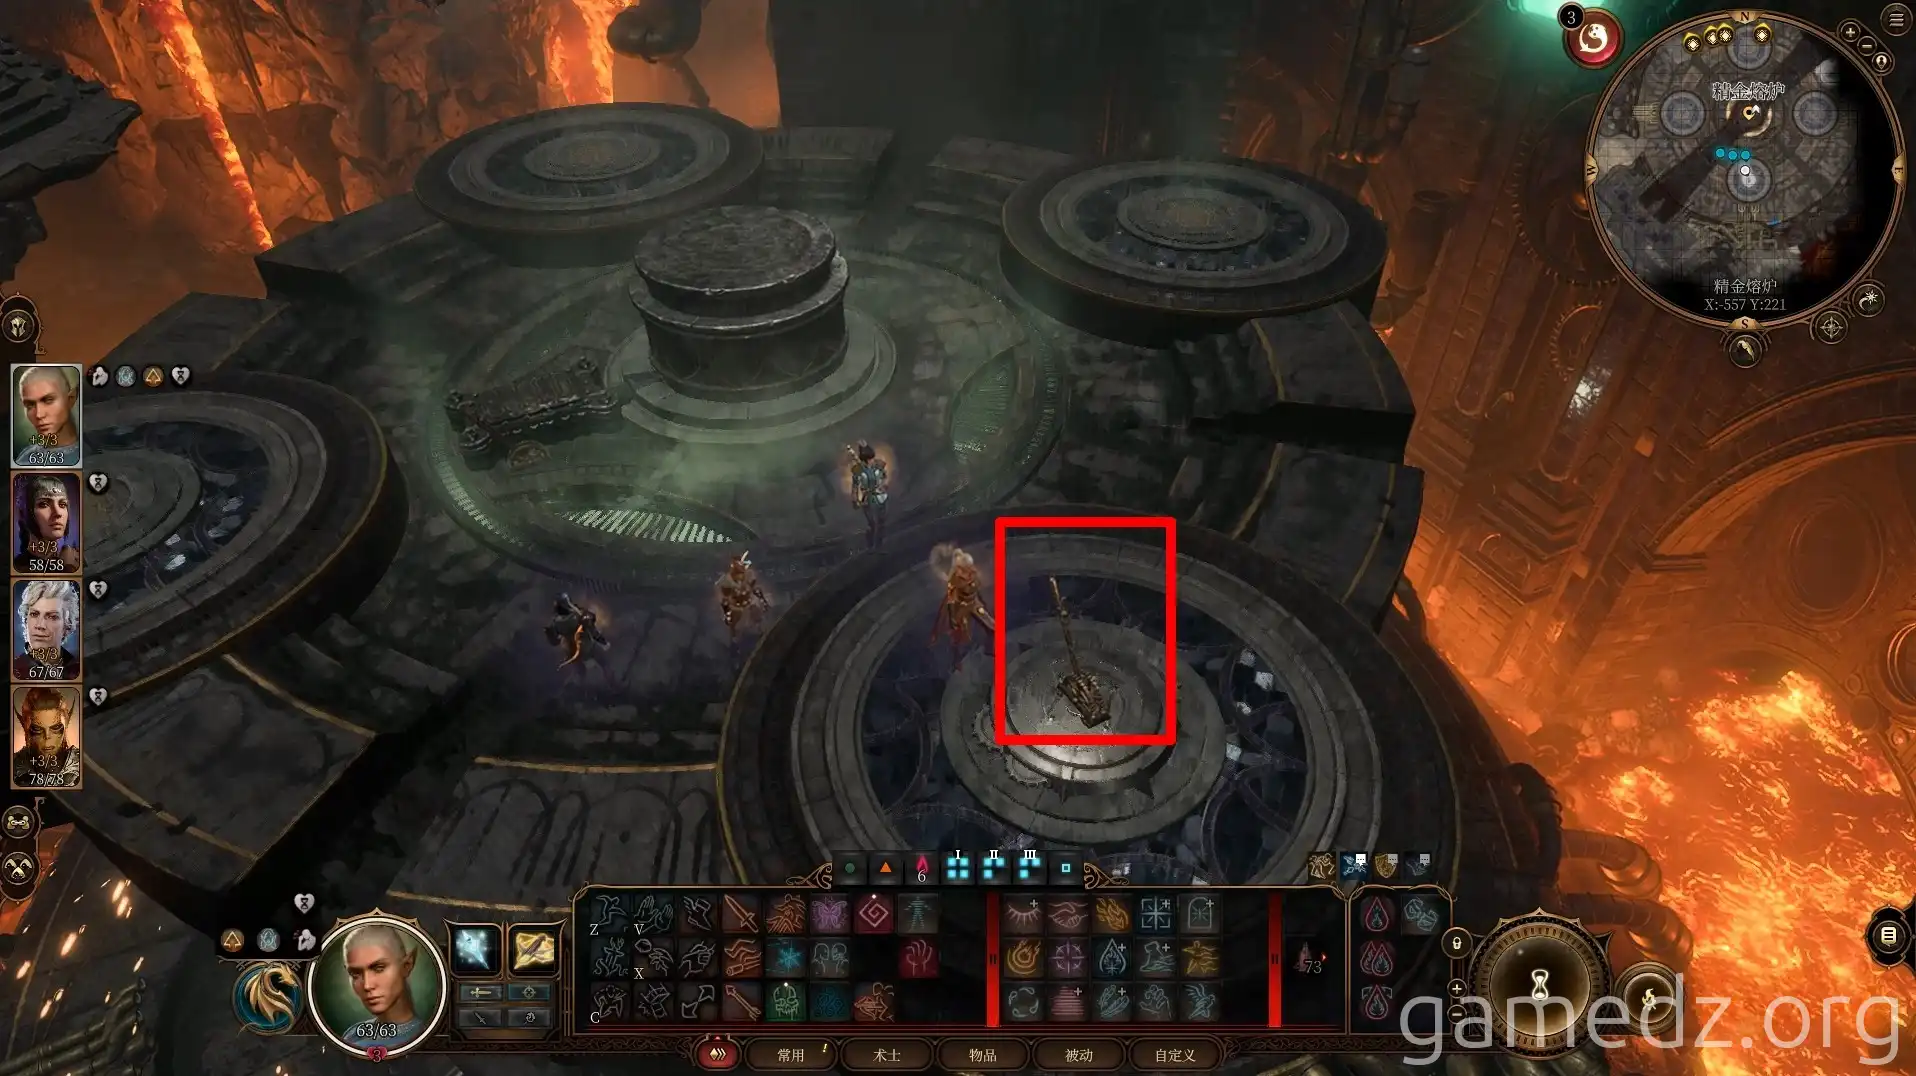
Then, infuse the forge with lava using the lava valve.
Note: Before starting to turn the valve, leave one companion near the lever controlling the hammer, a front-line companion on the central crucible, and the last companion to react as needed.
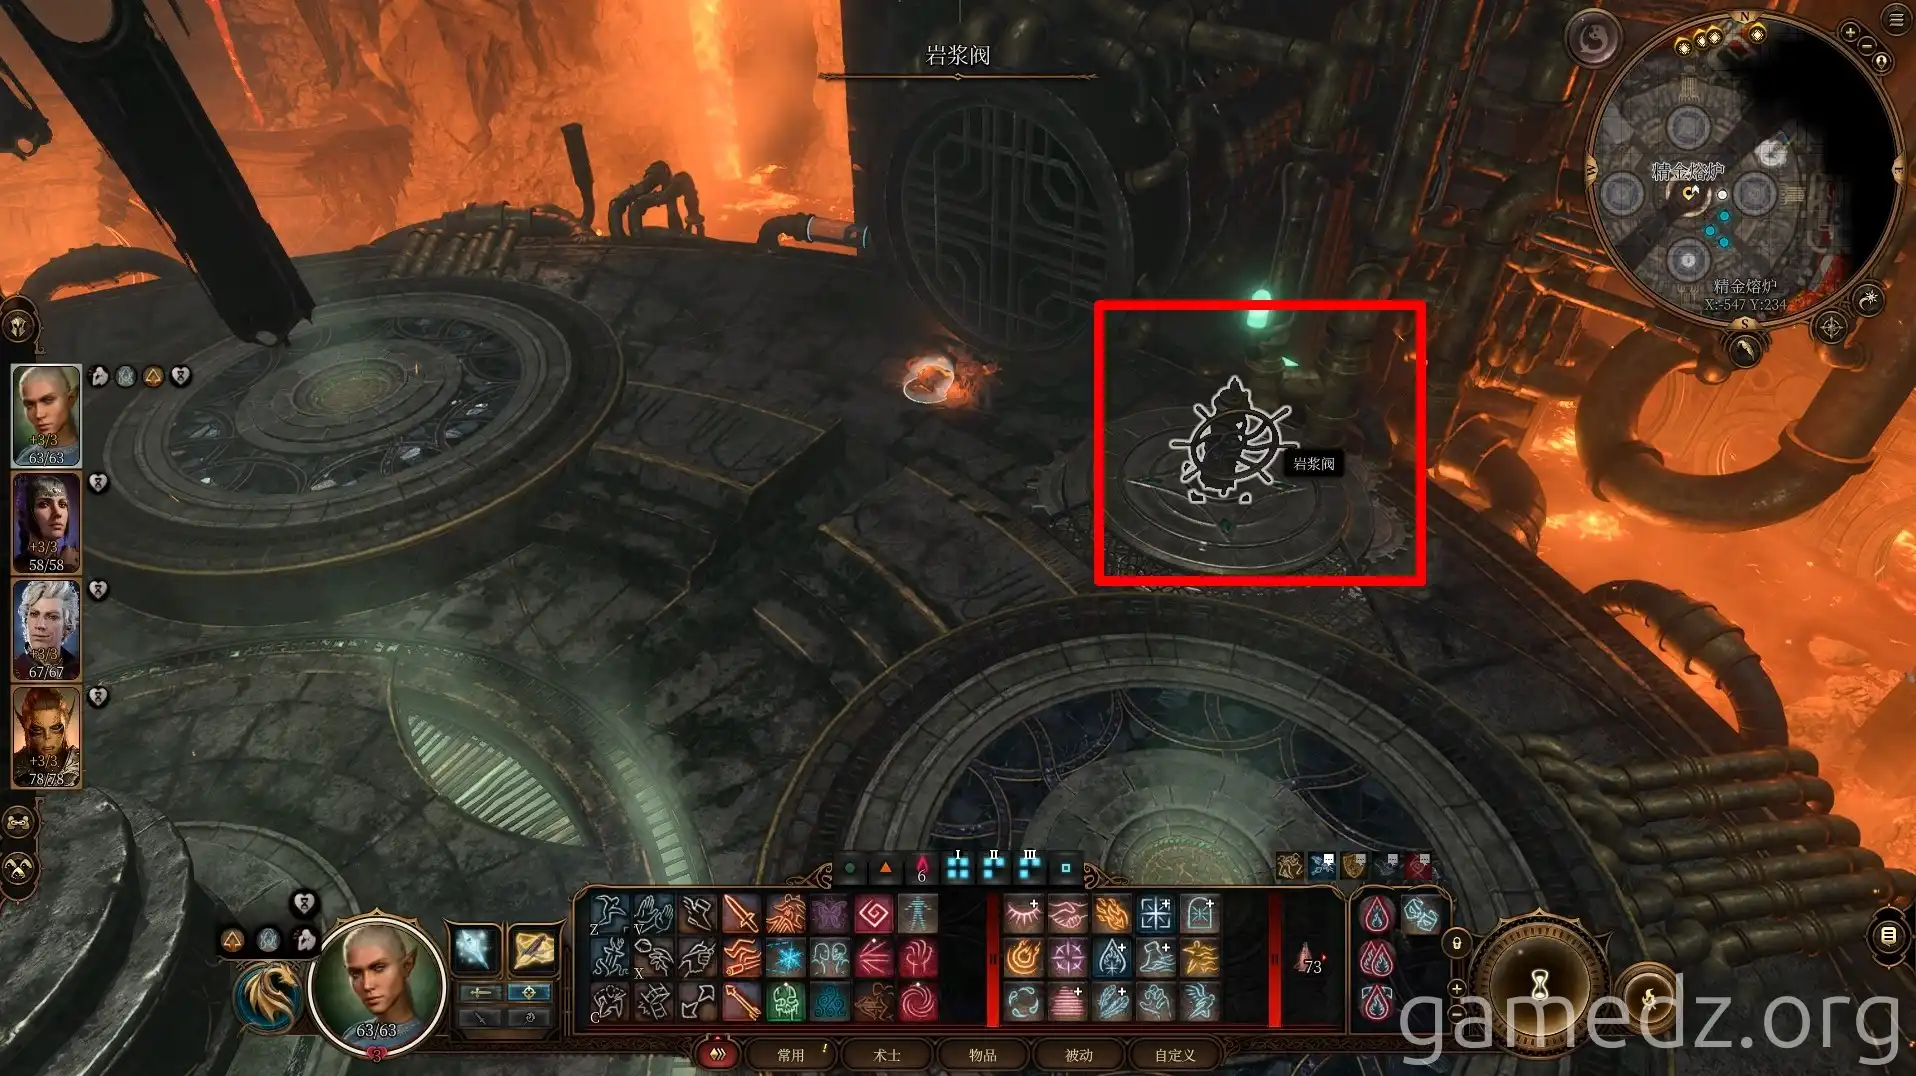
The first infusion of lava will also release the boss, Grym. This boss has extremely high health and is very difficult to defeat through conventional means. Grym will gain two turns of the Overheated status when standing in lava. You can only deal damage to Grym while it has this status.
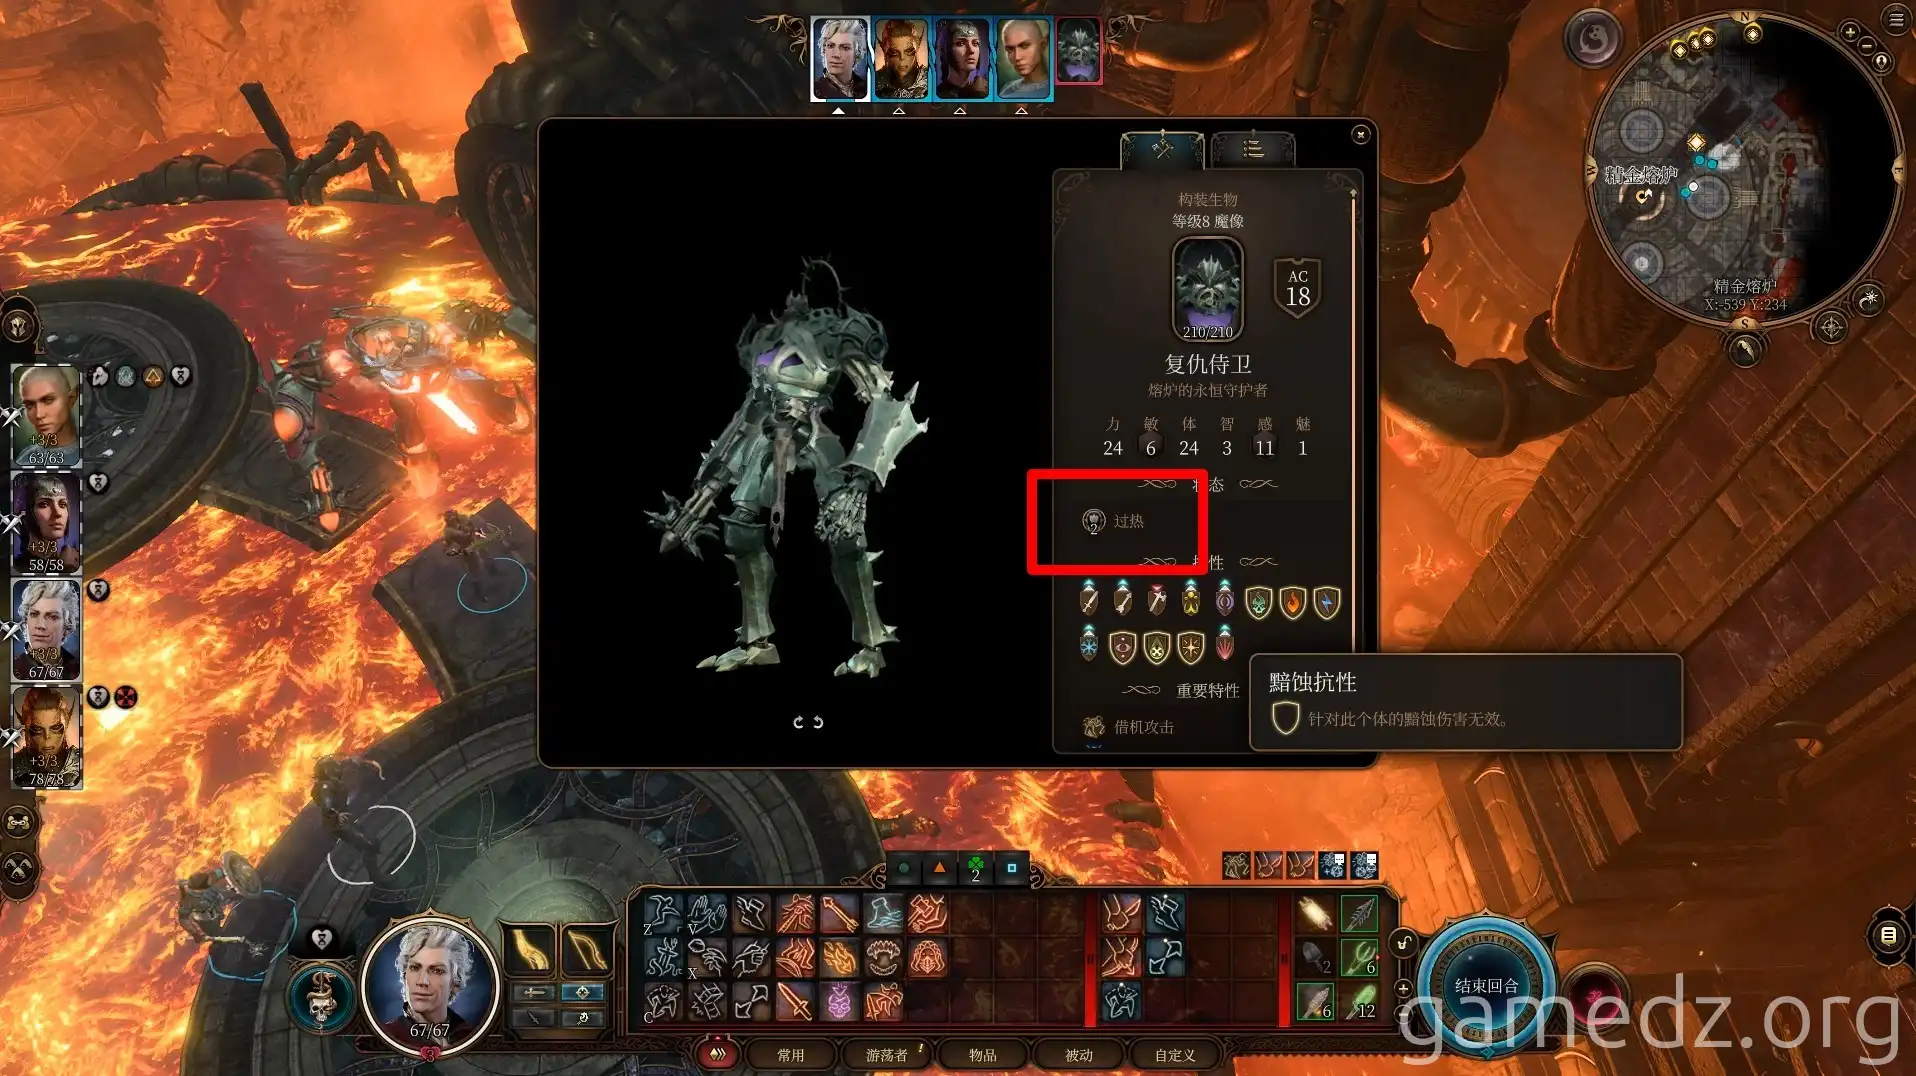
The companion standing on the crucible should use a ranged attack to hit Grym, and then Grym's aggro will be locked. When Grym moves into the crucible, move the aggro-holding companion onto the nearby mould chamber, and the character by the lever should pull it to deal massive damage to Grym. Then, release lava again, let Grym overheat, and strike it with the hammer again. Repeat this three to four times to defeat Grym.
Be sure to stand on the mould chamber, otherwise, you will either die from the lava or be crushed by the hammer, just like the narrator's Shadowheart. If you find the game's mechanics too cumbersome, players can also equip their characters with blunt weapons like hammers and personally destroy Grym.
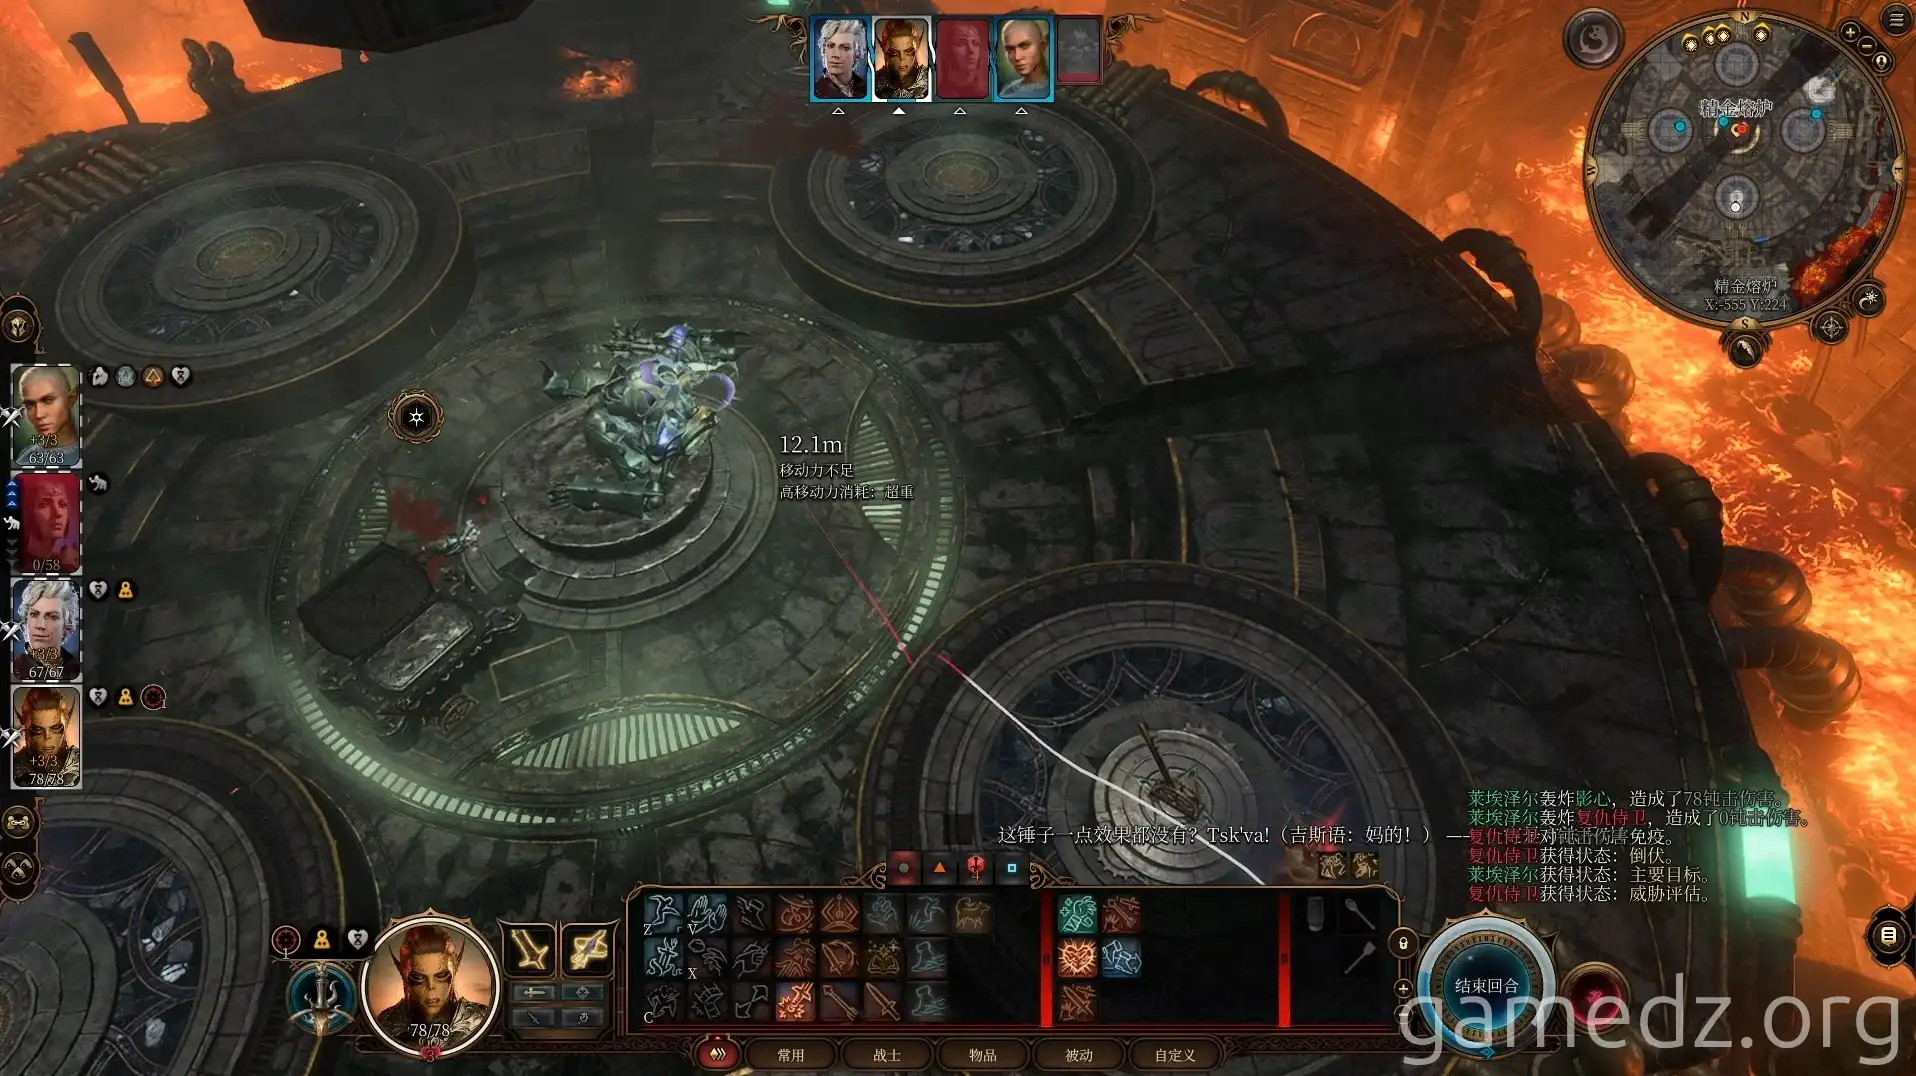
After defeating Grym, you can obtain the rare armor Grym's Helm.
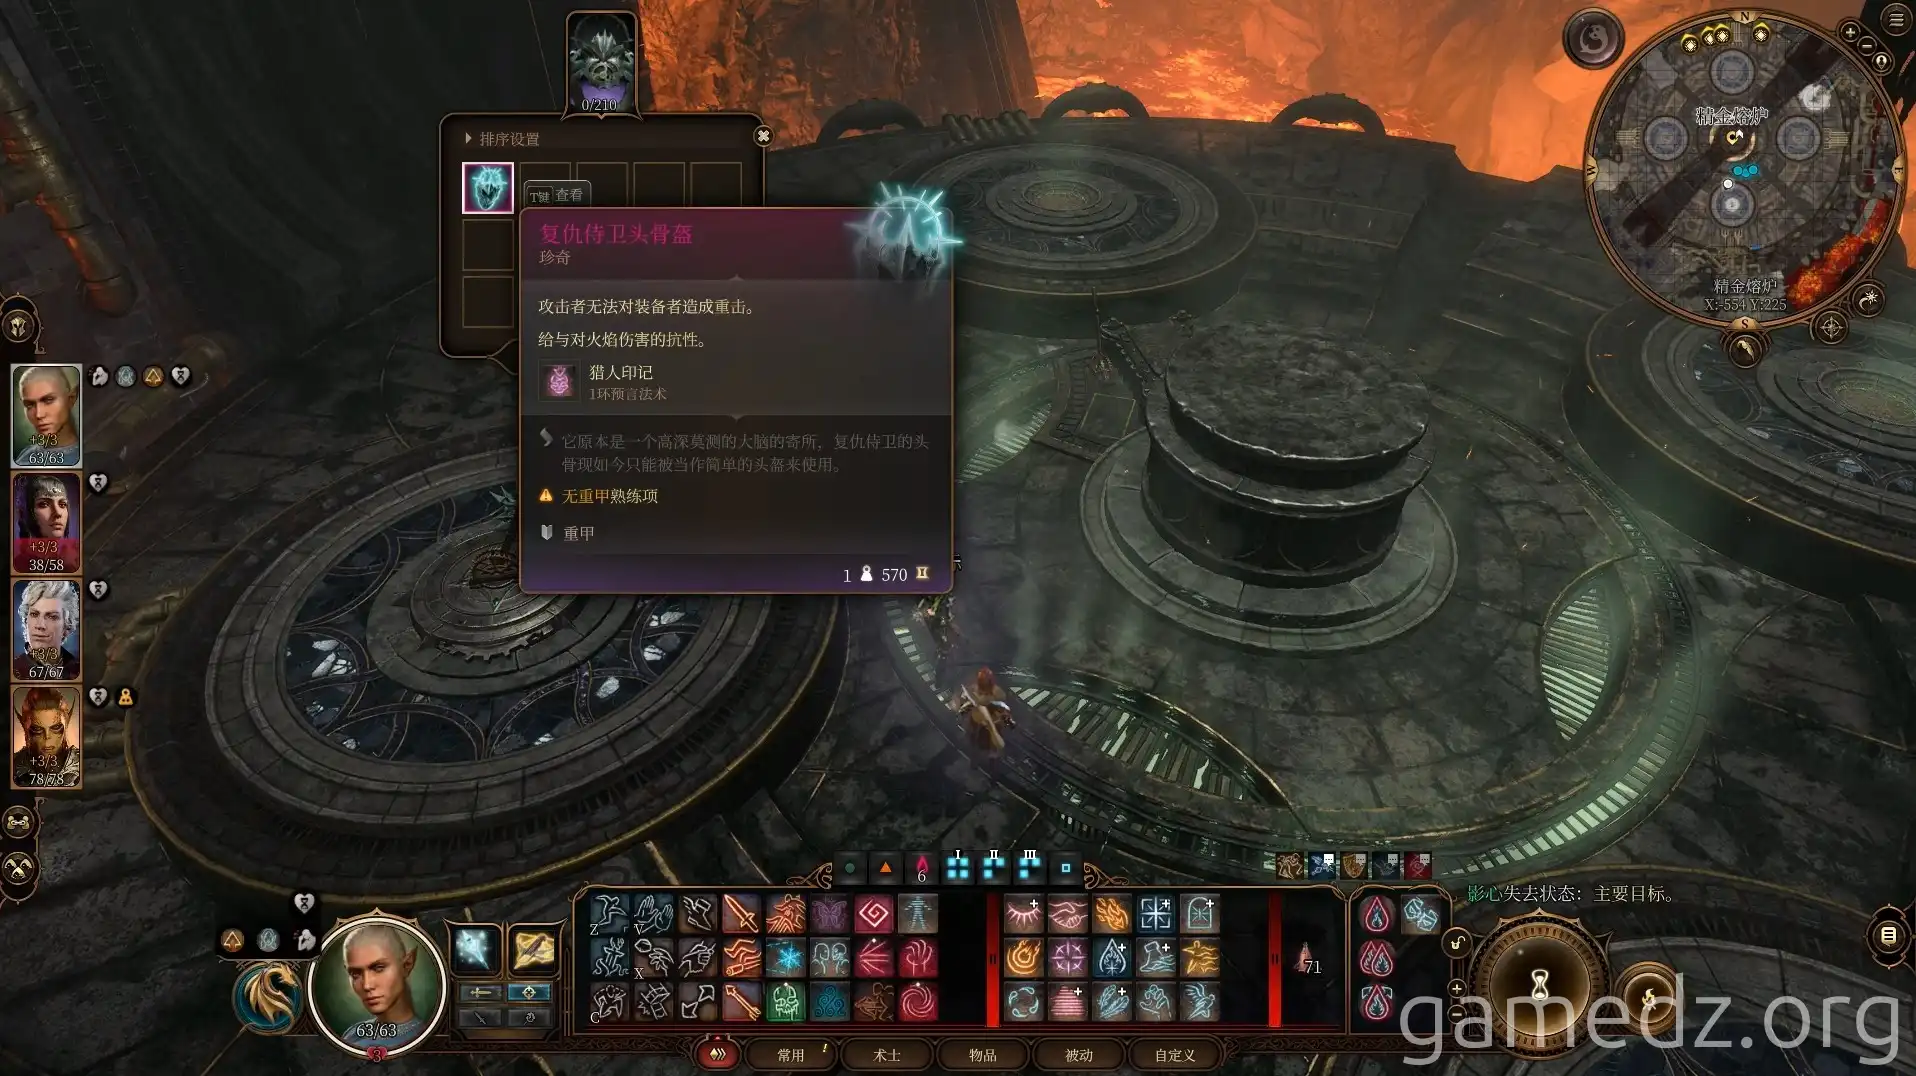
Then, take the two crafted Adamantine equipment pieces. Since Adamantine weapons are generally mediocre, it is more recommended to craft armor.
With this, the entire Grymforge has been explored. Now, prepare to head to the Cloister to confront the Githyanki.
