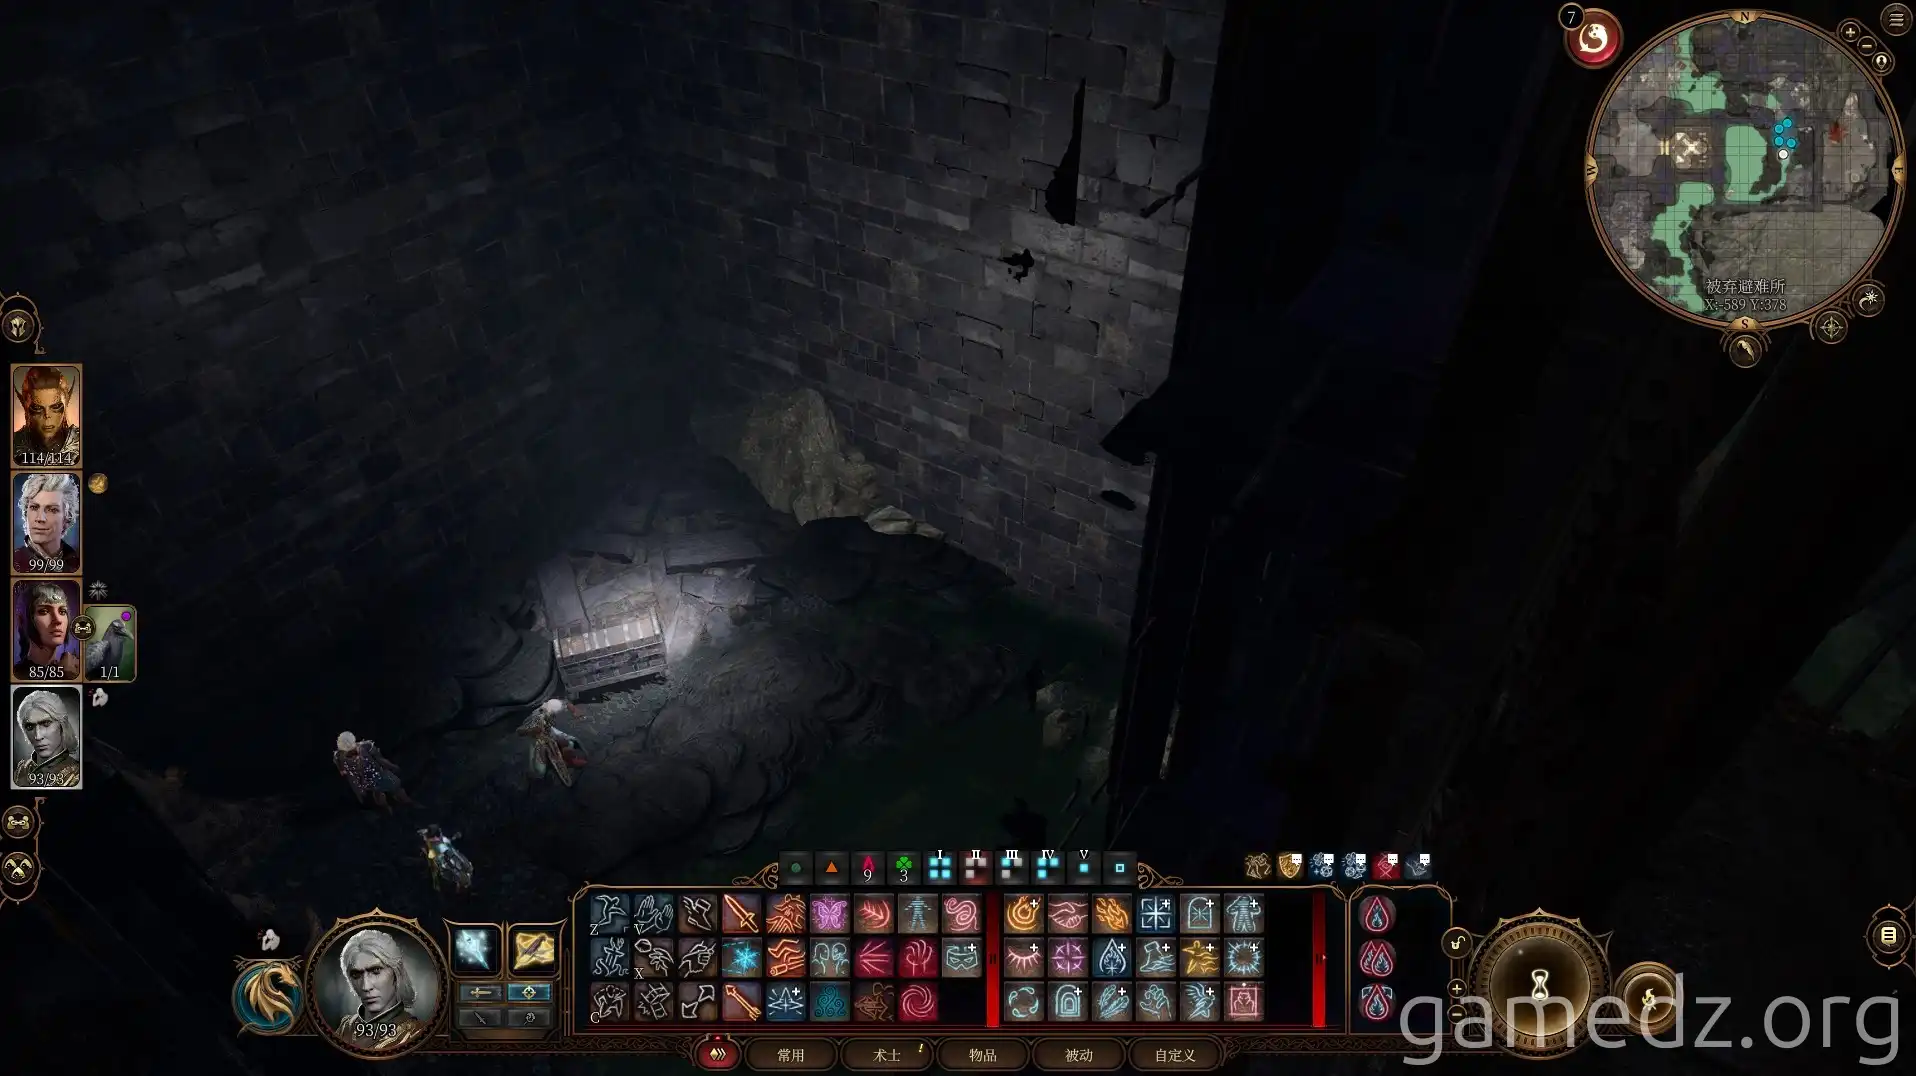
Baldur's Gate 3 Grymforge: Full Map & Loot Guide
This Baldur's Gate 3 guide details a full walkthrough of Grymforge, covering map exploration, item locations, and combat strategies for players.
Embark on your journey to Grymforge by boat, but be prepared for an interception by duergar. To navigate this encounter smoothly, leverage persuasion and intimidation to enter Grymforge without initiating conflict.
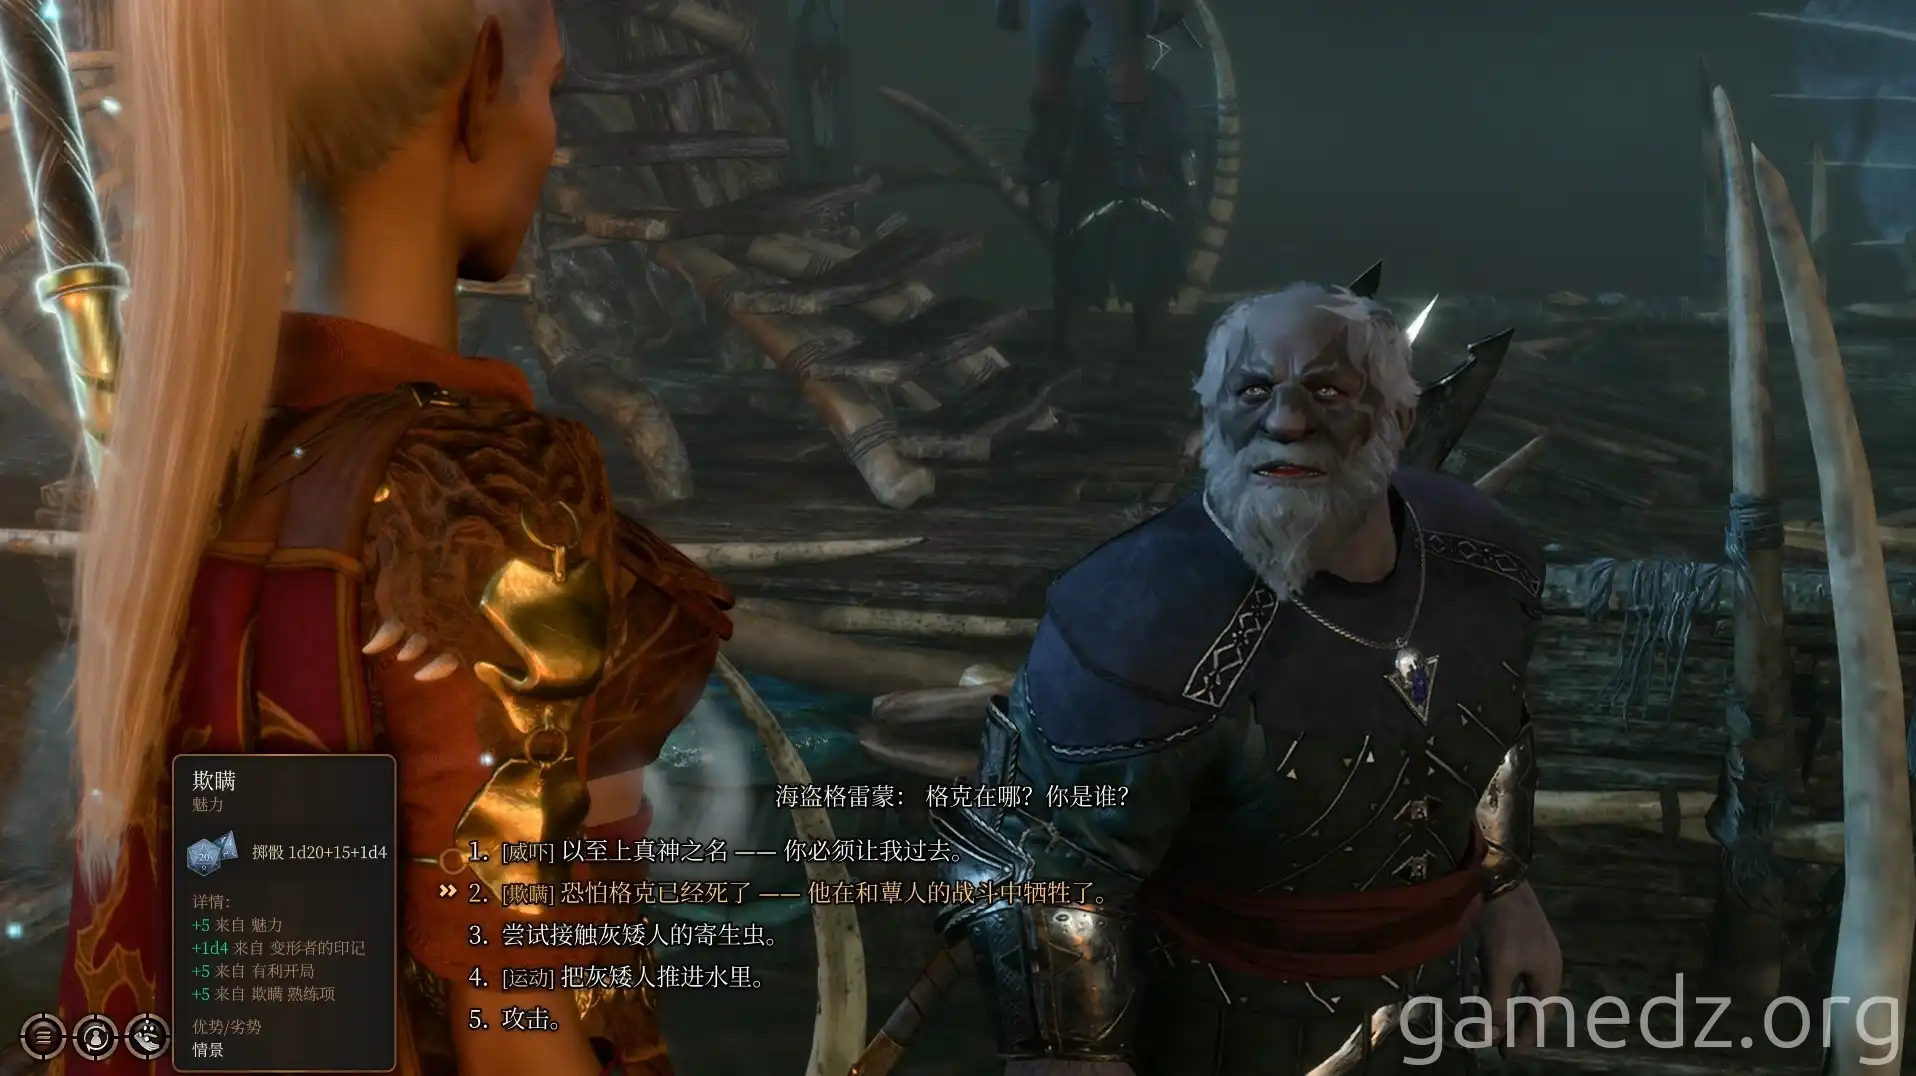
Upon arrival, reveal your status as a Soul Coin holder. The duergar may demand gold, but you can simply refuse.
Players with the Charlatan background will earn an Inspiration point for entering Grymforge without conflict. Afterward, proceed up the stairs.
Important Note: Keep track of your returns to camp. After your third return, Nere will perish. Subsequent exploration will involve combat. If your resources are low, consider completing Nere's related quests before engaging in battle.
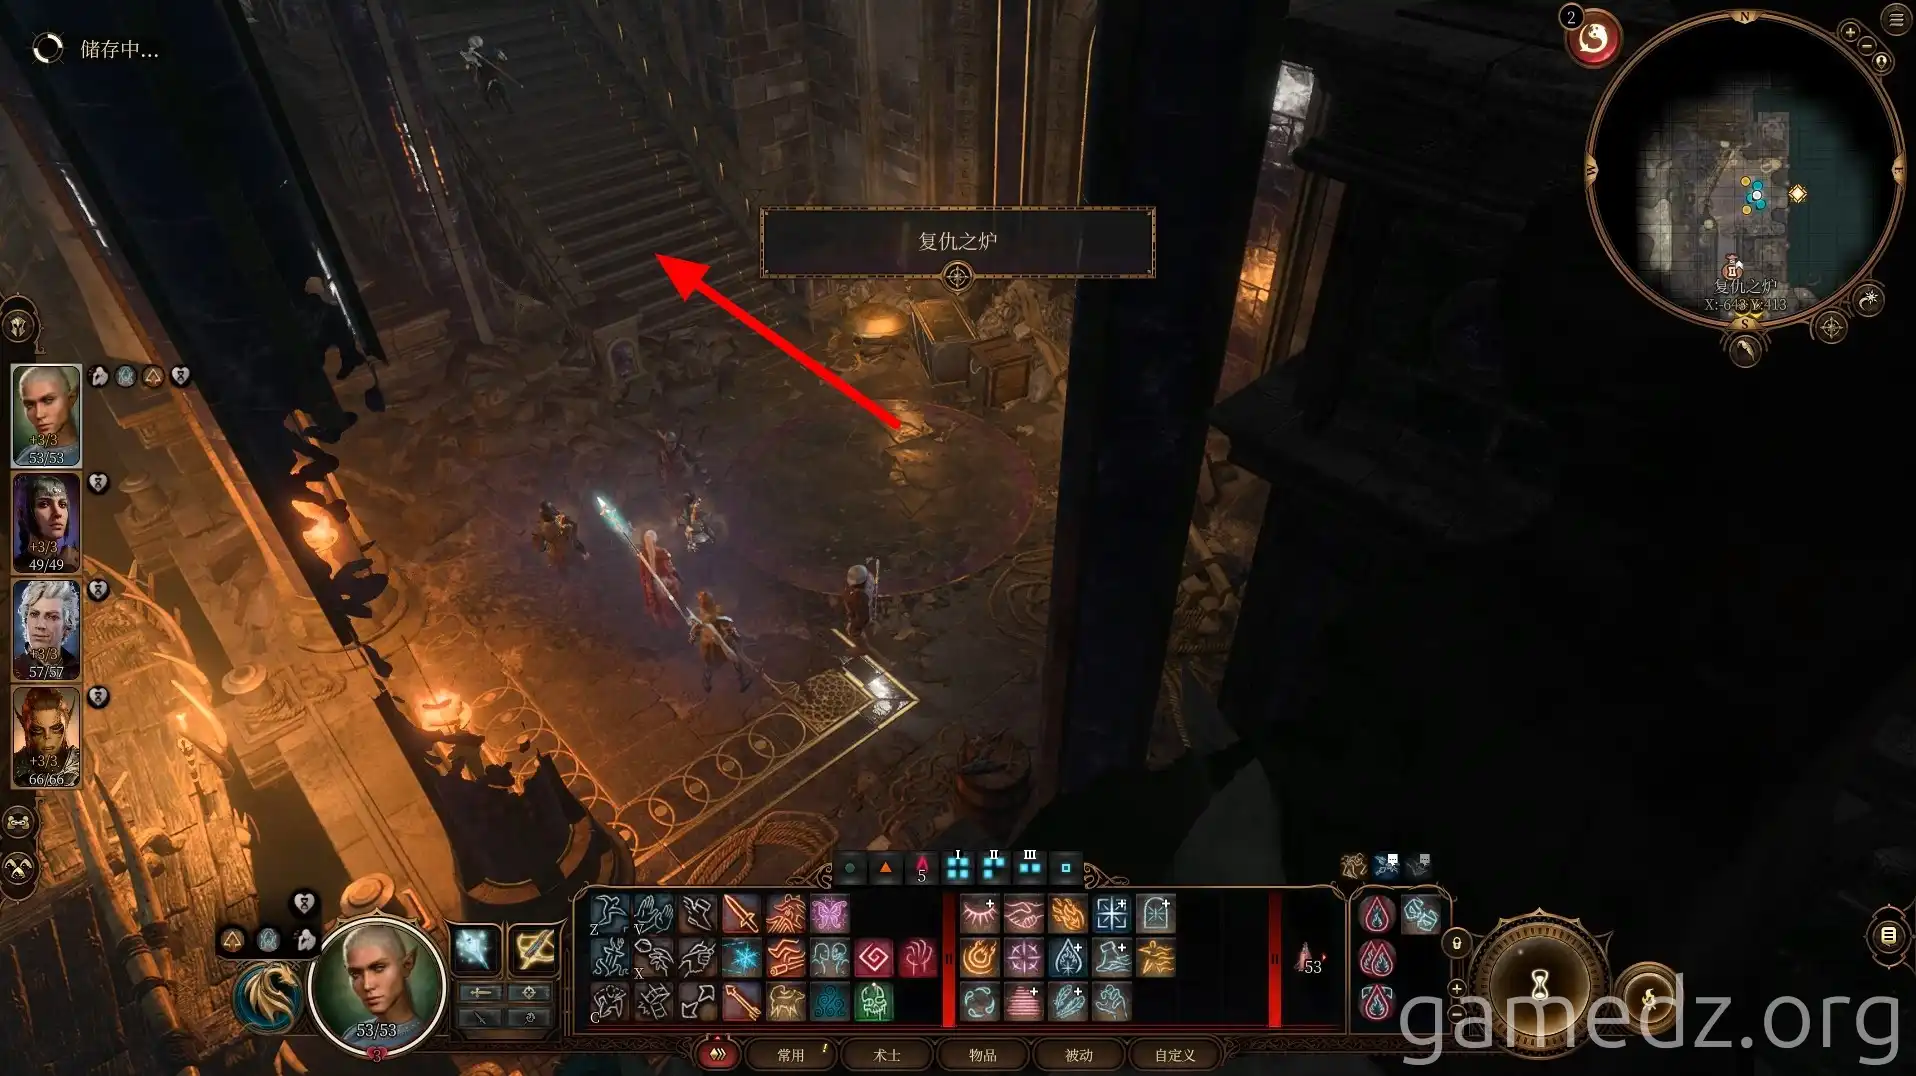
Activate the waypoint [Grymforge] and continue ascending.
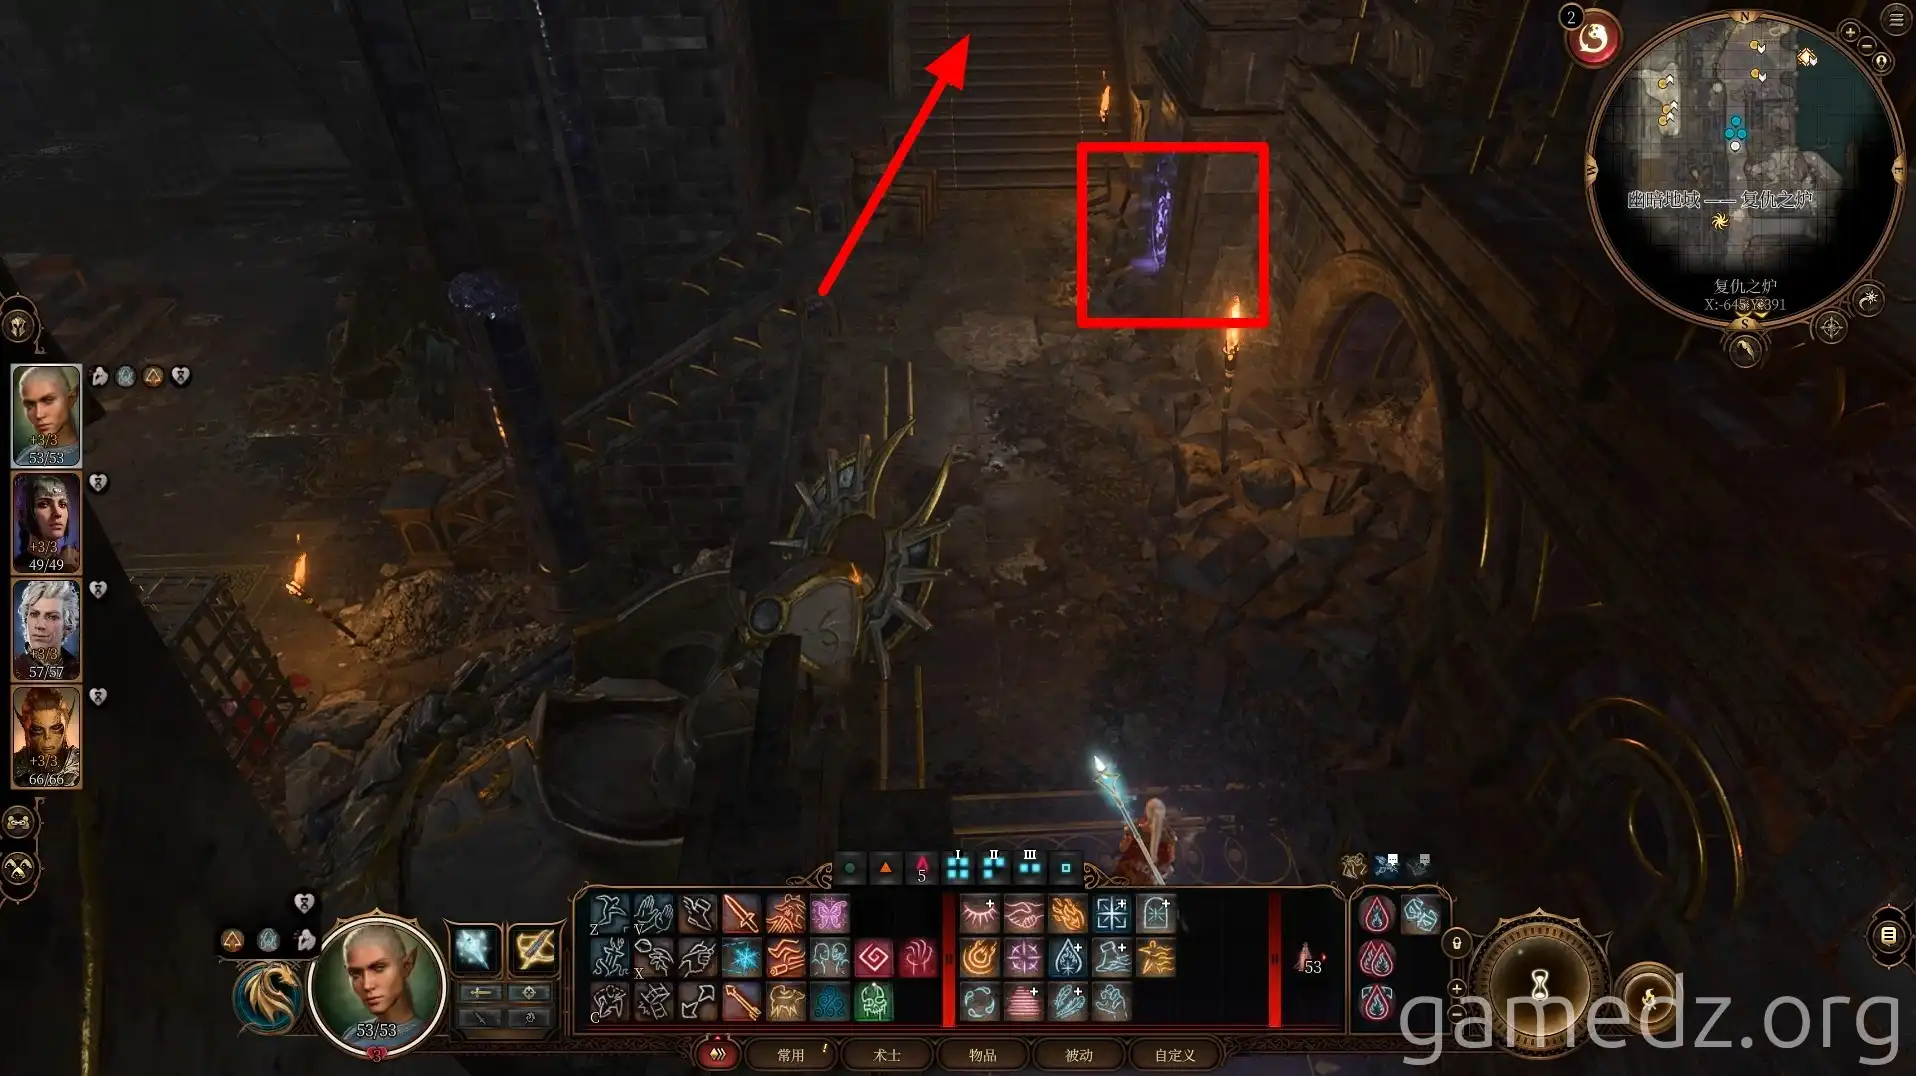
Reach the upper level and head to the front left to find the main hall of Grymforge.
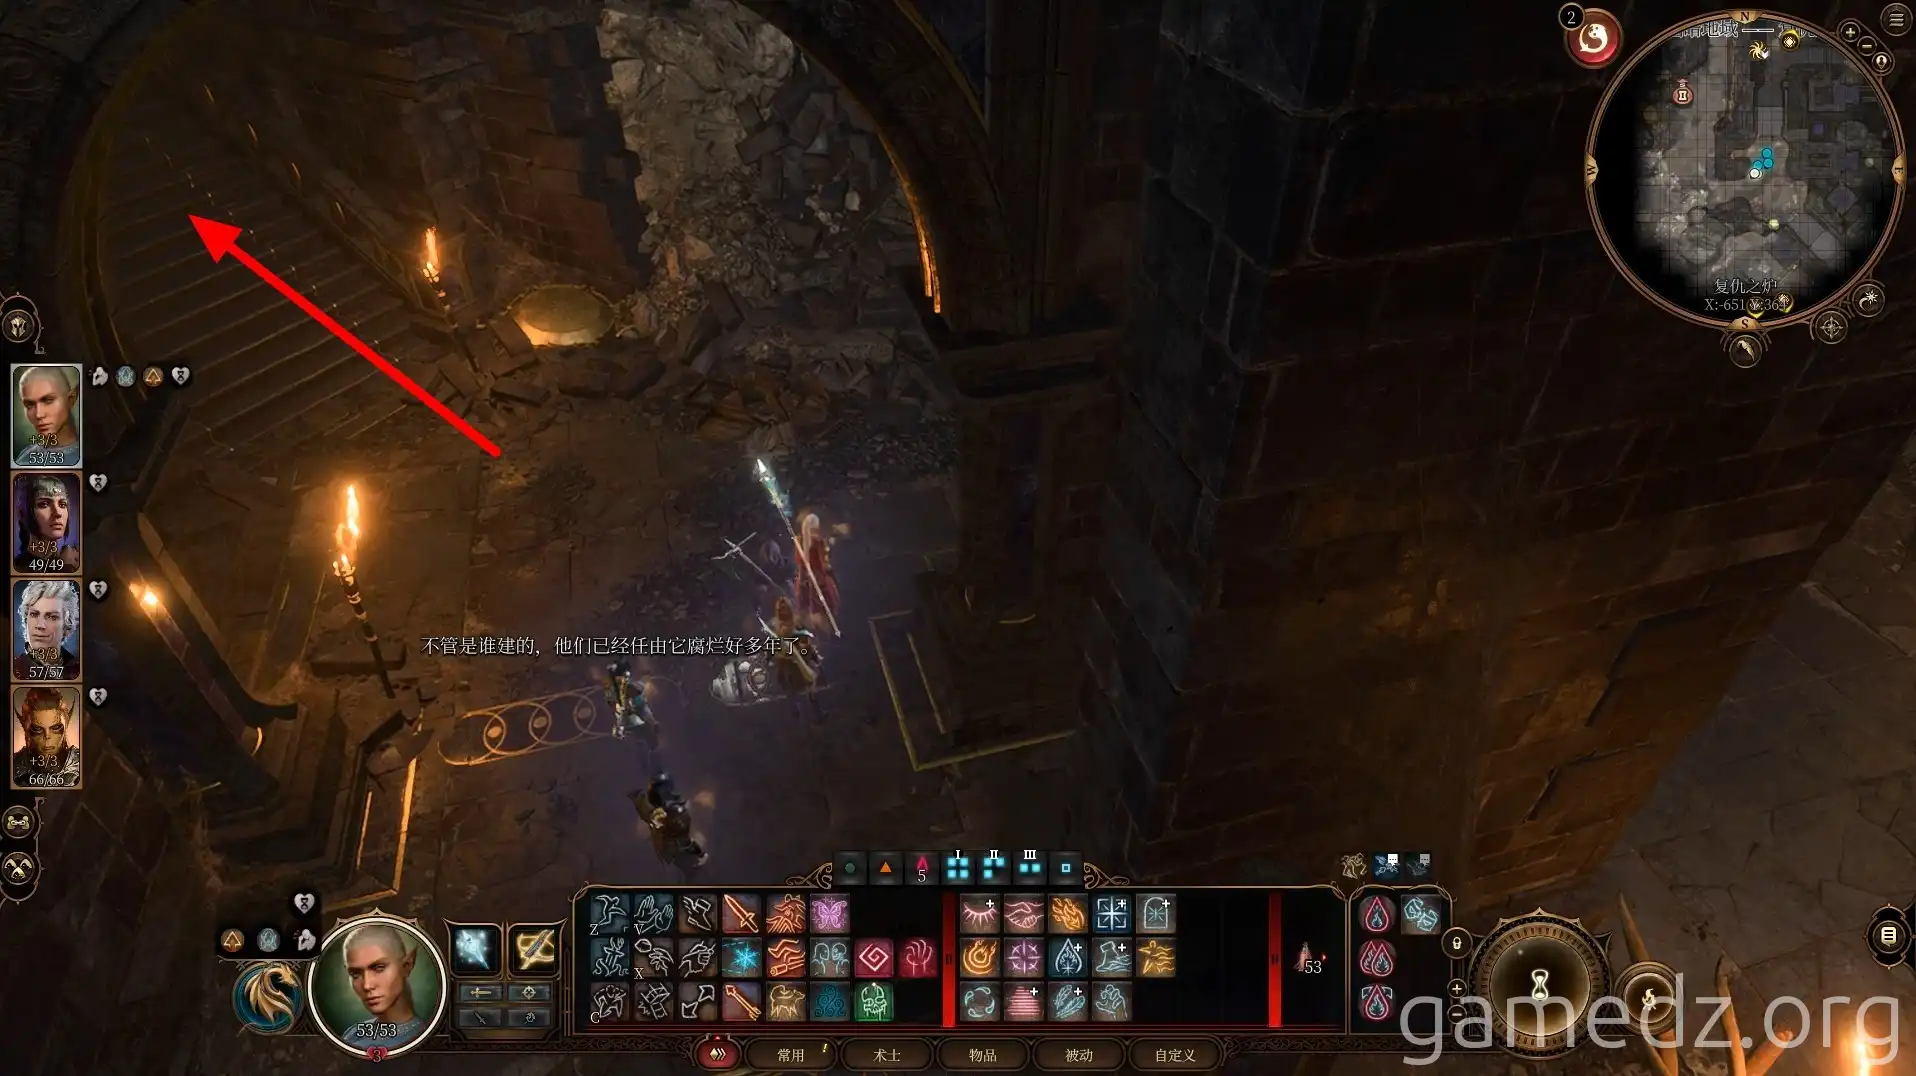
In the main hall, you can purchase unique equipment from Gerhild, the pirate.
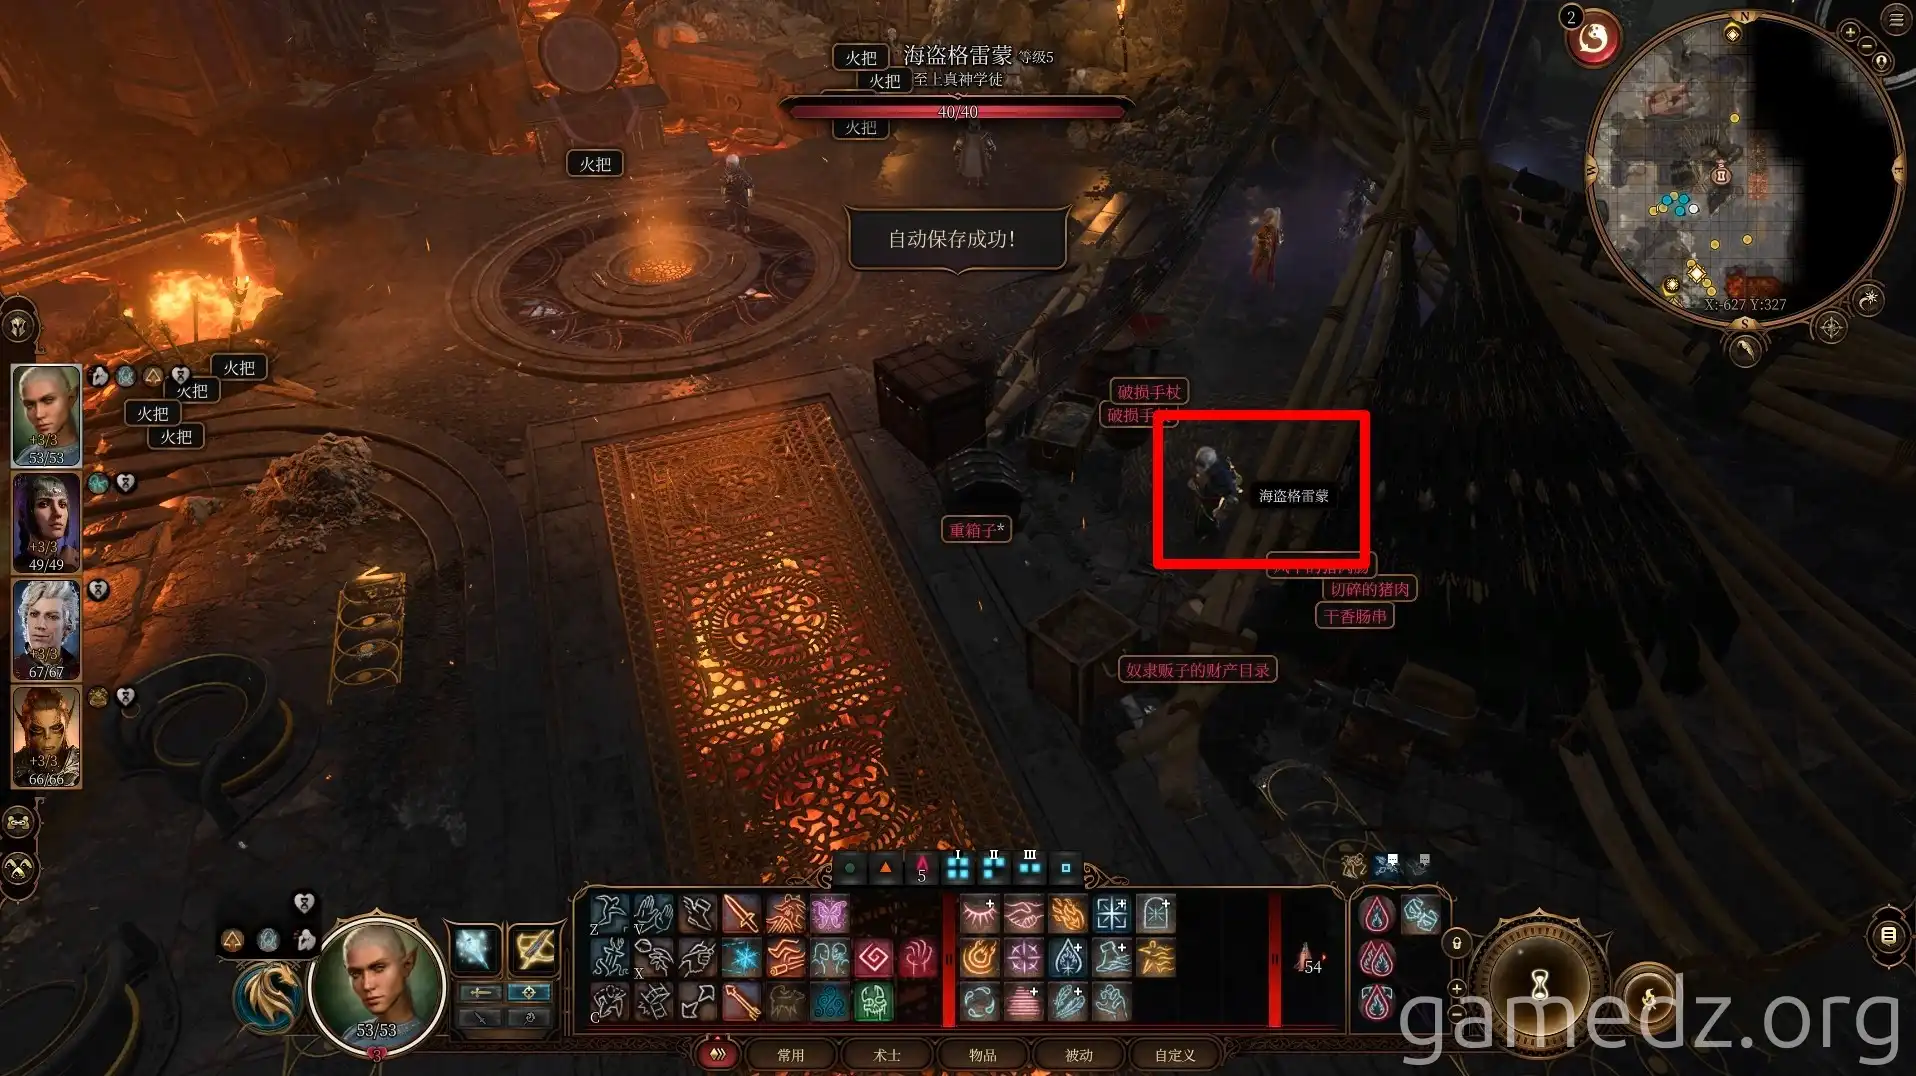
Here's a look at the unique equipment Gerhild offers and their stats:
Next, speak with Sergeant-at-Arms Thrinn and the gnomes excavating in the hall. Two gnomes on the far right will reveal that Philomath has hidden with Runeexplosives. Remember, other explosive items and force damage spells can also destroy rubble.
Among the excavating gnomes, Balthazar, whom you rescued at the windmill in the Blighted Village, is the second from the left.
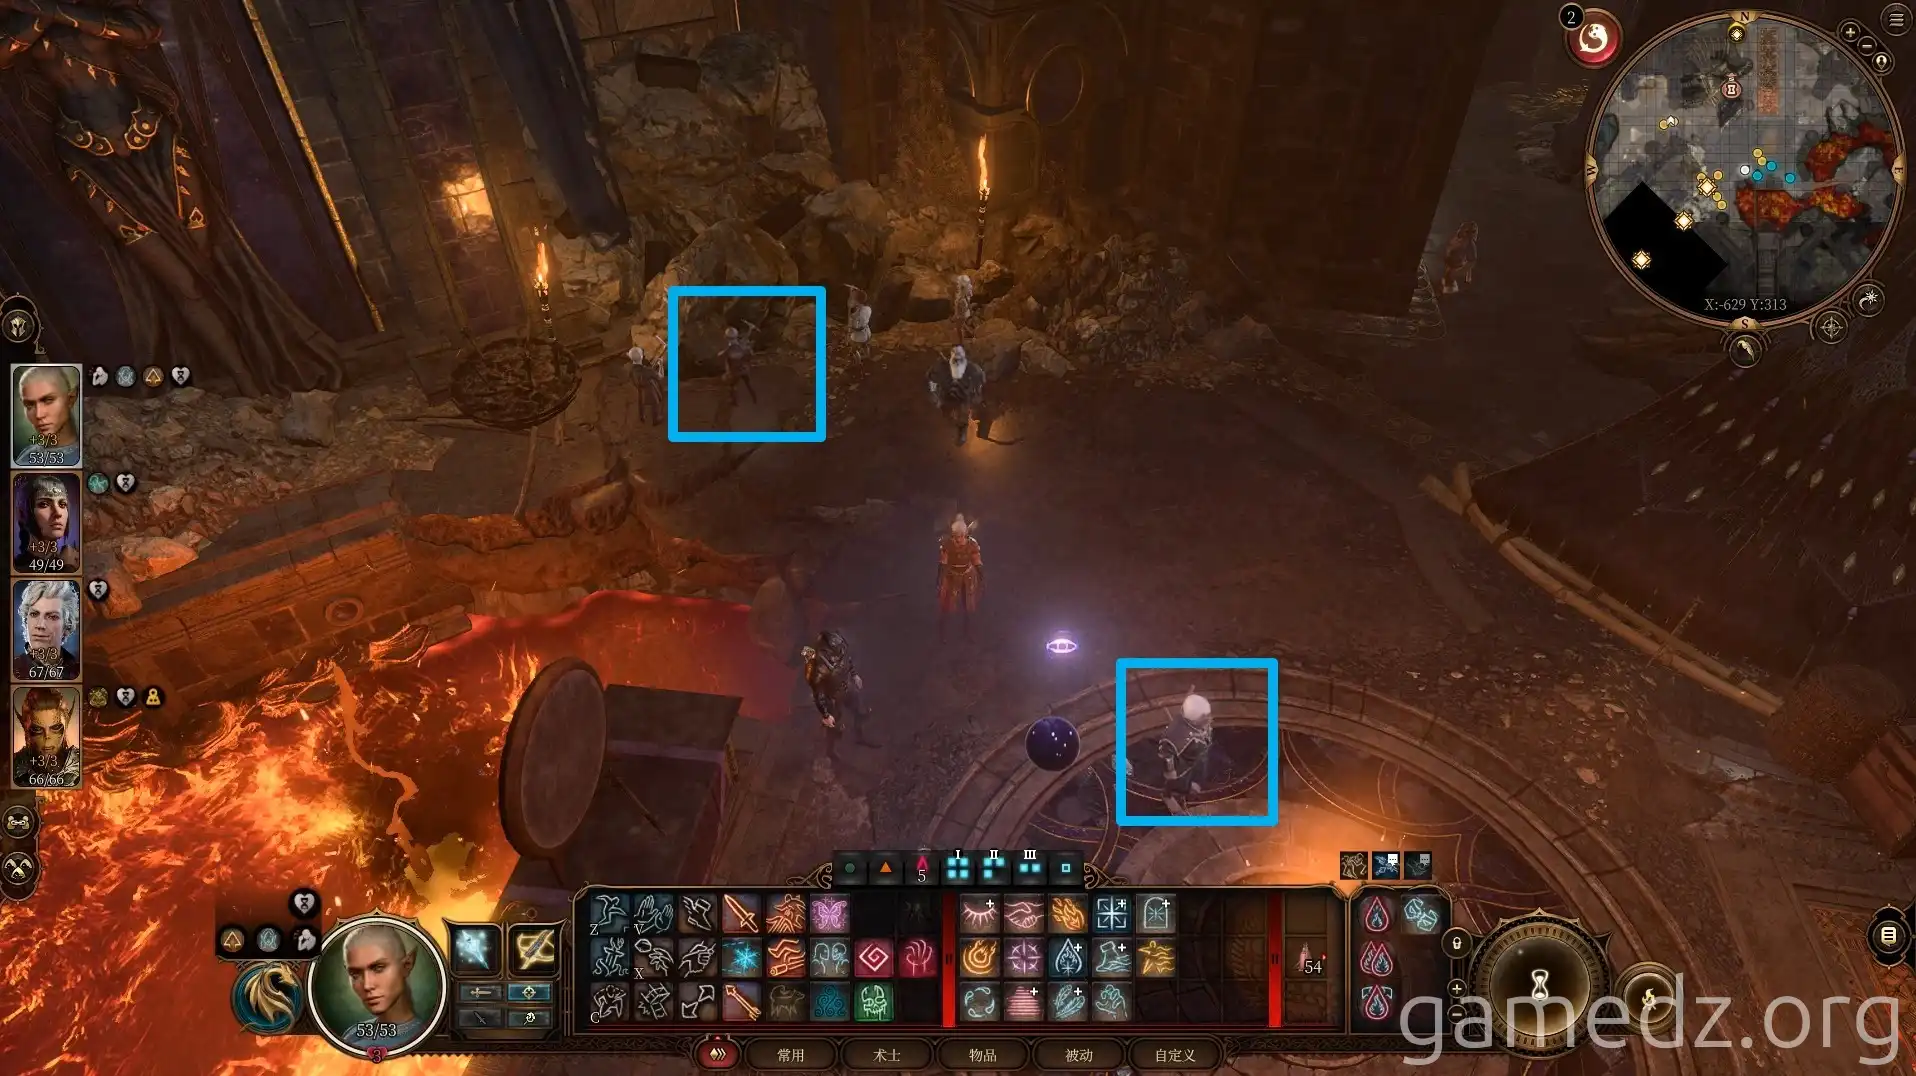
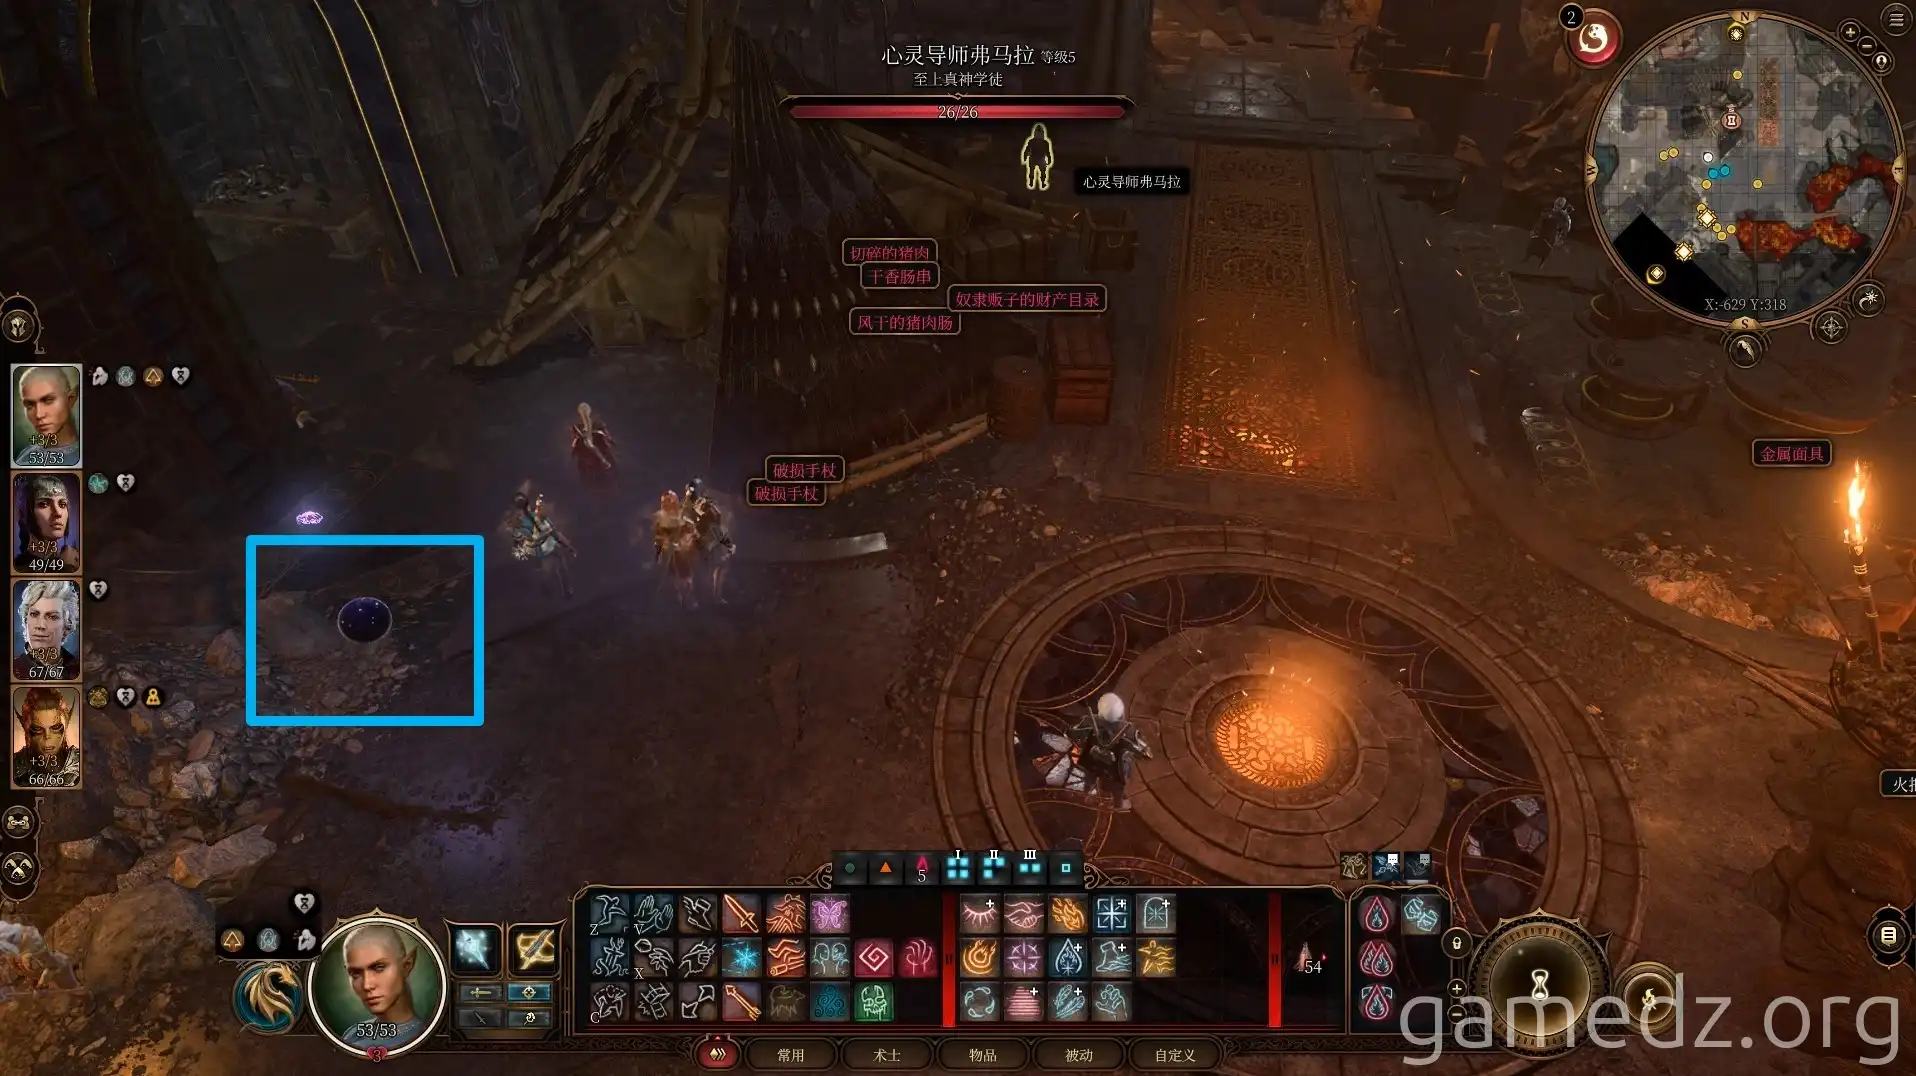
Upon entering the hall, a hostile purple floating orb will target you. Find an unoccupied corner and destroy it.
Exit the hall through the northern passage and speak with Duergar Elder Blurg on the terrace.
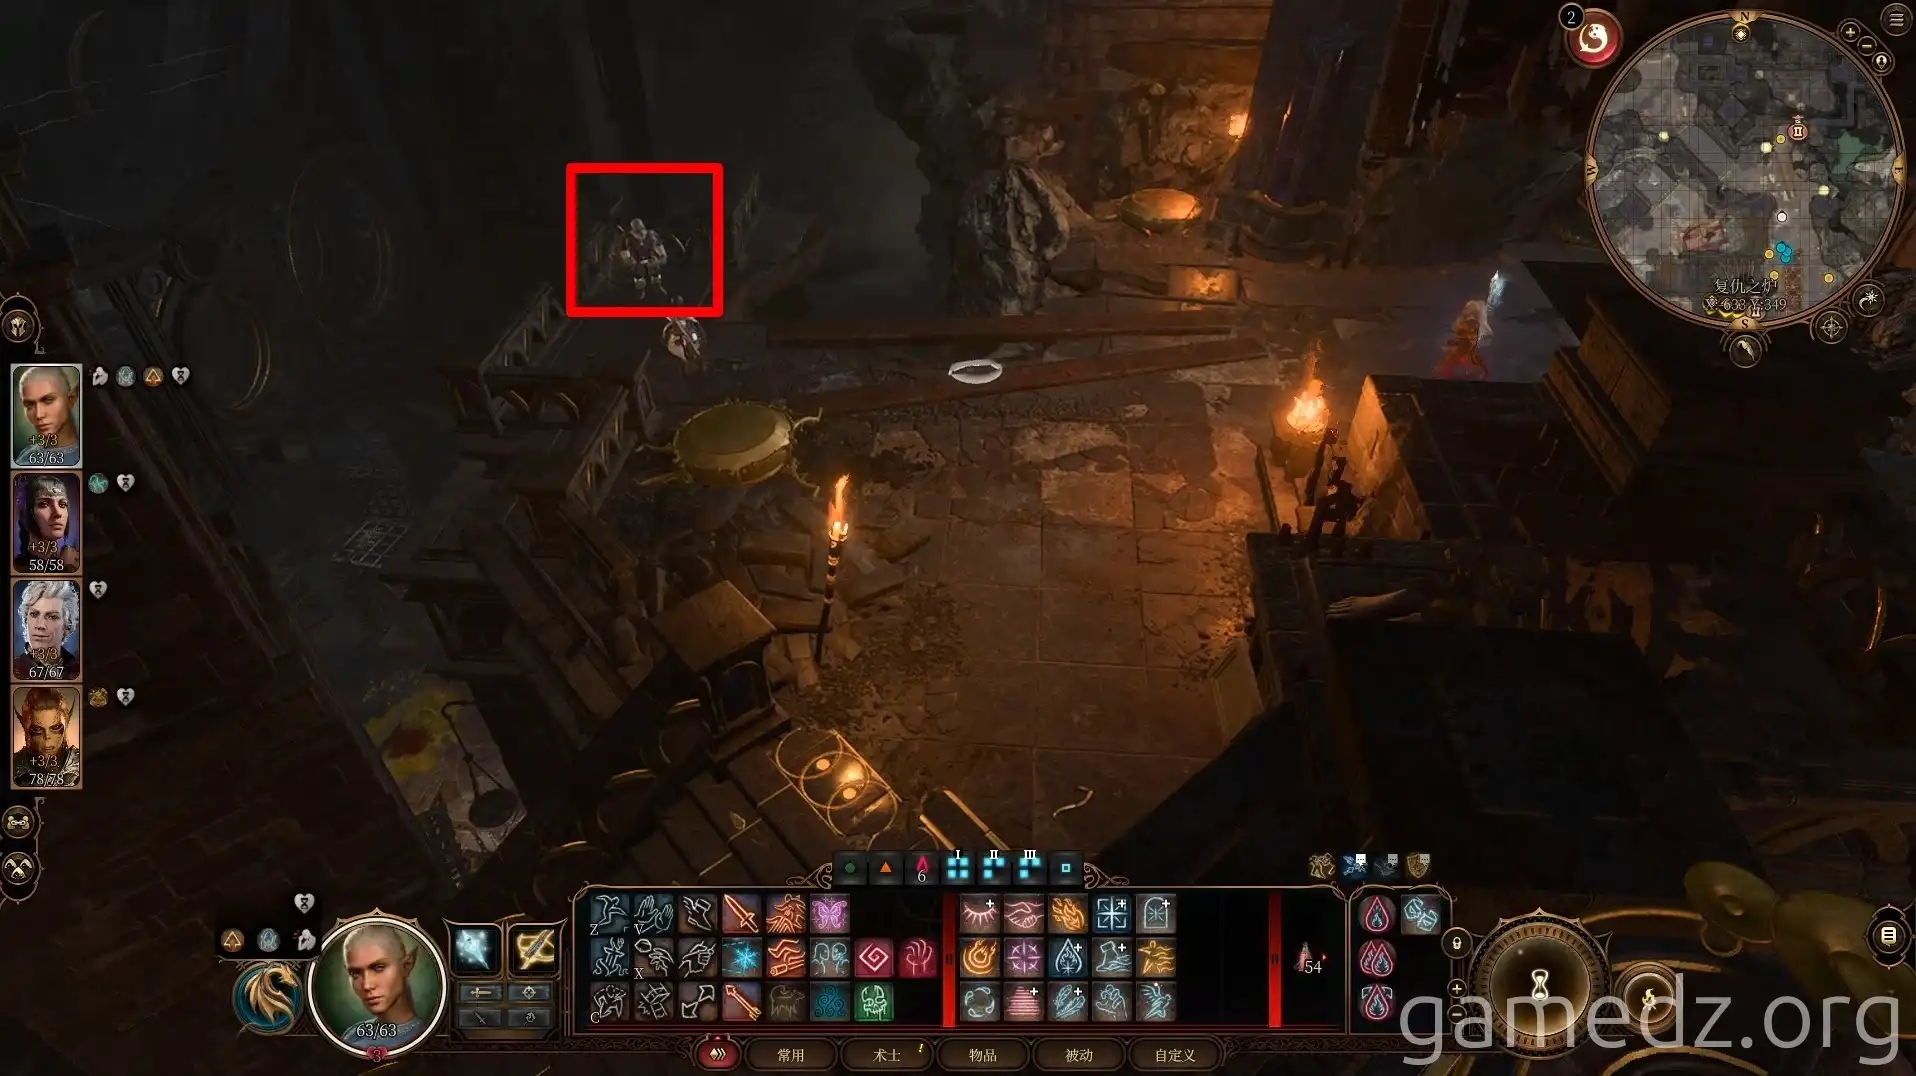
During your conversation, you'll learn Blurg is hostile towards Soul Coin holders. Choose to help the Duergar Elder. This alliance will significantly reduce combat difficulty later, causing internal conflict among the duergar after Nere's rescue.
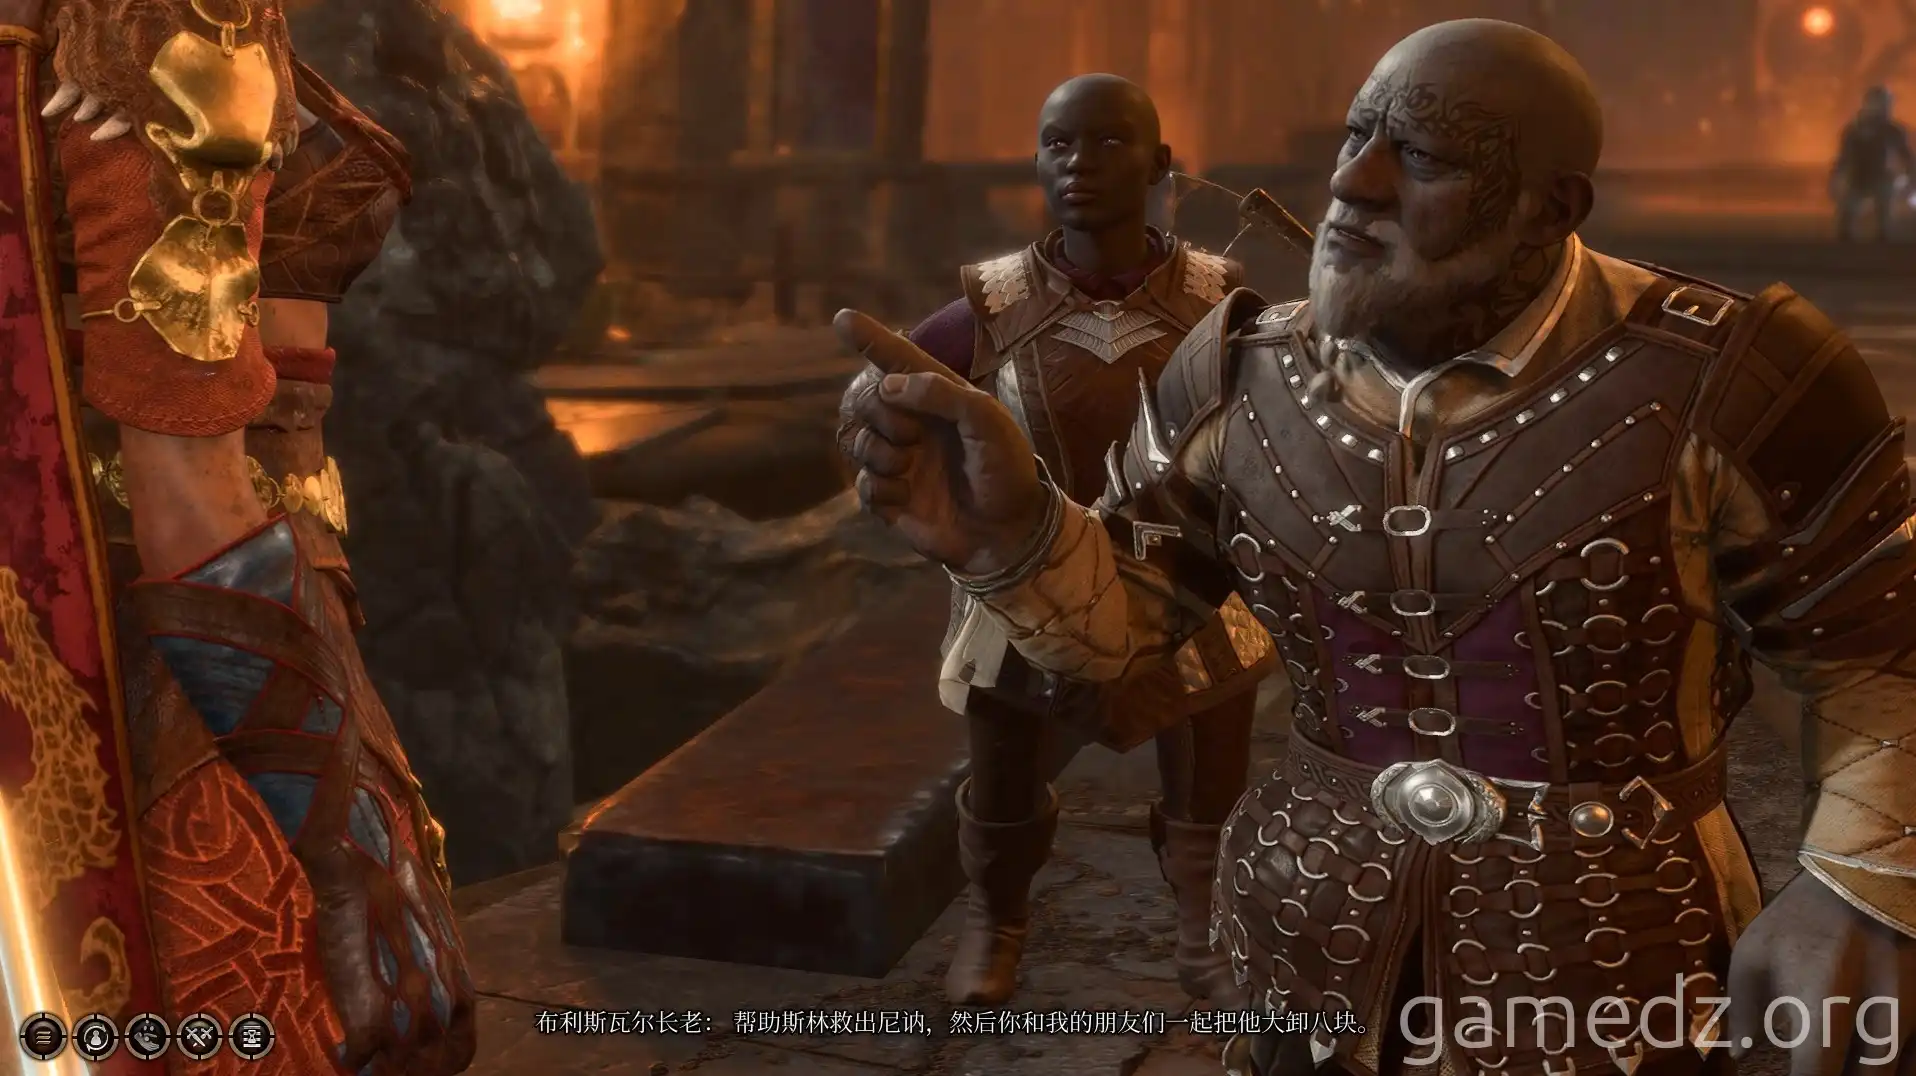
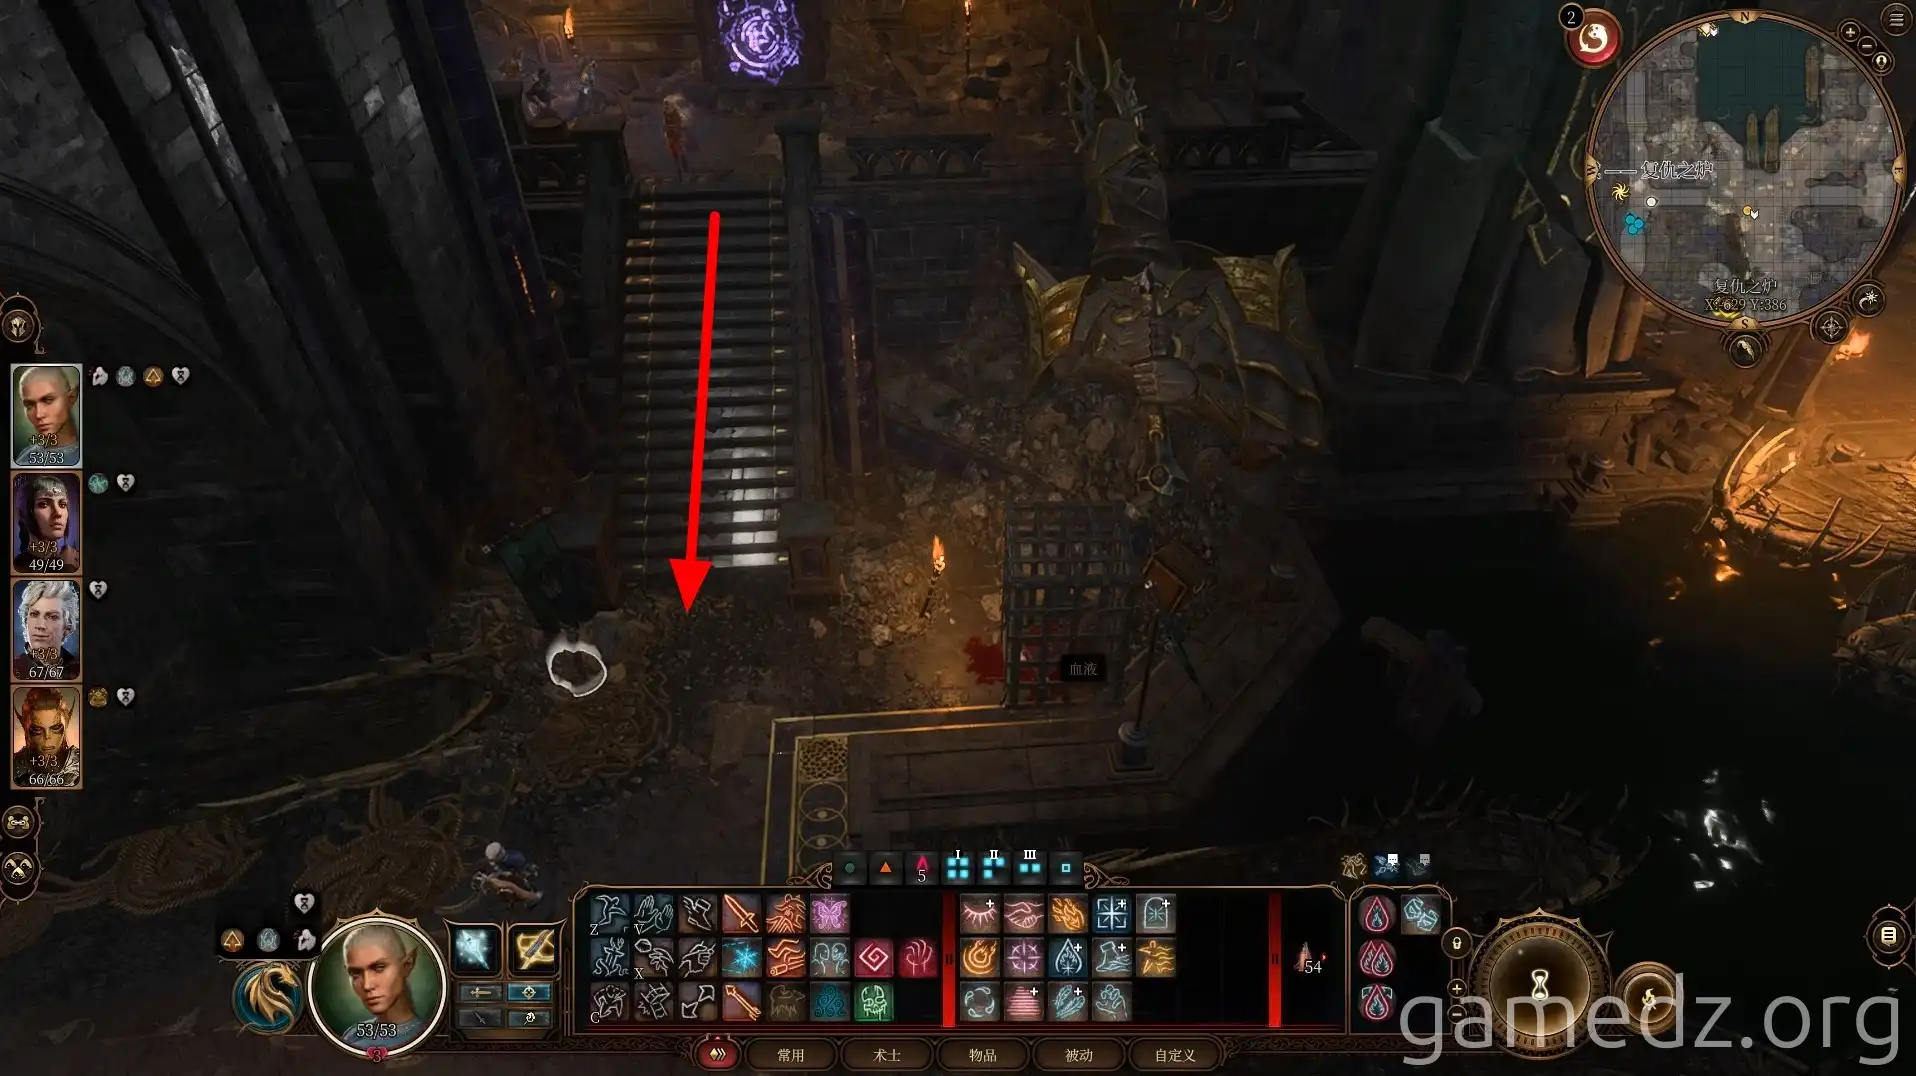
Proceed to the waypoint and head east along the stairs.
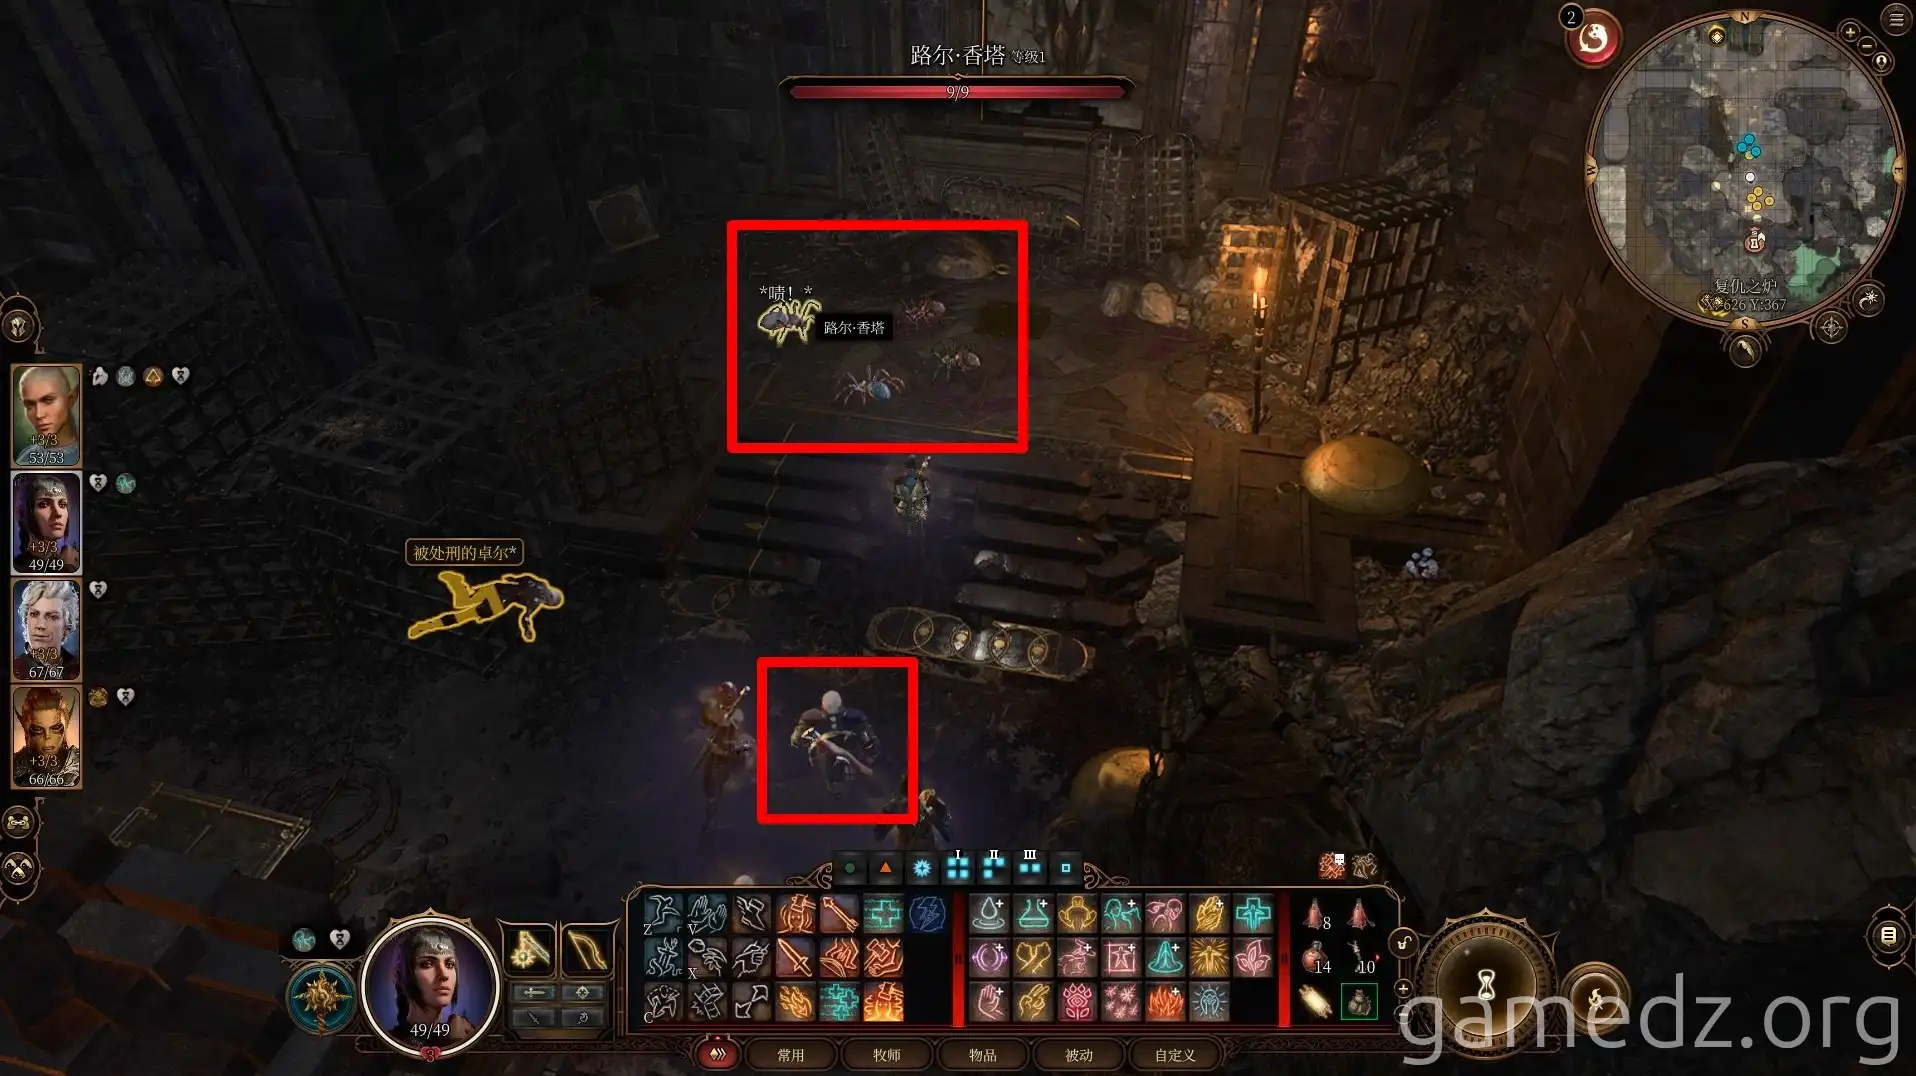
In the central area of the docks, use "Speak with Animals" to persuade the four spiders to leave, reducing later combat pressure. After the spiders depart, eliminate the lone patrolling duergar.
Players with the Acolyte background will gain an Inspiration point for successfully persuading the spiders to leave. In a nearby chest, you can find some magic arrows.
Continue eastward to the elevated platform.
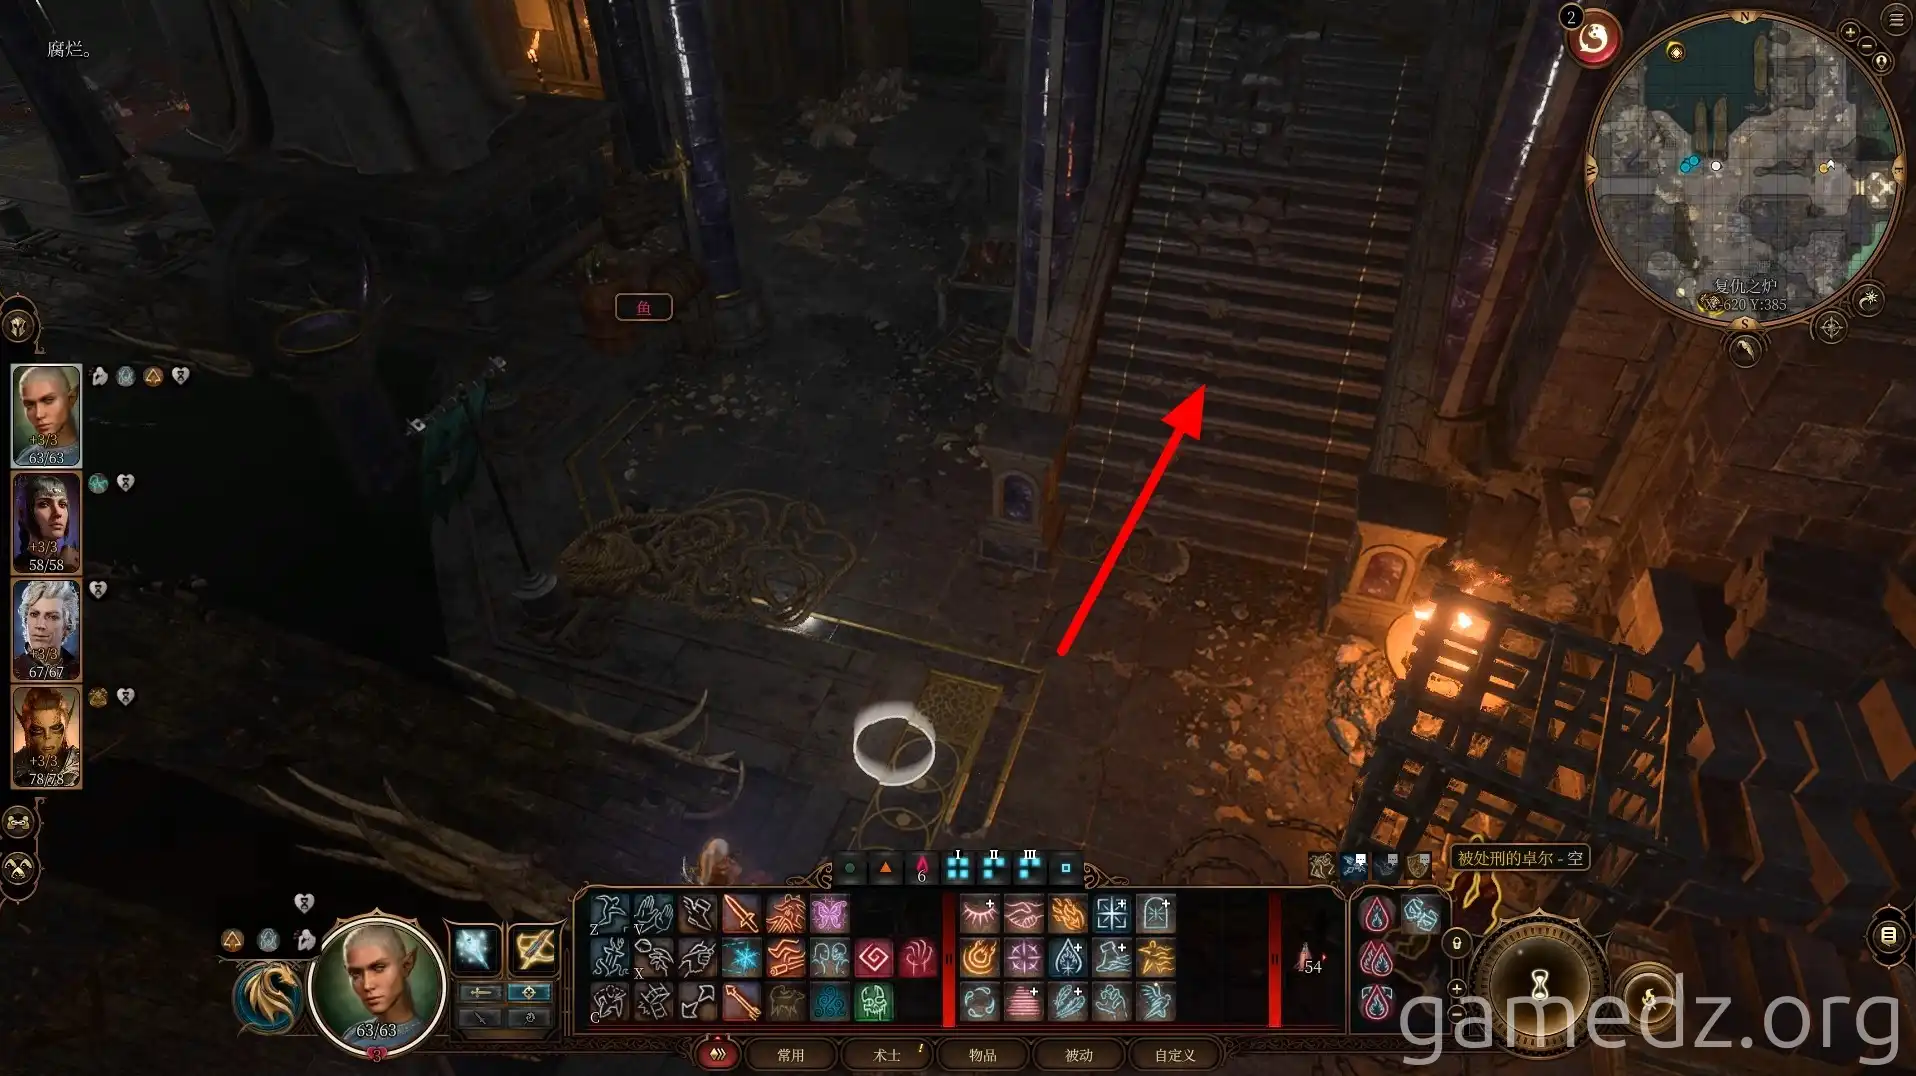
On the upper level, you'll find two duergar mistreating a gnome. Intervene, defeat the duergar, and rescue the gnome. In gratitude, the gnome will gift you a flask of Wyvern Poison.
The nearby elevator leads to a temple. Passing through it will bring you to the Shadow-Cursed Lands, which we'll cover later.
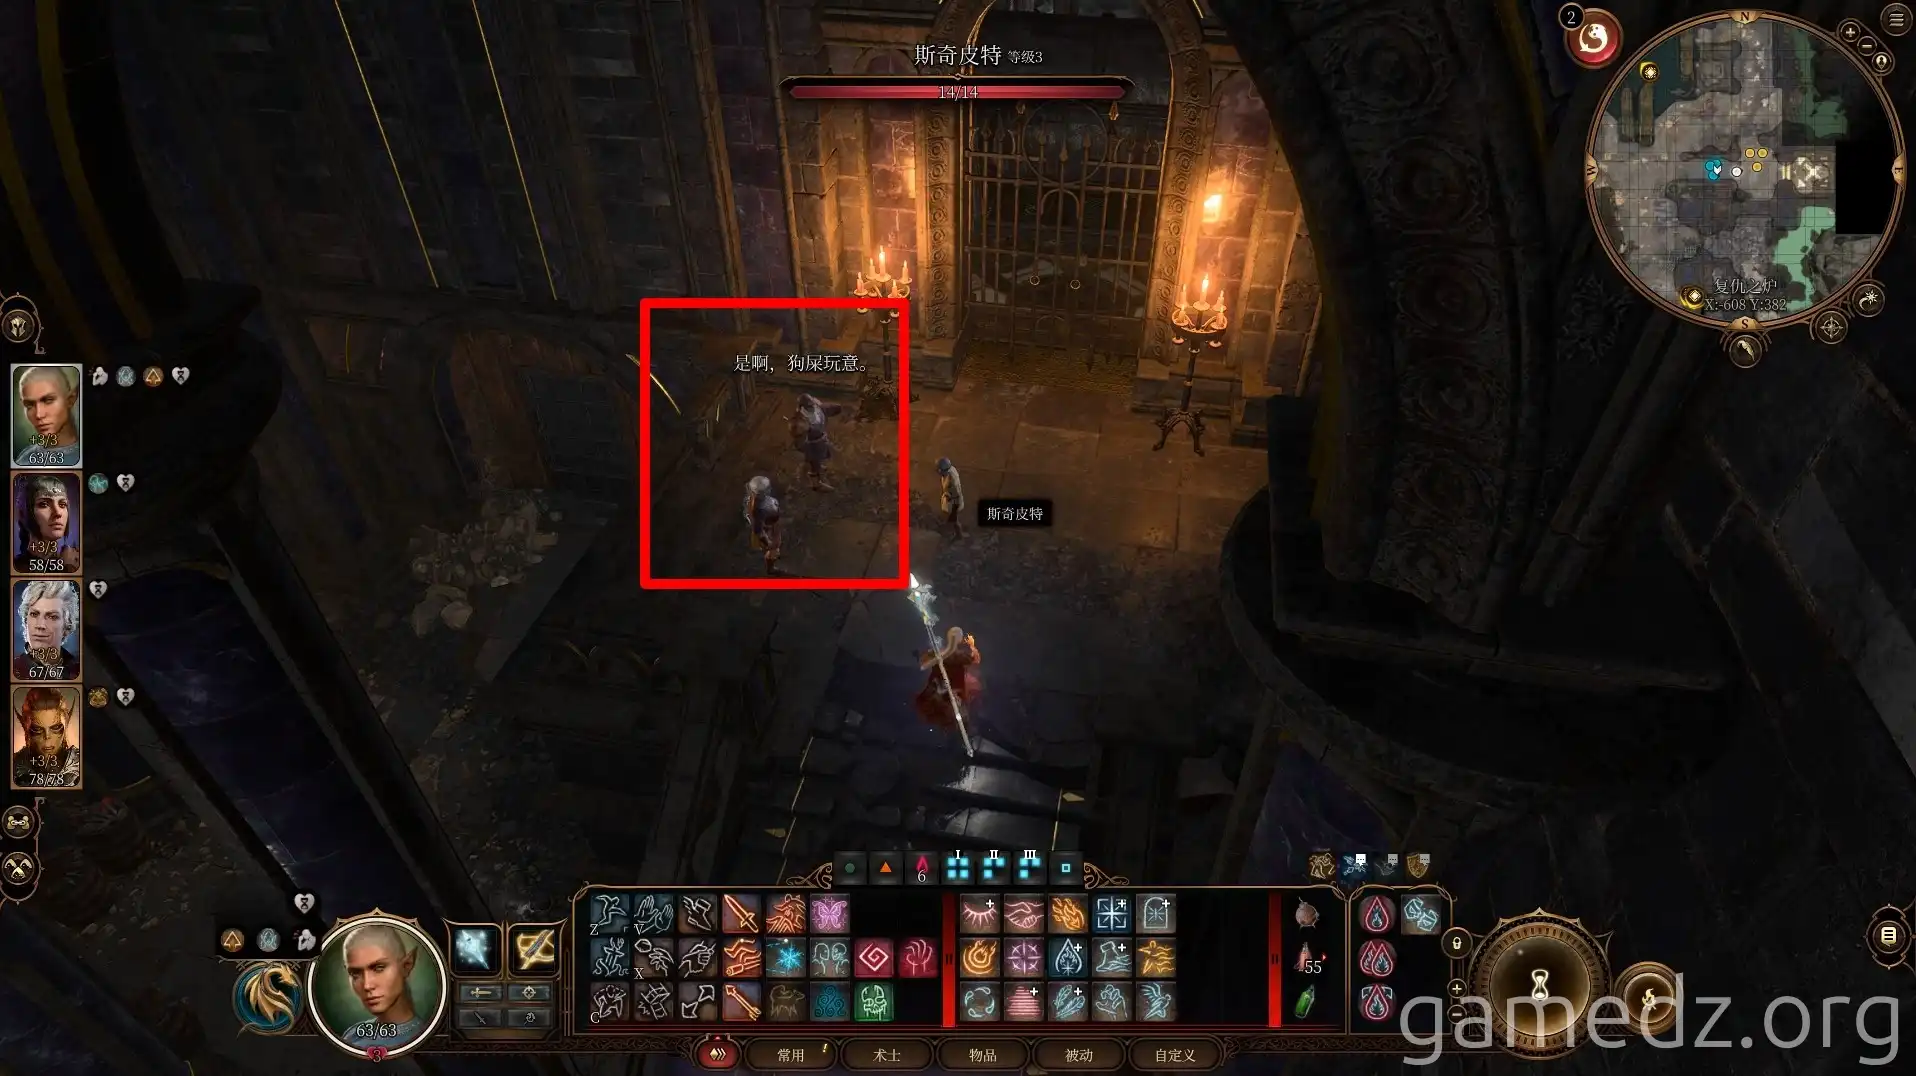
Return to the lower level and continue heading north.
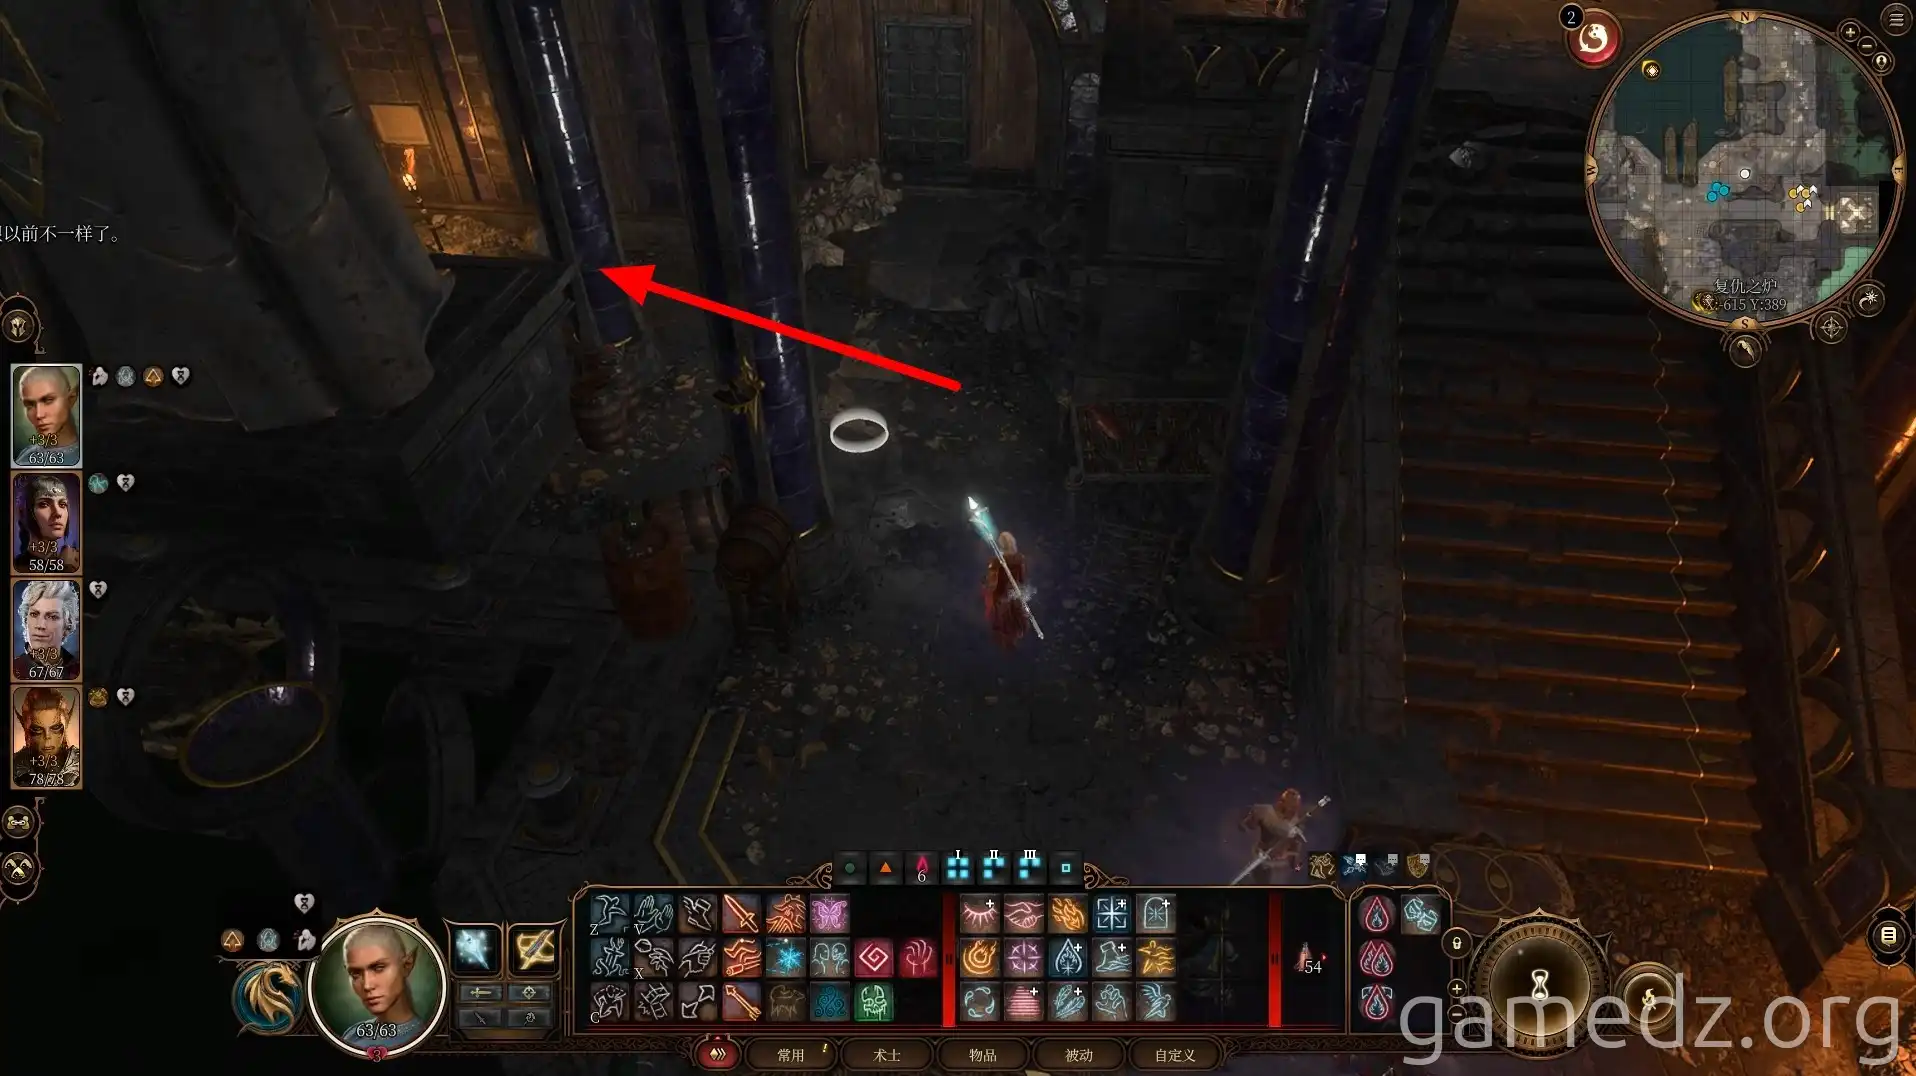
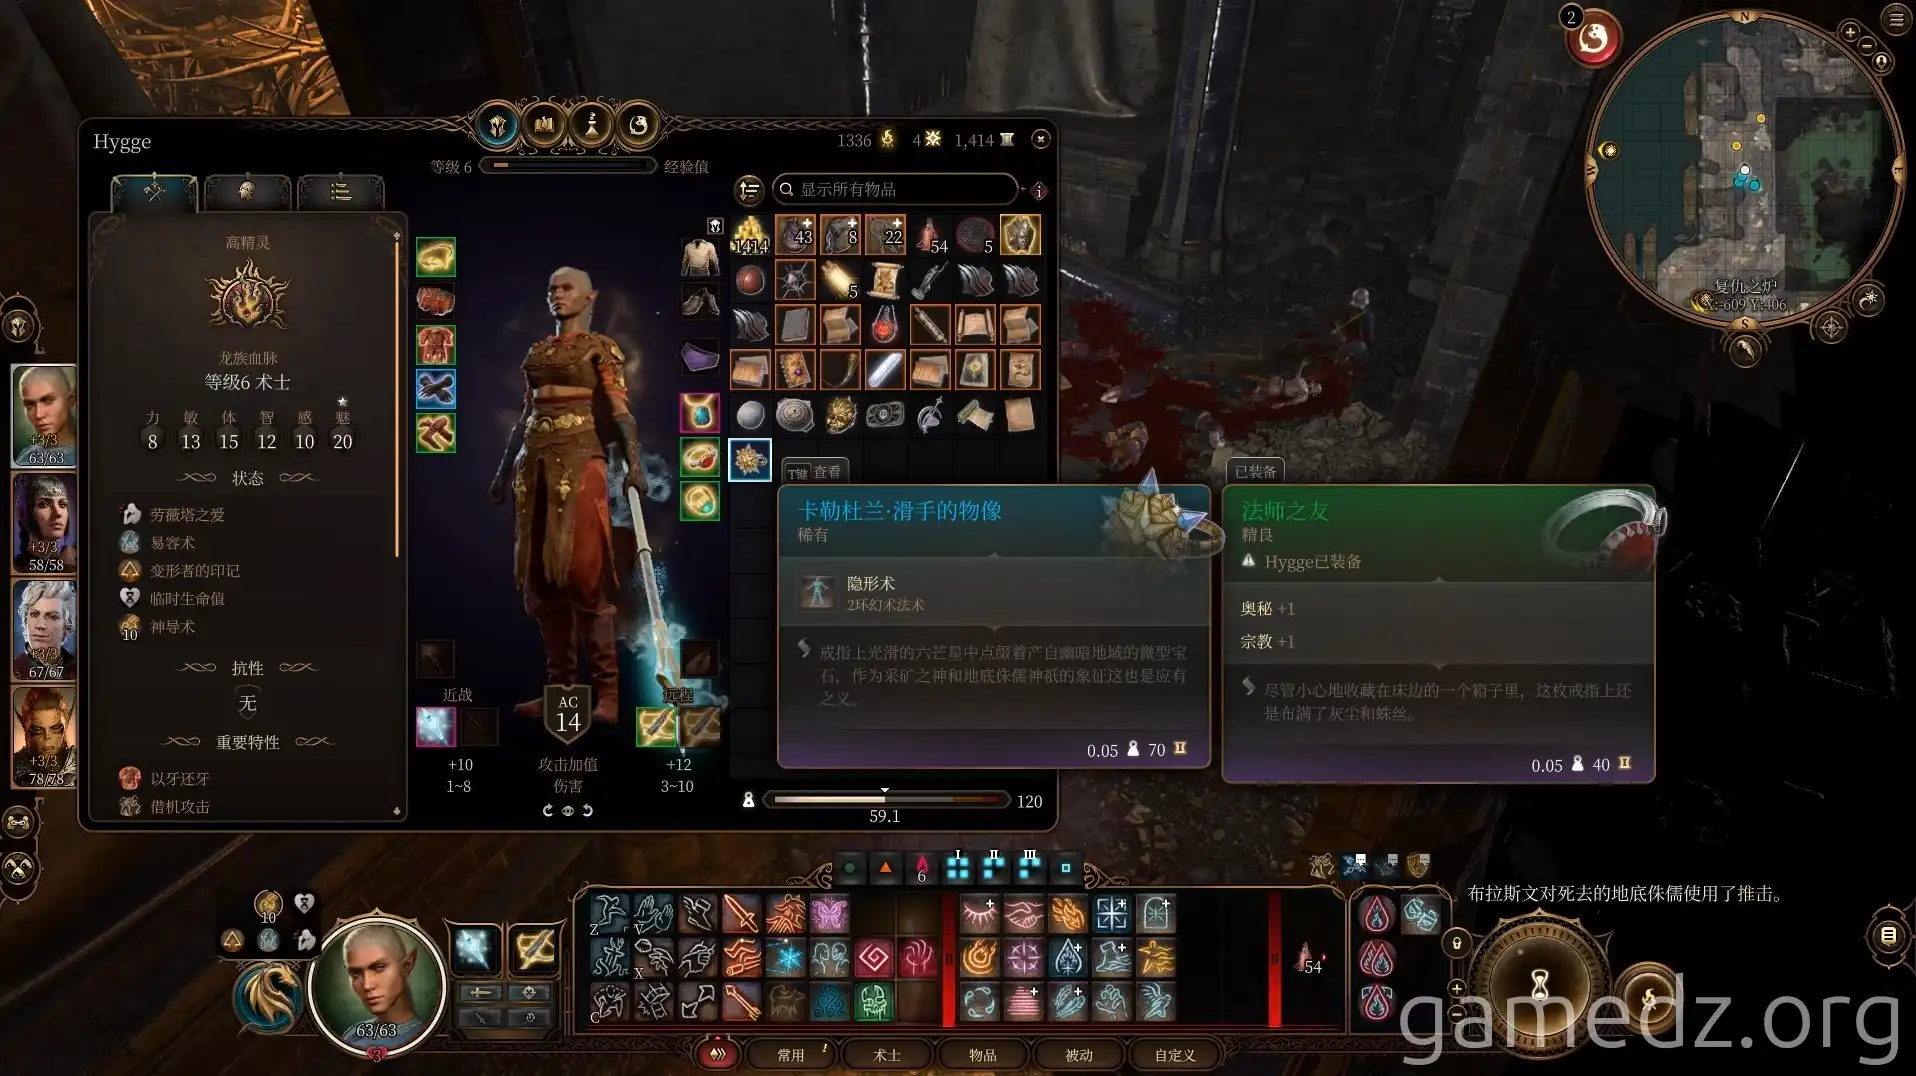
Ahead, you'll encounter two duergar disposing of bodies. With successful Perception and Sleight of Hand checks during dialogue, you can obtain the rare accessory [Phylactery of the Mind Flayer] from the corpses. After acquiring the ring, eliminate the two duergar.
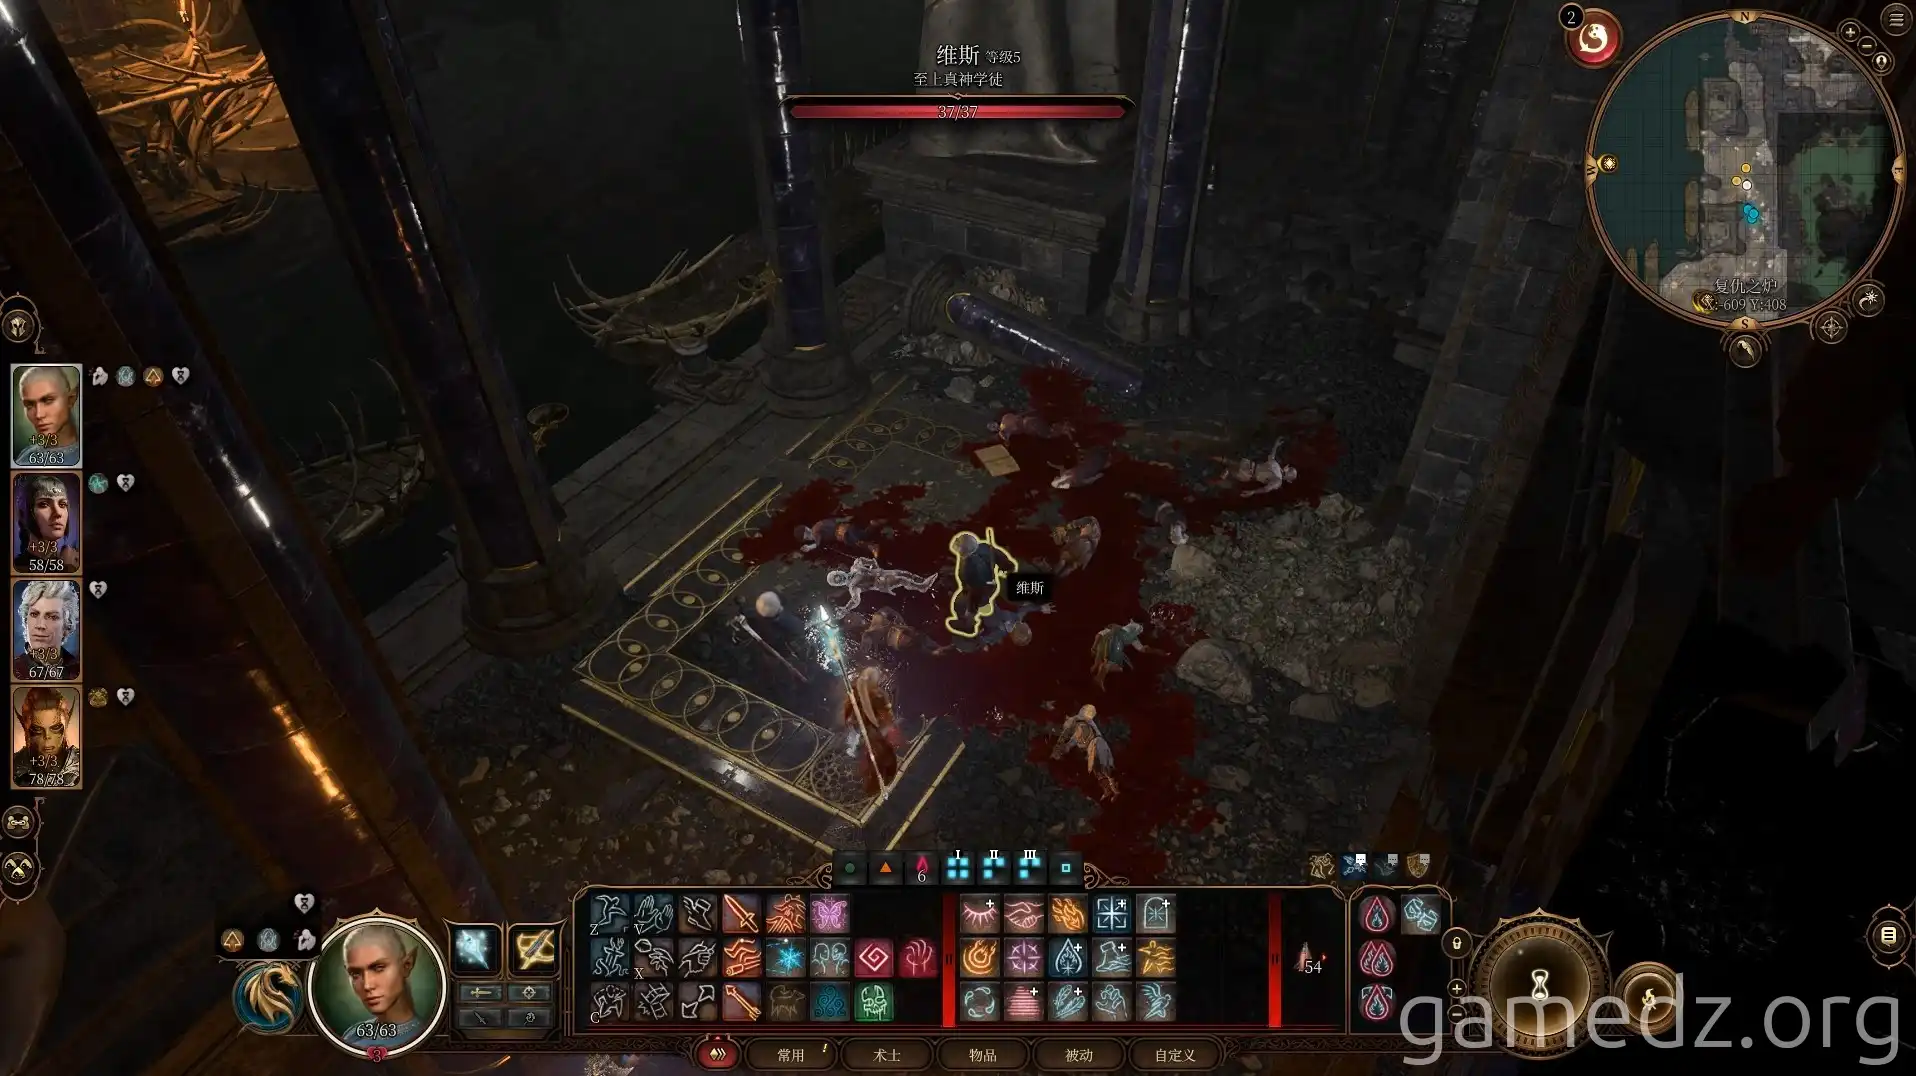
Here are the stats for the Phylactery of the Mind Flayer:
Behind the statue at the front, you'll find magic arrows. The large door next to it leads to the dining hall and warehouse, containing ample camp supplies but no critical items.
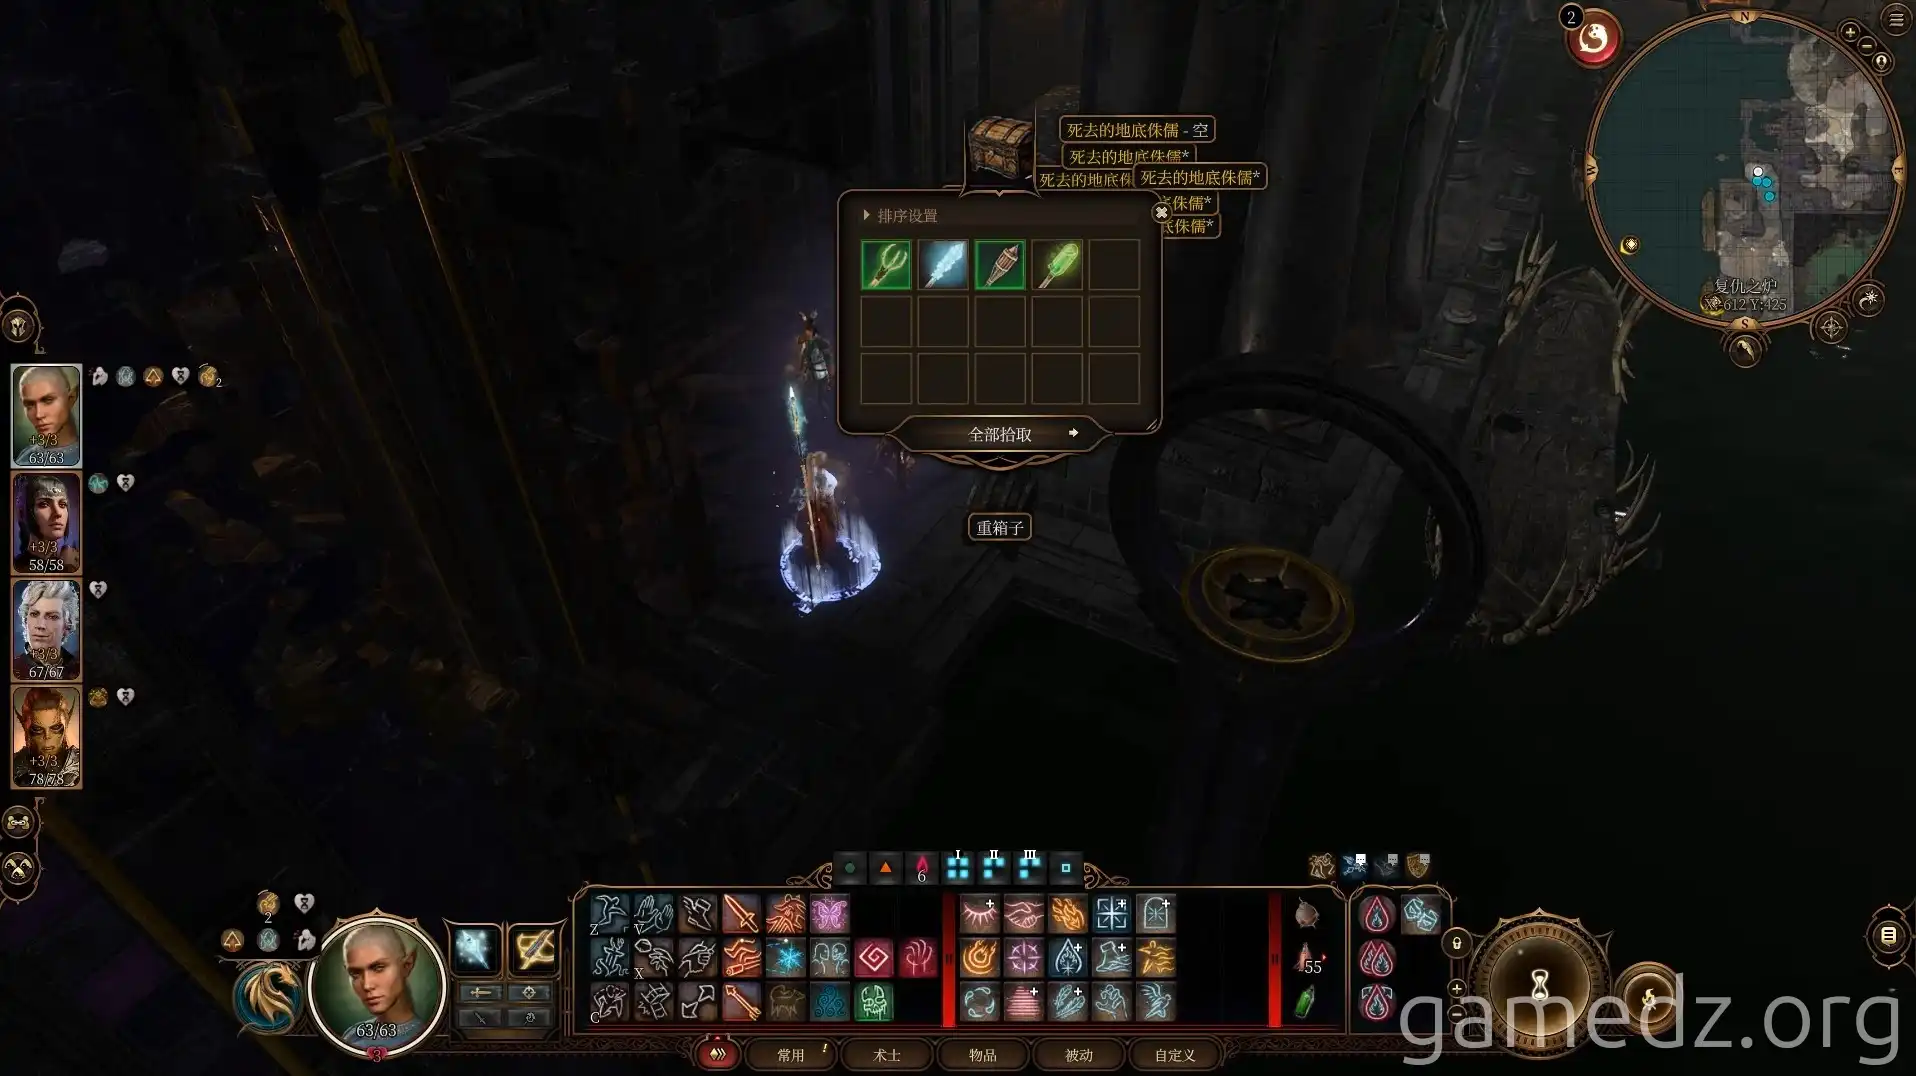
Return to the waypoint and defeat the two duergar on the docks.
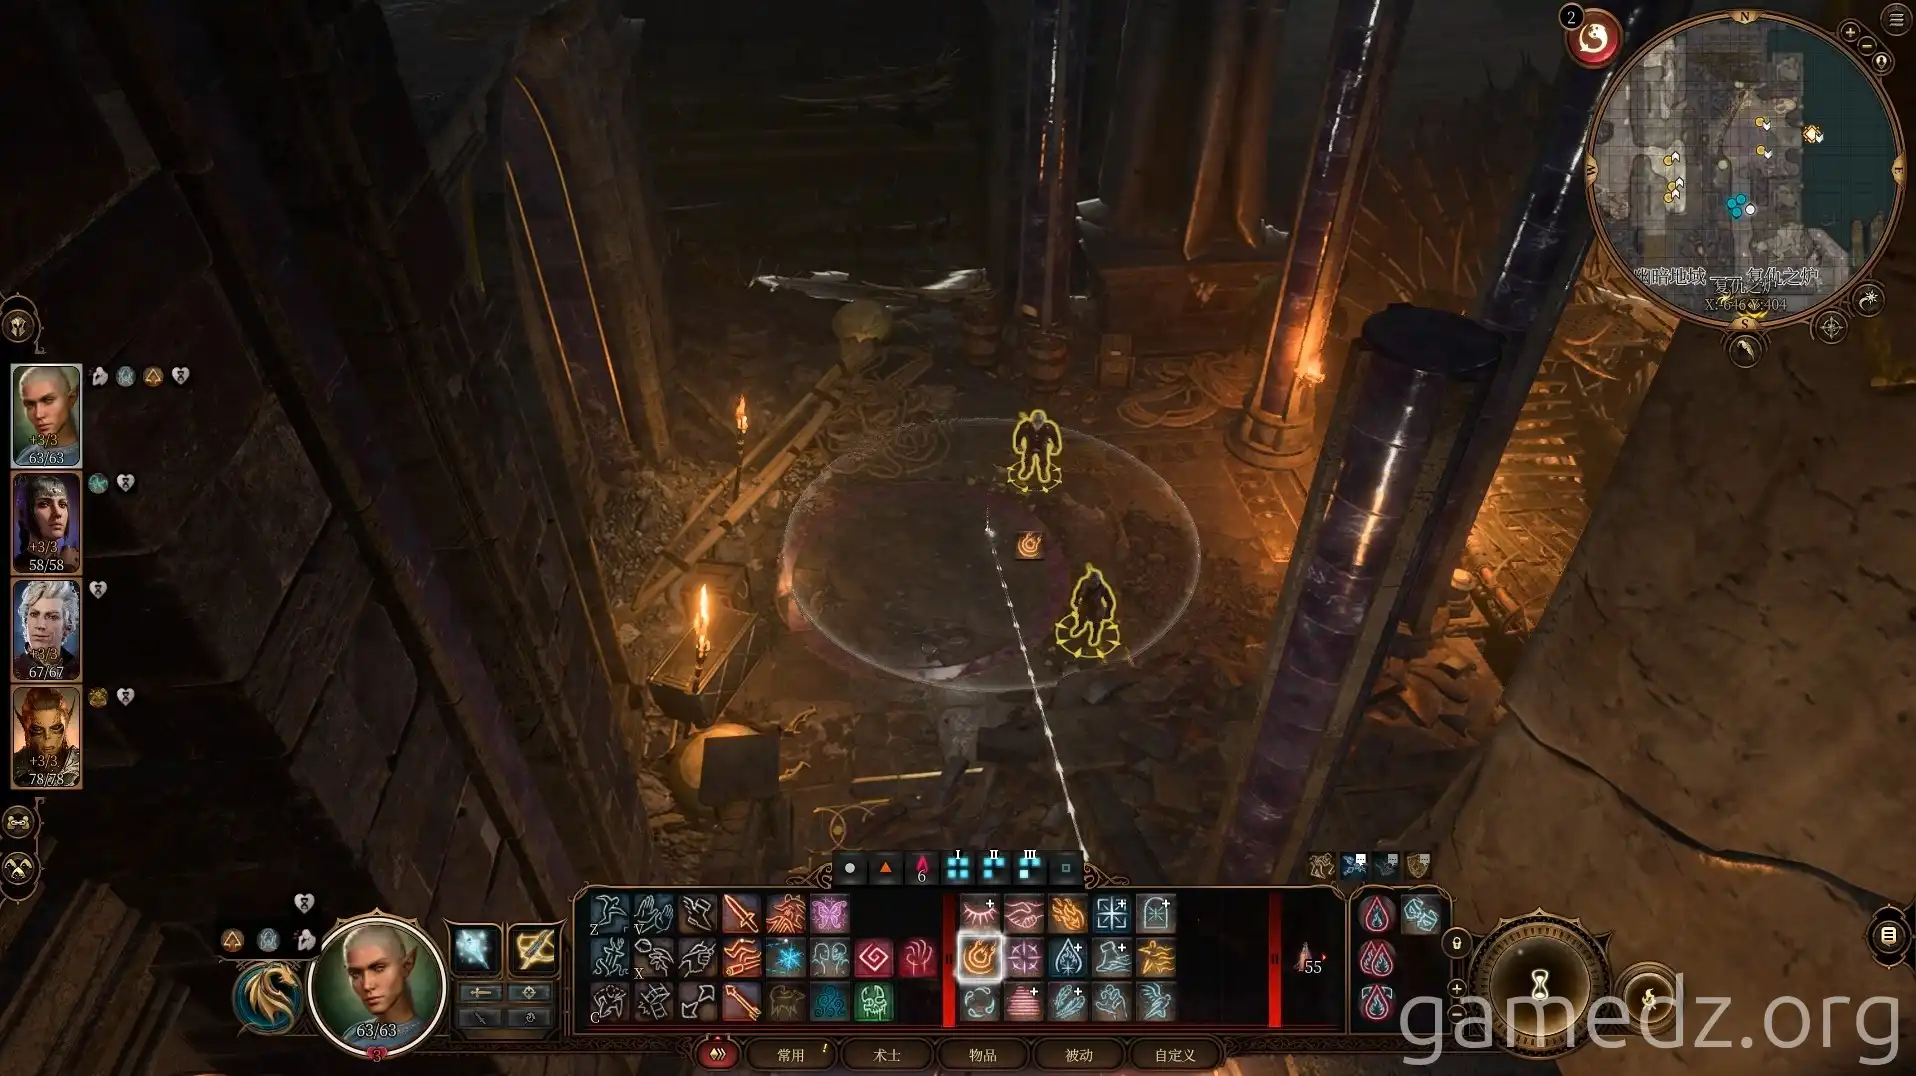
Go back to the fork in the upper path and head northwest, towards the northern part of the west side of the map.
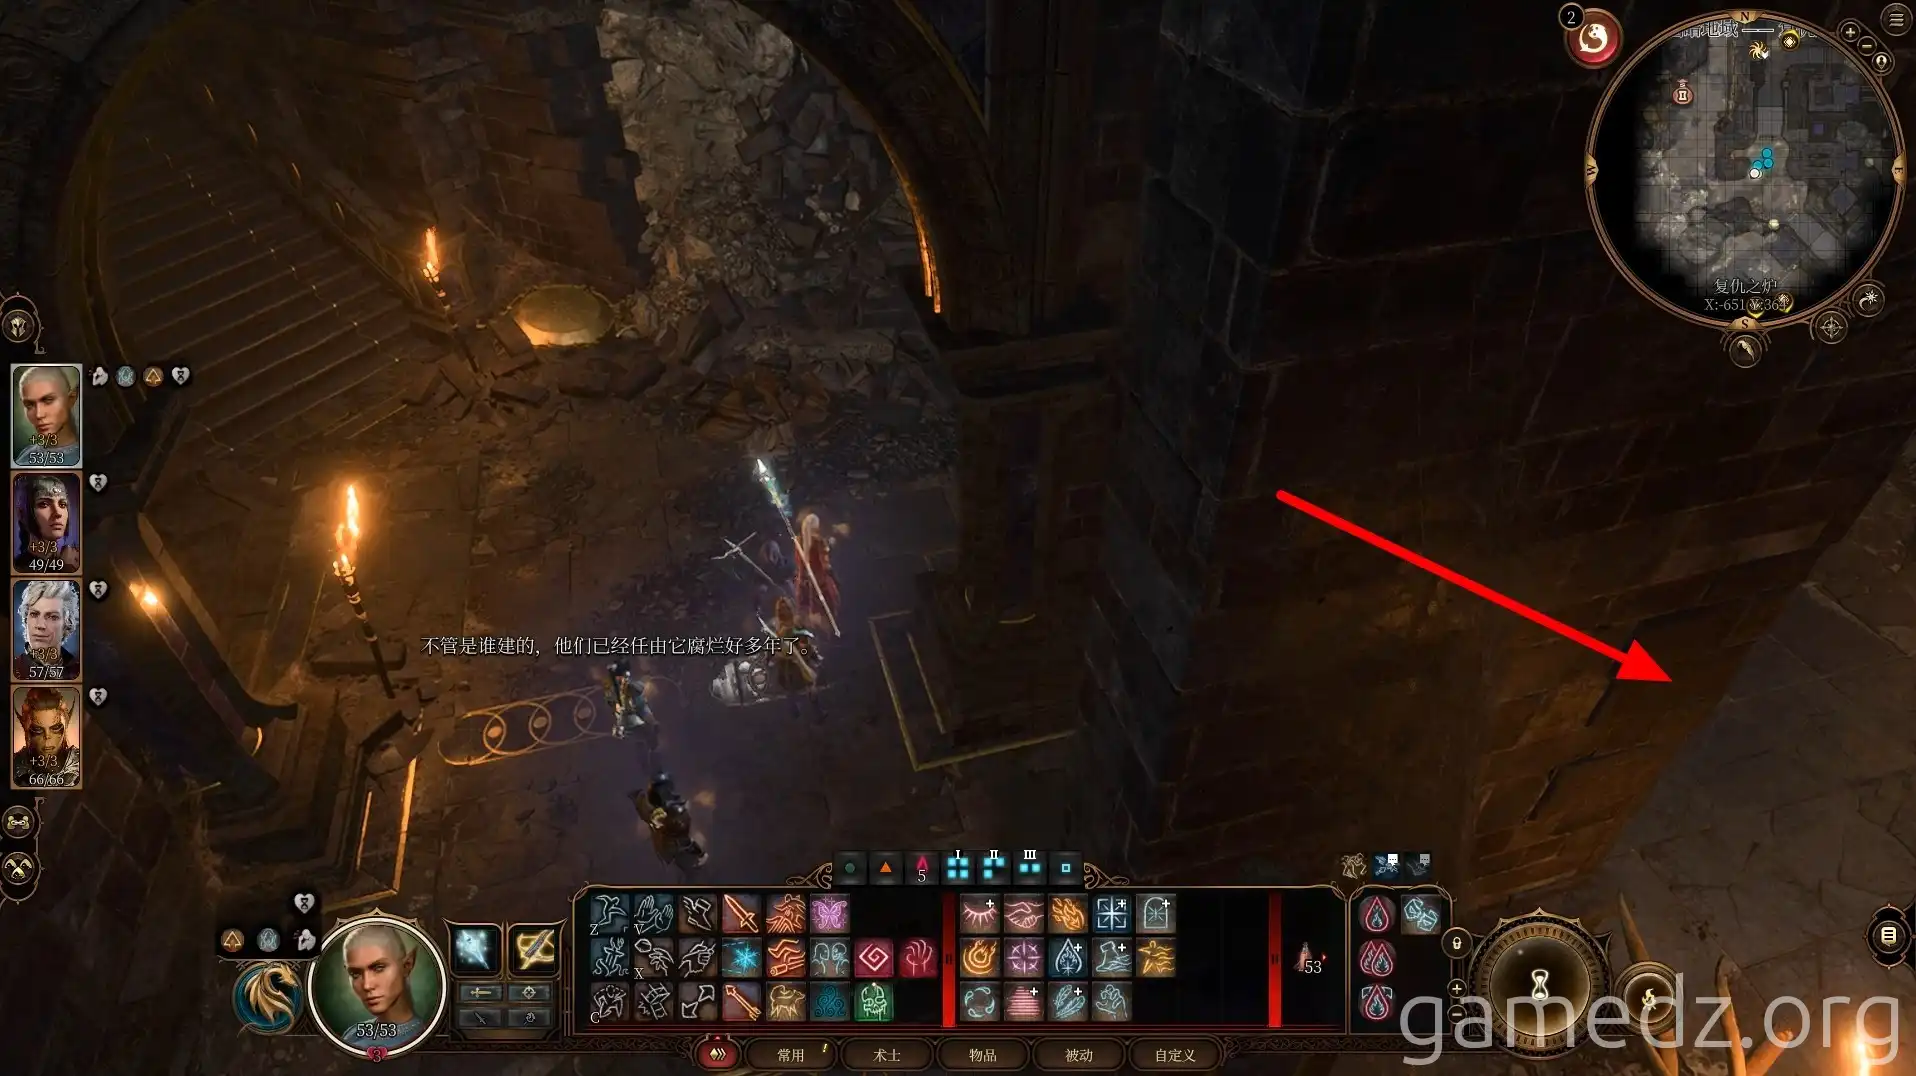
Slightly northwest of the fork, you'll find a lone patrolling duergar. Defeat it.
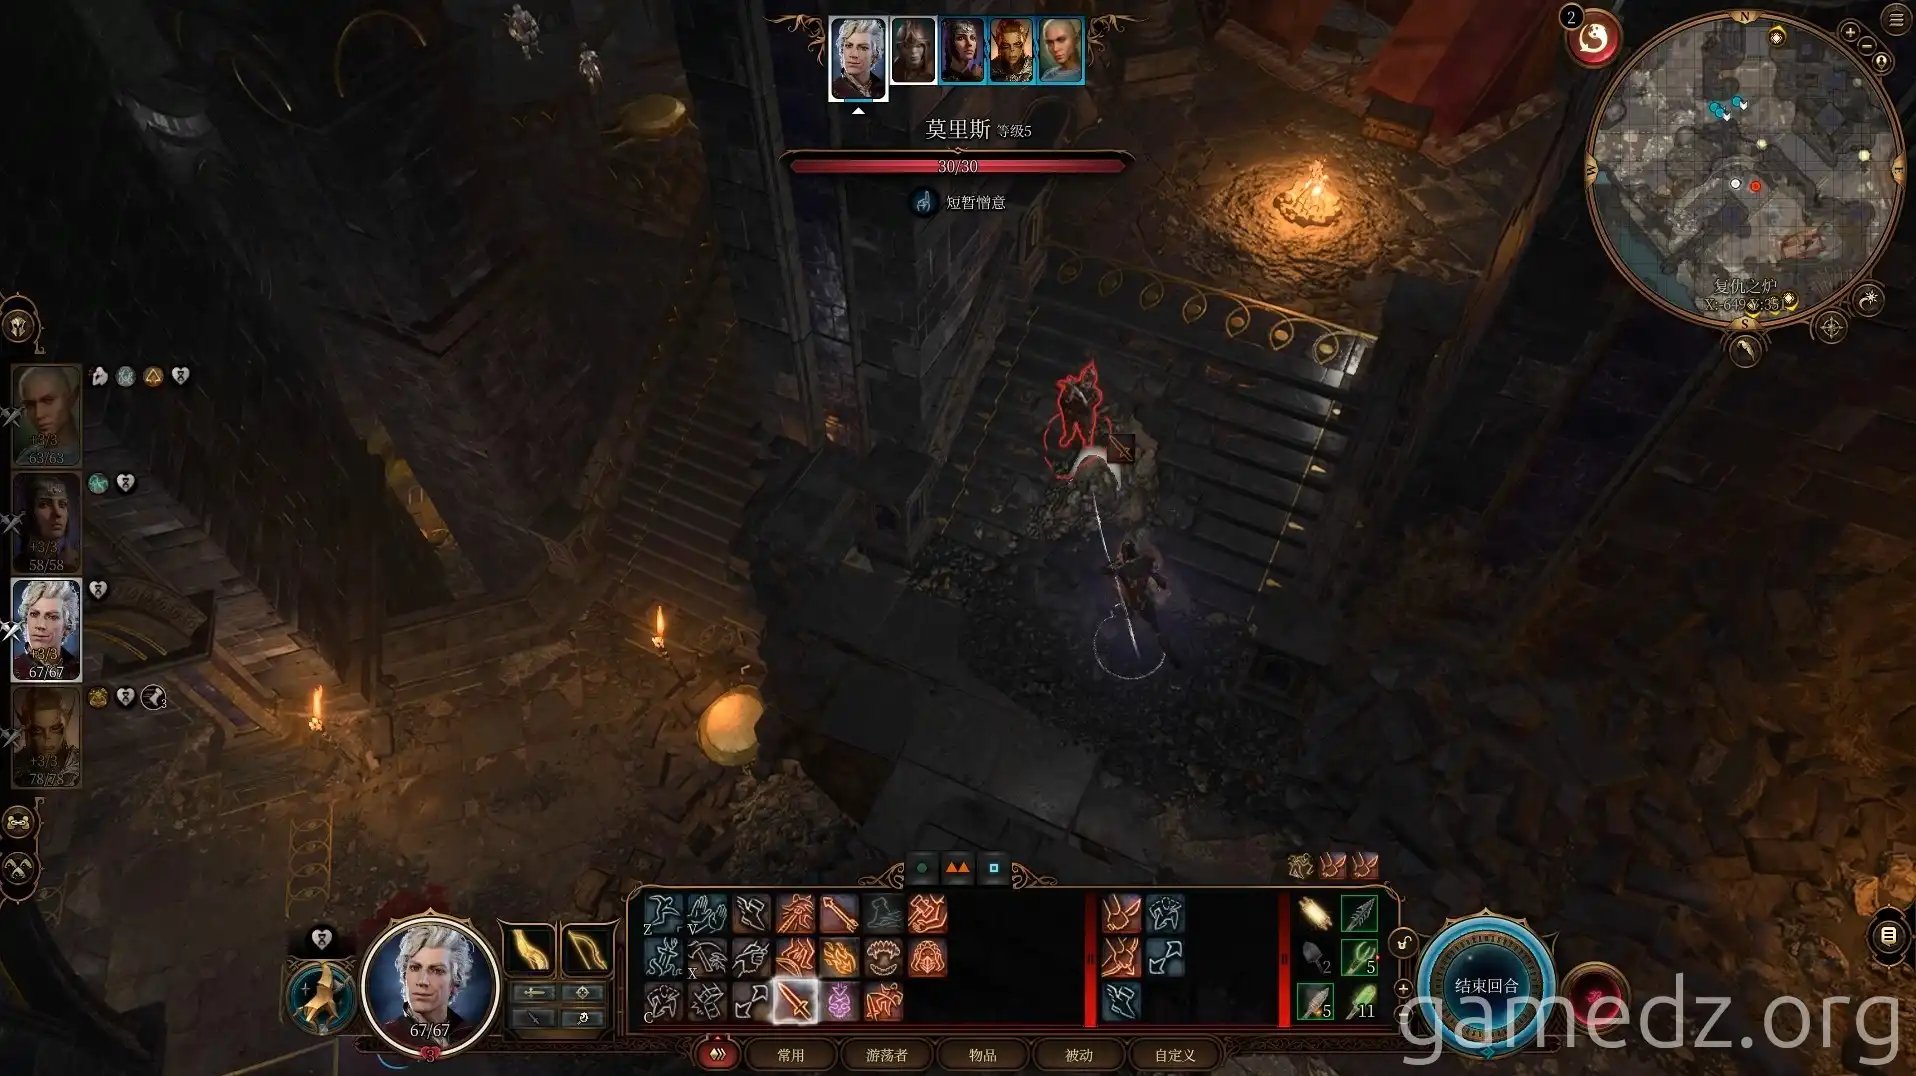
Continue south. Ahead, you'll meet the Duergar Mason. Speak with him and pass various checks to gather information about the statue. Providing this information will reward you with the item [Infernal Alloy].
After the conversation, the mason becomes a merchant, though his wares aren't particularly valuable. Once you have the Infernal Alloy, you can leave. The mason will remain non-hostile during subsequent combat.
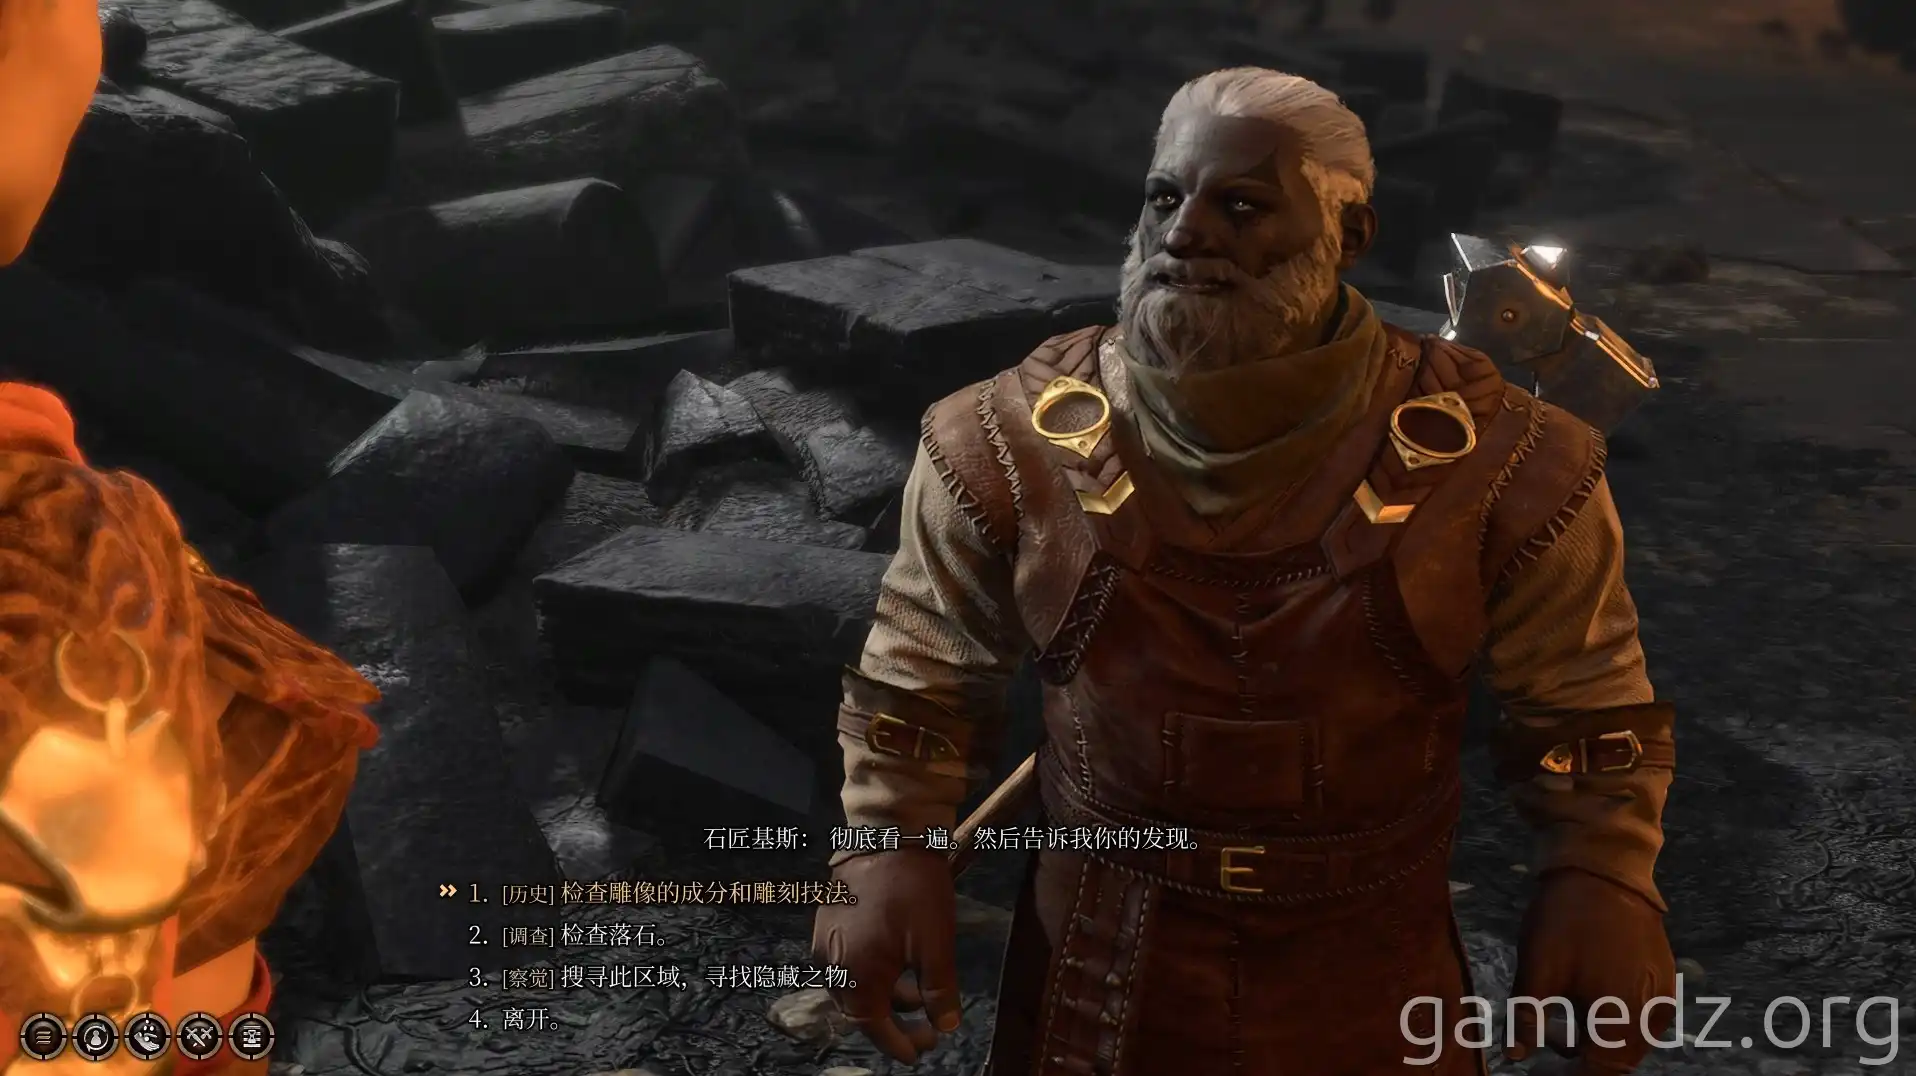
Follow the path forward. On a skeleton ahead, you have a chance to find the rare equipment [Night Sovereign Chain Mail] and [Night Sovereign Mask].
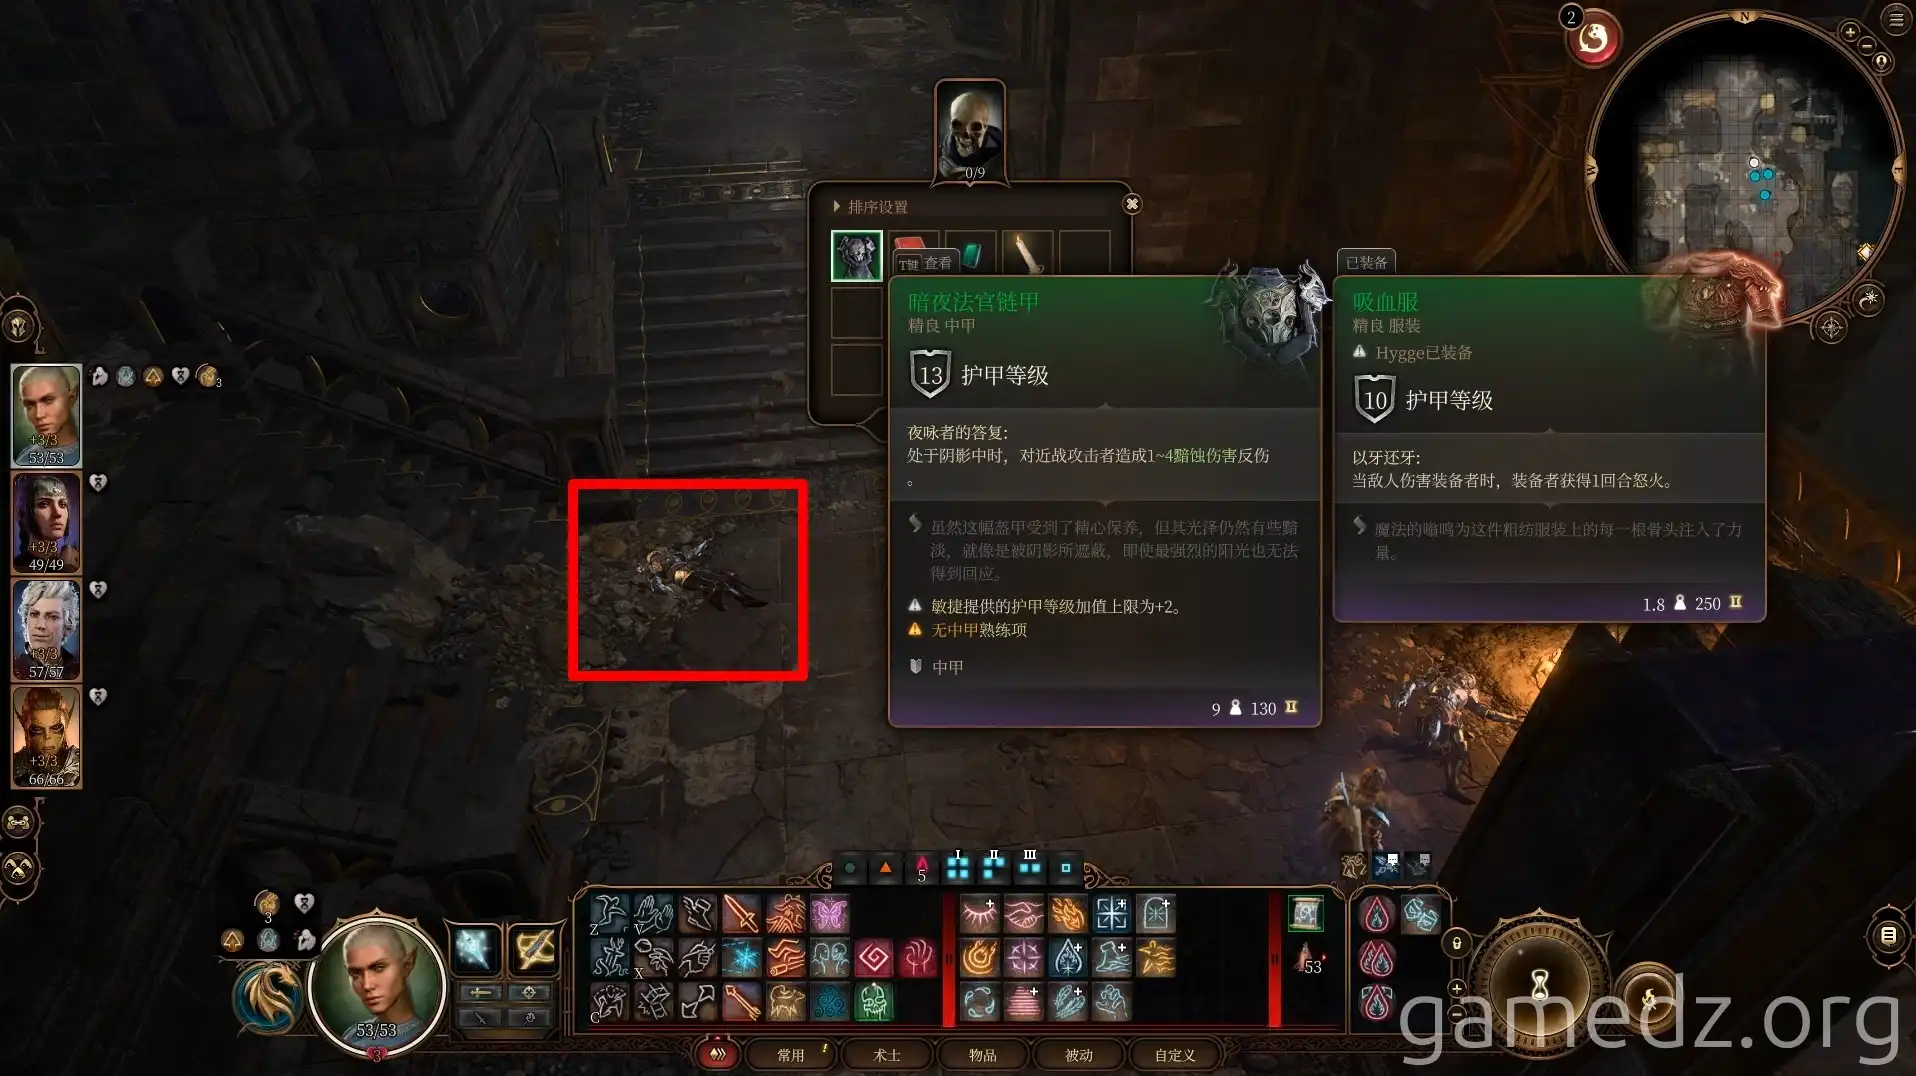
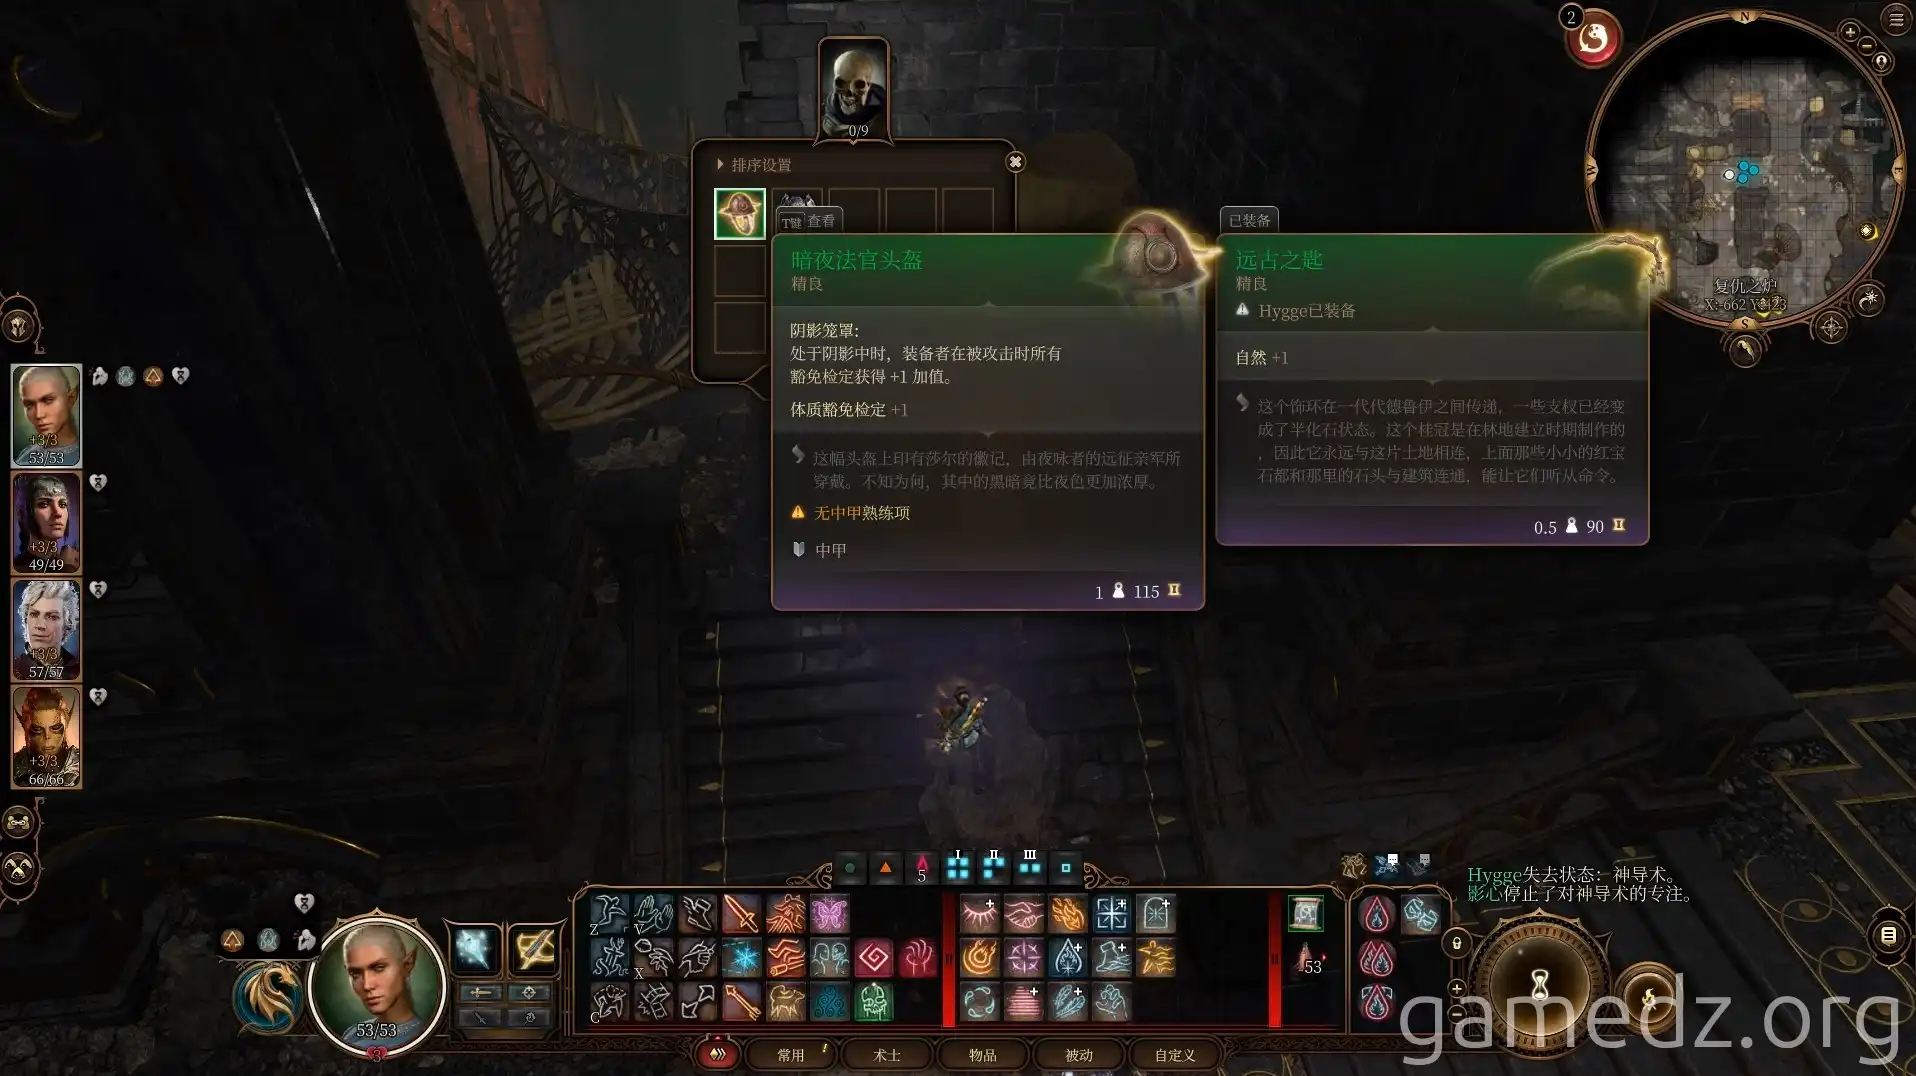
On a platform to the left, another skeleton may hold the rare equipment [Night Sovereign Helmet]. The locations of Night Sovereign gear are randomized, so if you don't find it here, it will appear on other skeletons later.
In a chest in the corner of the high platform, you'll find a rare crossbow. Picking it up and passing a History check transforms it into the [Xar's Follower Crossbow].
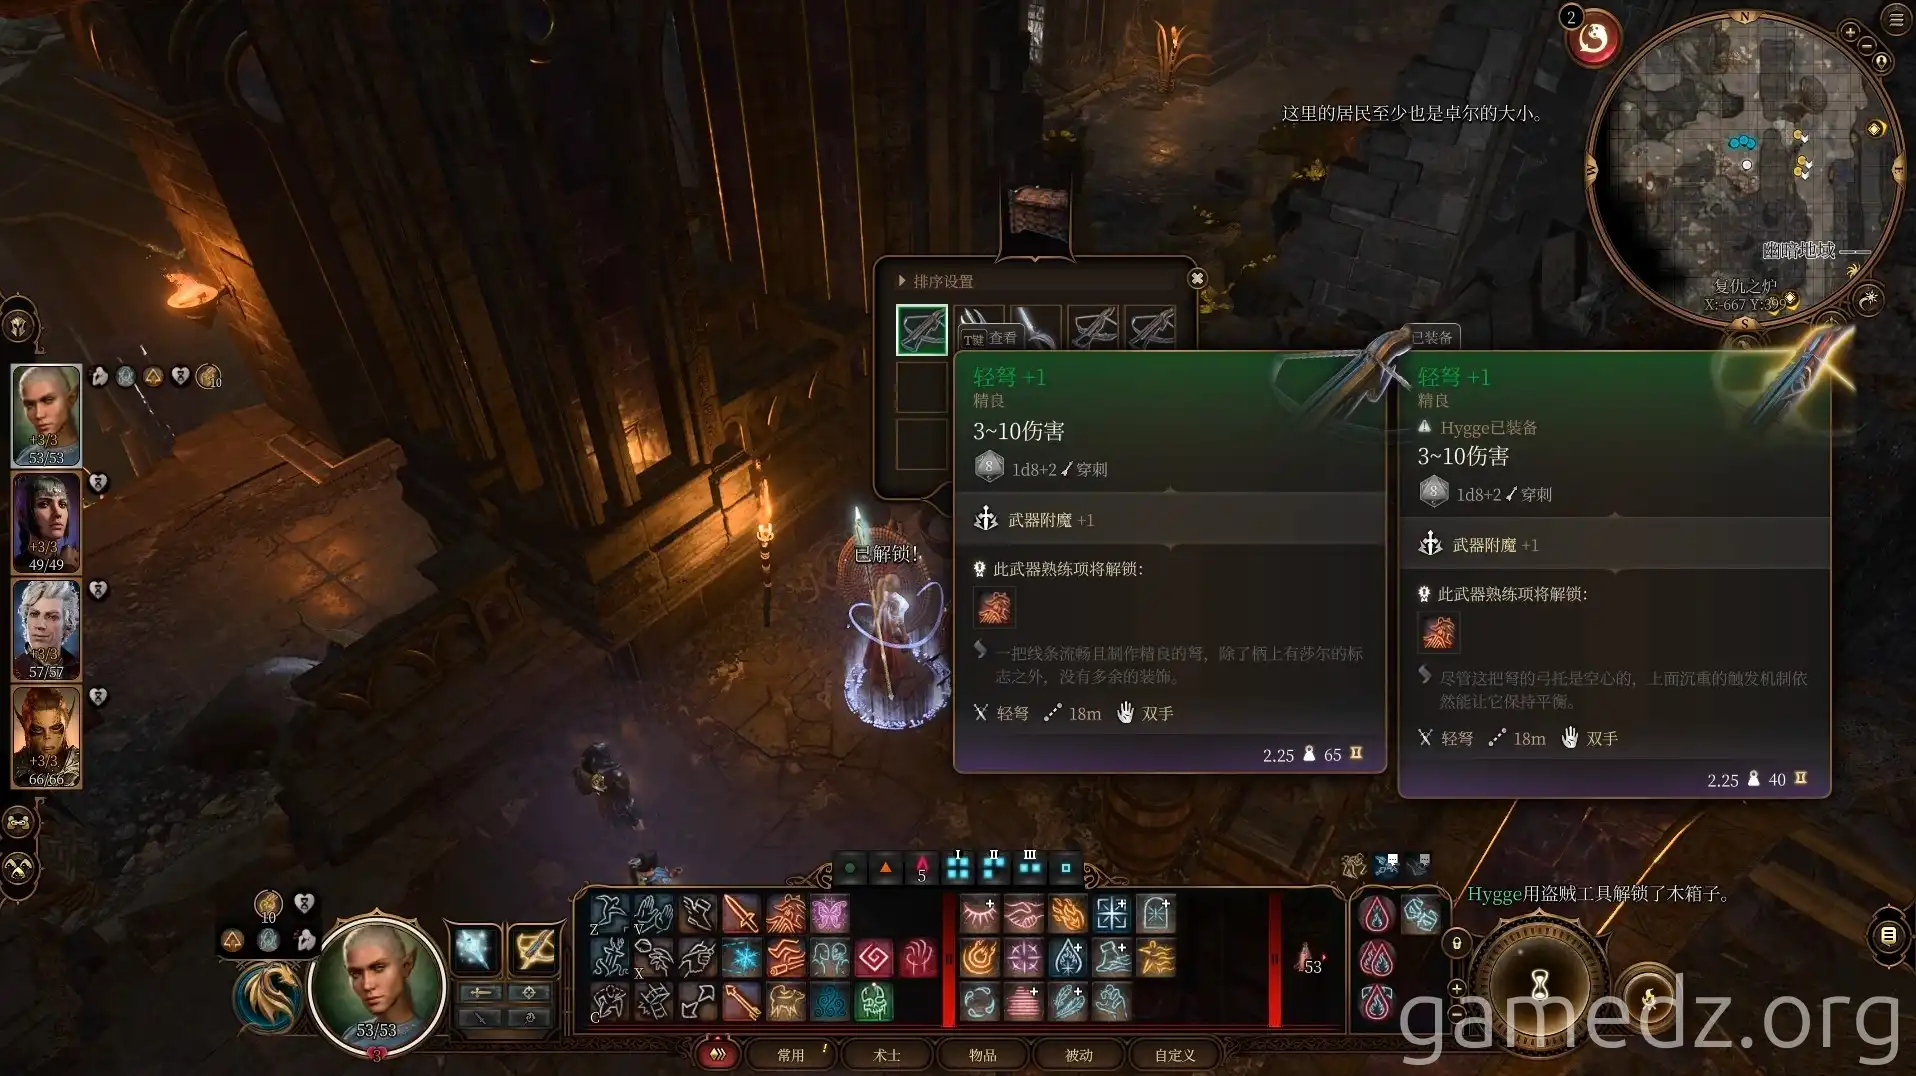
Here are the stats for Xar's Follower Crossbow:
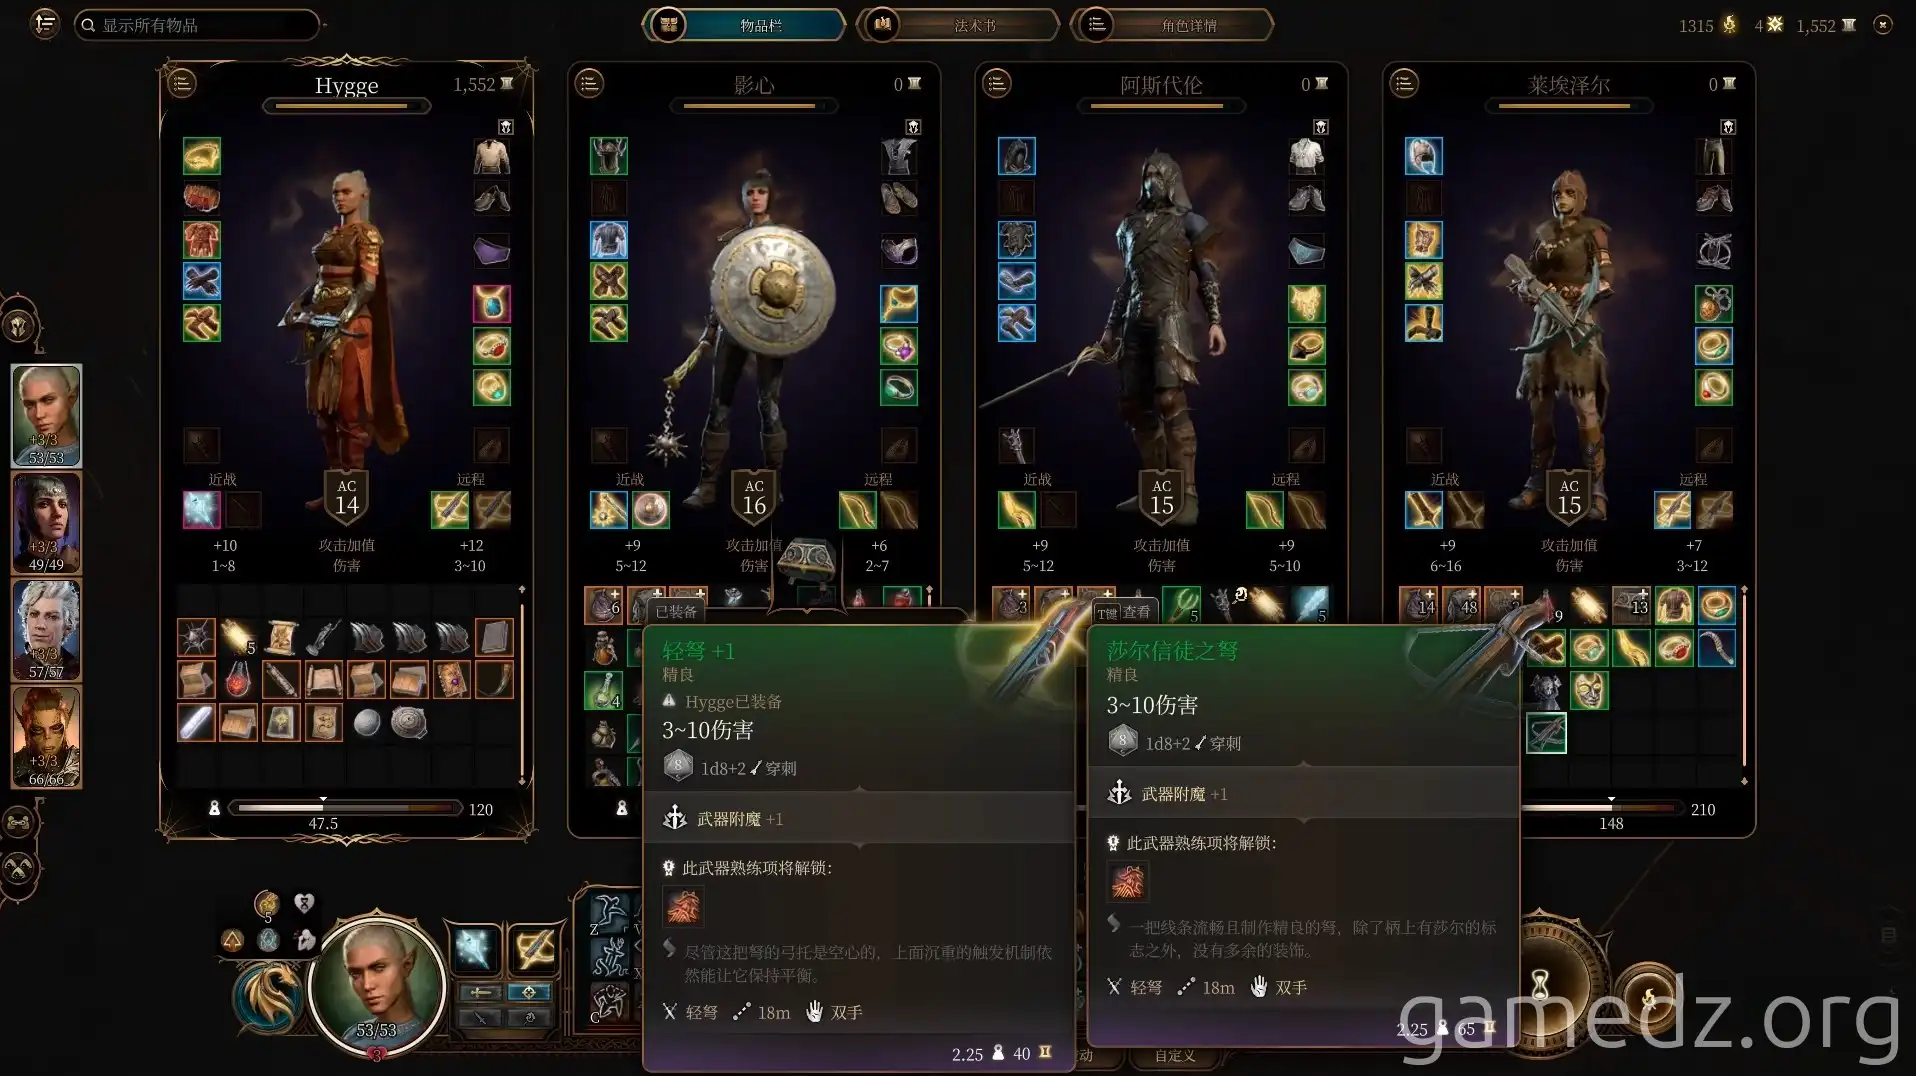
Next, head west and descend the ramp.
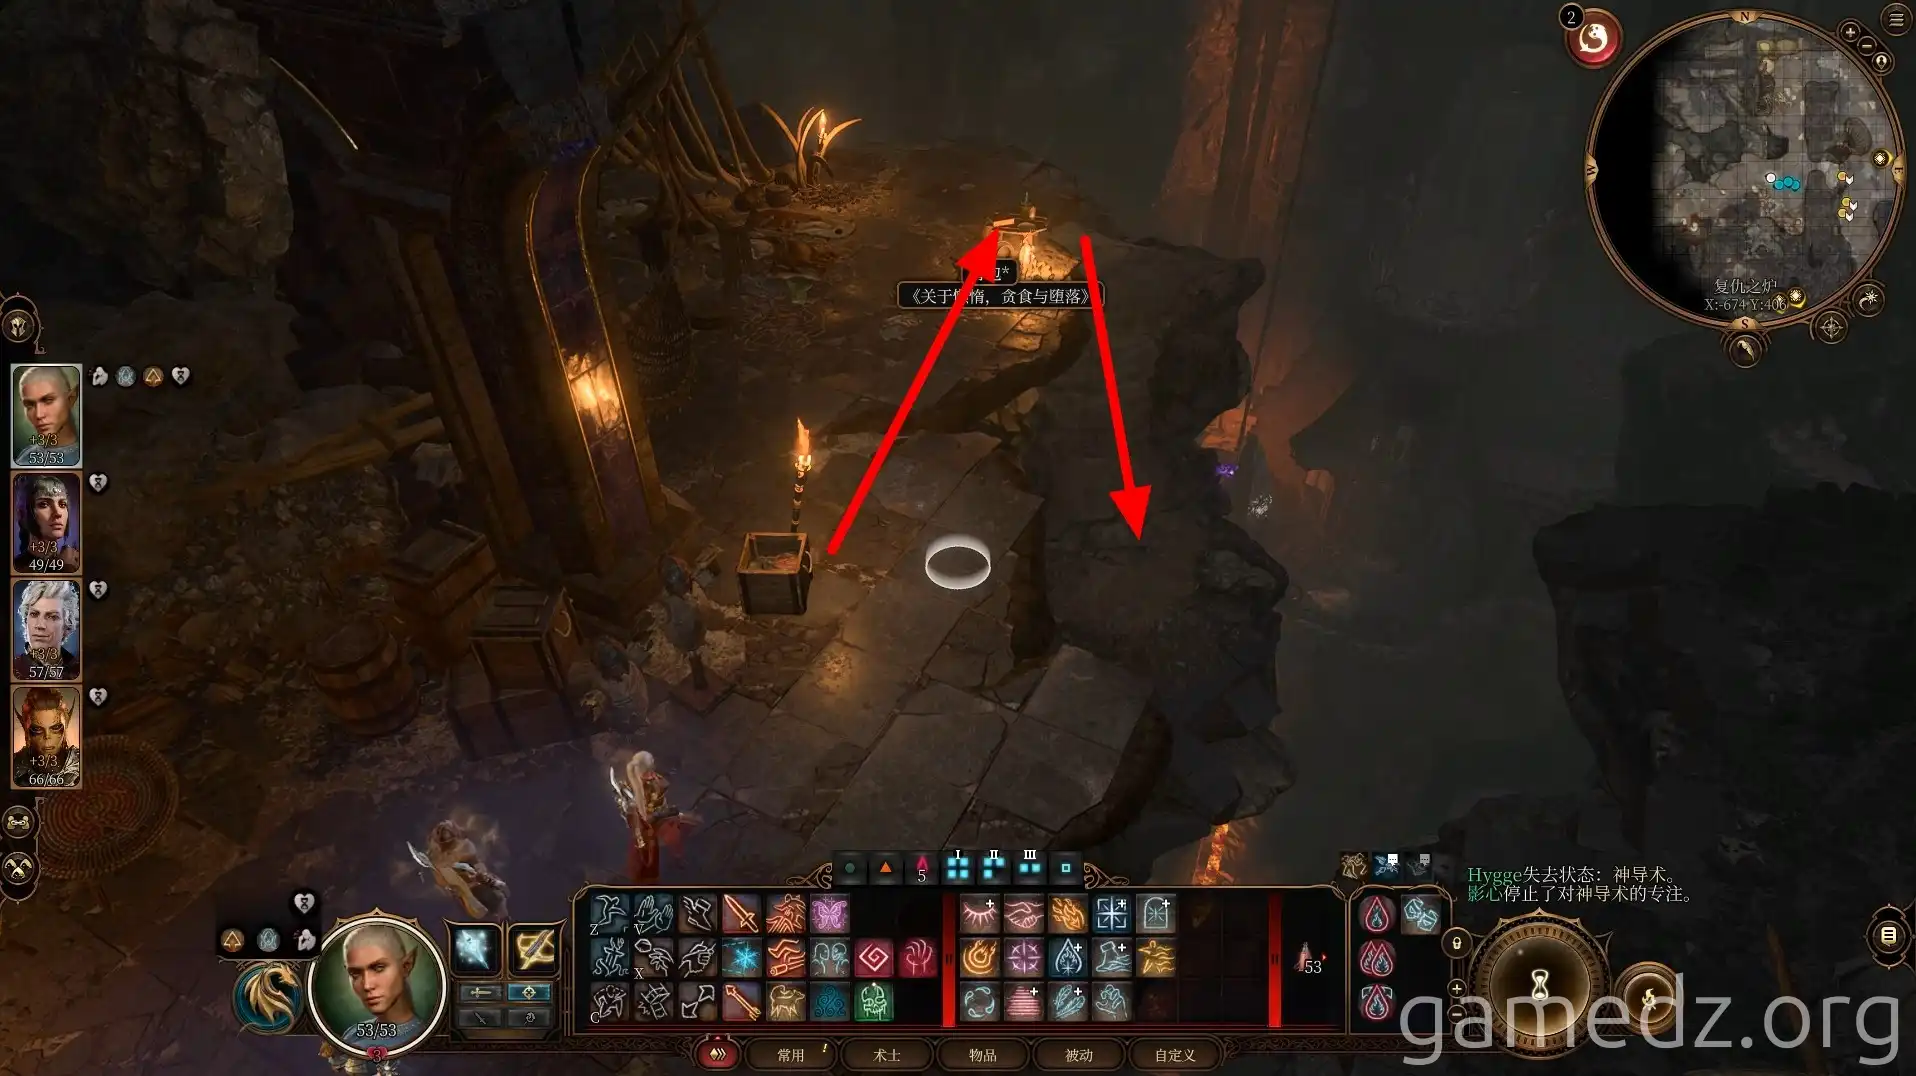
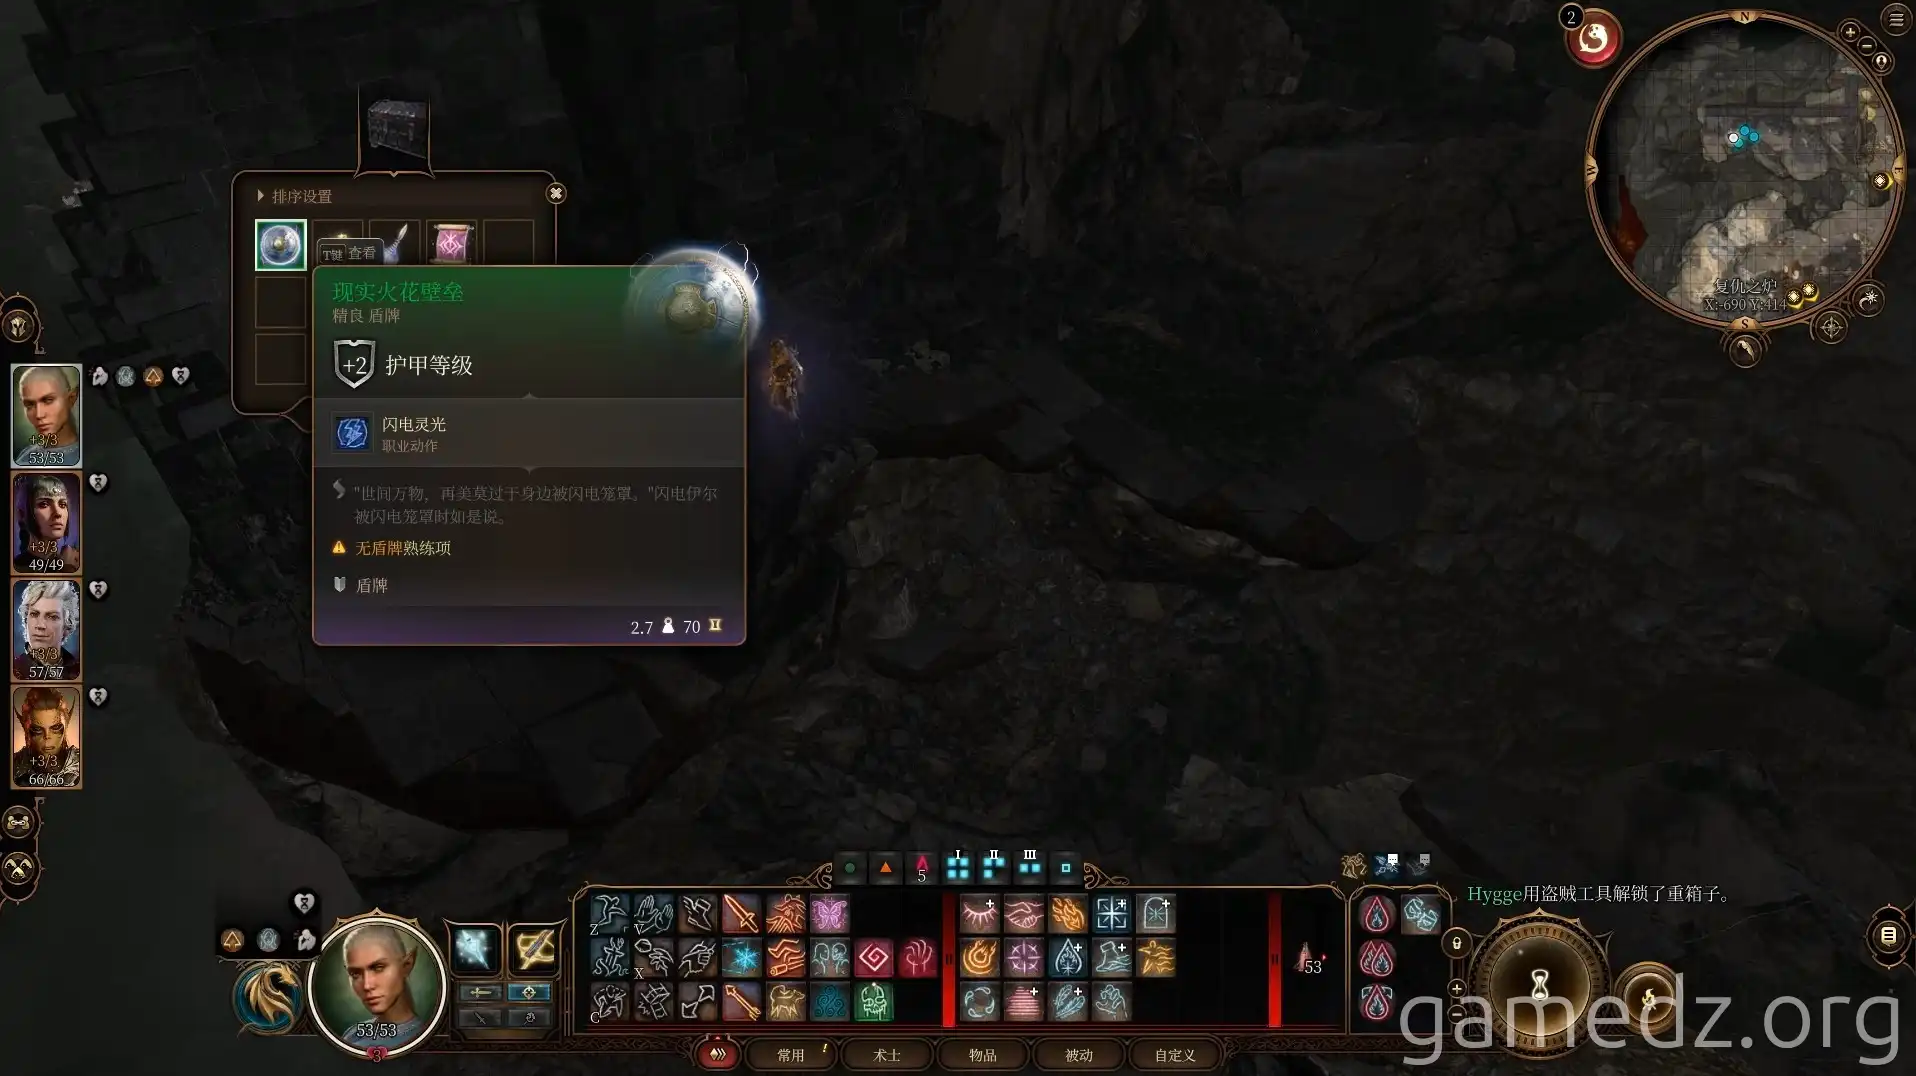
At the end of the small path, a trapped and locked chest awaits. Opening it will yield the rare weapon [Sparkling Shield of the Weave].
Return to the location of the Night Sovereign skeleton and continue north.
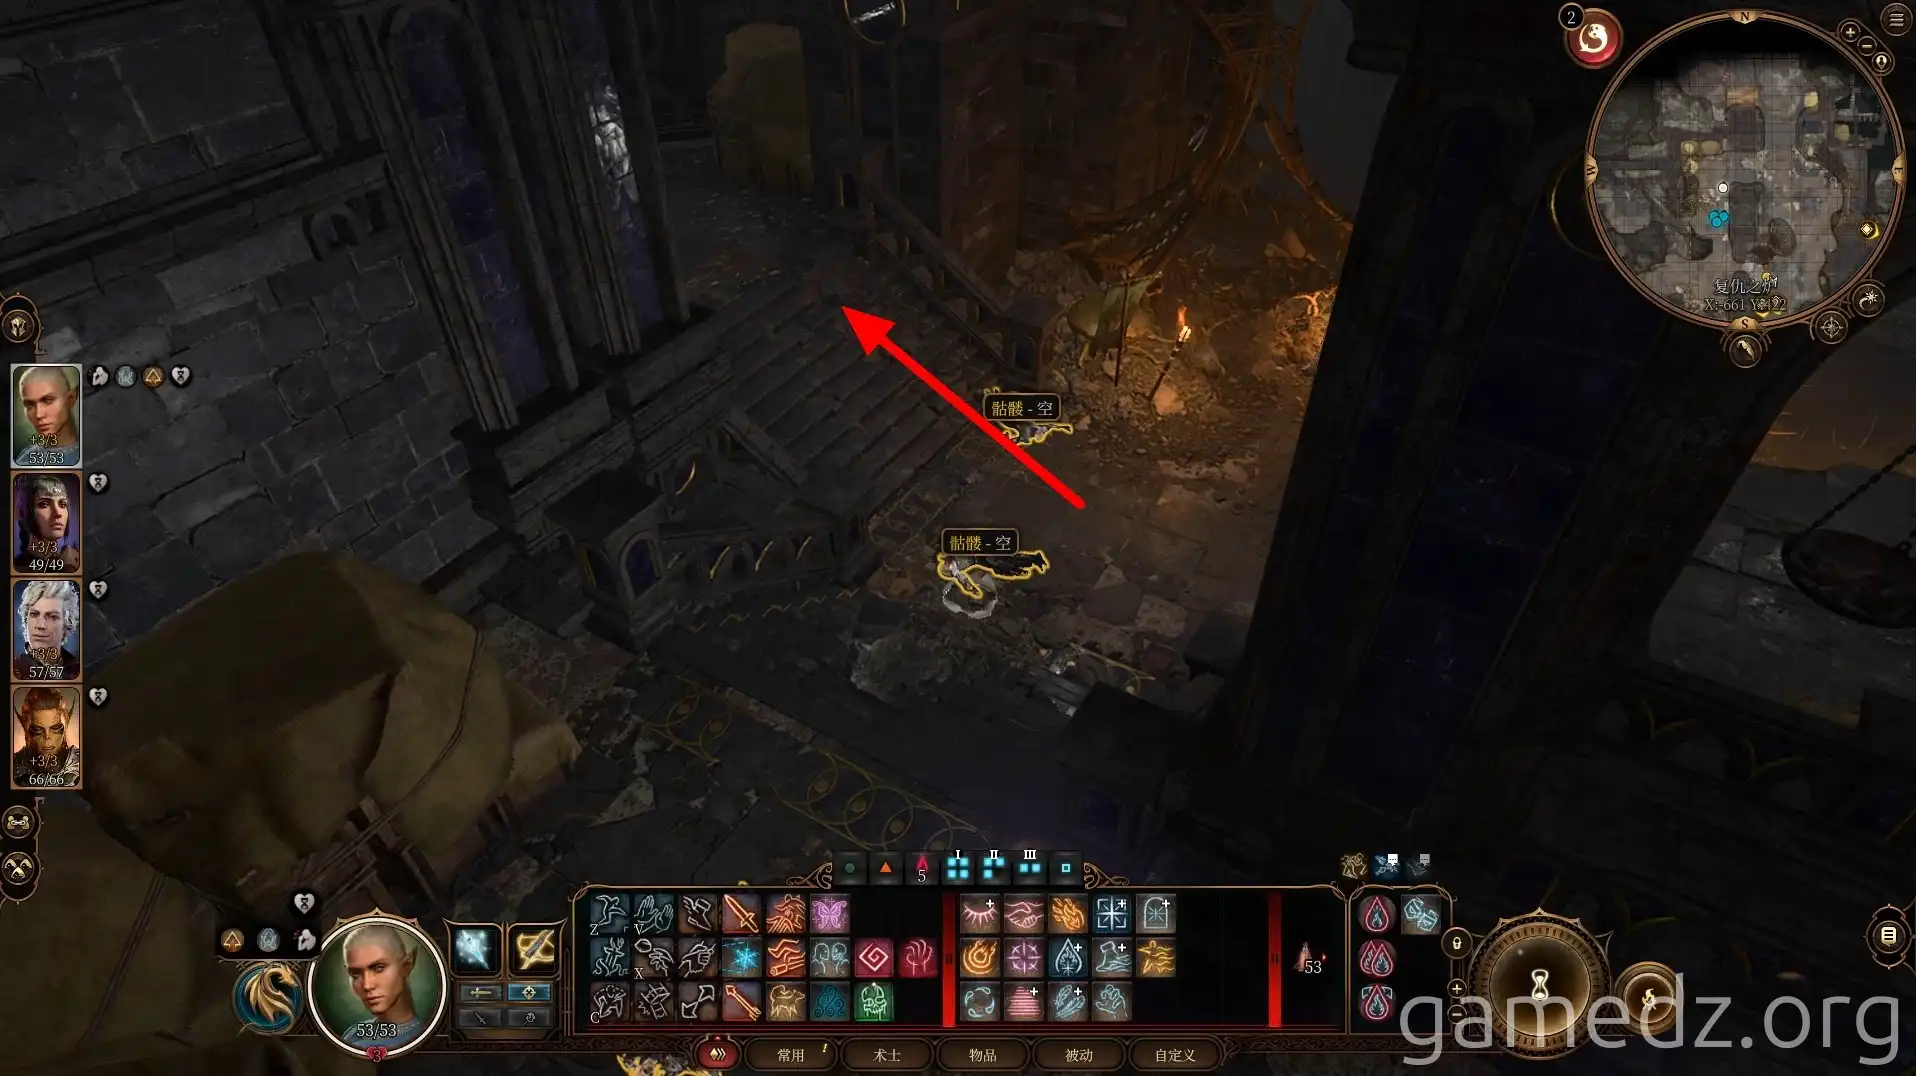
Ahead, you'll see duergar whipping Kuo-Toa to clear rubble. Use a "Speak with Animals" potion or spell to communicate with the Kuo-Toa and persuade them to attack the duergar. You can then join forces with the Kuo-Toa to defeat all three duergar in the area.
After defeating the duergar, the Kuo-Toa will assist with clearing the rubble. If you're concerned about the Kuo-Toa being killed by the duergar during combat, use persuasion to have them clear the rubble first, allowing you to handle the duergar yourself.
It's advisable to complete combat in this location before confronting the duergar openly.
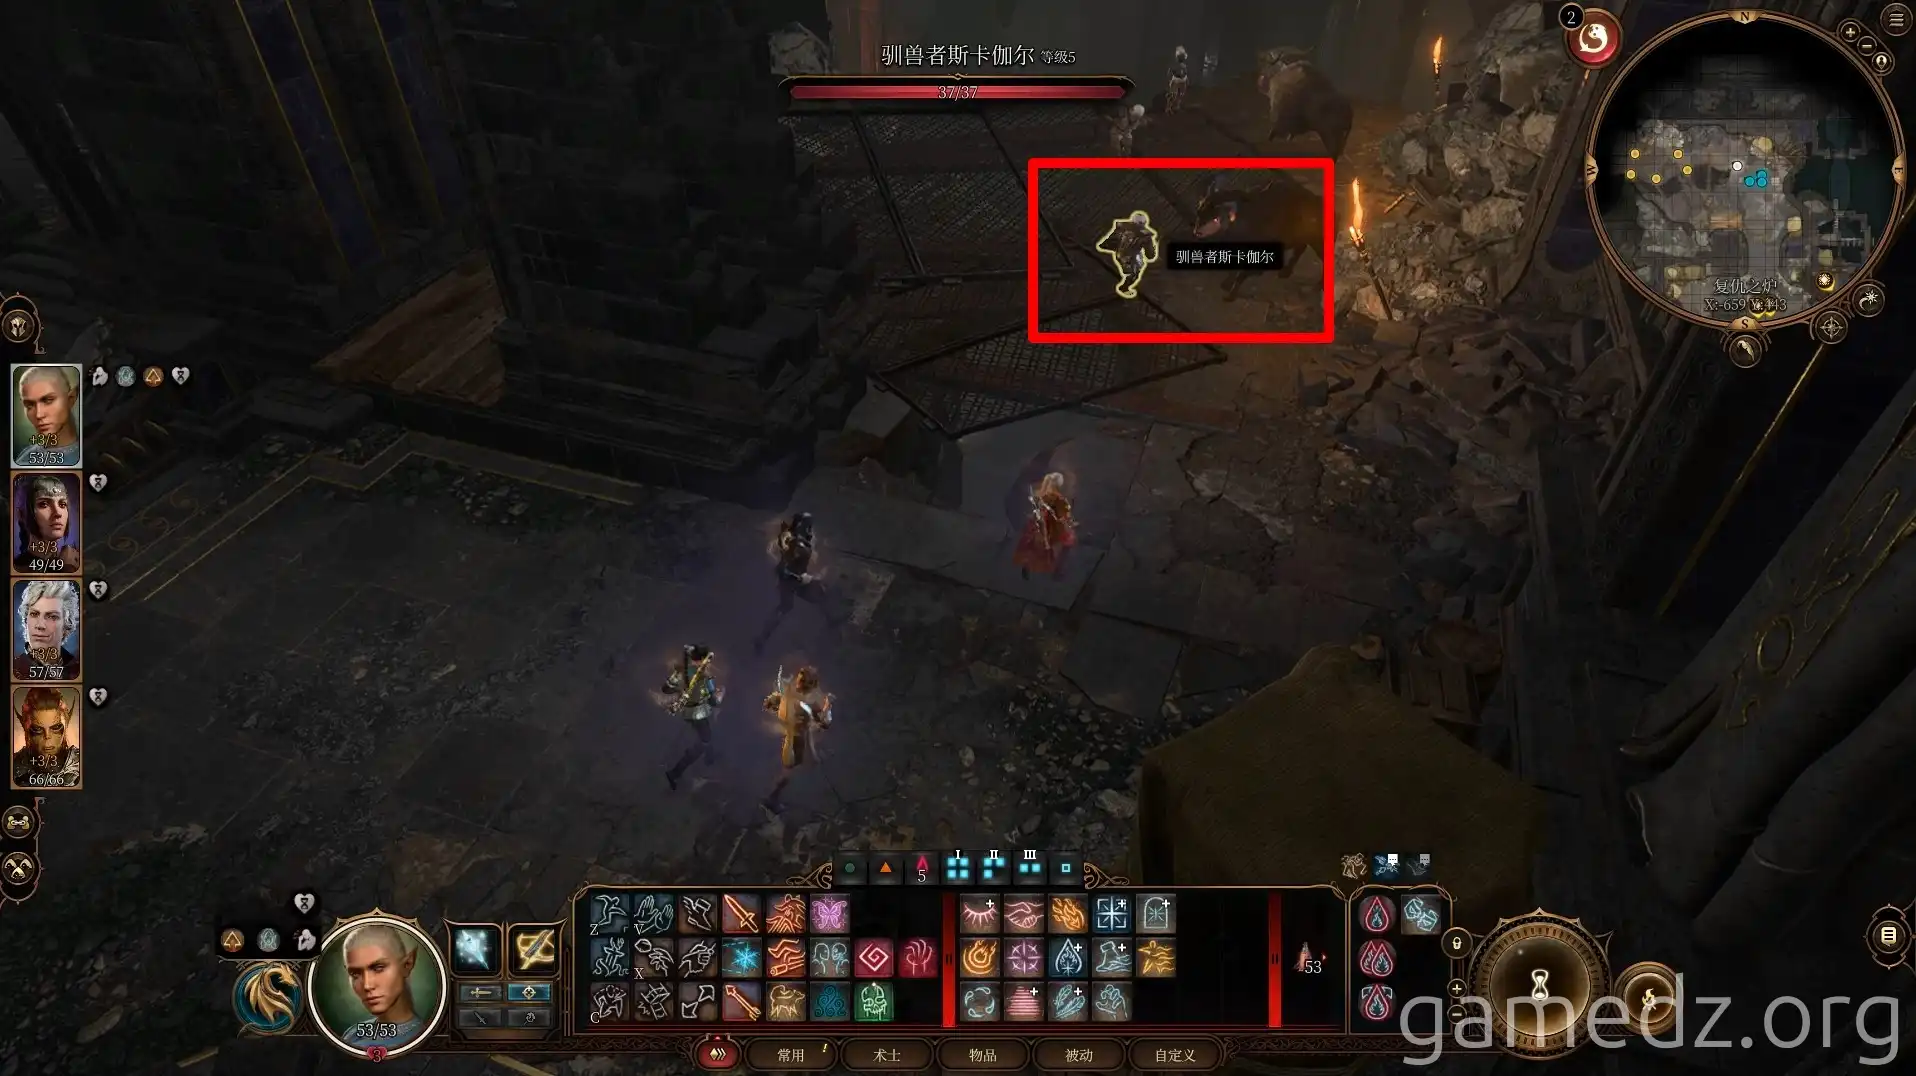
Pass through the opening cleared by the Kuo-Toa and ascend the stairs.
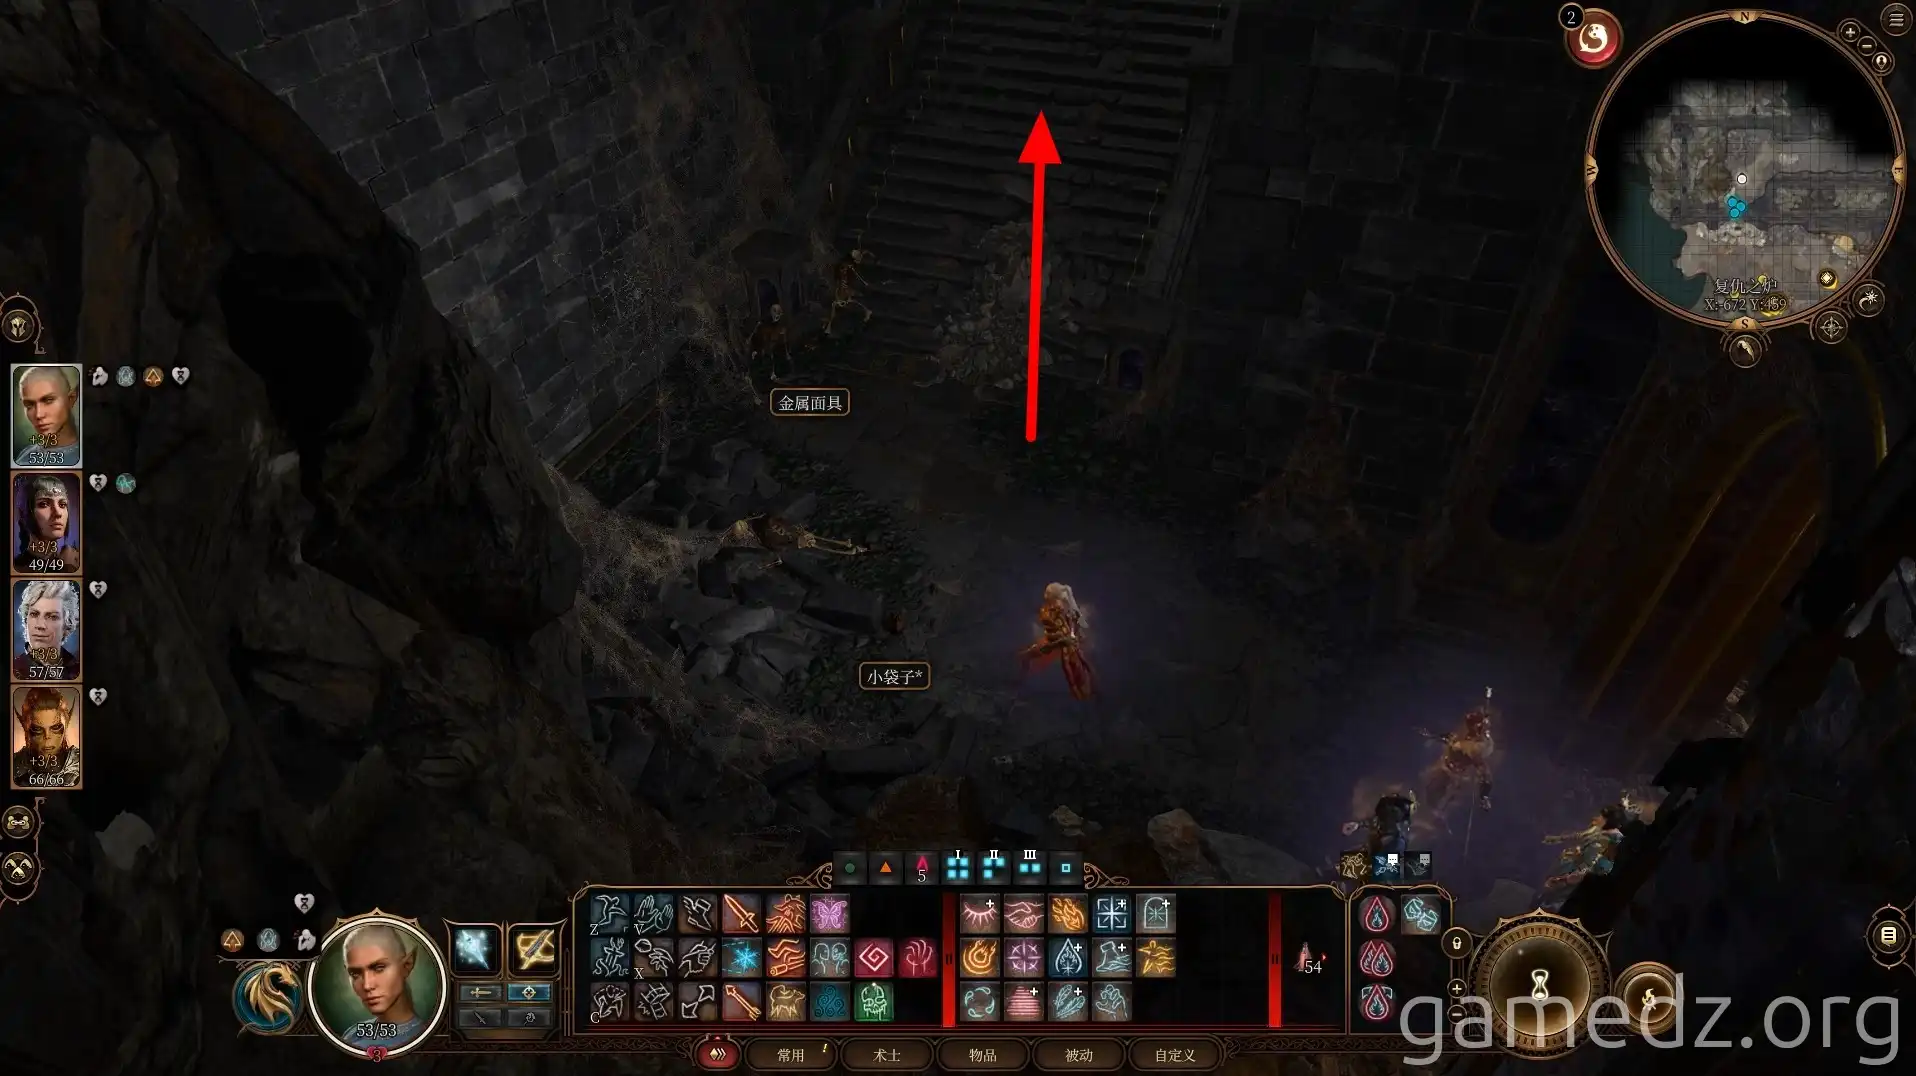
Upon reaching the upper level, proceed straight along the platform. Beware of Gargoyle statue traps at both ends and numerous floor mechanisms that trigger fire traps. Switch to turn-based mode and move slowly to avoid triggering them.
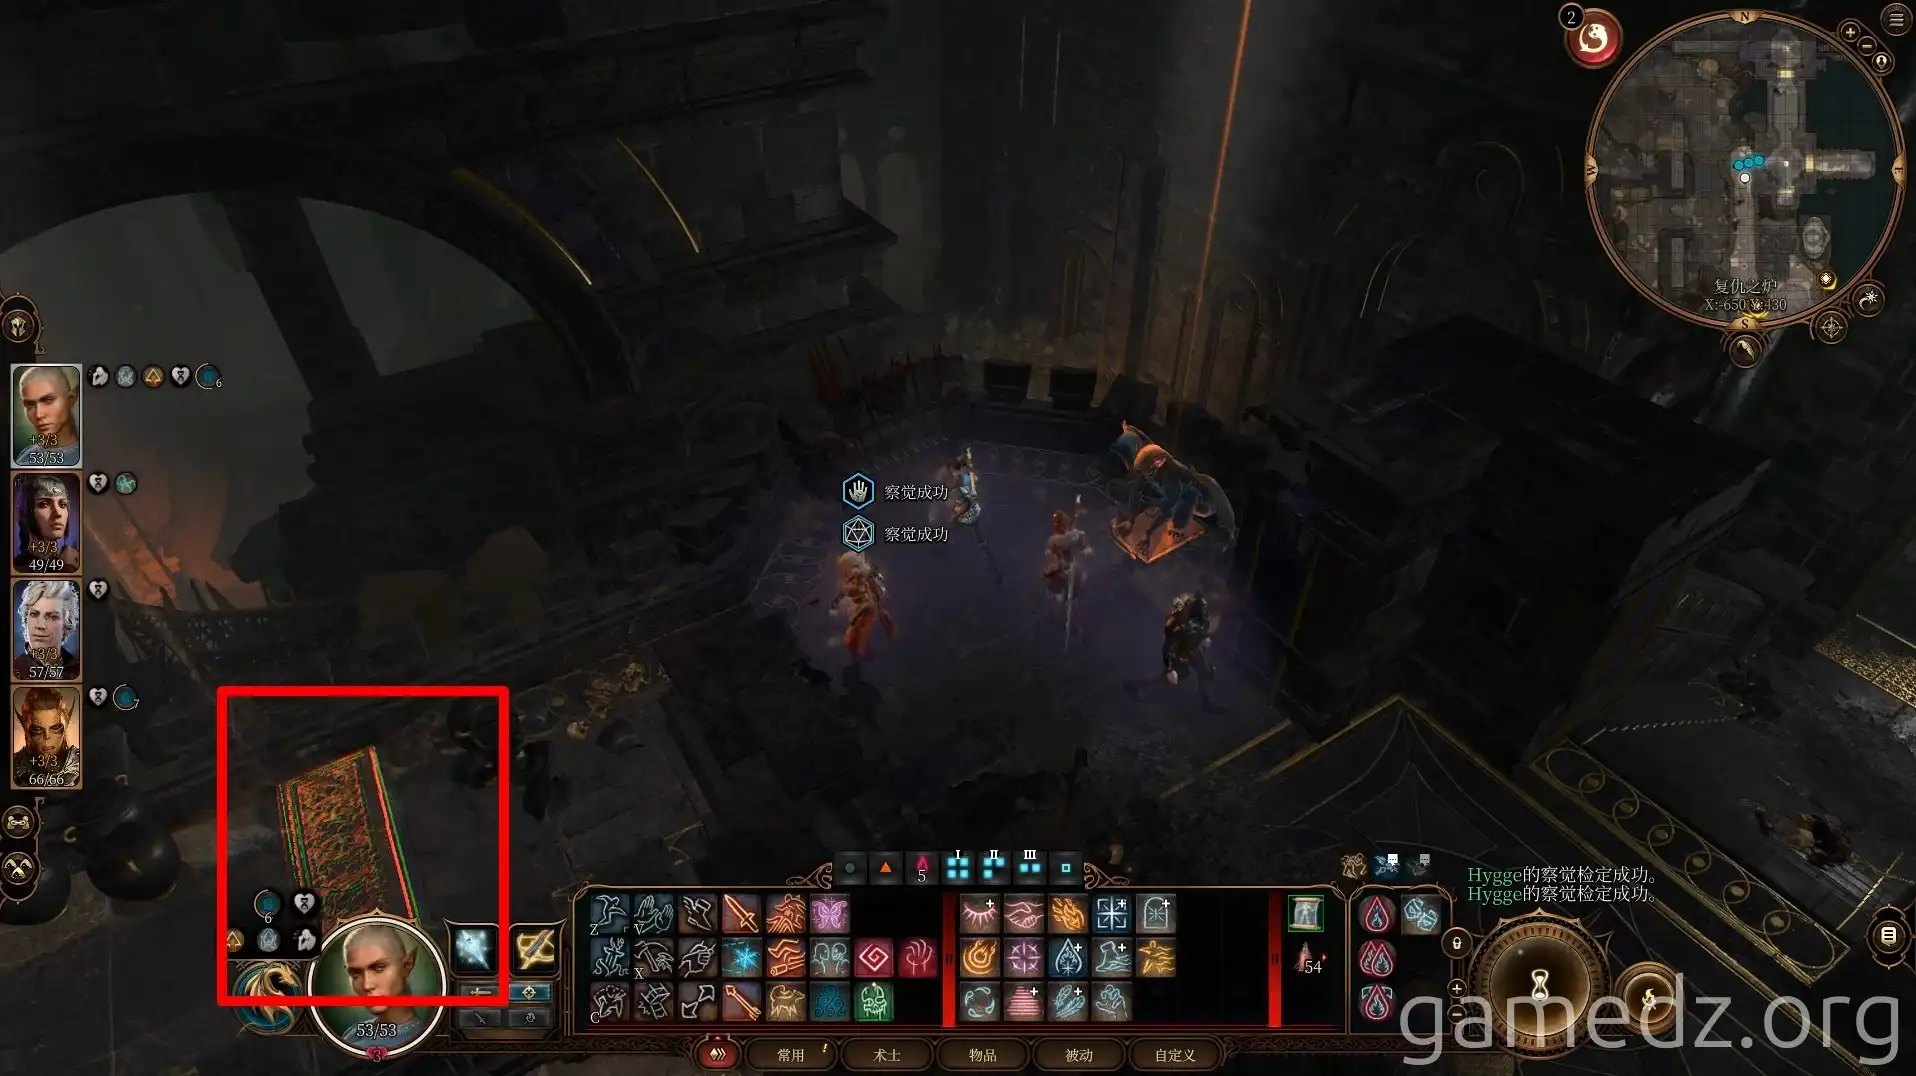
Additionally, disable the fire-spewing trap braziers on both sides of the platform as you pass.
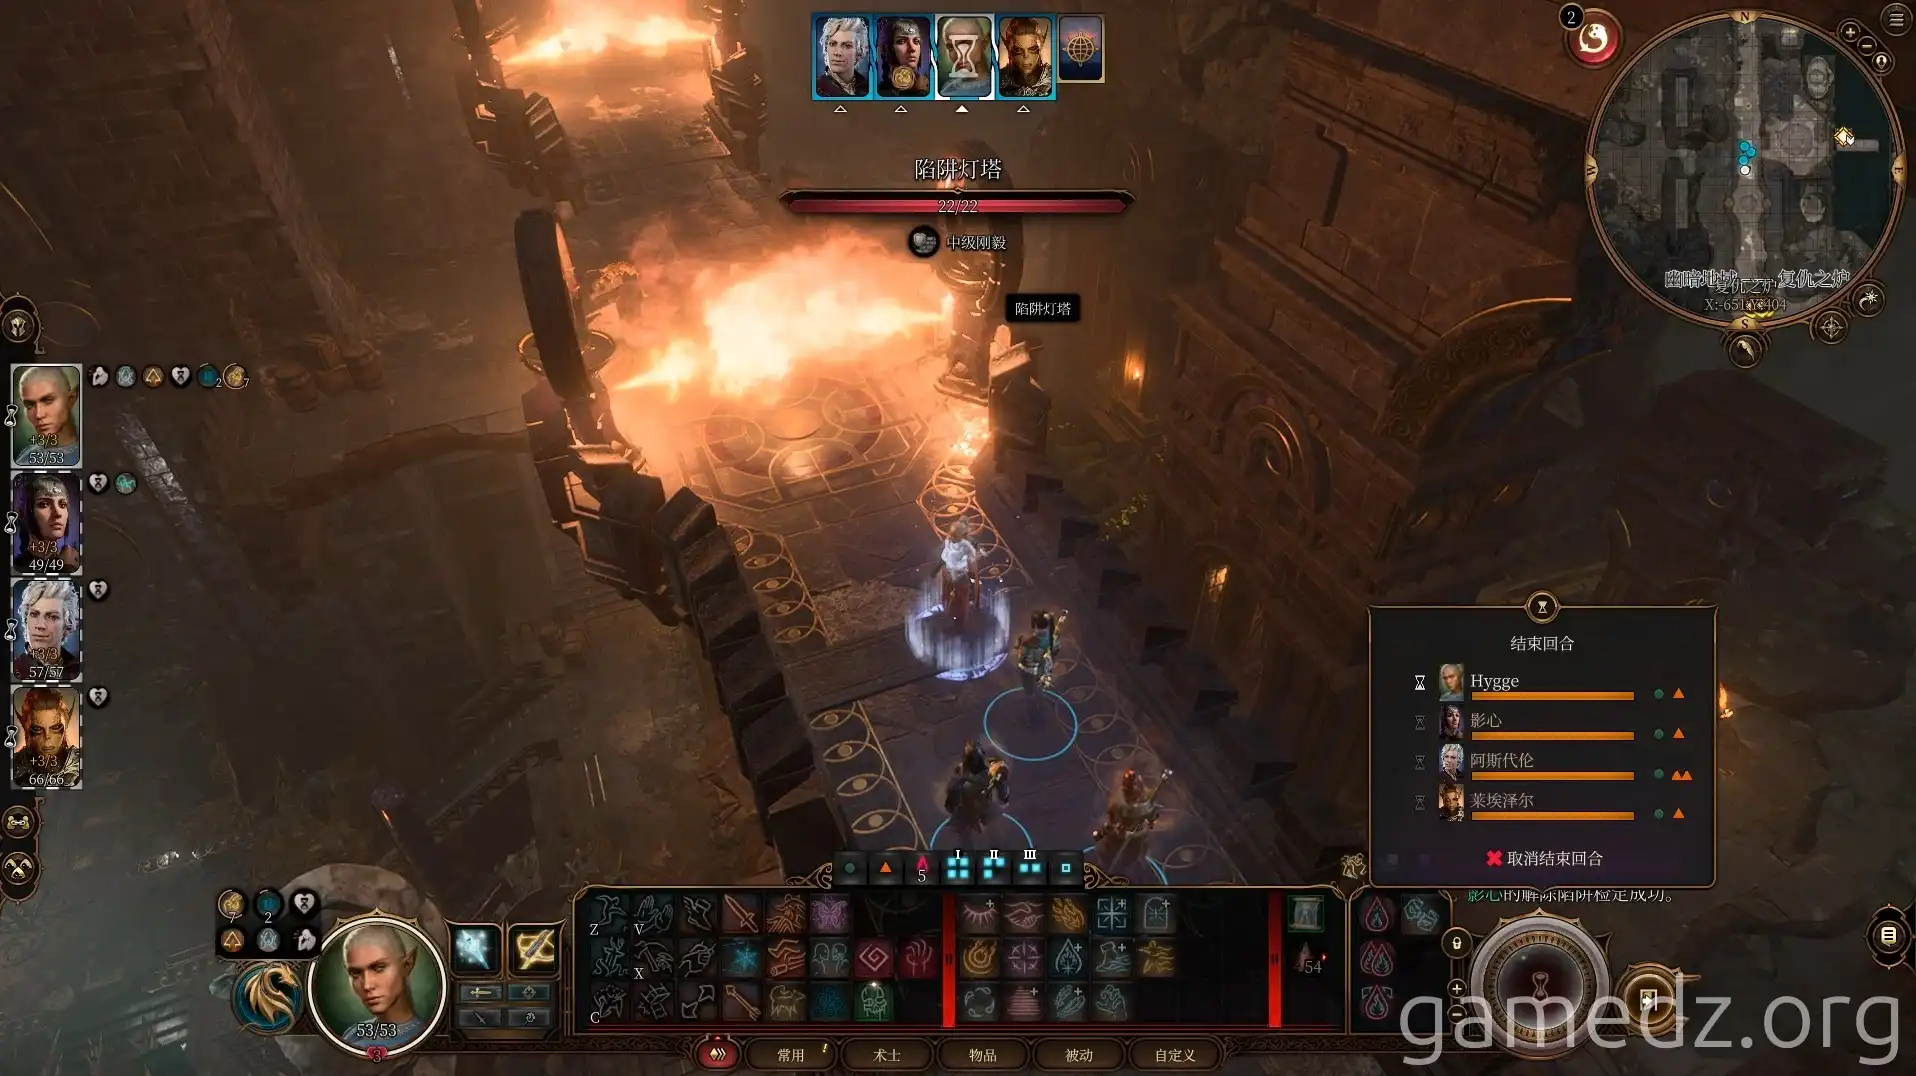
On a skeleton in the middle of the platform, you'll find an Iron Key.
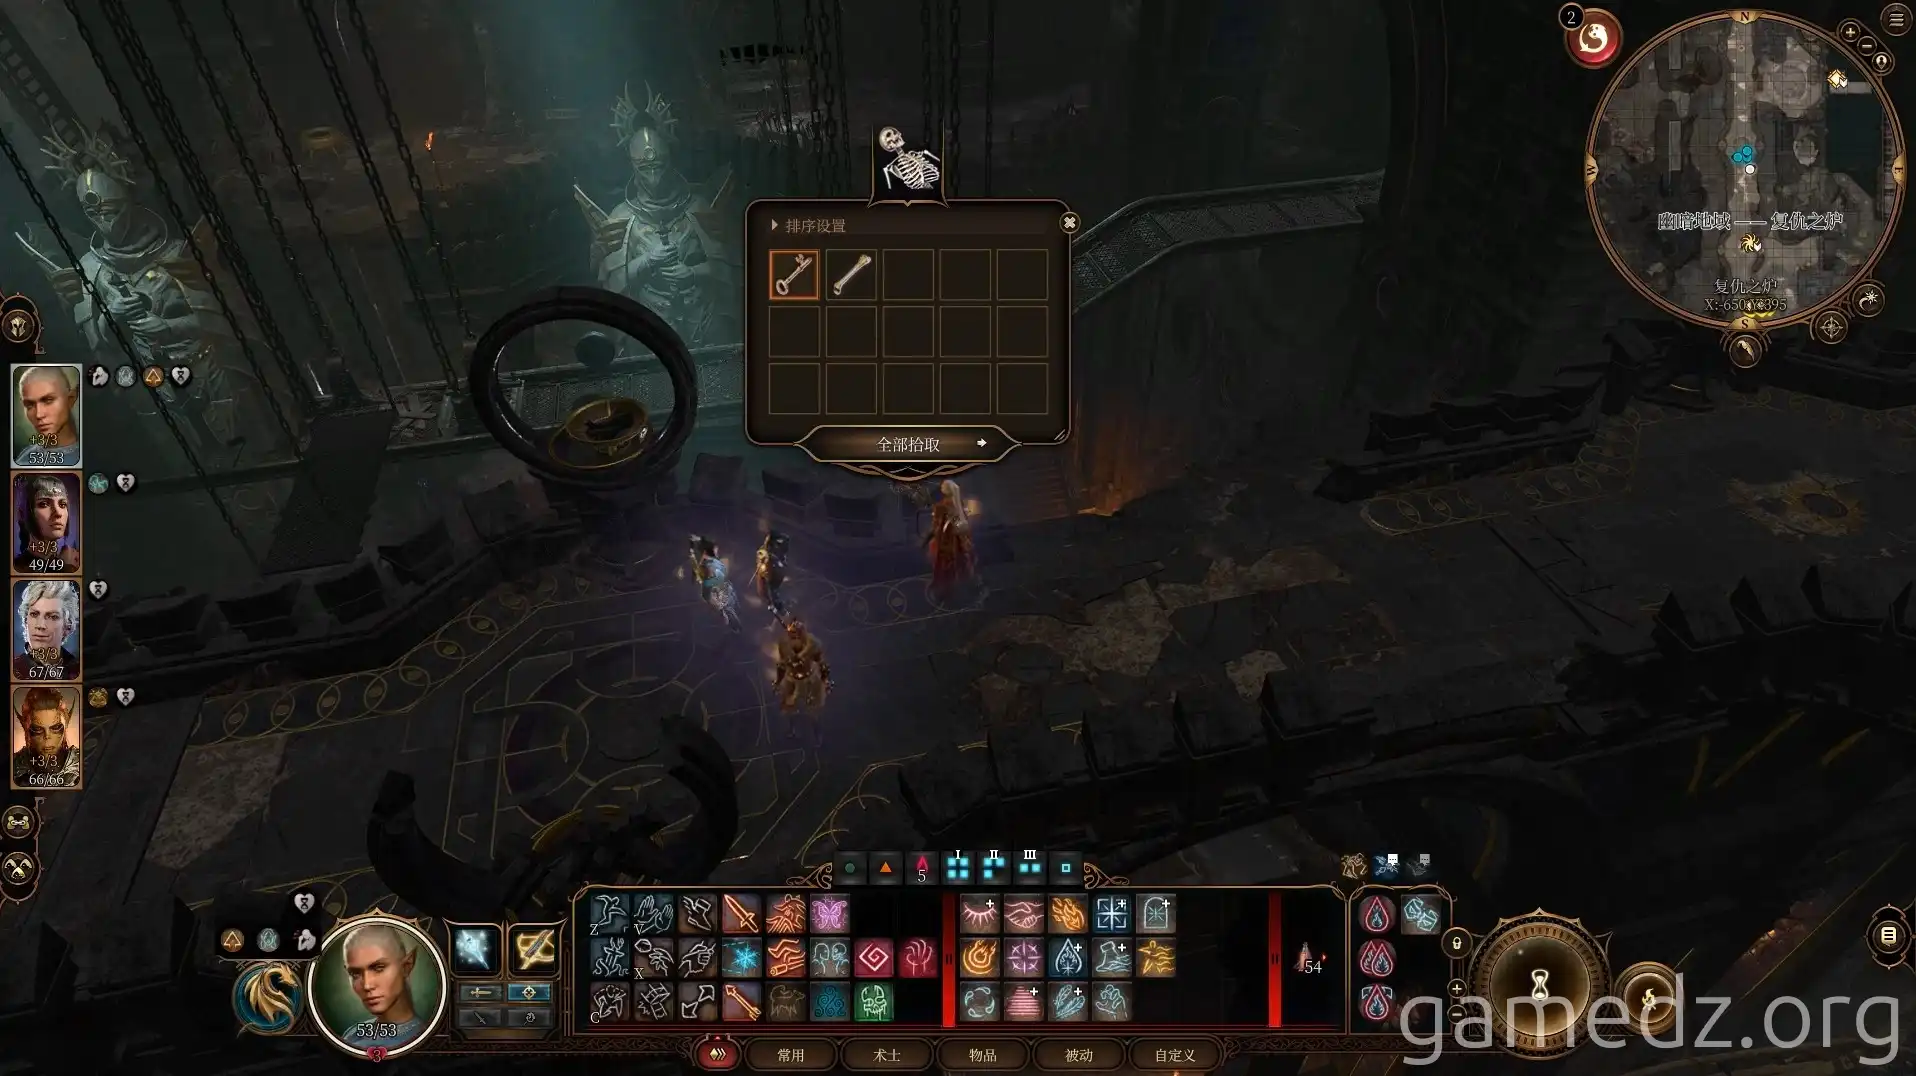
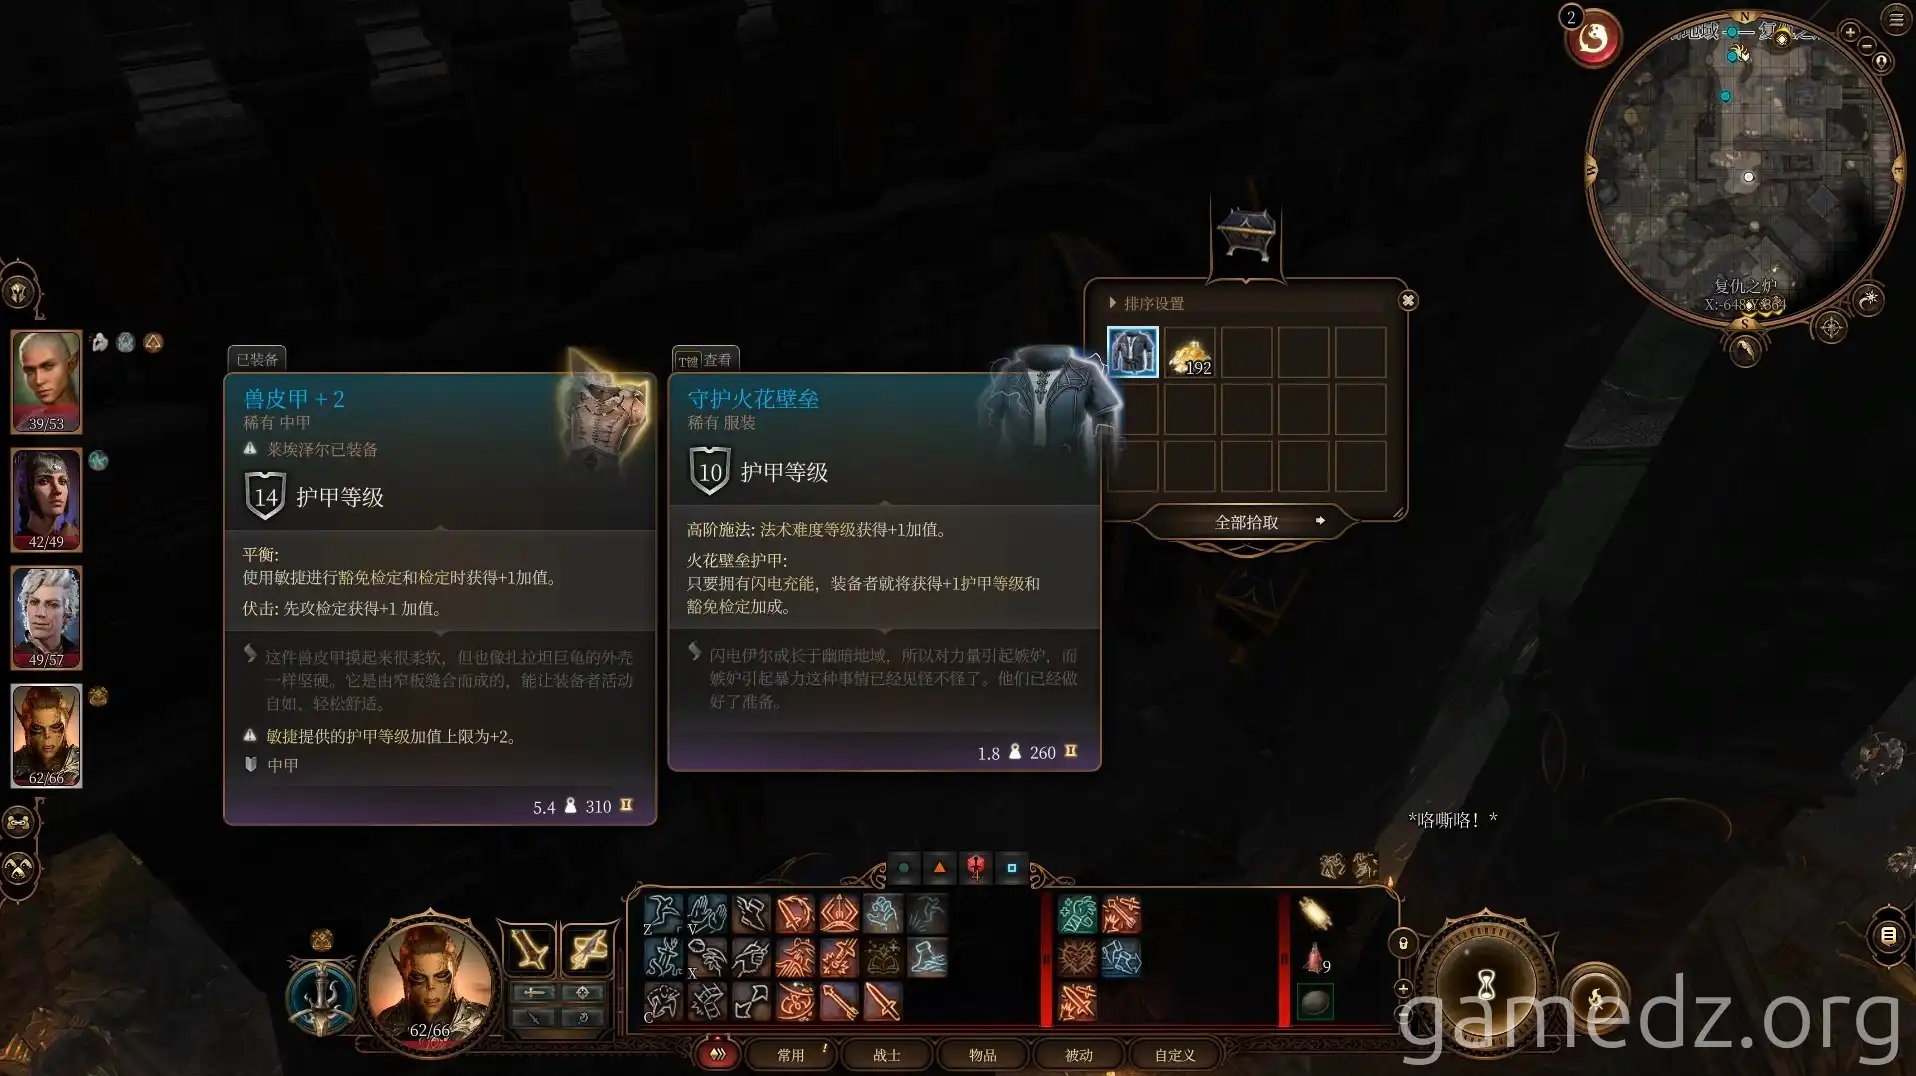
In a gilded chest behind a gargoyle statue at the southernmost end of the platform, you can find the rare armor [Adamantine Shield of the Weave]. Nearby, a Sharran Idol can be given to Shadowheart.
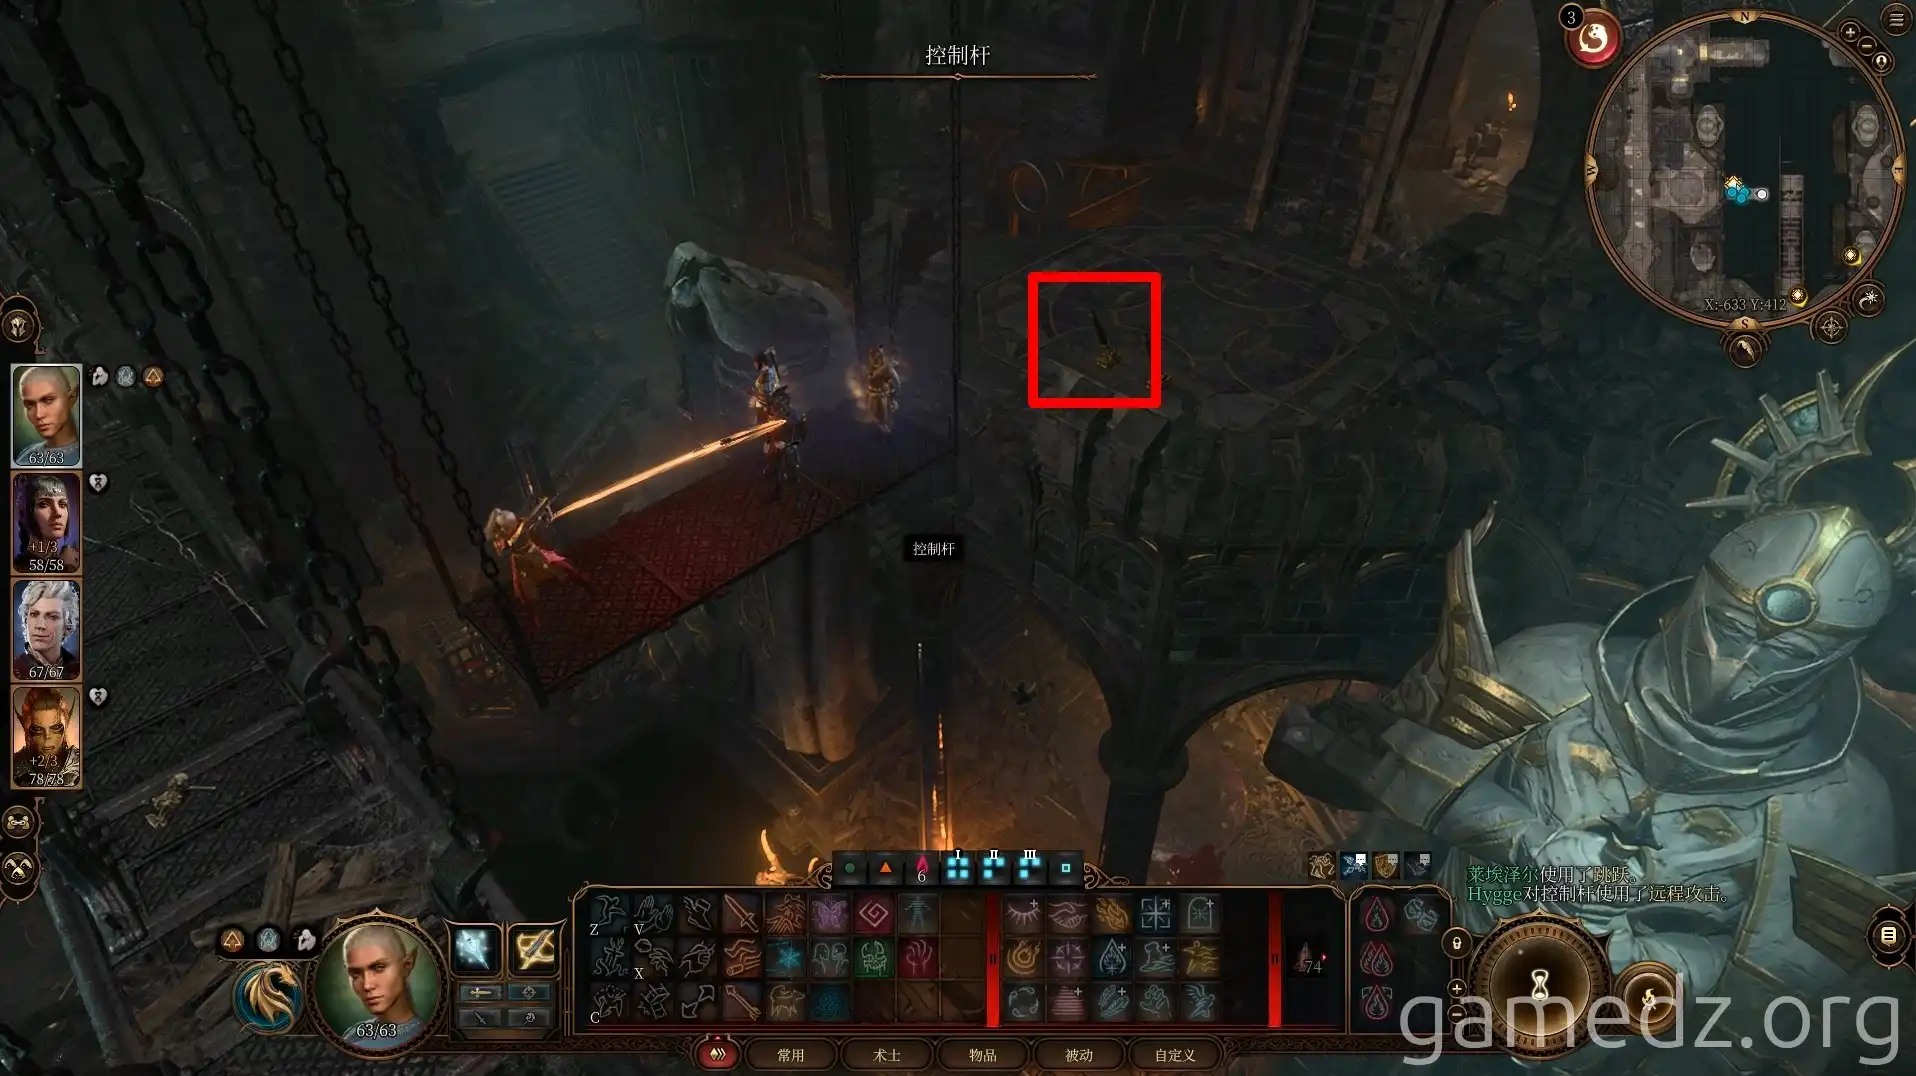
Use the ladder in the middle of the platform to descend to the lower platform. After everyone is on the steel plate, use ranged attacks to hit the control lever indicated by the red box.
Upon reaching the upper level on the east side of Grymforge, head south first.
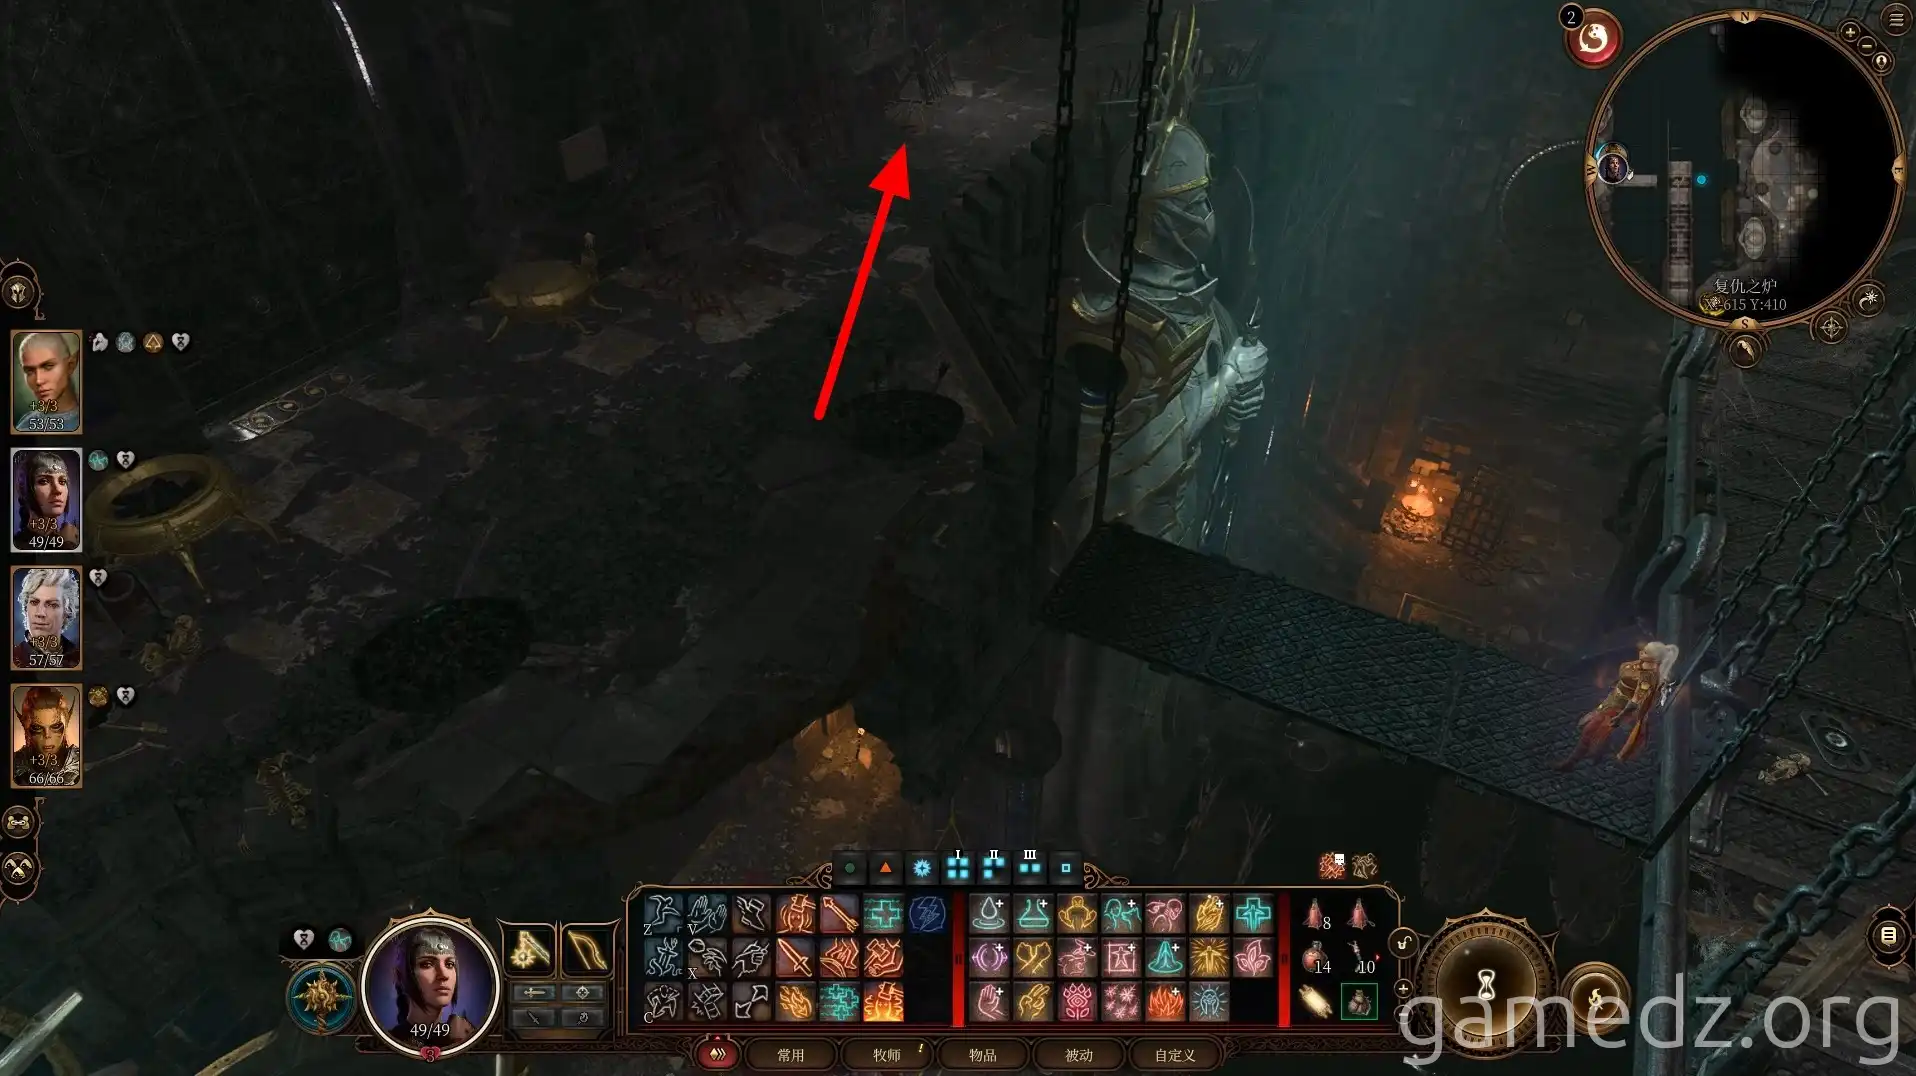
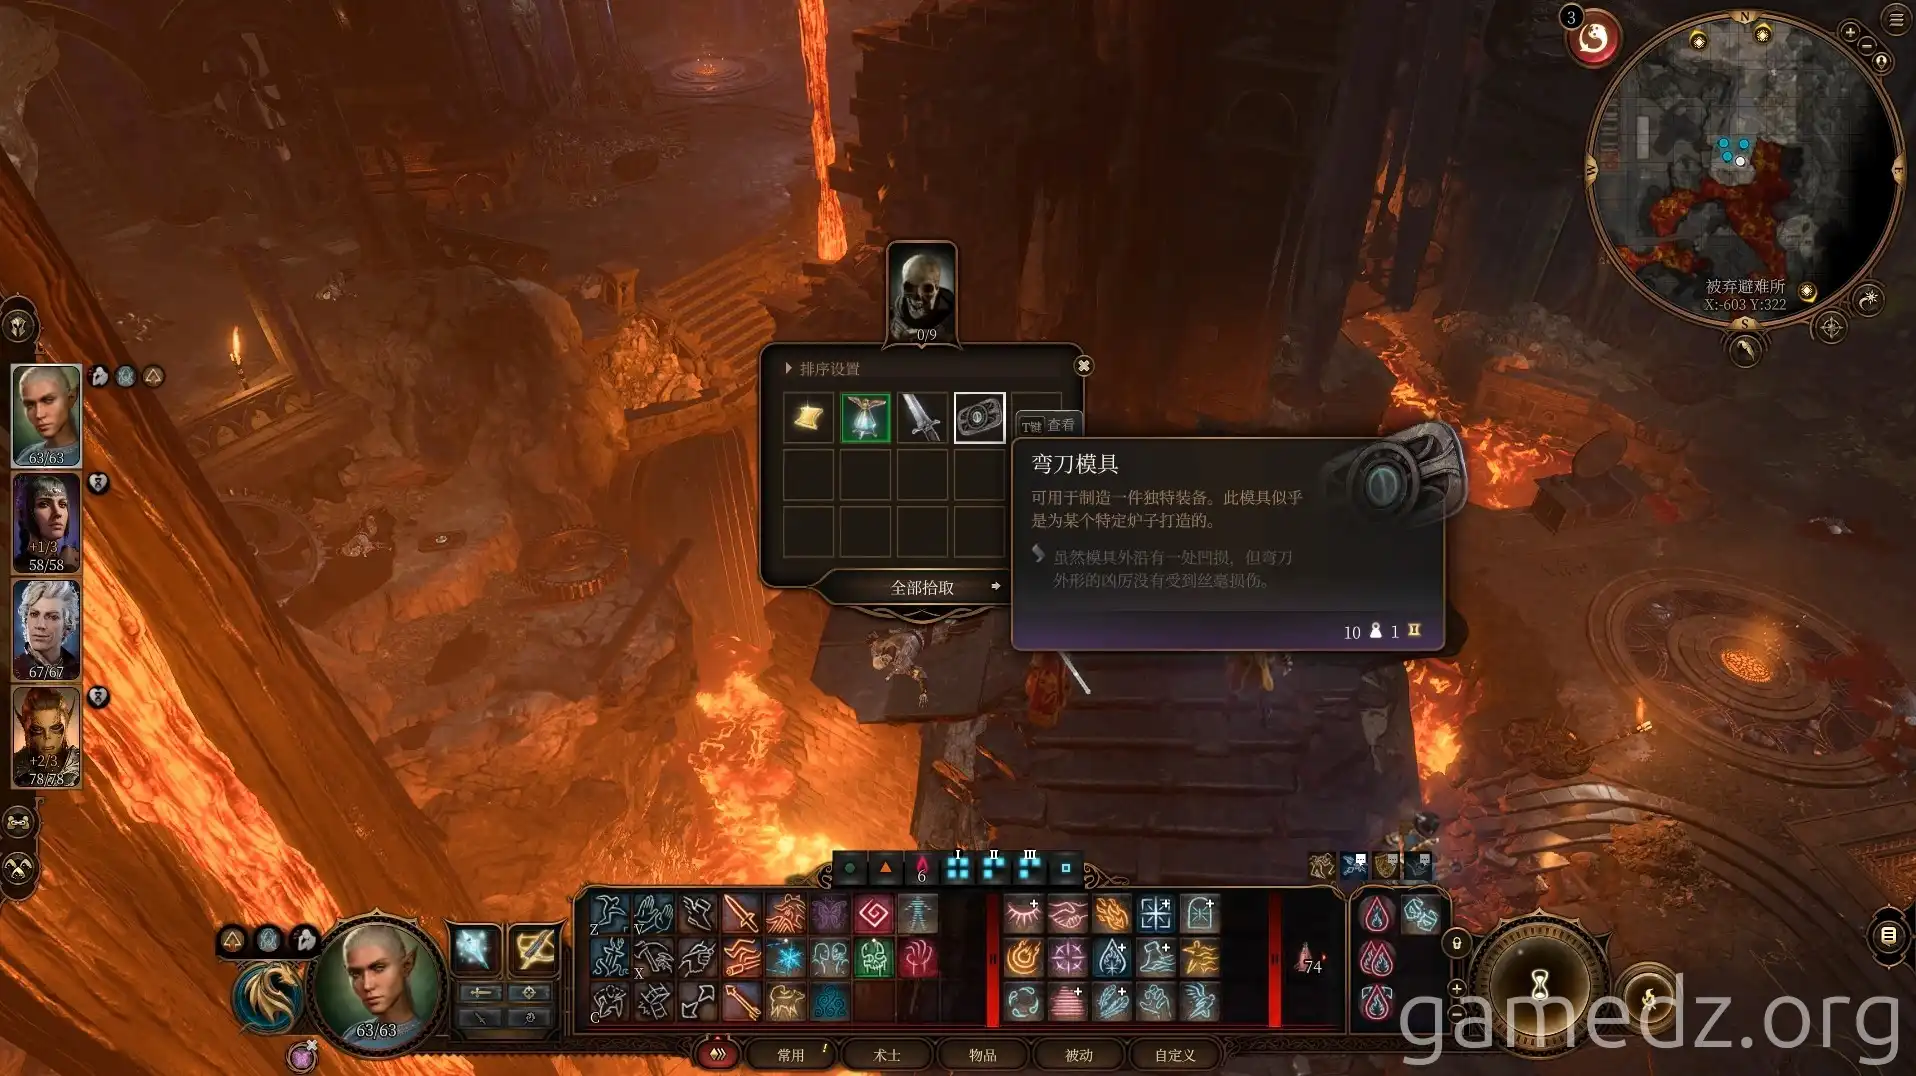
At the front is the control console for the moving platform to the Adamantine Forge. On a nearby skeleton, you'll find the [Adamantine Mould]. You don't need to interact with the console; simply return the way you came.
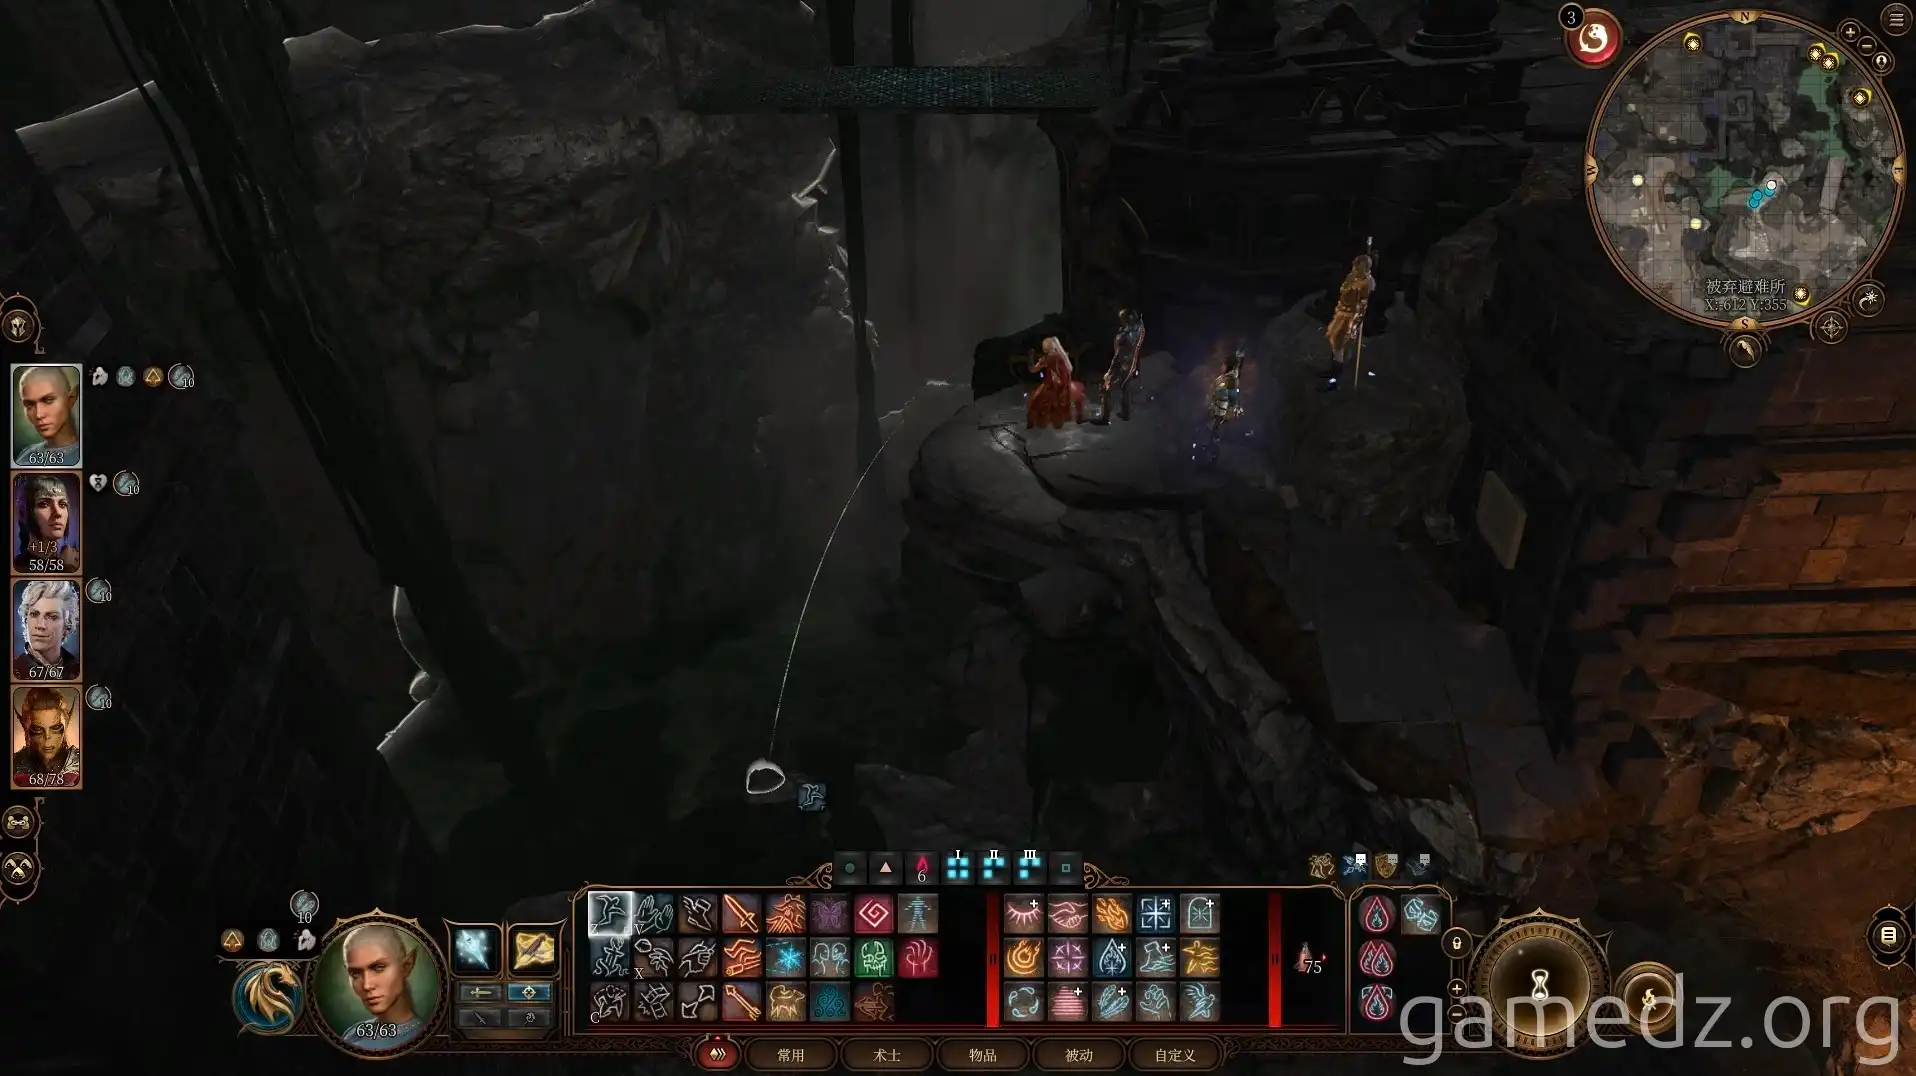
You can use Feather Fall to jump into the adjacent canyon, but it contains only some spell scrolls on a skeleton.
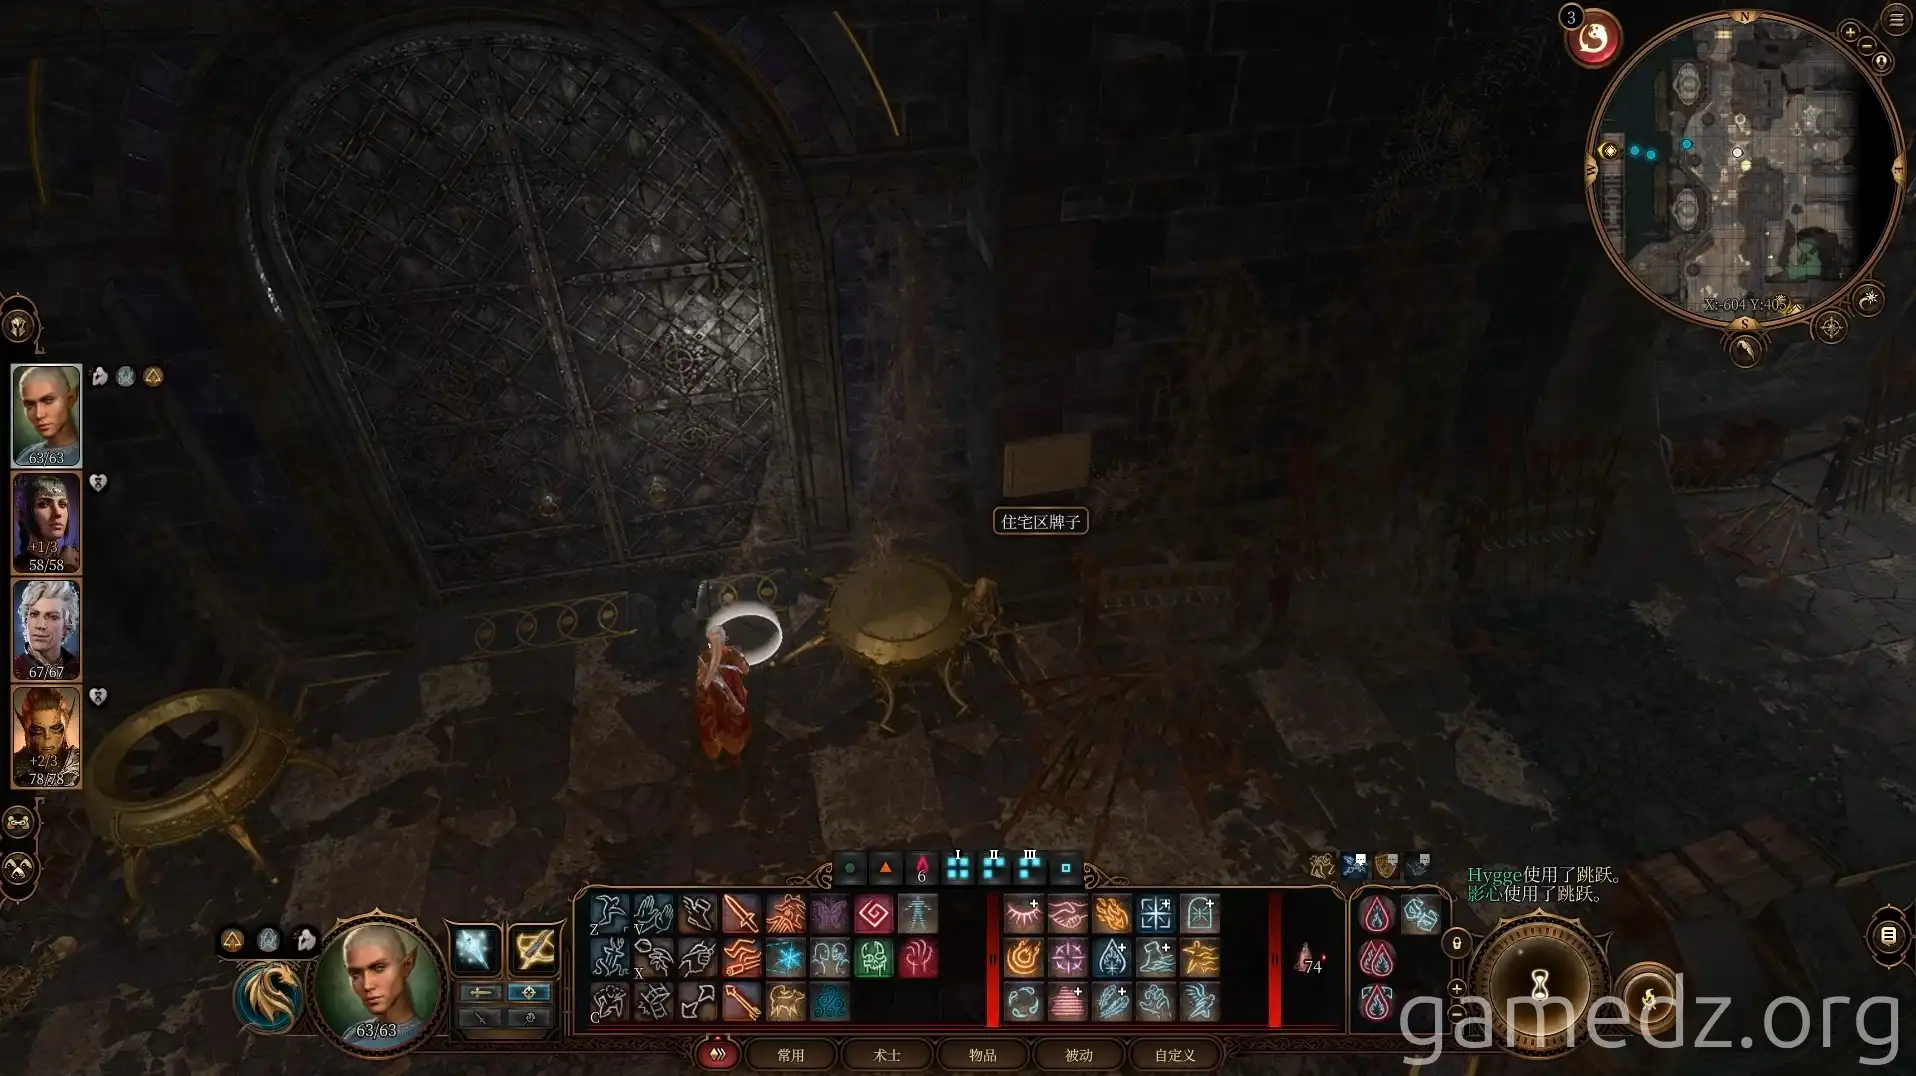
Return to the entrance of the residential area and use the Iron Key to open the door and enter.
Inside the residential area, find the Harper Key and a letter on a skeleton to the right of the stairs. These items are for opening a chest in a Harper supply cache later.
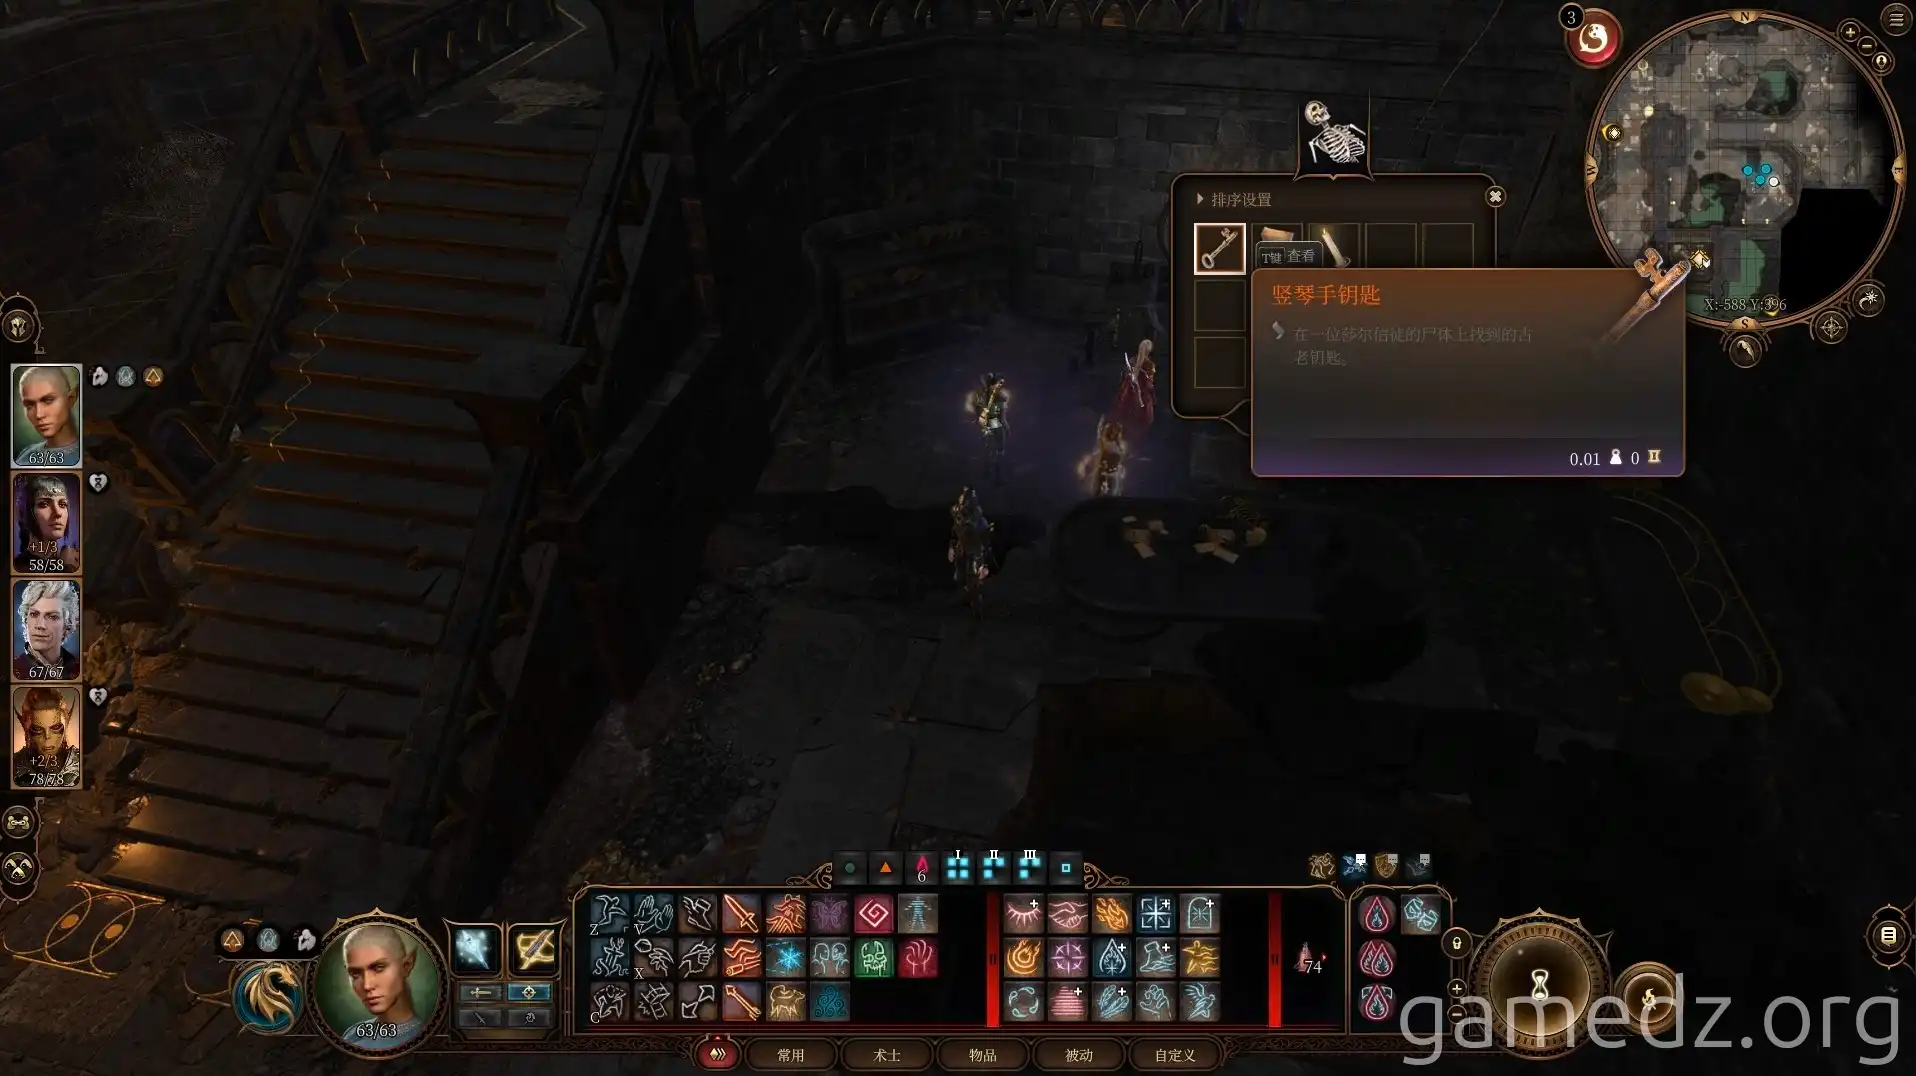
Ascend the stairs to the upper platform and retrieve the [Rusty Silver Key] from a skeleton hanging in the air. Opening the large door to the right triggers combat; it's recommended to wait until Nere's storyline is concluded.
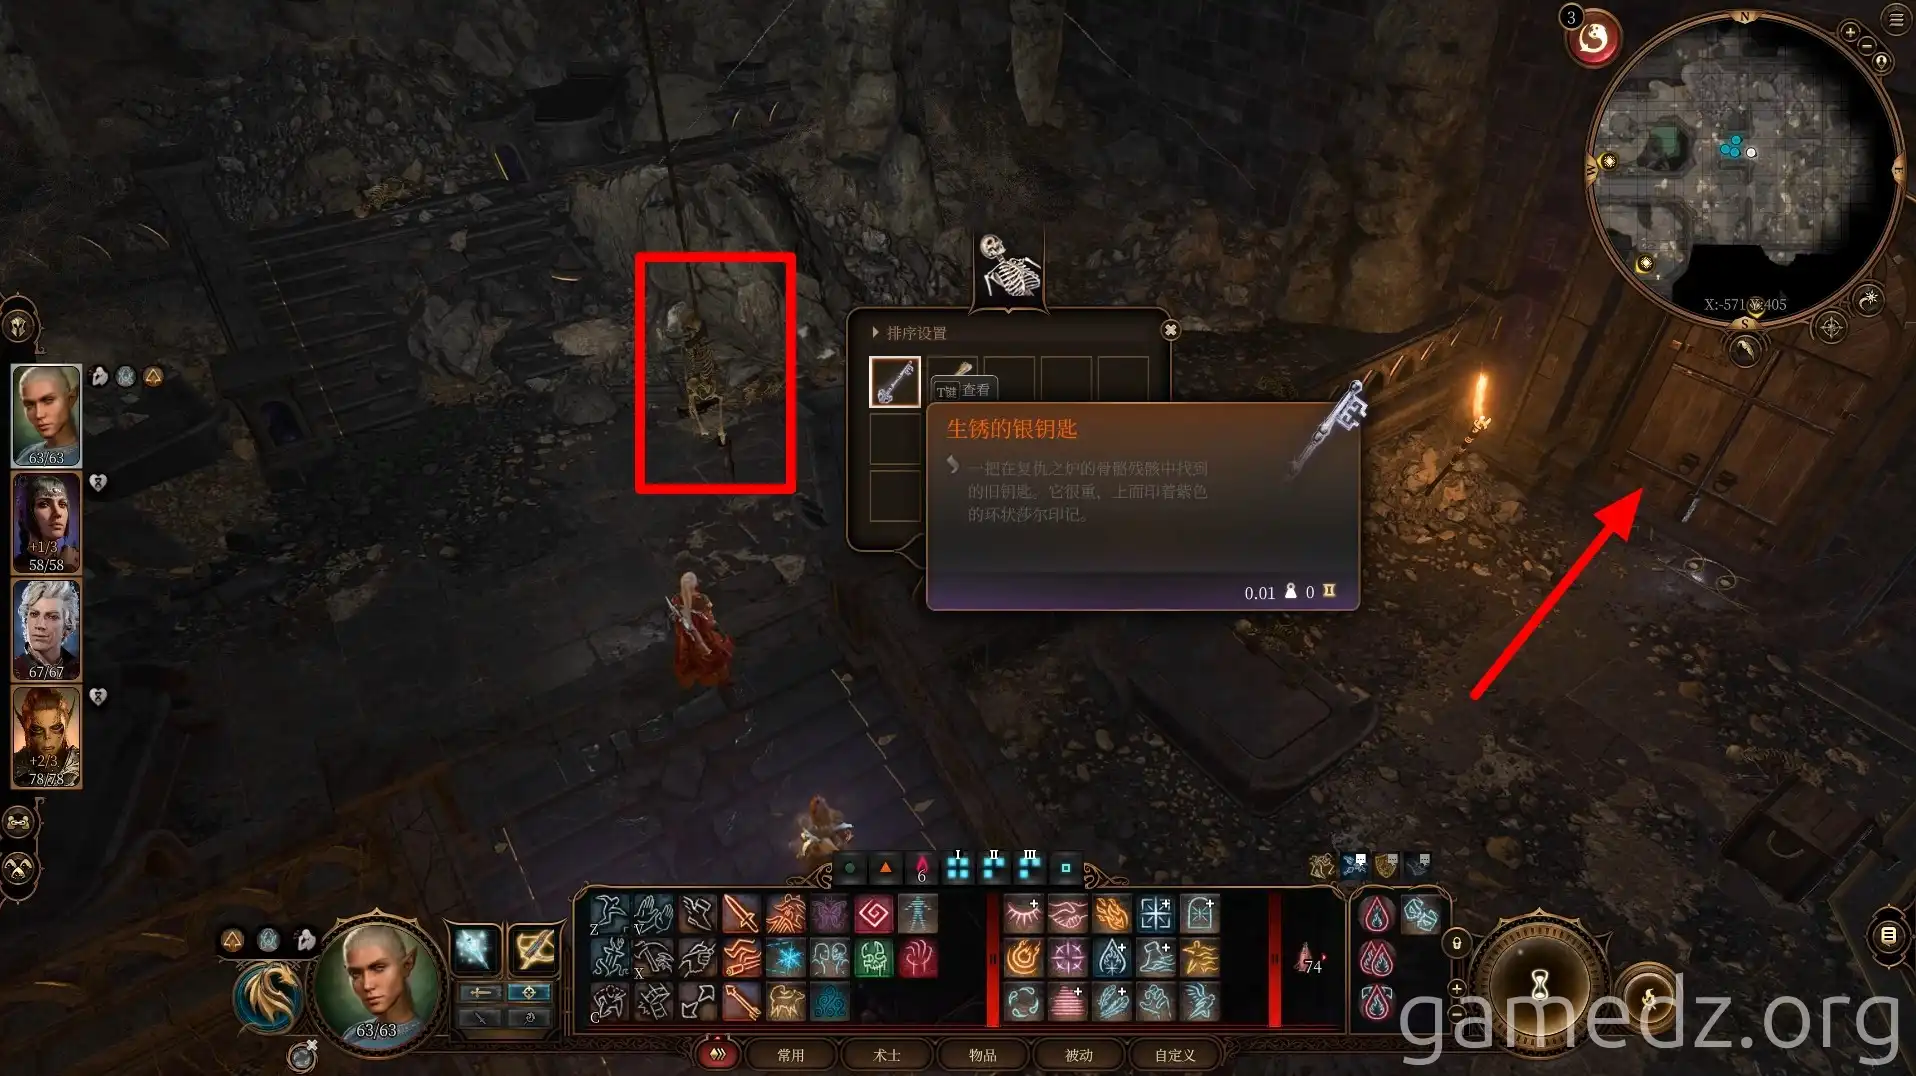
The room contains a Legion Devil Infantry and three Hell Hounds.
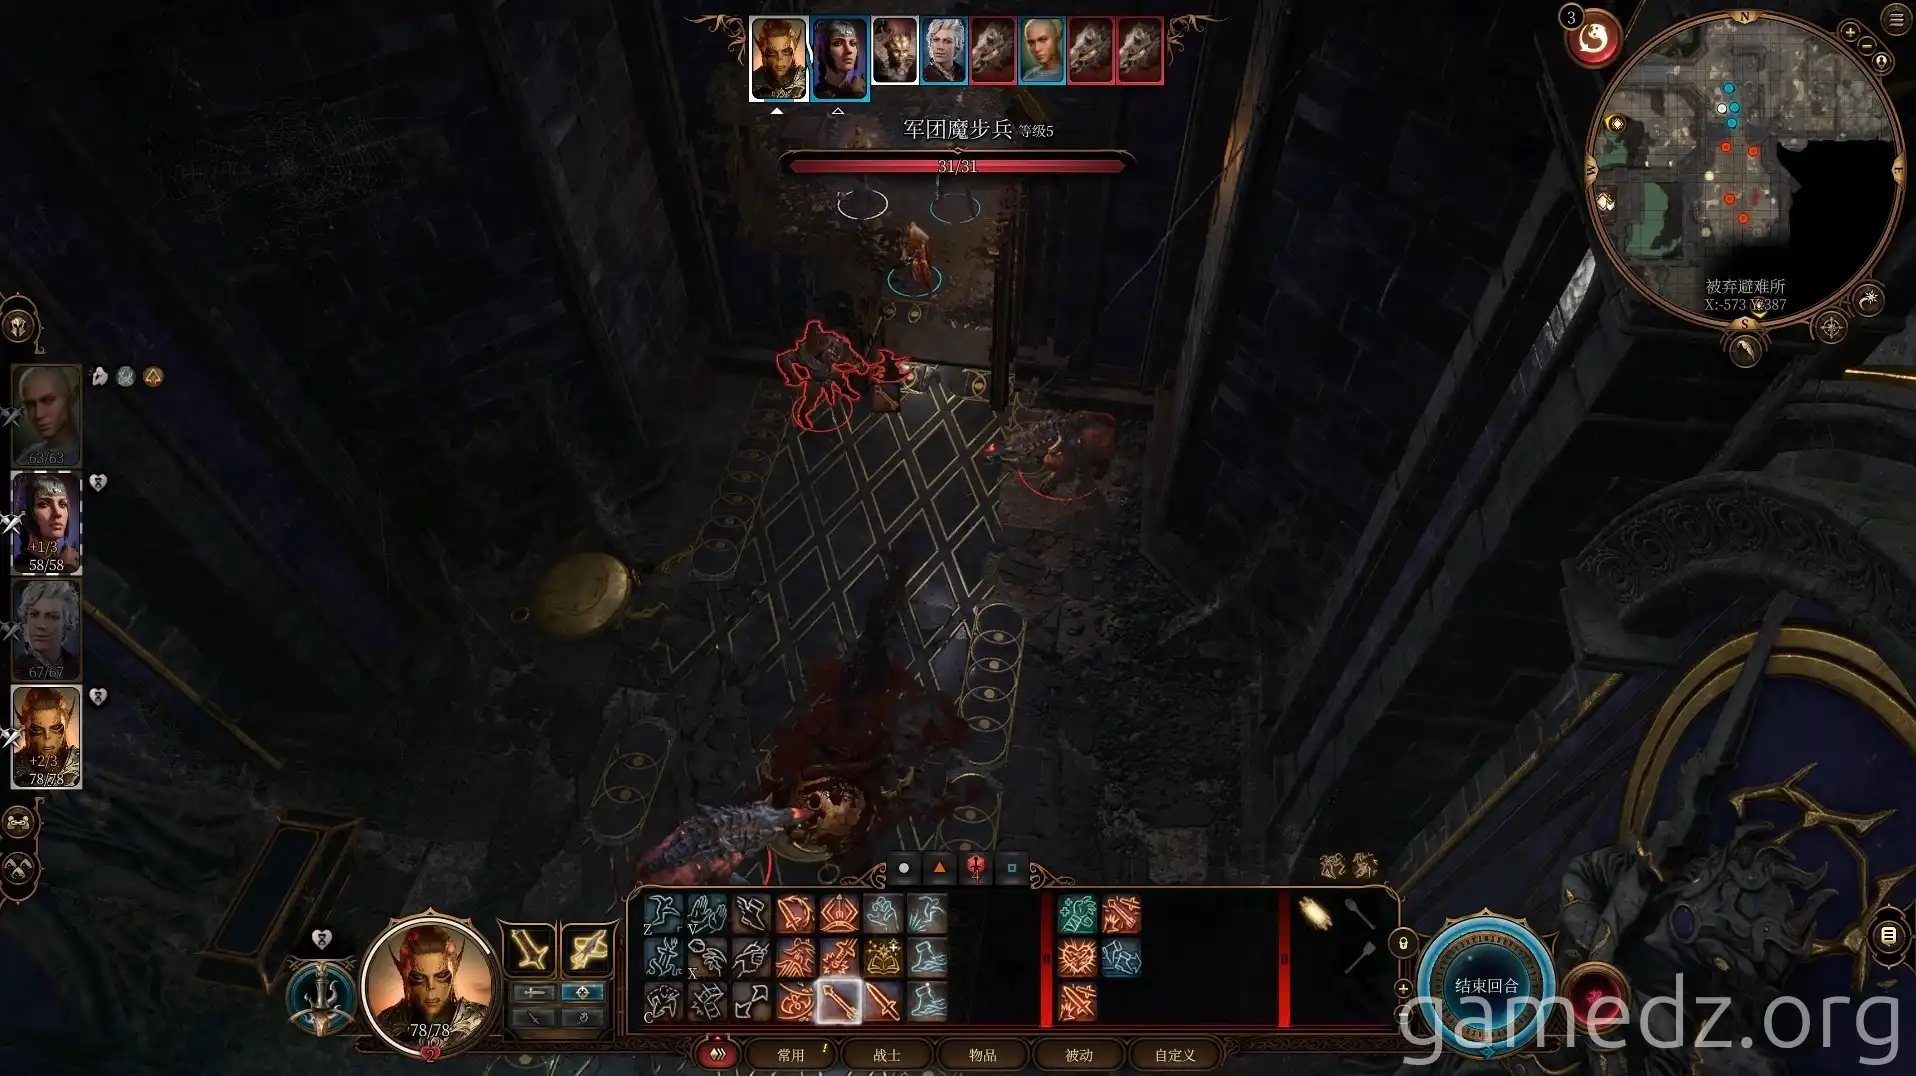
From the Legion Devil Infantry, you can obtain the rare weapon [Legion Devil Halberd].
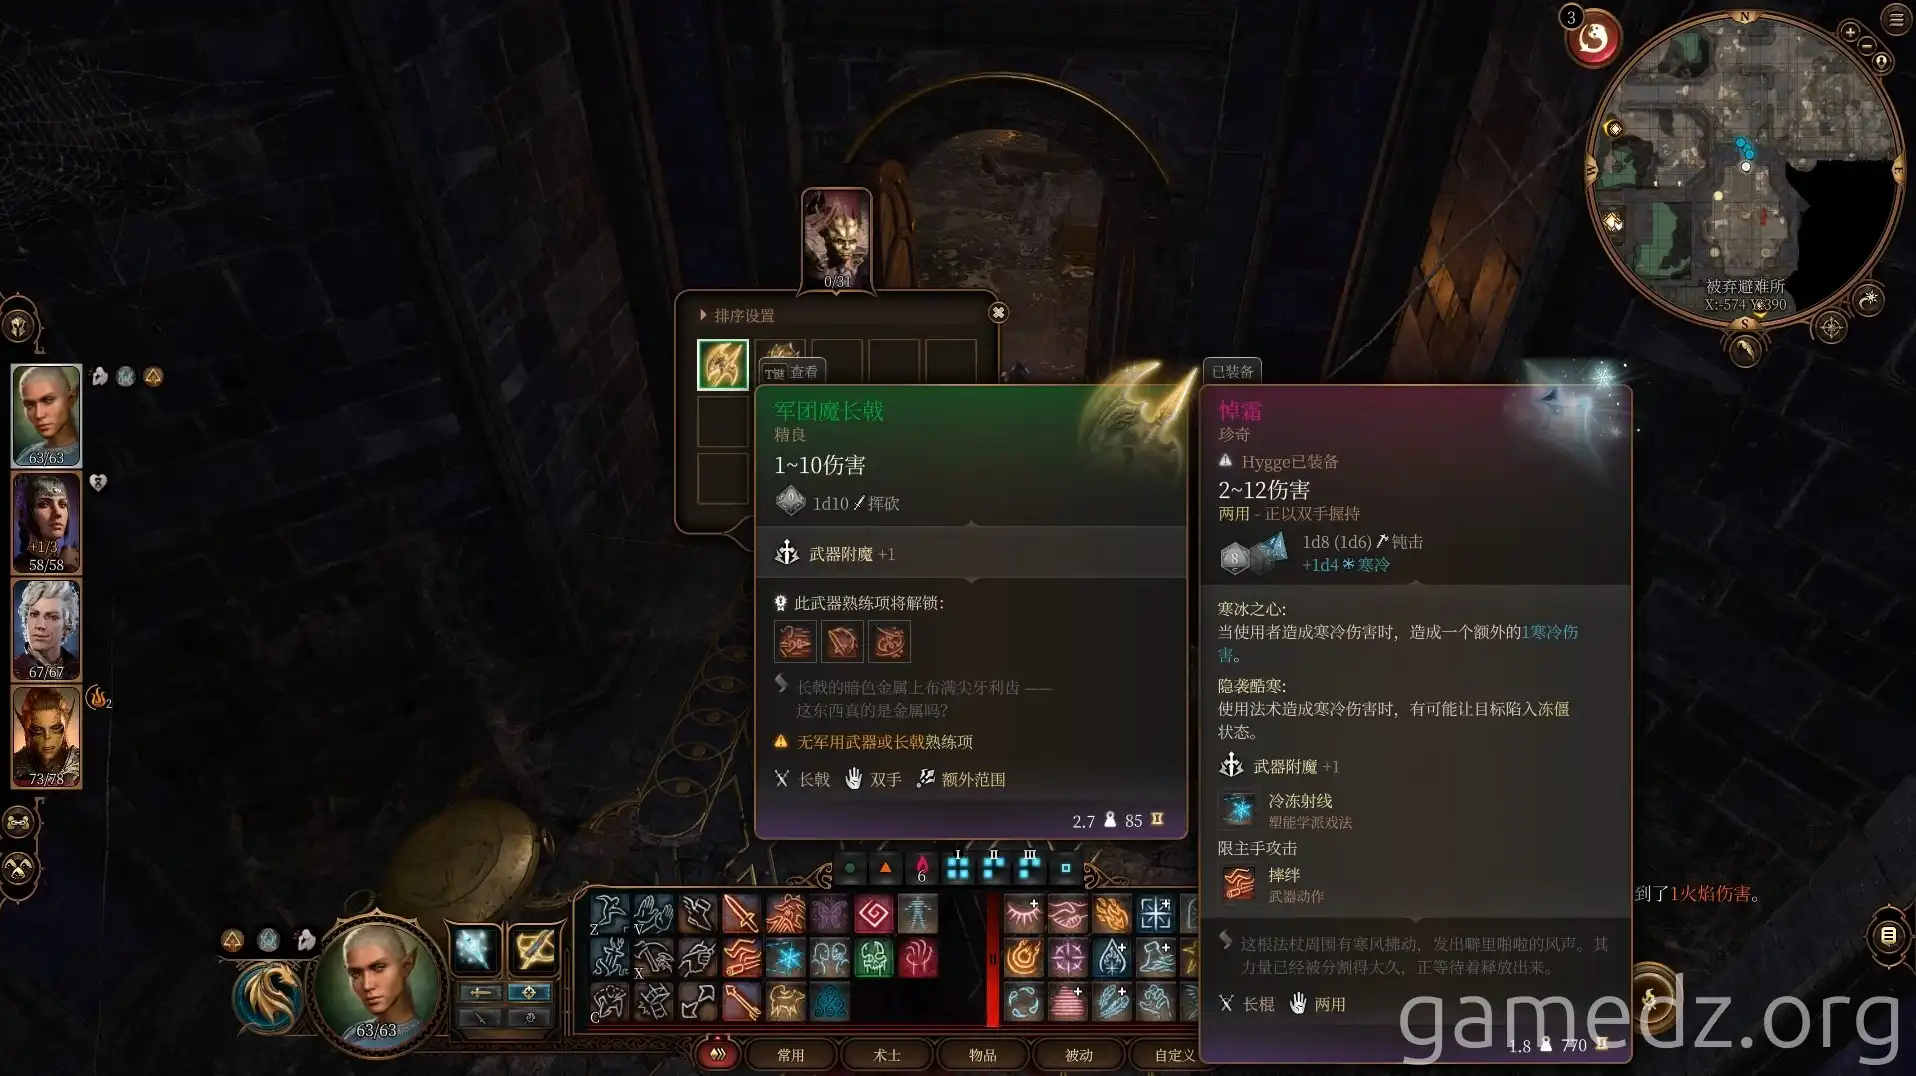
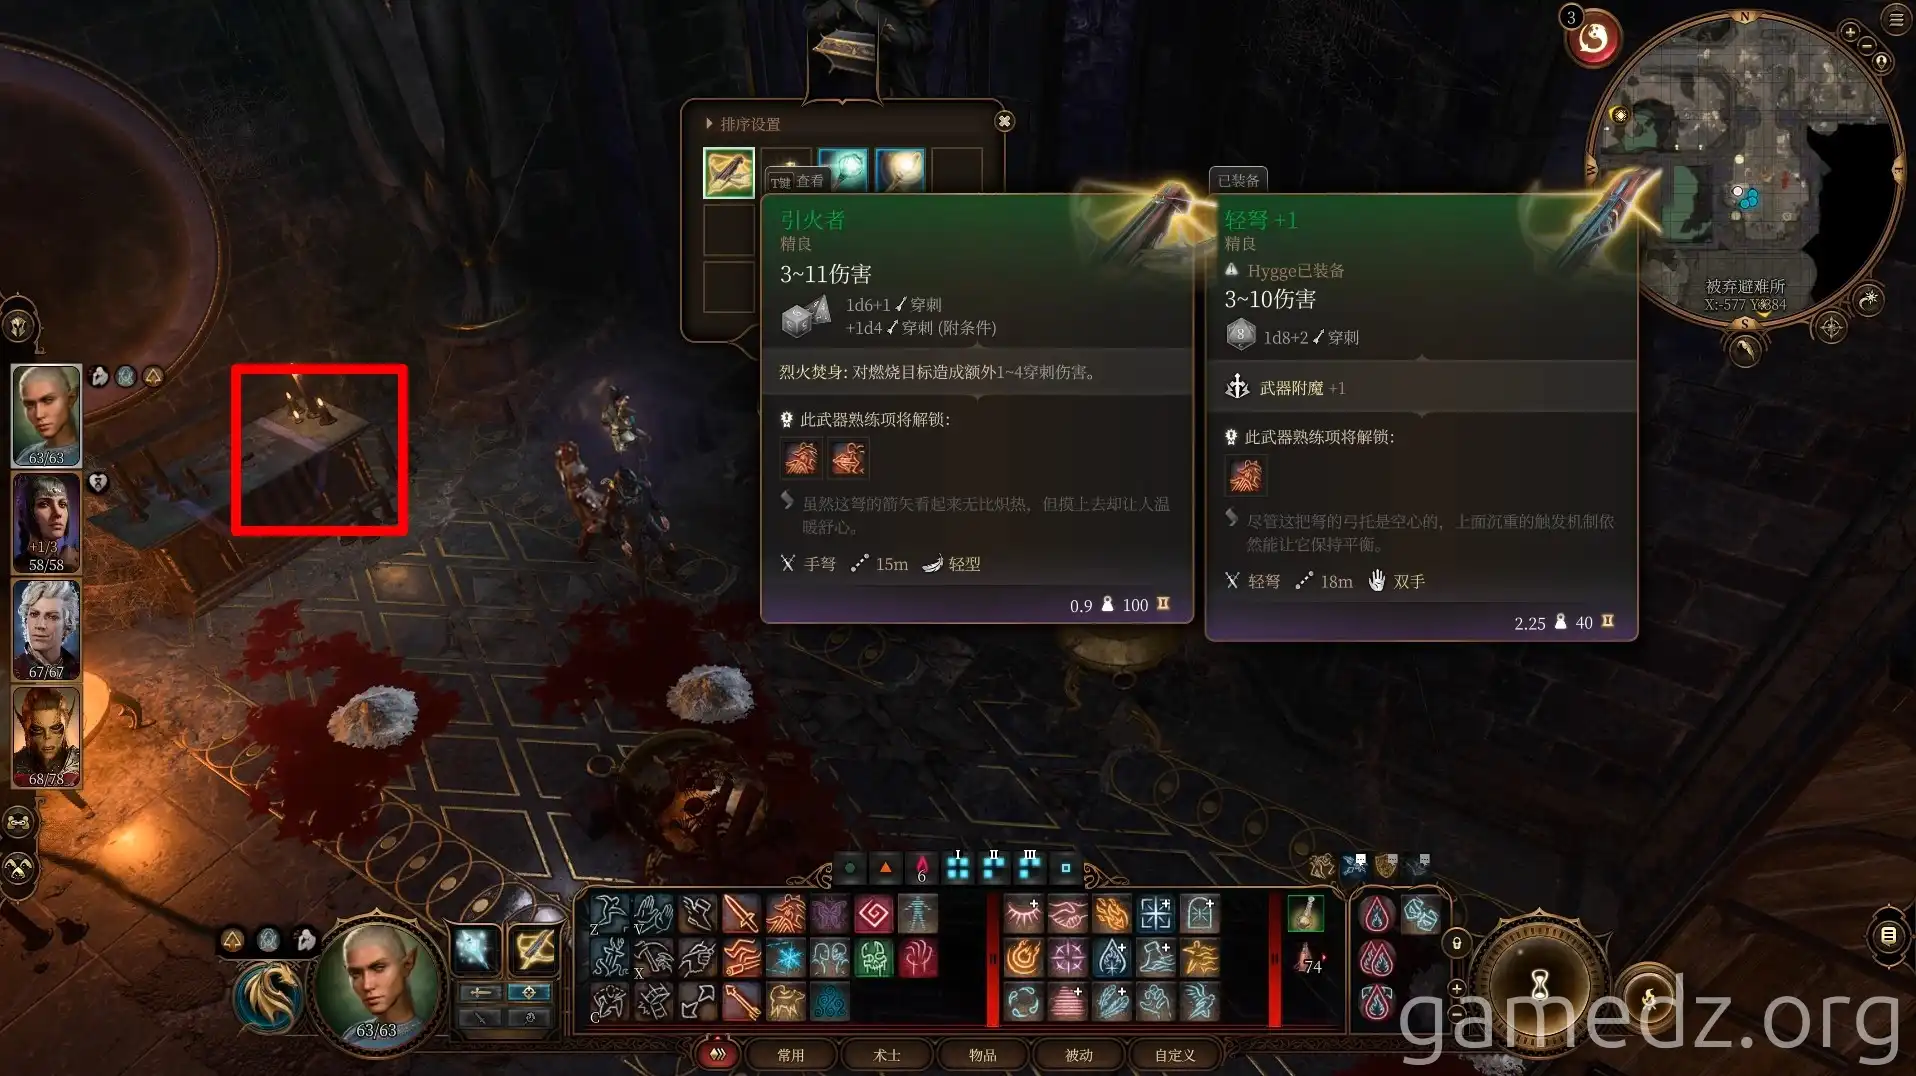
Inside a chest in the room, find the rare hand crossbow [Igniter] and magic arrows. Beneath the table at the front is a rusty key.
On a skeleton at the base of the cliff on the far east side, you can find the Shield Mould.
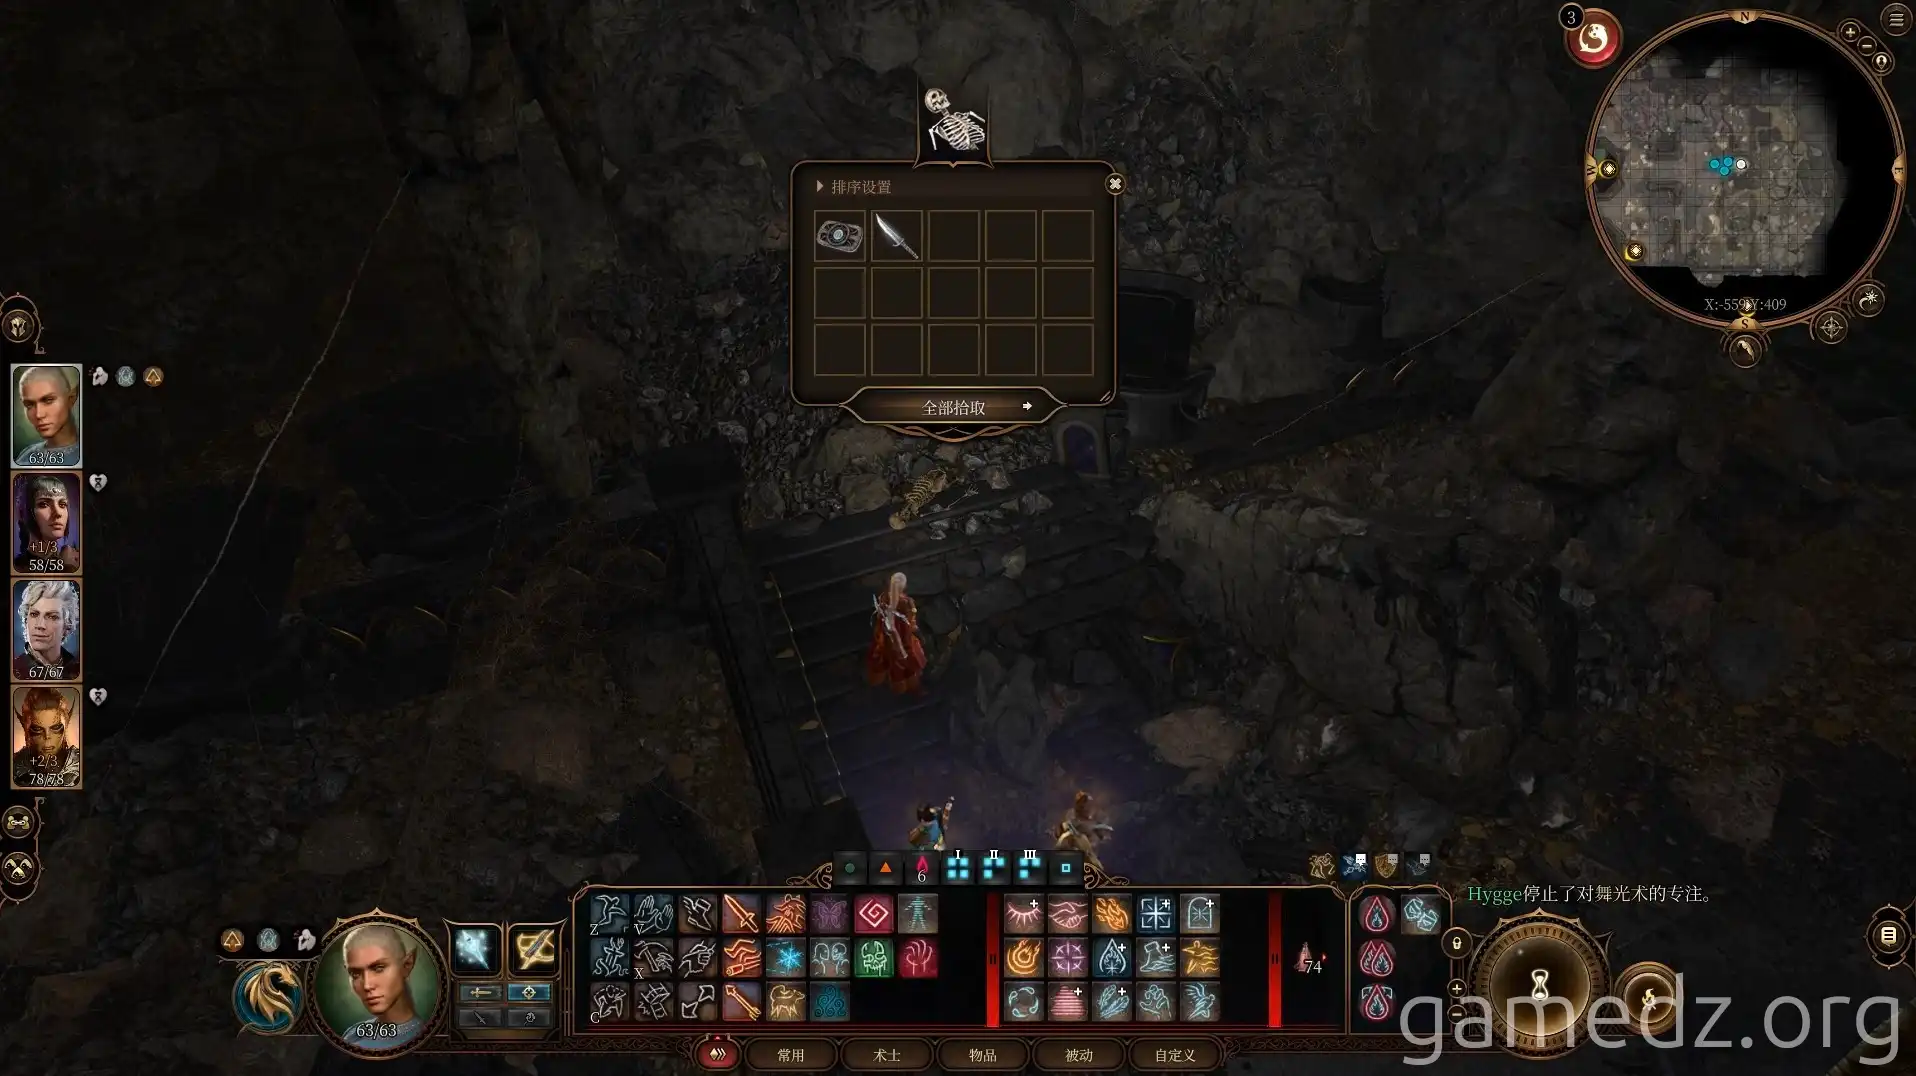
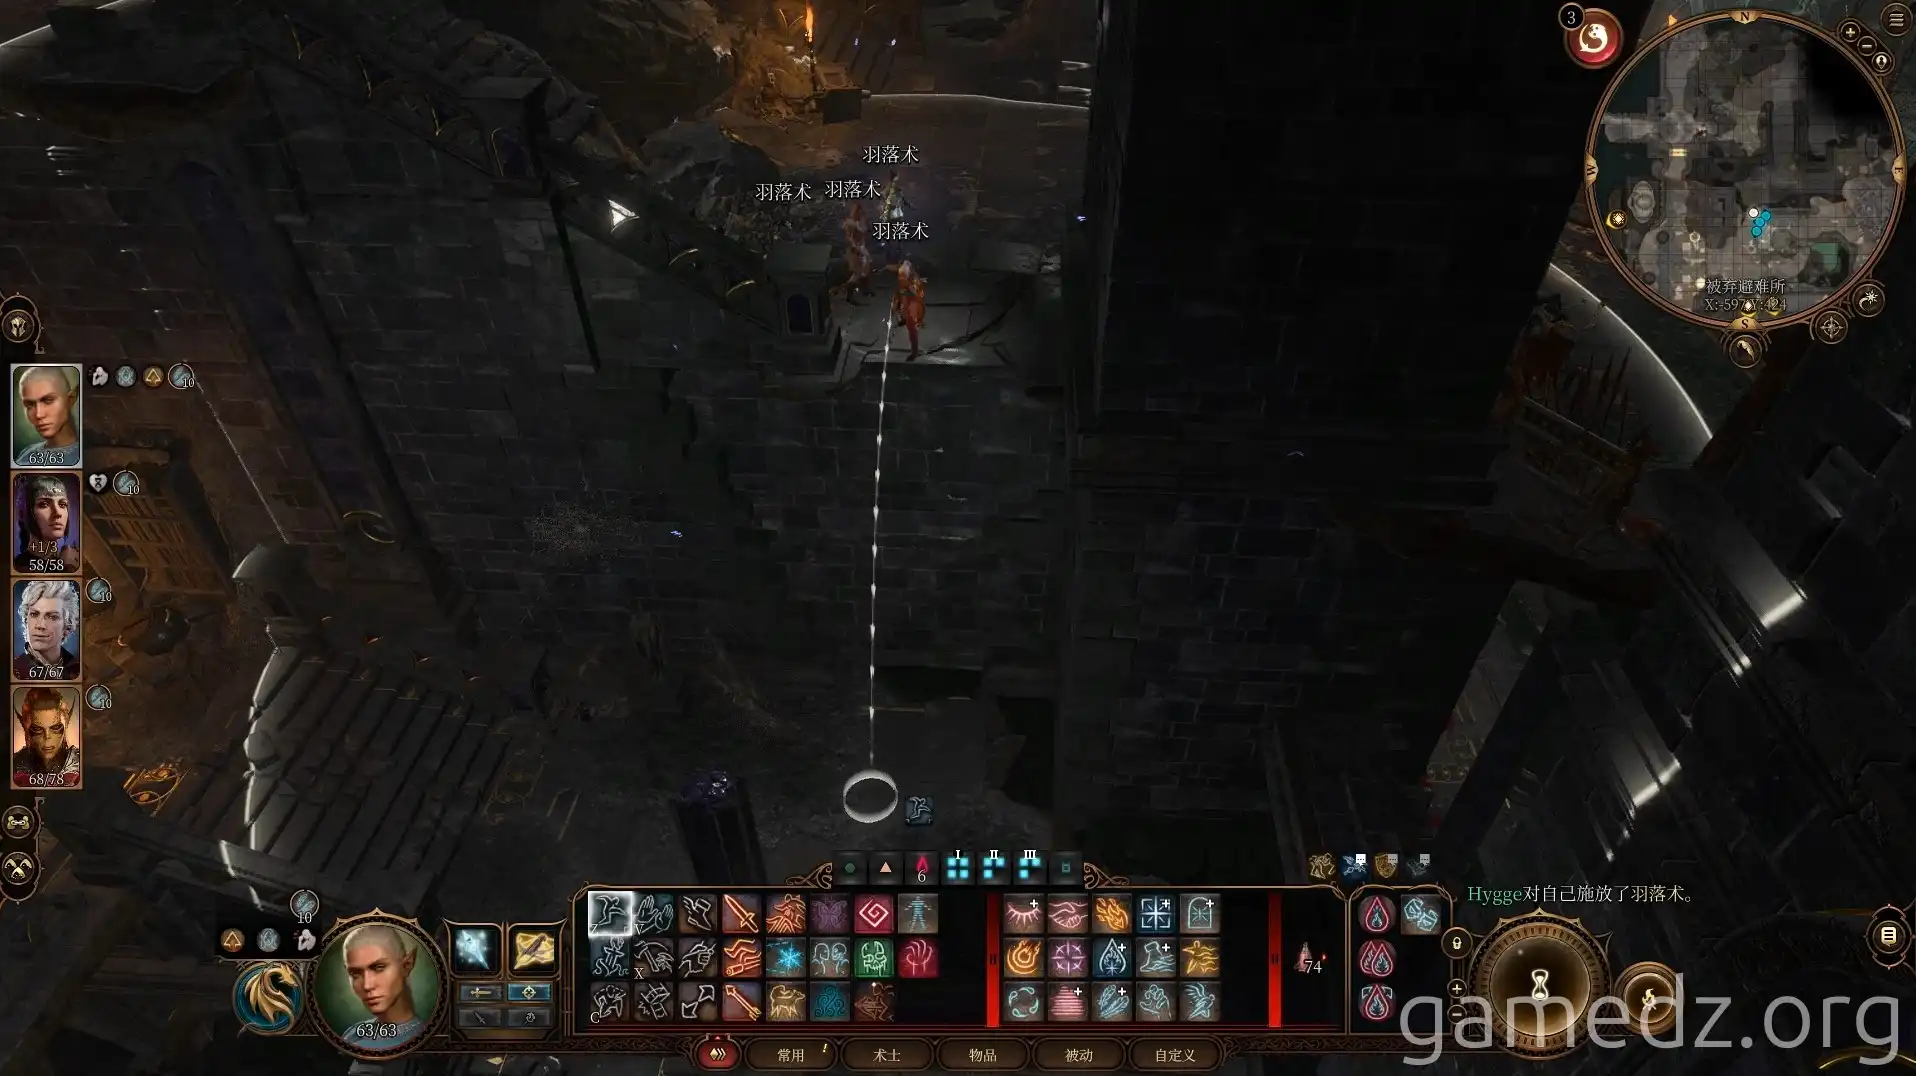
Return to the left of the stairs and use Feather Fall to jump to the lower level.
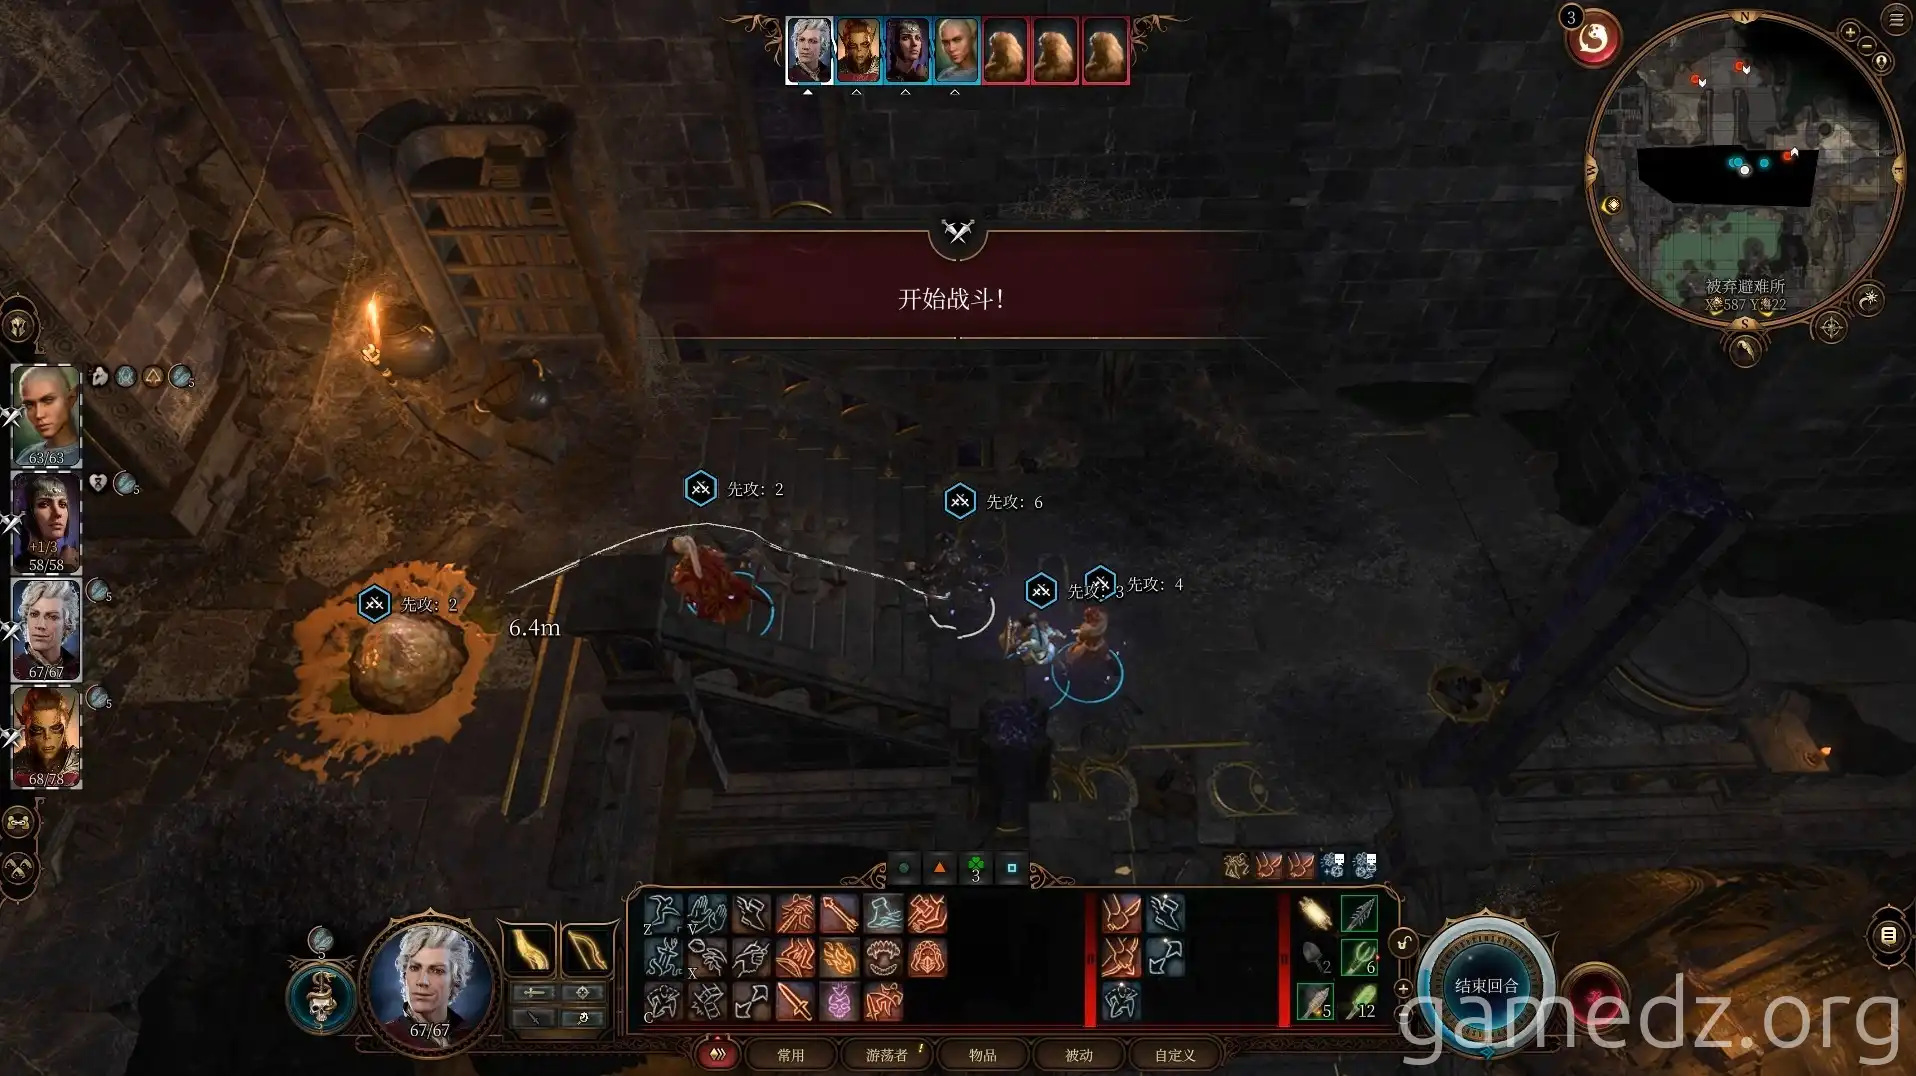
At the stairs on the left, you'll trigger combat with three Ochre Jellies: one directly in front and two down the adjacent stairs.
After defeating the enemies, continue forward. At the end of the path, jump to the rock formation opposite.
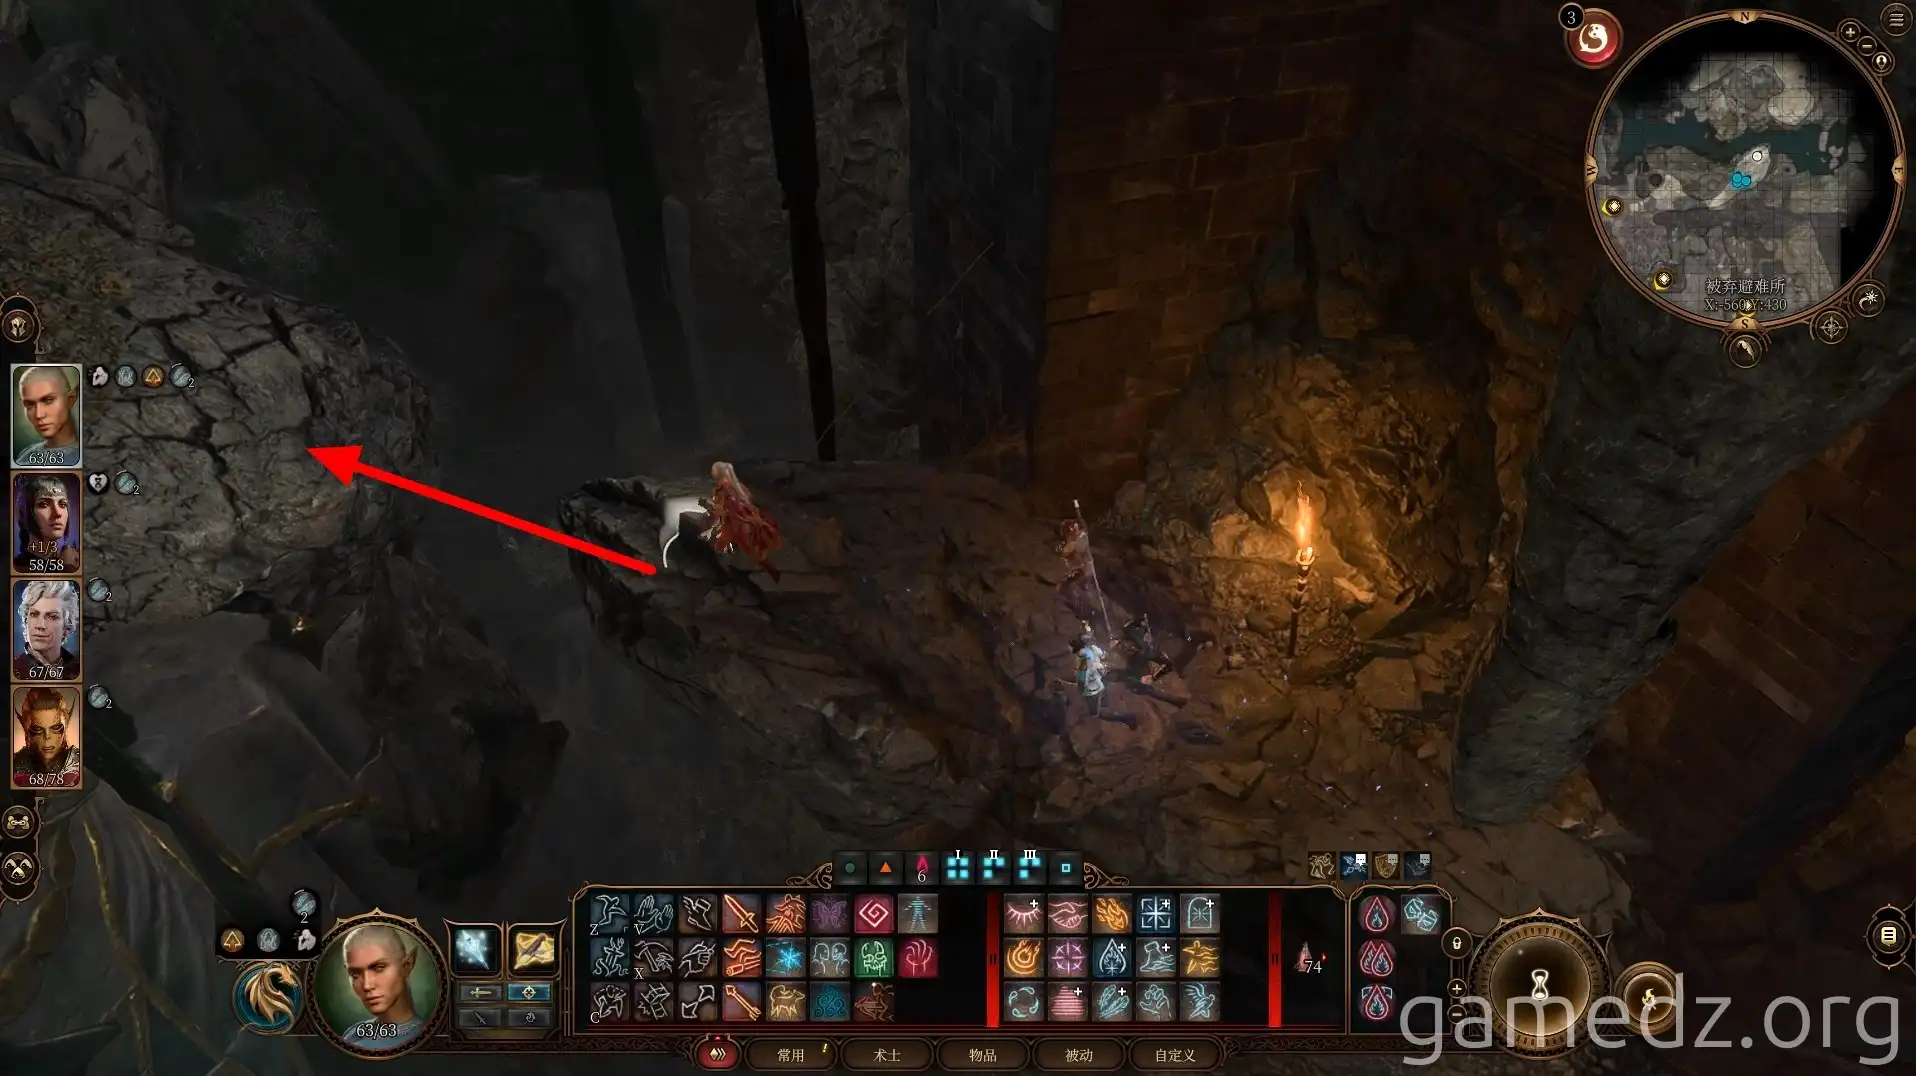
Proceed to the entrance of the Meditation Chamber and continue walking to arrive at its left side.
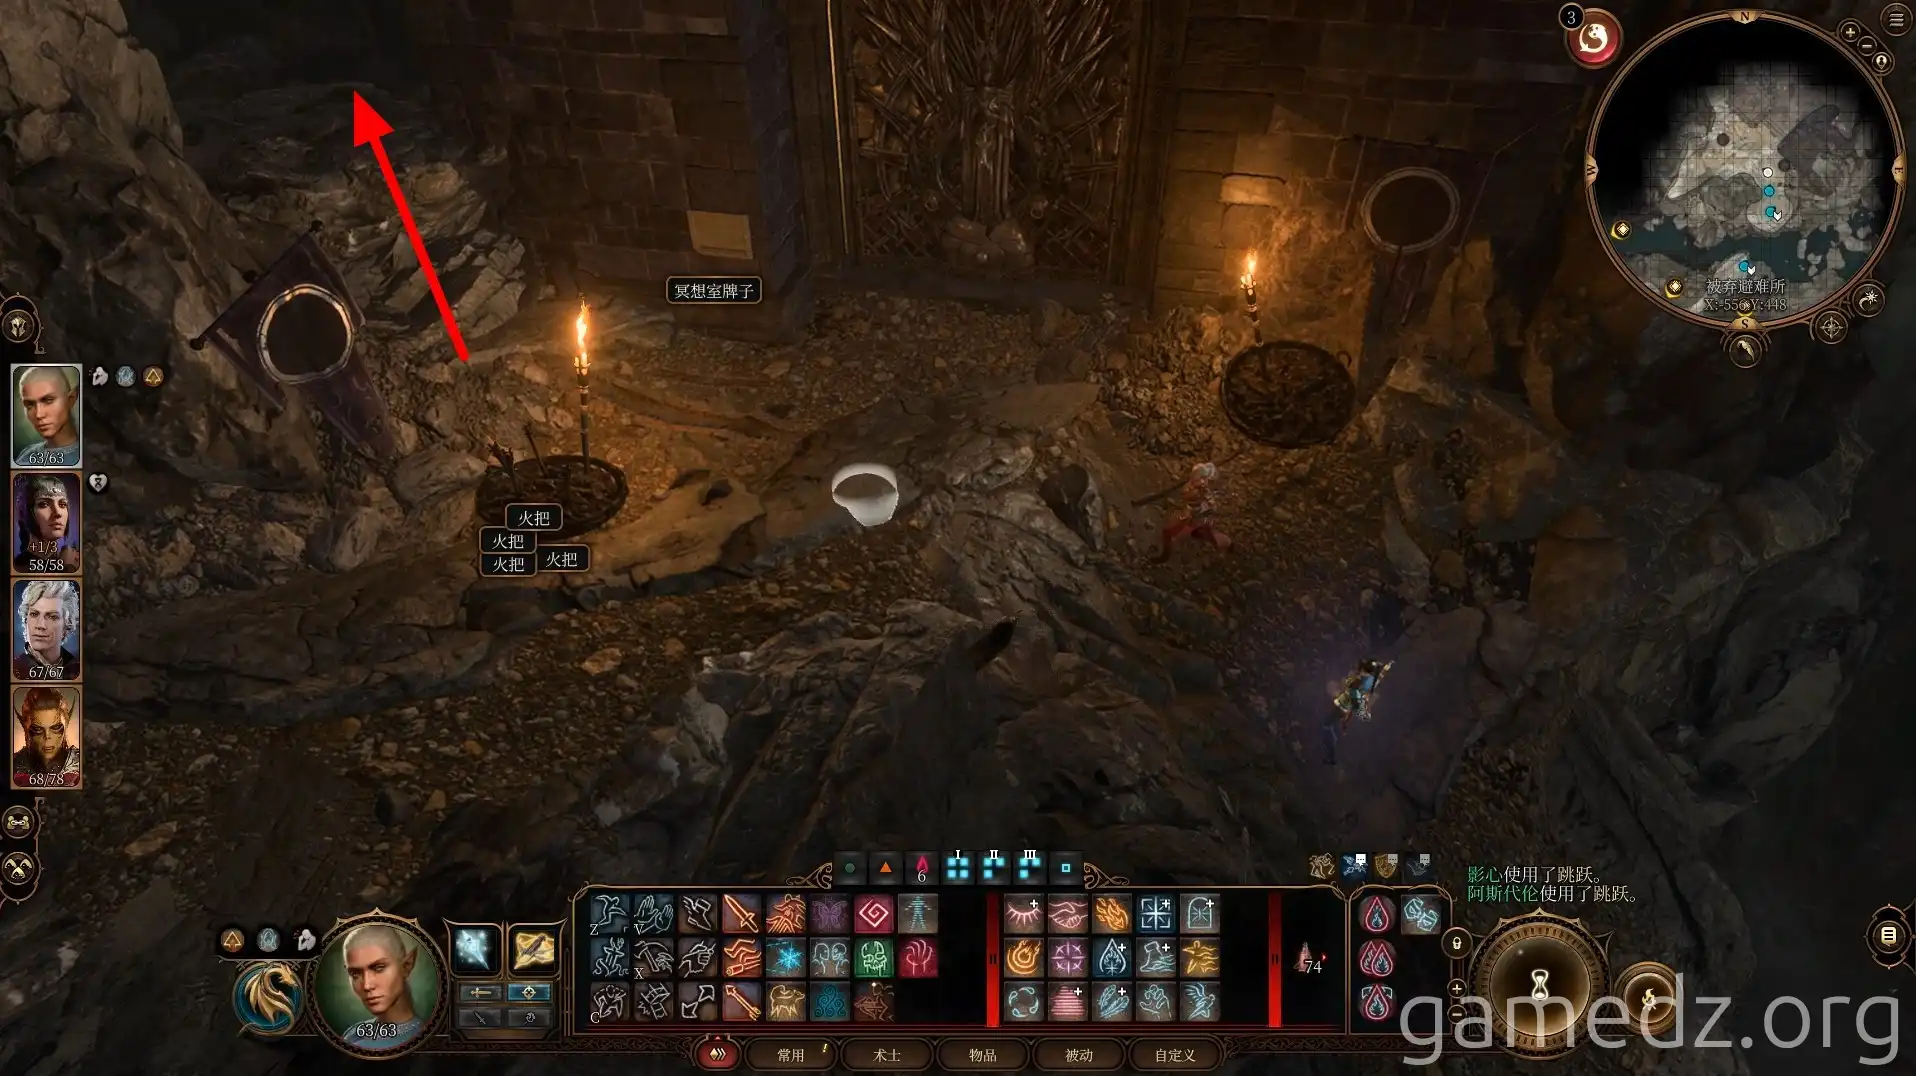
Enter the Meditation Chamber through a gap in the wall to find the hidden gnome, Philomath. After a conversation, you'll obtain the Runeexplosives. The chamber also contains spell scrolls and camp supplies. A map on a table marks the location of a Smokepowder Satchel.
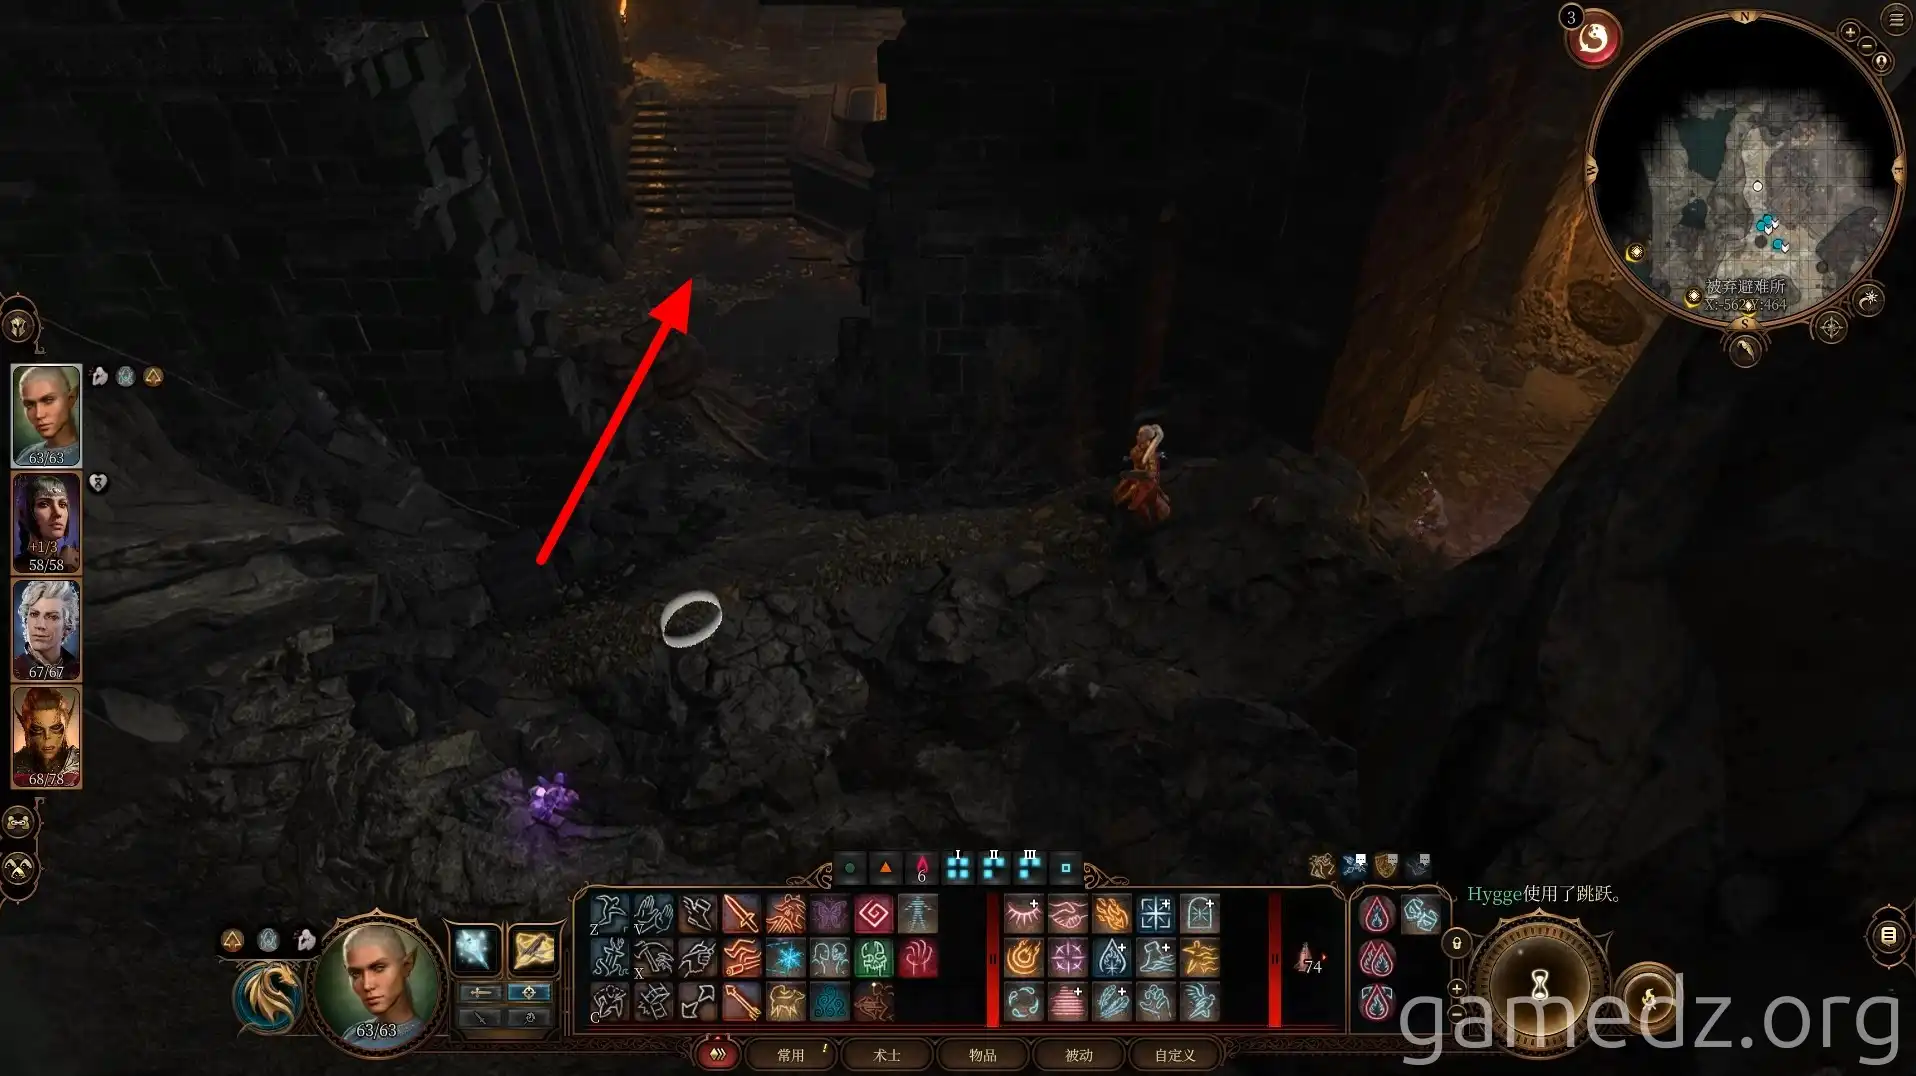
Return to the area where you fought the Ochre Jellies and descend the stairs. If you have Feather Fall, you can jump directly from the rock in front of the Meditation Chamber door to the platform below.
Next to the stairs is a large chest. Open it and enter the double iron doors beside it.
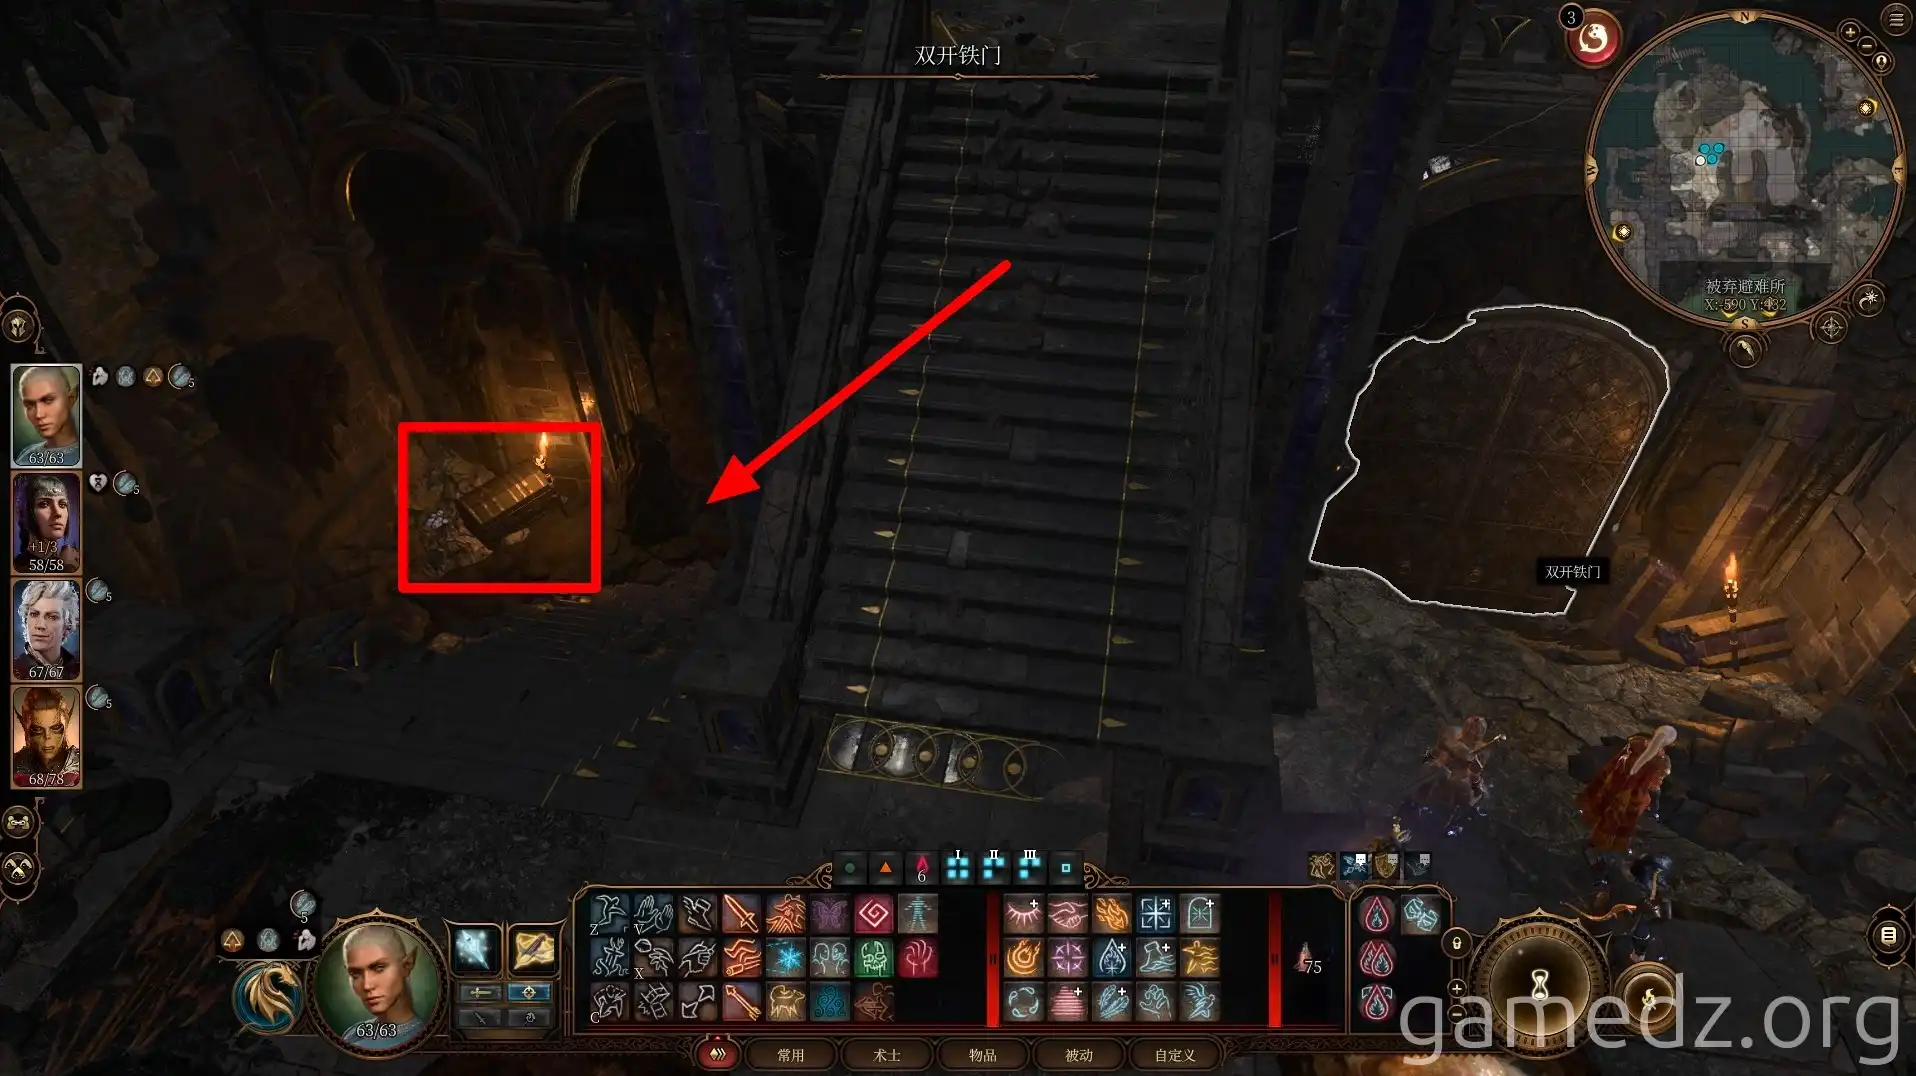
The contents of the chest are random and may include rare dyes.
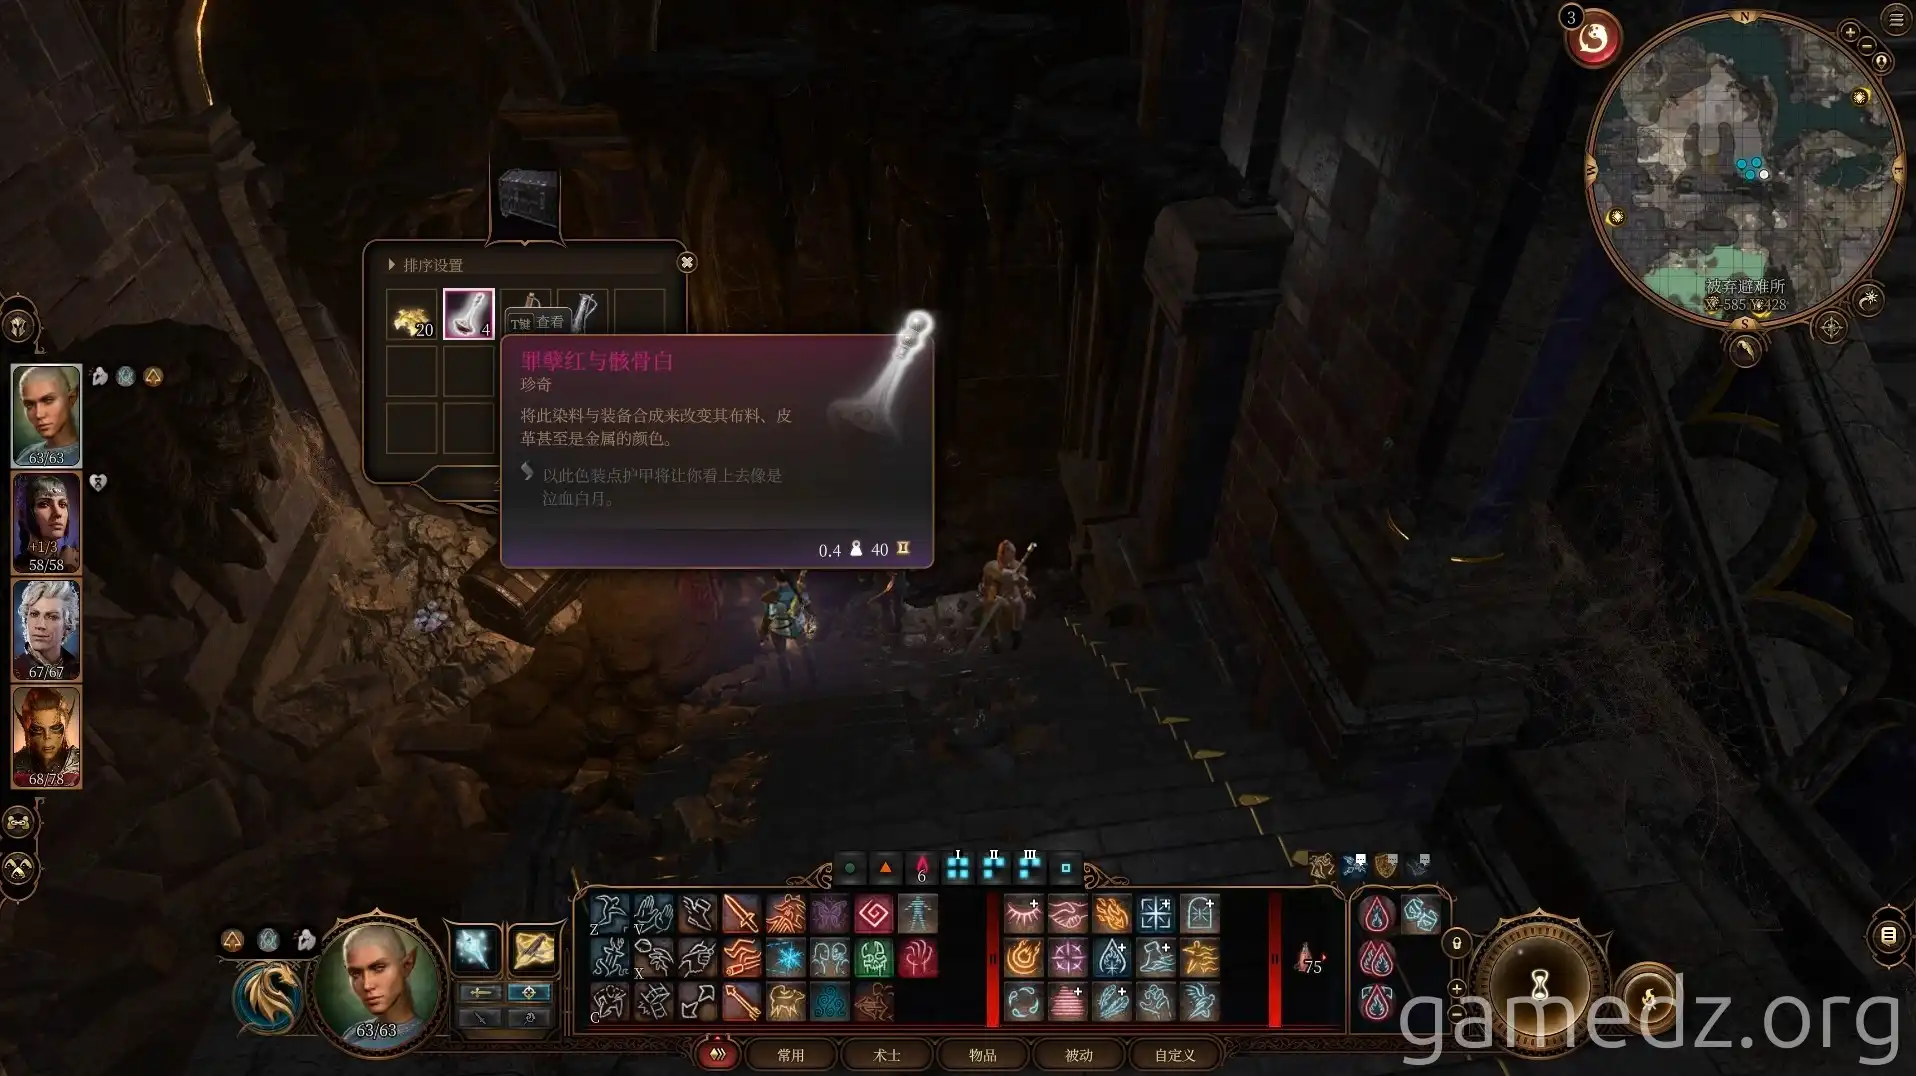
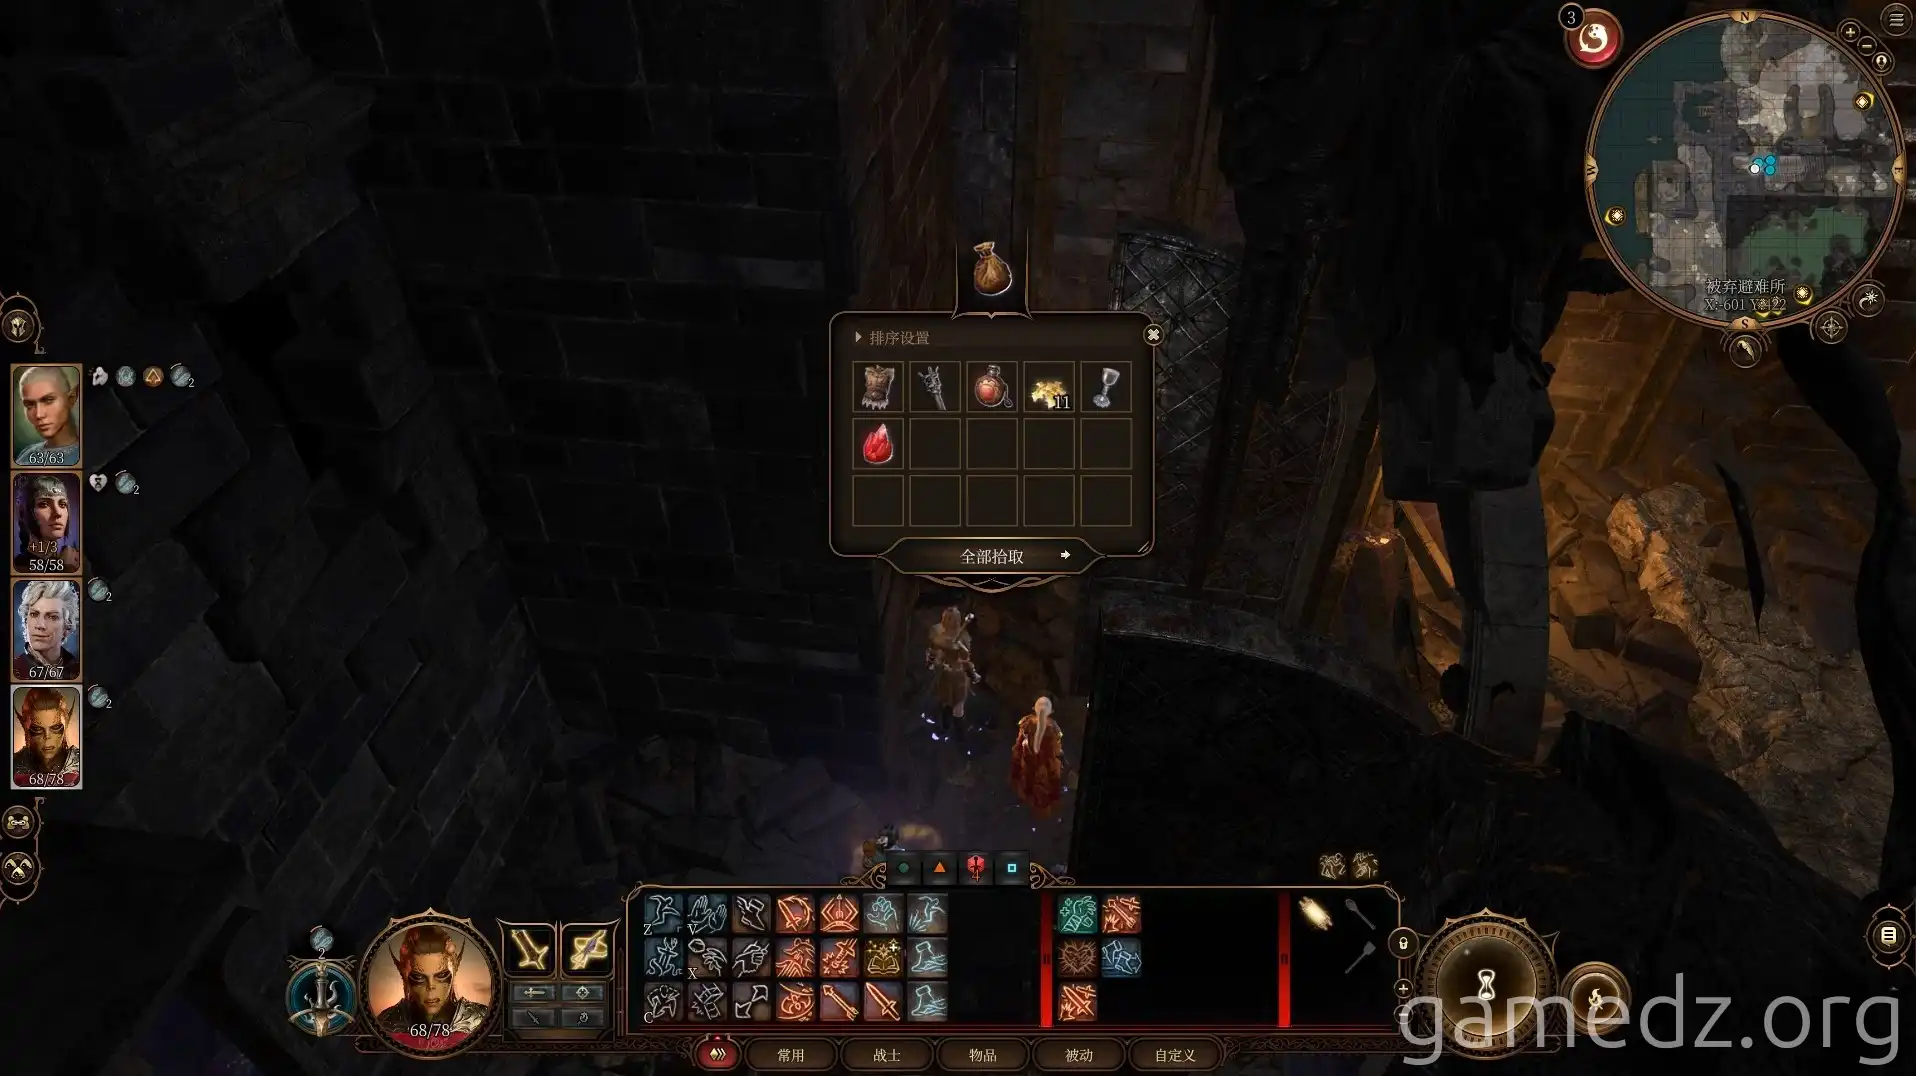
Behind the iron doors, a successful Perception check reveals a loose stone, yielding item supplies.
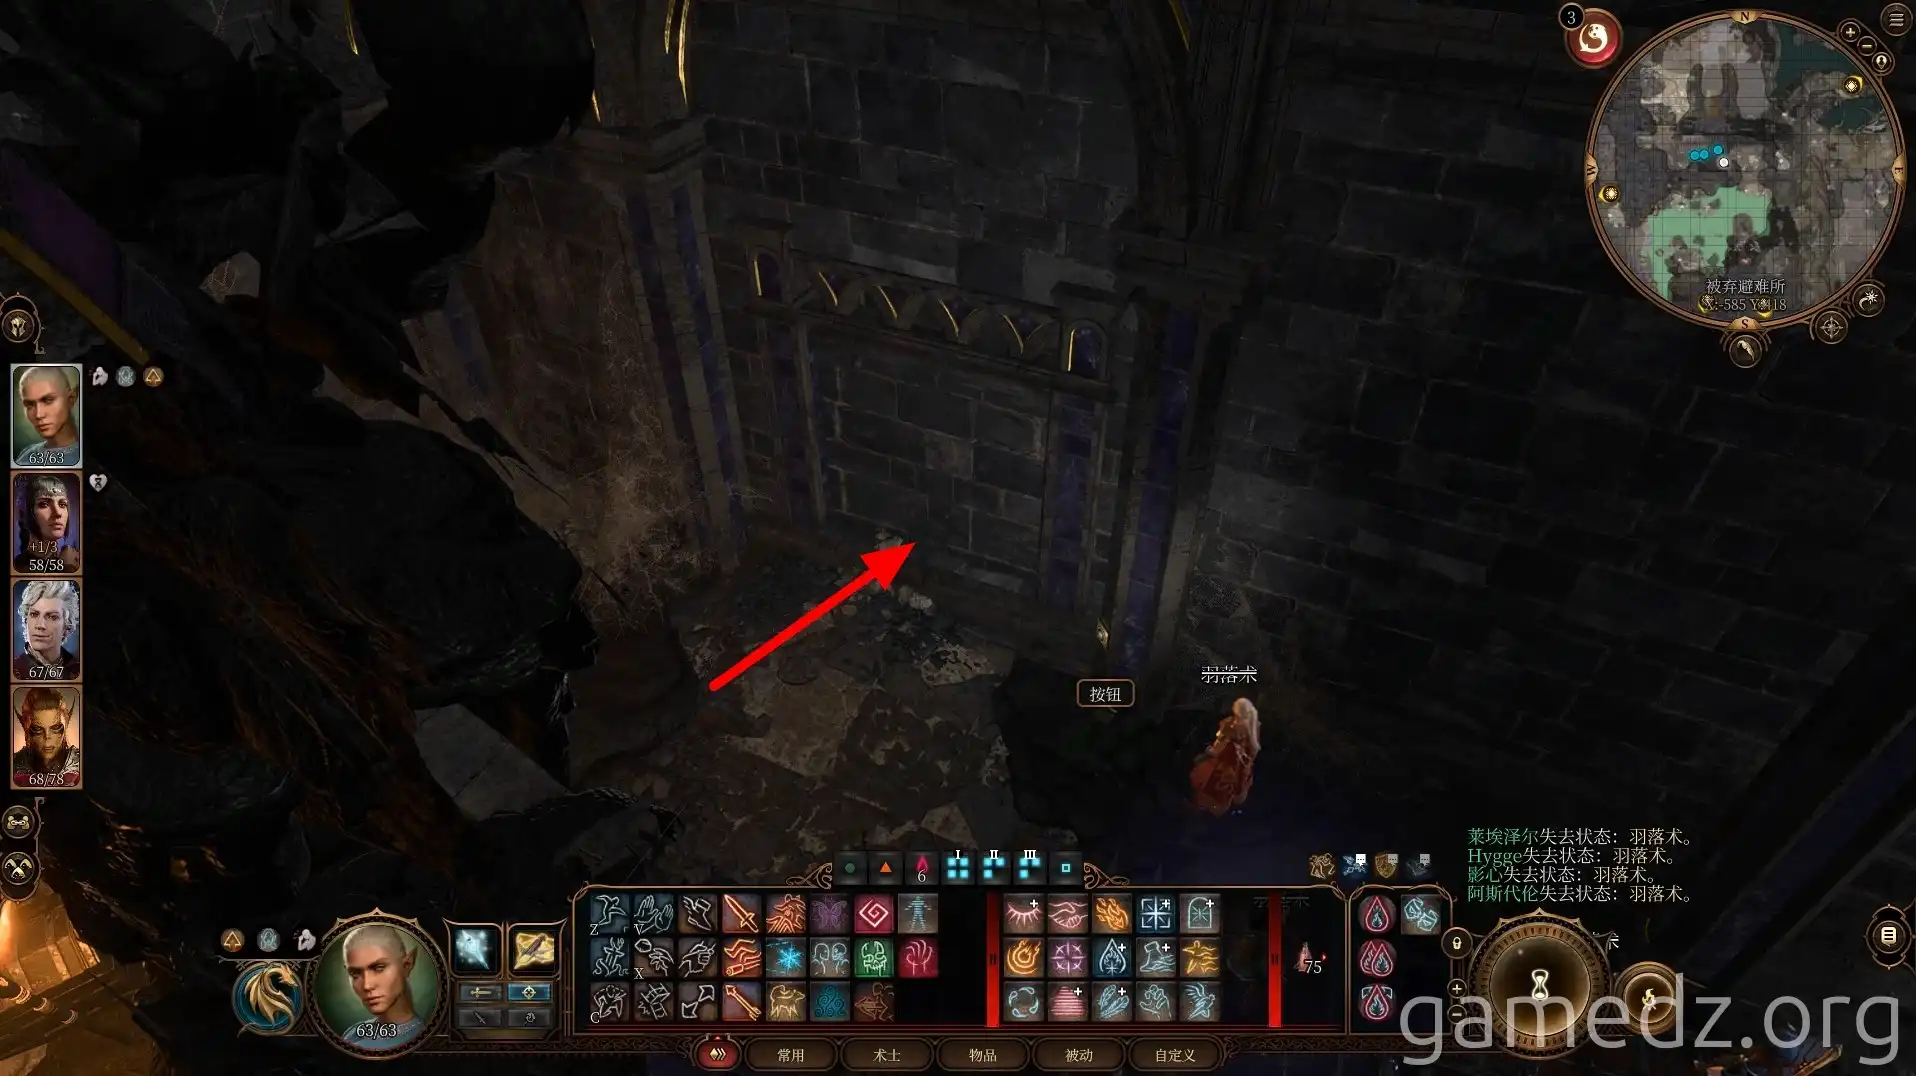
Continue along the passage to find a button that opens a secret door leading to the dining hall.
Passing through the dining hall brings you back to the area where duergar were disposing of bodies. Adjacent to the dining hall is a small room with camp supplies.
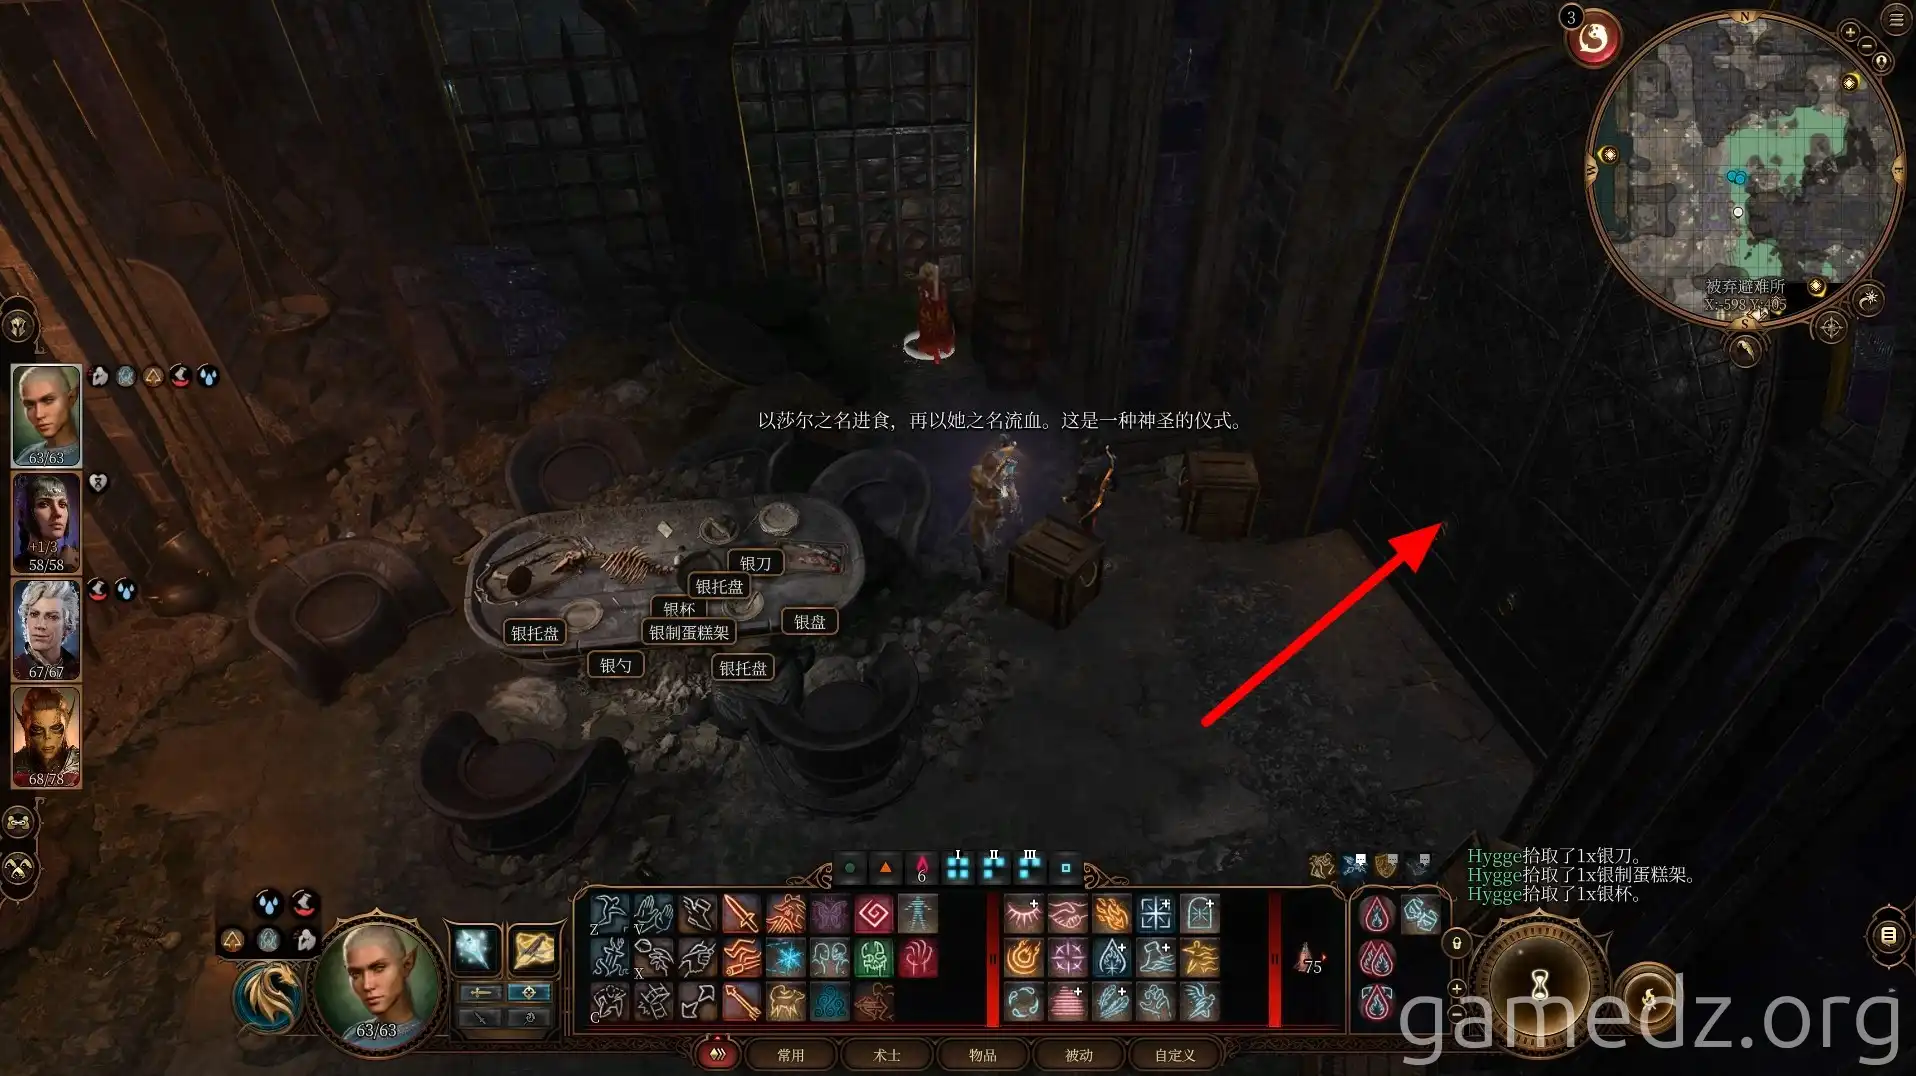
At the end of the small room next to the dining hall, a successful Perception check reveals a button that opens a secret chamber.
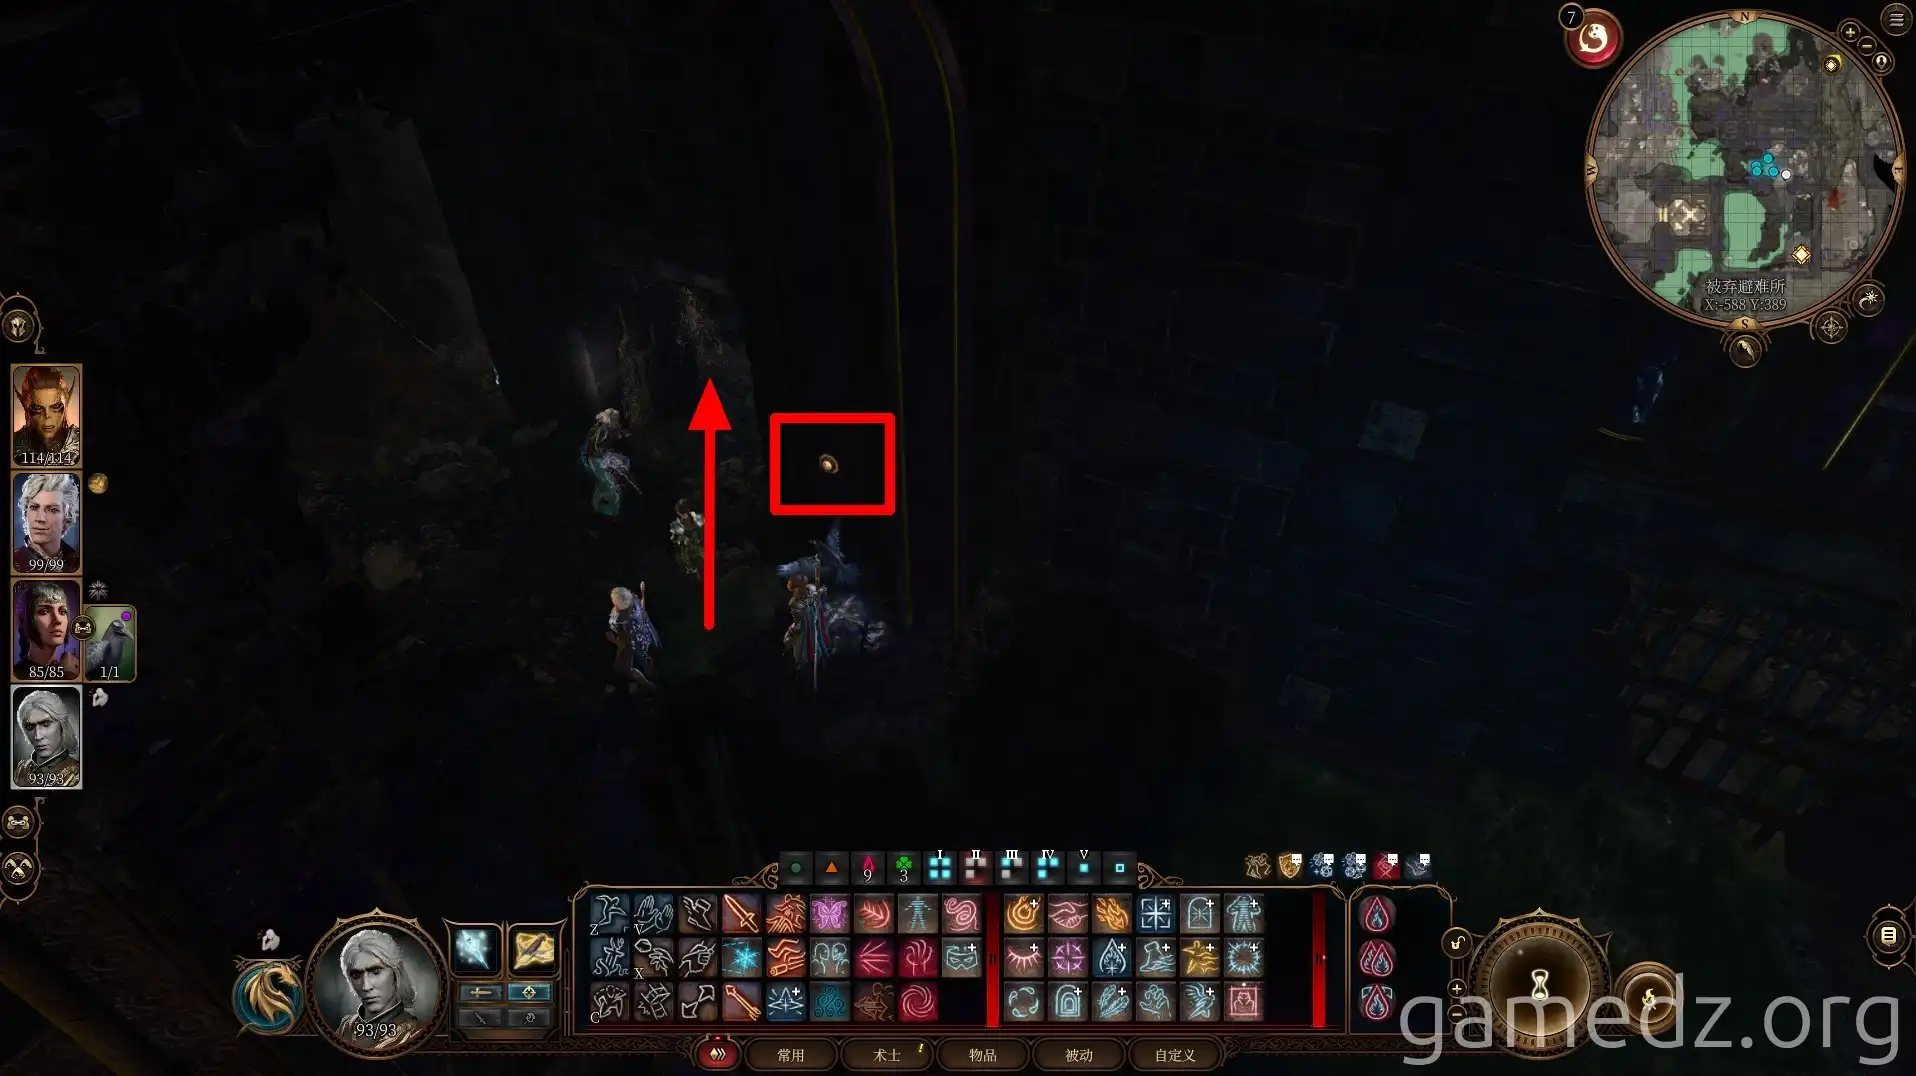
This secret chamber is the location marked on the map in the Meditation Chamber. Inside, you'll find a chest and two Smokepowder Satchels, which will be used to destroy rubble and rescue Nere.
With this, the entire outer area of Grymforge has been explored. Next, we'll use the Runeexplosives to break through the rubble and rescue Nere, leading to a confrontation with the duergar.
