Baldur's Gate 3 House of Hope: Full Map & Loot Guide
This guide provides a full walkthrough of Baldur's Gate 3's House of Hope, detailing map exploration, key item locations, combat strategies, and legendary gear.
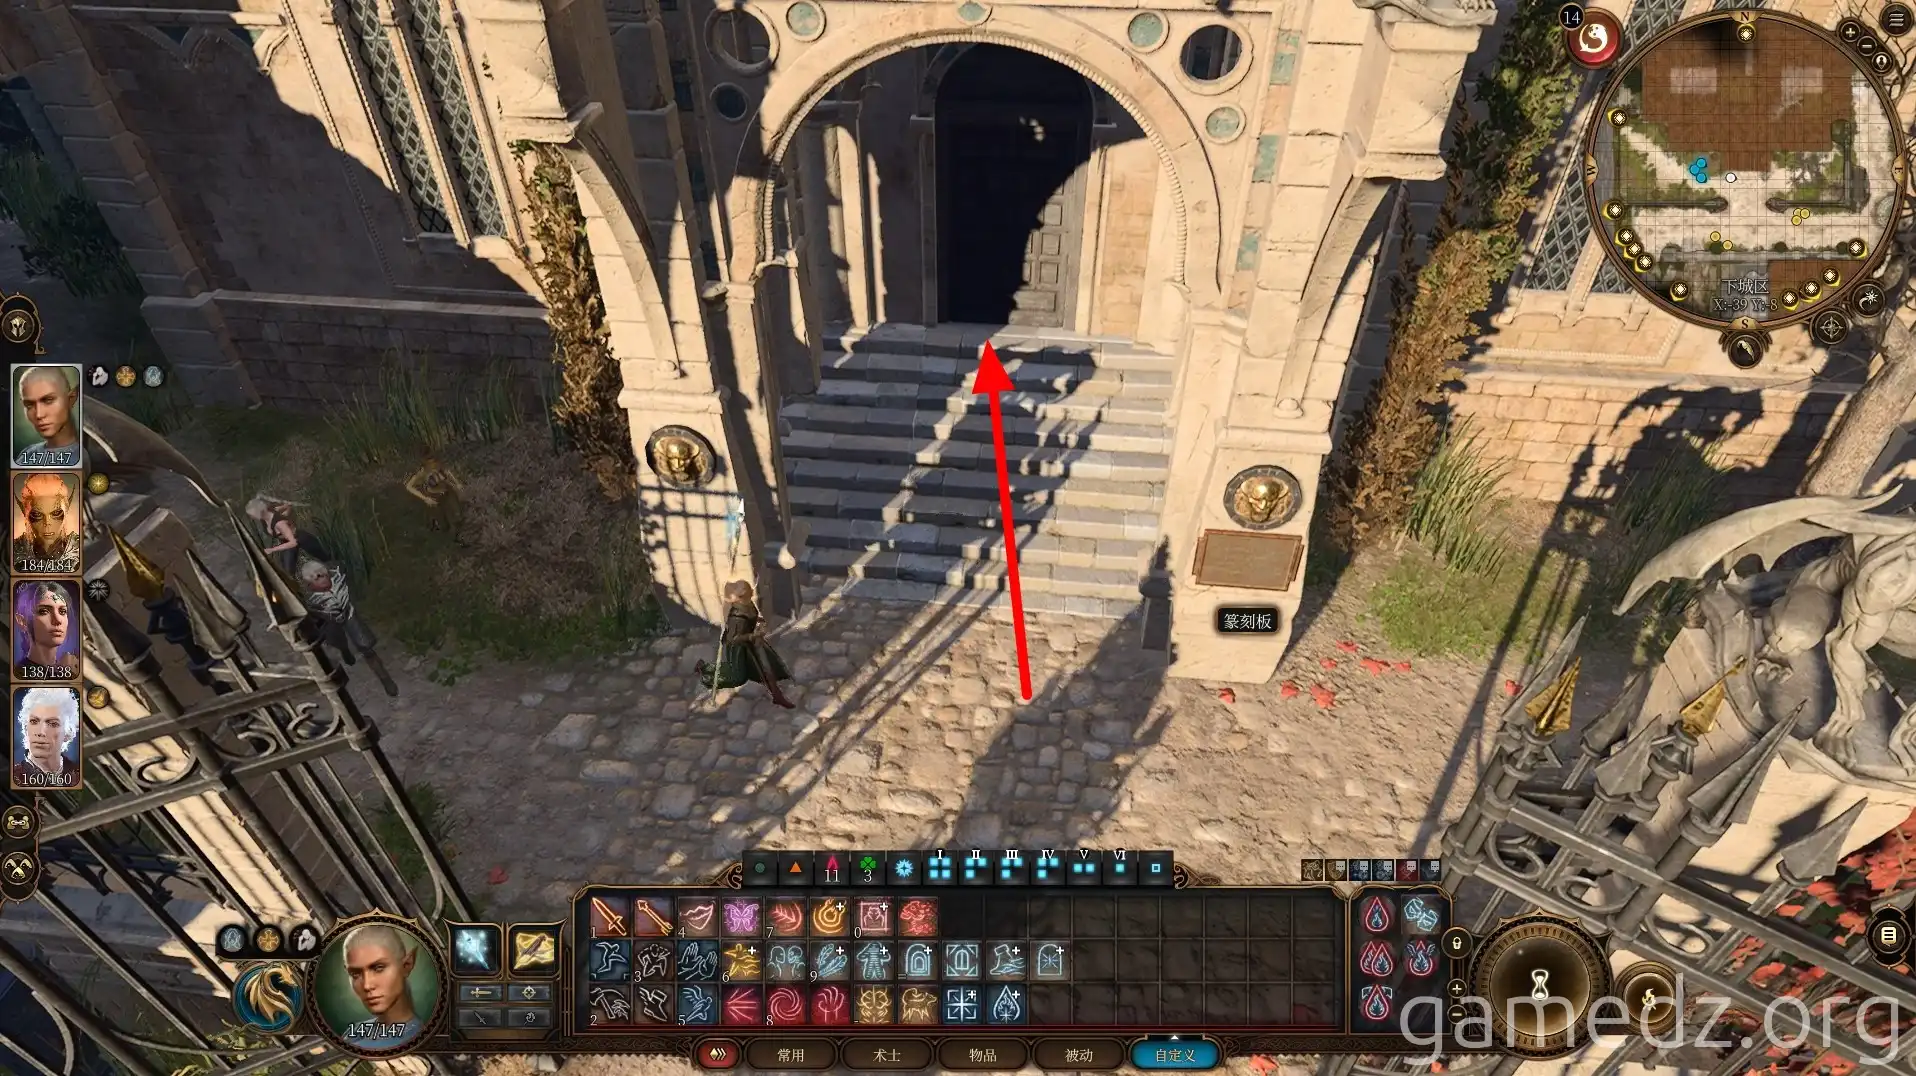
Return the way you came to enter The Devil's Fee.
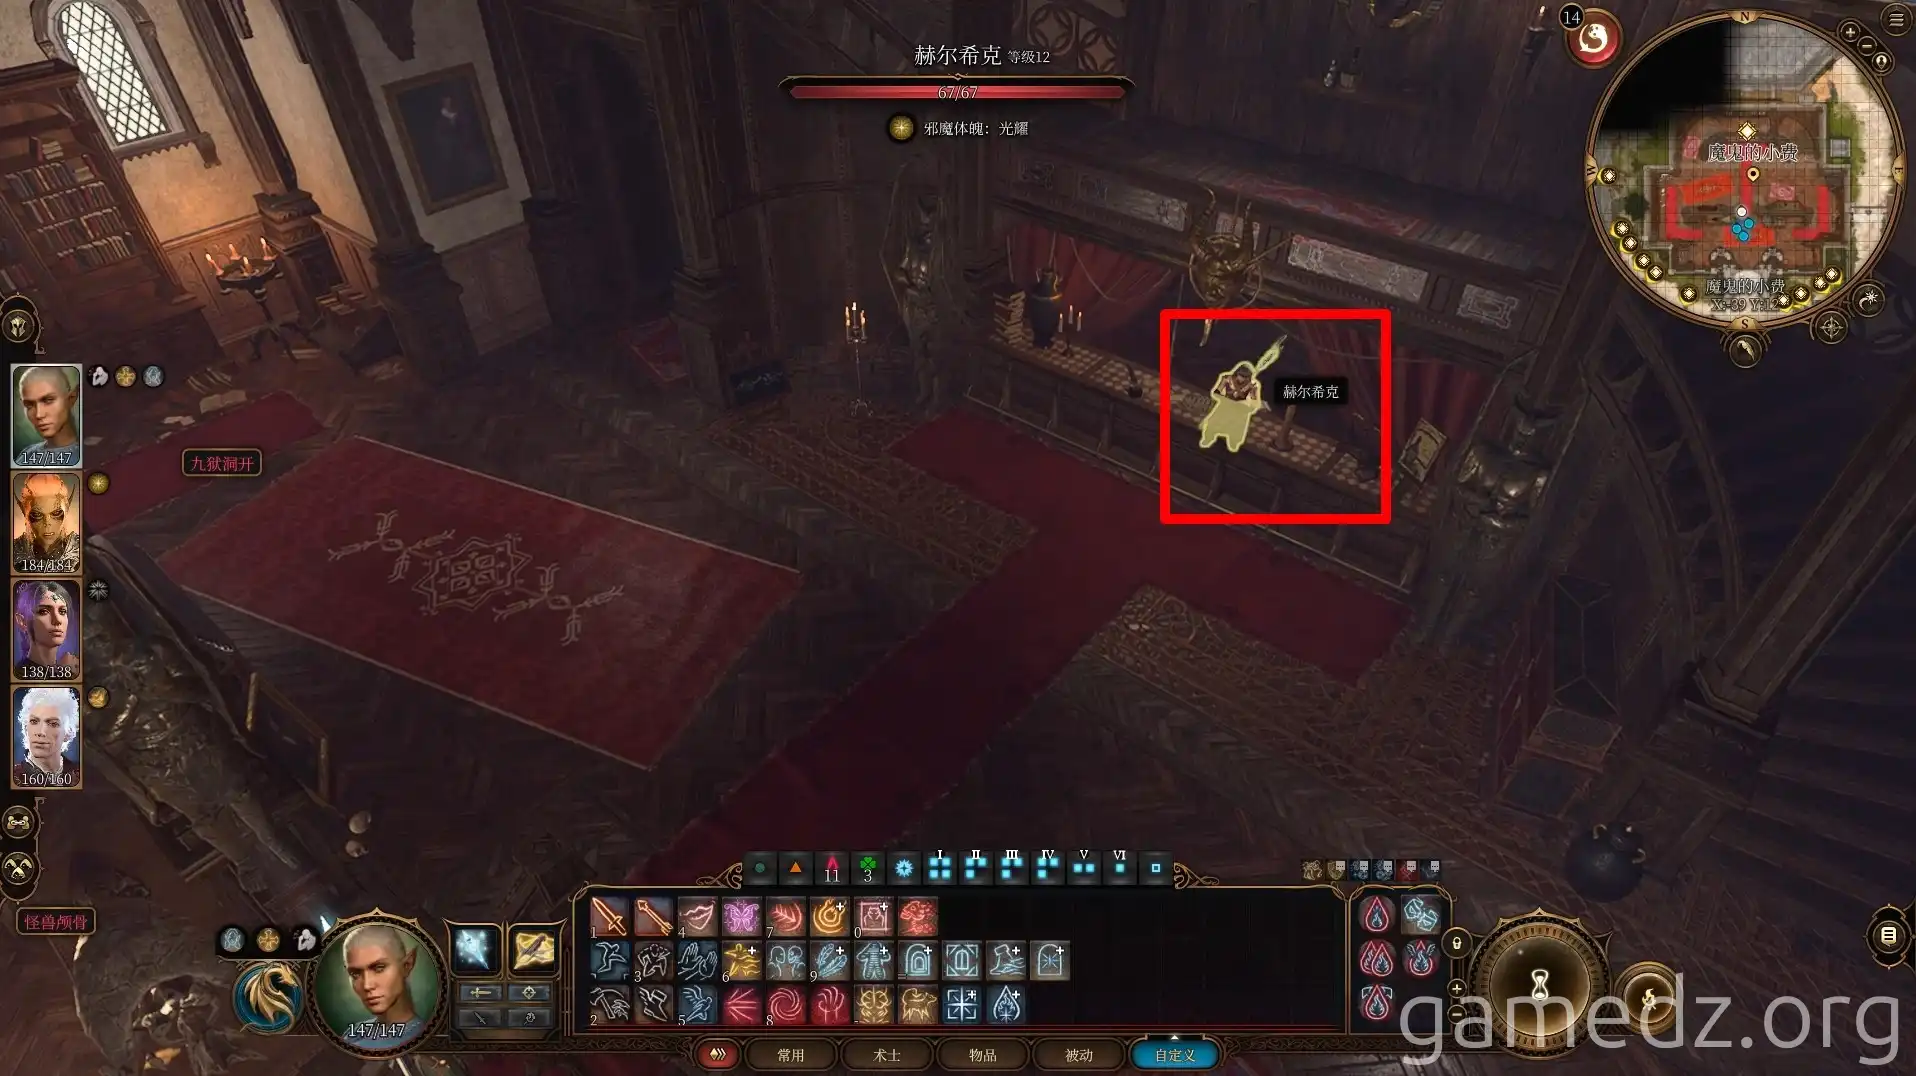
In the main hall, you'll find many valuable items. Speak with Helsik at the counter; she's the devil worshipper Yurg mentioned earlier.
During the conversation, you can ask her to open a portal to Raphael's home. However, she'll either demand a piece of loot or a hefty 20,000 gold. You can also purchase some equipment from her.
Here's a list of unique equipment Helsik sells and their stats:

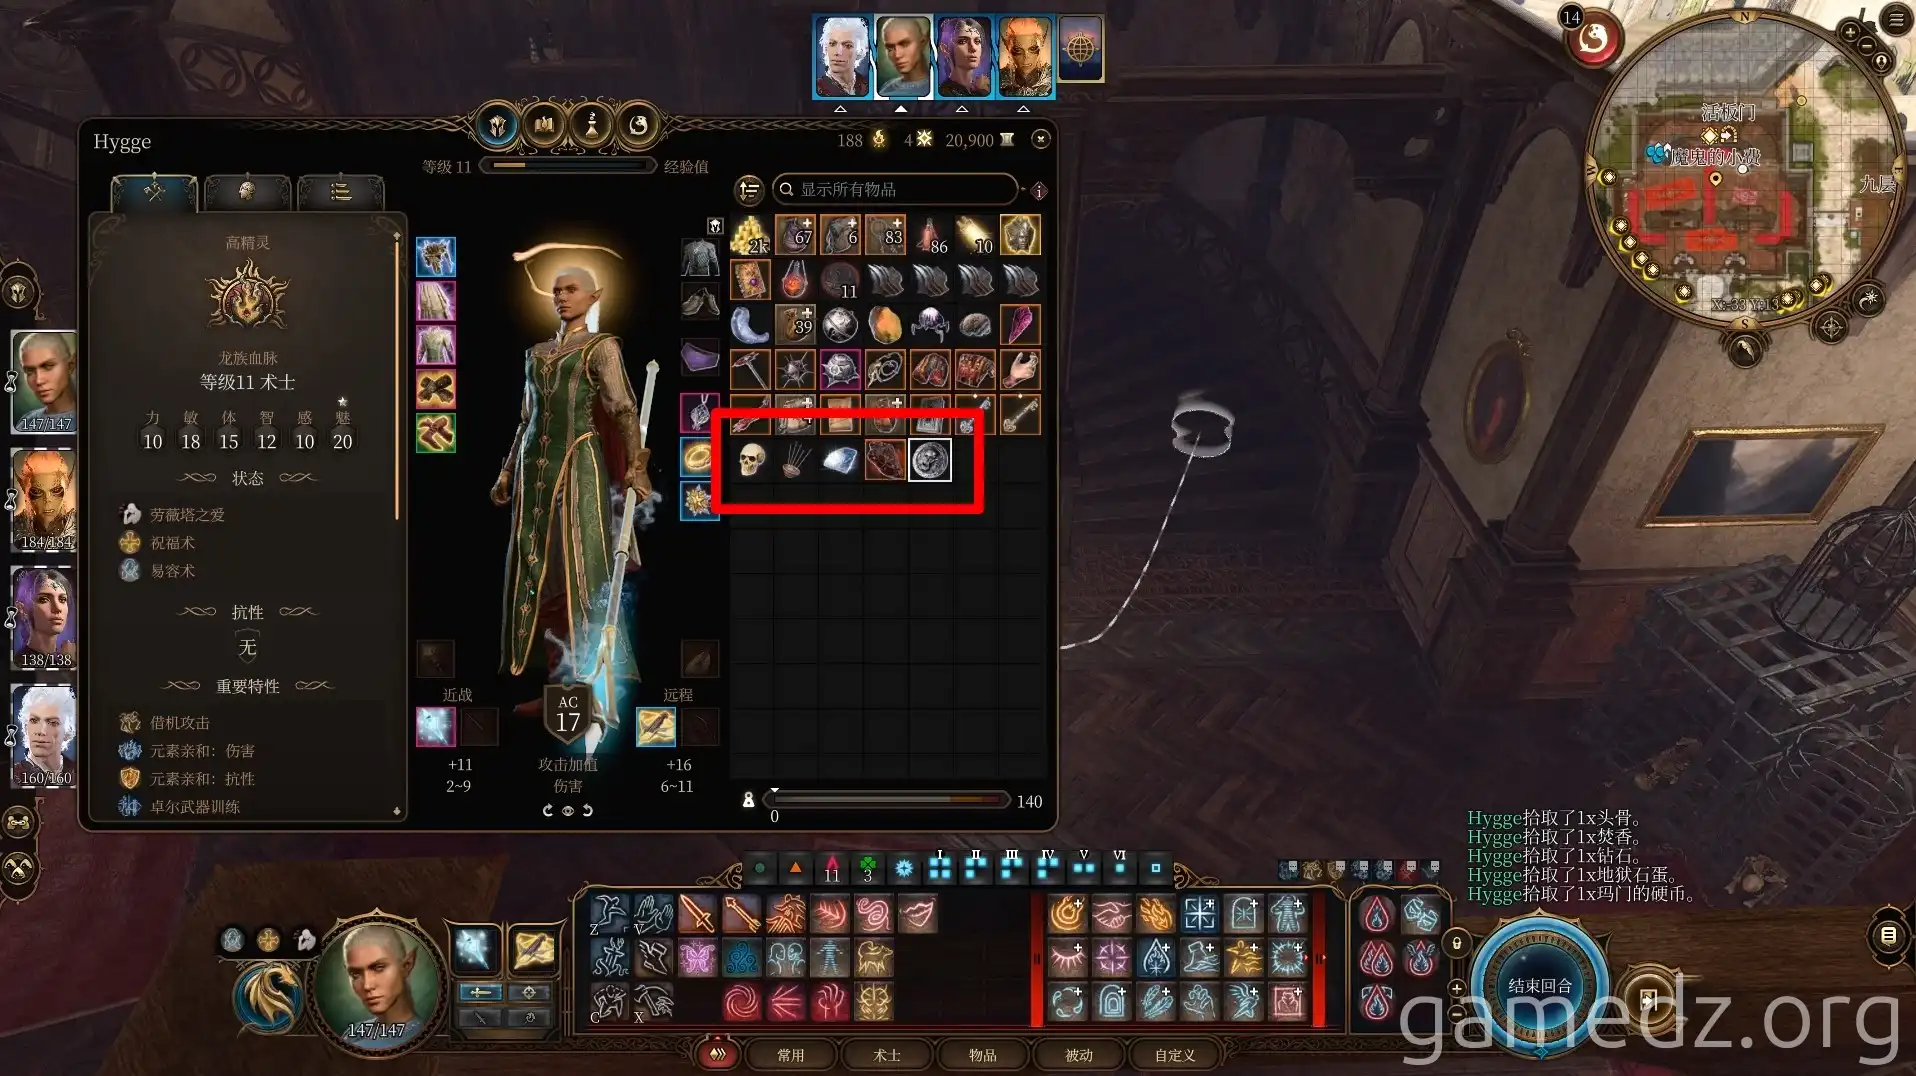
After shopping, it's time to pickpocket. It's highly recommended to steal the pouch containing five items, the spellbook, and the key.
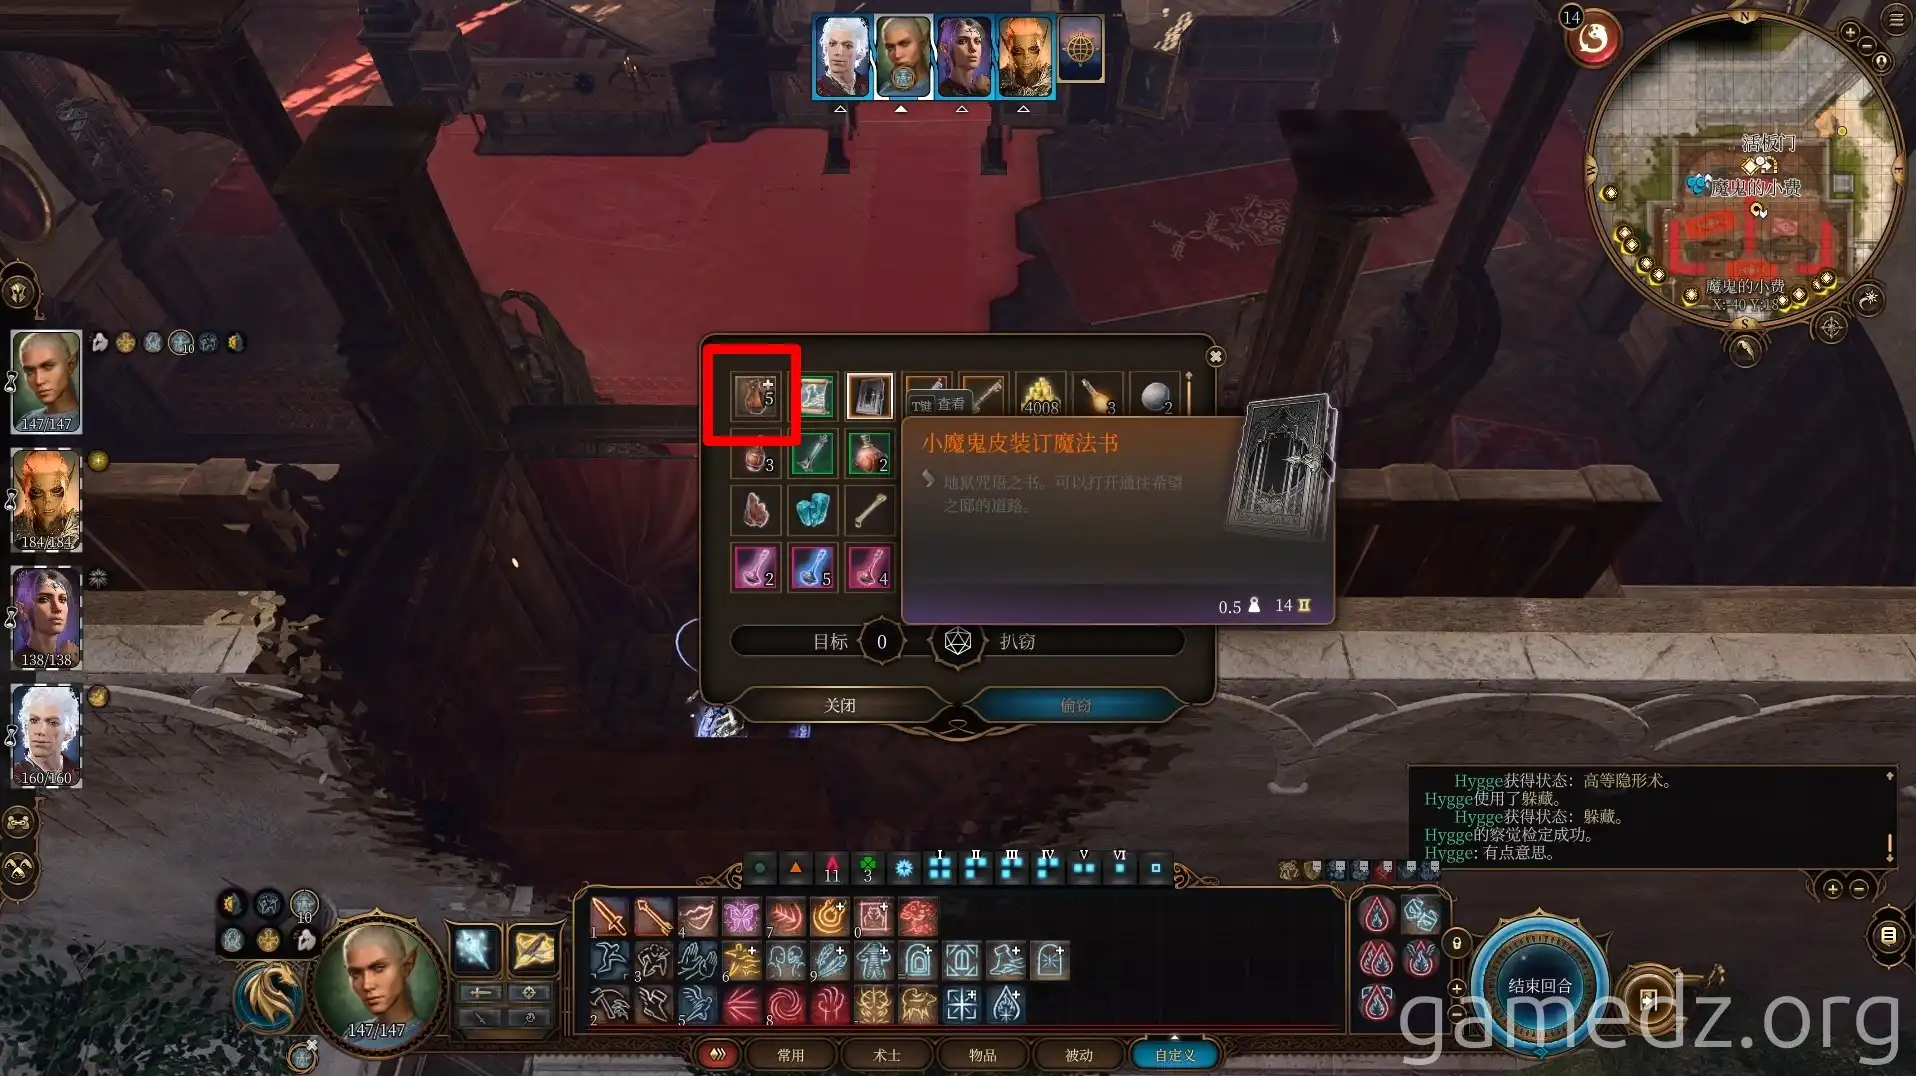
The items in the pouch – the skull, incense, diamond, infernal stone egg, and Mammon's coin – are essential materials for opening the portal.
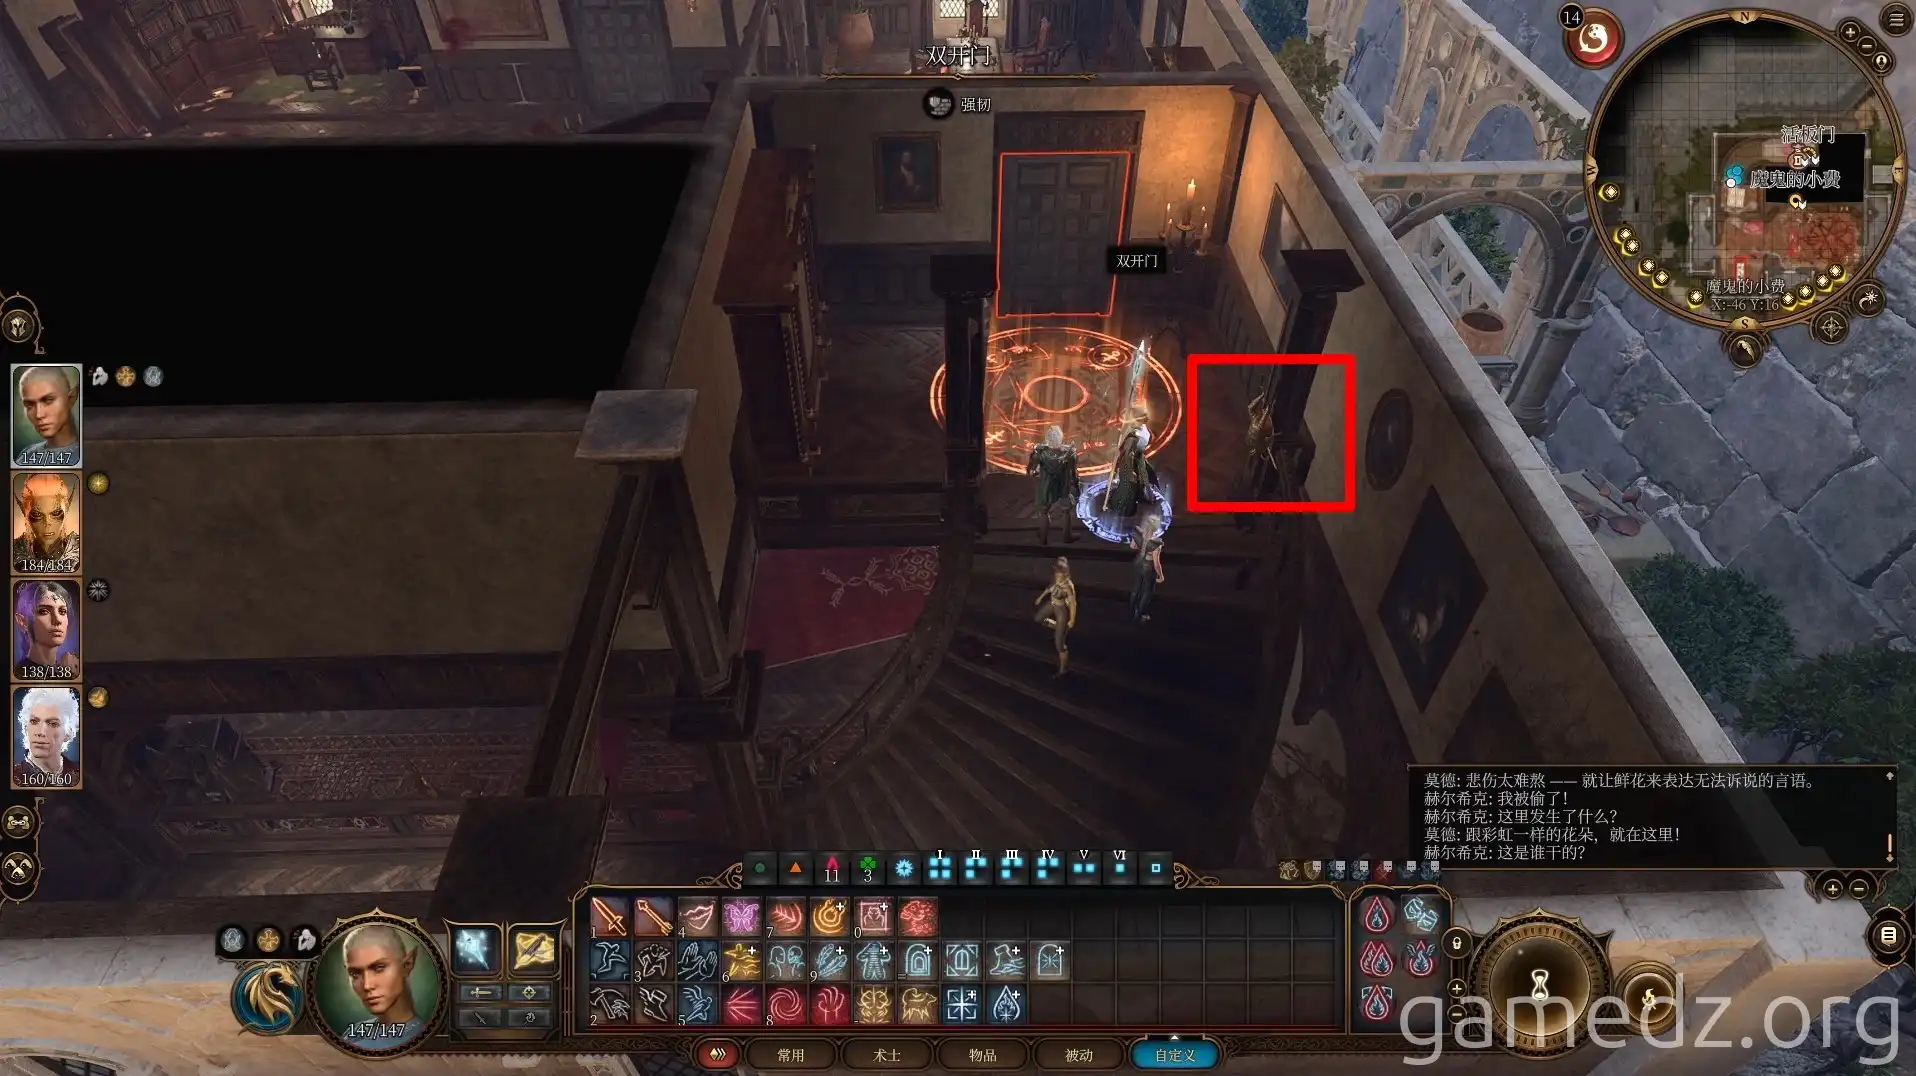
Upon reaching the second floor, you'll find a magical trap at a doorway. Give the thirsty guard nearby a bottle of water or wine to disarm the trap.
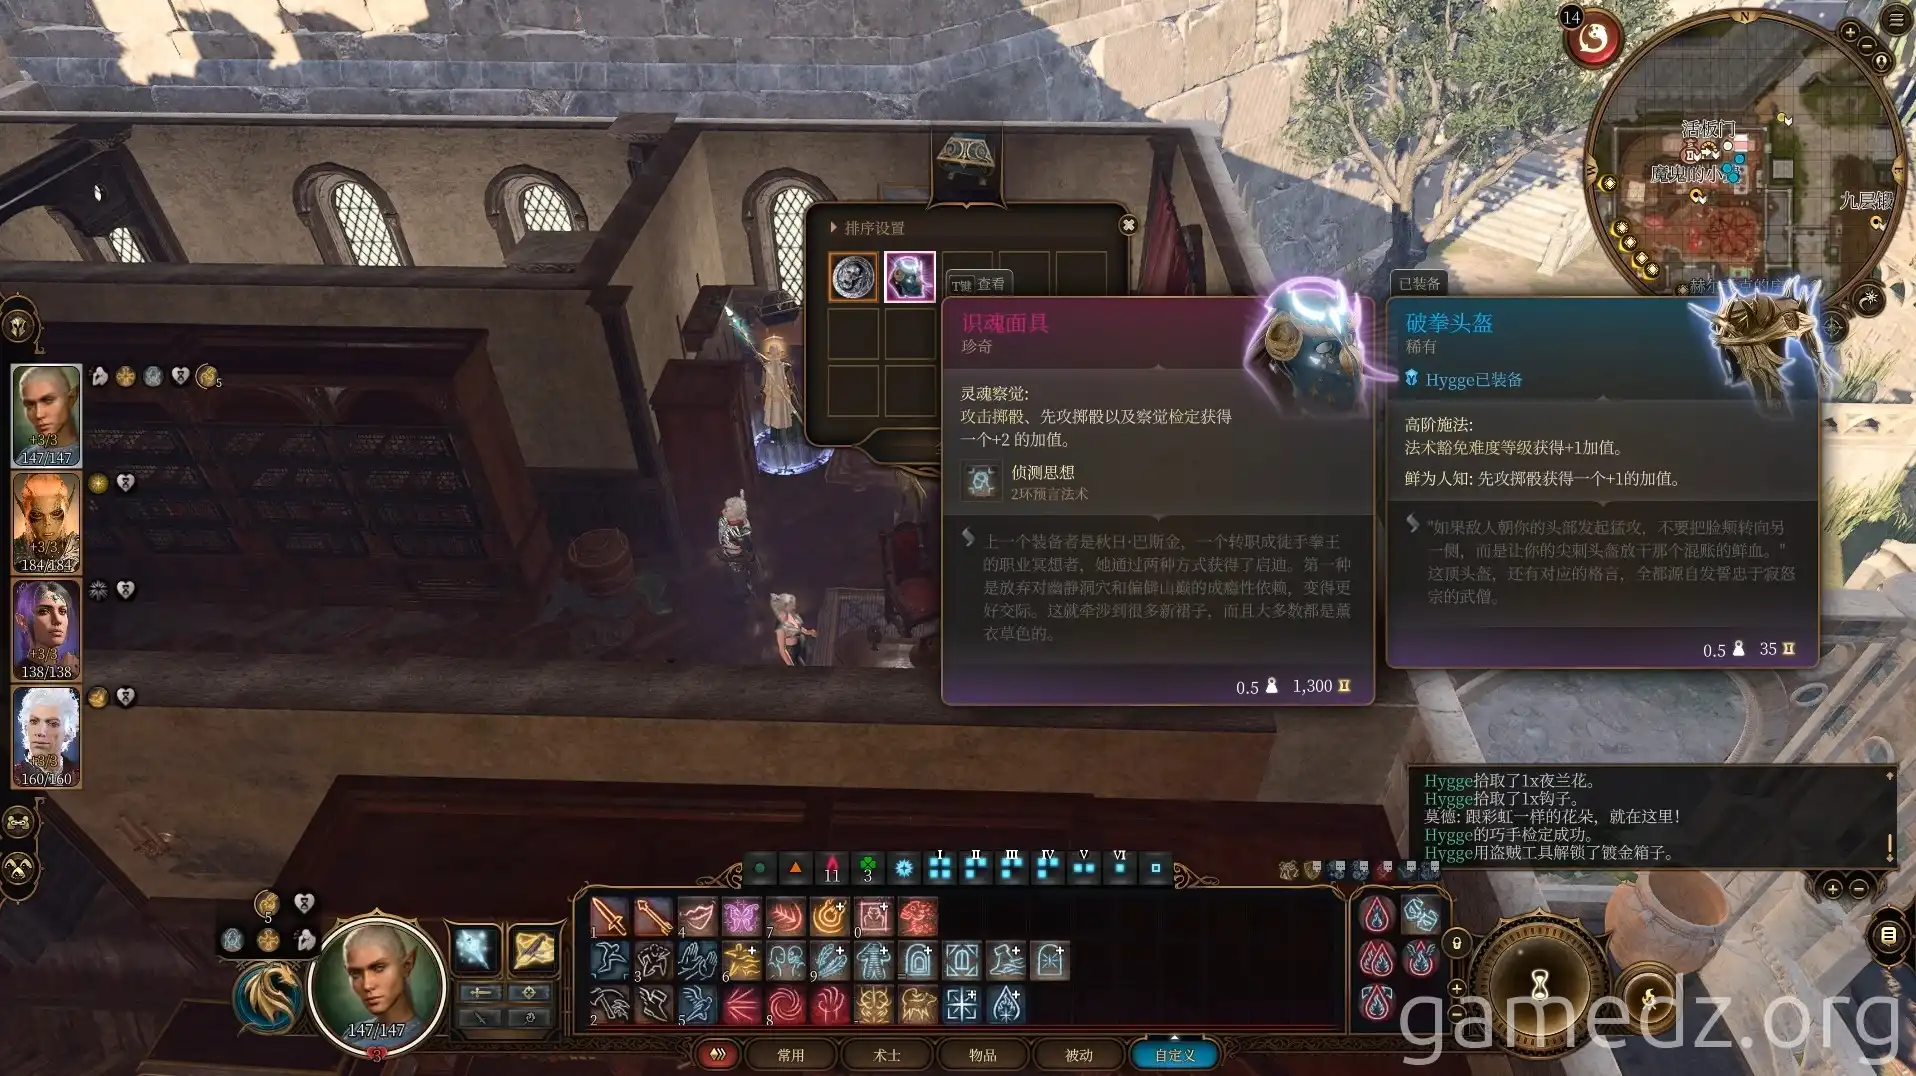
Enter the room and loot everything. In the chest at the head of the bed, you'll find the rare equipment Mask of the Shrouded.
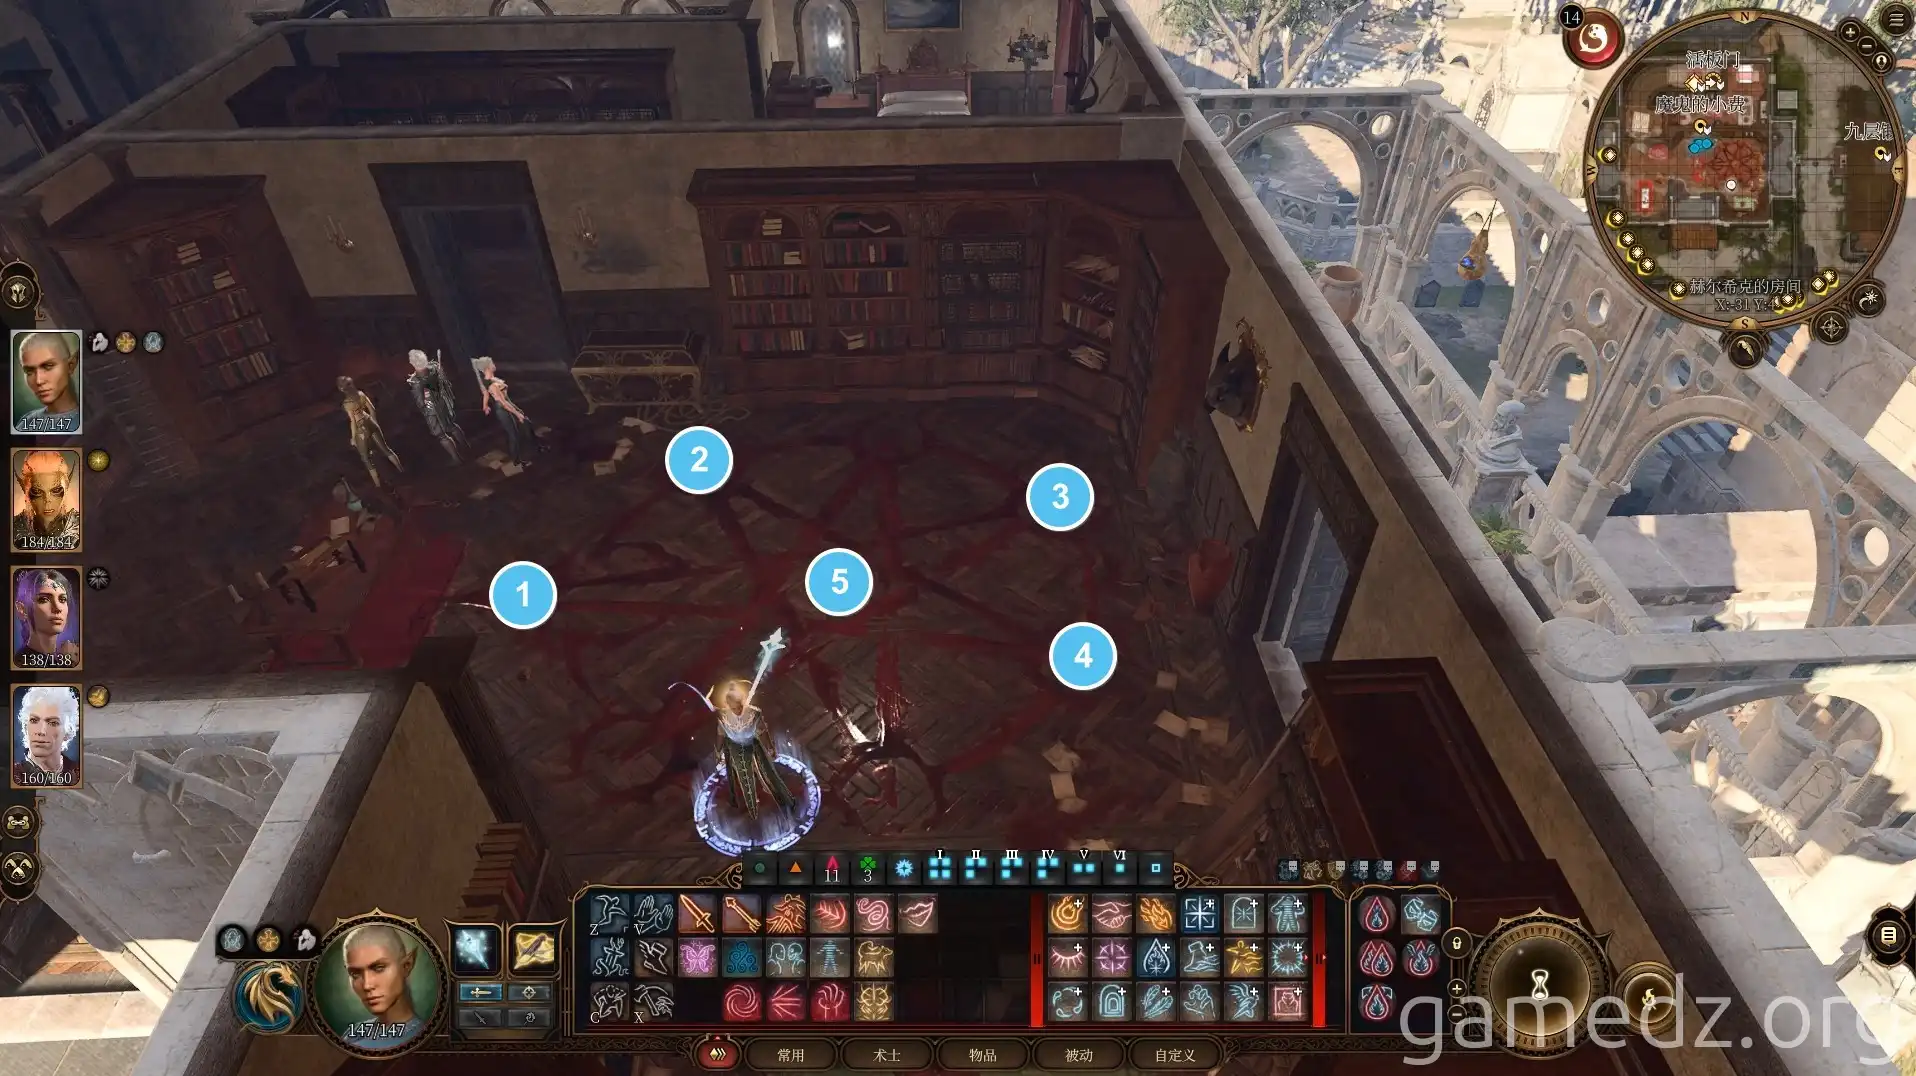
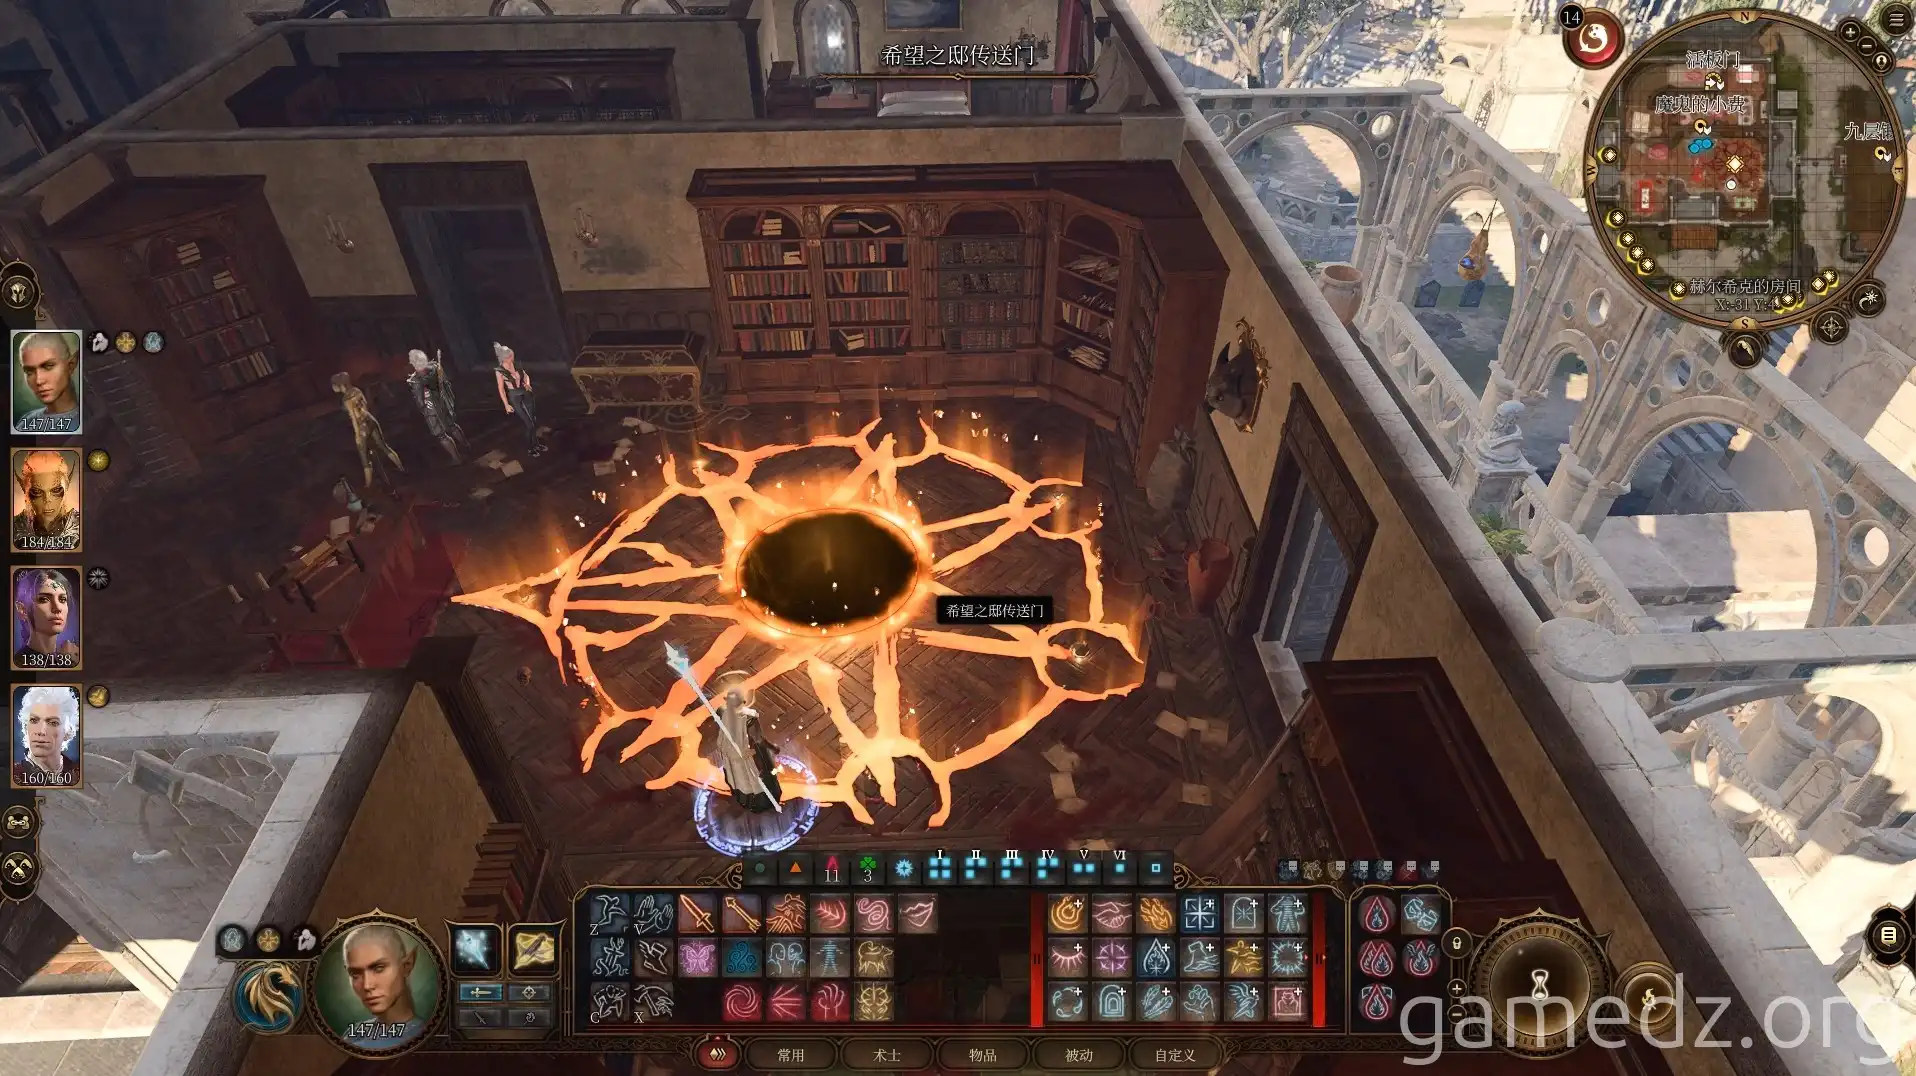
Next, prepare to perform a ritual in the room to activate the portal array leading to the House of Hope. Rotate the view so that north is at the top and south is at the bottom, aligning with the map. Toss the items onto the ground array in their corresponding positions.
Follow the numbered sequence from 1 to 5 in the image below. The items correspond to: Skull, Mammon's Coin, Diamond, Incense, and Infernal Stone Egg.
The portal is now open. Let's head to Raphael's home!
If, like me, you've already signed a contract, remember to bring Orpheus's Hammer before entering the House of Hope.
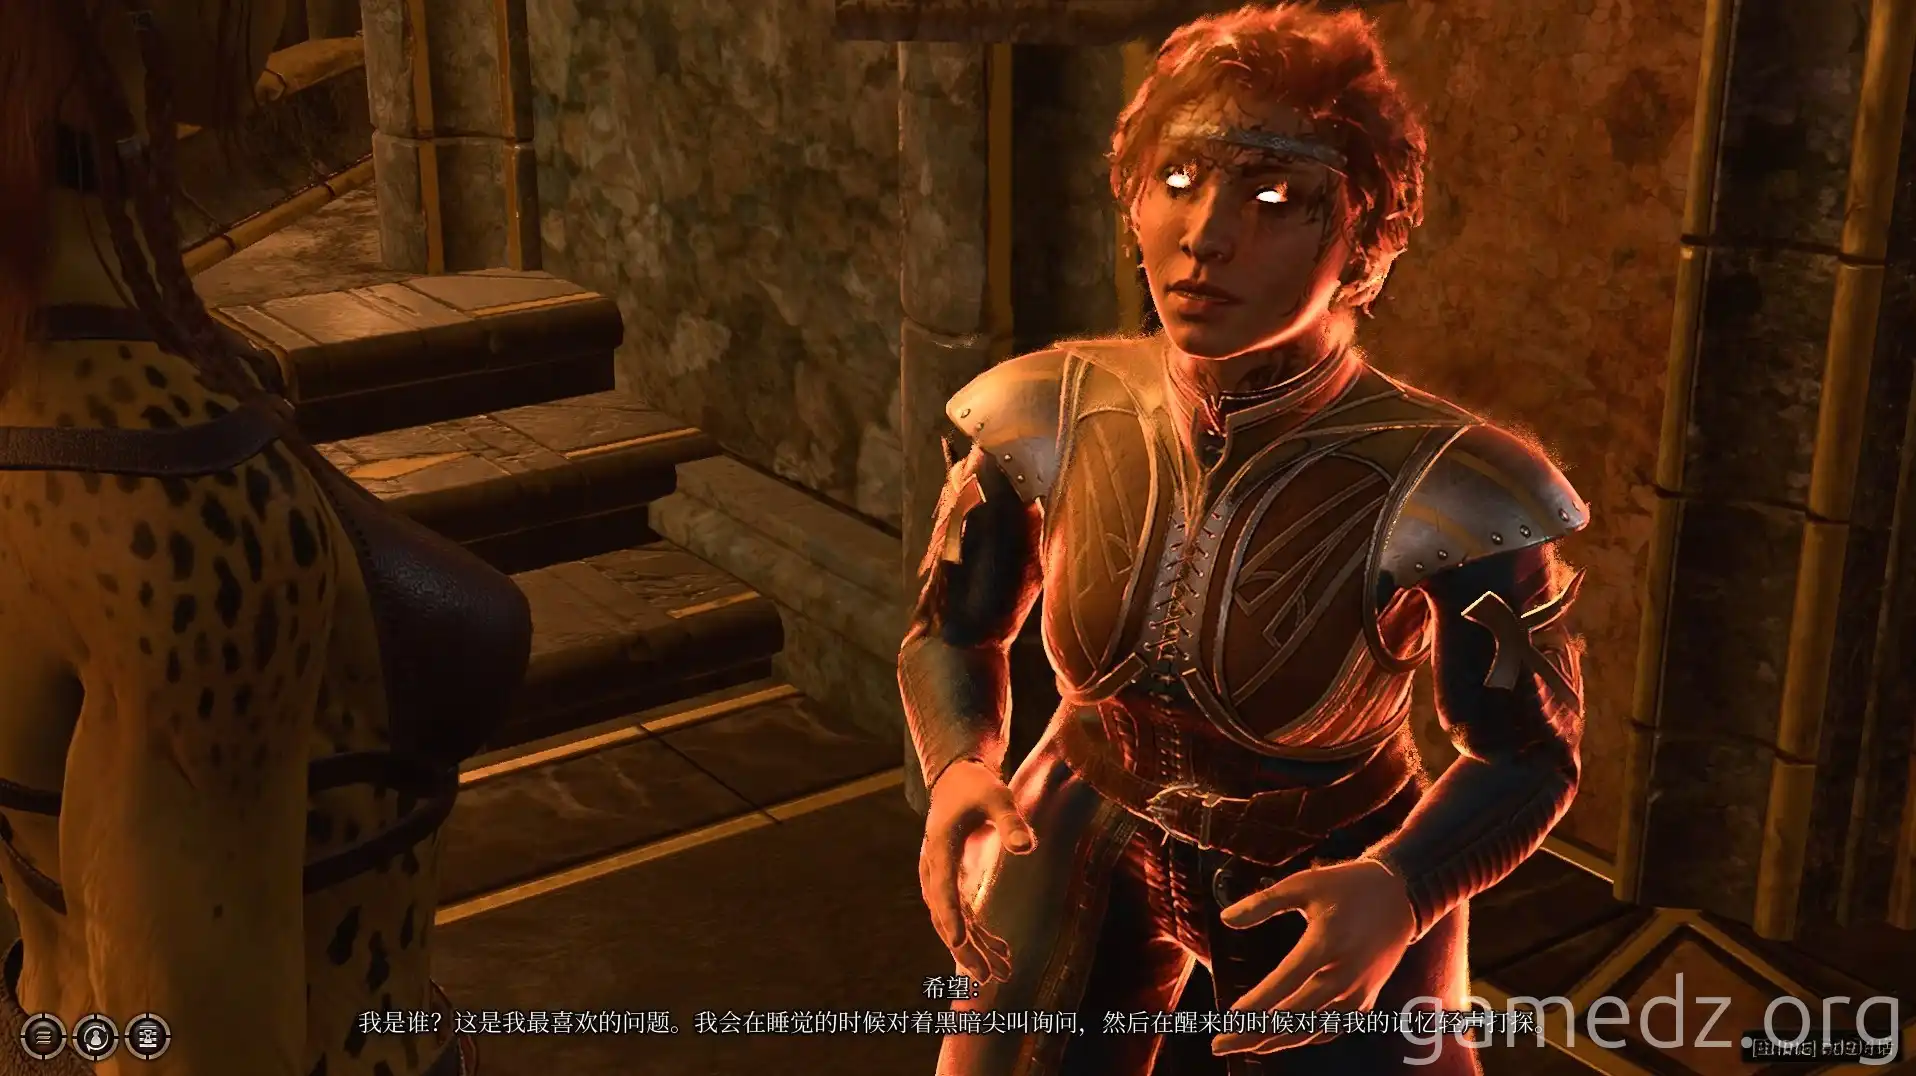
Upon entering the House of Hope, you'll encounter a phantom named Hope. She will ask you to rescue her from Raphael's prison.
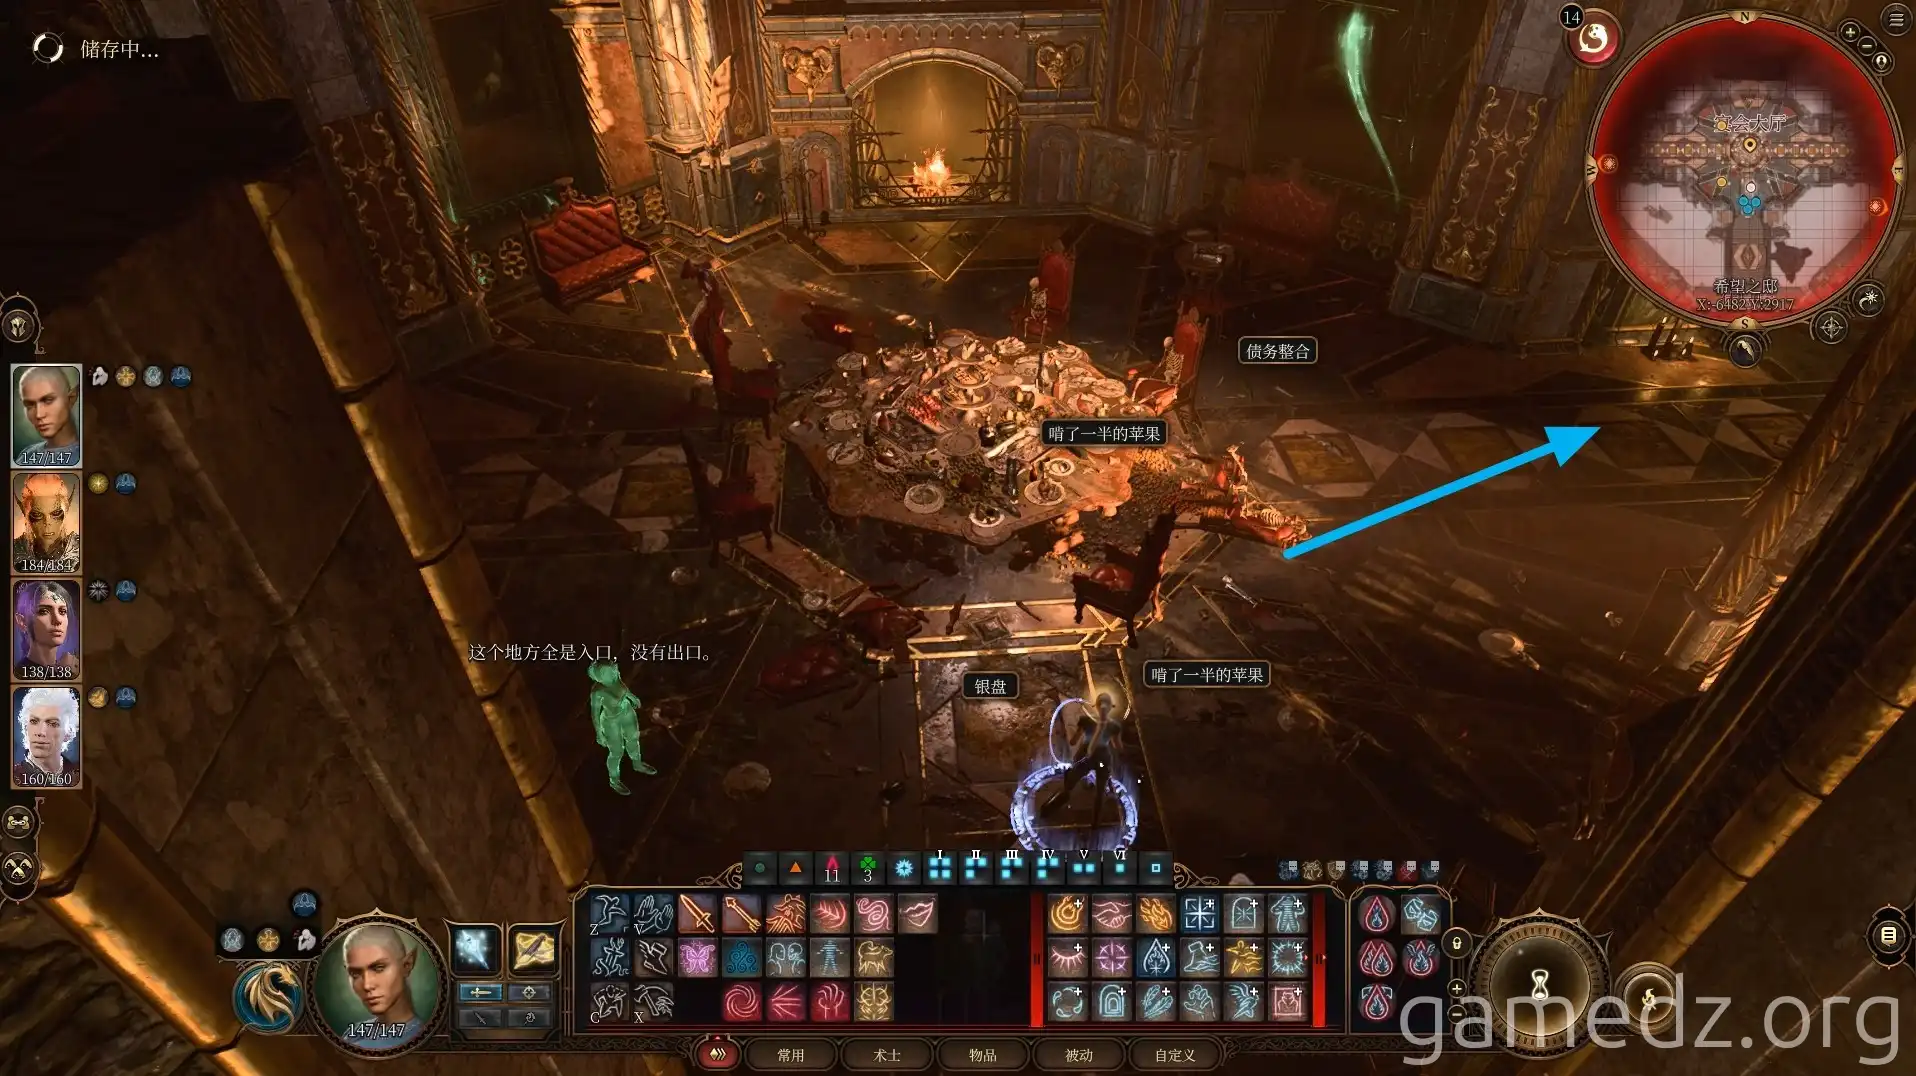
Once inside the House of Hope, you'll be given a "debtor's disguise," which will prevent others from attacking you. Head east from the banquet hall.
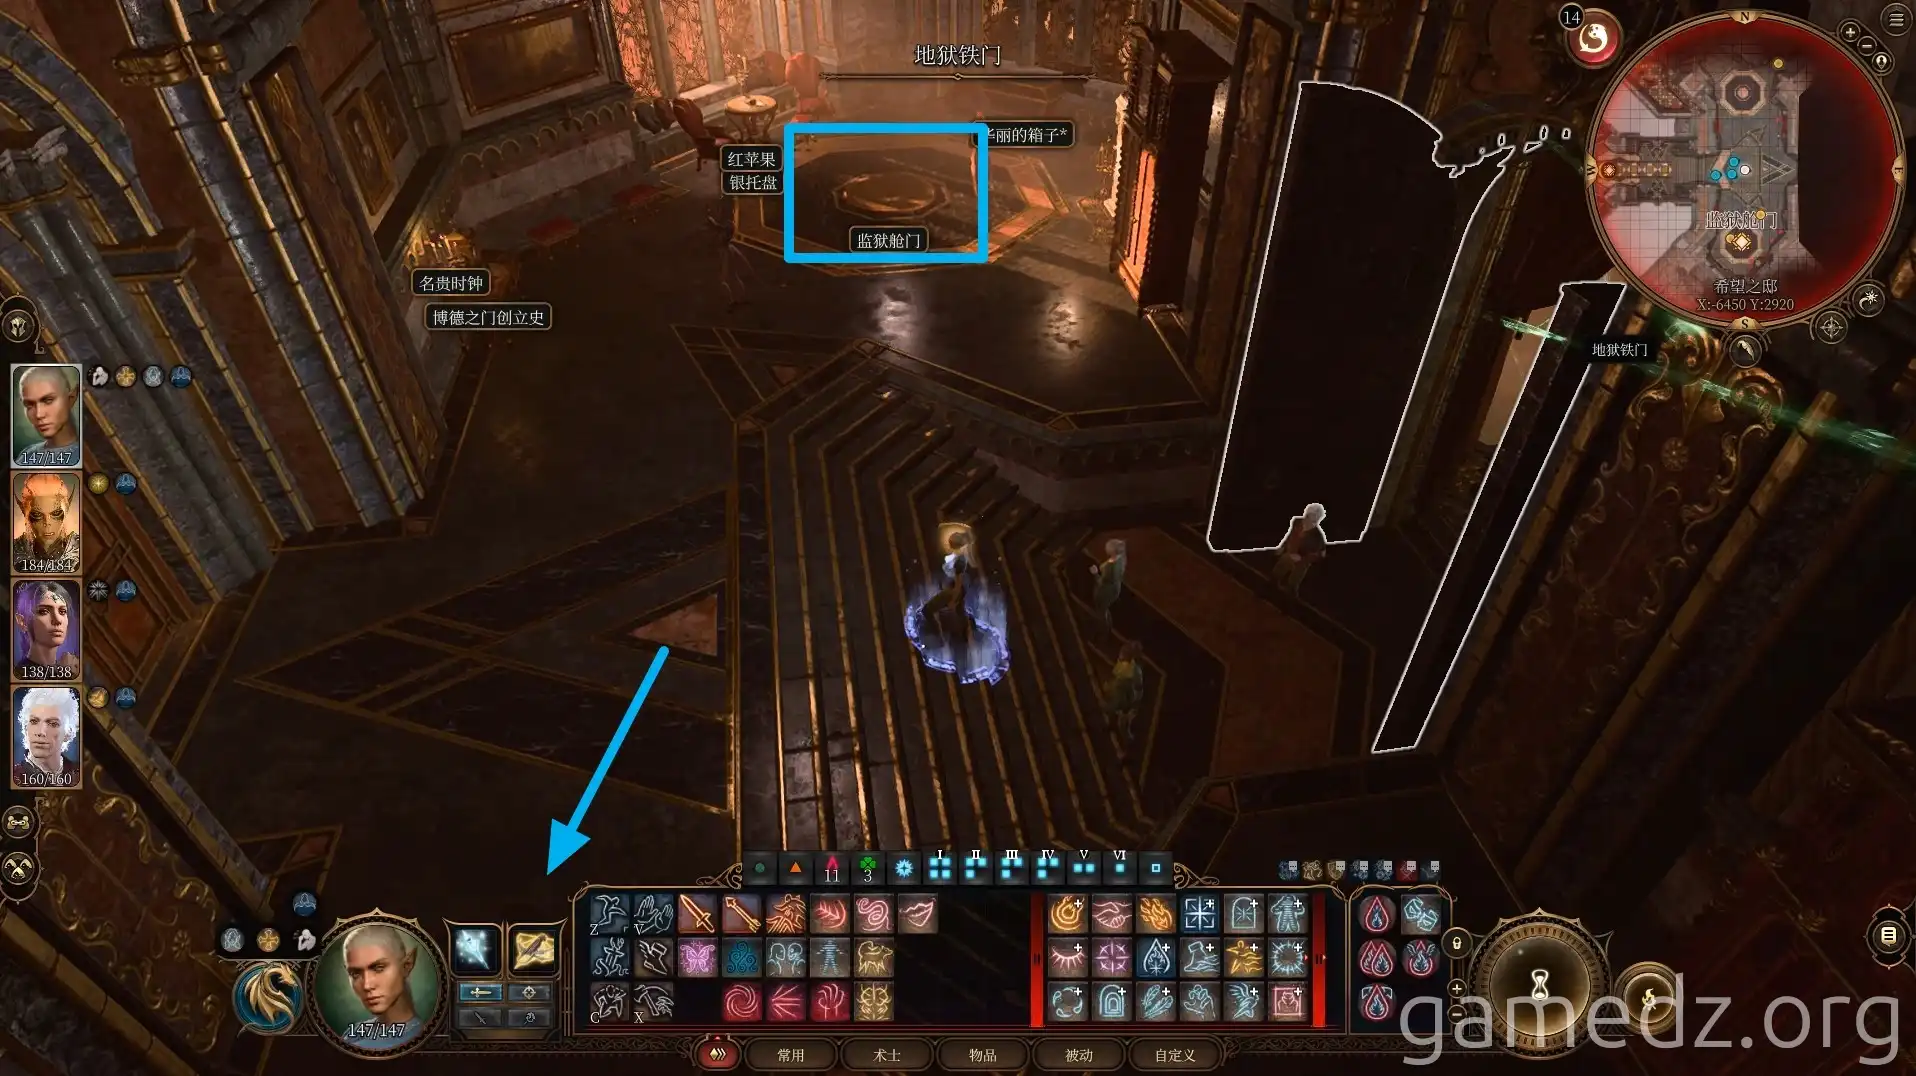
In the east corridor, the southernmost entrance leads to the prison where Hope is held. You don't need to go there yet. The first room is the portal hall; it doesn't contain much, but you'll encounter Hope's phantom again.
After grabbing the items from the chest next to the prison entrance, proceed north along the corridor.
Enter the second small room.
On the balcony, jump outside the House of Hope and follow the path north.
At the end of the path, enter the room above. After a conversation with the devil Halsin, combat will begin. Besides Halsin, there will be six lesser devils.
Each time Halsin takes damage, he will use Ethereal Escape to become invincible.
After defeating Halsin, you'll obtain the rare armor Gloves of the Infernal Enforcer and a key.
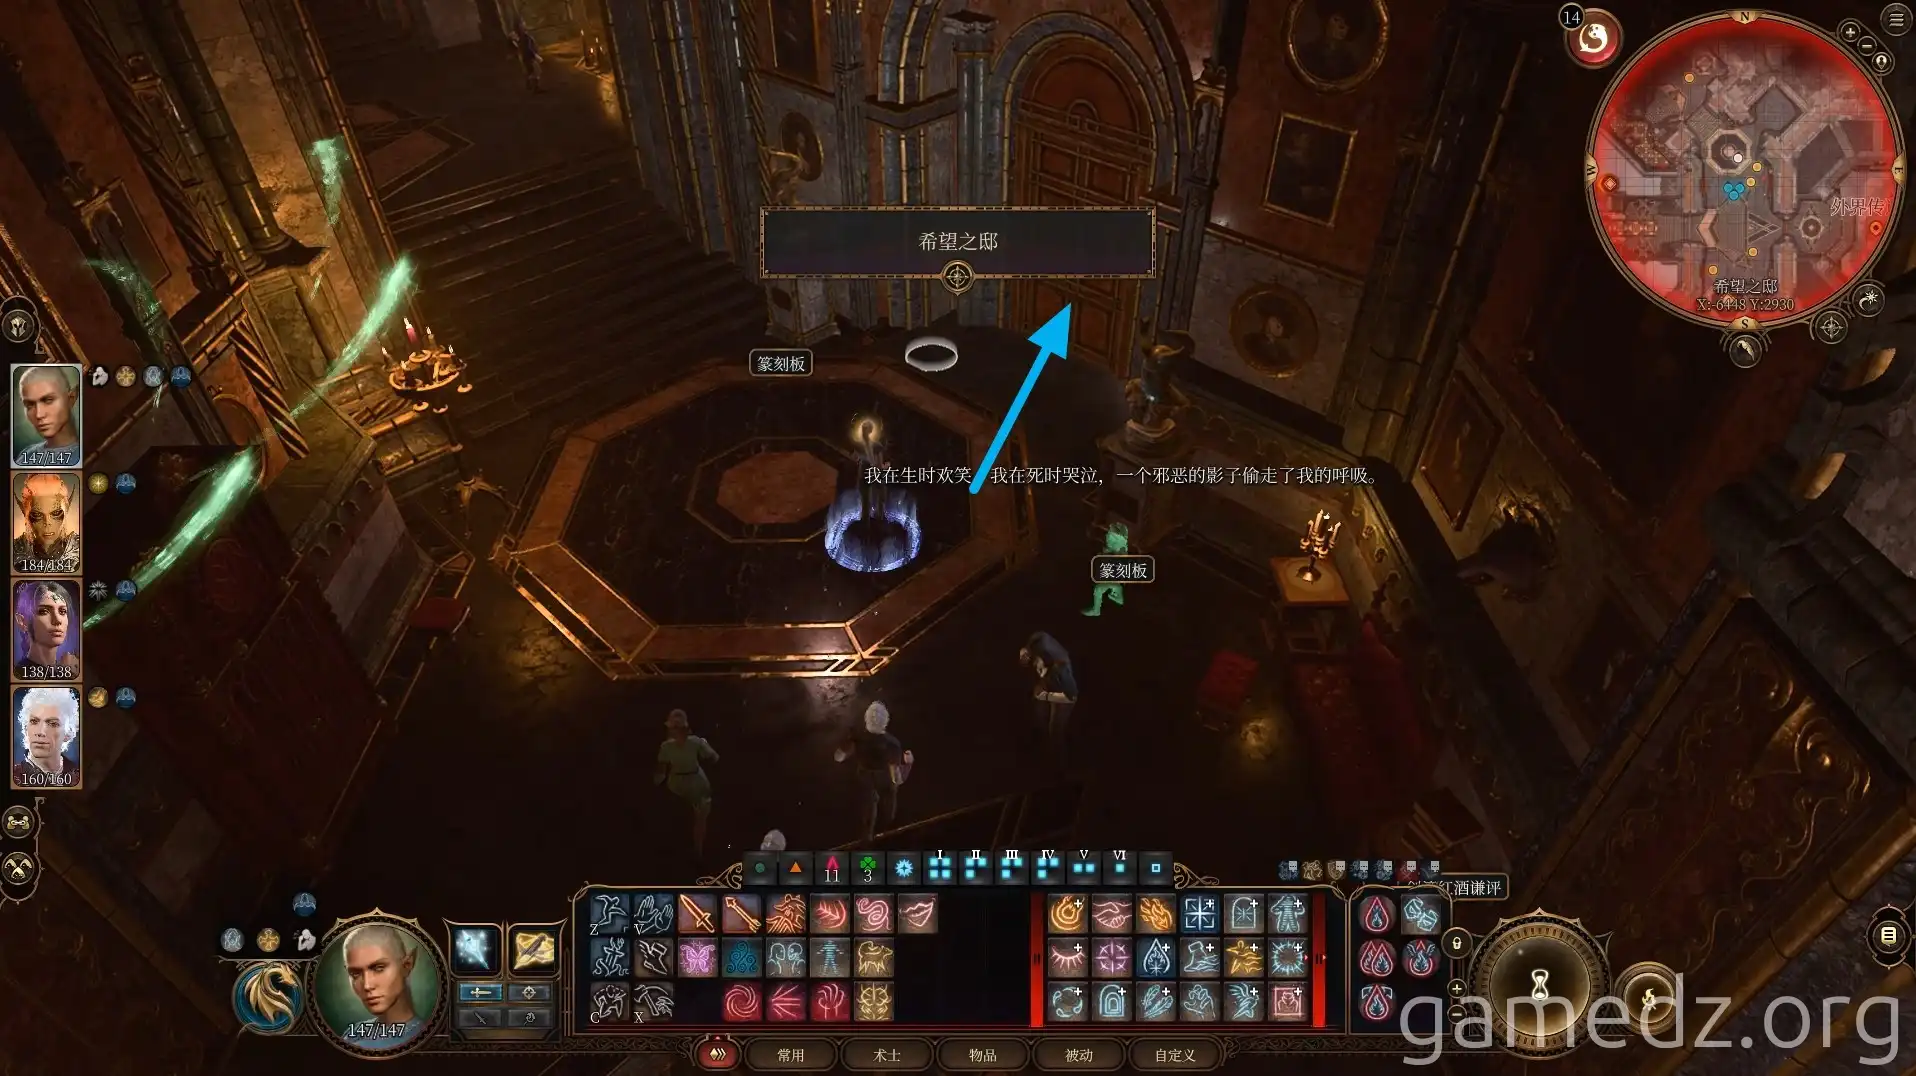
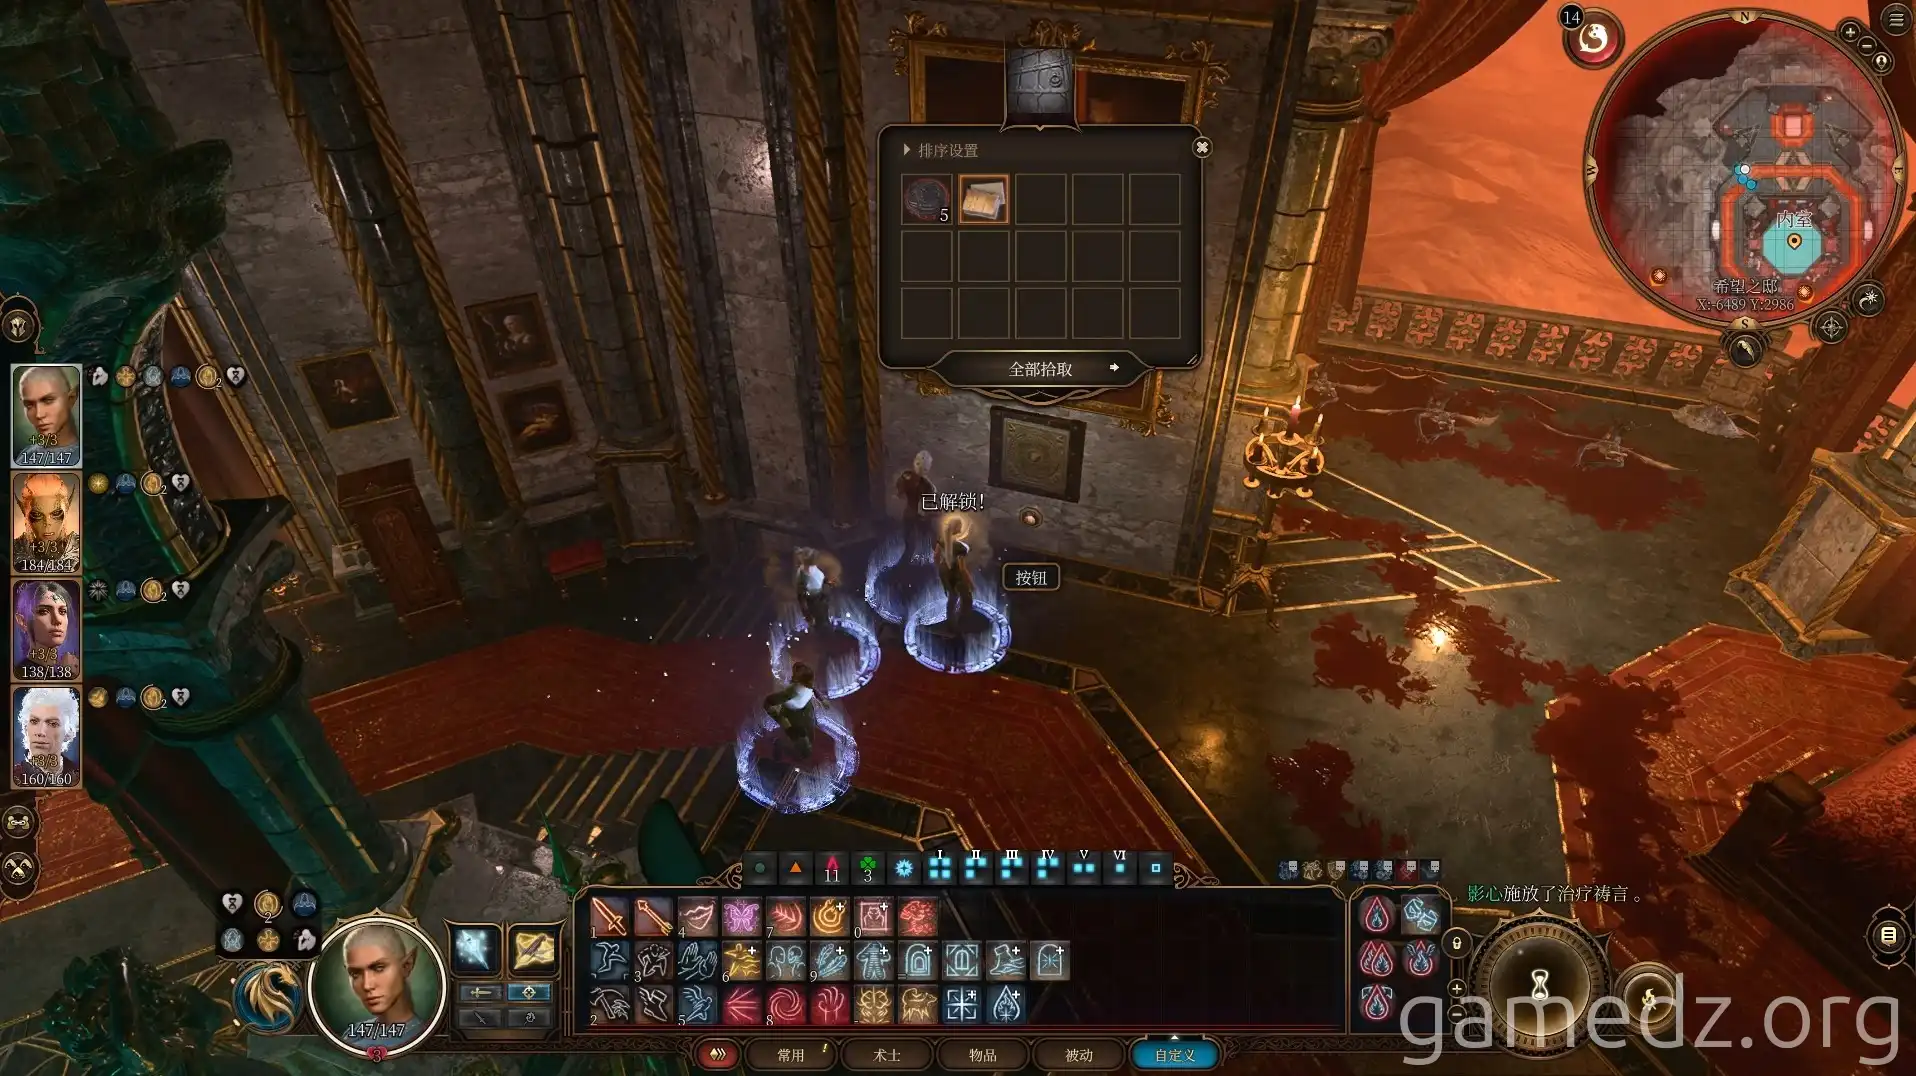
Next to Halsin's bed, press the button below the painting to reveal a safe. Inside the safe, you'll find five Soul Coins and a note from Raphael. This note contains the incantation to break the contract's seal.
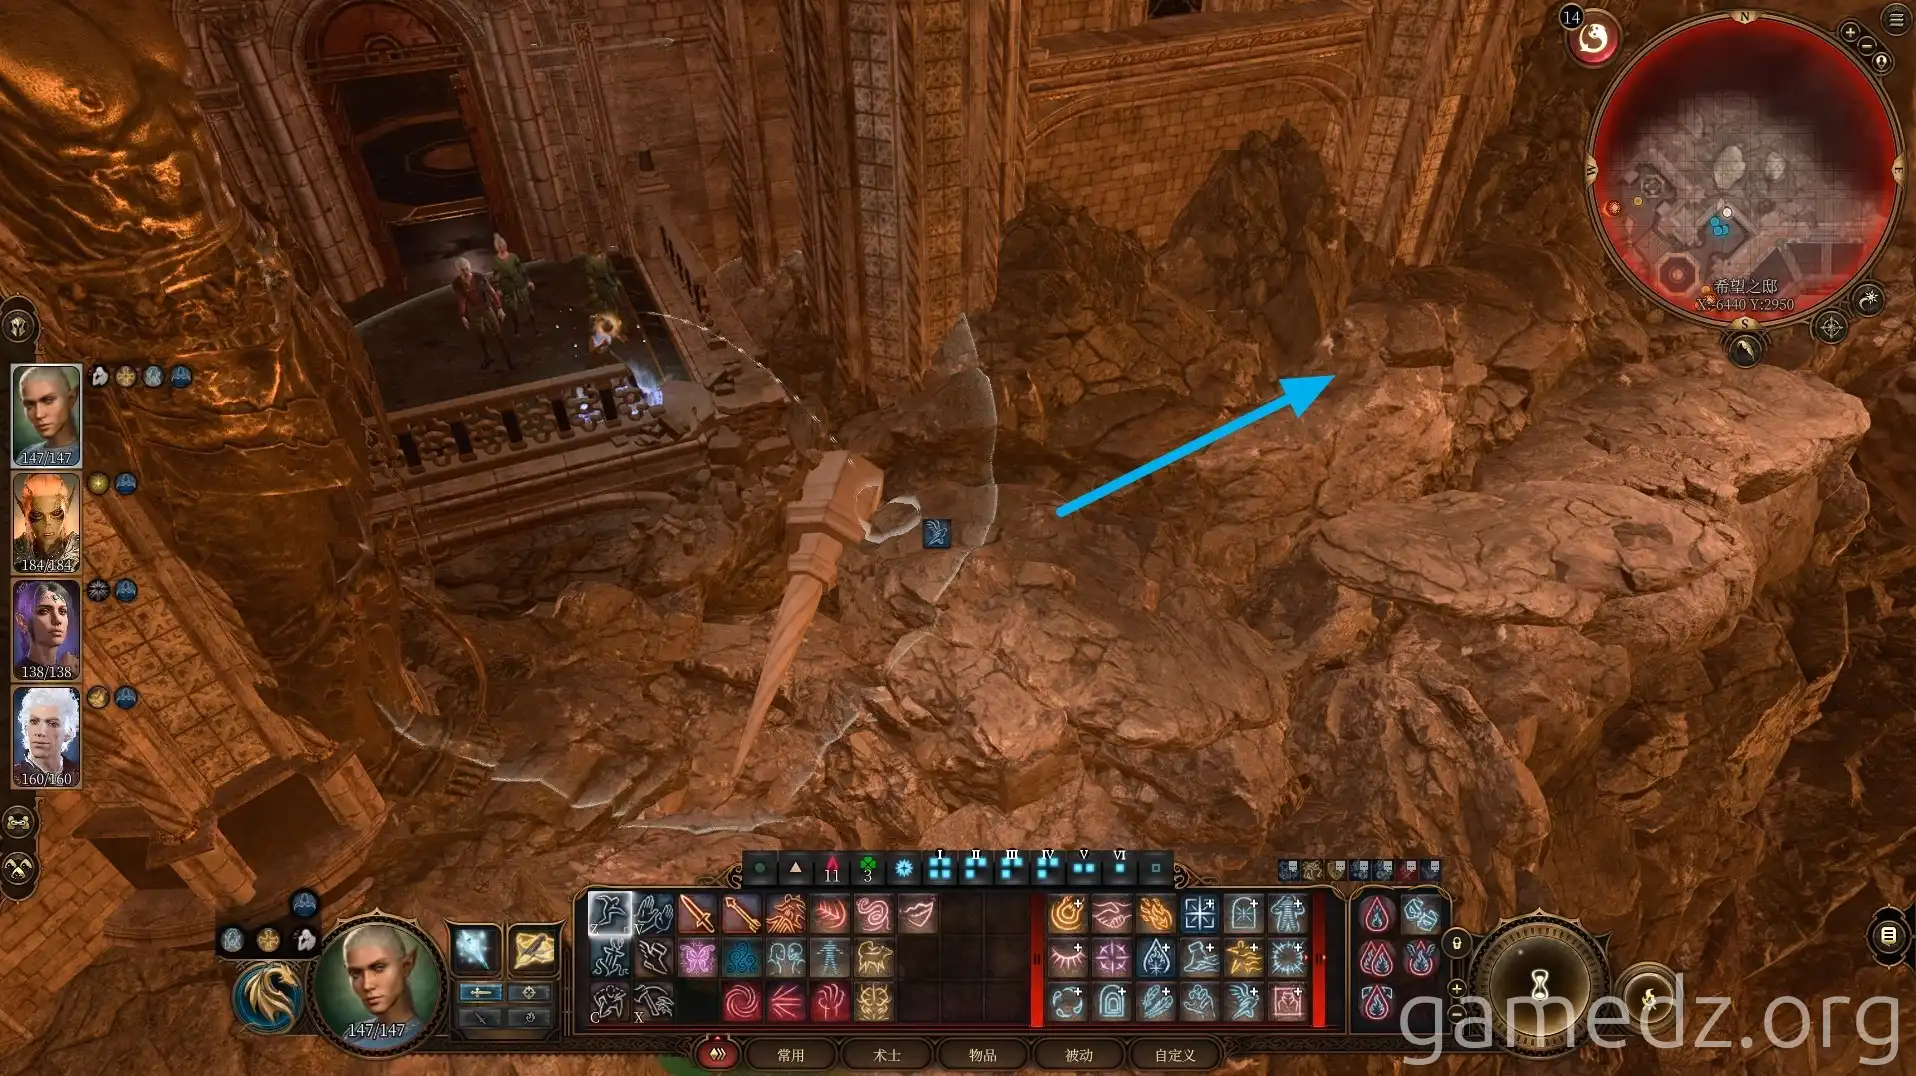
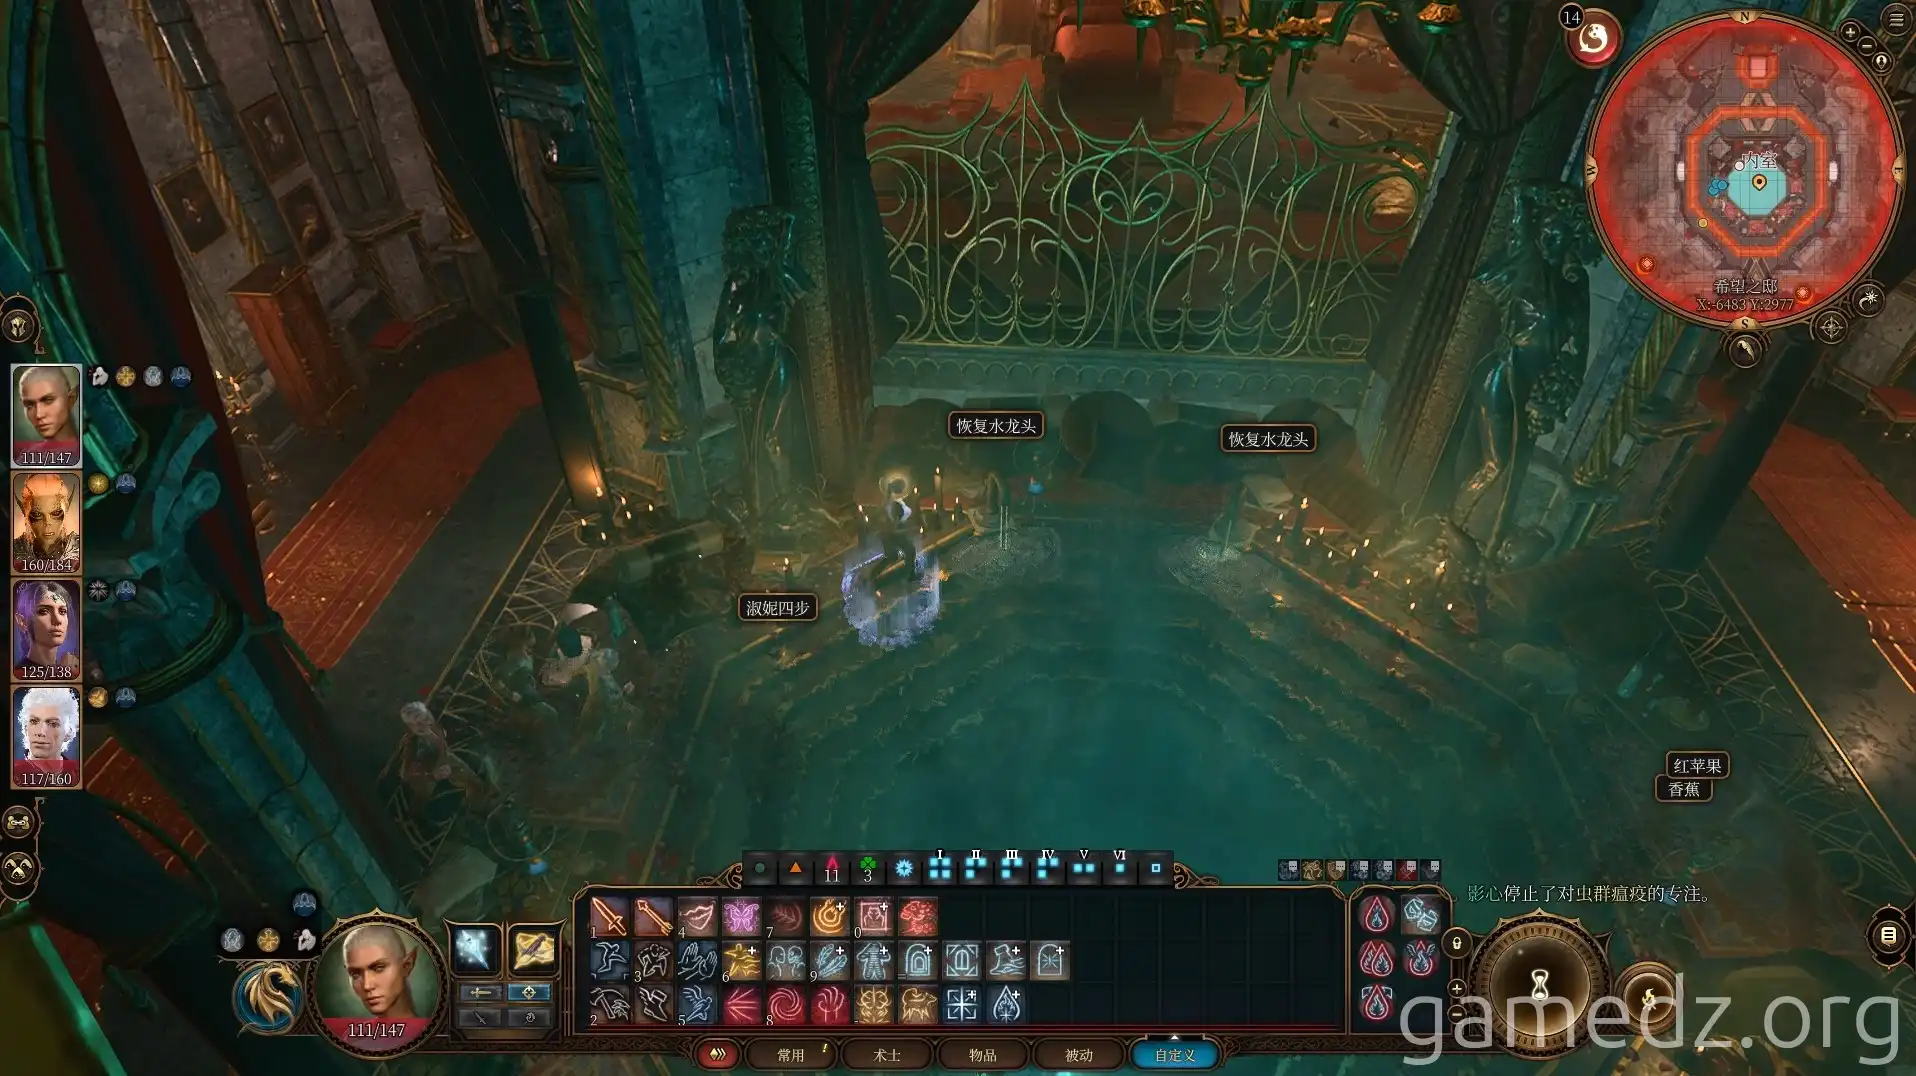
Once everyone is in the pool within the room, interact with the Restoration Tap to gain the effects of a Long Rest.
After thoroughly looting the room, exit through the large door on the south side to return to the corridor.
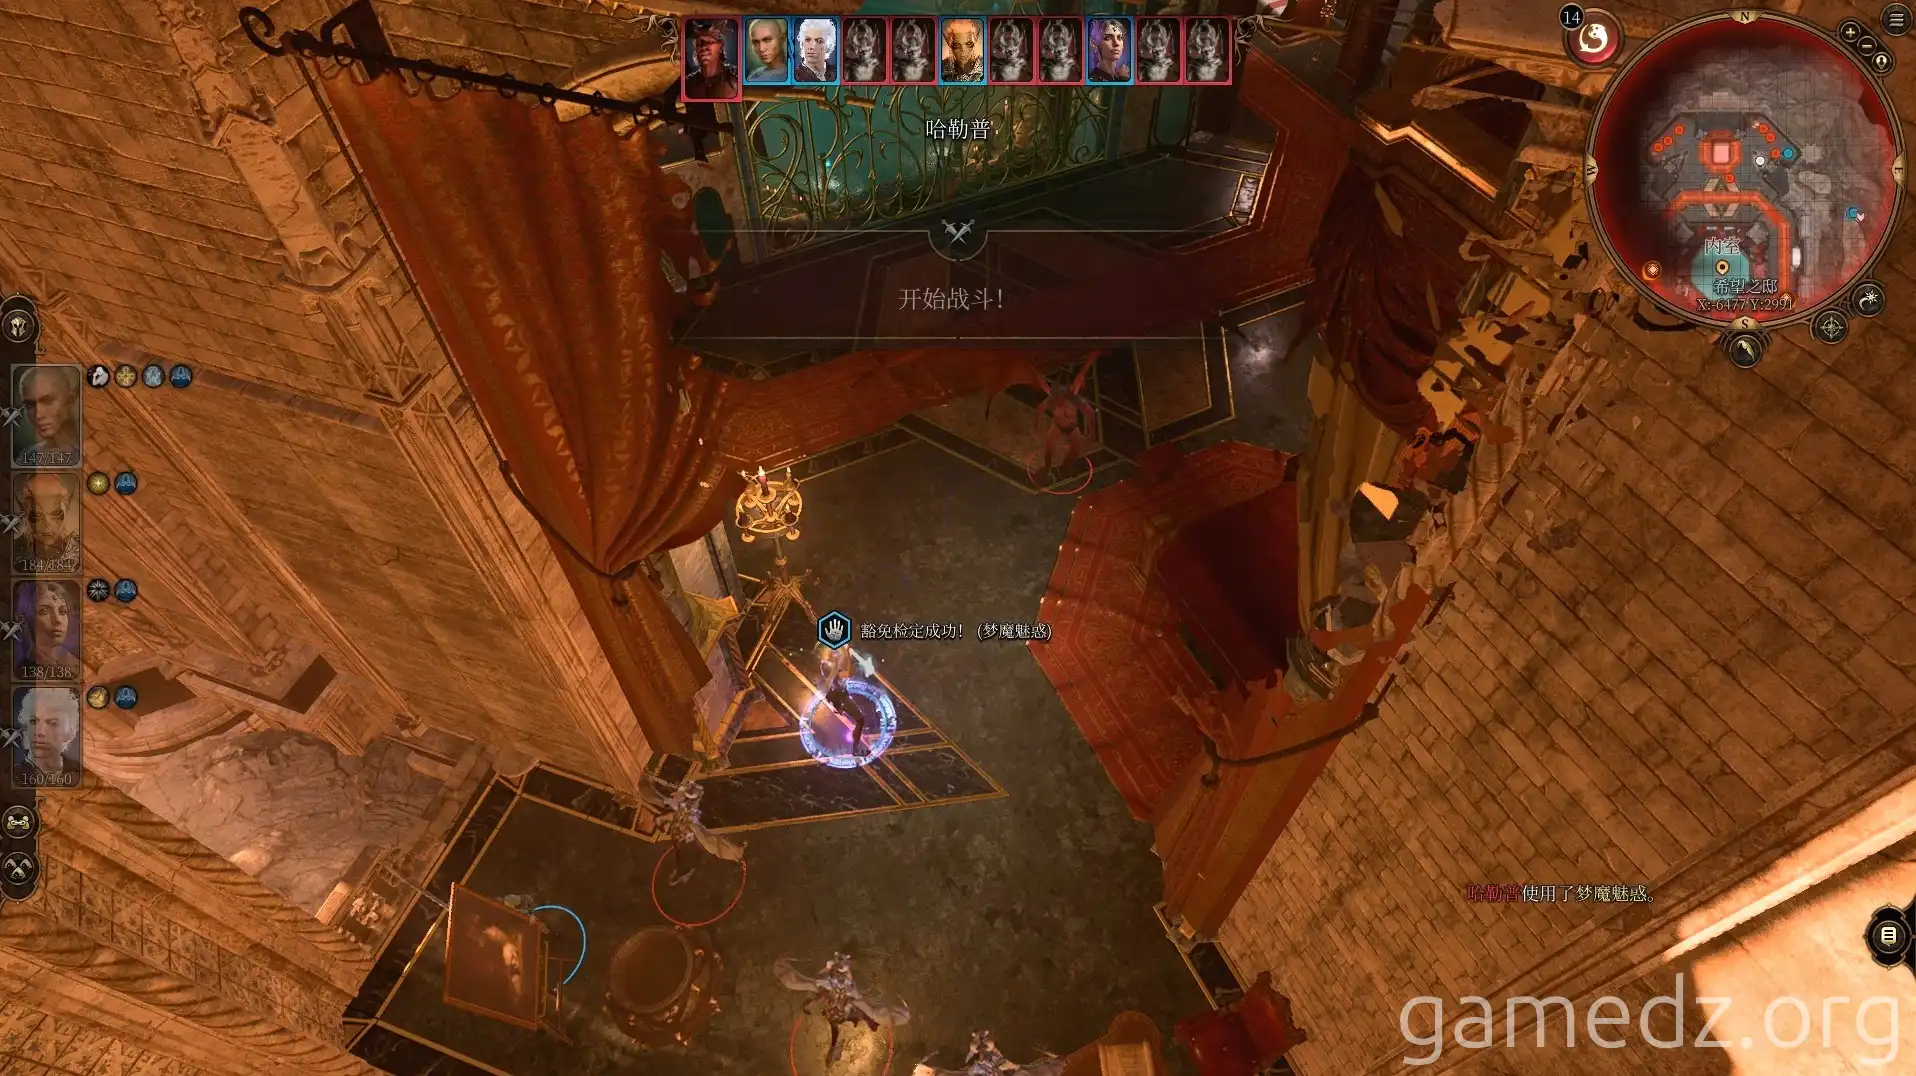
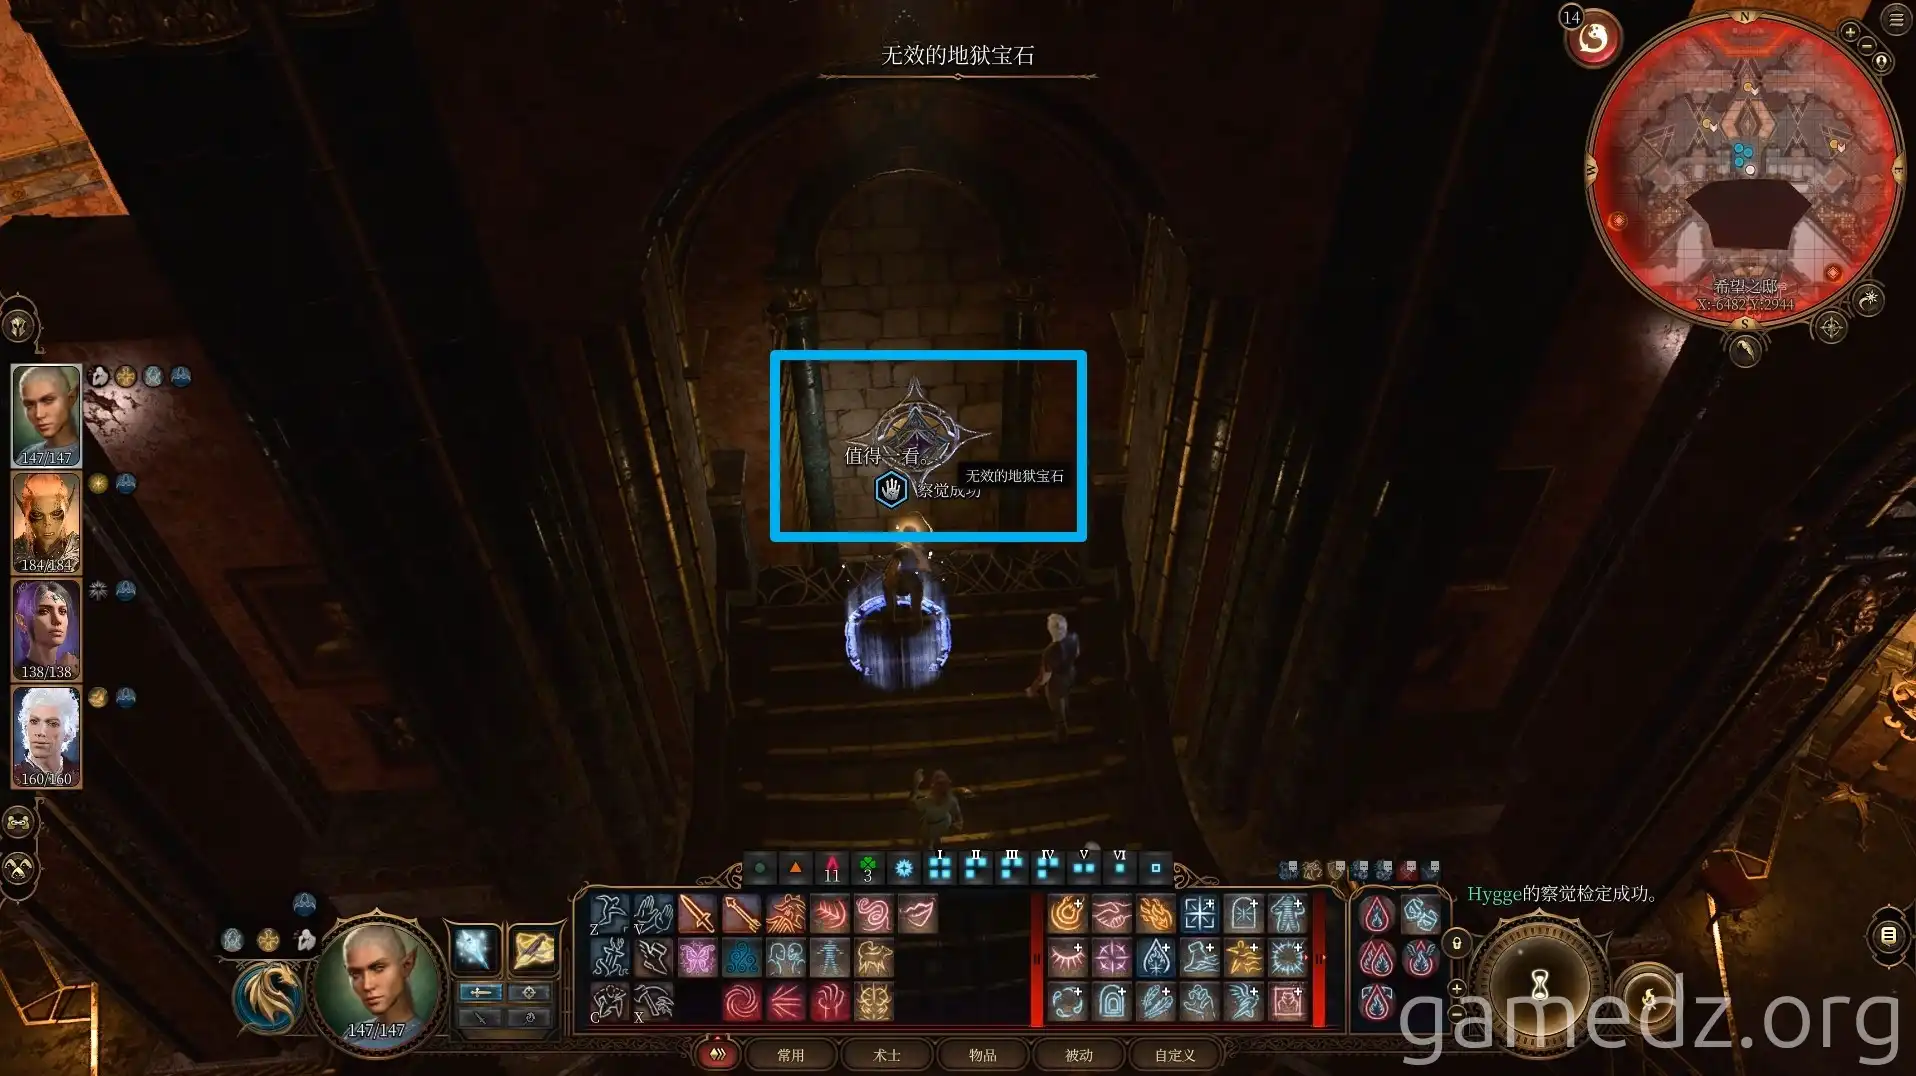
On the wall opposite the room, a successful Perception check will reveal a Hellfire Gem. Passing a DC 10 Wisdom check and a DC 20 Arcana check will open the wall, granting access to the treasure vault.
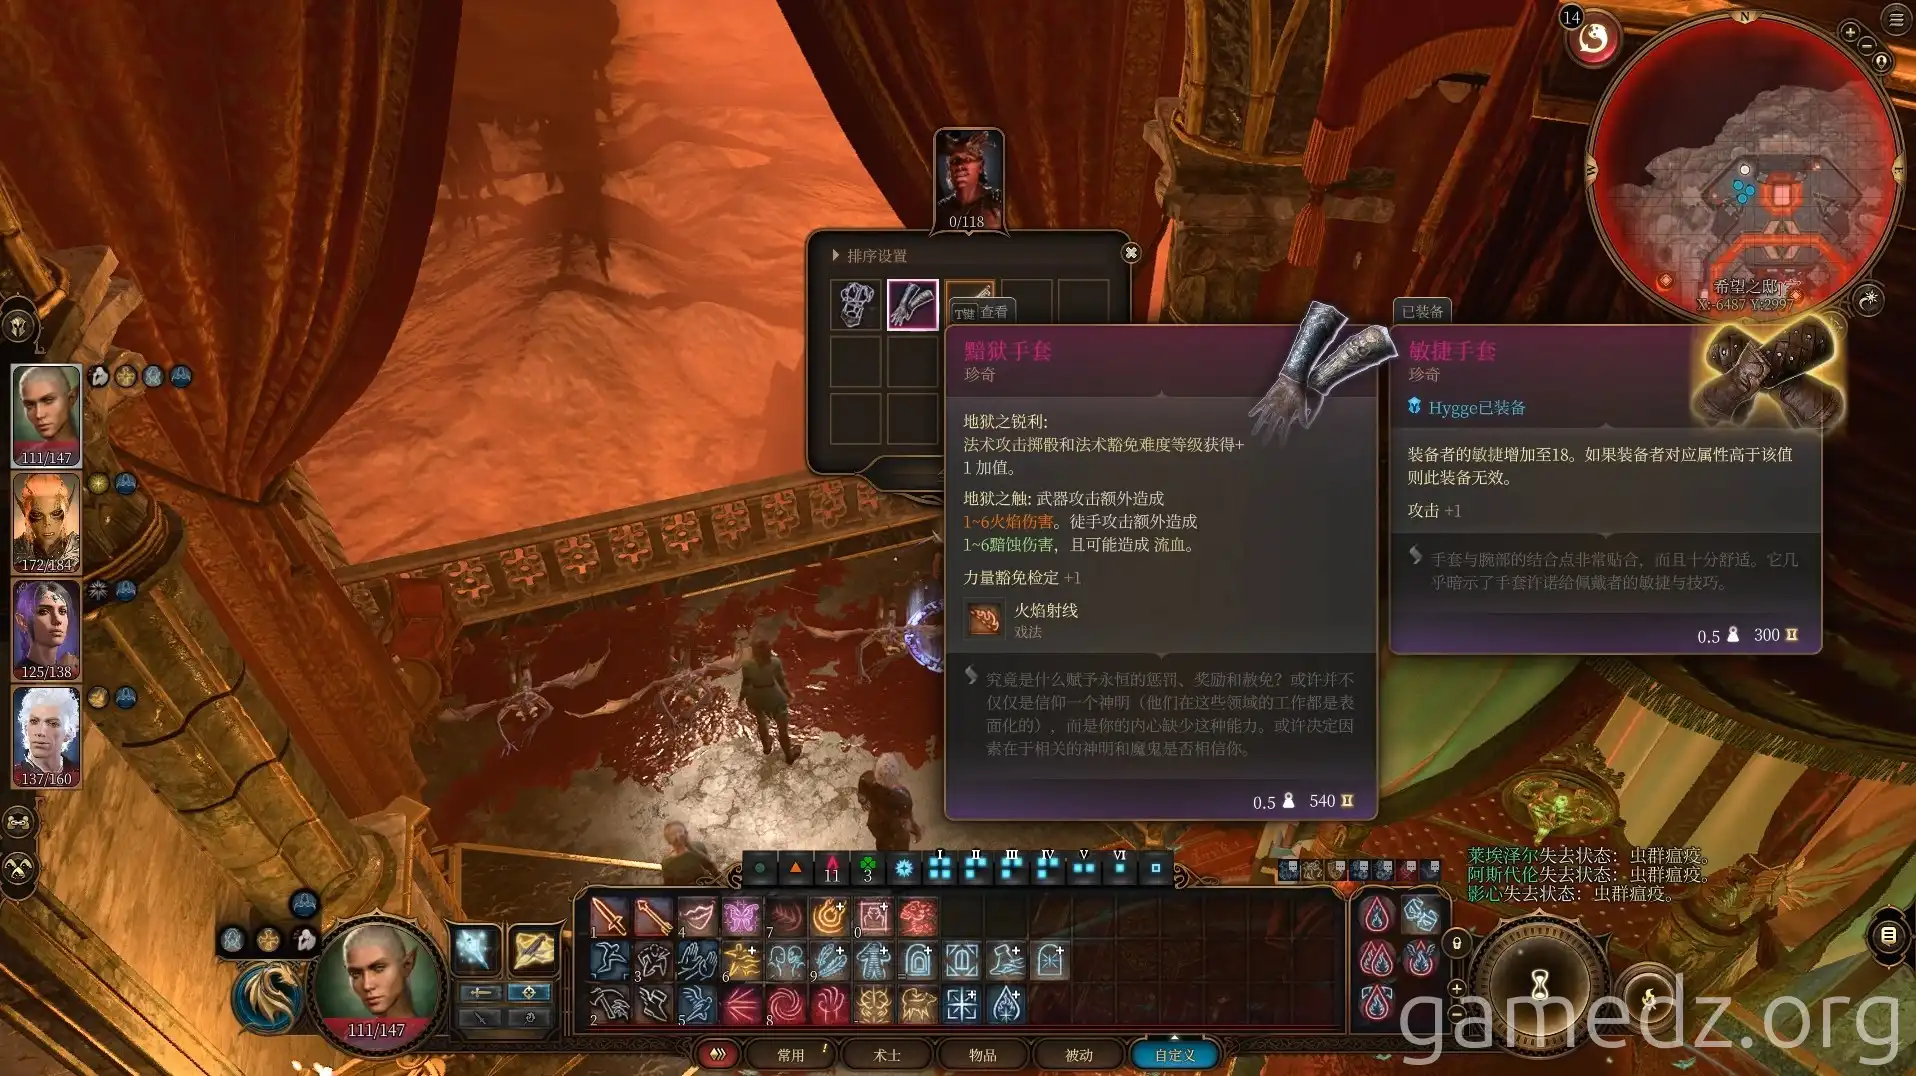
In this room, you'll acquire the rare weapon Staff of Spellpower, with its stats as follows:
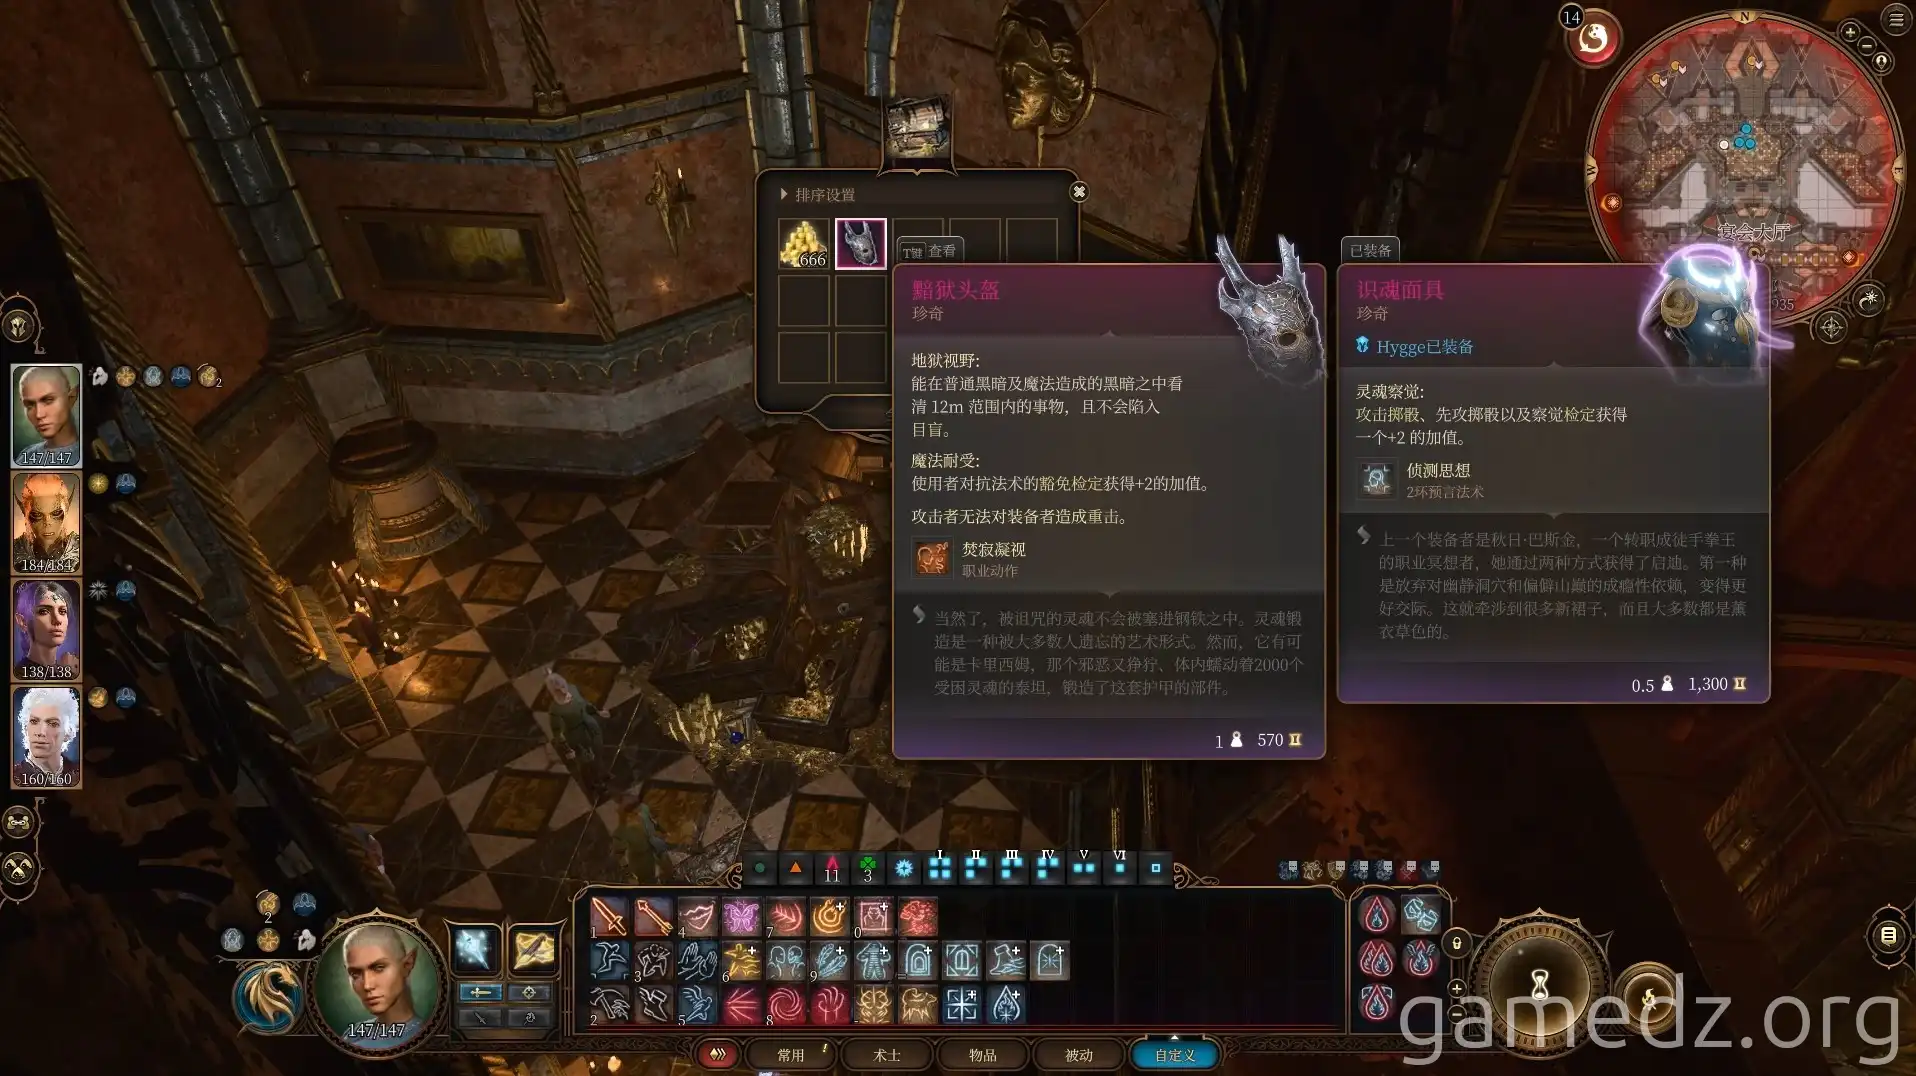
In a pile of chests within the room, you'll find the rare armor Helmet of the Infernal Enforcer.
Most importantly, you'll also find the contract signed between Mol and Raphael.
Return to the corridor and continue. You'll find some potion supplies in a roadside chest.

Head to the southernmost part of the west corridor and enter the archives.
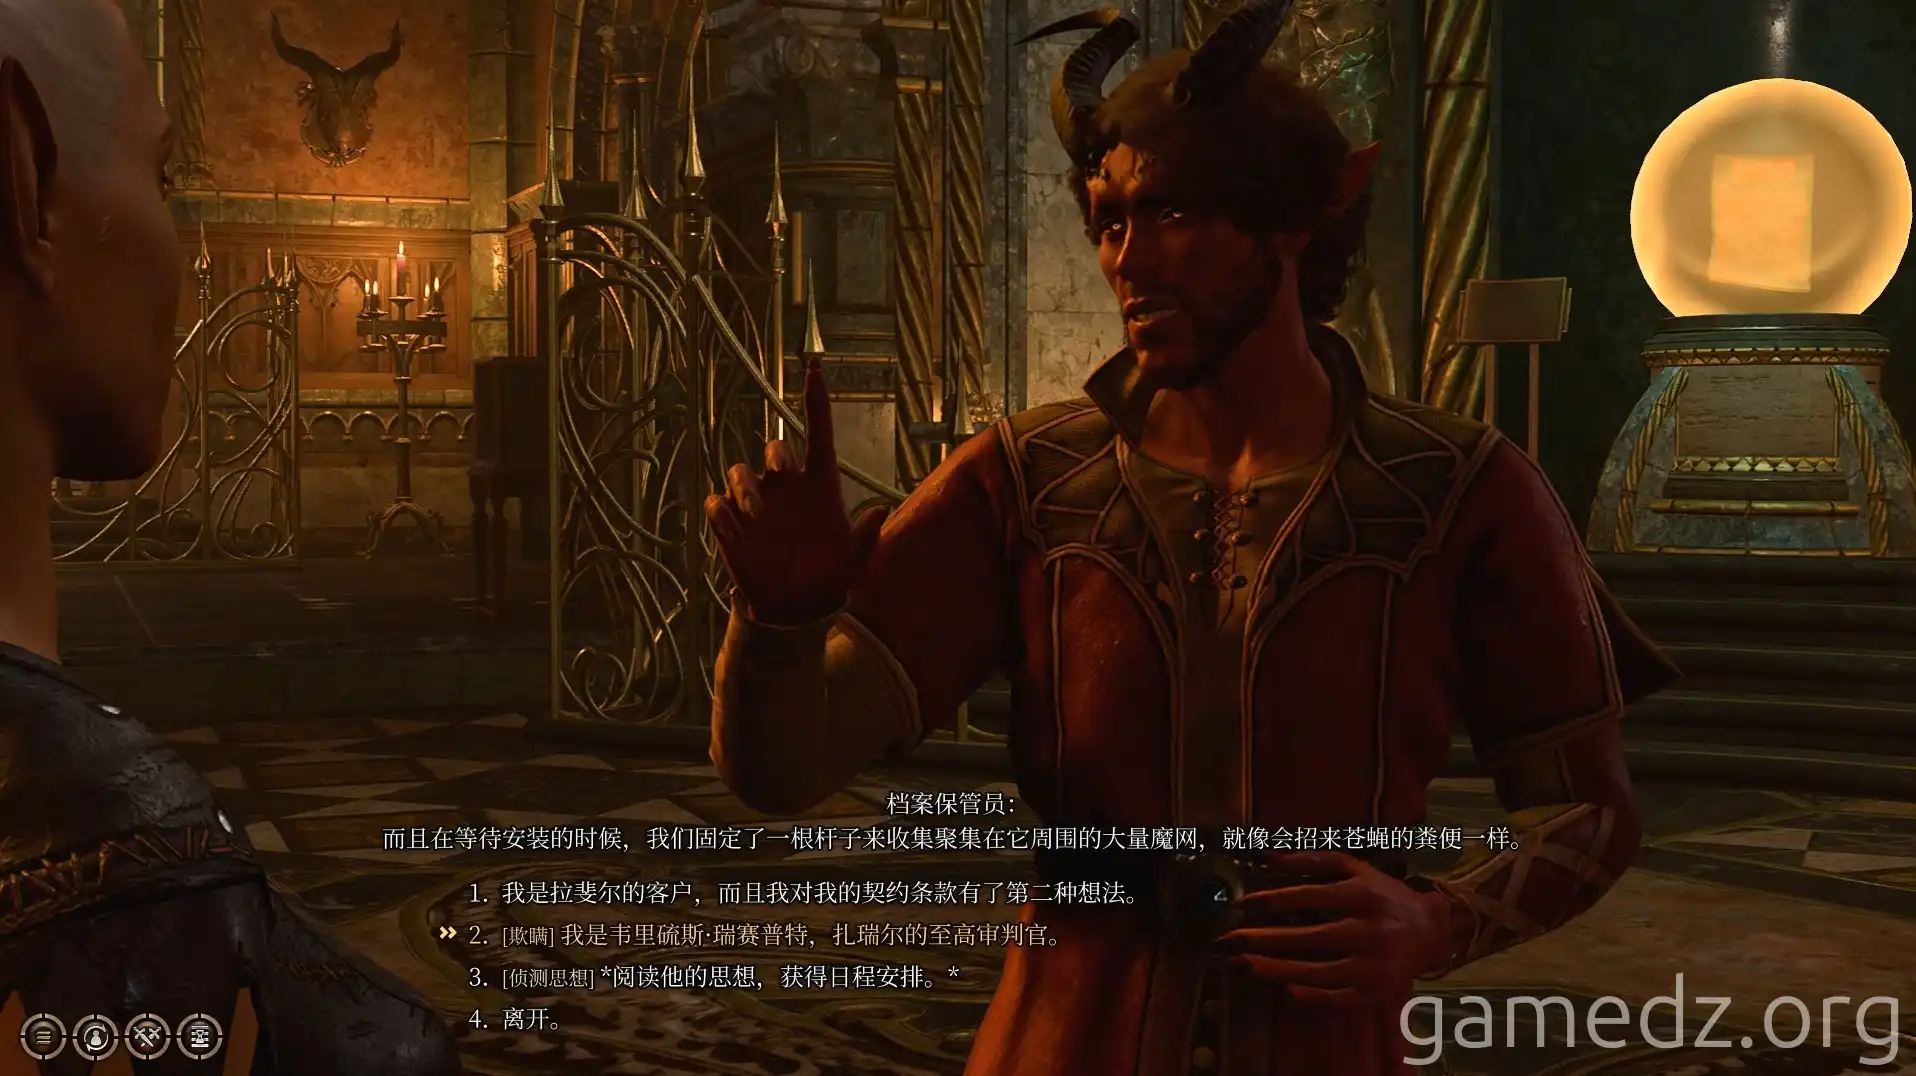
Speak with the archivist in the archives. After the conversation, you'll receive an Inner Sanctum Invitation, allowing you to move freely within this area.
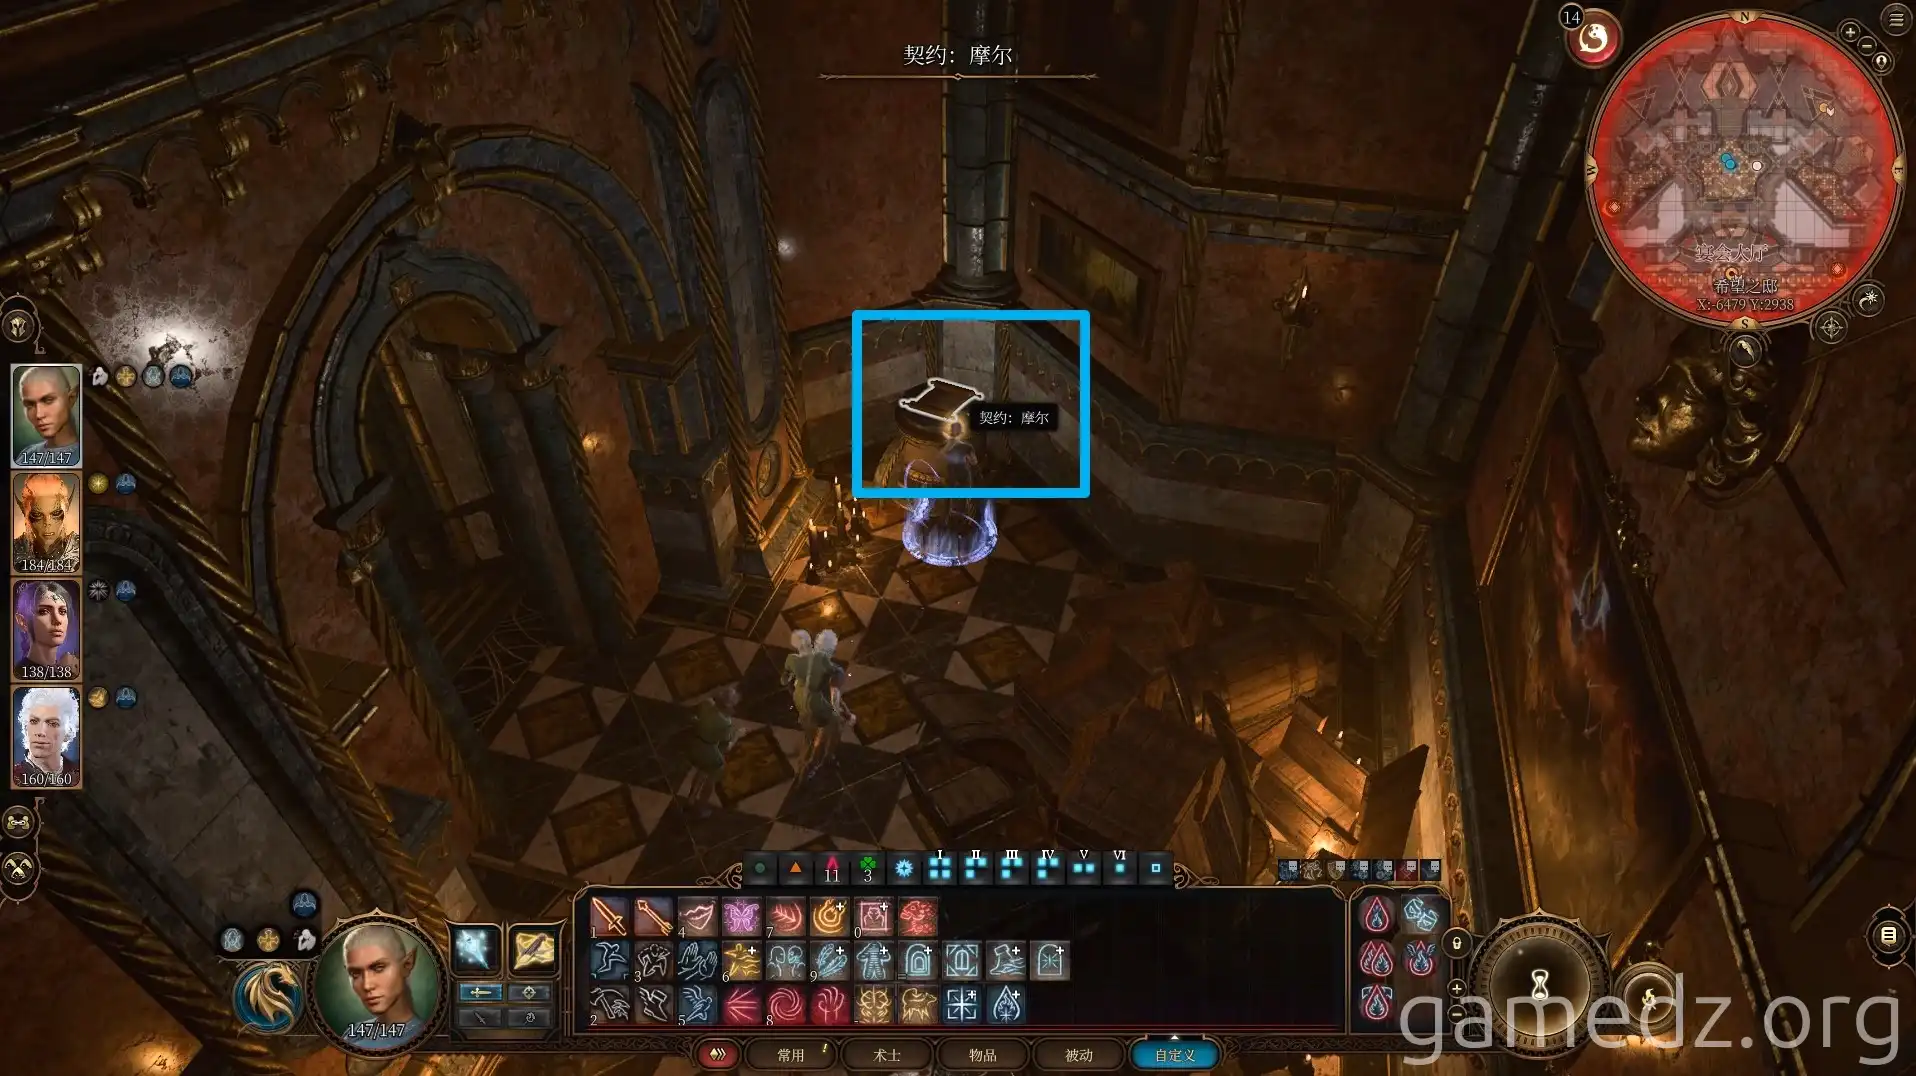
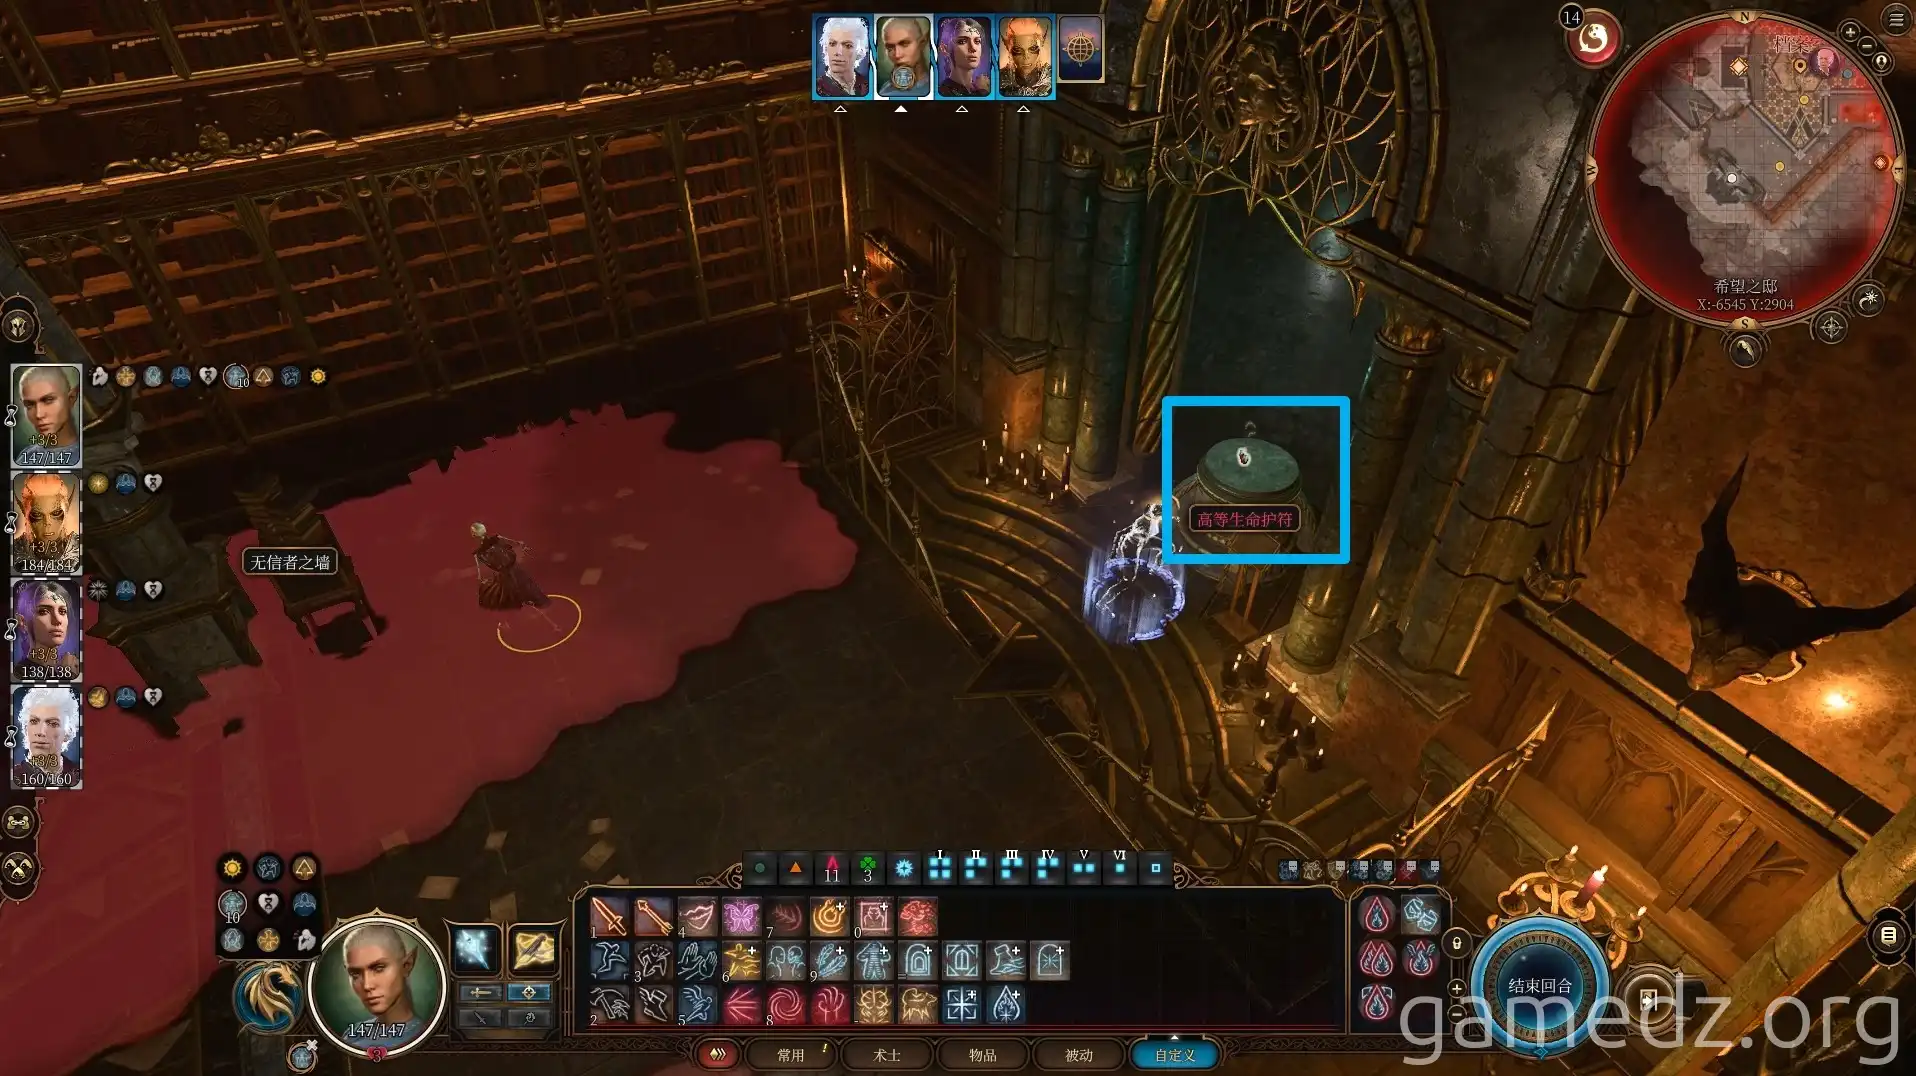
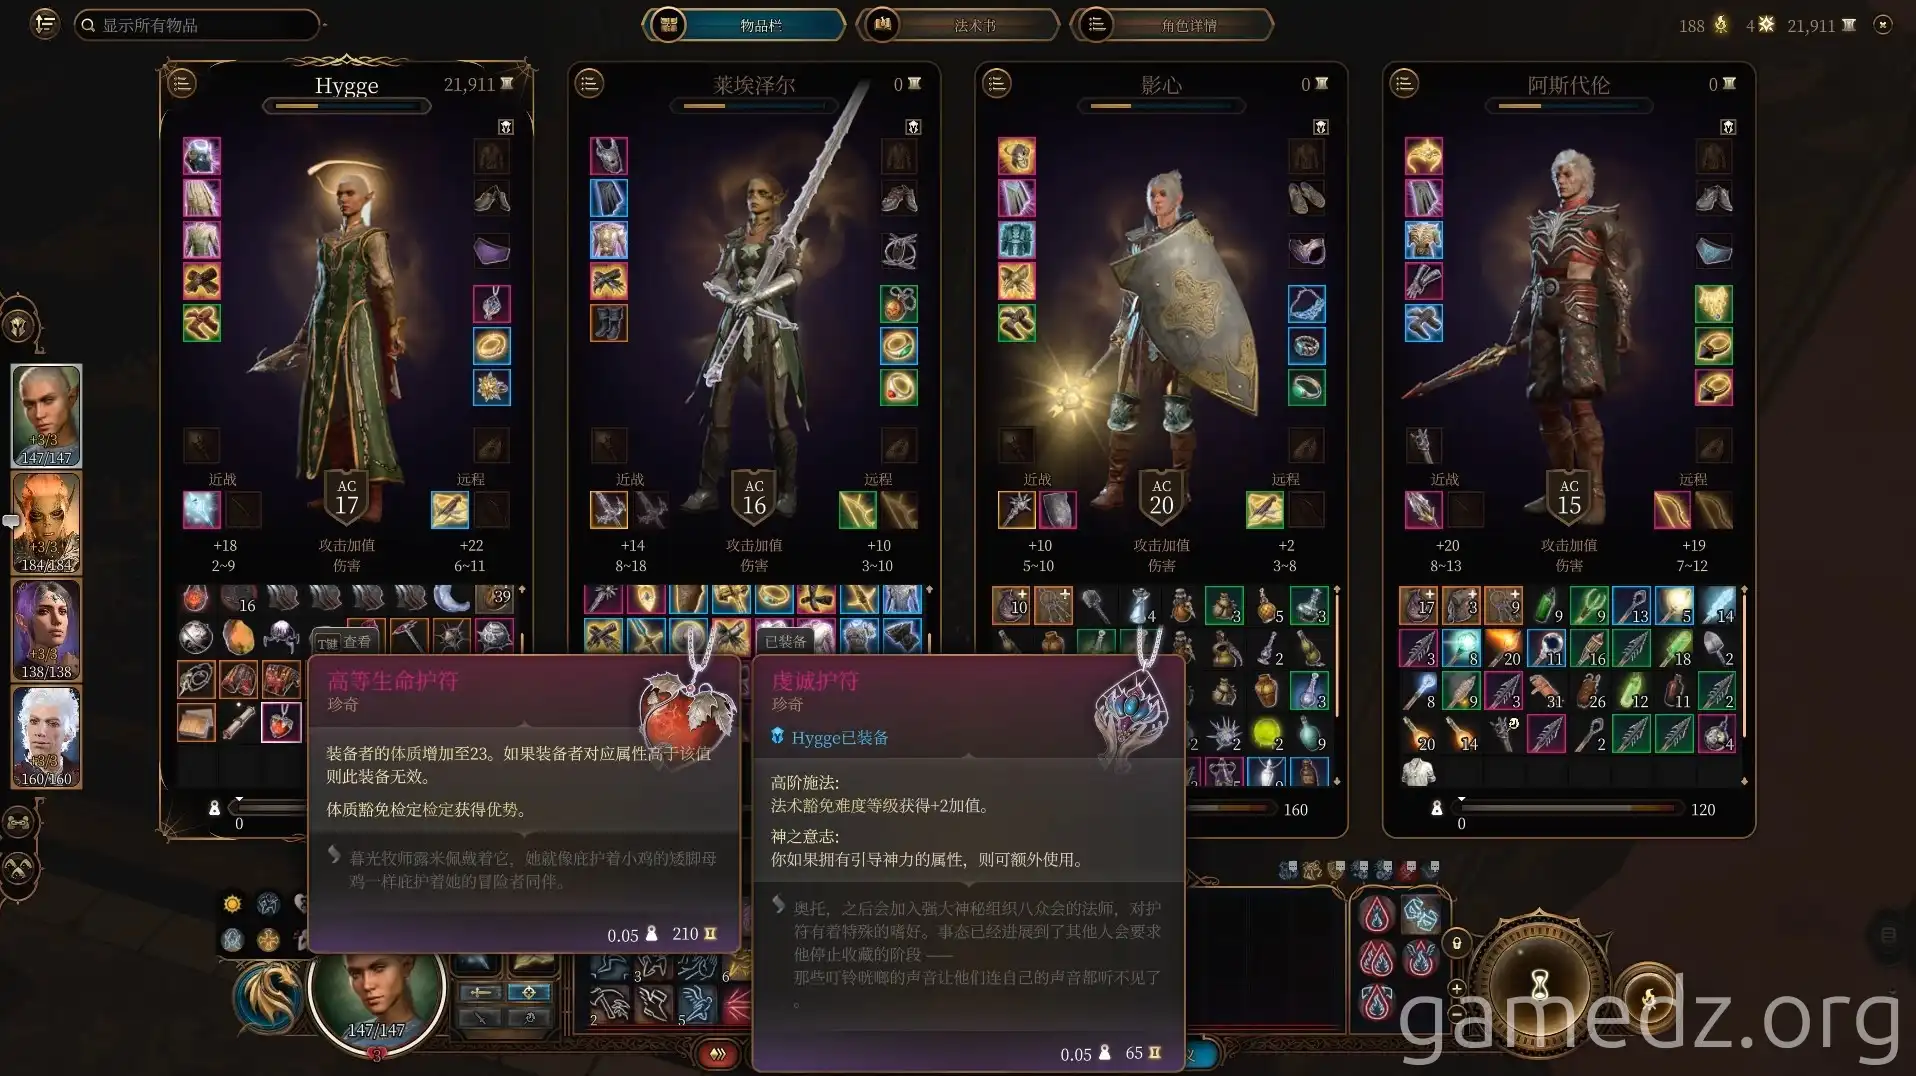
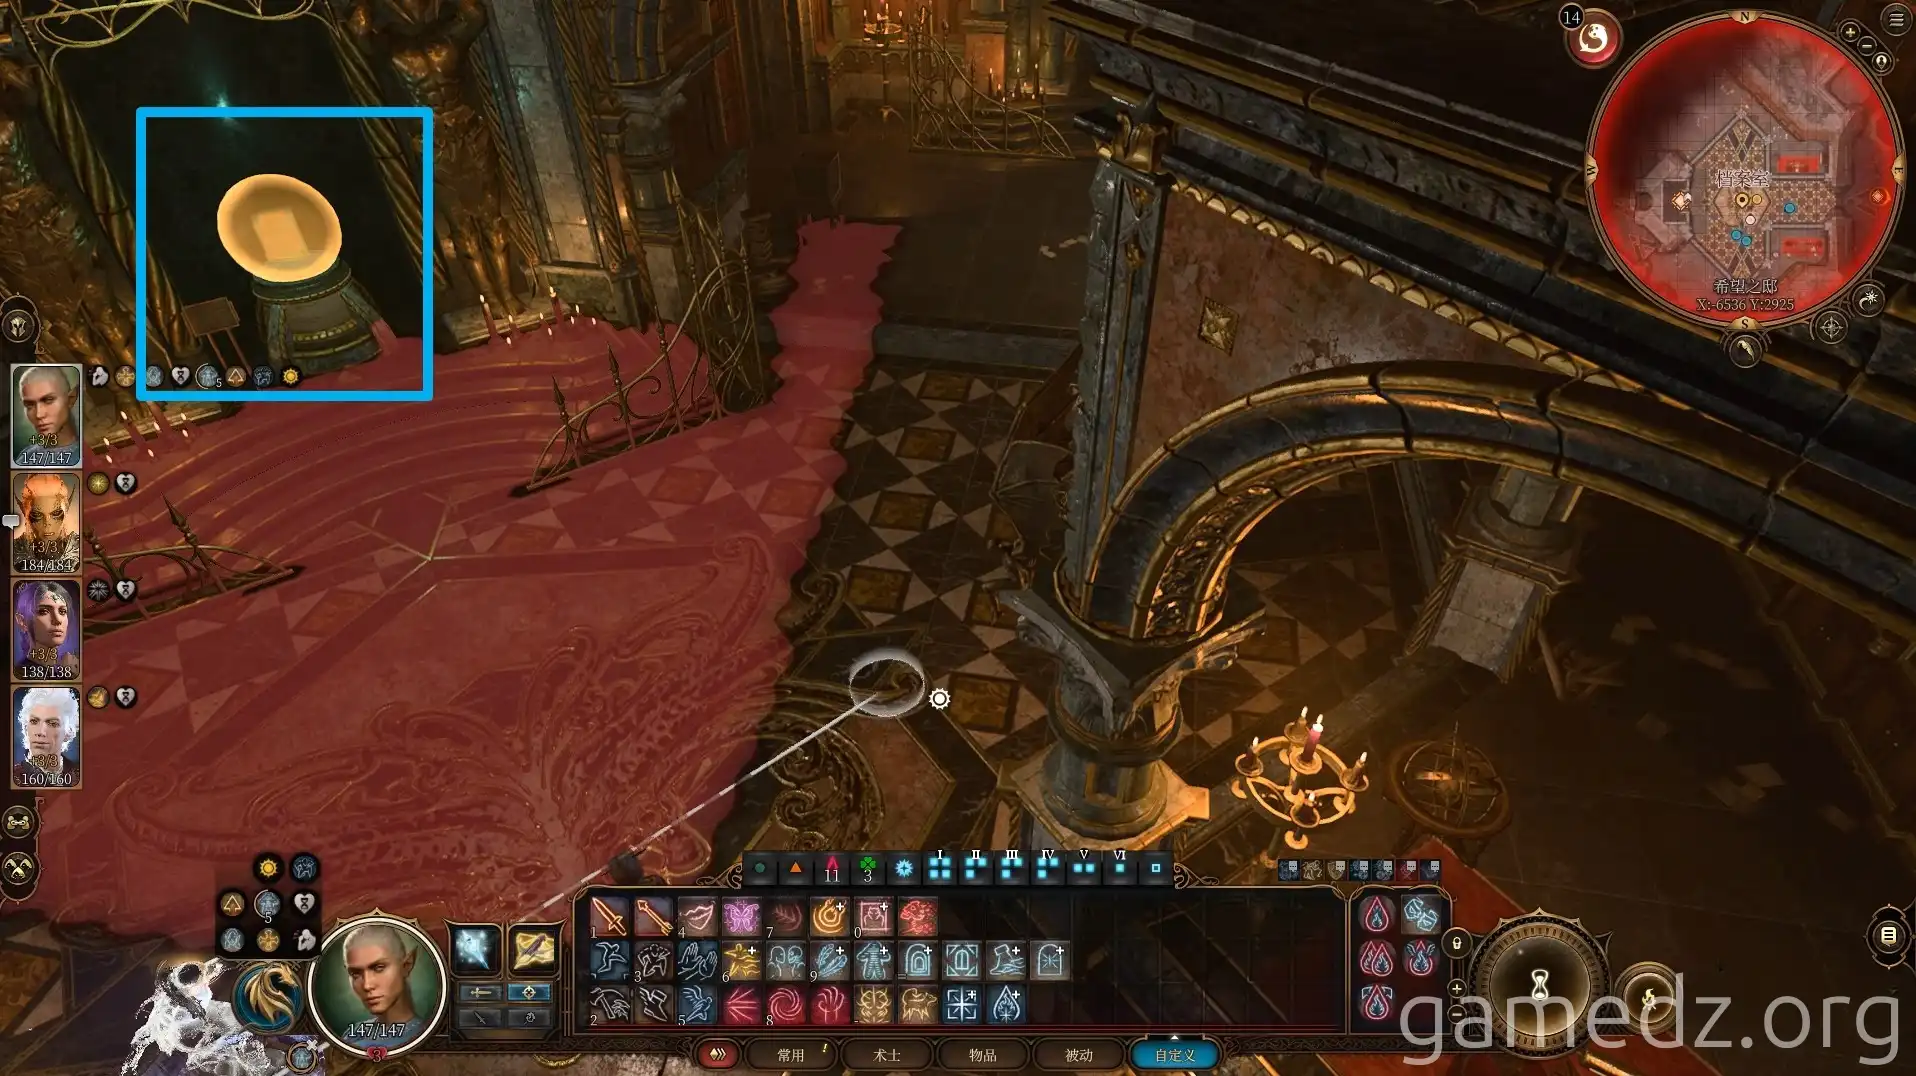
On a pedestal on the south side of the room, you can steal the rare accessory Amulet of Greater Health.
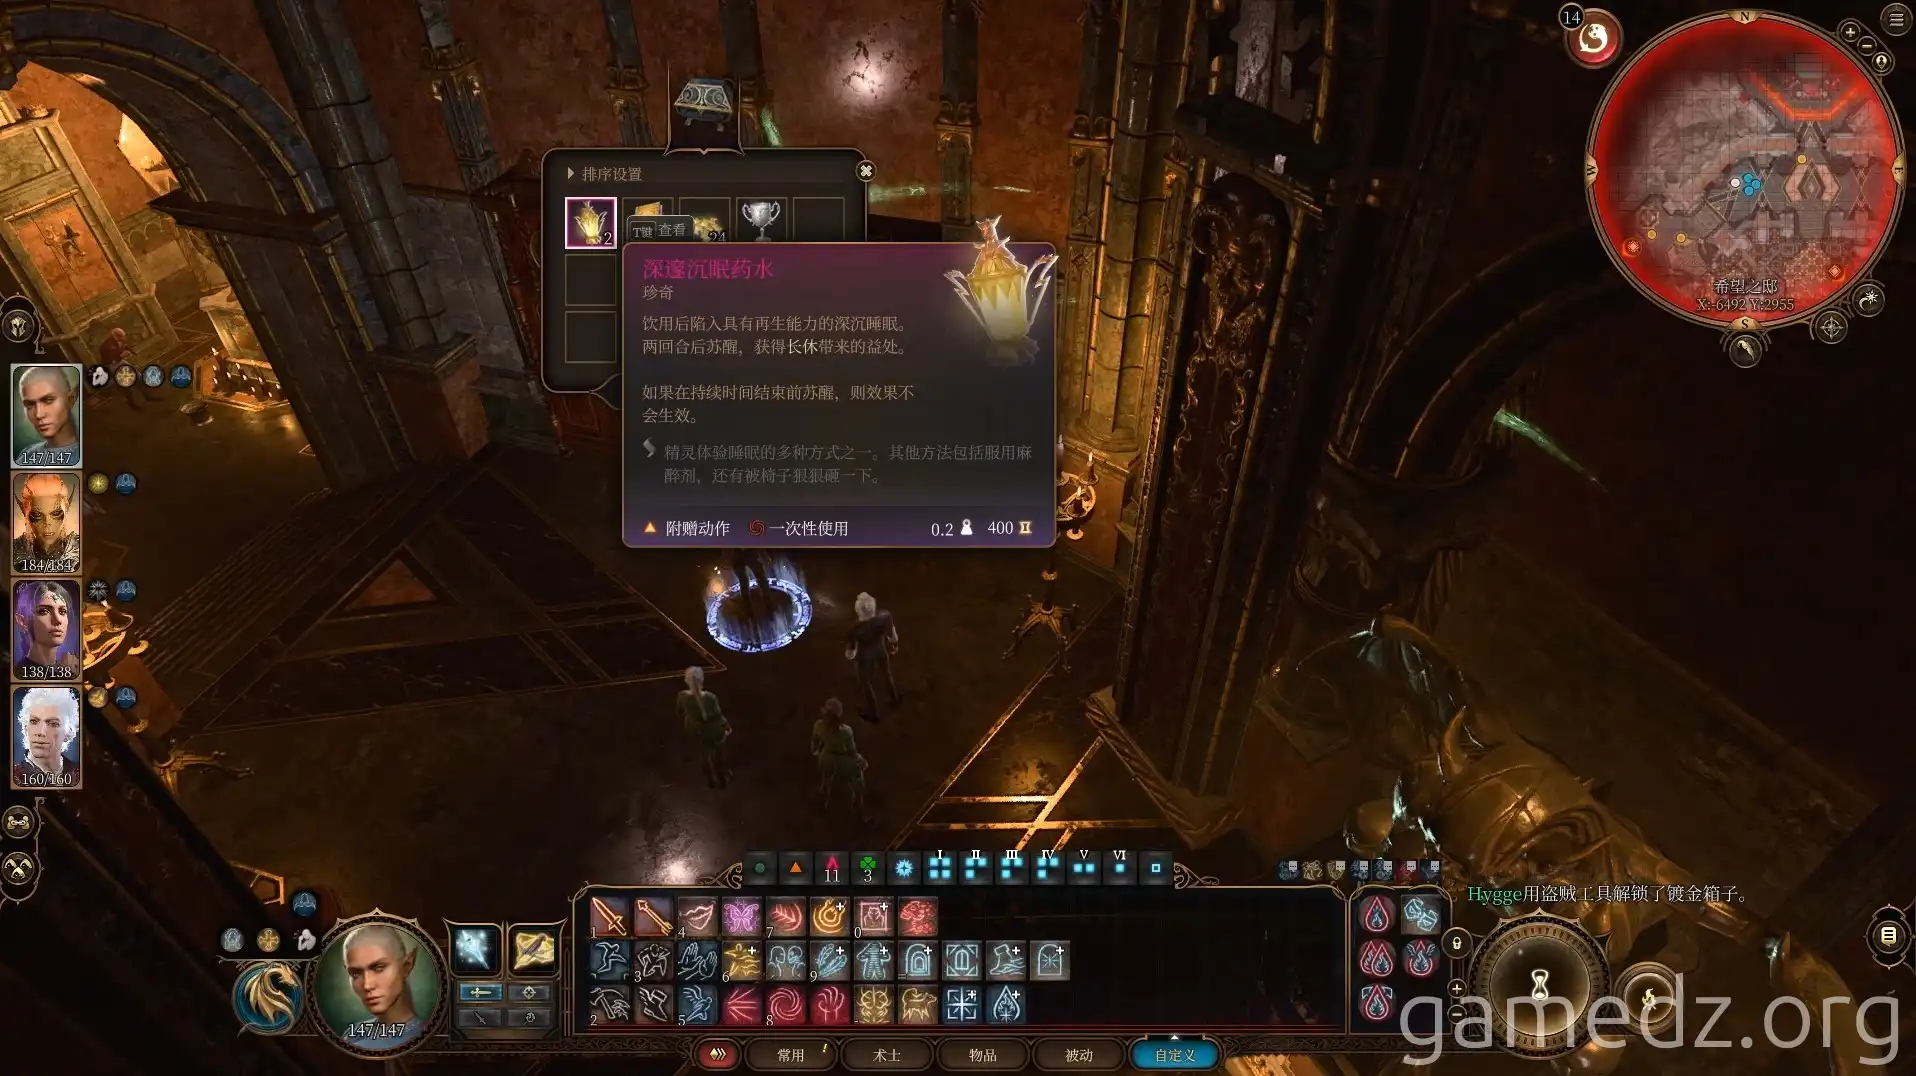
The stats for the Amulet of Greater Health are as follows:
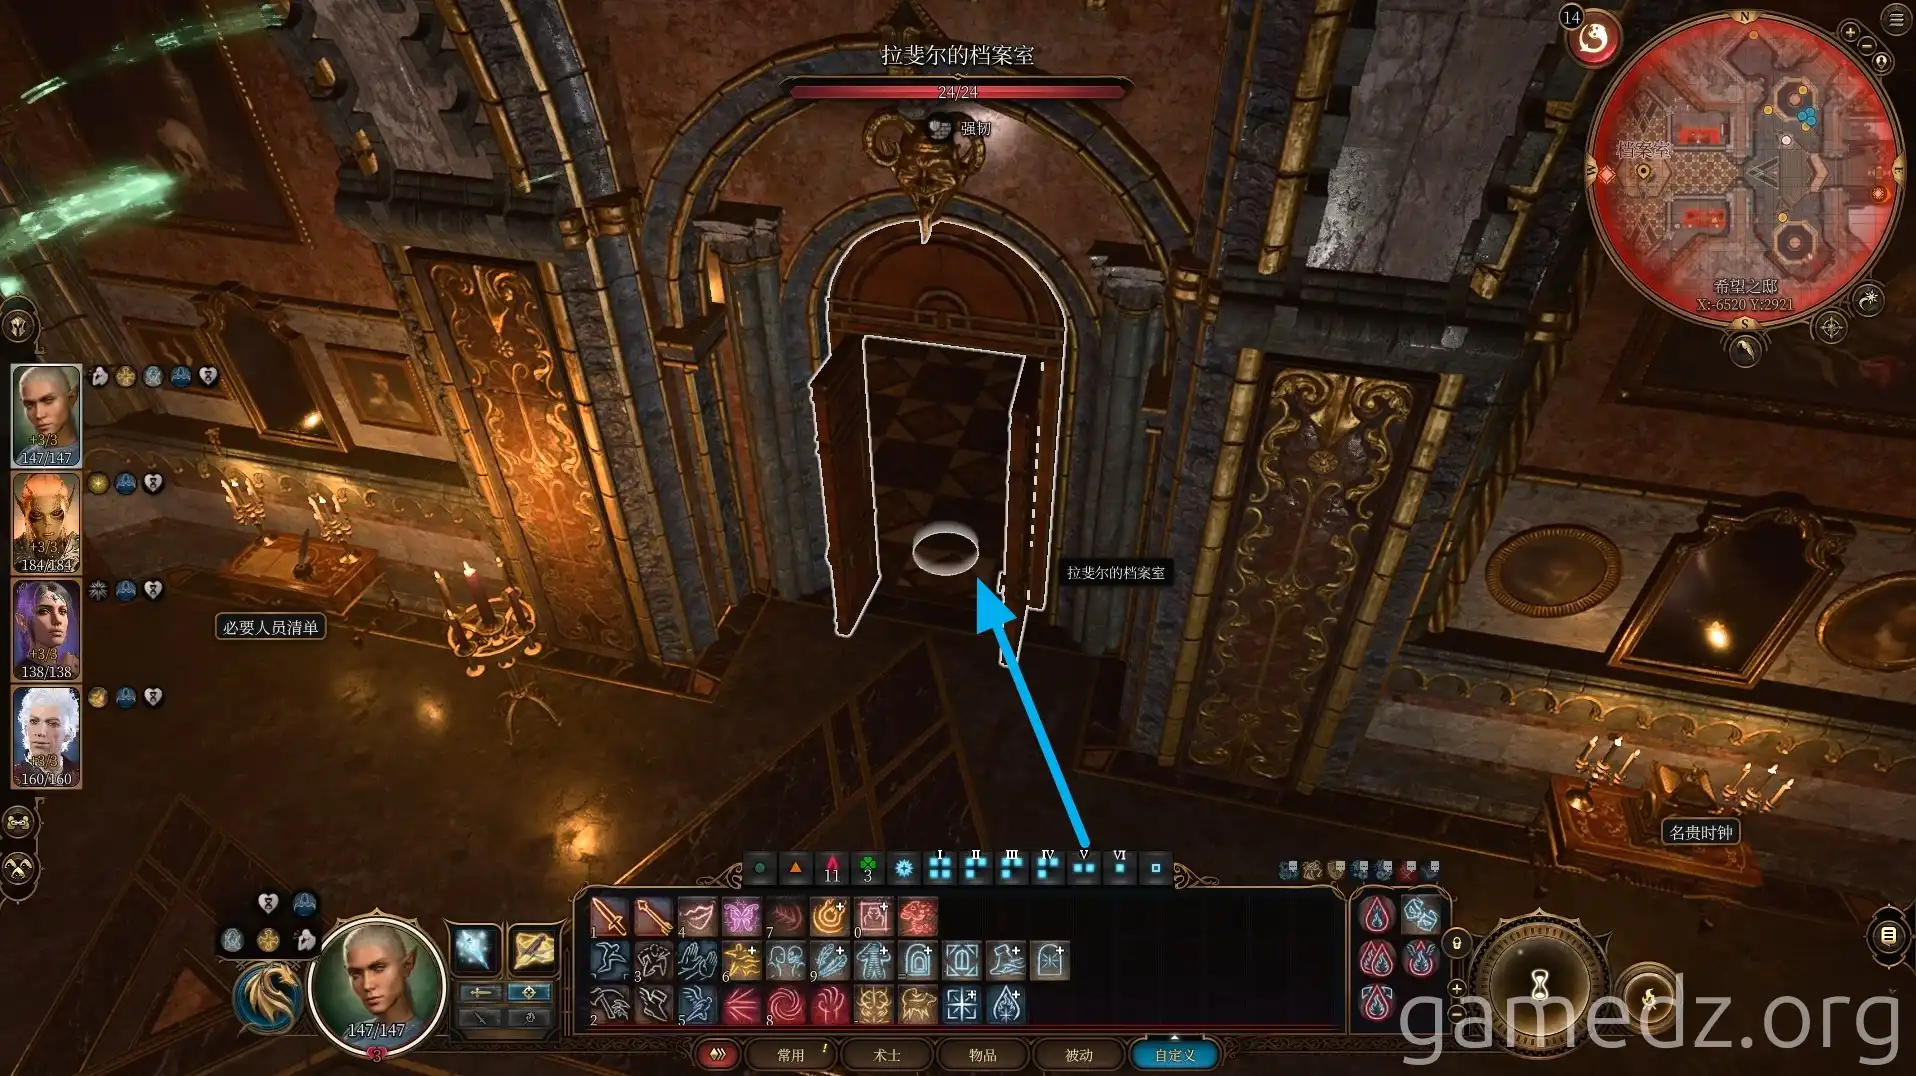
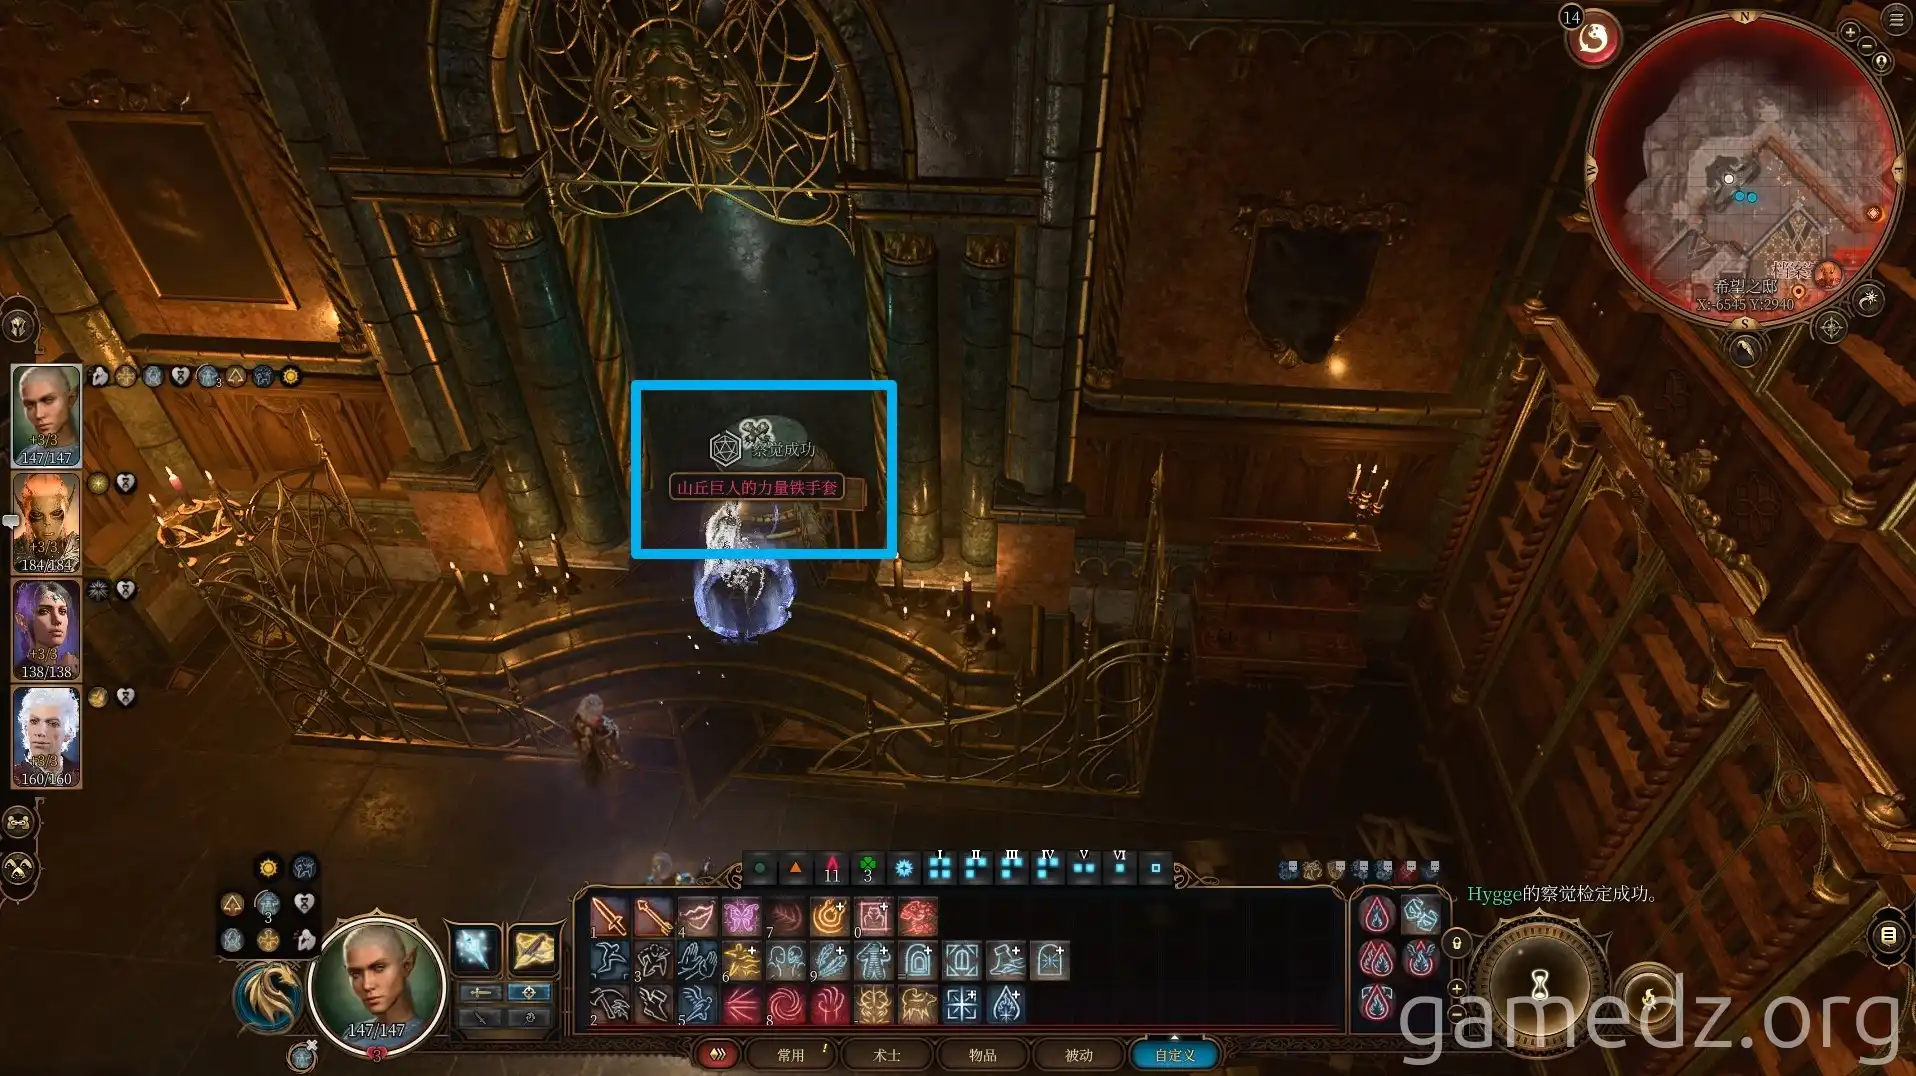
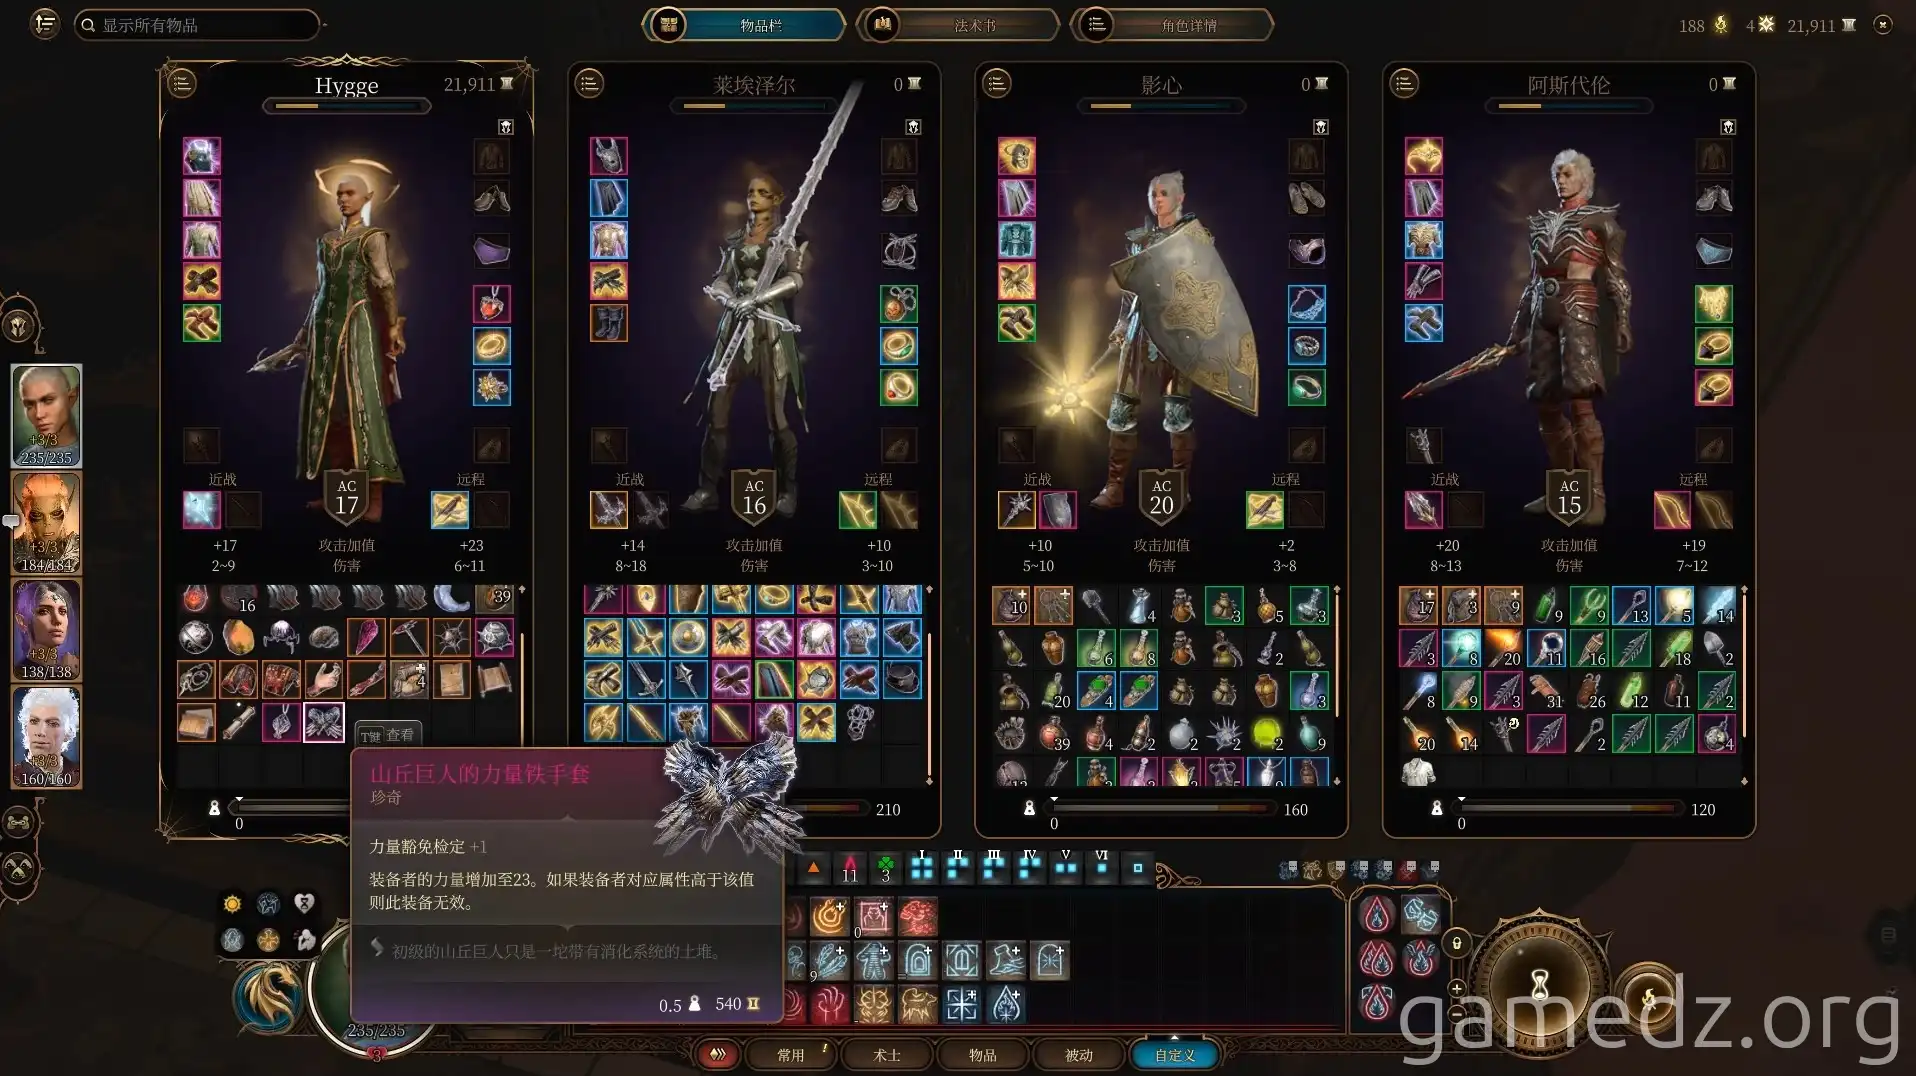
On the north side of the room, steal the Gauntlets of Hill Giant Strength.
The stats for the Gauntlets of Hill Giant Strength are as follows:
Then, return to the center of the room. Use the incantation you acquired earlier to break the curse and tear up the contract signed with Raphael.
If you didn't sign a contract with Raphael previously, you'll find Orpheus's Hammer here instead. After leaving the House of Hope, go to Sharess' Caress to ask Centurion Voss for the Astral Silver Sword.
After obtaining the contract or the hammer, leave the room and proceed down the corridor towards the prison you haven't visited yet. You'll encounter many enemies along the way. Before entering the prison, you can return to the pool to recover your strength.
Enter Hope's prison and combat will commence. The enemies consist of five lesser devils and two Spectator eye monsters.
From one of the Spectator eye monsters, you can obtain the rare accessory Gleaming Ring.
After defeating all enemies, use Orpheus's Hammer to destroy the crystals on either side and rescue Hope.
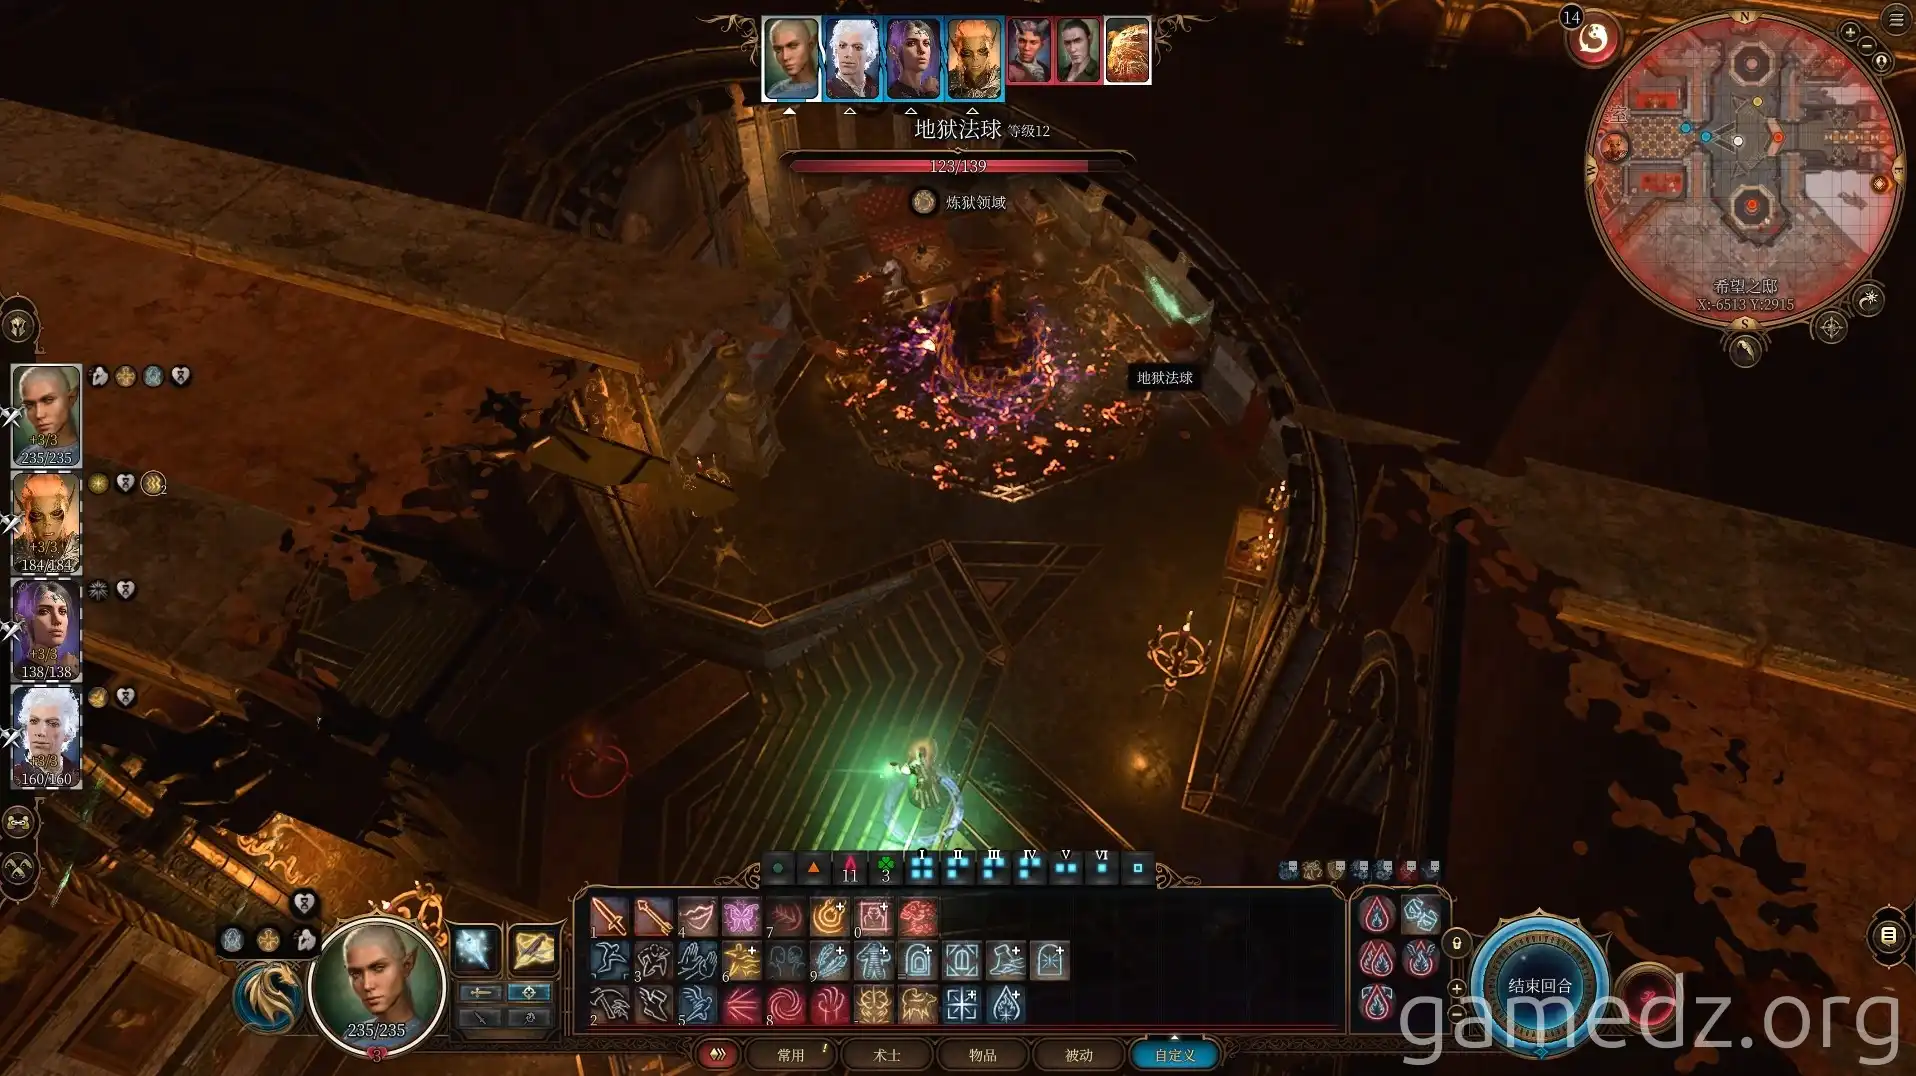
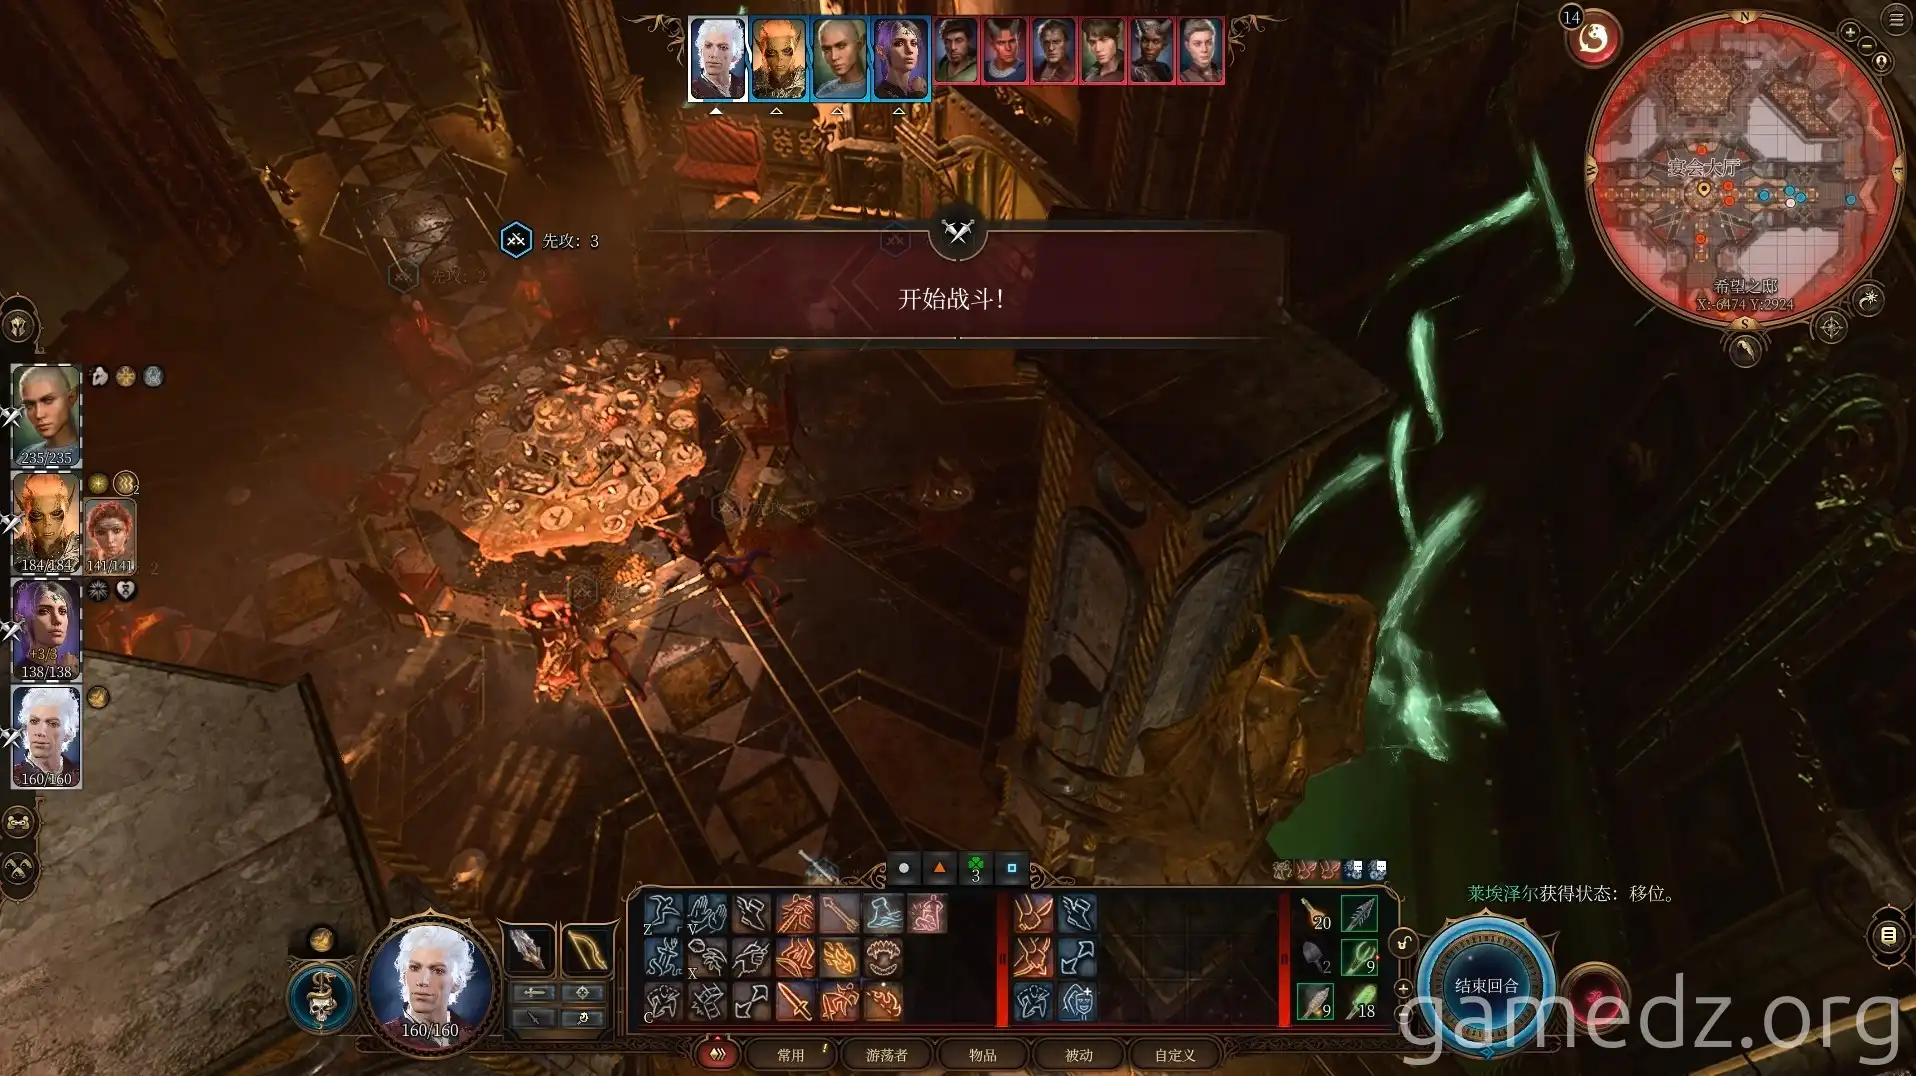
Upon reaching the banquet hall, you'll engage in combat with more minions.
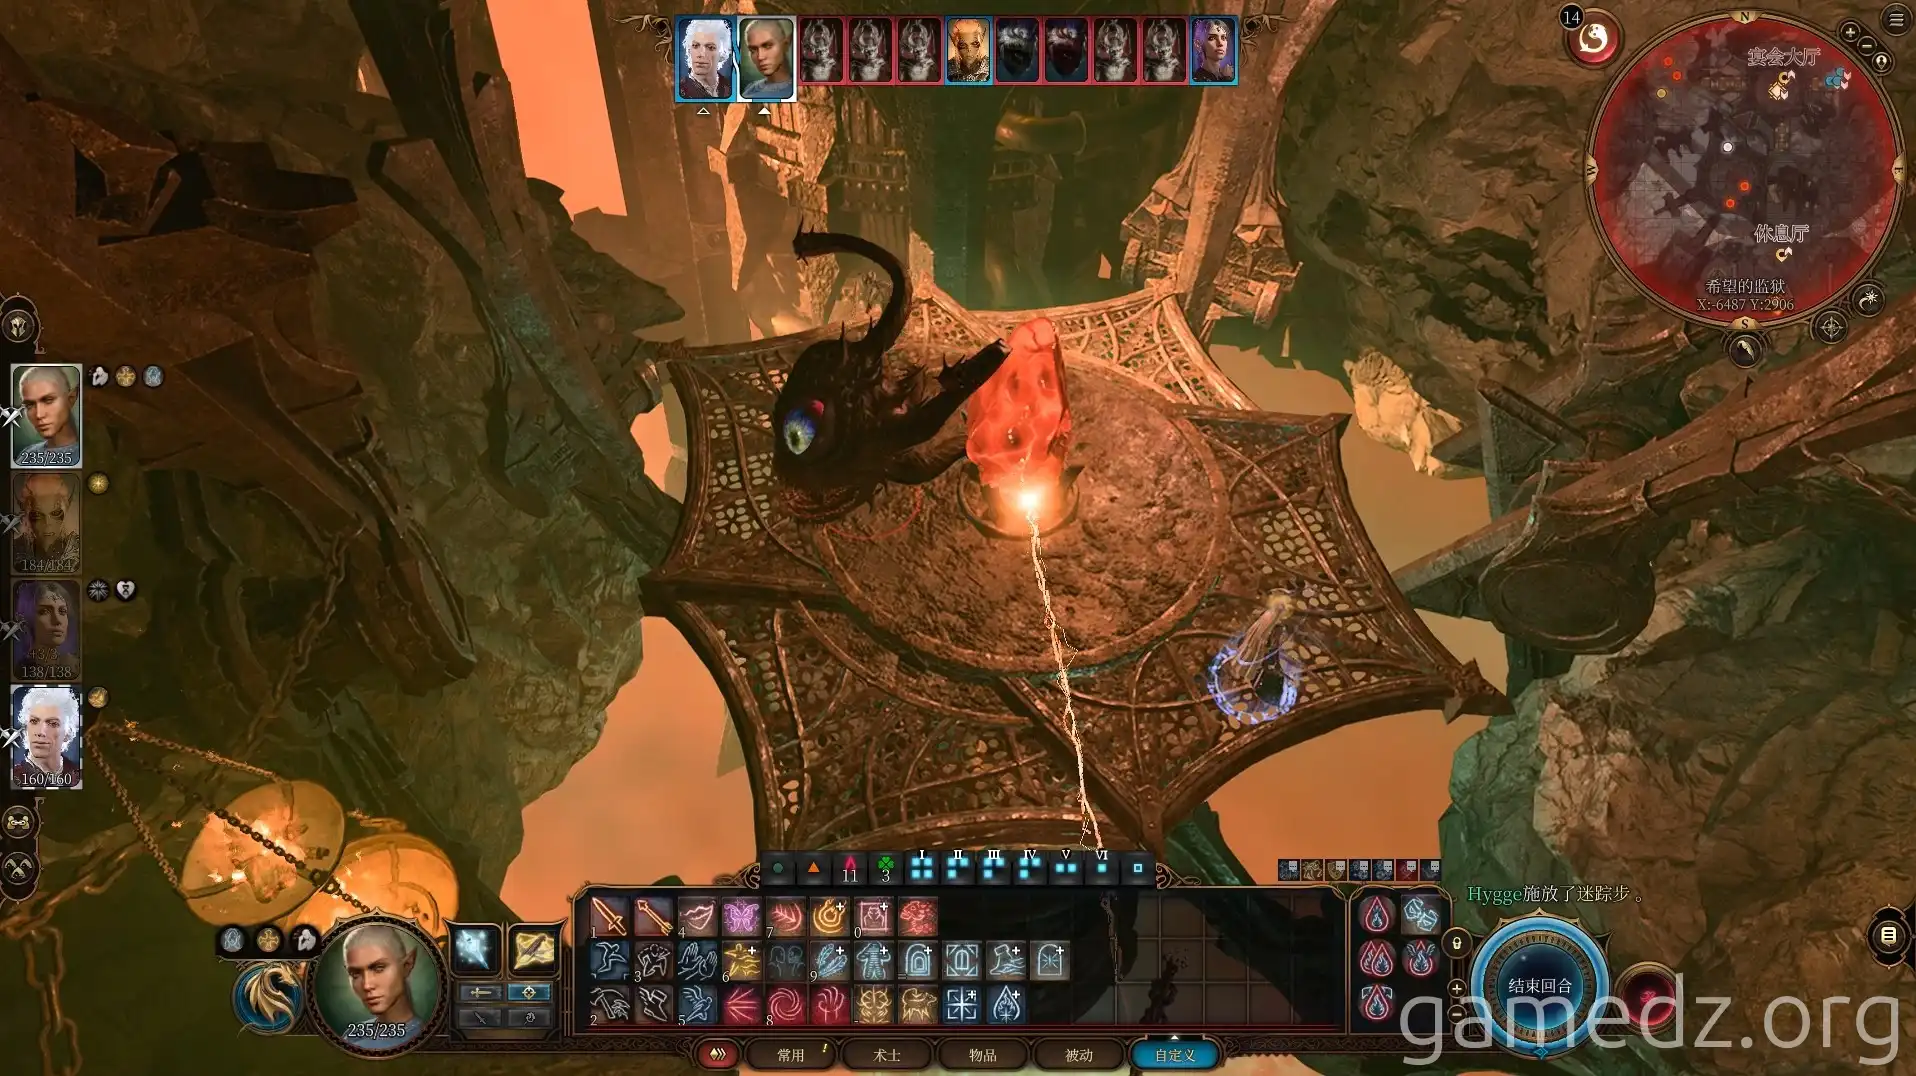
Head to the portal you used to enter the House of Hope. As you prepare to leave, Raphael will appear with his subordinates, initiating a battle. Since you previously helped Yurg defeat the Nightsong Judge, he will now assist you in fighting Raphael.
You can use spells like Hold Monster or Vicious Mockery to control Raphael indefinitely. First, defeat his subordinates and destroy the soul pillars around the area, then focus fire on Raphael.

After defeating Raphael, Hope will state that she will remain here and will gift you the legendary equipment Gloves of Soul Catching.
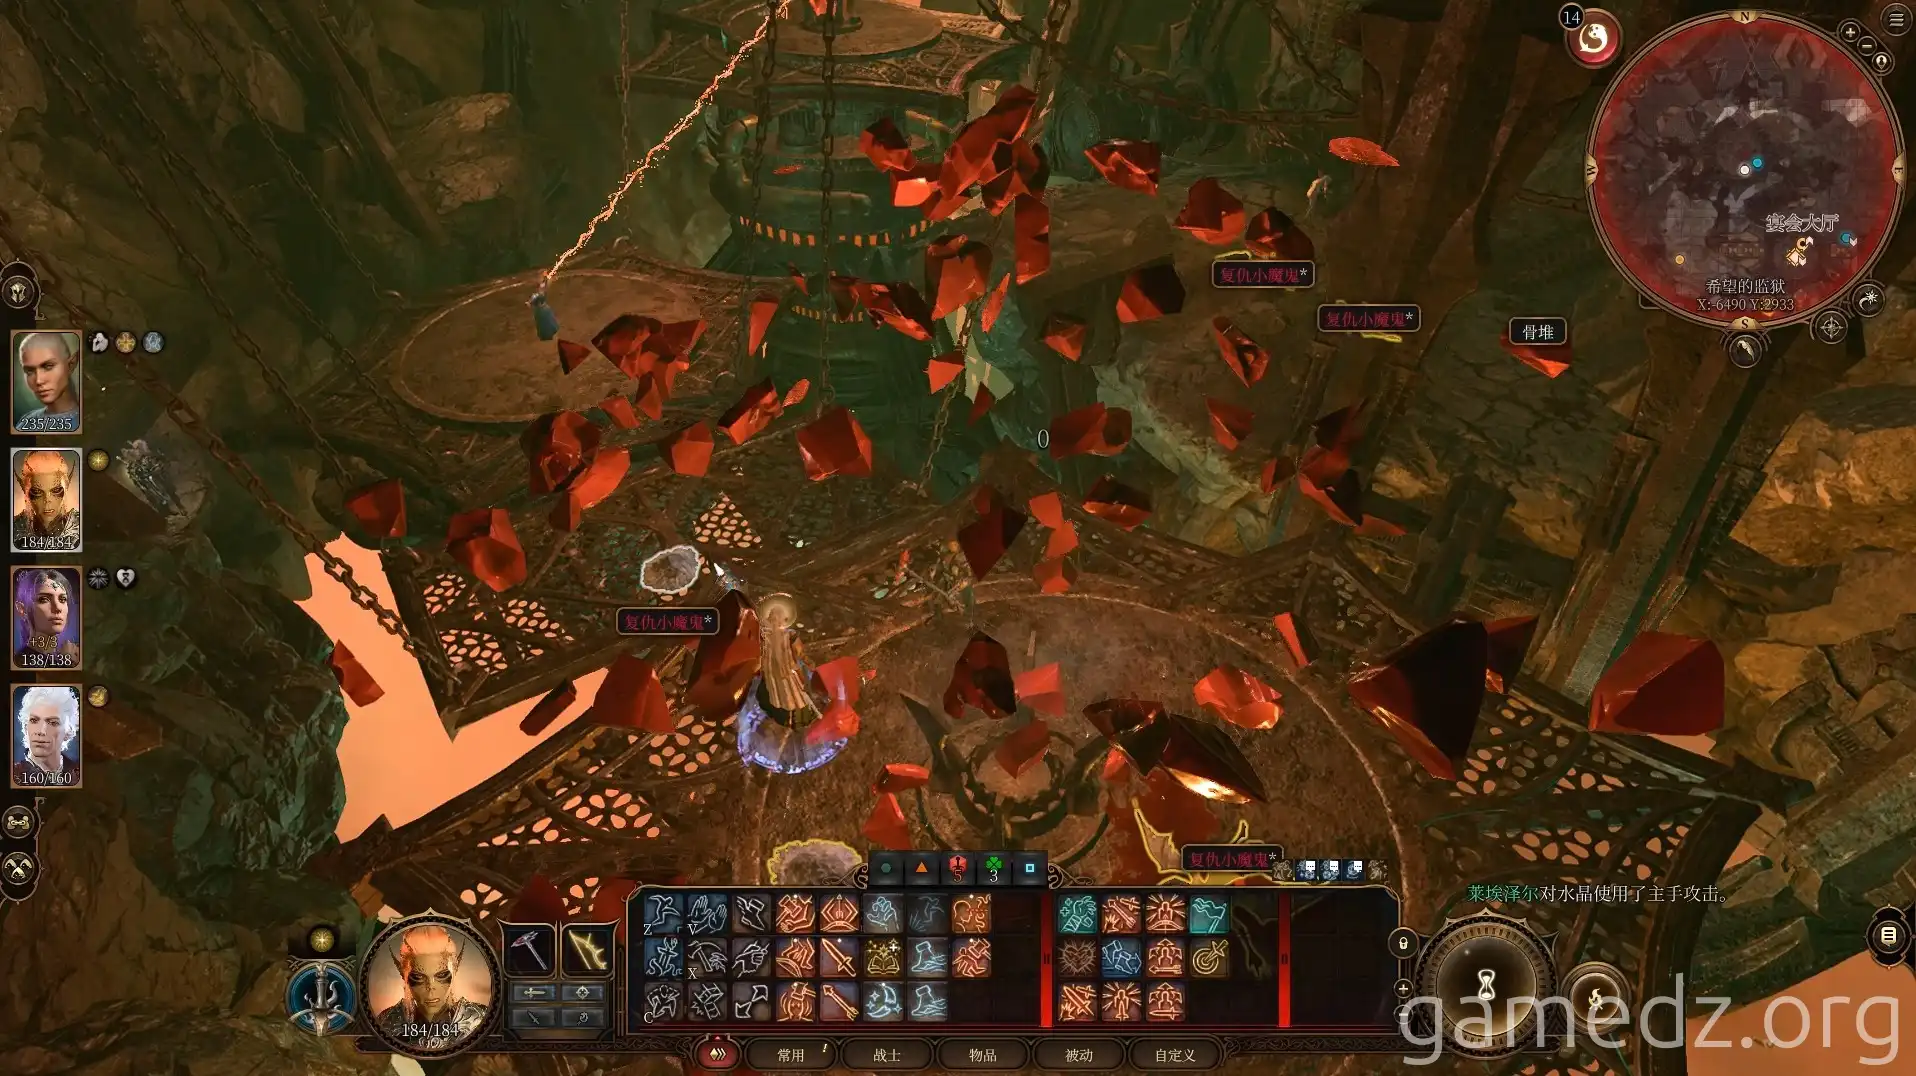
From Raphael's corpse, you can obtain the legendary armor Armor of the Infernal Enforcer.
After speaking with Yurg, he will depart. You can then use the portal to return to The Devil's Fee.
Upon arriving in the main hall, speak with Helsik. She will overlook your previous thievery.
