Baldur's Gate 3: Infected Village Walkthrough (Part 2)
Return to the center of the village and enter the room next to the teleportation circle
Return to the center of the village and enter the room next to the teleportation circle.
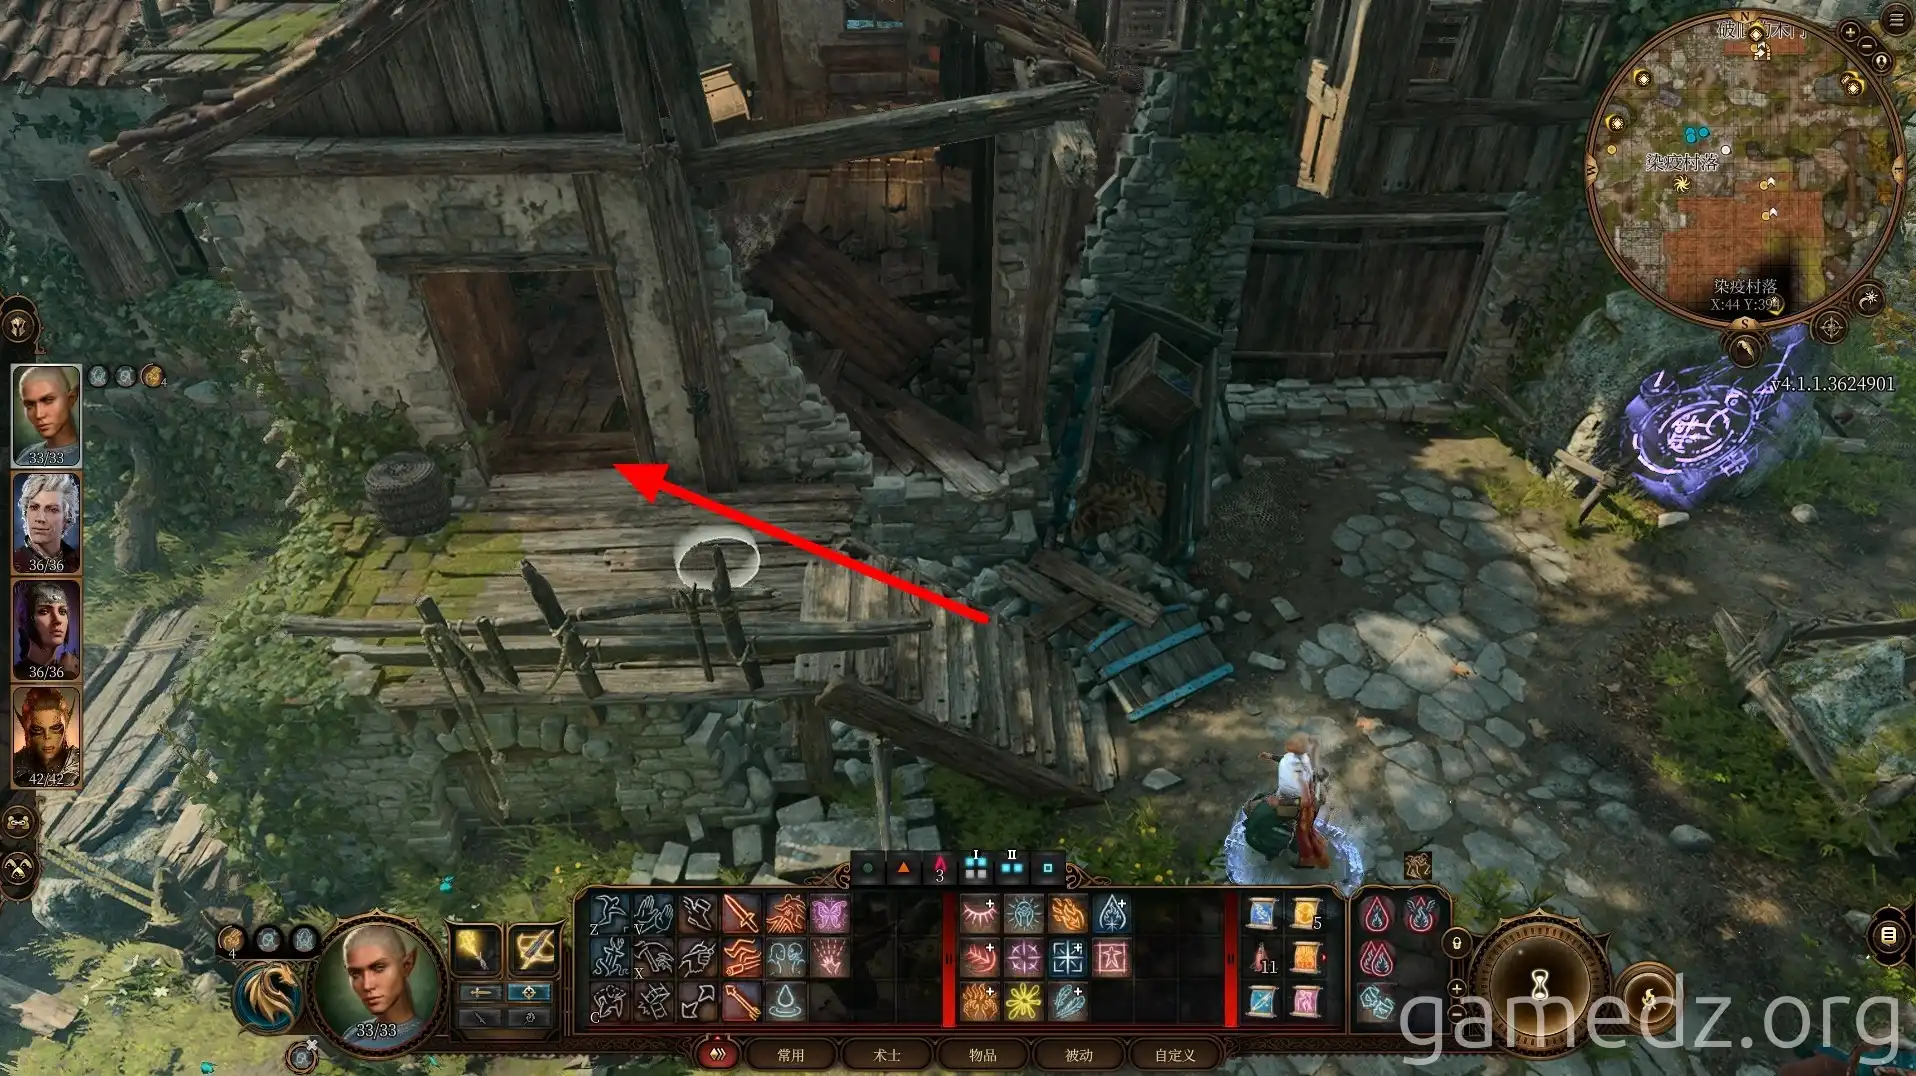
In this room, you can find some potions and alchemical materials. Reading the books inside will trigger the side quest "Investigate the Cellar." Afterward, proceed through the secret door behind the bar to enter the basement.
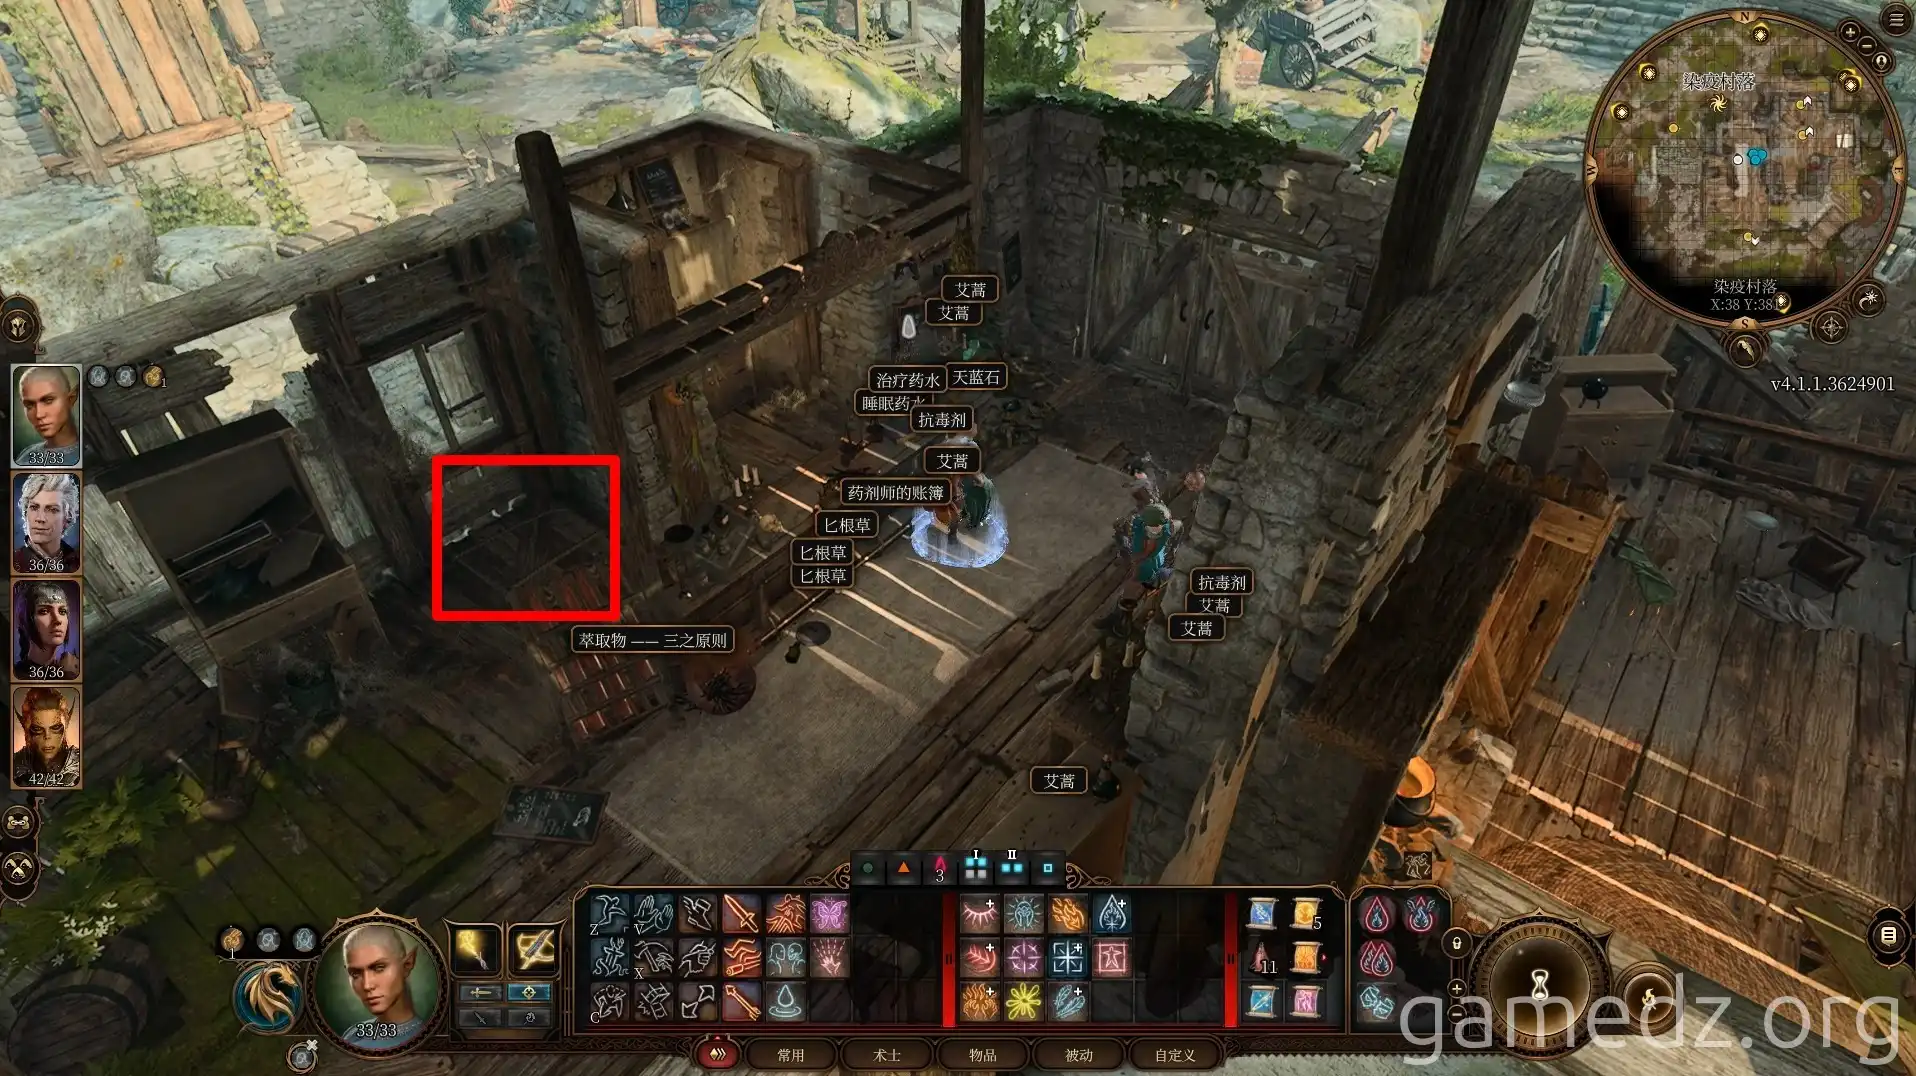
The basement also contains plenty of potions and materials to collect.
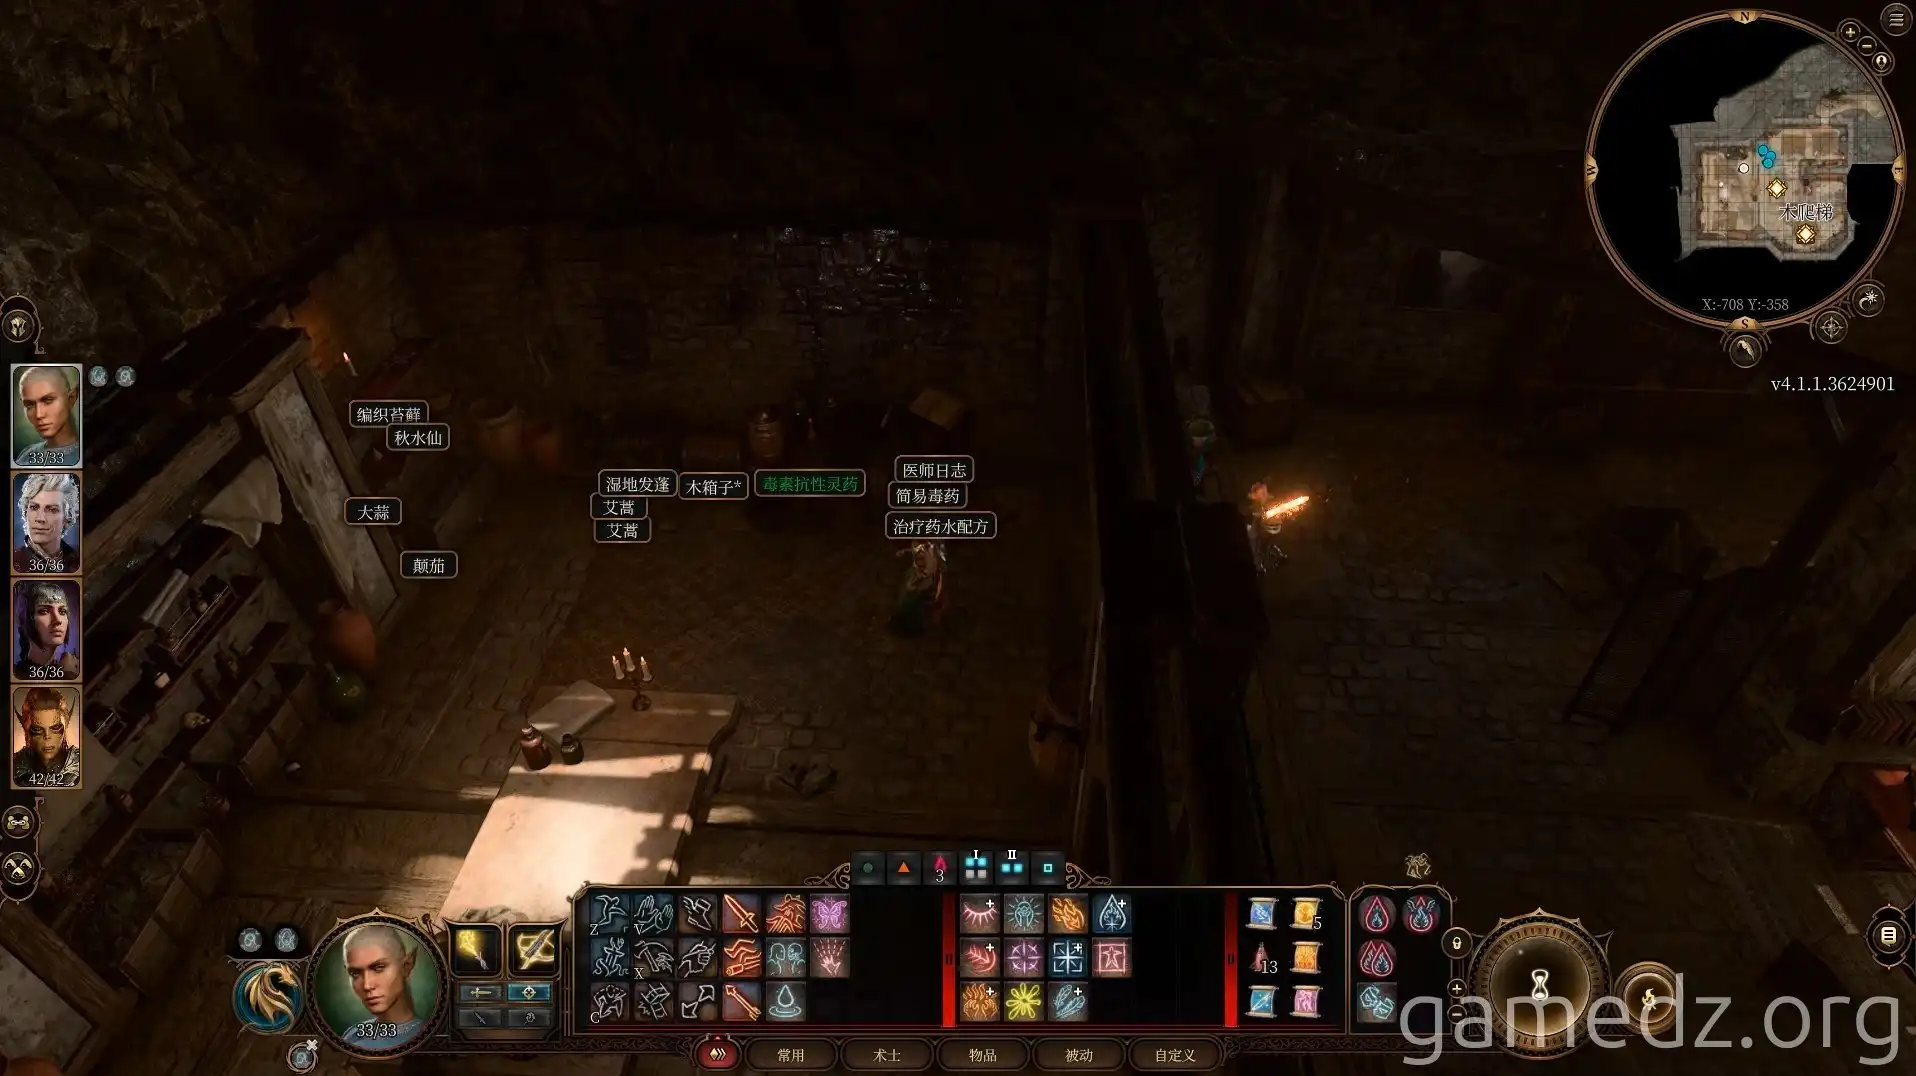
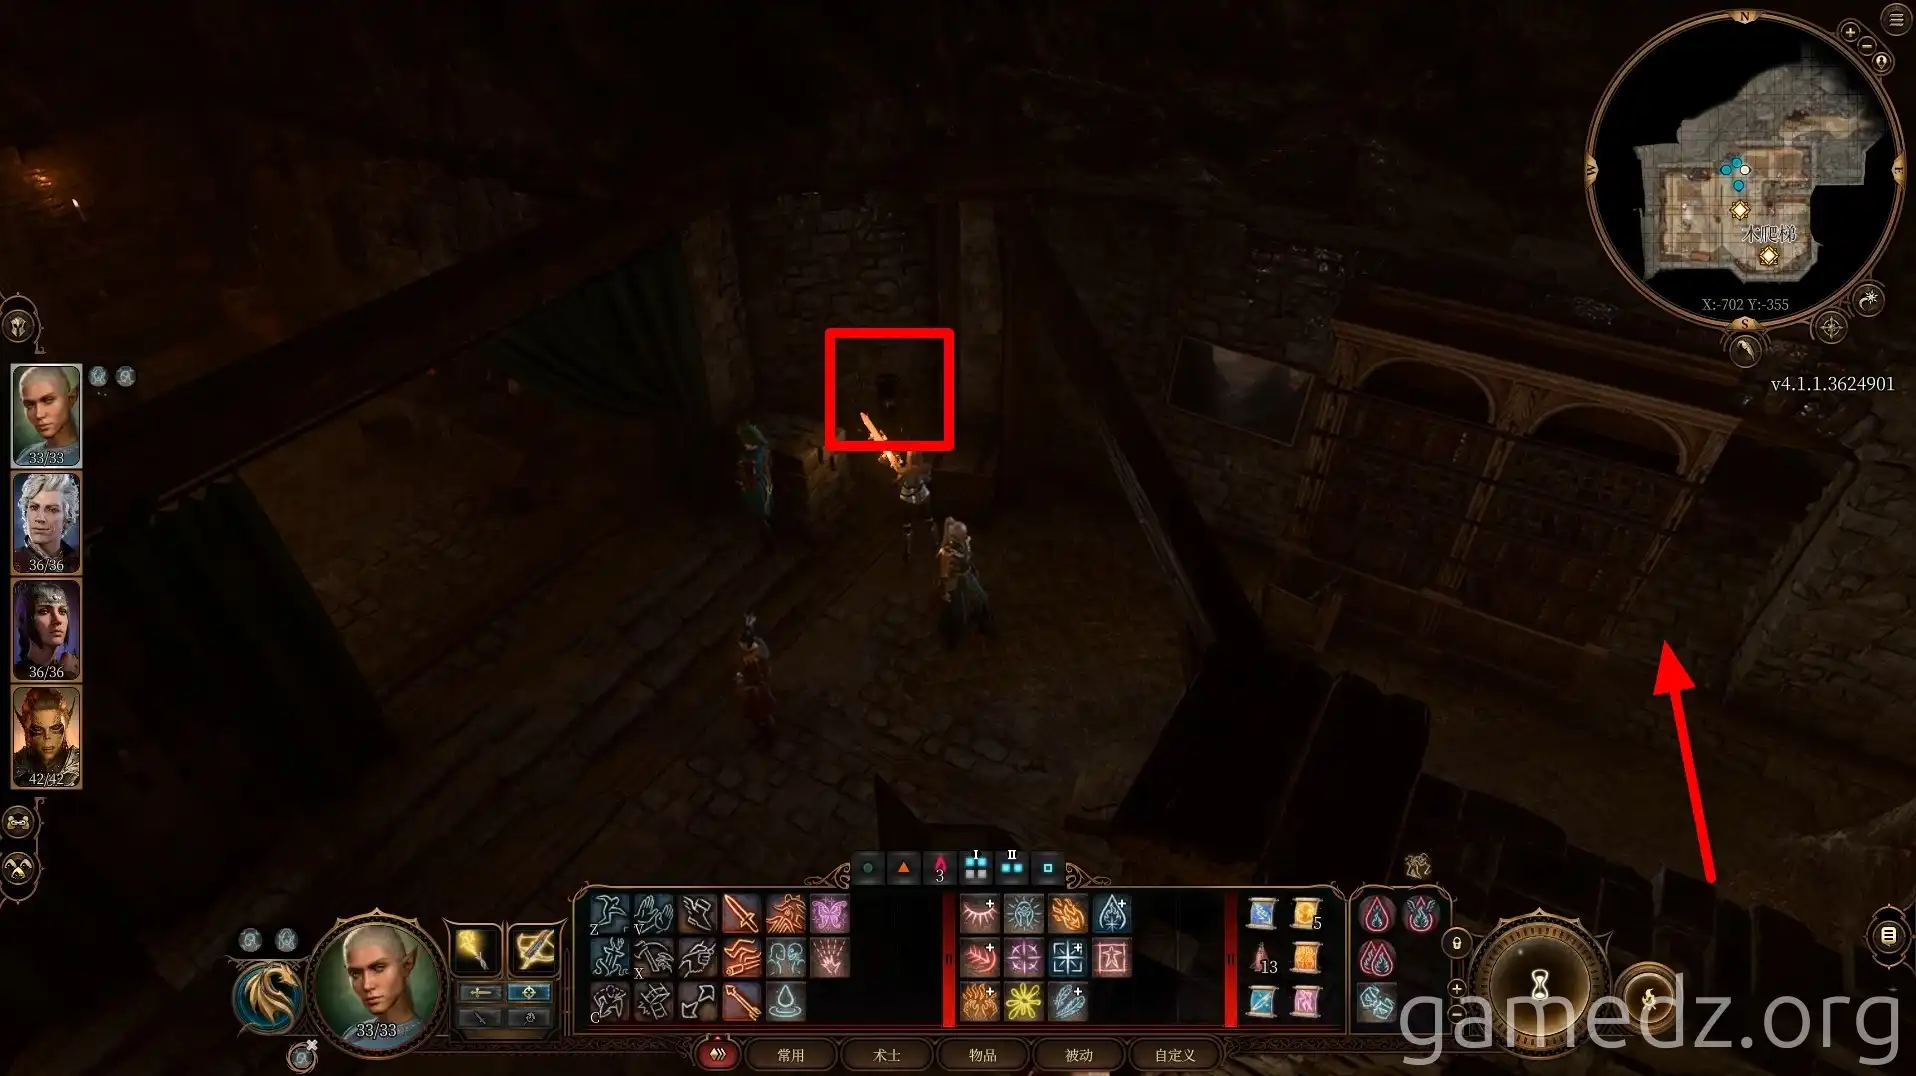
With a successful Perception check, you can discover a lever on the wall behind a chest. Pulling this lever will move the bookshelf, revealing a secret chamber.
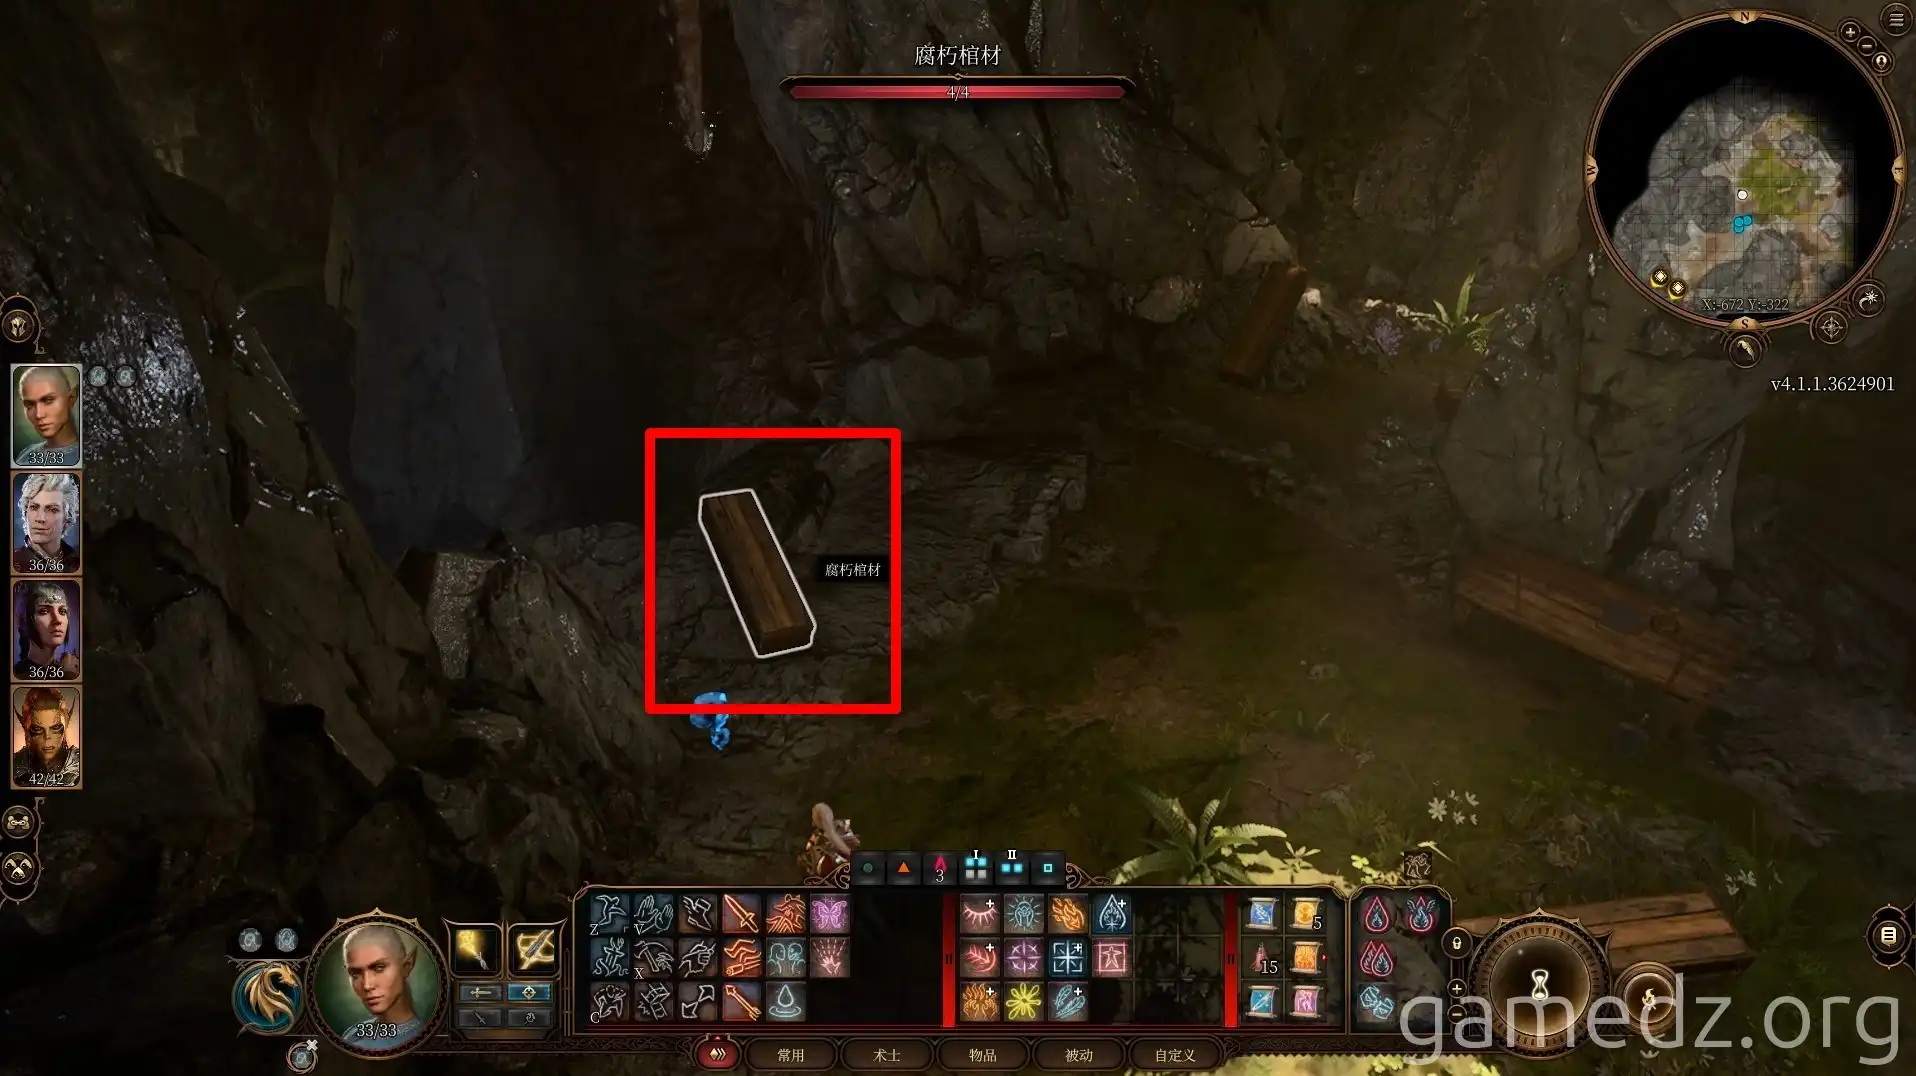
Inside the coffins in the cave ahead are skeletal soldiers. Touching a coffin will cause the skeleton to emerge and initiate combat.
The skeletons will also break open other coffins, releasing more of their kind. There are a total of five skeletons to defeat in this cave.
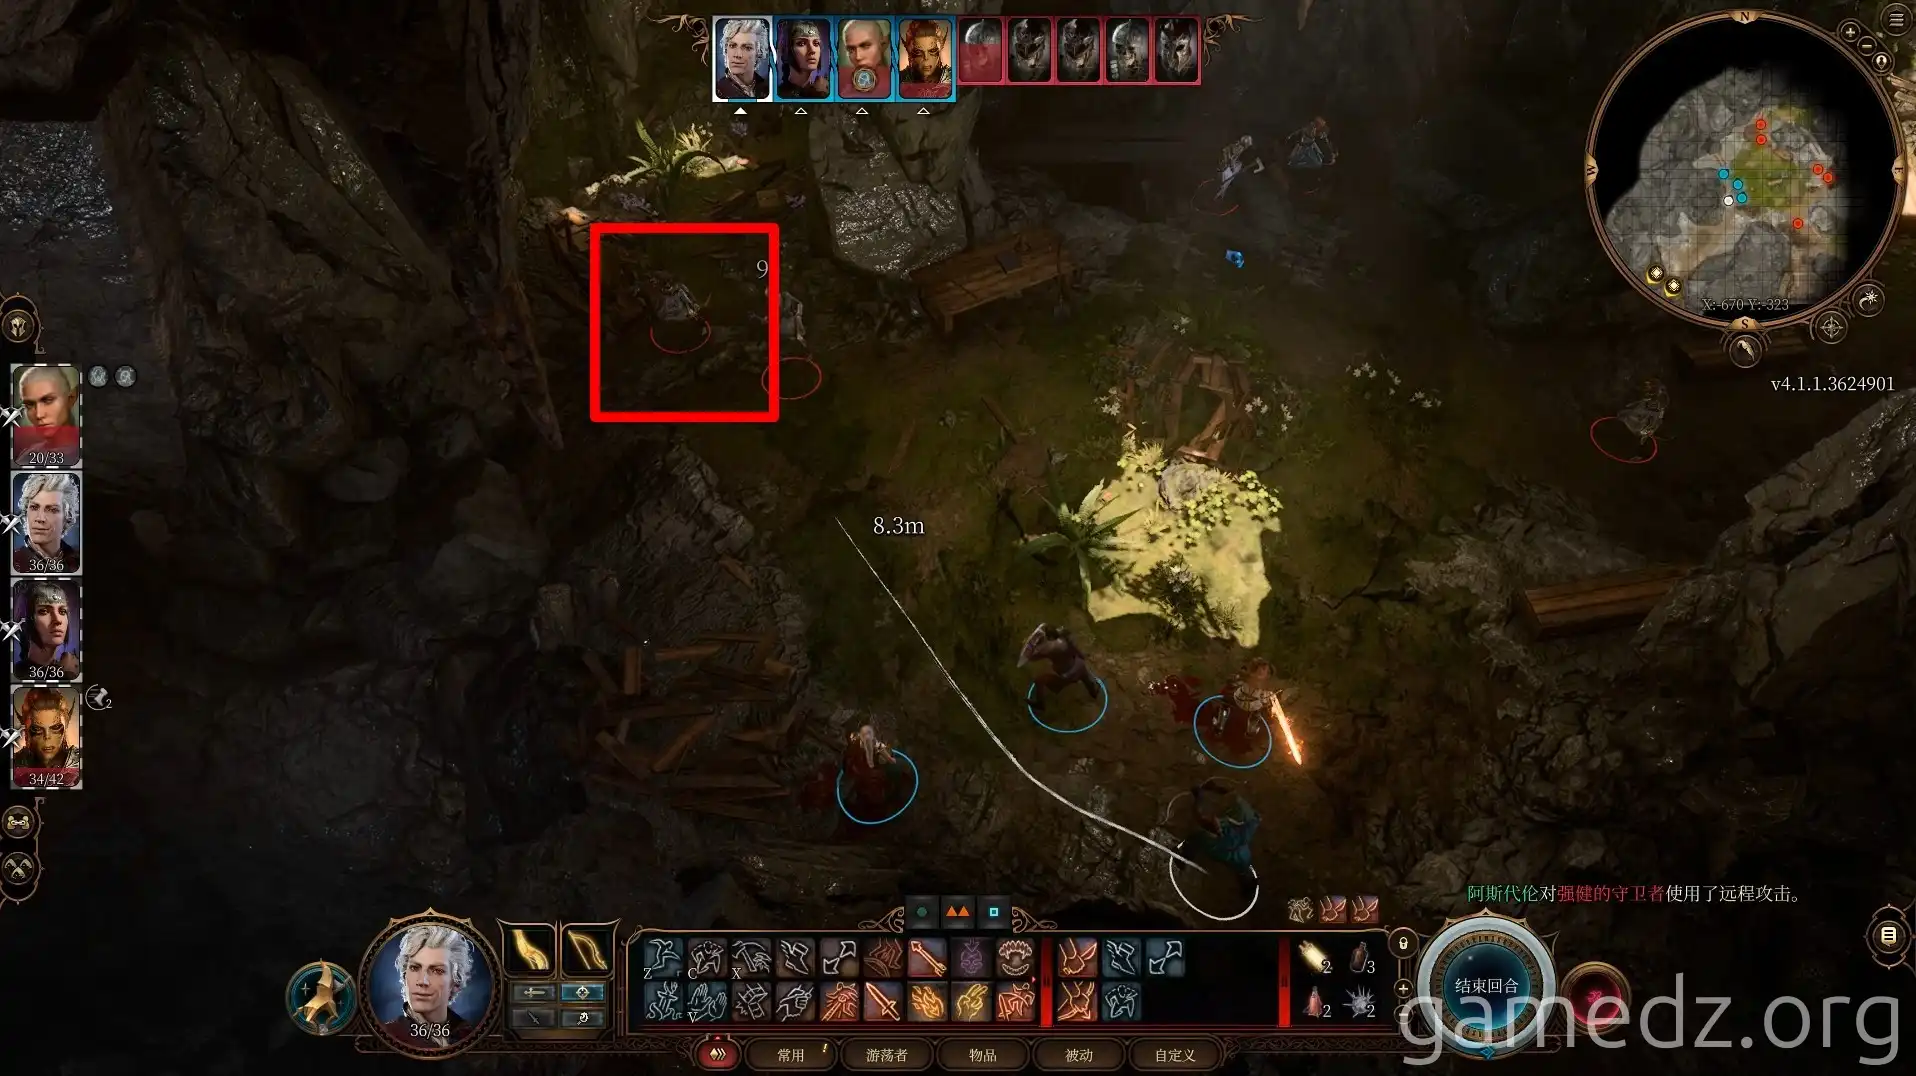
The three skeletal archers carry magic arrows, so it's advisable to eliminate them first.
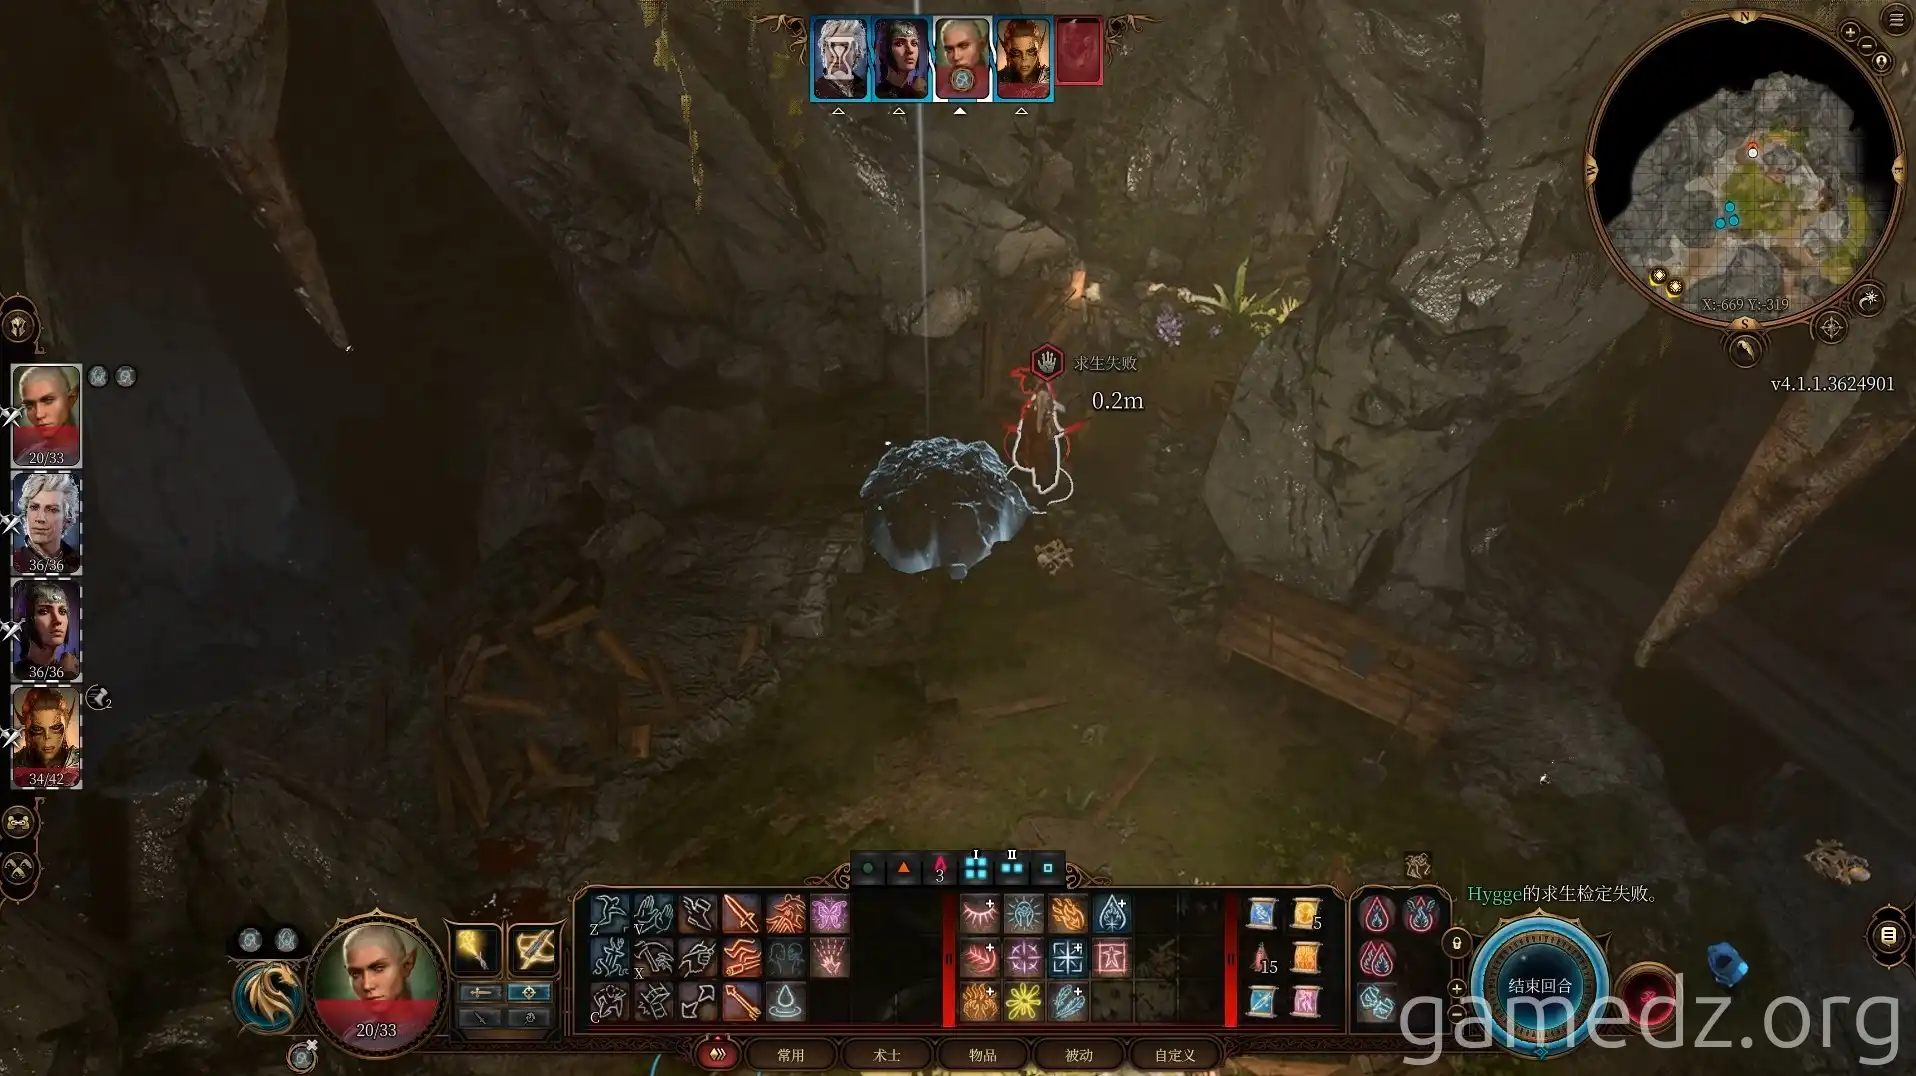
Near a table on the northernmost side of the cave, a successful Survival check will reveal a mound of dirt with a buried chest.
In a coffin behind a stone pillar, you can find the "Darkness Diary." Reading this diary reveals that the cellar's owner was actually a necromancer.
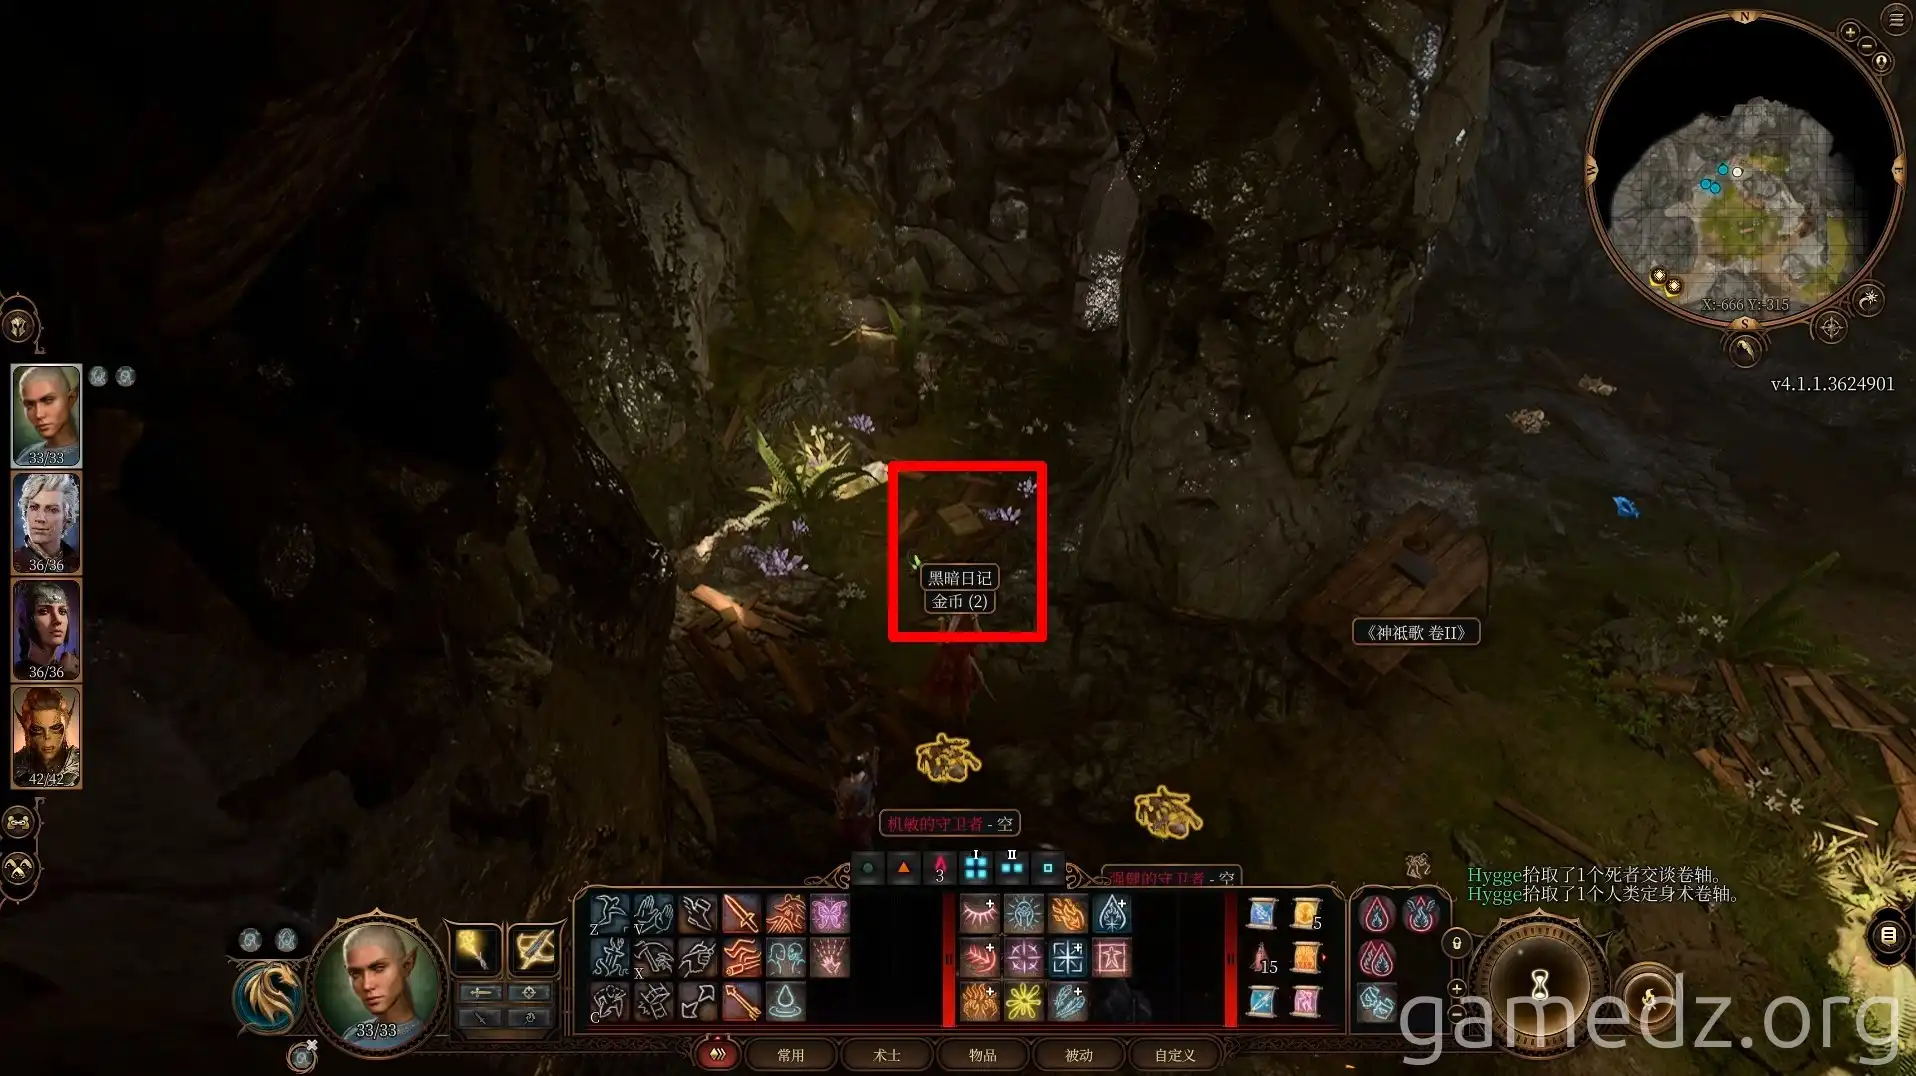
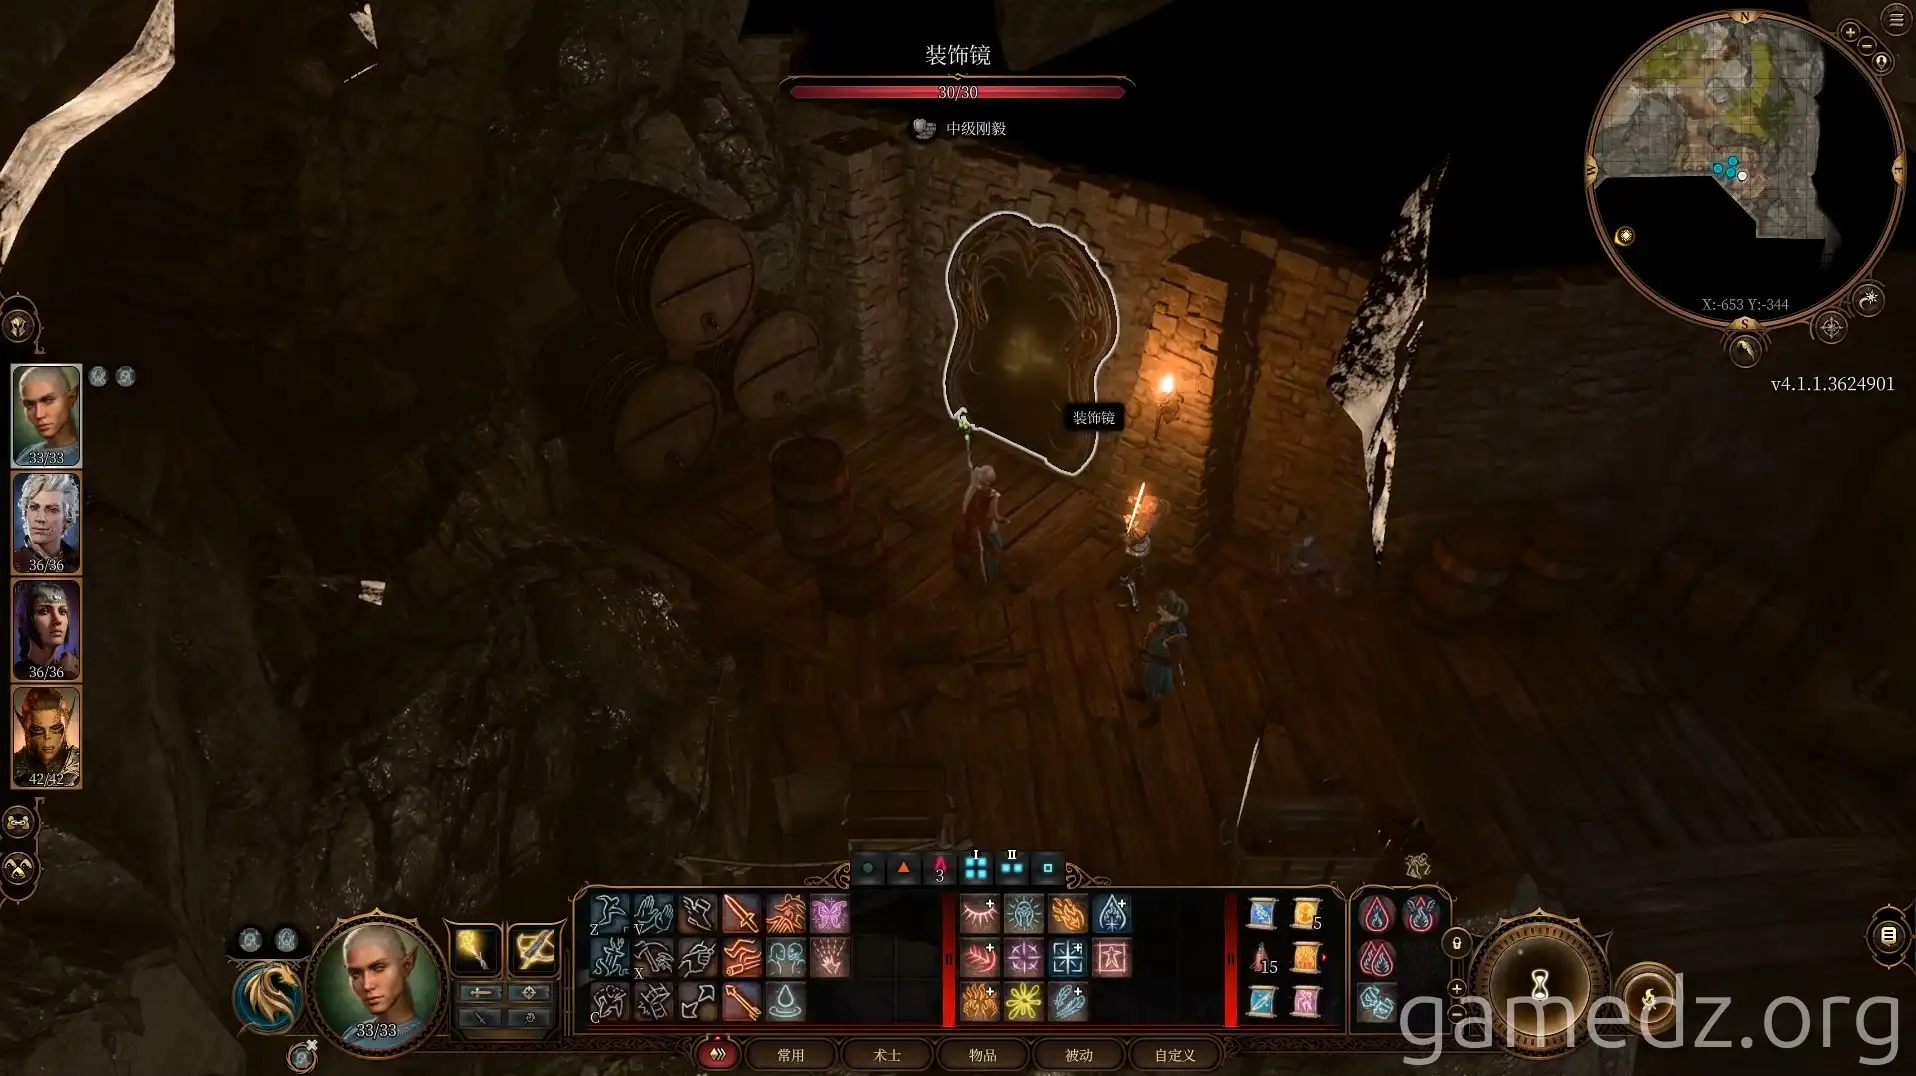
Proceed to the location shown in the image below and interact with the mirror. You can get the mirror to open the door by answering its questions correctly or by using intimidation. Entering the necromancer's laboratory is now possible.
It's recommended to save your game before speaking to the mirror and to use intimidation to make it open the door. If your intimidation attempt is successful, characters with the "Charlatan" background will receive an Inspiration point.
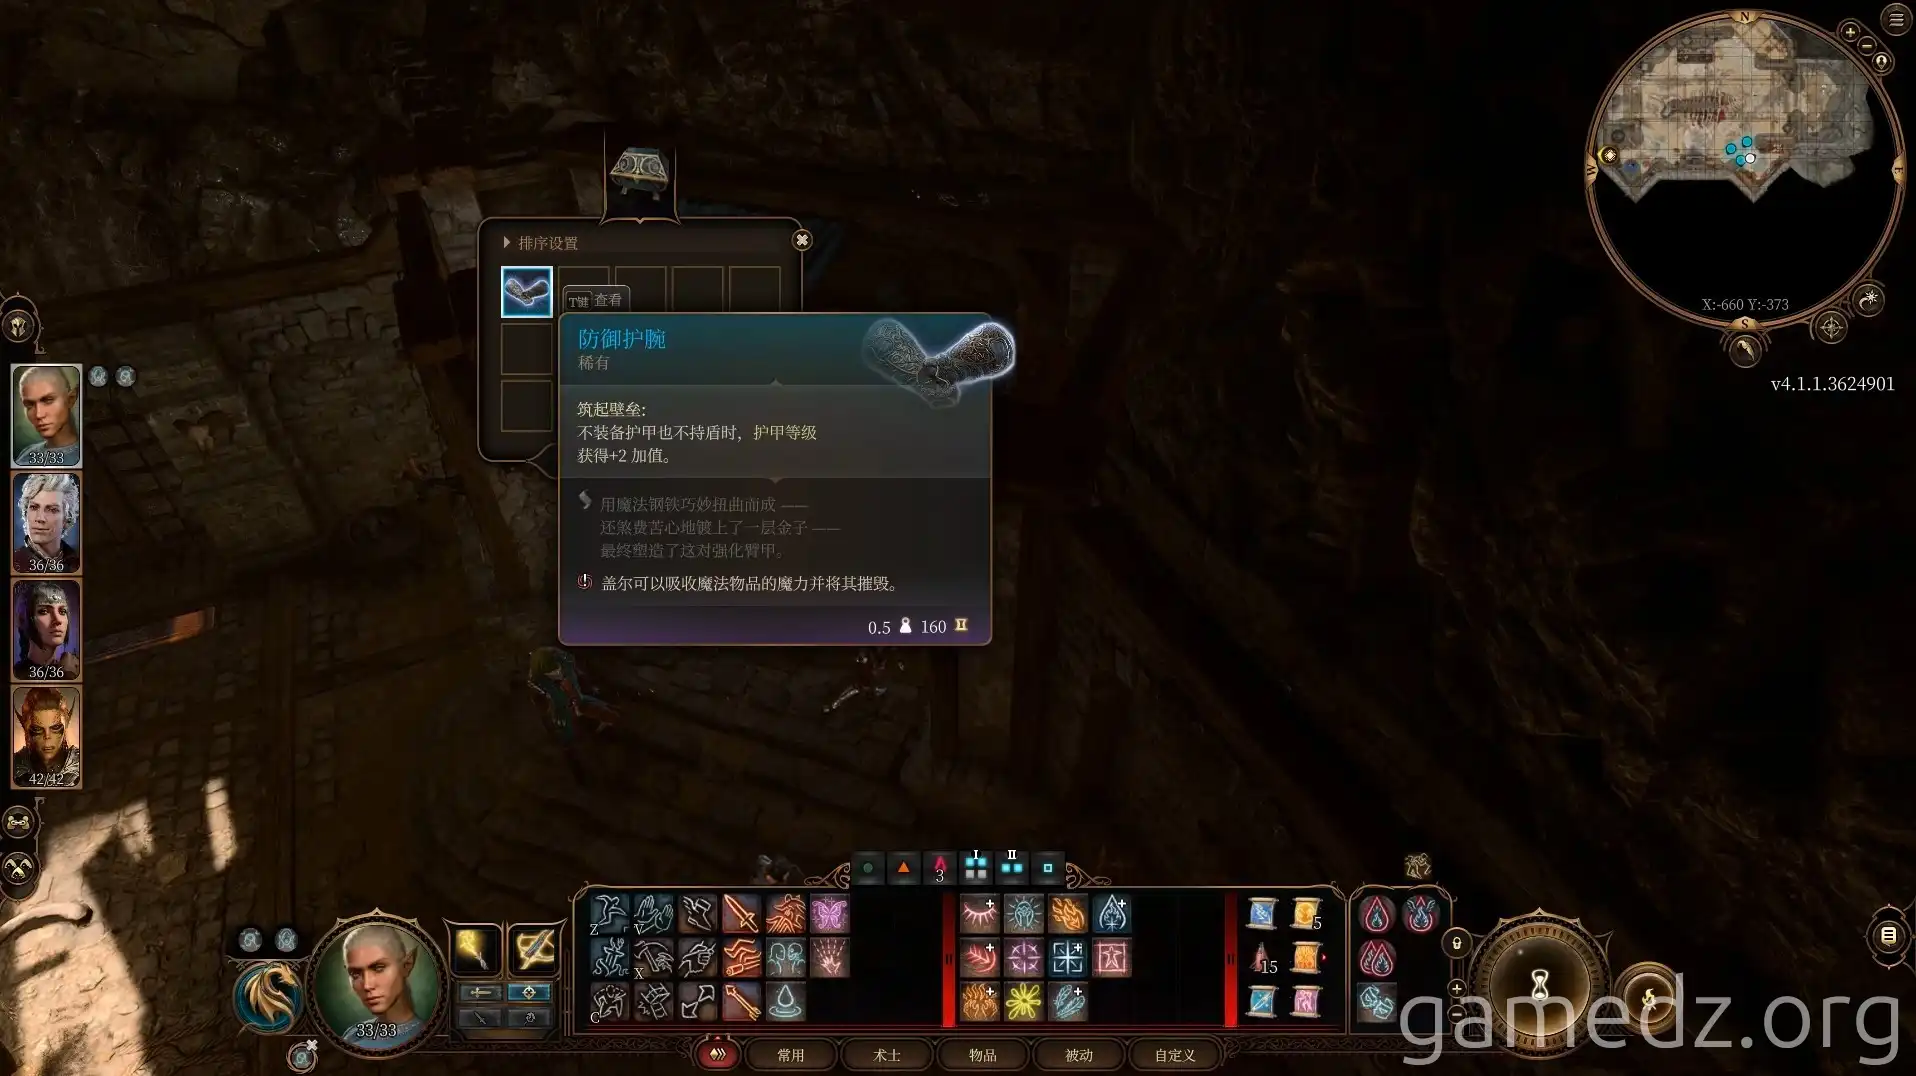
In the gilded chest in the southeast corner of the room, you can find the rare equipment, the "Bracers of Defense."
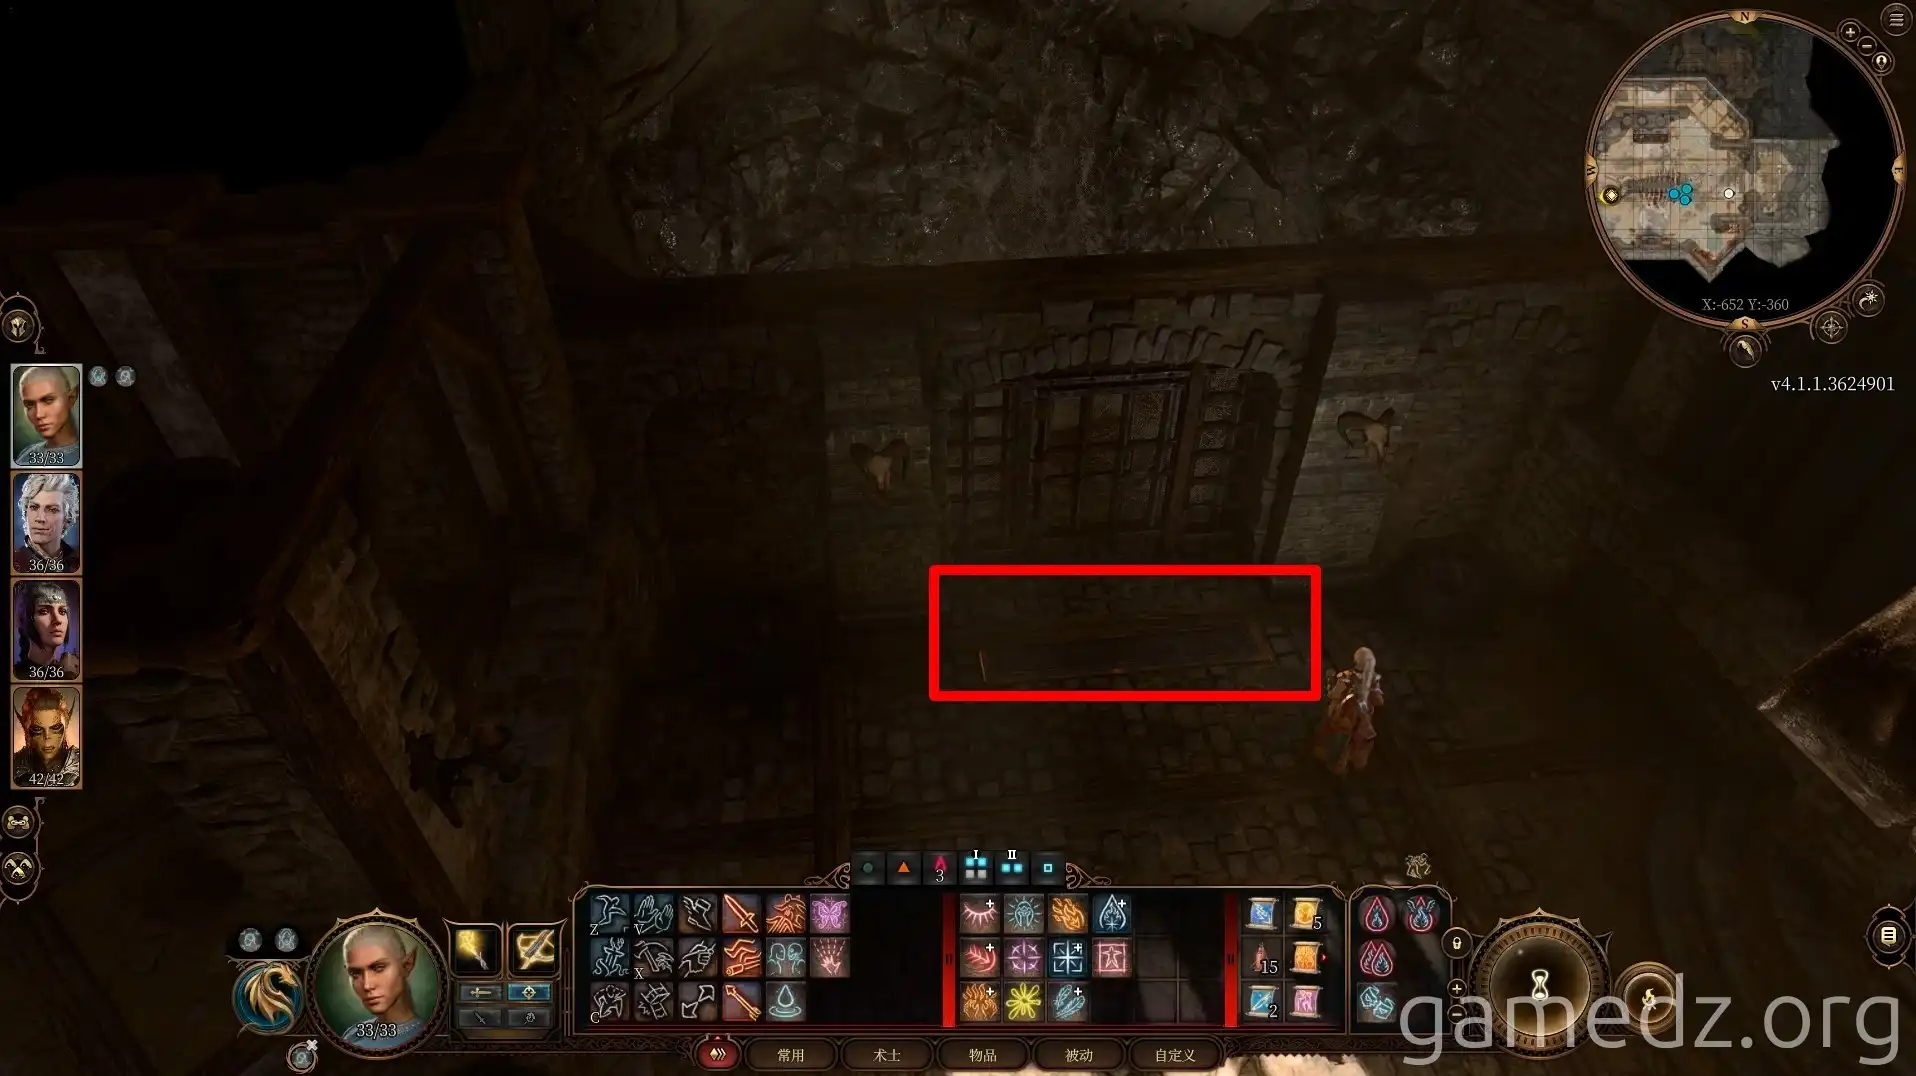
After looting the area, move to the easternmost side of the room. Detect and disarm the trap on the floor, then open the door.
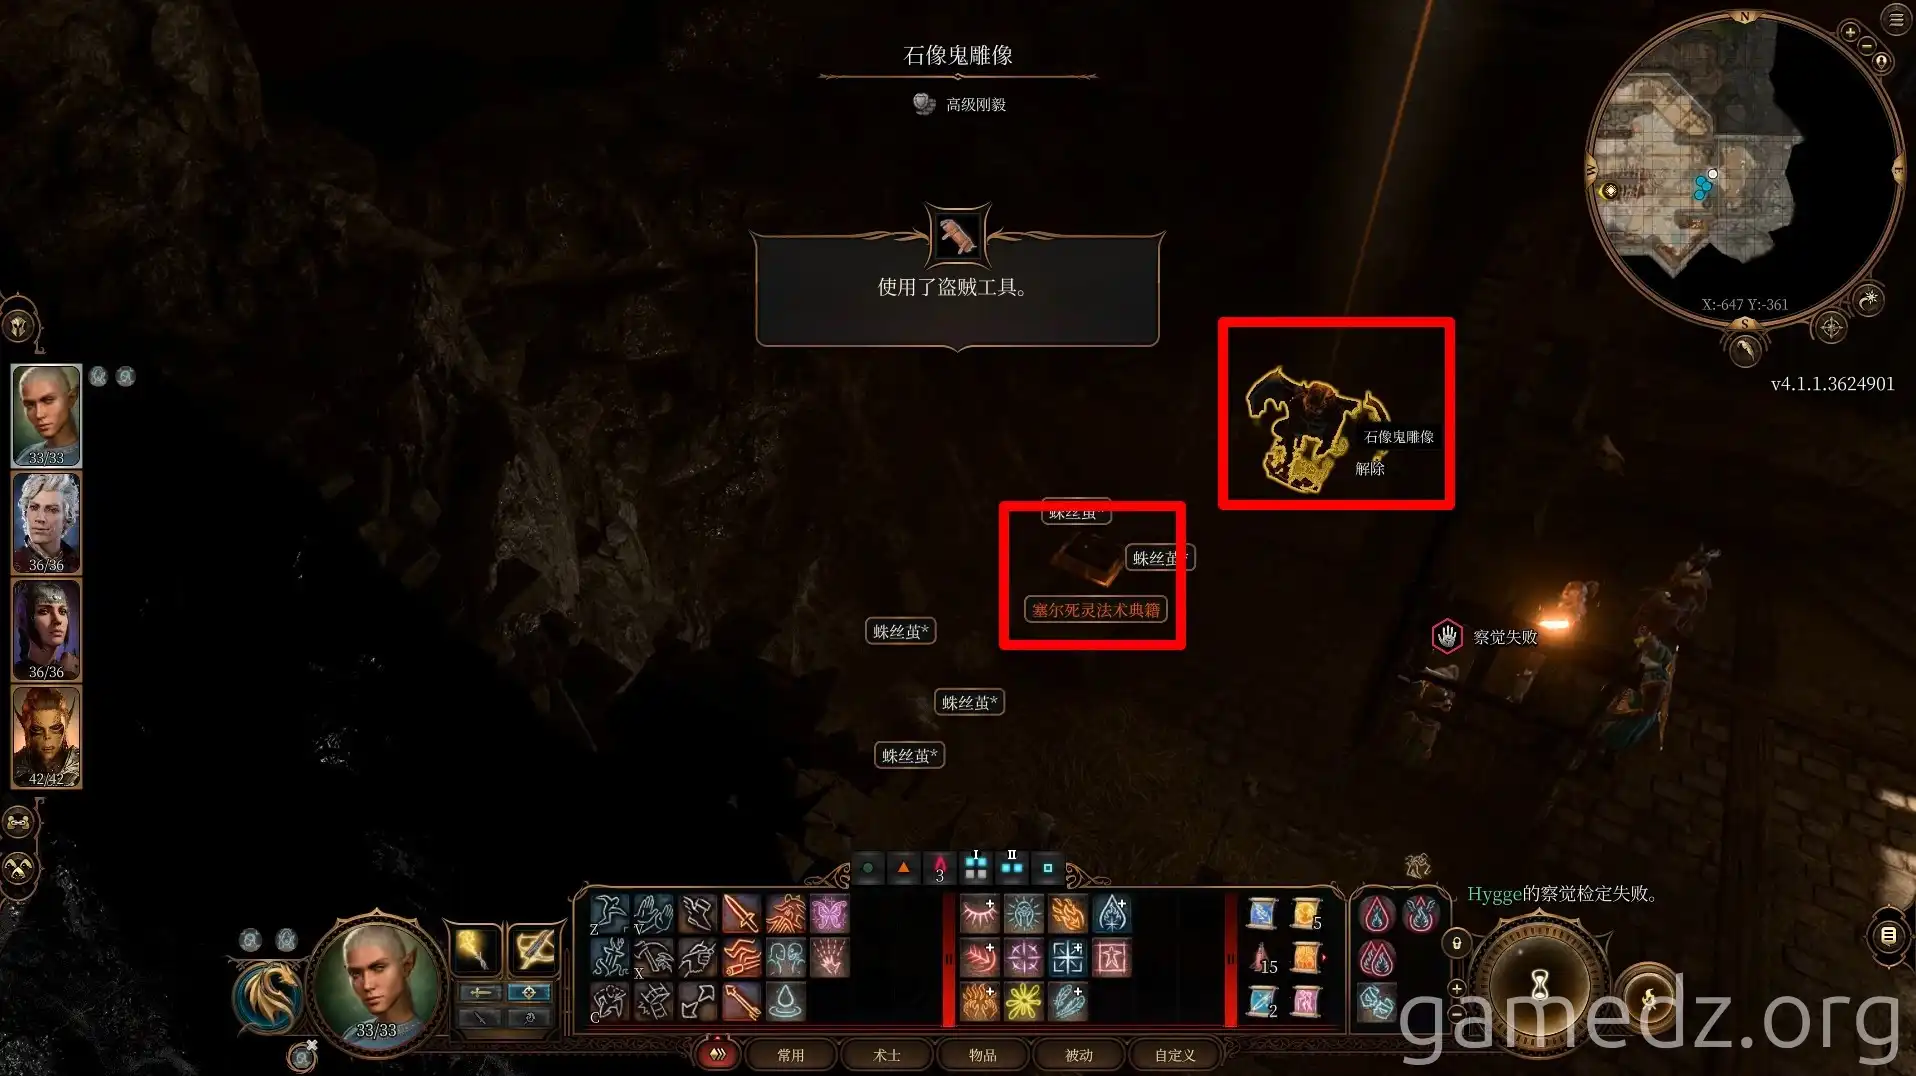
Disarm the traps on the gargoyle statues to the left and right. On the table in the center, you'll find the "Necromancy of Thay."
Reading this book is a very lengthy process. For now, place it in your inventory and take it back to the surface.
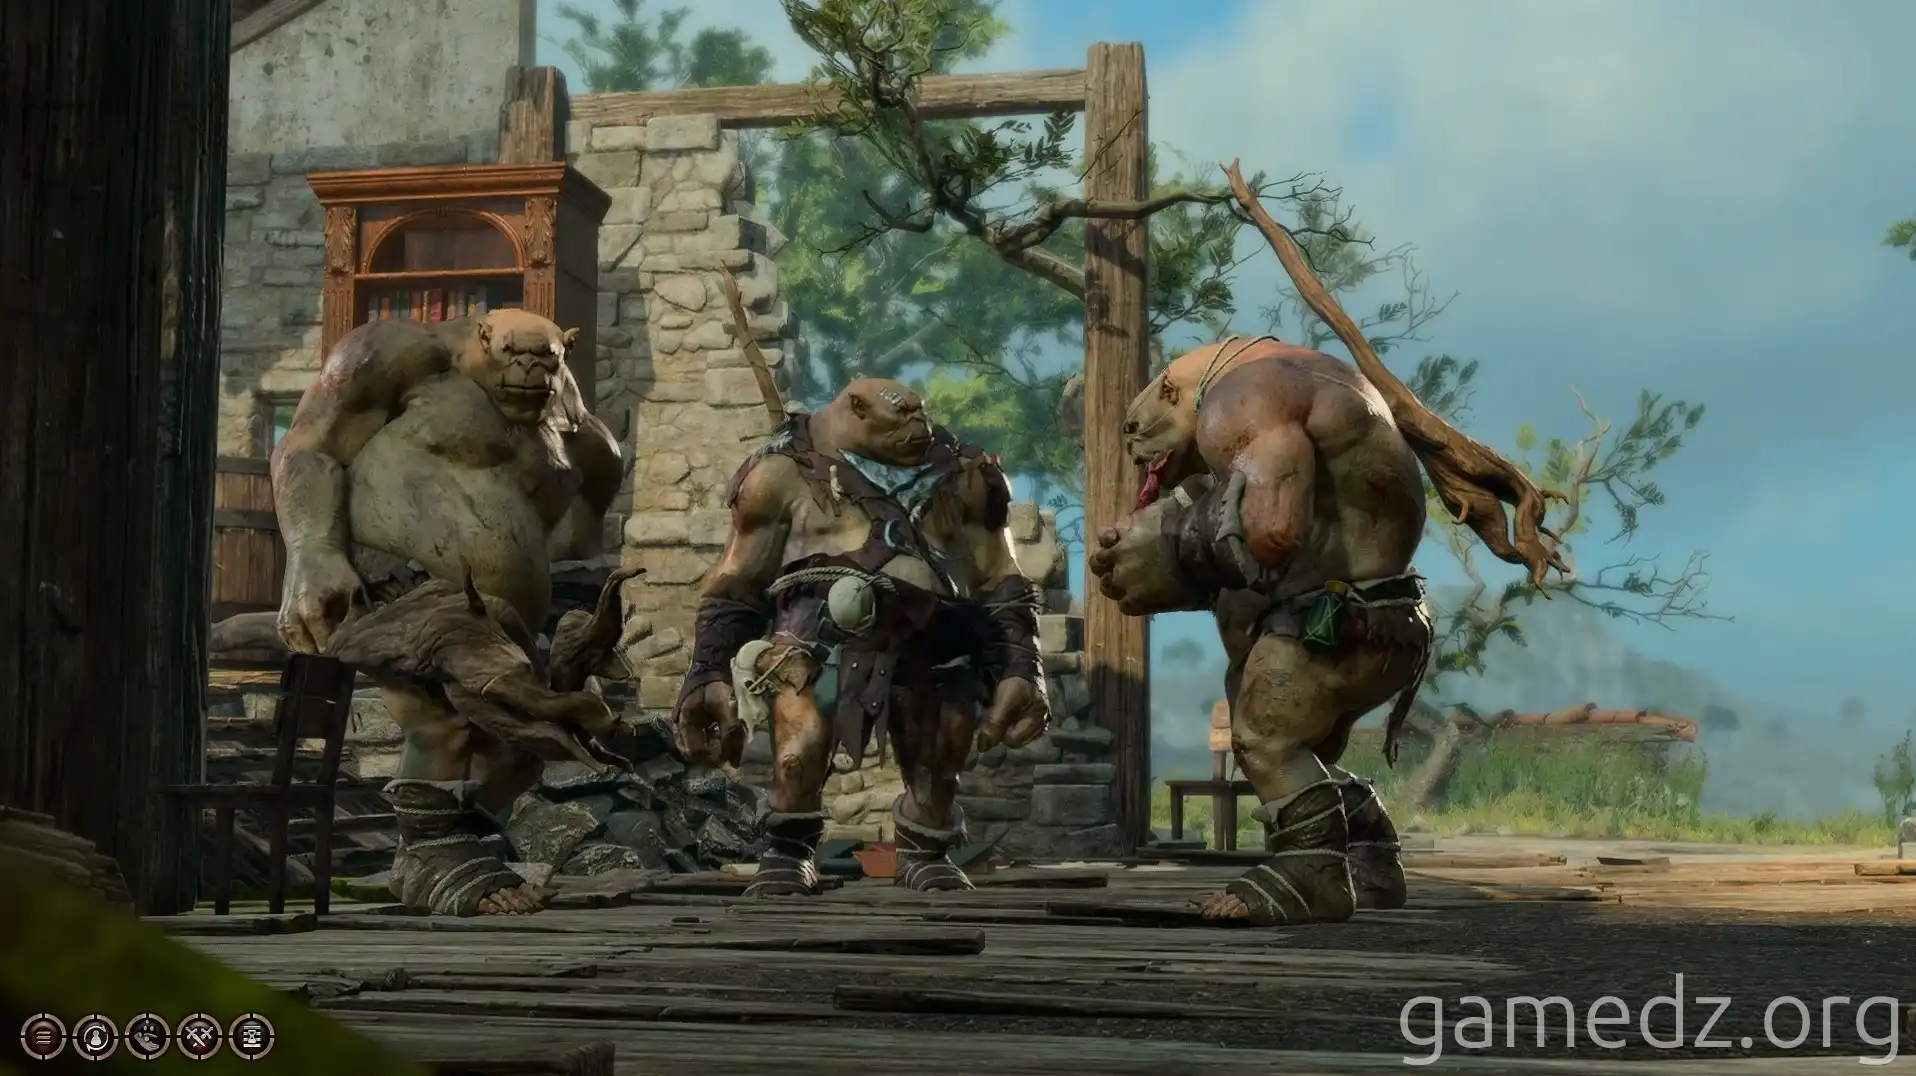
Head to the room in the southwest corner of the Infected Village. Here, you'll encounter three Ogres working for the Goblins.
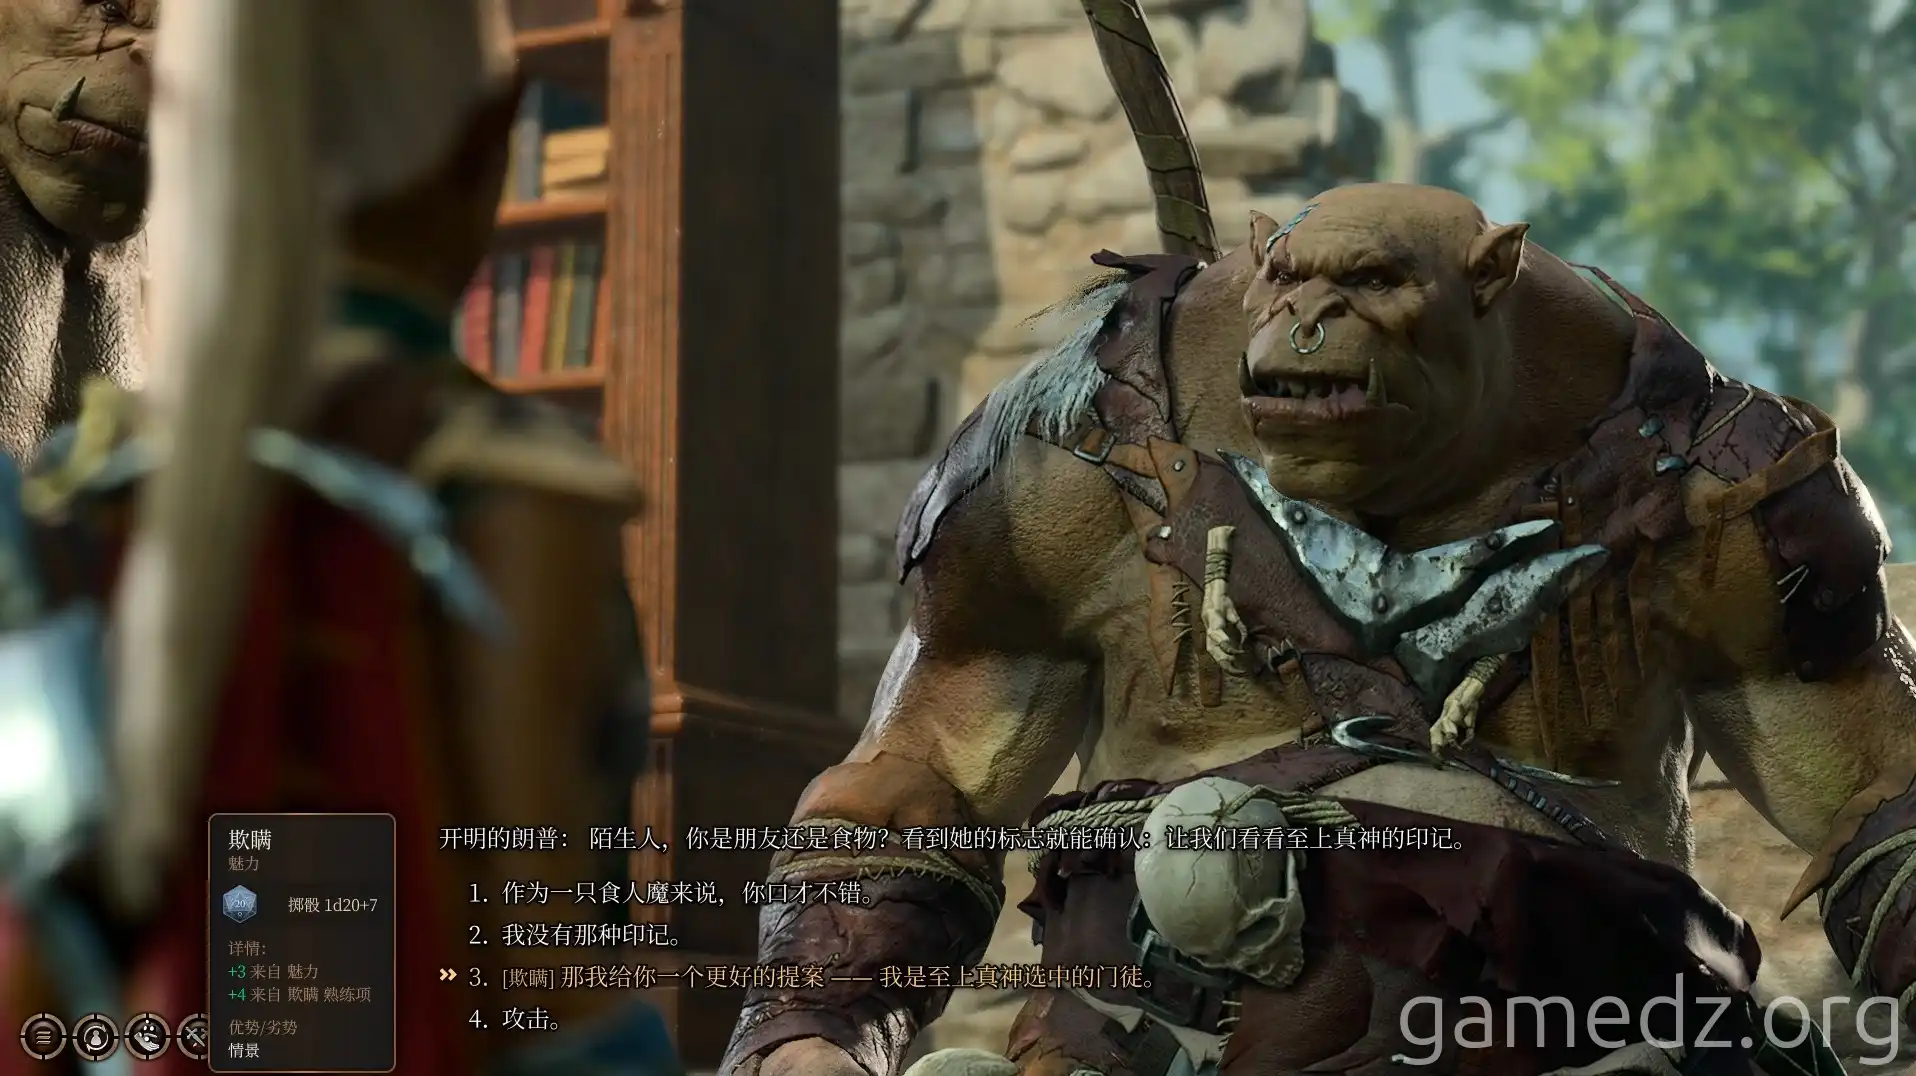
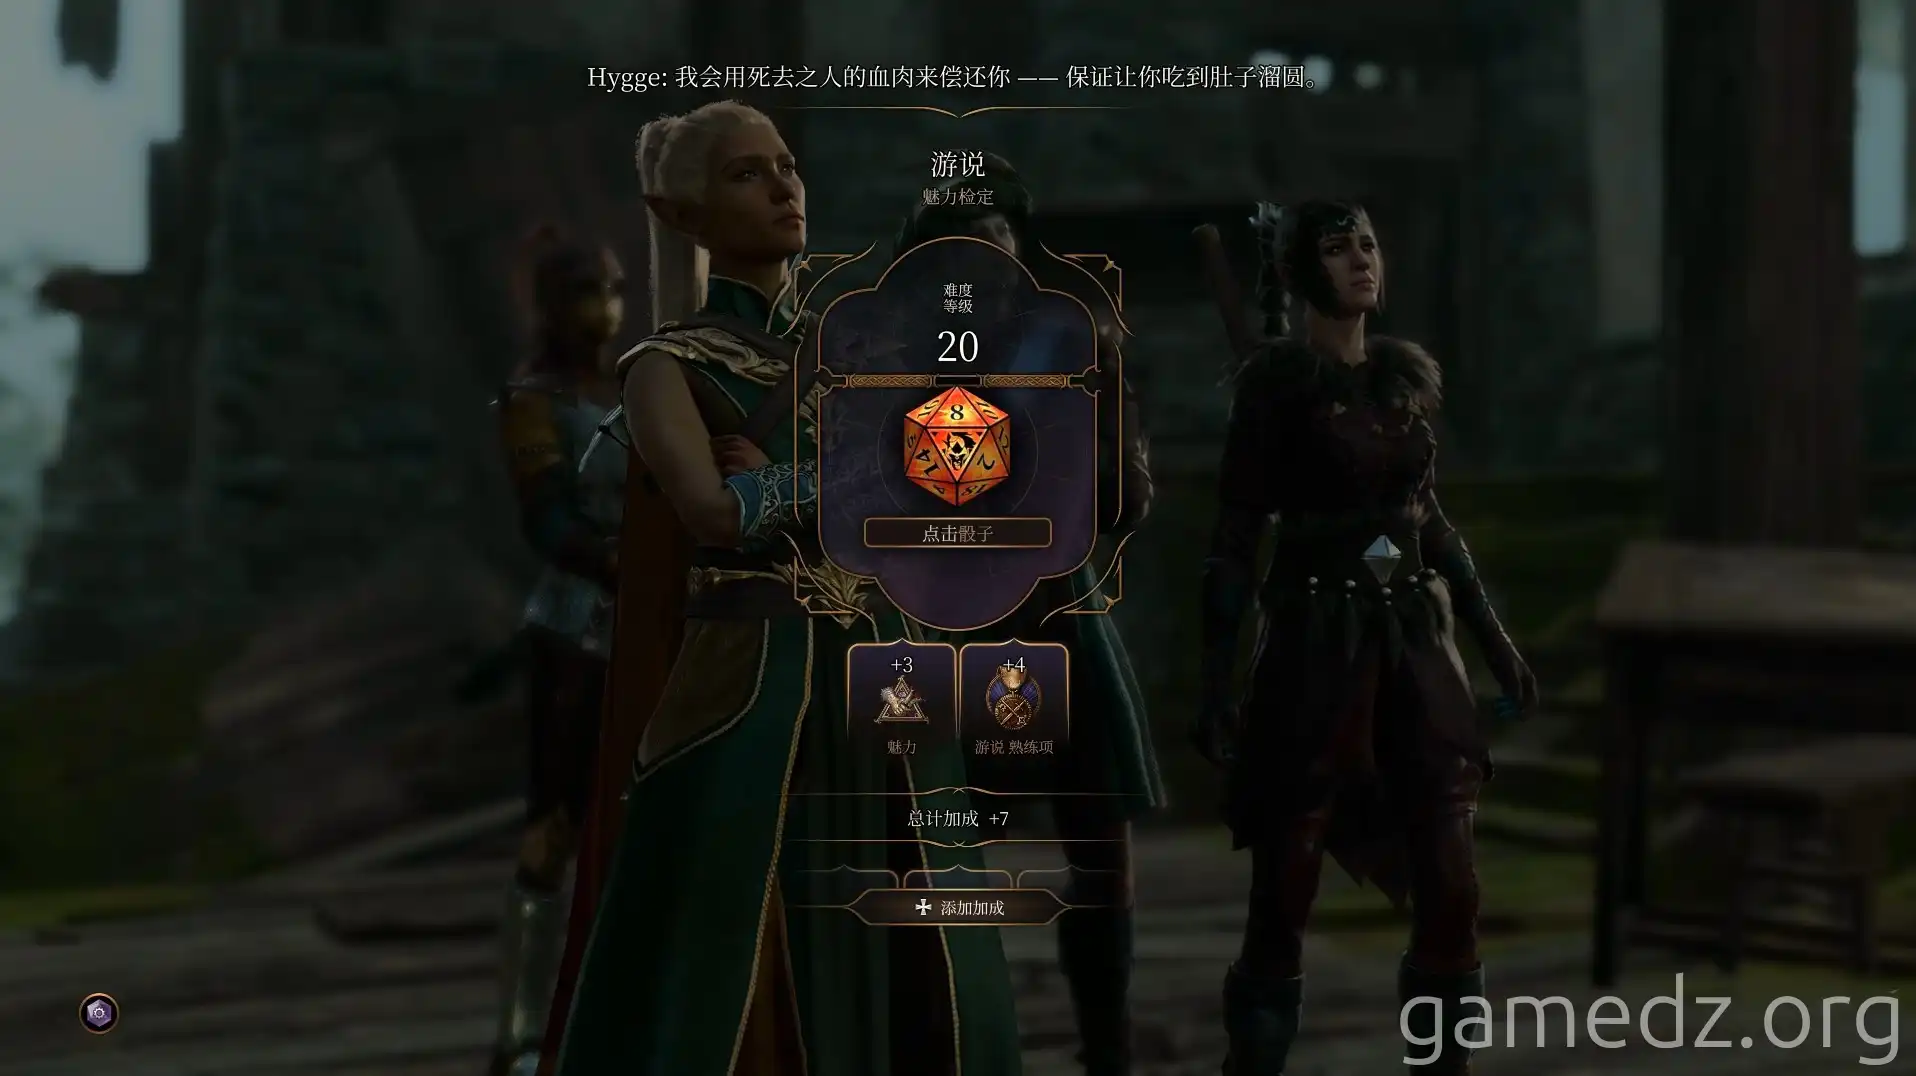
During the conversation, choose the Deception option first, stating that you are a disciple of the Absolute.
Continue the dialogue to learn that the Ogres are merely working for the Goblins. This opens up the possibility of recruiting the Ogres by offering them a better deal.
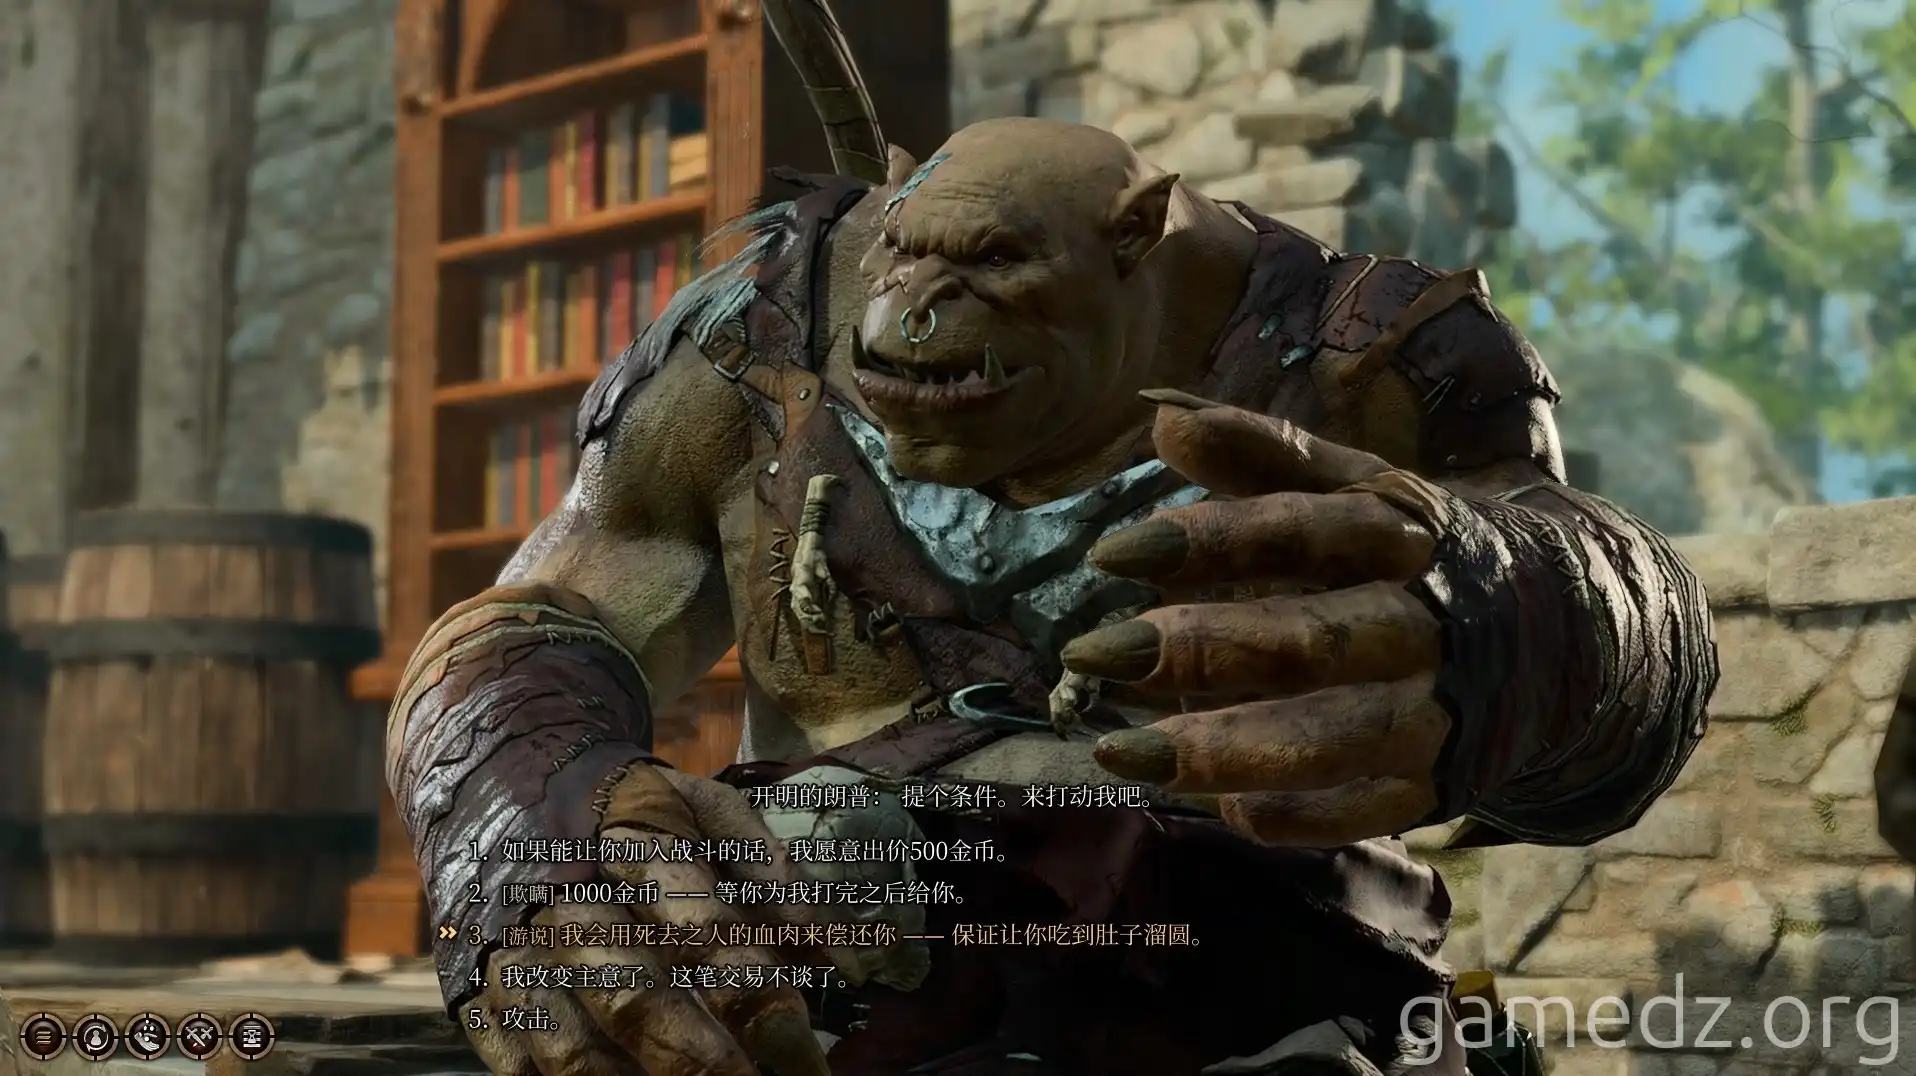
It's recommended to choose the Deception option in the dialogue, offering the Ogre squad 1000 gold. The DC for this check is only 10, making it easier to pass. If all else fails, you can always renege on the deal and kill the Ogres.
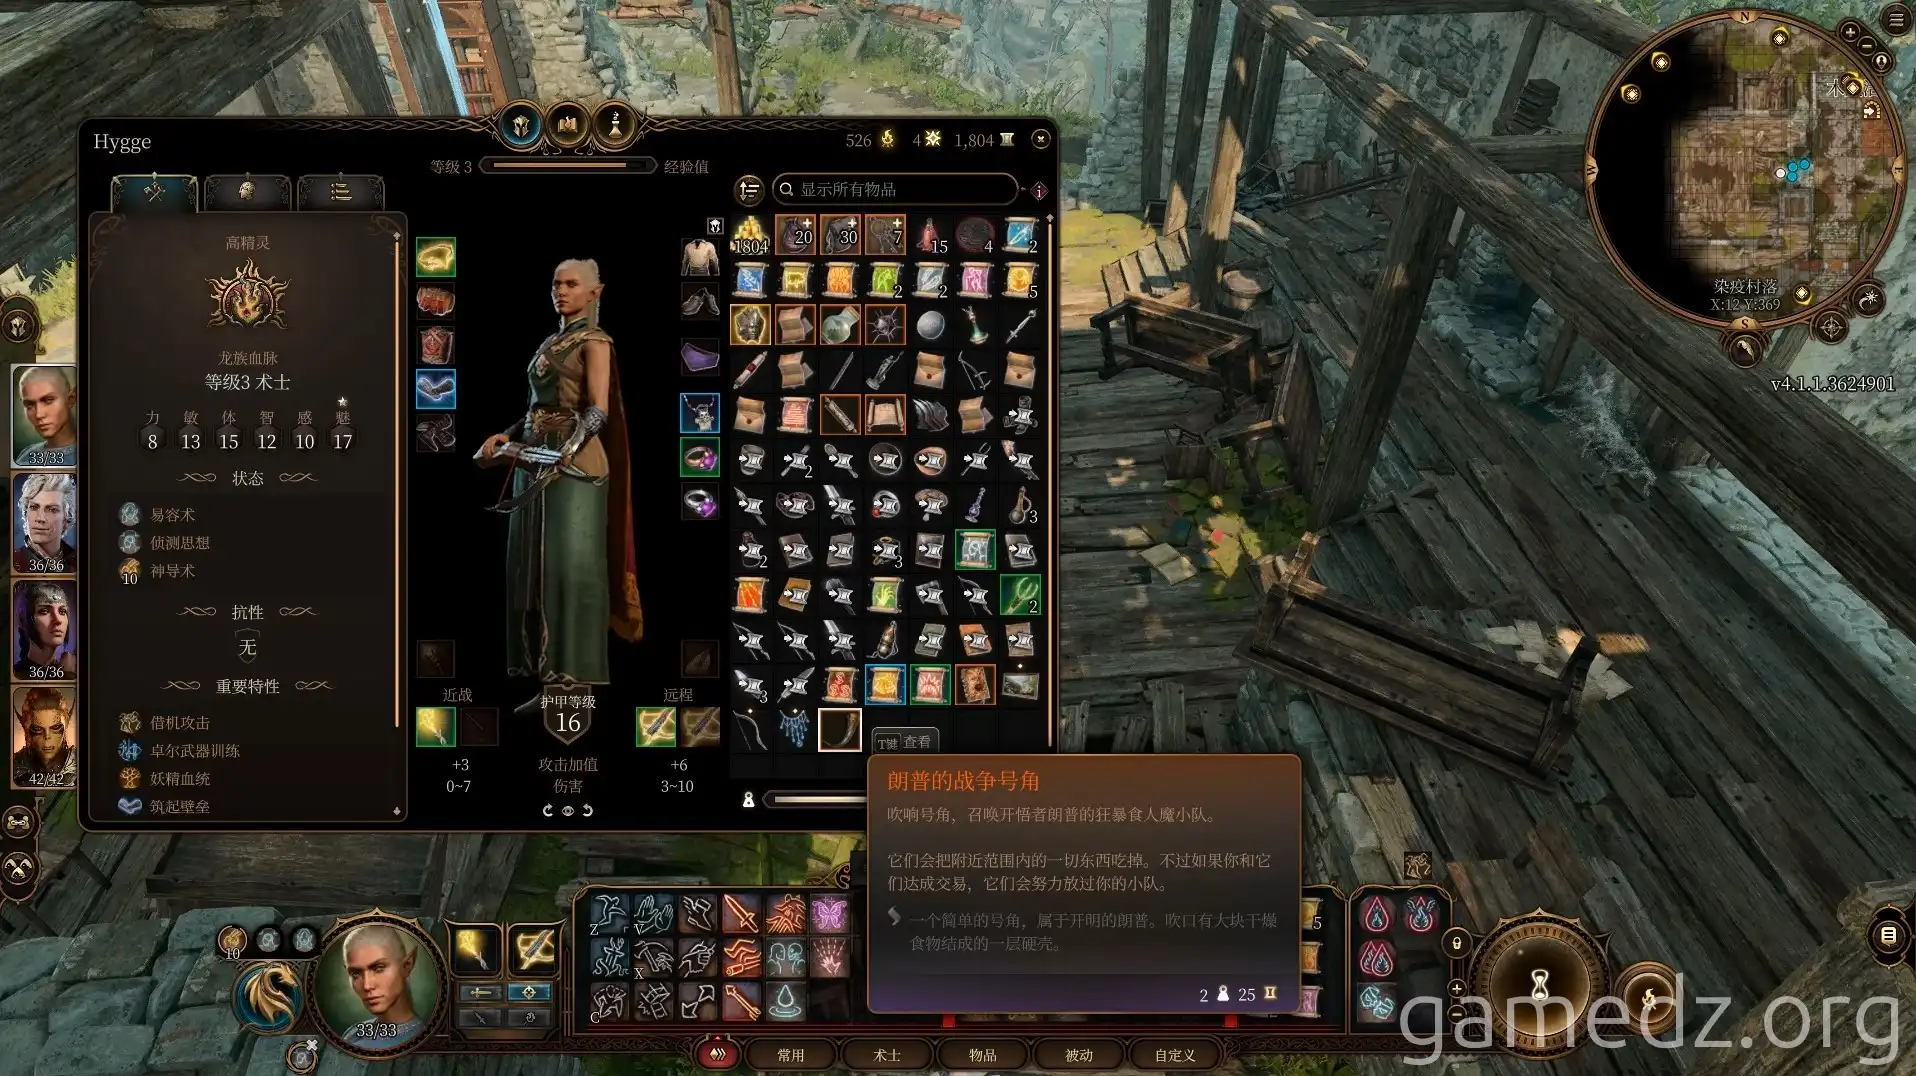
If you successfully persuade the Ogres to work for you, you'll receive the "Trumpet of the Ogre" item. Using this item will summon the Ogre squad to fight for you. Note that this item can only be used in Act 1.
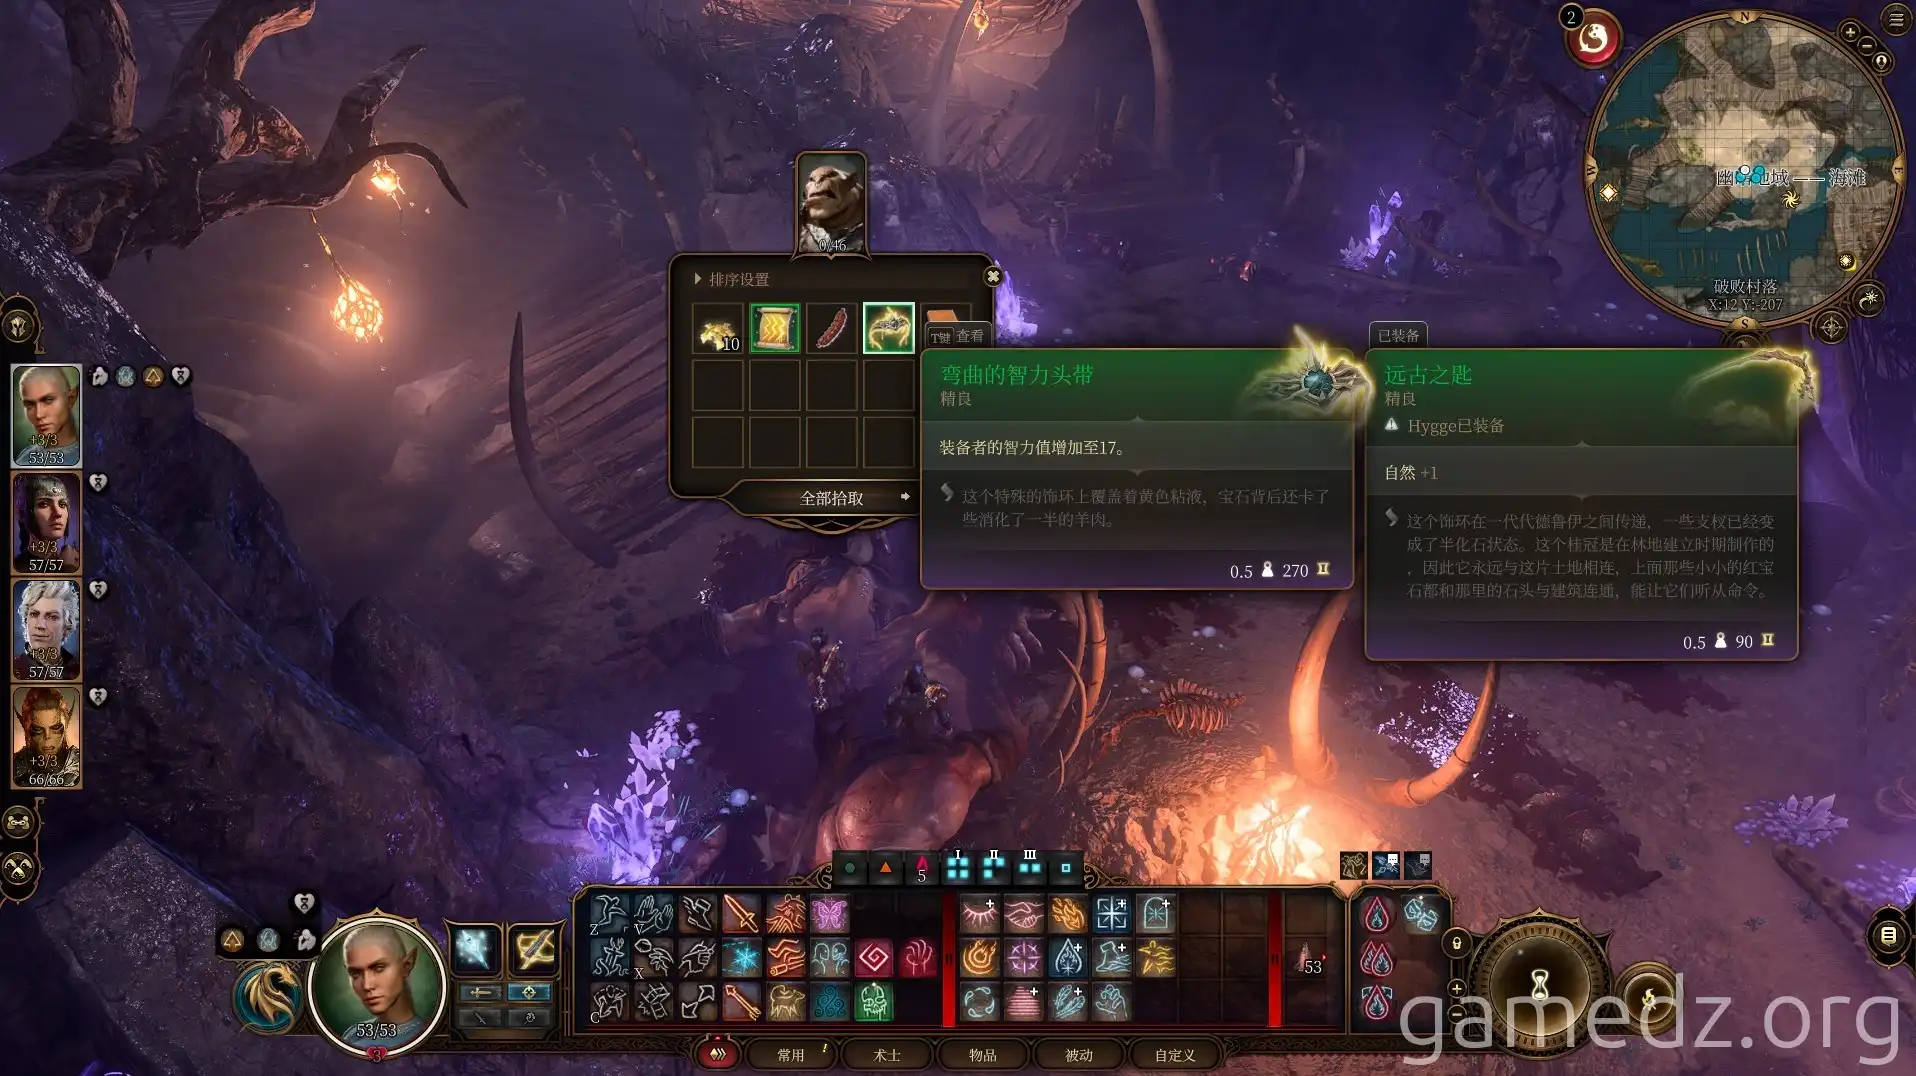
If you defeat the Ogres, you can loot the "Bent Circlet of Intellect" from them. This circlet sets the wearer's Intelligence to 17, which explains why this Ogre was so clever.
Outside the Ogres' room, a successful Survival check will reveal another buried chest.
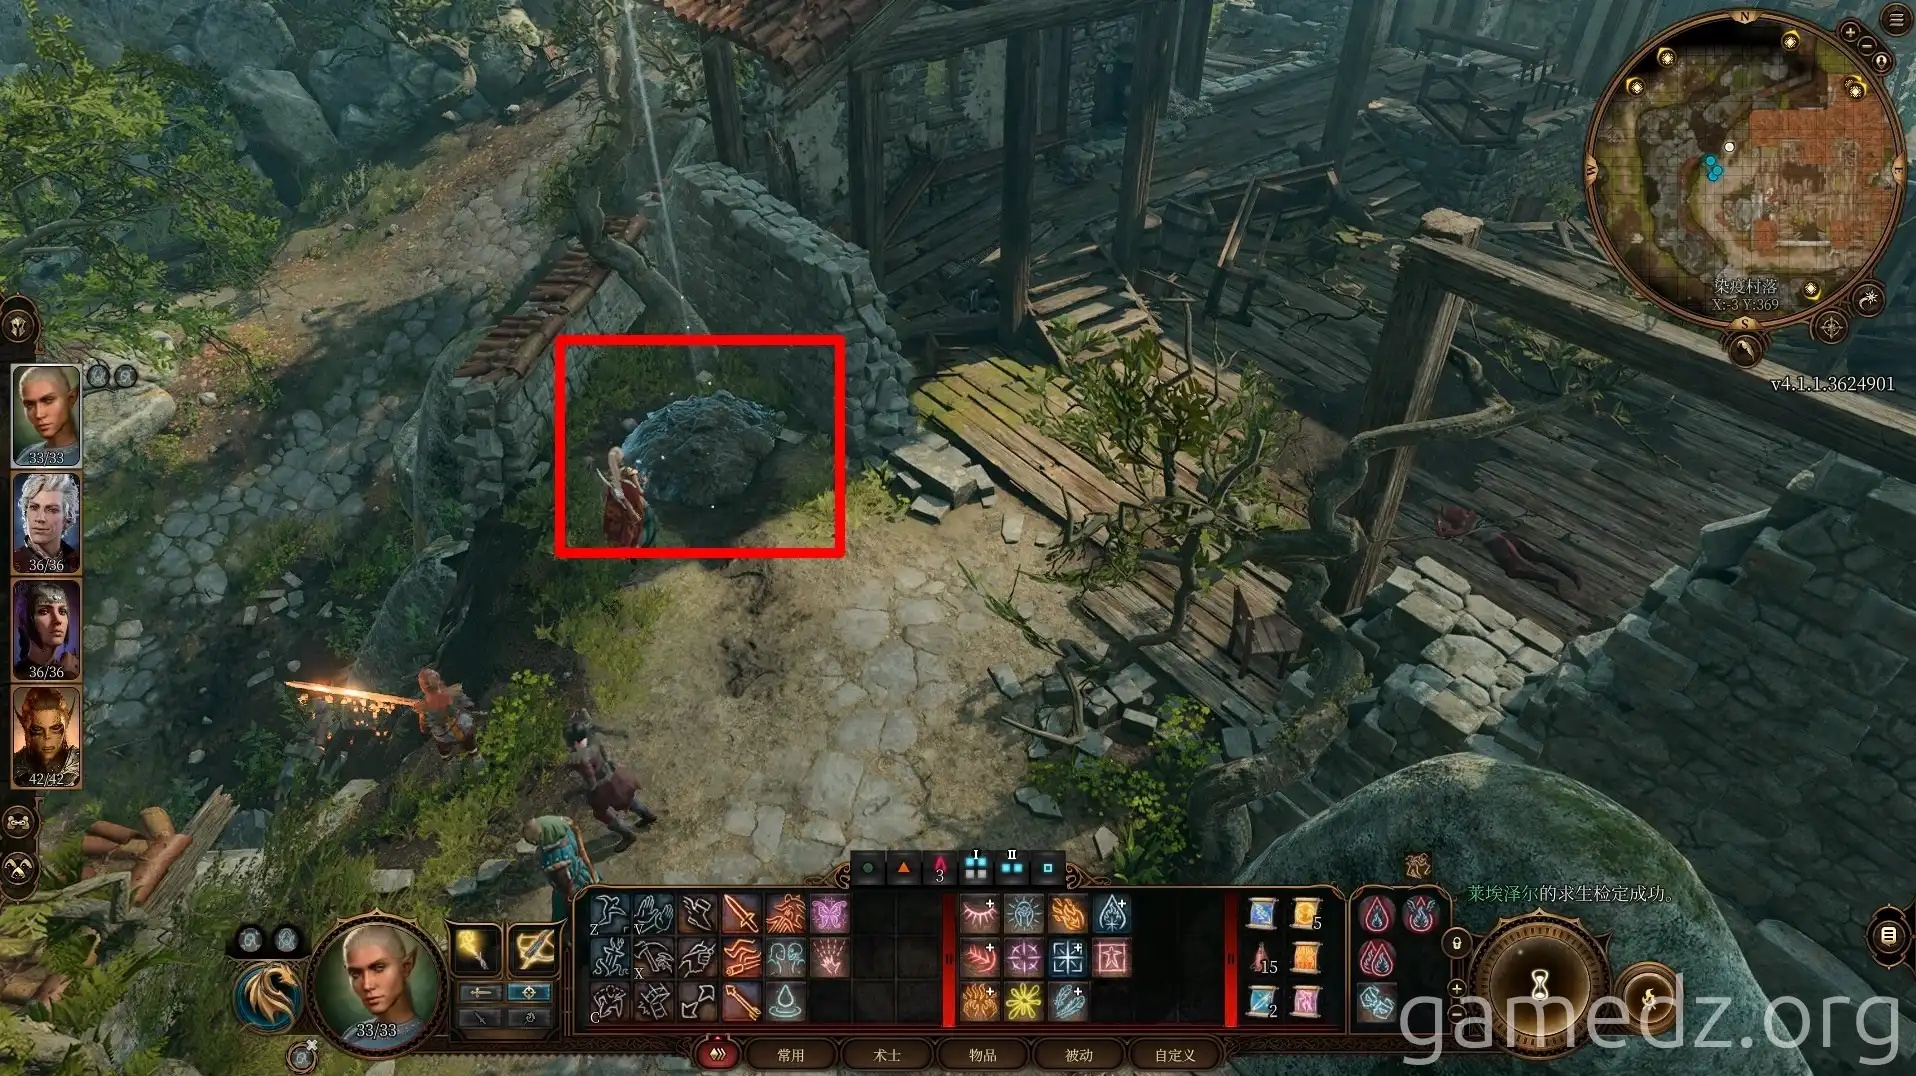
Proceed to the location shown in the image below.
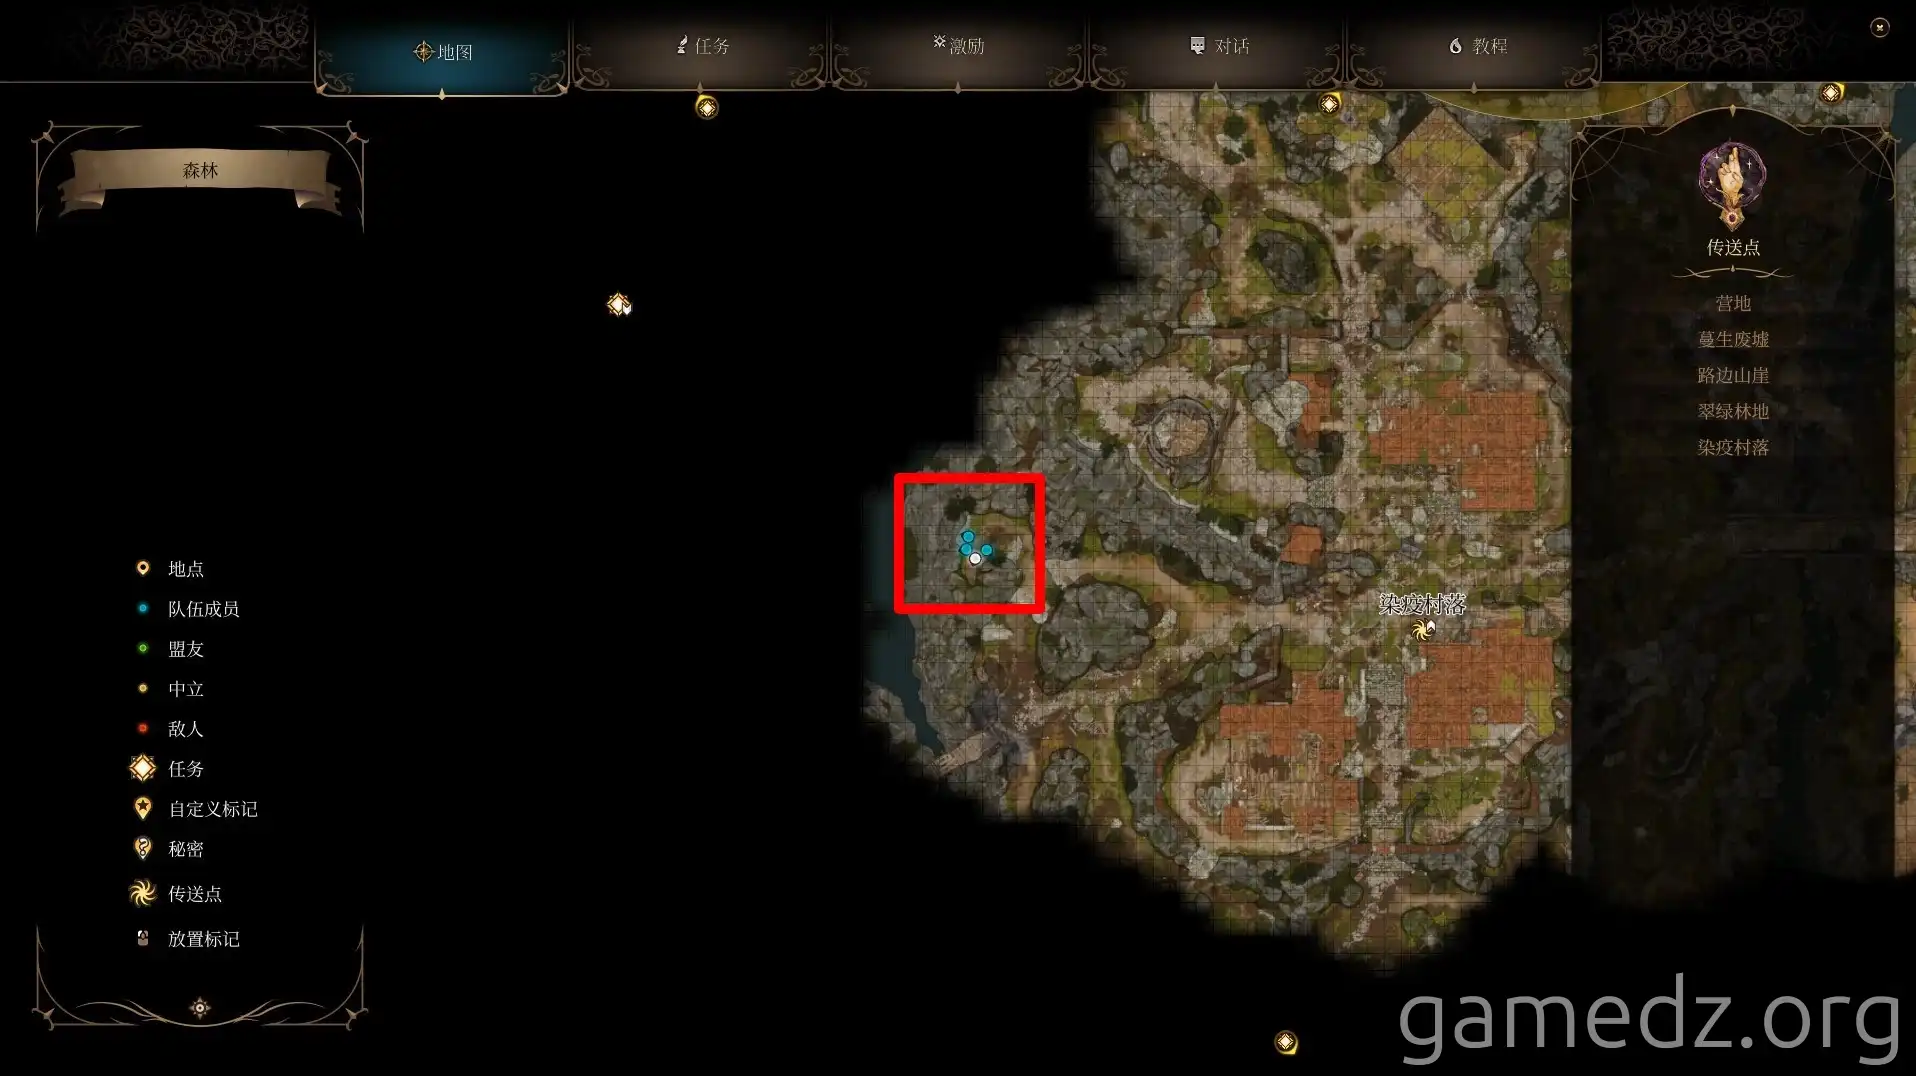
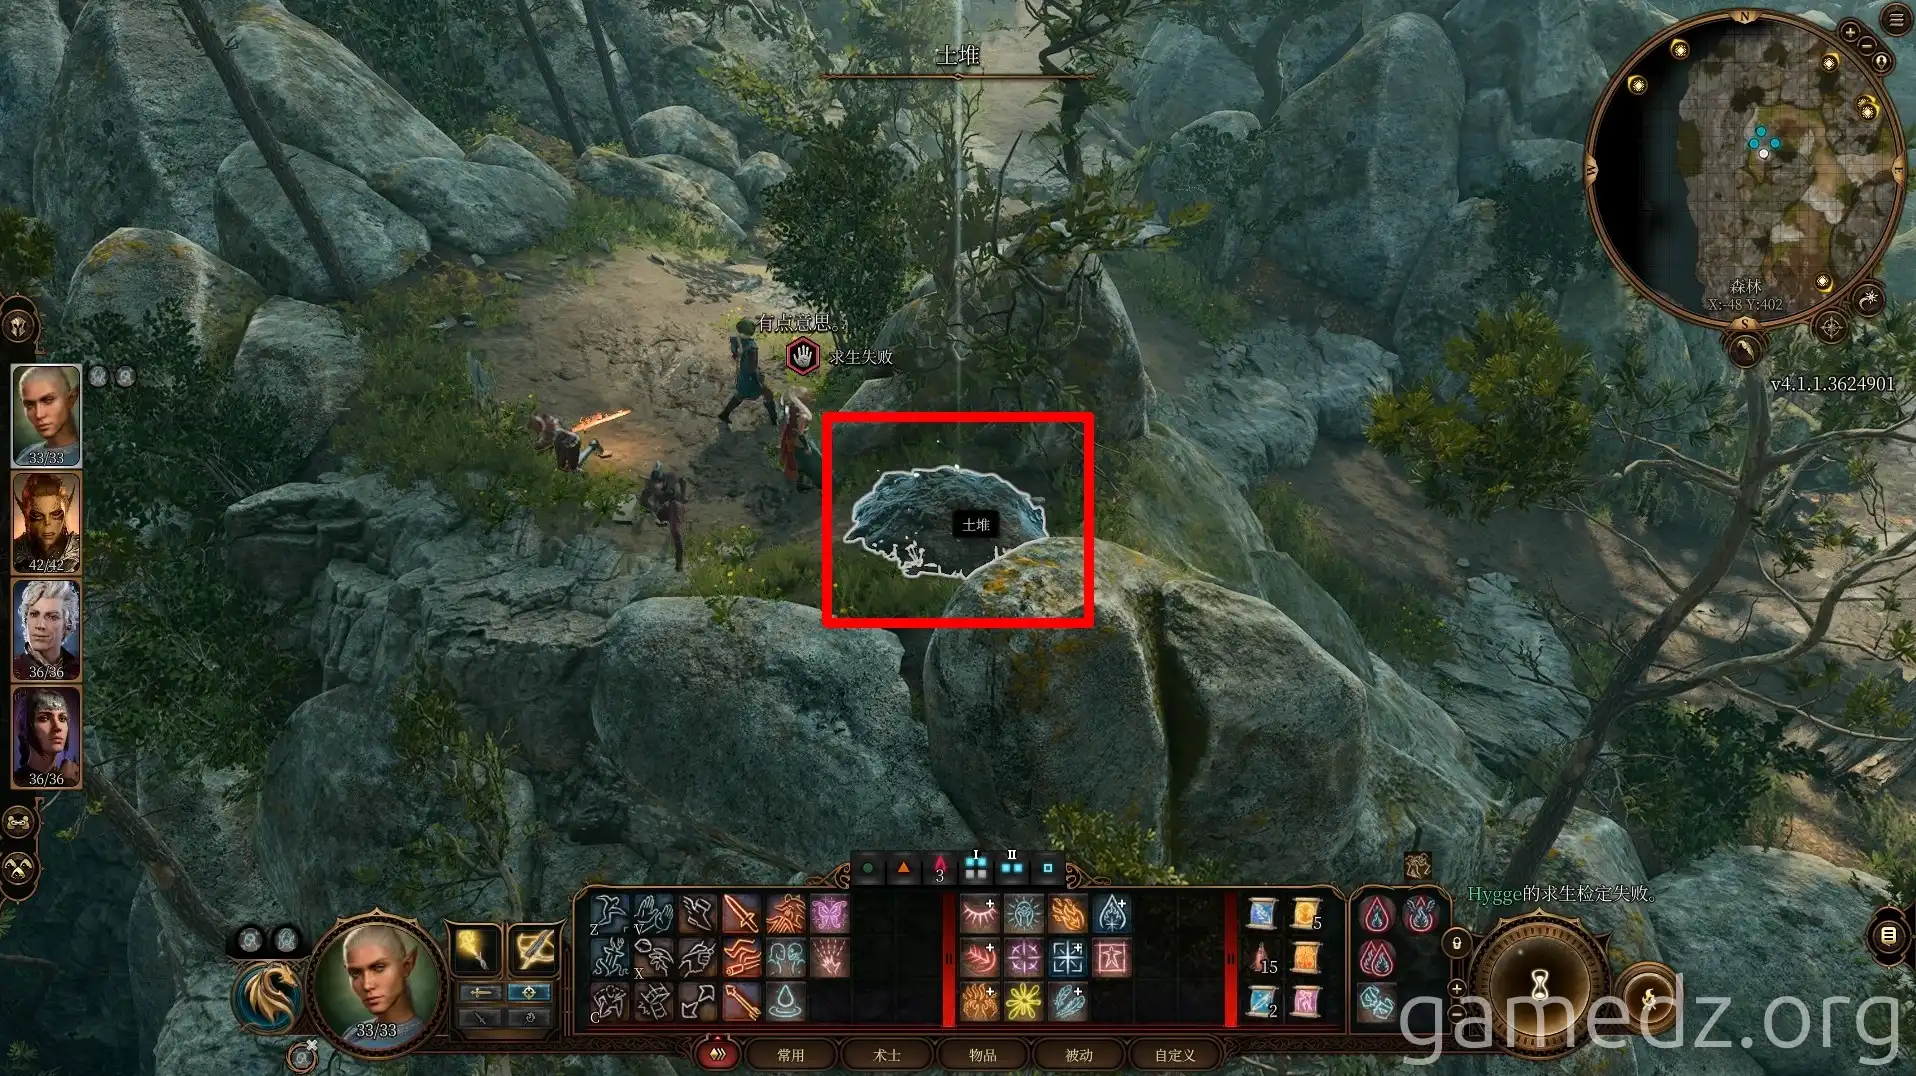
Another successful Survival check will reveal yet another buried chest.
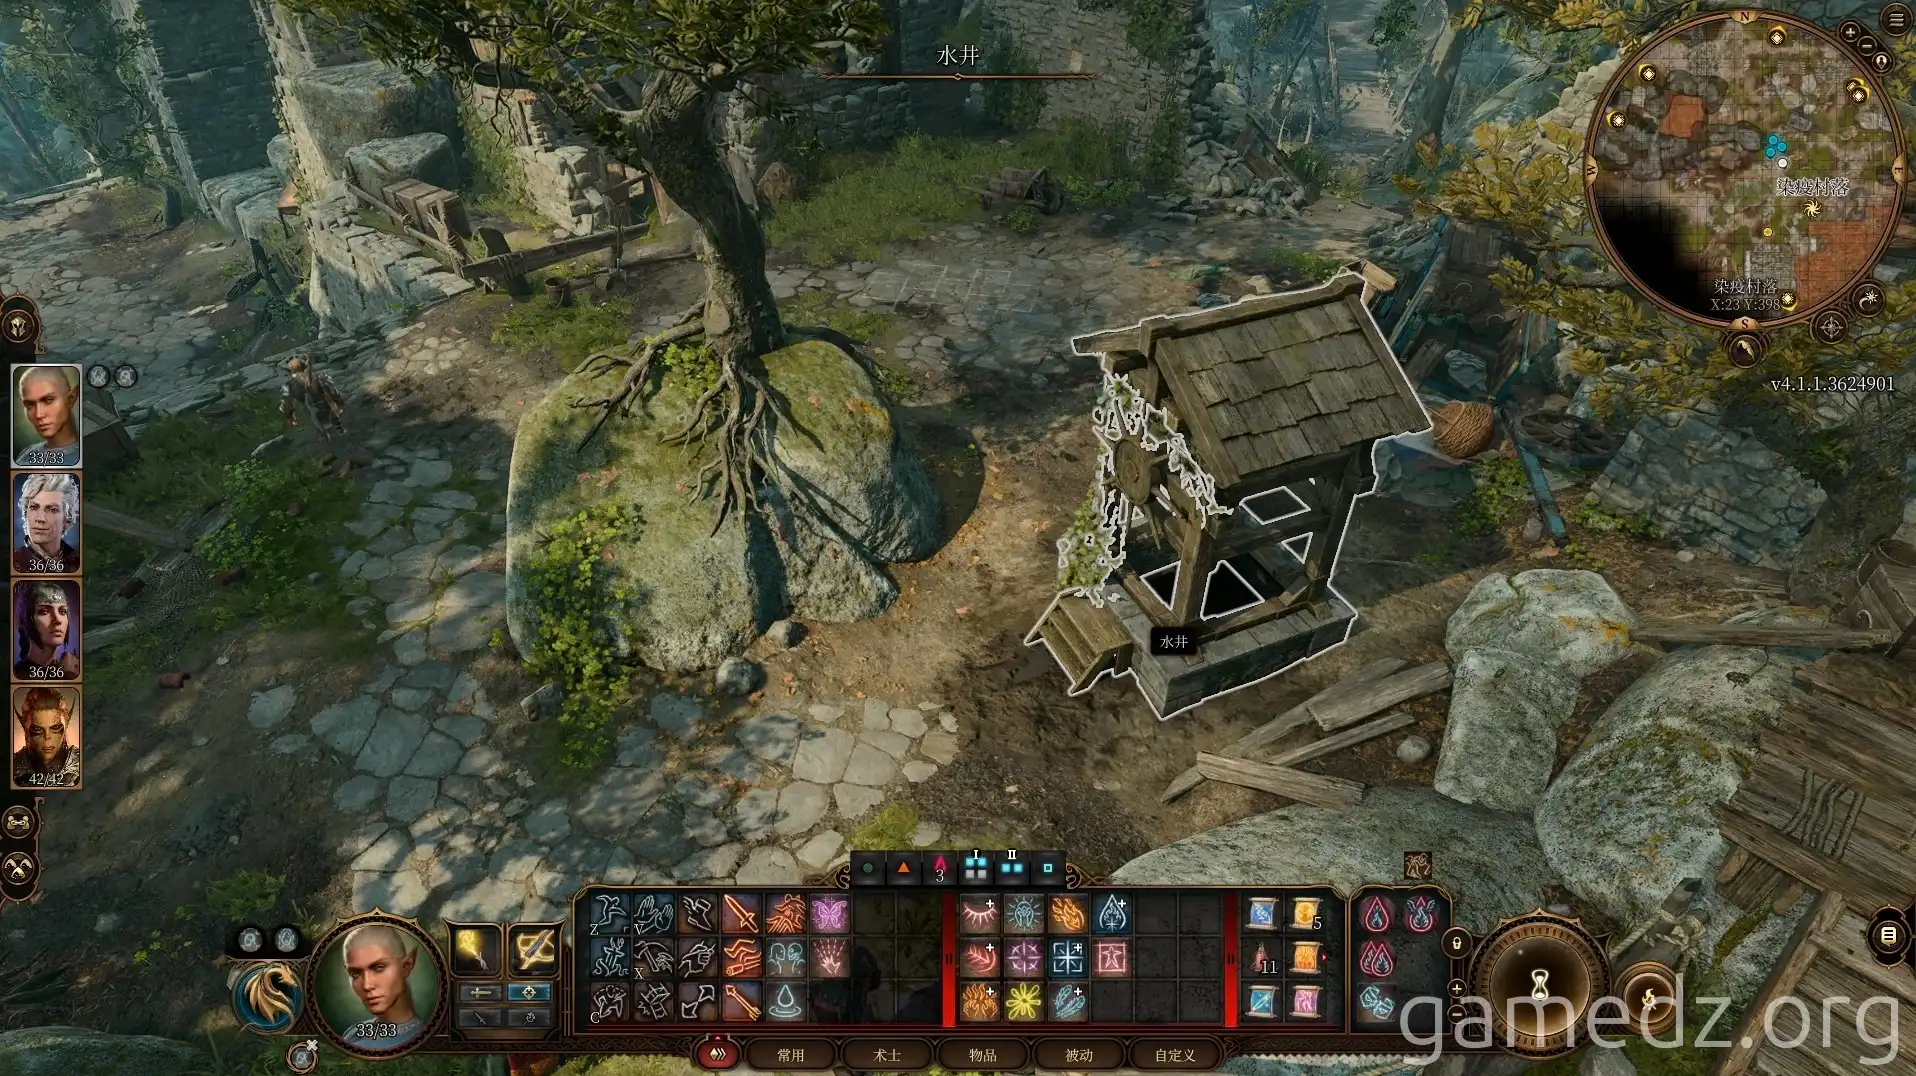
Return to the center of the plaza and enter the Underdark via the well.
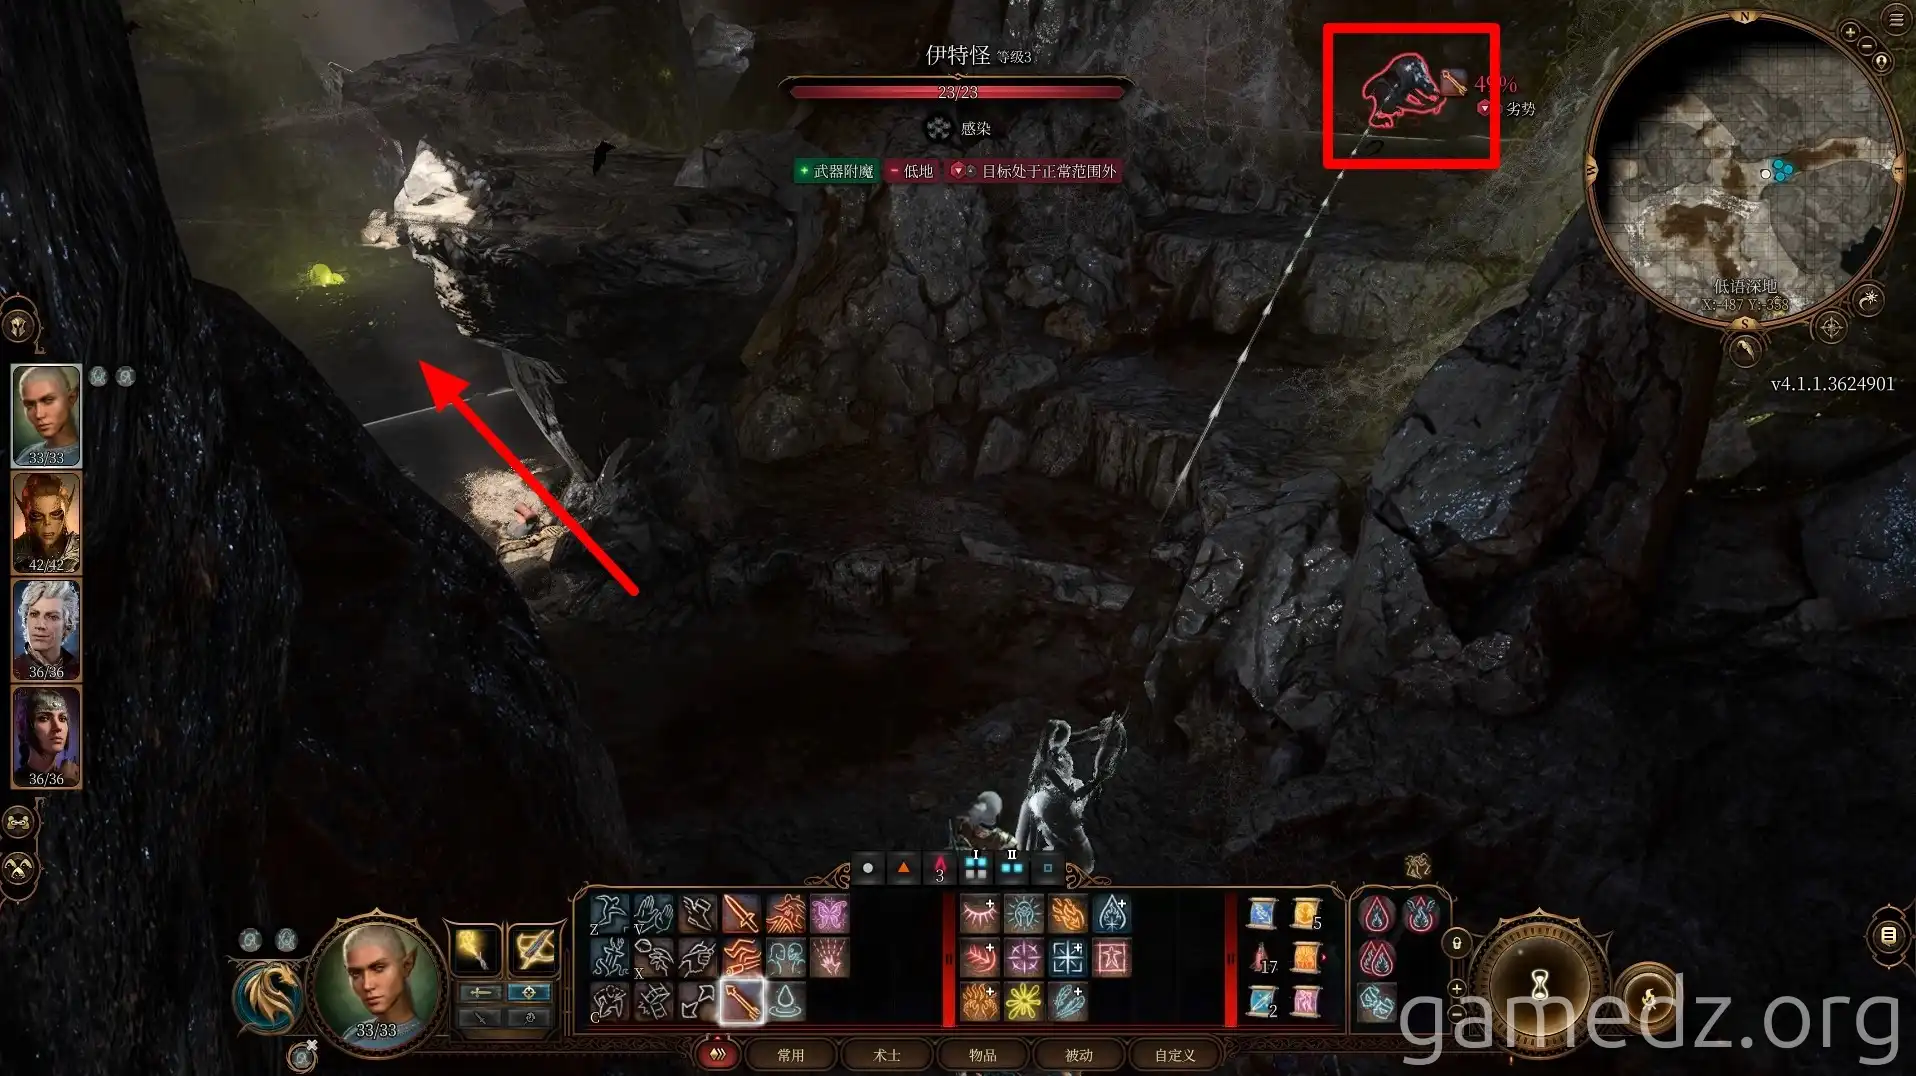
Upon entering the Underdark, you'll find one Ettercap on a high platform to your right, and another Ettercap along with two Phase Spiders to your front left.
The combat difficulty here isn't too high. After defeating all enemies, explore the area thoroughly.
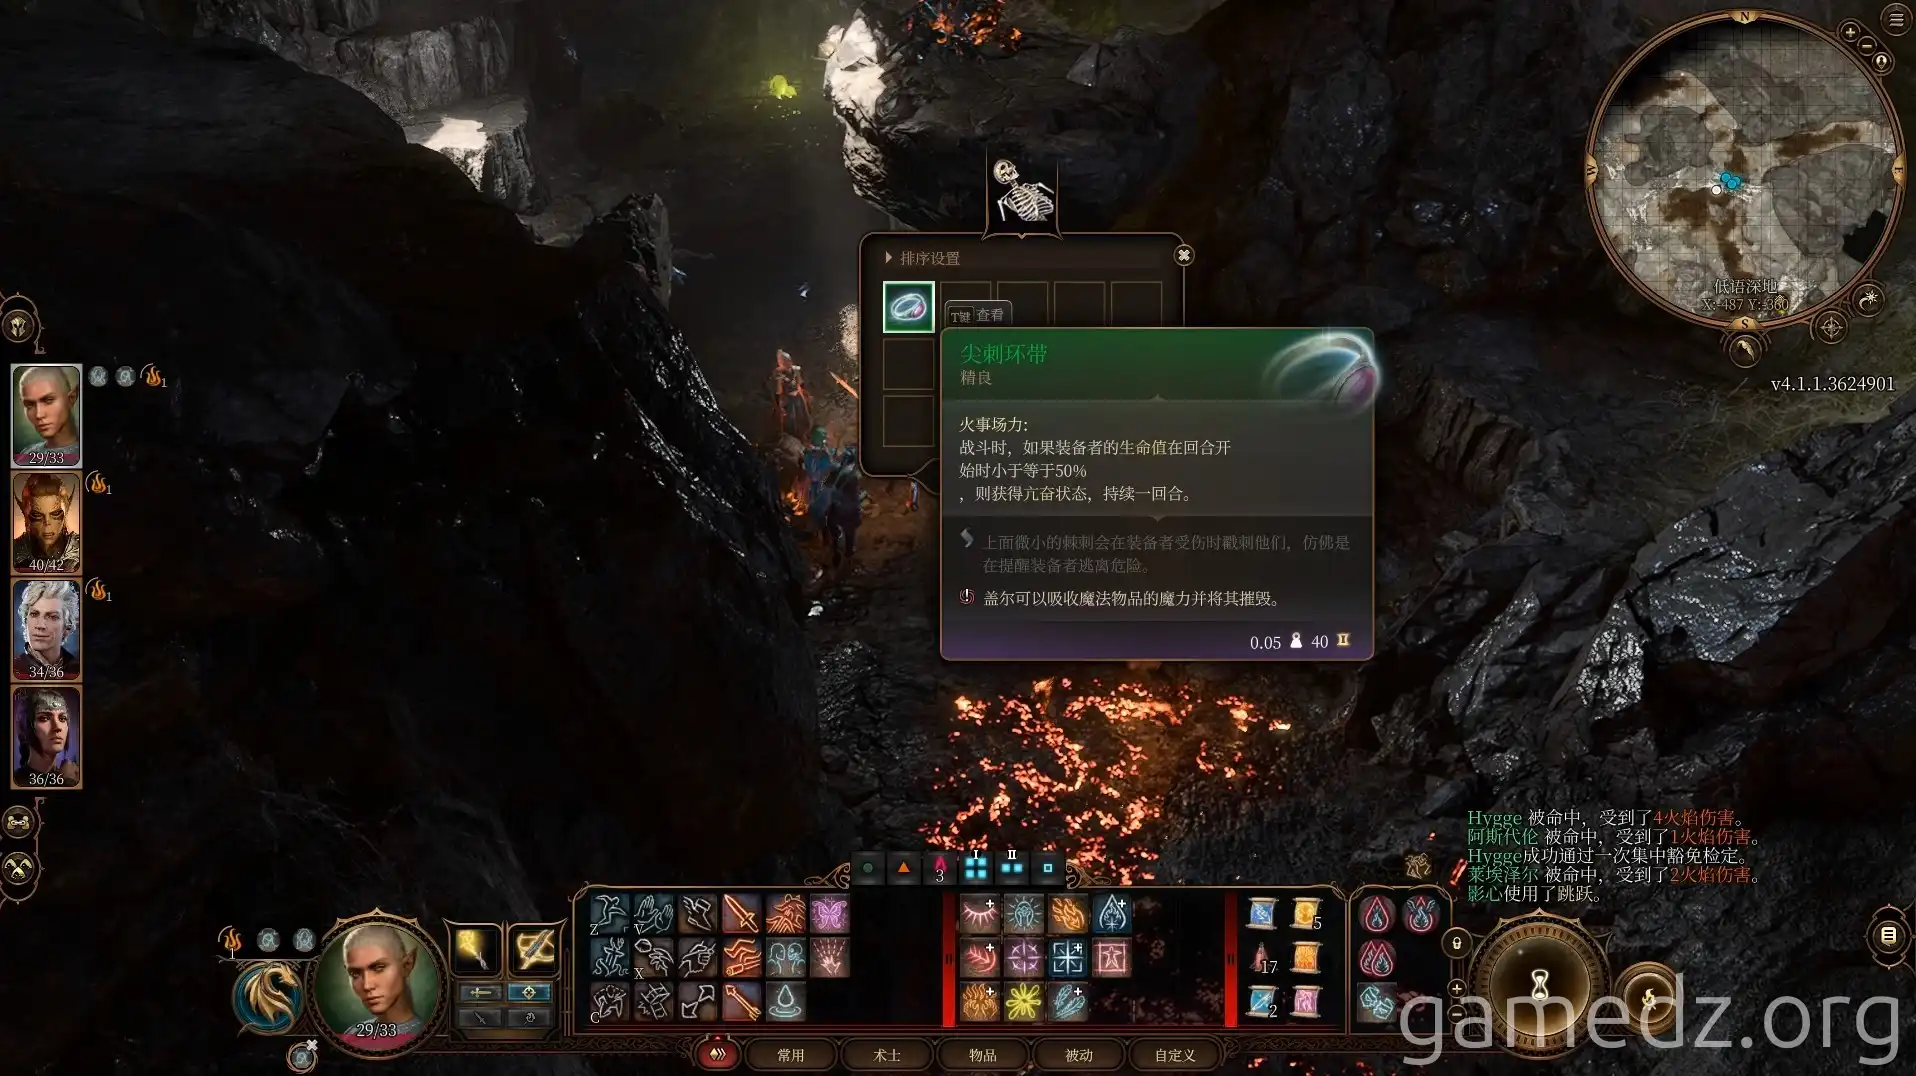
On the remains in the passage, you can find the "Spiked Chain" amulet.
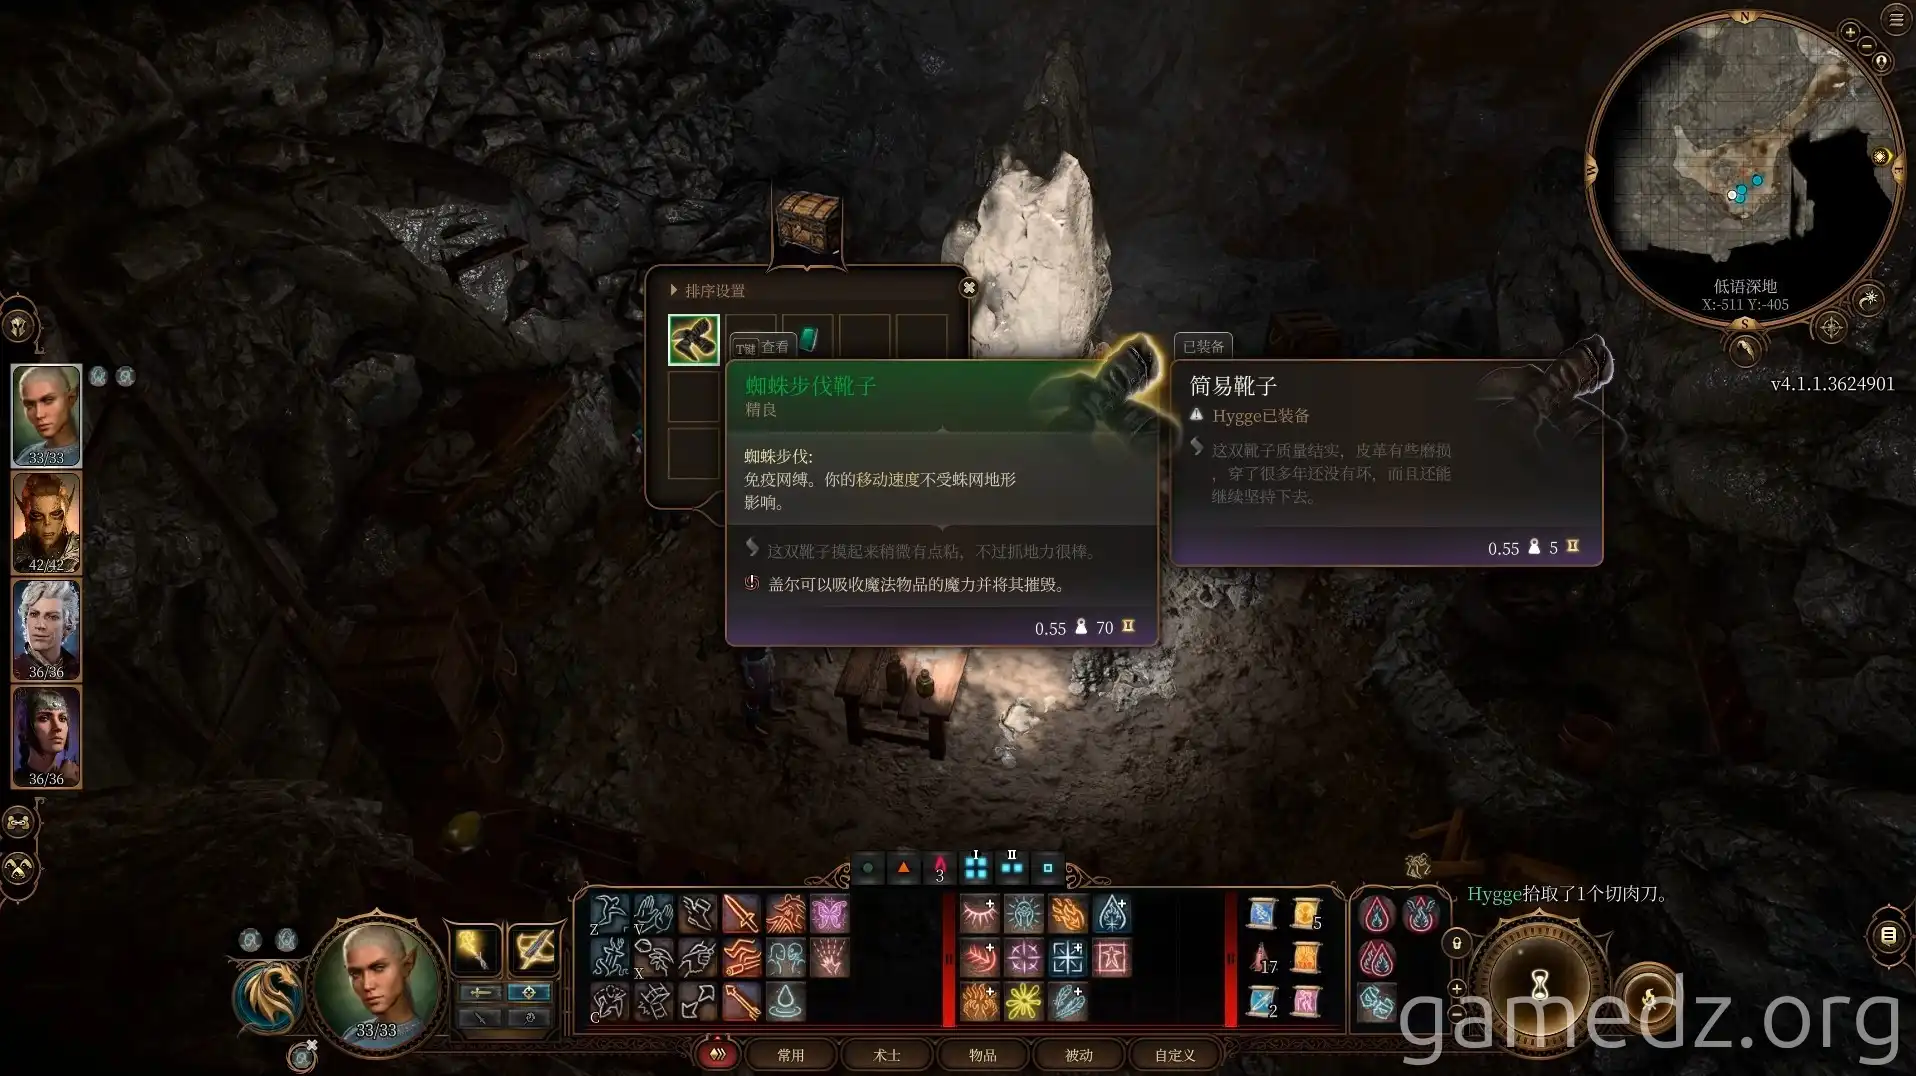
In a chest within a camp located in the southern corner of the mid-section of the area, you'll find the "Boots of Spiderstep" medium armor.
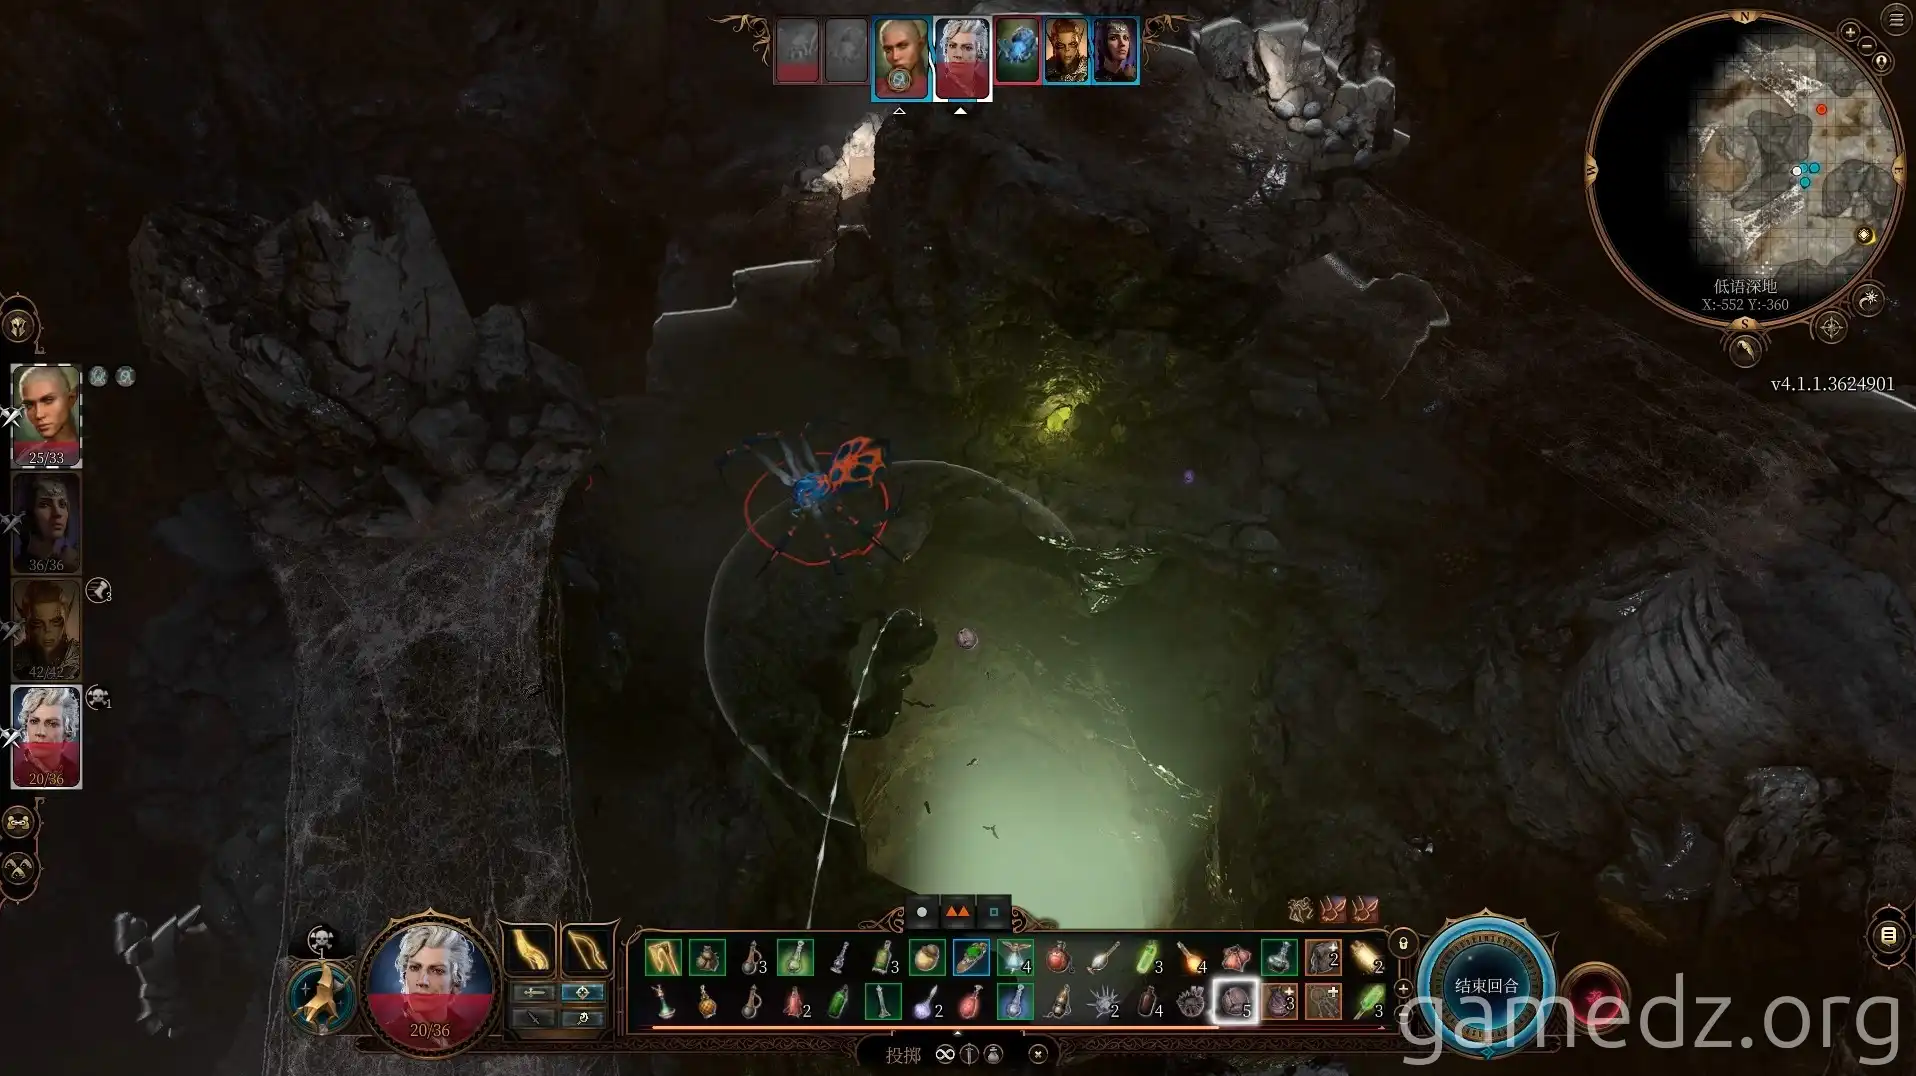
Continue forward to the location shown below. Here, you'll encounter the Phase Spider Queen, who will move back and forth between the three stone pillars via webs.
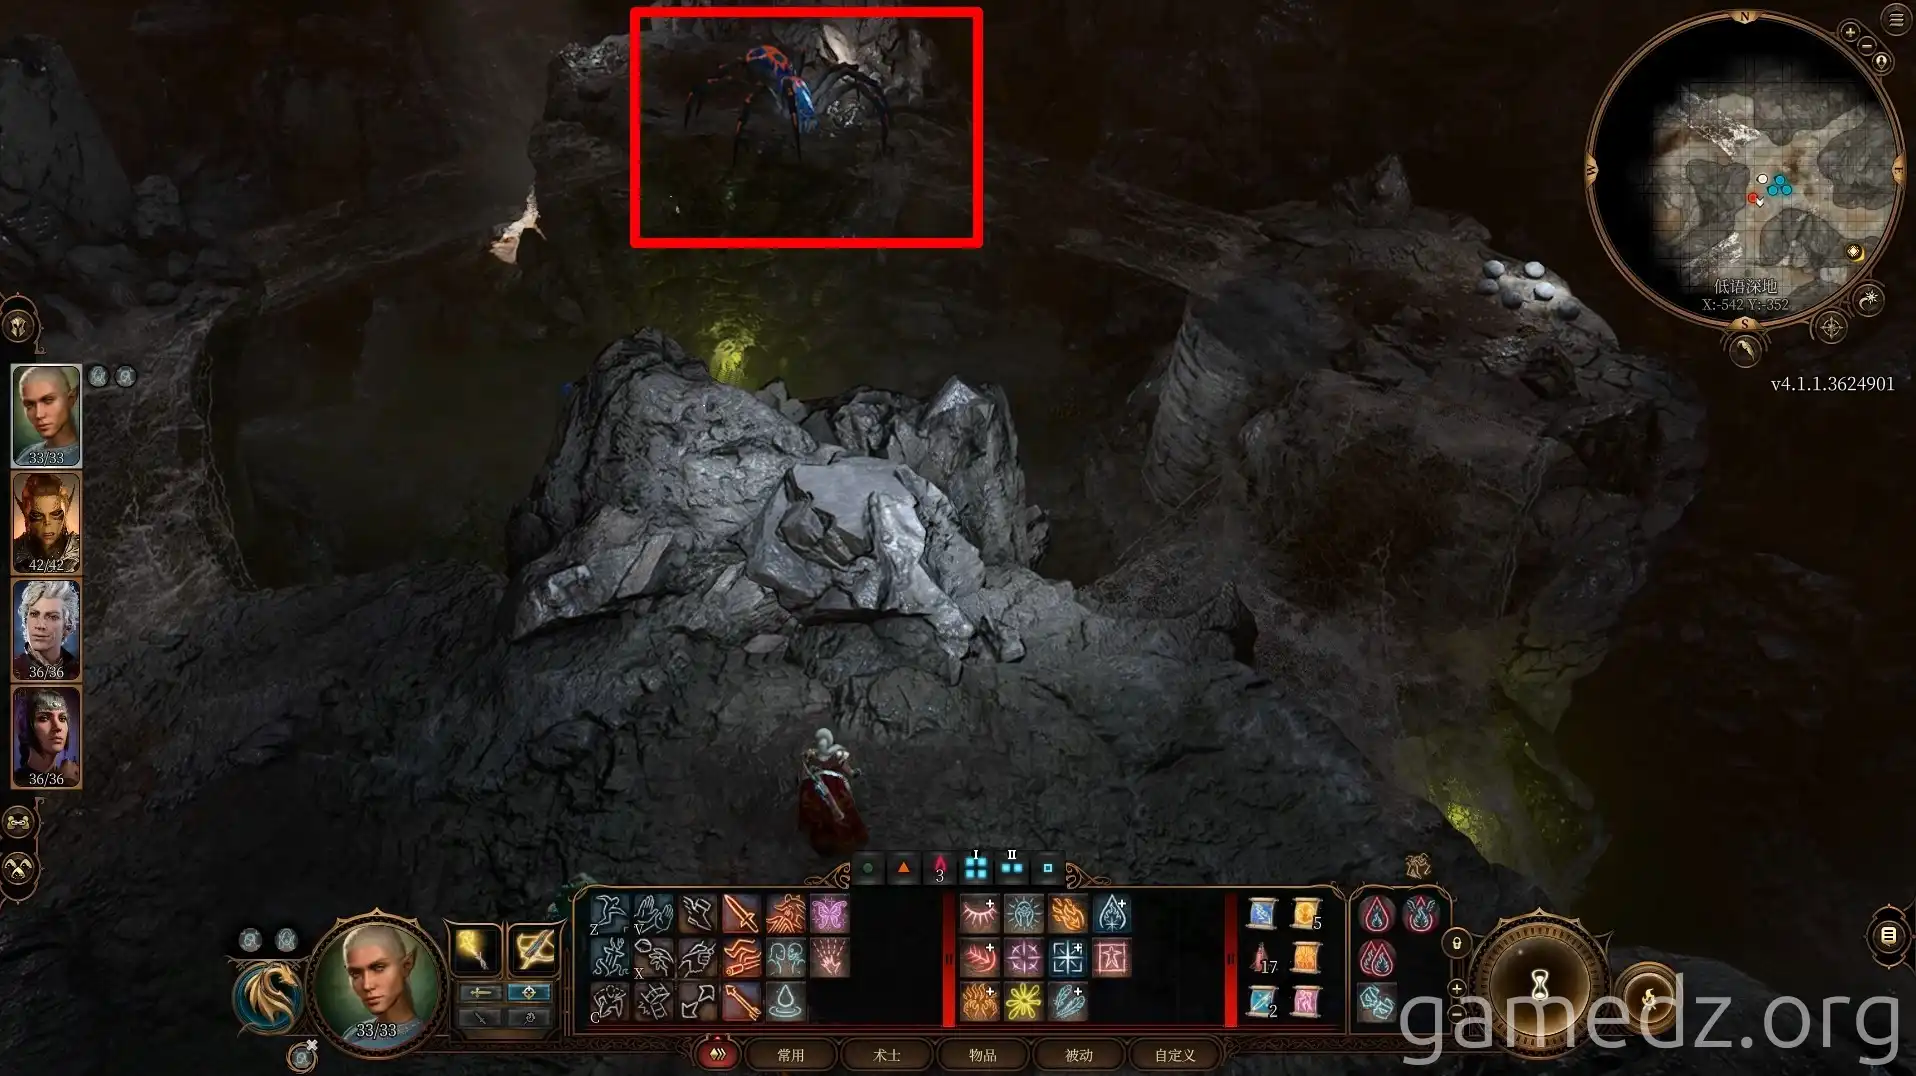
When the Spider Queen moves to the center of the web on the left, use a fire arrow to ignite the web, causing the Spider Queen to fall to the ground.
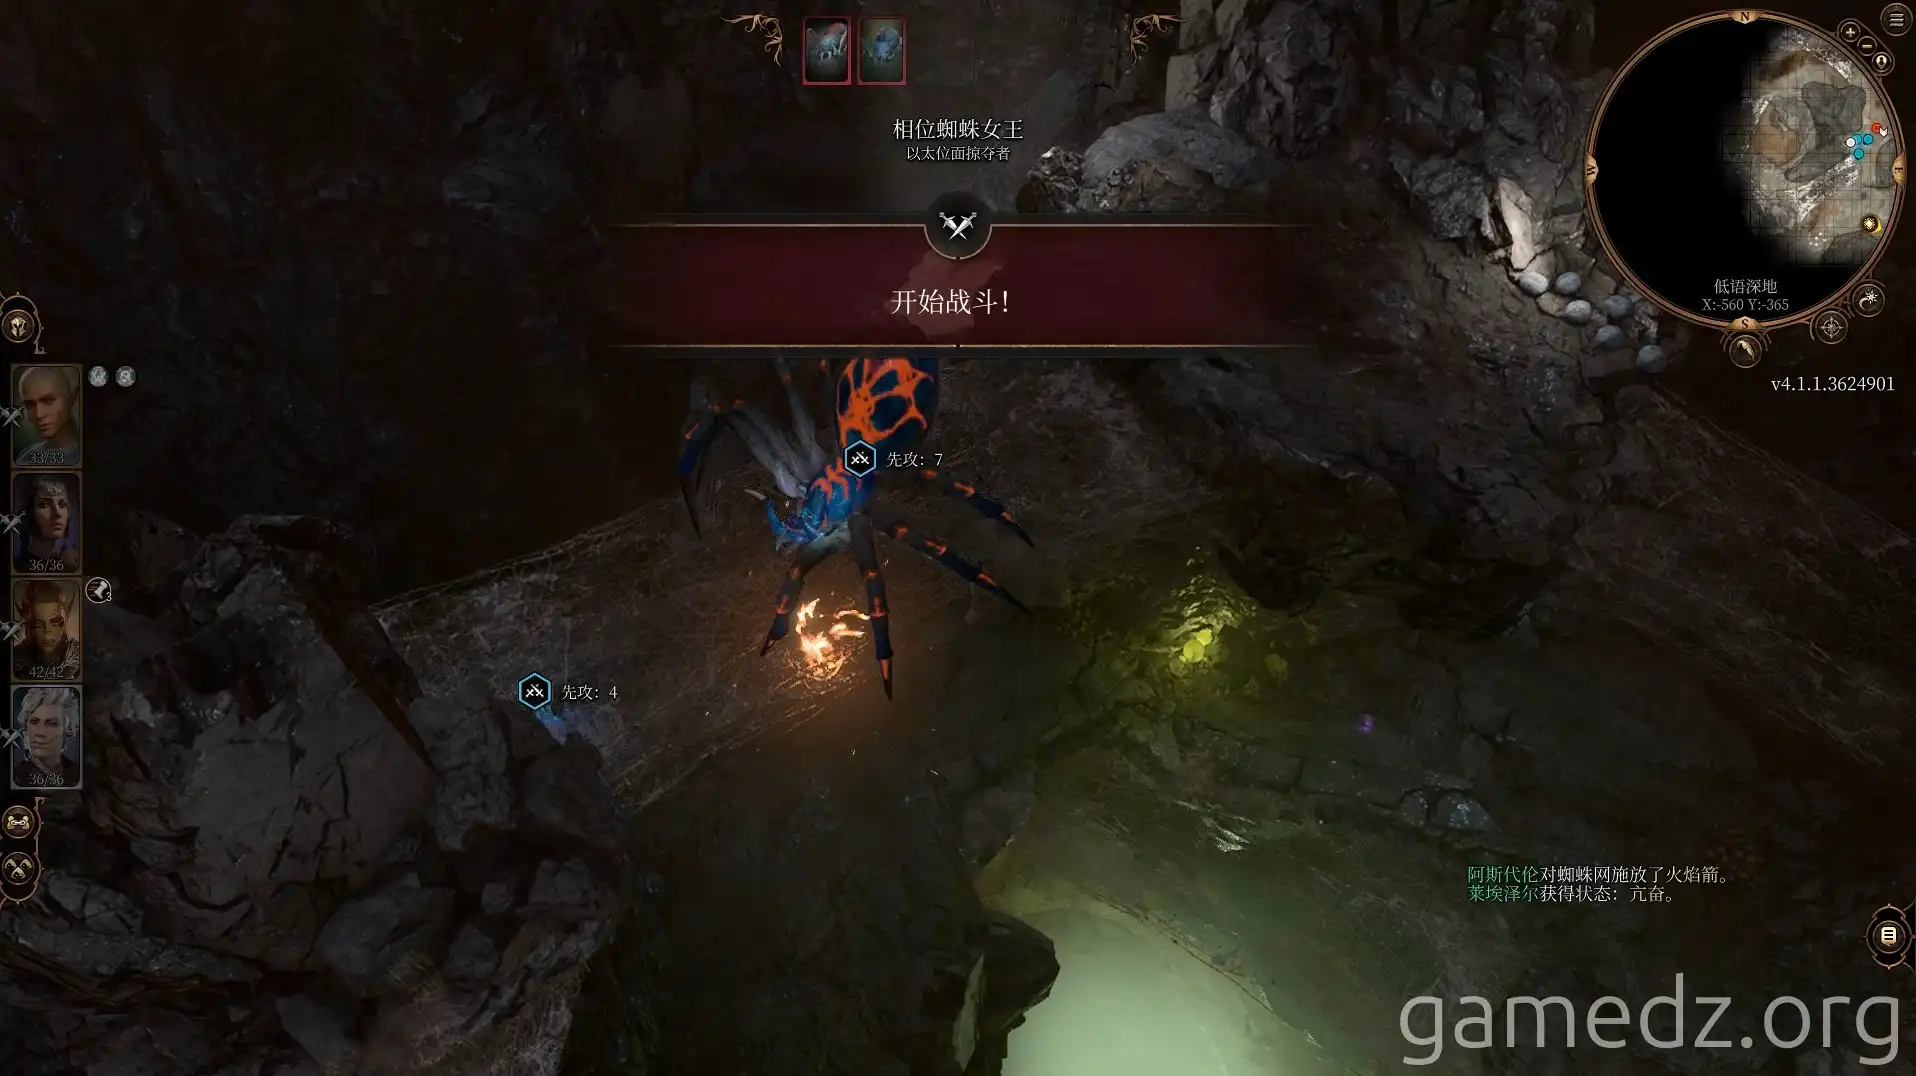
Subsequently, throw a Void Bulb near the Spider Queen. This will cause her to fall into the hole and die. Then, you can defeat the other two smaller Phase Spiders in combat.
The exact throwing location will vary depending on where the Spider Queen falls. Aim to position your throw near the edge of the platform, ensuring the effect area covers the Spider Queen.
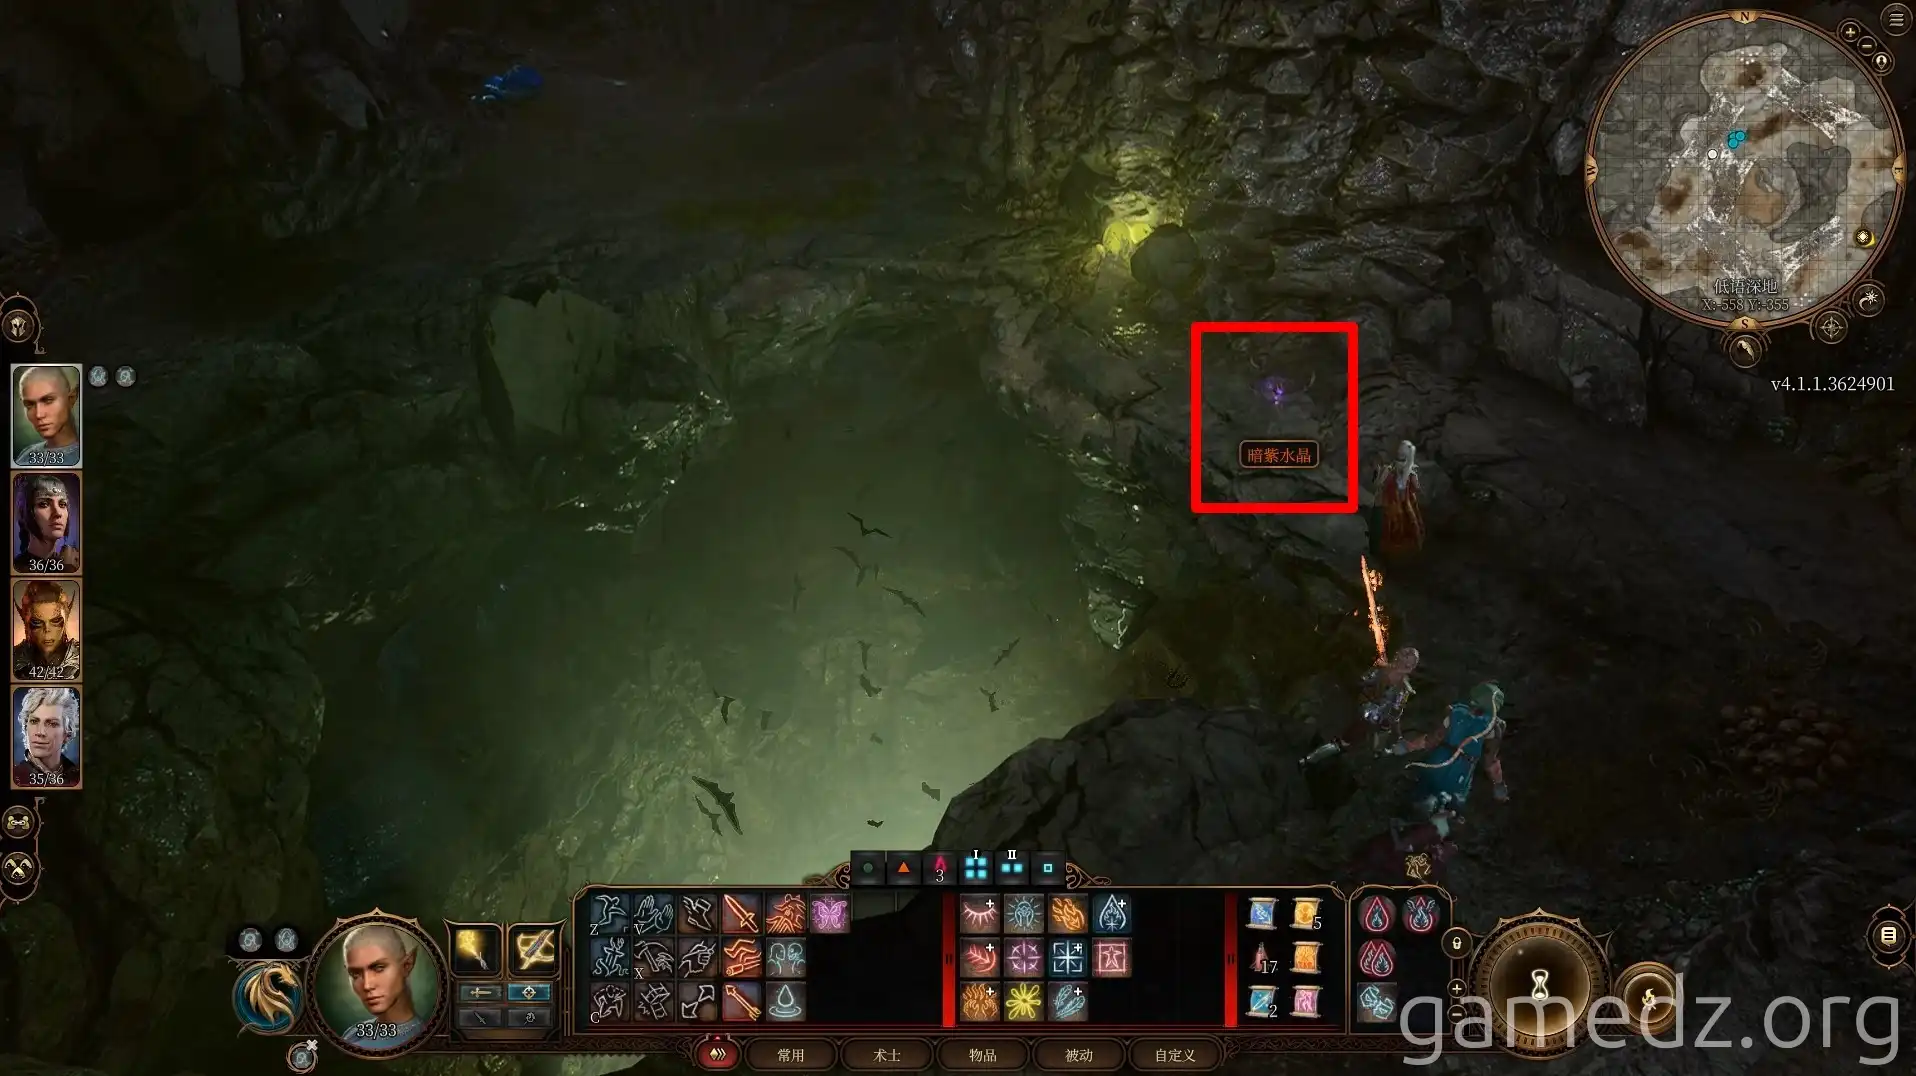
Northwest of the hole where the Spider Queen fell, you can find an "Amethyst." Using this amethyst allows you to read the "Necromancy of Thay" for the first time.
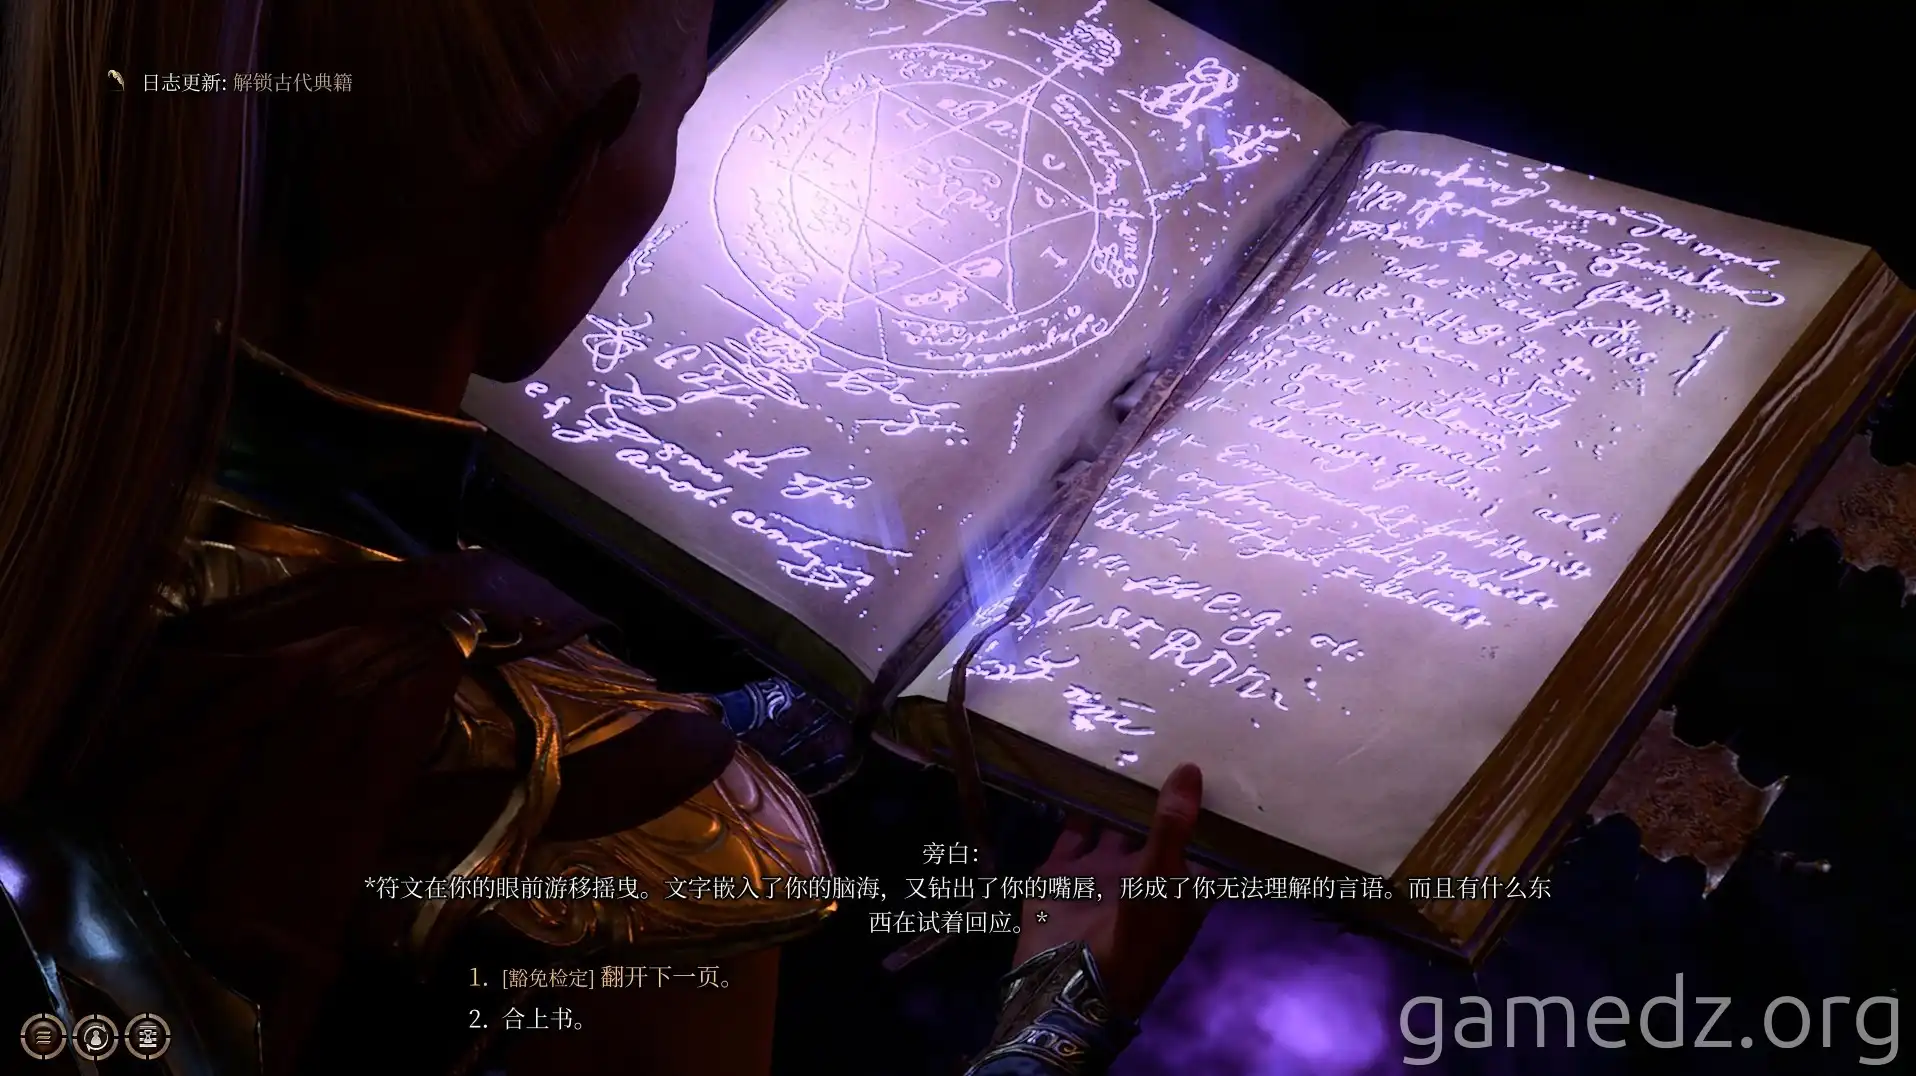
Reading the book requires passing three checks. Upon successfully passing all three, you will learn the spell "Speak with Dead."
Characters with the "Sage" background will receive two Inspiration points if they succeed in all three readings.
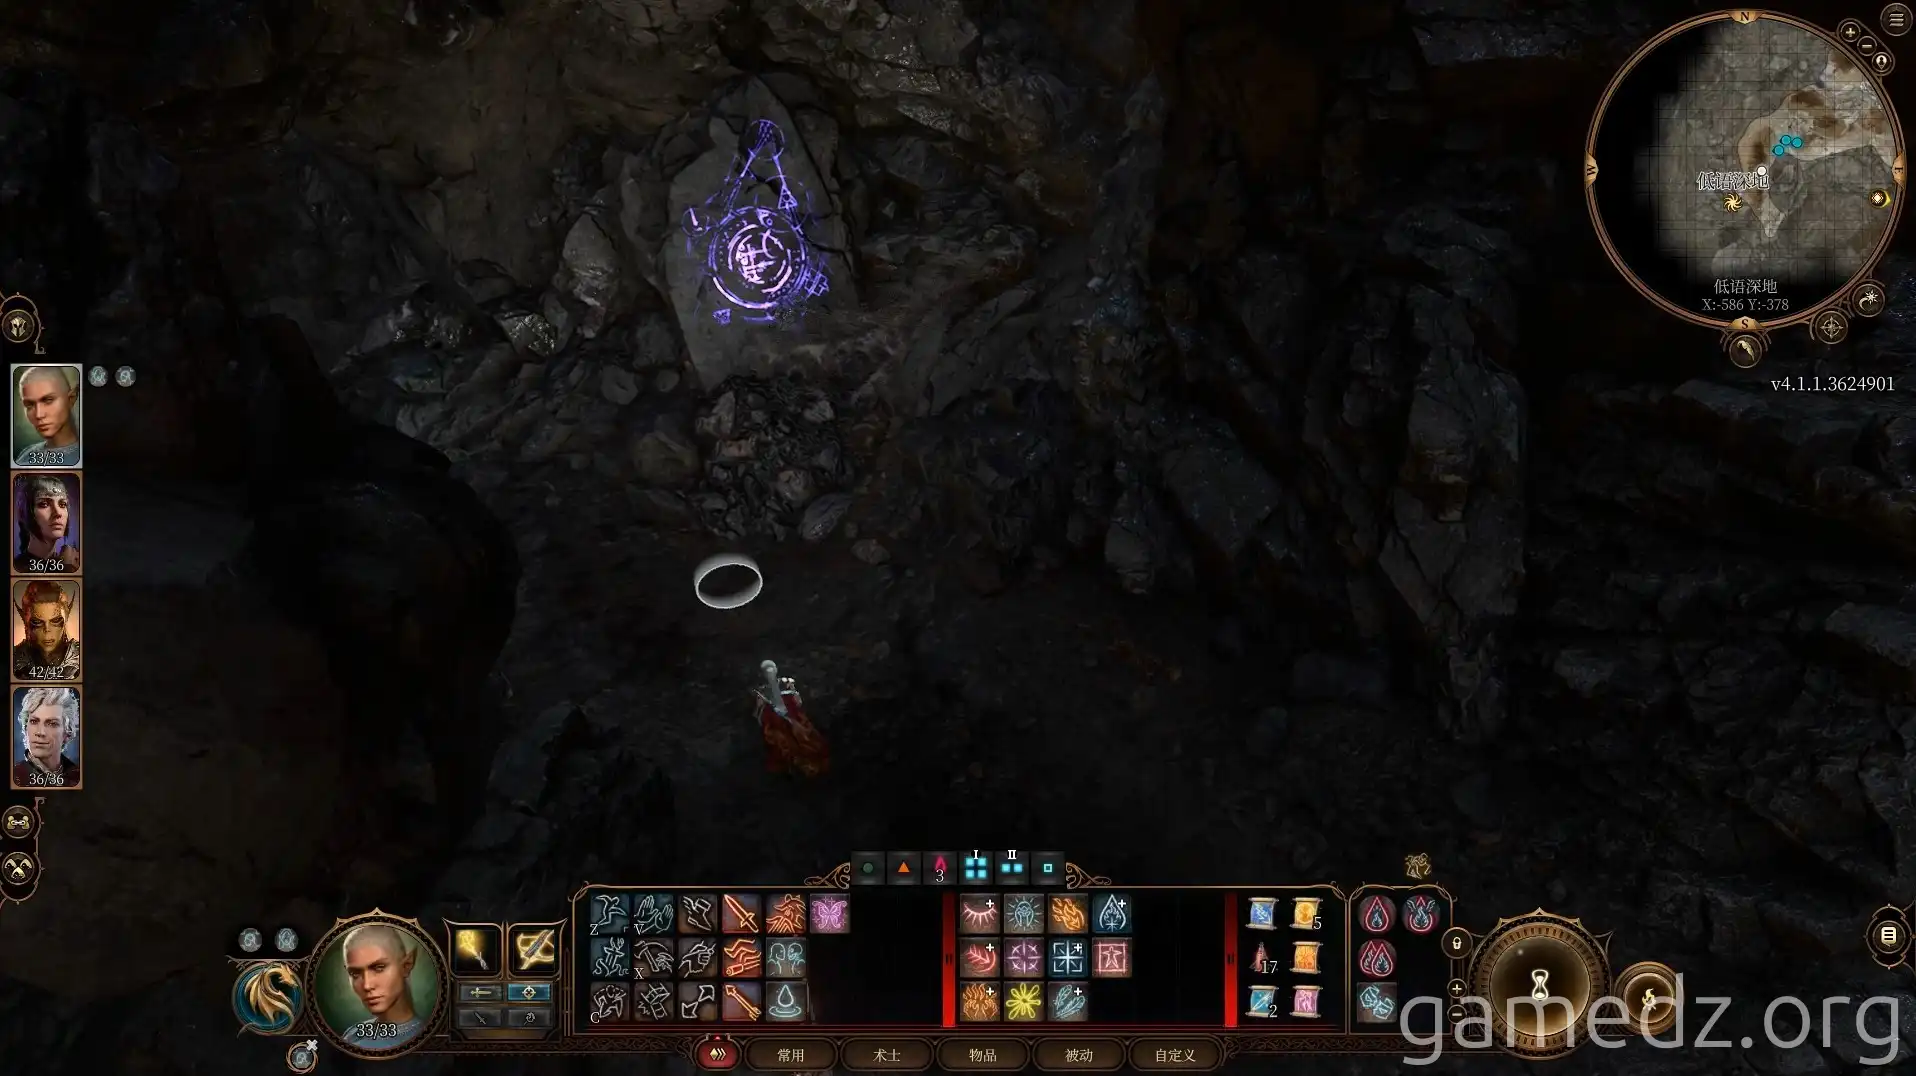
On the westernmost side of the cave, you can activate the "Grymforge" teleportation circle.
Once you've finished exploring the Underdark, cast Feather Fall on yourself and then jump into the cavern where the Spider Queen fell.
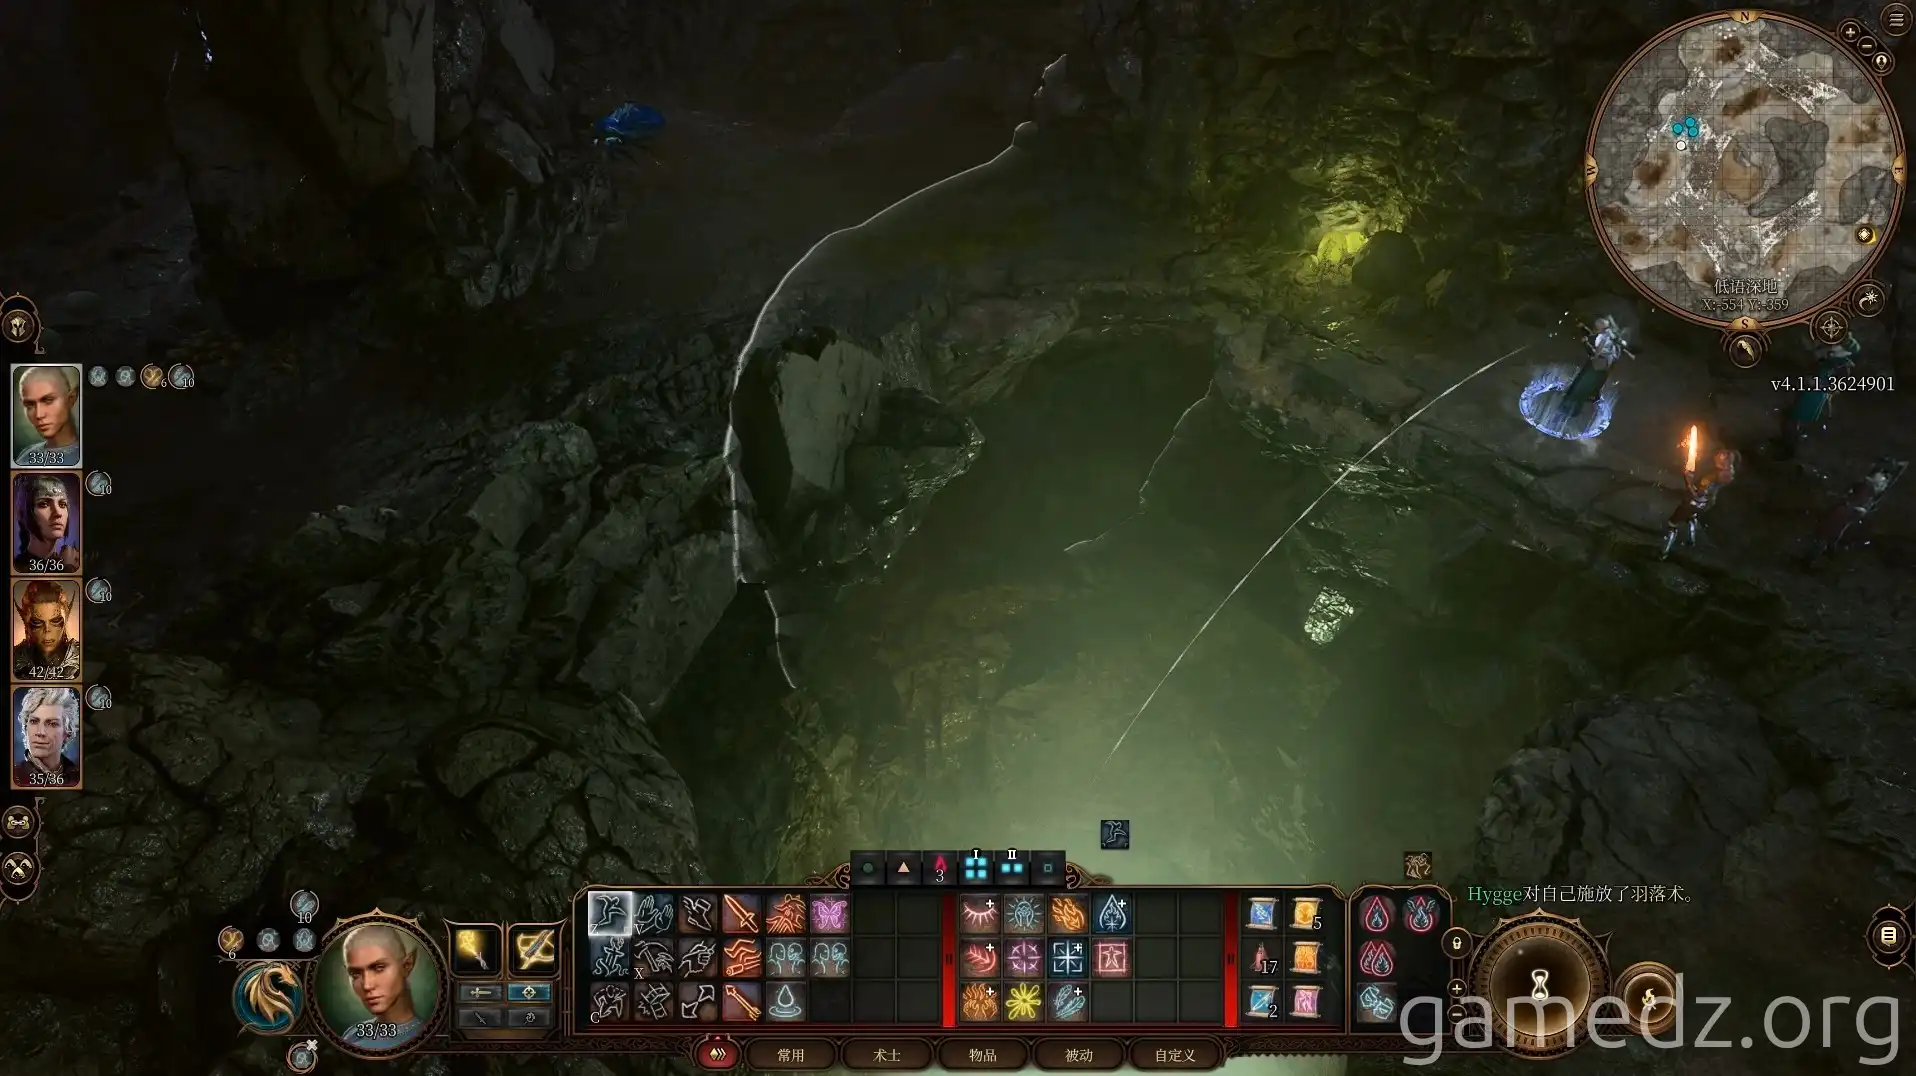
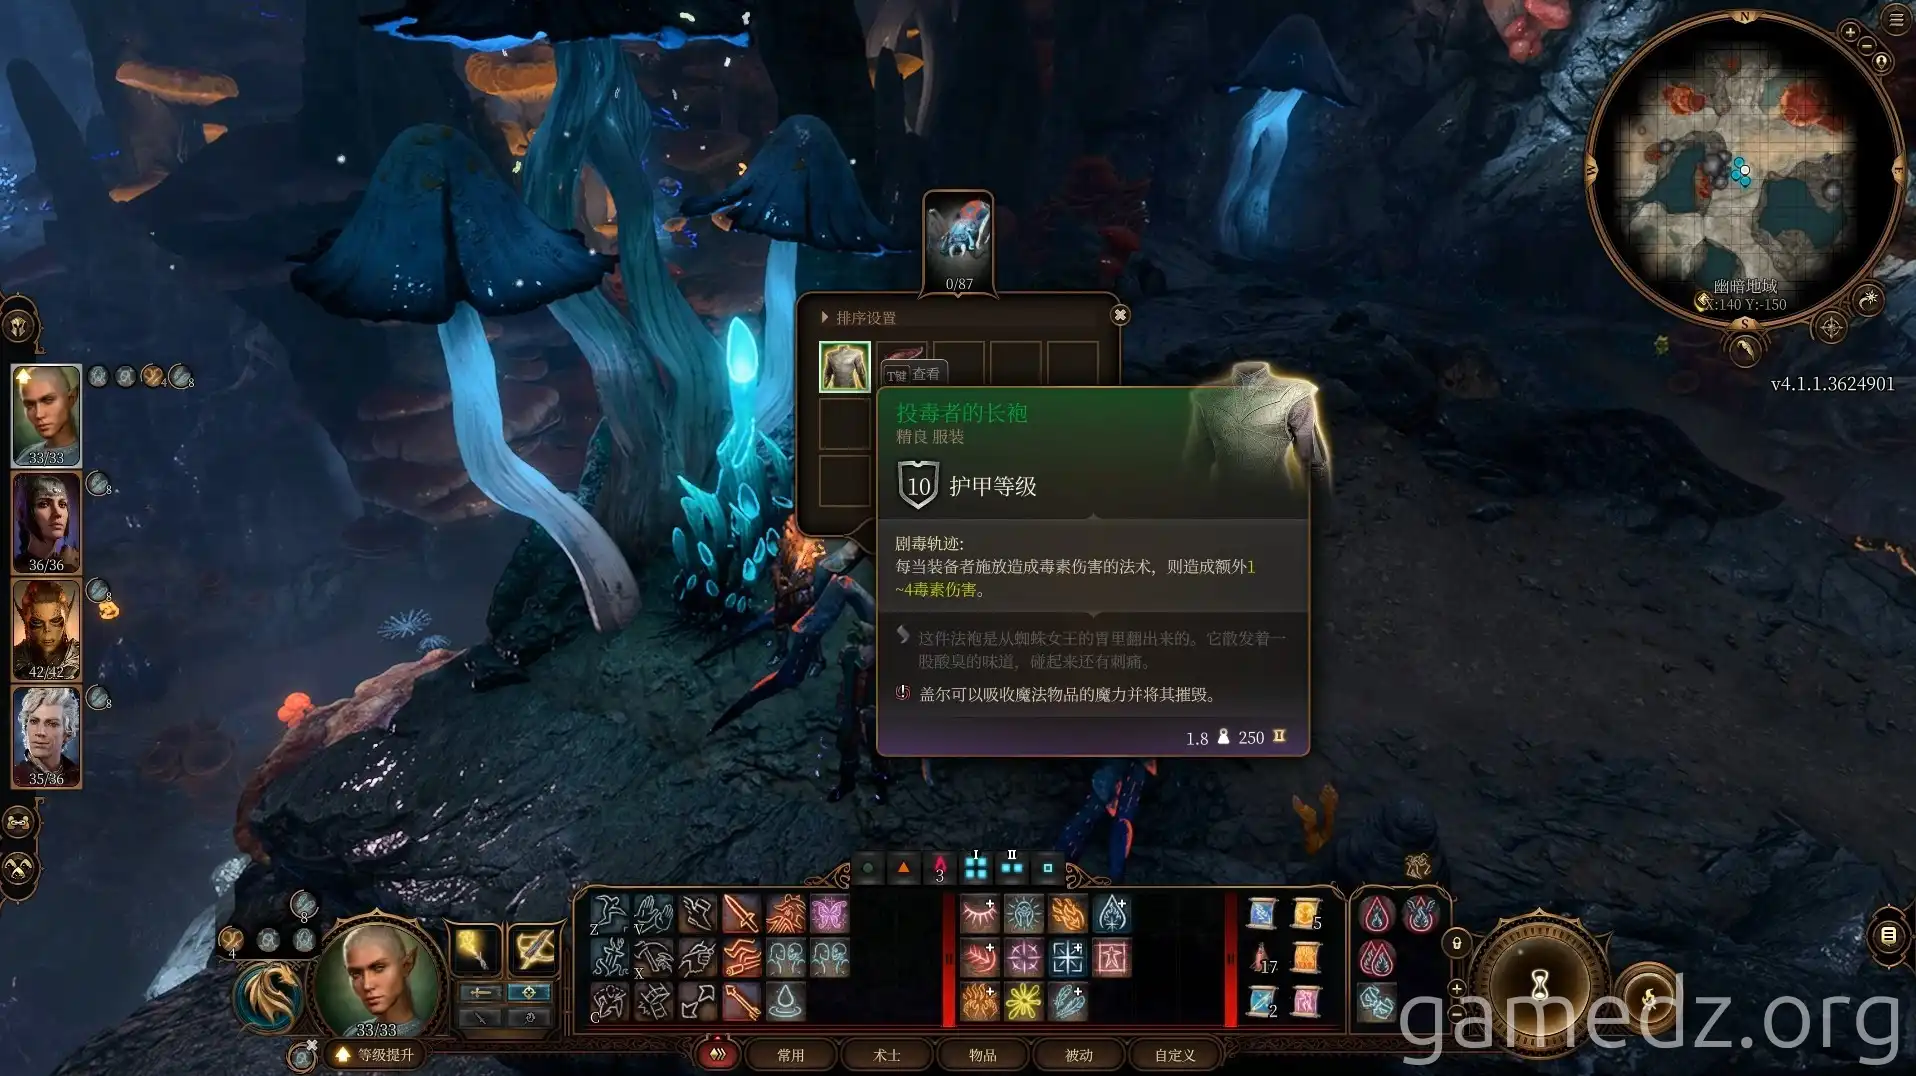
Through this cavern, you can reach the Underdark and find the fallen Spider Queen. From her corpse, you can loot the "Poisoner's Robe" rare equipment. After grabbing the gear, teleport away immediately to avoid being pulled into combat by the two Minotaurs nearby. You can explore the Underdark further later.
It's recommended to kill the Spider Queen by making her fall. Her corpse will remain indefinitely. Later, when you explore the Underdark, you can use the Myconid Sovereign's ability to revive her as a follower.
With this, the entire Infected Village has been explored.
