Baldur's Gate 3 Last Light Inn: Full Map & Gear Guide
Comprehensive Baldur's Gate 3 guide to the Last Light Inn, detailing map exploration, unique gear locations, and key quests like 'Rescue the Tieflings' and 'Awaken Art Cullagh'.
Upon entering The Last Light Inn, you'll encounter a conflict with Jaheira, the leader of the Harpers. At this point, Mol, the tiefling refugee you previously aided, will intercede on your behalf. After explaining the situation to Jaheira, you'll be free to explore the inn.

Activate the waypoint [The Last Light Inn] on the stone near the entrance, then proceed to the quartermaster on the left to restock. If you succeed in a persuasion check during the conversation, you can receive a free Camp Supplies pack.
Here is a list of unique equipment sold by the quartermaster and their stats.

Next, we'll explore the area around the inn before heading inside. Follow the small path north of the waypoint.

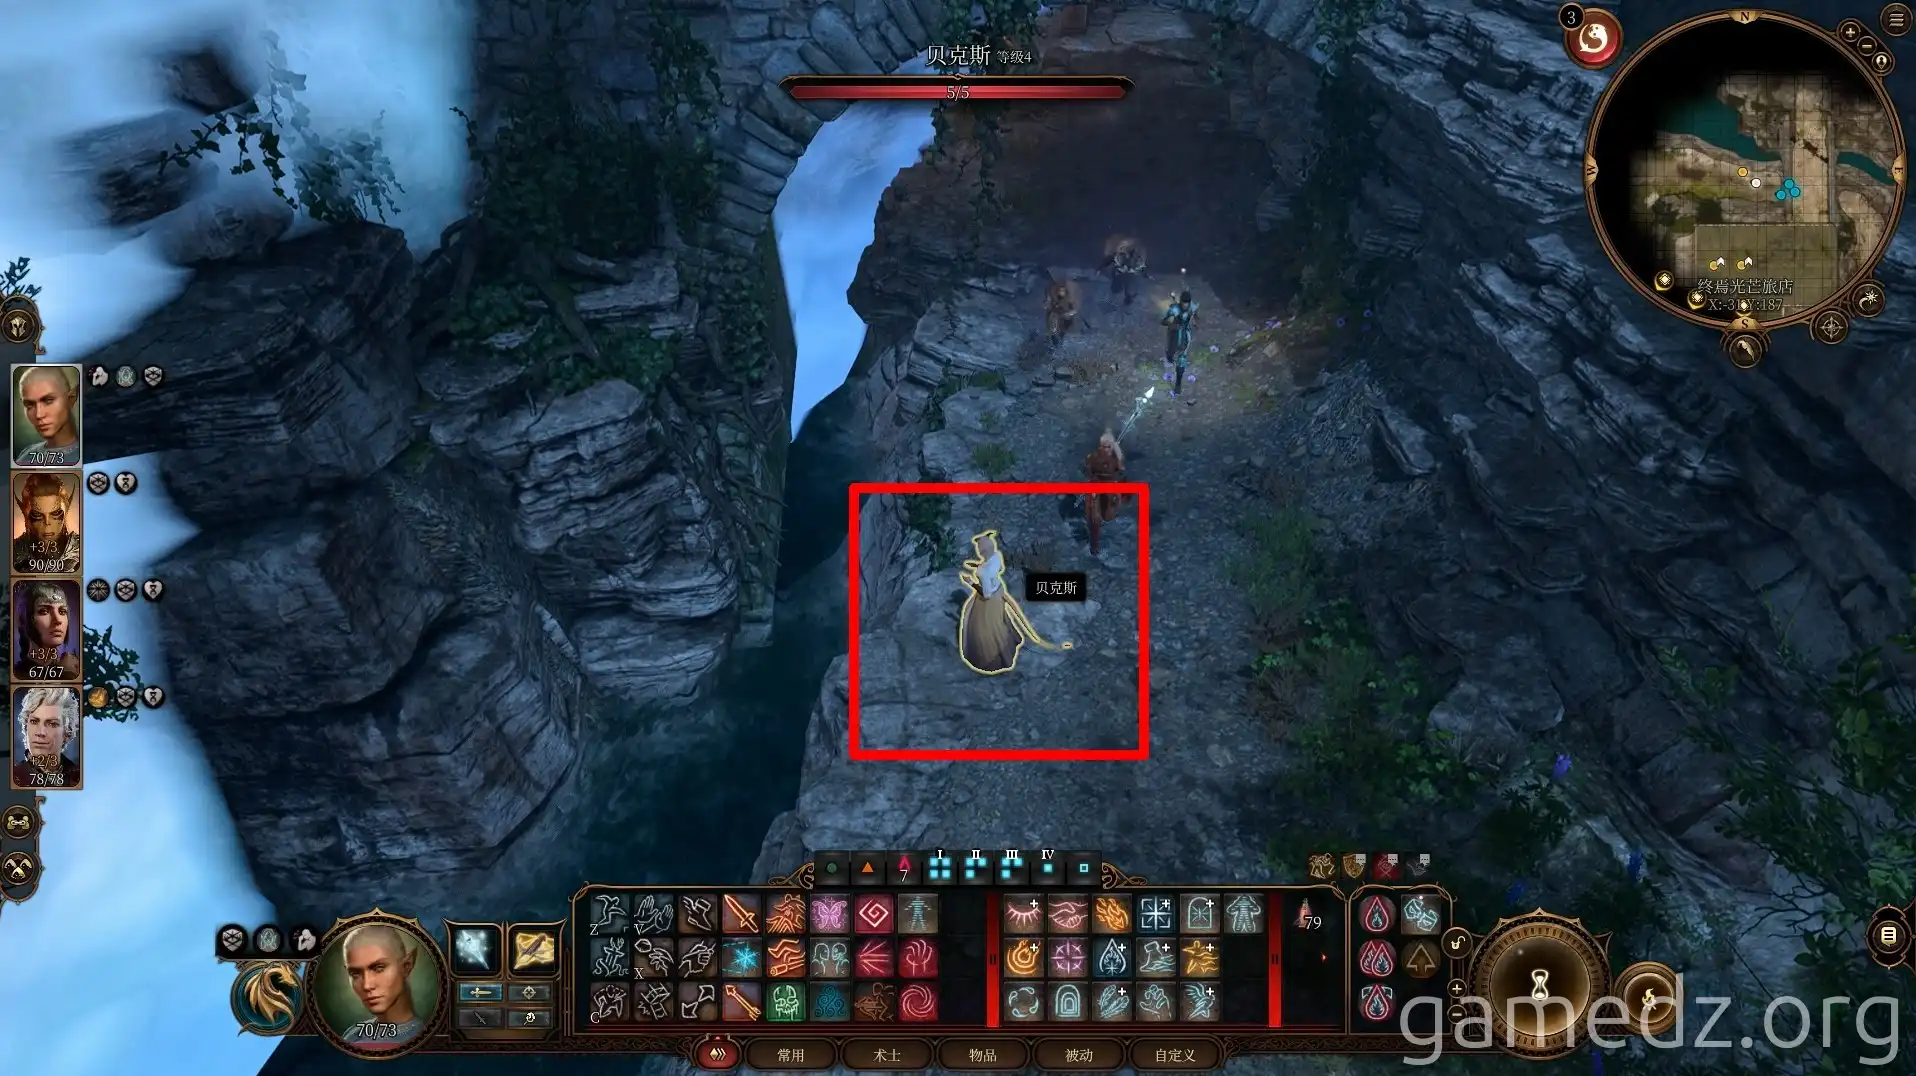
After crossing the stone bridge to the north, you'll meet the tiefling woman, Bex. In the first act, you might have encountered her and her husband near the mercenaries in the Emerald Grove, where they dreamed of a beautiful life in Baldur's Gate. However, her husband has now been captured and taken to Moonrise Towers. After speaking with her, she will ask you to rescue her husband, initiating the side quest "Rescue the Tieflings."
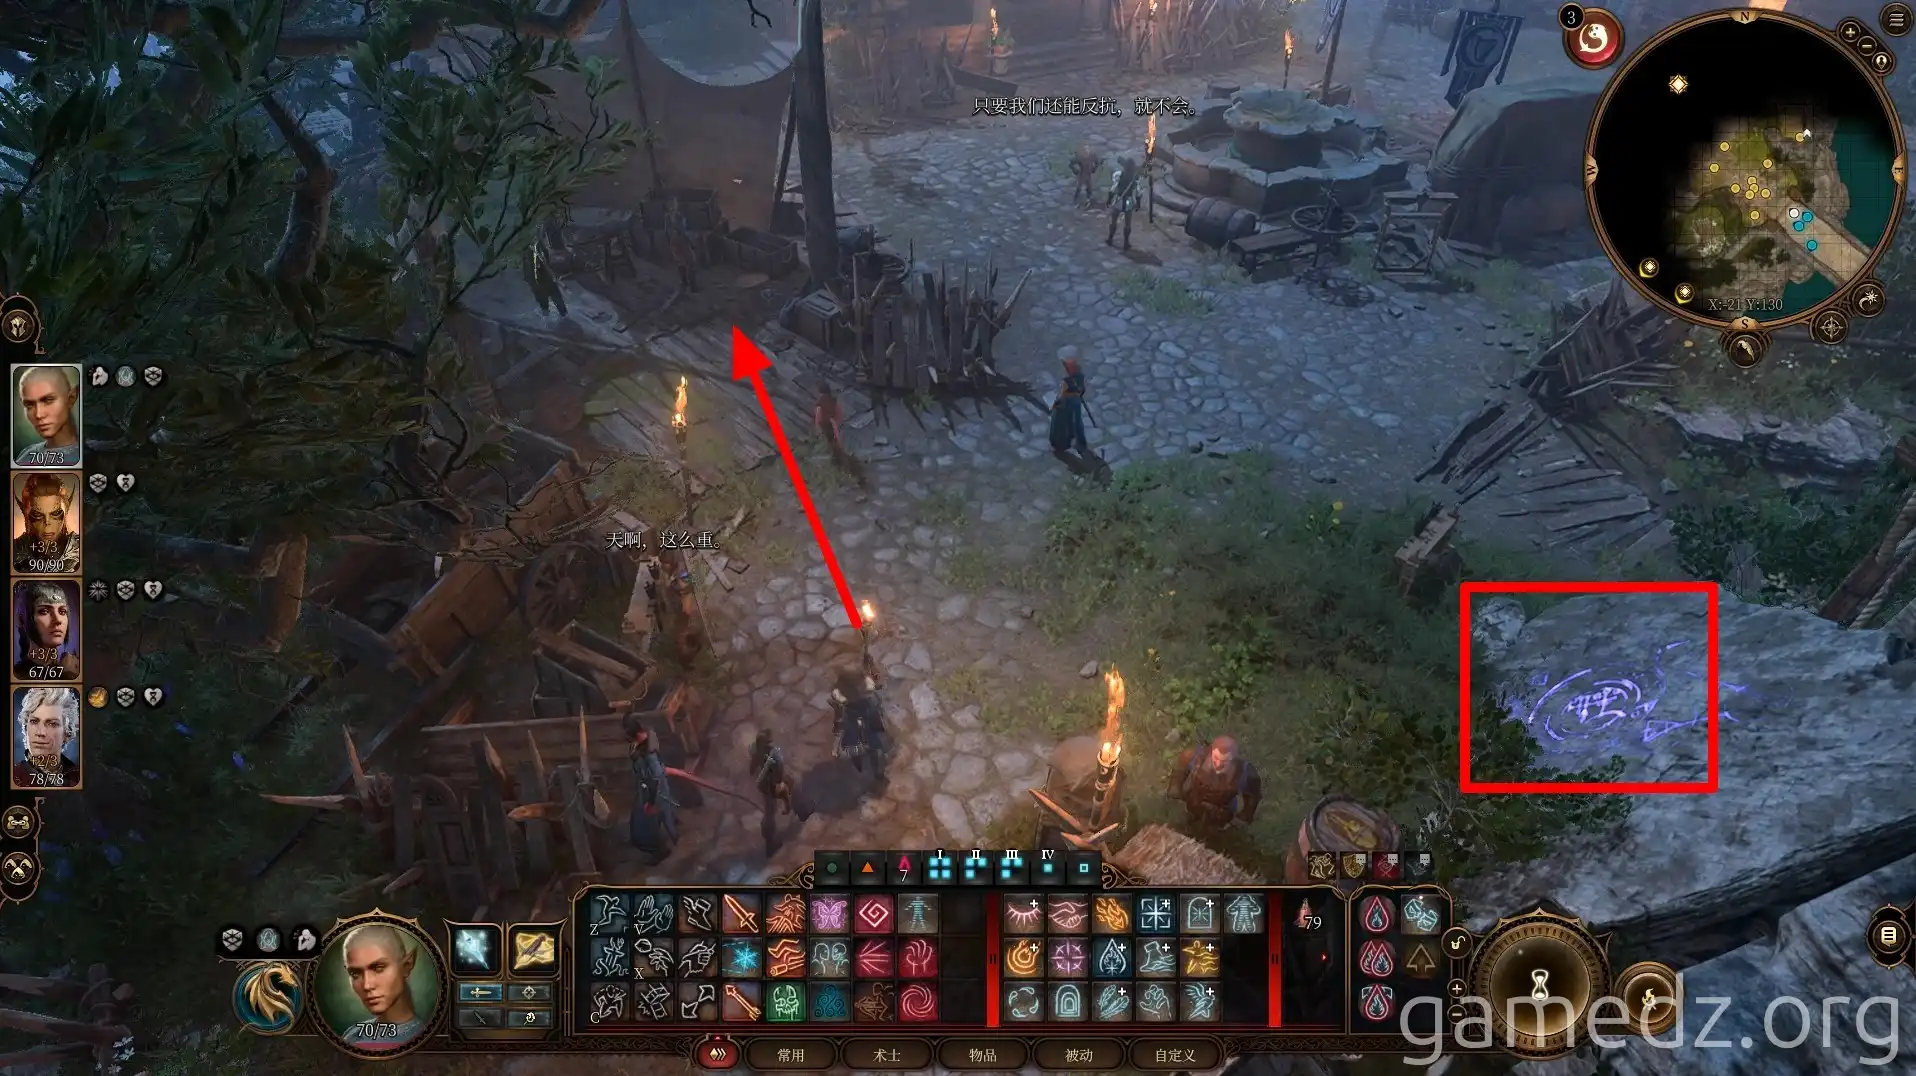
Head to the northwest corner of the inn and leave the protective barrier to continue further north, outside the shielded area.
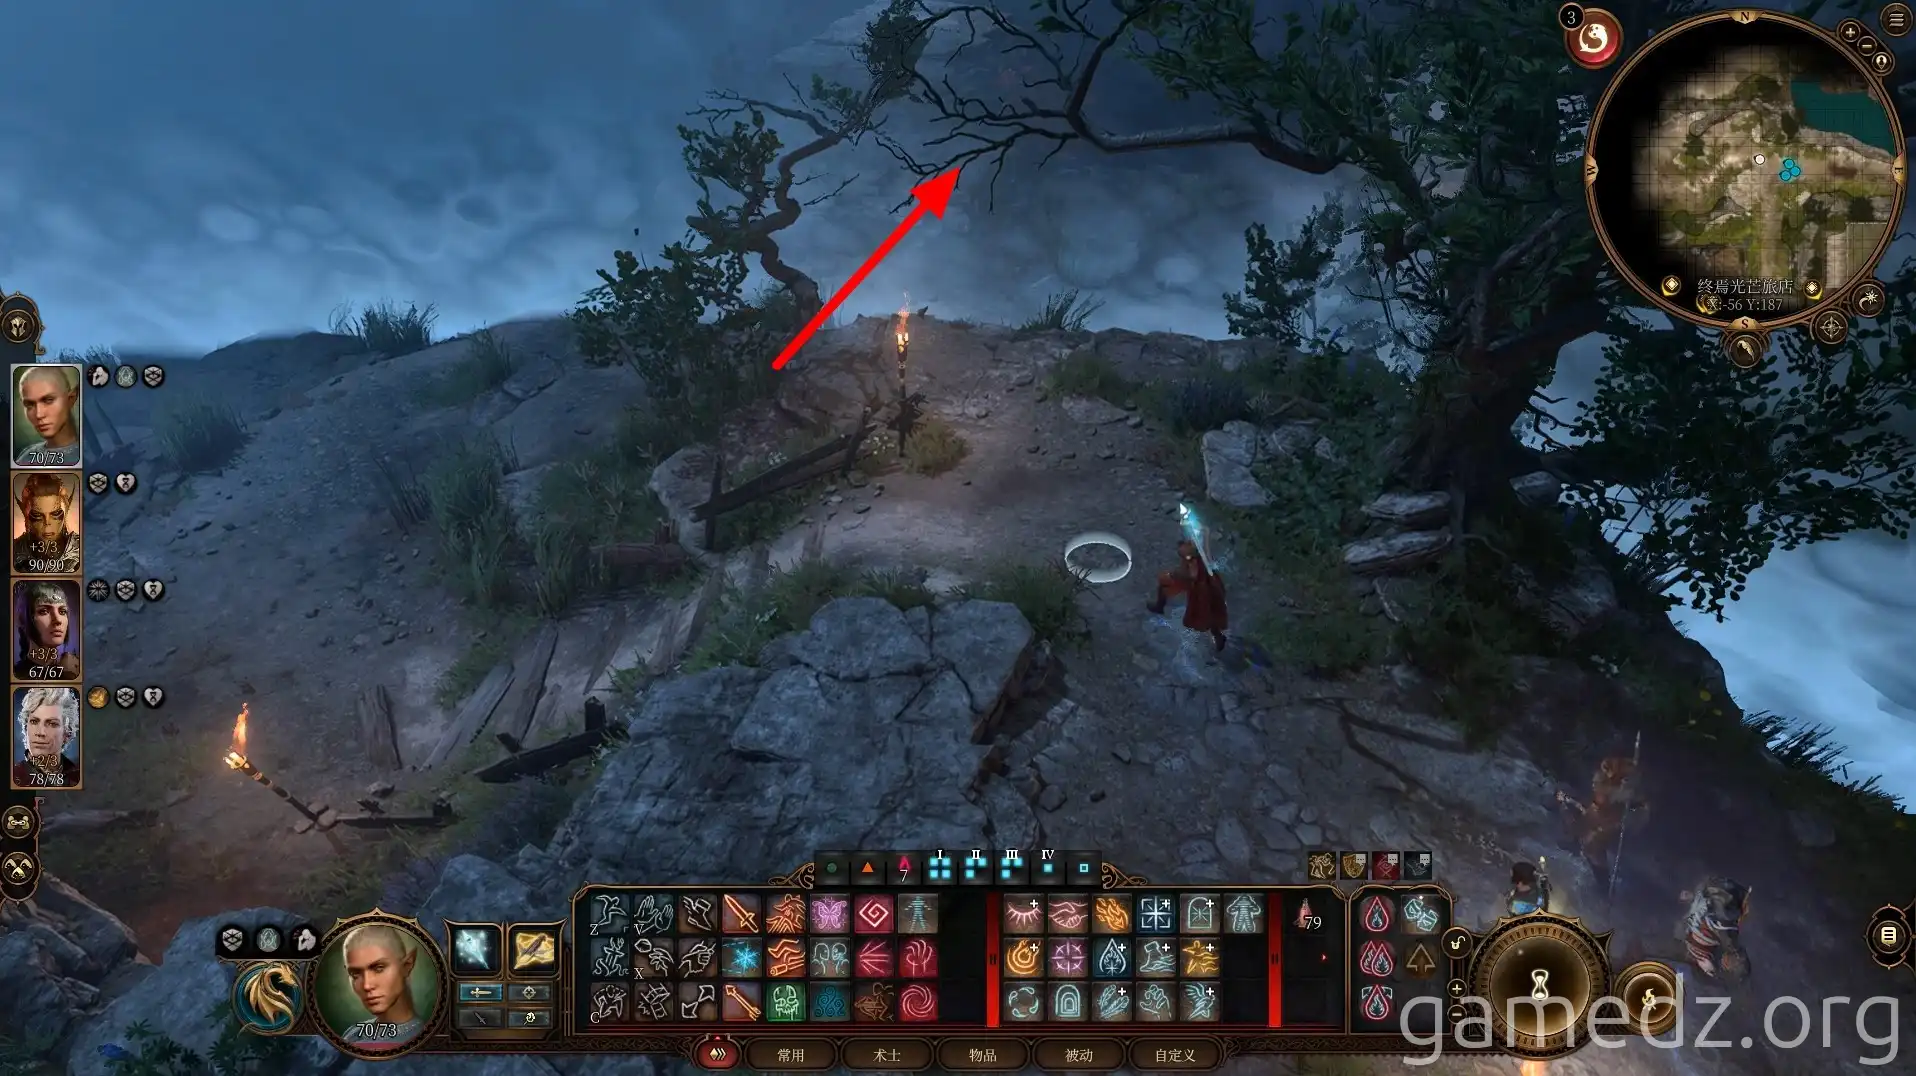
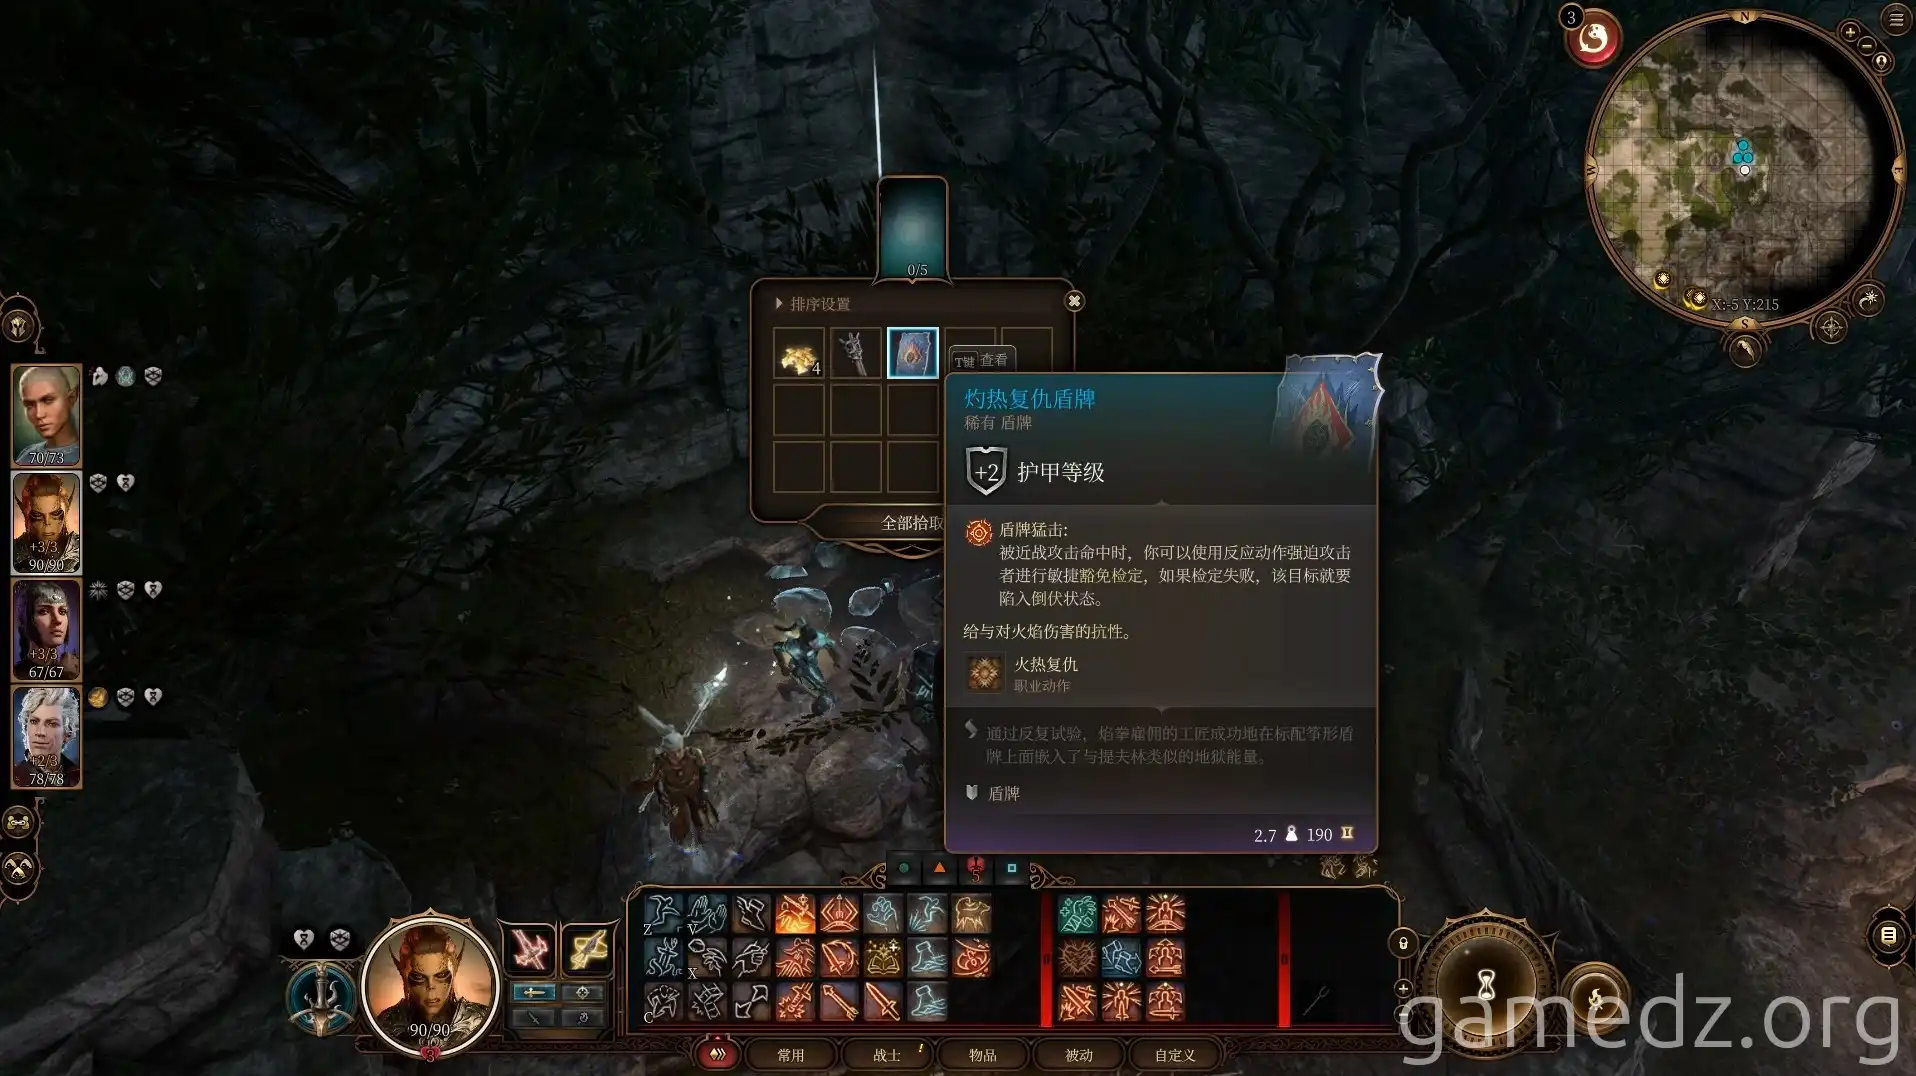
Beneath the cliff face ahead, you can discover a pile of rubble with an Insight check. After digging through the rubble, you can obtain the rare shield, "Shield of the Scorching Revenge," from the skeleton below.
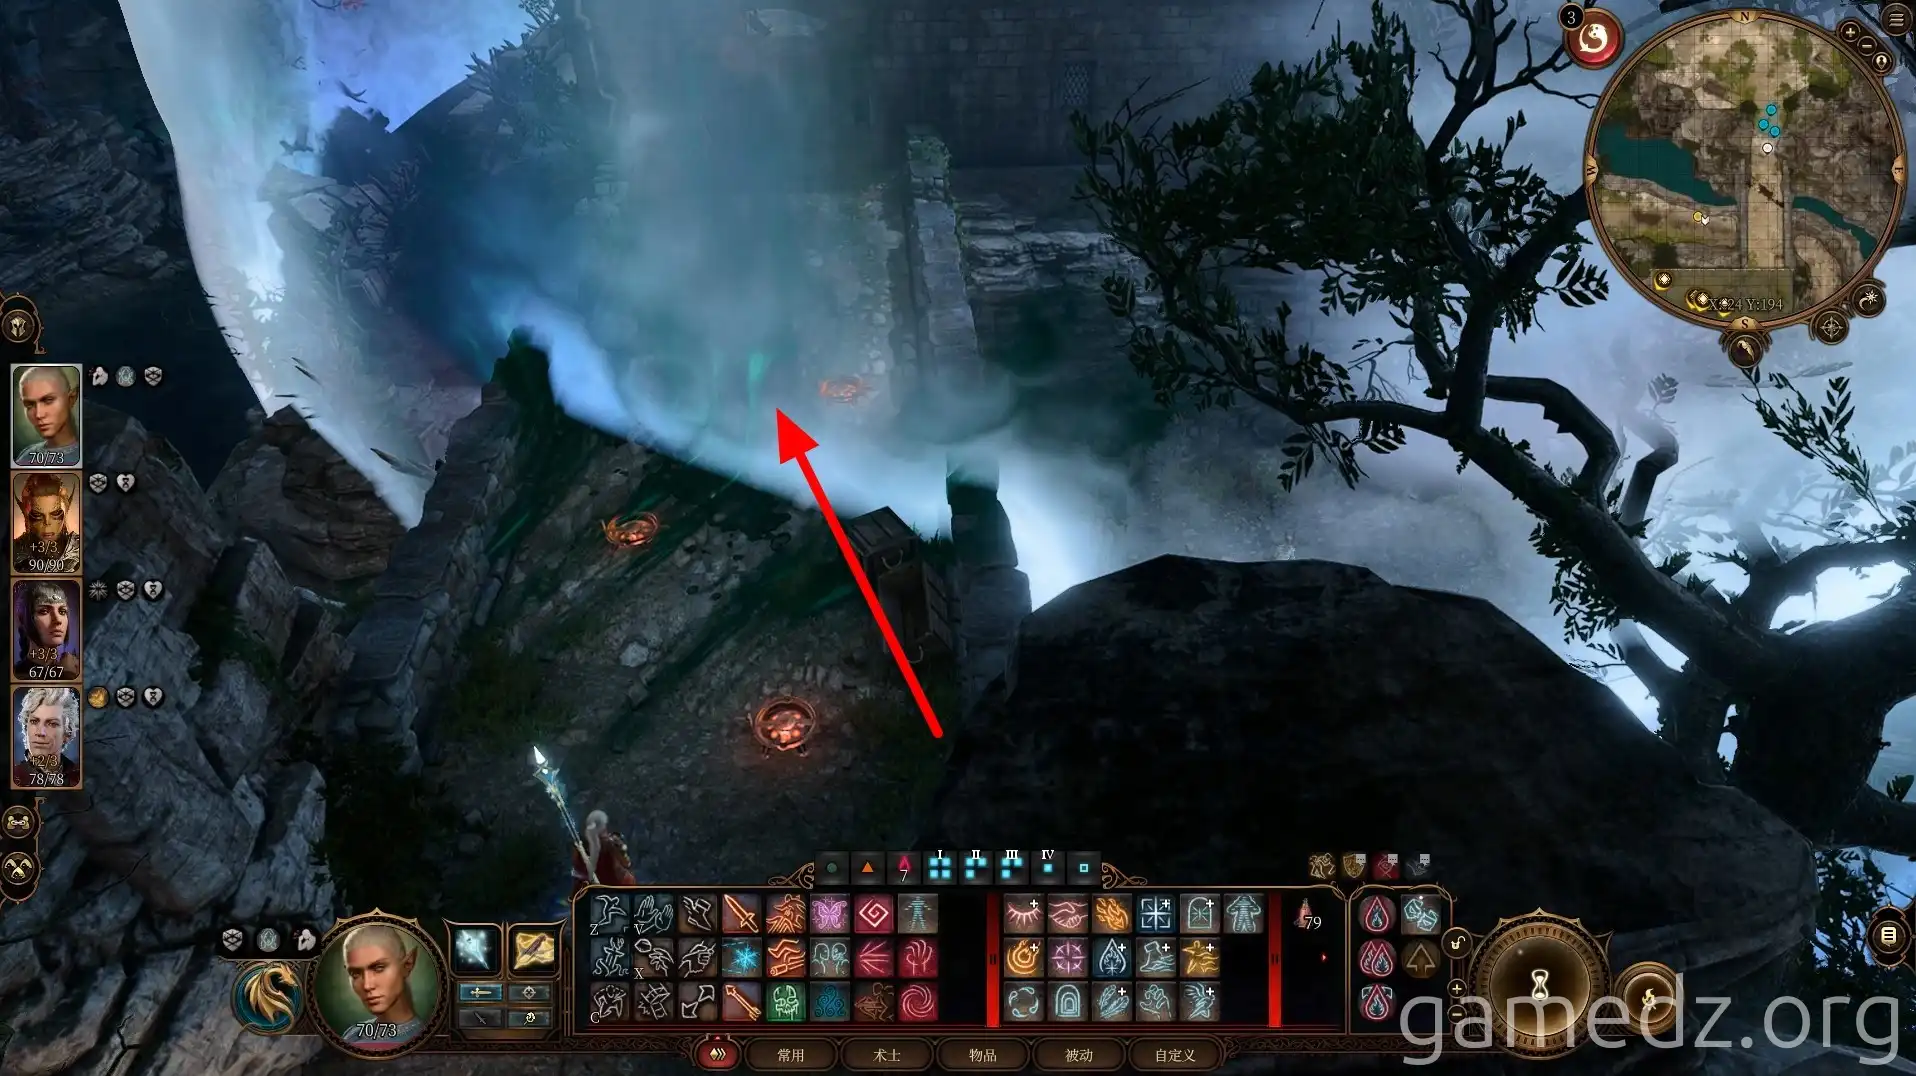
Return south across the stone bridge to the inn. Be cautious of the traps on the bridge.
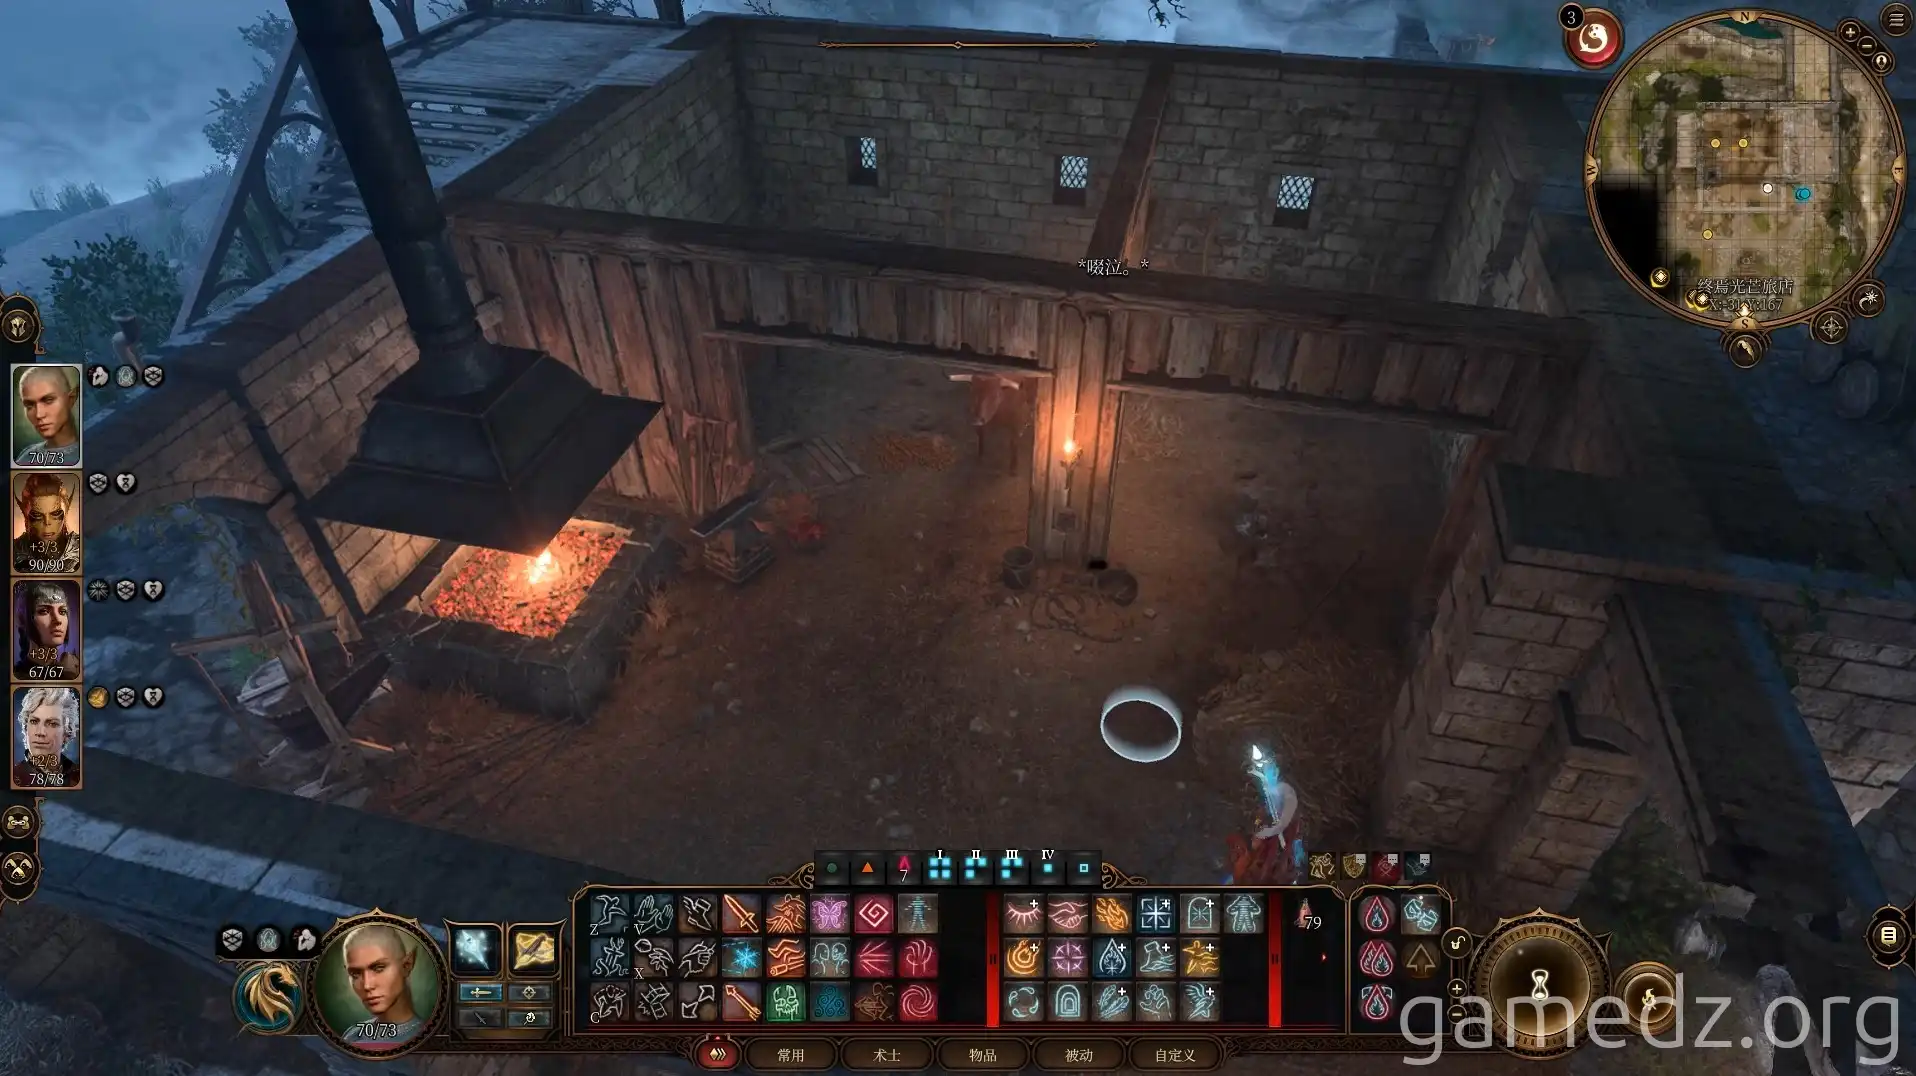
The building ahead is a cow shed. If you didn't kill the Strange Ox in the first act, you can encounter it again here. Killing the Strange Ox now will not only grant you the "Ring of the Shapeshifter" but also another excellent piece of gear, the "Hat of Fire's Acuity."
However, since you can encounter the Strange Ox again in Act Three, it's still not recommended to kill it at this point. Additionally, if you didn't kill the Strange Ox in the first act, you can also meet the blacksmith Damon here again.
The editor regrets killing the ox in the first act.
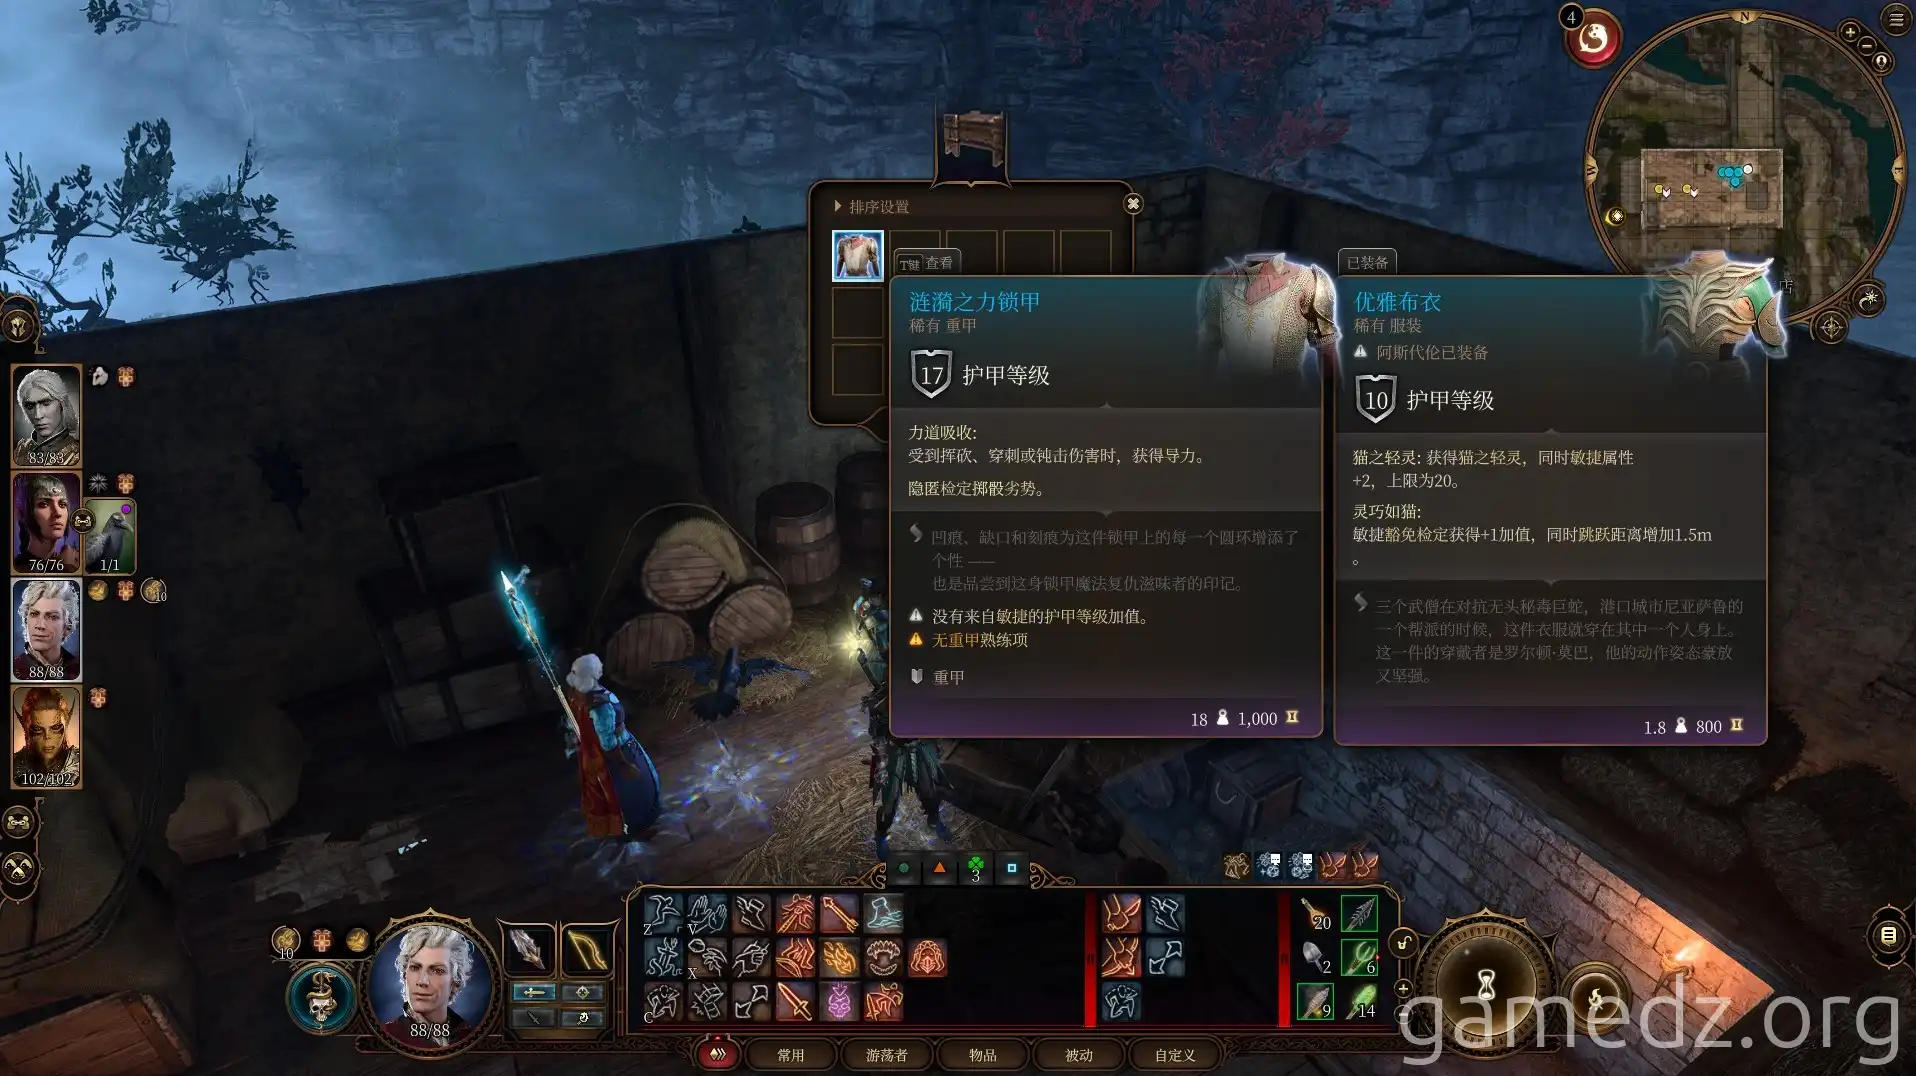
In the corner on the second floor of the cow shed, there's a locked chest. Opening it will yield the rare armor, "Chain Mail of the Rippling Force."
Return to the small path and cross the stone bridge eastward in the middle.
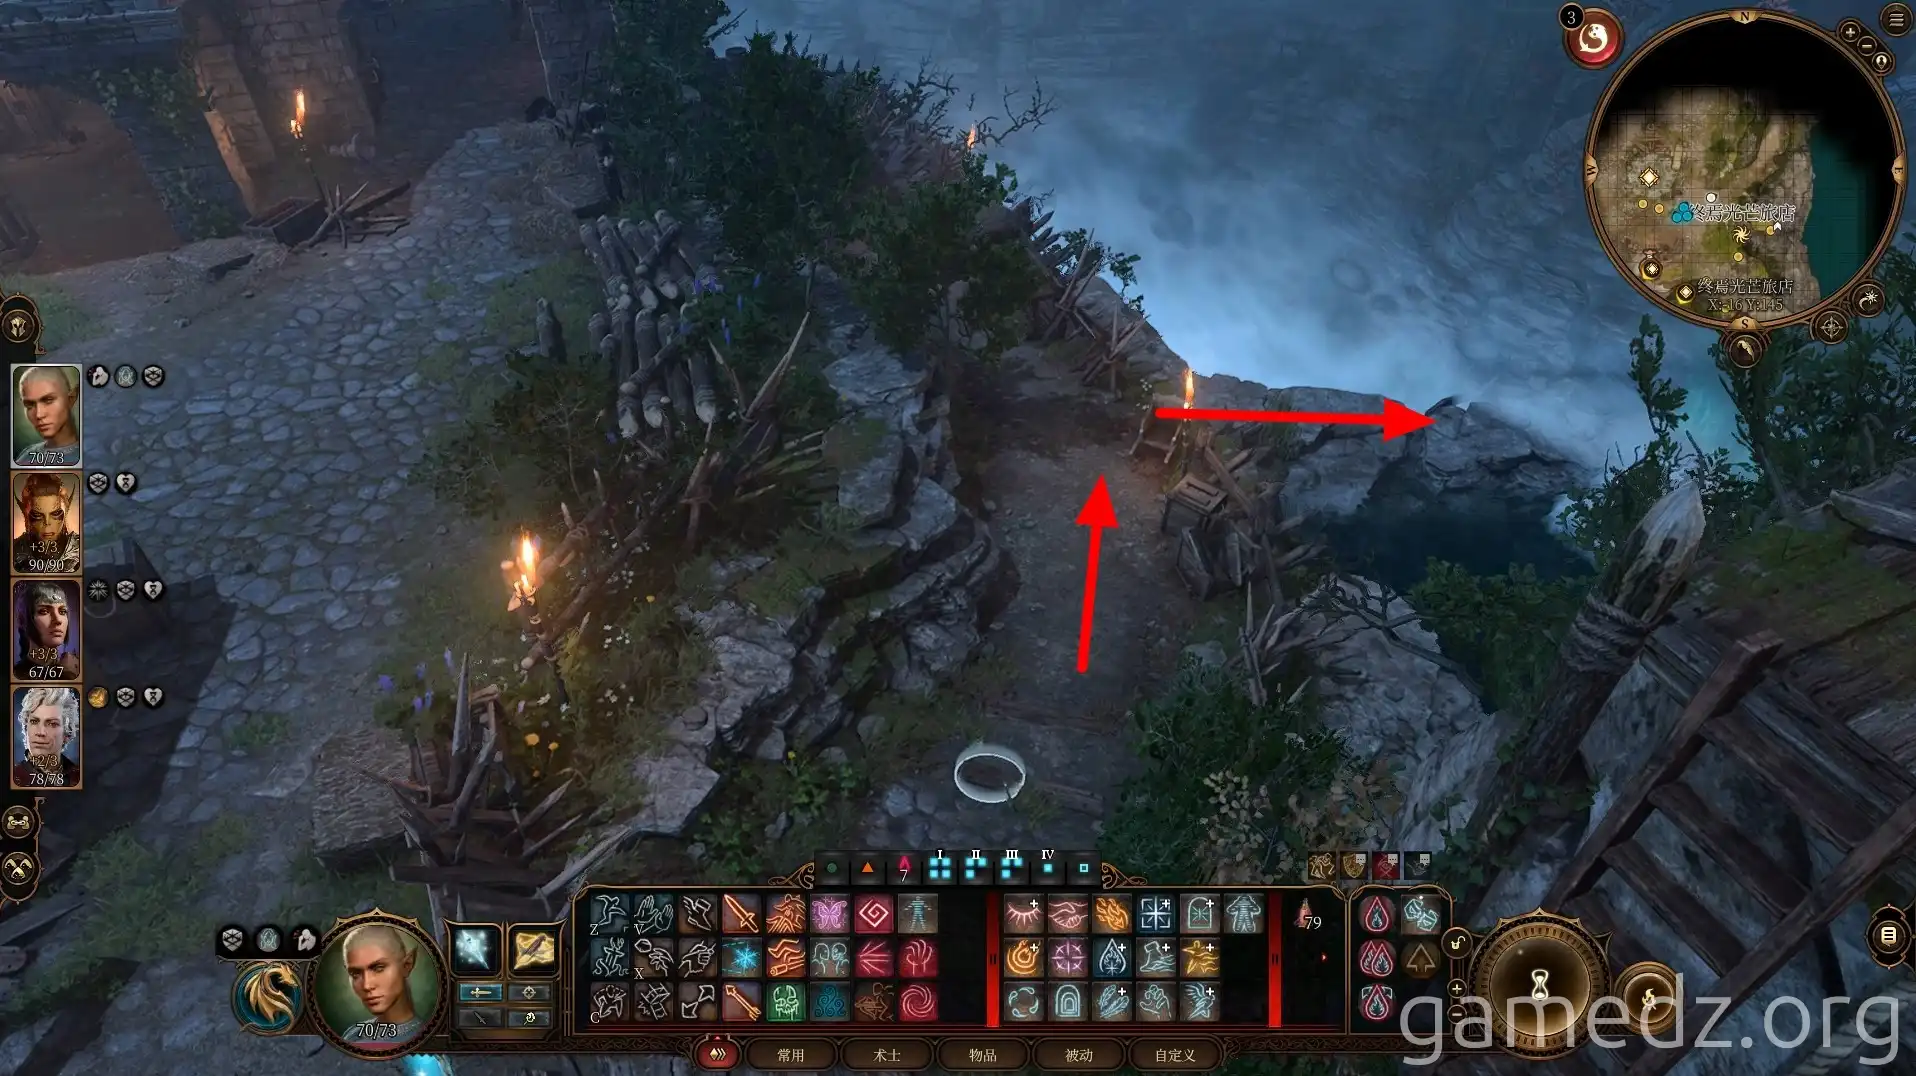
Once you reach the other side of the river, open the door and enter the room.
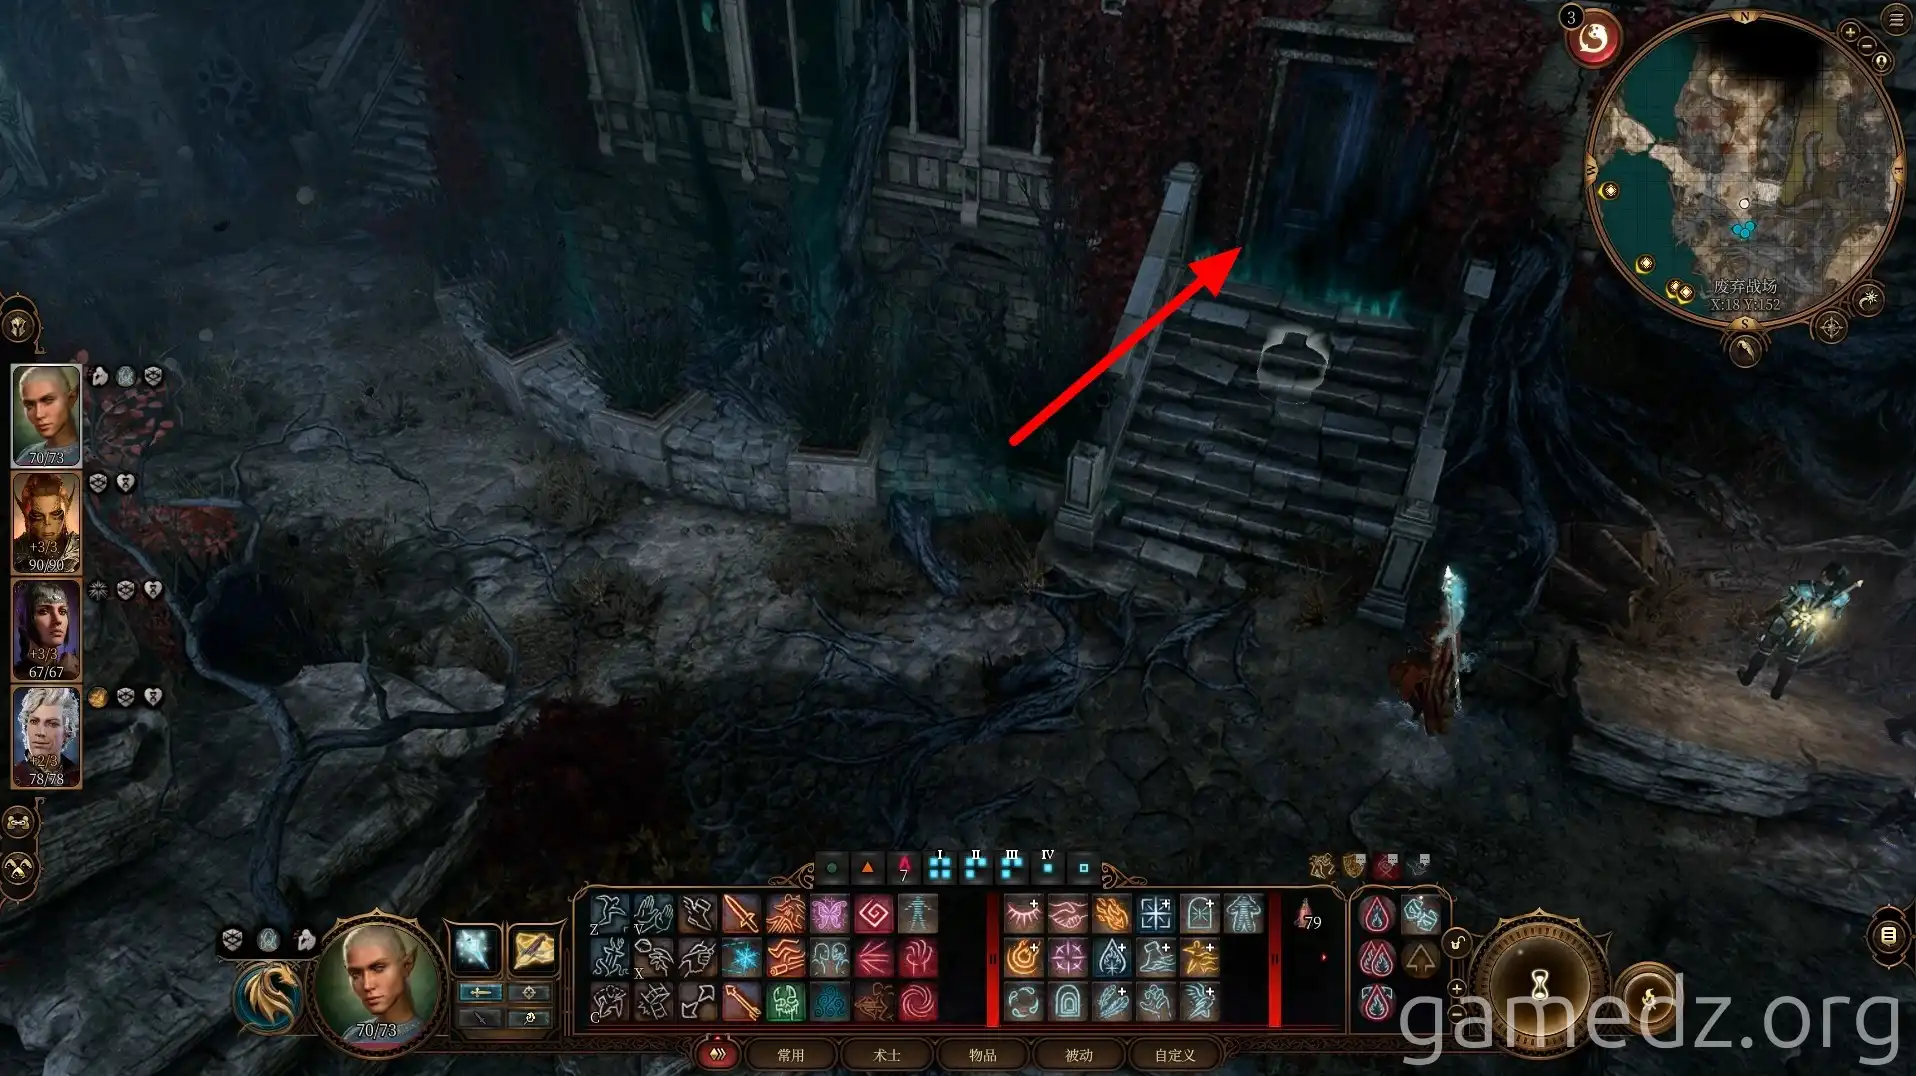
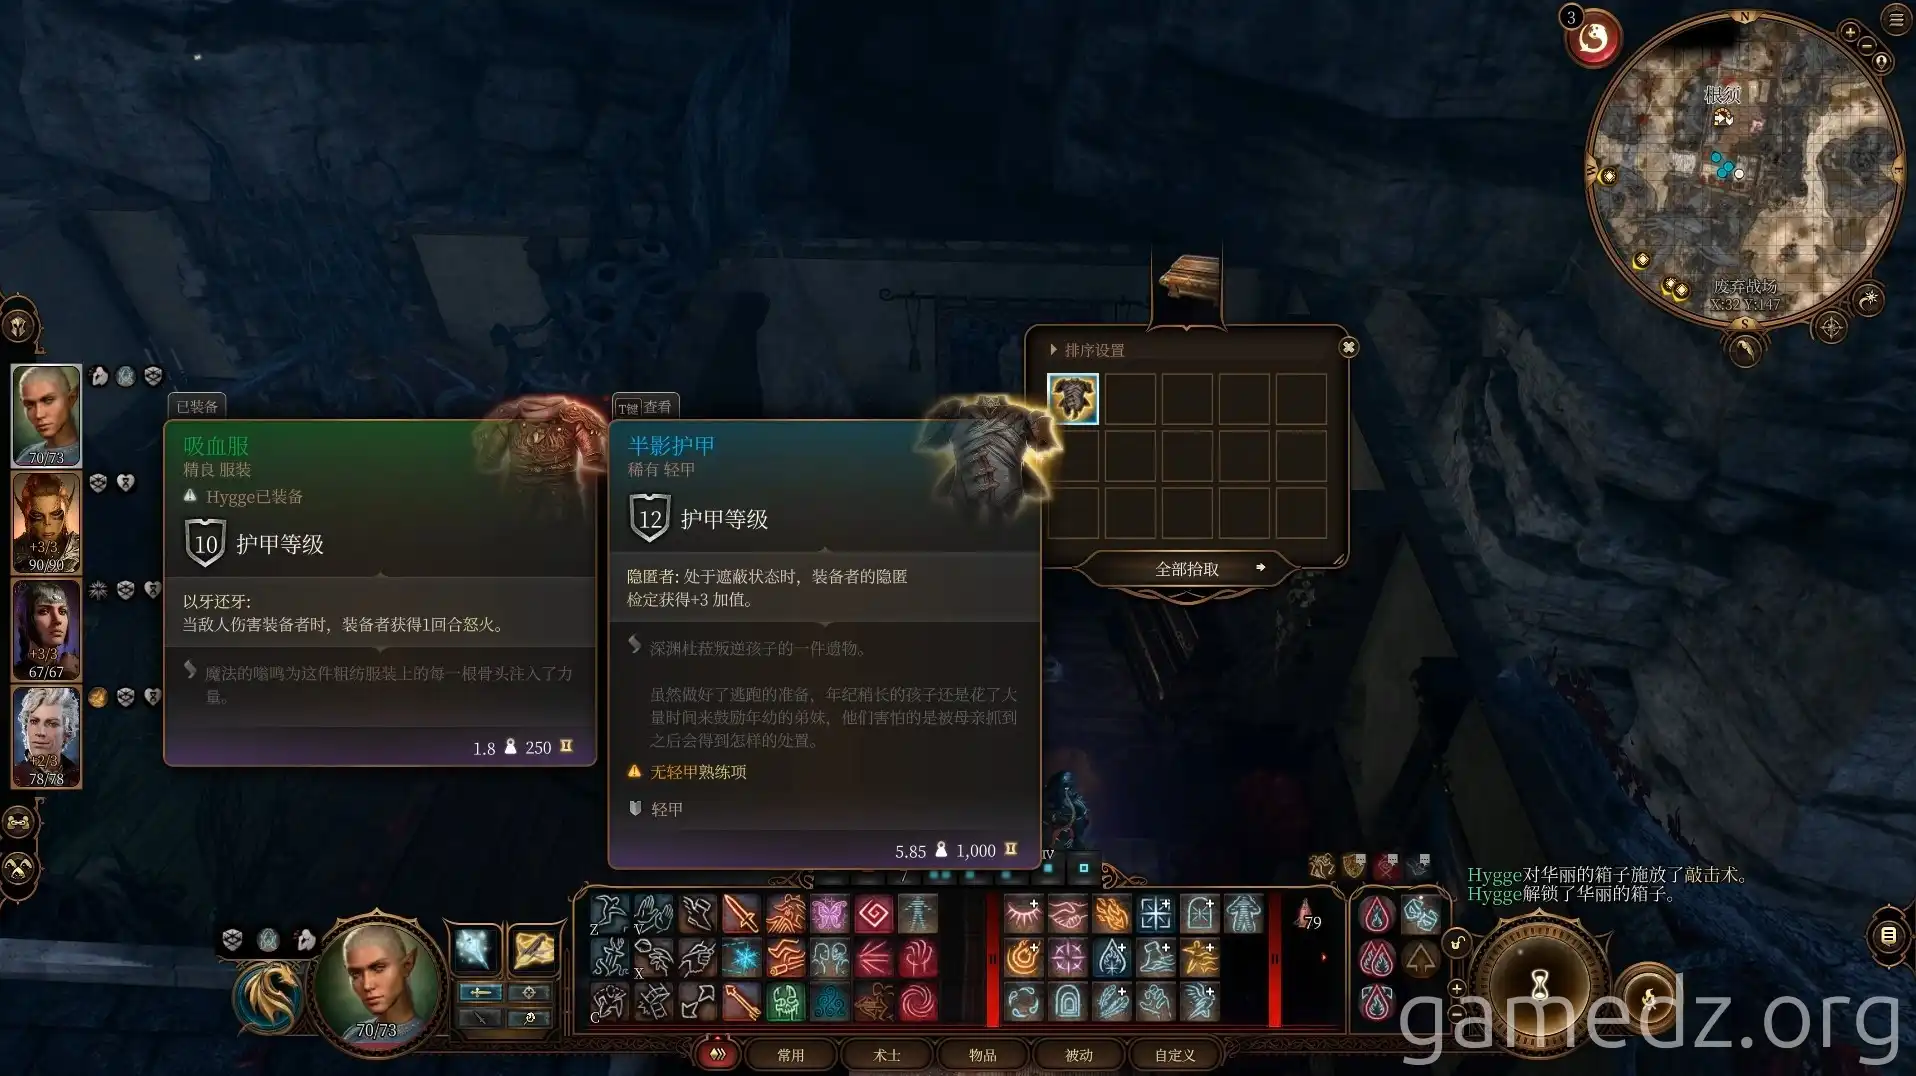
Inside the room, you can find the rare armor, "Shadow-Cursed Armor," in a chest by the bed.
Then, descend through the roots in the room.
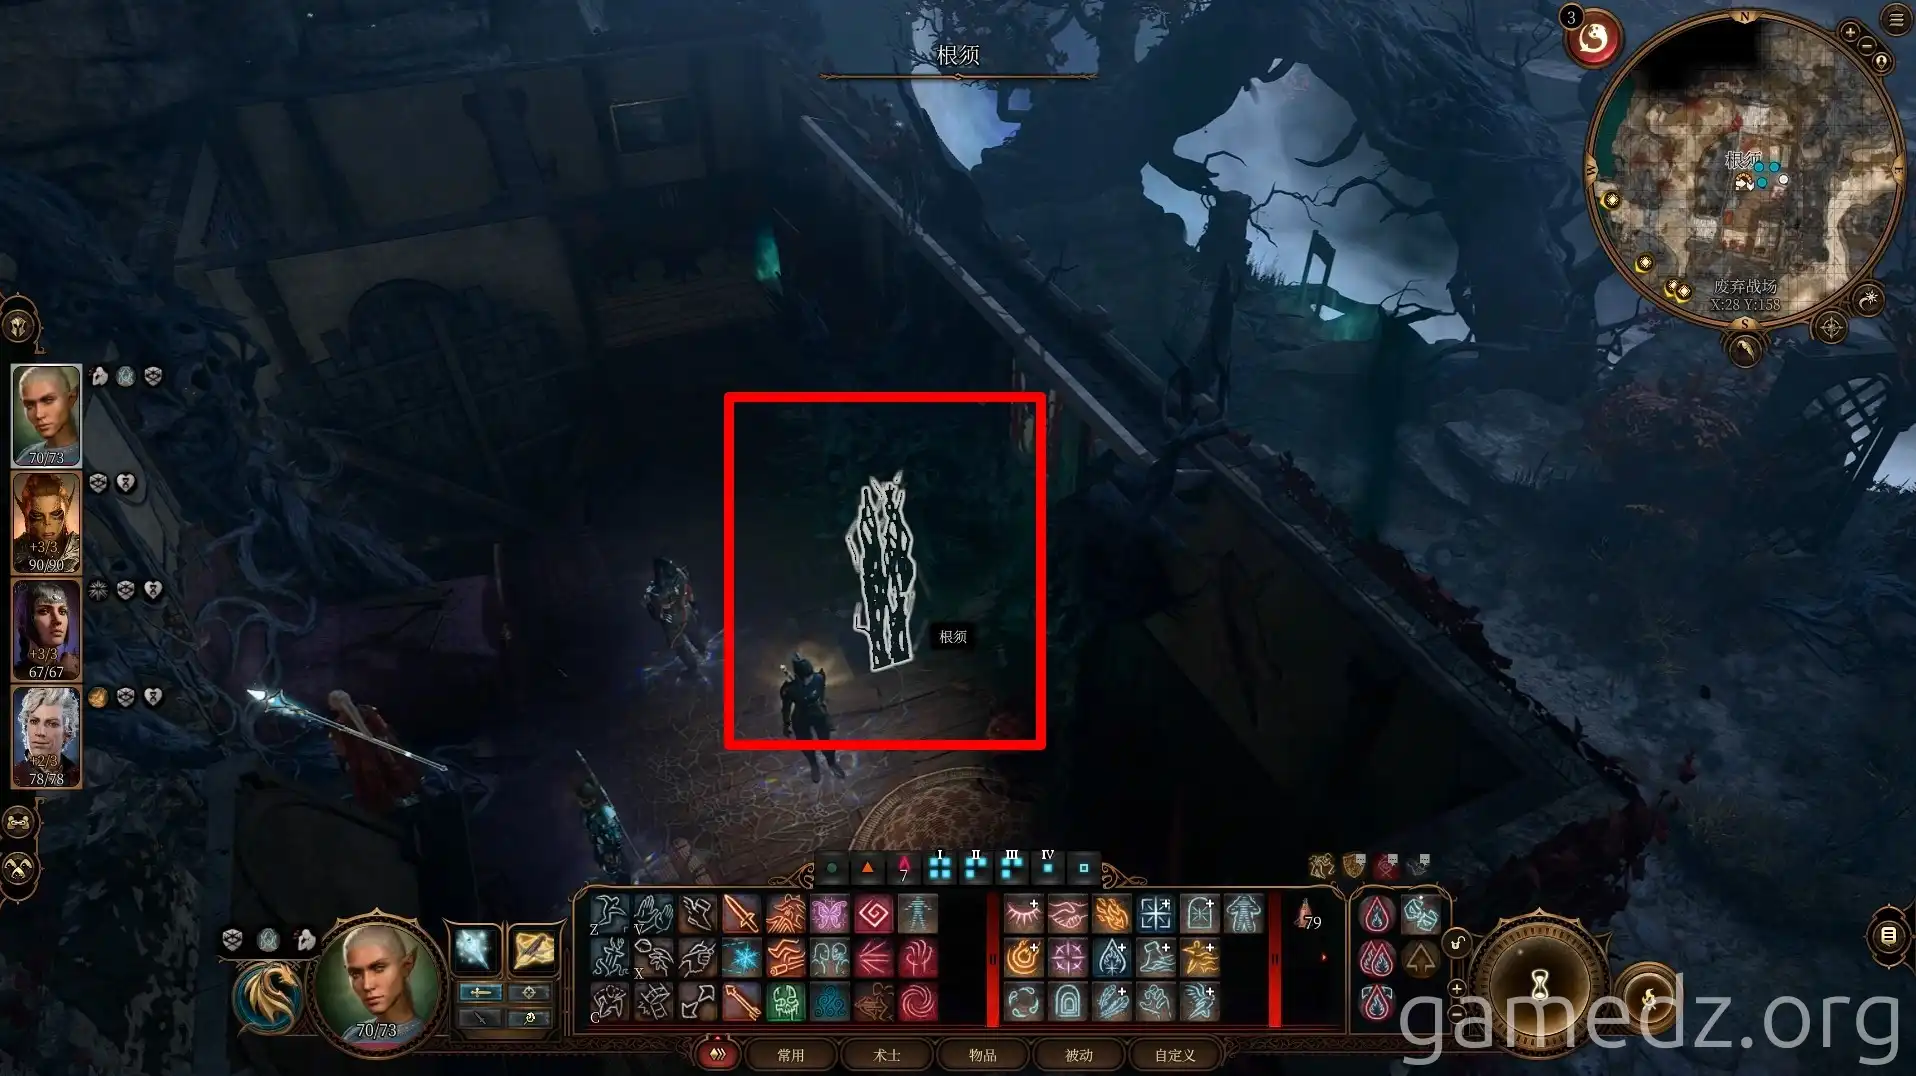
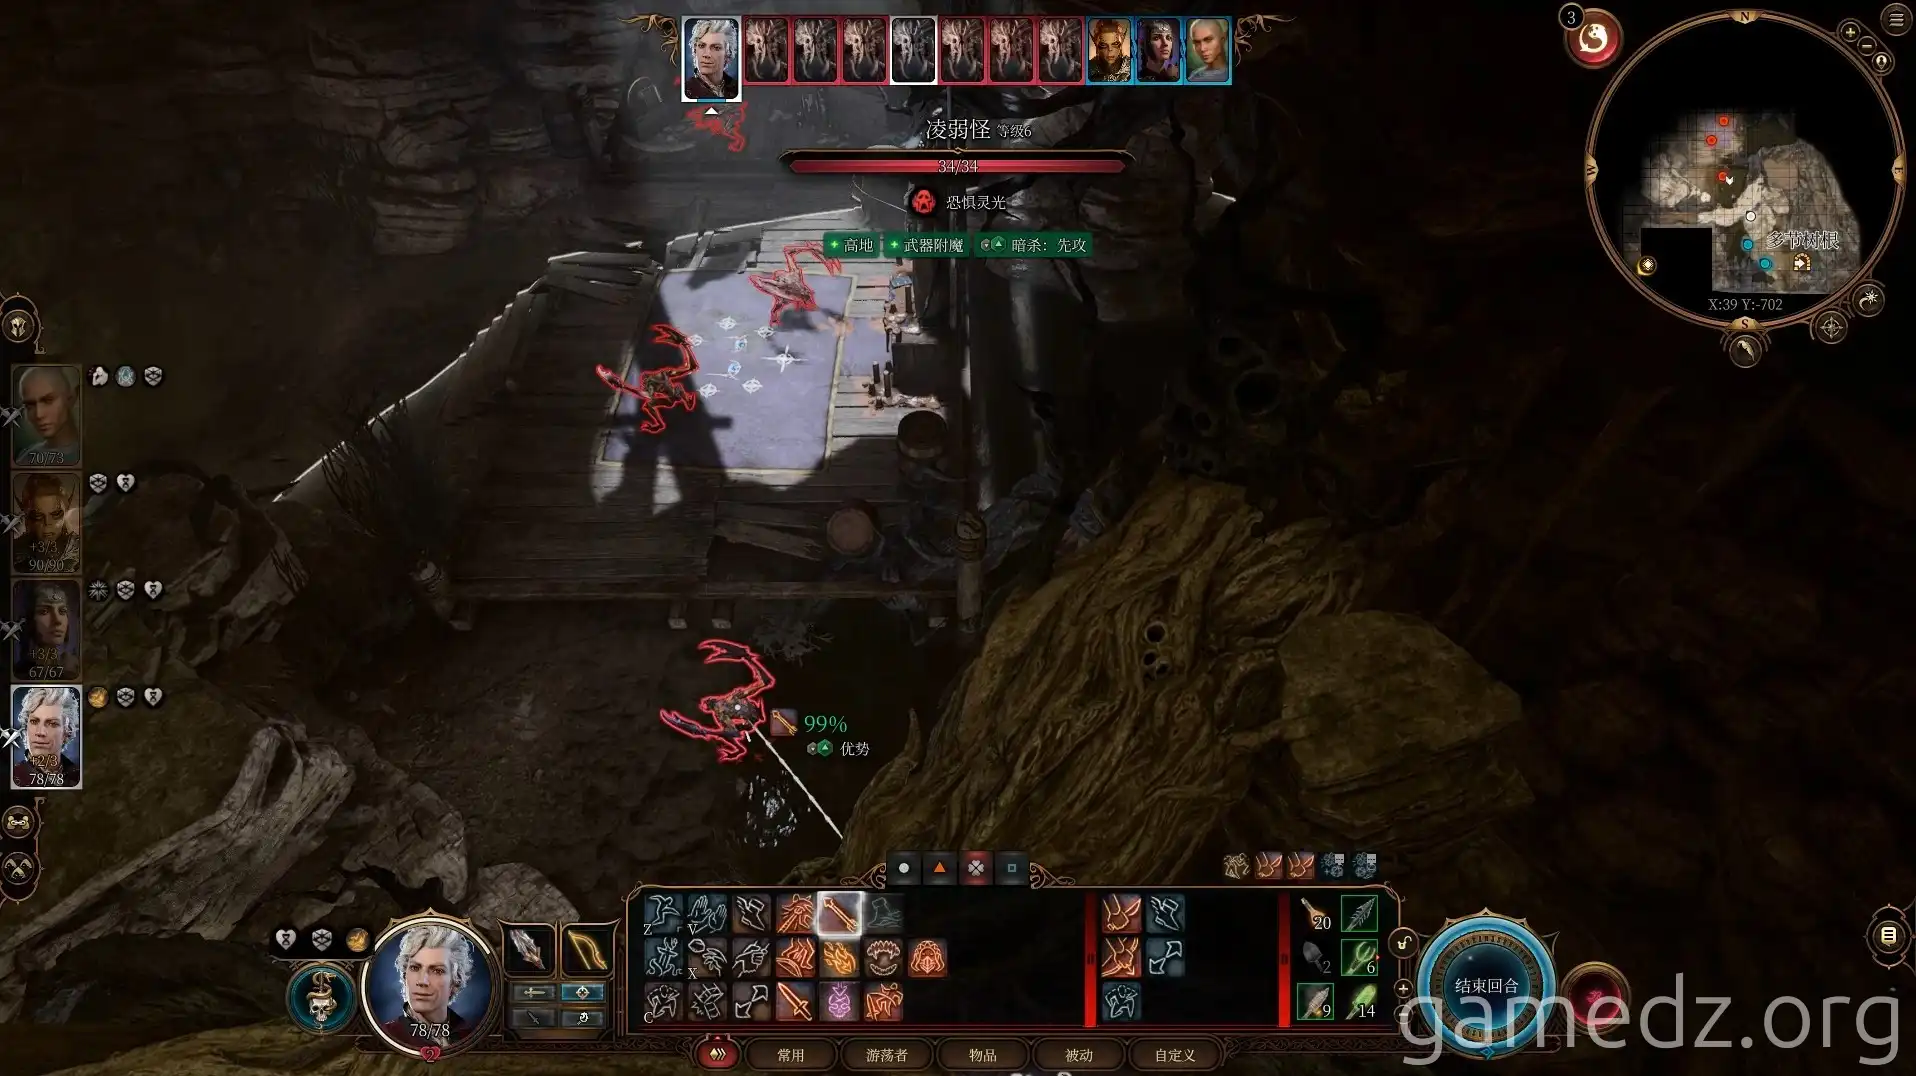
Upon reaching the basement, head north first. You'll encounter a group of Ghouls; defeat them all.
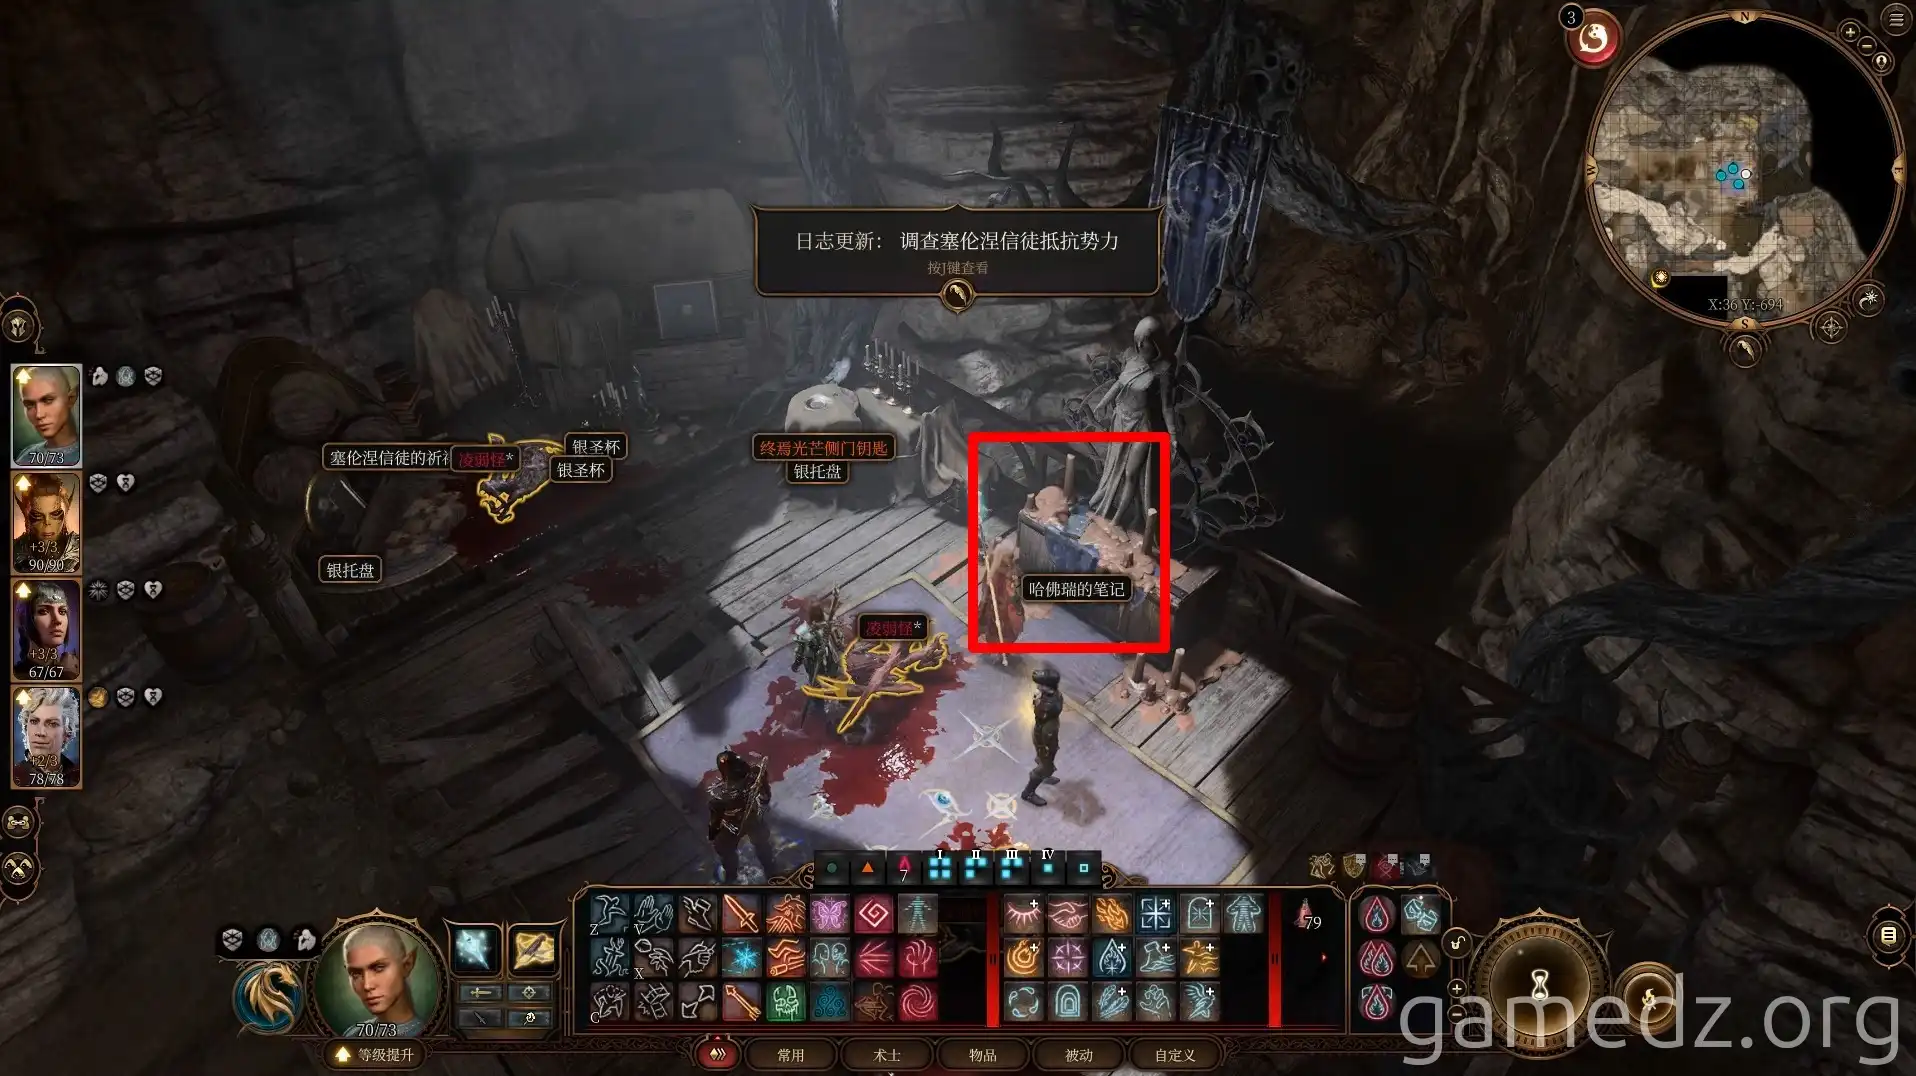
Reading the notes on the table will reveal that the Selûnite outpost is located beneath the Mason's Guild in the town of Wrellin.
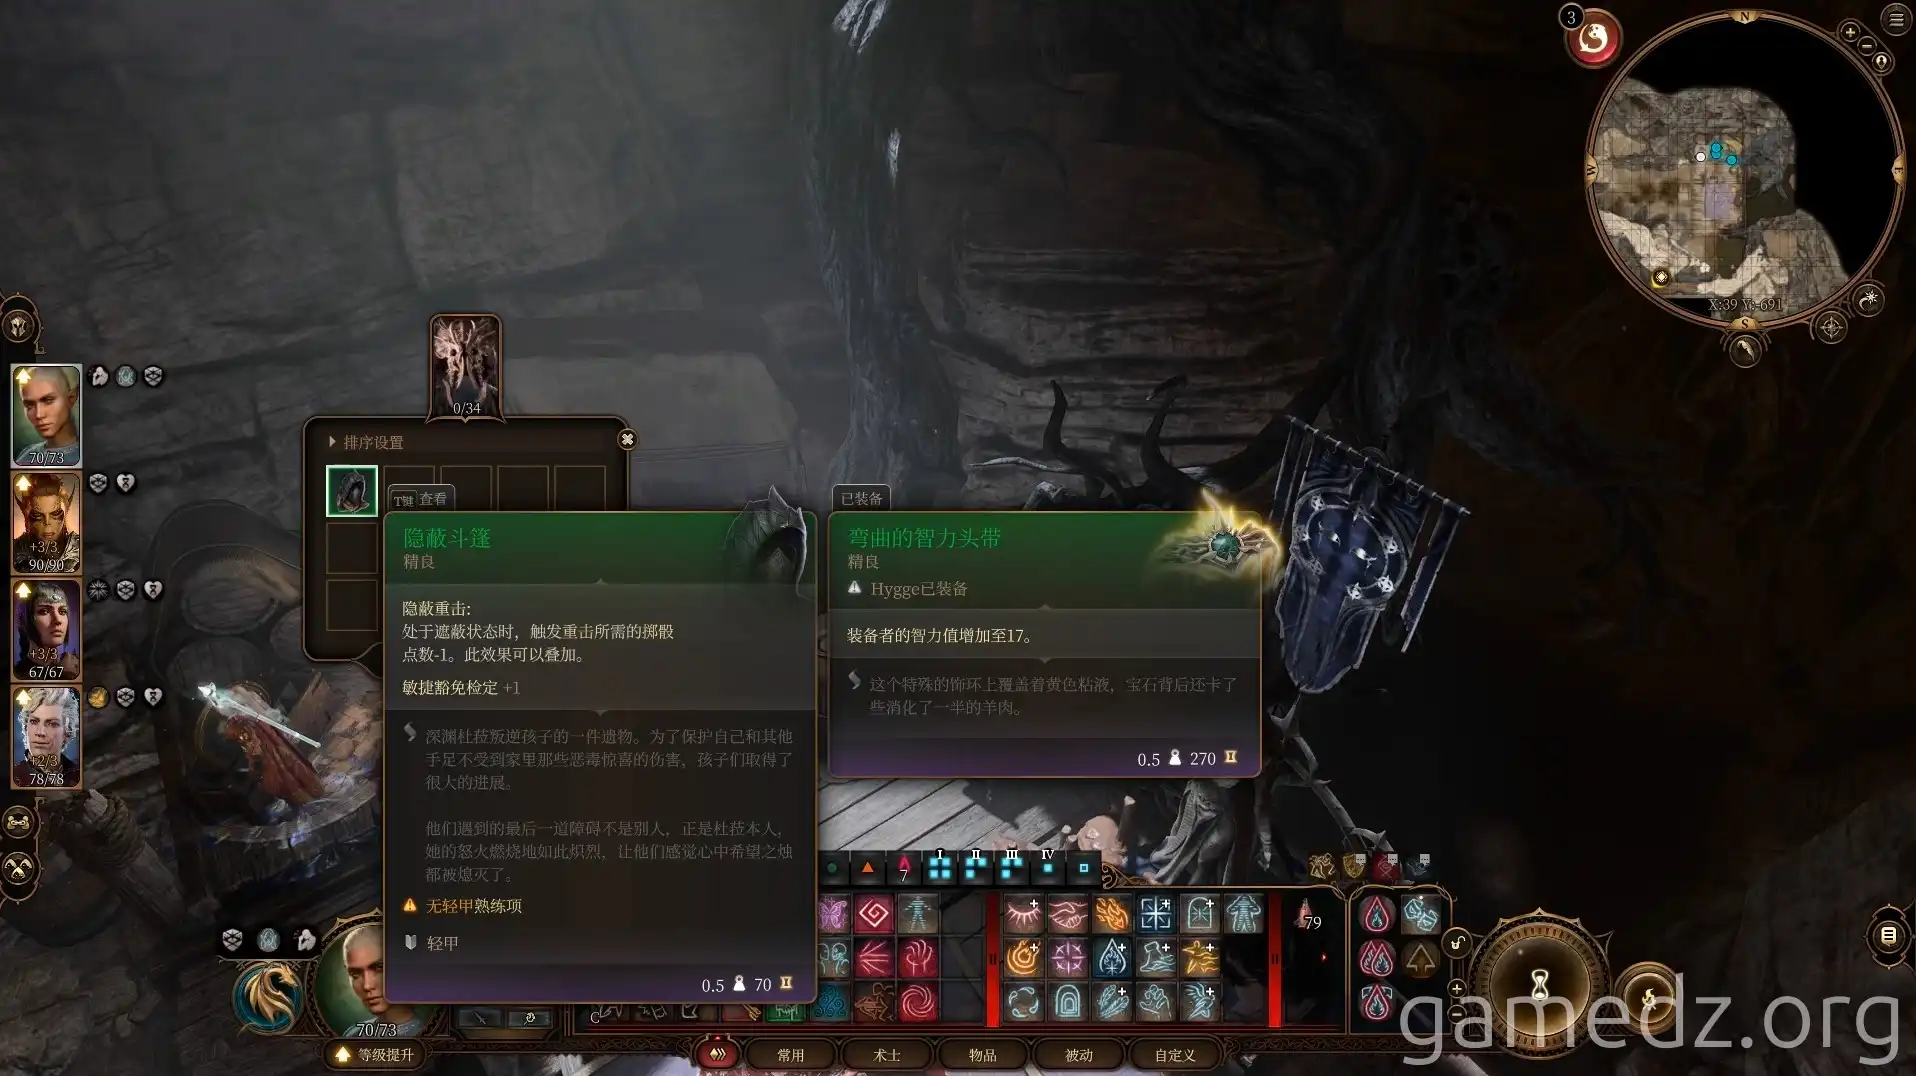
On one of the Ghouls, you can find the excellent gear, "Cloak of Protection."
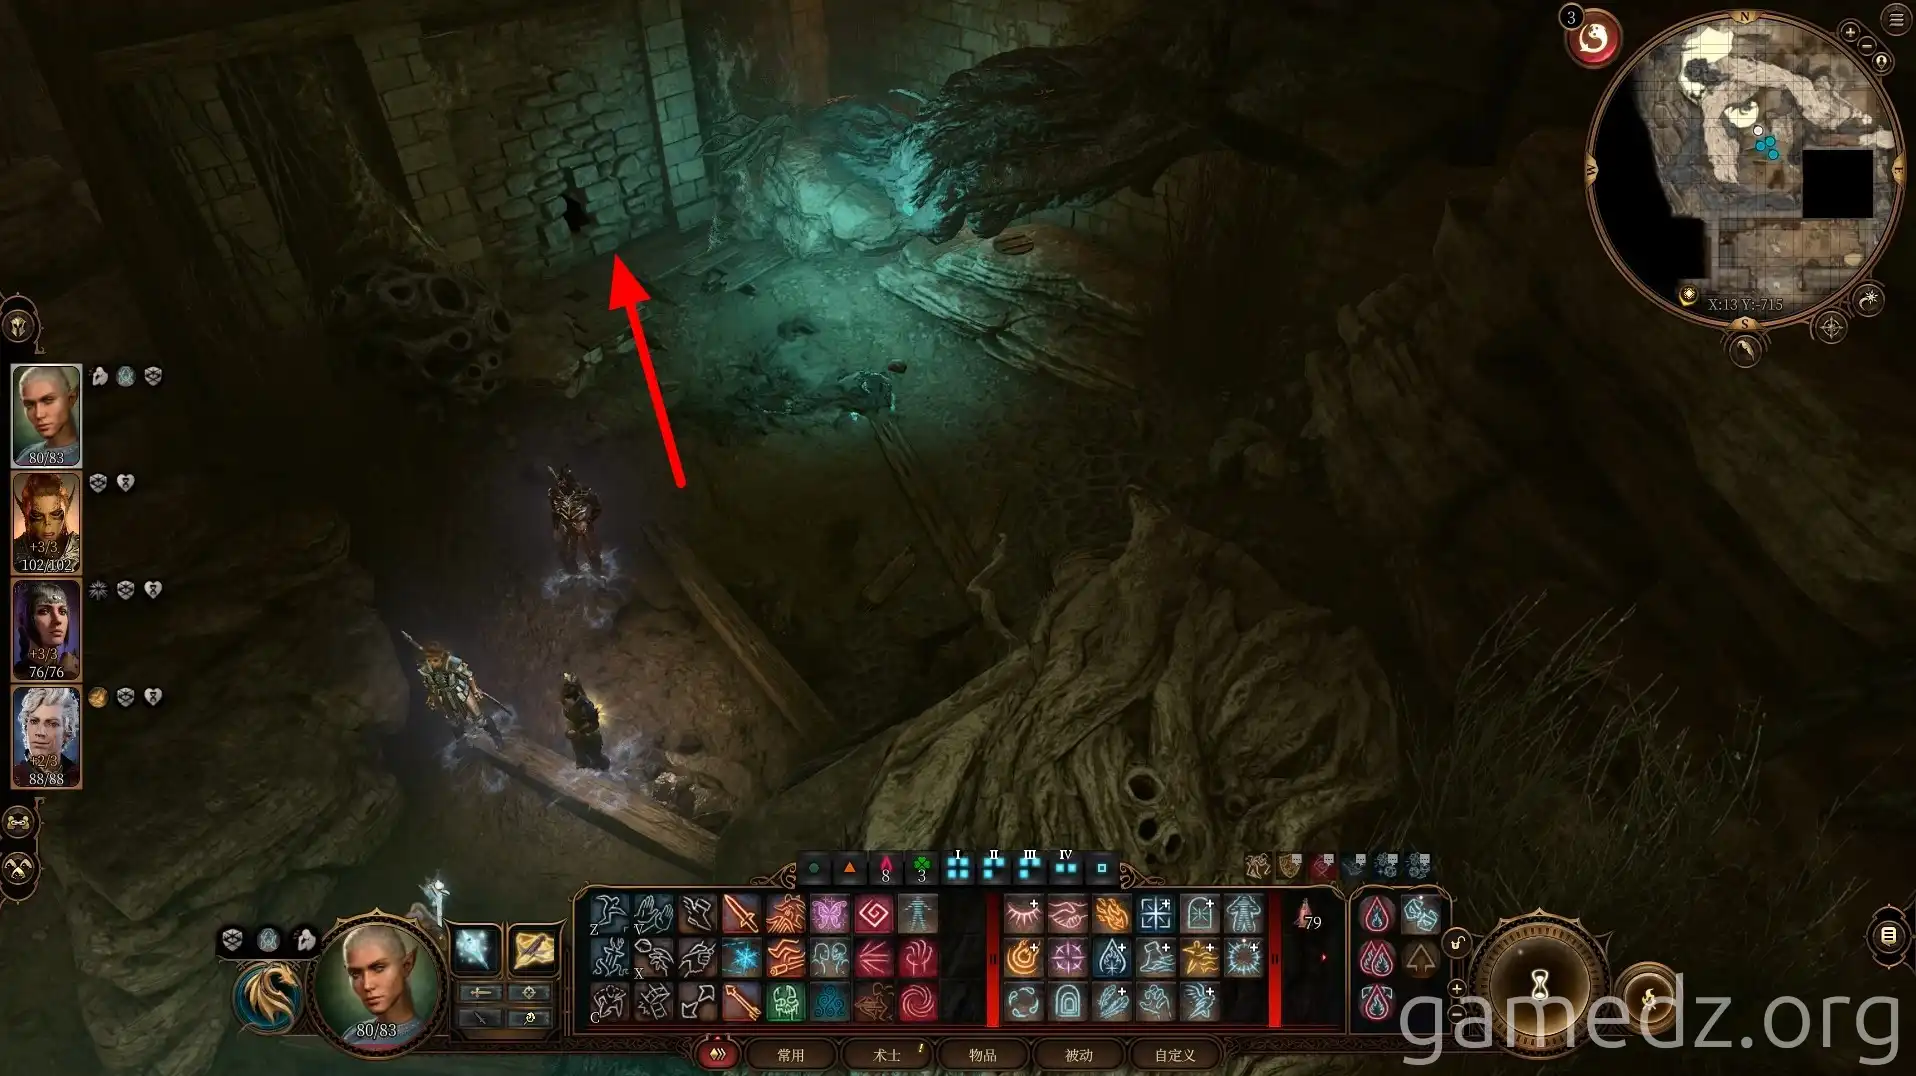
Break the wall in the corner to access the inn's cellar.
There's nothing particularly important in the cellar. After a quick search, proceed to the southernmost cell. Breaking the wall behind the boxes will allow you to exit the cellar.
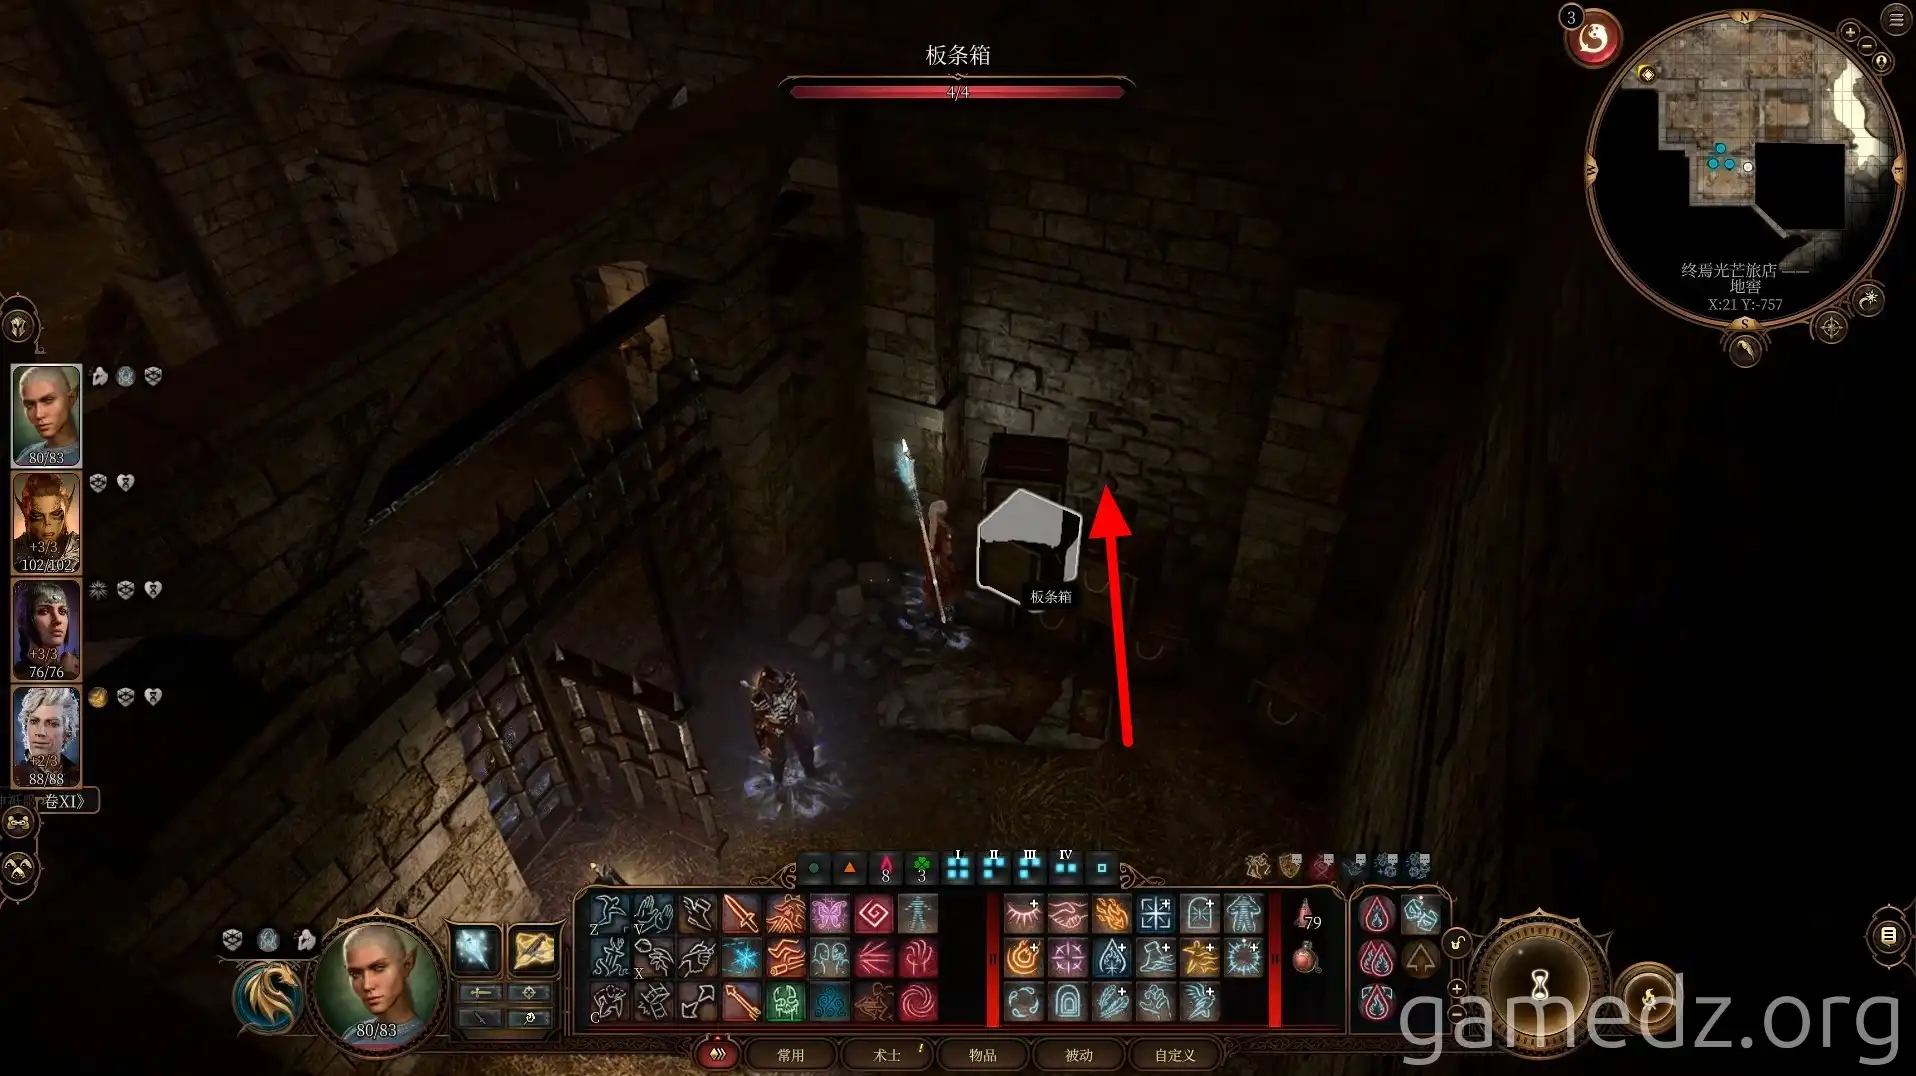
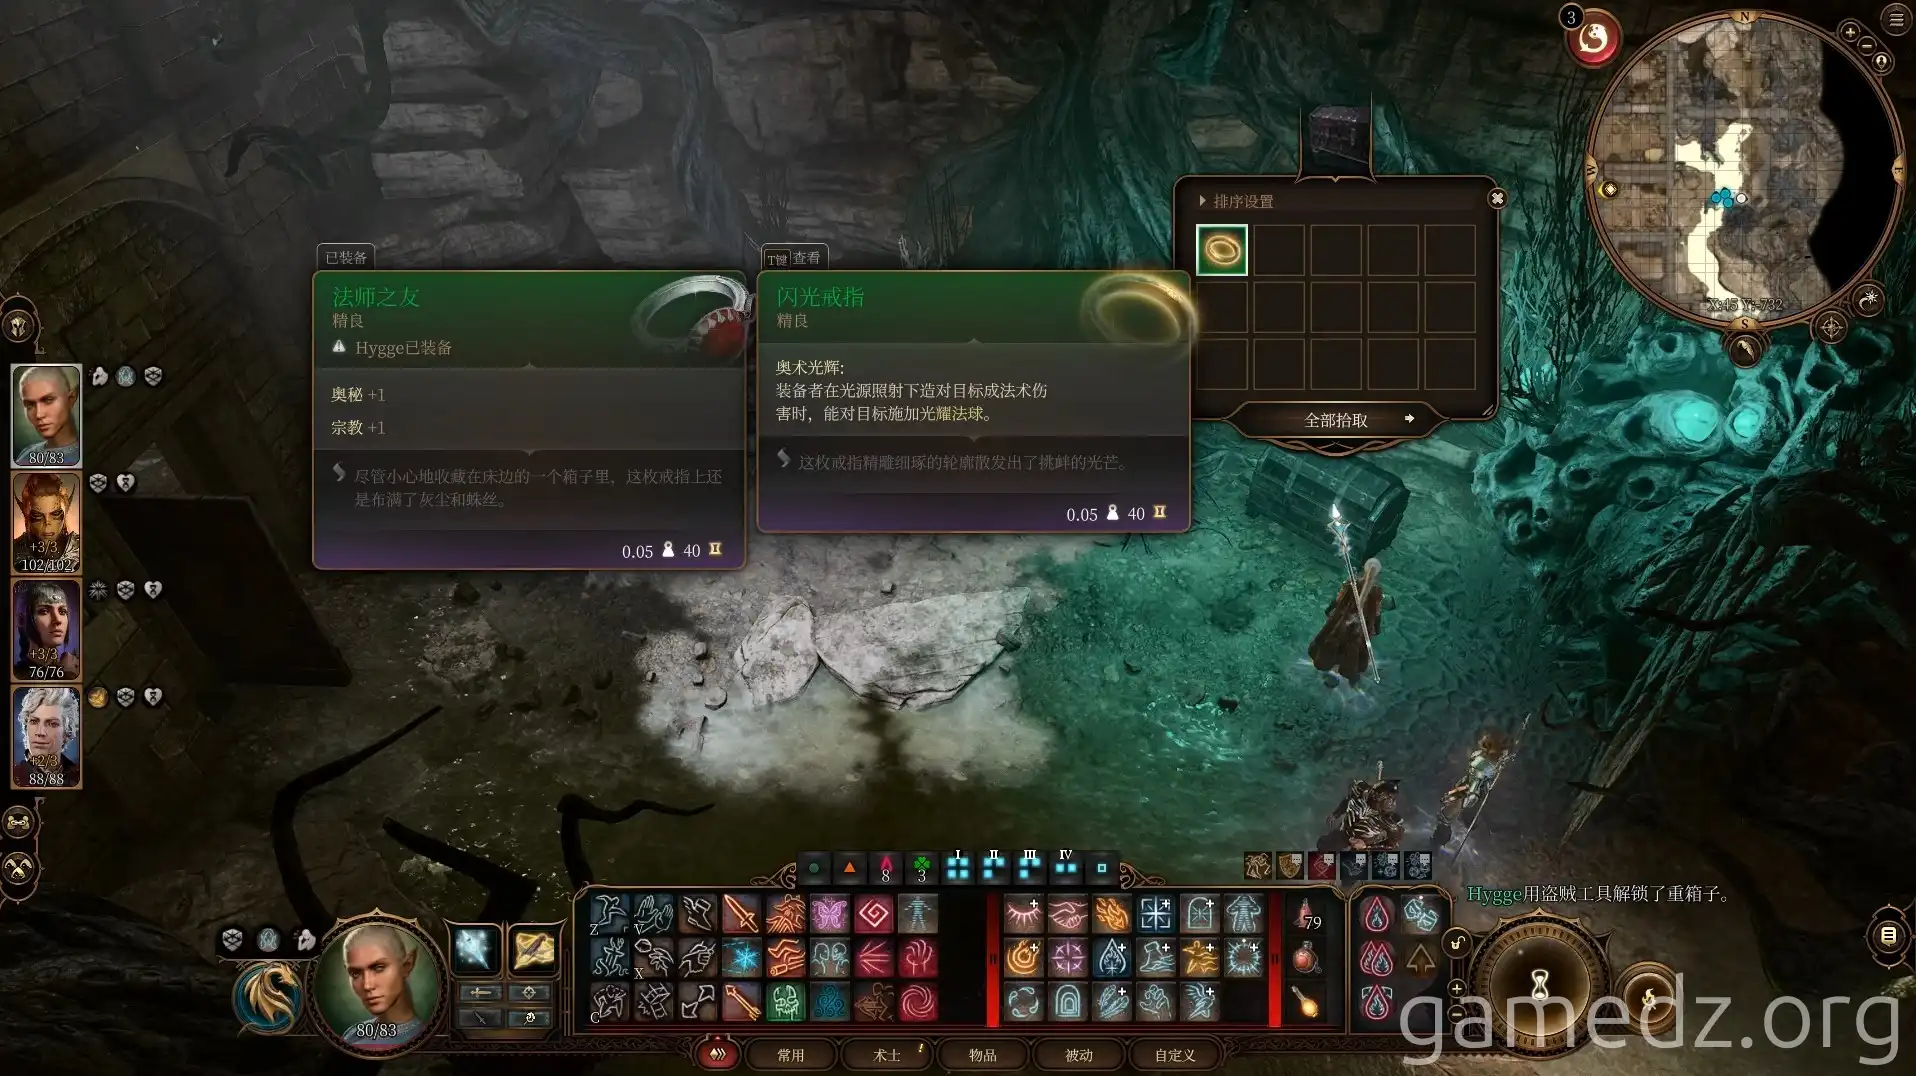
Upon reaching the underground river area, you can find the excellent accessory, "Ring of Blinding," in a chest. The door nearby leads back to where you first entered the underground, effectively bringing you full circle.
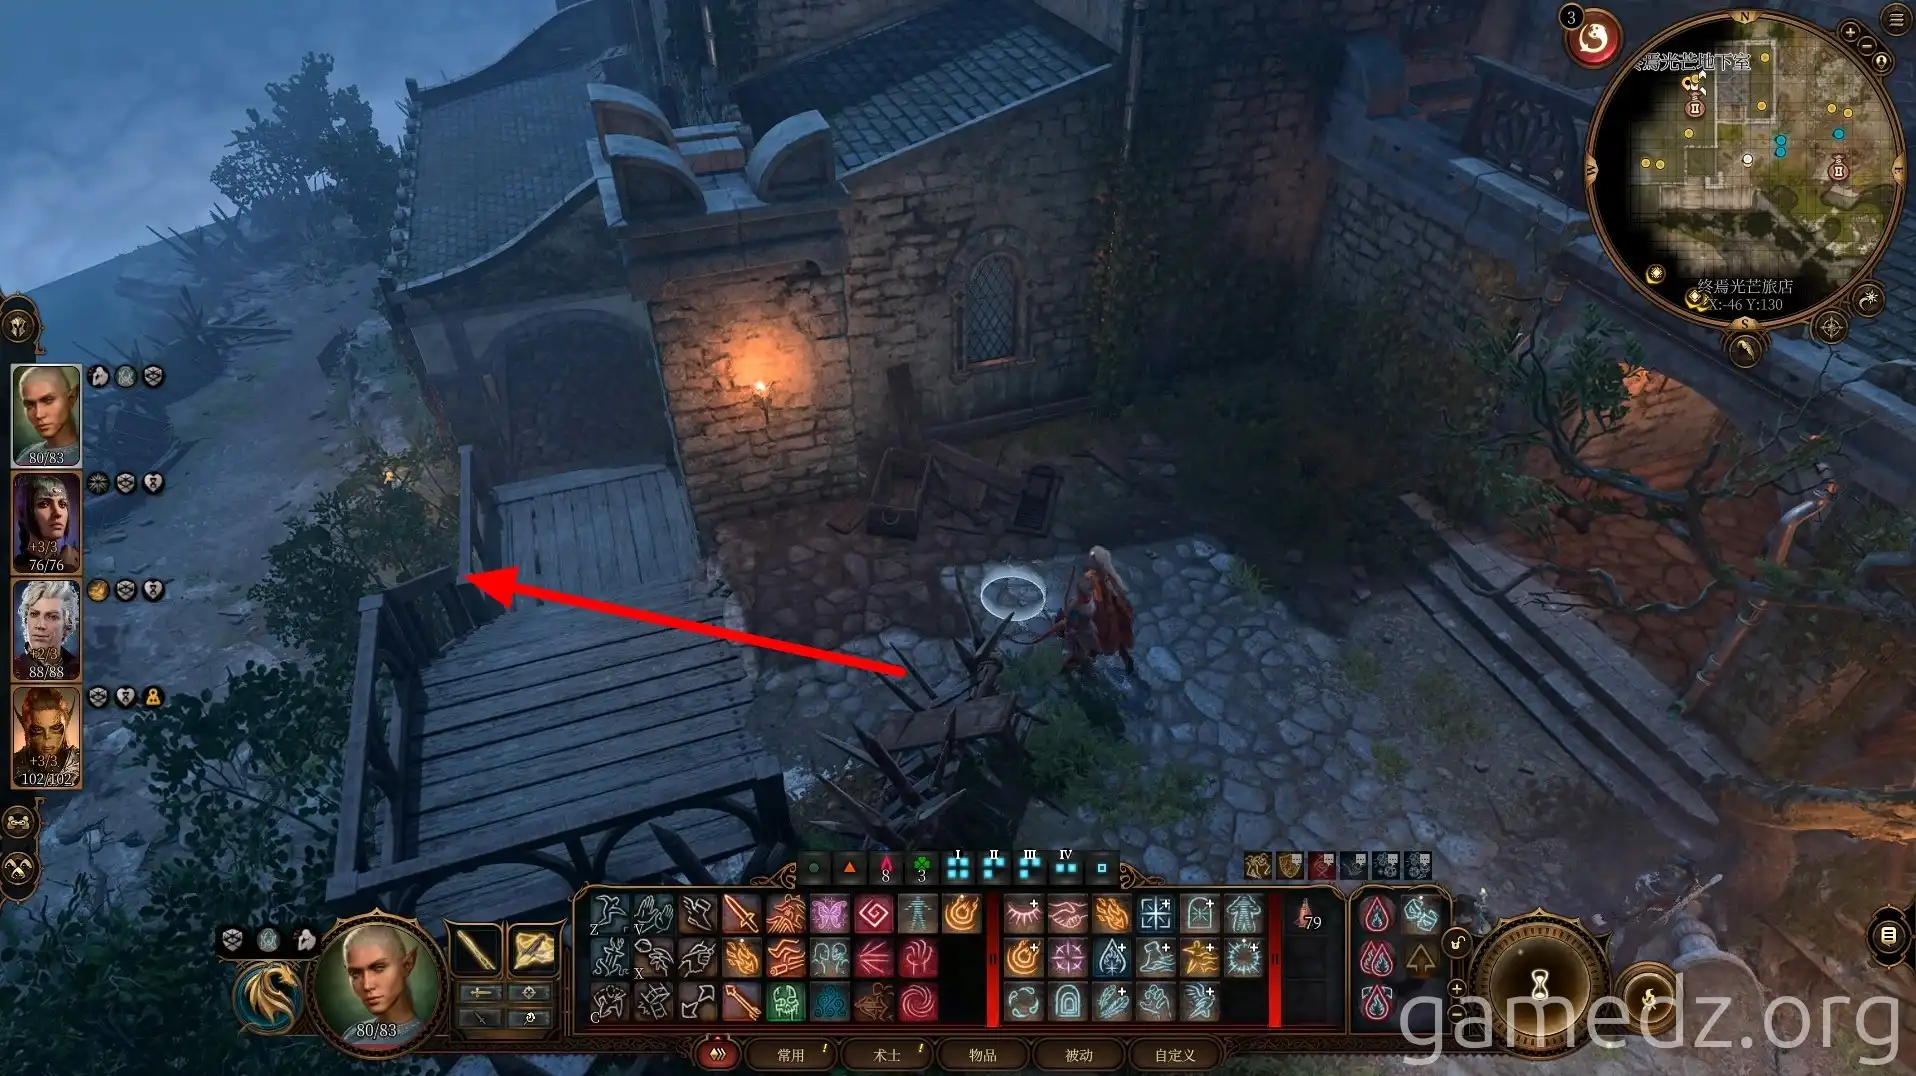
Teleport back to the inn entrance and head south of the inn.
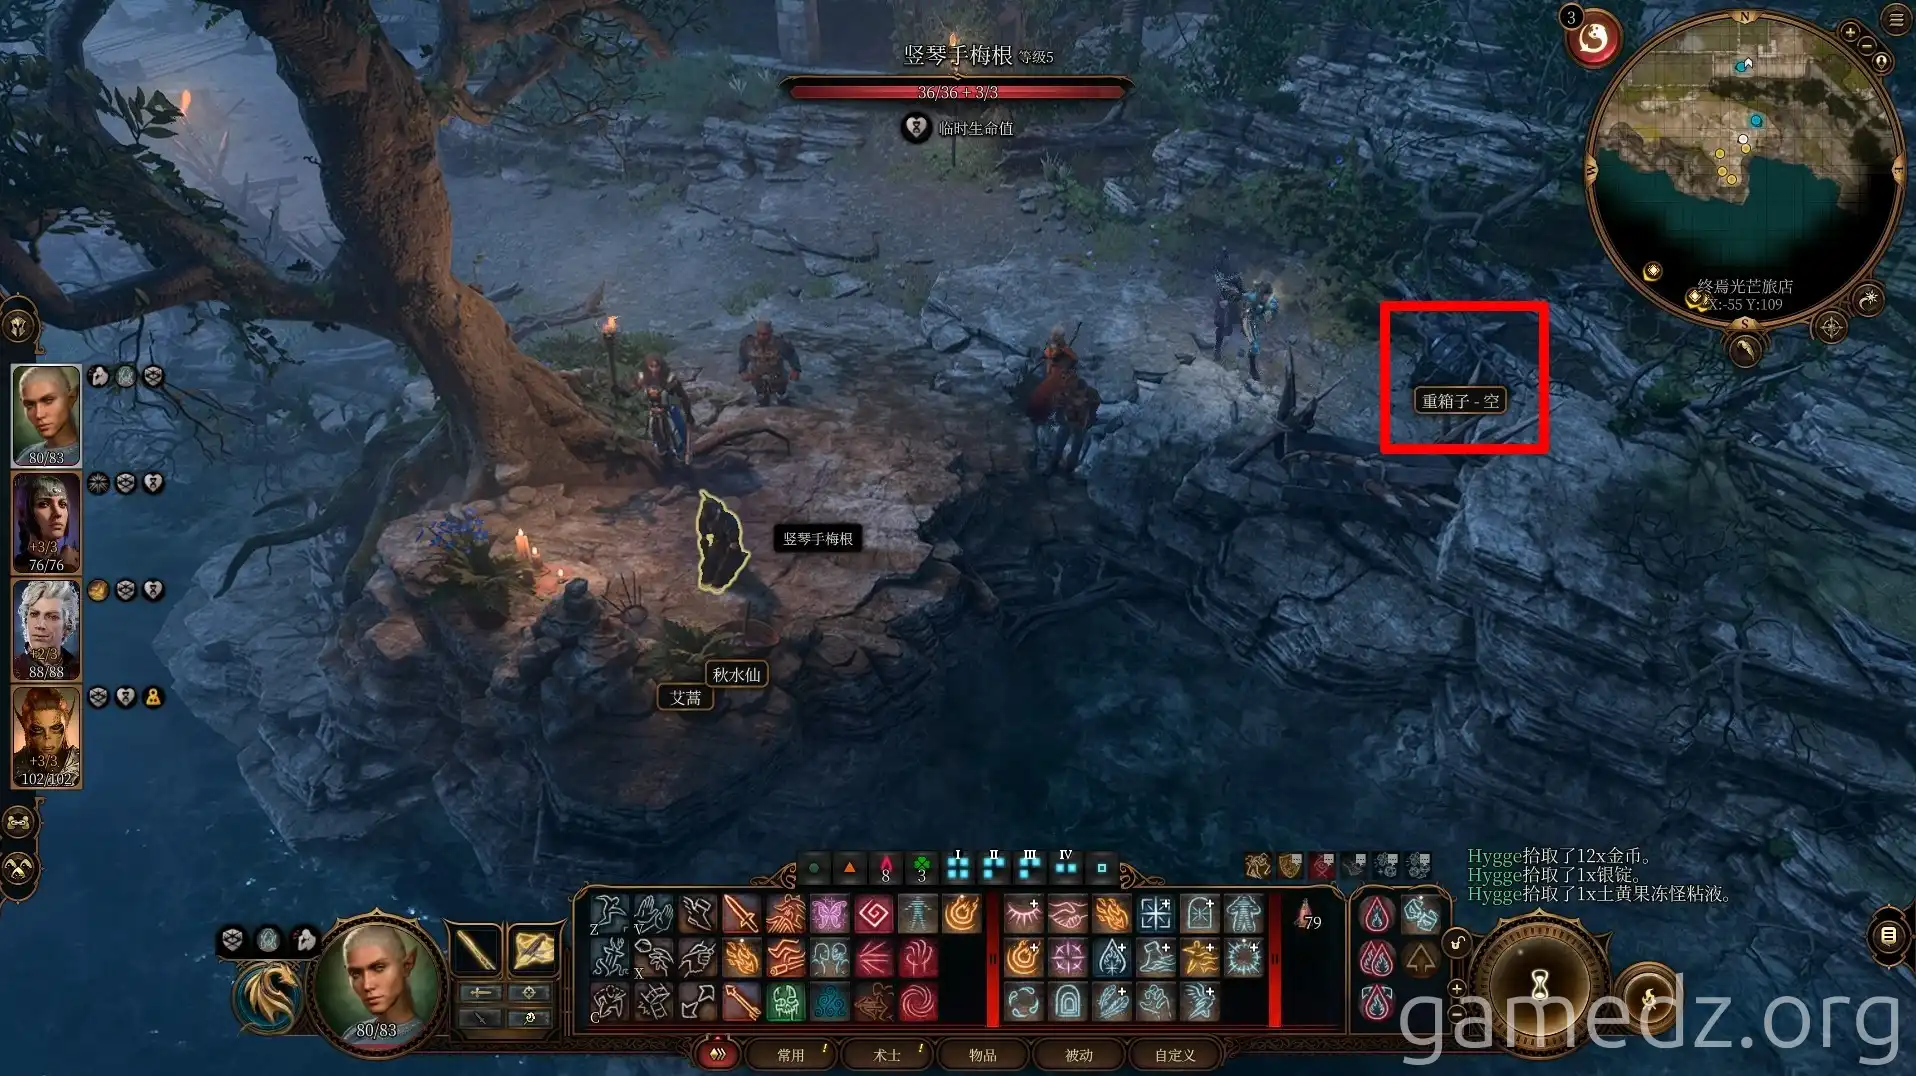
In the lower corner, there's a chest. Speaking with the grieving Harper member nearby can inspire characters with the Acolyte background.
There isn't much else to find around the inn's exterior. Proceed directly through the main entrance into the inn.
Inside the inn, you'll find many familiar faces, starting with Mattis in the corner.
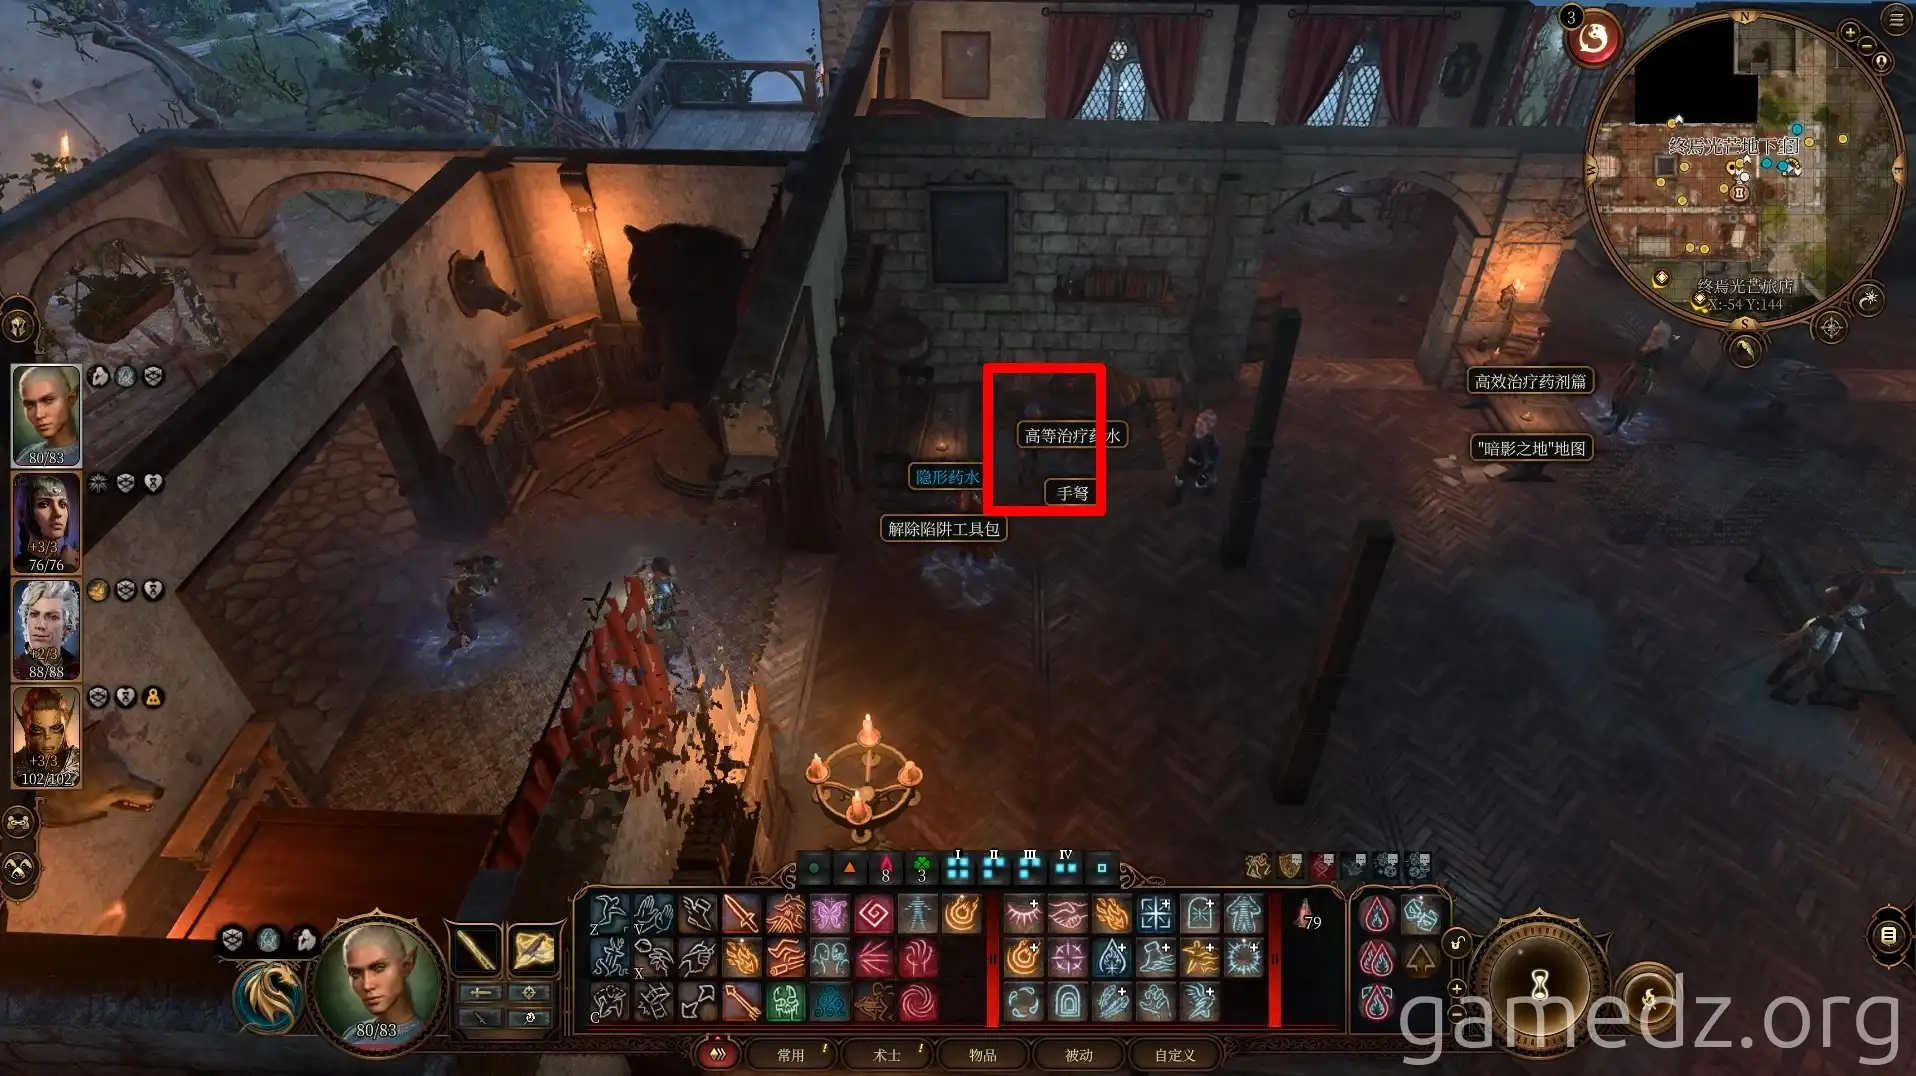
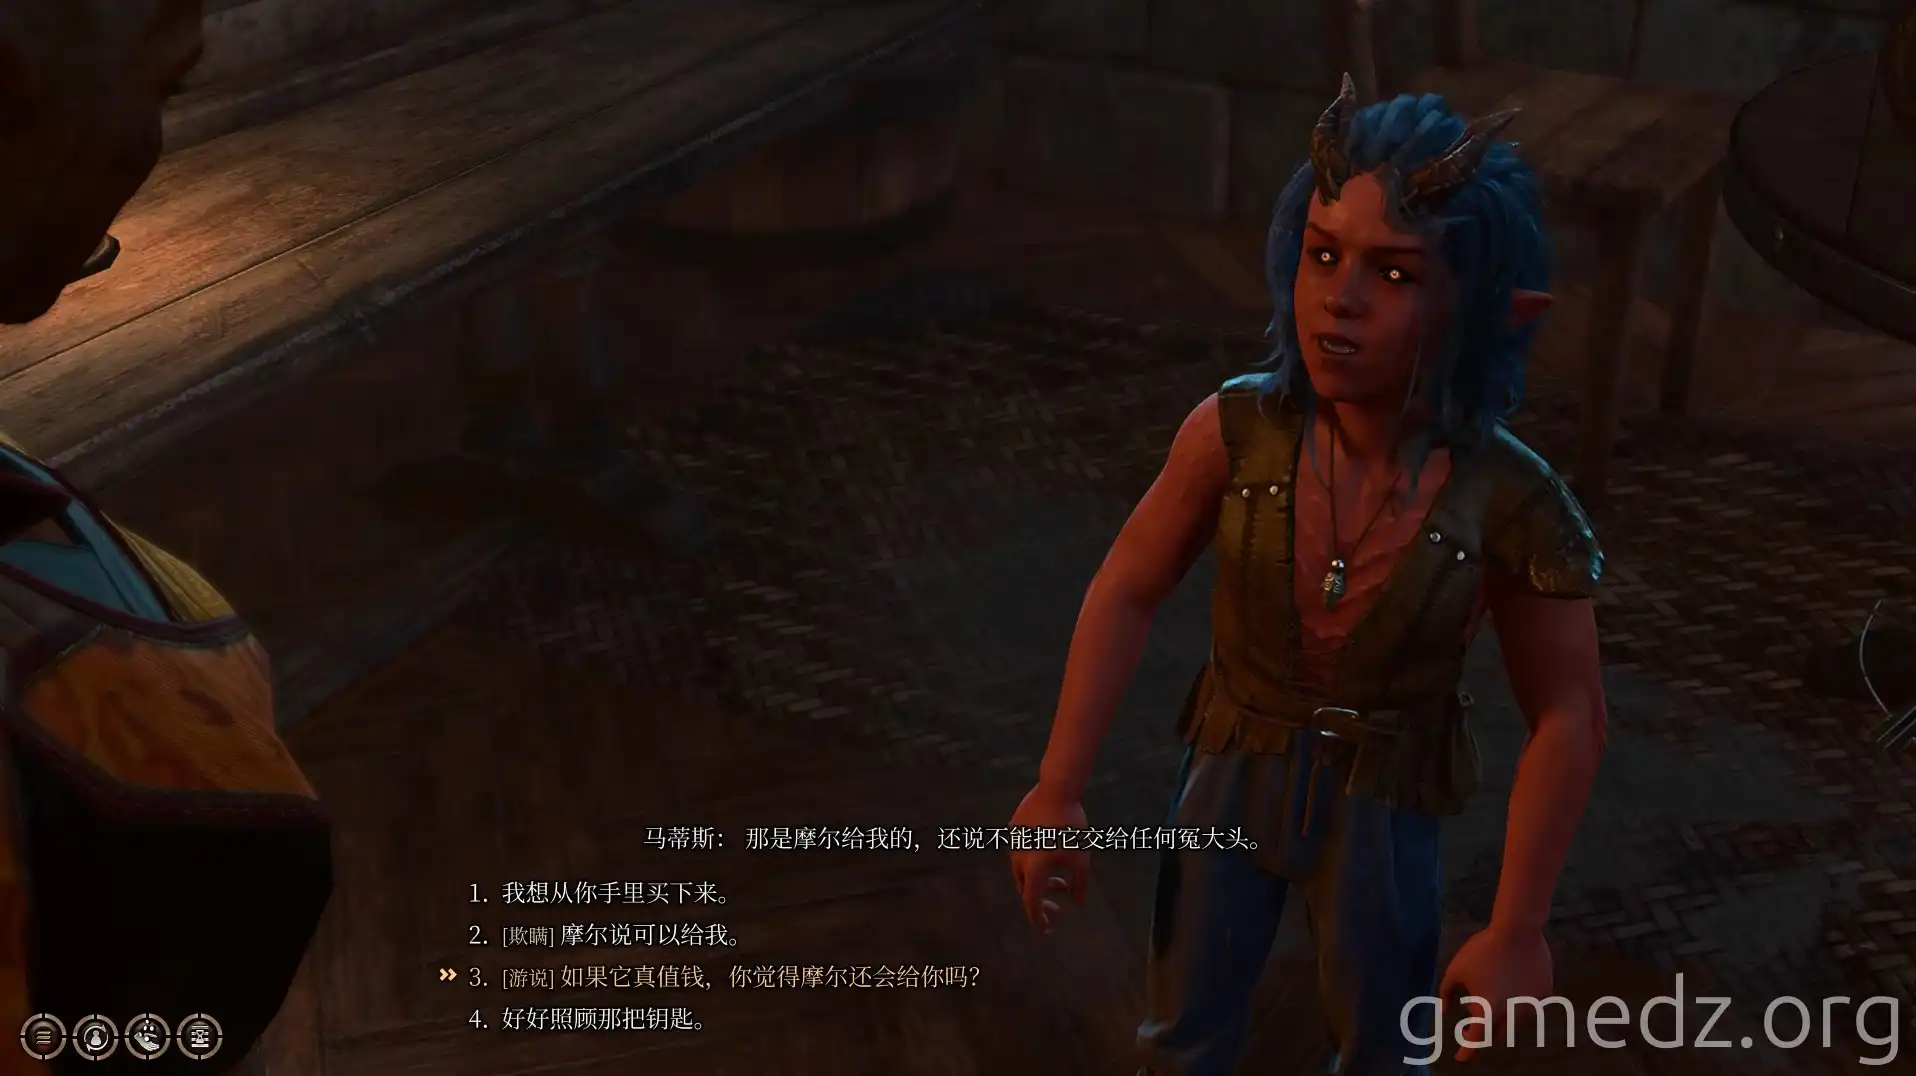
During the conversation, you can use persuasion to obtain a "Tower Key" for free.
Subsequently, you can purchase some equipment from Mattis. Here's a list of unique equipment sold by Mattis and their stats.

Speak with Serres in the room to learn that Sorn has been captured by the cult, initiating the side quest "Find Sorn."
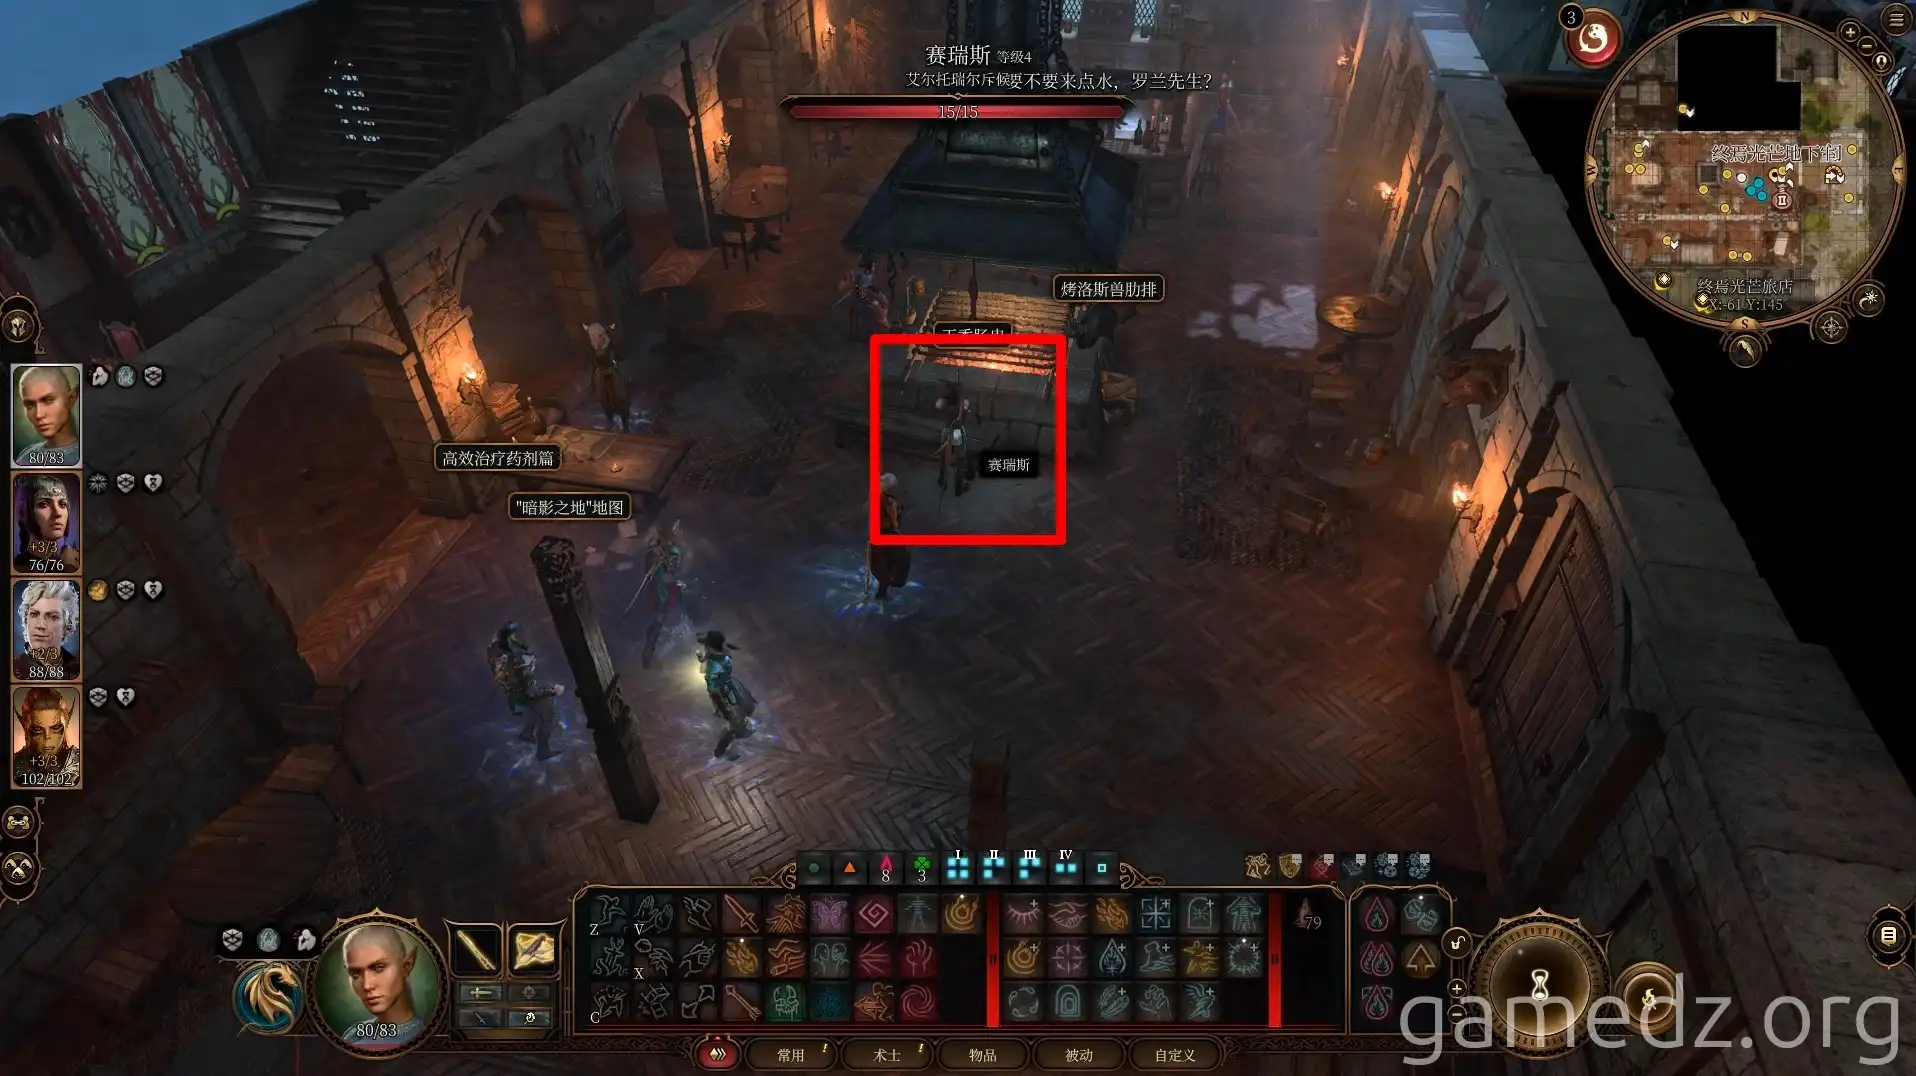
Talk to Alfira nearby. The objective for rescuing the tieflings now includes her friends. You'll also learn that the escaped tieflings were saved by Rolan.
During the conversation, choosing more positive, comforting, and encouraging dialogue options can inspire characters with the Folk Hero background.

In the lobby corner, you'll find the drunken Rolan. He blames himself for his companions being captured and criticizes you for persuading them to stay and help the tieflings earlier.
The "Rescue the Tieflings" quest will then gain Rolan's companions as objectives. In the corner by the bar, there's also an Innkeeper's Chest.

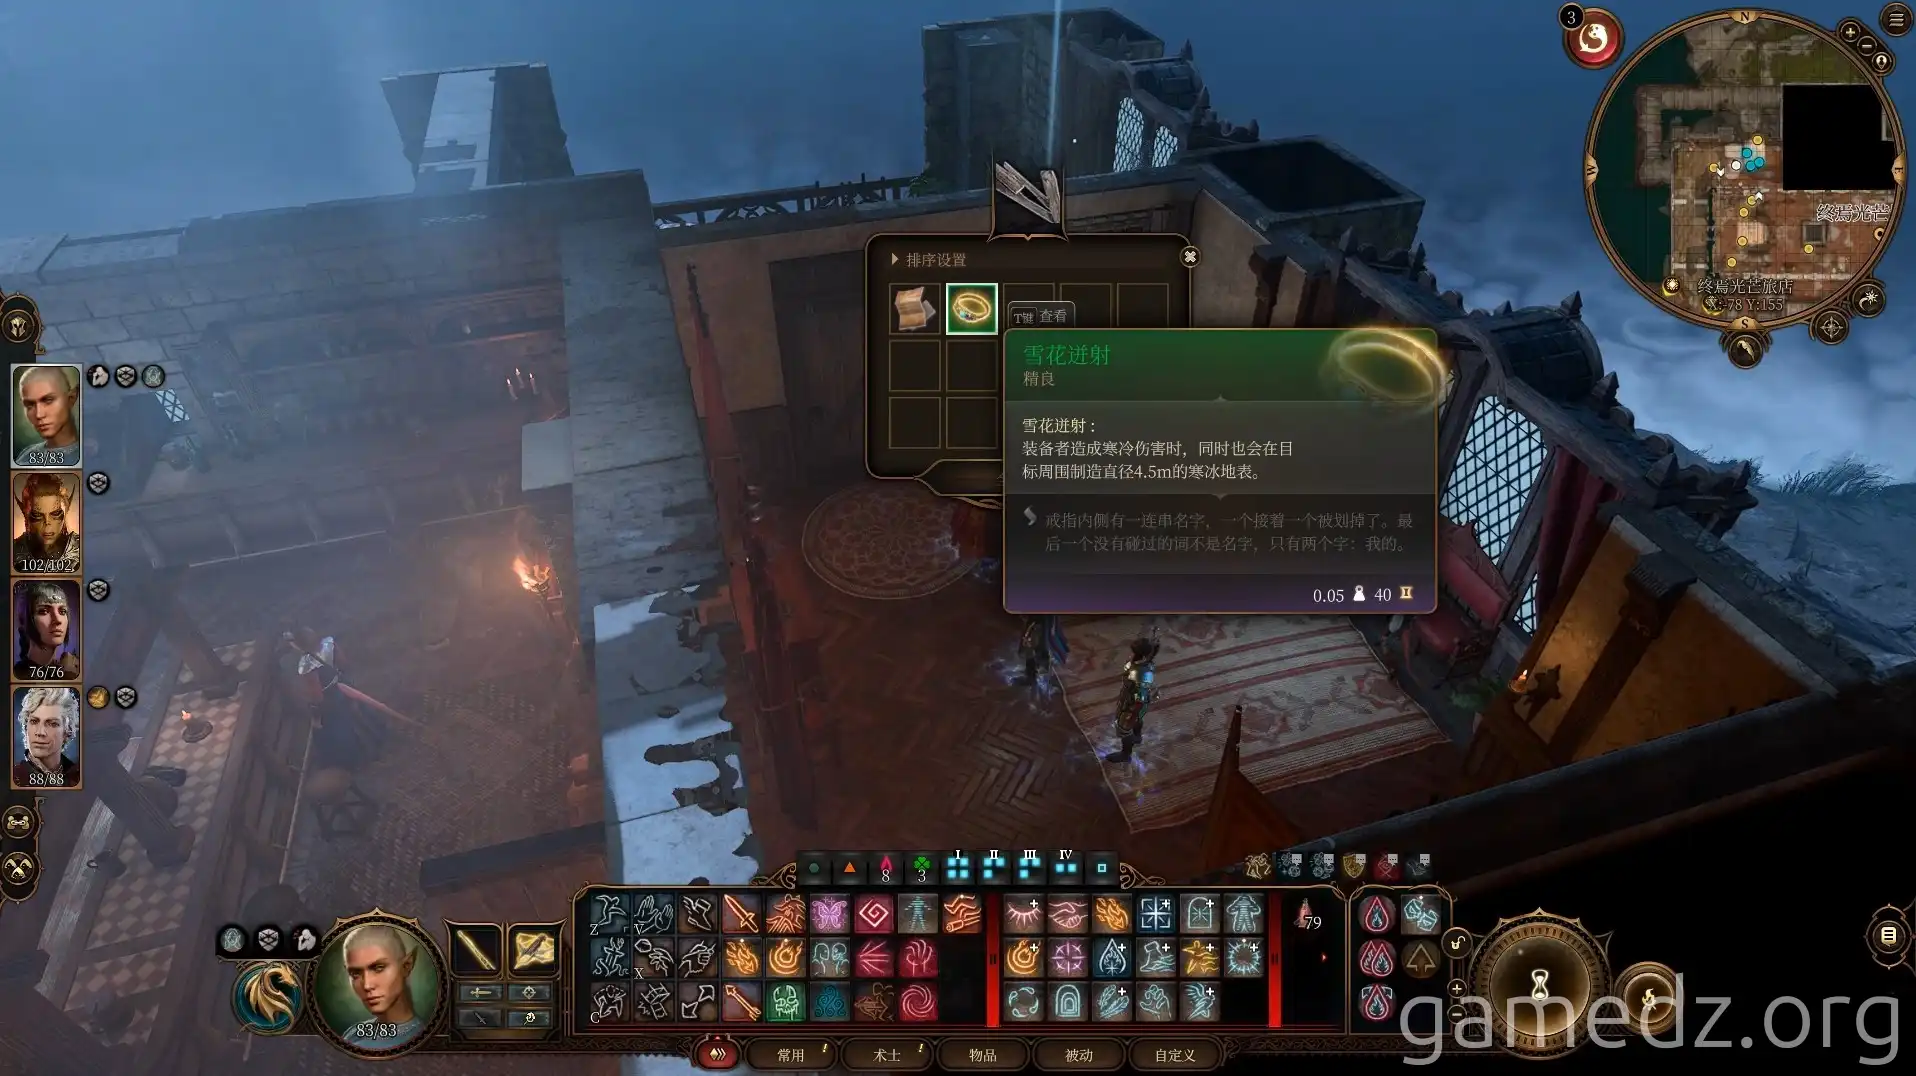
In the room behind Rolan, you can discover a loose floorboard with an Insight check. Investigating the floorboard will reward you with the excellent accessory, "Snowflake."
In the south corridor of the inn, you'll find Raphael and Mol playing chess. Help Mol cheat to win against Raphael and then have a conversation. Successfully helping Mol will inspire characters with the Sage and Charlatan backgrounds.
Normally, the gnome Baelen should also appear here. Speaking with Baelen can initiate the side quest to rescue the gnome from Moonrise Towers, and you'll learn that he crafts an item called "Vengeance Smoke Powder." However, due to a bug or some other reason, Baelen was missing for the editor, but it's not a major issue; you can rescue the gnome directly later.
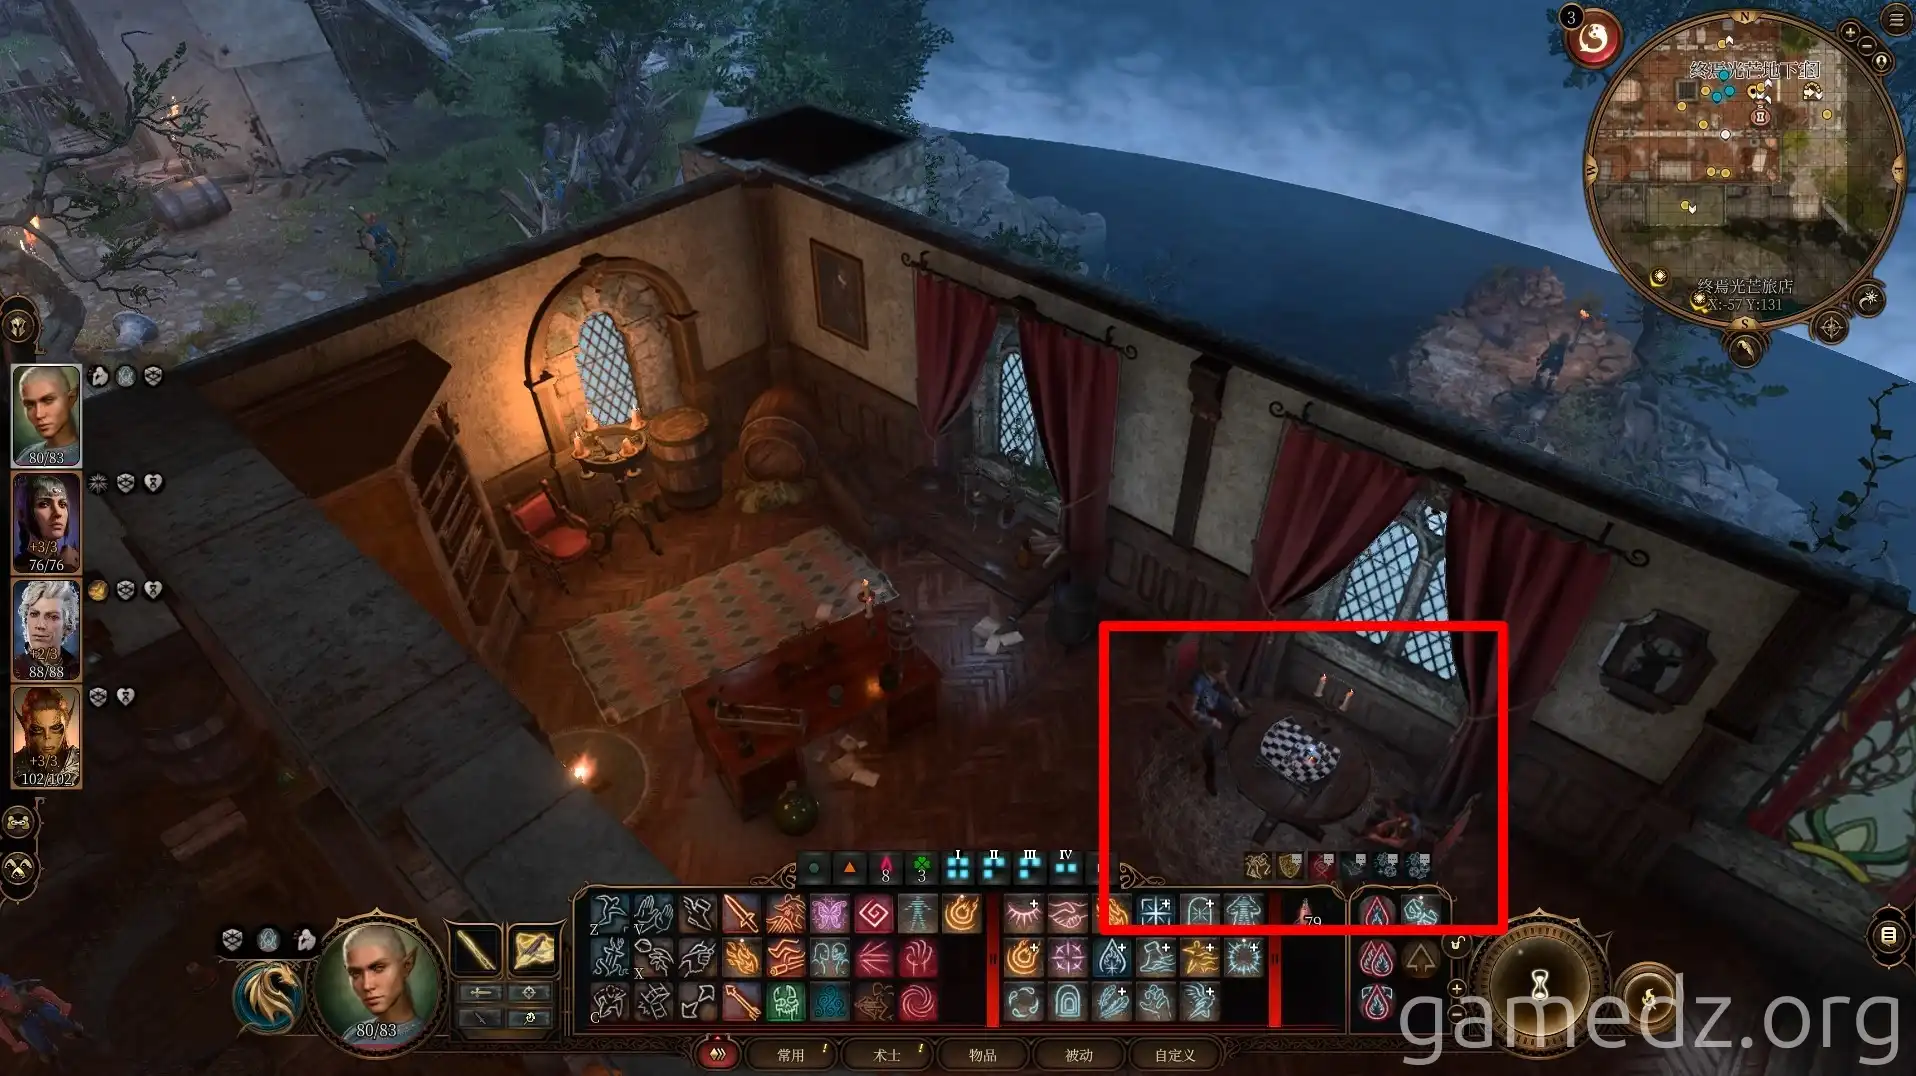
In the north room of the inn, you'll find the Duke's advisor. After concluding your conversation with the advisor, speak with the person lying unconscious but singing on the nearby bed to initiate the side quest "Awaken Art Cullagh."
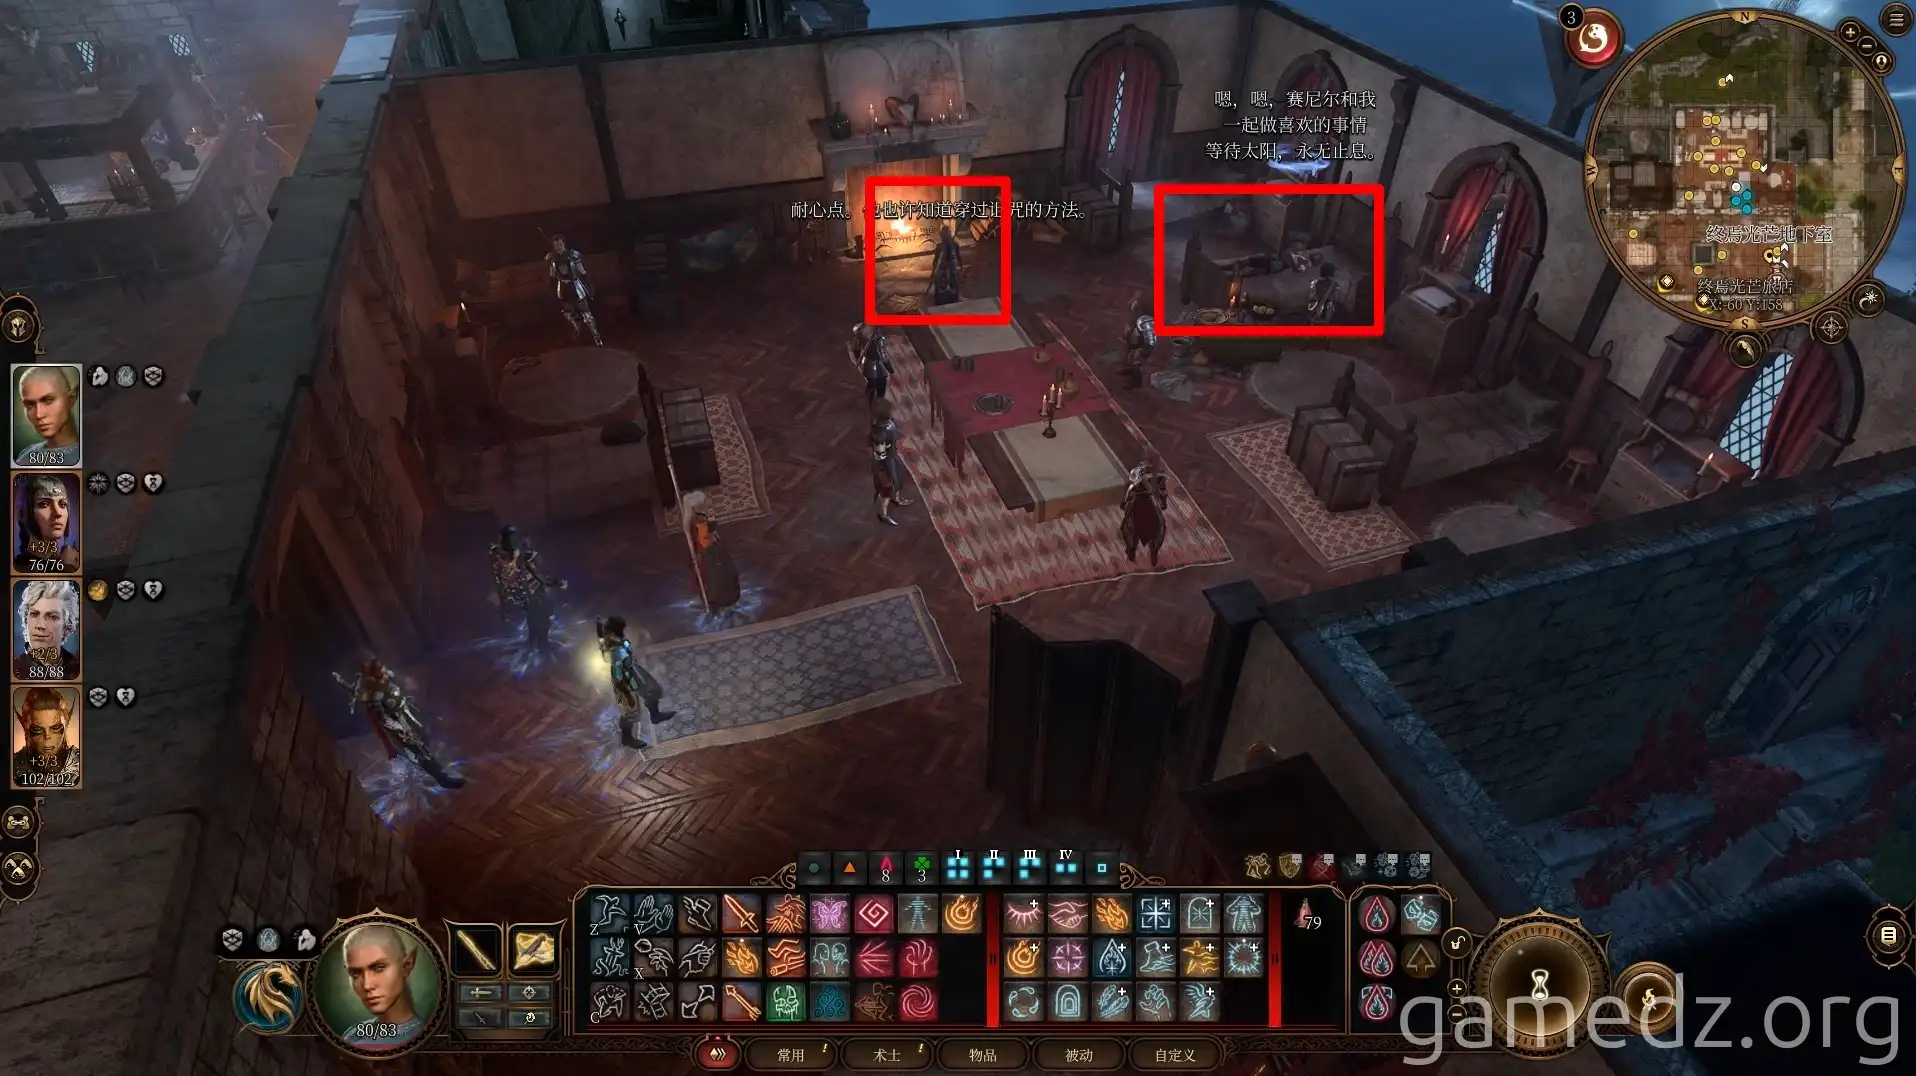
Investigating the unconscious man and speaking with the woman caring for him will provide clues that the unconscious man previously visited the healing center in Wrellin.
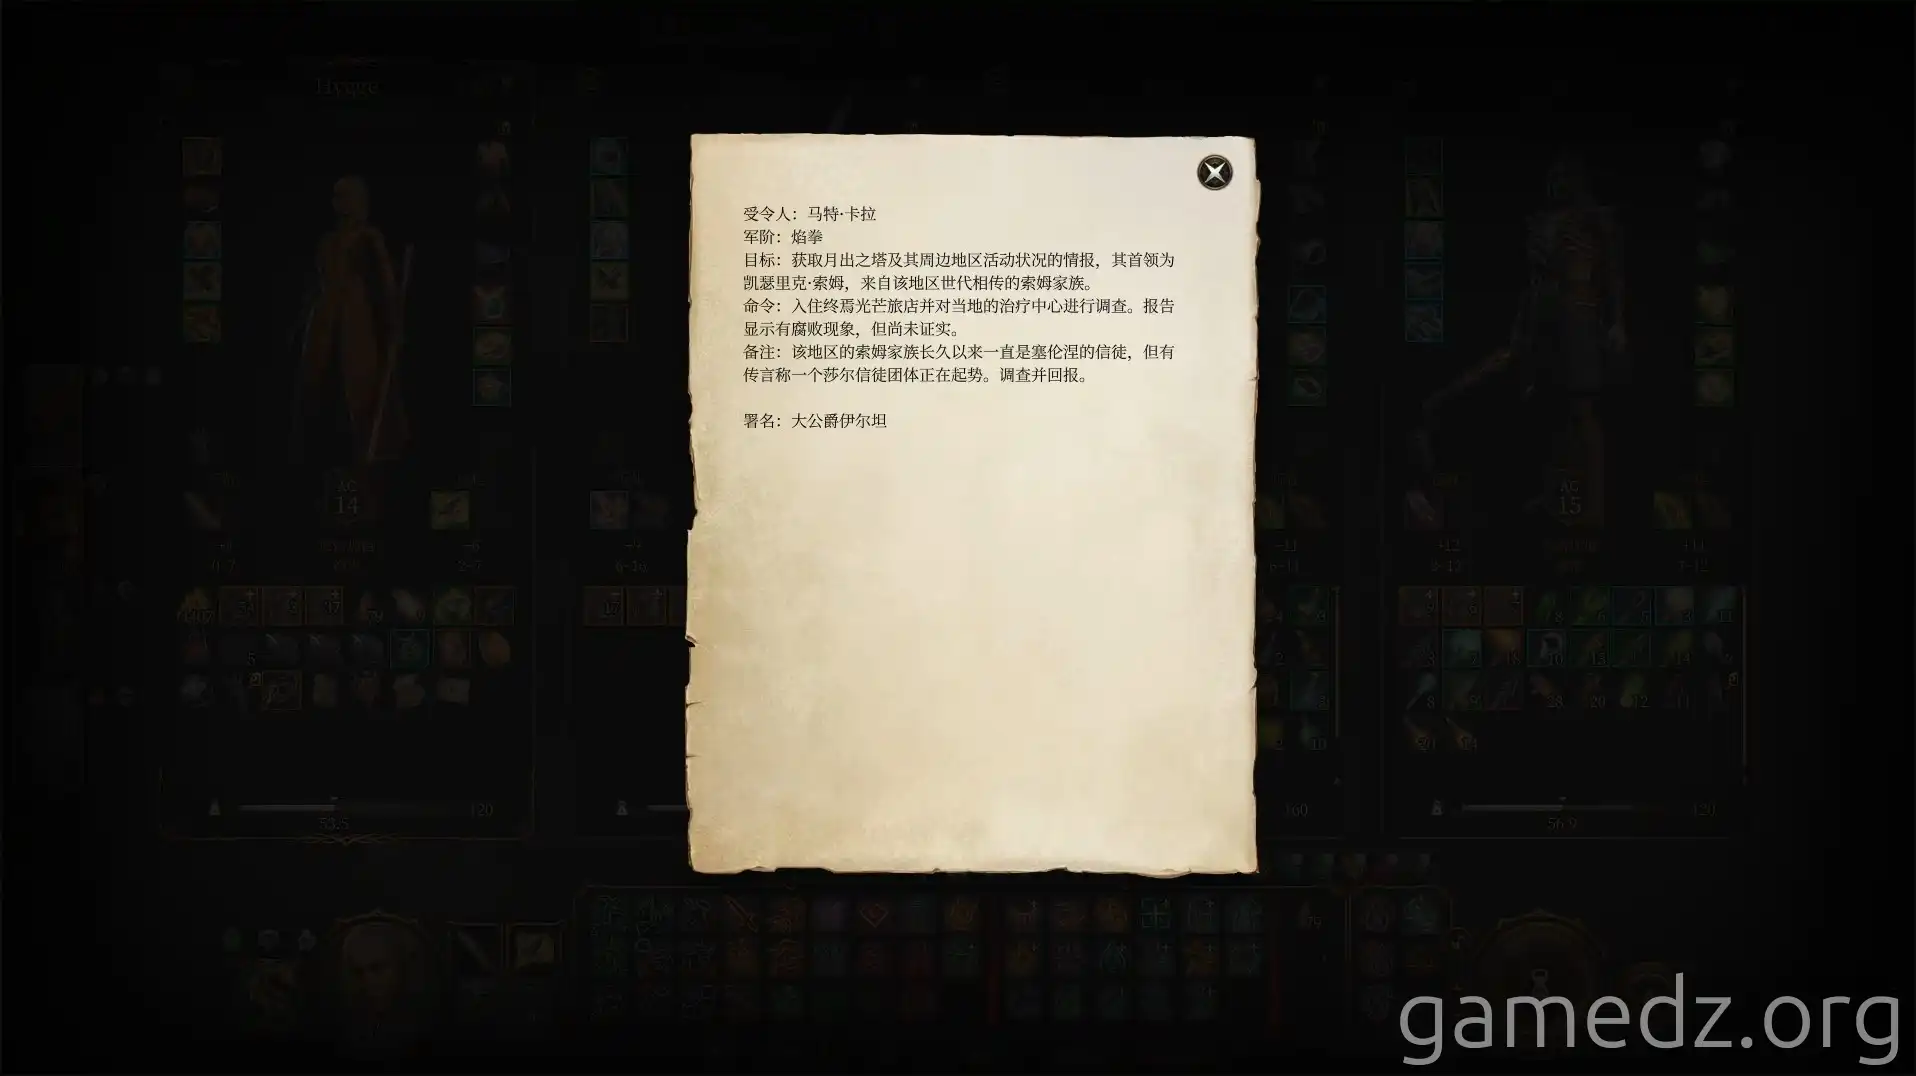
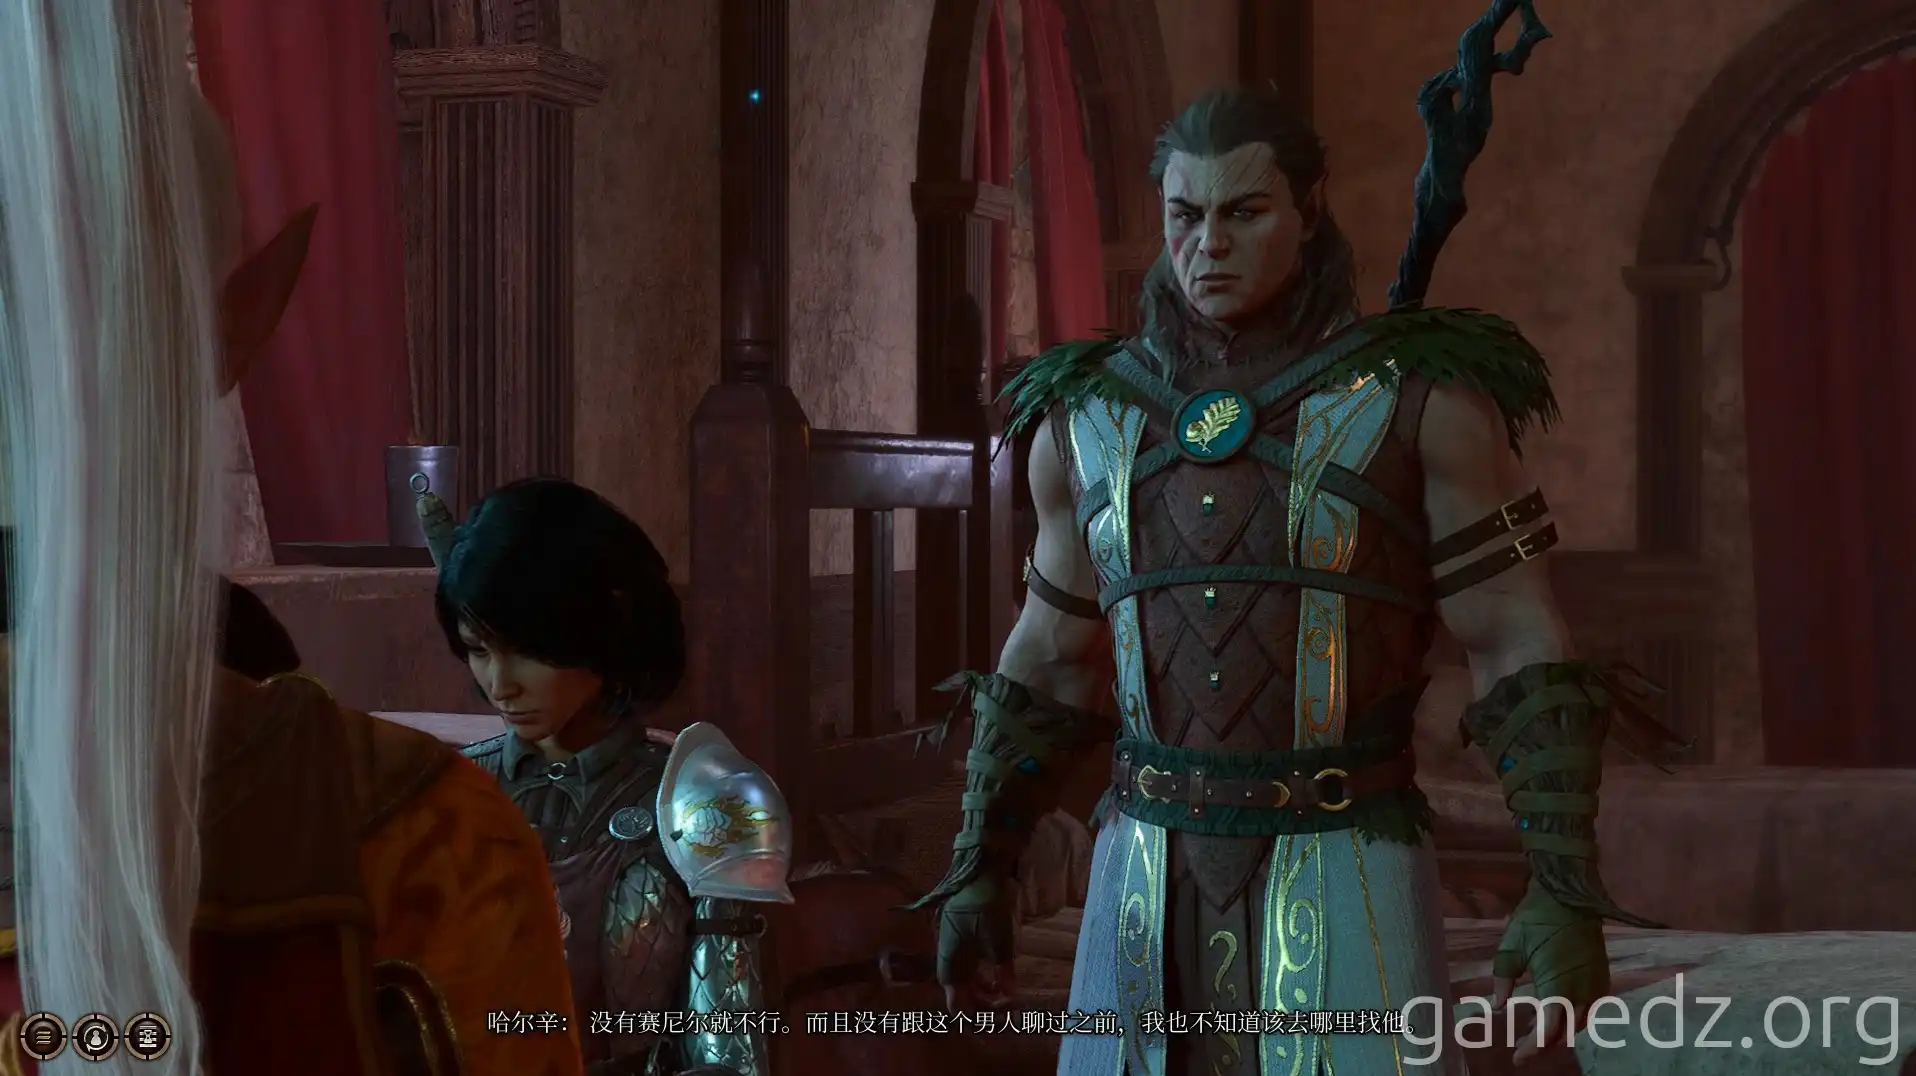
Return to your camp and inform Halsin about the unconscious Flaming Fist and Senir. He will then leave camp and head to the inn.
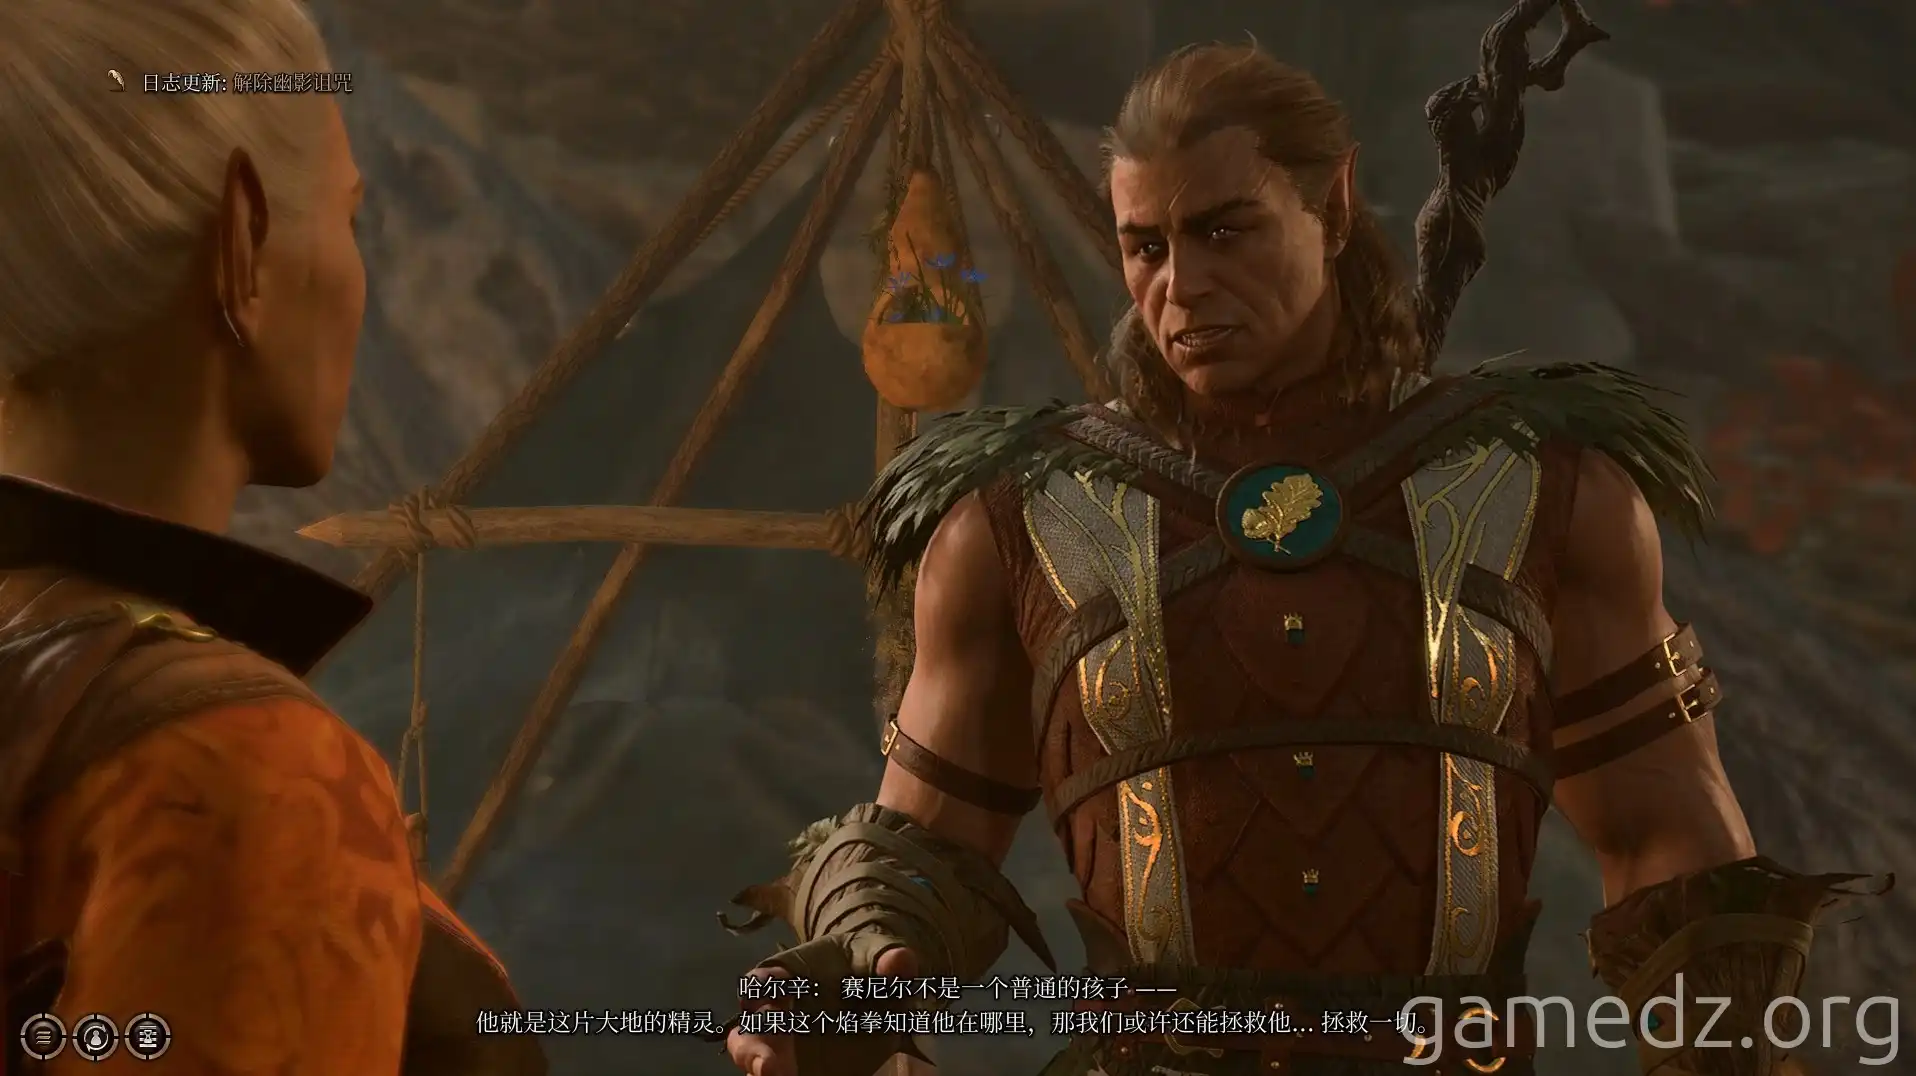
Back at the inn, speak with Halsin. You'll learn that you need to find an item to awaken the unconscious man to get information about Senir from him.
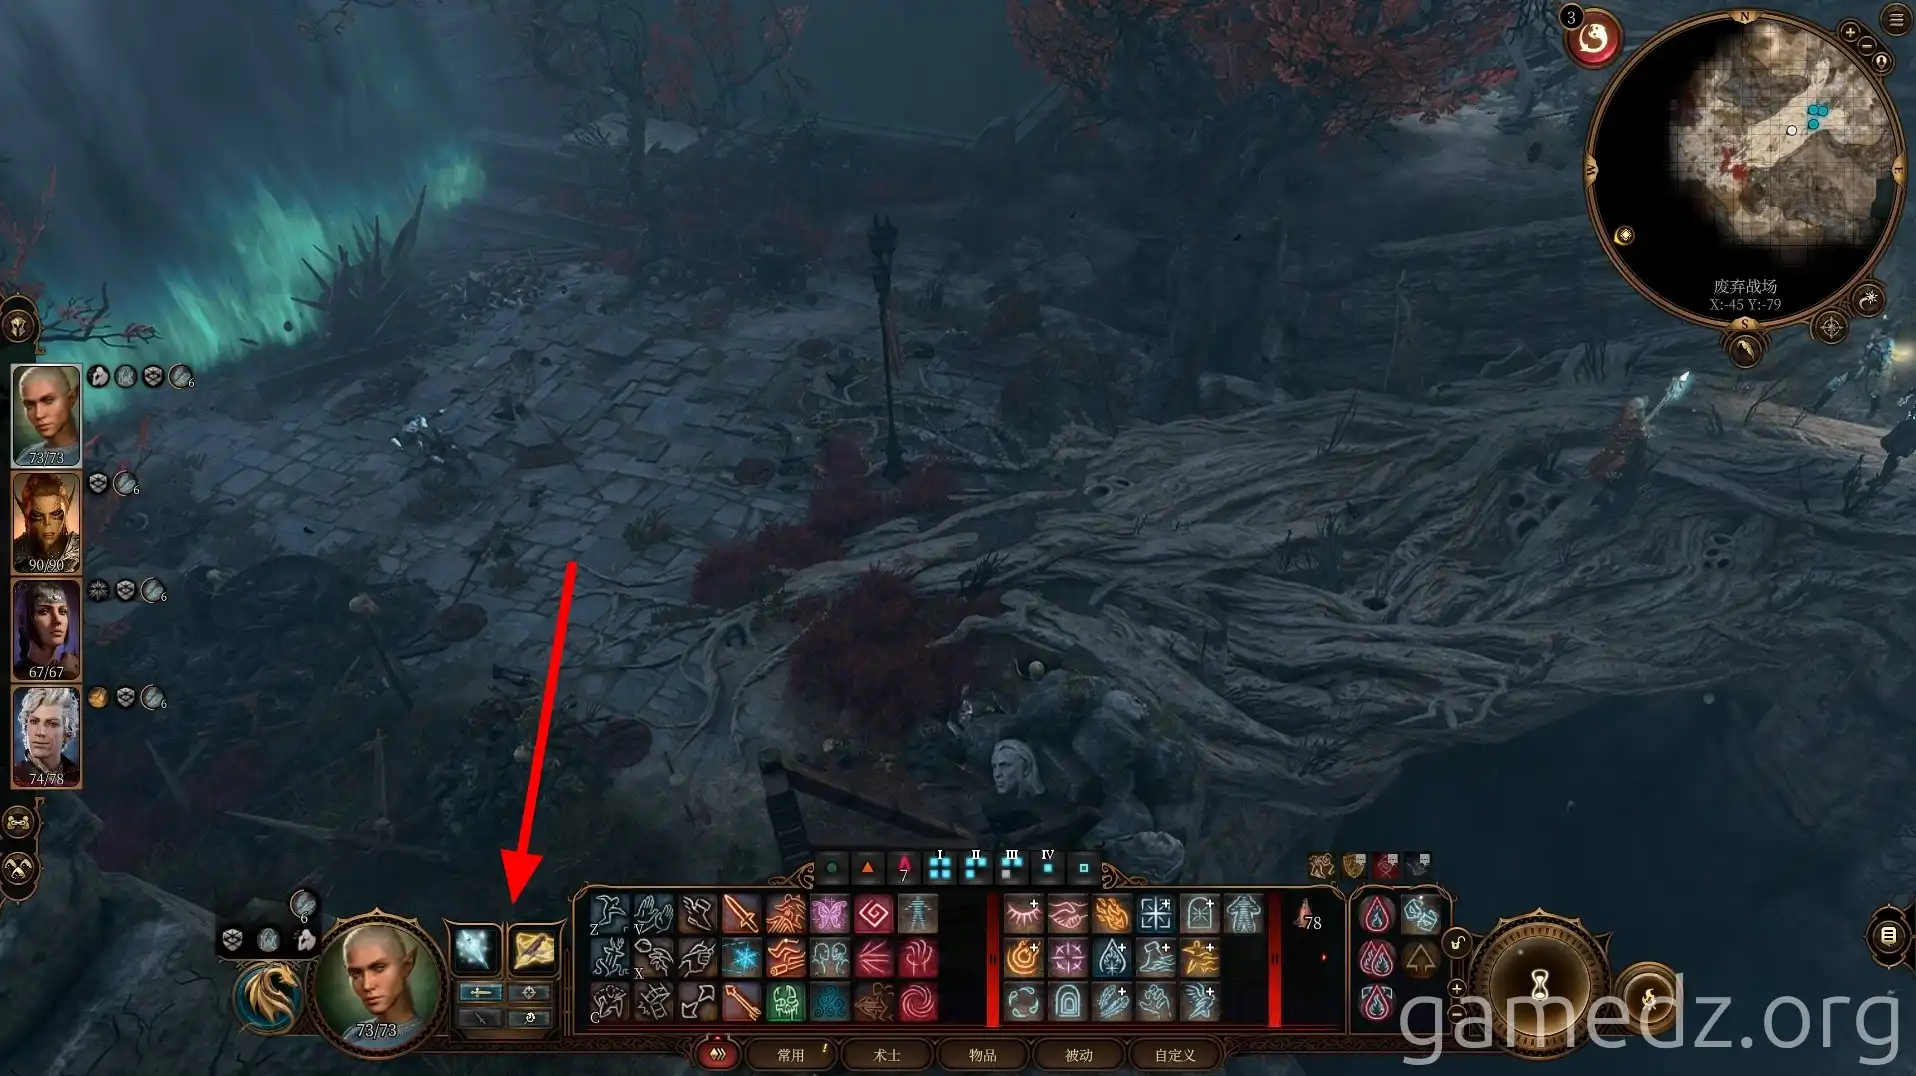
At this point, return to the central entrance of Wrellin, the same location where you previously found the surrender letter, and continue heading south.
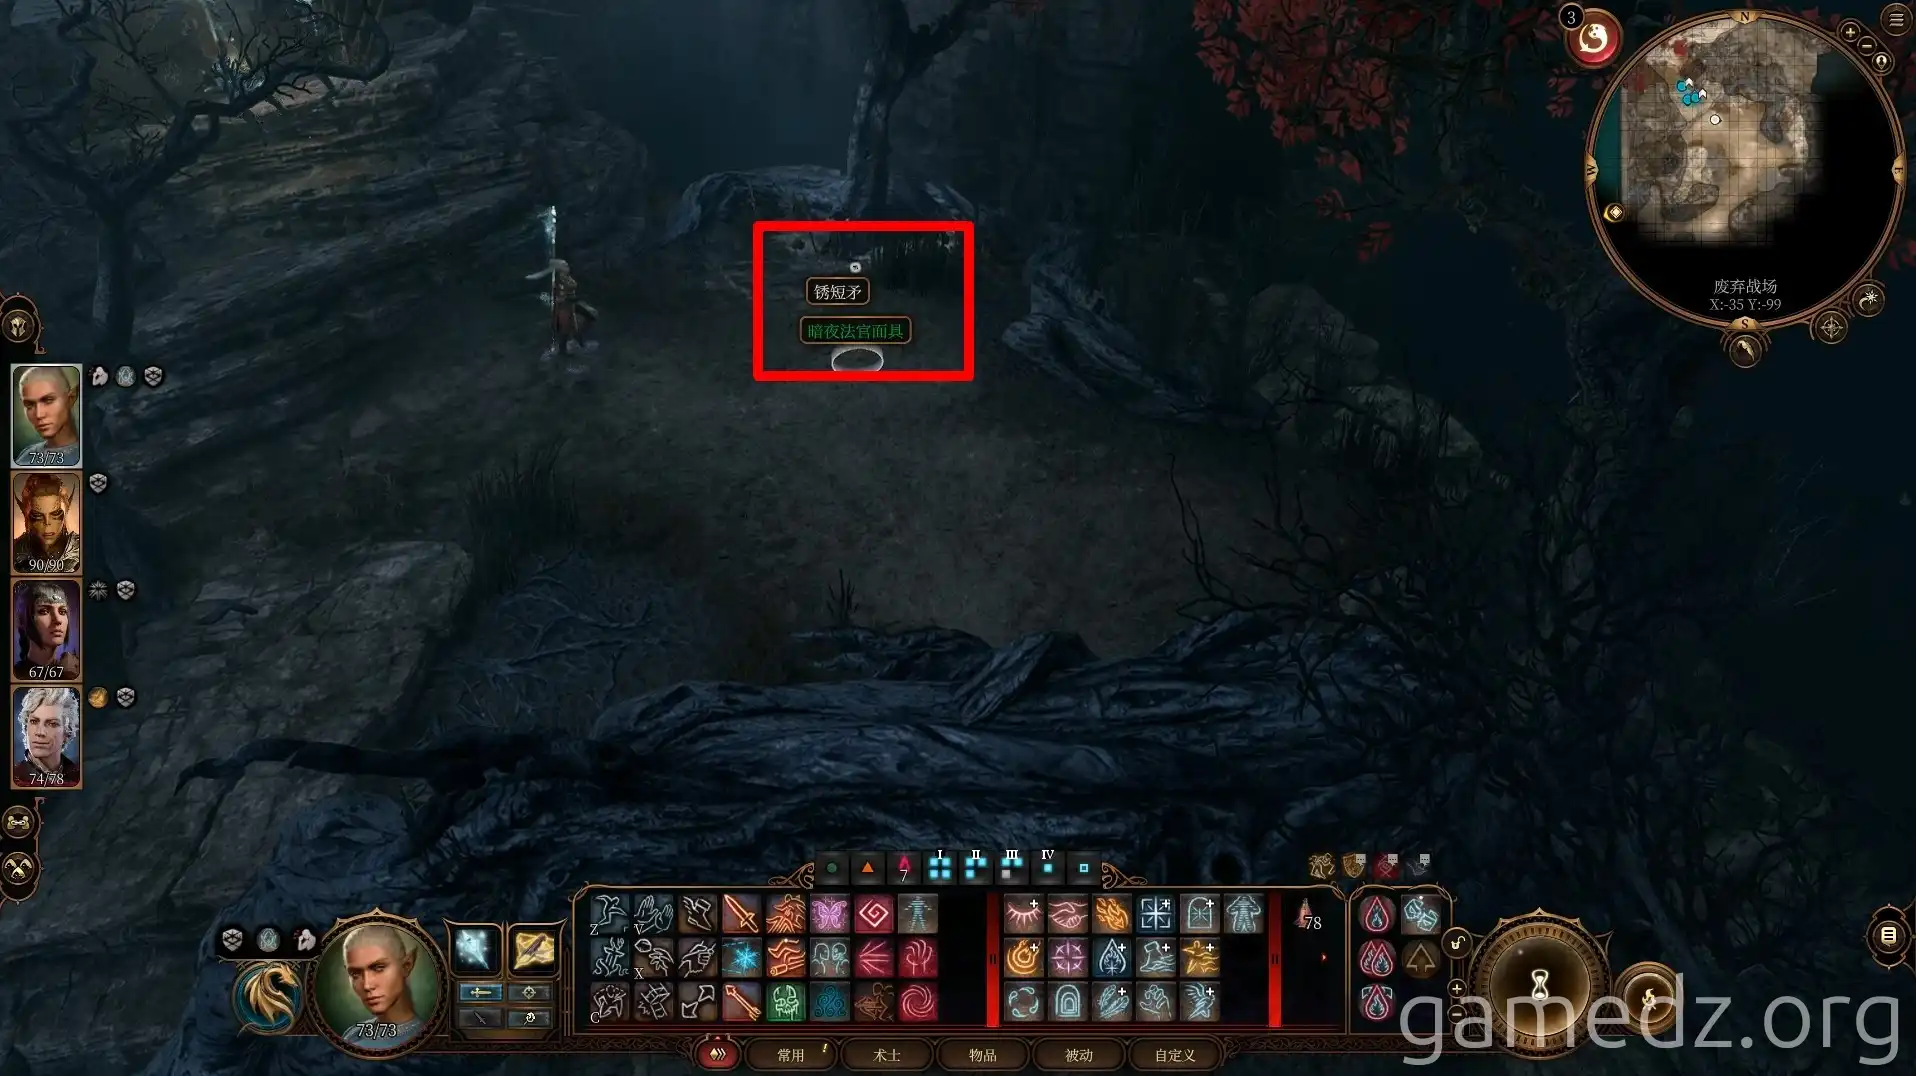
Beneath a tree ahead, you can find the excellent gear, "Mask of the Shrouded Judge."
Ahead is the south entrance to Wrellin. Here, you'll encounter Rolan being attacked by Shadows. Join the battle and defeat the Shadows.
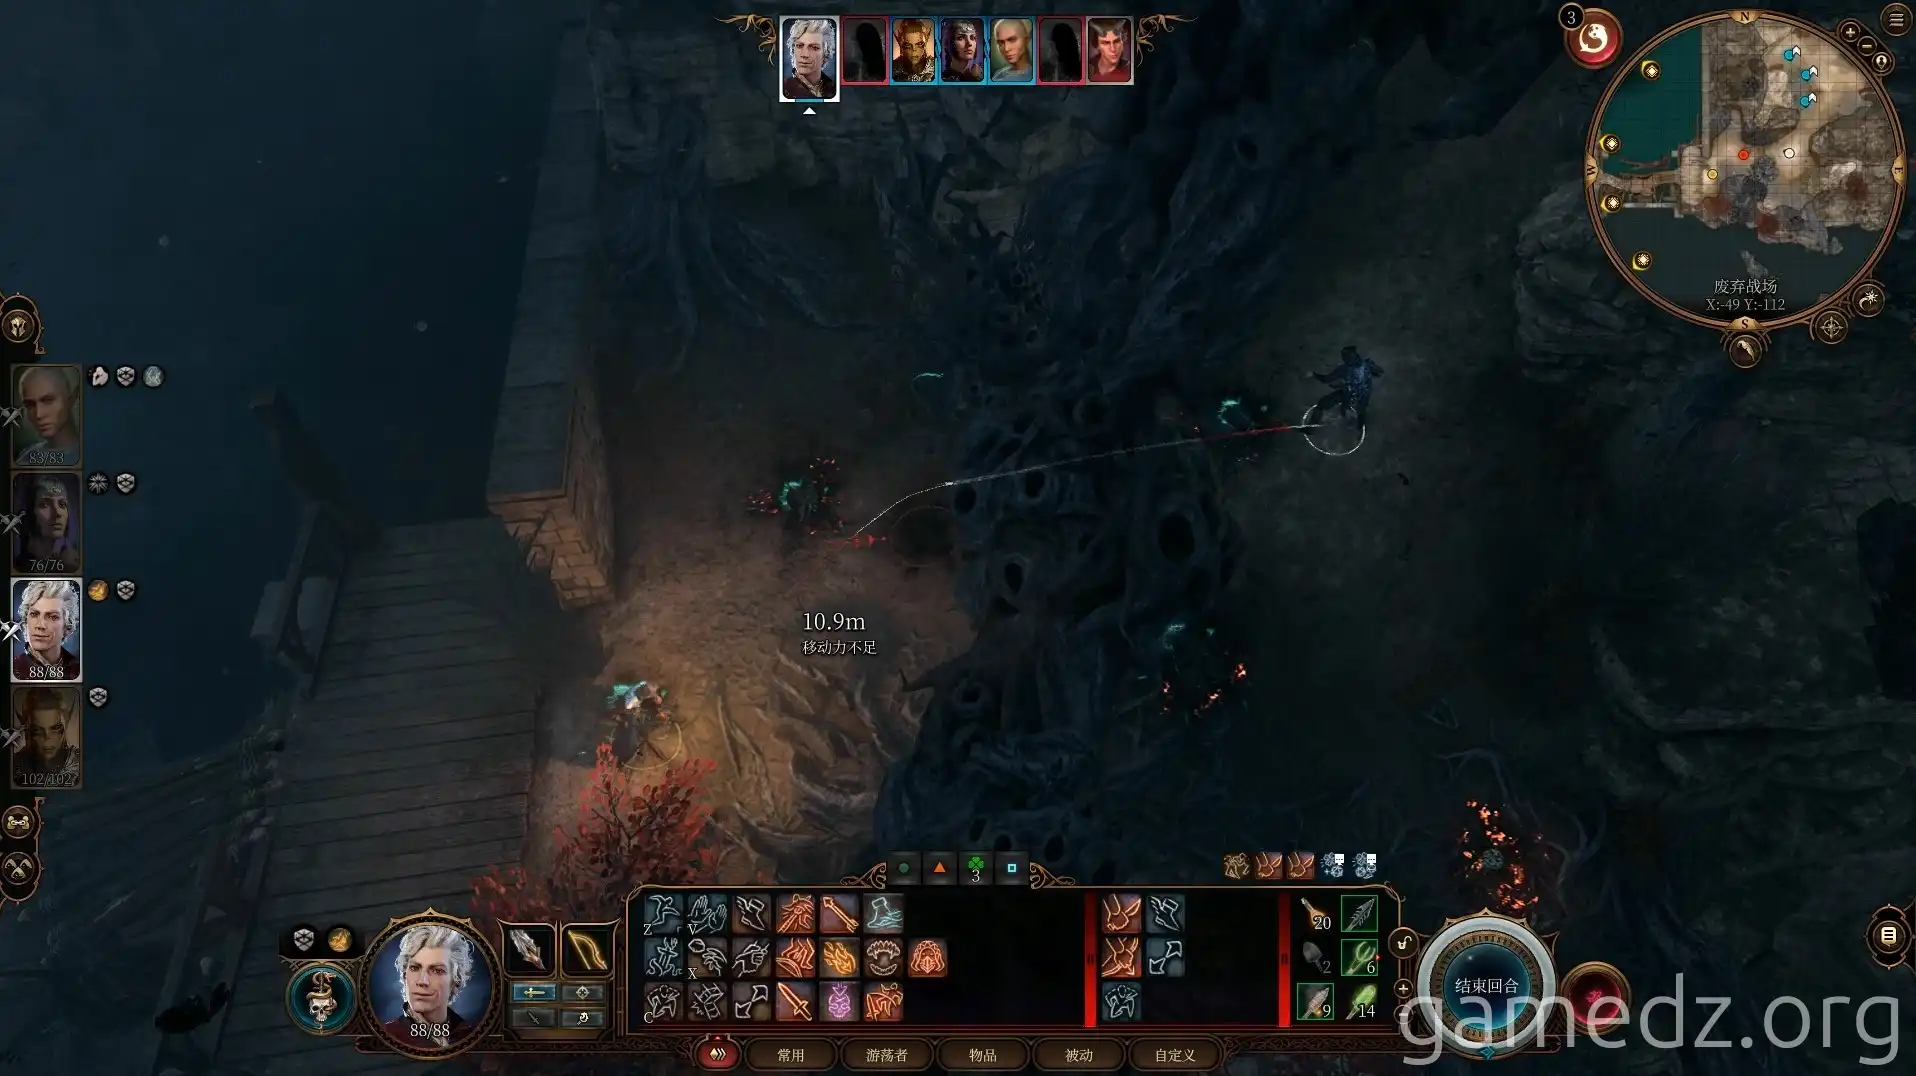
Afterward, speak with Rolan. He'll explain that he was searching for his companions. Following a conversation, you'll successfully persuade Rolan to return to the inn, leaving the search to you.

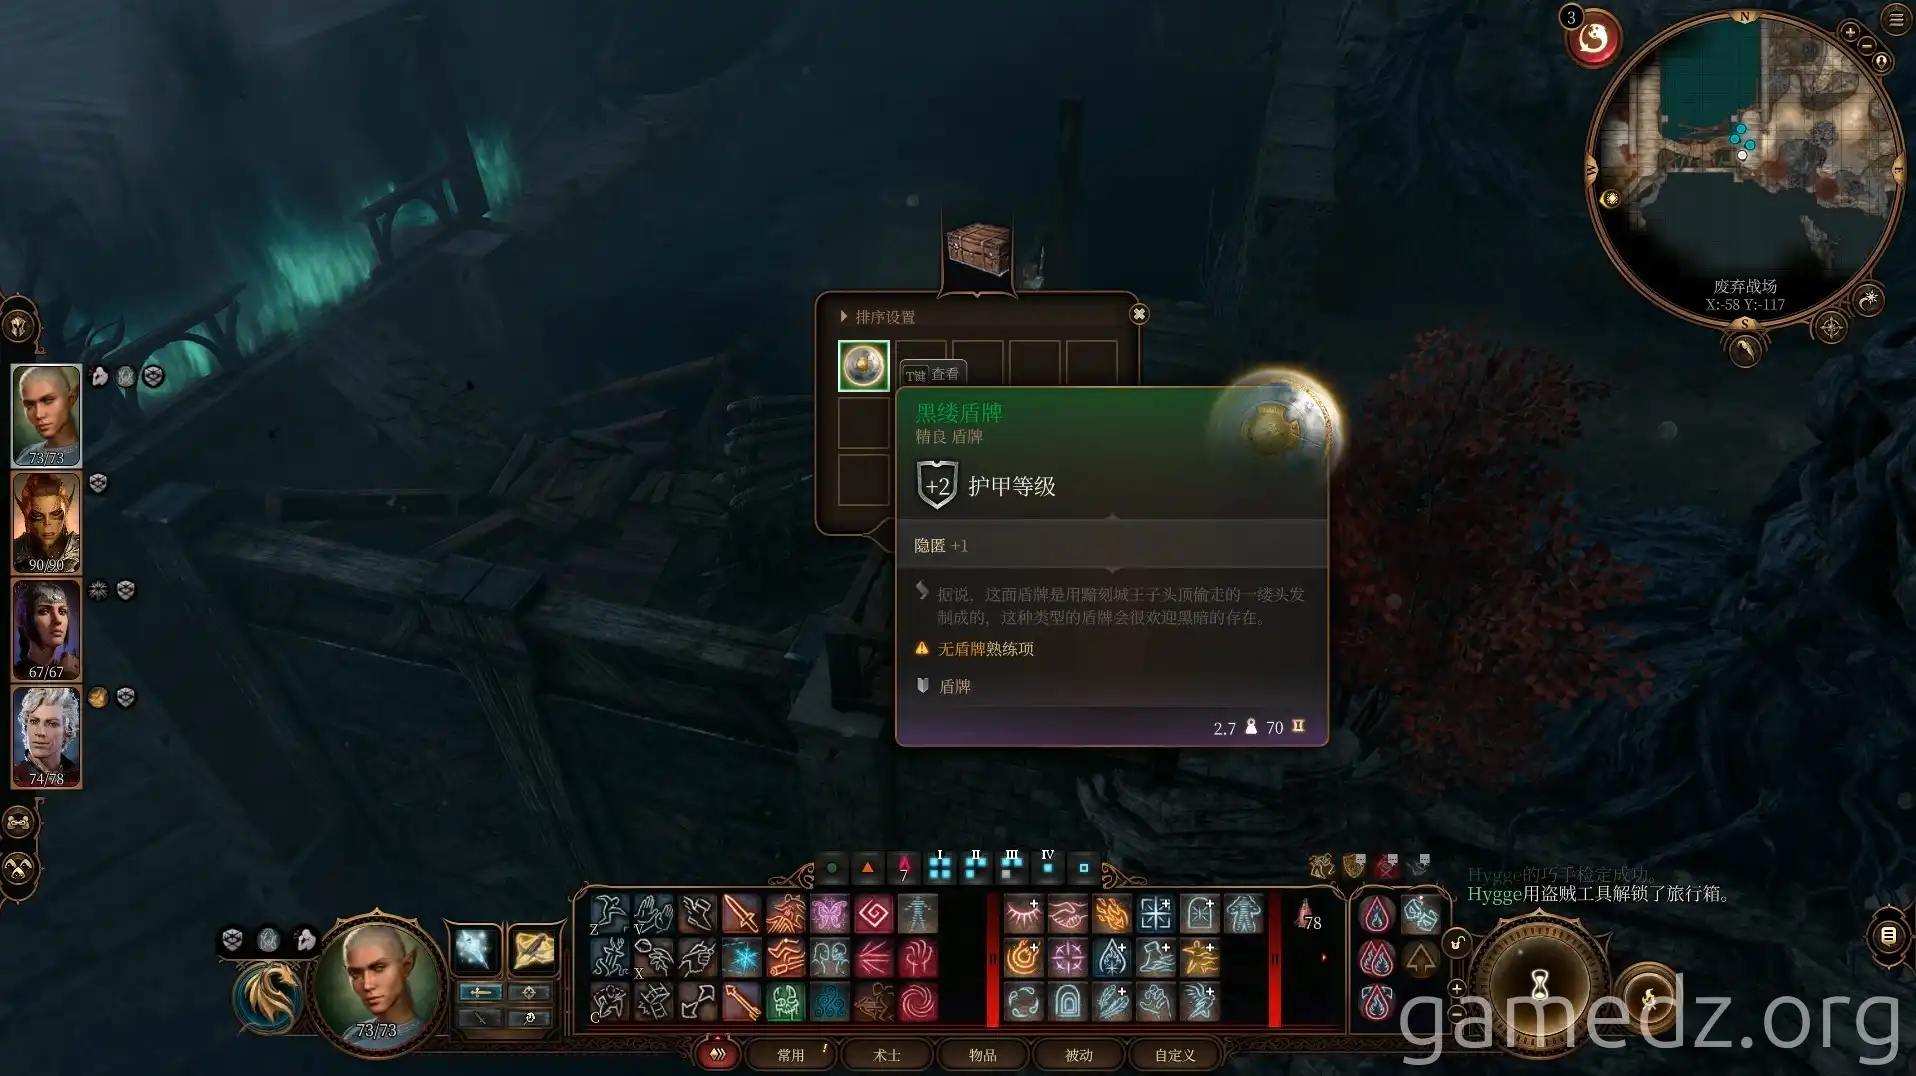
In the chest next to the broken bridge, you can find the excellent shield, "Shield of the Blackened Veil."
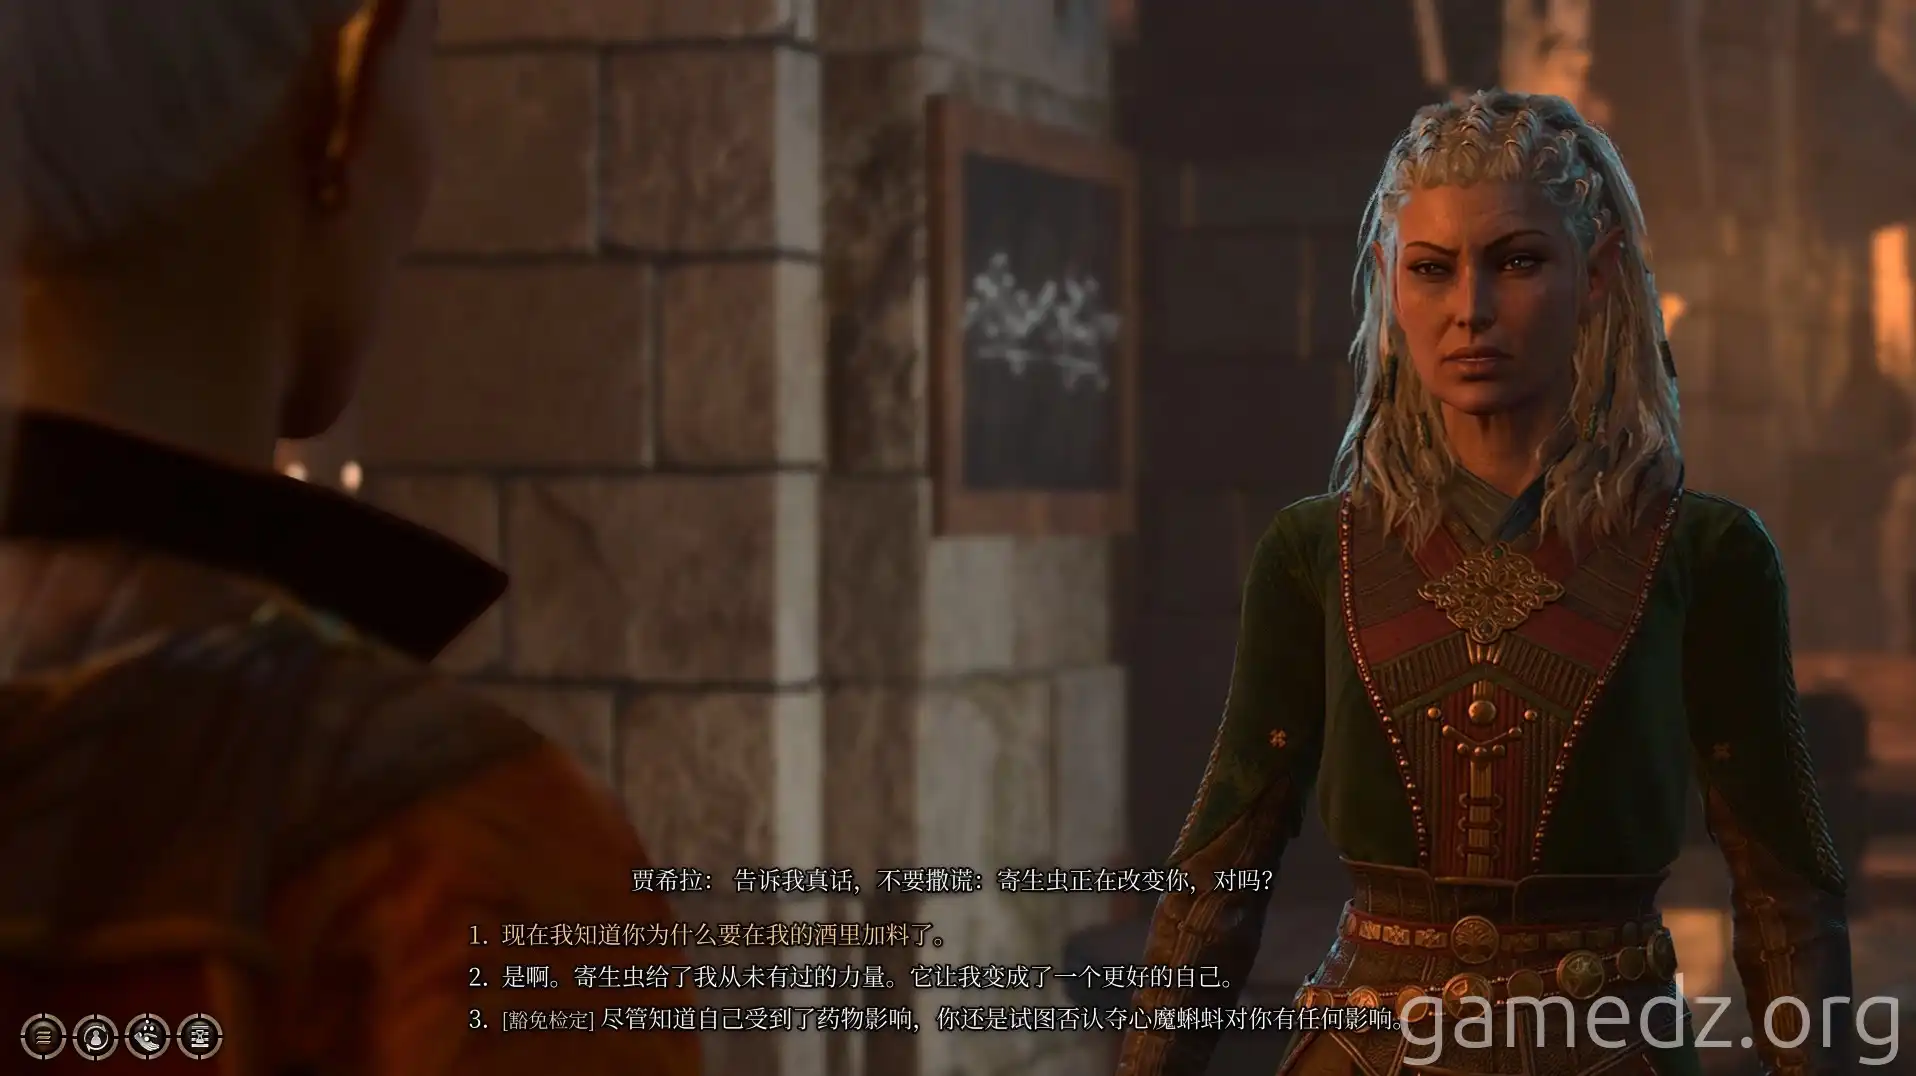
Upon returning to the inn, speak with Jaheira. You'll decide to help the Harper Alliance defeat General Ketheric Thorm and permanently end the curse of the Shadow-Cursed Lands.
A tough battle awaits, so it's recommended to return to camp to rest and recover.
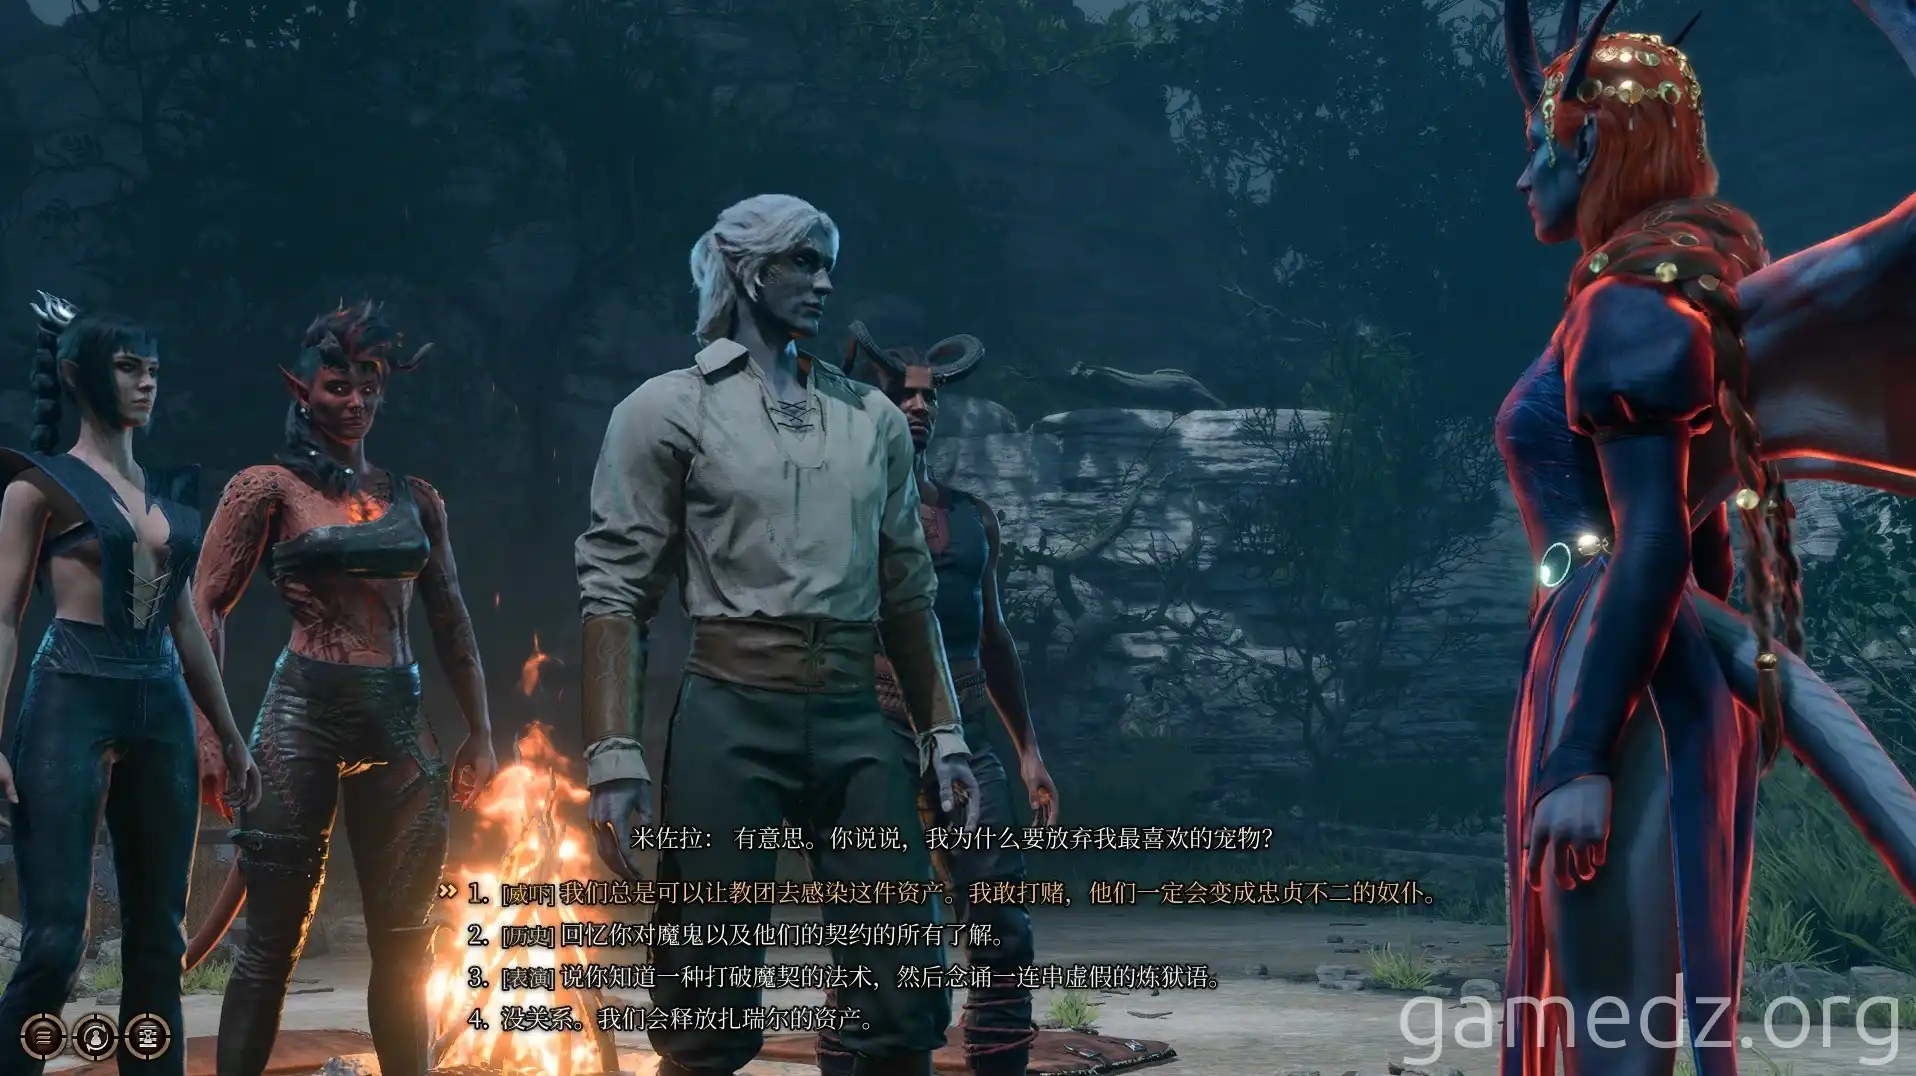
When you return to camp from within the inn's vicinity, Mizora will reappear and demand that Will go to Moonrise Towers to retrieve an item stolen by the Absolute's cult. After resting, an additional scene with the Guardian will unfold.
Next, proceed to the north room on the inn's second floor and speak with Isobel, who is maintaining the protective barrier.
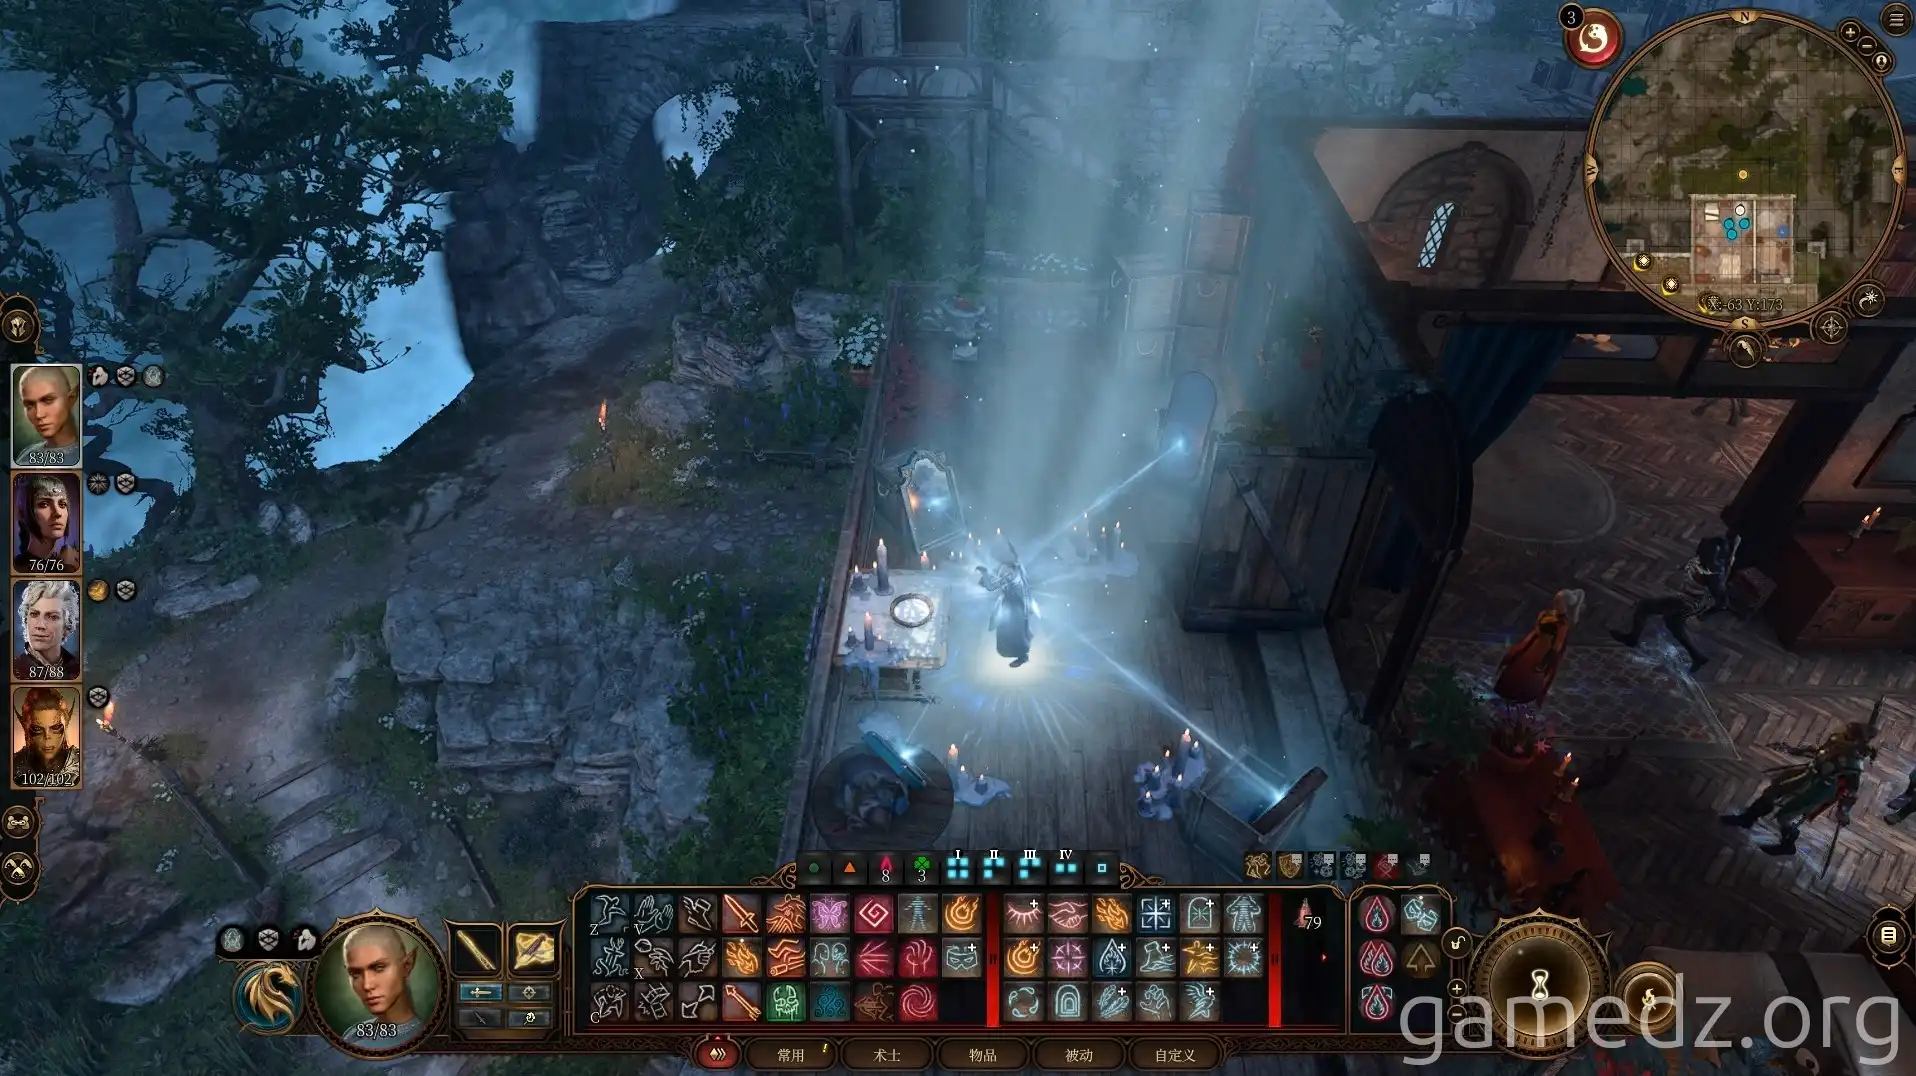
While speaking with Isobel, Marcus, a Flaming Fist member controlled by the Absolute, will launch a surprise attack on the inn with a group of terrifying demons, attempting to abduct Isobel. It's crucial to prevent Isobel from being taken, as otherwise, everyone in the inn will perish.
Before the fight begins, Mol will be abducted by a demon, adding another person to your rescue list.
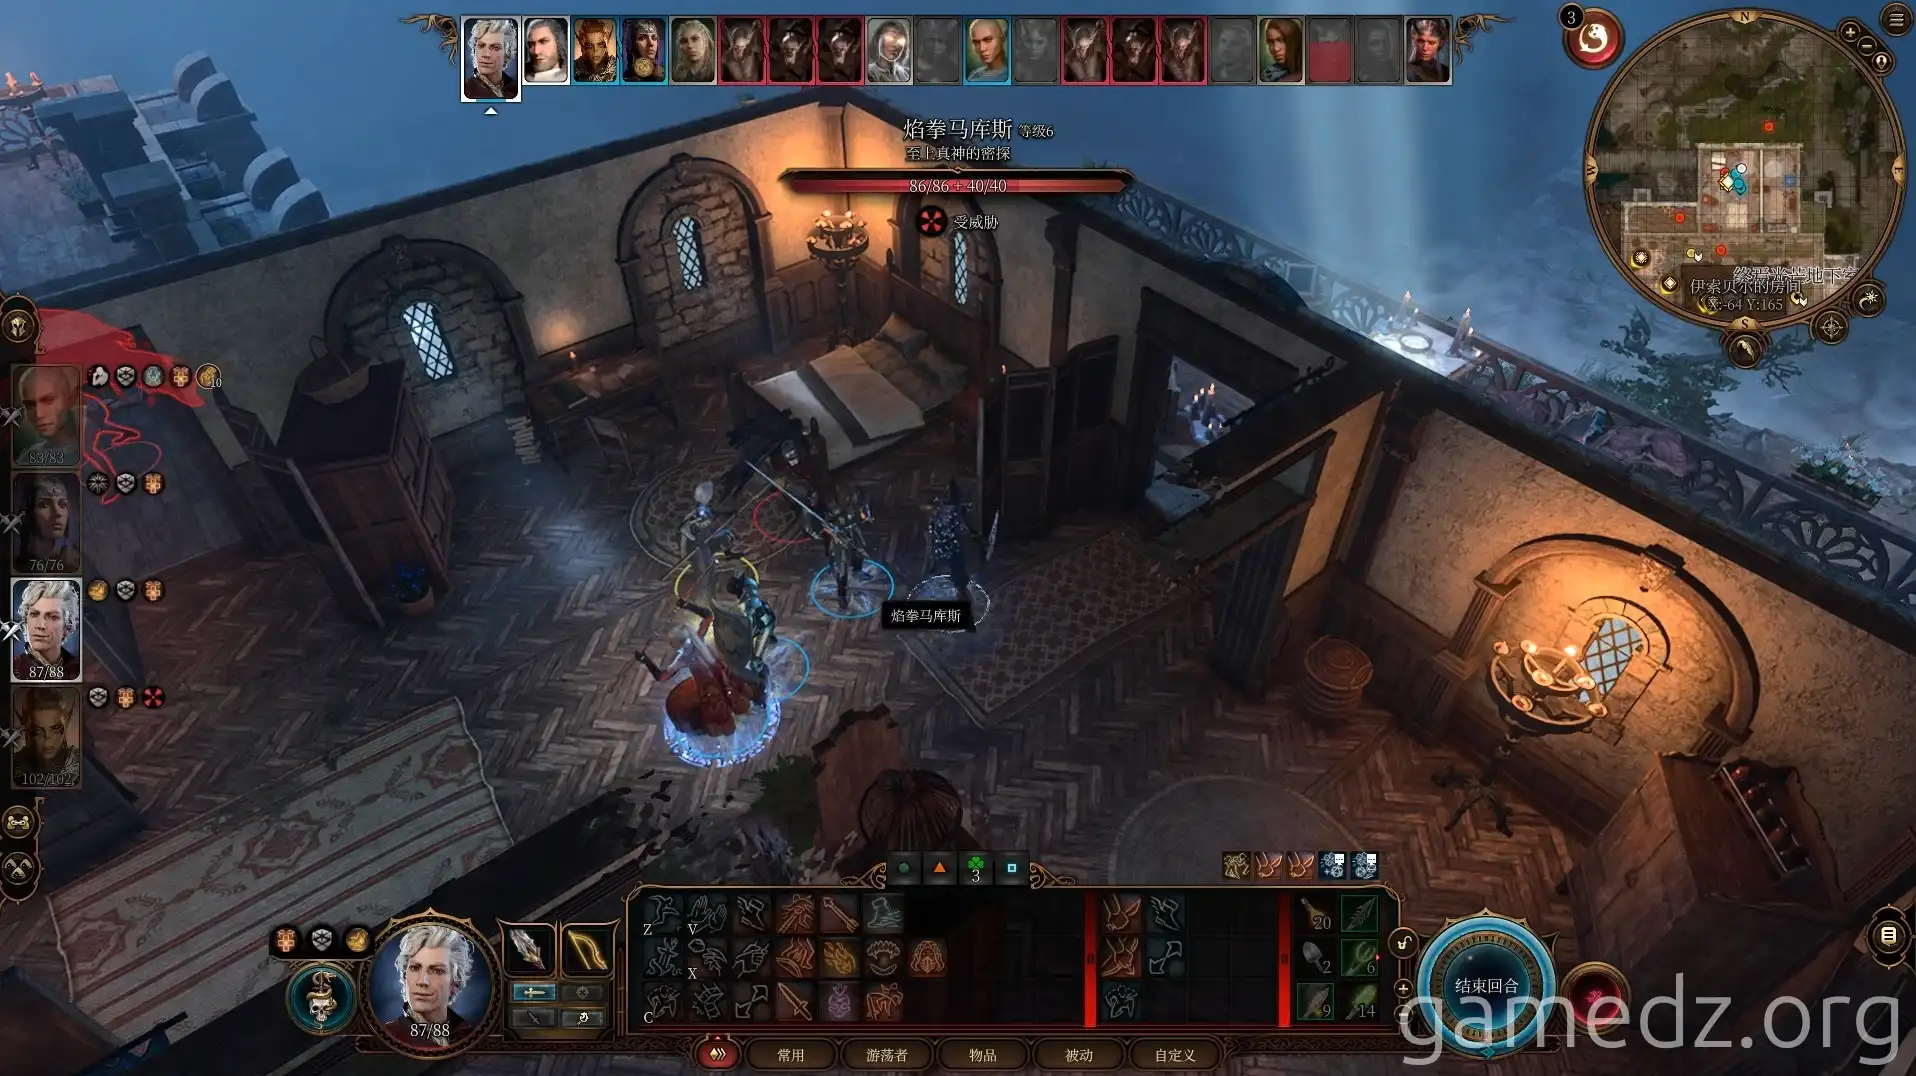
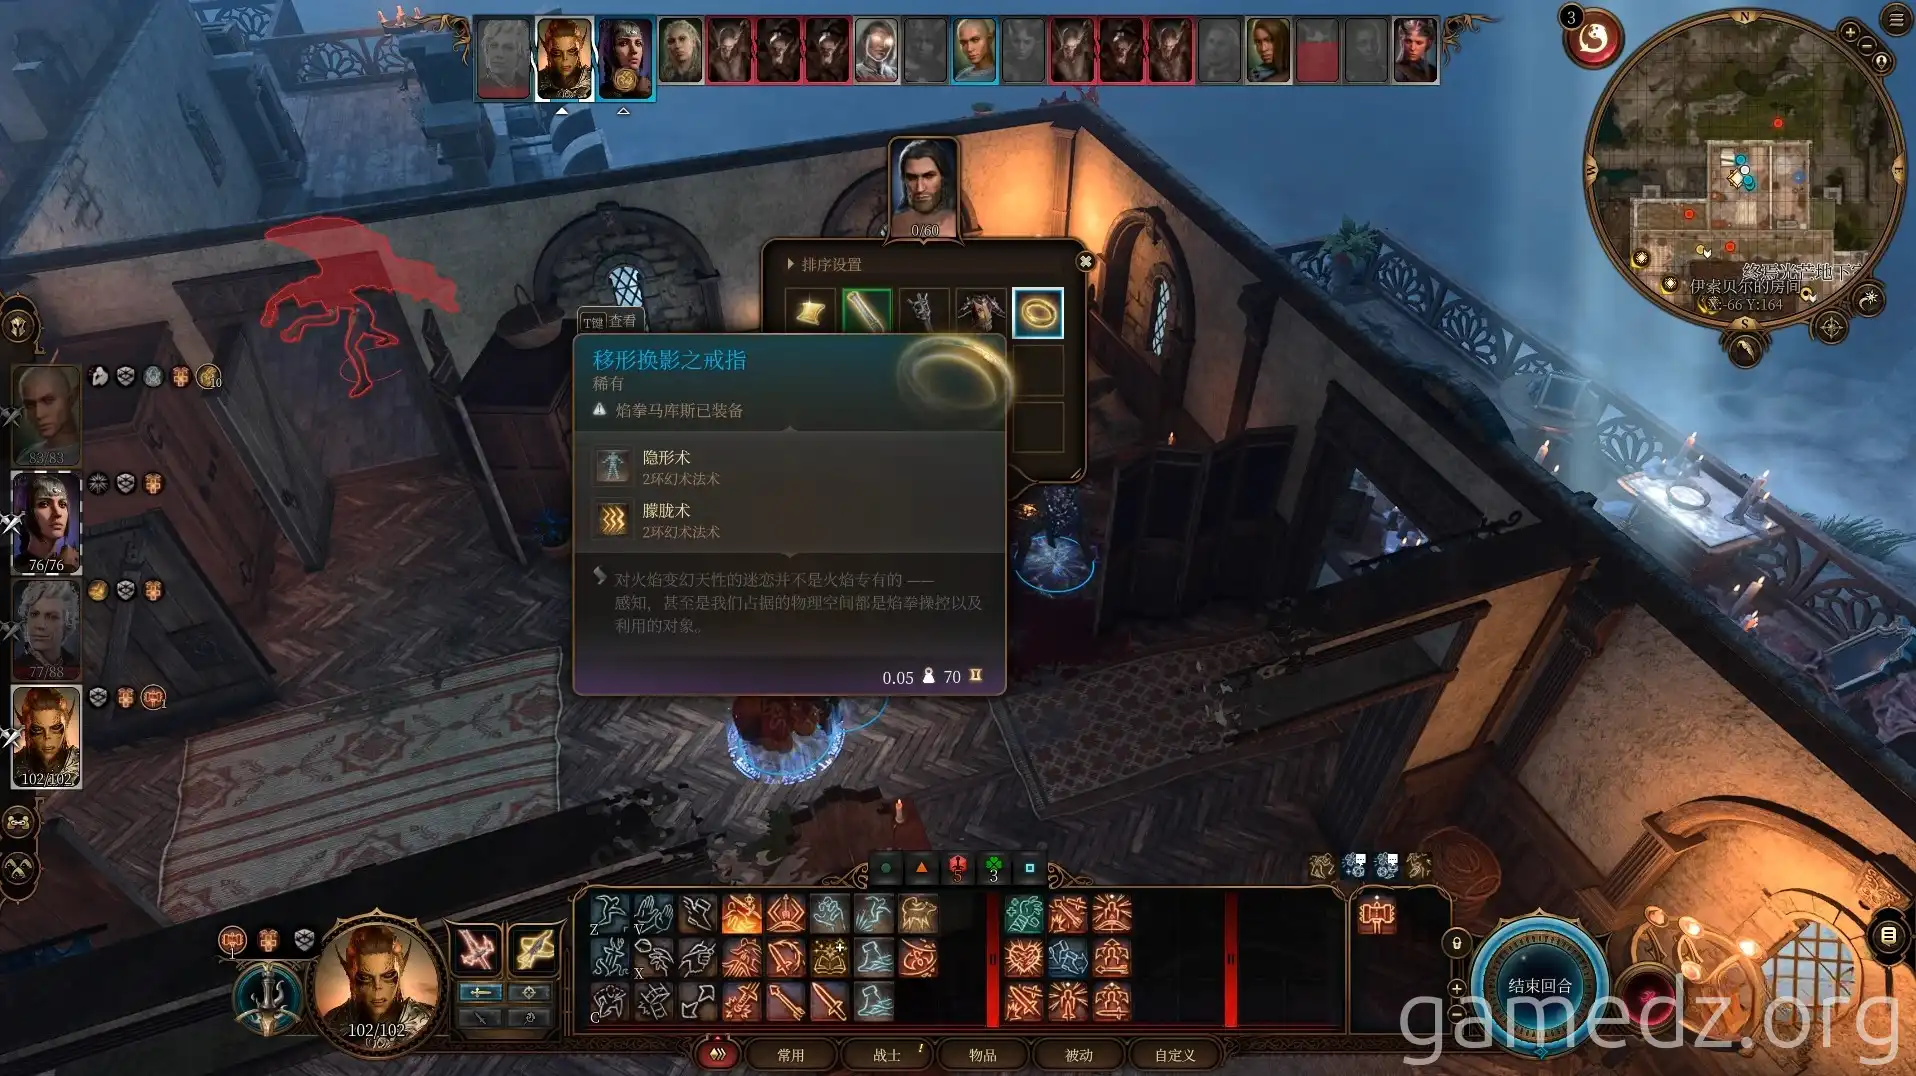
Defeating Marcus will reward you with the rare accessory, "Ring of Shifting" and a Mind Flayer specimen.
After eliminating all enemies, speak with Jaheira. Defeating Ketheric is now an urgent priority.

Speak with the tiefling children to initiate the side quest "Find Mol." Your next objective is to explore Wrellin.
