Baldur's Gate 3 Lower City: Full Map & Walkthrough Guide
Explore Baldur's Gate 3's Lower City East Side Main Wall with this detailed walkthrough. Discover hidden quests, recruit allies, and find powerful gear.
Head south from outside the shop, taking the small path west of the Wondrous Items shop.
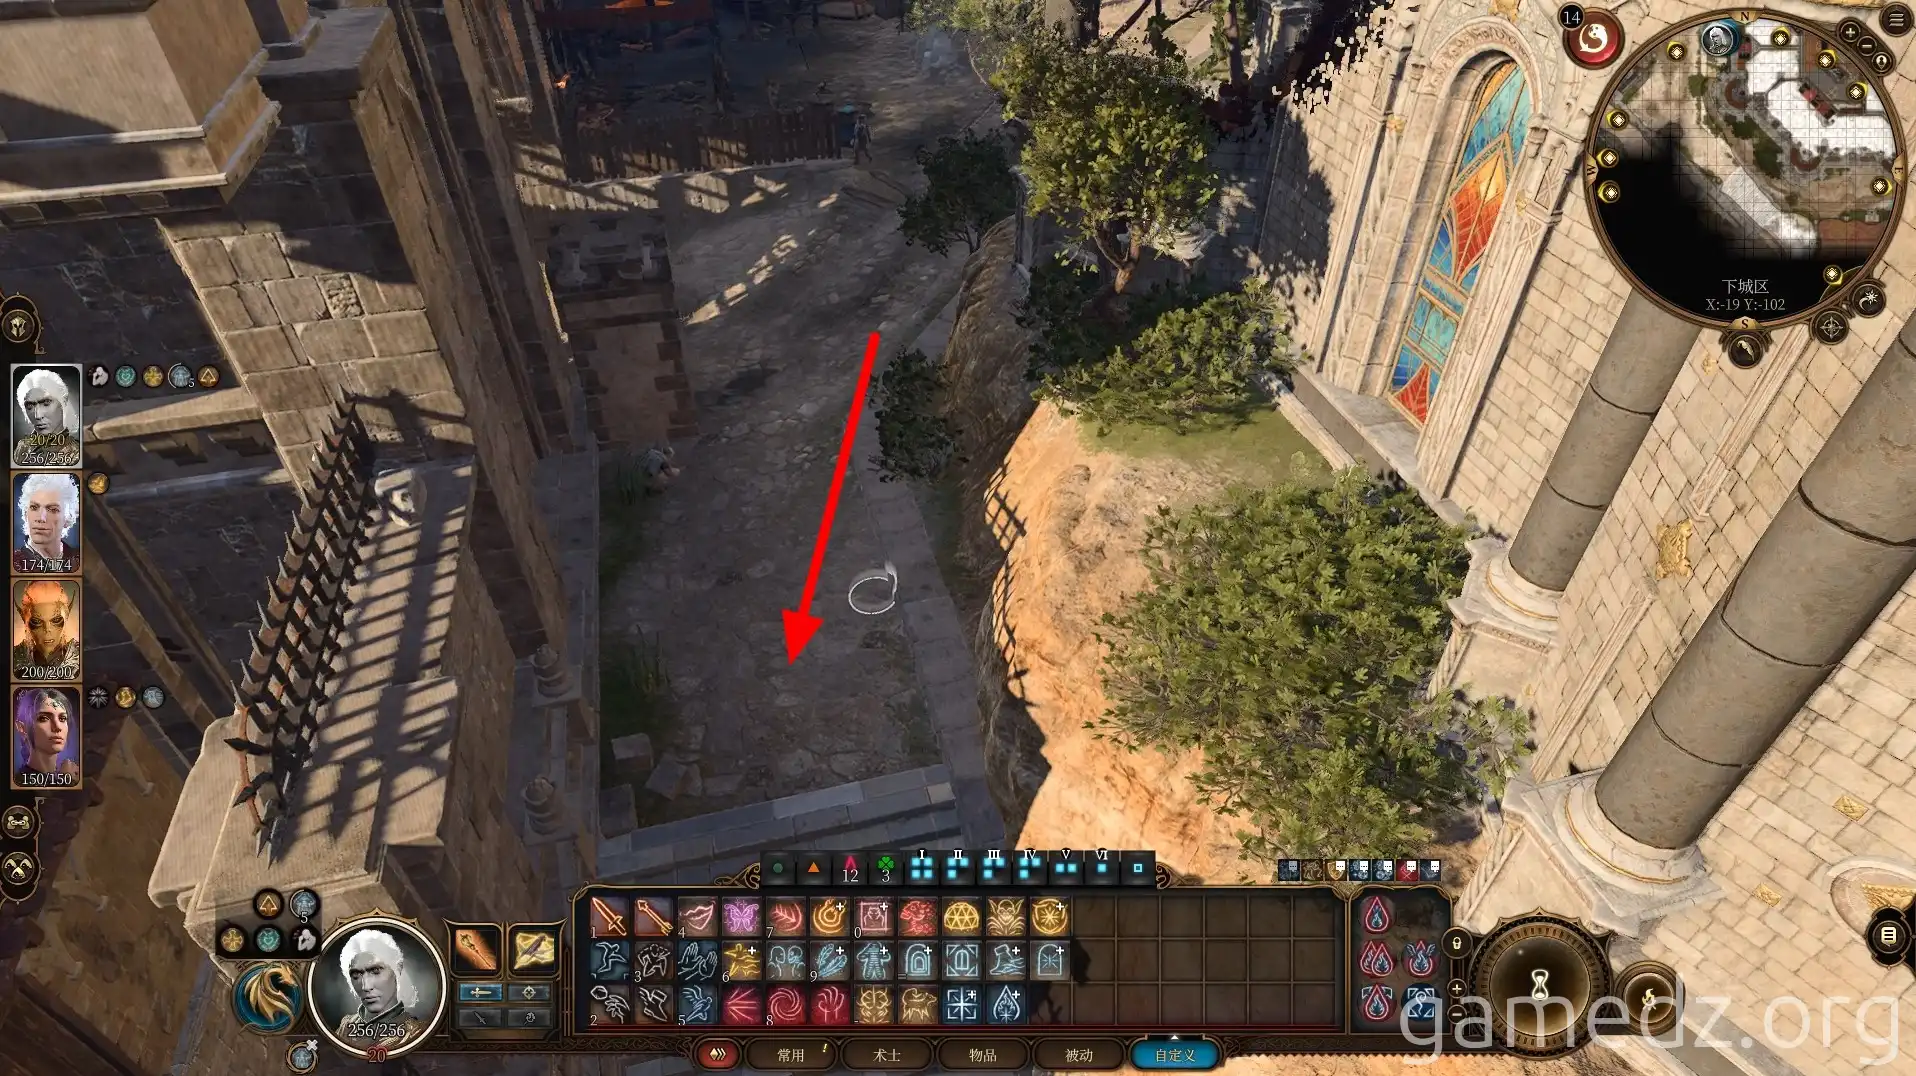
After passing a murder scene, you'll arrive at the location shown below. Activate the Slope Area Coast waypoint on the wall below, then enter the fireworks shop.
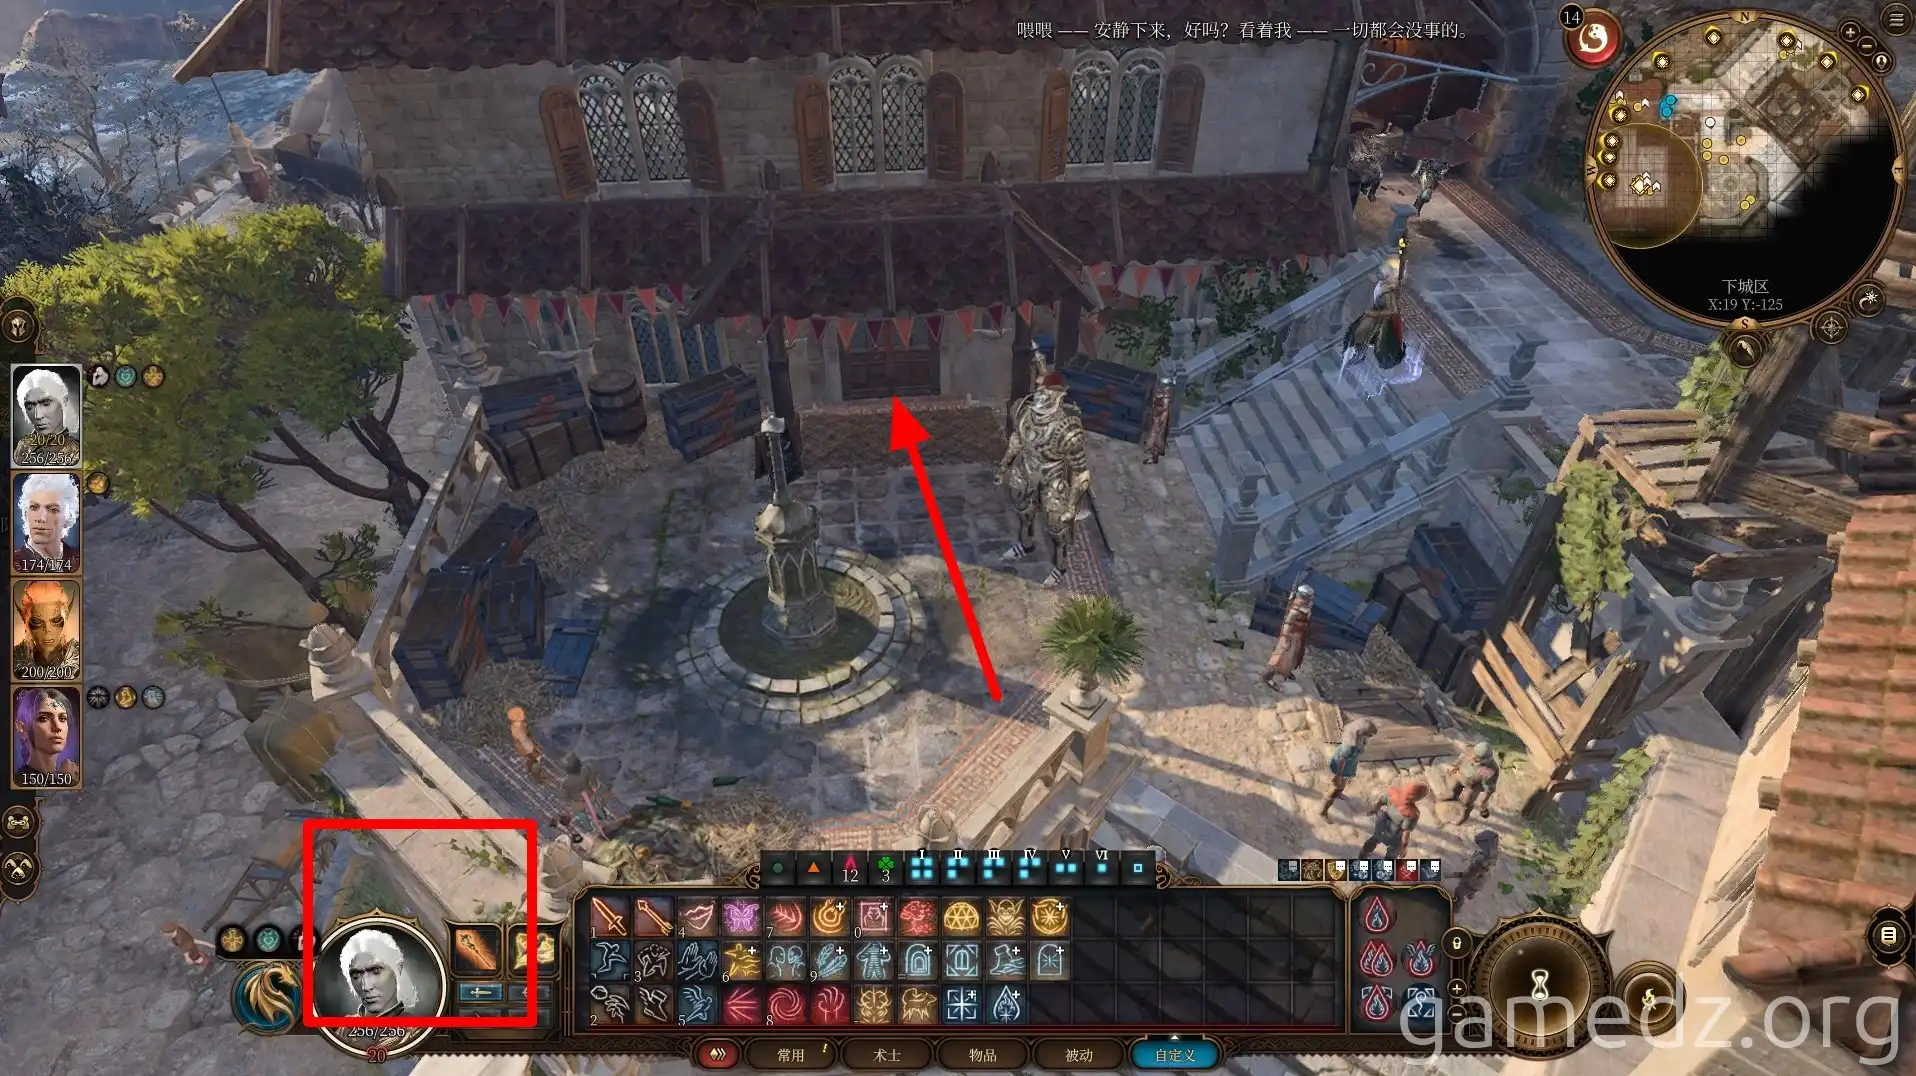
Upon entering the fireworks shop, we'll first speak with the owner behind the counter. We learn that he has a shipment of smoke powder on its way to Gortash.
After our conversation, he'll give us some items.

You can either use invisibility to pick the lock and enter the basement through the trapdoor in the corner of the room, or you can enter the basement through the door outside the fireworks shop.
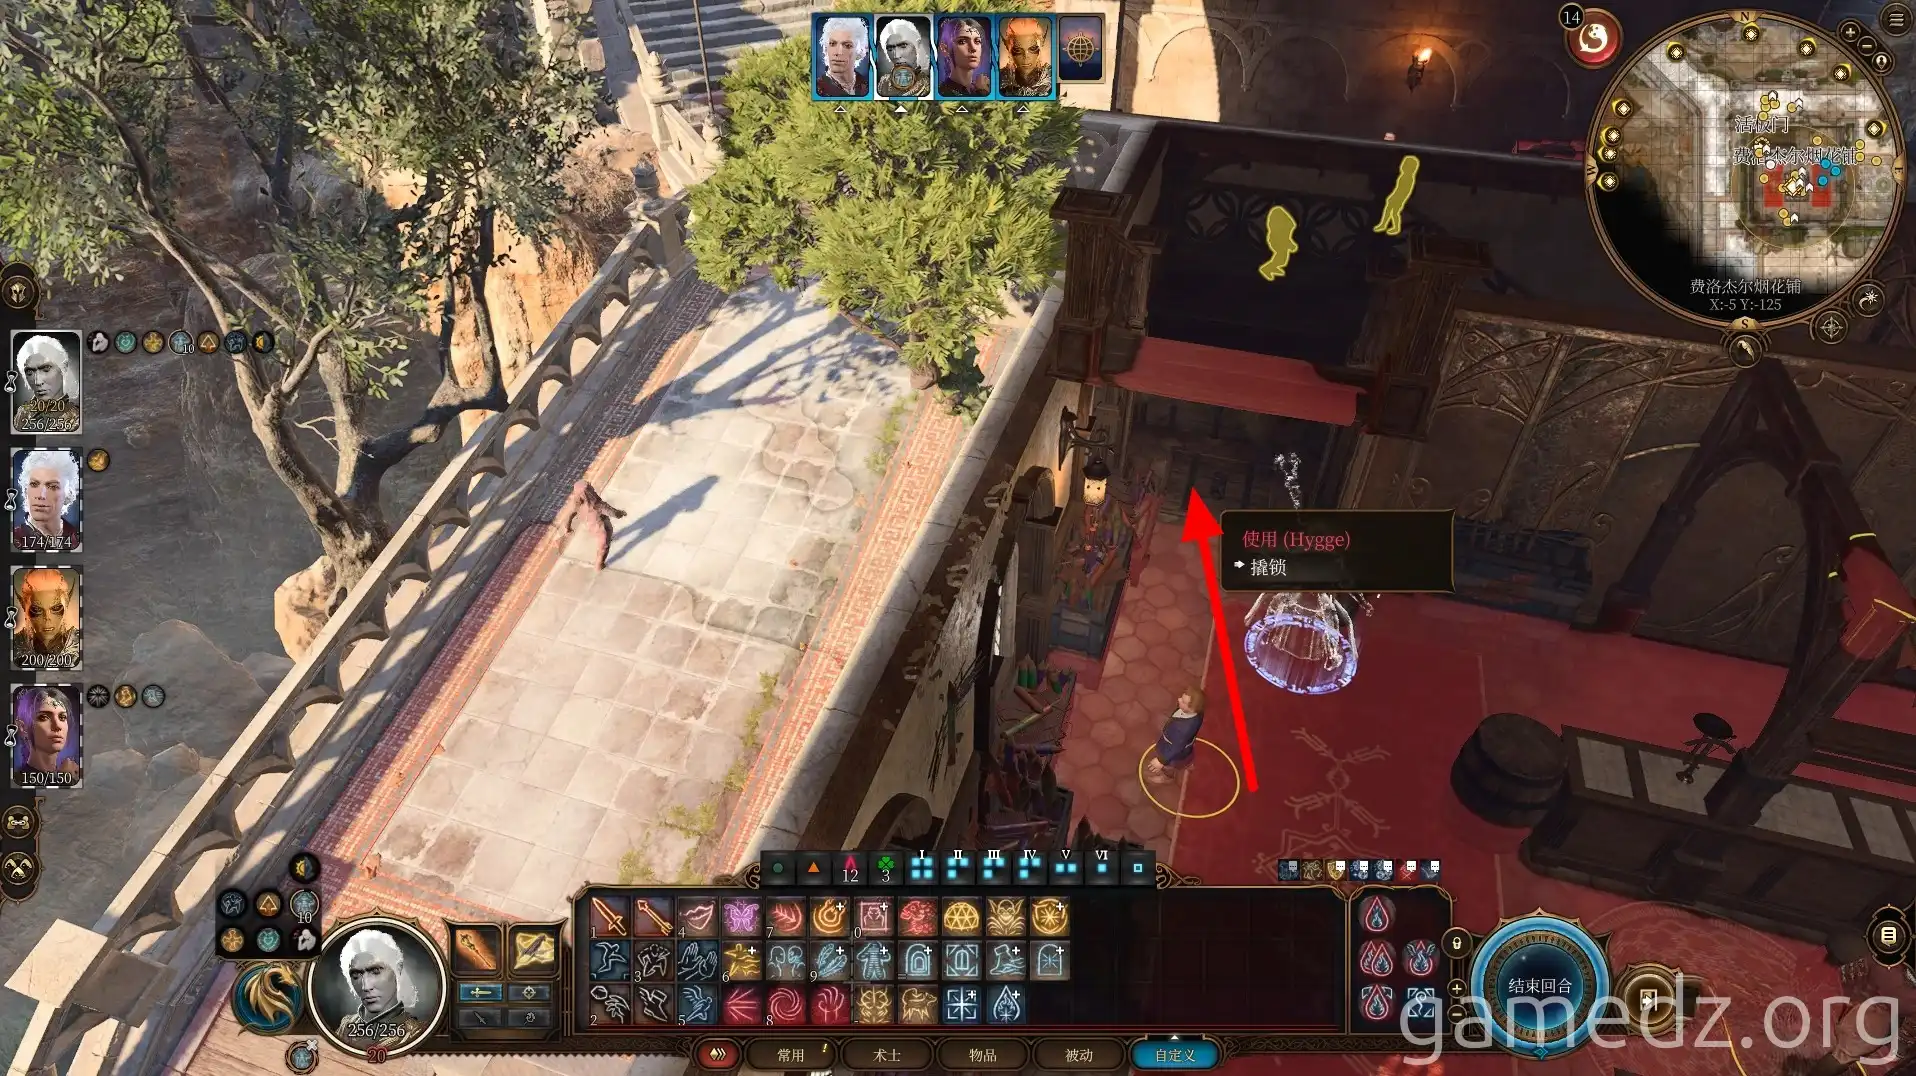
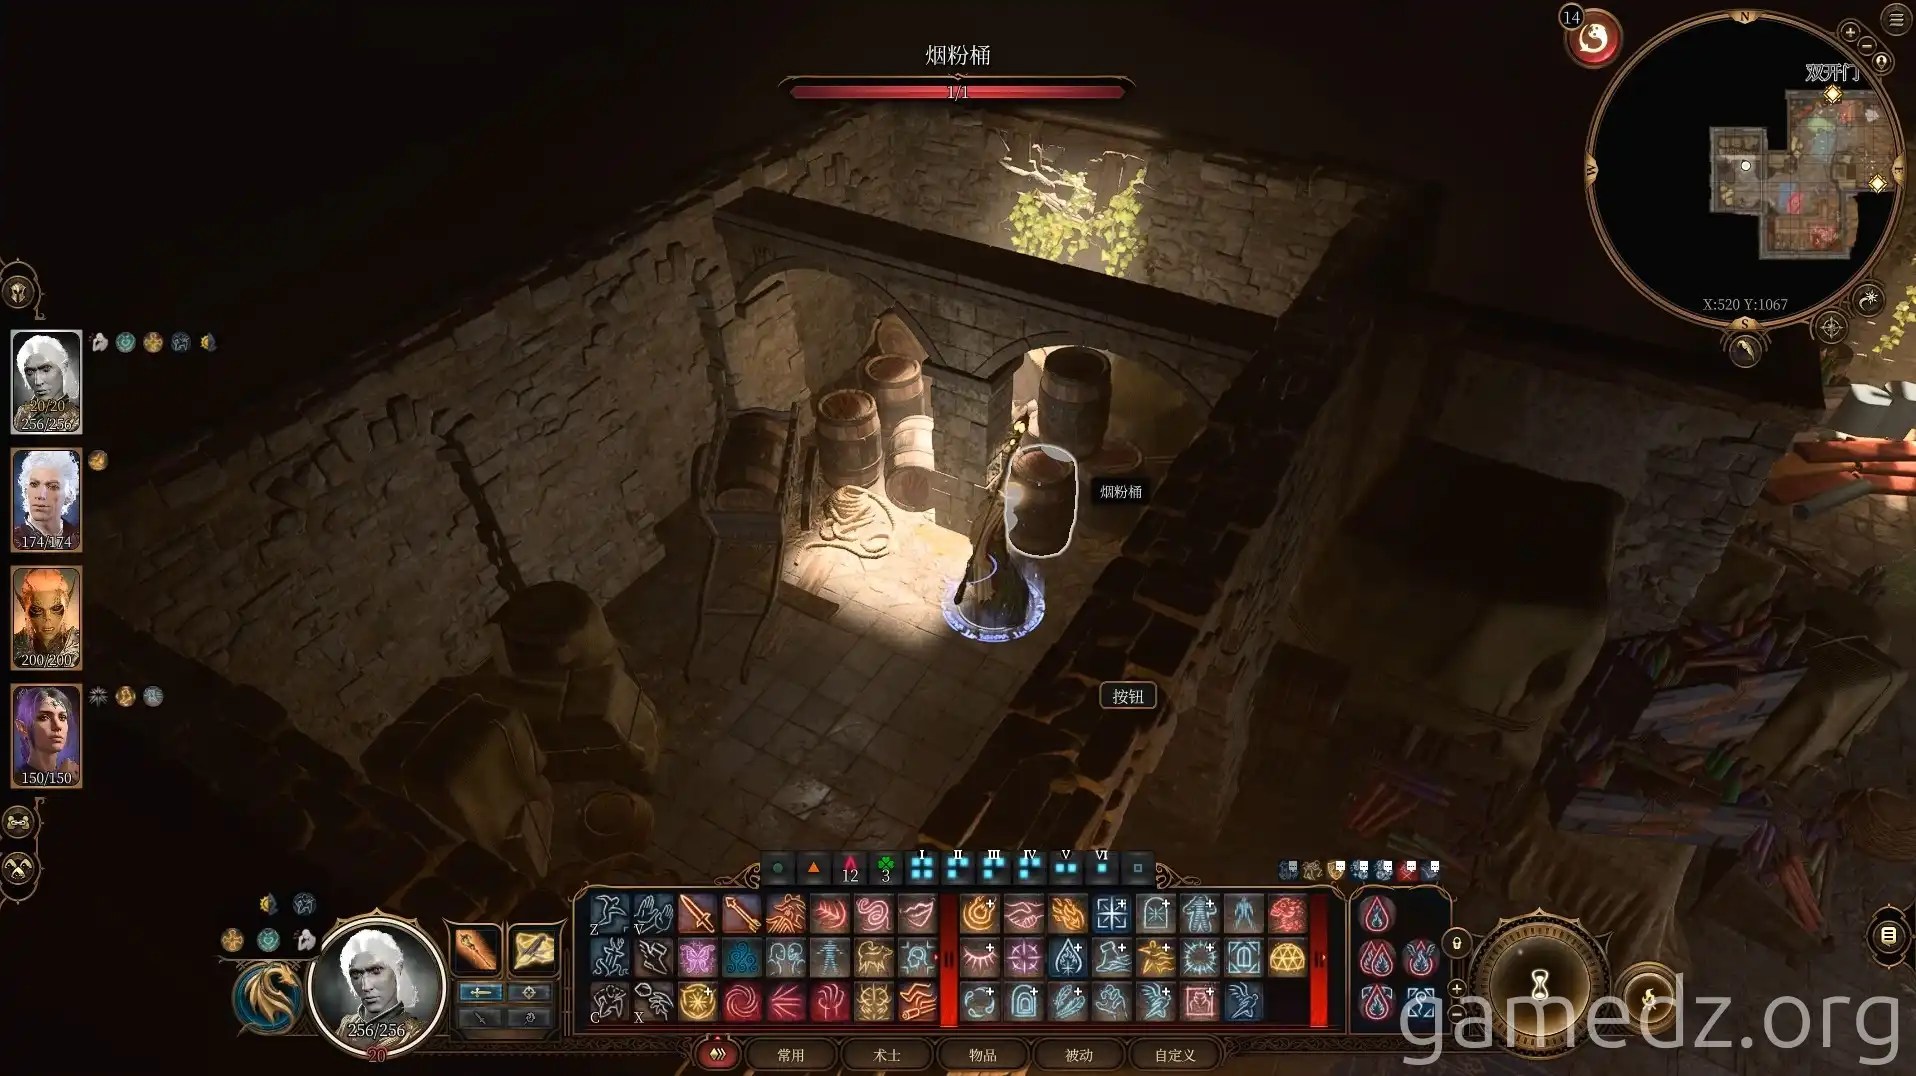
After avoiding or disarming the traps in the basement, pulling the lever will open a secret room. Inside, you'll find a large number of smoke powder barrels.
Return to the first floor and speak with the guard nearby. Using the clue you obtained earlier, state that you were sent by Uncle Ferrogel to be allowed upstairs. This method can be particularly useful for characters with a con artist background.
This is essentially an extermination quest. Close the door to prevent the Flaming Fist members outside from noticing, then eliminate all enemies from the first to the third floor to complete the side quest "Investigate Suspicious Toys."
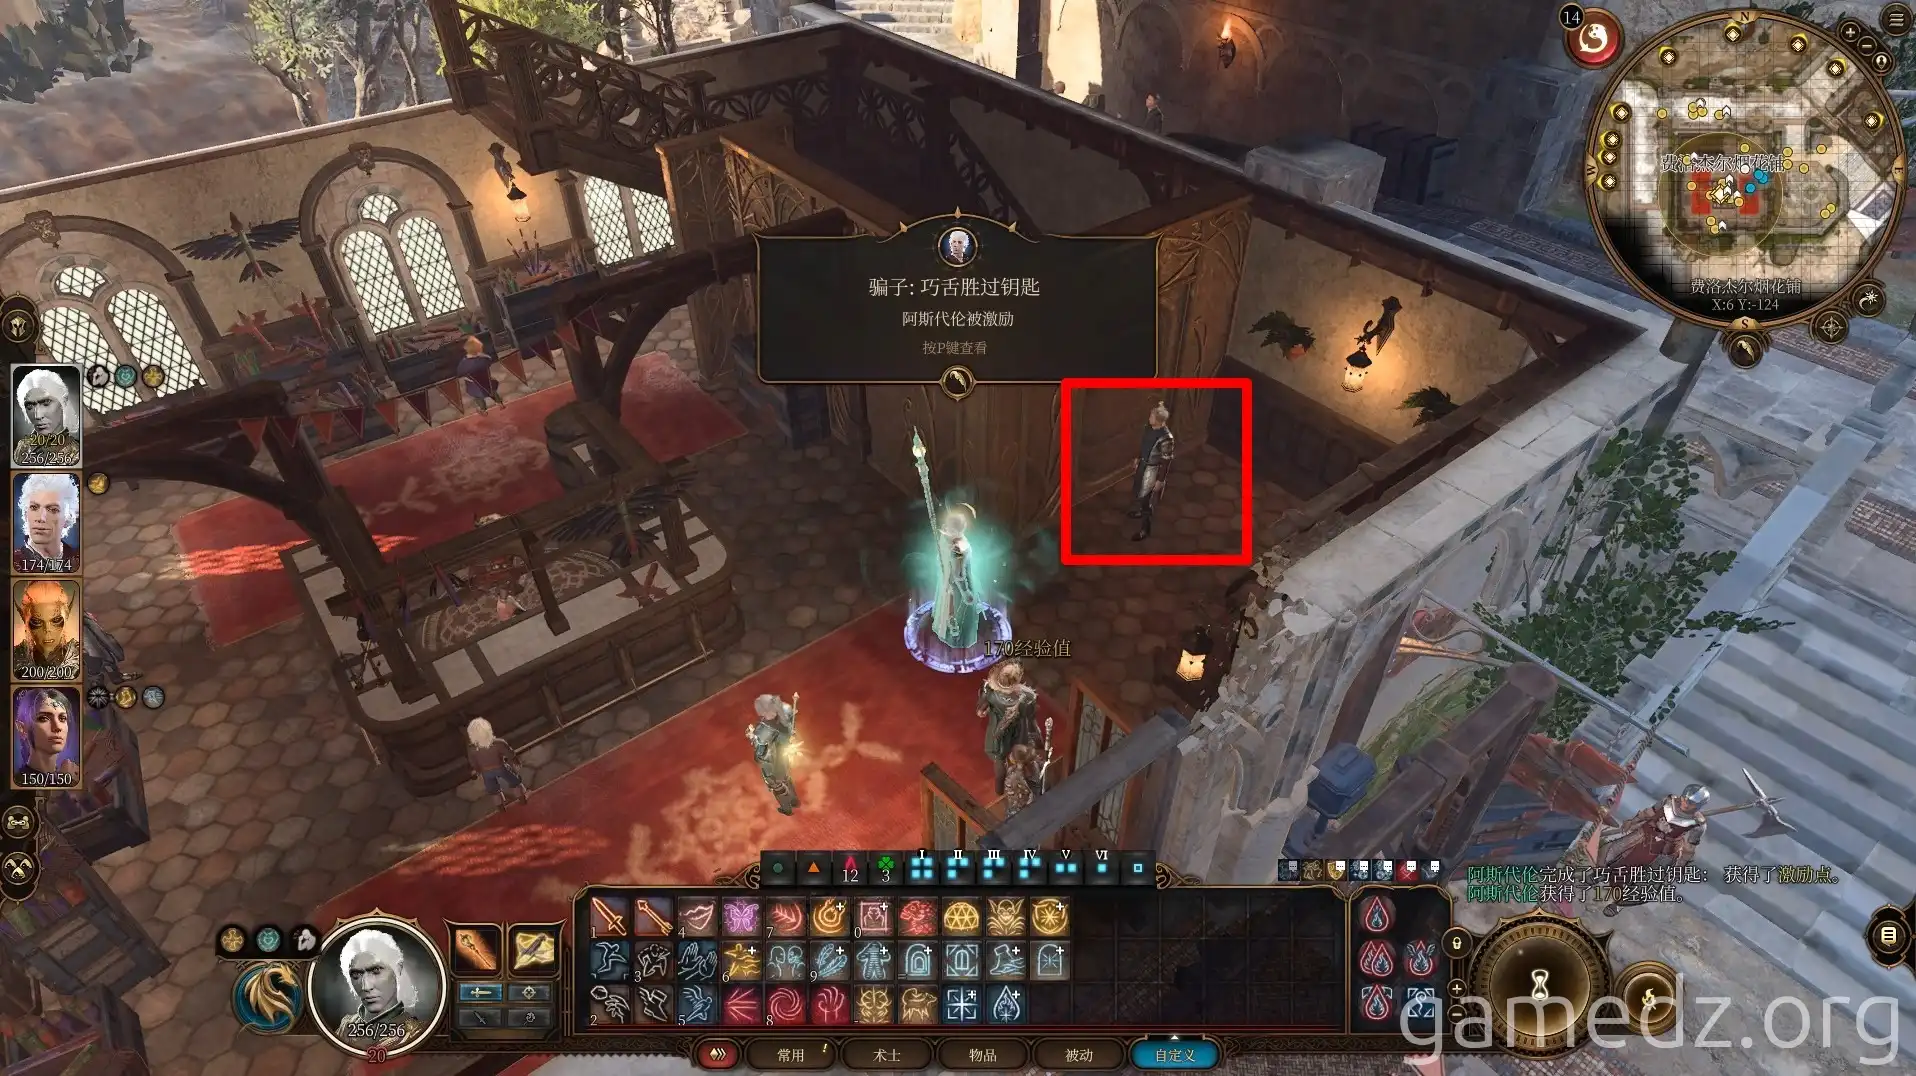
Head to the small path west of the building south of the fireworks shop. With a successful Perception check, you'll discover that the stone wall is a hidden door. You can then pick the lock to enter the home of the Arcanist Kaelen.
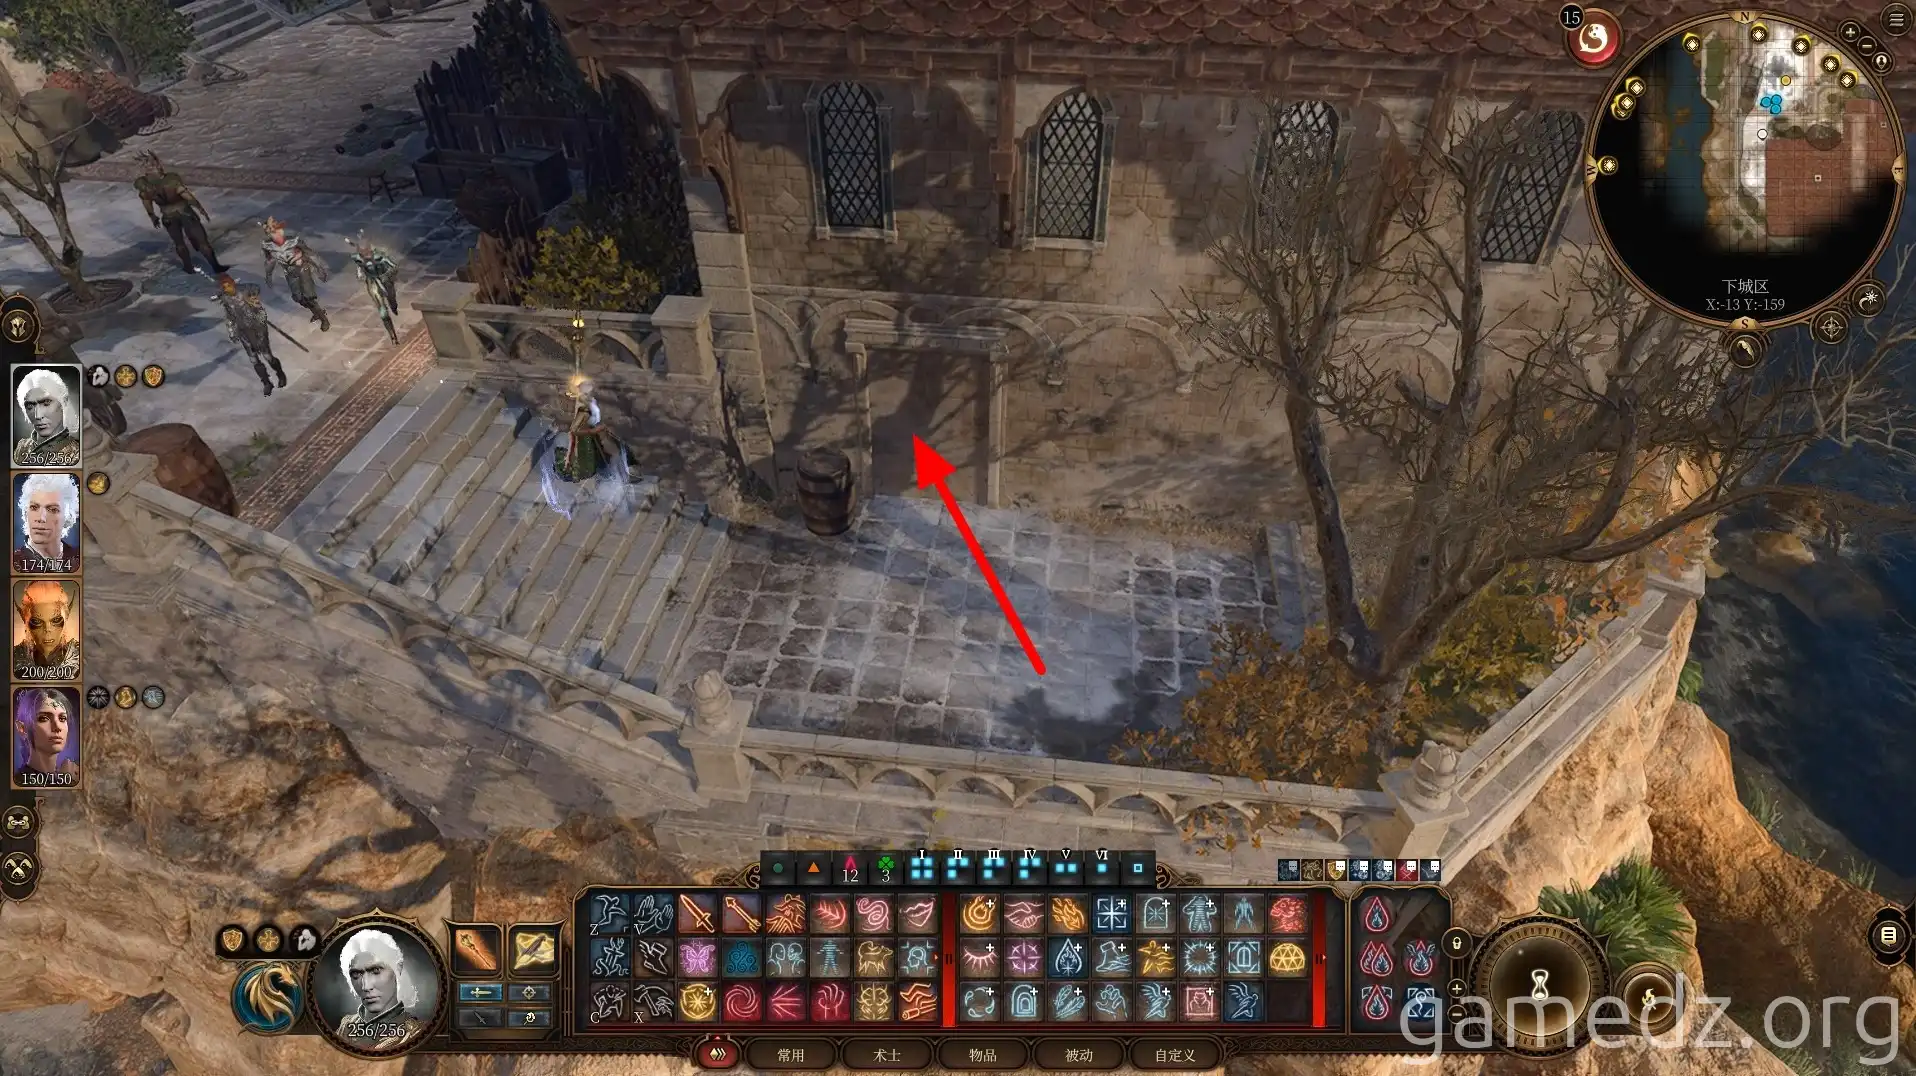
You don't need to visit the second or third floors of the house for now. Go directly to the main hall and speak with the Arcanist Kaelen. He'll ask you to find his servant, Sprol, so accept the quest.
After the conversation, you can purchase some equipment from Kaelen.
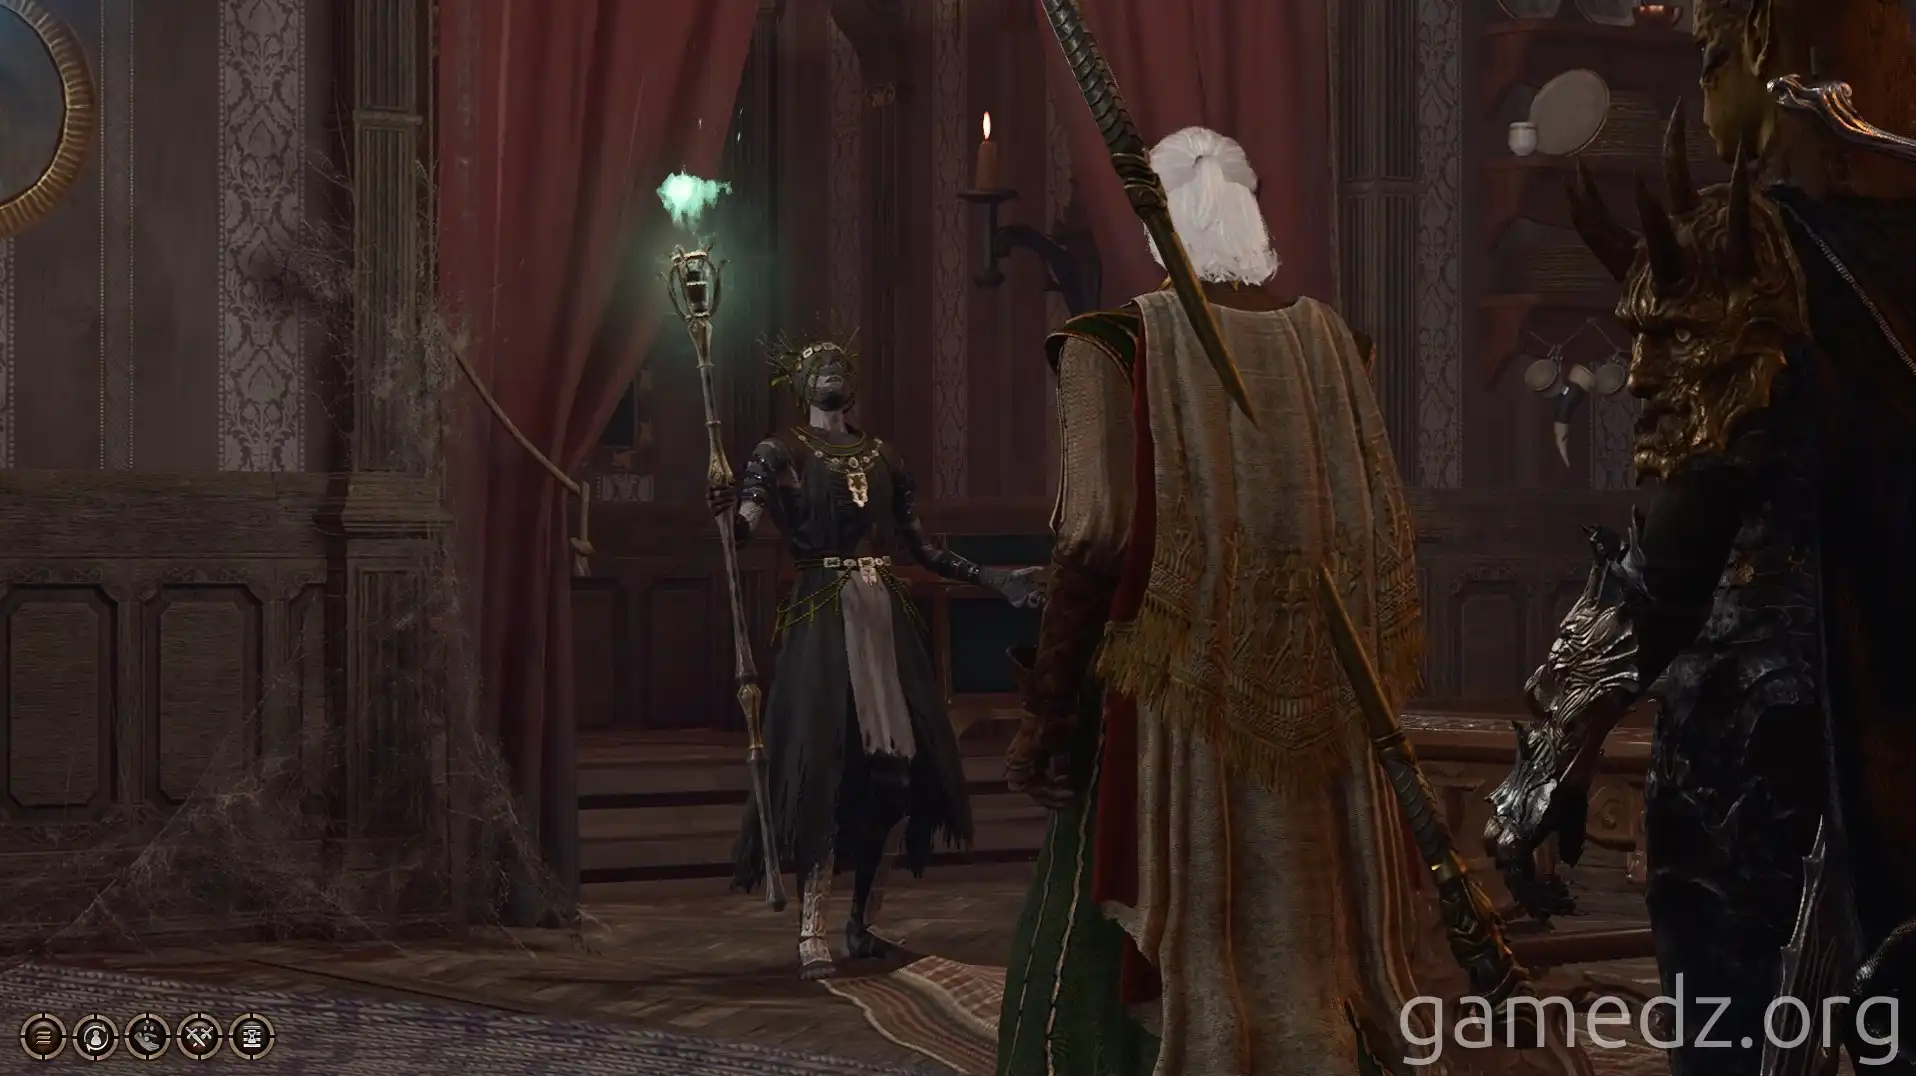
Here's a list of the unique equipment Kaelen sells, along with their stats.

Kaelen has three servants in total. Besides Sprol, the other two are also in the city. You can inquire with them about Sprol's whereabouts.
The first servant, Borin, has already been met and is located near the Petrified Lure waypoint.
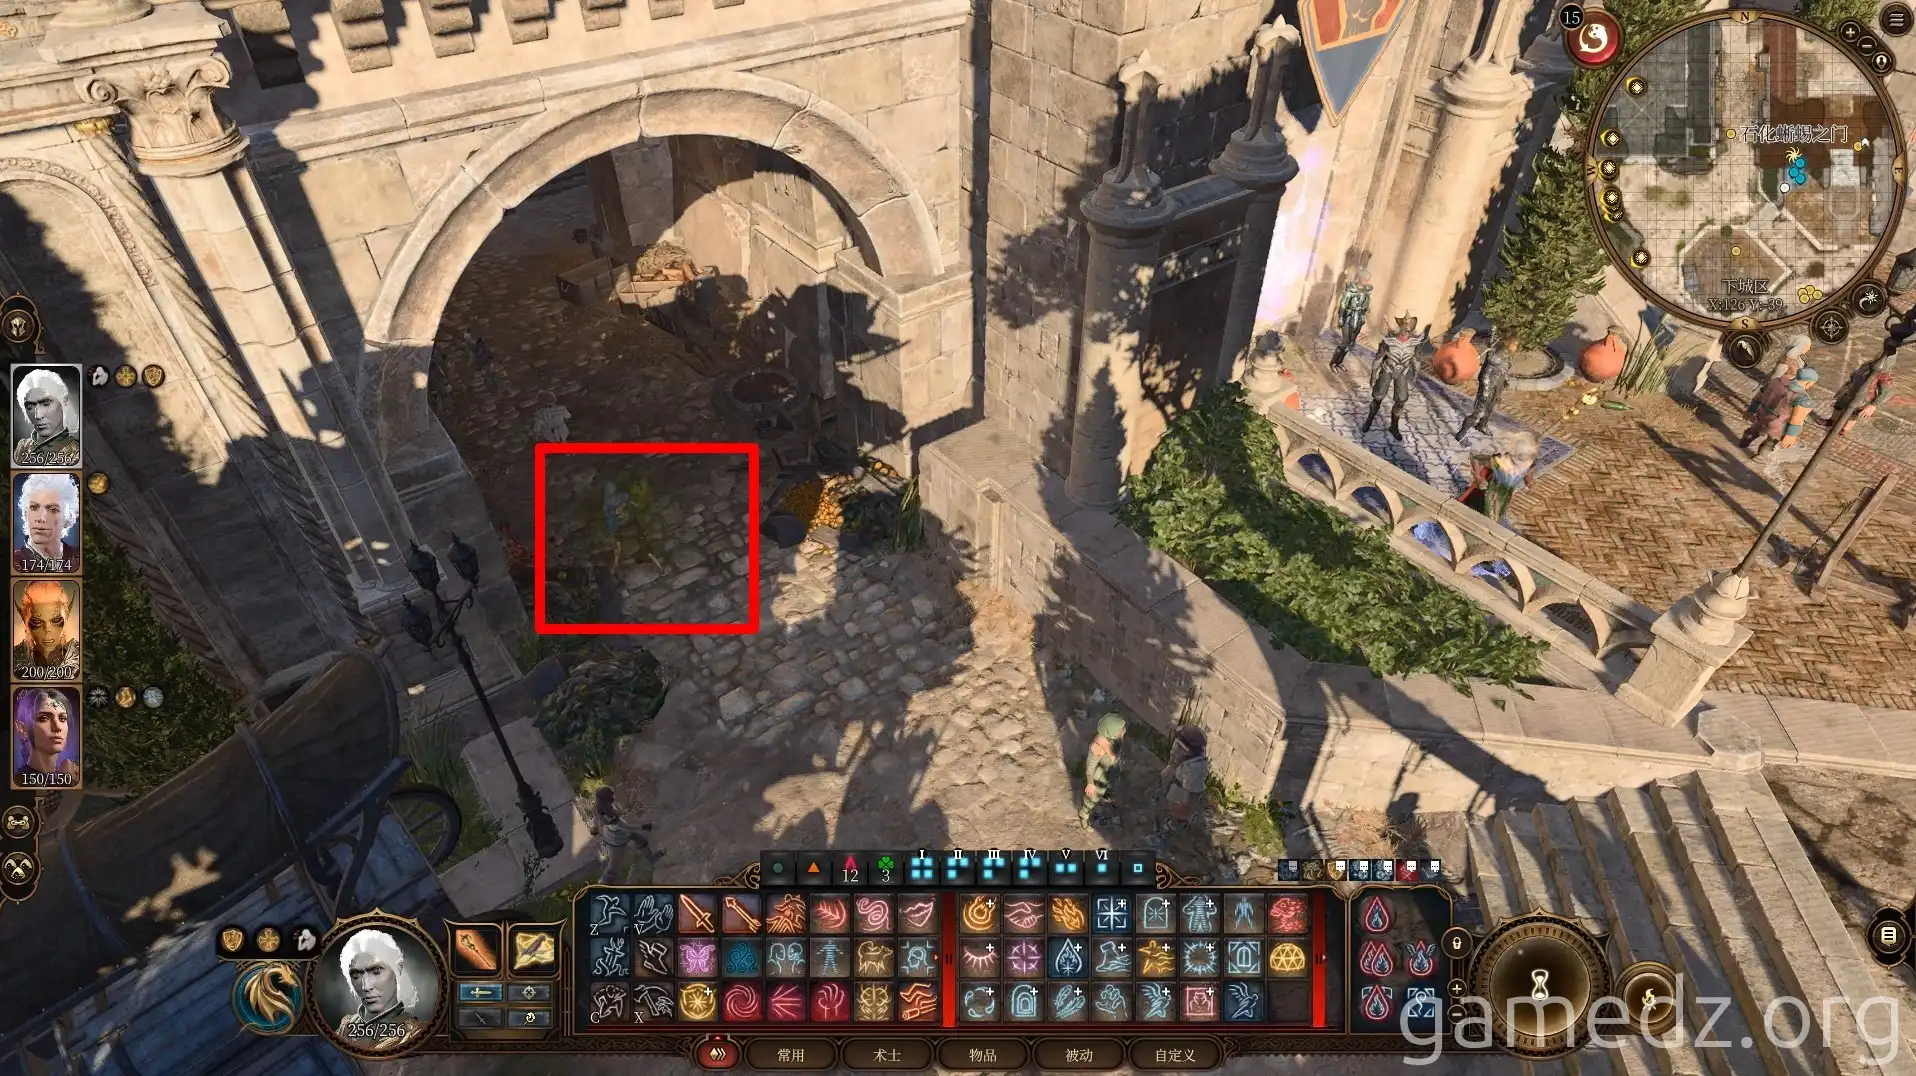
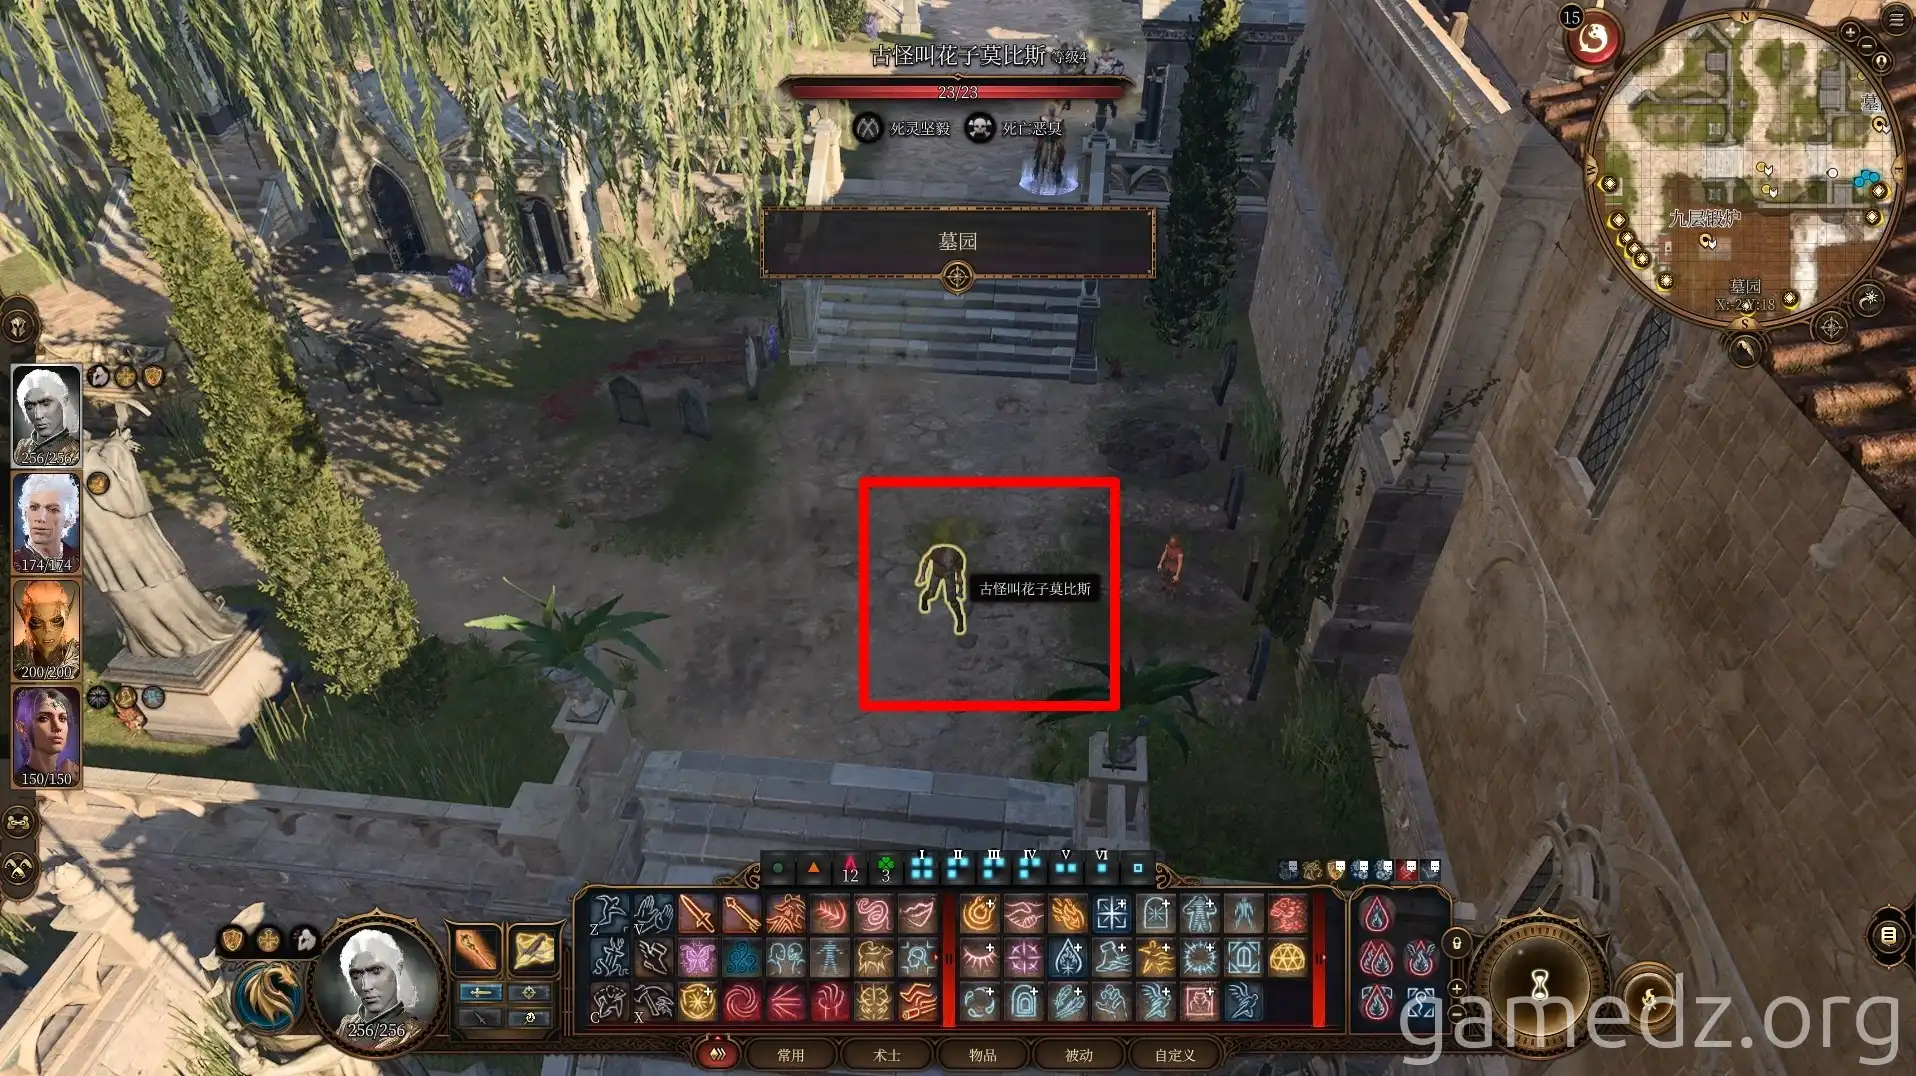
The second servant, Mobius, can be found in the graveyard.
Teleport back to the Slope Area Coast and follow the road northeast.
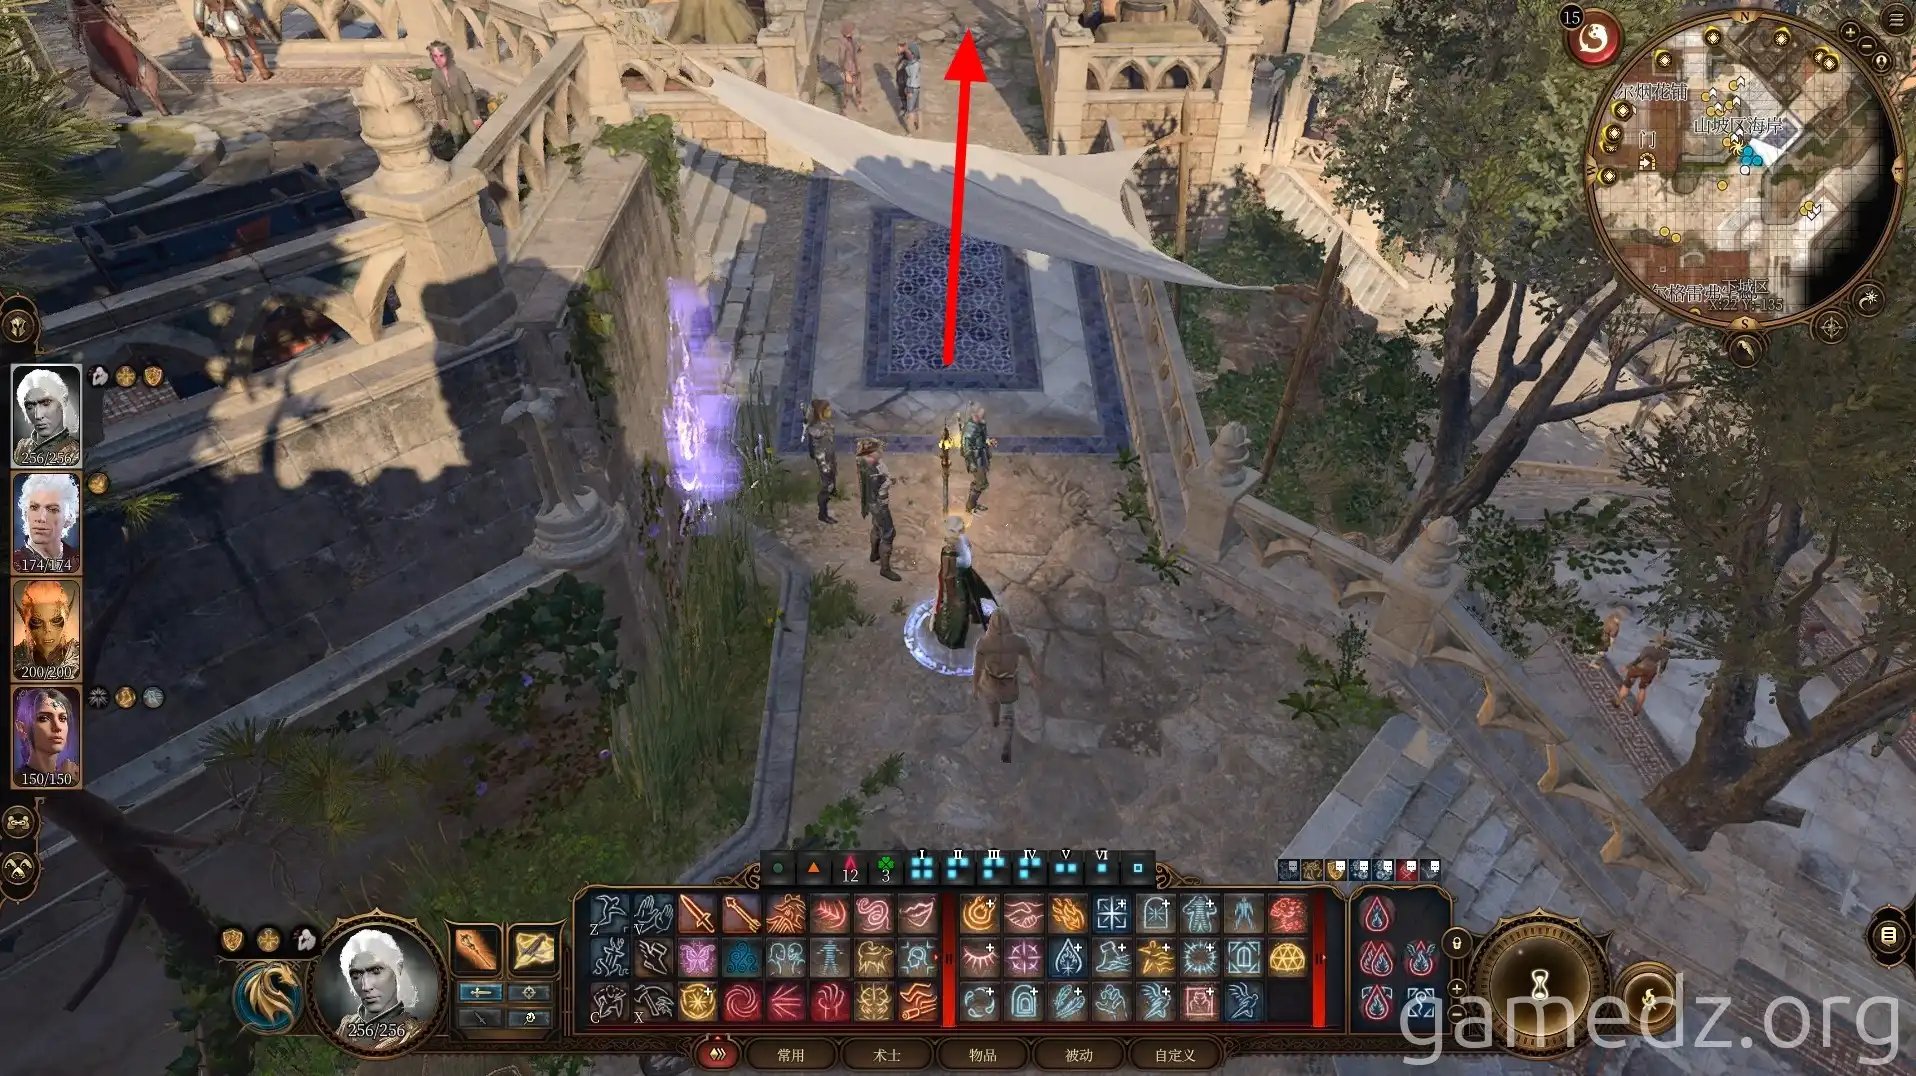
You'll find the Guild of Aid along the roadside ahead. Pick the lock to enter the room.
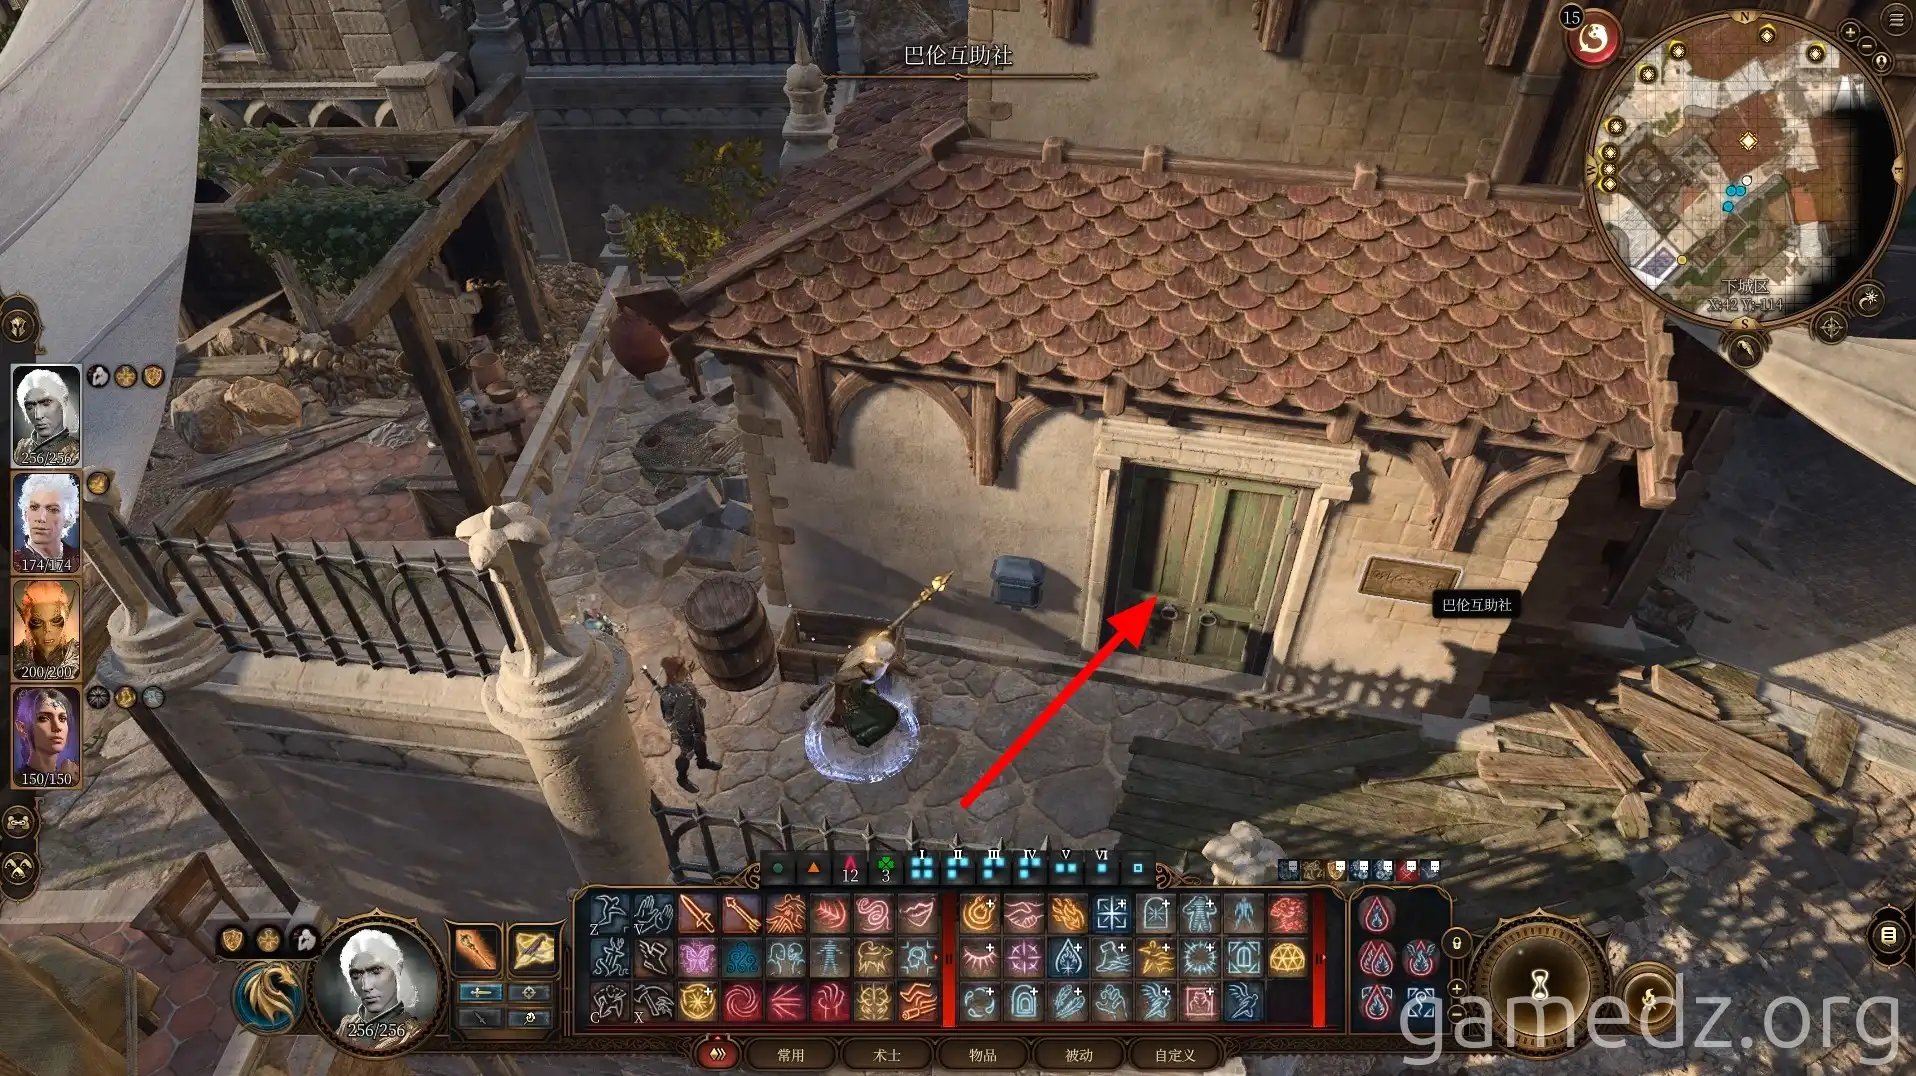
By reading the letter in the room, you'll learn that the Hag's Aid group has moved to the home of someone named Gallo.
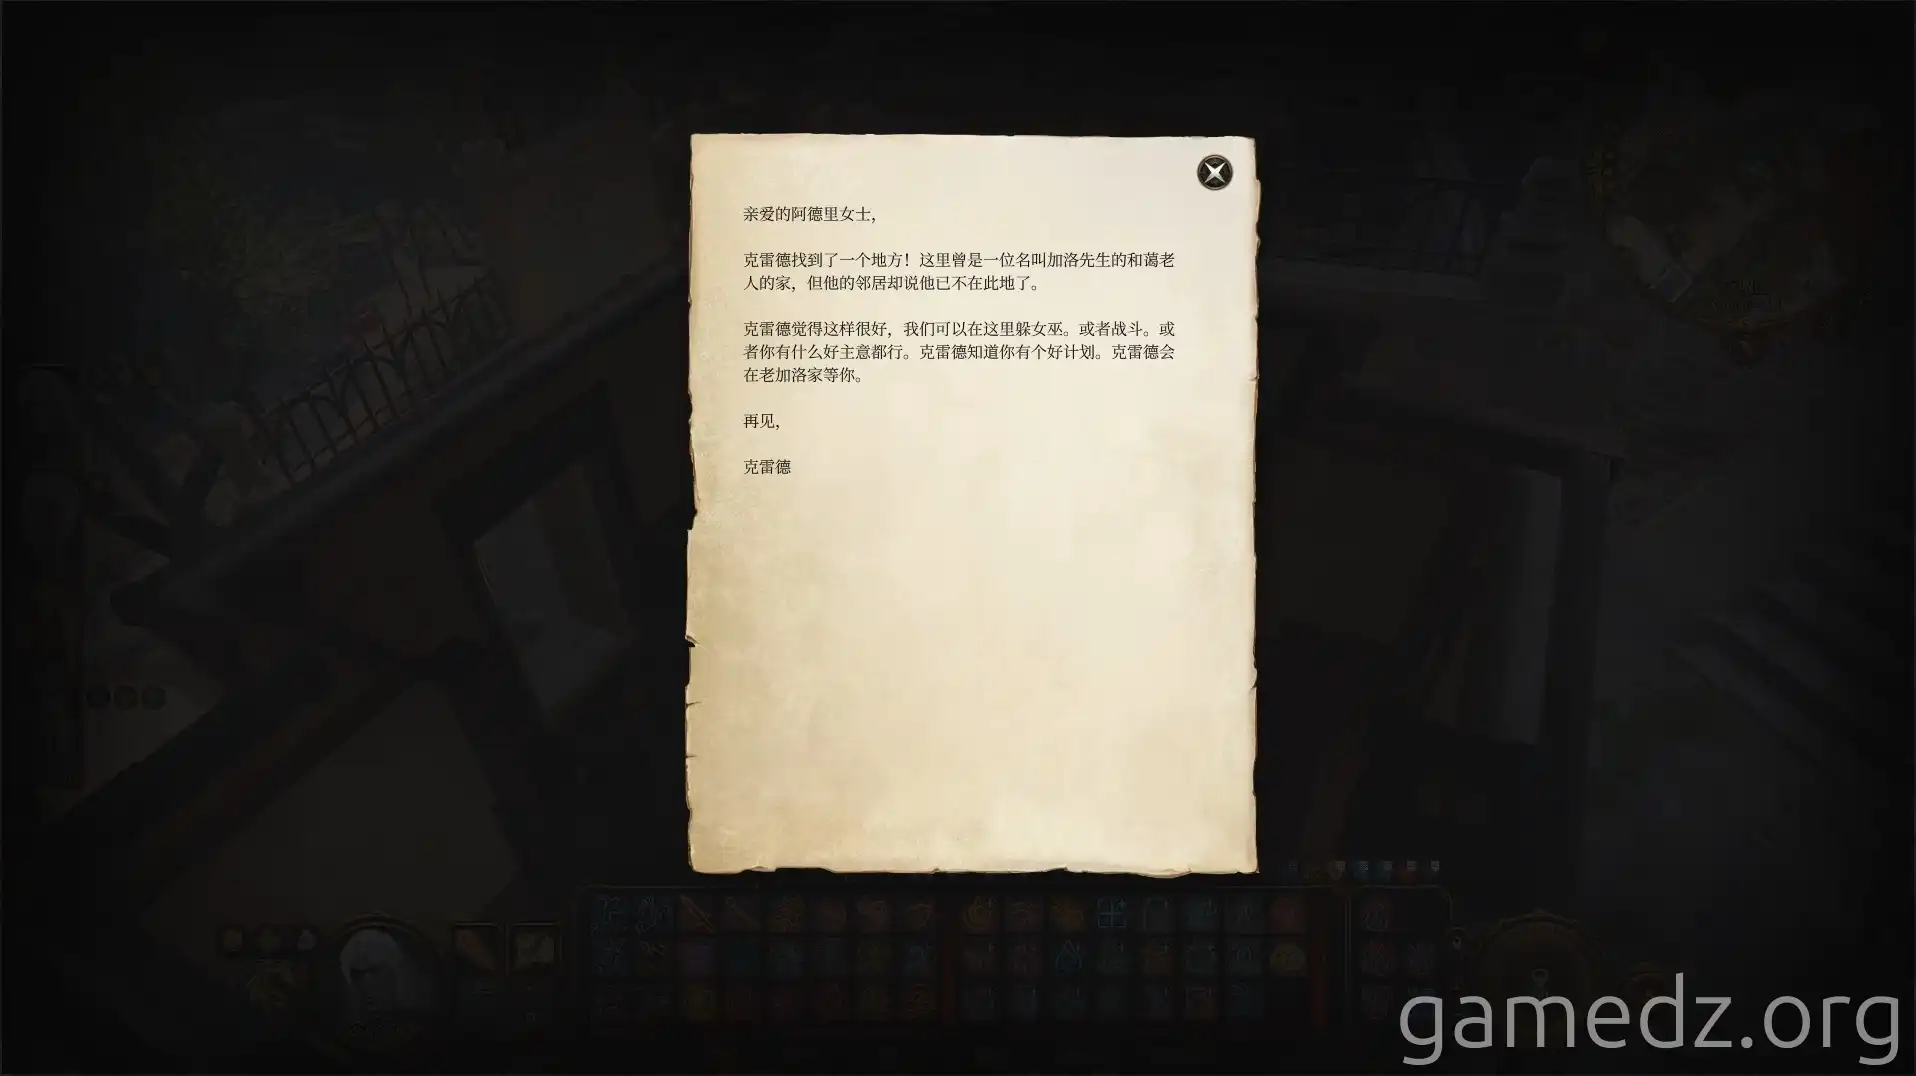
Continue along the road. Since we previously helped the Guild fight the Stone Lord, we can now enter the Guild stronghold peacefully.
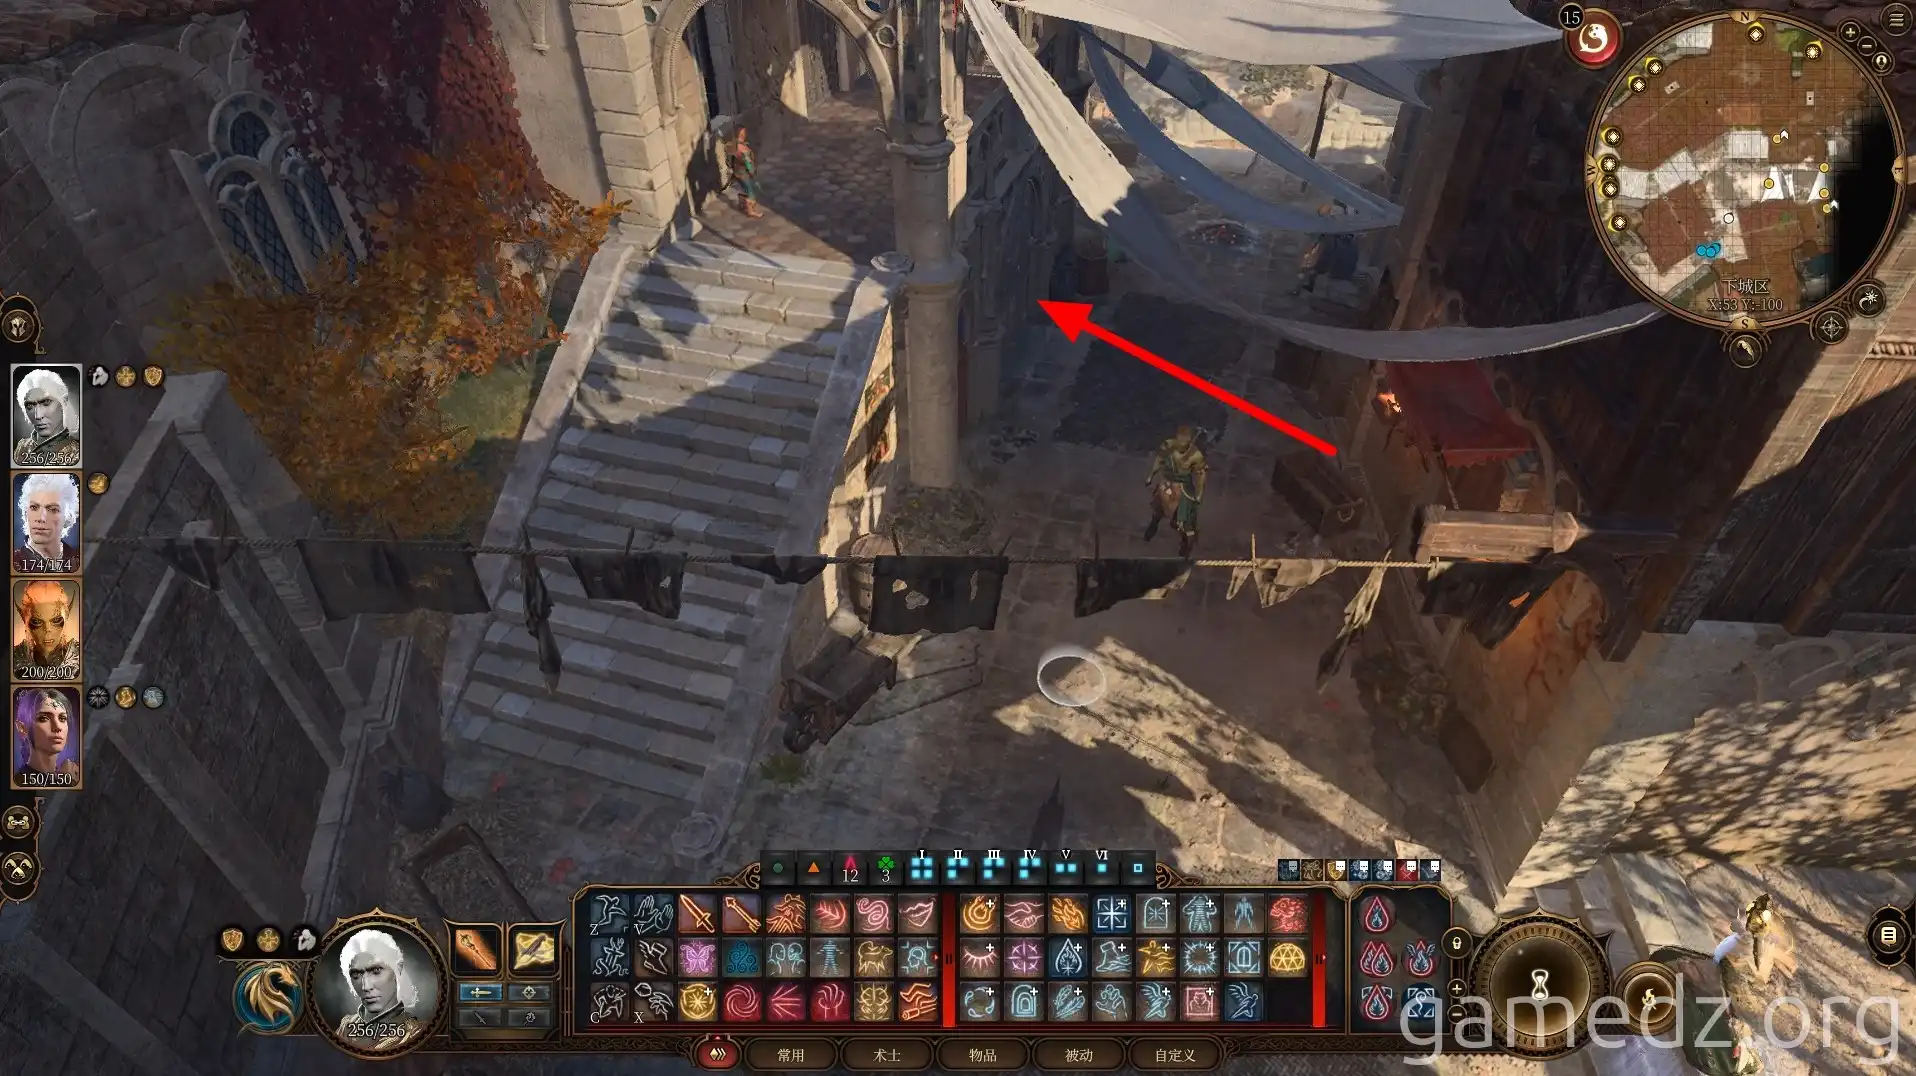
In the room opposite the Guild entrance, you can obtain a fine accessory: the Guild Ring.
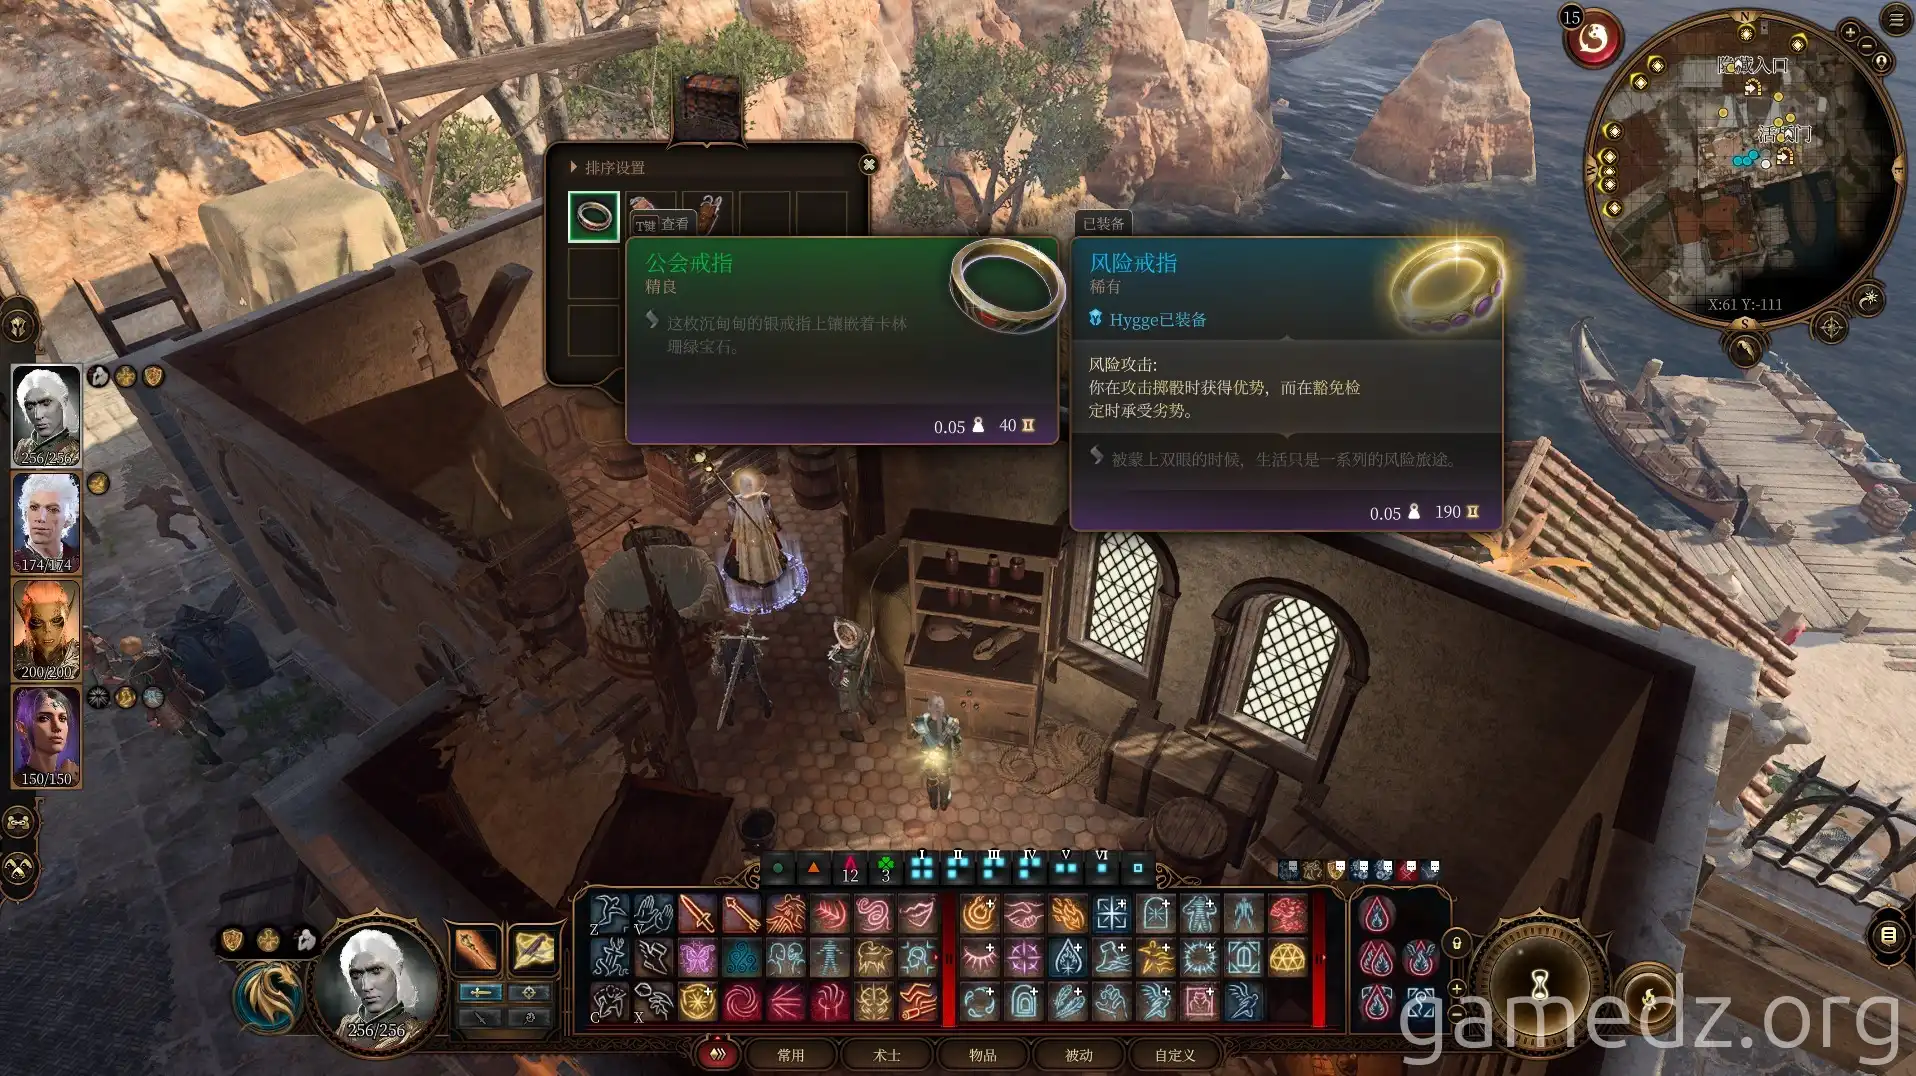
Upon arriving at the Guild Hall, you'll find Mol here.
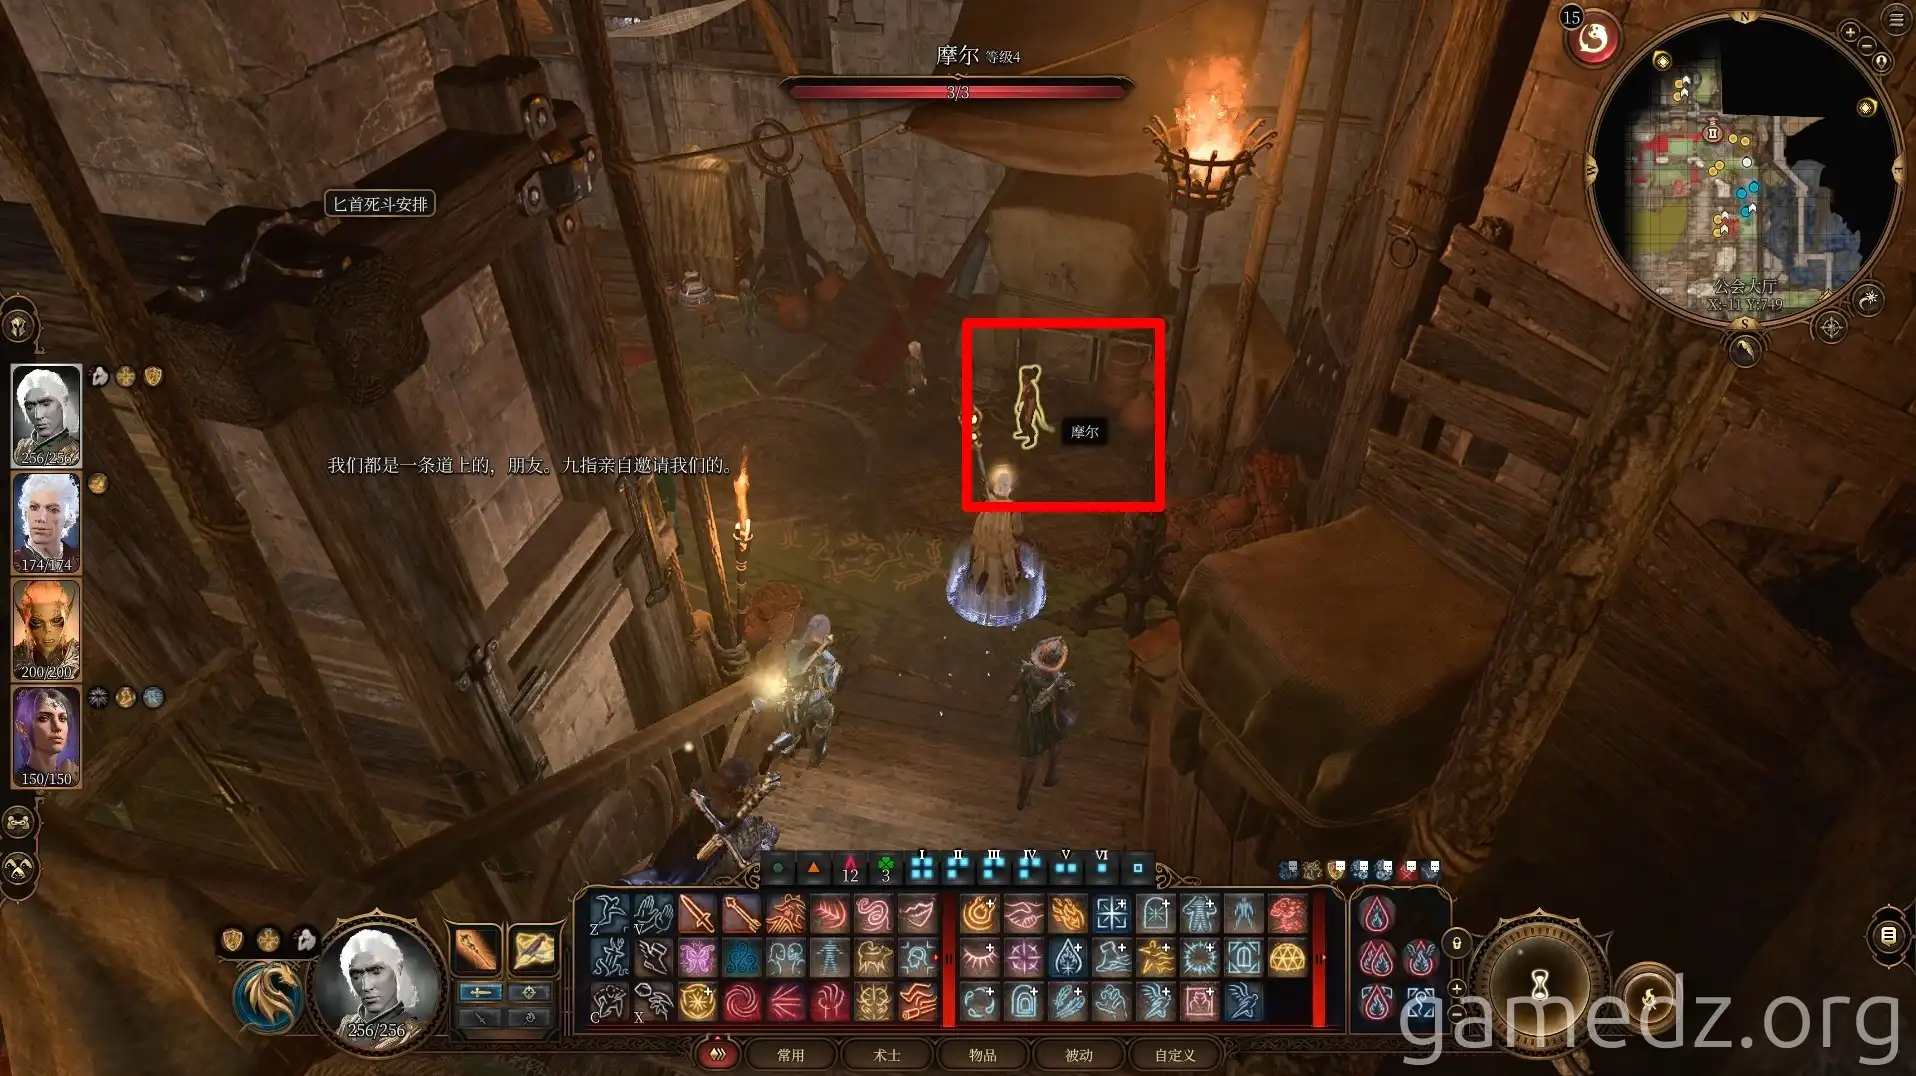
During your conversation with Mol, choose the dialogue options "Is this how you survived?" then "I'm persuaded." After passing a Persuasion check with a DC of 15, you can recruit Mol as an ally to help in the final battle.

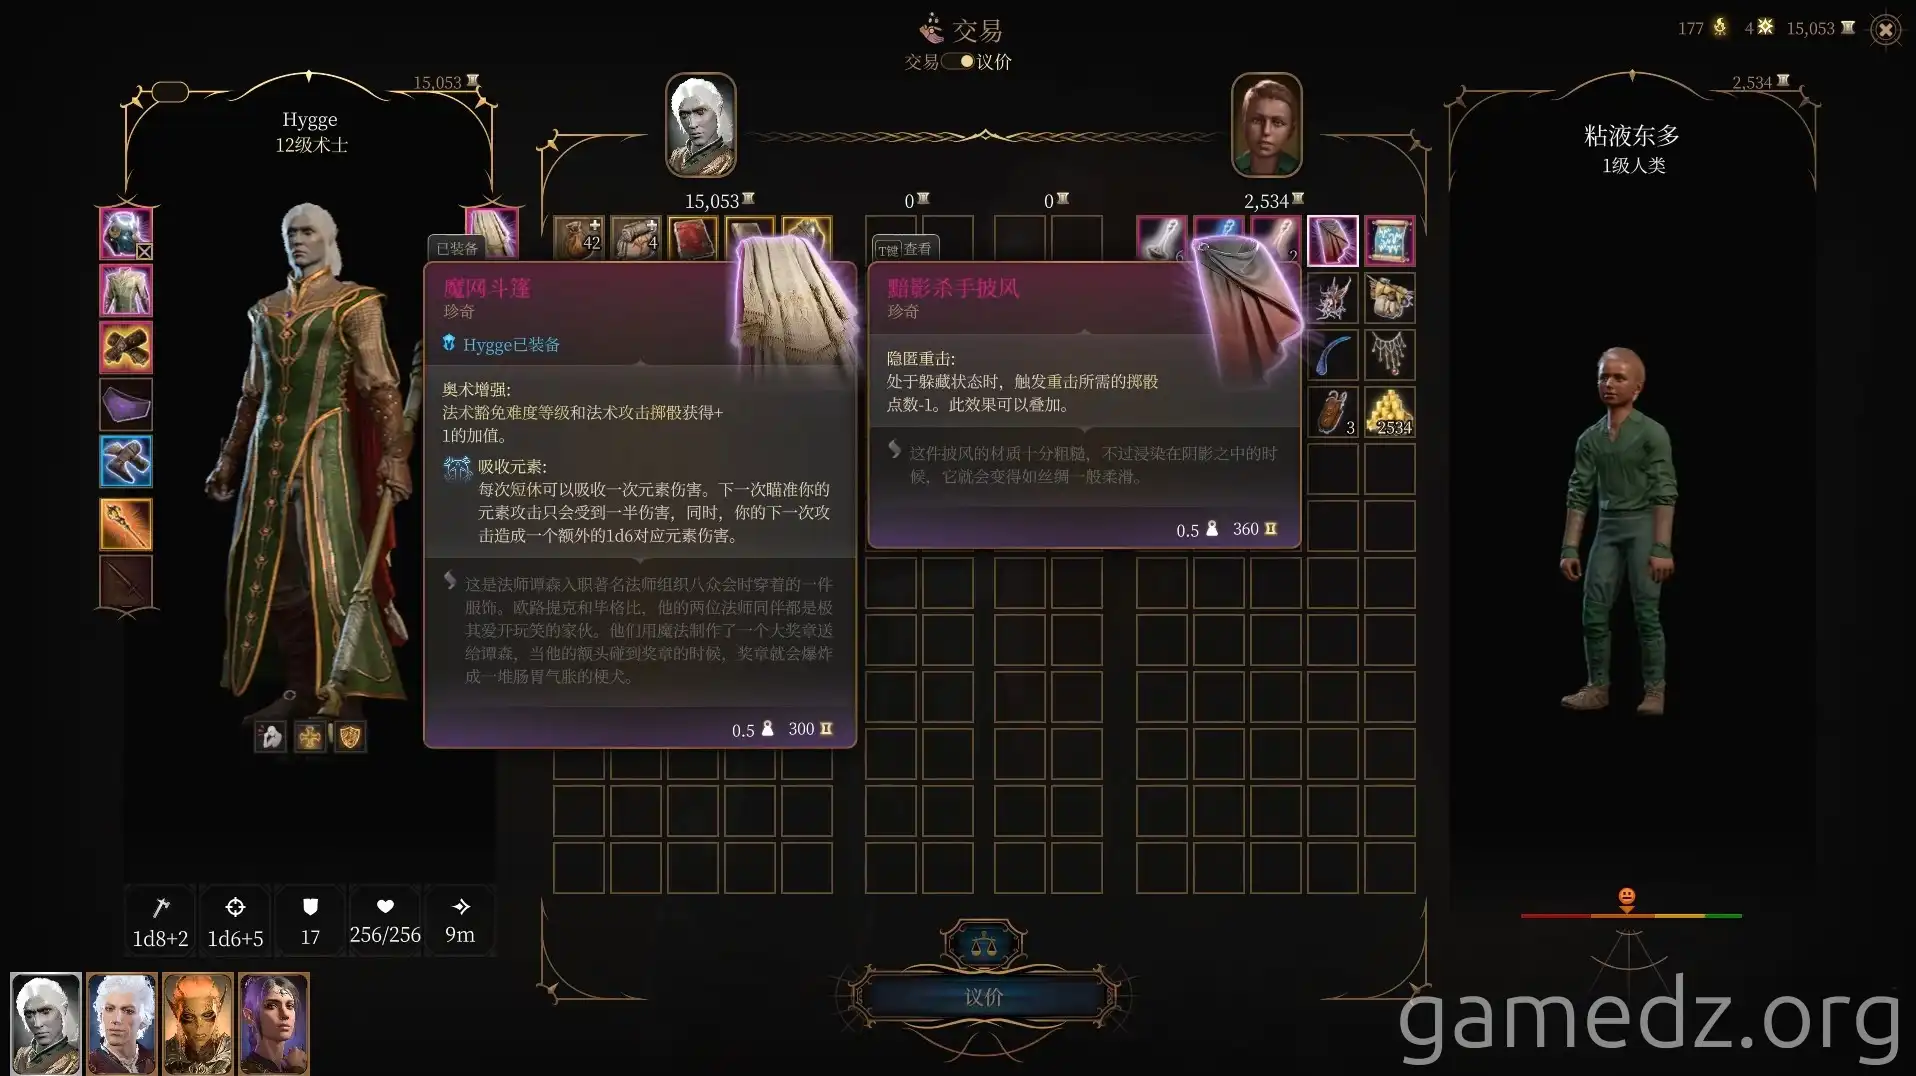
From the merchant Slimey Dondo next to Mol, you can purchase the rare equipment Shadow Assassin's Cloak.
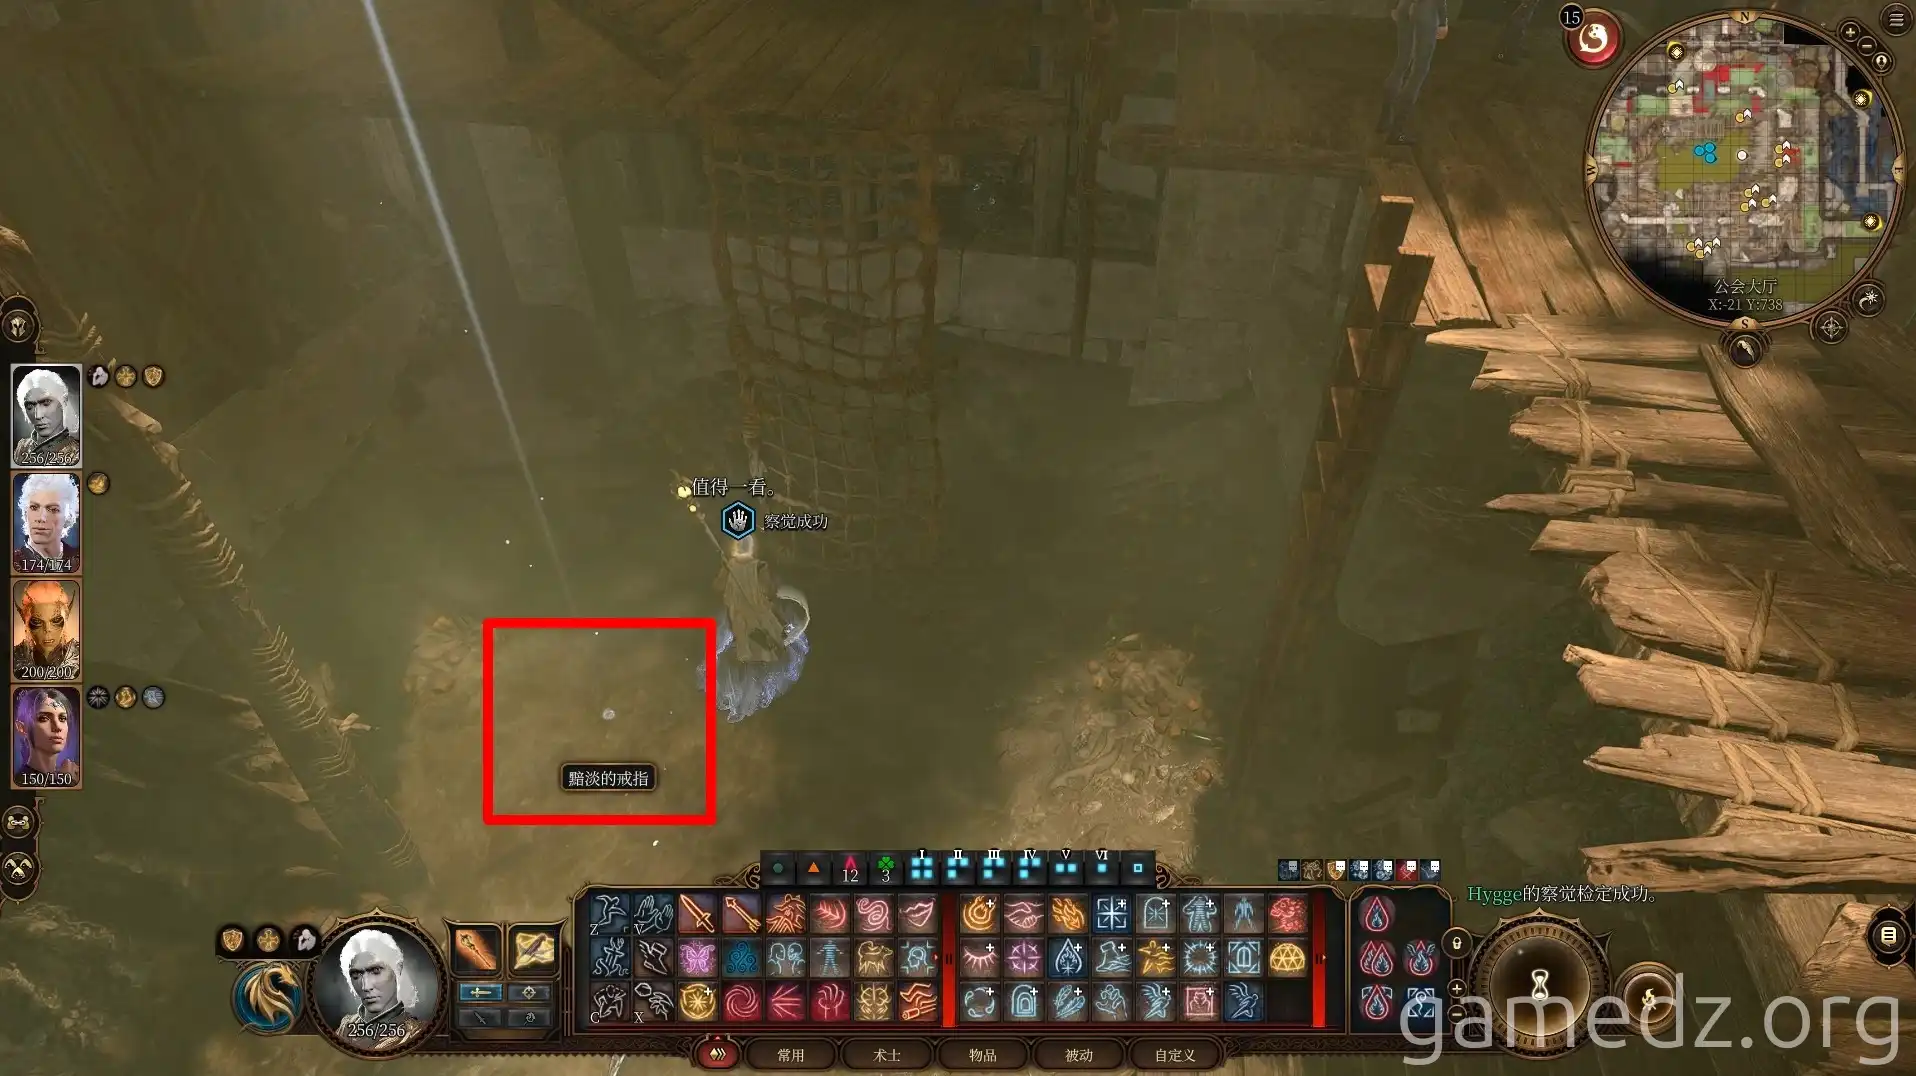
Head to the lowest level of the Guild Hall. With a successful Perception check, you'll discover a dim ring.
Return to the upper level and enter the office of the Guild Leader.
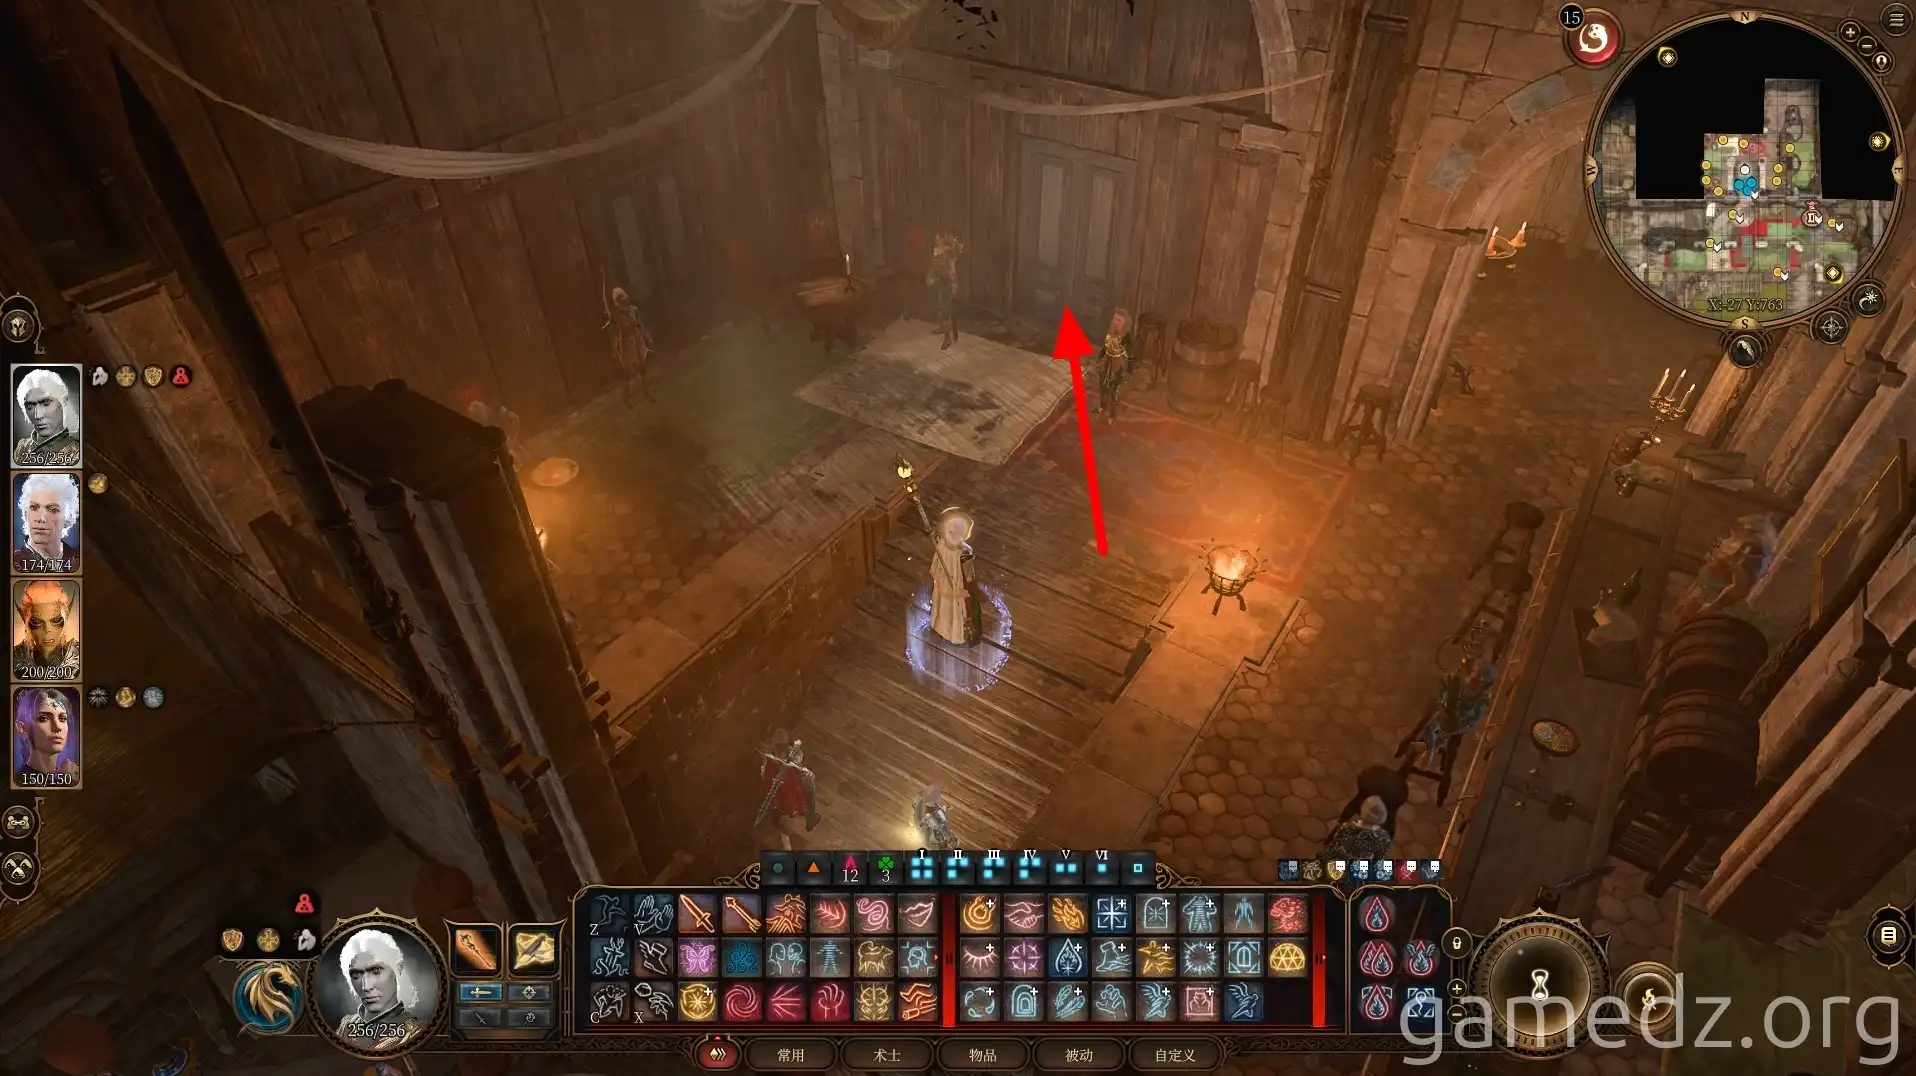
At the bar next to the office entrance, you can purchase a rare armor piece: the Drunken Attire.

After entering the office, speak with the Guild Leader, Keeen. She states that the Guild will offer assistance if we are willing to fight the Absolute. By adding Jaheira to your party and speaking with Keeen again, you'll learn that Jaheira's friend, Minsc, is the so-called Stone Lord, and the Guild is preparing an ambush for him.

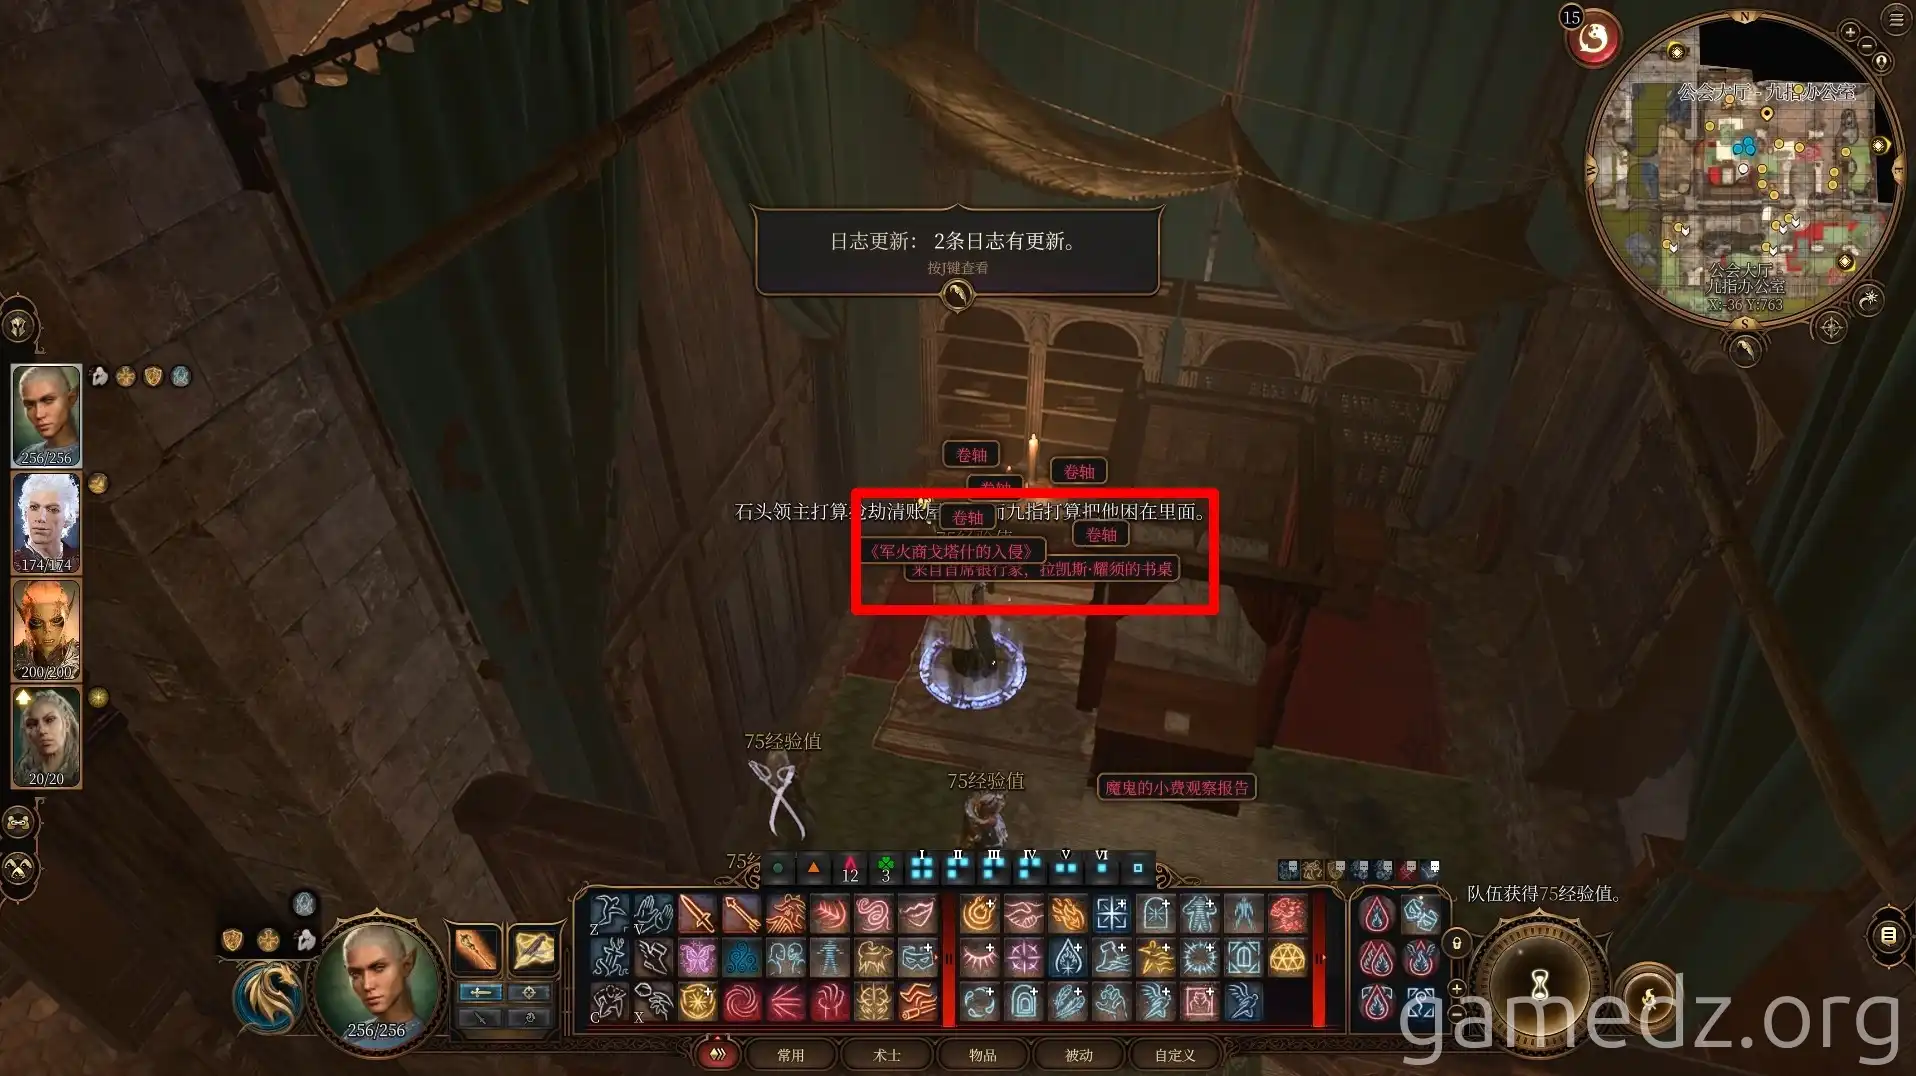
Go to Keeen's bedroom. Reading the letter "From the Chief Banker" on the desk will reveal that the Guild's ambush location is the Clearinghouse.
The bookshelf in Keeen's bedroom leads directly to the Lower City Sewers.
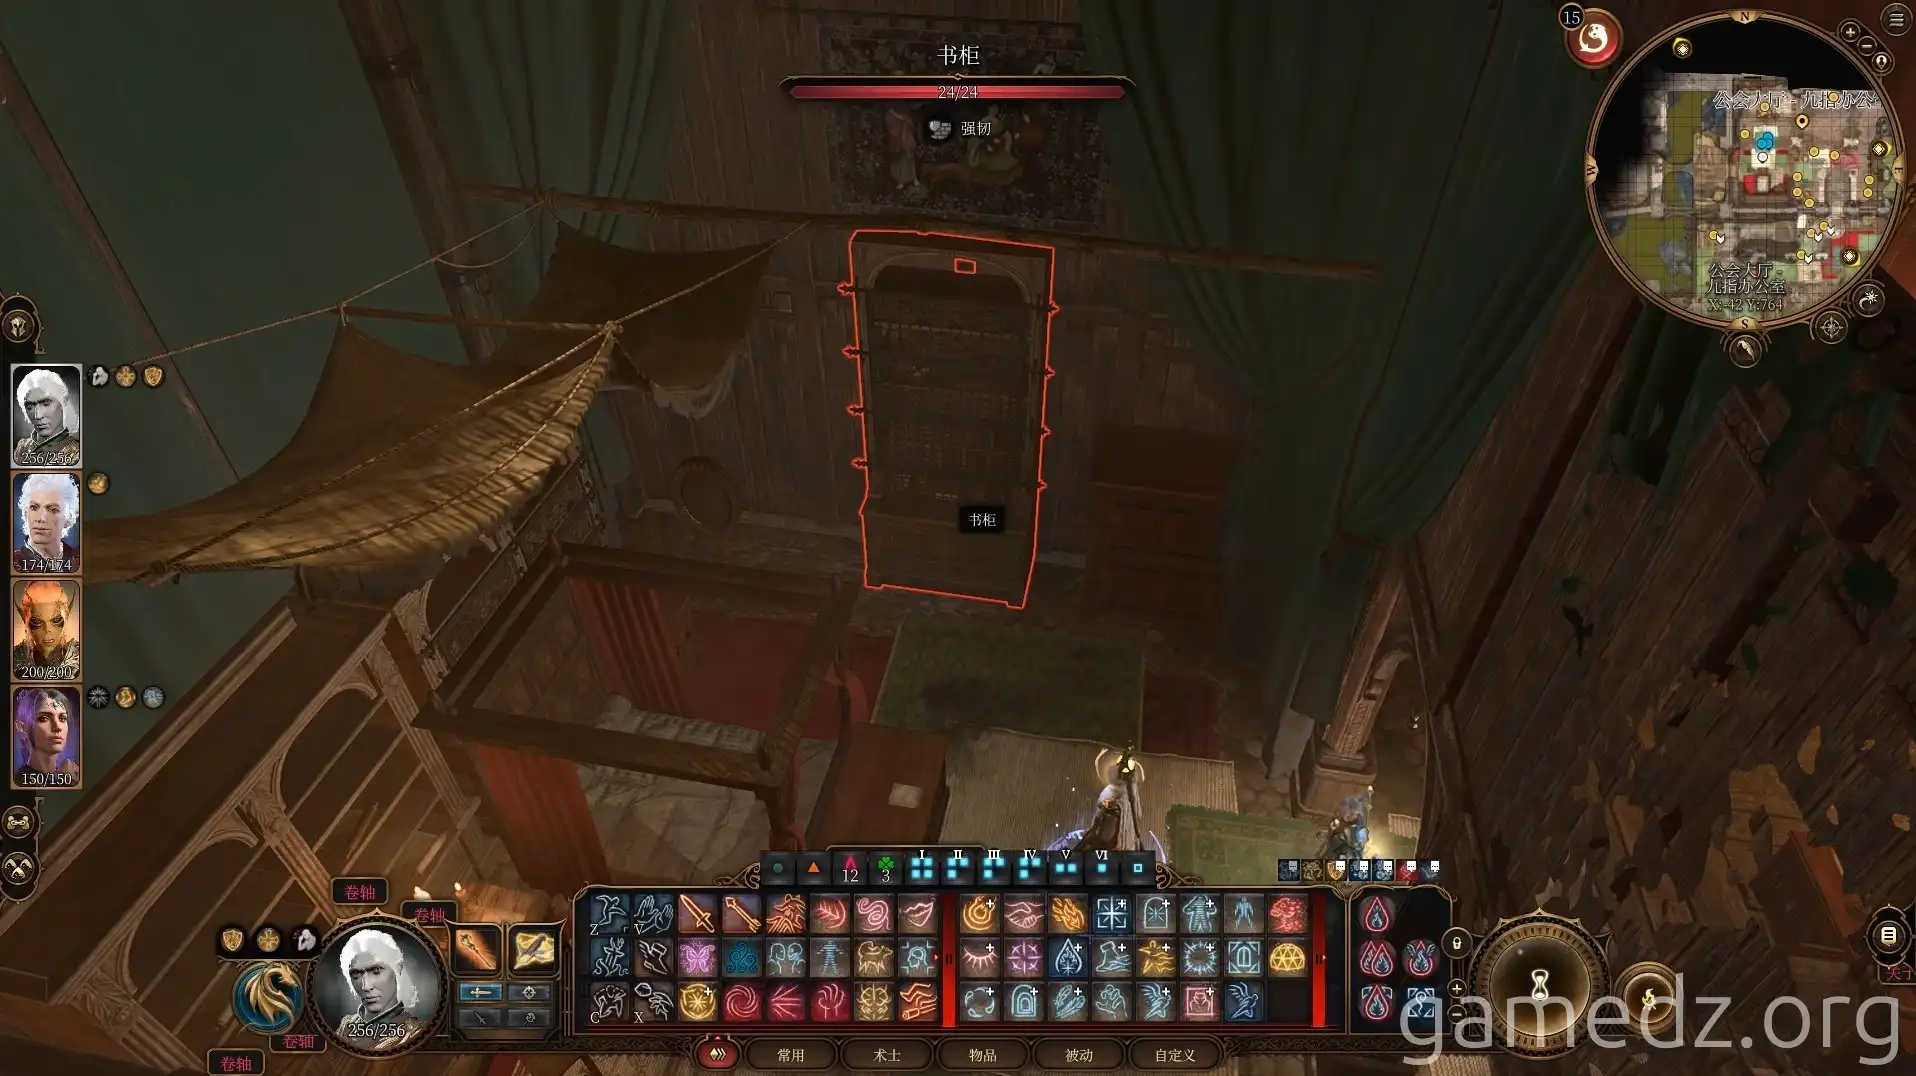
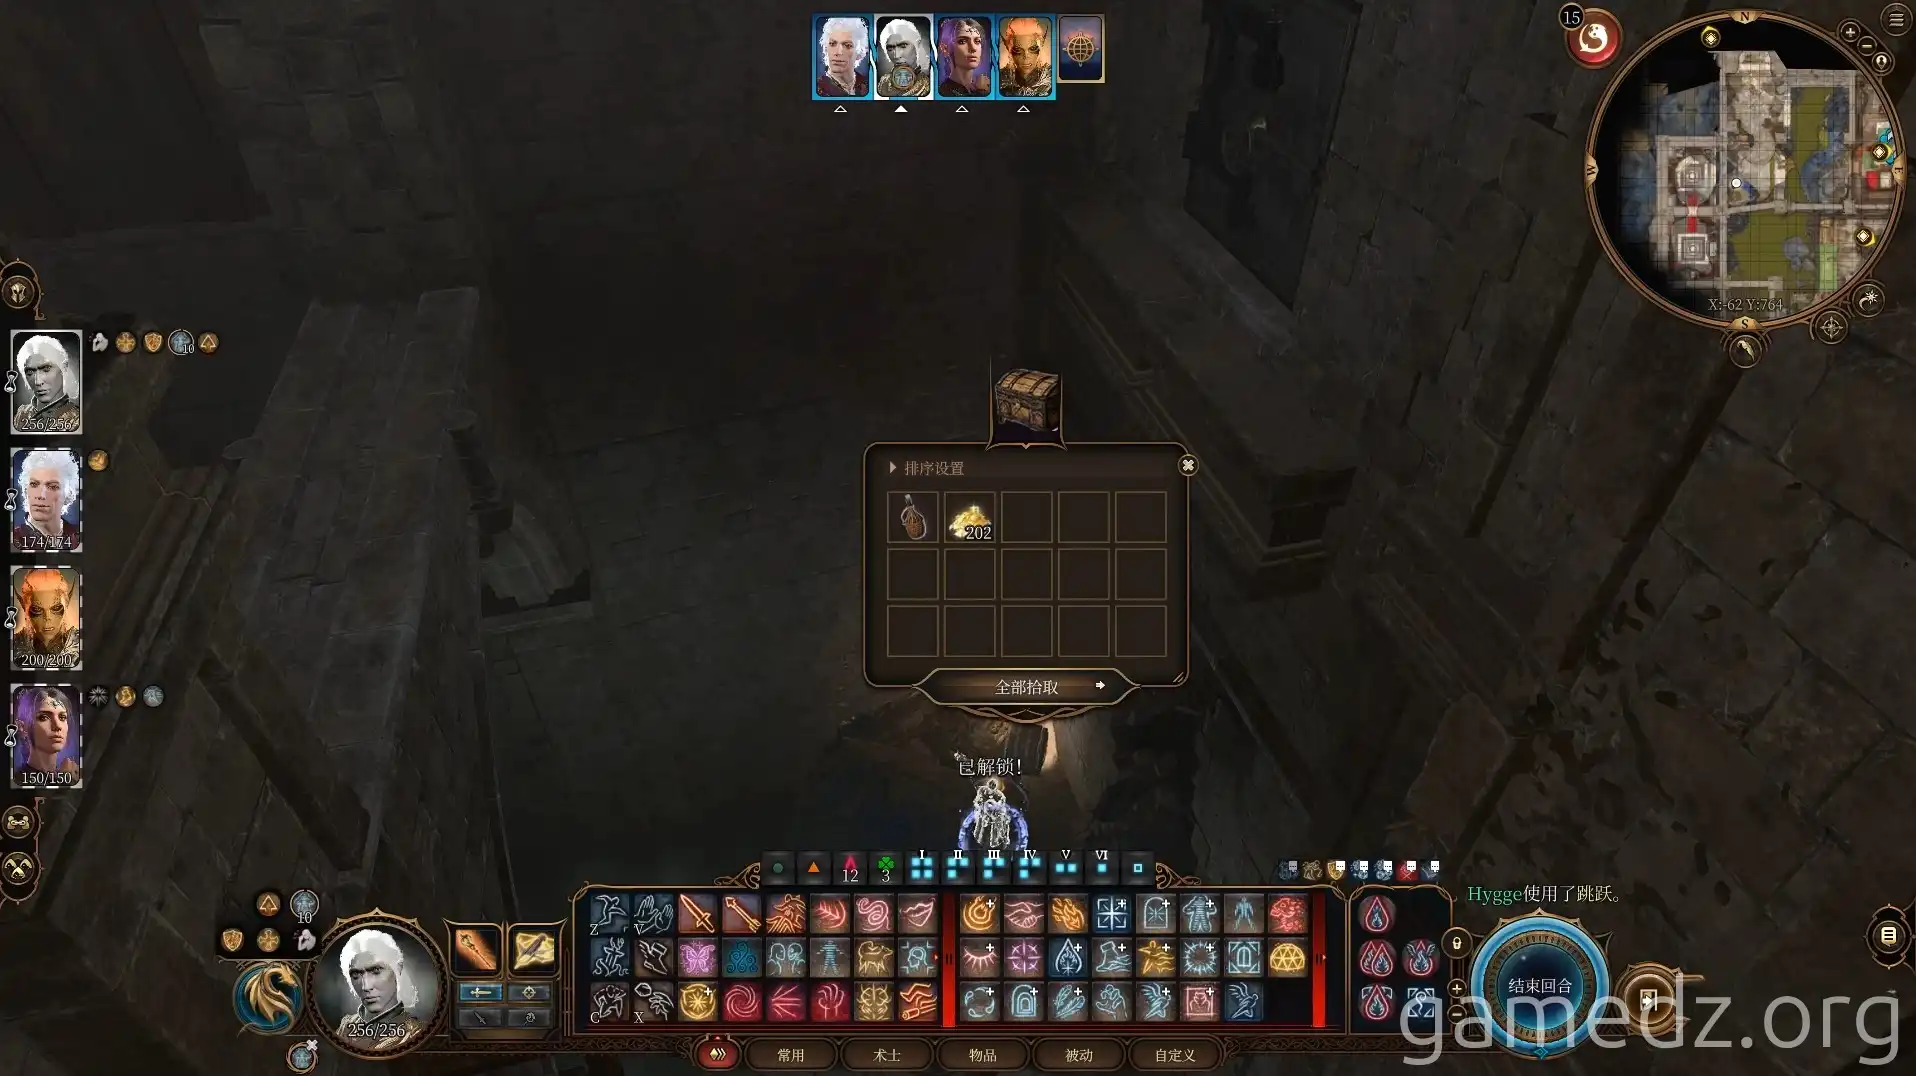
In the corner of the lower level behind the bookshelf, there's a chest. You'll see the key as soon as you open the bookshelf.
You don't need to venture further into the sewers at this point. We'll enter and explore it from other entrances later.
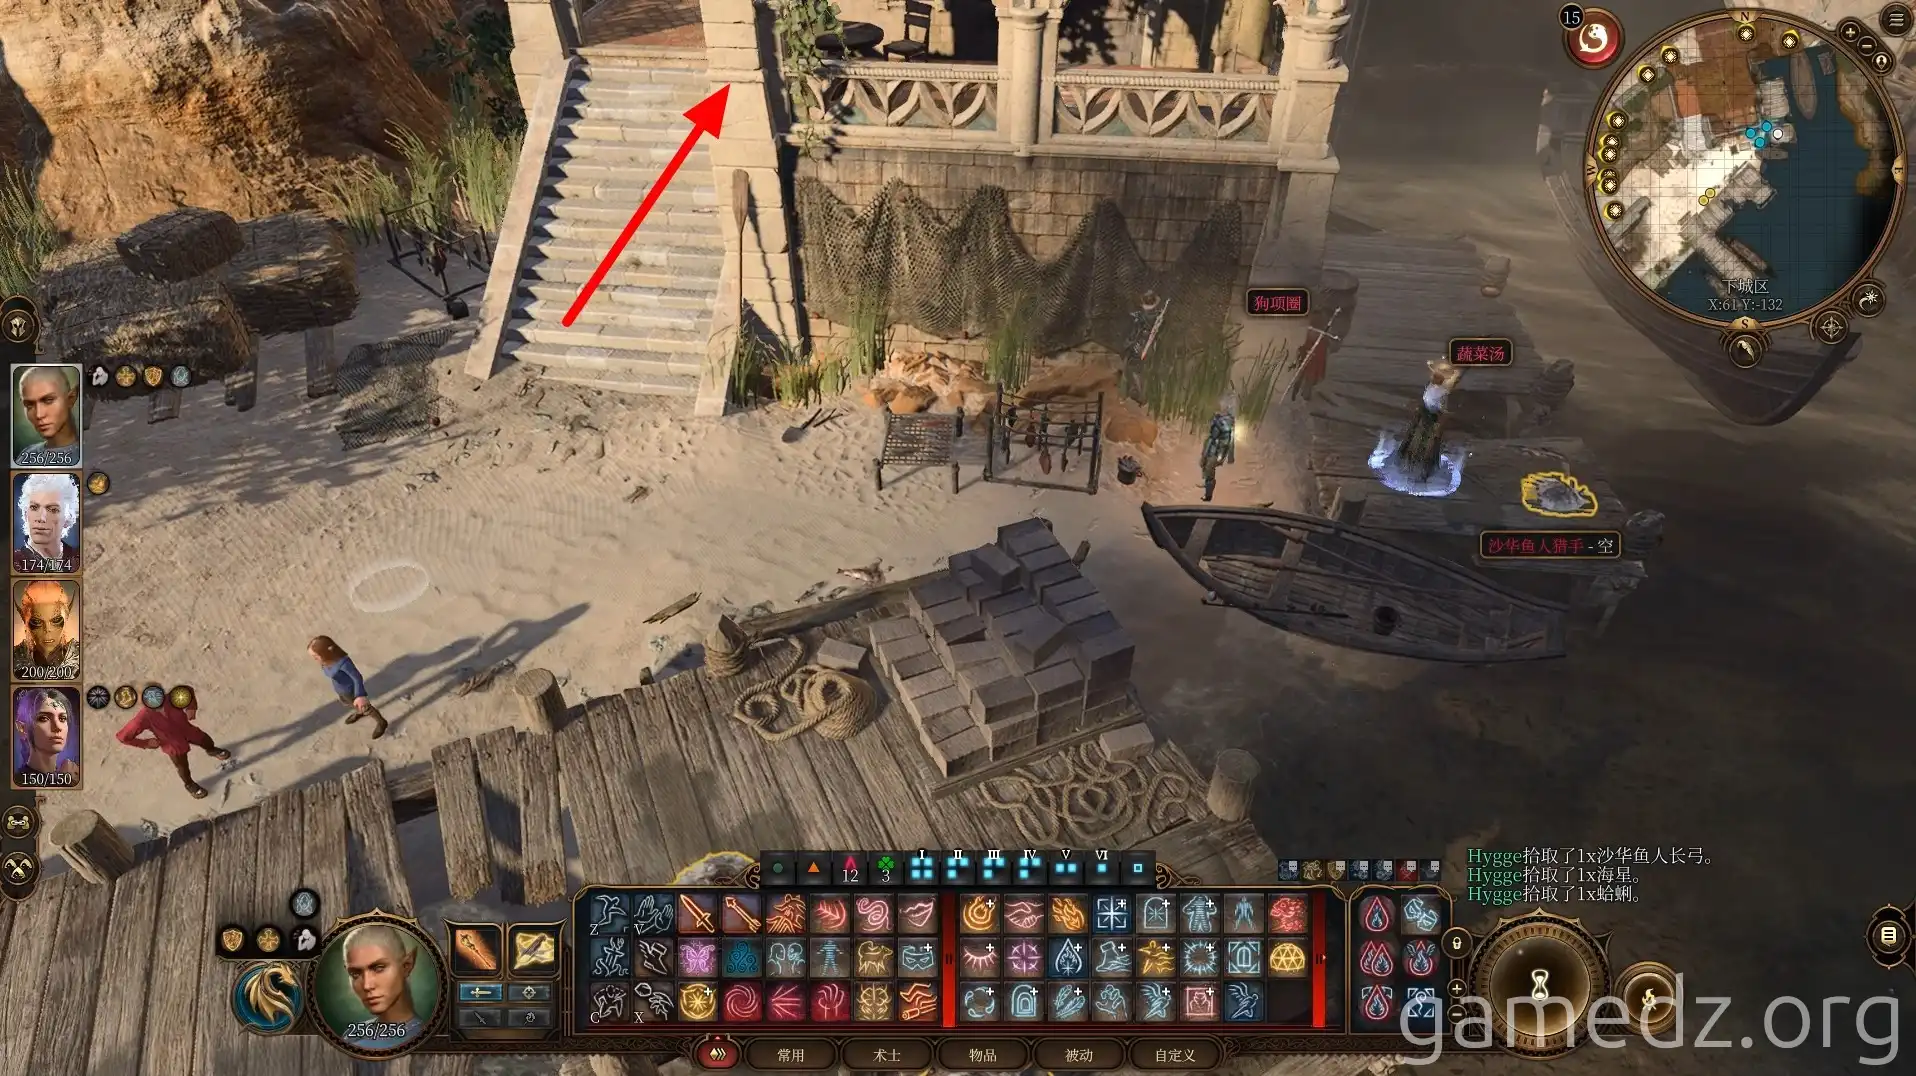
Teleport back to the Slope Area Coast and proceed down the stairs towards the beach.
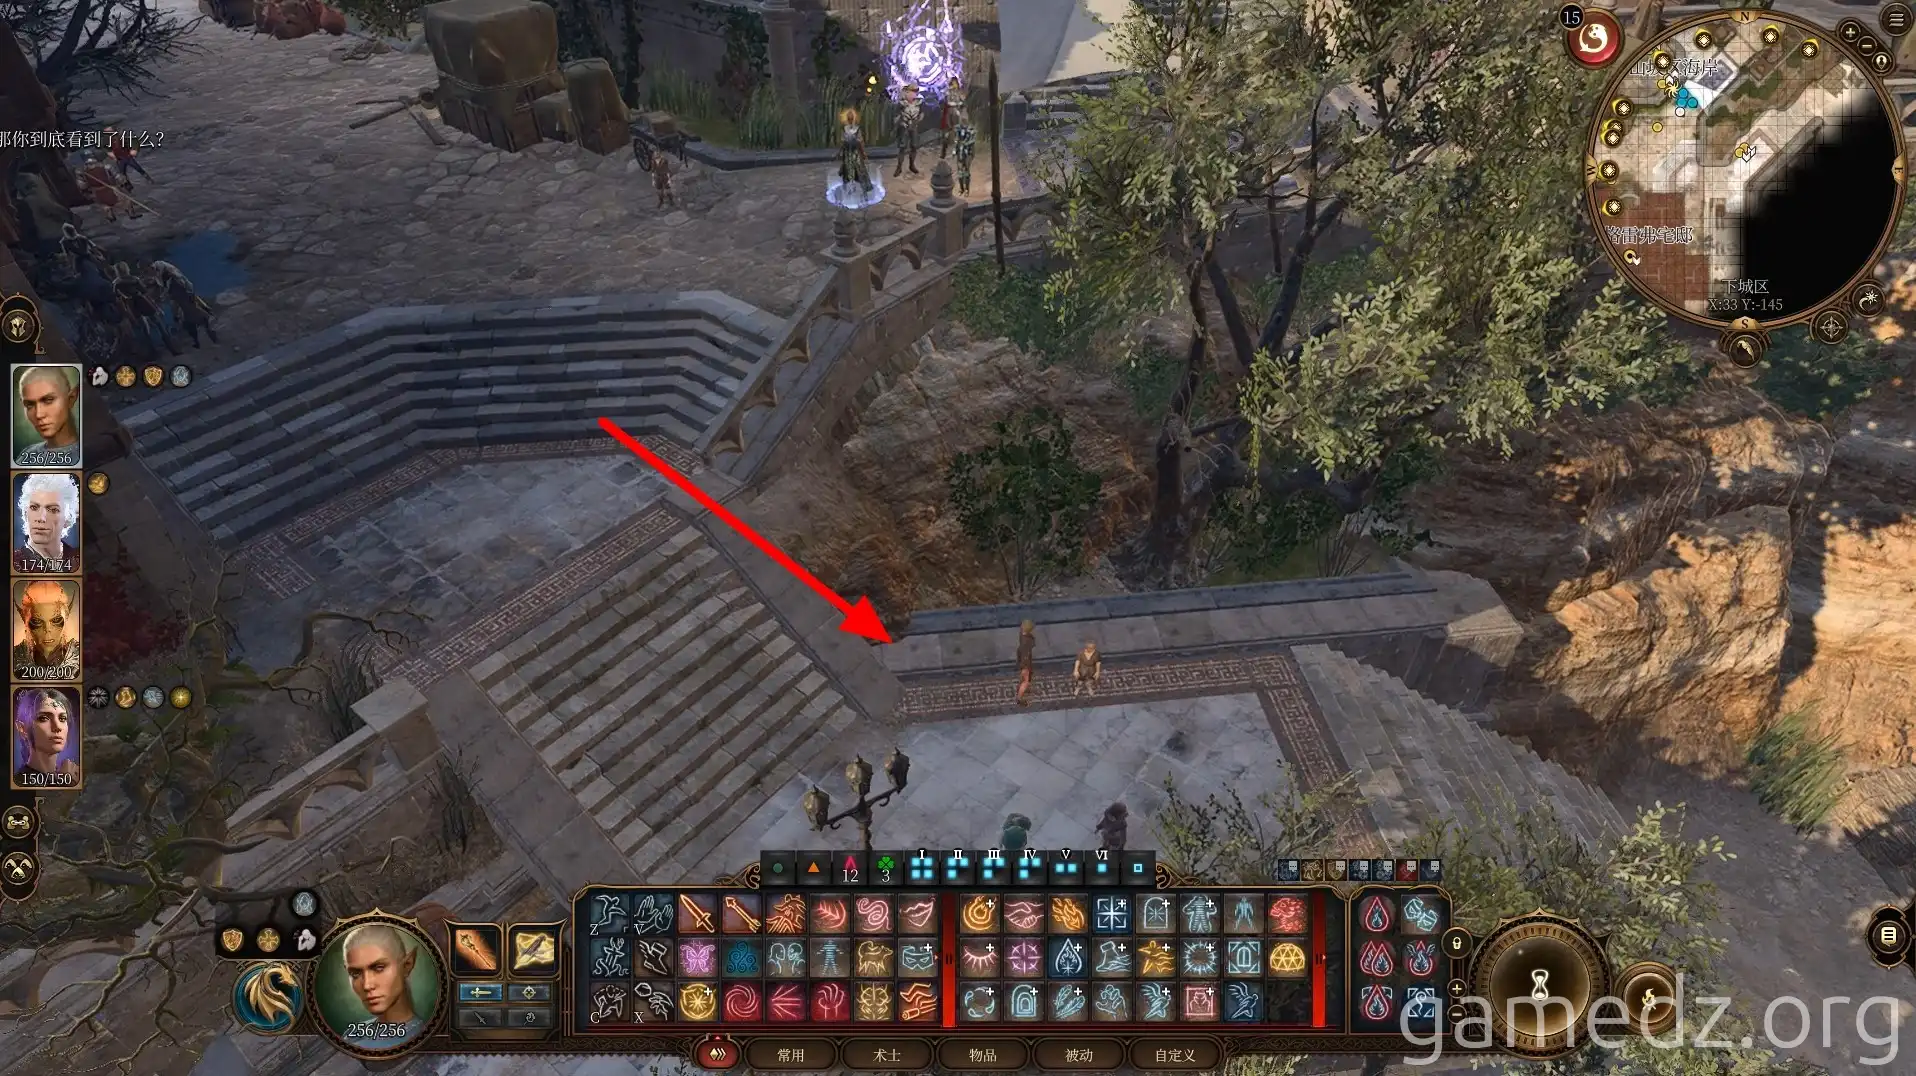
Upon reaching the beach, you'll immediately enter combat. The enemies are 7 Kuo-Toa. The battle isn't too difficult; defeat them all.

After defeating all the Kuo-Toa, you'll receive some gold as a reward.
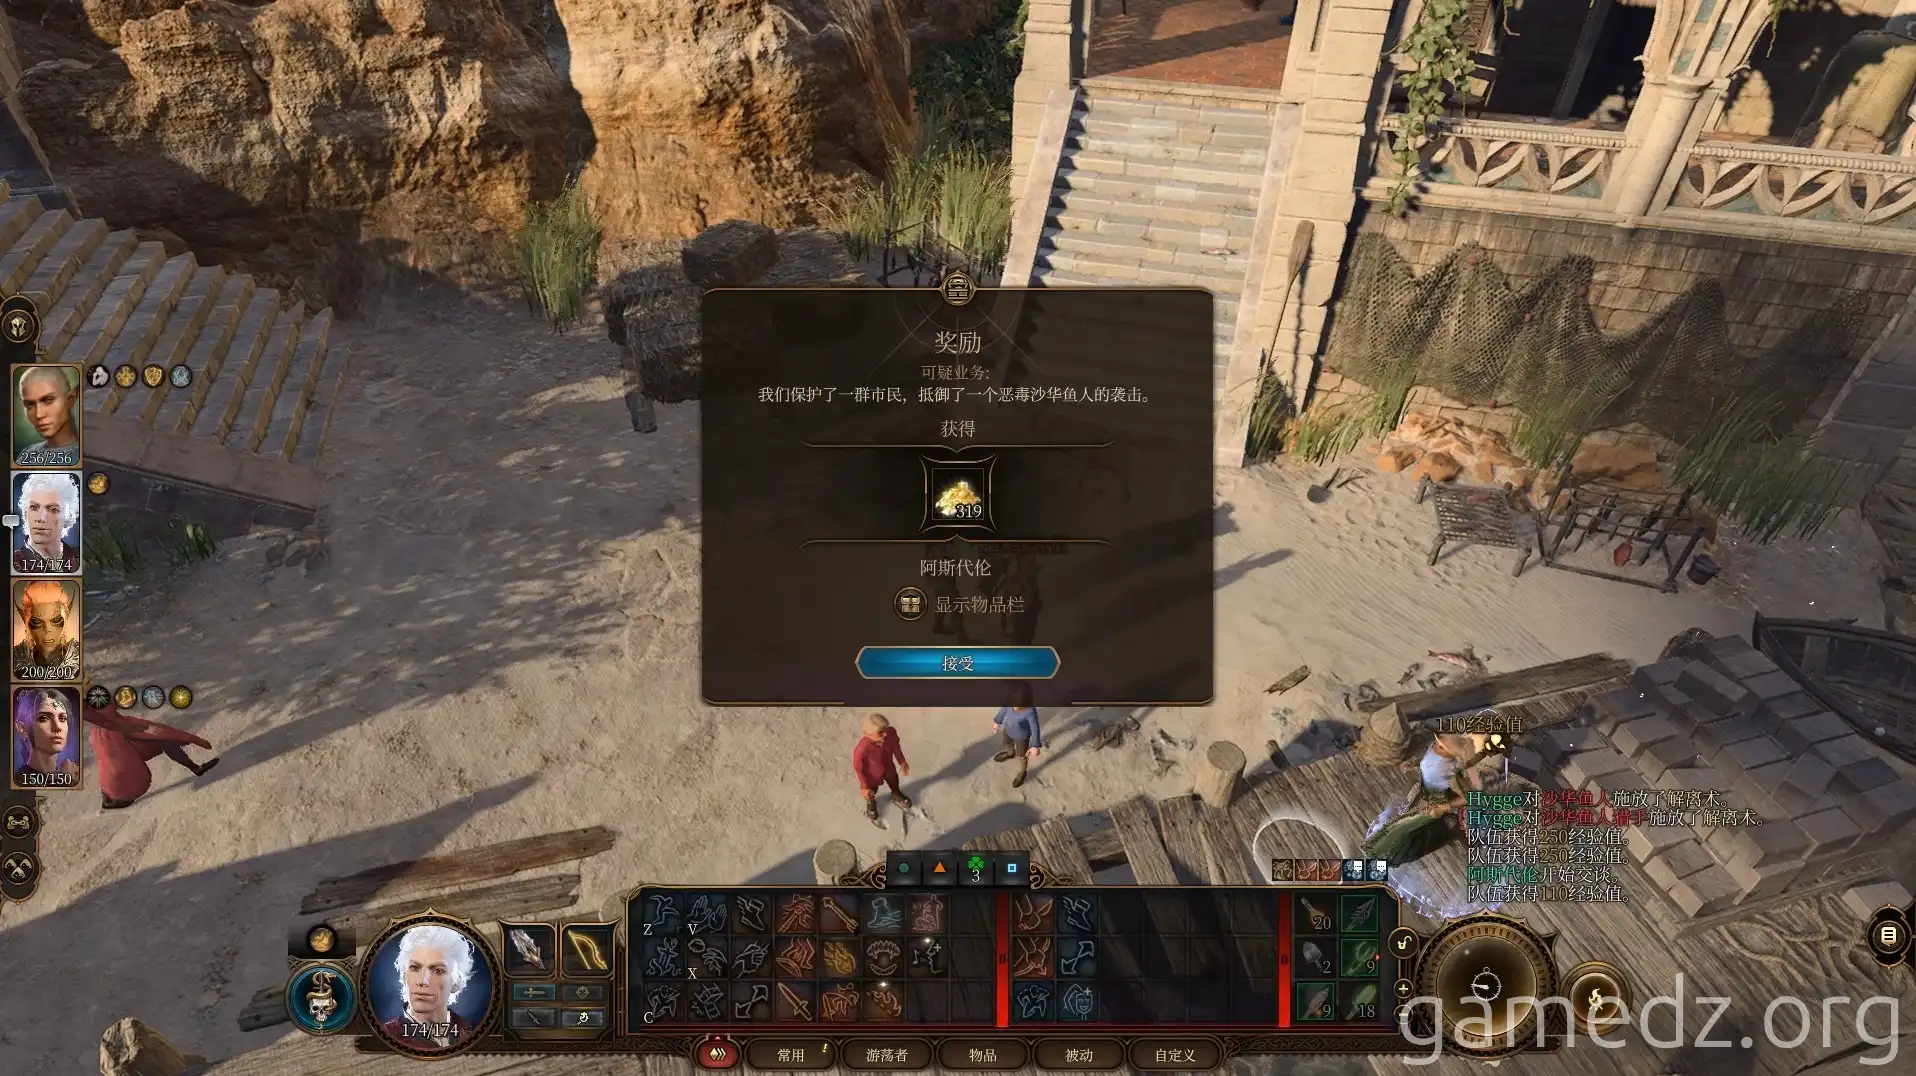
Then, enter the room on the westernmost side of the beach.
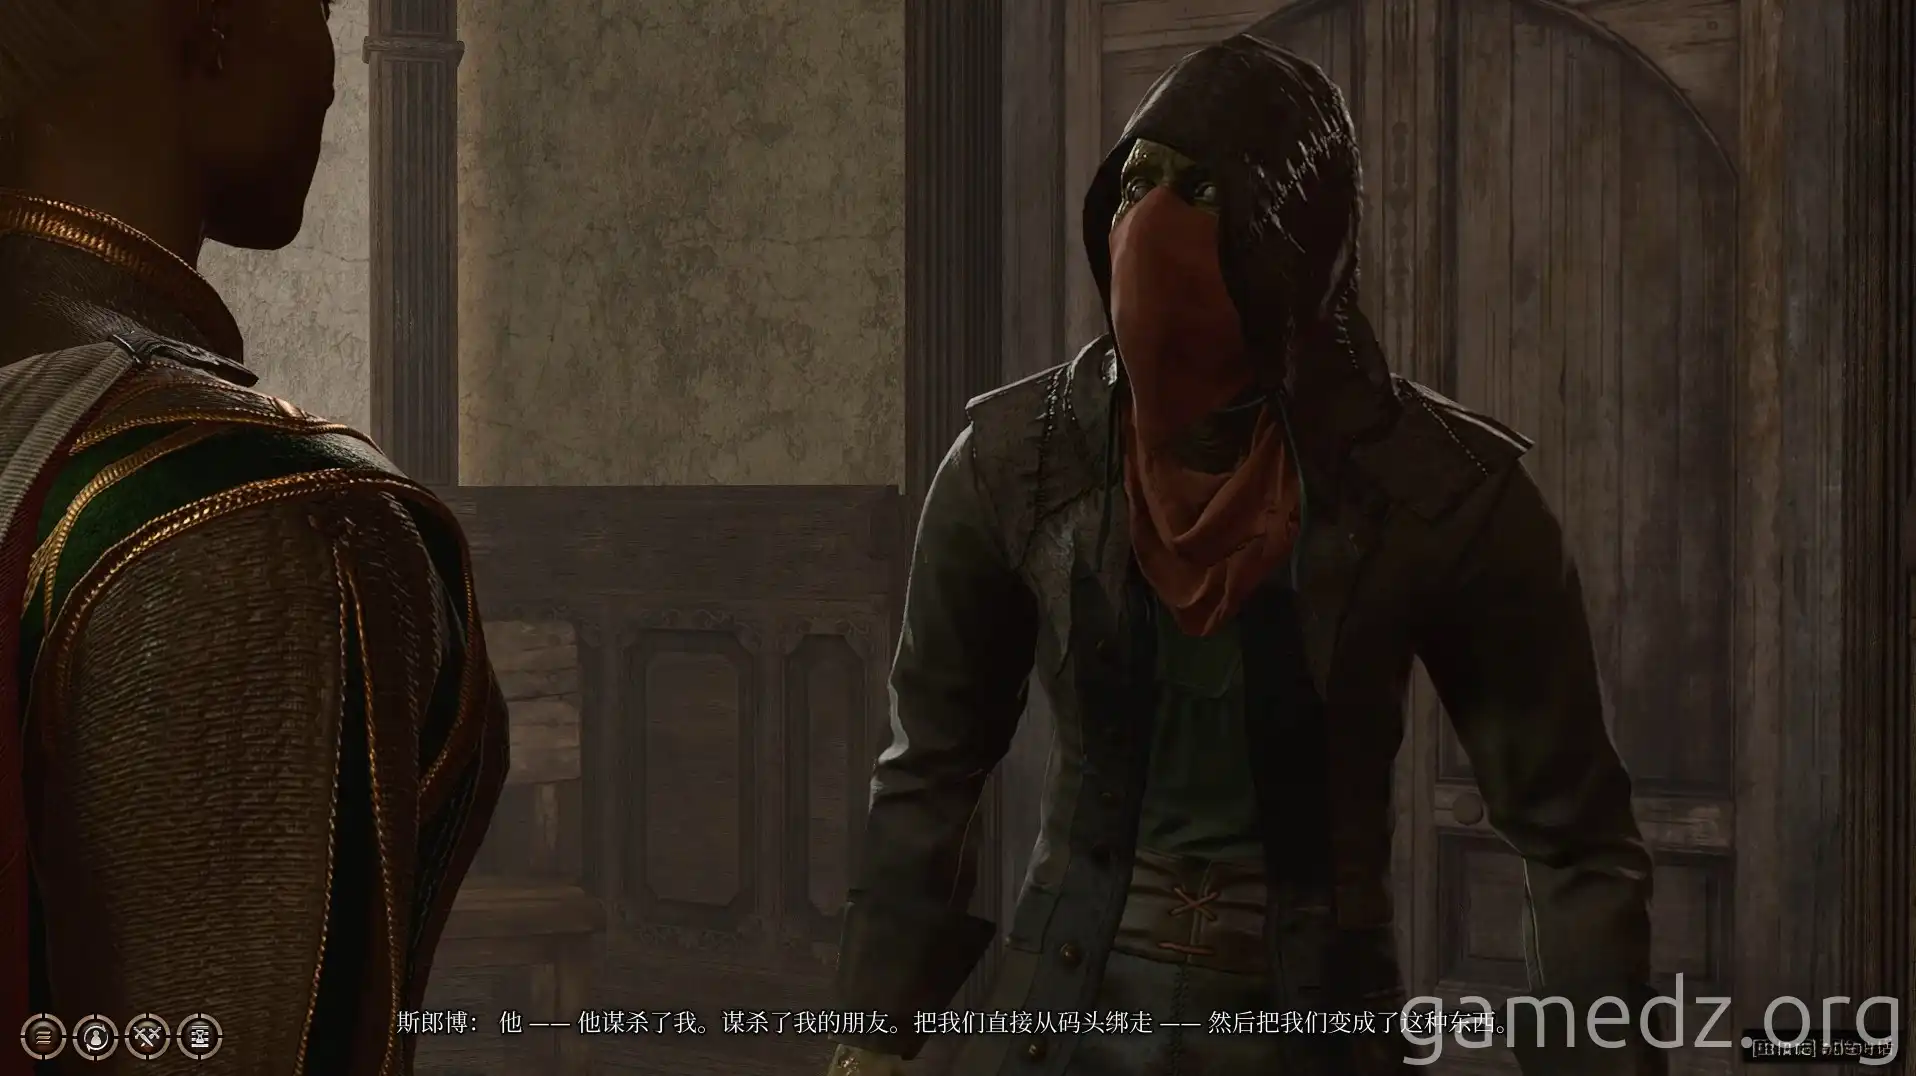
Next to the wardrobe in the room, you can find the trapdoor key. Opening the wardrobe will reveal Sprol. Through Sprol, you'll learn that Kaelen forced him and his friends into their current state, meaning Kaelen is the one we should actually kill.
Furthermore, you'll discover that to kill Kaelen, you must destroy the jar containing his heart. Besides the heart, there are three other jars containing internal organs. The lungs found earlier in the graveyard are one of them. Breaking these will weaken Kaelen's power, but only breaking the heart jar will result in his death.
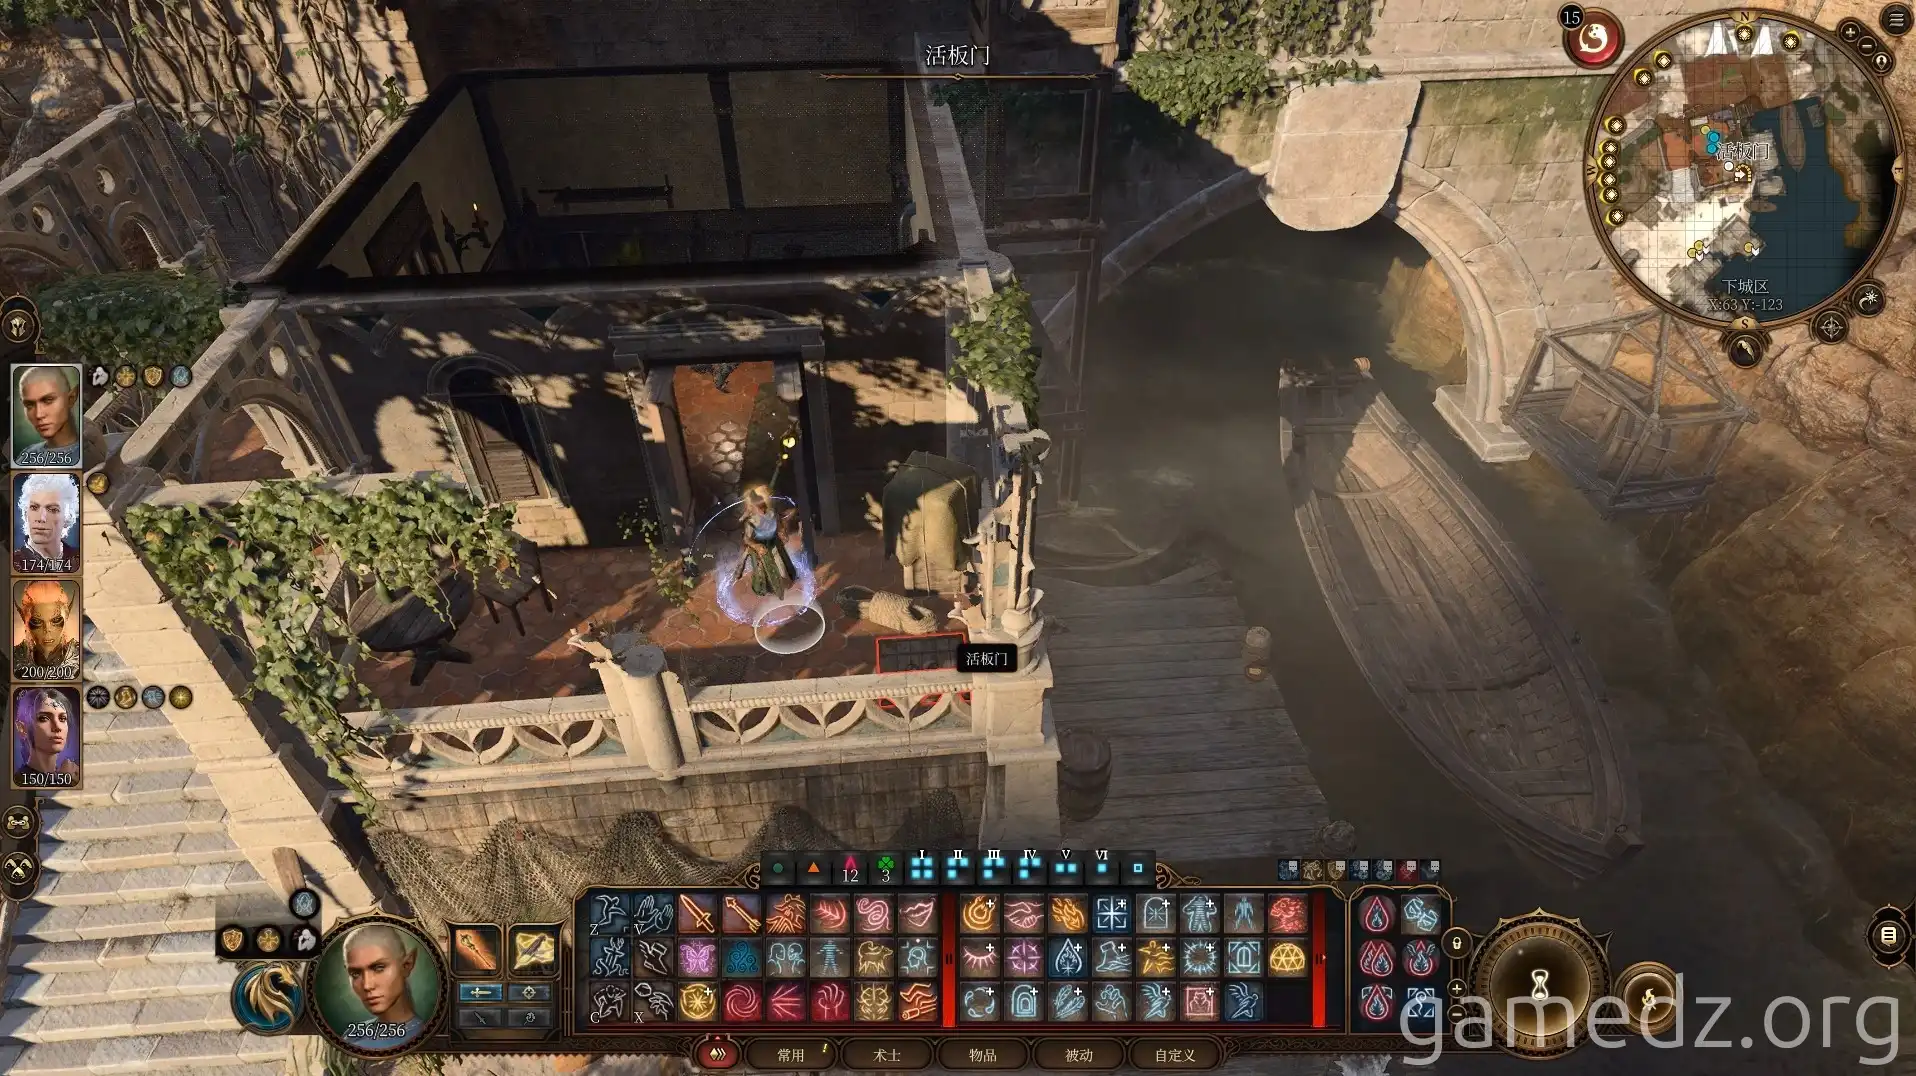
Enter the basement through the trapdoor on the terrace.
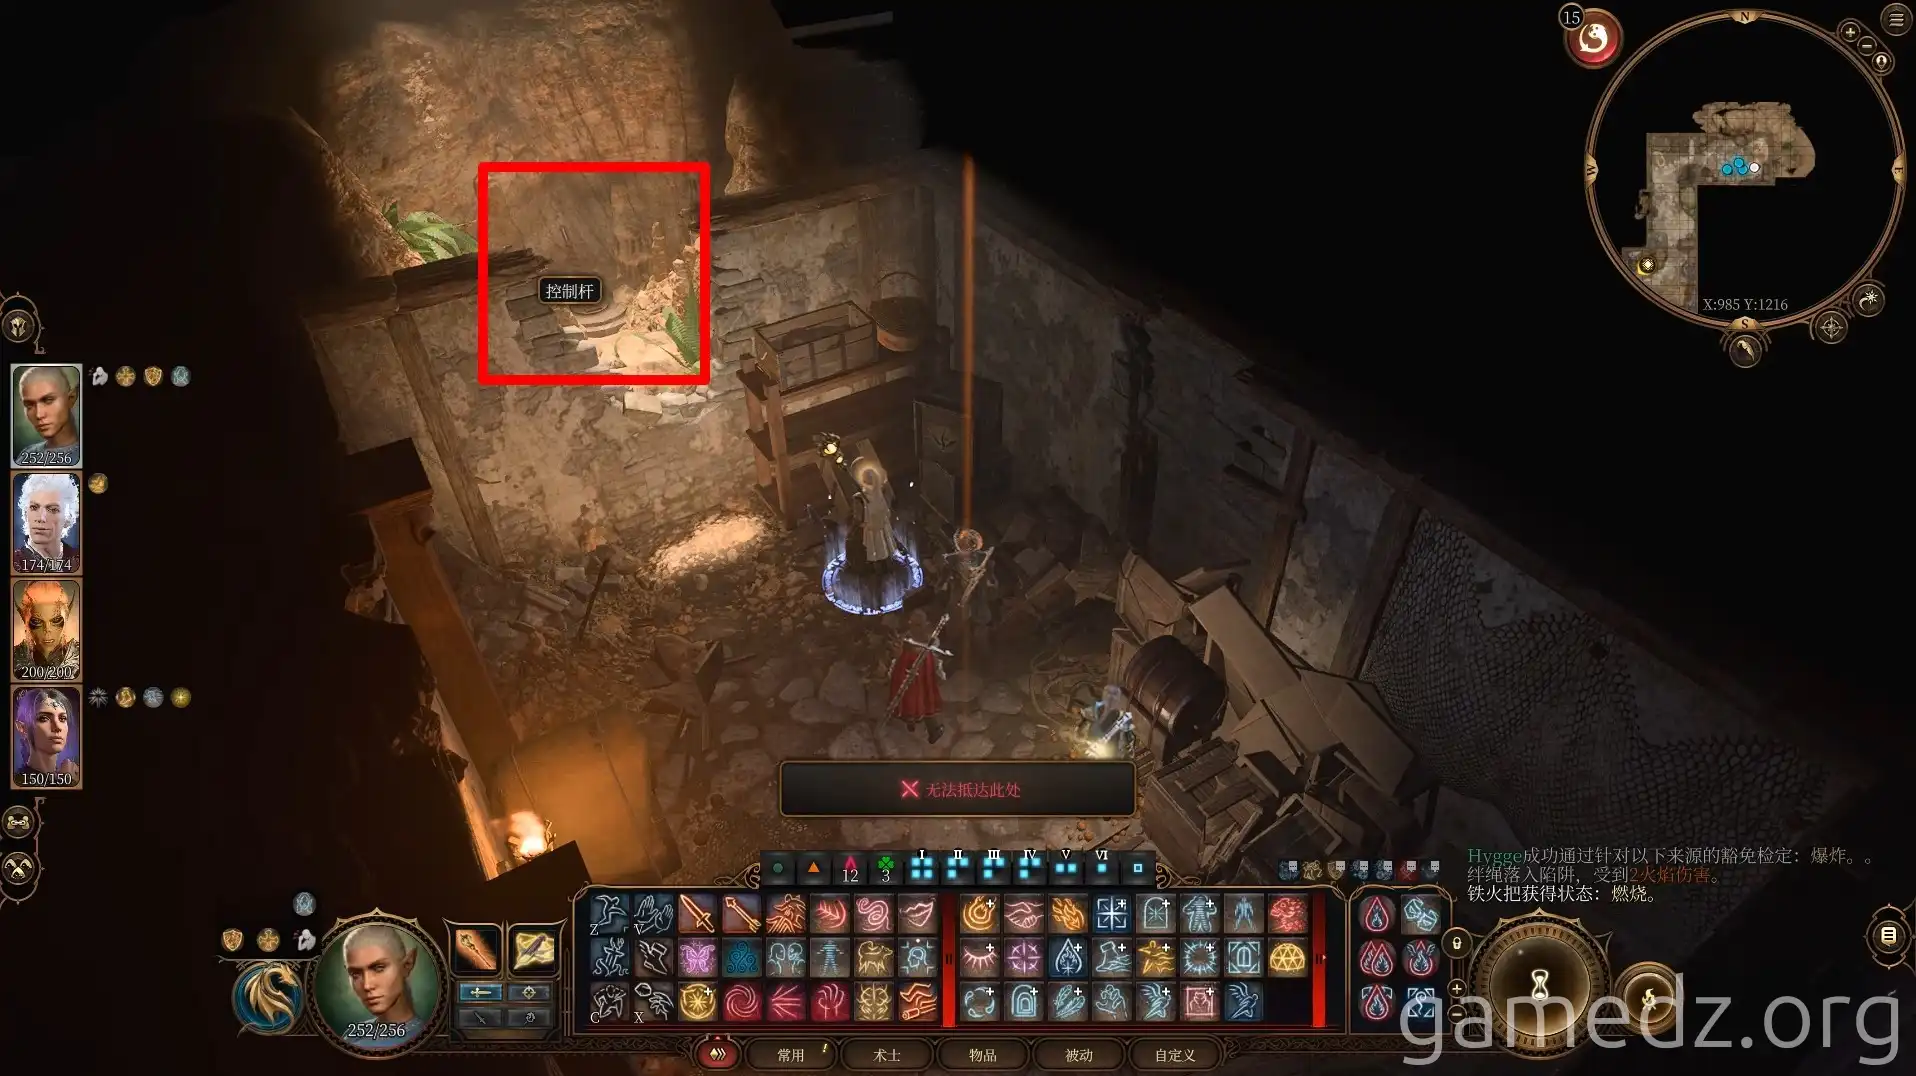
In the basement, use a ranged attack to hit the control lever, which will open the adjacent secret room.
There's a trapped chest in the cave. After looting it, return to the beach.
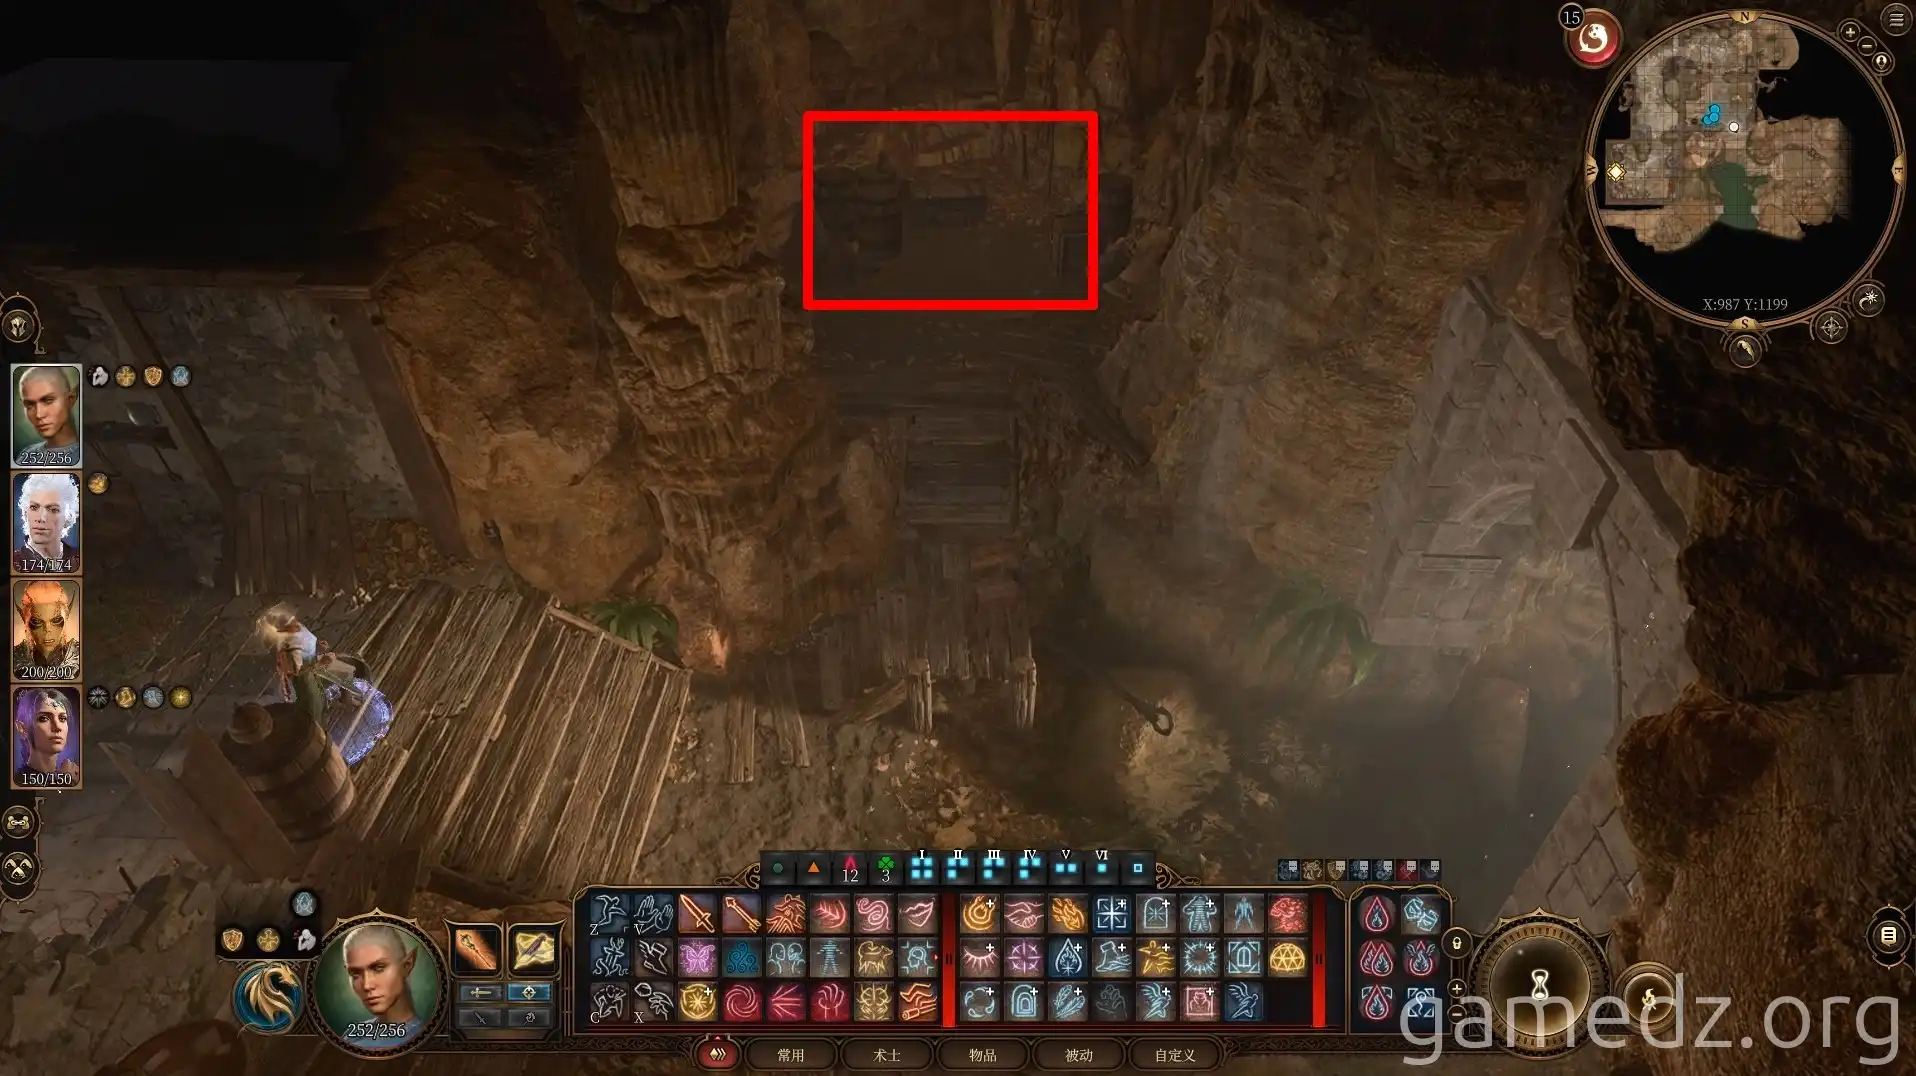
Walk west along the beach. Next to Kaelen's mansion, you'll find a mound of earth with a buried chest.
The nearby hole leads directly to Kaelen's mansion basement.
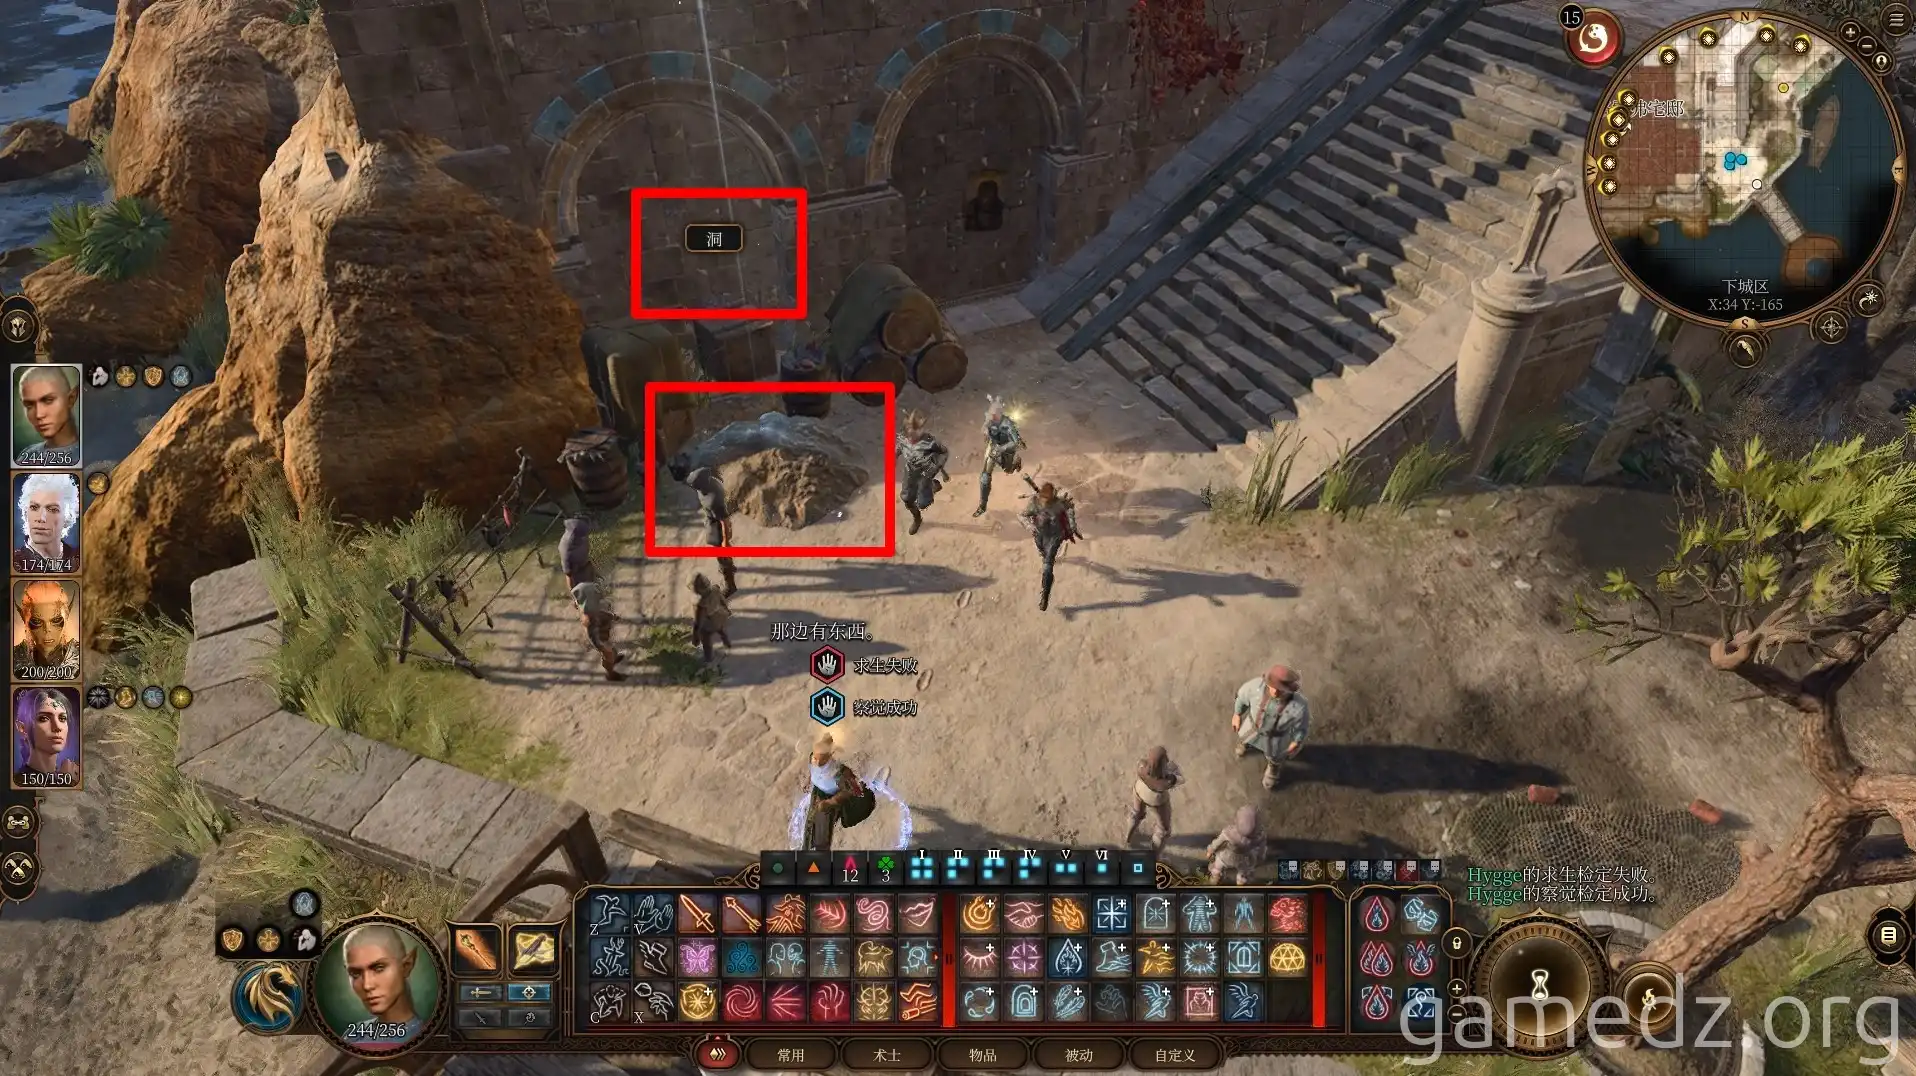
There's another mound of earth on the upper platform.
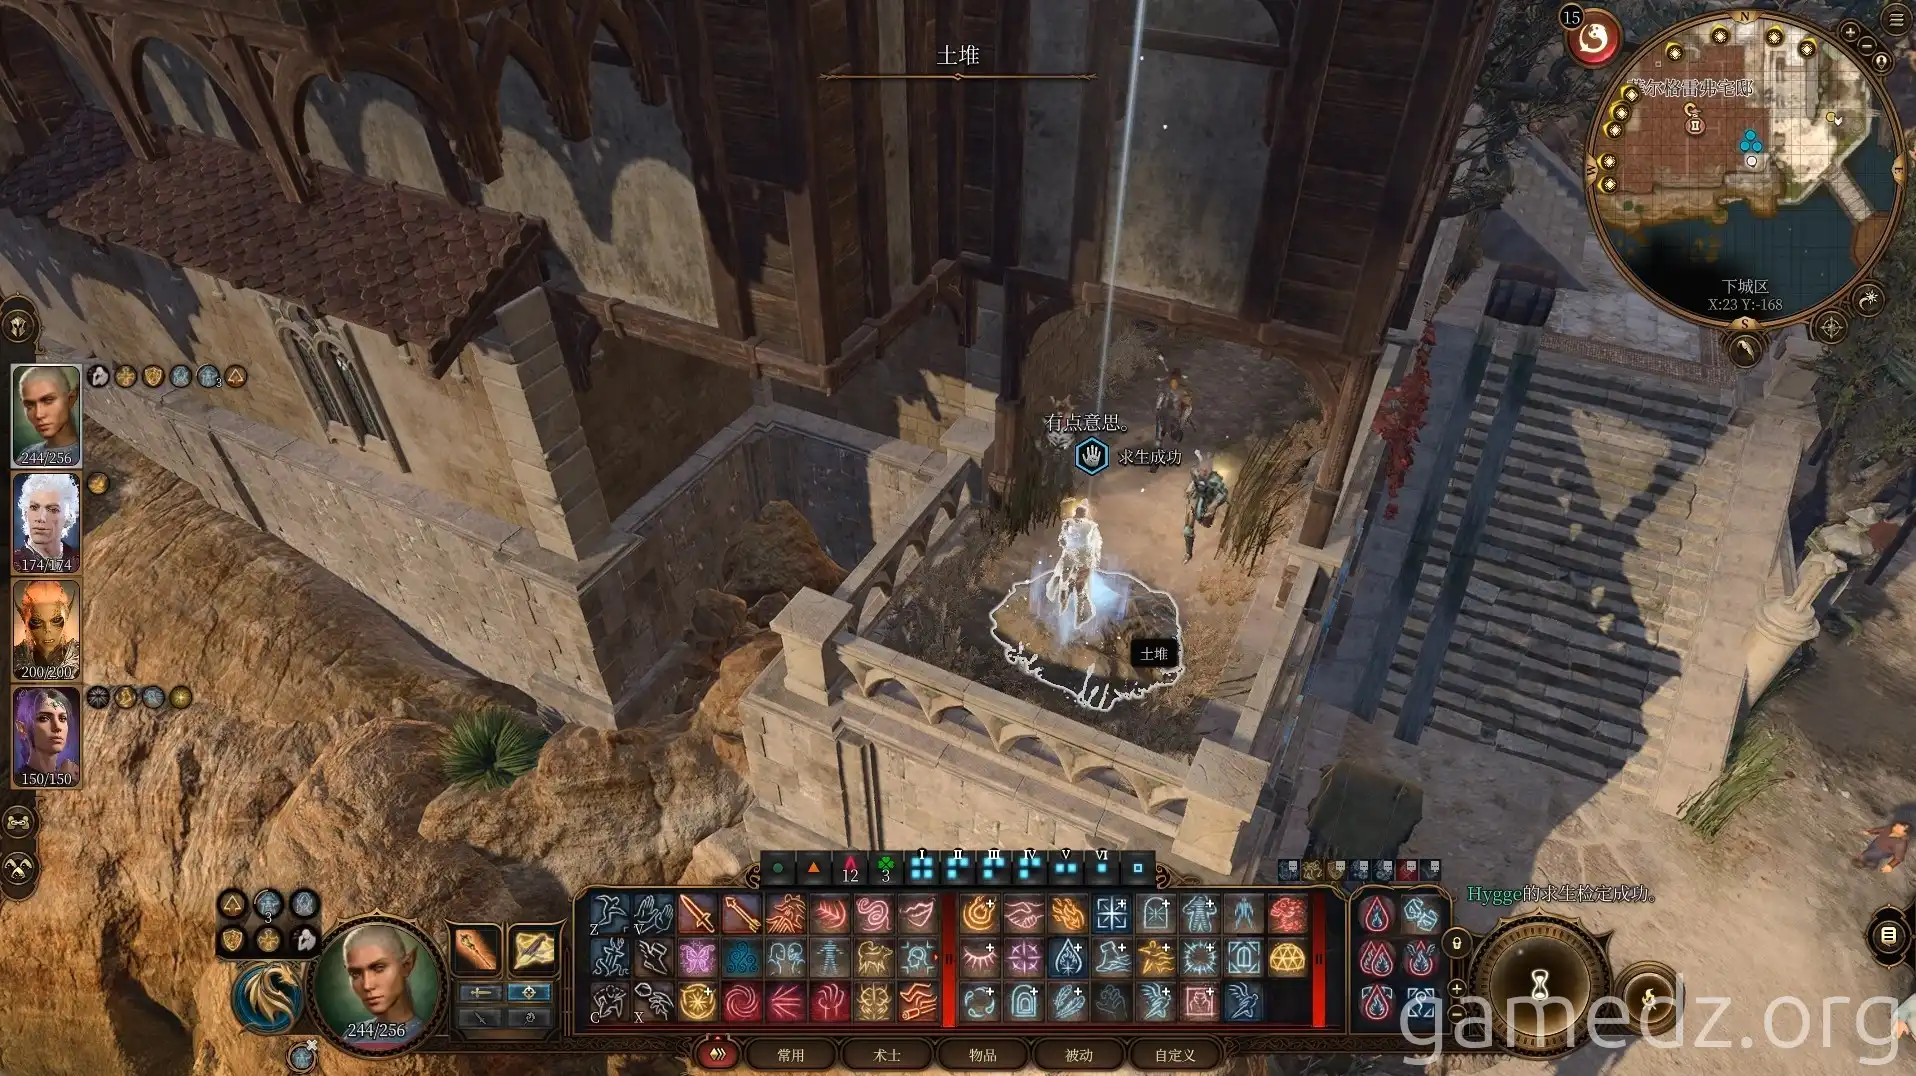
Return to Kaelen's mansion and pick the lock to enter the second floor.
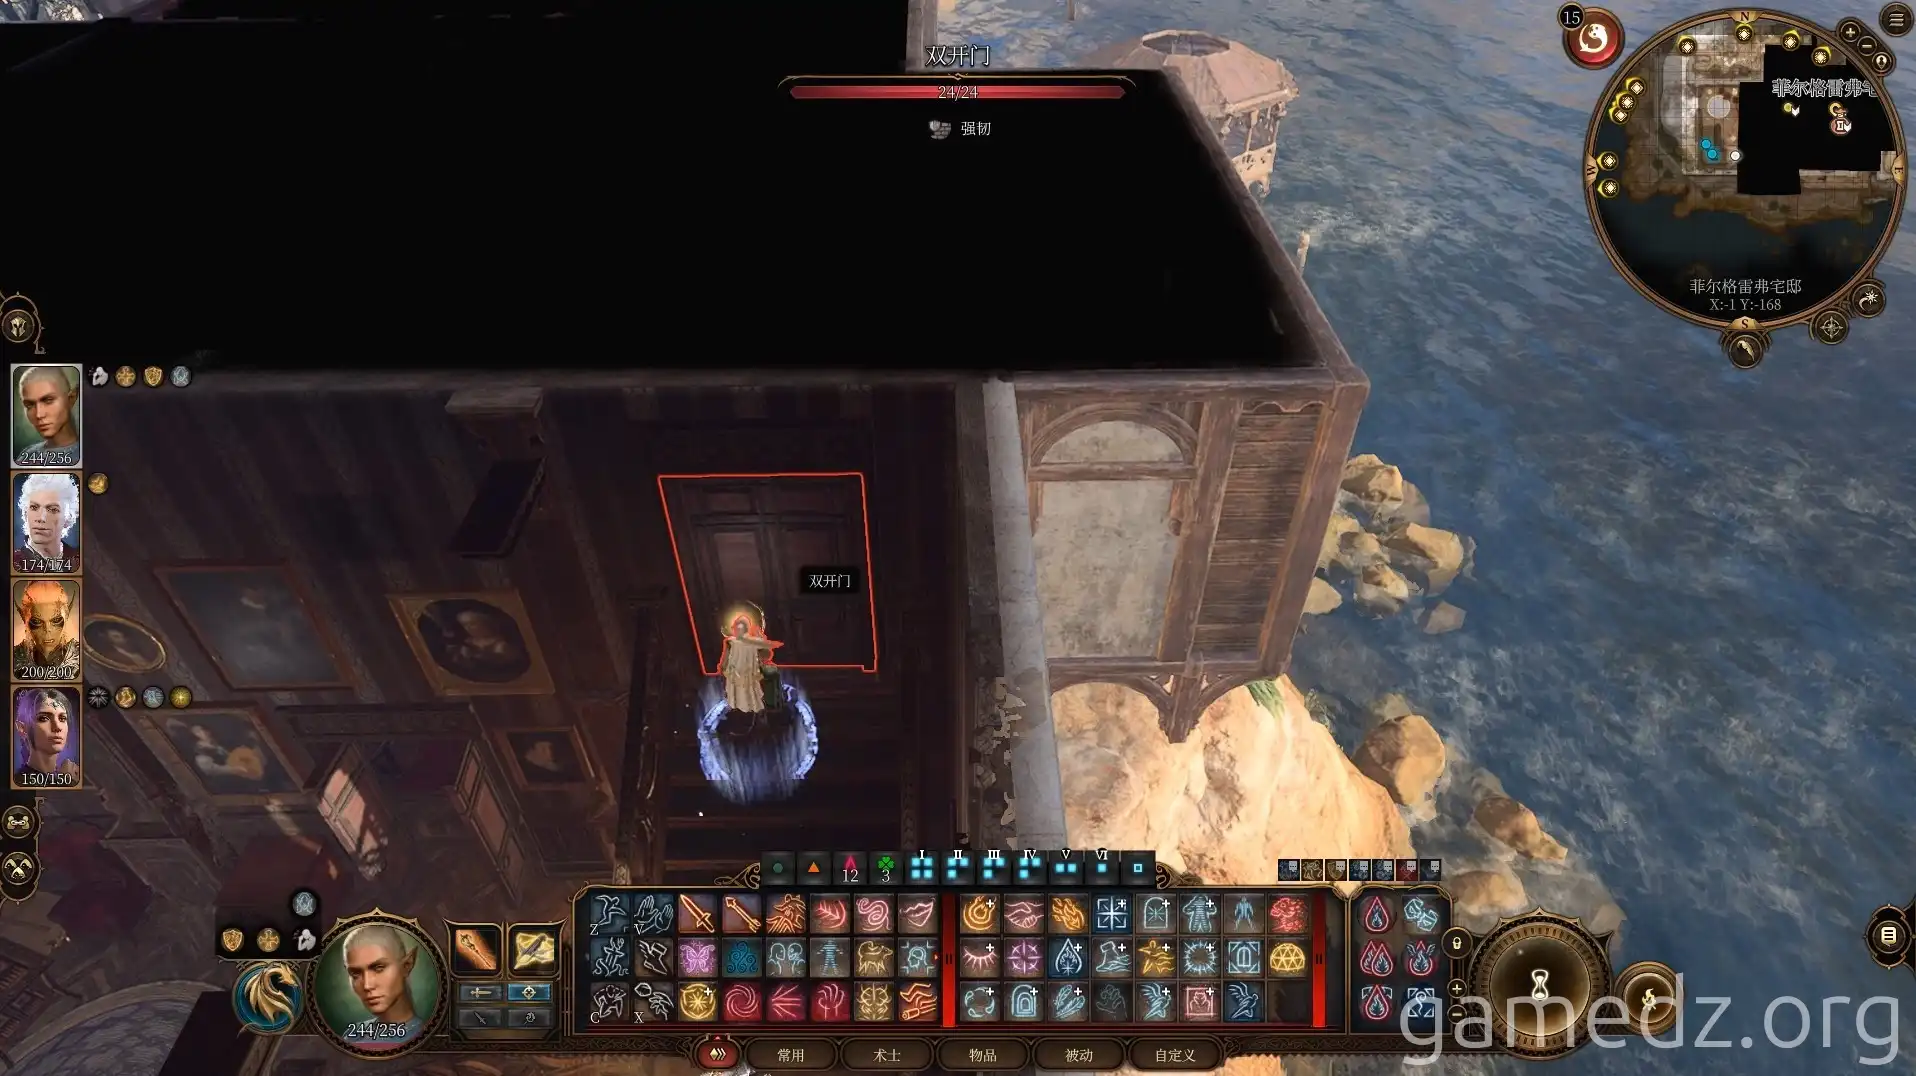
At this point, you'll be blocked by ghouls if you try to go to the third floor. You can either use invisibility to sneak up or close the doors on the first and second floors, kill all the ghouls, and then proceed upstairs.
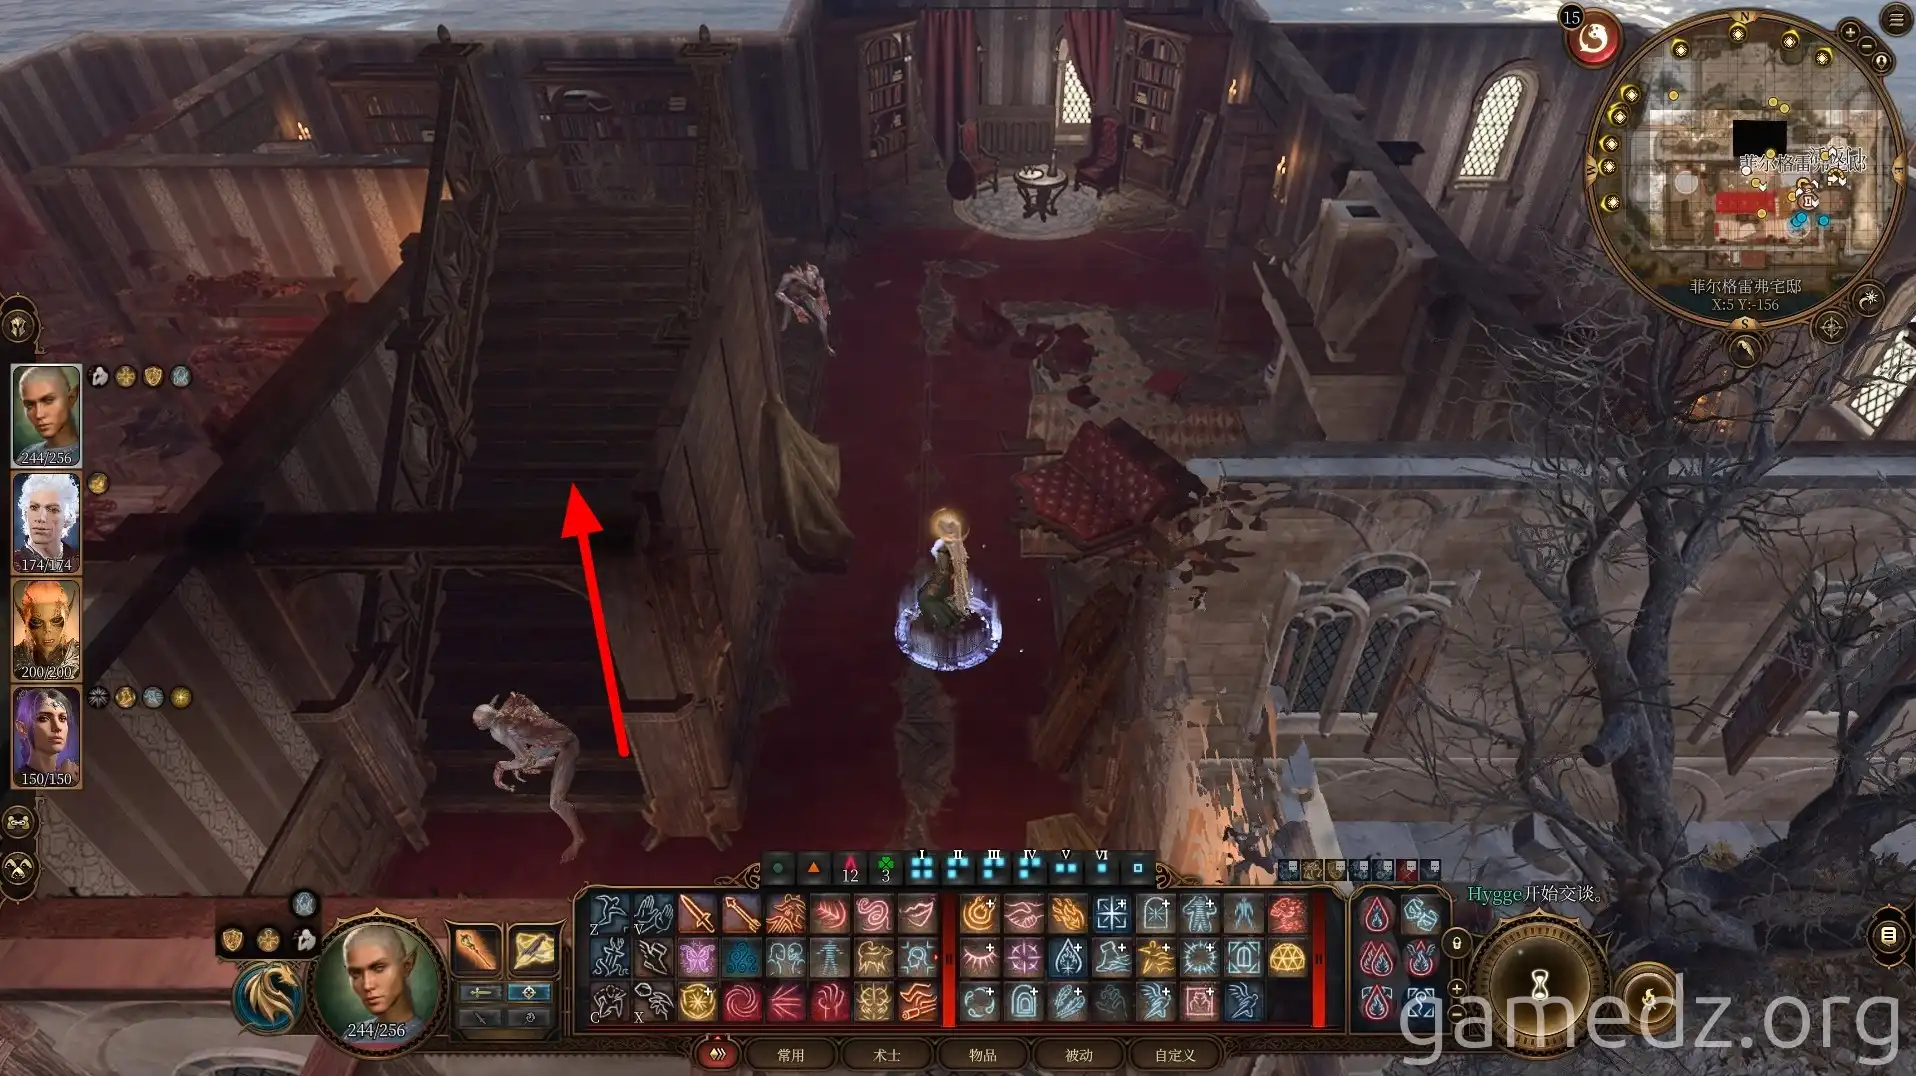
In the room on the third floor, investigate the beggar statue. With a successful Arcana check (DC 15), you'll obtain Sprol's note. The note further corroborates Sprol's earlier statements. After taking the items from the nearby chest, return to the second floor.
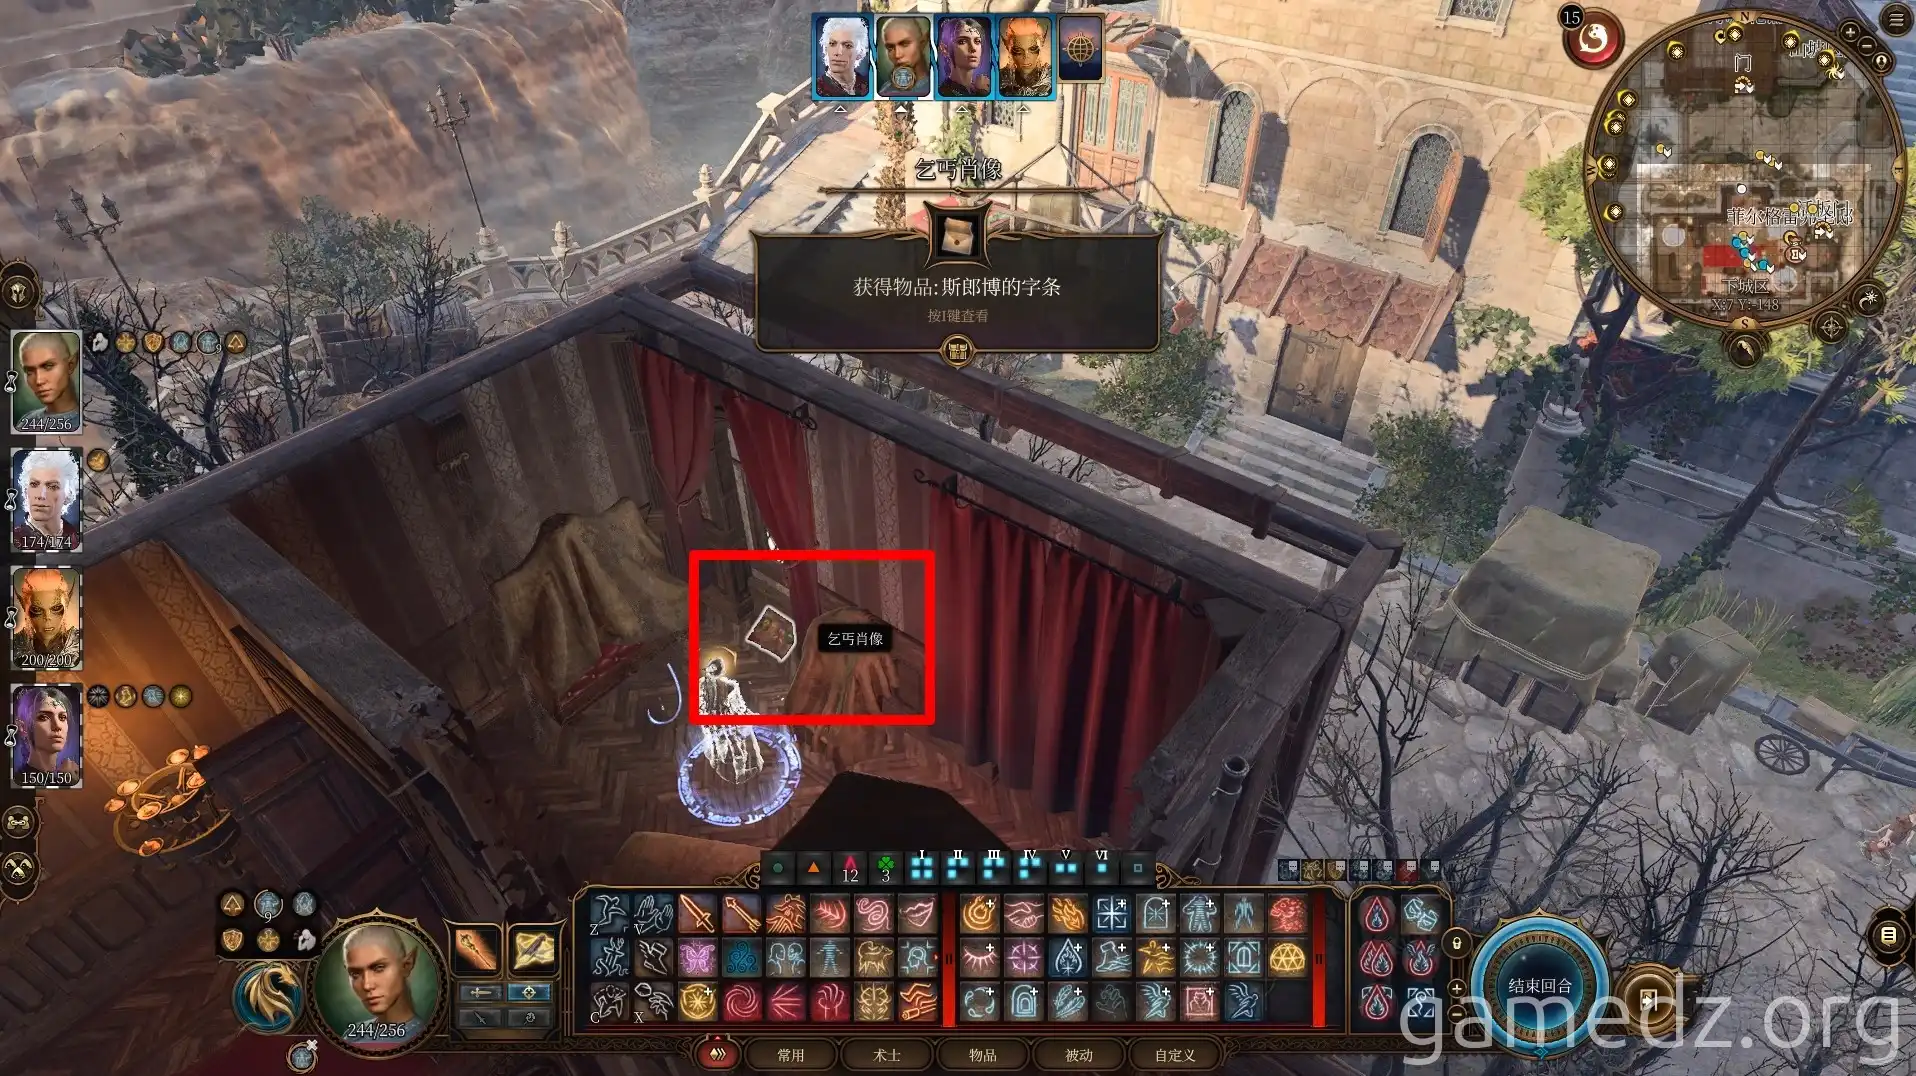
Inside a room on the second floor, you'll find a ladder leading to the first floor.
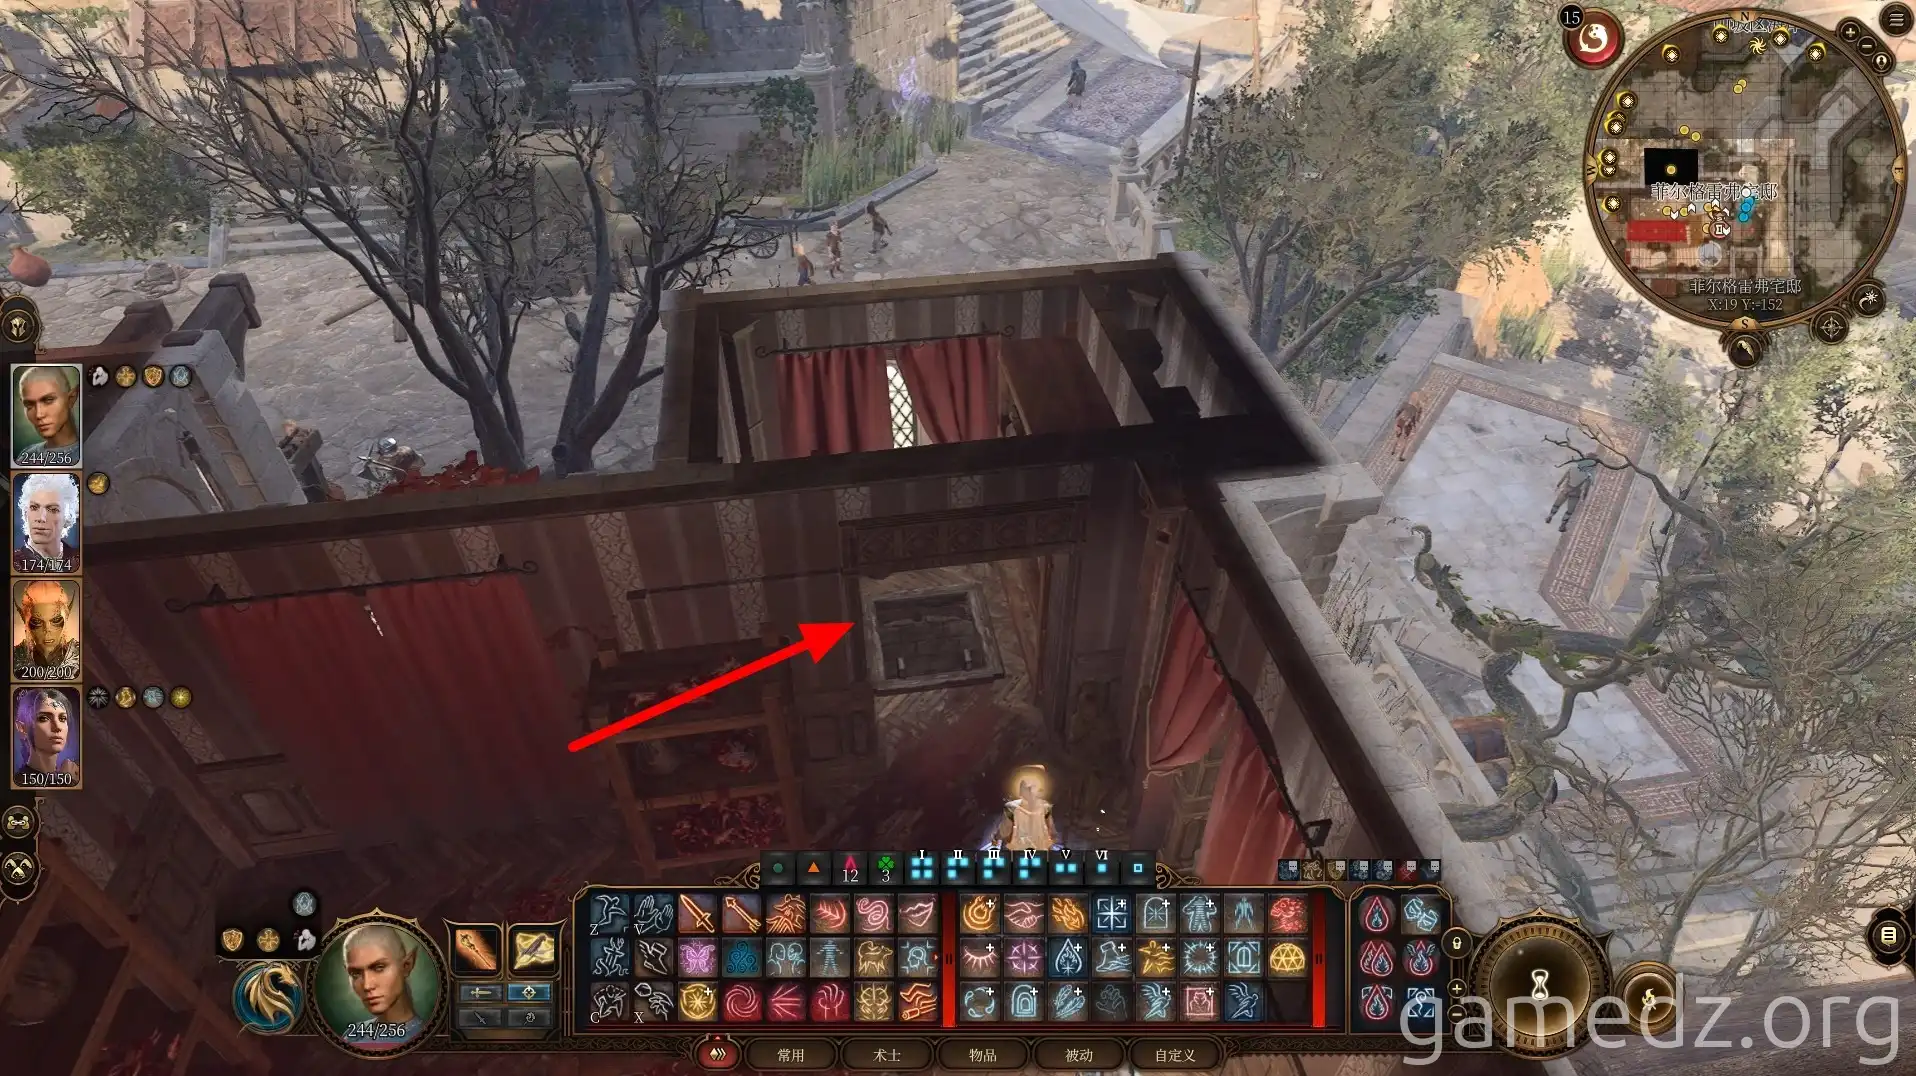
Using the ladder will take you to a small room behind Kaelen. Enter the basement through the trapdoor.
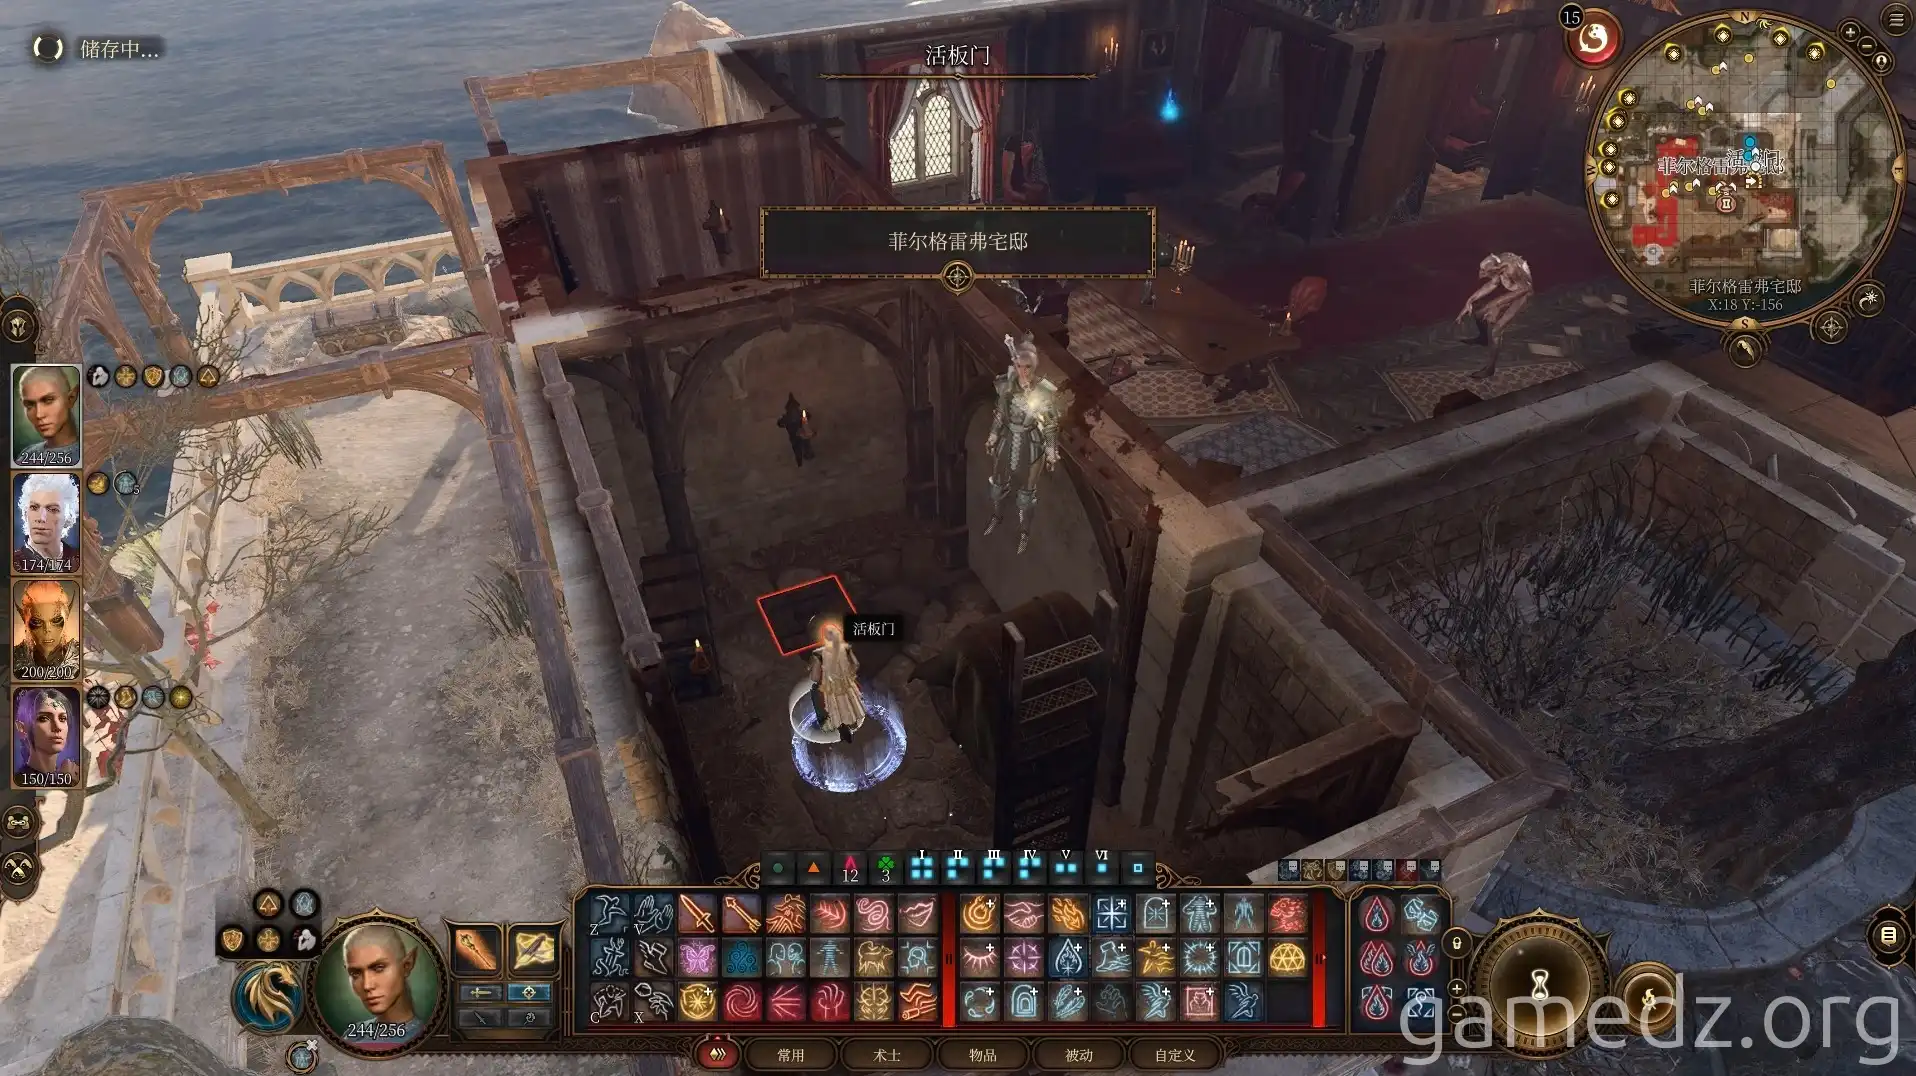
By reading "Mummy's Memories," you'll learn that Kaelen has a secret lair in the Underdark ruins.
After looting the area, leave the room and prepare to head to the sewer area to find Kaelen's lair.
