
Baldur's Gate 3 Lower City Sewers: Full Map & Walkthrough
This guide provides a comprehensive walkthrough of the Baldur's Gate 3 Lower City Sewers, detailing map exploration, enemy encounters, and valuable loot locations.
Welcome, adventurers, to a deep dive into the murky depths of Baldur's Gate 3's Lower City Sewers! This guide will lead you through every nook and cranny, ensuring you don't miss a single secret or valuable treasure. Let's get started!
Navigating the Sewers
Begin your descent by teleporting back to the Stone Lord's Gate. Your entry point into the sewers is a manhole cover located in the adjacent alley.
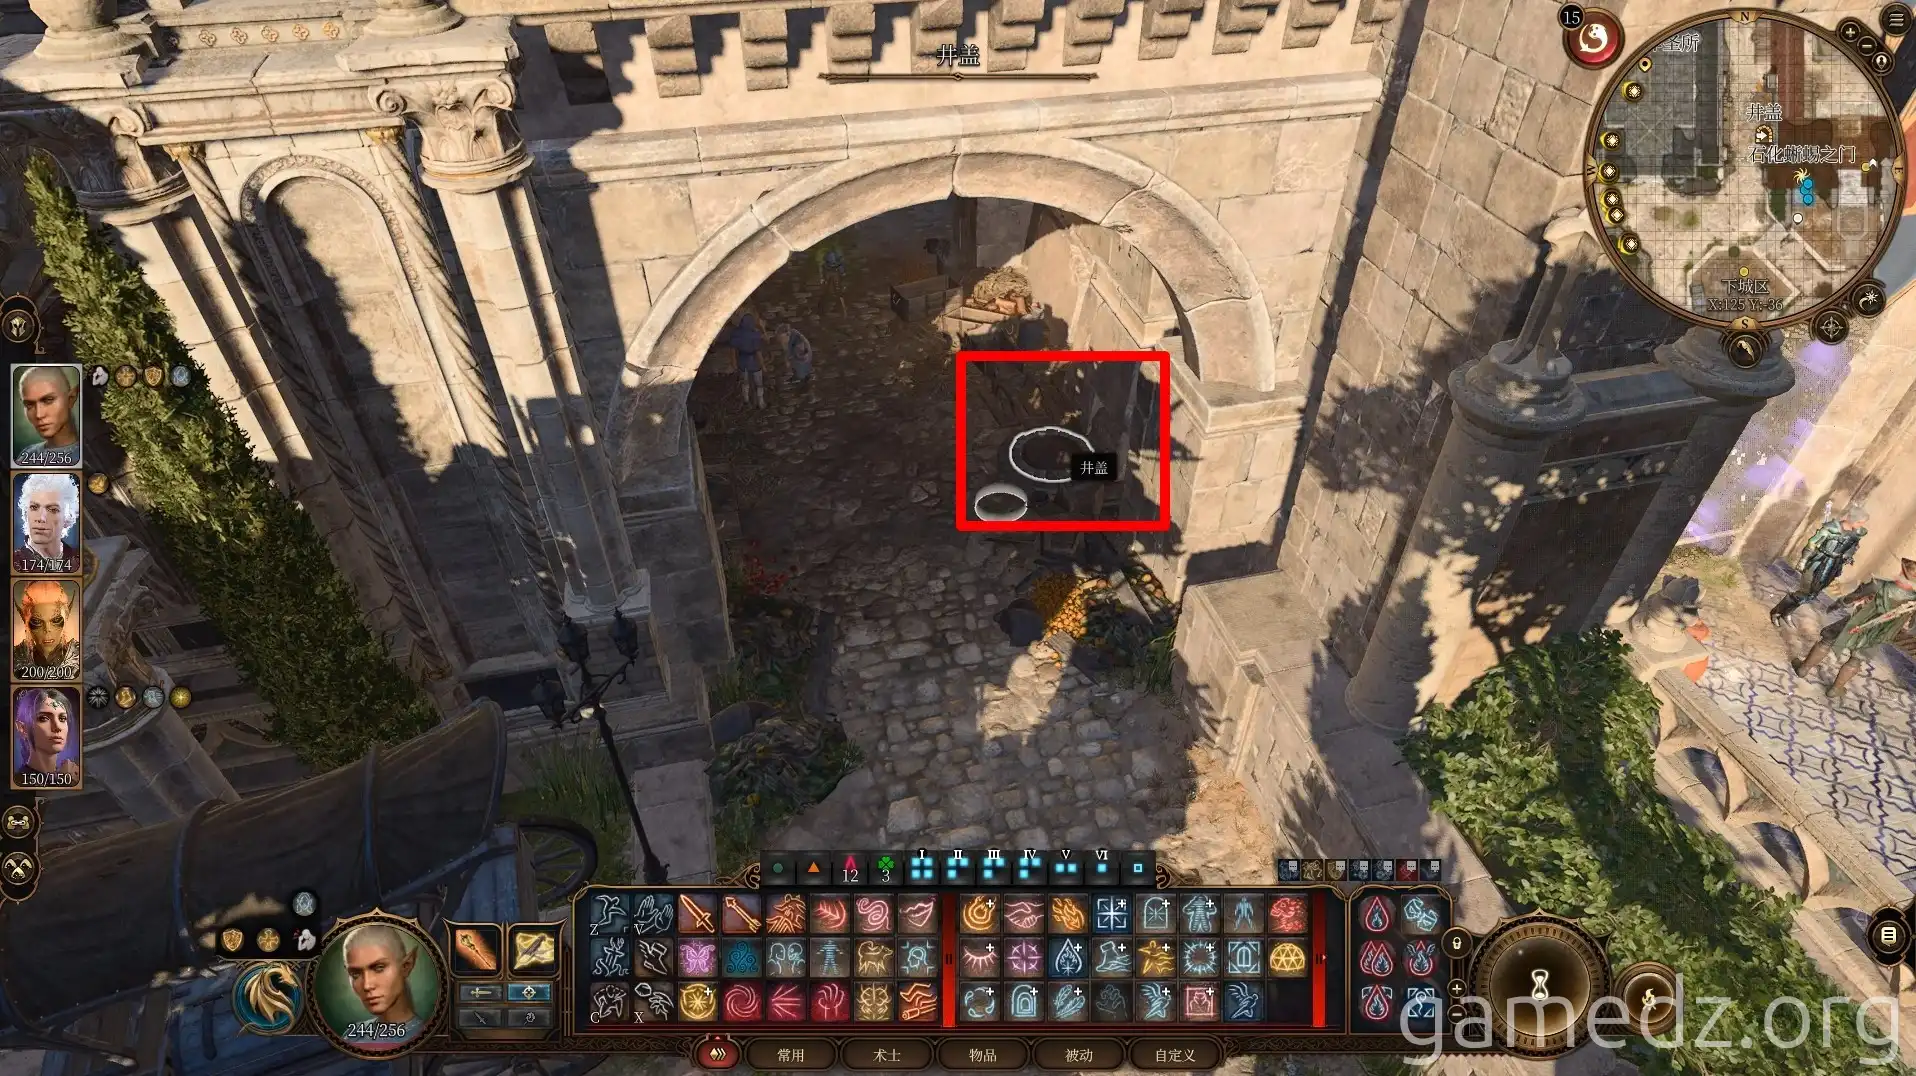
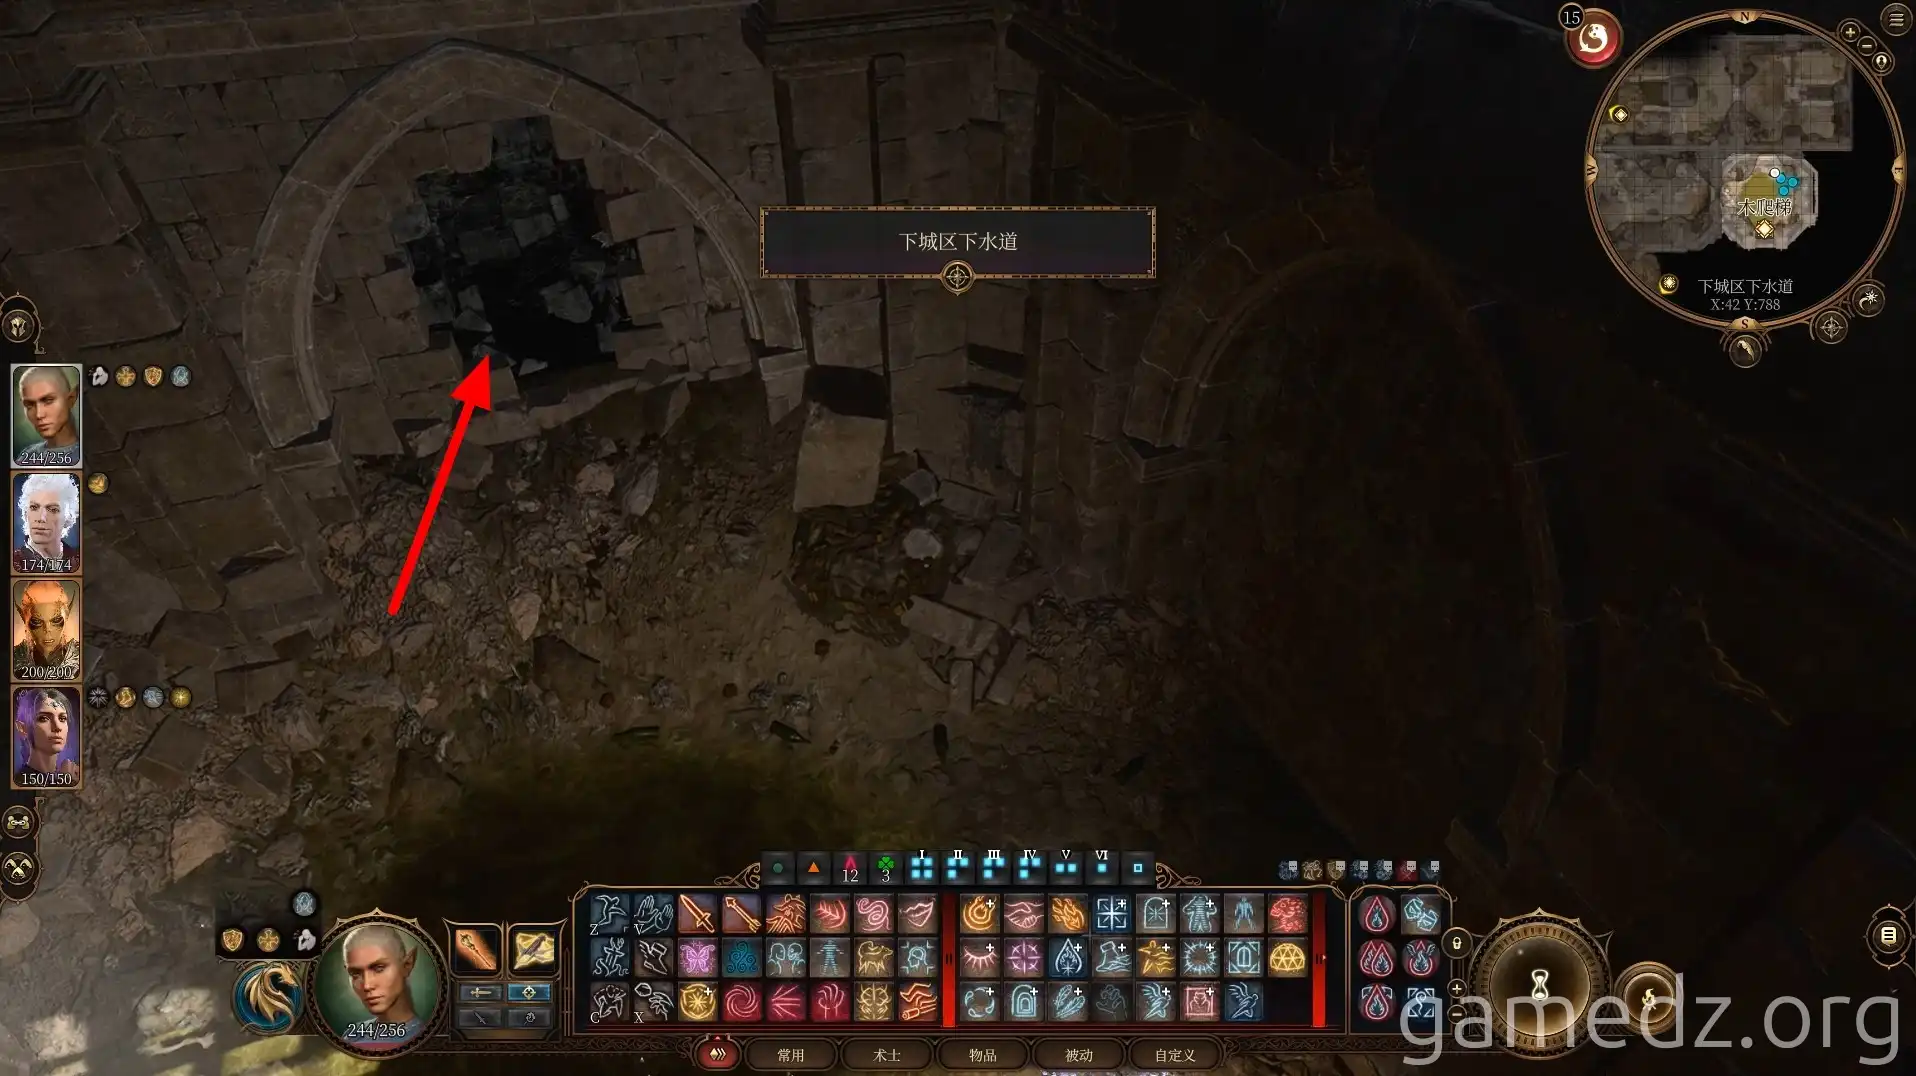
Once inside, break through the weakened wall and proceed eastward.
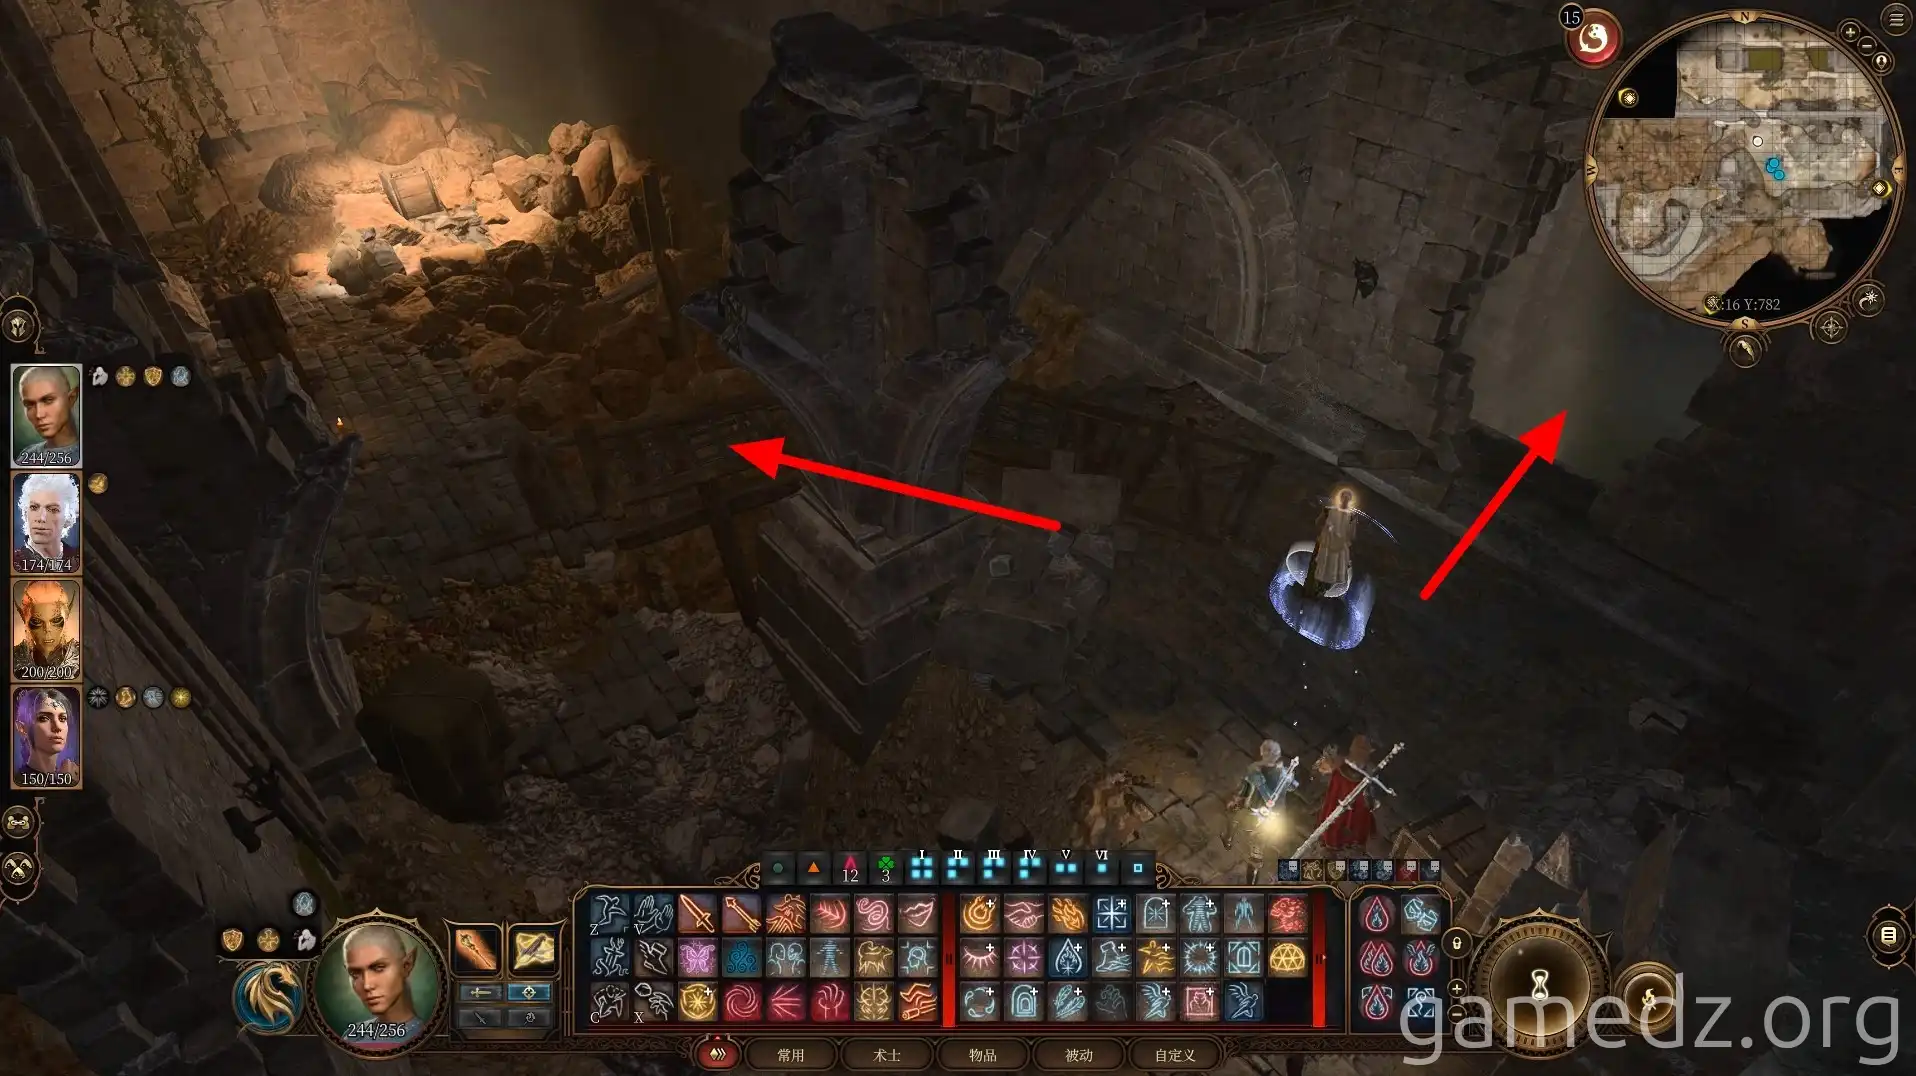
At the upcoming fork, a choice awaits. Heading left will loop you back towards the bar area of the Guild Hall. For now, your path lies to the right. Jump through the gap in the right wall to access a new section.
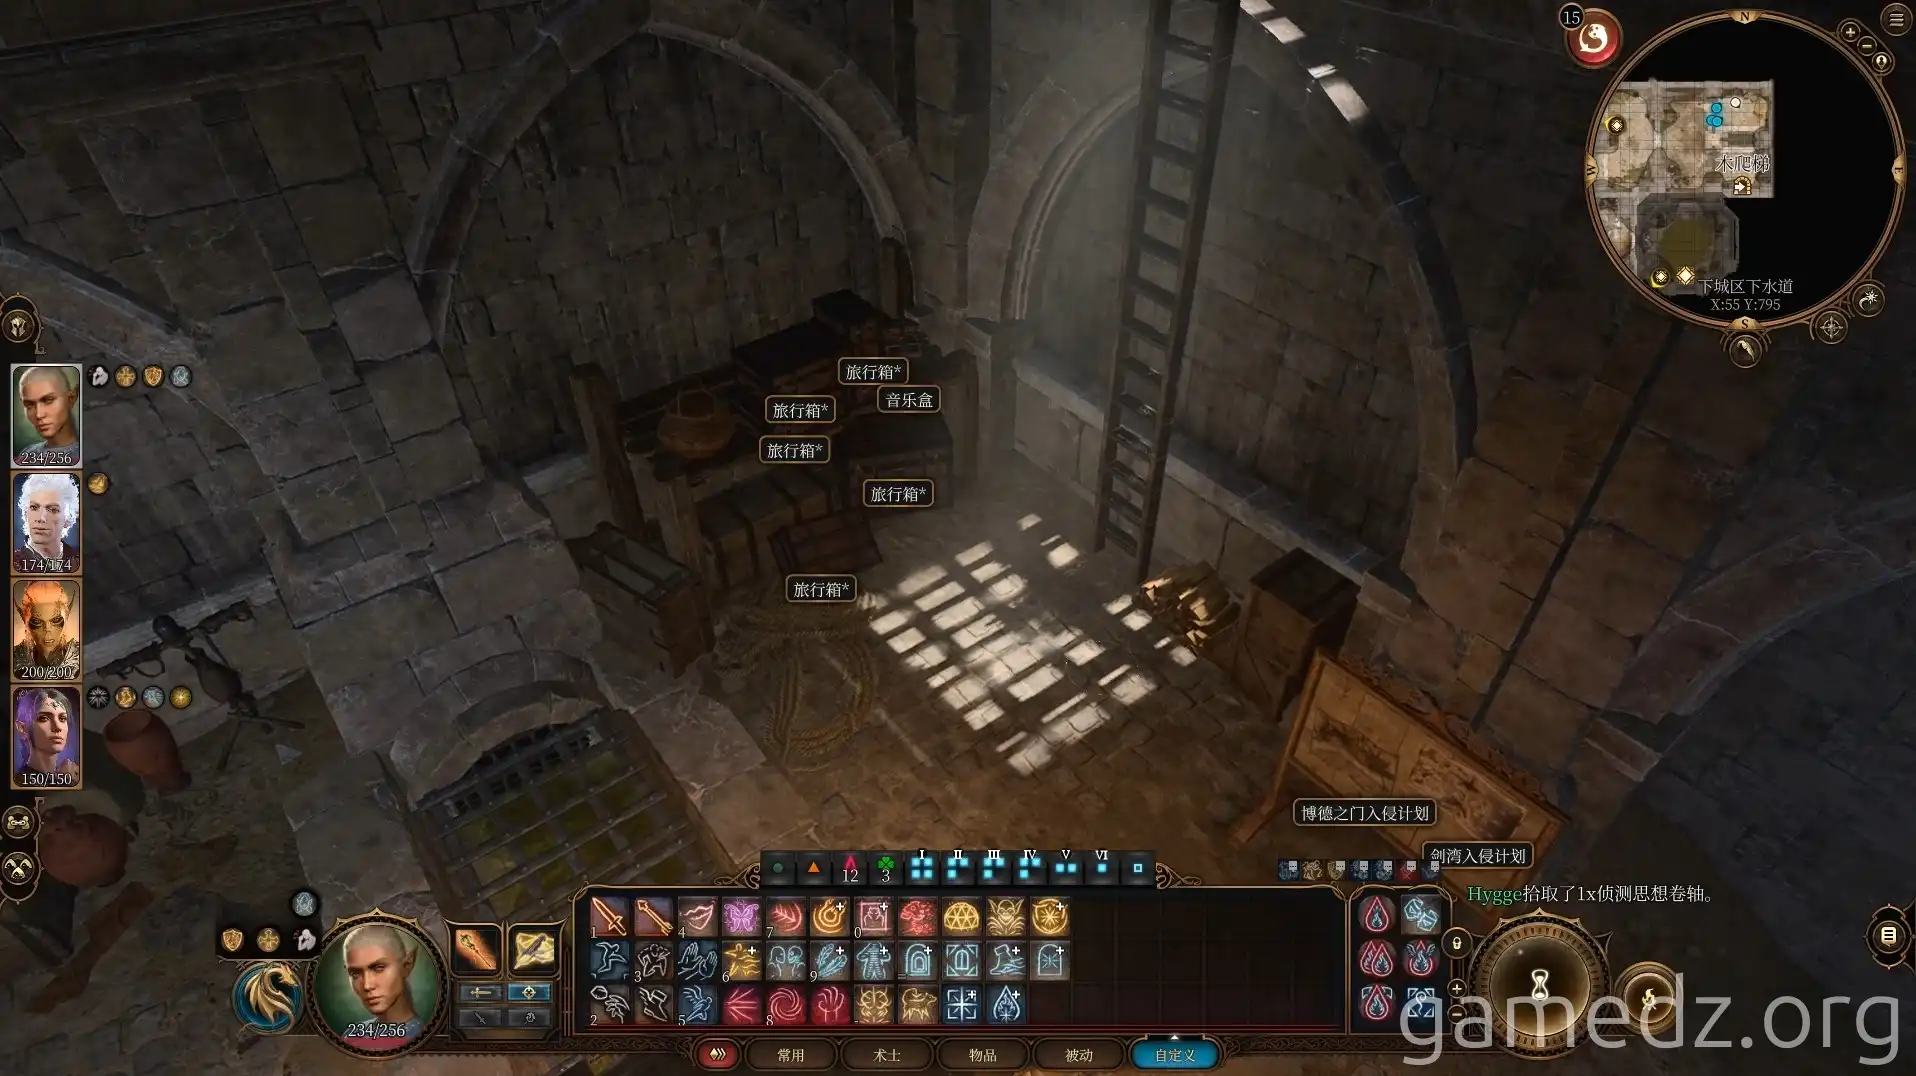
Continue westward until you reach the room at the very end. After thoroughly looting everything within, press onward to the west. The ladder found in this room is your gateway to the Lord's secret chamber. Rest assured, you won't need to backtrack to previously cleared areas.
Keep heading west. The gap situated on the upper level to the north will grant you access to the Flaming Fist Barracks. Continue your westward journey.
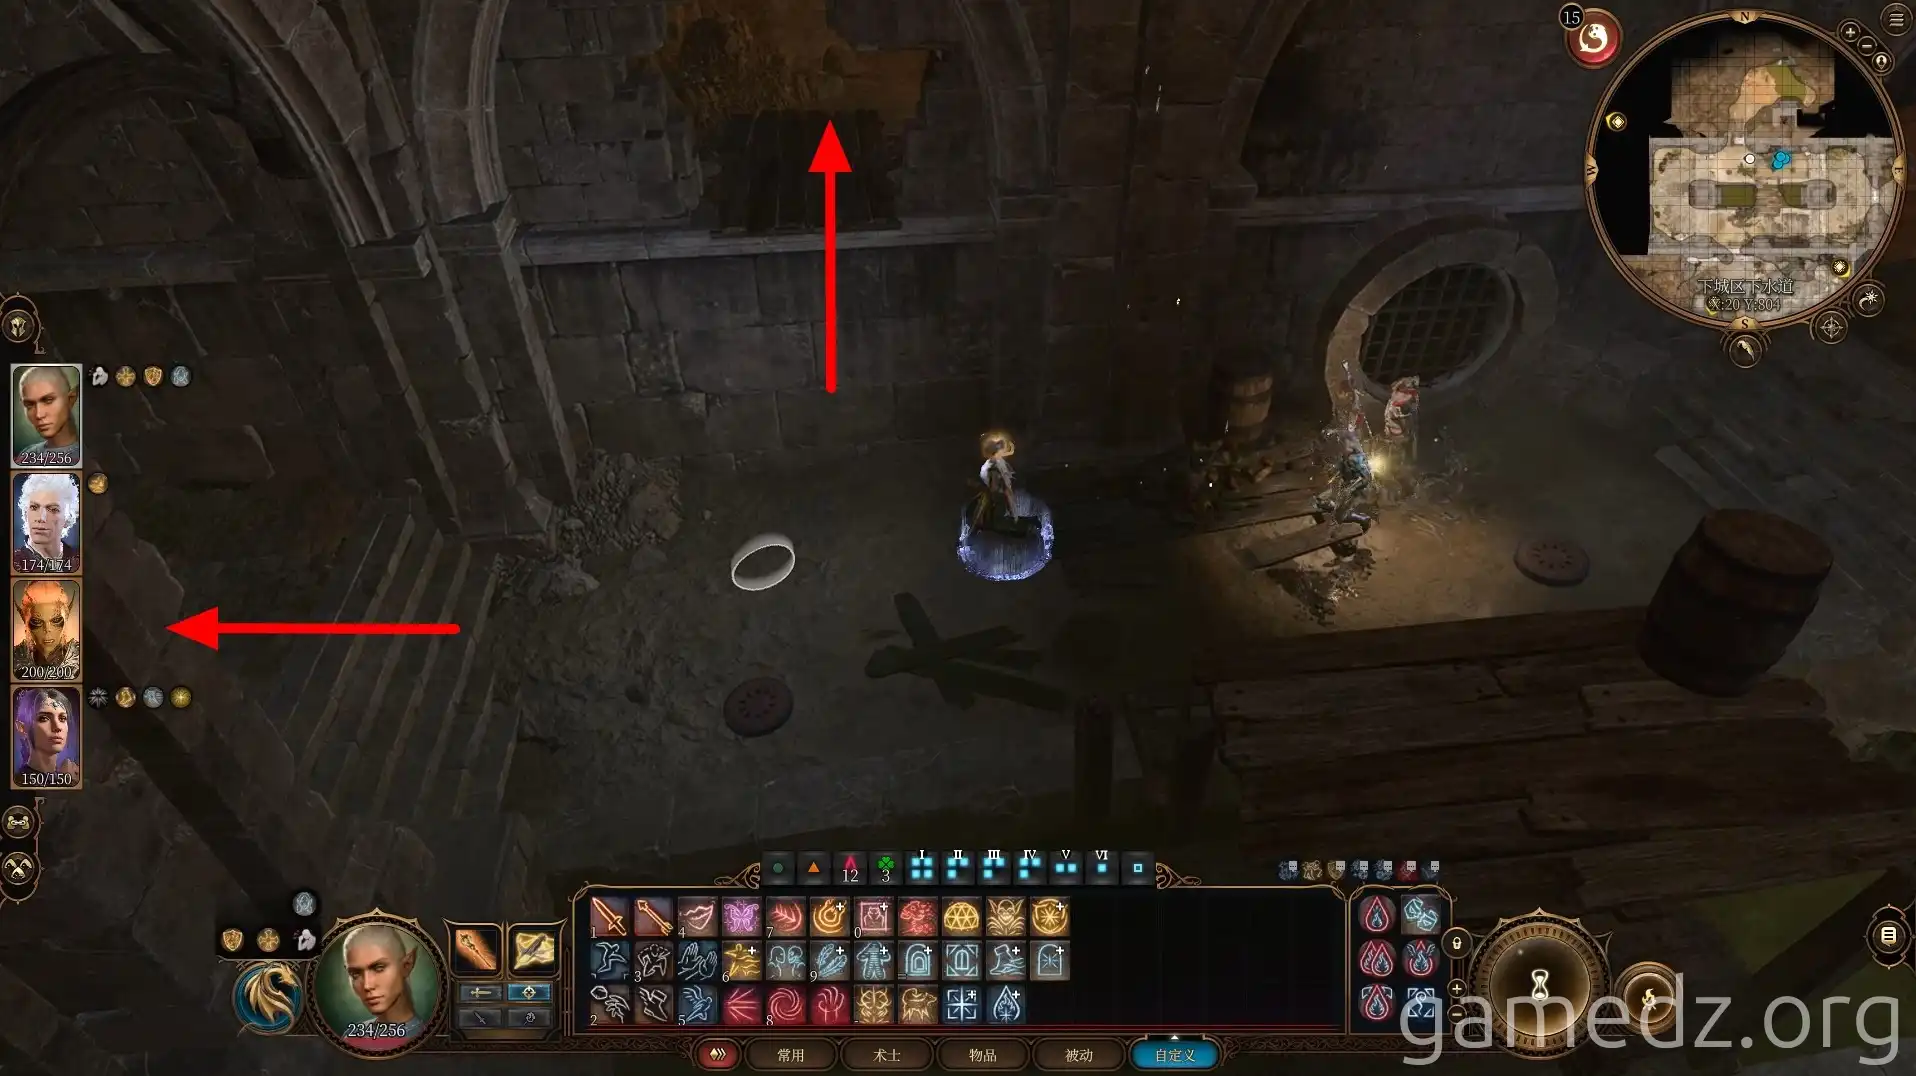
Ahead, you'll confront three cultists of Bhaal. As they are not allies, prepare for combat and defeat them all.
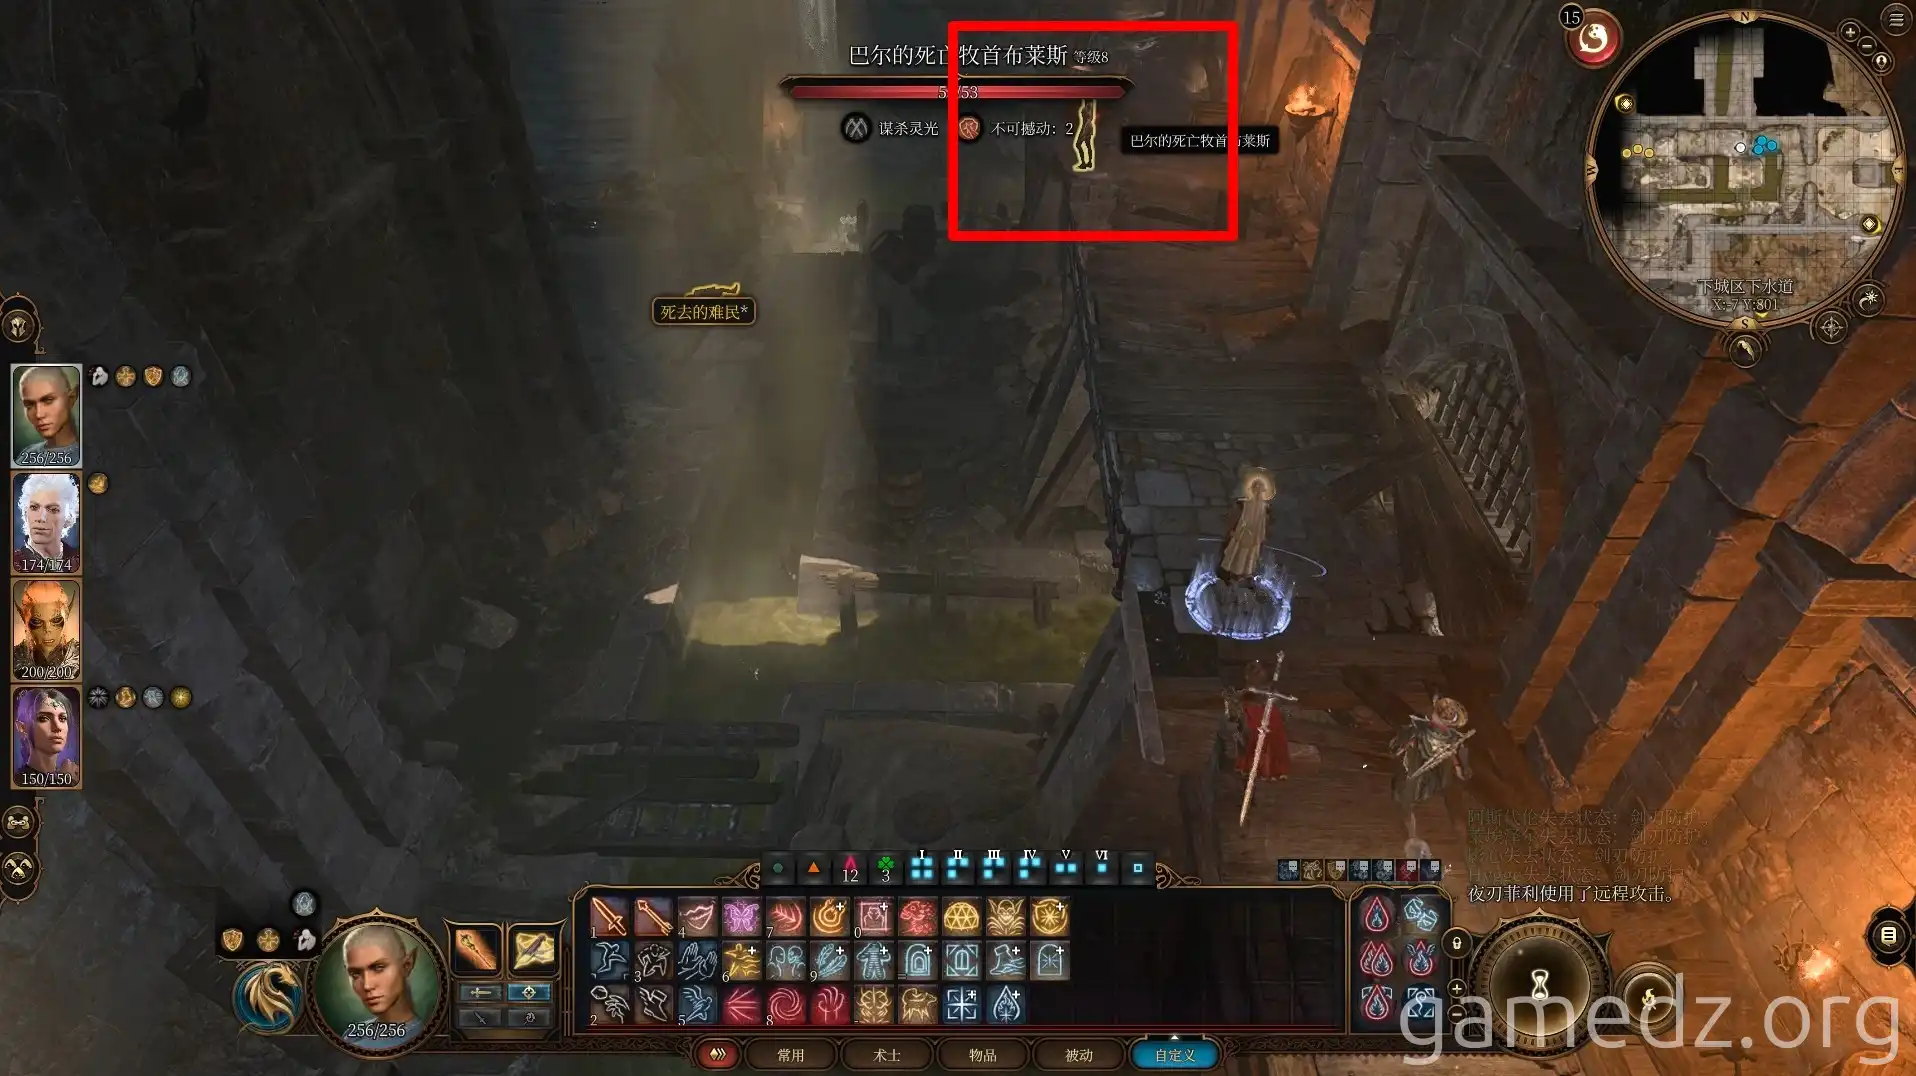
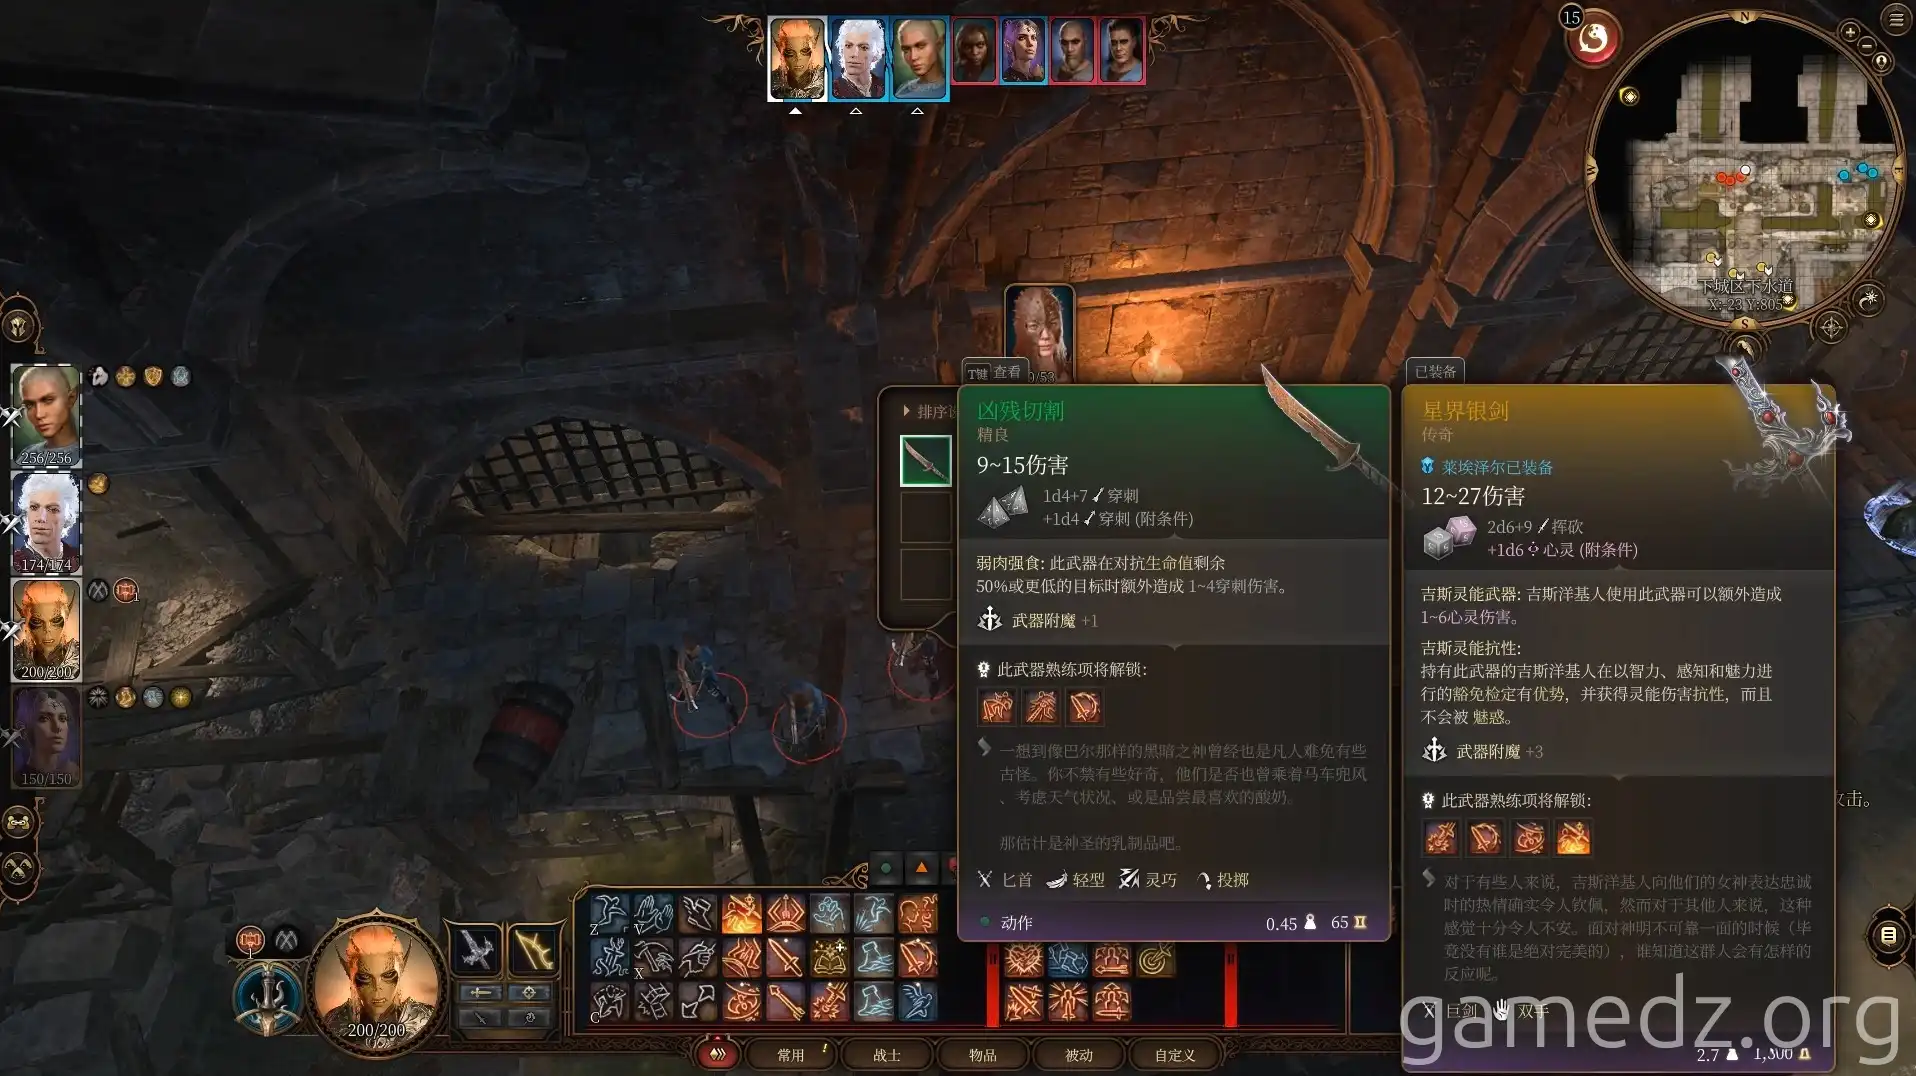
From one of these fallen cultists, you'll acquire the rare weapon "Savage Cutting." Be warned, you'll encounter many more Bhaal cultists throughout your exploration, so expect to find plenty of these.
Upon reaching the location depicted below, a southward path will lead you back to the Guild Hall of the Nine Fingers. For now, continue westward.
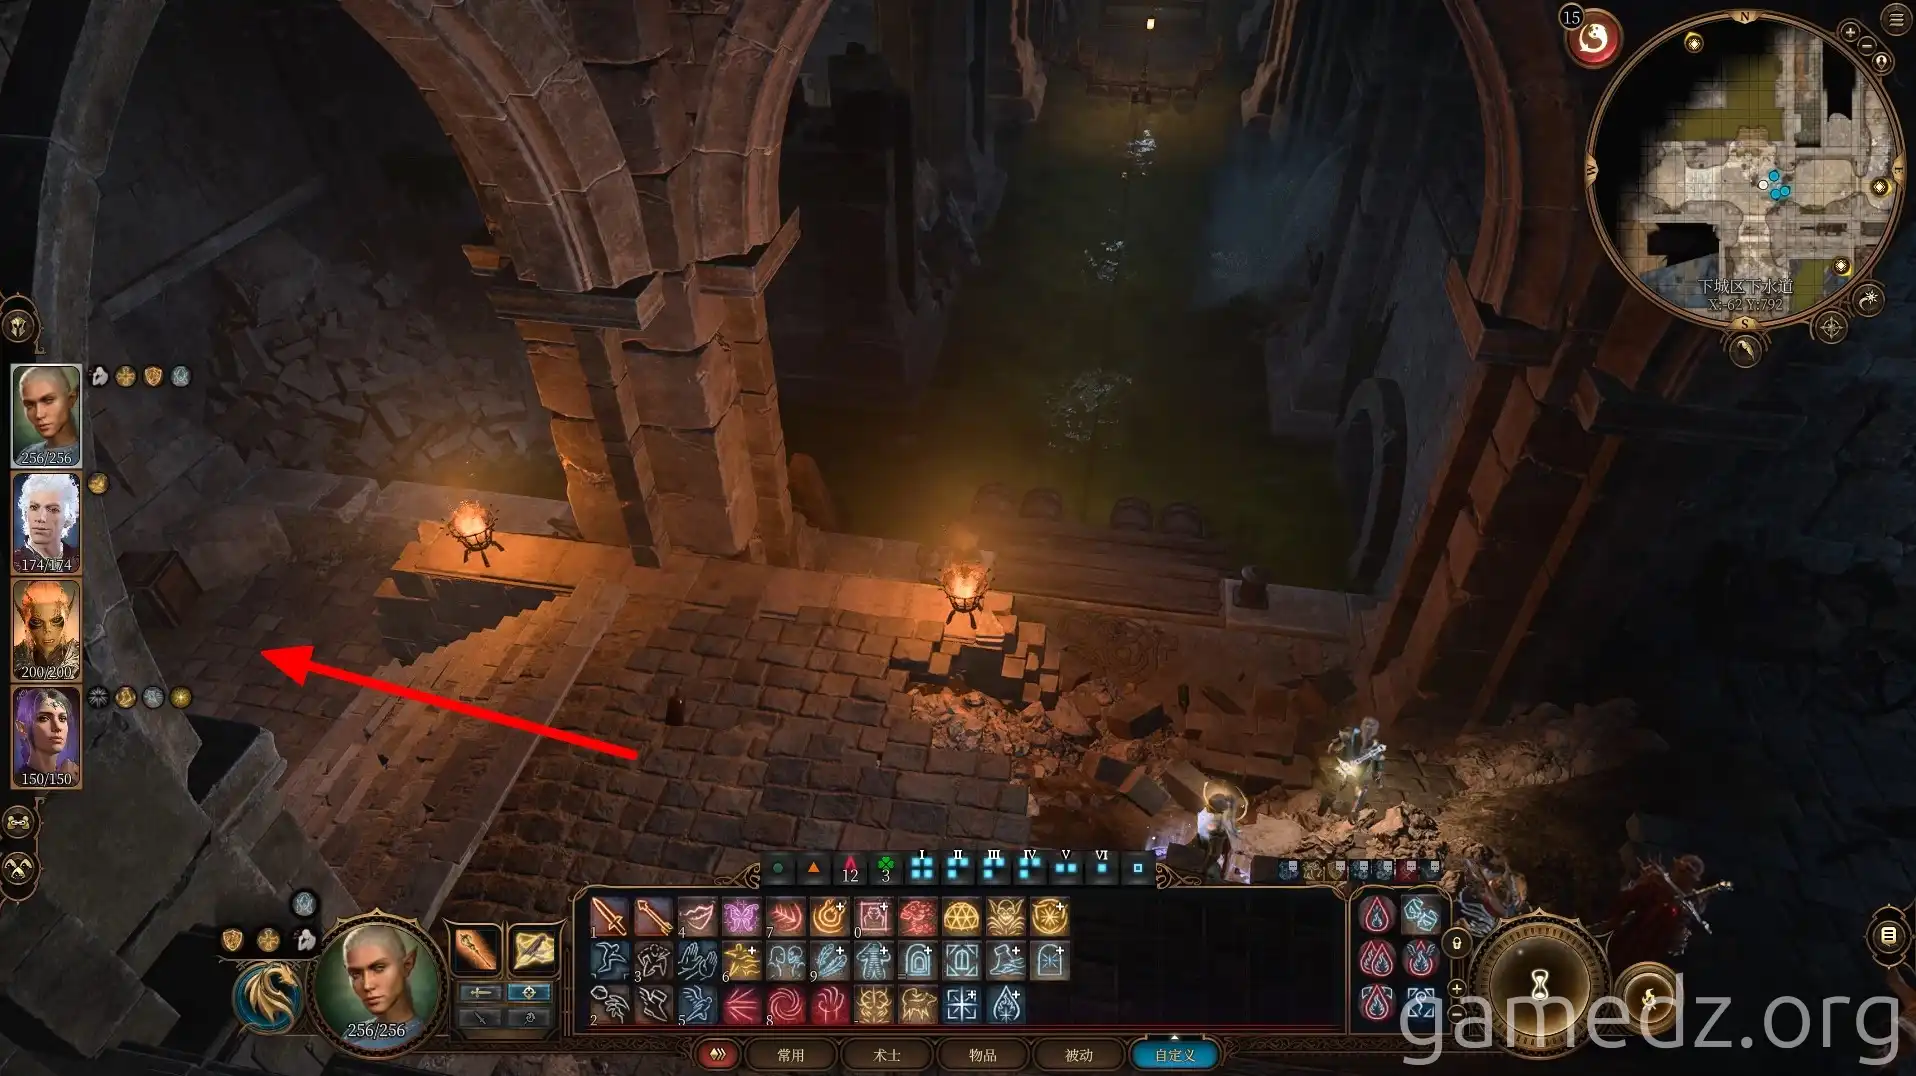
At the next fork, prioritize heading south first.
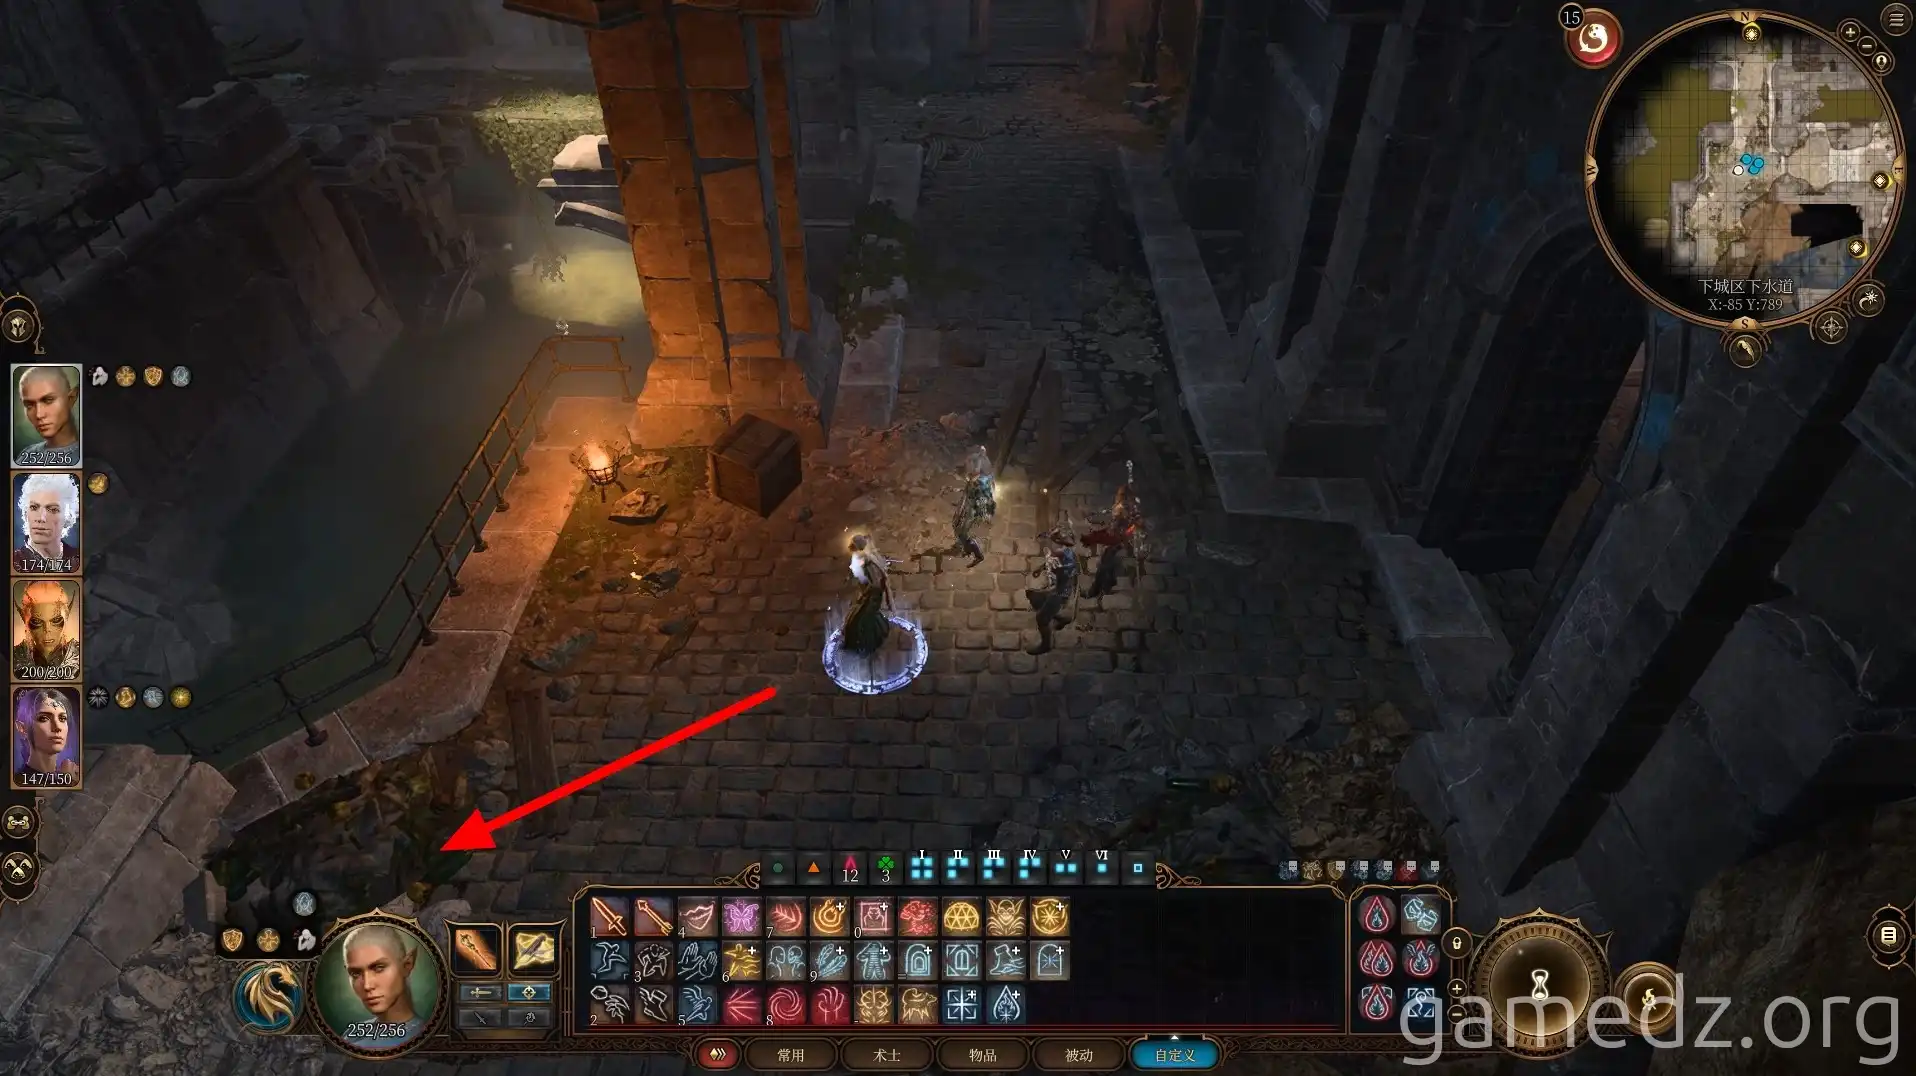
Ahead, you'll find and activate the waypoint for the [City Sewers].
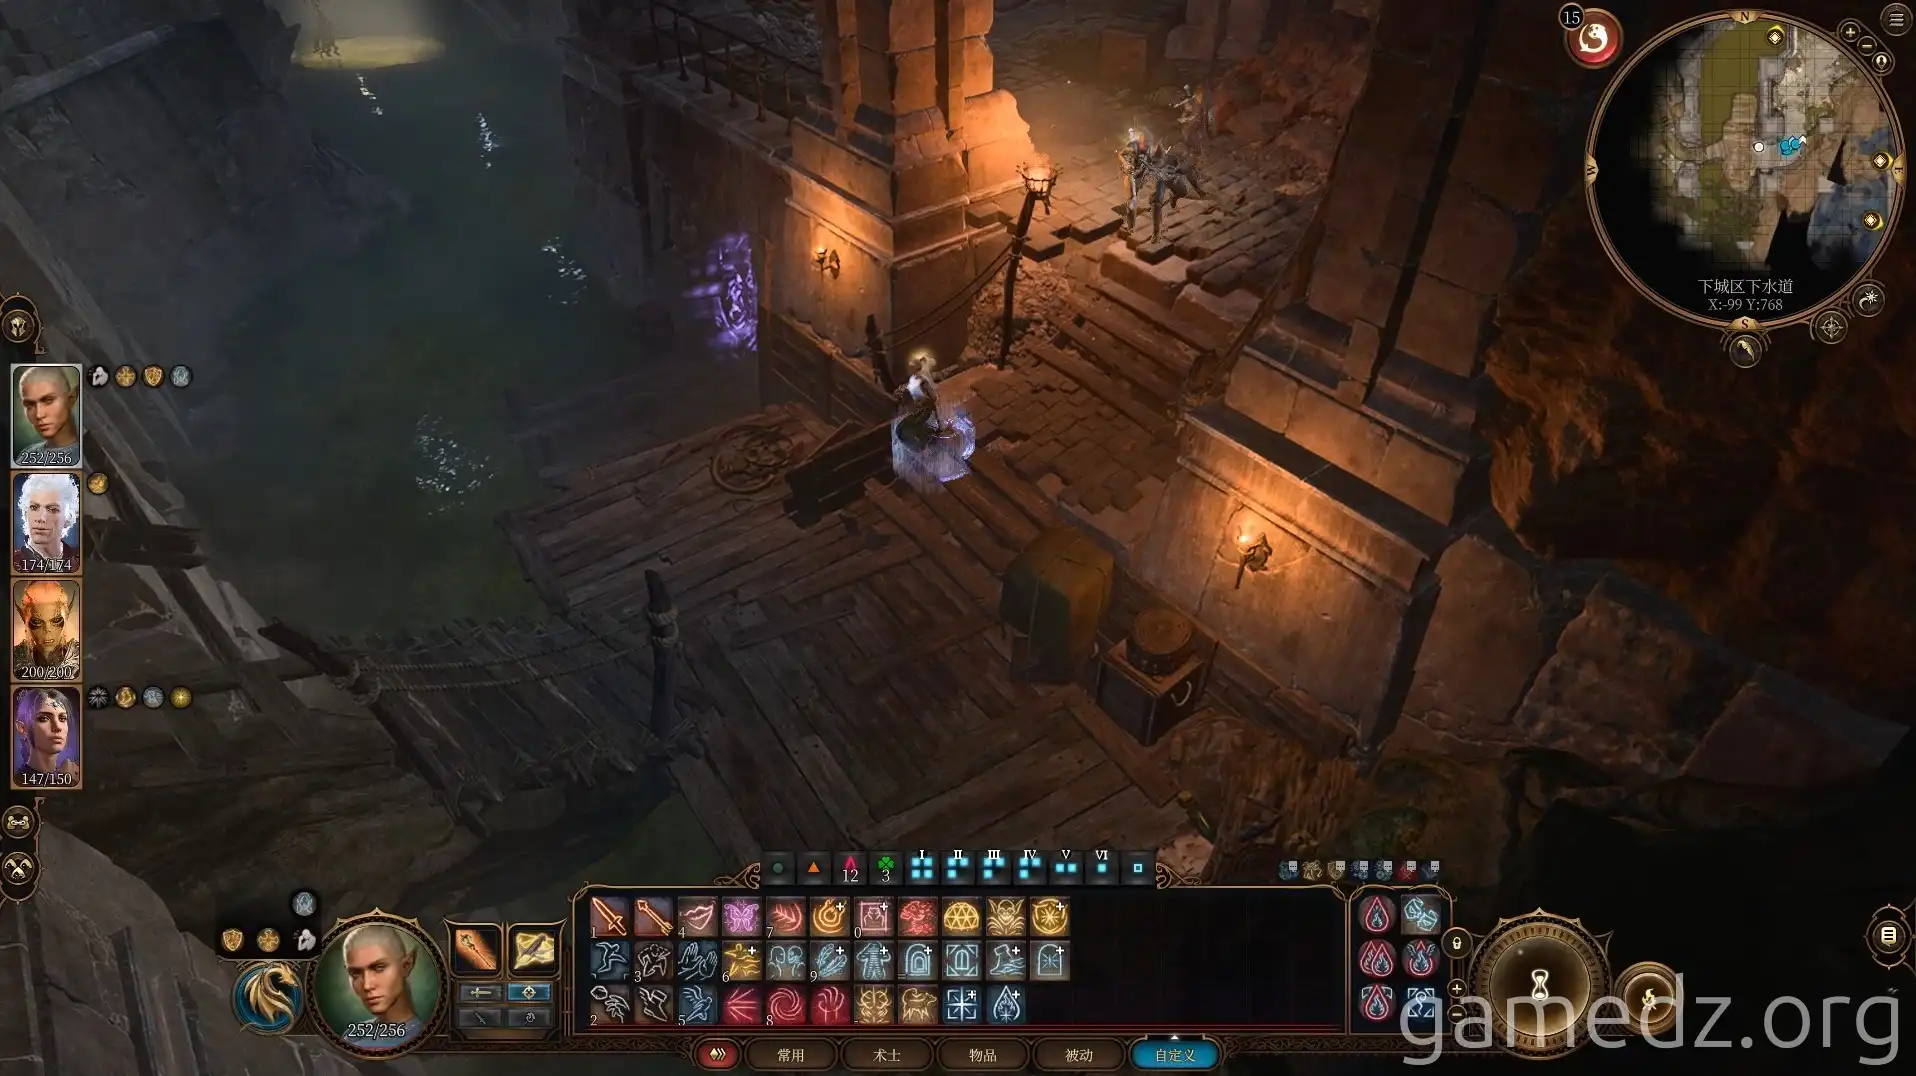
Inside the cave, a dirt mound conceals a buried chest. At the deepest point of this area, you'll encounter Arabella once more. Engage in conversation to learn about her studies of the Weave.
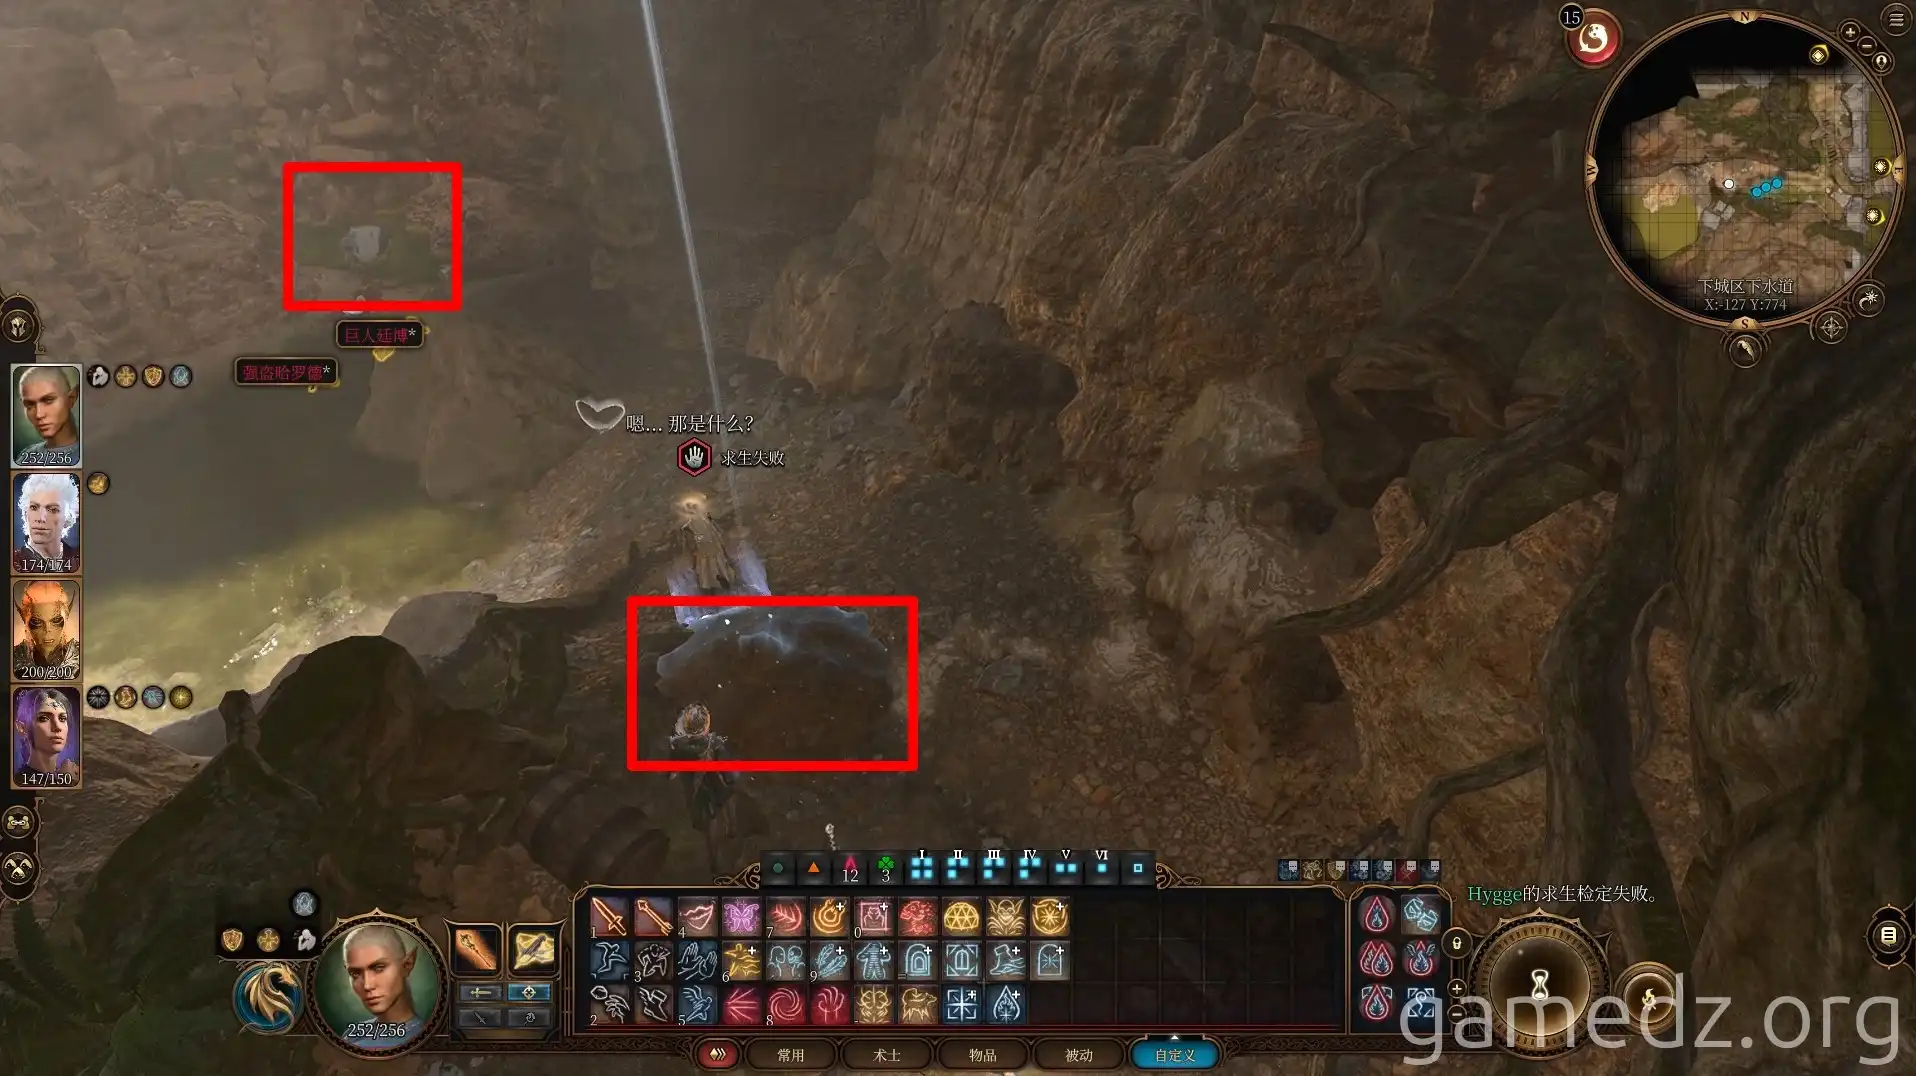
Exit the cave and take the small path leading north from its entrance.
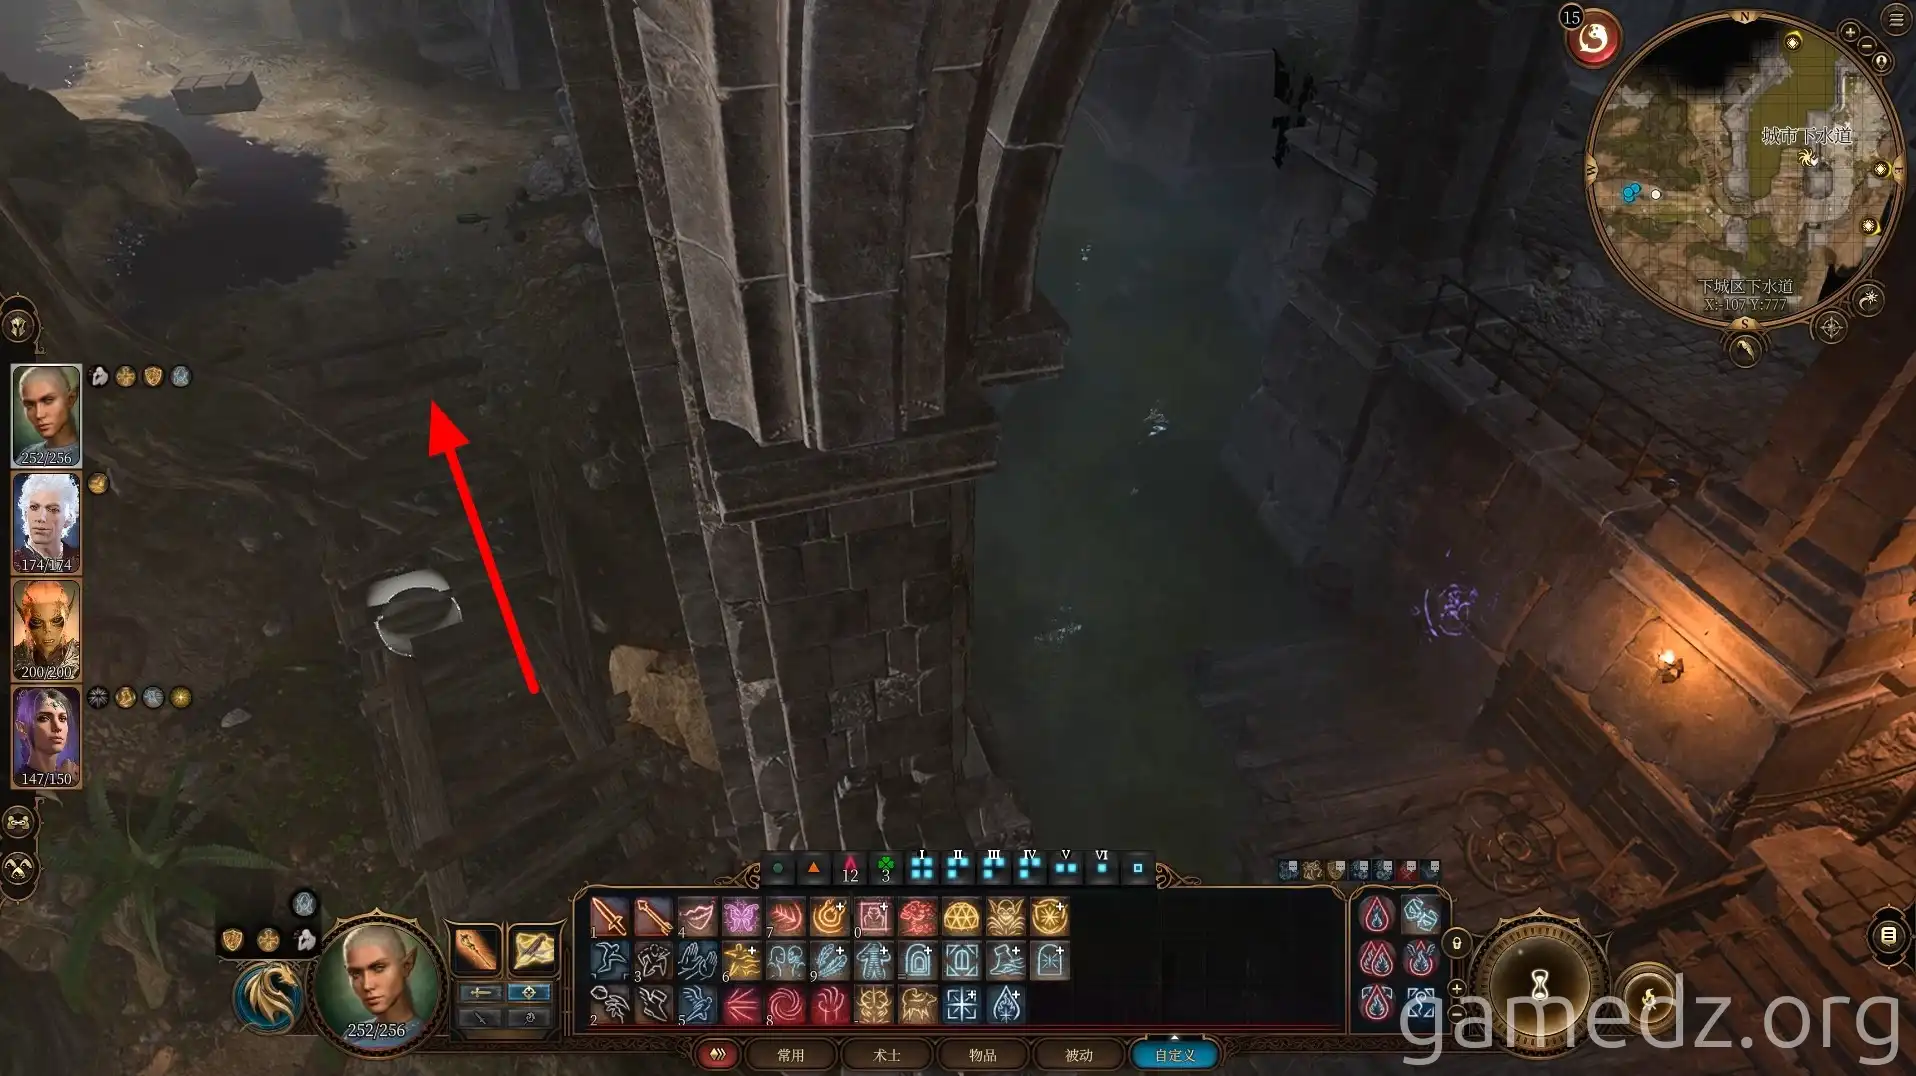
Prepare yourself for a significant group of enemies ahead. This encounter includes a human NPC, an Ooze, an Ooze Mephit, and an Ooze Elemental. The ground is also heavily coated in grease, making fire resistance spells or potions highly recommended.
While you can potentially resolve this encounter peacefully through dialogue, attempting to claim rewards later will still trigger combat. Therefore, it's often best to initiate the fight. Defeat all adversaries.
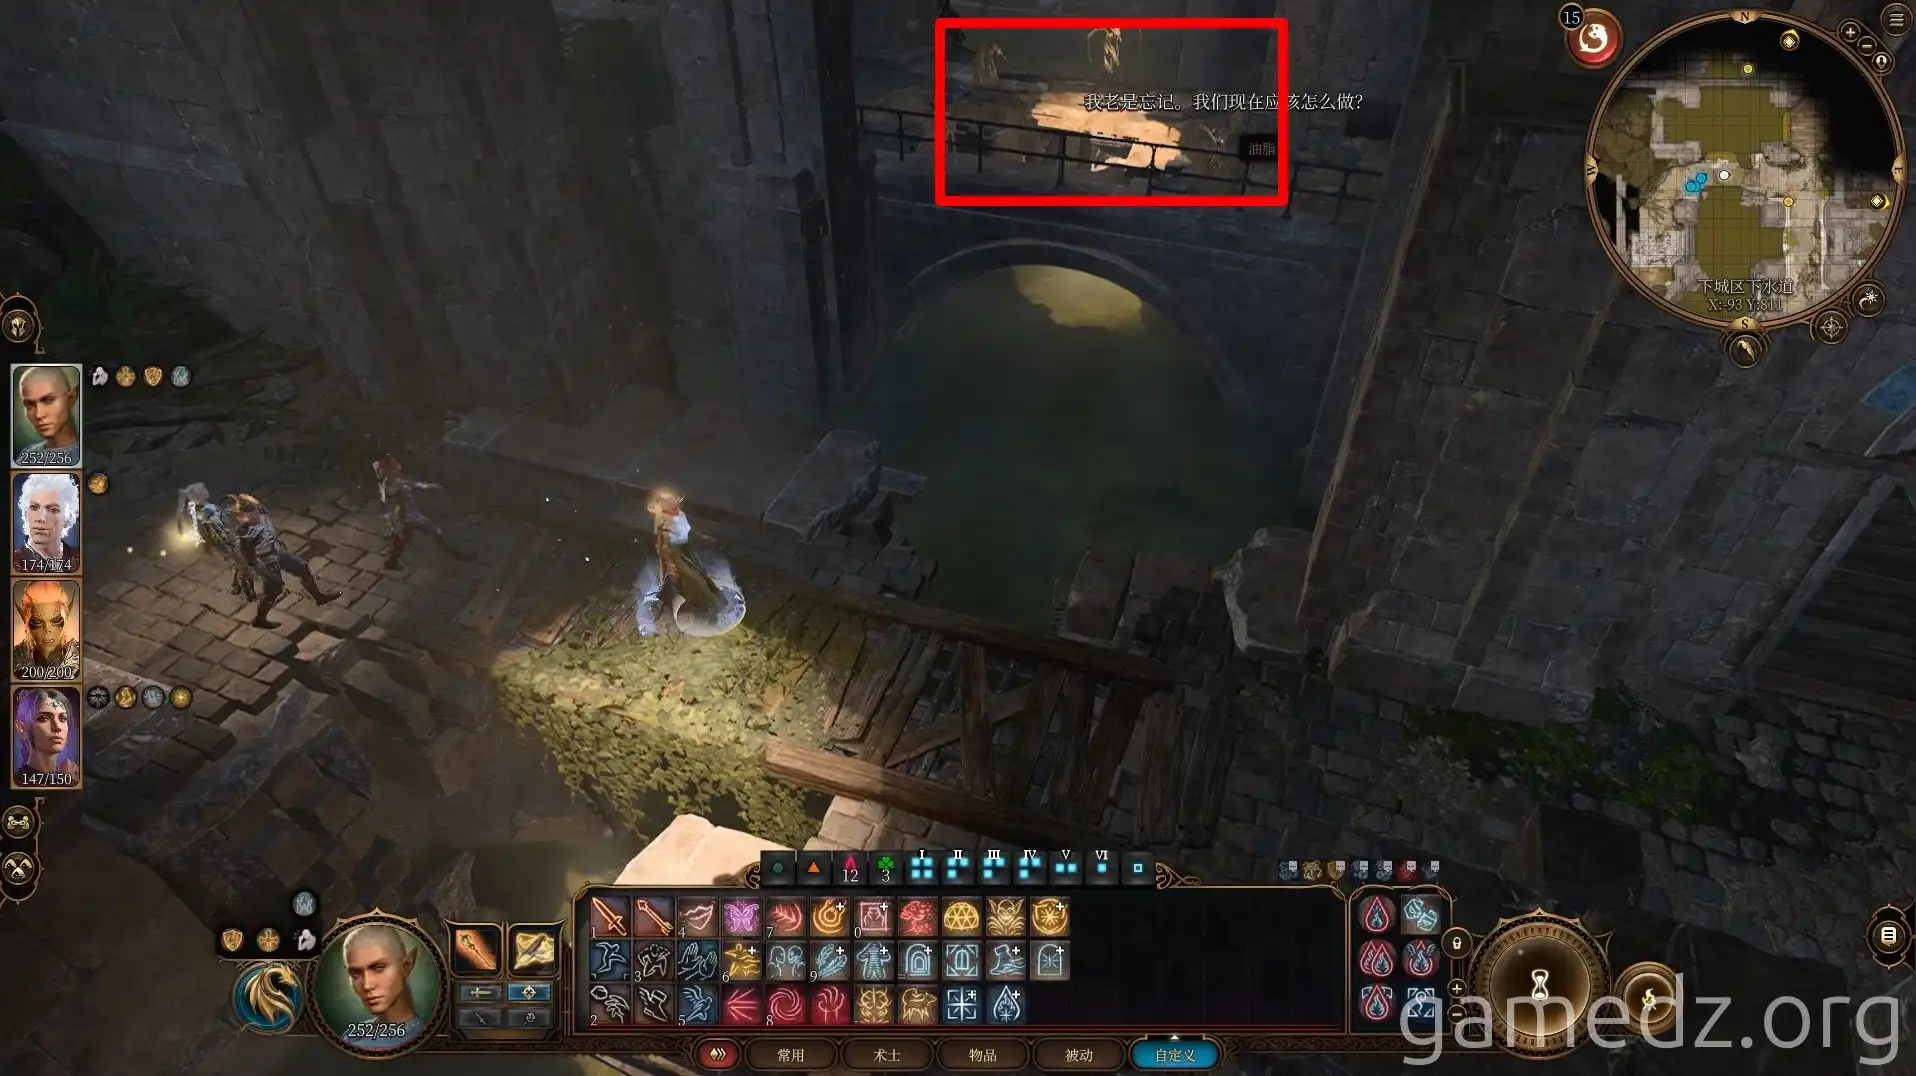
Before engaging, consider entering the room to your west and taking the ferry northward.
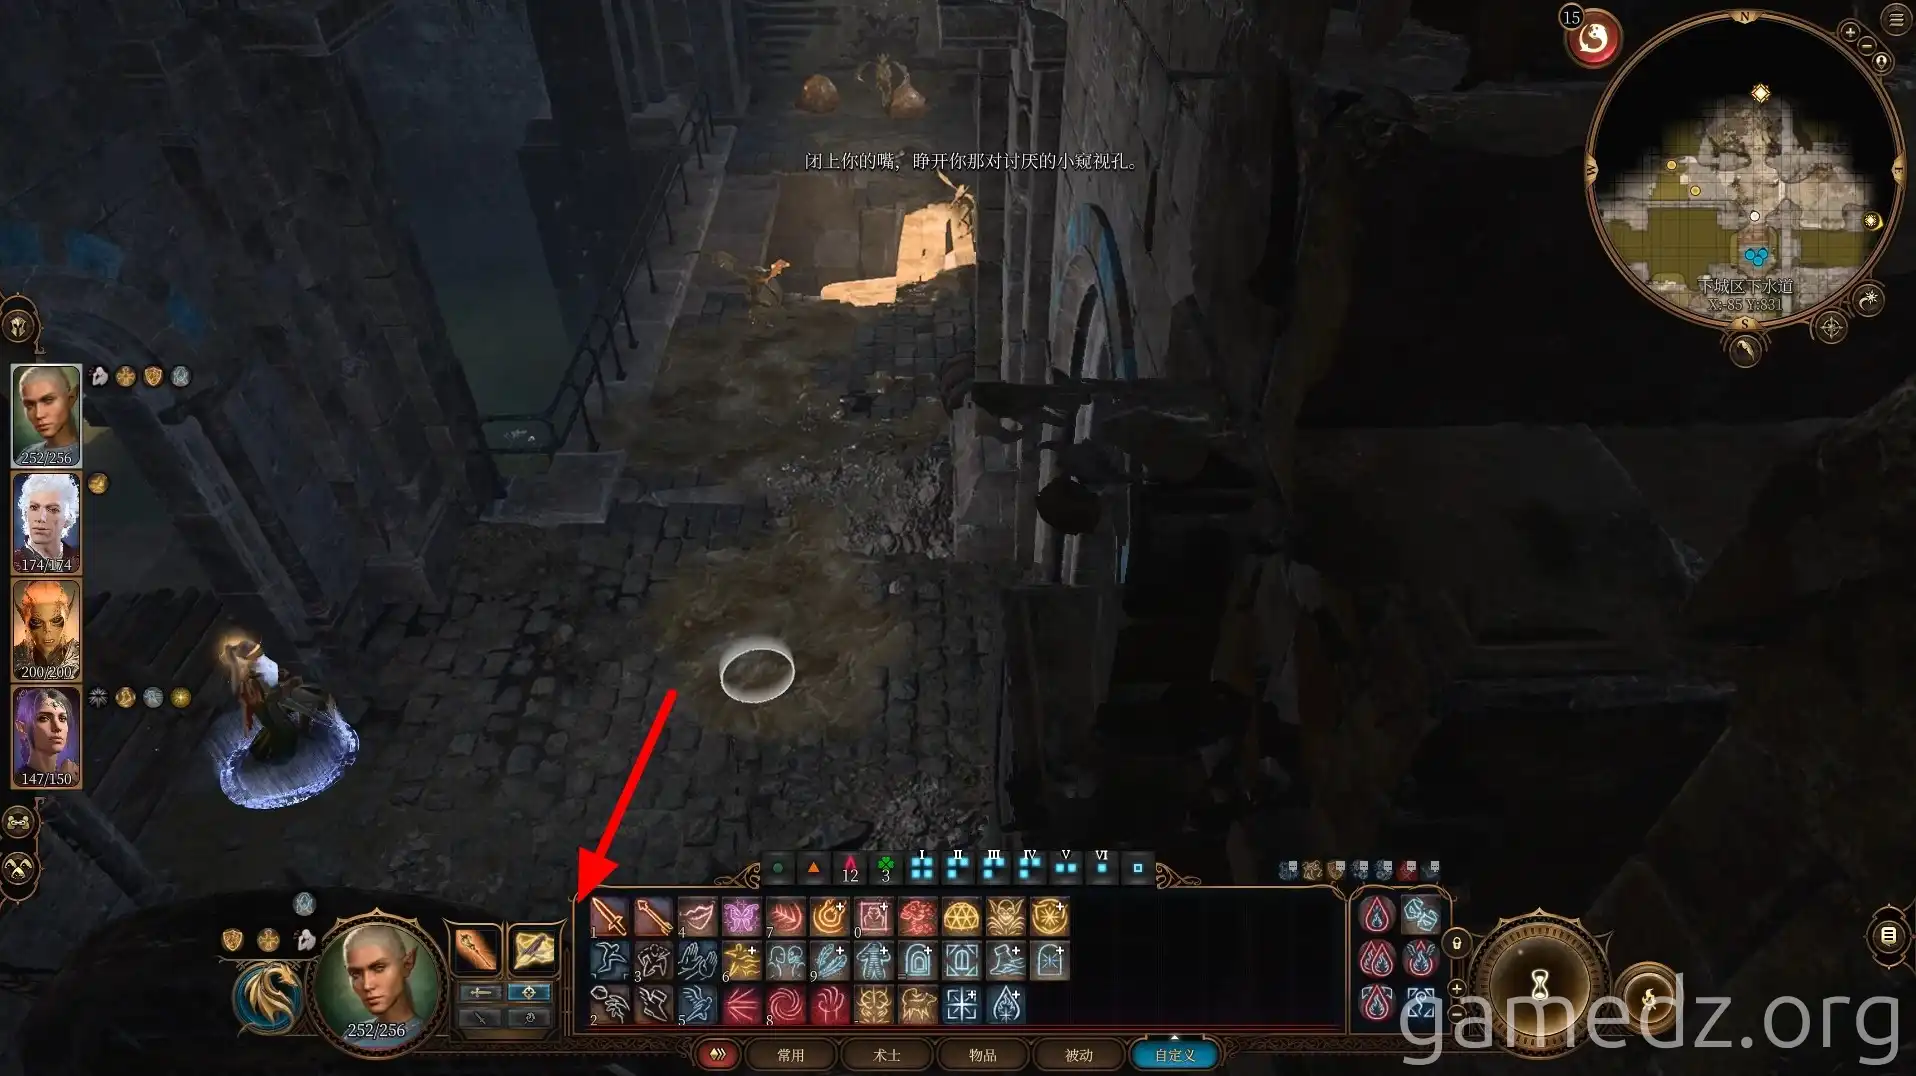
The ladder located to the north here provides access to the western area of the Lower City's main wall, which we will explore at a later time.
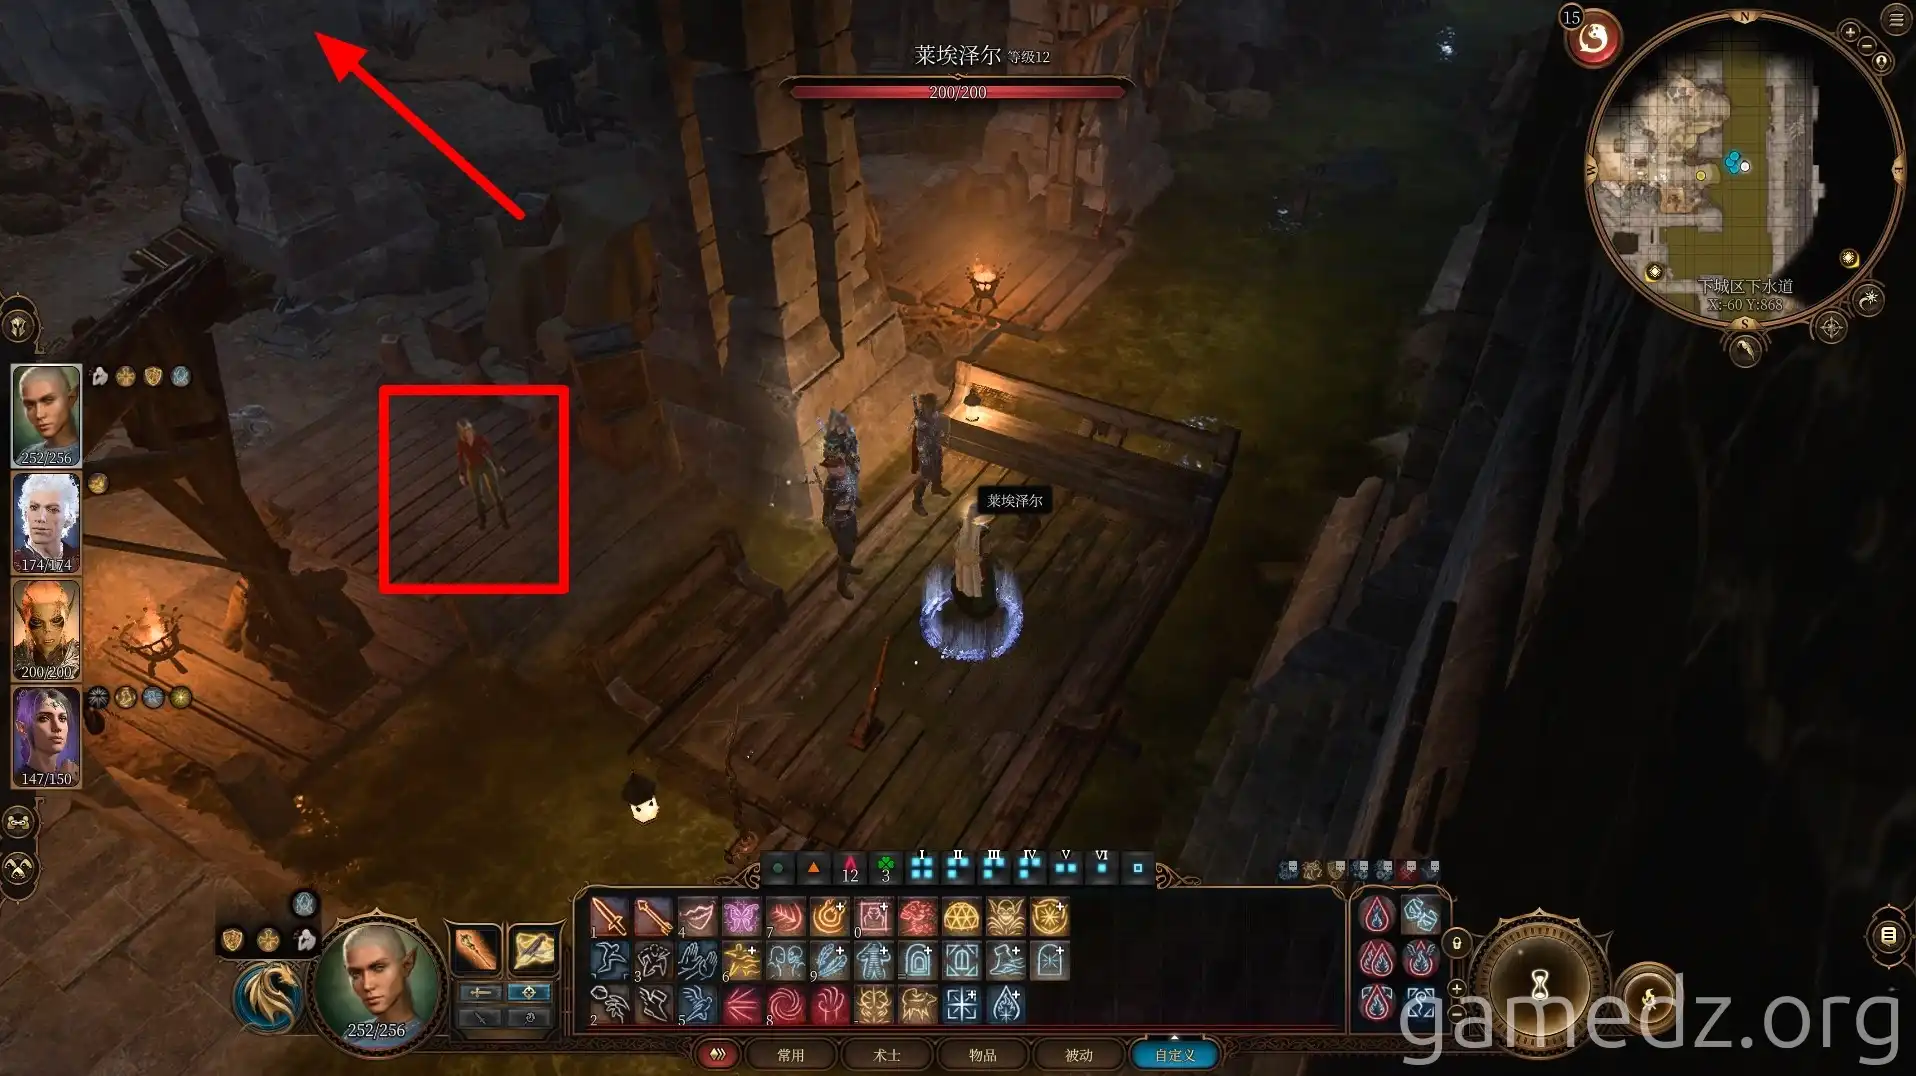
After taking the ferry to the northern area, you'll find a woman who has fallen under a vampire's thrall. After a brief conversation, loot the room thoroughly.
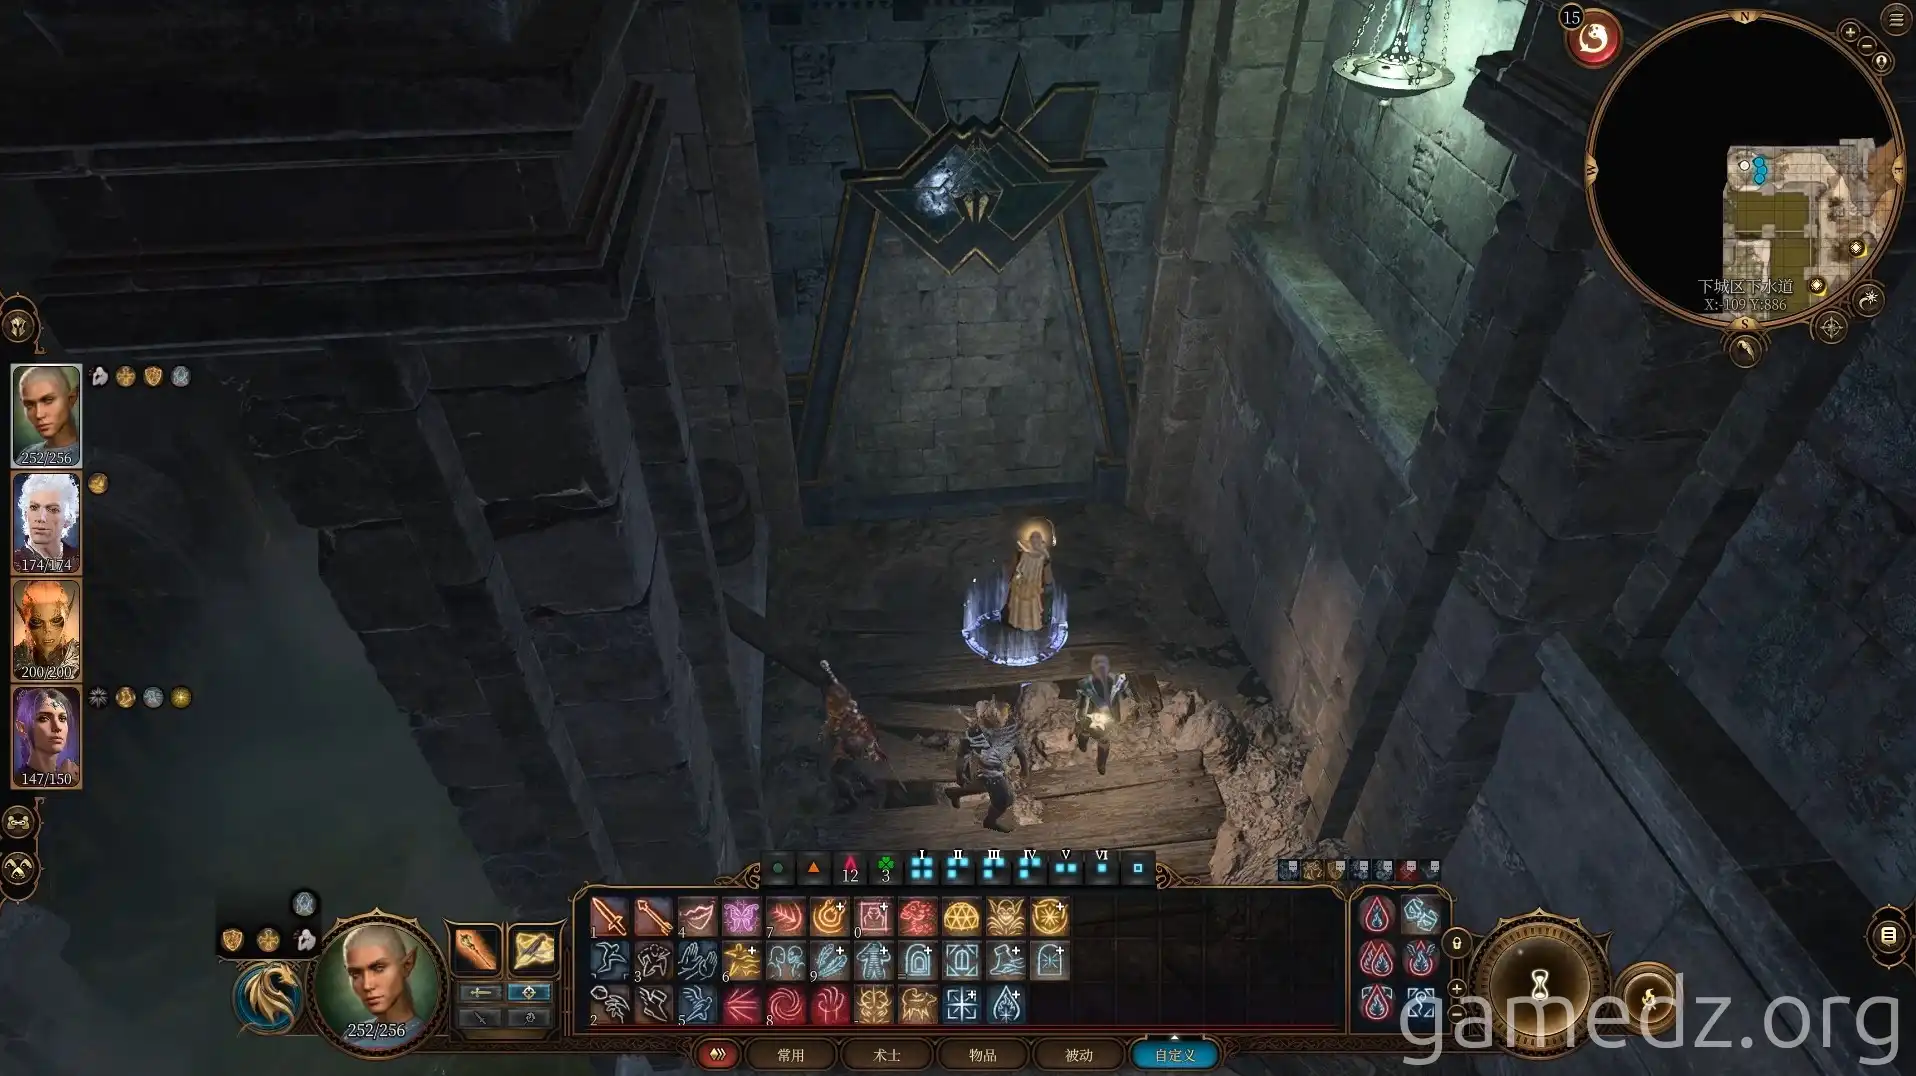
The innermost door in this area leads to Ketheric Thorm's dungeon, but it appears to be inaccessible from this side. You'll need to retrace your steps.
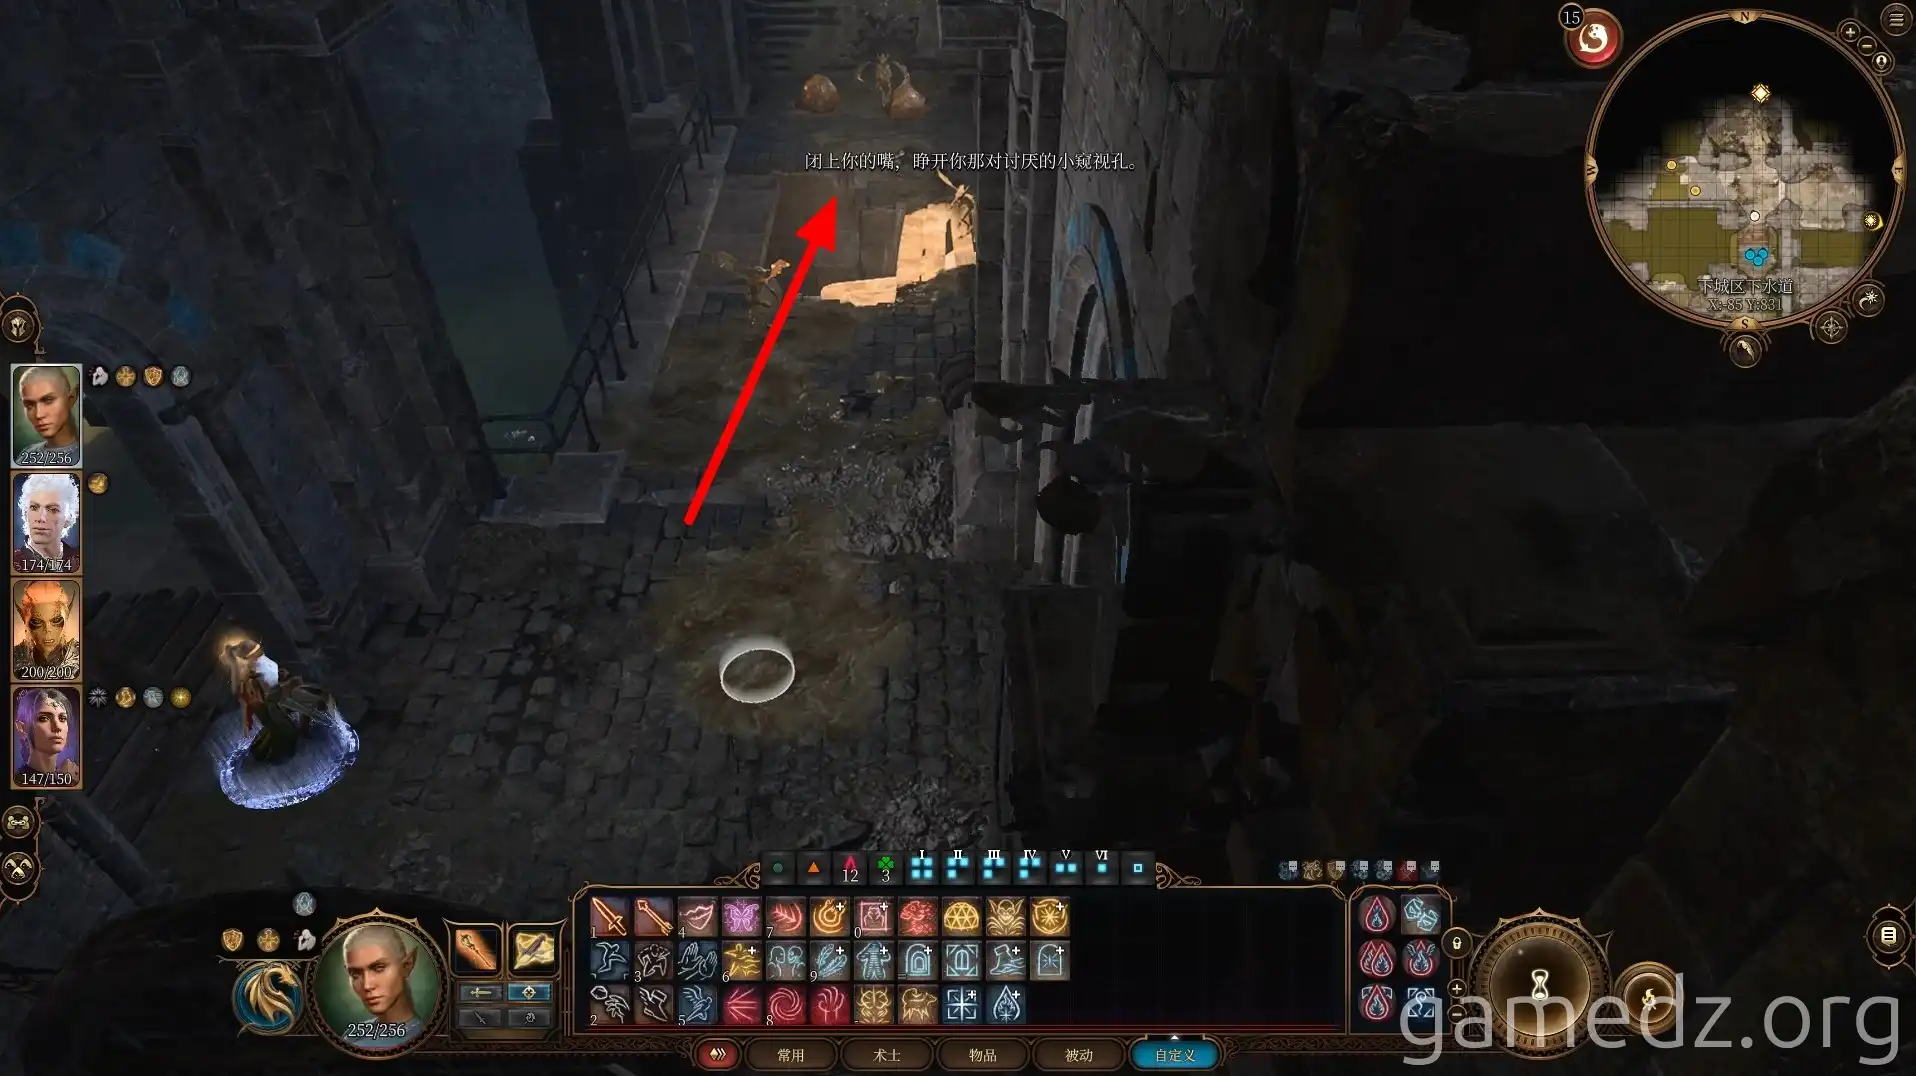
Take the ferry back to the previous fork and continue westward, engaging and defeating any enemies that stand in your way.
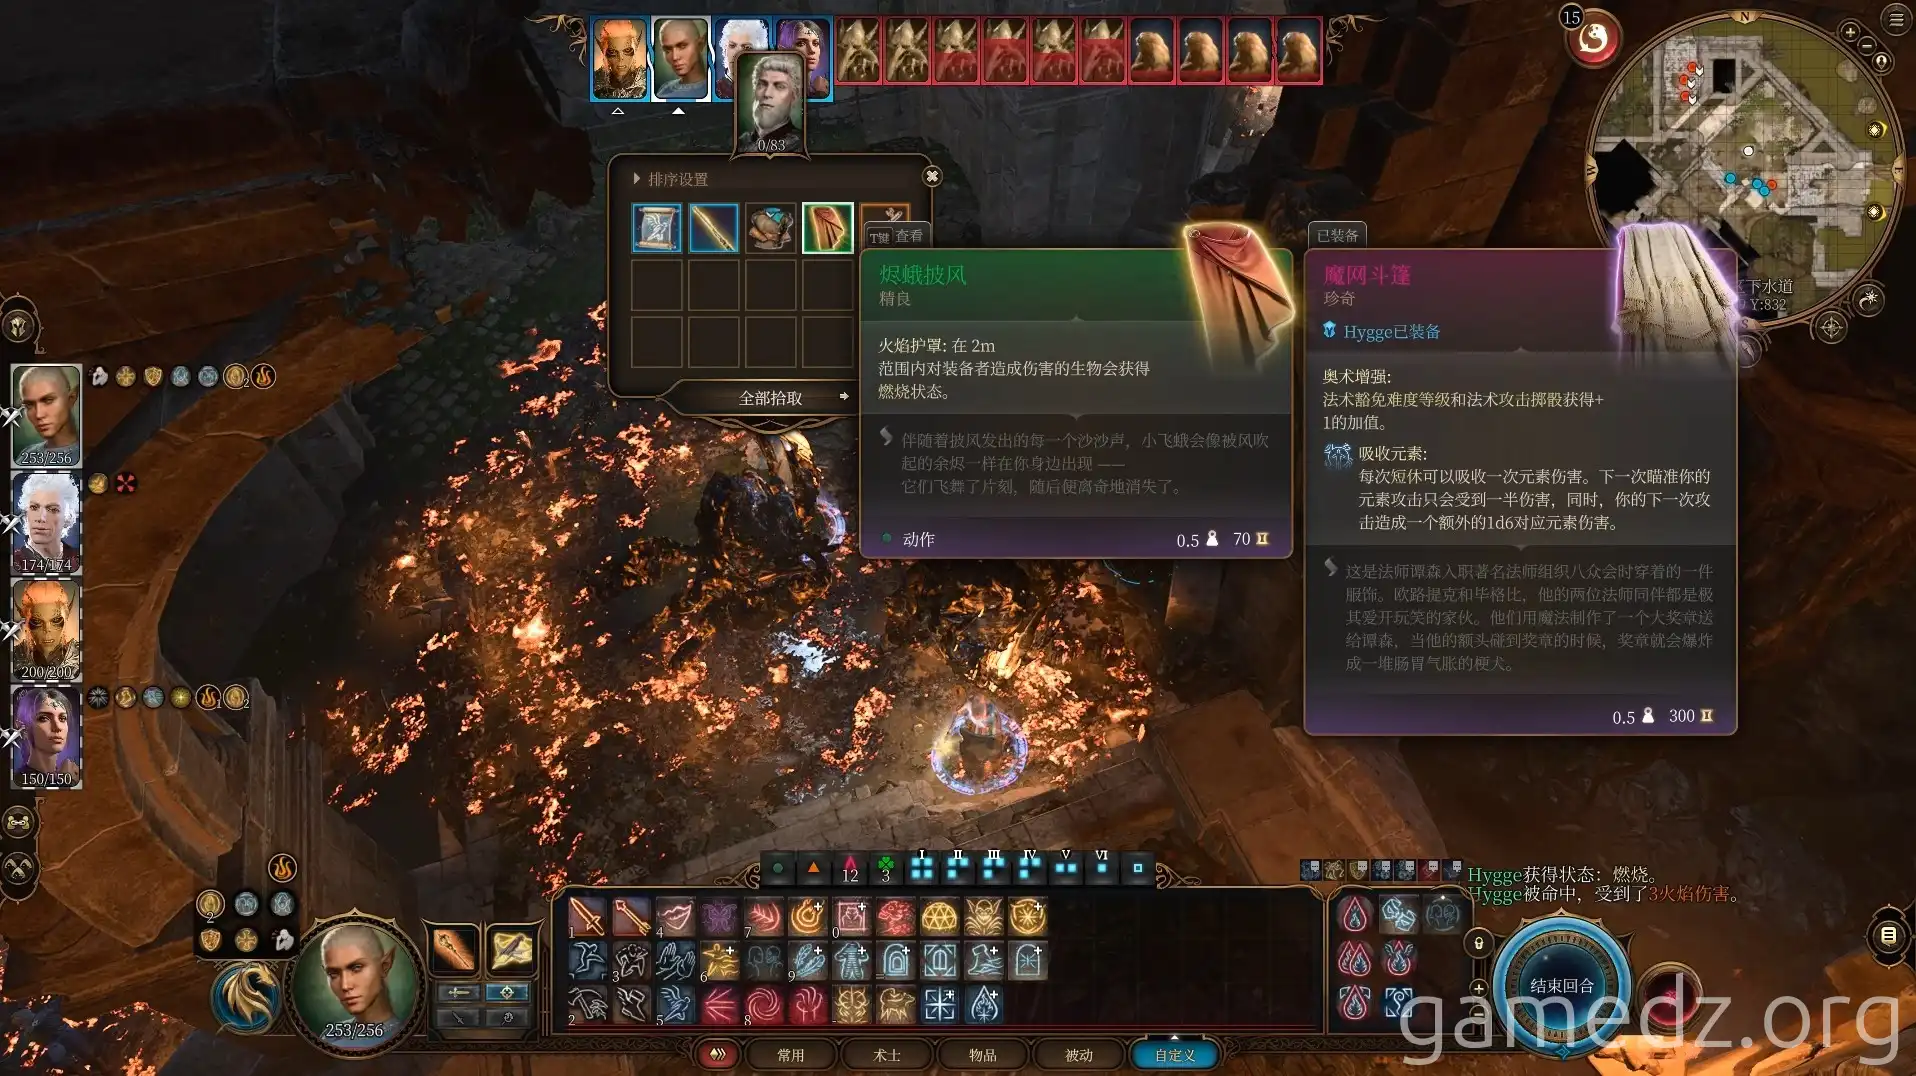
From Elis, you can obtain the rare equipment known as the "Ember Moth Cloak." Utilize the key provided by Elis to unlock the gate adjacent to Sahin's skeleton. Within the chest behind this gate, you'll discover valuable supplies.
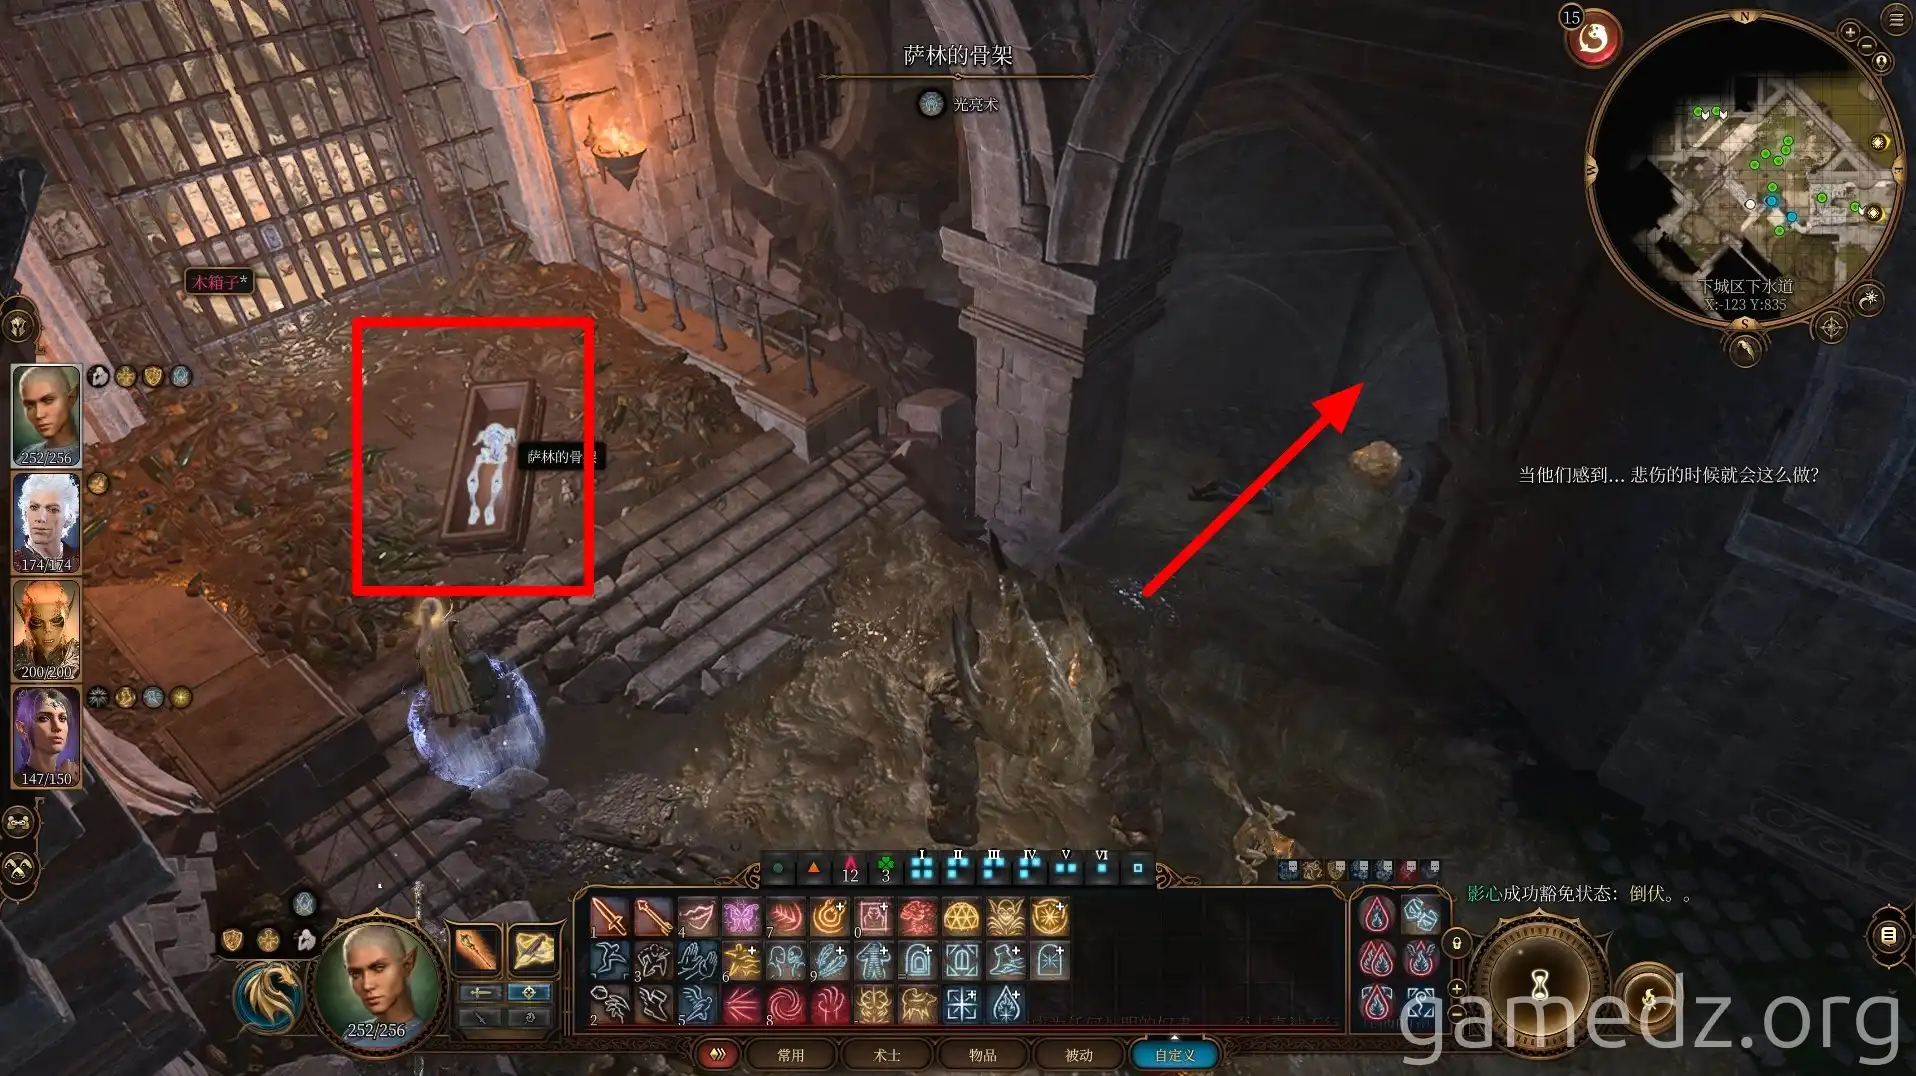
Inside the coffin near the combat area lies "Sahin's Skeleton." For now, leave it undisturbed. You will return once you have acquired the necessary quest item. Continue your journey northward.
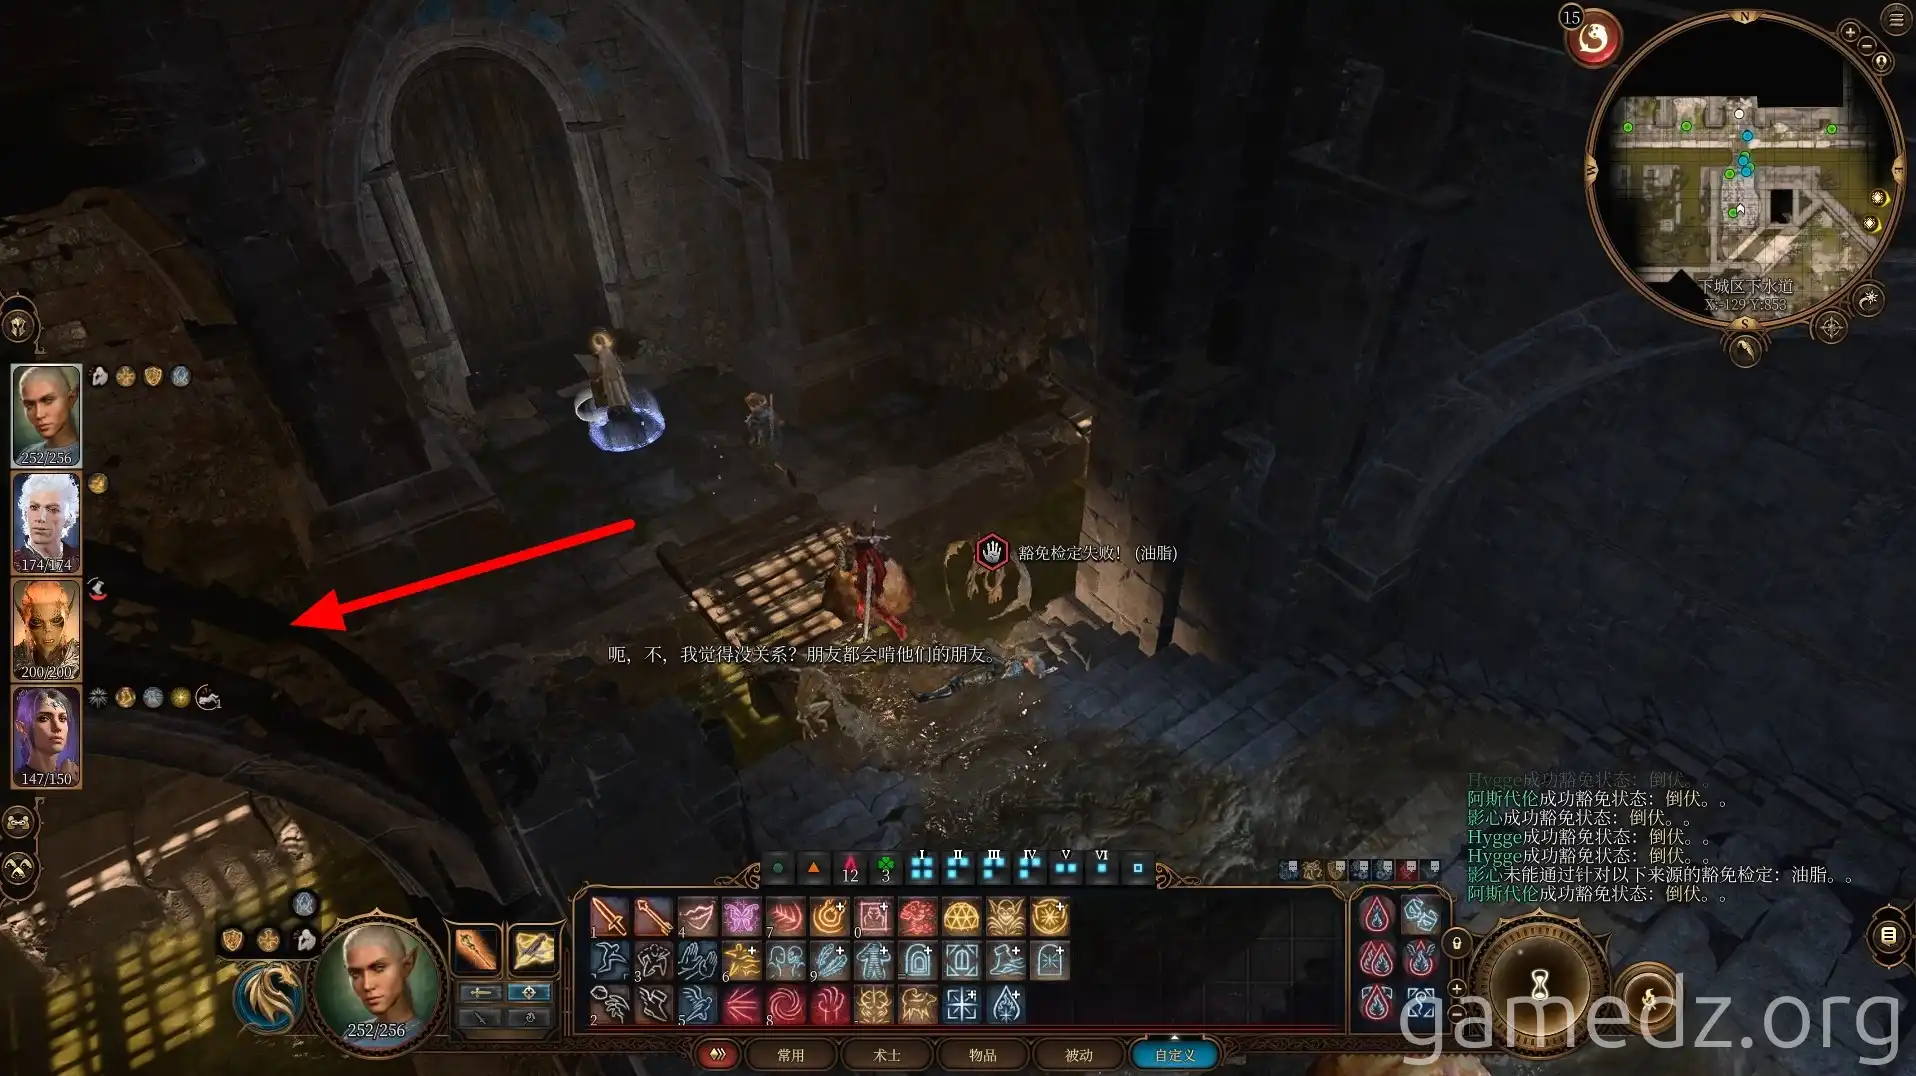
Resist the urge to enter the wooden door just yet. Heading east will lead you back to the ferry, but there's no need to return. Simply keep progressing westward.
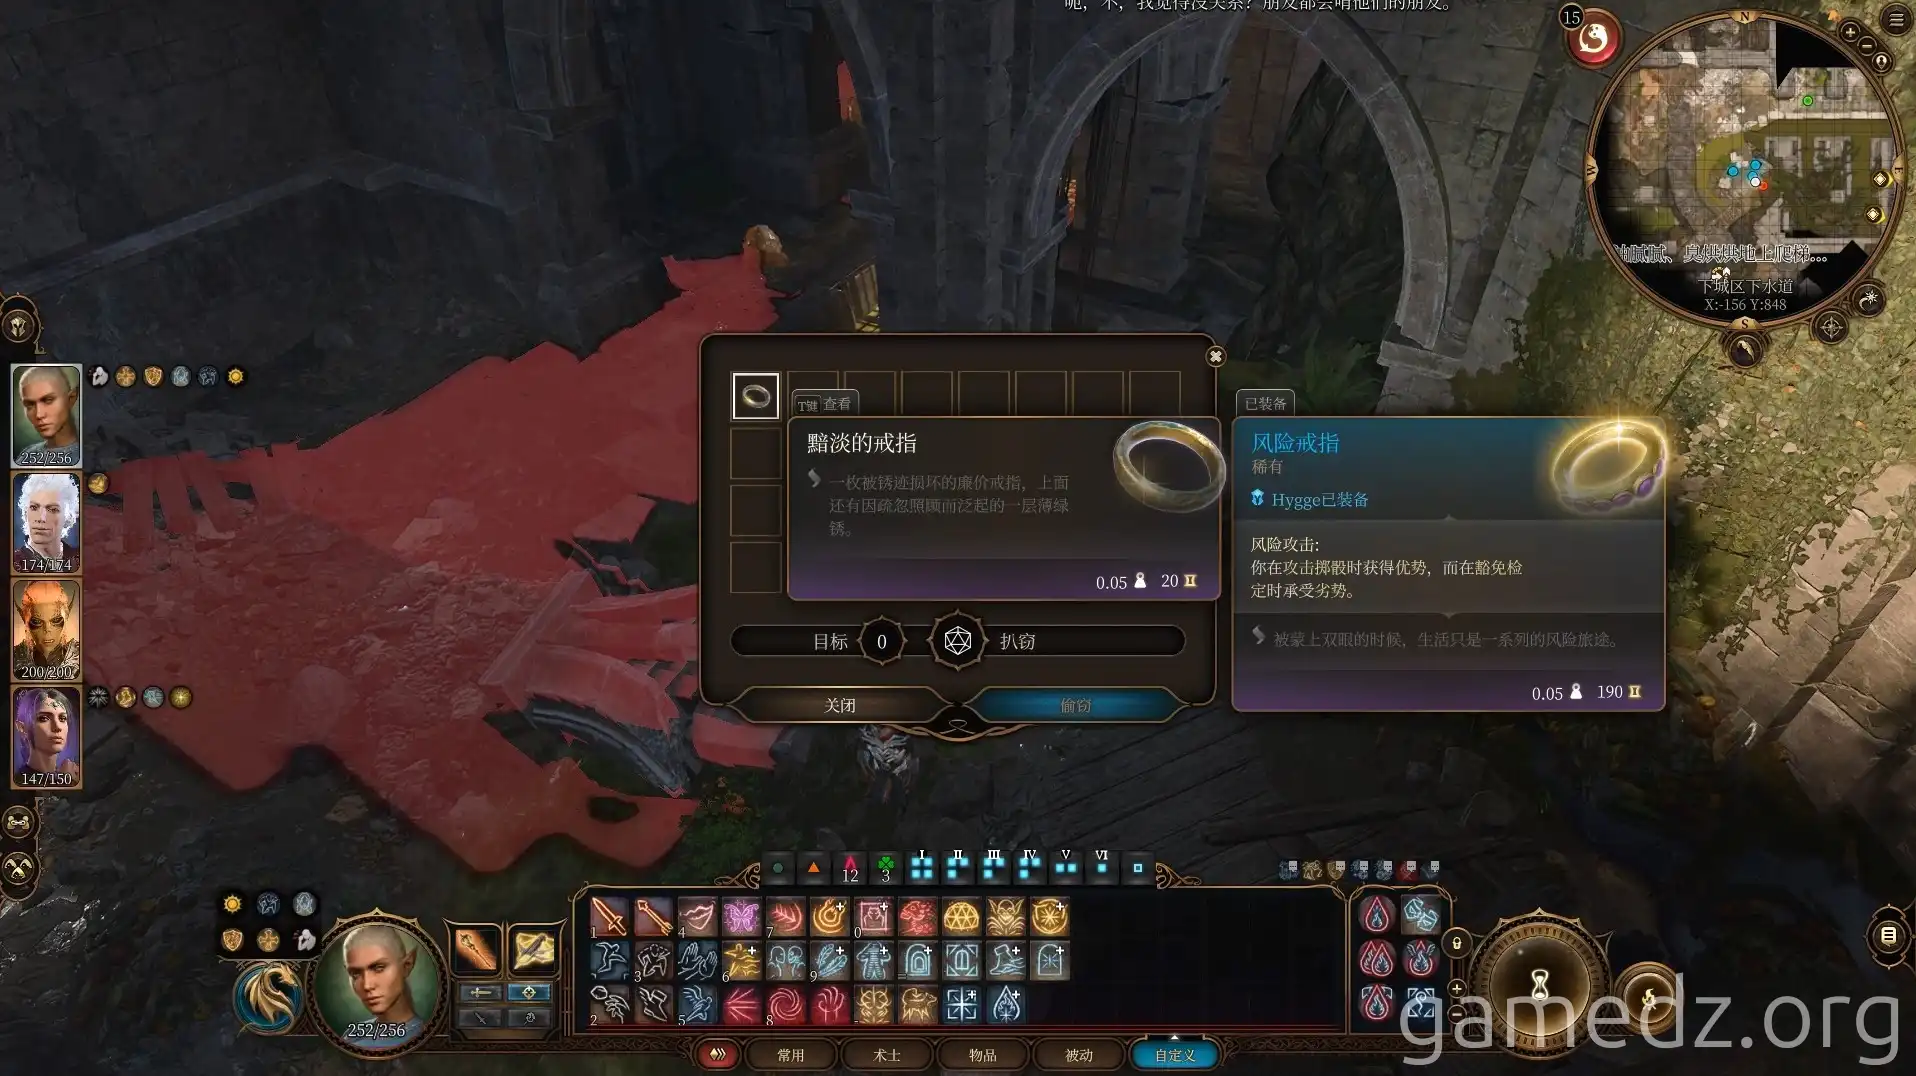
Ahead, you'll discover a refugee who has unfortunately consumed a large quantity of sleeping potion. On their person, you'll find a dim ring, identical to the one previously discovered on the lowest level of the Guild Hall of the Nine Fingers.
You've attempted various methods to rouse them, but to no avail. It's best to leave them be and continue forward.
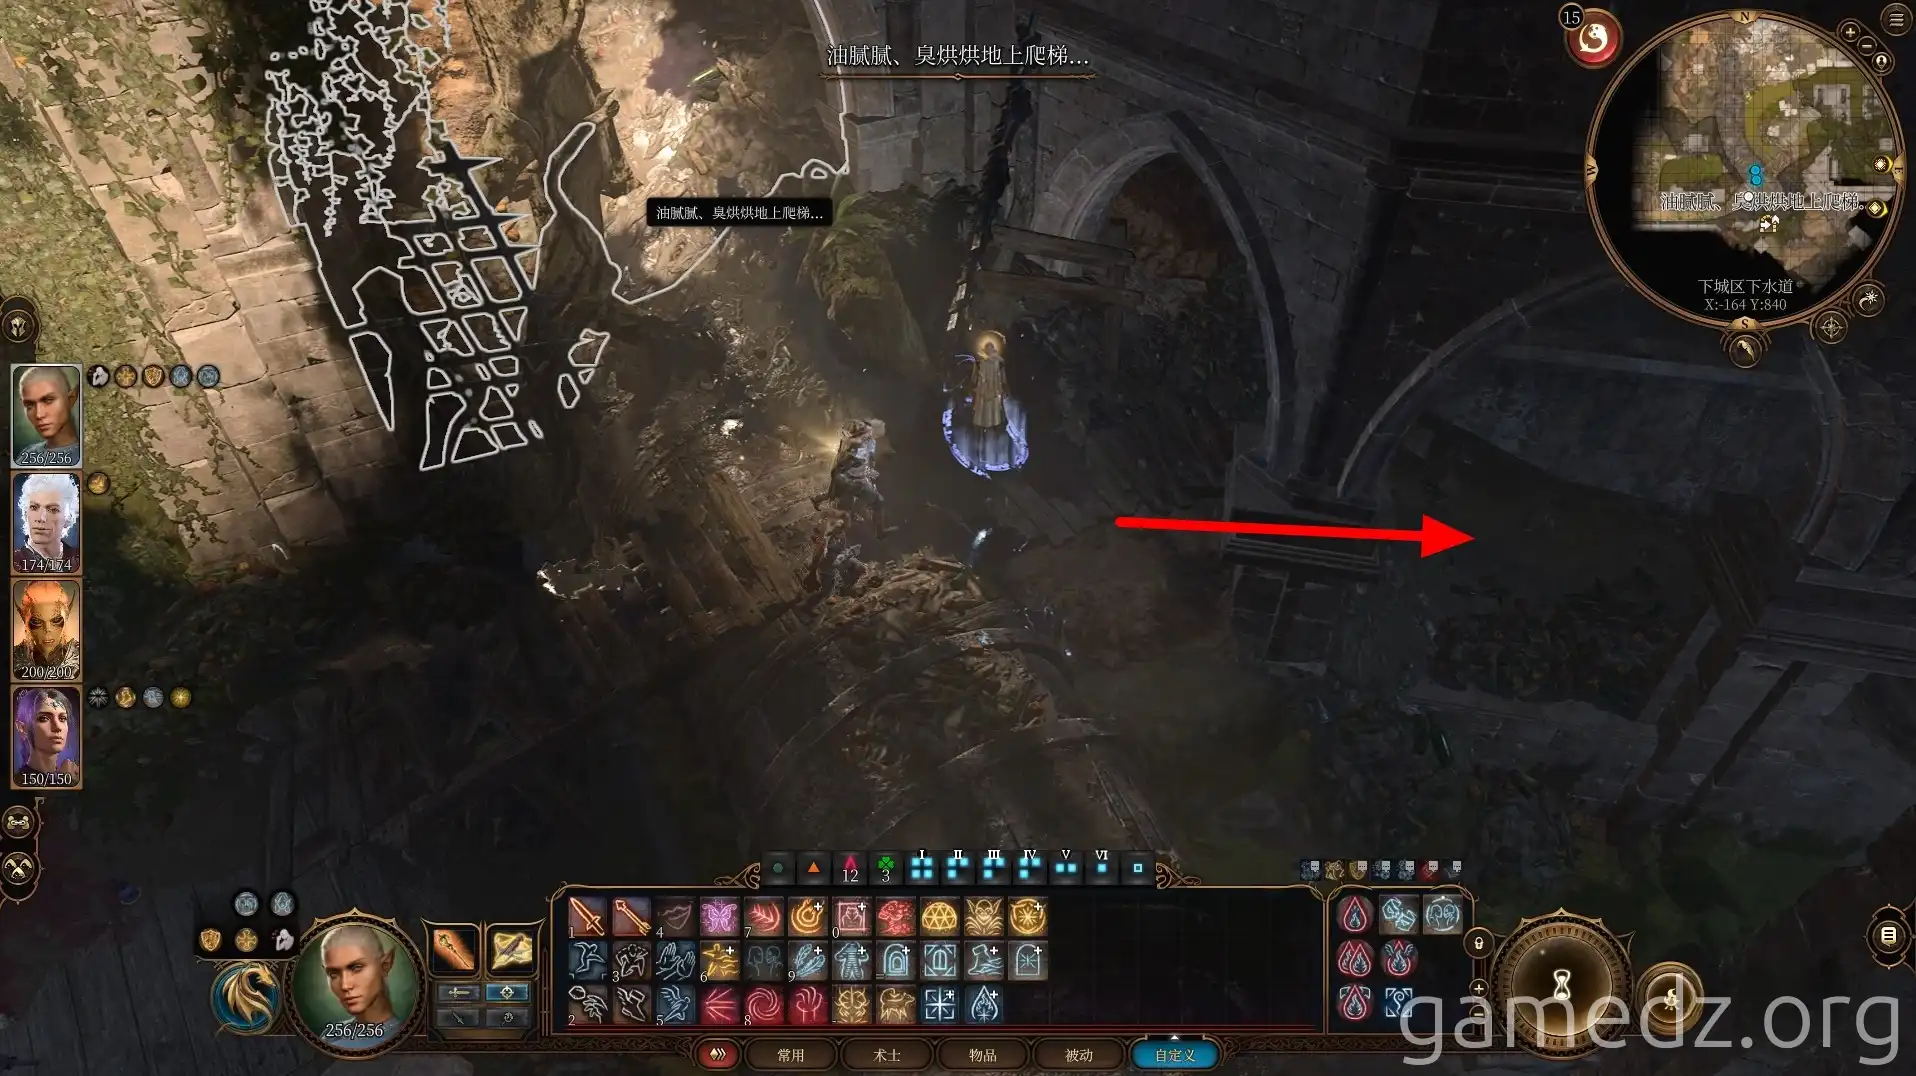
The greasy, foul-smelling ladder by the roadside provides access to the Flymm Cargo basement. However, this is not a necessary detour. Continue deeper into the sewers along the main path.
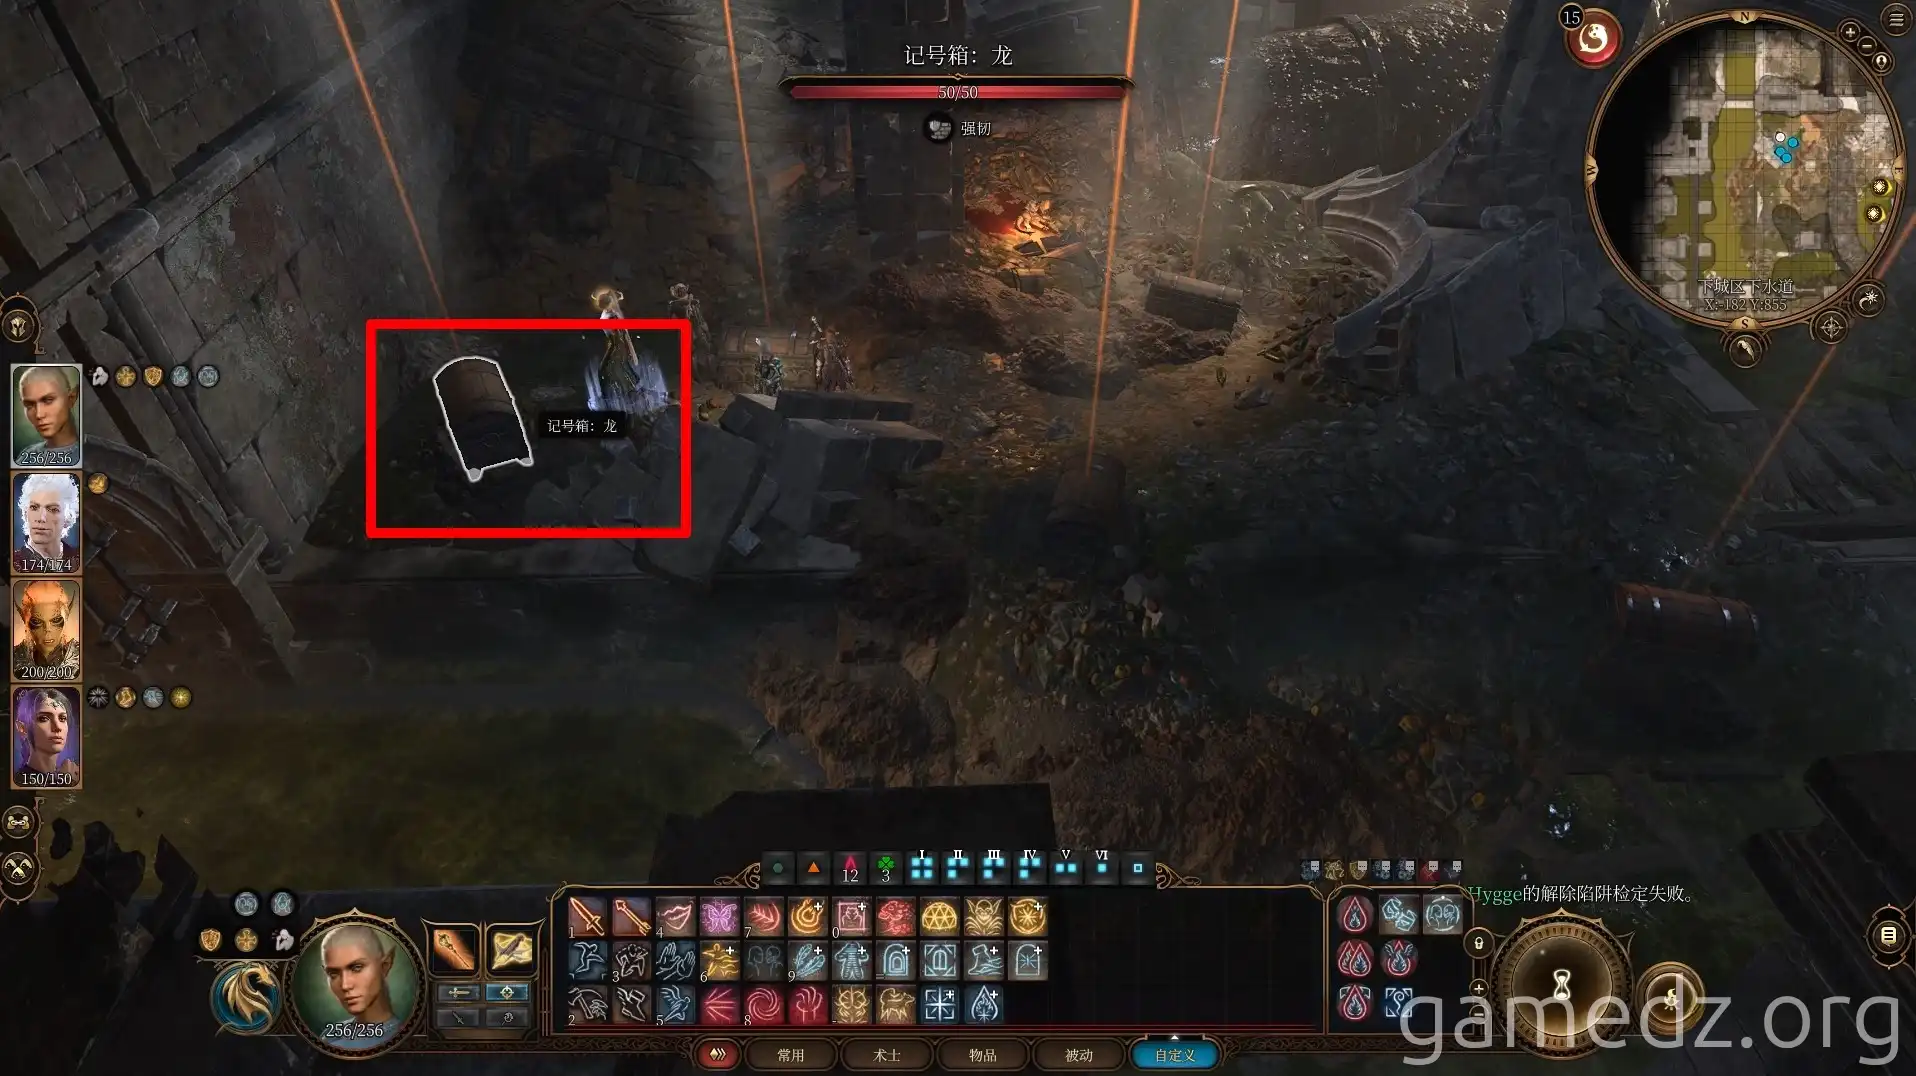
Adjacent to a goblin corpse, you'll find numerous dirt mounds and chests. Be aware that most of these are insignificant. You'll only find useful items within the "Marked Chest: Dragon."
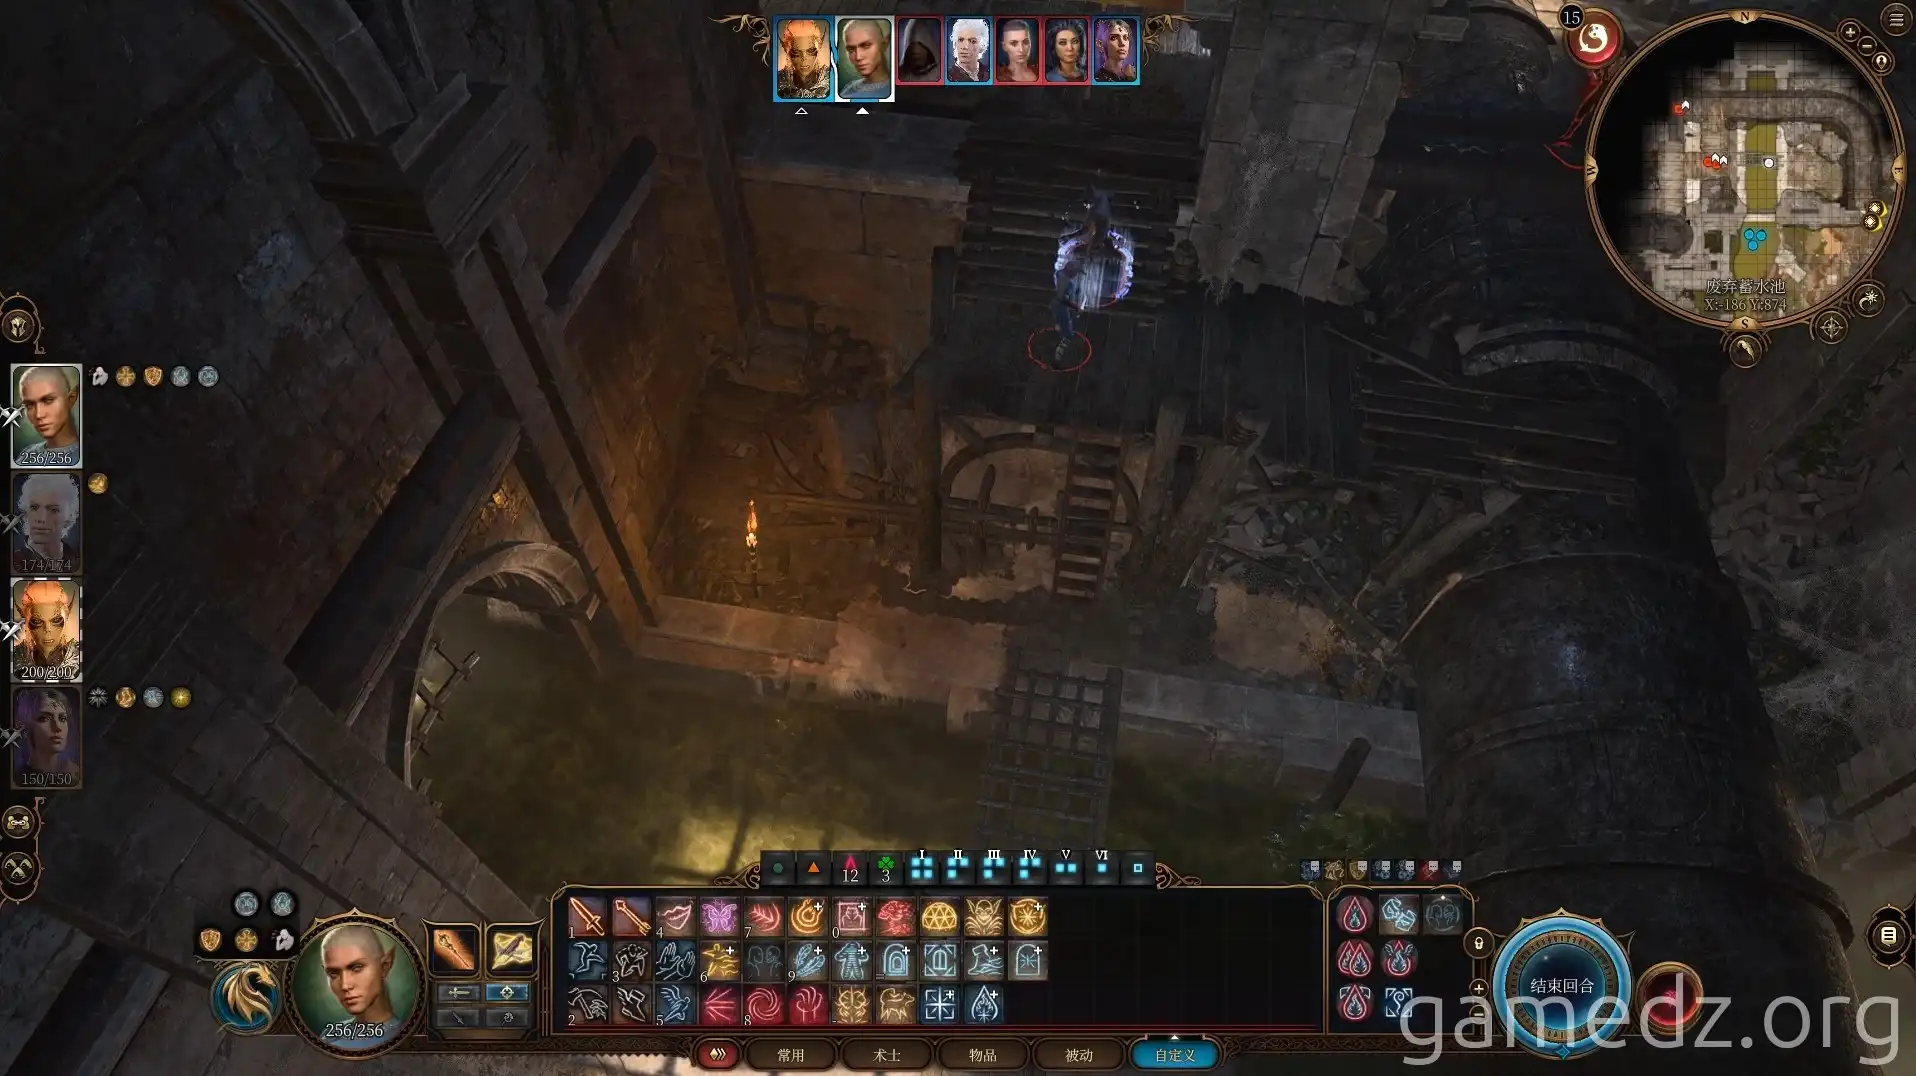
Enter the Abandoned Cistern and prepare to battle three Bhaal cultists. Ensure you defeat them all.
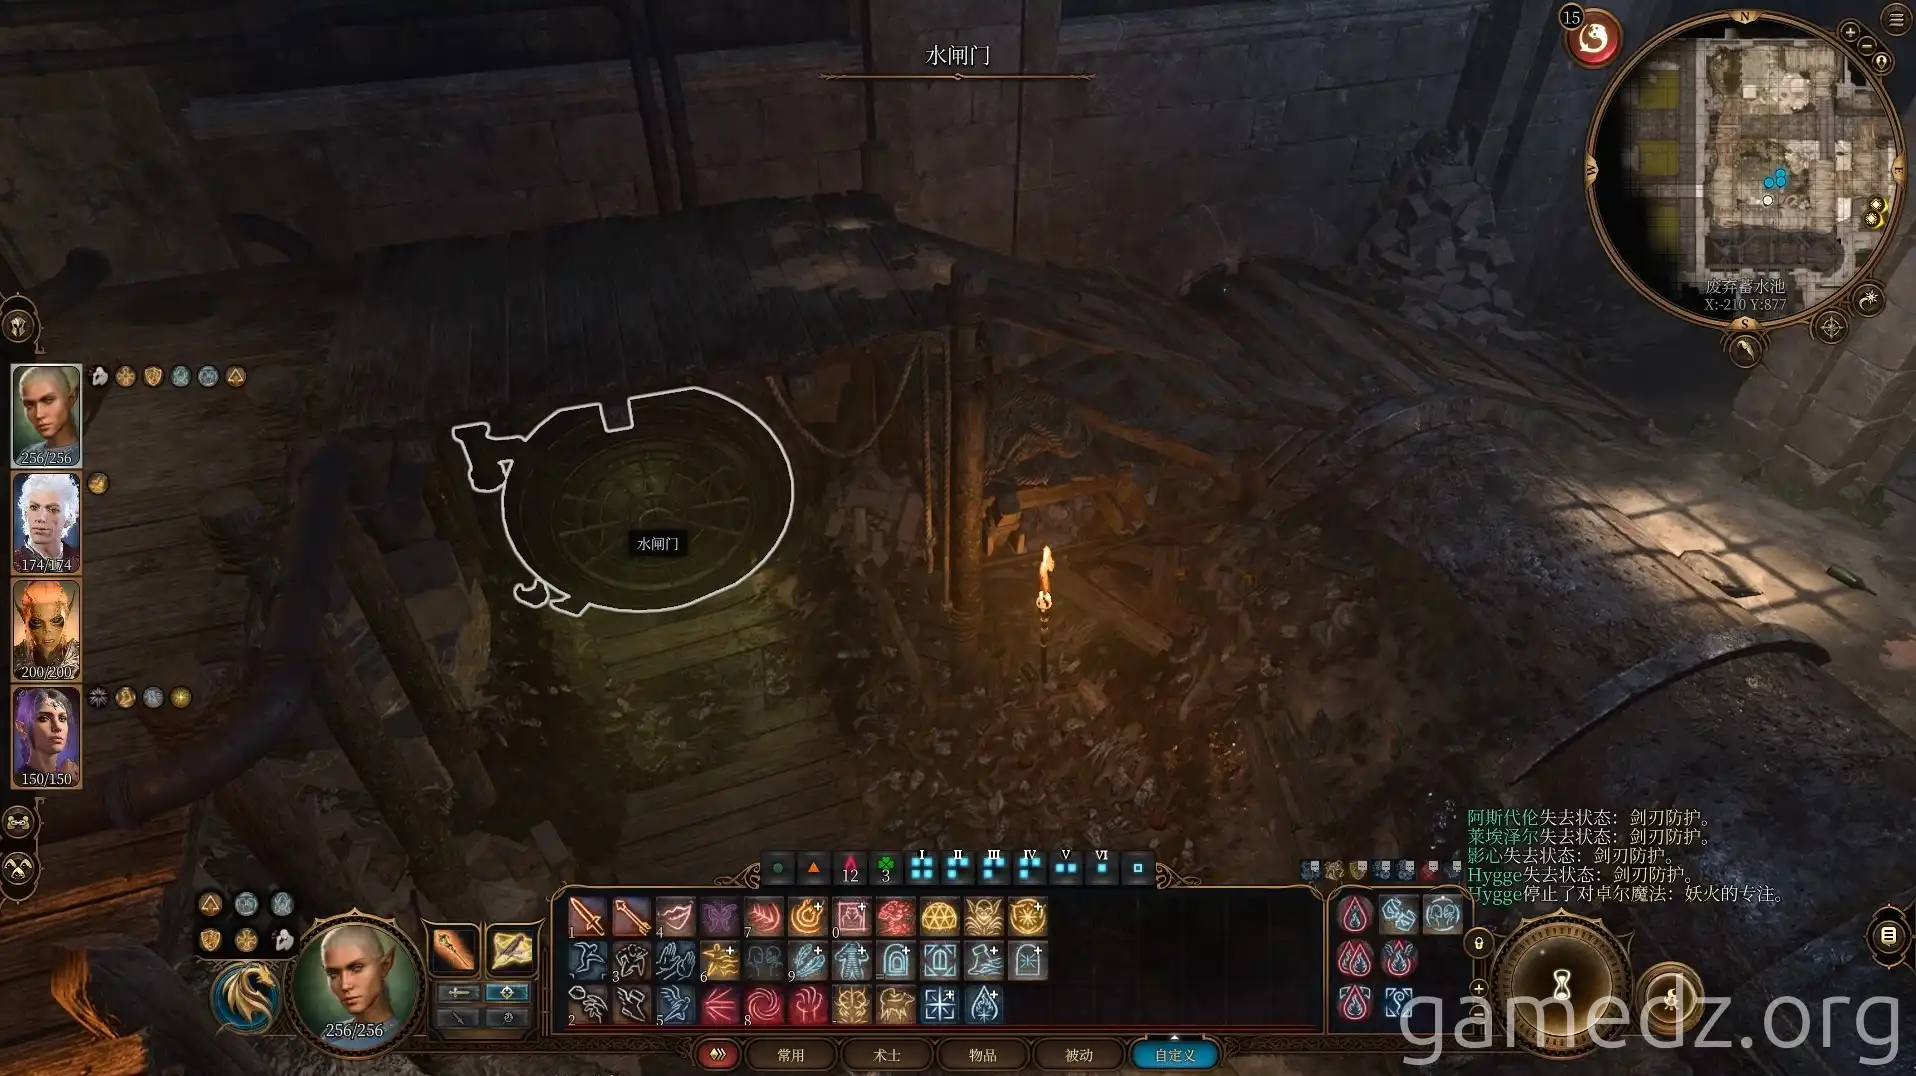
Northwest of the combat area, you'll find a water gate. Make a mental note of this location, as it will prove useful later in your journey.
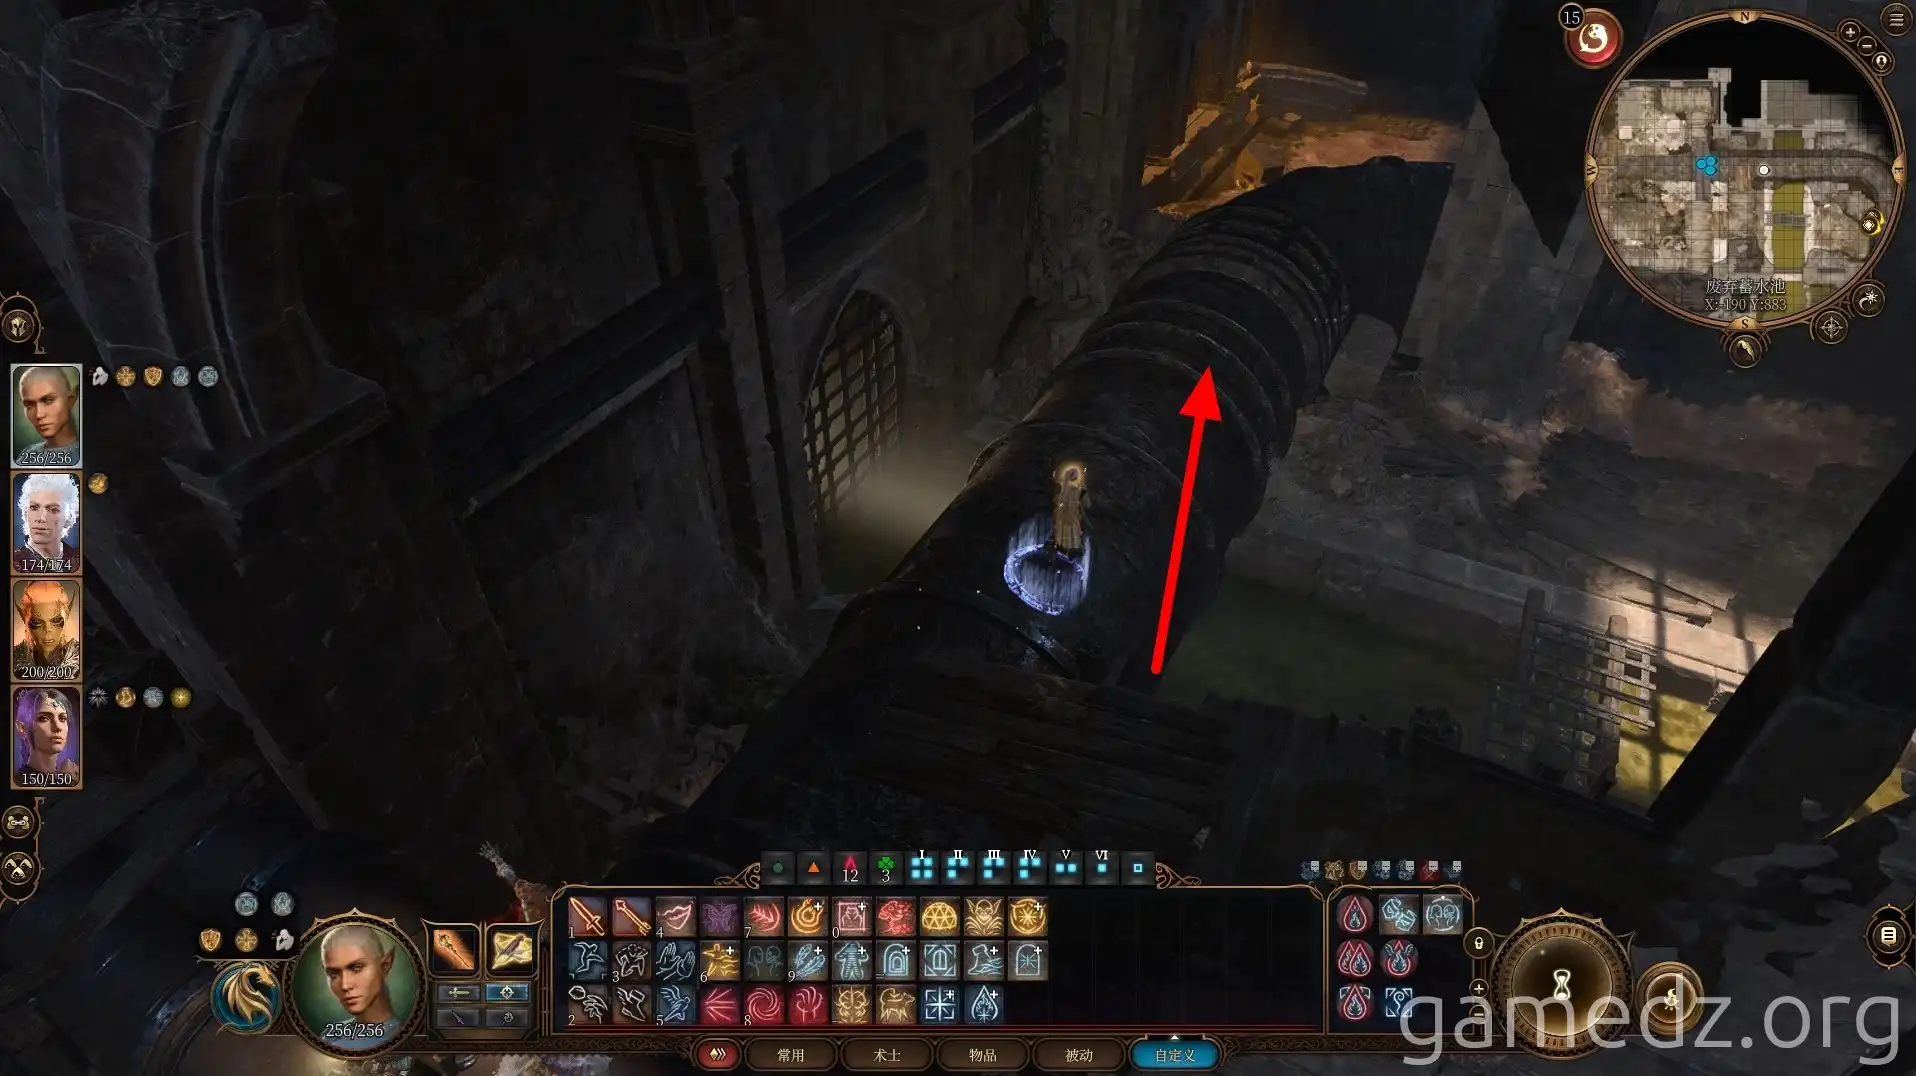
Next, follow the pipes eastward.
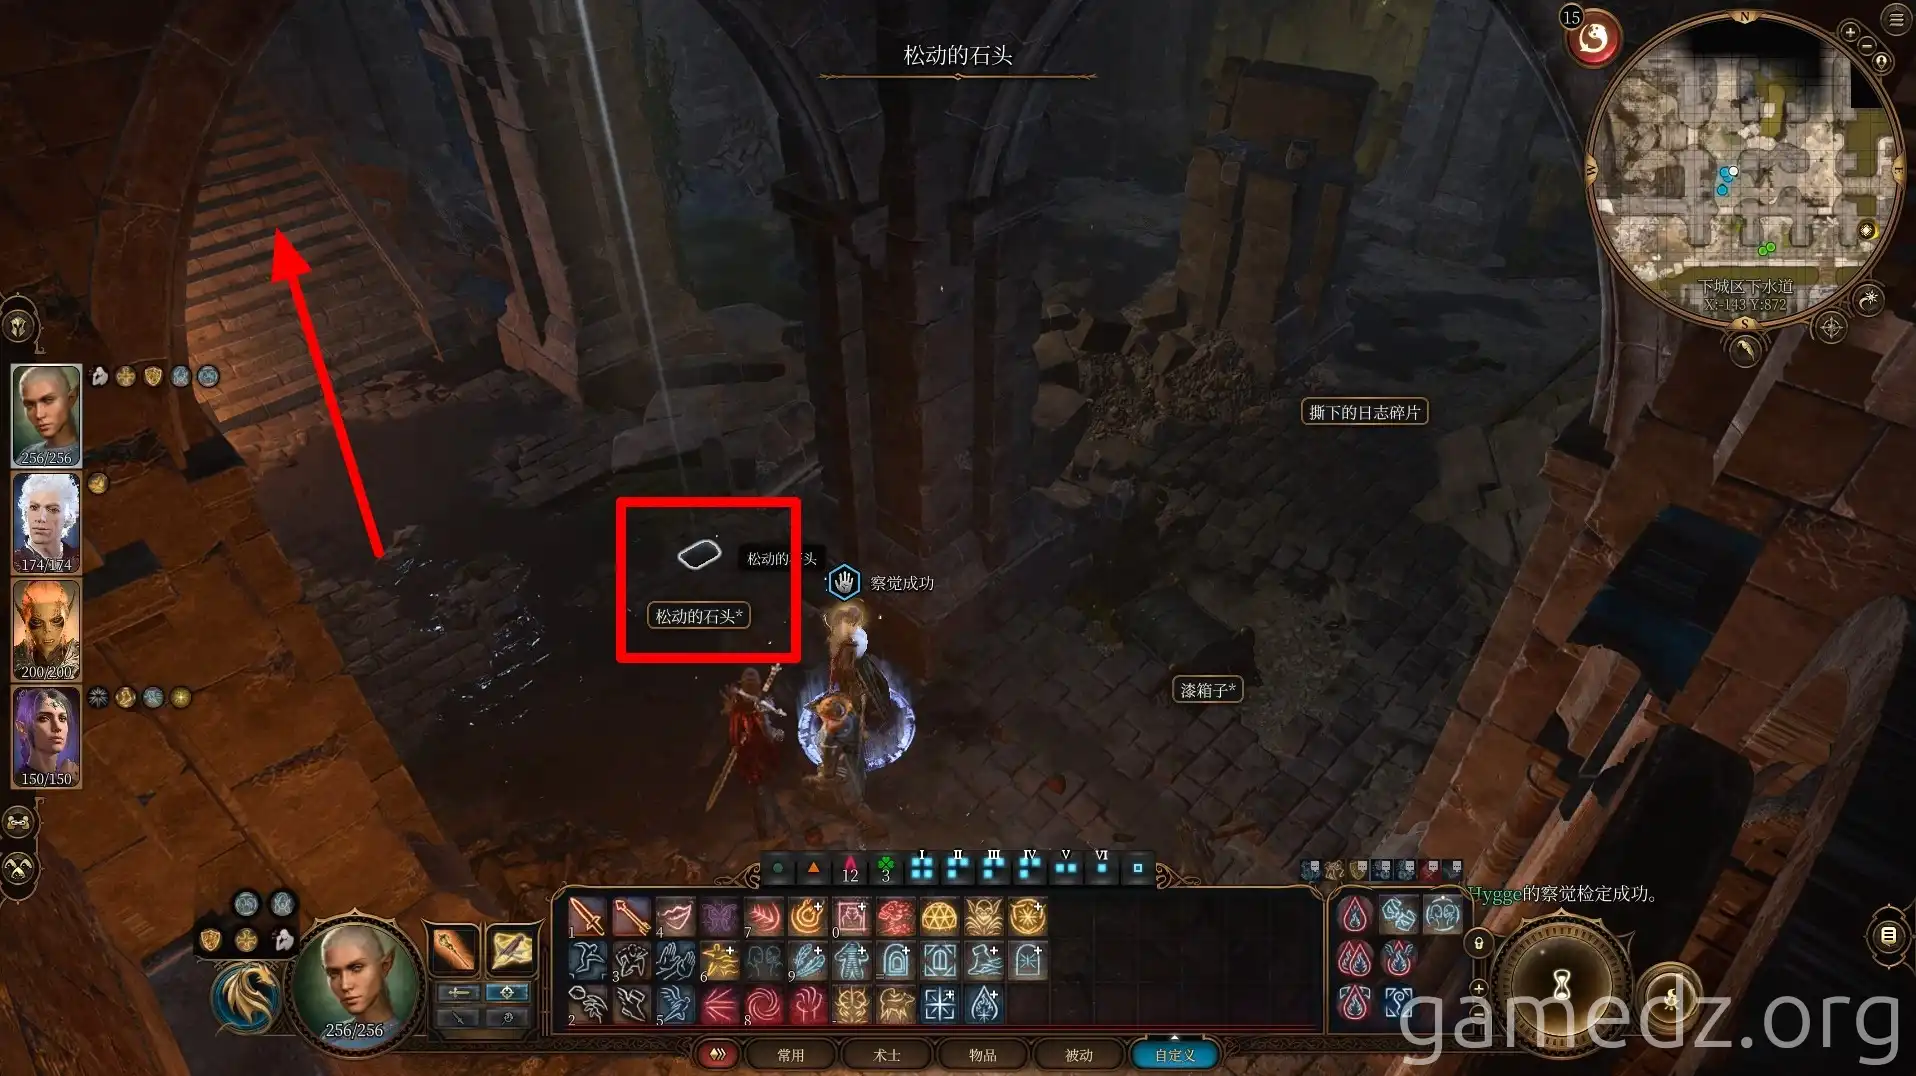
Return to the wooden door you previously bypassed. Within the large hall behind this door, you'll notice many loose stones. Beneath these stones, you can uncover some valuable items.
Subsequently, proceed up the stairs.
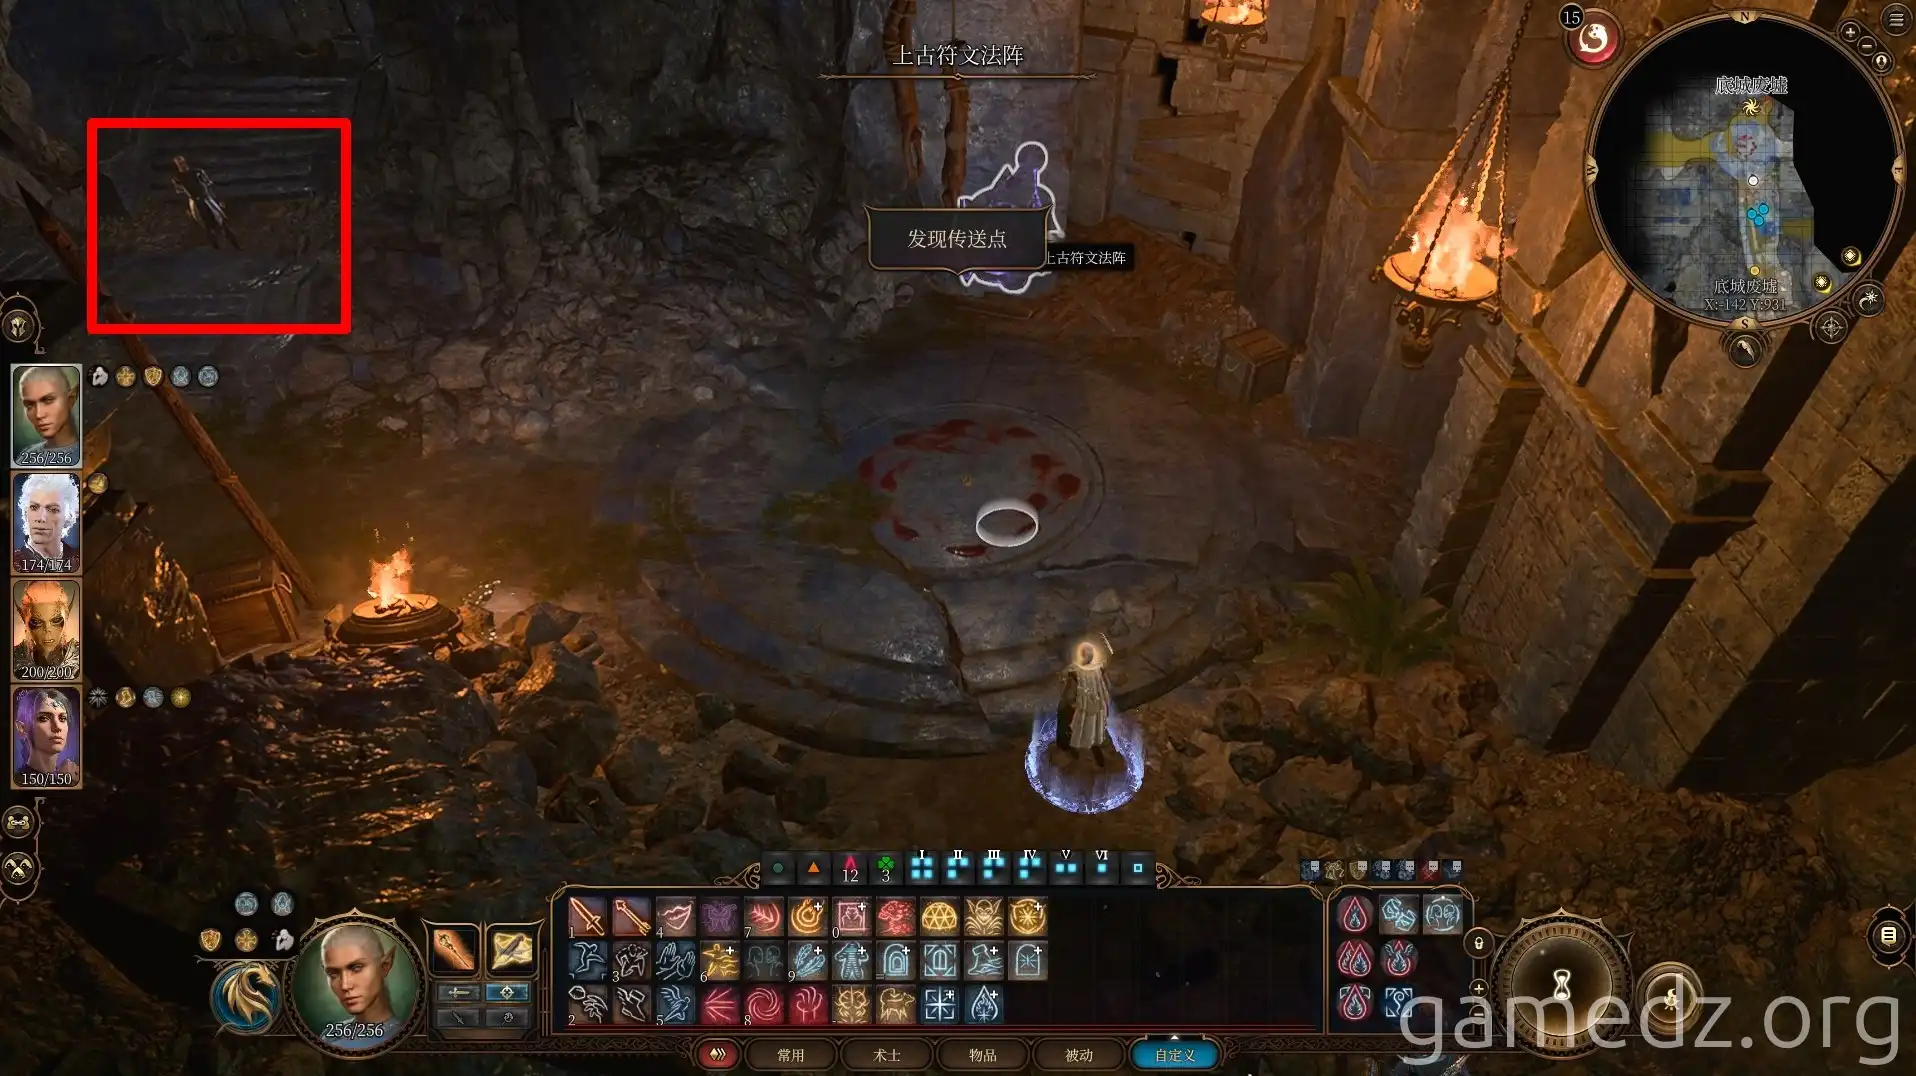
Ahead, you'll activate the waypoint for the [Lower City Ruins]. Nearby, you can locate the merchant "Silent Confessor Barric."

The unique equipment offered by Barric, along with their stats, are as follows:
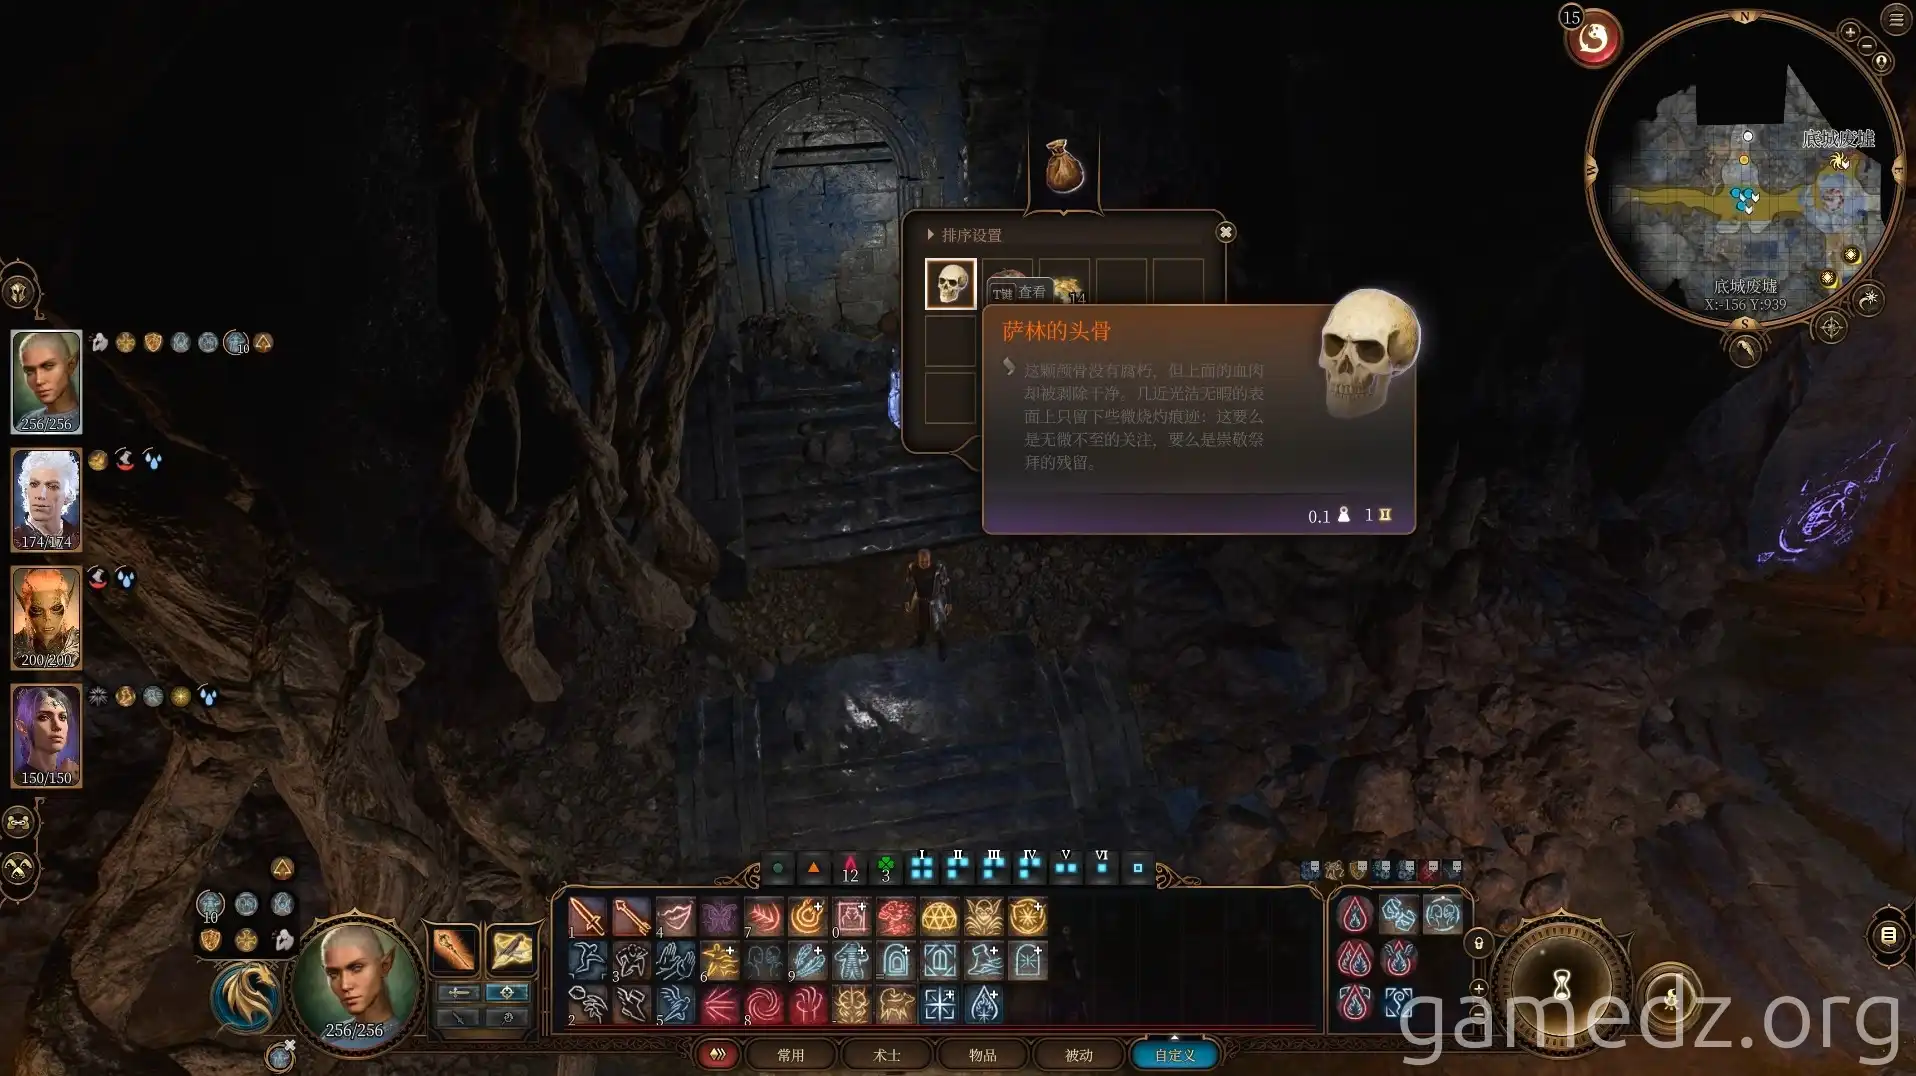
Within the small pouch situated behind Barric, you have the opportunity to steal "Sahin's Skull."
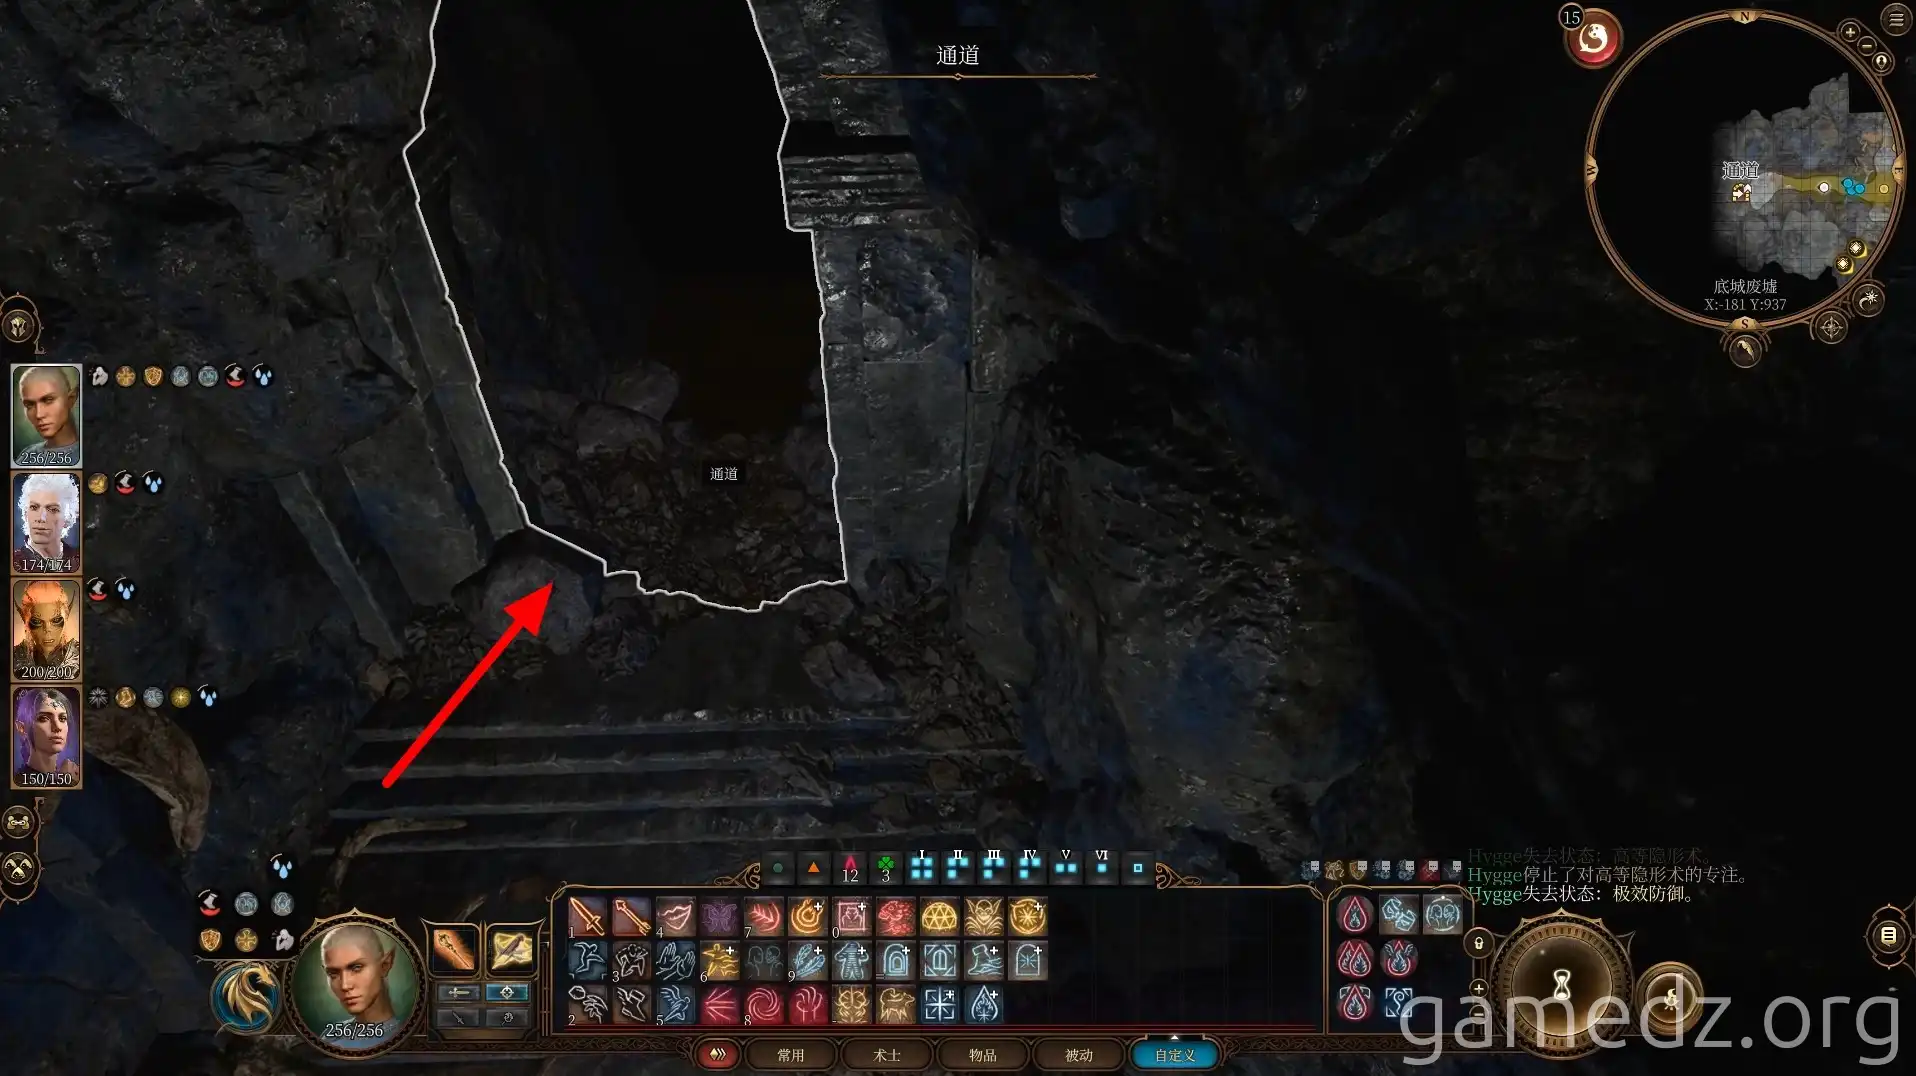
From Barric, head west and enter the passage directly ahead.
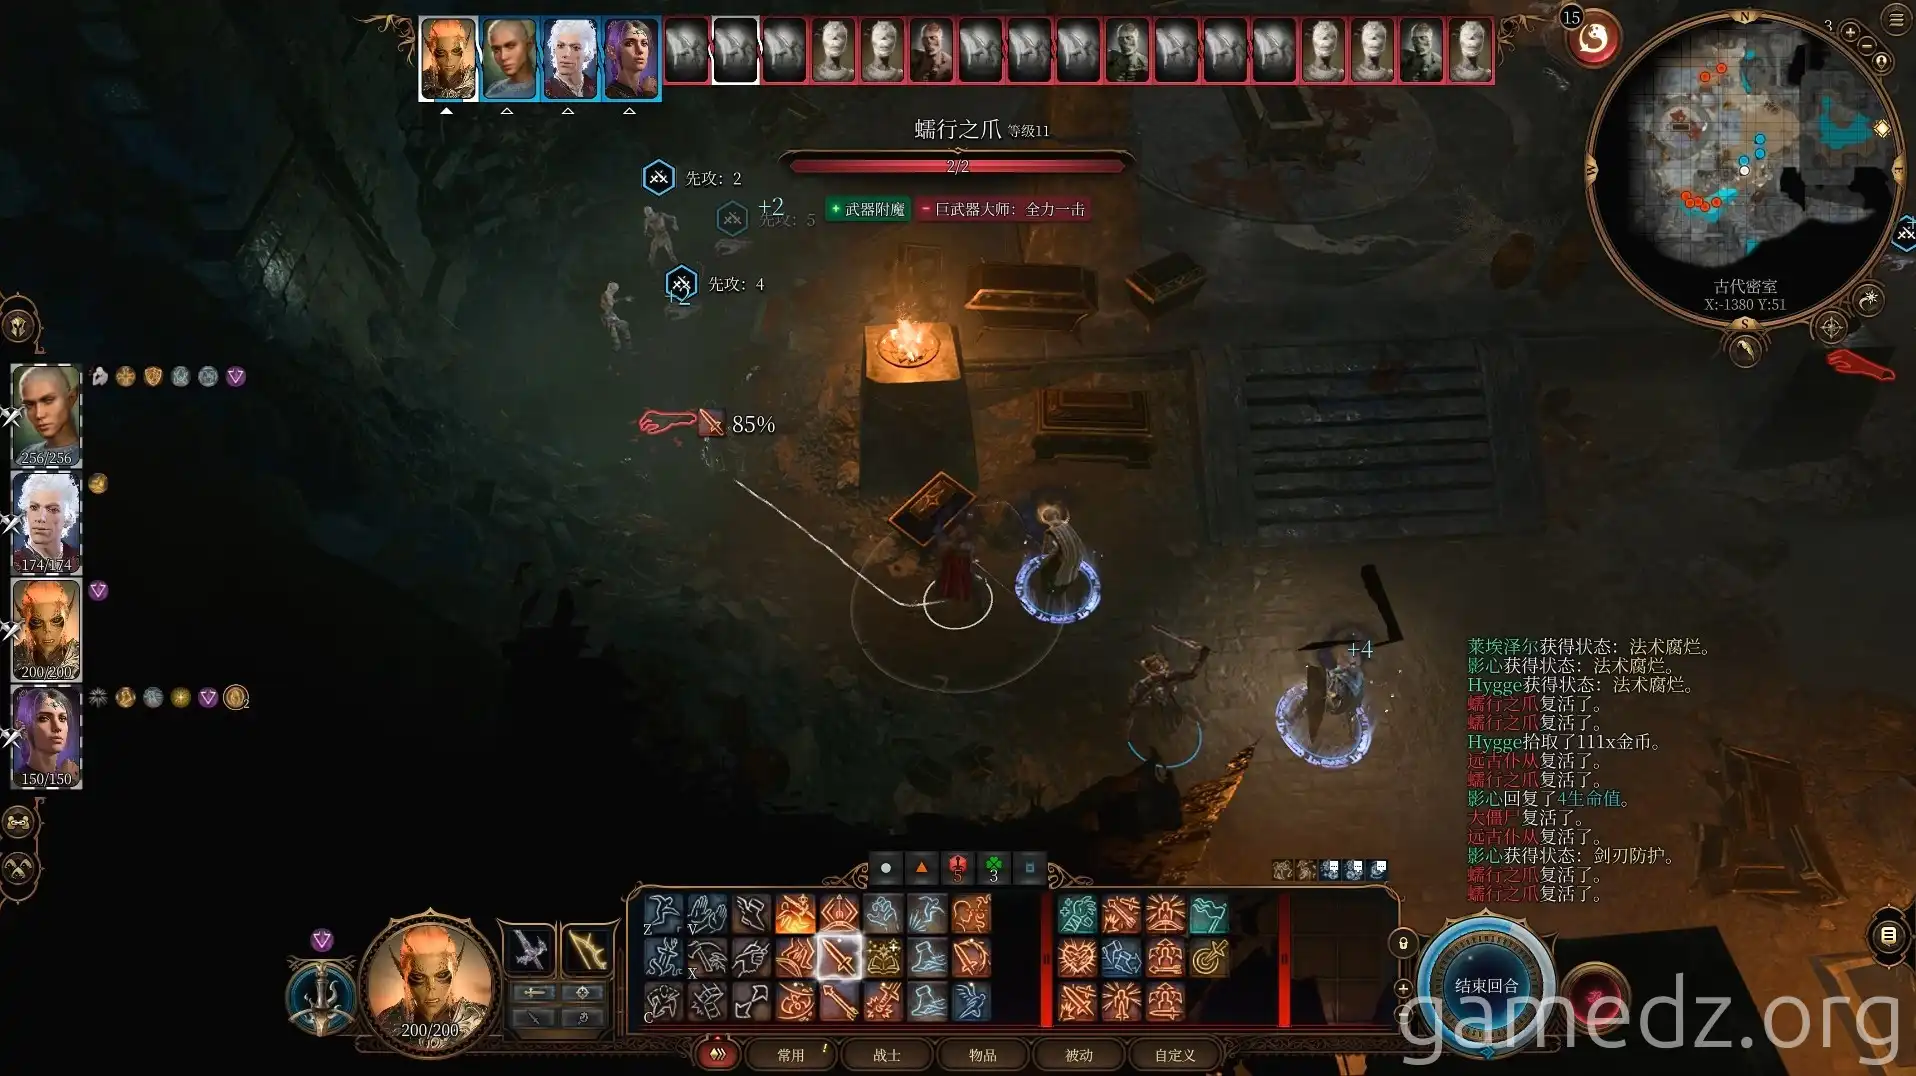
Beyond this passage lies Carrion's lair. The room is populated by numerous enemies, though the combat difficulty is not exceptionally high. Defeat them all.
Be aware of a curse present in this room known as "Spell Rot." With the exception of undead creatures, every spell cast will inflict 2-12 necrotic damage.
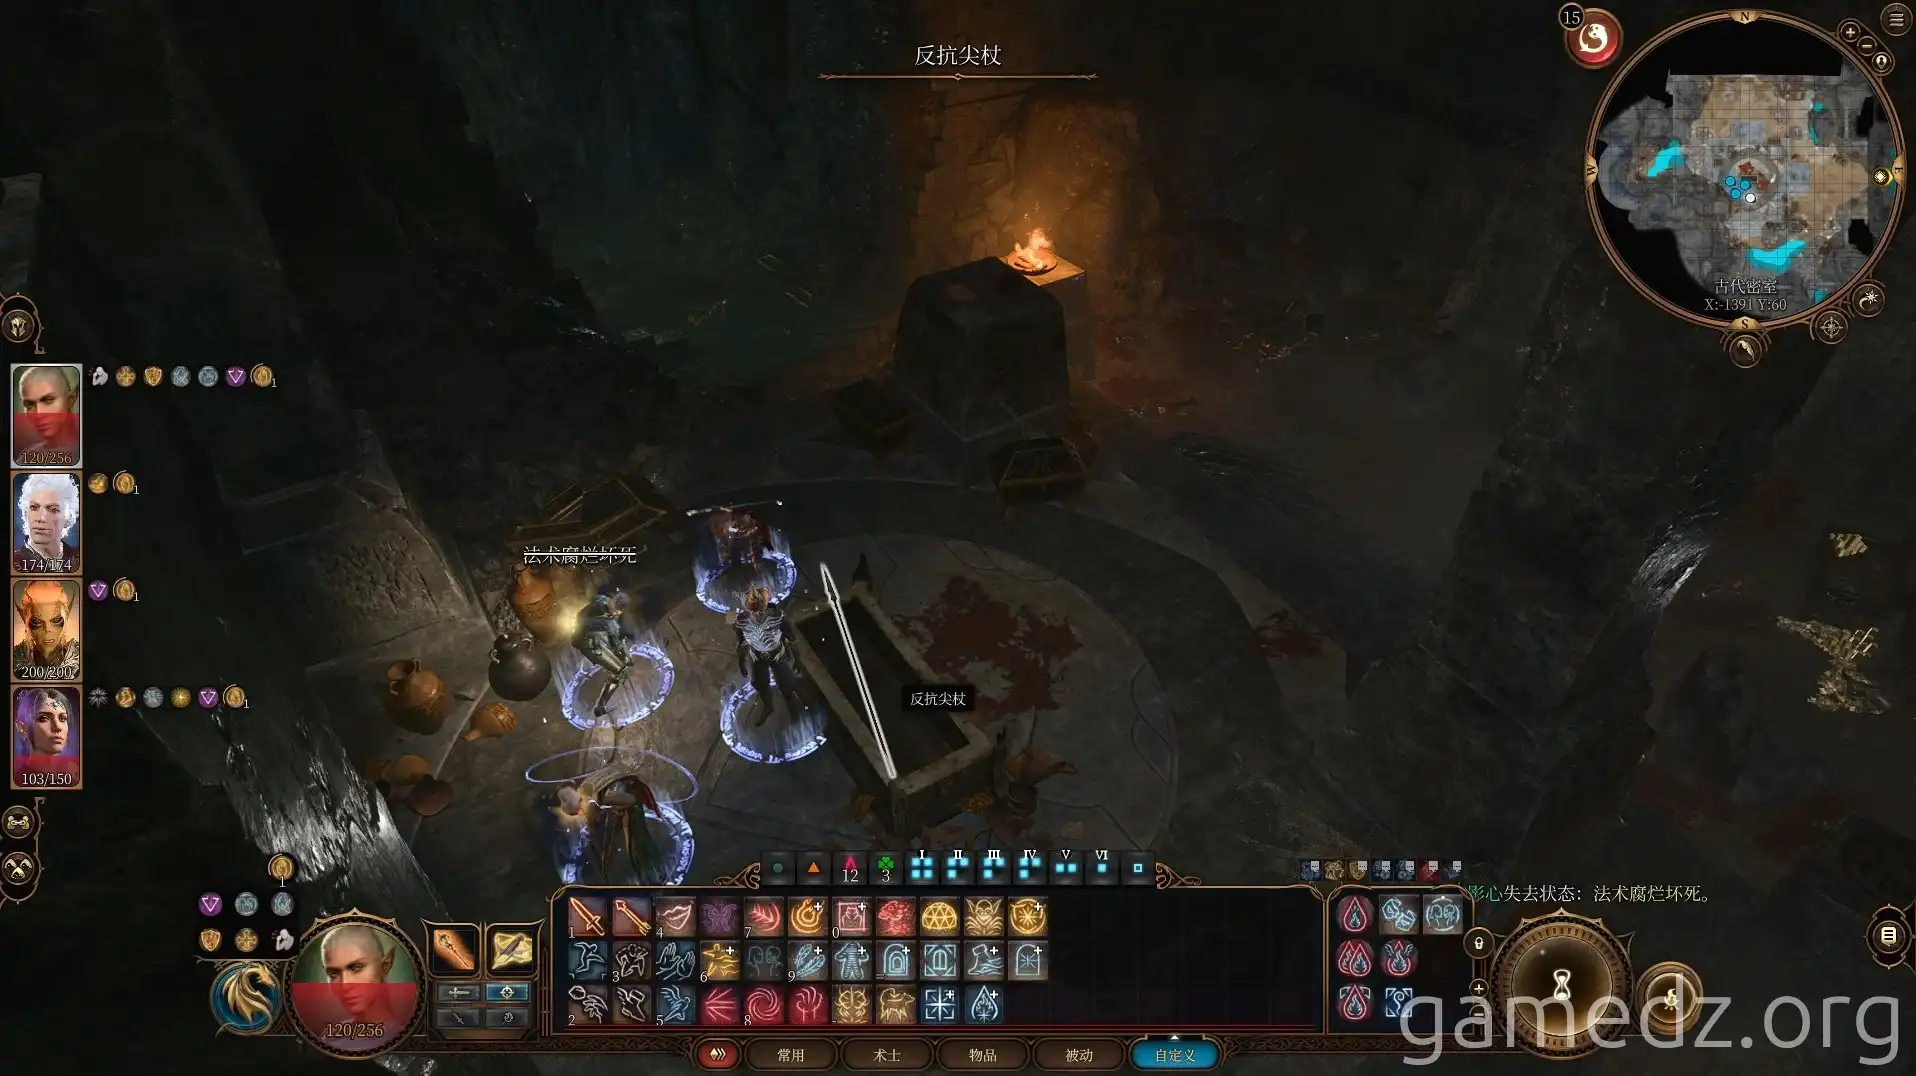
Inside the sarcophagus within the secret chamber, you can obtain the rare weapon "Staff of the Unforgiving."
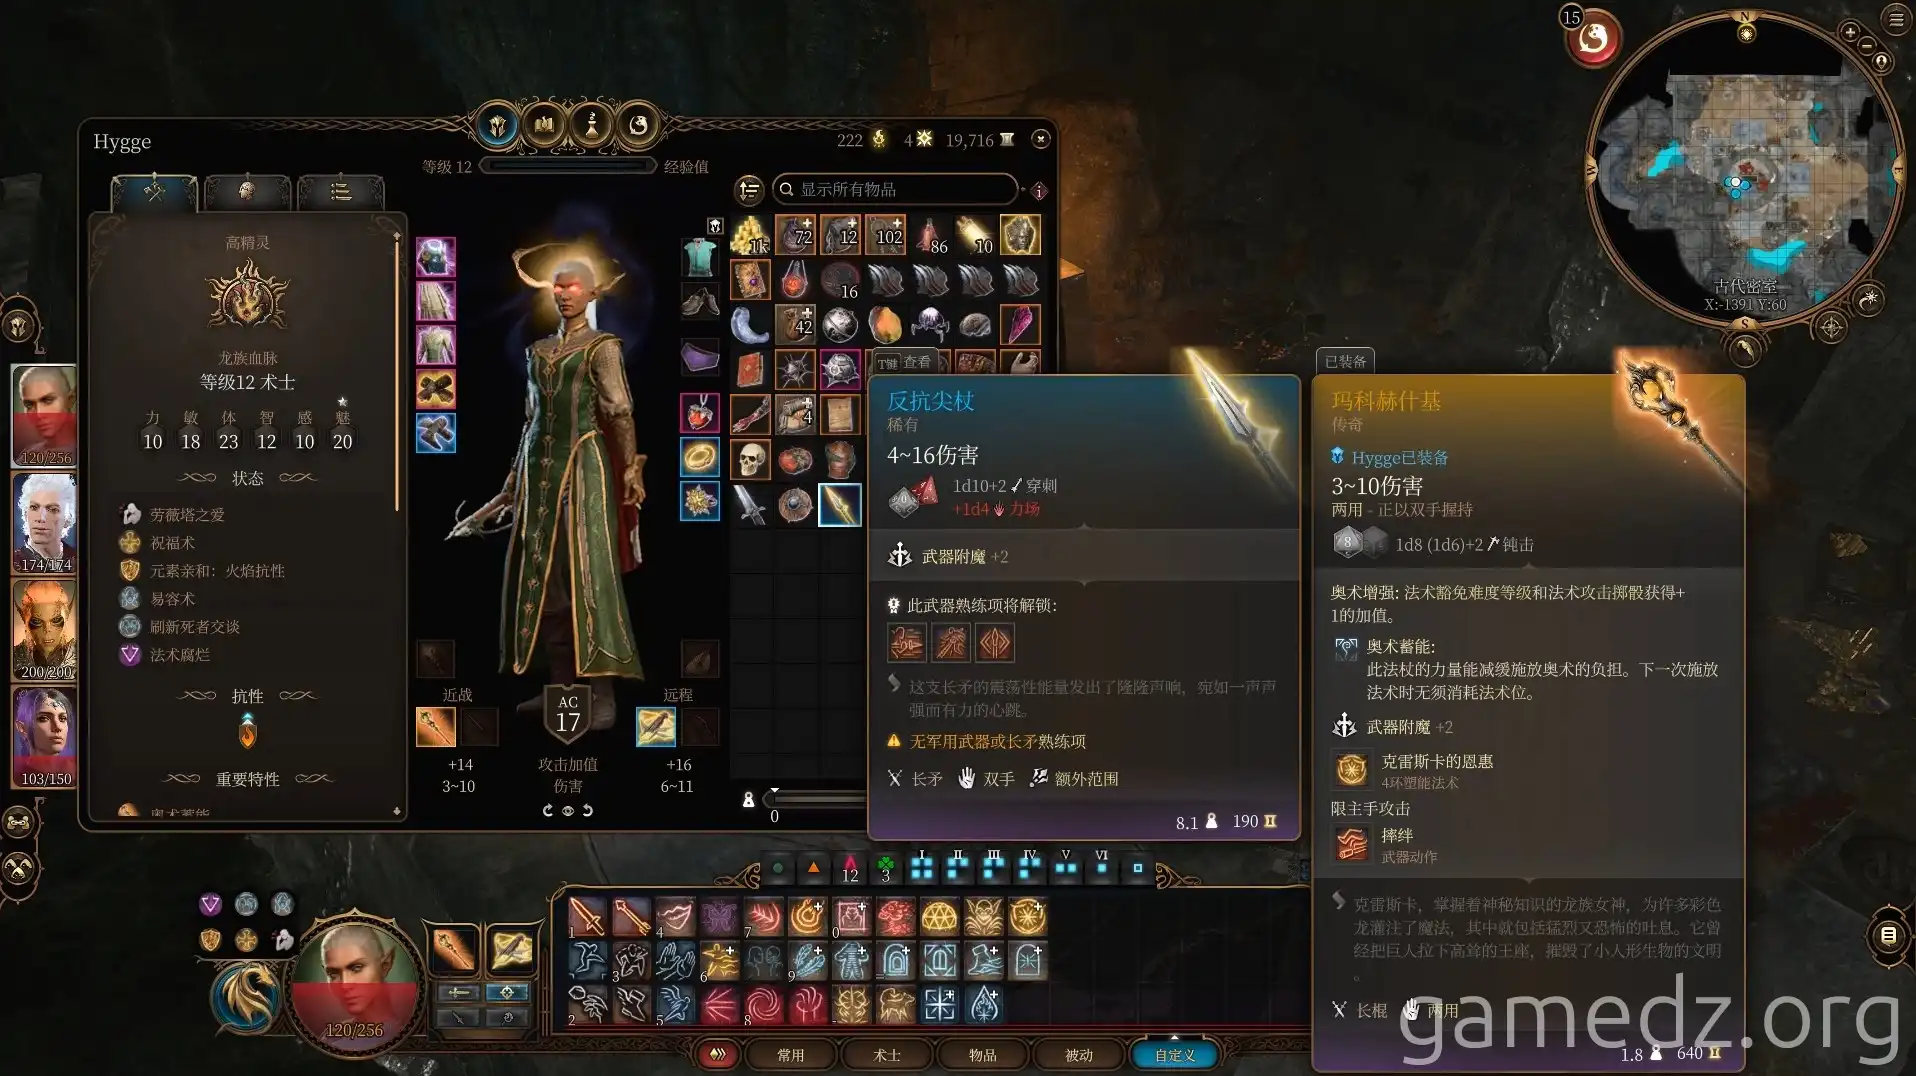
The stats for this potent weapon are as follows:
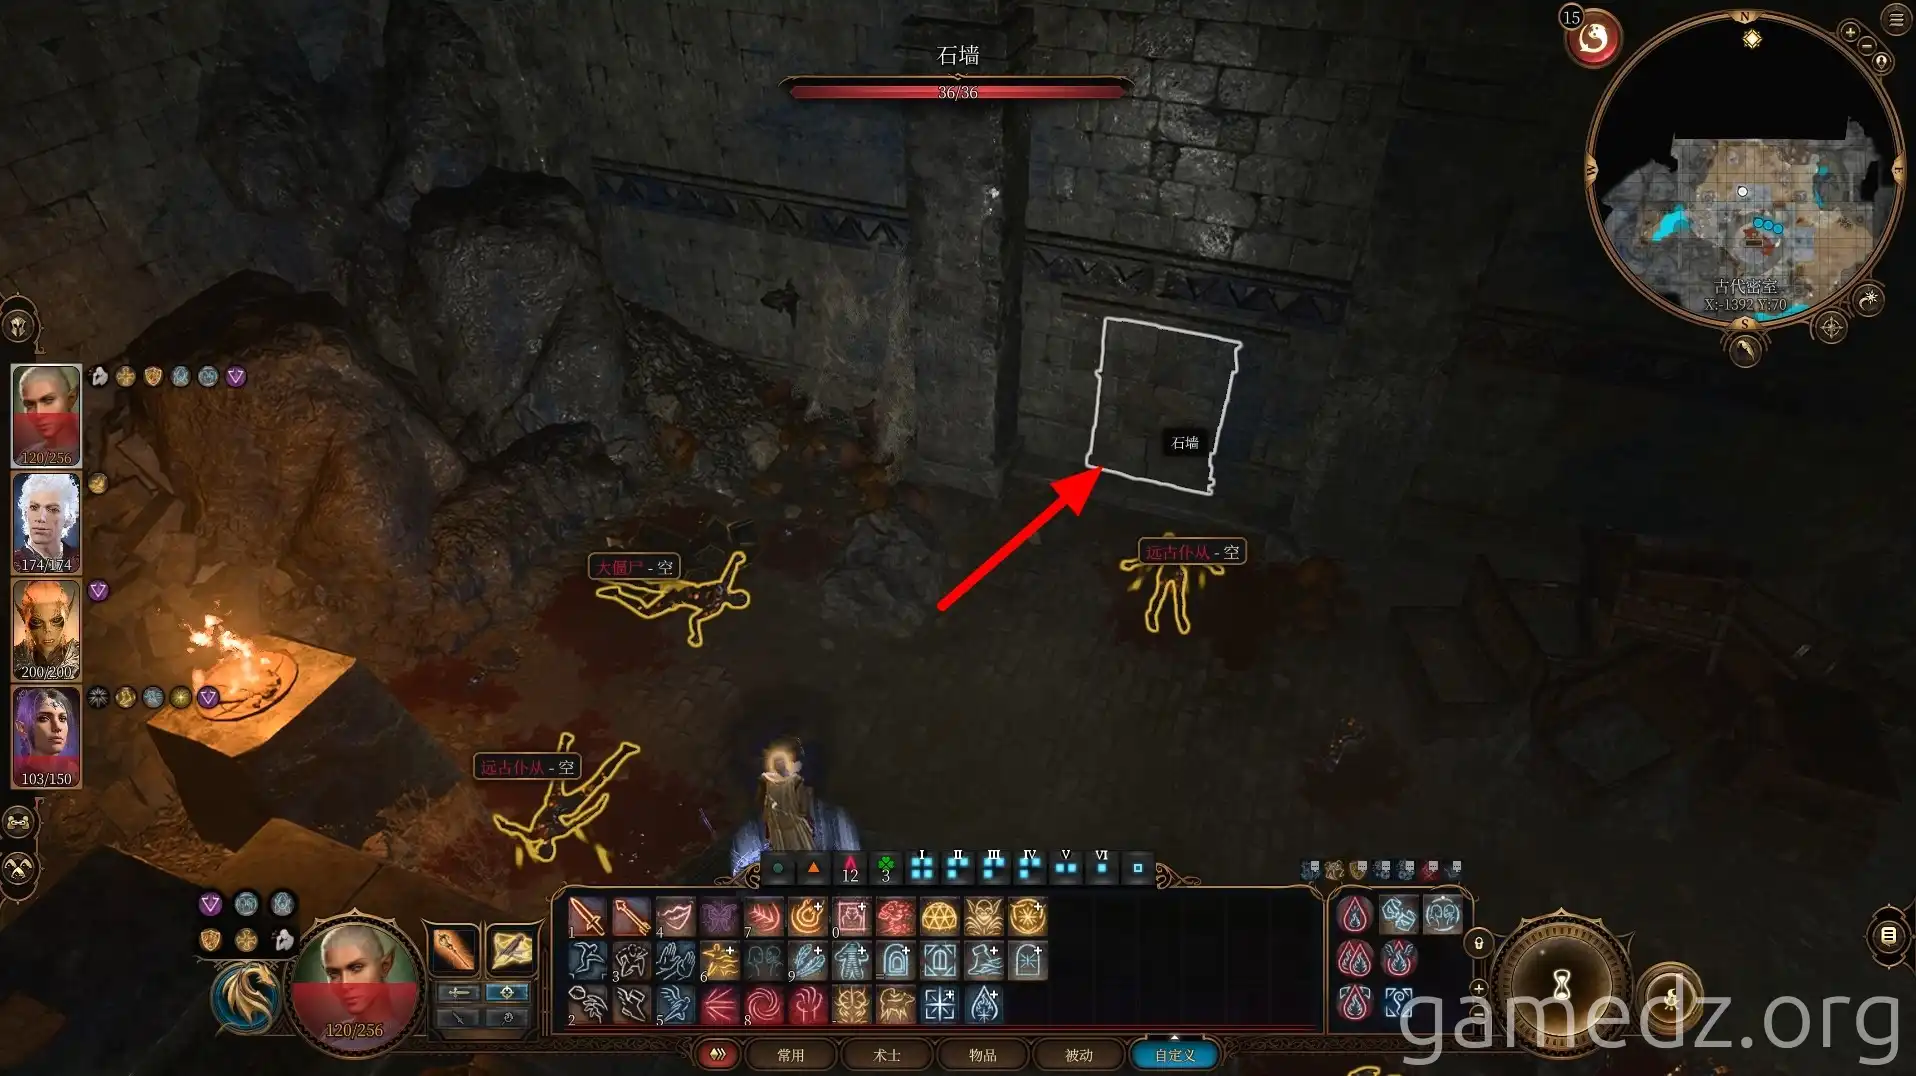
Afterward, proceed to loot the other chests in the room. Then, head north and open the stone wall to access the subsequent room.
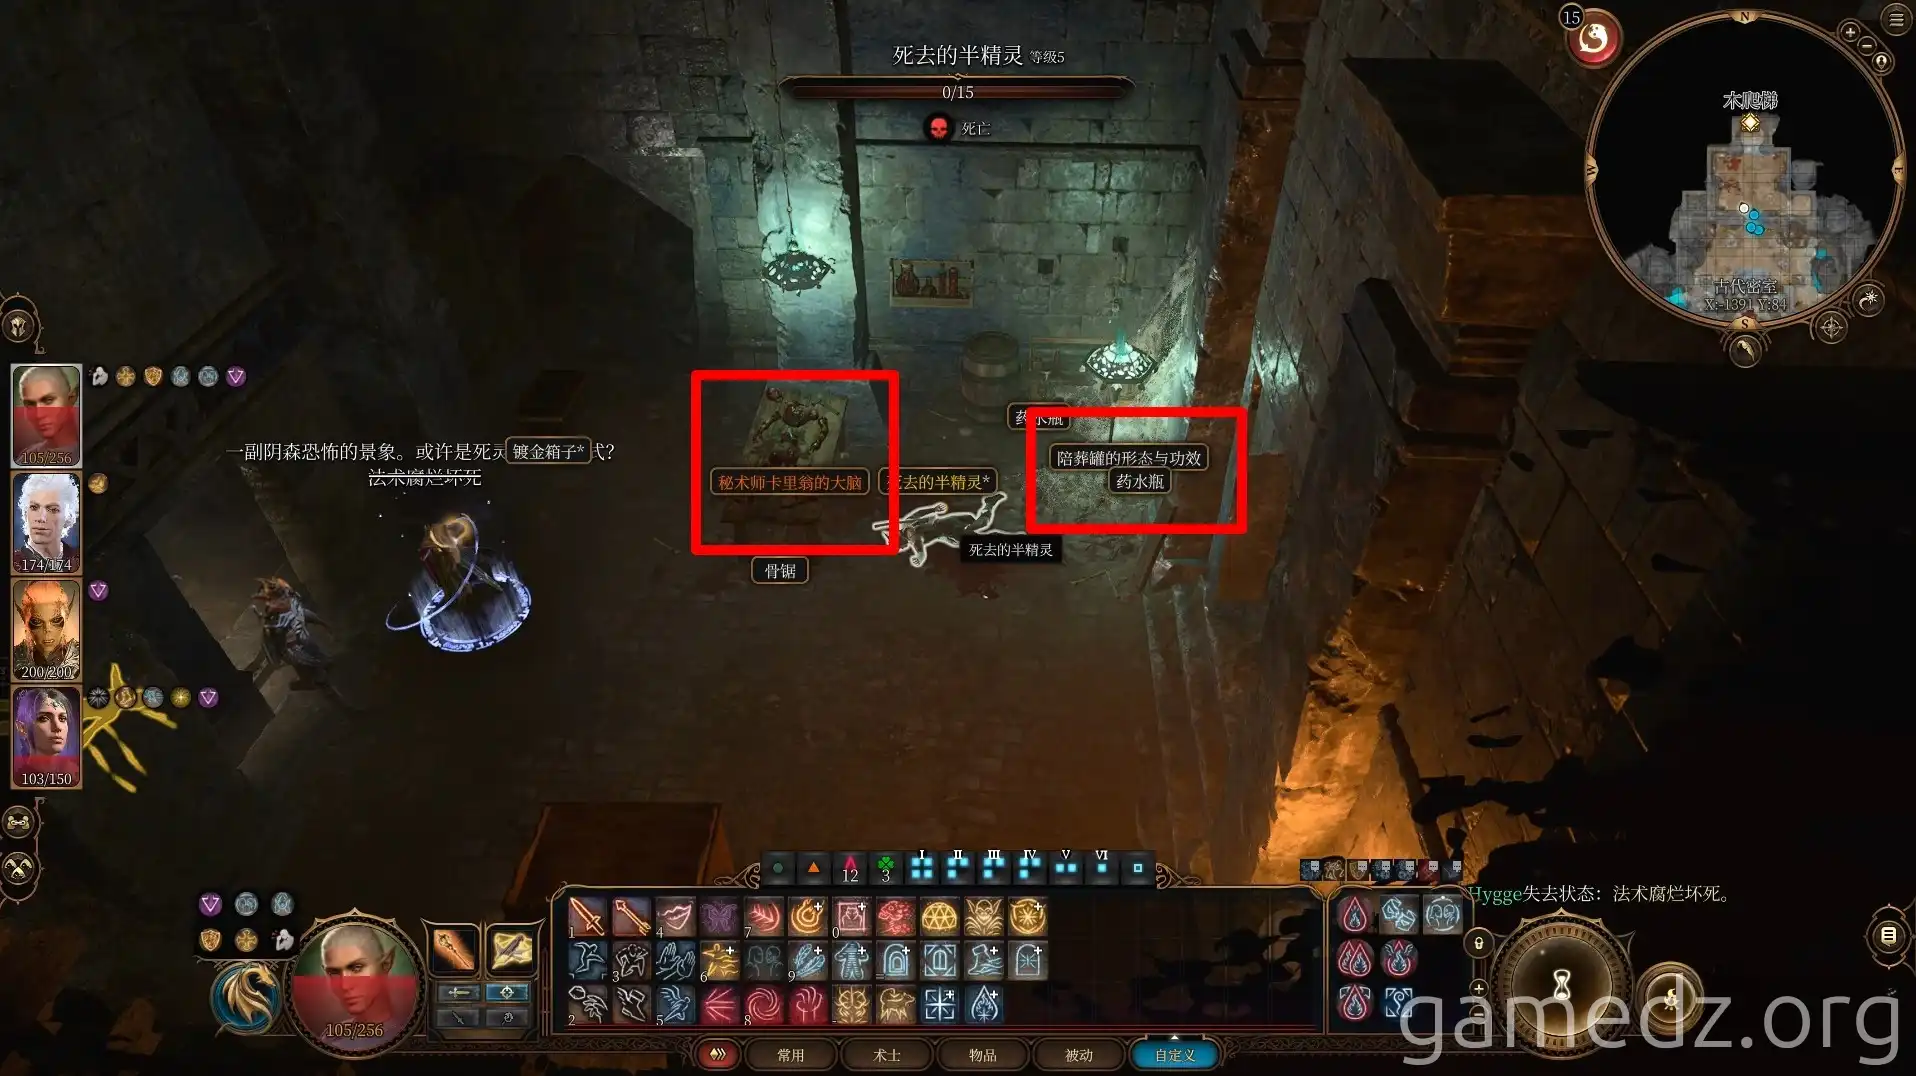
On the table within this room, you'll find Carrion's Brain. Reading the adjacent text, "Form and Function of the Burial Urns," will reveal that the heart is located within Slumberg.
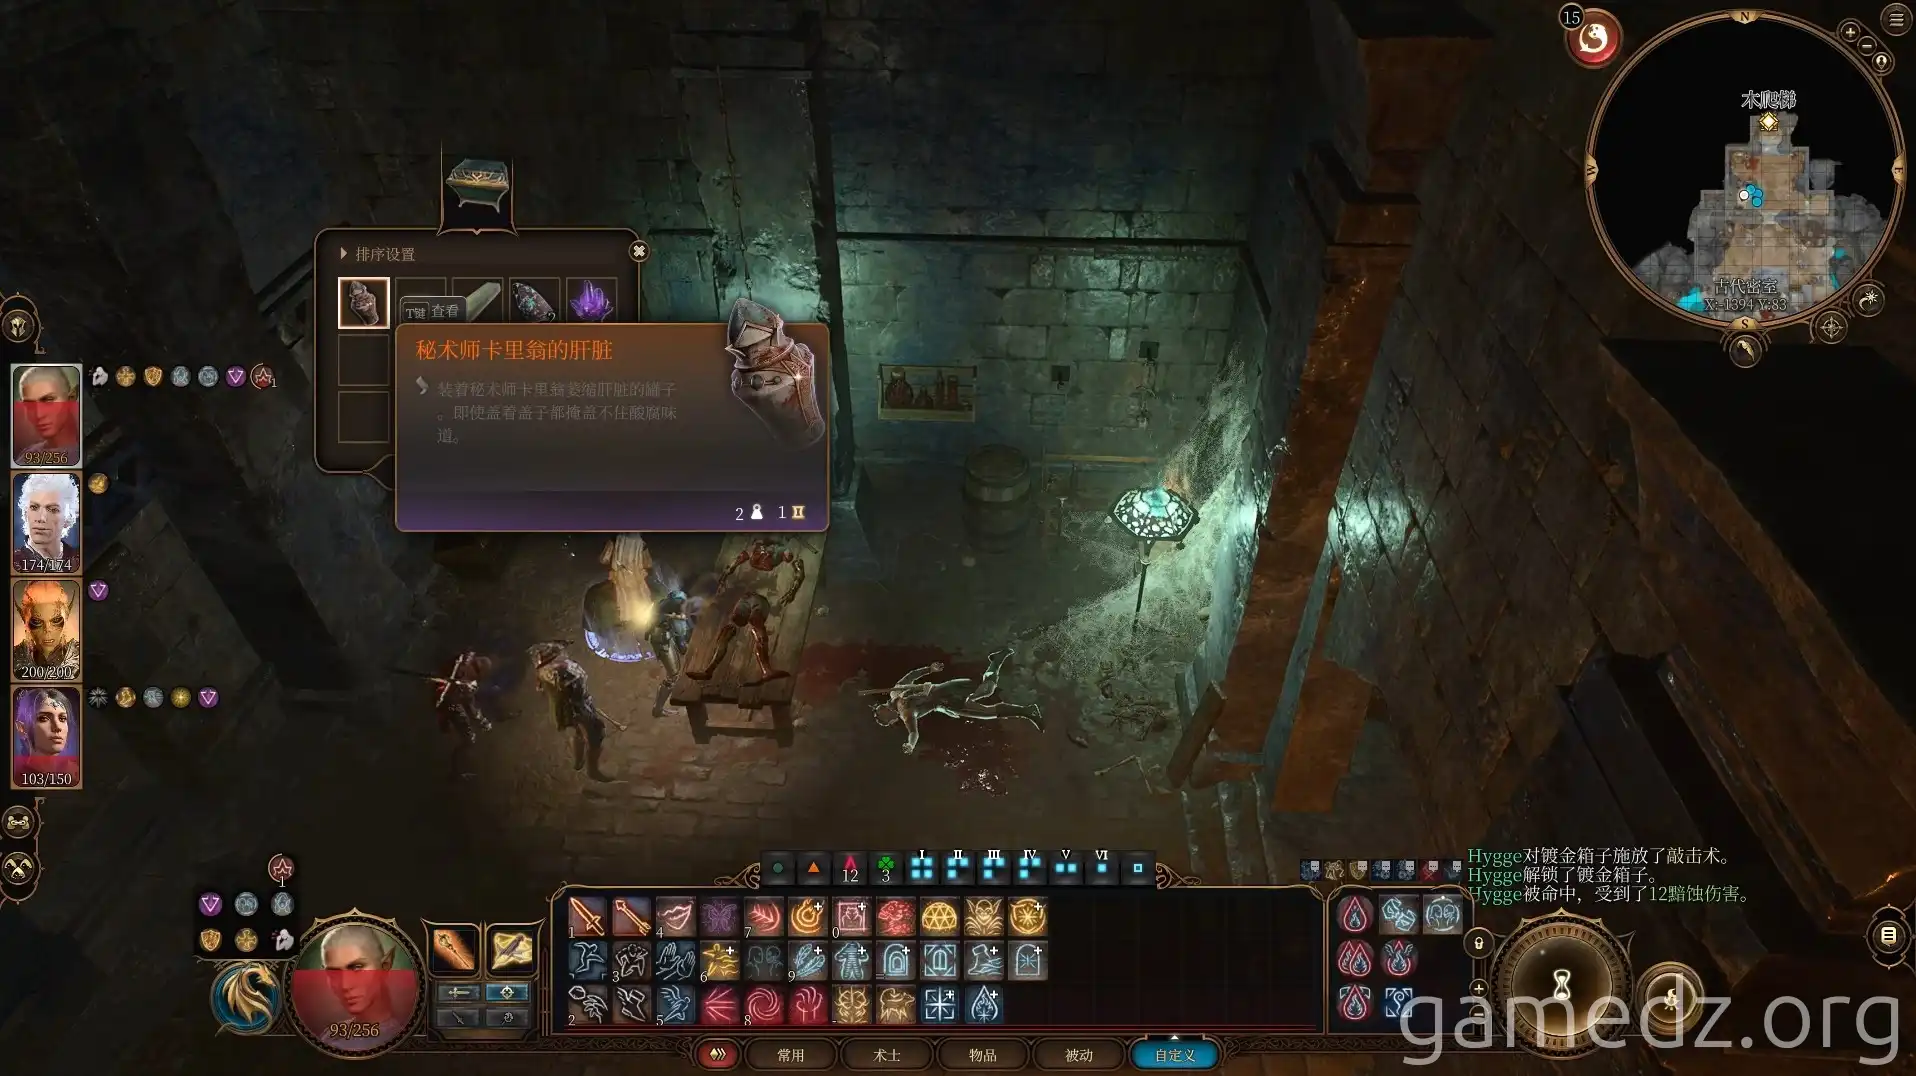
Within the gilded chest next to it, you can acquire Carrion's Liver.
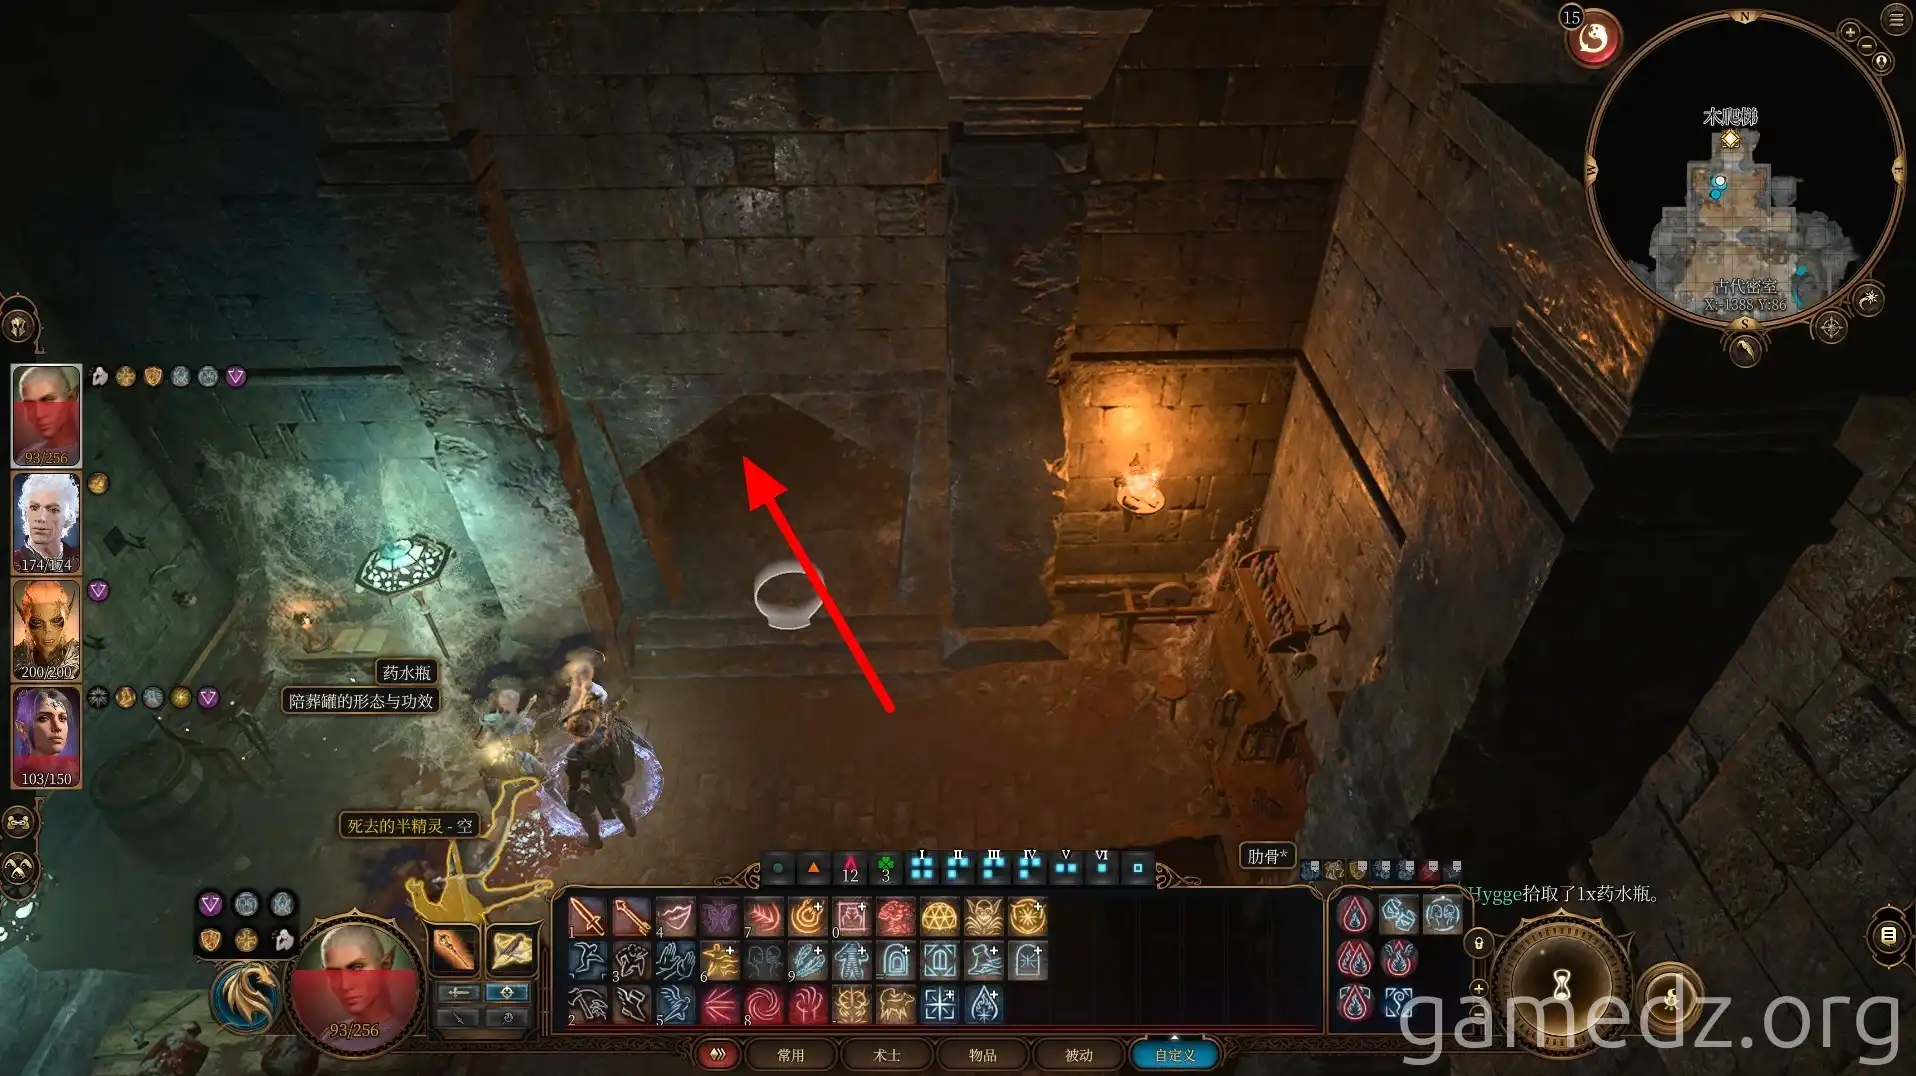
Subsequently, exit the room via the ladder on the opposite side, returning to the area behind Barric.
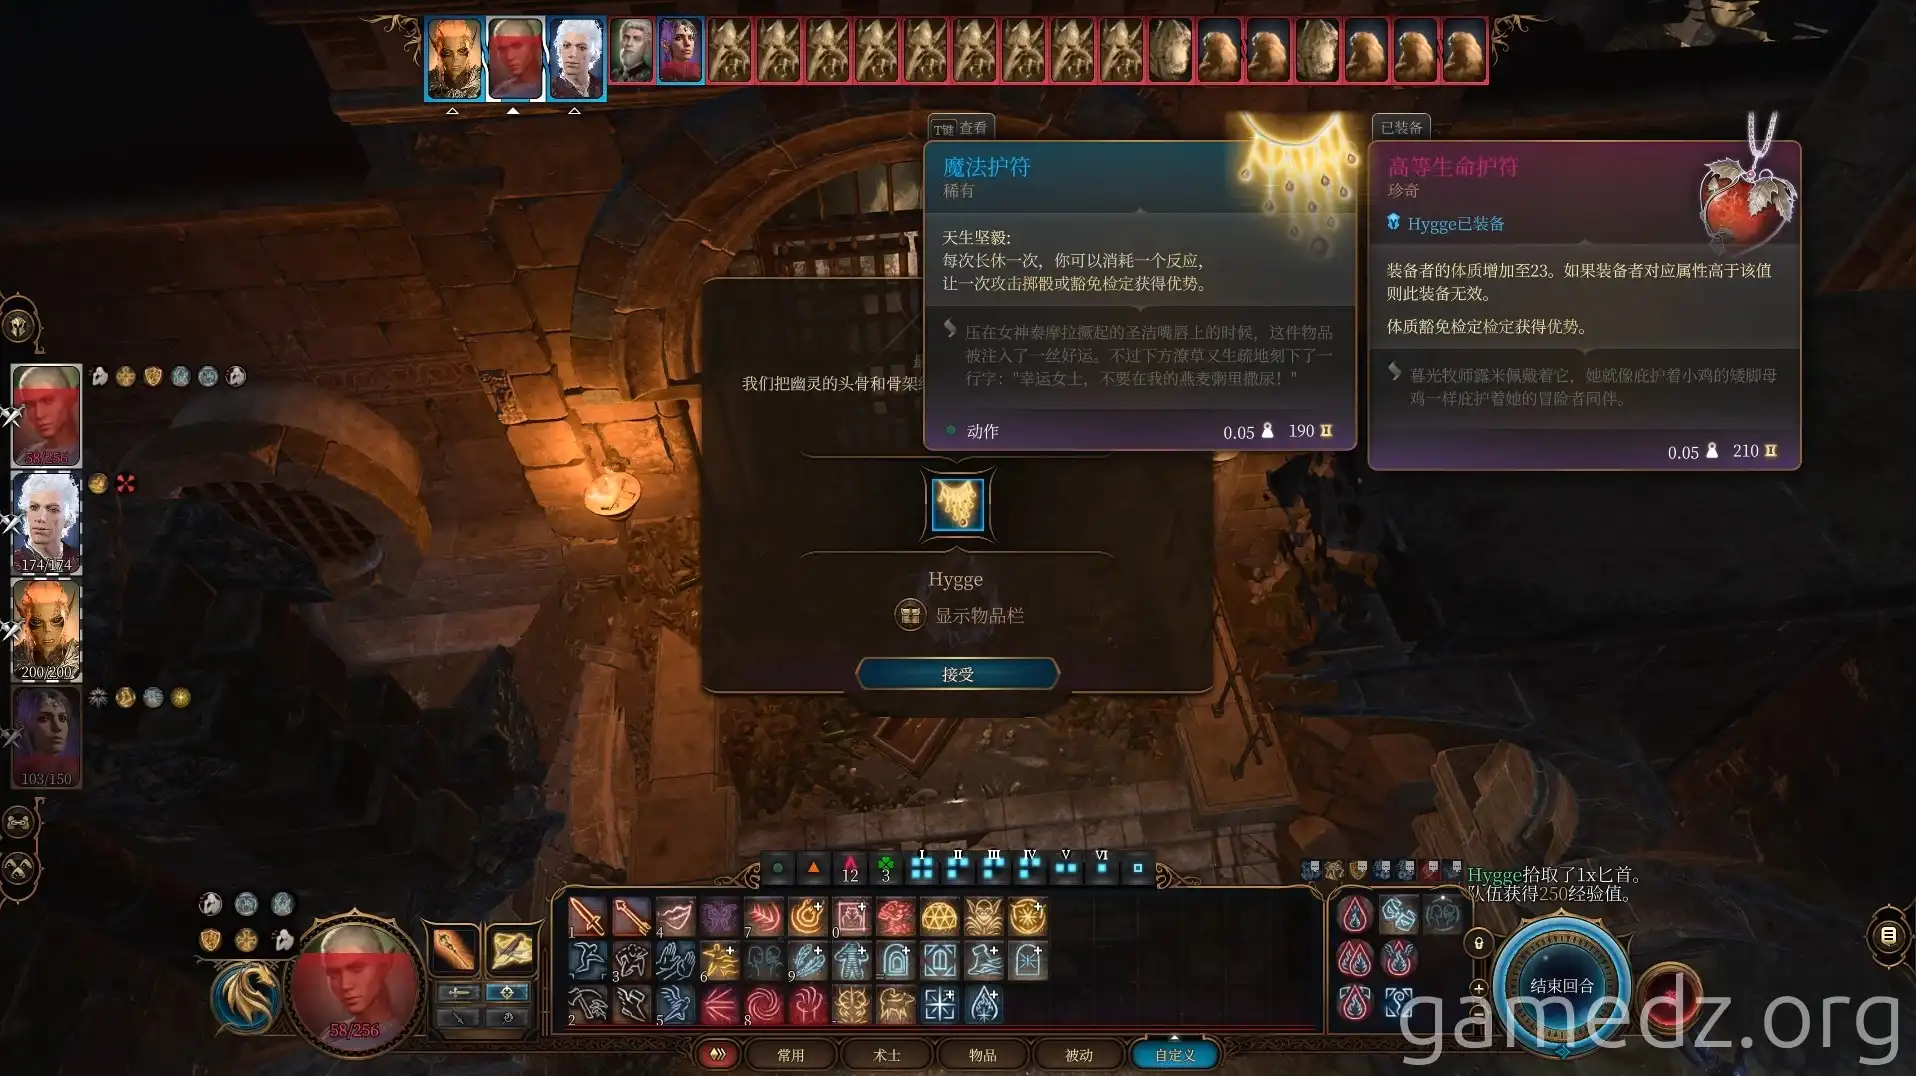
Return to Sahin's skeleton and place the skull you just acquired into the coffin. This action will reward you with the rare accessory, the "Amulet of the Devout."
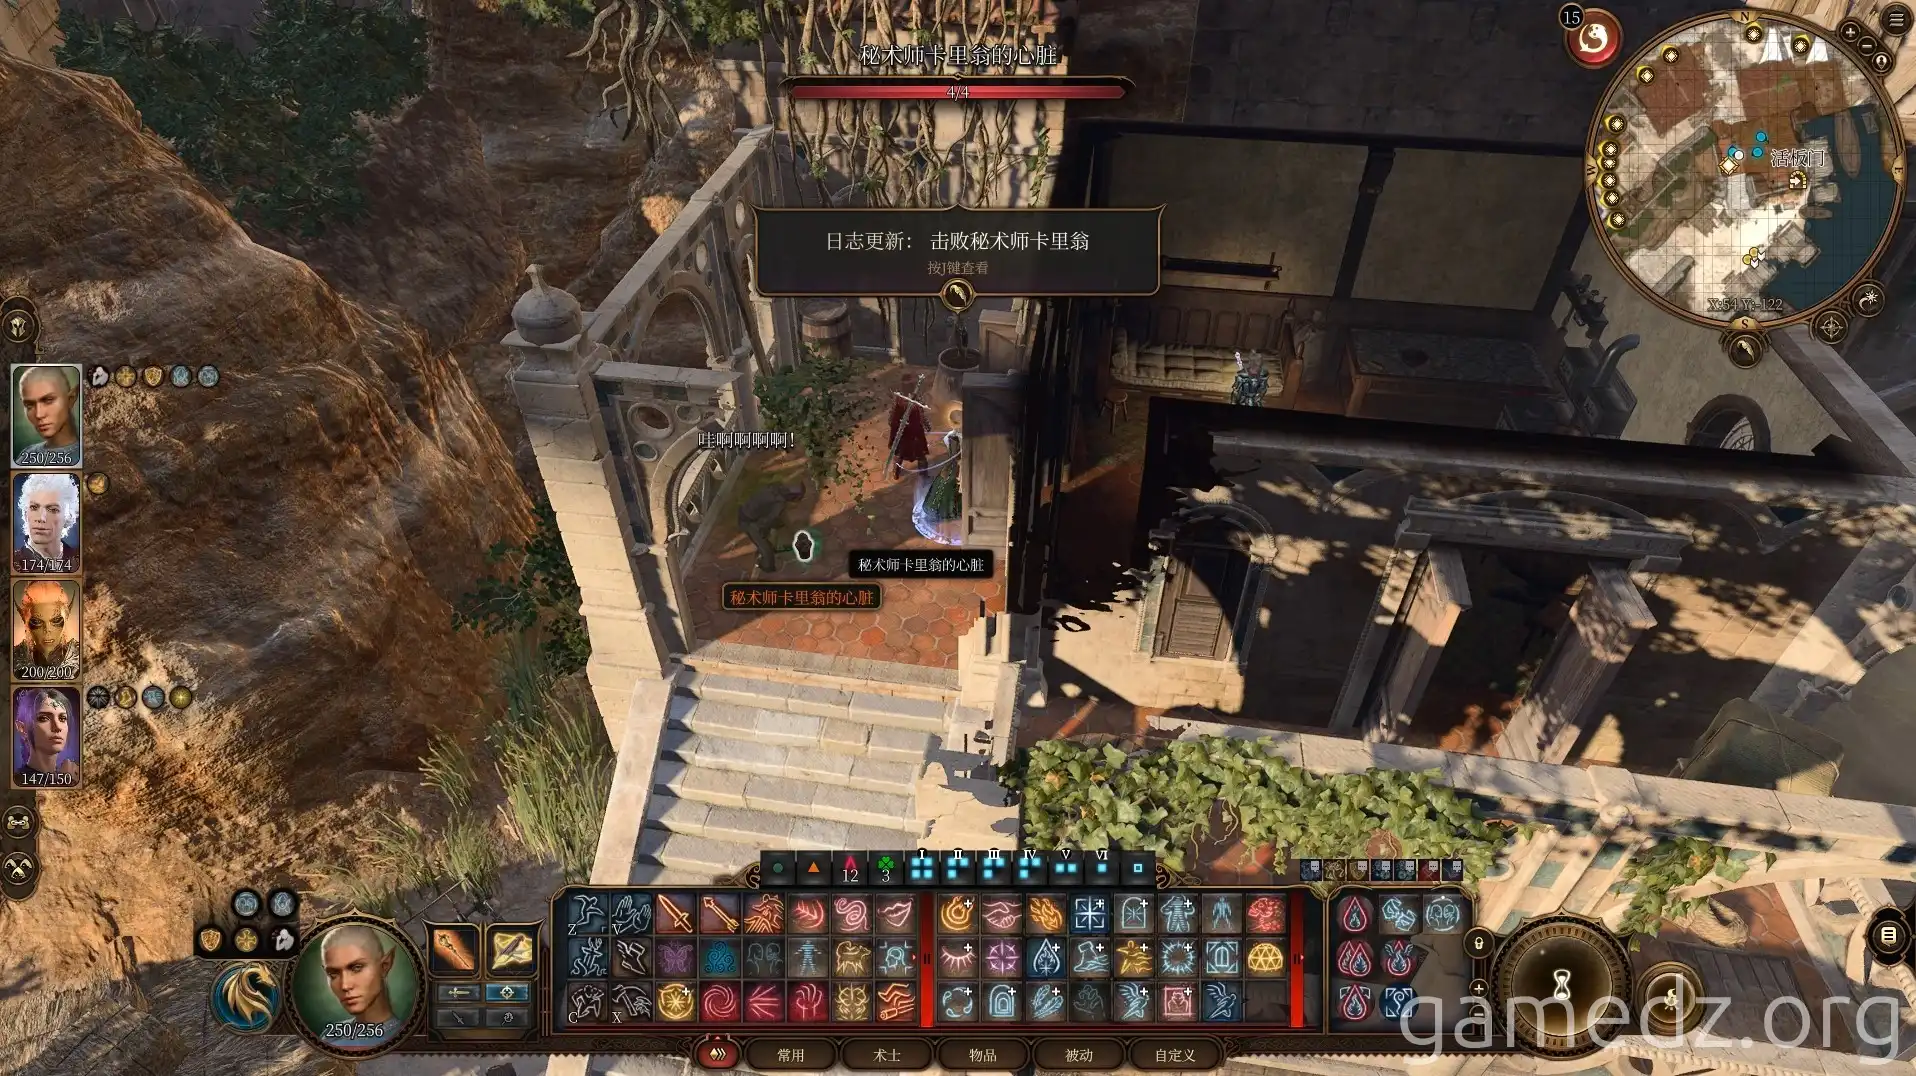
Head back to the beach and converse with Slumberg. He will then regurgitate Carrion's Heart.
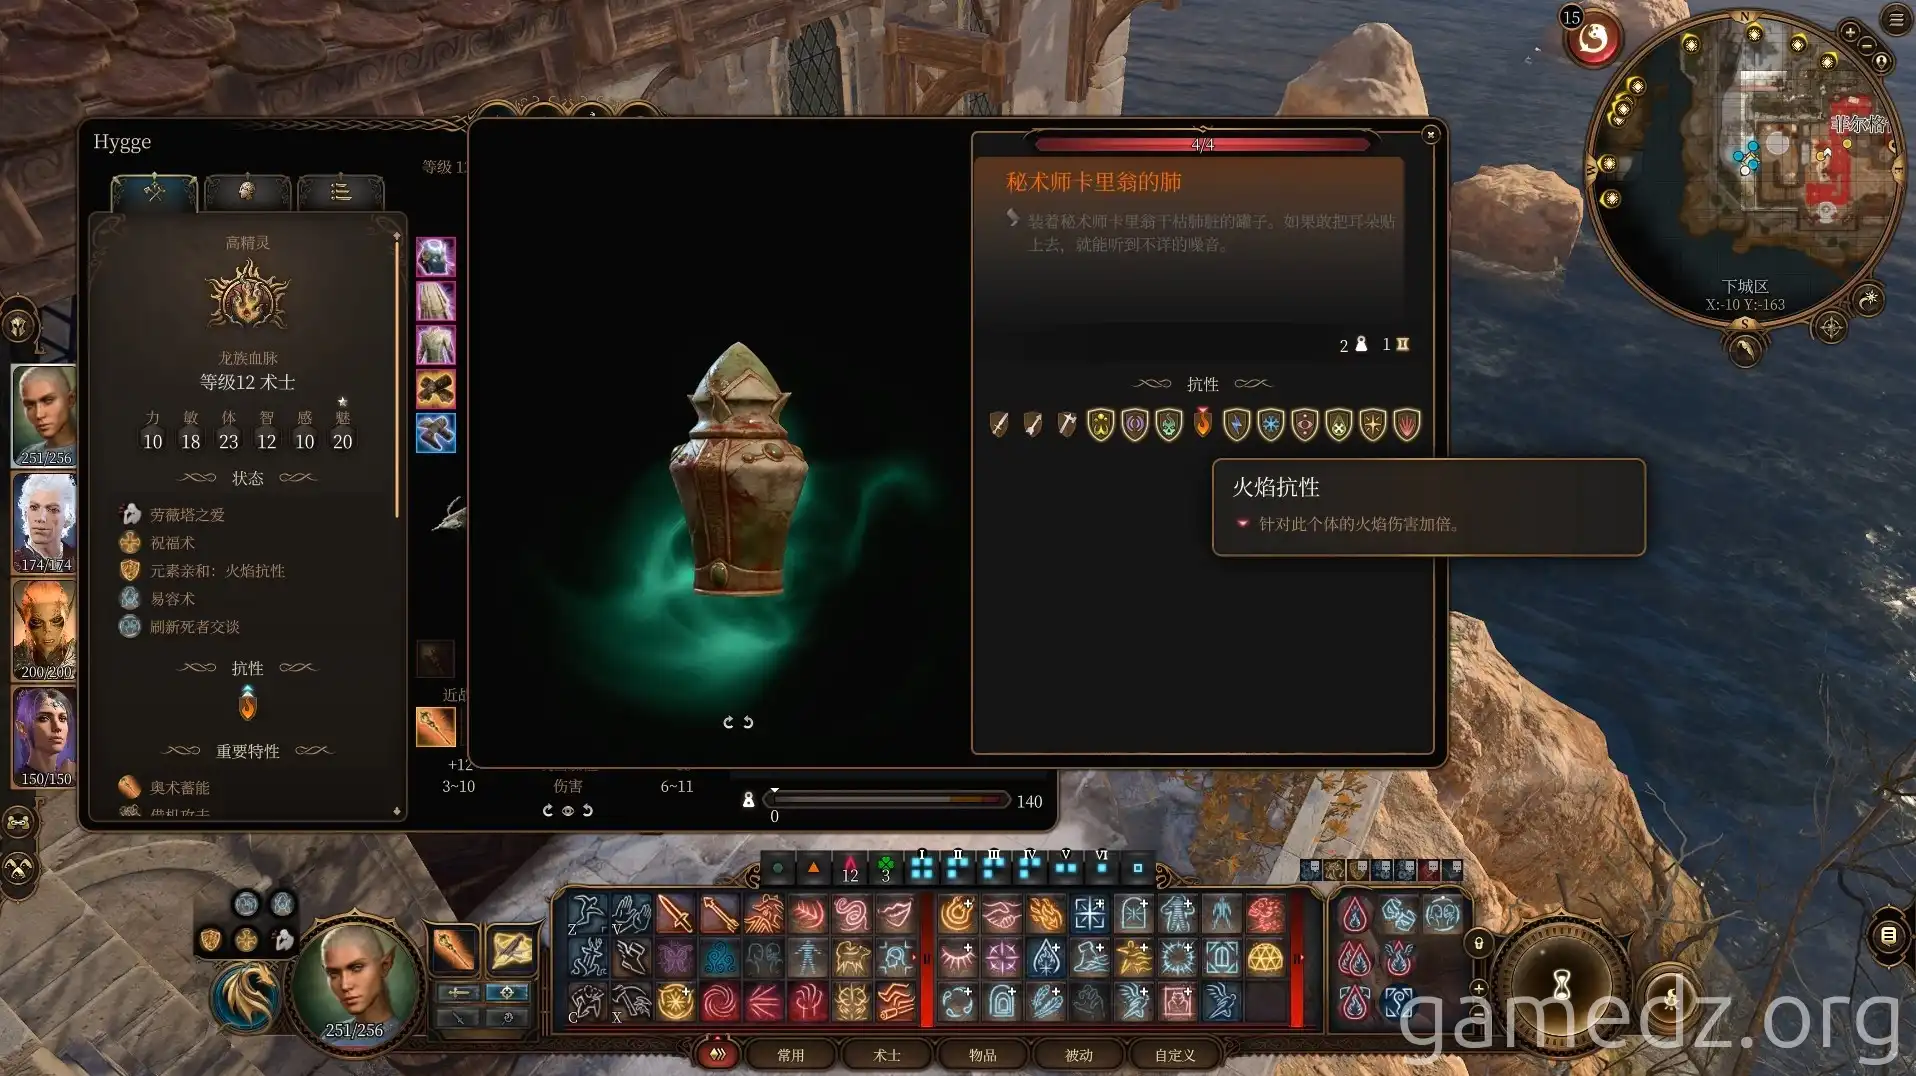
The urns are susceptible to fire and will explode when destroyed. It is highly recommended to utilize fire-based ranged attacks to obliterate all four urns.
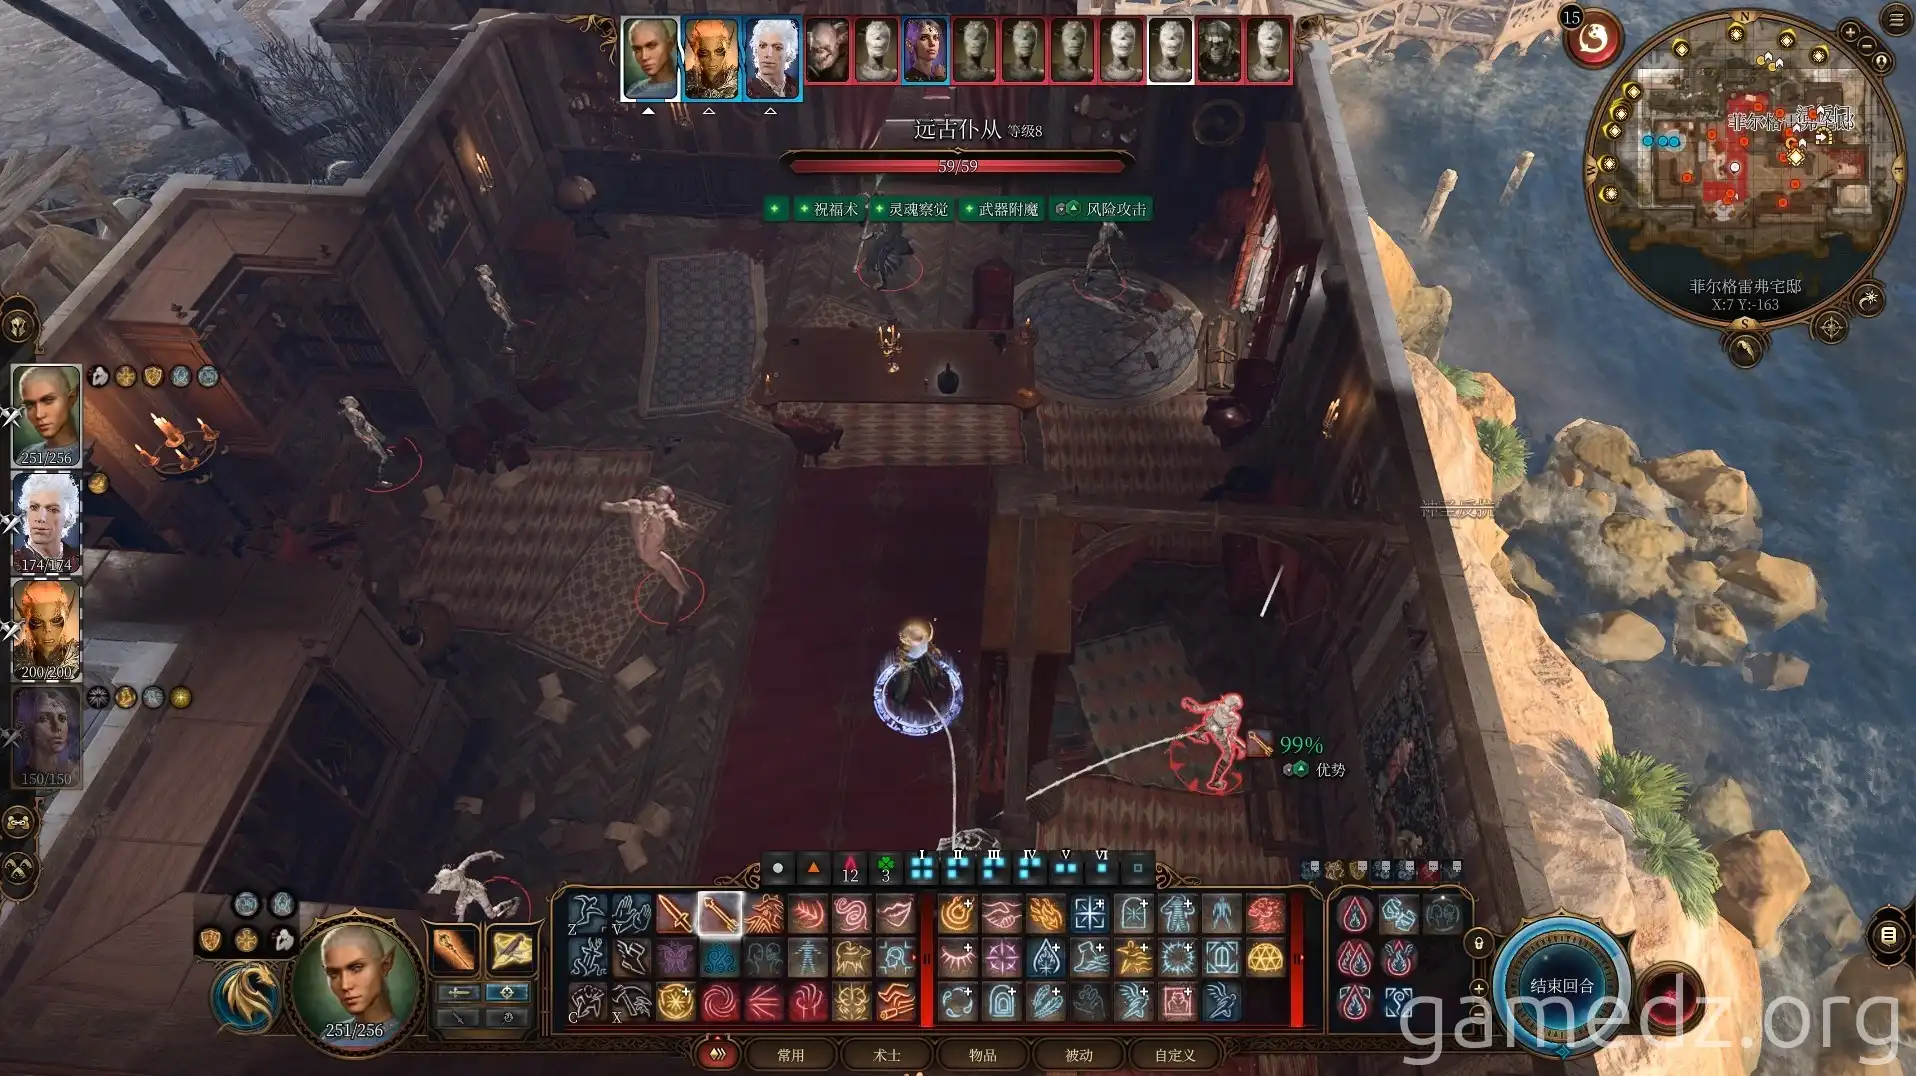
Following this, proceed to Carrion's Manor to confront him. Engage and defeat Carrion along with his numerous minions.
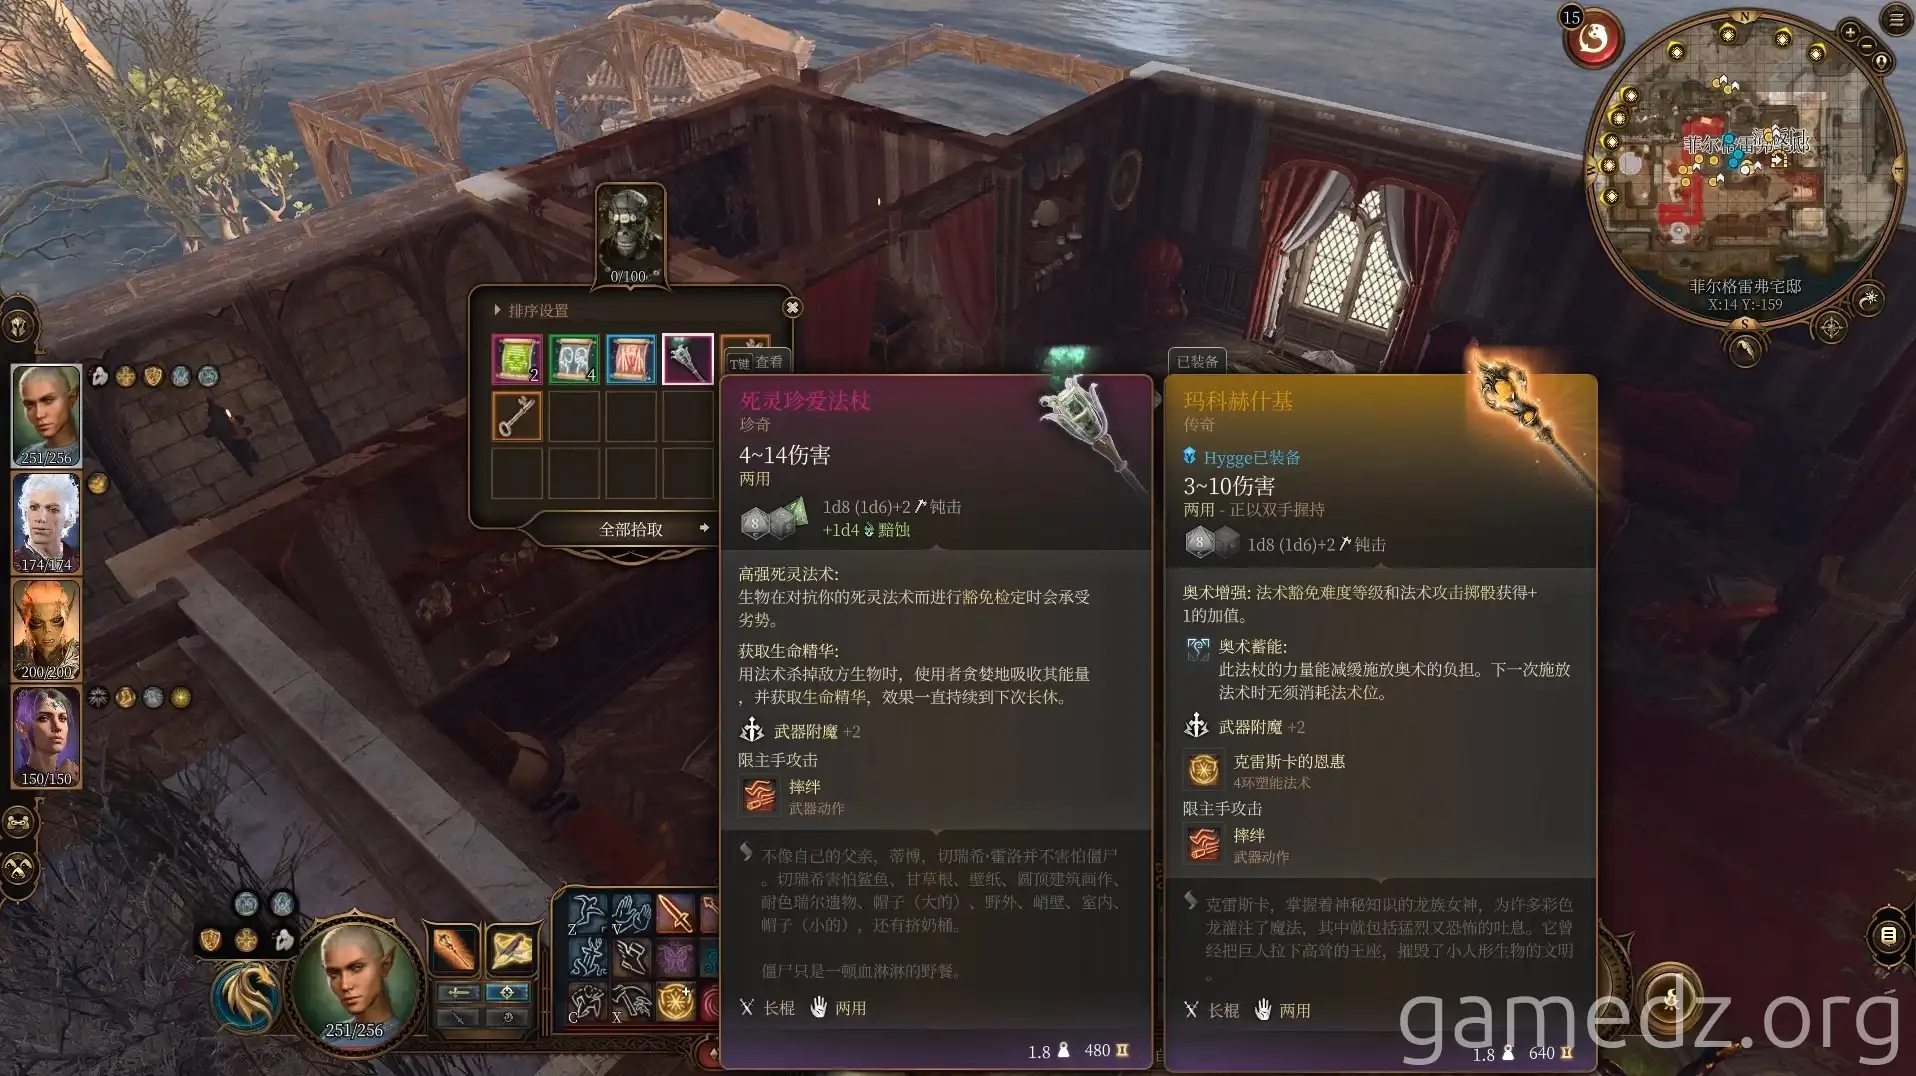
Upon defeating Carrion, you will obtain the exotic weapon known as the "Necrotic Grasp Staff."
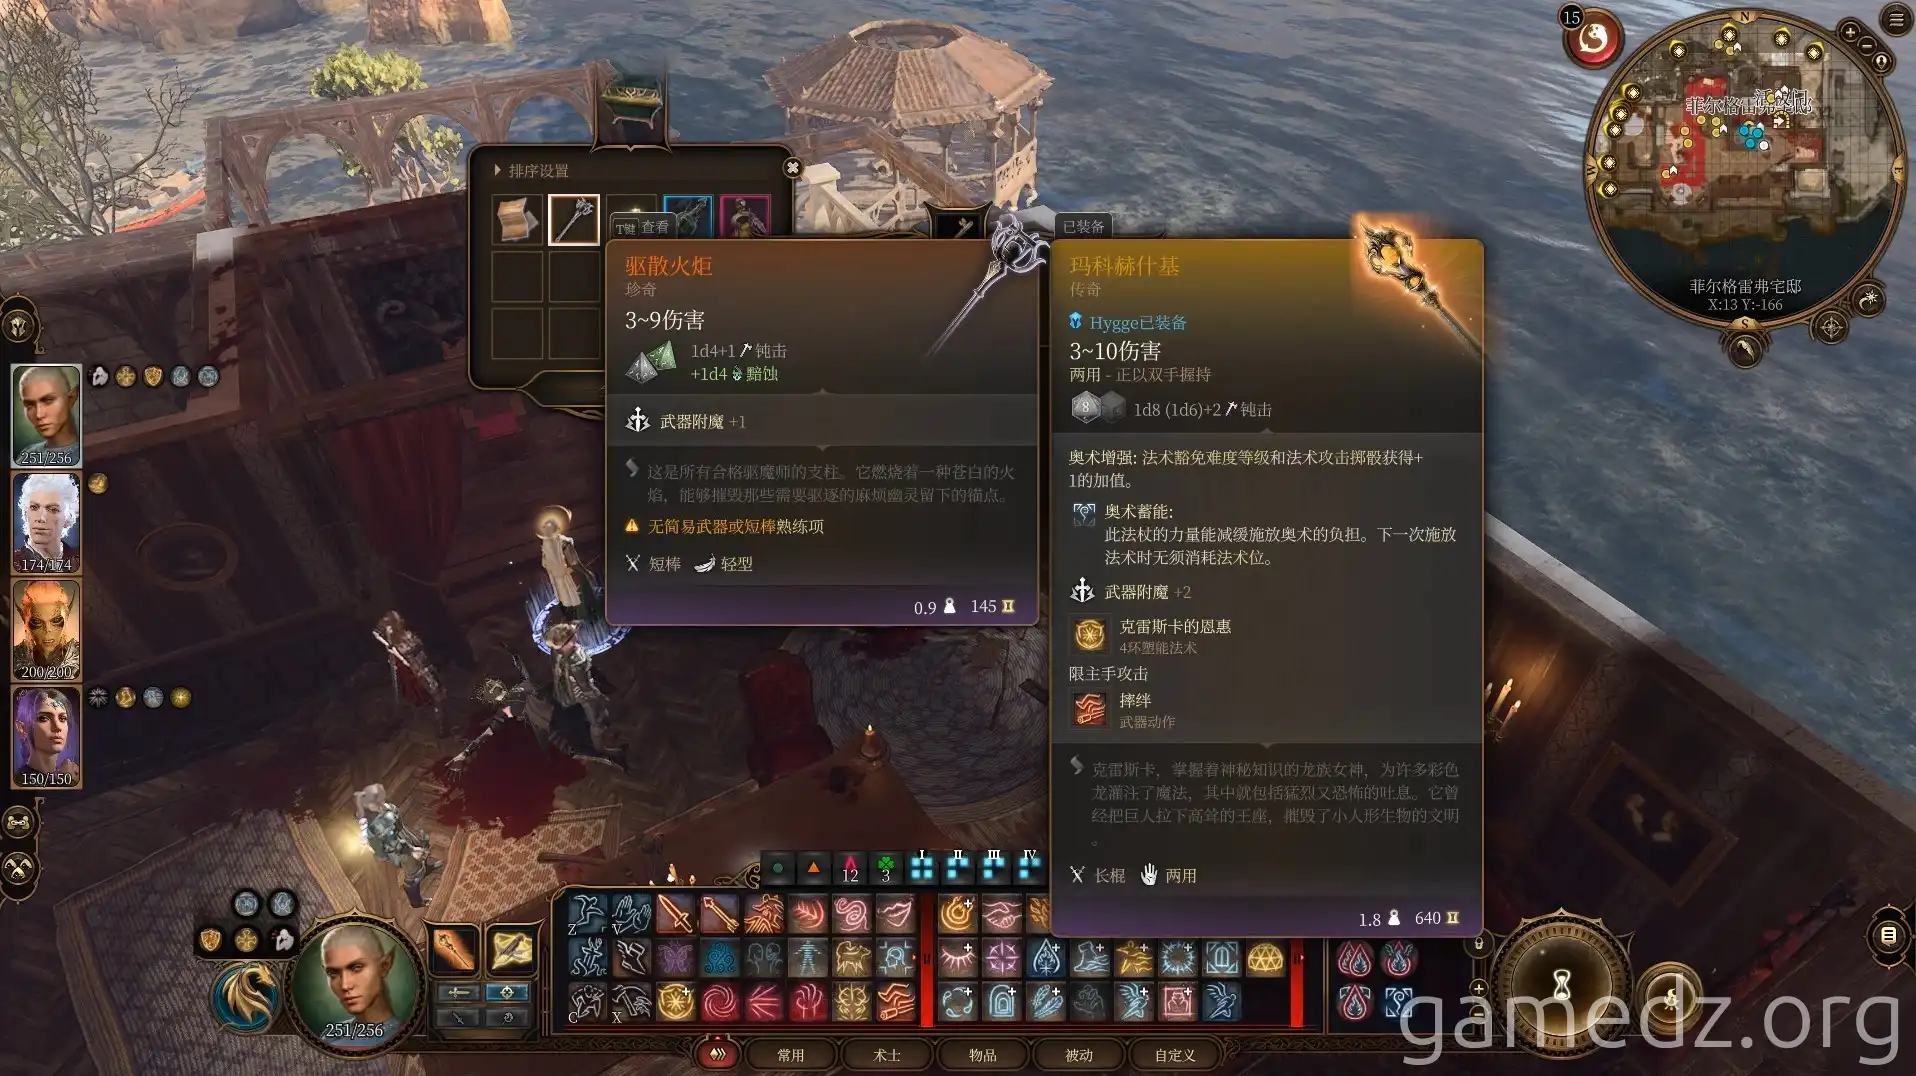
Within the chest located behind him, you will find another exotic weapon, the "Dispelling Torch."
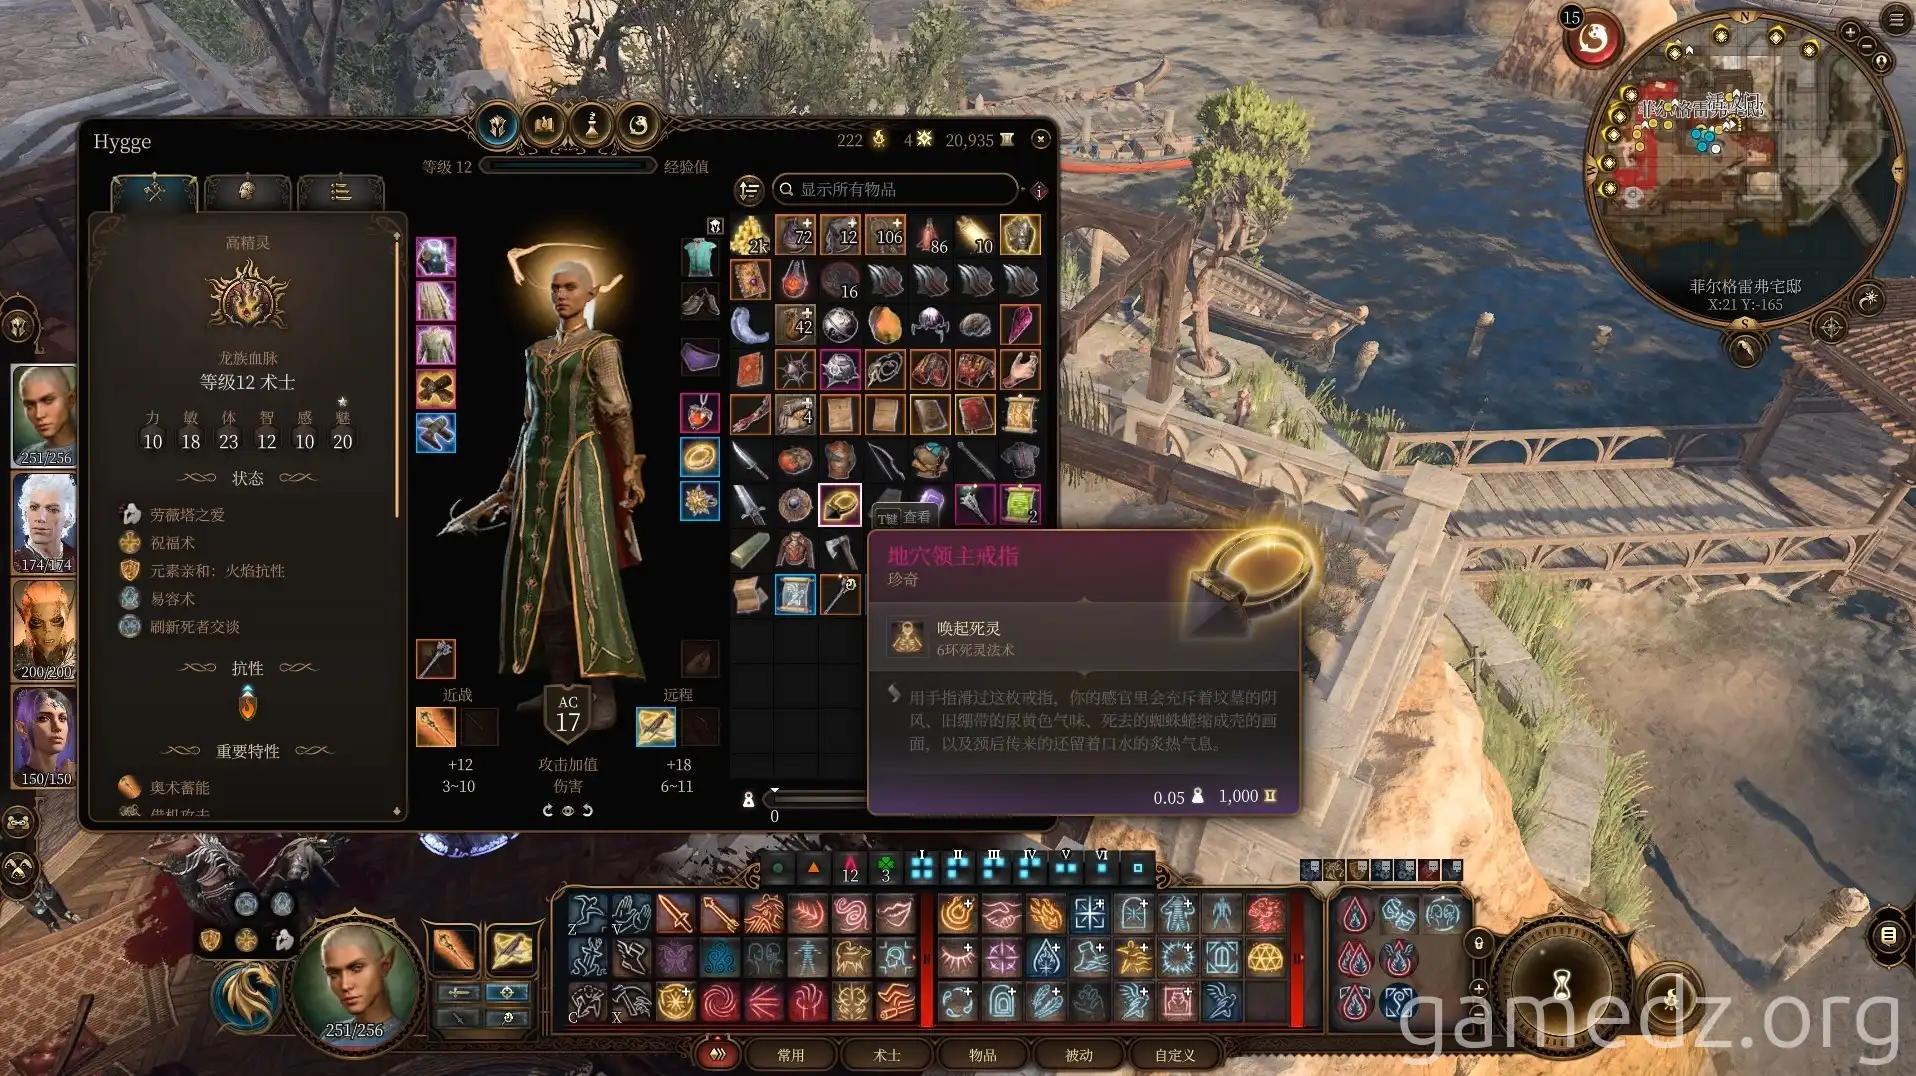
After vanquishing Carrion, Slumberg, as a gesture of his gratitude, will bestow upon you the exotic ring "Ring of the Crypt Lord," which comes equipped with a 6th-level Necromancy spell. Slumberg will then assume control of Carrion's shop.

