Baldur's Gate 3 Lower City Walkthrough: Counting House & Vaults
This Baldur's Gate 3 walkthrough covers the Lower City, focusing on the Counting House. It details how to explore, find hidden items, unlock vaults, and defeat enemies, including Minsc.
Welcome back, adventurers! This guide continues our deep dive into Baldur's Gate 3's Lower City, focusing on the intricate exploration of the Counting House and its hidden secrets.
Navigating the Counting House
After leaving the Anti-Goblin Support Group, make your way west towards the Counting House. Upon arrival, speak with the Steward, Midhonny, to secure a pass.
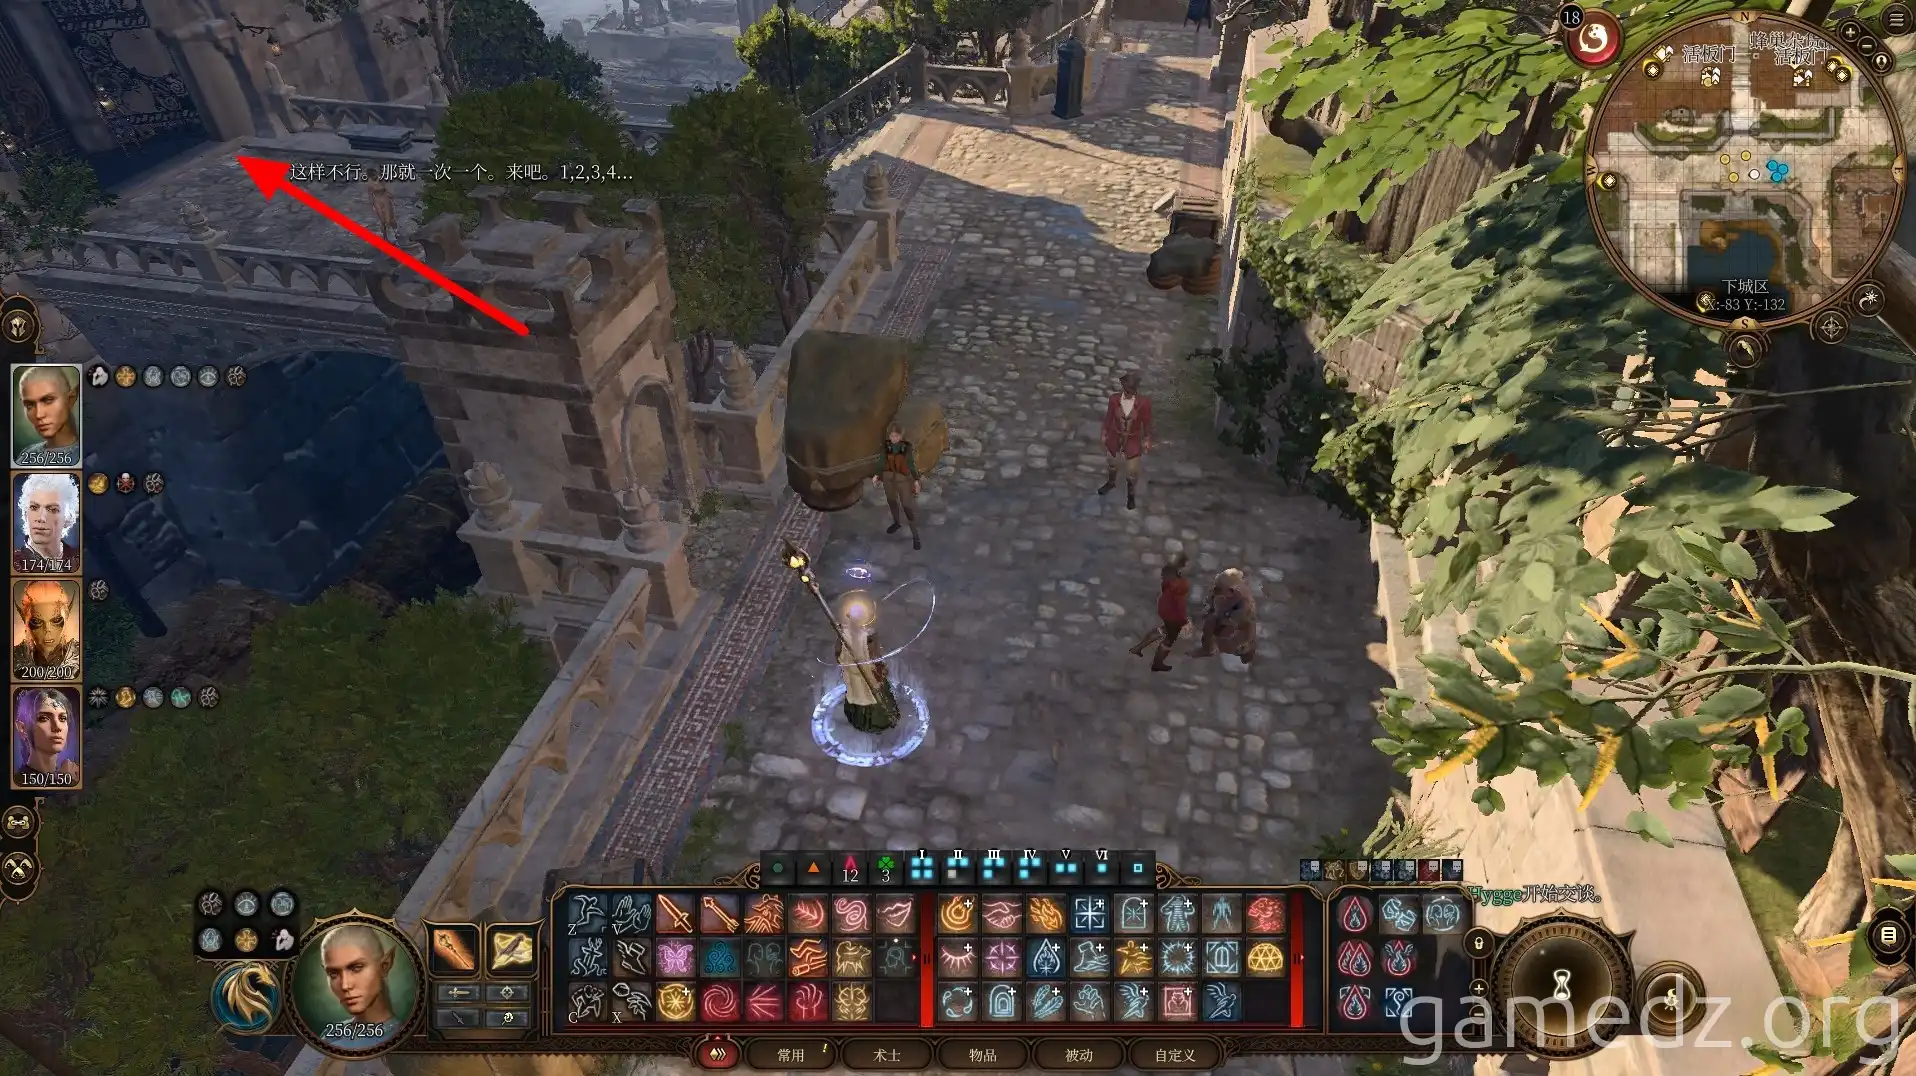
Ascend to the second floor. While your pass grants access, bypassing the guards to reach the Chief Banker's office will require a bit of stealth or invisibility.
Skip the door beneath the stairs, as it leads to an area with no significant loot.
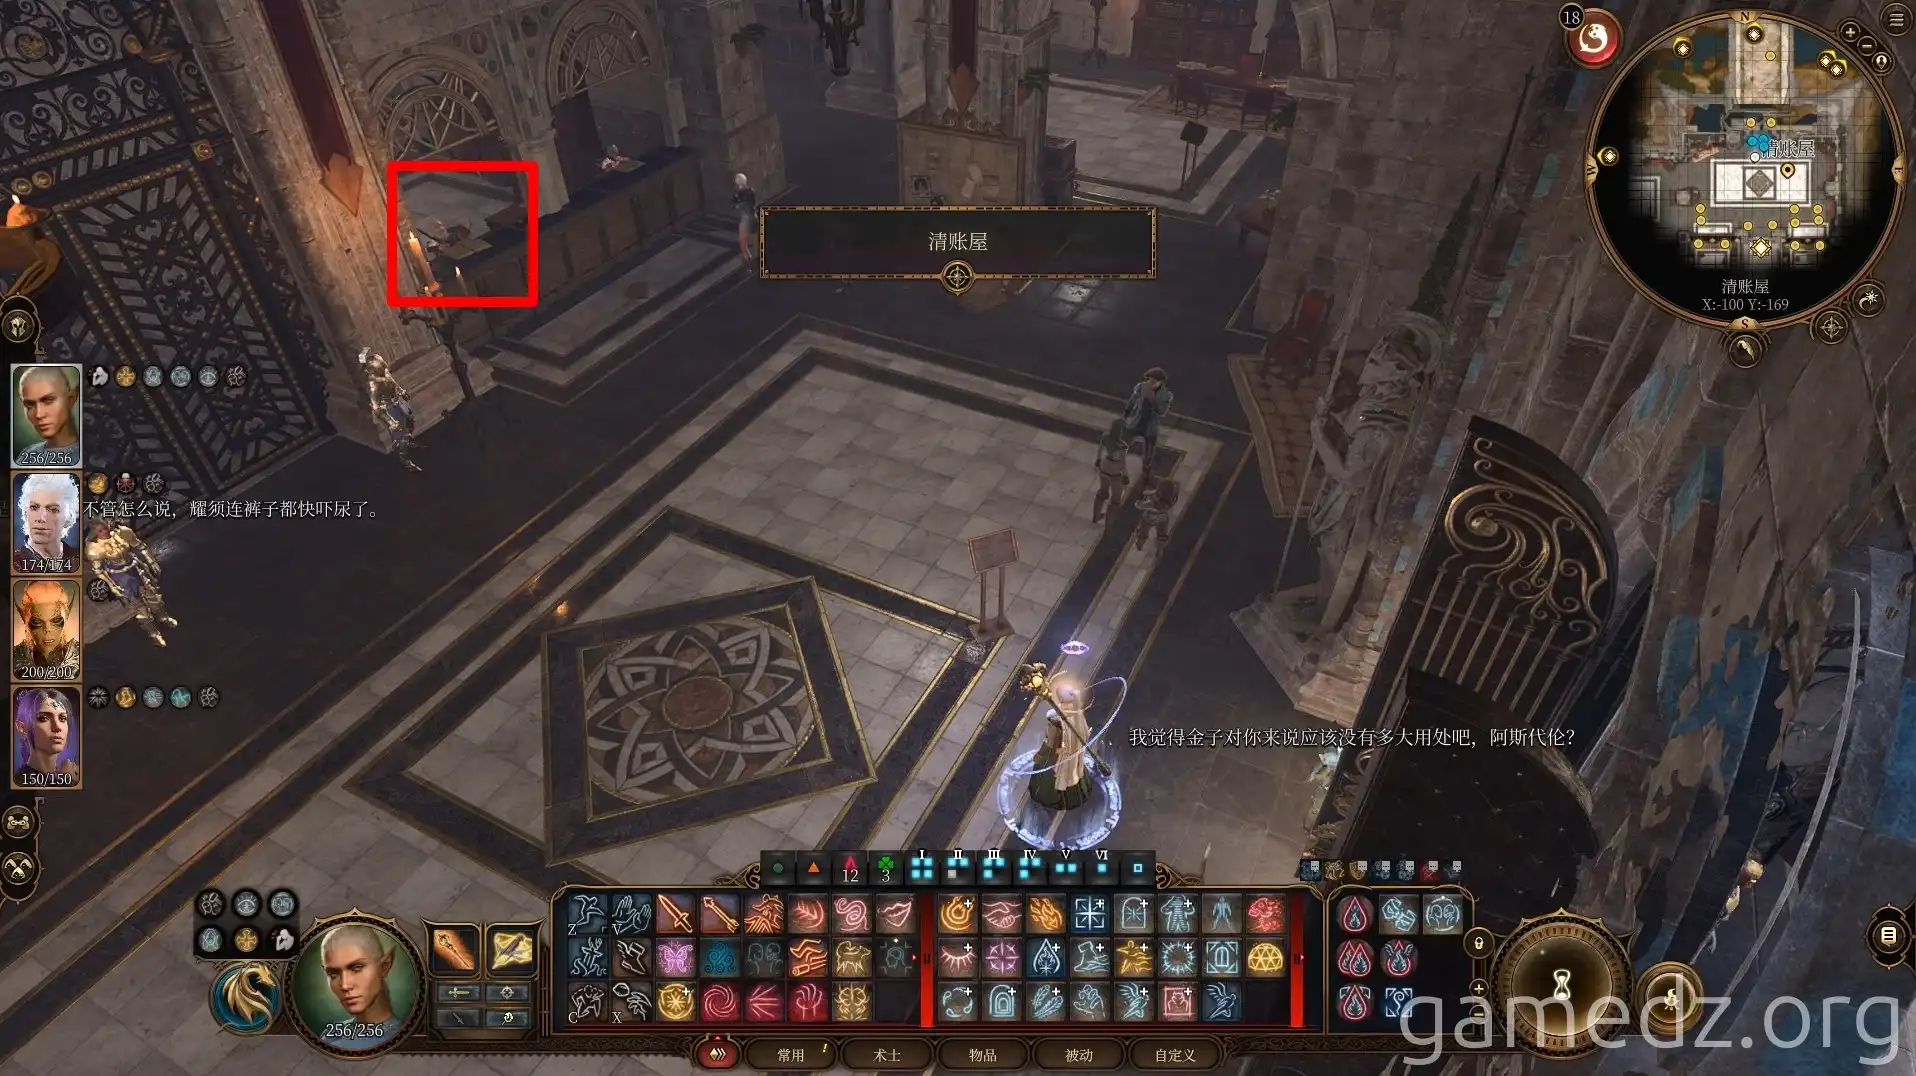
Inside the Chief Banker's office, you'll discover the vault password: 1356. This code is crucial for later access, even if you can't use invisibility to reach it now.
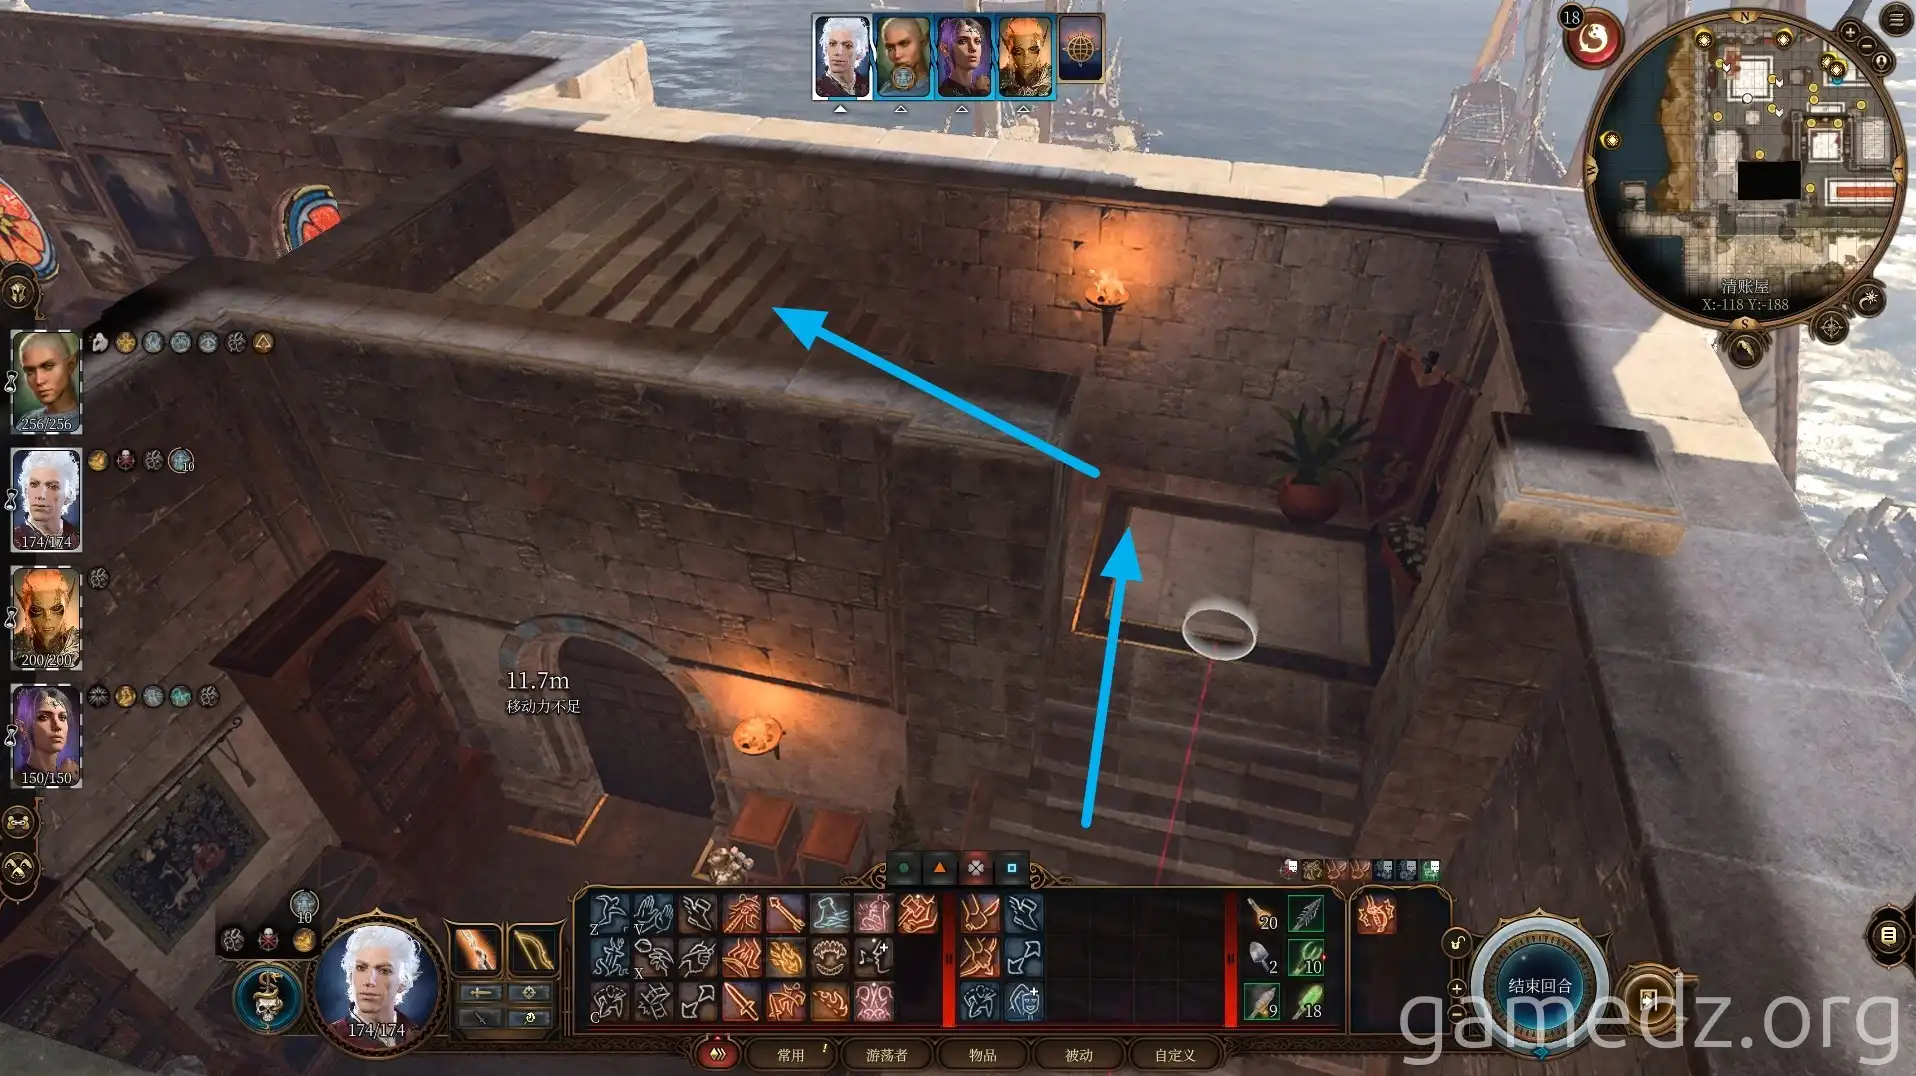
Return to the first floor and proceed through the main lobby door.

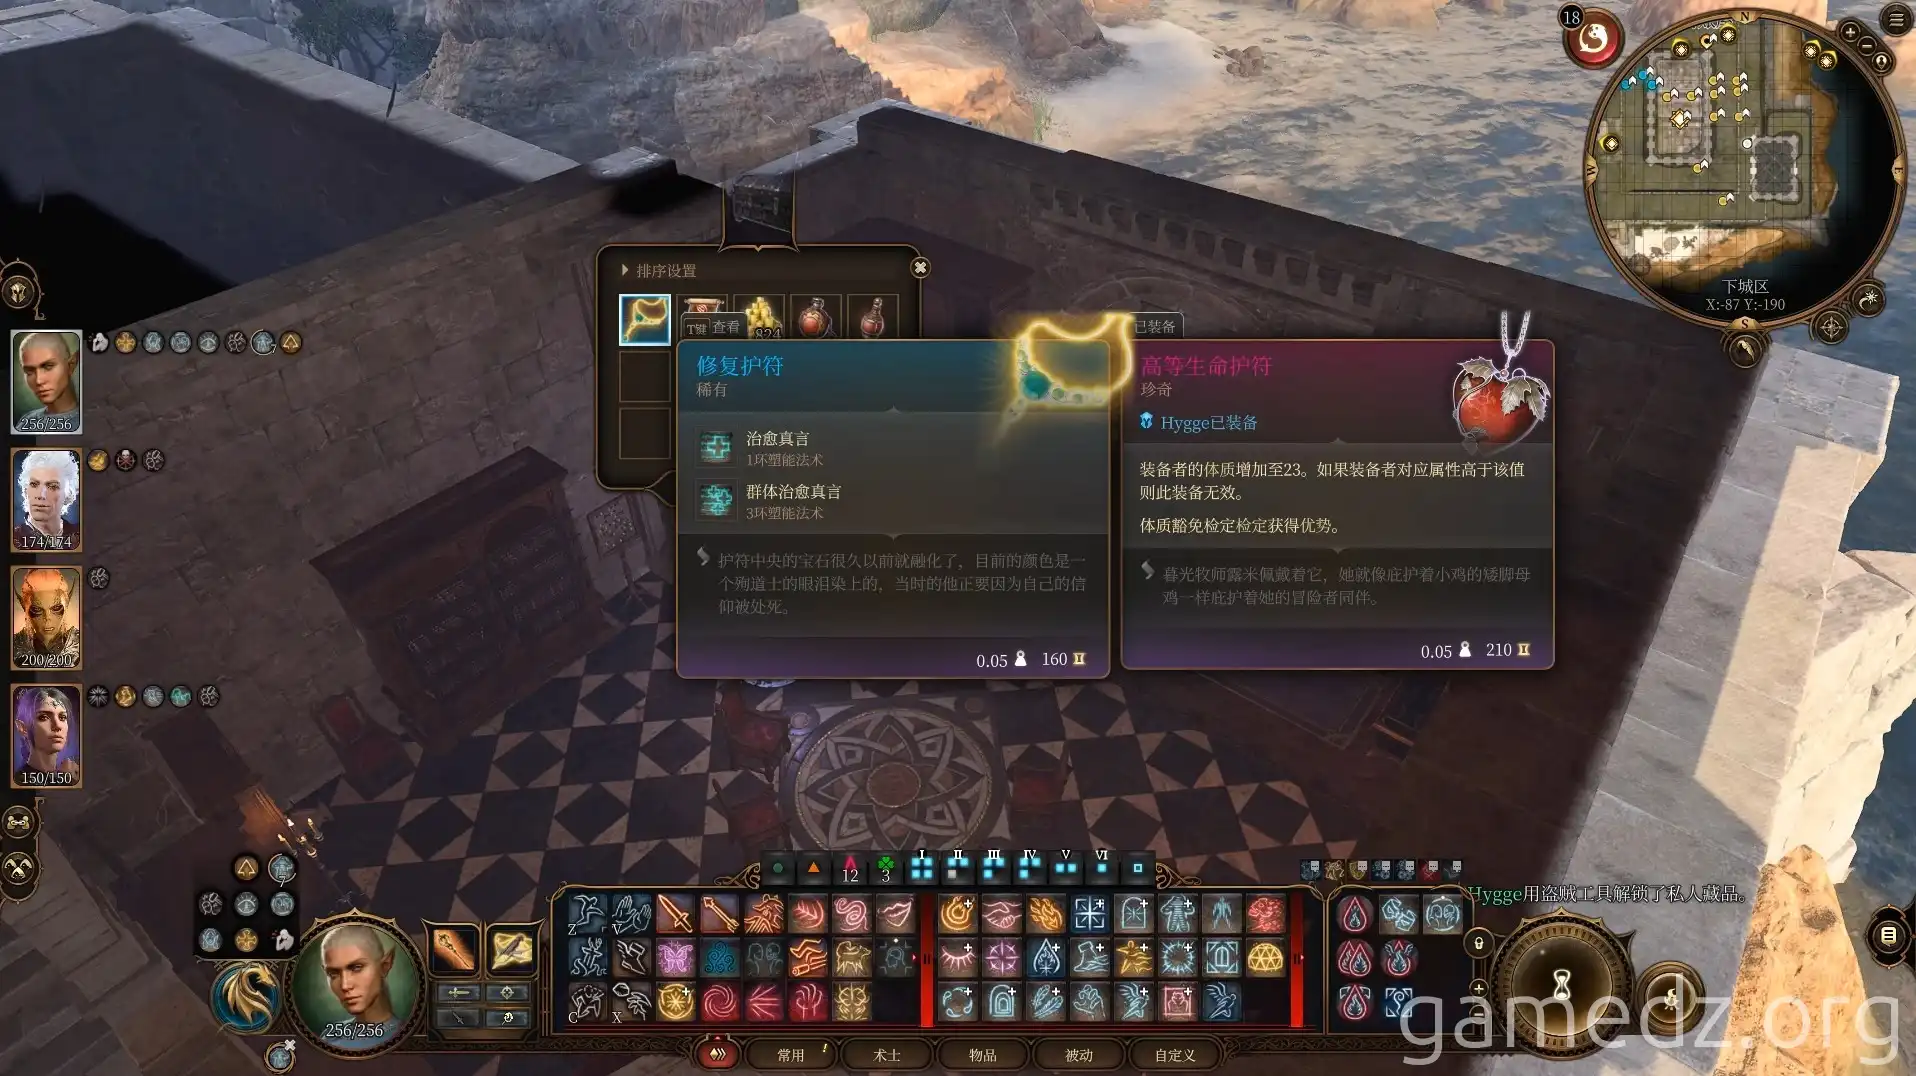
In the southeast corner of the lower level, you'll find the valuable Amulet of Restoration and over a thousand gold coins in a chest.
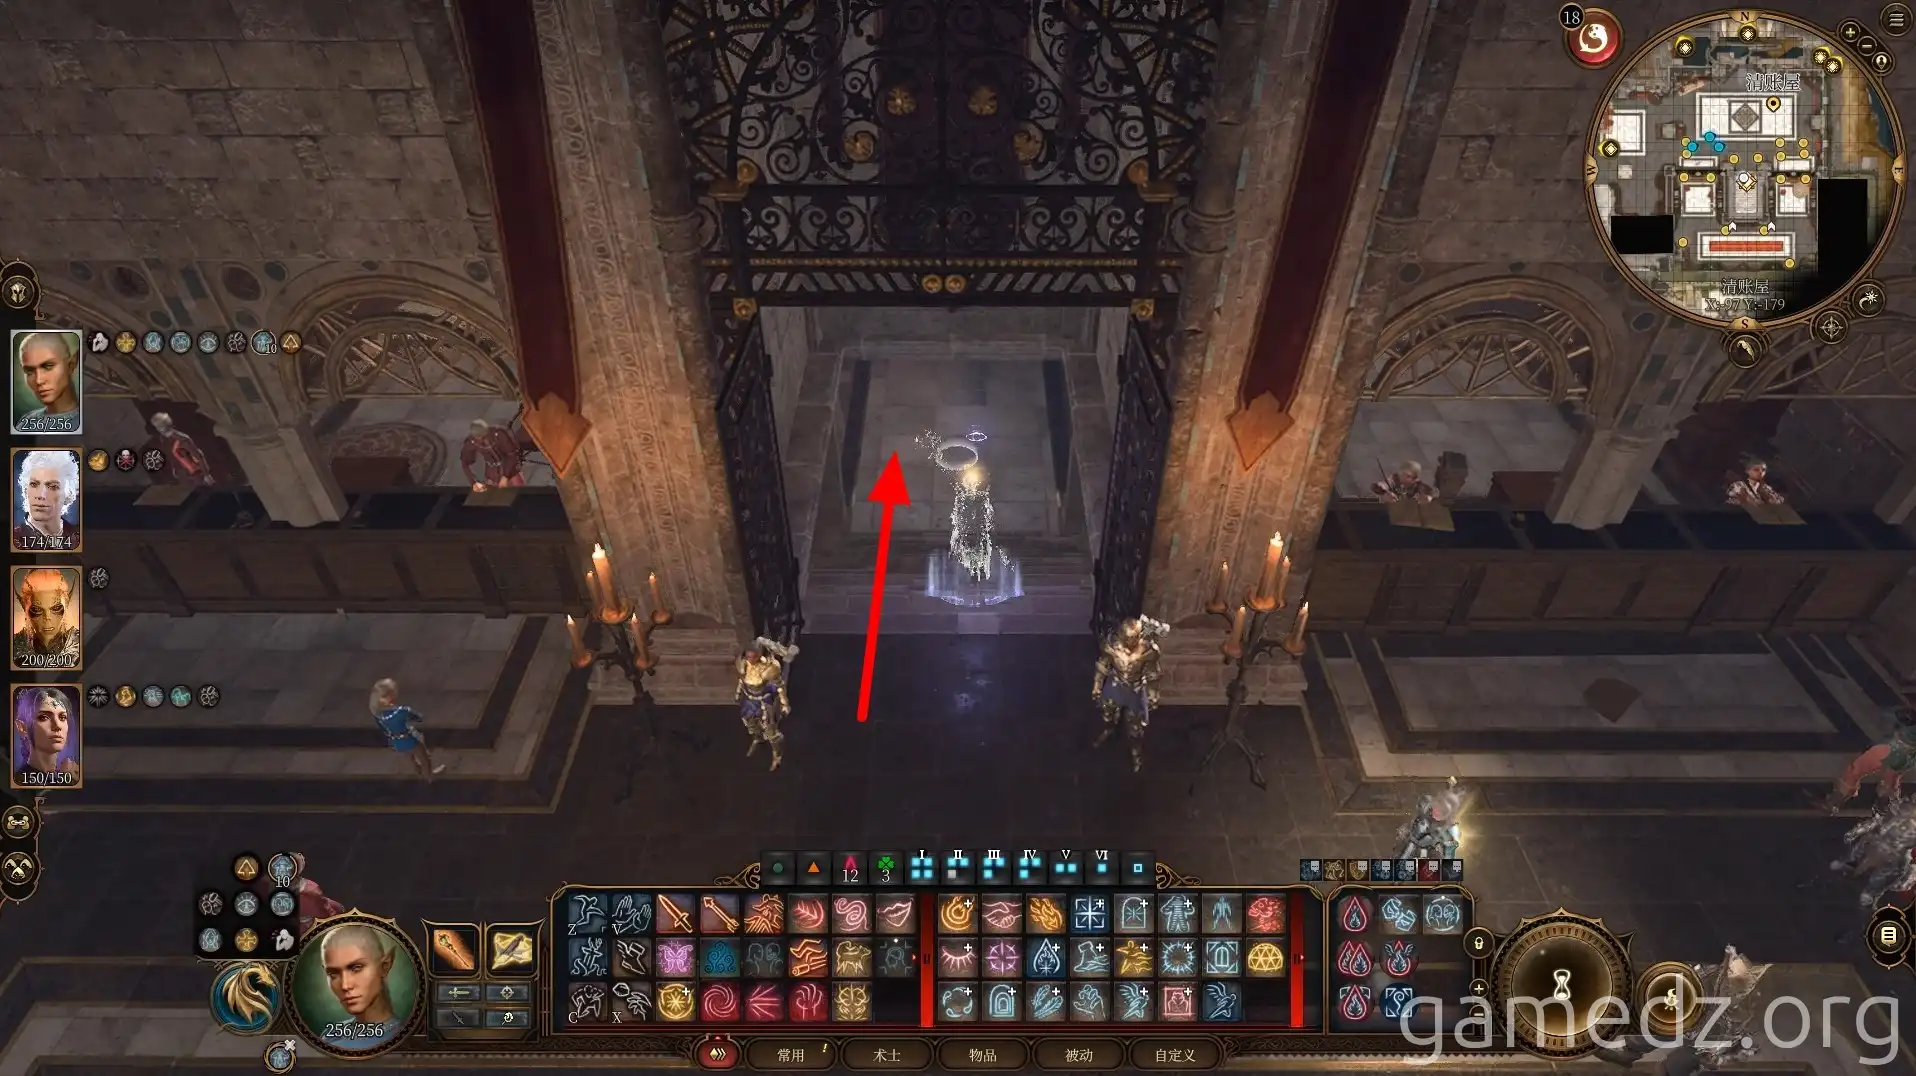
Head east to the lobby, grab the spell scrolls from the chest, and then proceed through the guarded door into the Counting House basement.
Basement Exploration and Vault Access
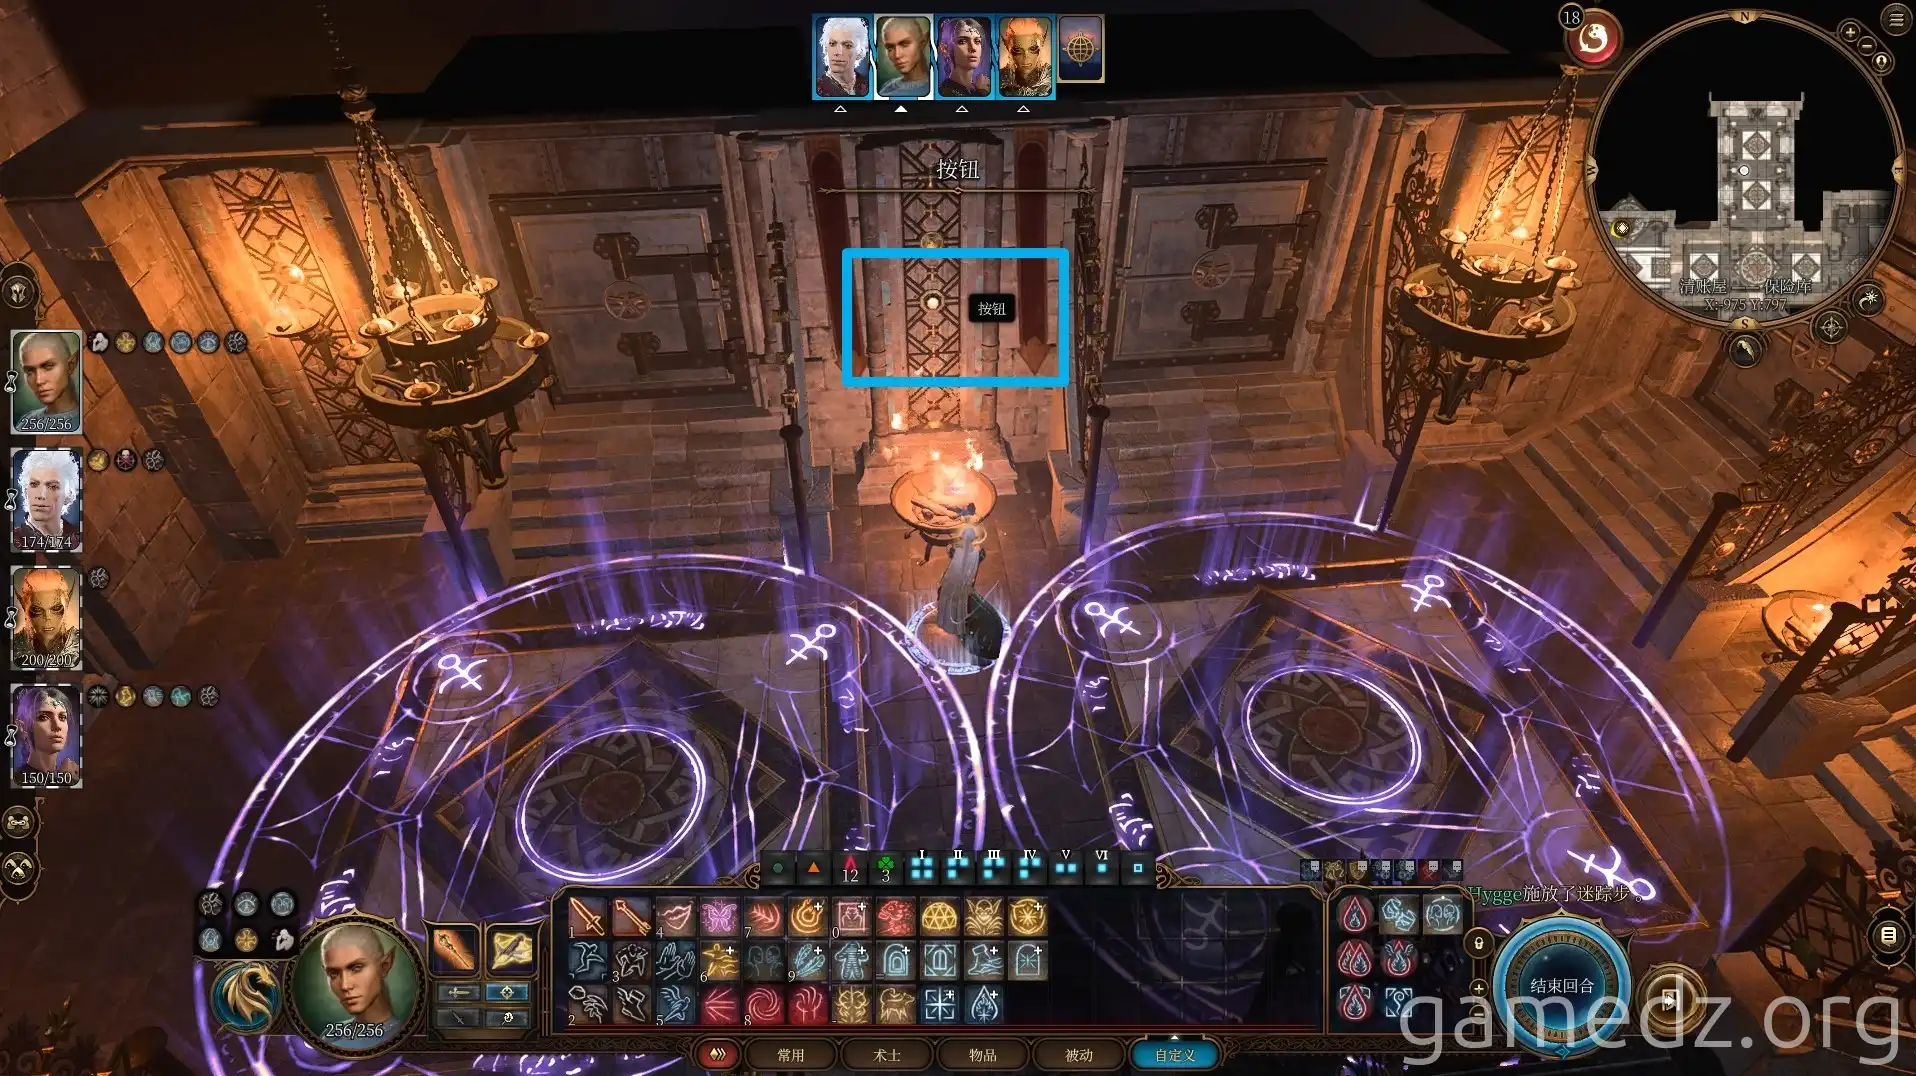
In the basement, first enter the room on the north side of the corridor.
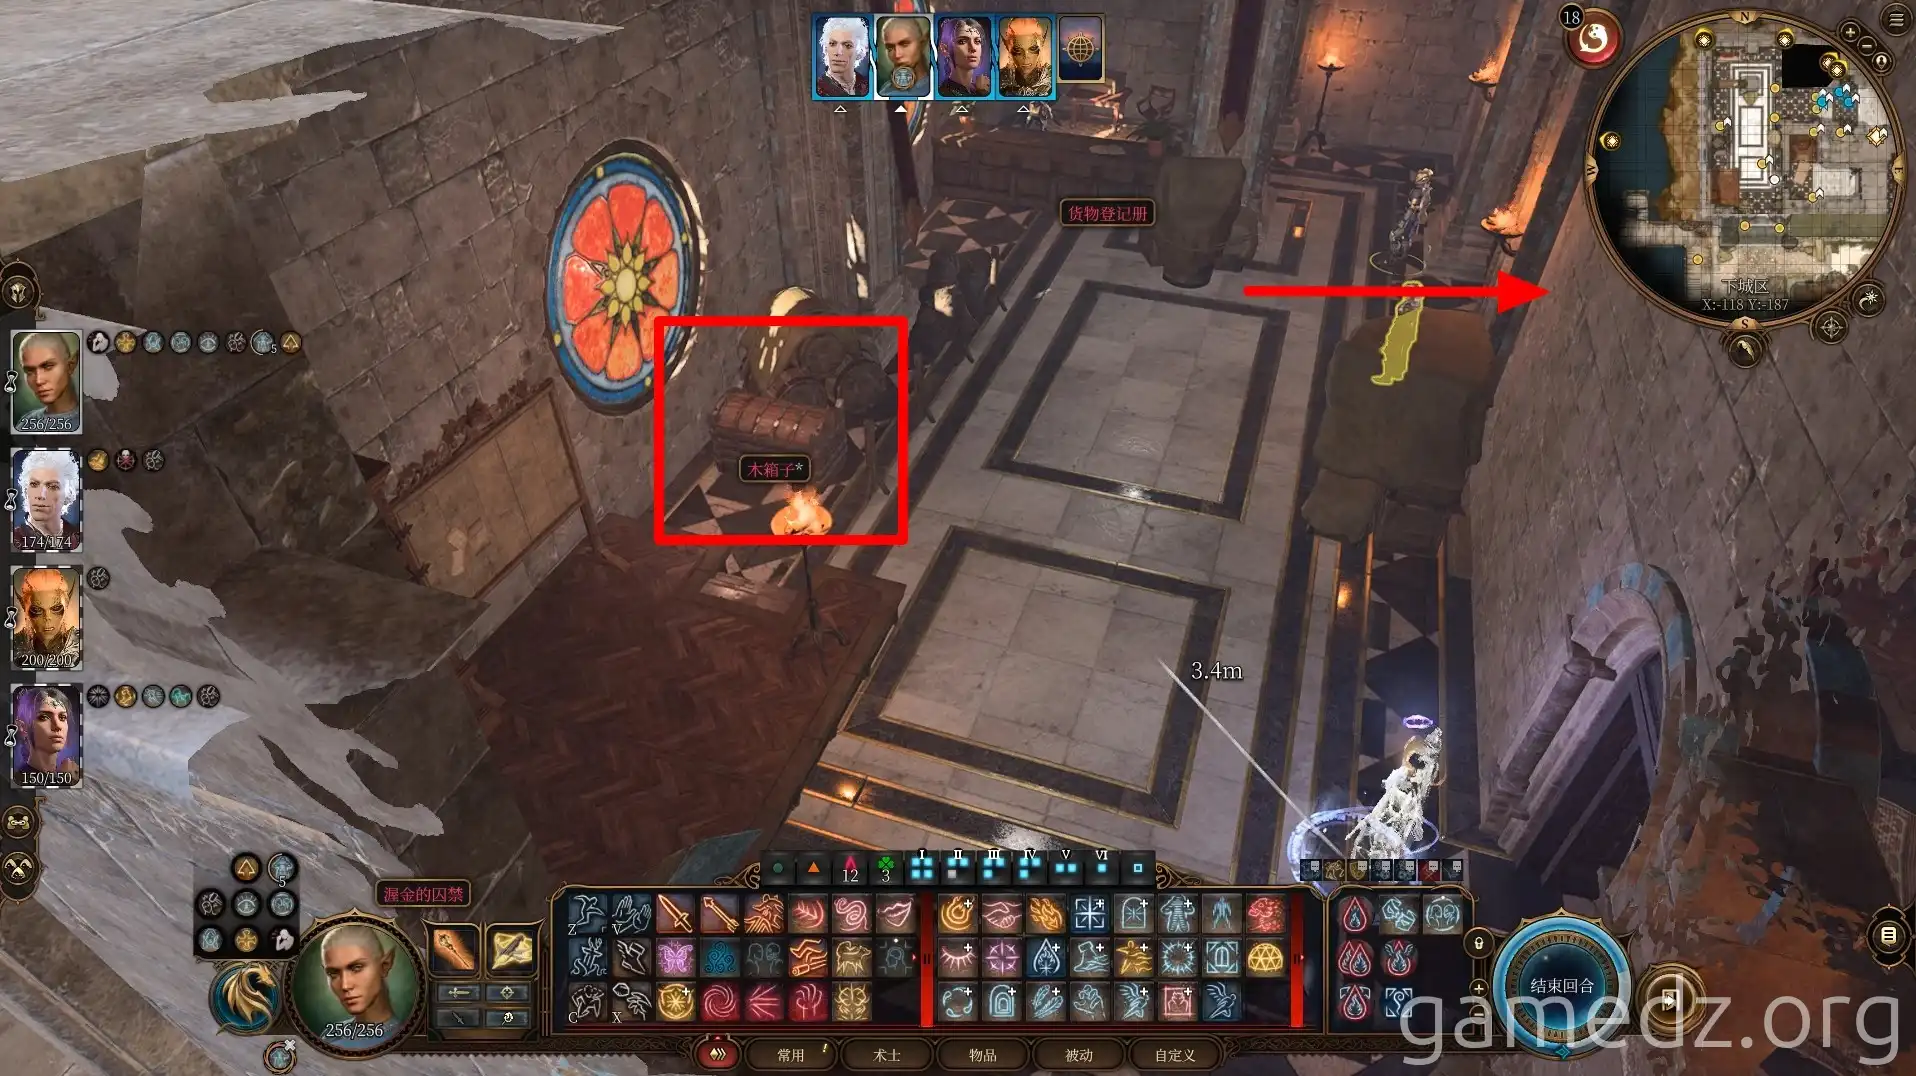
This room contains two magical circles that teleport you outside. Use a jump or teleportation spell to reach the area between them. Then, use a ranged attack to hit the wall button, deactivating the circles. Loot the safe here for gold, potions, and other items.
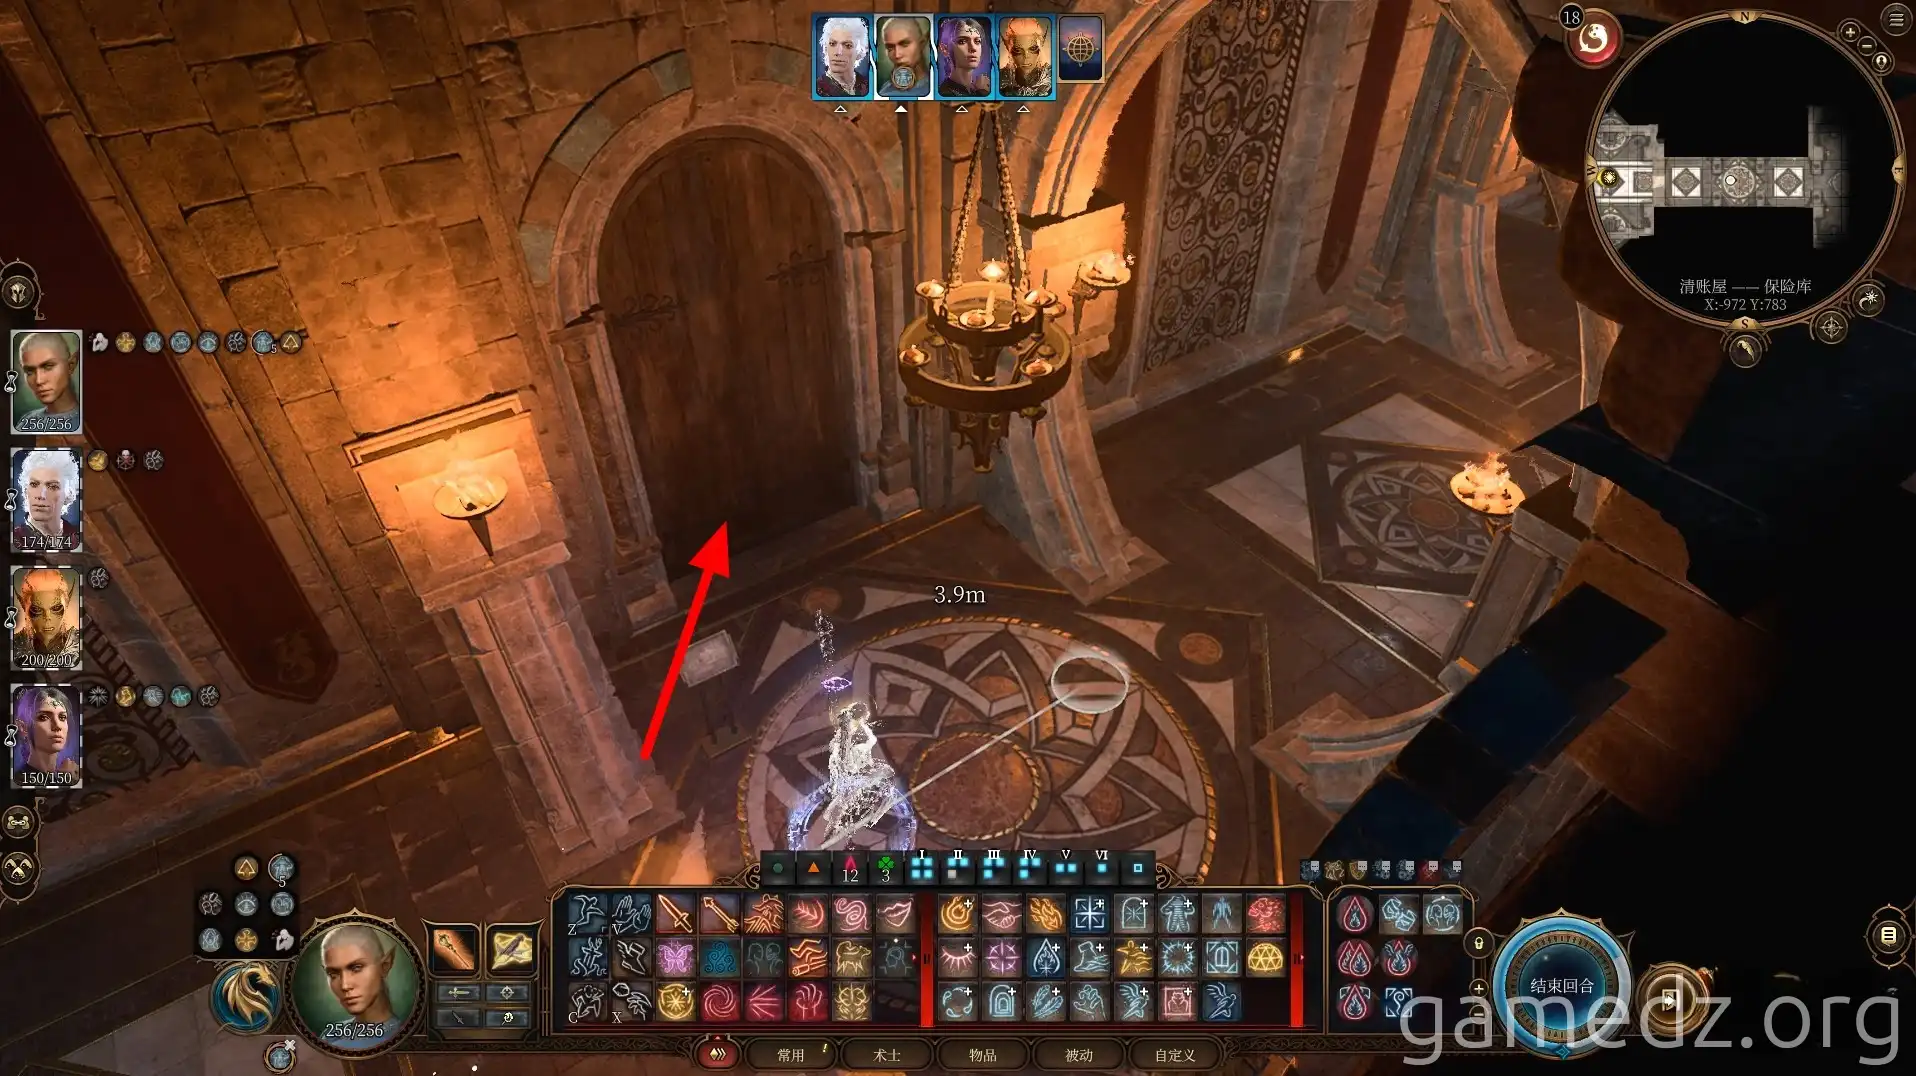
Next, enter the room on the south side of the corridor.
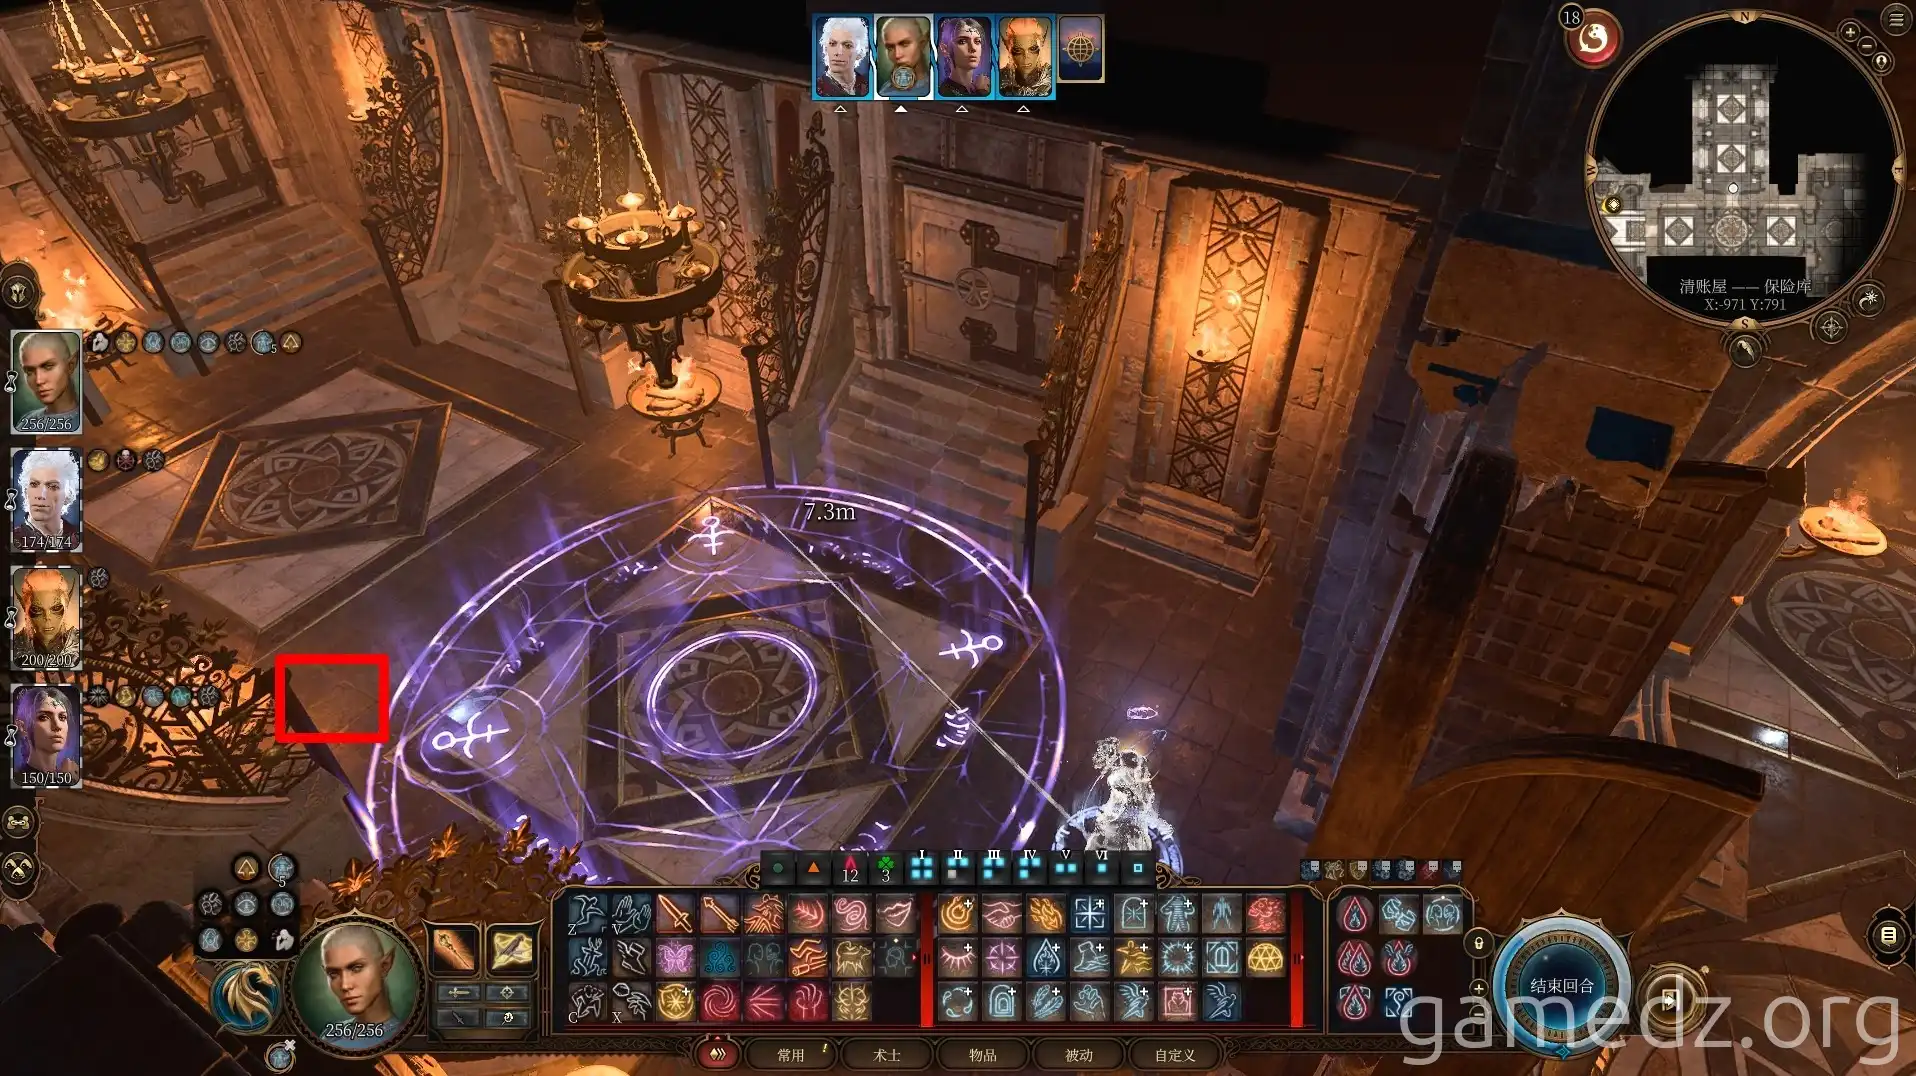
Use Misty Step to bypass the bars and pick the safe, which contains more potions, scrolls, and items.
Proceed to the front of the basement and step on the floor tiles in the sequence 1356 to unlock the lowest vault. Alternatively, use the Create Water spell followed by lightning damage to electrify the mechanism and open the door directly.
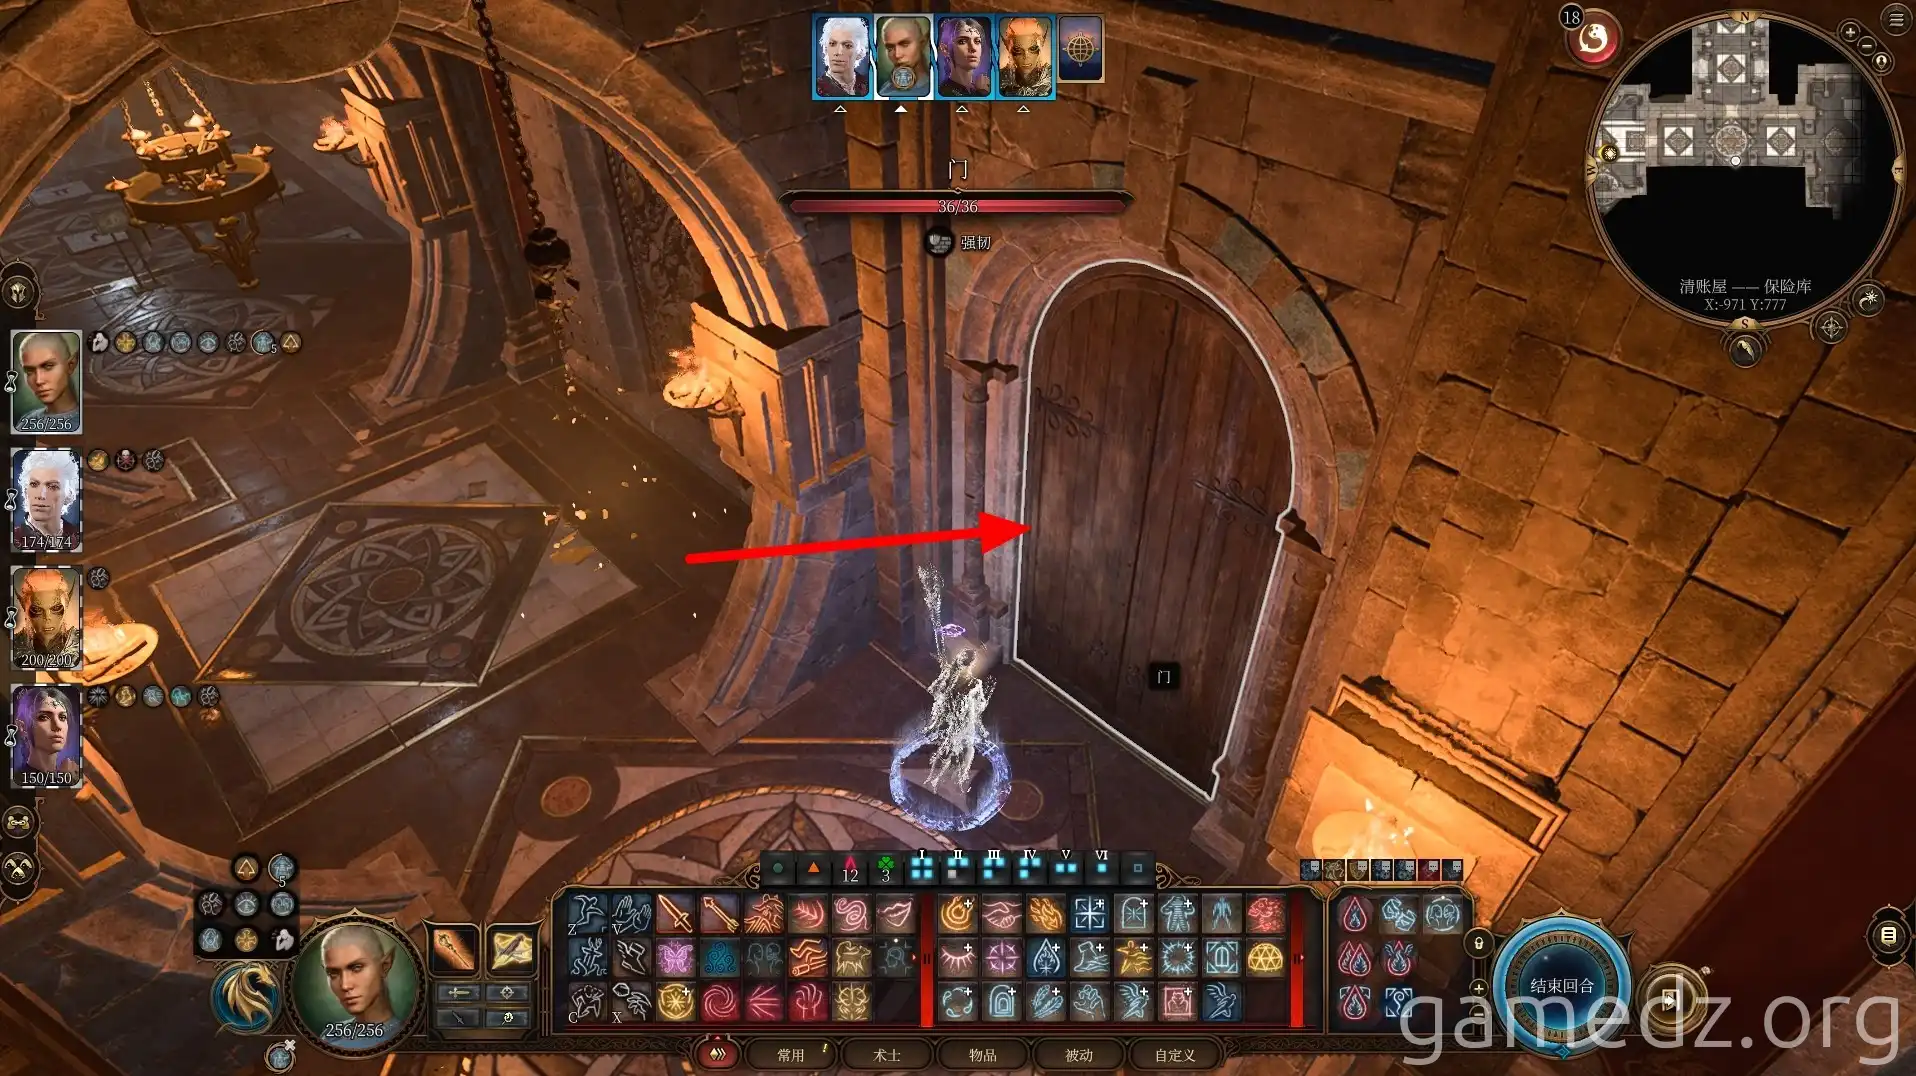
The Vault's Secrets and Minsc's Fate
Inside the lowest vault, you'll discover the truth behind Minsc's actions. Prepare for a battle against Bhaal cultists, with the Chief Banker and guild members aiding you. After the fight, you'll acquire powerful weapons, including Fierce Cut.
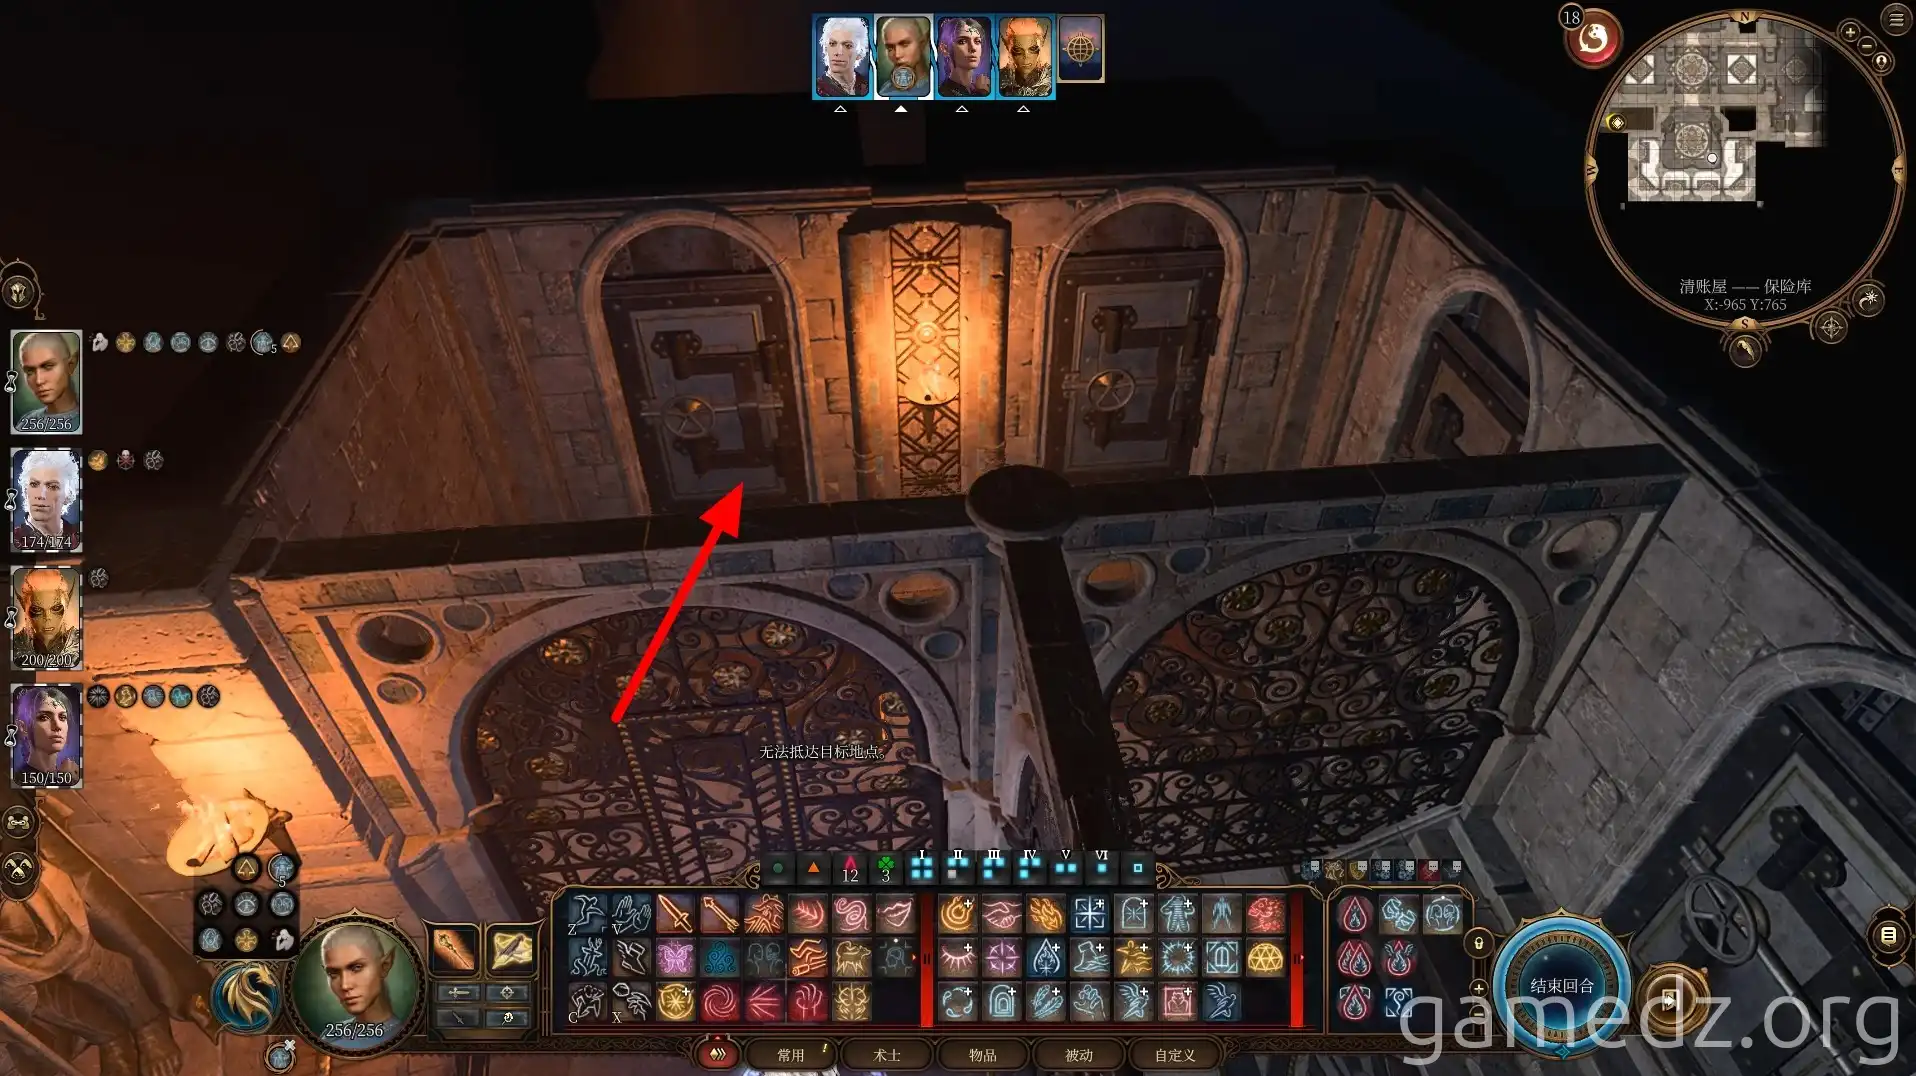
Speak with the banker, Yastrzembski, who tasks you with recovering stolen wealth from Minsc.
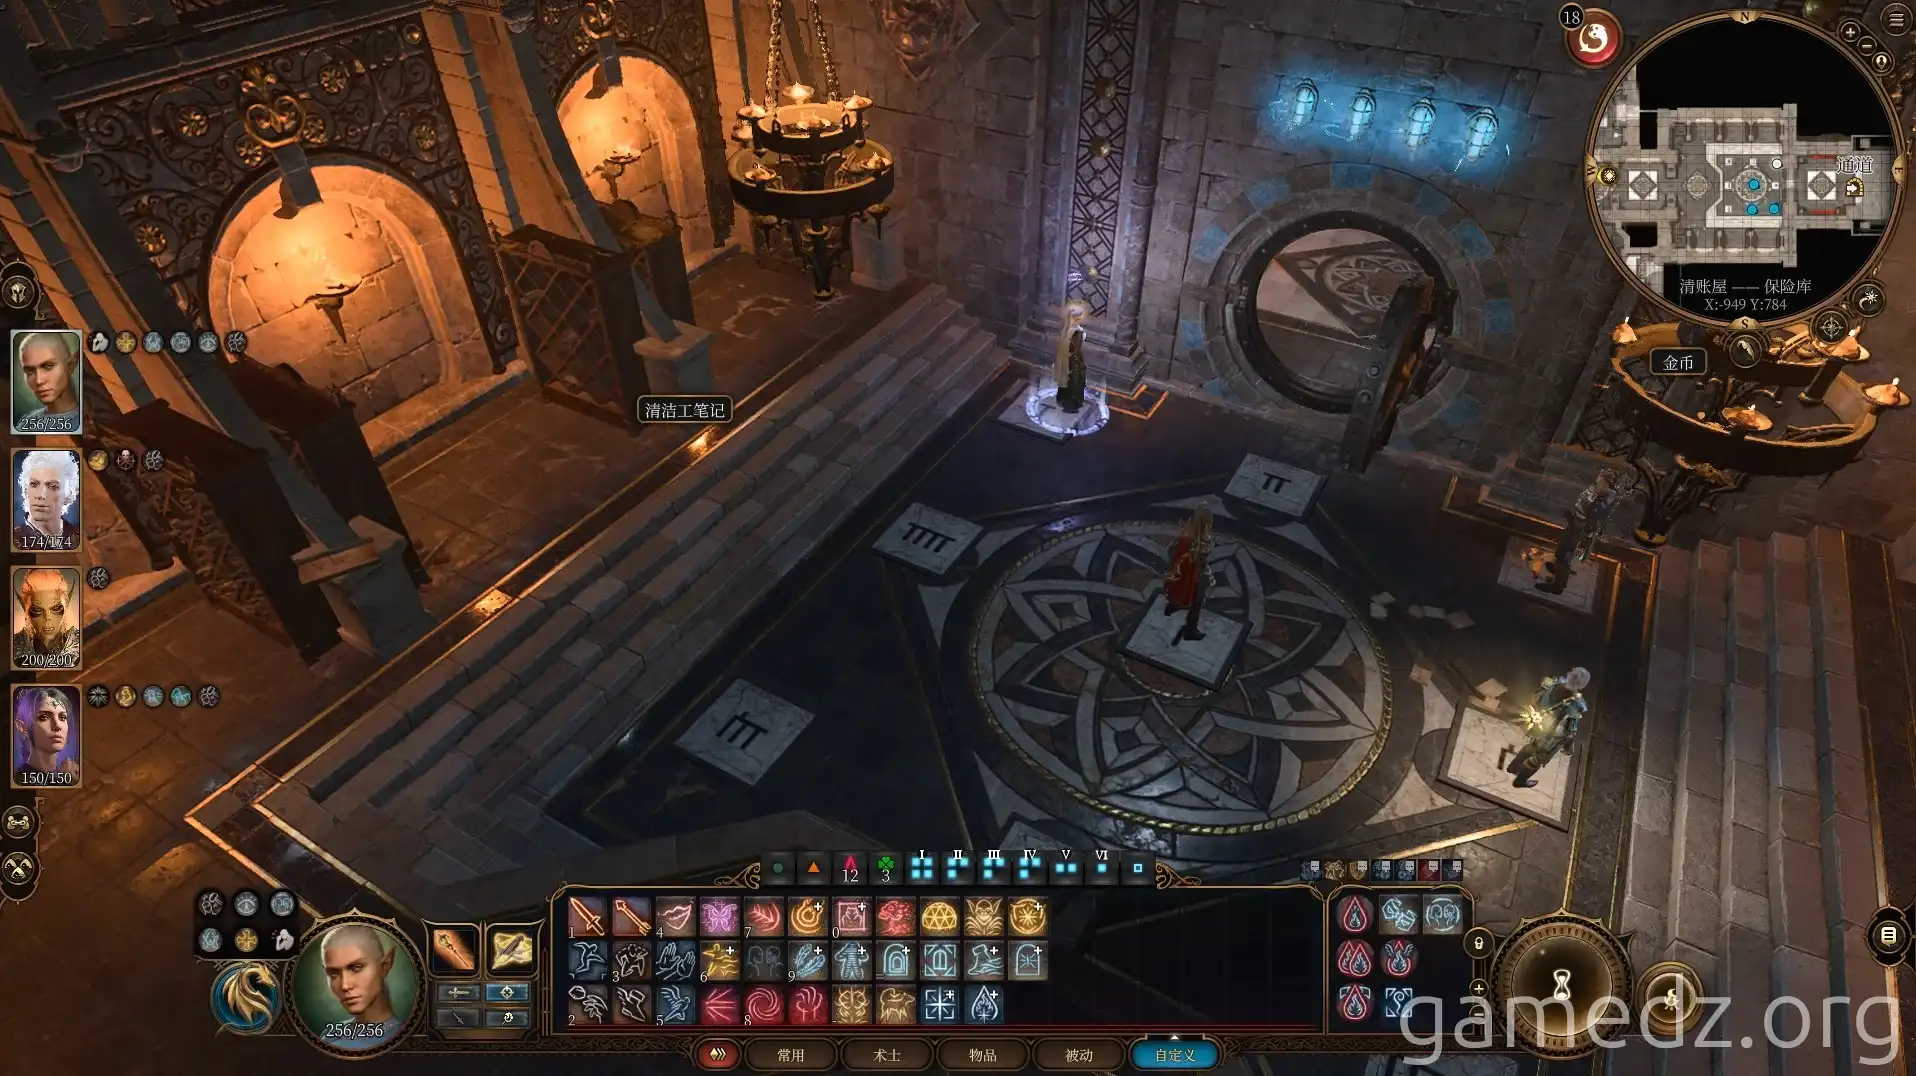
Several high-security vaults await your attention. While some safes have a high DC 30 Sleight of Hand check, keys for others can be found later.
High-Security Vault 8: Offers accessories and gold.

High-Security Vault 7: Grants the Gloves of the Mind Flayer.
High-Security Vault 6: Contains a Mind Flayer Parasite specimen.
High-Security Vault 5: Holds the Ravengarde's Lash.

High-Security Vault 4: Contains the Triton's Trident.
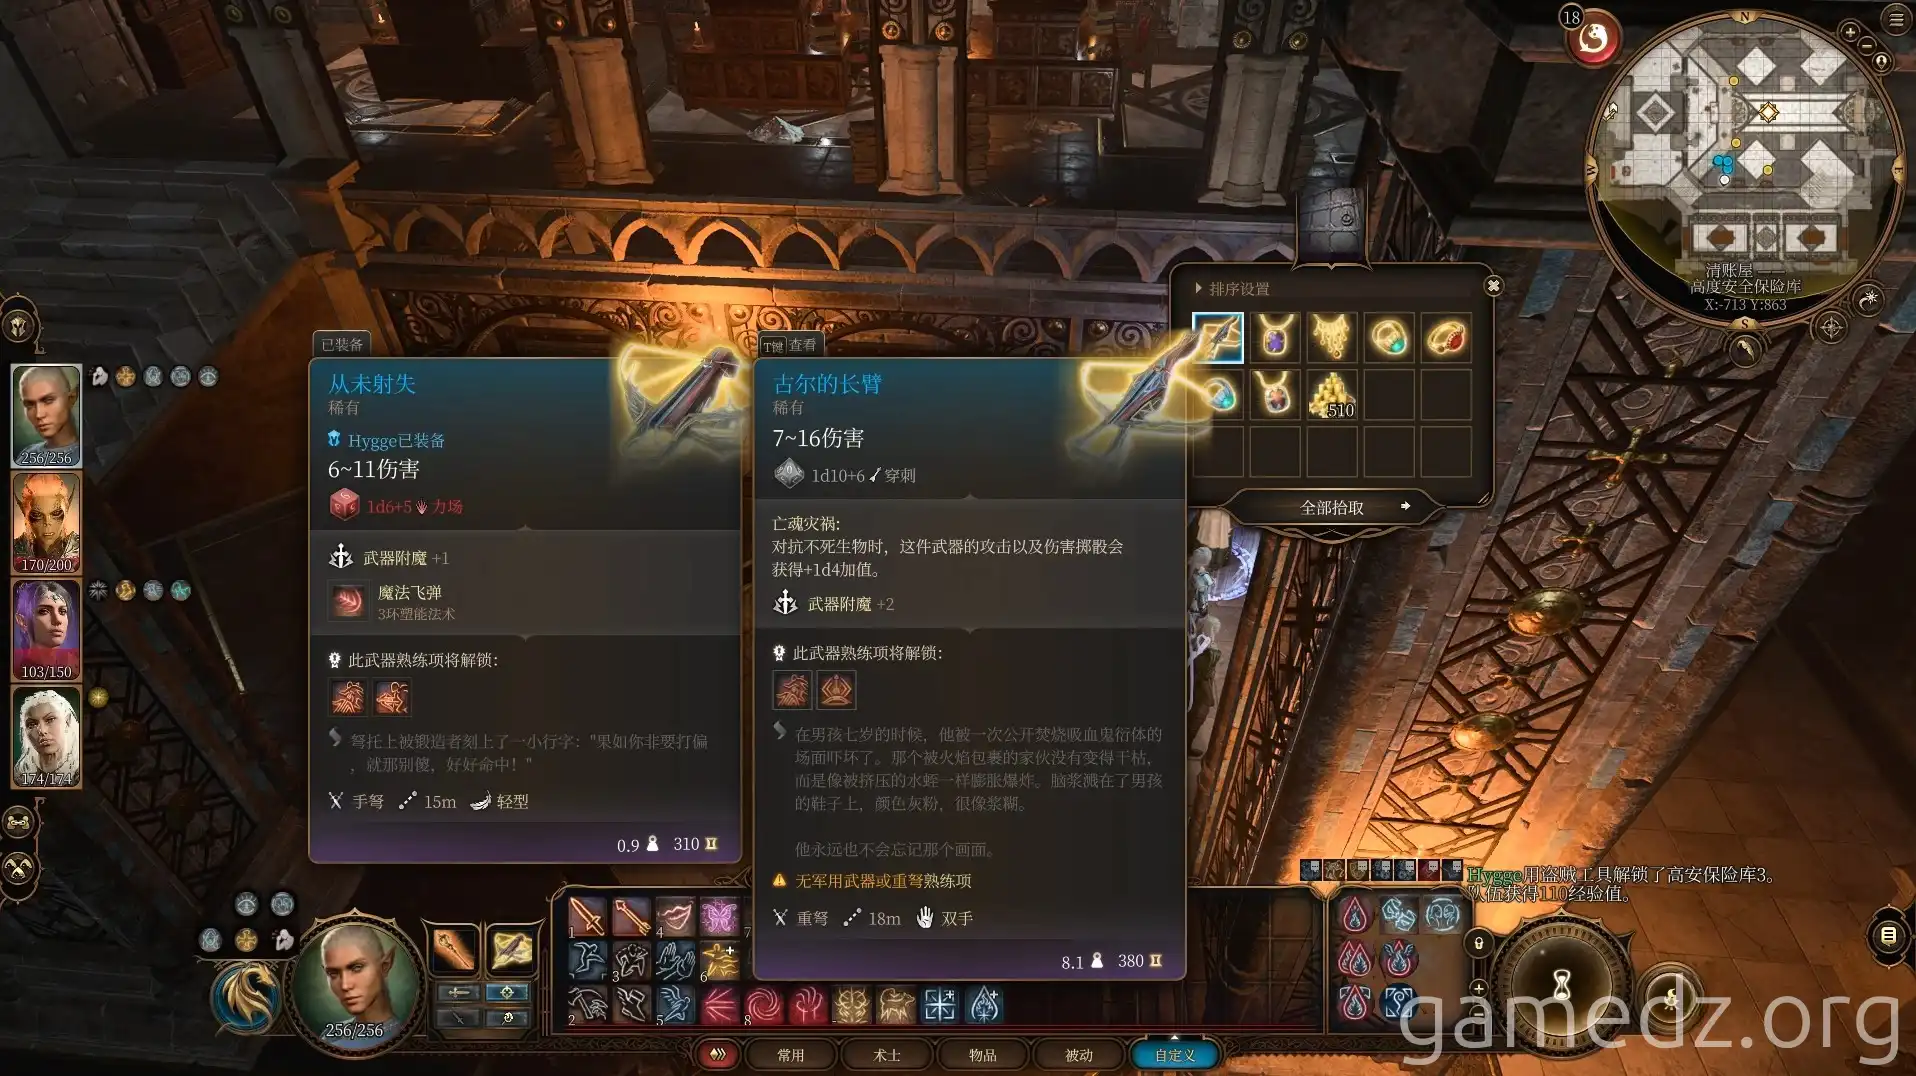
High-Security Vault 3: Features Ghur's Longarm, accessories, and gold.
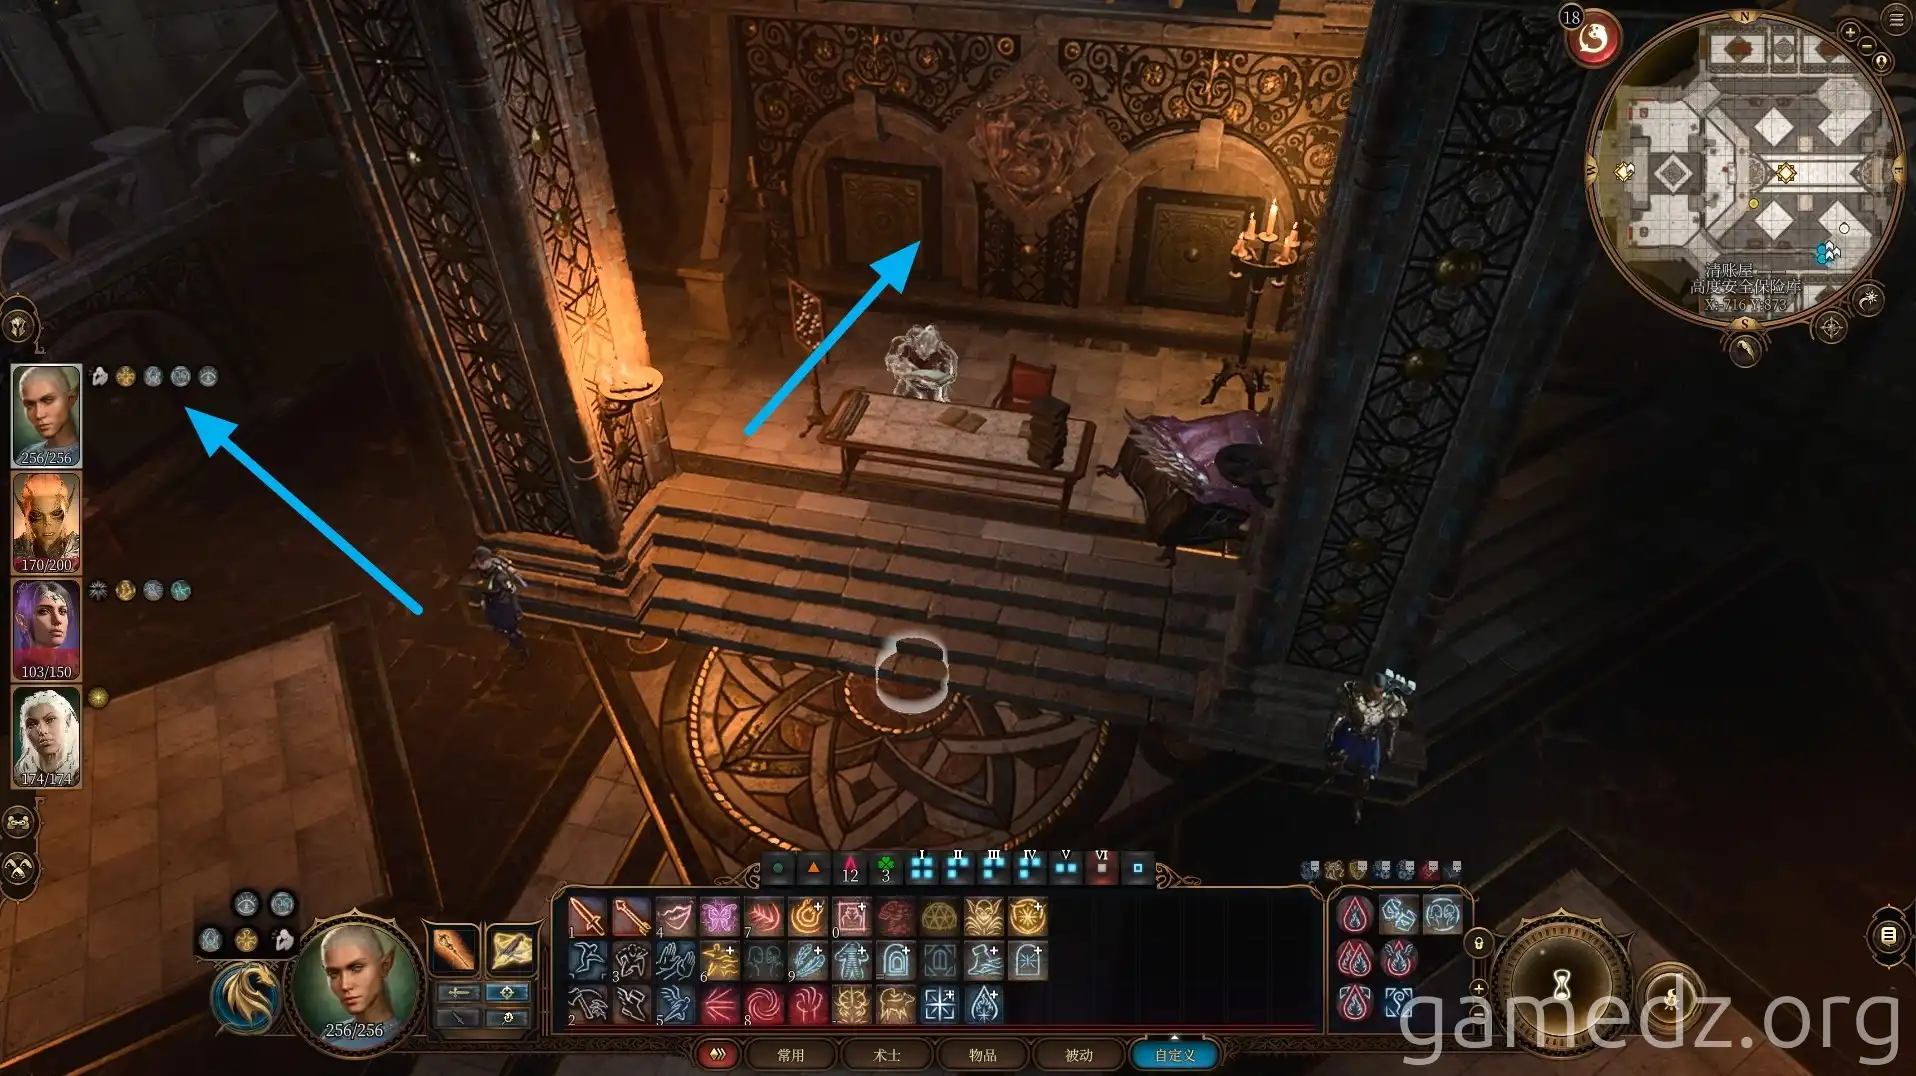
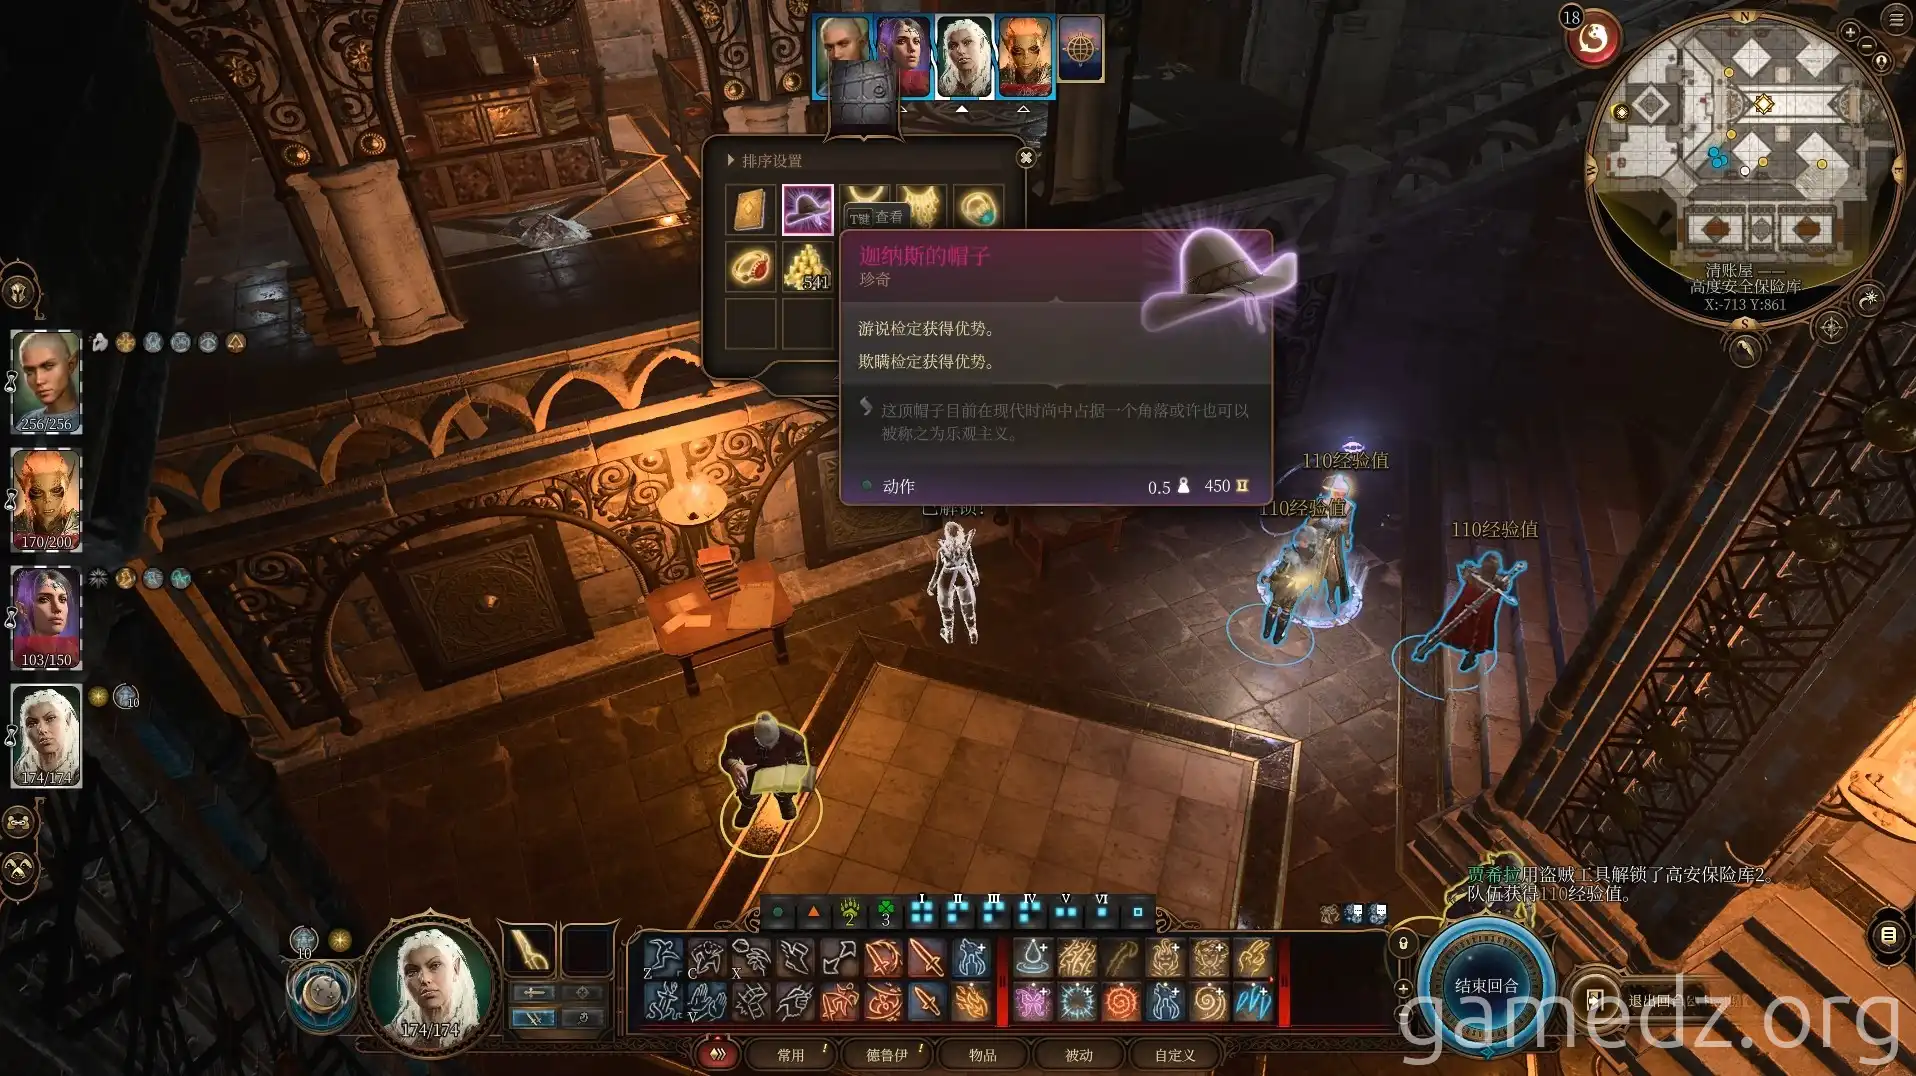
High-Security Vault 2: Houses Garnet's Hat, accessories, and gold.

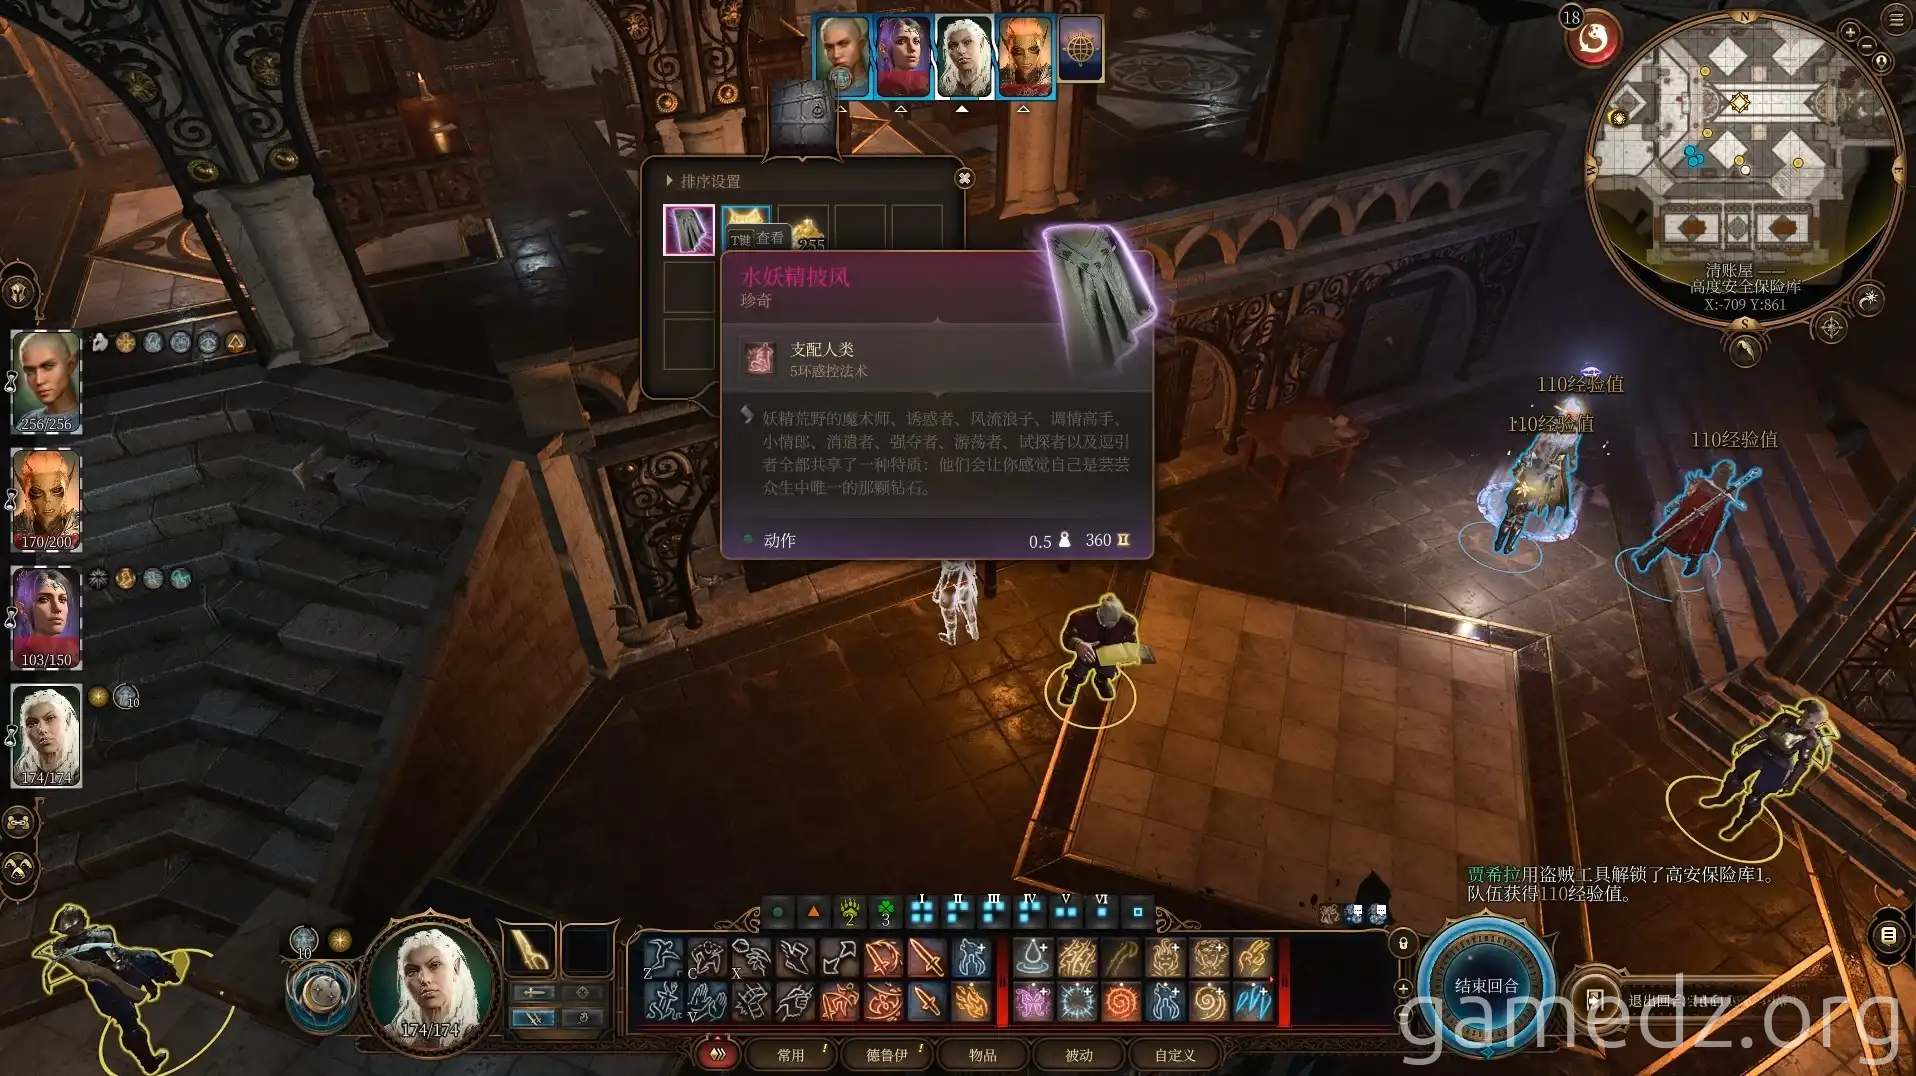
High-Security Vault 1: Contains the Cloak of the Weave and the Amulet of the Spellthief.

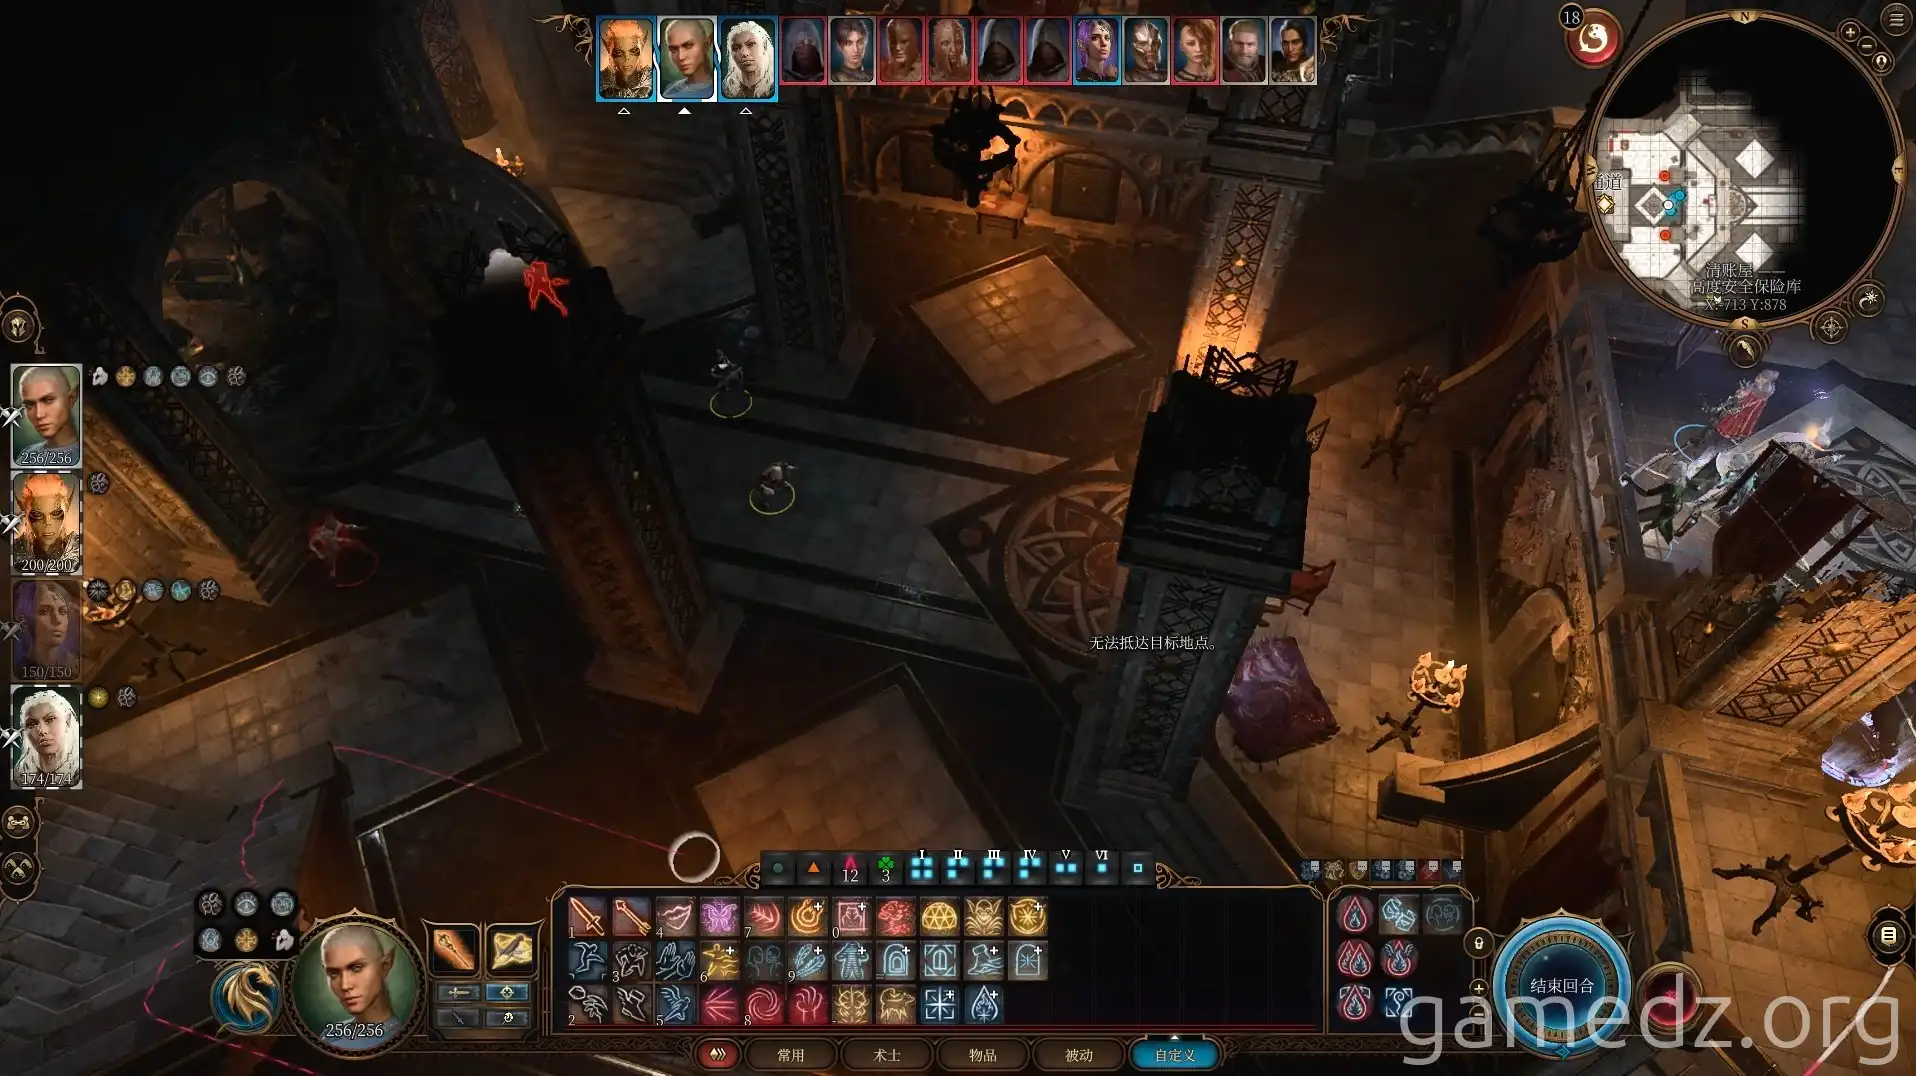
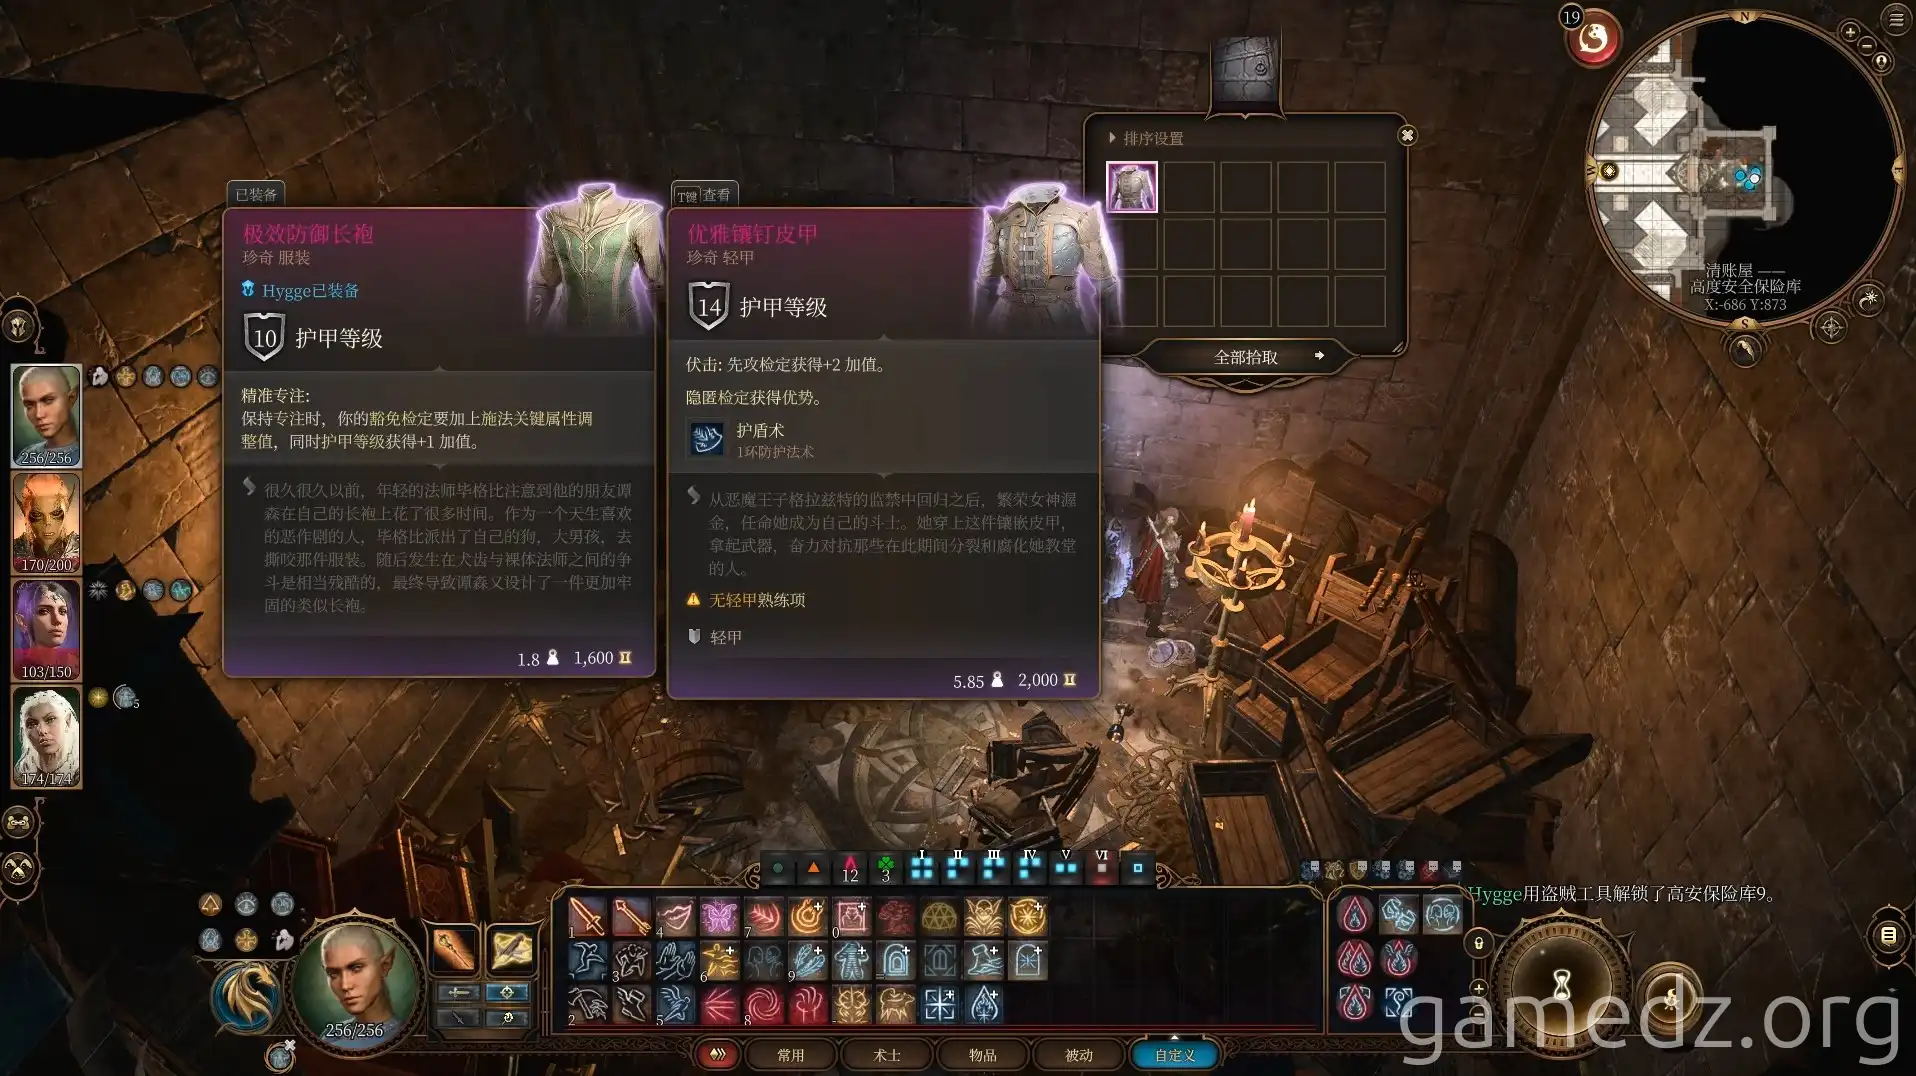
In the western room, a Perception check reveals the origin of dirt from the sewers. Vault 9 in this room contains the Elegant Studded Leather armor.

Confronting Minsc and the Guild
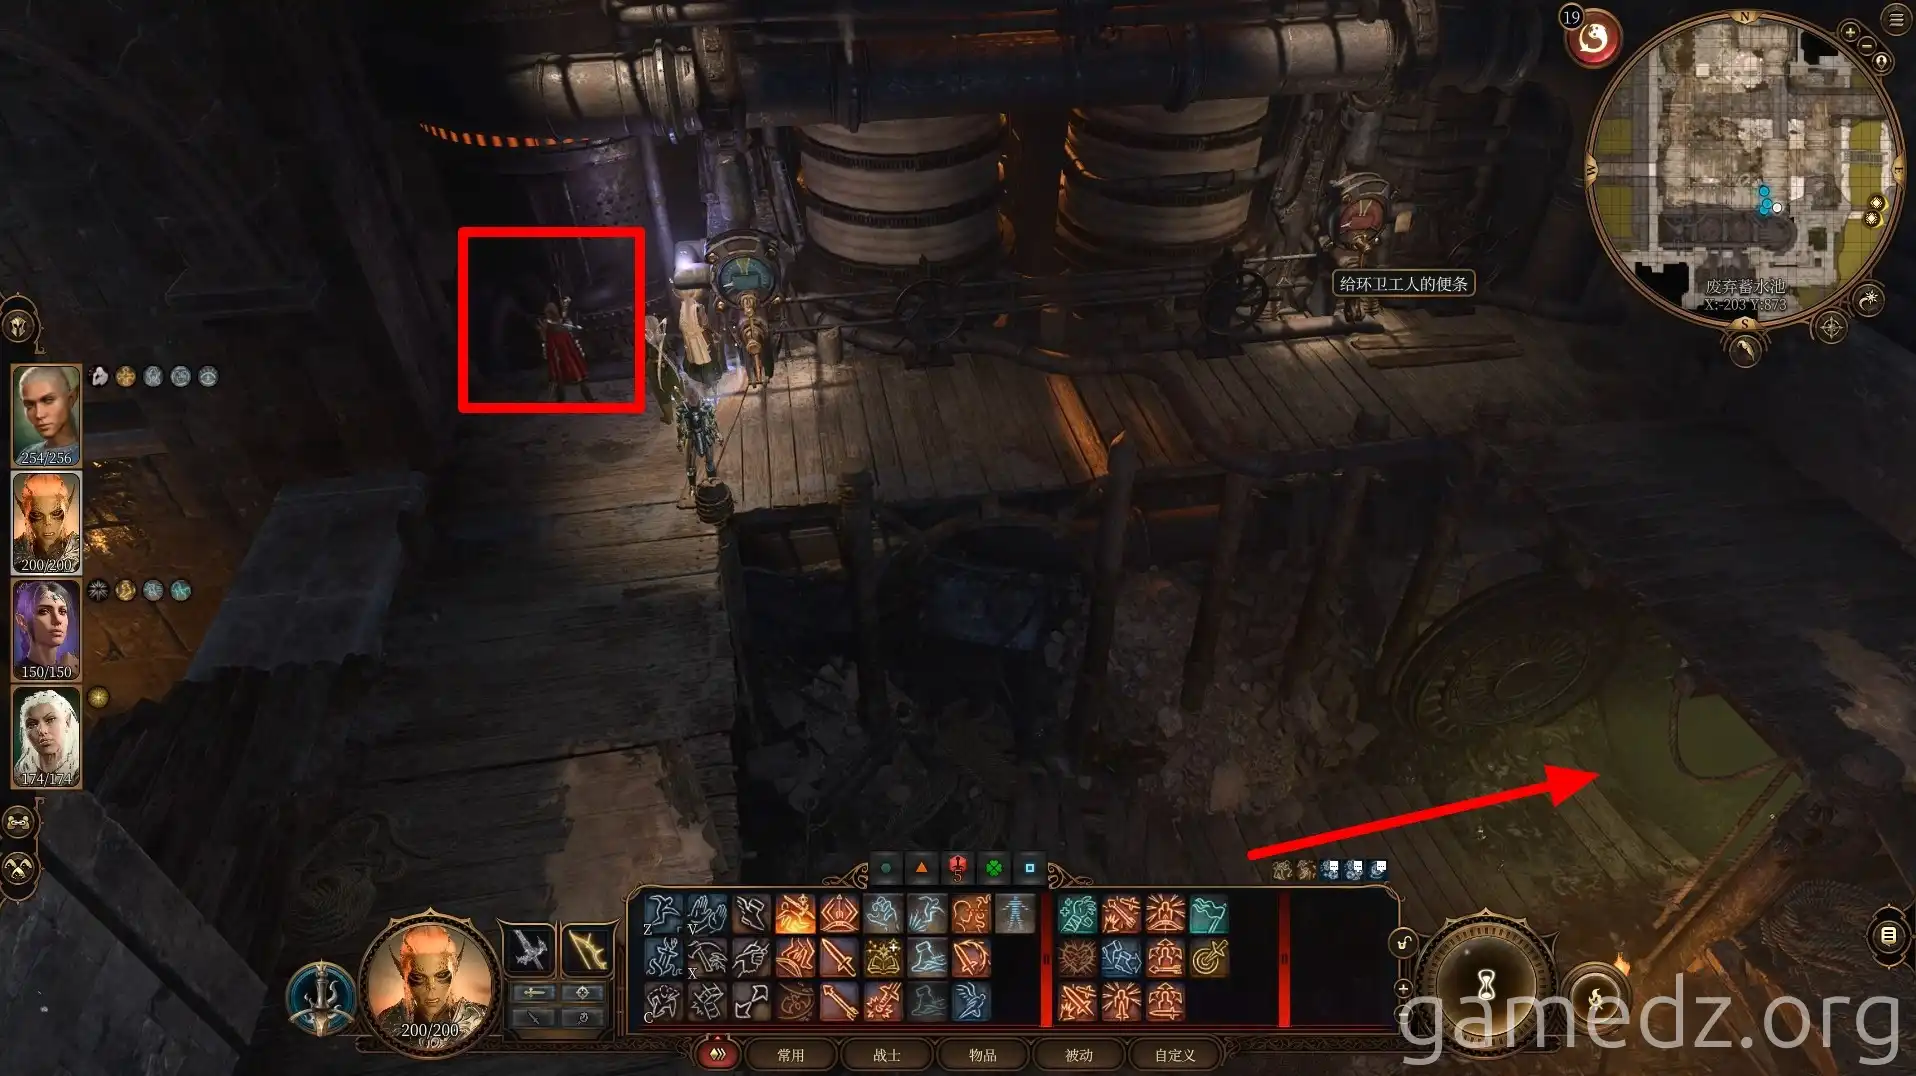
Return to the abandoned reservoir in the sewers and activate the upper water gate switch to access the next area.
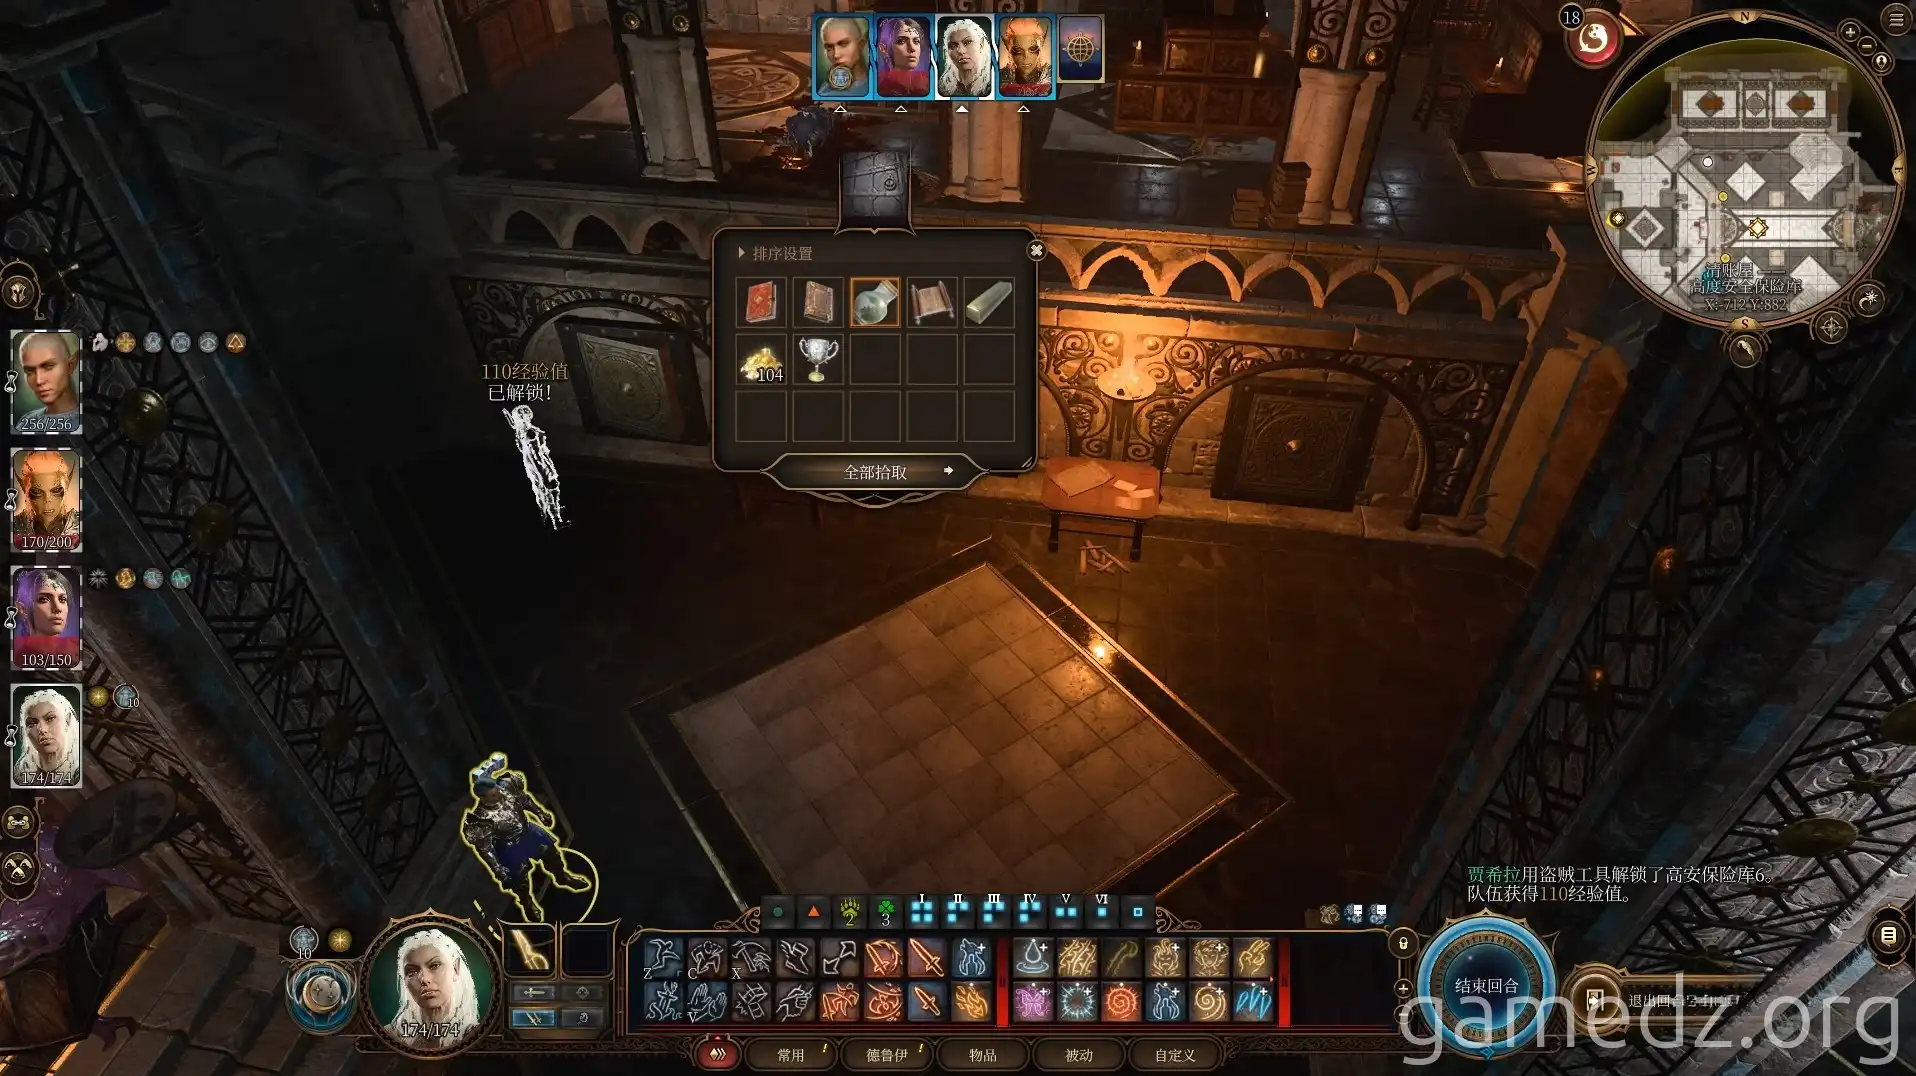
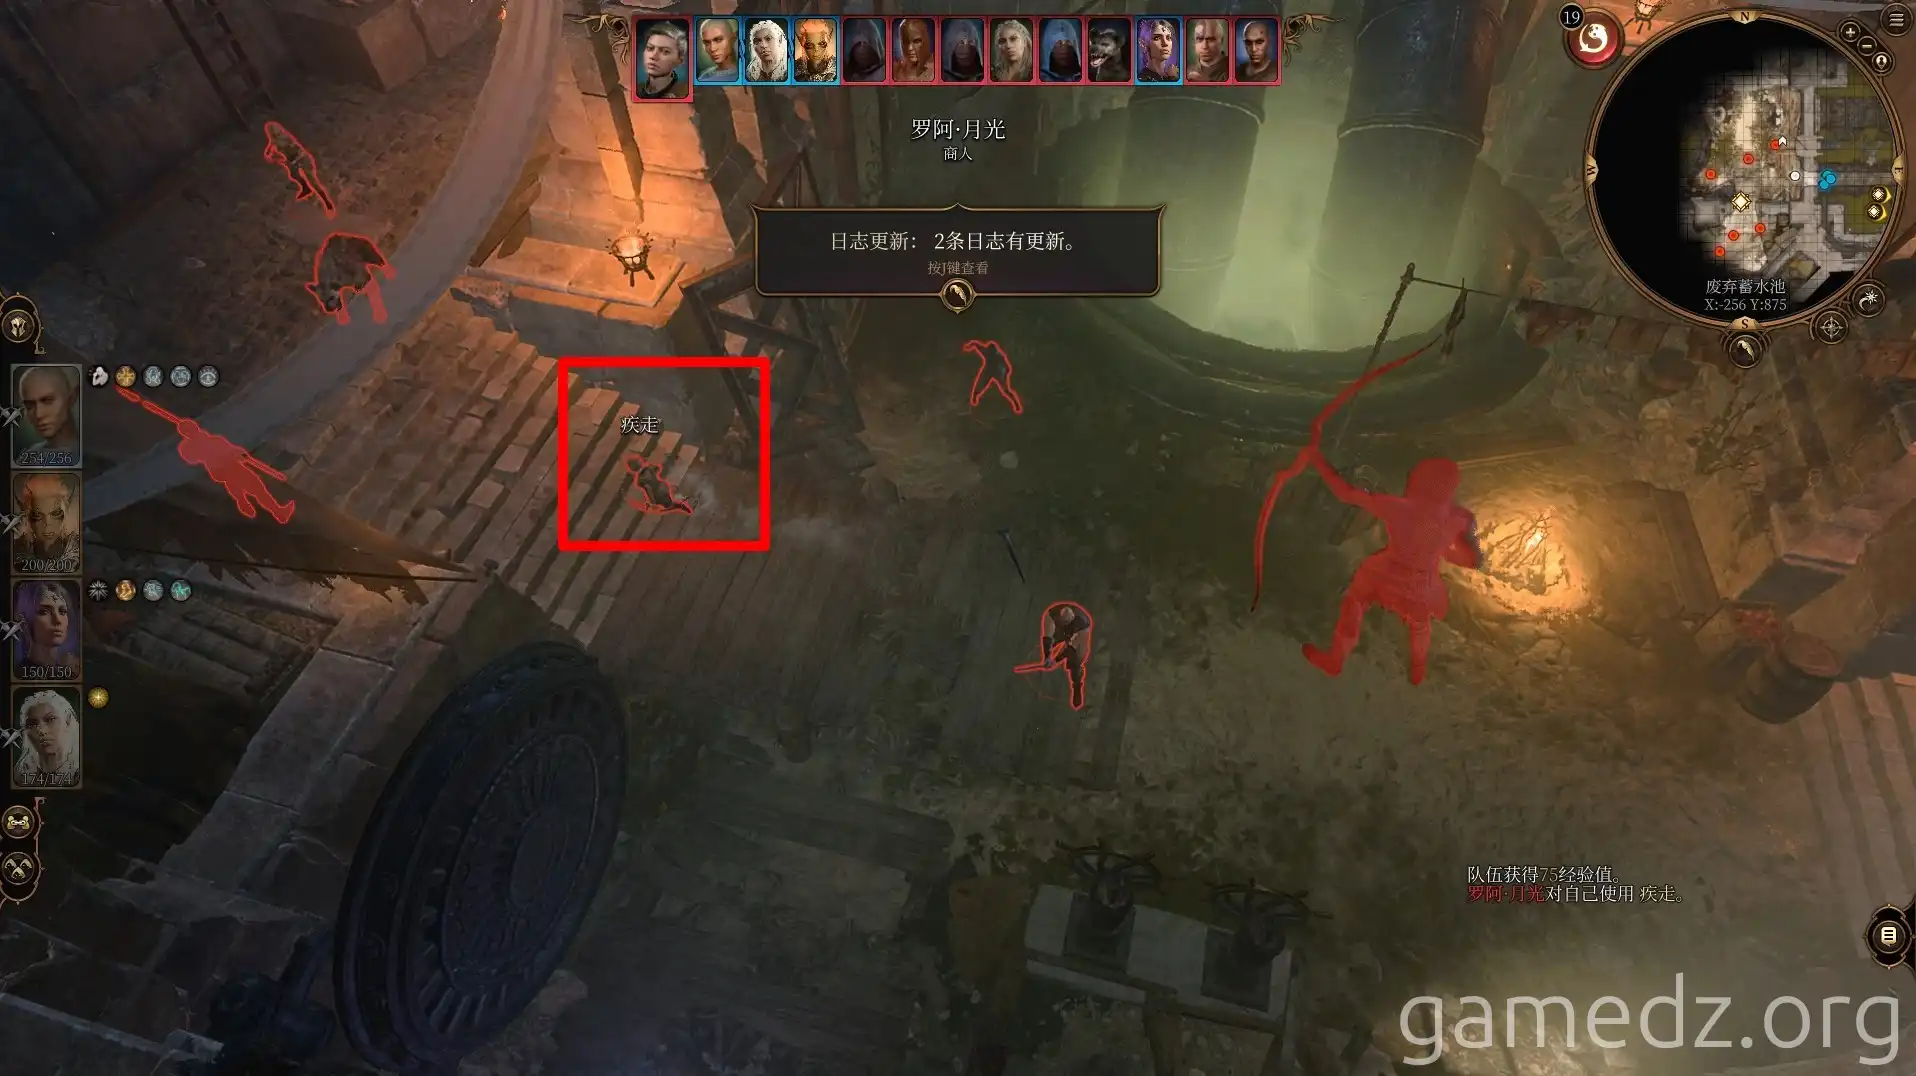
Here, you'll face Minsc and Bhaal cultists. Ensure you use non-lethal attacks on Minsc to stun him, allowing for his recruitment. If Jaheira is absent, Minsc will perish.
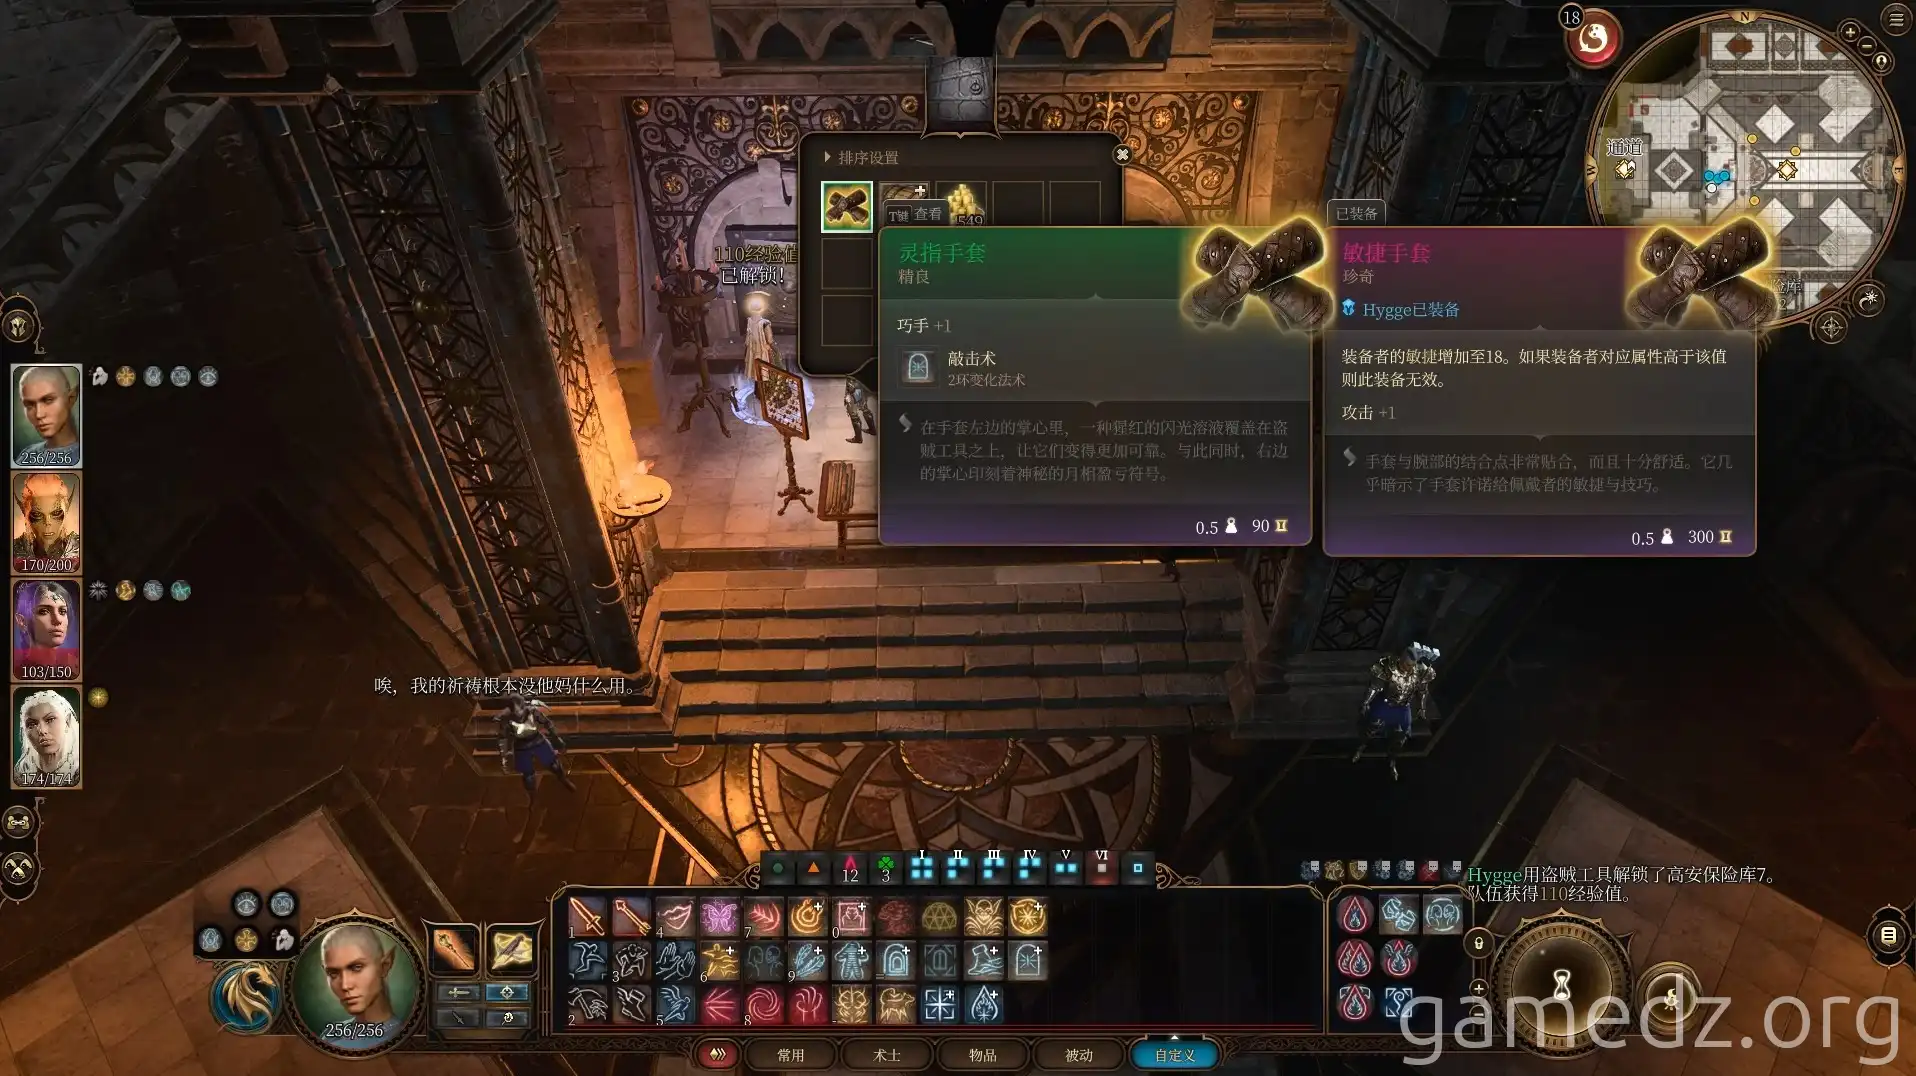
After the battle, Minsc and his hamster, Boo, will head to your camp. Loot the area thoroughly.
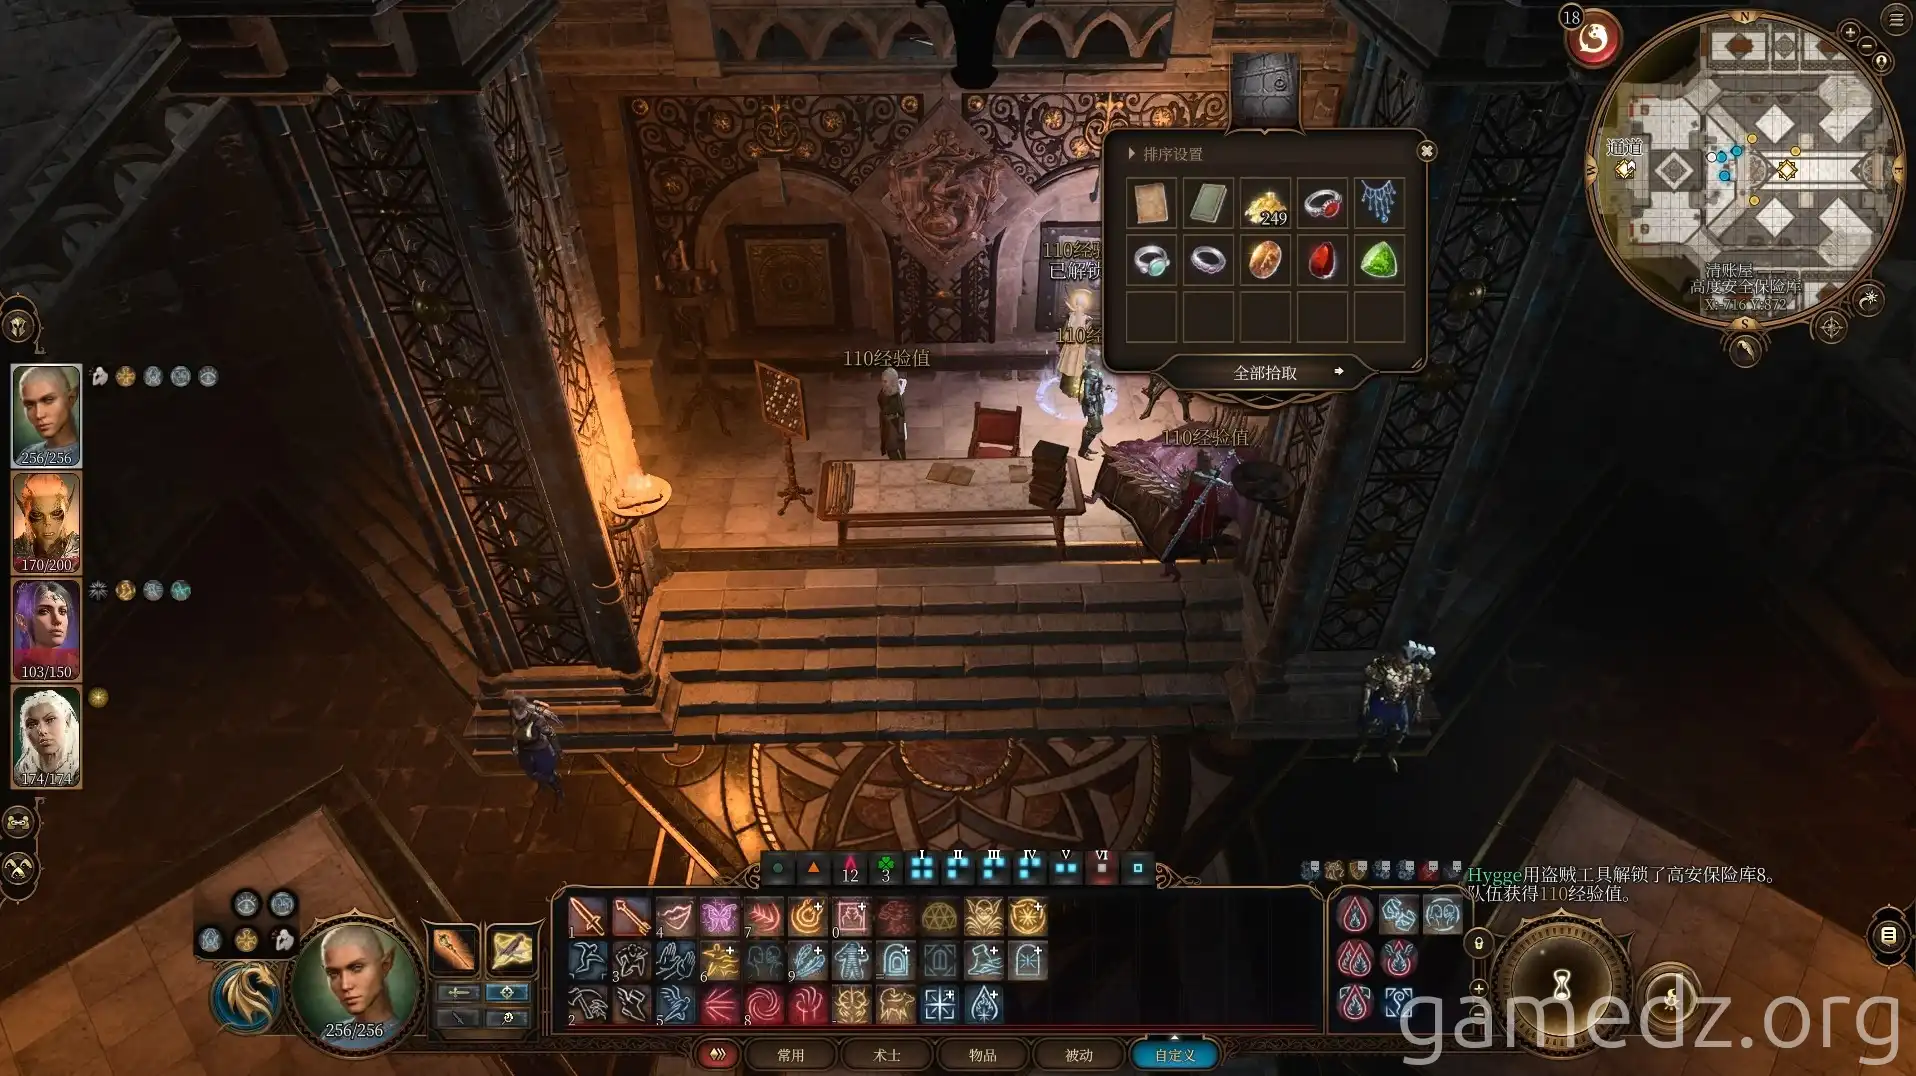
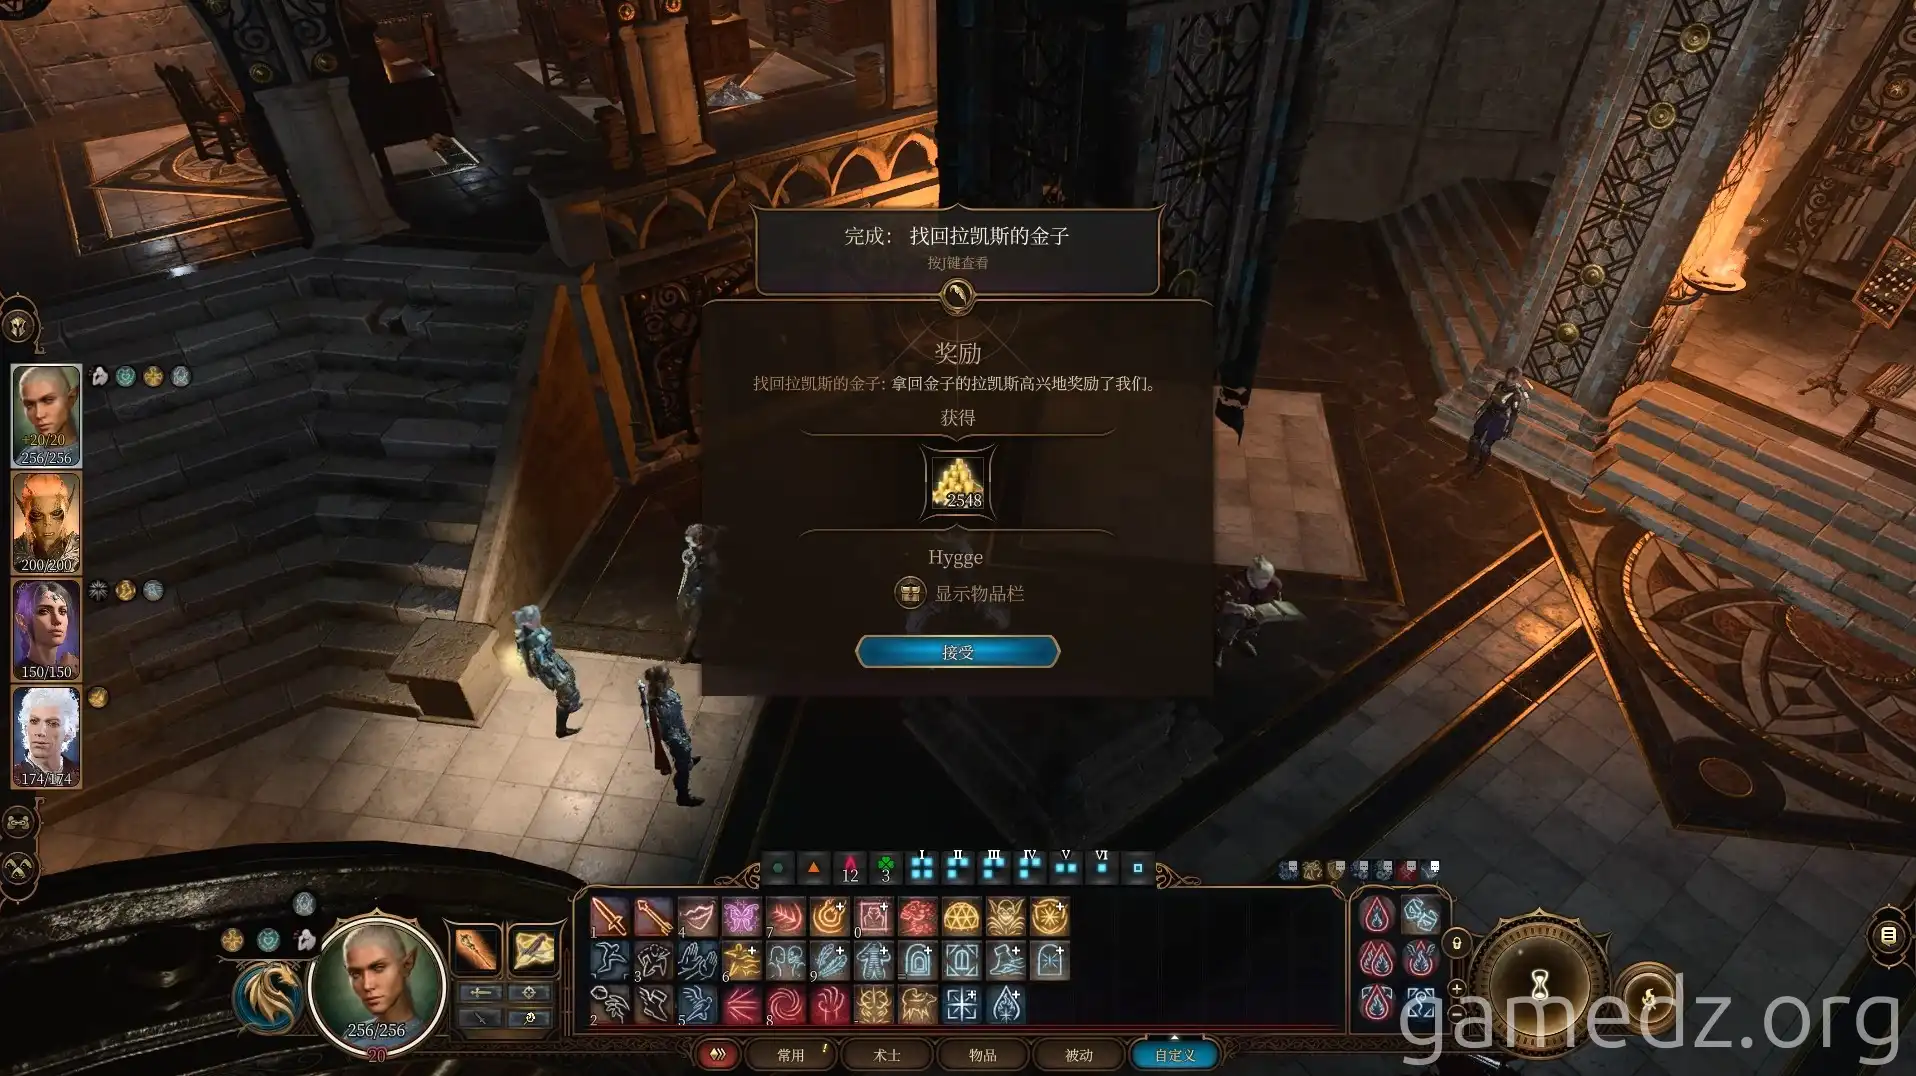
Upon returning the gold to Yastrzembski, you'll receive a reward and the key to Vault 9. You'll also retain the gold from Roah Moonglow, ensuring a net profit.
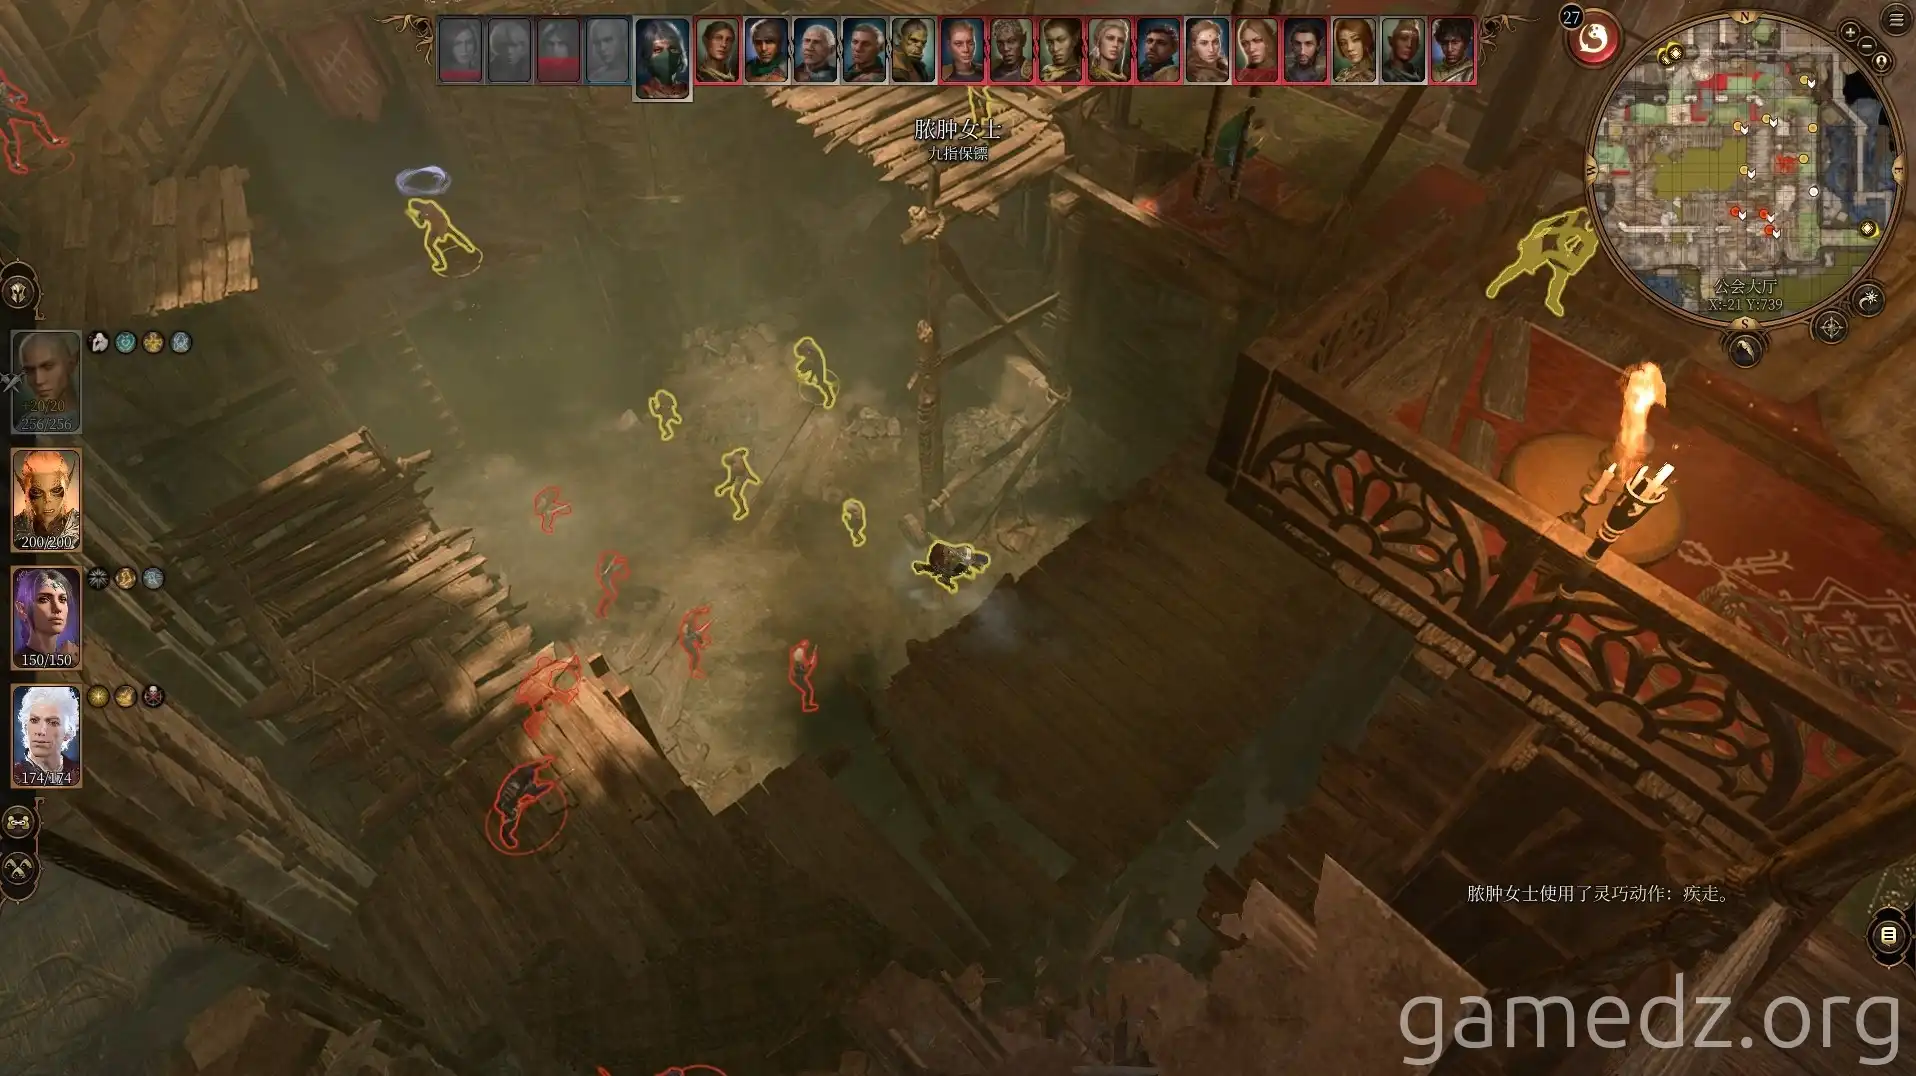
Next, head to the Guild Hall to assist them against a Zhentarim raid. Defeat all Zhentarim members to gain their support for the final battle.
Exploring the Docks and Beyond
Continue west from the Counting House. The adjacent three-story building offers little of interest.
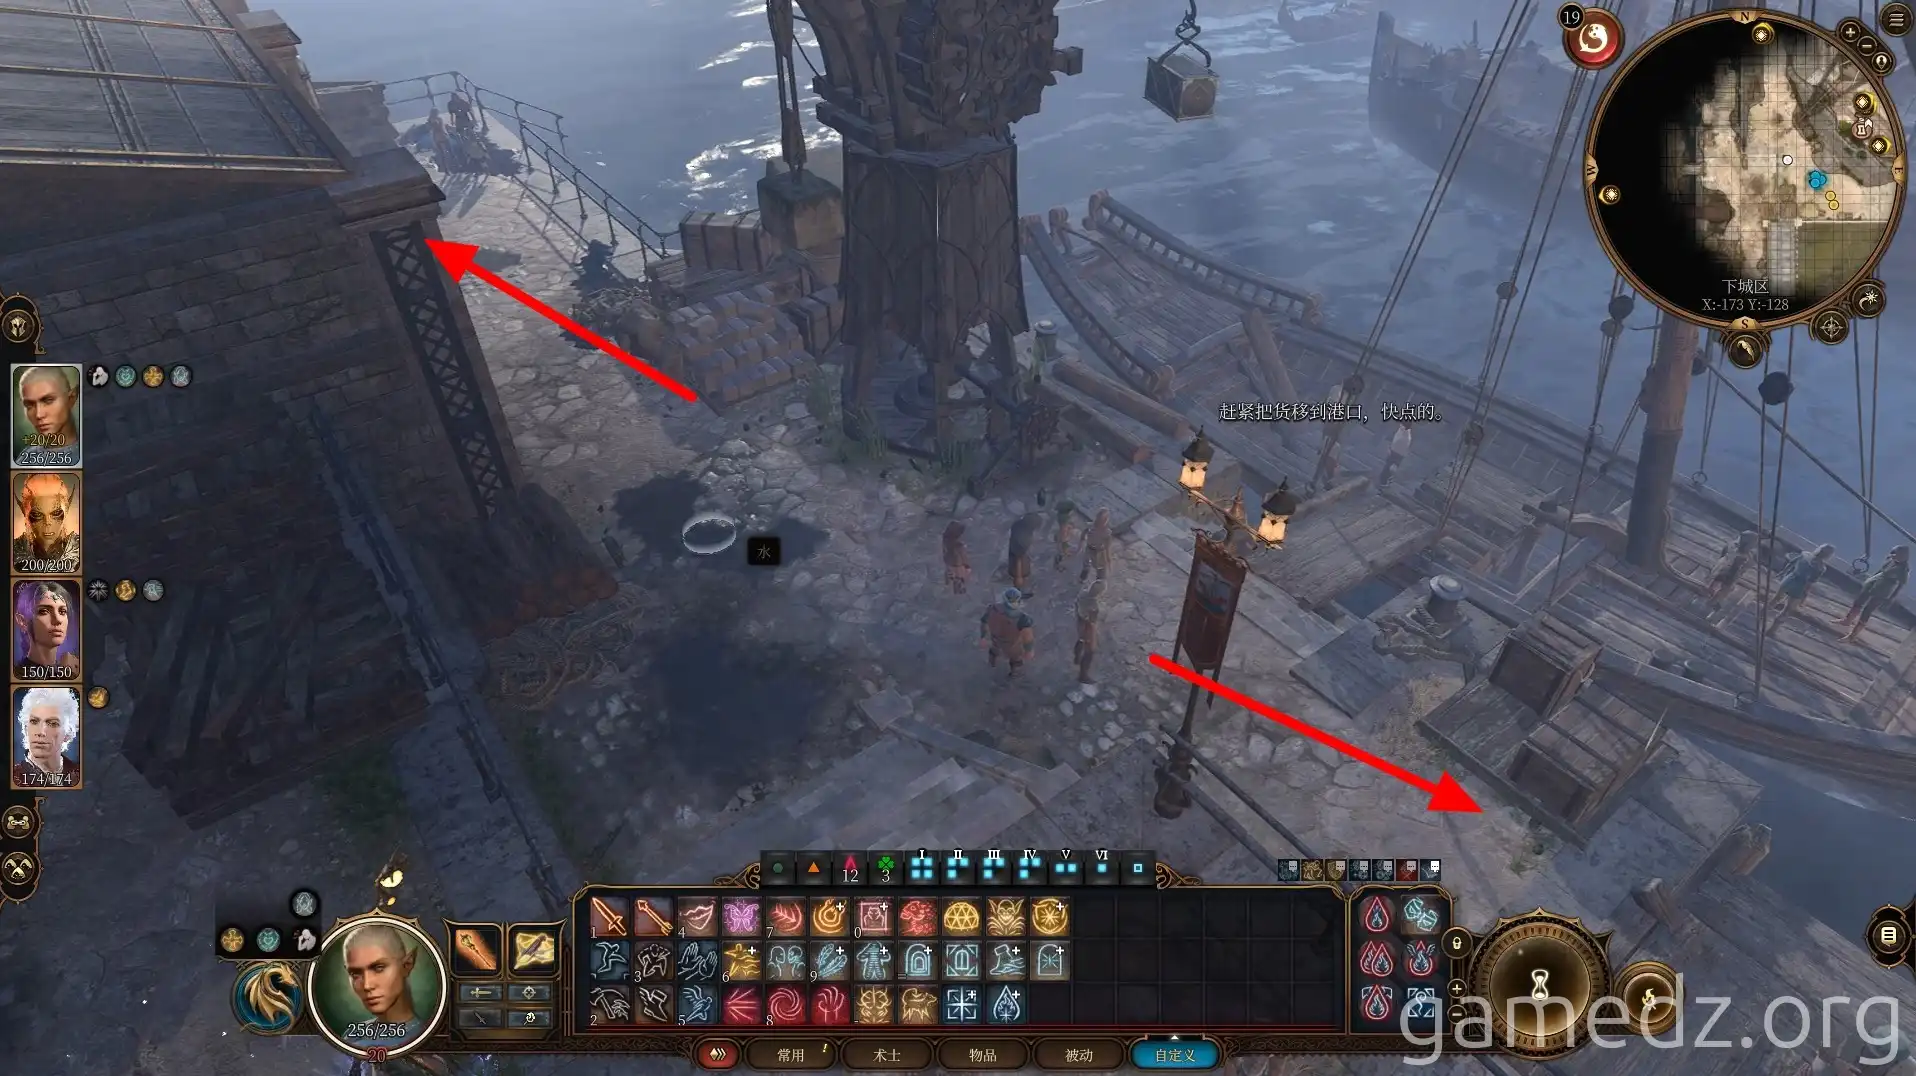
Arrive at the docks and proceed north along the riverbank.

Investigate the pile of rotten fish. A successful Constitution check (DC 15) will reveal a treasure map leading to a location behind the Counting House.
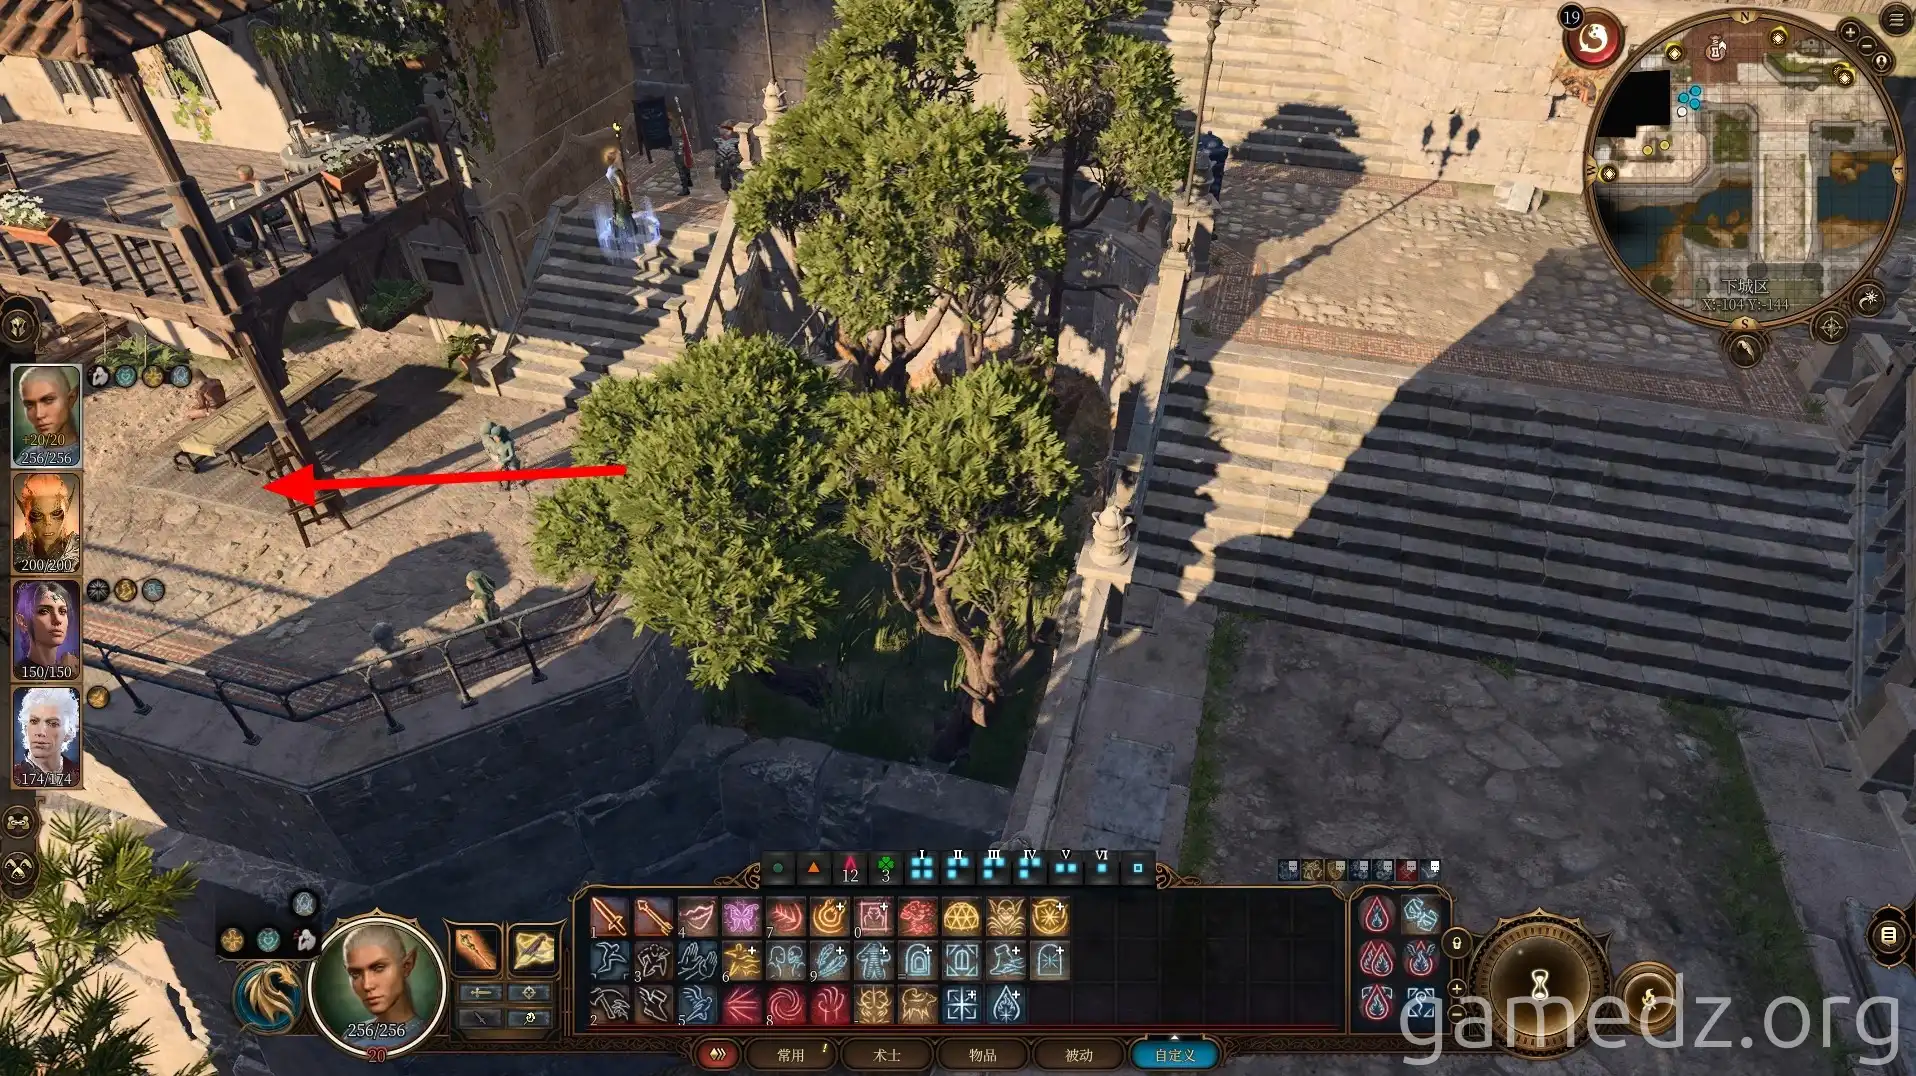
Head north from the "Blushing Mermaid" tavern.
Enter the small building opposite the park's main entrance.

On the second floor, speak with Galfrey to receive the Eldritch Shield.
The building's basement contains common weapons and illithid research notes.
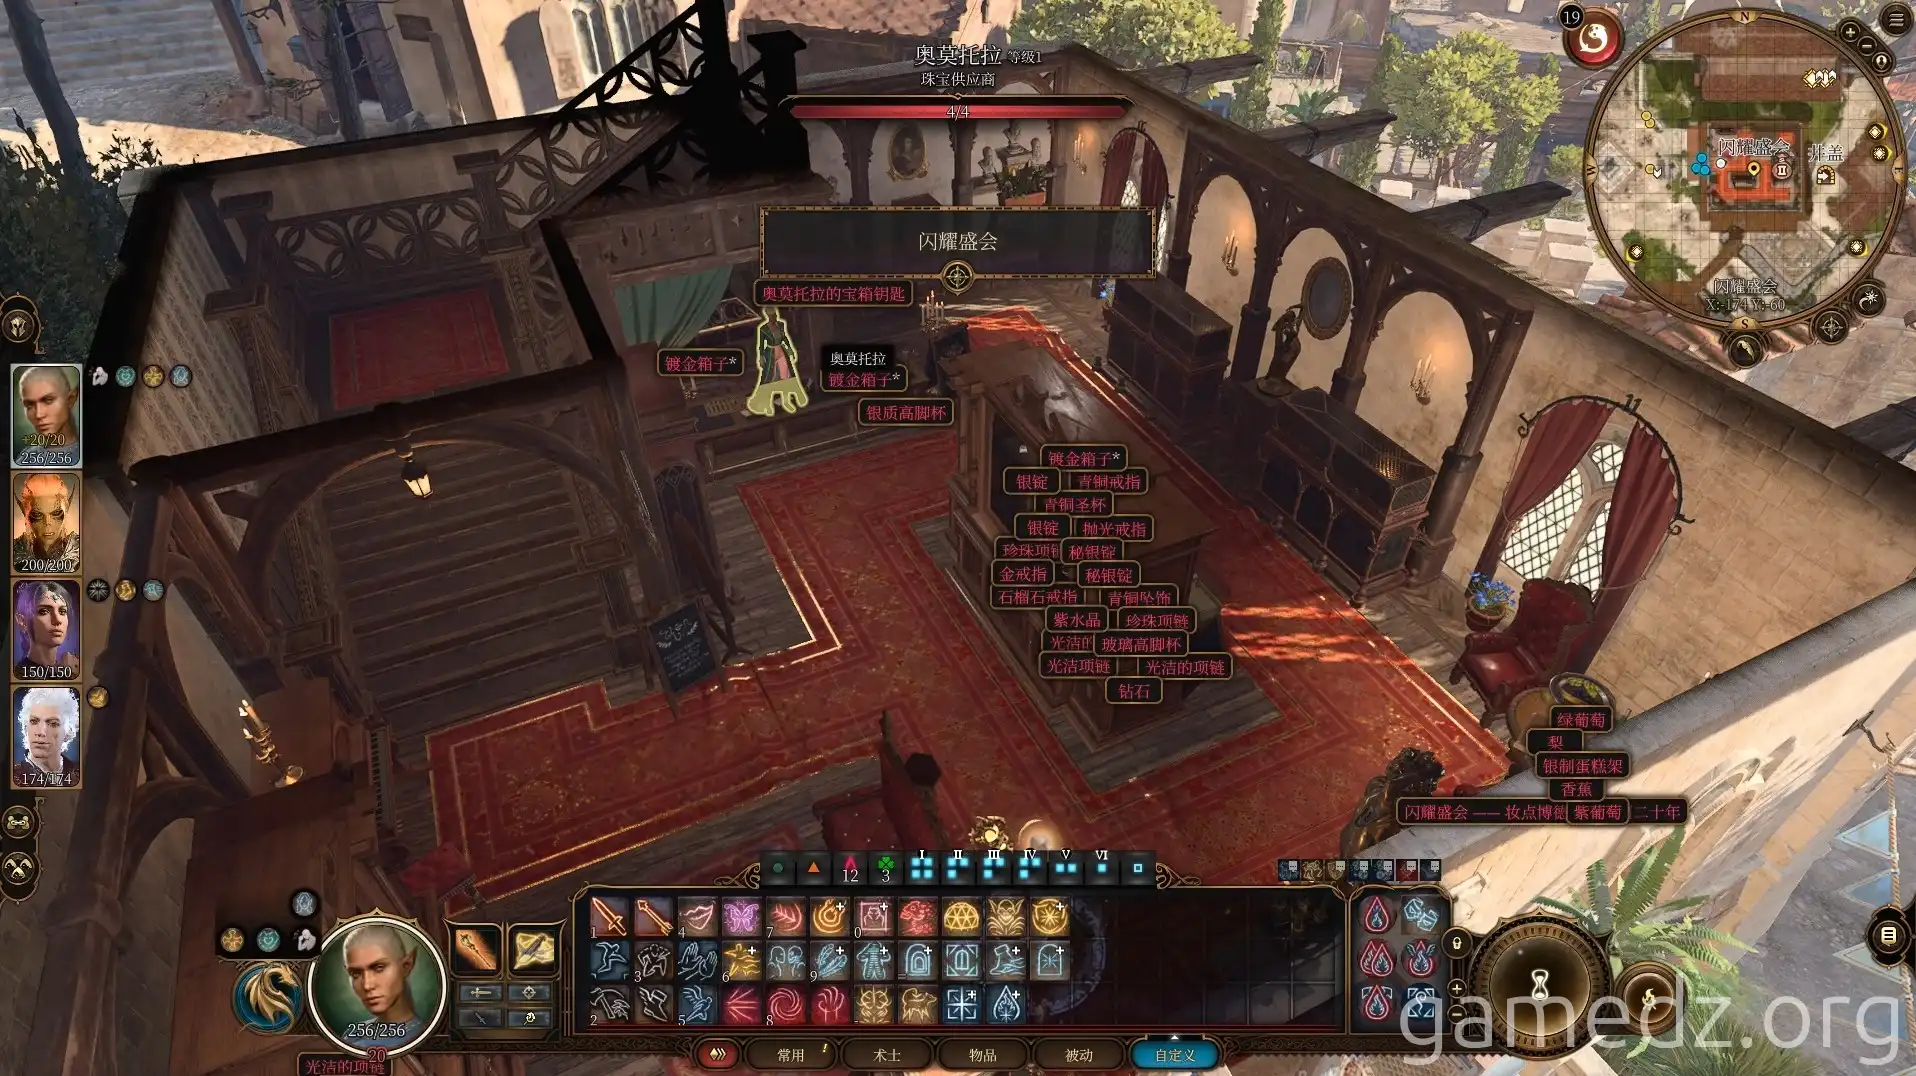
Head northwest and enter the building on the east side of the plaza.

The first floor is an accessory shop with common items.
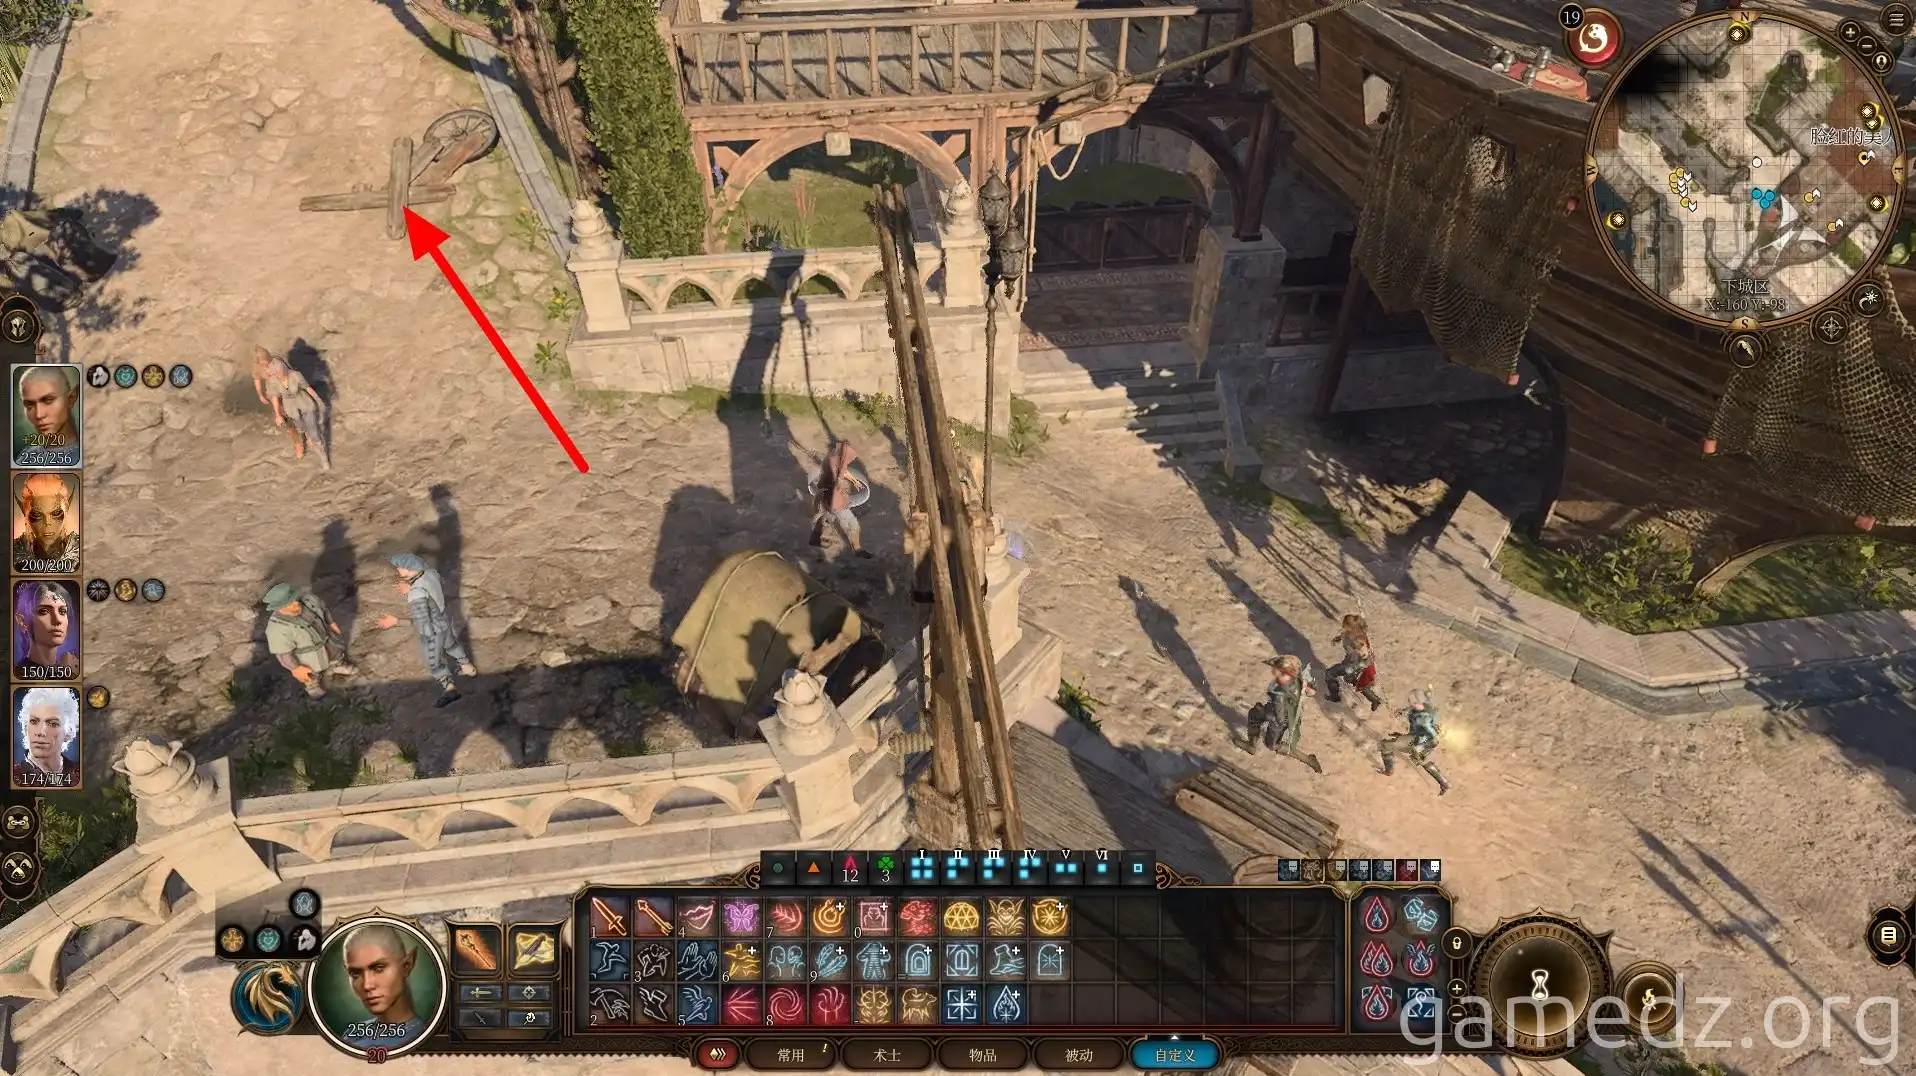
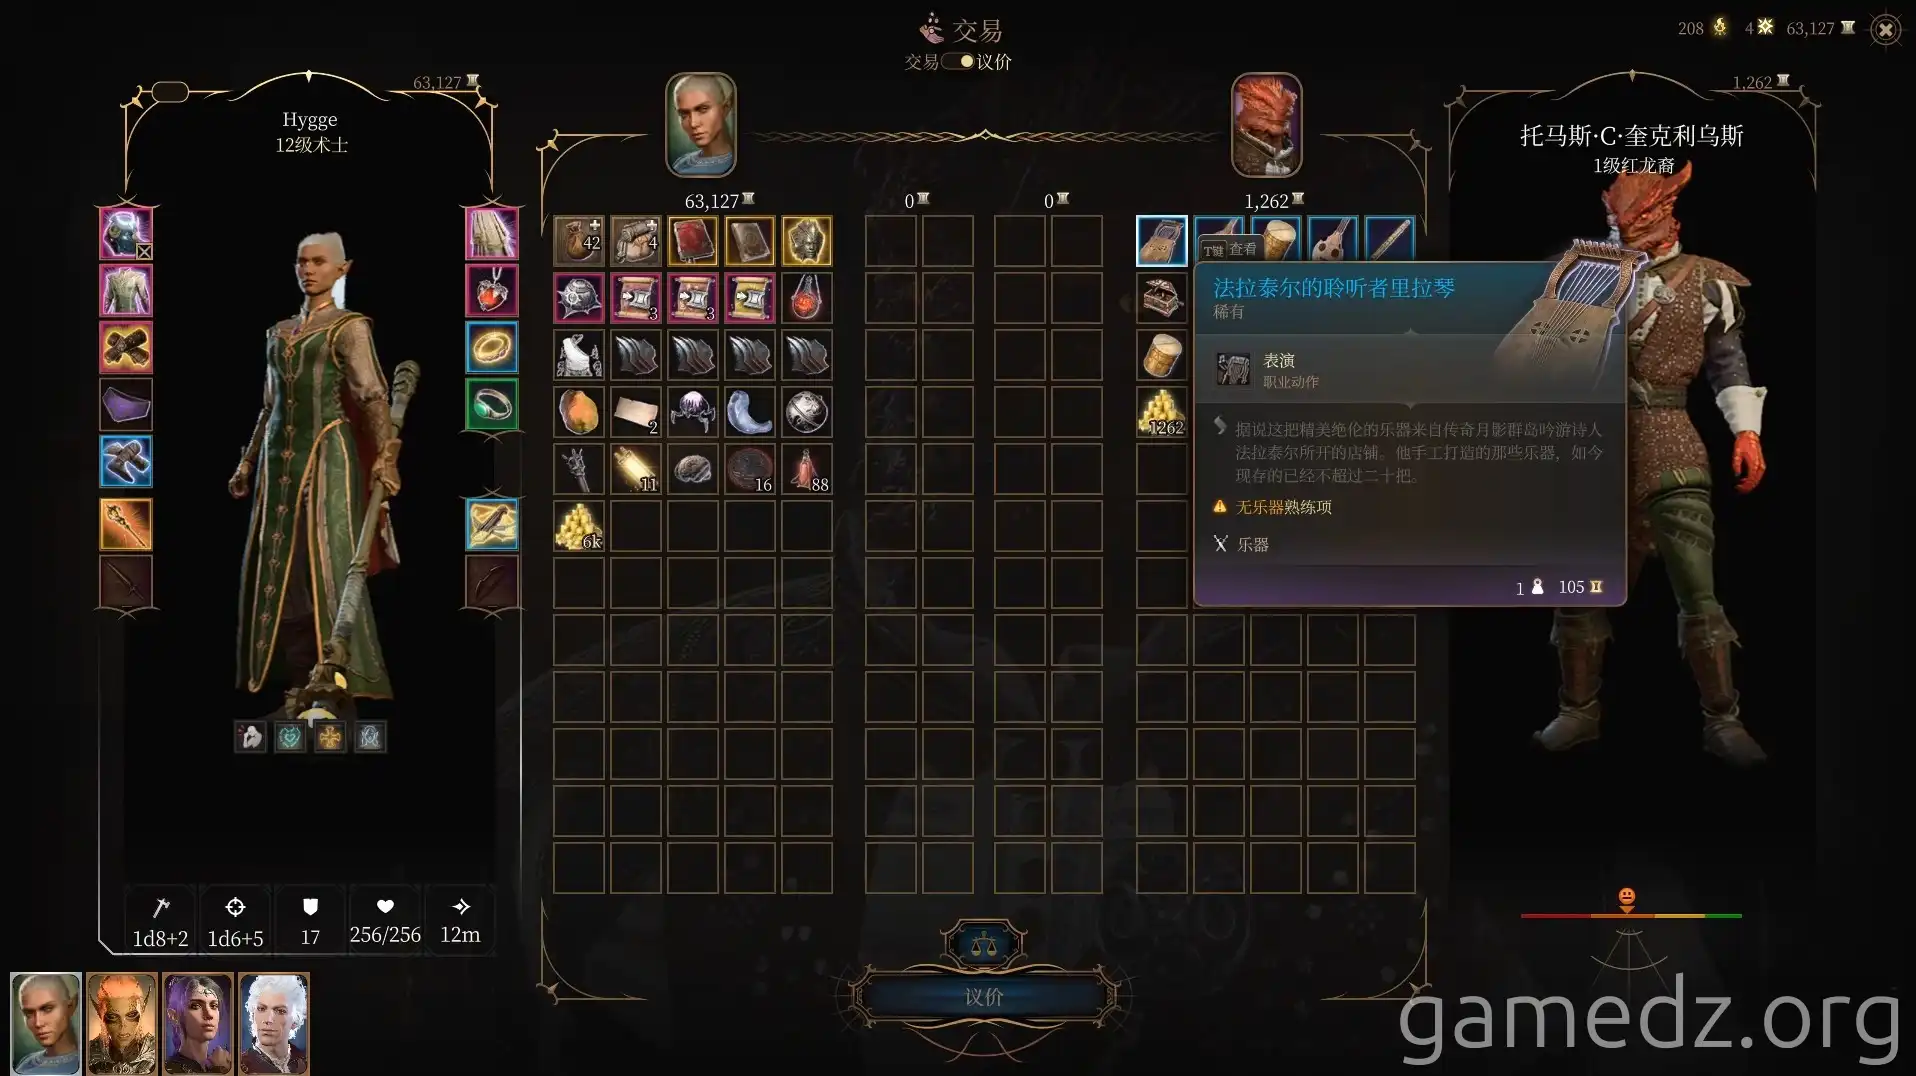
The second floor is a music shop selling rare instruments.
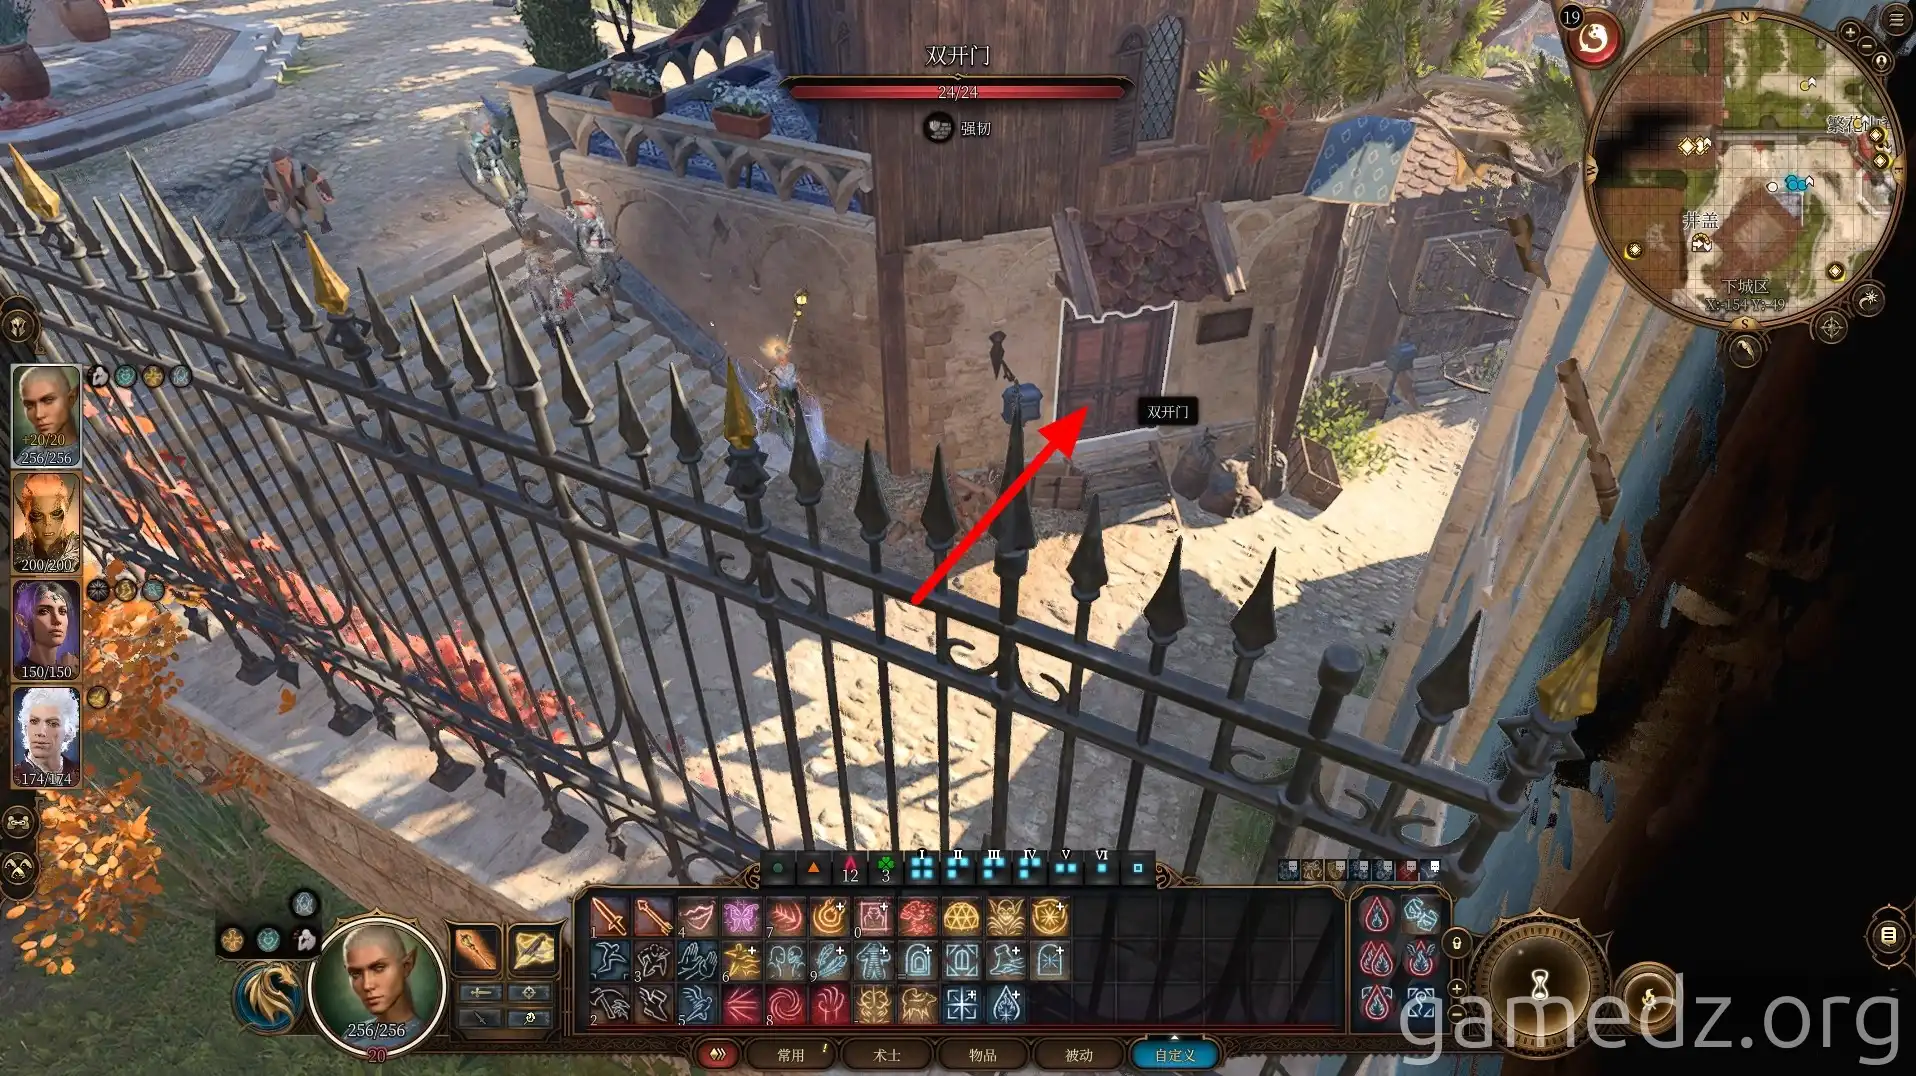
The Glamour Boutique and Dolor's Demise
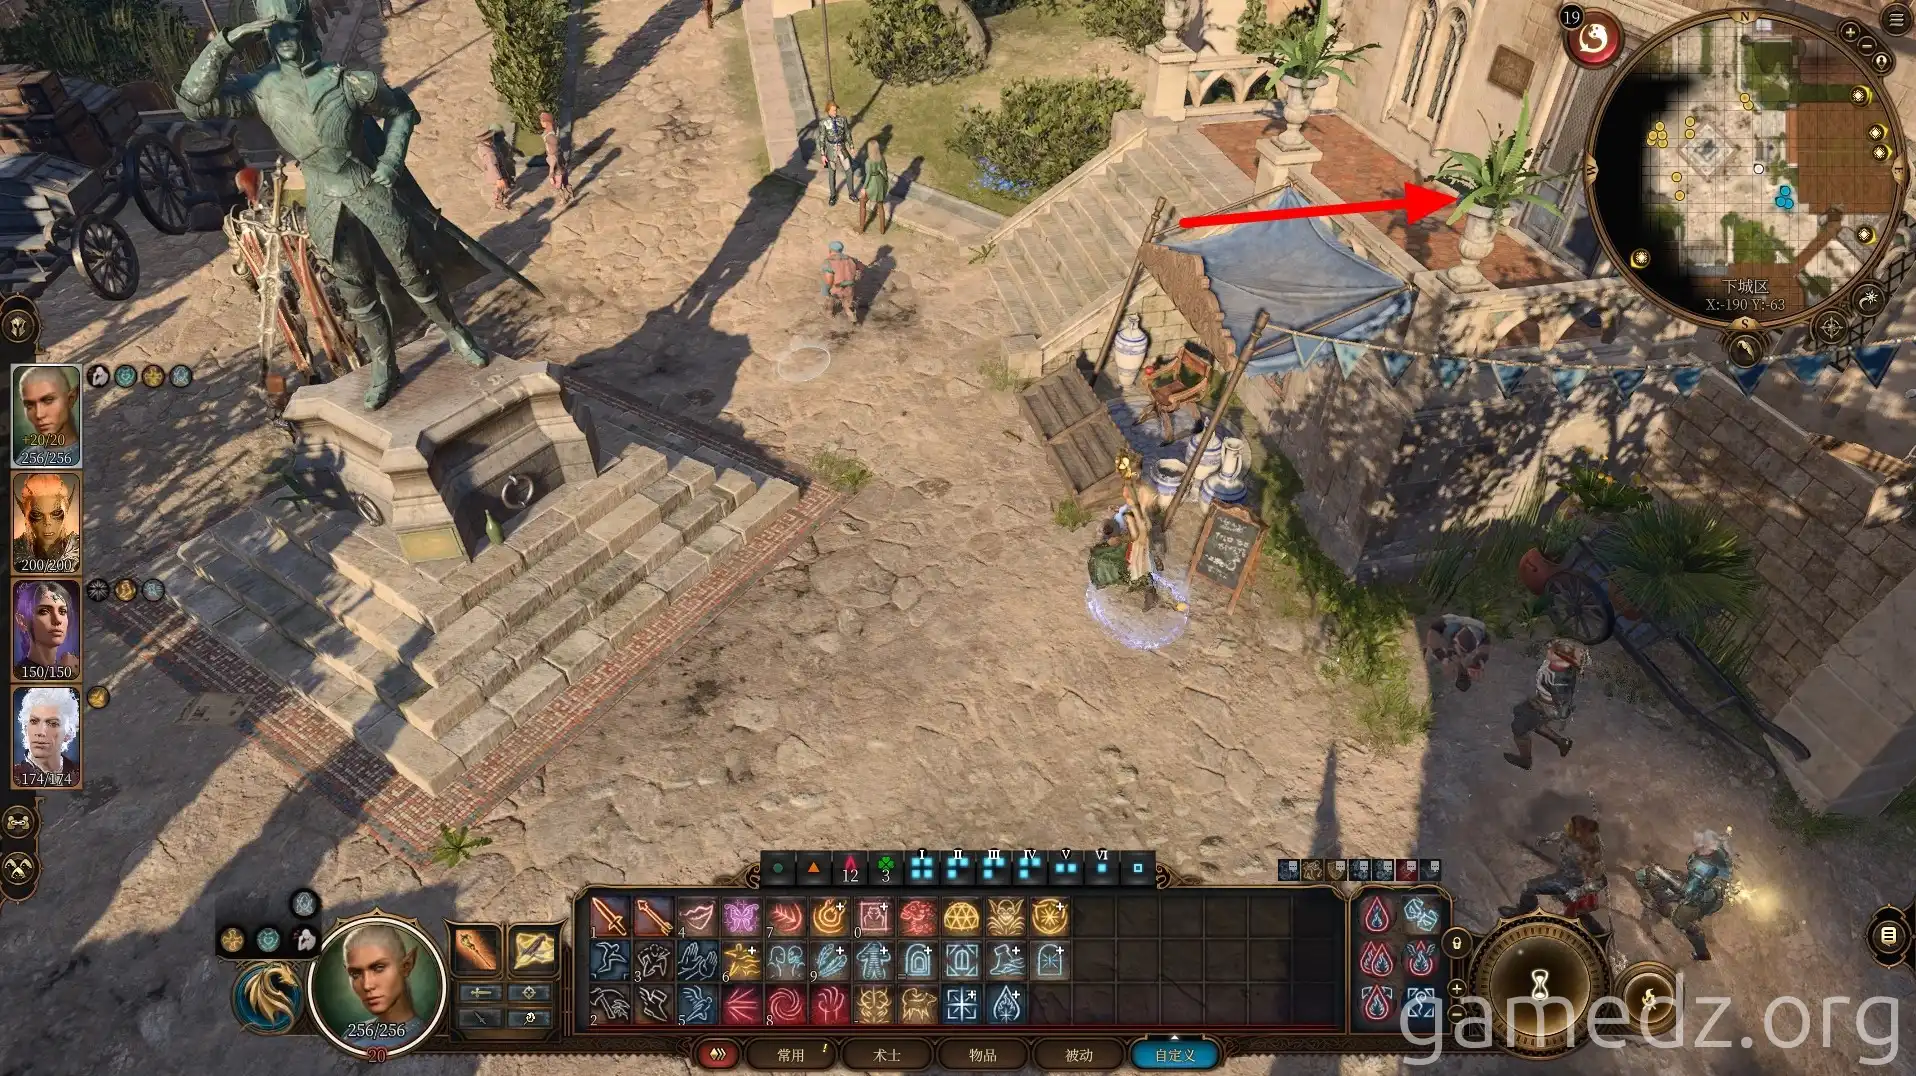
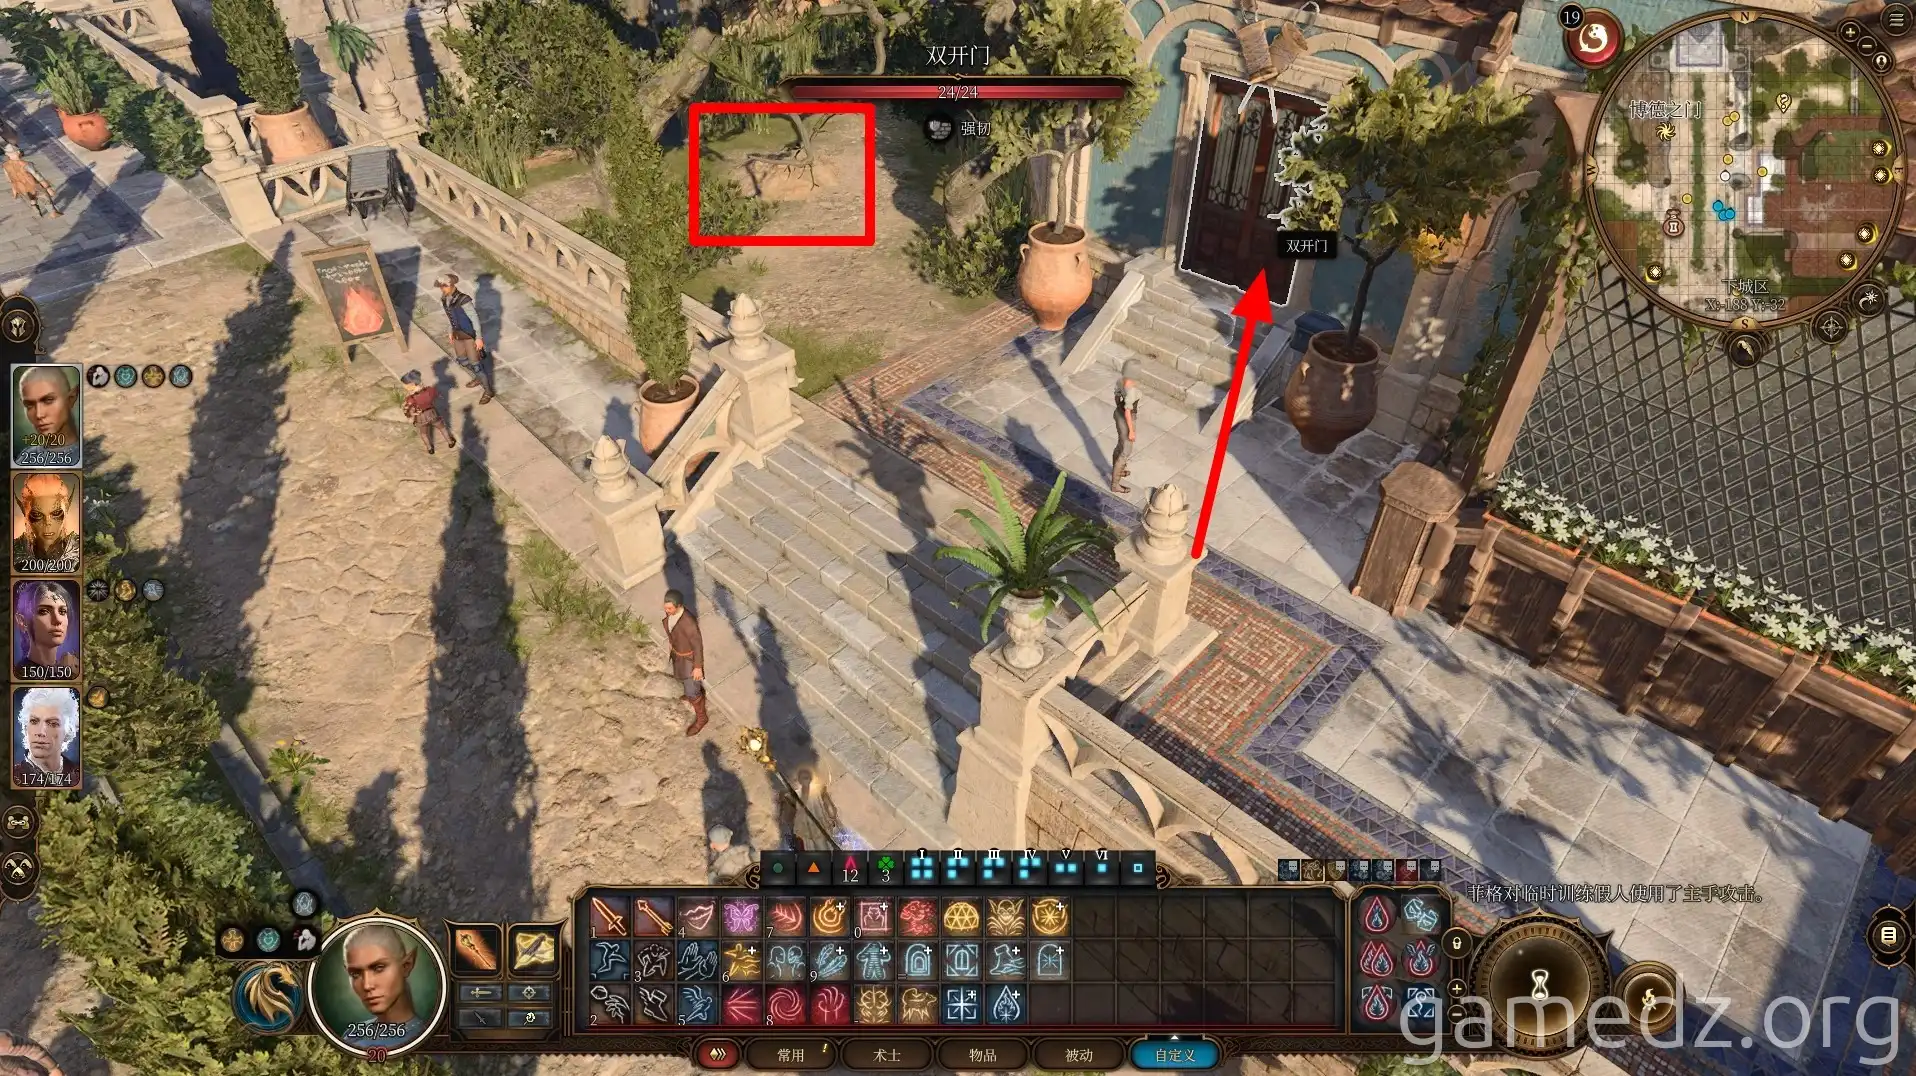
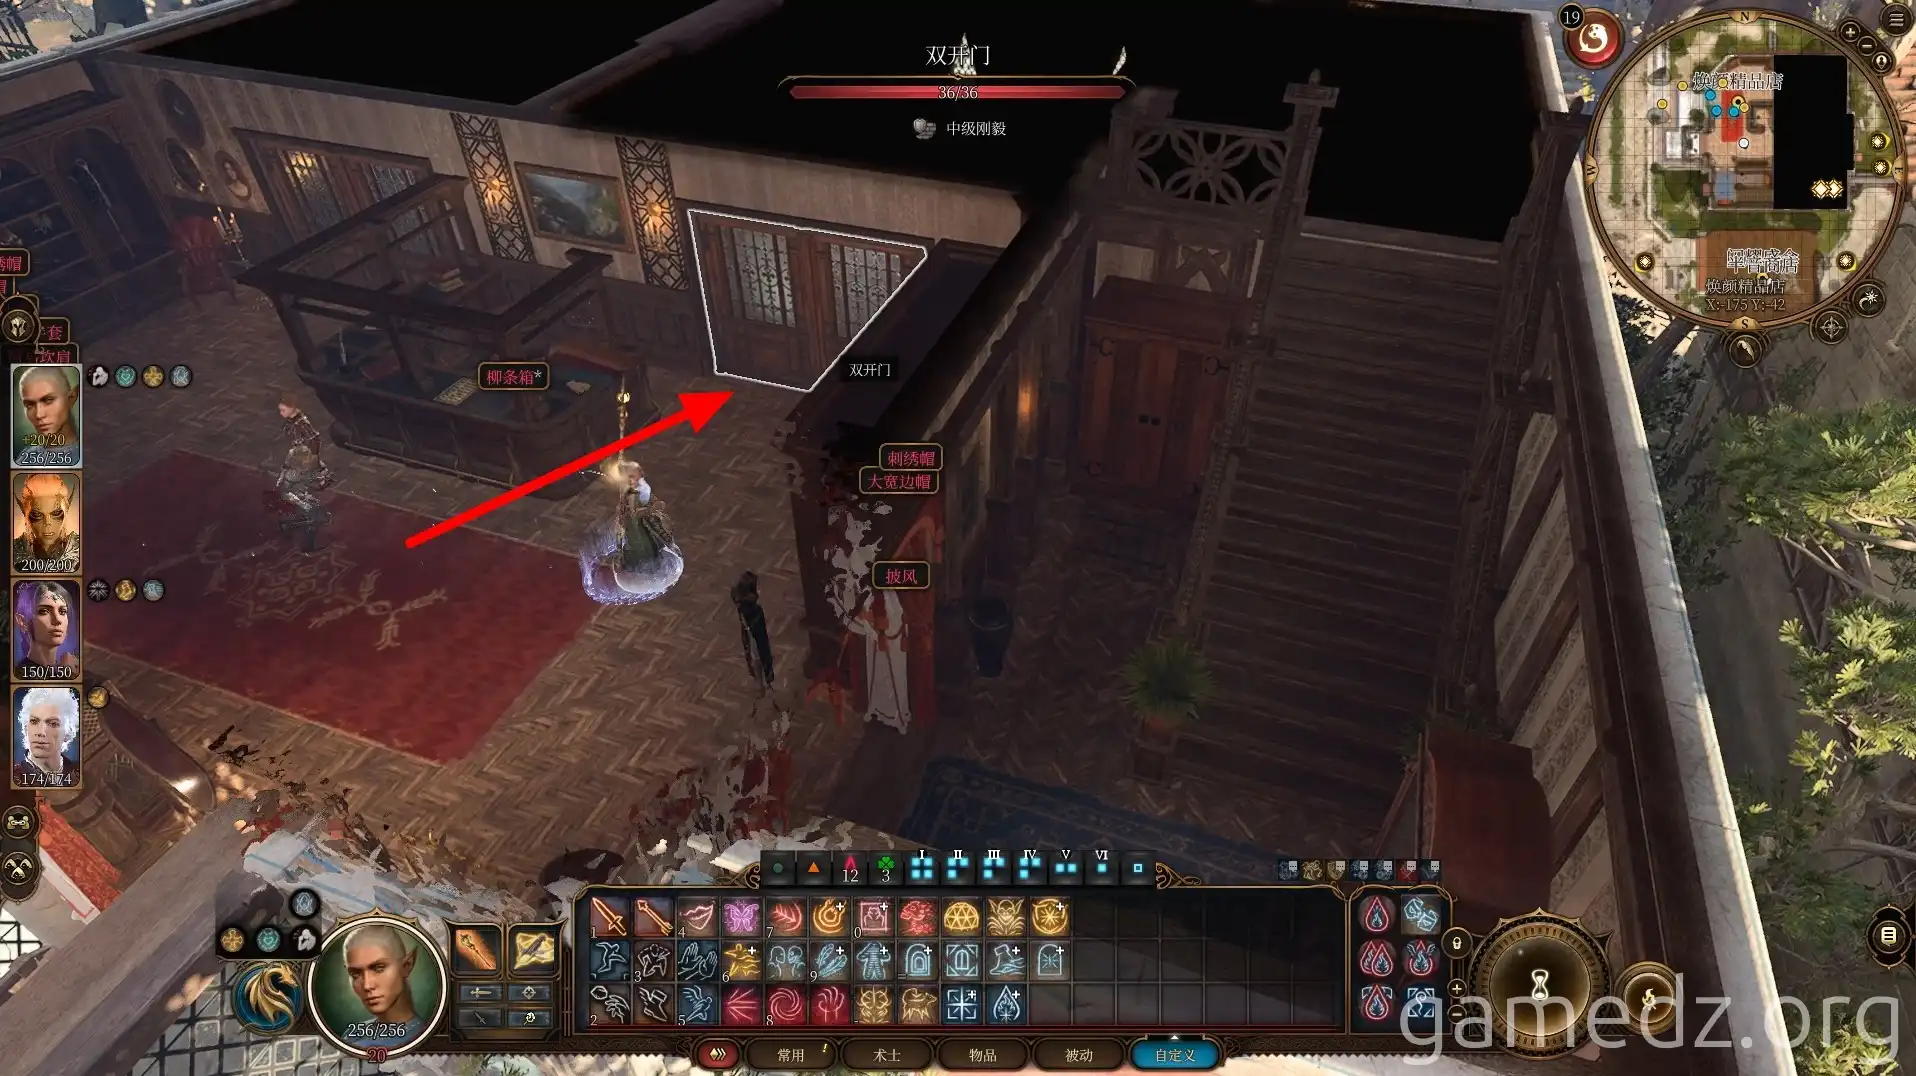
Return to the plaza and enter the Glamour Boutique. A buried chest can be found near the door.
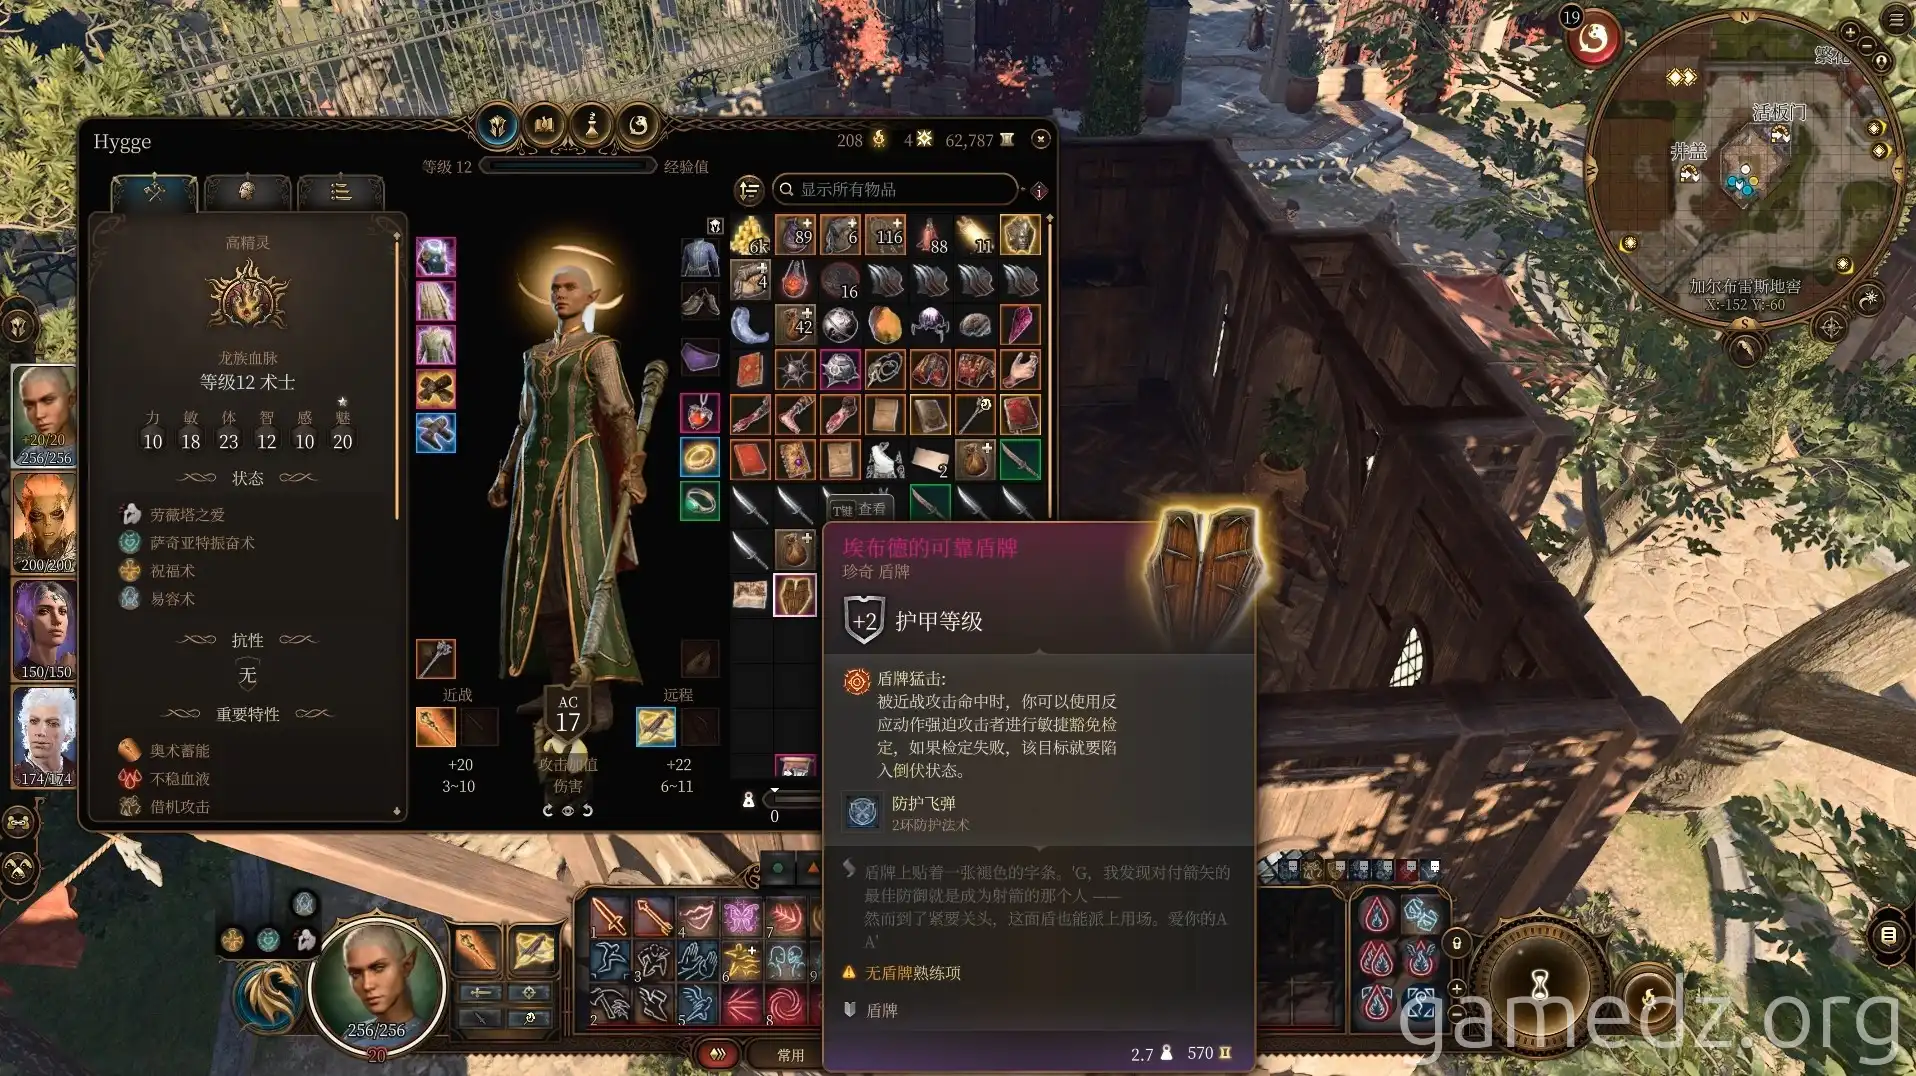
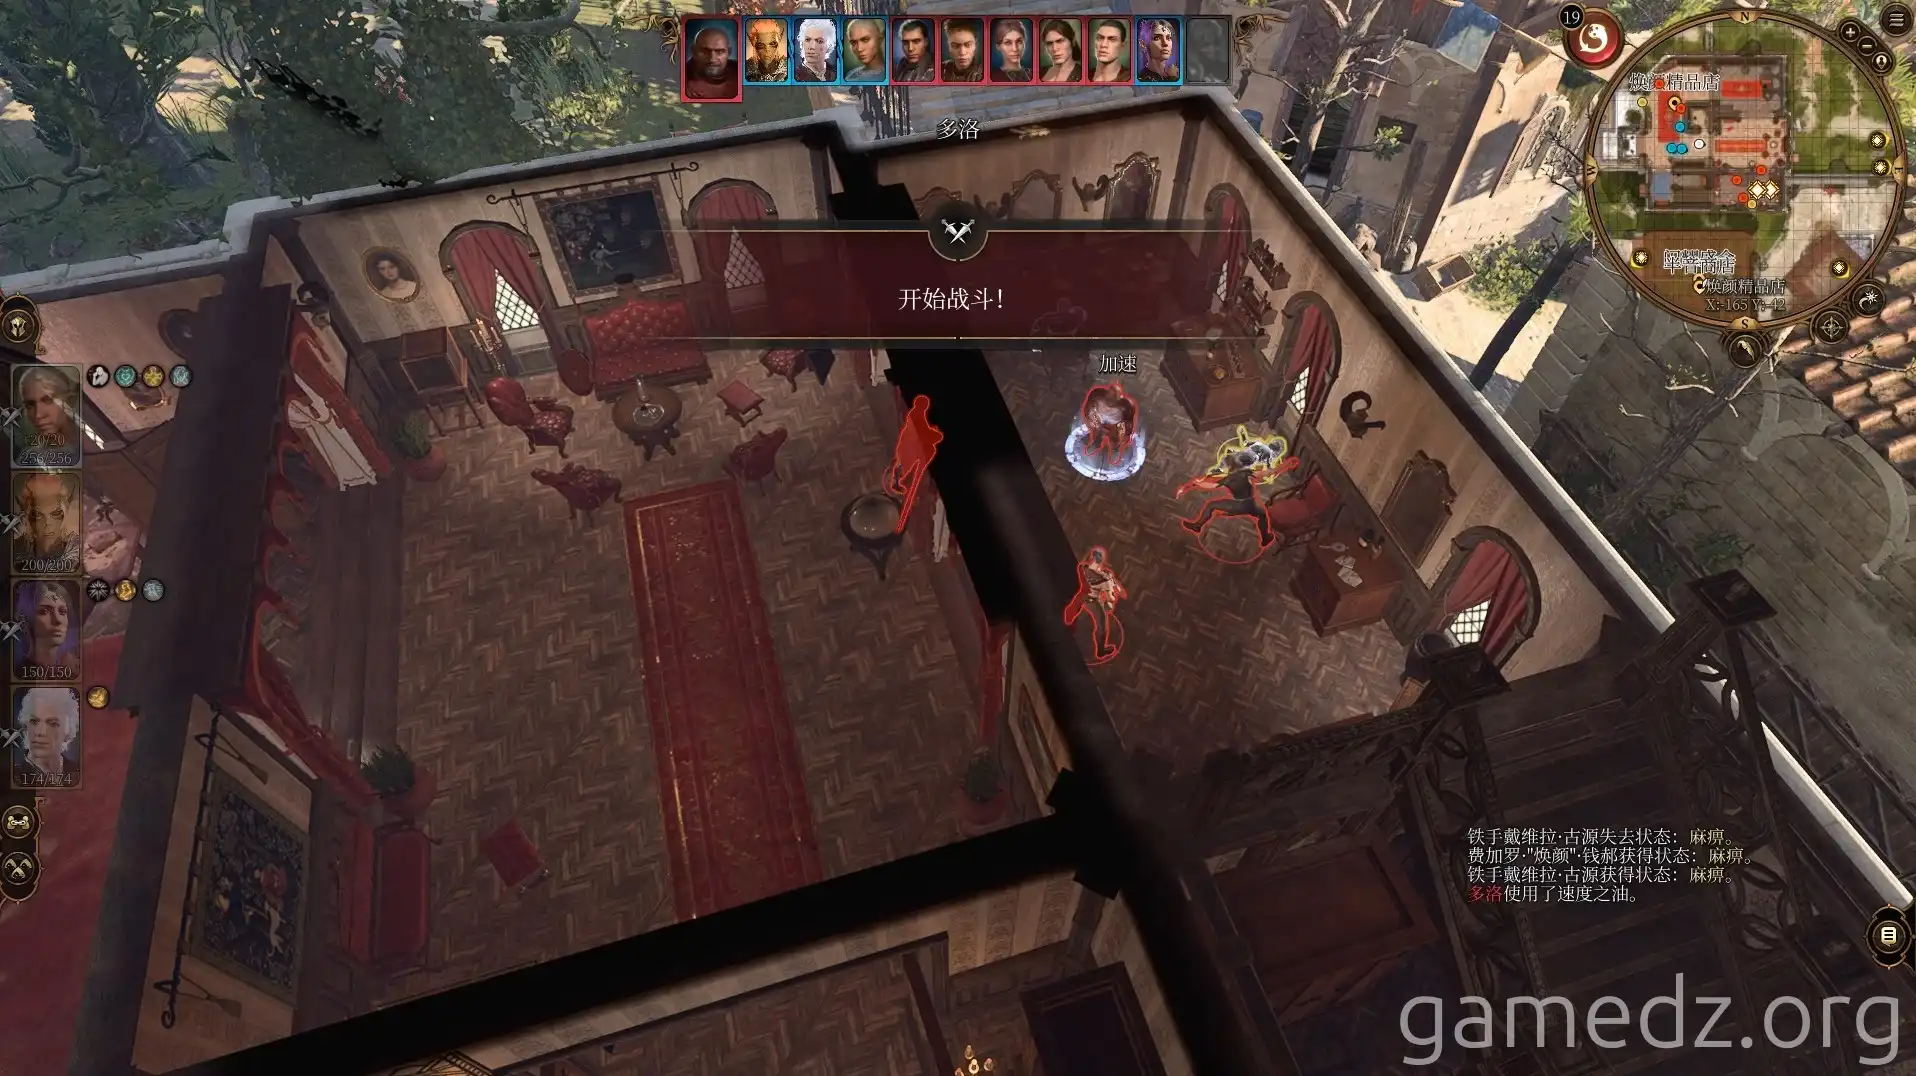
Inside, you'll confront Dolor and his cultists. Engage in combat and defeat them.
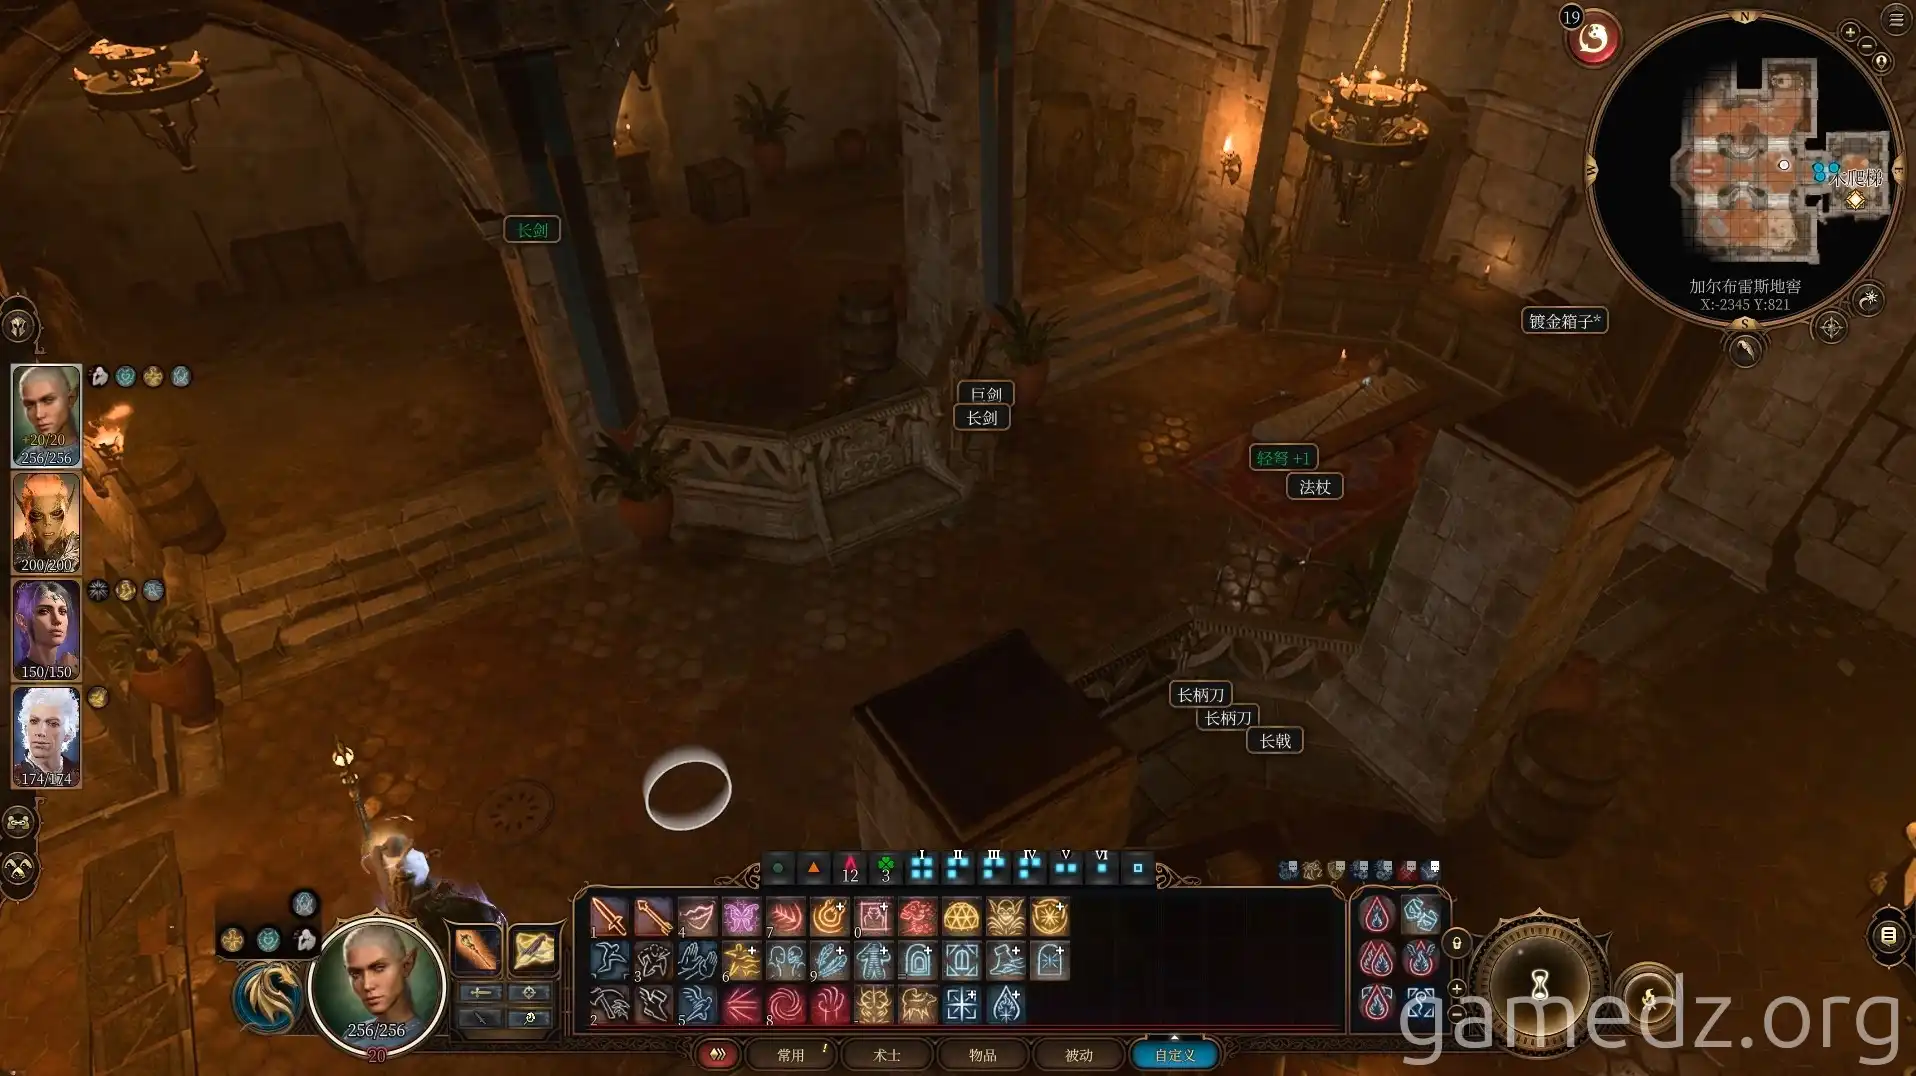
After the battle, you'll obtain a bag containing victim hands, the Dolor's Despair weapon, the Crimson Scale Mail armor, and the Starry Hunter Boots.
Reading Dolor's note reveals the password: Sakareth.
Speak with the shop owner, Figaro, for future discounts on dyes and clothing.
Davilara reveals that the severed hands are passes to the Courts of the Judge. With that, we prepare to head towards the Temple of Bhaal.
