
Baldur's Gate 3 Lower City Walkthrough: East Wall Exploration
Detailed Baldur's Gate 3 walkthrough for the Lower City's East Side Main Wall. Covers quests, unique items, and exploration tips for players.
Upon arriving in the Lower City, activate the "Stone Lord's Gate" fast travel point and then head south towards the plaza.
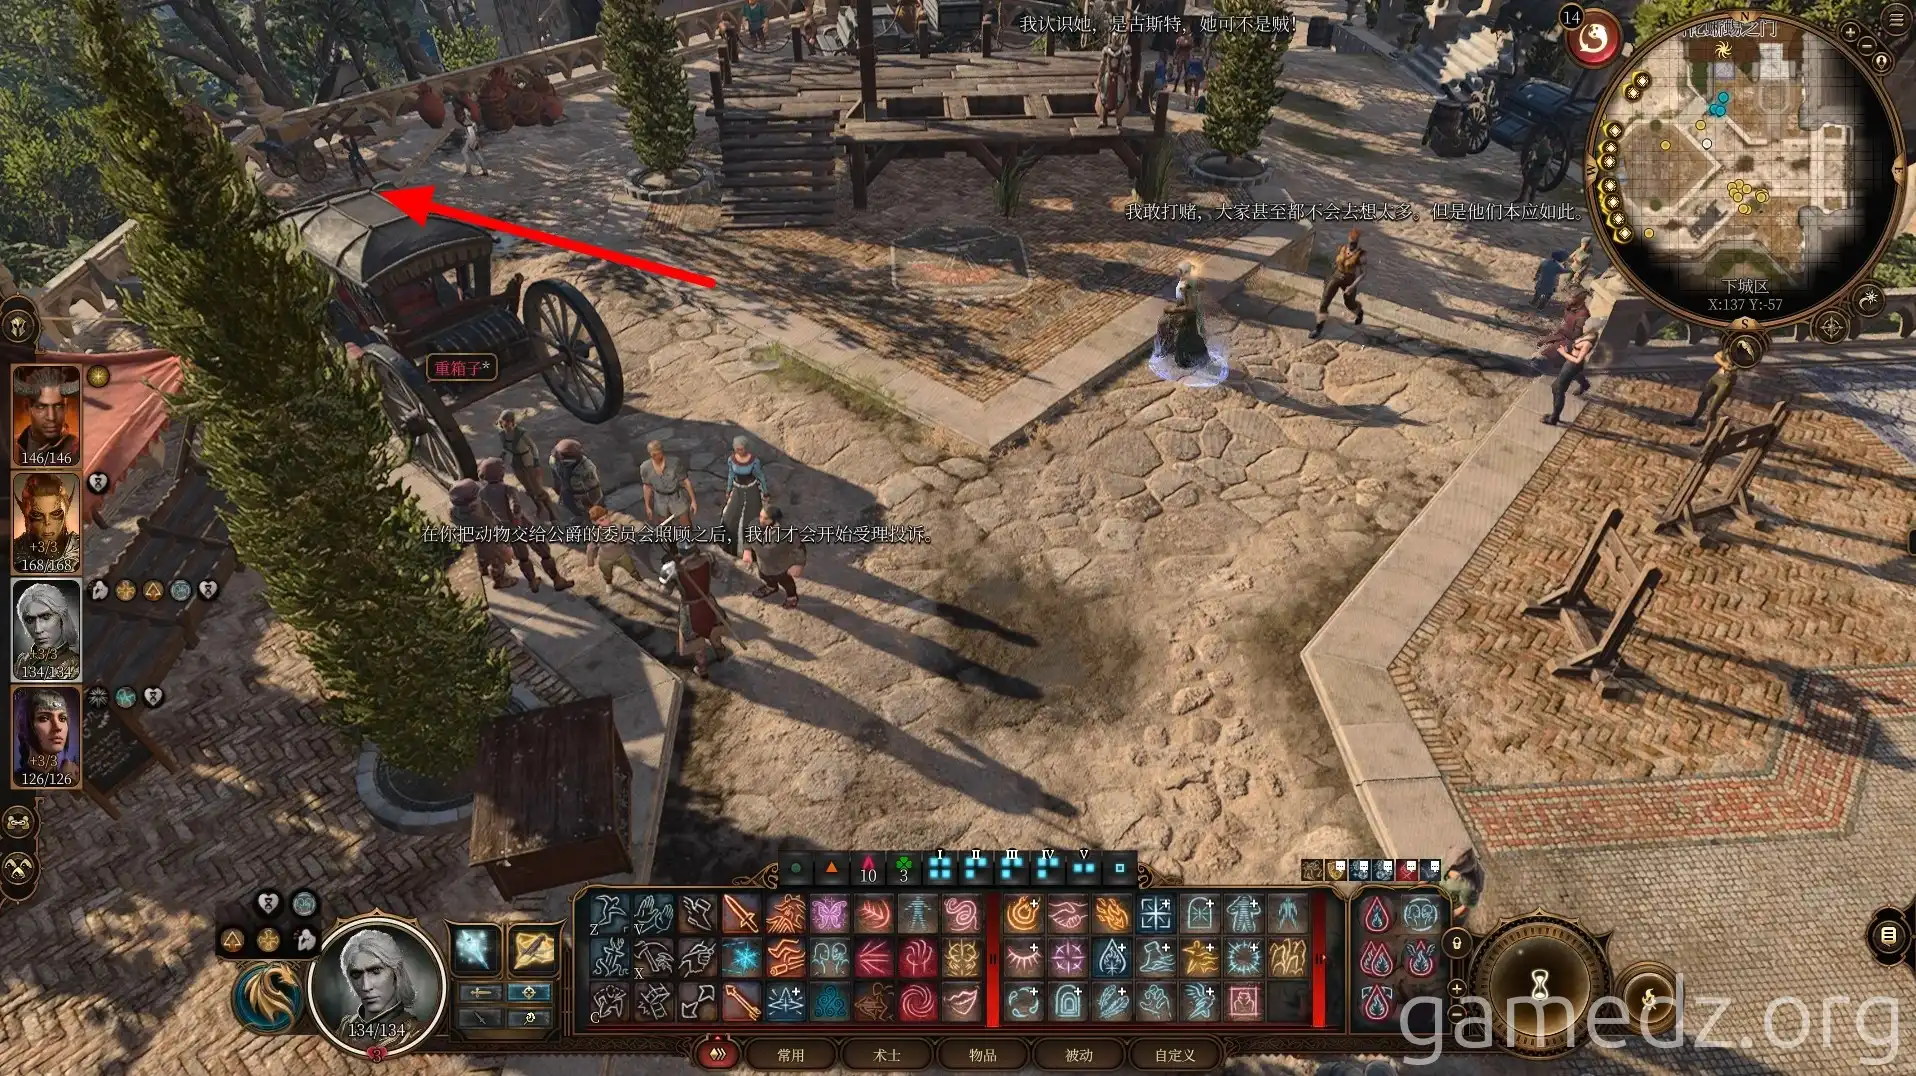
Reading the "Anti-Hag Mutual Aid Group Poster" and "Must-Read for the Strong and Sturdy" on the notice board will initiate two side quests: one to help hag survivors and another related to the Nightsong.
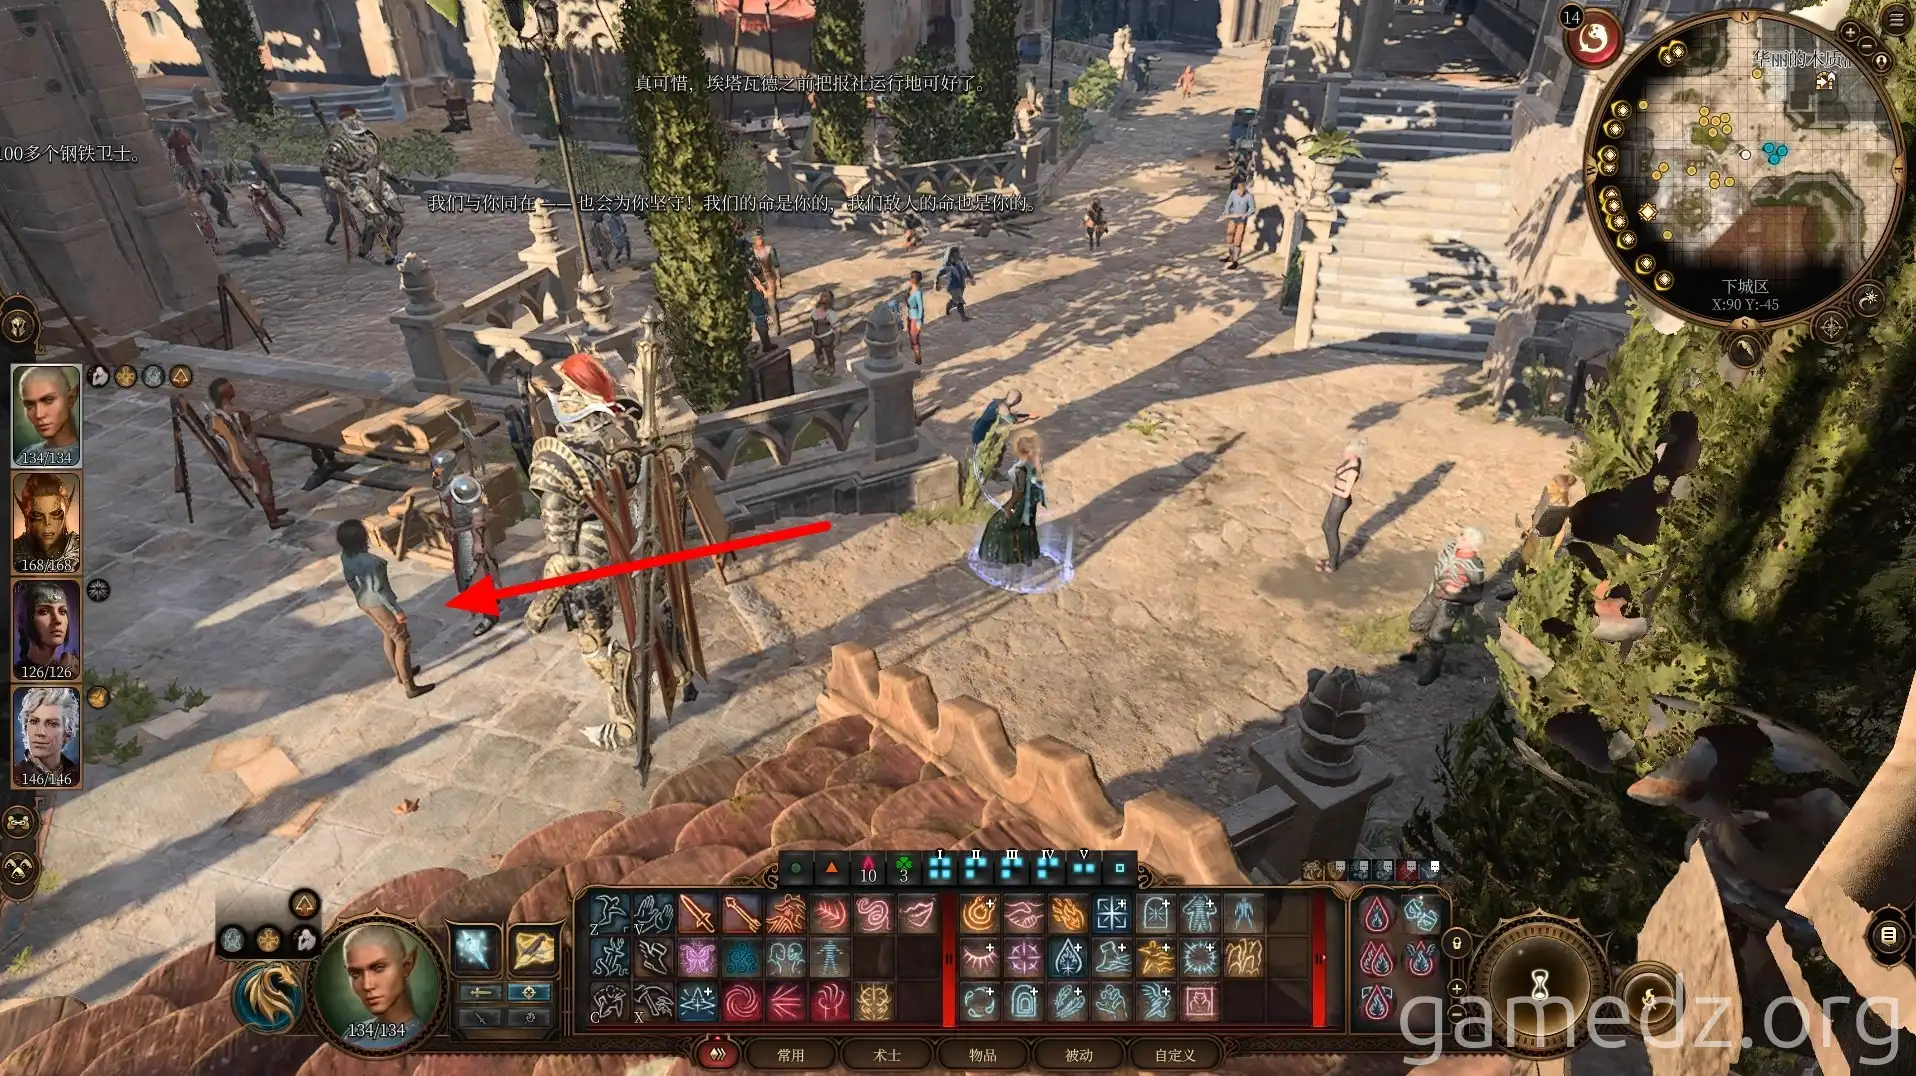
Next, speak with the woman in white standing nearby.
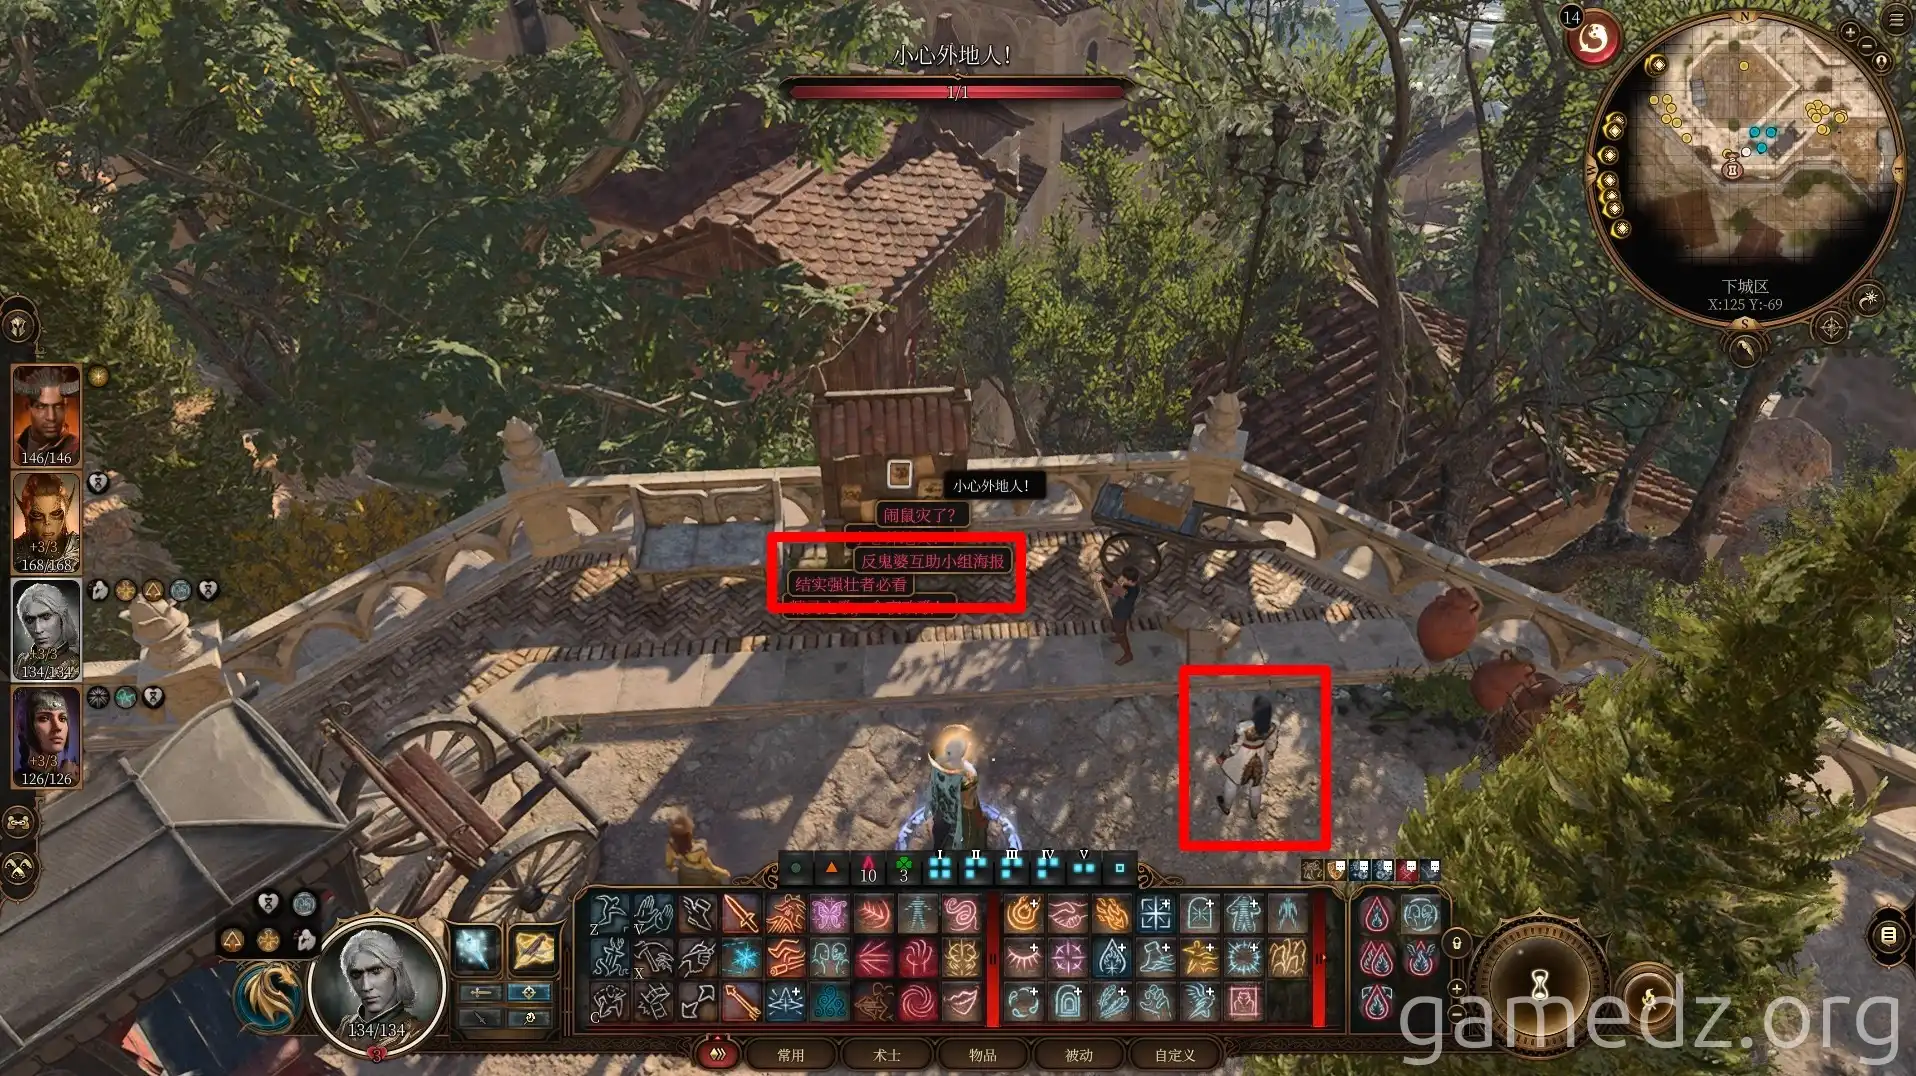
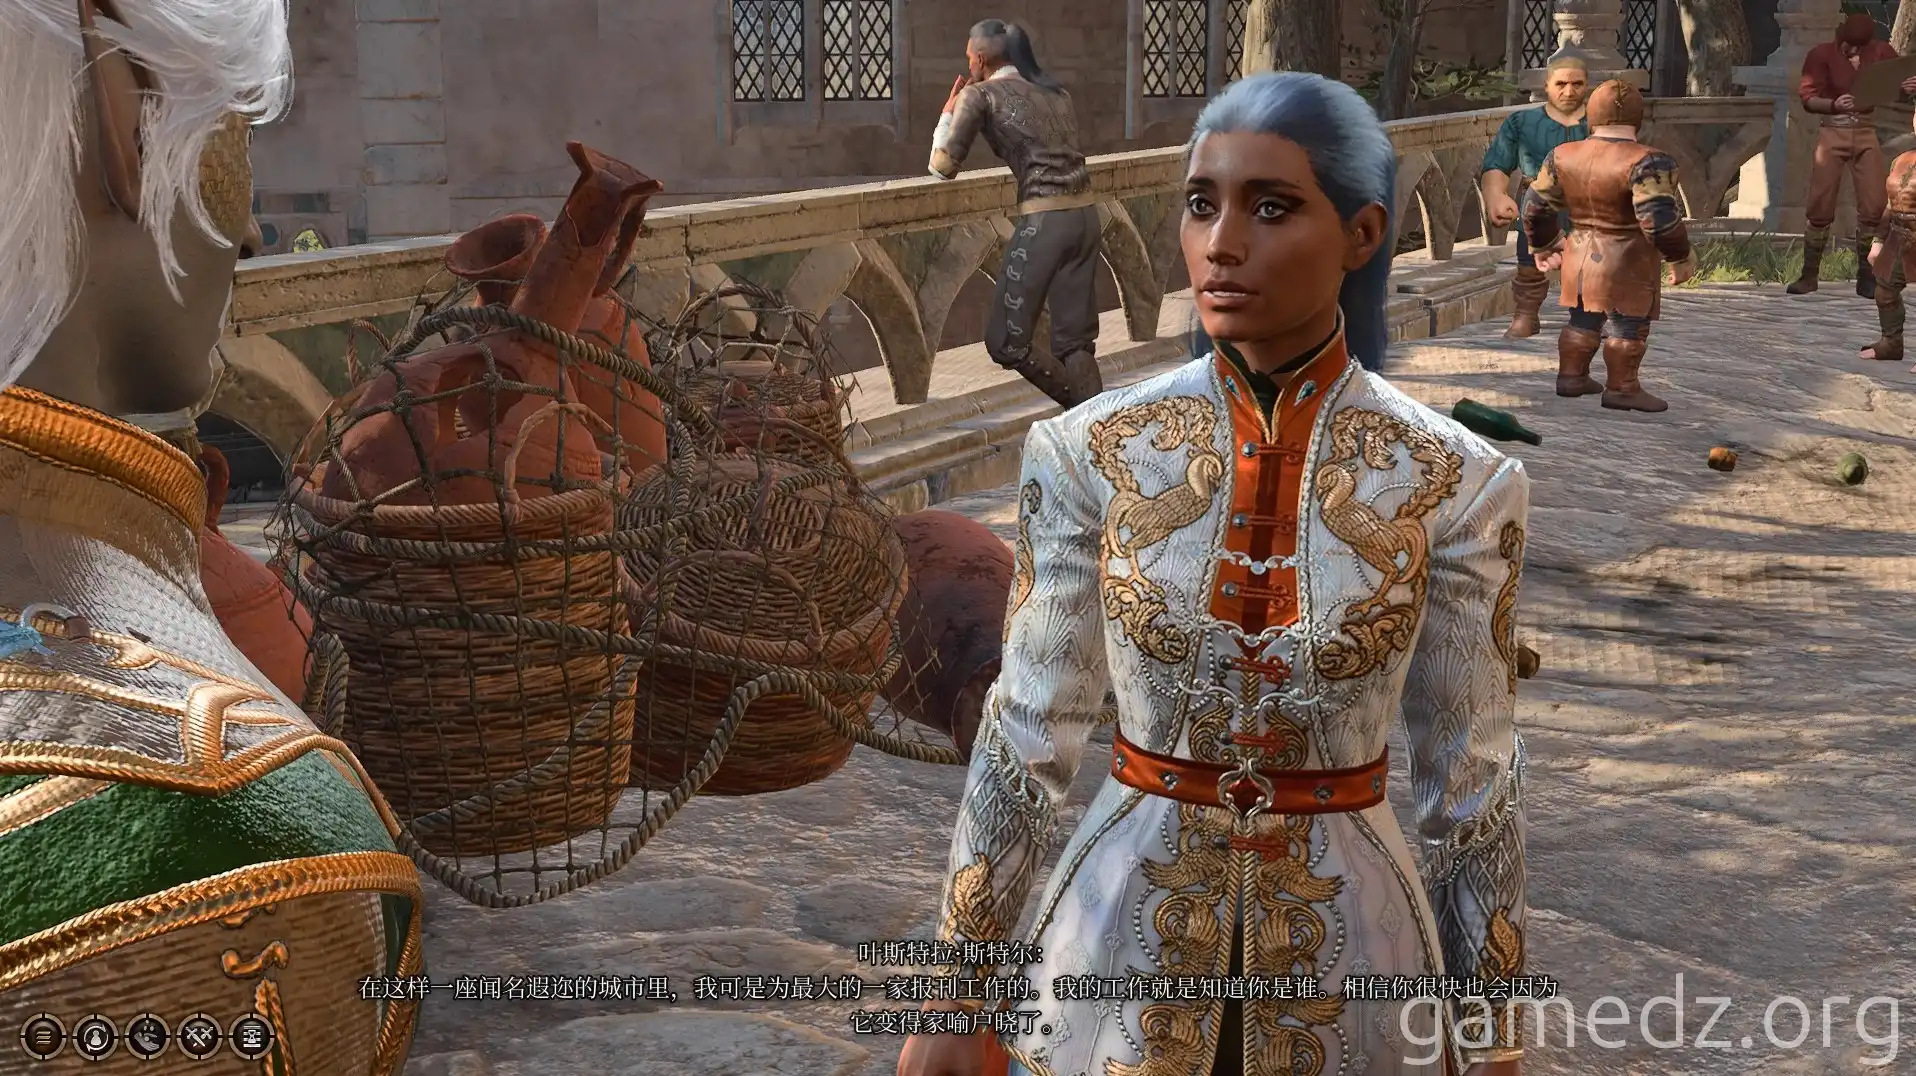
Through dialogue, you'll learn she's a journalist, and you are the subject of her next report. After the conversation, the side quest "Stop the Press" will begin.
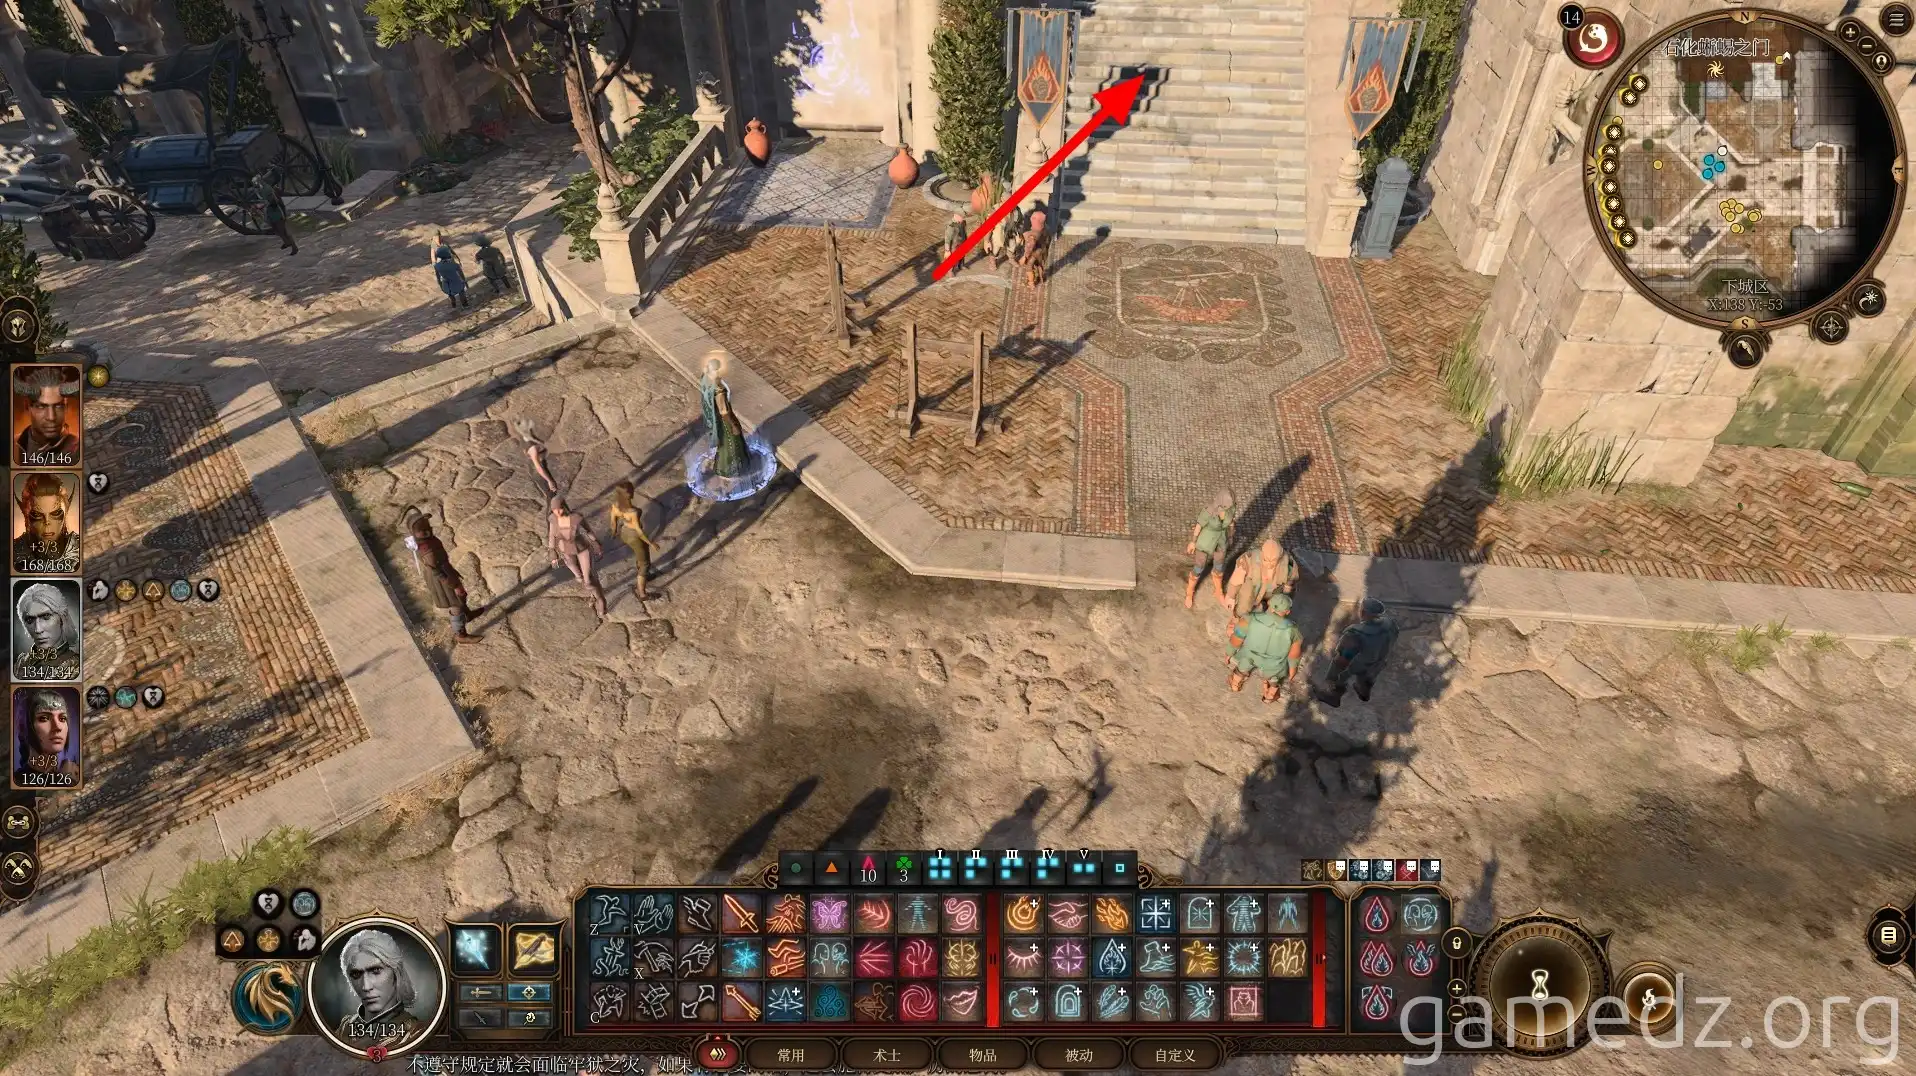
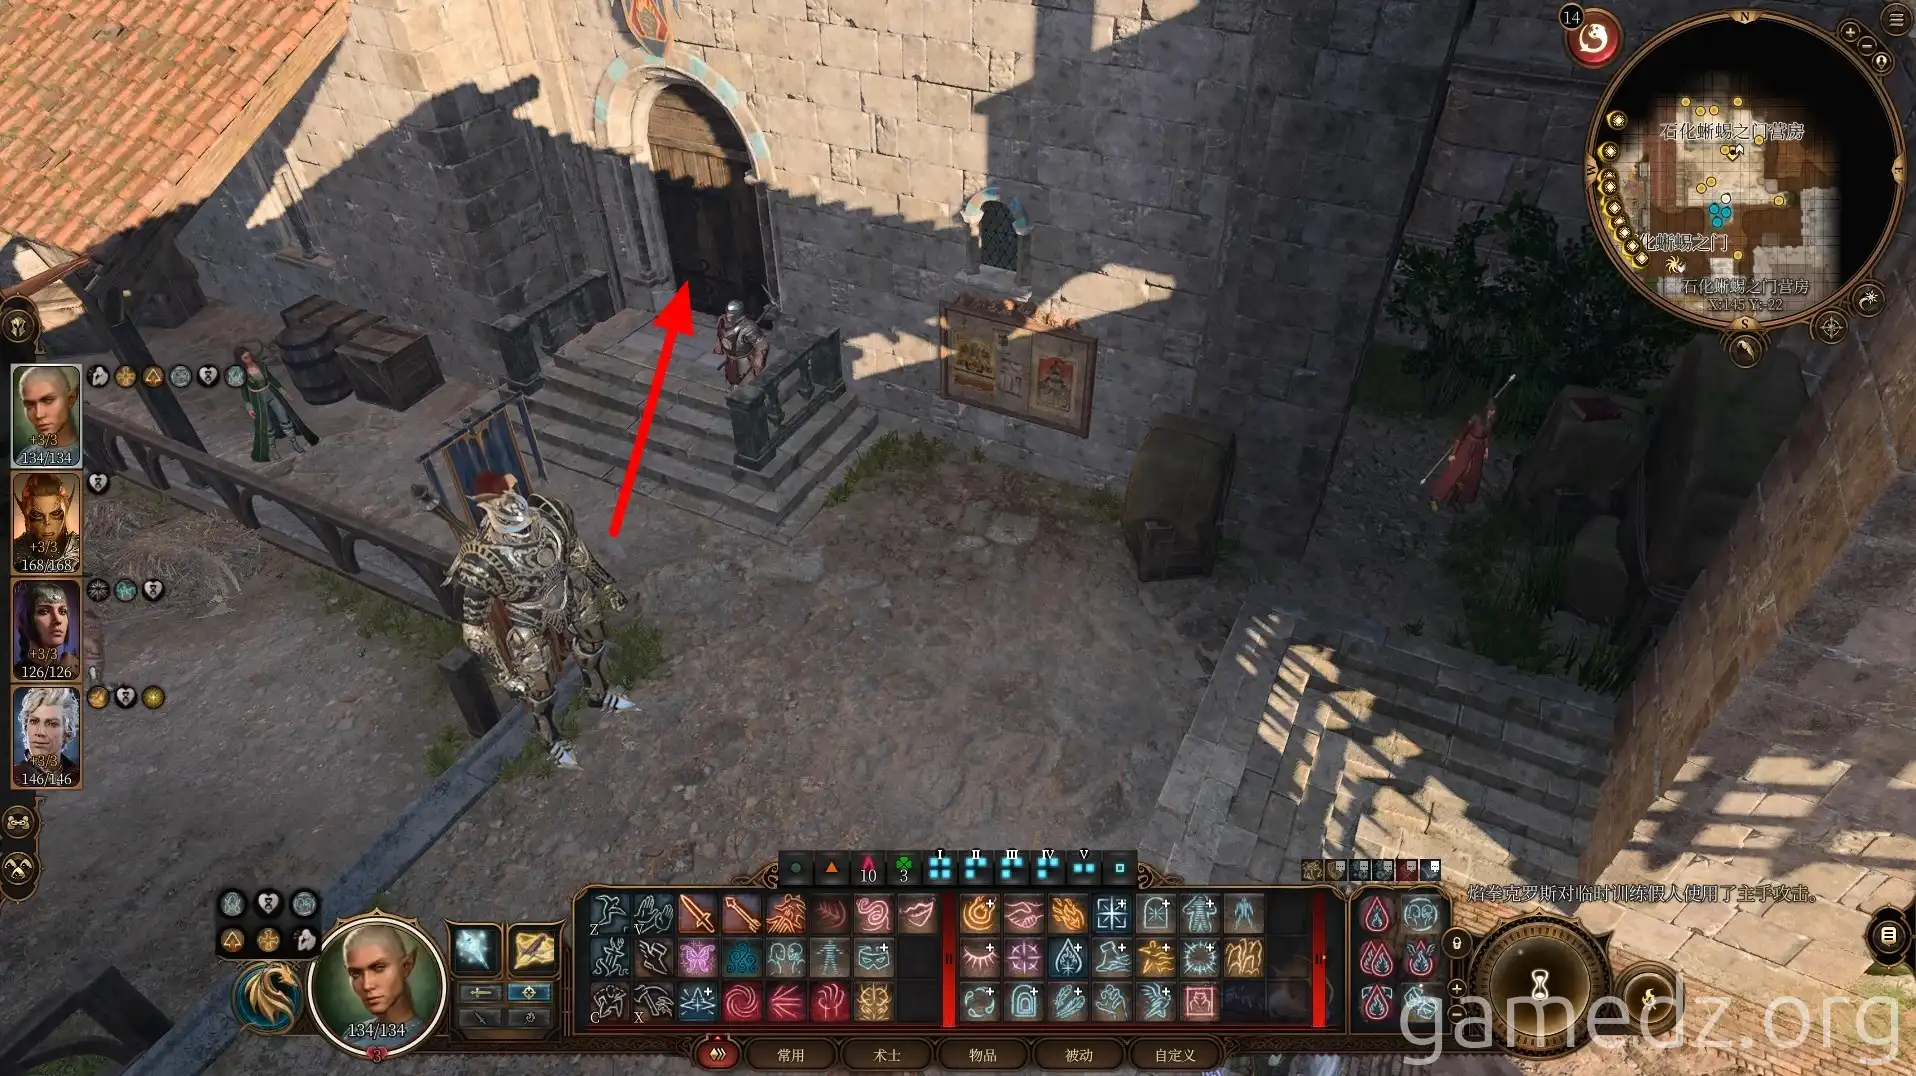
Enter the Barracks through the stairs next to the fast travel point.
Enter the room on the east side of the Barracks training grounds.
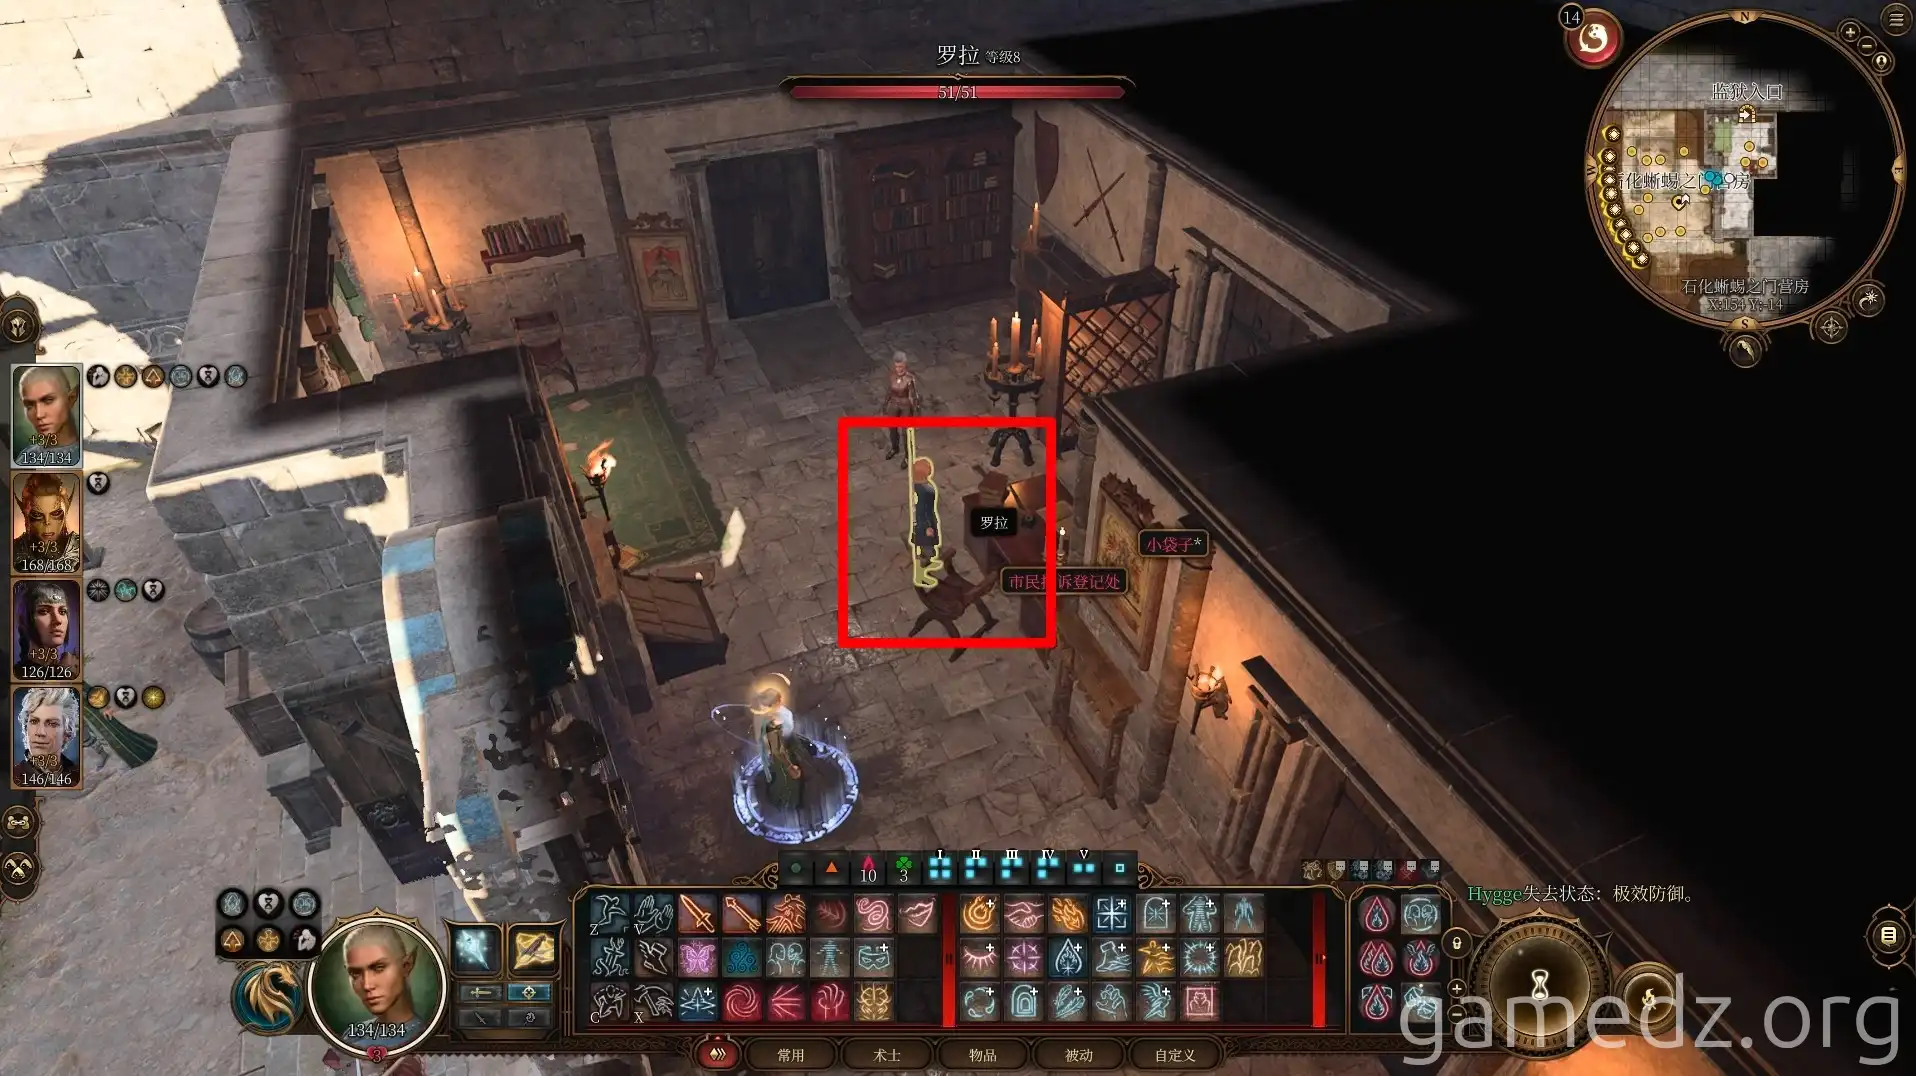
In the room, talk to Lora. During the conversation, an investigation will reveal that magic is being used to tamper with the Flaming Fist's memories.
Through further dialogue, you'll discover that Lora's daughter has gone missing from the "Salty Siren" tavern. Agreeing to help Lora will trigger the side quest "Rescue Wulna."
Other rooms and the prison contain nothing of particular interest except for an entrance to the sewers, so you can skip them.
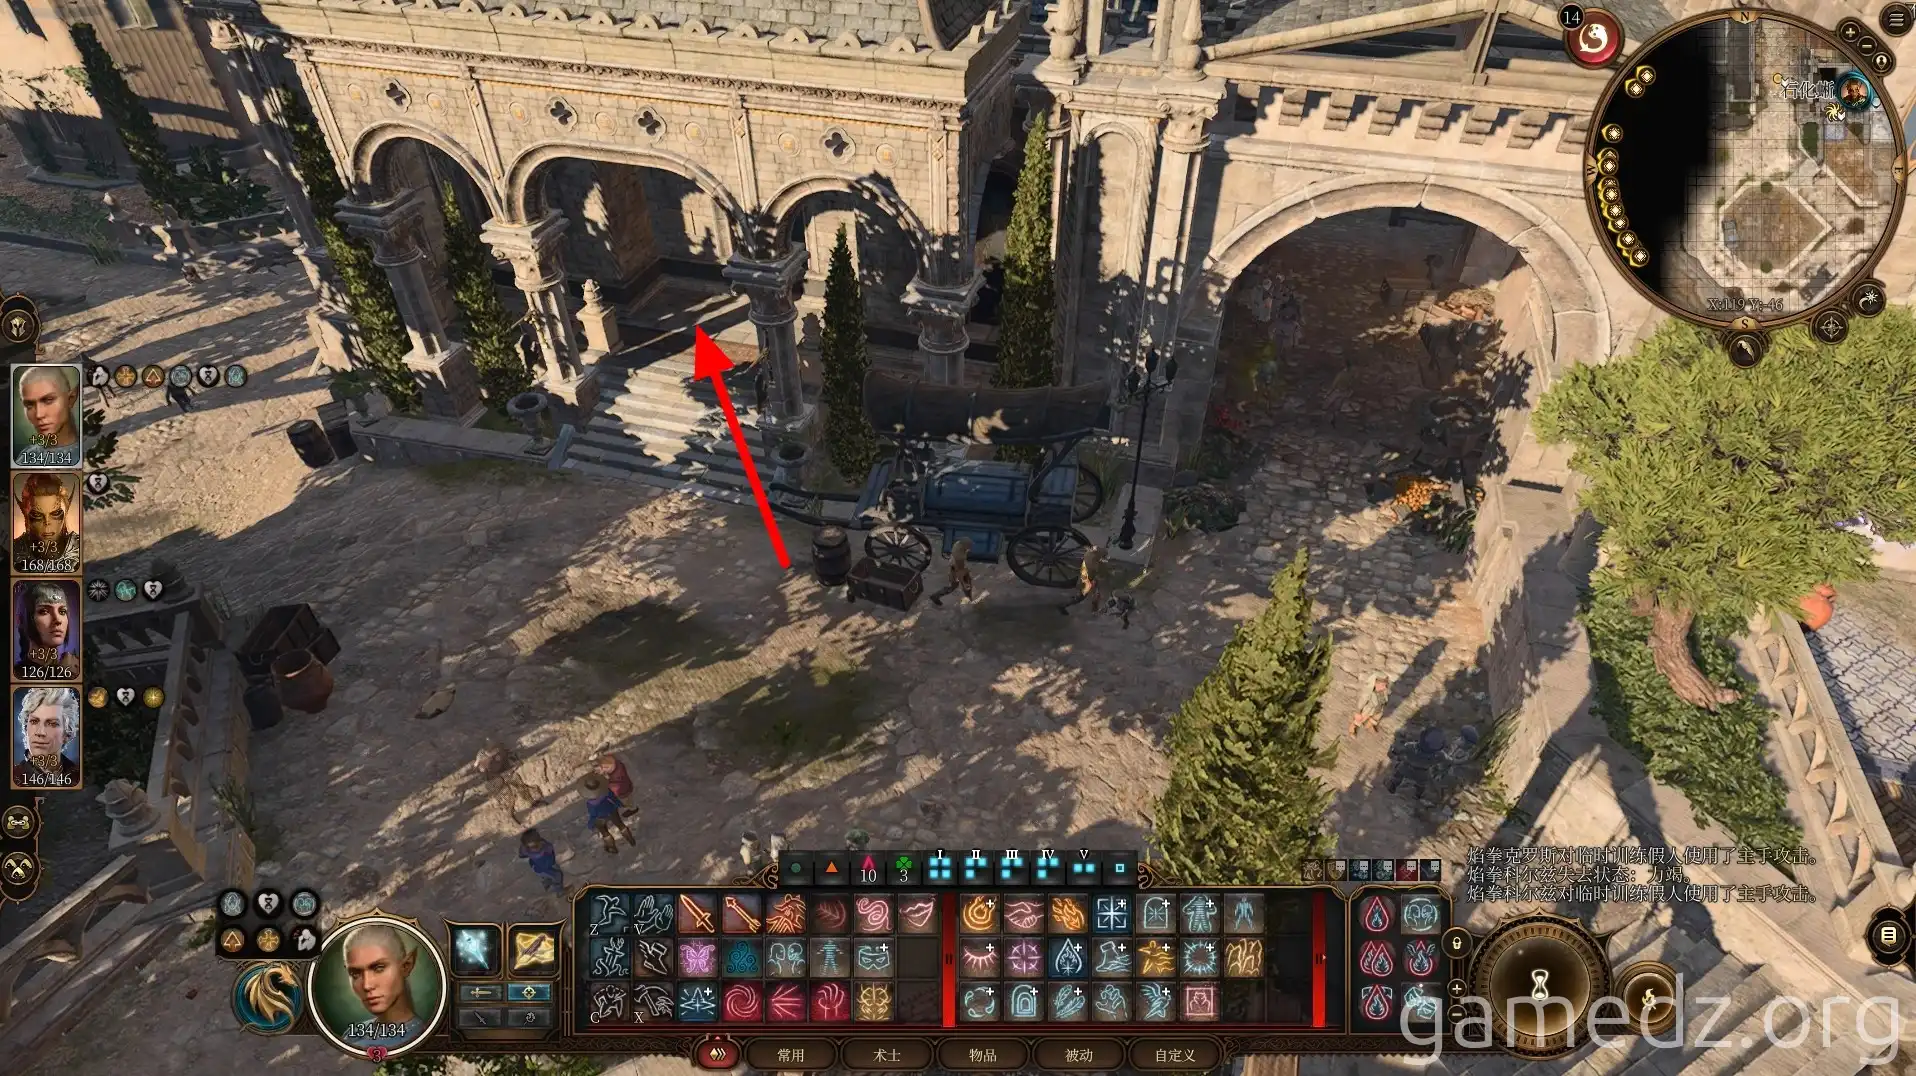
Leave the Barracks and head west. At the intersection, enter the "Storm Coast Chapel" to the northwest.
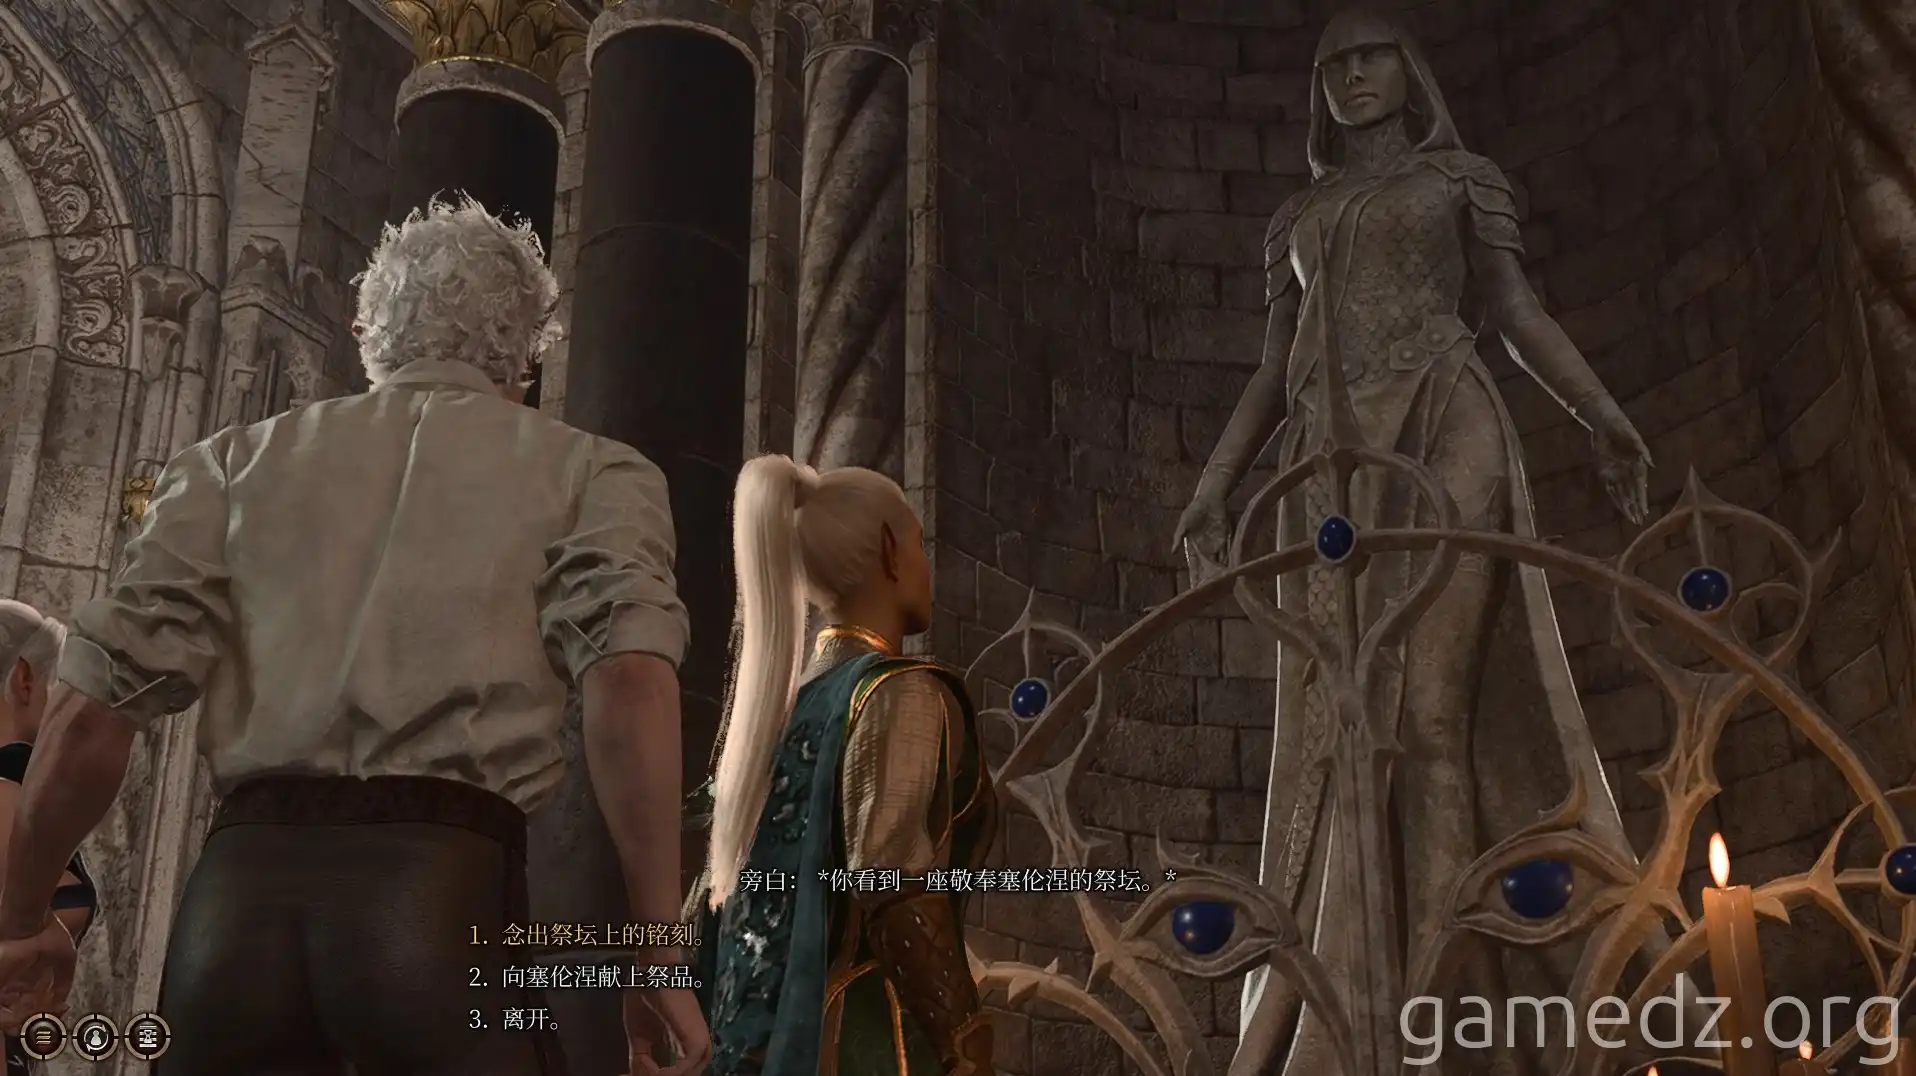
Inside the chapel, you'll find several statues. At the statues, choose to offer a sacrifice and donate a few thousand gold coins.
After completing the offering, you'll receive the "Blessed by the Honored" buff, granting a +2 bonus to all saving throws. You can return here after each long rest to claim this buff again, and it won't cost any more gold.
Characters with the Acolyte background will be inspired after the offering, and you can always steal the gold back later.
You can purchase some items from "Vicar Humbletoes" inside the temple.
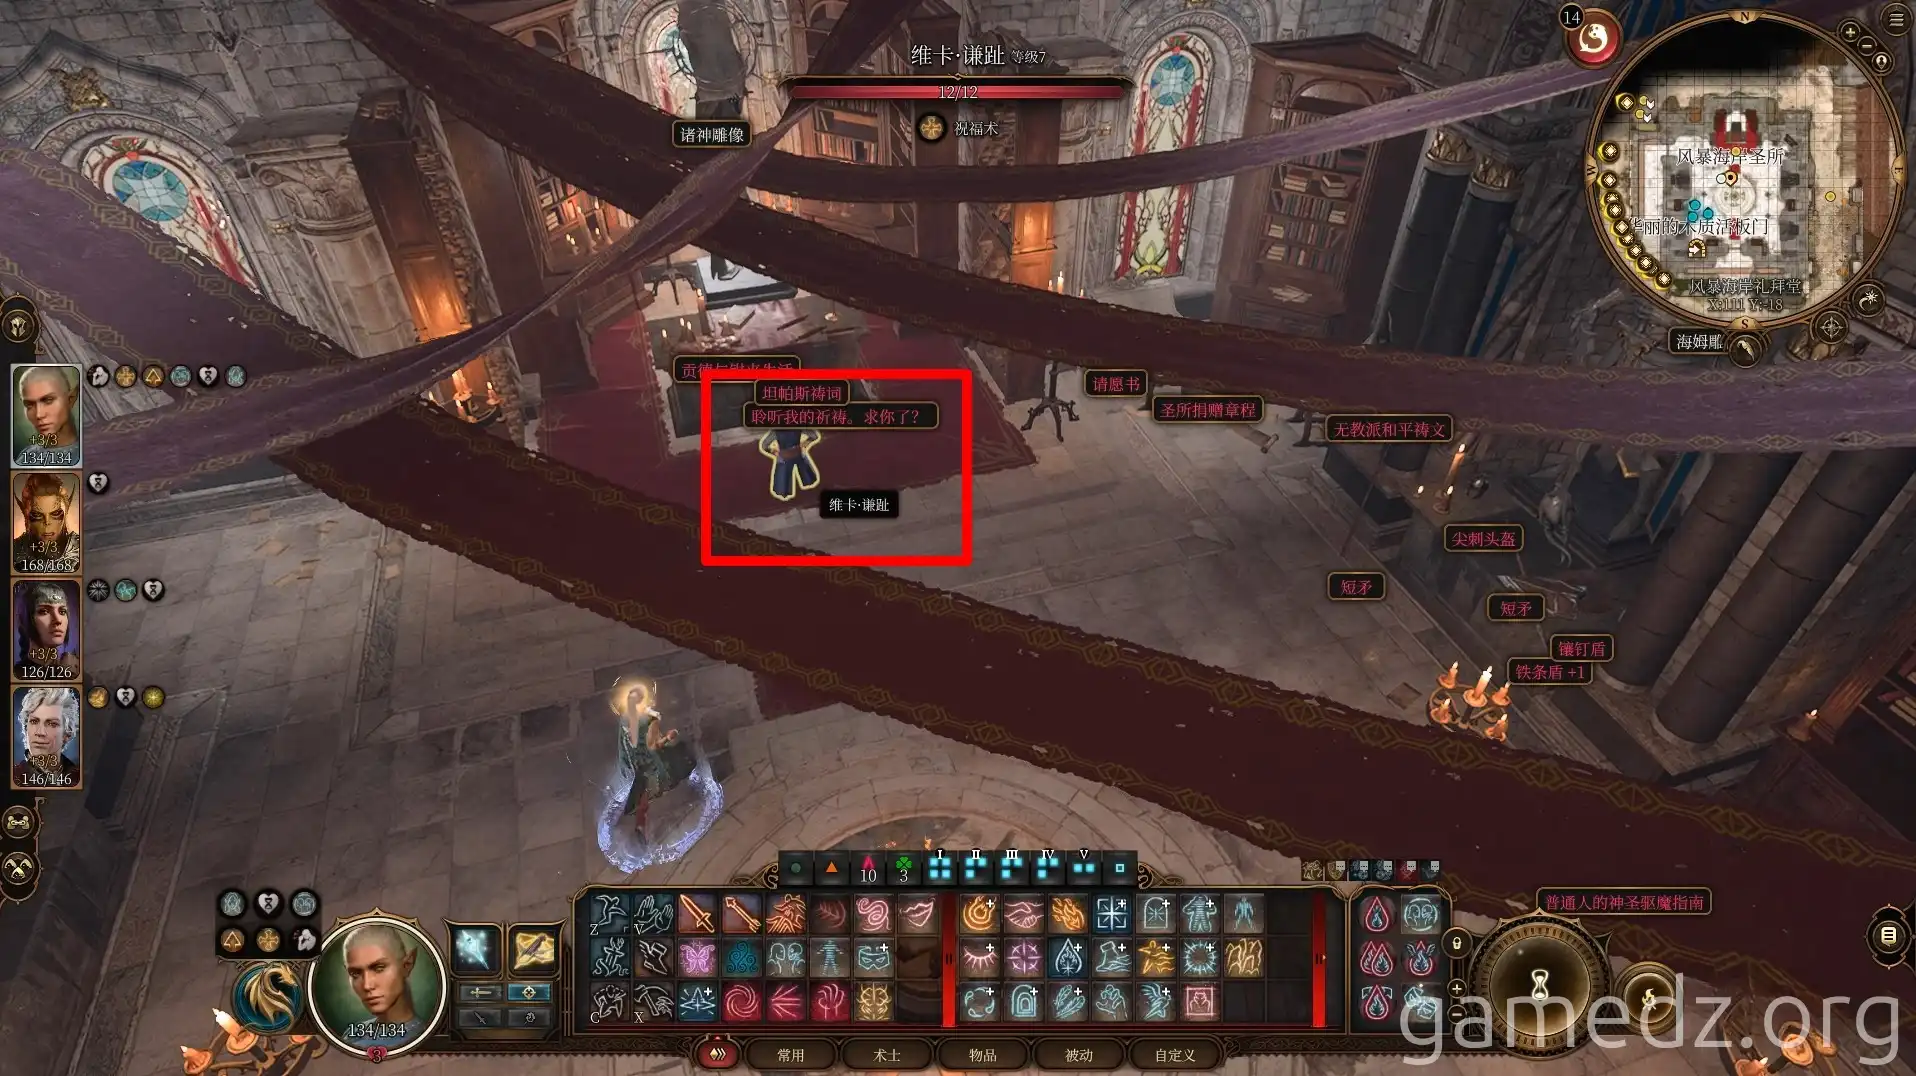
Here's a list of the unique equipment Vicar Humbletoes sells and their stats.

Next, enter the basement through the trapdoor in the corner of the room.
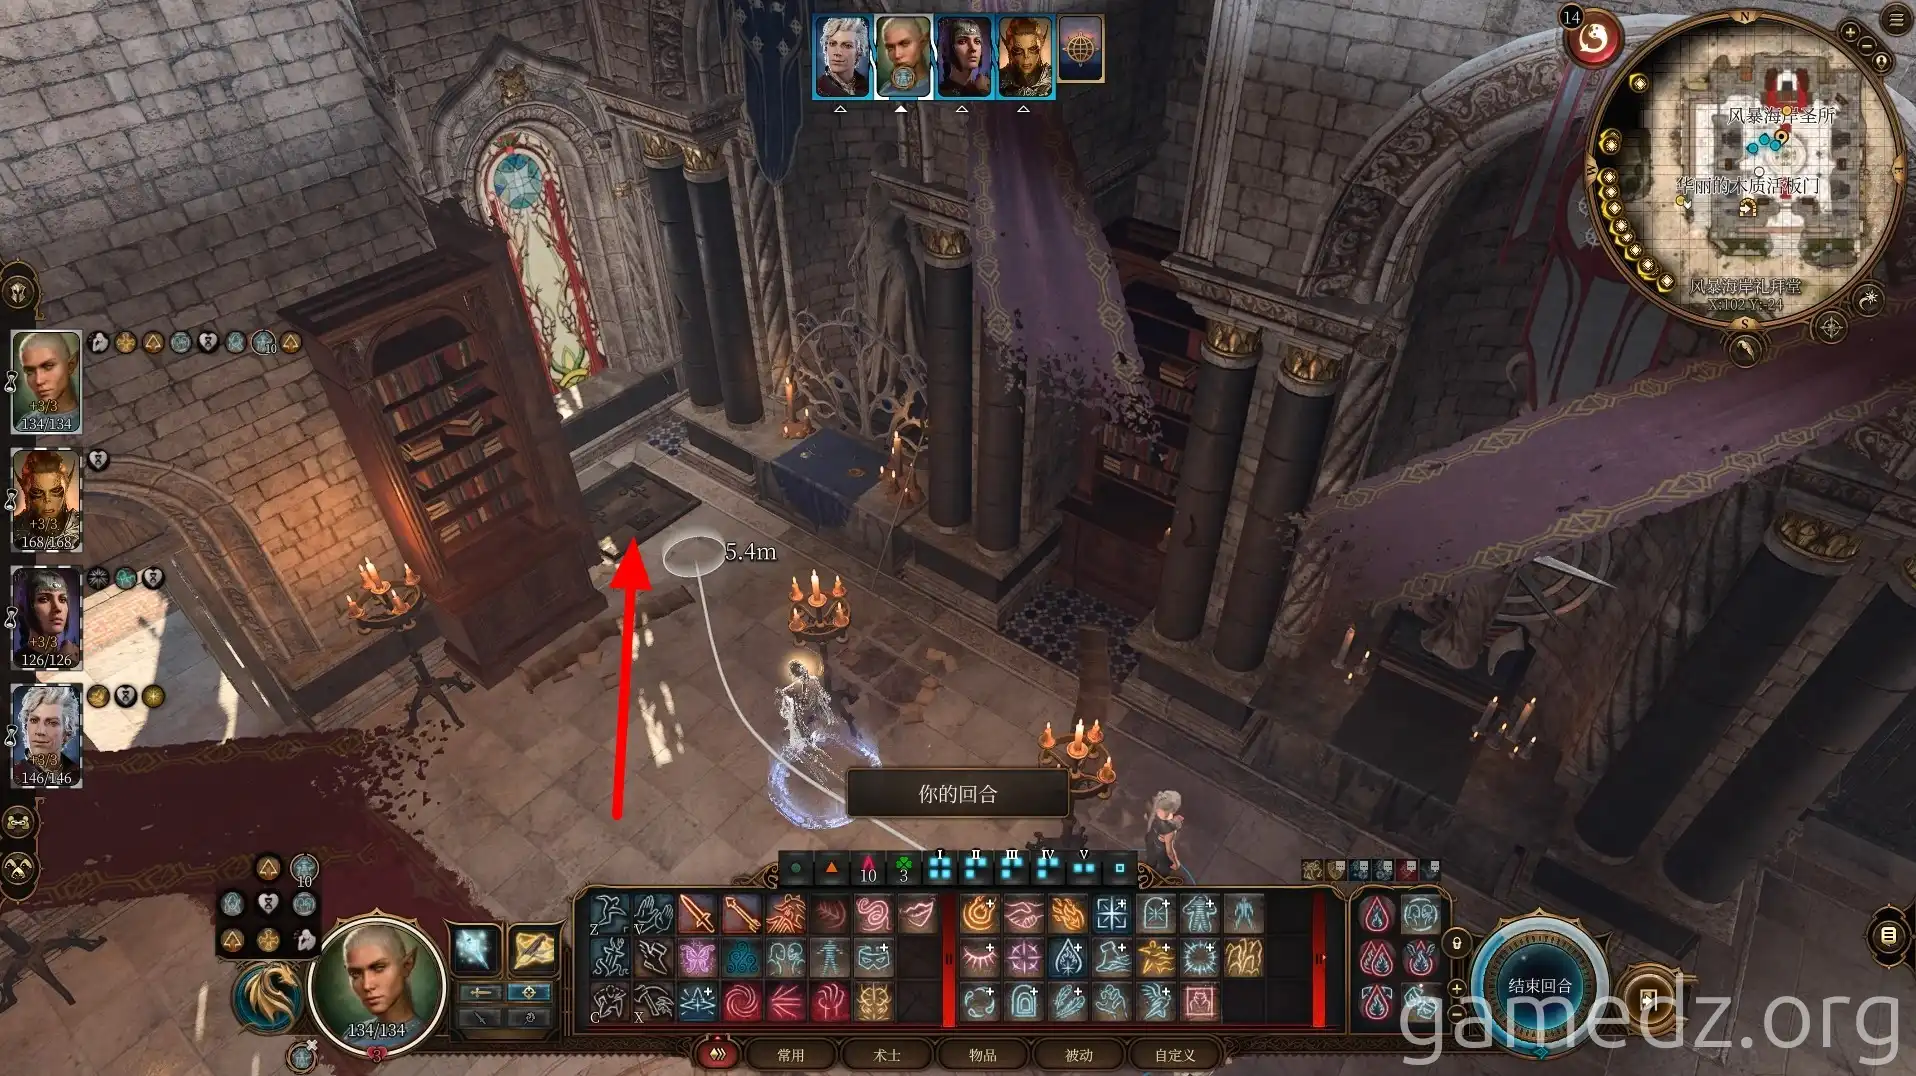
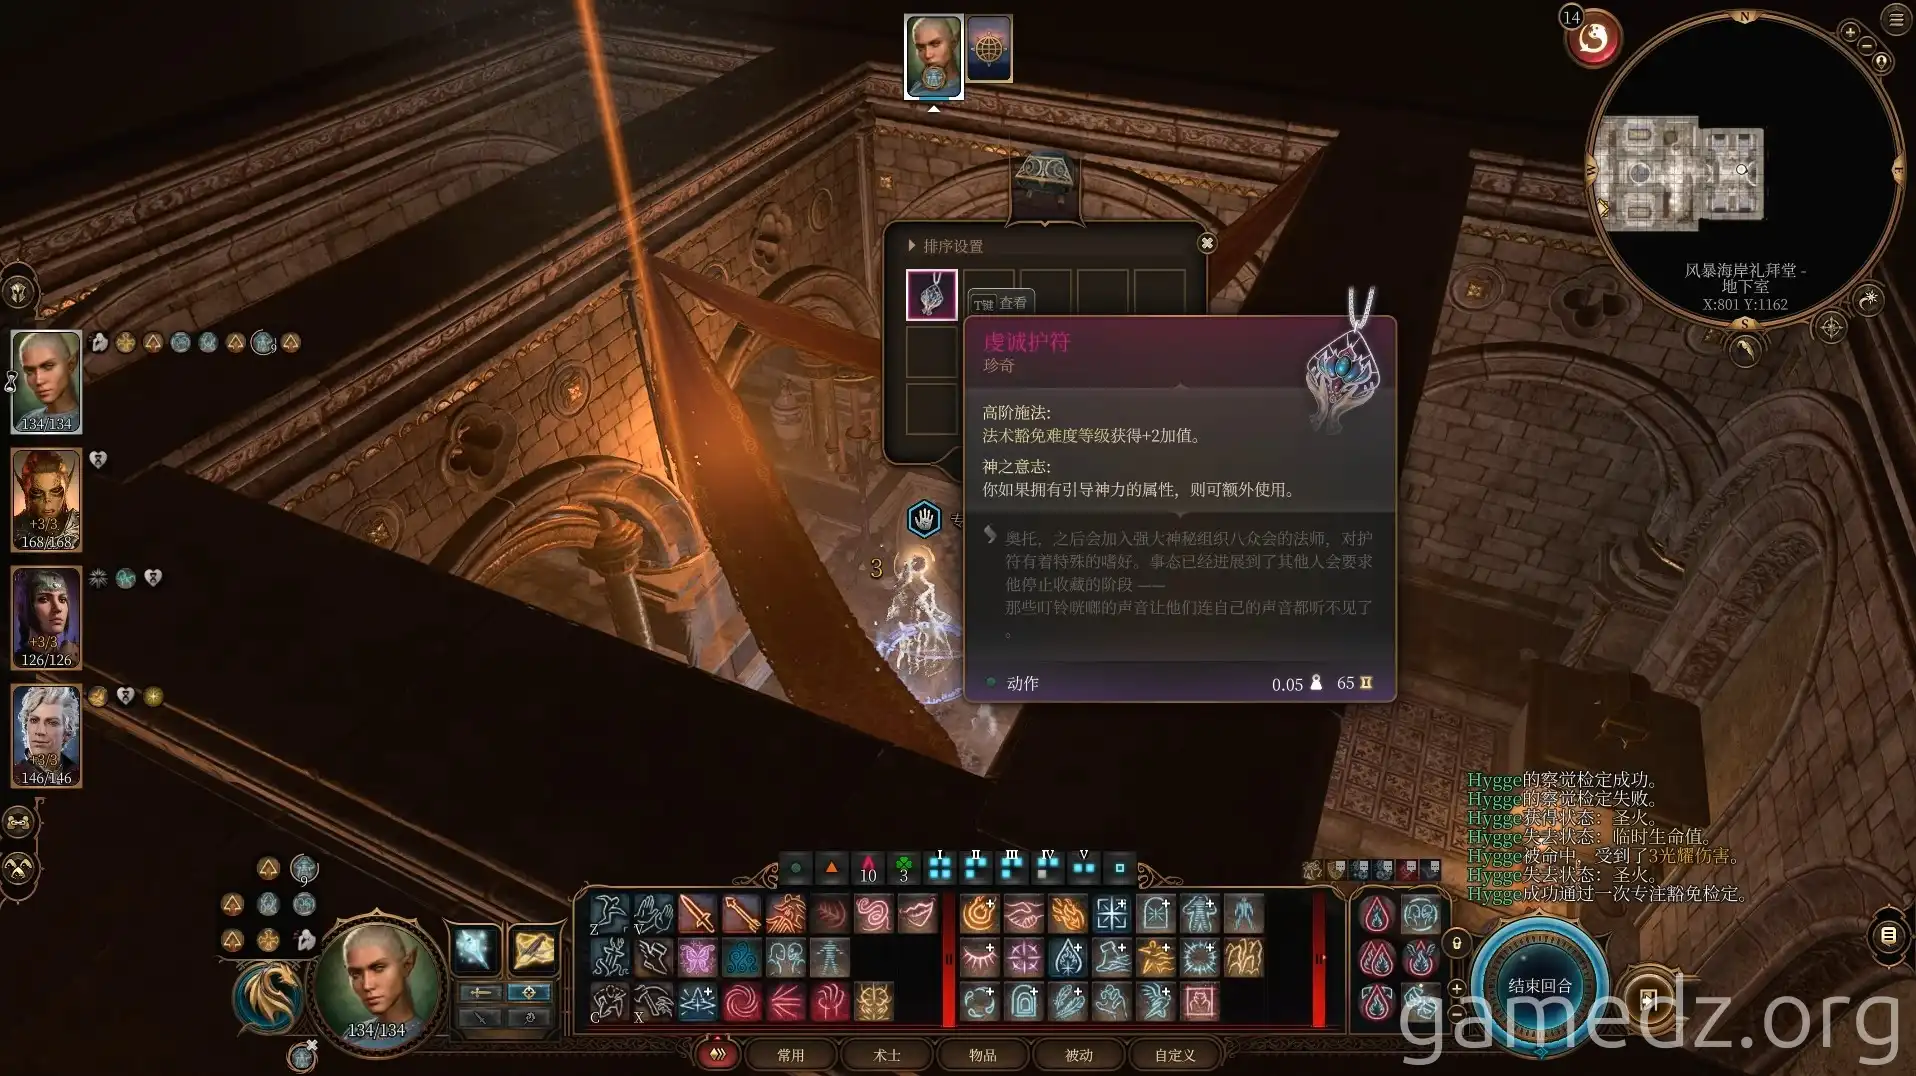
Avoid the traps in the basement and reach the deepest part of the room. In the offering box, you'll find the rare accessory, the "Amulet of Devotion."
Upon taking this amulet, you'll be cursed. We'll deal with it back at camp.
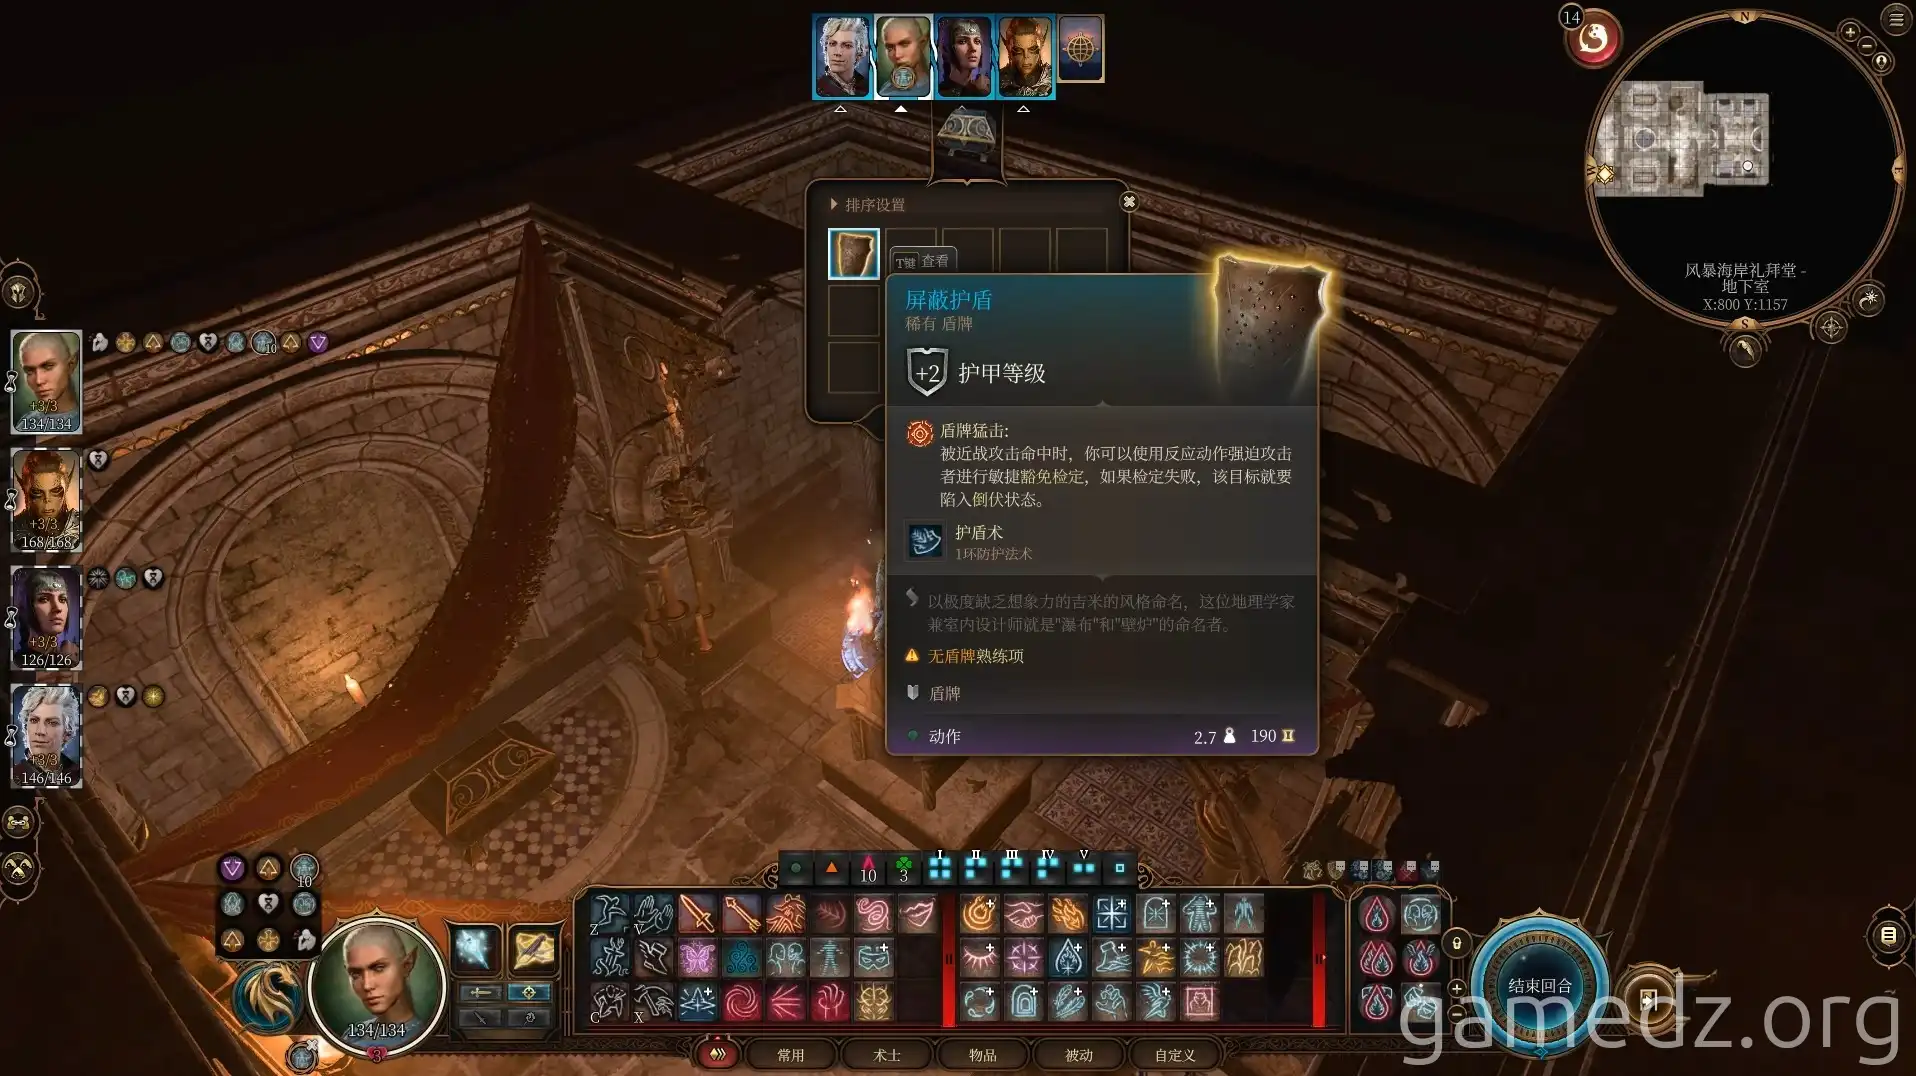
In the offering box dedicated to Helm, you can find the rare shield, the "Shield of the Shield."
The offering box for Tyr contains the rare weapon, "Hammer of Justice."
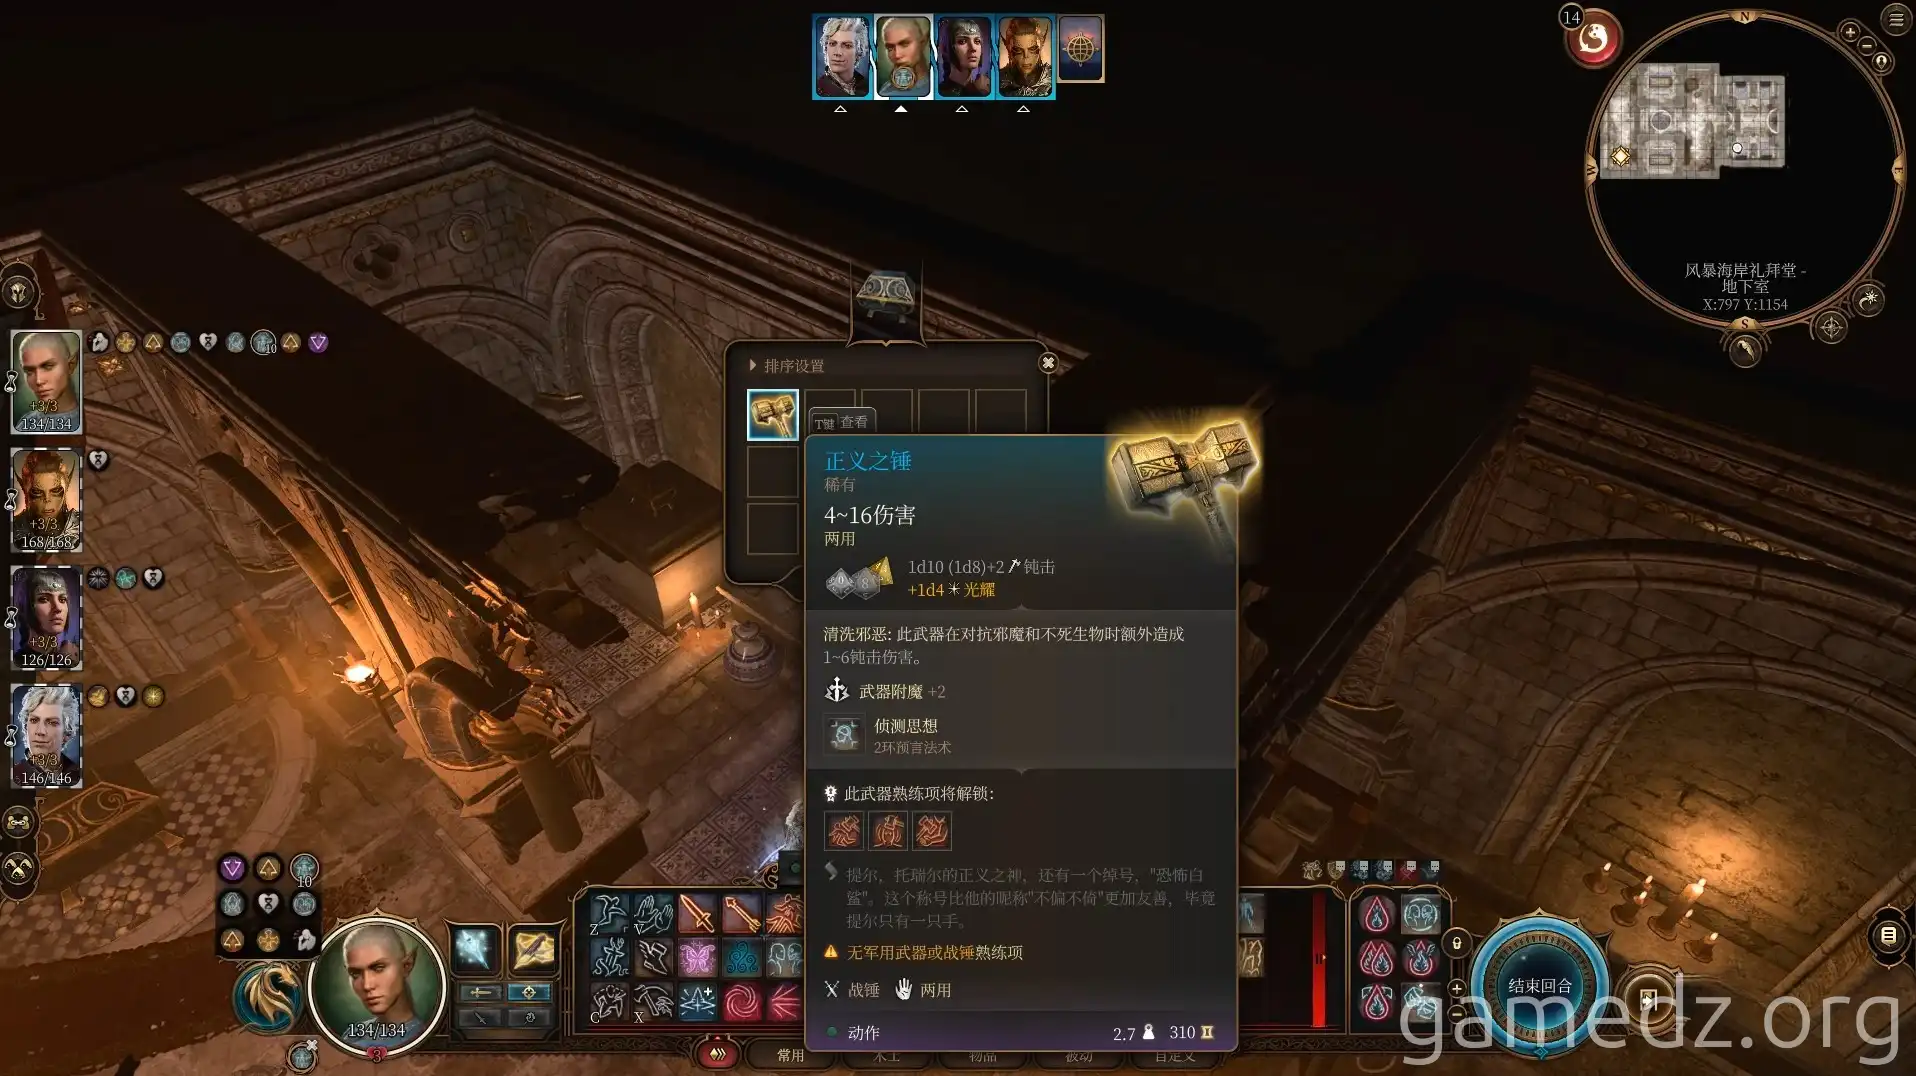
In the offering box on the north side of the room, you can retrieve everything you previously offered to the statues.
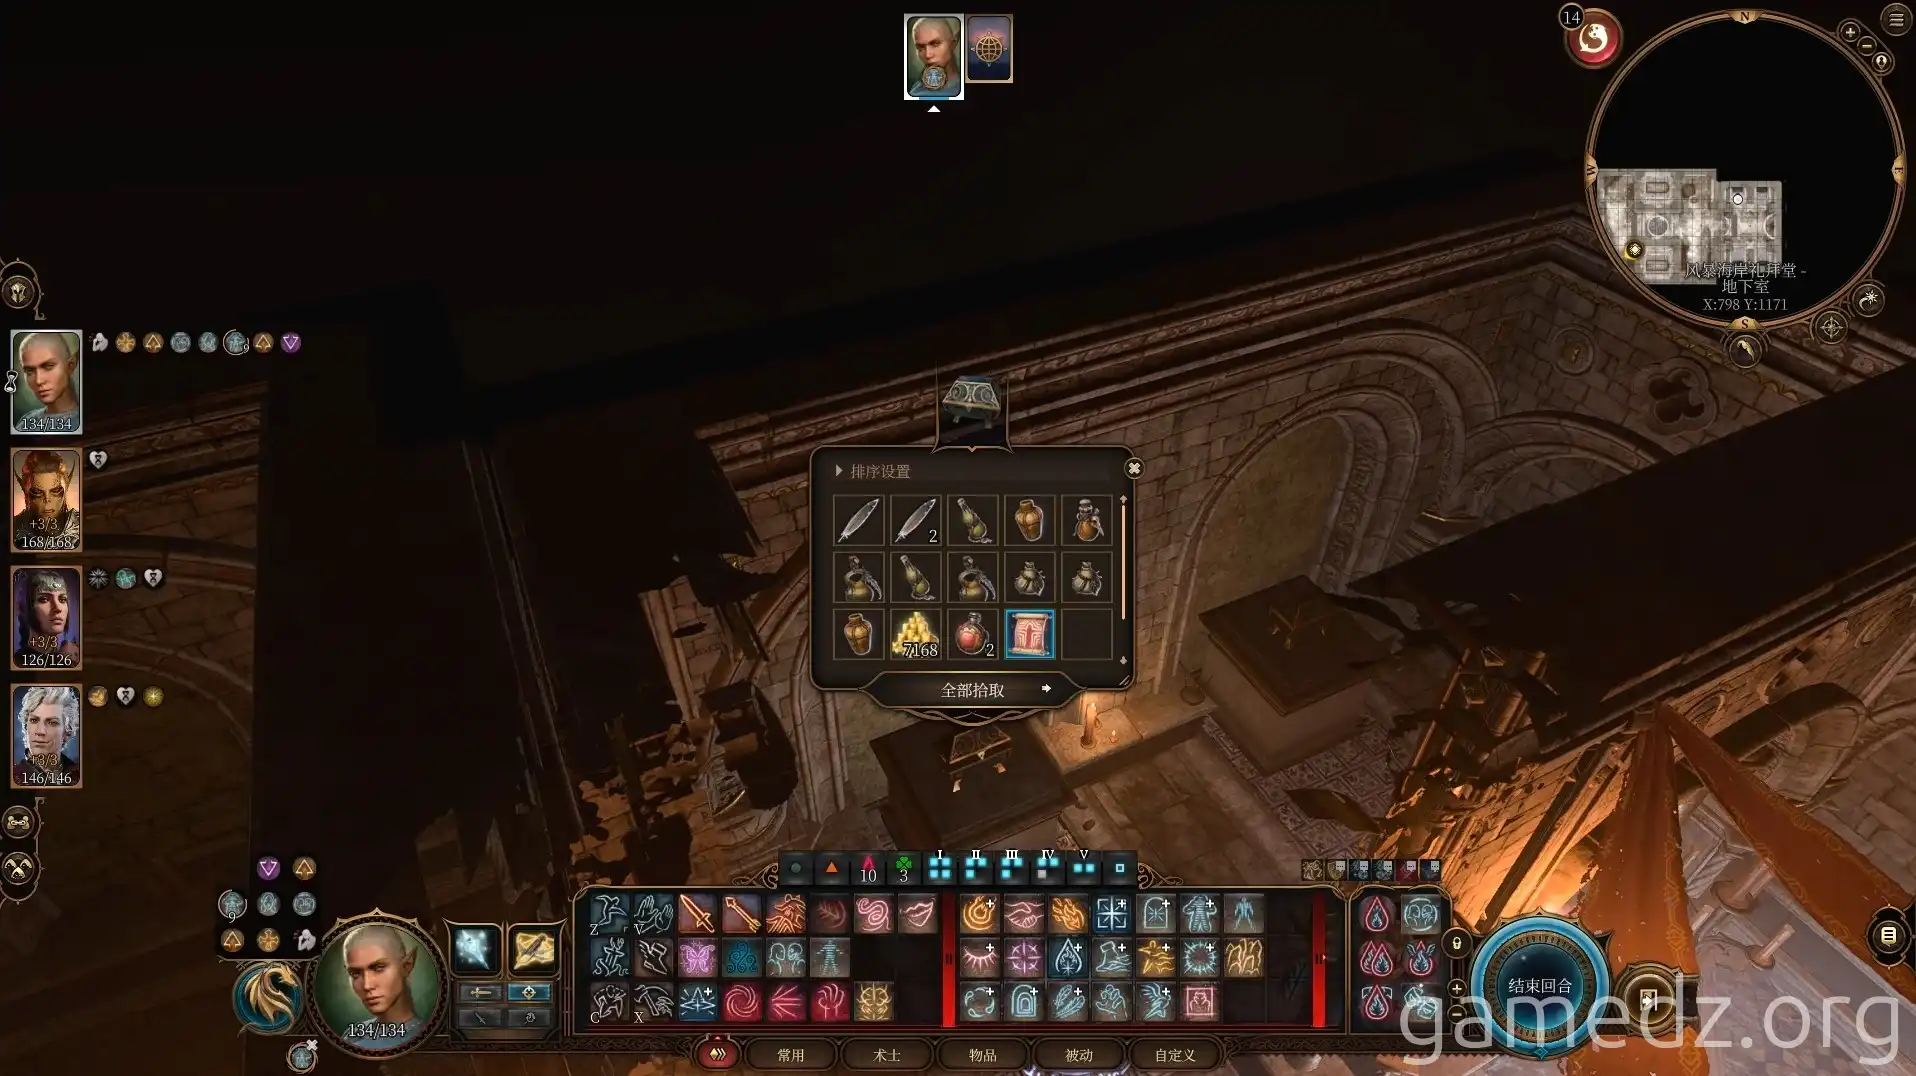
Leave the chapel and return to your camp. Use spells like "Remove Curse" to dispel the curse from the amulet you acquired.
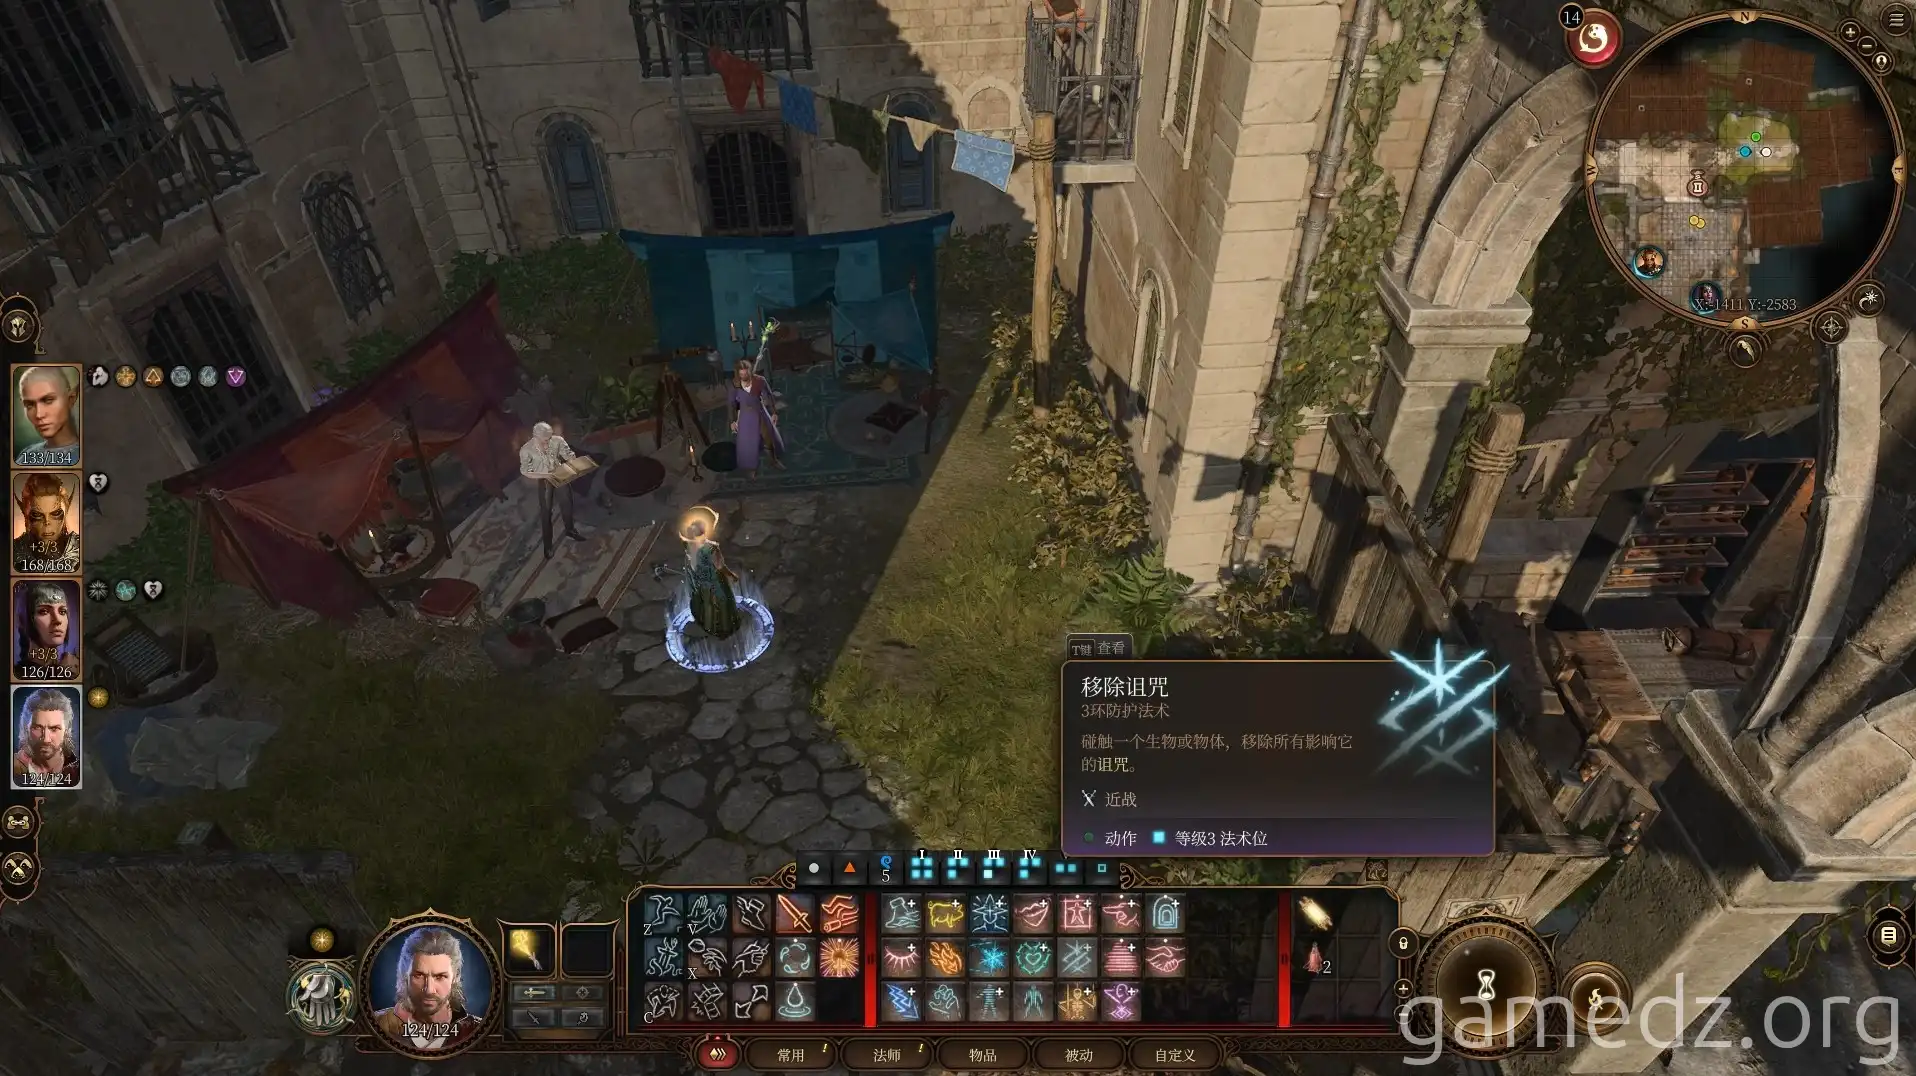
After dispelling the curse, an apostle will immediately appear, initiating combat. If you don't dispel the curse proactively, the apostle will appear during your next long rest, and two will appear at once.
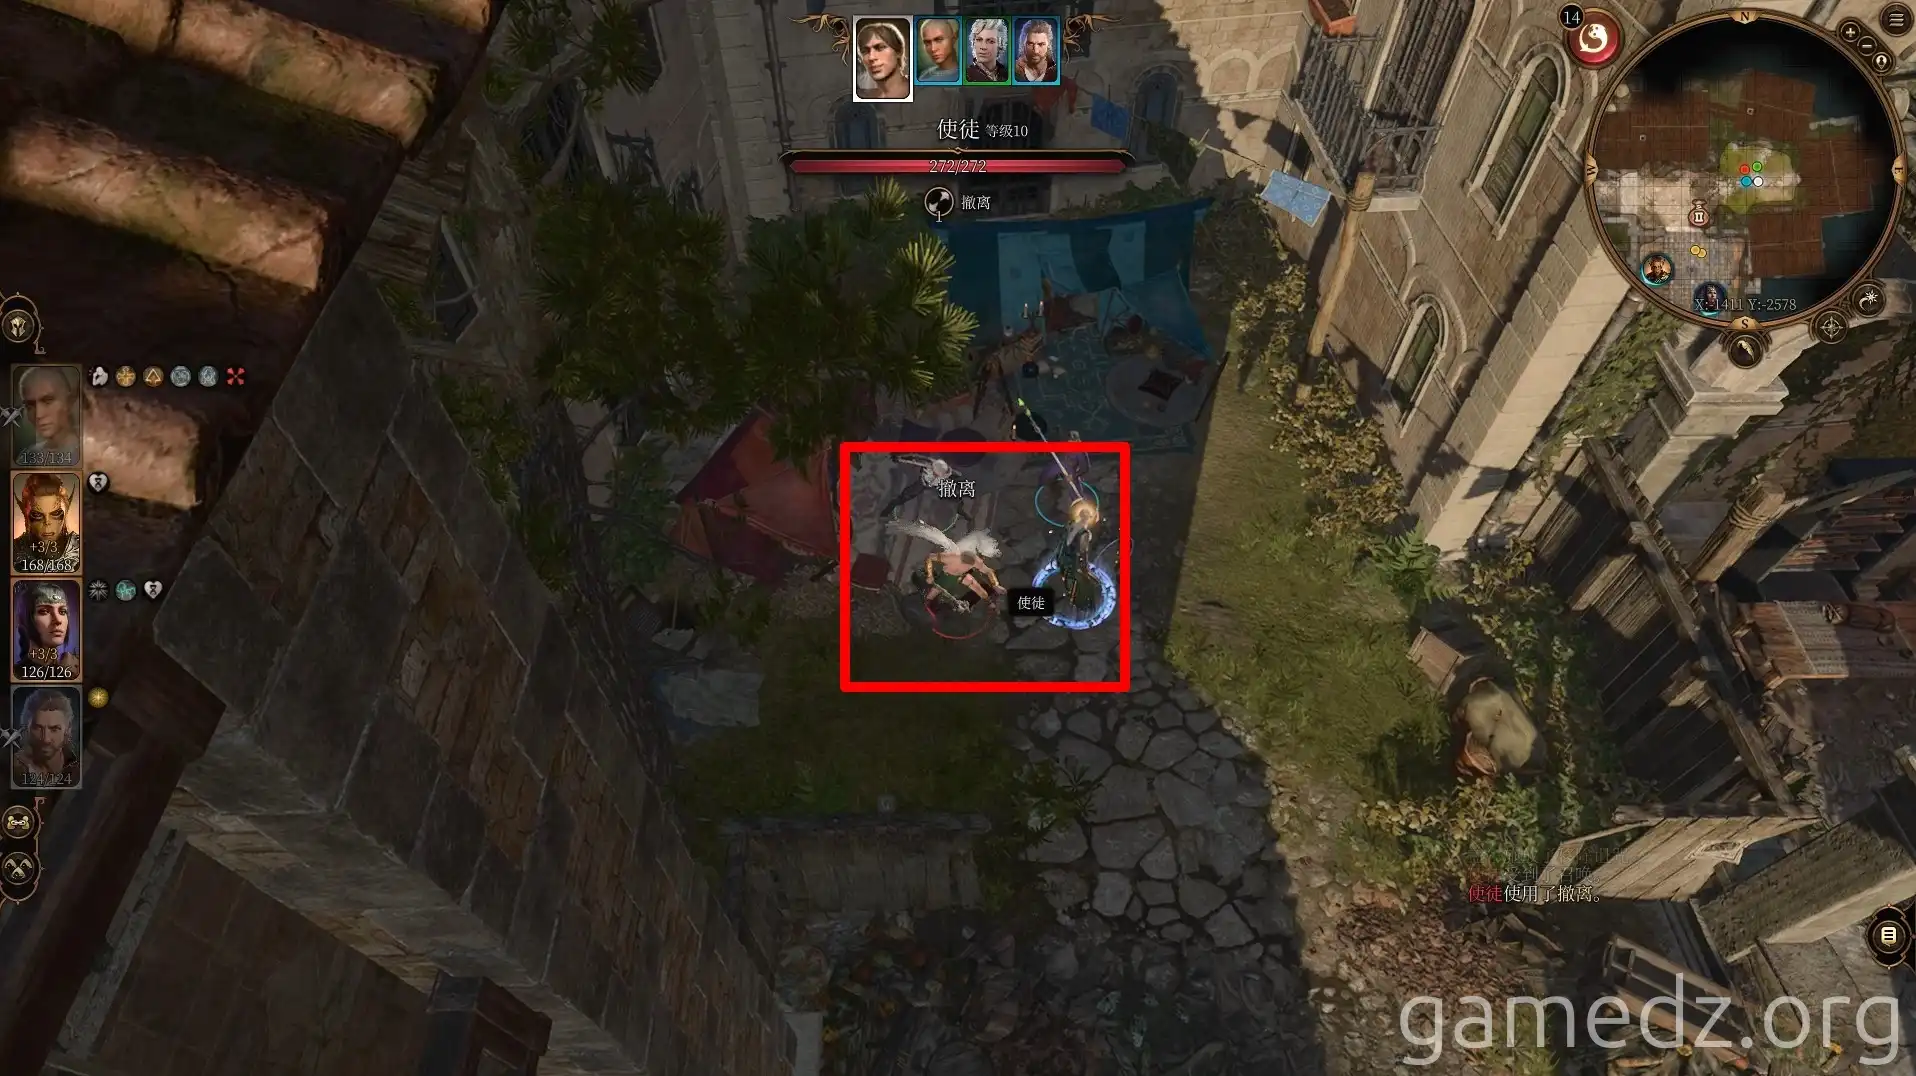
After defeating the apostle, take a long rest. If you previously helped Yurg, he will now visit your camp. Through conversation, you'll learn about a devil worshiper named "Halsin" in the Lower City, who can help you gain access to Raphael's home.
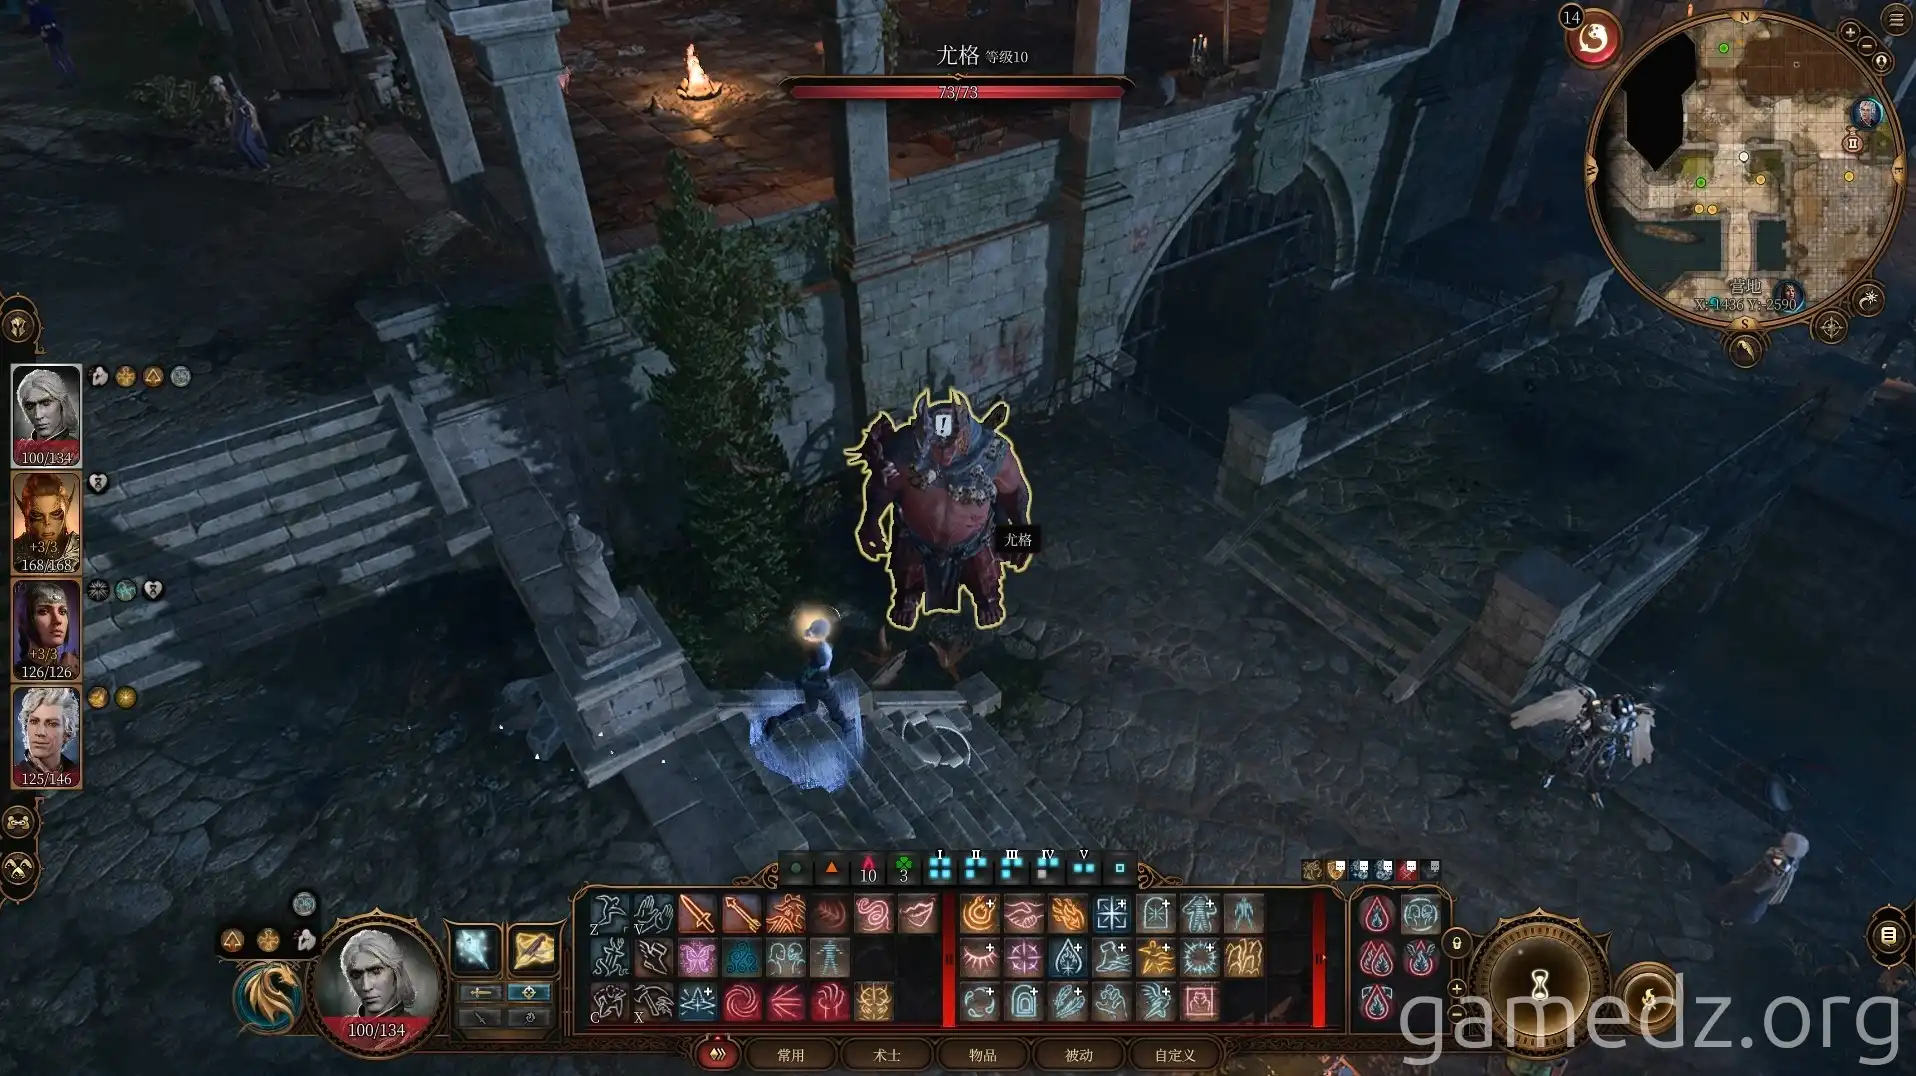
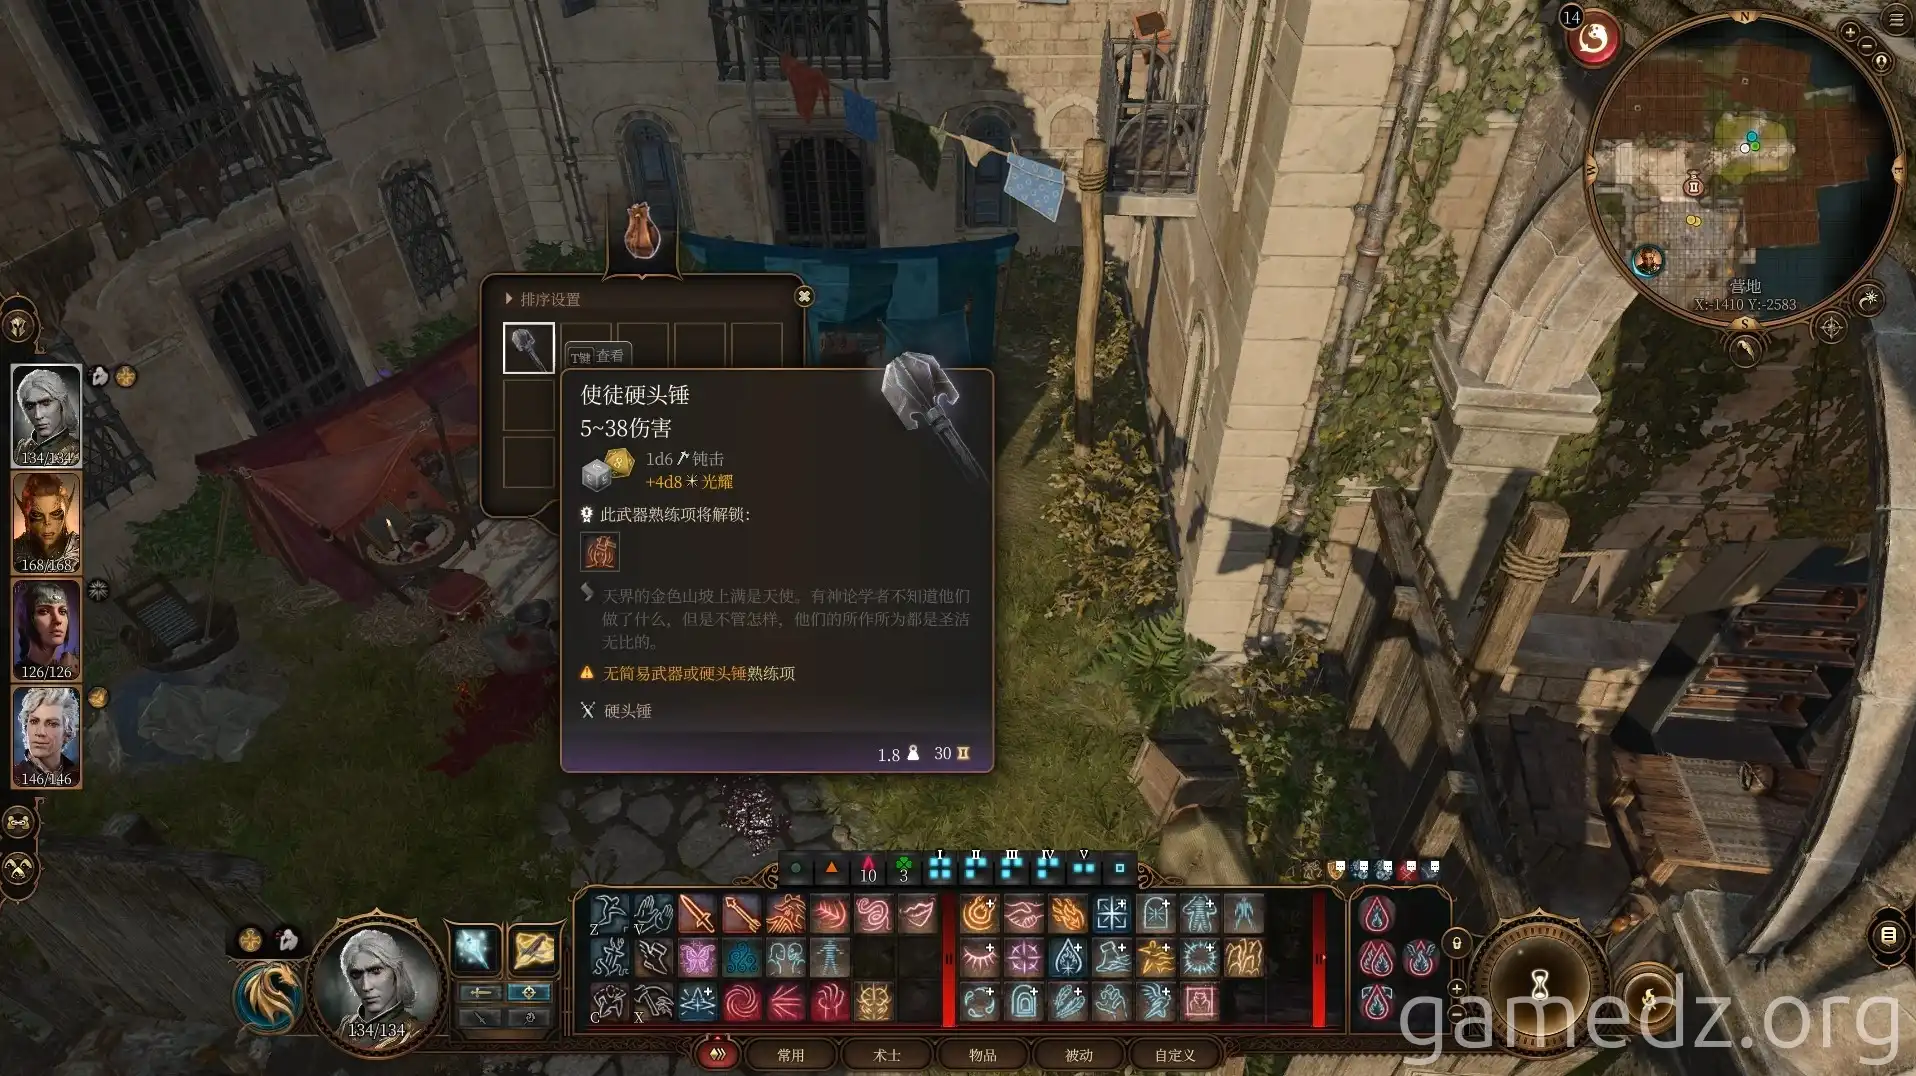
The next day, you'll find a small pouch at the location where you fought the apostle. From the pouch, you can obtain the "Apostle's Mace." Although it's a white-tier weapon, its damage output is very high.
Head north along the small path east of the chapel. Here, you'll encounter "Rambling Rags," a beggar who makes money by getting hit. The manhole cover next to Rambling Rags leads to the Lower City sewers, but for now, continue north to the back of the chapel.
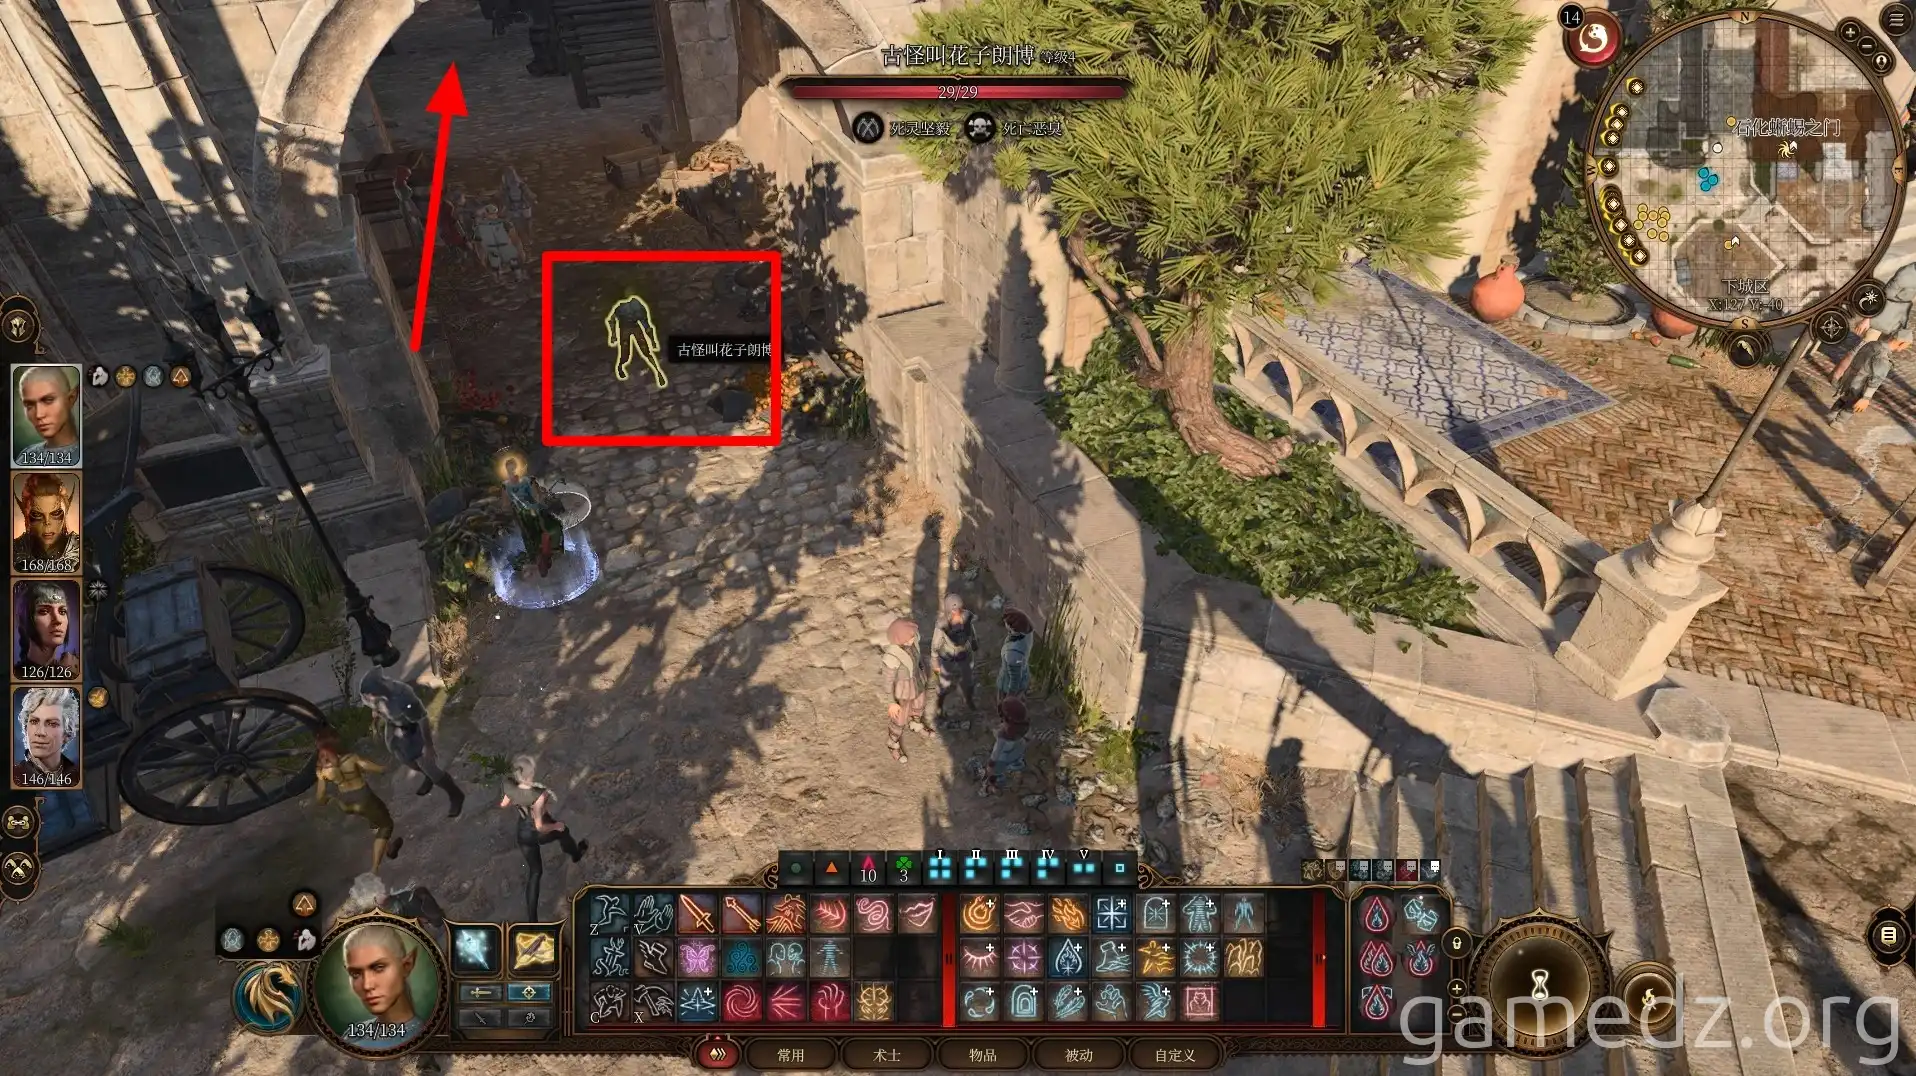
Enter the small room in the alley.
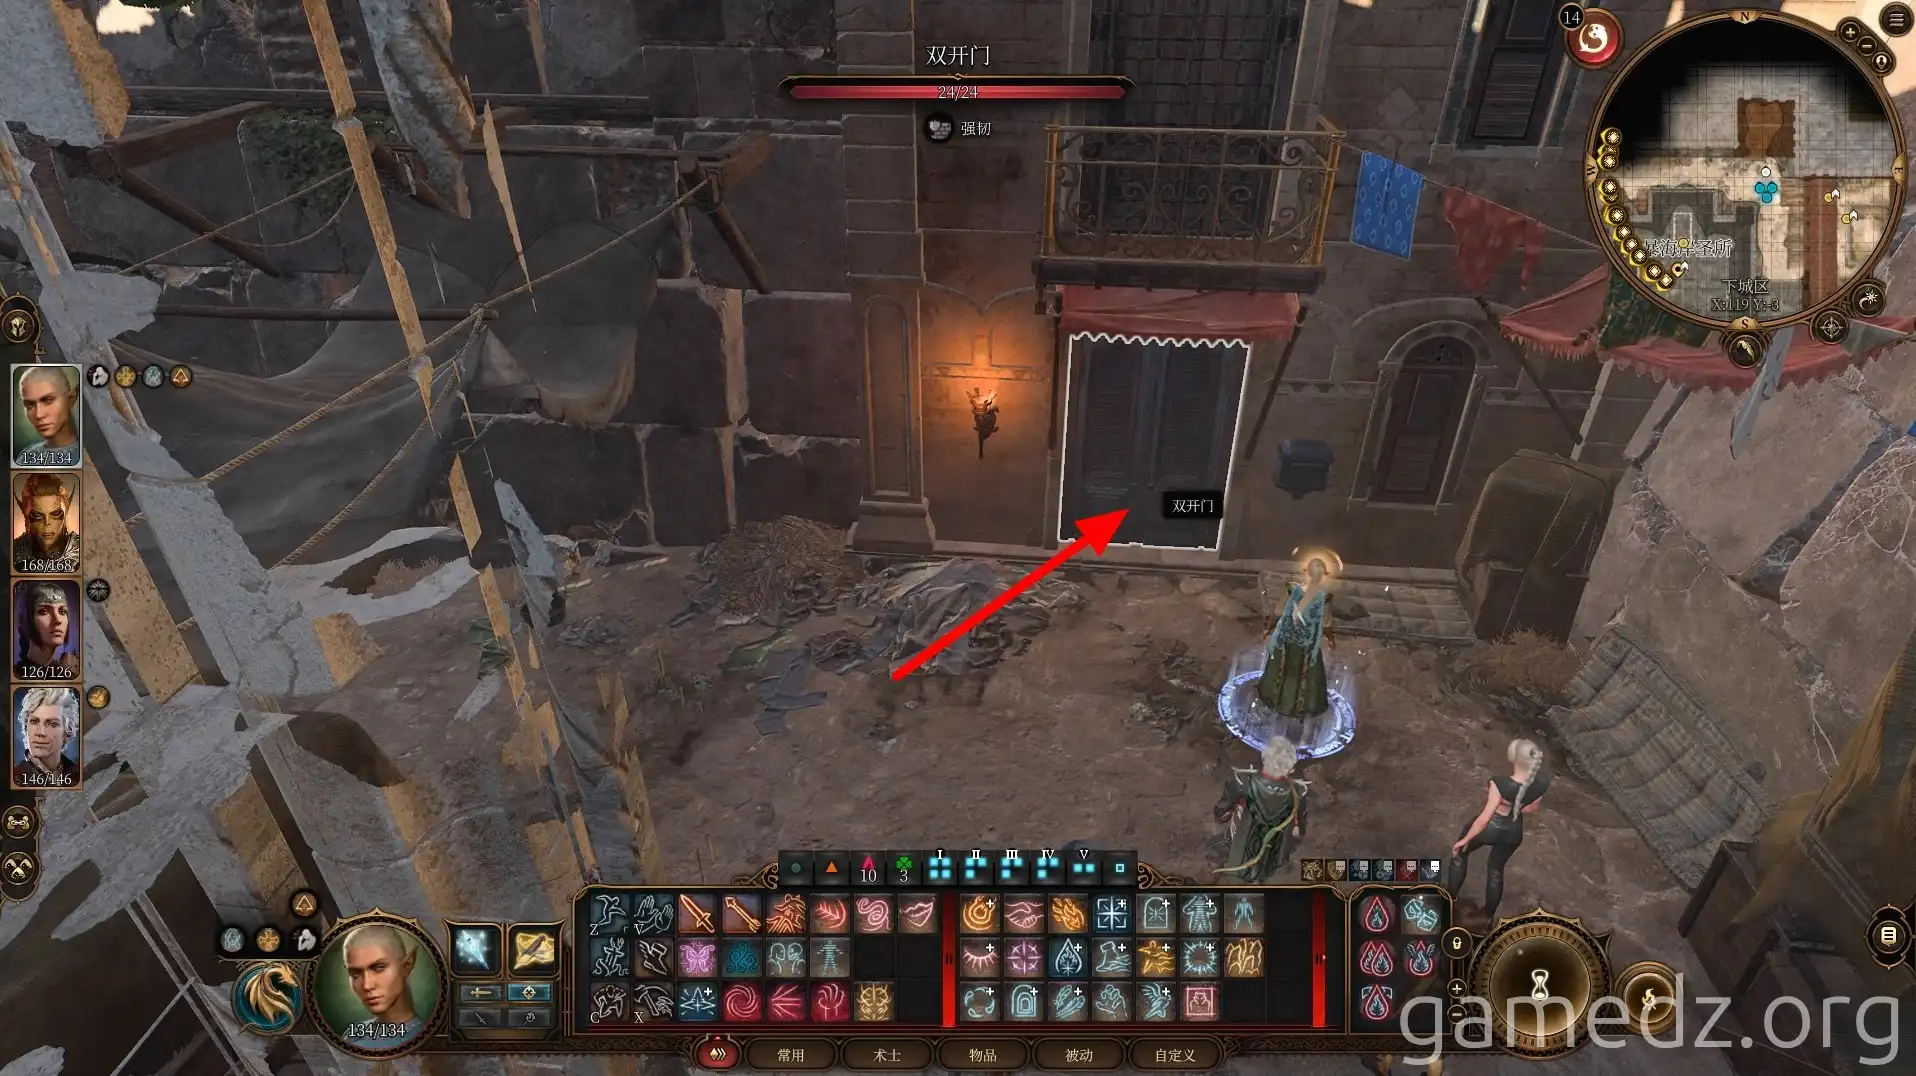
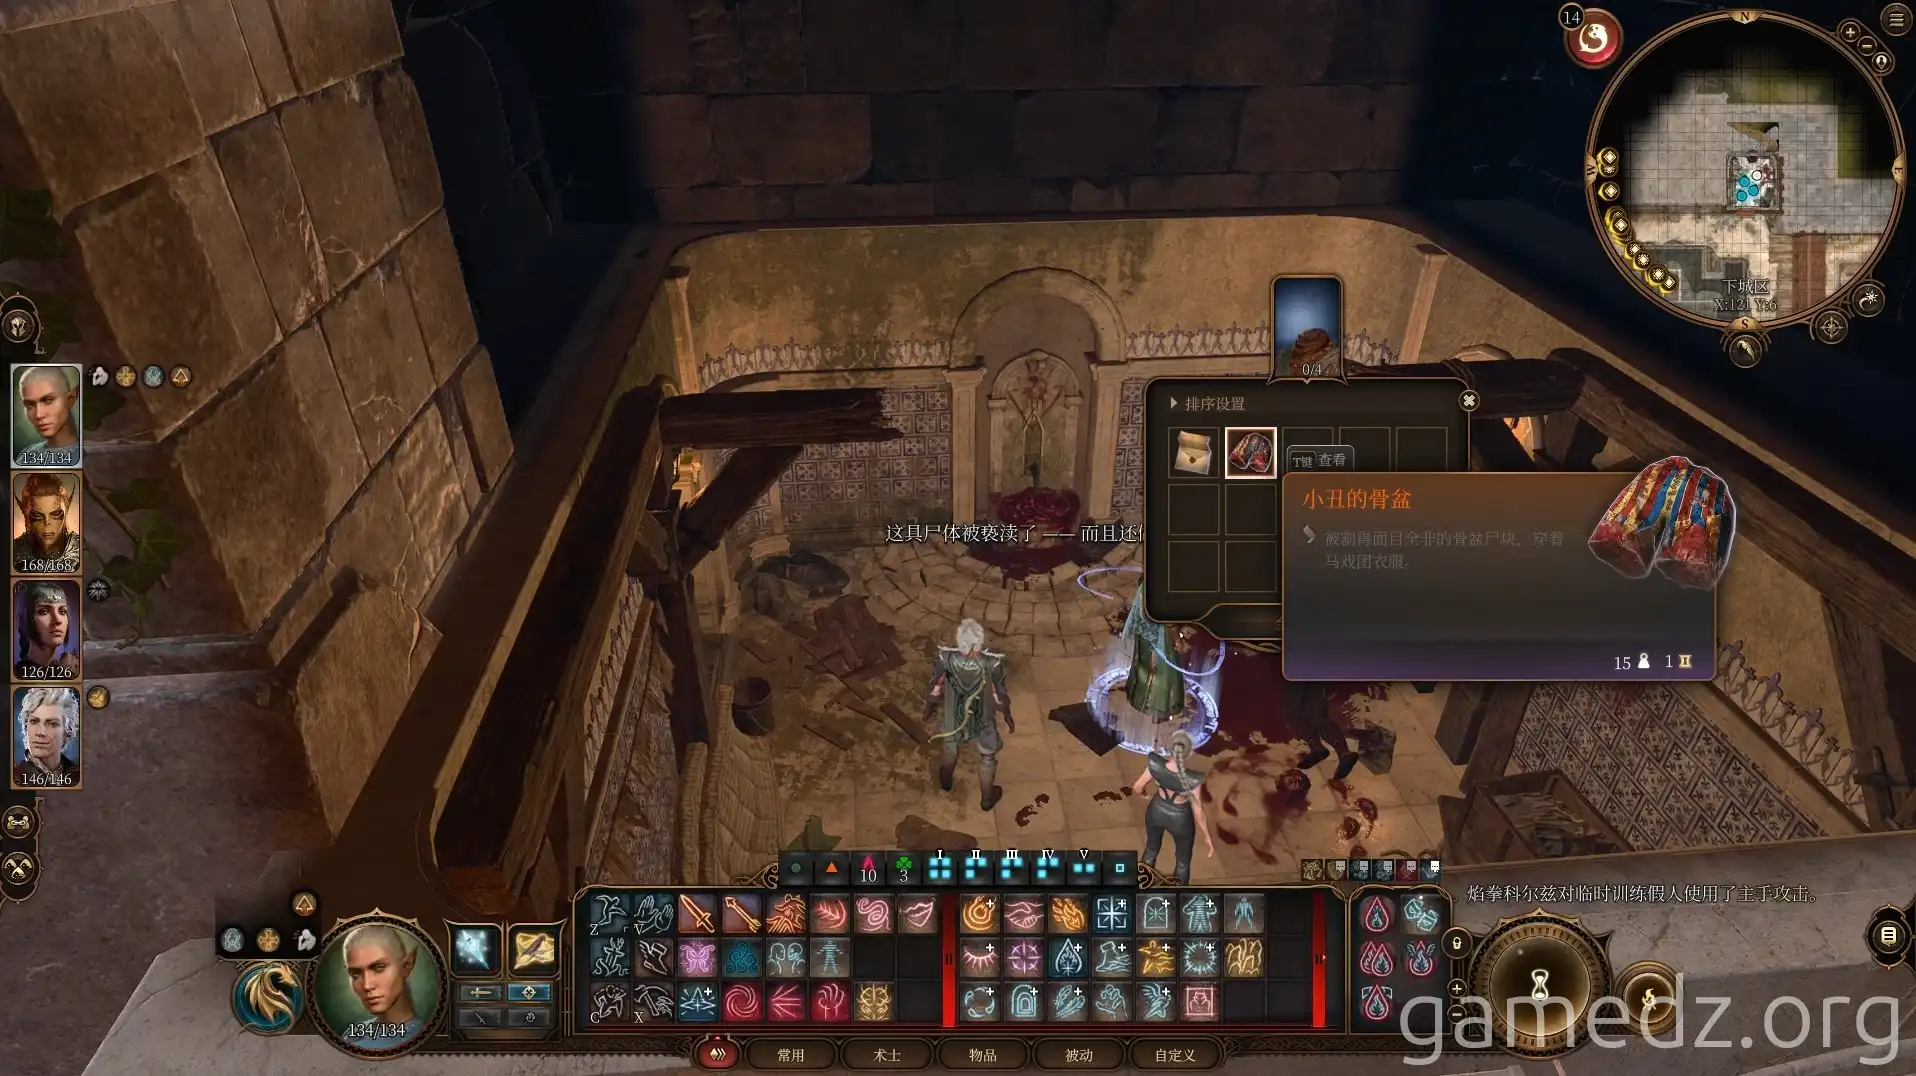
On a corpse in the room, you can find the "Jester's Pelvis."
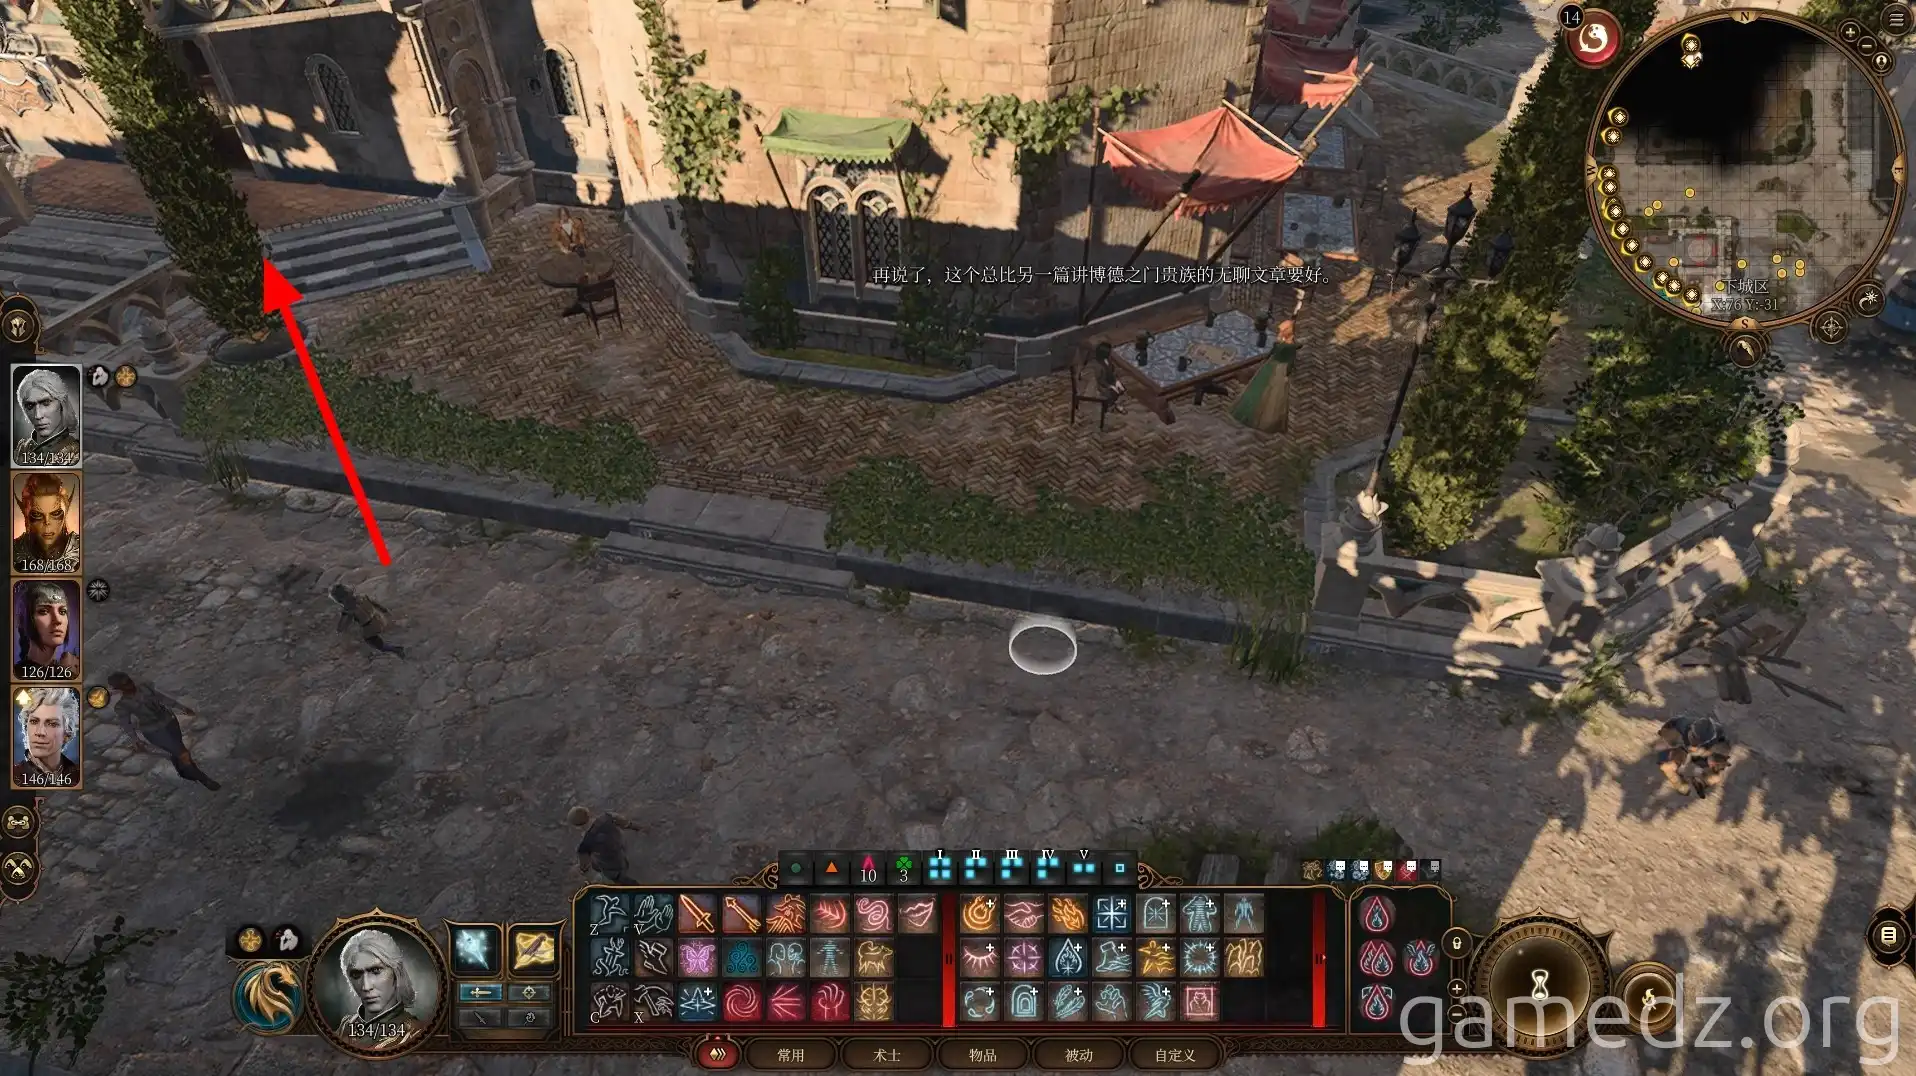
Head west of the chapel and then southwest. Enter the "Mouth of Baldur" newspaper office through the main entrance.
Across from the newspaper office is the "Nortel Inn." Inside, you'll only find documents that flesh out the story; nothing particularly important.
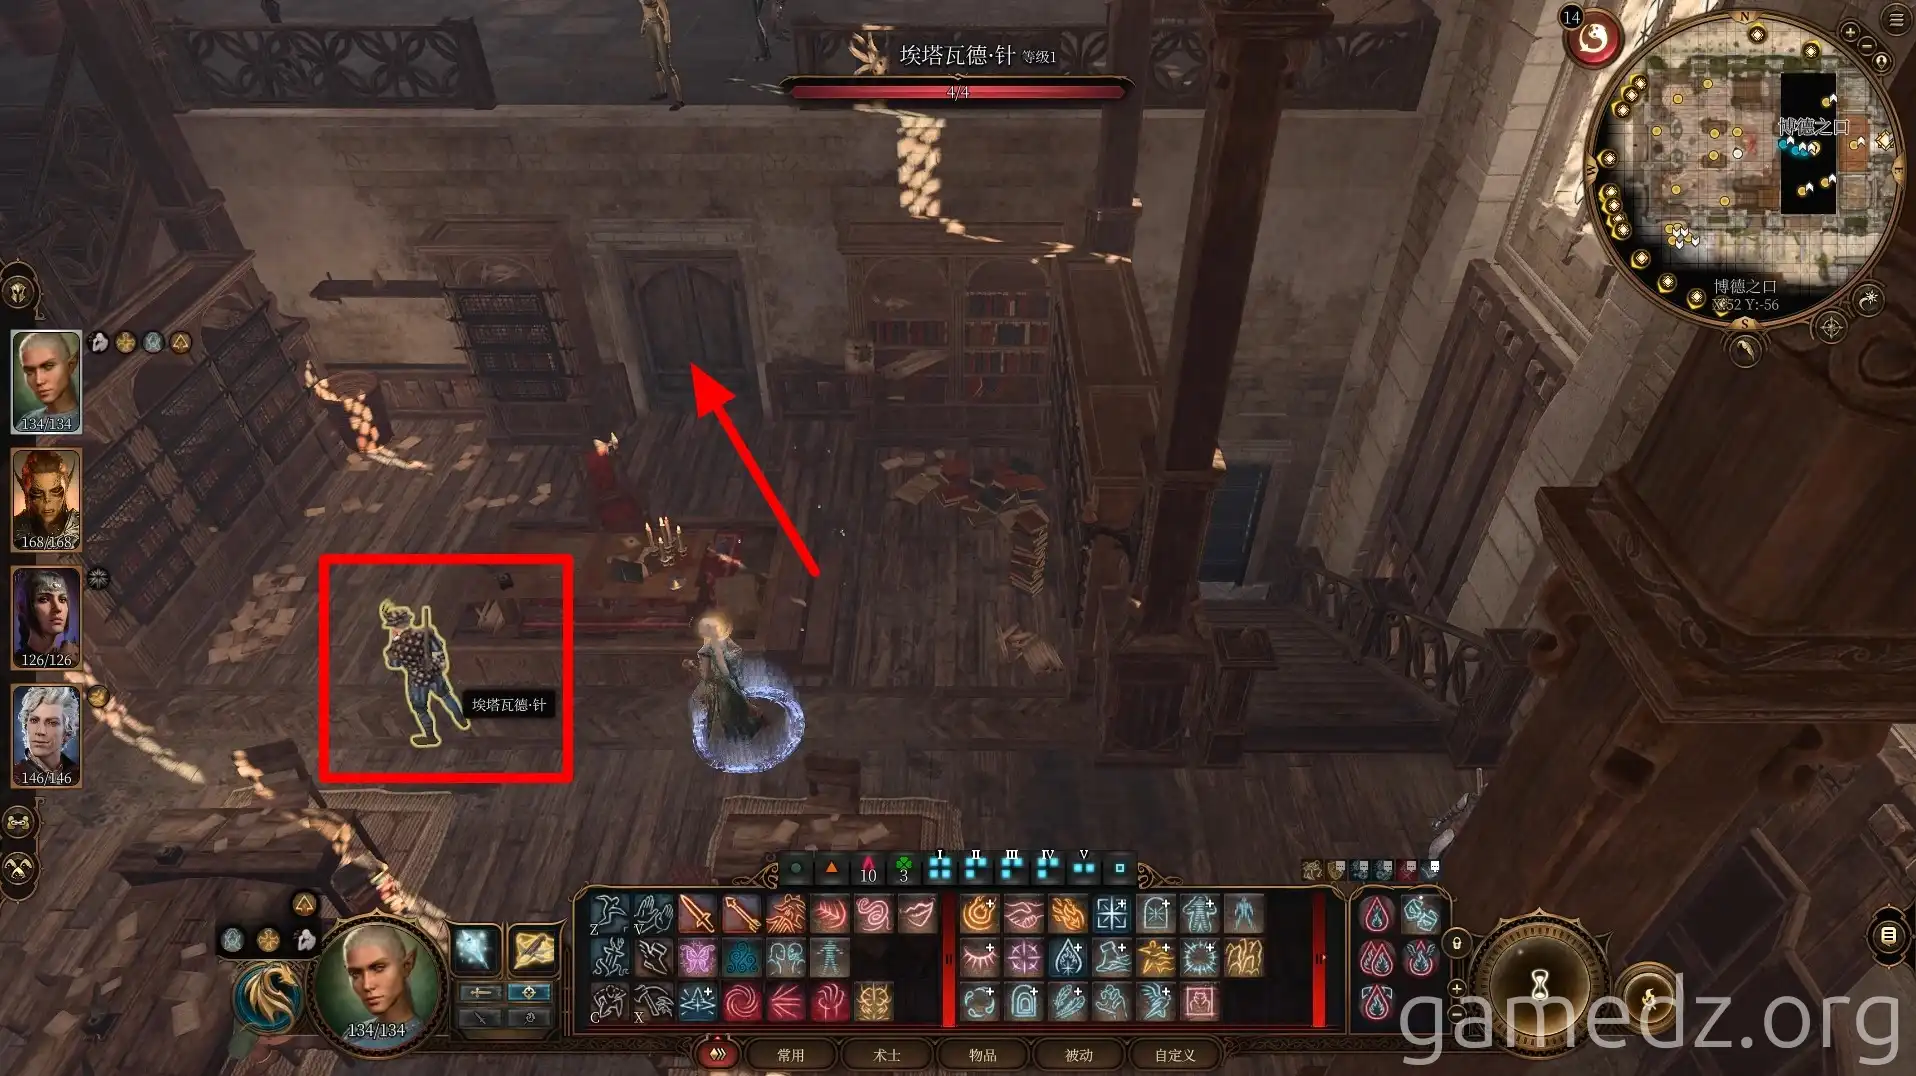
In the lobby, speak with the manager, "Etavard Needle." You'll discover he intended to frame you as an accomplice to the Absolute. Now, you must stop him.
In the room behind the chairs, you'll find two keys and some other useful supplies.
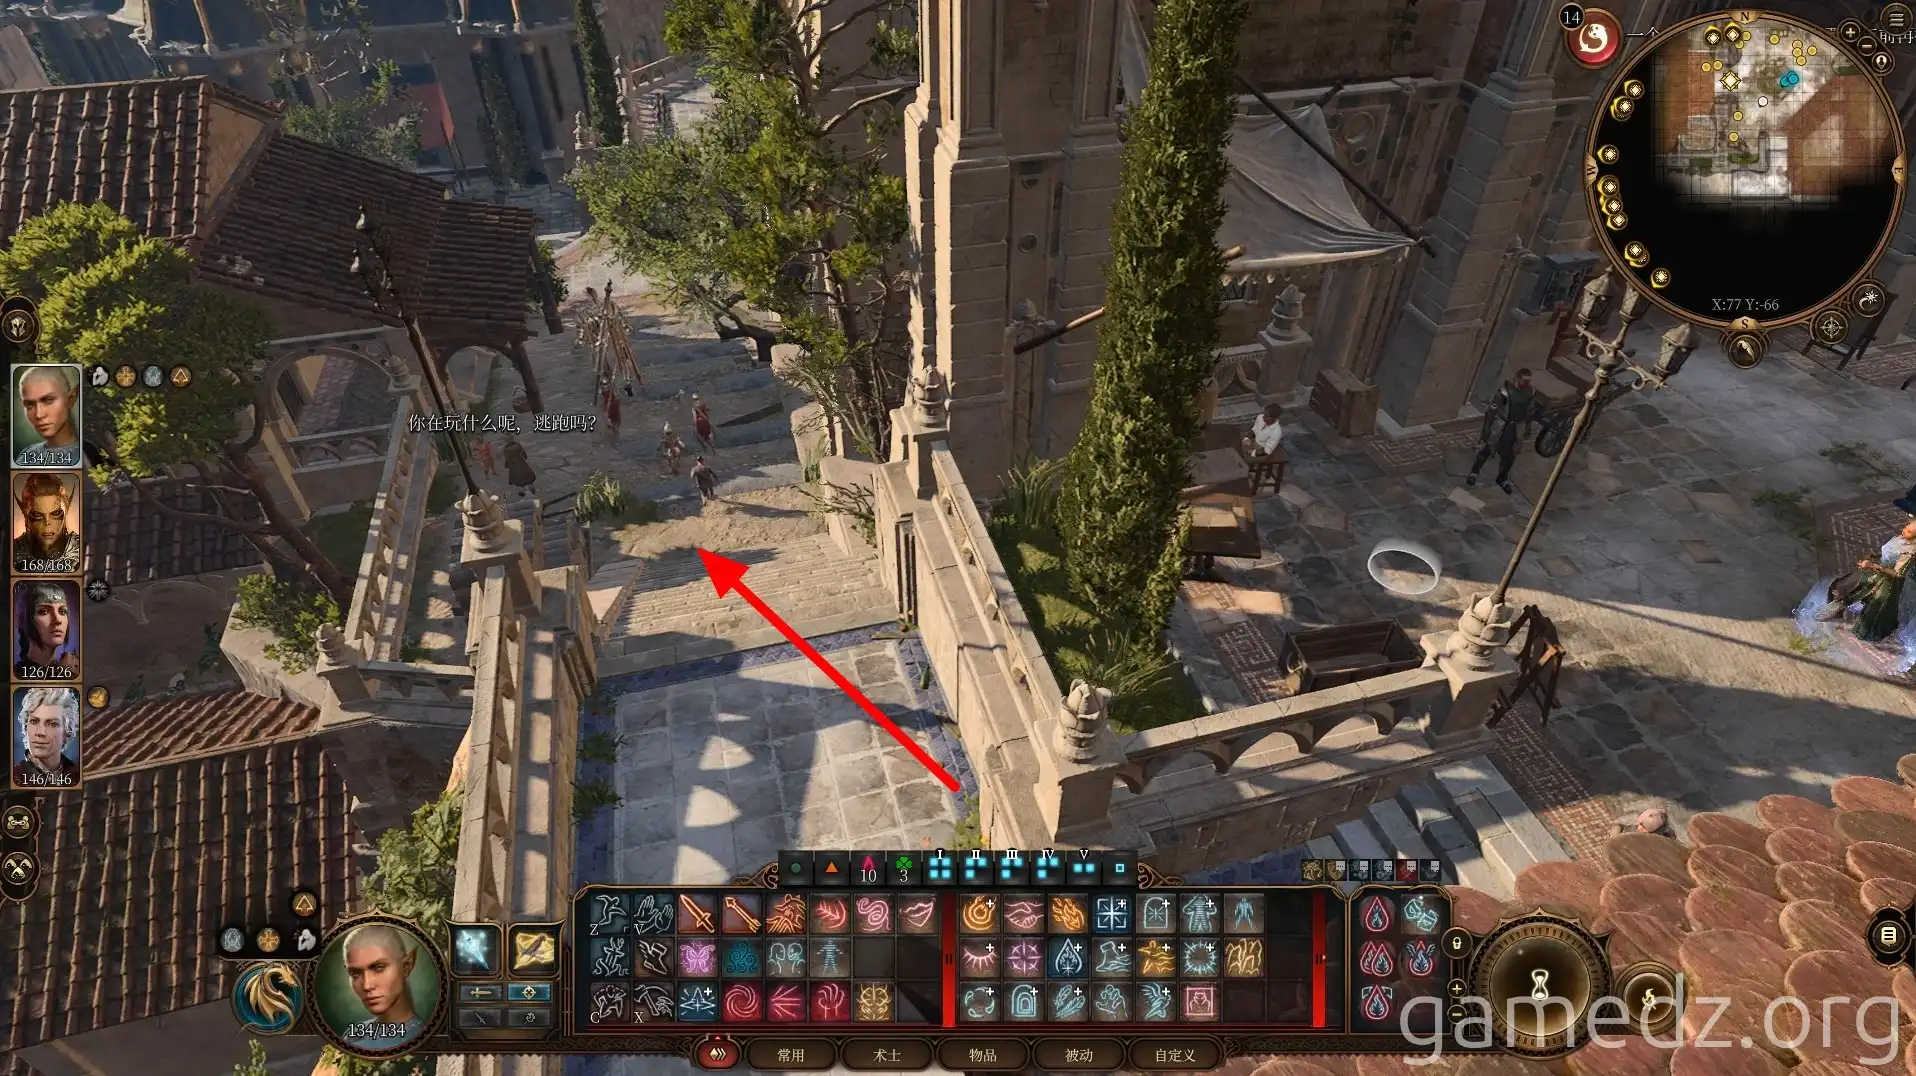
After being asked to leave the newspaper office, head south along the small path.
Follow the path to the end, and in the corner behind the Nortel Inn, you can find a small pouch with an Insight check.
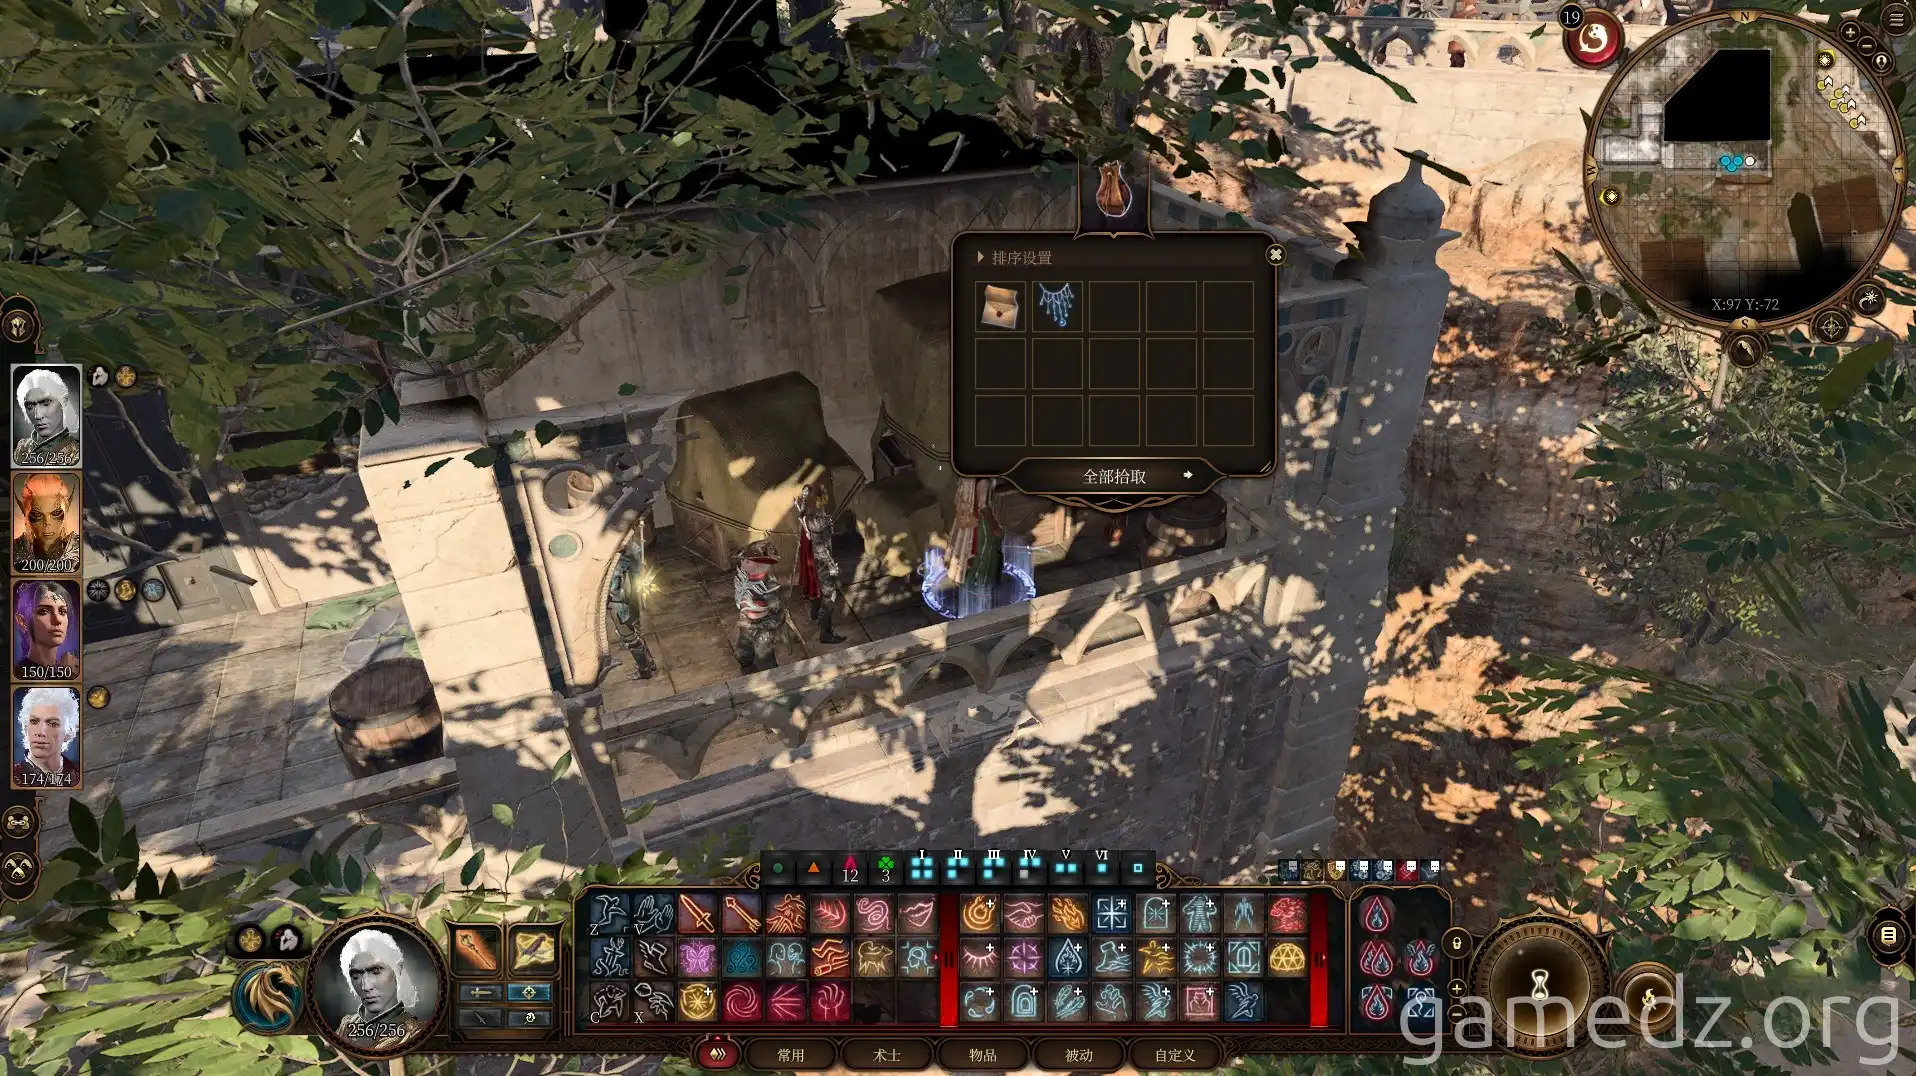
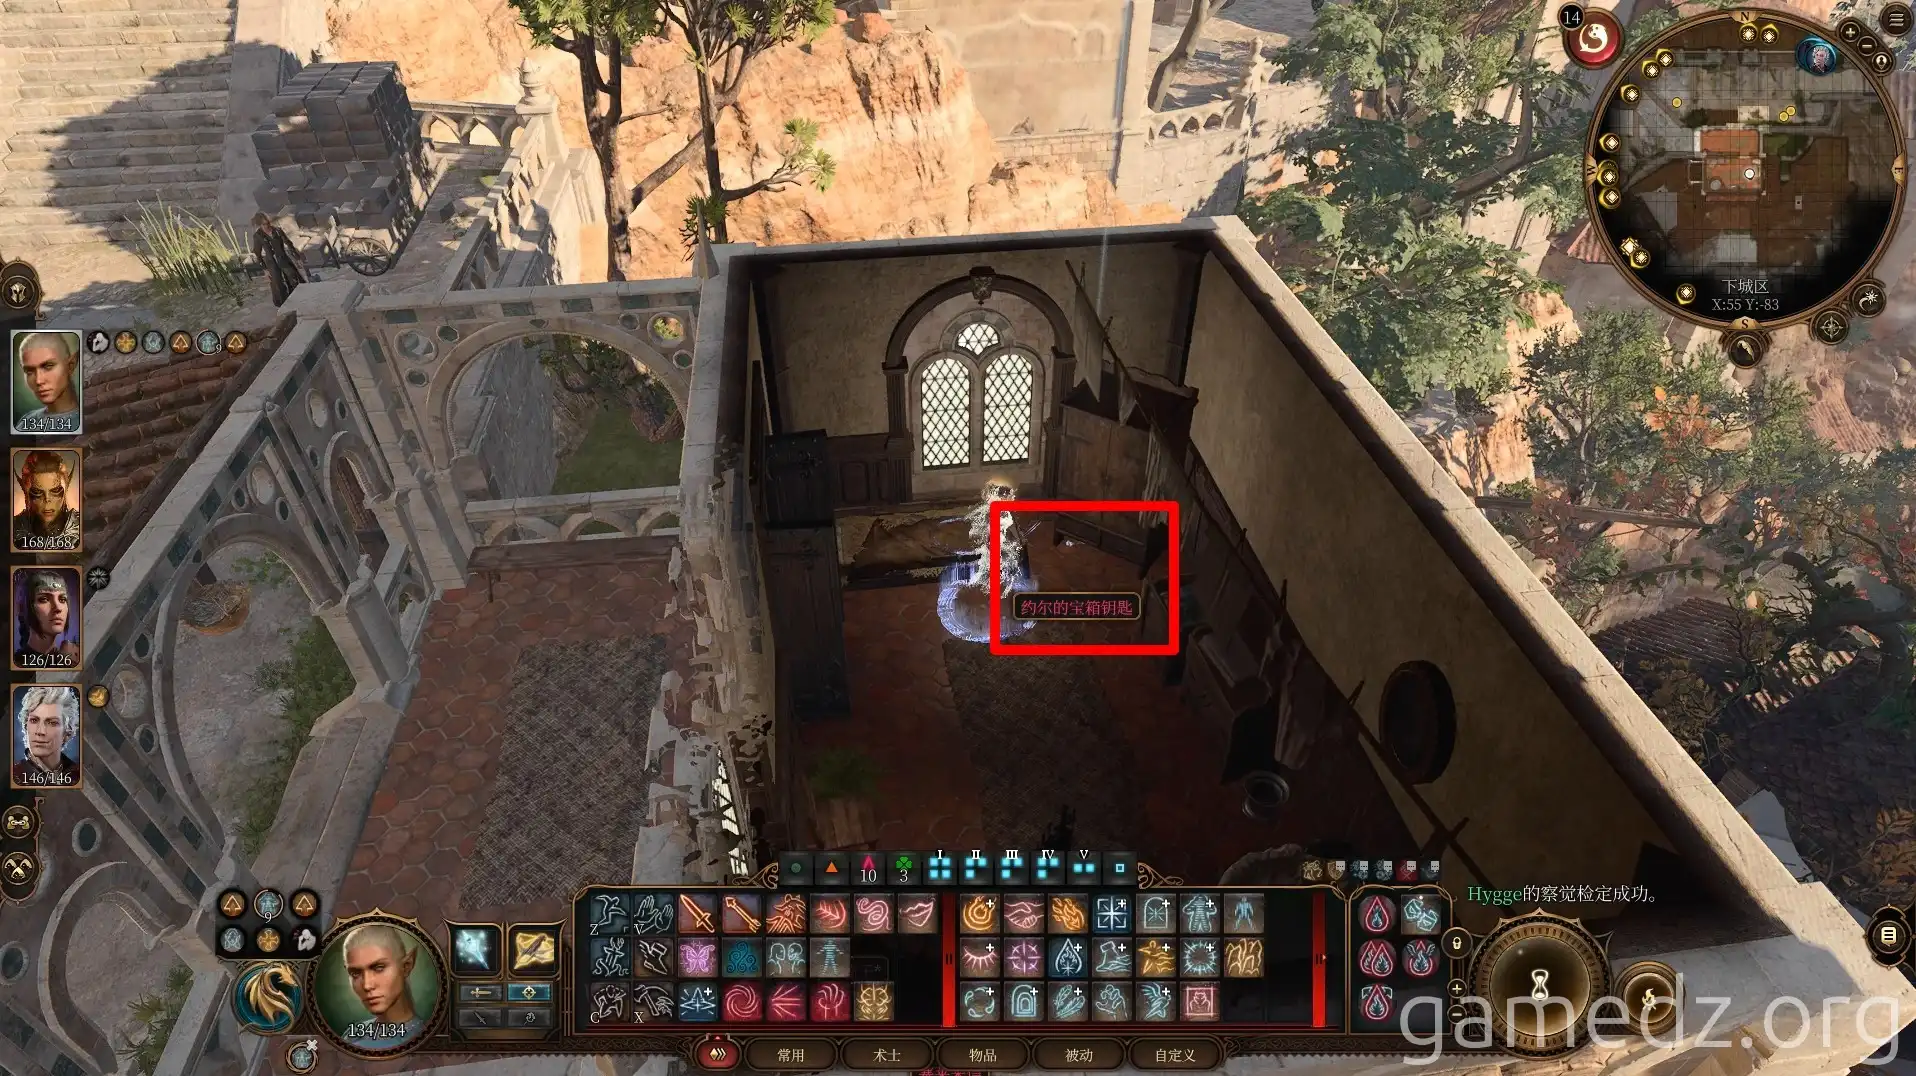
Then, continue south along the path. In a small roadside room, after a successful Perception check, you'll find the "Key to Yor's Chest."
Proceed along the road, descend the stairs ahead, and then break through the wooden planks of the nearby shack to enter.
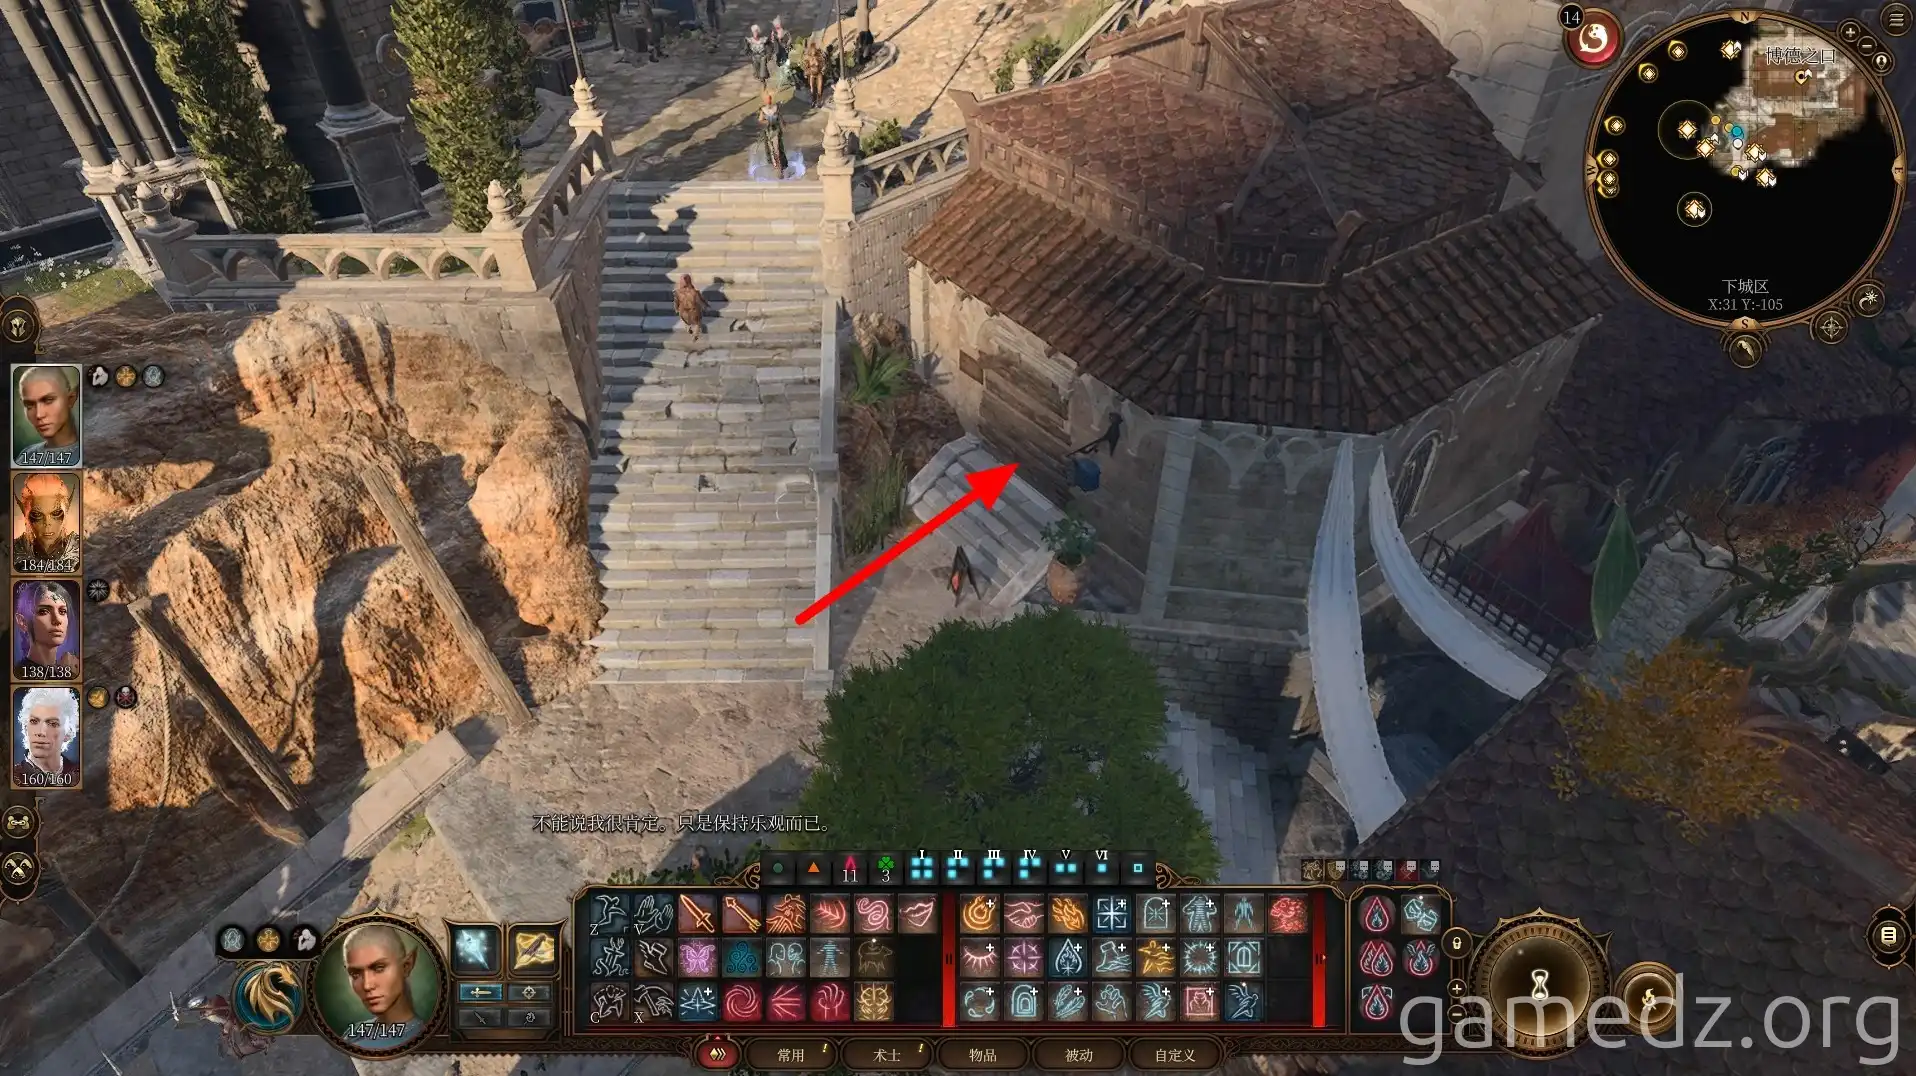
In the mailbox by the door, you'll find a Soul Coin.
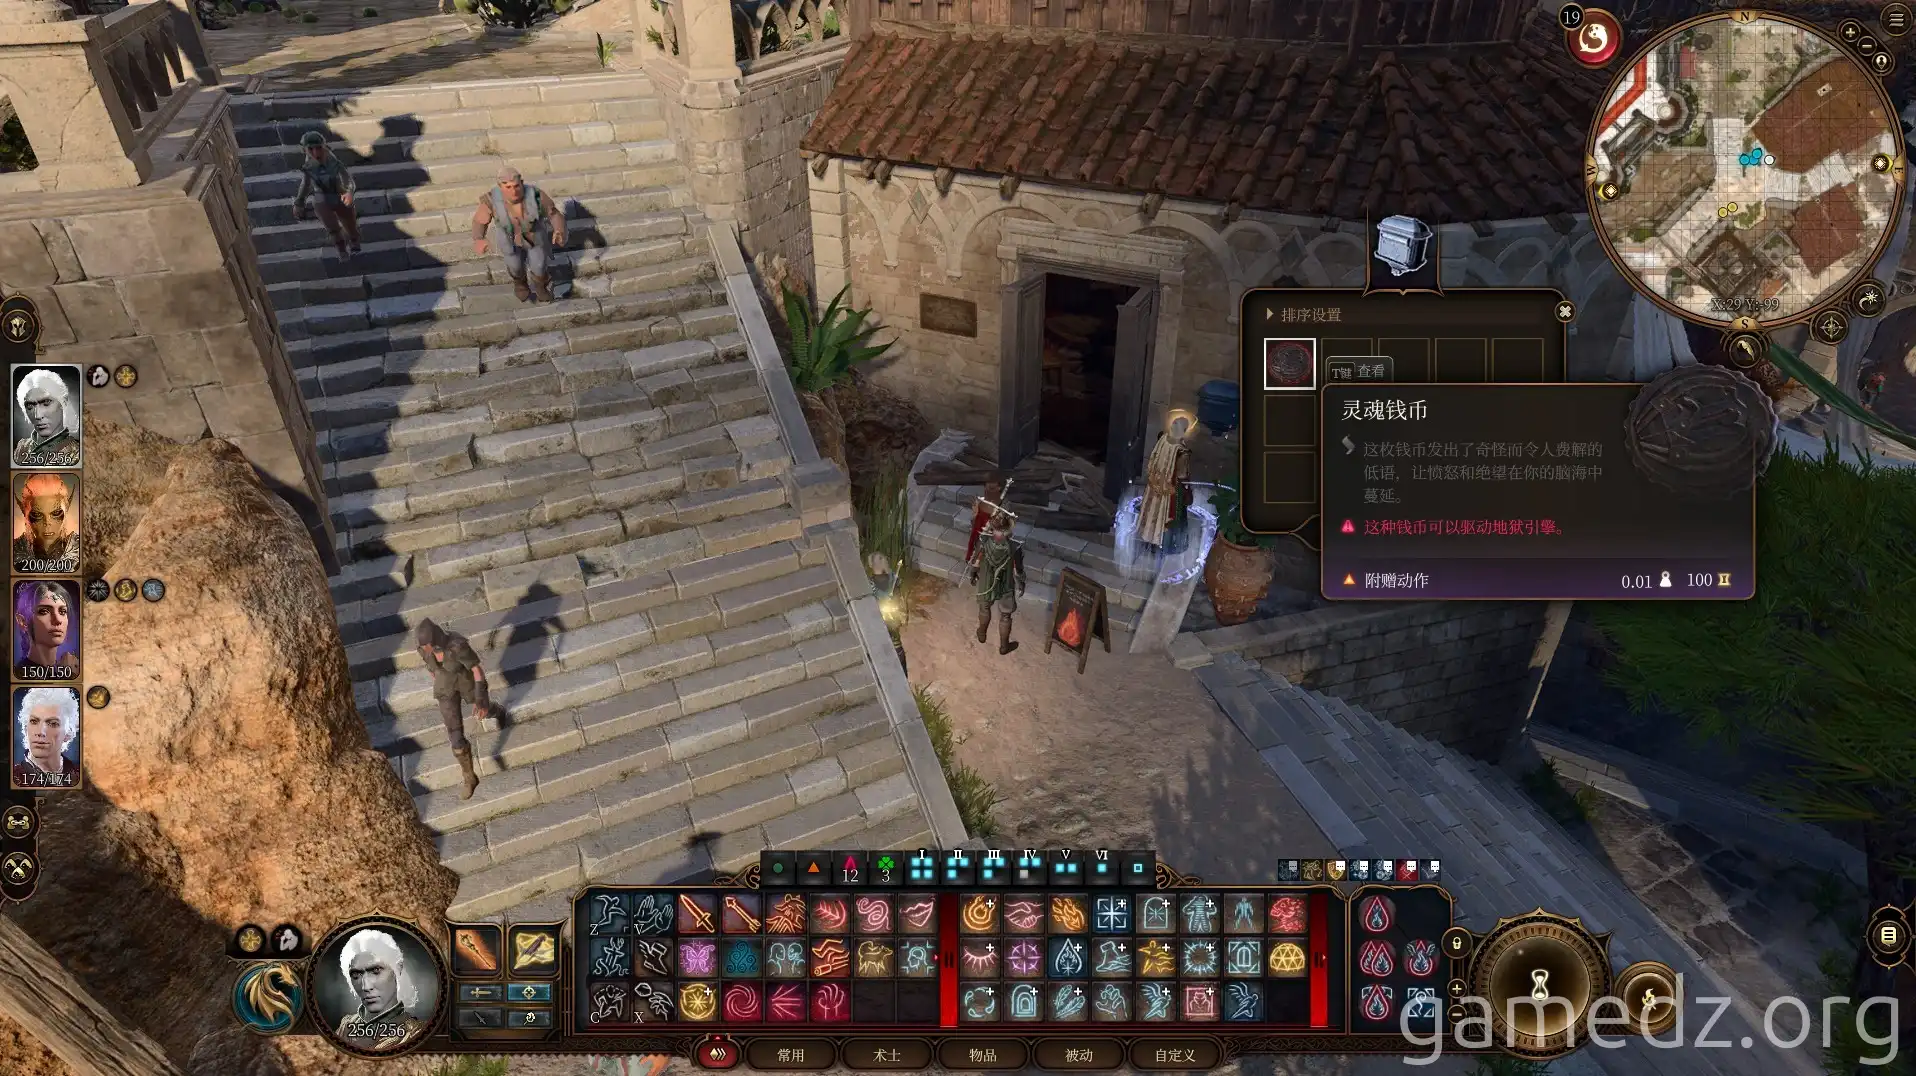
Inside the shack, you'll meet one of the murder victims. Then, enter the basement through the trapdoor beneath the travel trunk.
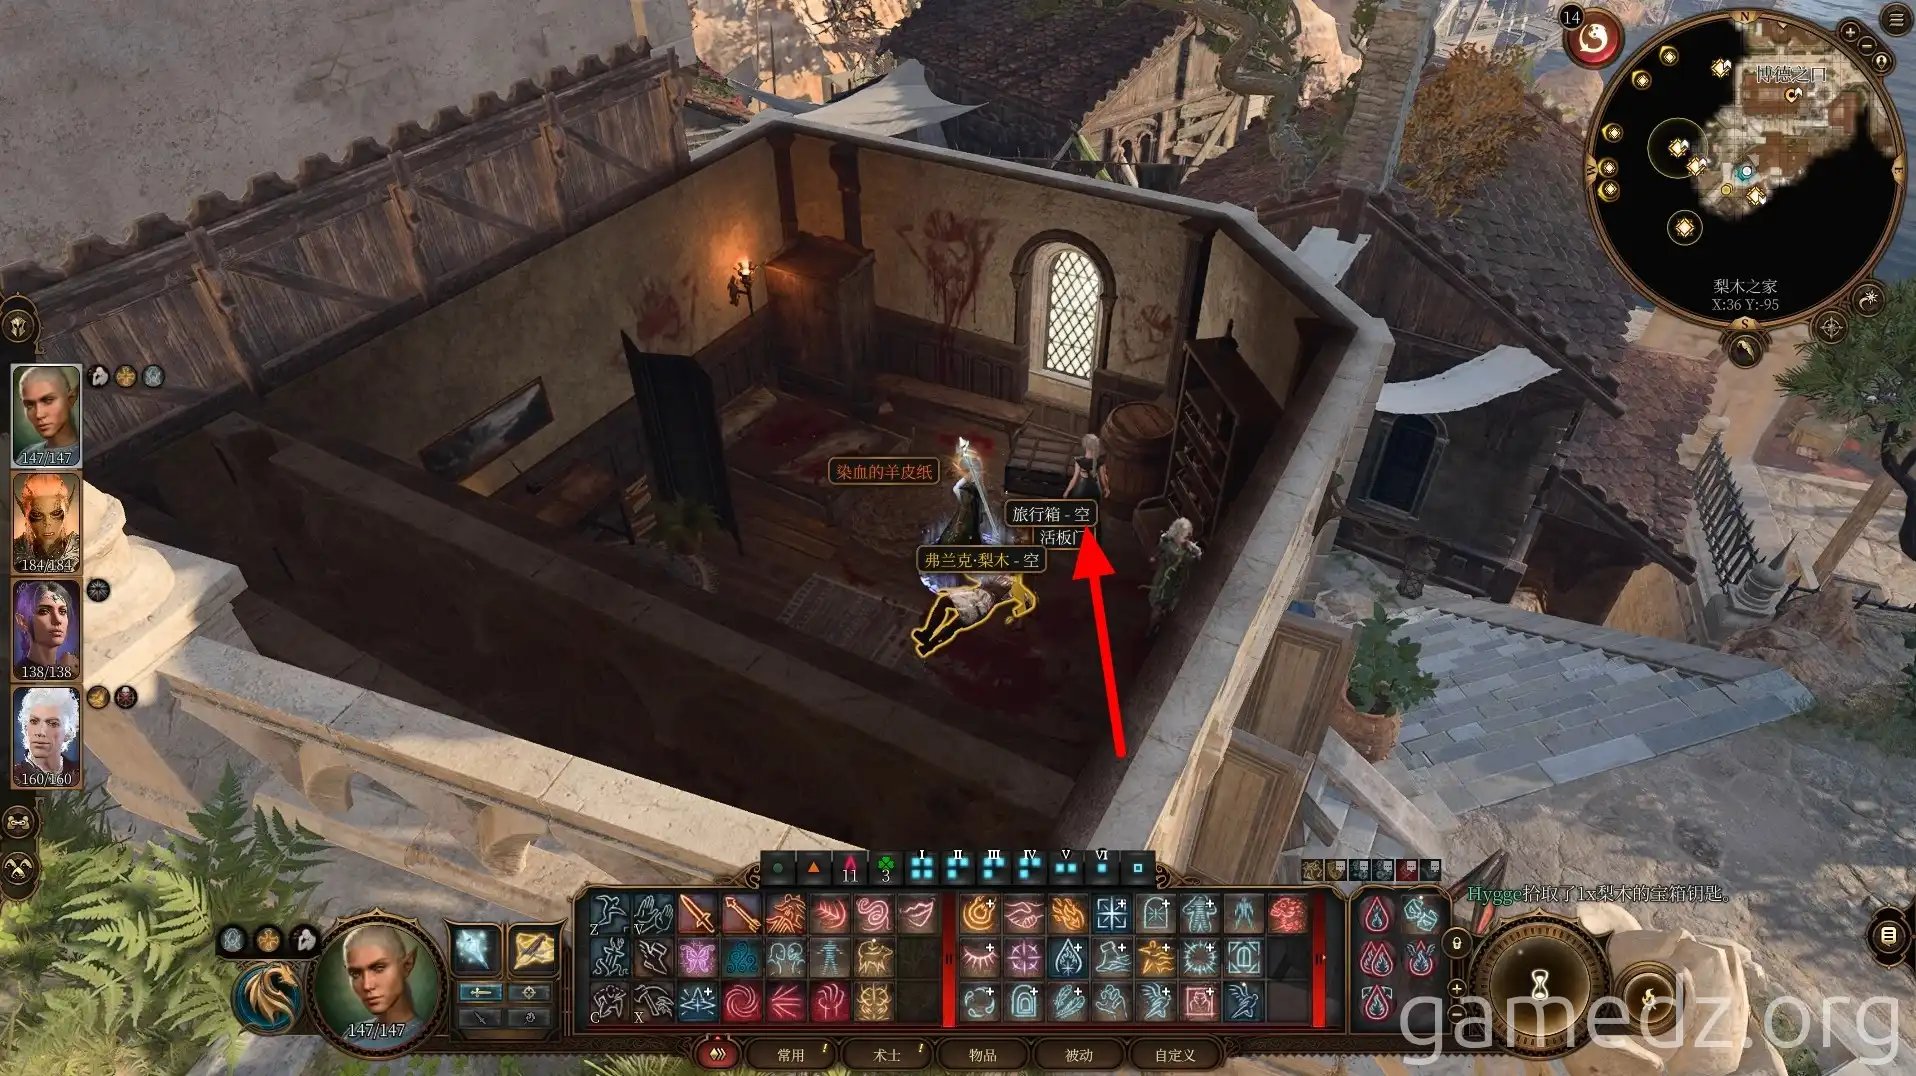
On a corpse in the basement, you can find the "Jester's Severed Arm."
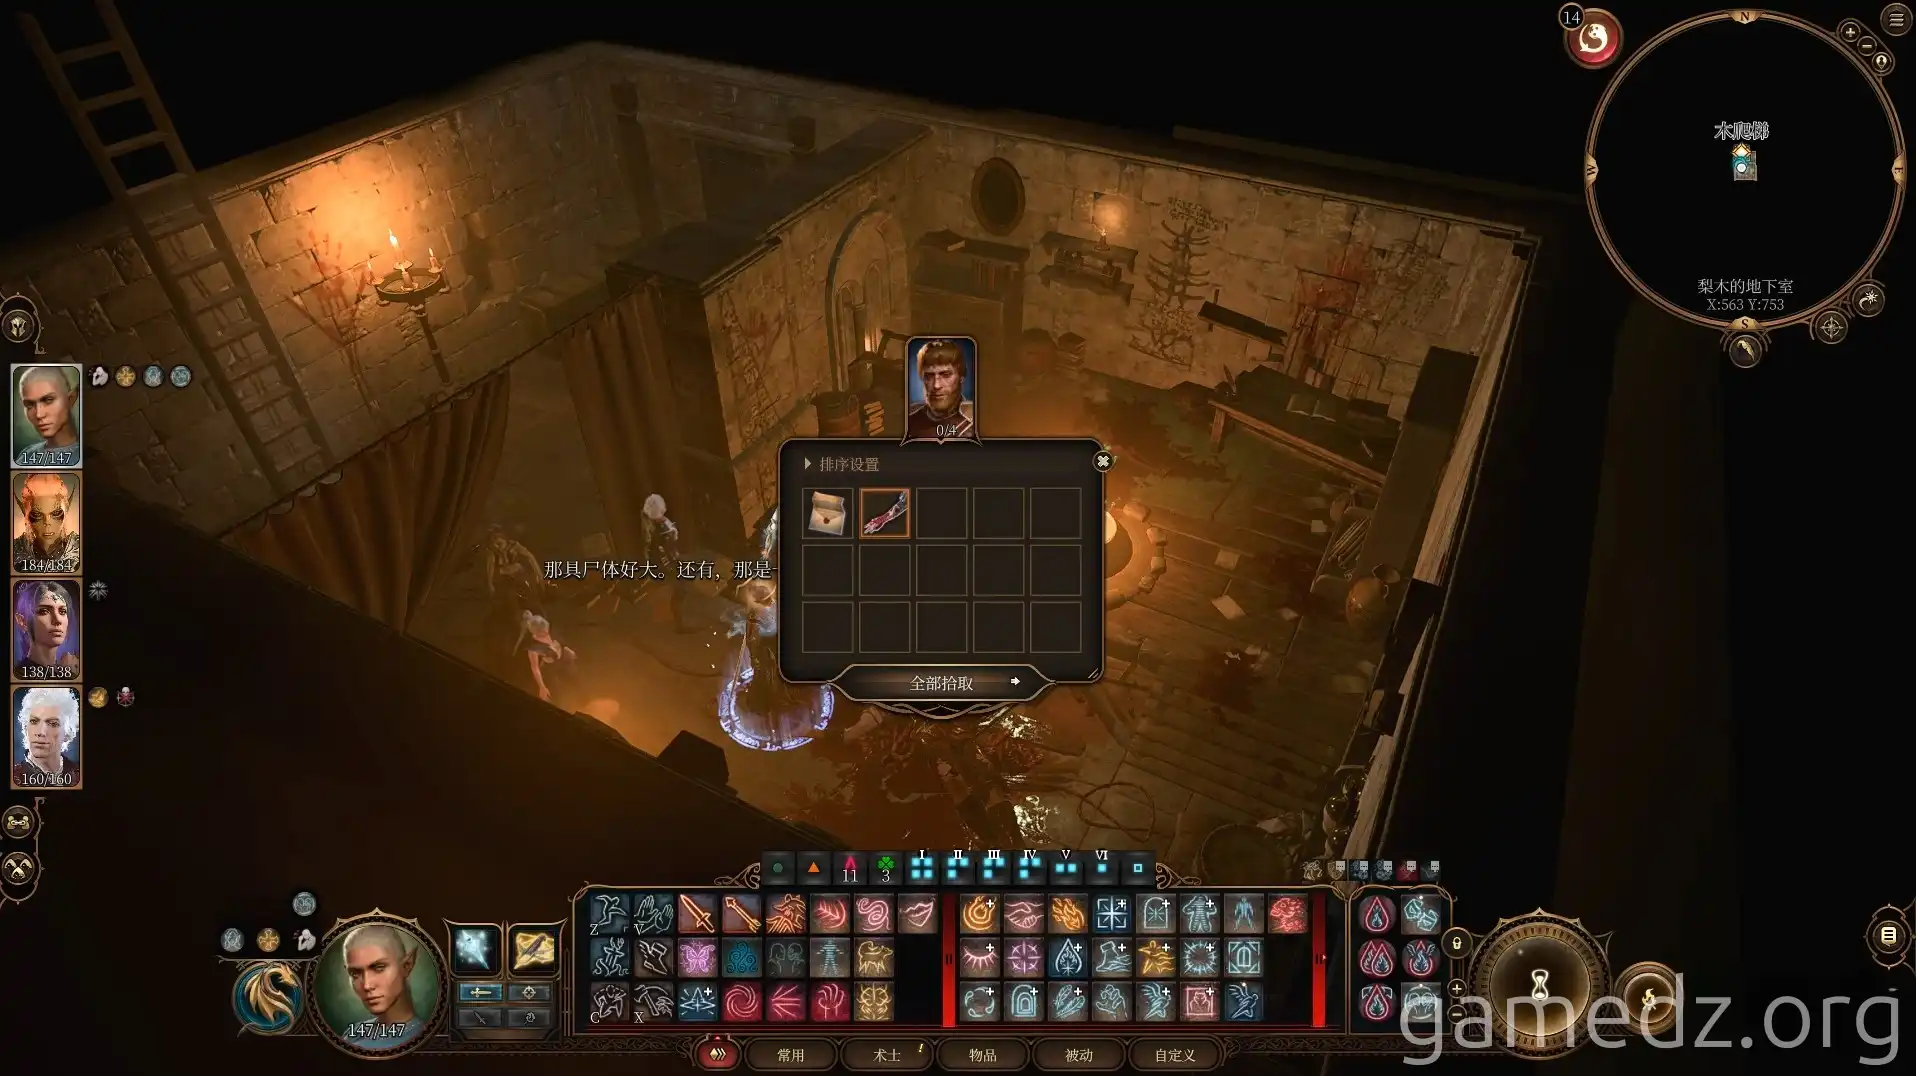
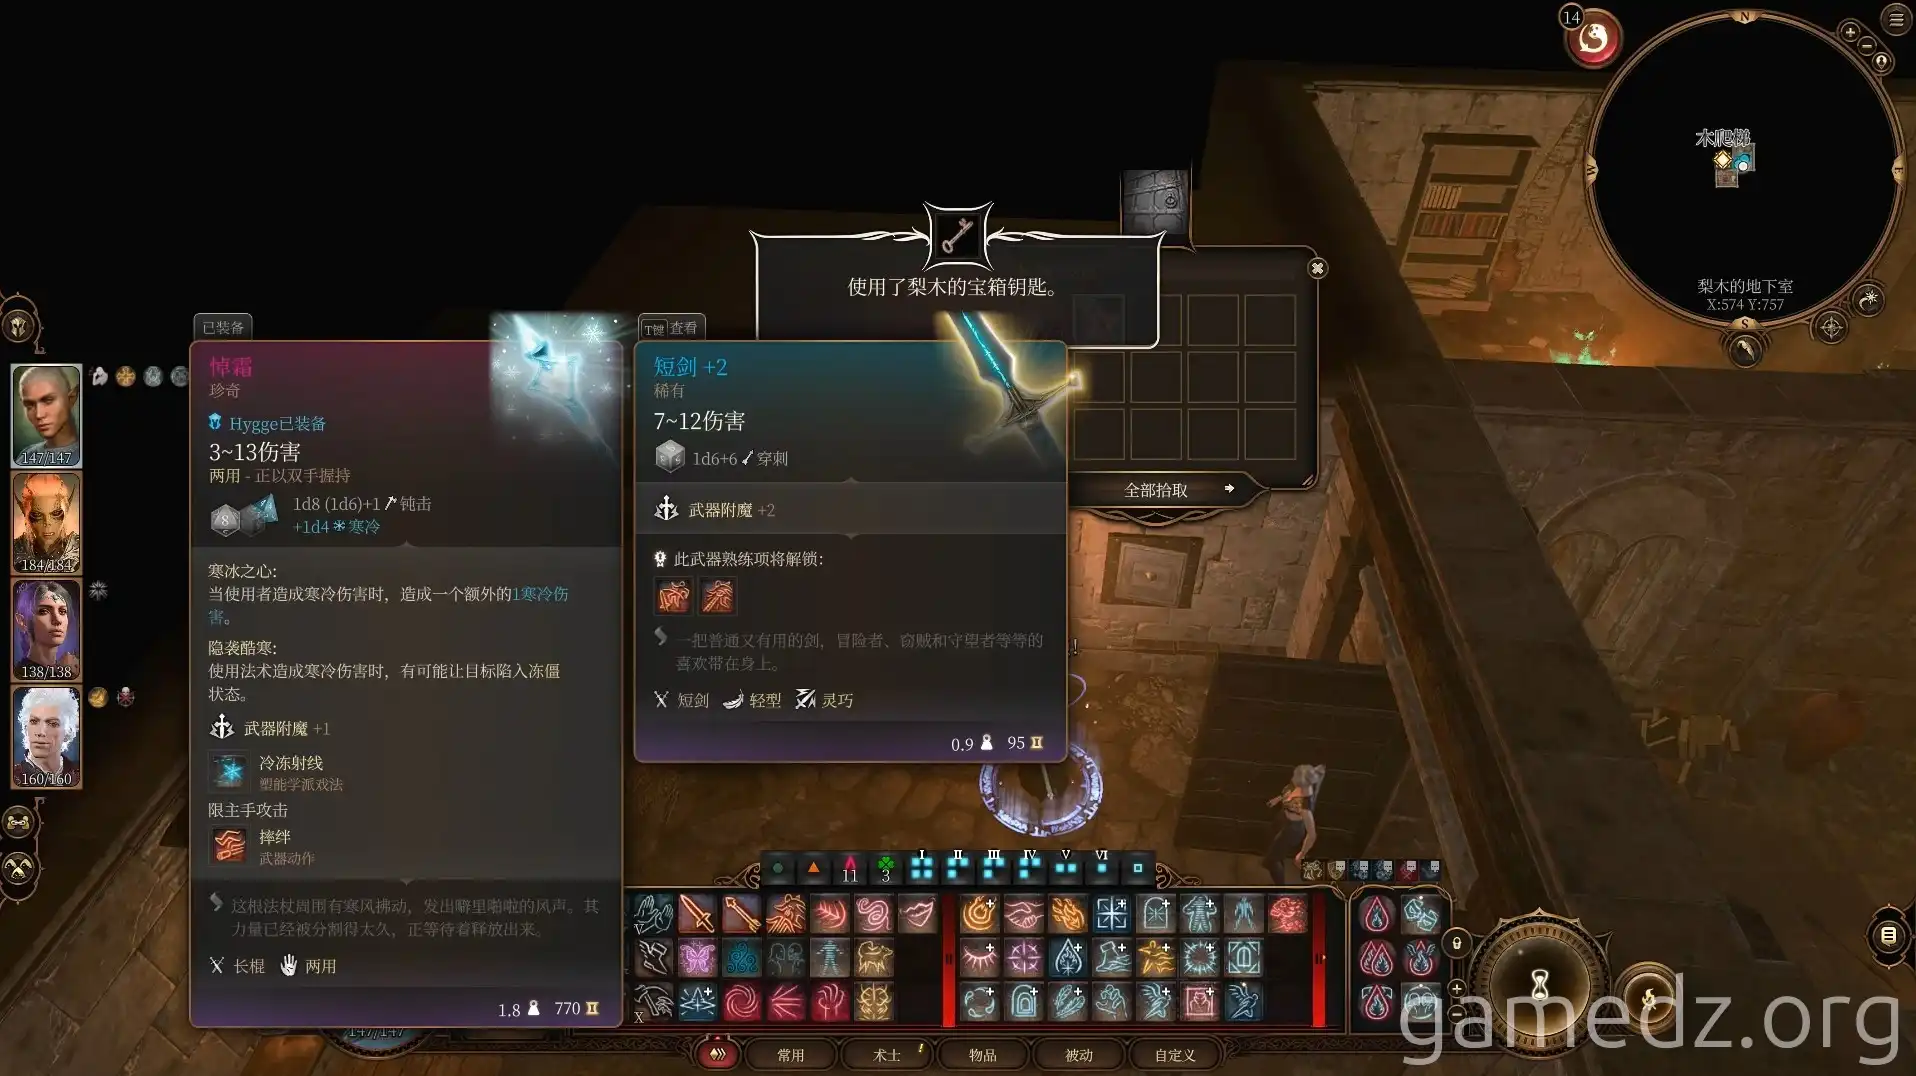
Behind the door in the inner room is a safe. Opening it will yield a rare shortsword. After looting, leave the room and retrace your steps.
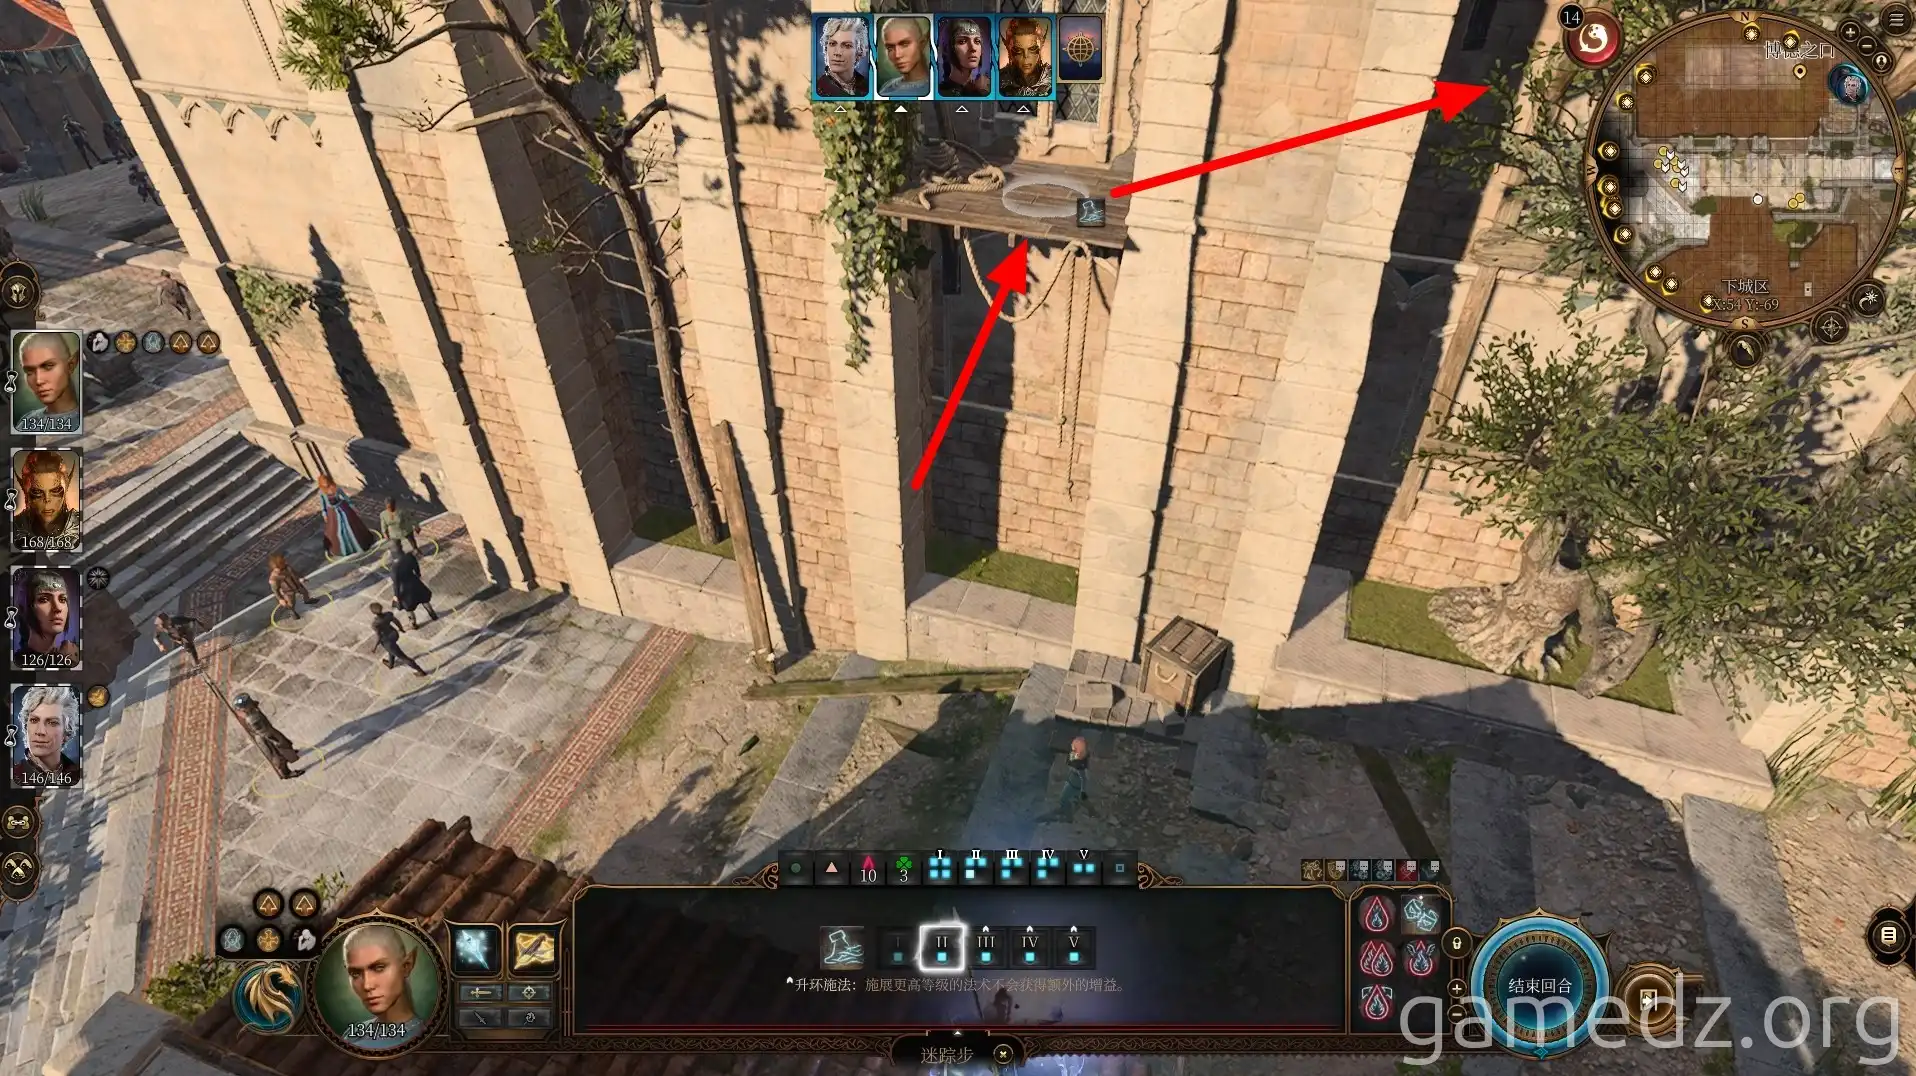
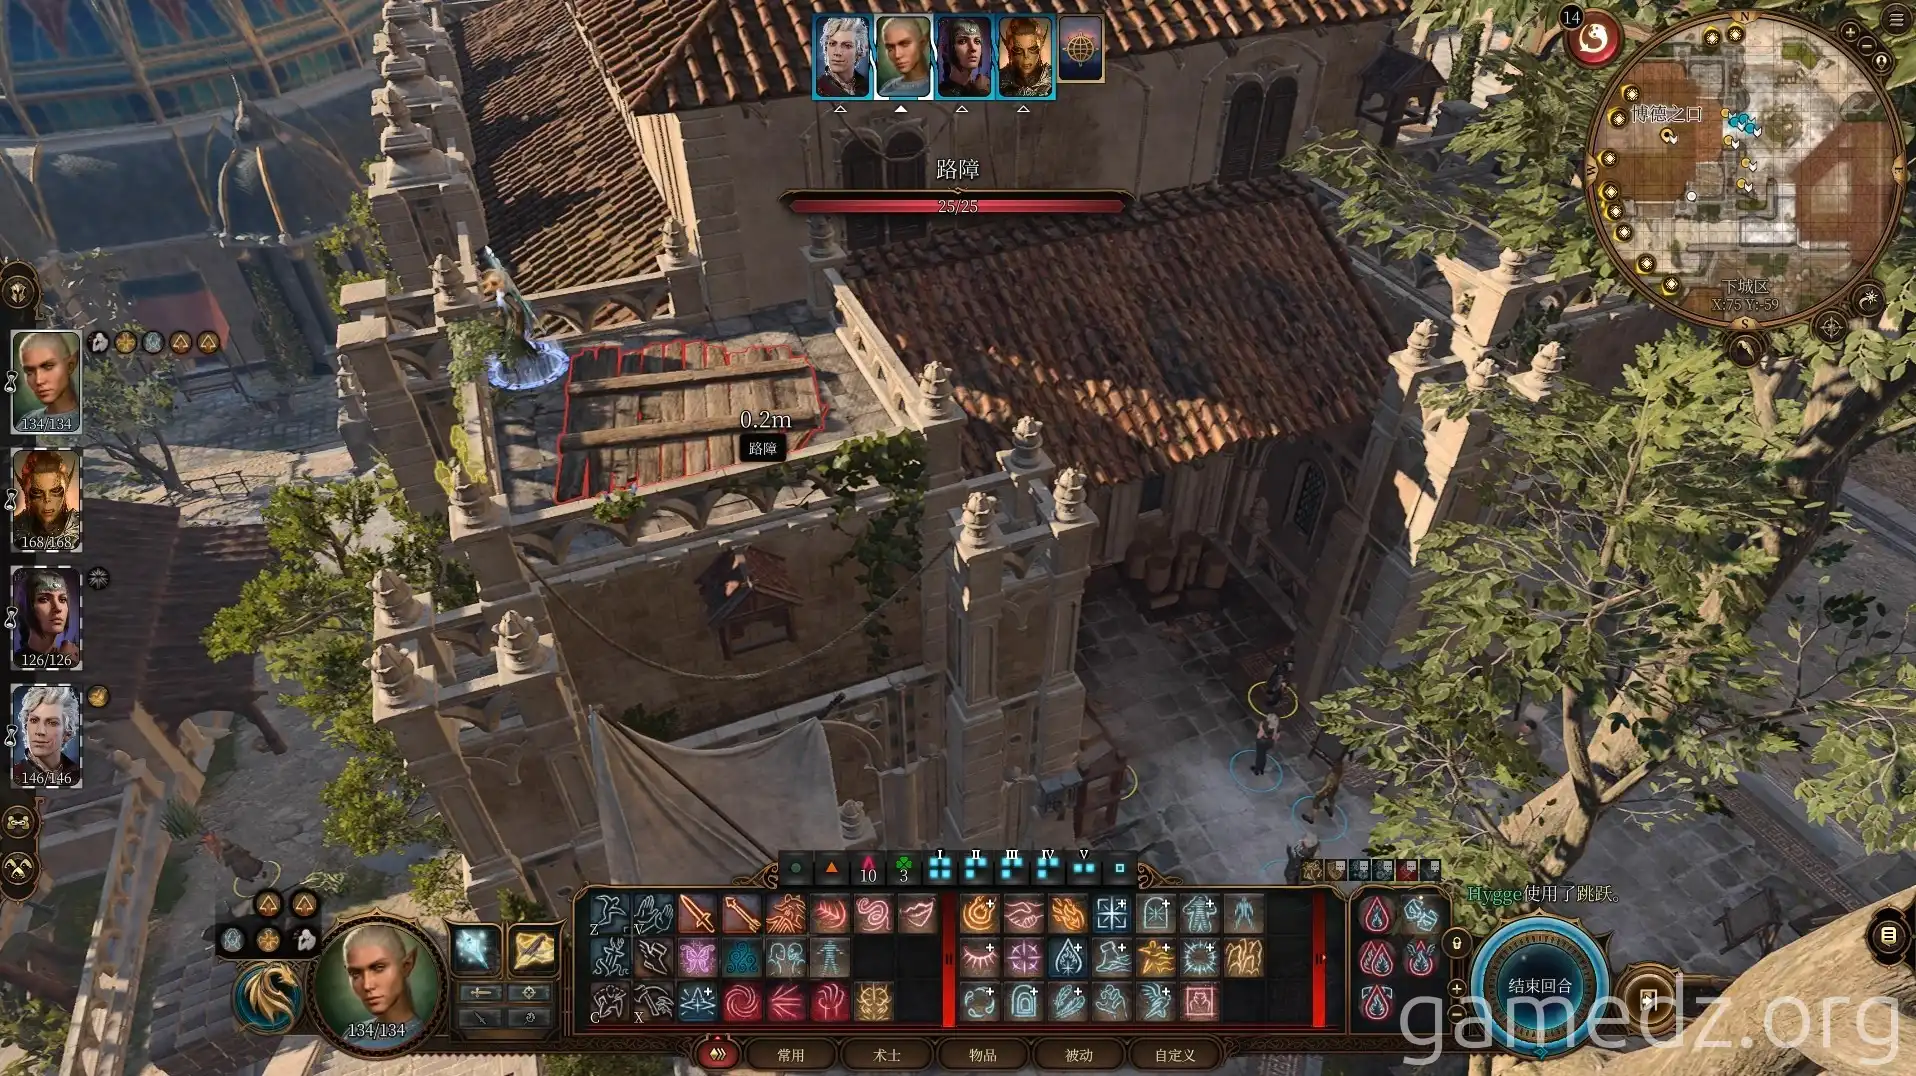
Return to the shack where you found the "Key to Yor's Chest." Jump onto the roof and use Misty Step or a Potion of Glorious Leap to reach the wooden platform outside the newspaper office. Then, proceed east across the platform to the newspaper office's rooftop.
On the rooftop, break through the barricade and jump into the elevator. Then, use the elevator to descend to the newspaper office's basement.
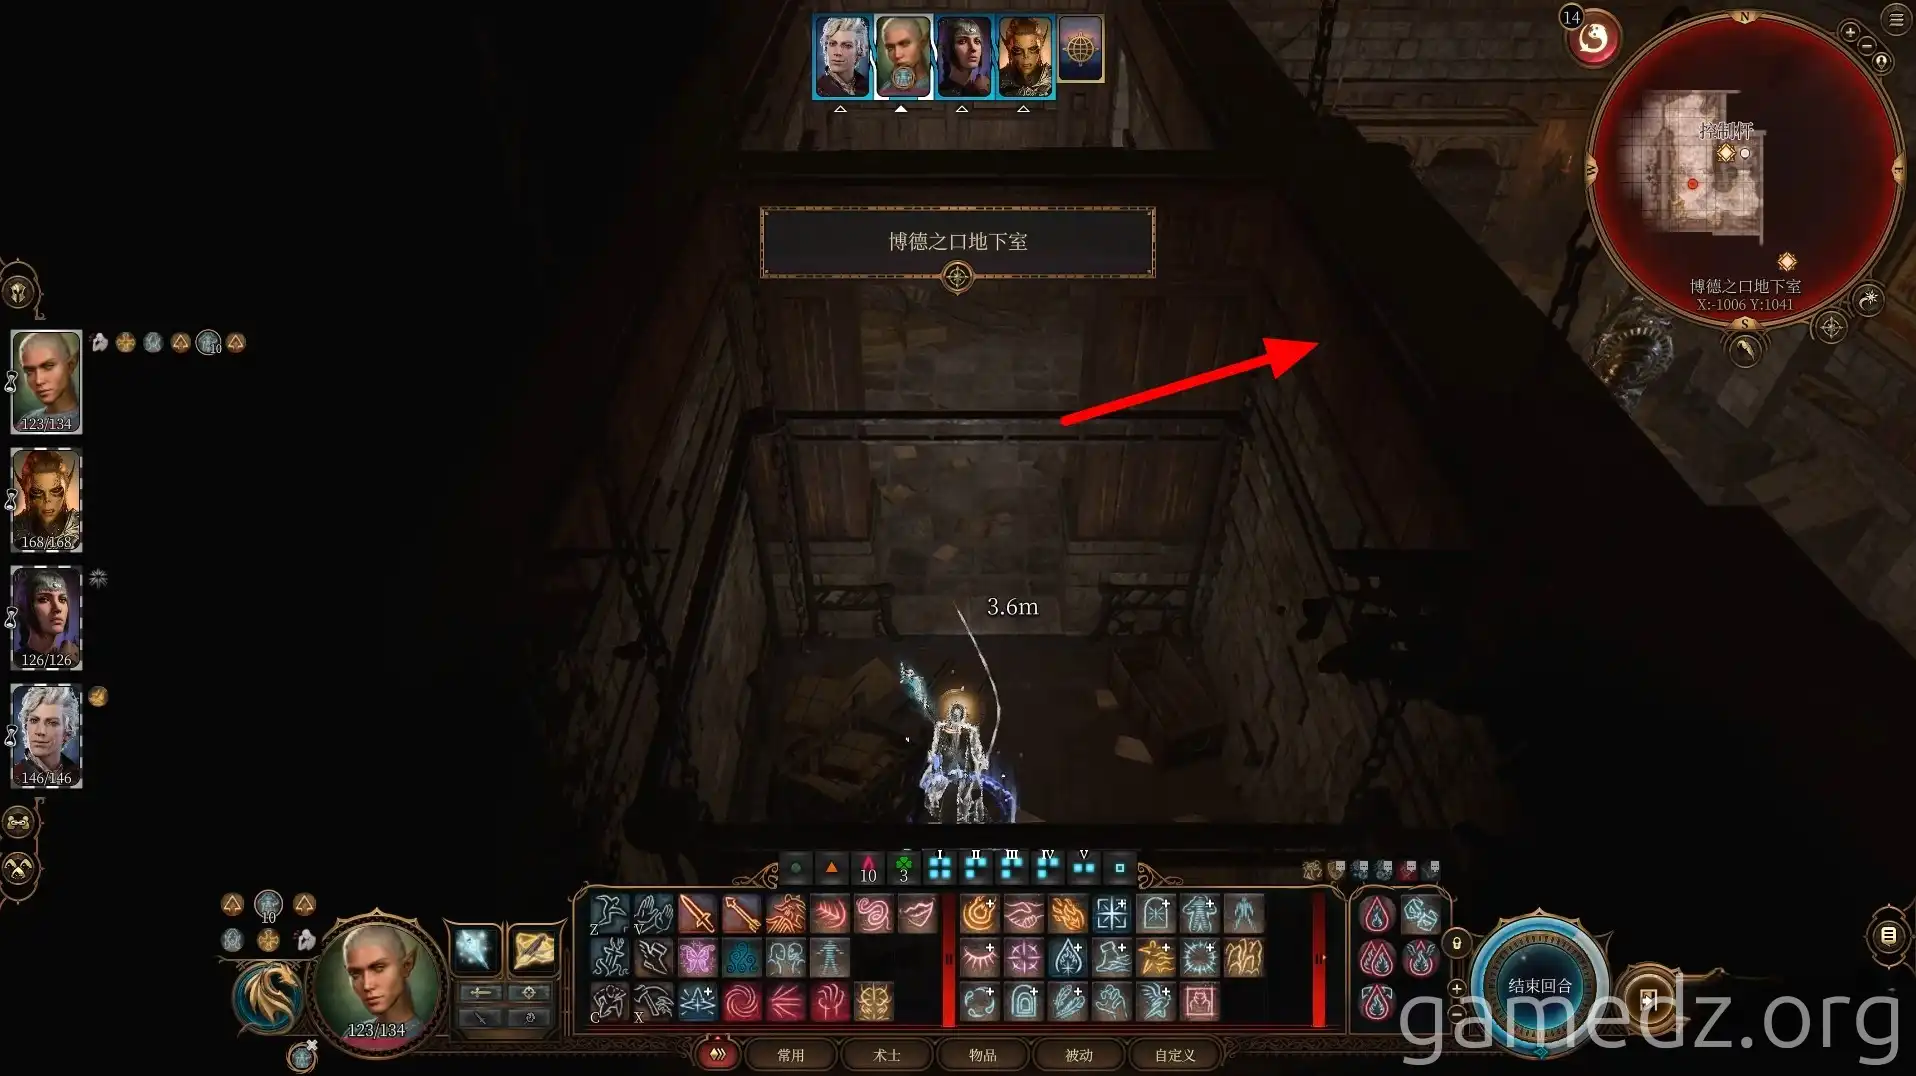
Head west to delve deeper into the basement. Two Steel Watchers patrol the basement. Killing them directly won't have any consequences, or you can use invisibility spells and potions to avoid them.
Going left will directly lead you back to the newspaper lobby, where you'll be escorted out.
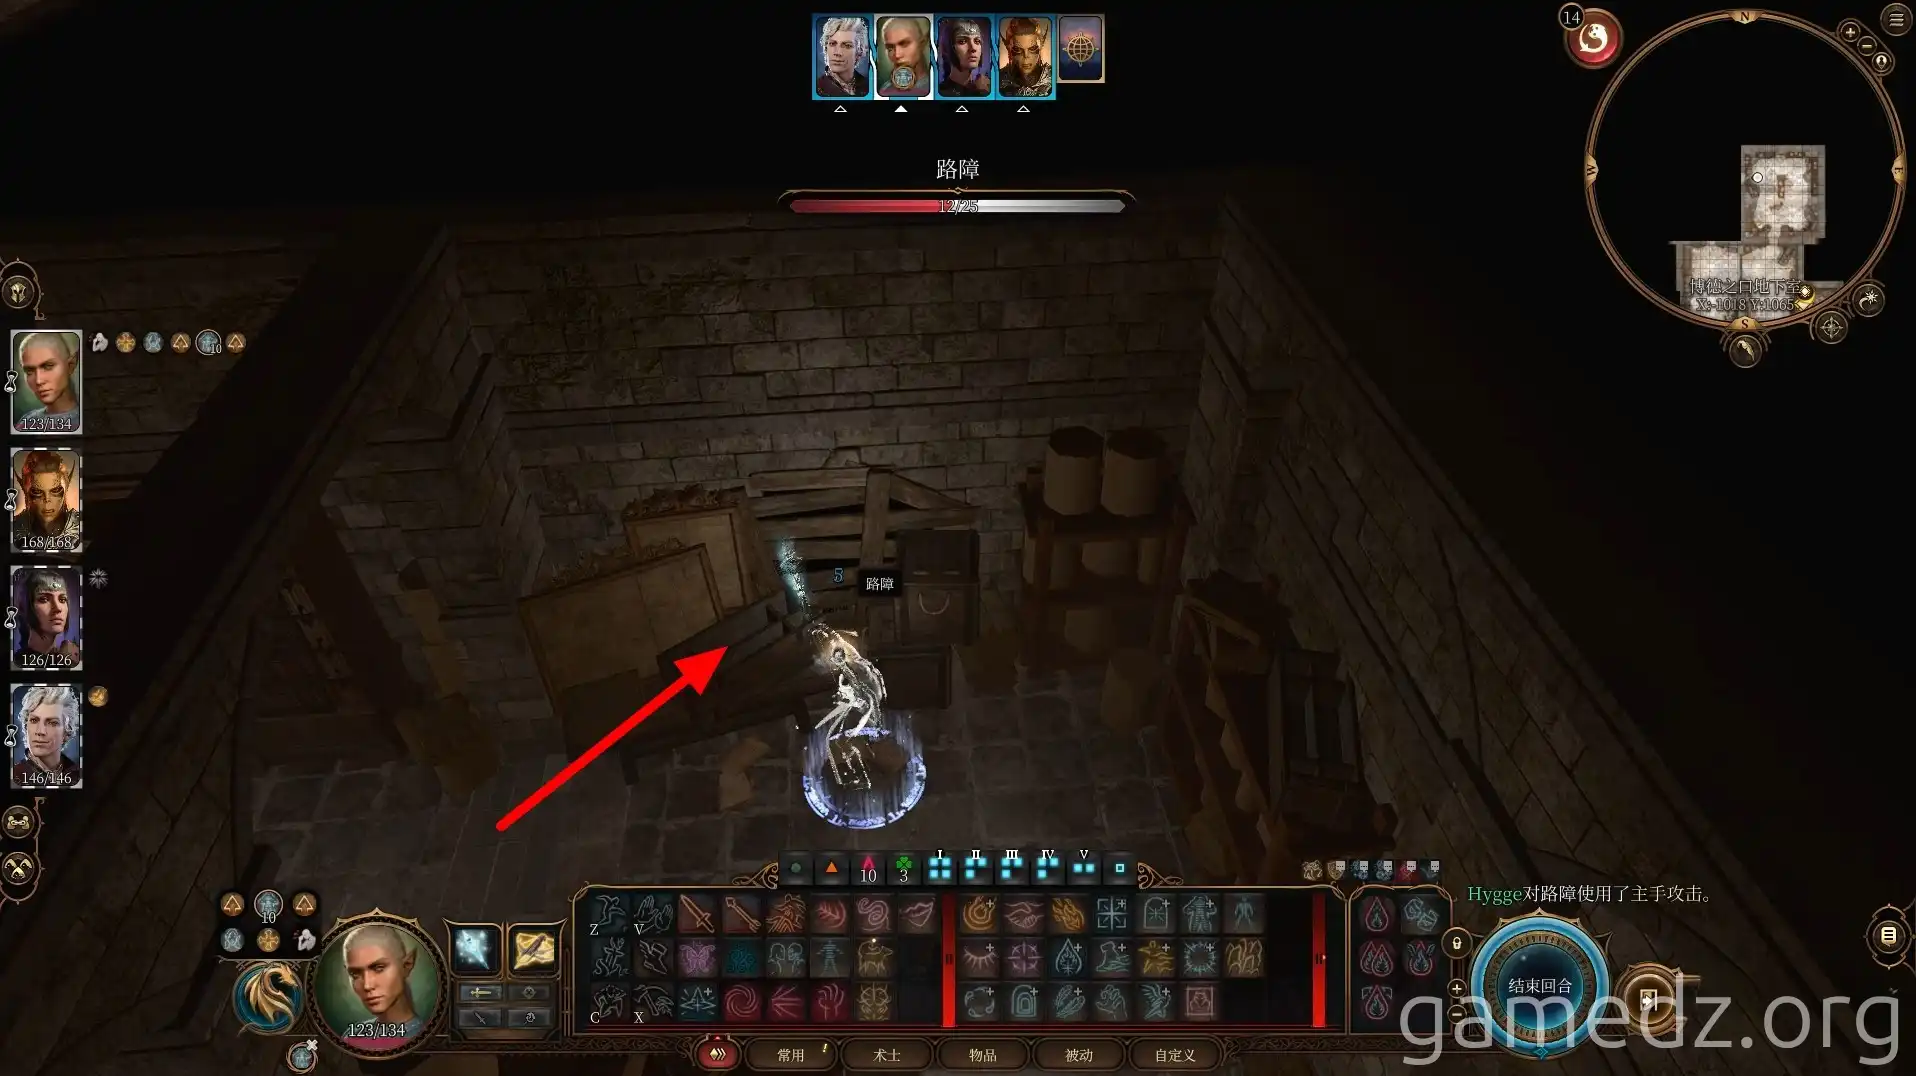
In the room north of the central area of the basement, break through the barricade to access the northern room of the west corridor.
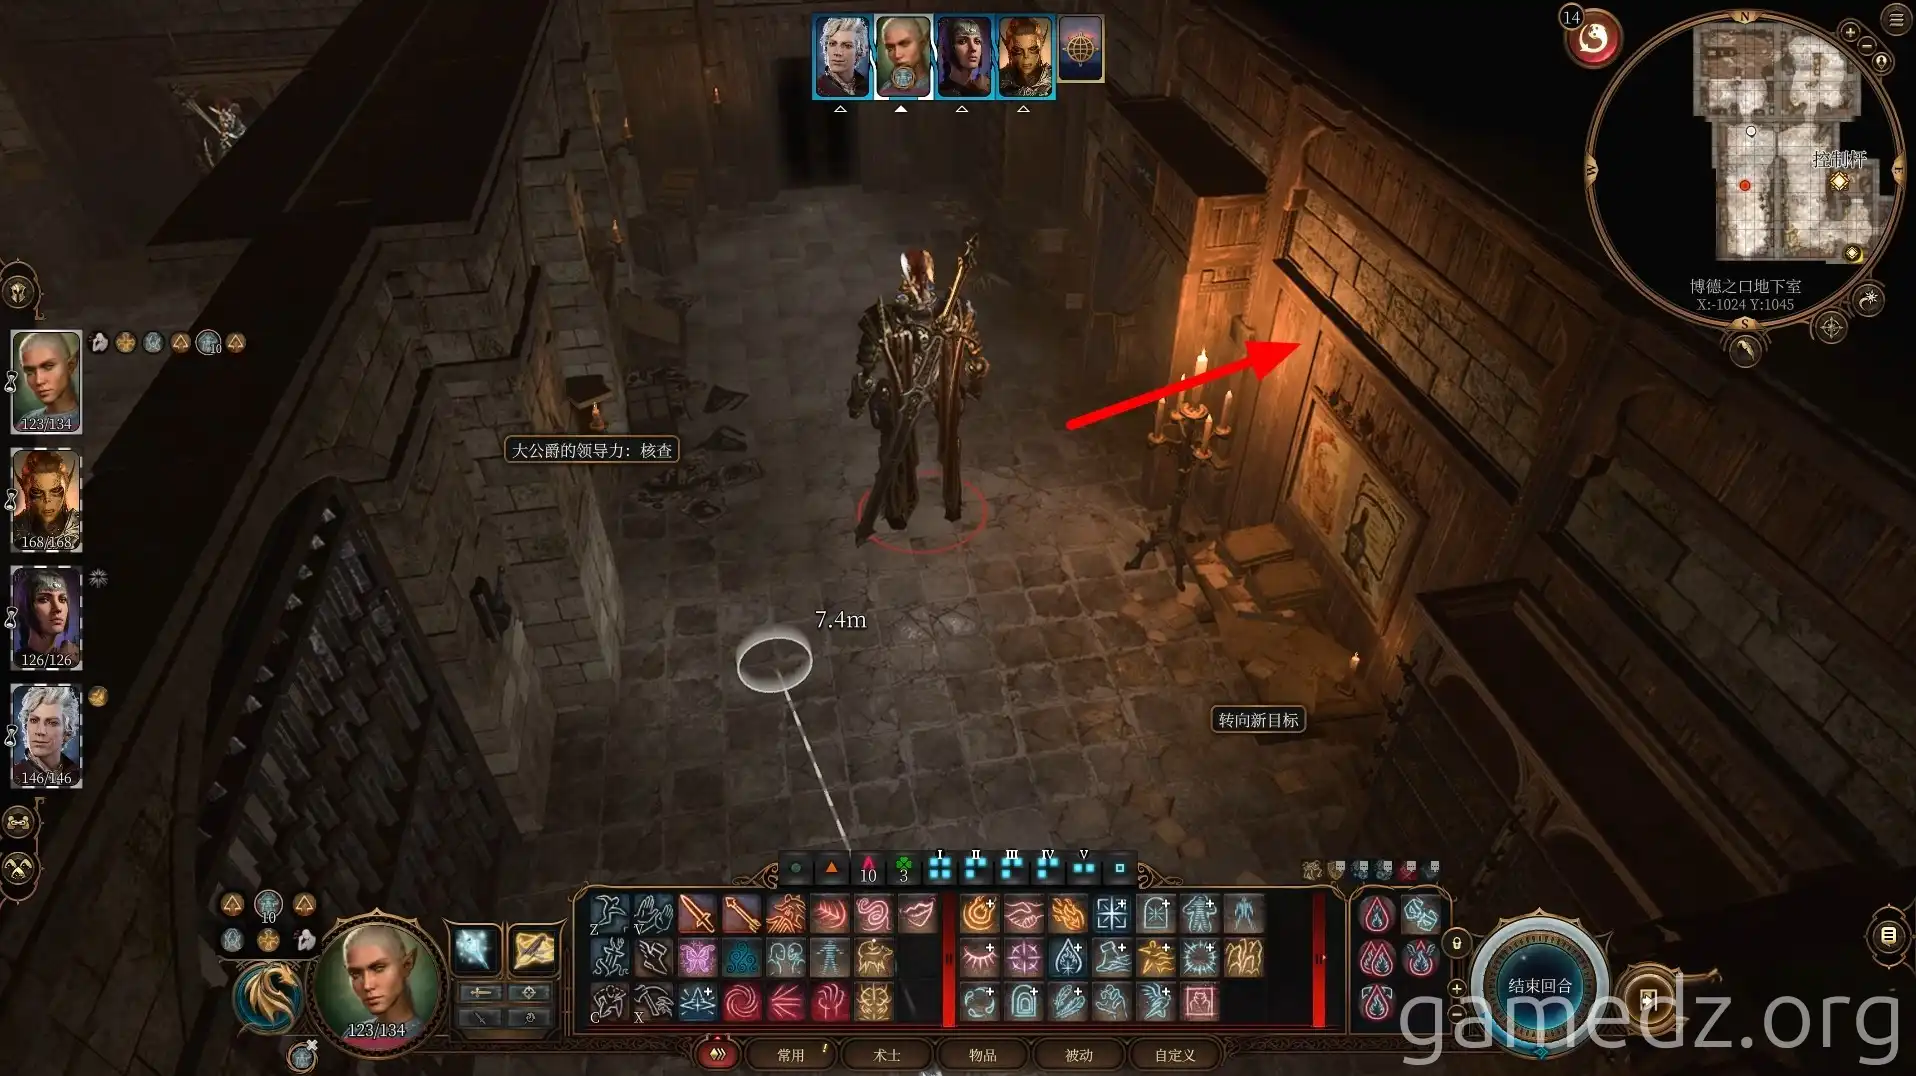
After avoiding the fire and defeating the second Steel Watcher, enter the west room in the middle section of the corridor.
In the room, take the defamatory news article, "Public Menace."
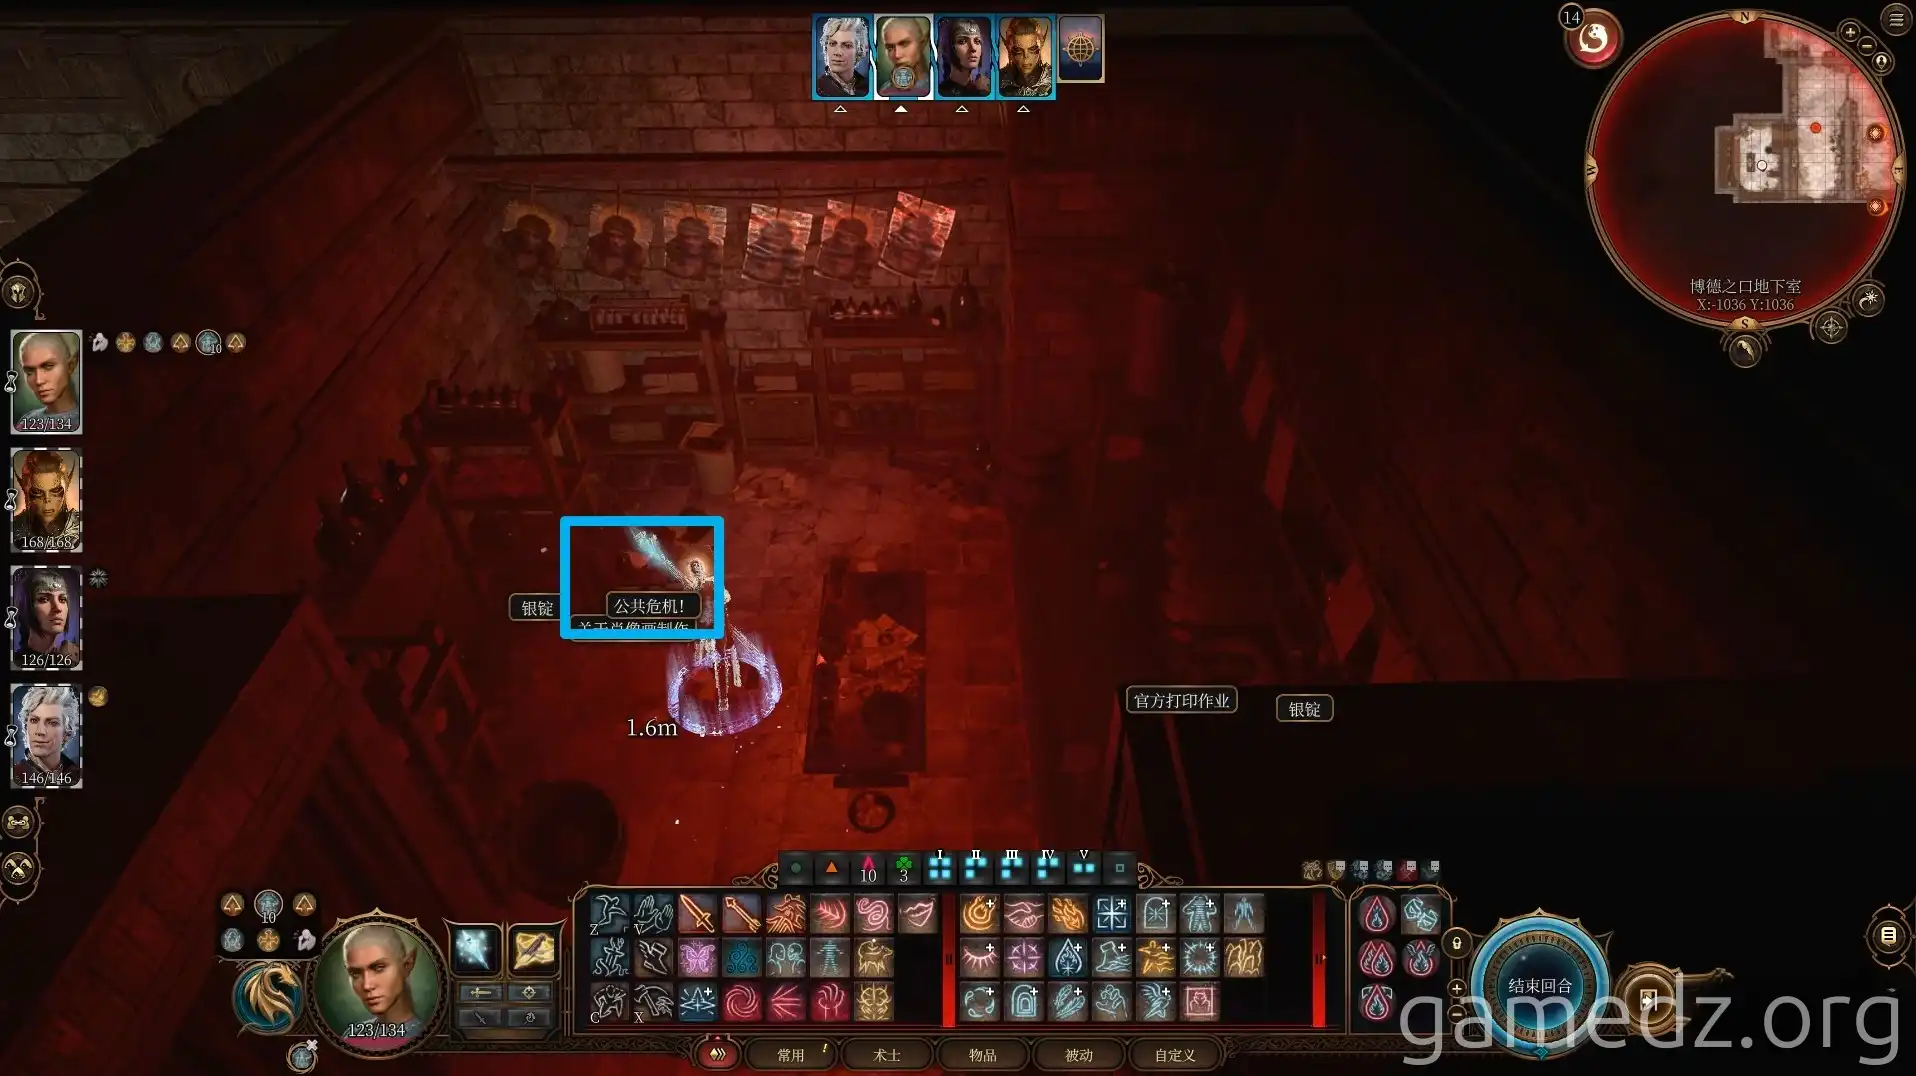
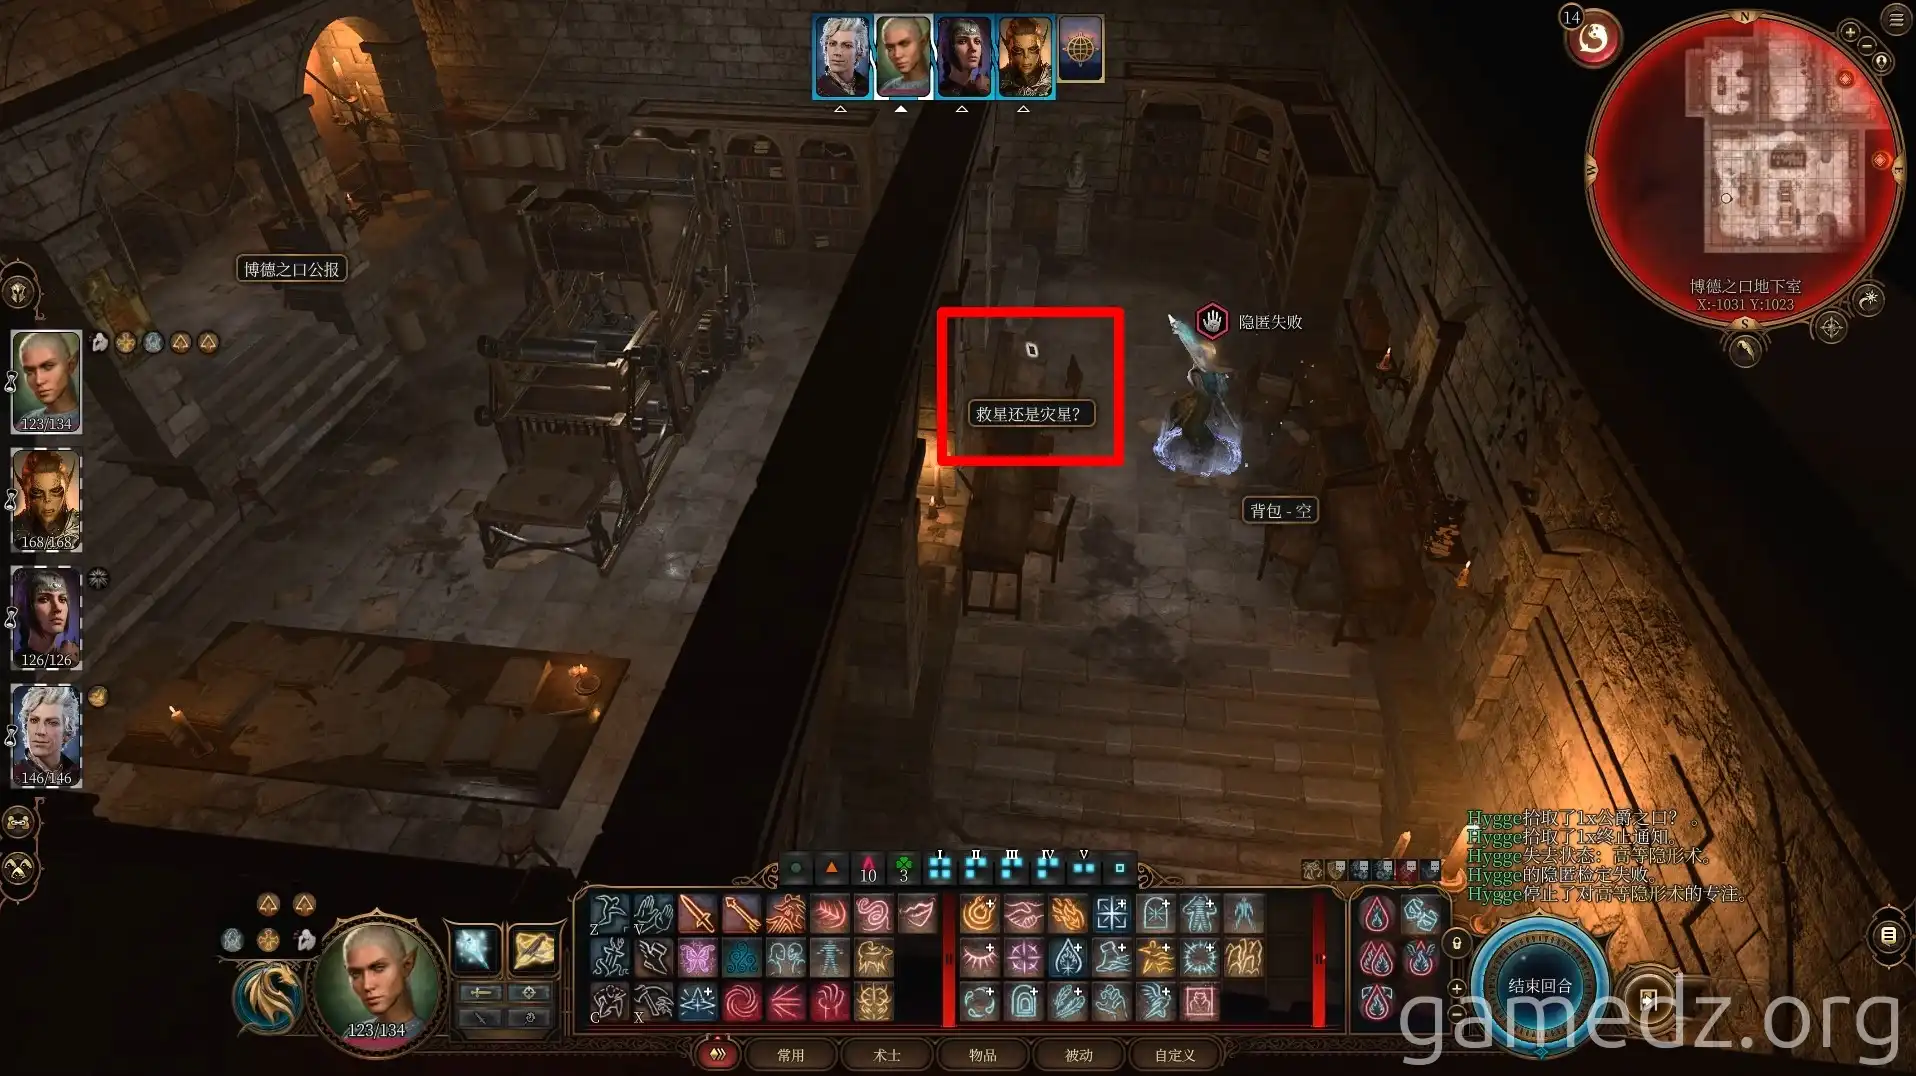
Go to the southernmost room in the corridor and take the other two defamatory articles: "Savior or Scourge?" and "A Wolf in Sheep's Clothing."
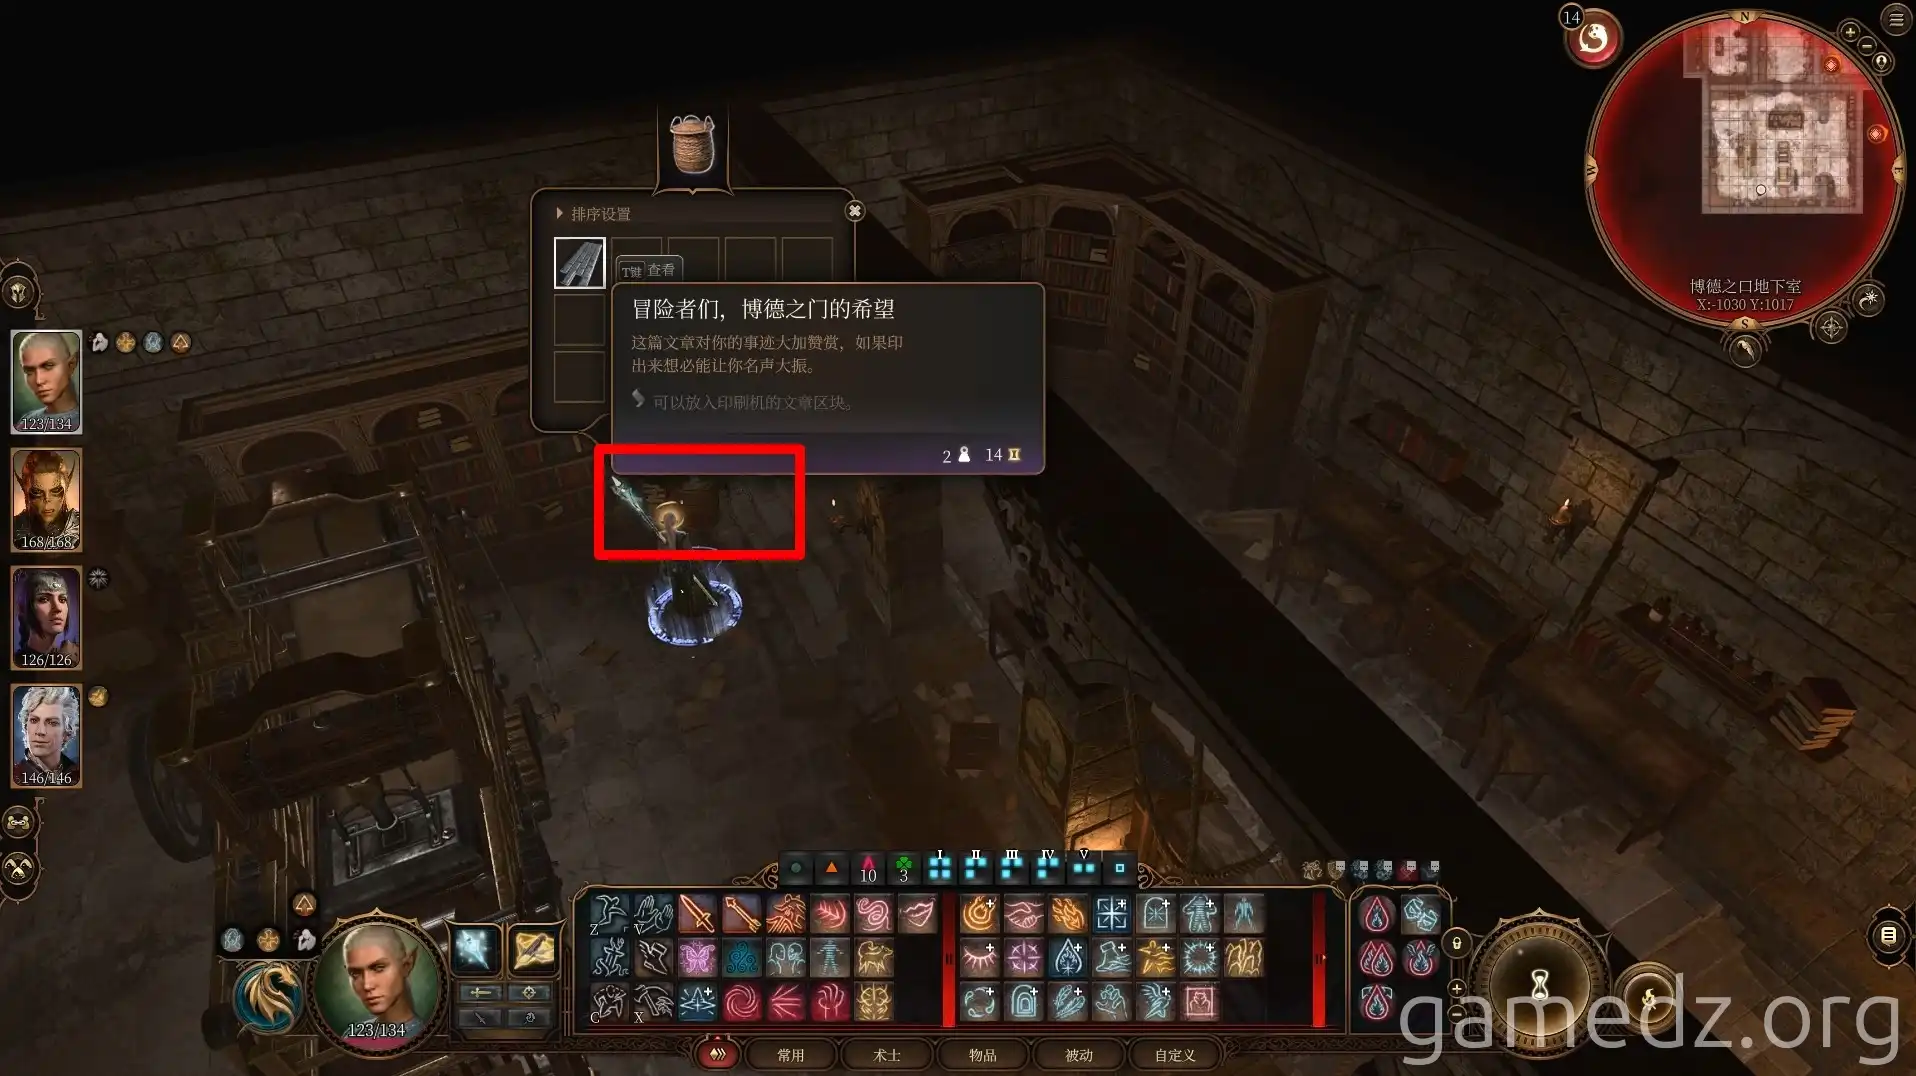
Next to the printer, in a wicker basket, you'll find the complimentary news article, "Adventurers, Baldur's Gate's Hope."
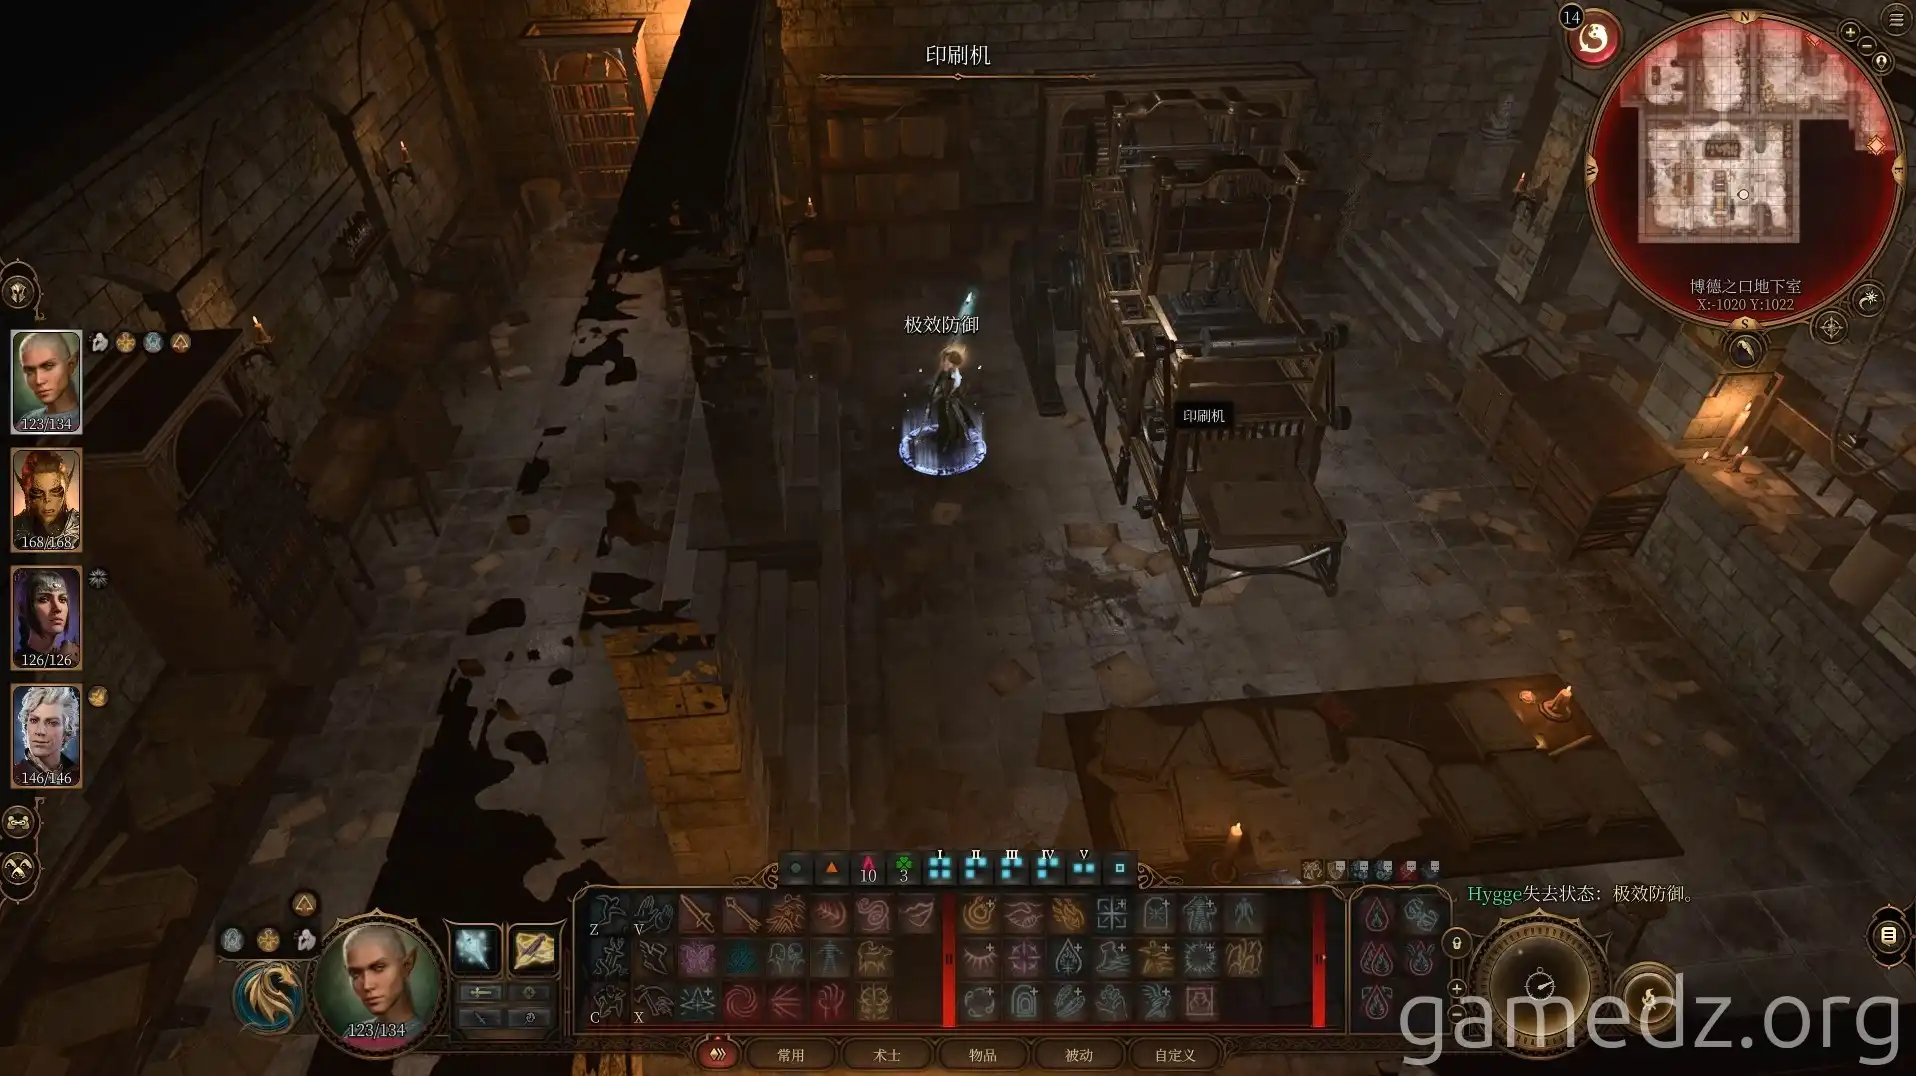
Then, speak with the printing press in the room. Because you previously rescued a pixie trapped in a Moonlantern, the printing press is happy to help you.
Insert the "Adventurers, Baldur's Gate's Hope" article you just found to change the content of the next day's newspaper. This completes the side quest, and you'll gain a good reputation among the citizens of Baldur's Gate. Characters with the Urchin background will also be inspired.
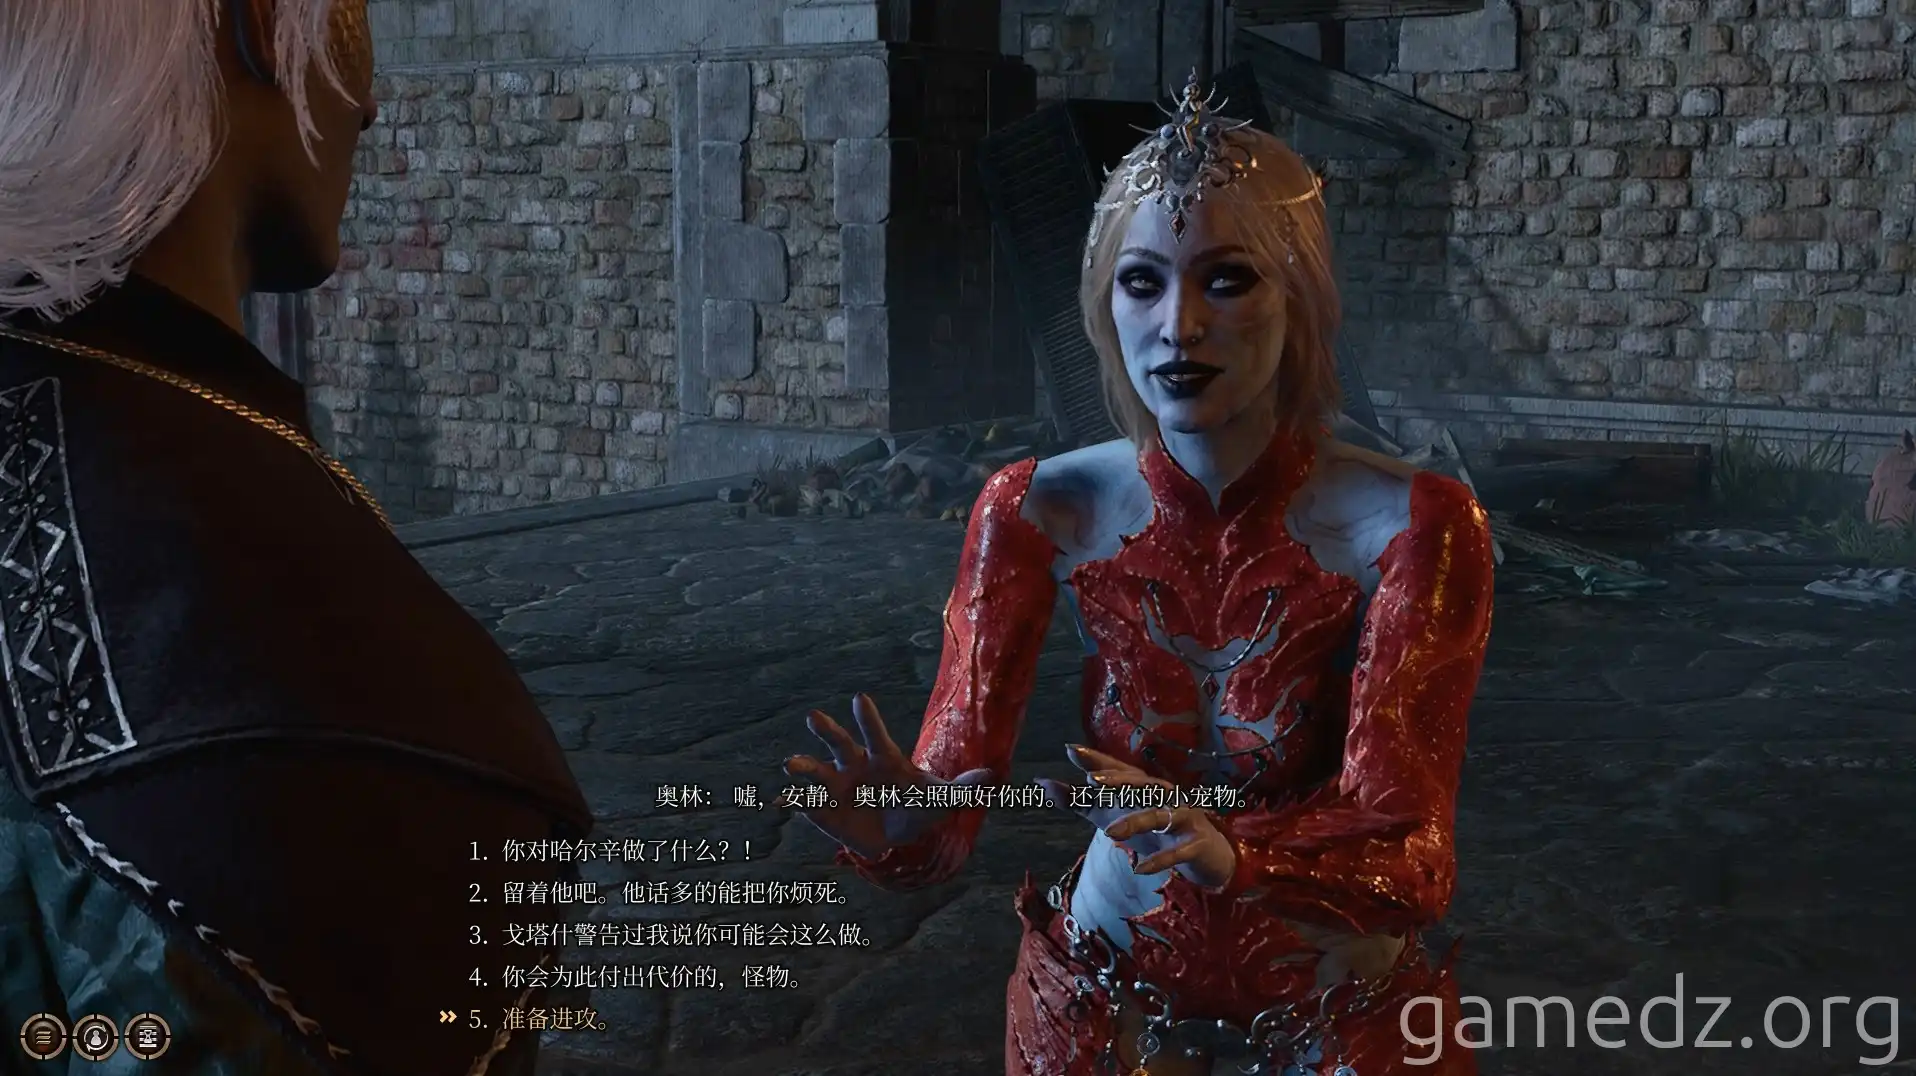
Afterward, return to camp and take a long rest to trigger the Orin kidnapping event. In this guide's case, Halsin was kidnapped by Orin, and the kidnapped character will be temporarily unusable.
Orin will hold your companion hostage and demand that you kill Gortash and bring her his Netherstone. After the dialogue and explanation, characters with the Acolyte background will be inspired.
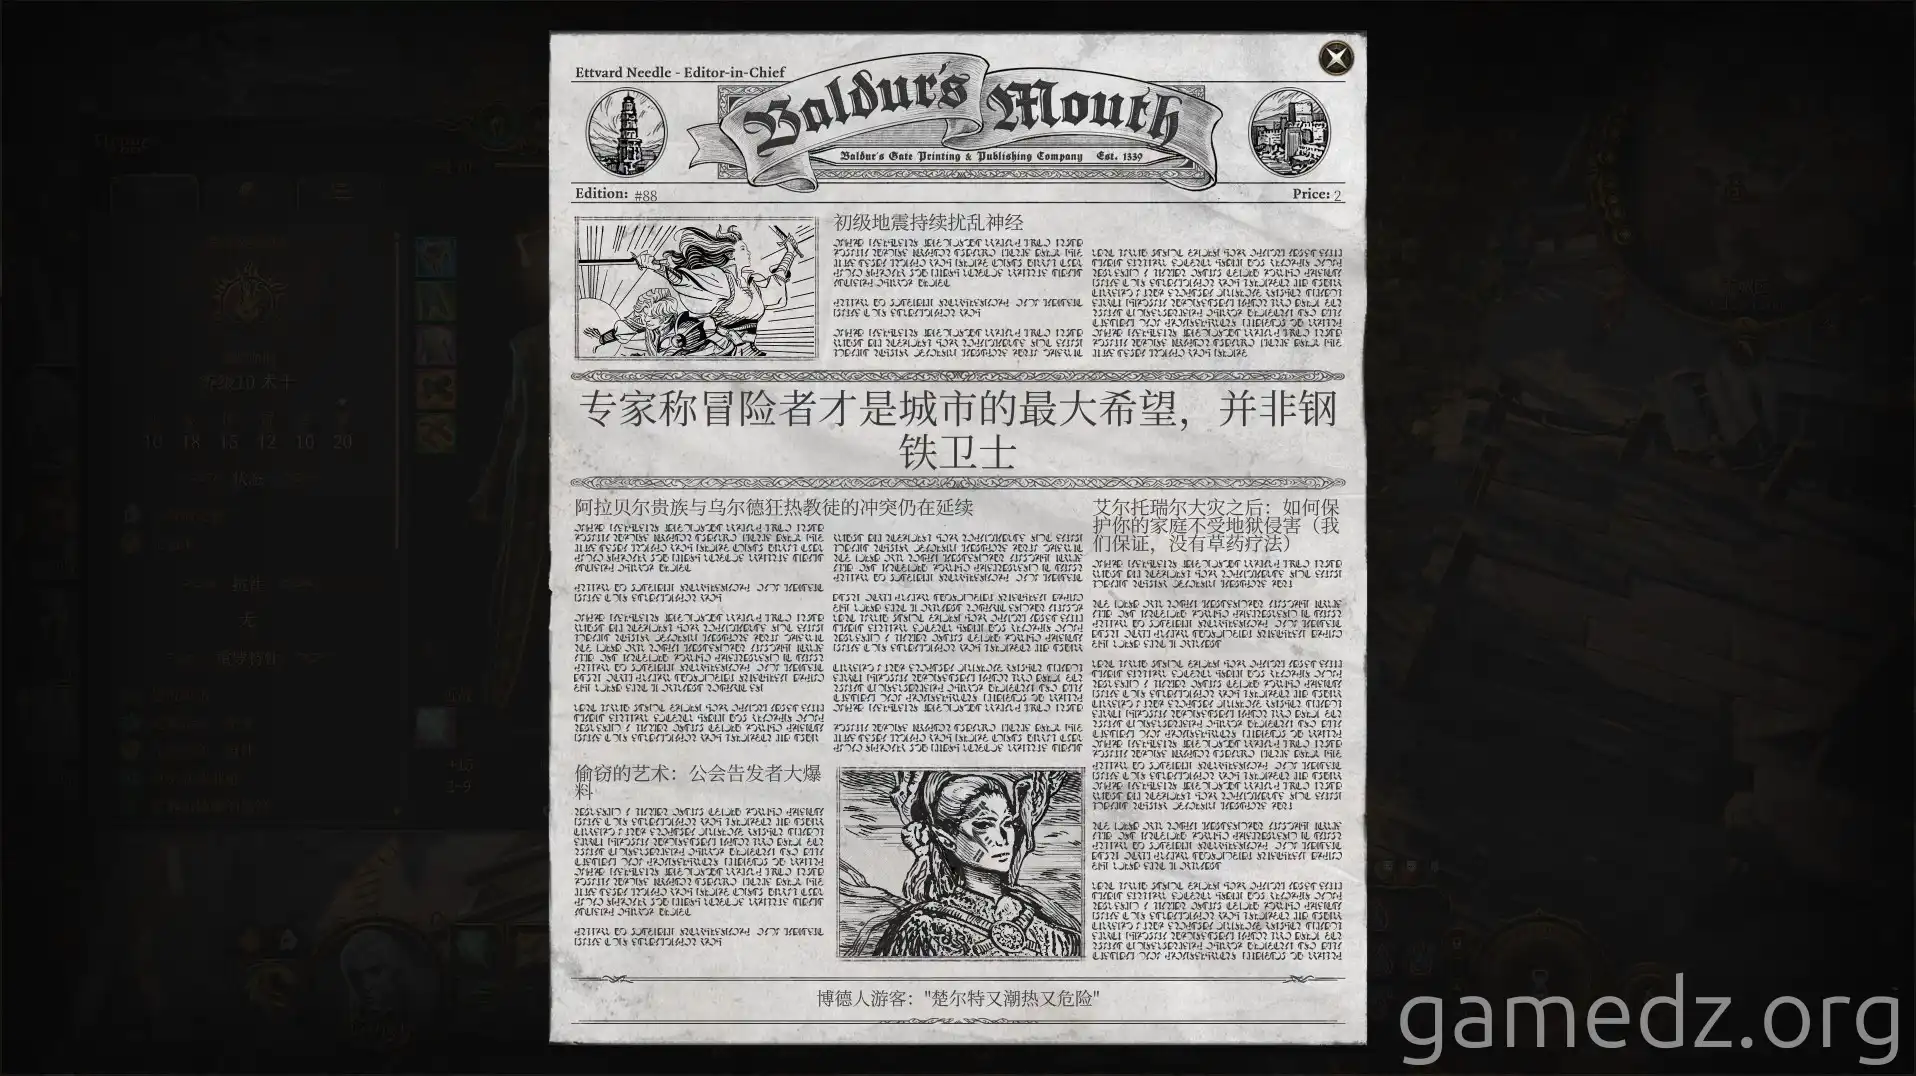
The next day, buying a newspaper will reveal articles praising you.
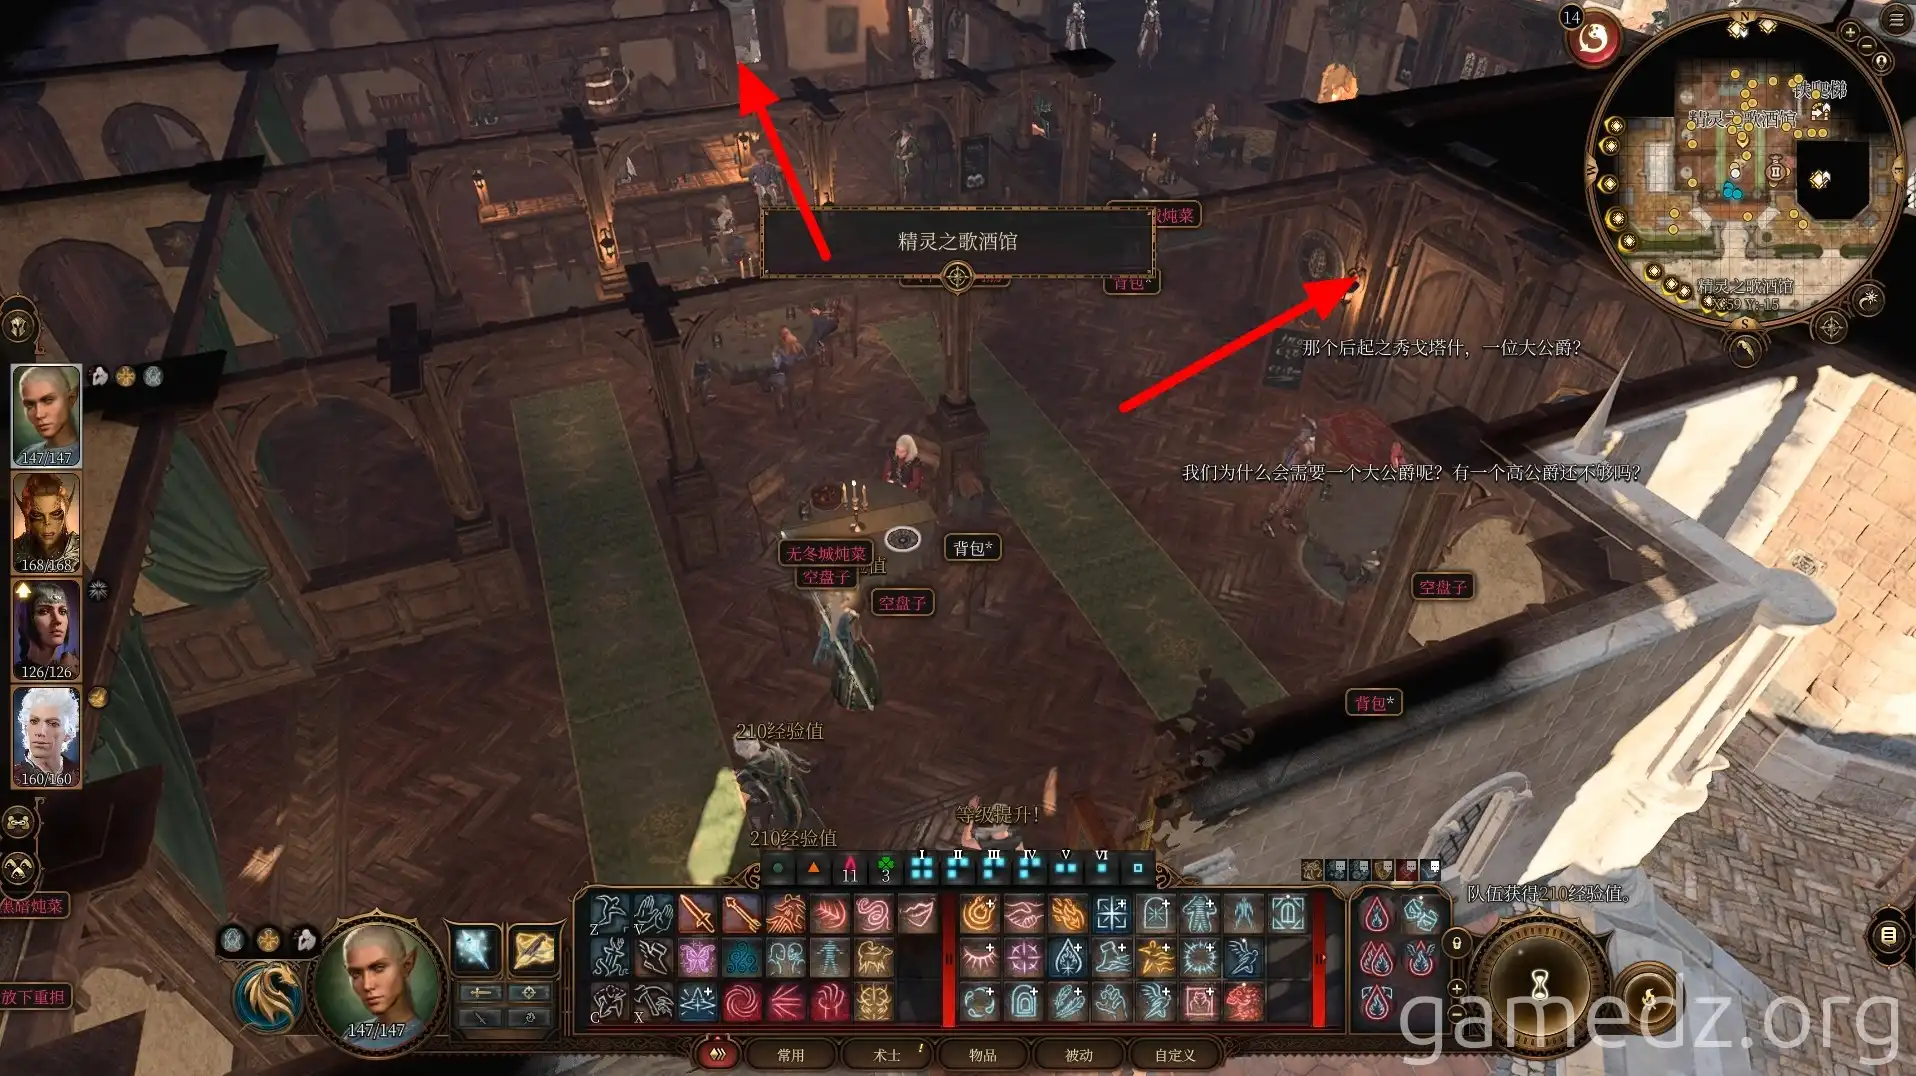
From the newspaper office, head northwest to enter the "Elfsong Tavern."
Upon entering Elfsong, speak with the two individuals at the first table by the entrance. You can persuade the male dwarf to change his ways.
In the room to the right, there's an actor telling bad jokes; you can challenge him. In the main hall, you'll also find the Tiefling refugees you bet on reaching Baldur's Gate alive back in the Grove. You can purchase some camp supplies from her.
Then, head north into the tavern's kitchen.
In the kitchen, talk to Head Chef Rovell. After warning him that he's on an assassination list, he'll ask you to go to the cellar and eliminate the rats.
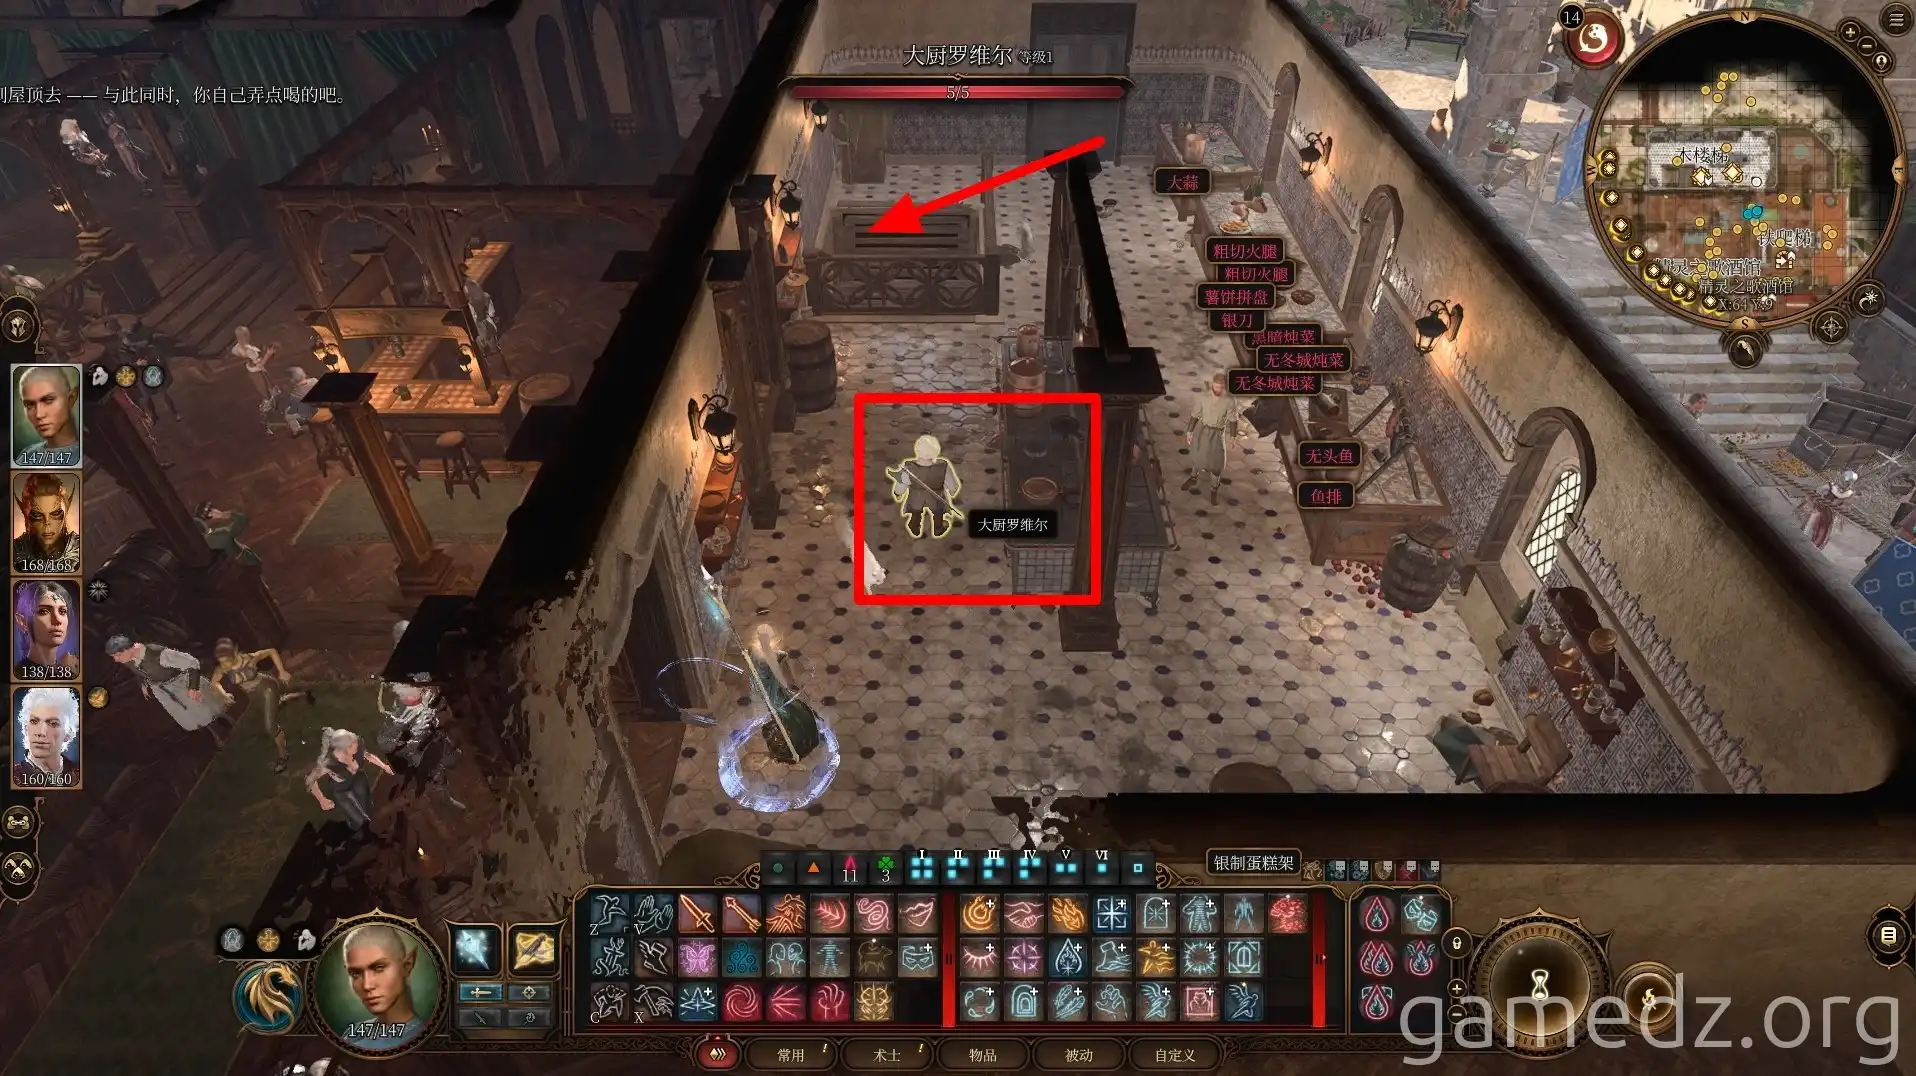
In the basement, you'll find a large number of rats. You can use oil barrels to eliminate some of them first, then deal with the remaining ones.
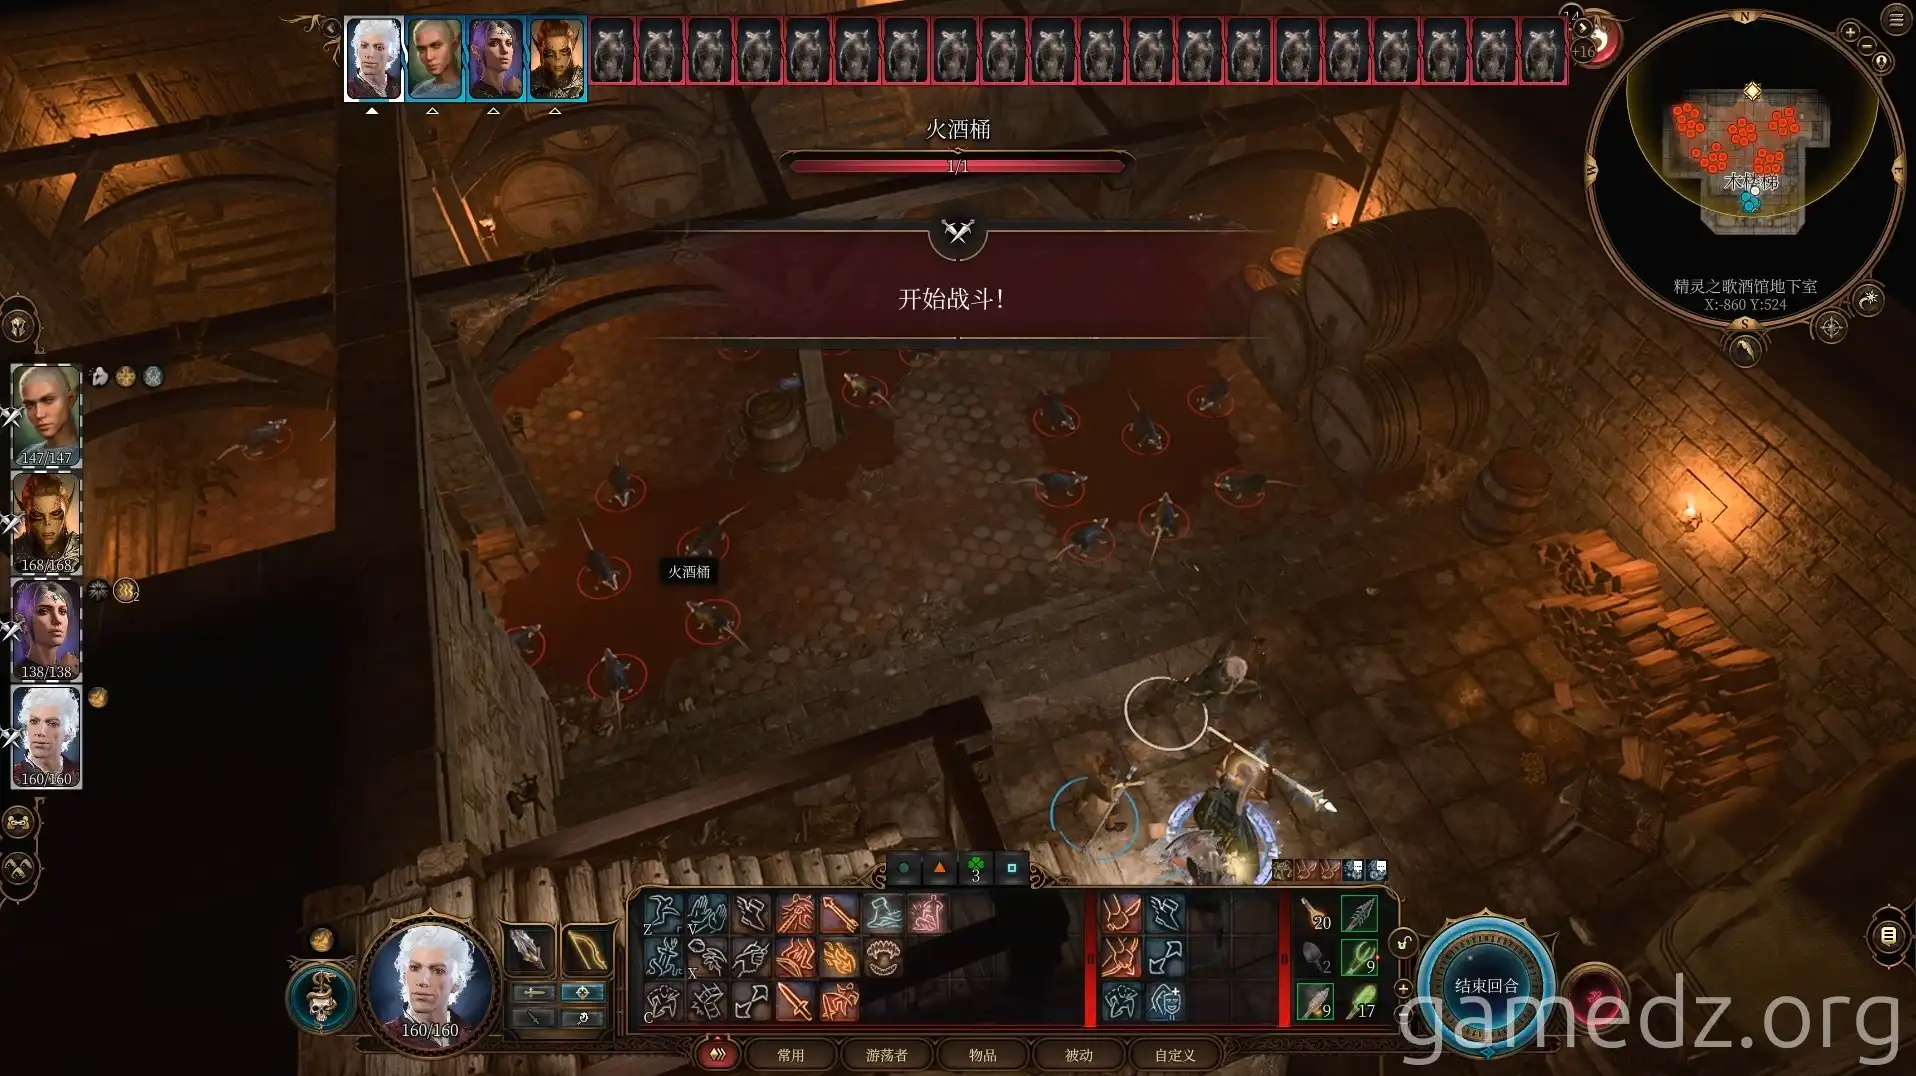
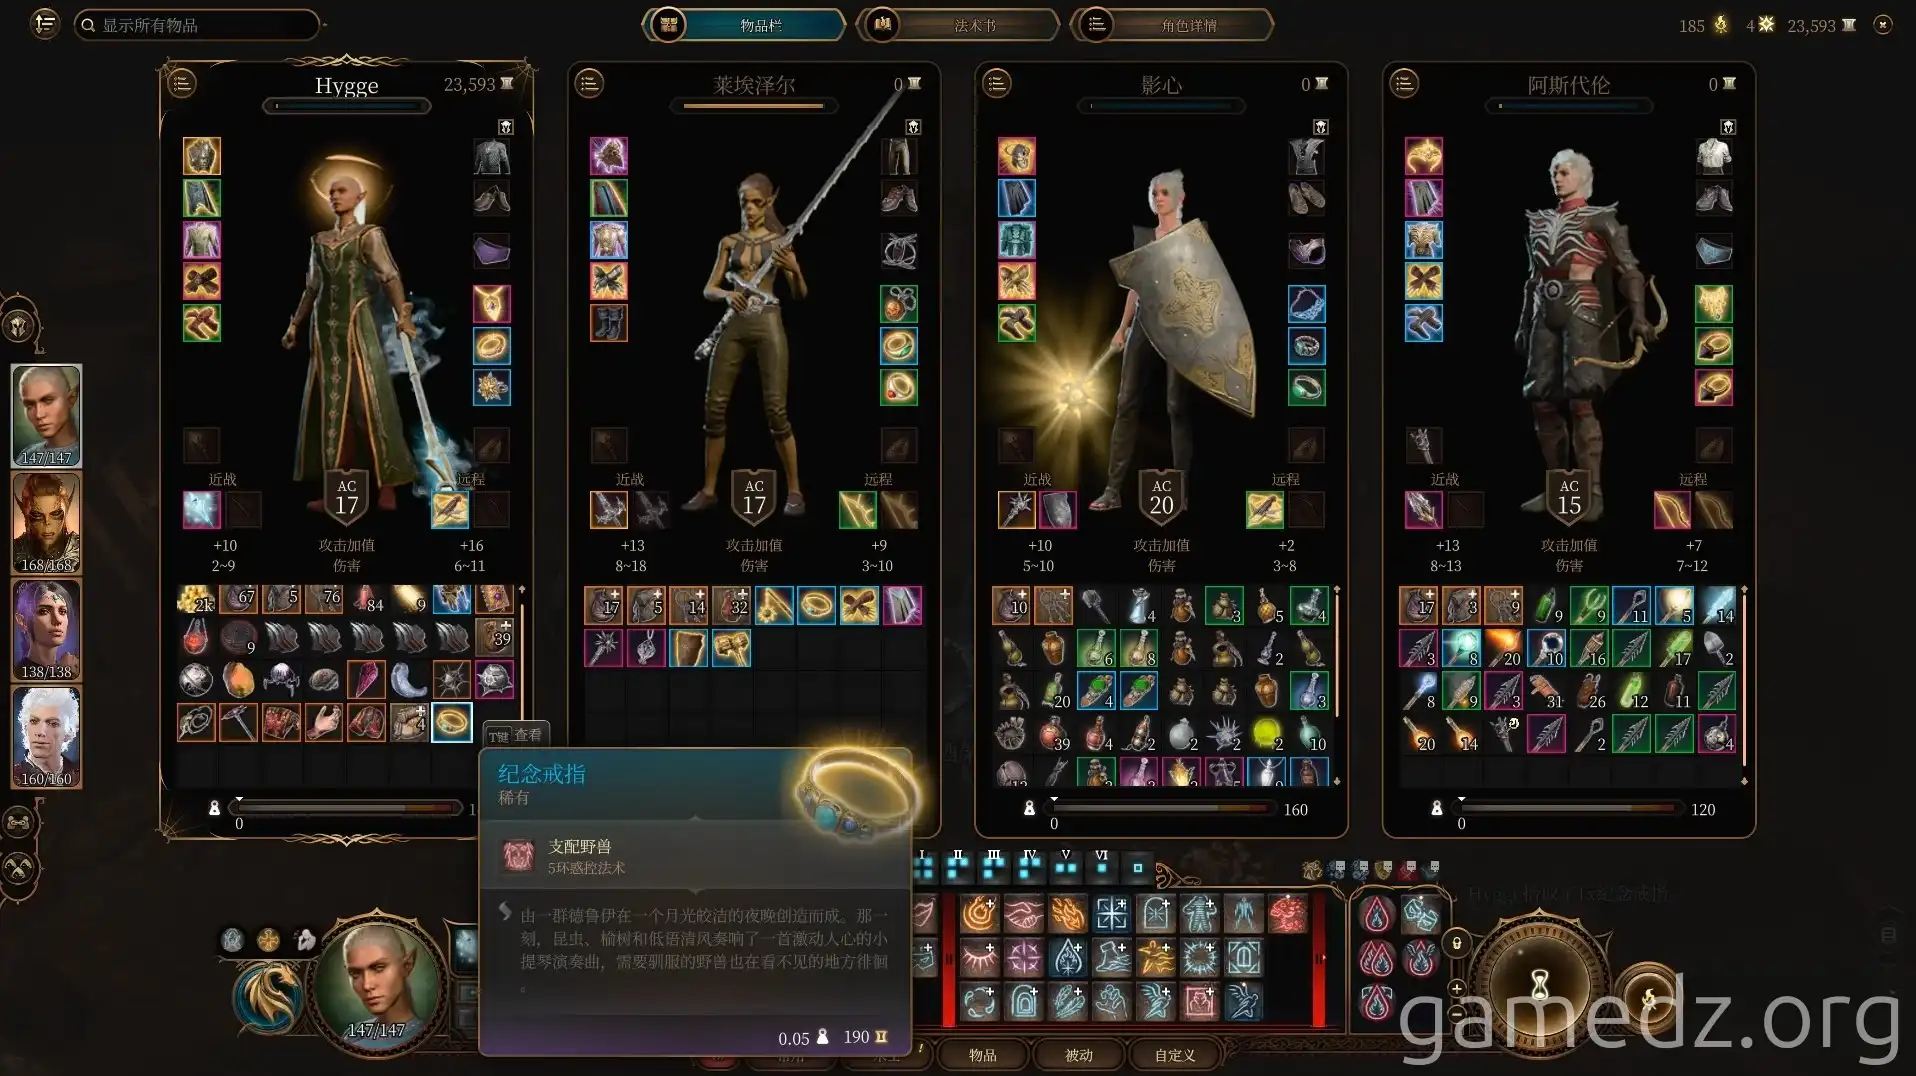
After killing all the rats, you'll receive the rare accessory, the "Ring of Remembrance."
Then, enter the room in the northwest corner of the basement.
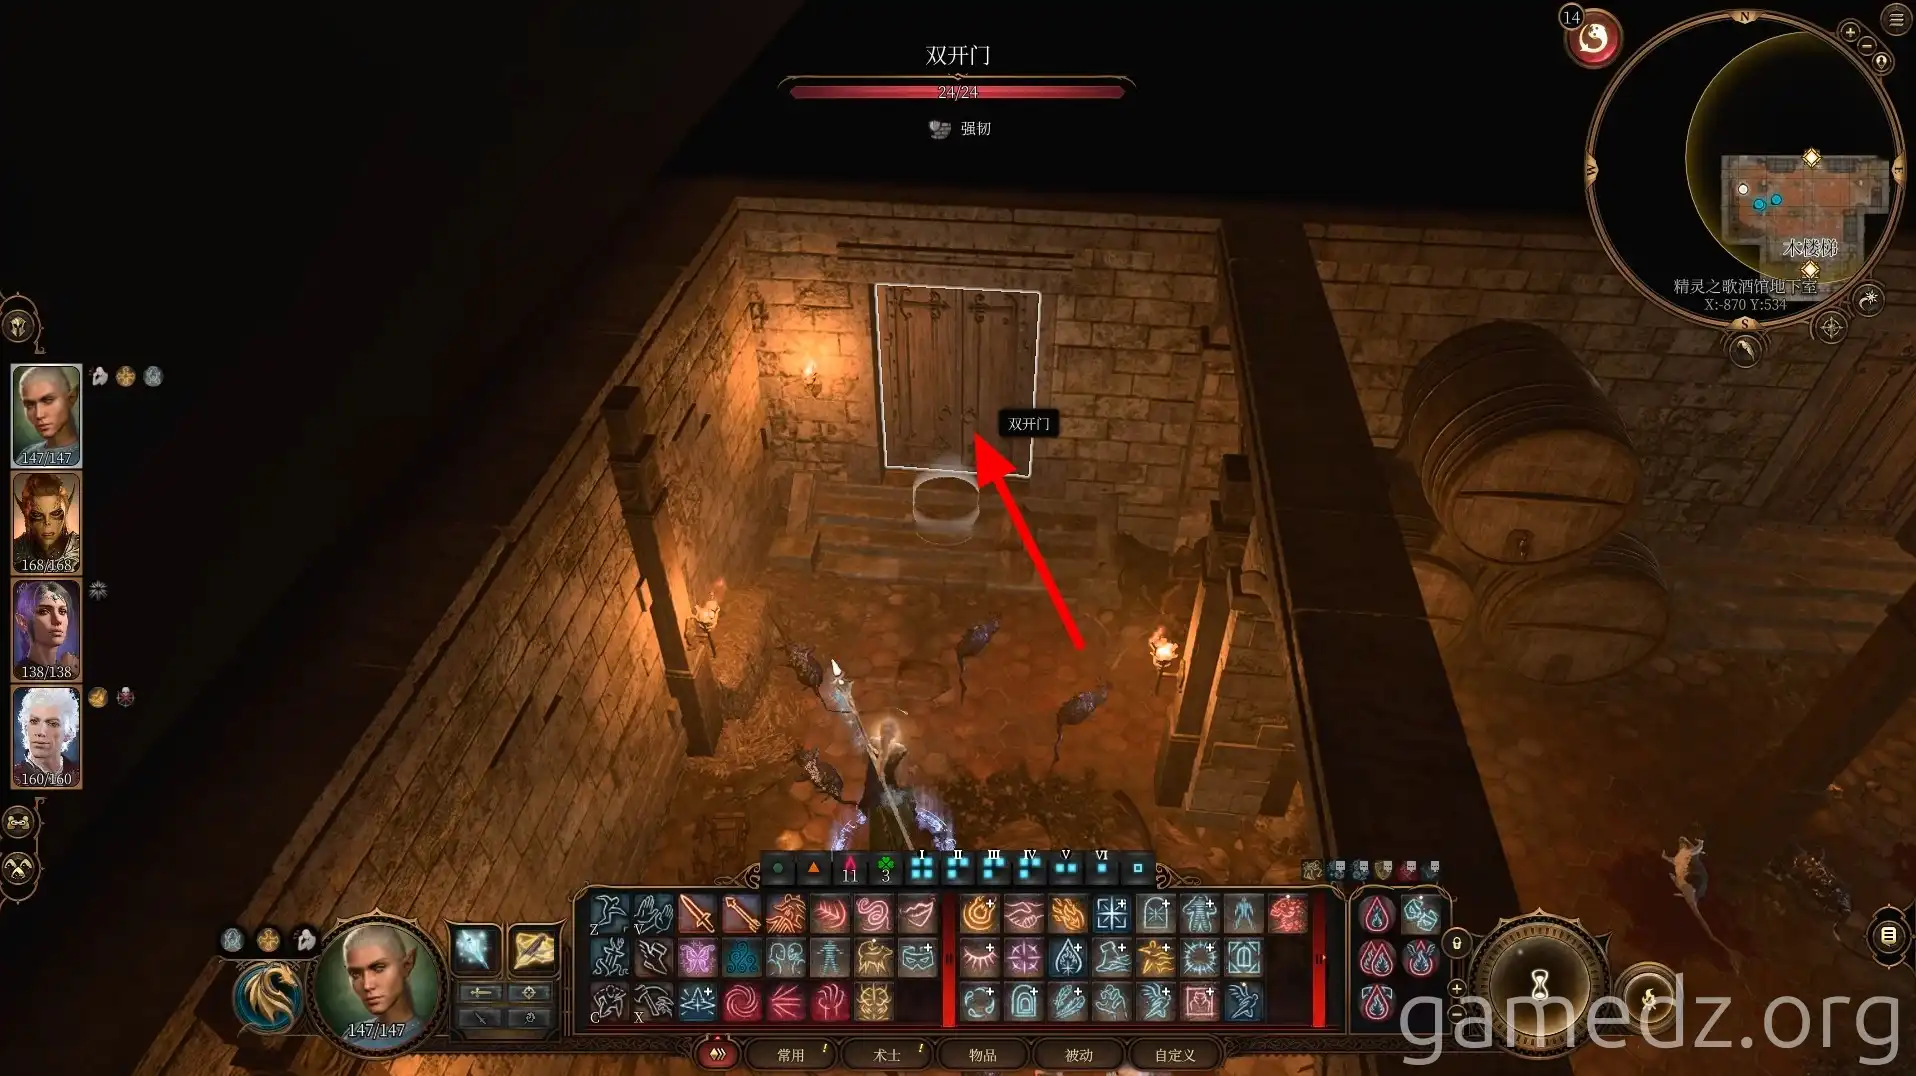
On the wall in the room, after a successful Perception check, you'll find a button. Pressing the button will open the wine barrel in the adjacent room. Pass through the wine barrel to enter the "Lord's" room.
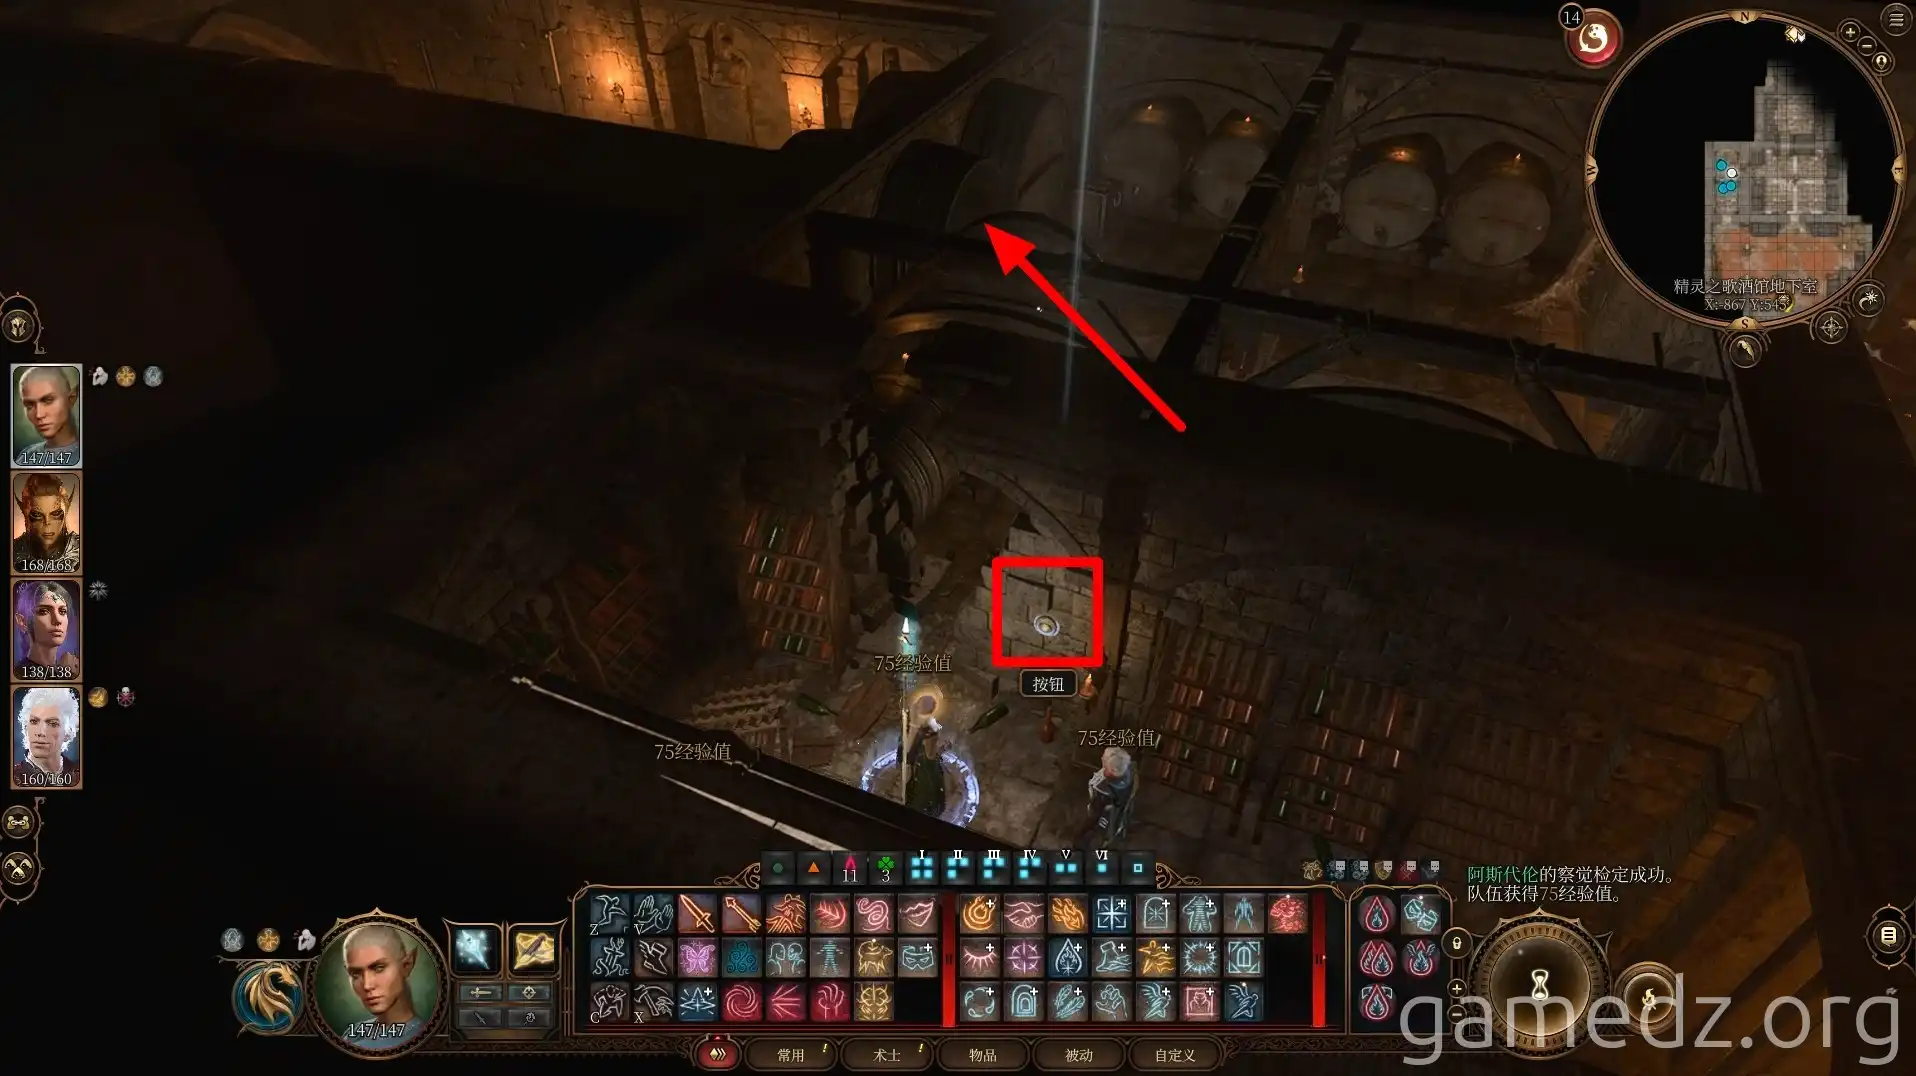
Upon entering the Lord's room, you'll find a group of Githyanki. After some conversation, combat will ensue.
Prioritize eliminating the enemies on the high platforms to the left and right who are opening portals.
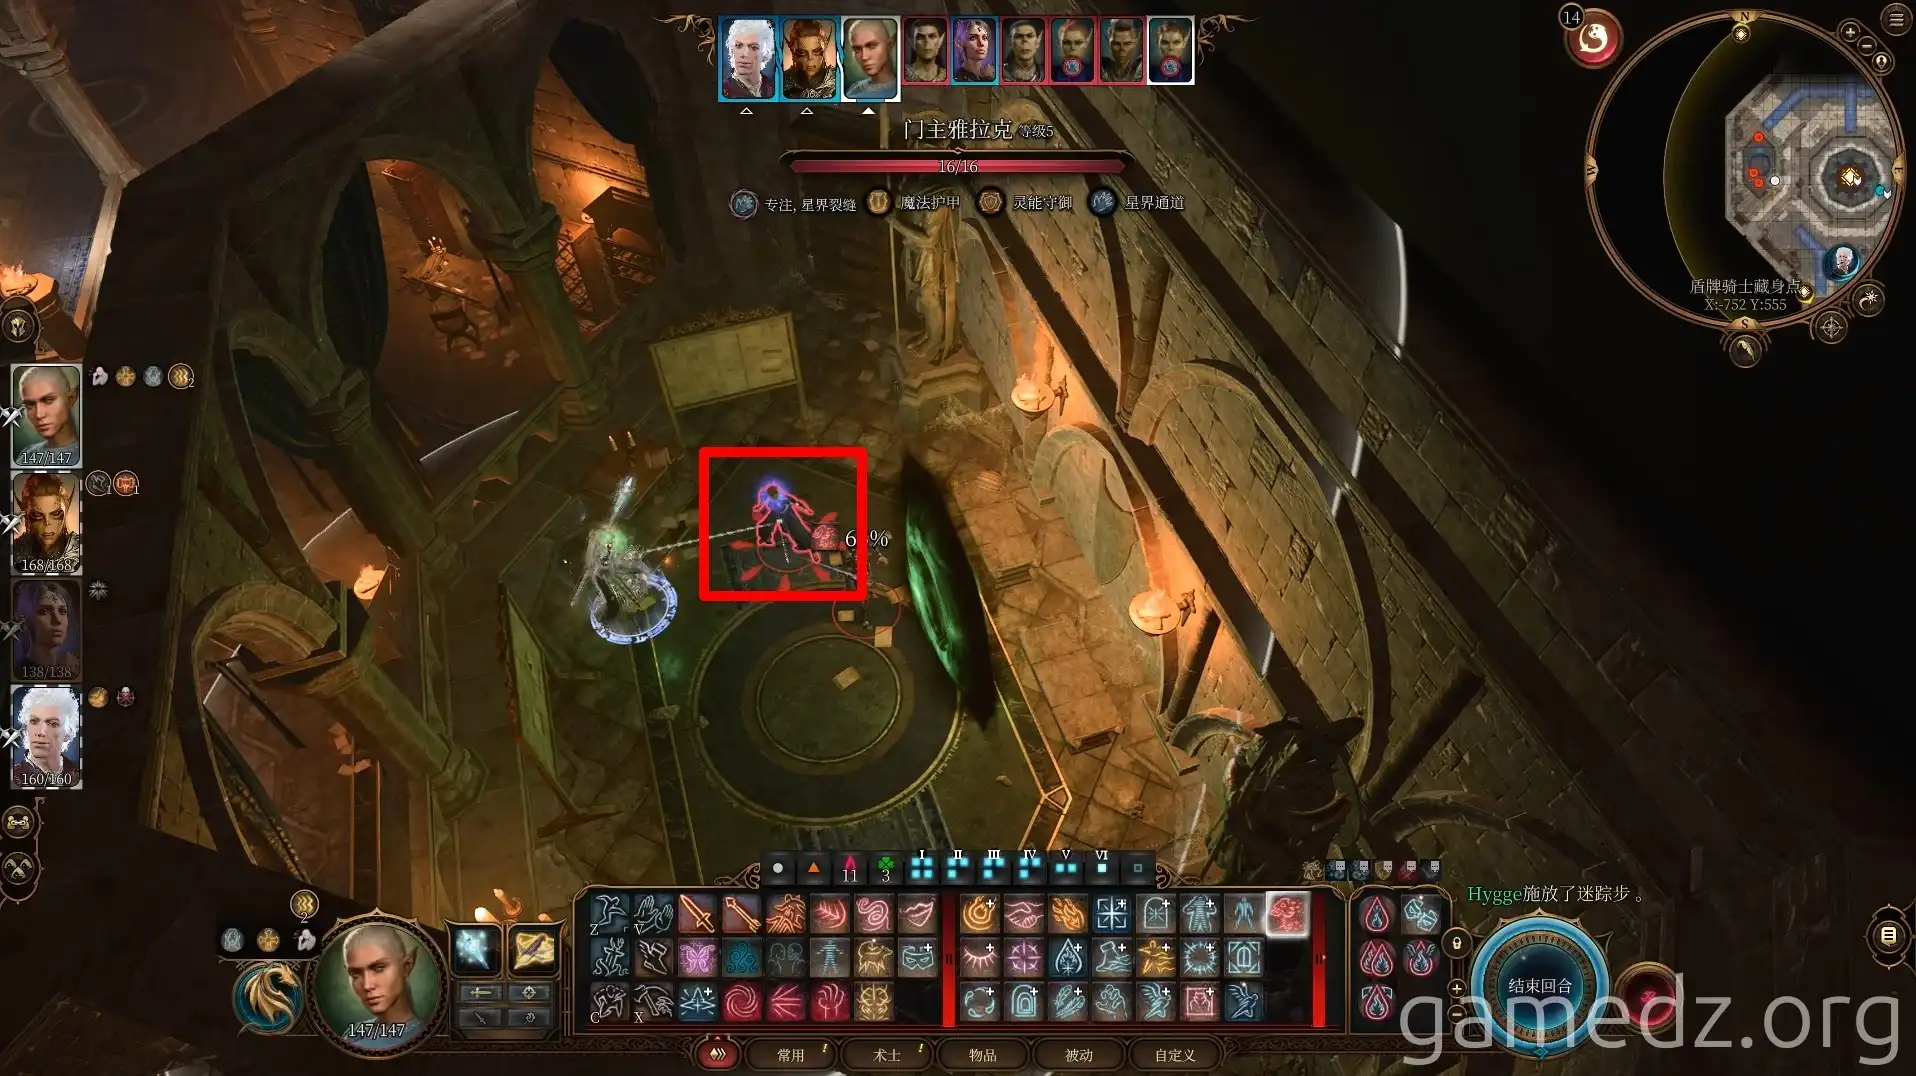
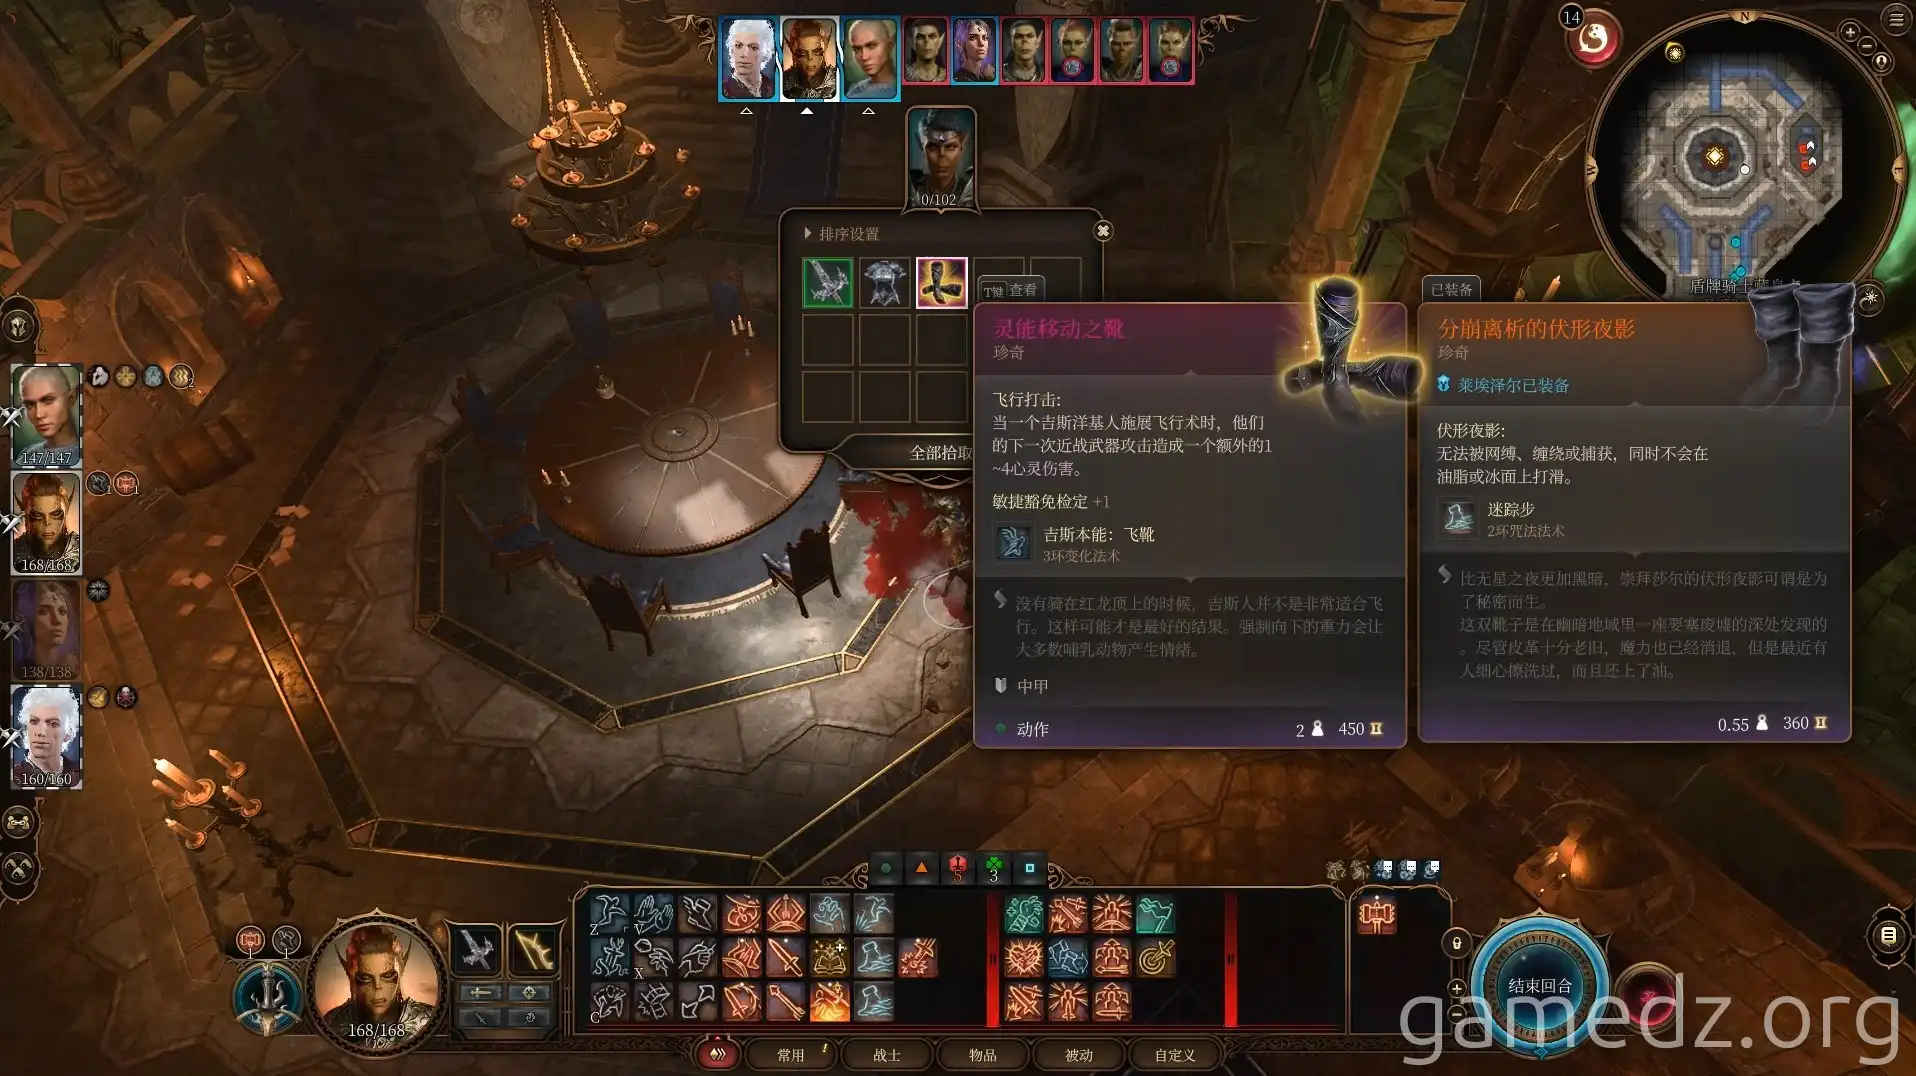
From the Inquisitor, you can obtain the rare armor, the "Psionic Movement Boots."
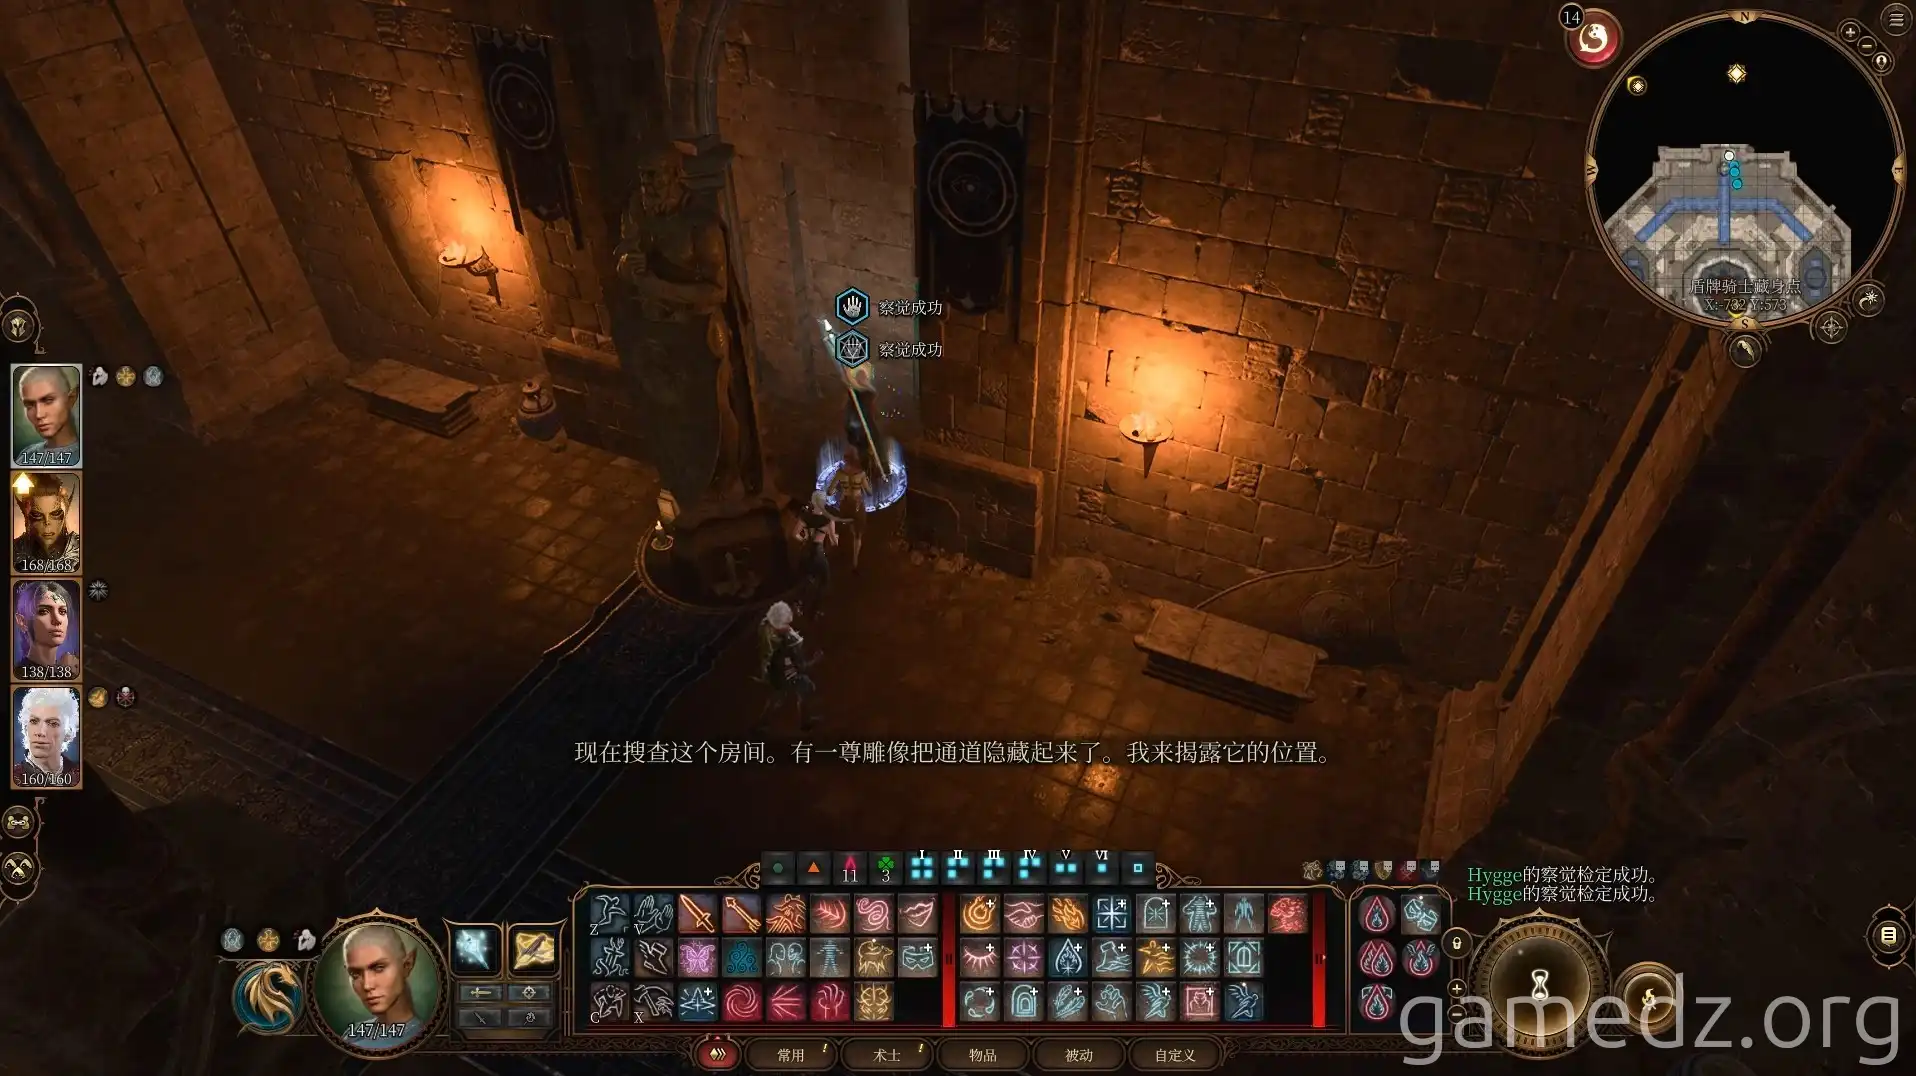
After defeating all enemies, go behind the statue. With a successful Perception check, you'll find a button that opens a secret room.
On the weapon rack in the room, you can find the rare weapon, "Lord's Blade."
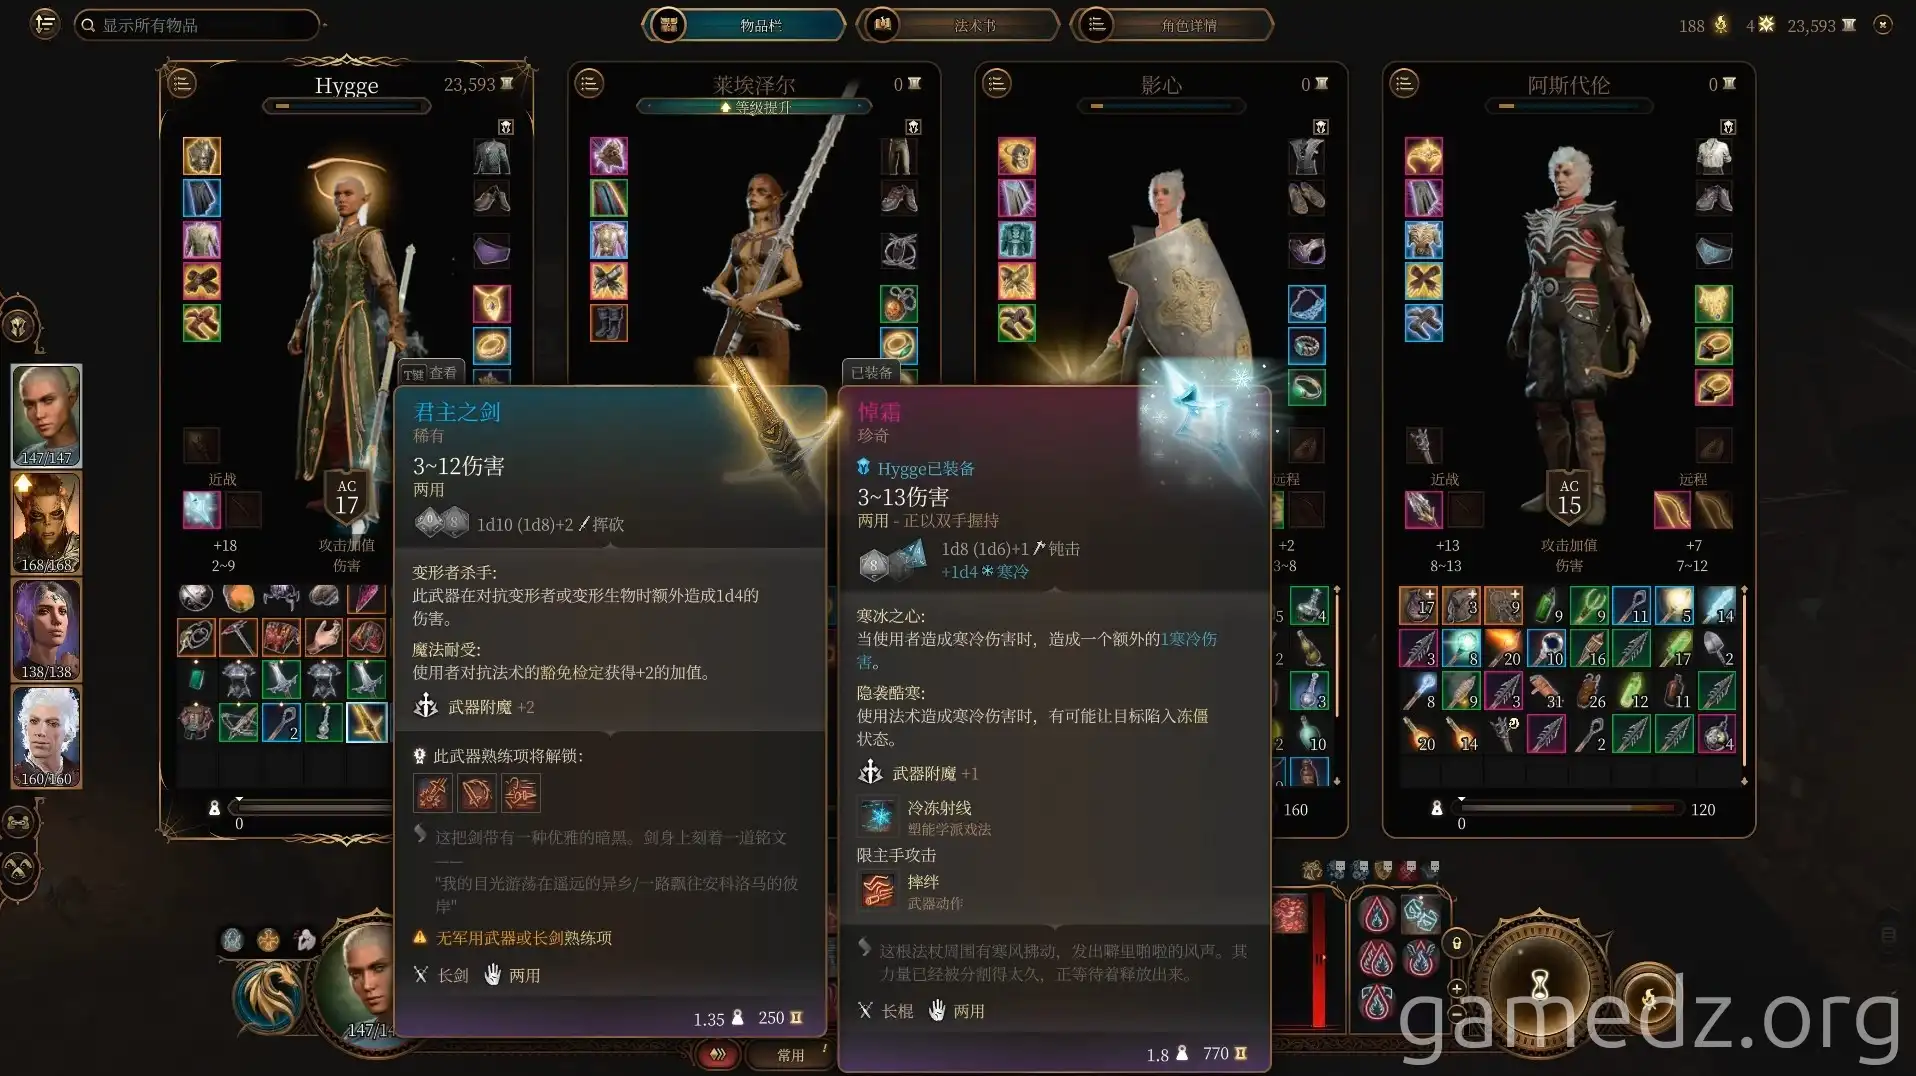
After opening the wardrobe, you'll also find the rare armor, "Forebrain Fortress Armor," and "Forebrain Fortress Gauntlets."
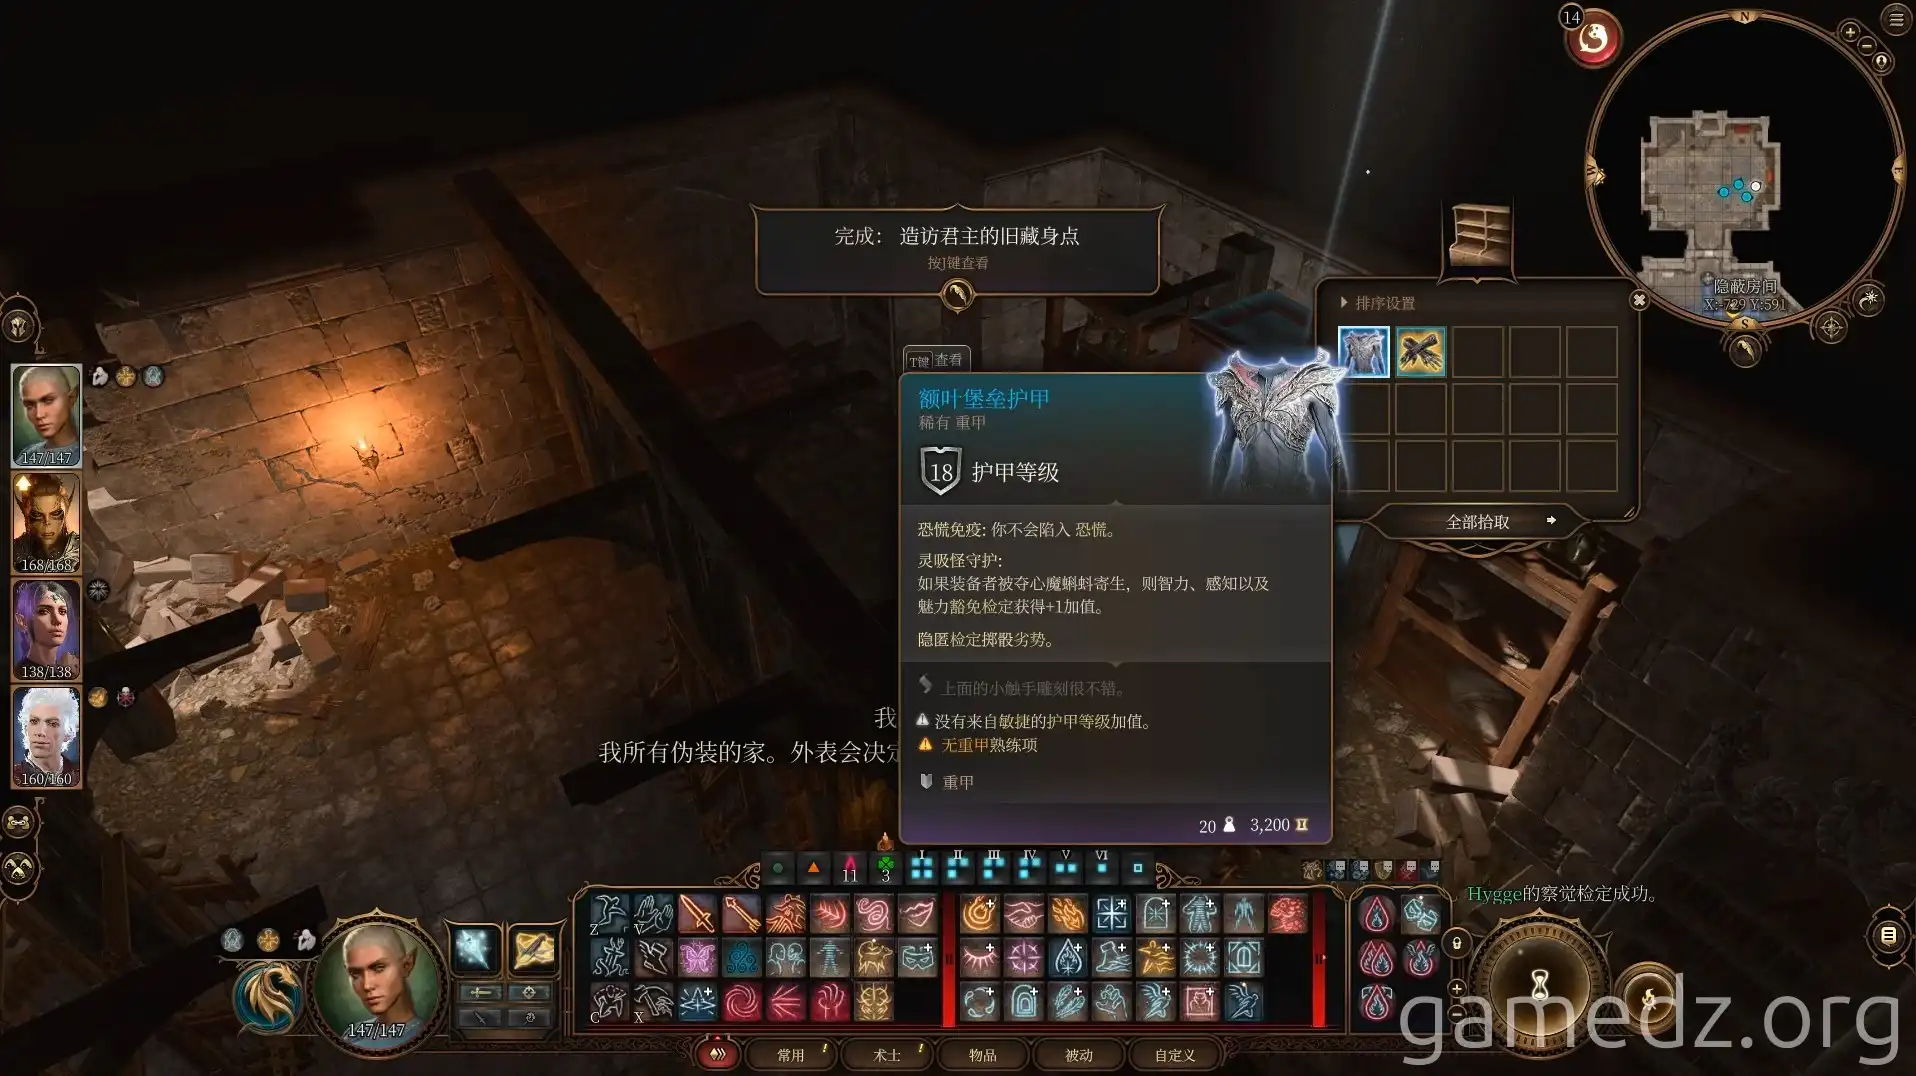
Here are the stats for the Forebrain Fortress Gauntlets.
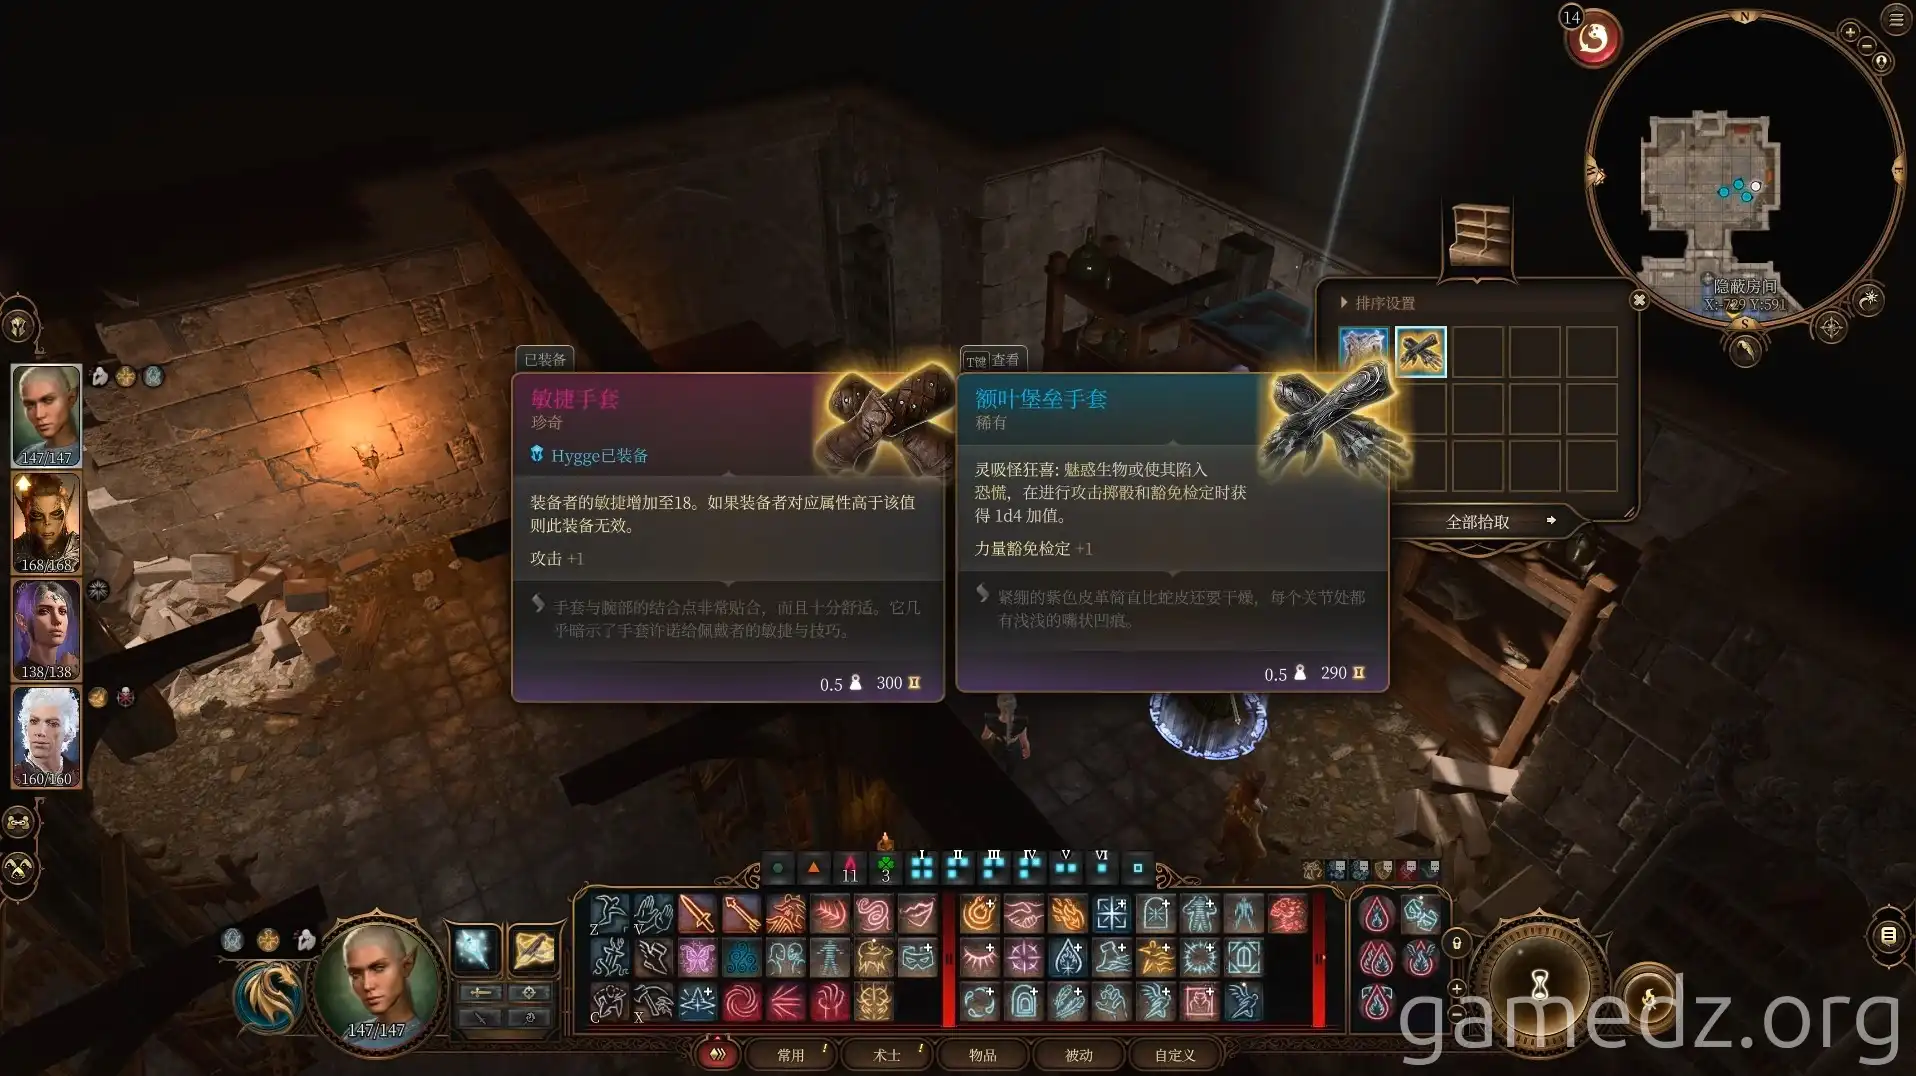
Through the trapdoor in the adjacent small room, you can access the sewer area, but we won't go there yet. After looting the room, return to the tavern lobby.
Inform the Head Chef that the rats have been eliminated to complete the quest.
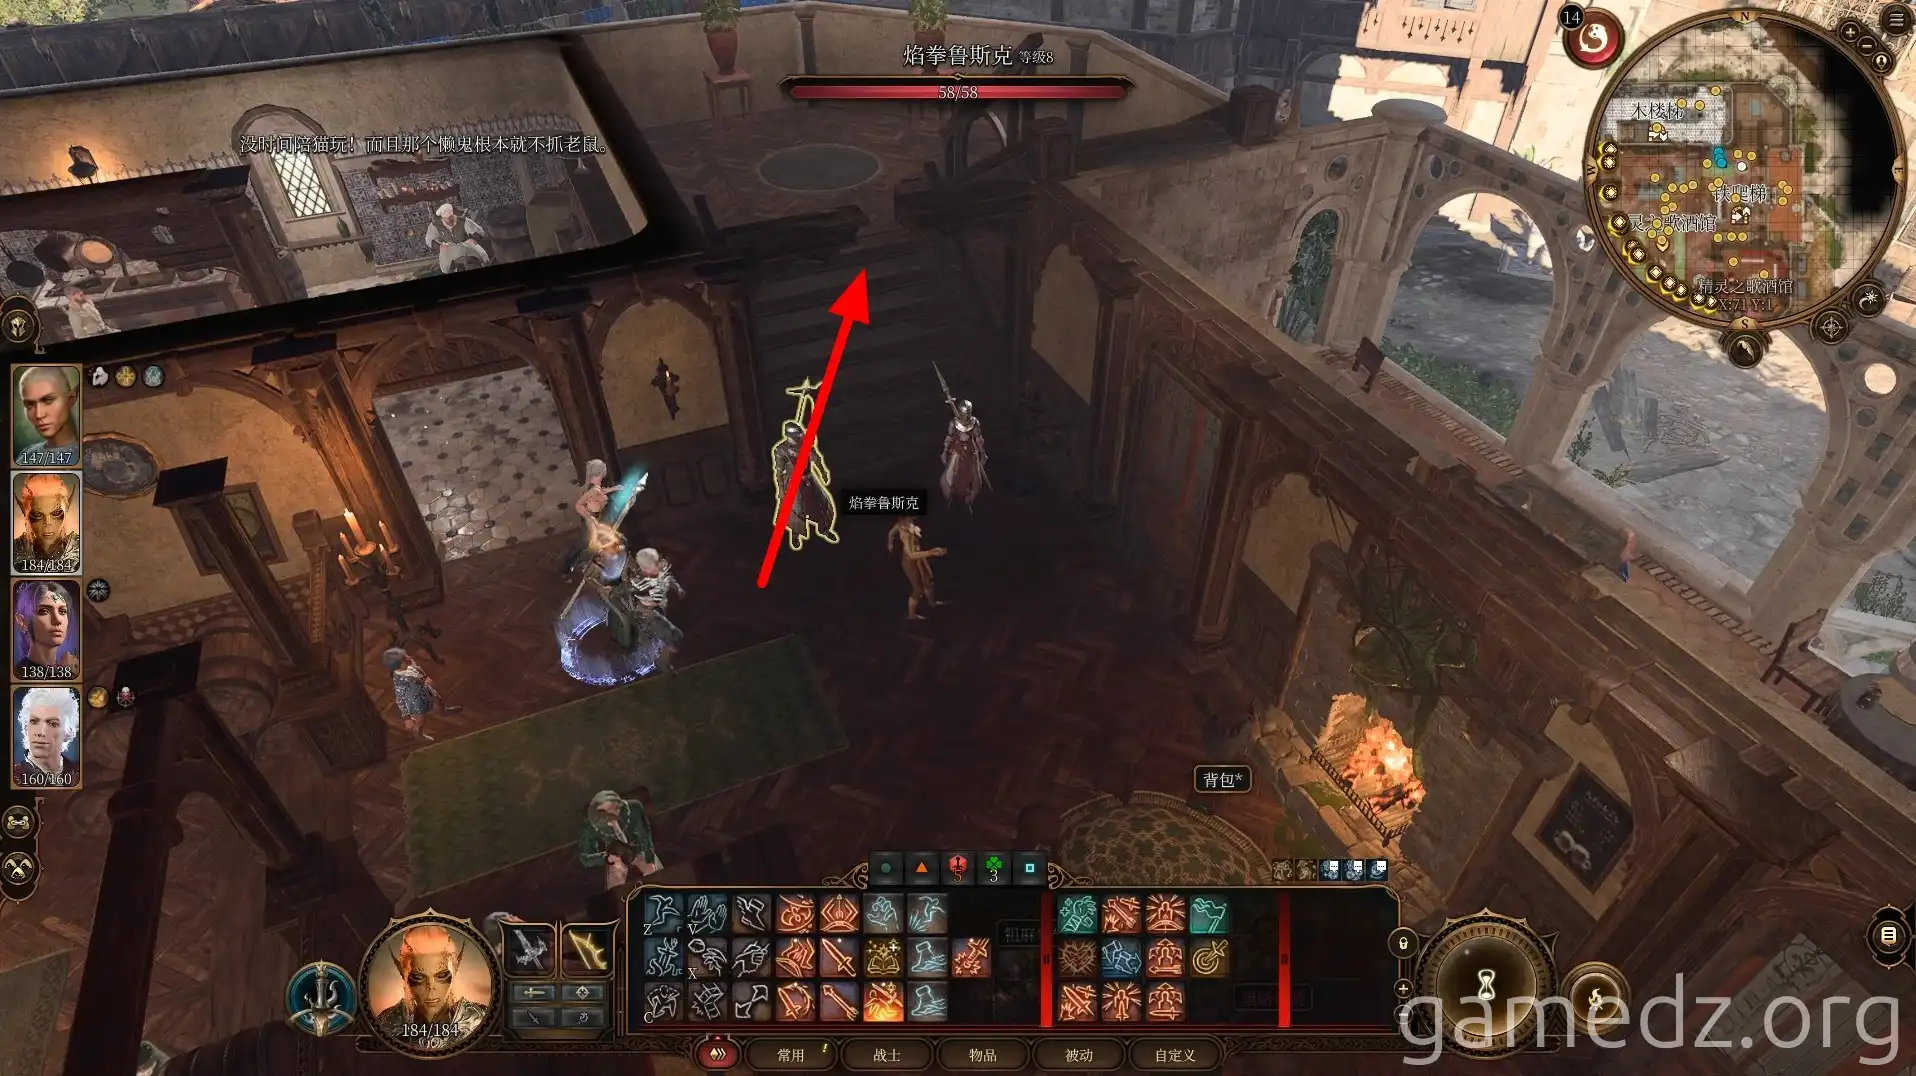
Then, take the stairs next to the kitchen up to the second floor.
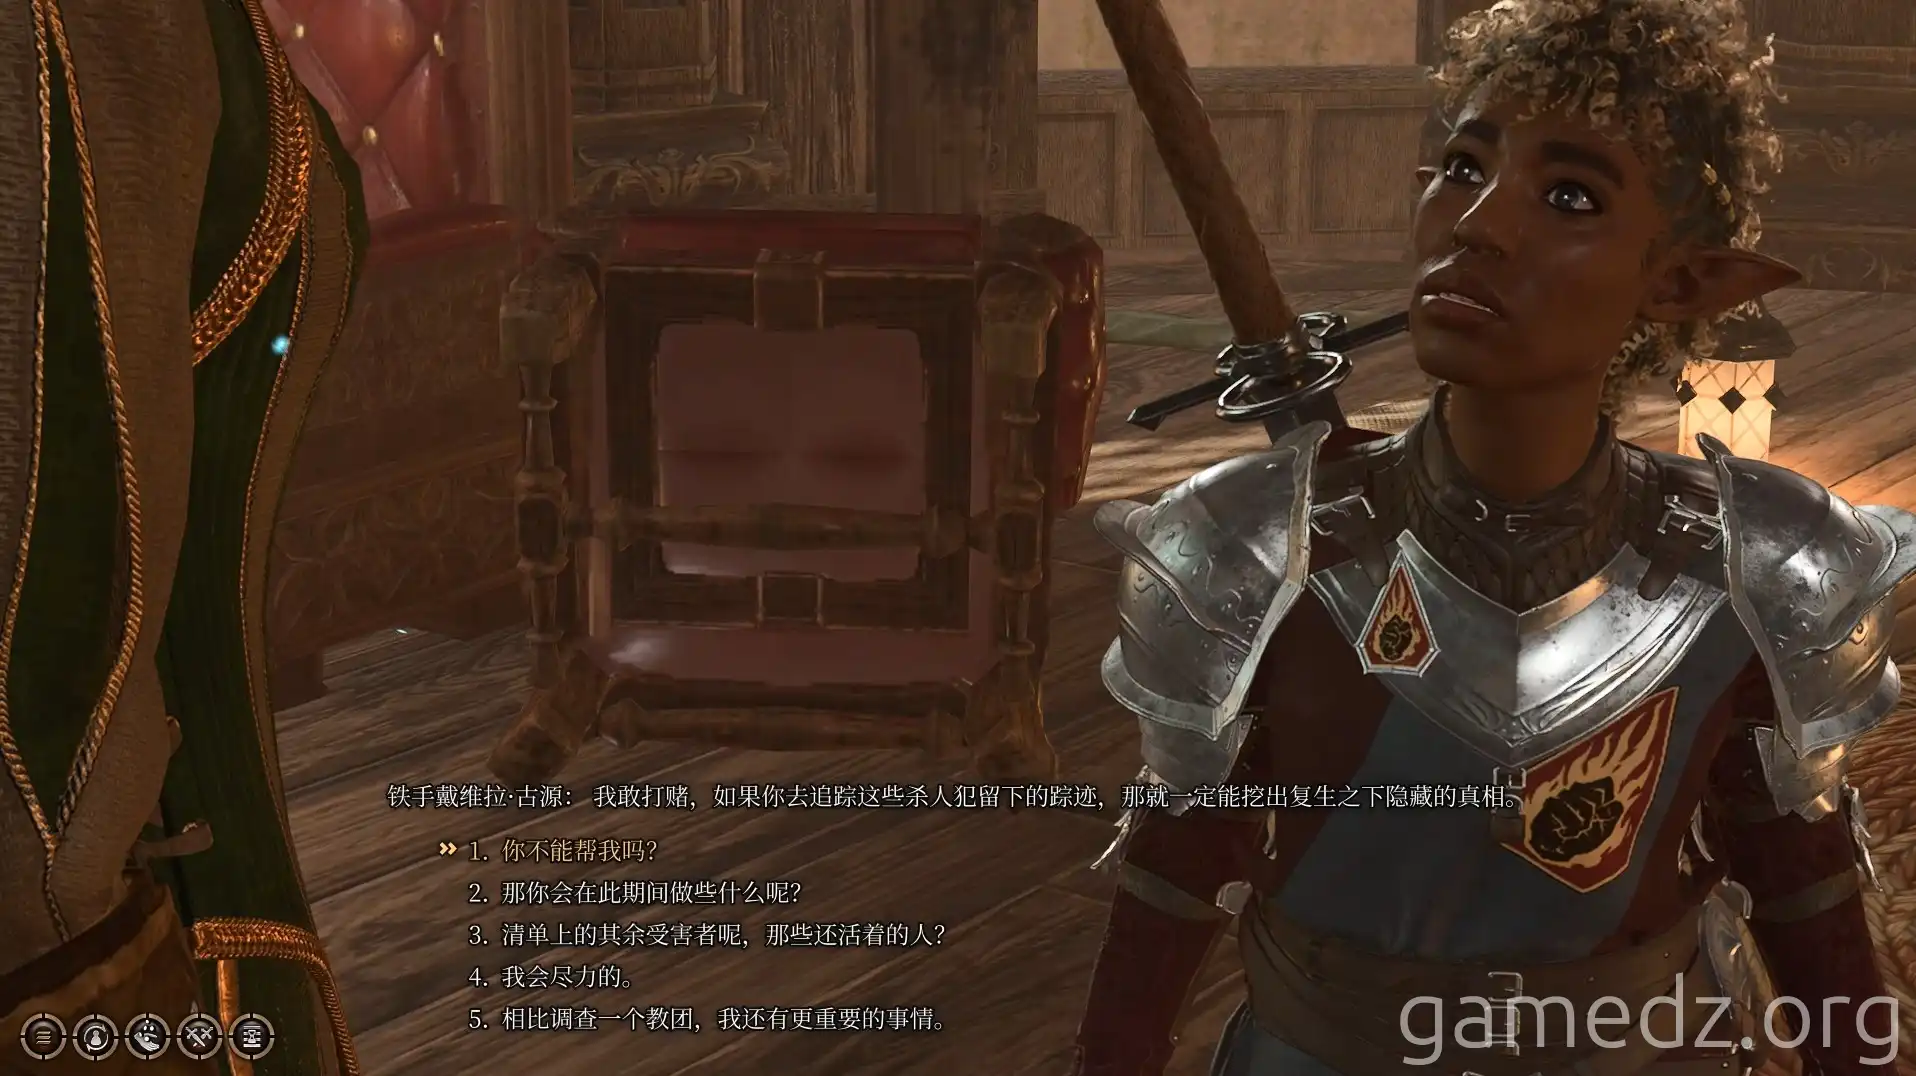
Enter the room where Duke Stelmane was murdered and speak with Investigator Davila. She will then entrust you with the investigation of the mastermind.
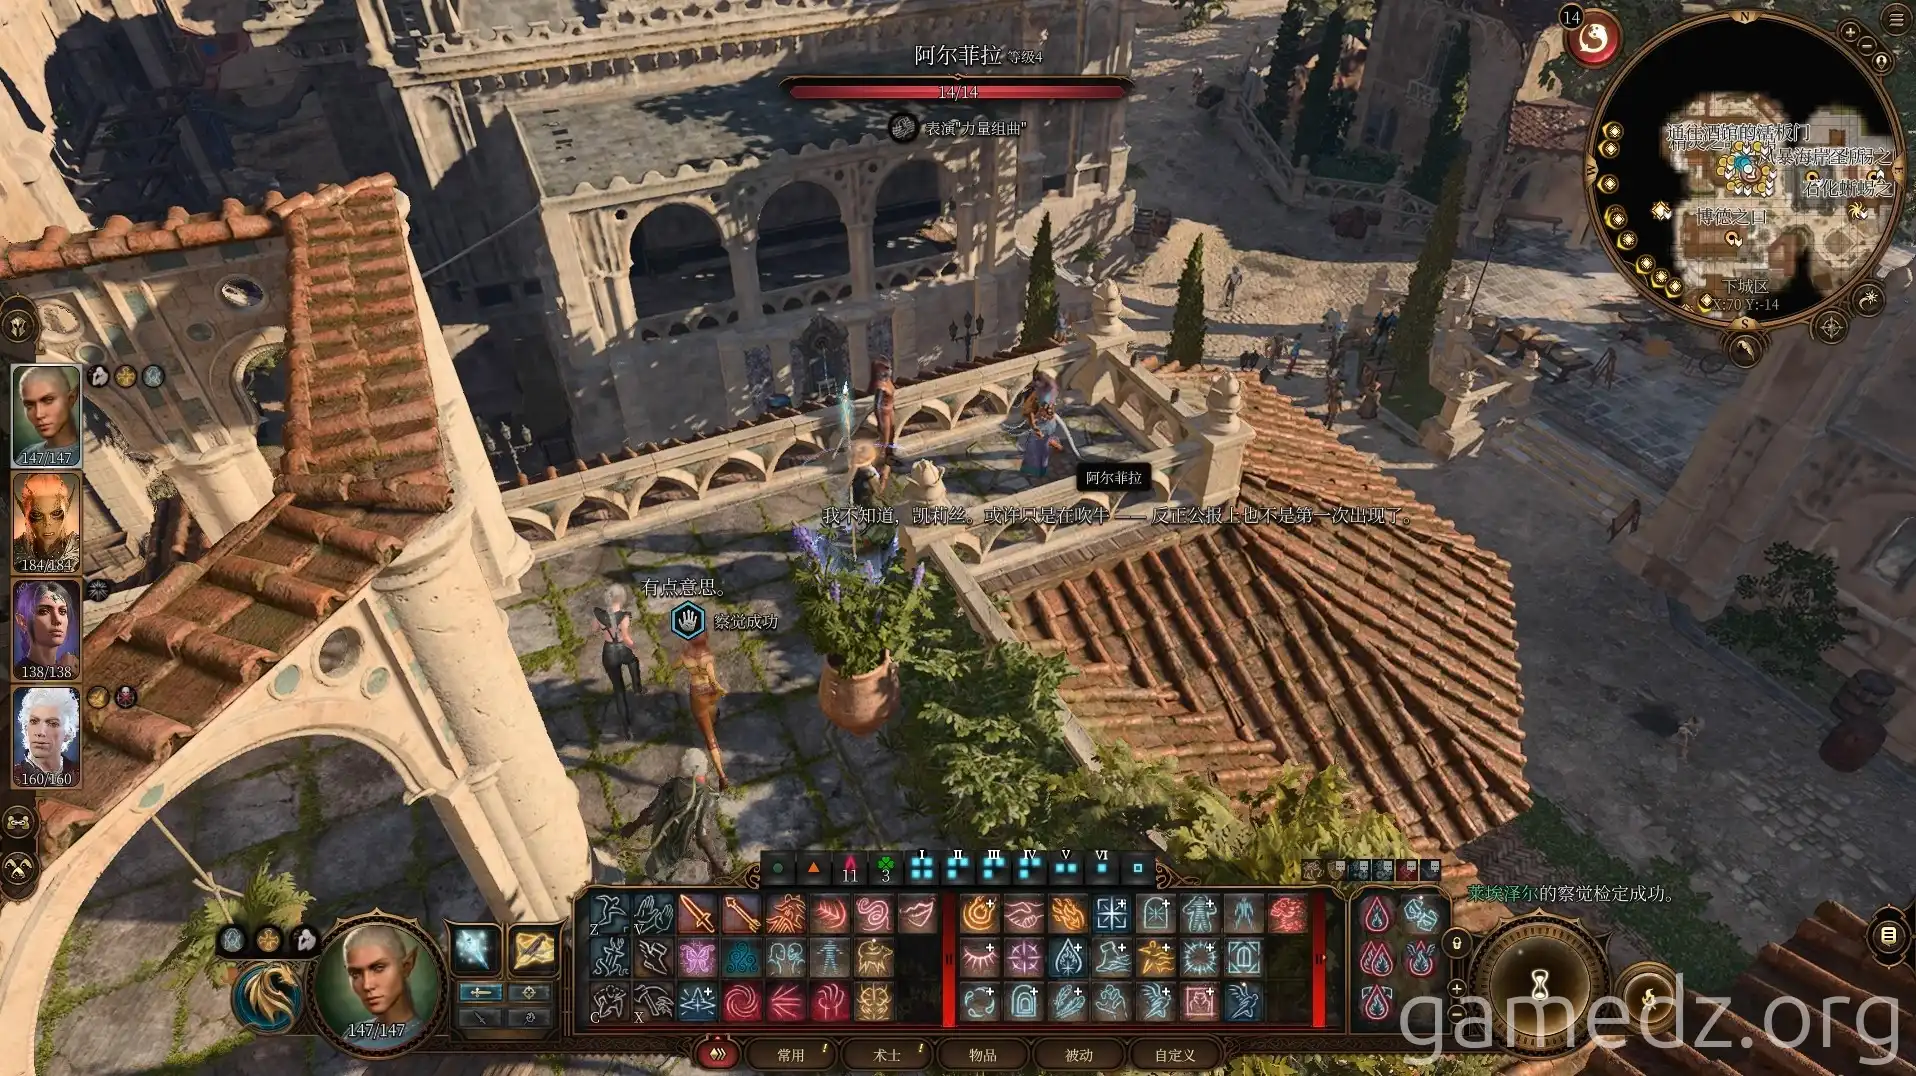
Climb the ladder next to the room to reach the rooftop, where you can meet Alfira again.
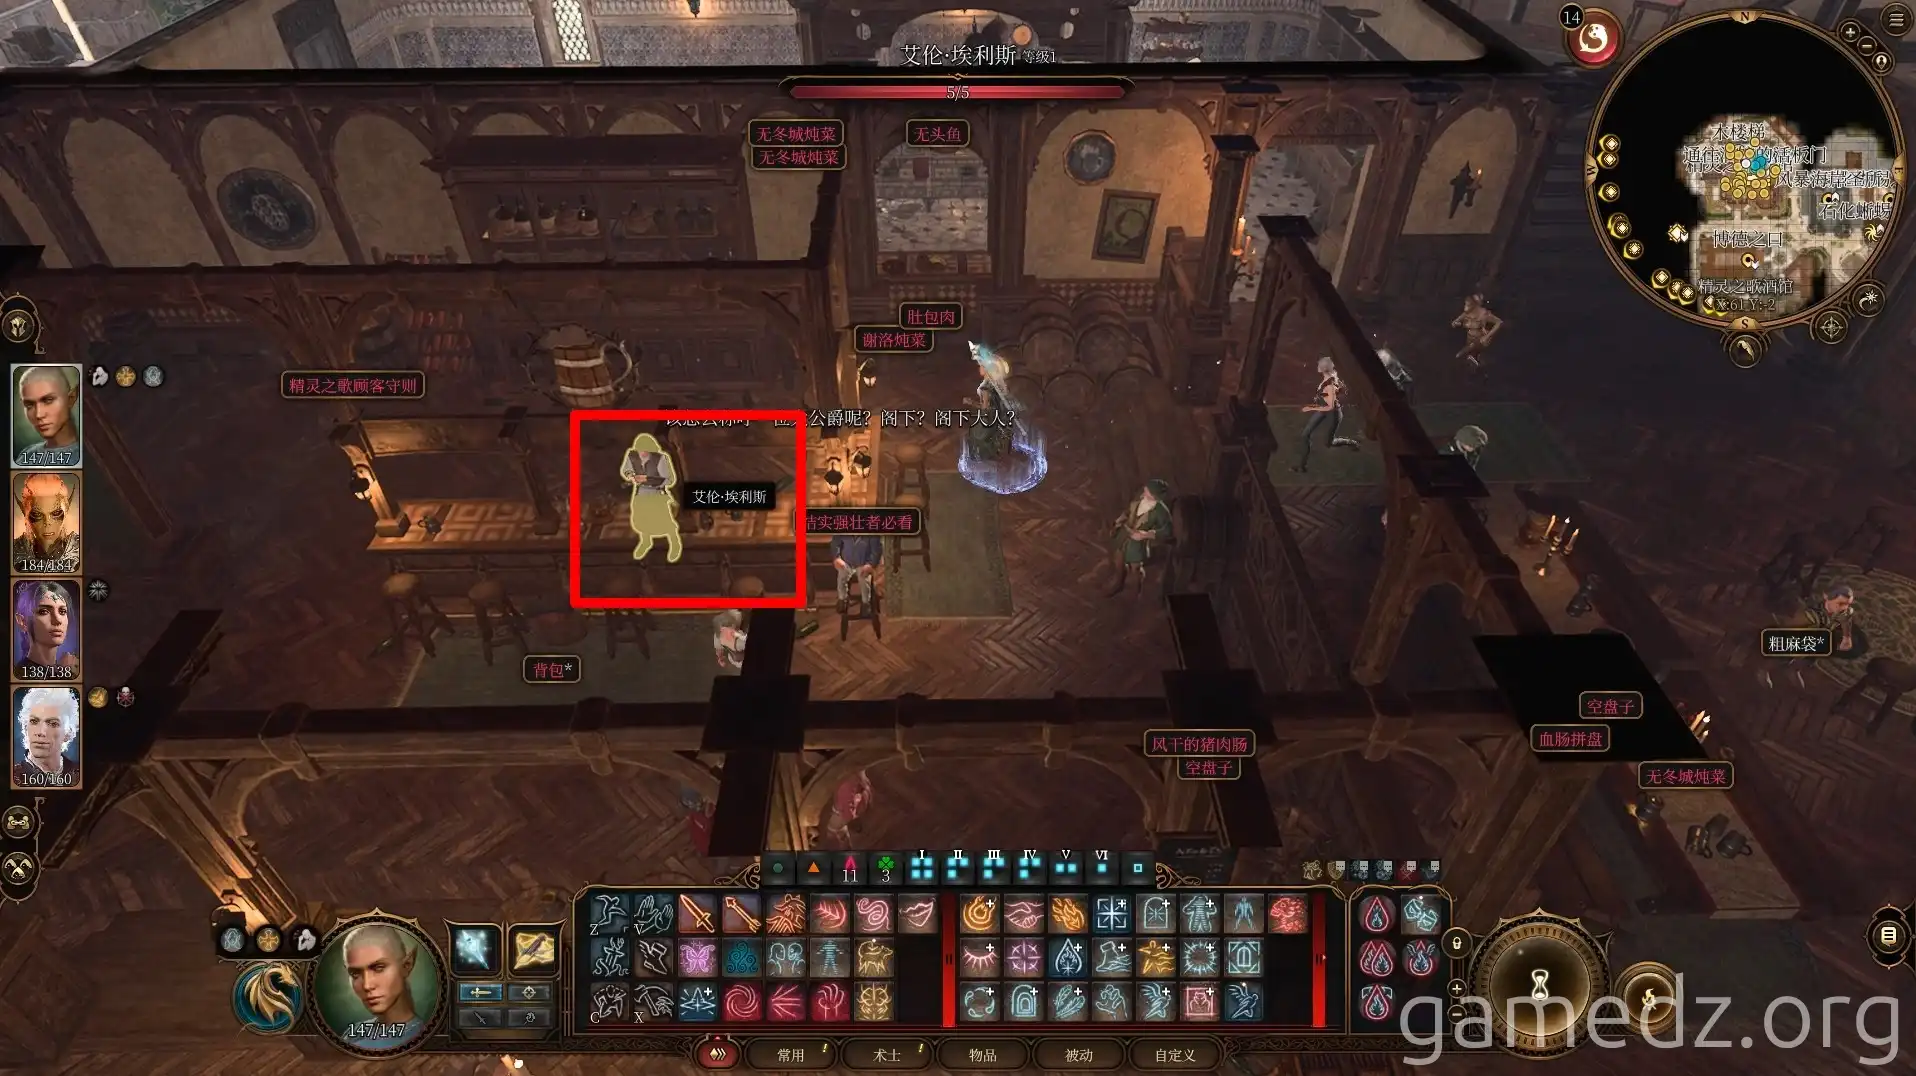
Return to the lobby and speak with the owner, Alan. You can use the recent murder as an excuse to get a free room on the second floor of the tavern.
After obtaining the room, characters with the Outlander and Soldier backgrounds will be inspired.
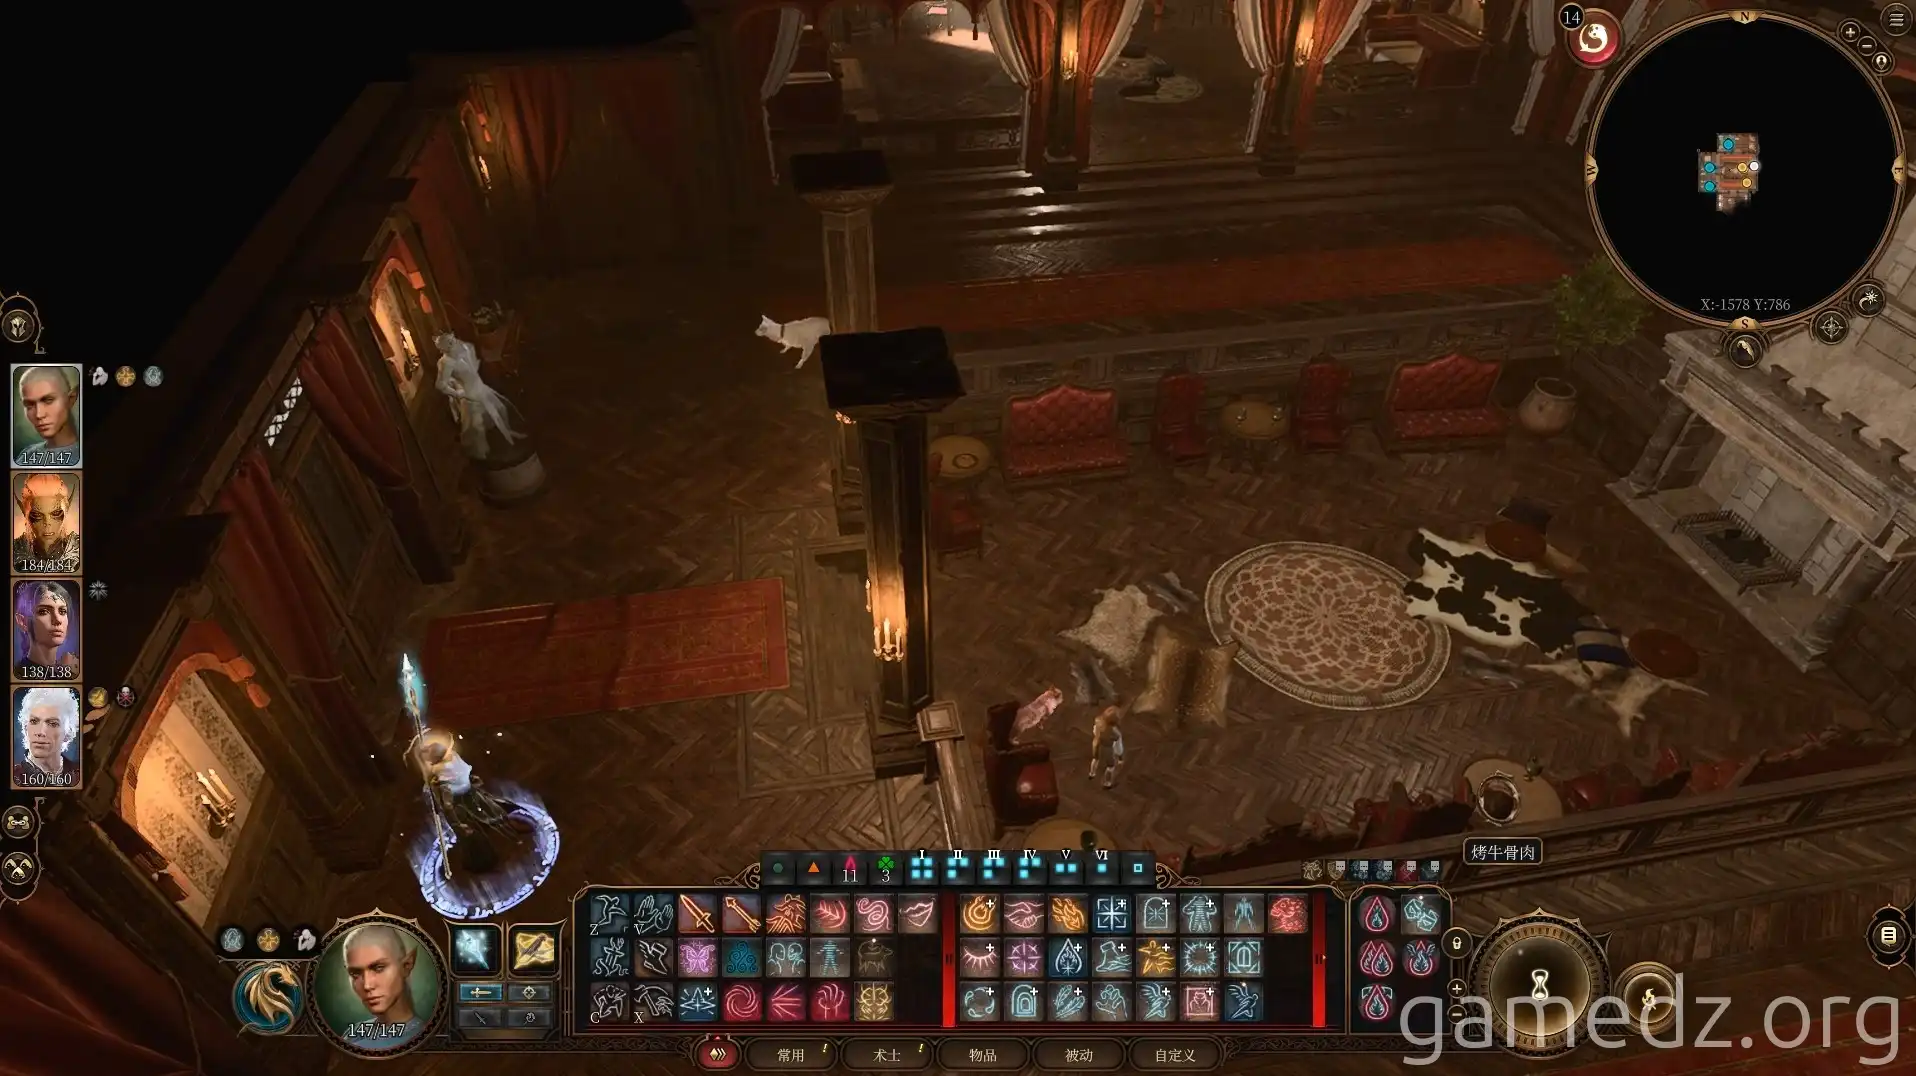
From now on, whenever you return to camp, you will arrive at this room.
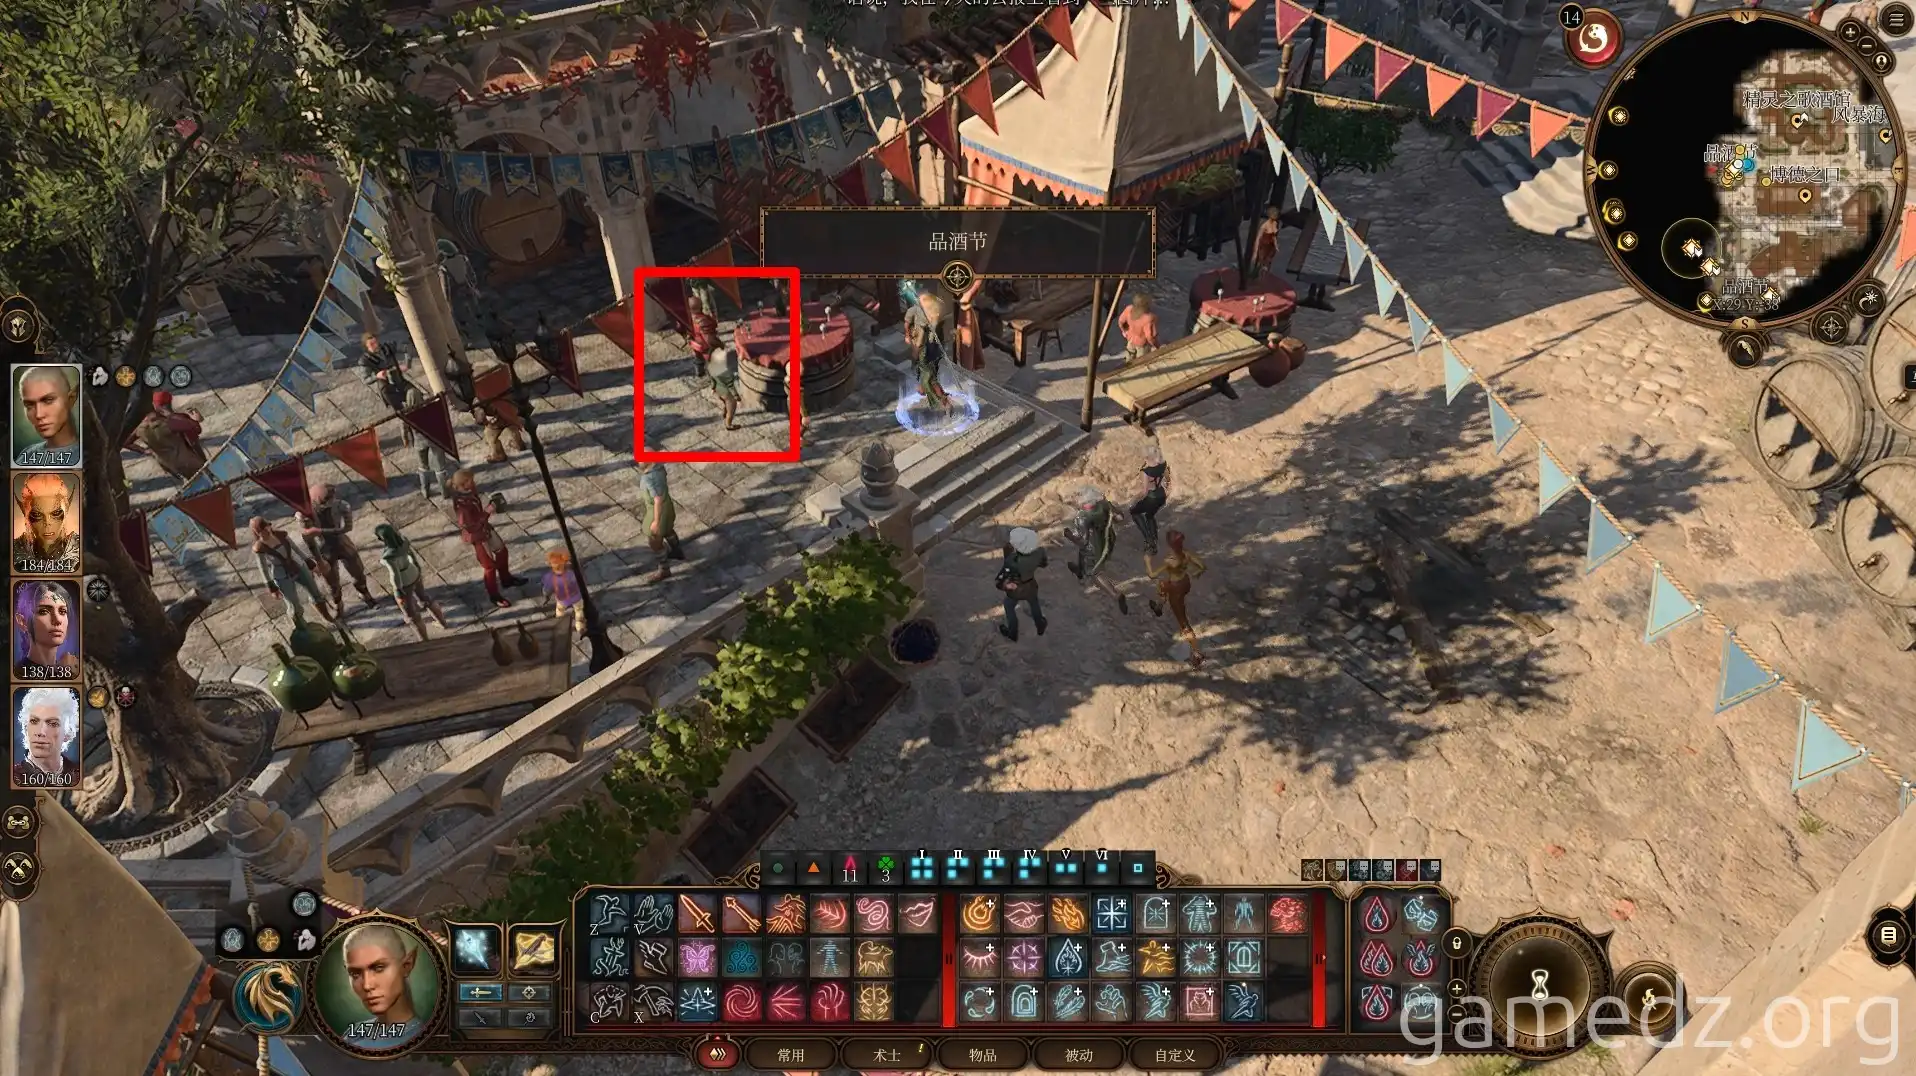
Head west of Elfsong Tavern to the "Wine Tasting Festival." Here, you'll see one of the murder targets, "Kola Highbury," and a dwarf in red clothing.
When speaking with Kola, a Medicine check will reveal that the wine is poisoned. Disrupt the dwarf's assassination plan and initiate combat.
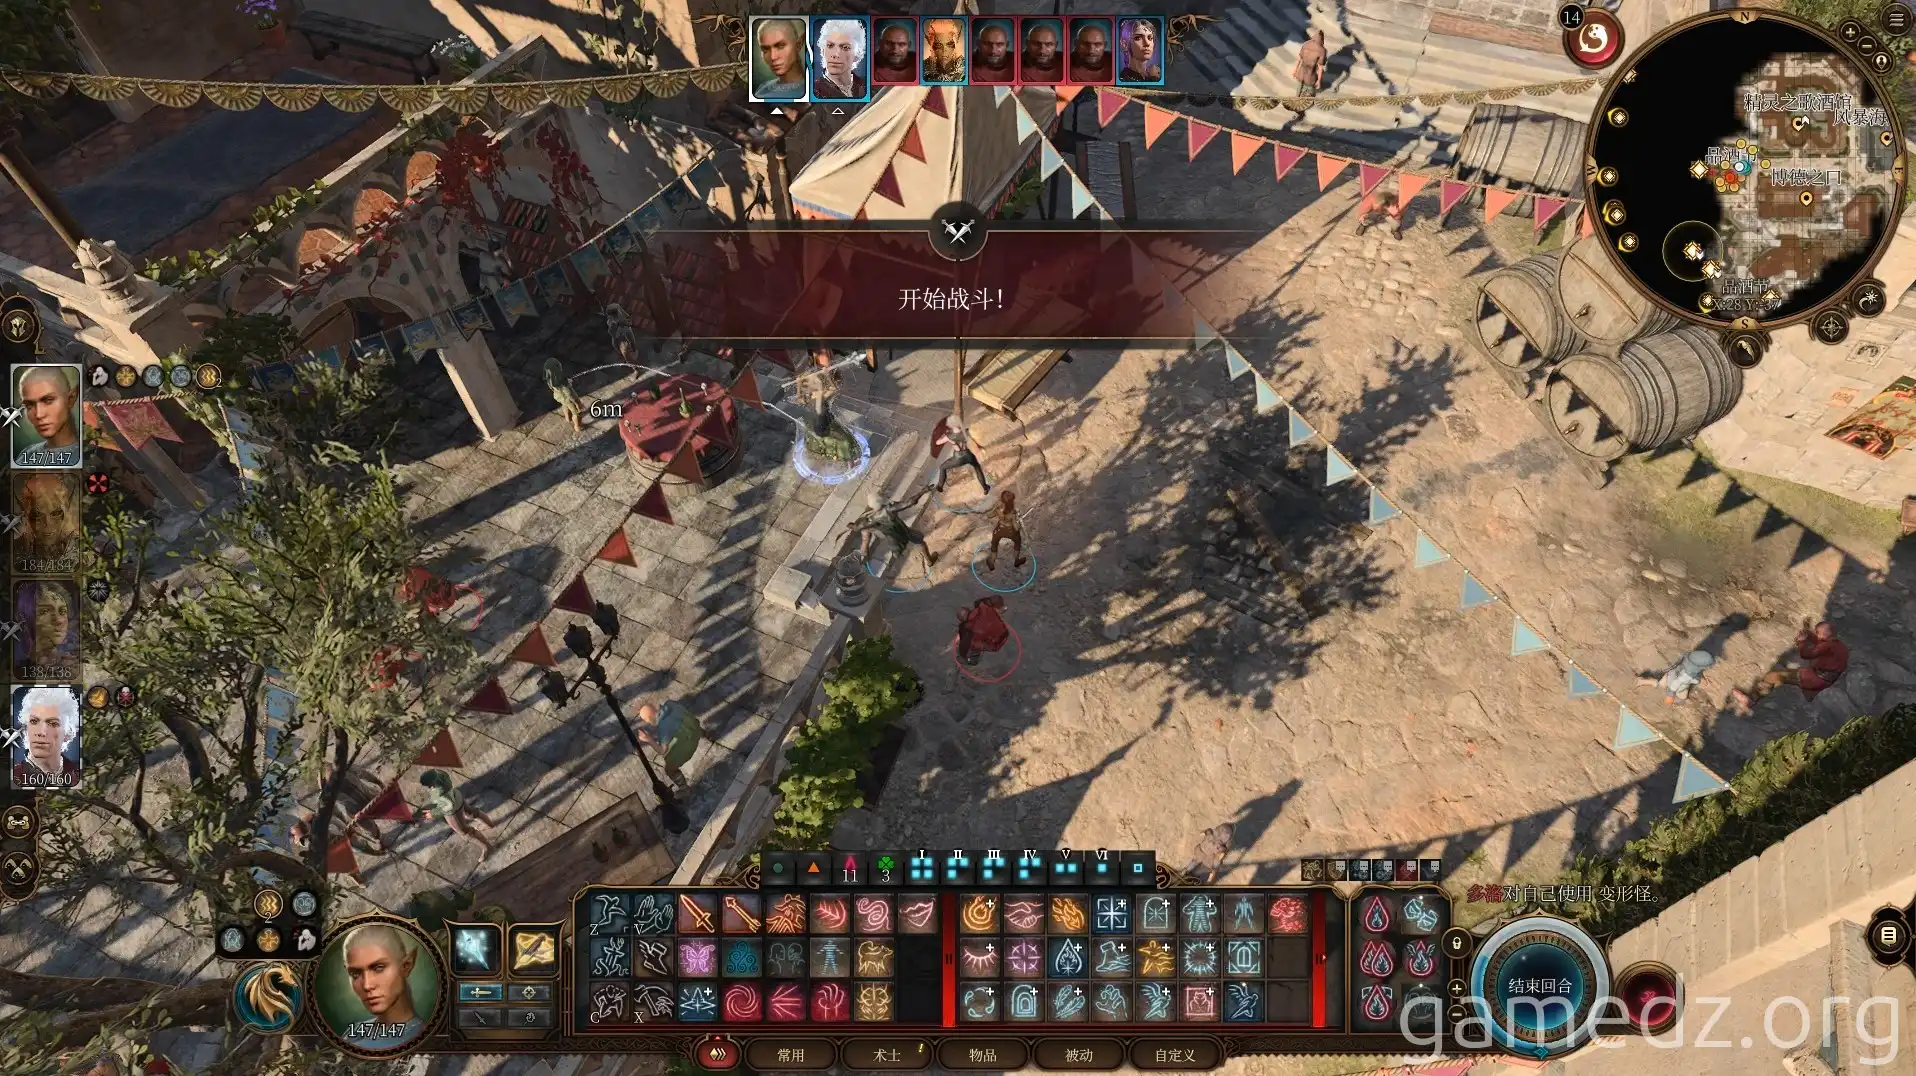
Once combat begins, the dwarf Dolor will teleport away, leaving four doppelgangers. If you attack without dialogue or choose to fight during the conversation, you might be able to keep Dolor there, but to avoid affecting future events, the guide let him escape.
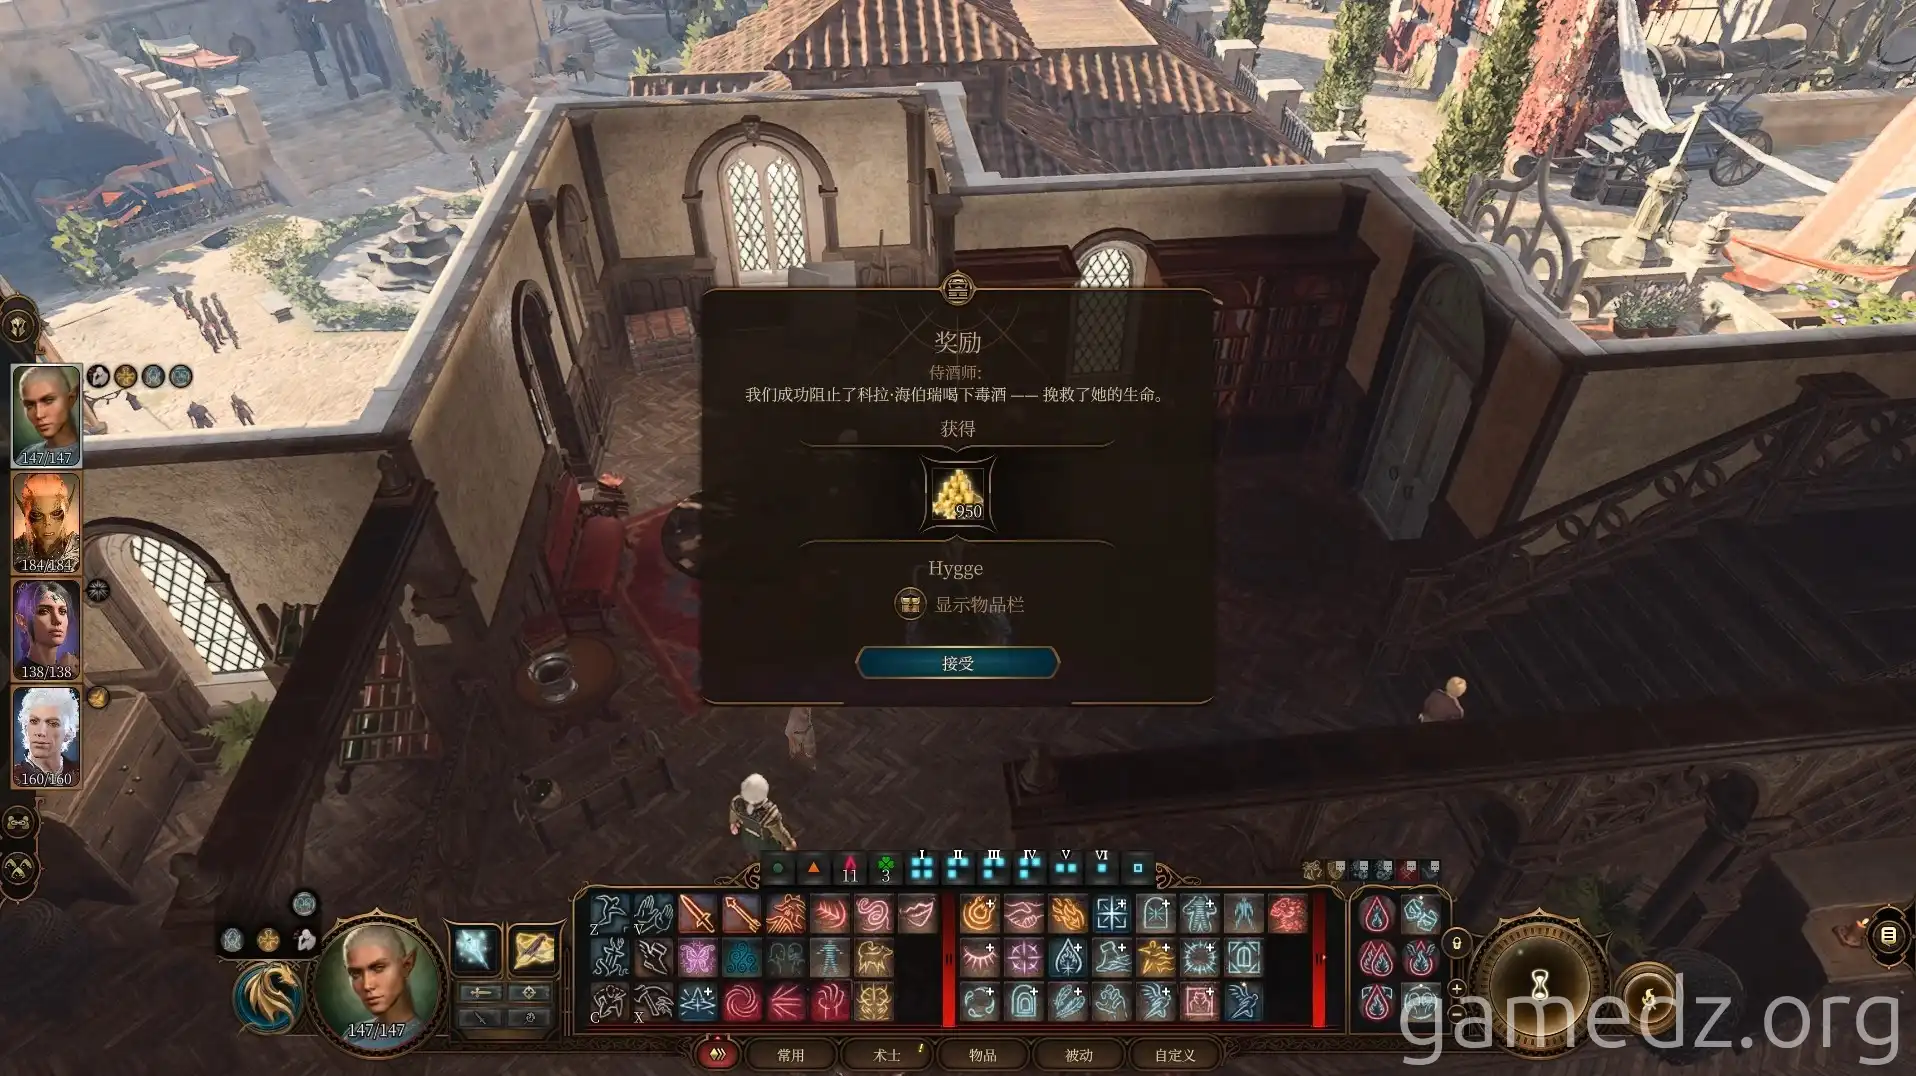
After defeating all enemies, you'll obtain the "Gravestone Shop Key." Enter the room and speak with Kola to receive a reward of several hundred gold coins.
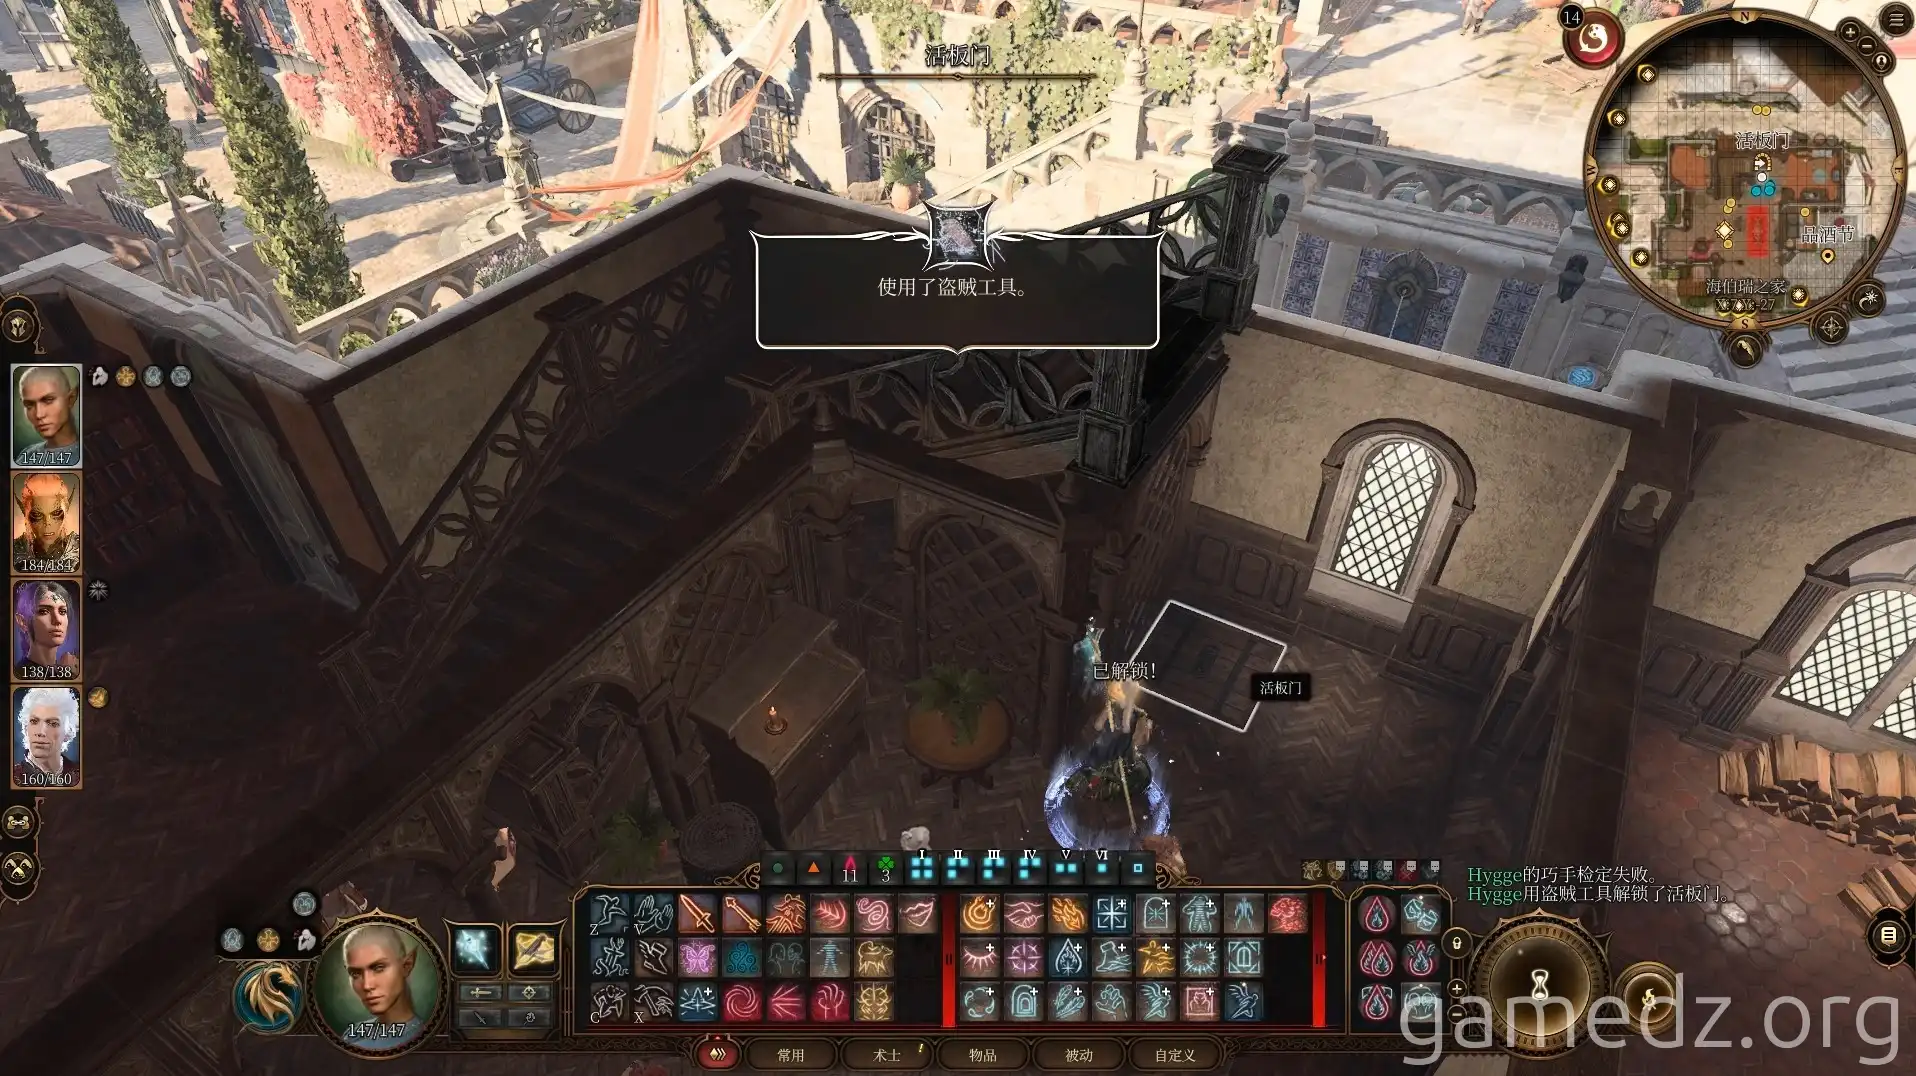
There's nothing of note on the first and second floors of the house. You can enter the basement through the trapdoor in the corner.
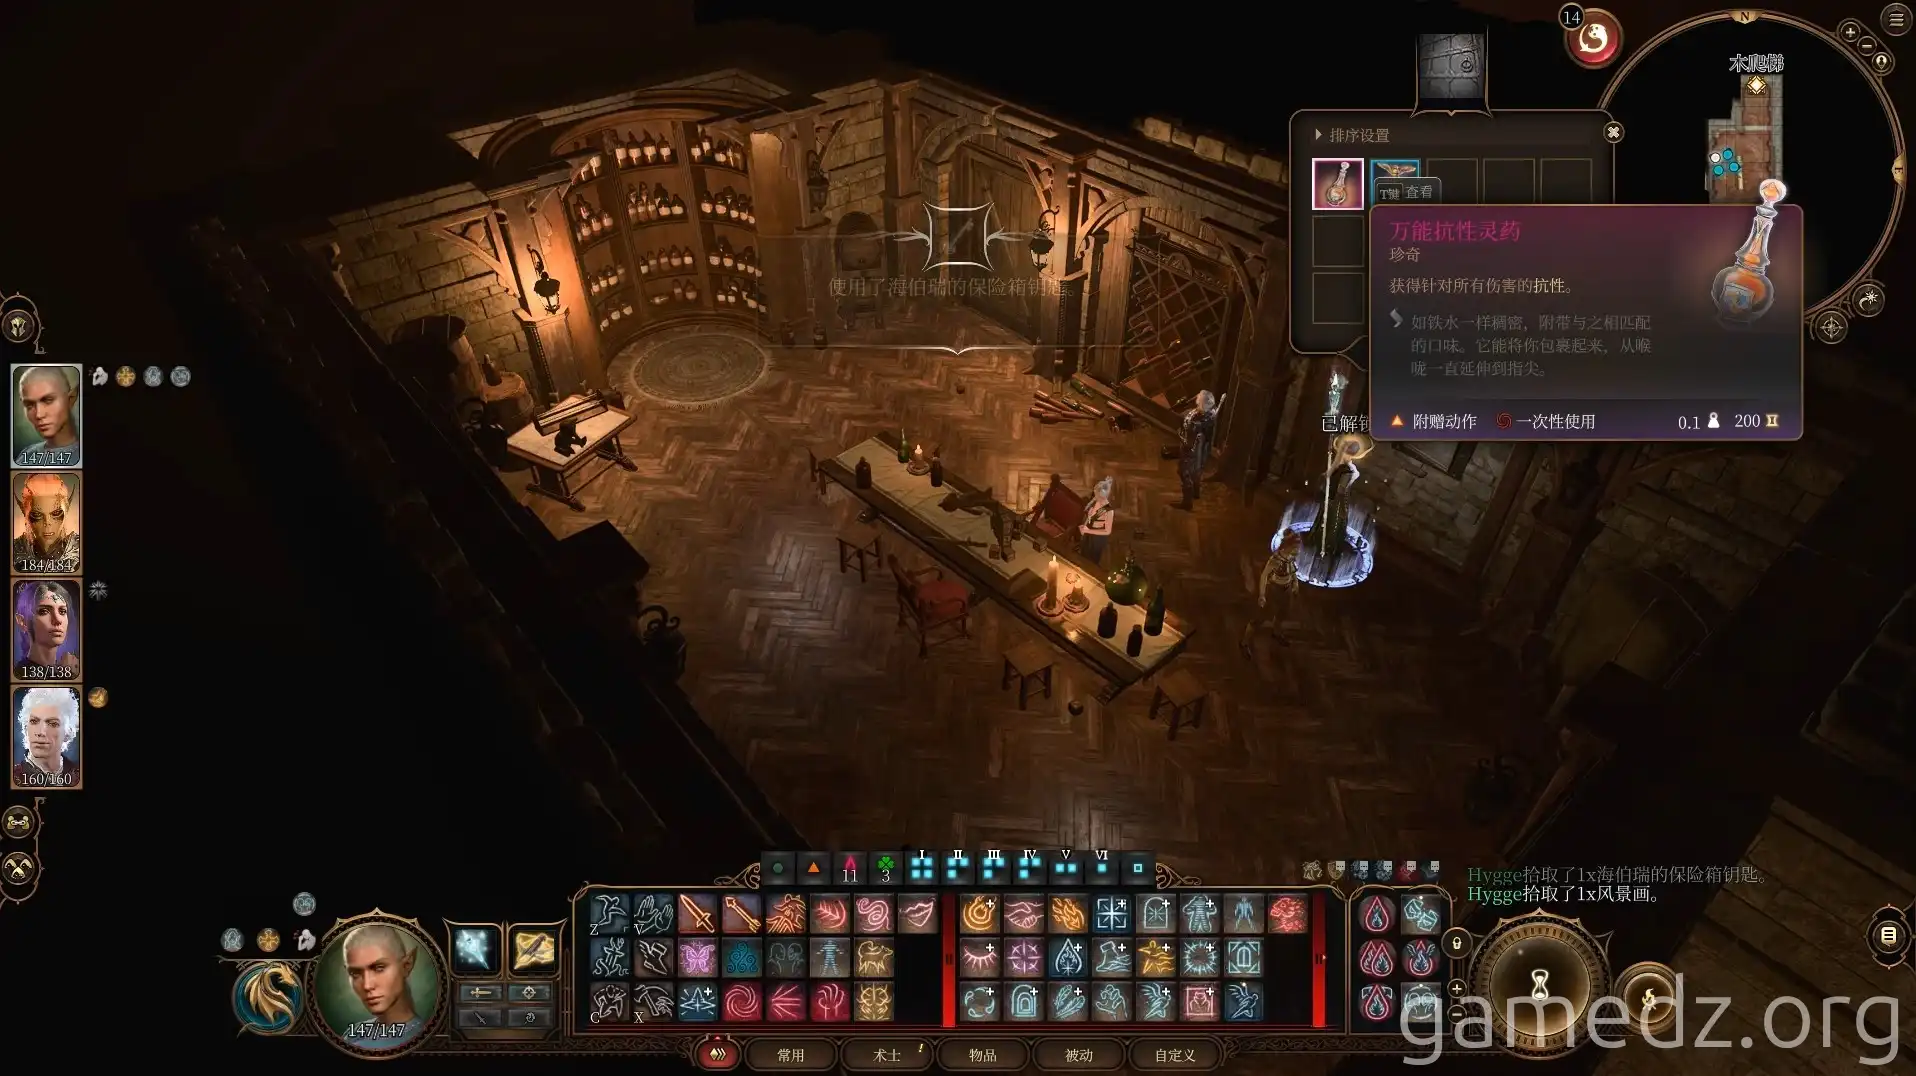
Behind the painting in the basement is a safe. Opening it will yield some useful supplies.
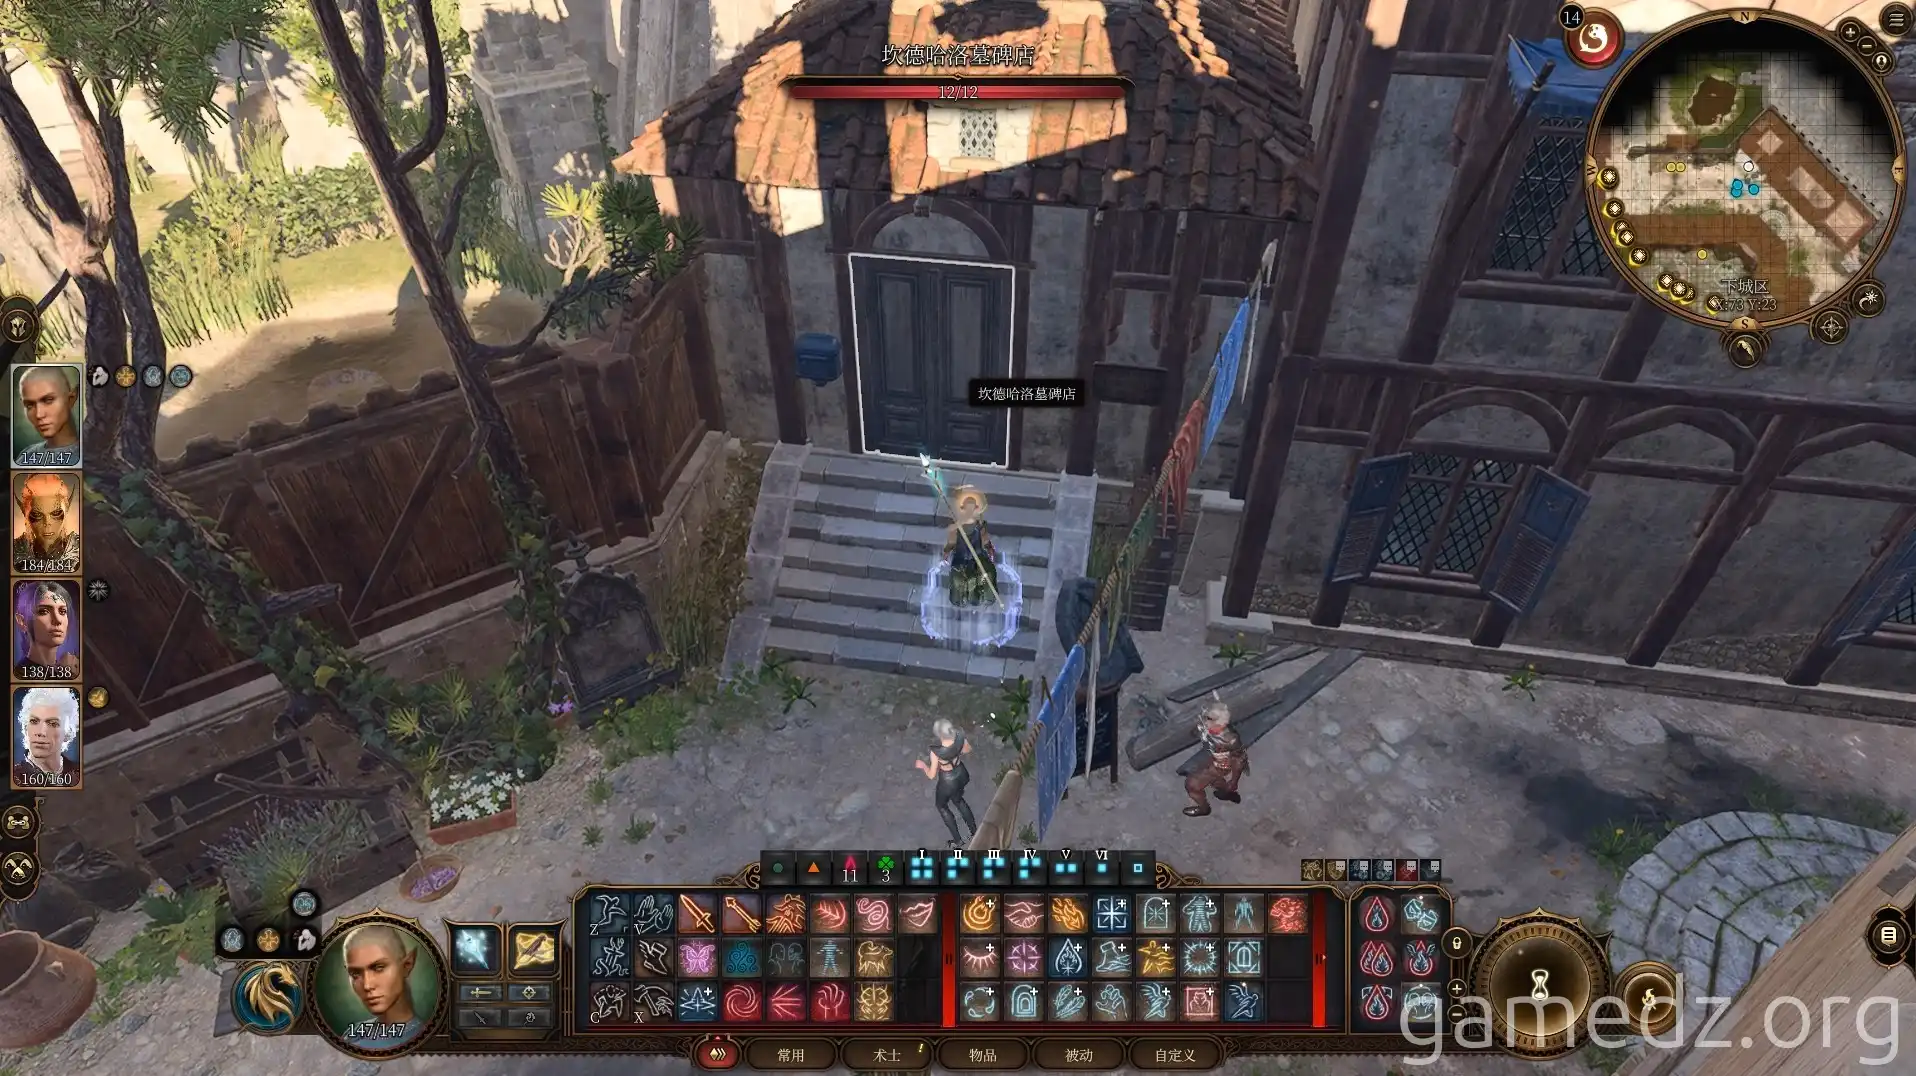
Then, take the path north between Elfsong Tavern and the Chapel to find the Gravestone Shop.
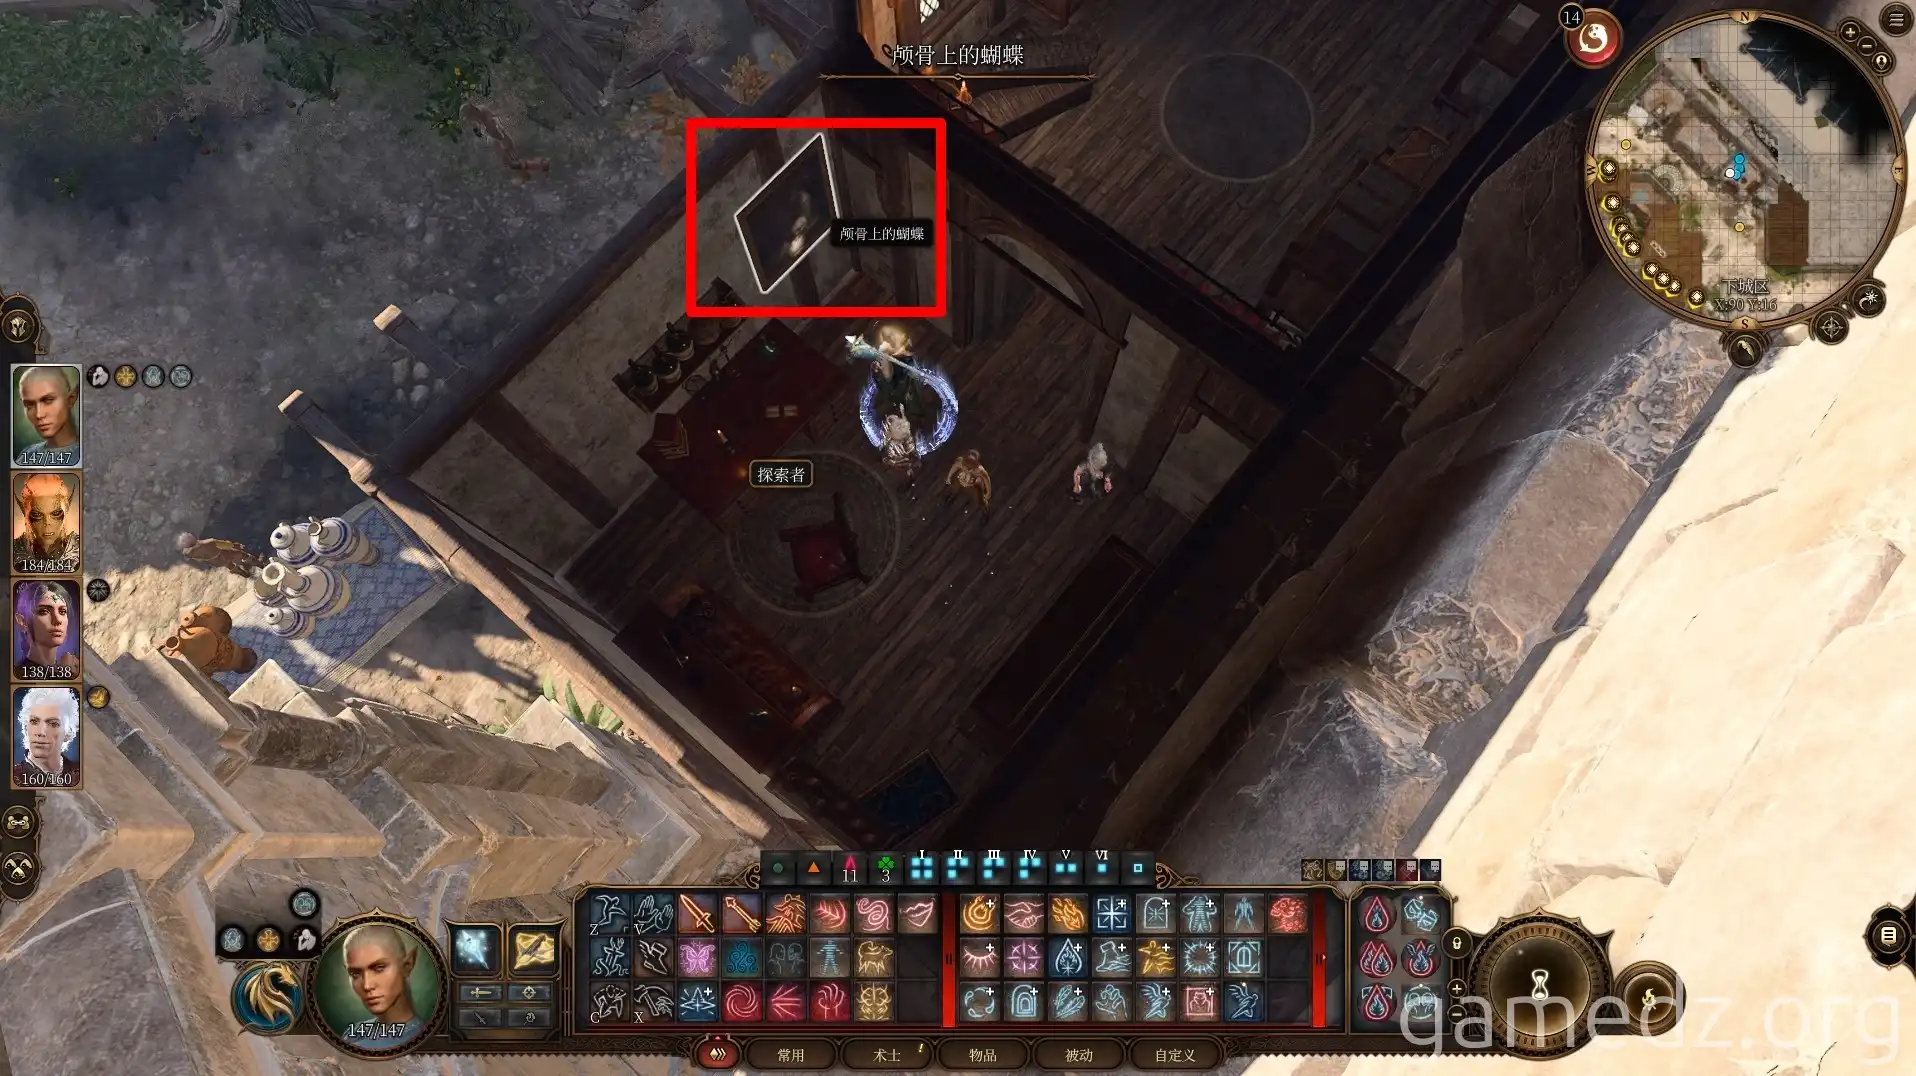
Behind the painting on the shop's wall, you'll find a button. Pressing it will move the adjacent cabinet, revealing a hidden door. You can't open the door yet; remember this location, as you'll return later.
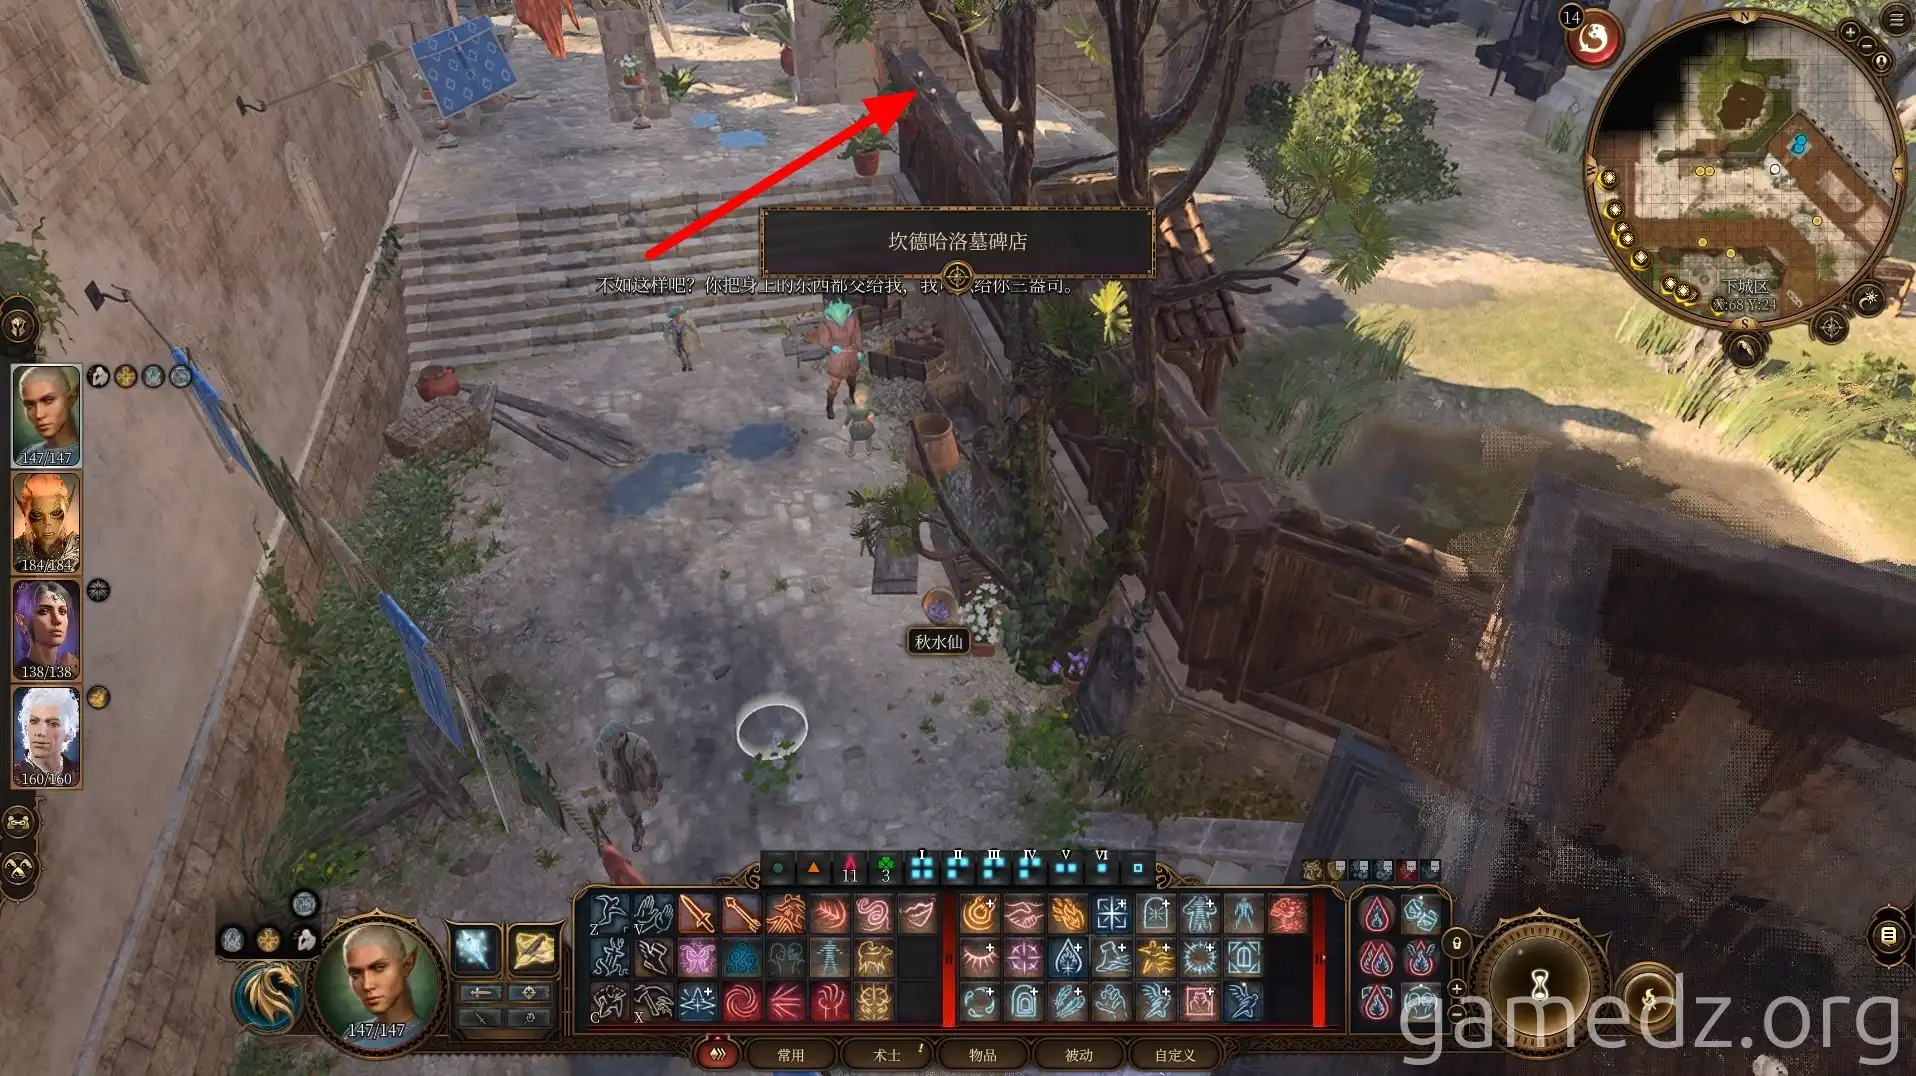
Leave the shop and head west. Continue west along the road until you reach the cemetery area.
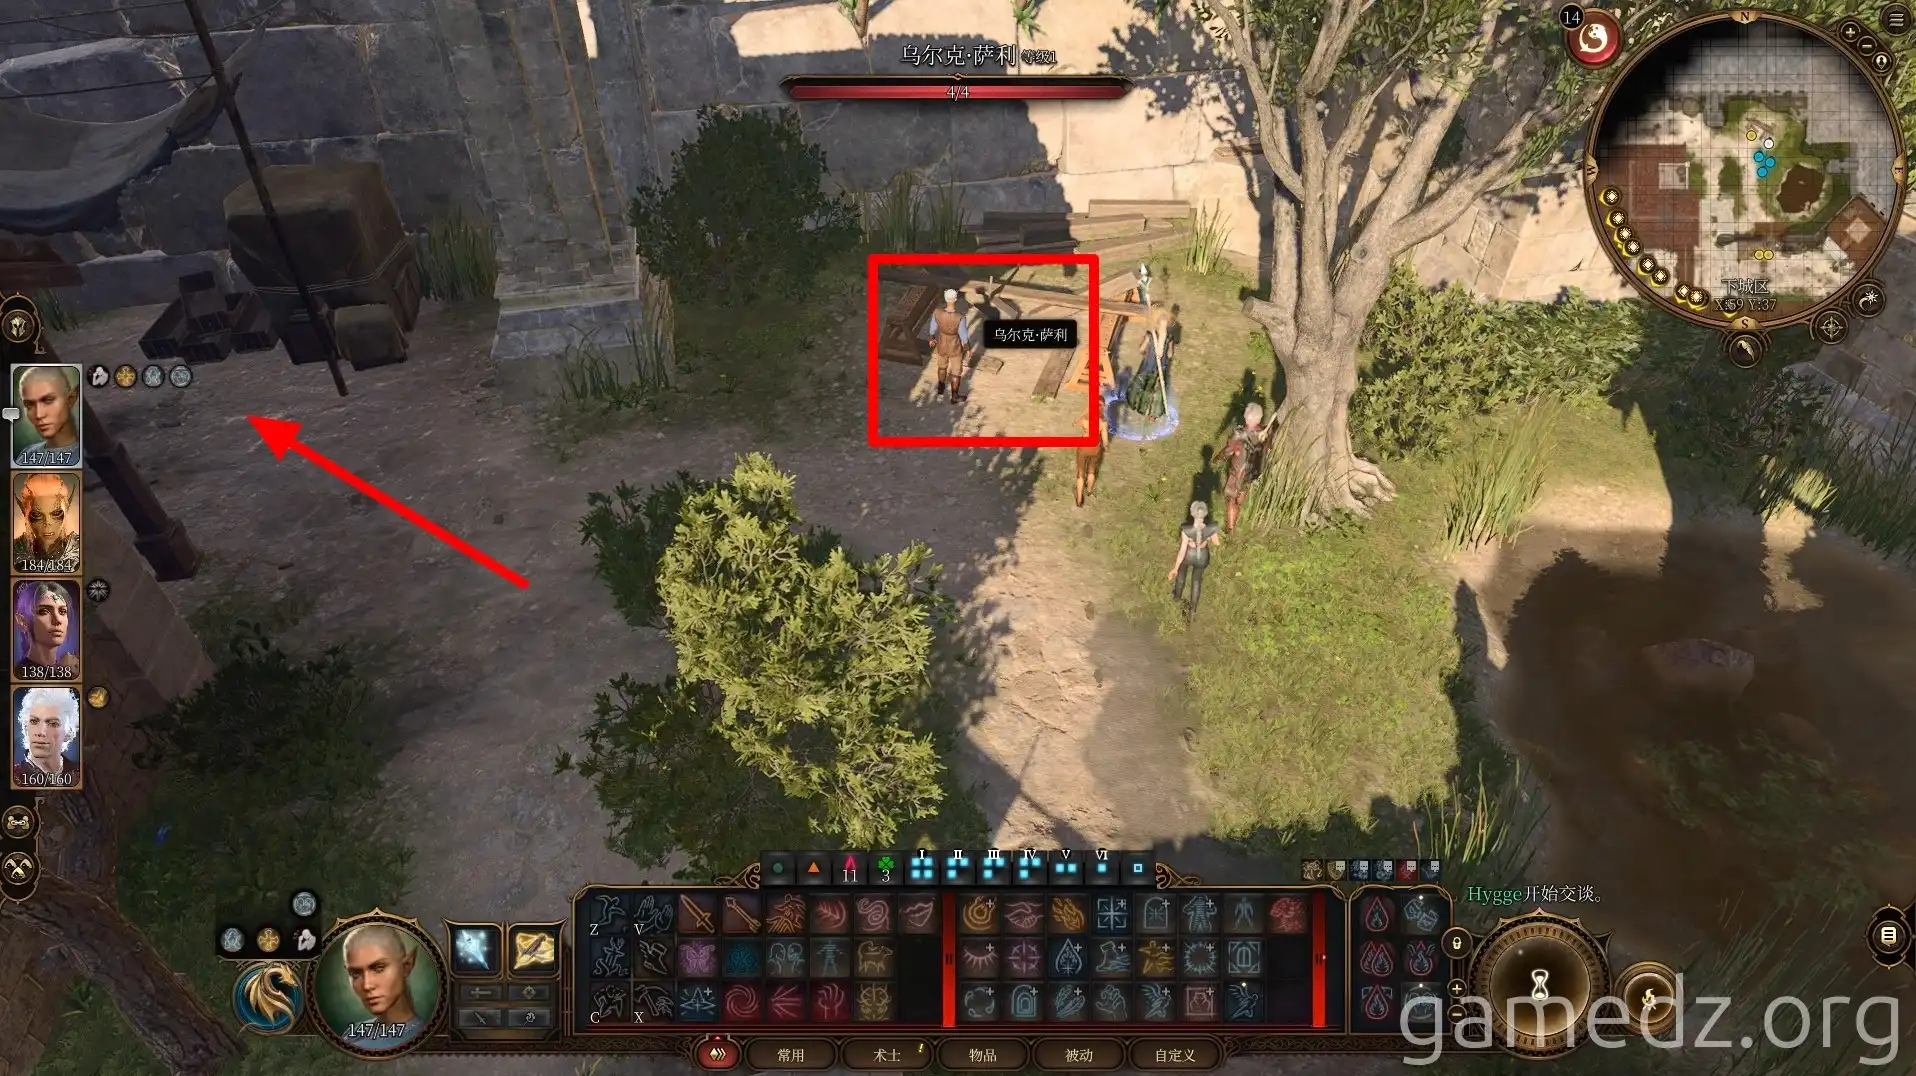
In the cemetery, there's an NPC making coffins. Ignore him for now and continue west.
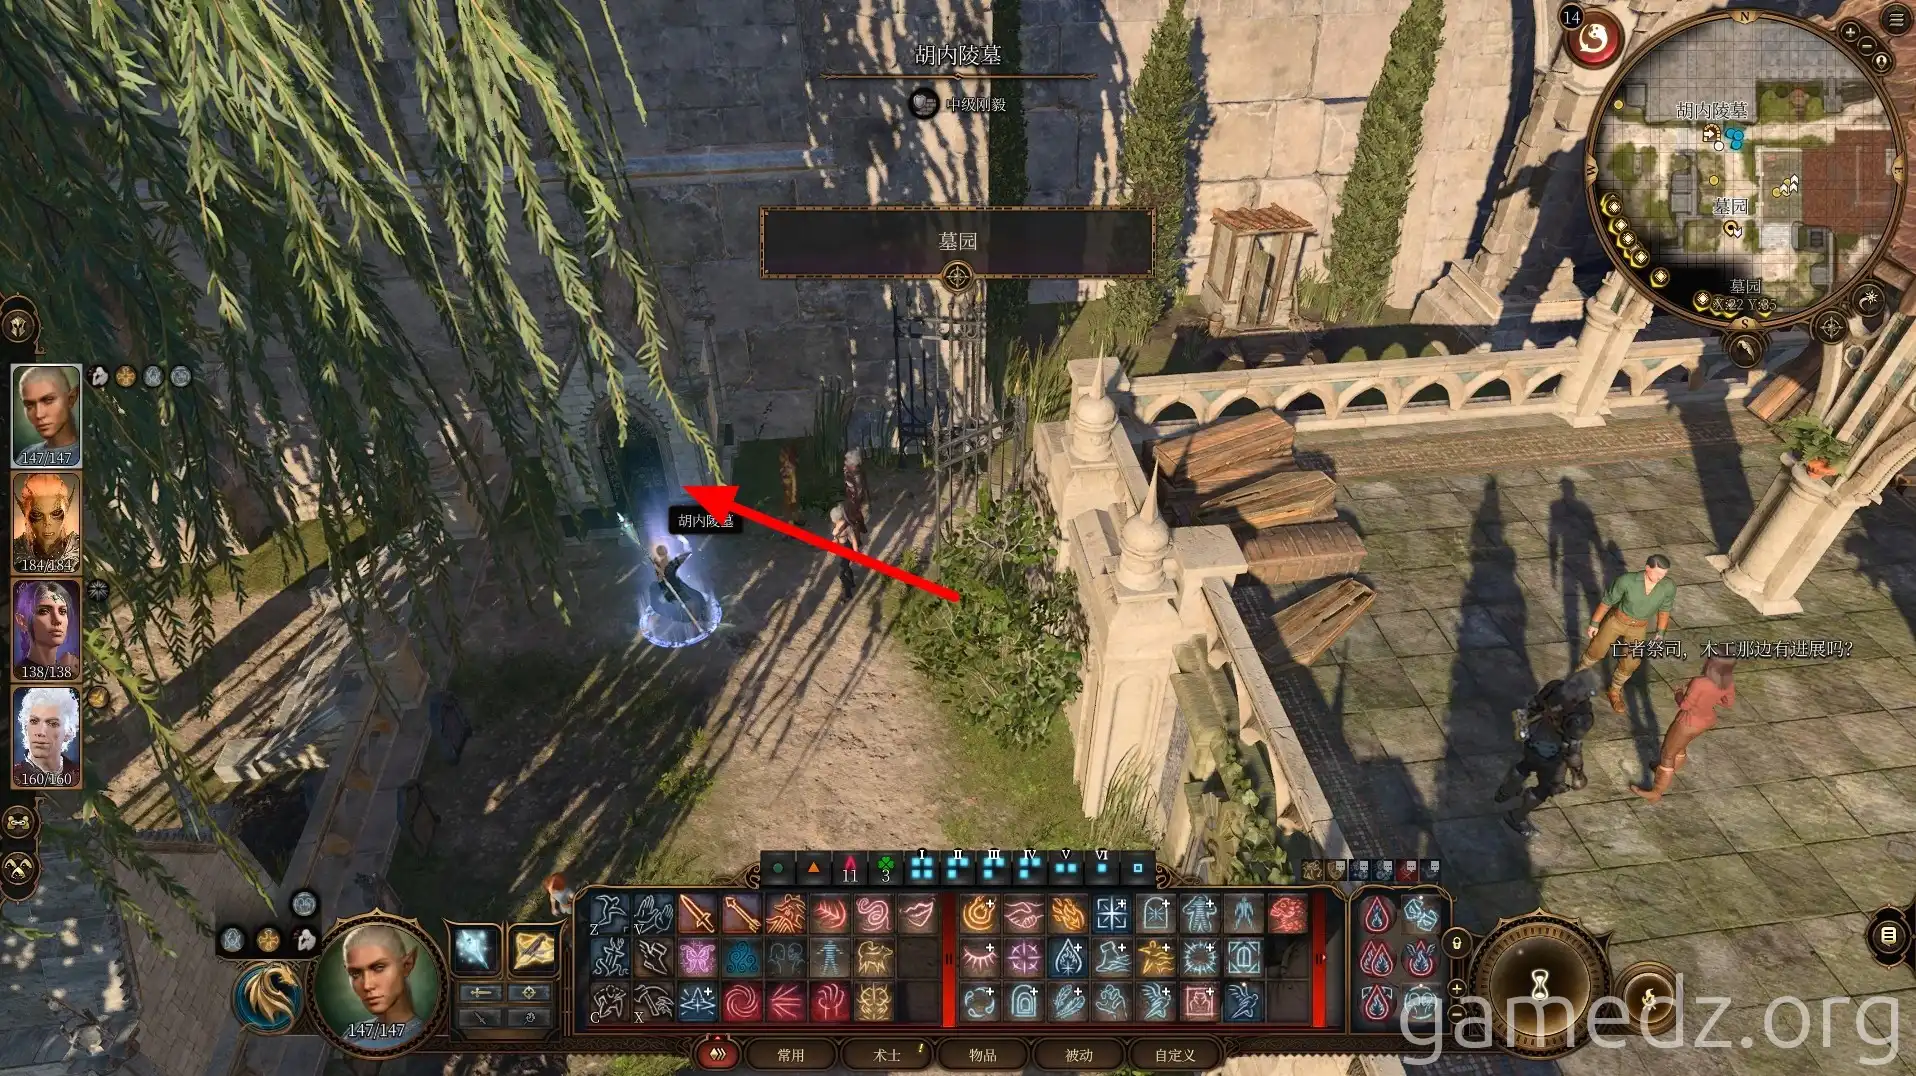
You can explore some of the mausoleums in the cemetery, but there's nothing particularly special inside.
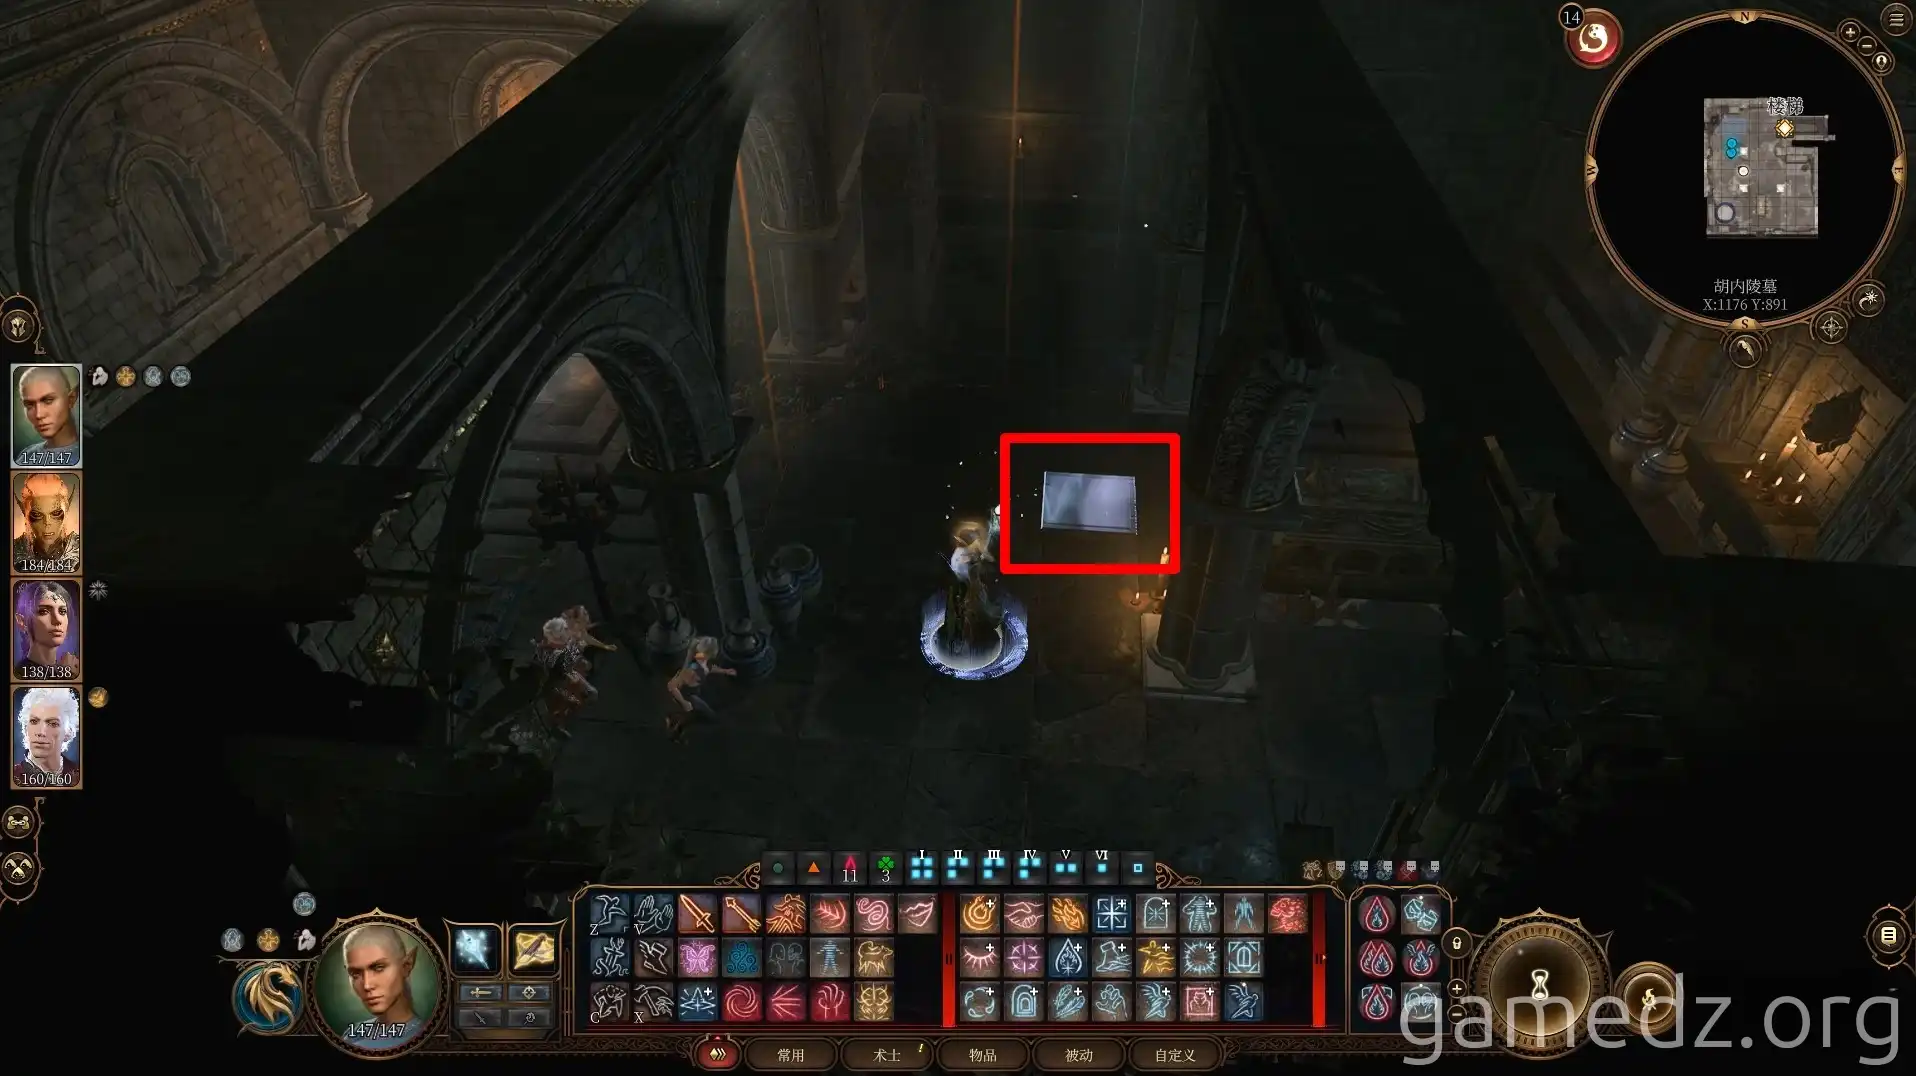
The pressure plate floor in Hunne's tomb is a weight-sensitive mechanism. Have your companions step on it one by one. Once a certain weight is reached, a secret room will open.
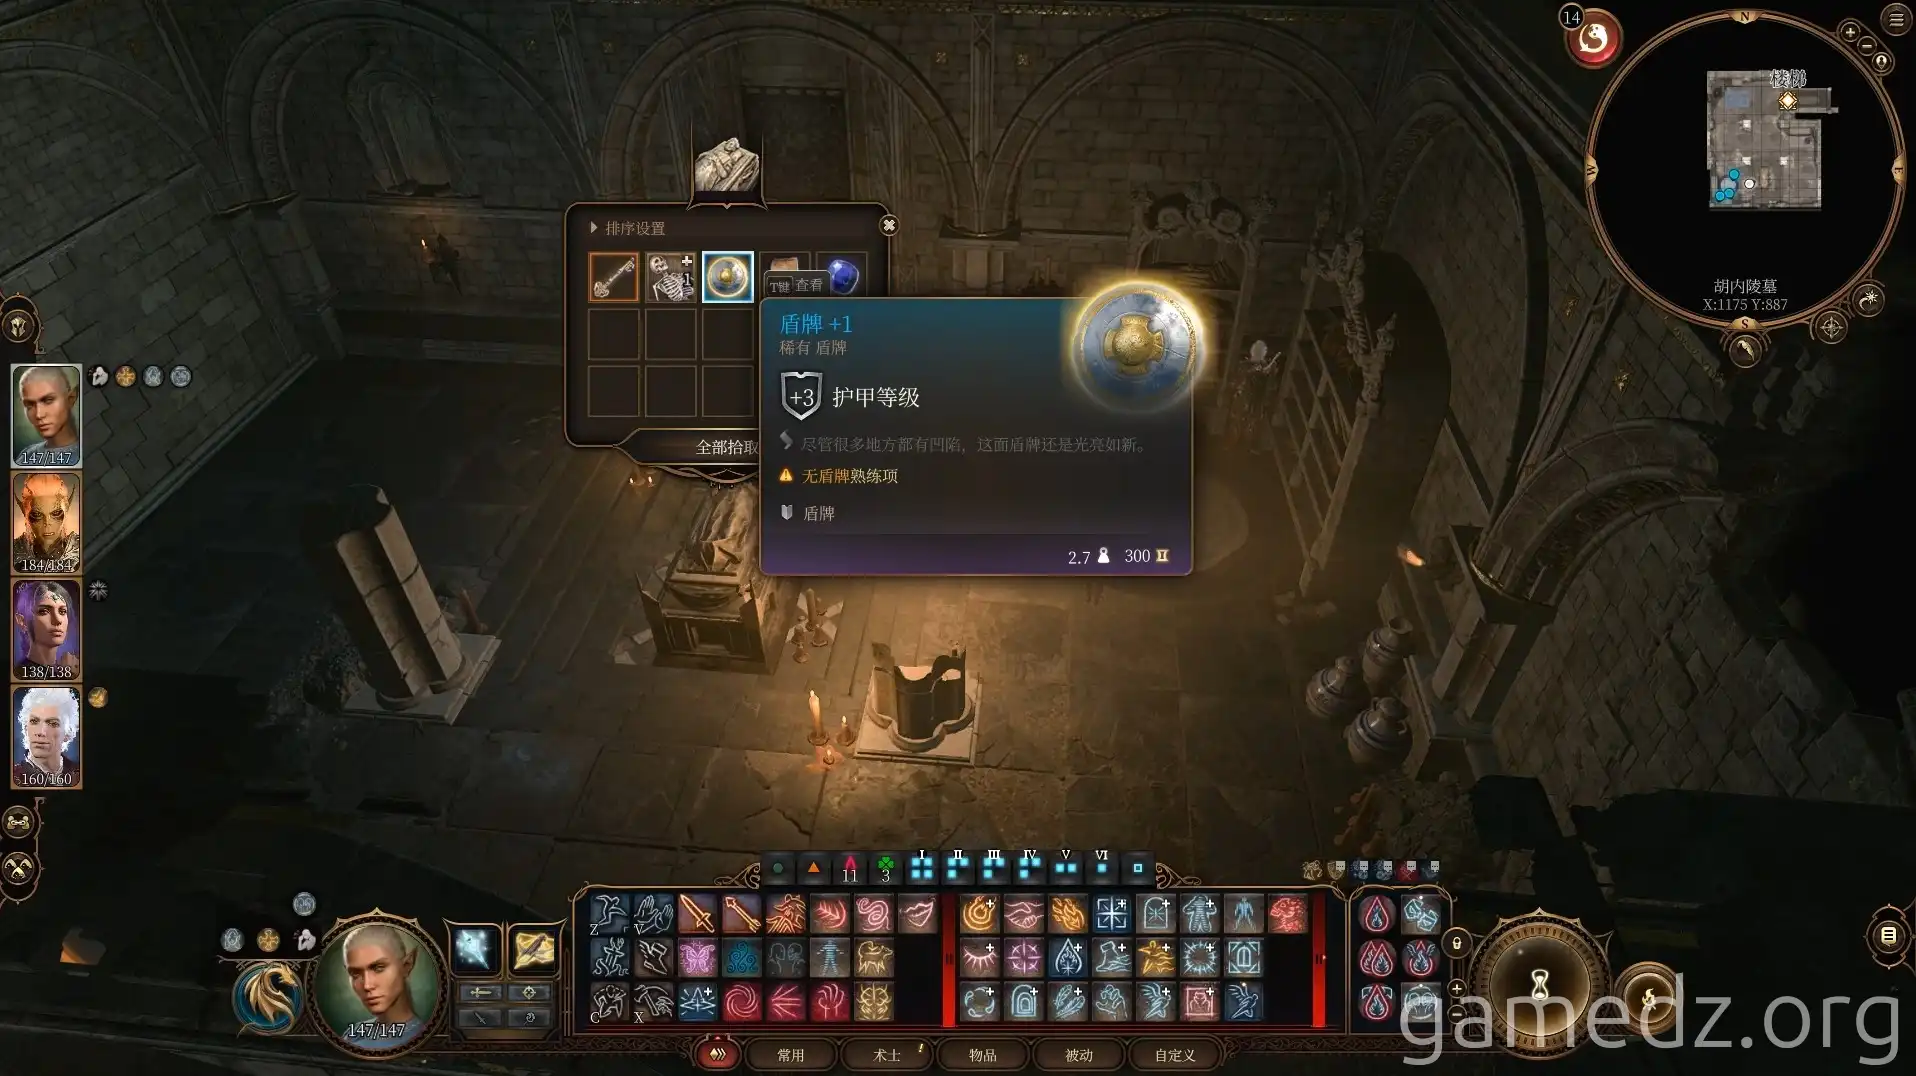
In Hunne's sarcophagus, you'll find a rare shield.
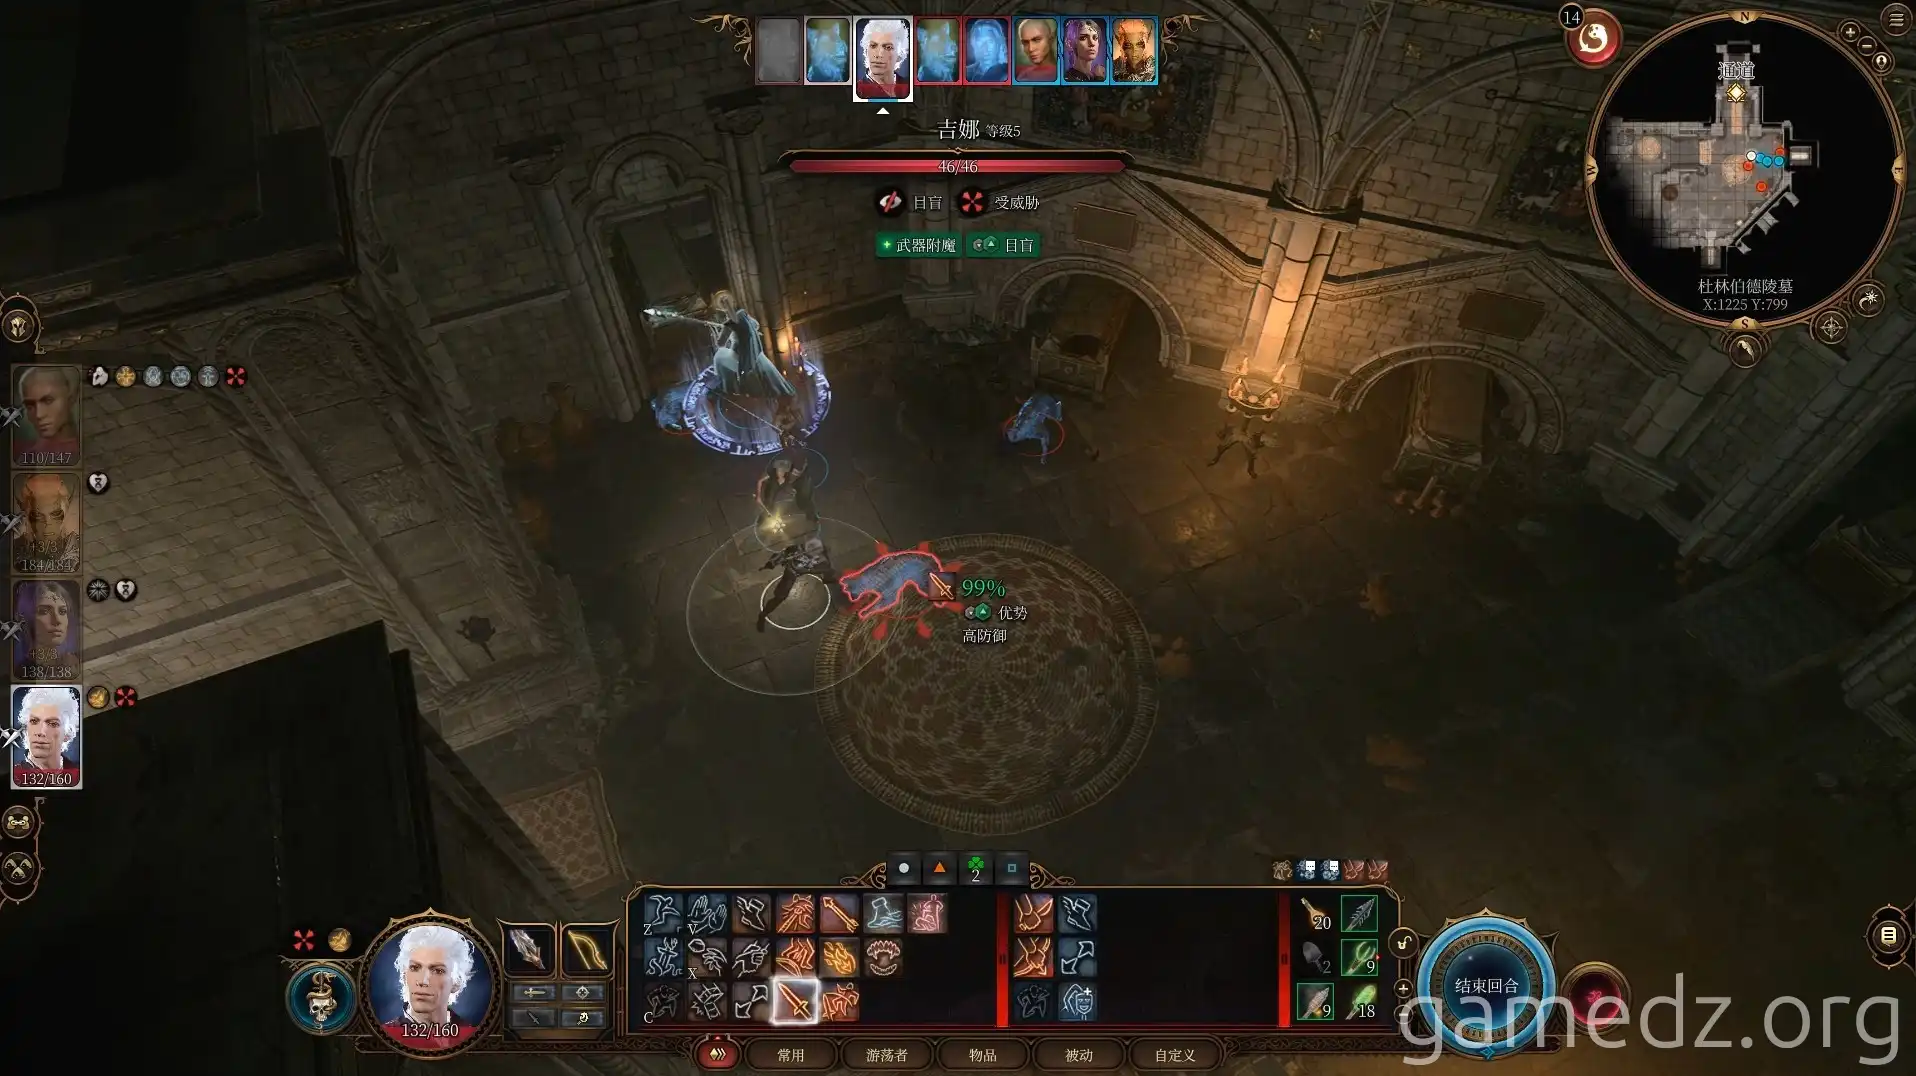
In Durinbard's tomb, you'll encounter four ghosts: one person and three dogs.
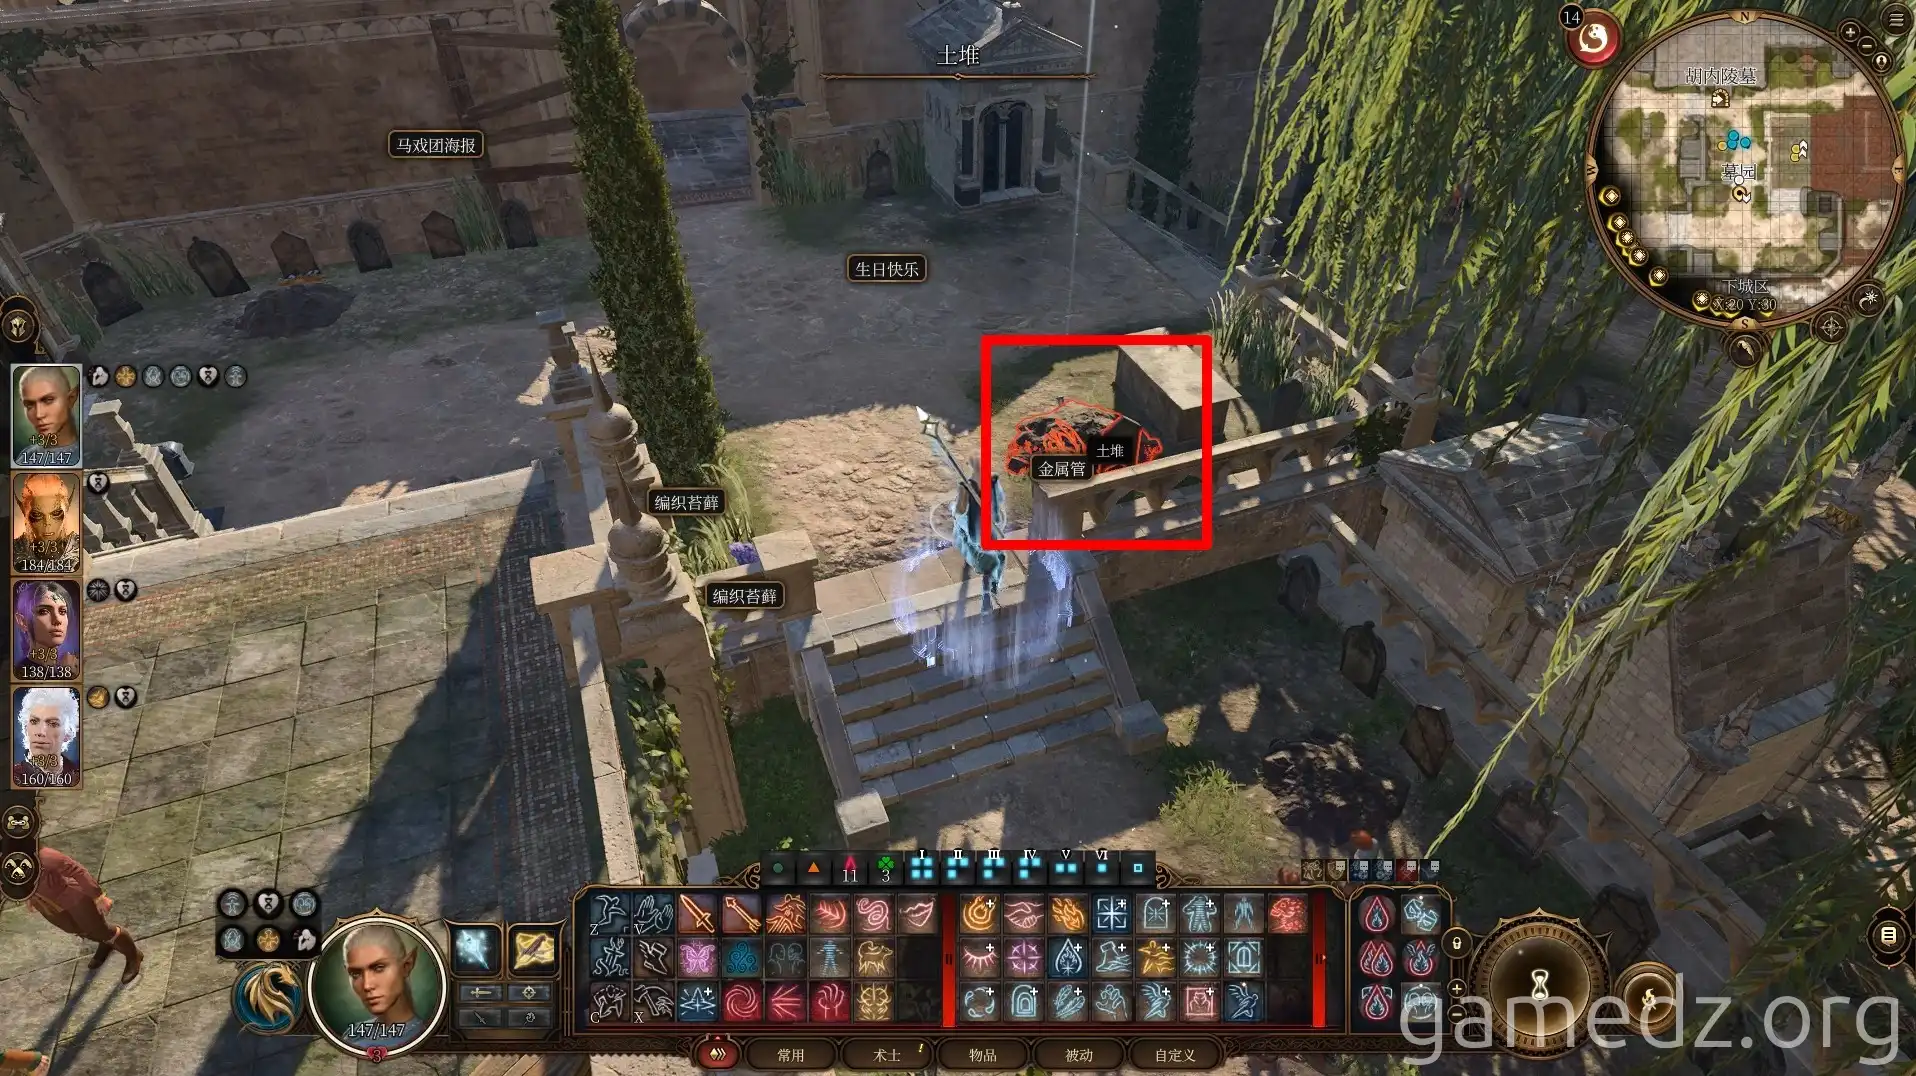
The dirt mound at the location shown in the image can be dug up to reveal a person.
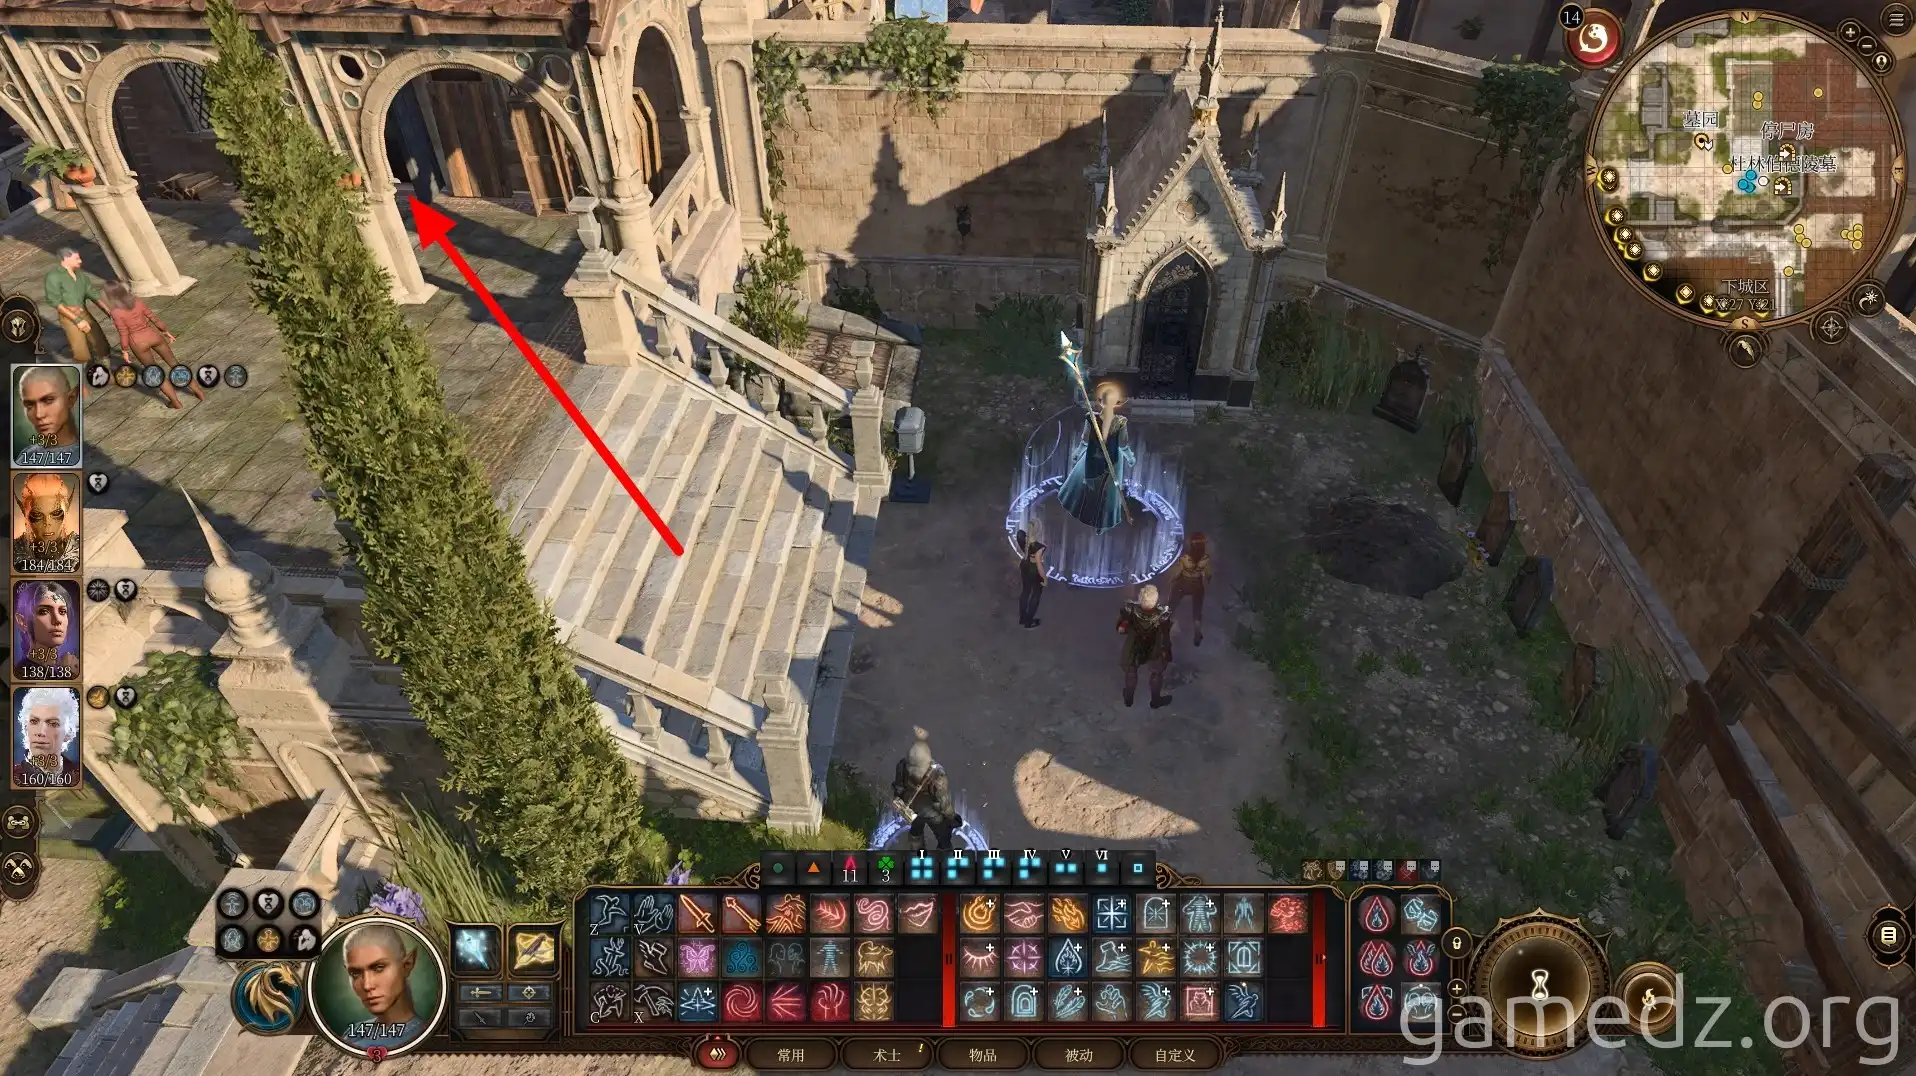
Enter the morgue.
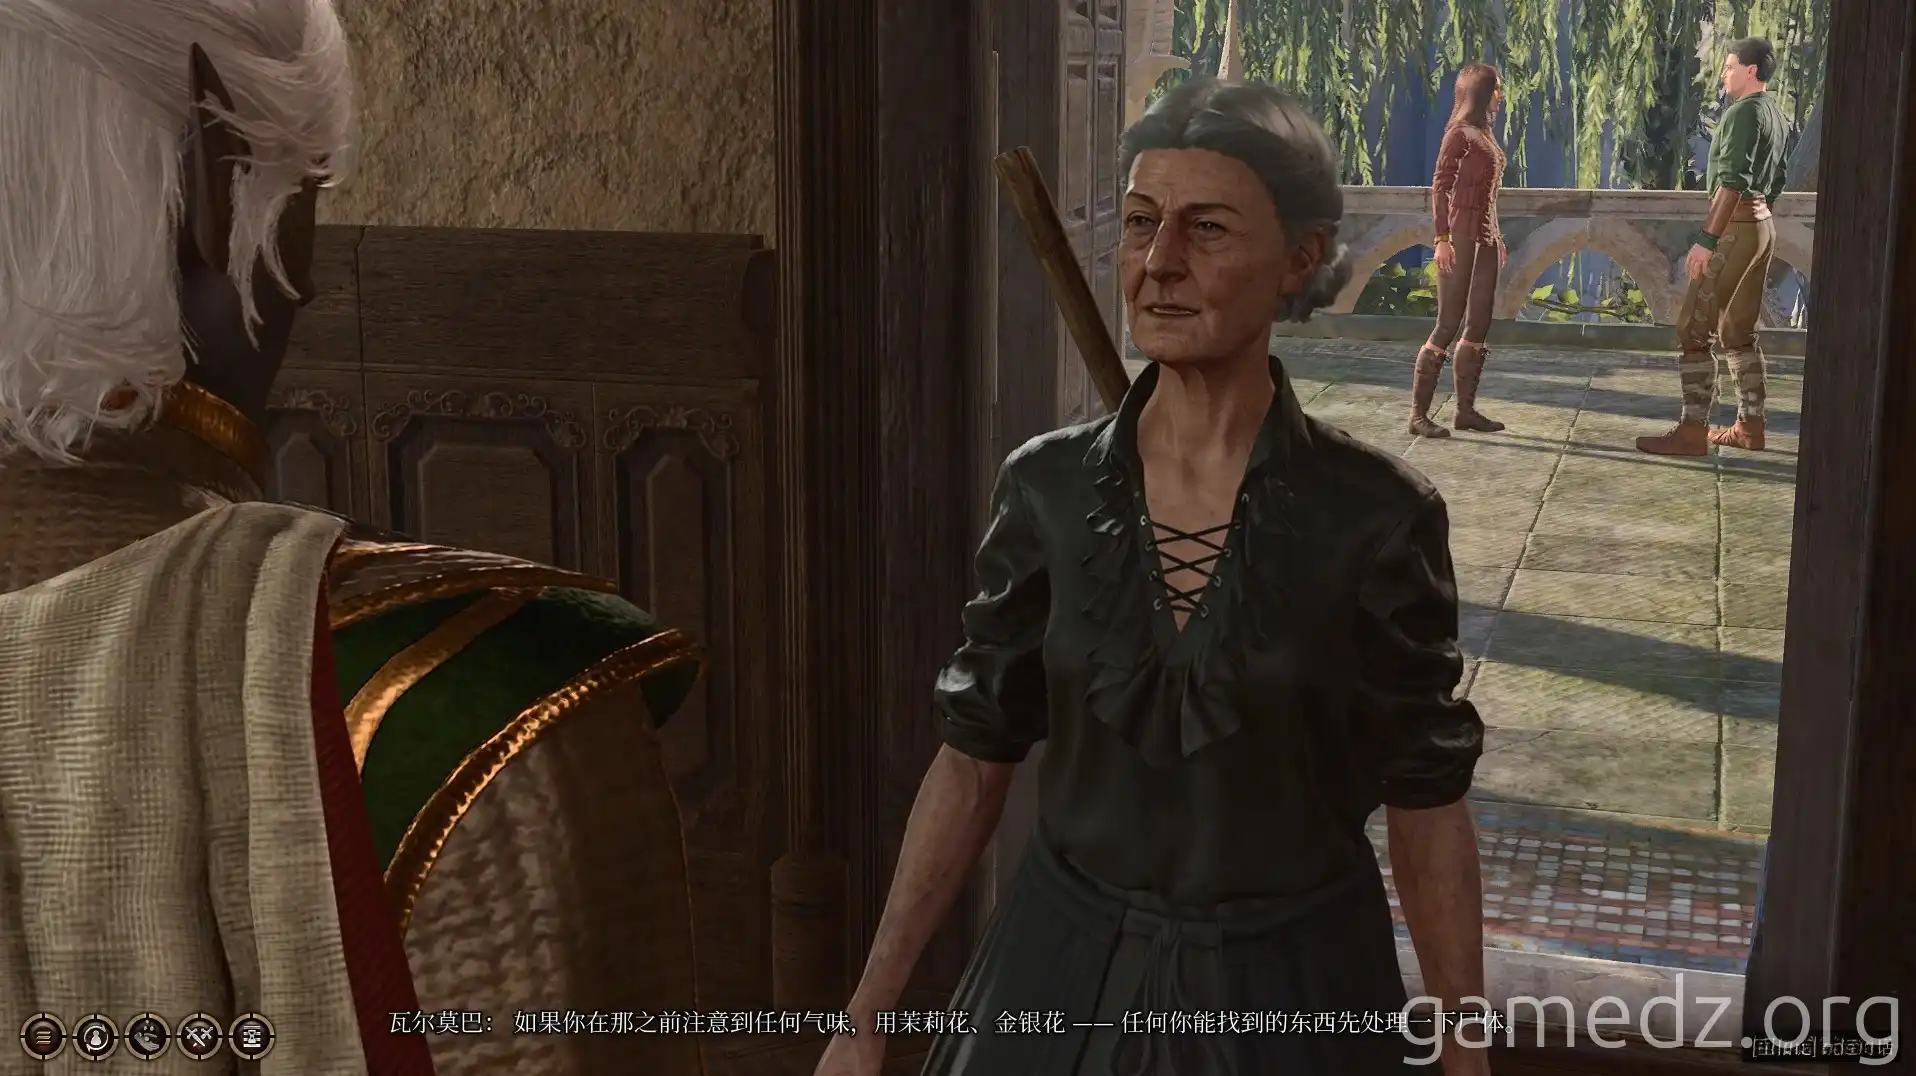
In the morgue, speaking with Valmoba will reveal that M. Corwin's grave is located under the large tree.
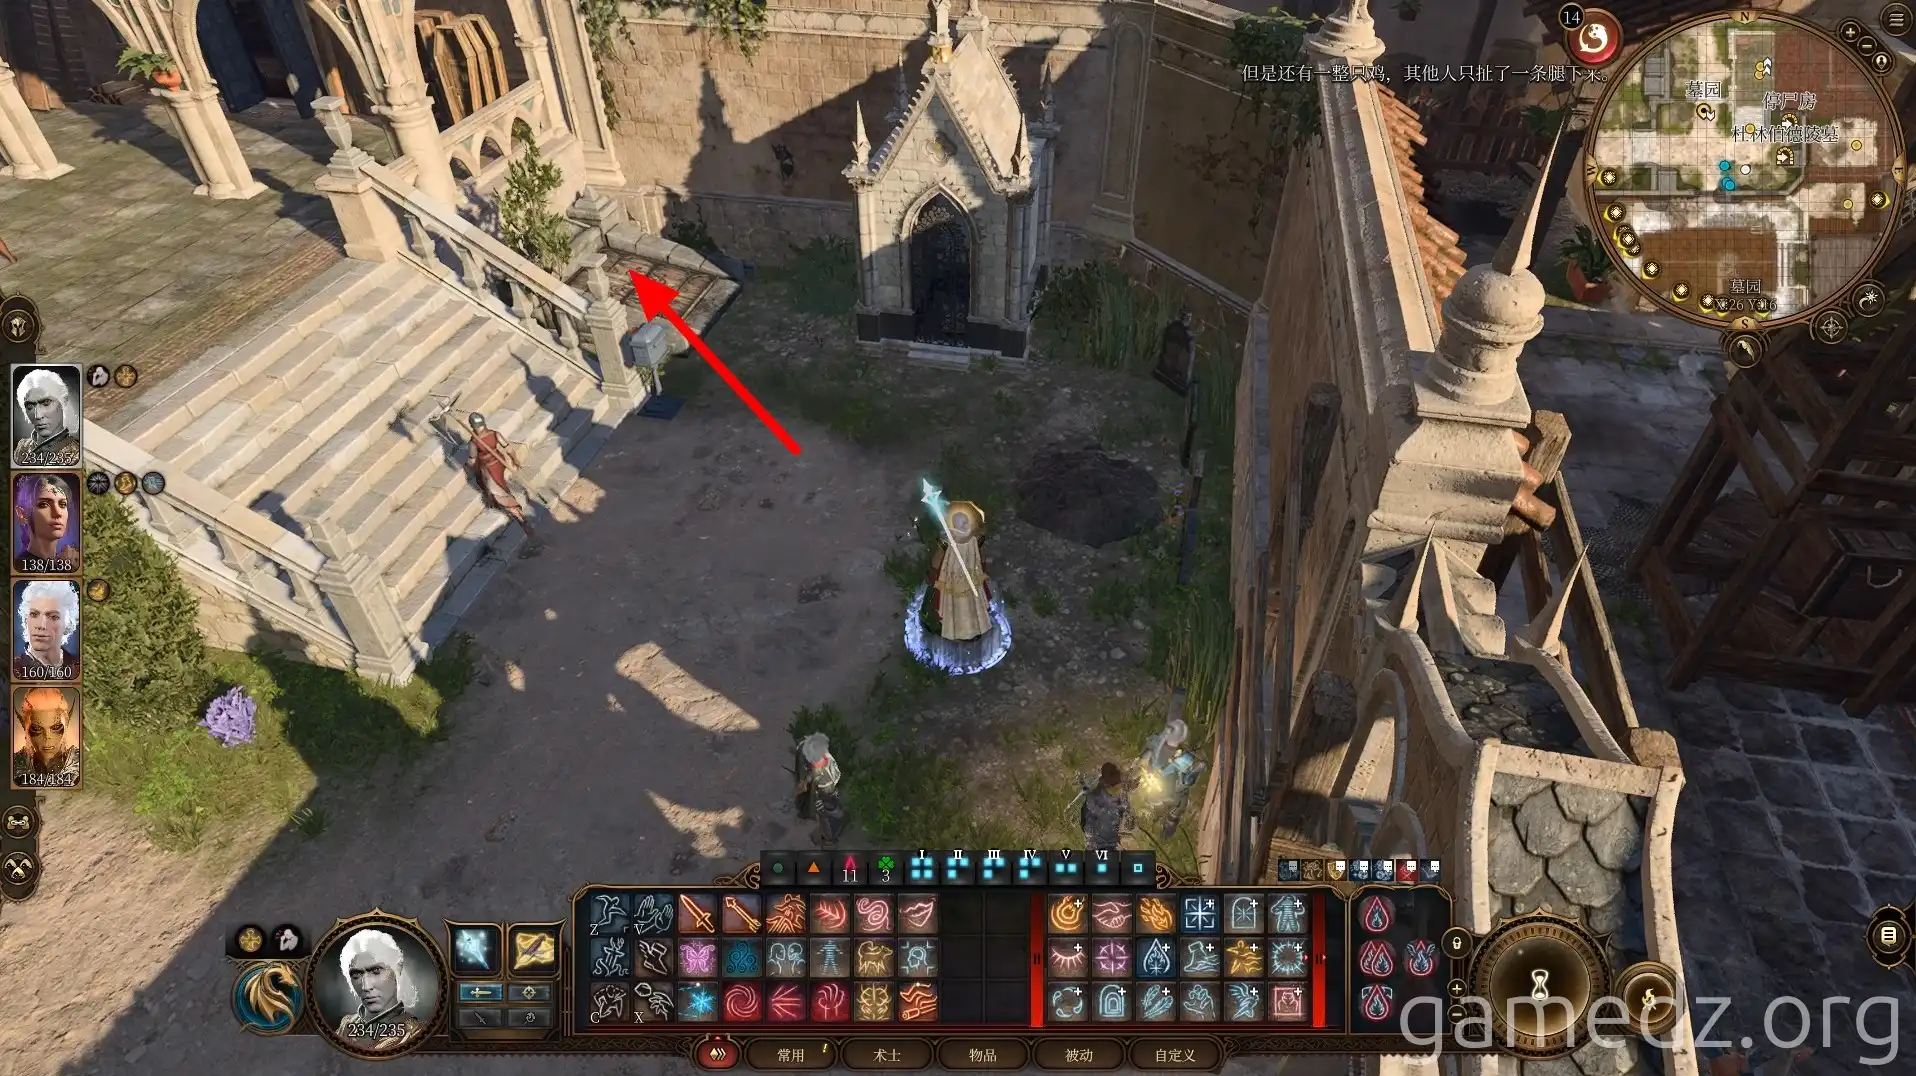
Enter the morgue's basement through the trapdoor next to the stairs.
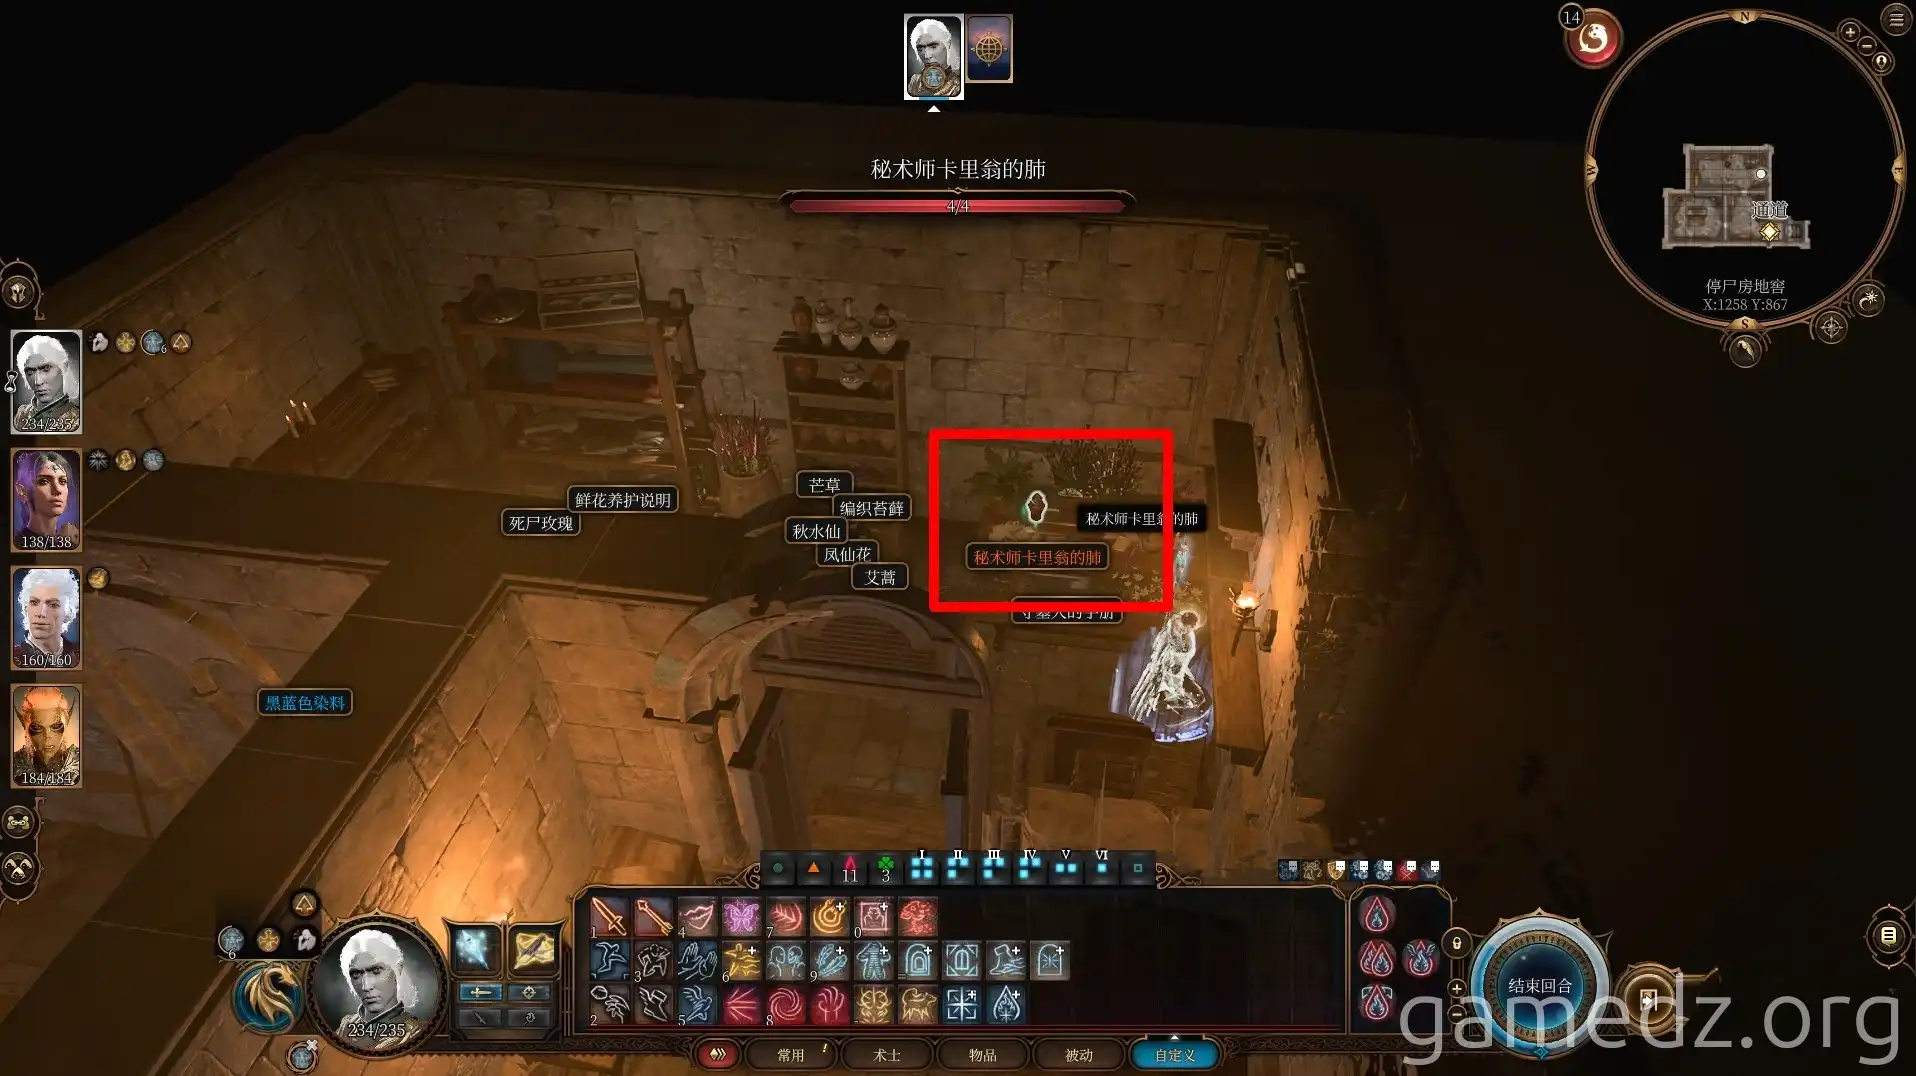
In the morgue's basement, you'll find Duke Stelmane's autopsy report and the item "Secretary Carrion's Lung." This is a required item for a later side quest, so grab it.
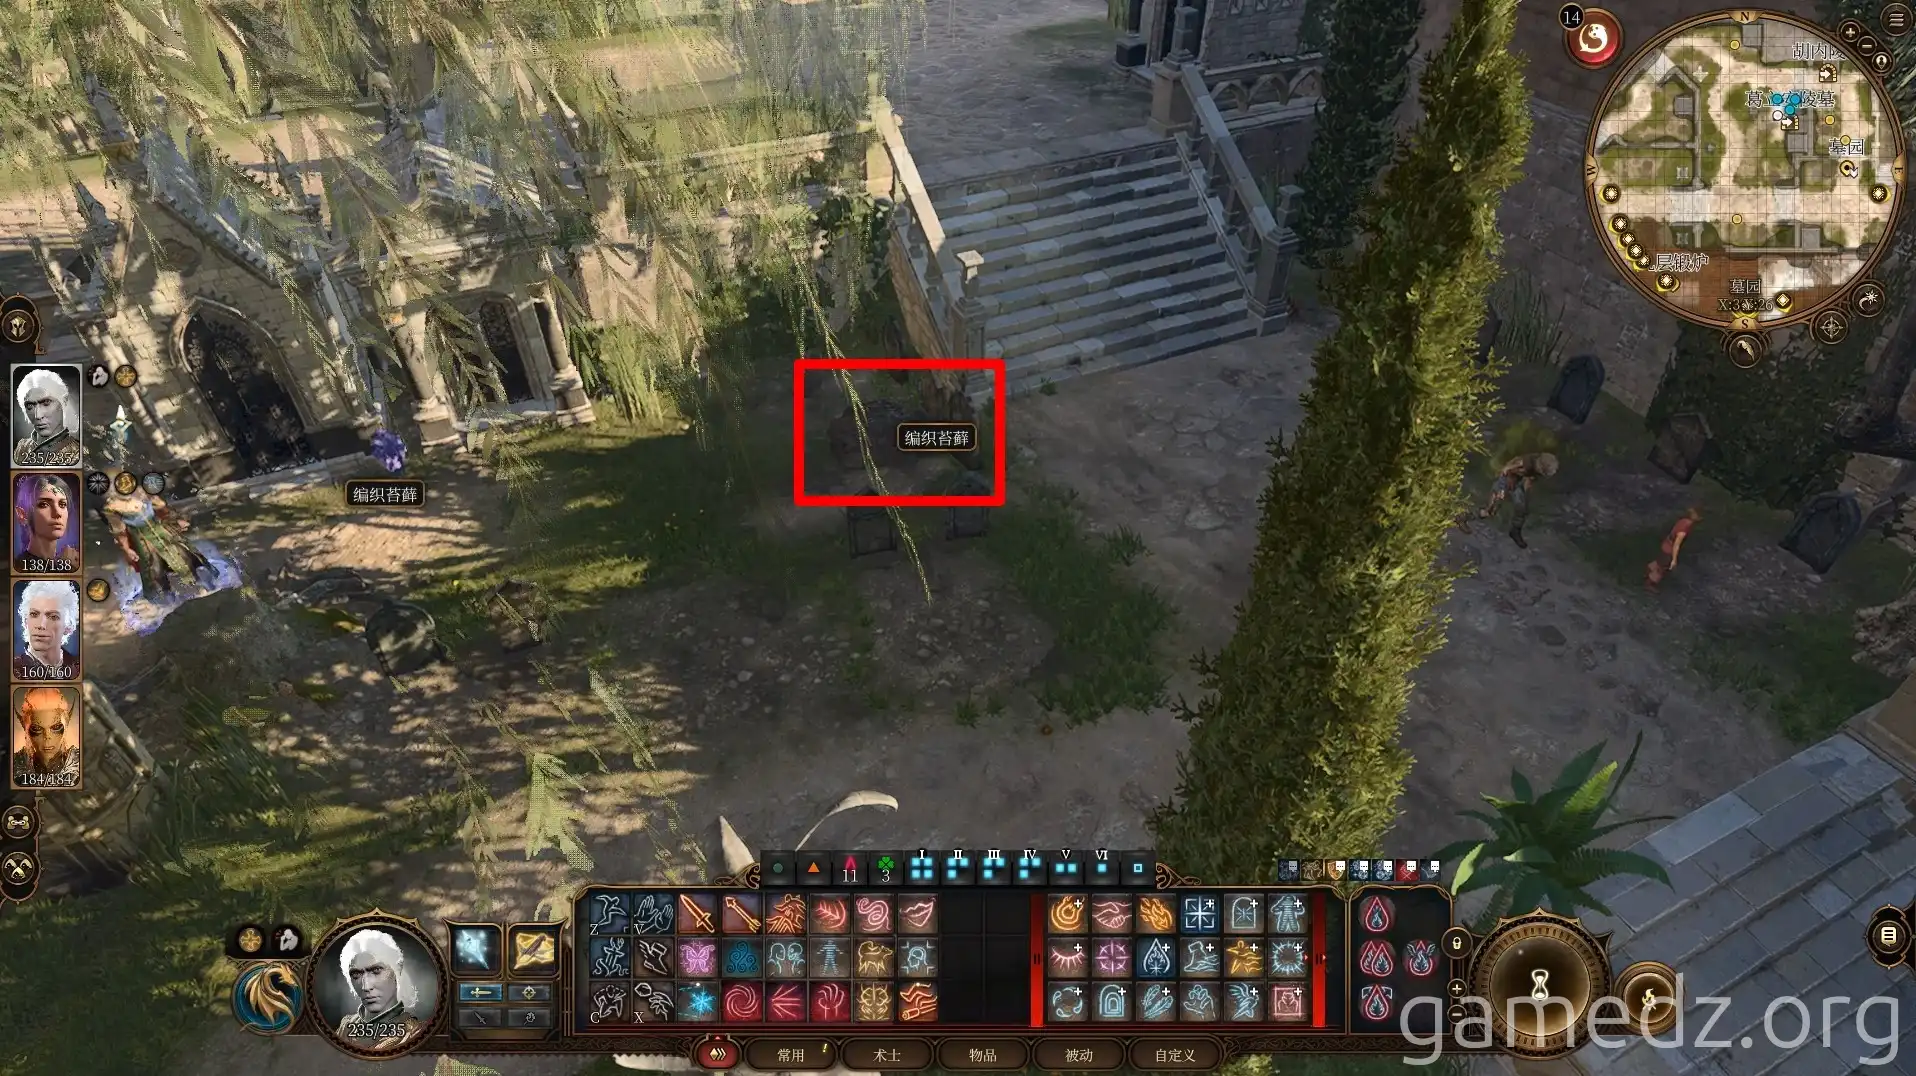
Return to the cemetery. Corwin's grave is located at the position shown in the image. Digging up the coffin will summon a kobold. For now, don't touch the coffin.
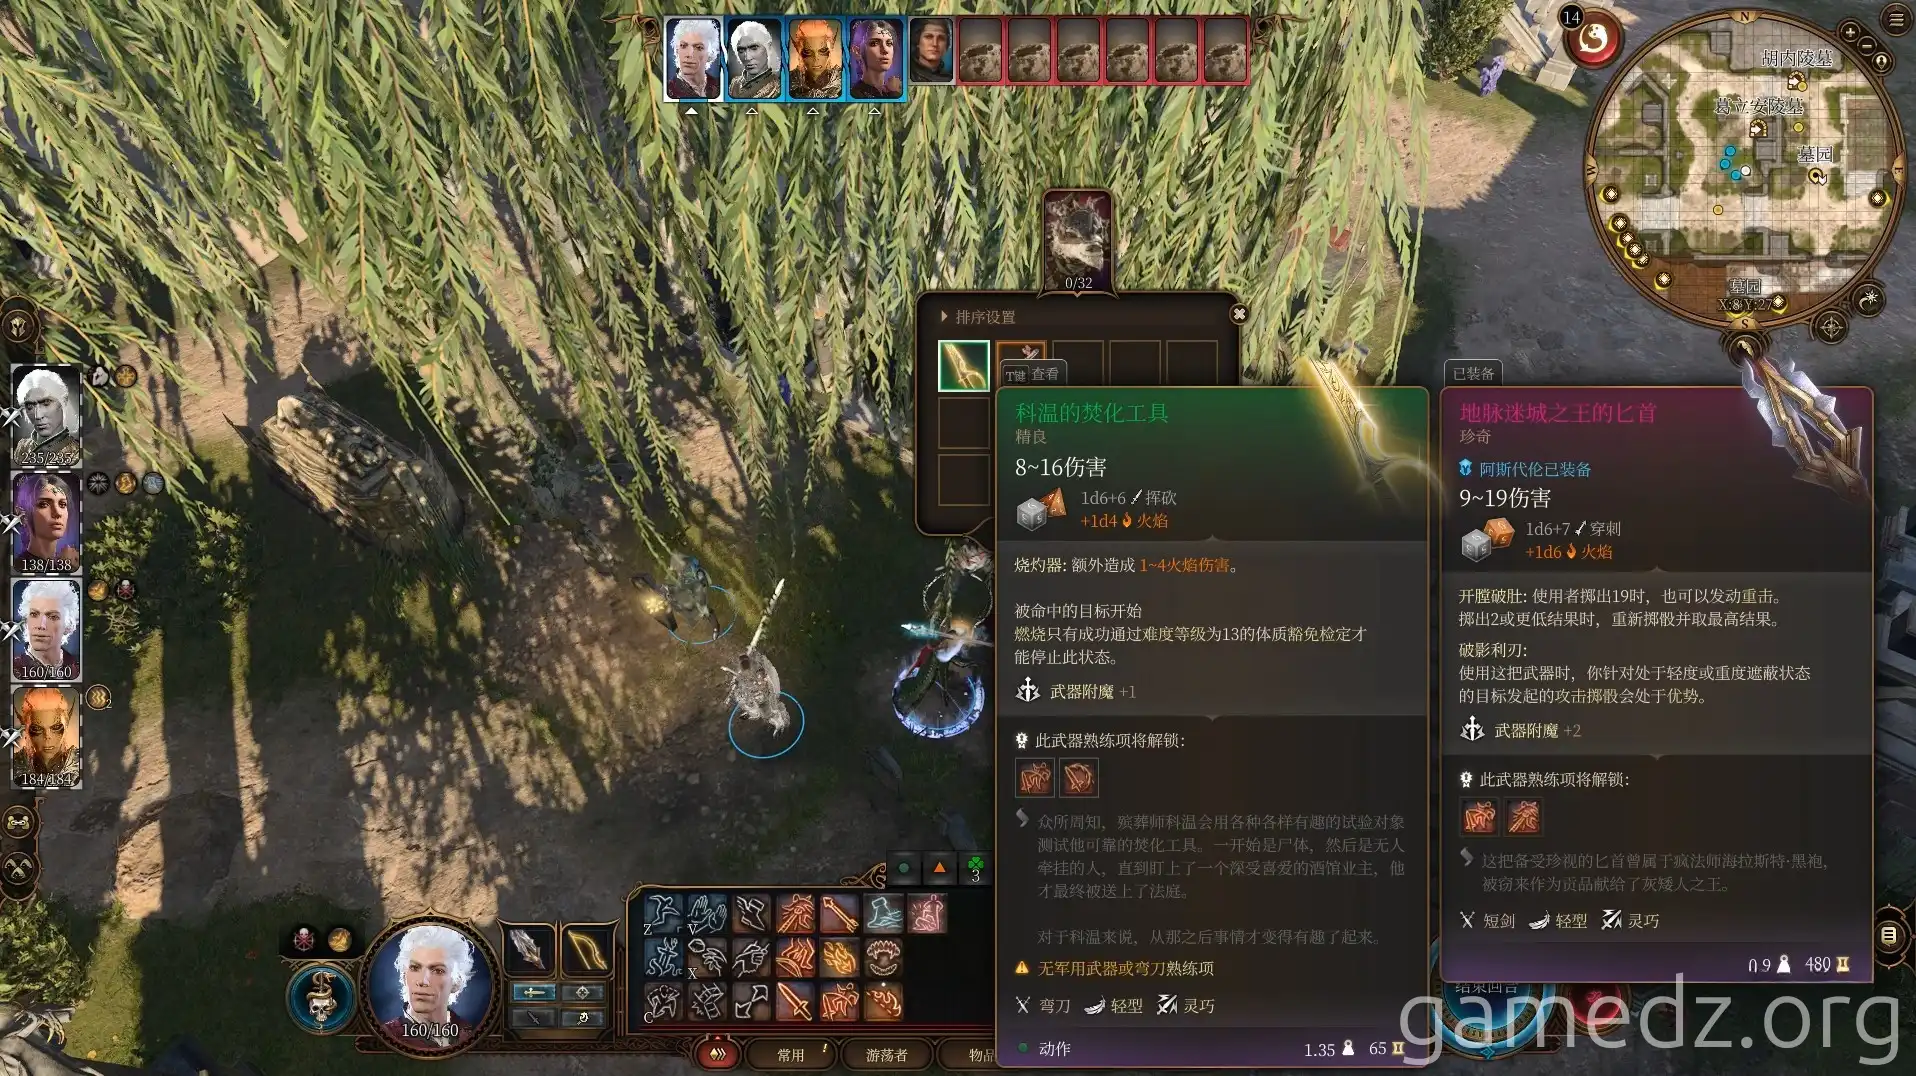
During the dialogue with the kobold, state that this belongs to "Nine-Fingers" and threaten it to leave something good behind. You can then obtain the fine weapon, "Corwin's Incinerator."
If you touch the coffin directly, combat will begin immediately. You can also obtain this weapon by defeating the kobold. After successfully driving away the kobold through dialogue, characters with the Urchin background will be inspired.
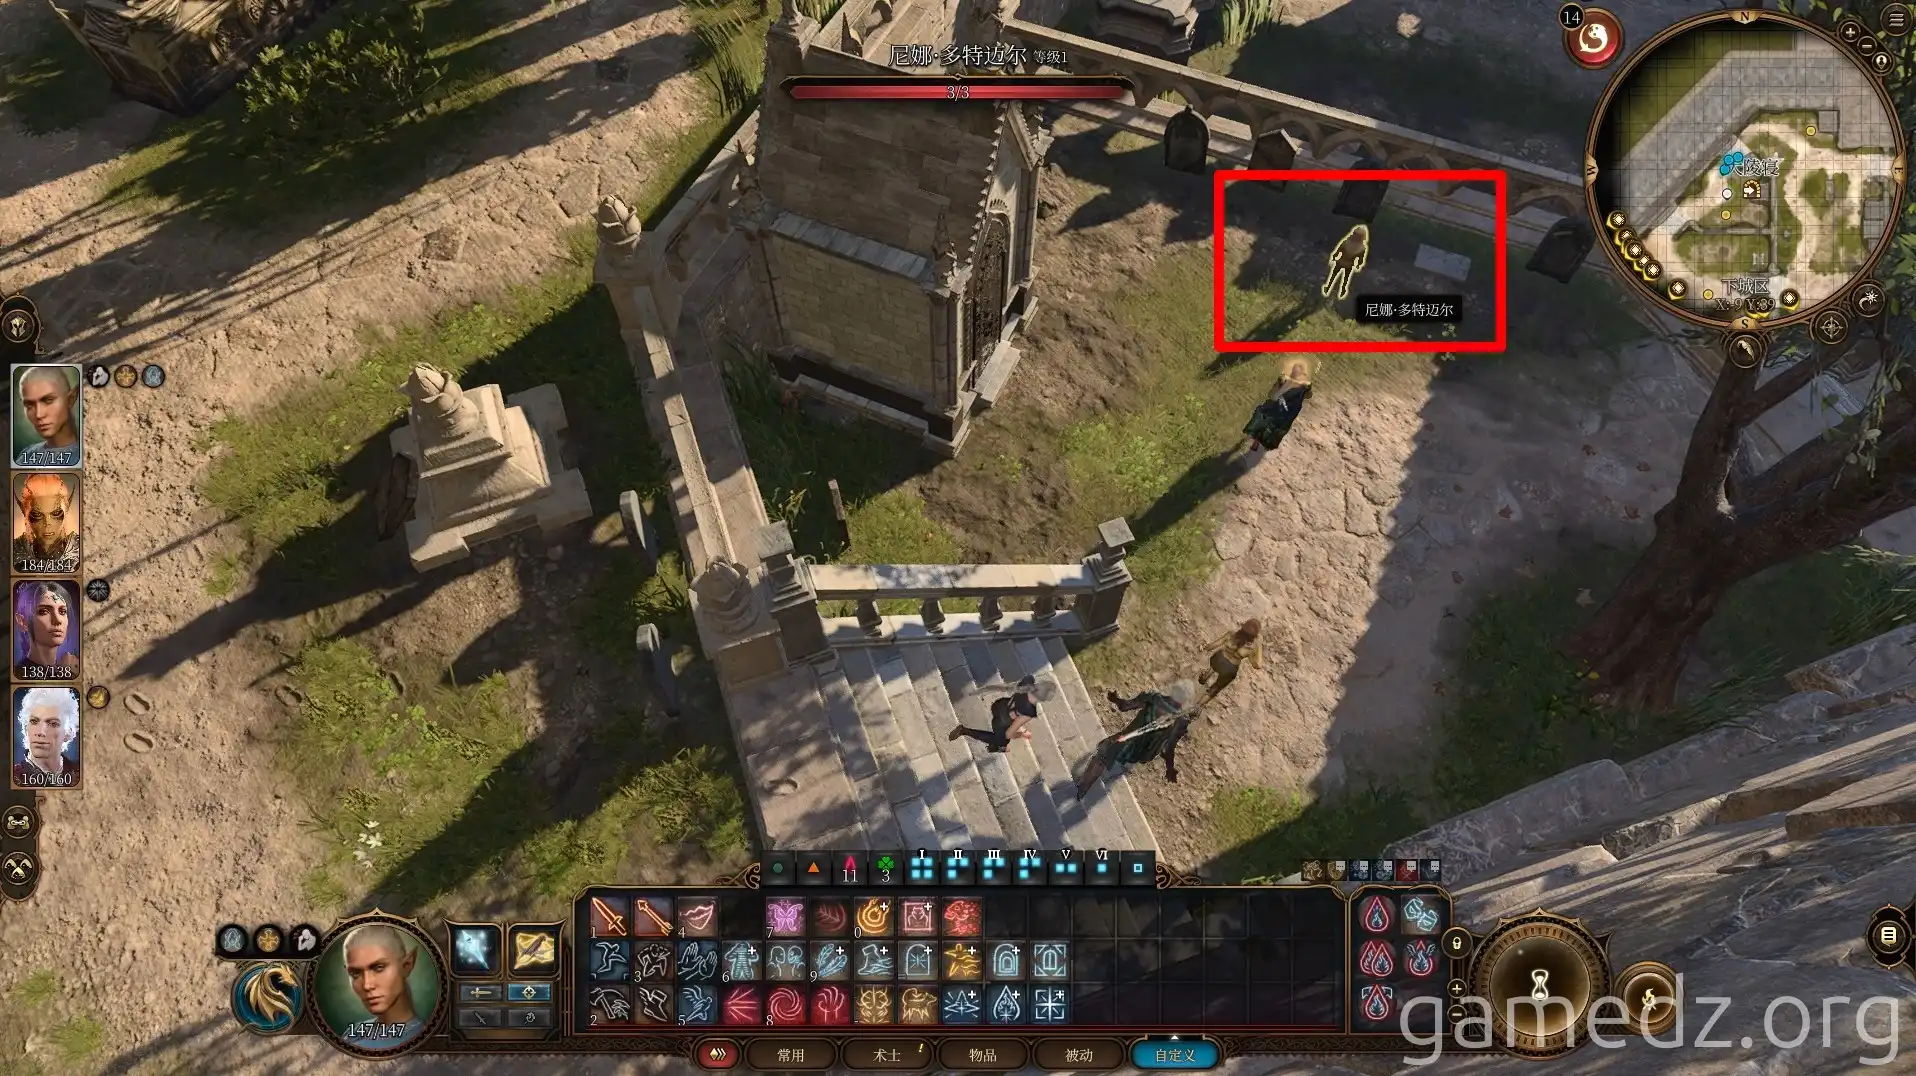
In the northwest corner of the cemetery, you'll find "Nina Dotmayer" attempting to resurrect her brother. It's best to persuade her to give up; otherwise, combat will immediately begin when her brother is resurrected.
After the dialogue, characters with the Acolyte background will be inspired. In the mausoleum next to Nina, you'll find some scrolls and potion supplies.
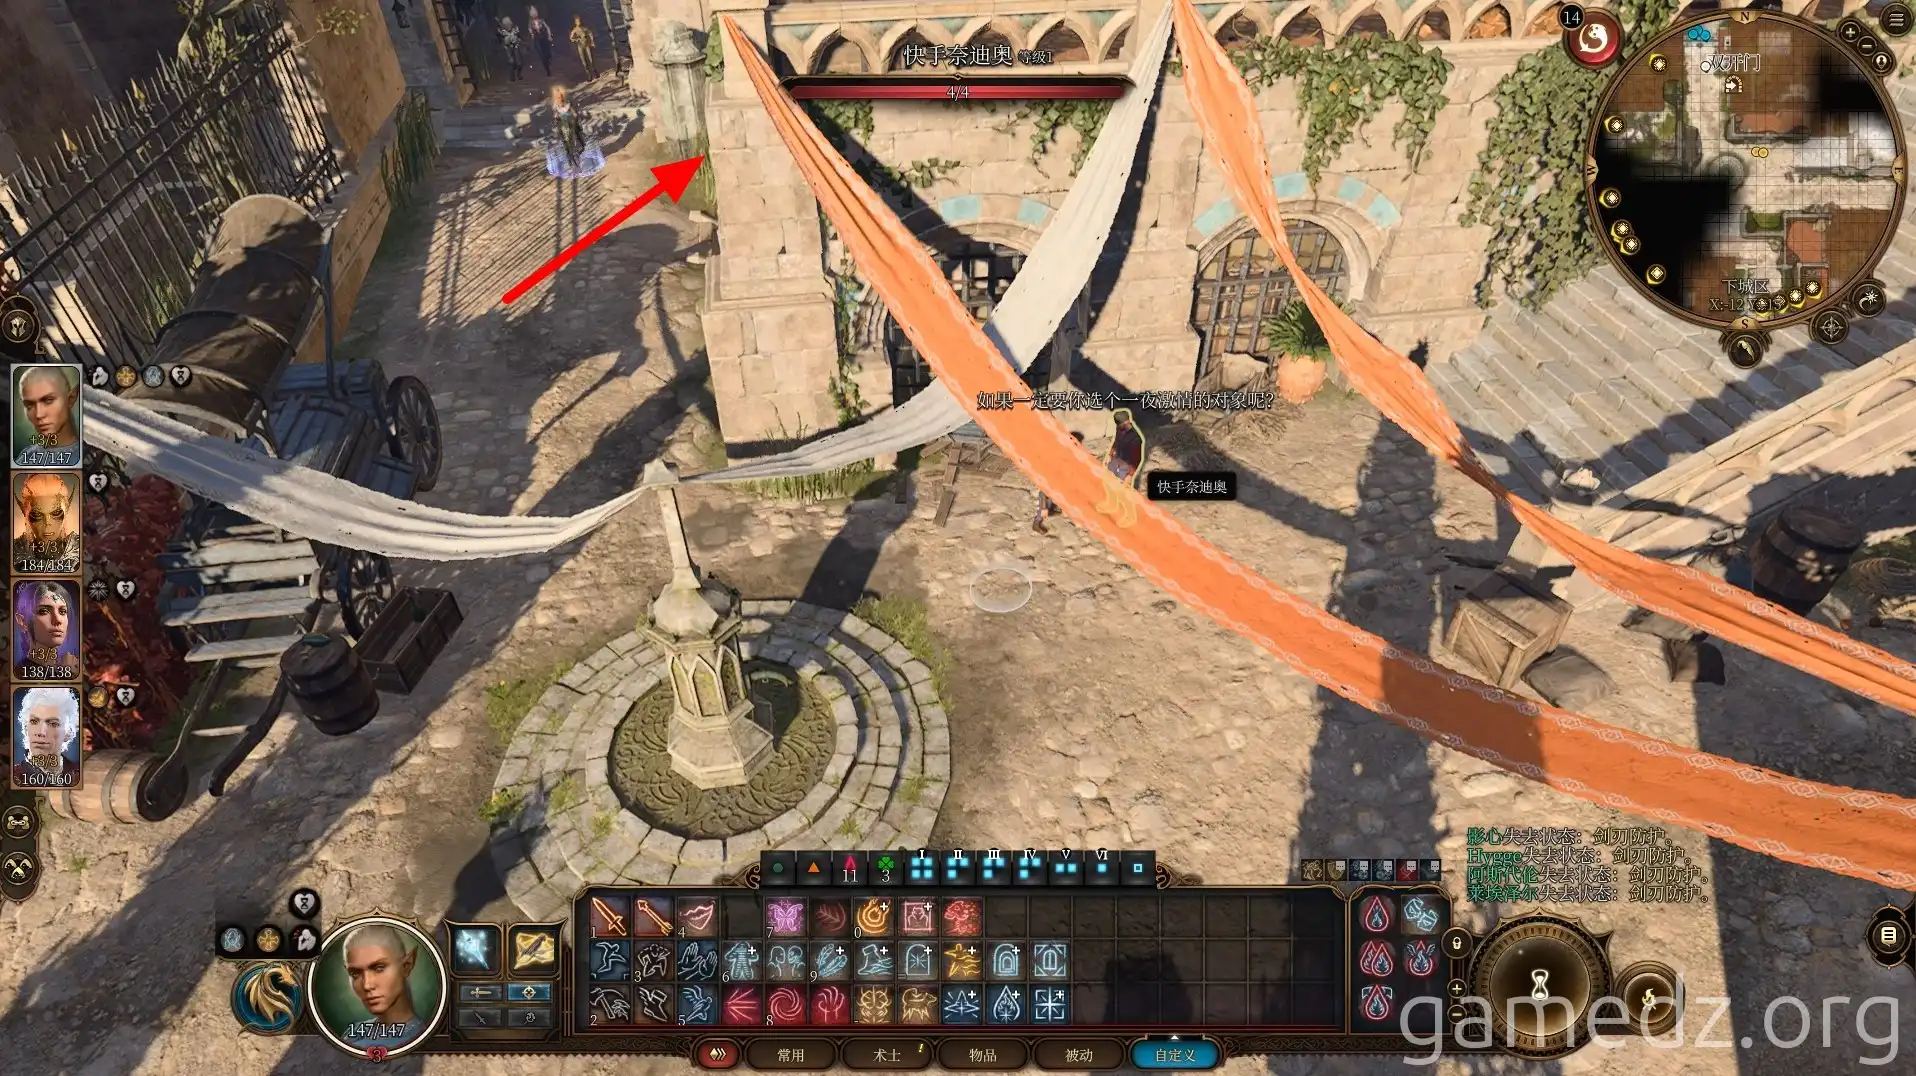
Exit the cemetery through the west entrance and open the door to enter the first floor of the blacksmith shop.
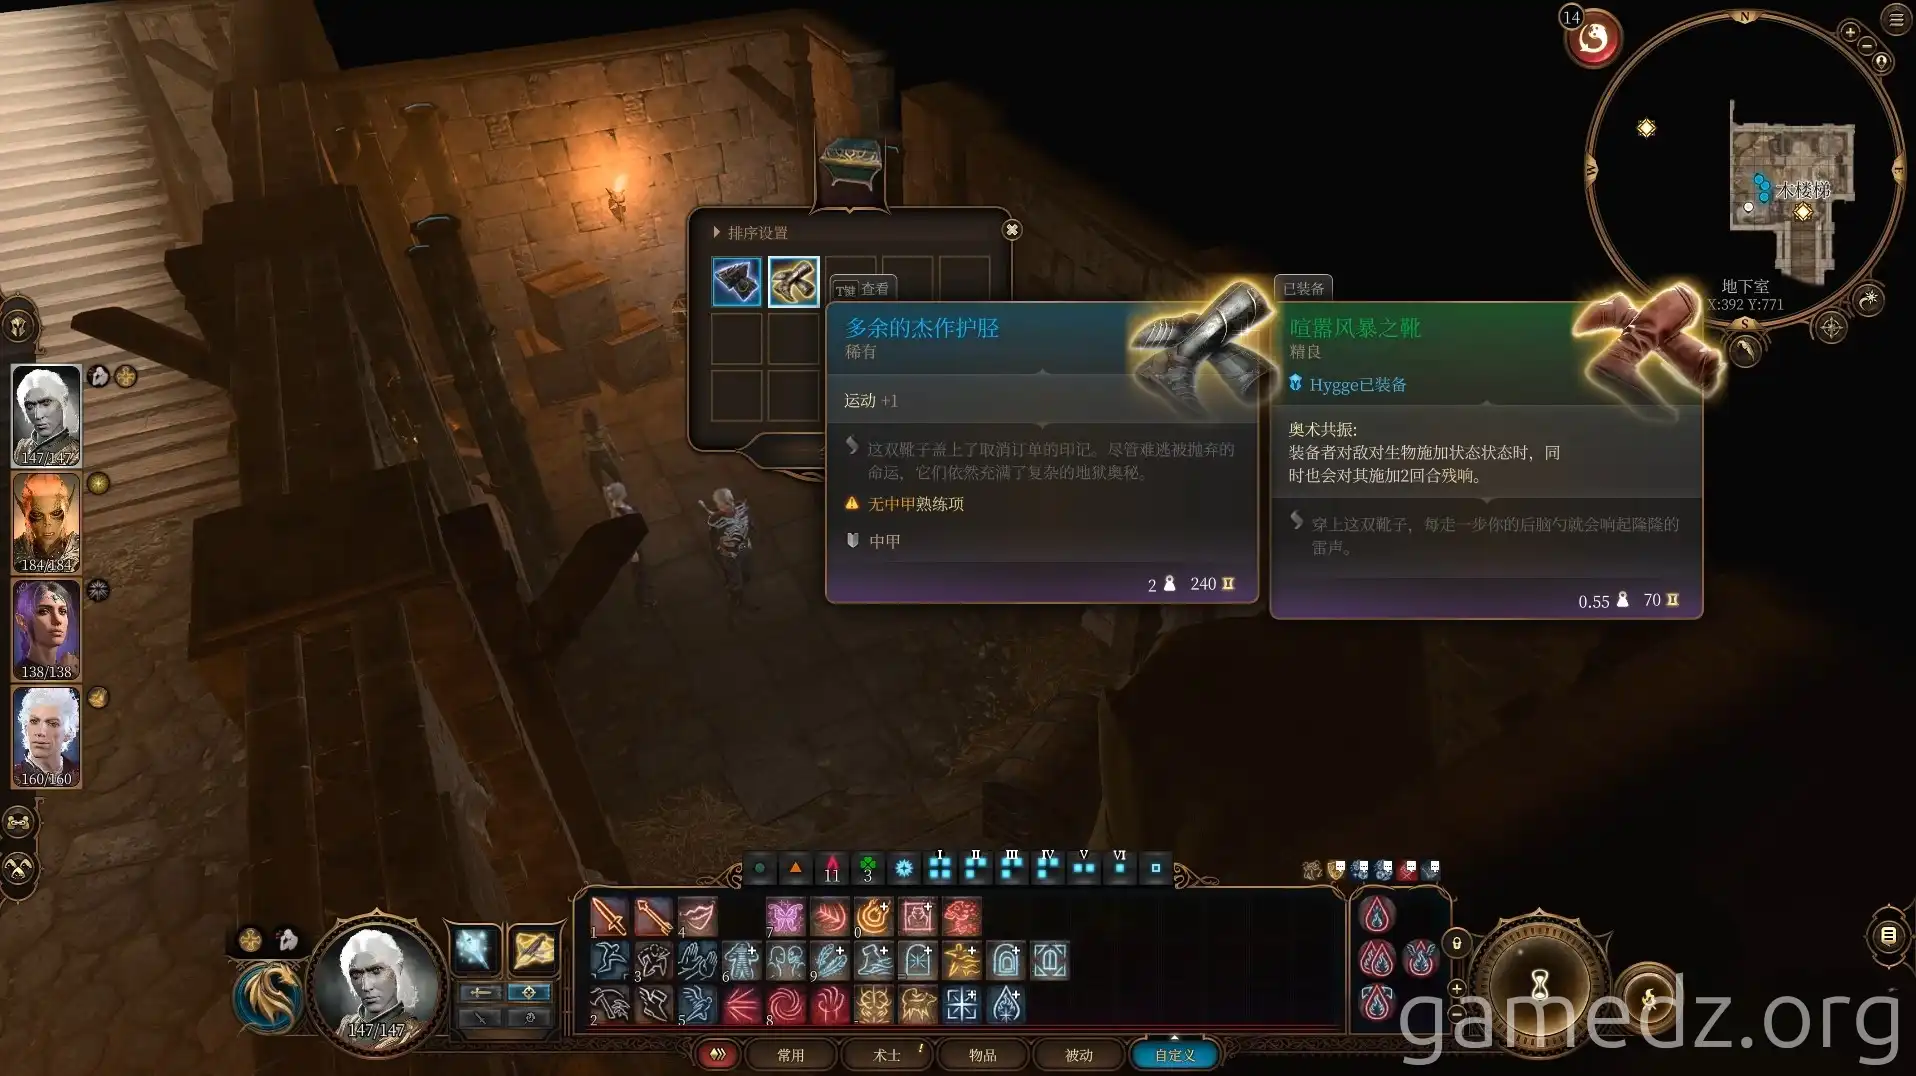
Inside the chests in the room, you can find the rare equipment "Excessive Masterwork Greaves" and "Excessive Masterwork Gauntlets."
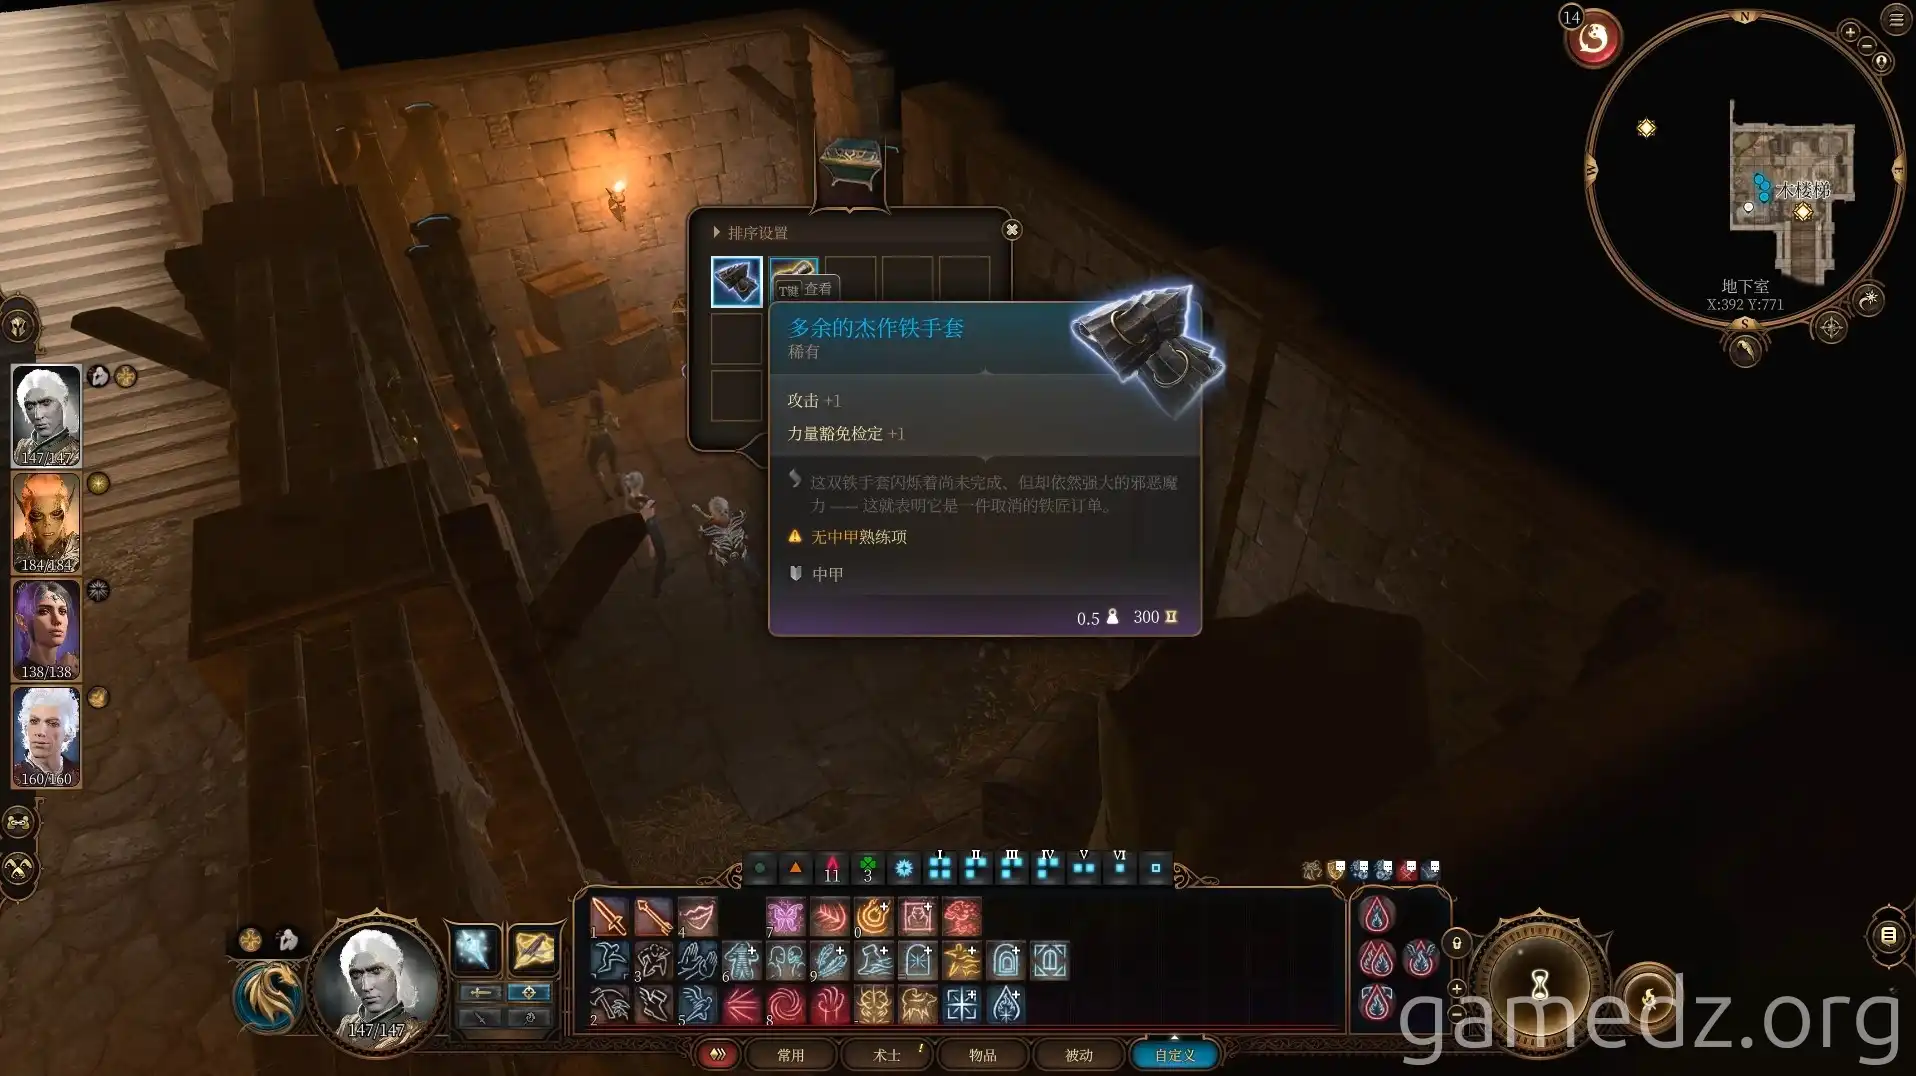
Here are the stats for the Excessive Masterwork Gauntlets.
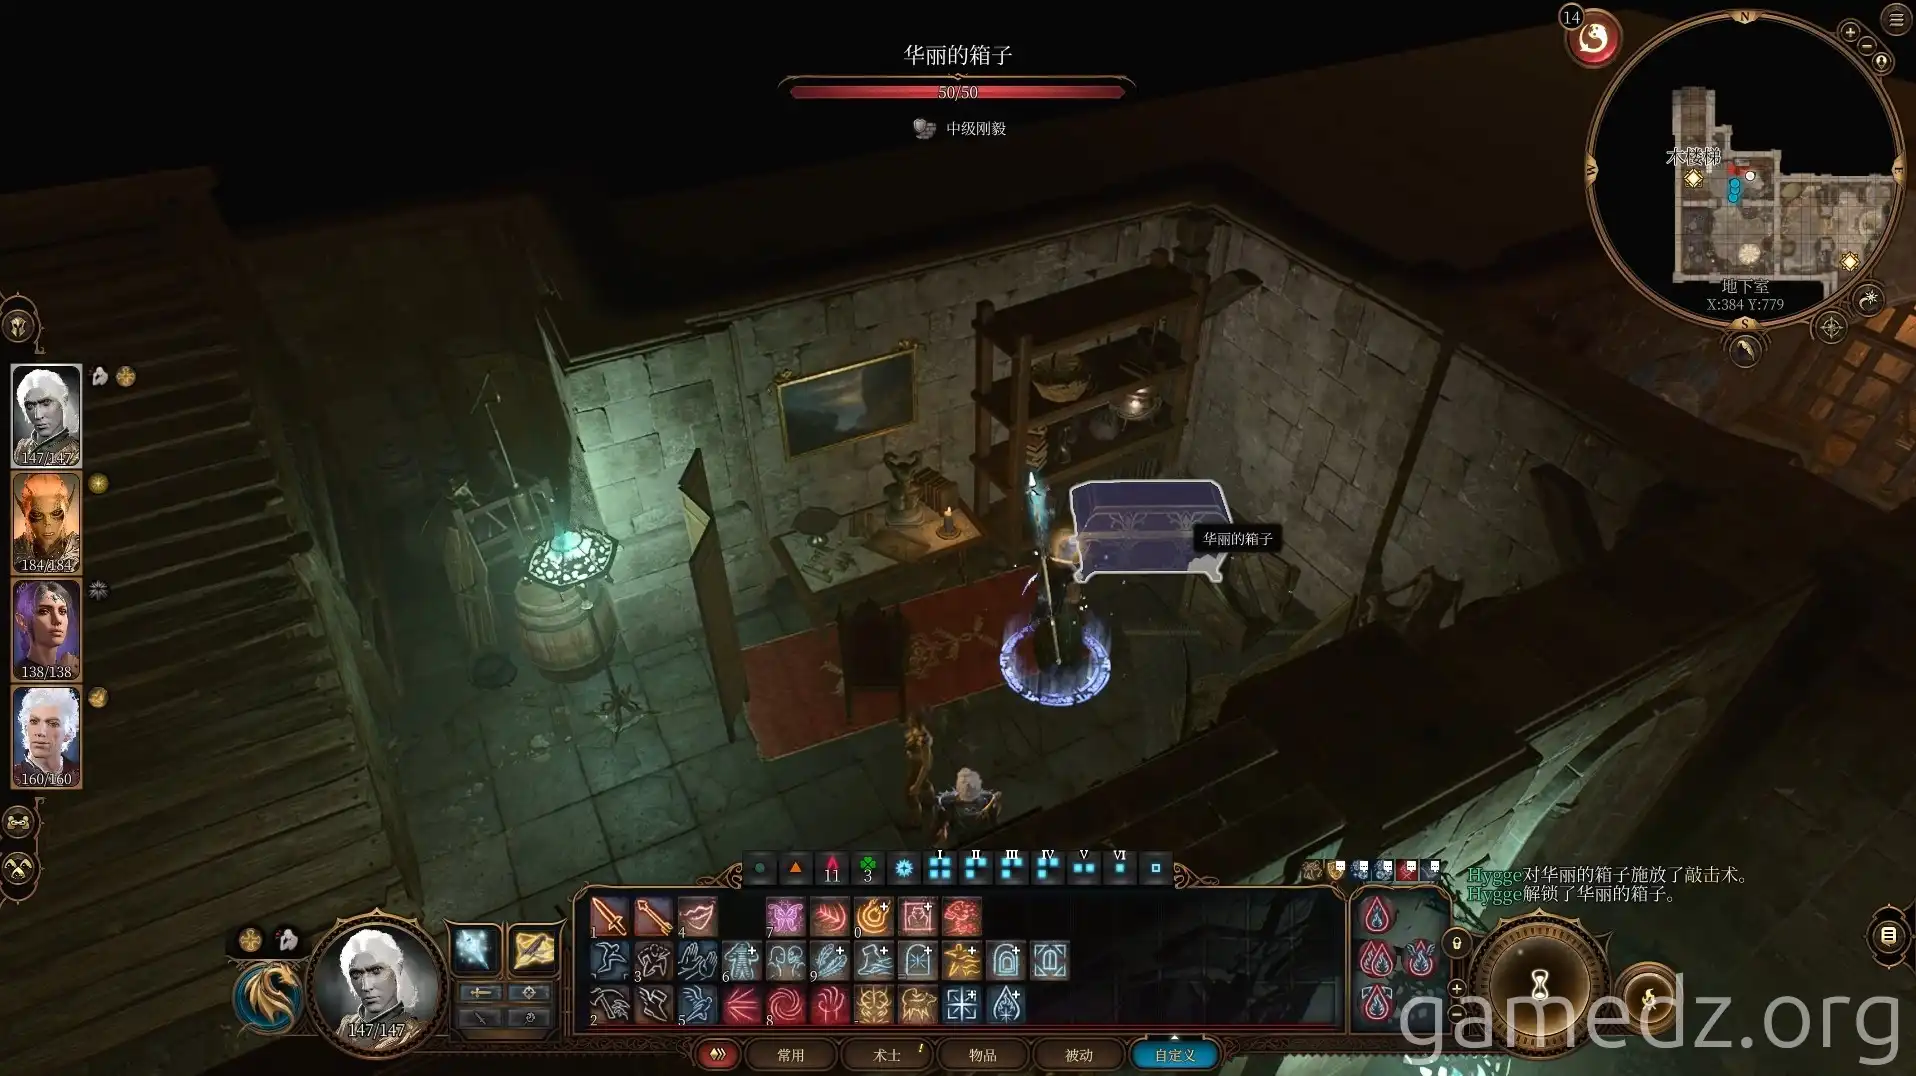
Break through the wall to access another room. After looting it, leave.
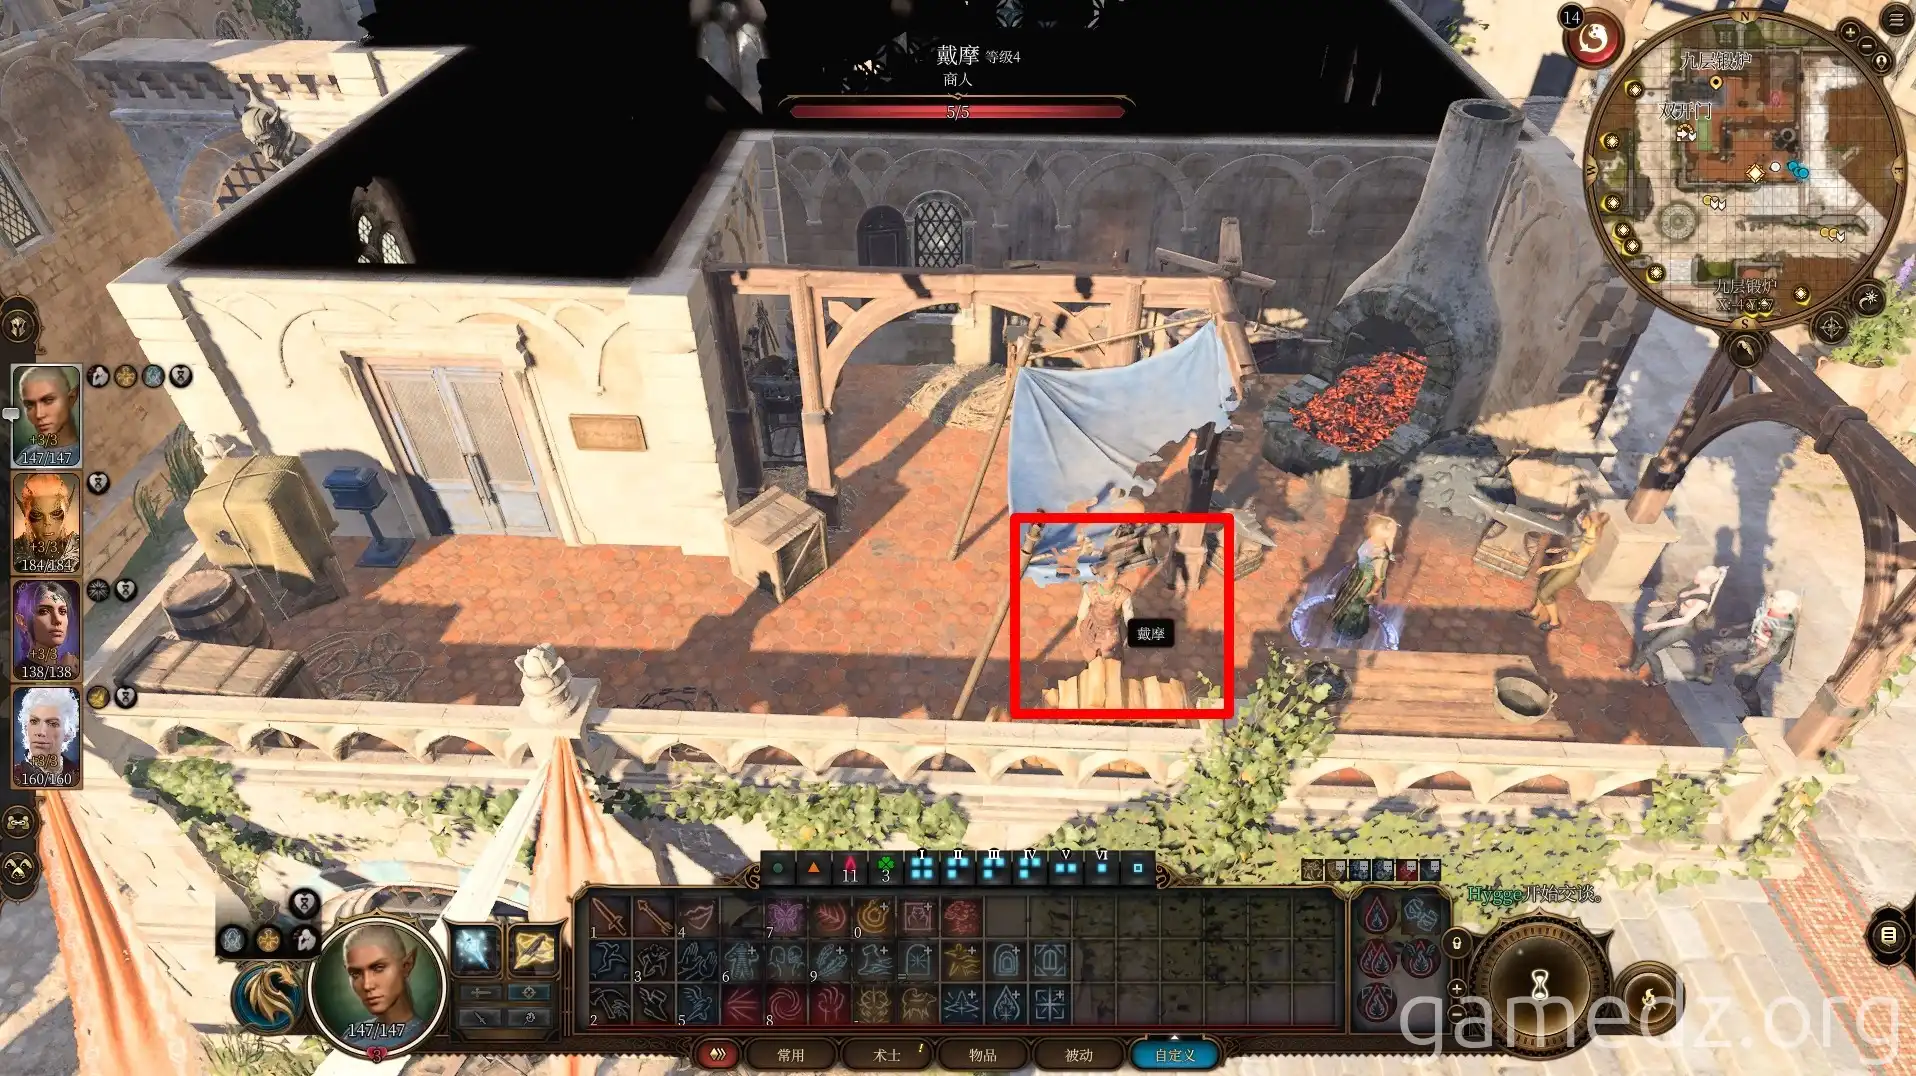
On the second-floor terrace of the blacksmith shop, you can find Dammon. The building between the blacksmith shop and Elfsong Tavern is a private residence with nothing inside.
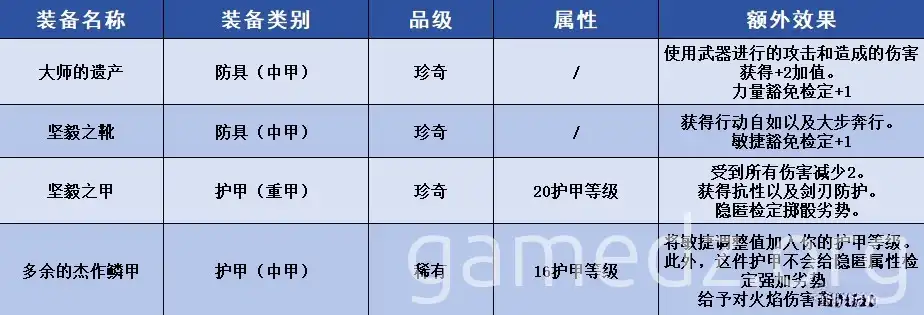
Here's a list of the unique equipment Dammon sells and their stats.
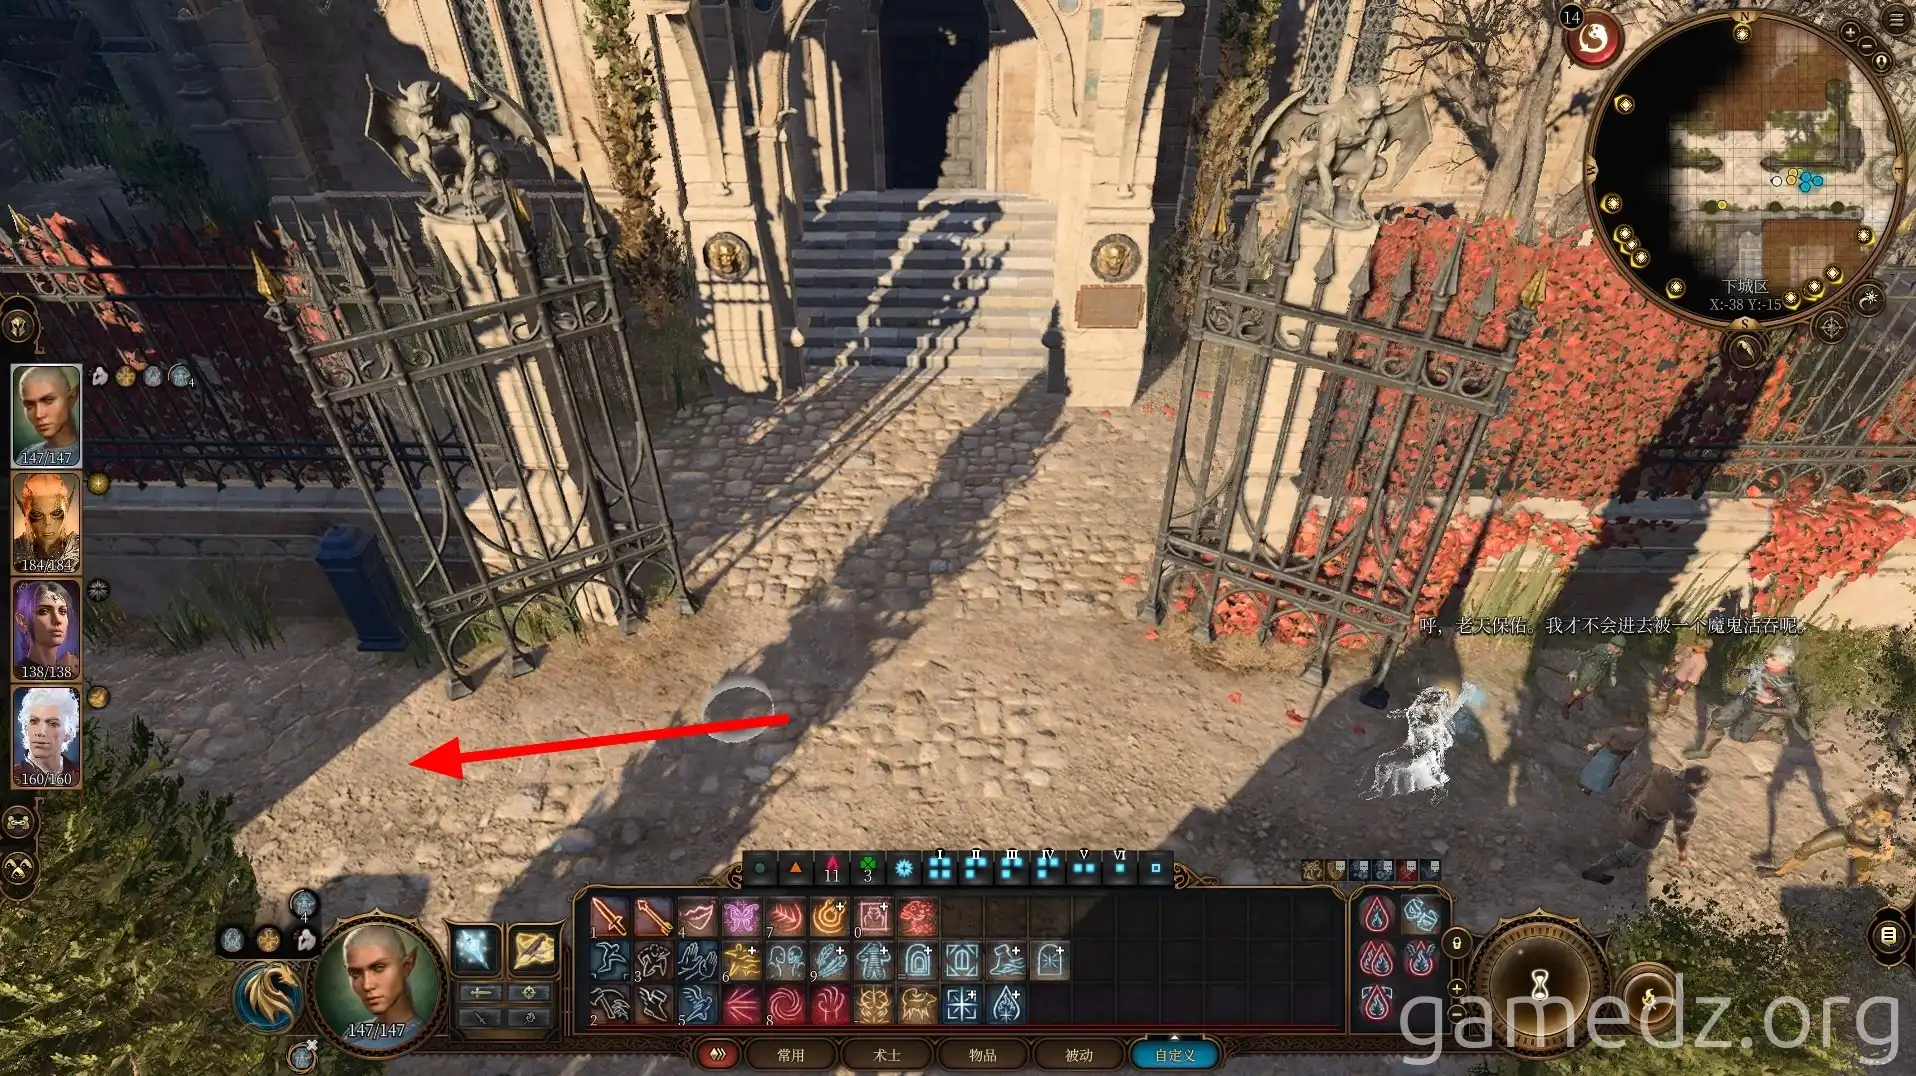
Leave the blacksmith shop and continue west. The adjacent building is "Devil's Due," but don't enter it yet; keep heading west.
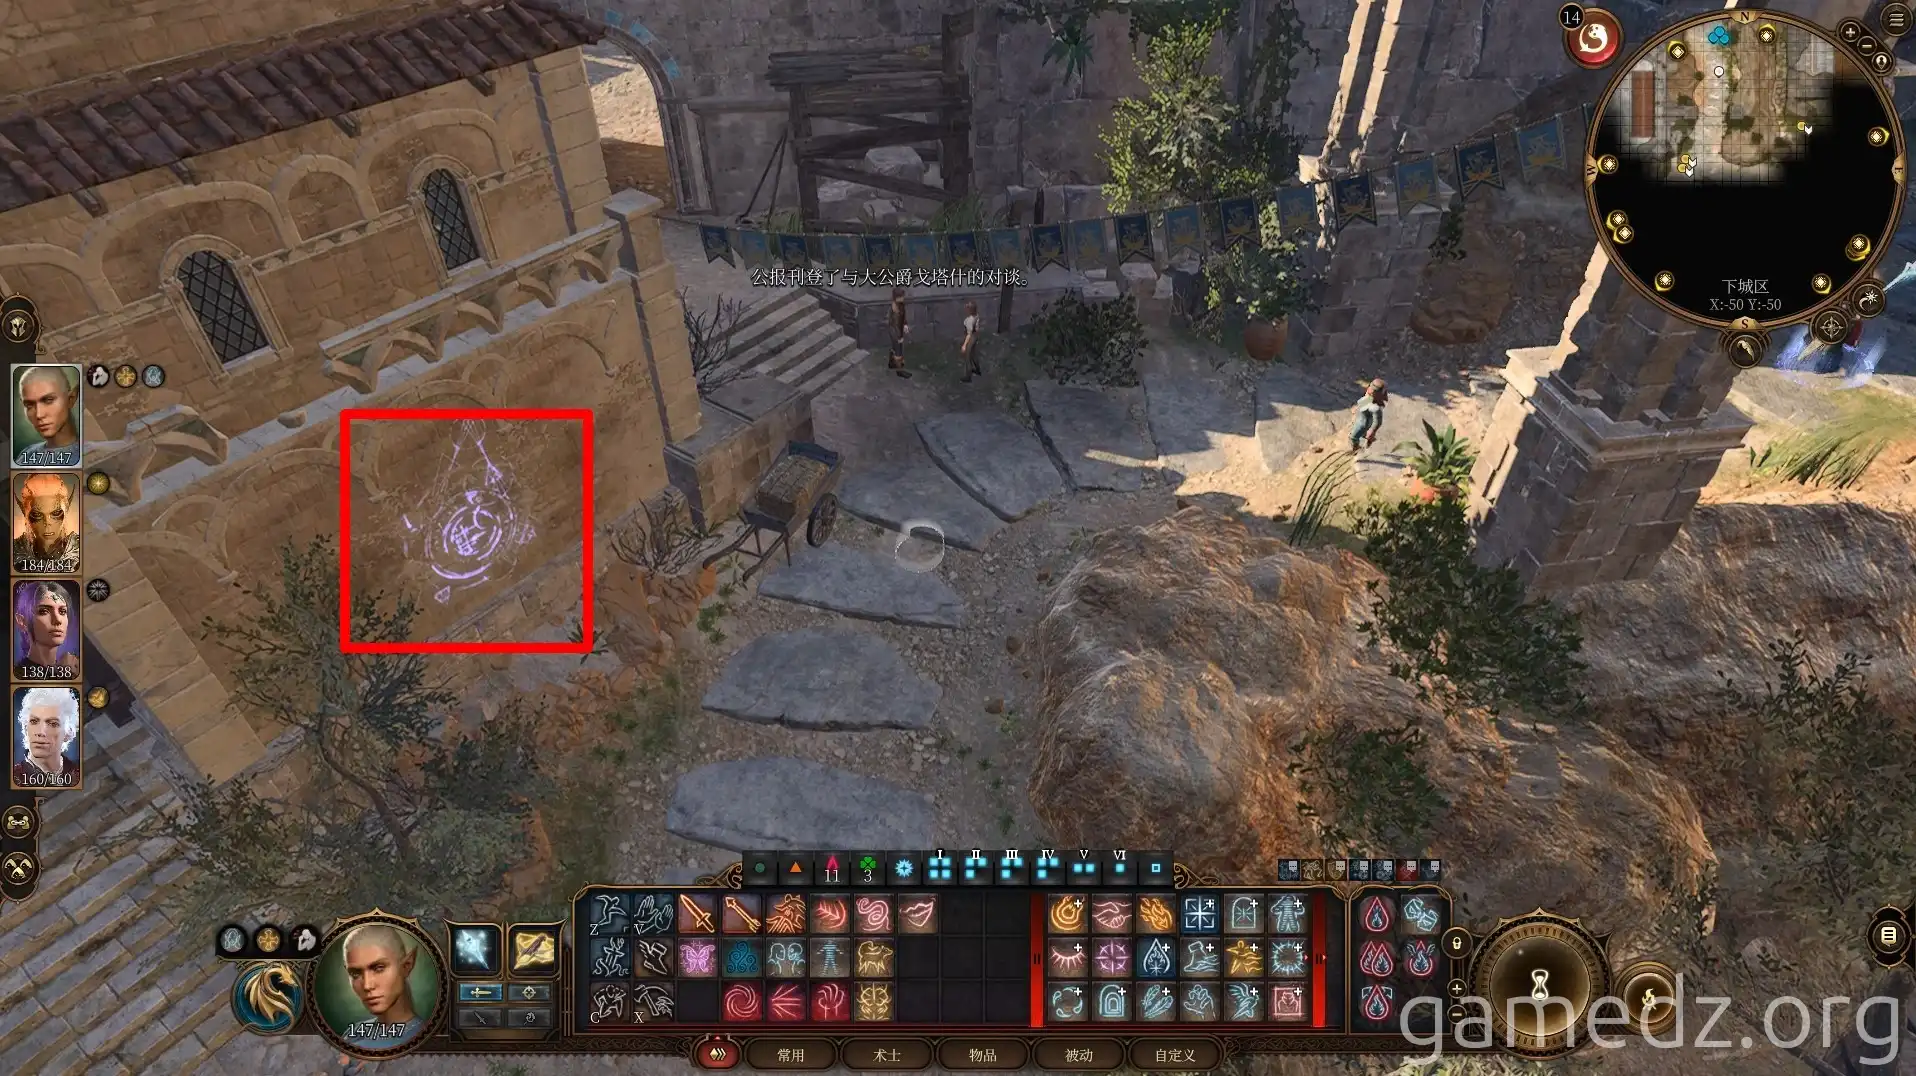
Reach the city wall and continue south along the road. Activate the "Lower City Main Wall" fast travel point ahead, then return to Devil's Due.
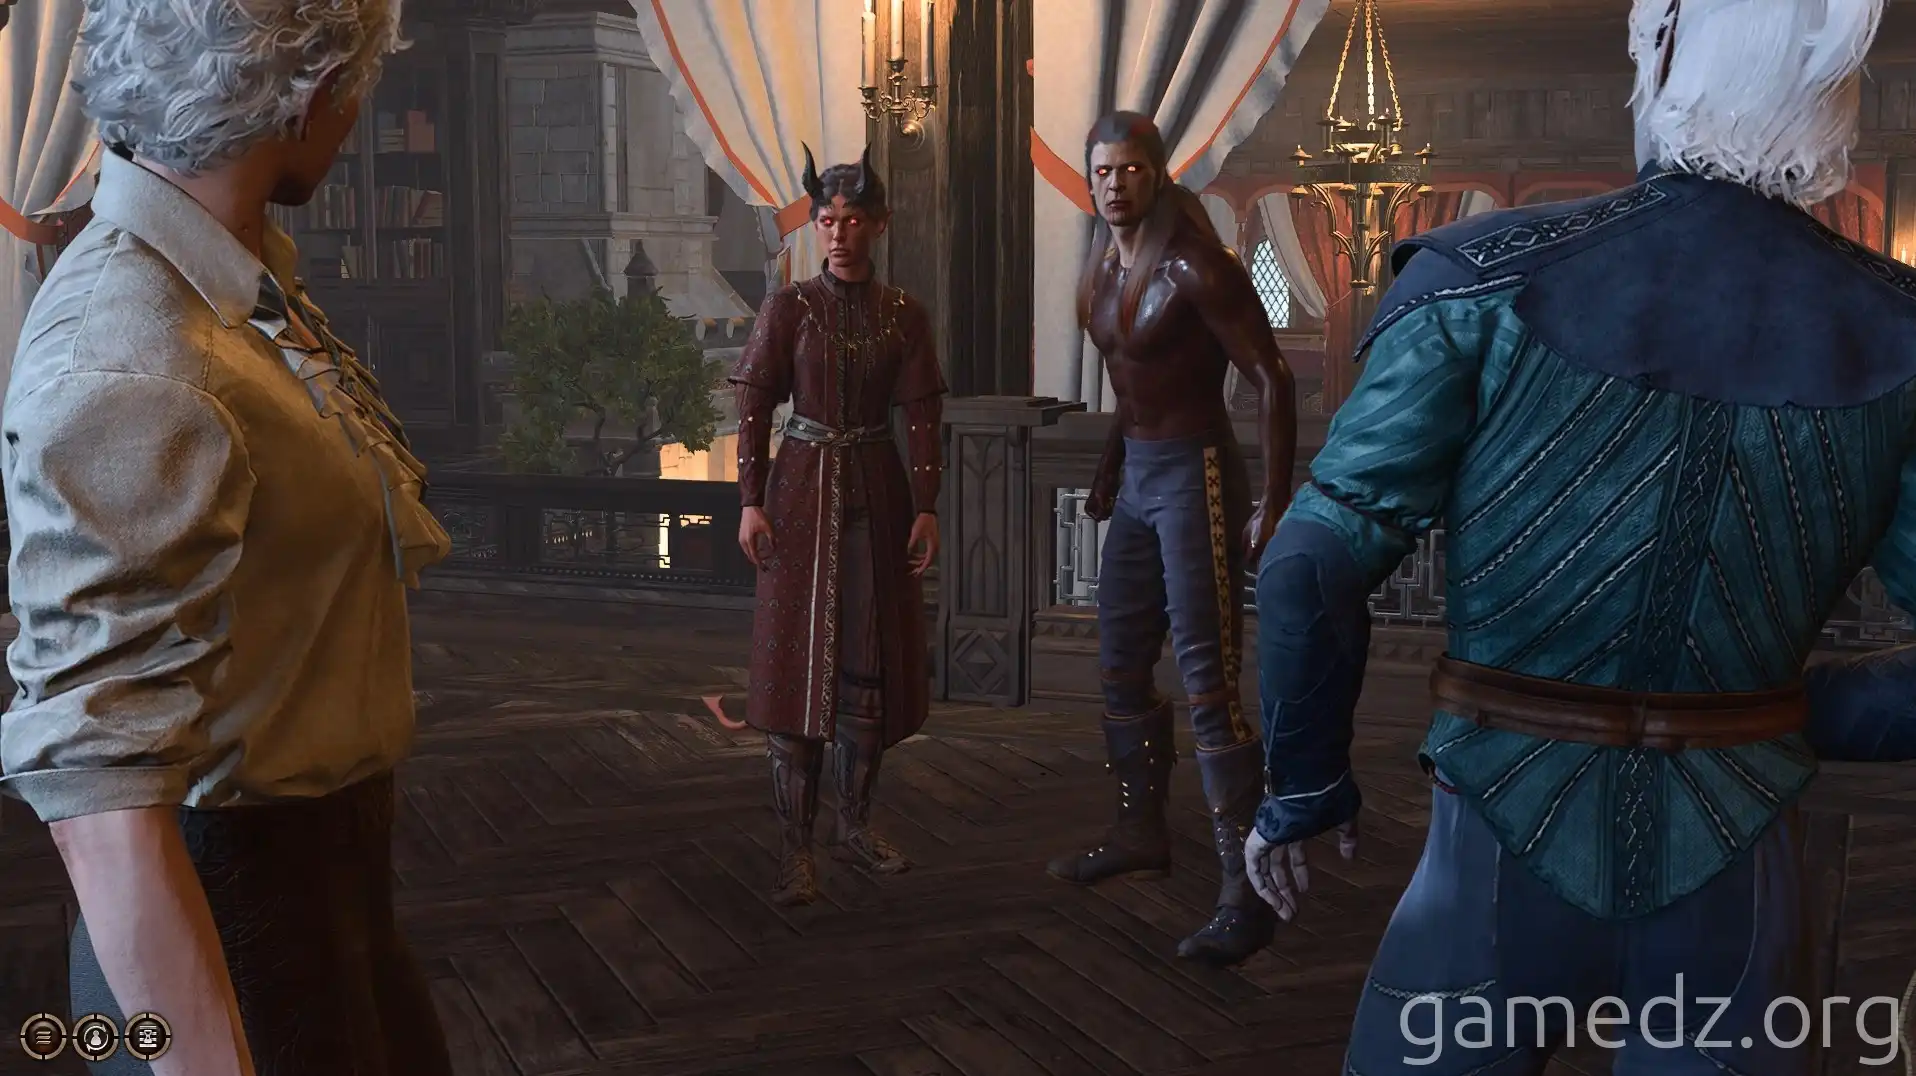
While resting near Devil's Due, the guide was ambushed by other vampire spawn. However, it's currently unclear if this event is triggered by the location of the rest or the number of rests taken.

