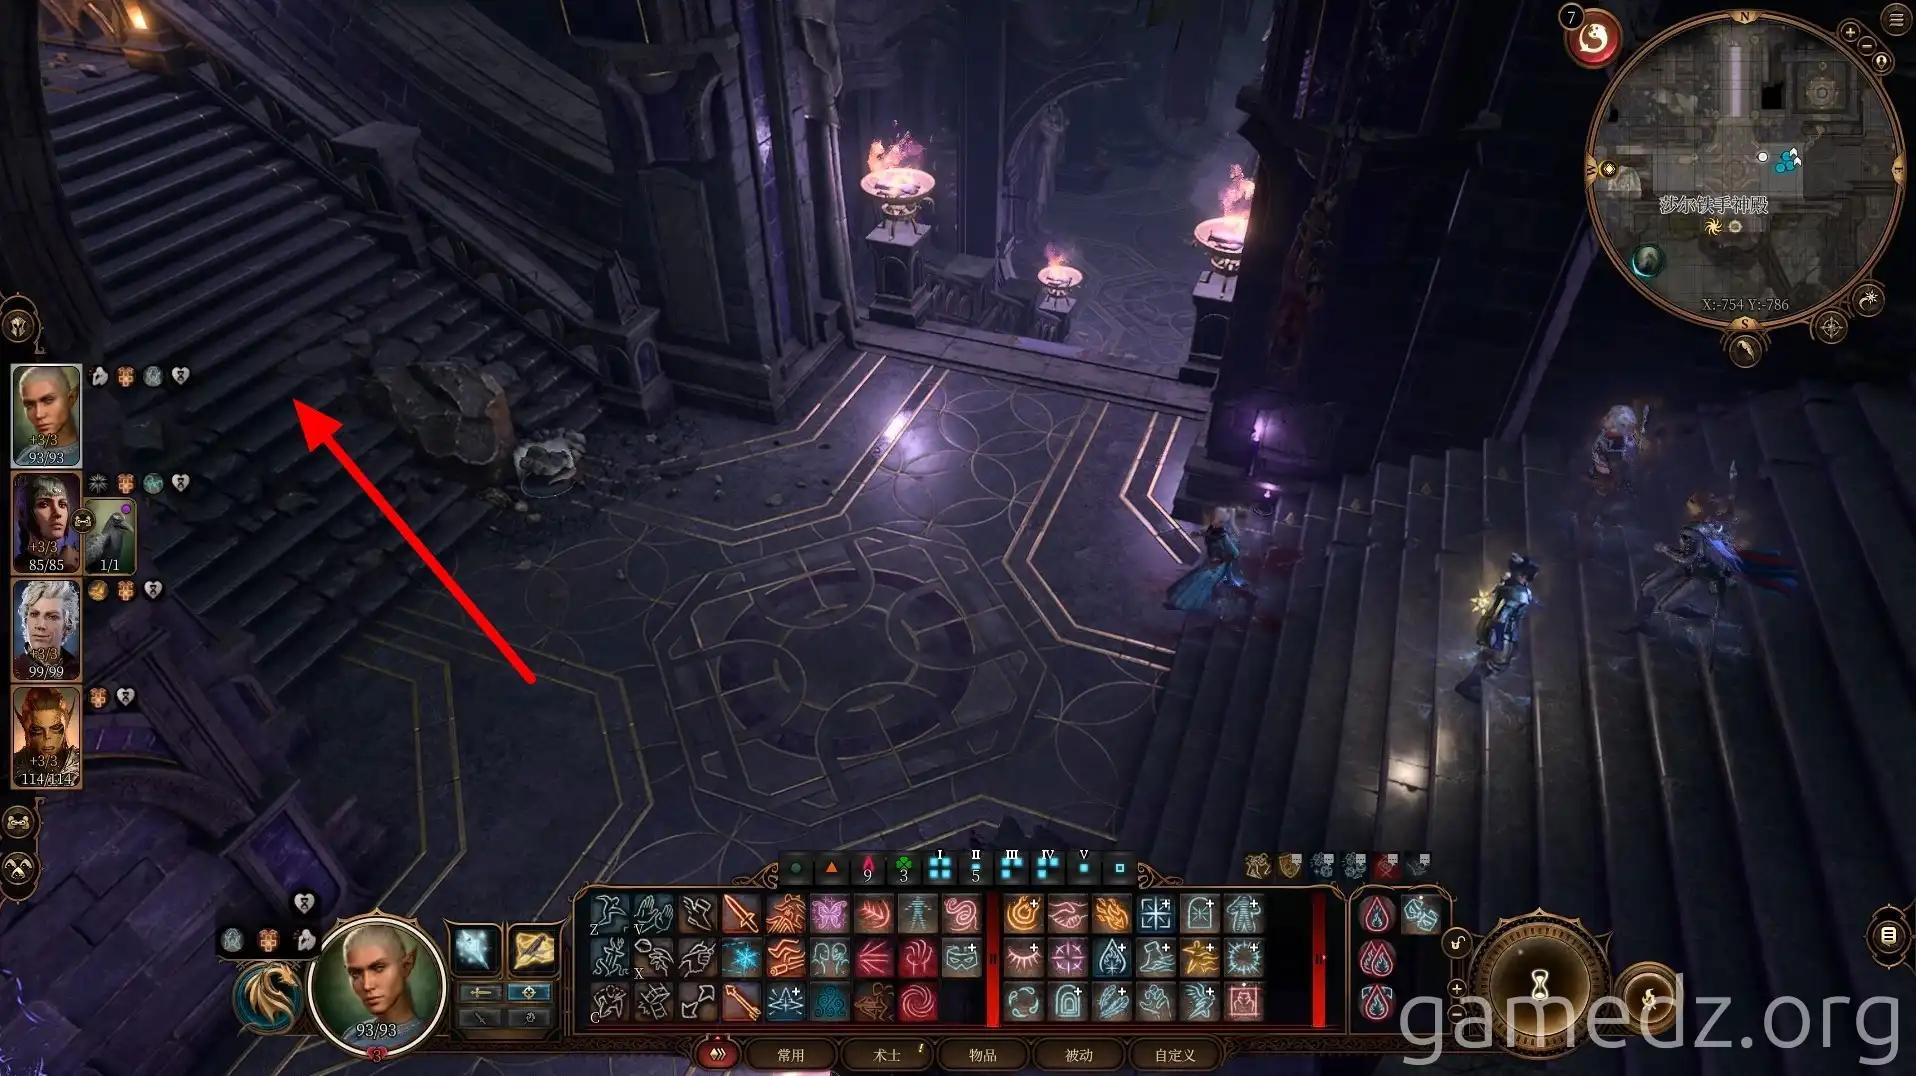
Baldur's Gate 3 Lower City Walkthrough: House of Healing & Trials
This Baldur's Gate 3 walkthrough guides players through the Lower City, focusing on the Mausoleum, House of Healing, and Trial of Shar. It details puzzle solutions, trap navigation, and locations of rare gear.
Teleport to the previously activated Lower City waypoint and enter the Mausoleum through the main entrance.
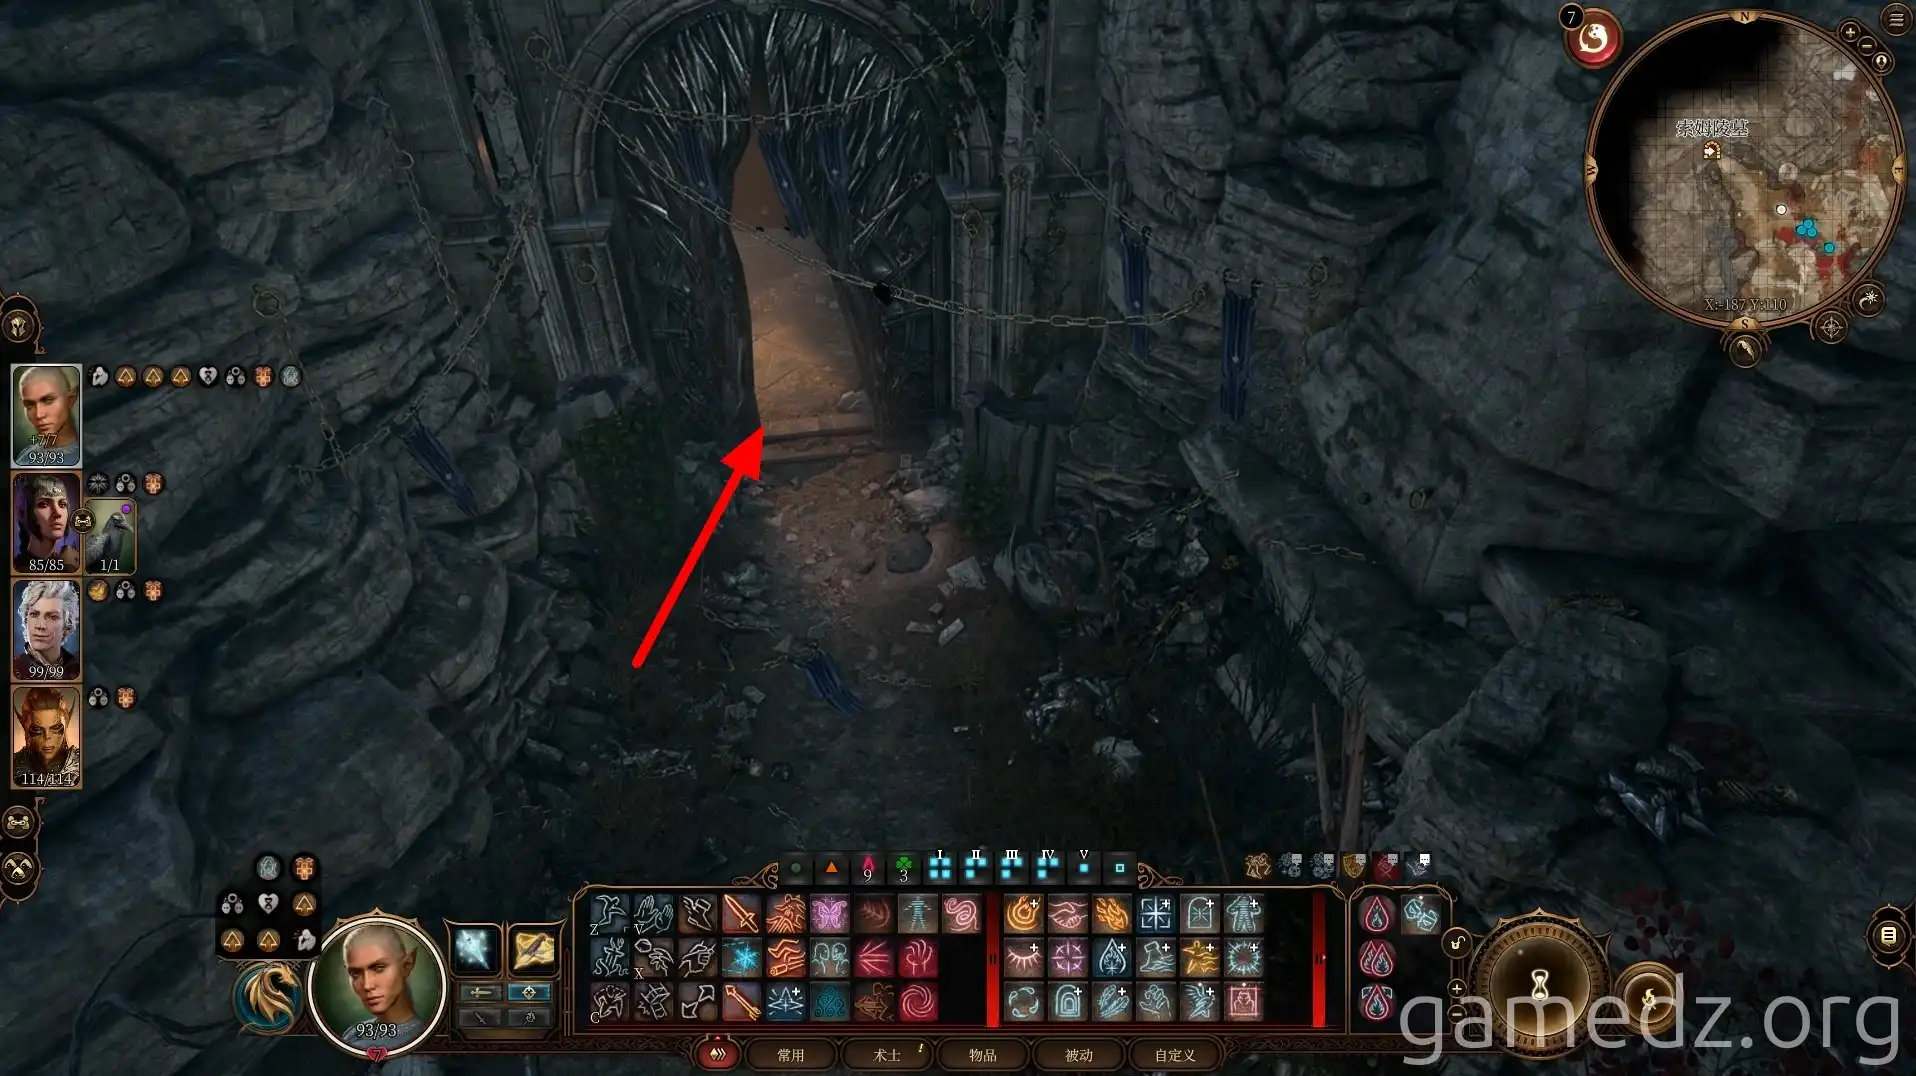
Upon entering the mausoleum, head to the east side of the main hall first.
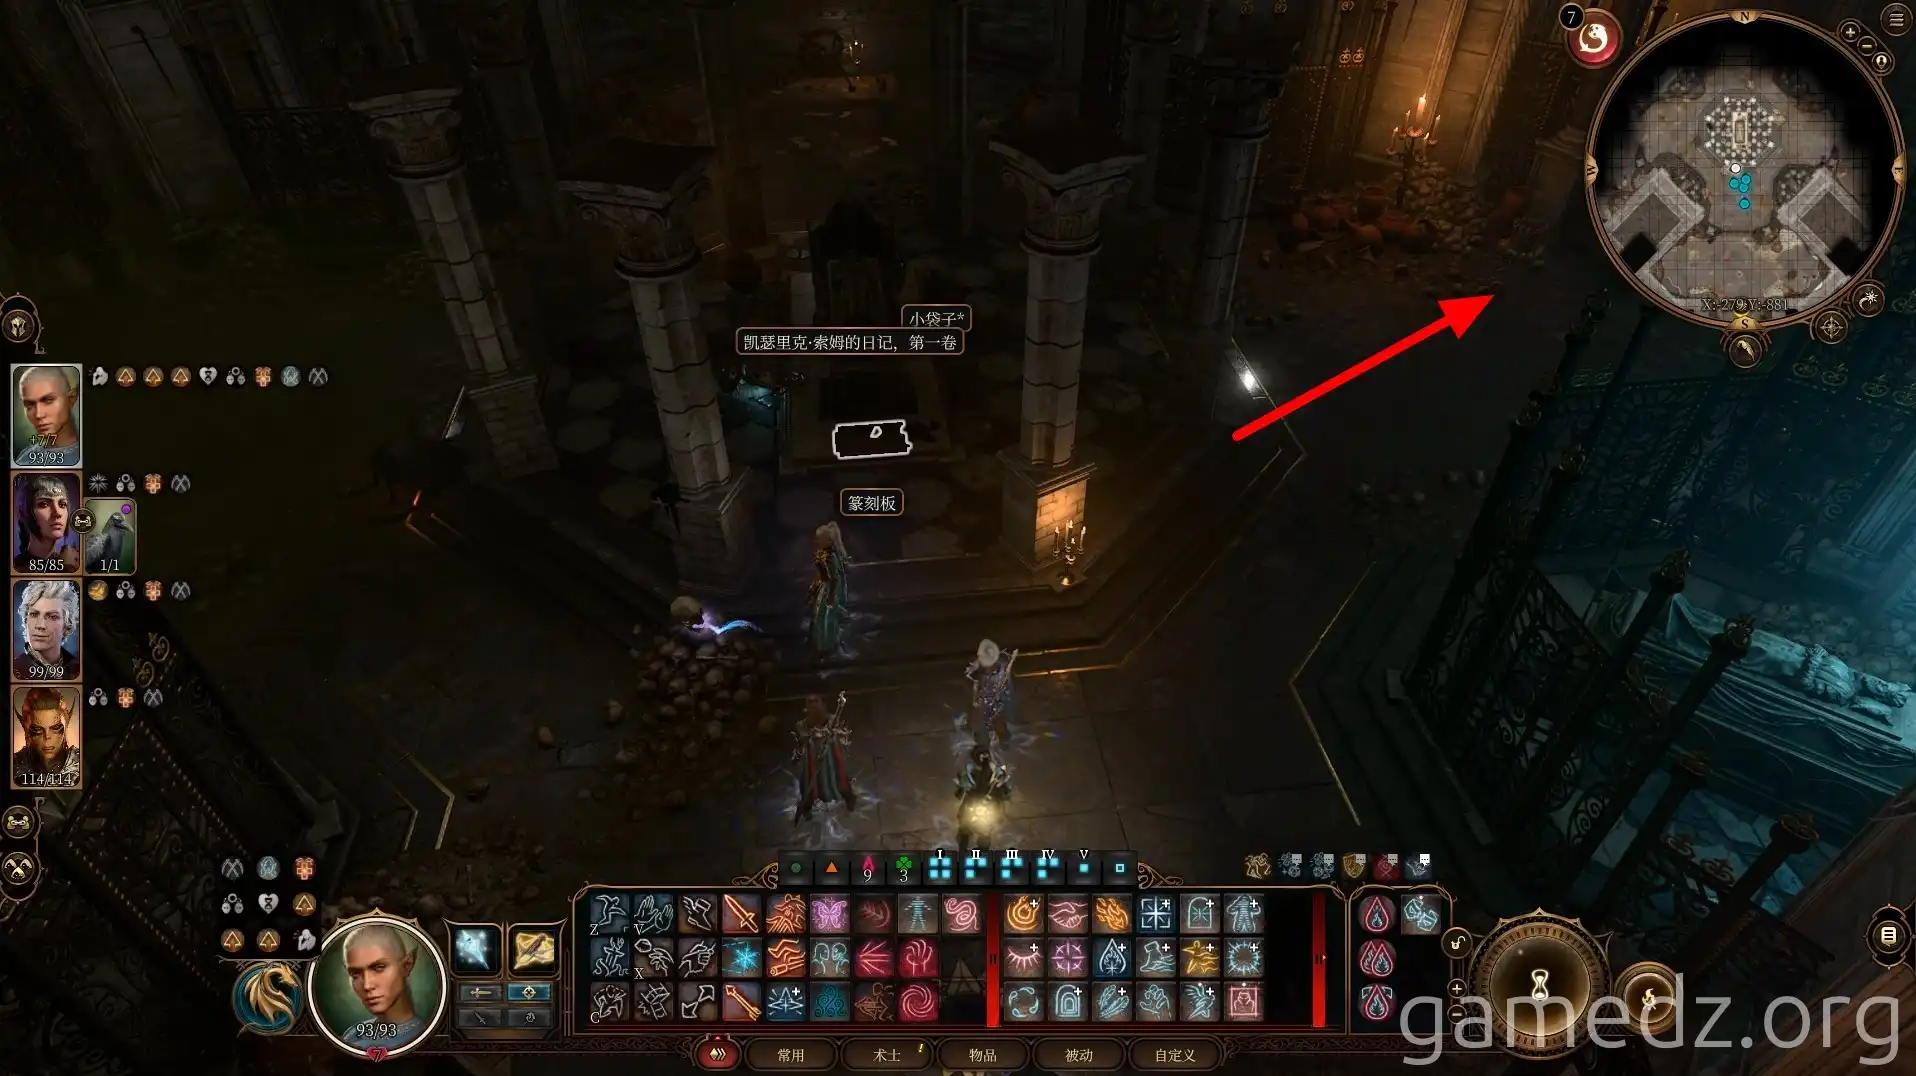
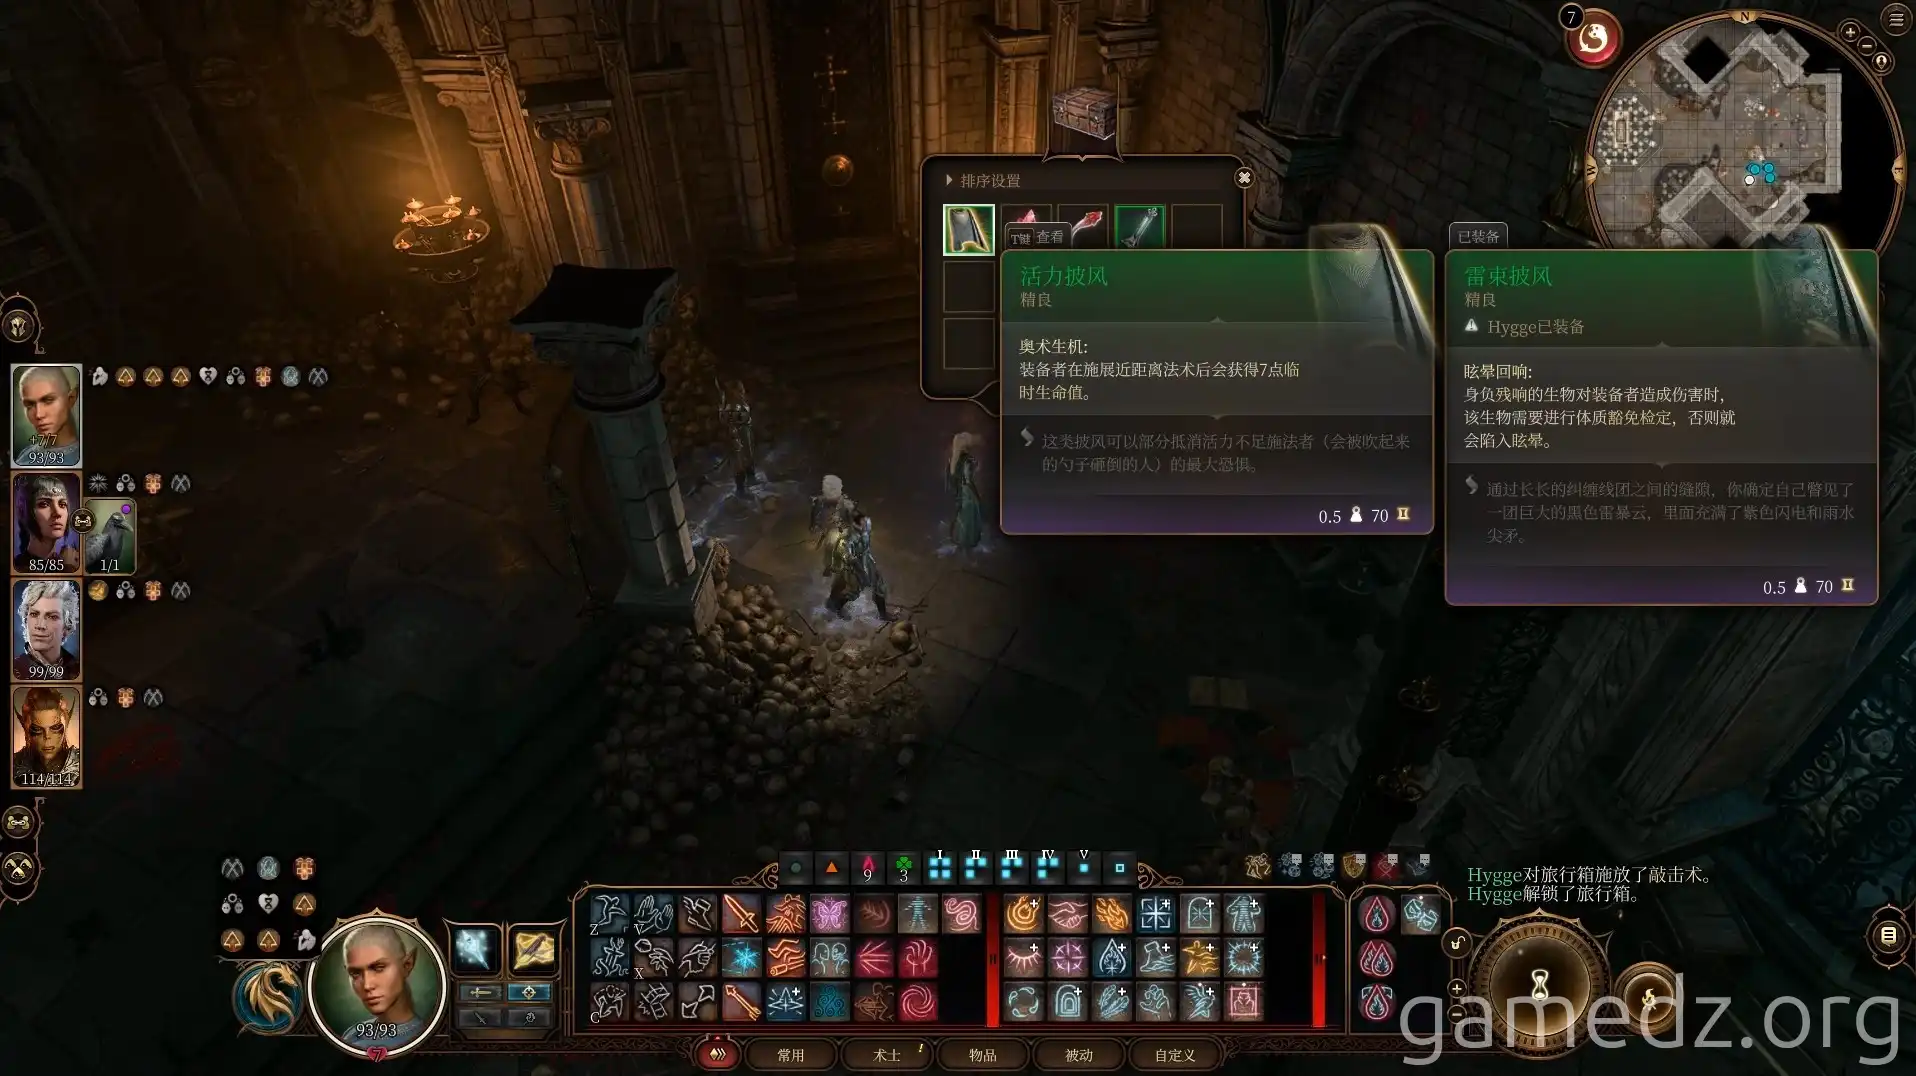
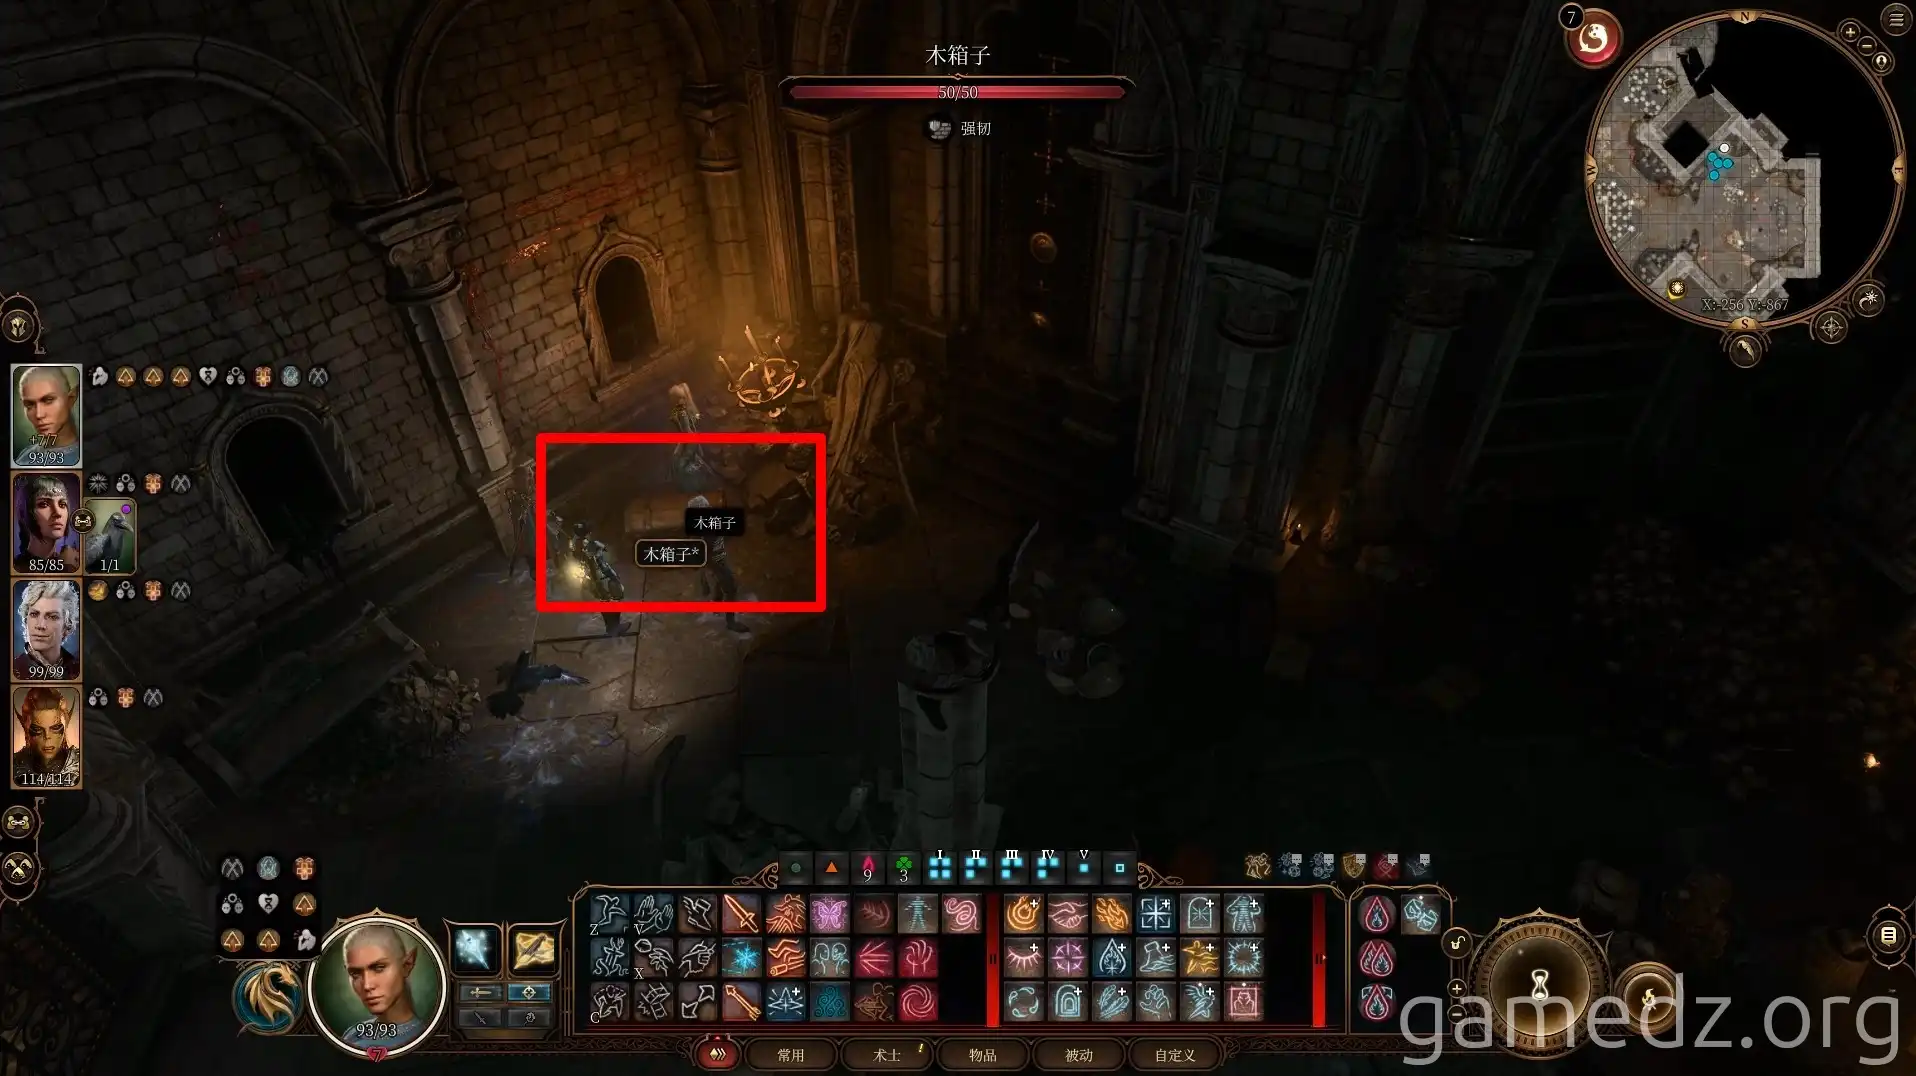
You can find the rare equipment, the Cloak of Protection, in a chest in the corner.
In the northern corner of the east section, you can dig up a chest. Reading the inscribed tablets and documents within the mausoleum will also flesh out some of the story.
Entering the northern tomb chamber and reading the inscribed tablet reveals it to be Isobel's sarcophagus, learning that she was Ketheric's daughter. The tomb chamber is filled with numerous traps, so proceed with caution.
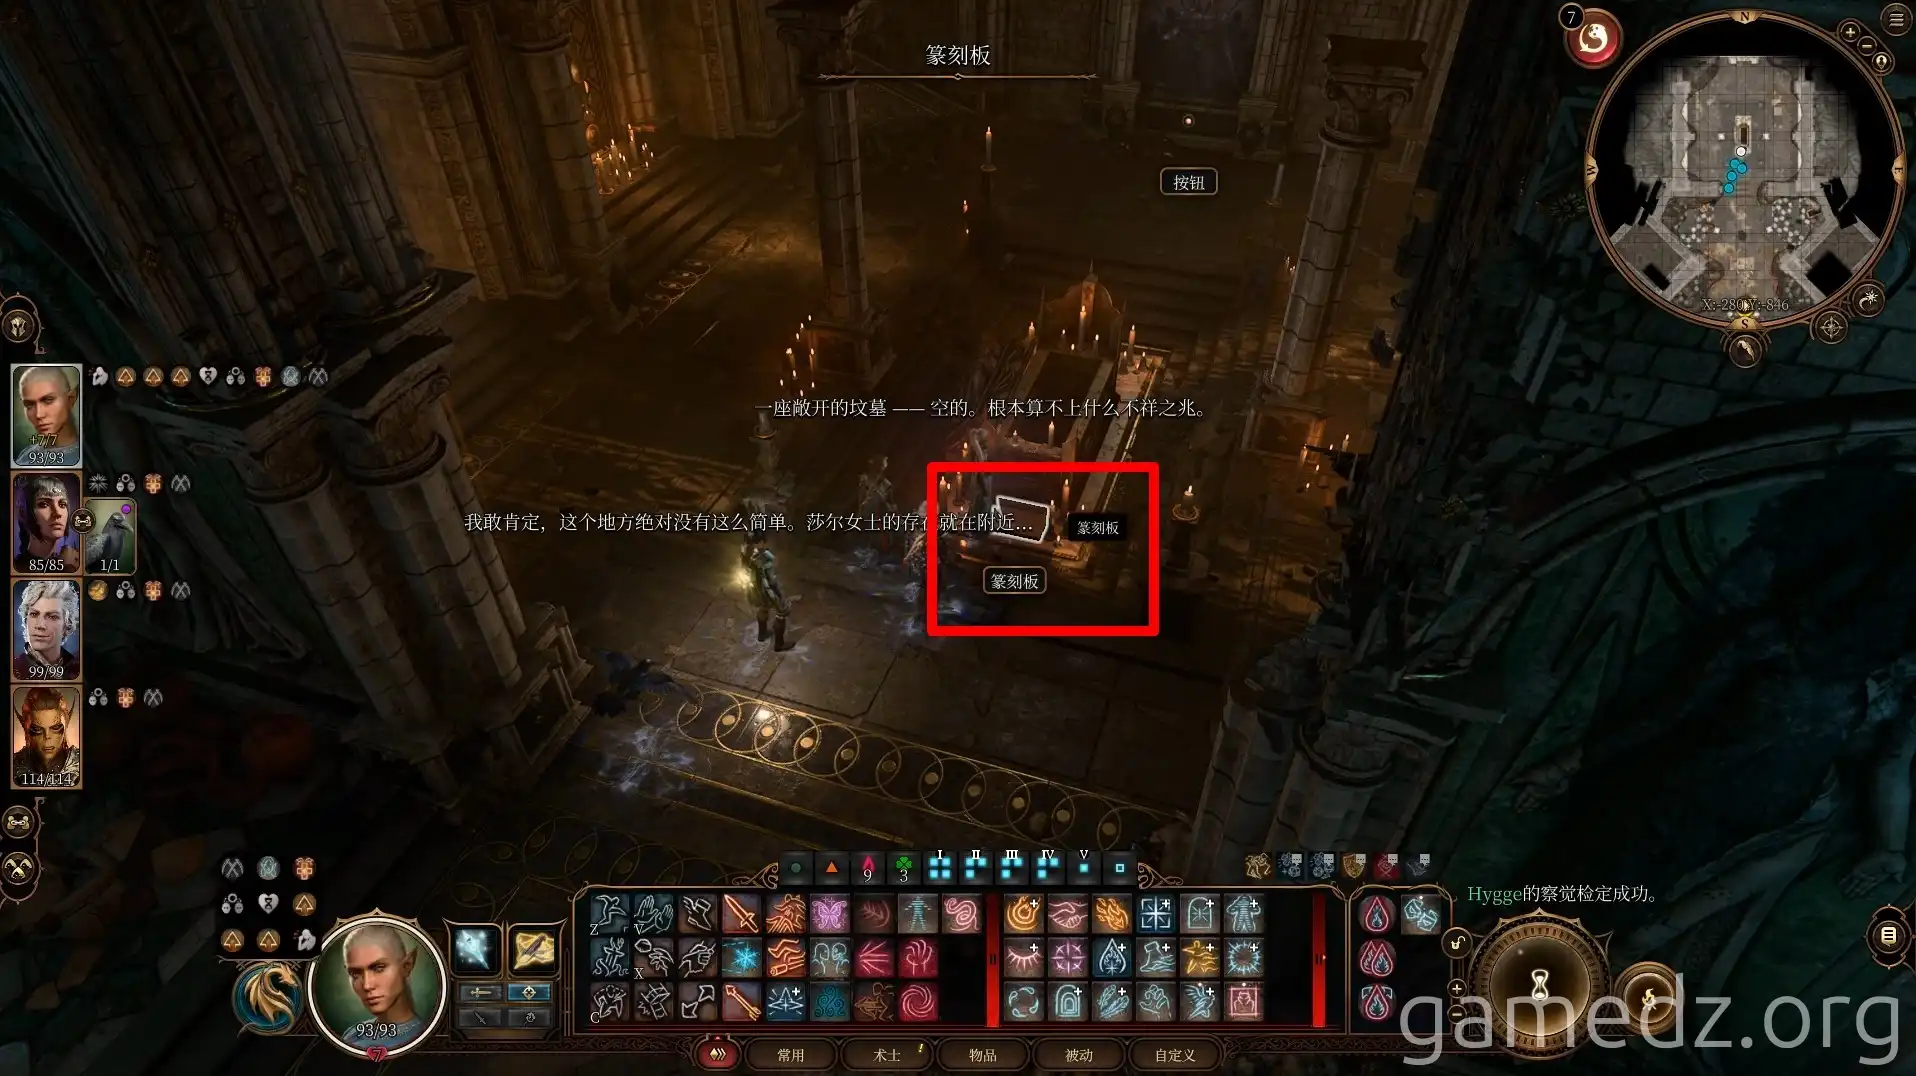
There are three murals in the tomb chamber, each corresponding to a button. Pressing them in the order of Moonrise Towers, Grief, and The General will activate the mechanism and open a hidden area.
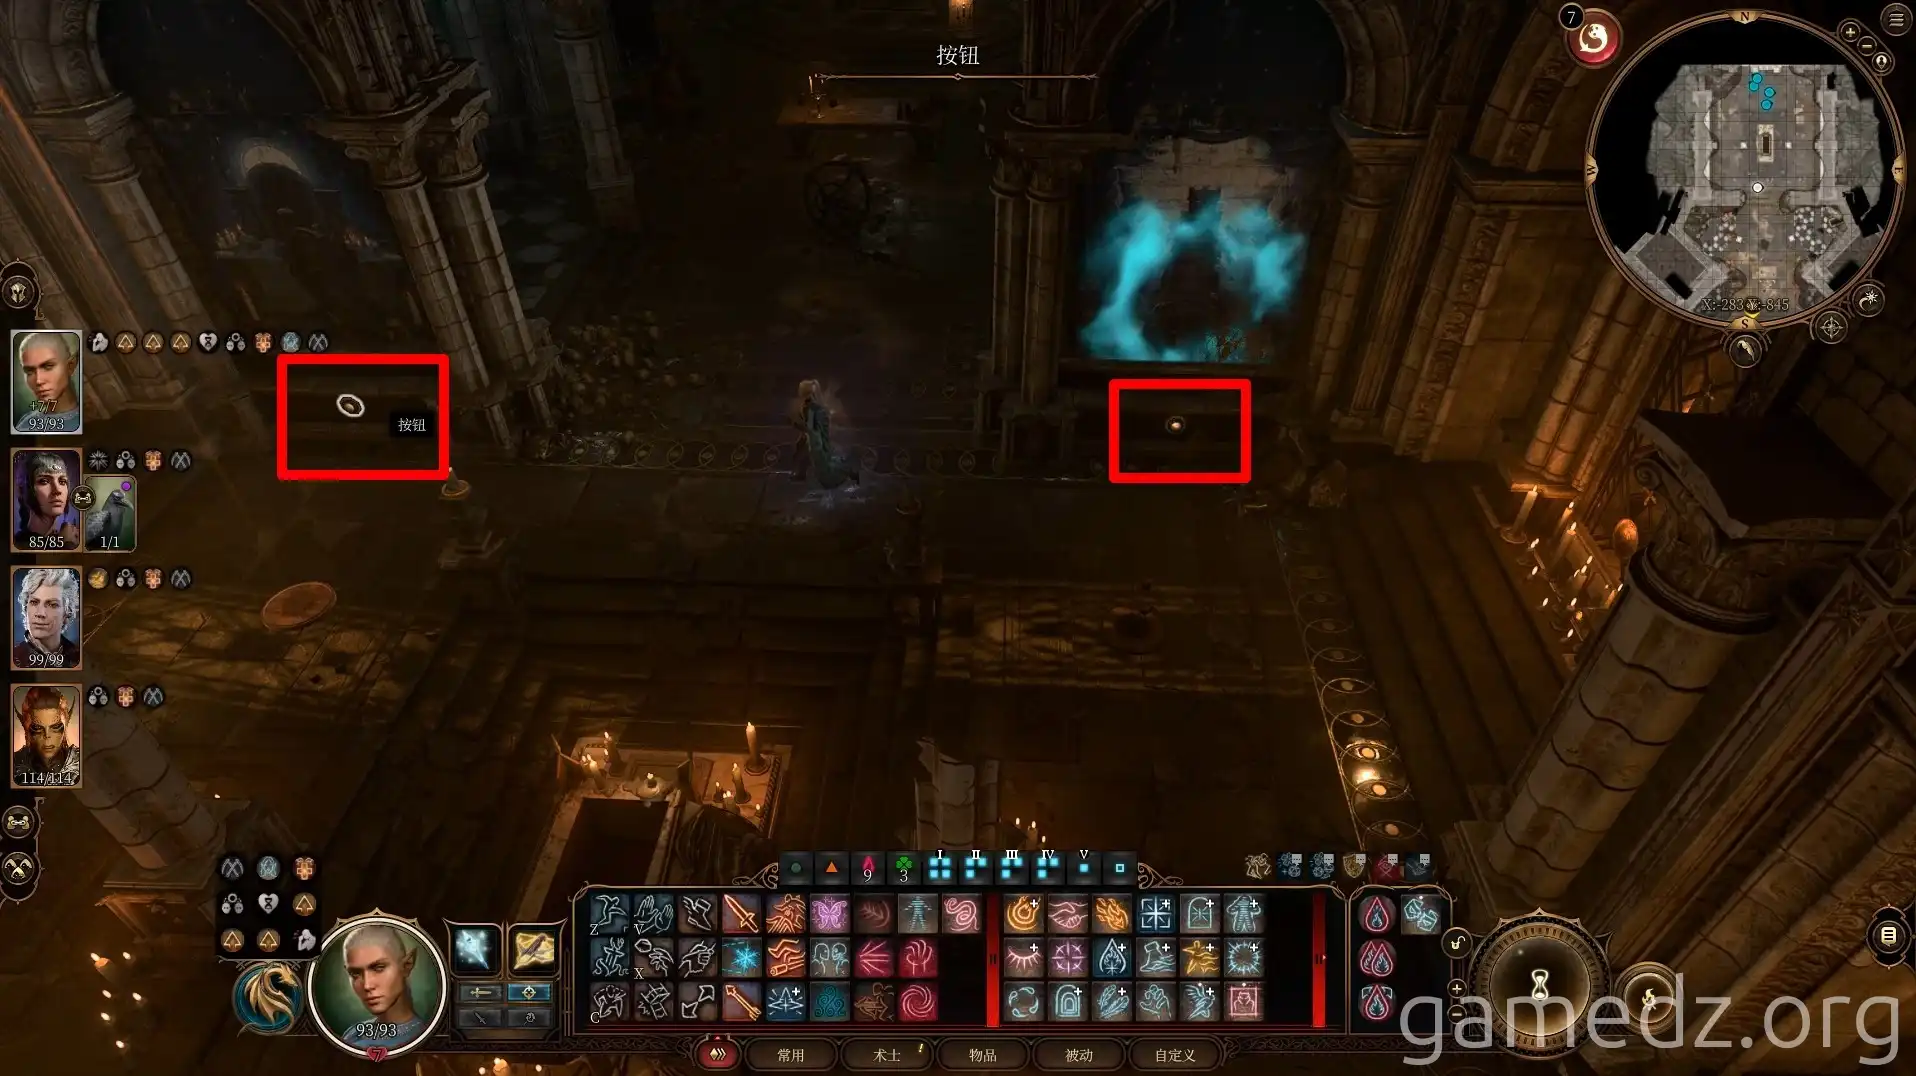
There's a dirt mound in the corner to the right of the moving platform.
Once everyone is on the disc, interact with the portal gem on the platform to officially enter the House of Healing.
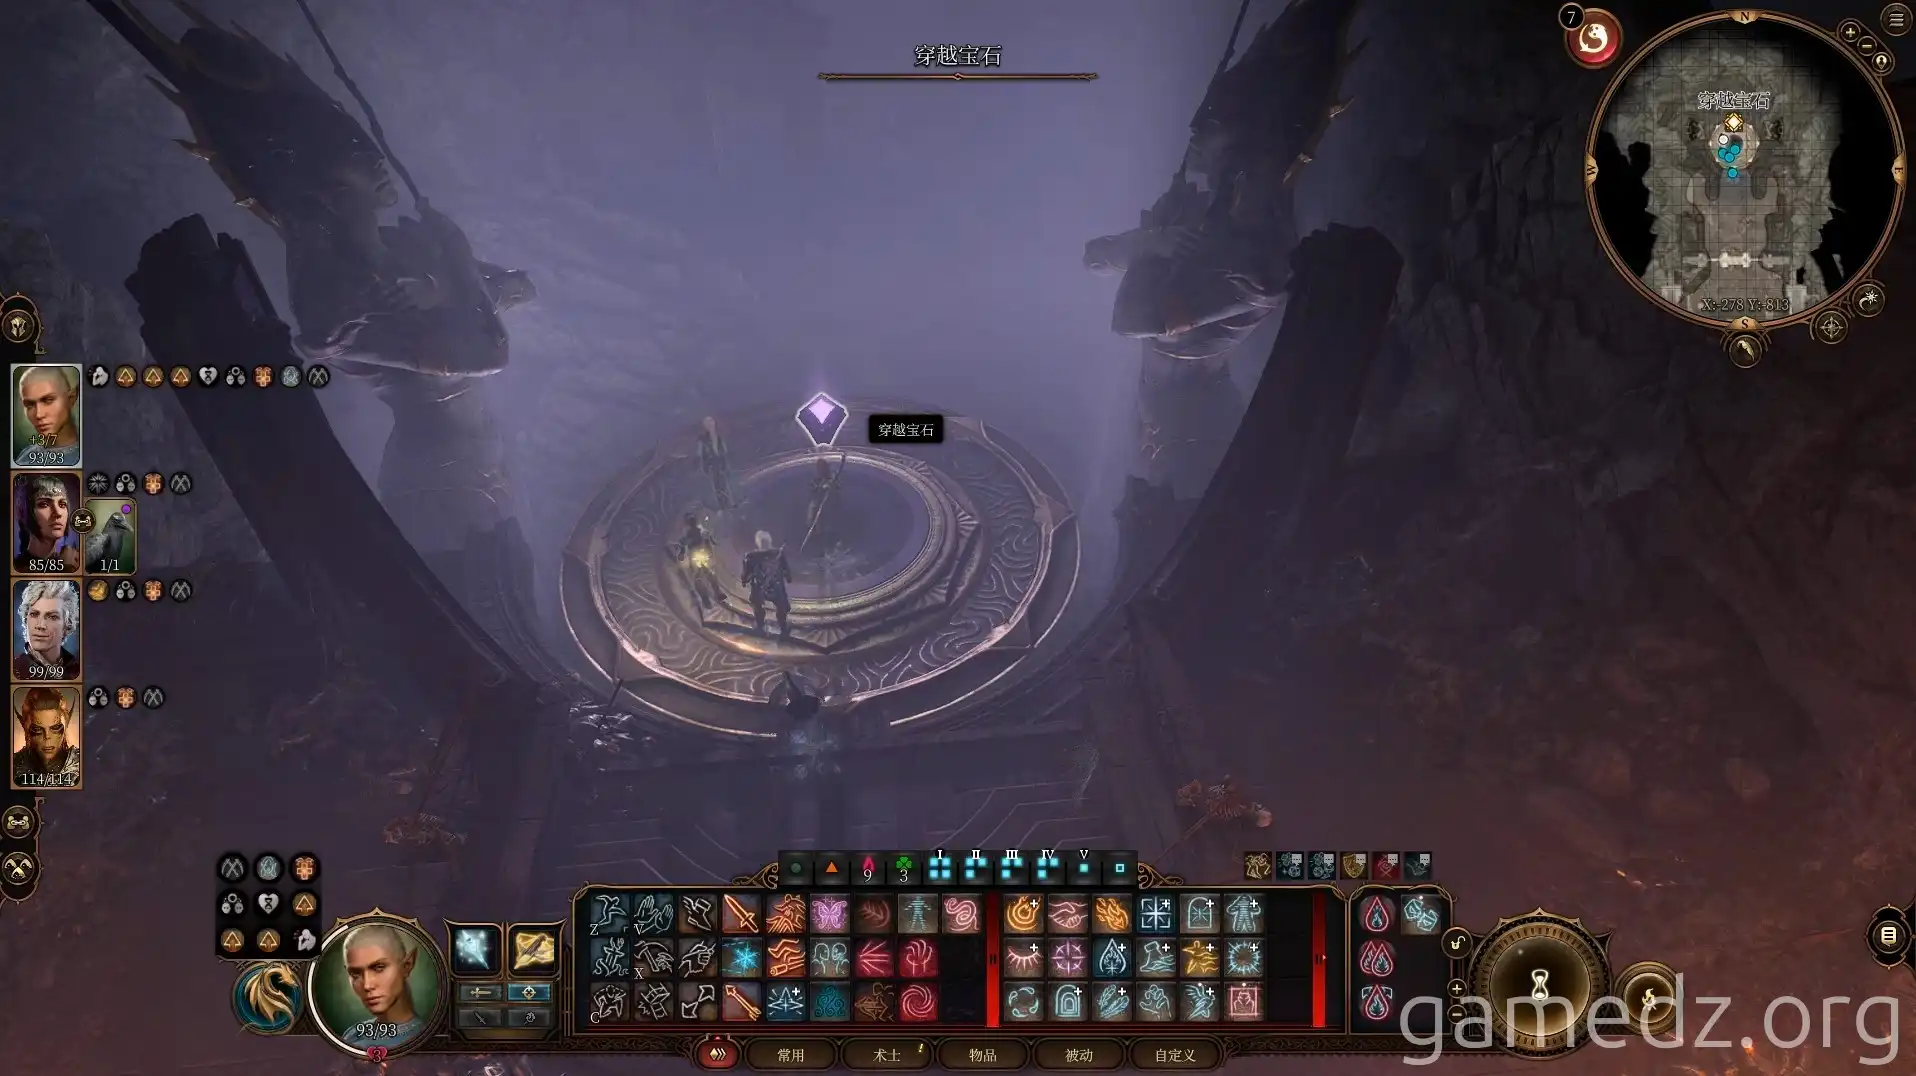
Upon entering the temple, there isn't much on either the left or right sides. Proceed straight down the corridor.
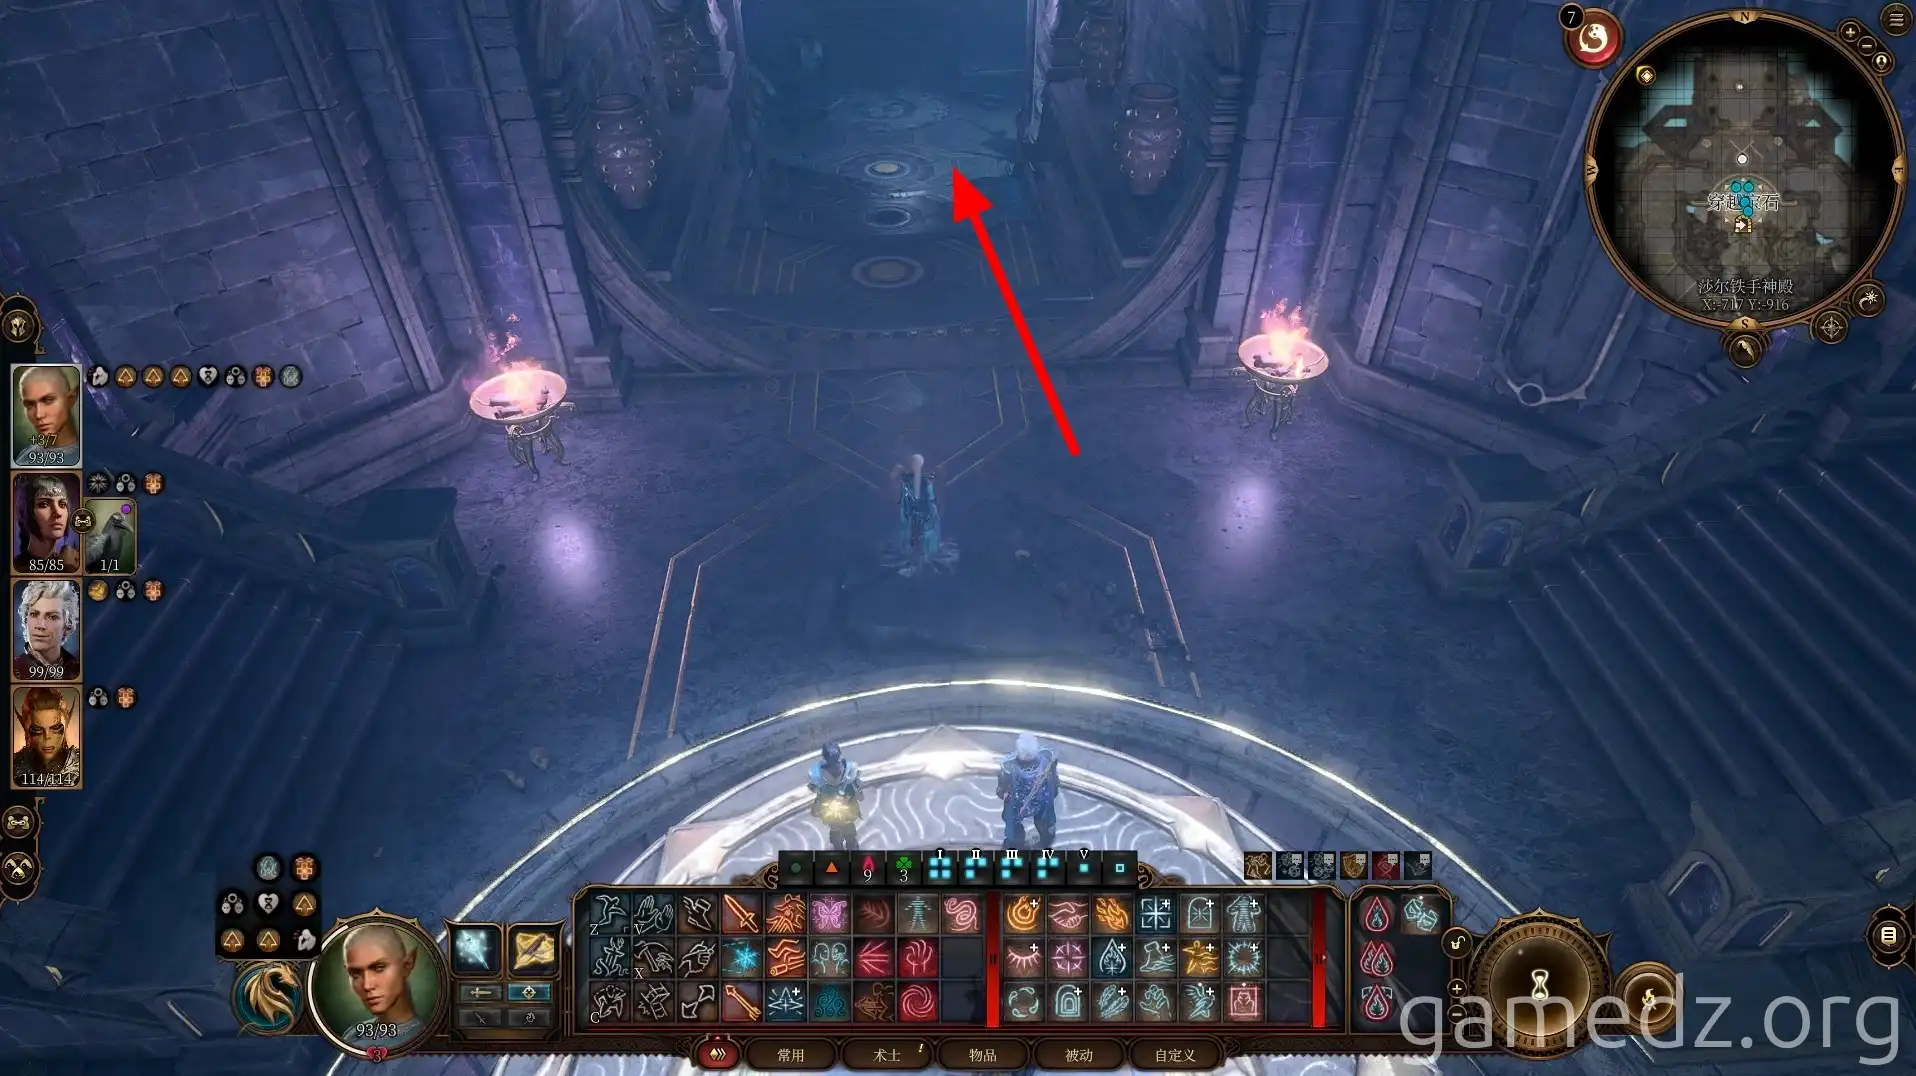
You'll encounter your first puzzle ahead. The intended method is to turn off the lights in the hall by using the levers in the surrounding small rooms. You must also remove all glowing equipment before you can reach the central statue and deactivate the mechanism to pass.
However, you can bypass this section entirely using Misty Step. If you don't have Misty Step, you can use armor that prevents the wearer from being pushed, or class abilities like Charge, to ignore the mechanism and reach your destination directly.
There's nothing else to the east, so head west first.
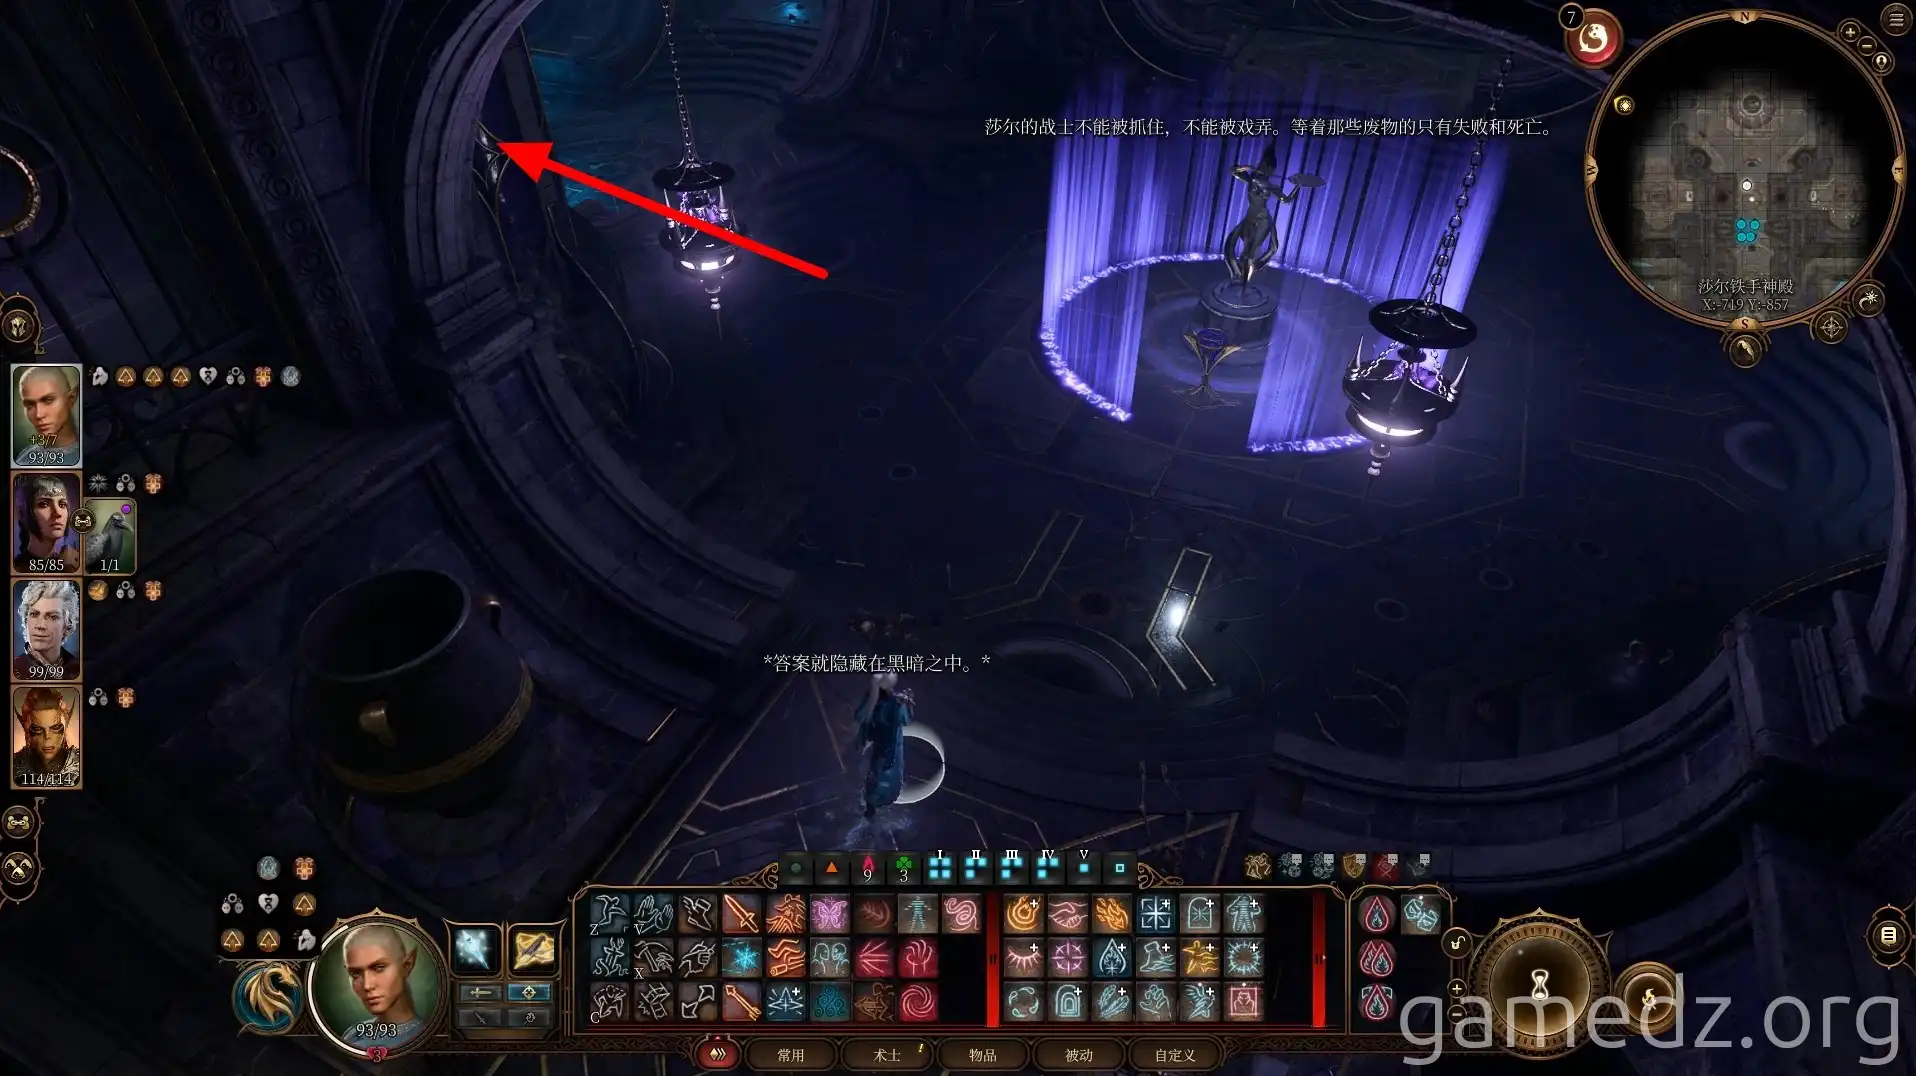
Proceed through the mushroom at the eastern end of the corridor, next to the sarcophagus.
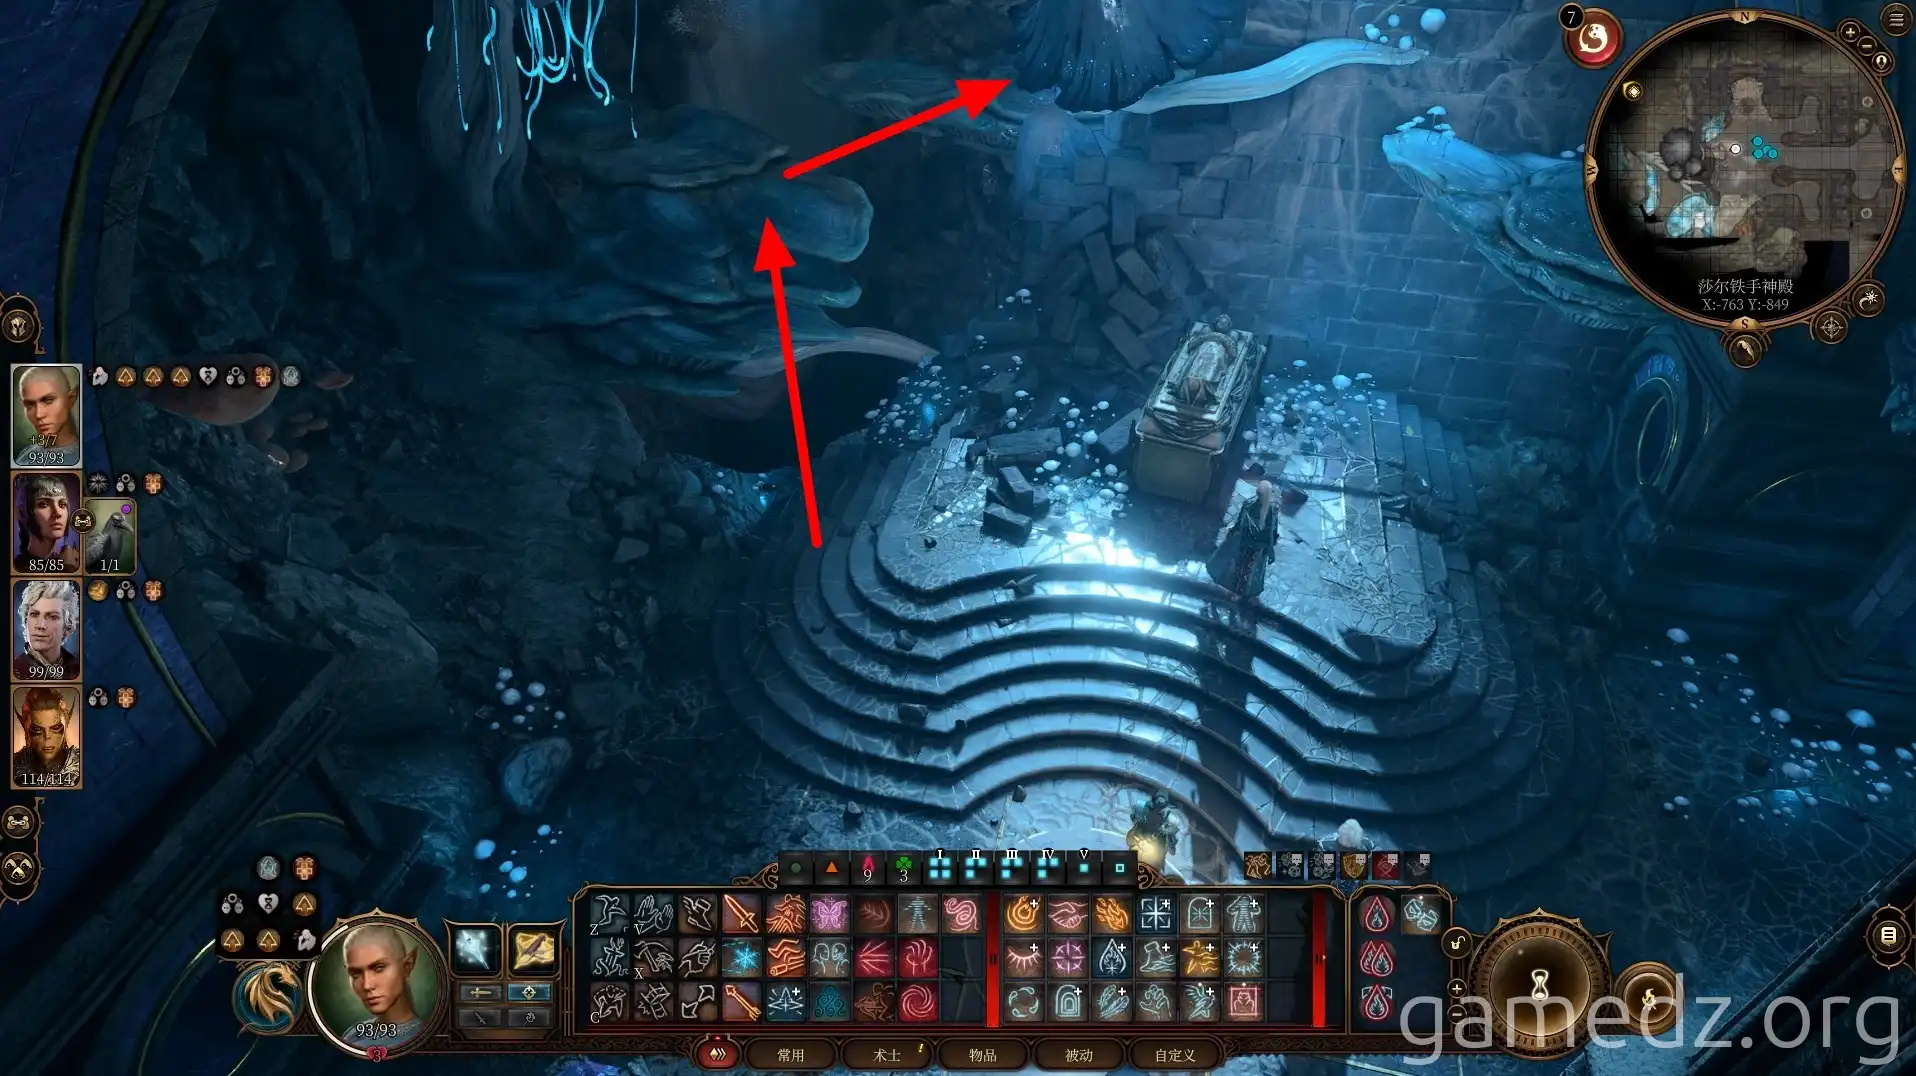
After reaching the lower level by traversing the rugged rocks, continue heading east.
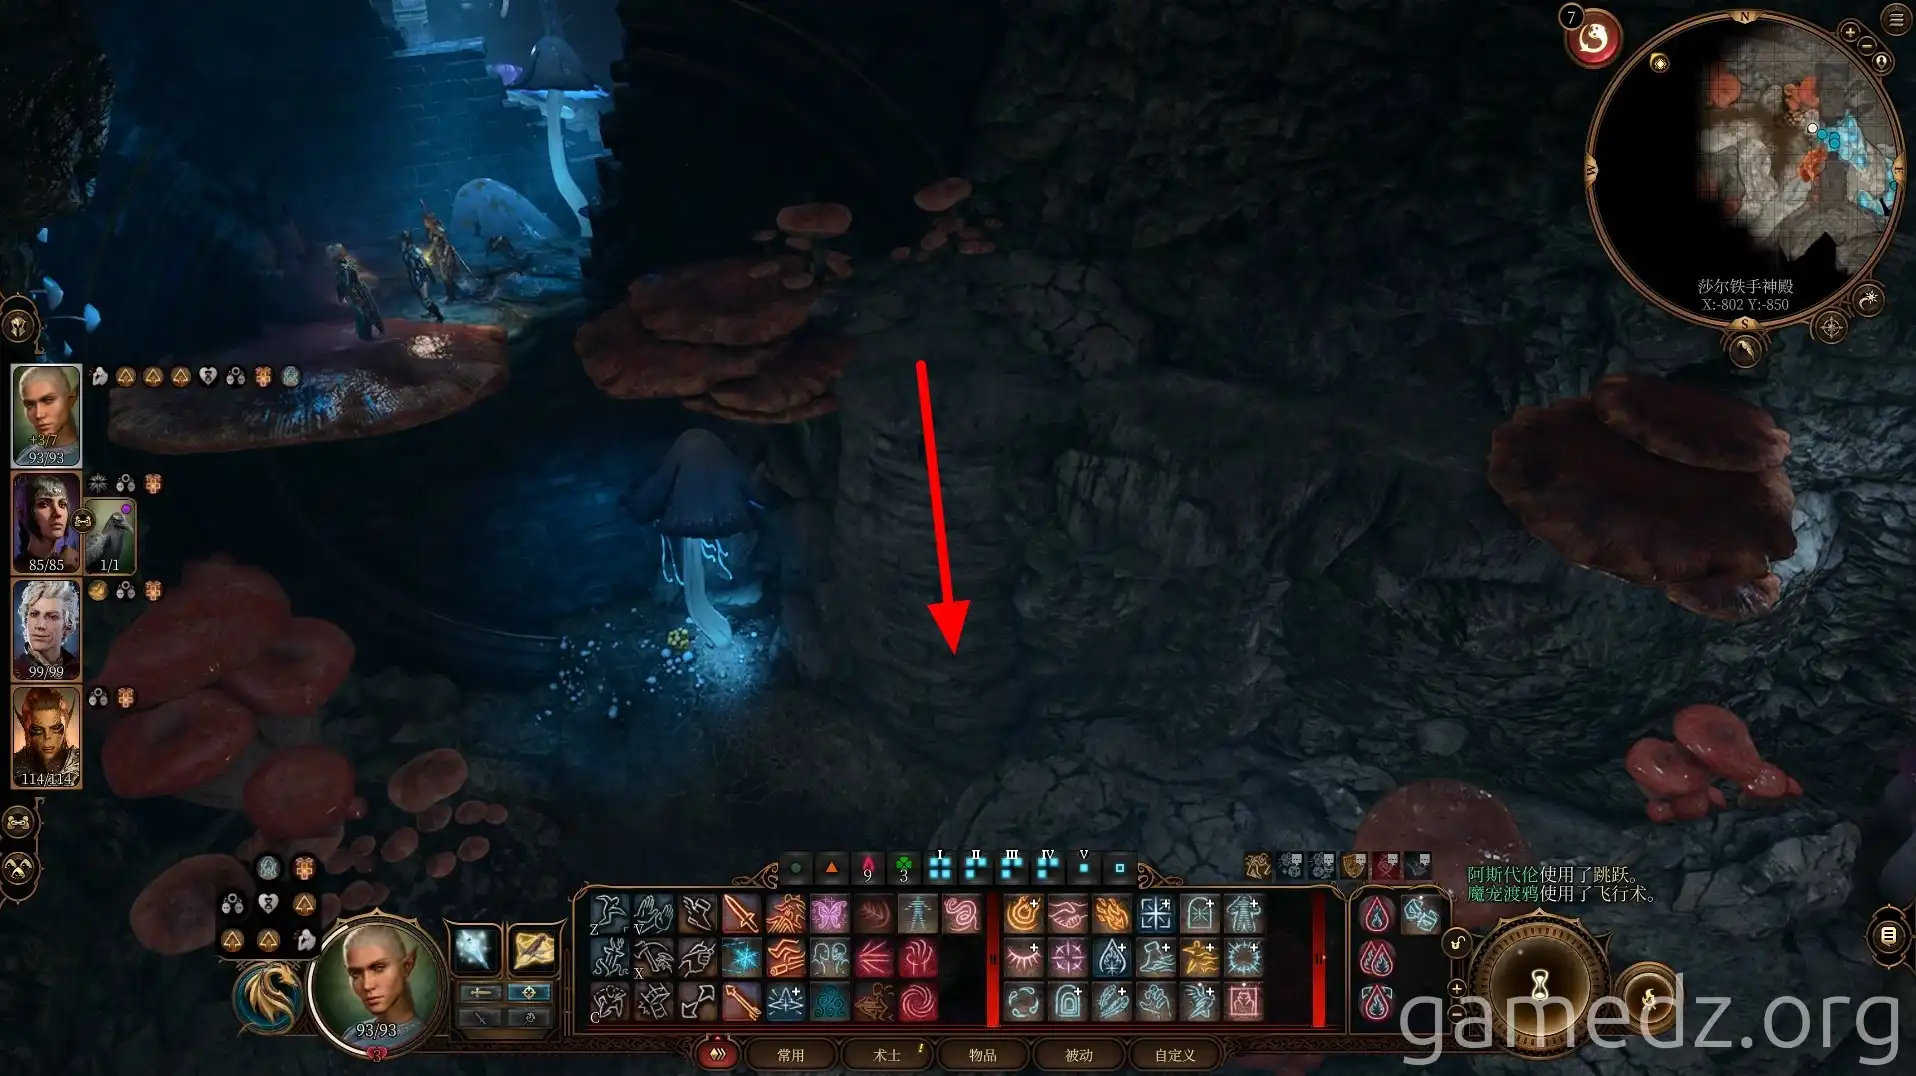
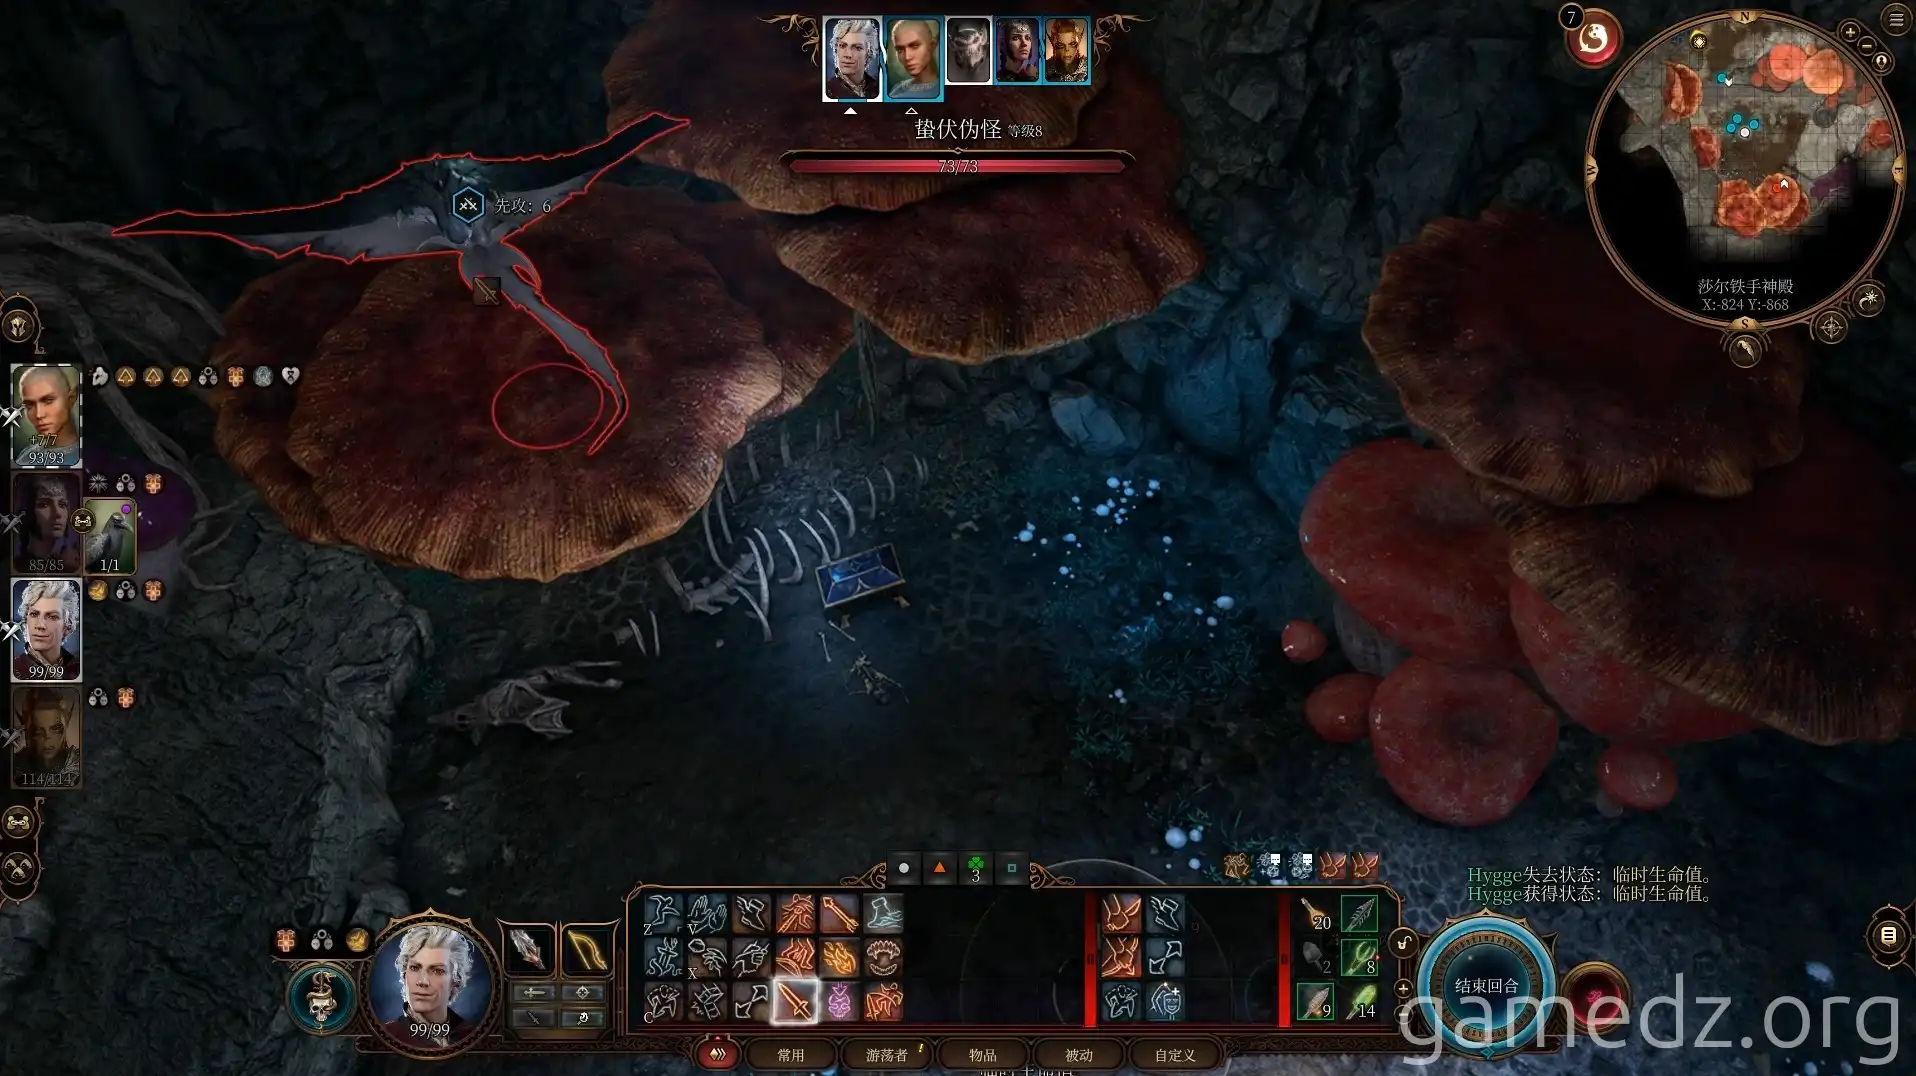
In the southwest corner of the mushroom-covered area, you'll find a gilded chest. A lurking Mimic is ambushing here; defeat it directly.
Ignore the double oak doors opposite; return the way you came to the Trial of Shar.
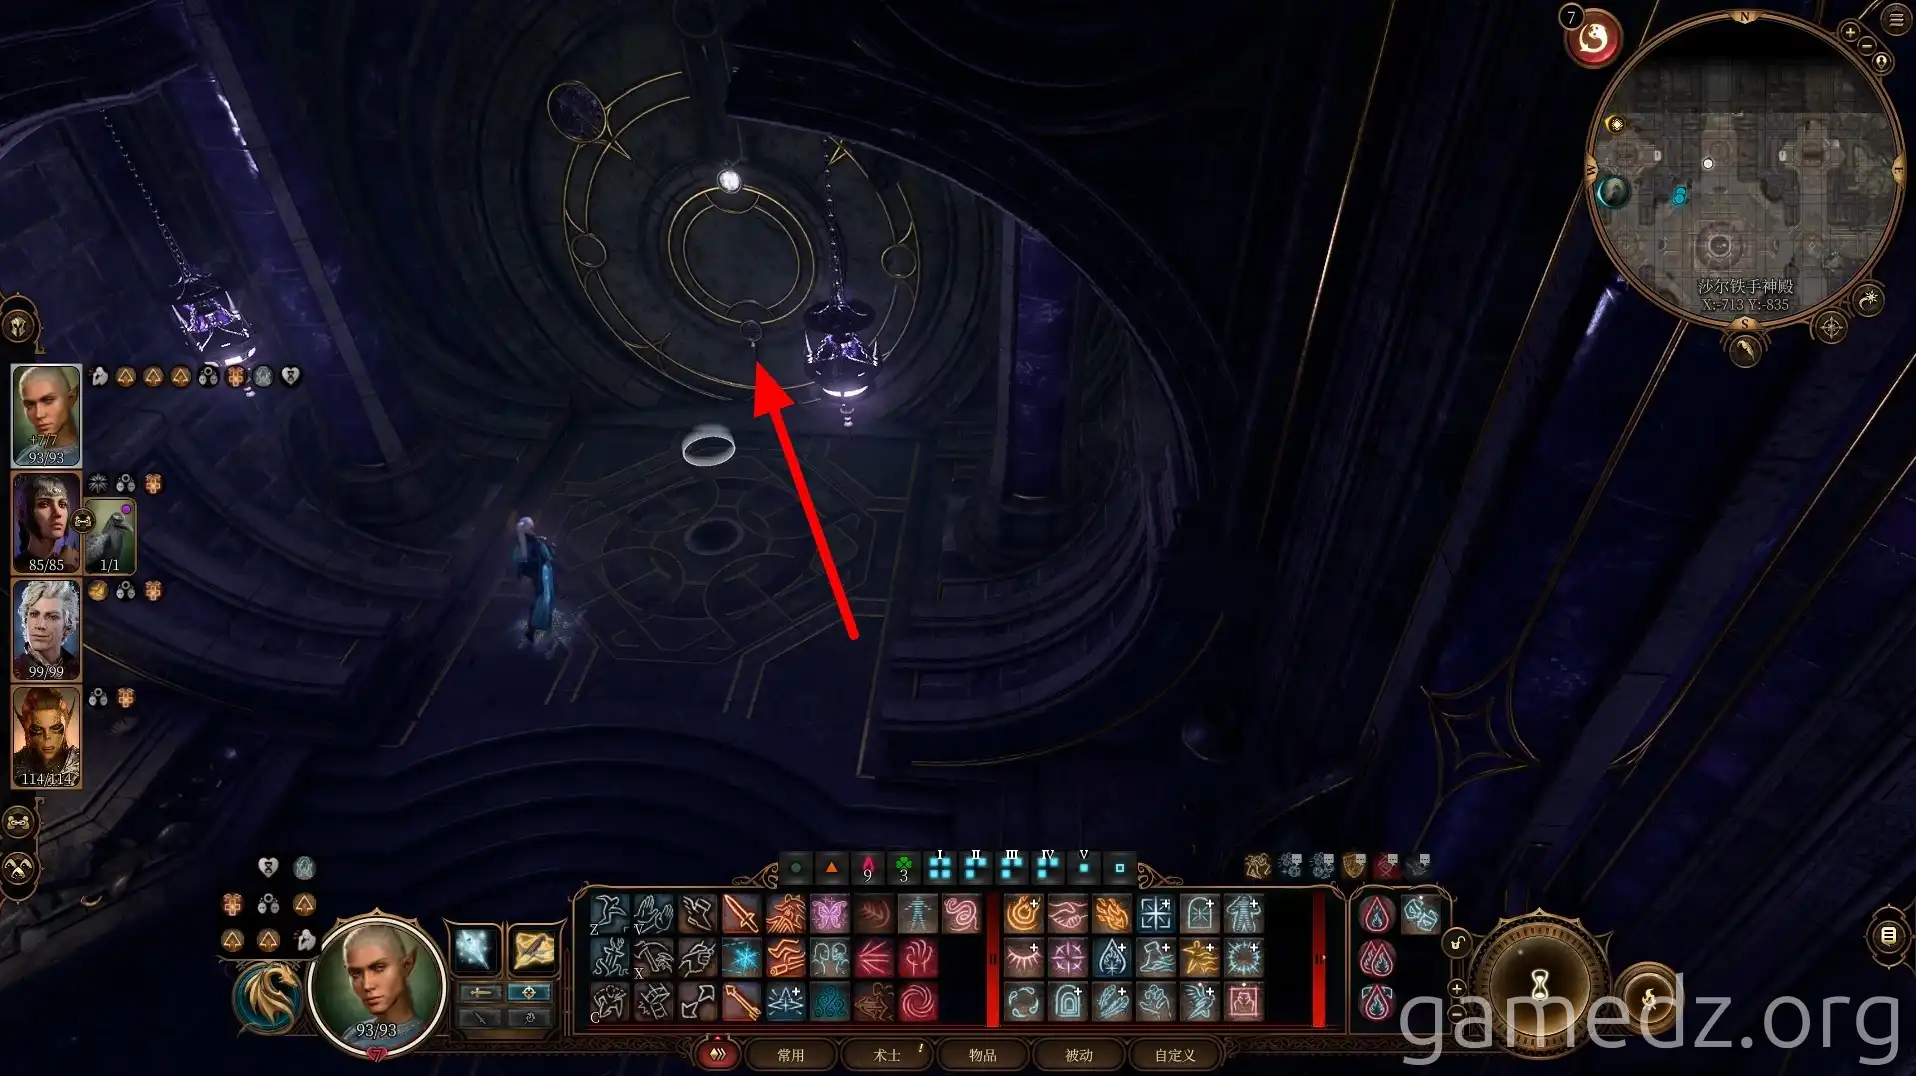
After returning to the location of the previous mechanism, continue deeper into the temple to the north.
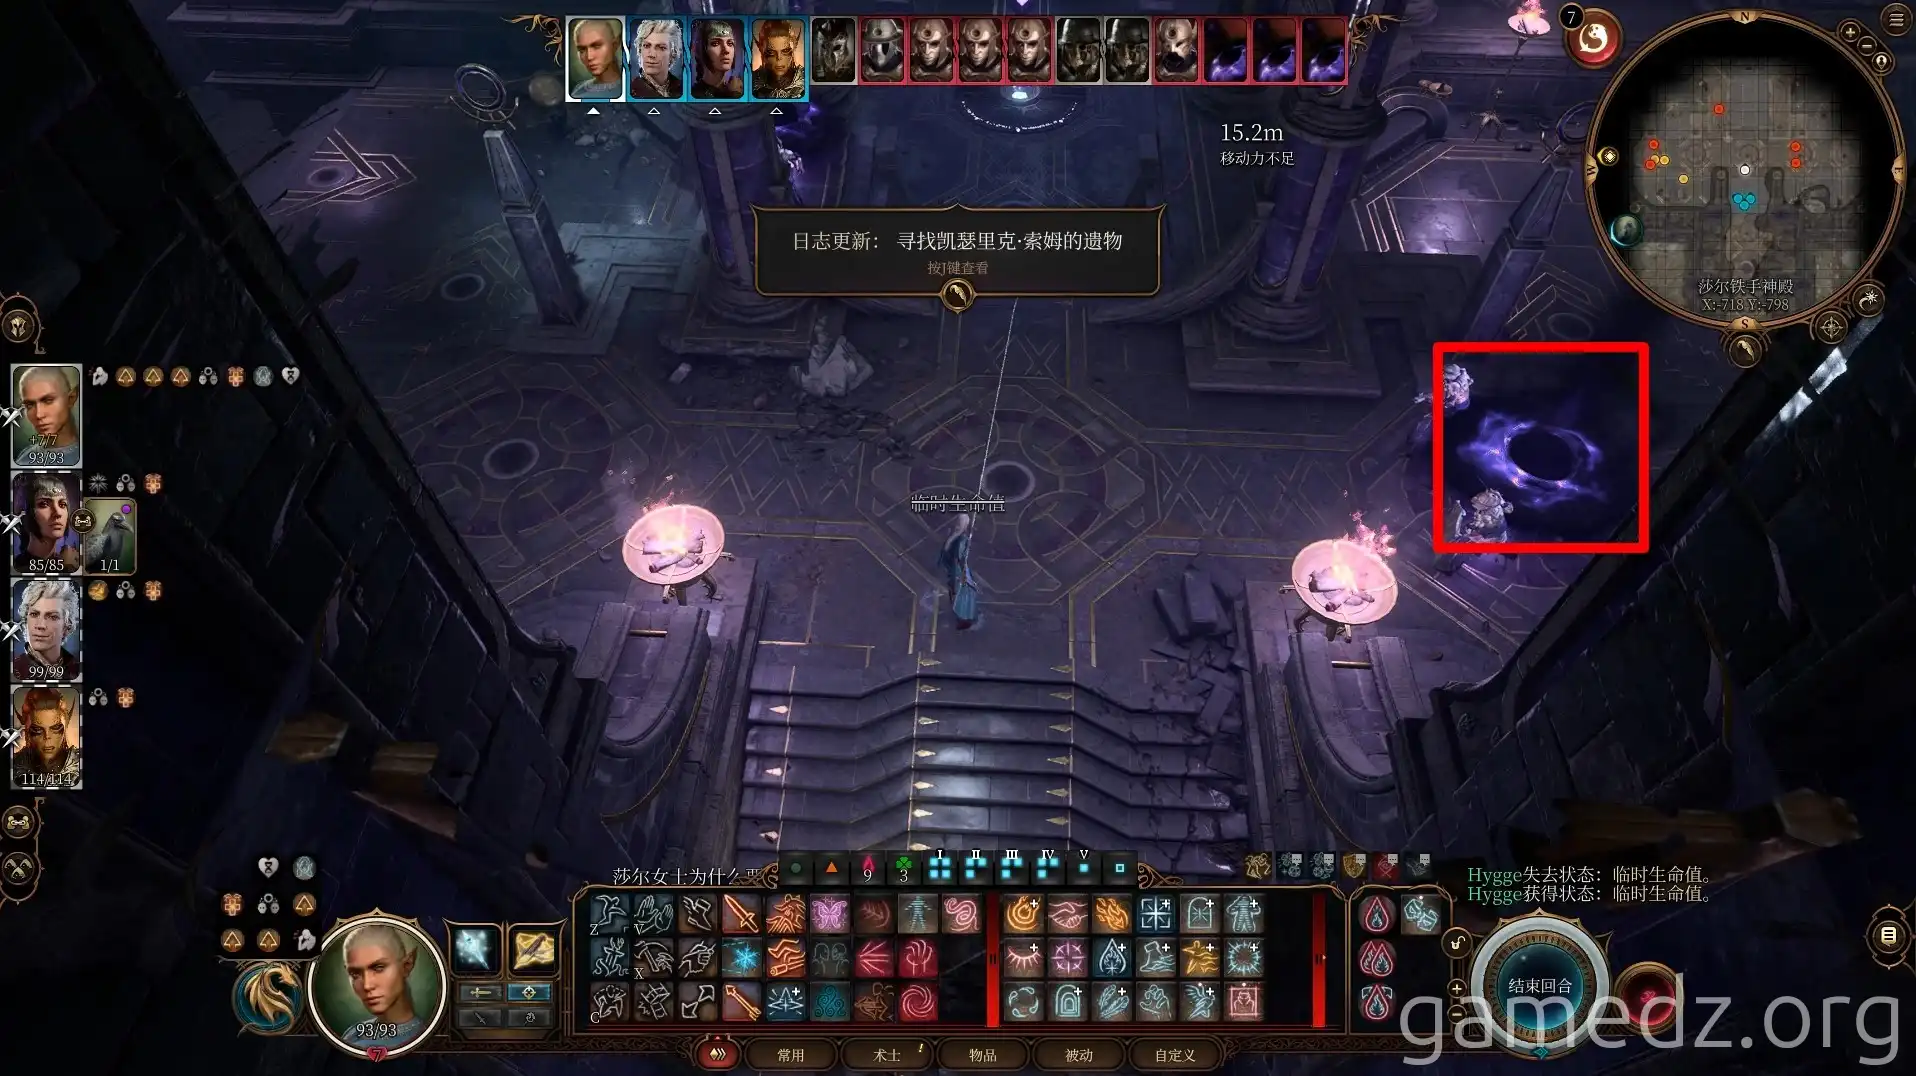
You'll encounter Balthazar's skeletal soldiers ahead. During the conversation, Shar's defense mechanism will trigger. Defeat the animated armors alongside the skeletal soldiers.
The Shadow-Cursed ground will continuously summon enemies, so it's recommended to destroy it first.
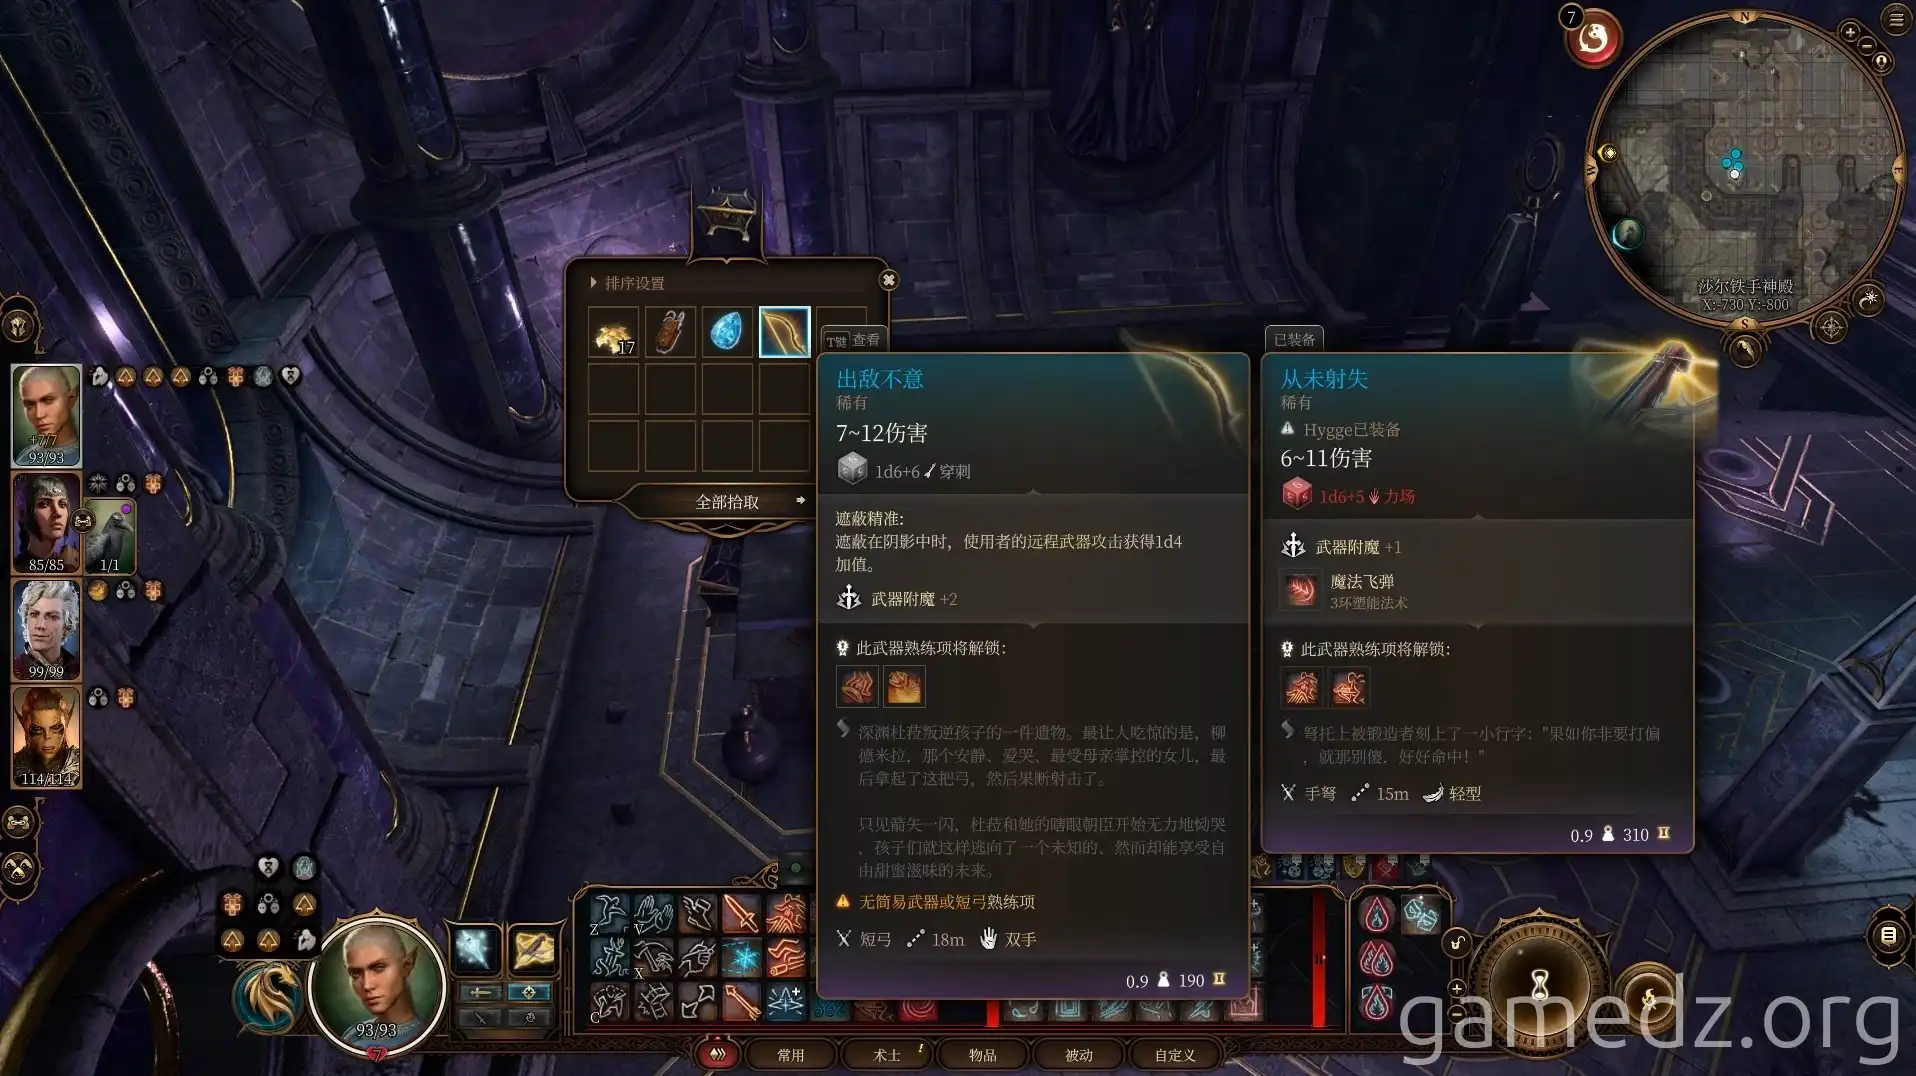
After defeating the enemies, you can obtain the rare weapon Rapier of the Shrouded in the southwest corner of the hall.
After this, we can head a little bit west.
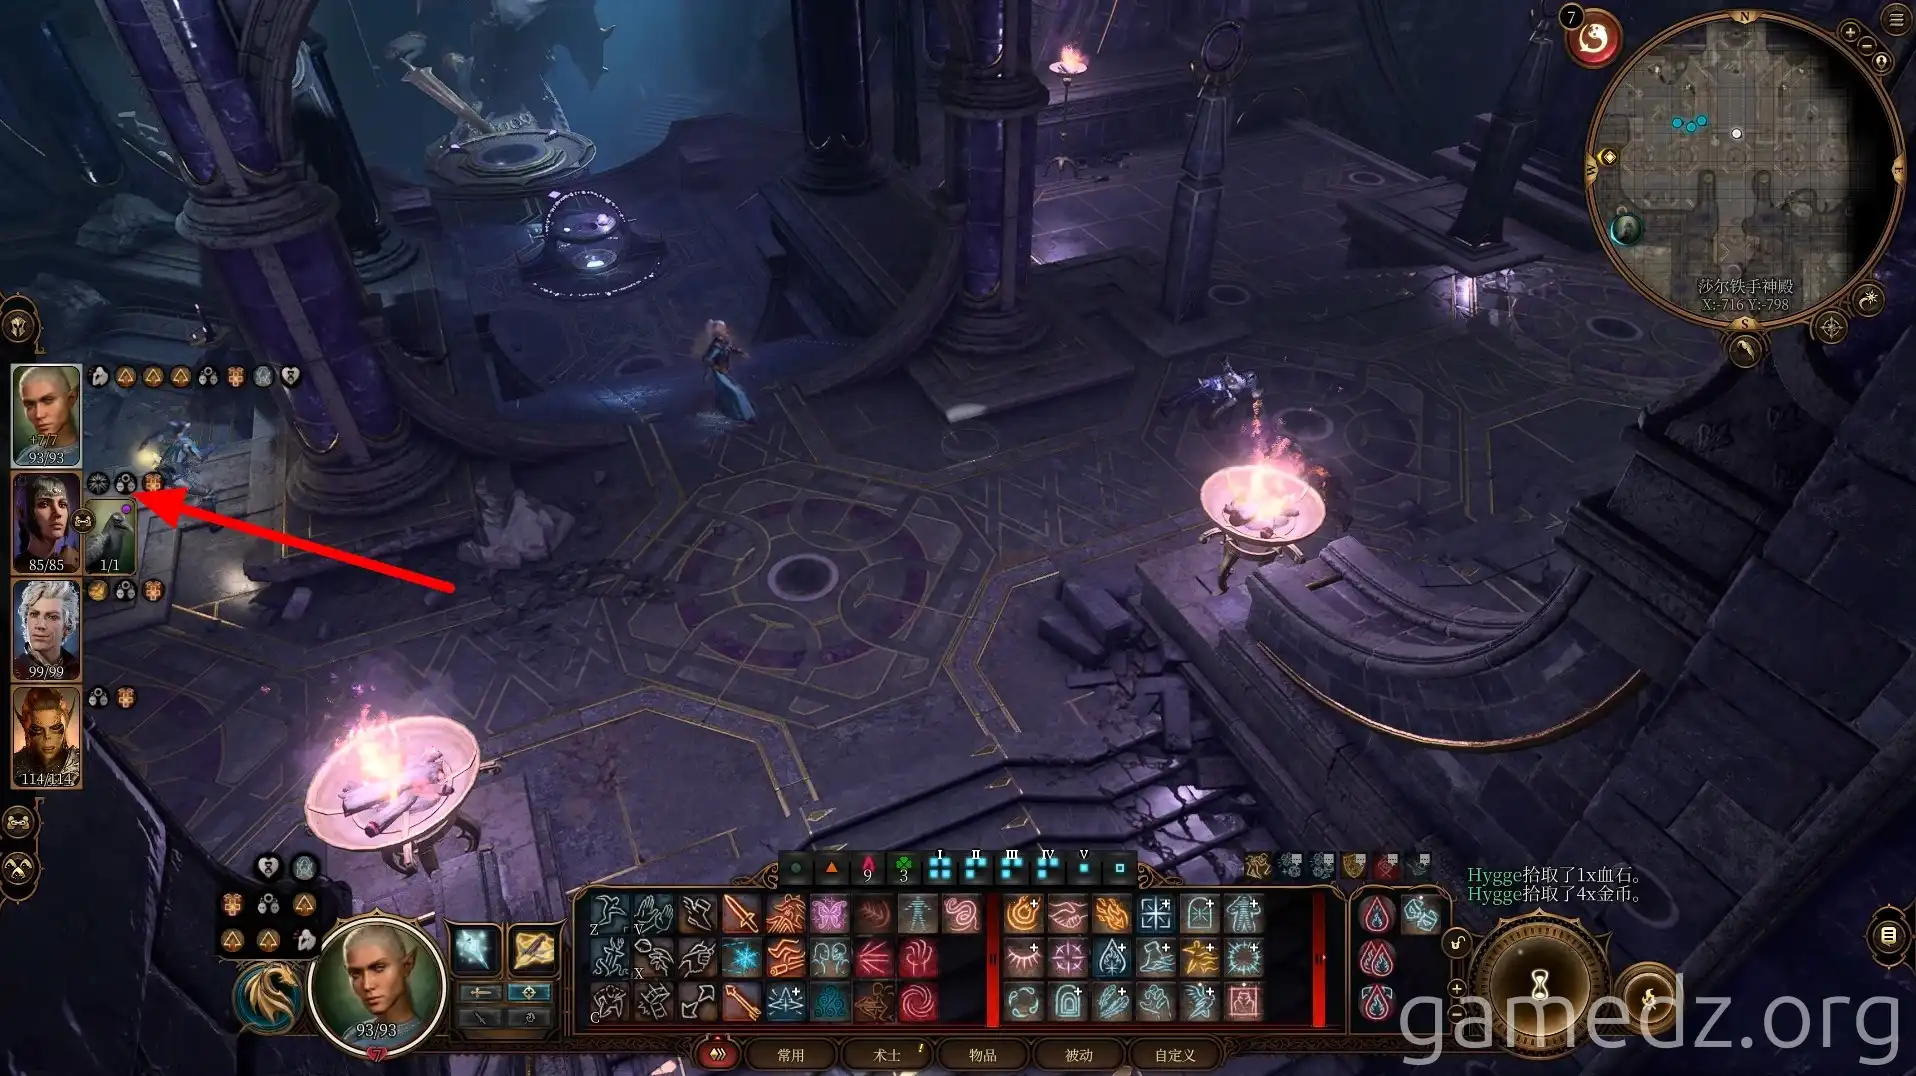
Activate the House of Healing waypoint ahead.
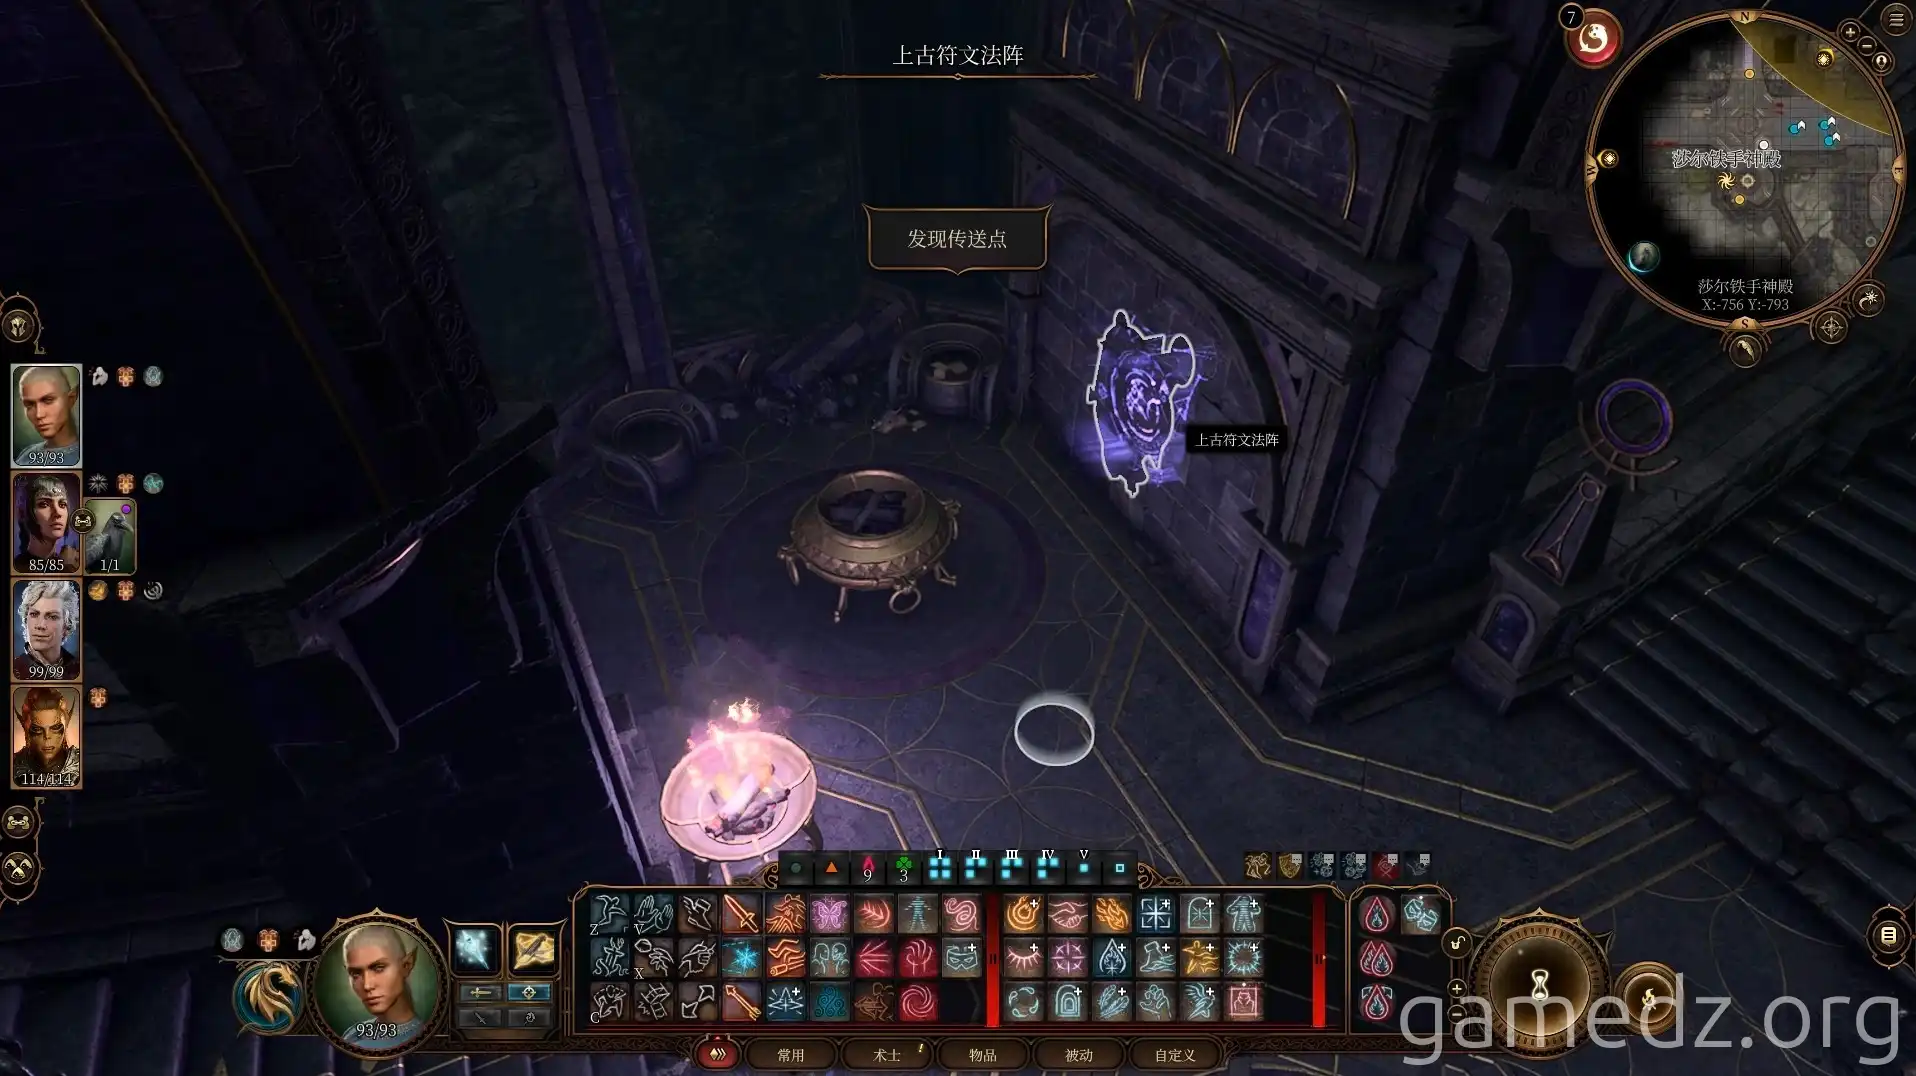
Then, return to the hall and proceed east. We'll go find Raphael's nemesis first.
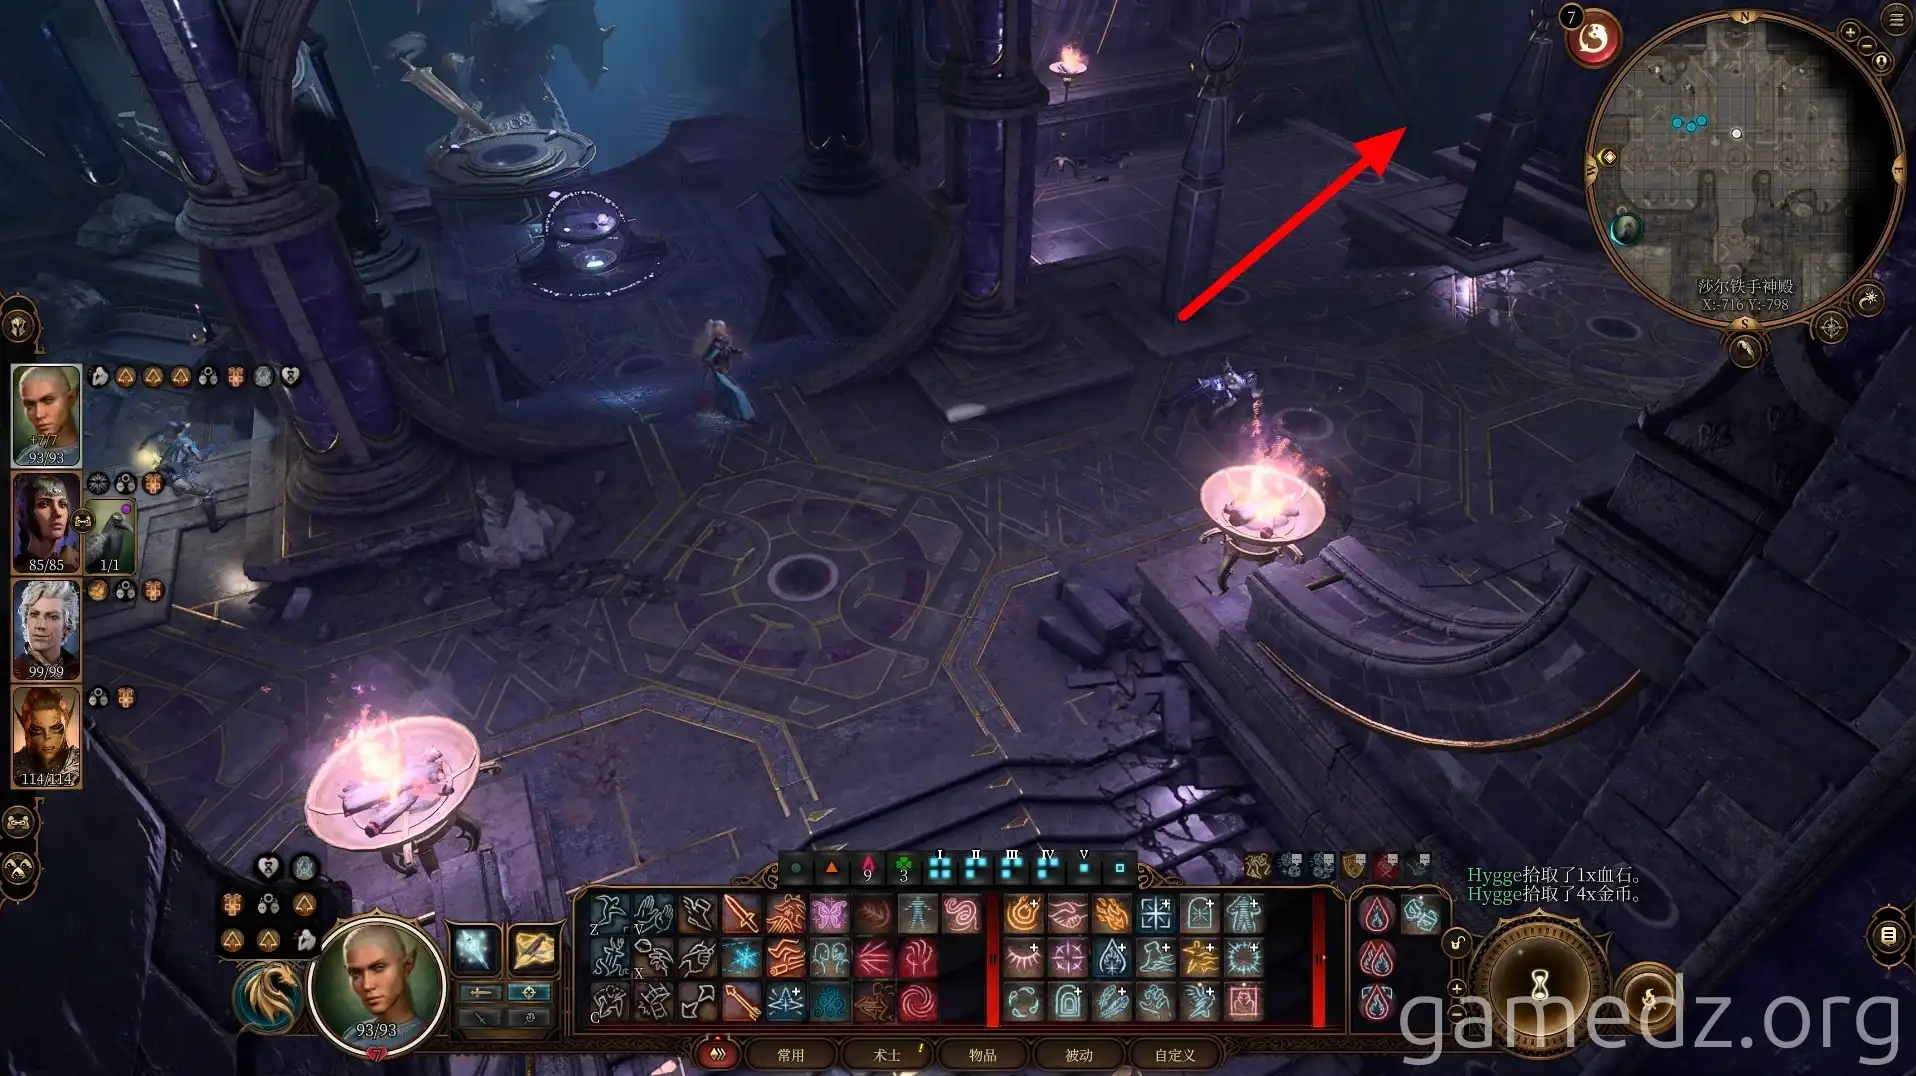
Jump to the opposite platform and head left. Here, you'll encounter a Shadow-Beast. Its primary purpose is to lead you to the devil; you can ignore it.
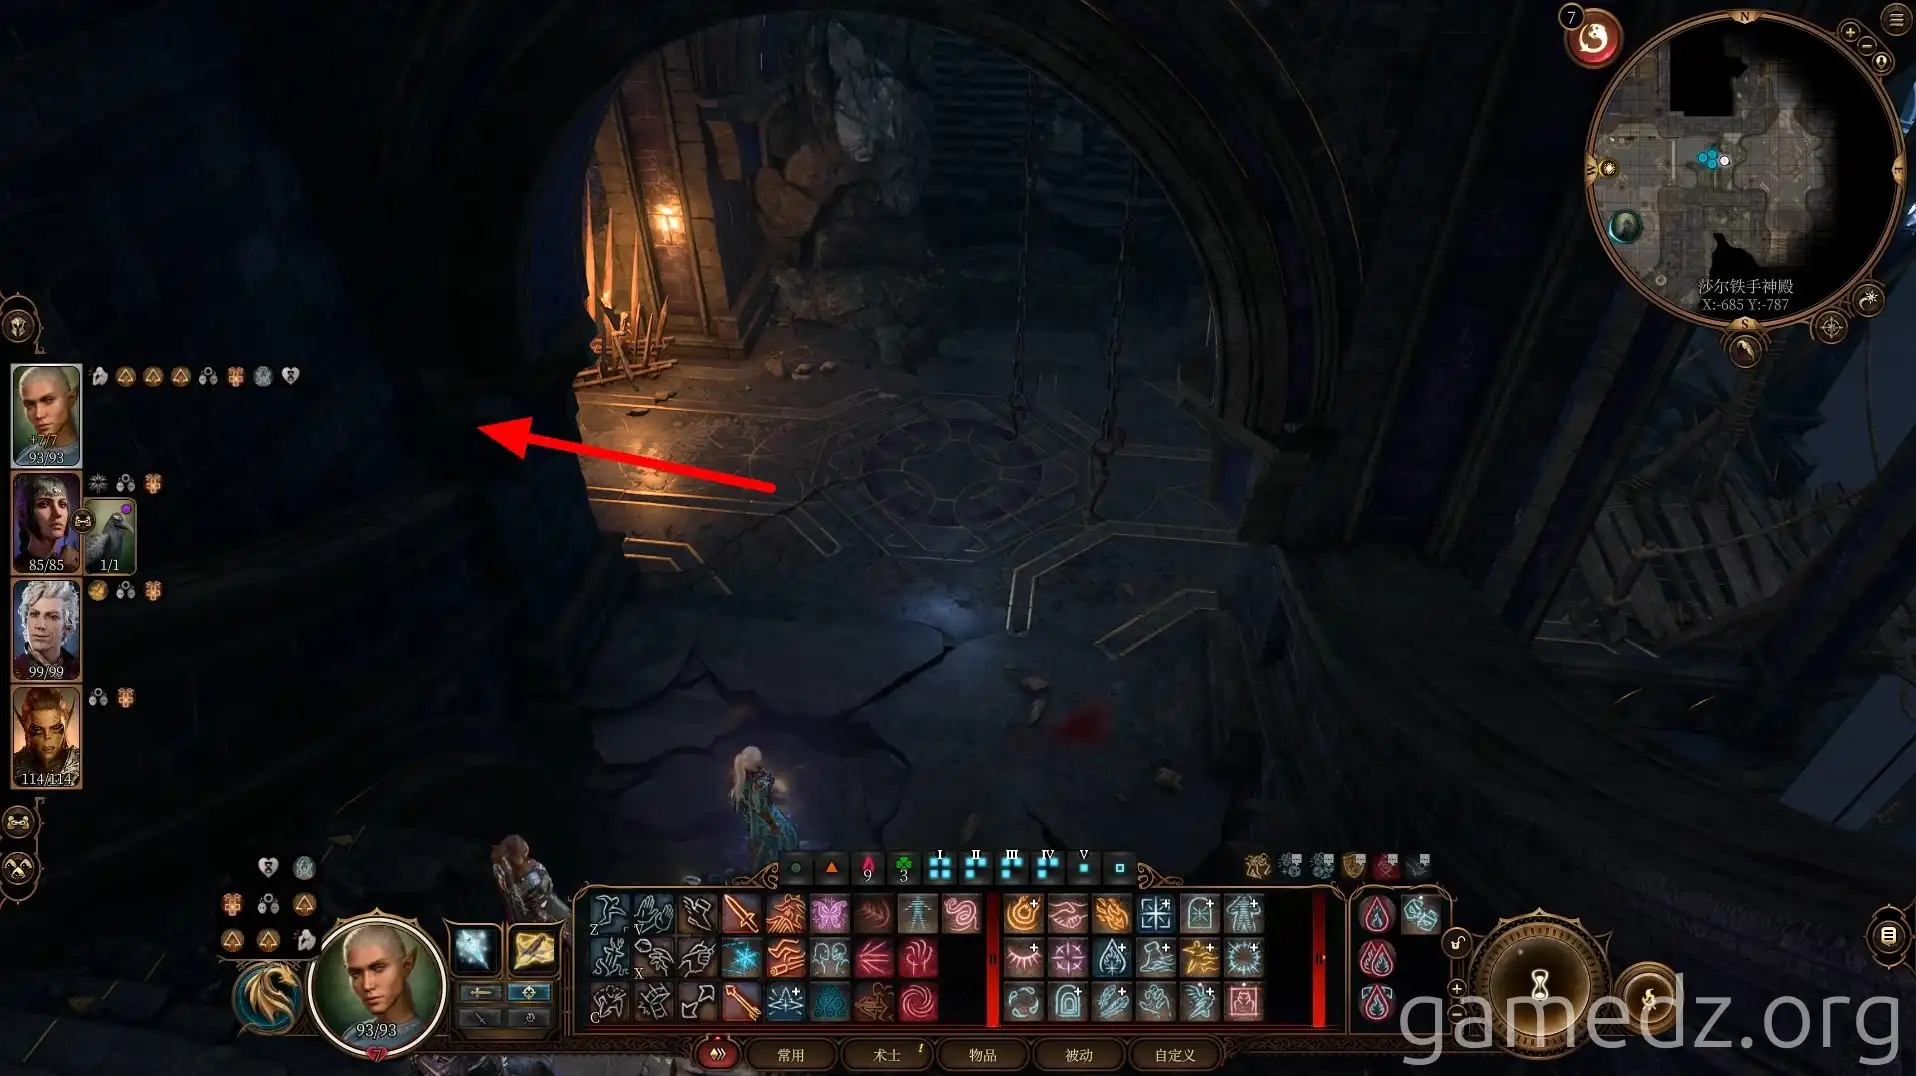
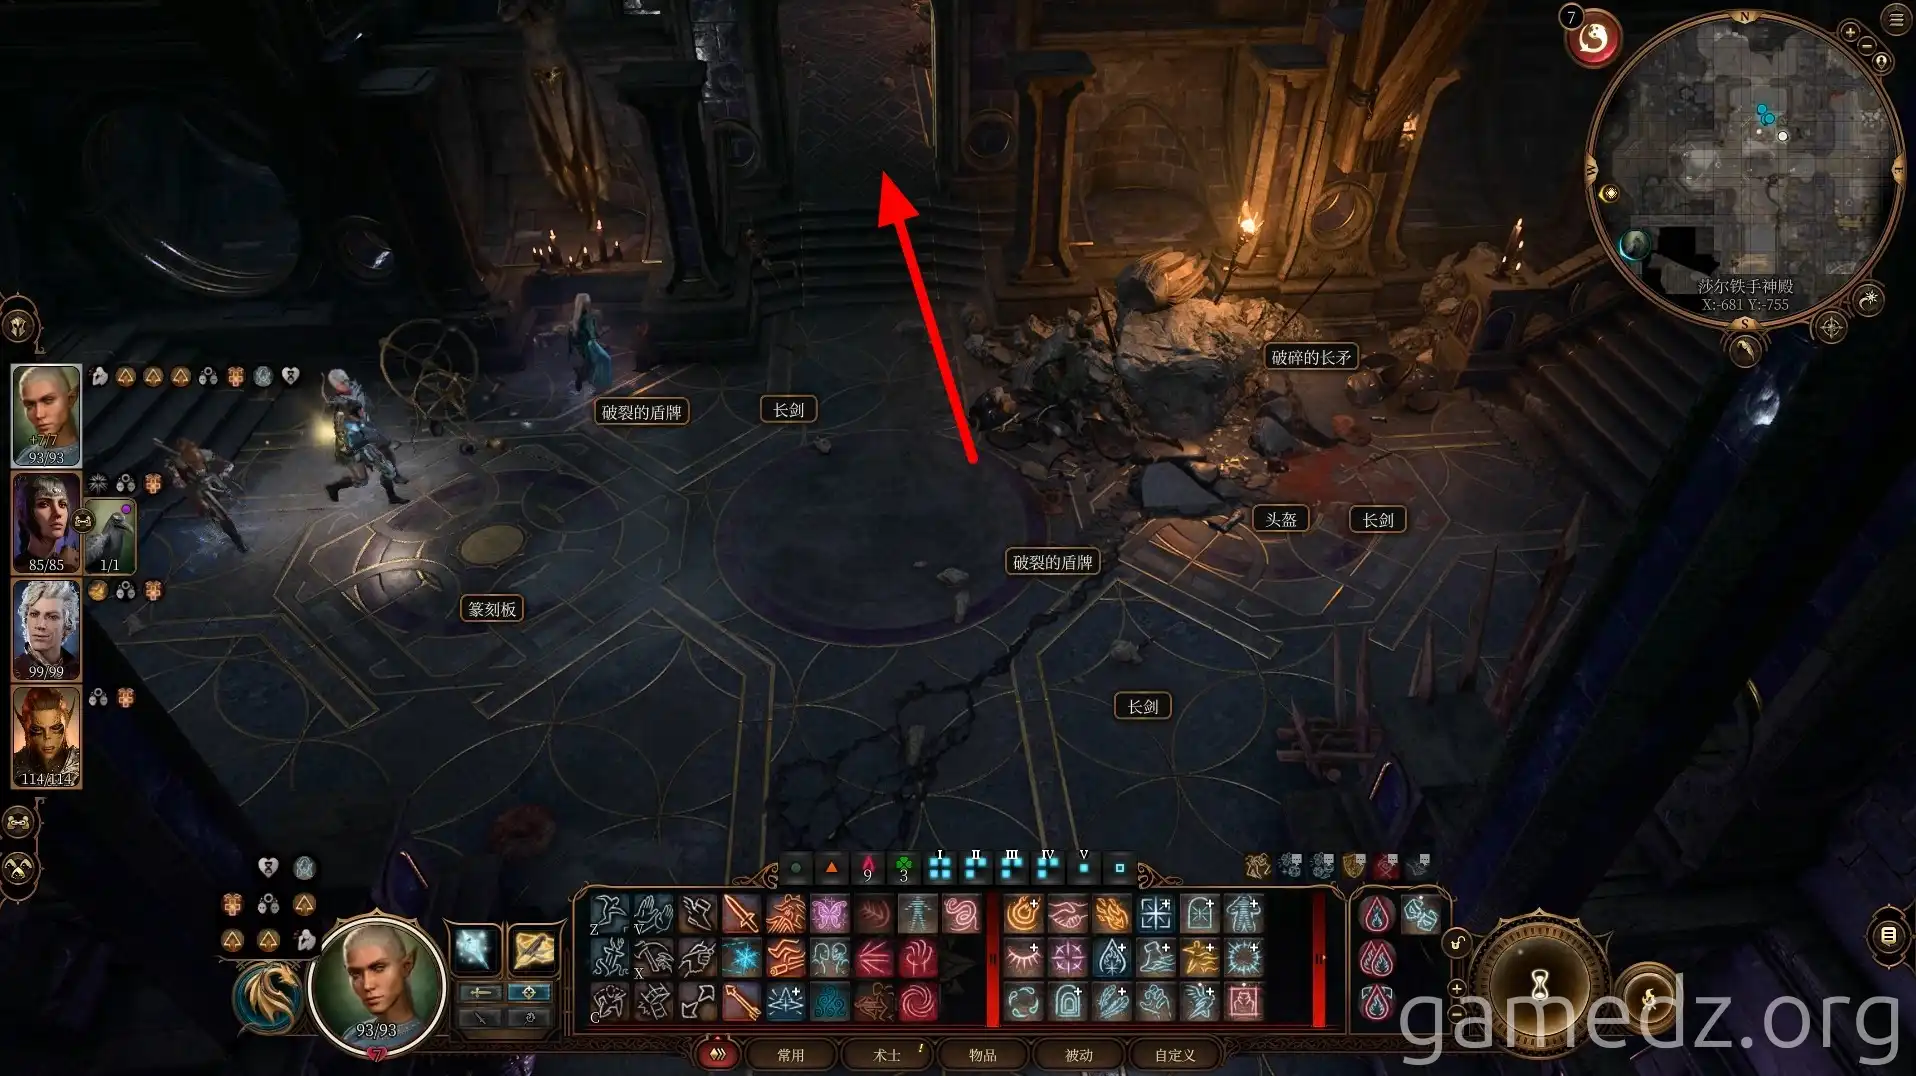
Proceed north from the area where equipment is scattered everywhere.
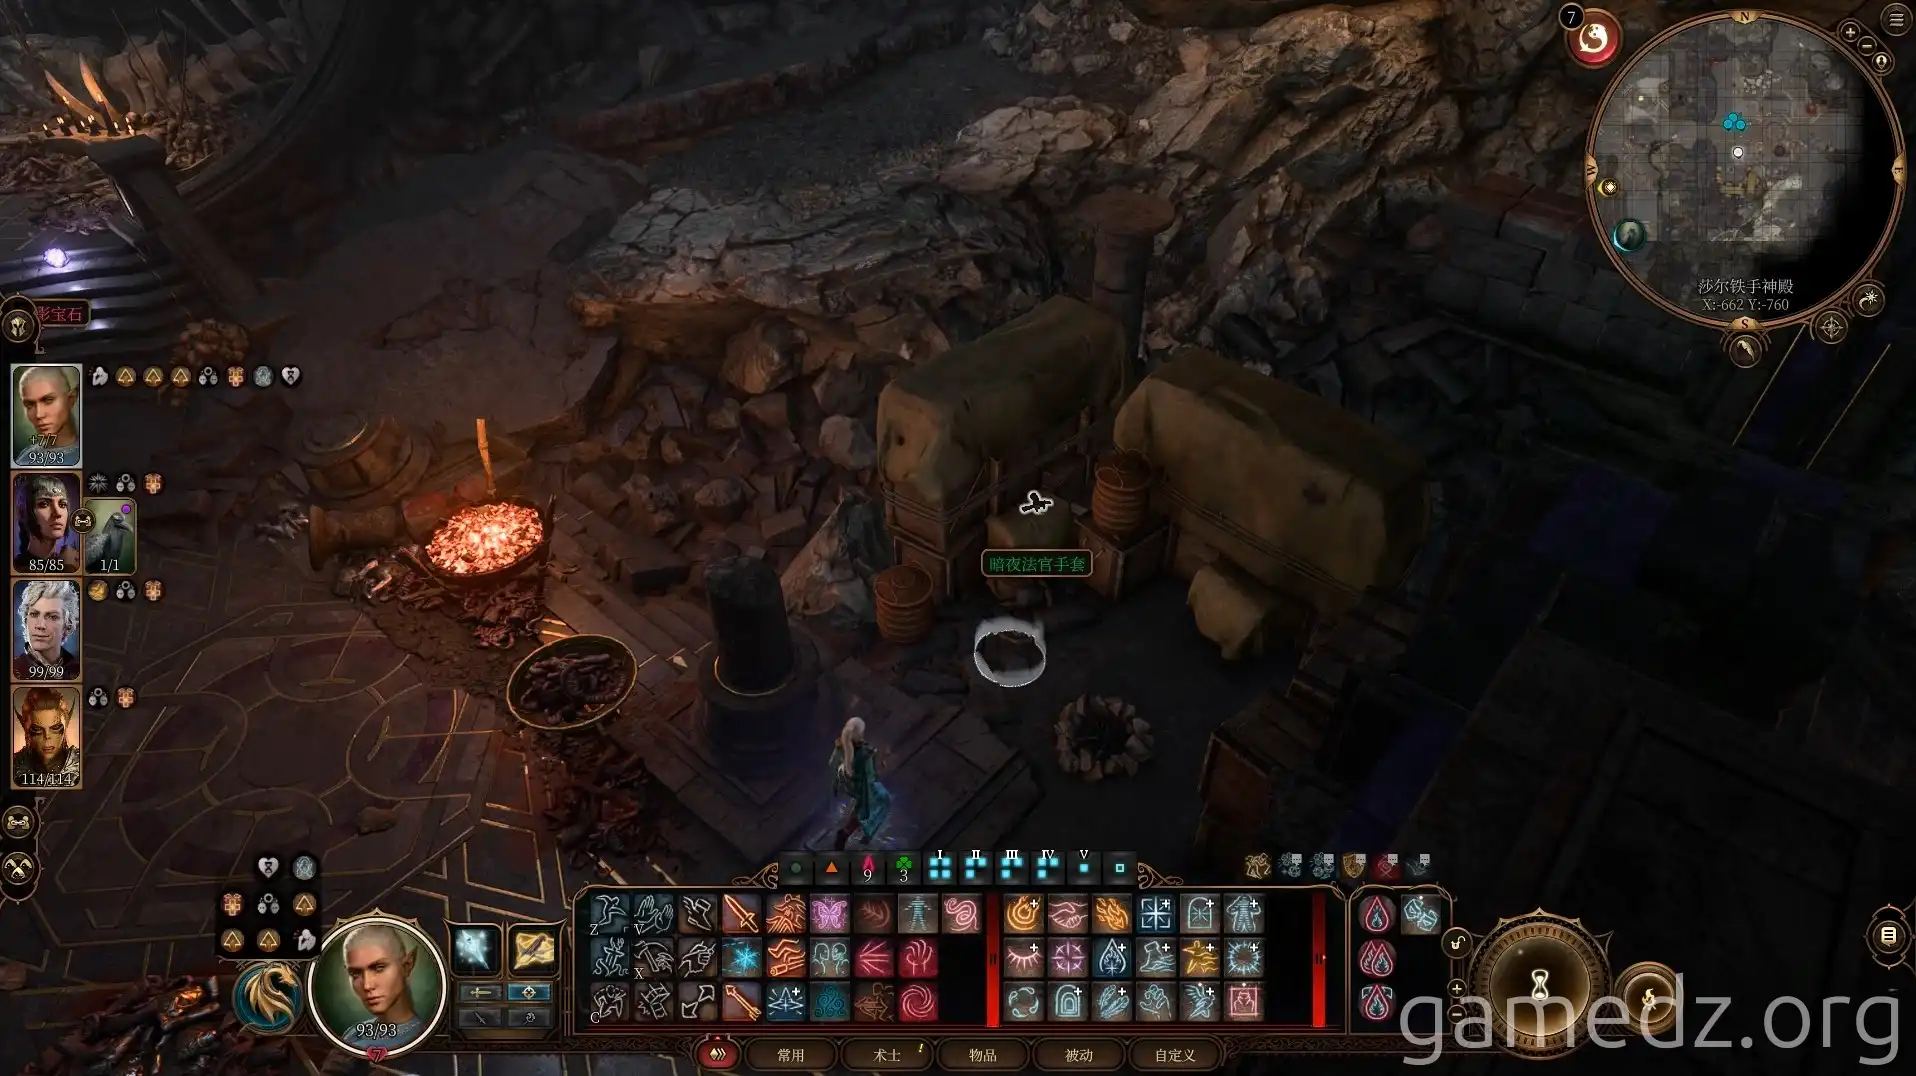
In the southern corner of the hall ahead, you can find the rare equipment, the Dark Judge's Gloves.
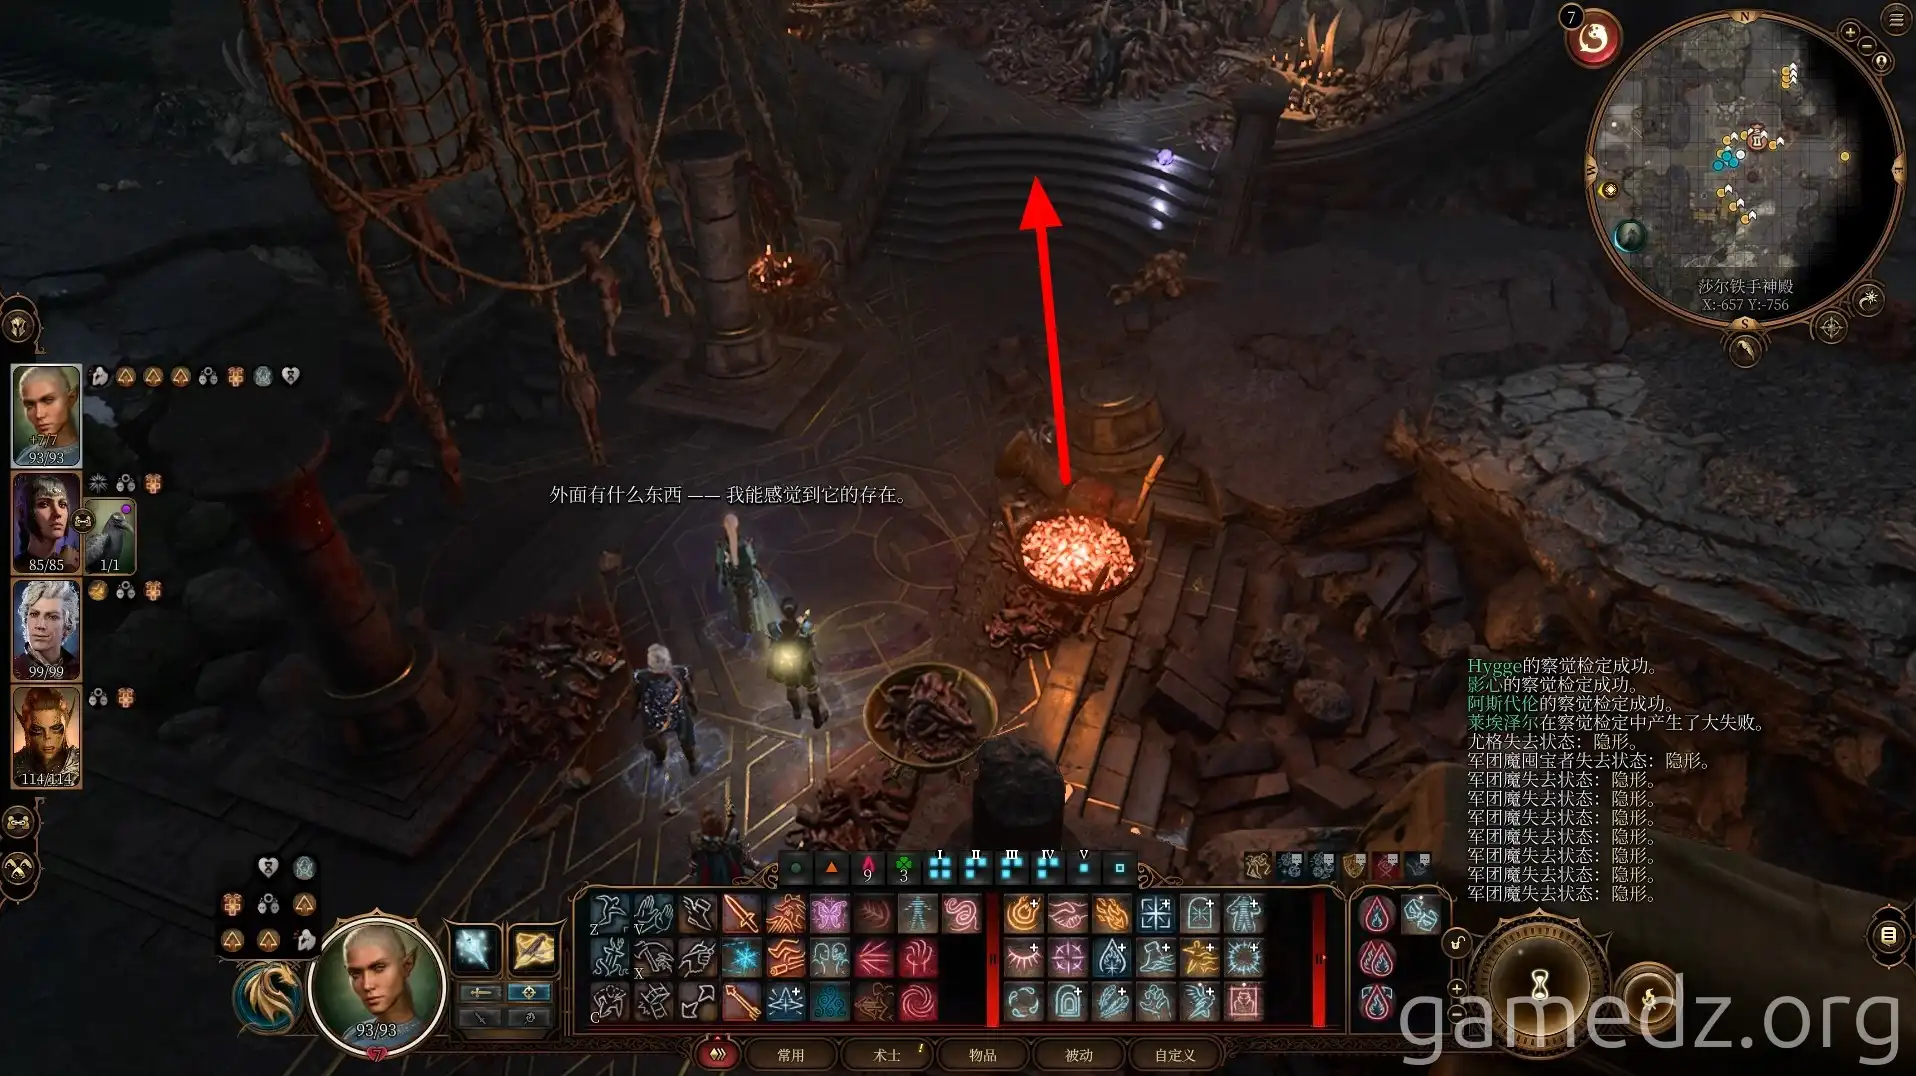
There are devils all over overhead, but don't worry about them. Continue east to trigger a cutscene.
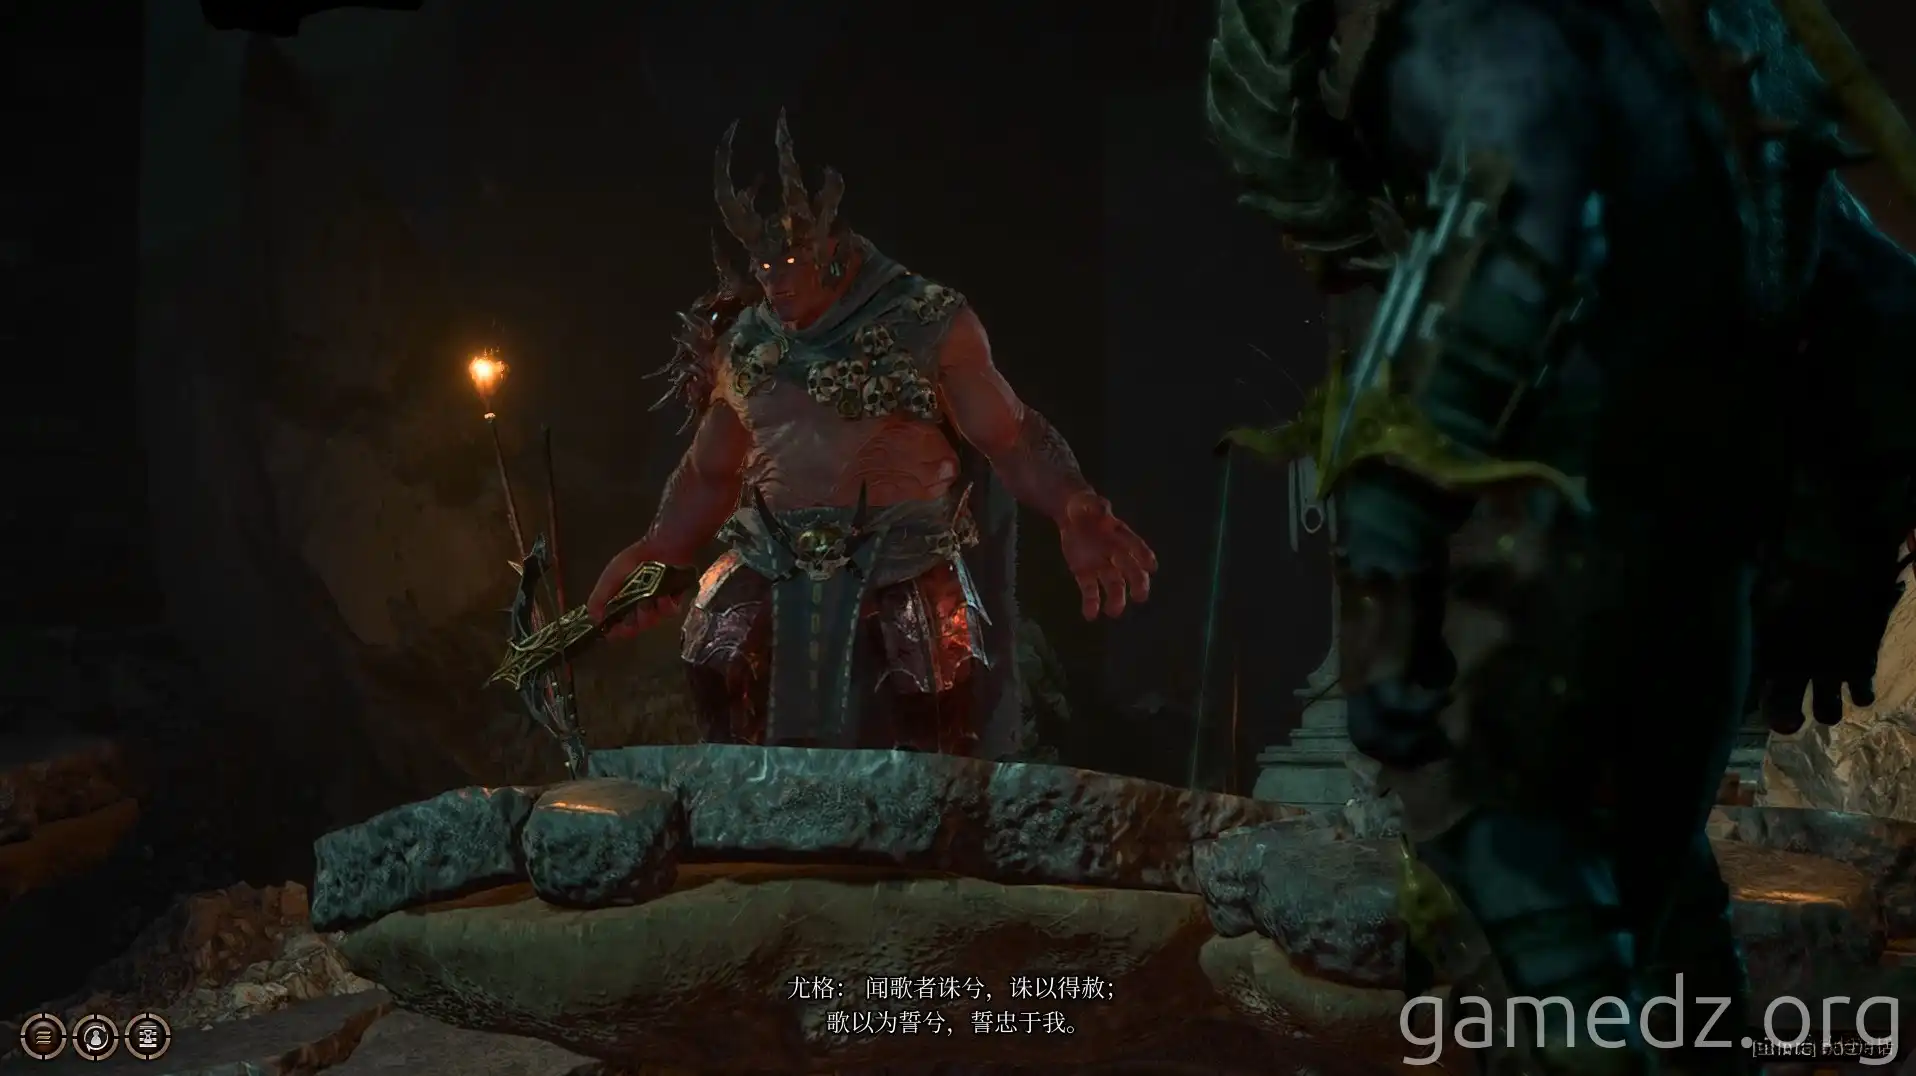
Speaking with the devil Yug, you'll learn that he's trapped here by Raphael's contract and can only leave after all the Dark Judges are killed. You can then persuade Yug to help investigate the temple to see if he missed anything.
Later, you can persuade Yug to commit suicide to obtain the rare weapon Hellfire Hand Crossbow. When you fight Raphael in the third act, Yug will be summoned again, and you can persuade him to help you fight Raphael once more.
Afterward, you can trade with the hoard-loving devil, but the hoard-lover doesn't have any good equipment to sell.
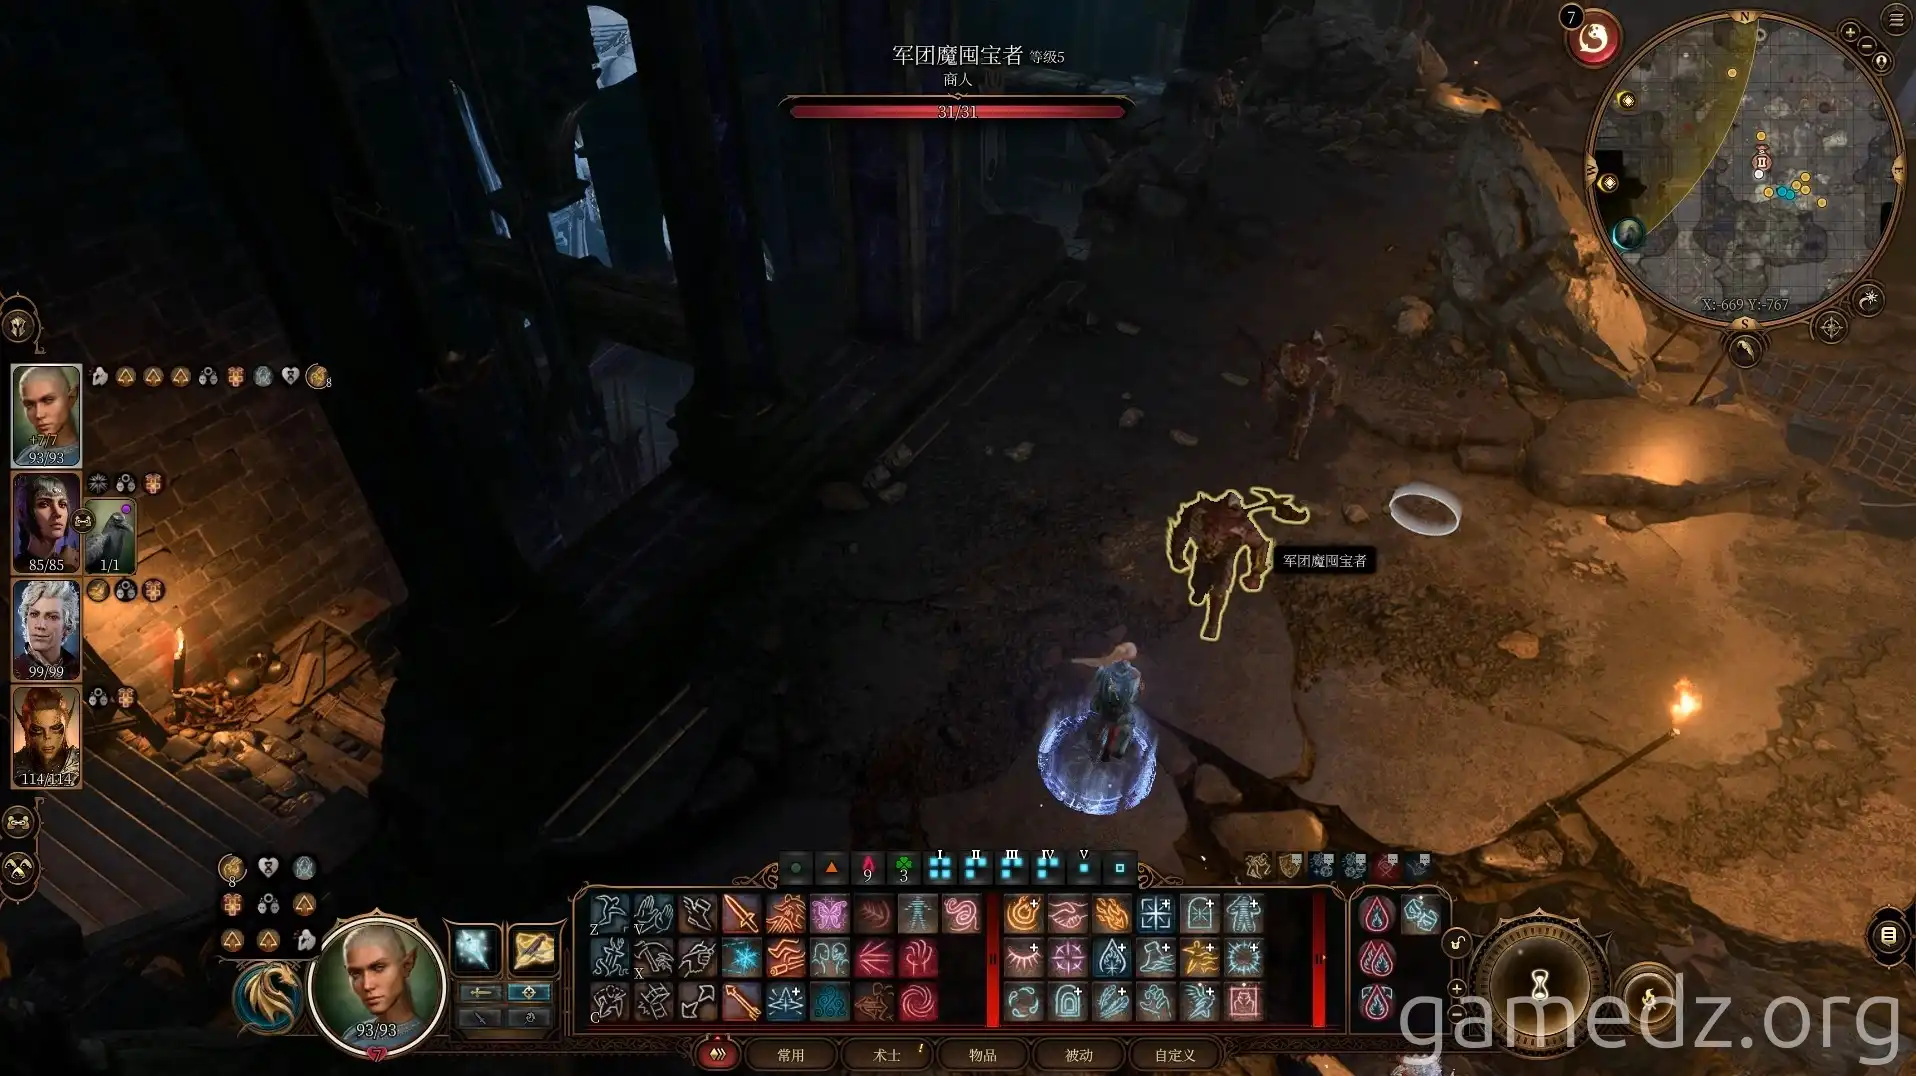
Return to the area where equipment was scattered and head north. Descend via the ramp ahead.
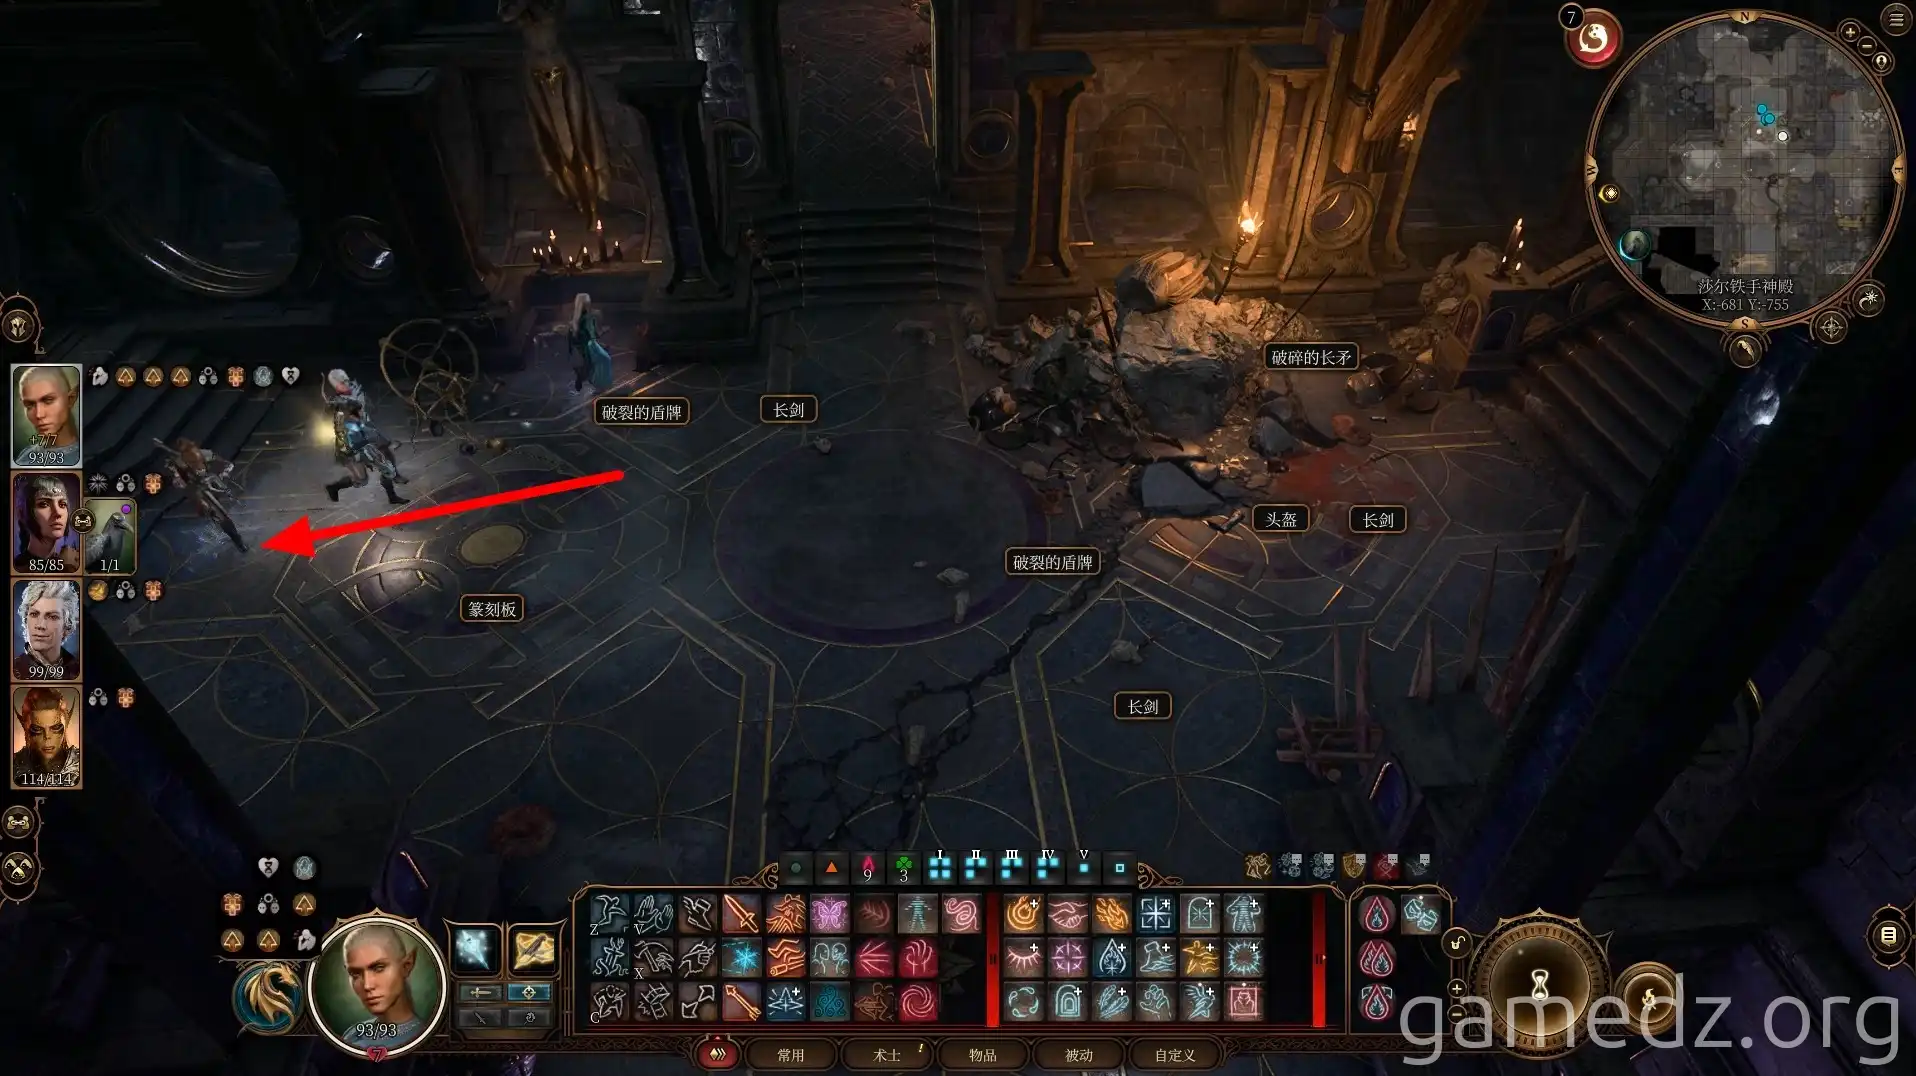
Upon reaching the lower level of the temple, head south first.
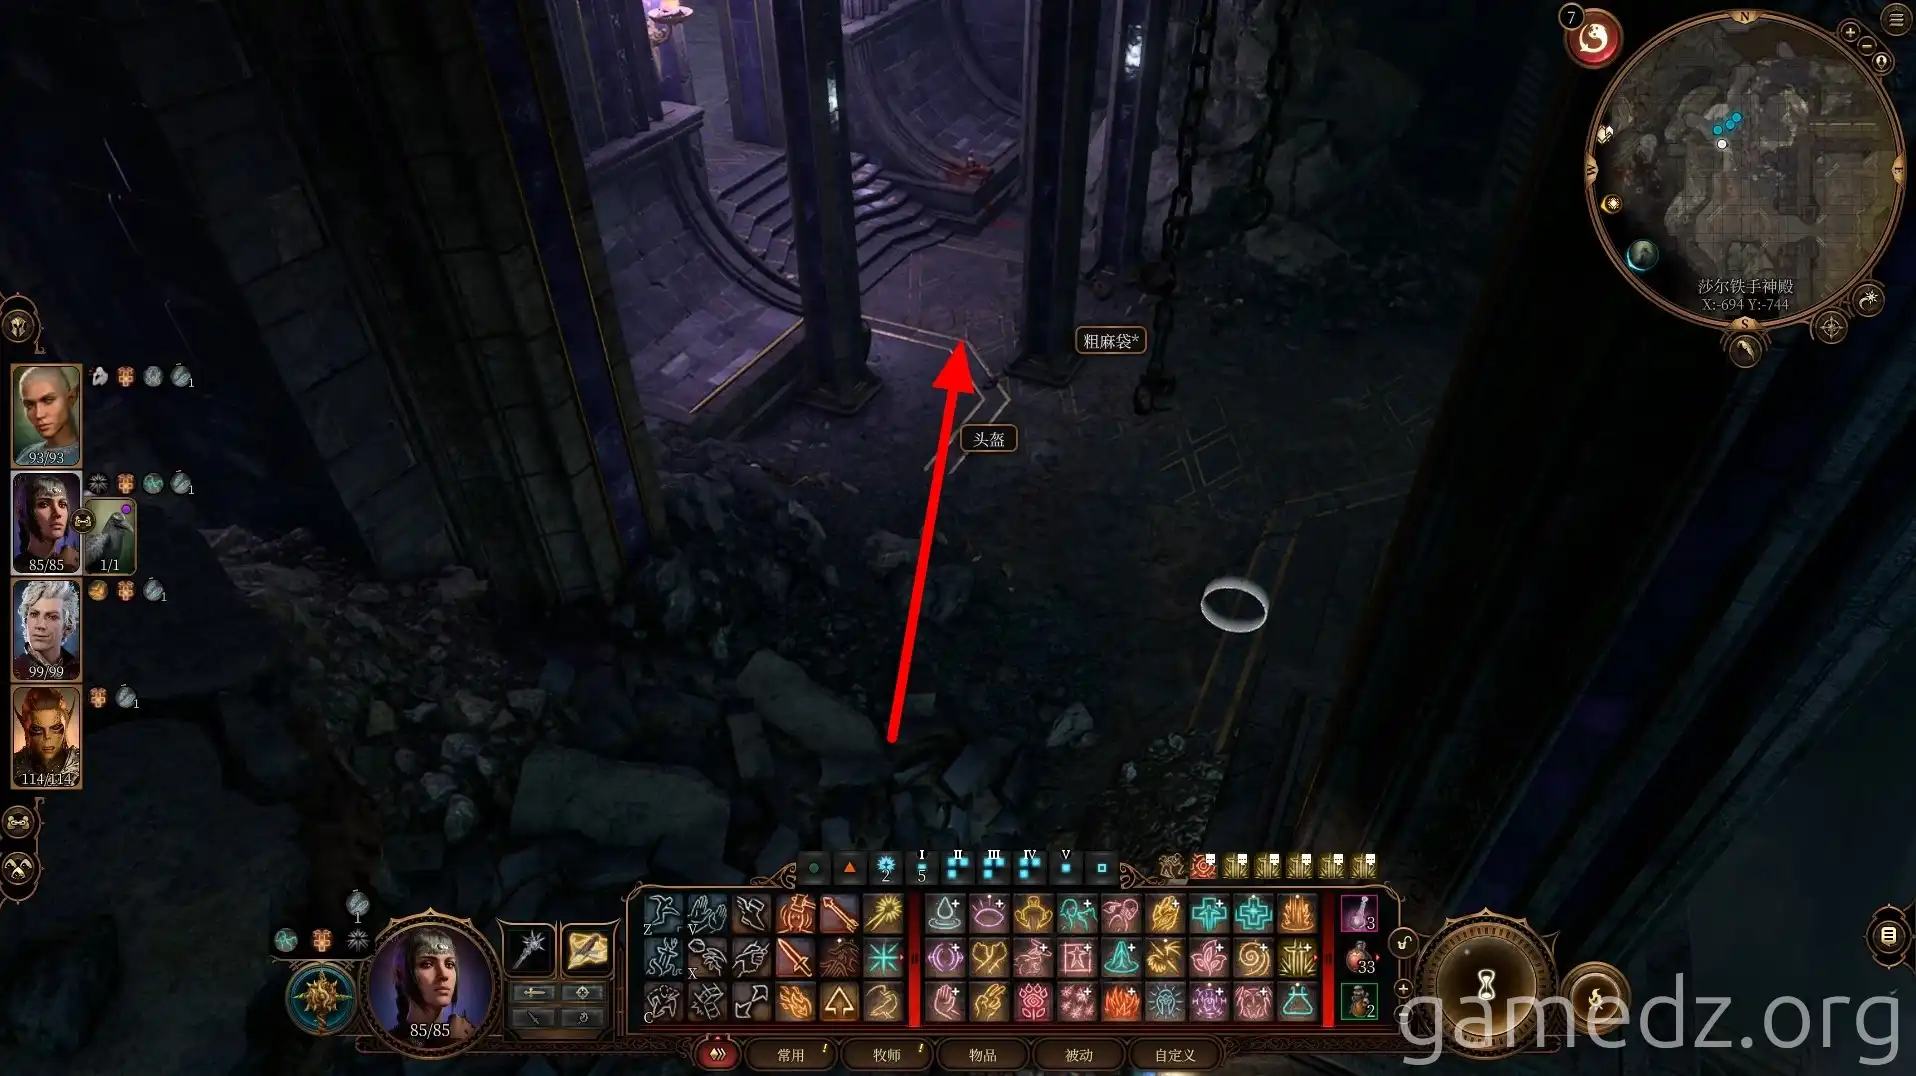
You'll find a chest ahead.
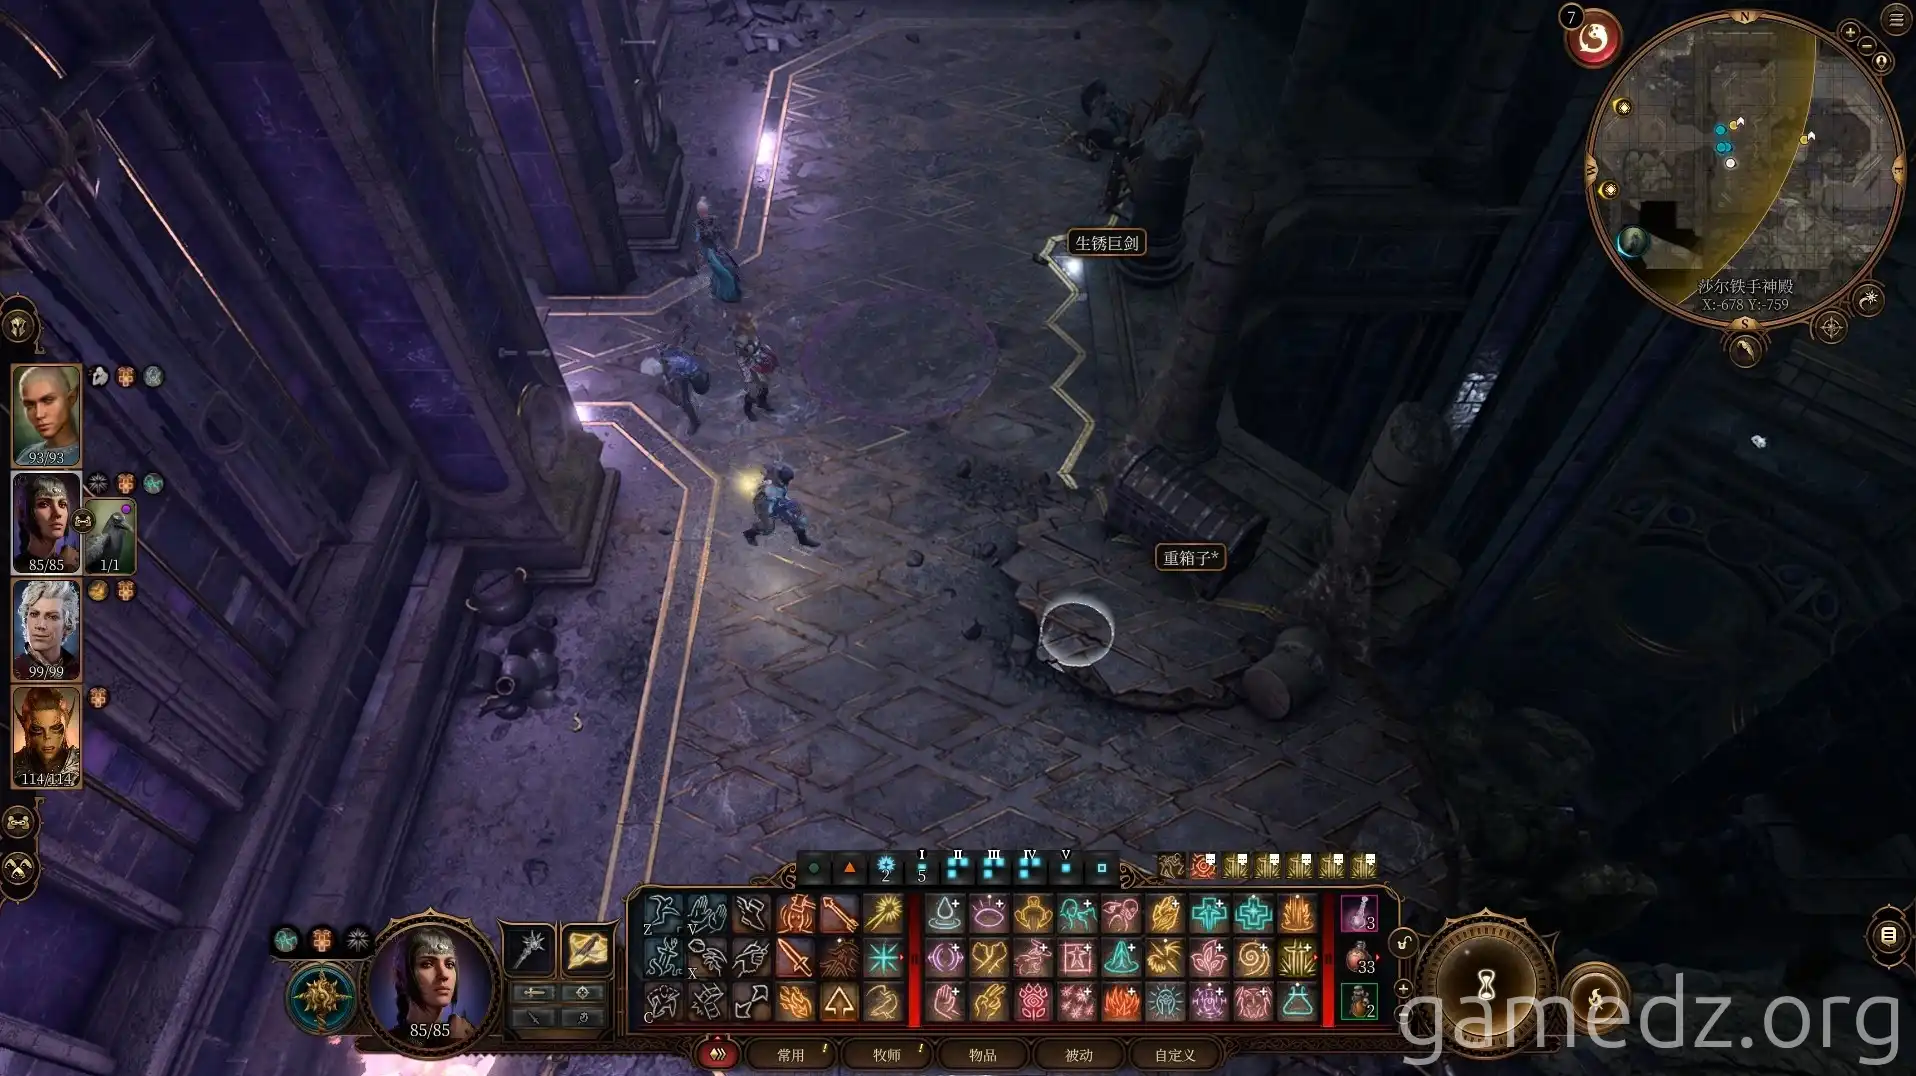
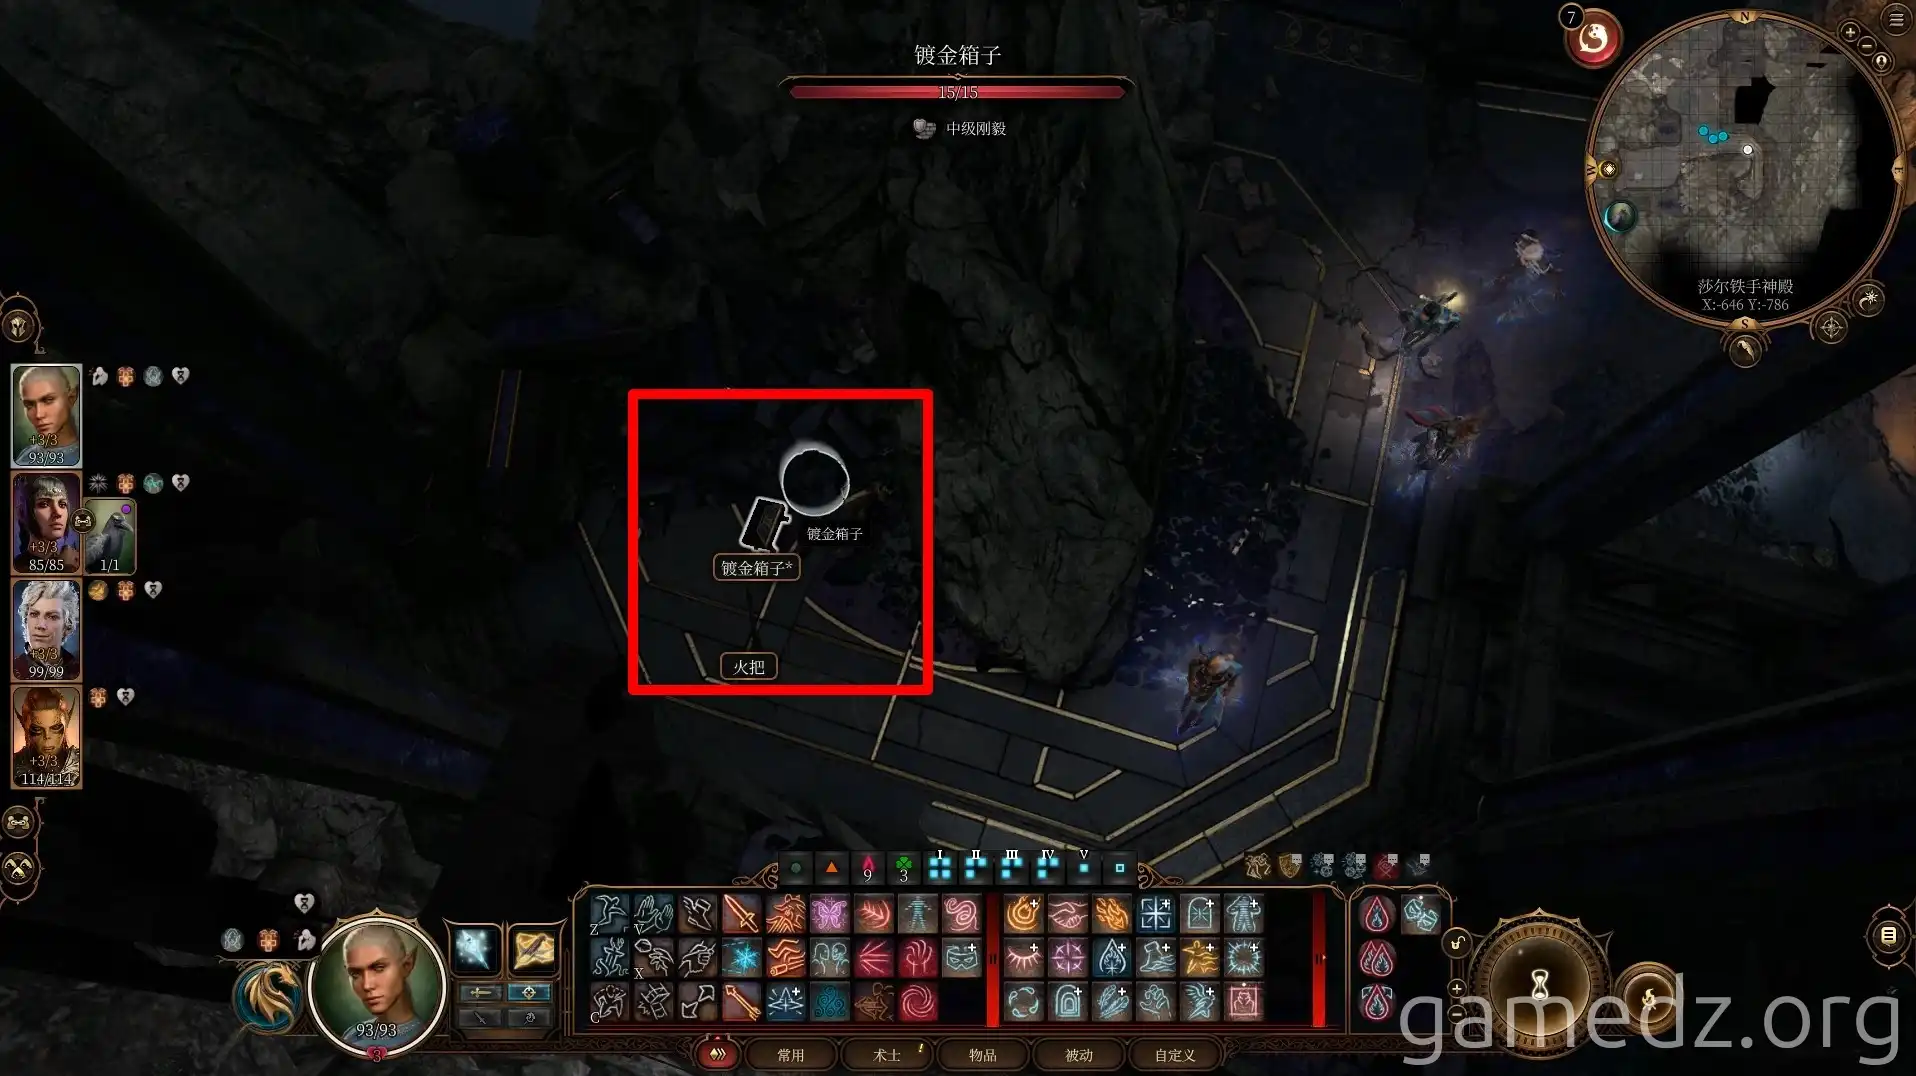
Then, descend the stairs to the north. On the lower level, there's a gilded chest, and you can also find a letter recording orders from the corpse of a Zealot of the Absolute.
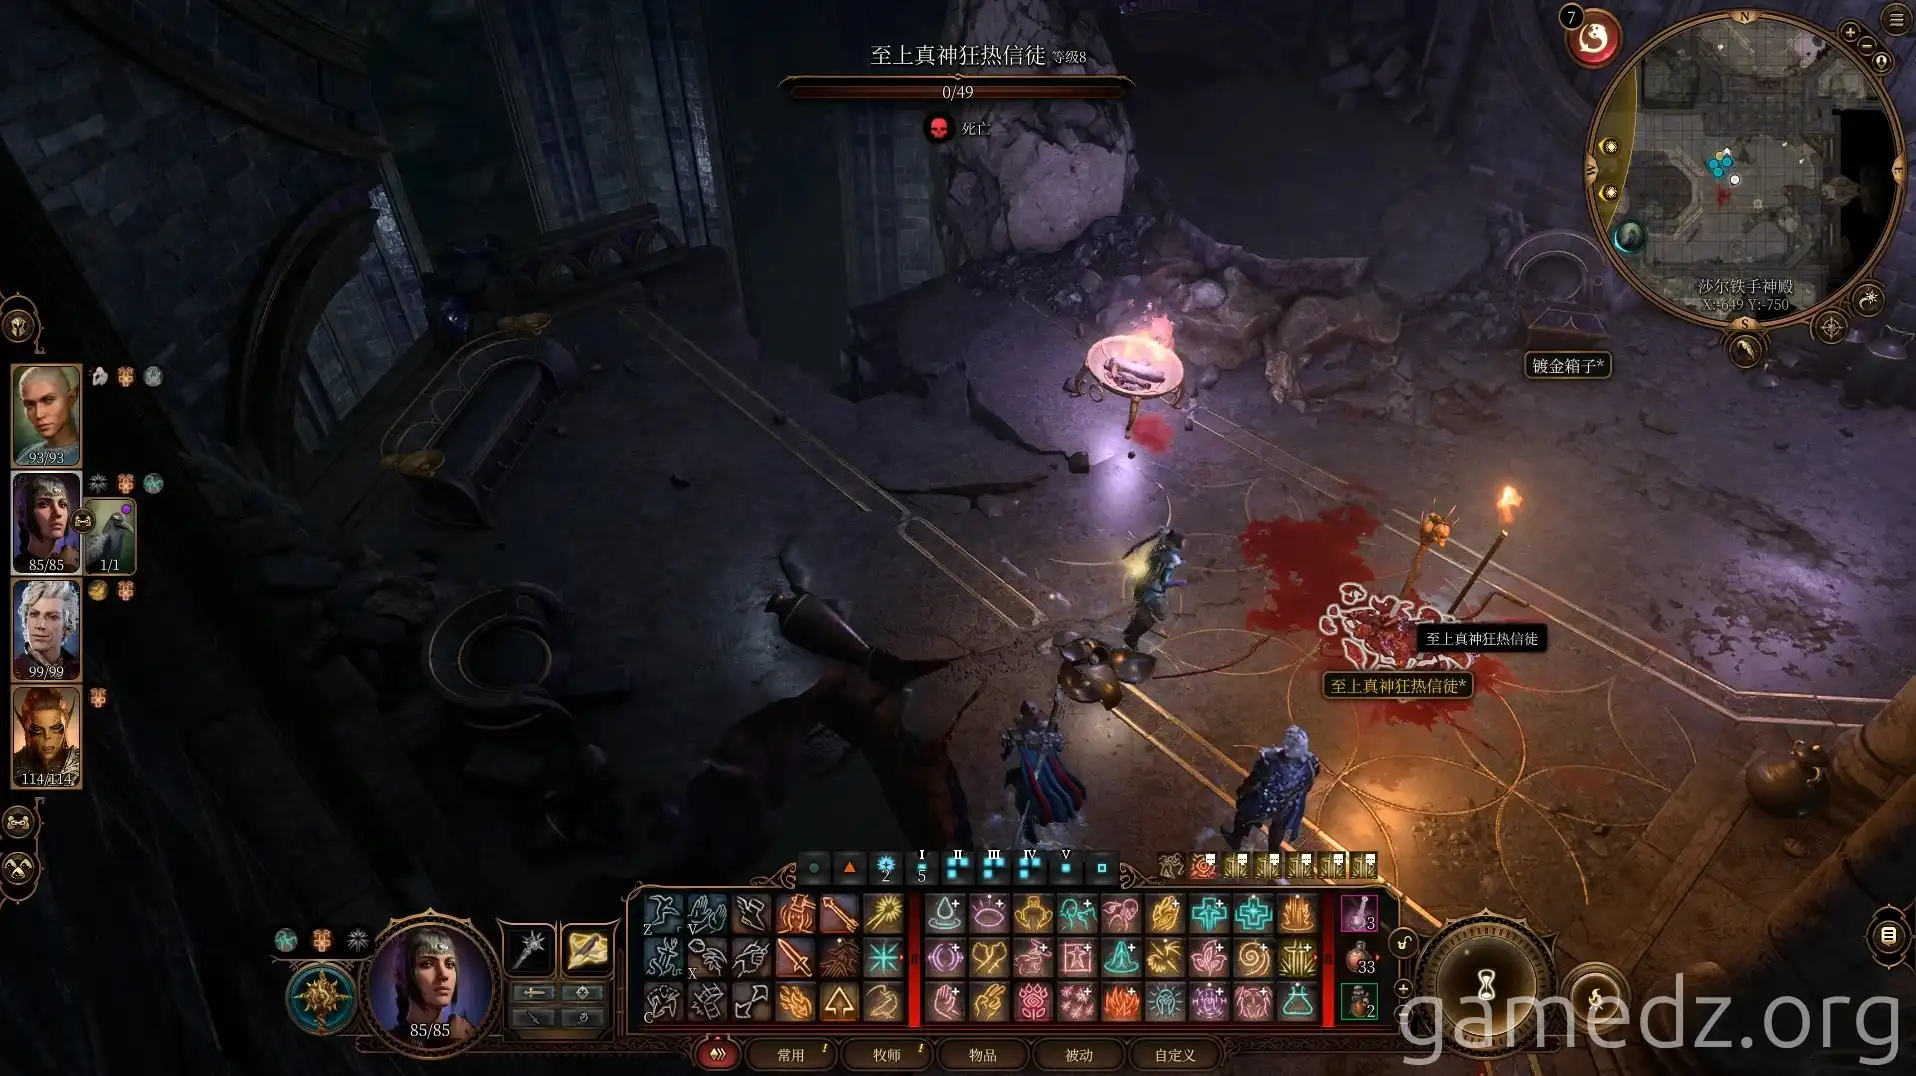
Return to the ramp and descend via the rugged rocks.
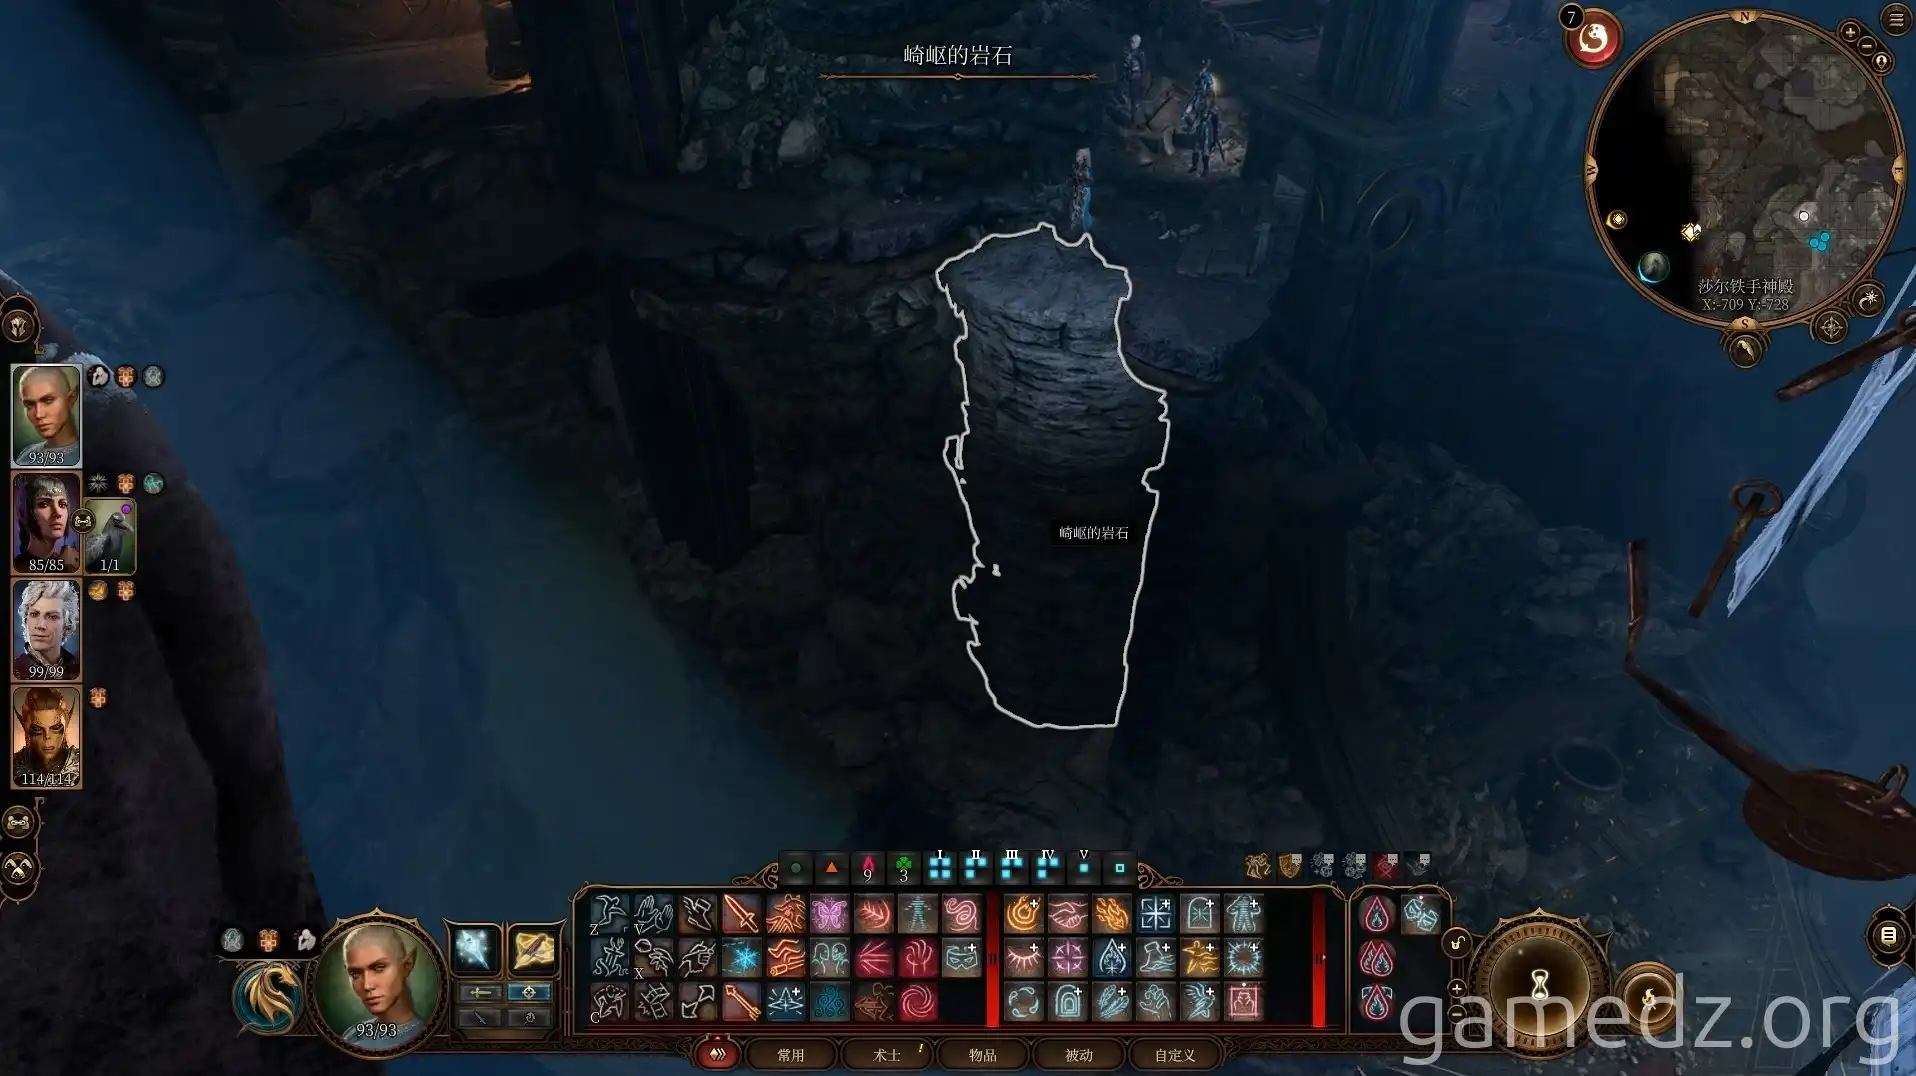
Continue traversing the rugged rocks to reach the foot of the Shar statue.
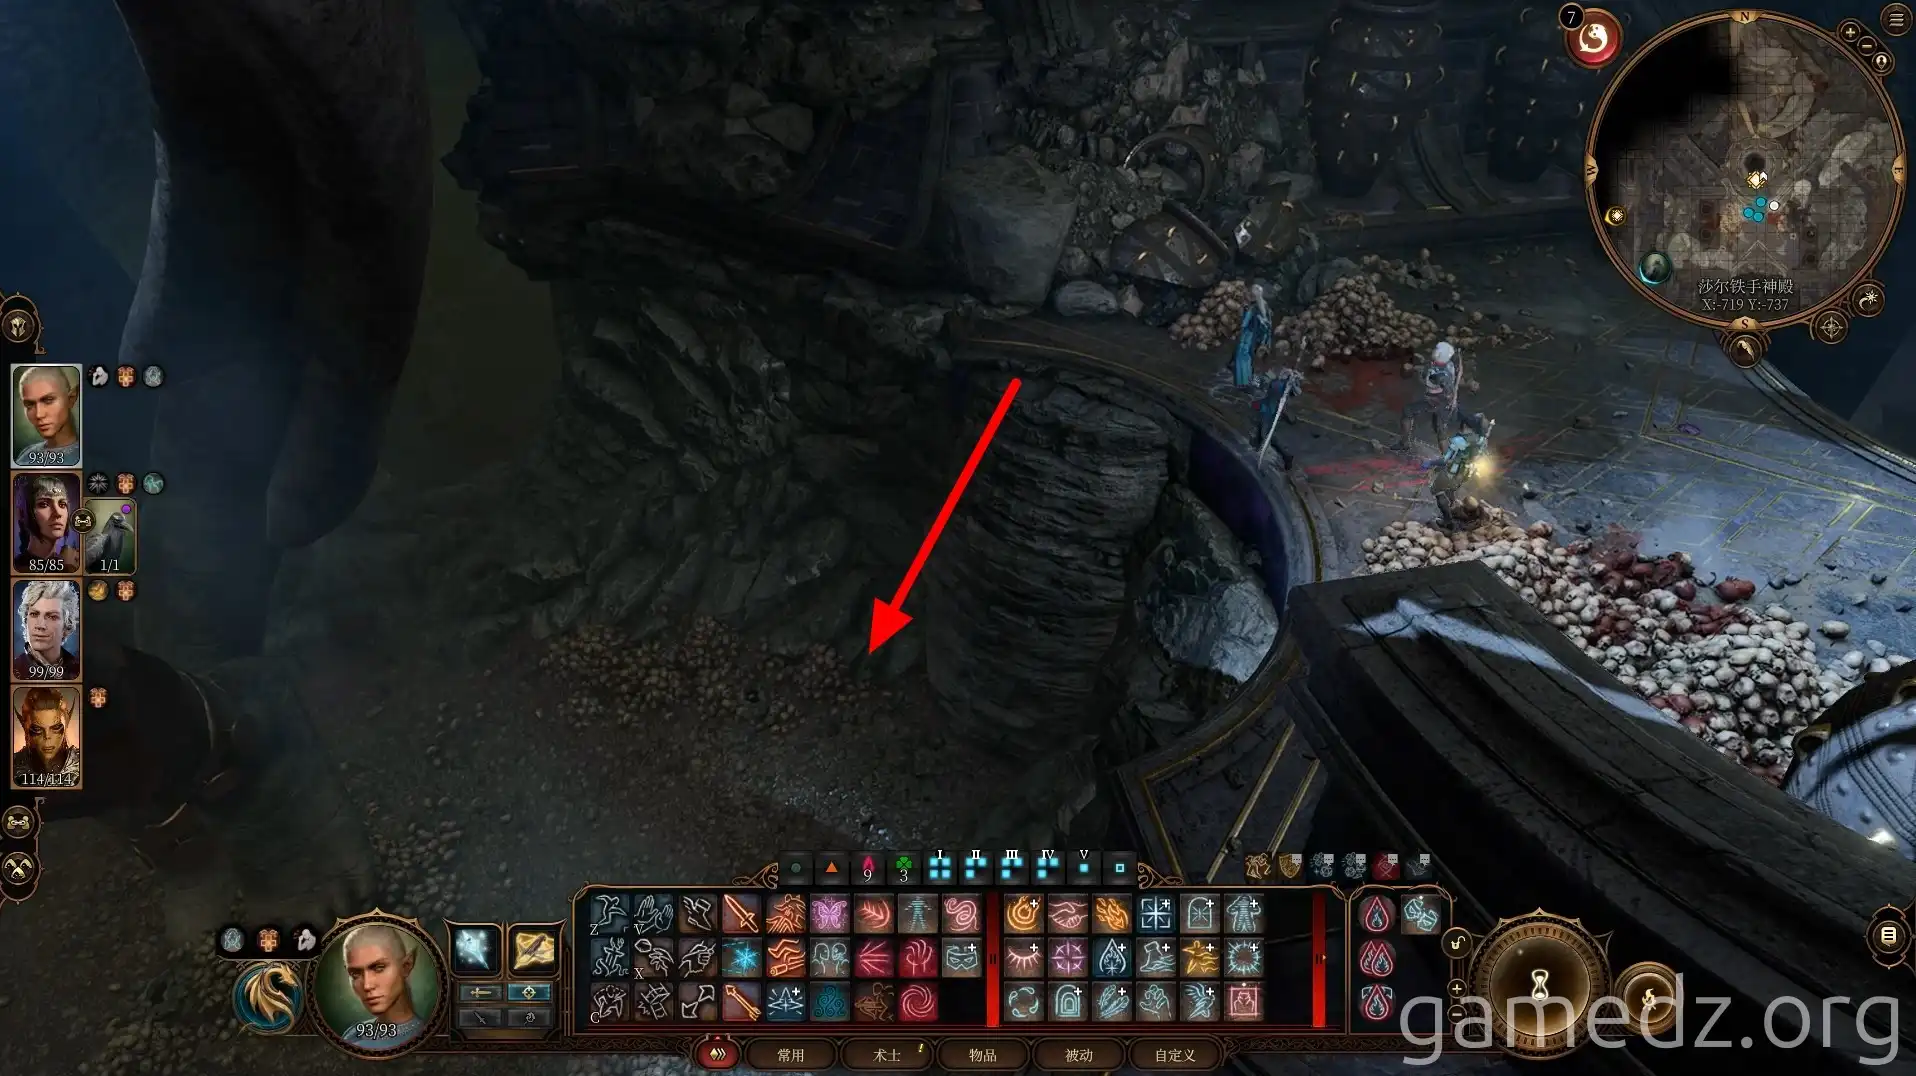
Through the document "One Becomes Many" at the foot of the Shar statue, you'll learn that the final Dark Judge has gone into hiding with Raphael's help.
Interact with the broken statue nearby, and a rat will appear.
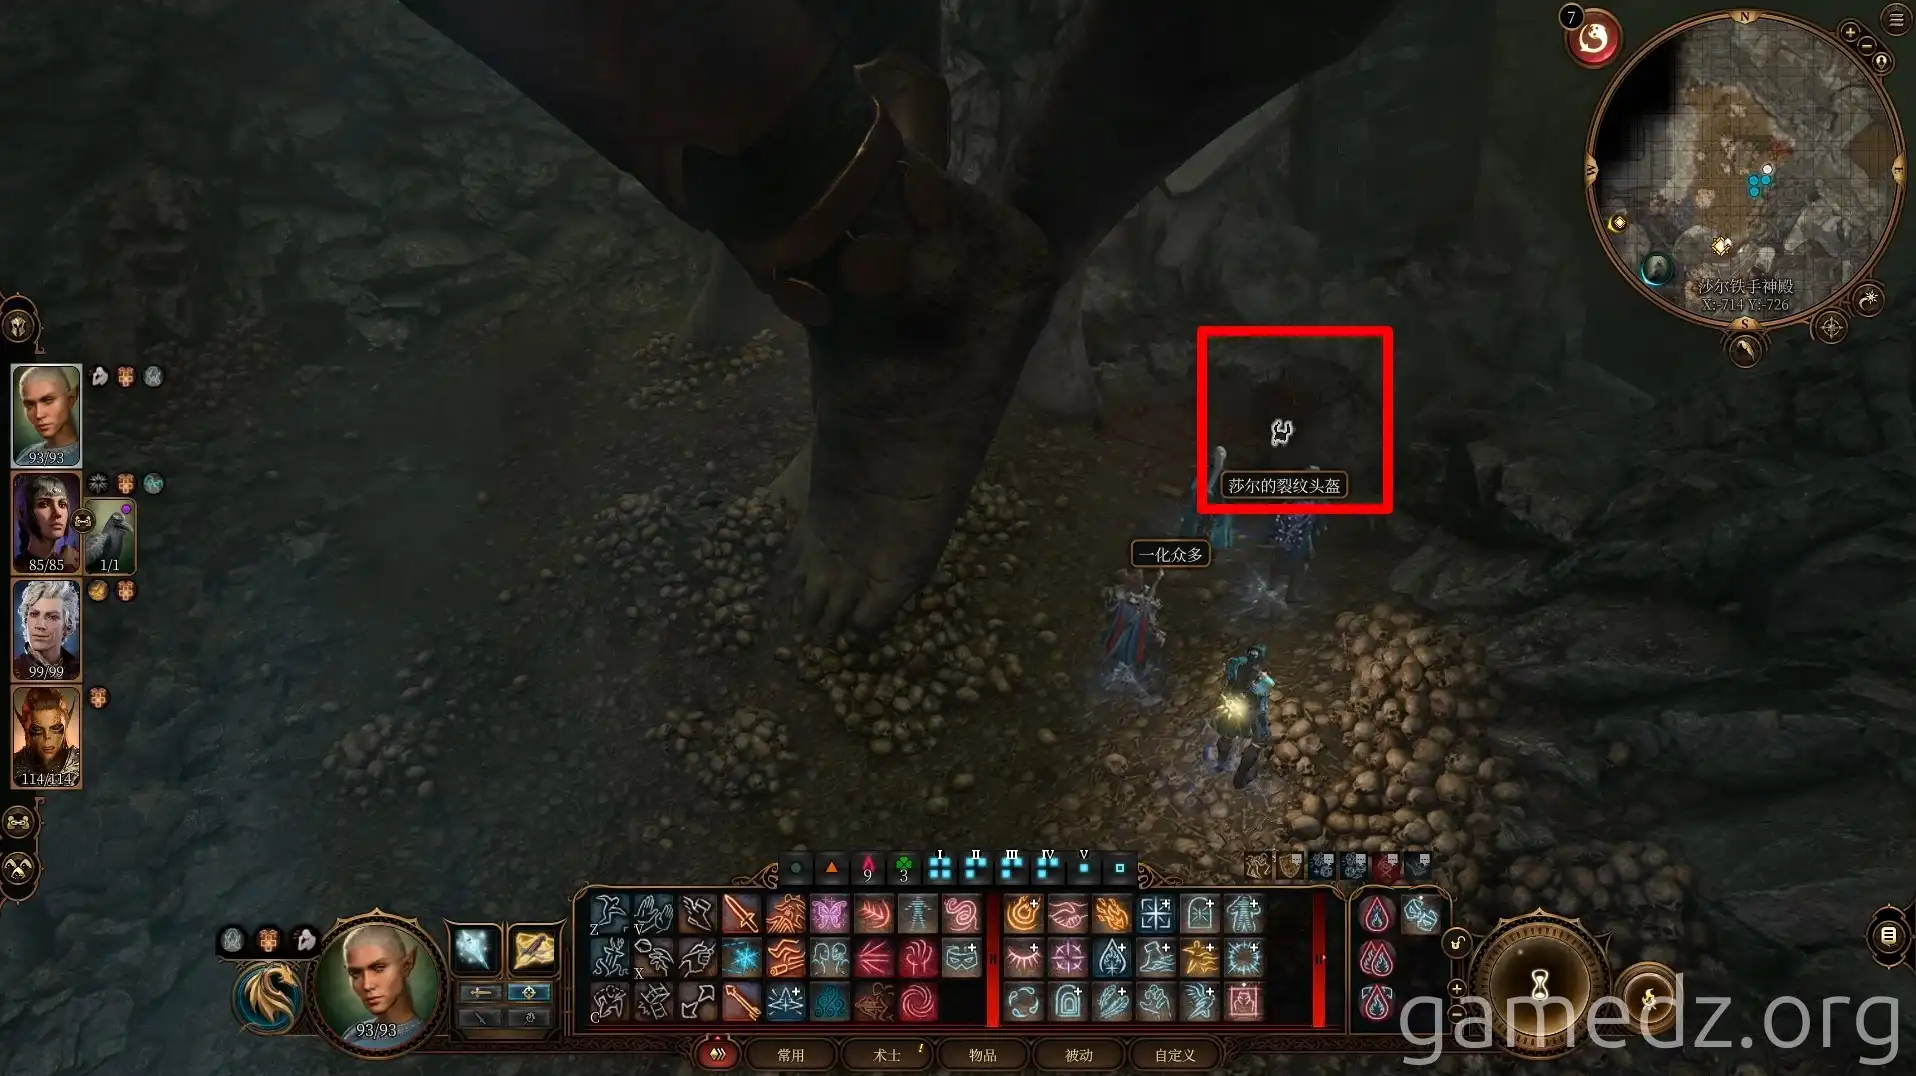
This rat is actually the Dark Judge transformed, and the Dark Judge has also split into many other rats.
You can talk to it first, or you can attack and kill the rats directly.
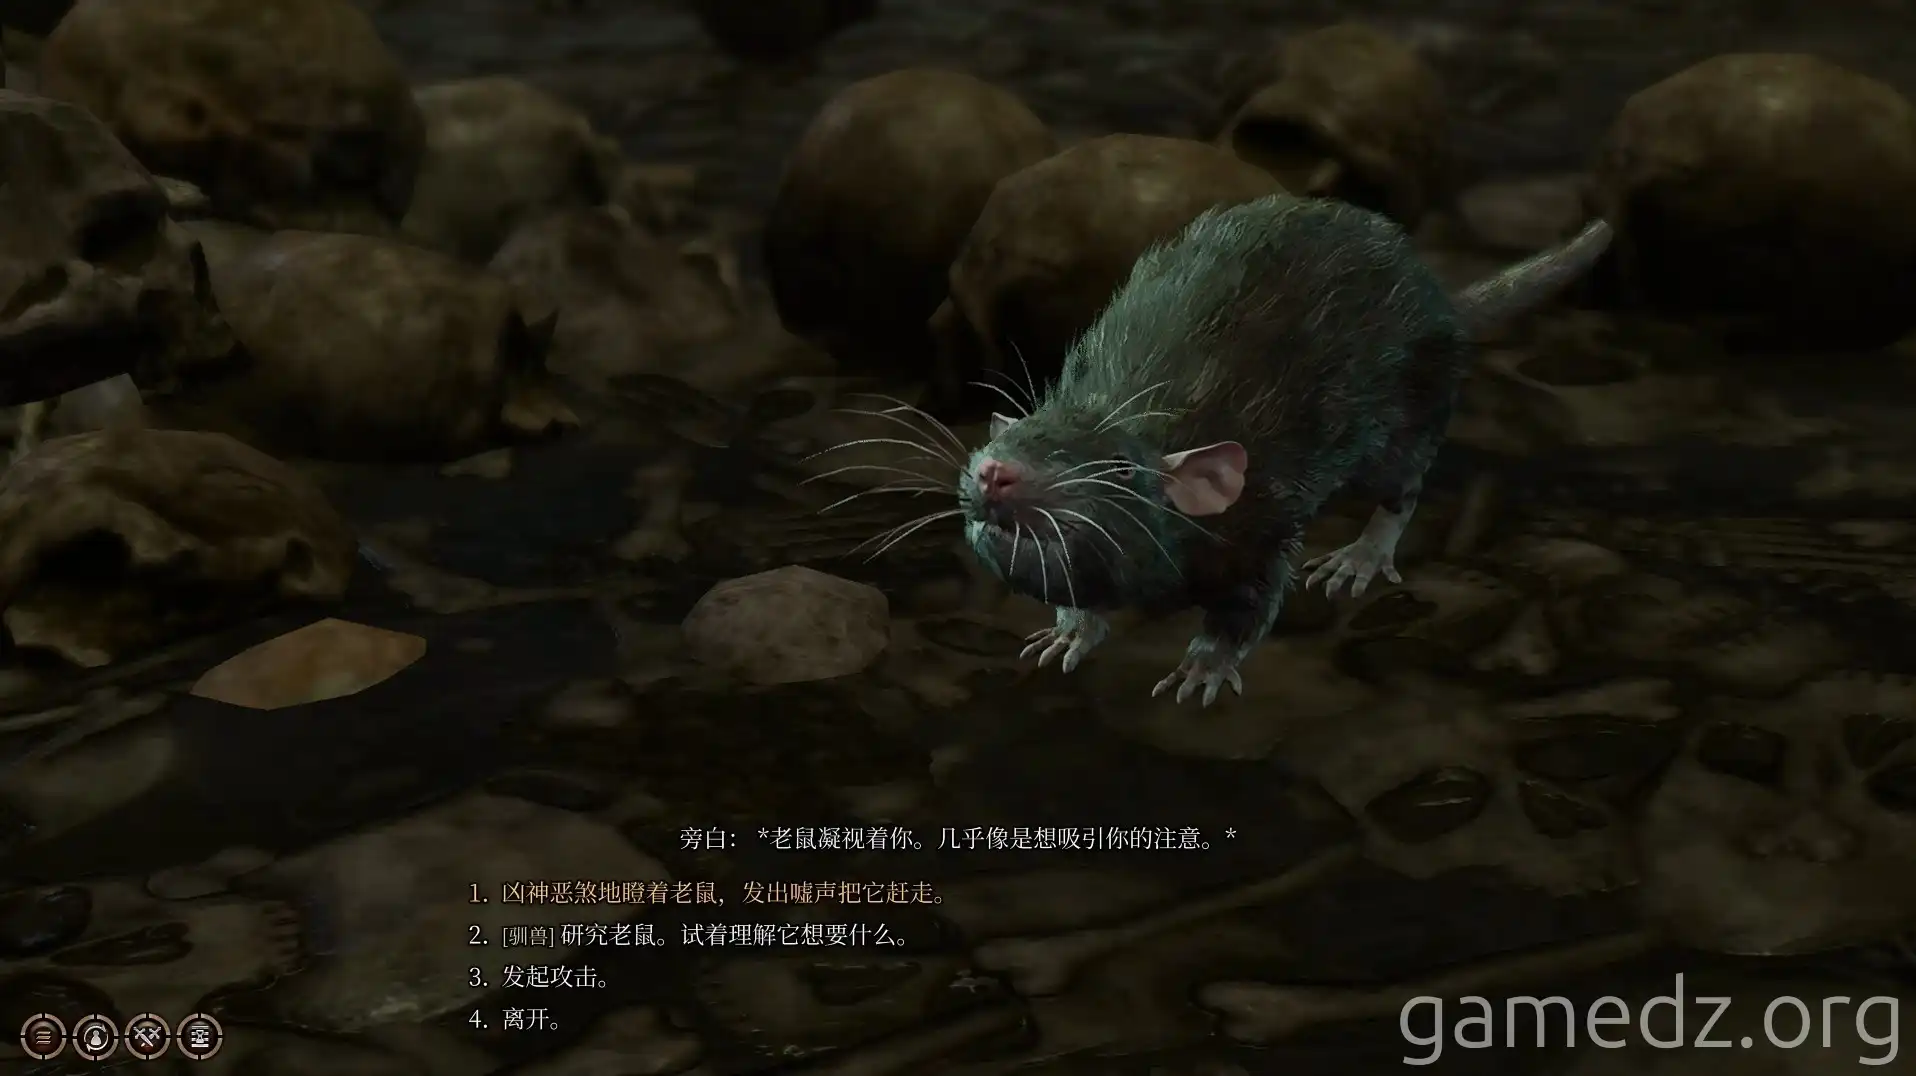
After the rats are killed, many more will reappear. Keep killing all the rats until no new ones spawn.
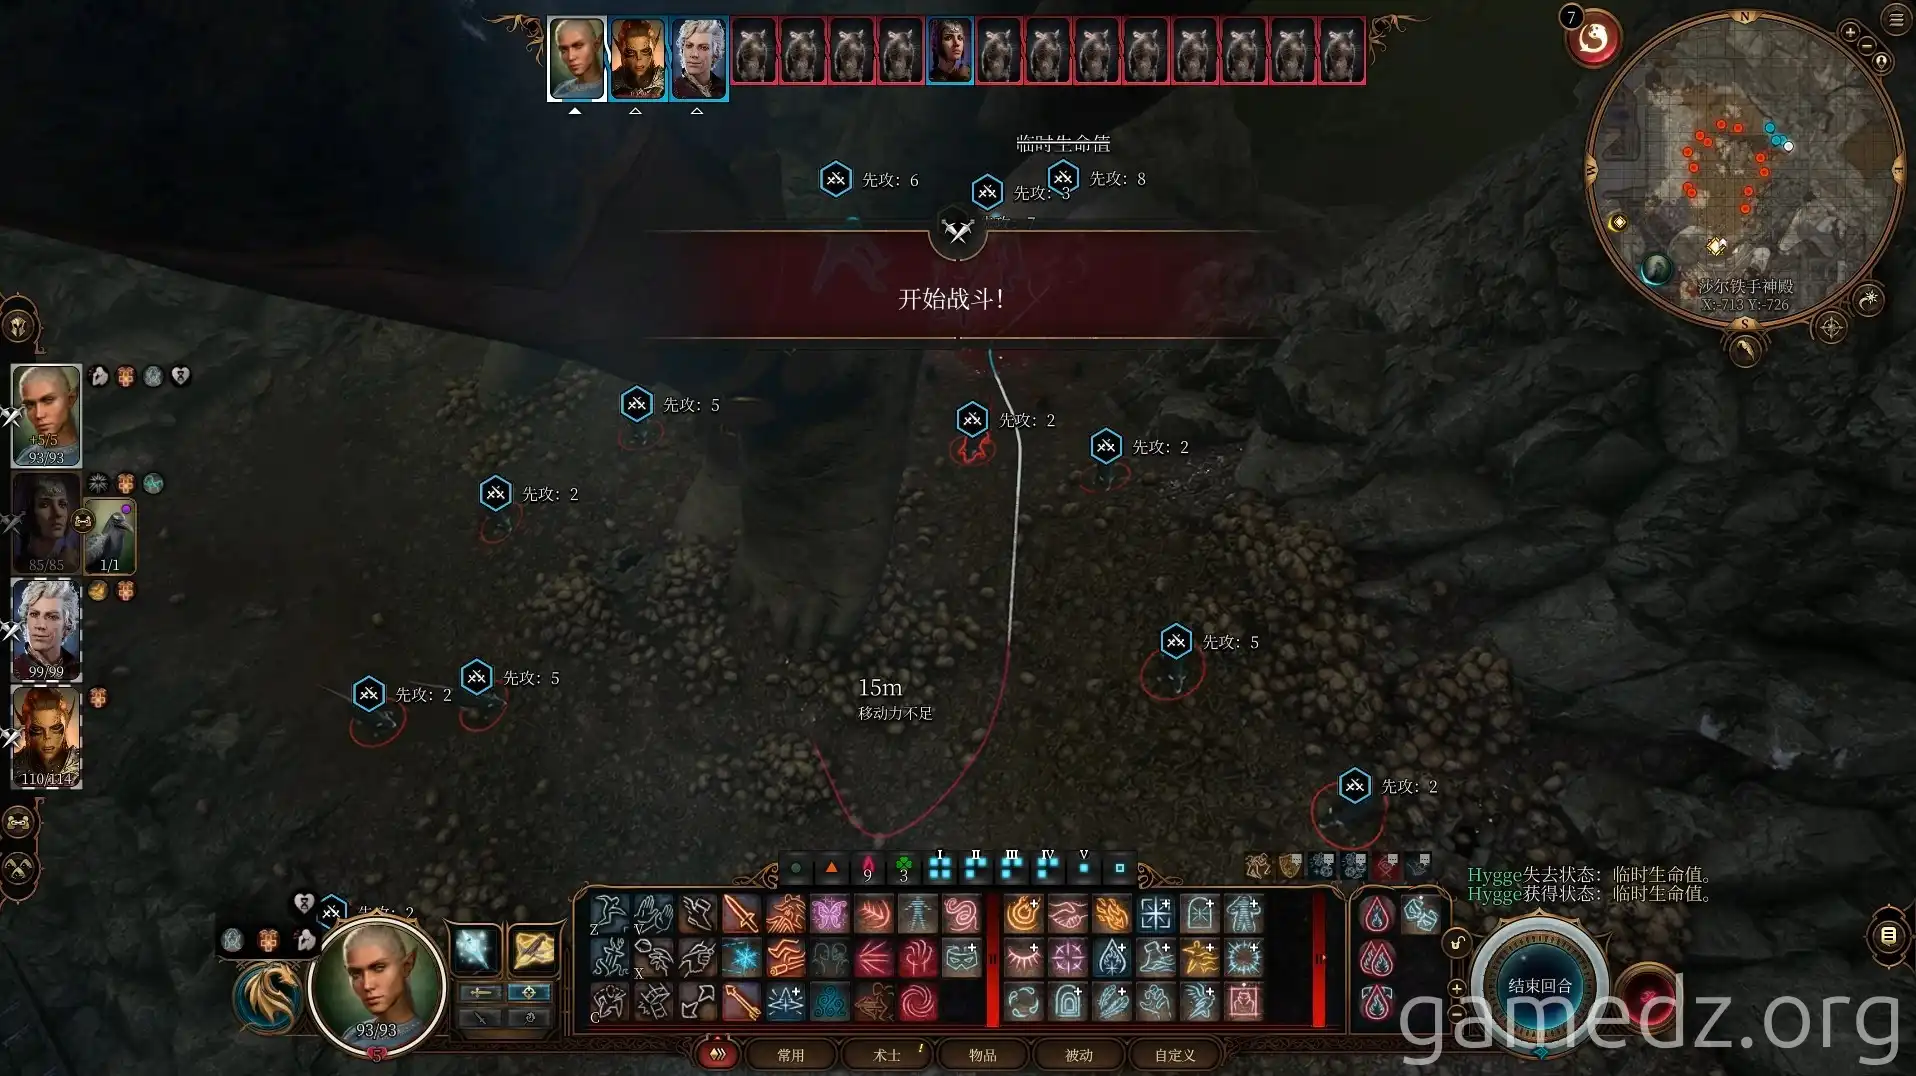
Once all the rats are defeated, the Dark Judge, Lathander, will appear. Kill him to complete Yug's contract.
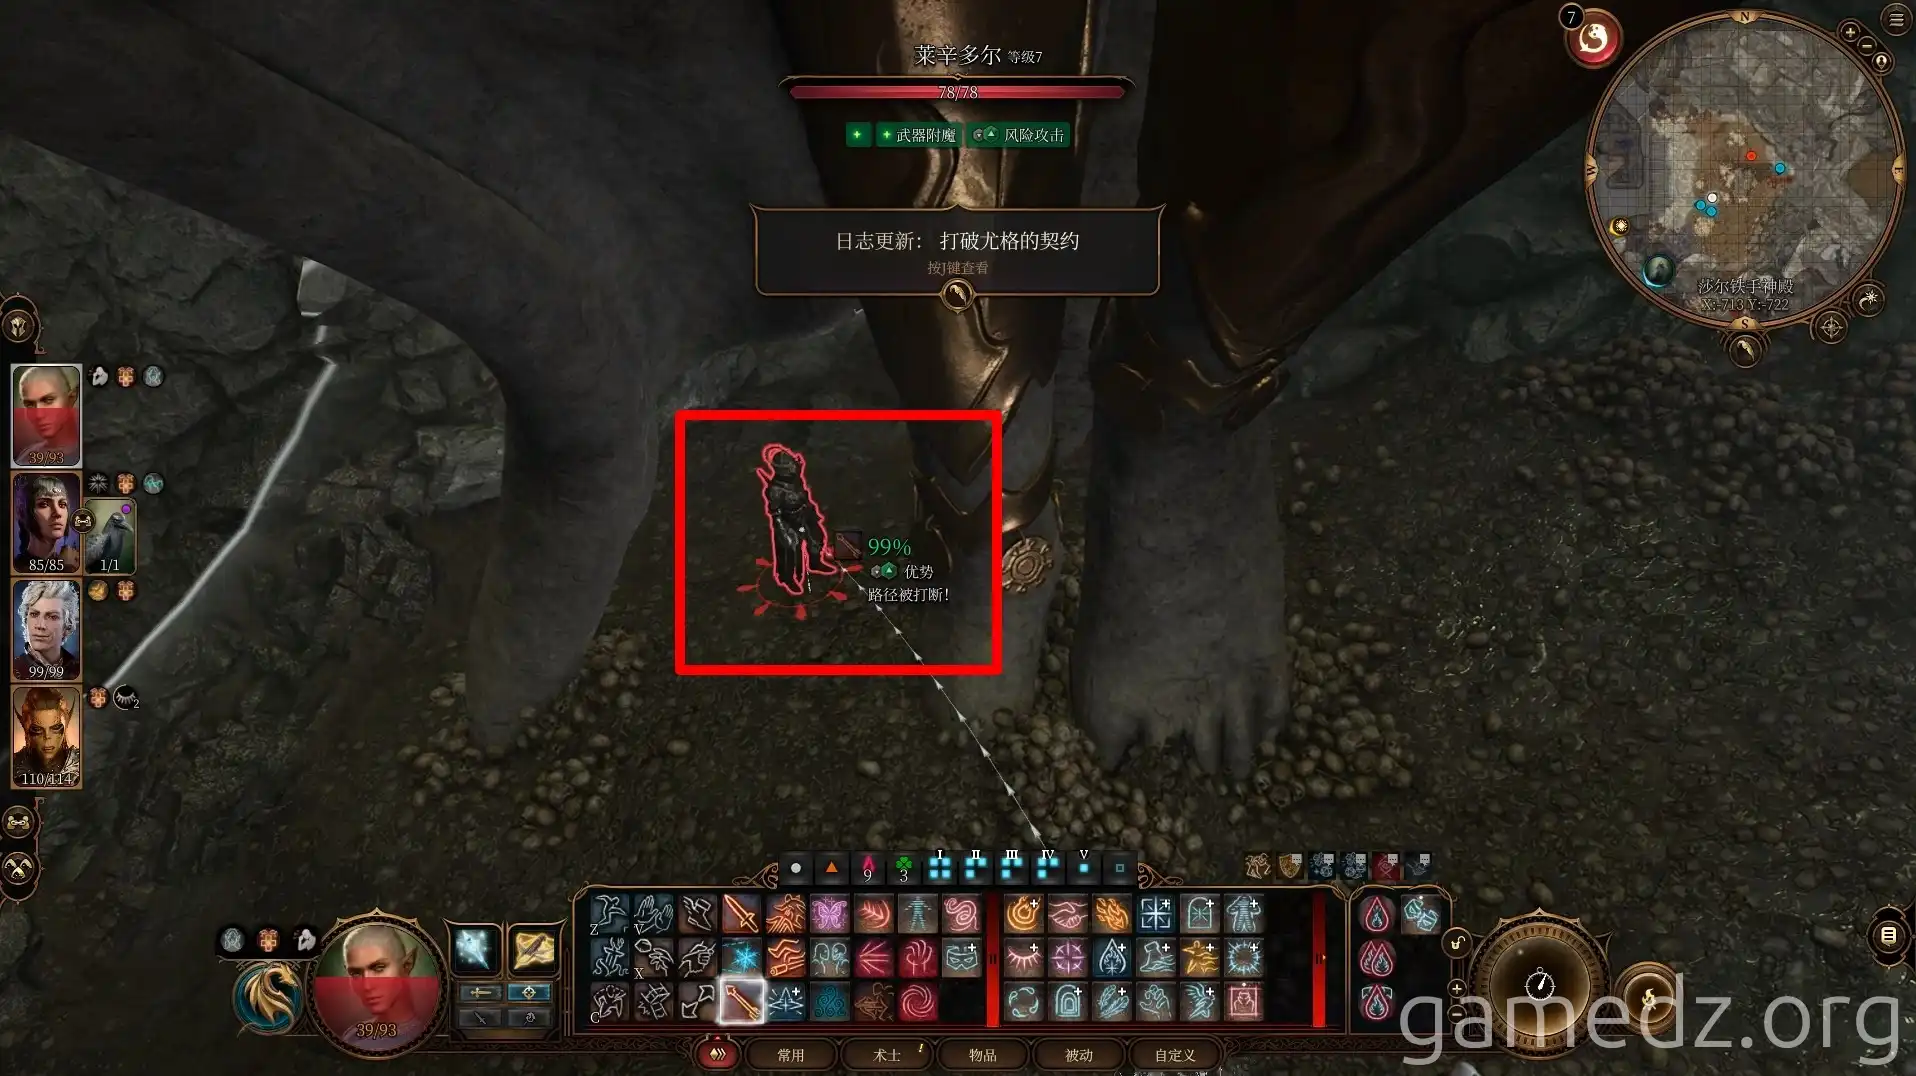
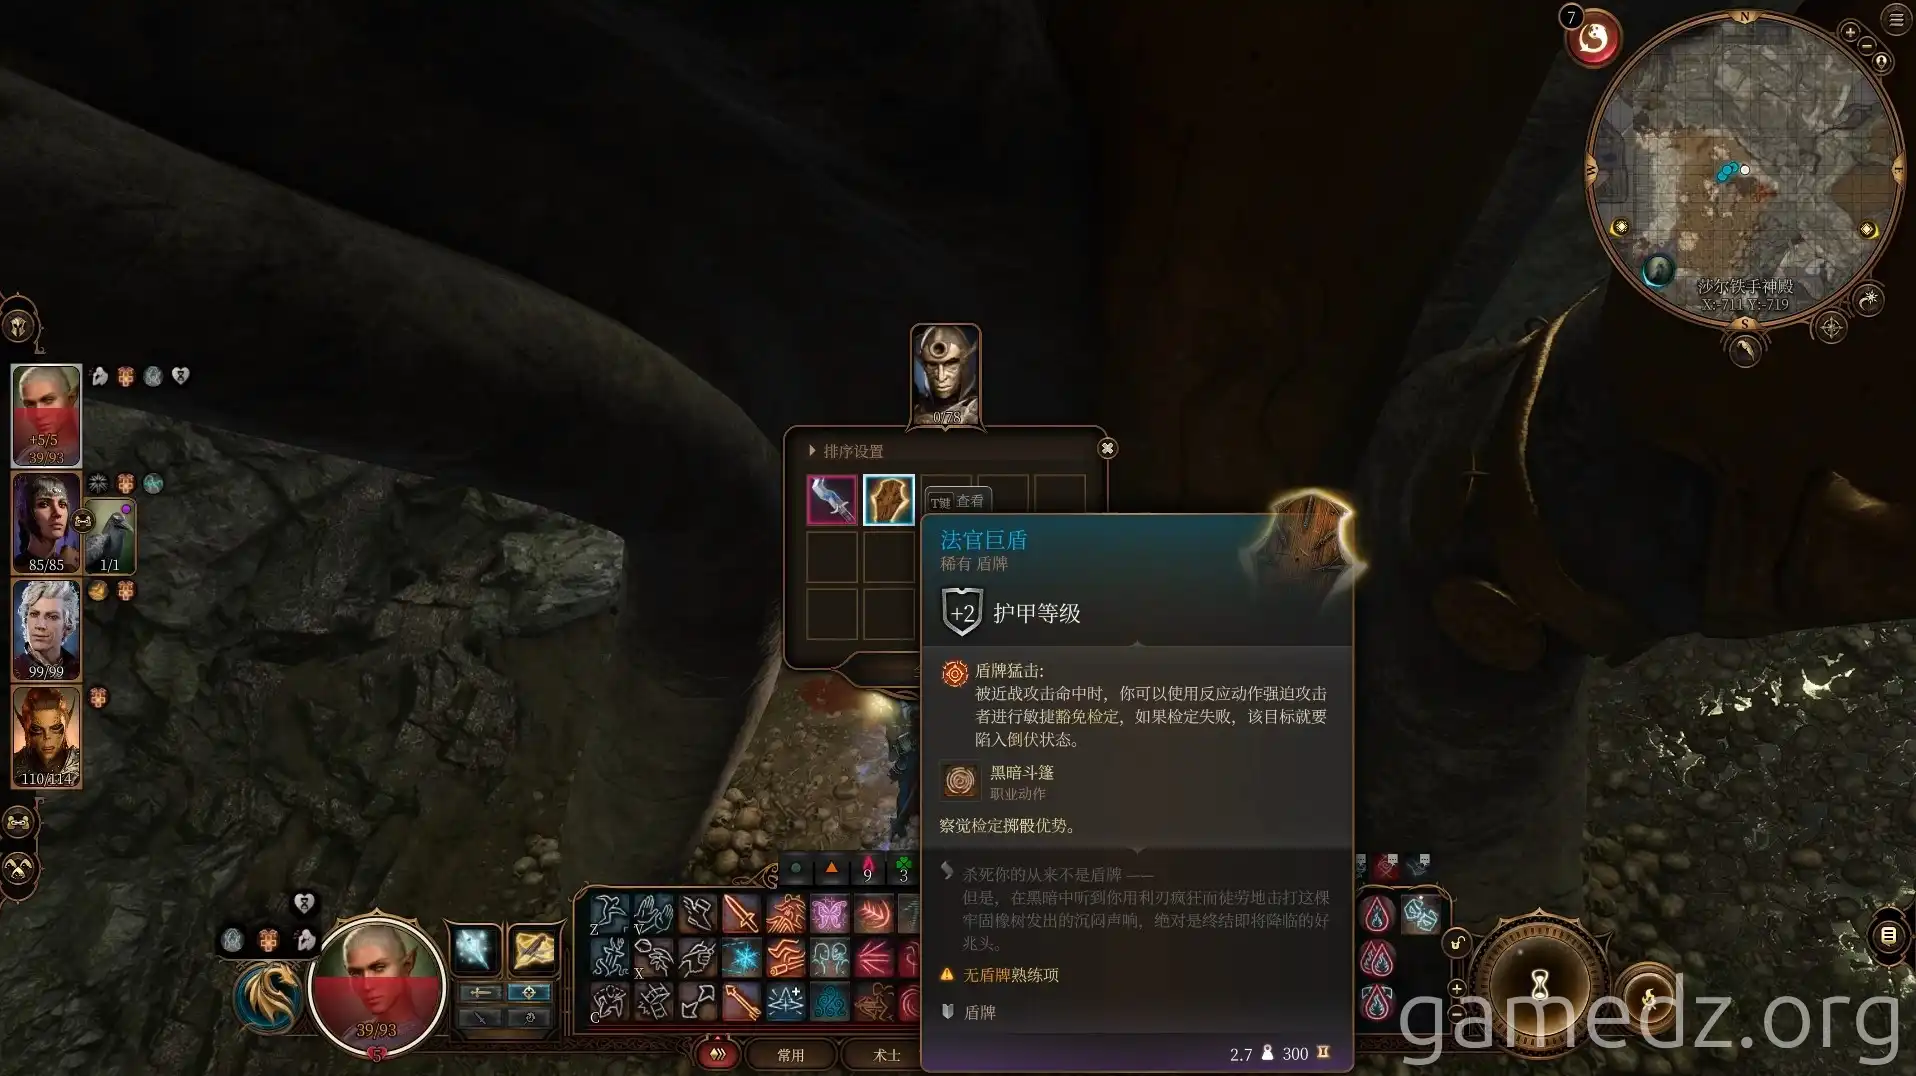
From the Dark Judge, you can obtain the rare weapon Dark Judge's Scimitar and the rare shield Judge's Greatshield.
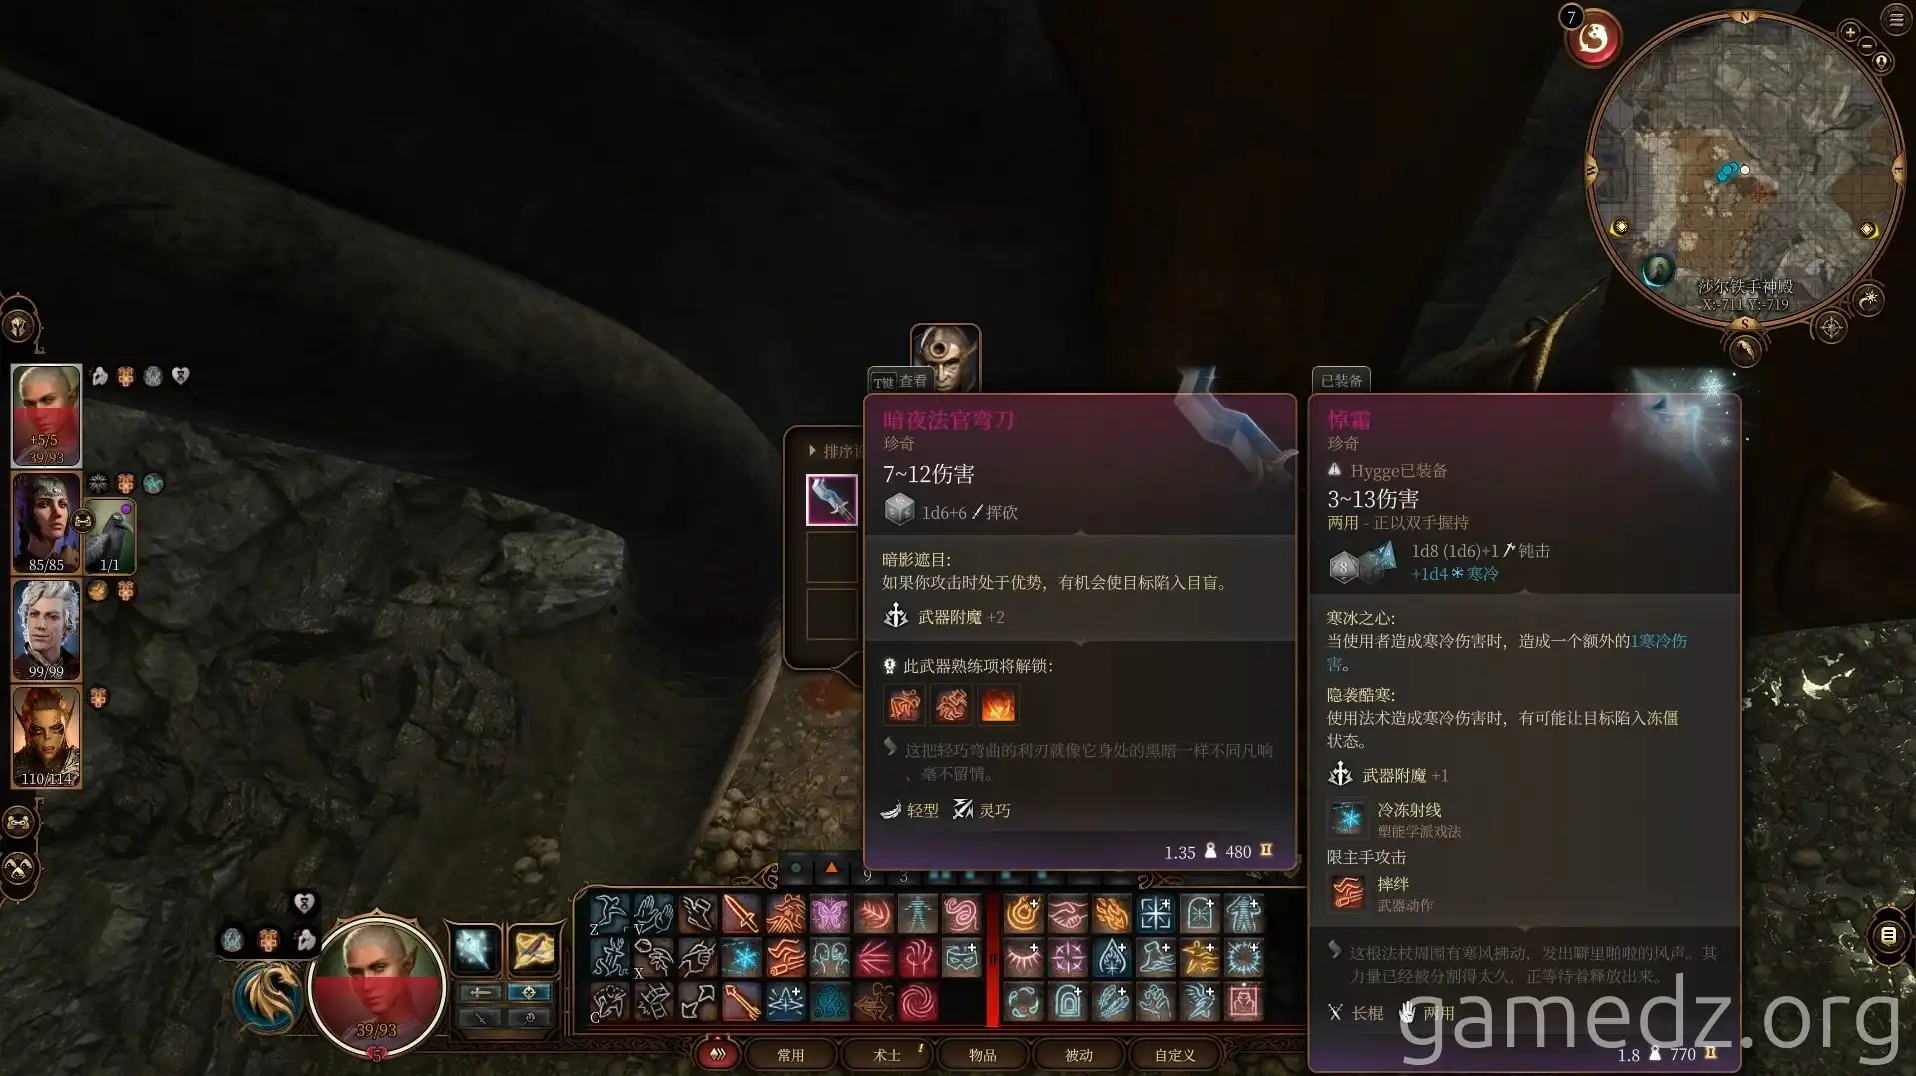
The stats for the Judge's Greatshield are as follows.
Return the way you came to the upper level. You can then reach the opposite area by using the protruding platform next to the ramp.
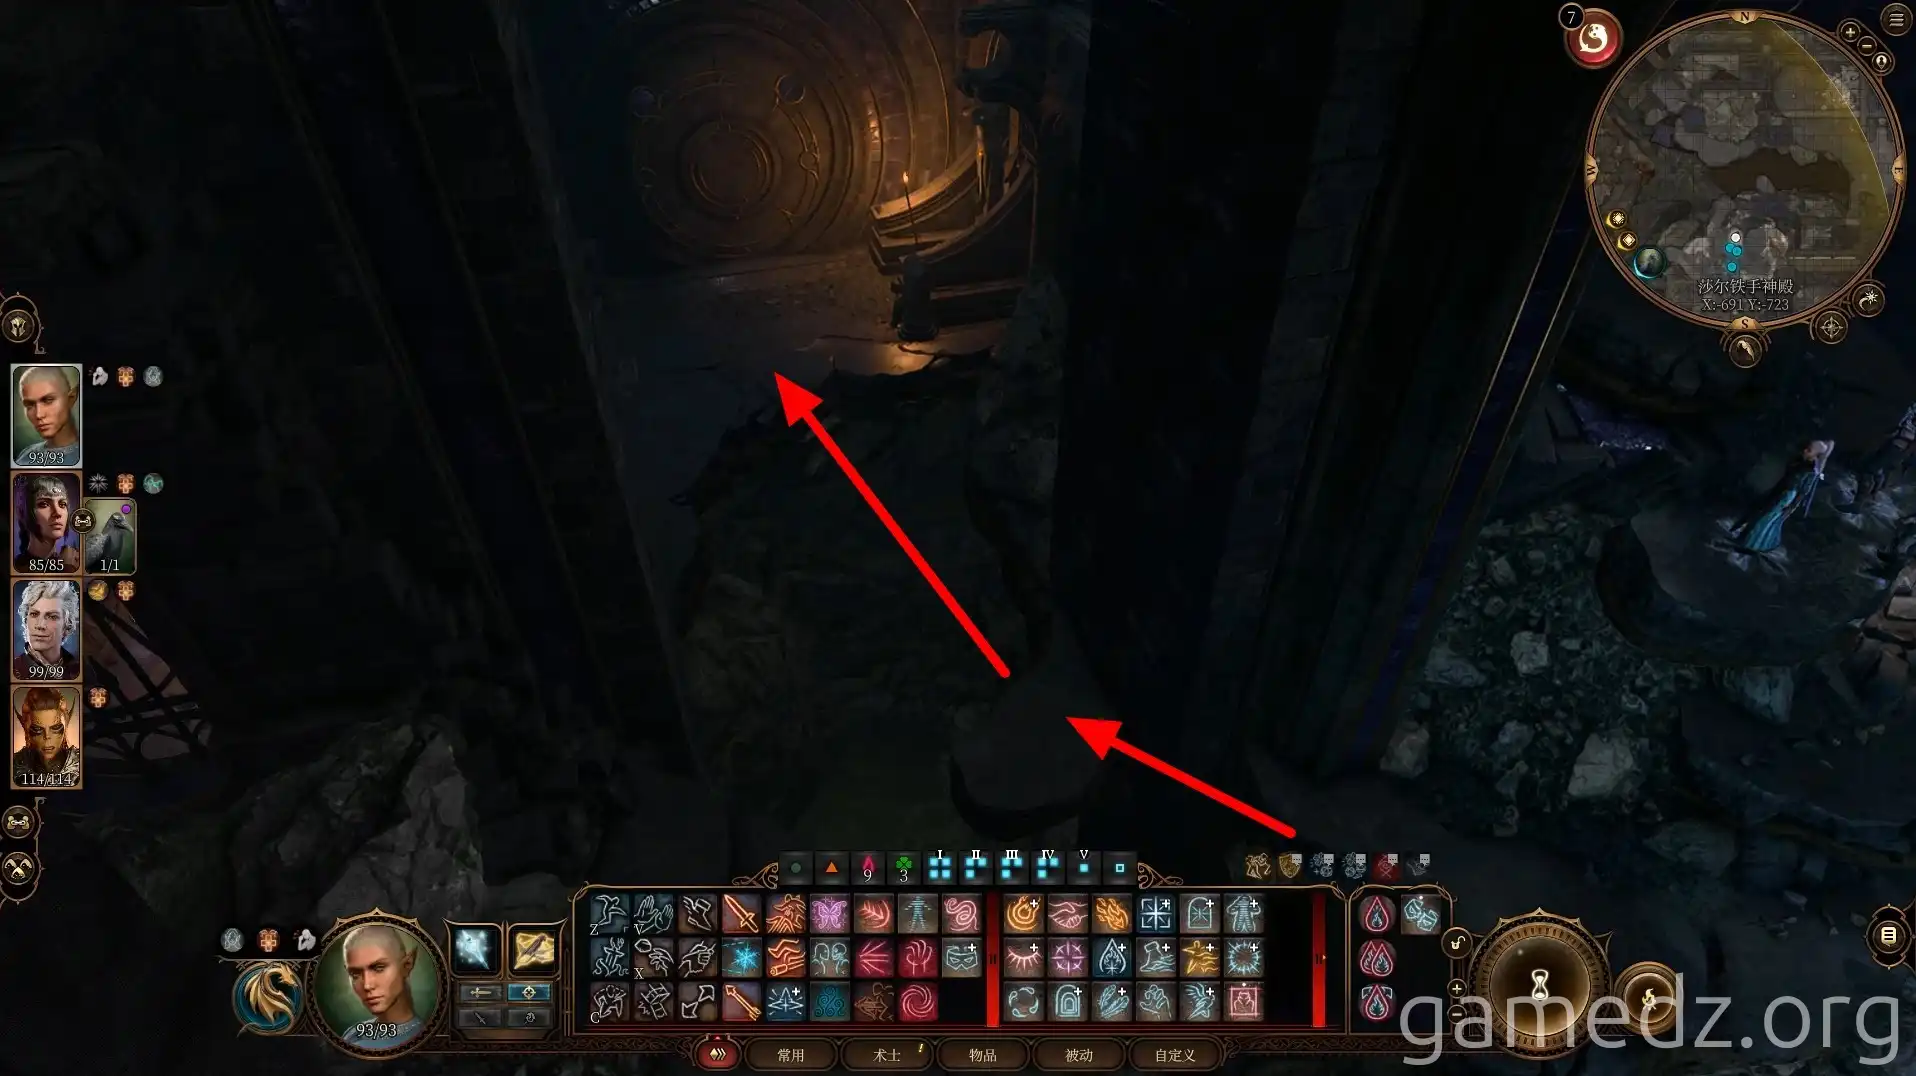
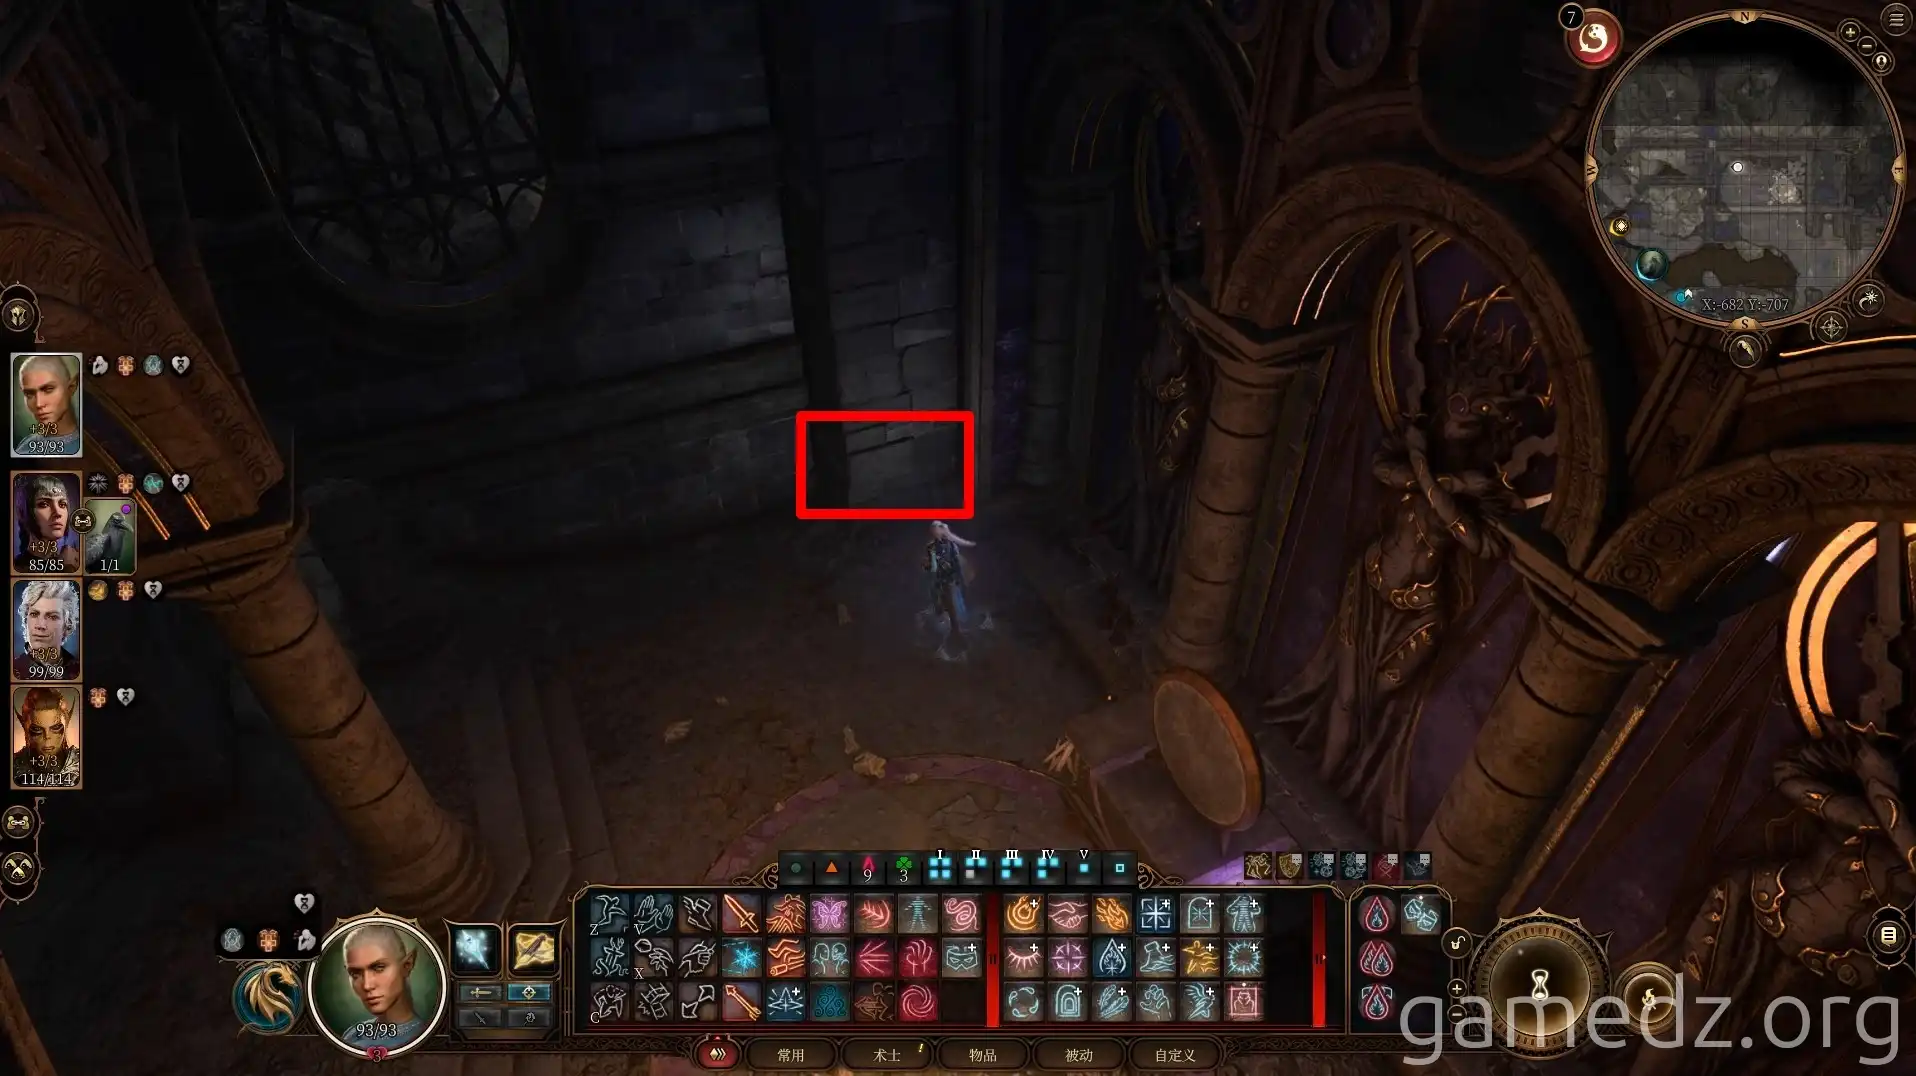
In the corner of the area ahead is a hidden cache.
Then, pass through the stone gate into the Oratory.
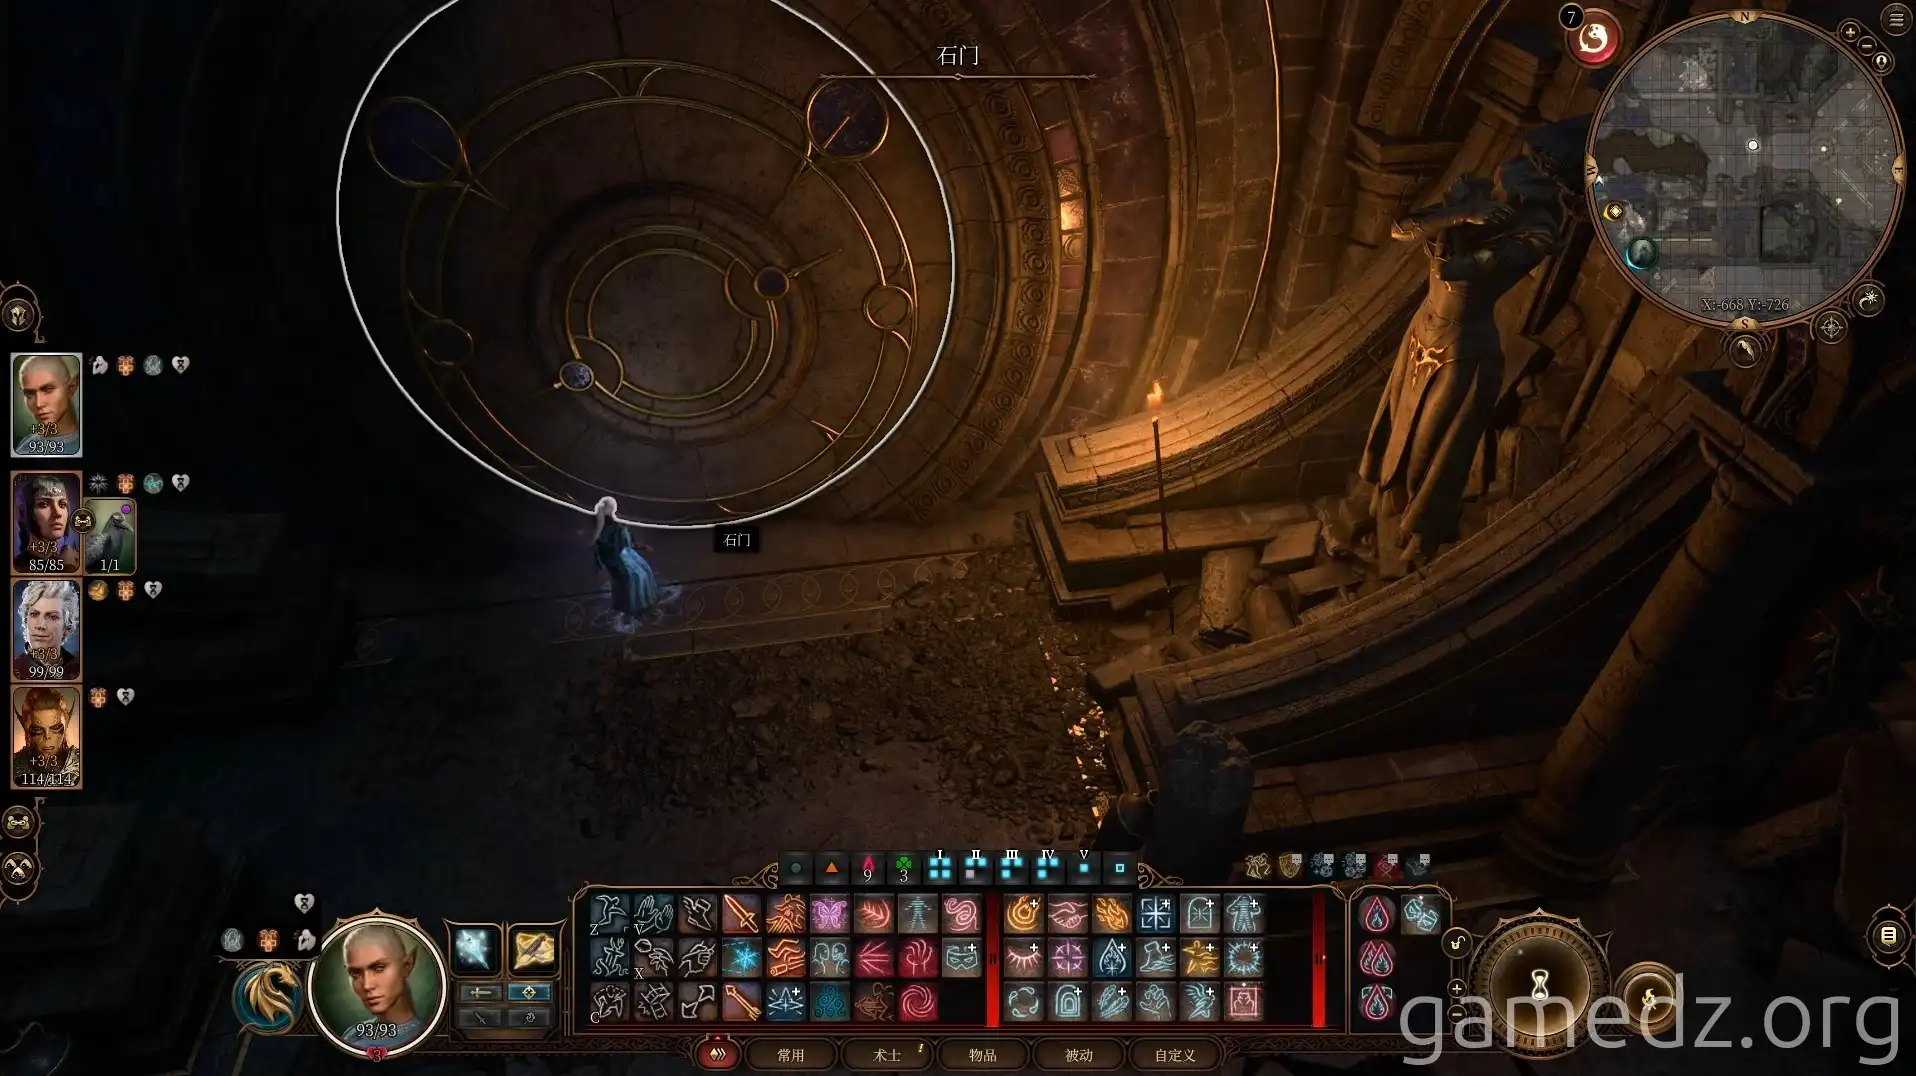
In the Oratory, you can find a silver key, and there's also a gilded chest next to it. After looting everything, return to Yug.
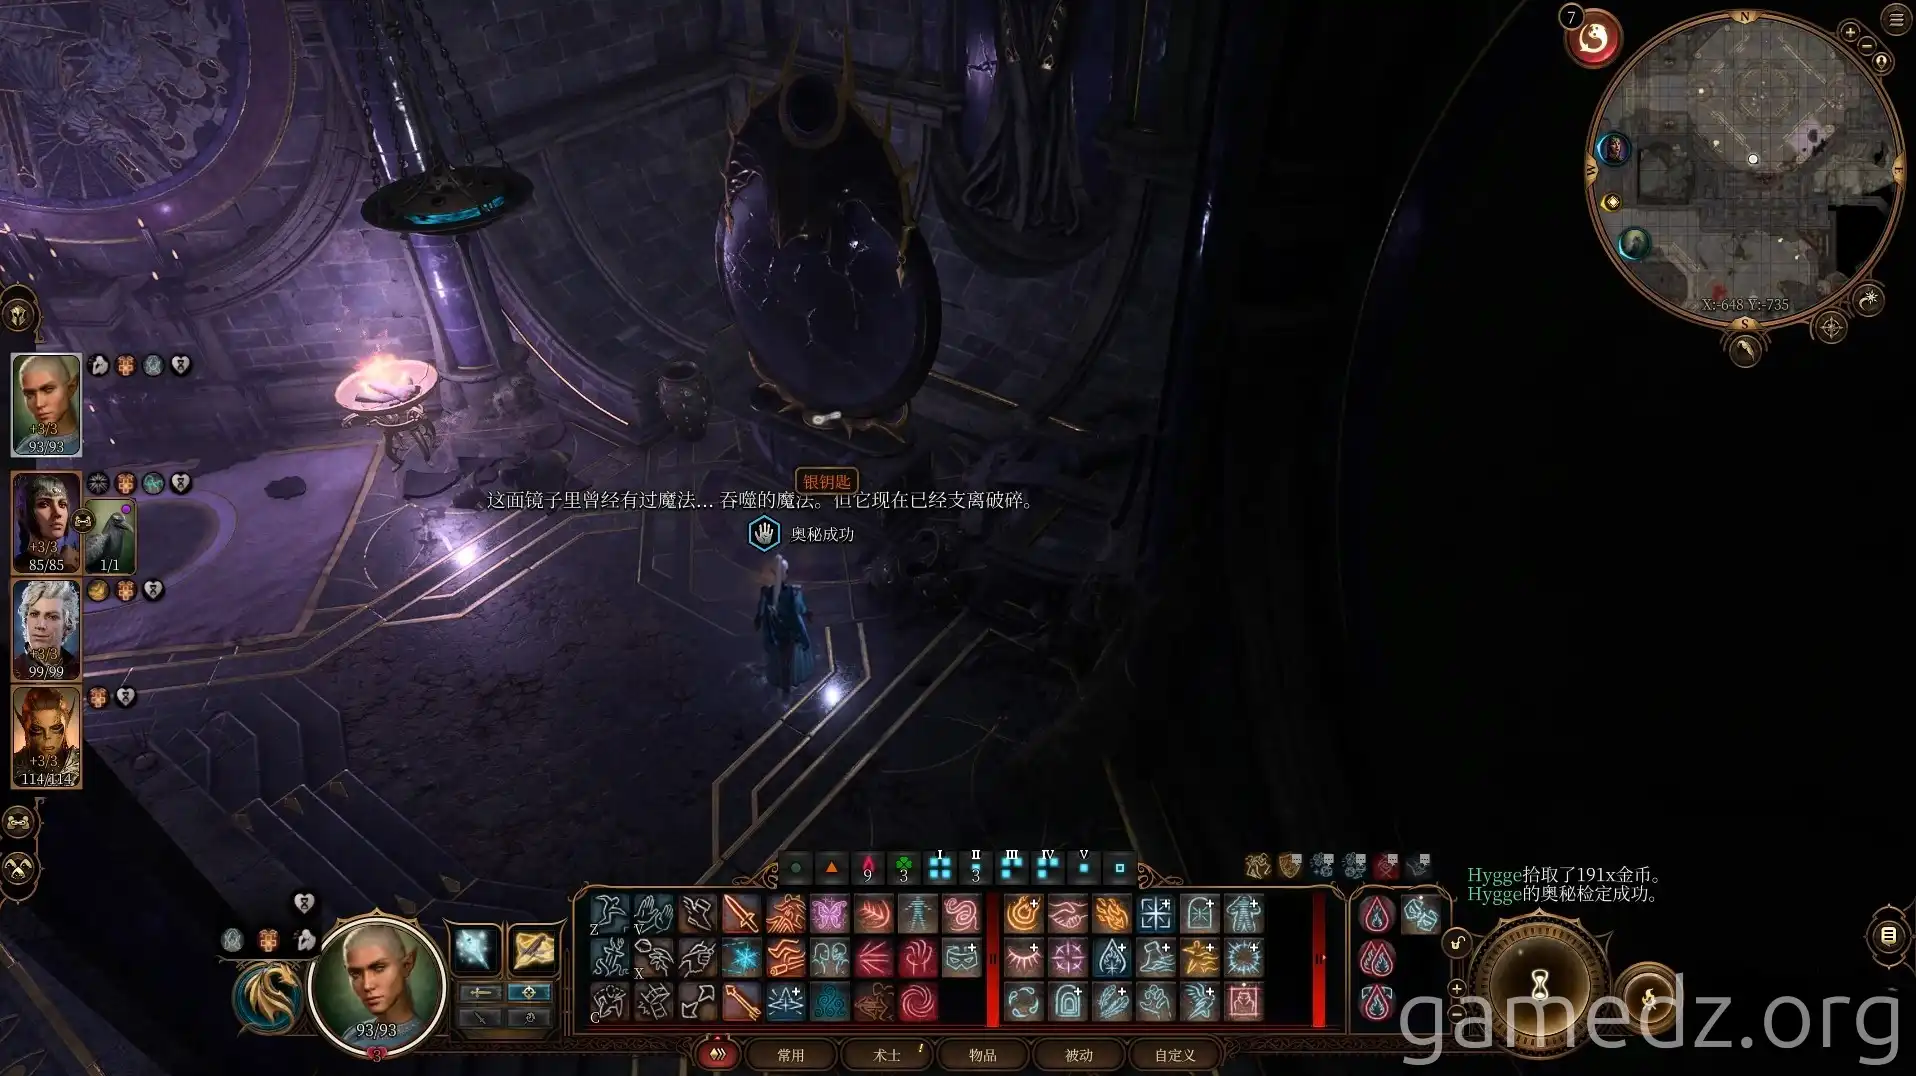
Return to Yug's room and speak with him. If you didn't persuade Yug to commit suicide, Raphael will appear during the conversation. Raphael quickly manipulates Yug again. After signing a new contract, Raphael will take Yug and leave.
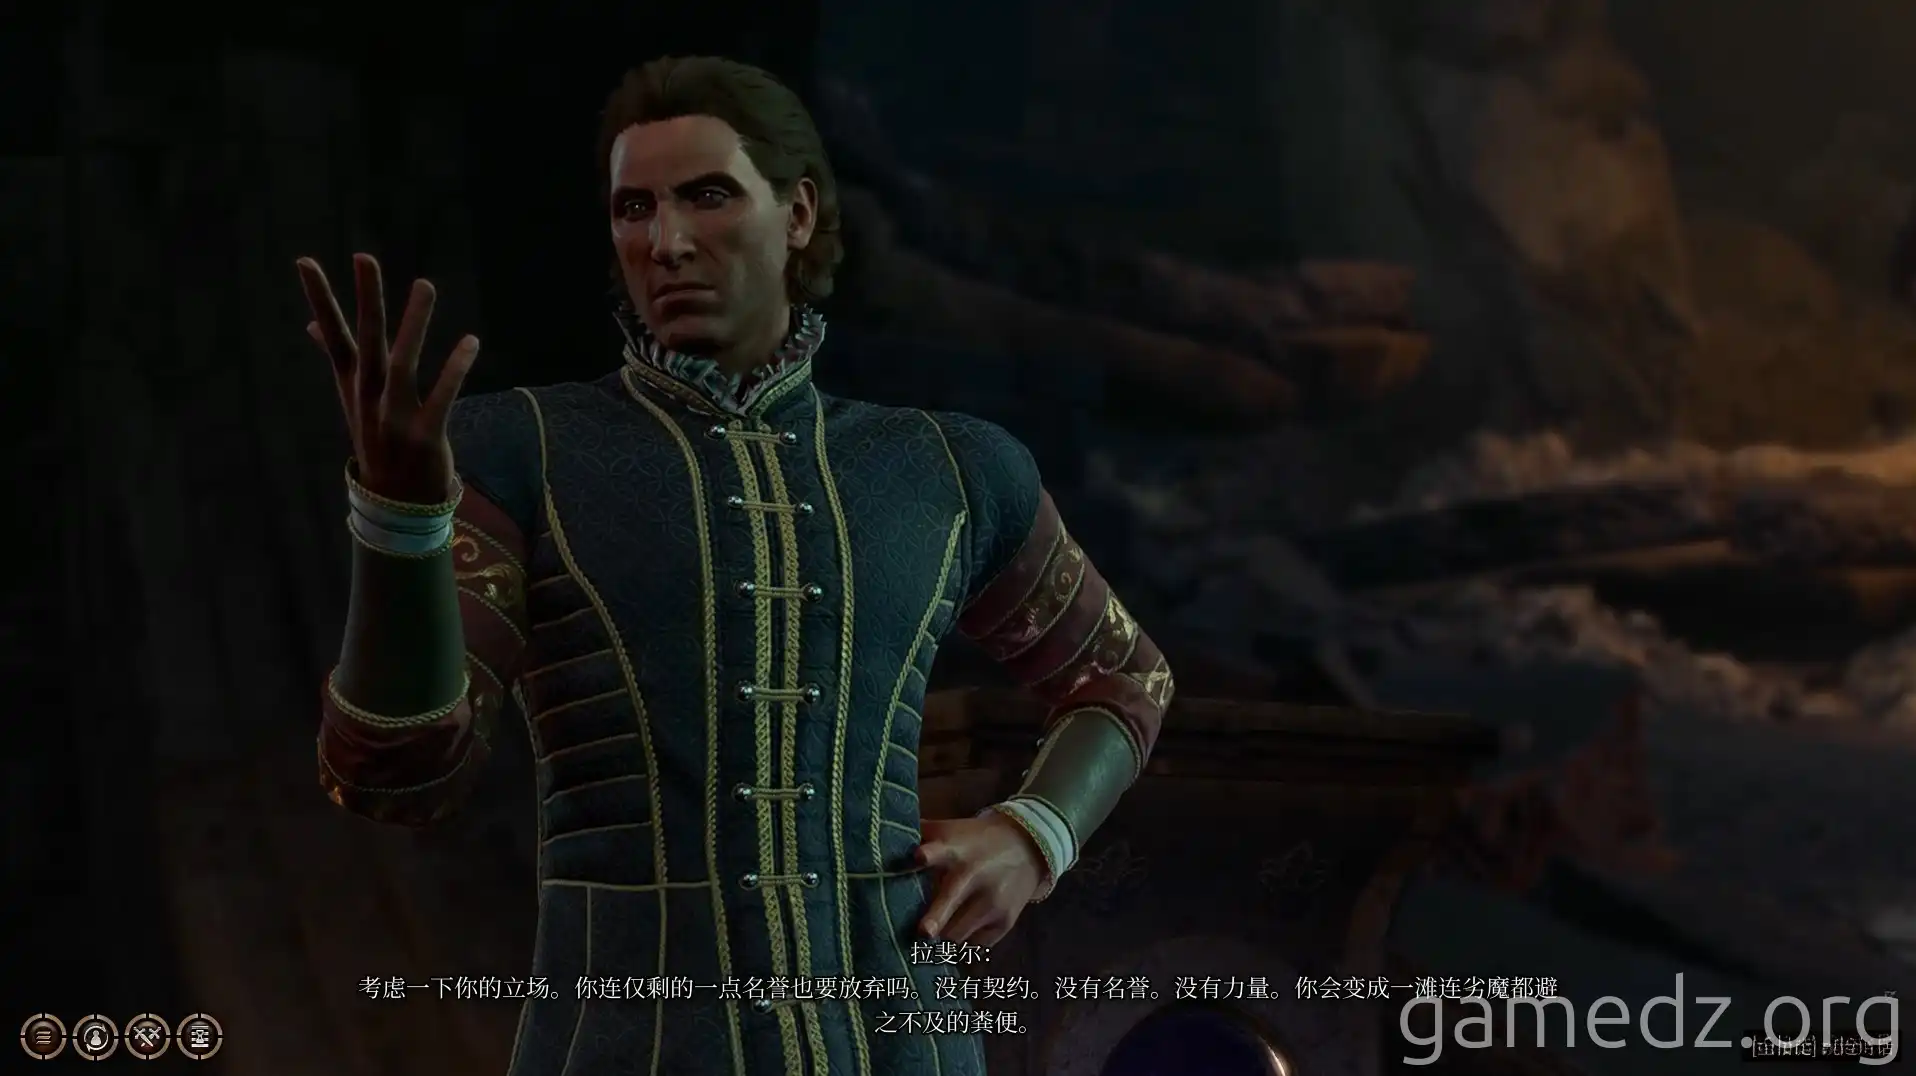
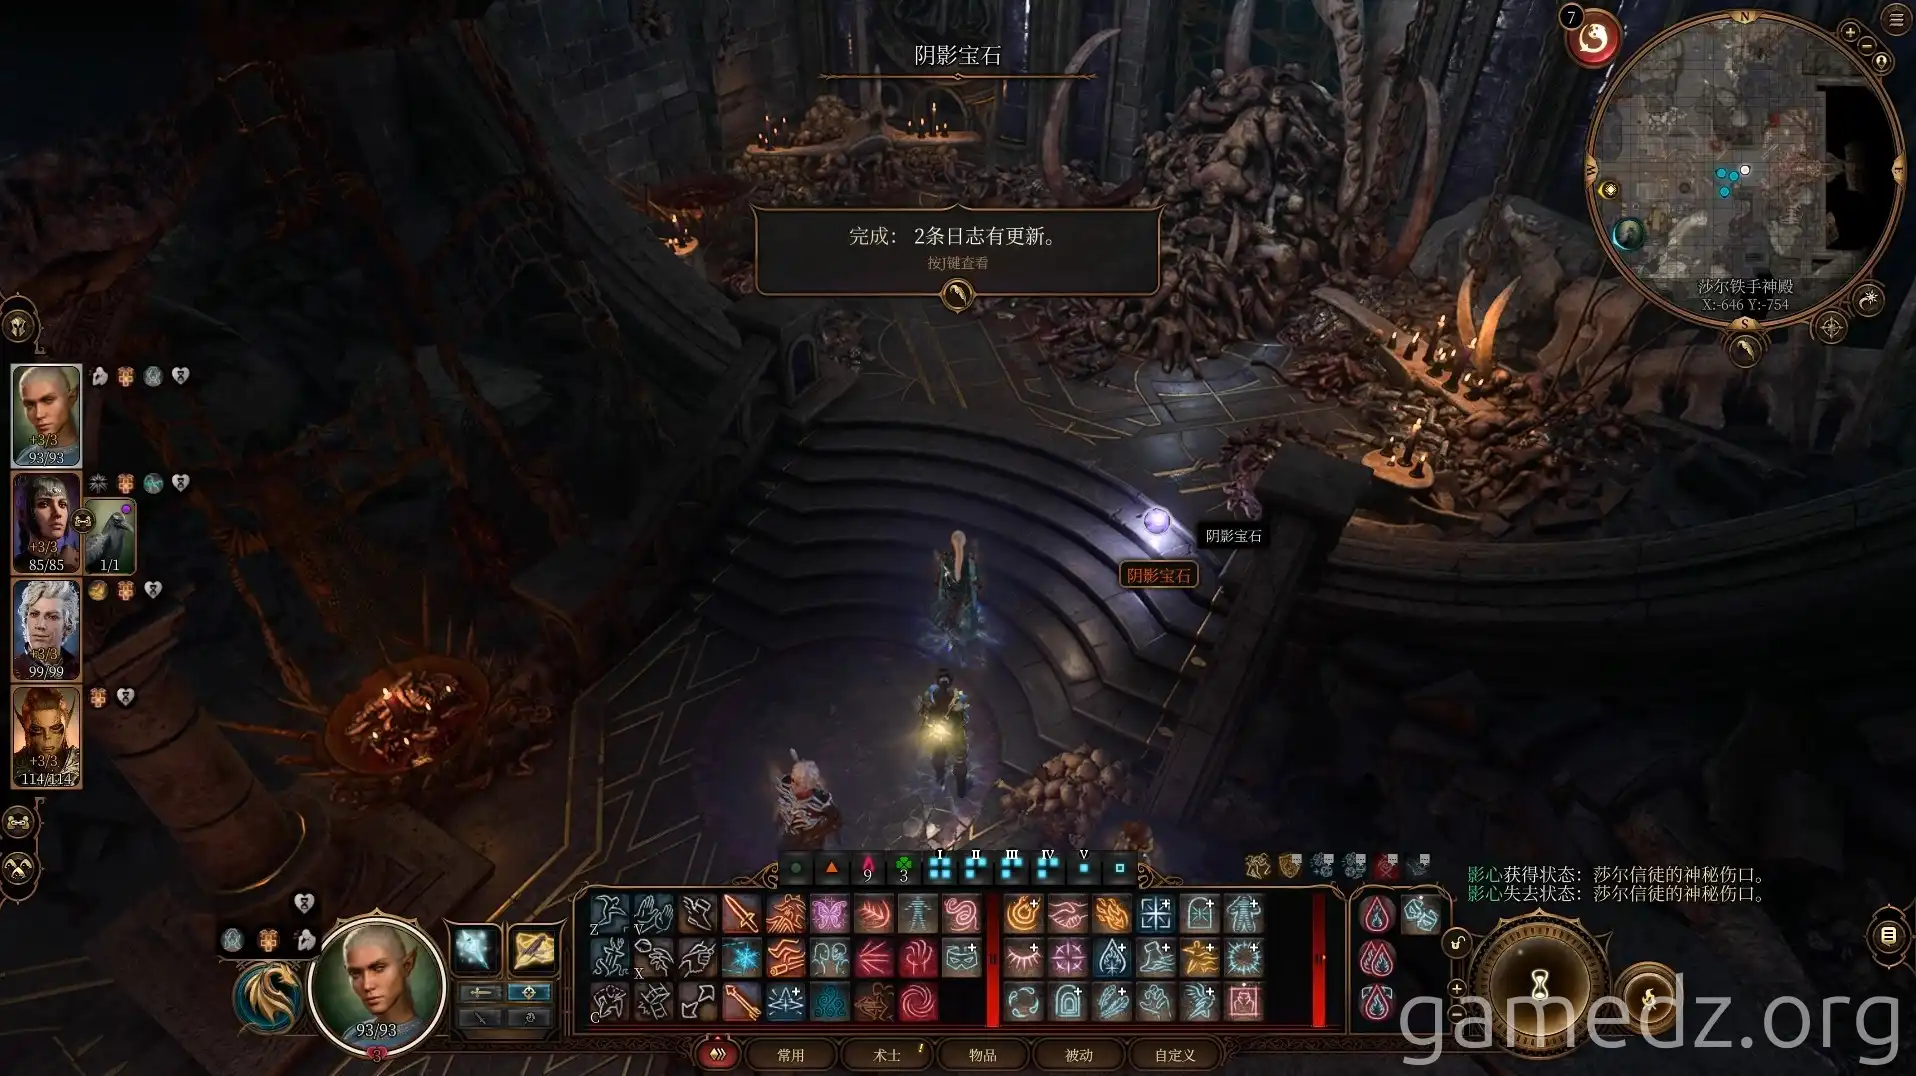
After Yug leaves, you can take anything here freely. First, grab the first Shadow-Cursed Gem by Yug's bed.
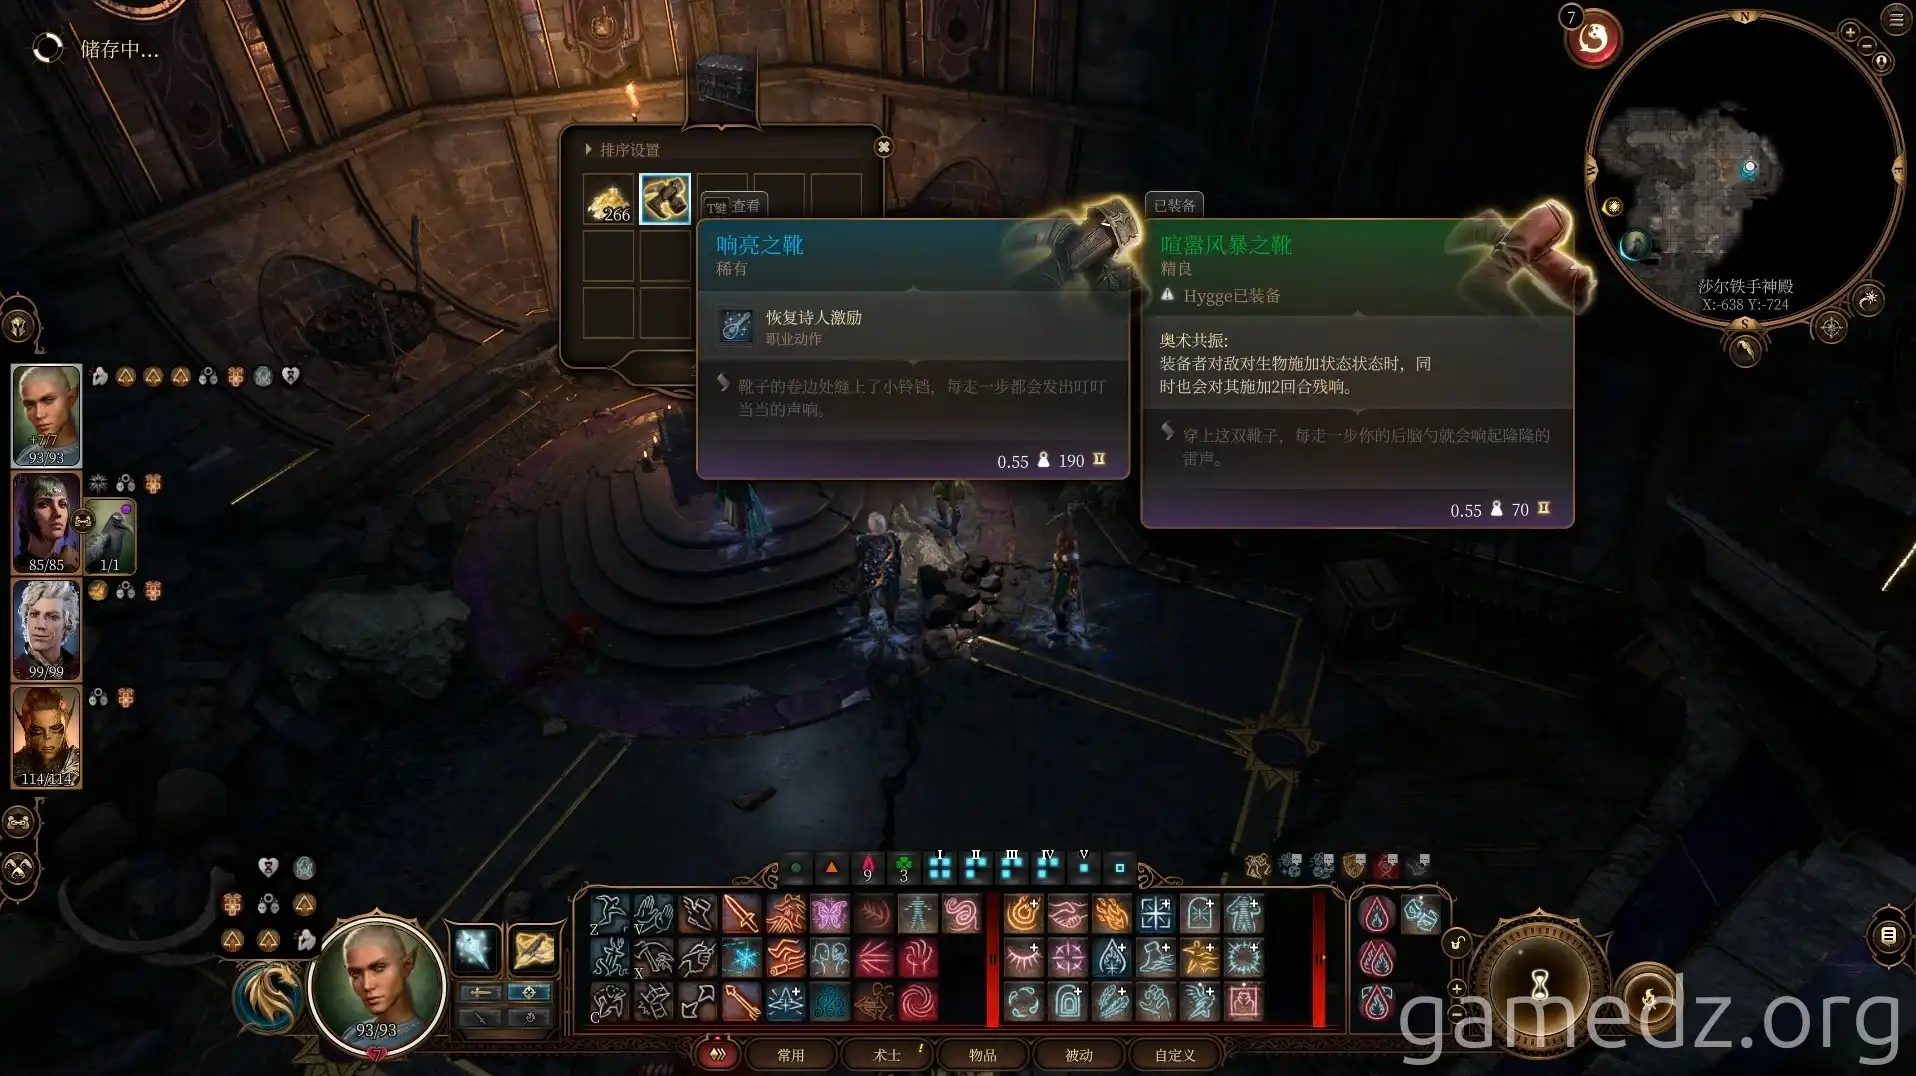
Head to the north side of the hall. In a chest, you can find the rare equipment, the Resonating Boots.
On the southernmost part of the second floor, you can also find a gilded chest.
The eastern area of the entire temple has now been explored. Return to the waypoint and head west, preparing to find Balthazar.
