Baldur's Gate 3 Lower City Walkthrough: West Side Guide
Comprehensive Baldur's Gate 3 walkthrough for the Lower City West Side. Discover cultists, defeat the Hag, find hidden treasures, and complete quests.
Teleport back to the Lower City Main Wall. After passing through the city gate next to the waypoint, head northwest to enter the Bloomridge Park.
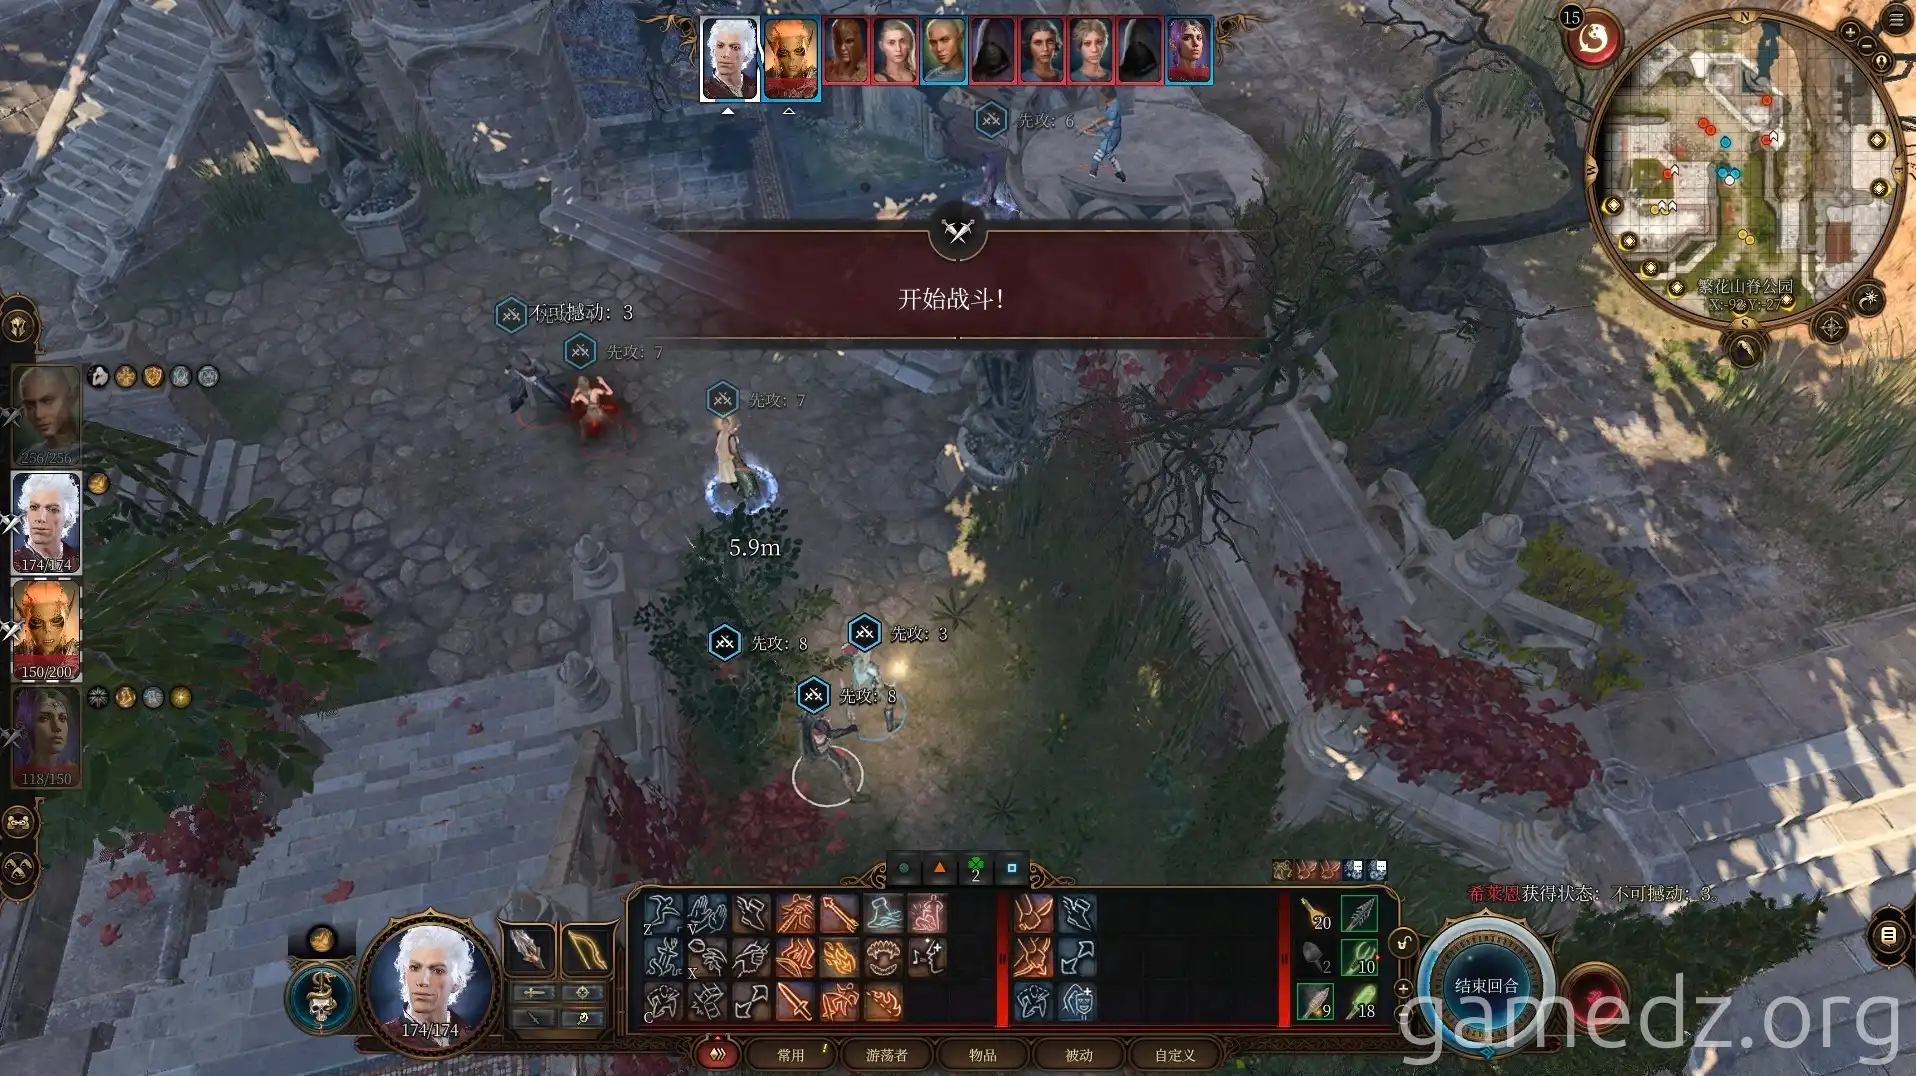
On the northeast side of the park, you'll encounter six cultists of Bhaal. Defeating them all will trigger an inspiration for characters with a Soldier background.
After defeating all enemies, the Netherbrain will control a Flaming Fist member to speak with us.
Feel free to wander around the park. In the northwest corner, you can cross the pond to find a dirt mound with a buried chest.
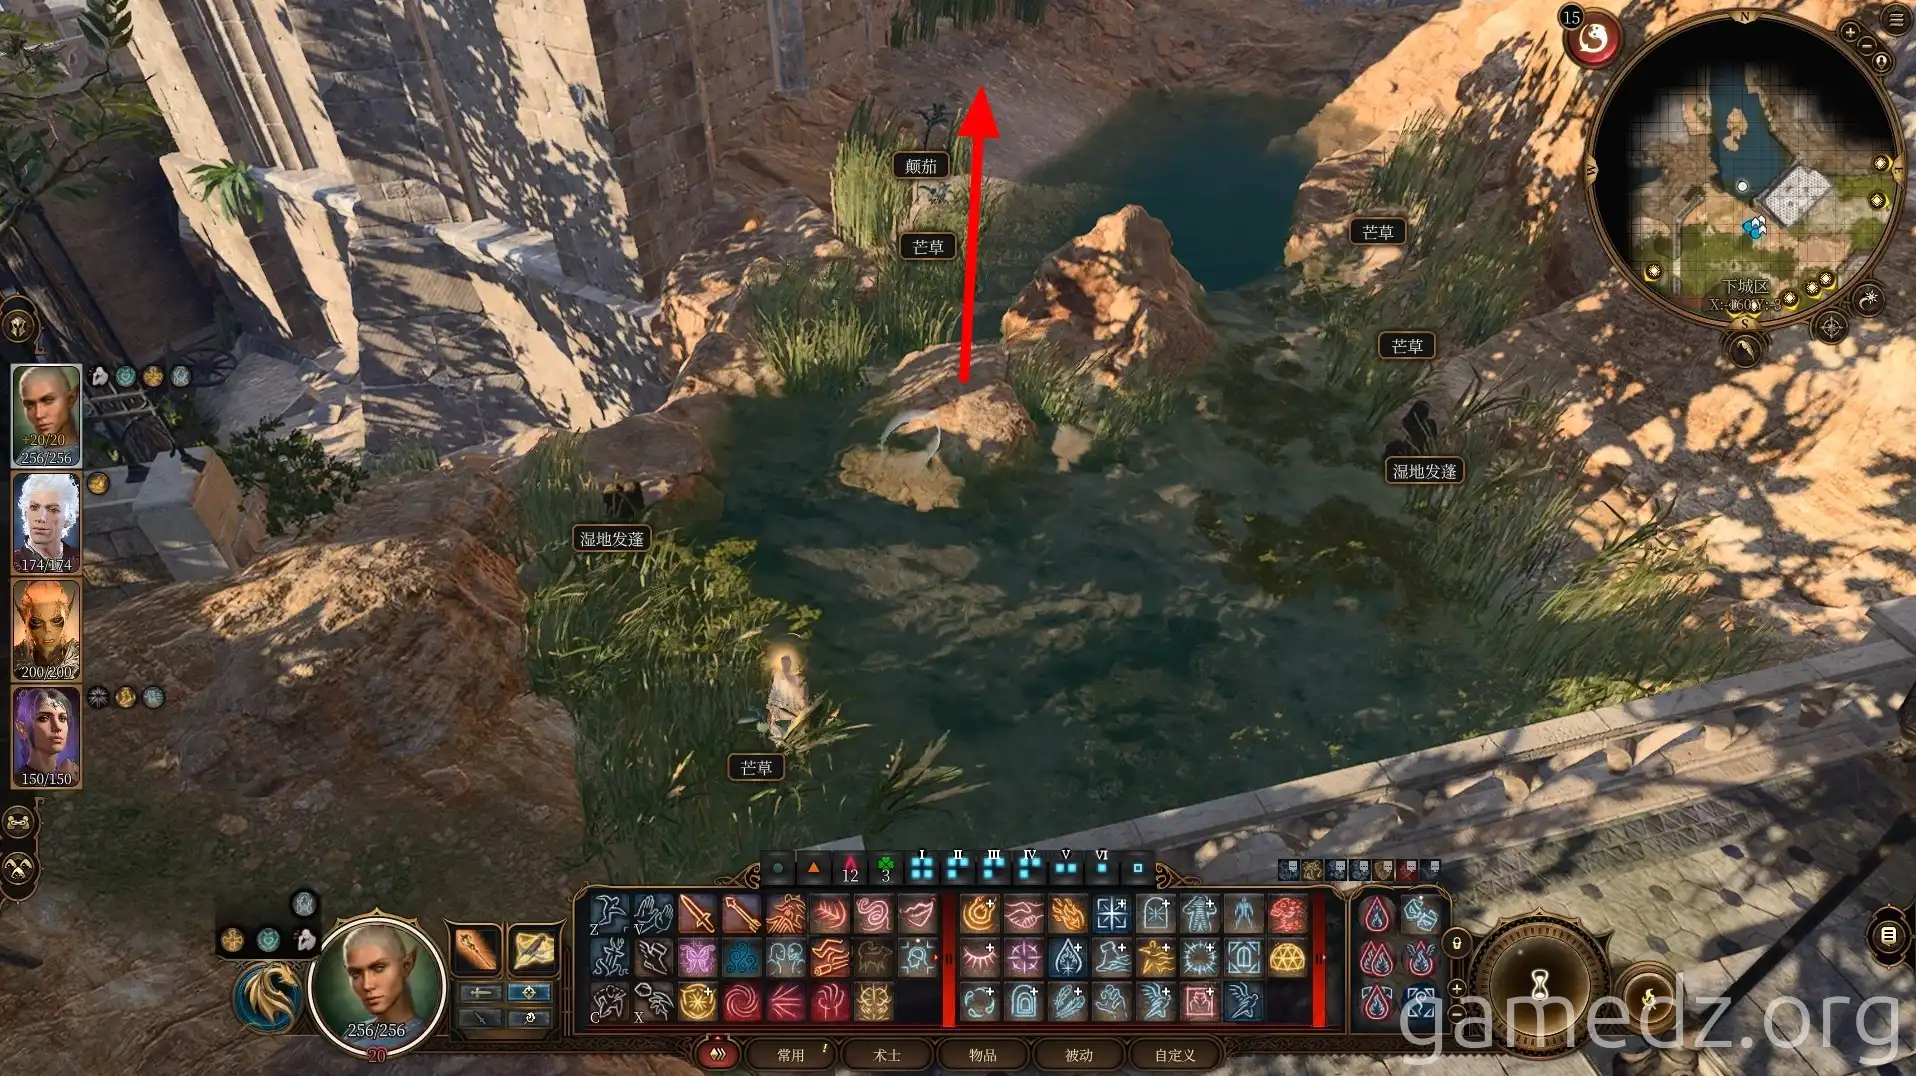
Next, exit the park through the broken fence on the west side.
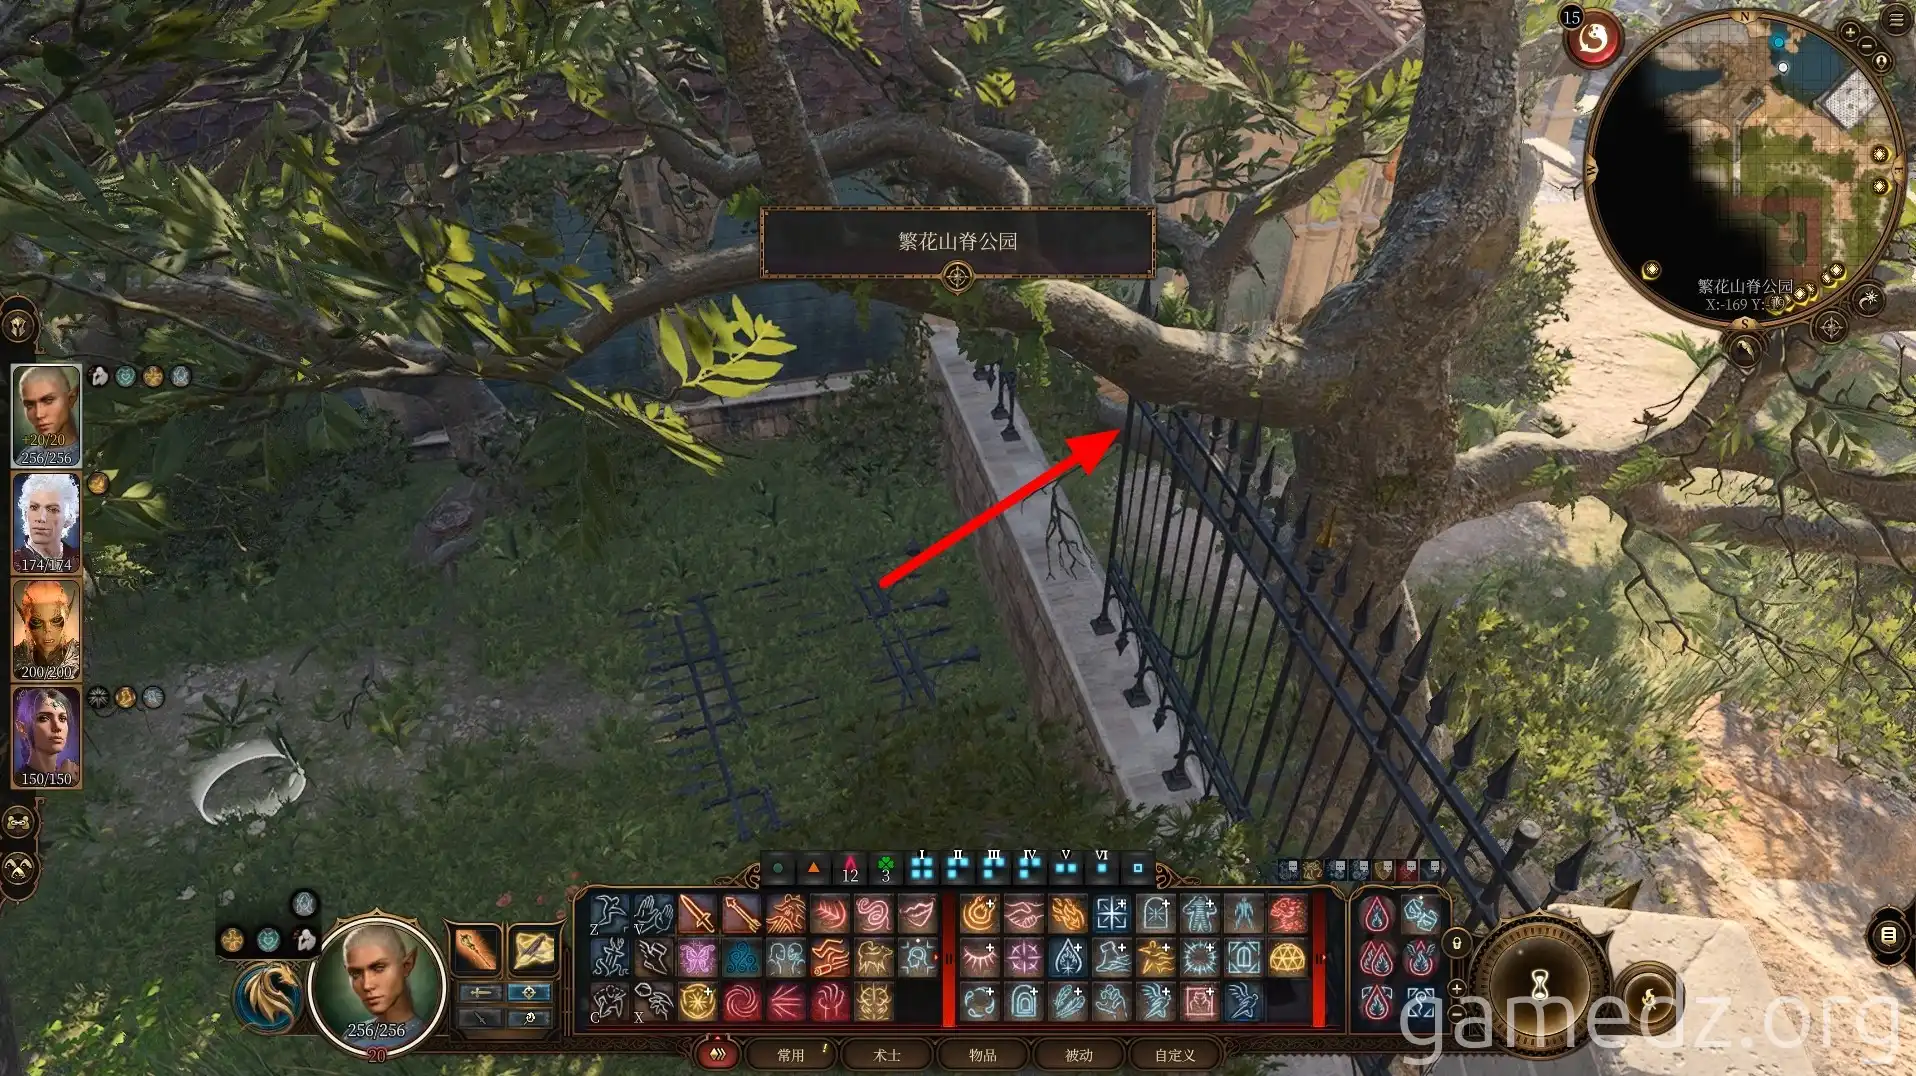
Activate the waypoint [Baldur's Gate] ahead.
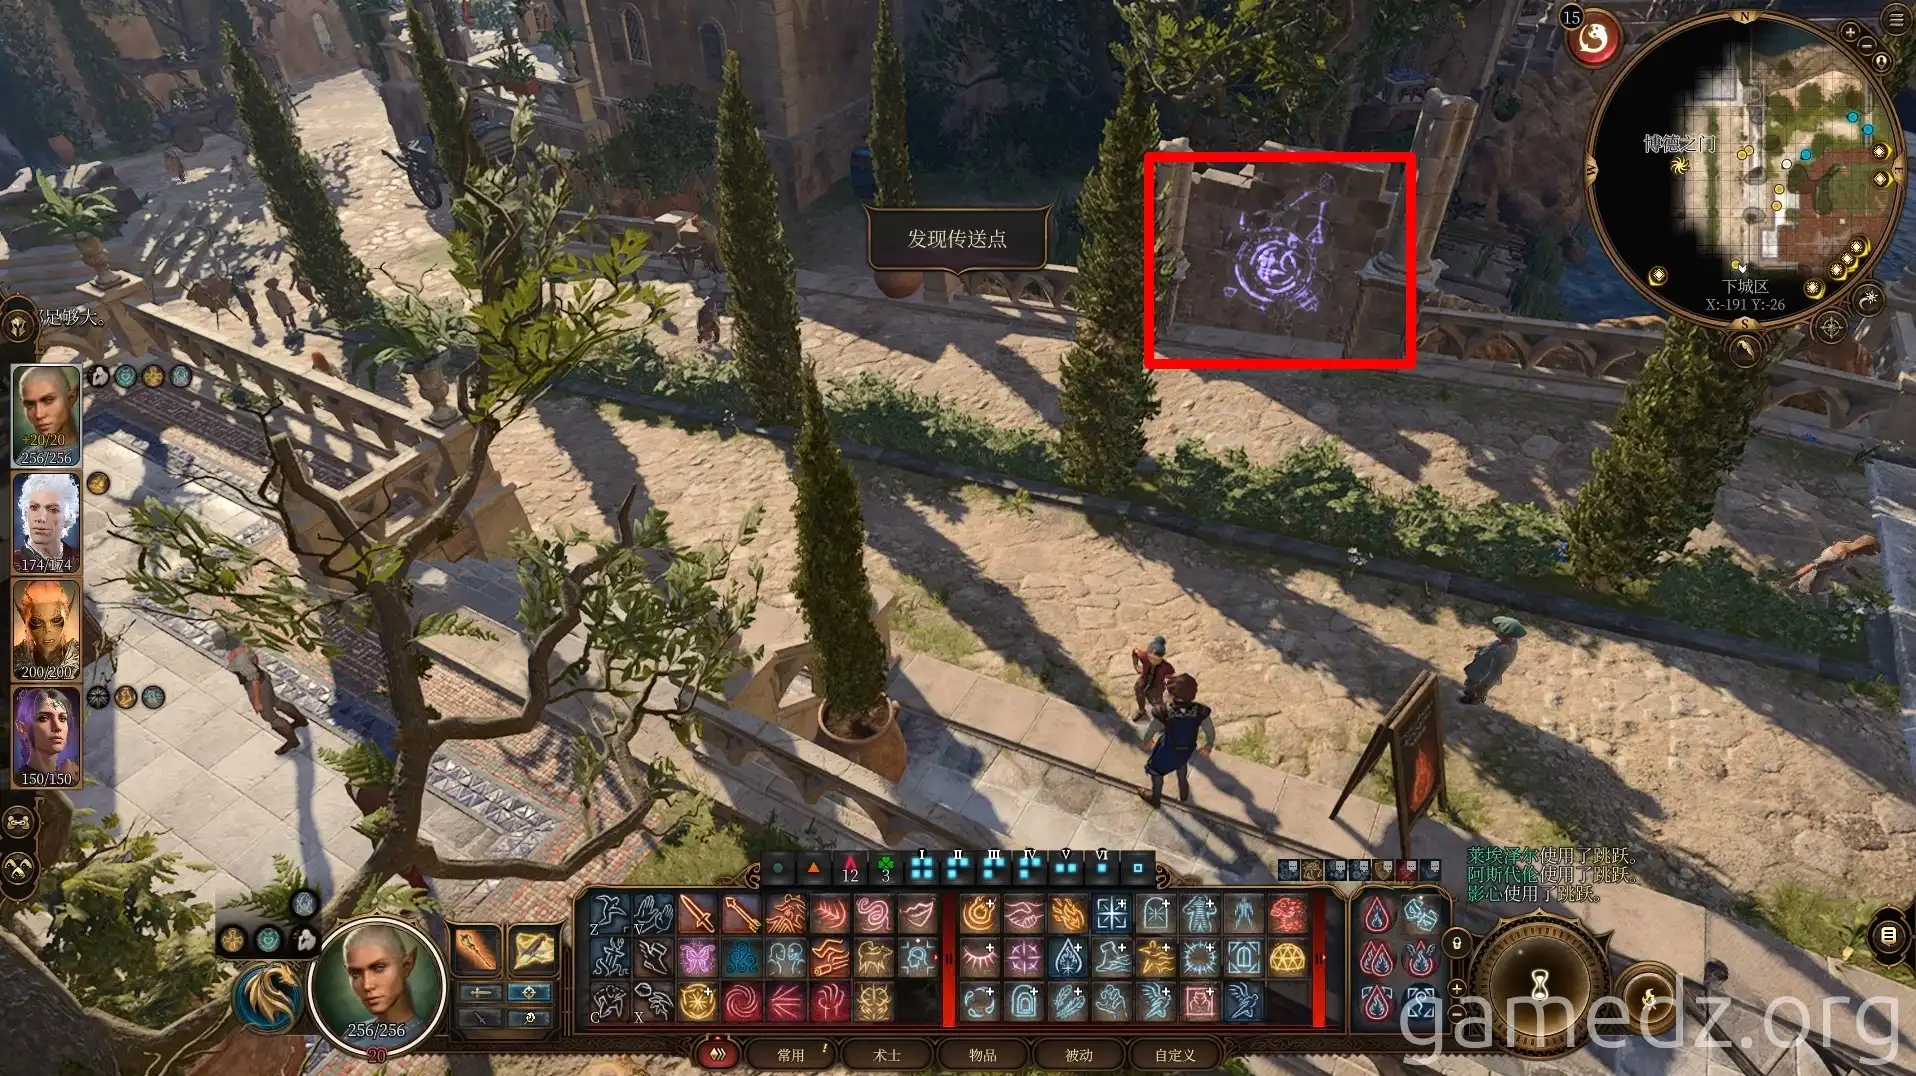
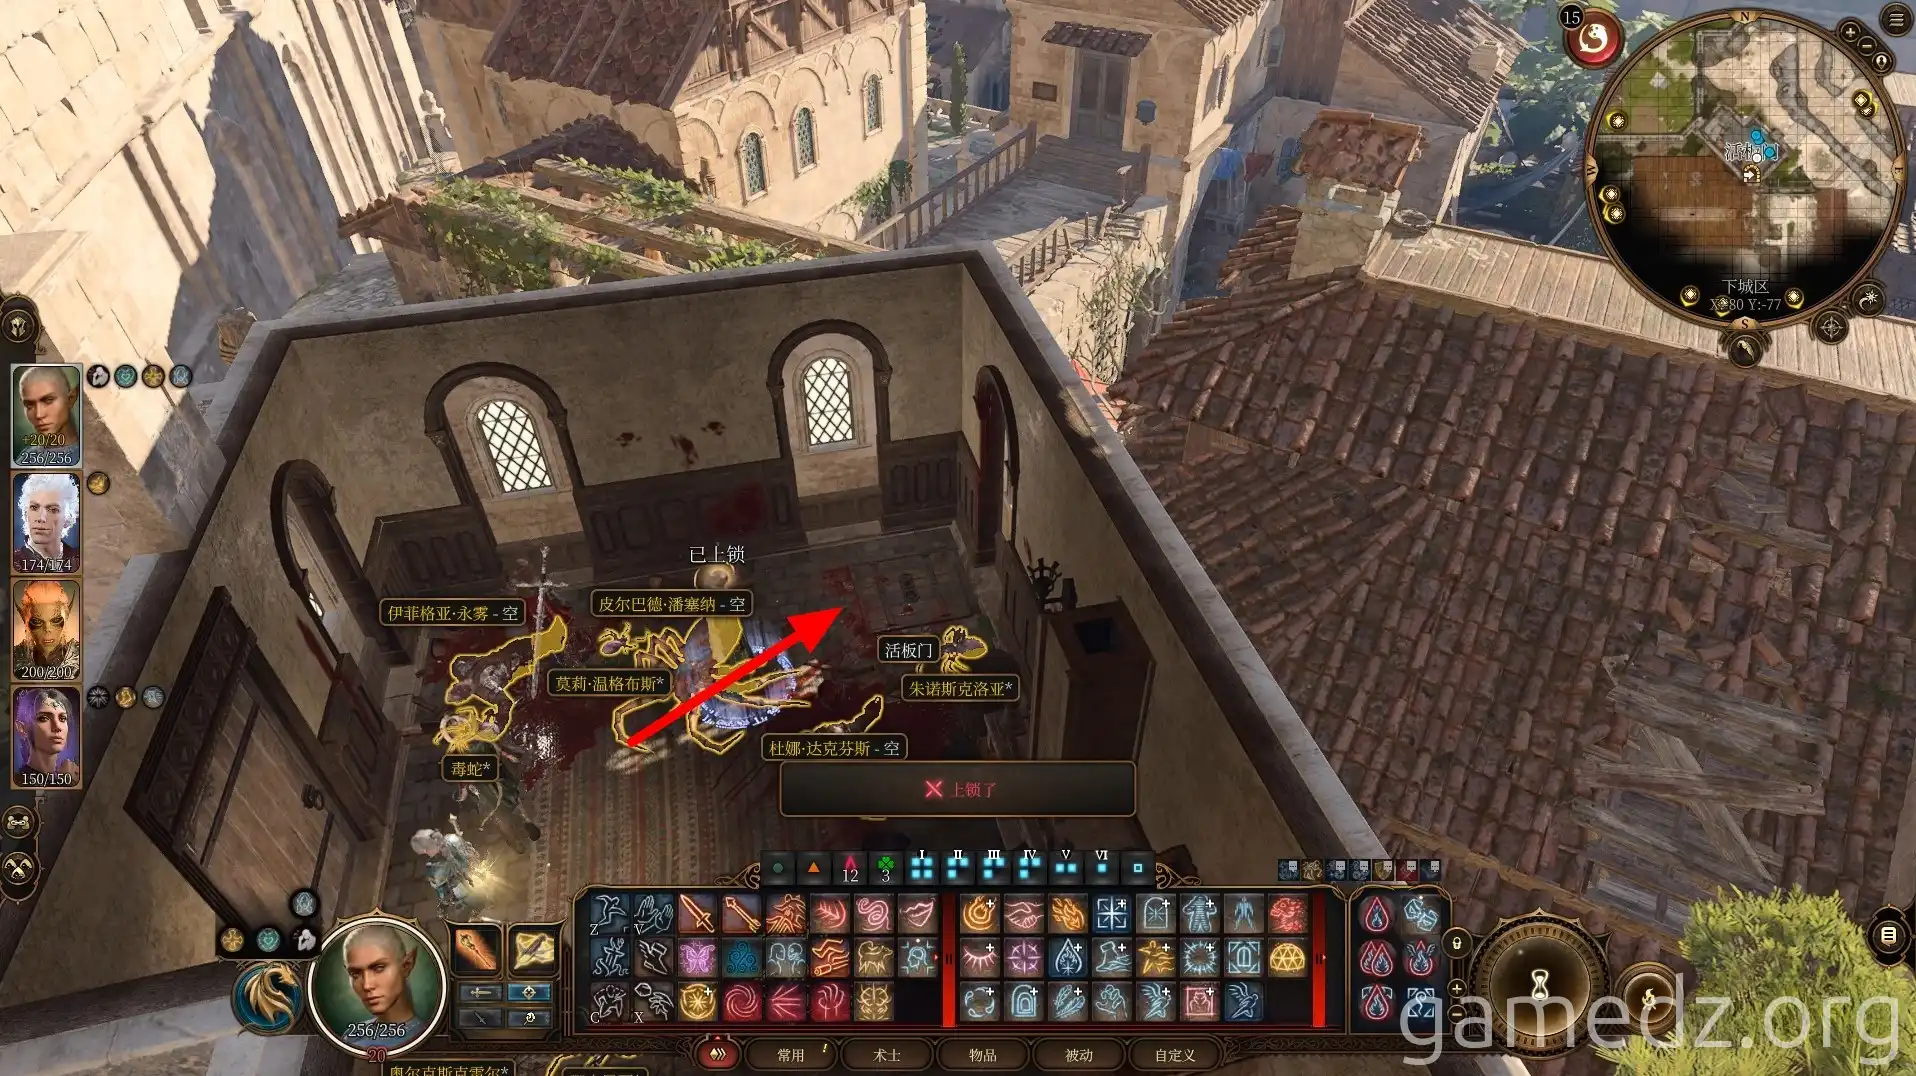
Afterward, we'll return to the Lower City Main Wall and enter the small room next to the park entrance.
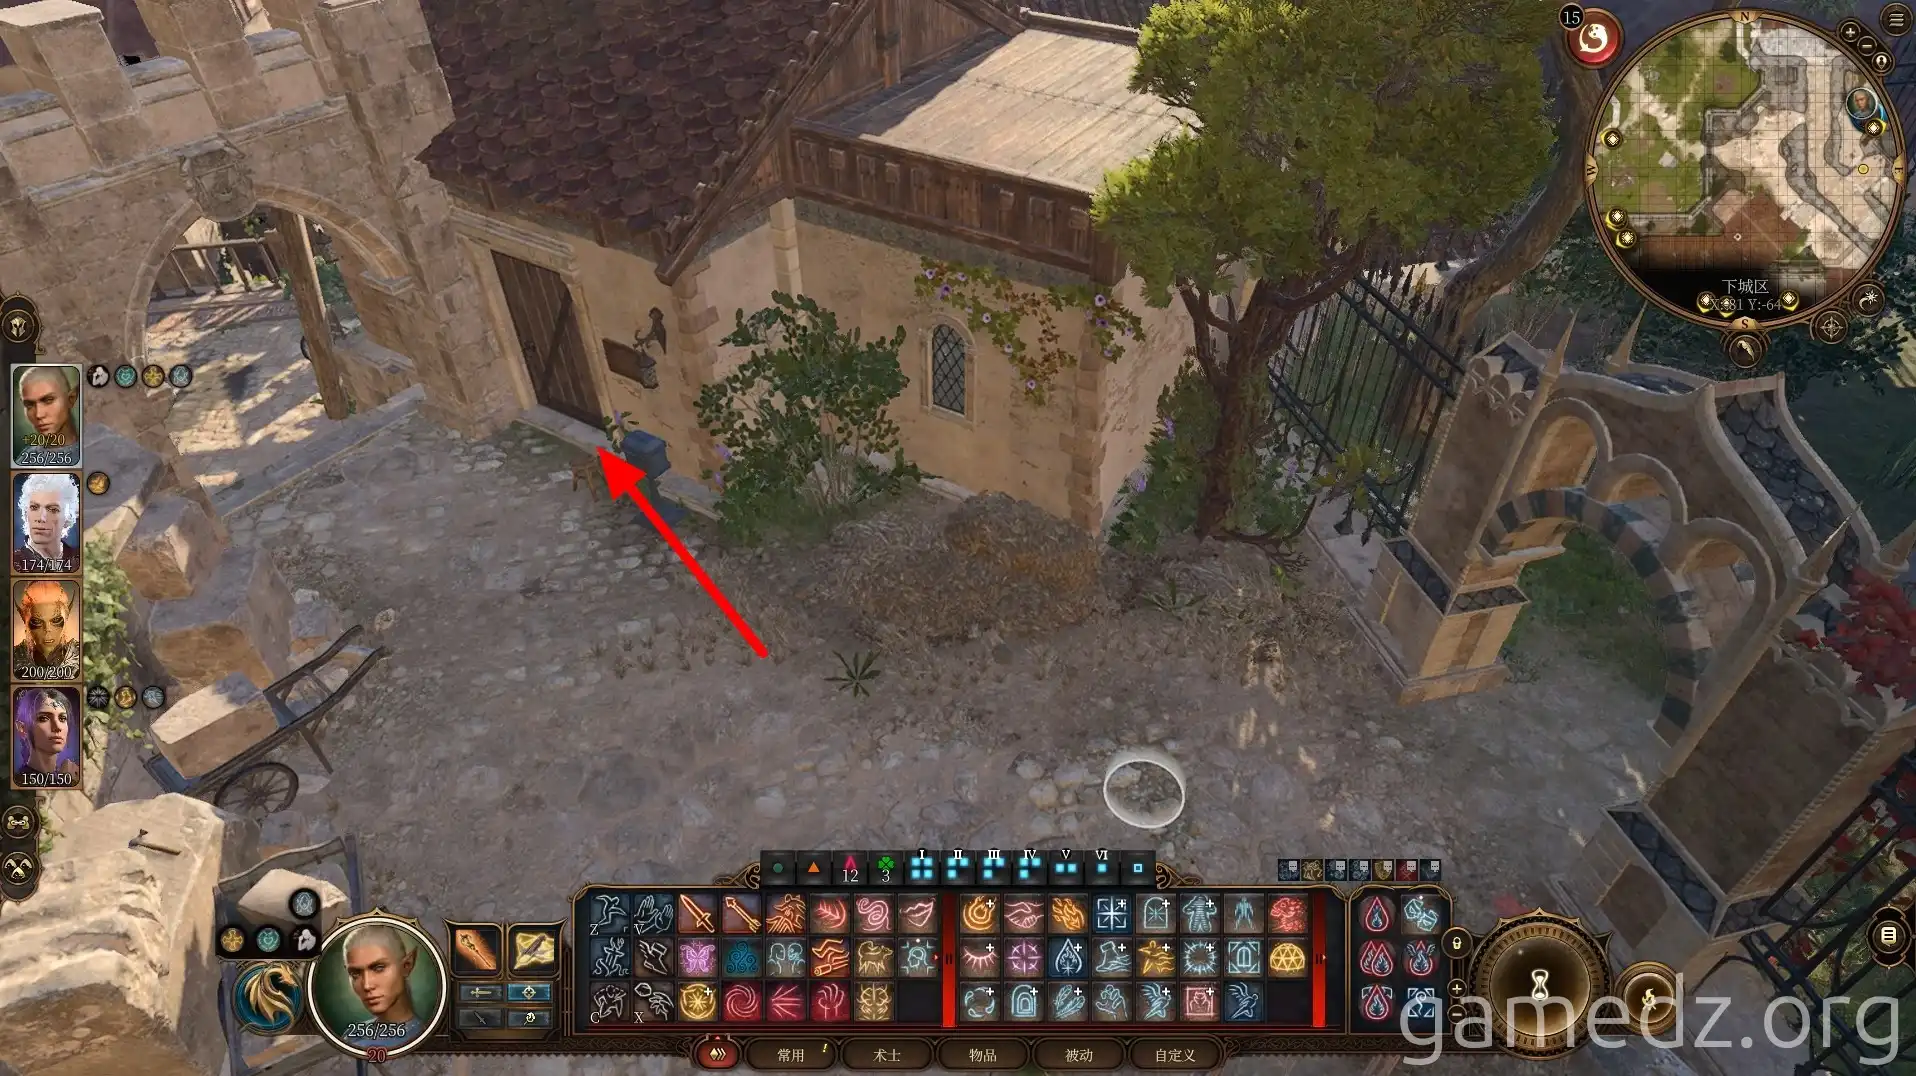
Inside the room, use the trapdoor in the corner to access the basement.
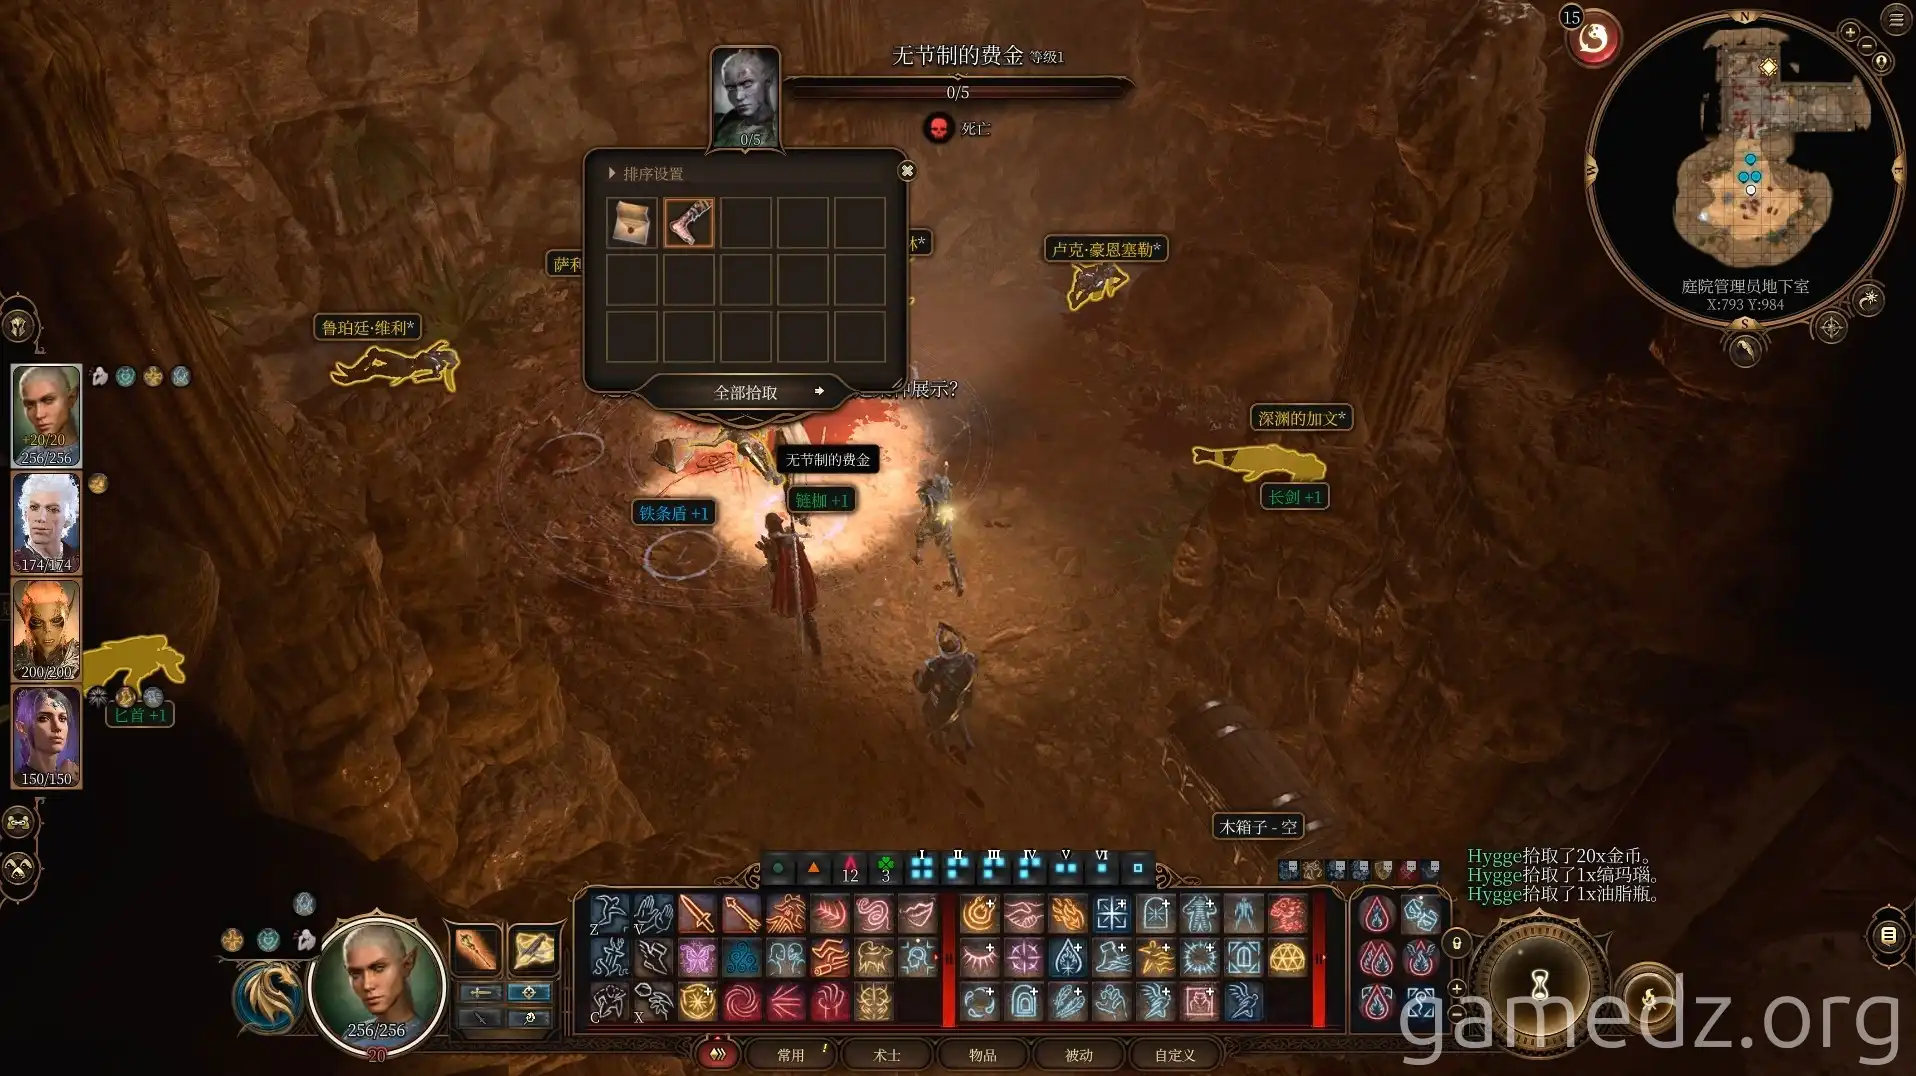
On the corpse within the ritual circle in the basement, you can find the [Jester's Foot]. Nearby, you can also pick up some regular fine and rare weapons.
Leave the small house and continue south, entering the lower-level room.
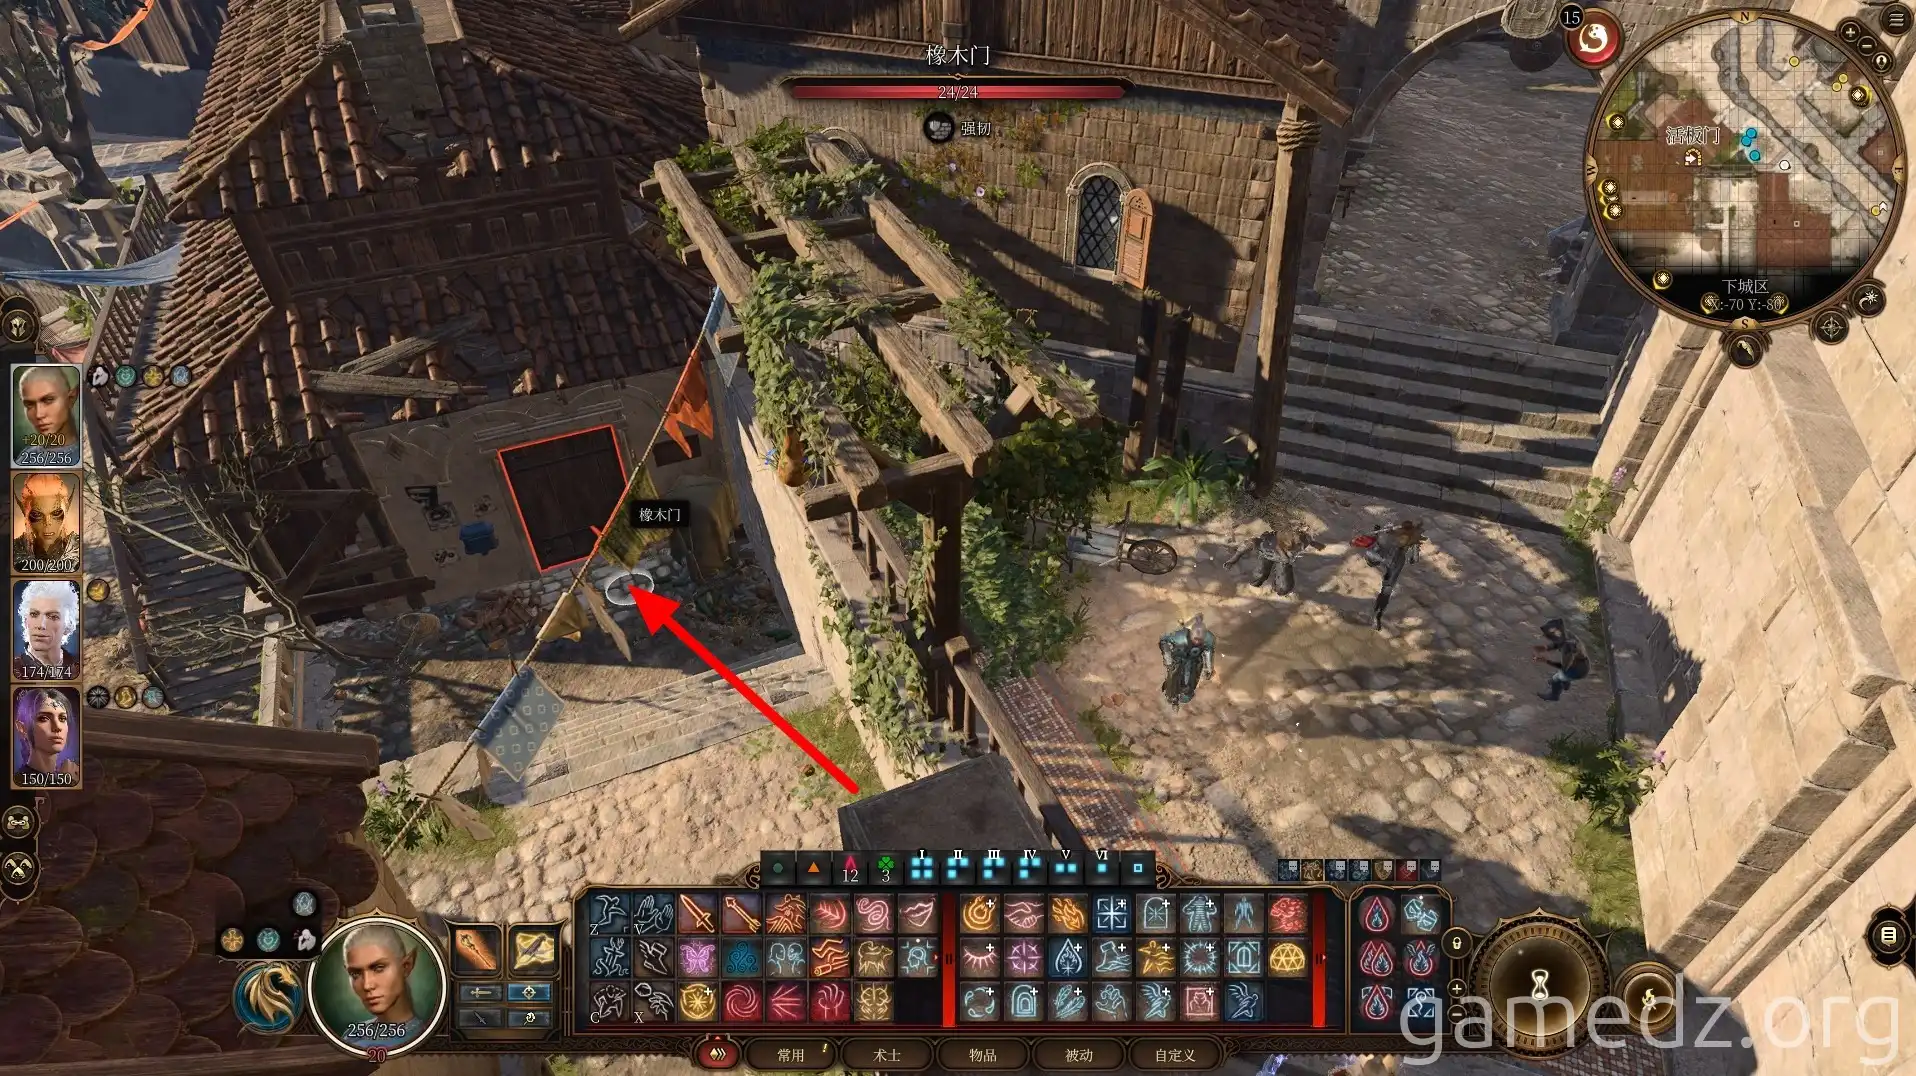
As you approach, the house will suddenly explode. You'll also encounter Alaghai again. After the conversation, characters with a Sage background will be inspired.
Follow Alaghai into the room and speak with her again. She'll reveal that her research using the blood you previously gave her has made progress and she wants you to drink a so-called Ghaunadan formula.
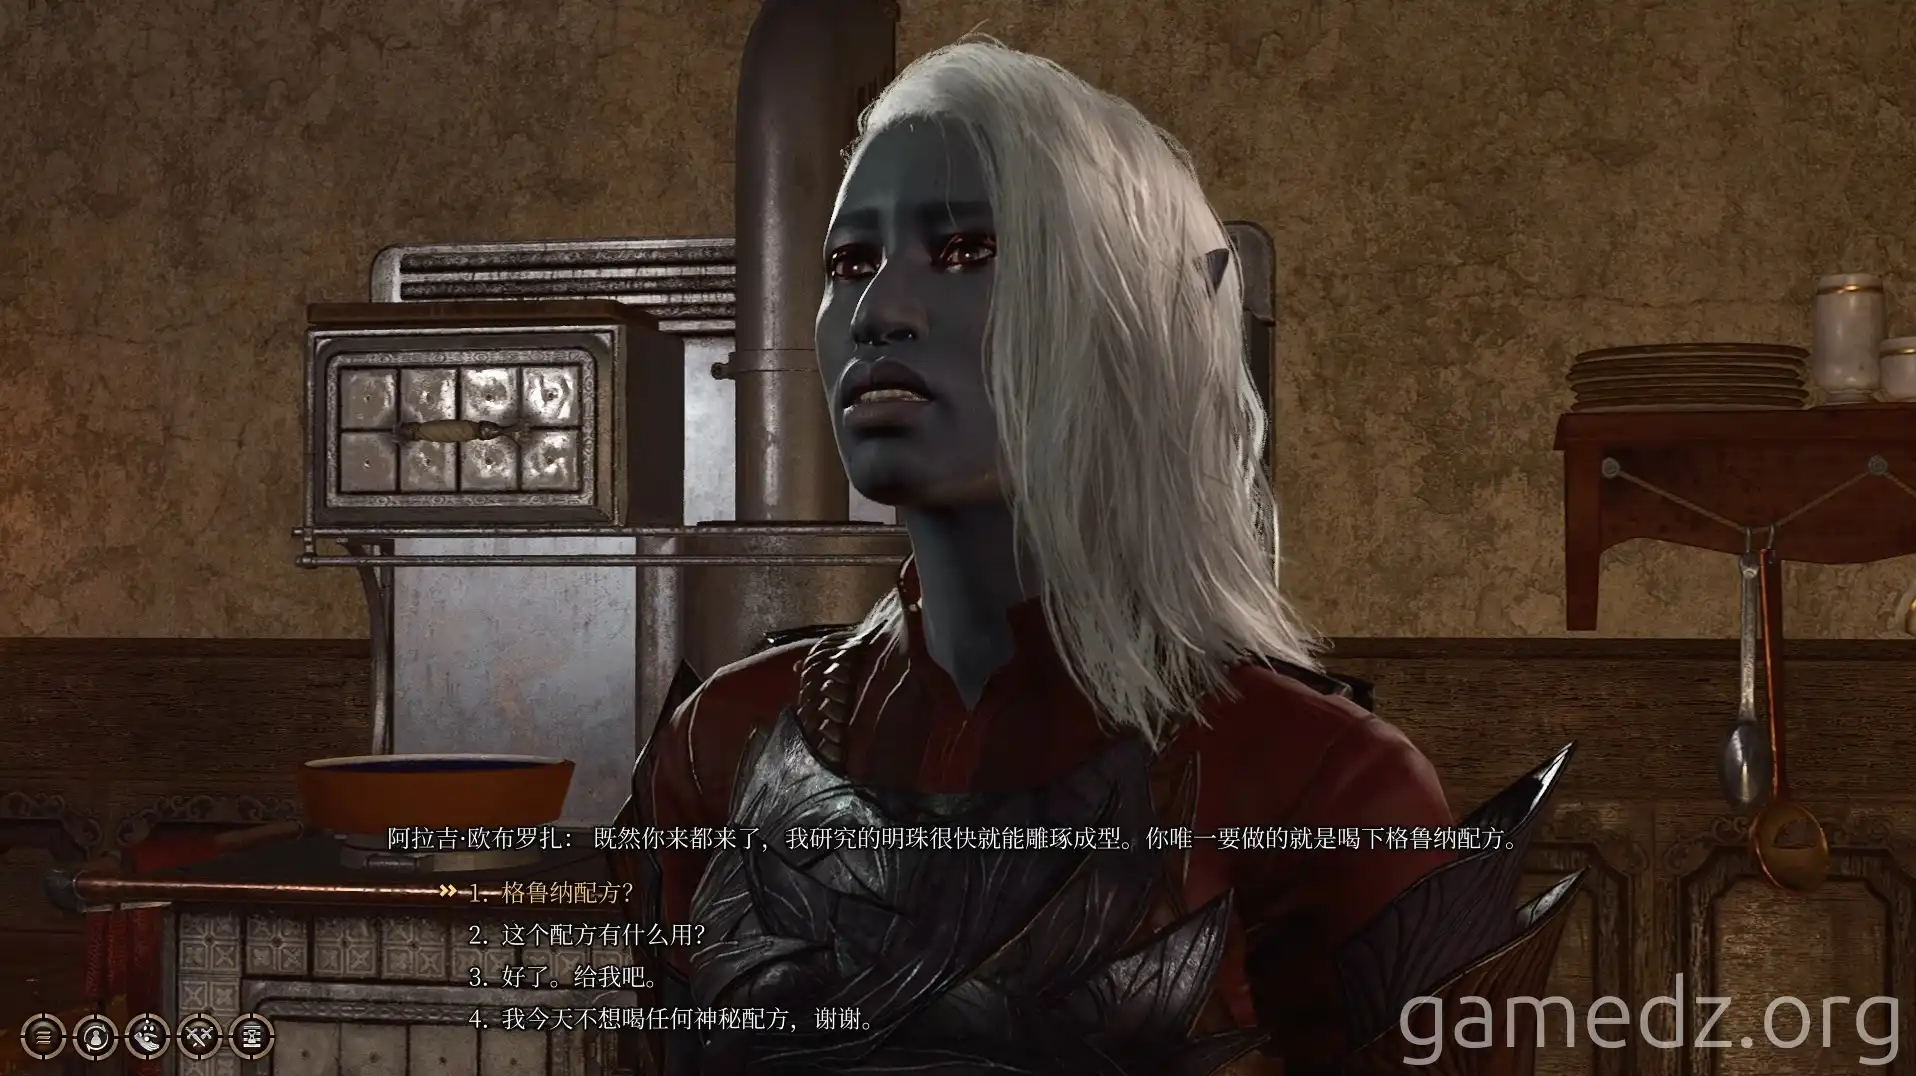
After drinking Alaghai's potion, your blood will become explosive. In subsequent battles, any blood that spills from injuries can be detonated with fire-based attacks.
Alaghai will then ask for more blood. Agreeing to give her your blood will inspire characters with a Soldier background. Once the conversation is completely finished, you can purchase potions and other items from Alaghai.
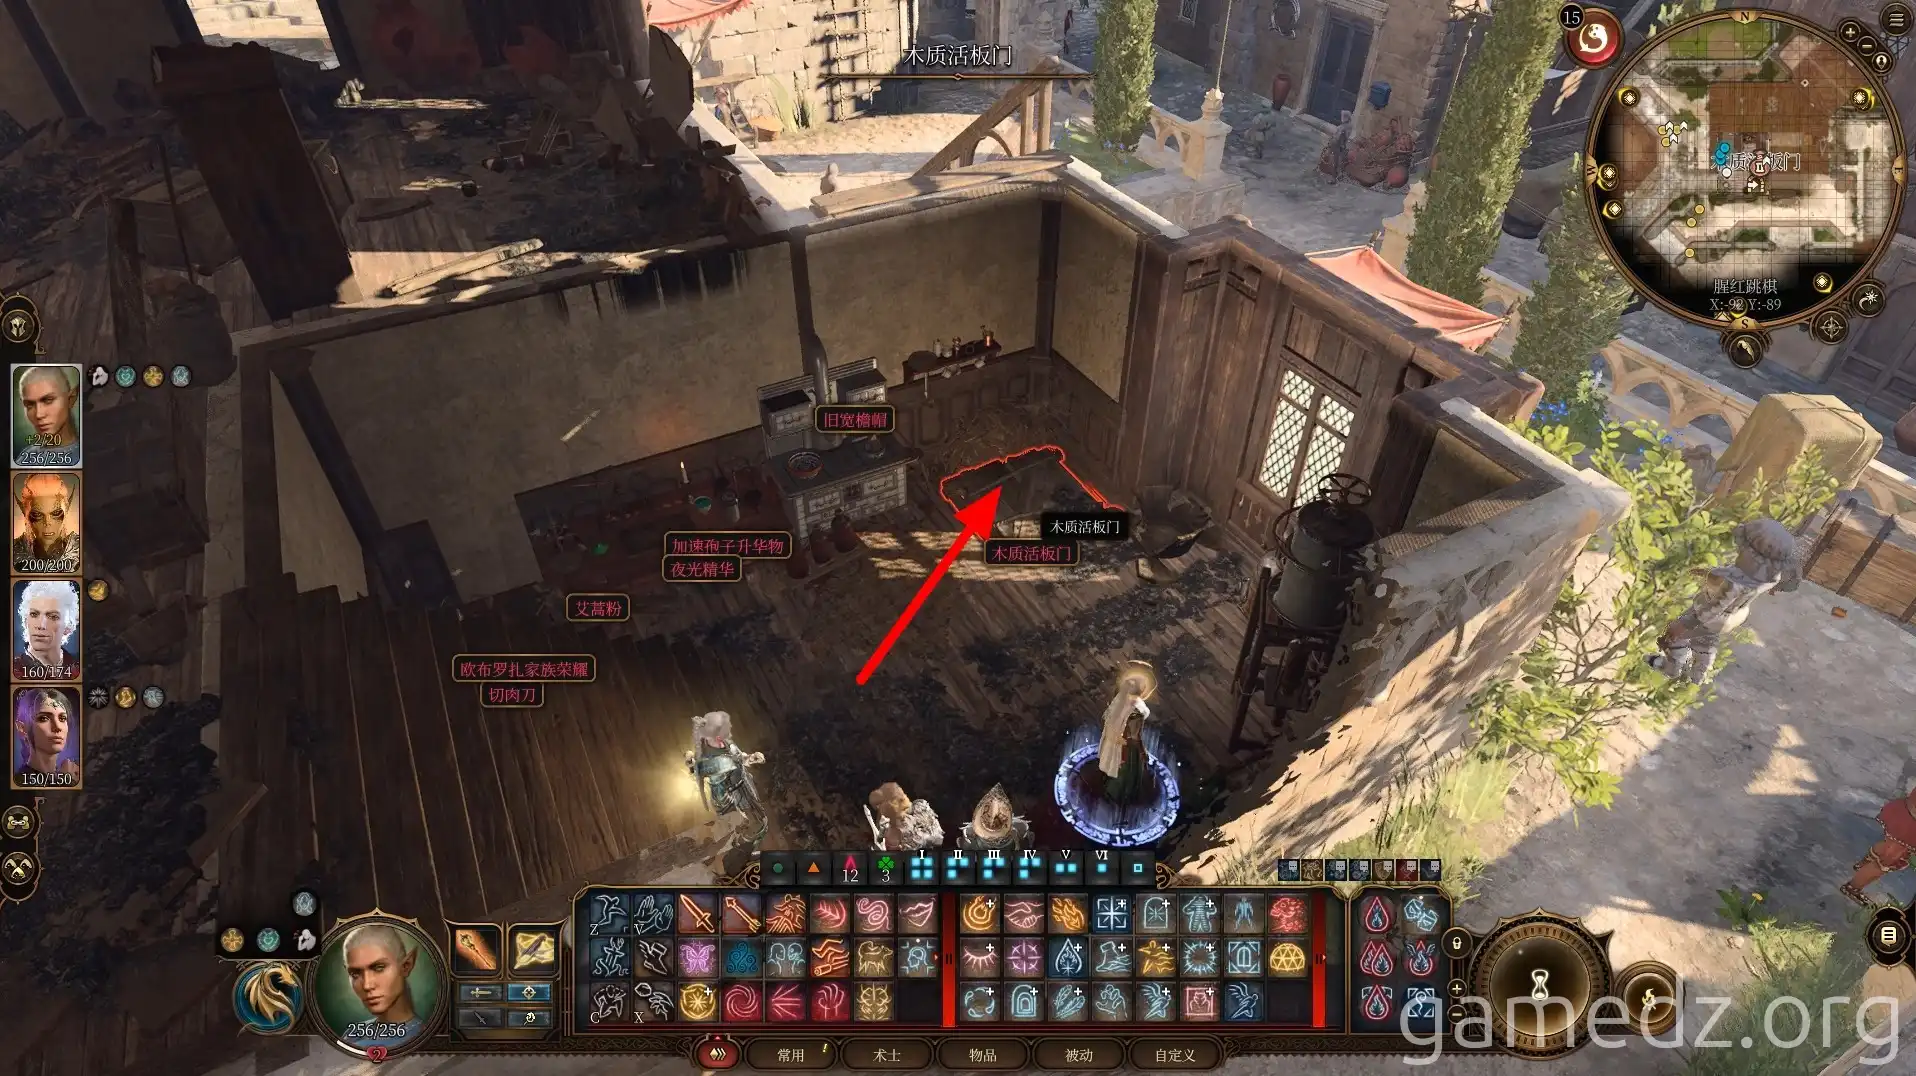
Enter the basement through the wooden trapdoor on the first floor of the room.
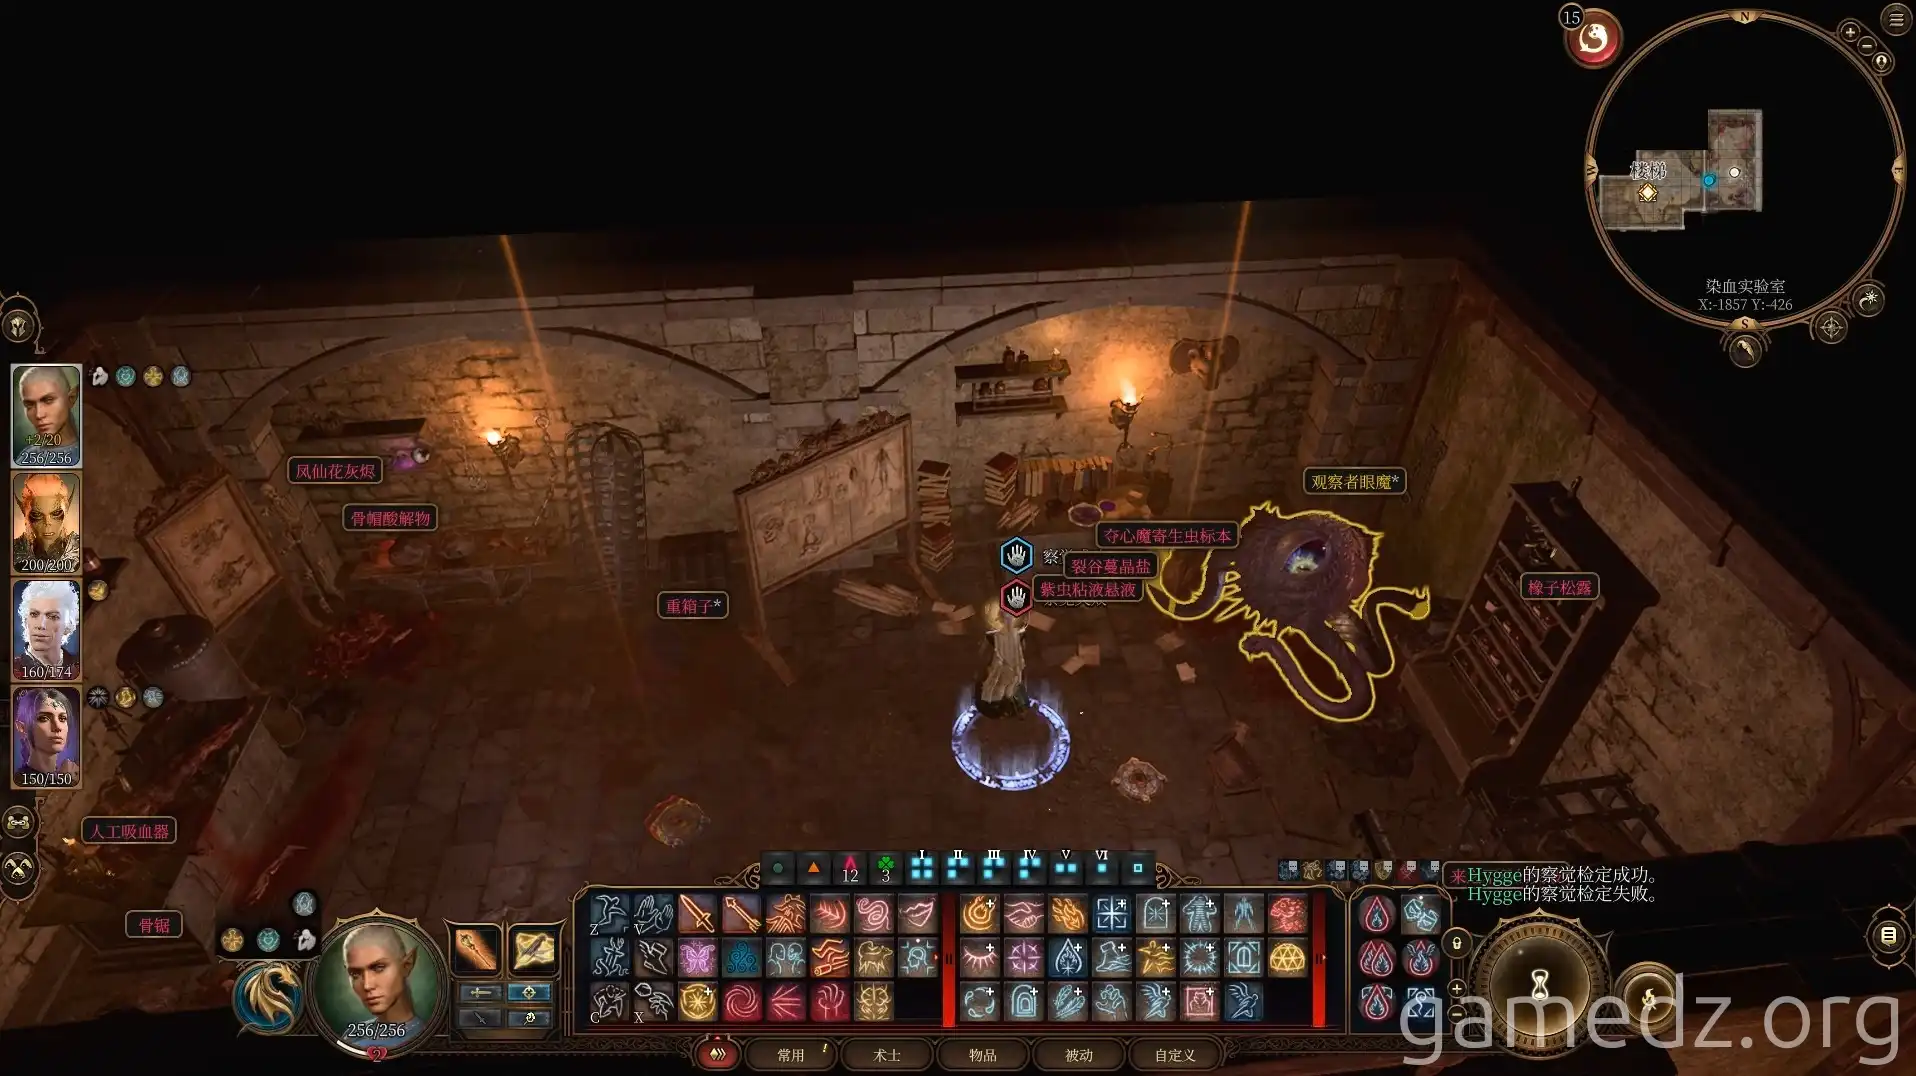
In the basement, you can find a Mind Flayer Parasite Specimen and a large amount of alchemical materials.
After leaving Alaghai's house, continue south along the path by the city wall and enter the tower with the blue door.
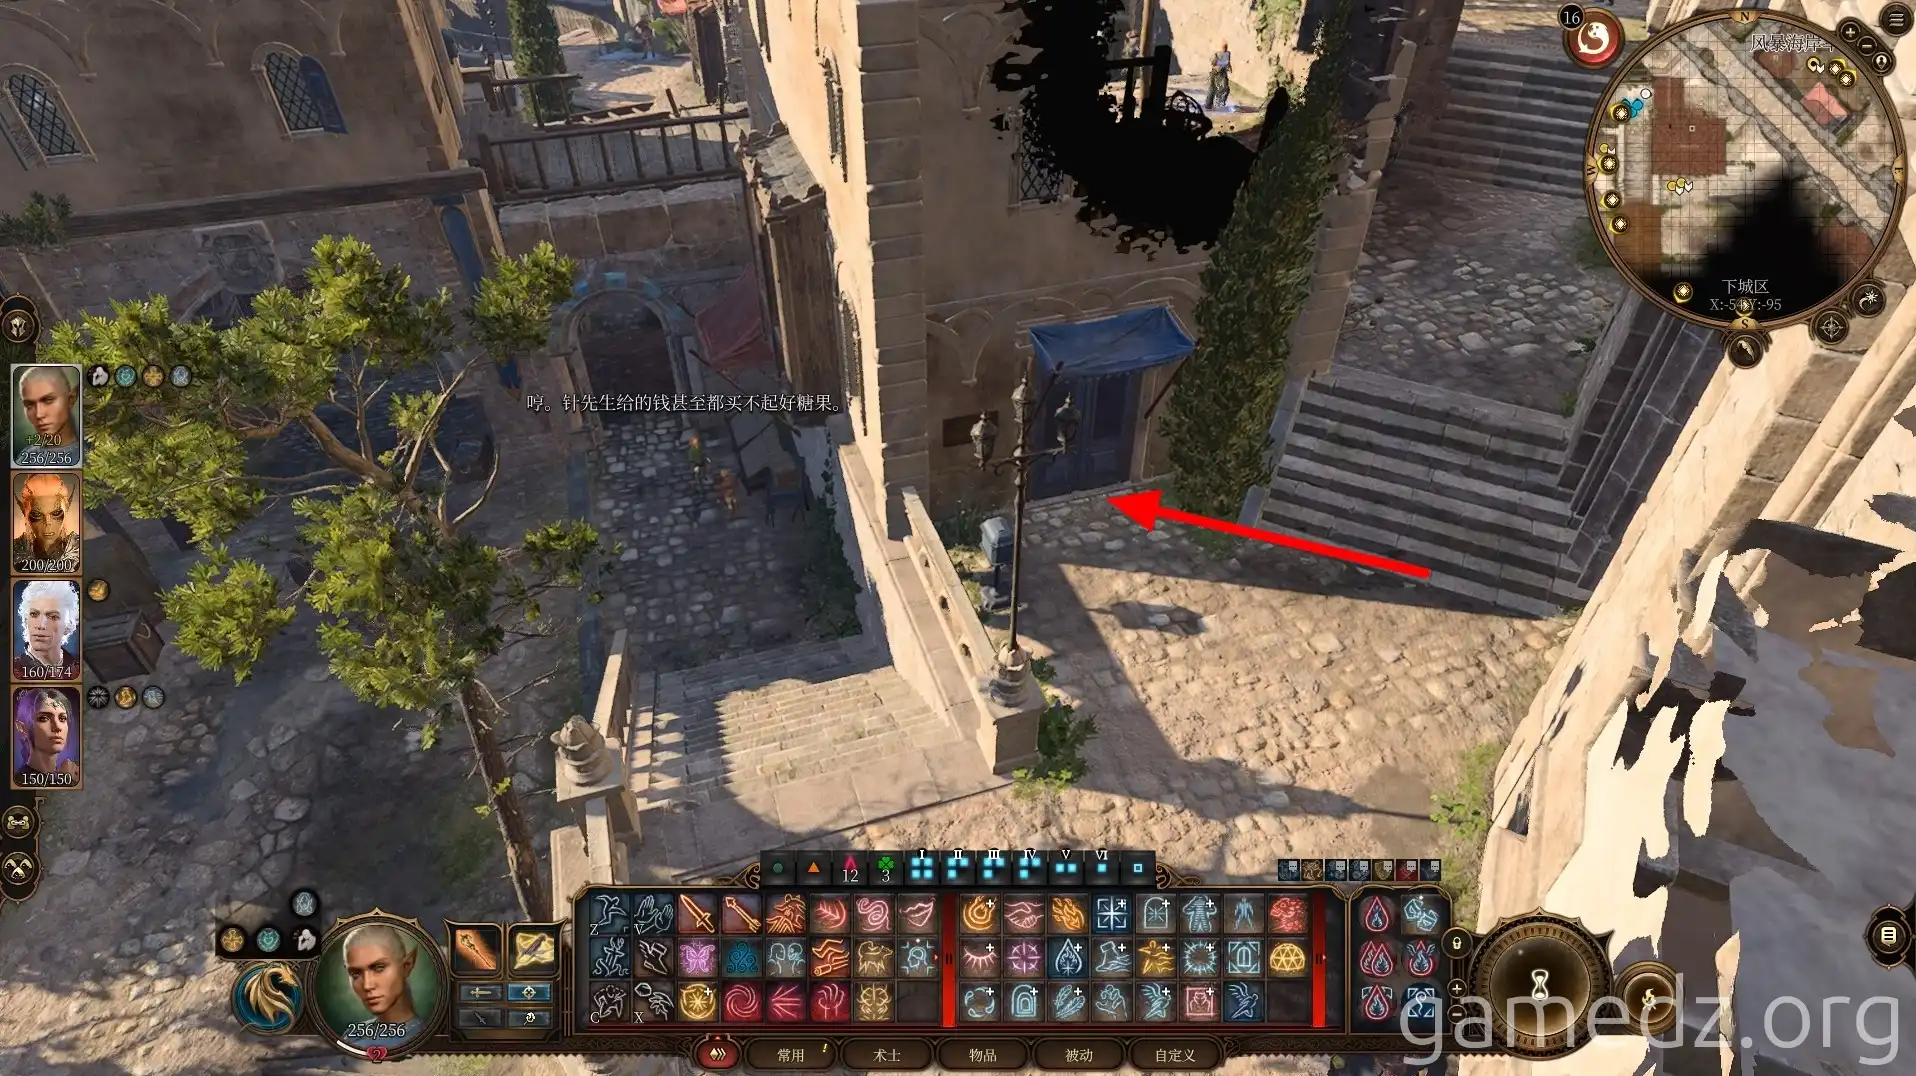
This room is Lora's home. After successfully rescuing Vanna later, you can come here to complete the quest.
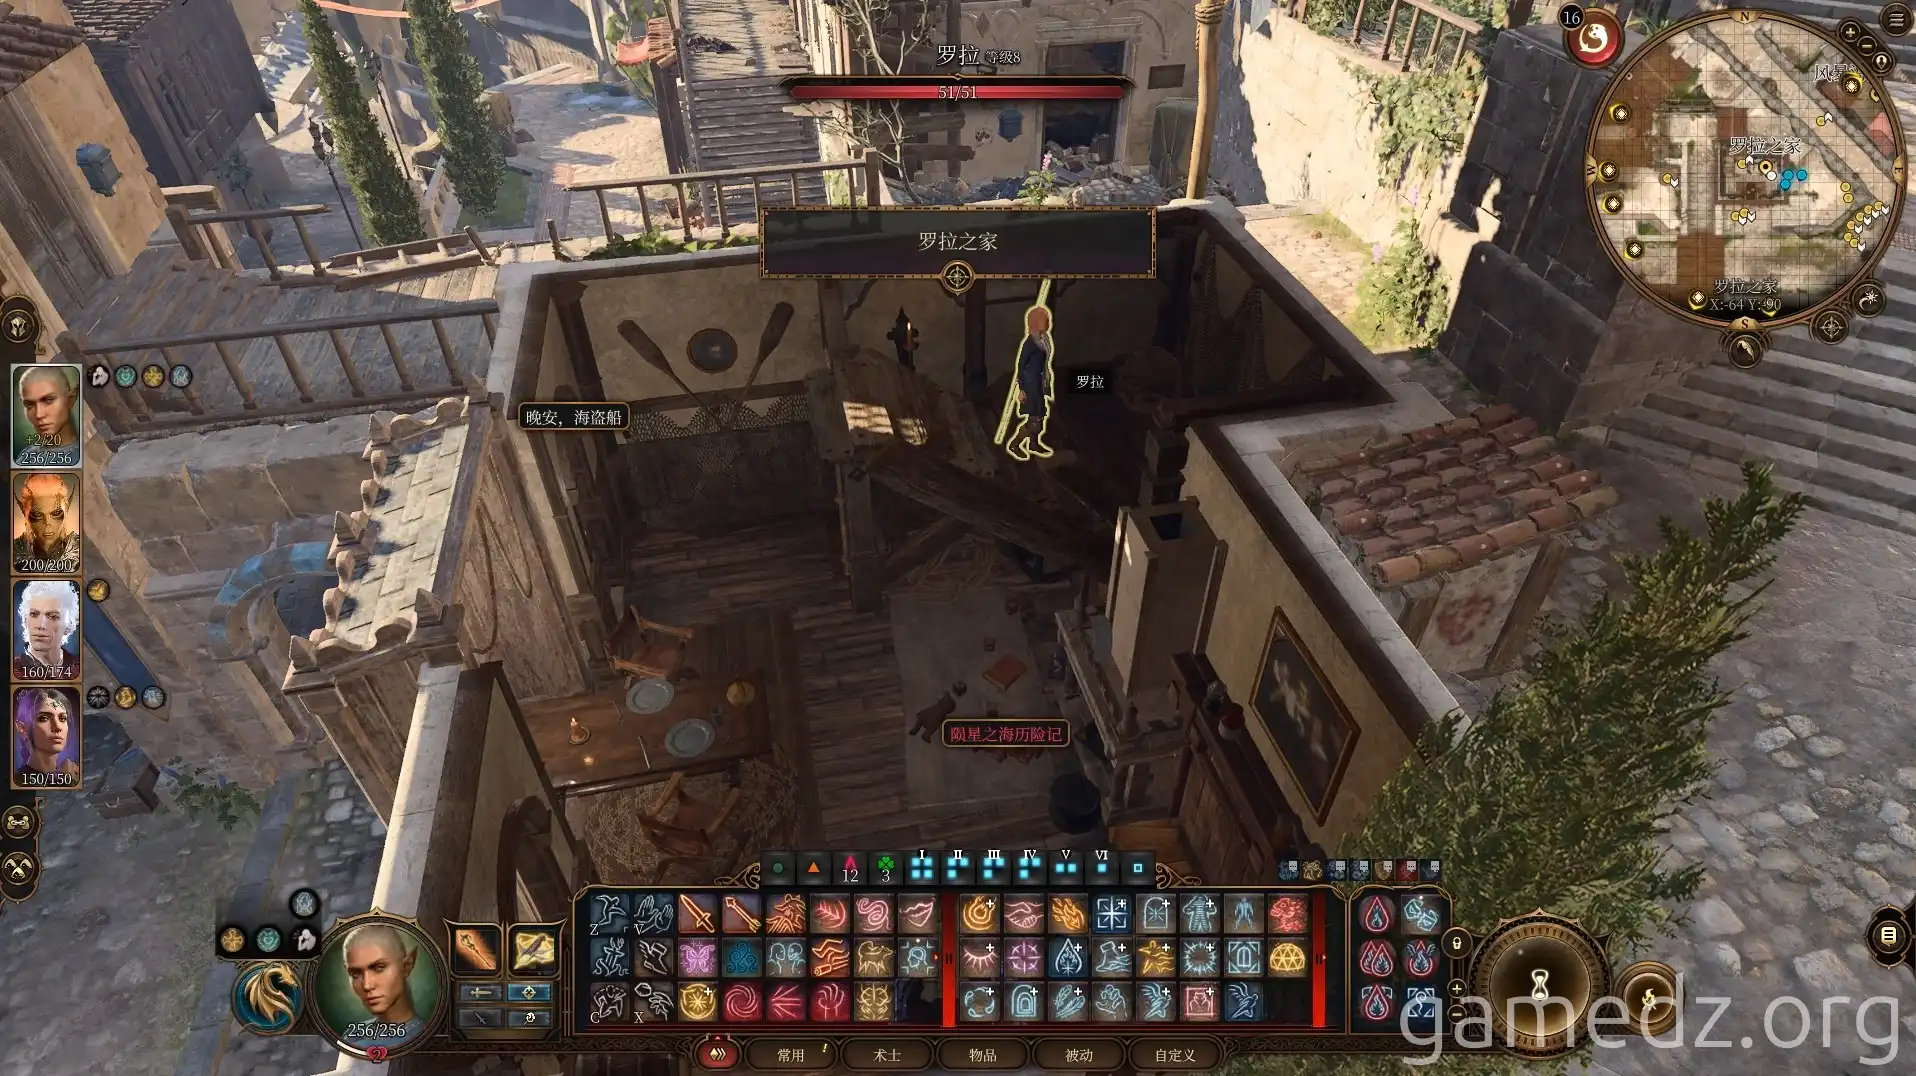
Leave the tower and continue south, entering the [Flaming Flesher] next to the main gate.
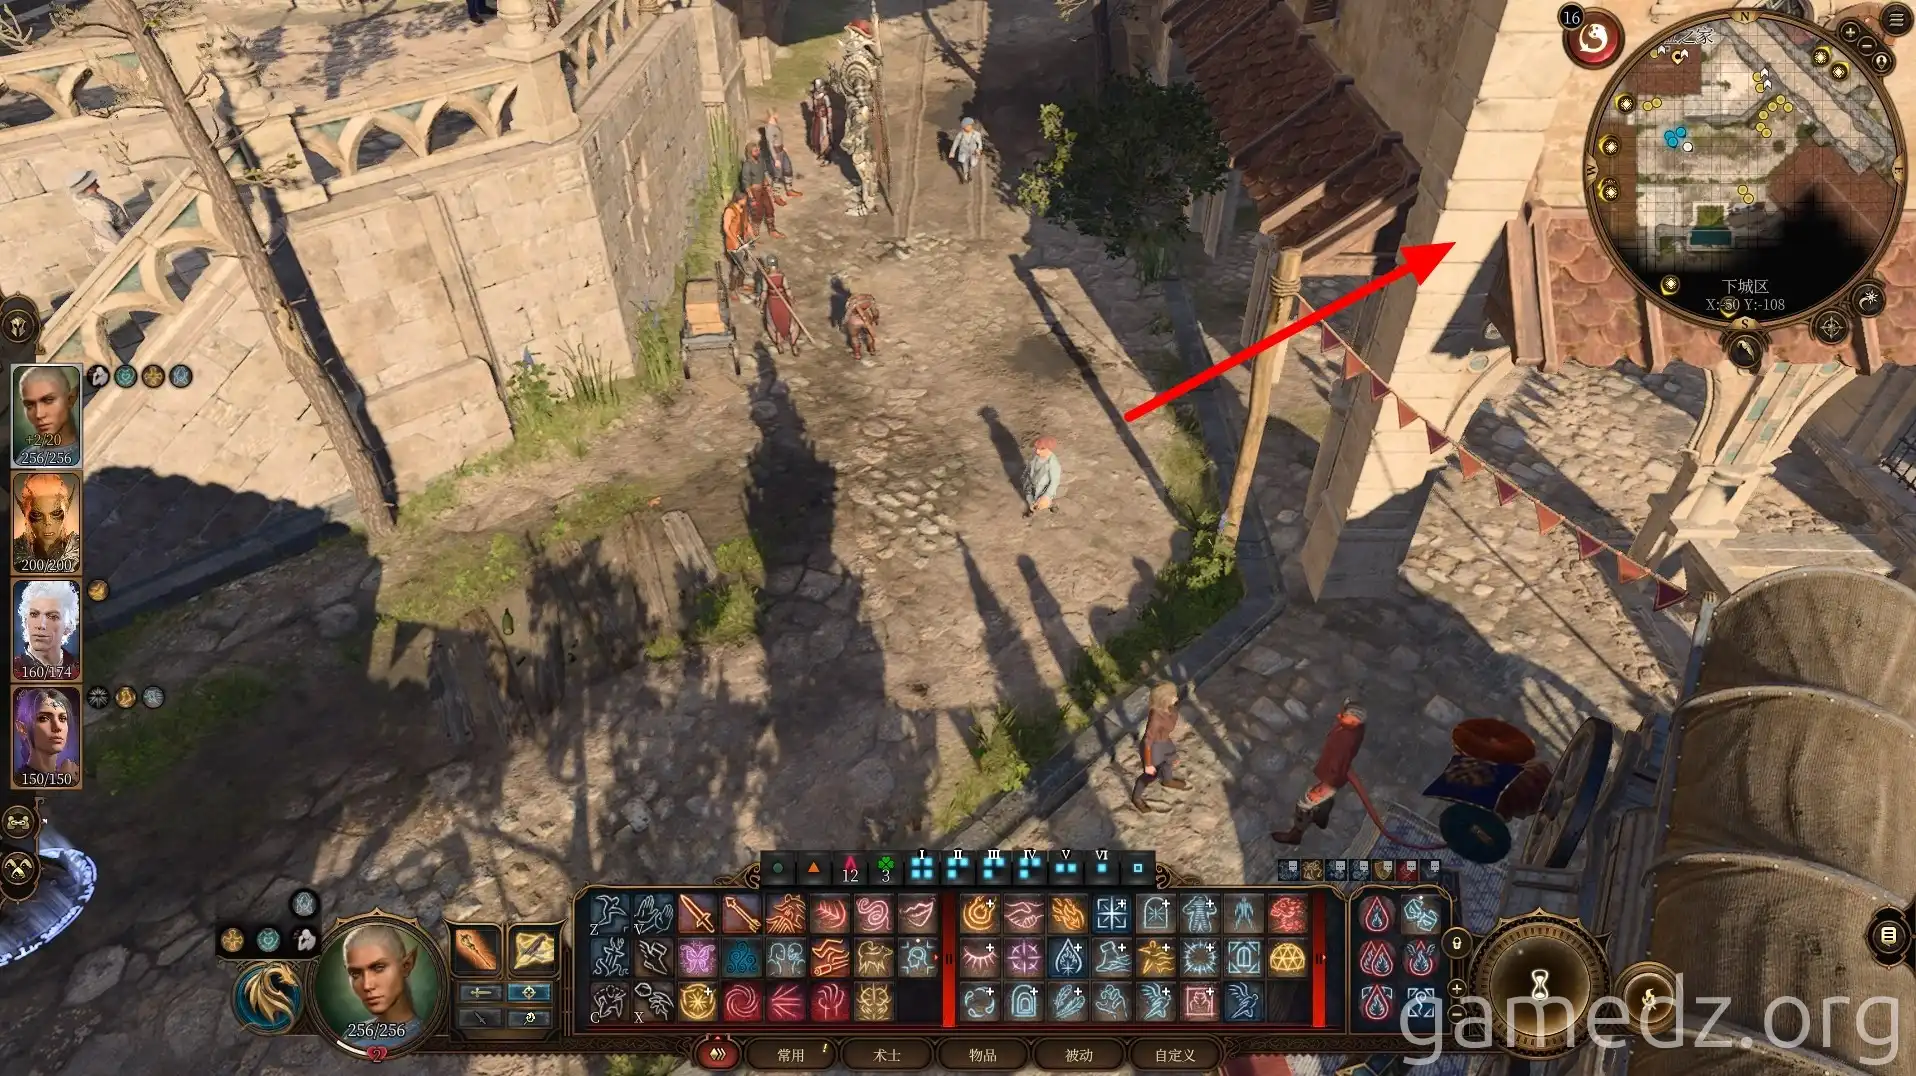
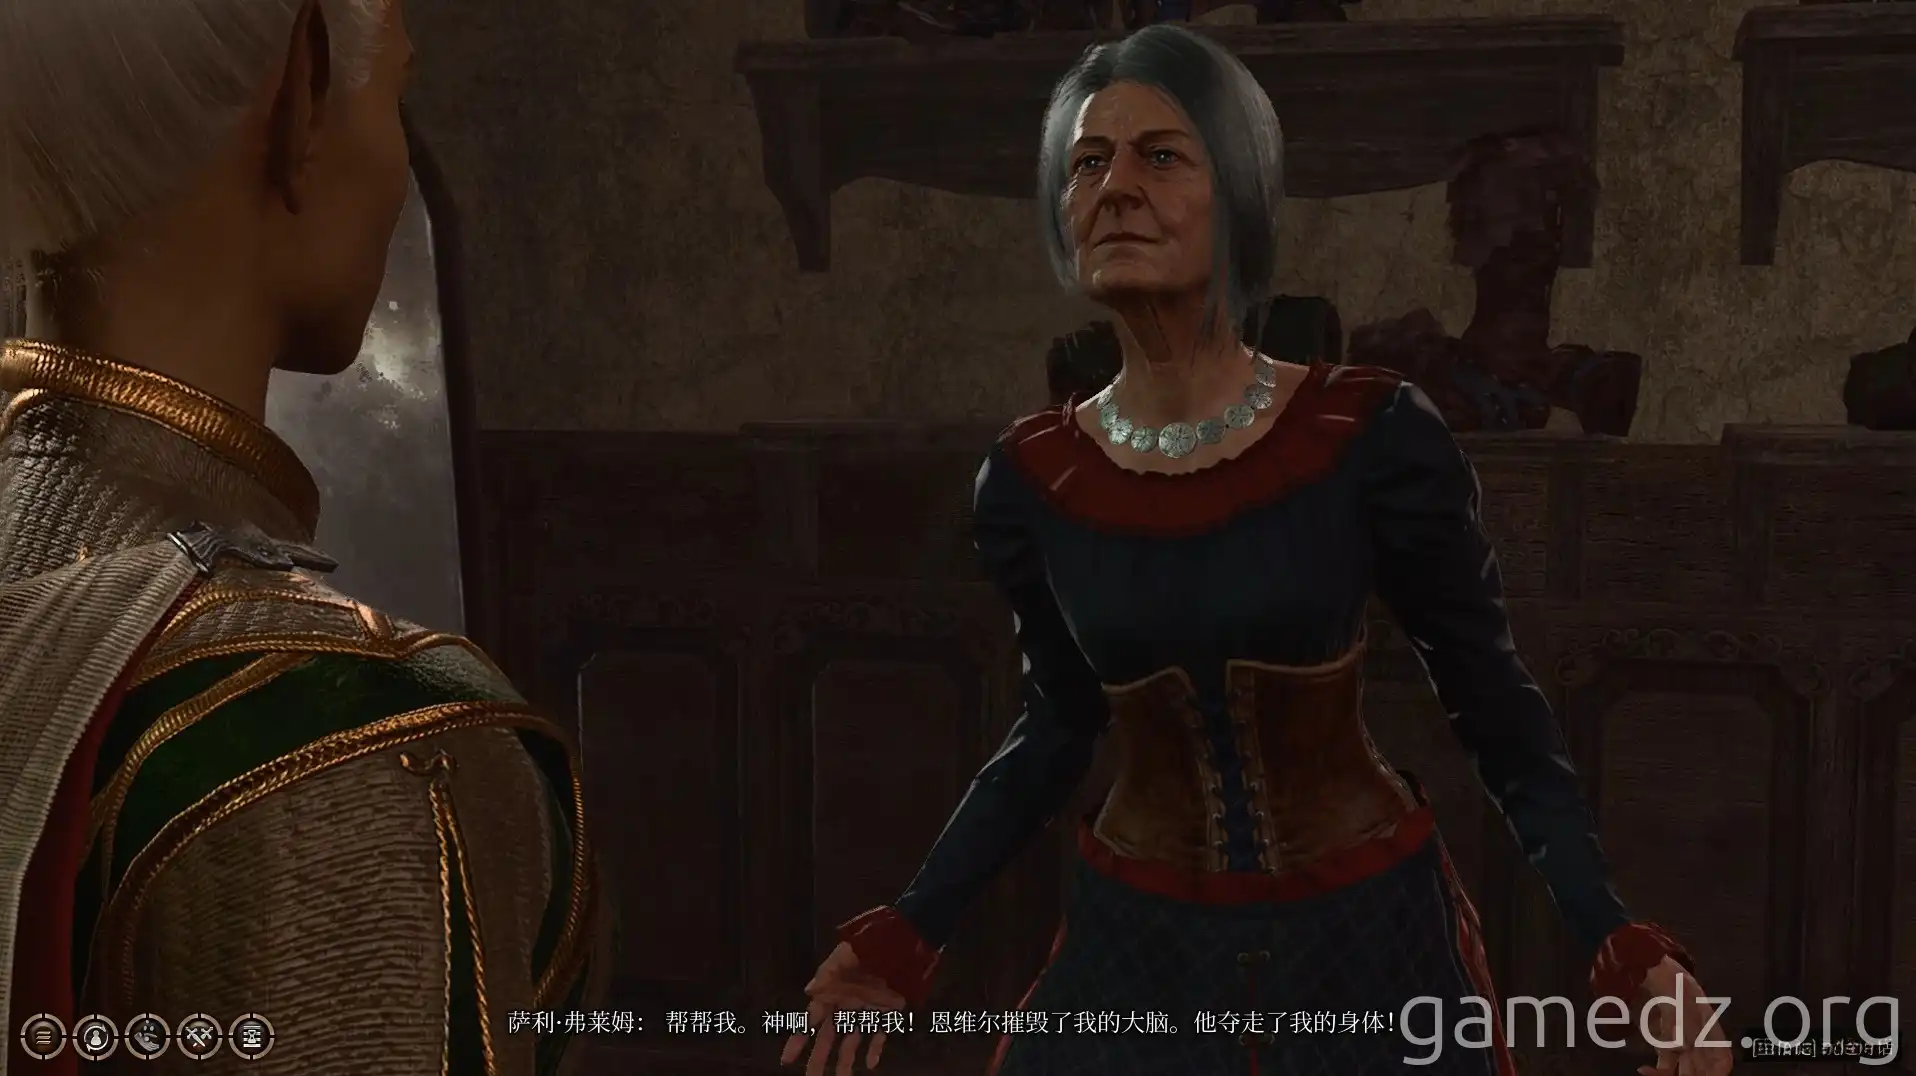
This is the tanner shop run by Gortash's parents. During the conversation, you can use your psionic abilities to probe their minds and discover they are completely controlled by Mind Flayer tadpoles and have lost their freedom. You can choose to kill them to grant them release or leave them to continue suffering.
After killing both of them, you can obtain two Mind Flayer Parasite Specimens from their bodies. There are no other important items in the room.
Leave the room and continue south, entering the small house below the stairs.
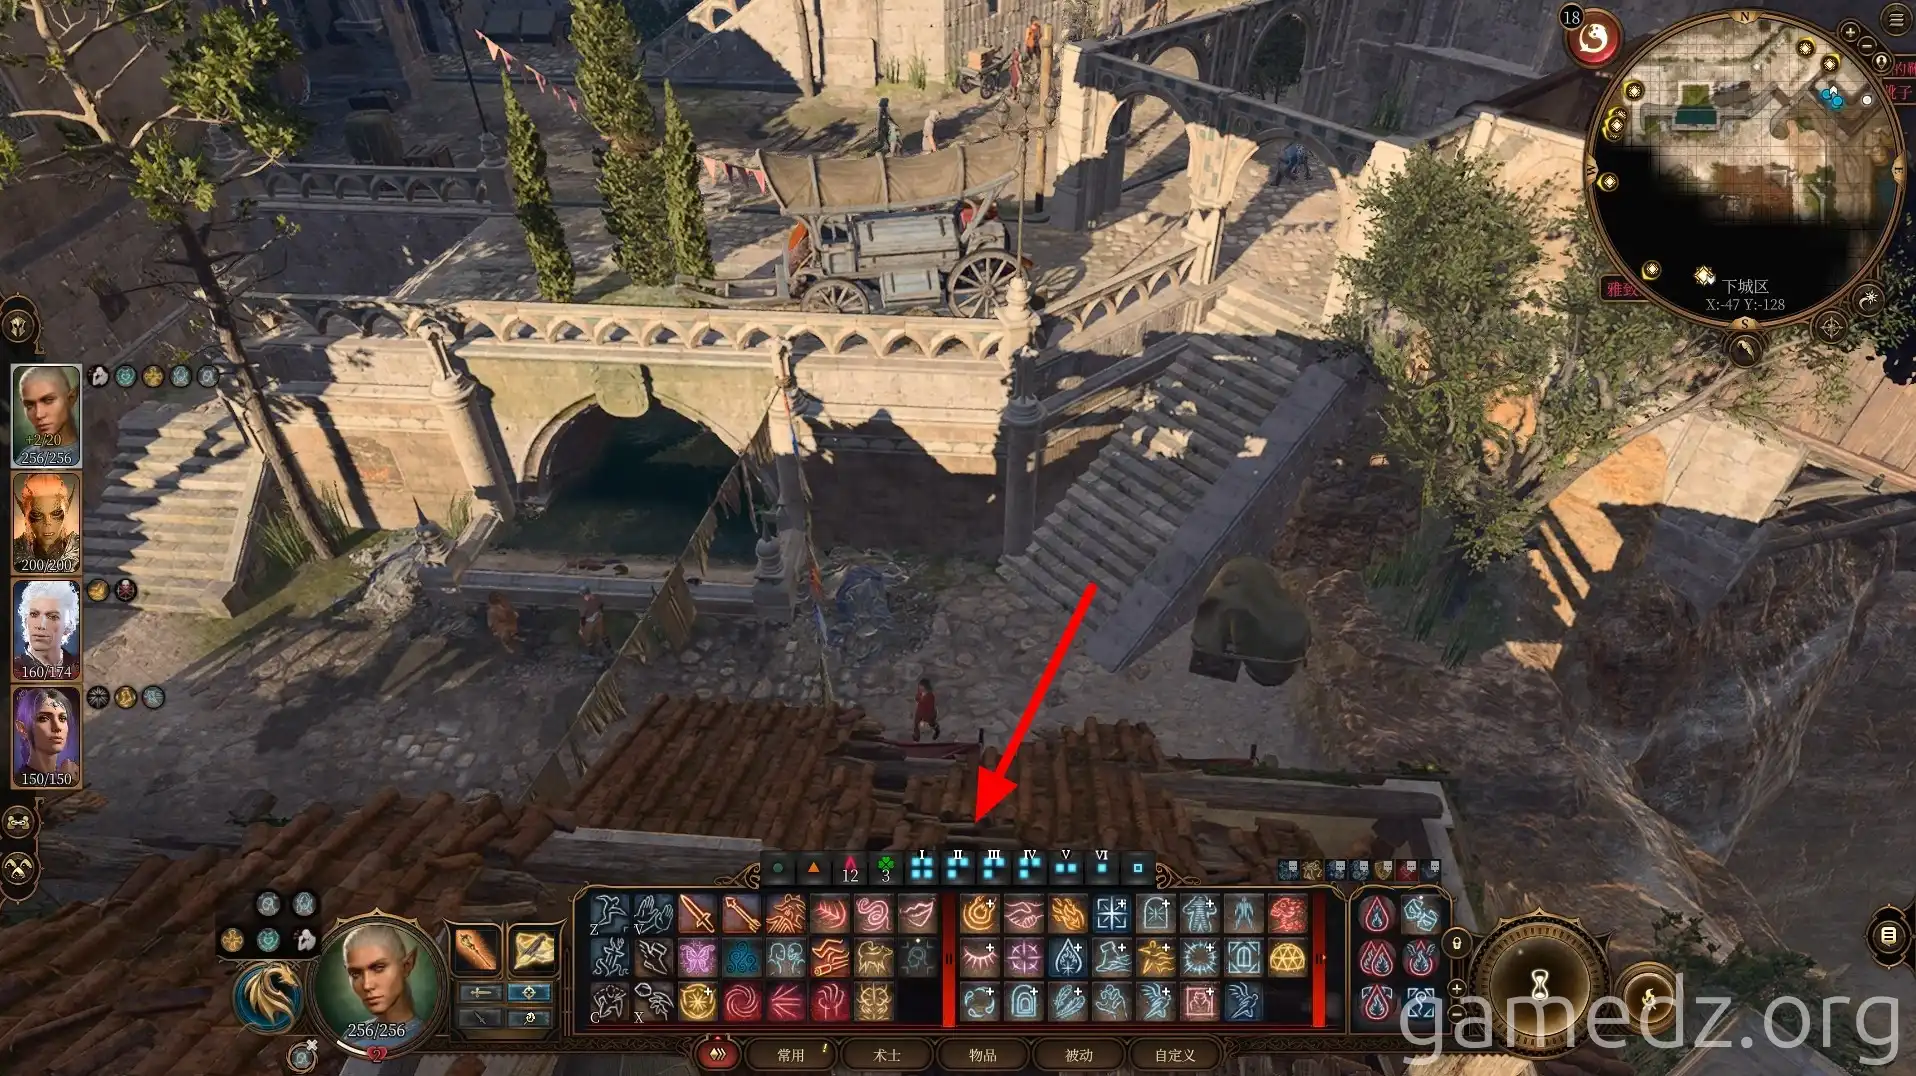
Upon entering the room, you'll meet members of the Anti-Hag Support Group. After a conversation, you'll learn that their leader is none other than Melina, whom you rescued from the Hag's lair in Act 1.
At this moment, Melina has been transformed into a sheep by the Hag's magic and is on the second floor of the room.
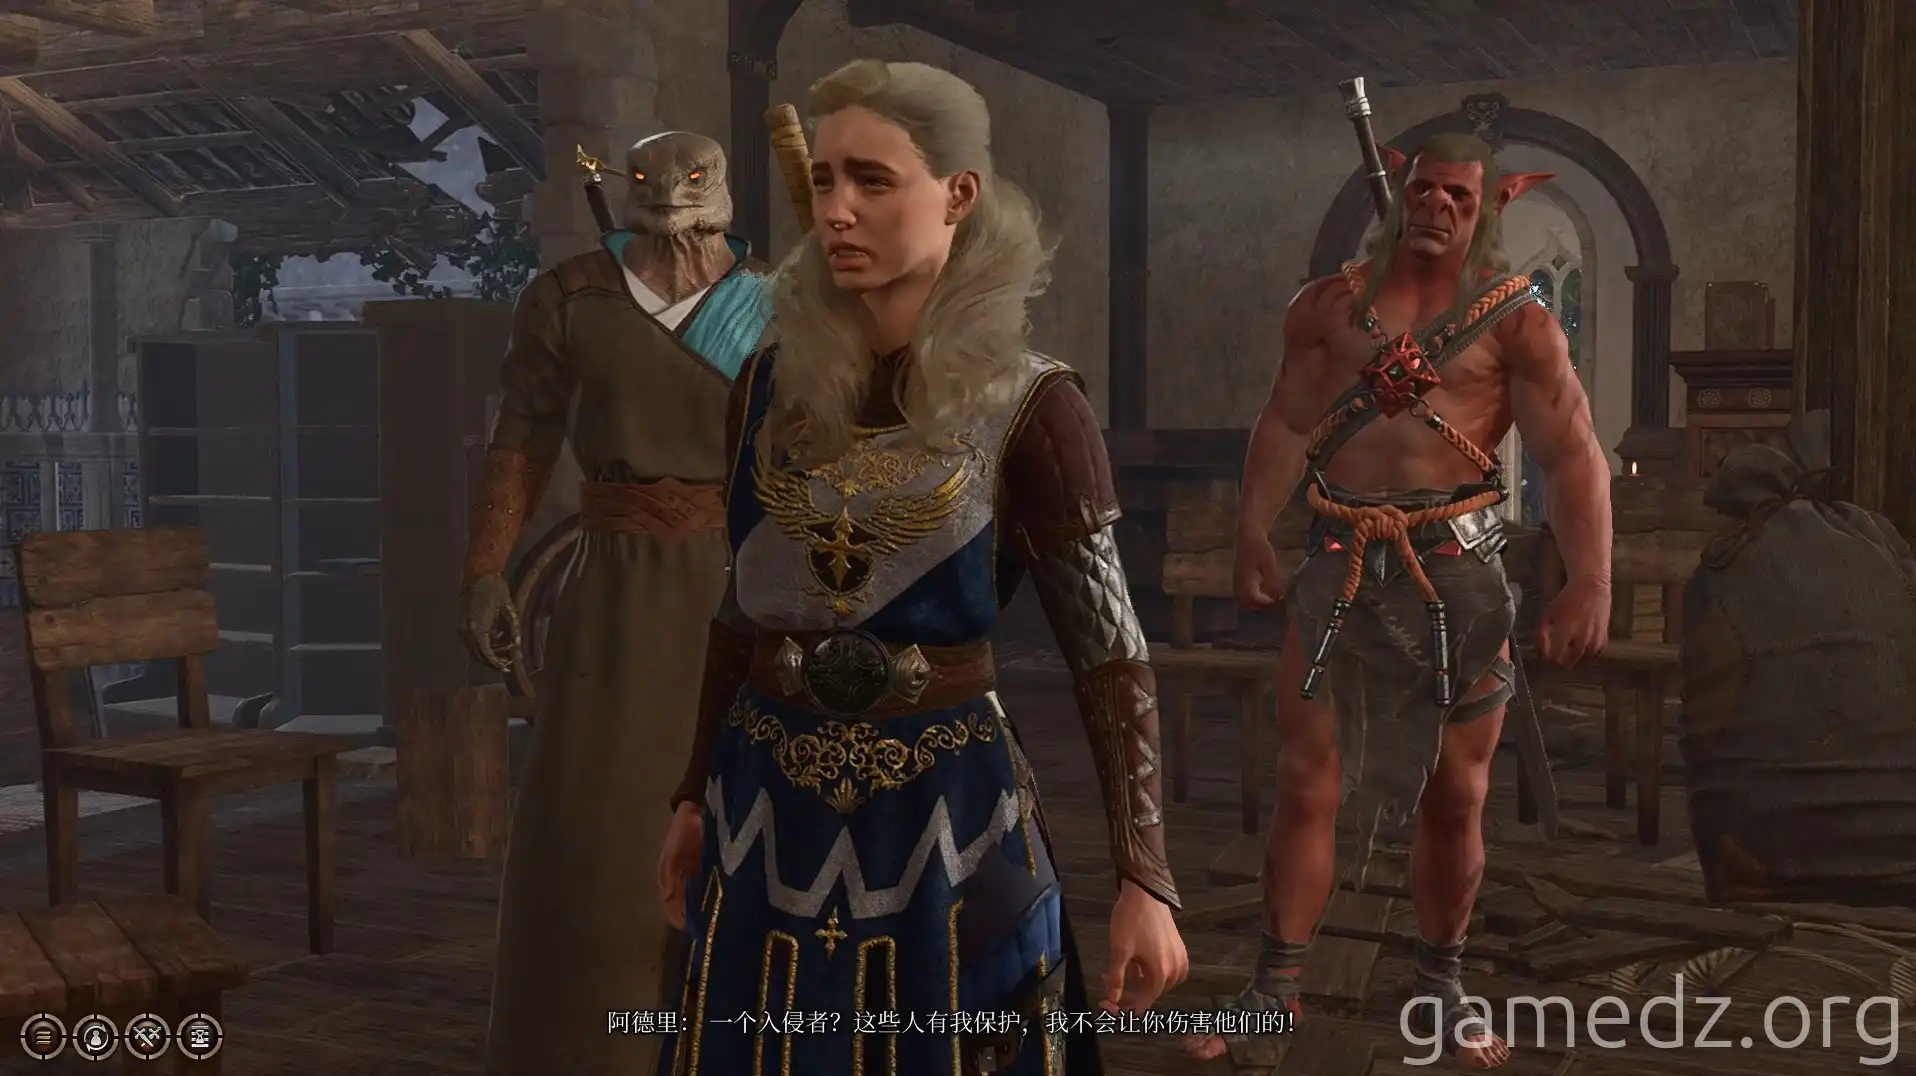
Go to the second floor and destroy the doll in the corner to break Melina's transformation.
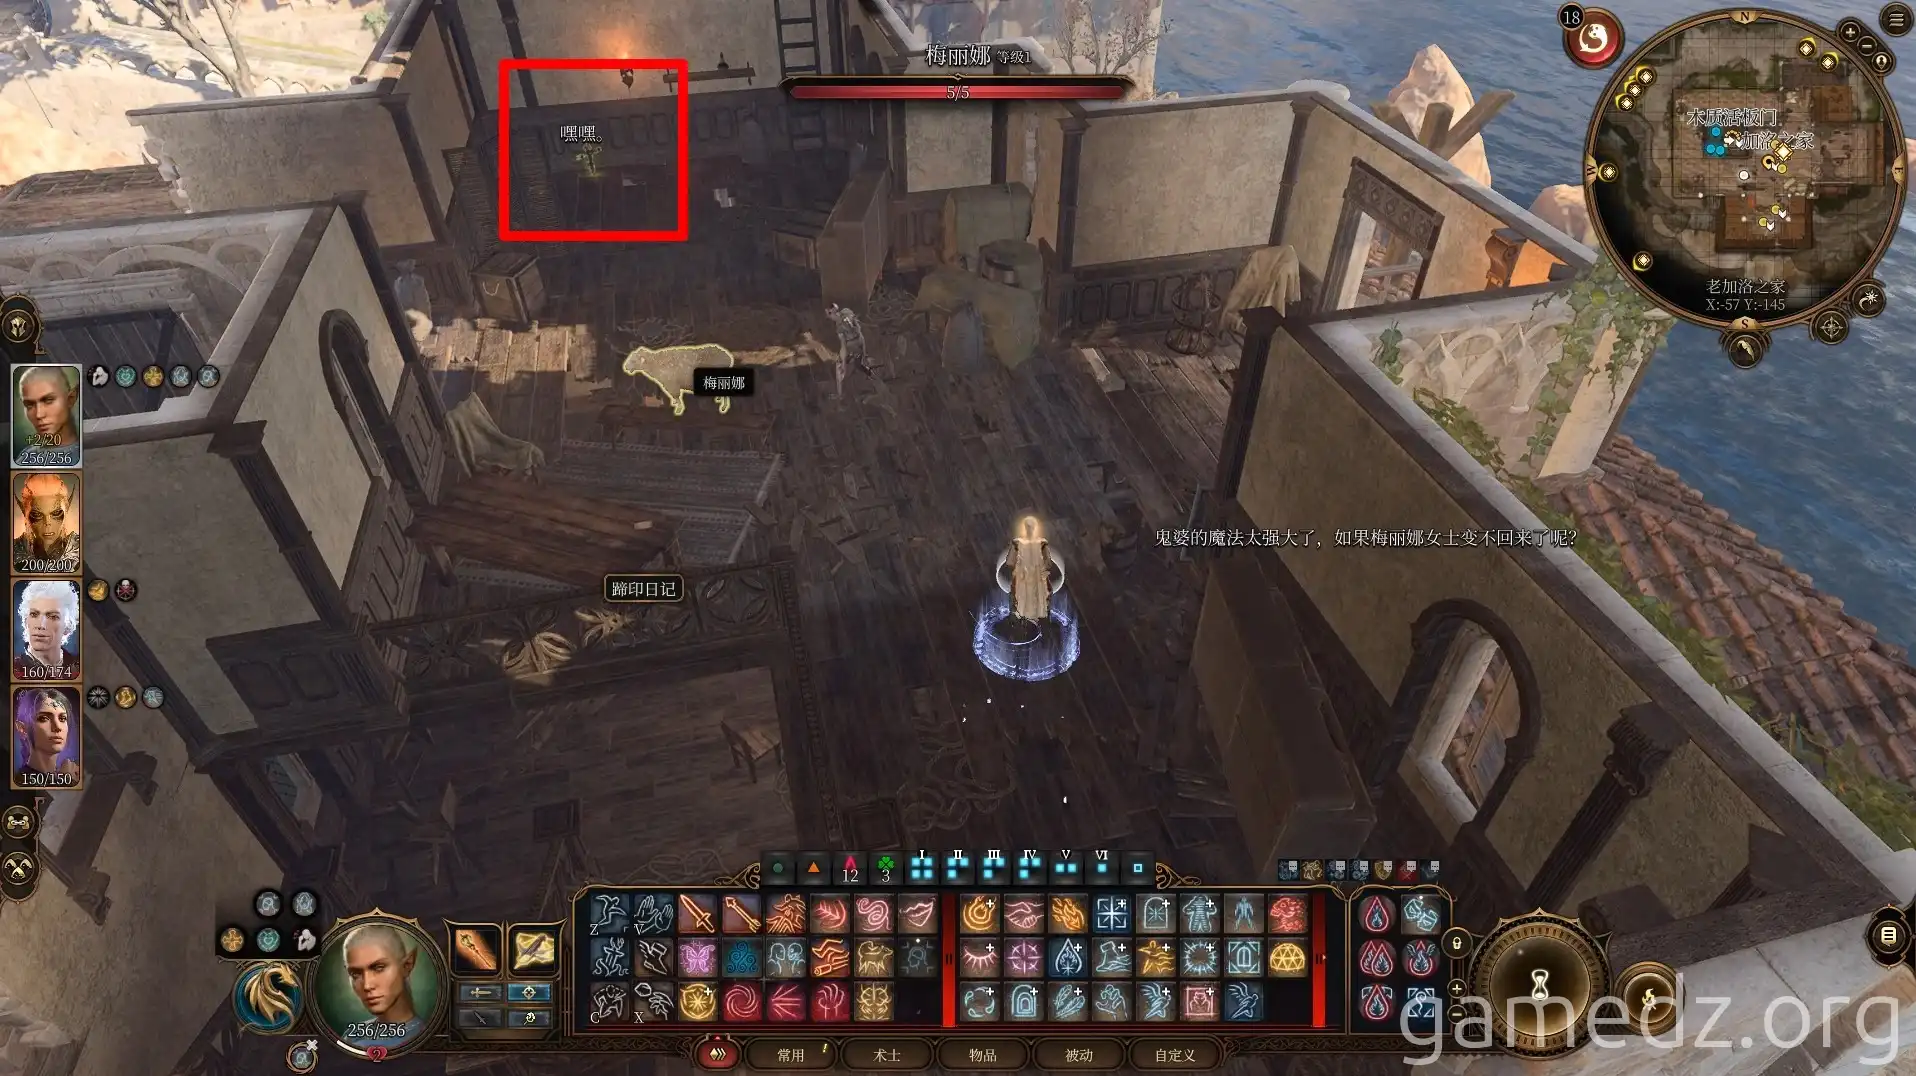
After destroying the doll, one of the support group members will drop their disguise, reverting to their original Redcap form and attacking you.
Defeating the Redcap will yield the [Hag's Lair Key].
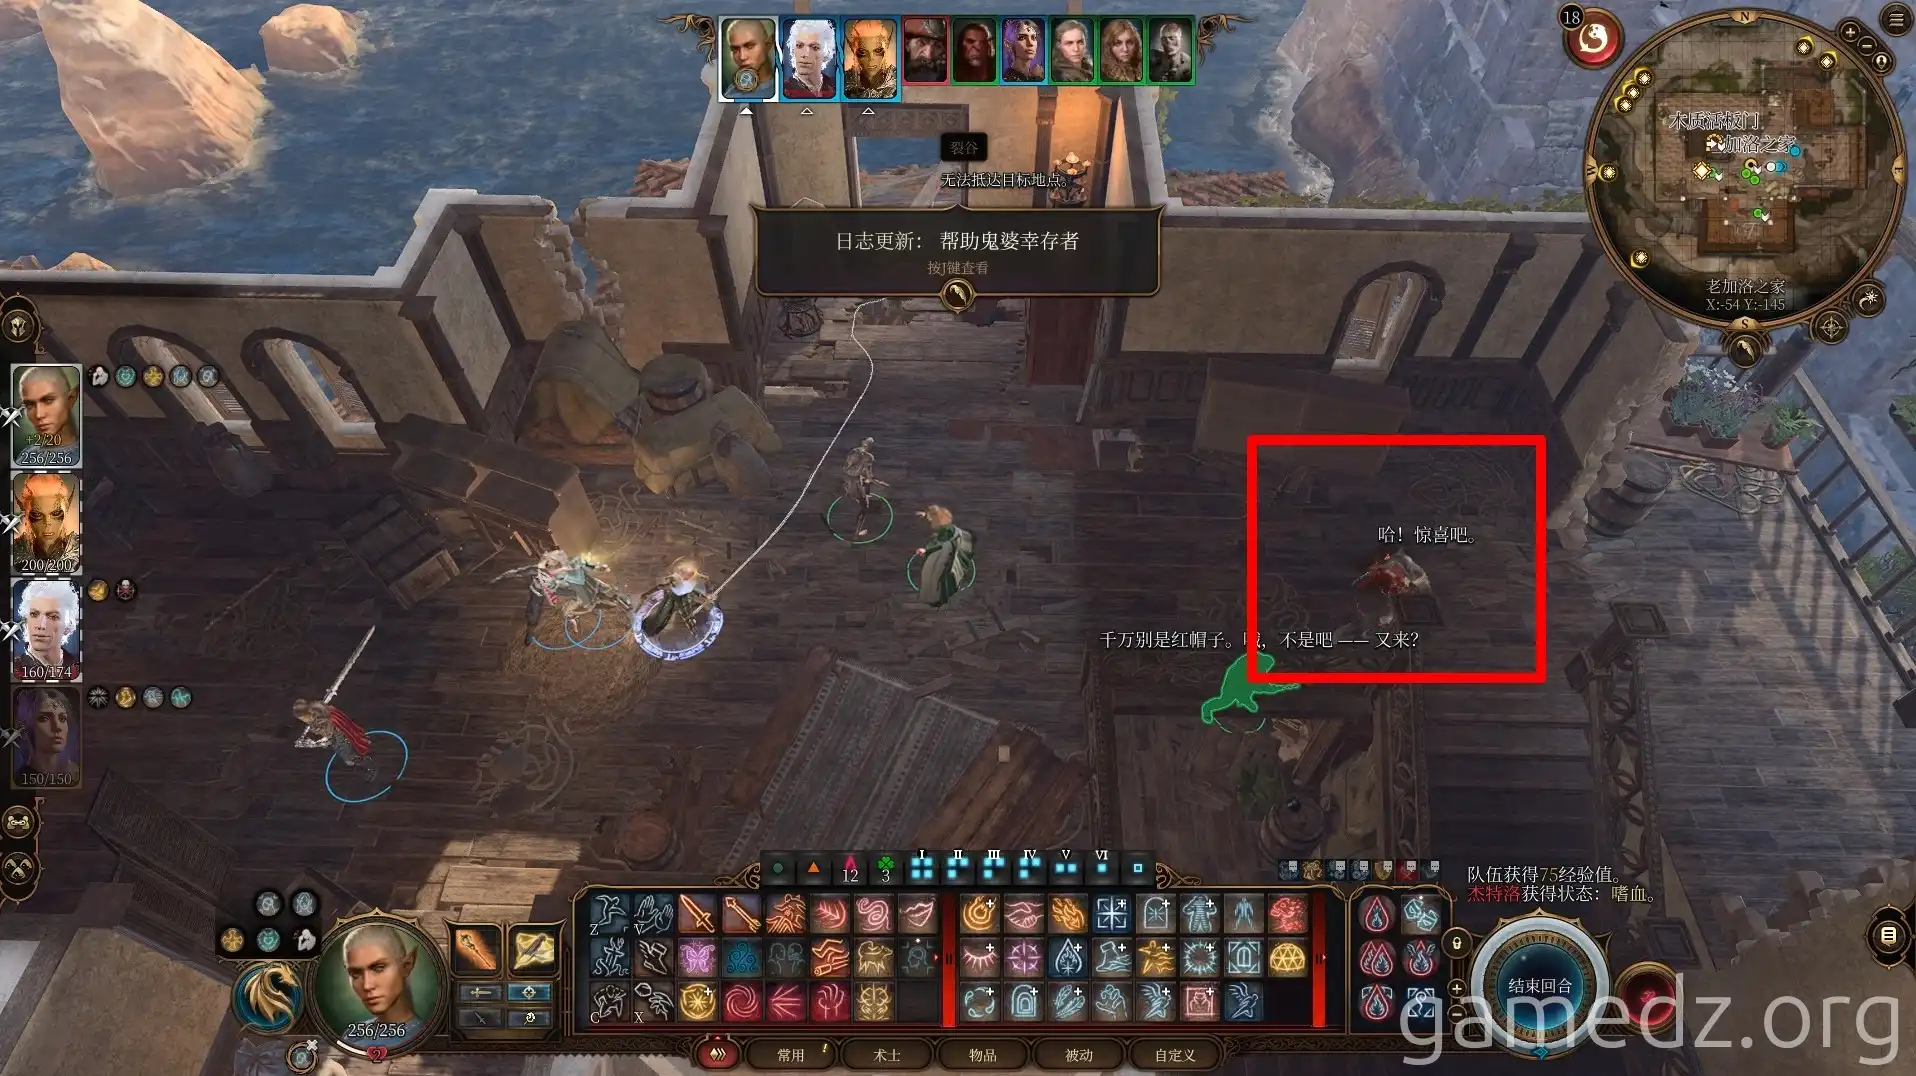
Then, speak with Melina. She'll tell you she's gathered some items to deal with the Hag. After the conversation, you'll receive the rare weapon [Staff of Interruption].
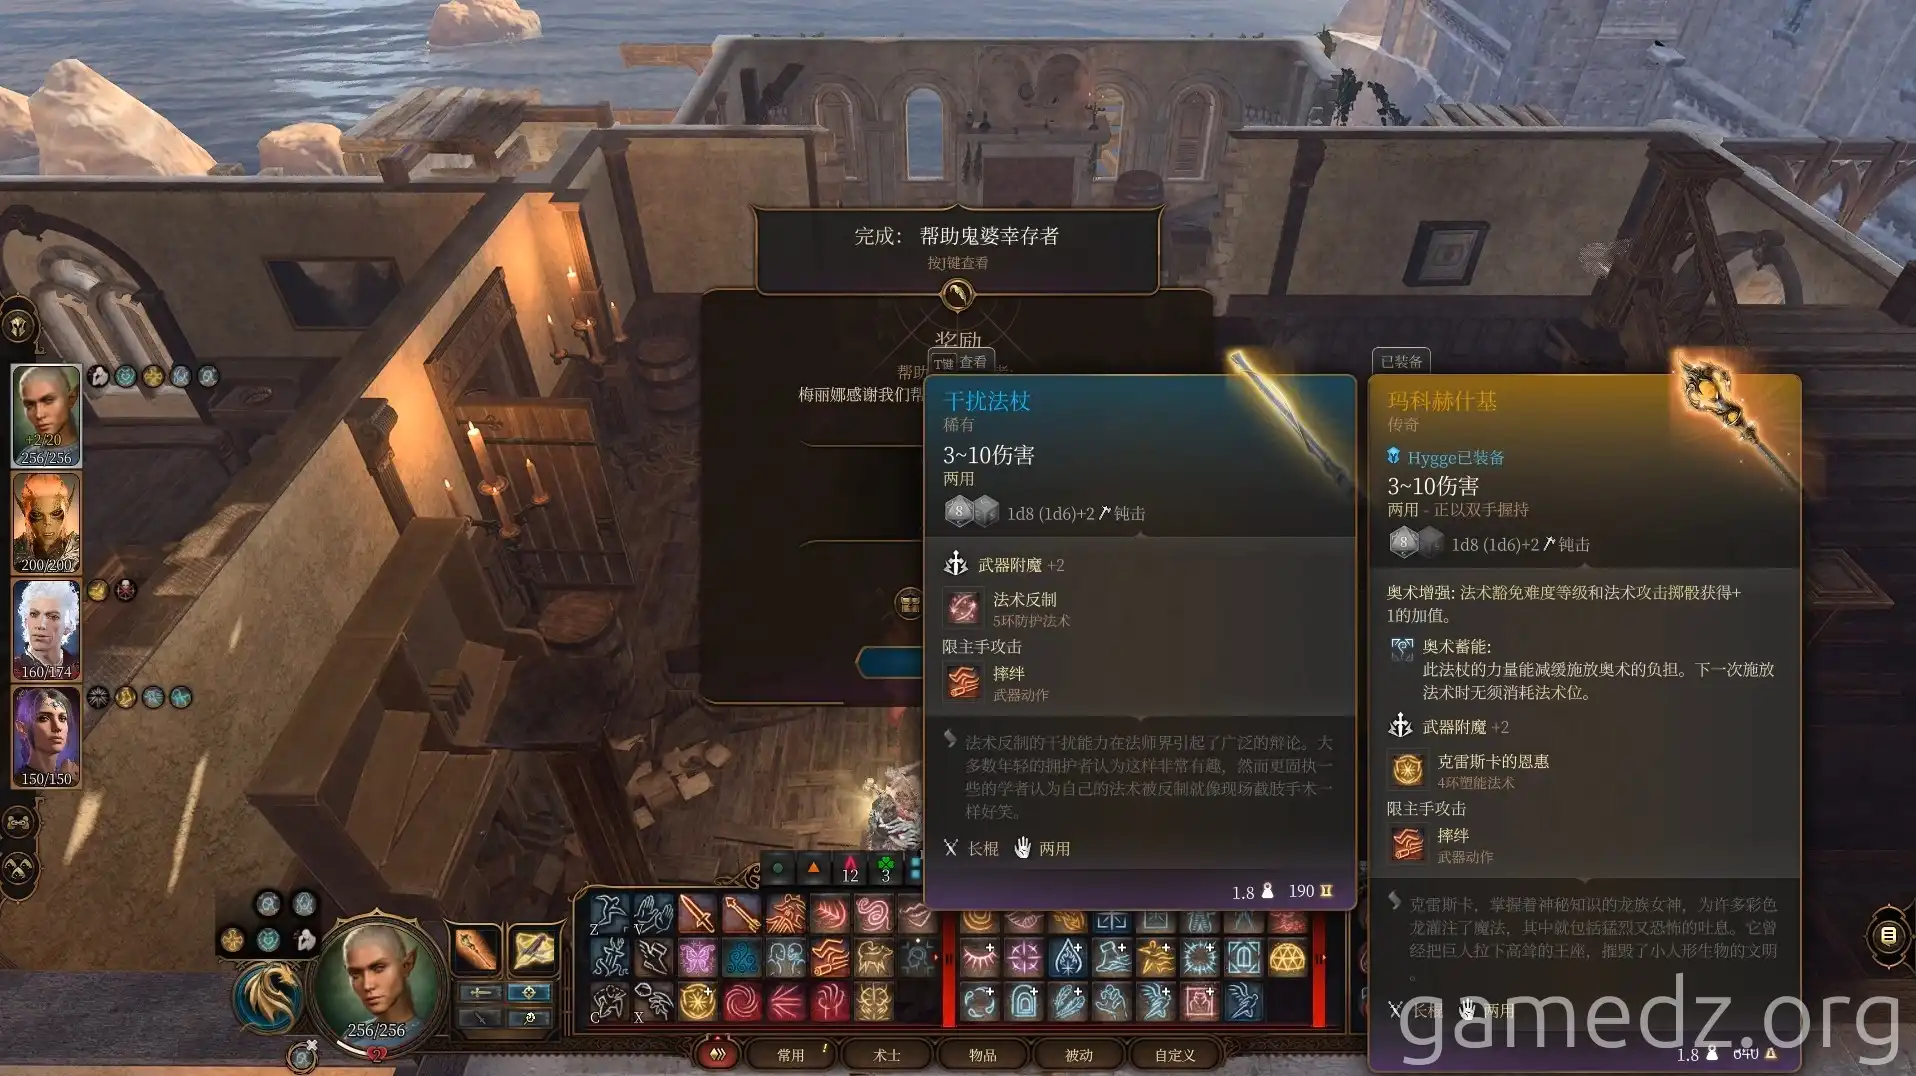
You can enter the basement through the trapdoor next to the stairs. Inside the basement, you'll find some potions and other supplies.
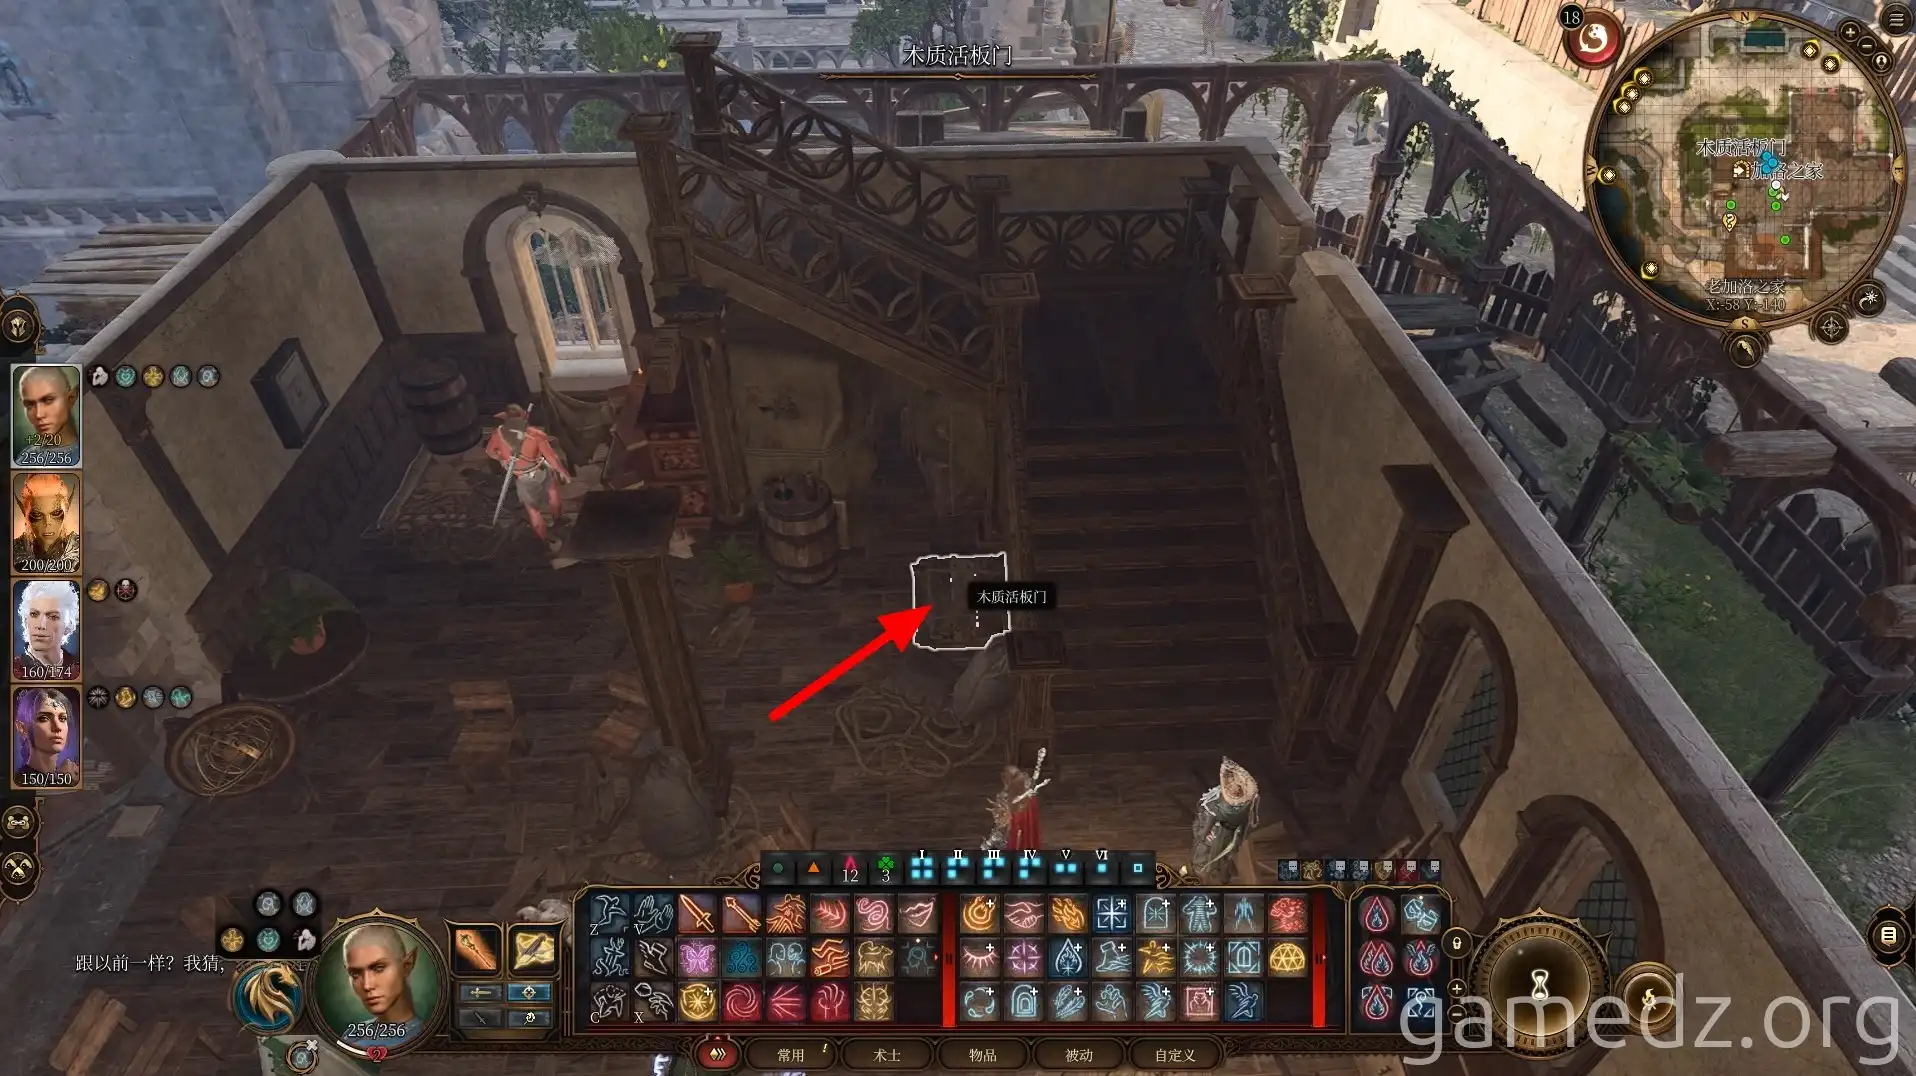
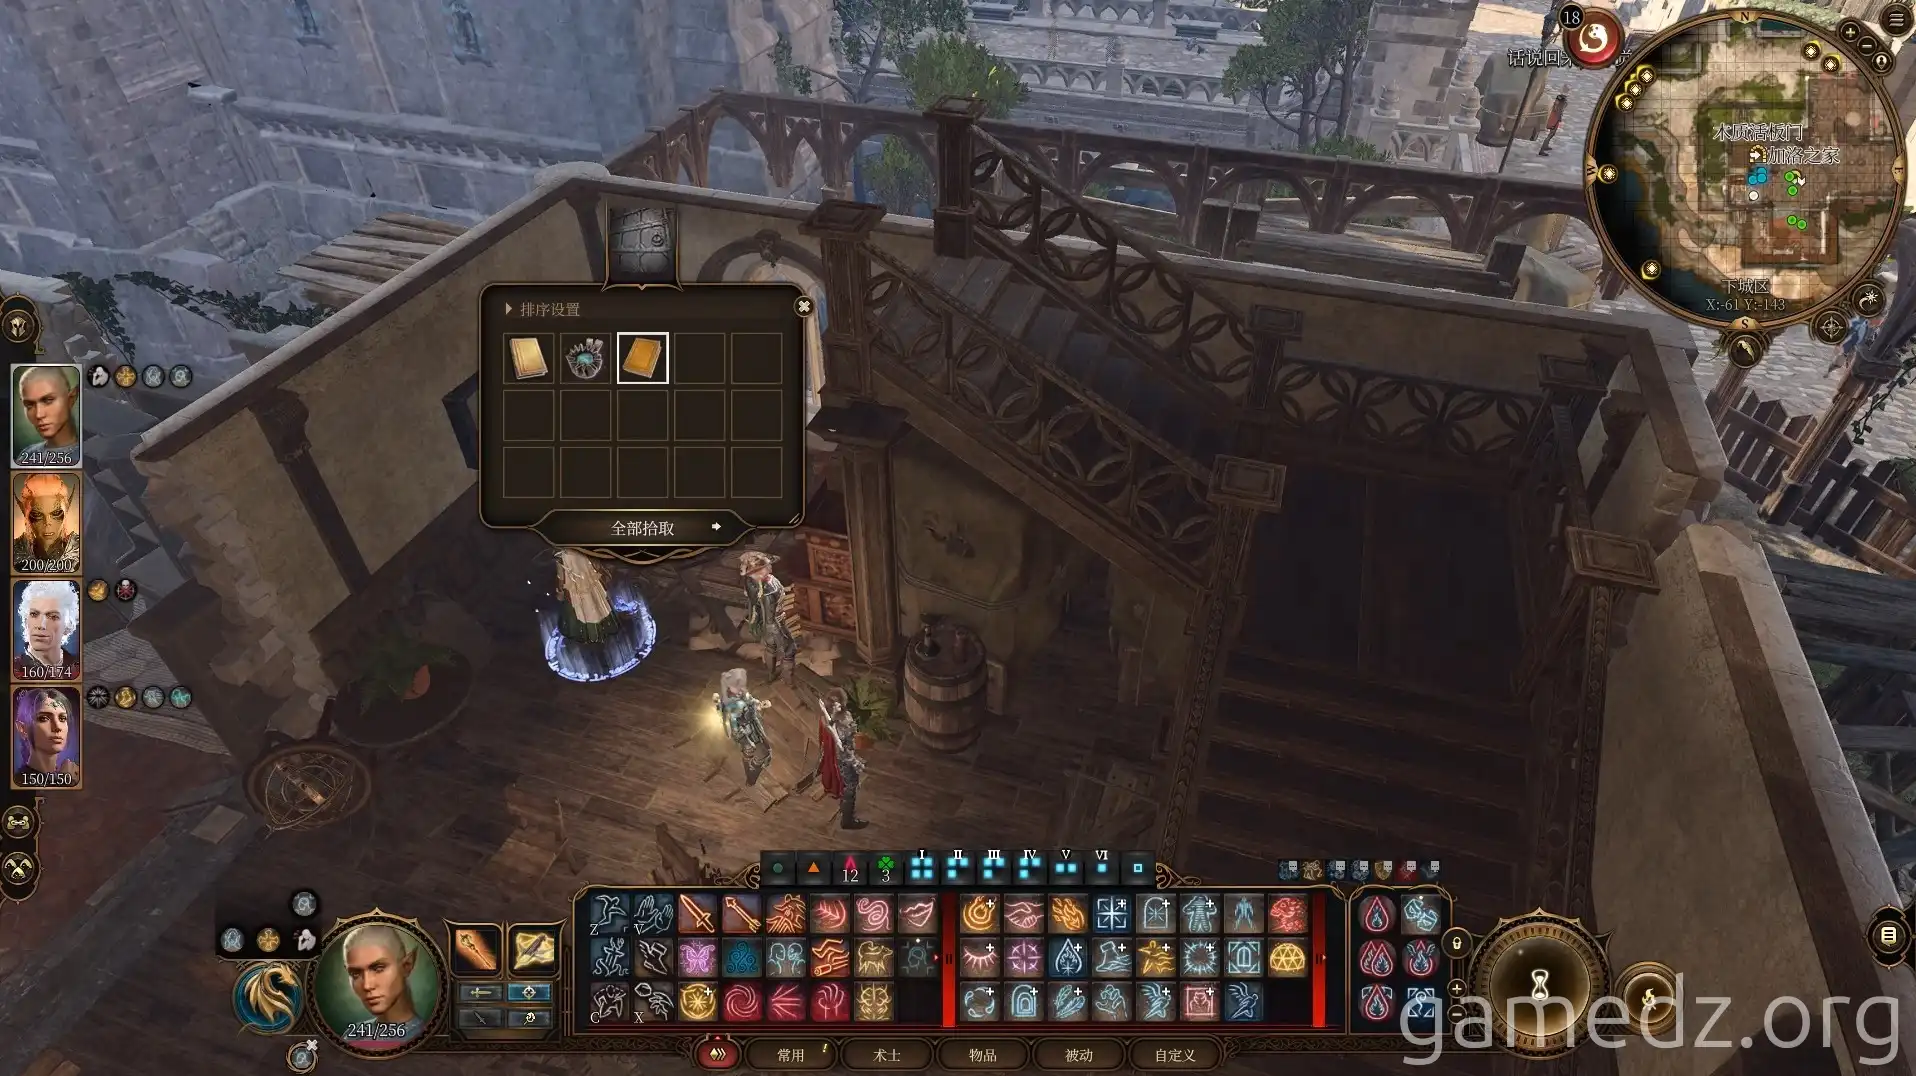
In the safe next to the trapdoor, you can obtain the [Hag's Bane] potion recipe and a crucial ingredient.
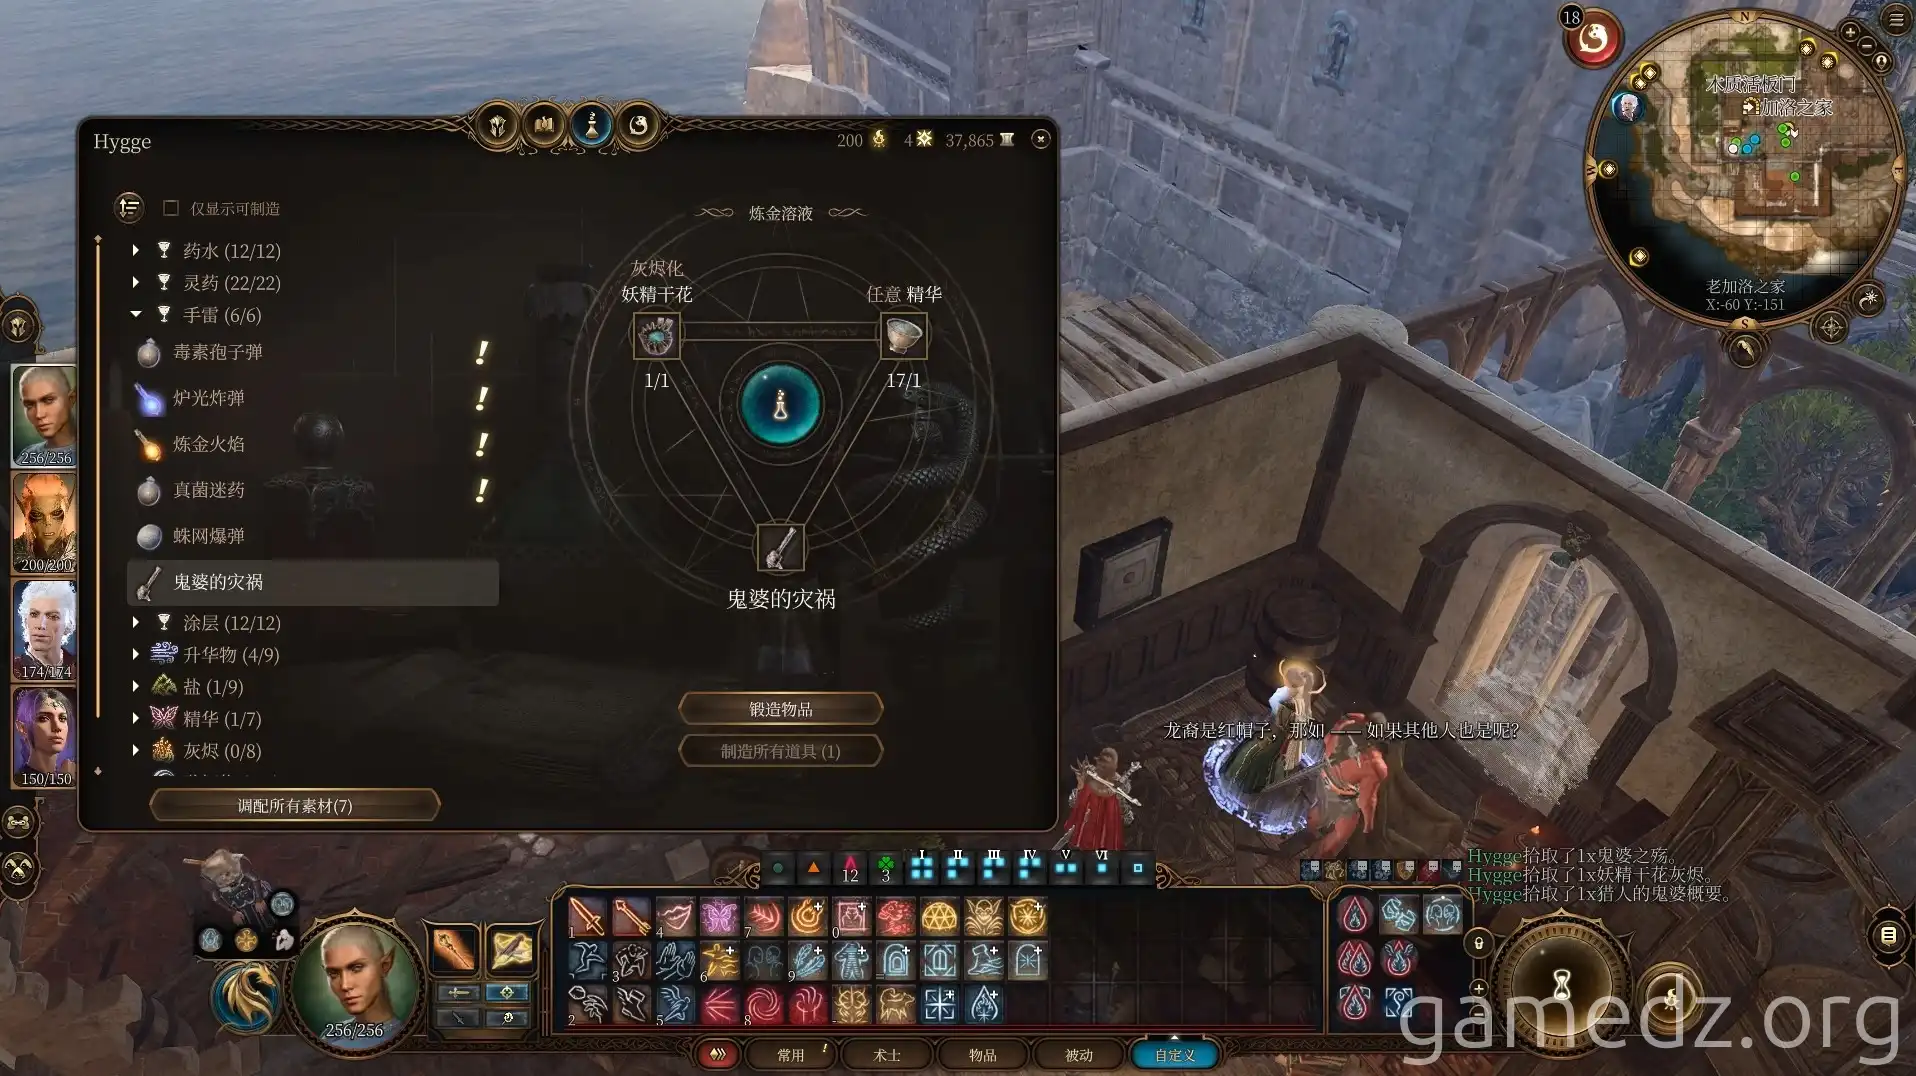
Crafting a Hag's Bane will be useful later.
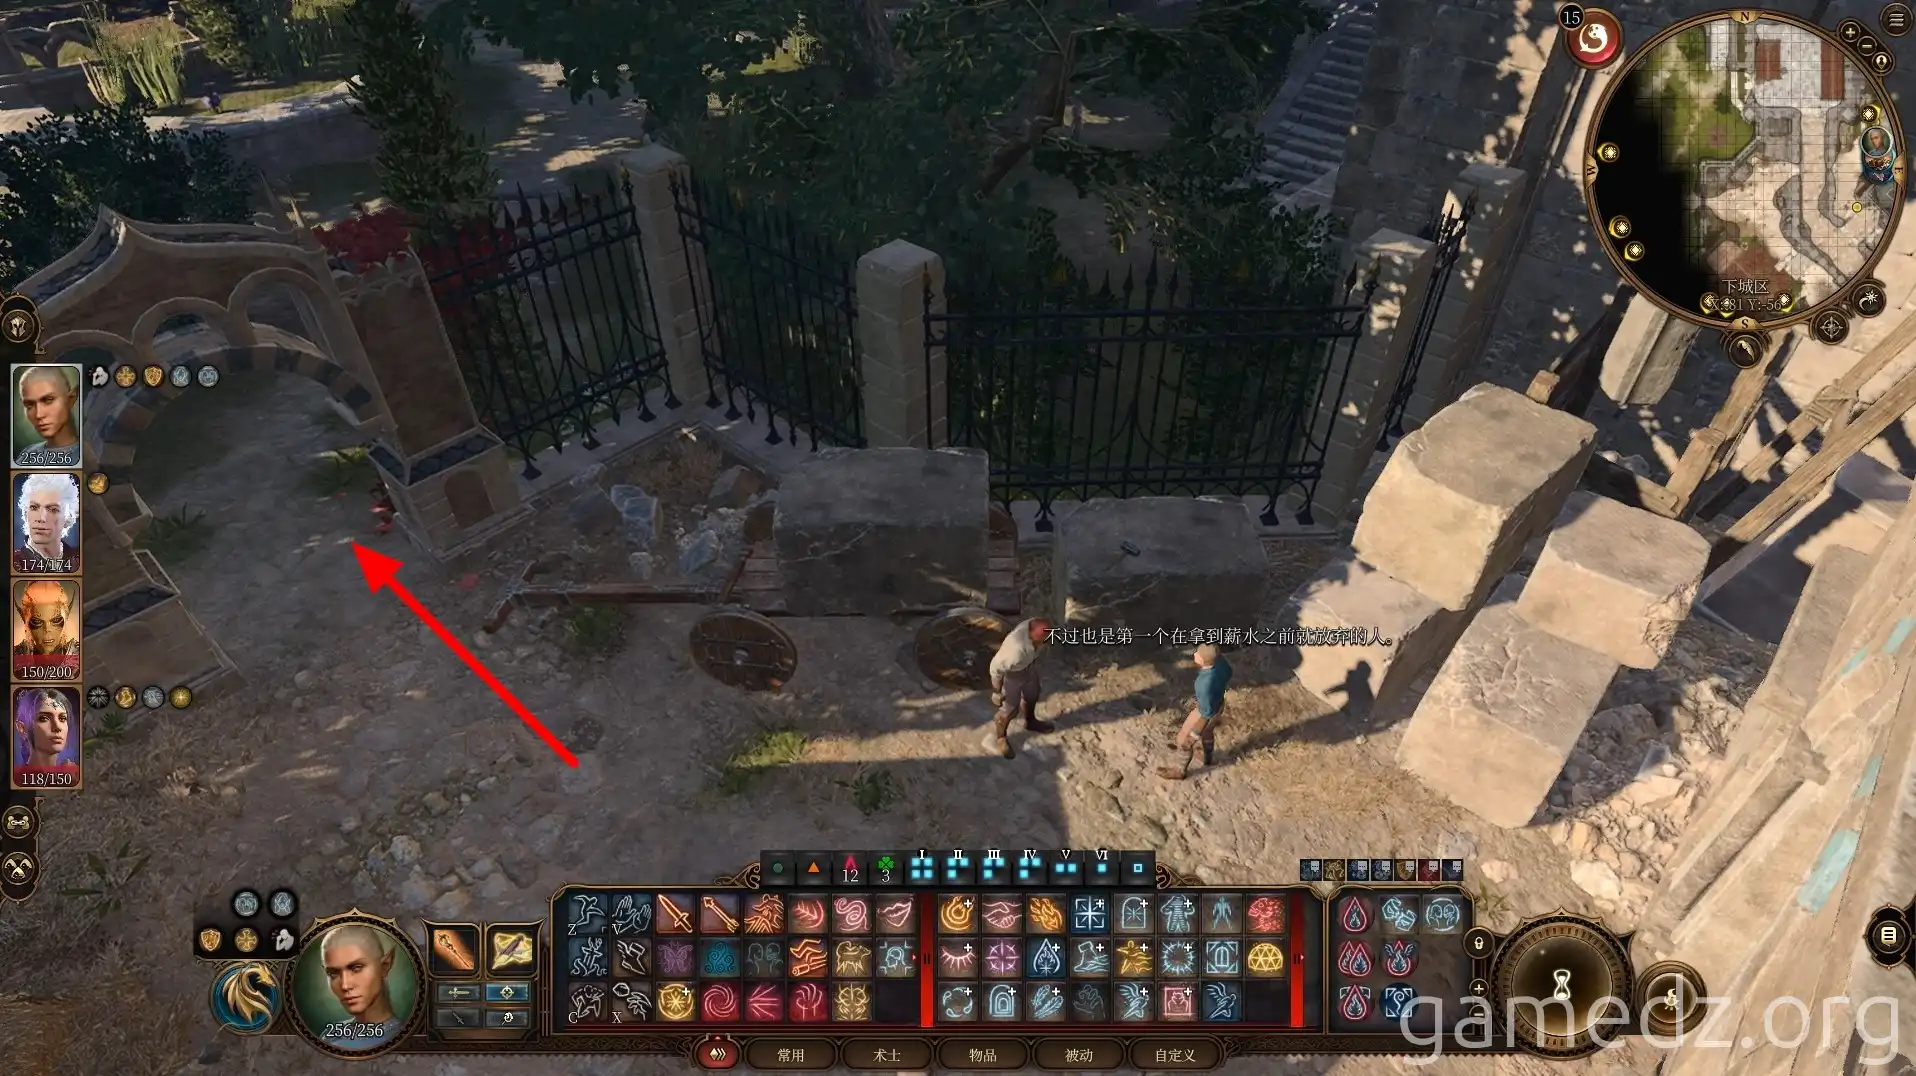
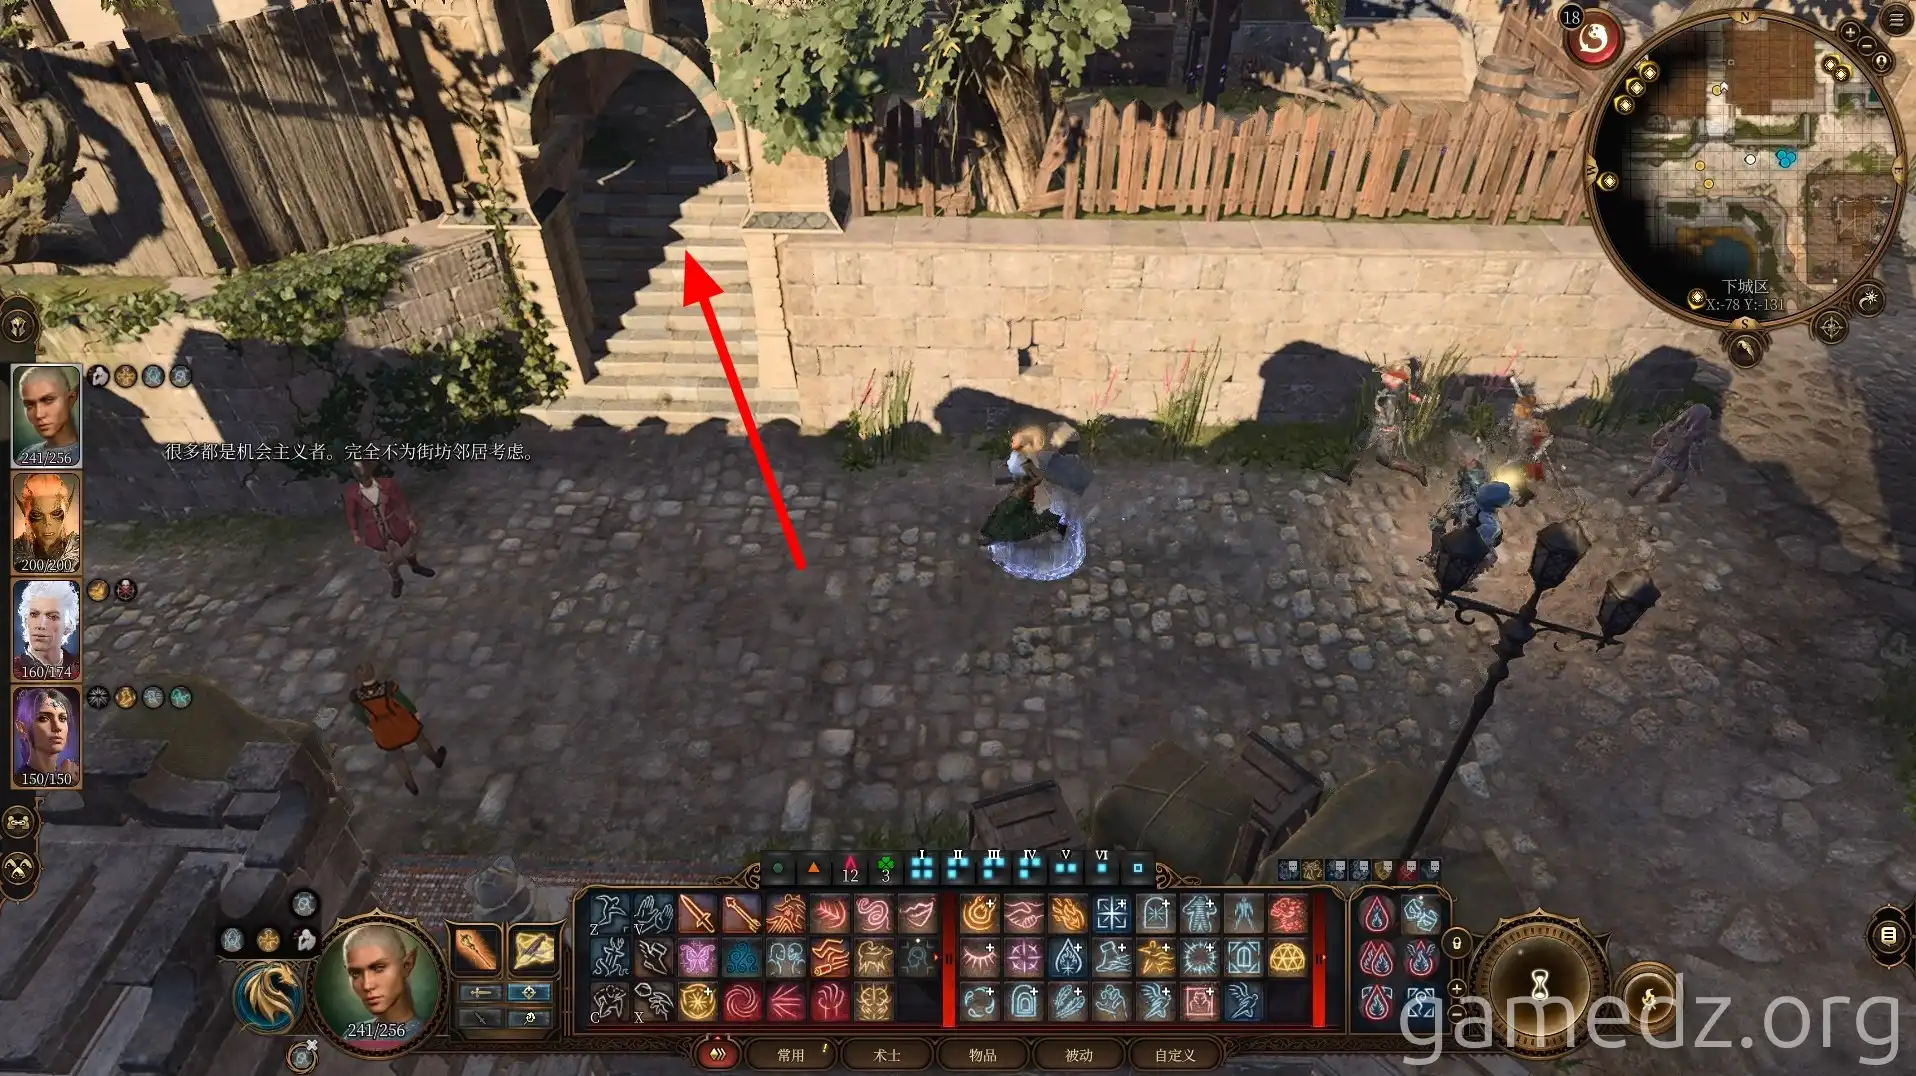
Leave the support group and head west. Go to the location shown in the image below and proceed north through the small house between two buildings.
The building on the east side of the path is the [Hive Grocer]. You can purchase potions and other supplies from the shopkeeper. There are no other particularly important items in the room.
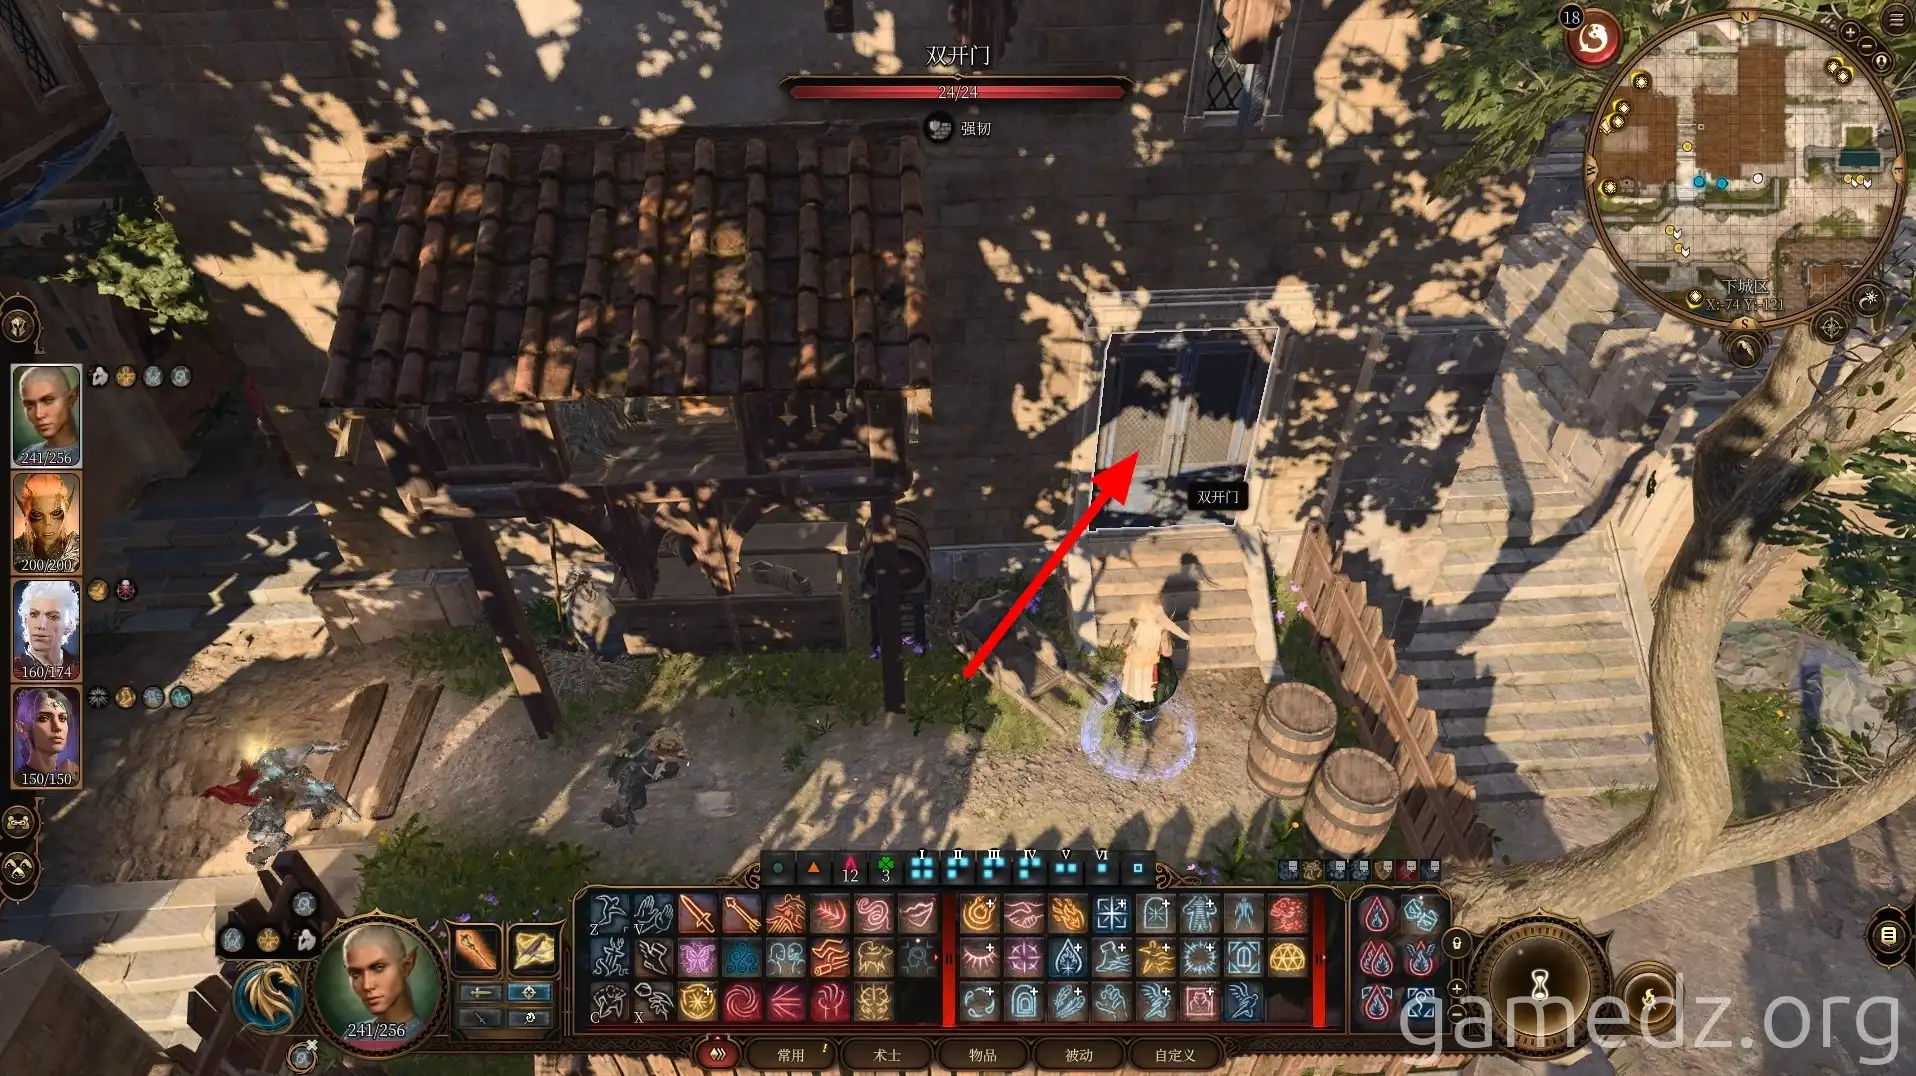
Head north of the grocer and enter the room on the west side of the path.
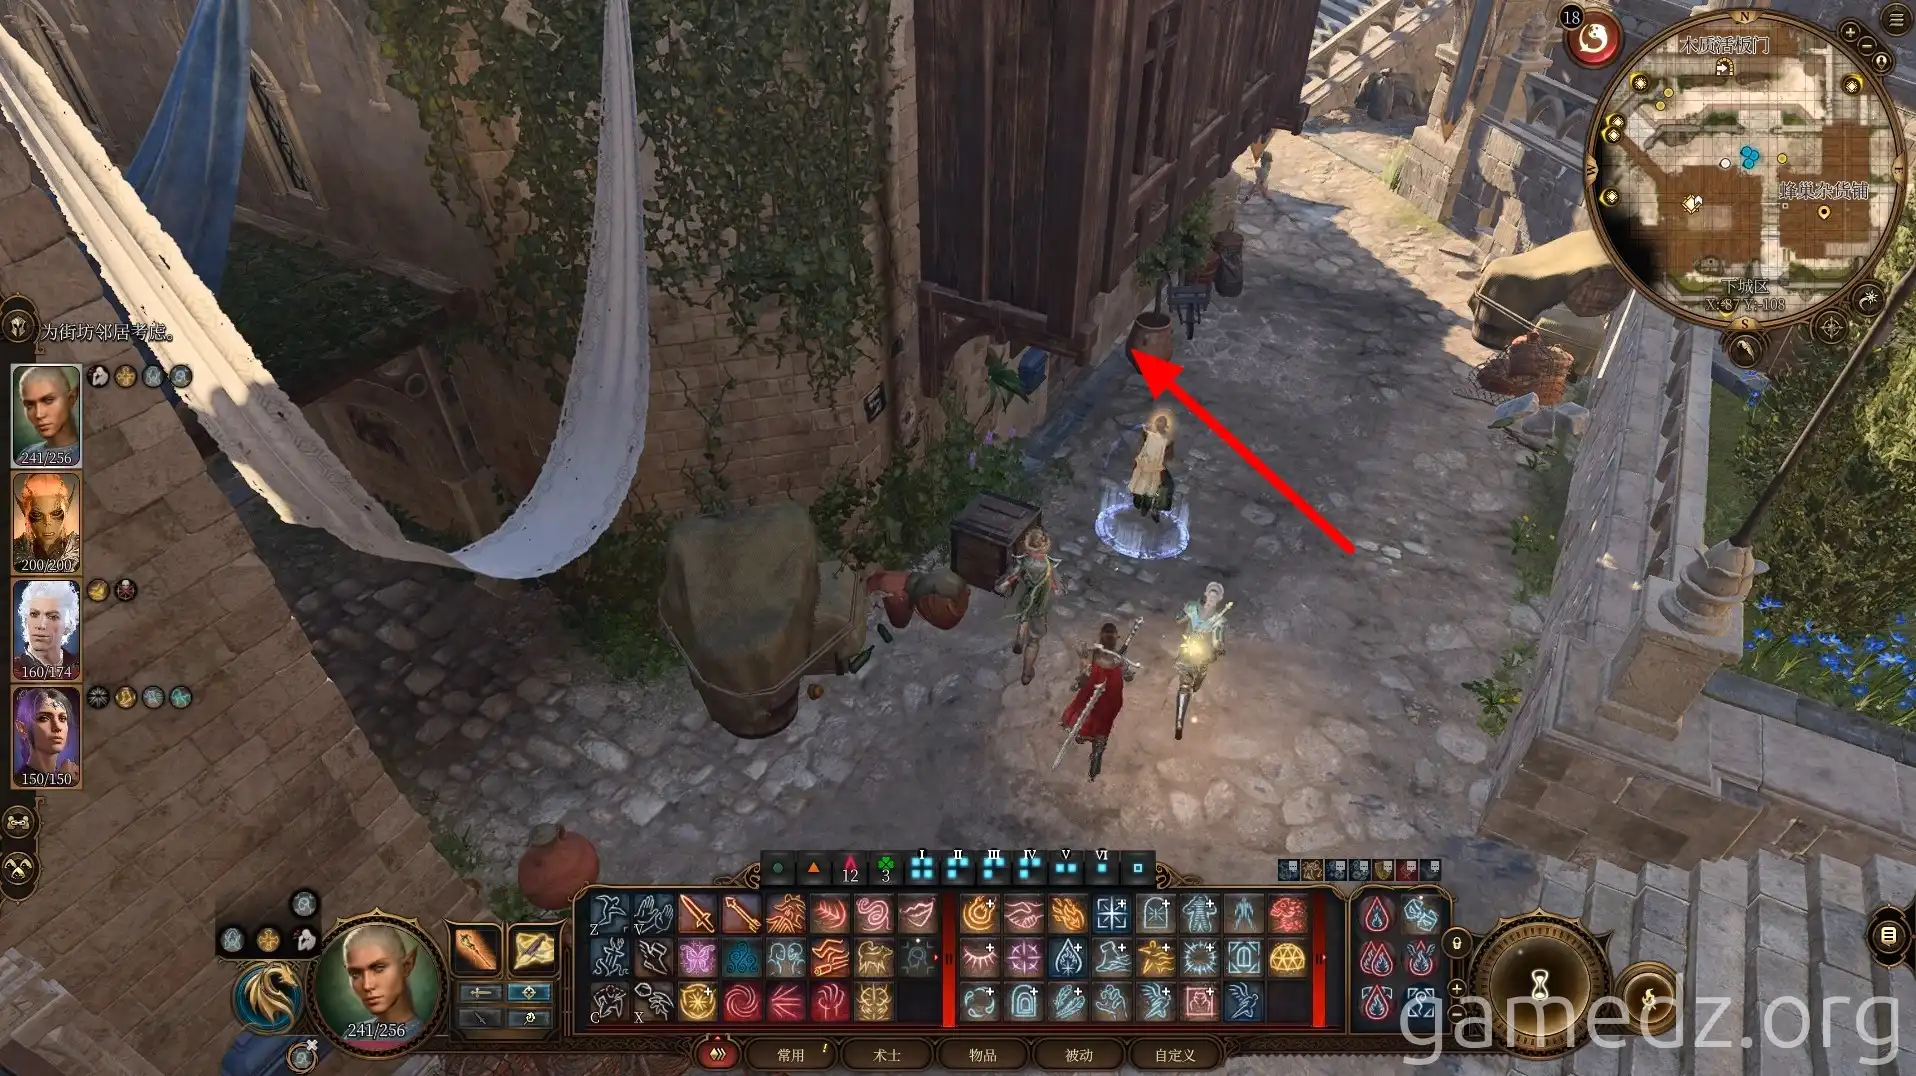
On the second floor of the room, you'll find Alexander, who has already been assassinated.
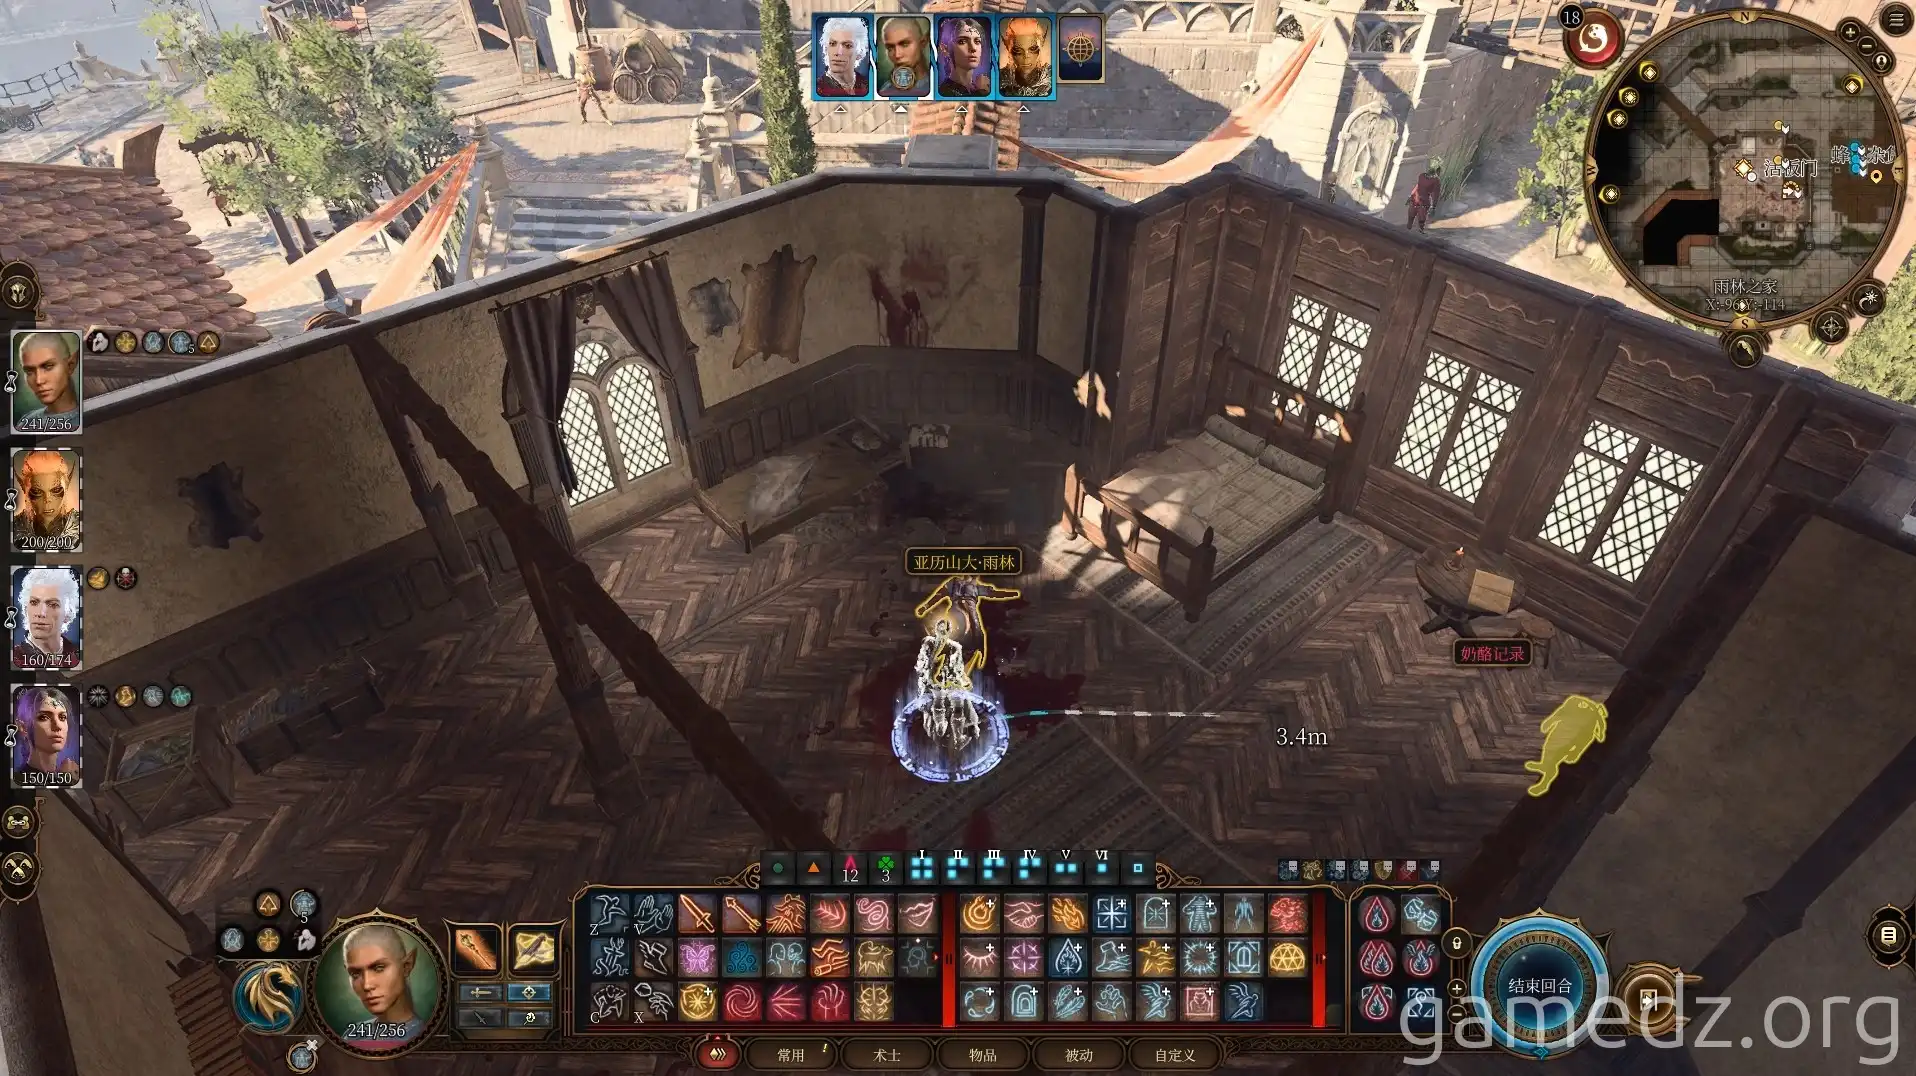
Enter the basement through the trapdoor on the first floor of the room.
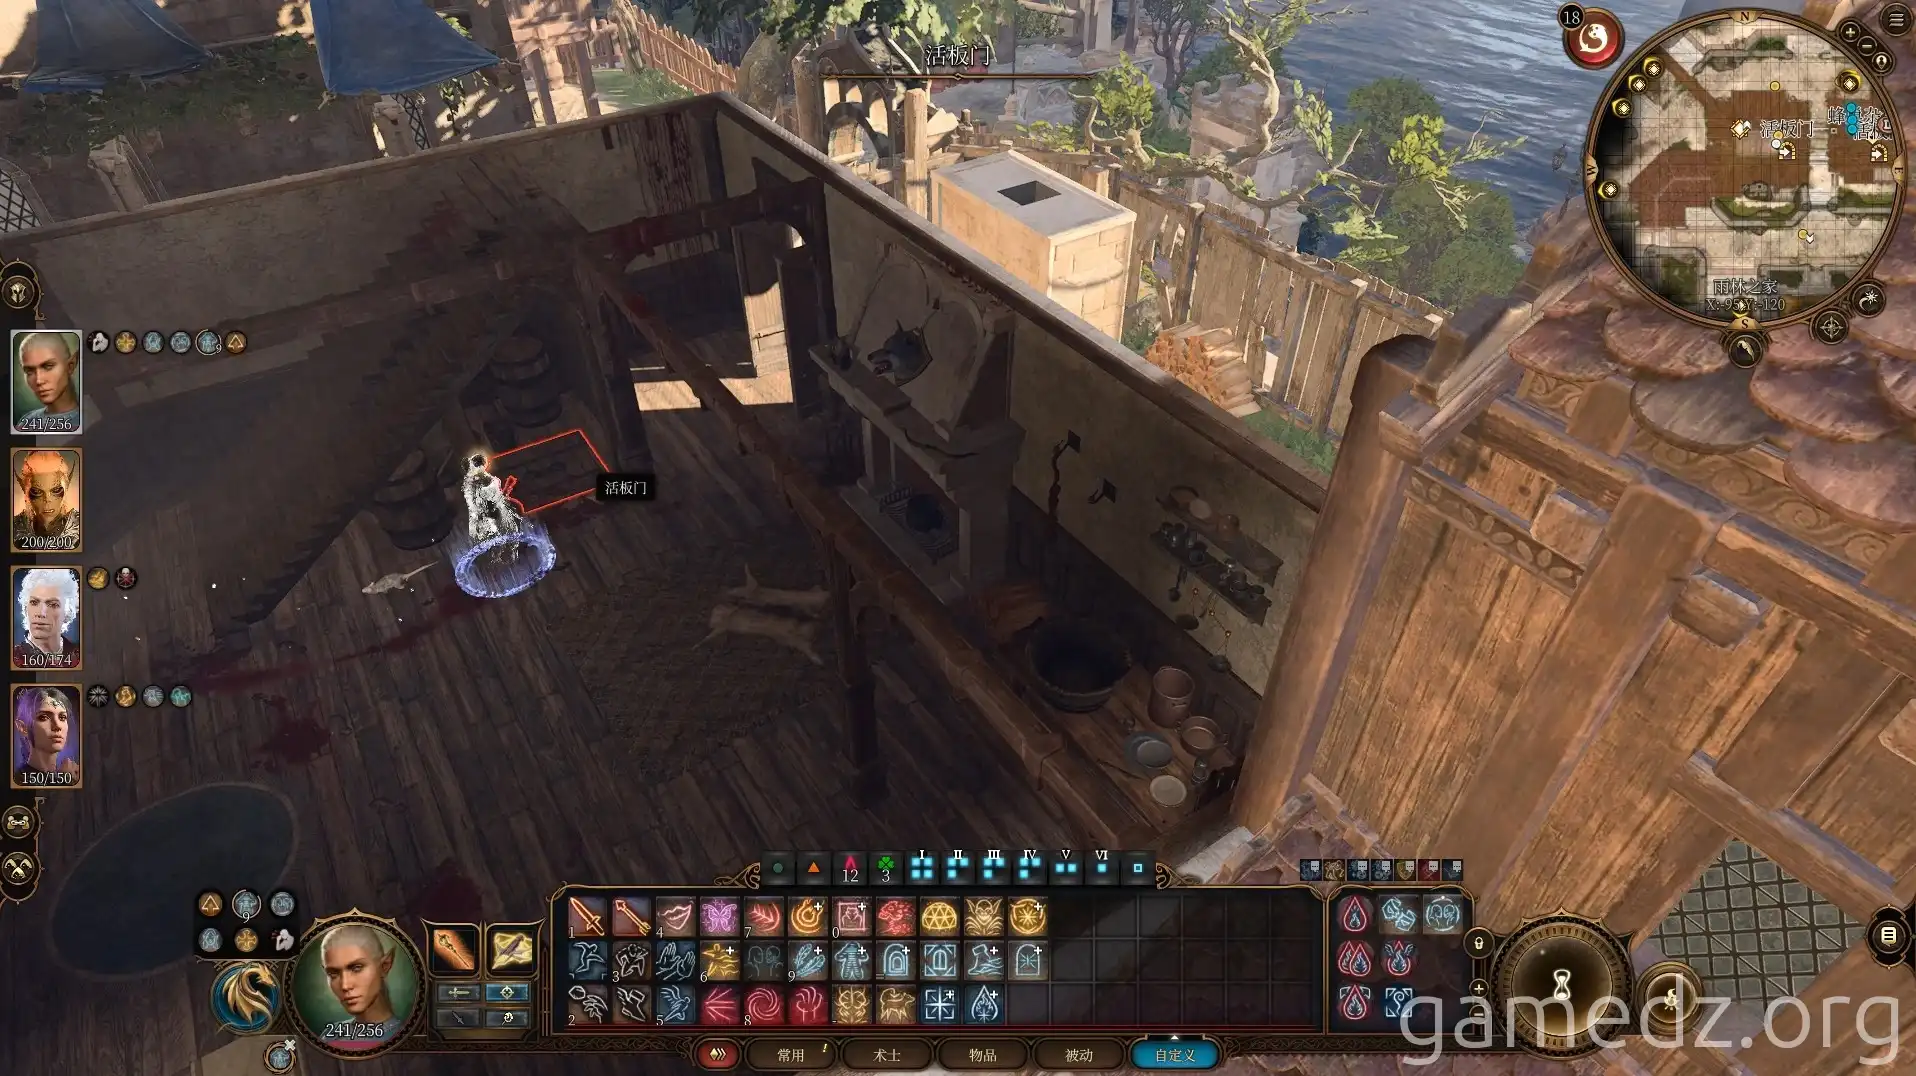
On the corpse in the basement, you'll find another [Jester's Foot]. Loot the basement thoroughly before leaving.
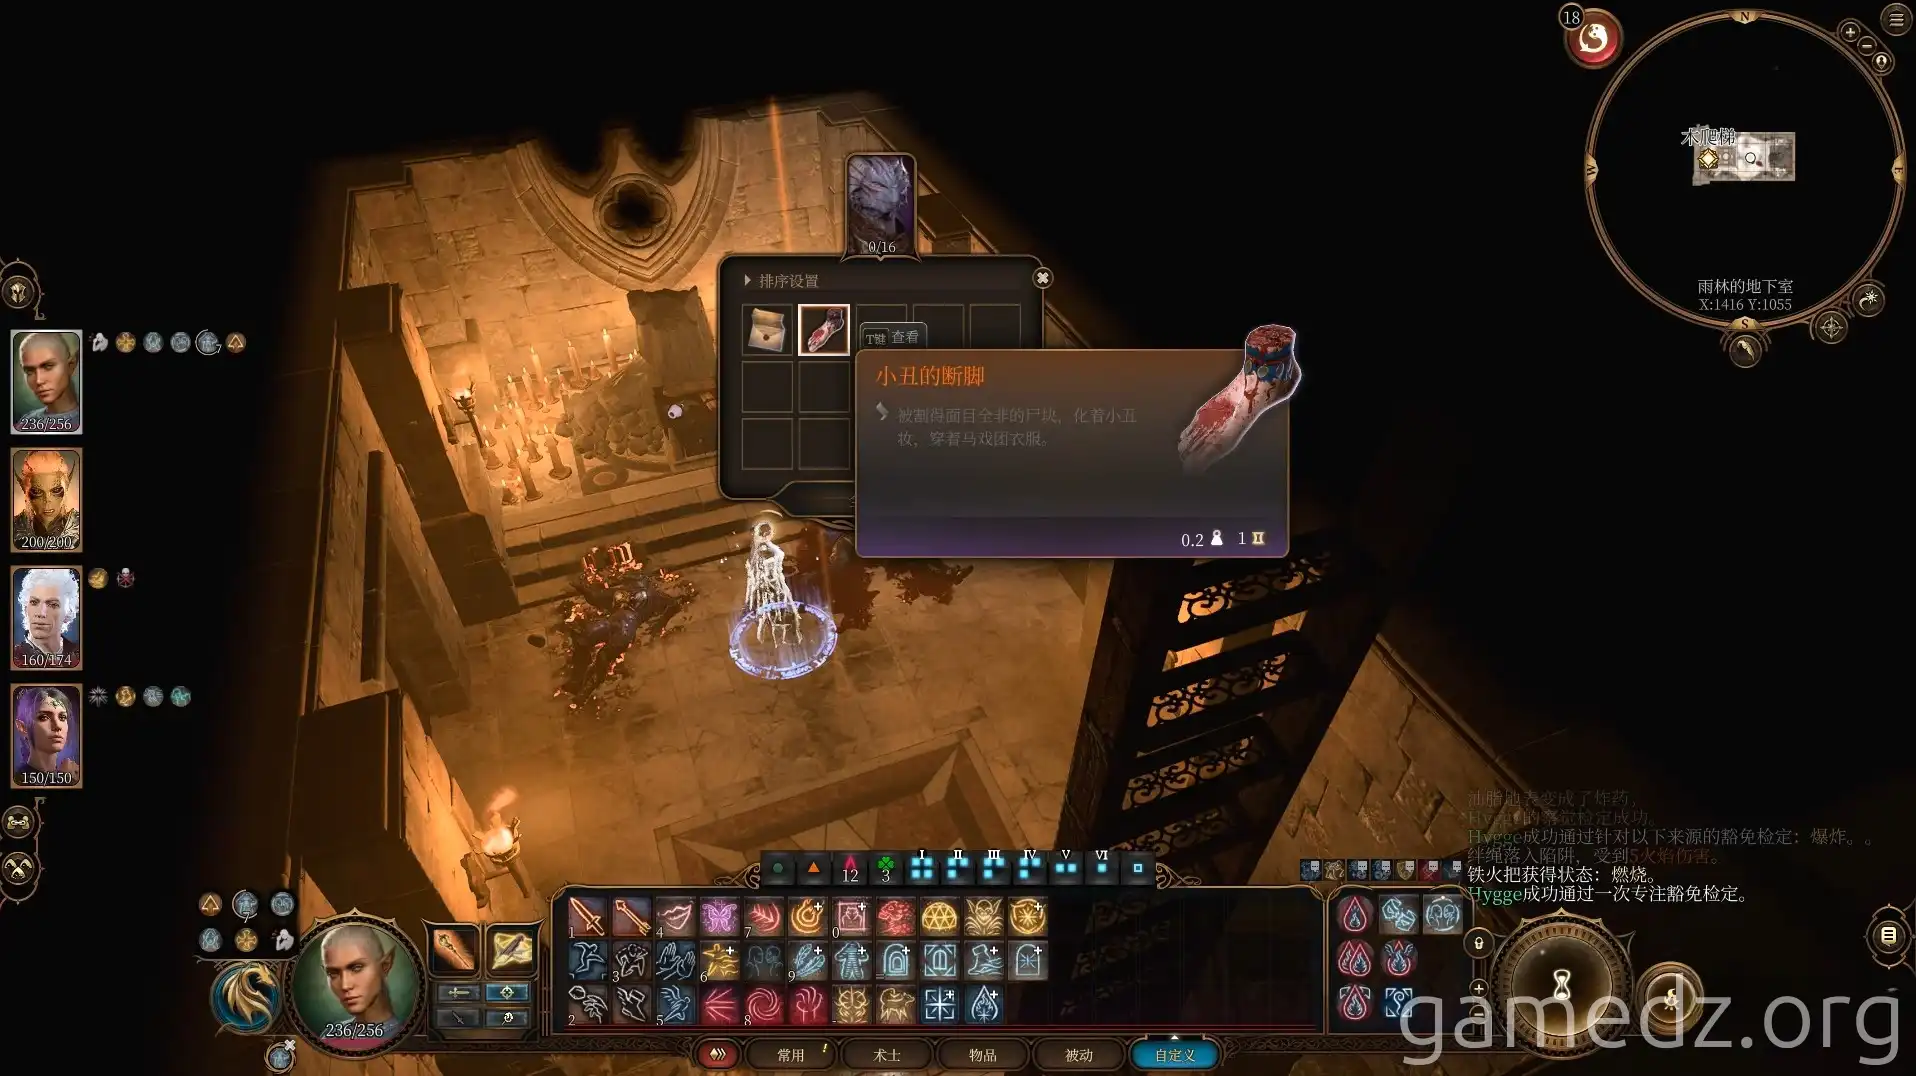
Leave the room and continue west, entering the corner tower.
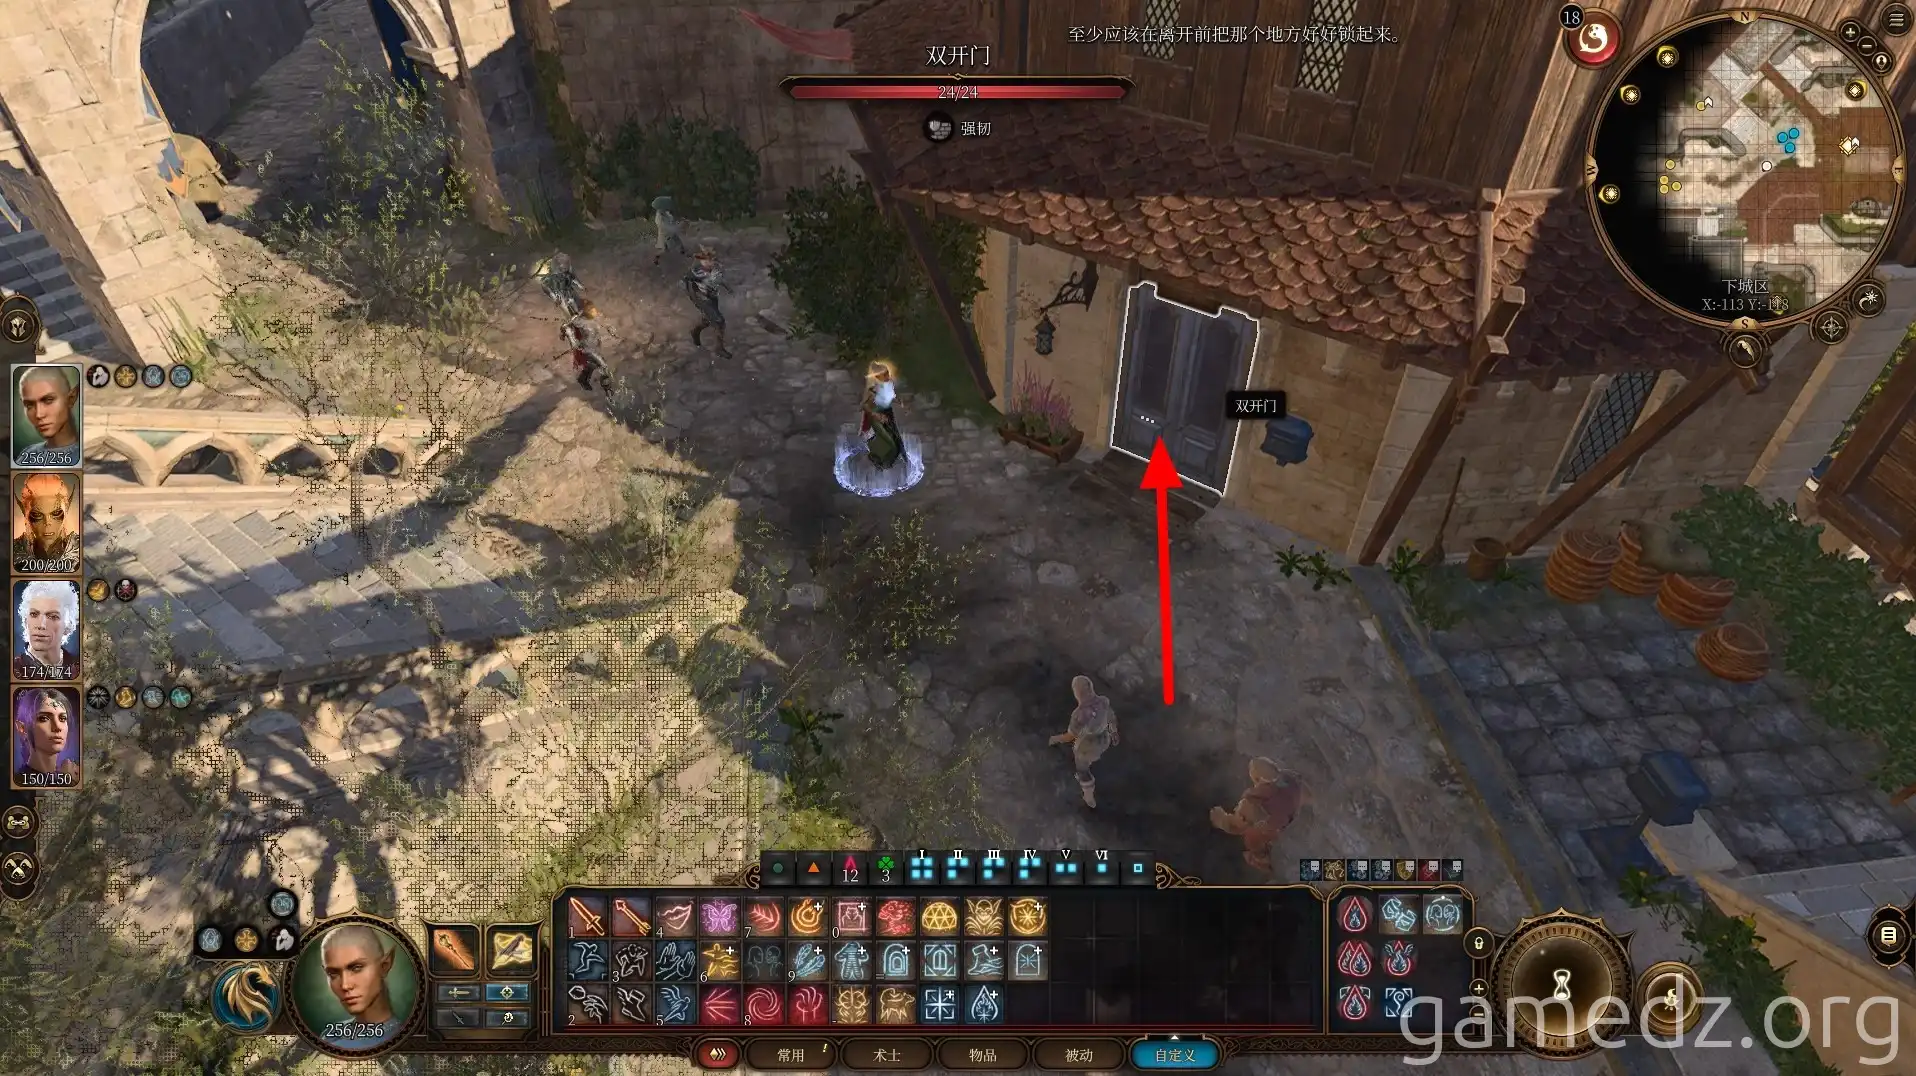
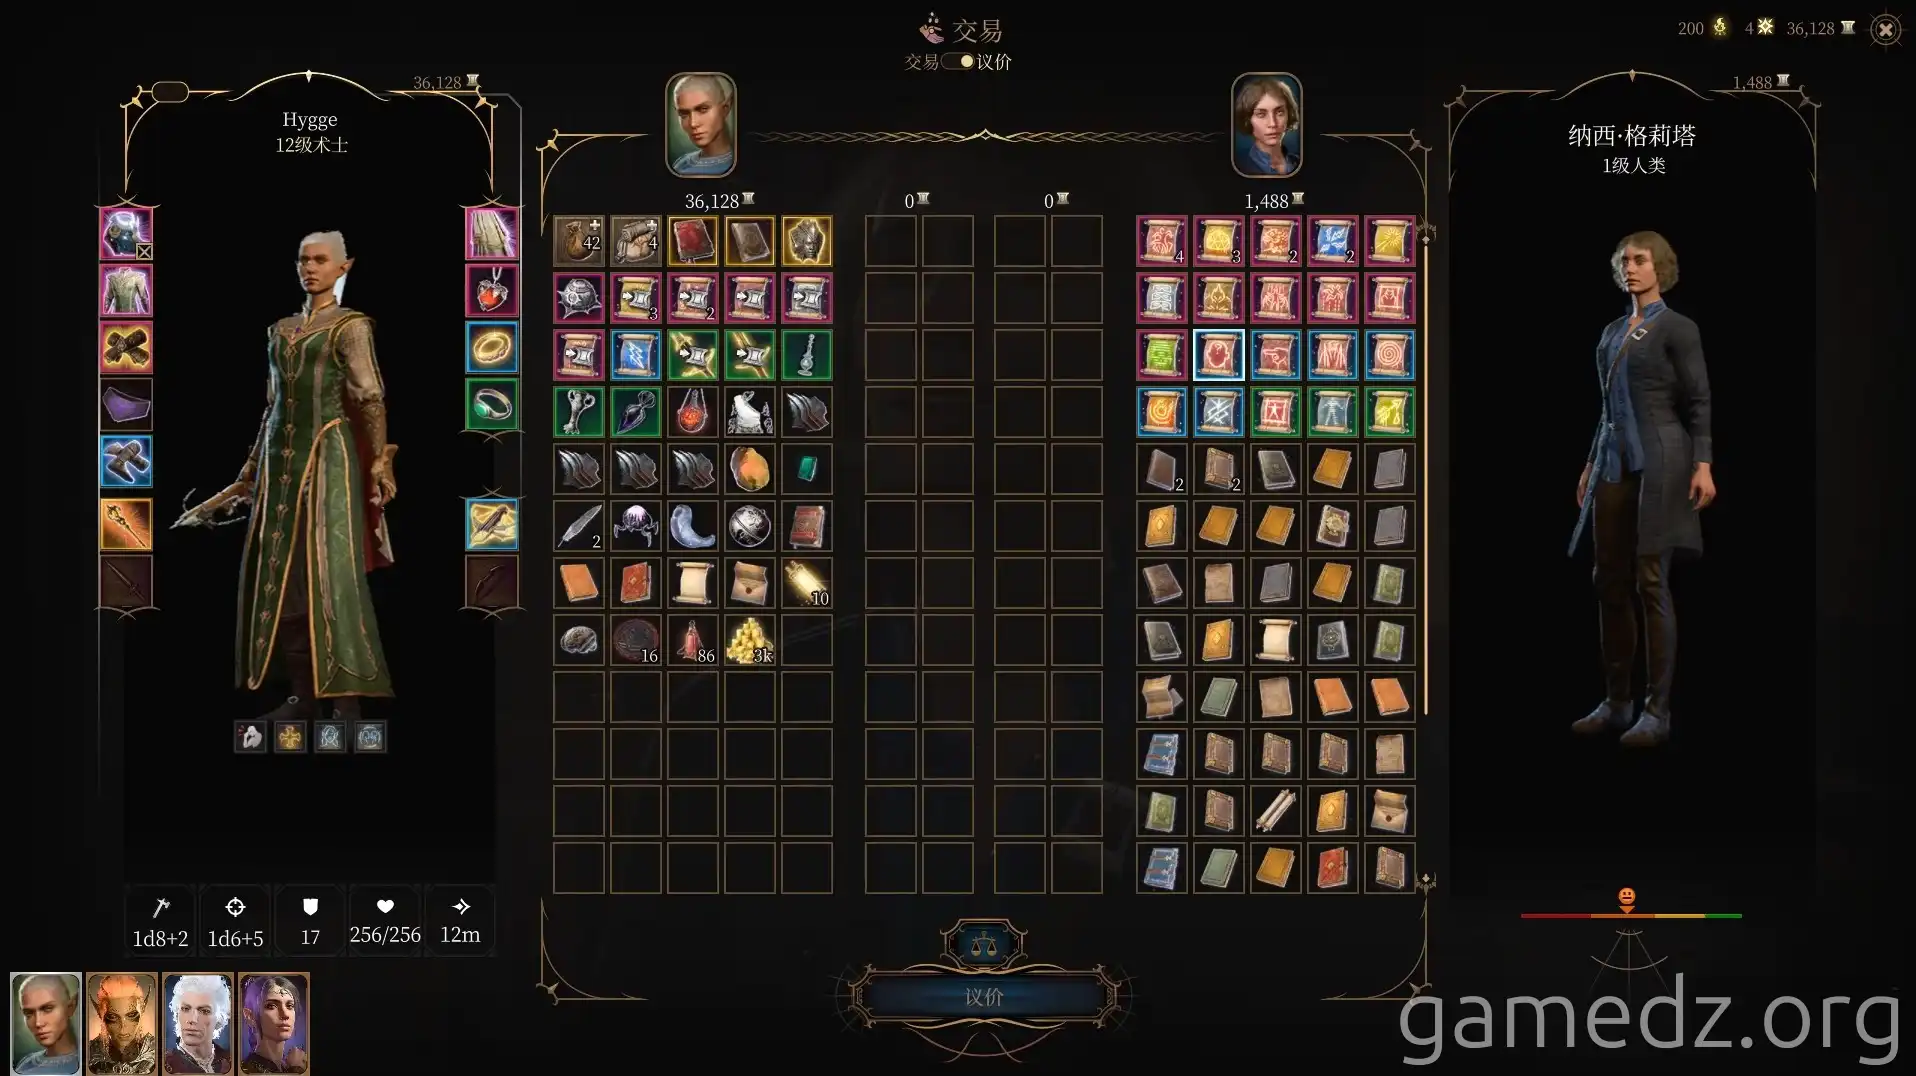
You can speak with the merchant Nash in the room to purchase many spell scrolls.
Leave the room and go up the stairs opposite. Head northwest to enter the Blushing Mermaid tavern.
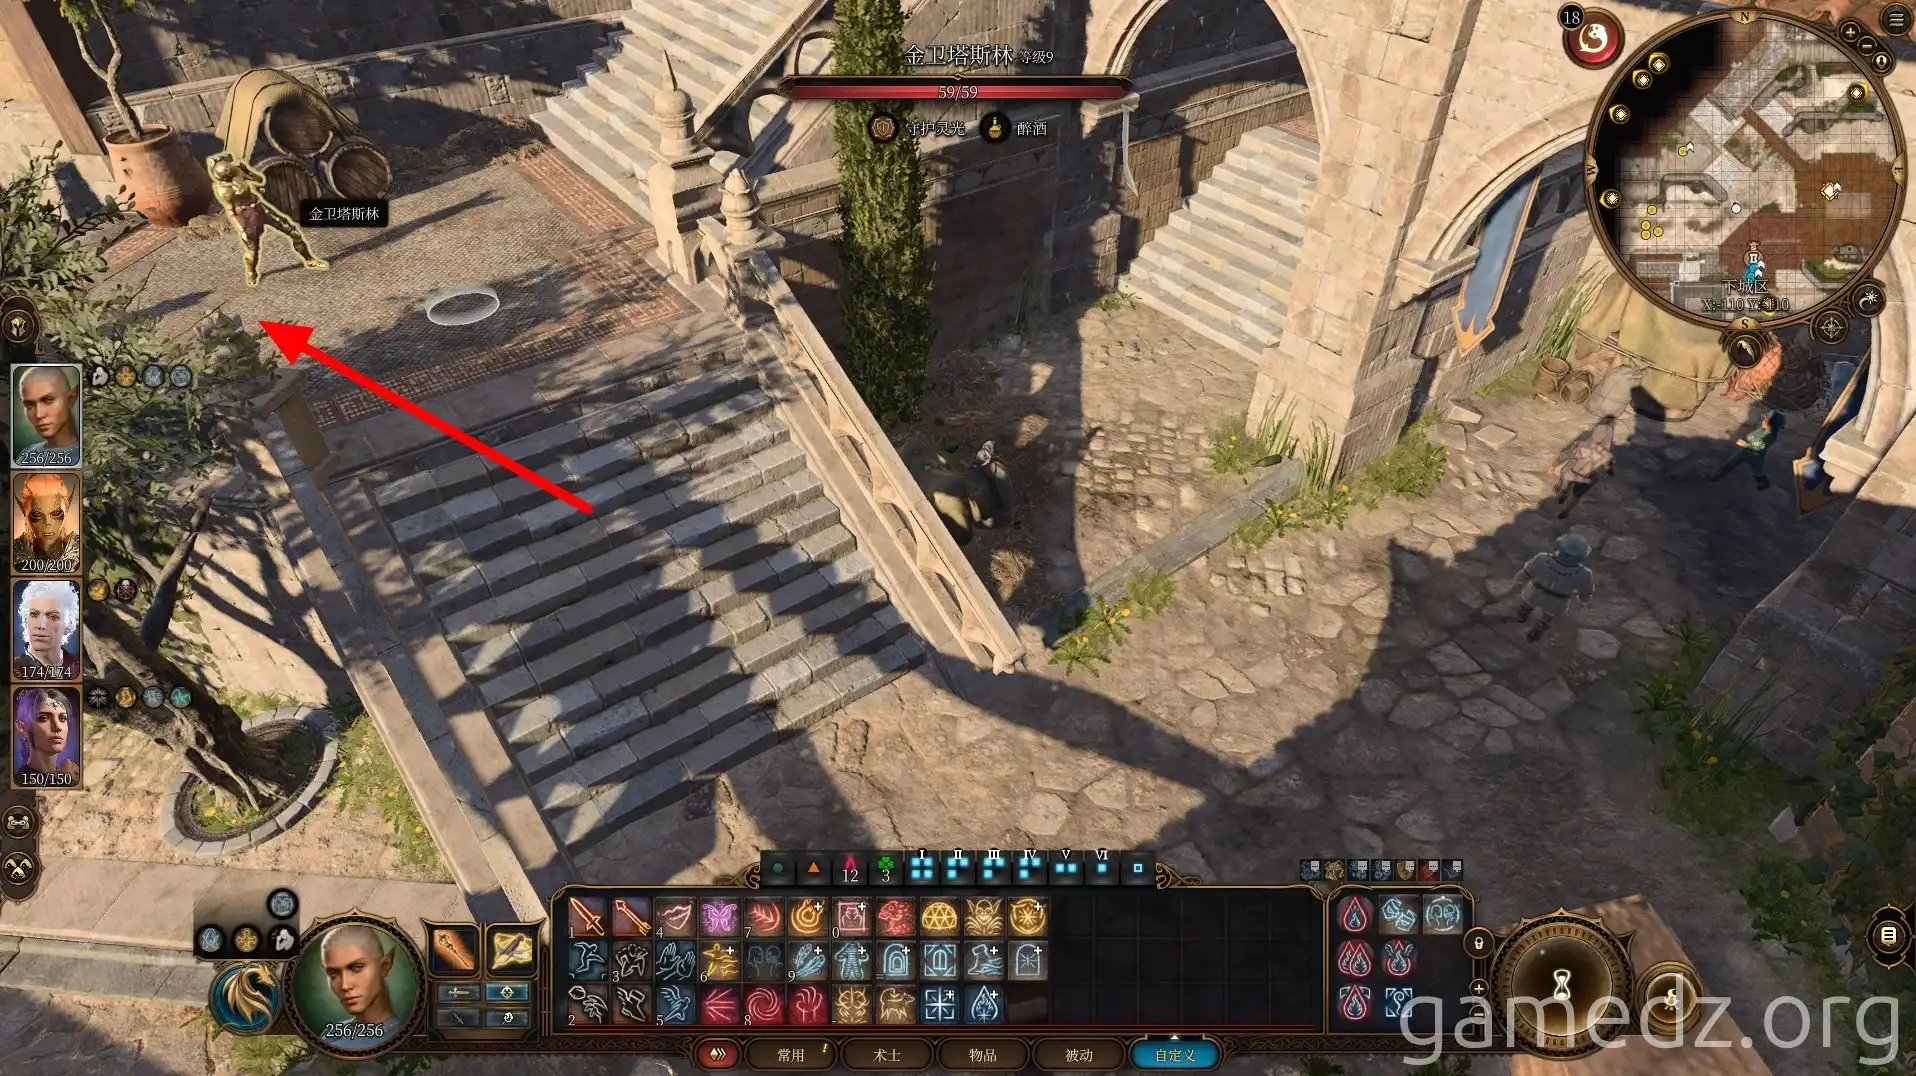
In front of the tavern, you'll also see one of the targets on the assassination list, [Nessa Lishai]. Warn her to be careful, then enter the tavern through the main entrance.
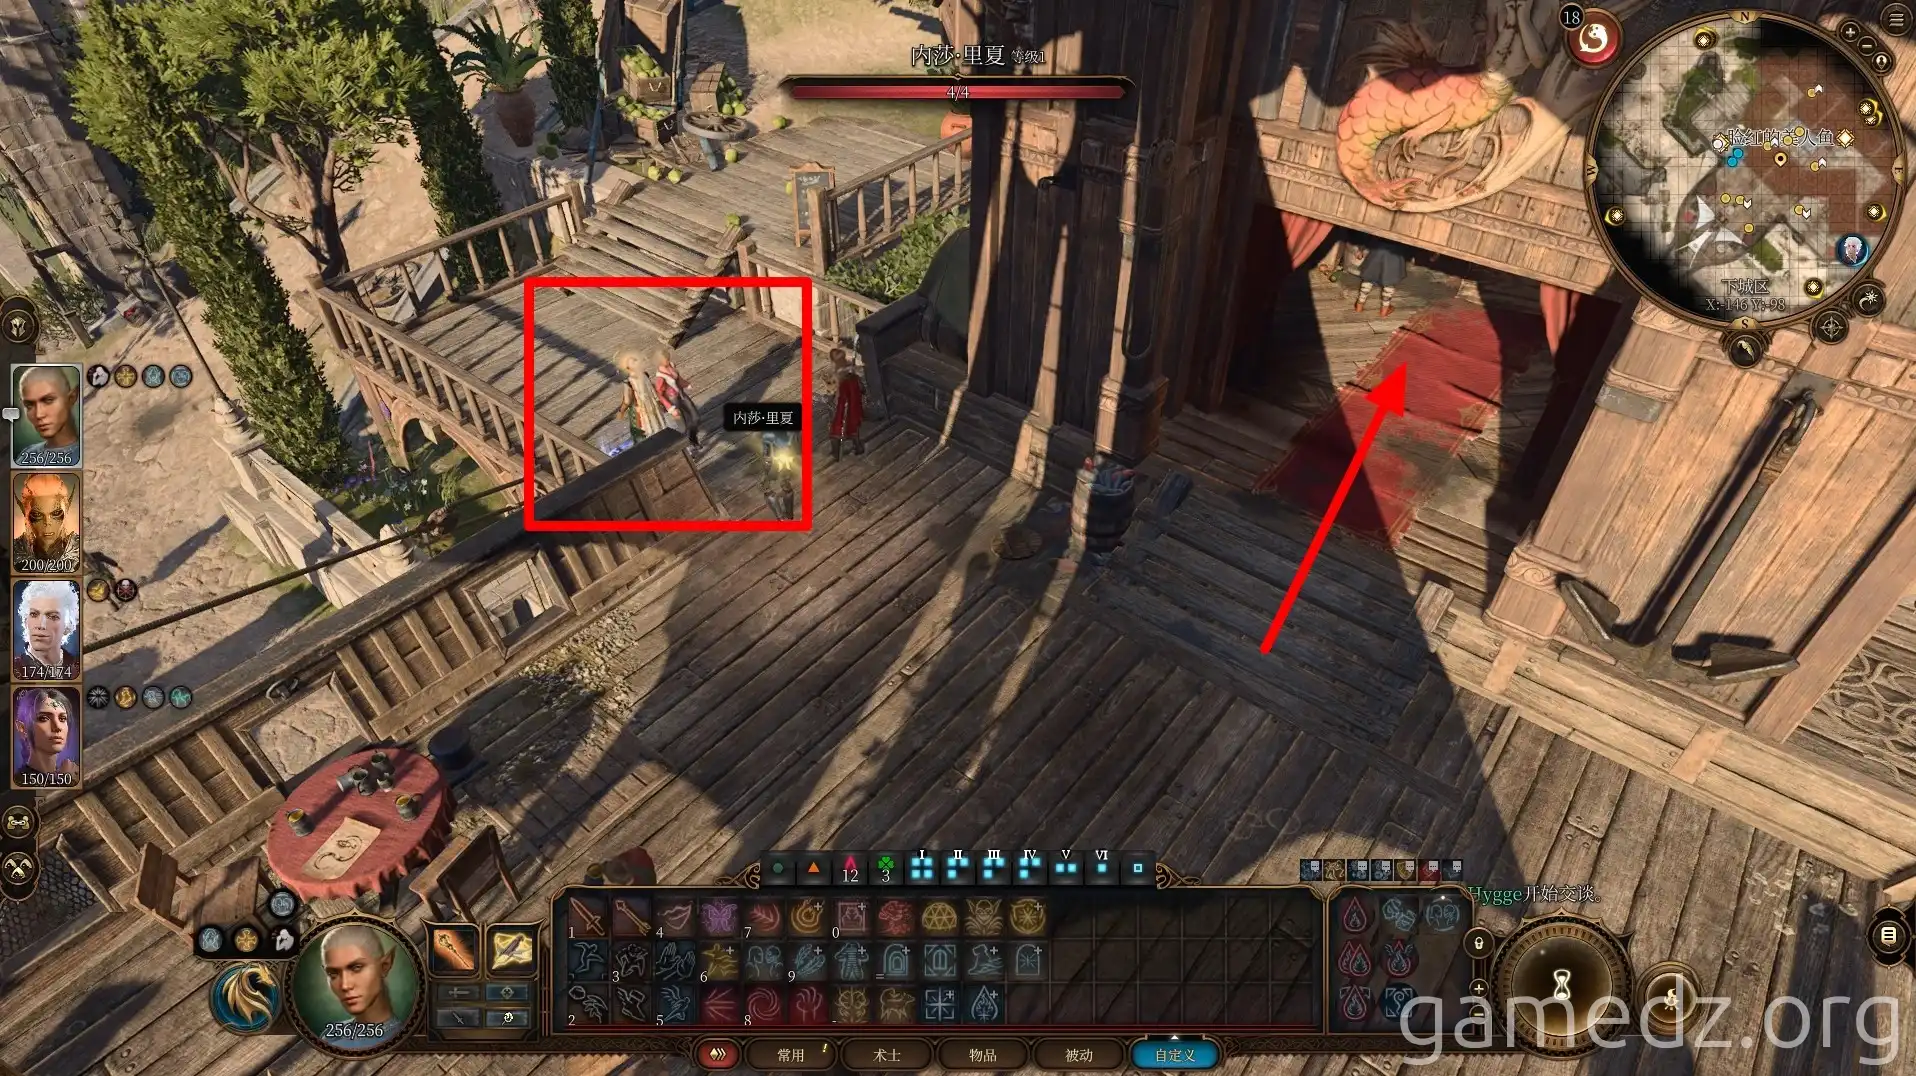
Inside the tavern, you can buy camp supplies from the Boatswain, Ganne. The captain on the second floor is the Hag in disguise, so ignore her. After looking around the tavern, proceed directly through the small door past the Boatswain into the basement.
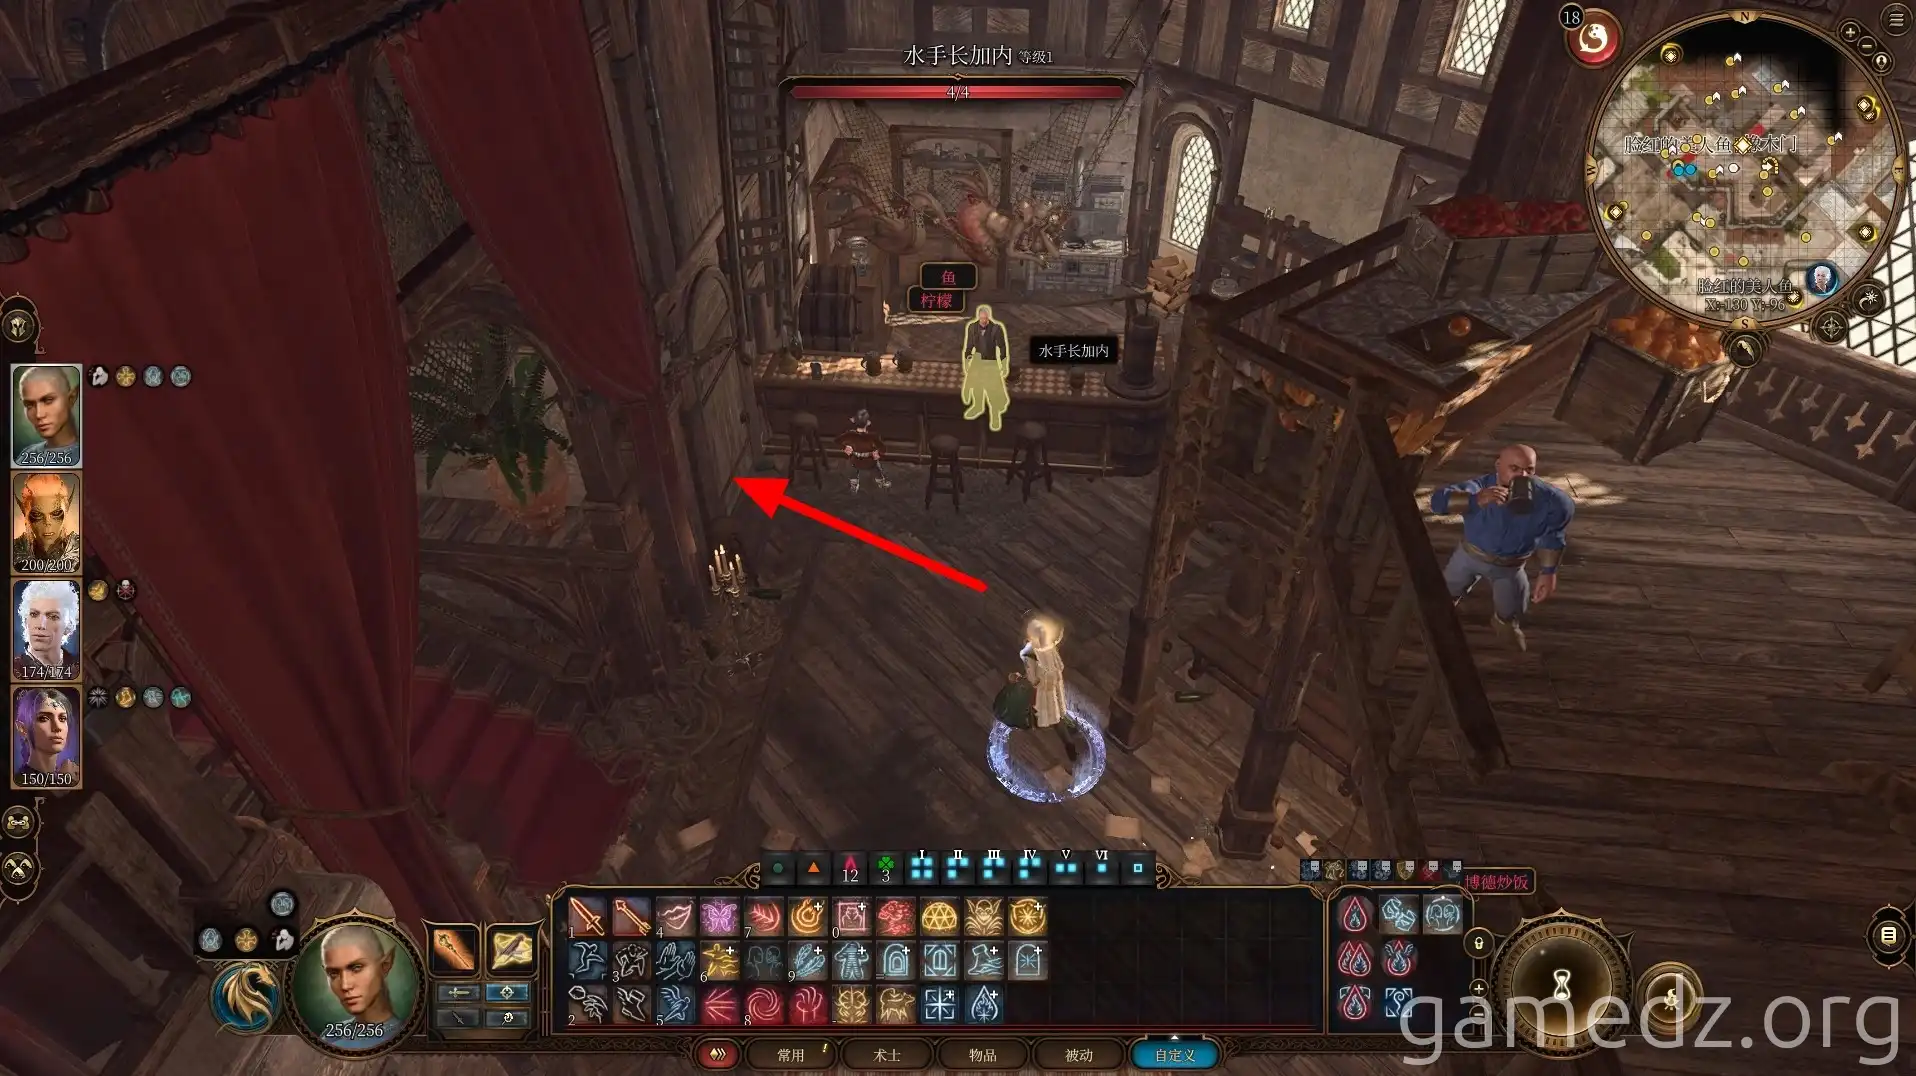
Once in the basement, jump onto the platform behind the barrels.
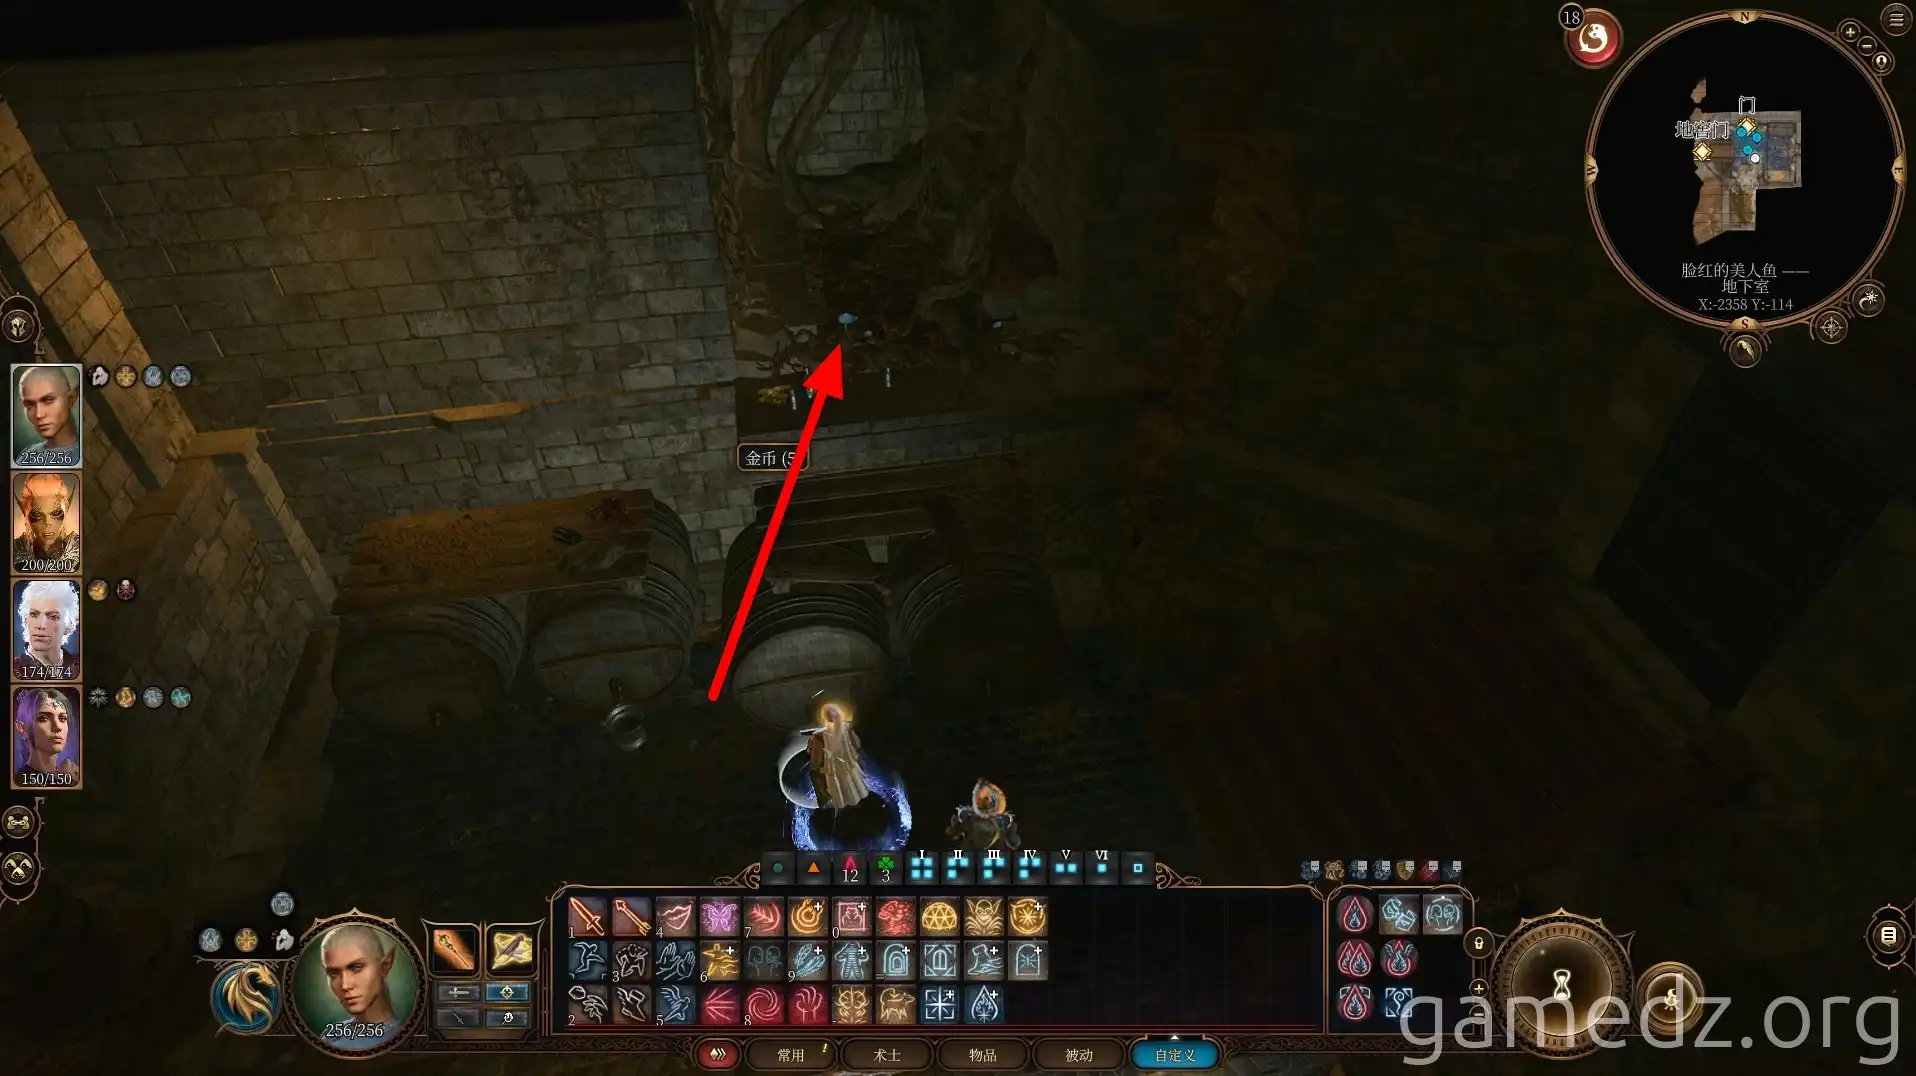
The wall on the side of the platform is an illusionary wall. Pass through the fake wall to enter the Hag's lair.
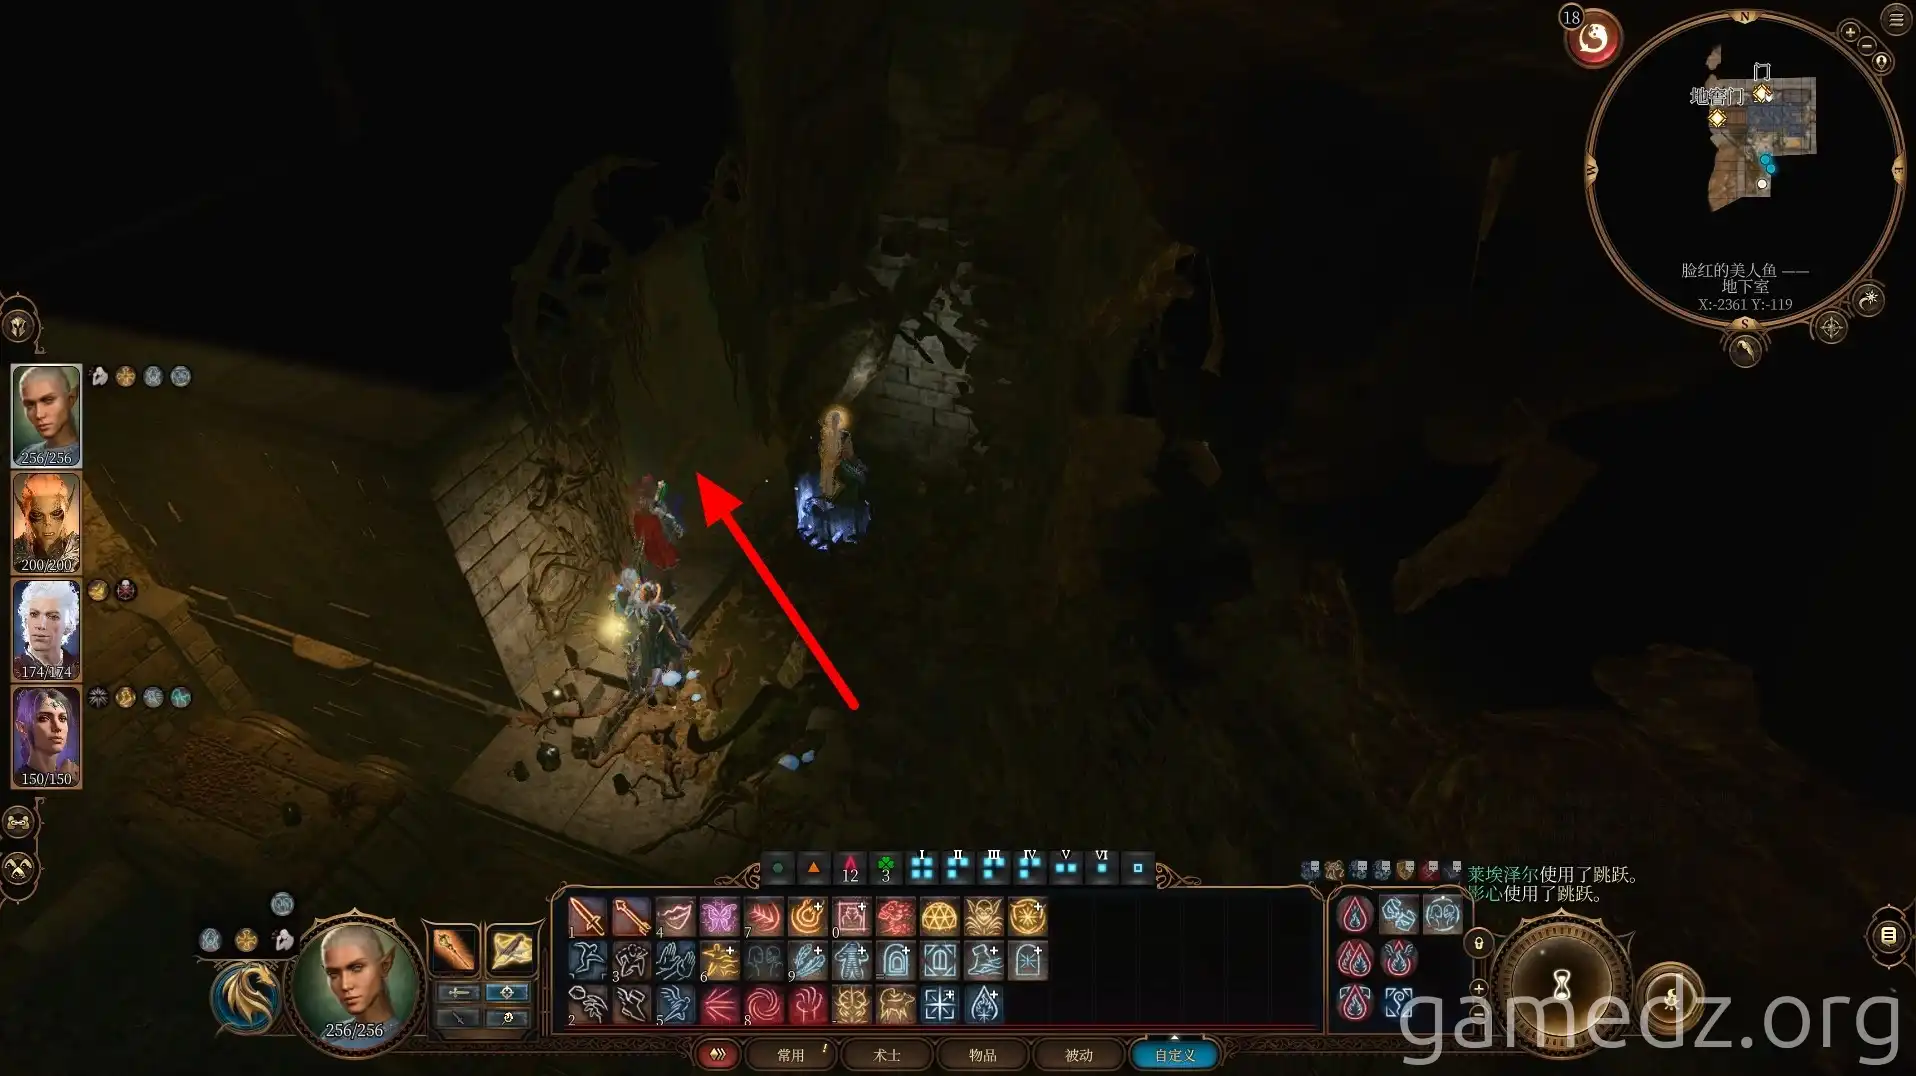
First, defeat the Hag's minions in the cave. Otherwise, fighting the Hag later will be much more difficult.
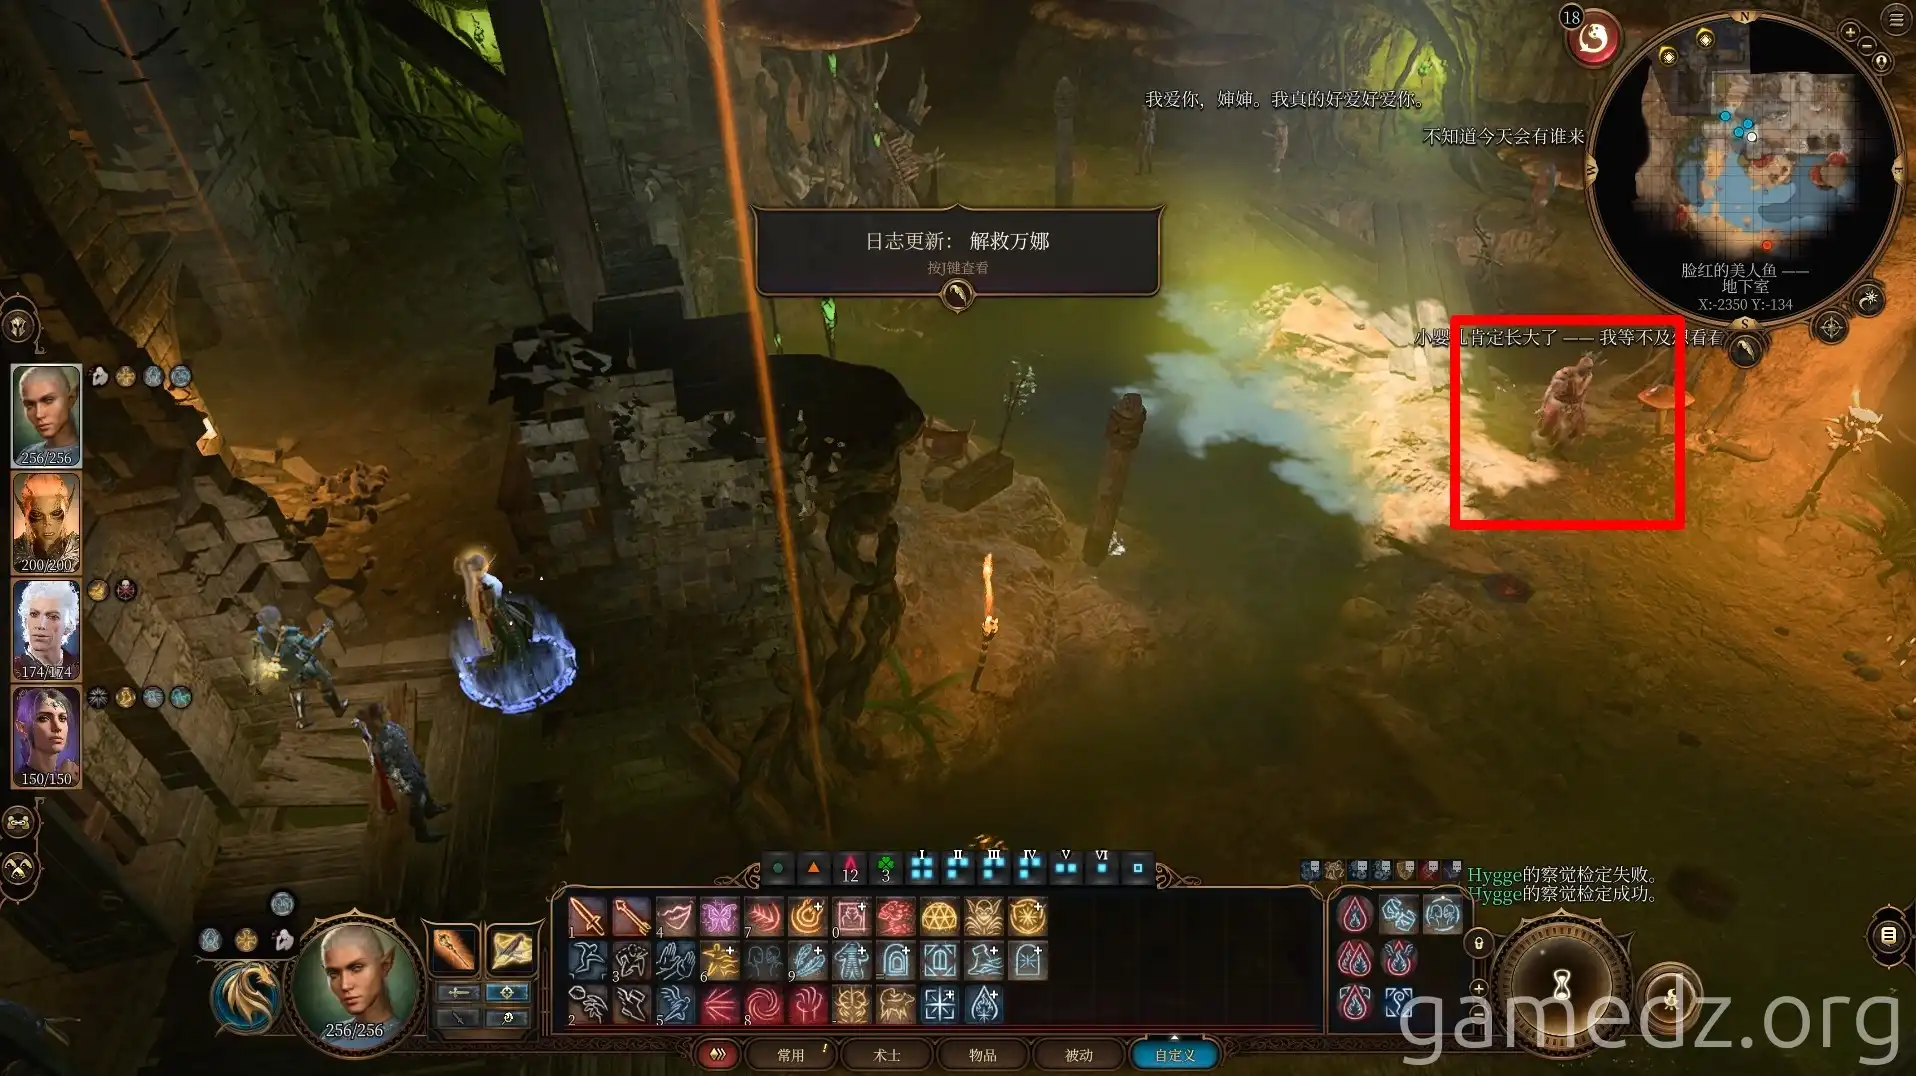
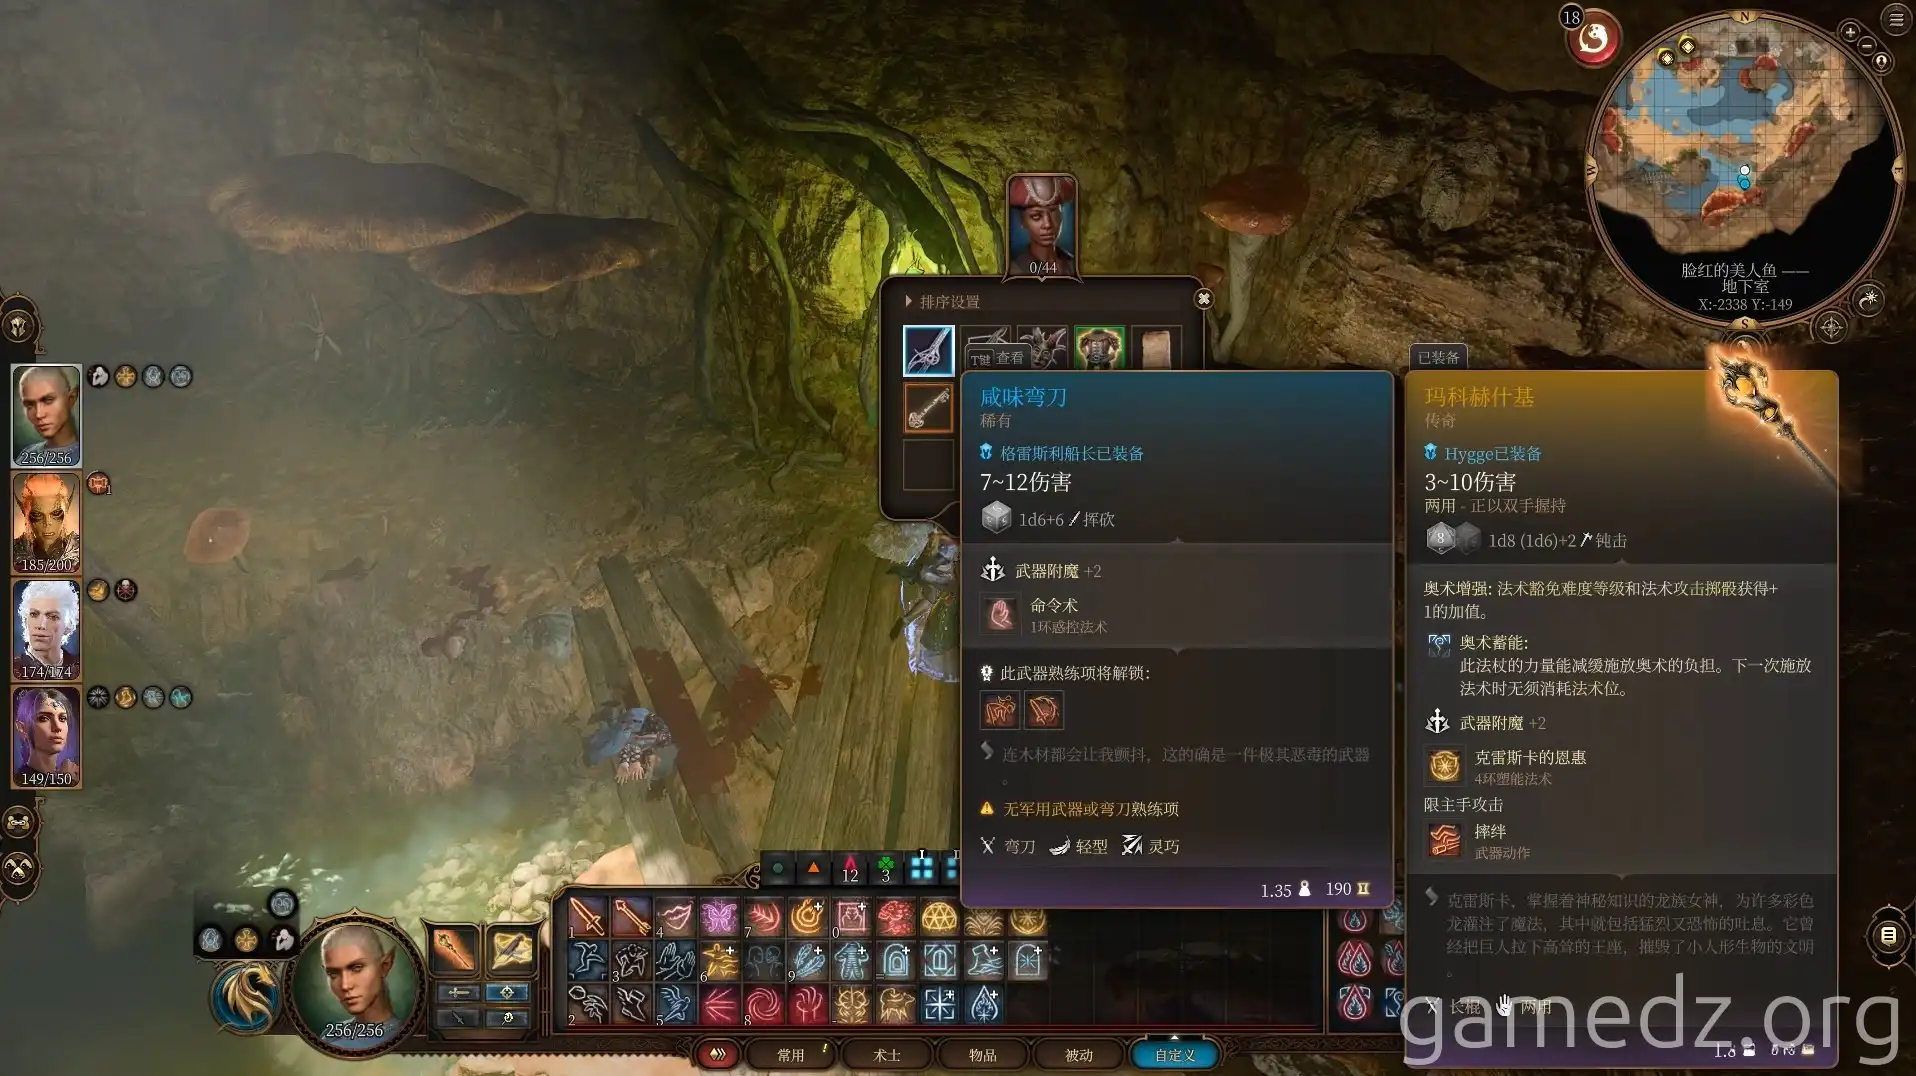
On the captain, you can obtain the rare weapon [Salty Saber] and a key to the Counting House vault.
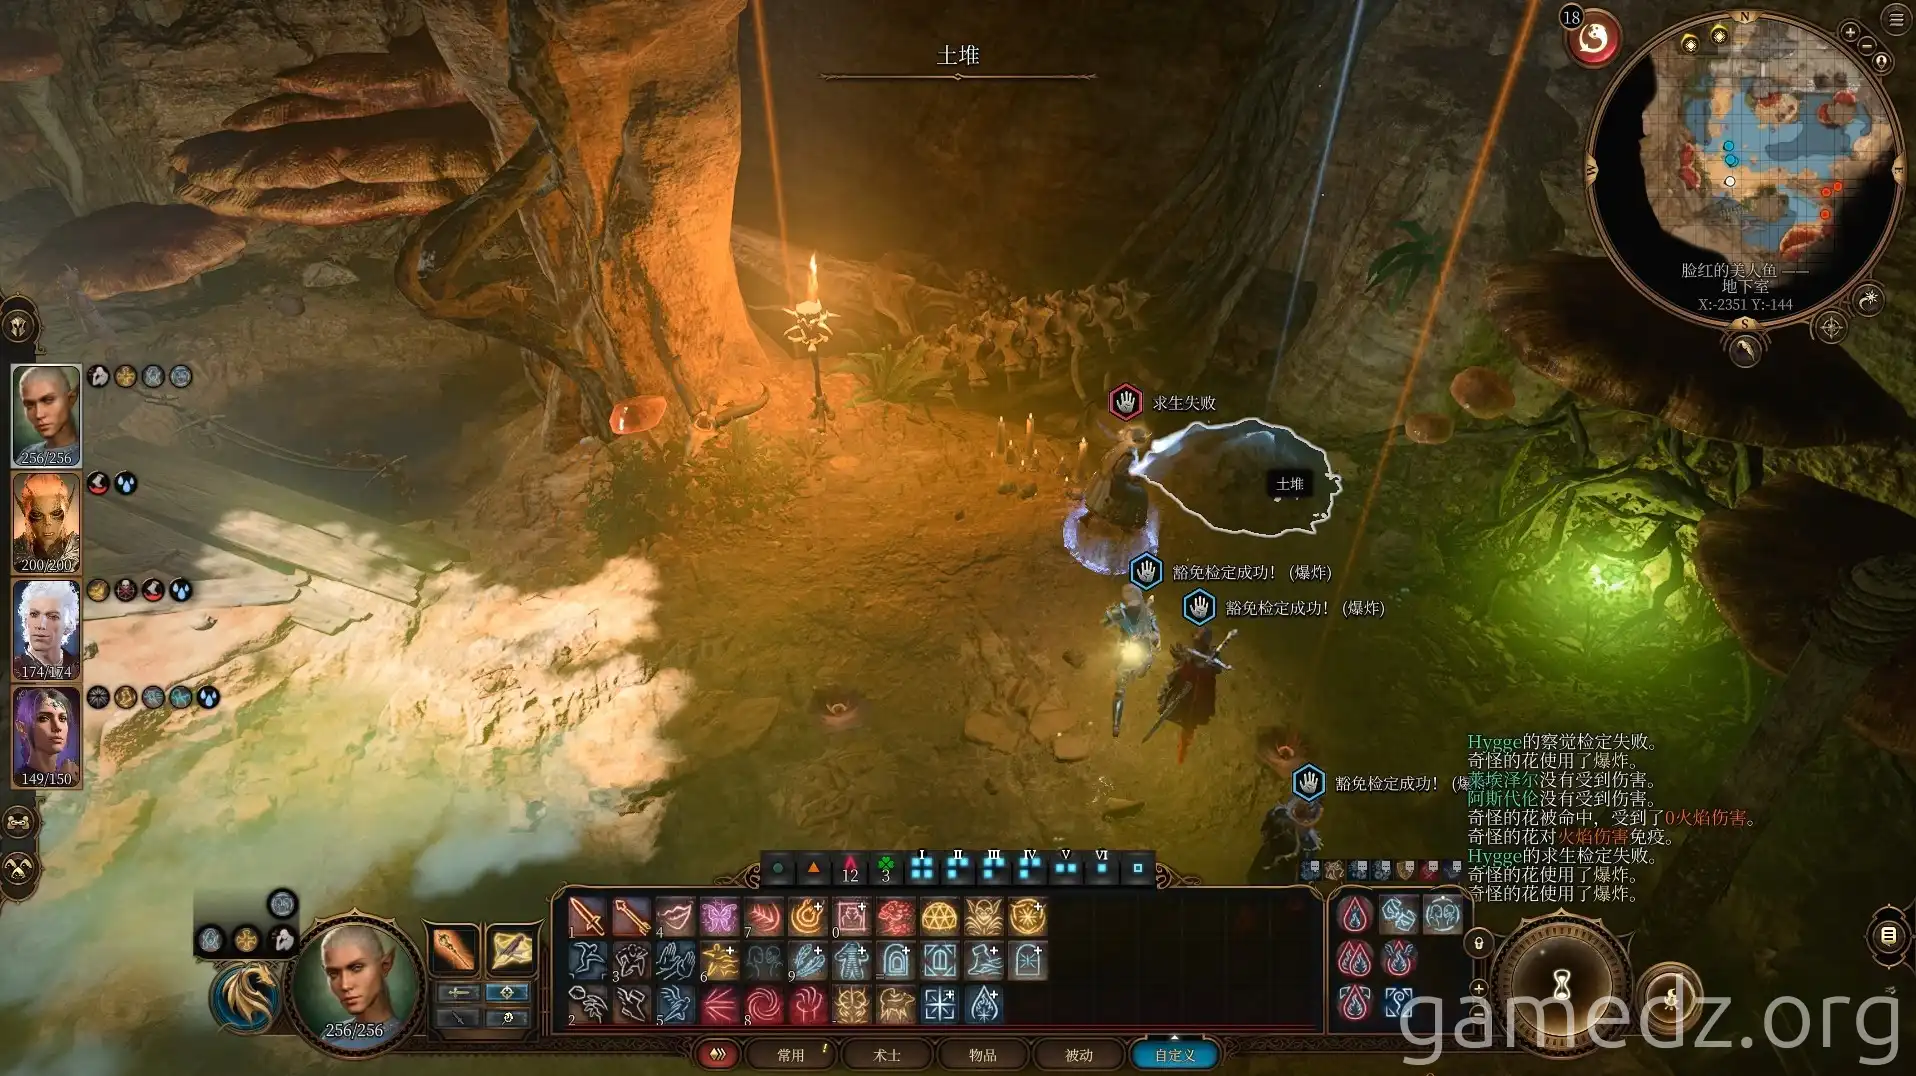
In the southwest corner of the cave, there is a dirt mound.
Use Misty Step or Fly spells to ascend using the mushrooms in the cave.
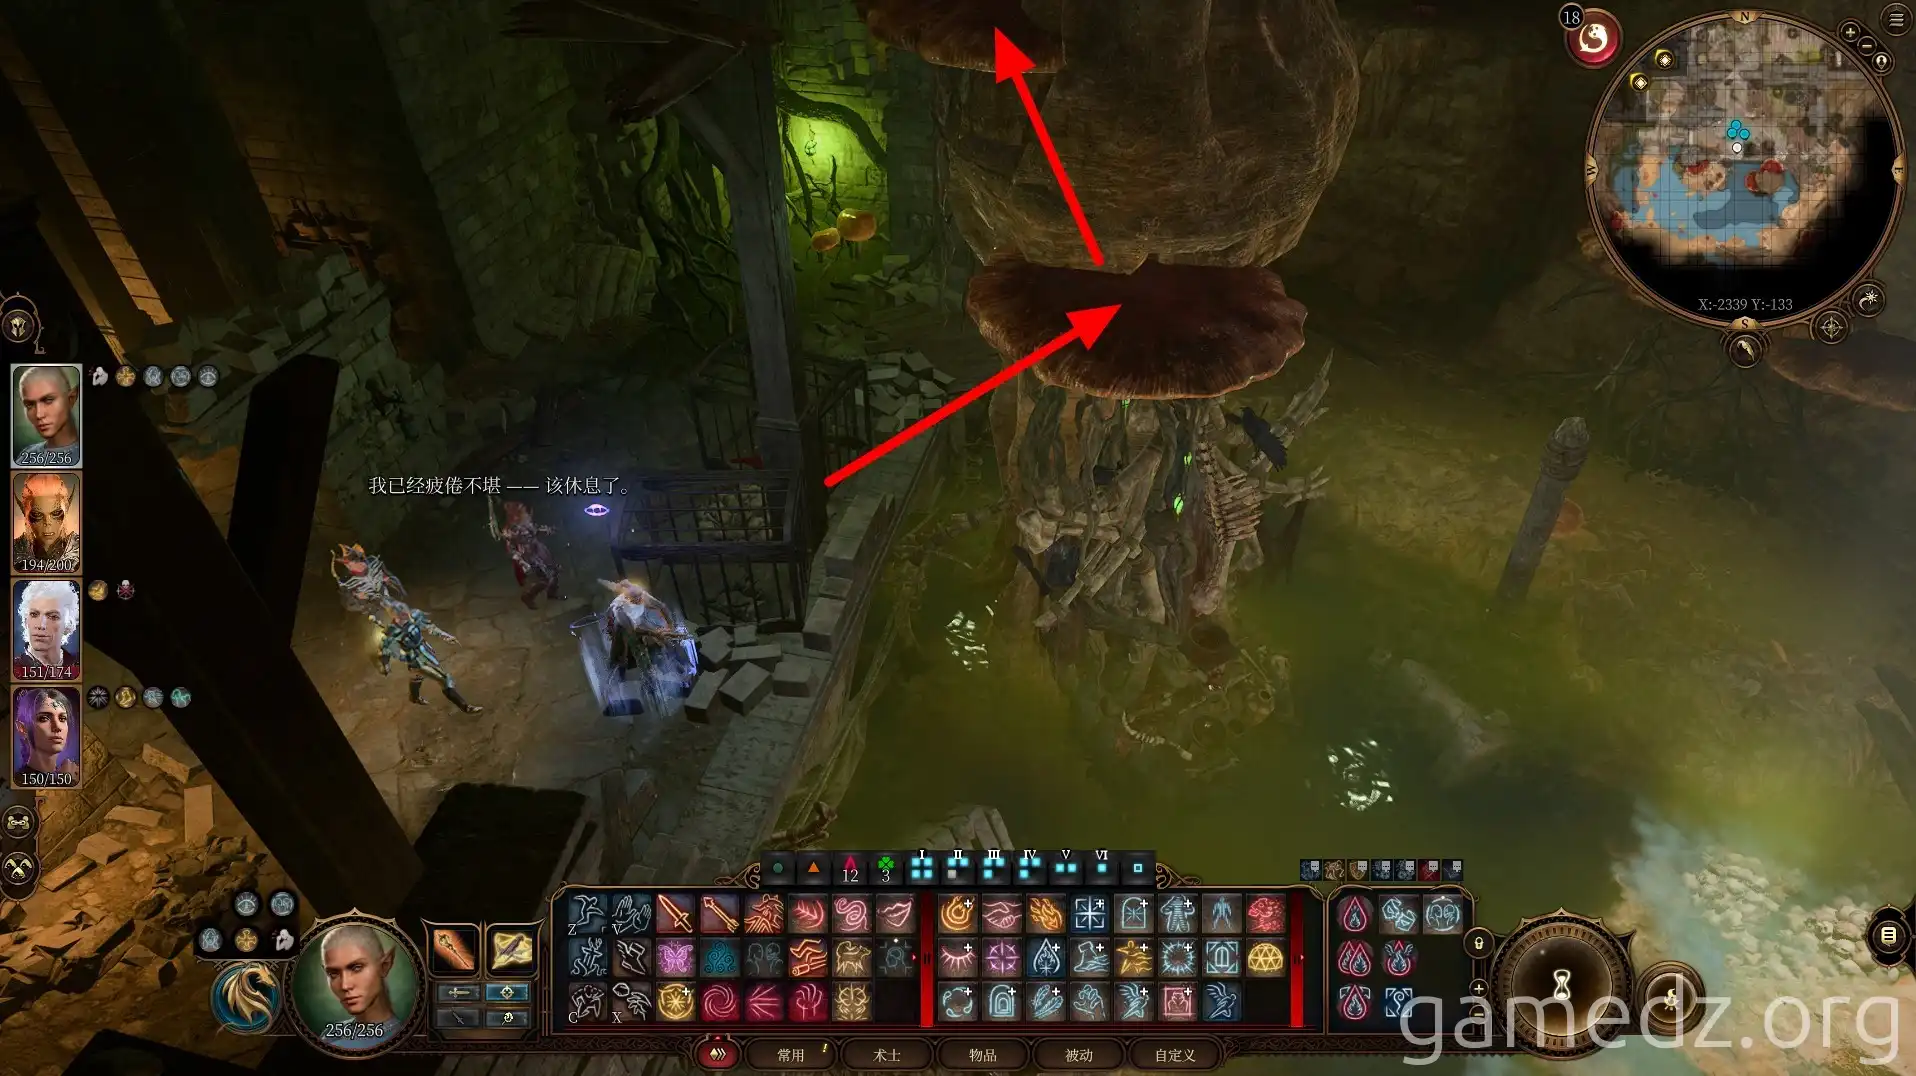
On the upper level, you'll find a Mind Flayer Parasite Specimen and a large chest.
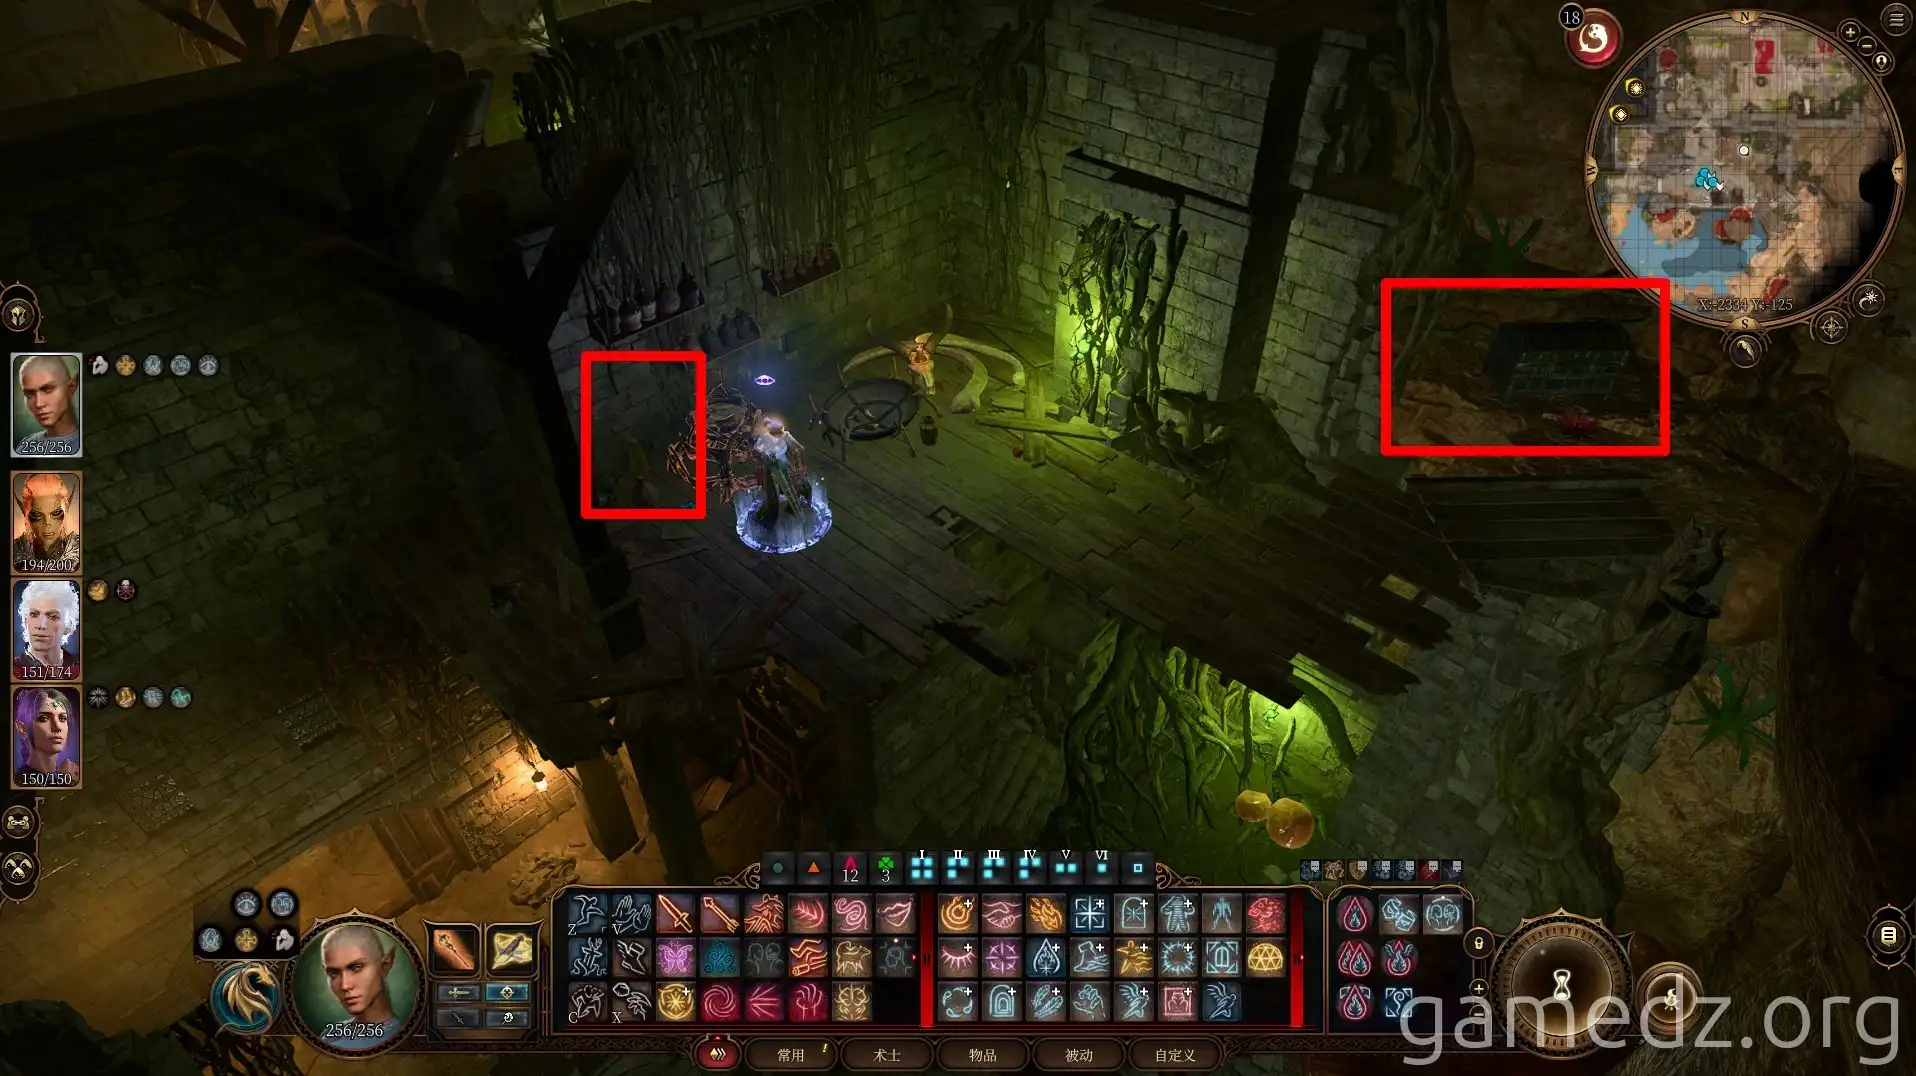
Then, enter the room on the north side of the cave.
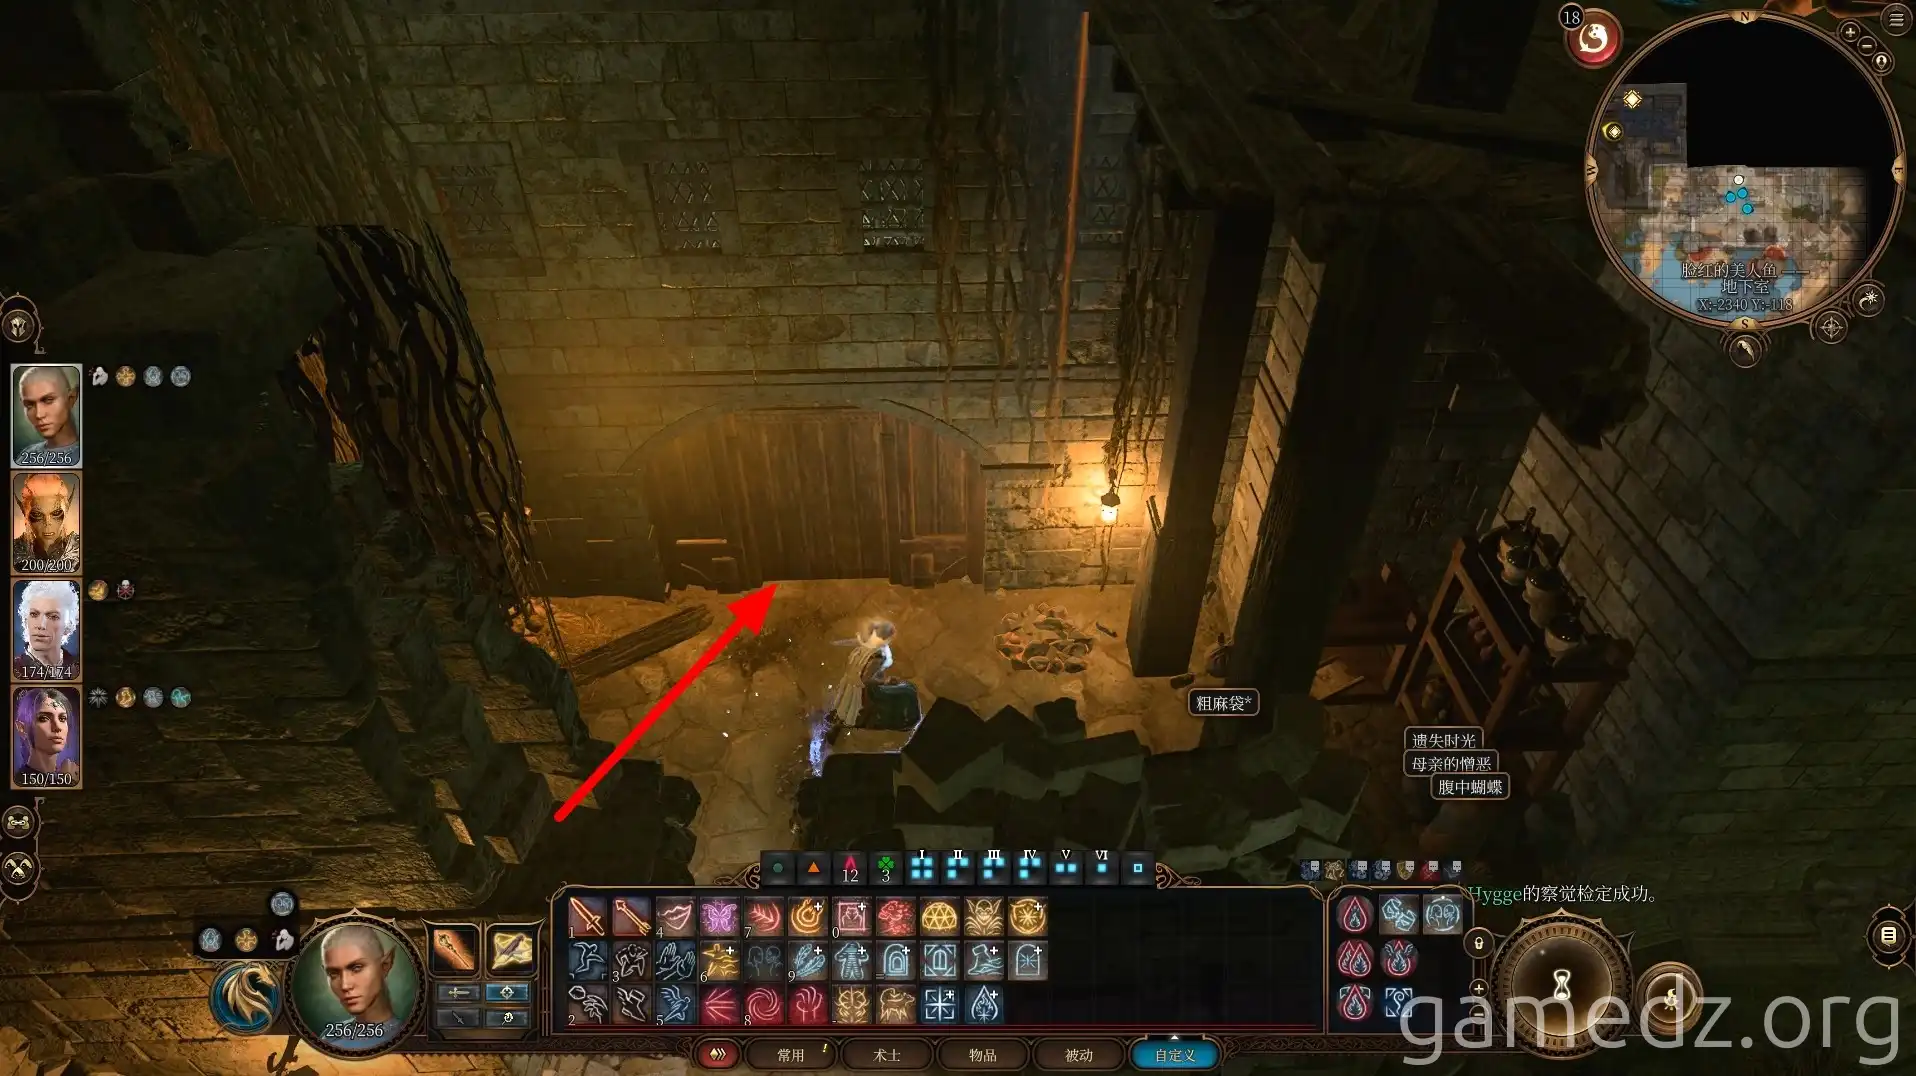
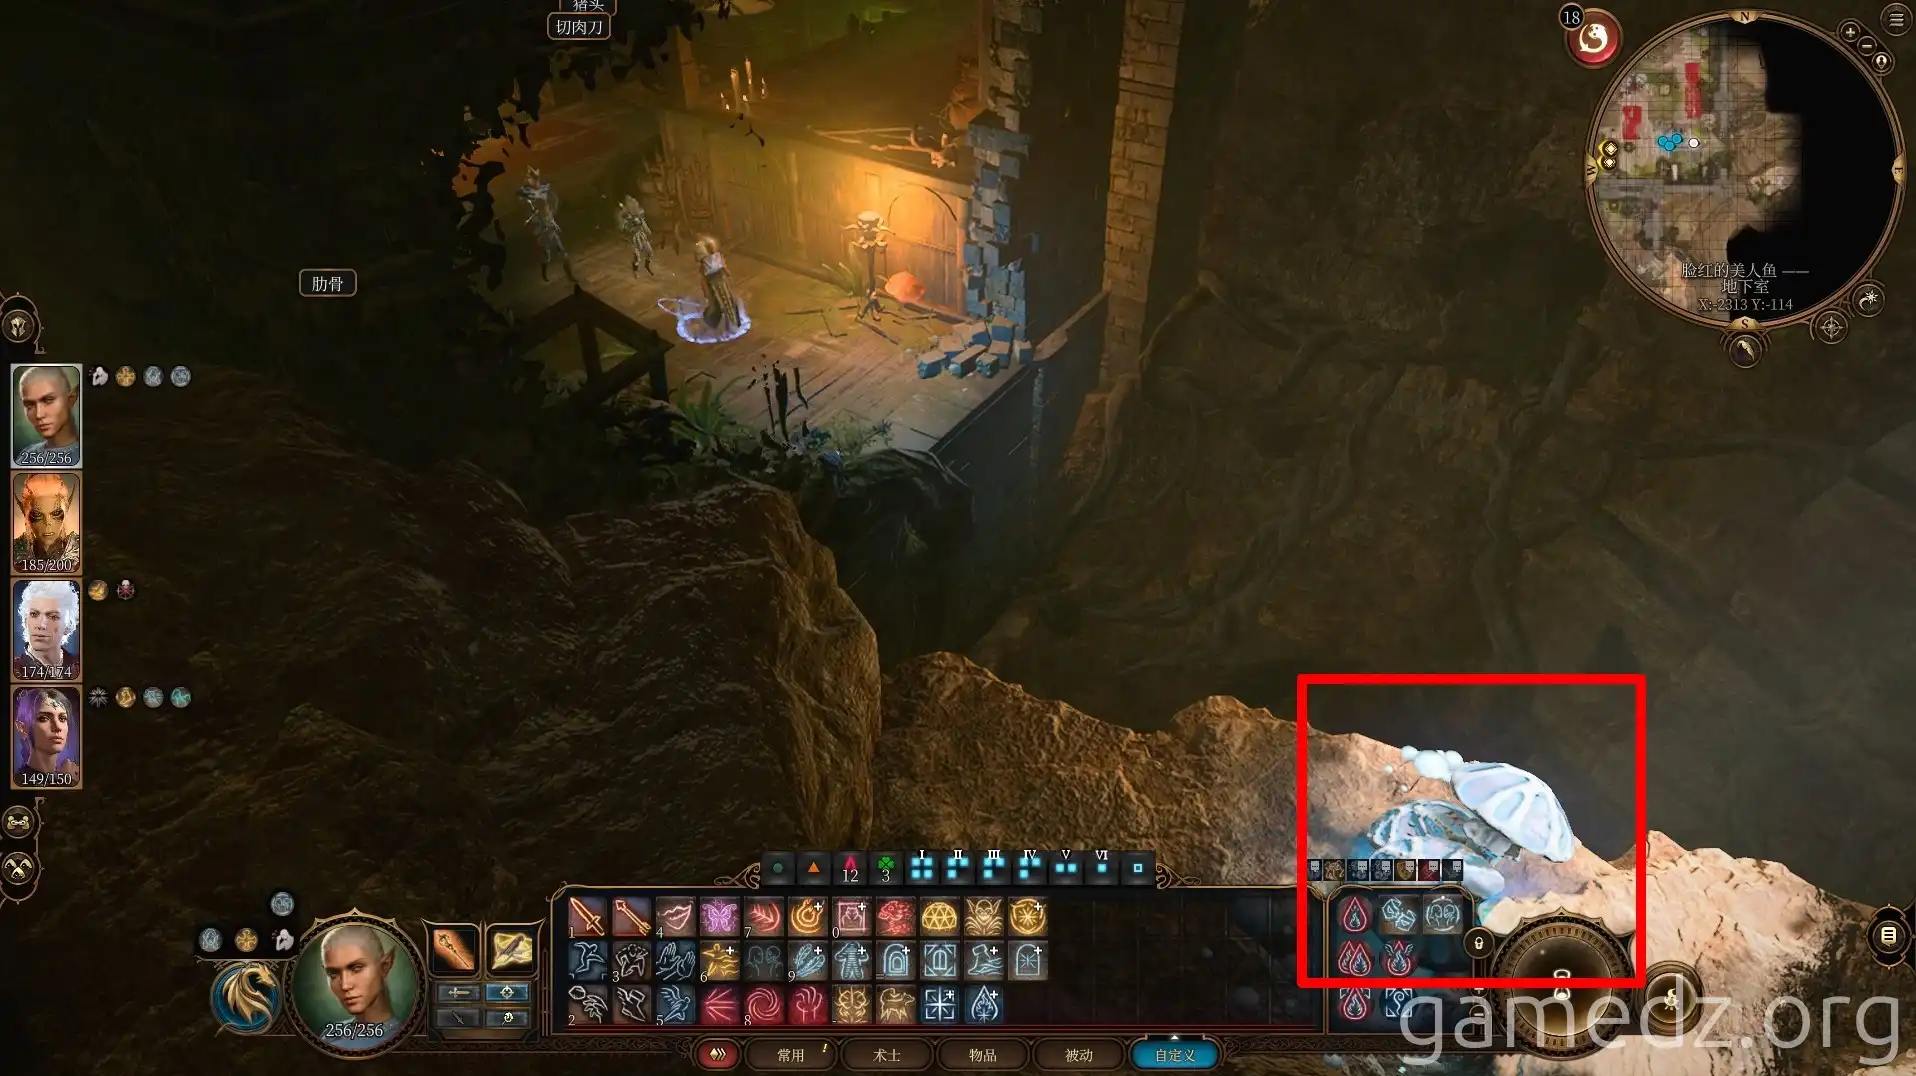
Upon entering the room, you'll spot a cluster of white mushrooms on the cliff face to the far east. Destroy them with ranged attacks, and the Hag will appear and initiate combat.
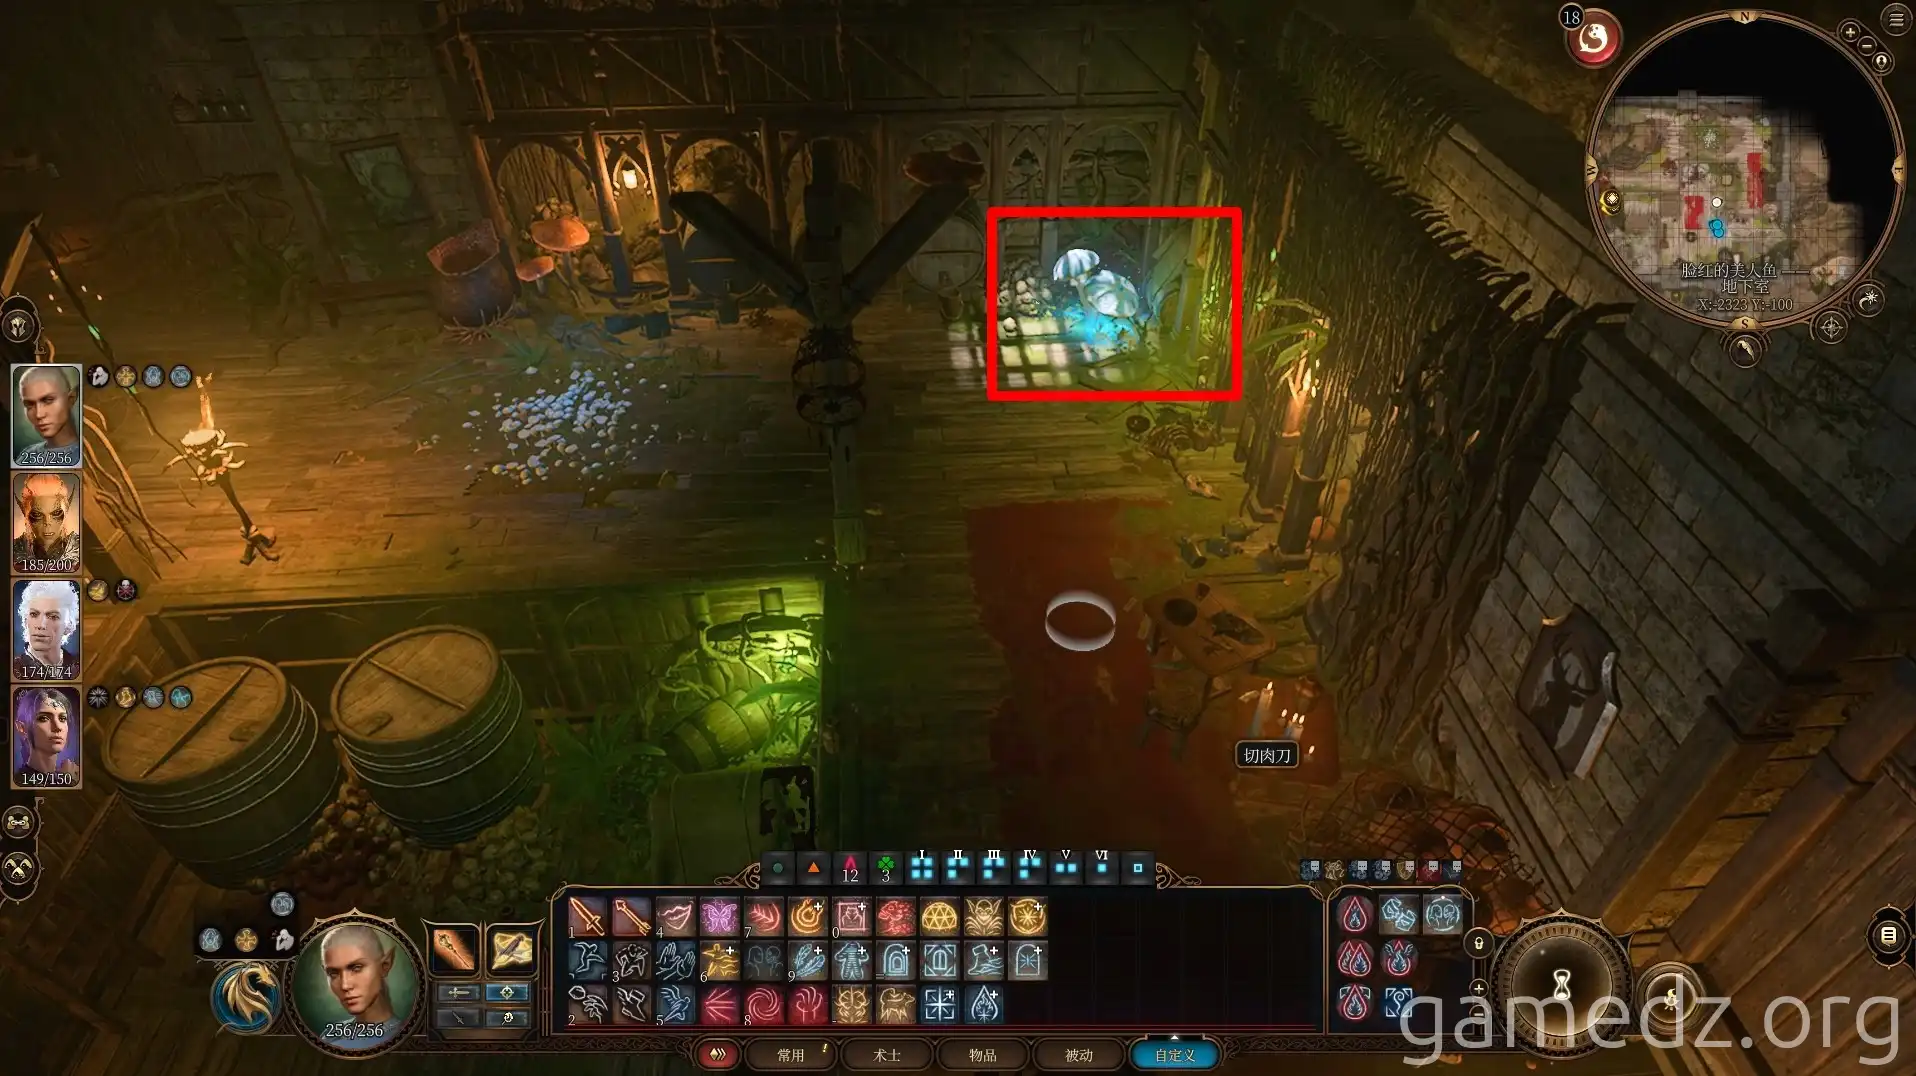
There are a total of three white mushrooms near the room. You must destroy all of them to permanently kill the Hag.
The second white mushroom is located in the northeast corner of the room.
The third white mushroom is located at the base of the cliff face in the northwest corner of the room.
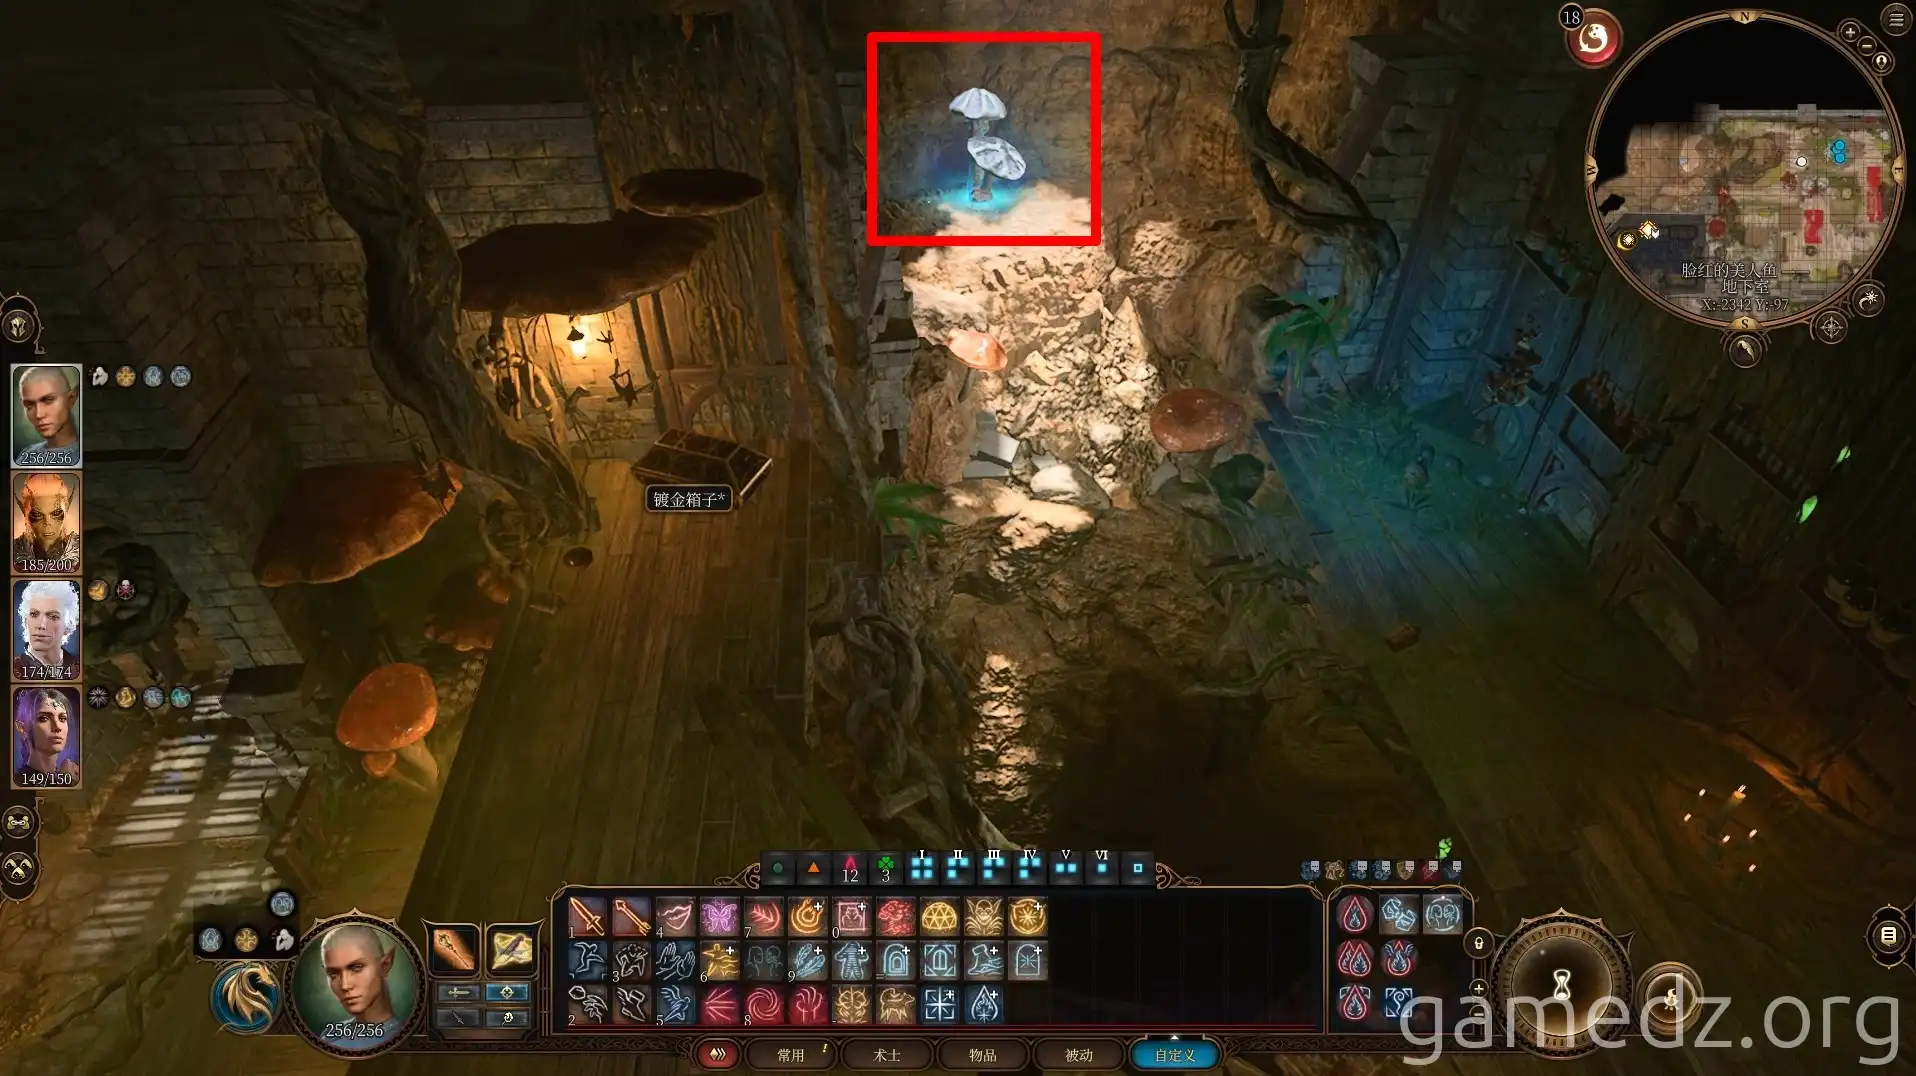
Once the Hag is low on health, you can throw the [Hag's Bane] potion at her to make her regurgitate Vanna. Alternatively, you can toggle non-lethal attacks to stun the Hag, then cut open her stomach to rescue Vanna and defeat the Hag.
After successfully rescuing Vanna and defeating the Hag, characters with a Acolyte and Soldier background will be inspired.
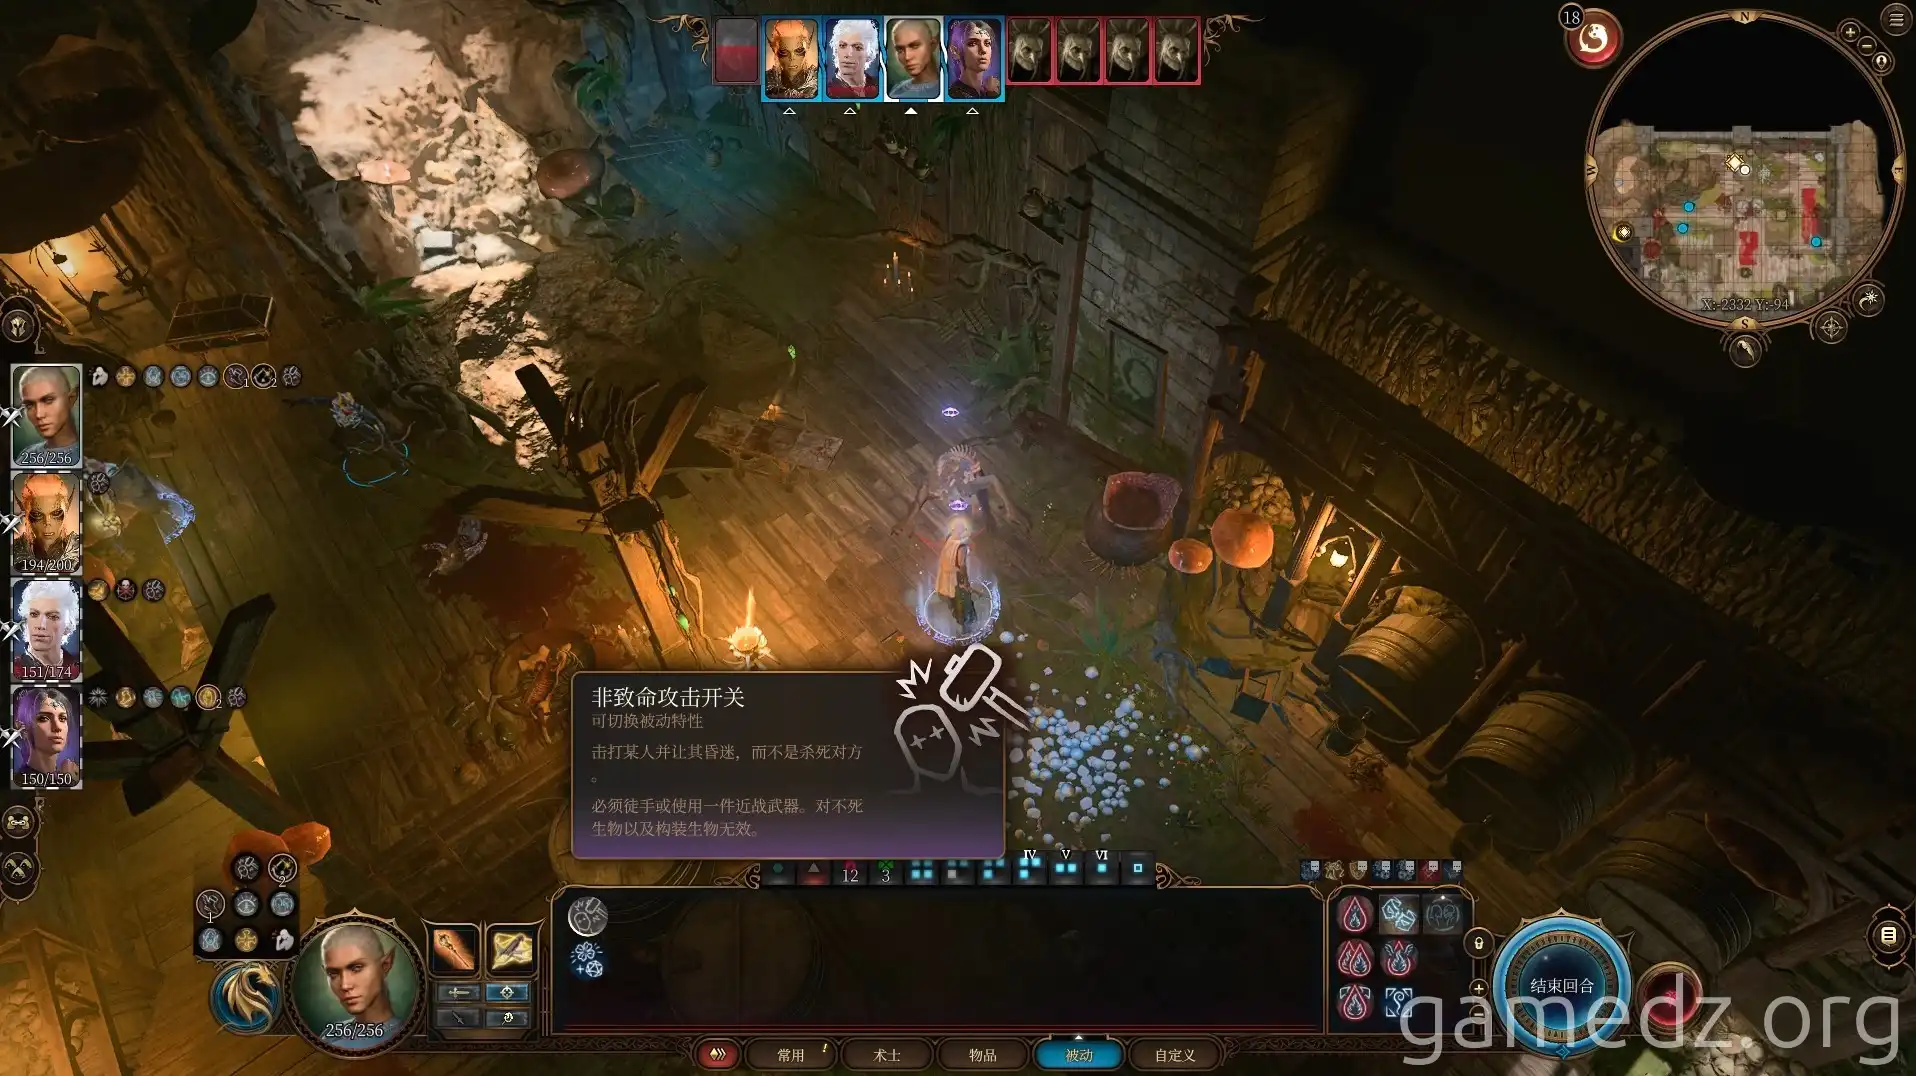
From the Hag, you can obtain the rare accessory [Sparkle Ring of the Feywild] and the fine accessory [Dimmed Bauble].
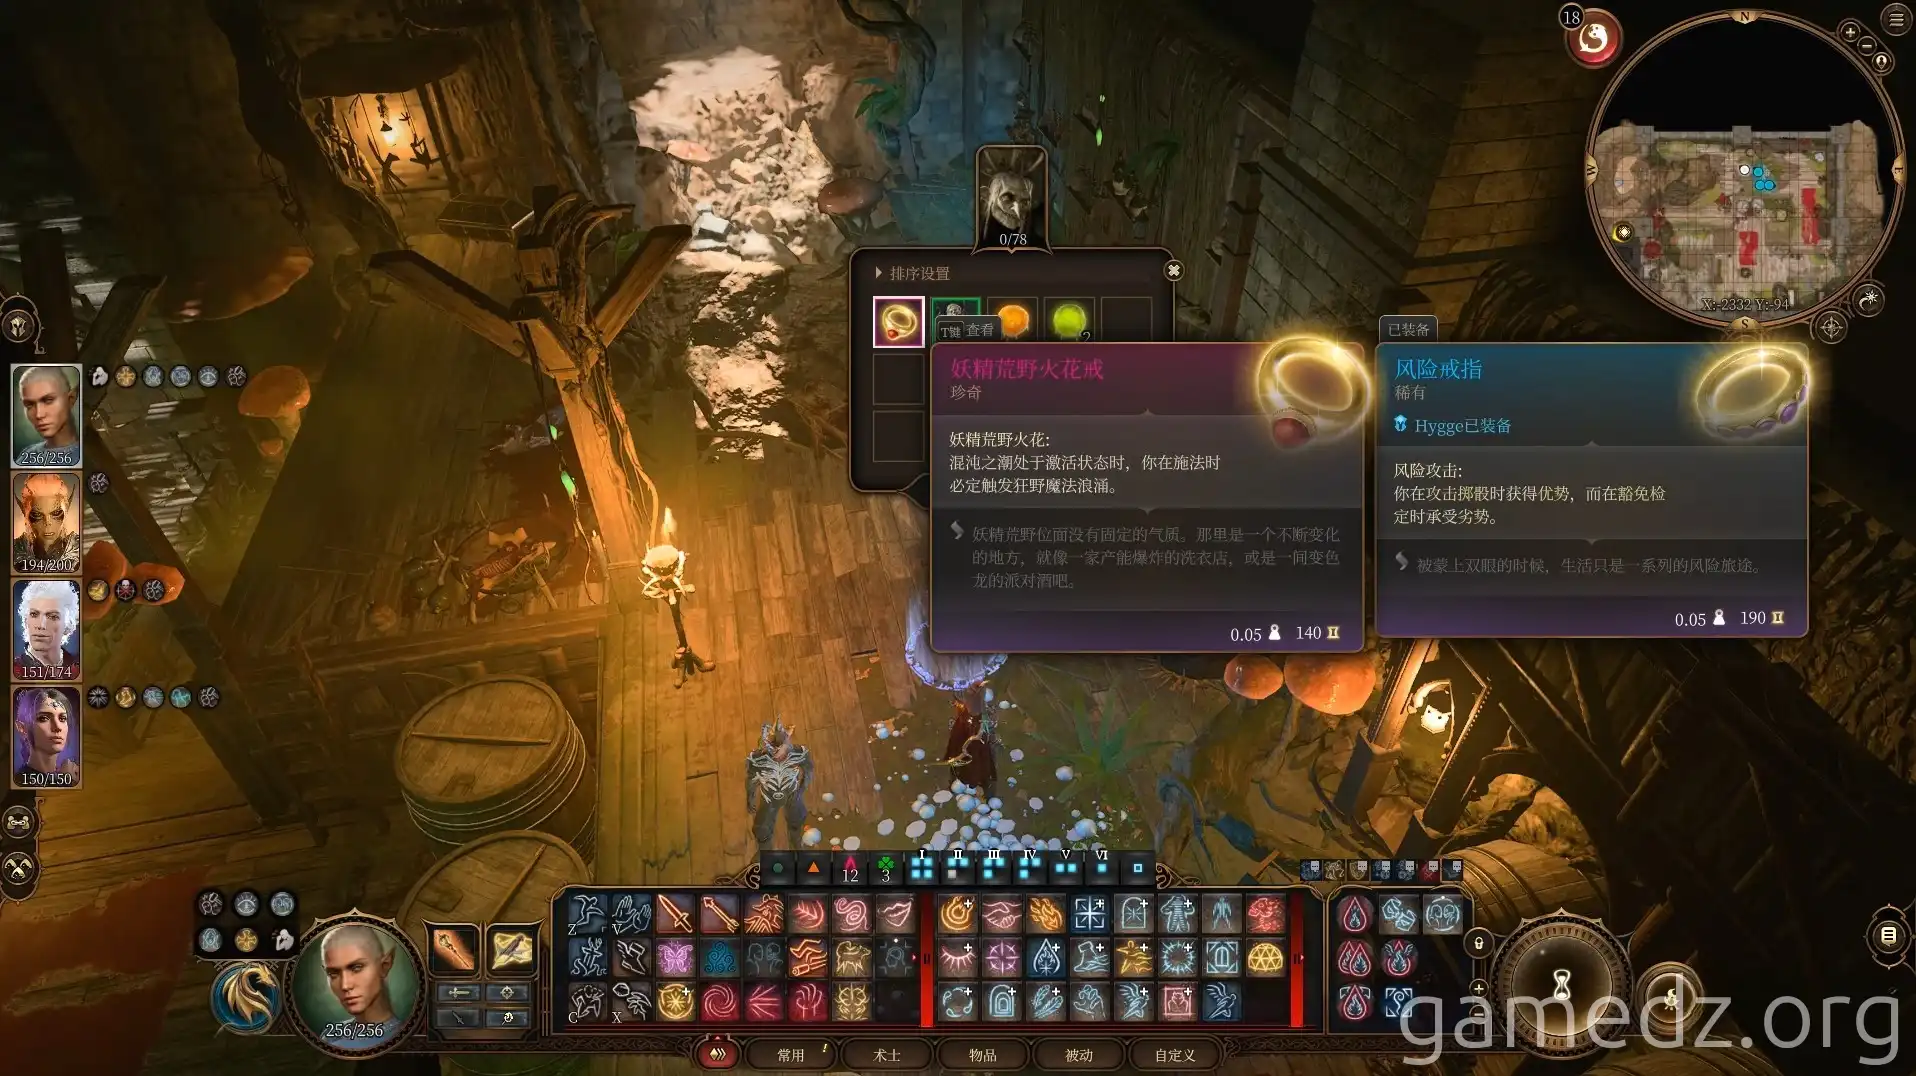
The stats of the Dimmed Bauble are as follows:
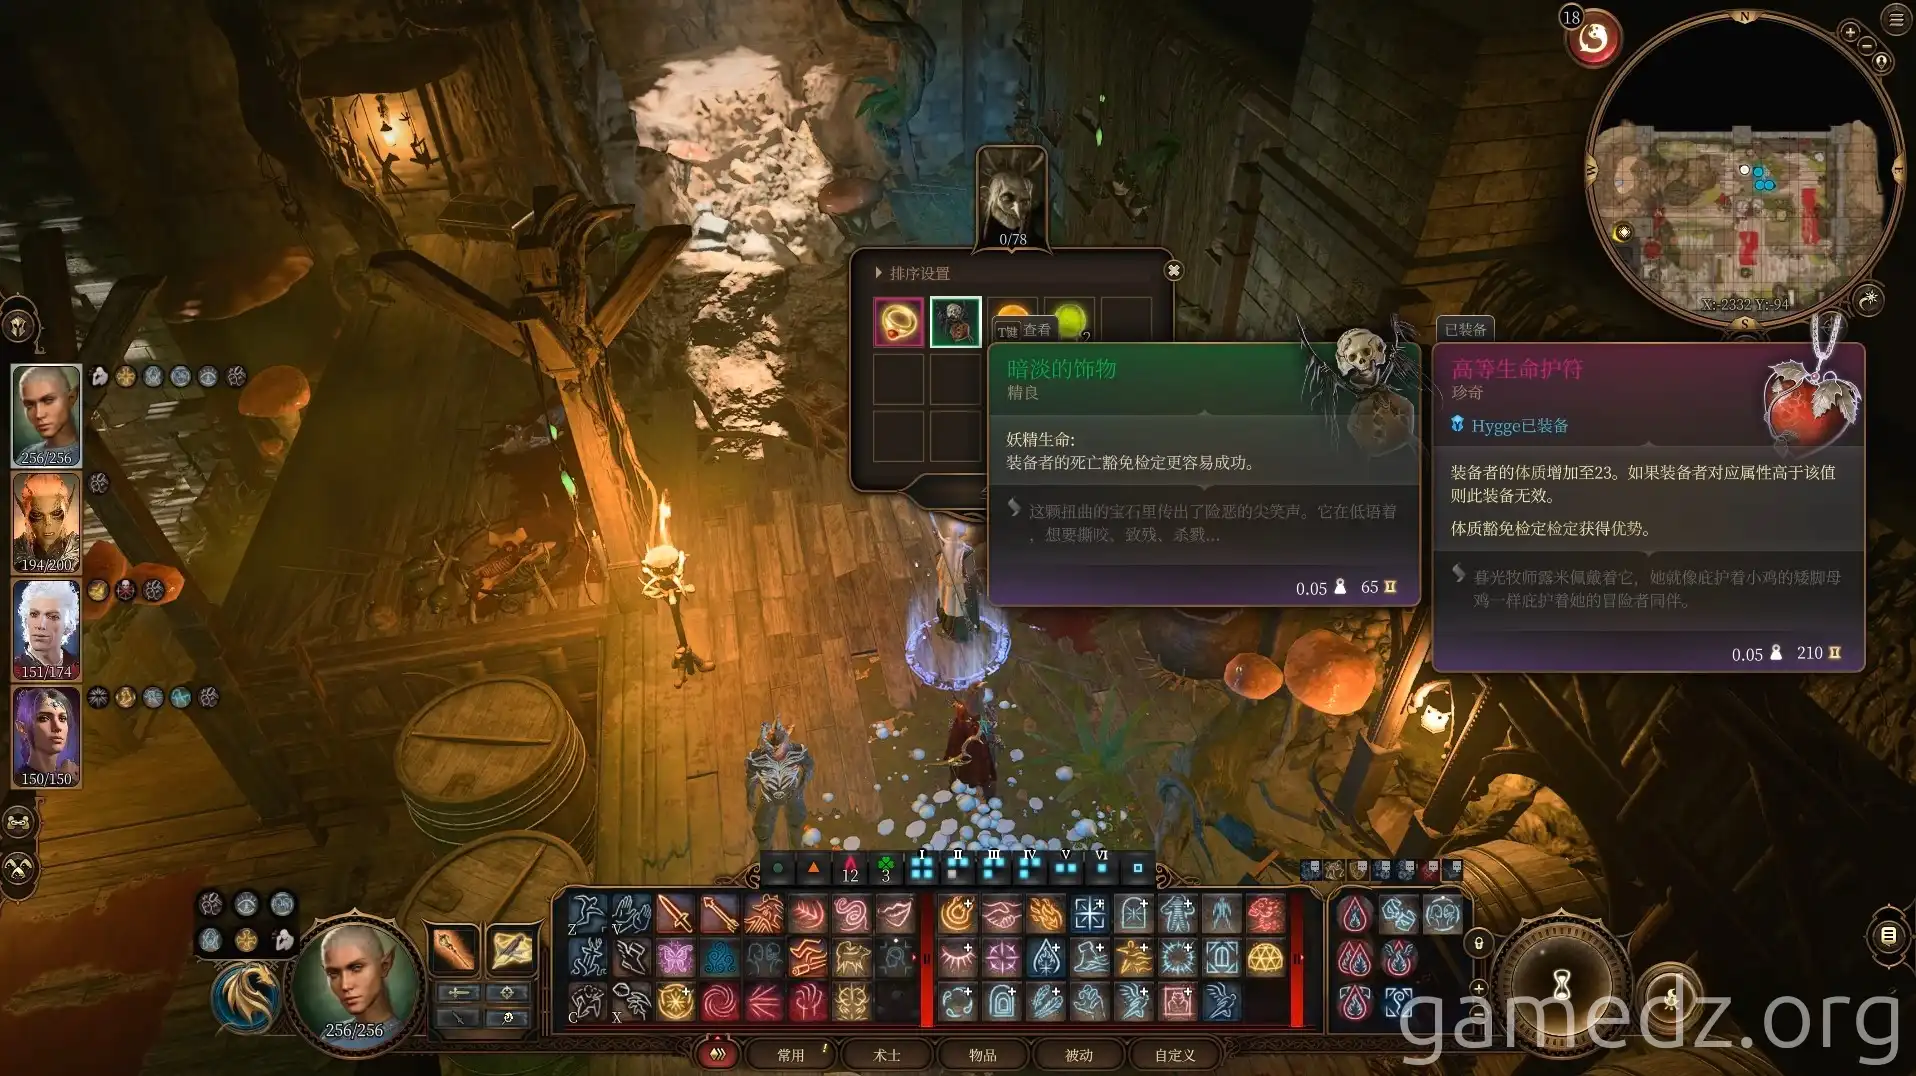
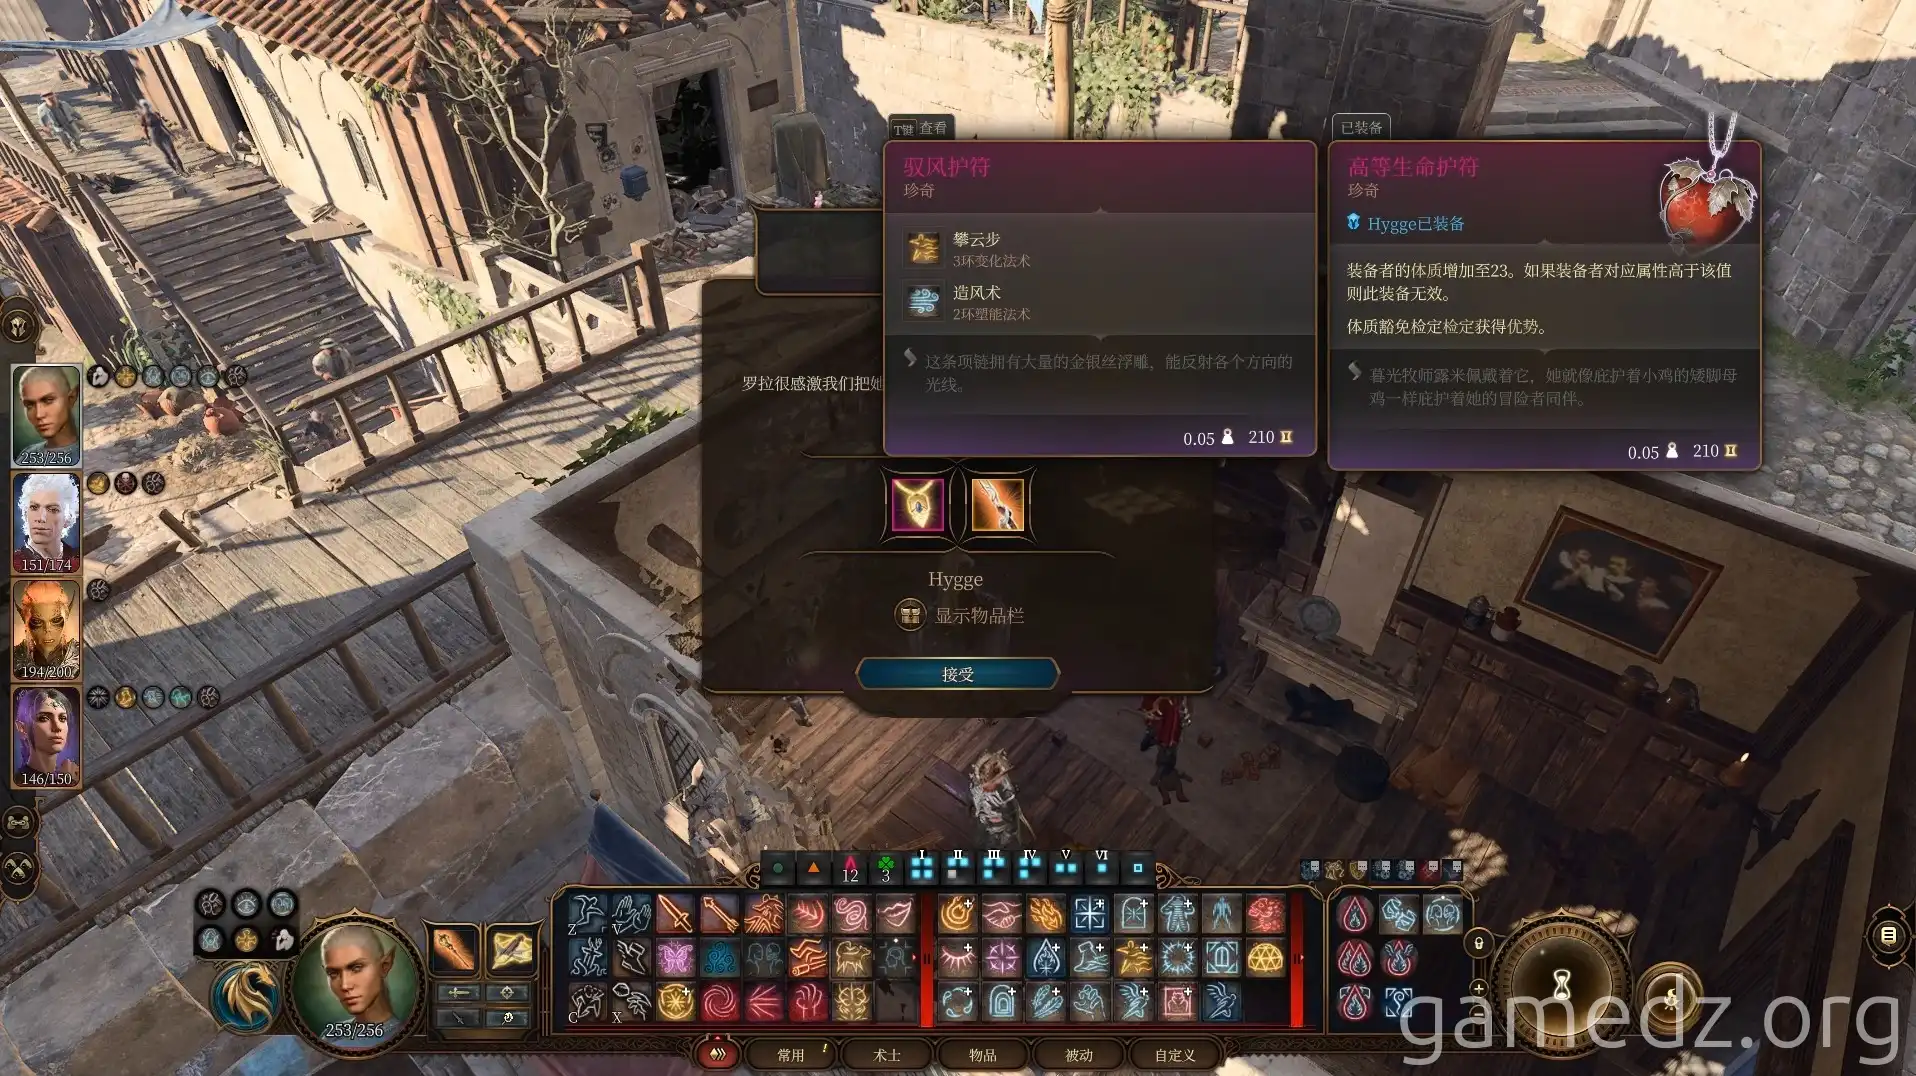
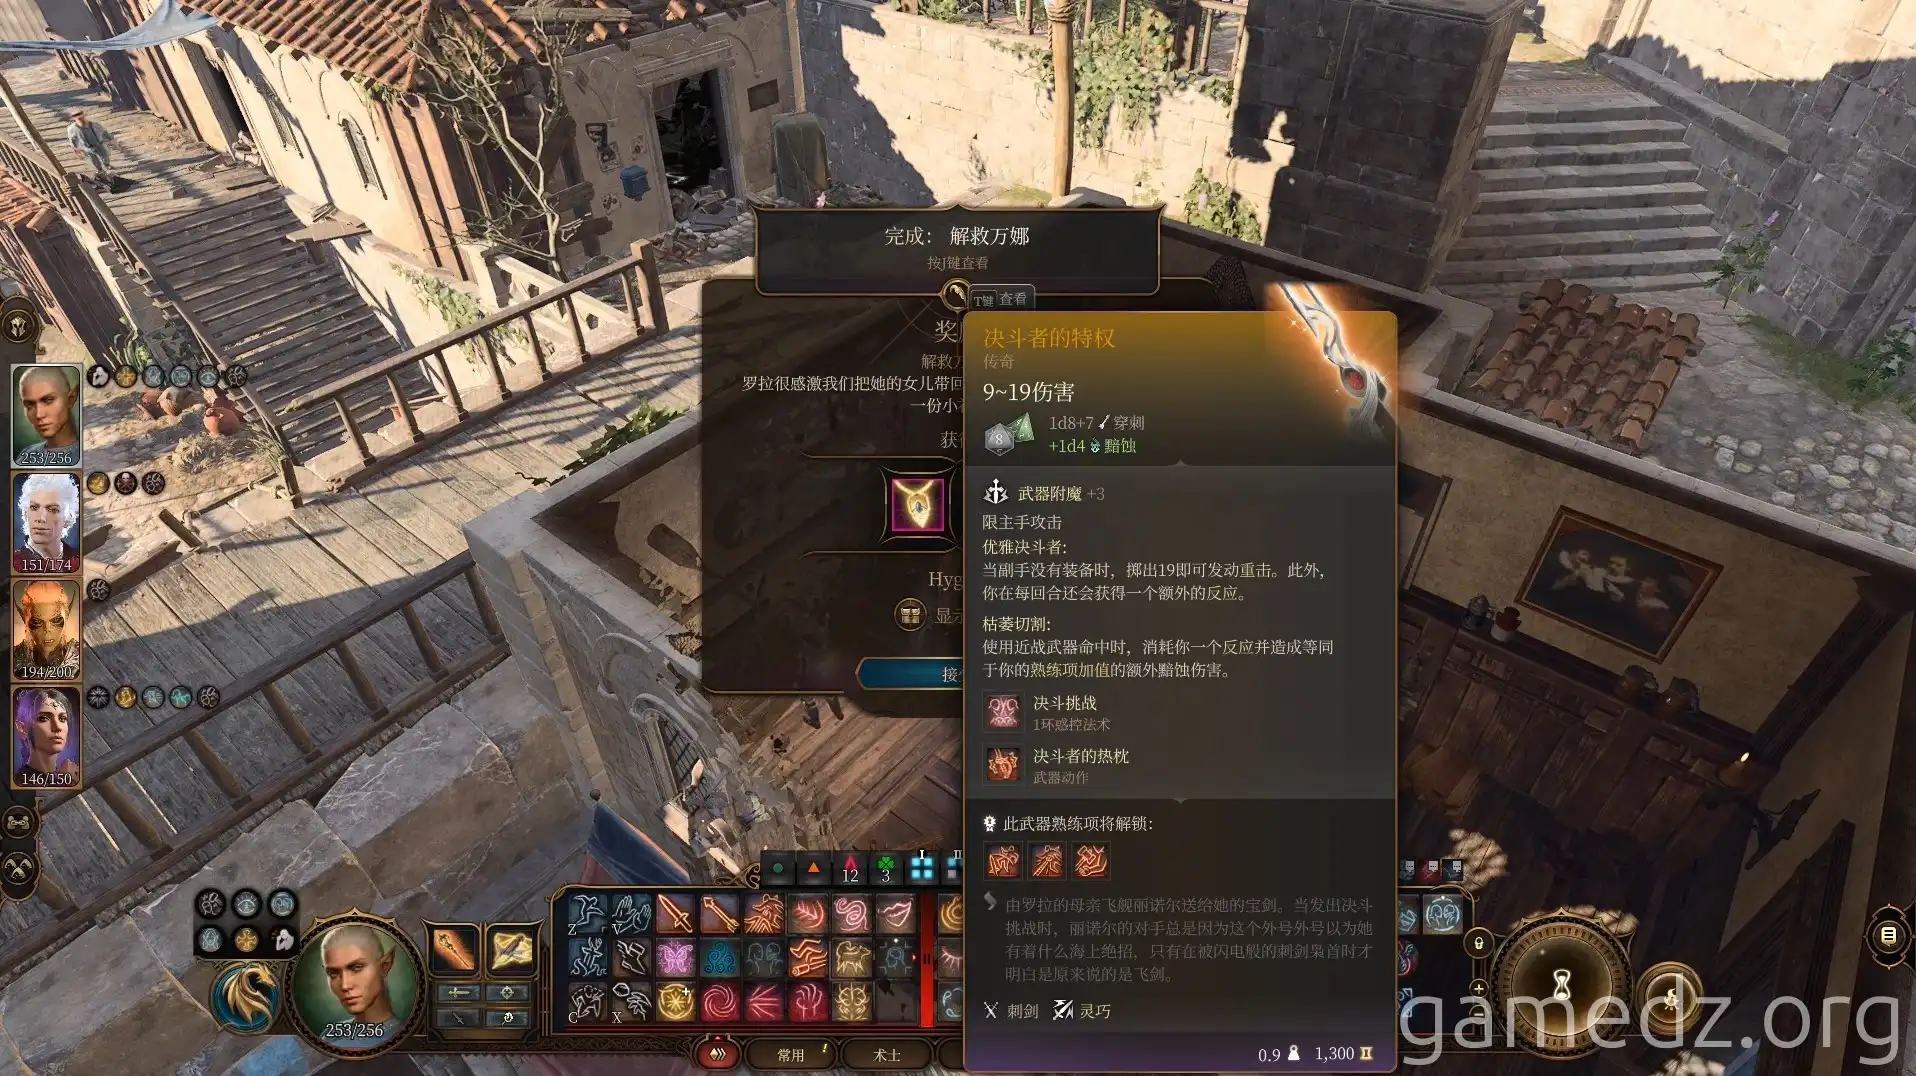
Return to Lora's home and speak with her to complete the quest to rescue Vanna. You will receive the rare accessory [Amulet of the Wind Rider] and the legendary weapon [Duellist's Privilege].
The stats of the Duellist's Privilege are as follows:
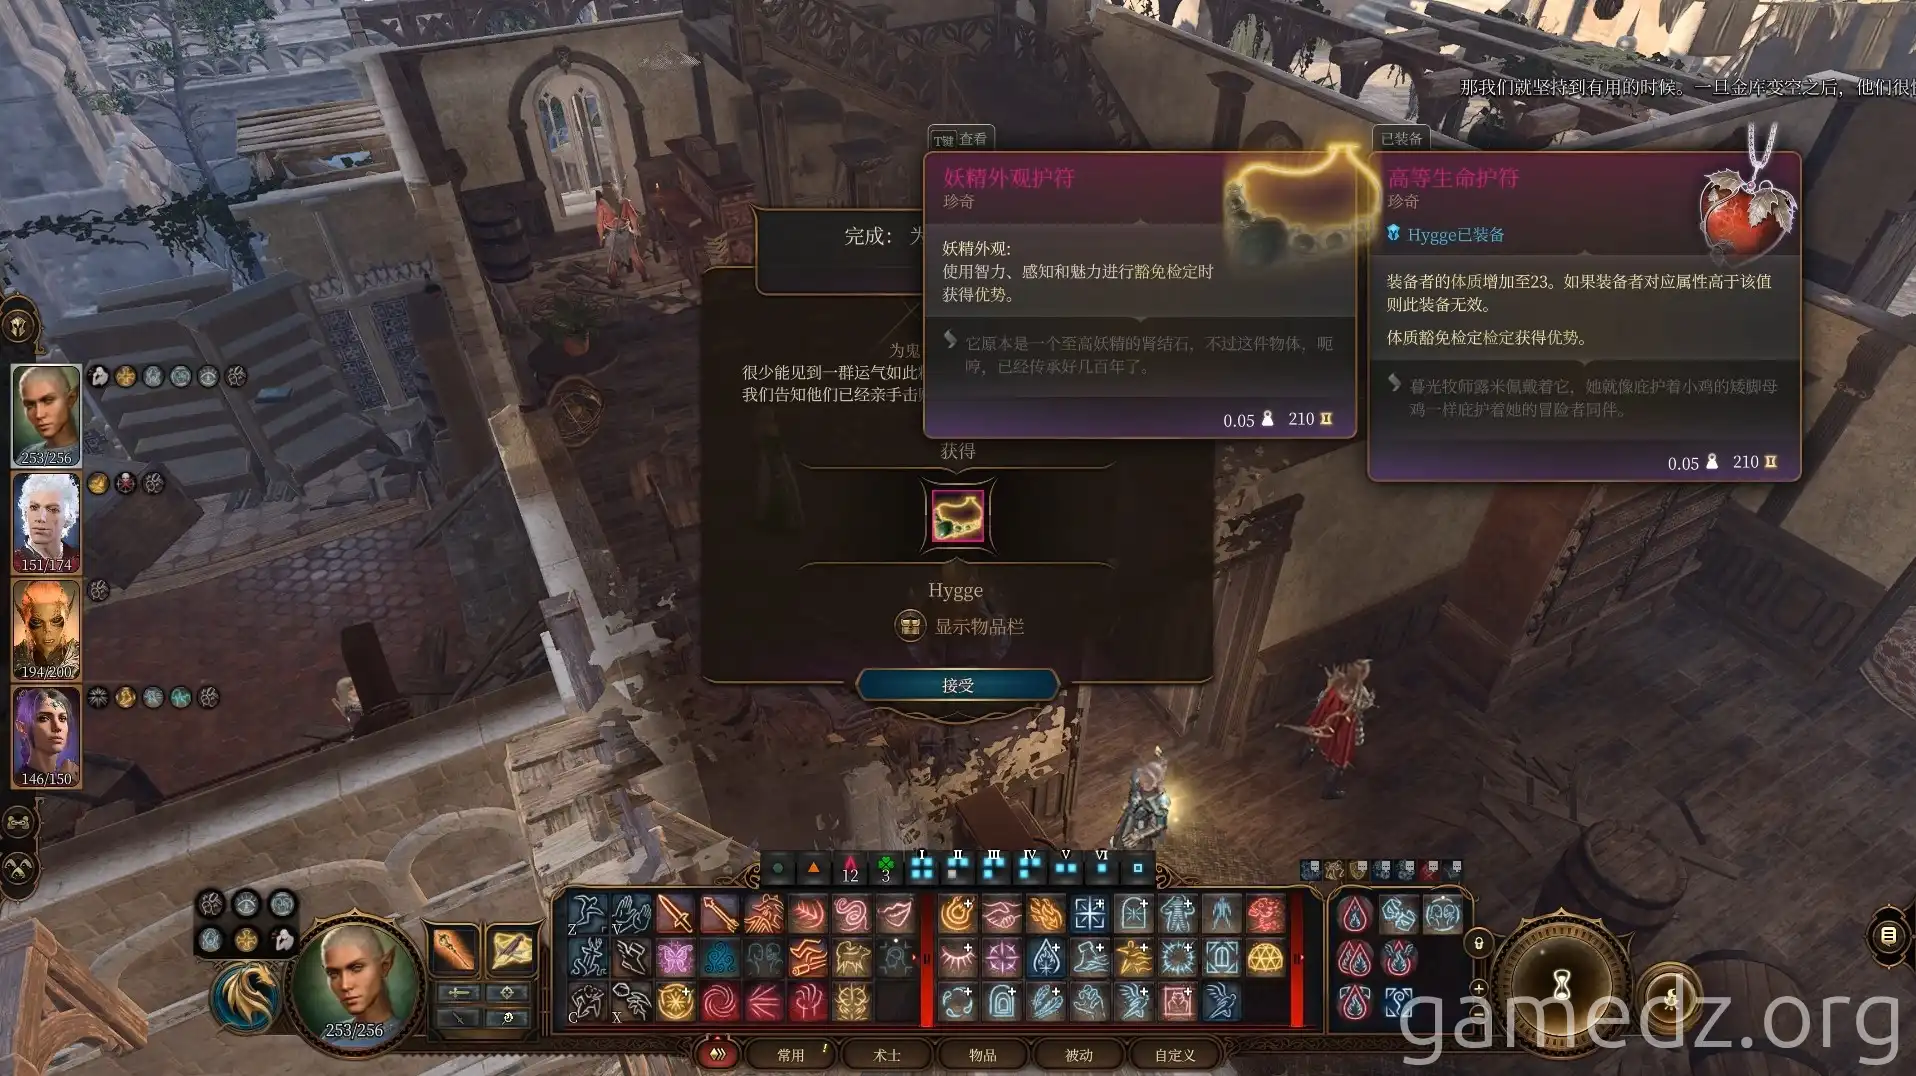
Return to the Anti-Hag Support Group and speak with Melina to receive the rare accessory [Amulet of the Fey Form].
