
Baldur's Gate 3: Lower City Wall Walkthrough & Loot Guide
Detailed Baldur's Gate 3 walkthrough for the Lower City Main Wall, focusing on Sorcerous Sundries. Discover rare gear, solve puzzles, and defeat Lorroakan. Includes Gale's questline and Mystra's involvement.
Welcome back, adventurers! This guide continues our journey through the East Side of the Lower City Main Wall in Baldur's Gate 3, focusing on the crucial shops and quests within.
Cloak of the White Cape & Stormy Coast Armory
After teleporting back to the Lower City Main Wall, your first stop is the Cloak of the White Cape, located right next to the portal. Here, you'll find familiar faces like Dribbles the Clown and Baron. Stock up on potions from Dribbles!
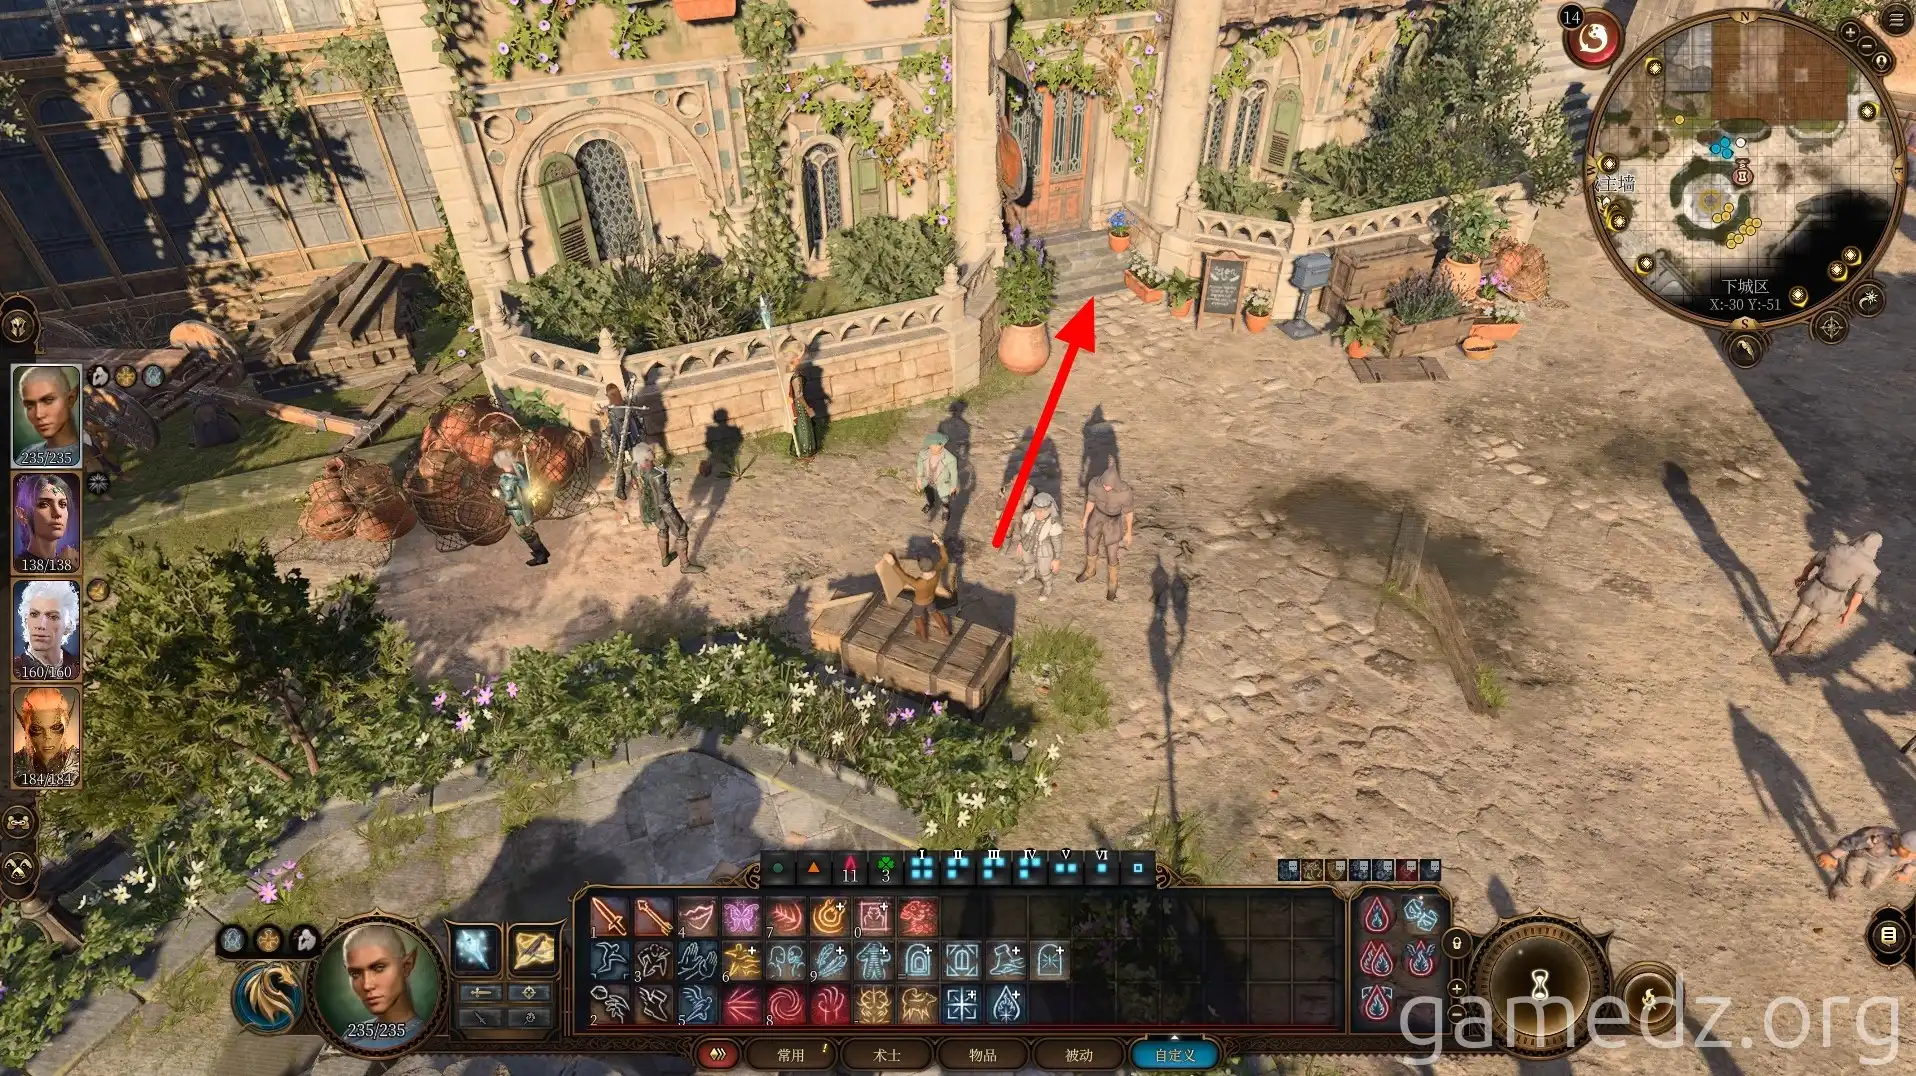
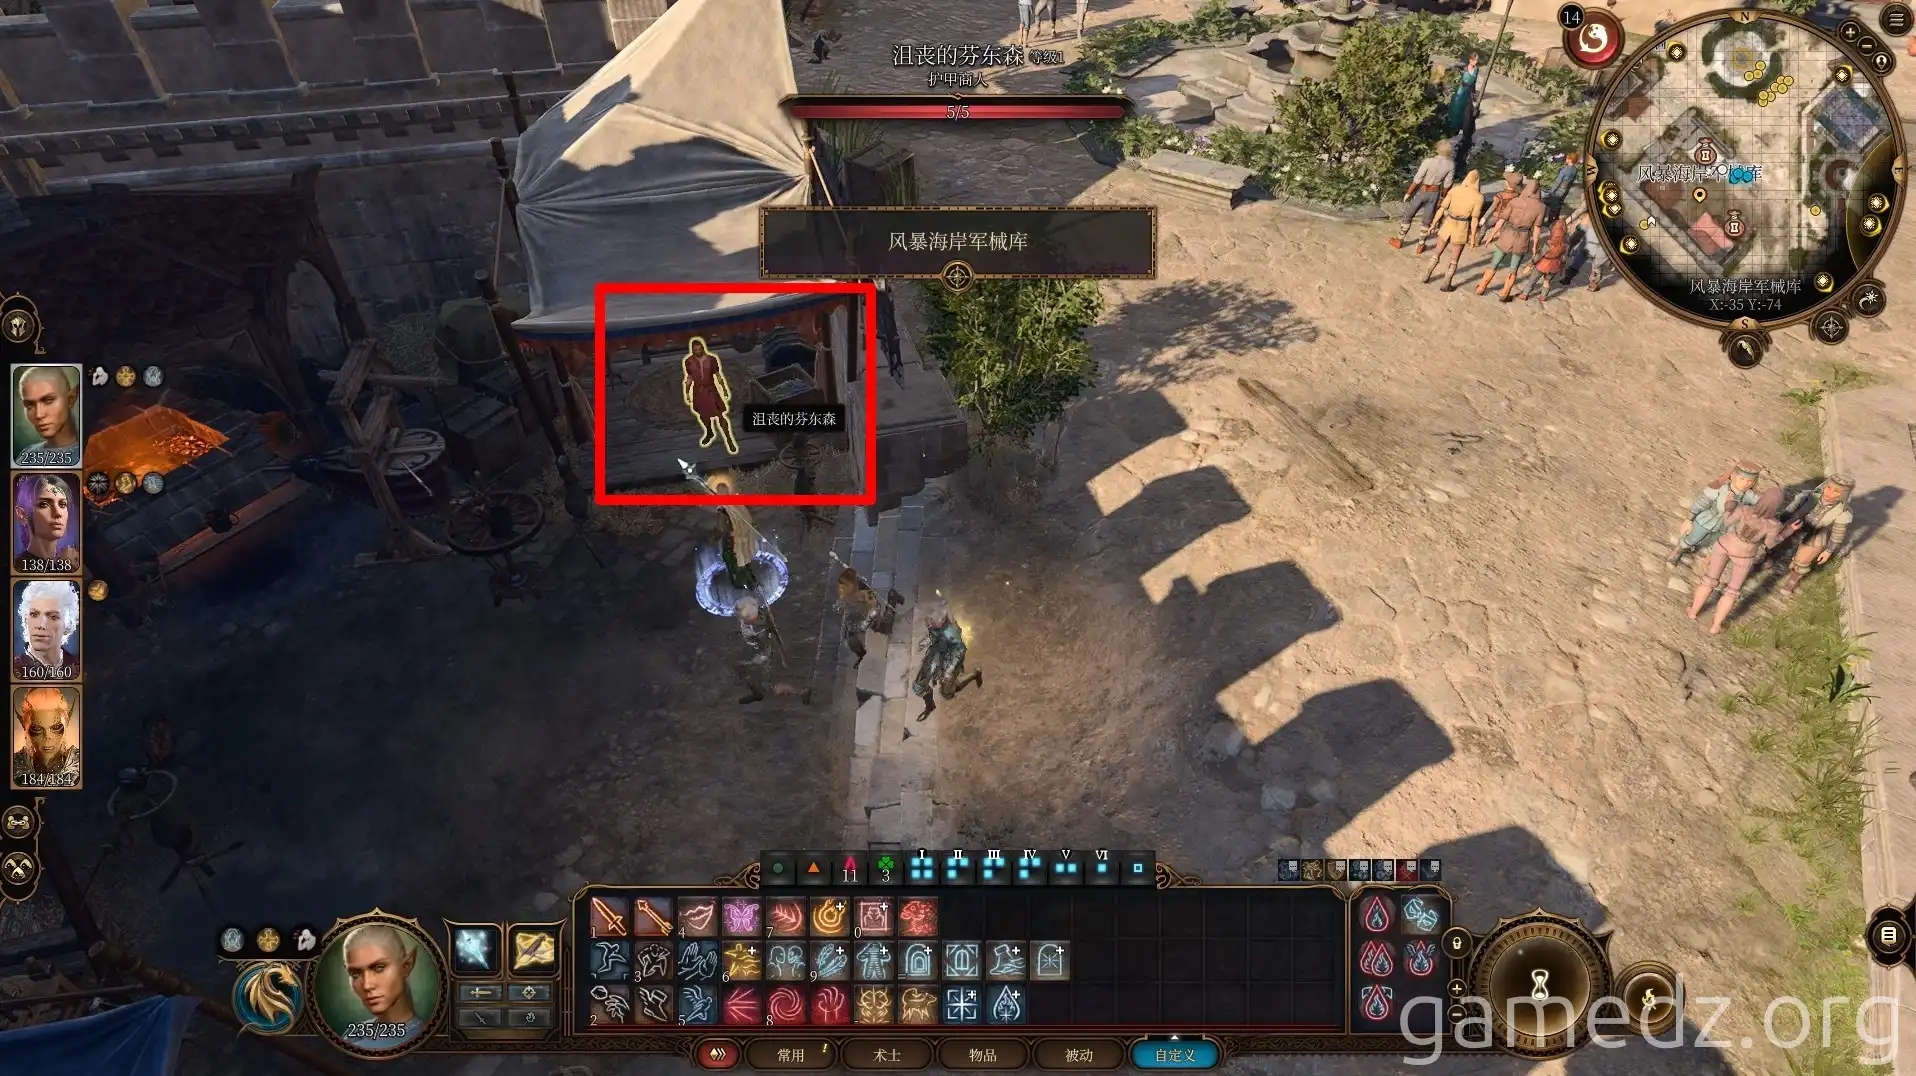
Next, head south of the Main Wall teleportation circle to the Stormy Coast Armory. Two merchants await with unique equipment:
- Fentonson: Offers dejected wares.
- Fizzwick: A firecracker with exciting gear.
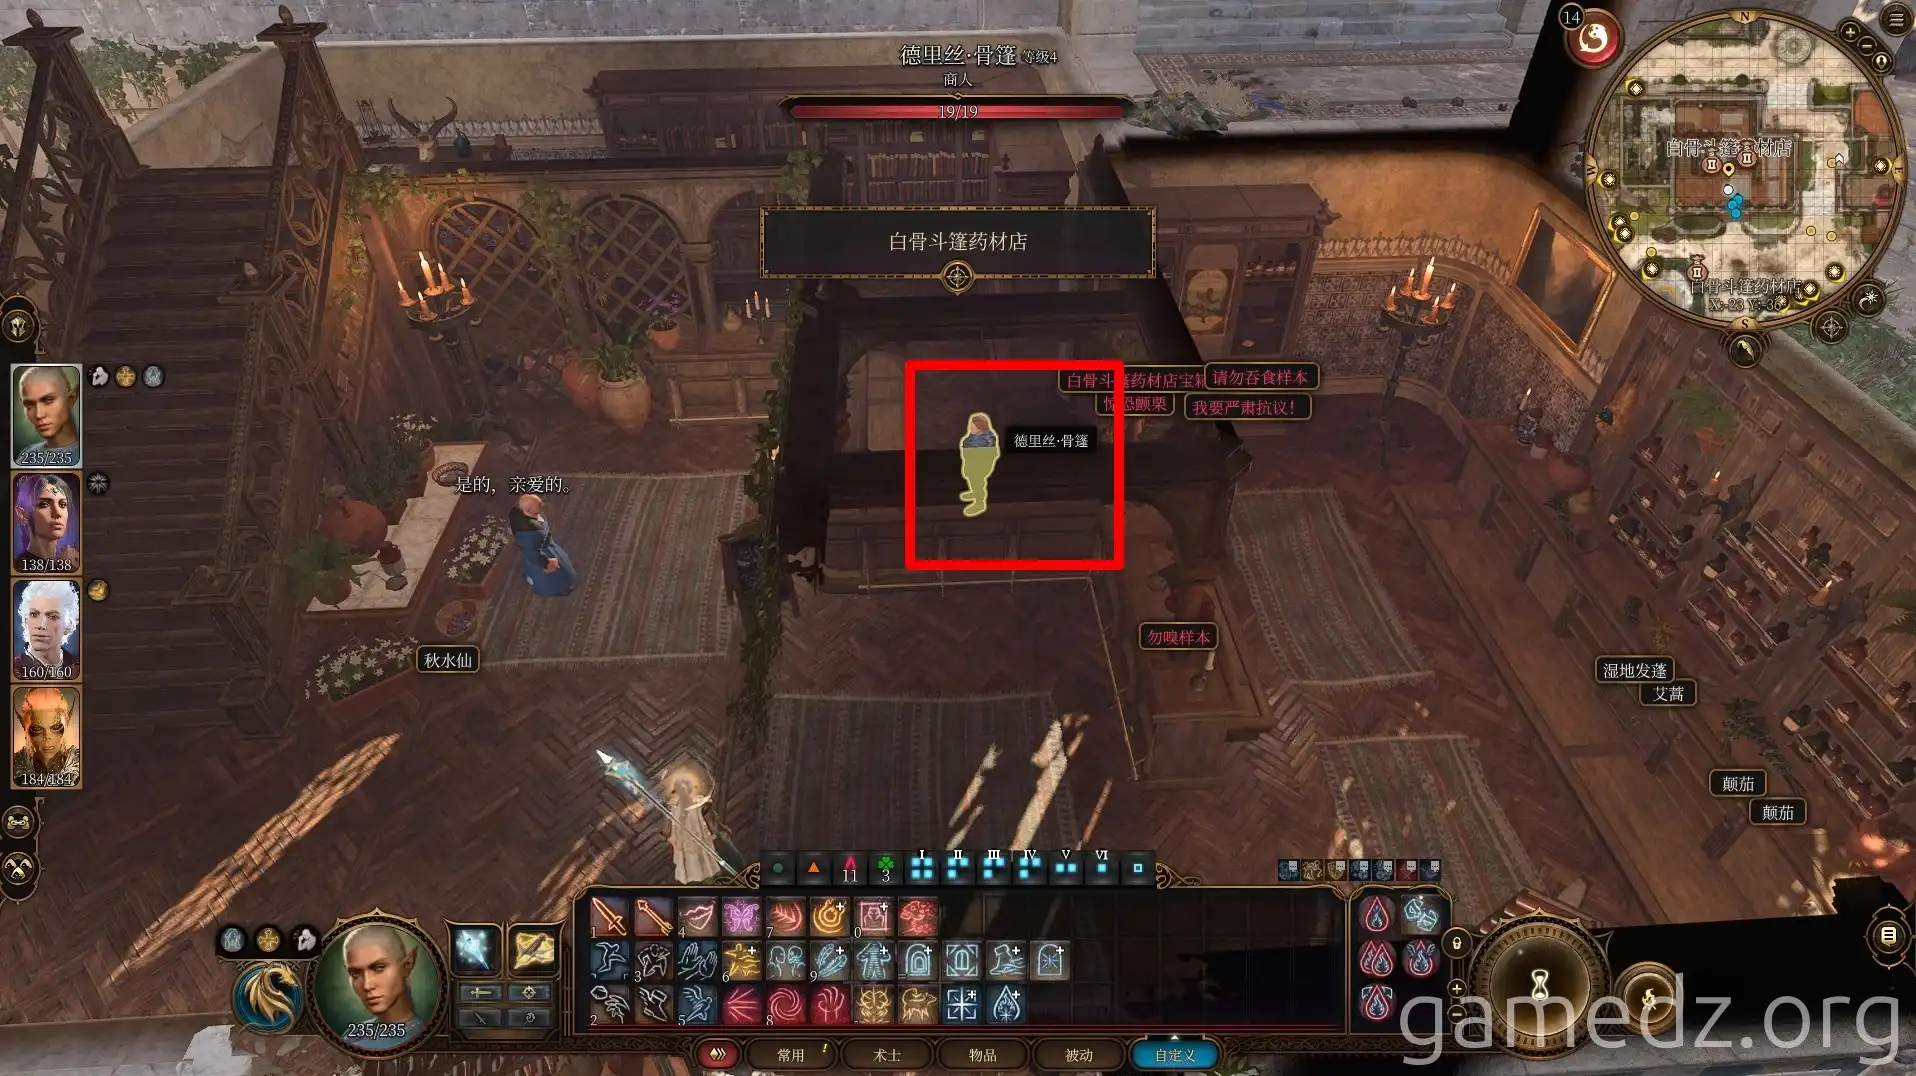
Sorcerous Sundries: Quests and Rare Gear
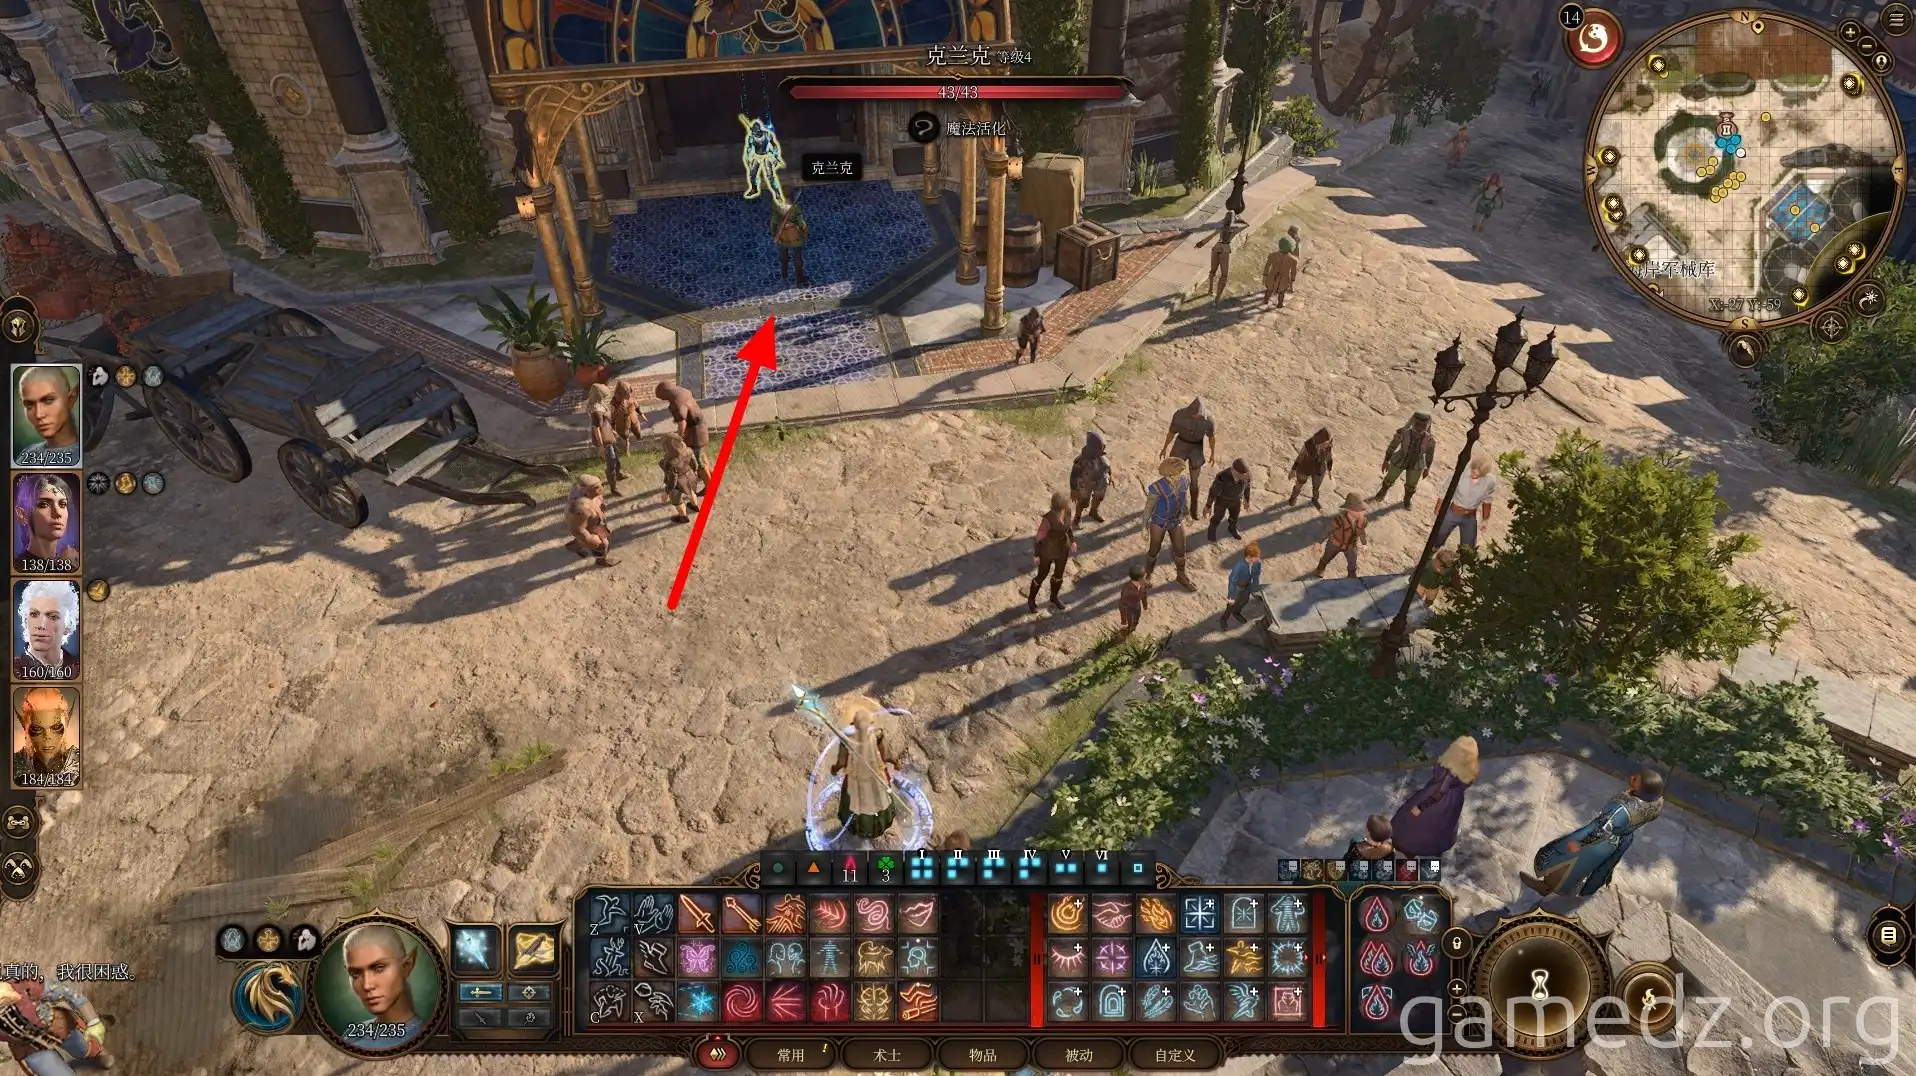
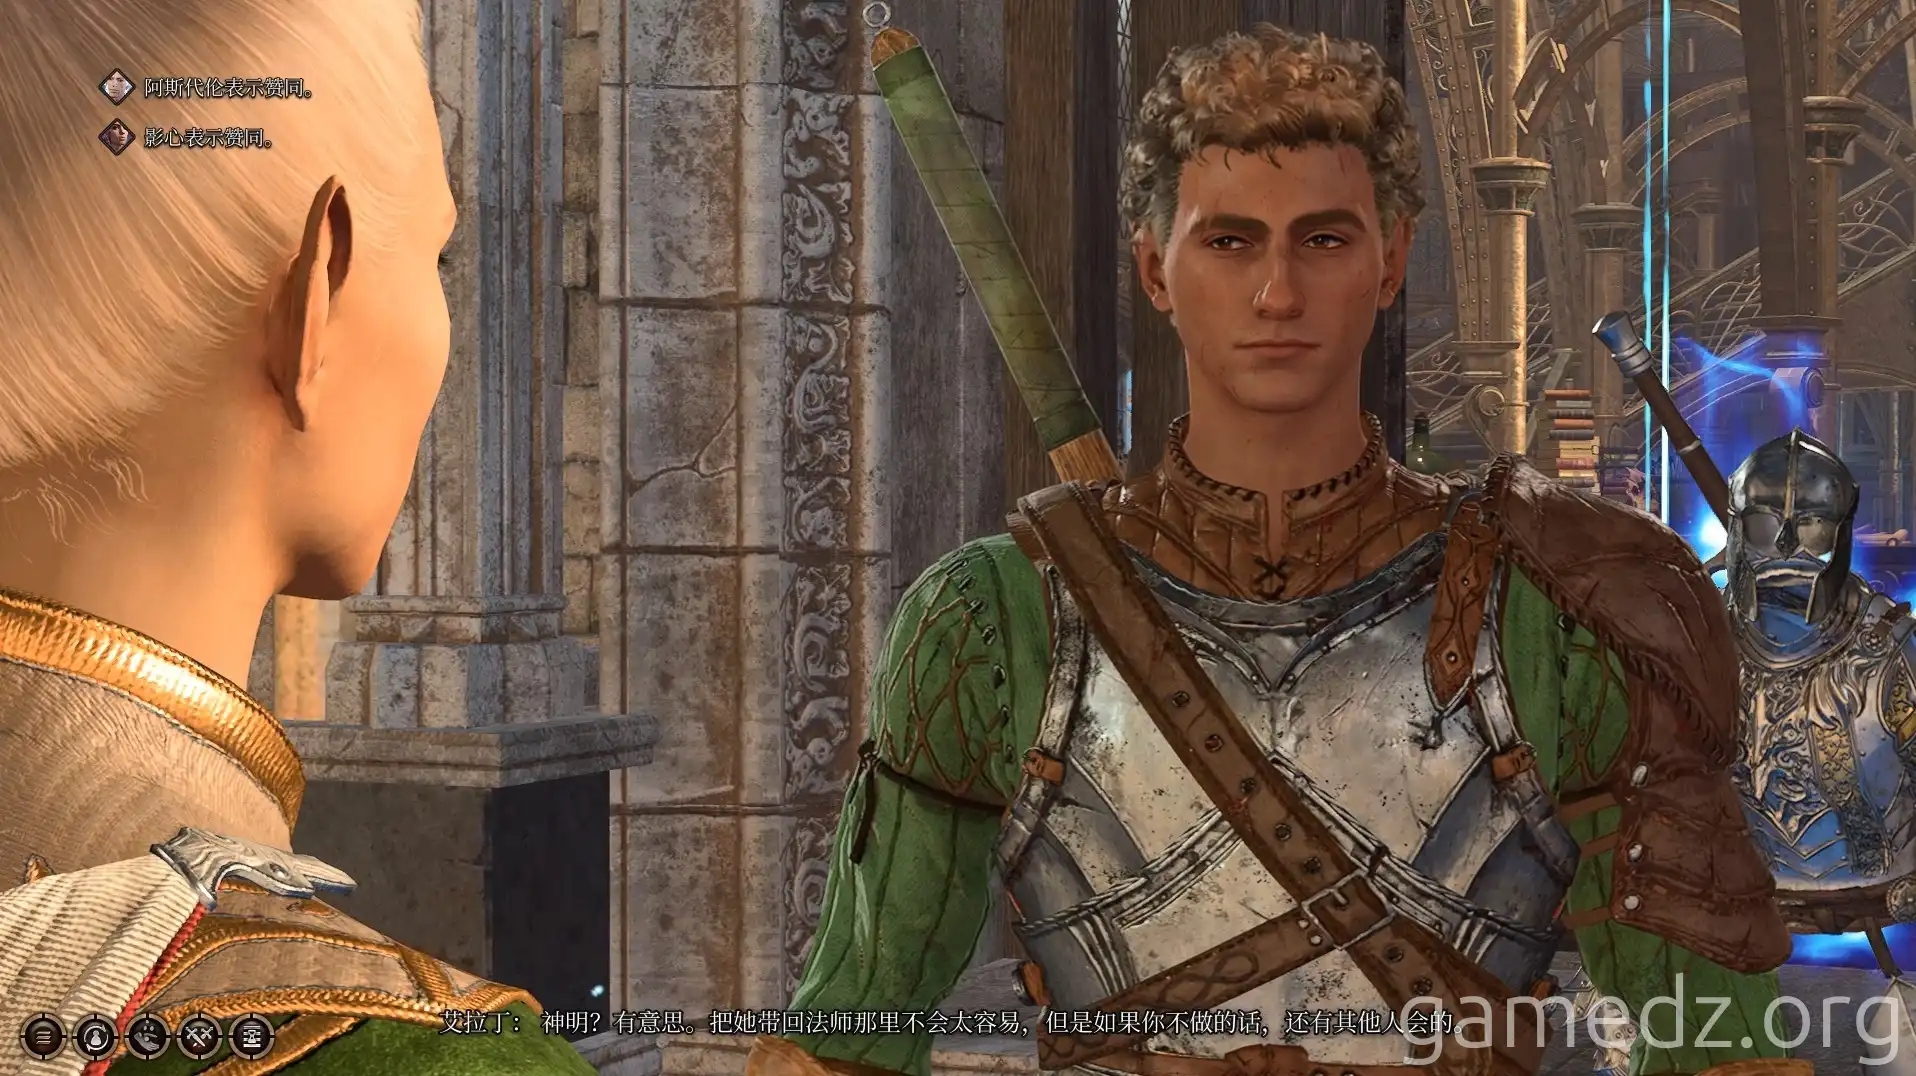
Adjacent to the armory is the renowned Sorcerous Sundries. Upon entering, you'll witness Astarion confronting a magic servant.
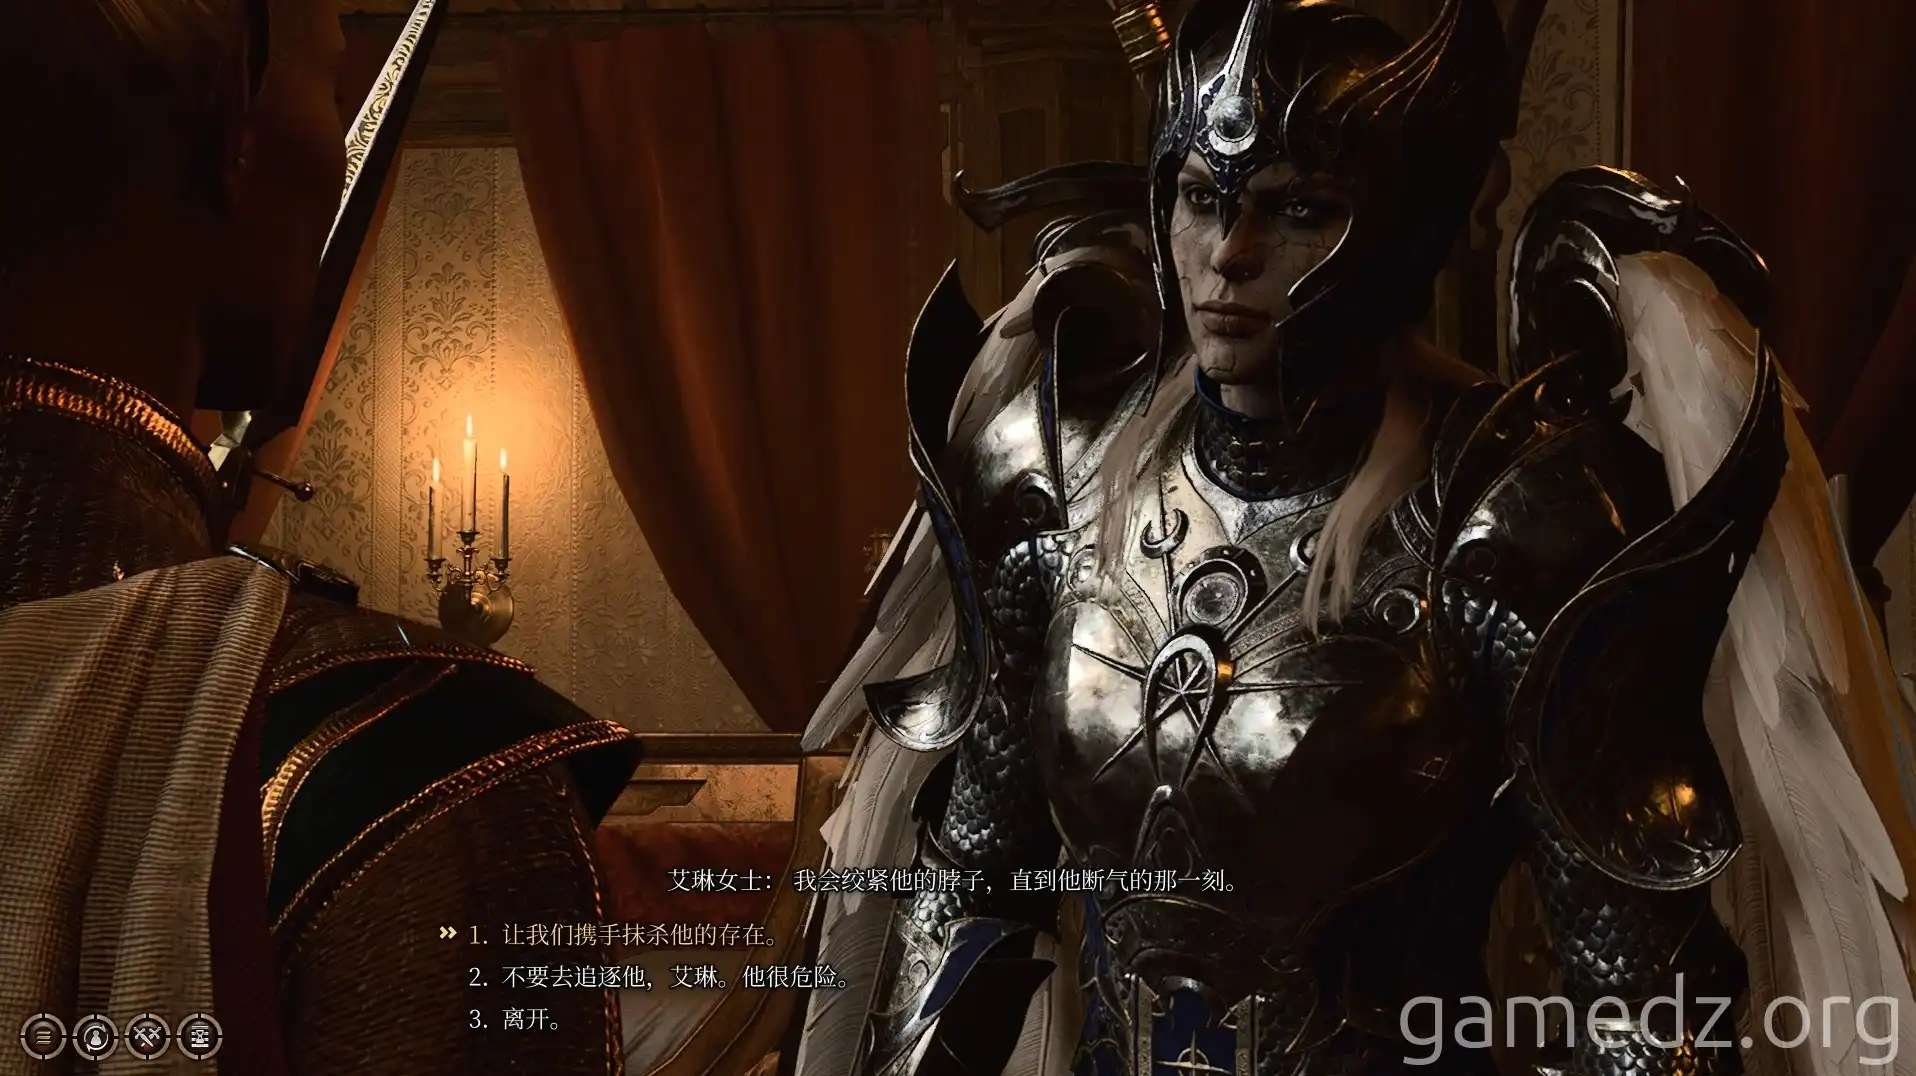
Dialogue Choice: When discussing the Nightsong, be strategic. Revealing you've found her might lead to demands, while silence is often the safest bet to avoid Astarion's sneak attacks.
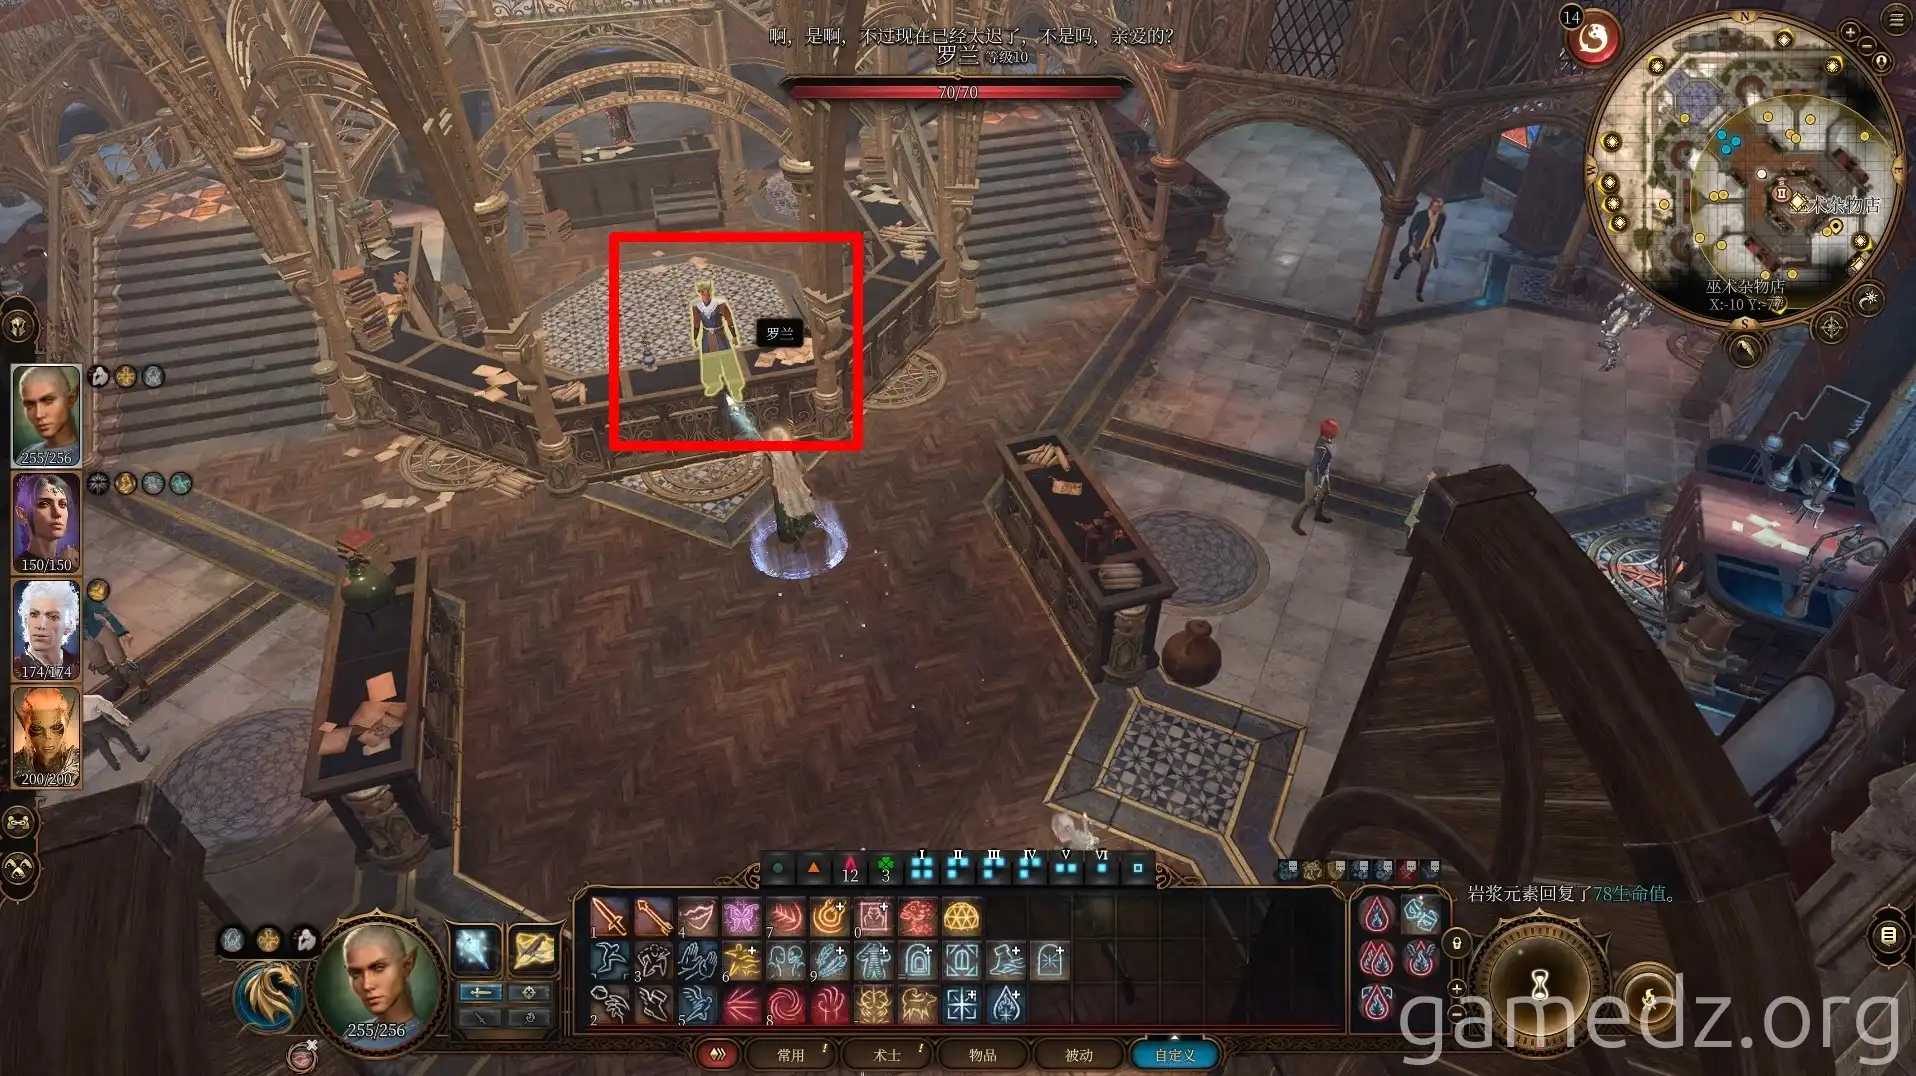
Inside, meet Roland at the counter. He's nursing some wounds, but you can still purchase valuable items from him:

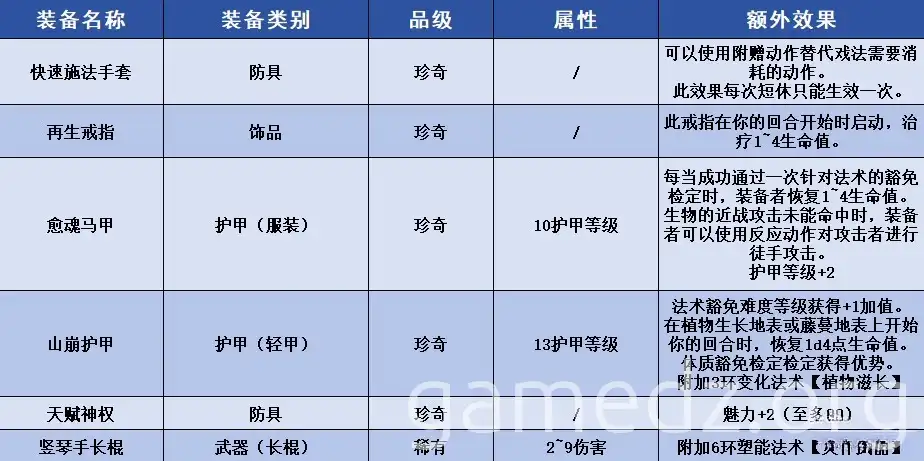
Roland's Unique Equipment:
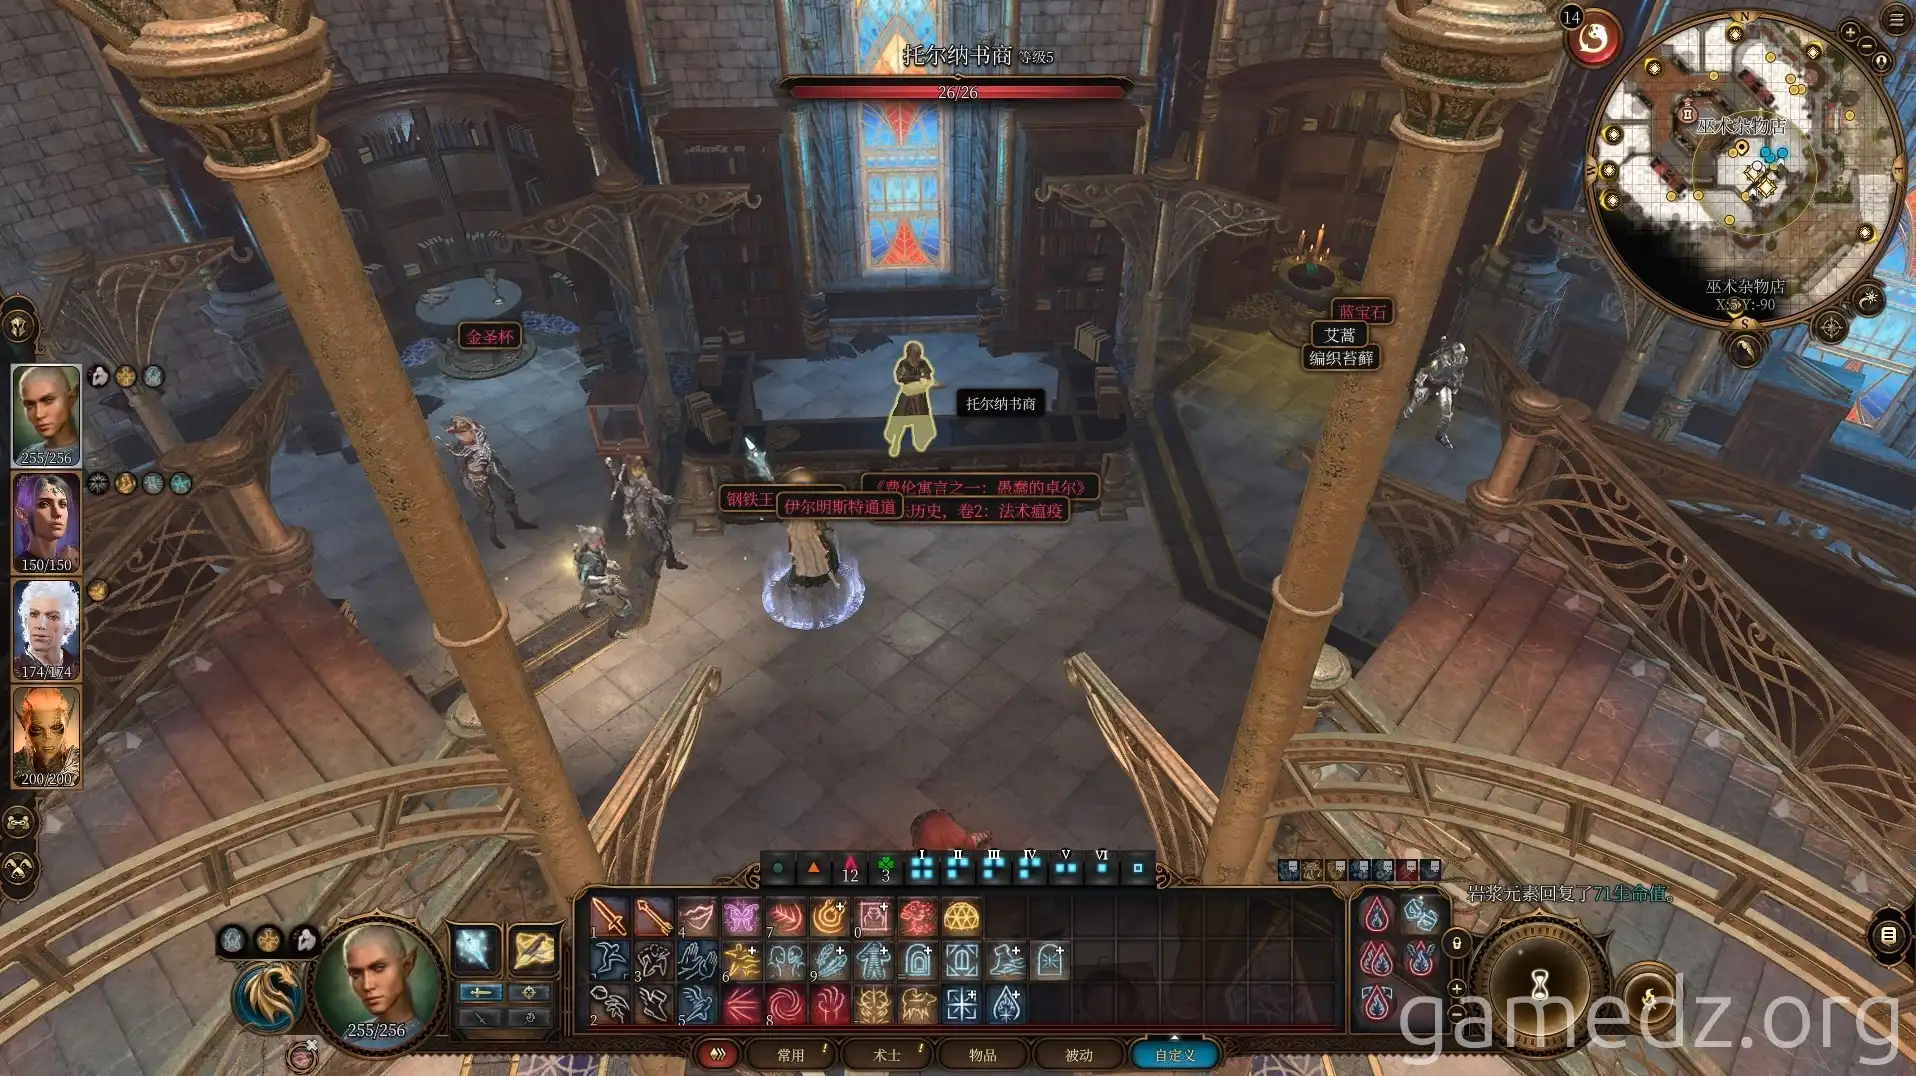
Speak with the bookseller, Tolna, to learn that Gale's desired book is secured in a vault.
Ascending to Lorroakan's Tower
Head upstairs to confront Lorroakan's projection.
Lorroakan opens four portals, each with a description of the Nightsong. The leftmost portal is your key to the tower's summit. Choose wisely, as the wrong portal means a swift, fatal fall!
At the summit, feign cooperation with Lorroakan, promising to bring him the Nightsong.
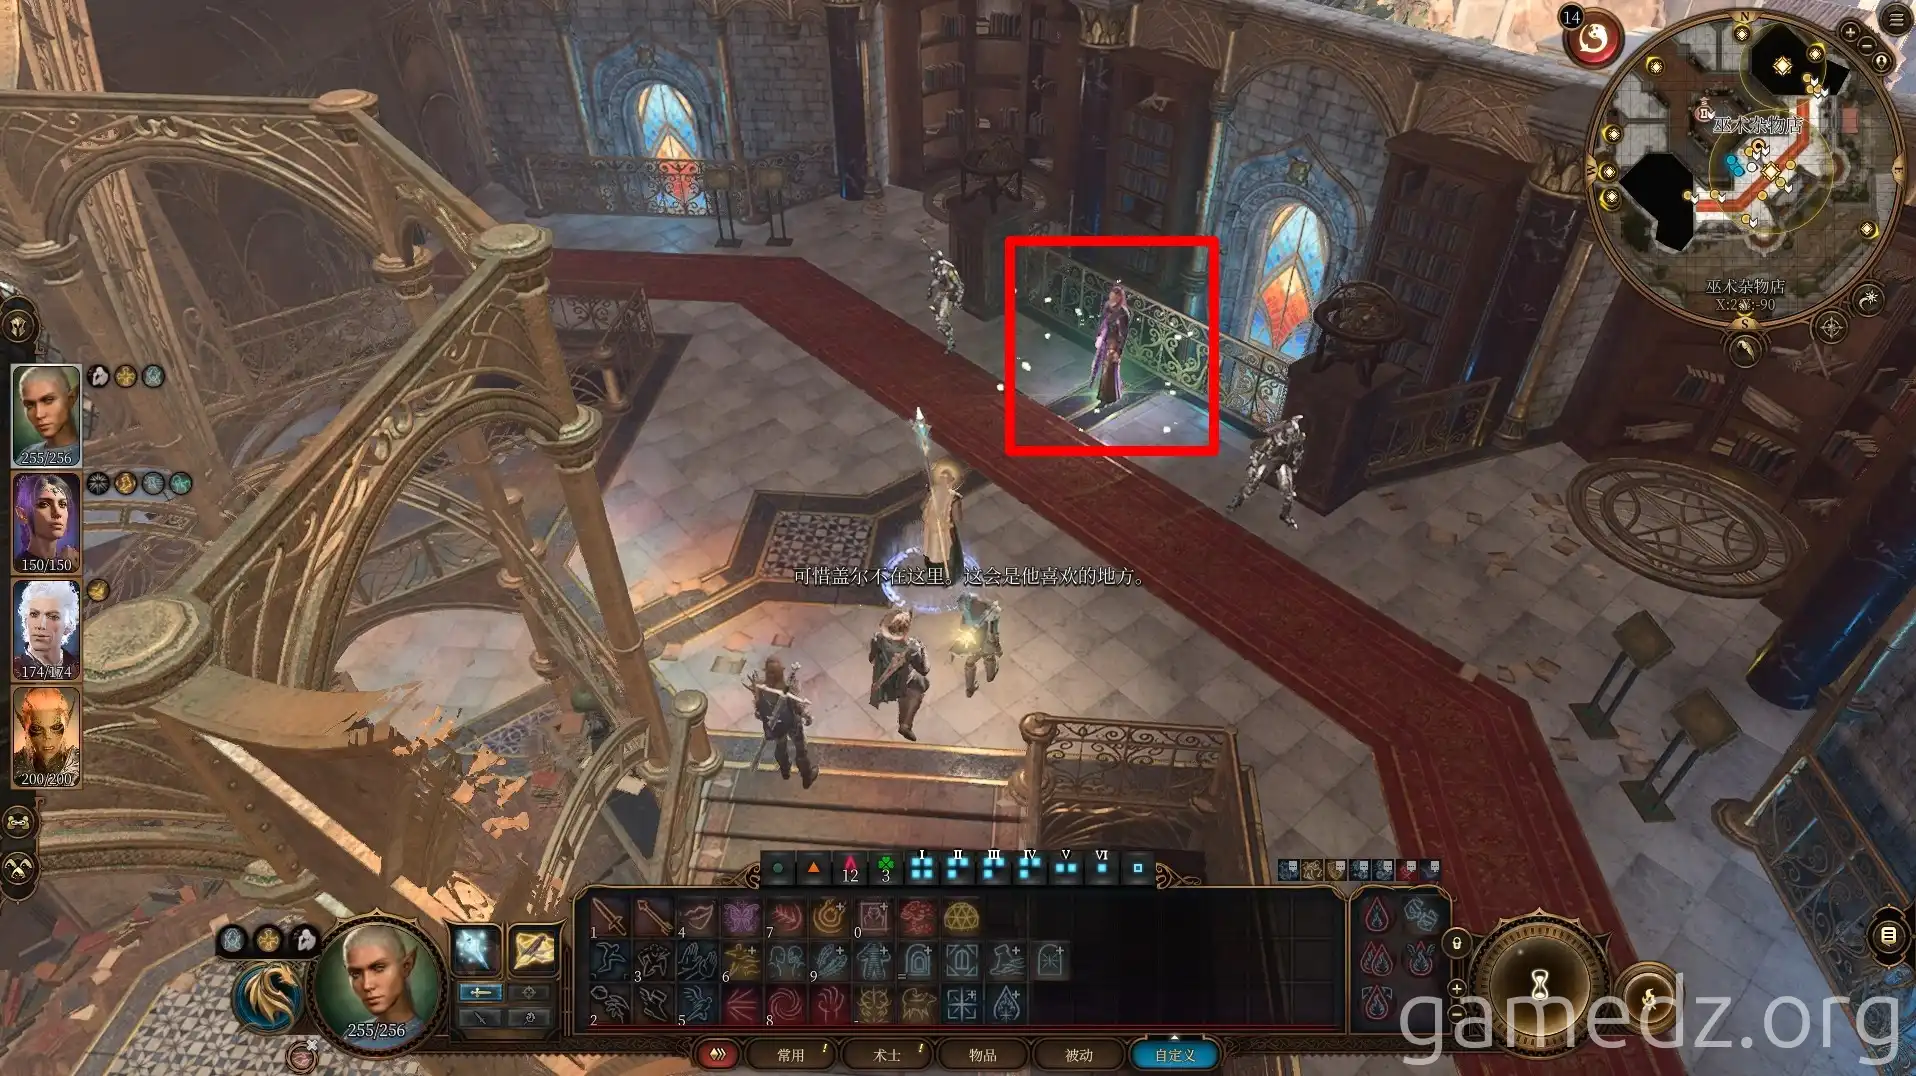
Return to camp and consult with Aylin. She'll propose a joint effort to defeat Lorroakan.
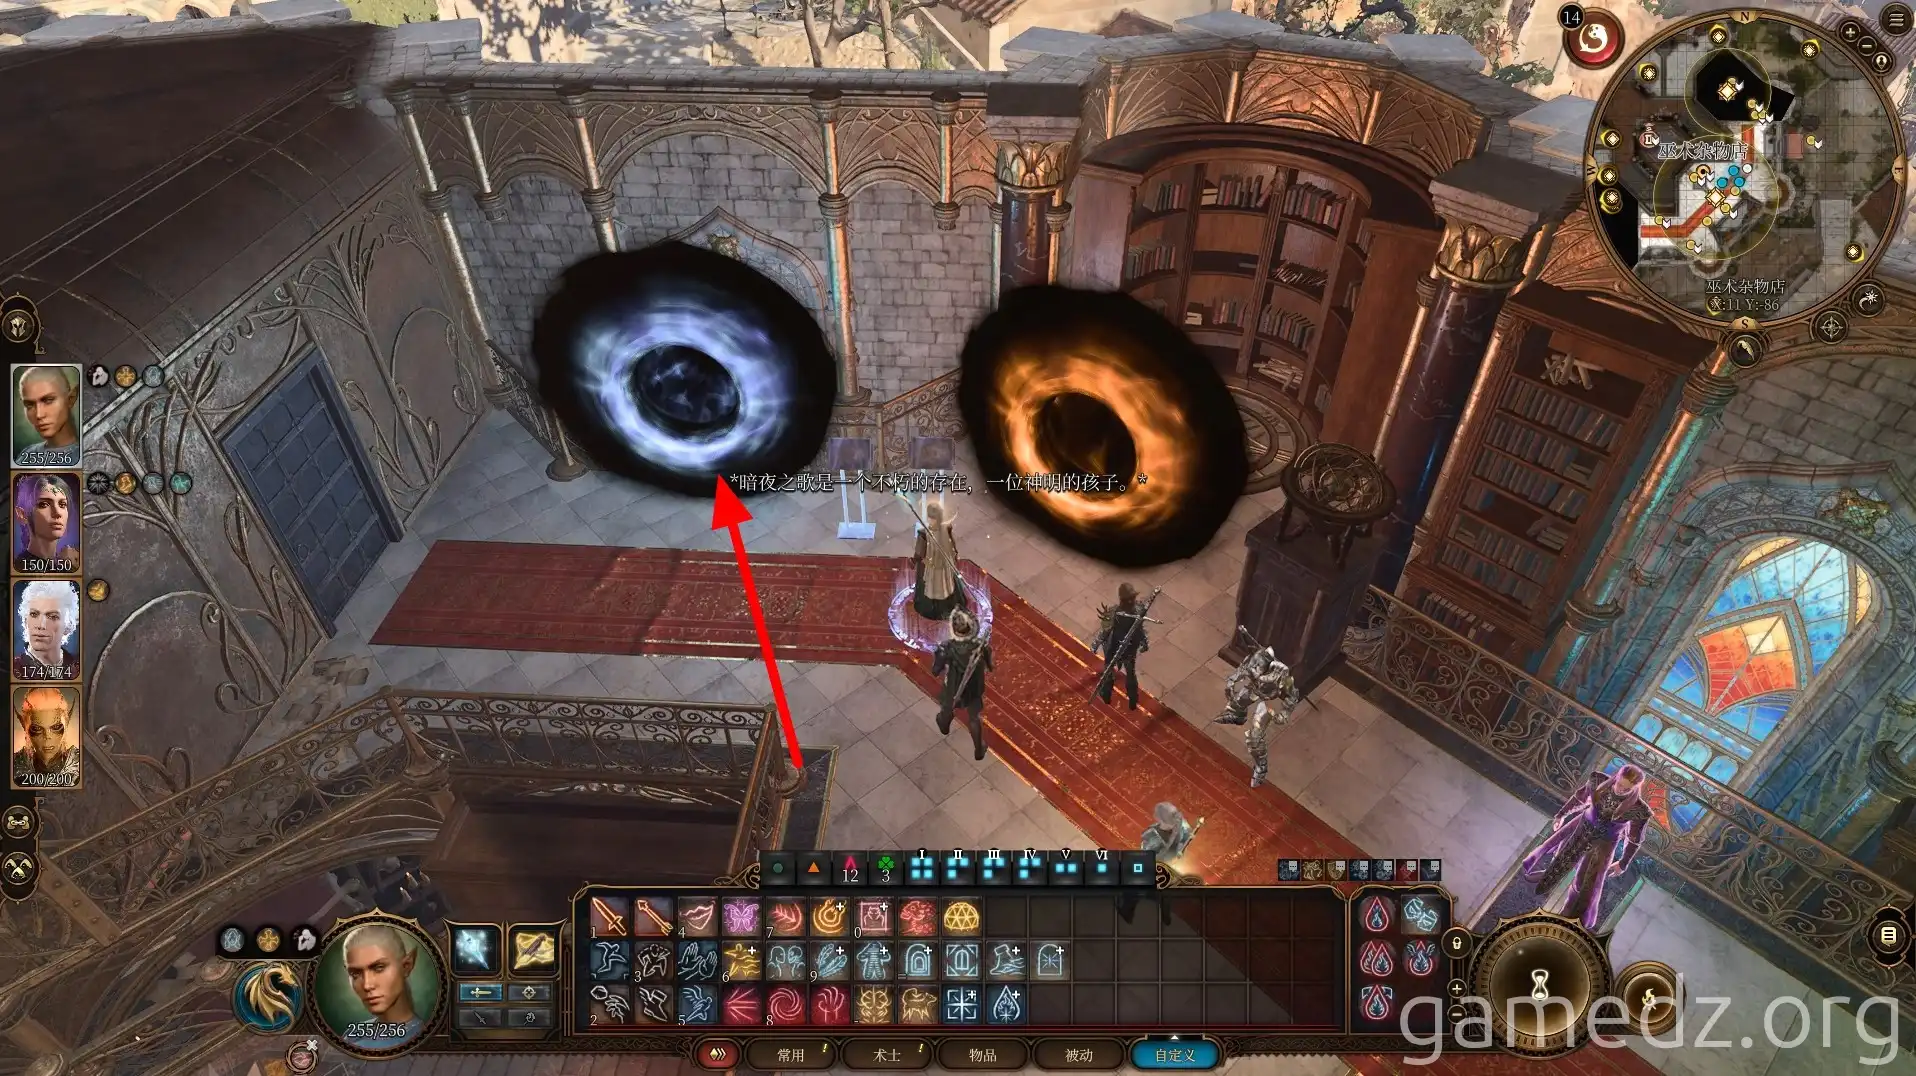
The Battle Against Lorroakan:
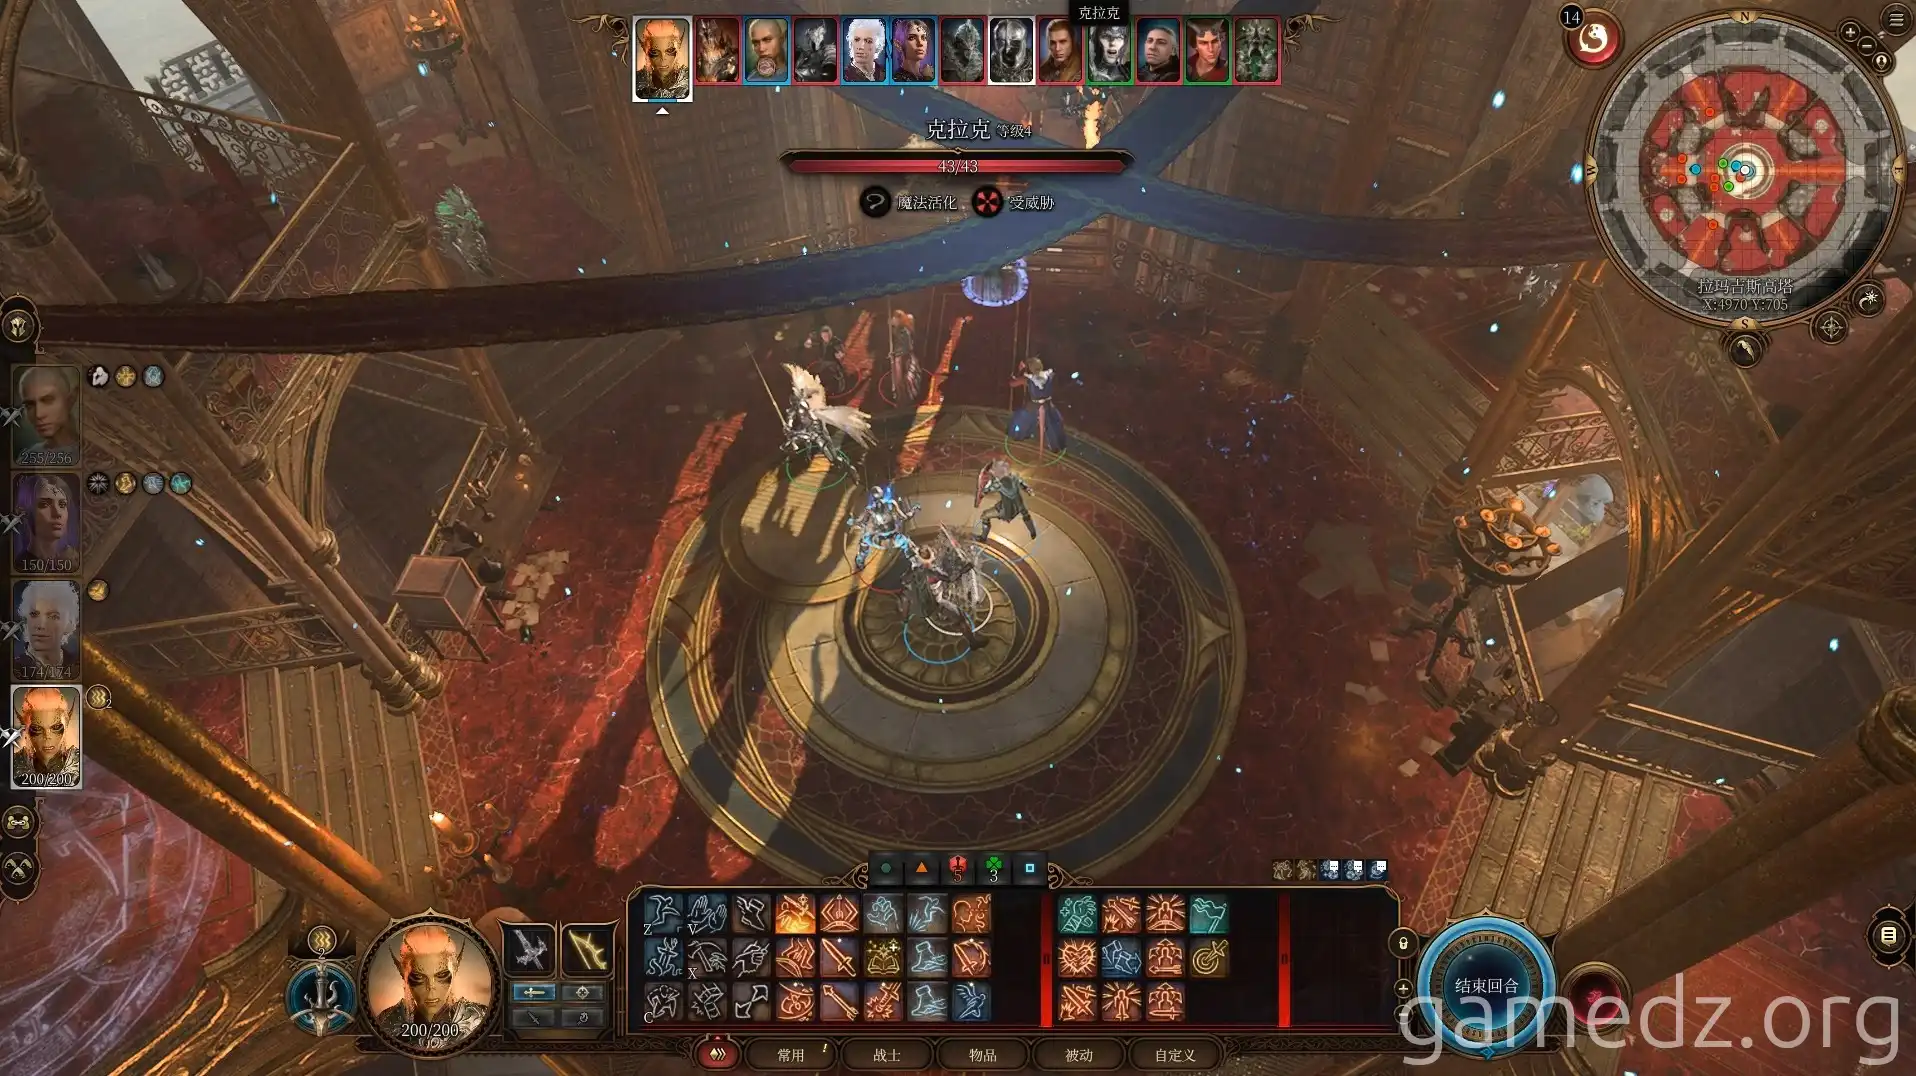
Return to the tower and face Lorroakan with Aylin. Roland will join your cause once the truth about the Nightsong is revealed.
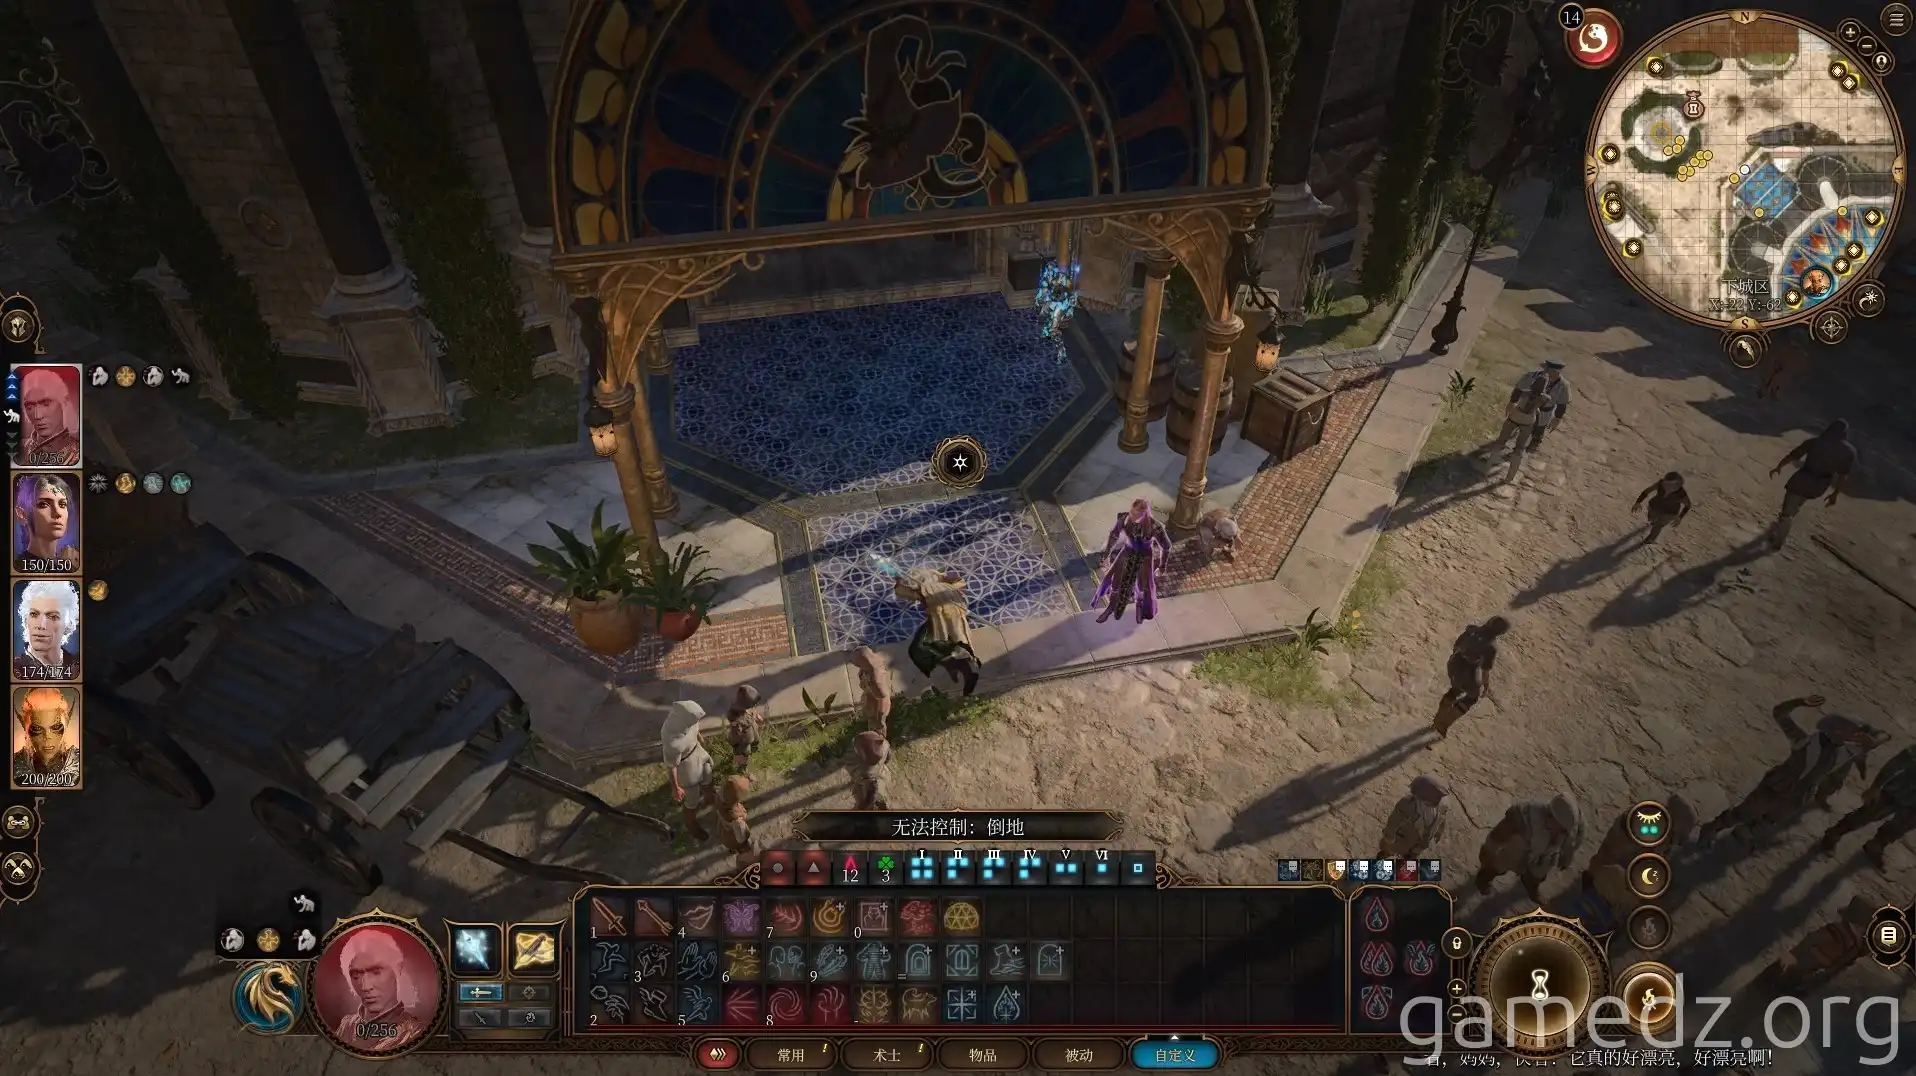
Strategy: Prioritize defeating the surrounding Elemental Myrmidons. Once they are gone, Aylin can dispatch Lorroakan with ease.
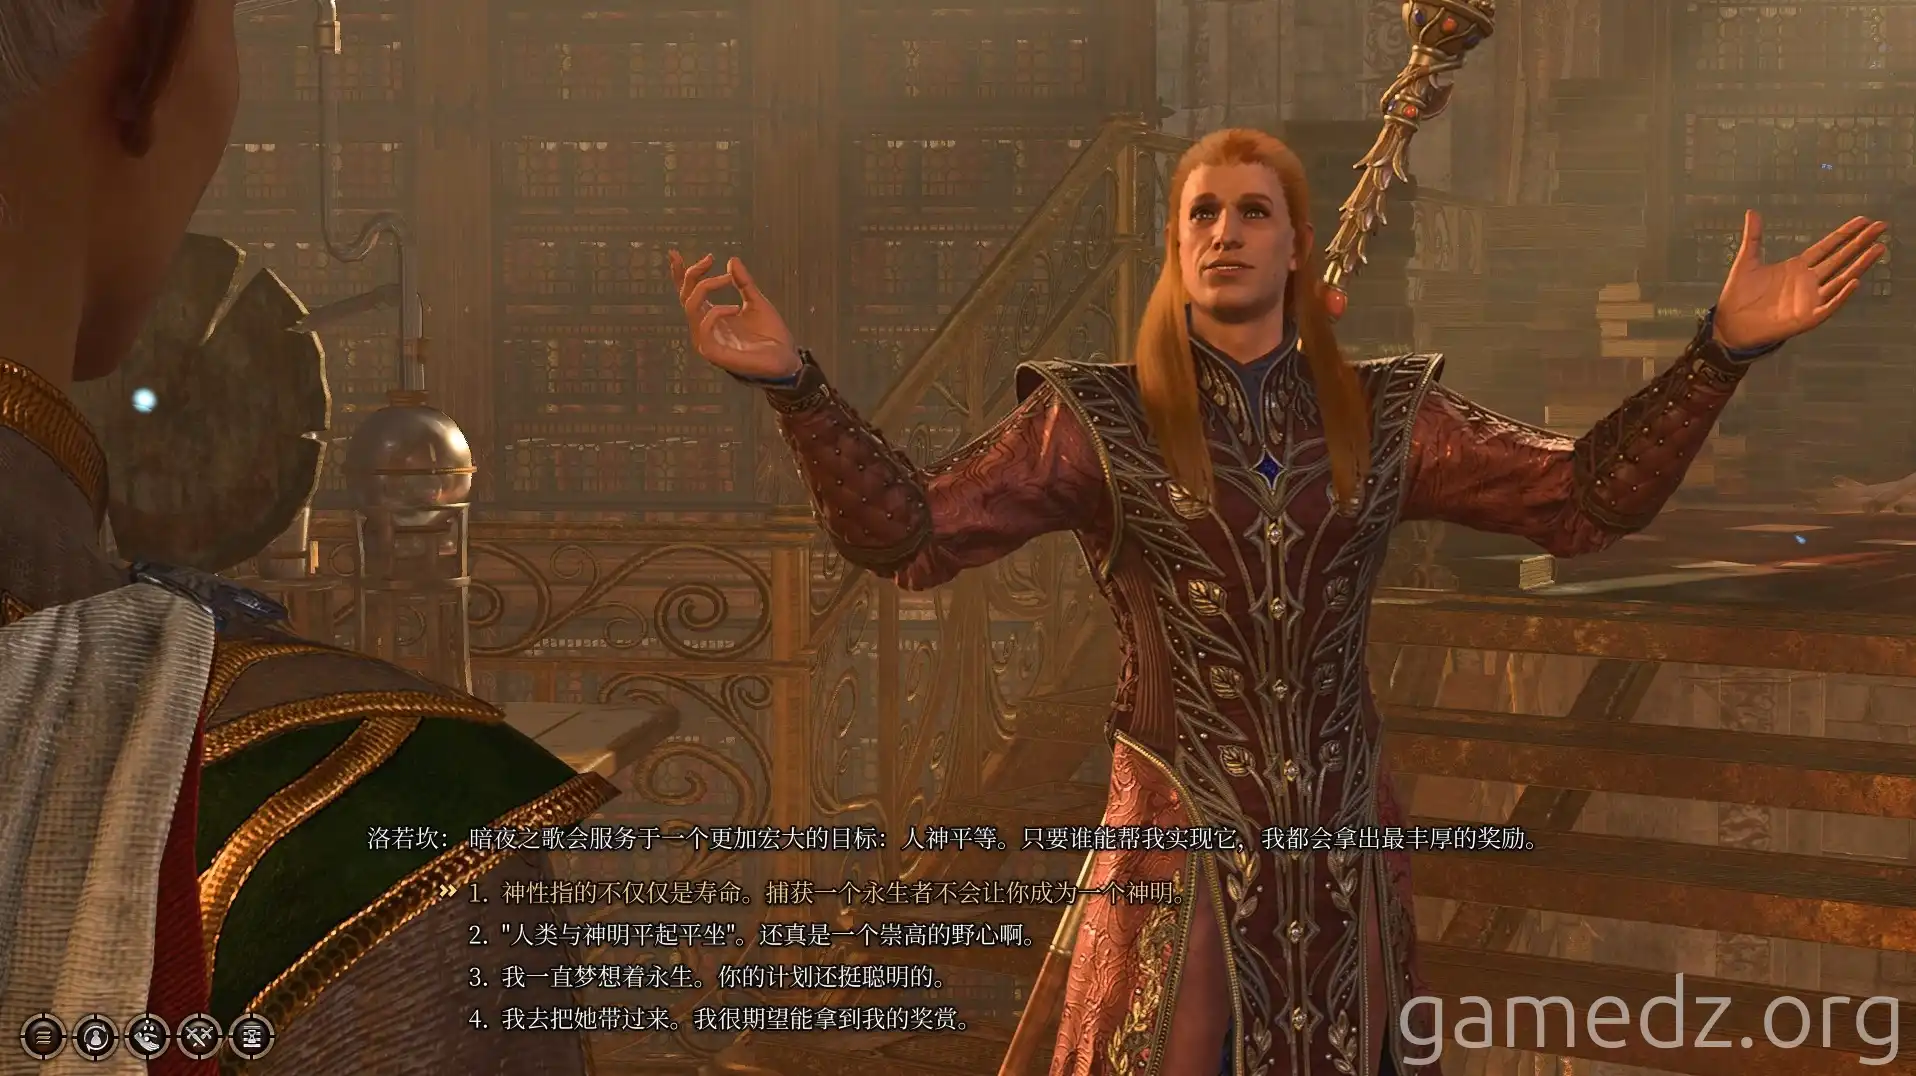
Post-Battle Loot:
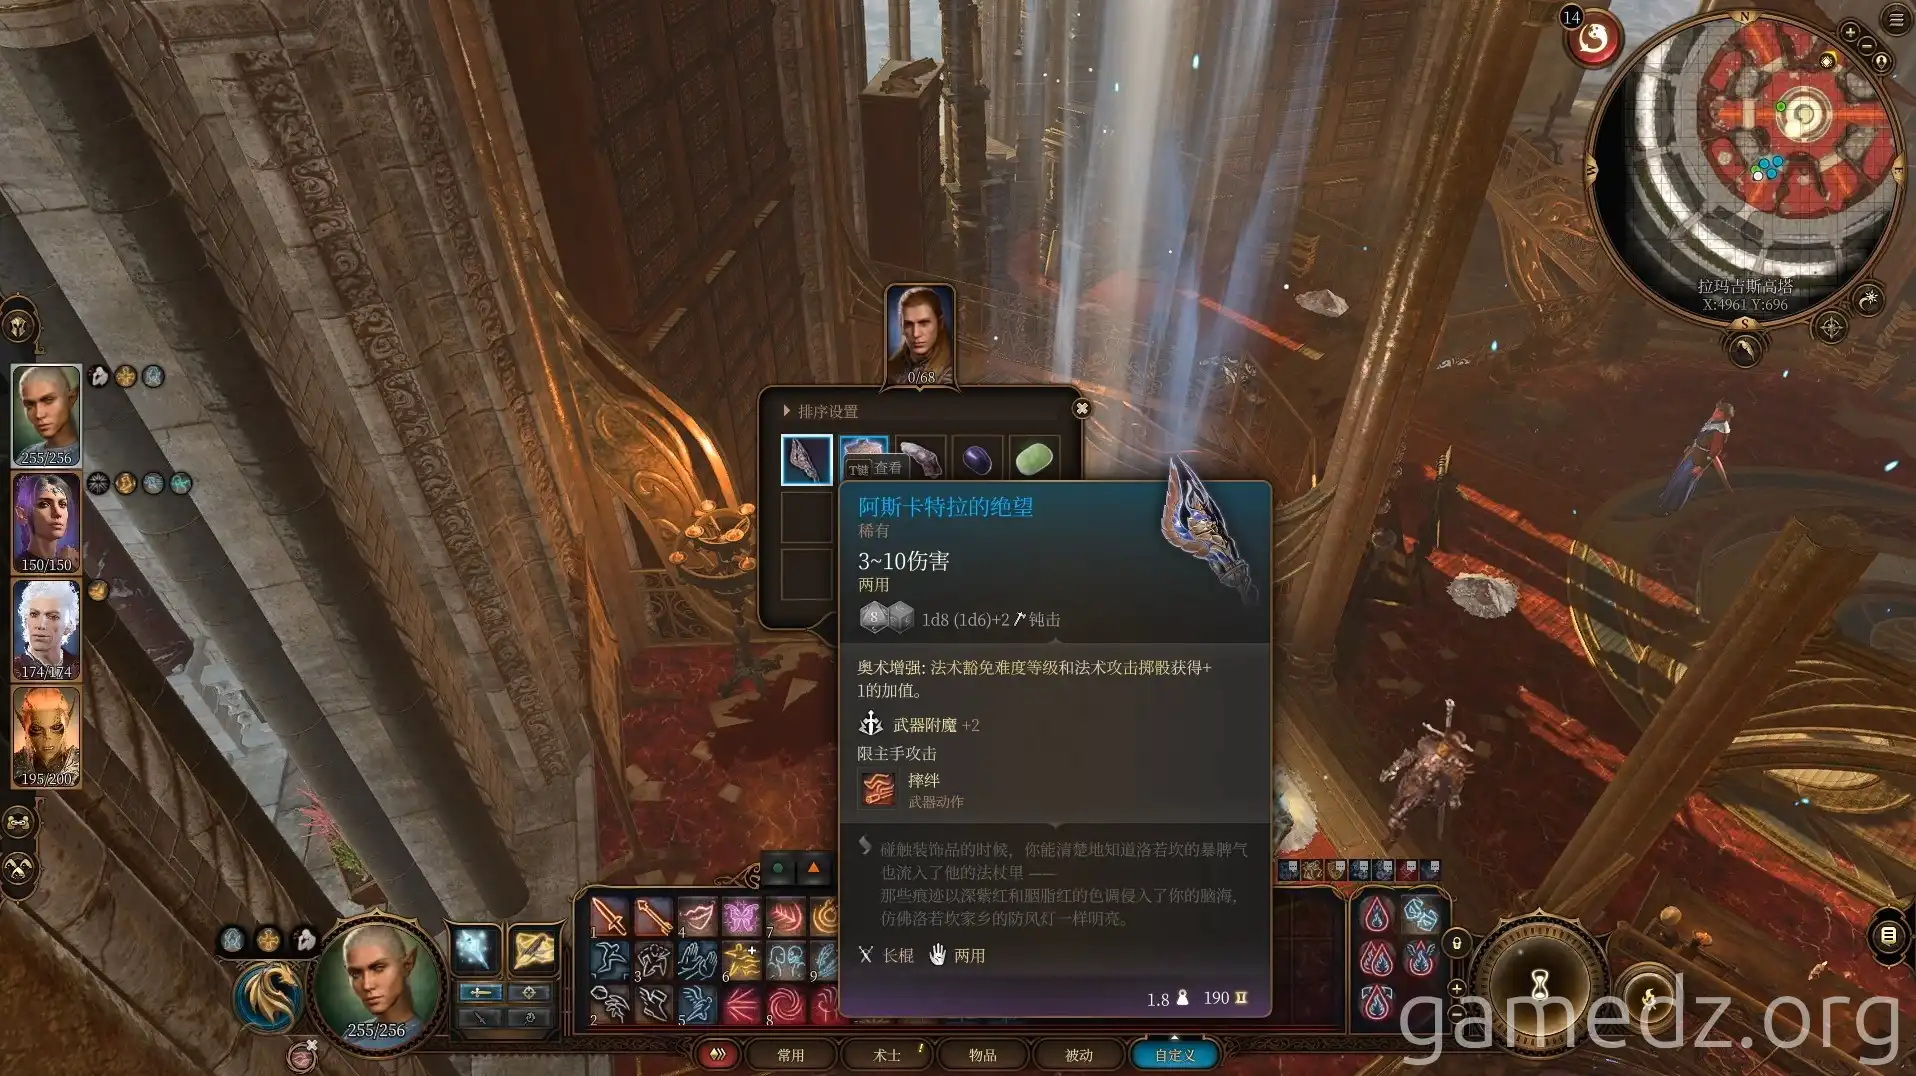
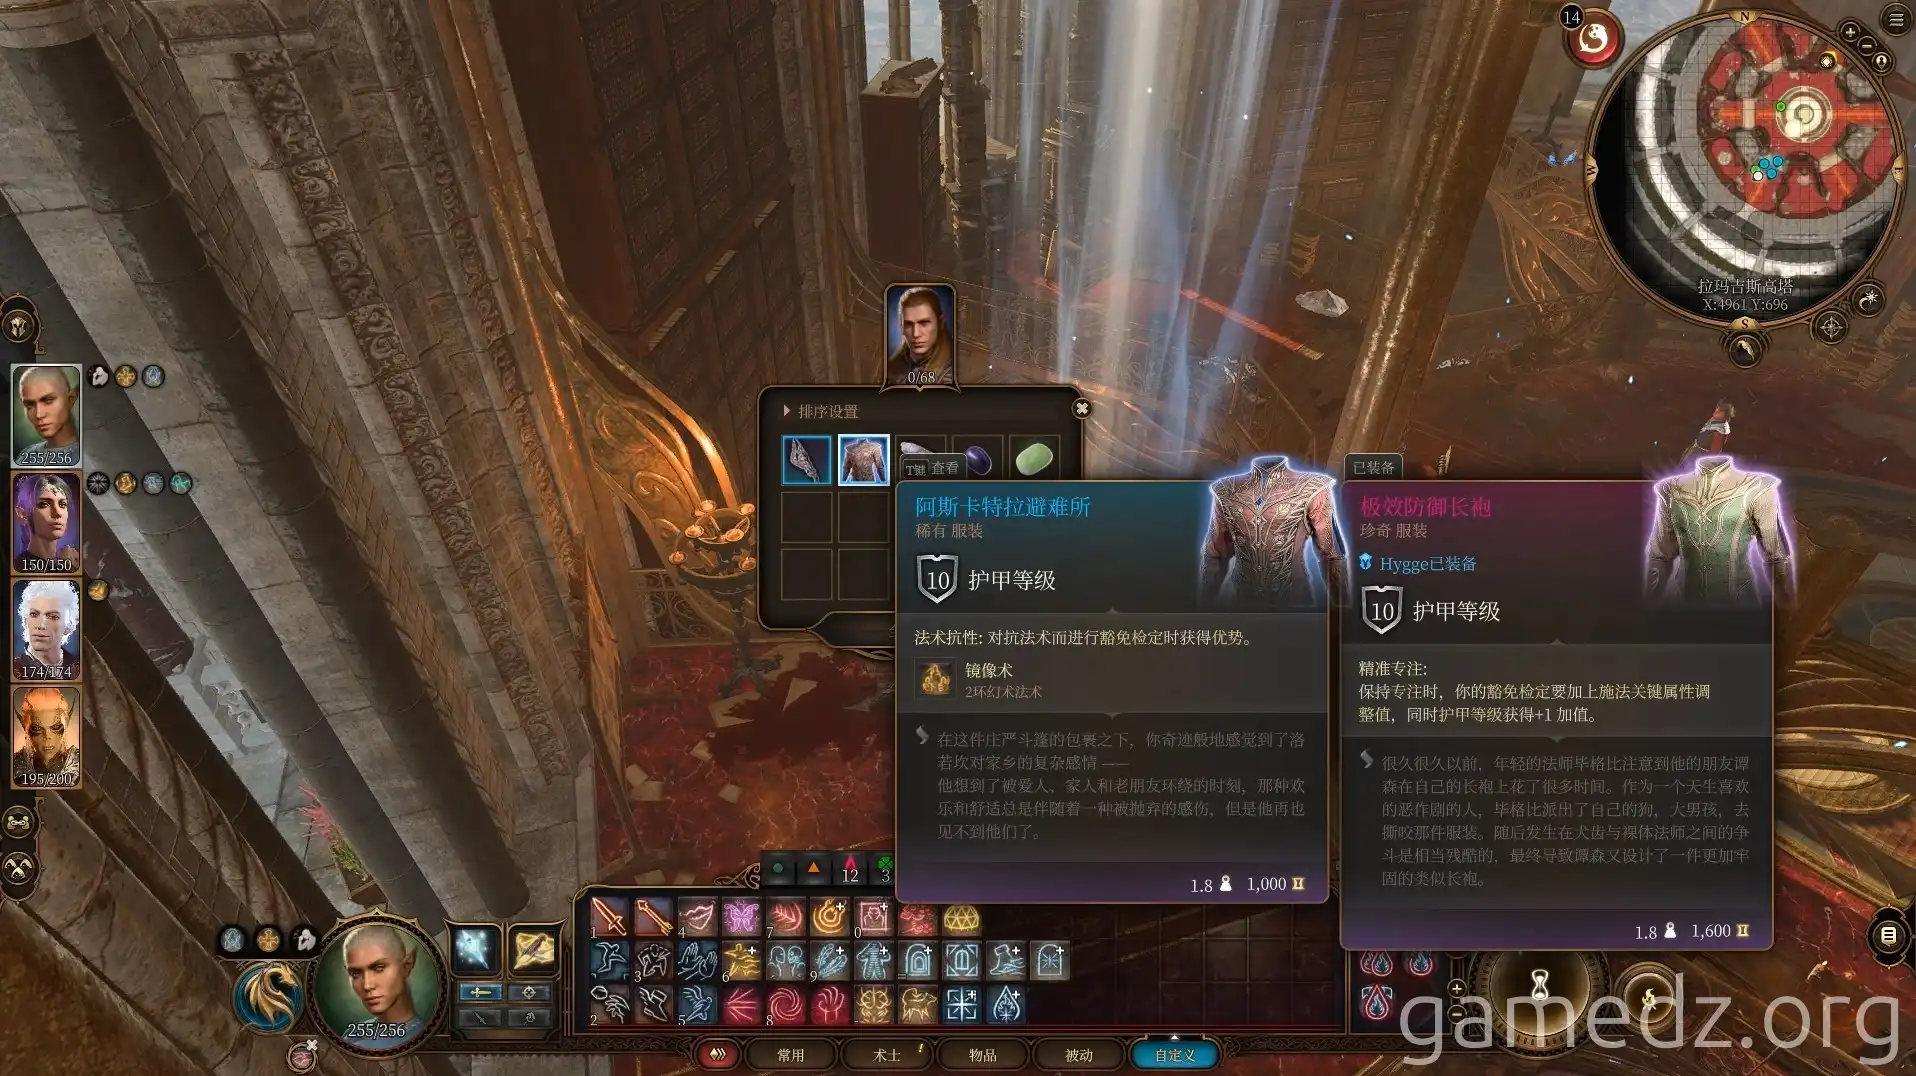
Lorroakan's body yields the rare weapon Ascatla's Despair and the rare armor Ascatla's Refuge.
Ascatla's Refuge Stats:
Speak with Roland, who will become the tower's owner and aid you in the final battle.
The Hidden Vaults and Secrets
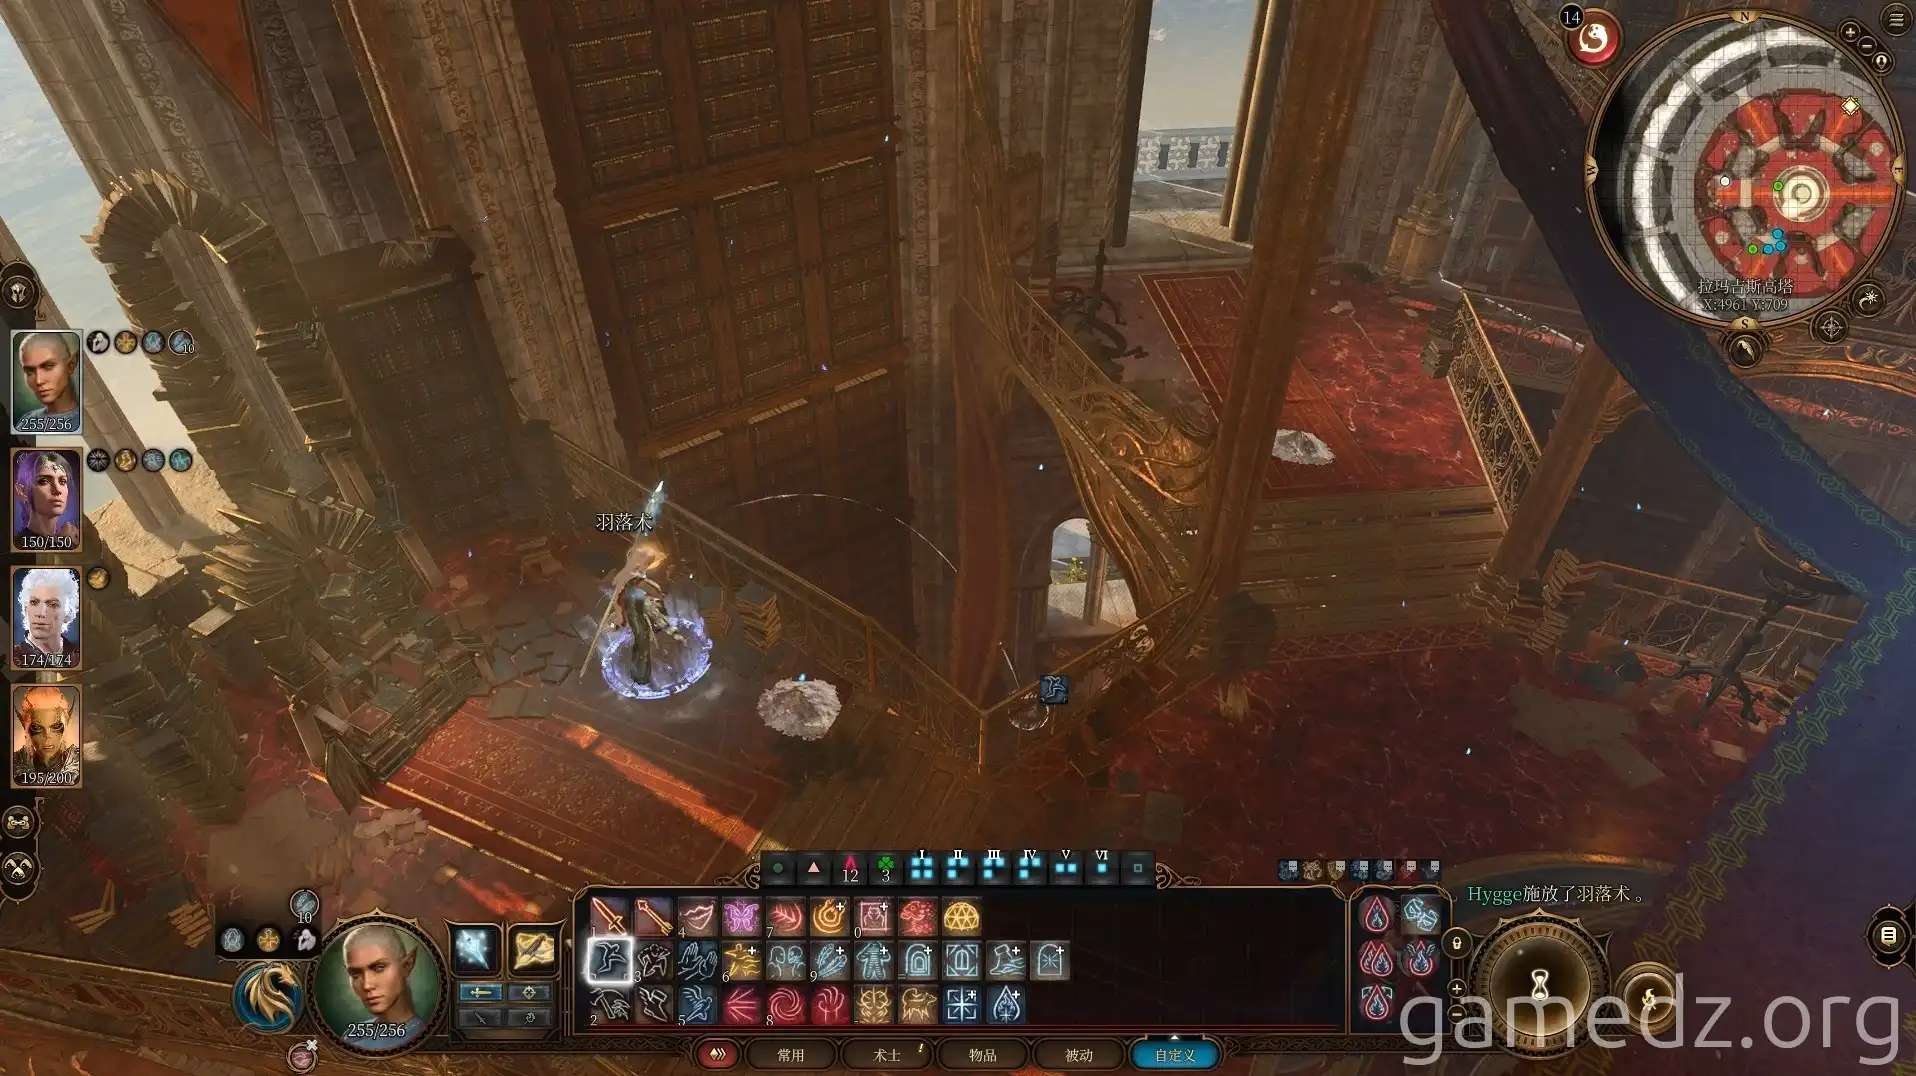
To access the lower levels, drink a Potion of See Invisibility, cast Feather Fall, and jump down.
Loot the chests for potion supplies. Locate the webbed button marked "Below." This requires invisibility detection.
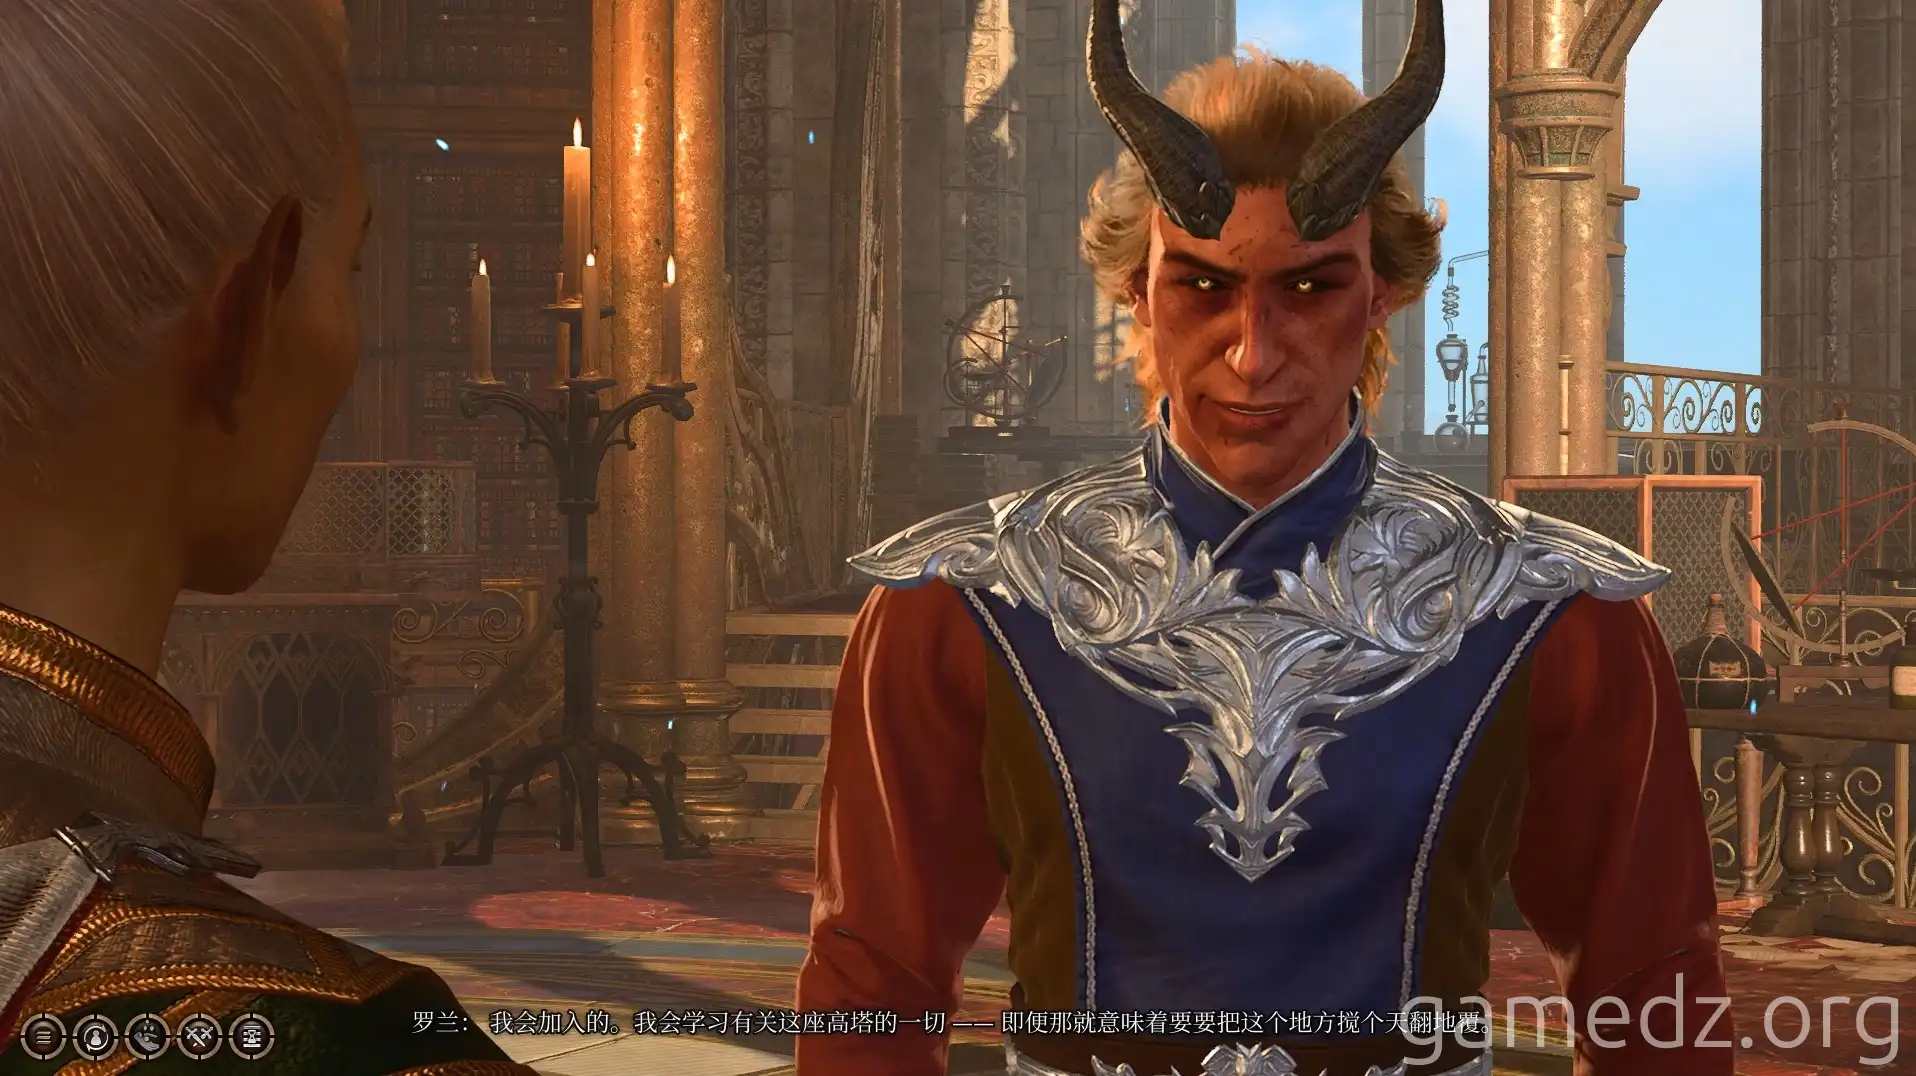
Other webbed buttons trigger Arcane Turrets or poison gas. The vault is also accessible from here.
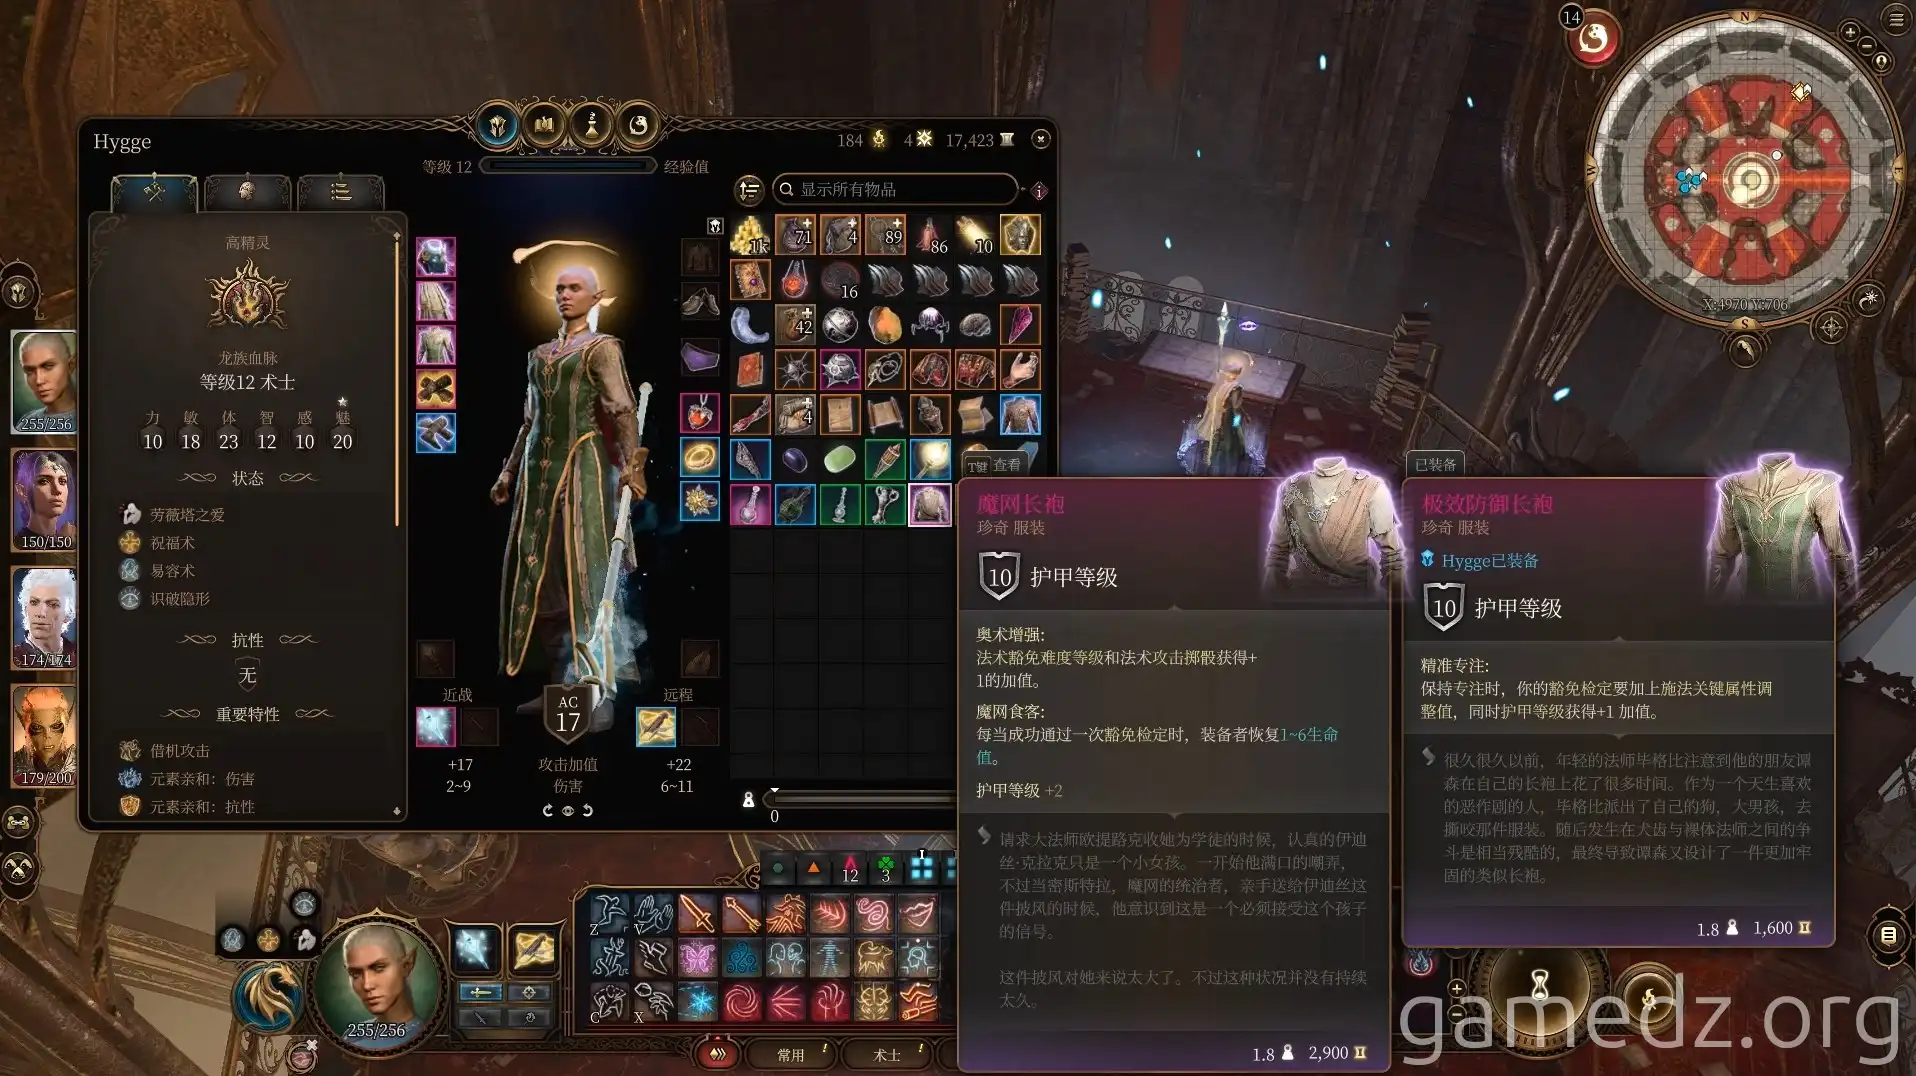
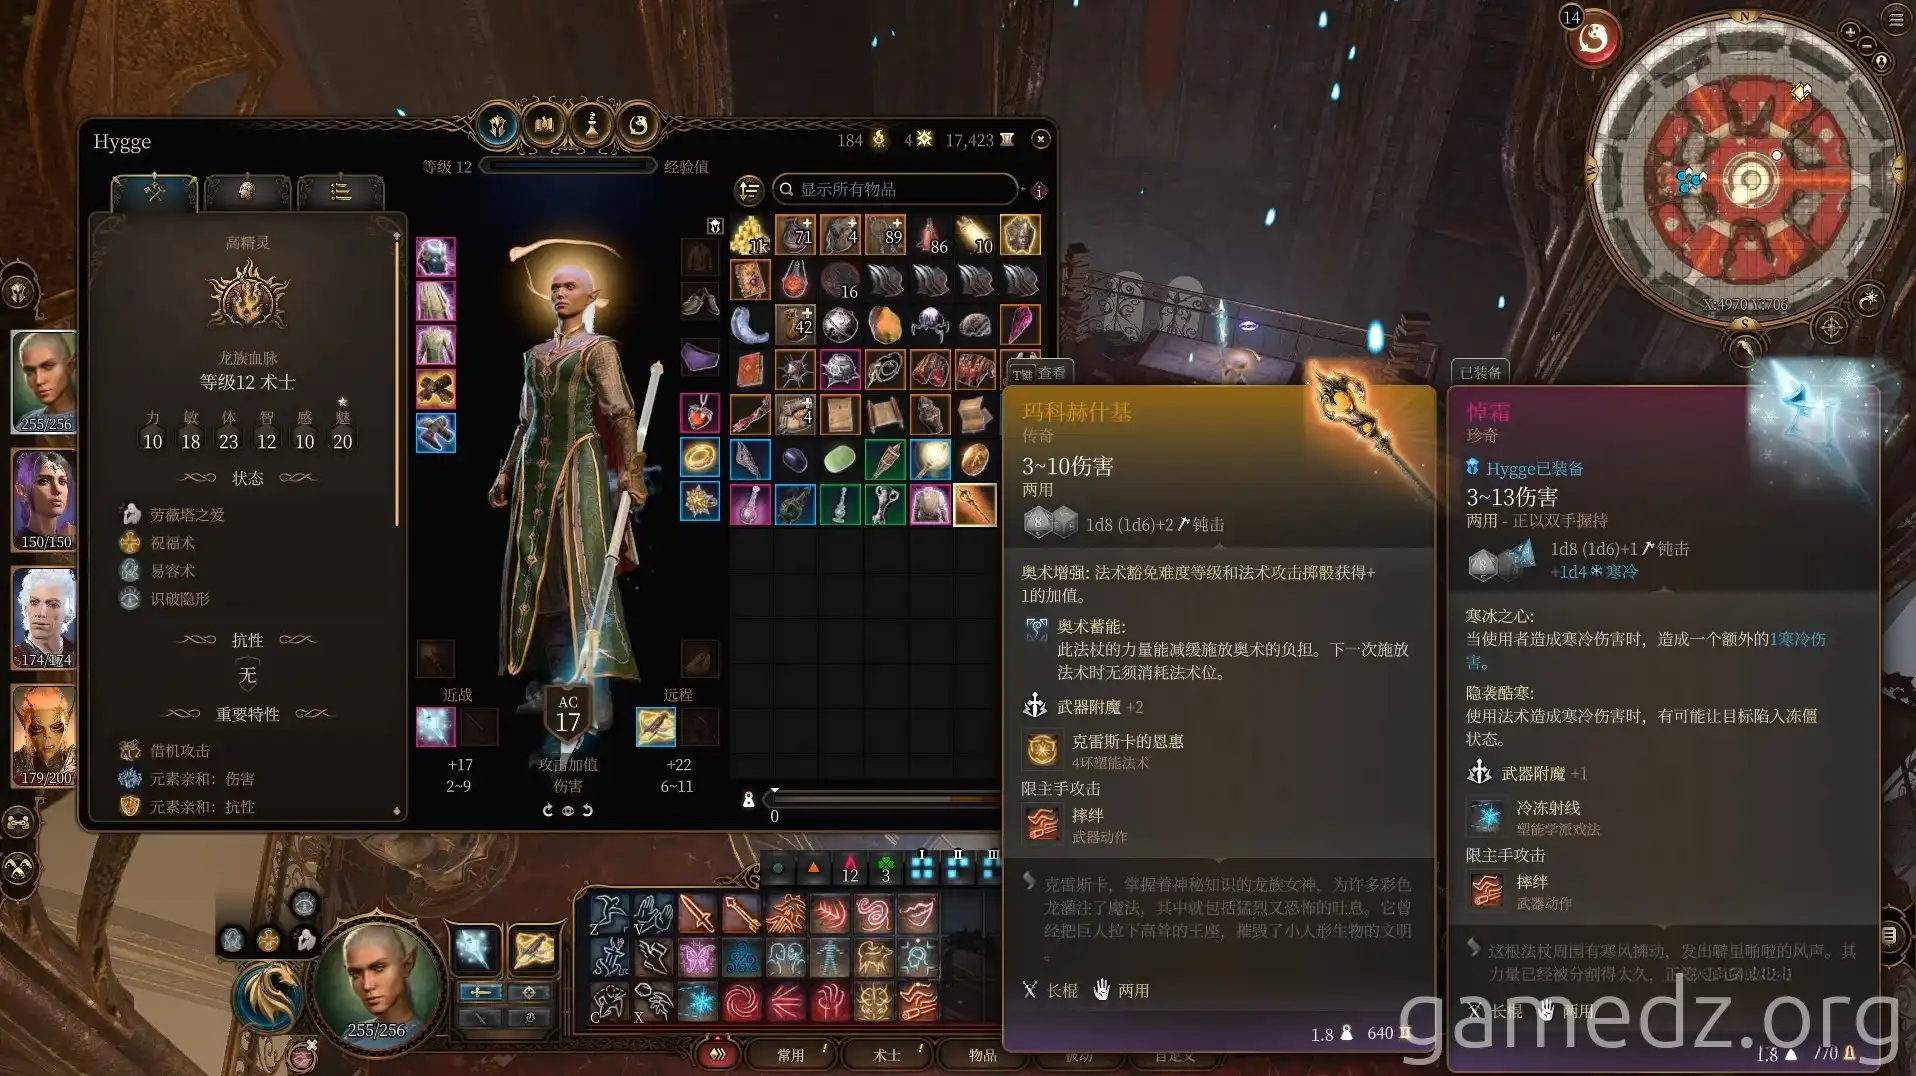
Use invisibility detection on the lower level to find two levers that disable the arcane barrier. This grants you the rare armor Robe of the Weave and the legendary weapon Malkosh's Khopesh.
Robe of the Weave Stats:
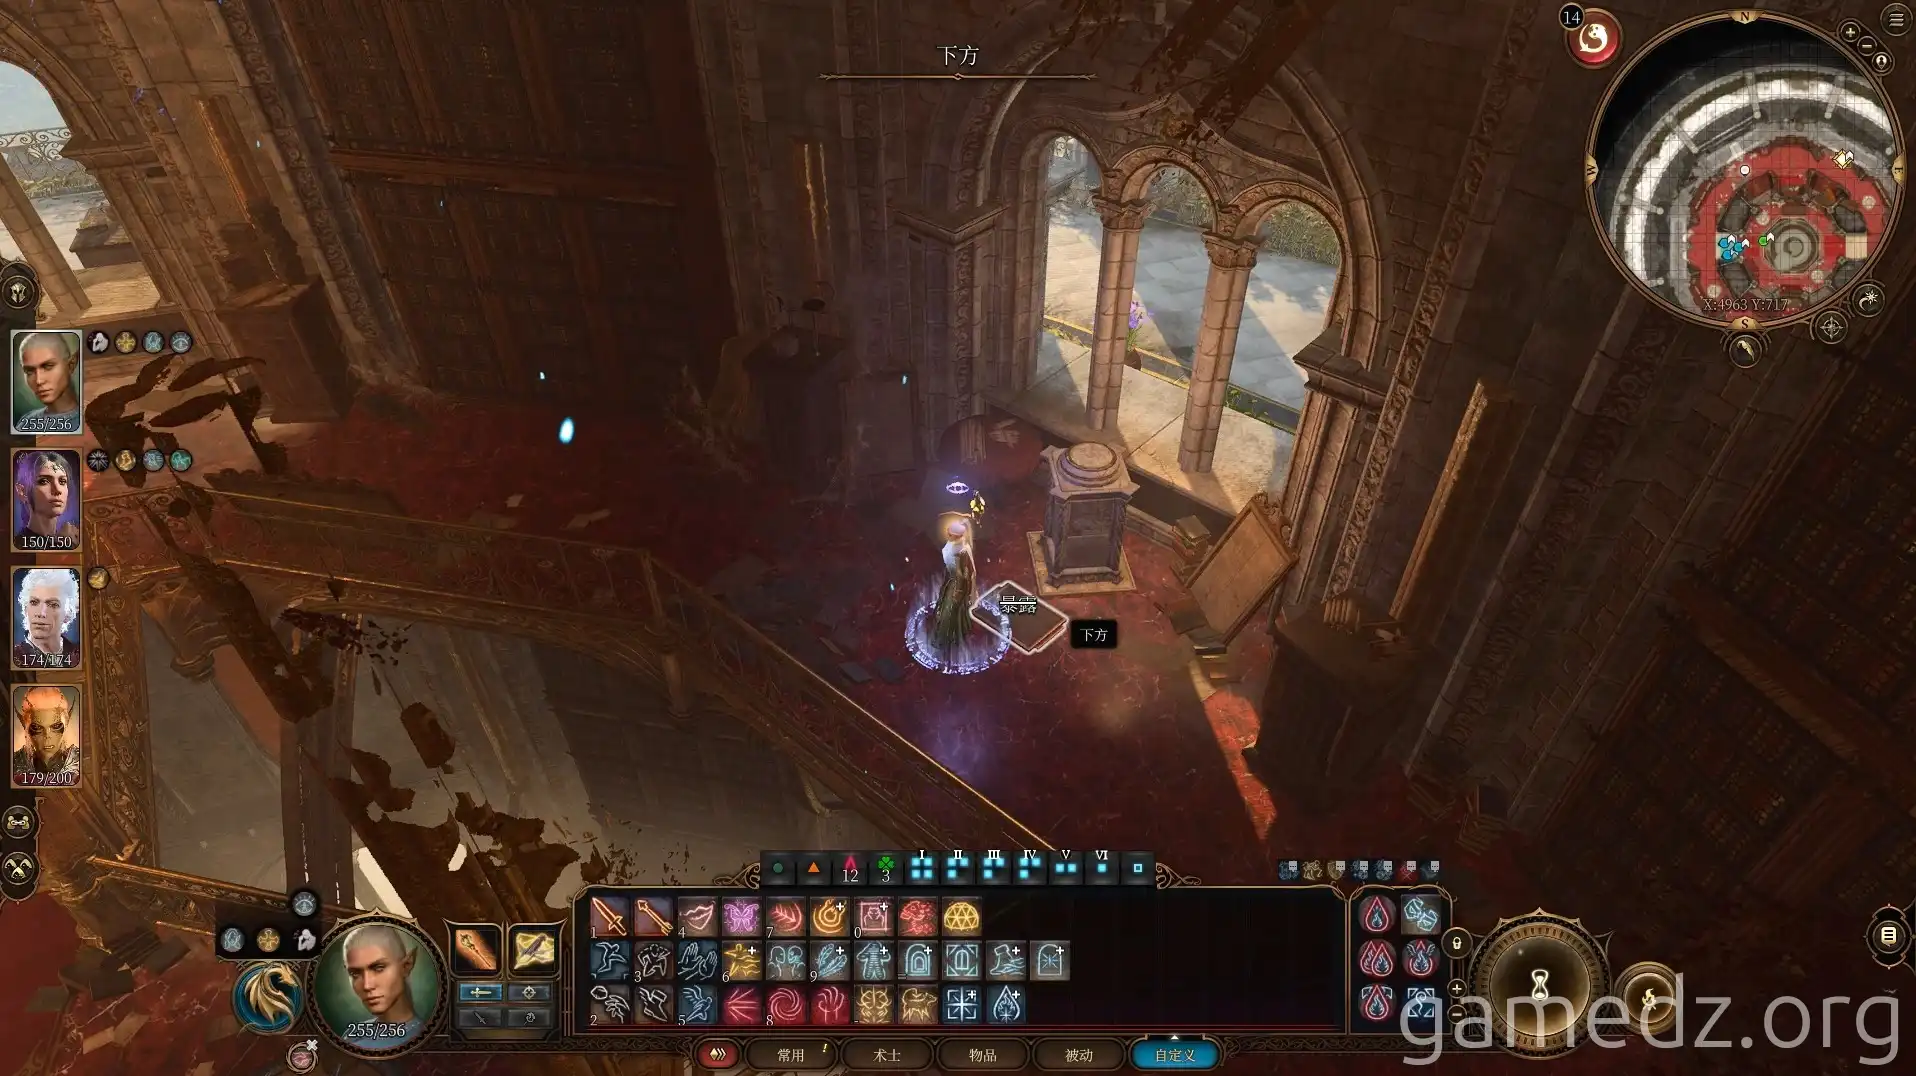
Malkosh's Khopesh Base Stats:
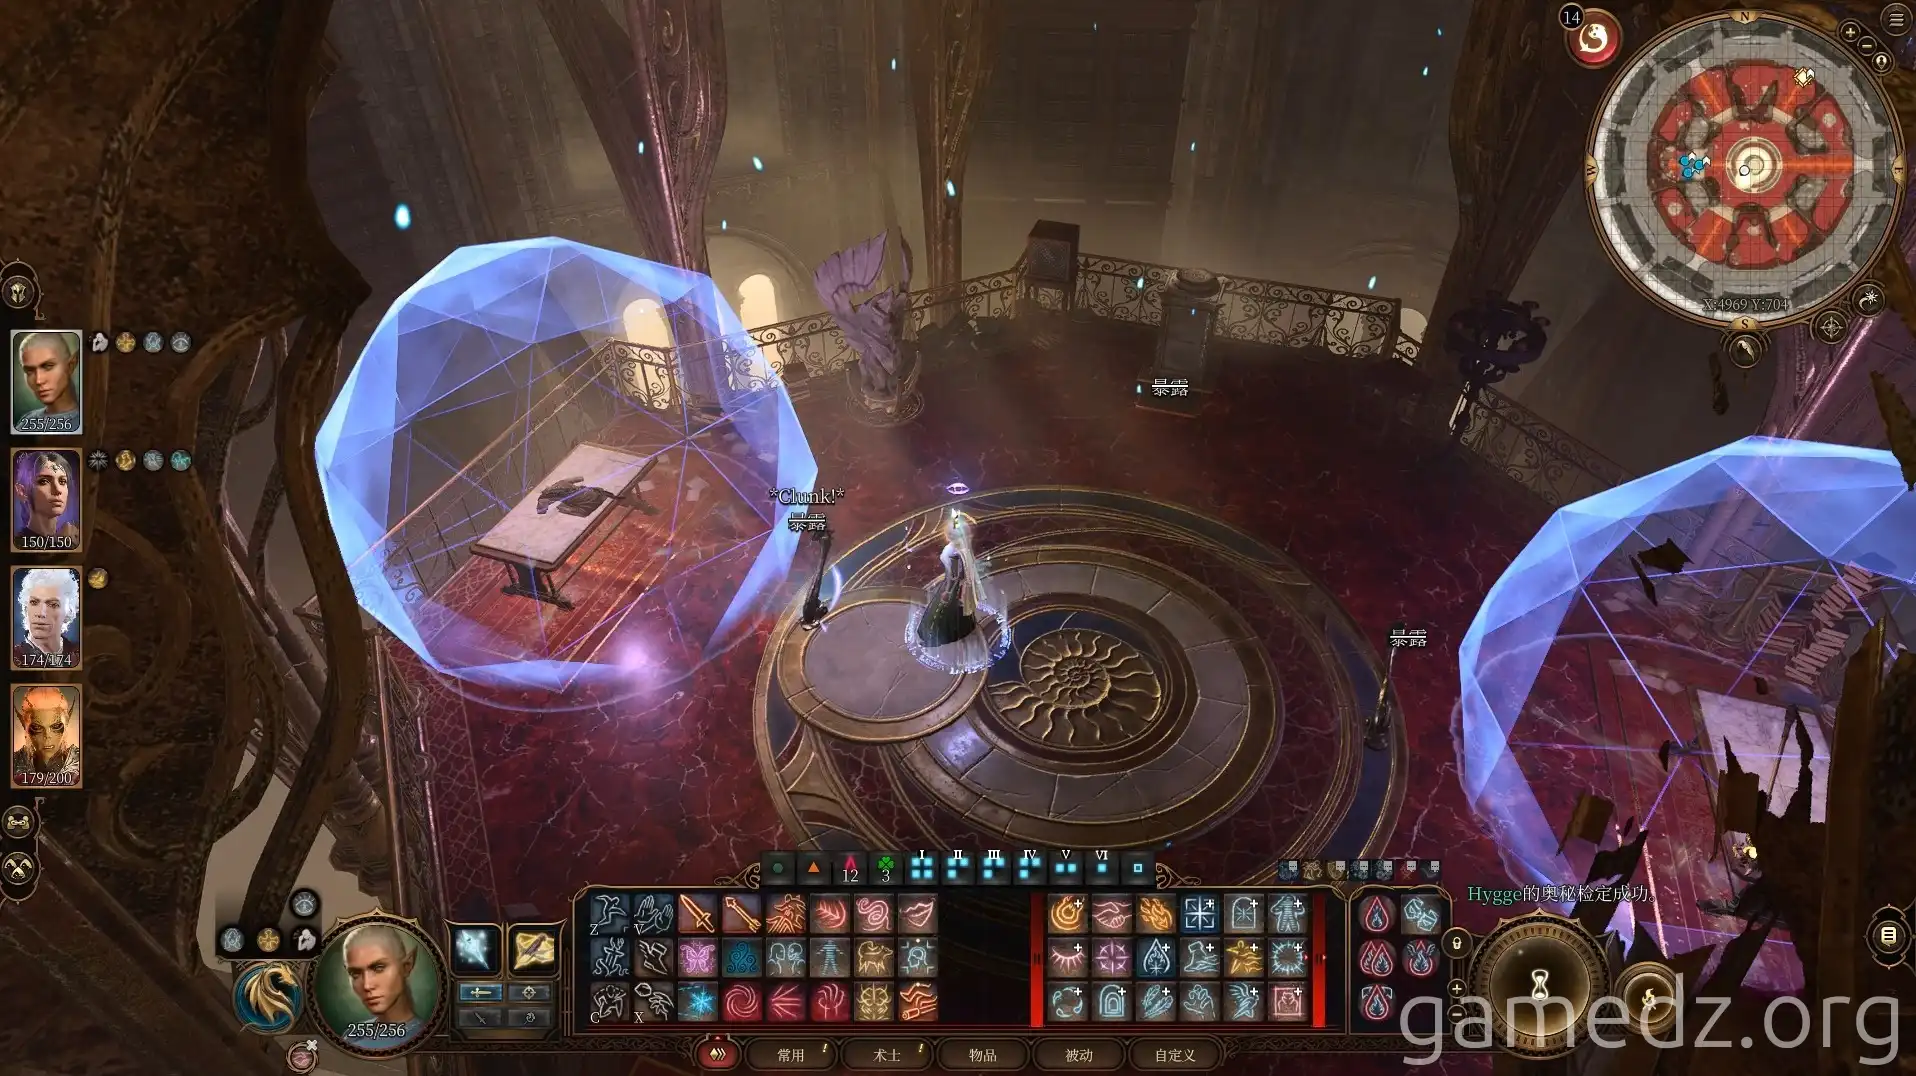
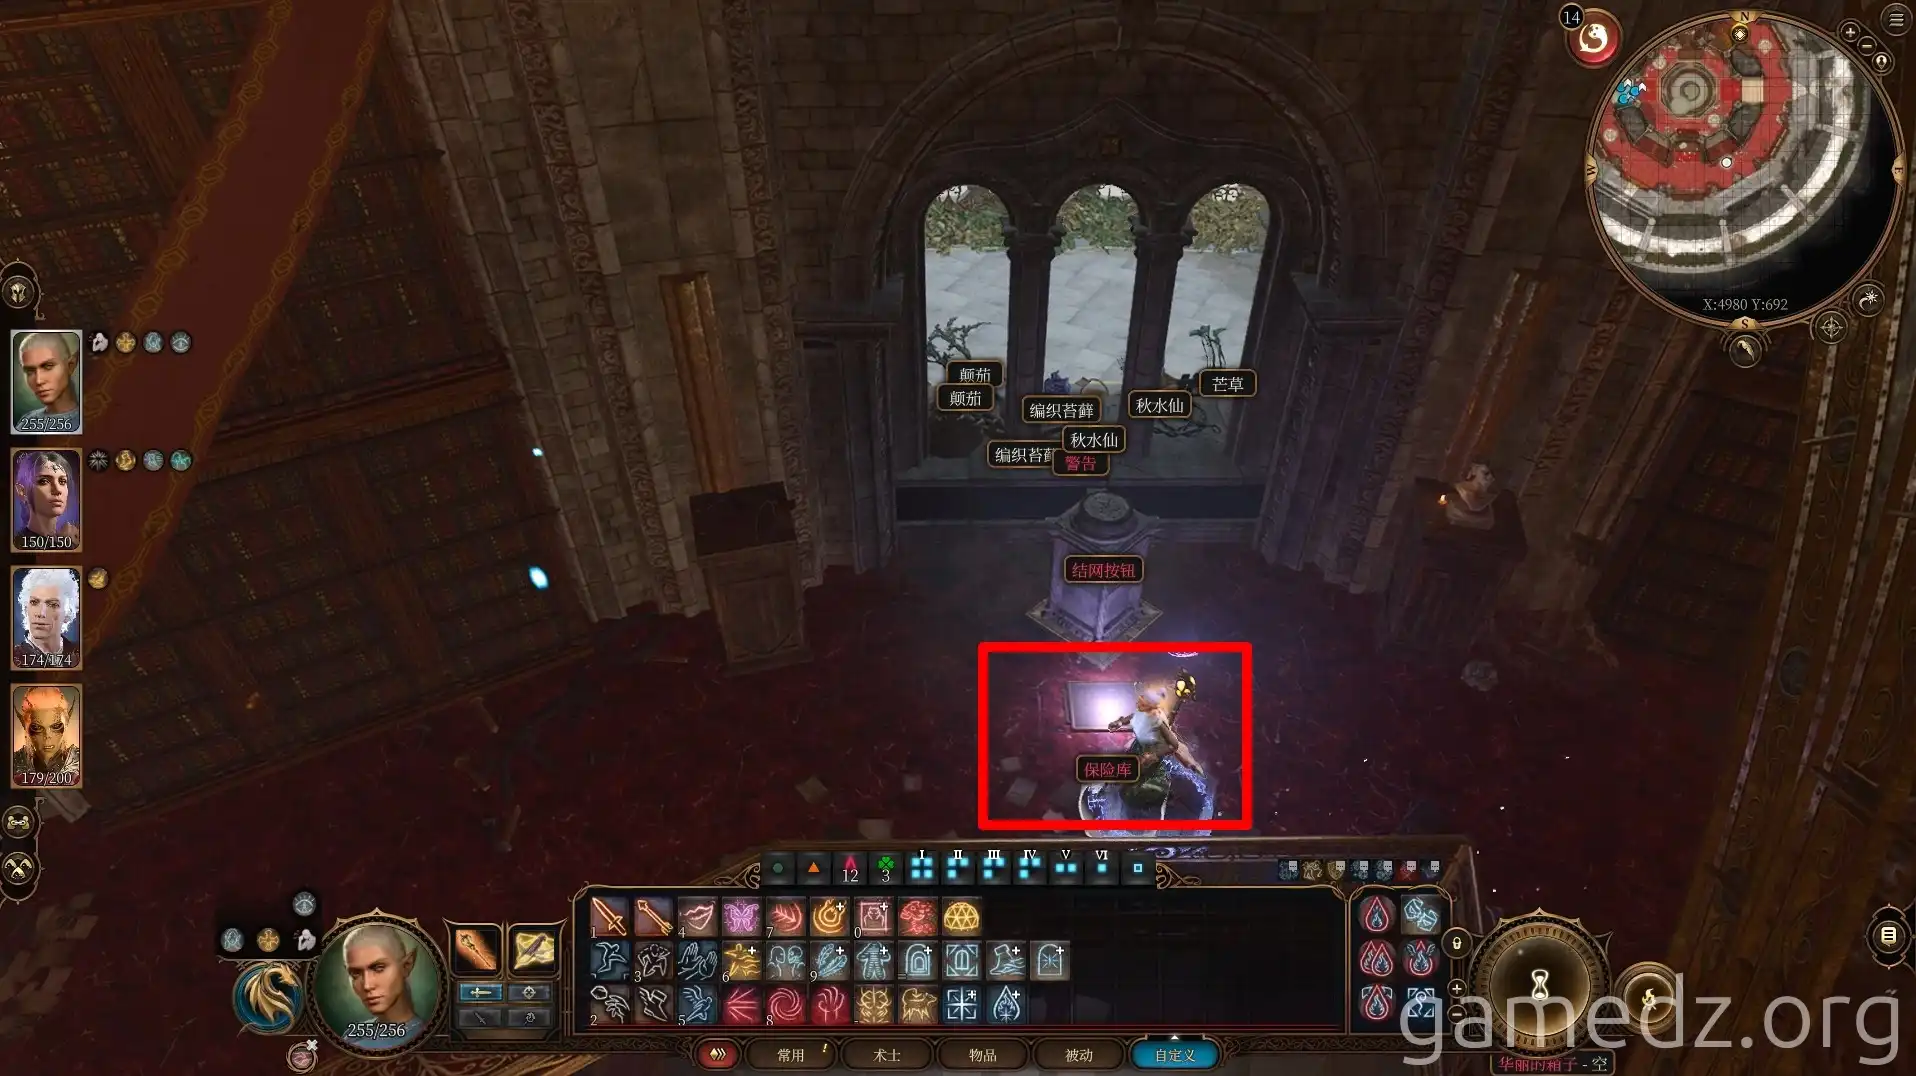
Return to the upper level and press the webbed button labeled "Vault."
Cellar Exploration and Illusory Walls
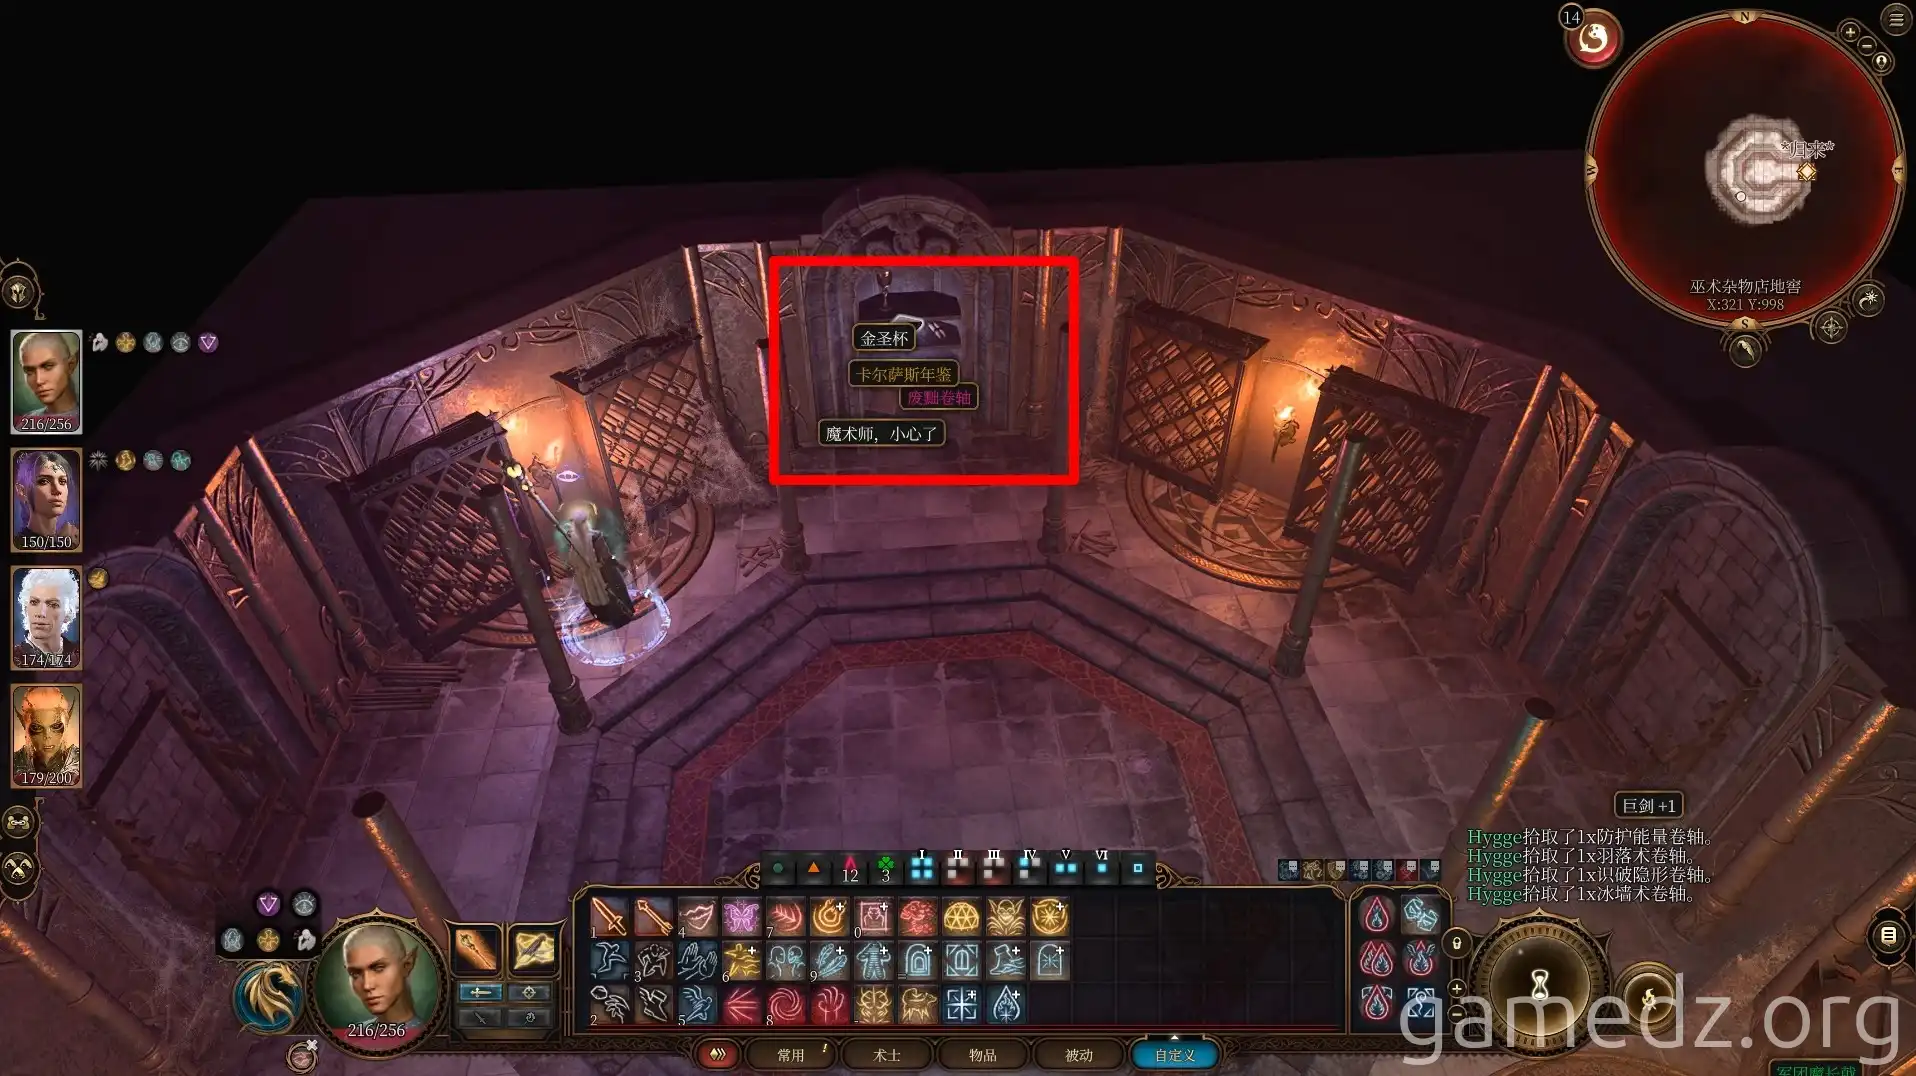
In the cellar, loot the room. Reading "The Red Knight's Last Will" grants a spell scroll.
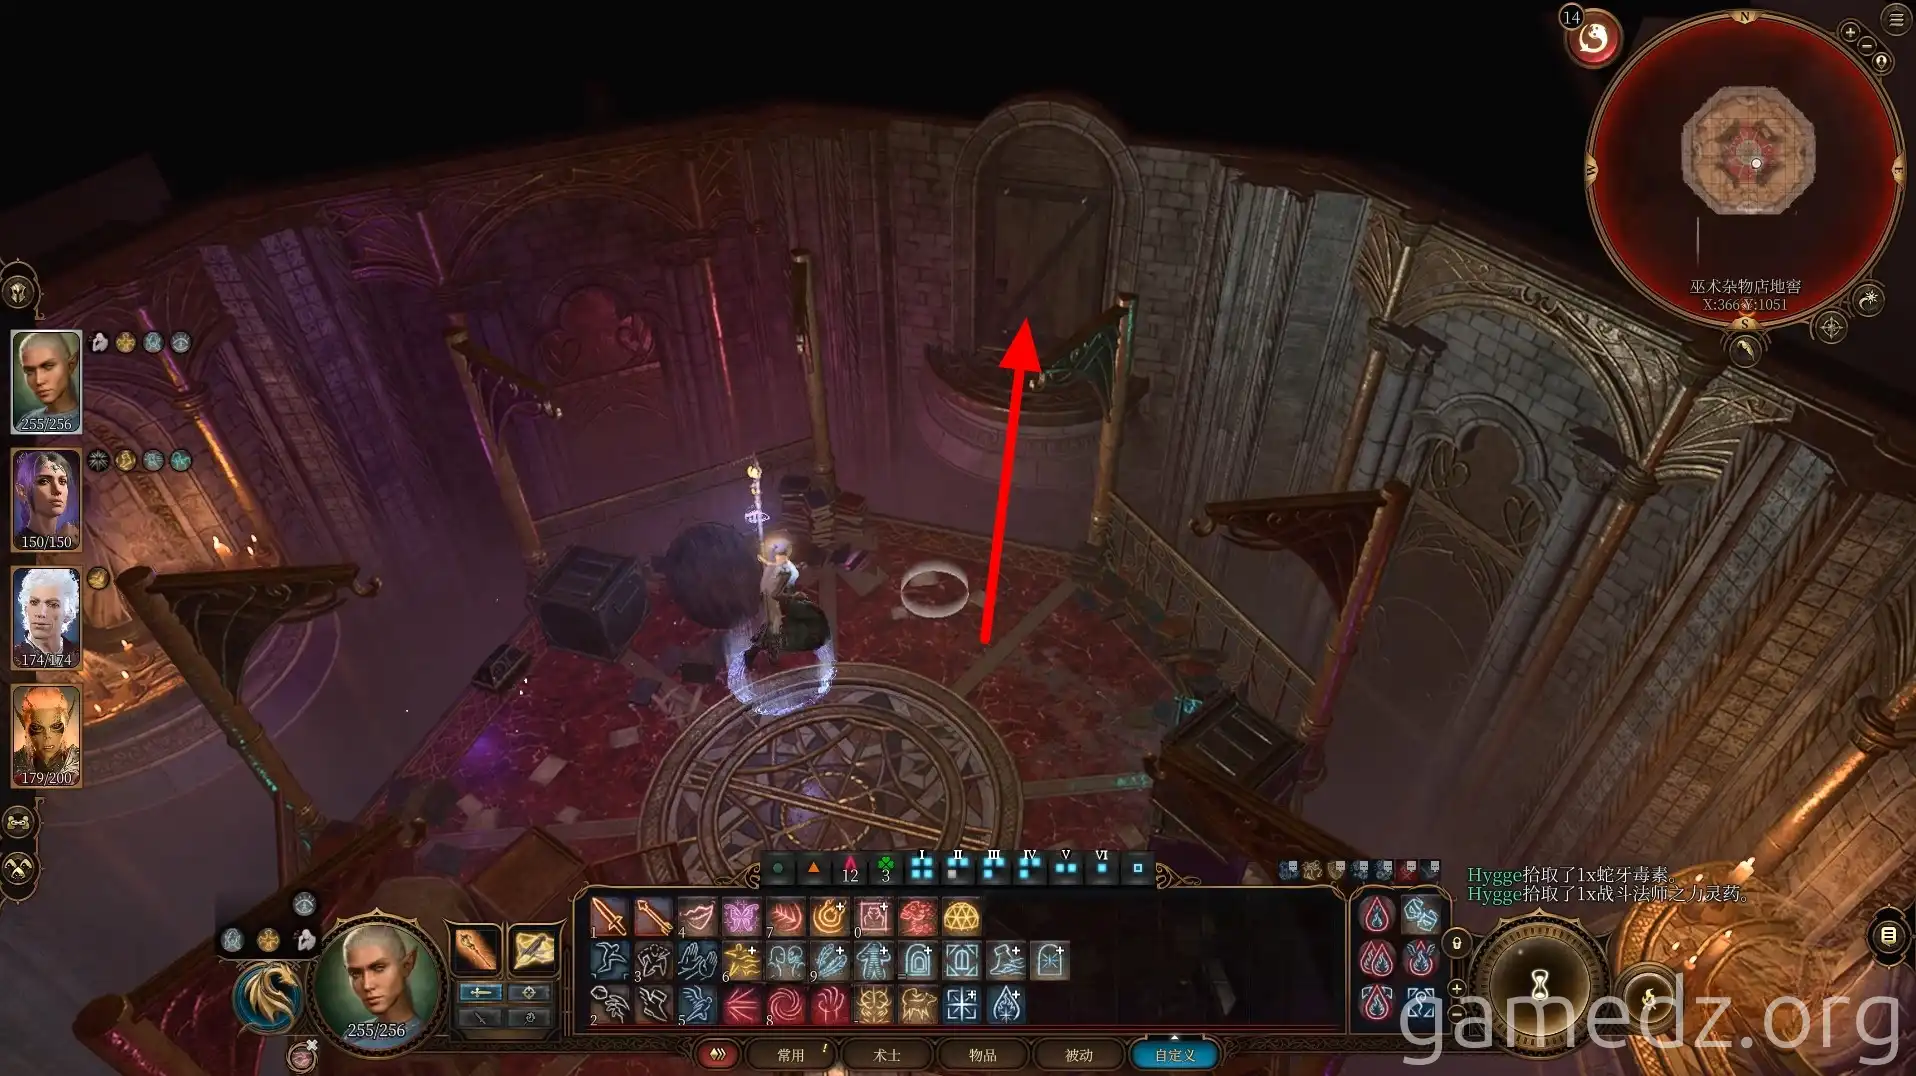
Proceed through the south door. Don't forget to open the chests in the corridor!
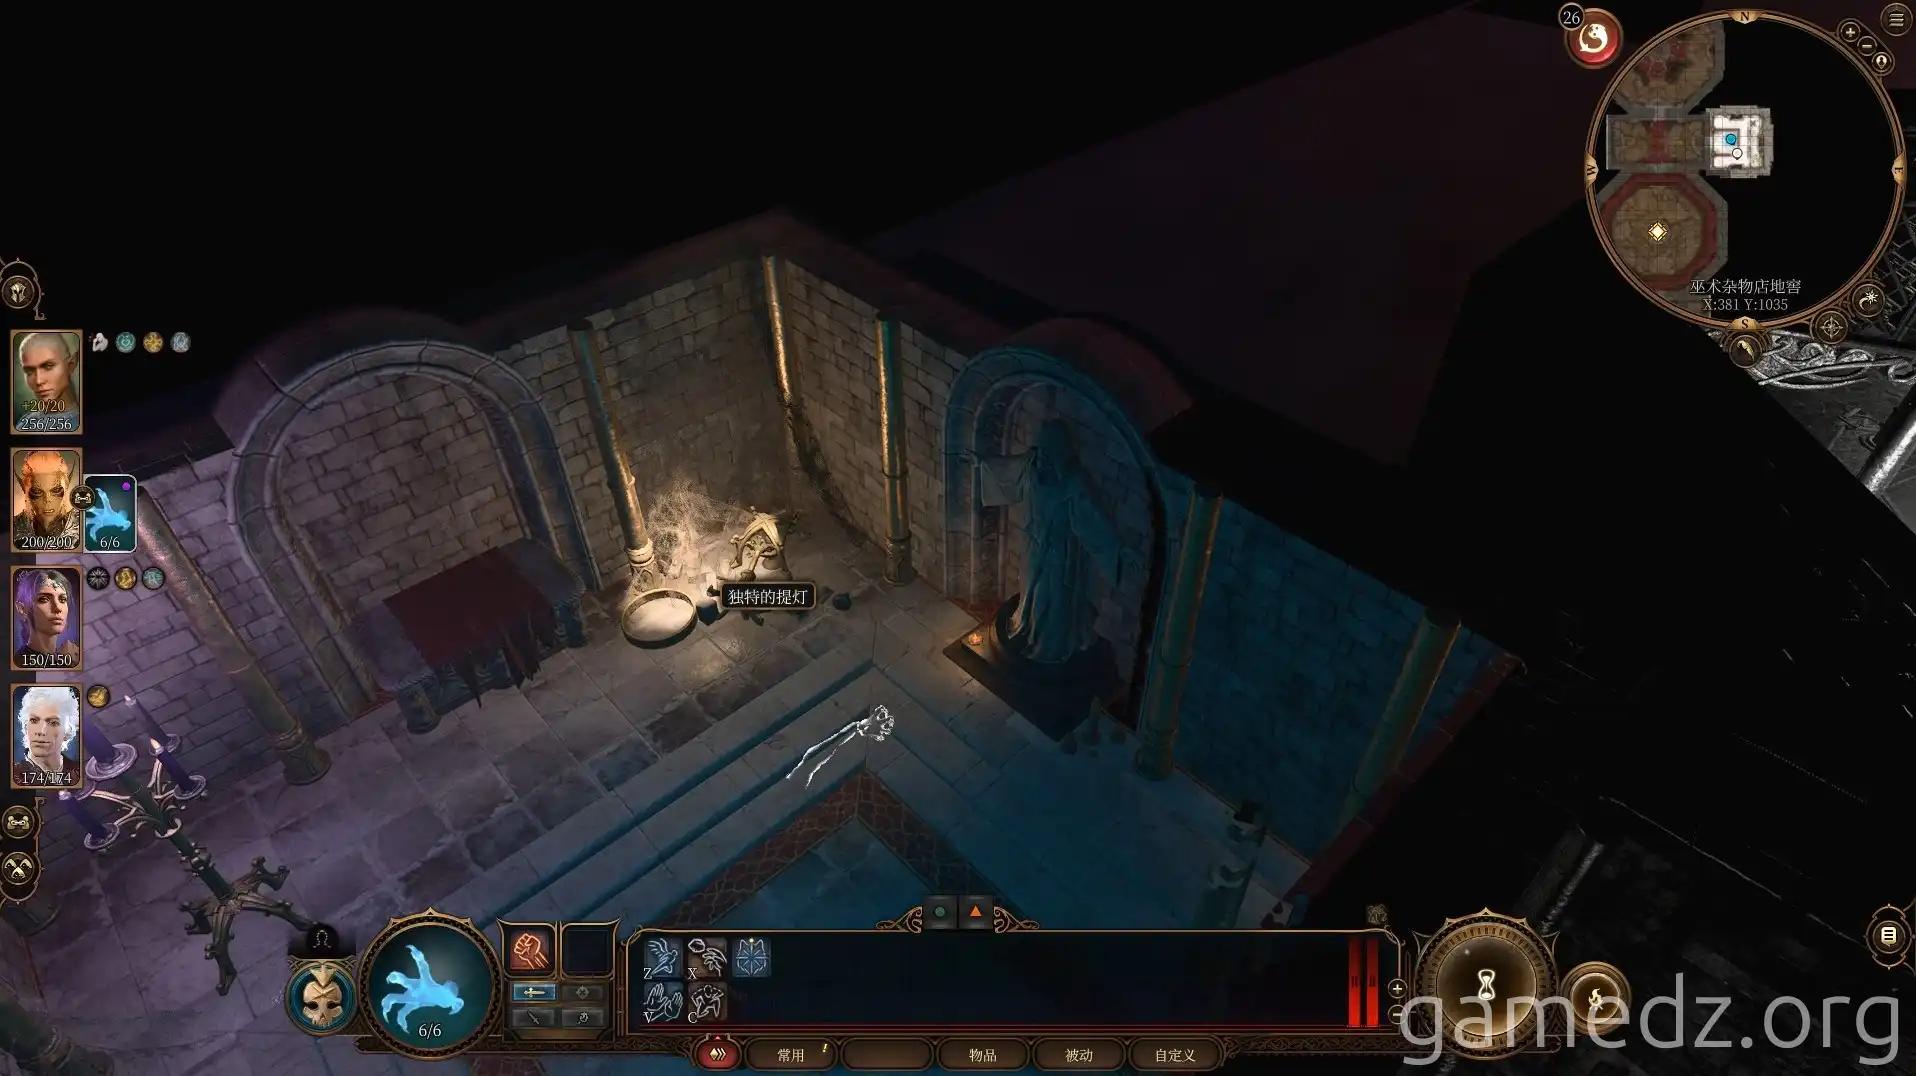
Behind the east corridor chest lies an illusionary wall. Inside, discover a "Unique Lantern" containing potions and camp supplies.
Use Mage Hand to interact with or move the lantern if direct interaction is difficult.
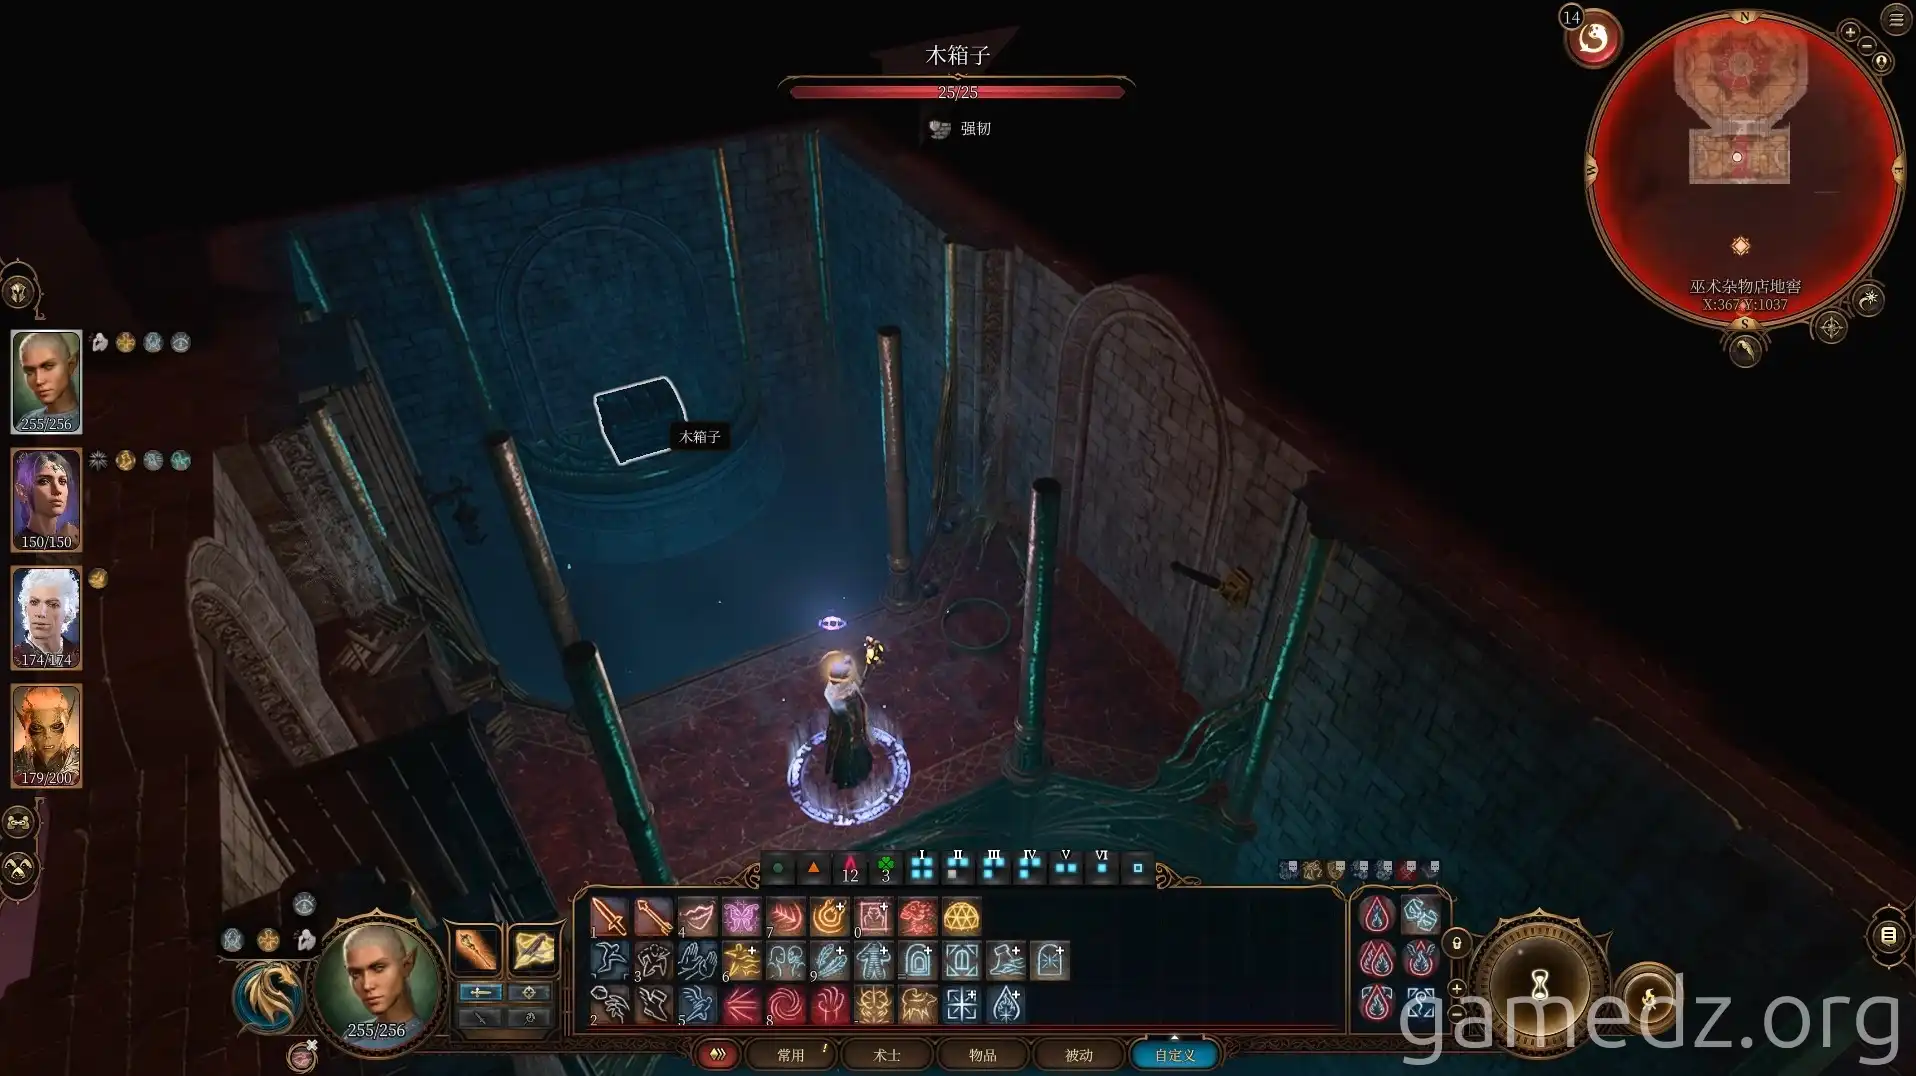
Pull a lever to reveal a portal. This portal leads to the Sorcerous Sundries bookseller's office. Loot the area and return through the portal.
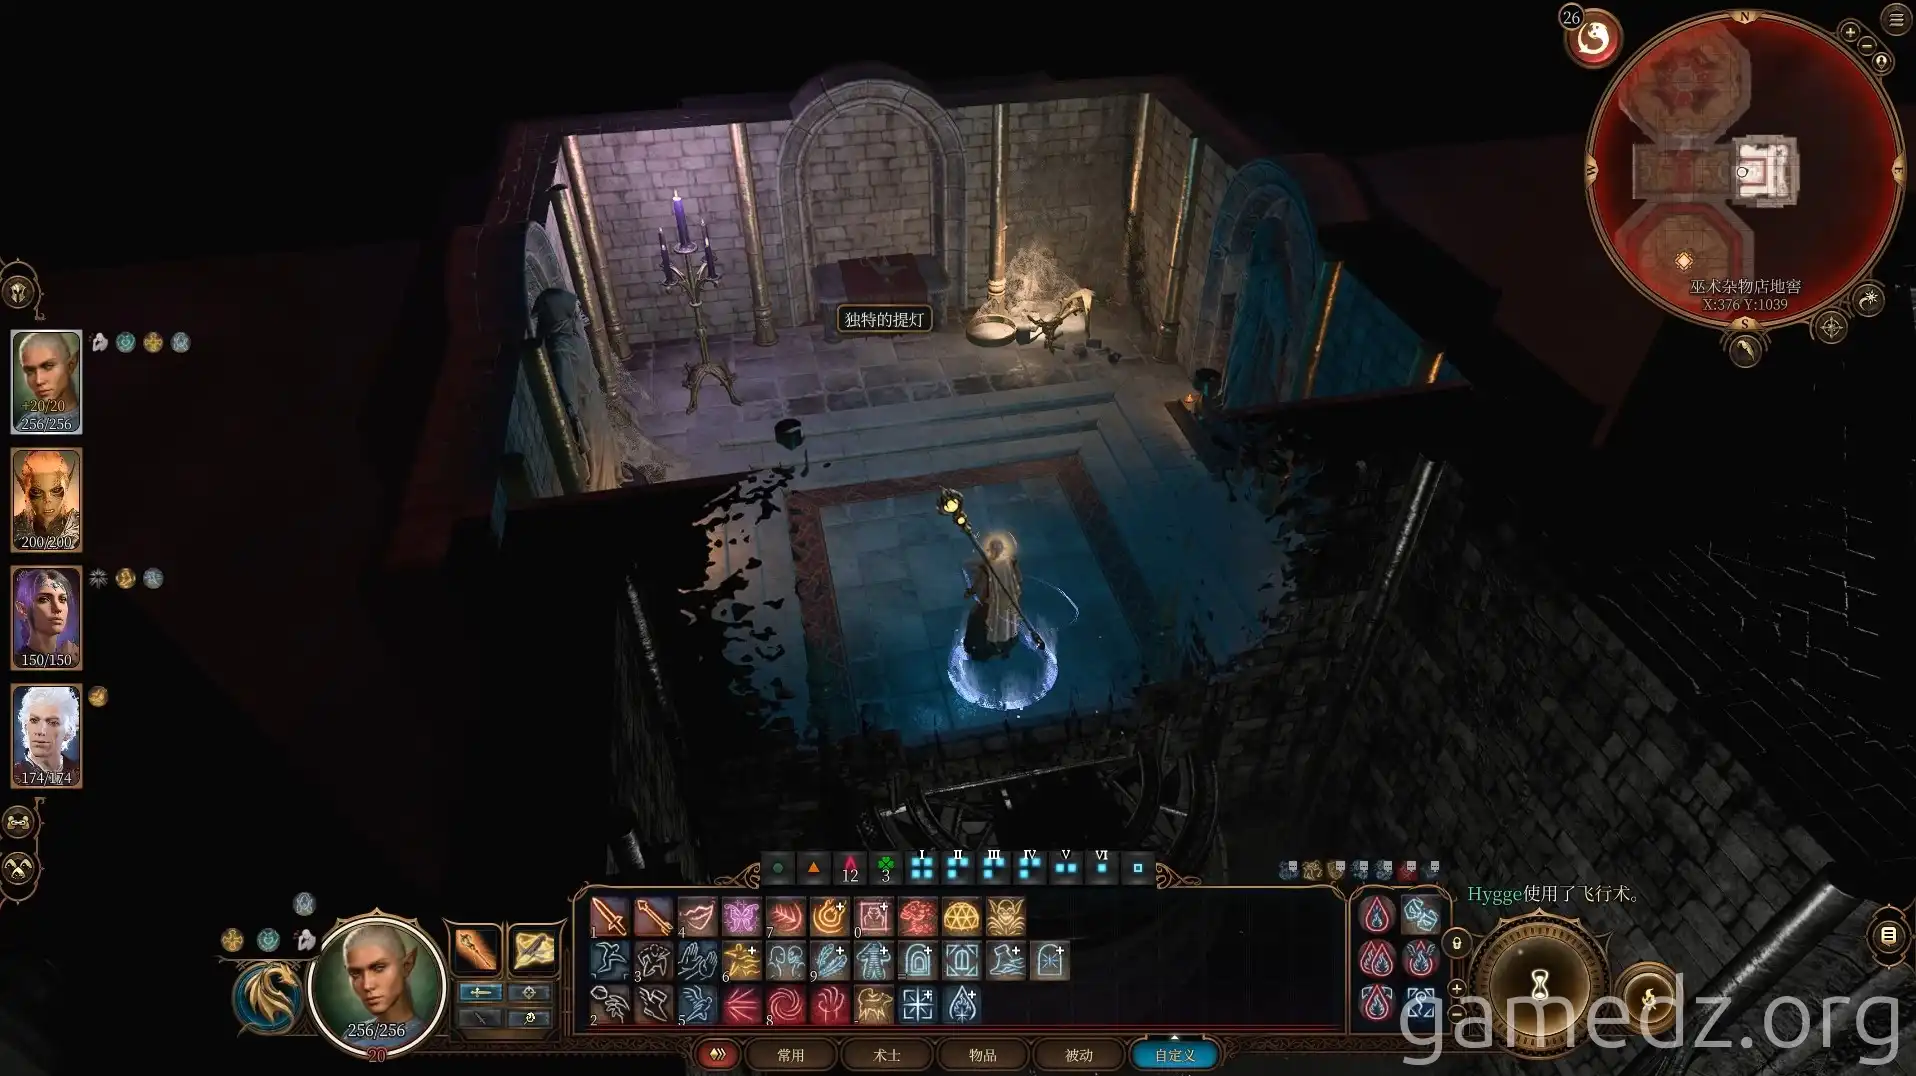
Behind the west corridor chest, another illusionary wall hides "Proceed with Caution Before Joy," which also grants a spell scroll.
Elminster's and Karsus's Rooms
Head to the room labeled "Elminster." If the Knock spell doesn't work, follow the sequence: "Silver Hand" - "Evocation" - "Wish" to find the lever.
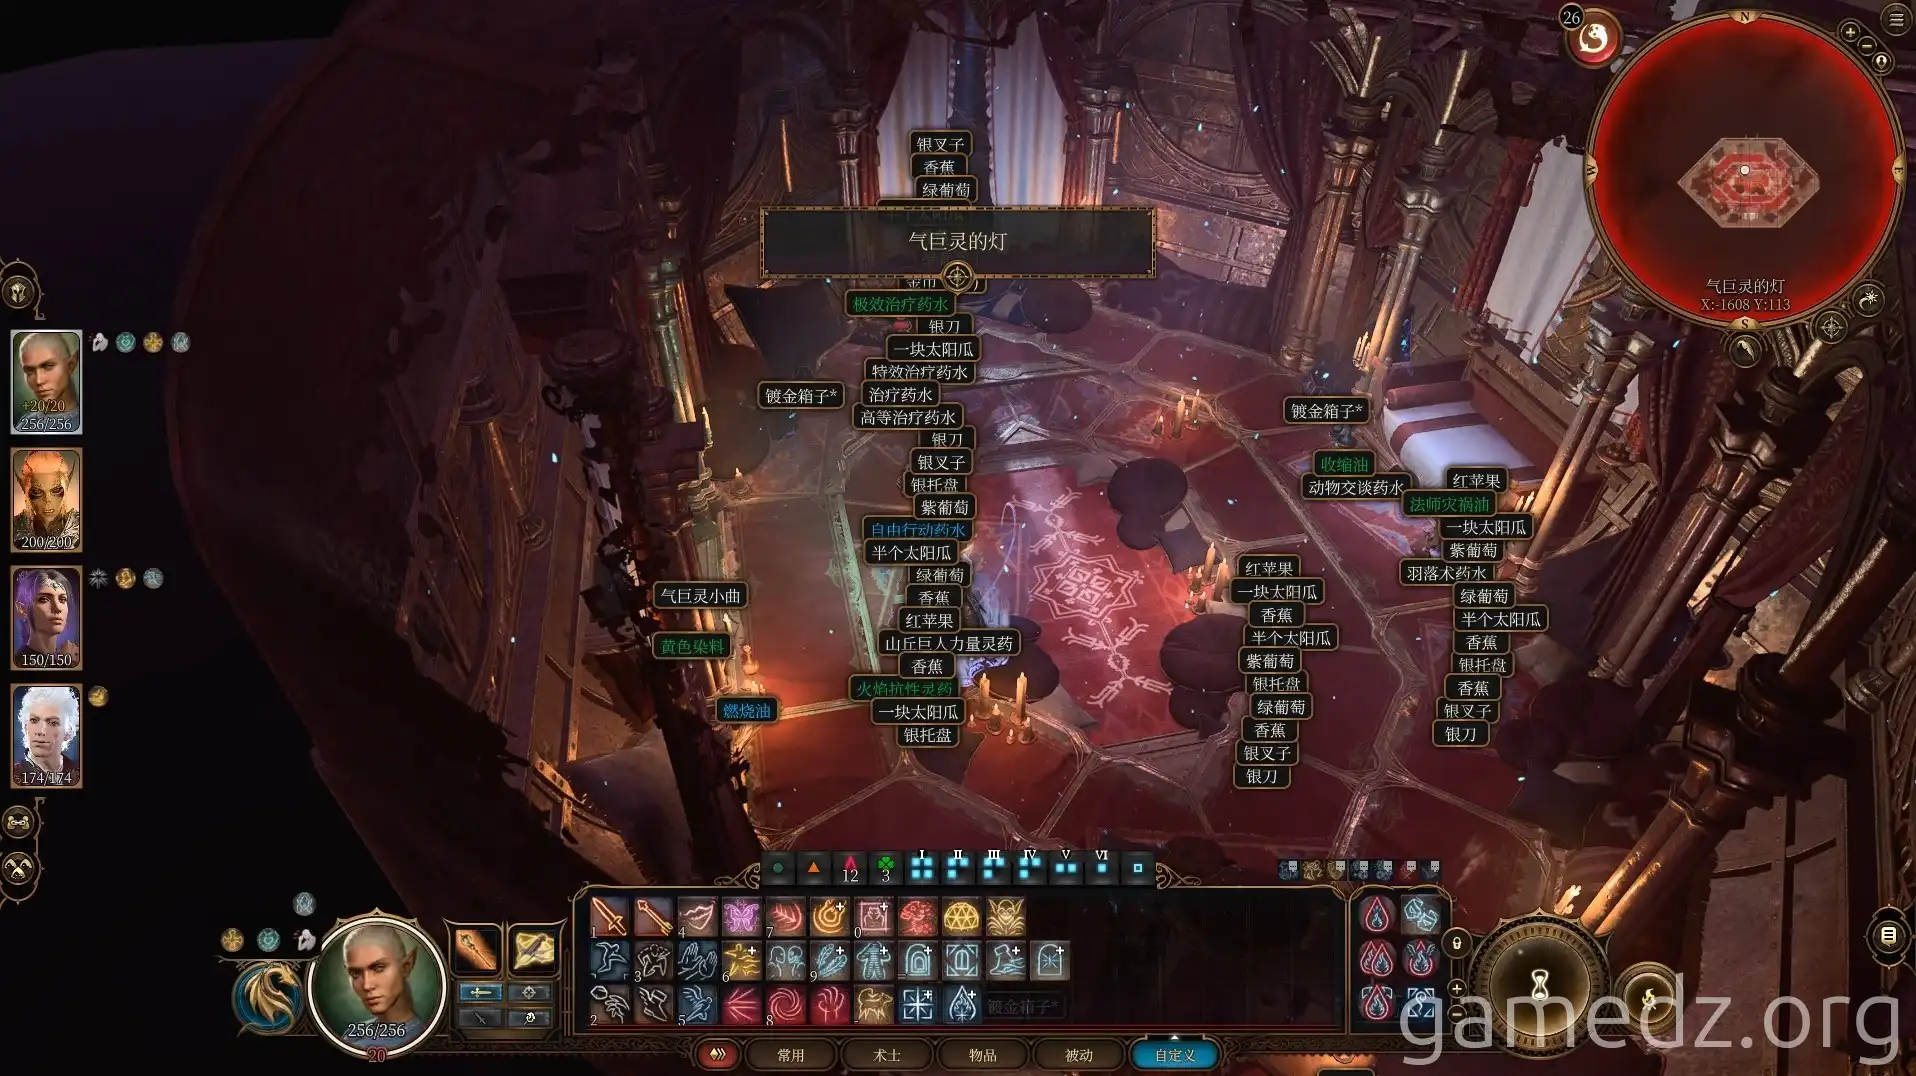
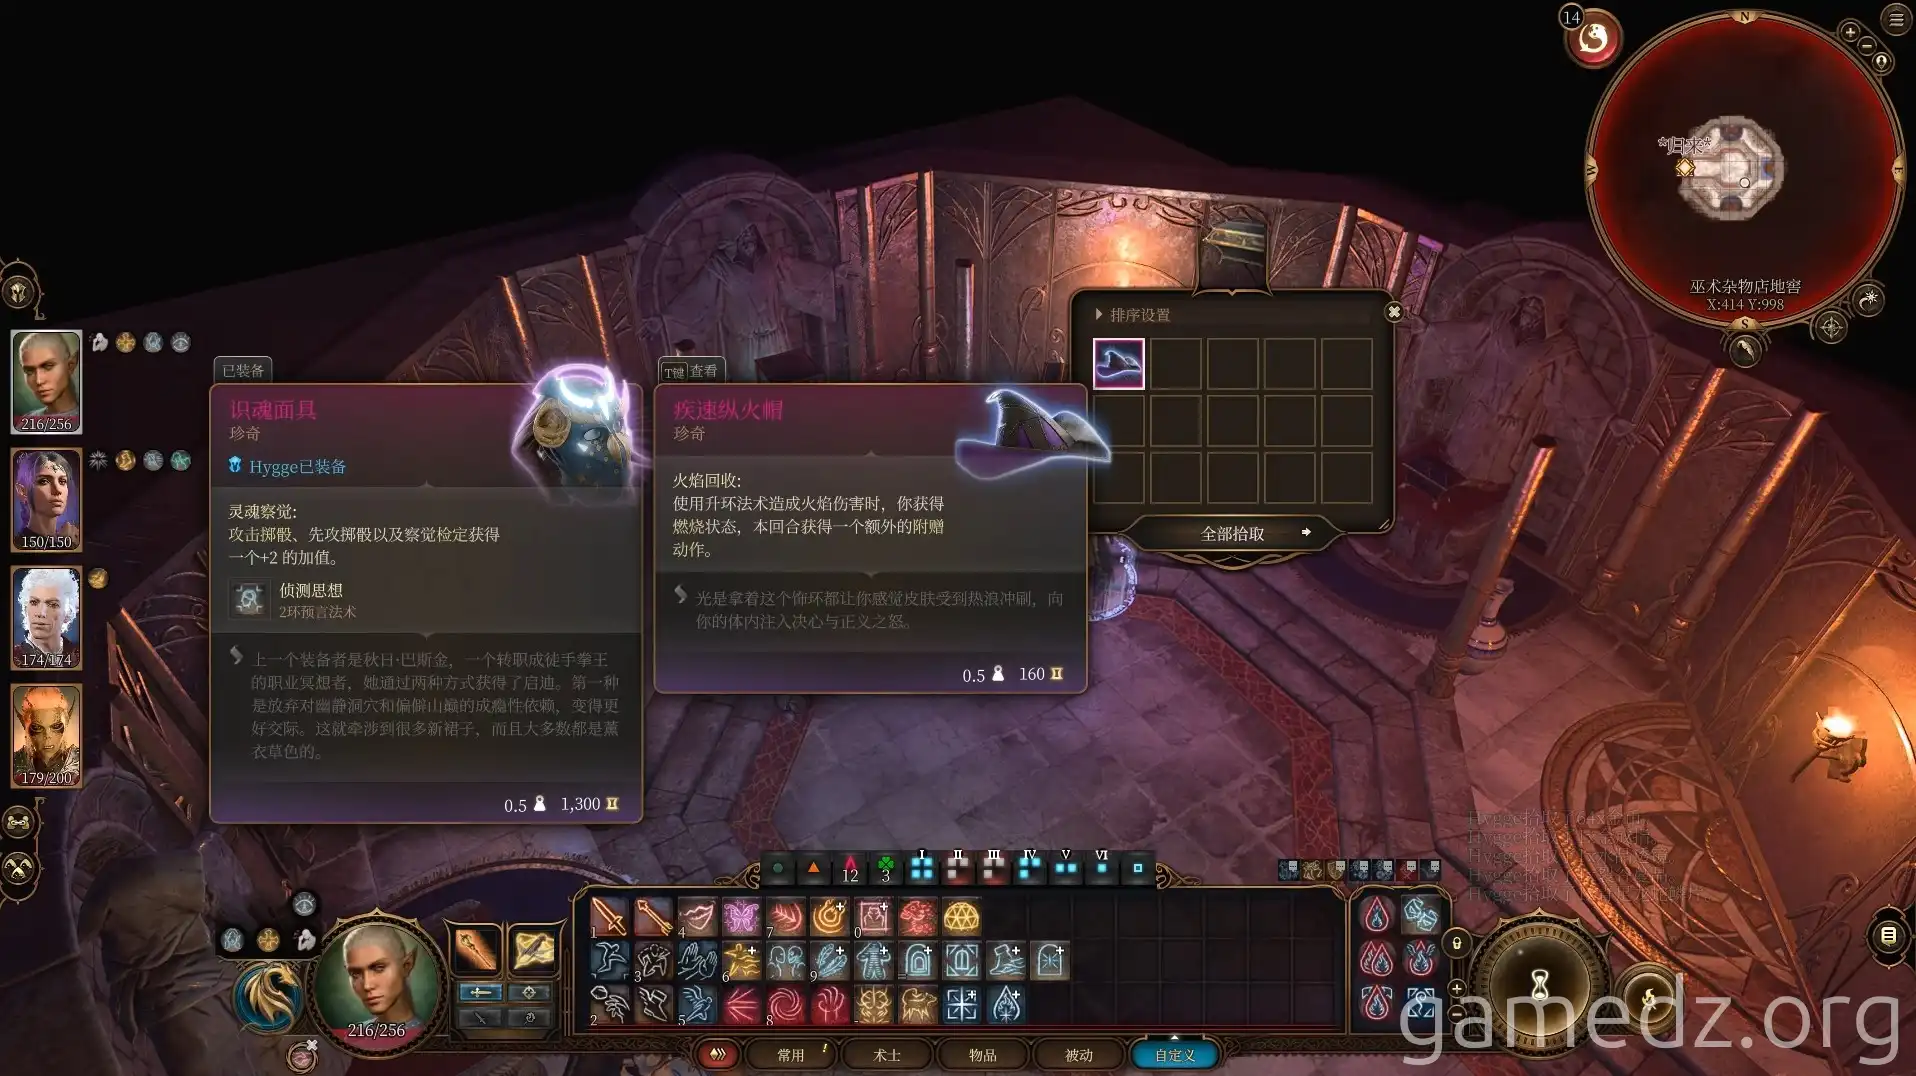
Inside, find the rare armor Cap of the Firebrand and other valuable items.
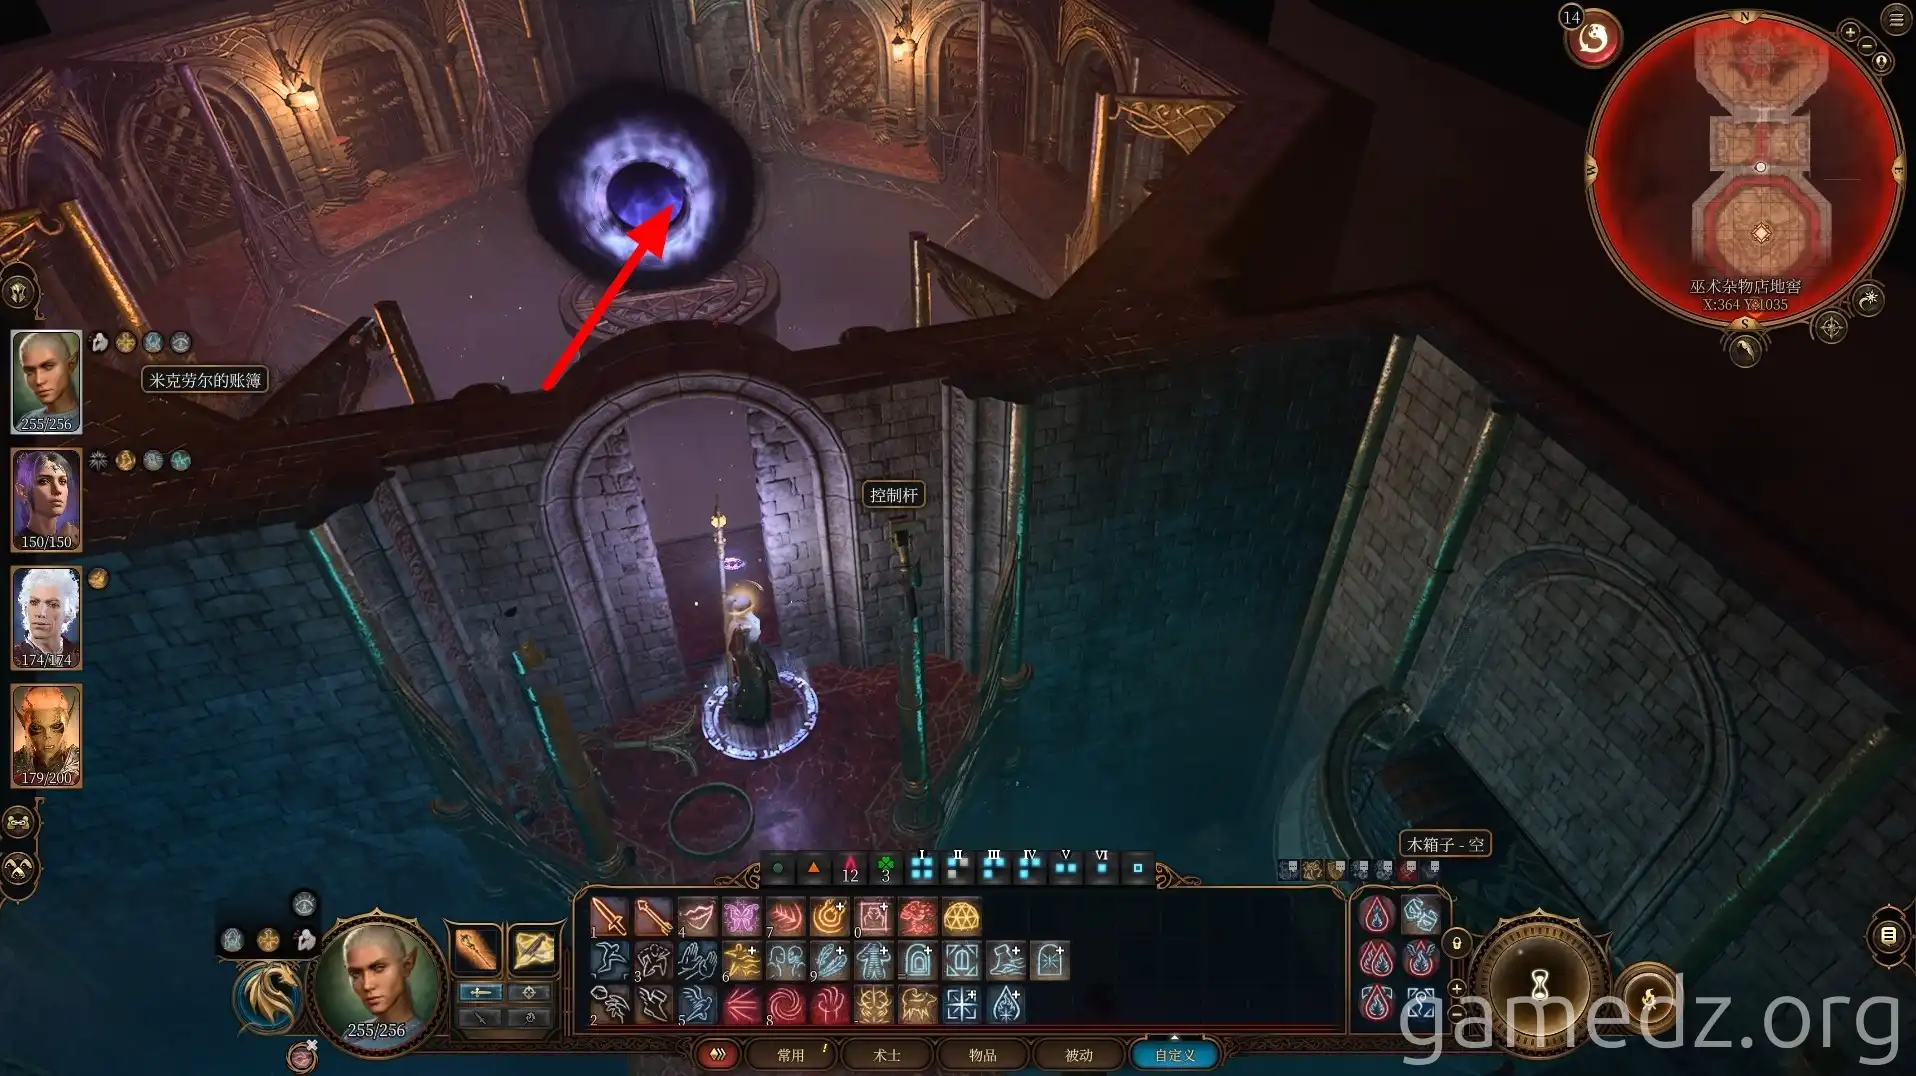
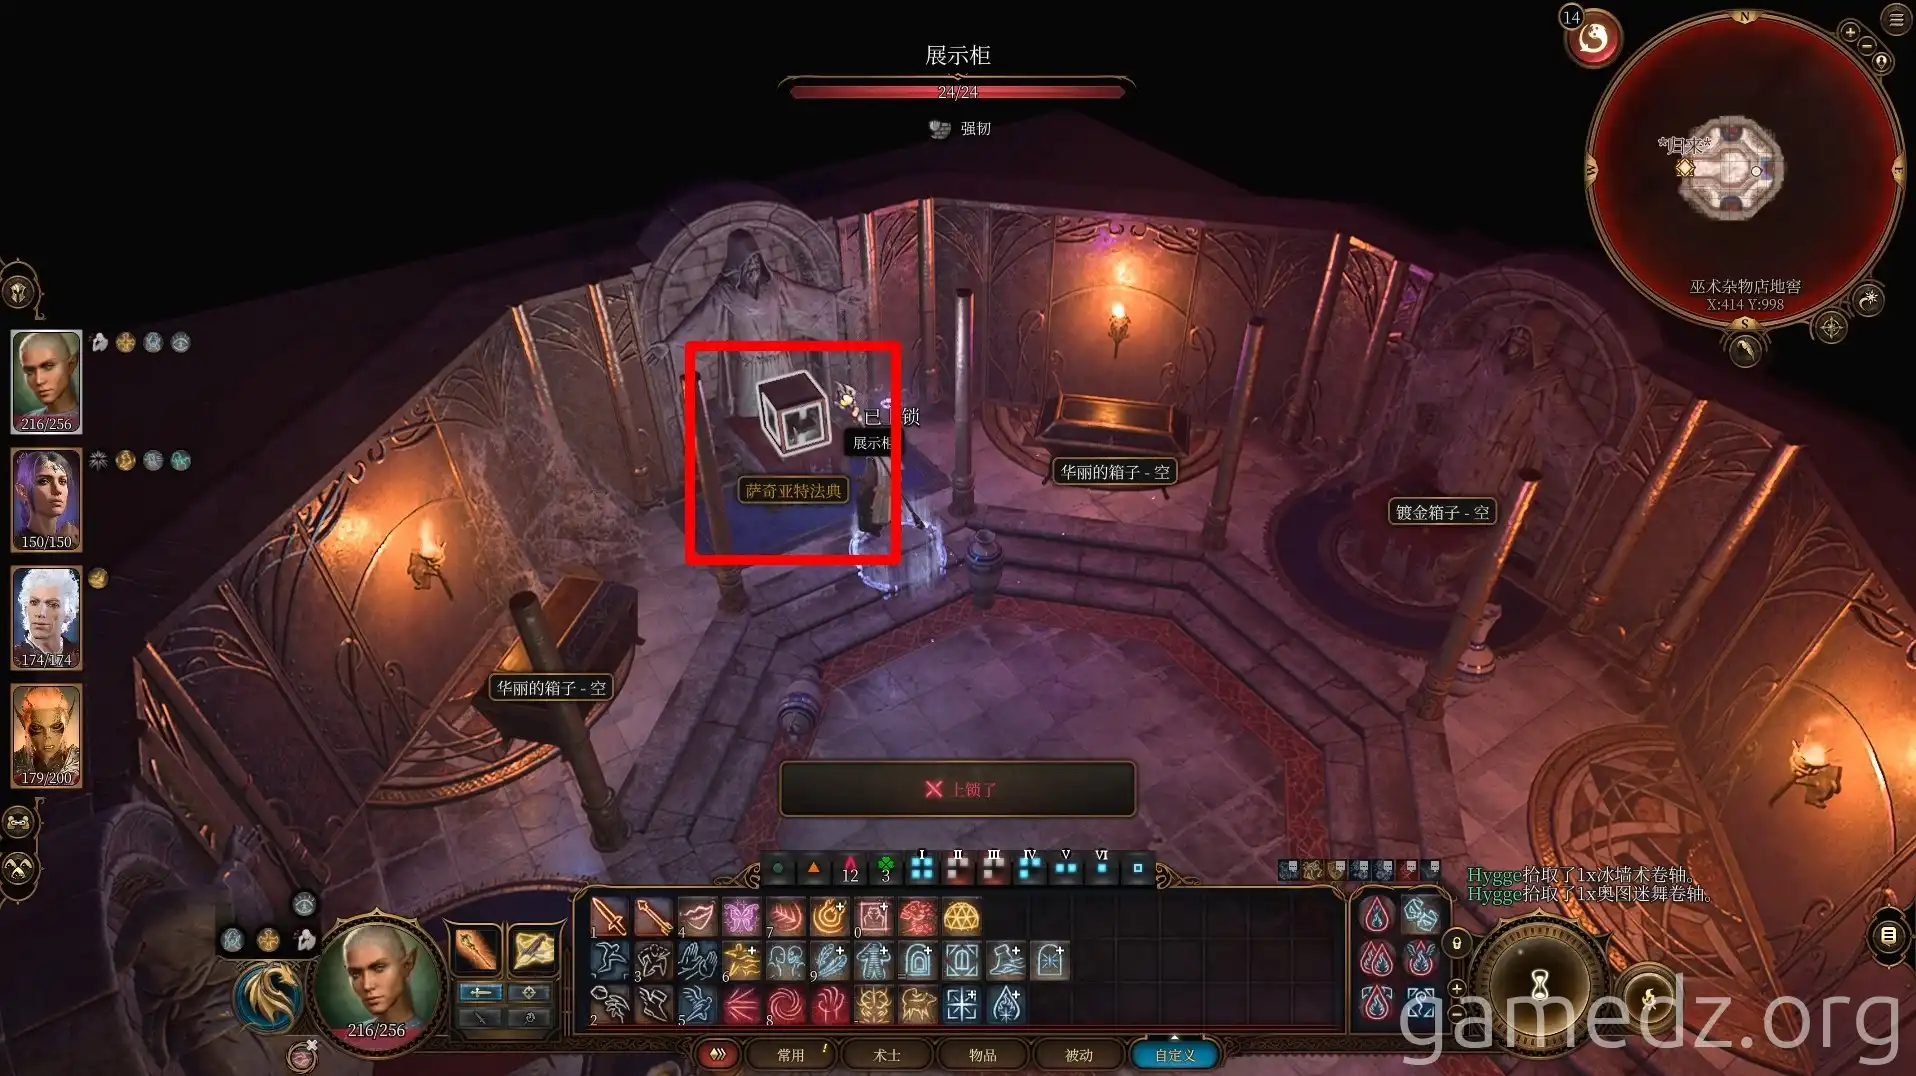
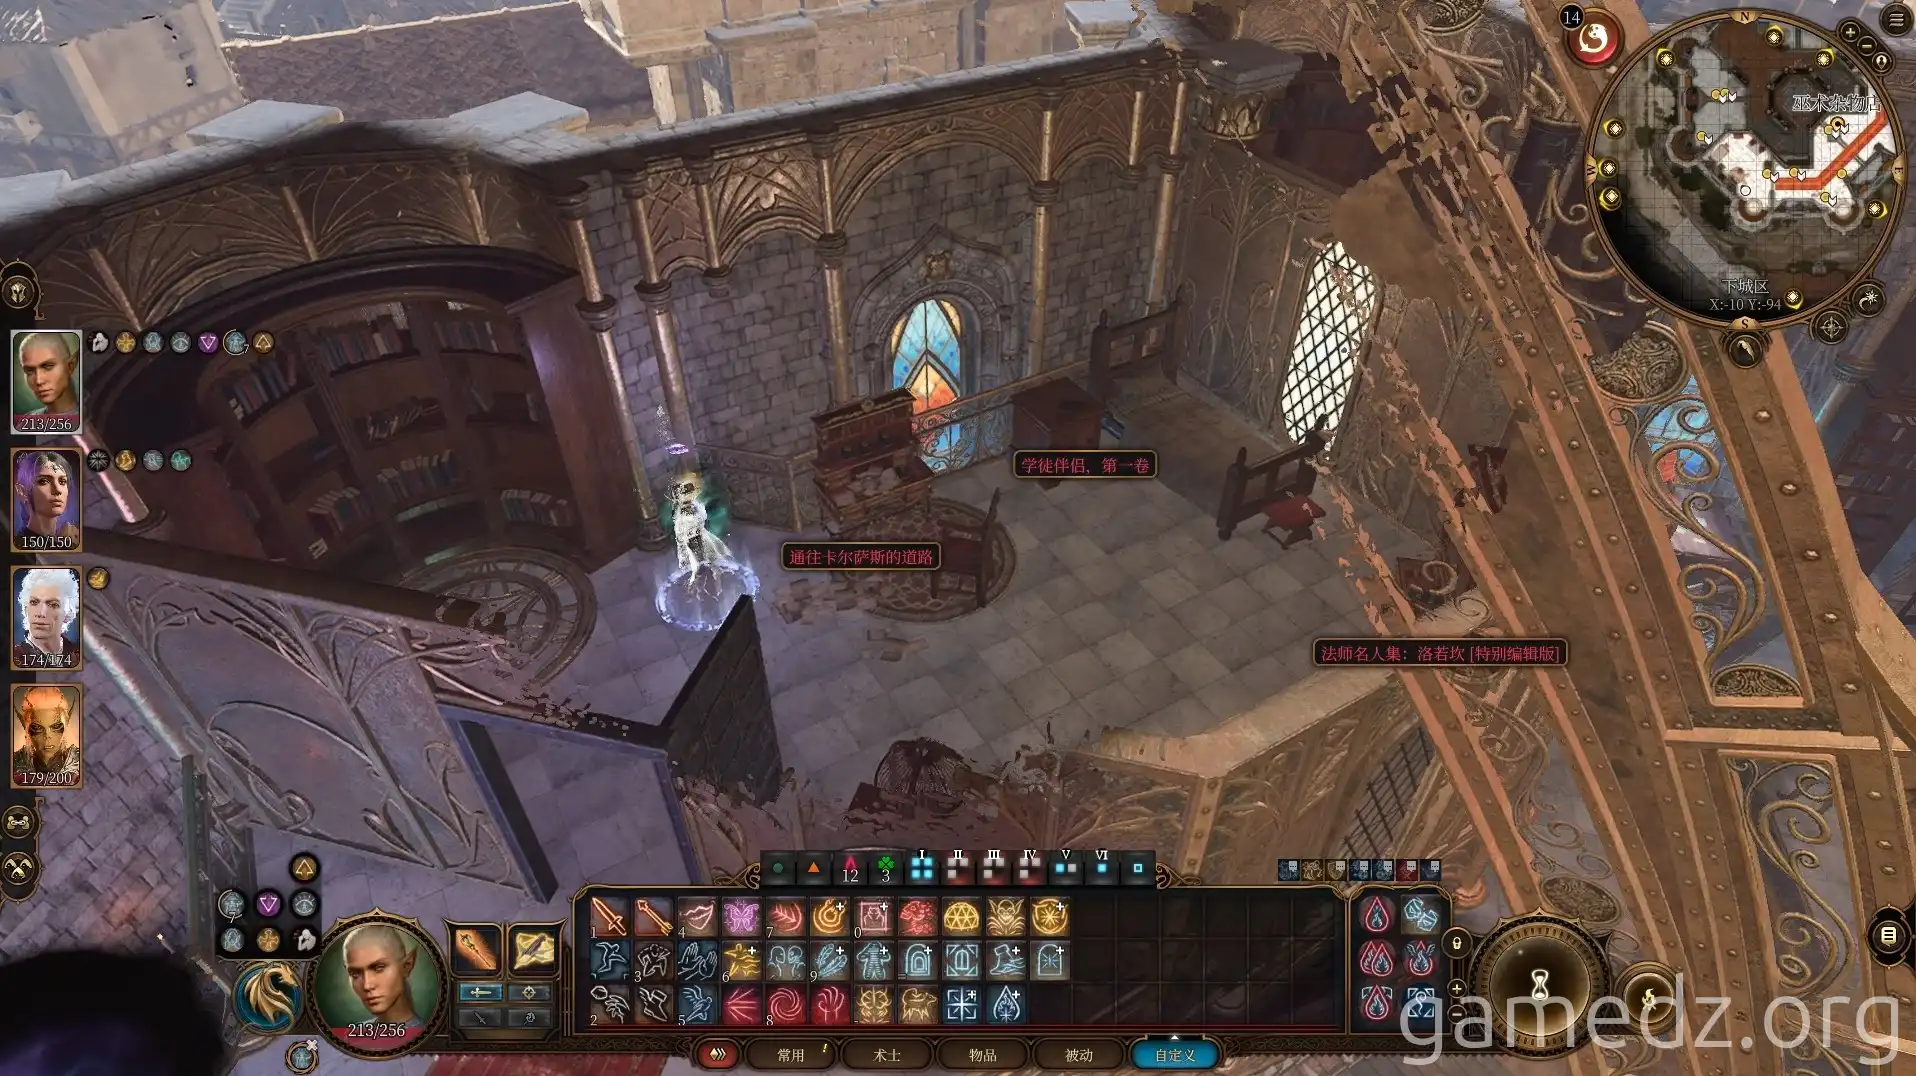
Take the Savant's Codex from the display case.
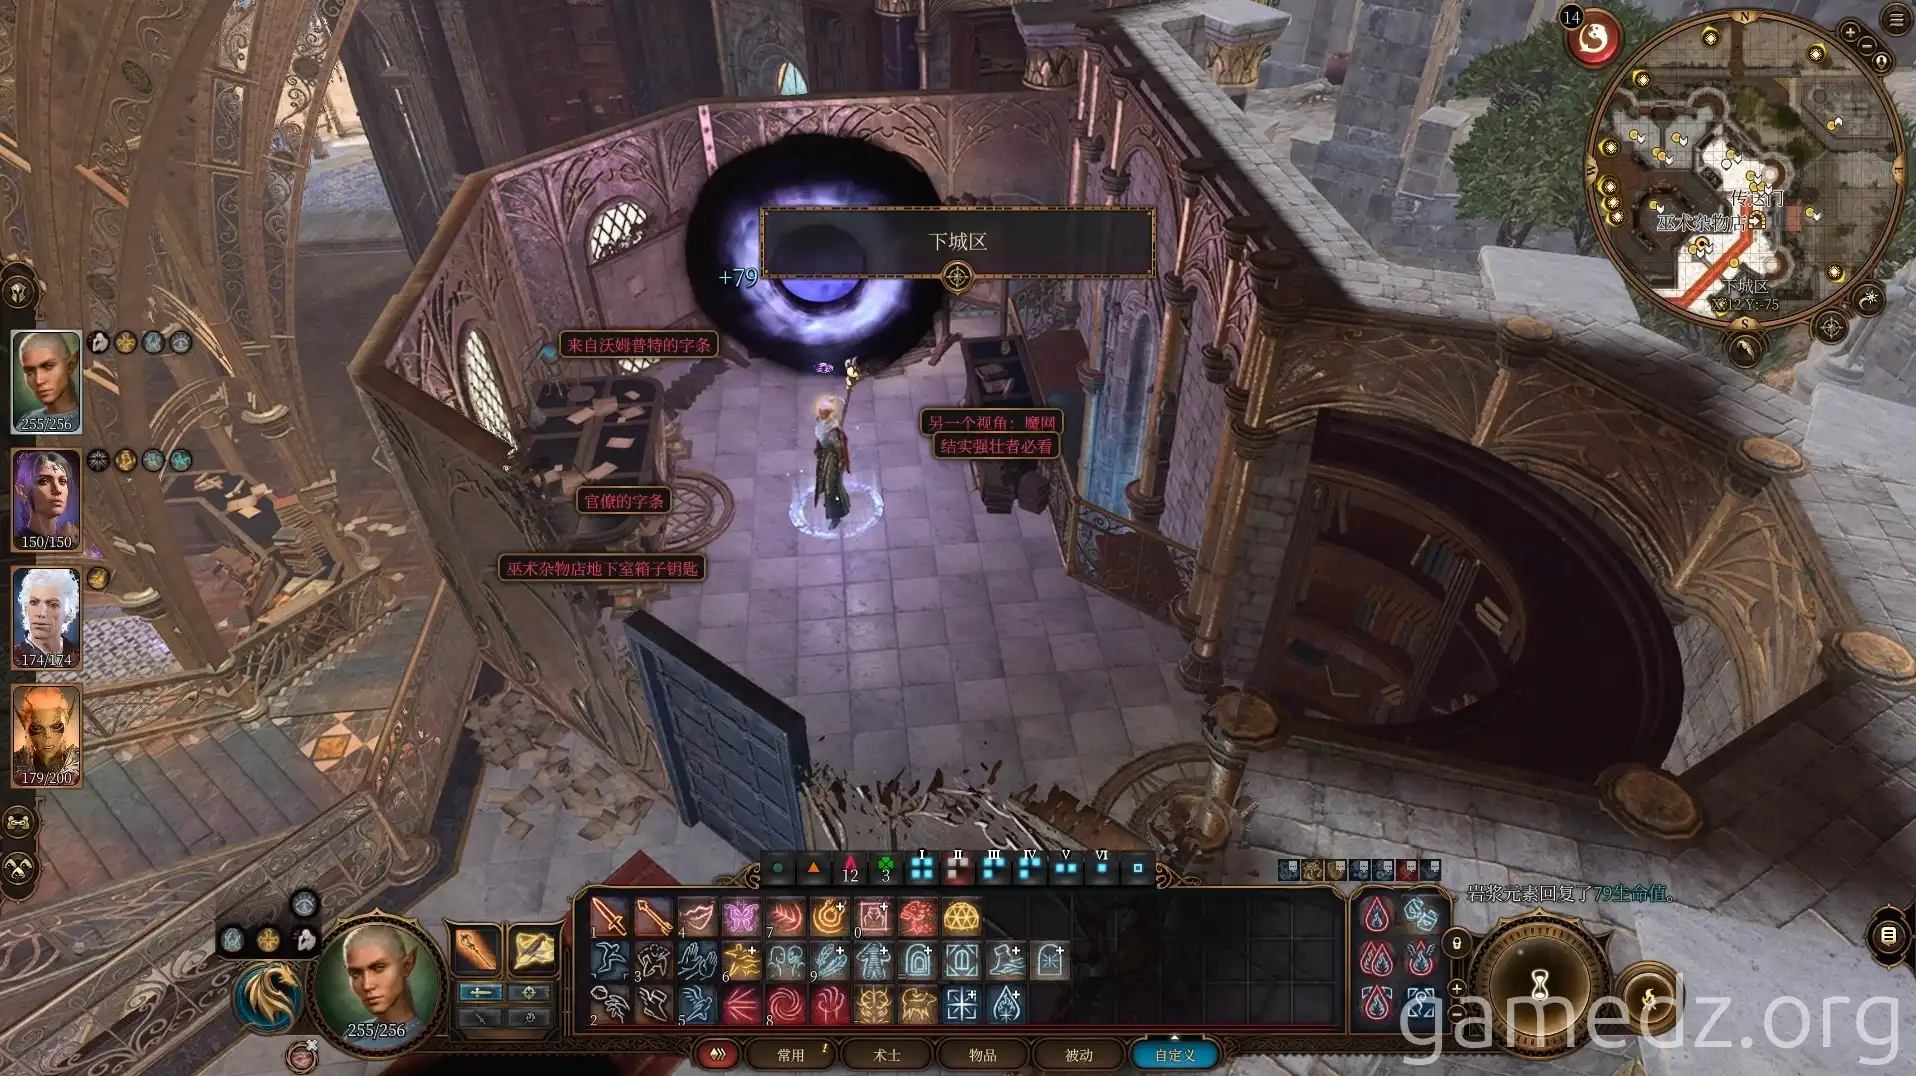
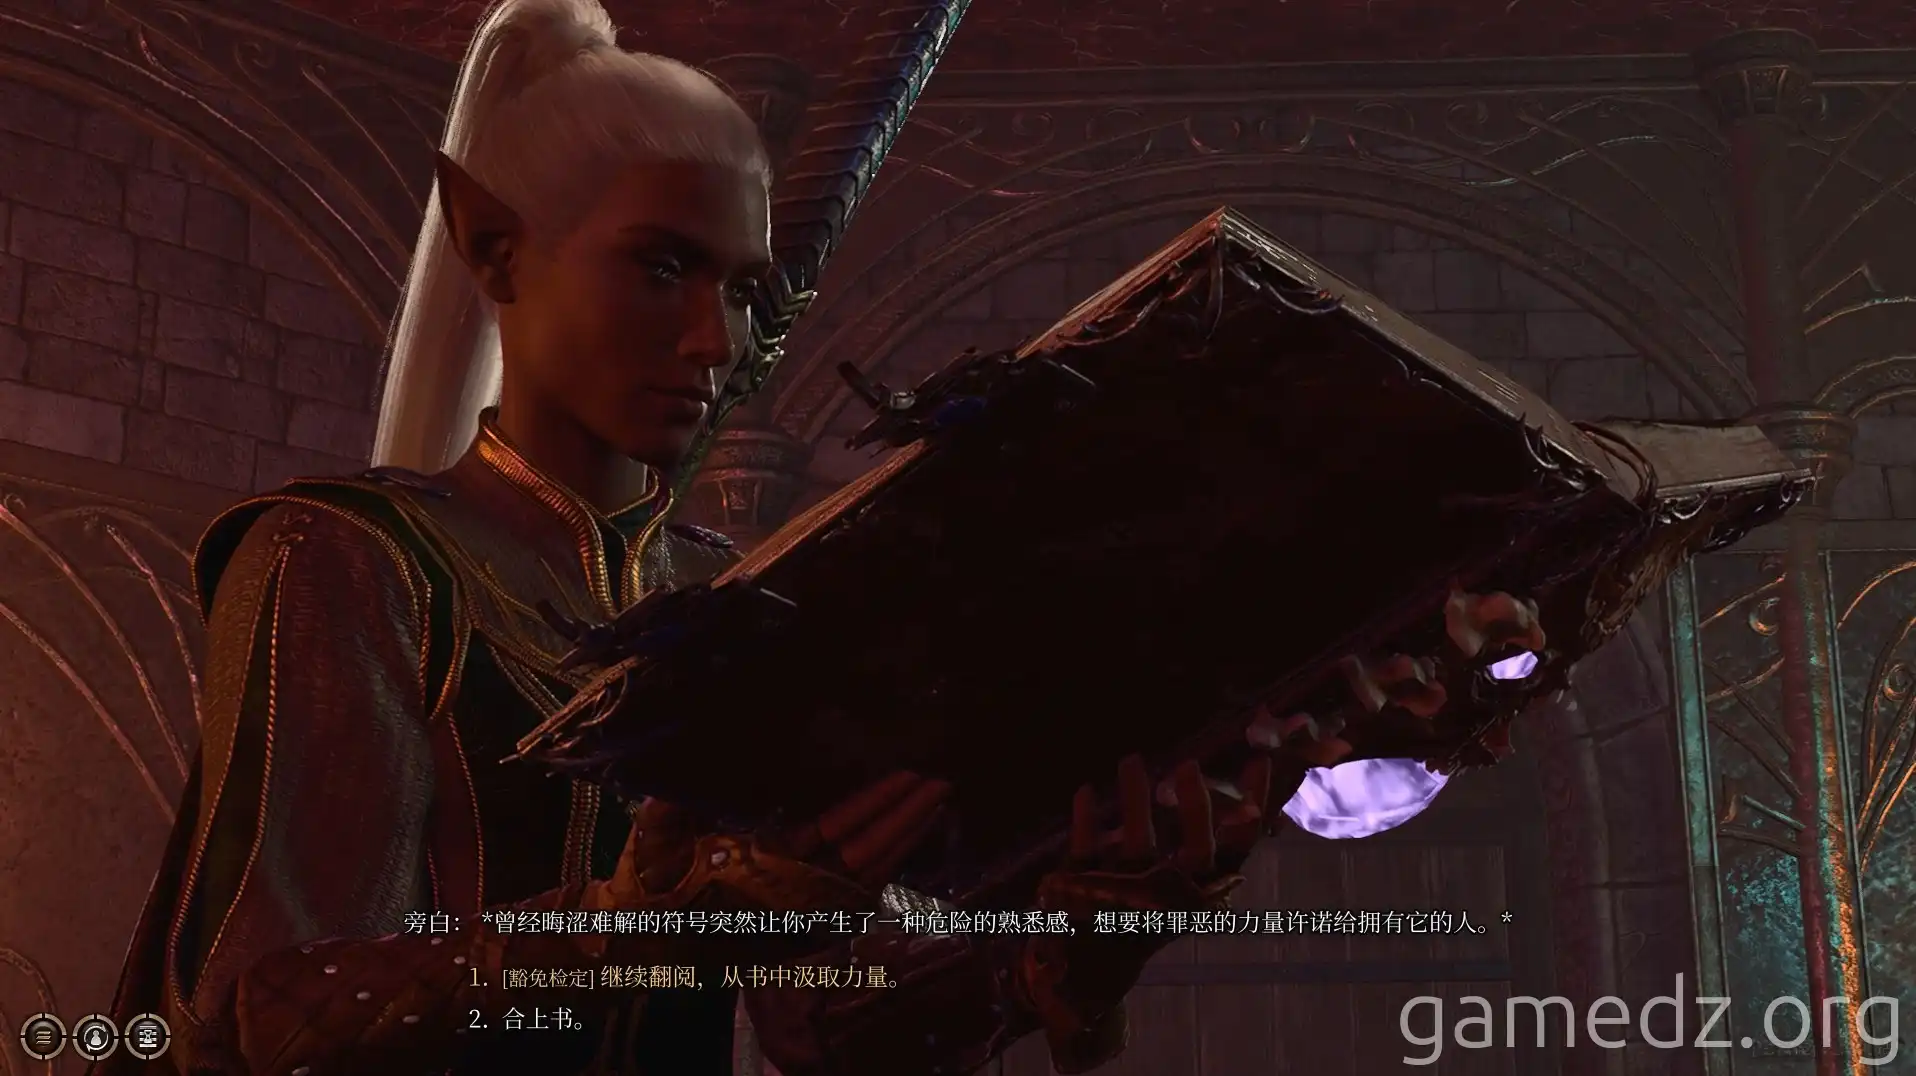
Reading the Savant's Codex allows you to decipher the Selûnite Necromancy Tome from Chapter 1. A successful DC 20 Perception check reveals the 5th-level necromancy spell "Dance of Death."
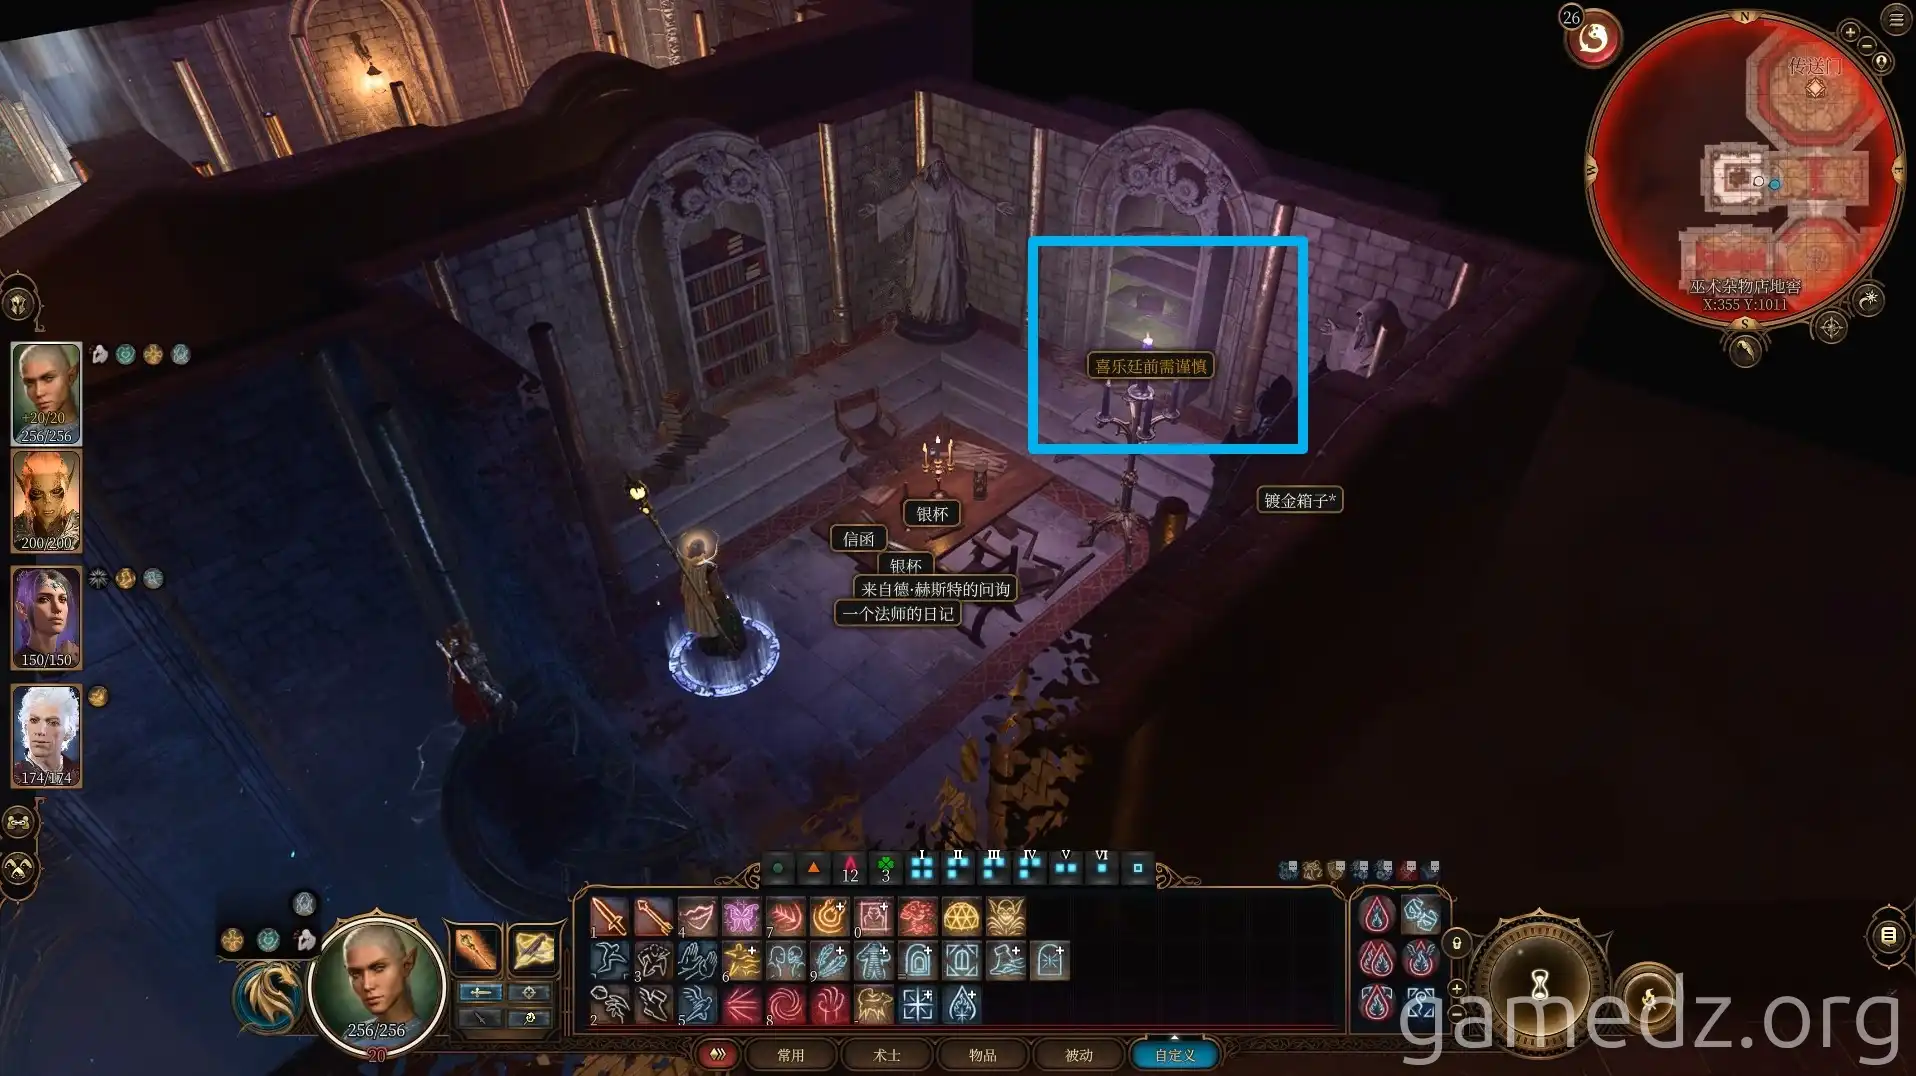
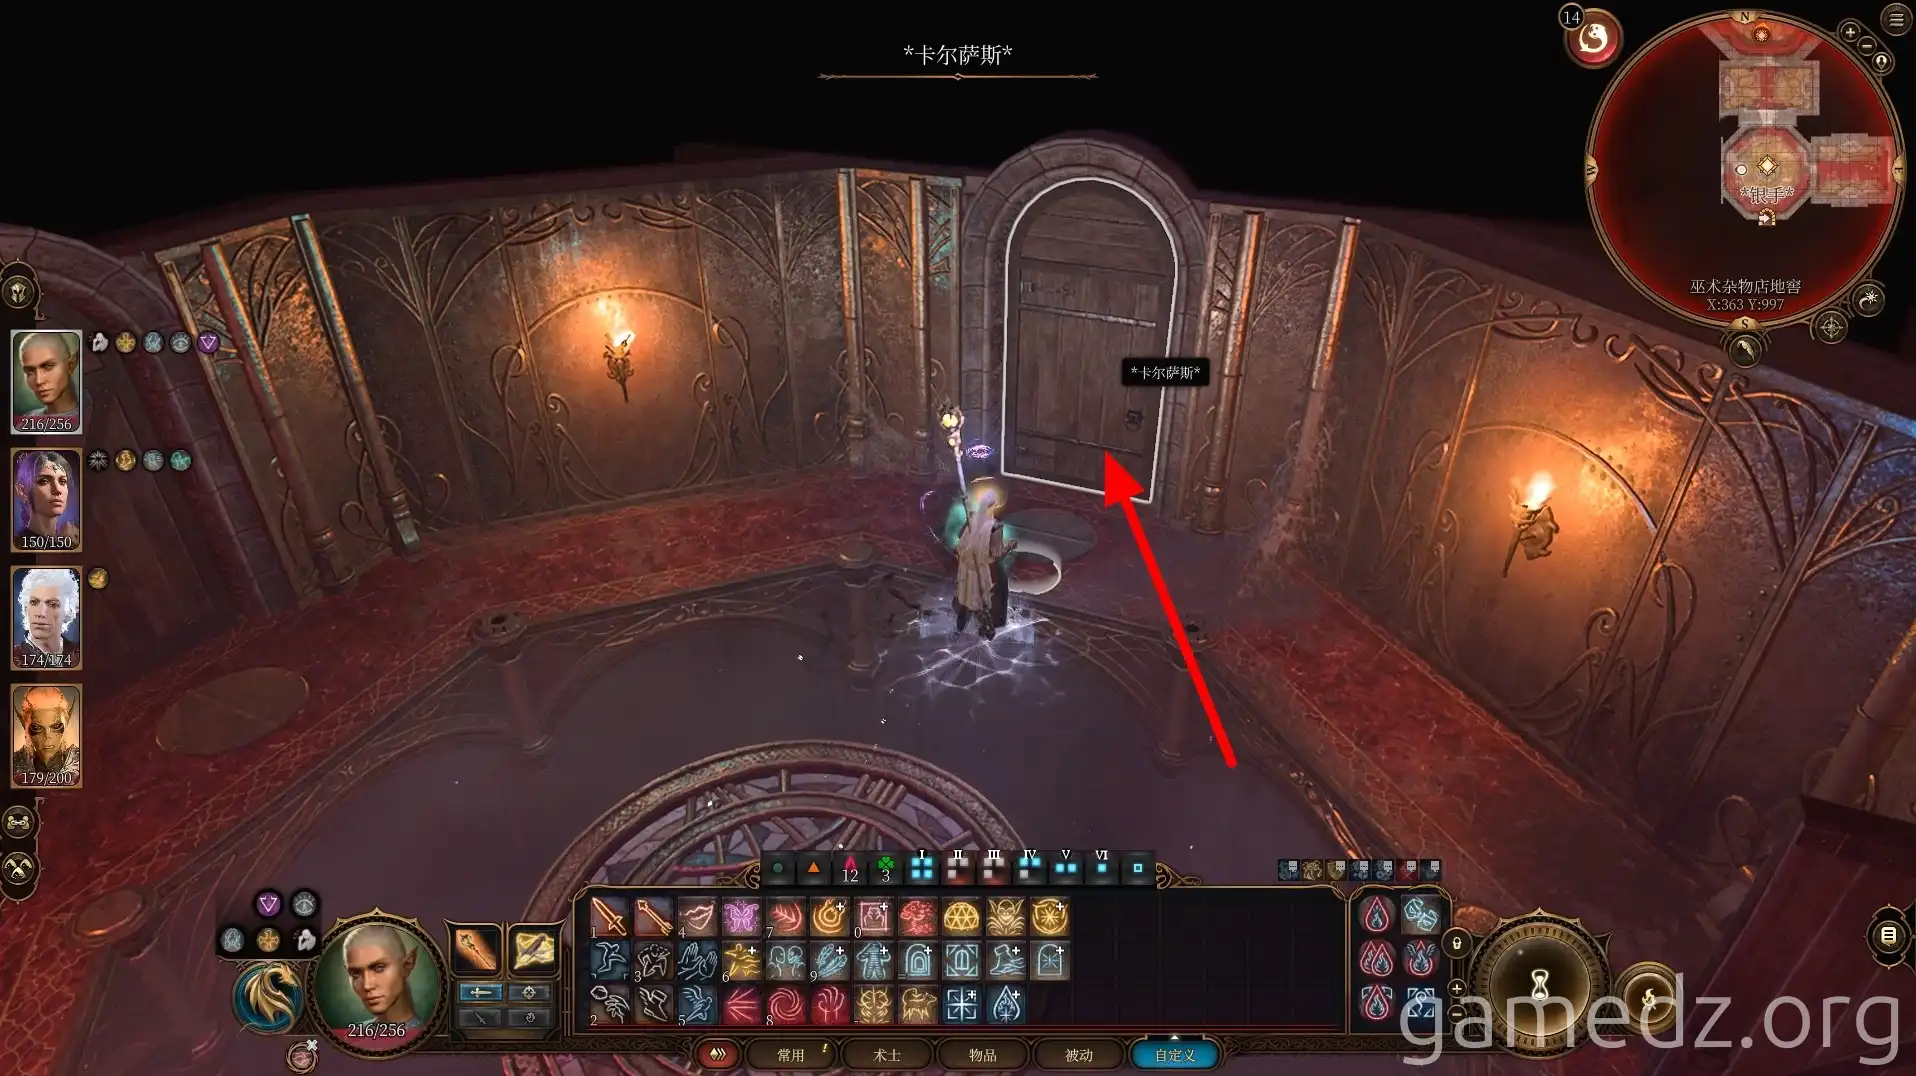
Now, proceed to the "Karsus" room. If Knock fails, use the sequence: "Silver Hand" - "Abjuration" - "Silver" to find the lever.
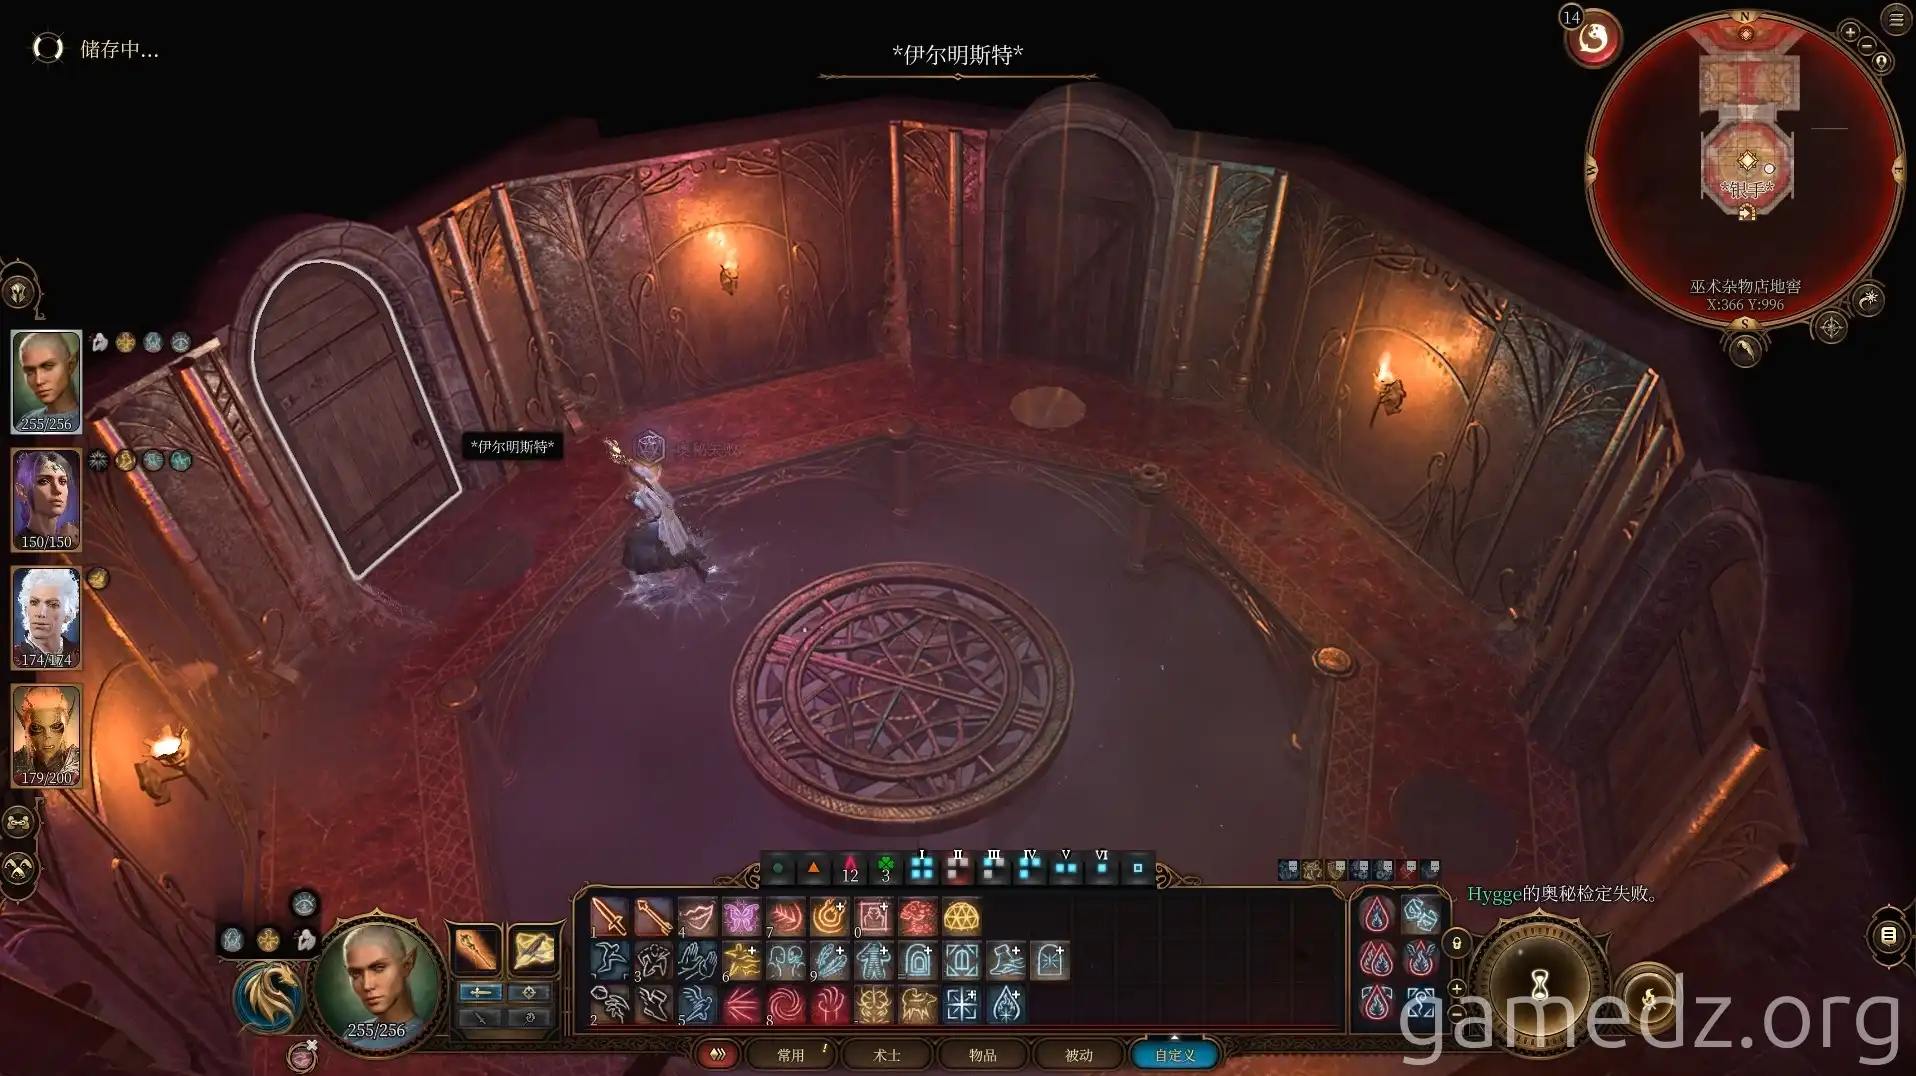
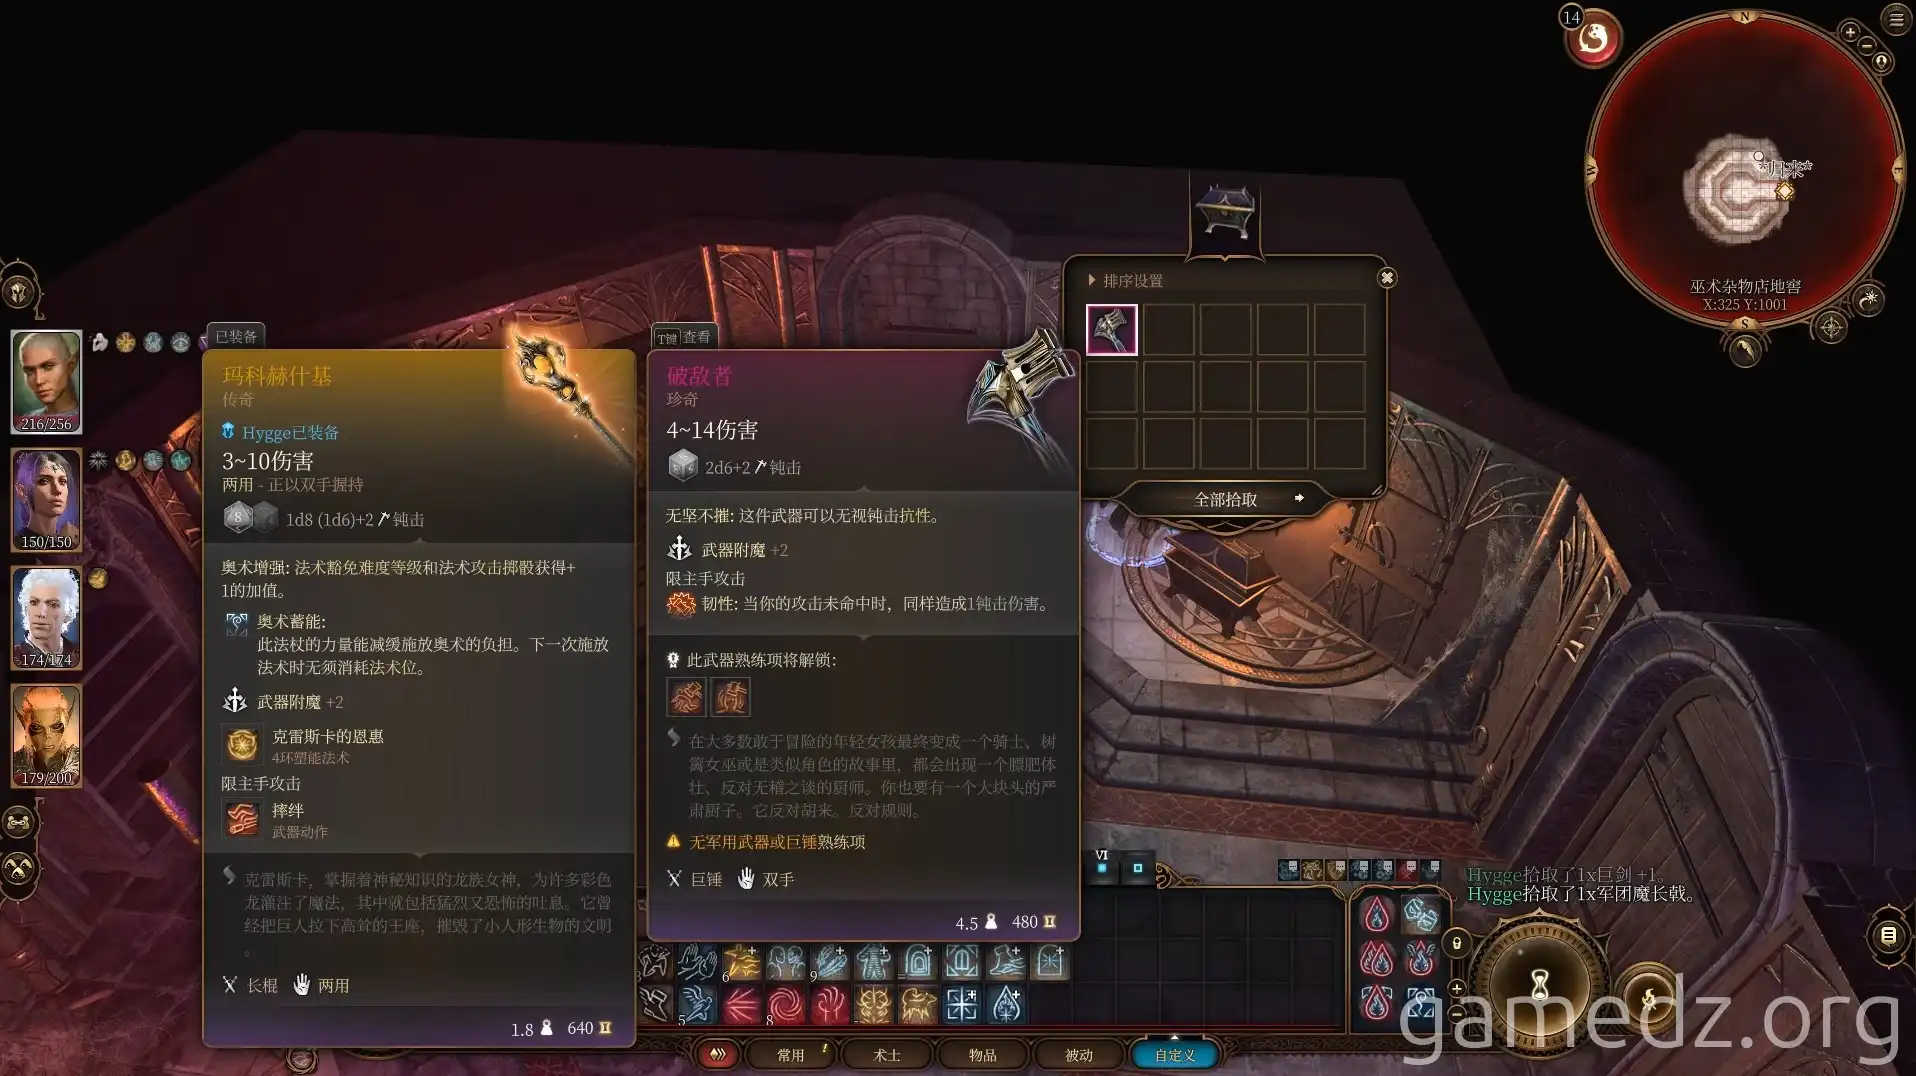
Here, you'll find the rare weapon Foehammer, the excellent weapon Legion's Greataxe, and other armaments. Karsus's Chronicle contains vital information on Netherese magic.
"Silver Hand" rooms lead to branching paths with little of note. You can return to the second floor of Sorcerous Sundries via the portal.
The bedroom on the other side of the second floor has no significant items.
Gale's Quest and Mystra's Revelation
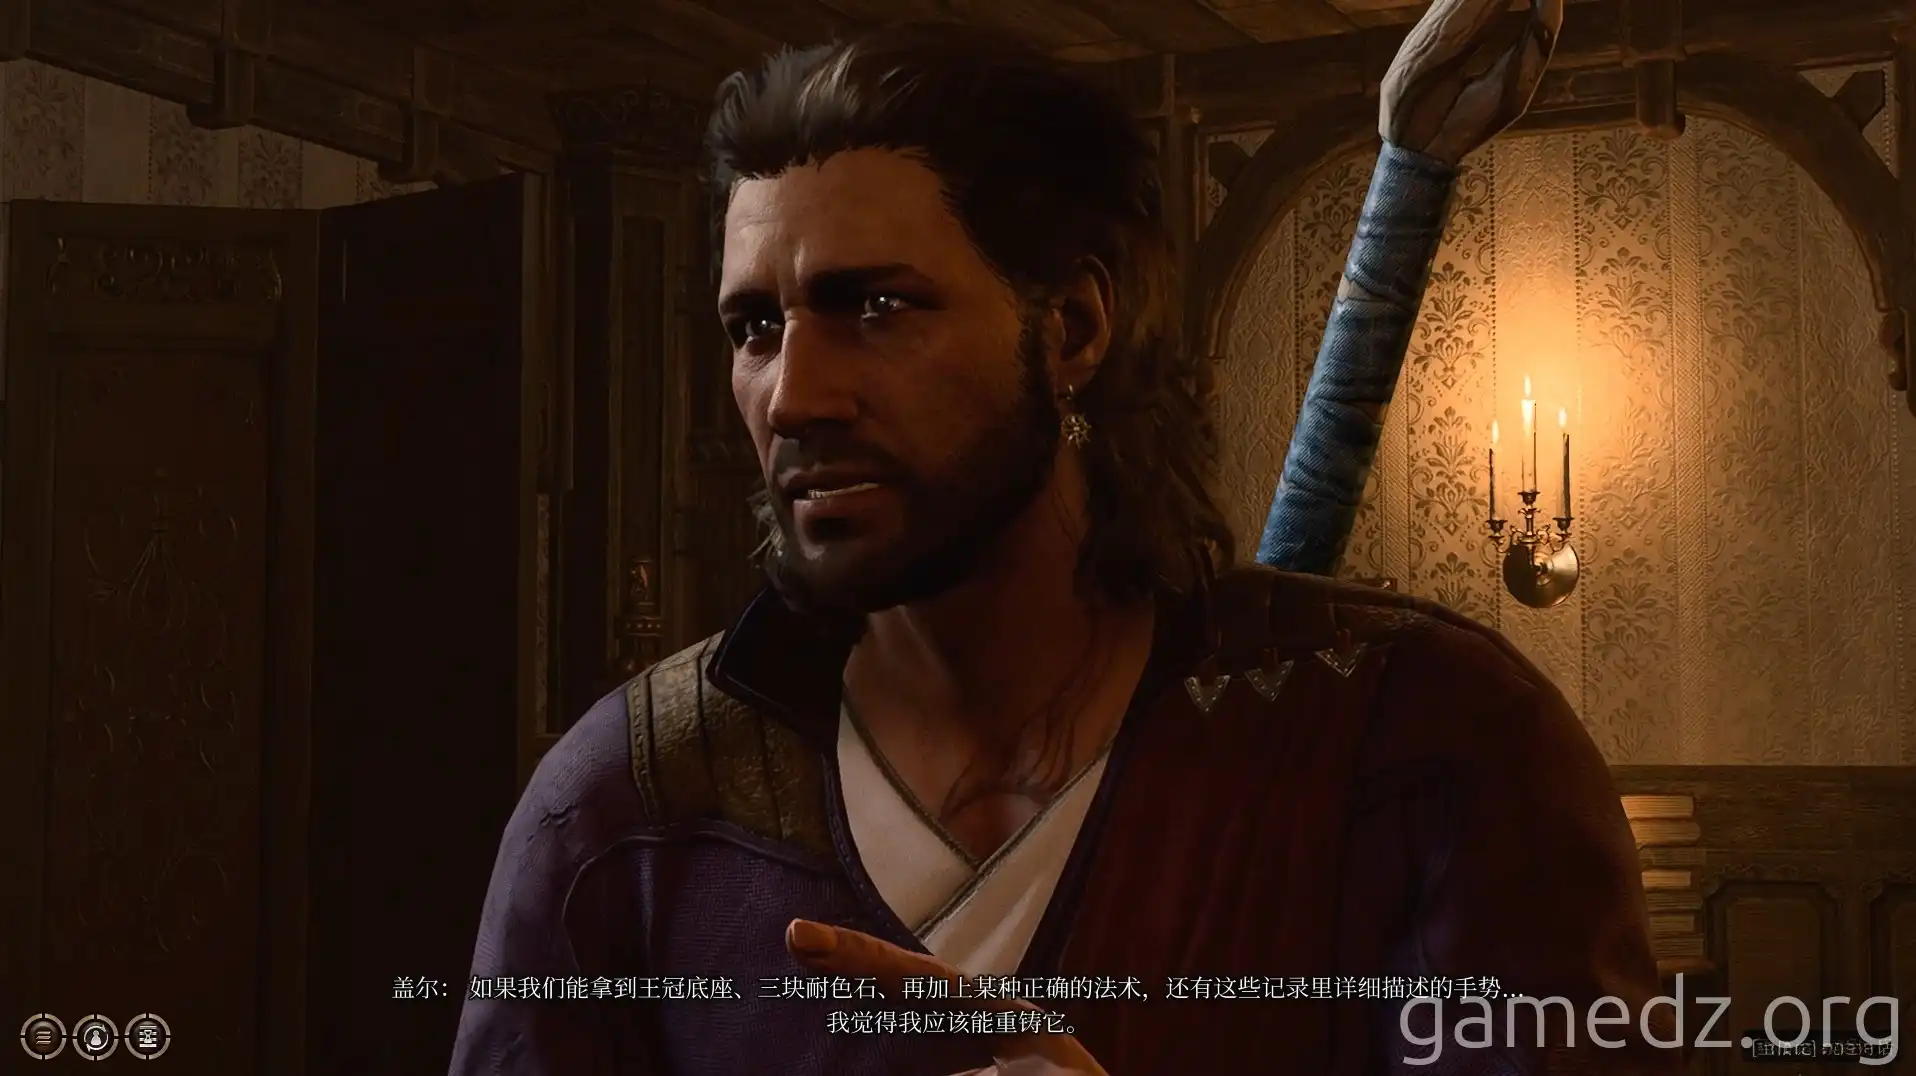
Speak with Gale. He believes obtaining the Crown of Netheril and the three Netherstones could allow for its reforging.
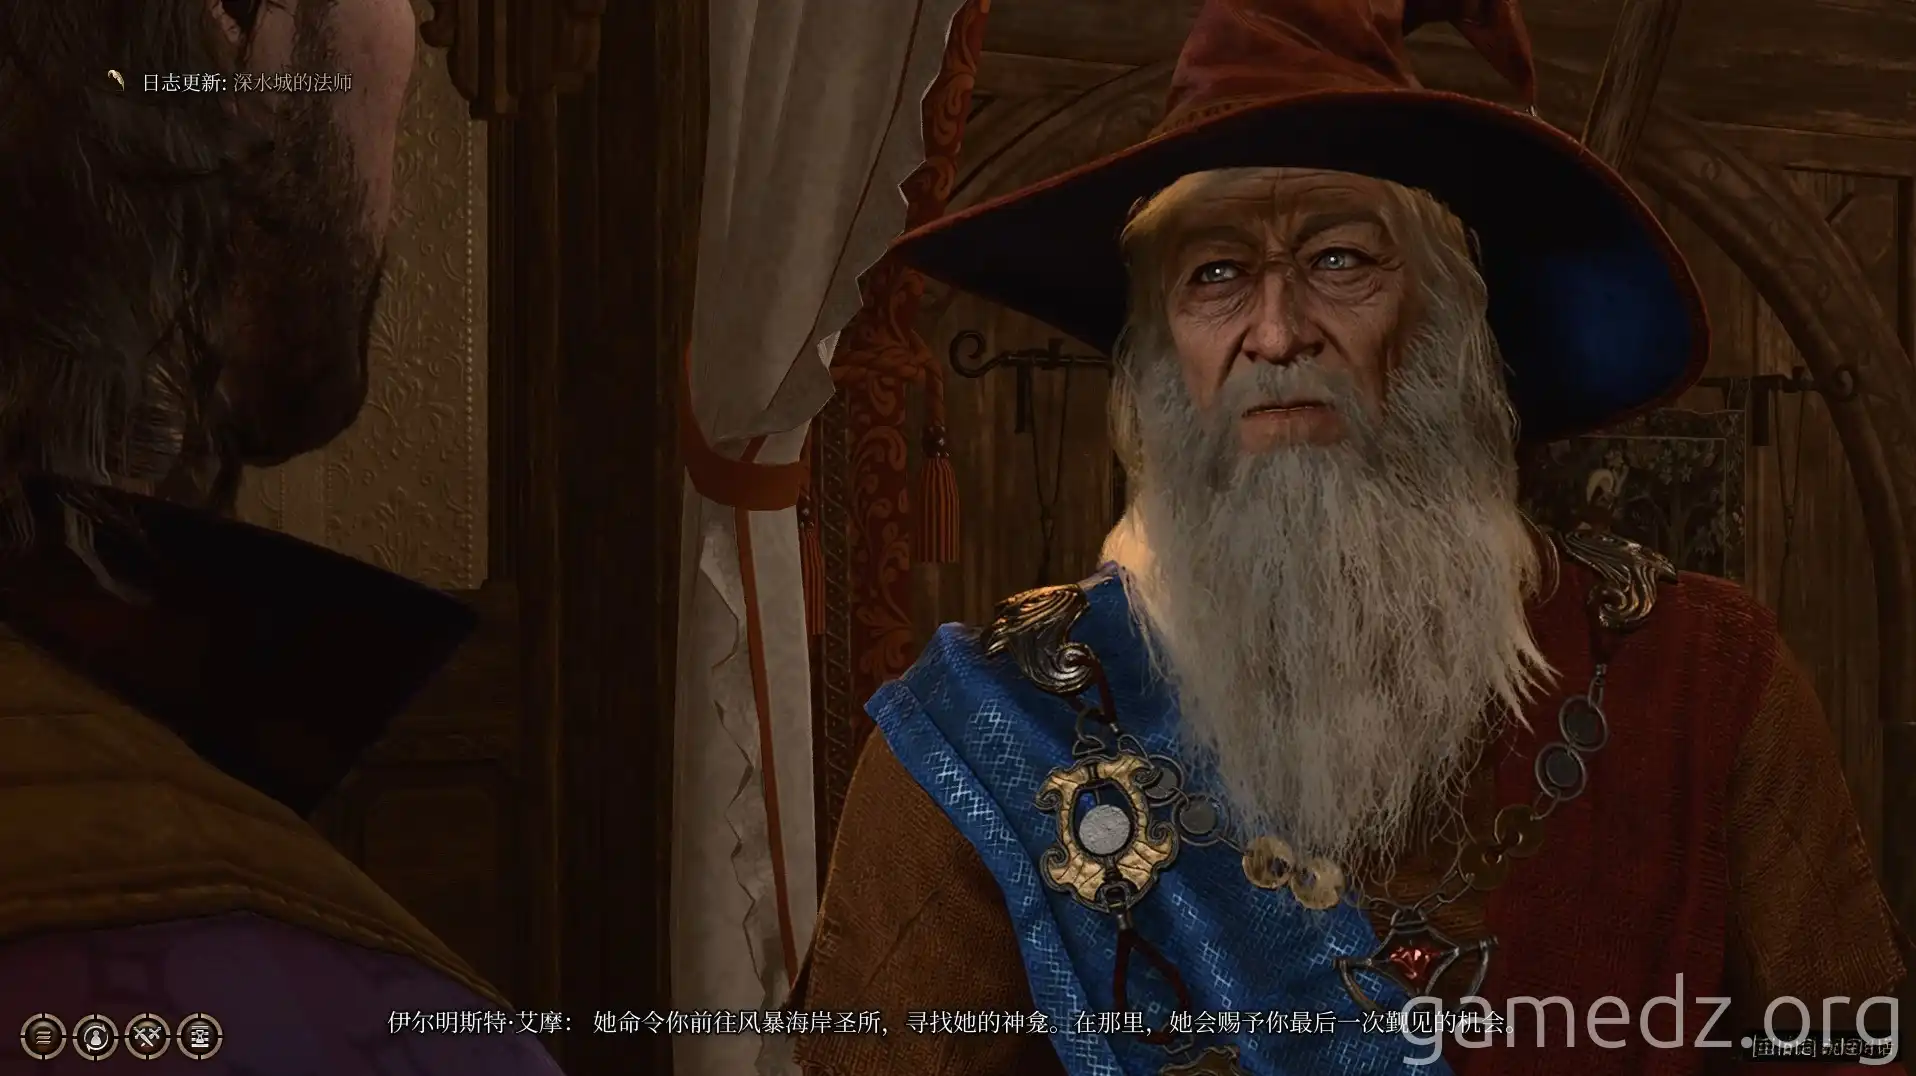
Elminster will visit your camp. If Gale is present, you'll learn Mystra awaits him at the Storm Coast Sanctuary.
After a Long Rest, return to the tower and speak with Aylin. She and Isobel will depart for a Selûnite settlement but will return to aid you in the final battle.
Final Preparations and Gale's Fate
Before leaving Sorcerous Sundries, check behind the Fire Elemental by the door for equipment and scrolls. Use invisibility to snag them.
These include the Staff of the Golden Dragon, Cap of the Frost, and Grasp of Winter.
Bring Gale to the Storm Coast Chapel near the Stone Lord's Gate for his meeting with Mystra.
Mystra reveals the "Orb of Destruction" within Gale is Karsus's Weave. She offers to remove it if you surrender the Crown of Netheril. Alternatively, Gale can control Karsus's Weave with the Crown, potentially altering the story's path significantly.
Continue your adventure, and may your dice rolls be ever in your favor!

