
Baldur's Gate 3: Moonrise Towers Walkthrough & Loot Guide
Detailed Baldur's Gate 3 walkthrough for Moonrise Towers, focusing on exploration, merchant interactions, unique loot, and quest progression.
Teleport back to Moonrise Towers and enter through the main gate.
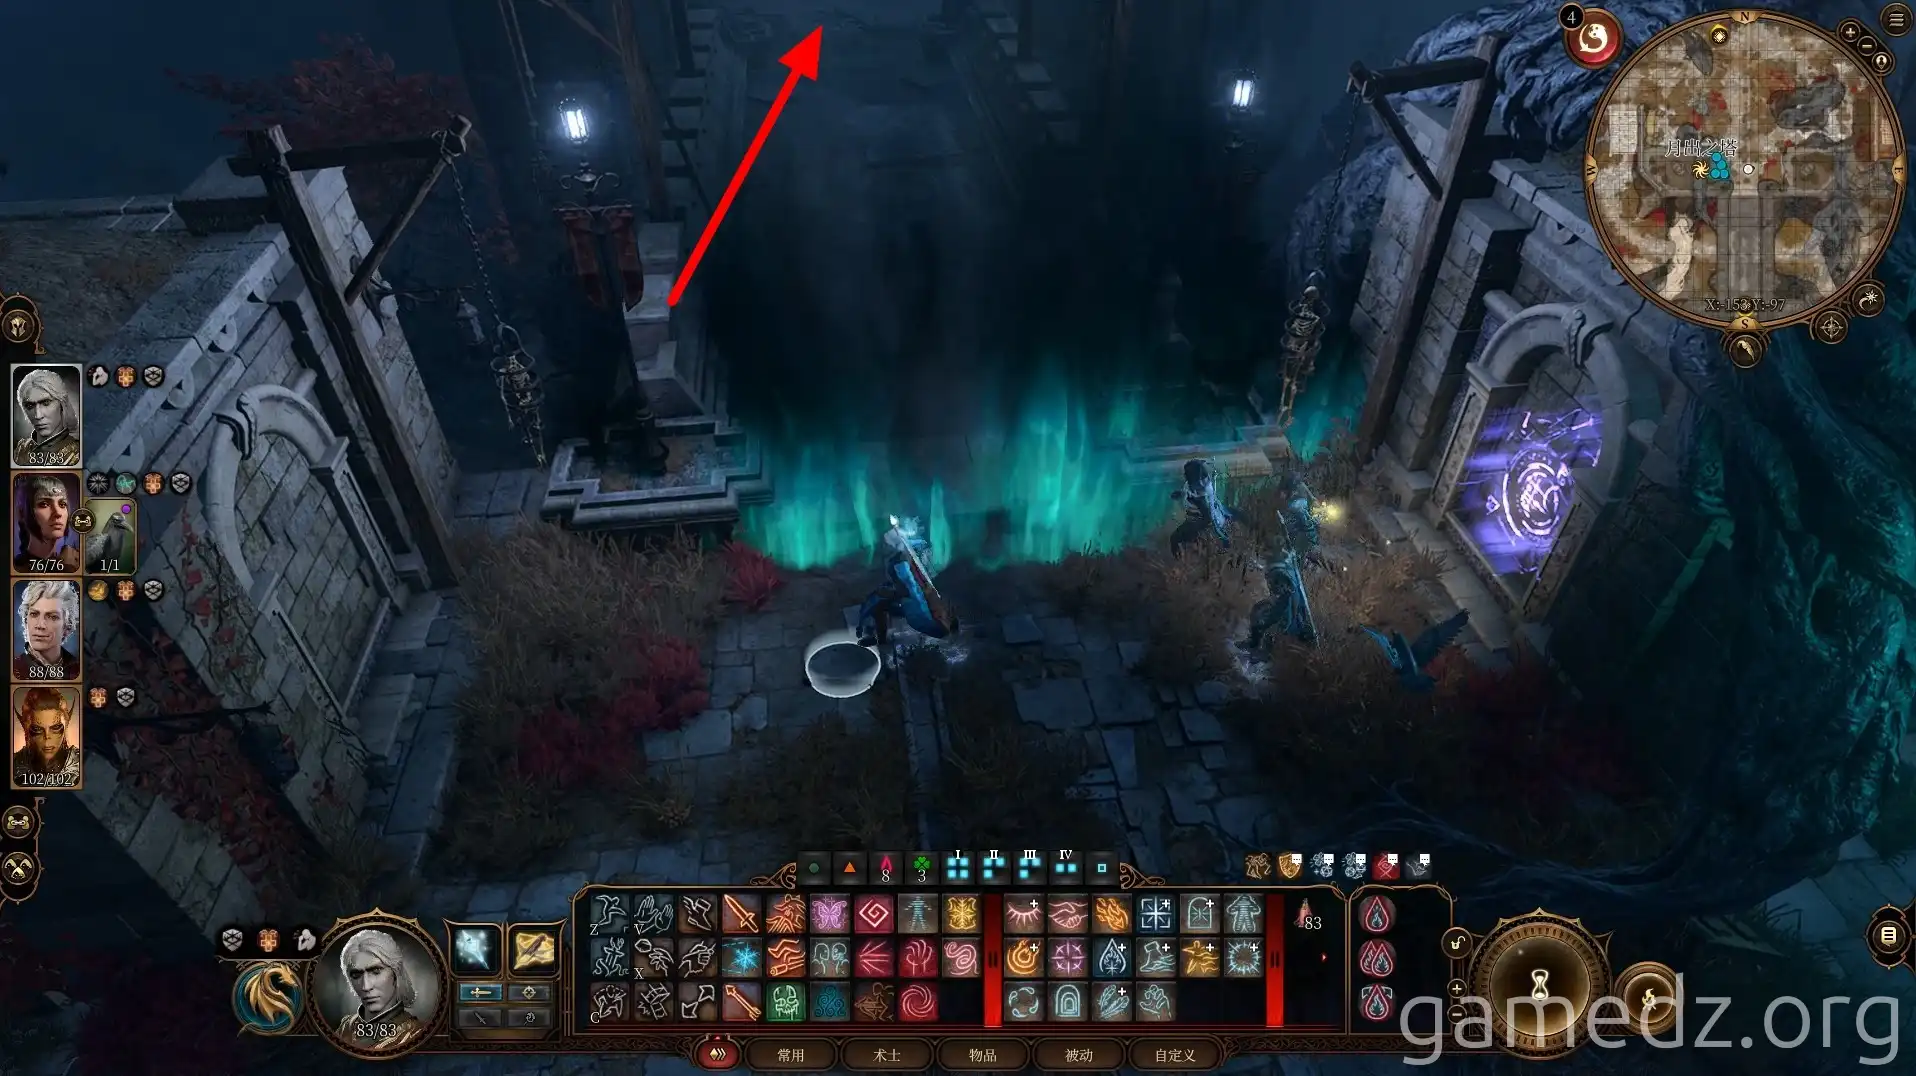
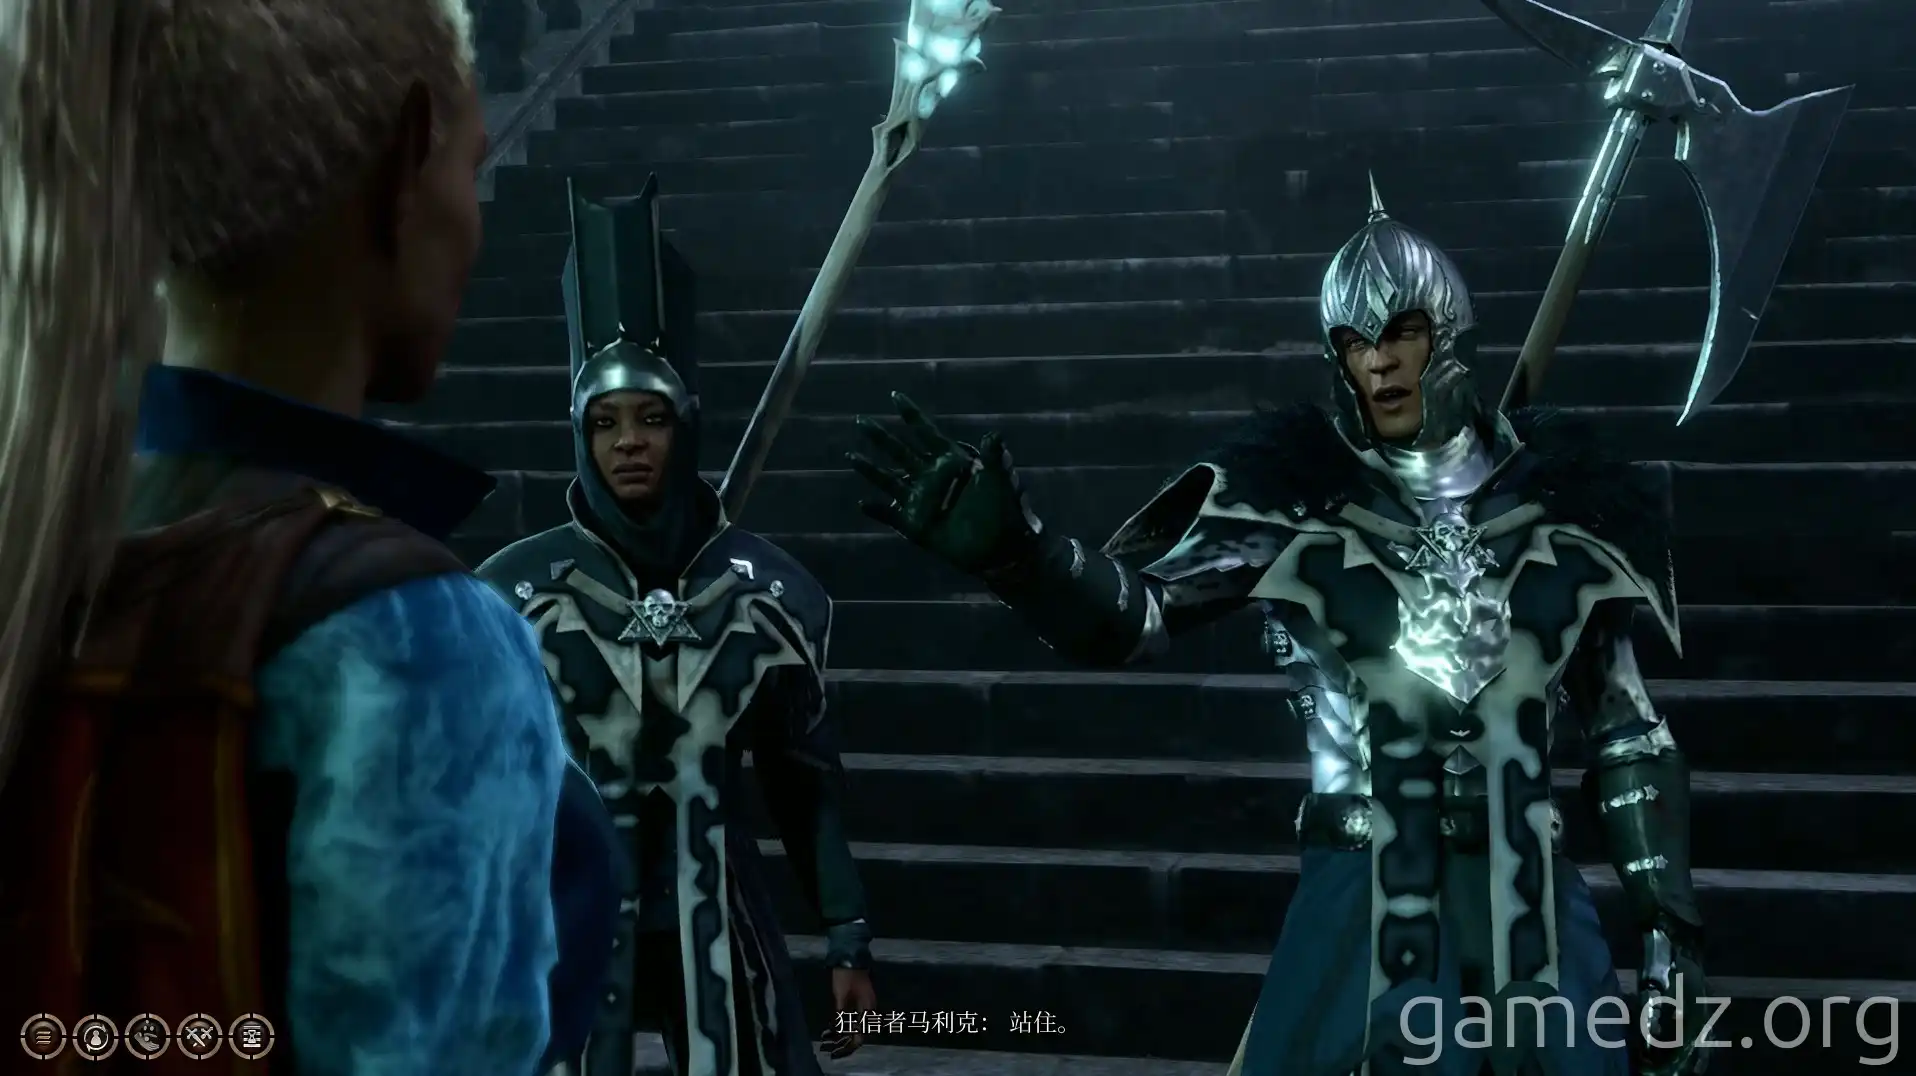
You'll be stopped by guards at the entrance to Moonrise Towers. Using your status as a True Soul will help you avoid conflict.
The small paths on either side don't have much of interest, so it's best to go straight through the main entrance.
Once inside Moonrise Towers, you can find the merchant Lann Tarv on the east side of the main hall. You can purchase some items from him.
During the conversation, choosing the dialogue option "Your tone is quite condescending" and boasting about your achievements, followed by a successful check, will result in slightly cheaper prices. Characters with Soldier or Folk Hero backgrounds will also receive an inspiration.
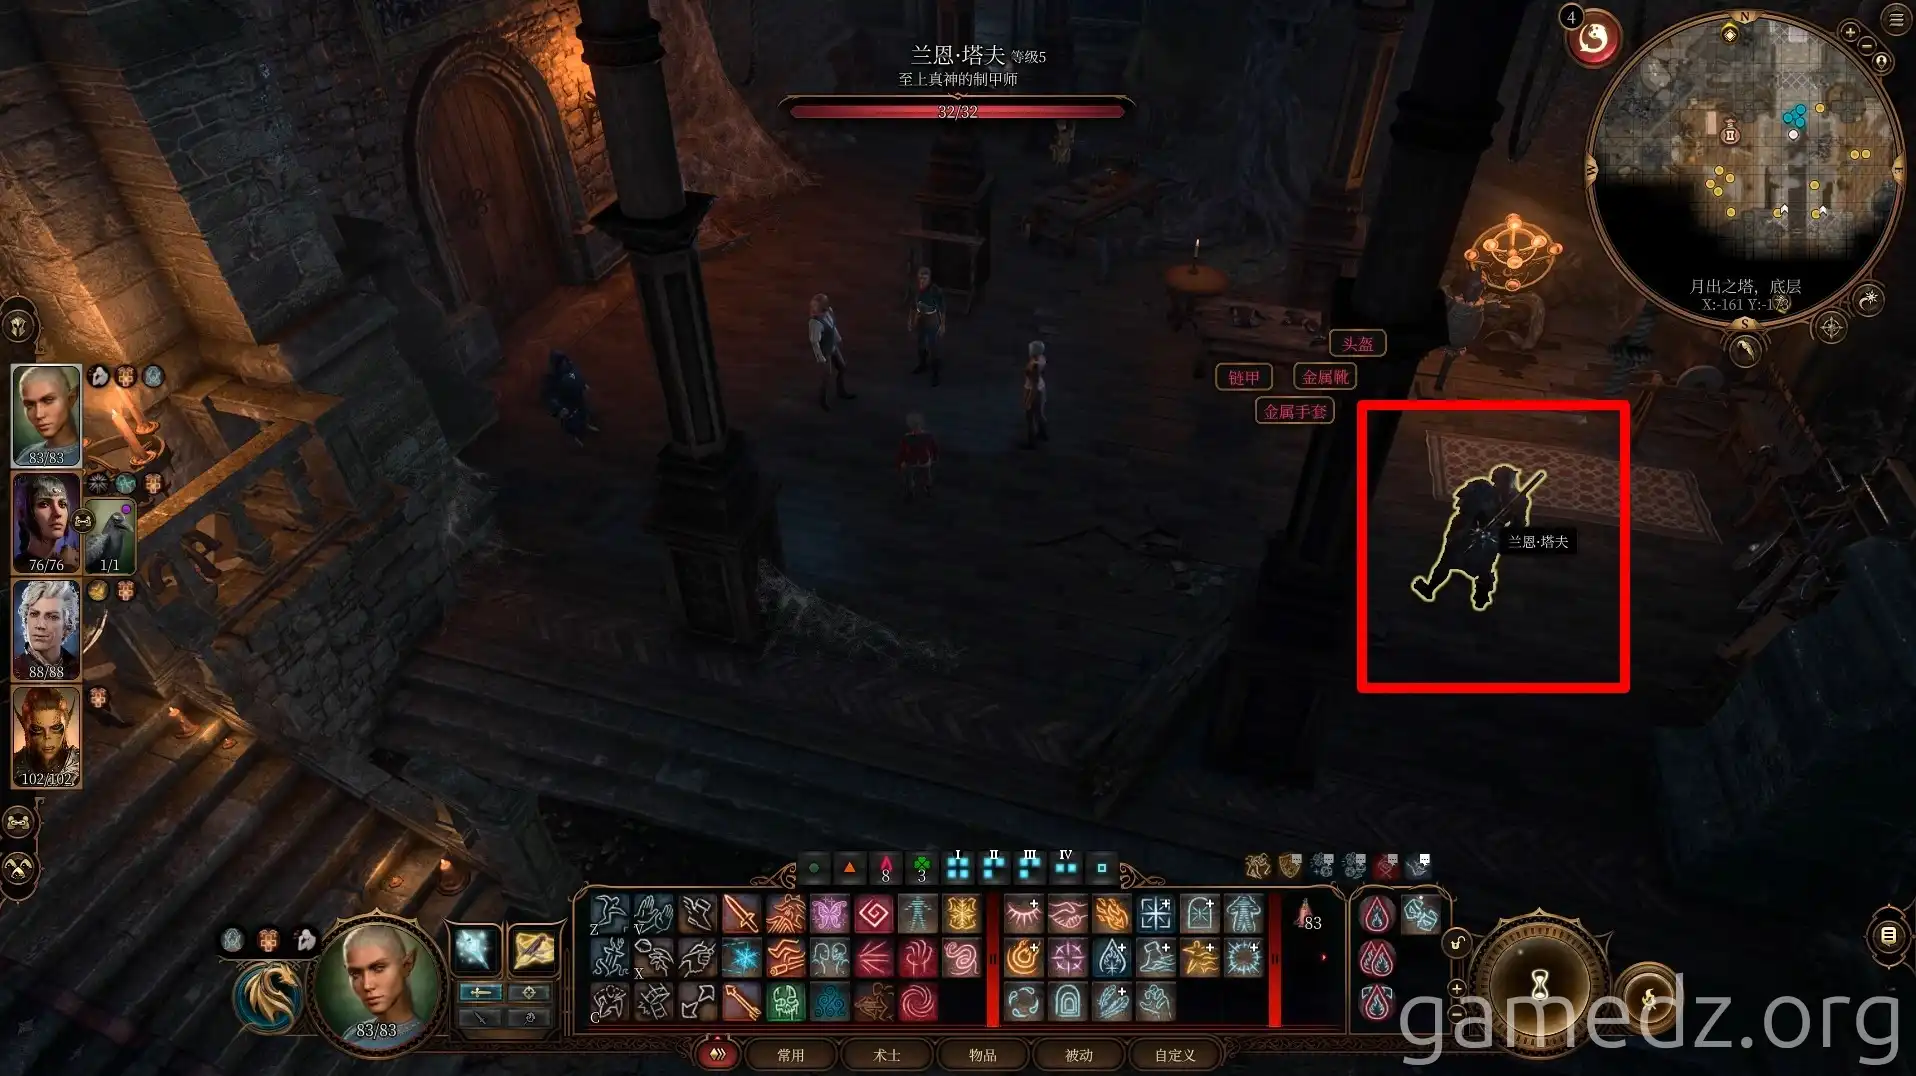
Here's a list of unique equipment and their stats that Lann Tarv sells.
In addition to weapons, armor, and general supplies, Lann Tarv also has 3 Soul Coins. You can get them for free if you use Karlach.

Continue east to find Roah Moonglow, whom you previously encountered at the Goblin Camp.
After finishing your business with Roah Moonglow, proceed east into the next room.
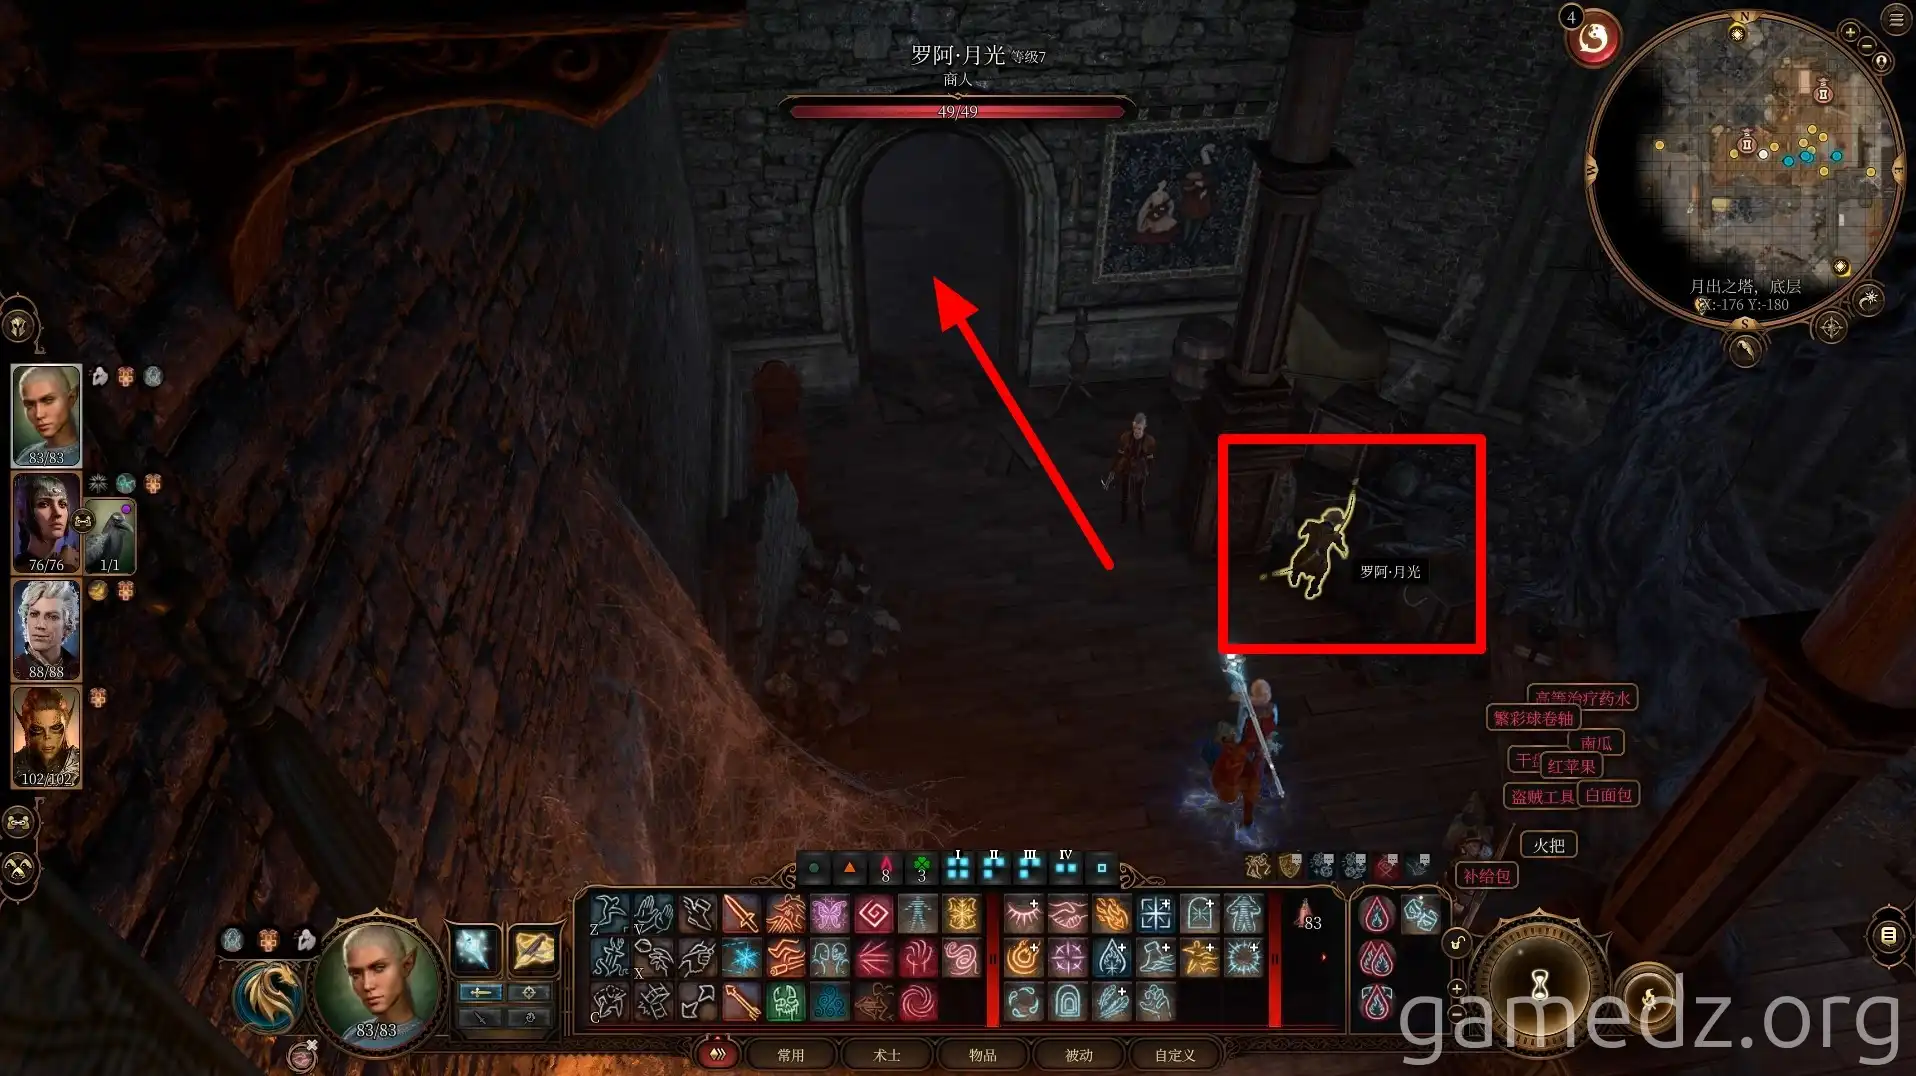
Here's a list of unique equipment and their stats that Roah Moonglow sells.

Proceed through the small door next to the female ogre.
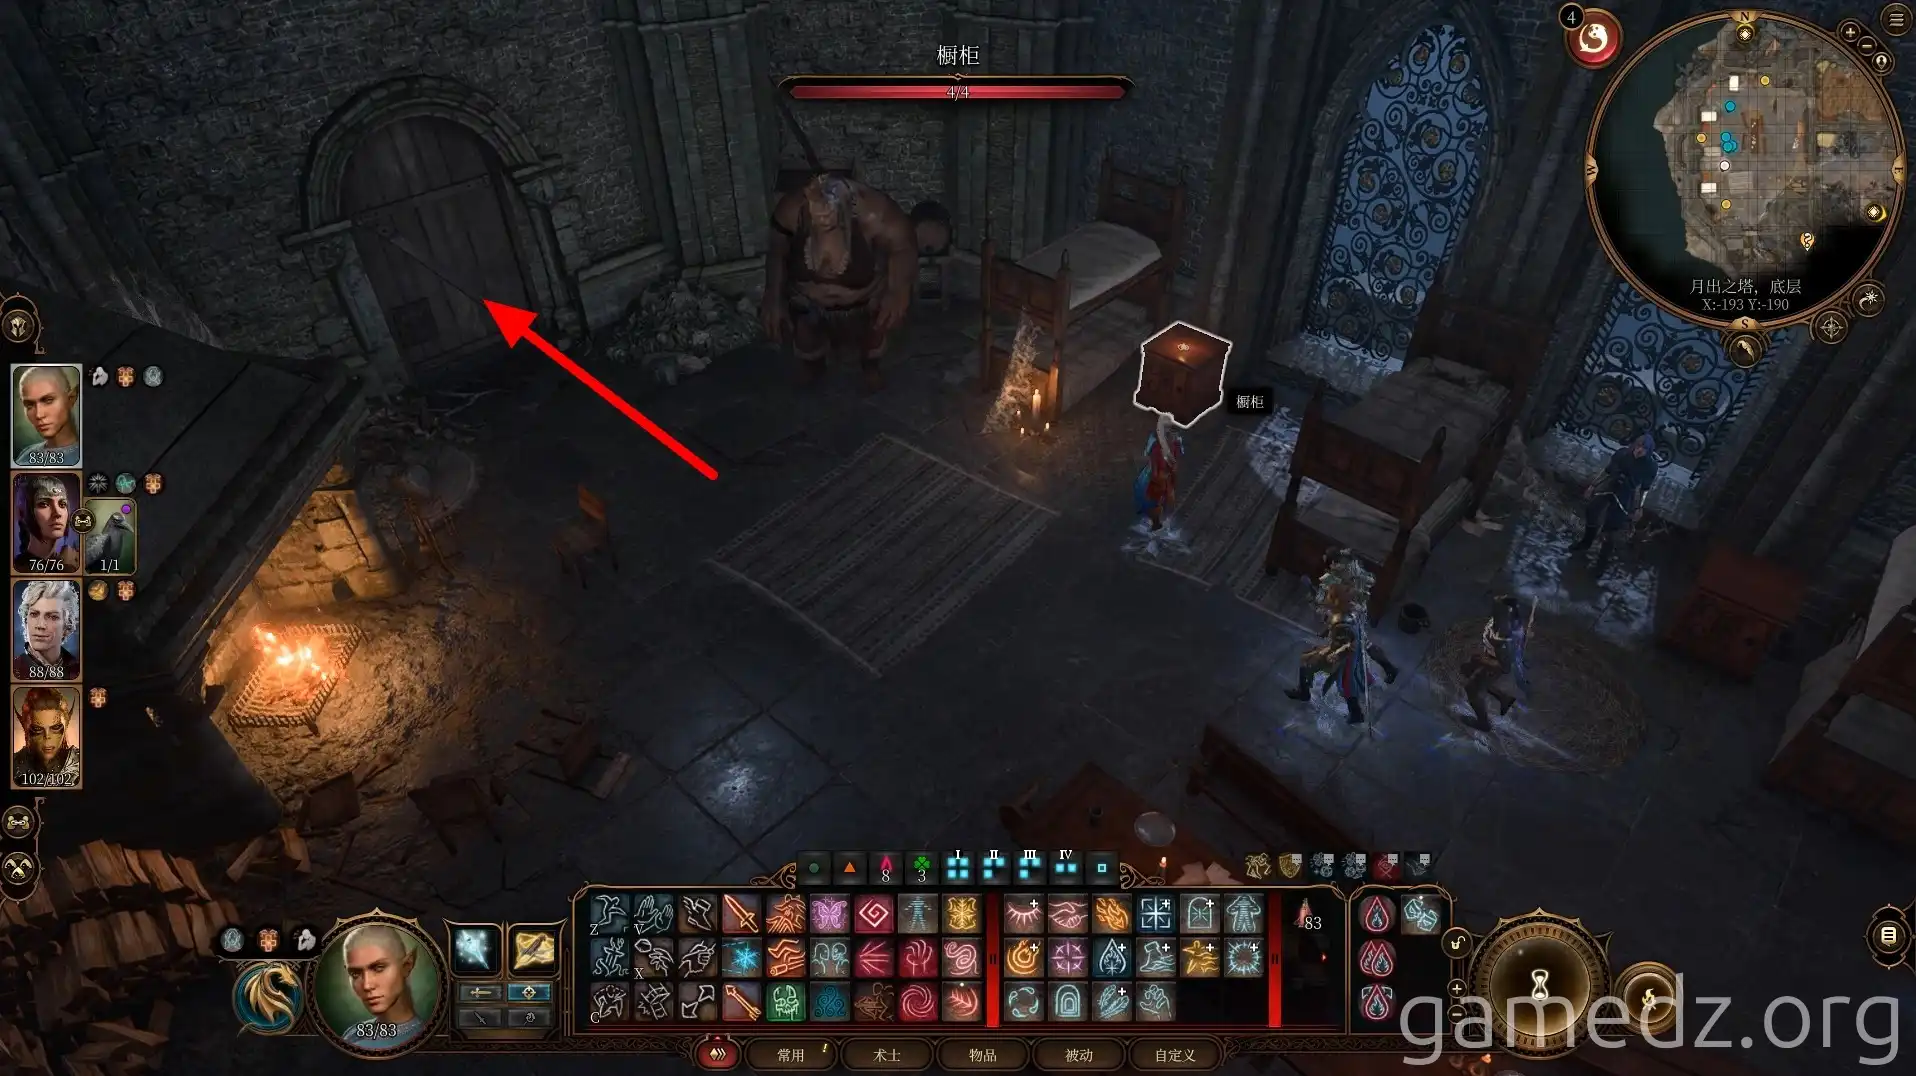
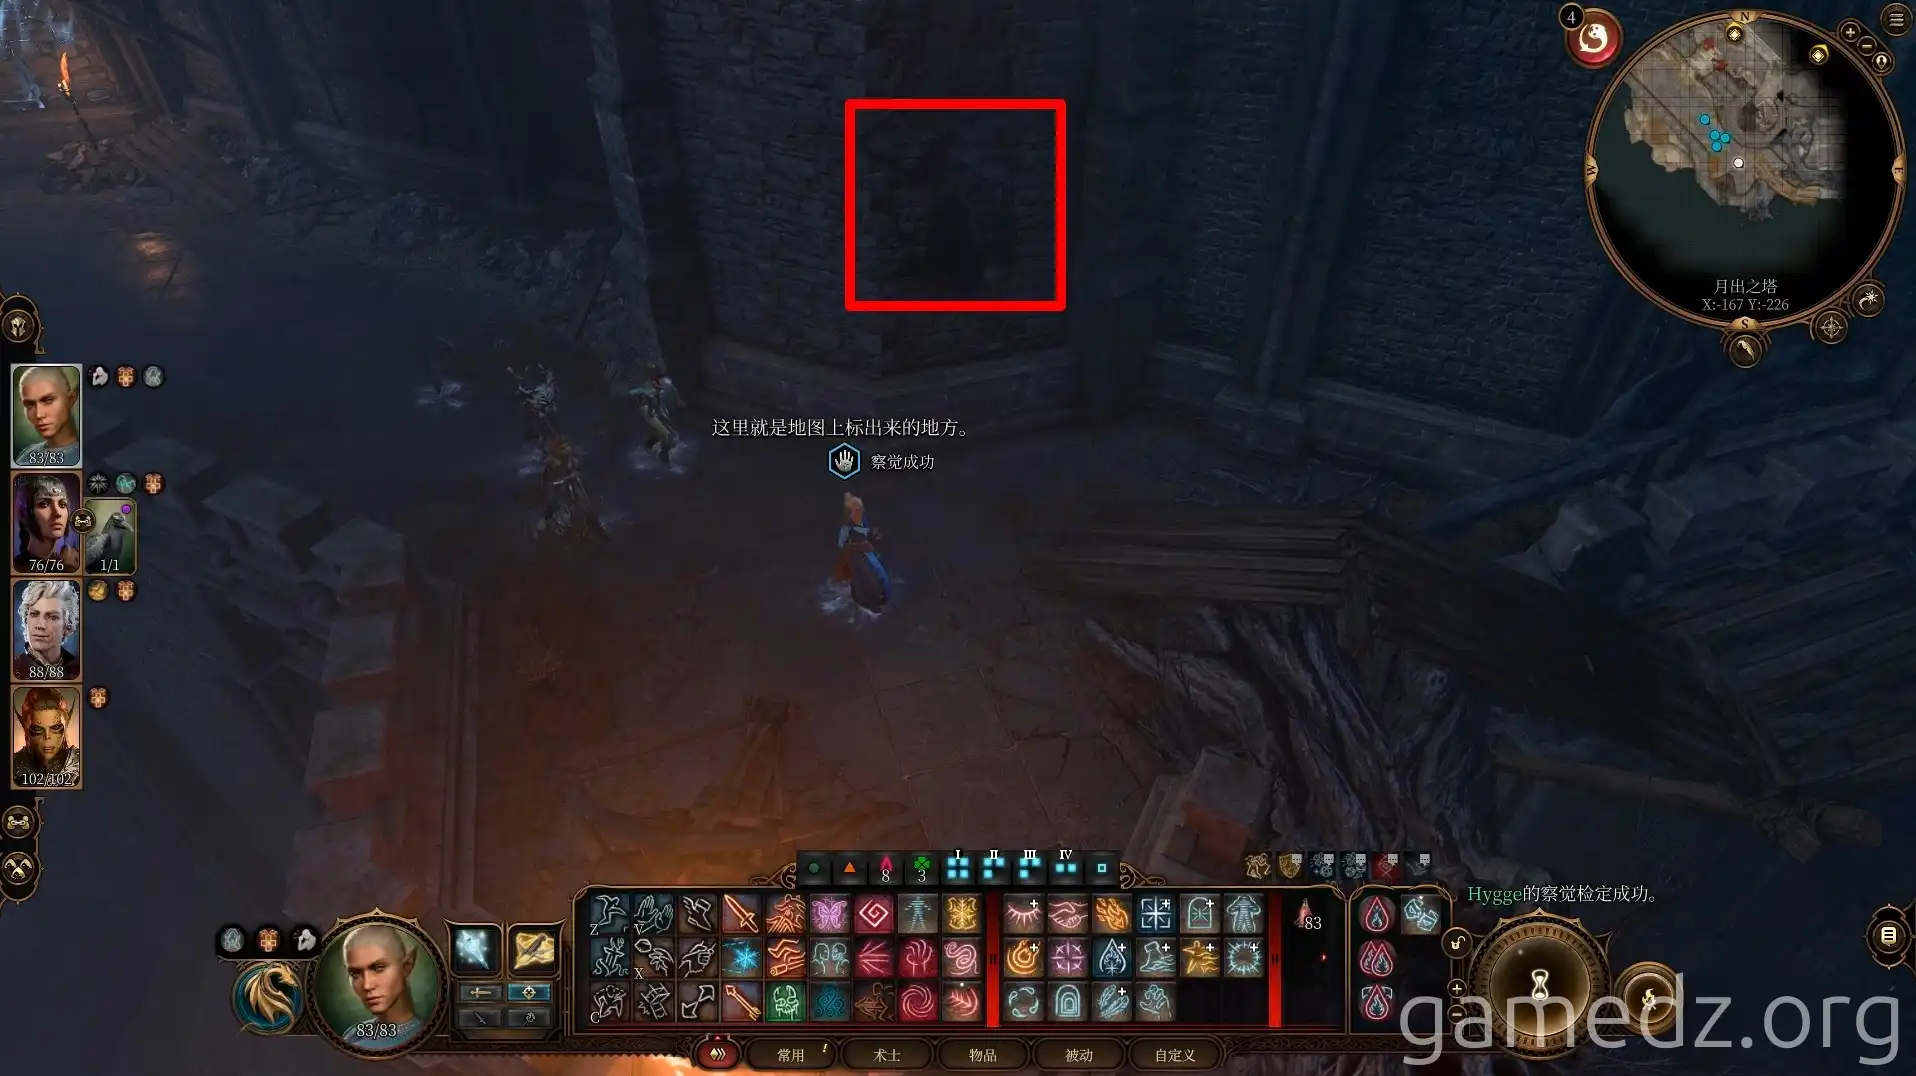
Upon reaching the terrace, head south. Breaking the wall at the location shown in the image below will yield some useful supplies.
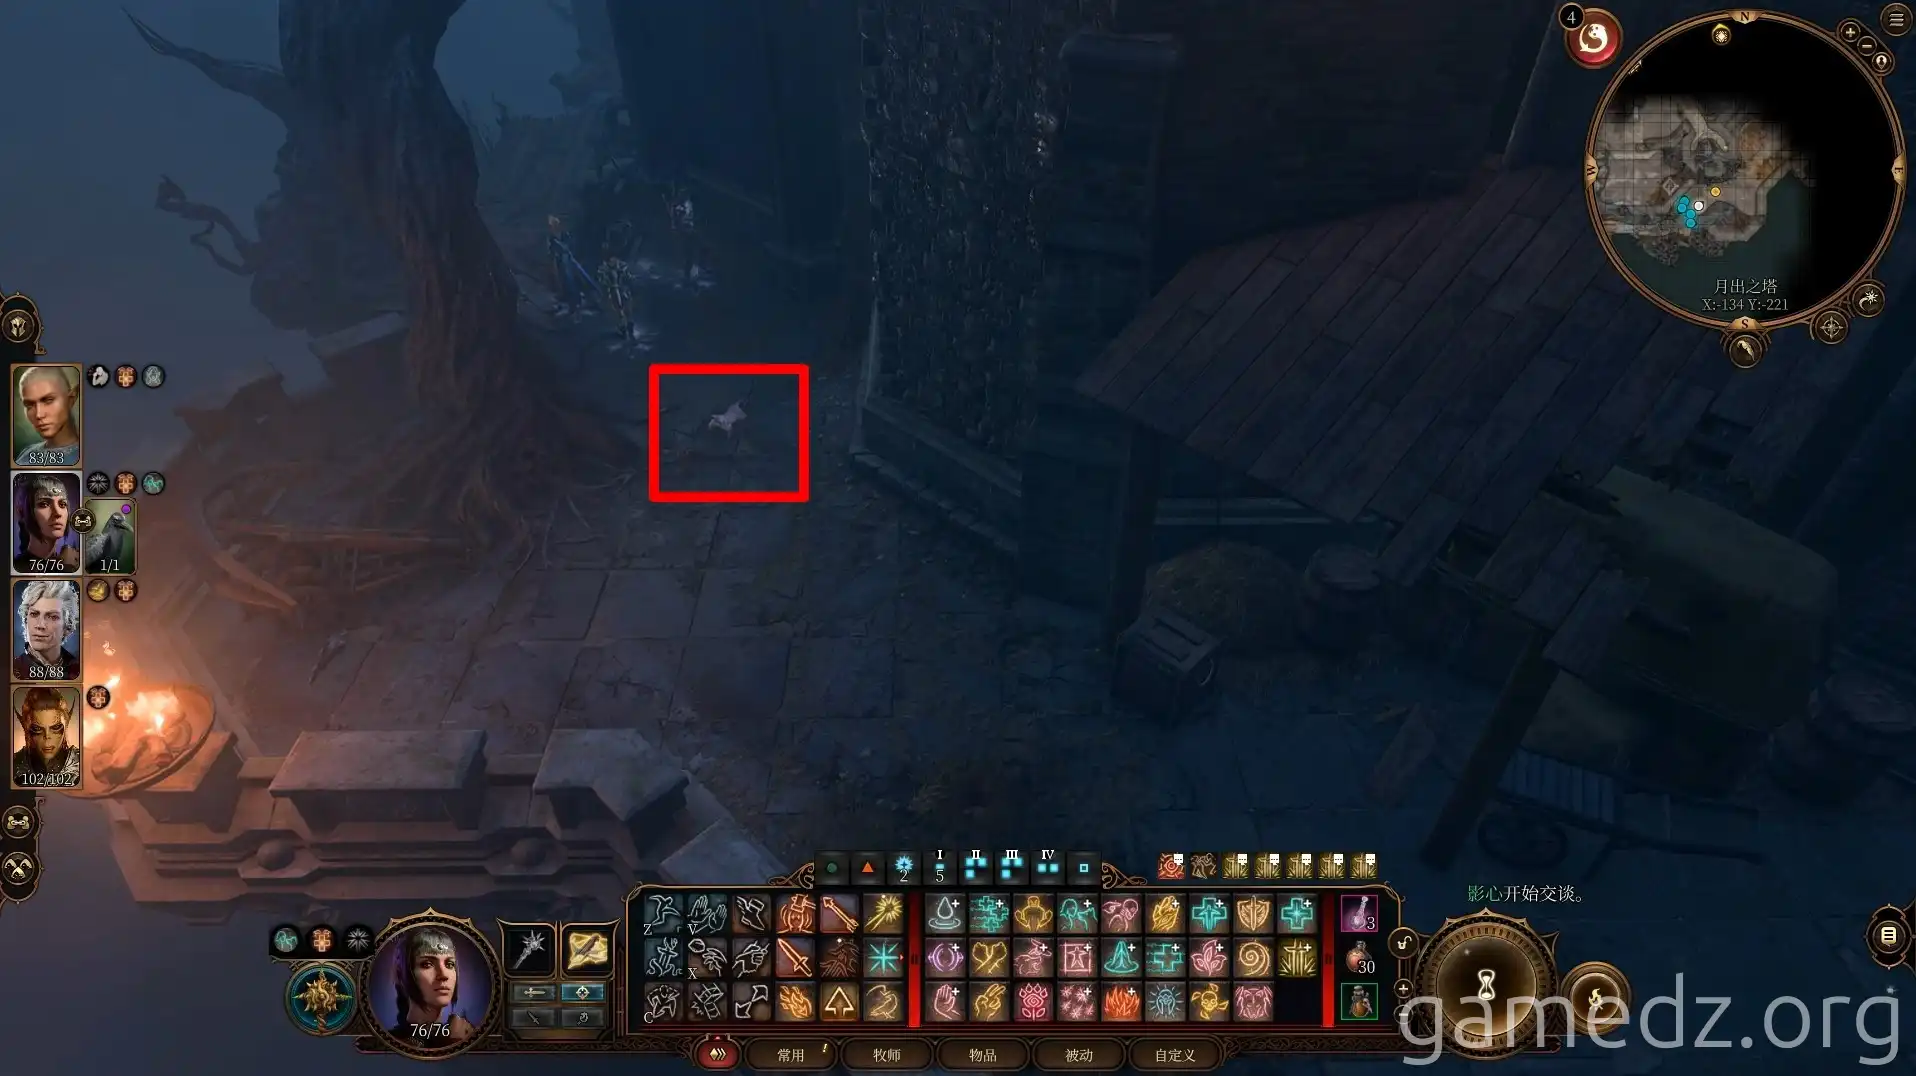
Continuing forward, you'll encounter a small cat guarding a dead Mind Flayer tadpole. Speaking with the cat will inspire characters with Outlander or Urchin backgrounds.
Enter the interior of Moonrise Towers through the small door next to the carriage ahead.
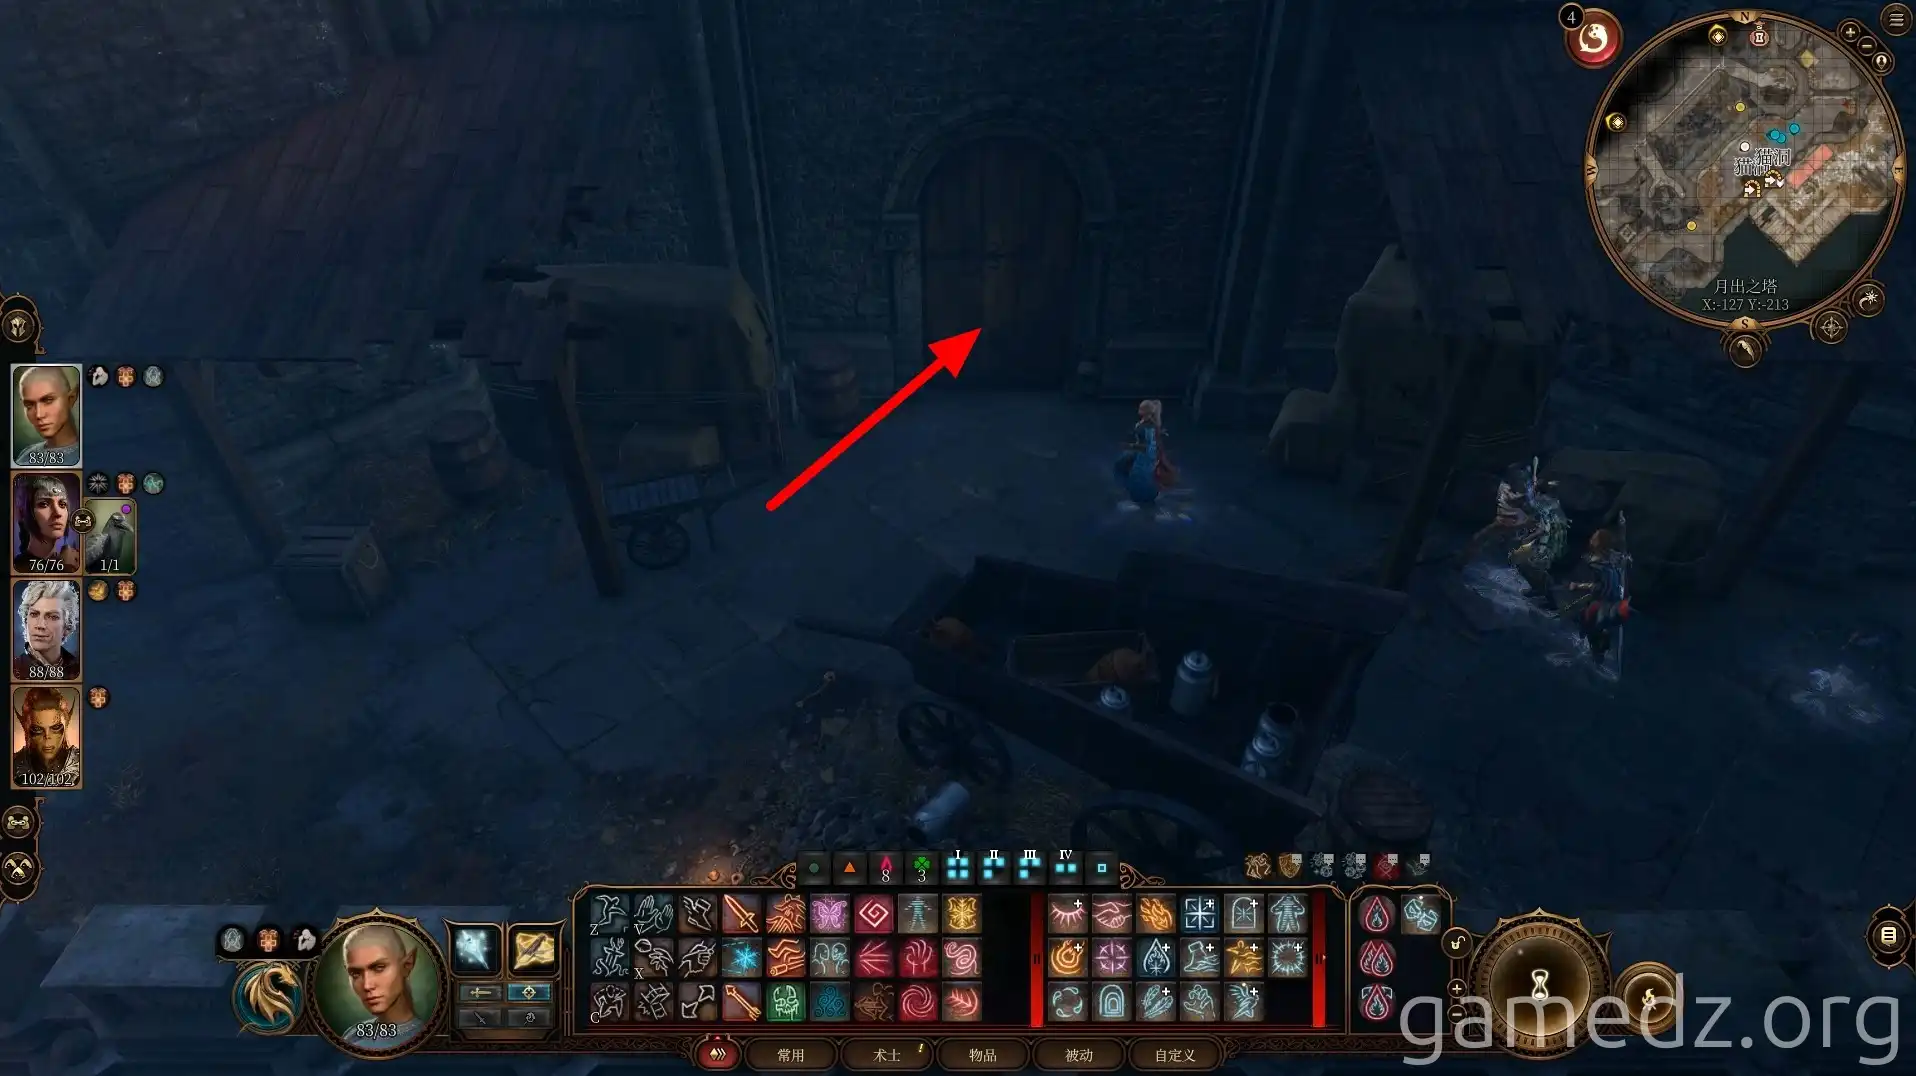
Inside the room, you'll find Araj Oblodra. You can purchase some equipment and items from her.
During the conversation, Araj will offer to exchange potions for True Soul blood. The potions aren't particularly great, so it's up to you whether to make the trade. Each exchange will cost the character 3 hit points.
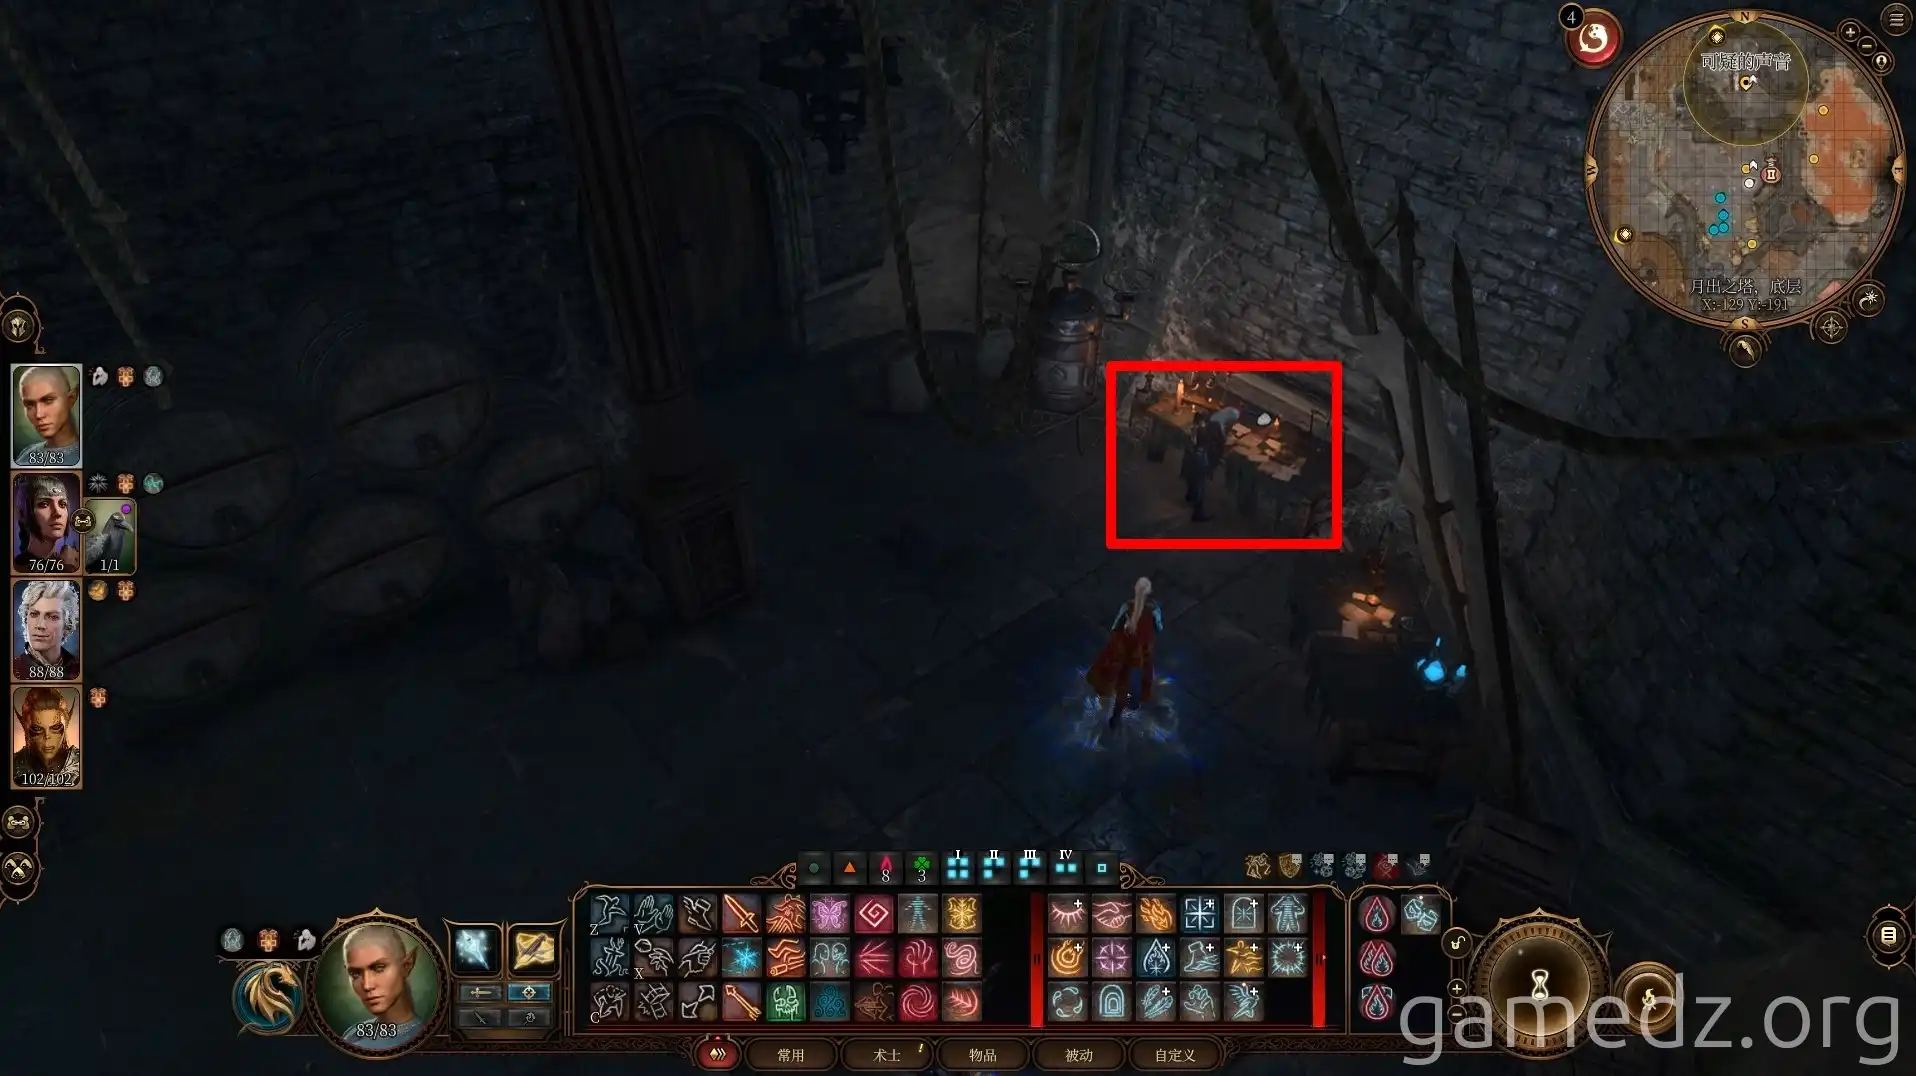
Here's a list of unique equipment and their stats that Araj sells.

If Astarion is in your party, Araj will express a desire to be bitten by a vampire.
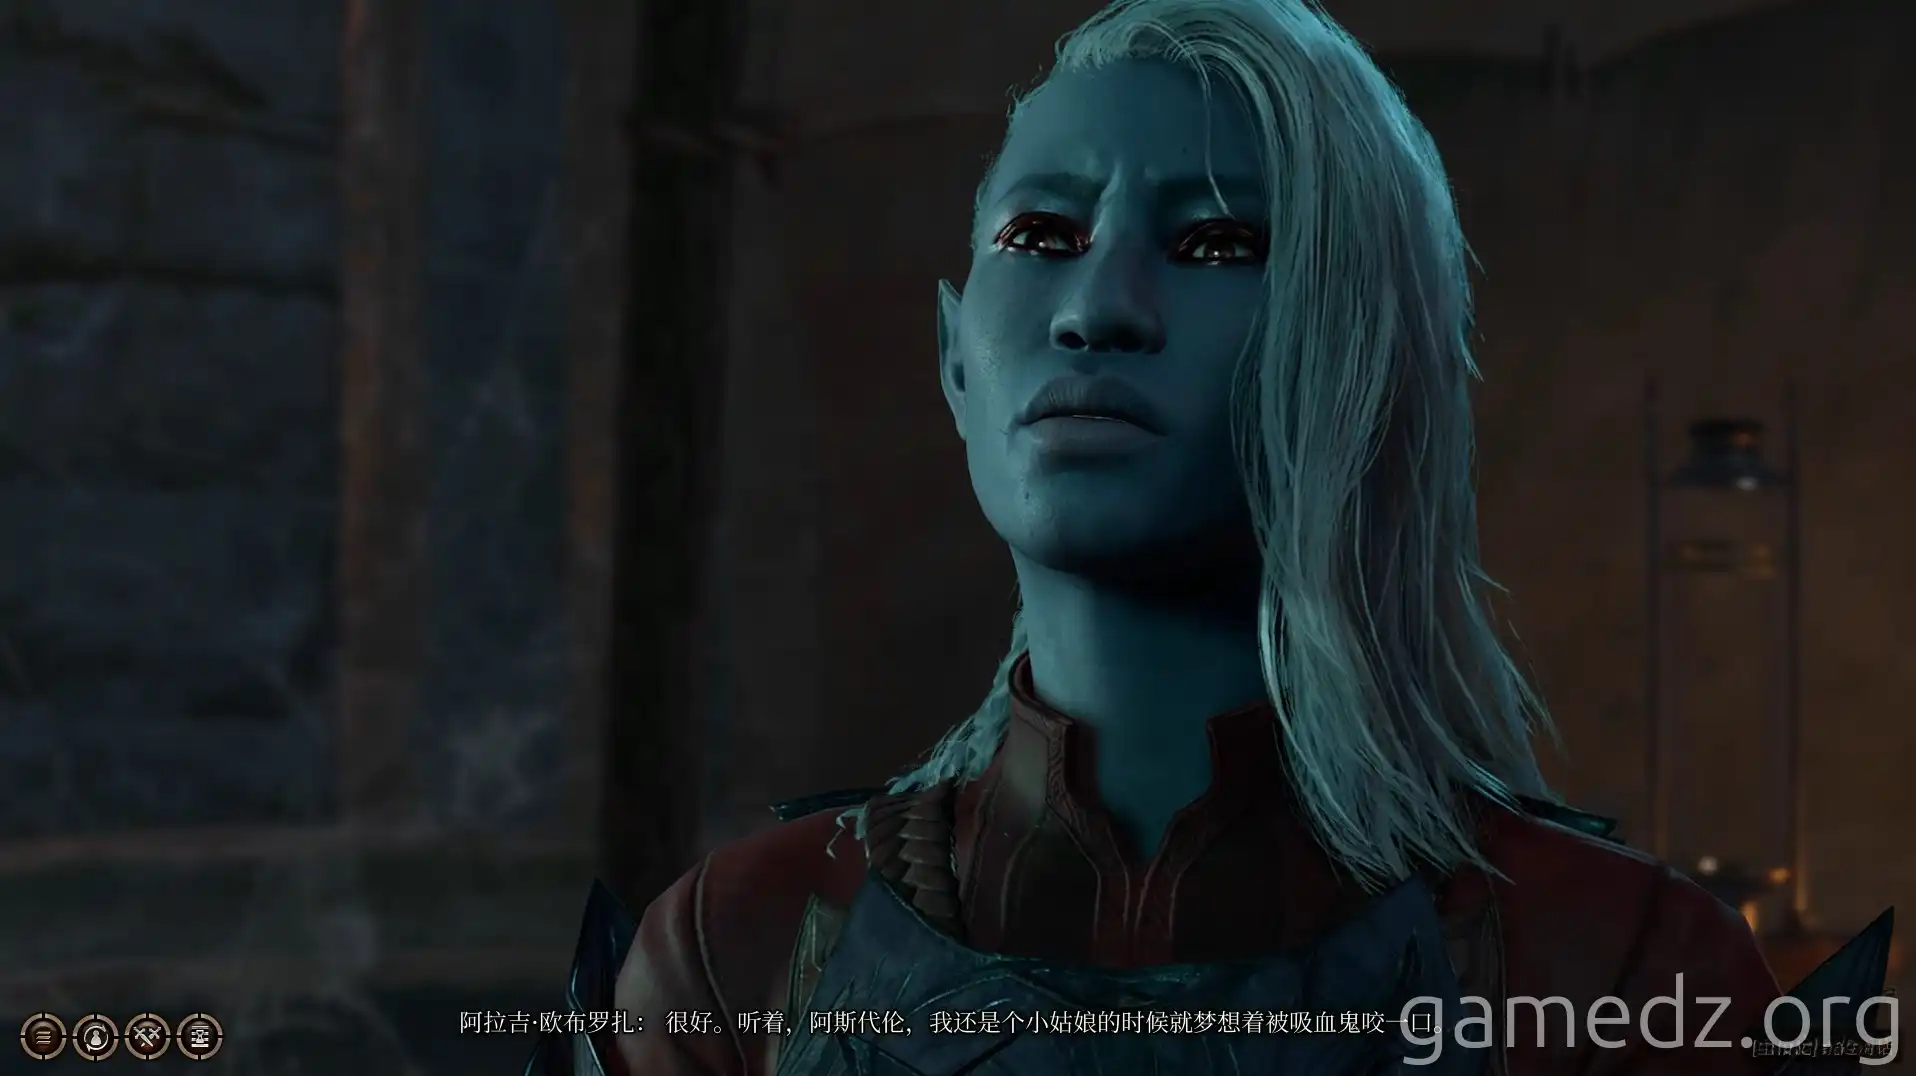
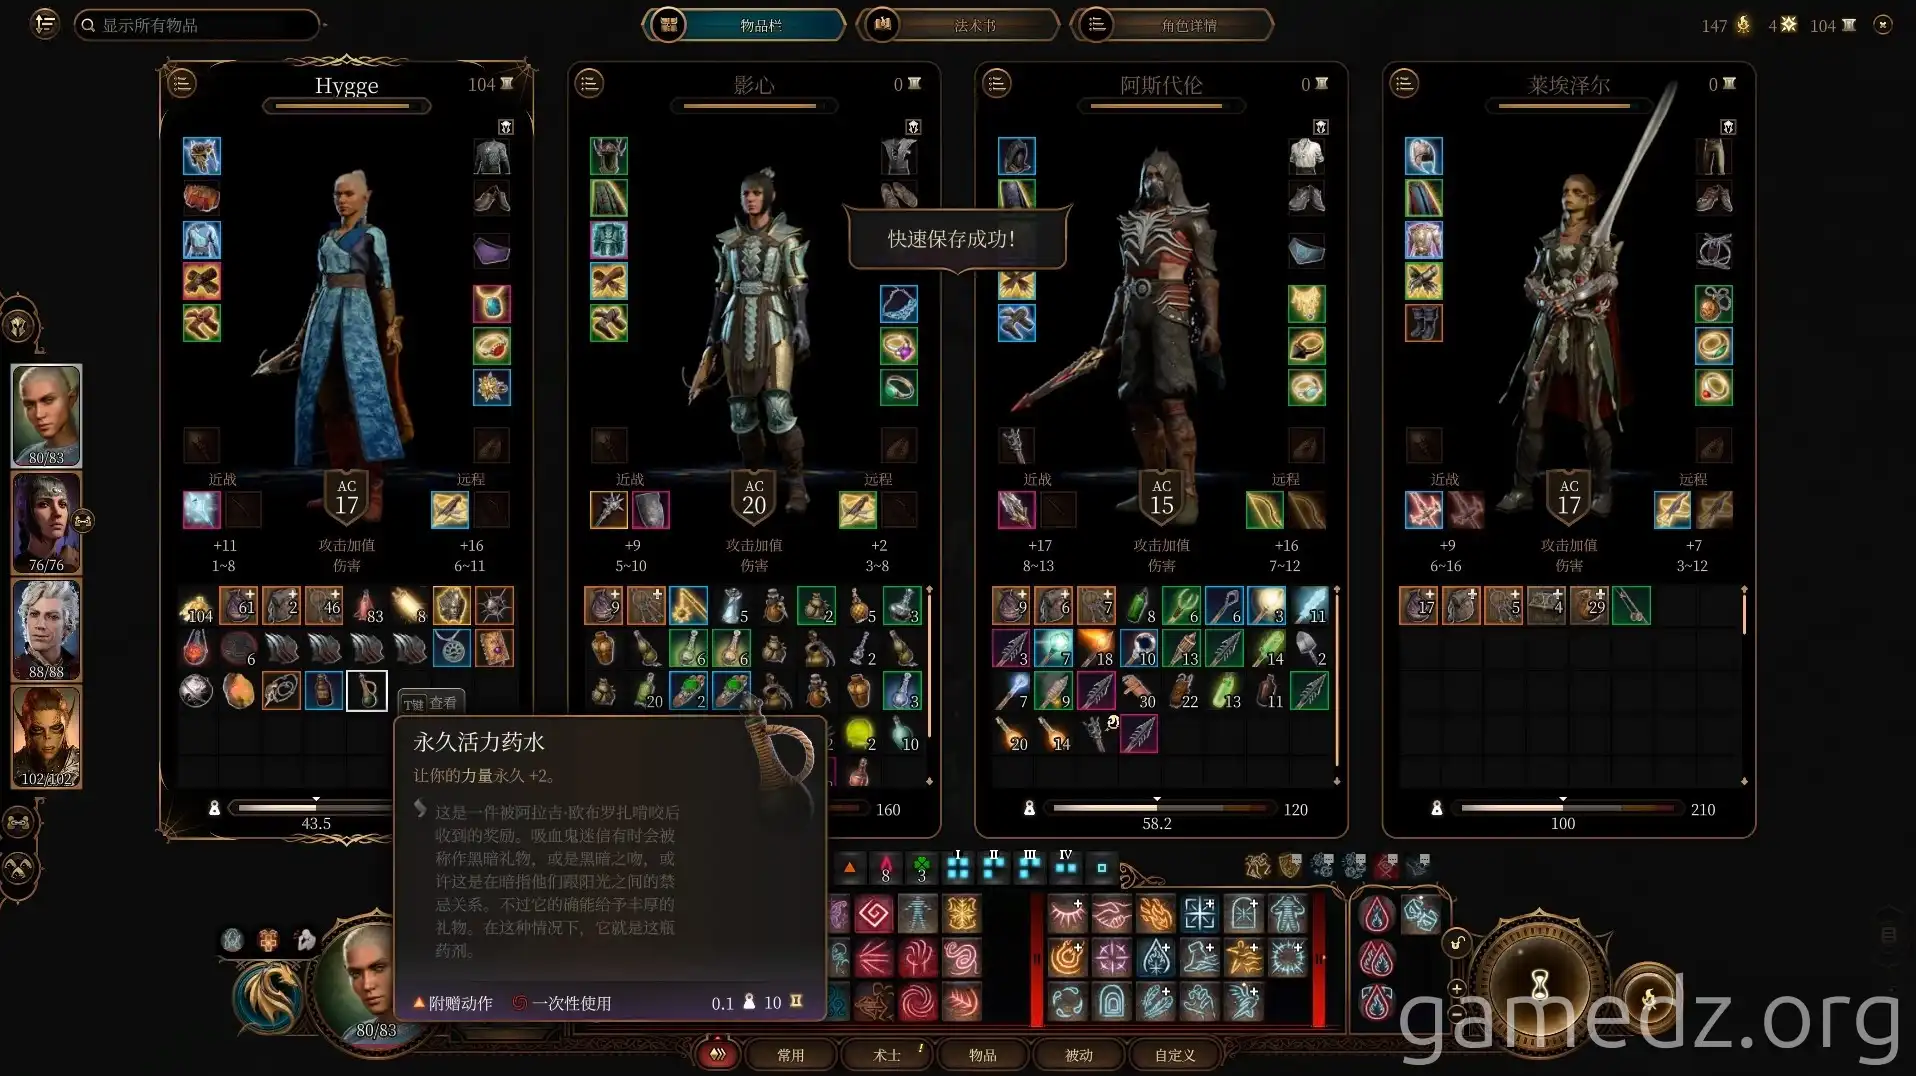
Although Astarion is very reluctant, you can still have him bite Araj. After the bite, you'll receive a potion that permanently increases Strength by 2.
It's important to note that if you force Astarion to bite Araj and you have already established a romantic relationship, it will immediately end the romance. Choose wisely based on your situation.
Next, proceed through the door next to Araj into the following room.
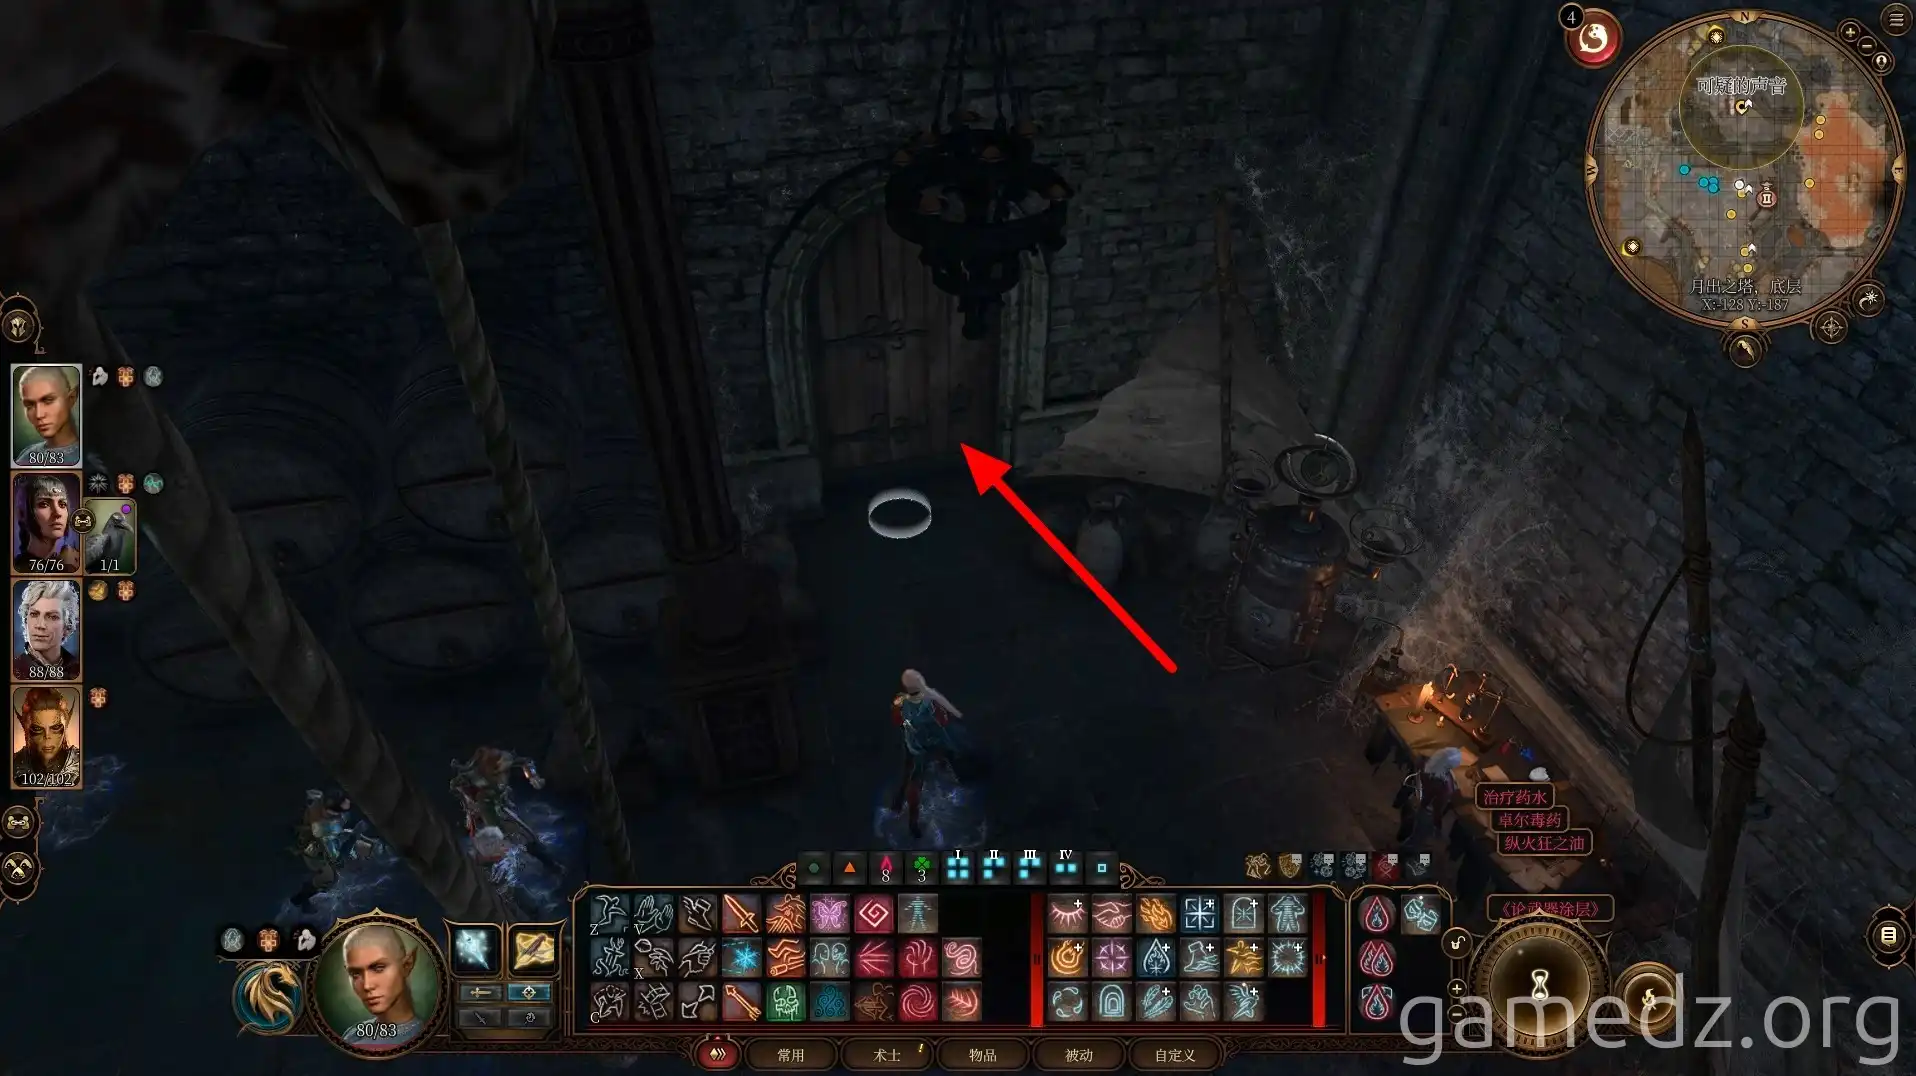
After investigating the slime, head right into the kitchen.
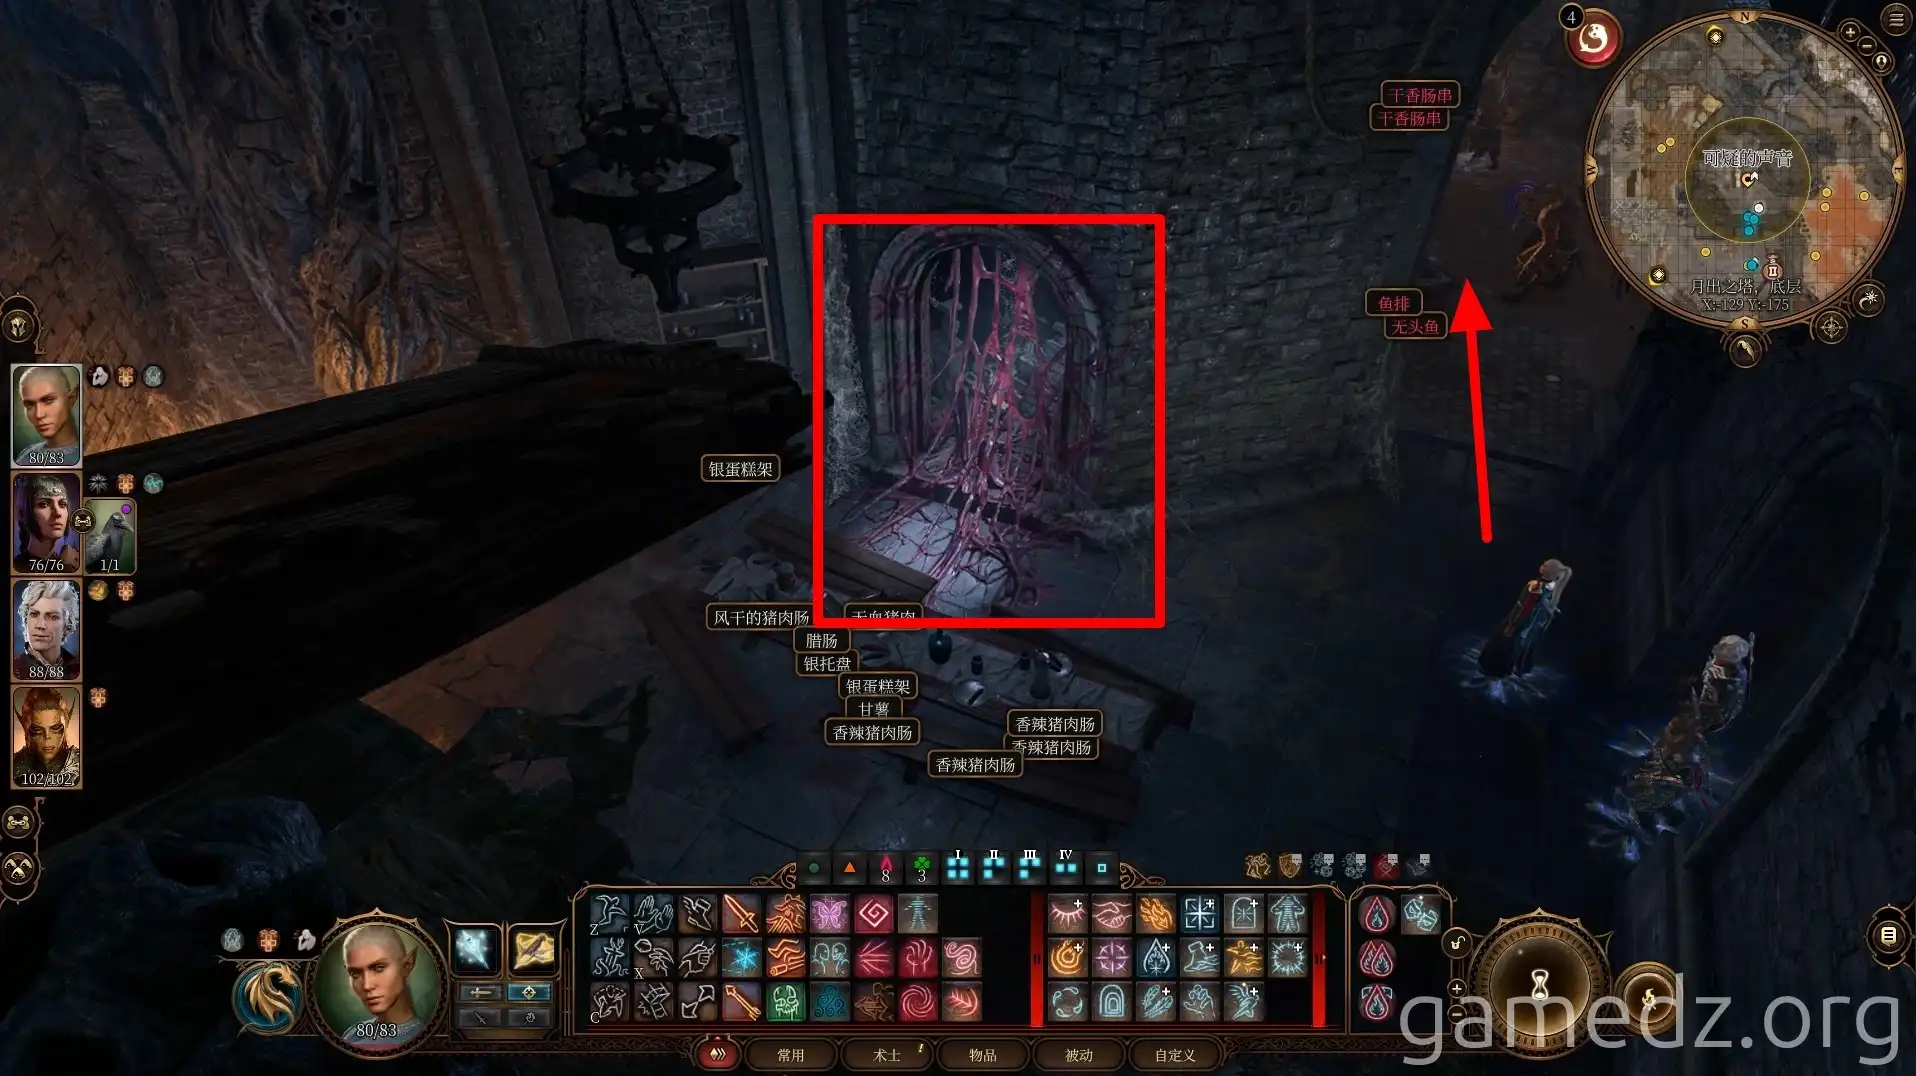
In the kitchen, speak with Linsella, who is controlling the gnolls.
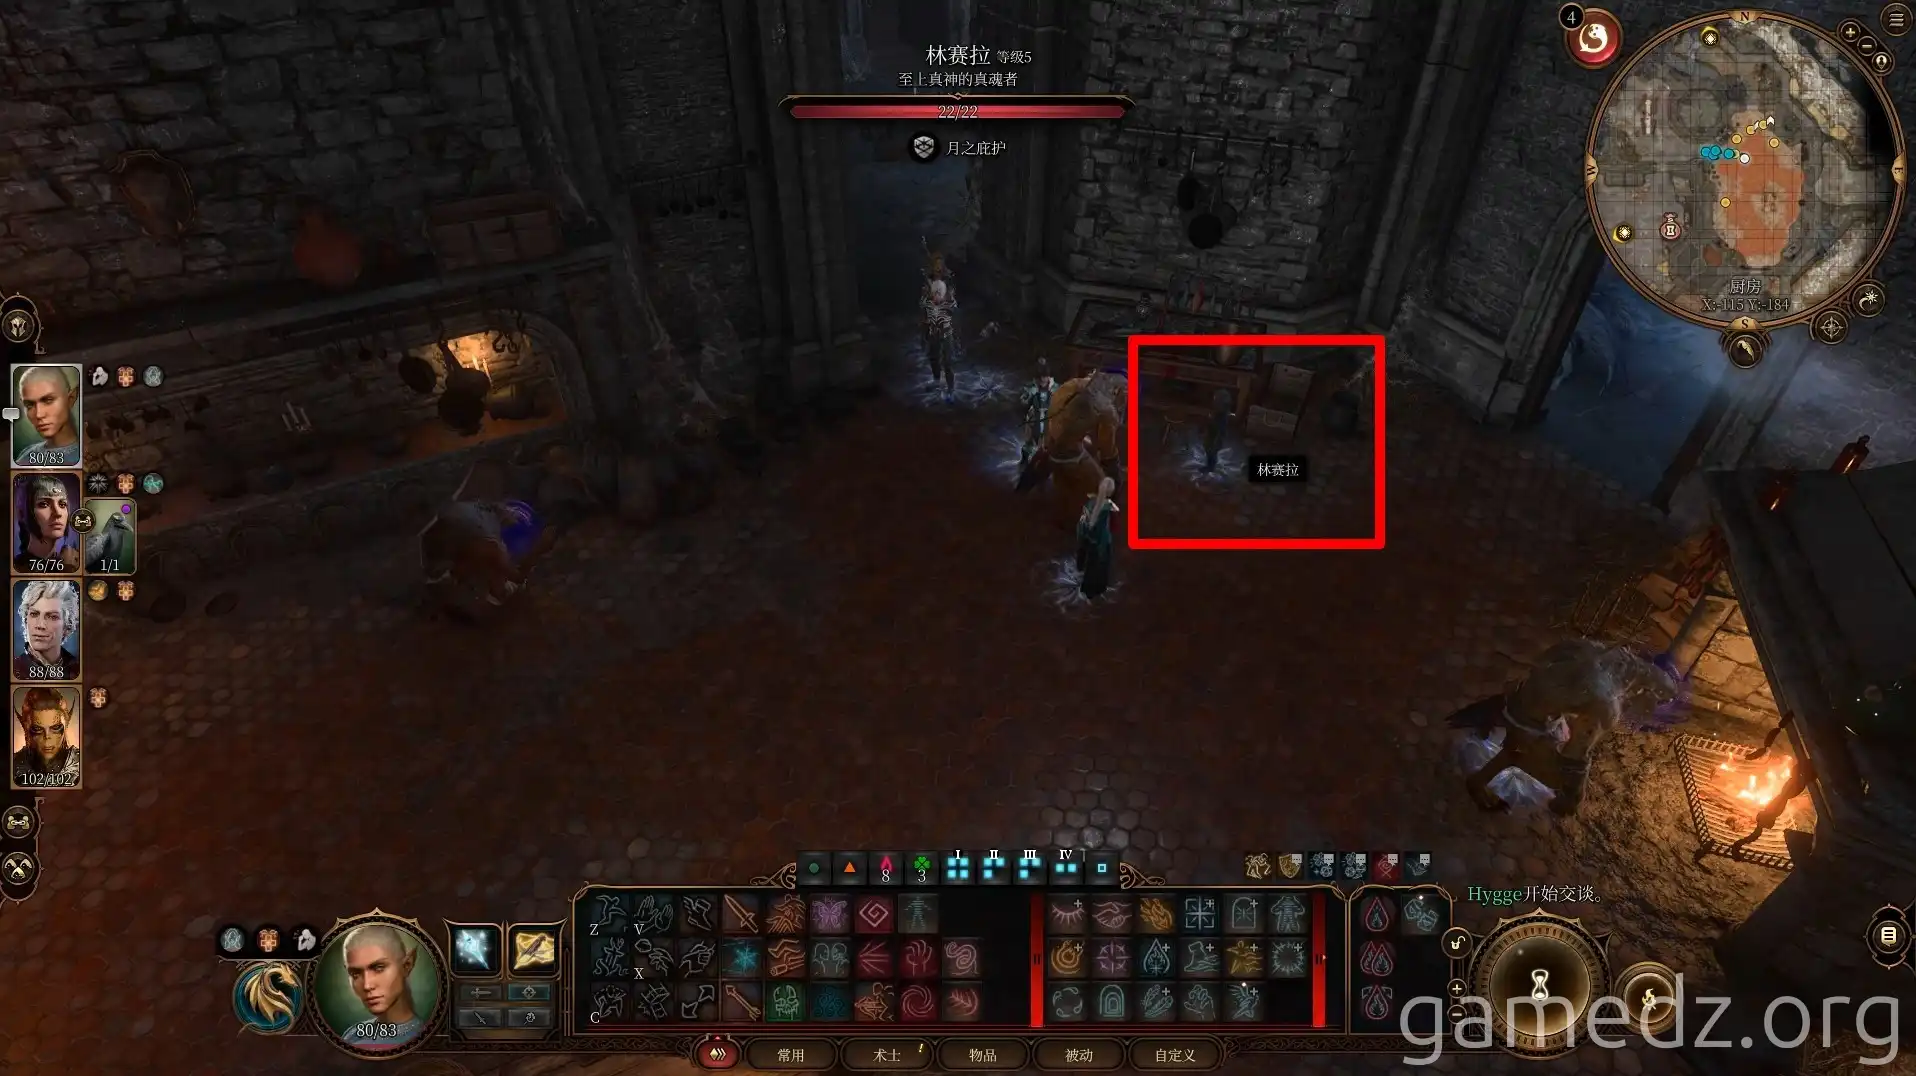
During the conversation, repeatedly command the gnolls to perform various actions. Then, succeed on a Perception check to break Linsella's mind control.
The freed gnolls will kill Linsella directly. After that, you can succeed on a check to have the gnolls recognize you as friends. You can obtain a Mind Flayer Parasite specimen from Linsella.
After freeing the gnolls, characters with the Folk Hero background will receive an inspiration.
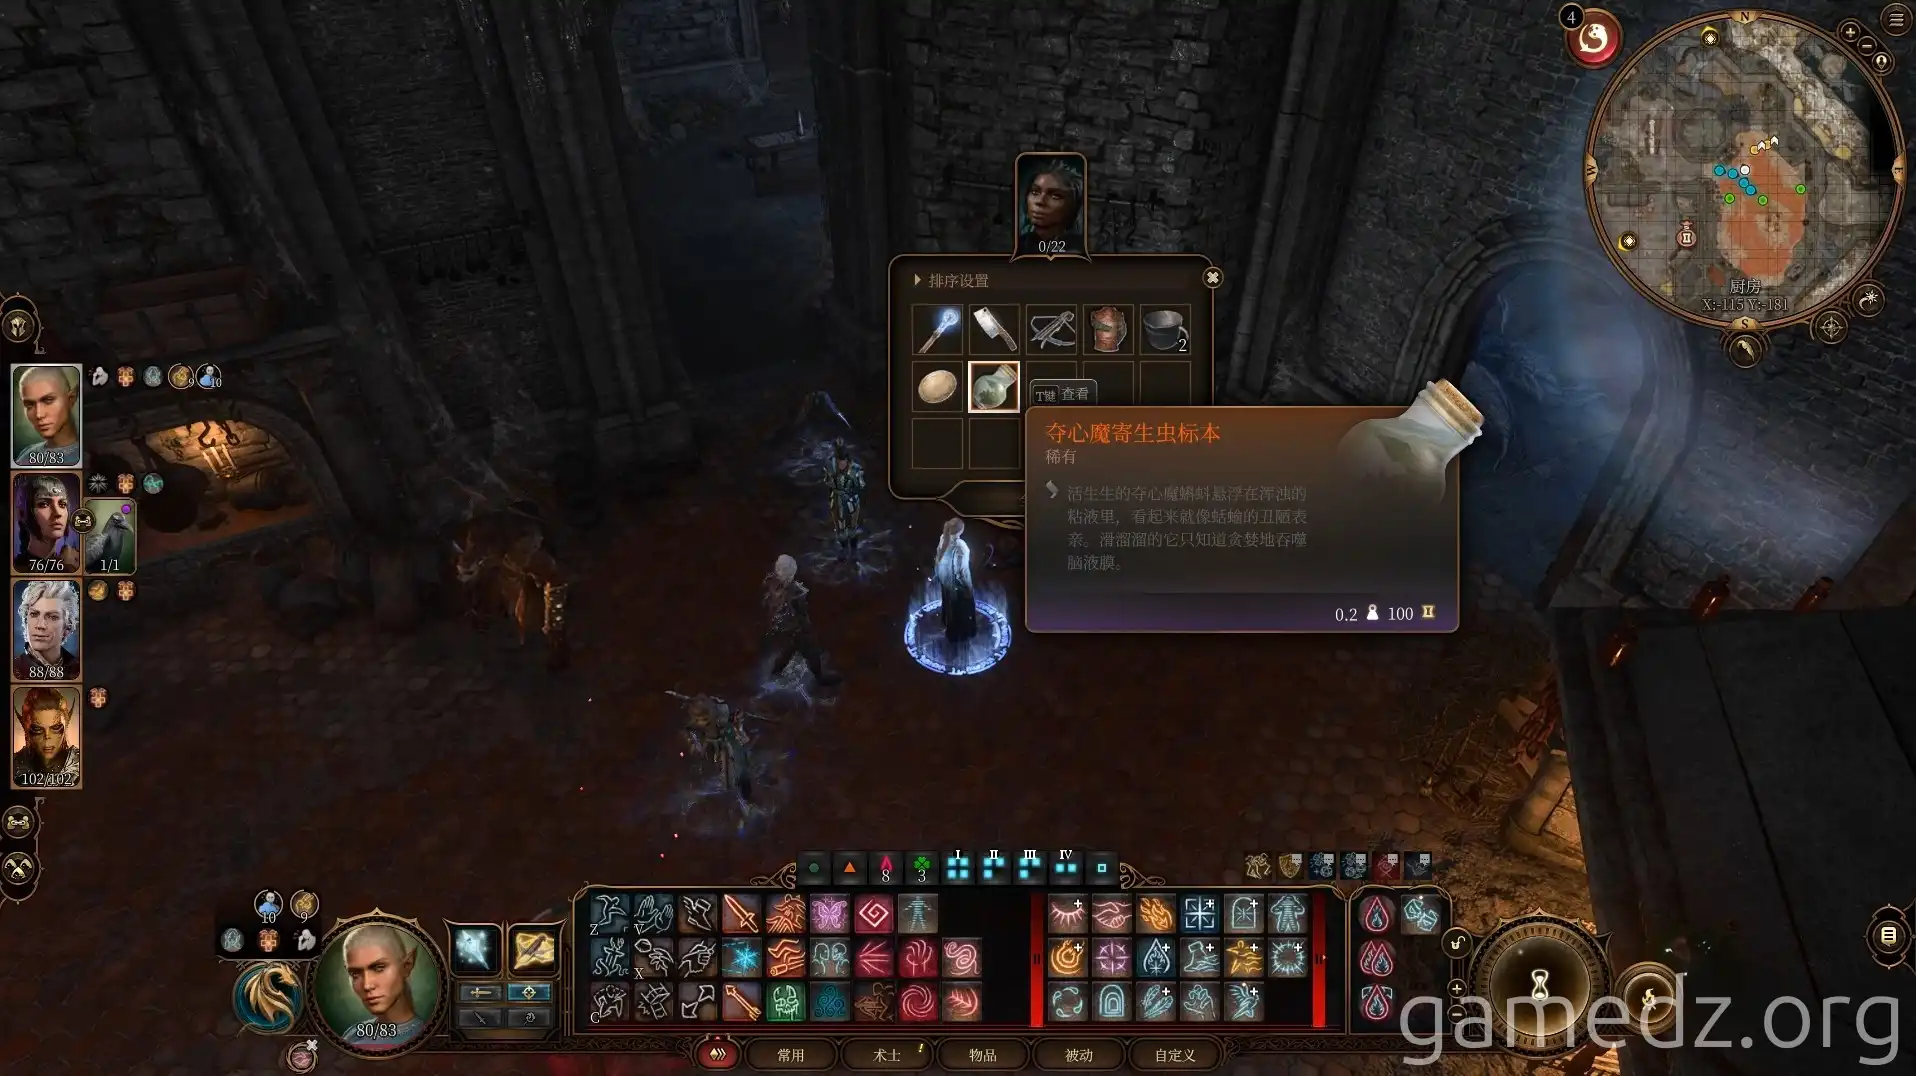
Then, return to the main hall through the door opposite the slime.
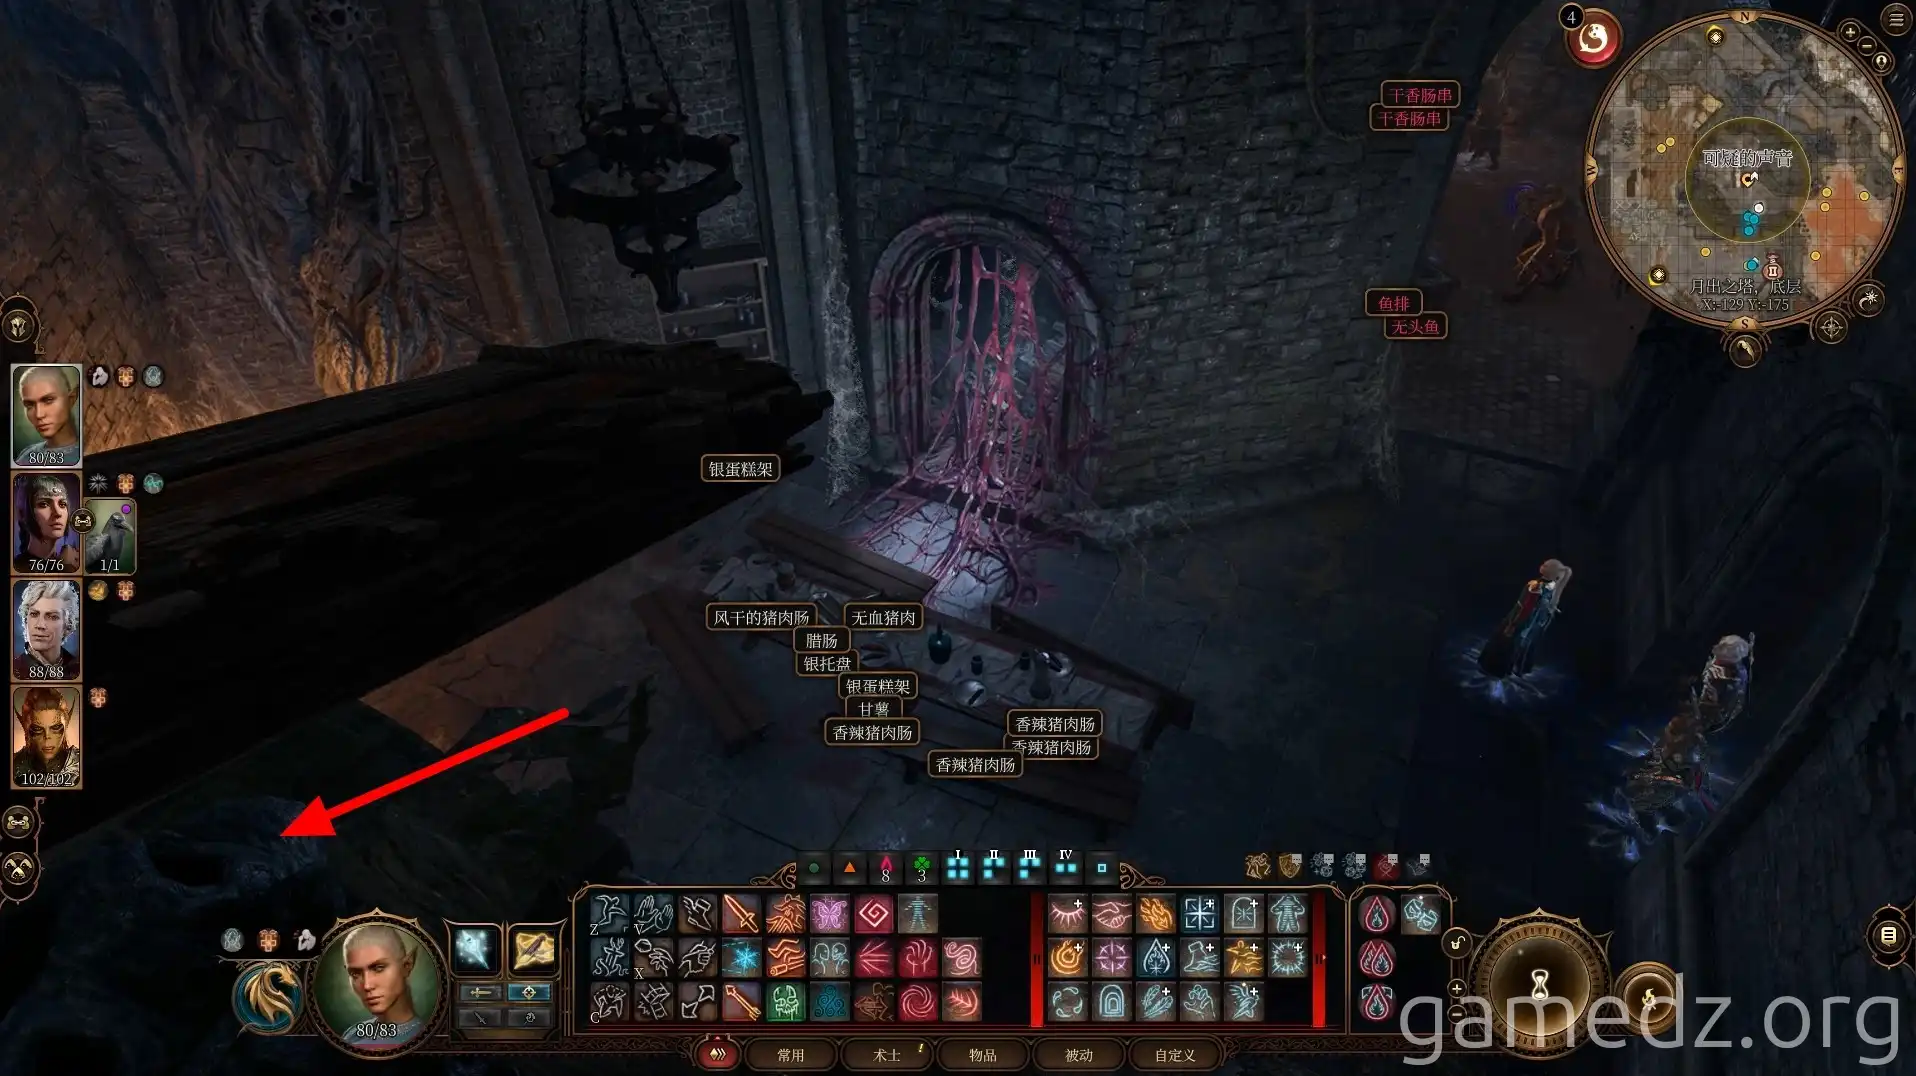
Climb the ladder in the corner to go up.
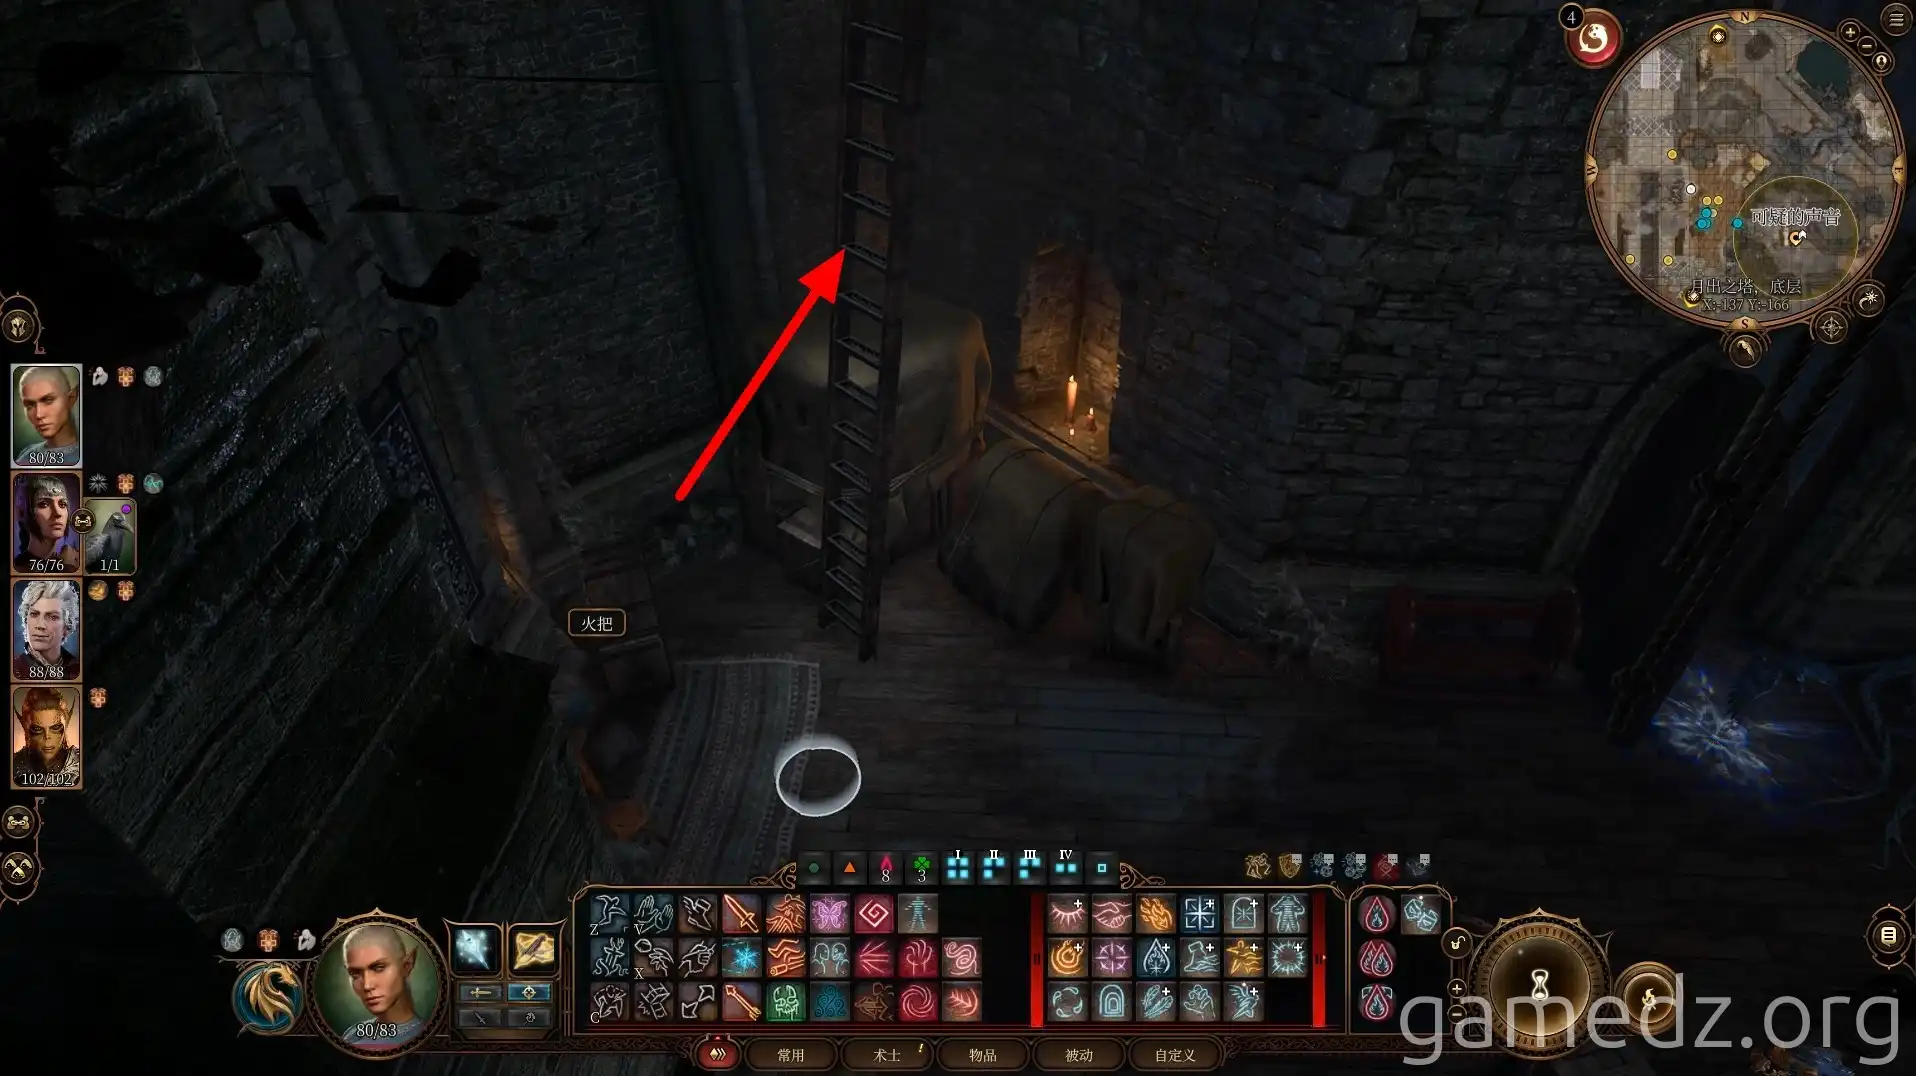
On the west wall of the second floor, you can investigate a suspicious sound. However, if you fail the check during the investigation or interact with the wall a second time, you will be pulled into it and have a conversation with the so-called Absolute.
If you fail another check afterward, you will be pulled into the deepest level of the Underdark Prison. After passing through the Underdark Prison, you can directly reach the back of the Moonrise Towers Prison. Destroying the wall there will allow you to rescue the tieflings and gnomes, but this carries the risk of being discovered by prison guards. Therefore, we will choose an alternative route to rescue them.
Characters with the Sage background will receive an inspiration after being pulled into the Underdark Prison.
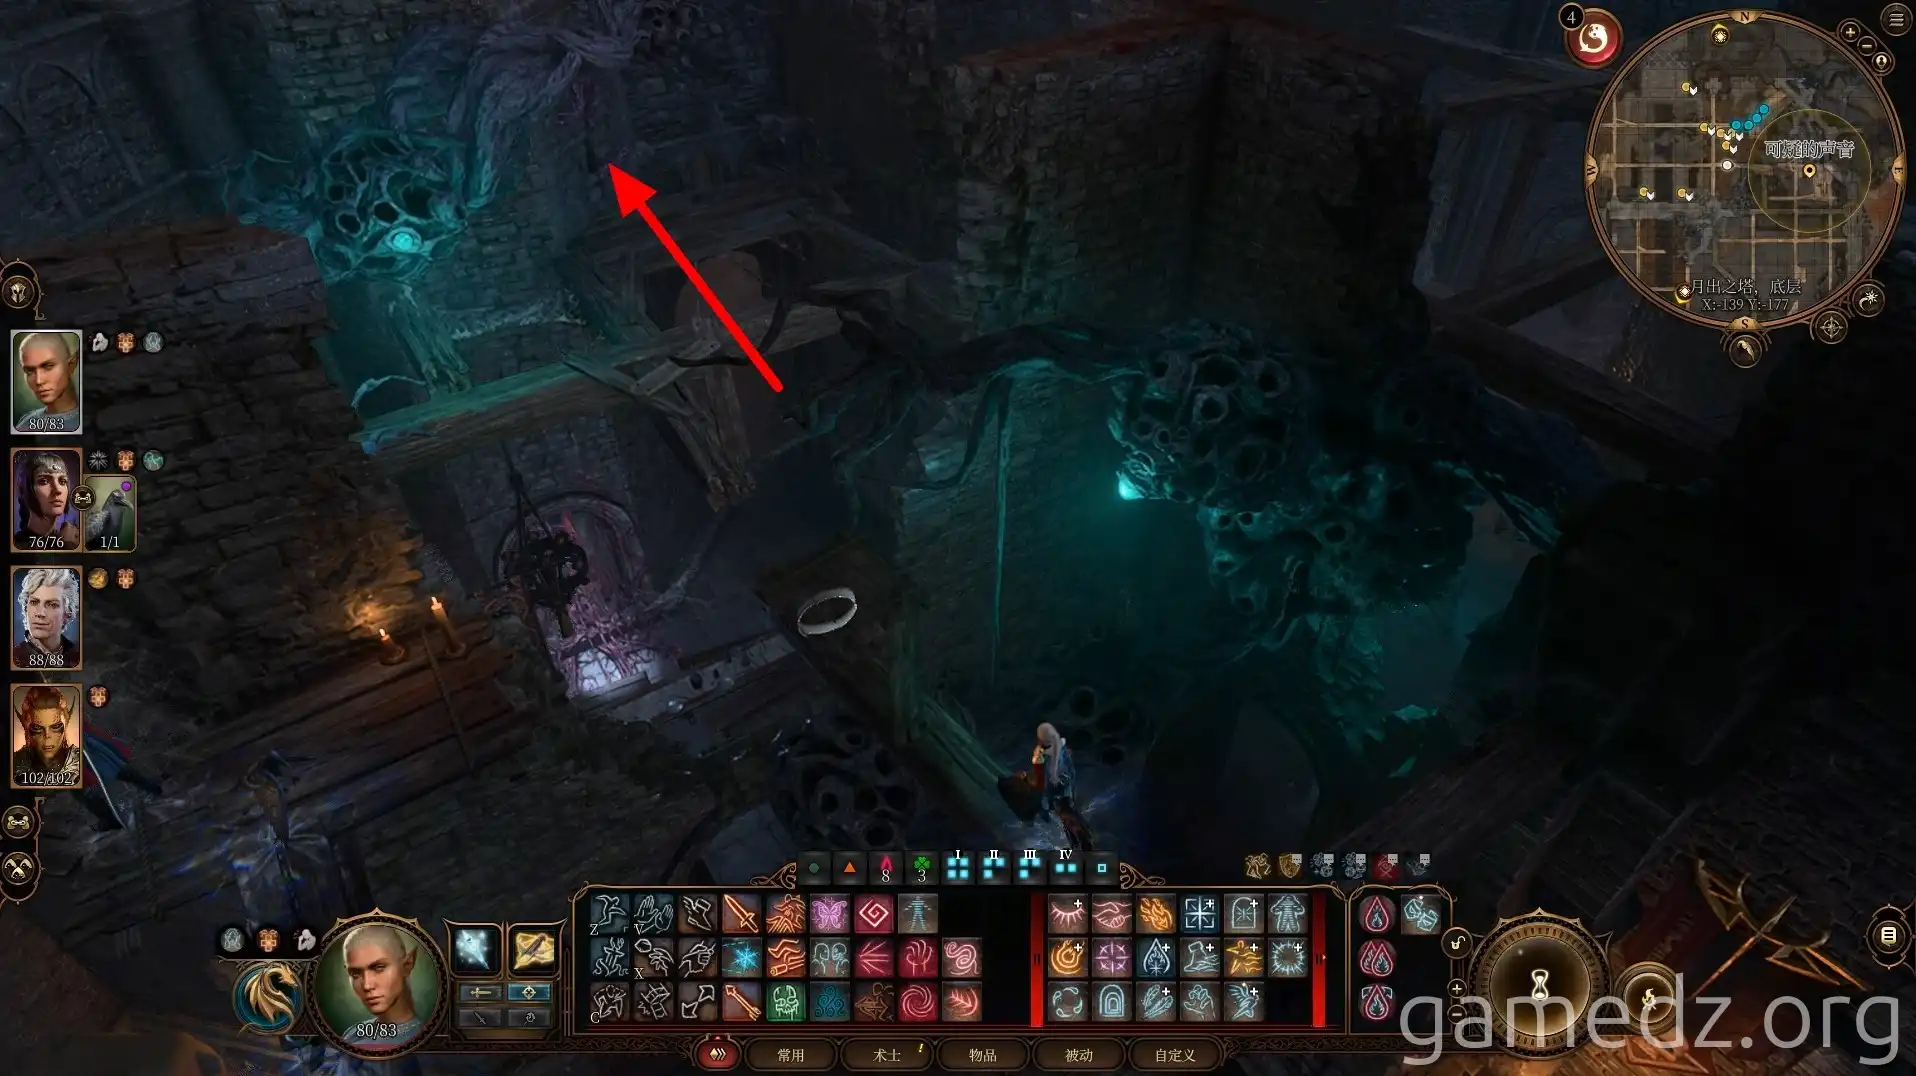
Return to the first-floor main hall and enter the room ahead through the small door next to a group of cultists.
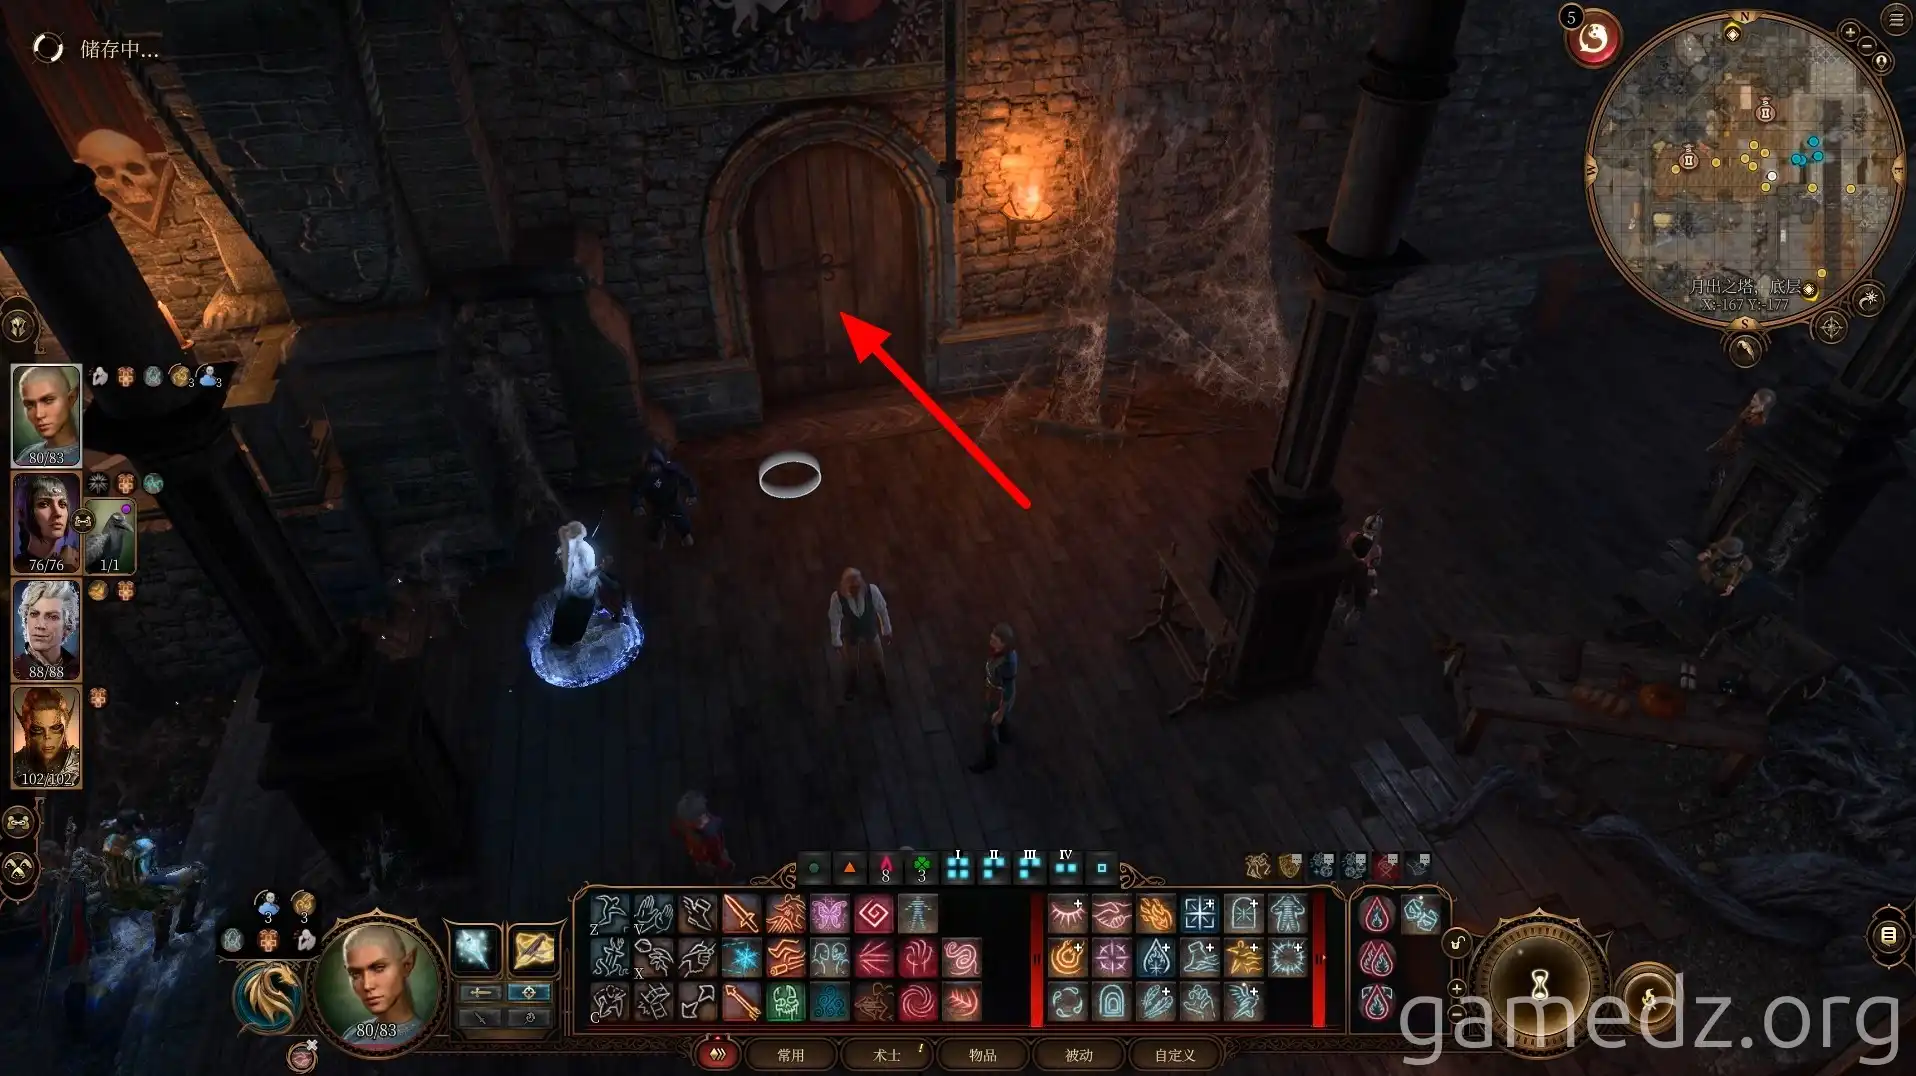
Then, proceed up the stairs in the room to enter the Moonrise Towers Prison.
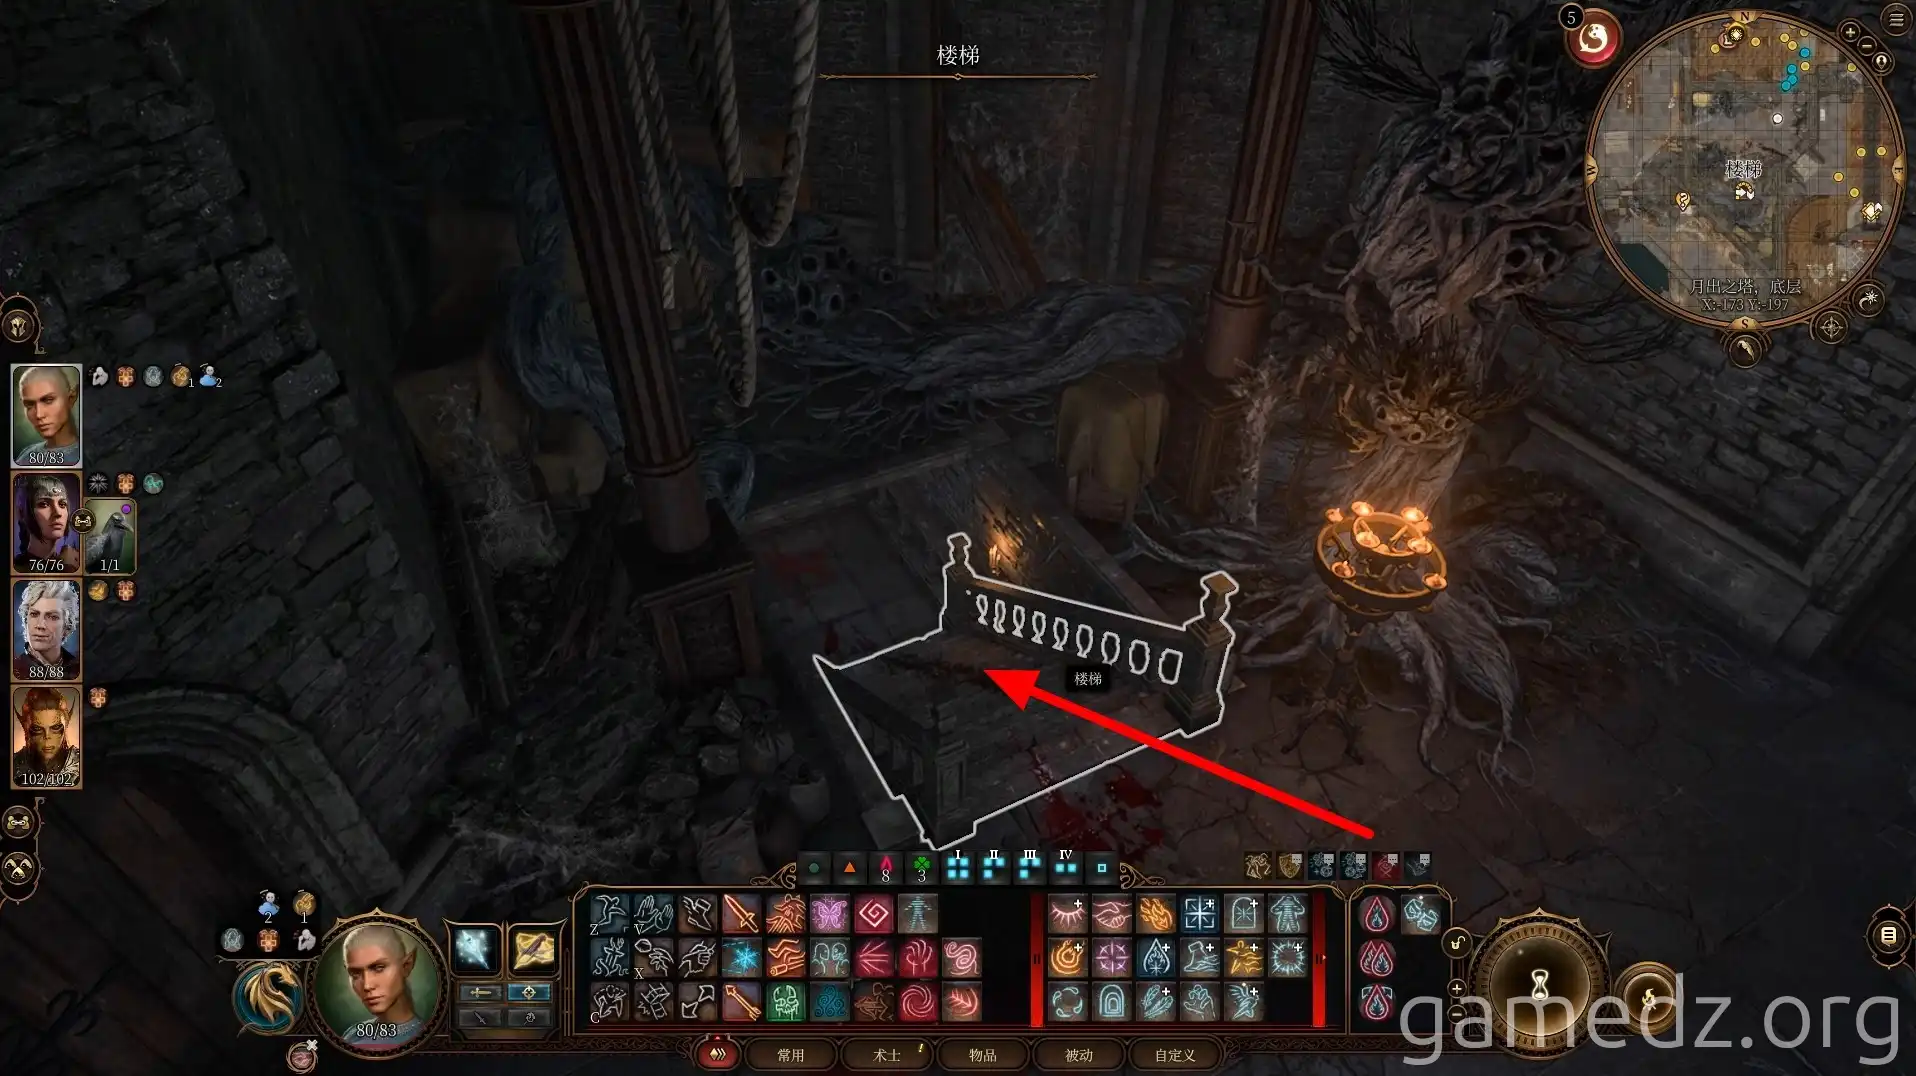
Upon entering the prison, you'll find two cultists on the right side of the main hall and two interrogators in the room on the left. Engage them directly and defeat them all.
Additionally, there are several Eyes of the Weave active in the prison. Deal with them as you encounter them.
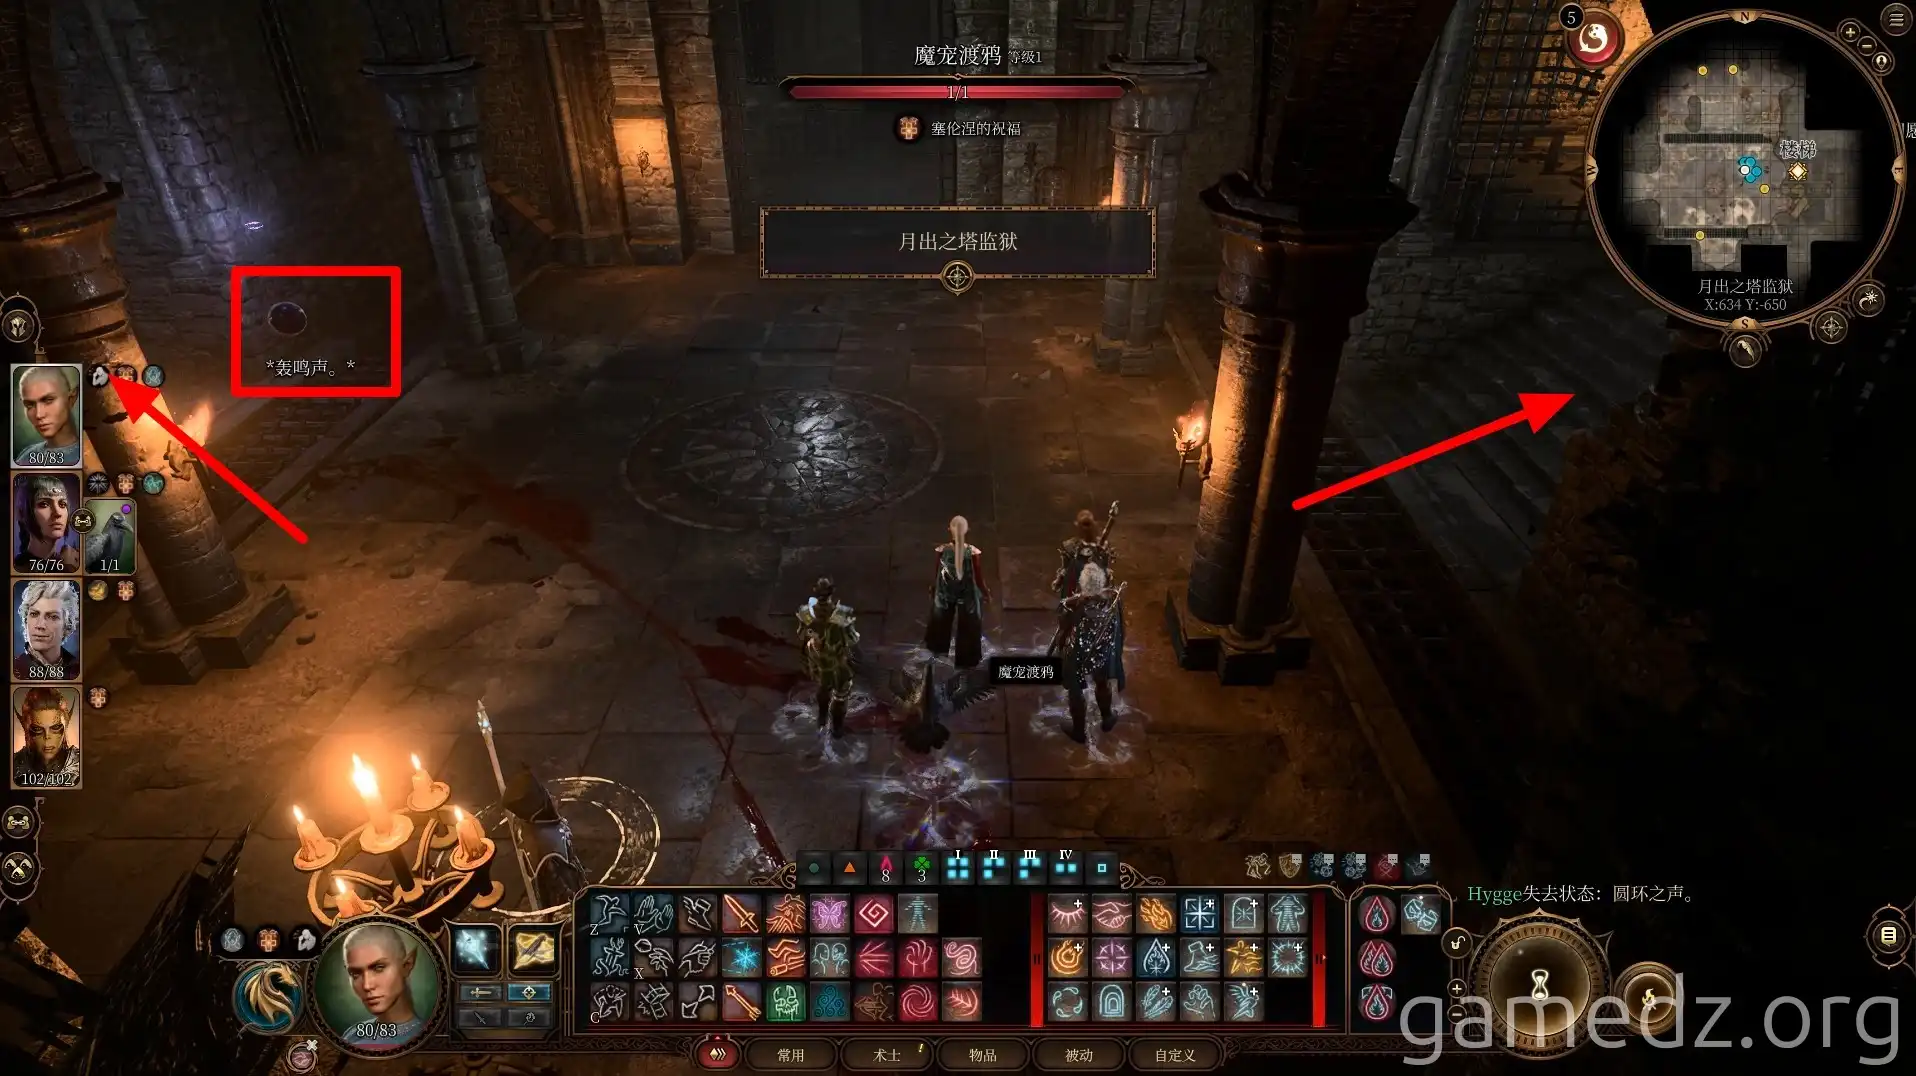
In the interrogation room on the left, you can also find some spell scrolls.
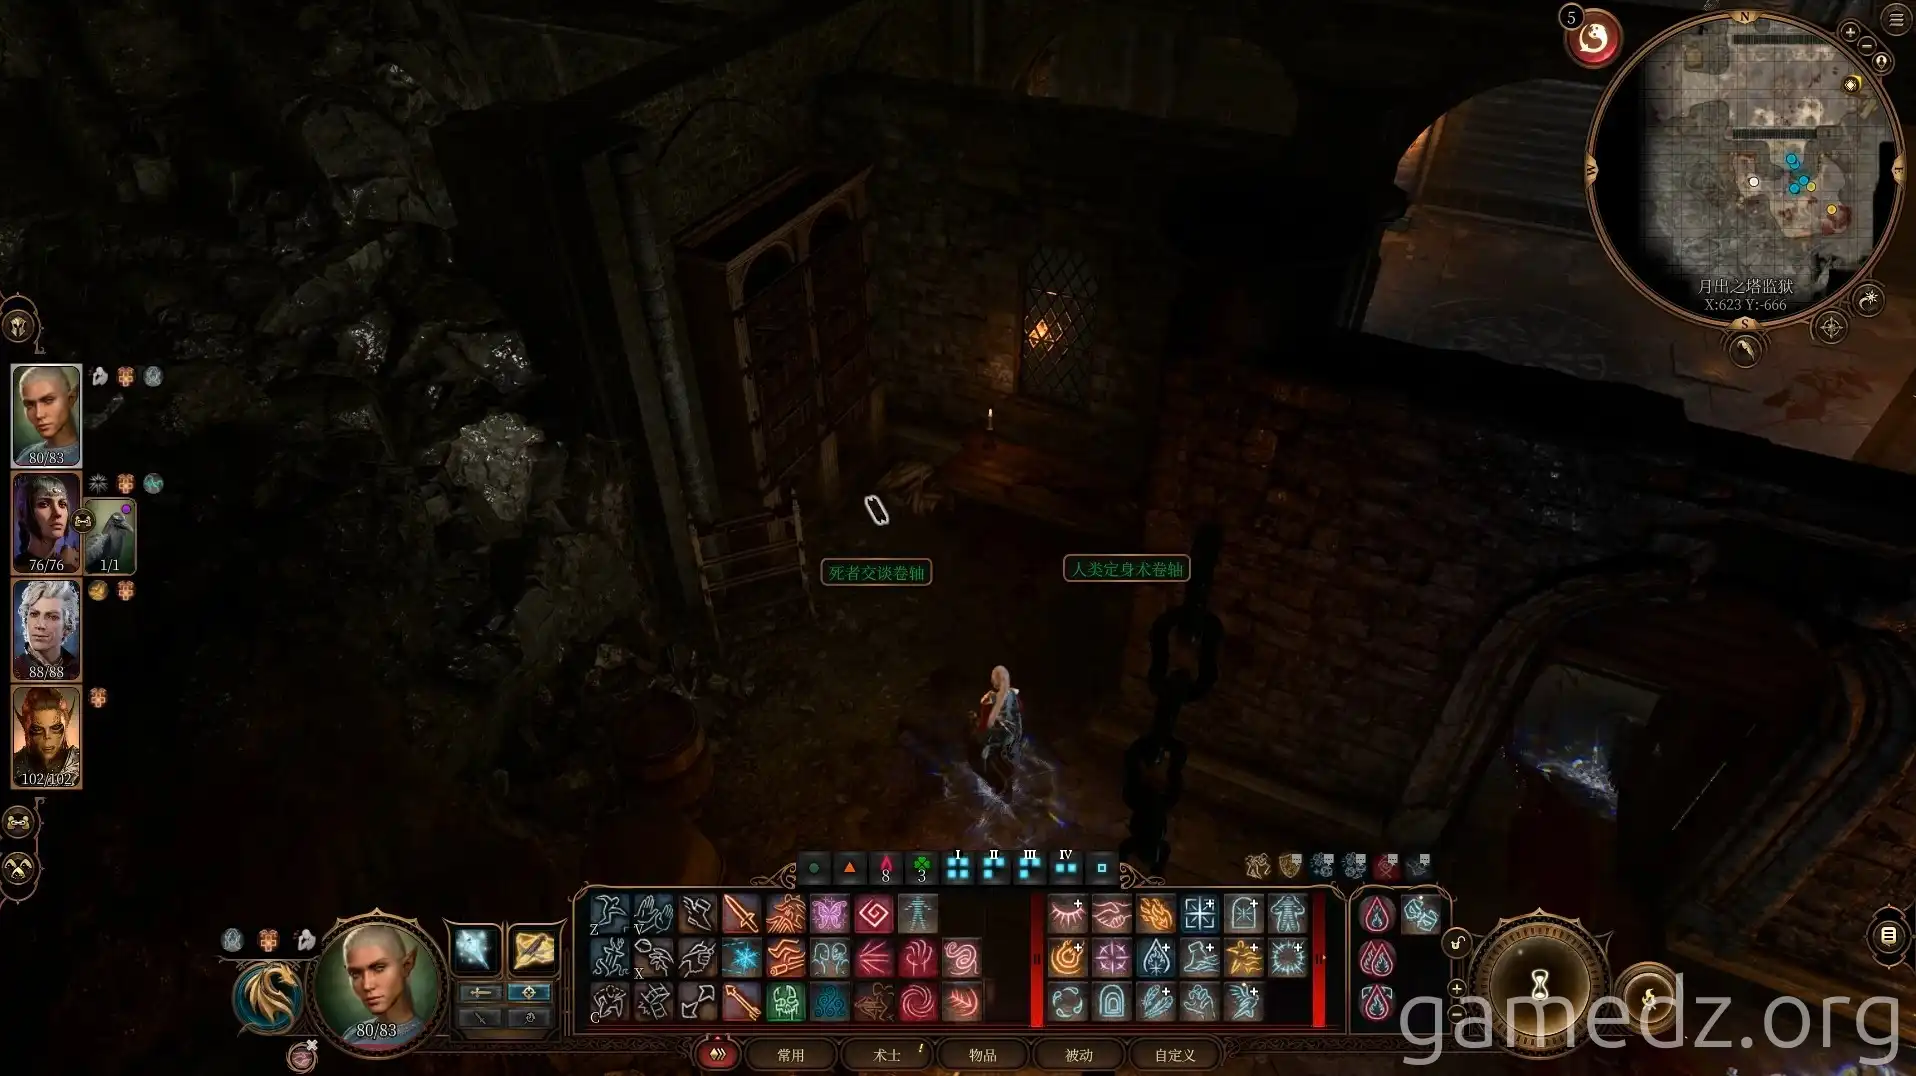
After defeating the two cultists on the right, leave the prison through the main gate and enter the dock area.
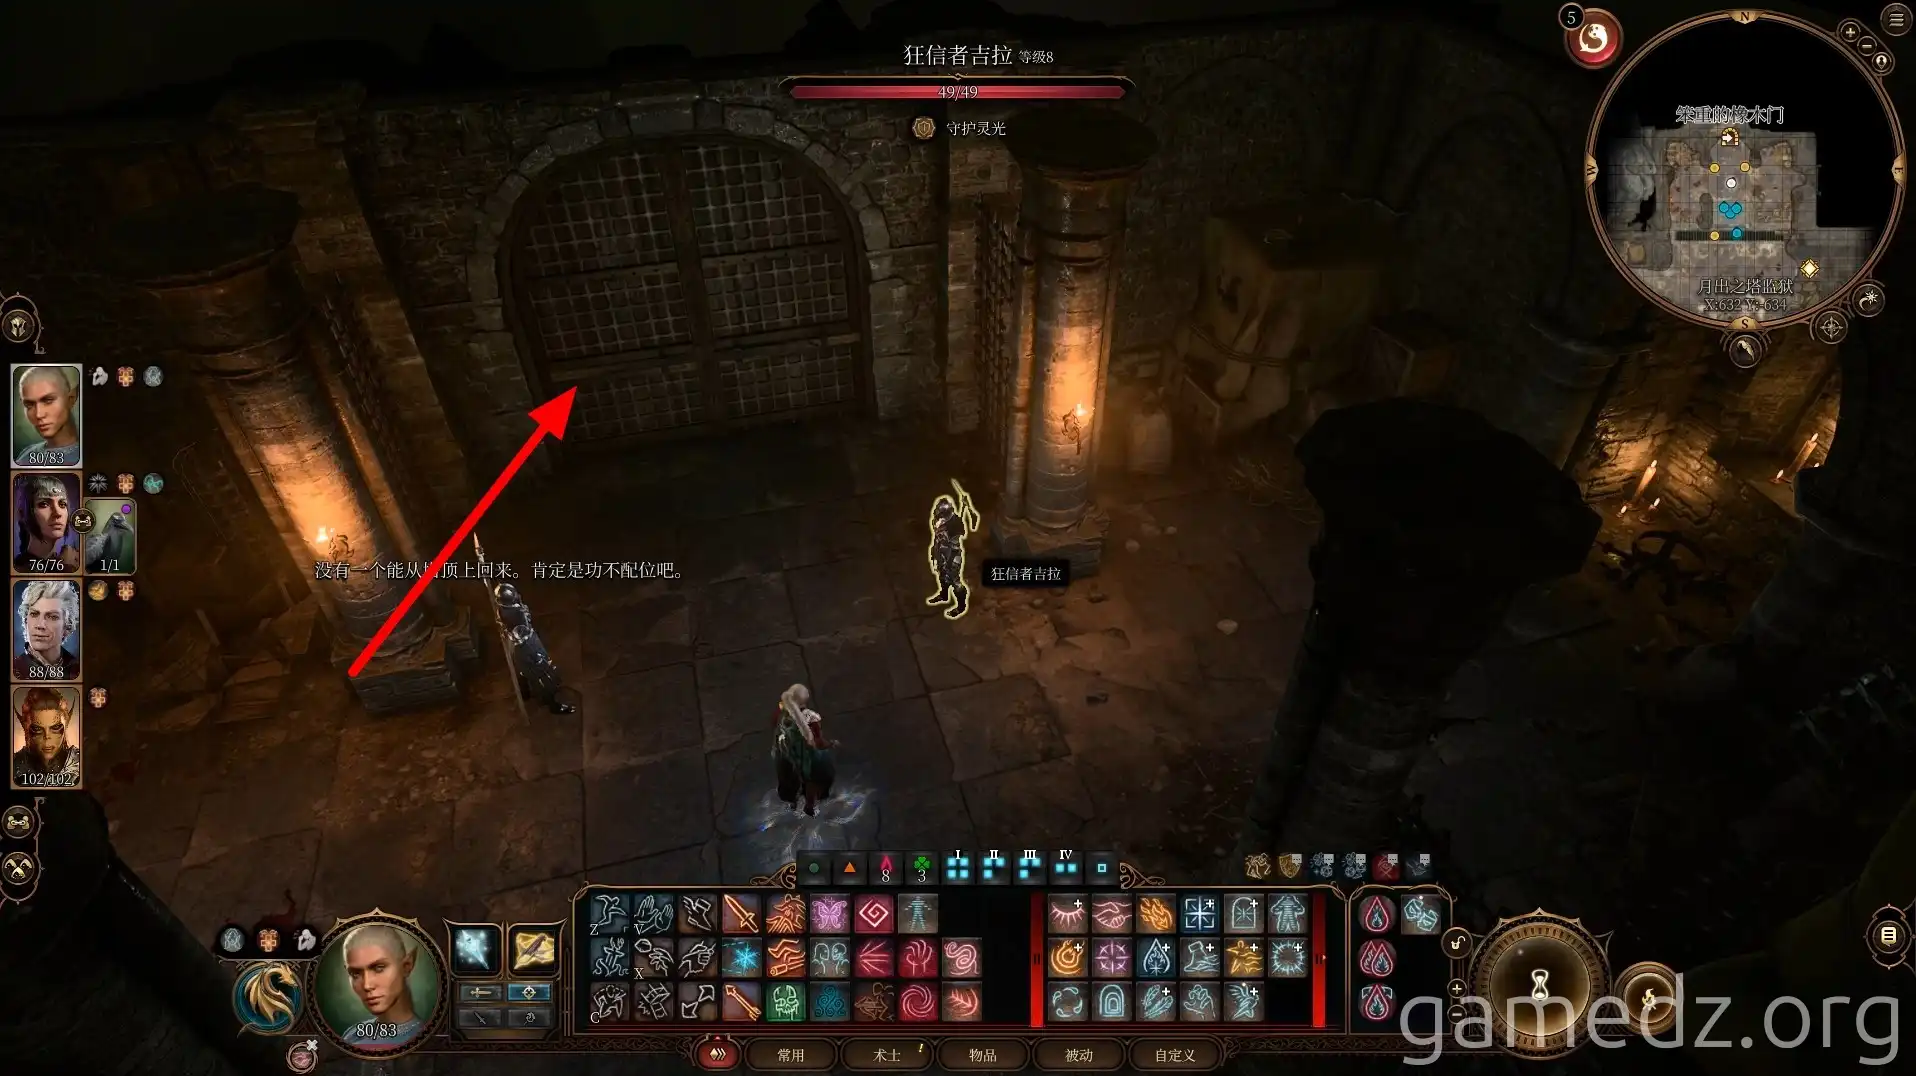
Defeat all enemies in the dock area, and you can then retrieve the cargo that the Absolute's followers entrusted to the Zhentarim for transport. The cargo itself is a barrel of Mind Flayer tadpoles. Destroying the cargo directly will cause a massive explosion. Even if you don't want to detonate it, it's highly recommended to take it with you.
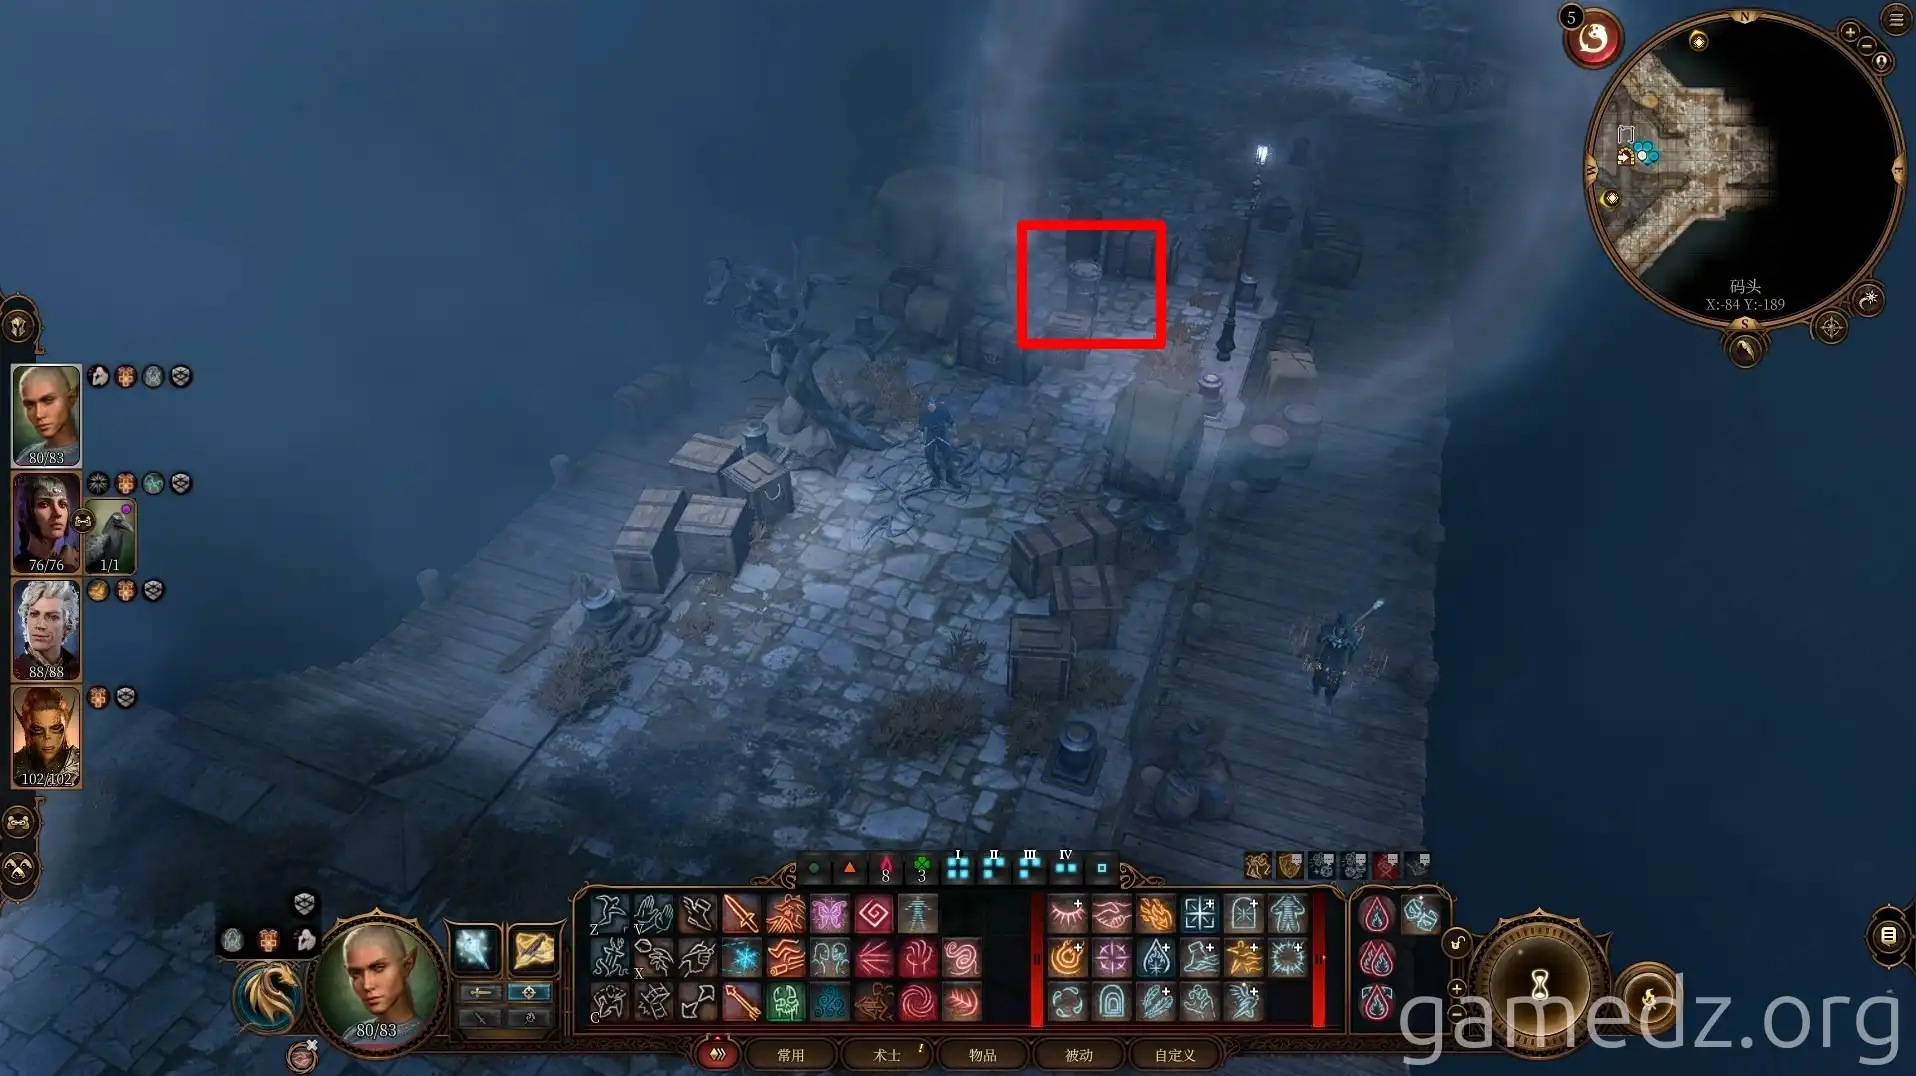
The small cat hole southwest of the docks can be accessed using the gaseous form, leading directly to the door of Araj's room.
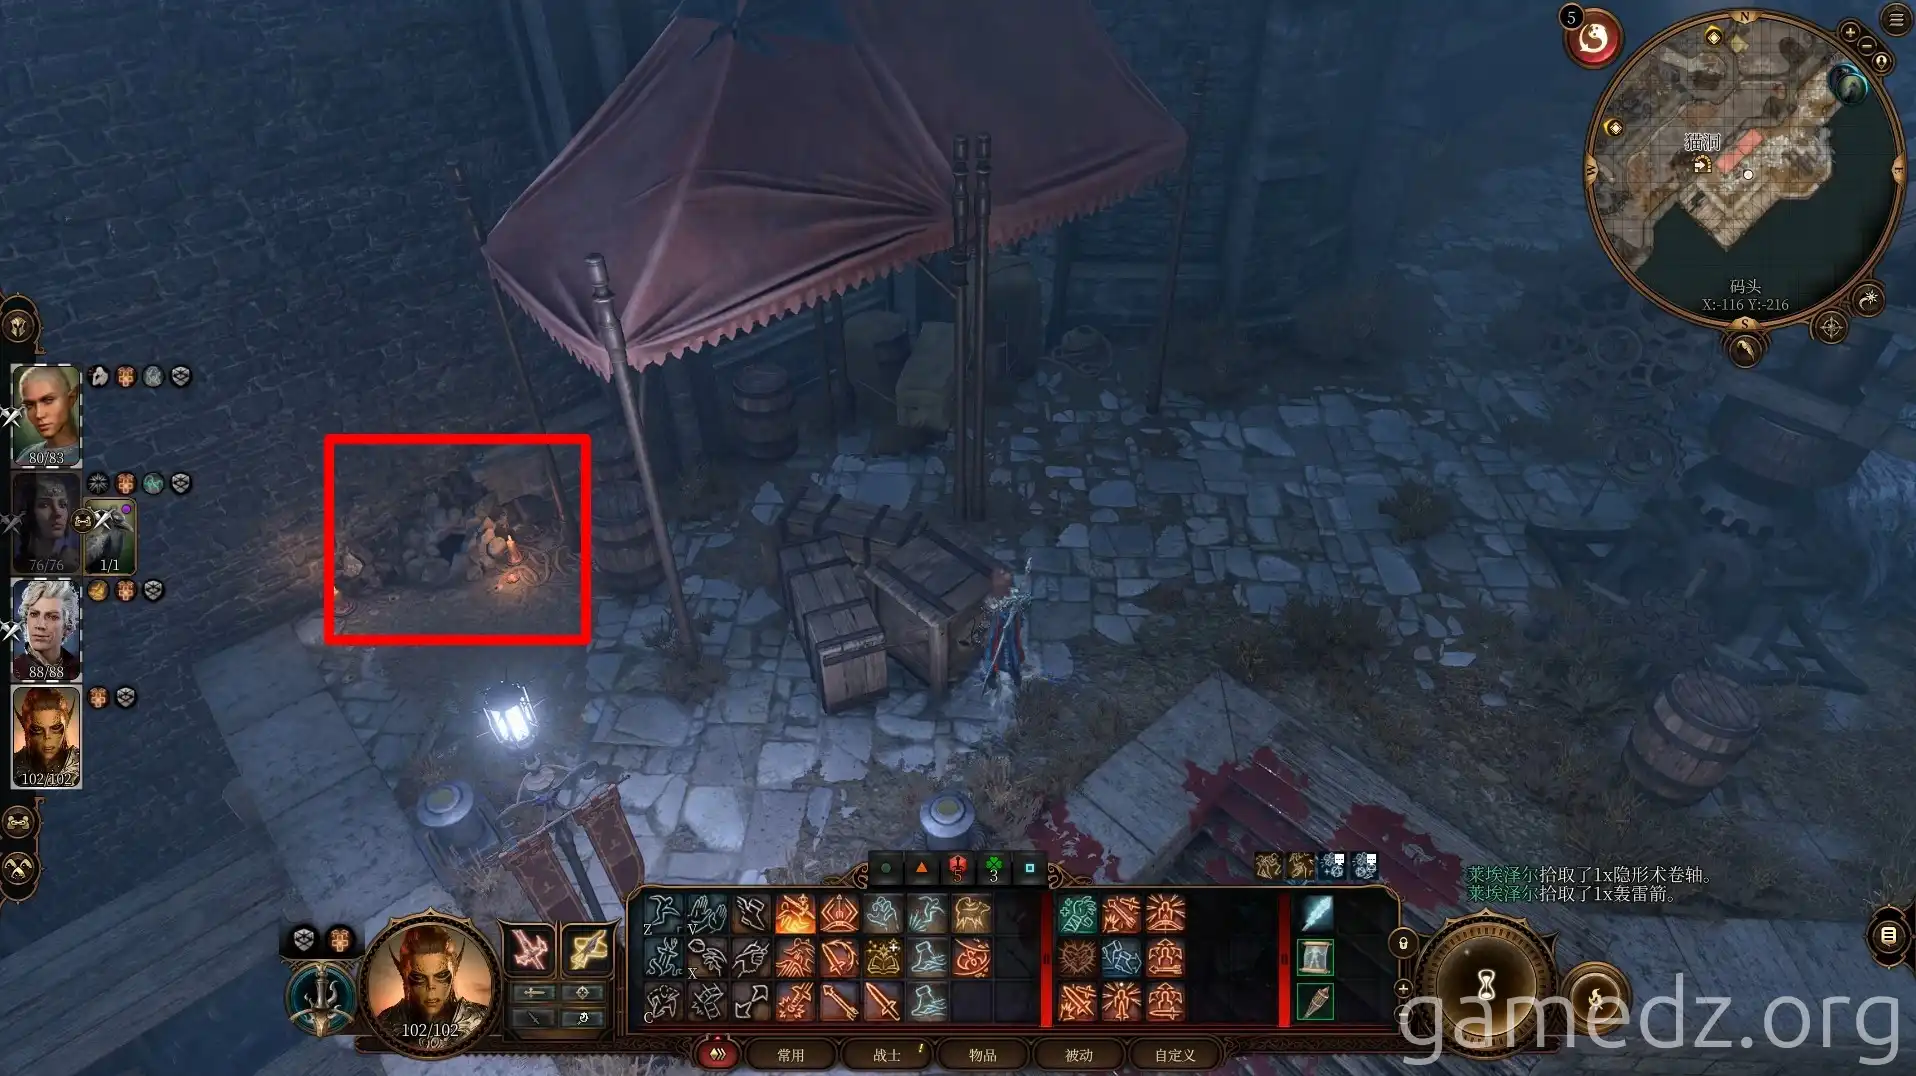
Return to the prison and proceed further. Don't engage yet, as there's an inspiration point to collect.
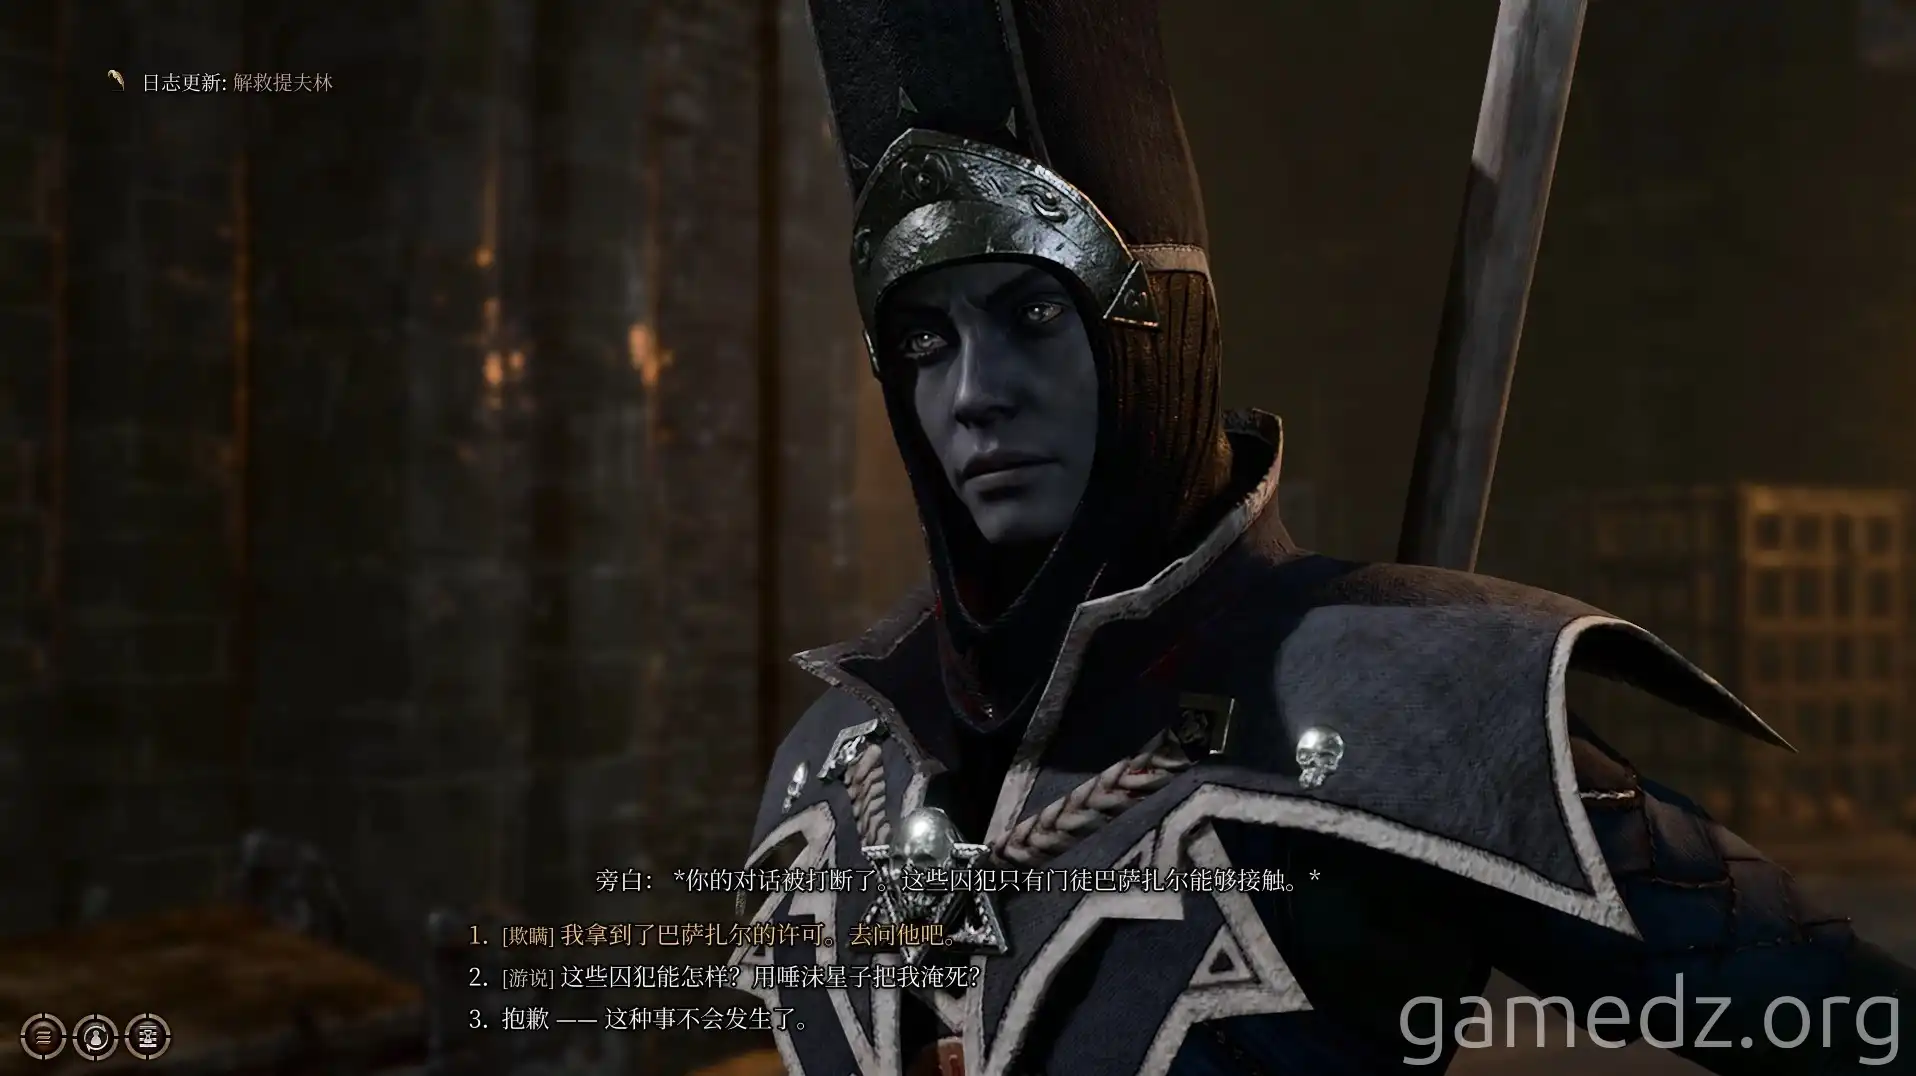
Speak with the tiefling imprisoned in a cage. A guard will appear and try to stop you. After succeeding on a check, characters with the Charlatan background will receive an inspiration.
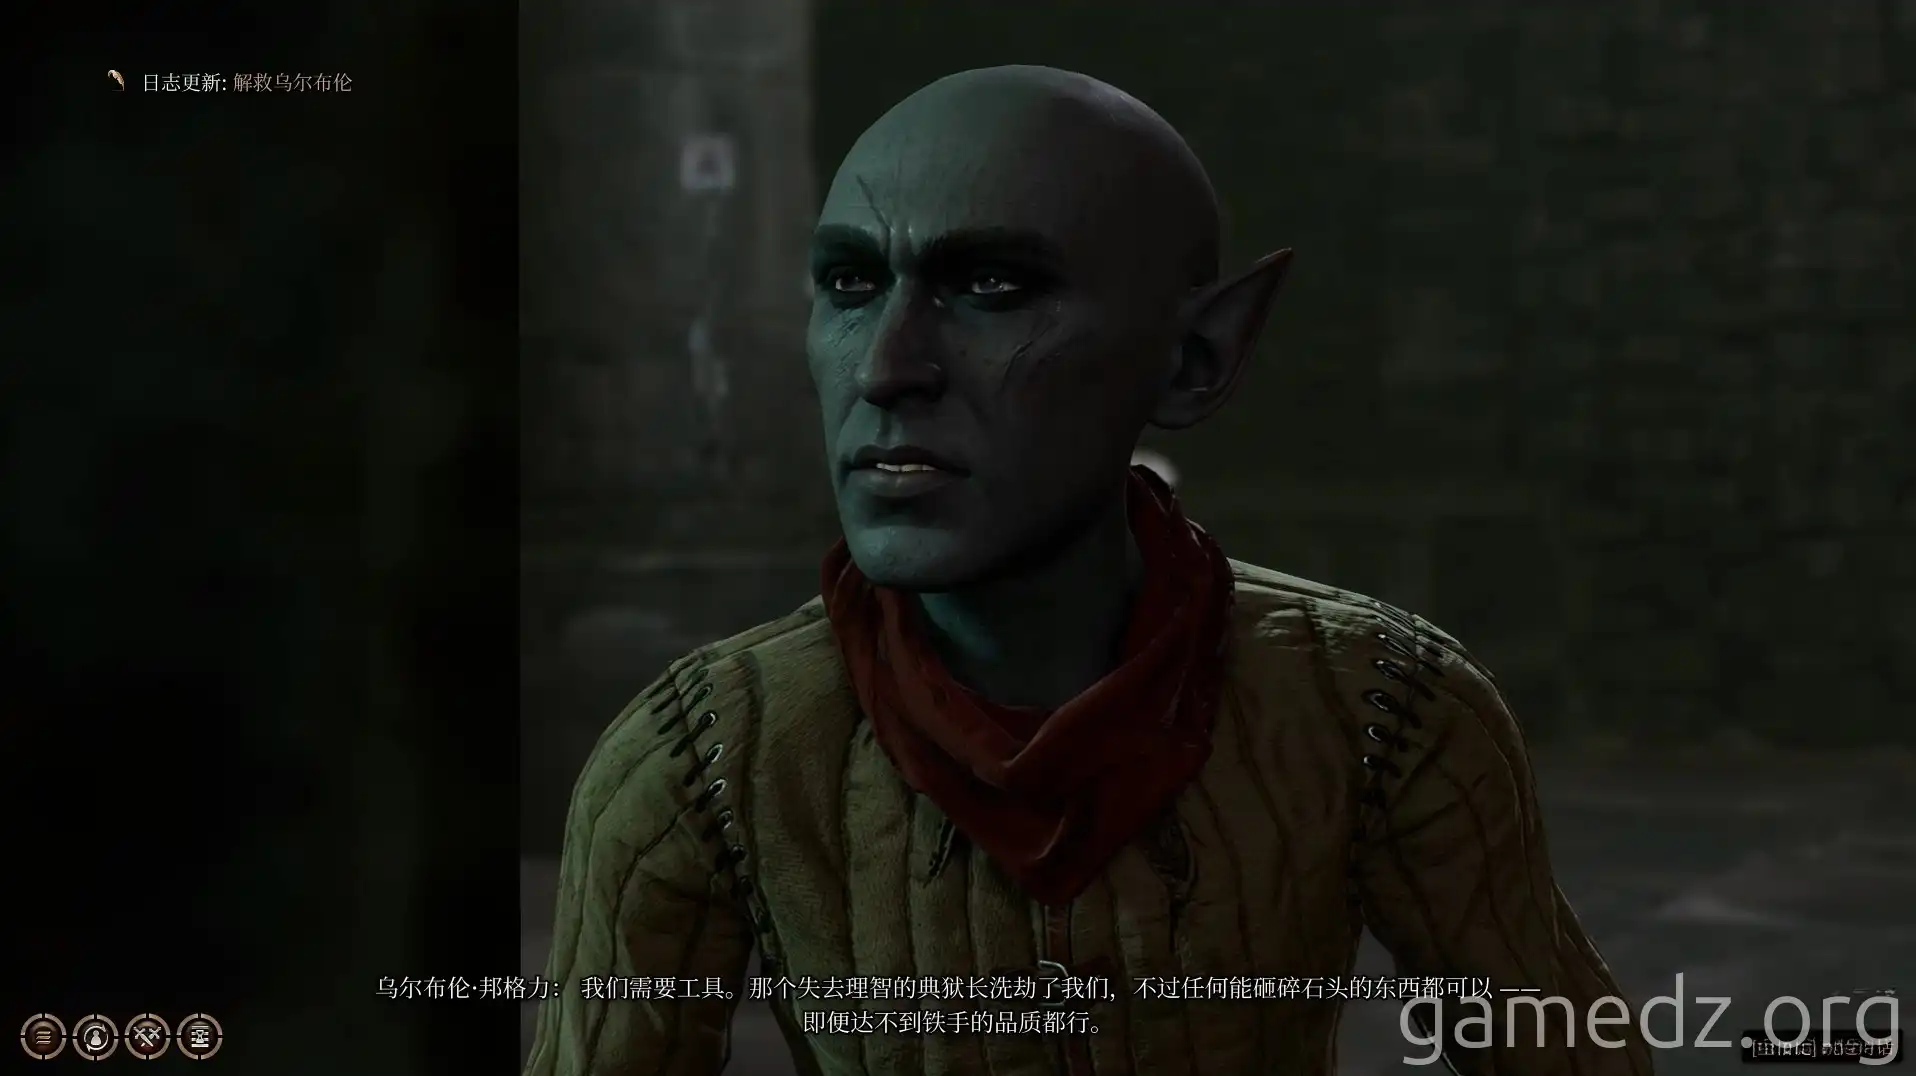
Speak with Wulbren; he will mention that he needs some tools.
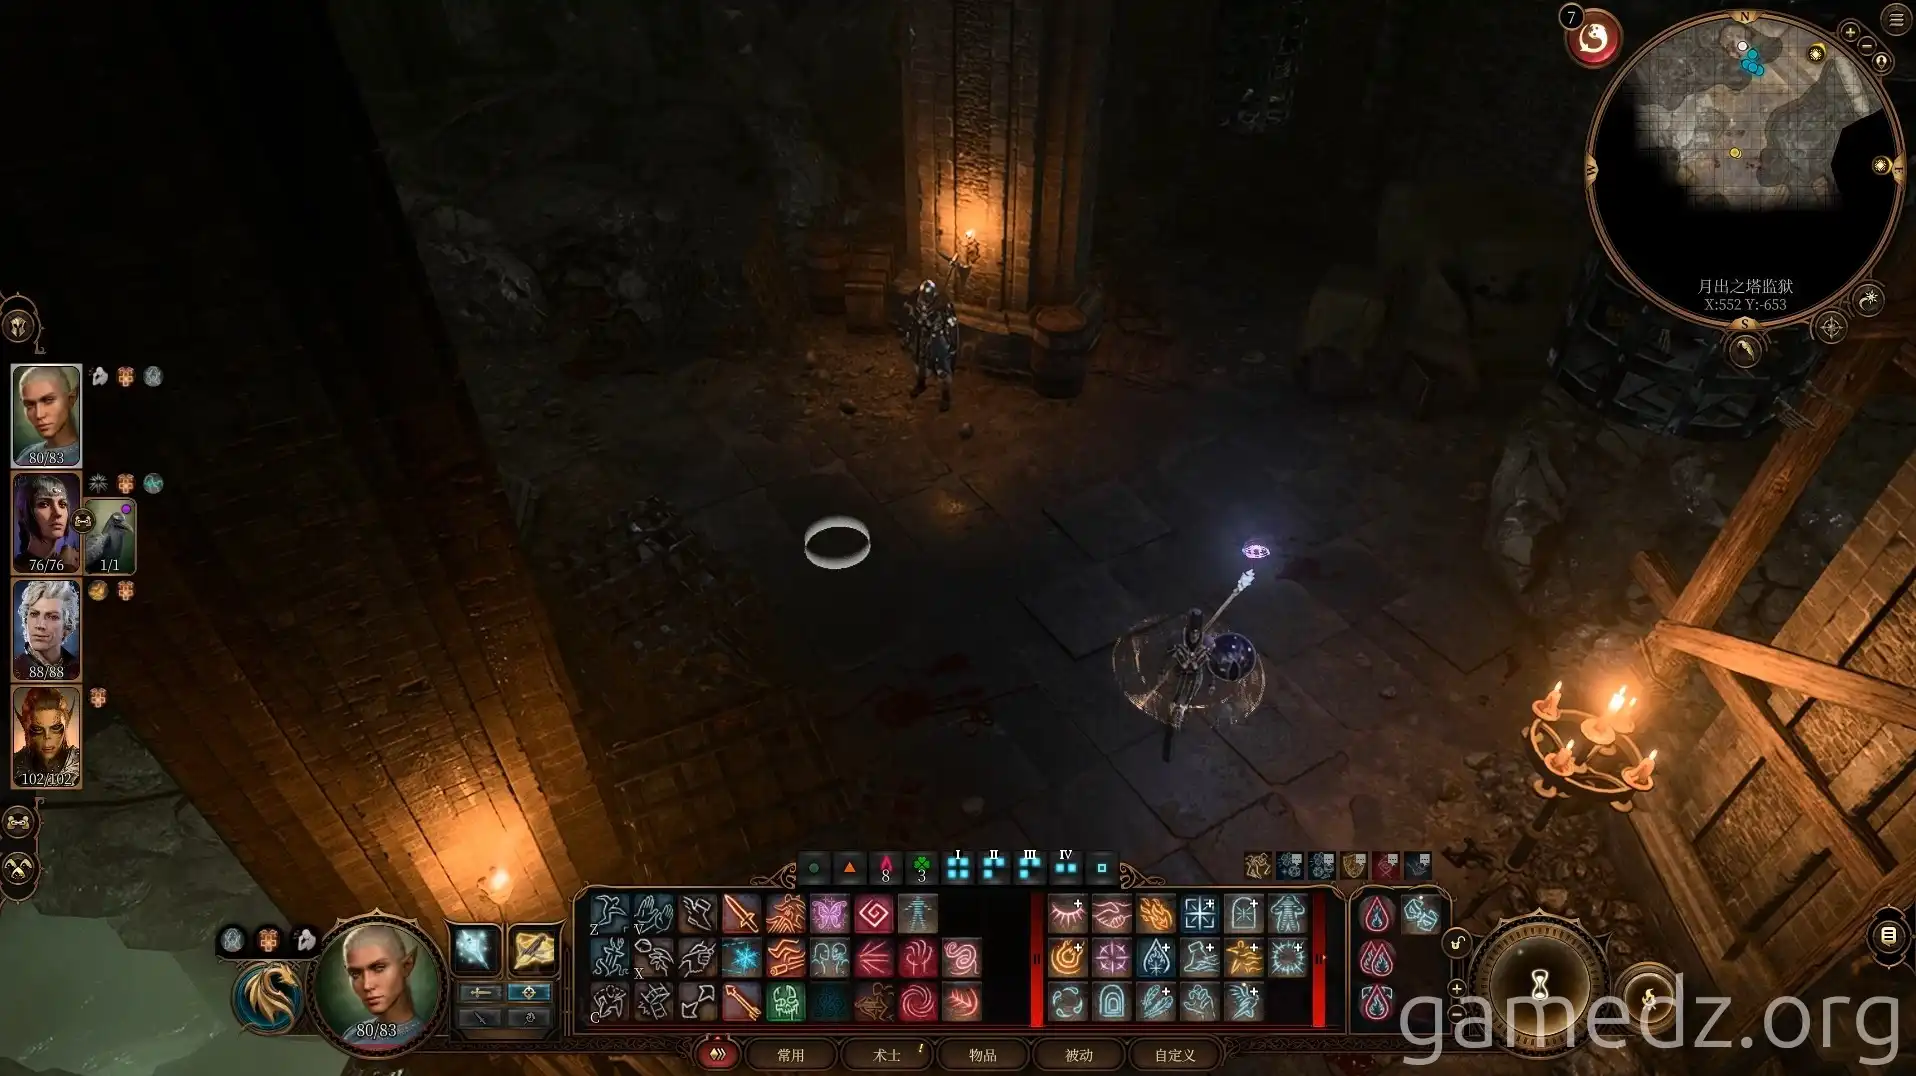
Then, directly engage and defeat all the guards.
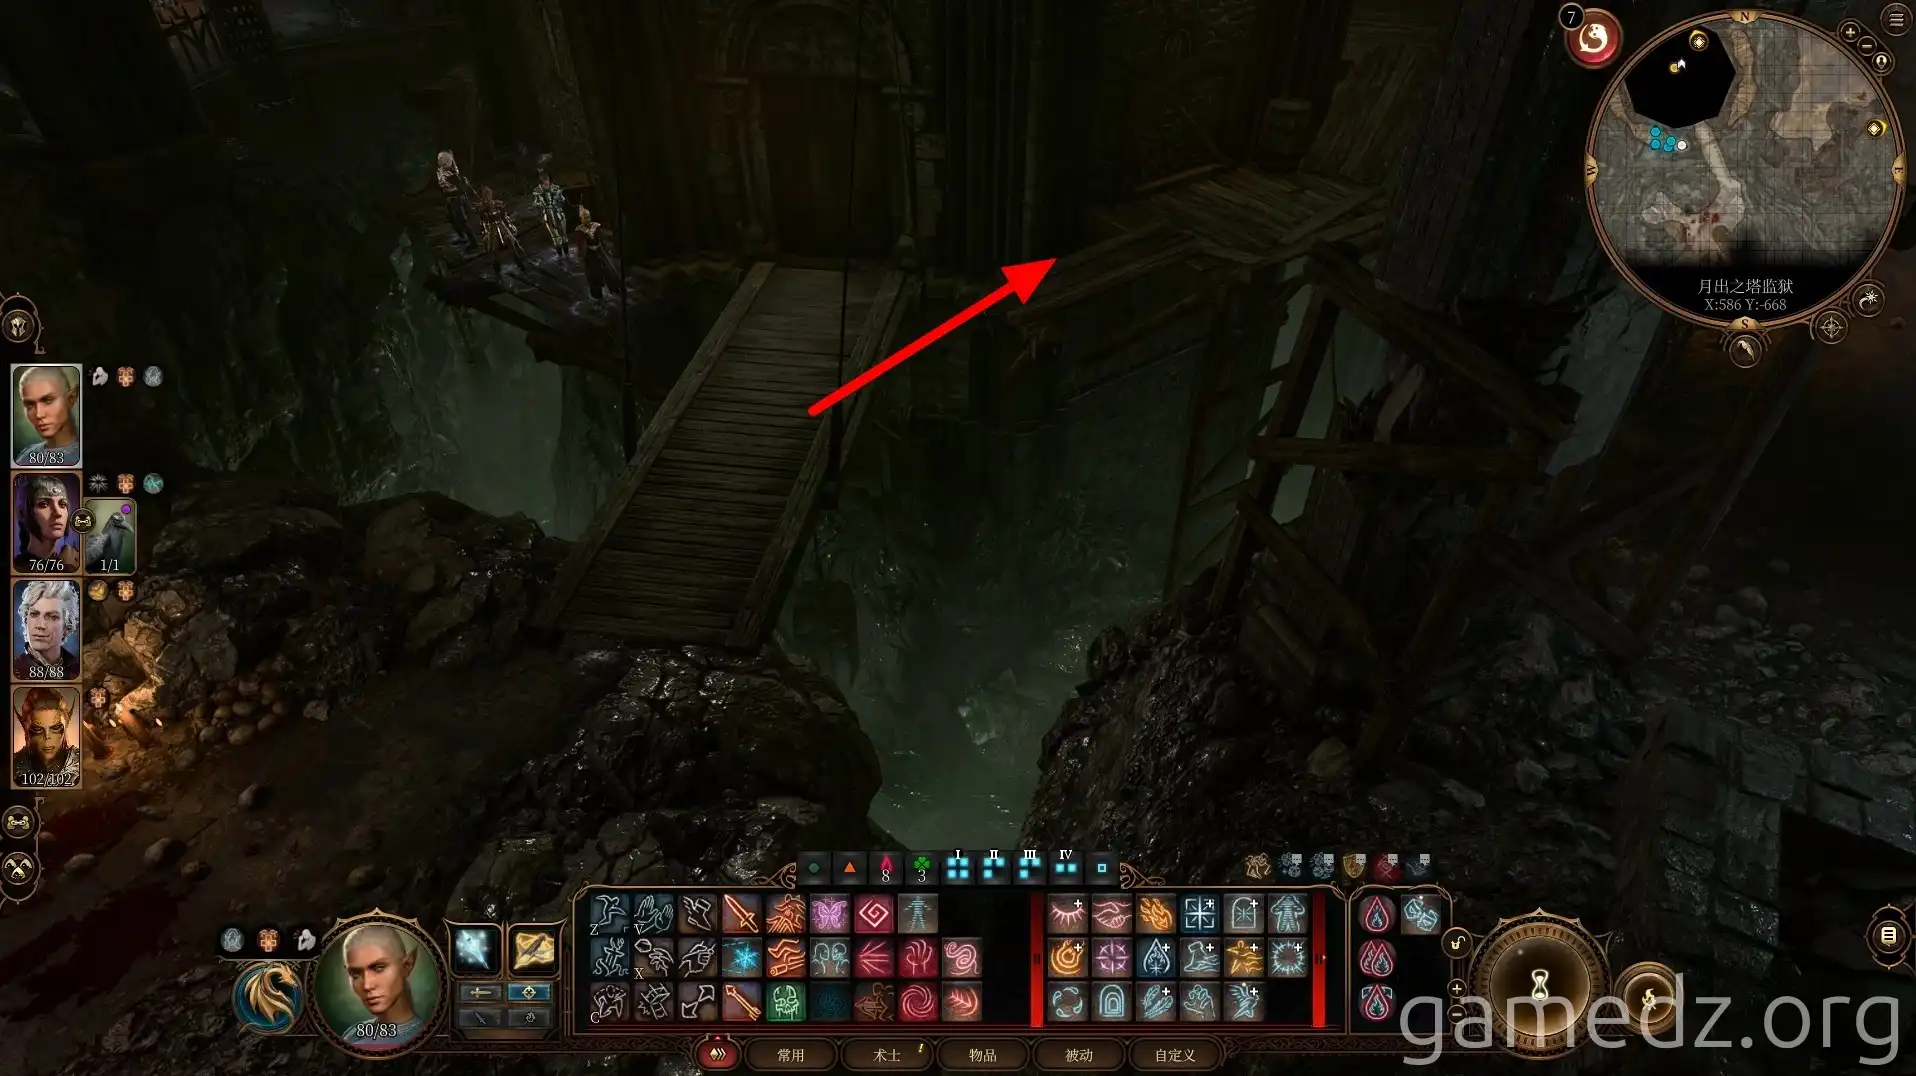
After defeating all the guards in the prison, head towards the tower within the prison. You can reach the second floor of the tower via the wooden planks outside the tower and enter the Warden's room.
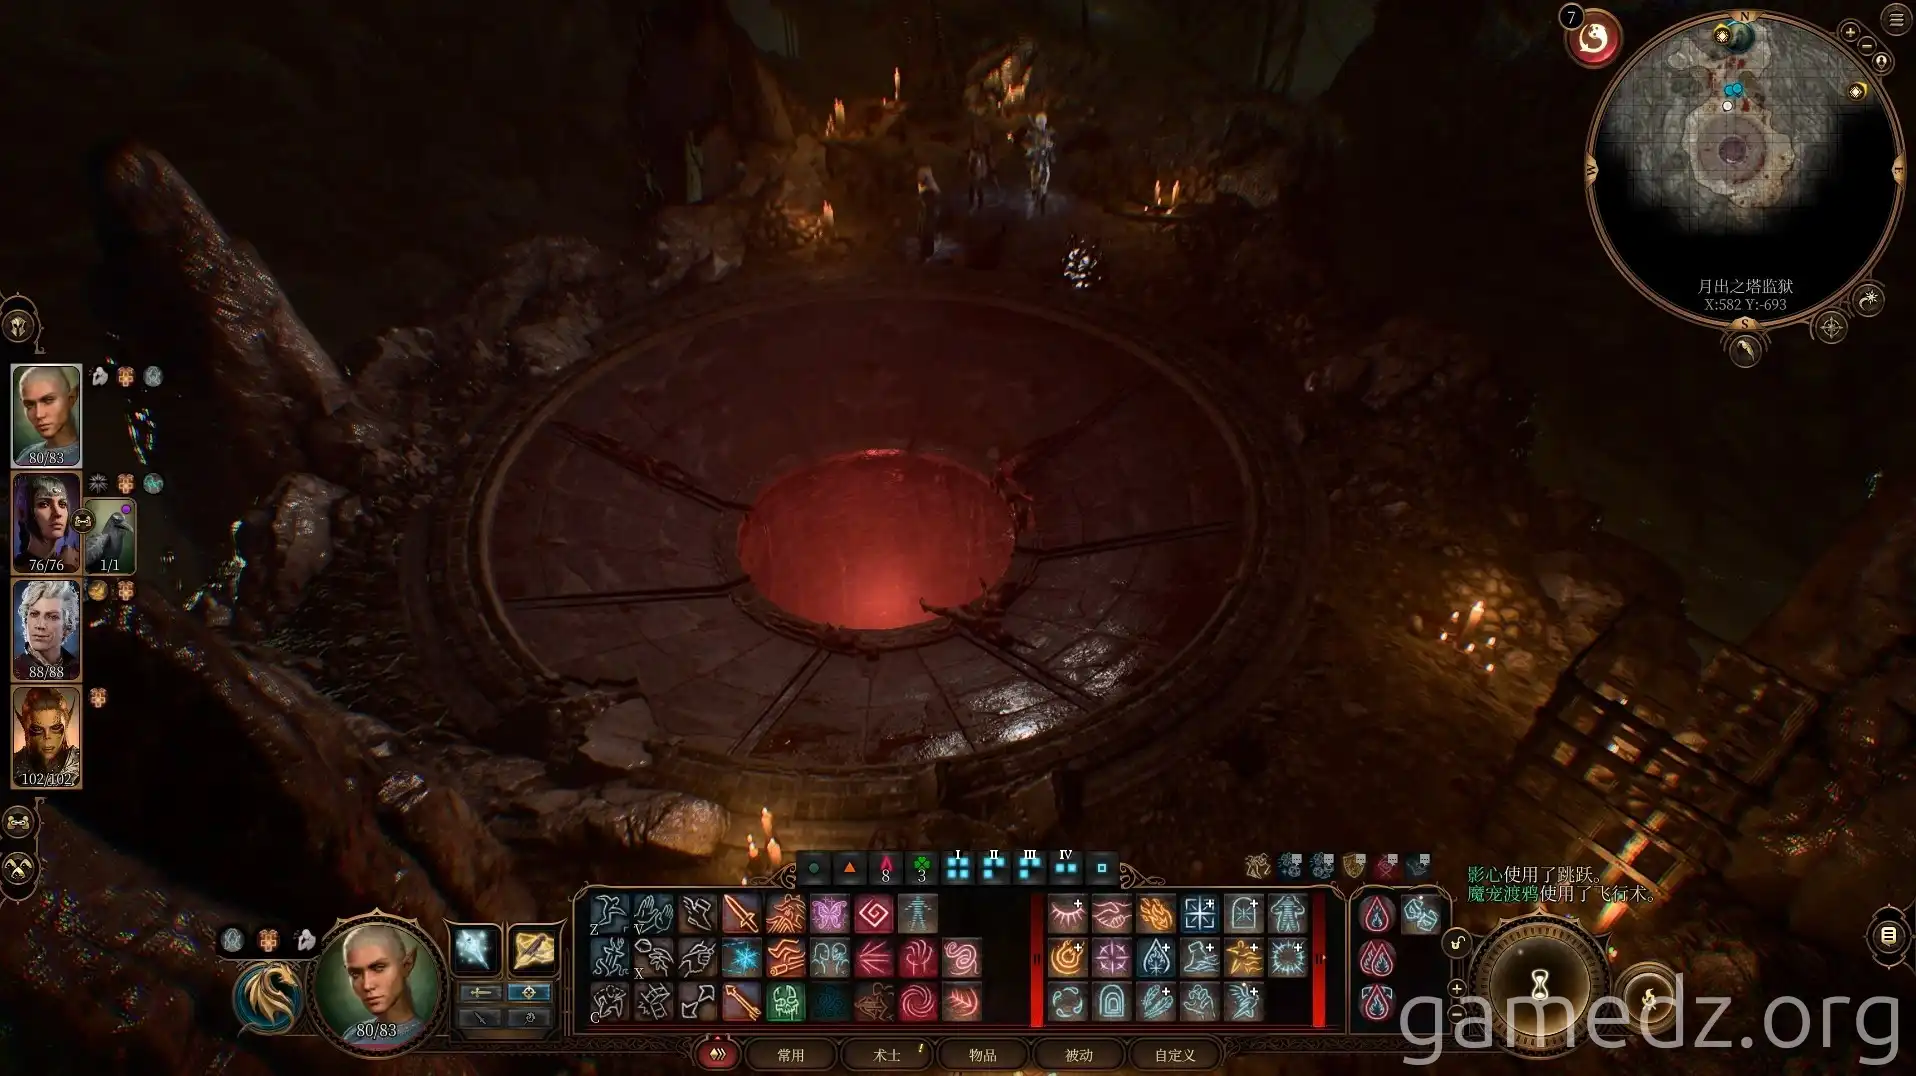
The pit opposite the tower also leads to the Underdark Prison. Descending from here will cause damage, so ignore it and head directly to the second floor of the tower.
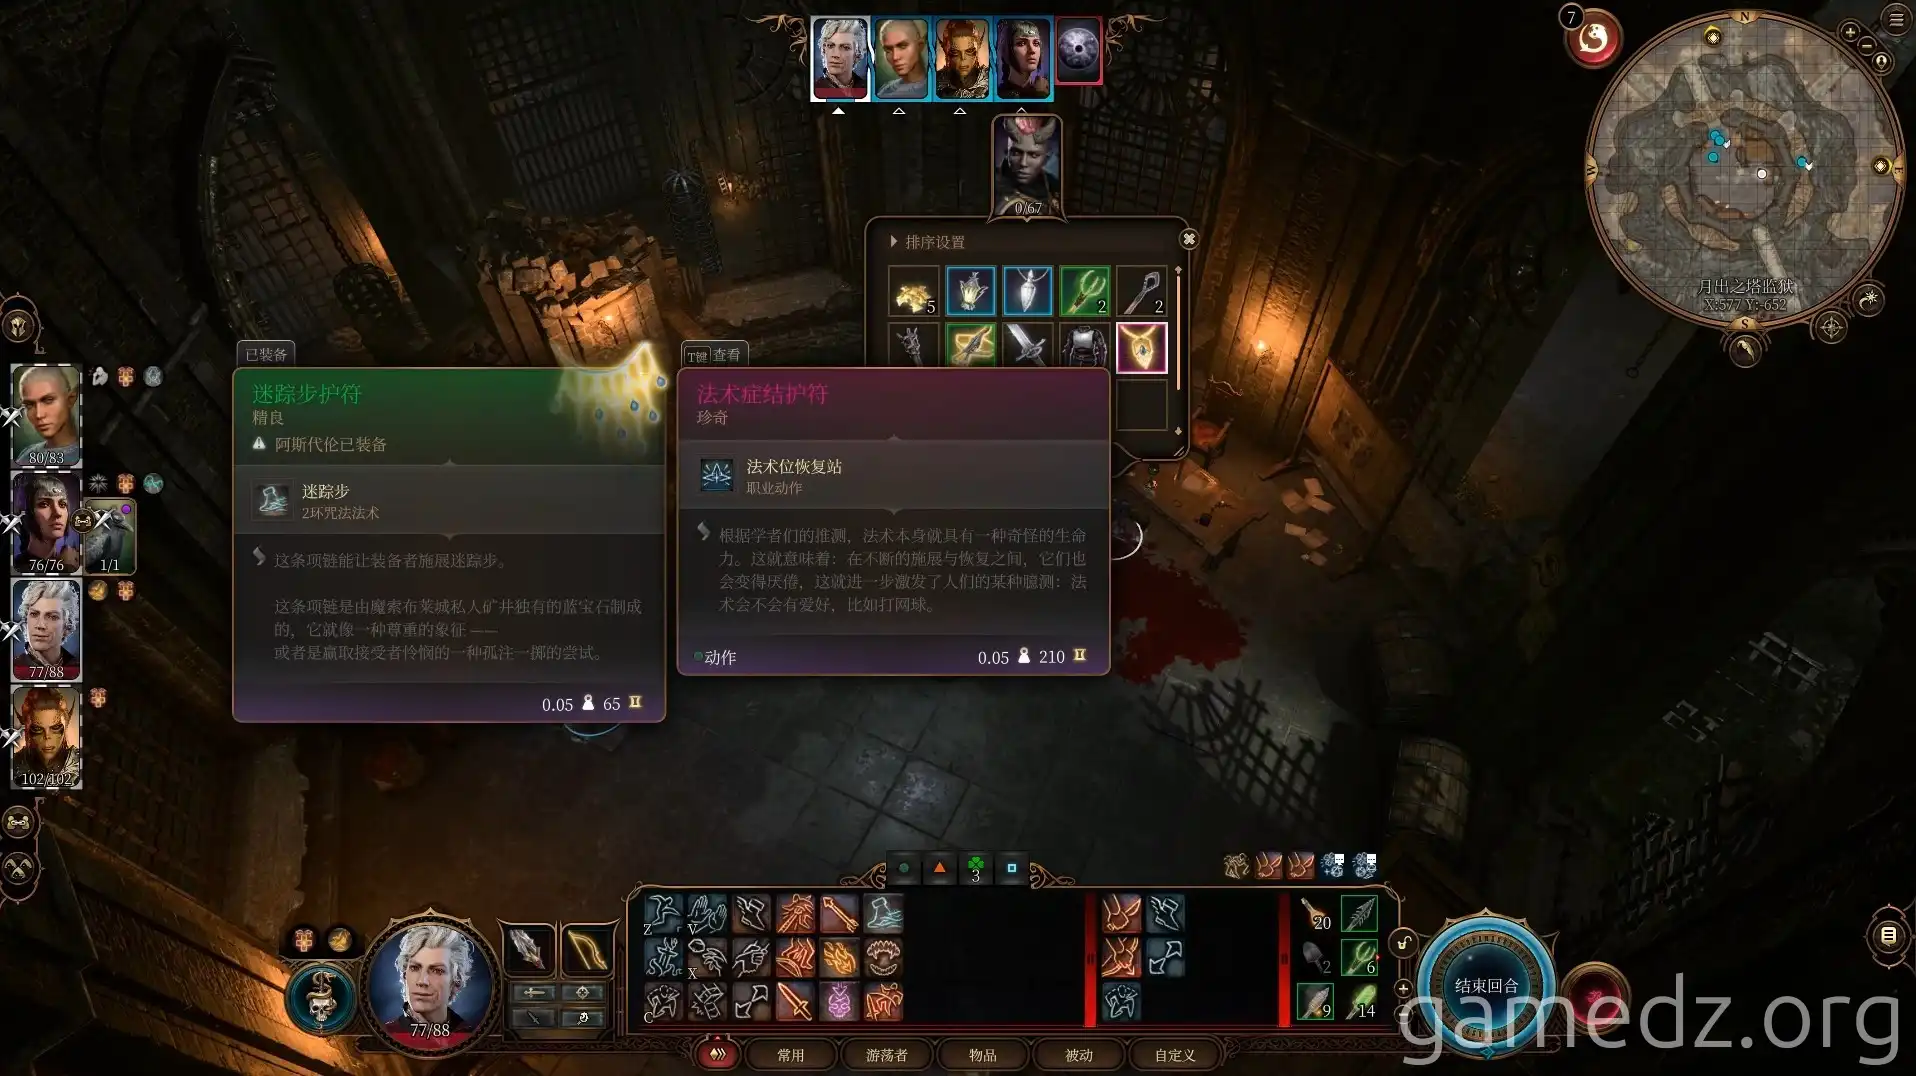
The Warden will move between the first and second floors of the tower. Engage and defeat them directly upon sight.
You can obtain the rare accessory, the Spellcrux Amulet, from the Warden.
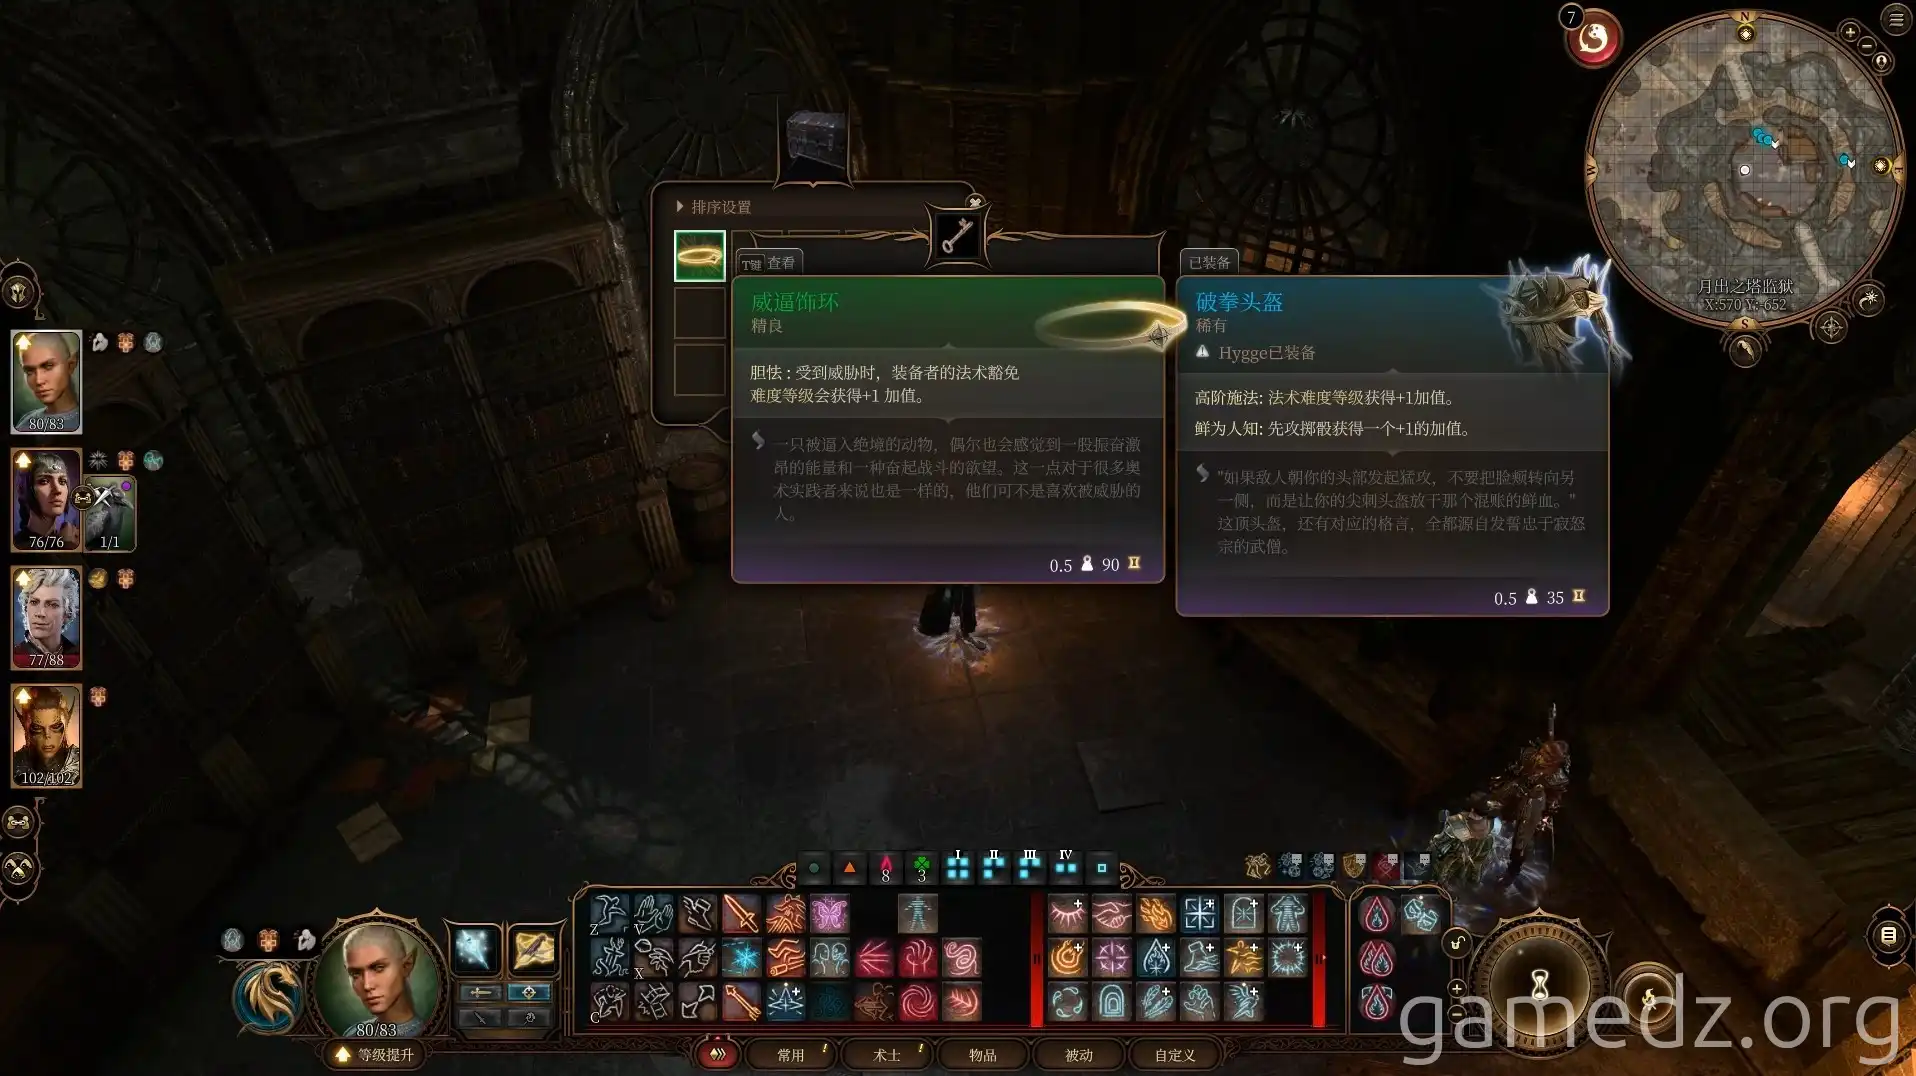
In the chest on the second floor, you can find the uncommon equipment, the Ring of Protection, along with a large quantity of various items.
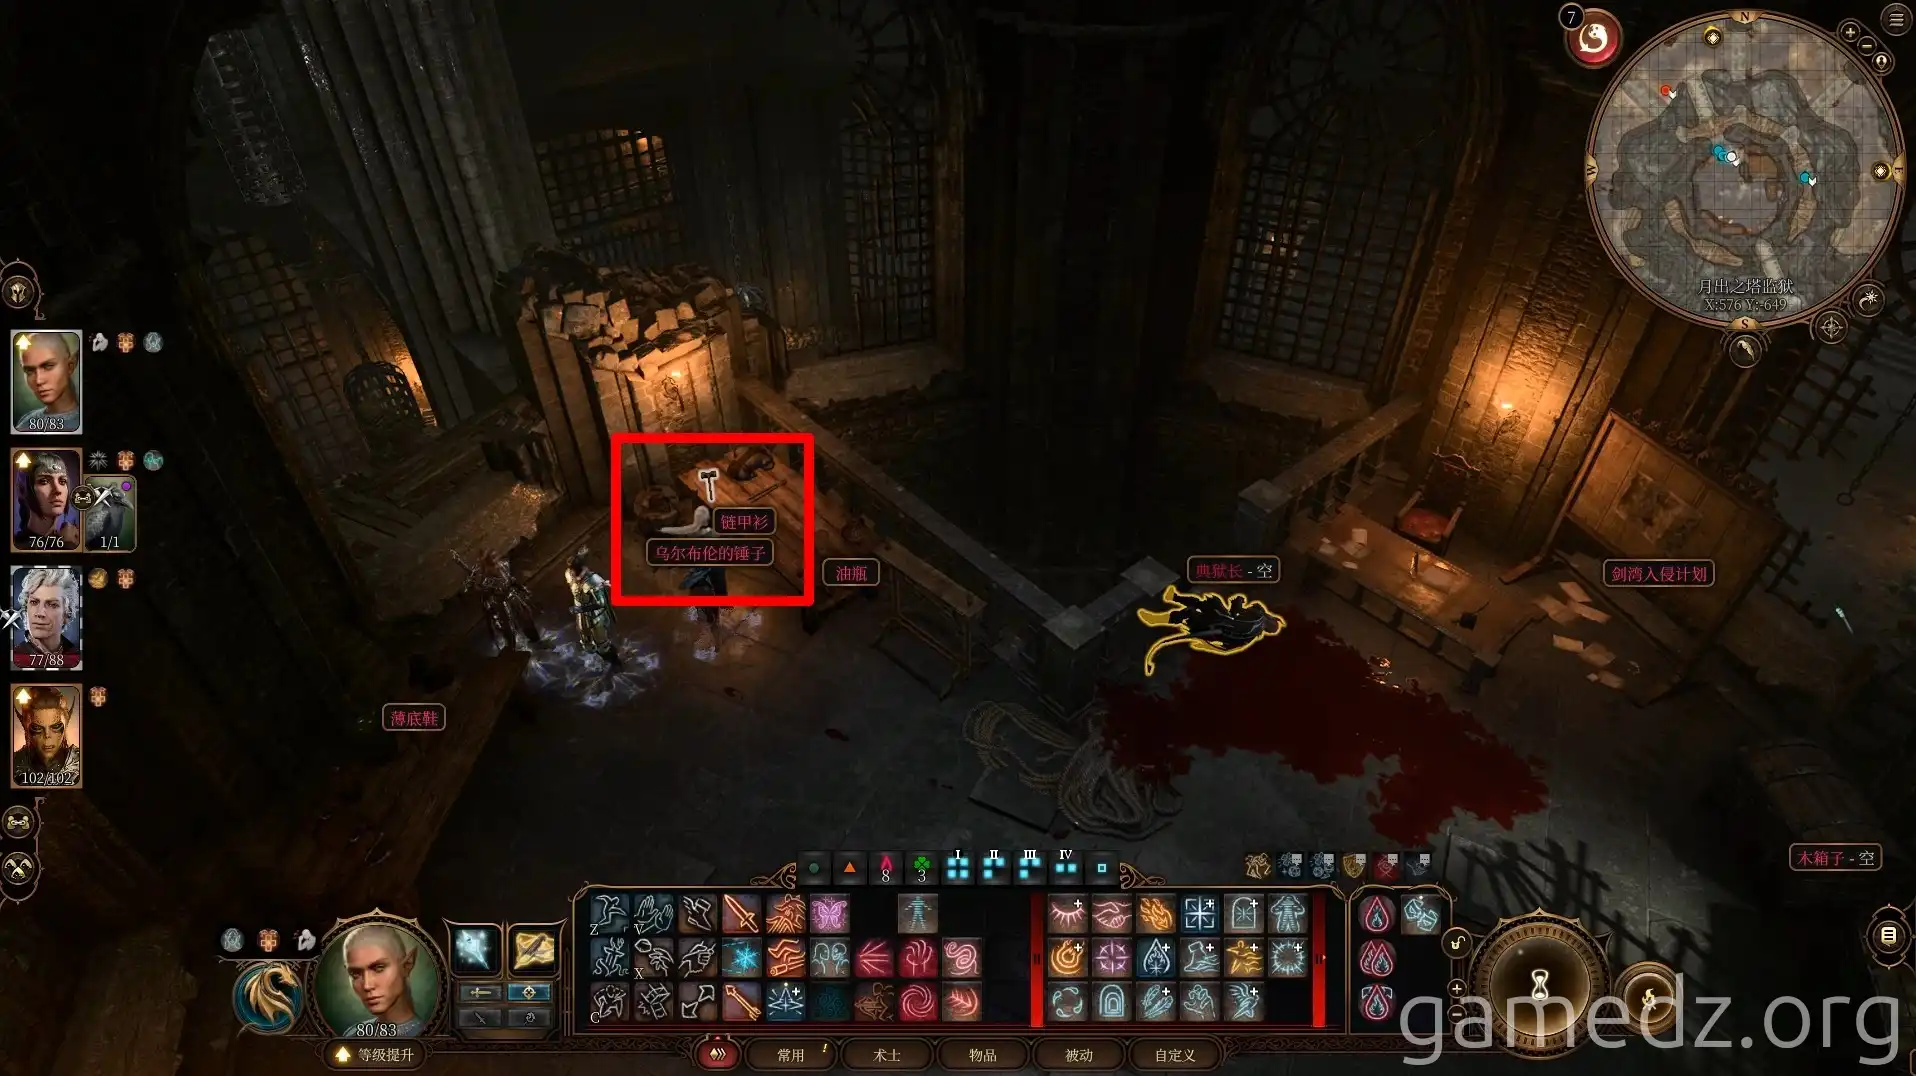
On the table, you can find the uncommon weapon, Wulbren's Hammer.
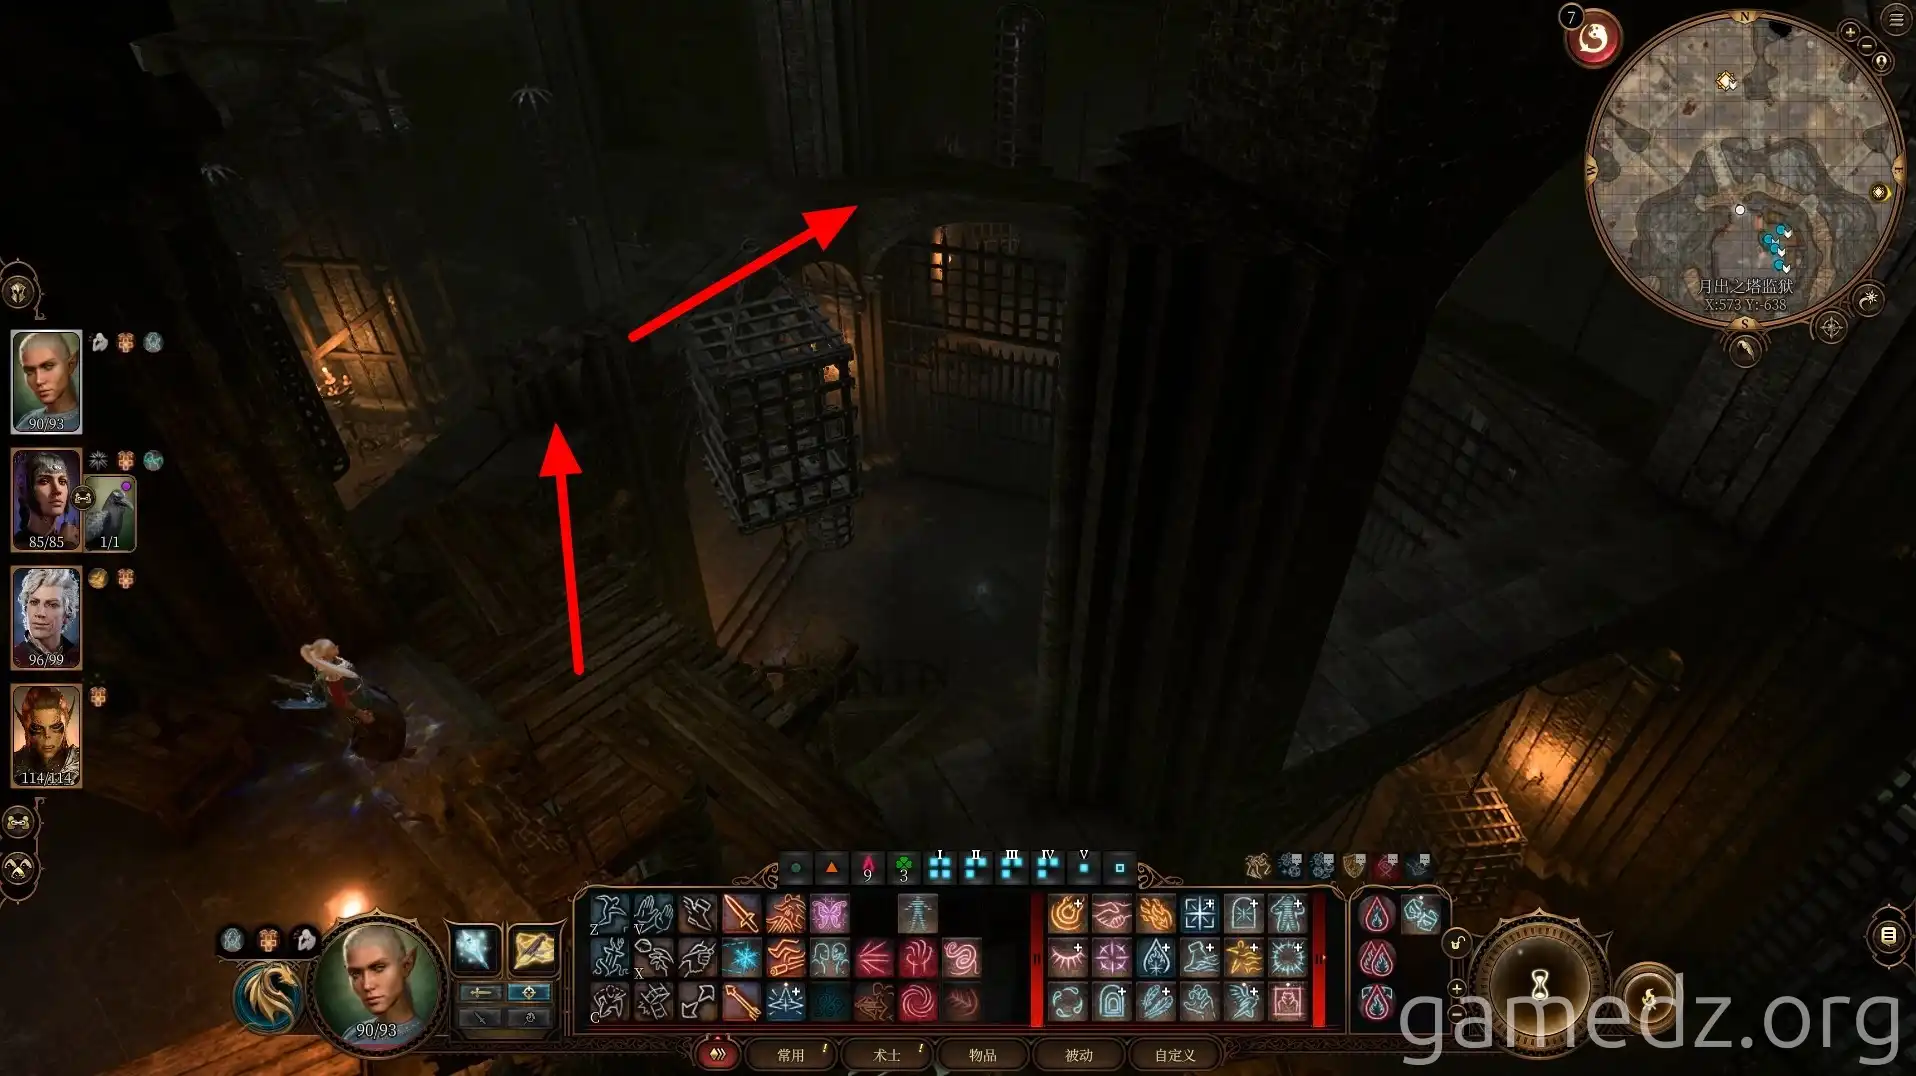
After confirming that all guards in the prison have been defeated, leave the others on the first floor. Send one character through the gap on the second floor to reach above Wulbren's cell.
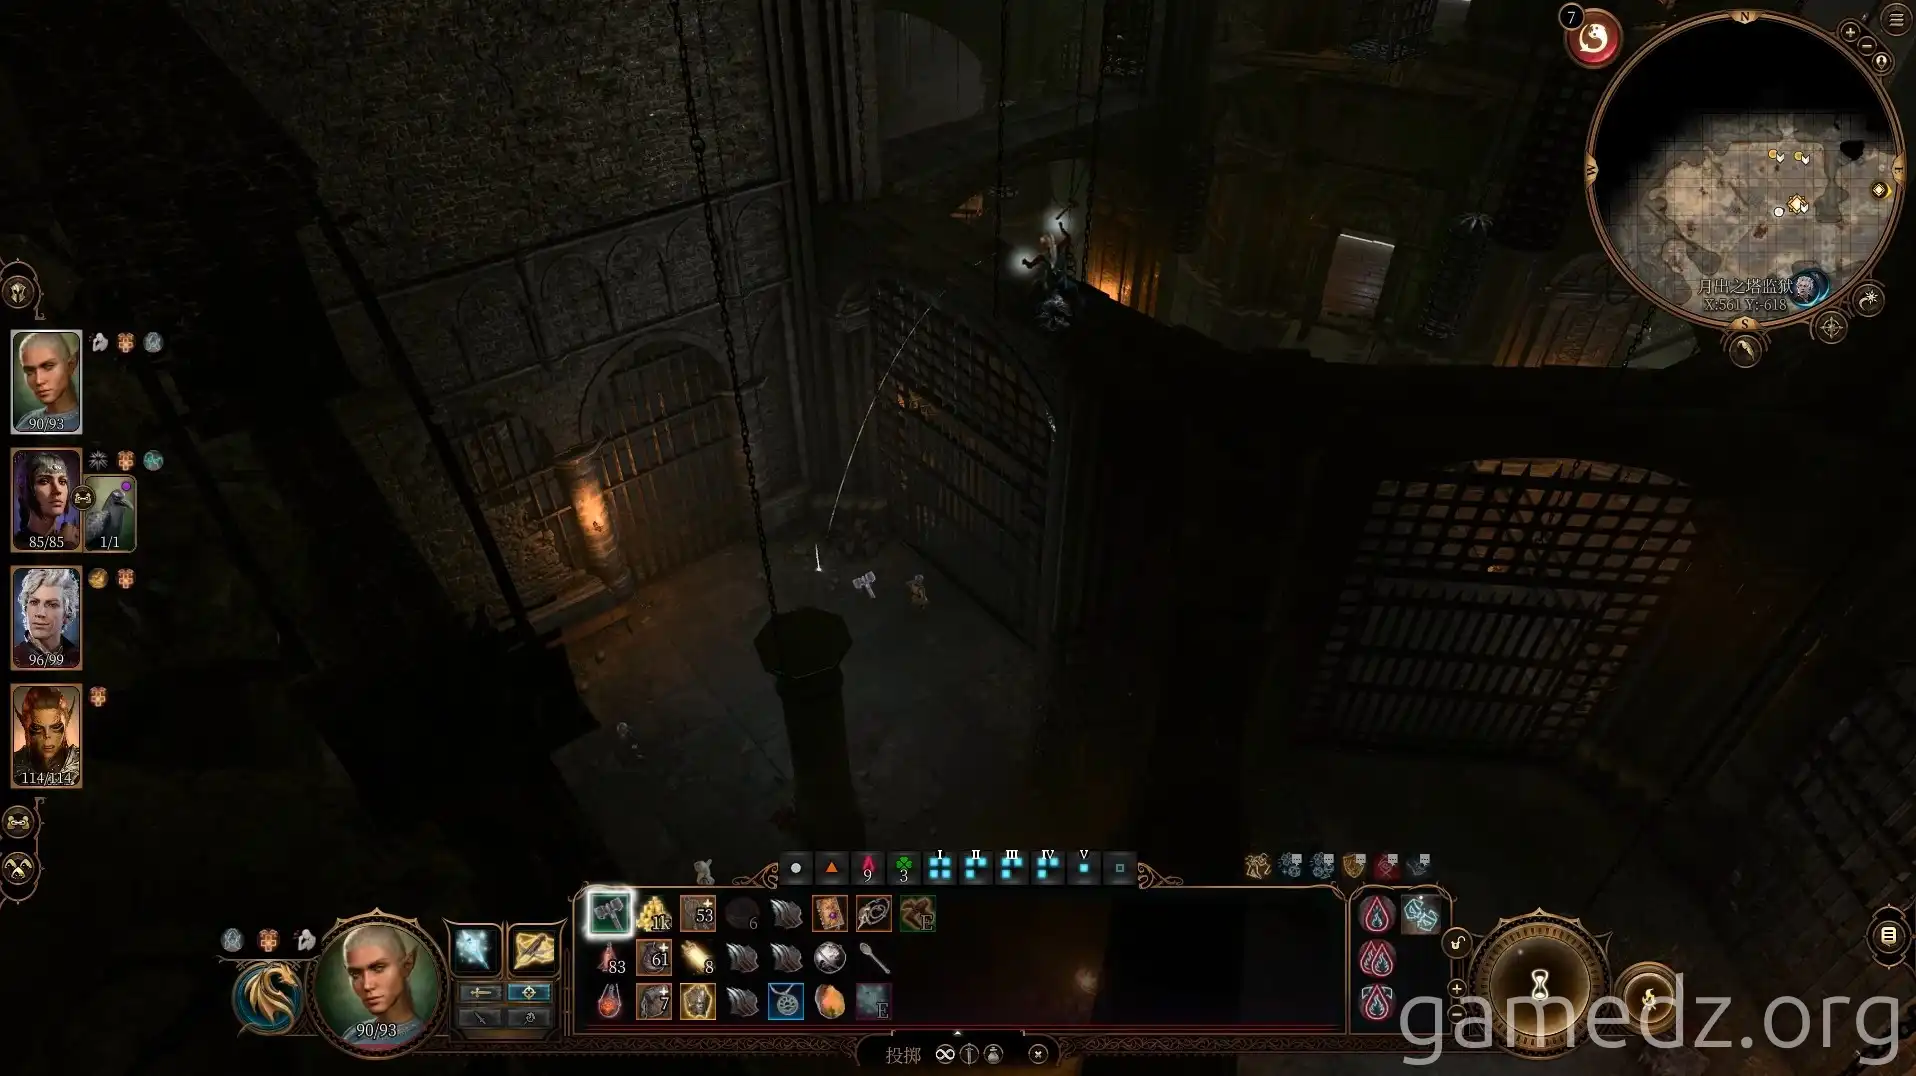
Throw Wulbren's Hammer, which you just acquired, into the cell. If you wish to keep this uncommon weapon, you can substitute it with a regular hammer.
Return to the ground and speak with Wulbren, who now has the hammer. Inform him that it's time to break out. Wulbren will then smash through the wall to the back of the prison, simultaneously rescuing the imprisoned tieflings.
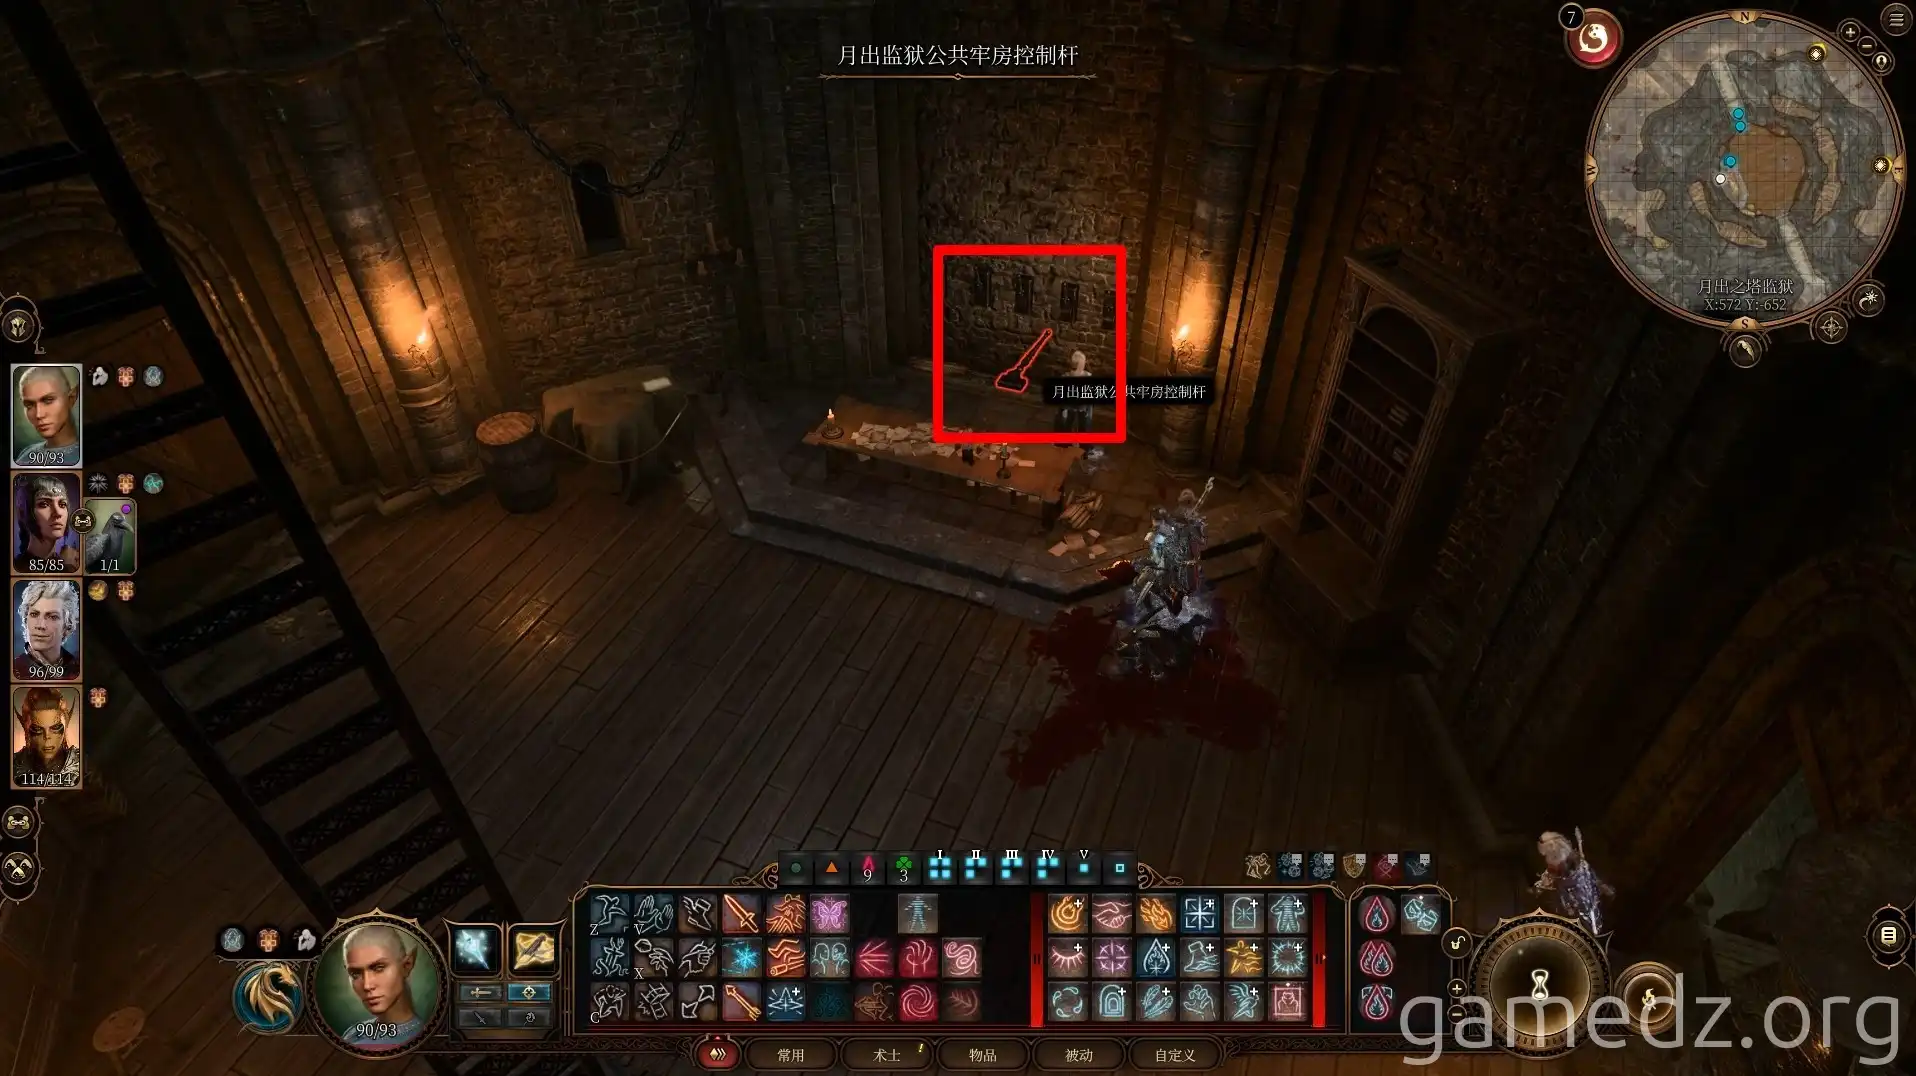
After confirming that the gnomes have left their cells, use the lever on the first floor of the Warden's room to open the cell doors.
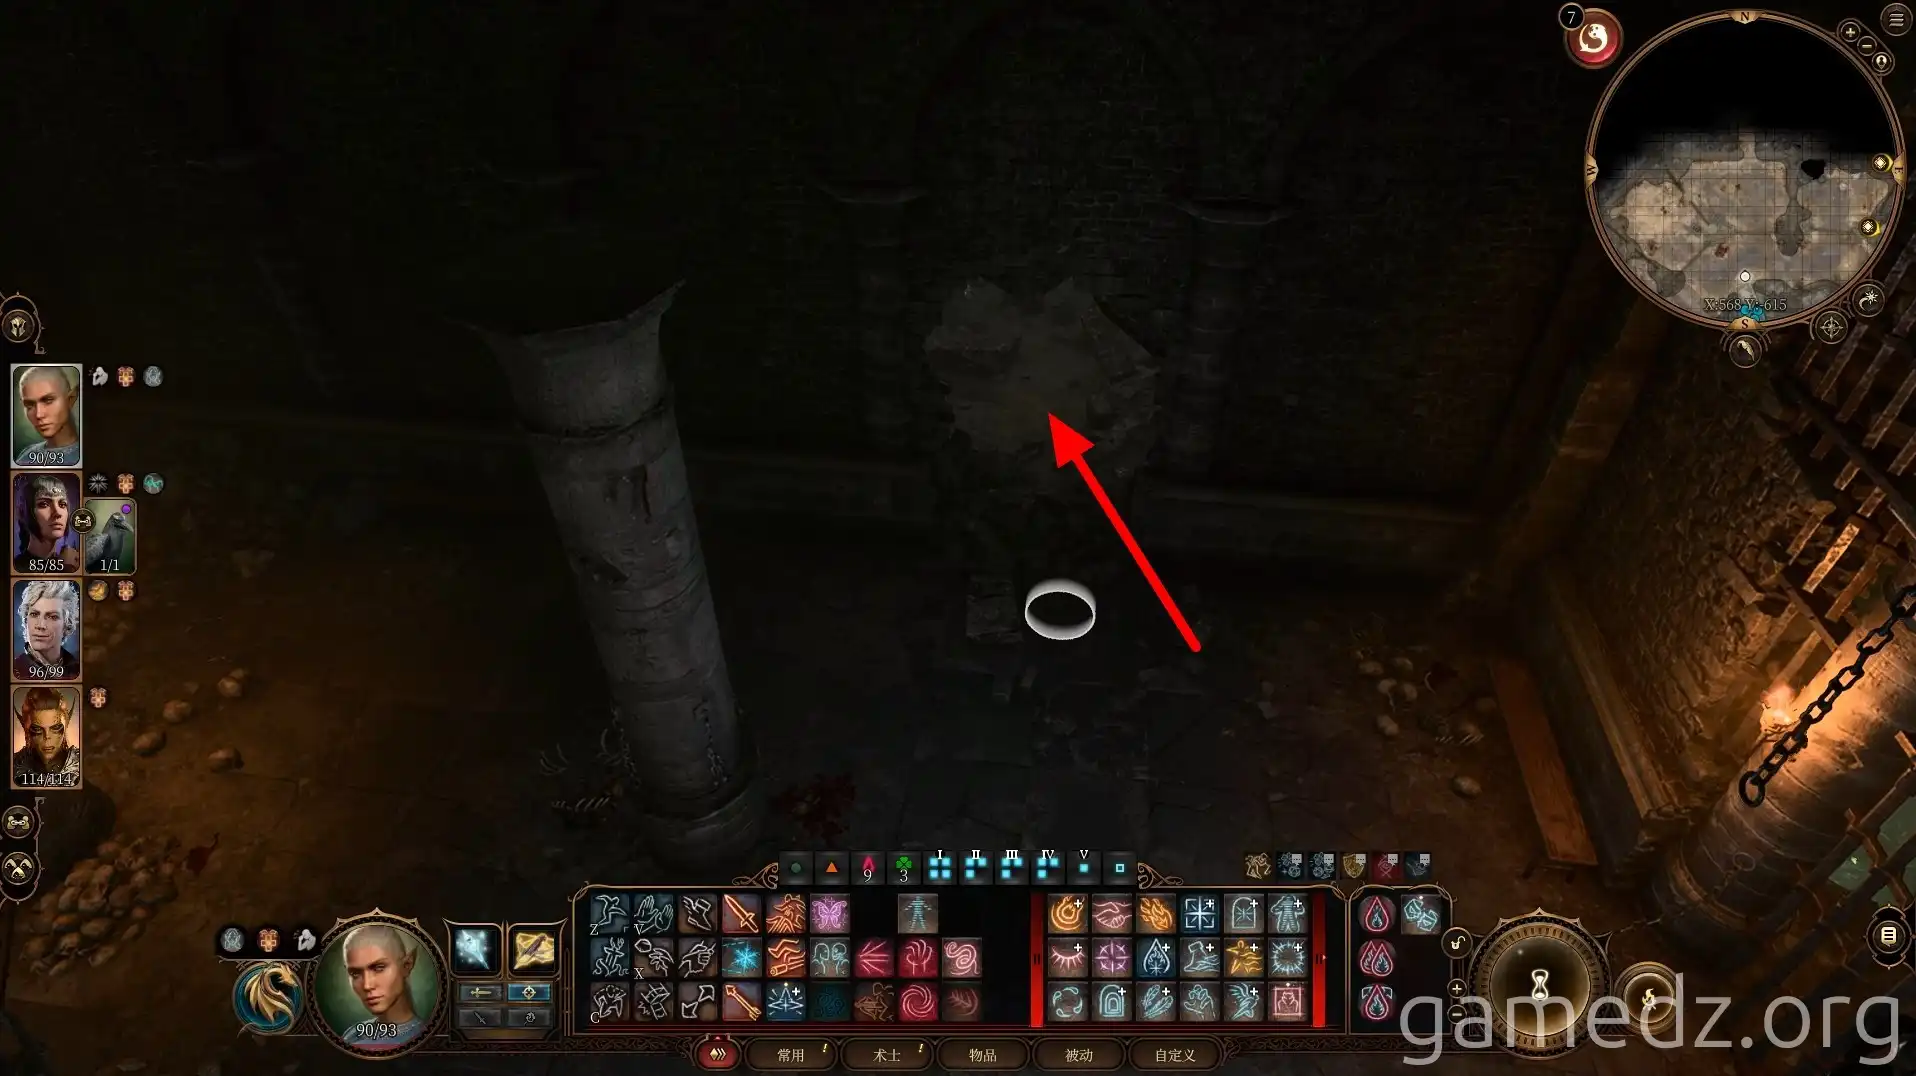
Then, proceed through the wall that the gnomes broke into the back of the prison.
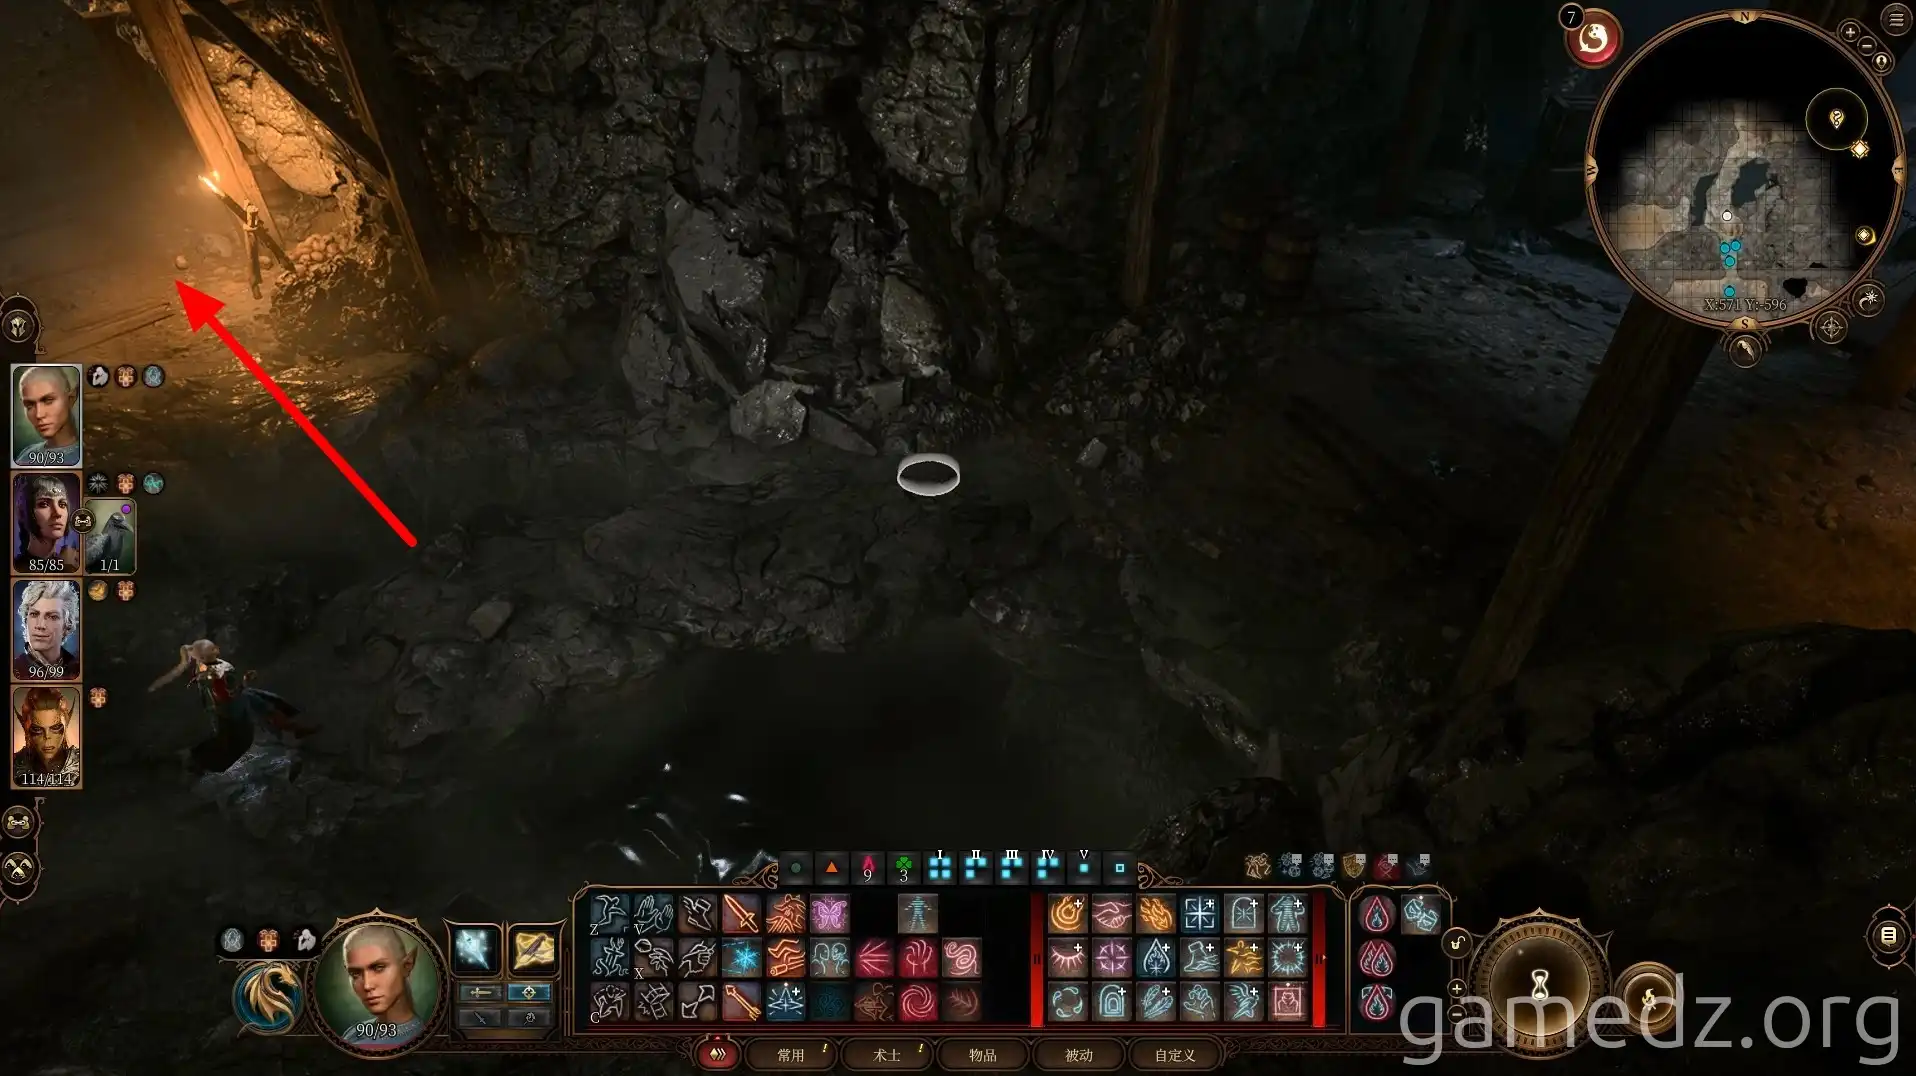
Once you've confirmed that the gnomes and tieflings have reached the docks, head west towards the Underdark Prison. It's advisable to save your game here. If the gnomes and tieflings encounter any issues while exploring the Underdark Prison, reload your save, escort them to the Last Light Inn first, and then return here to continue your exploration.
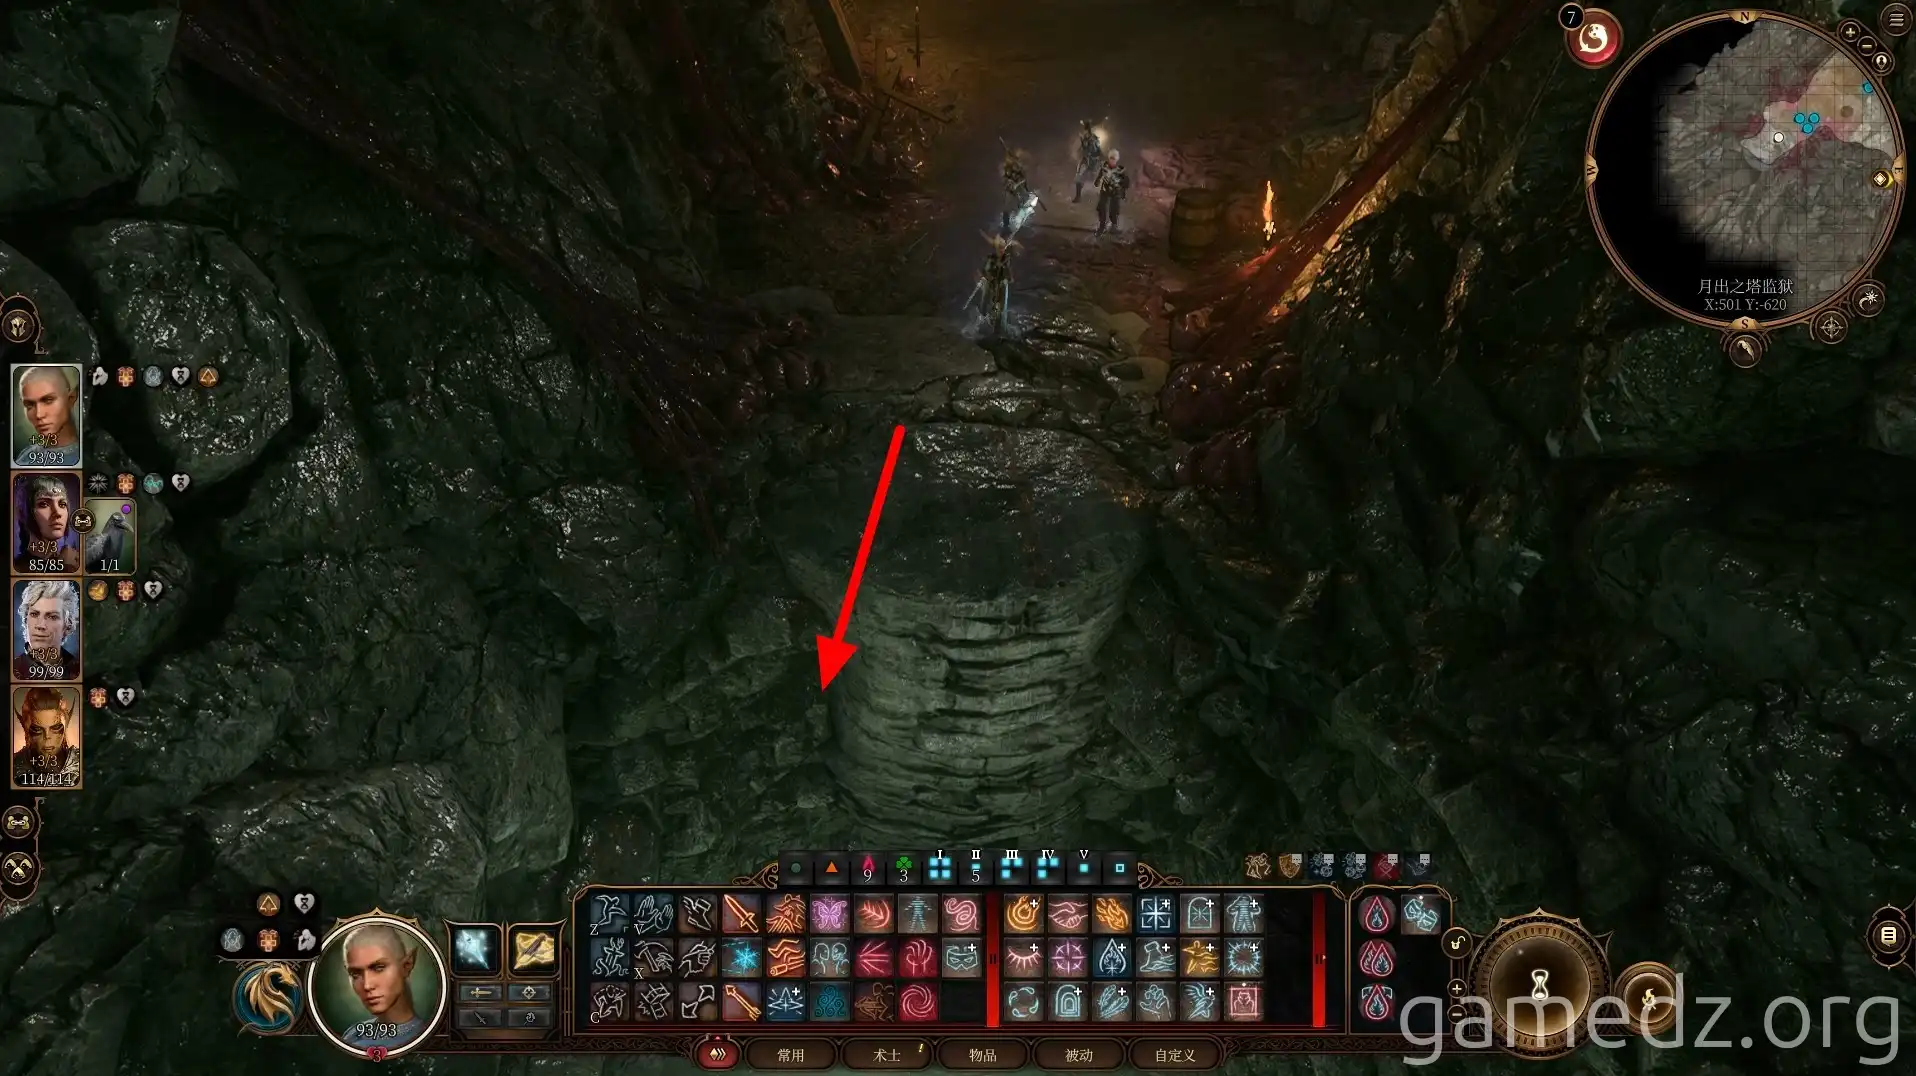
Descend into the Underdark Prison by navigating the rugged rocks ahead.
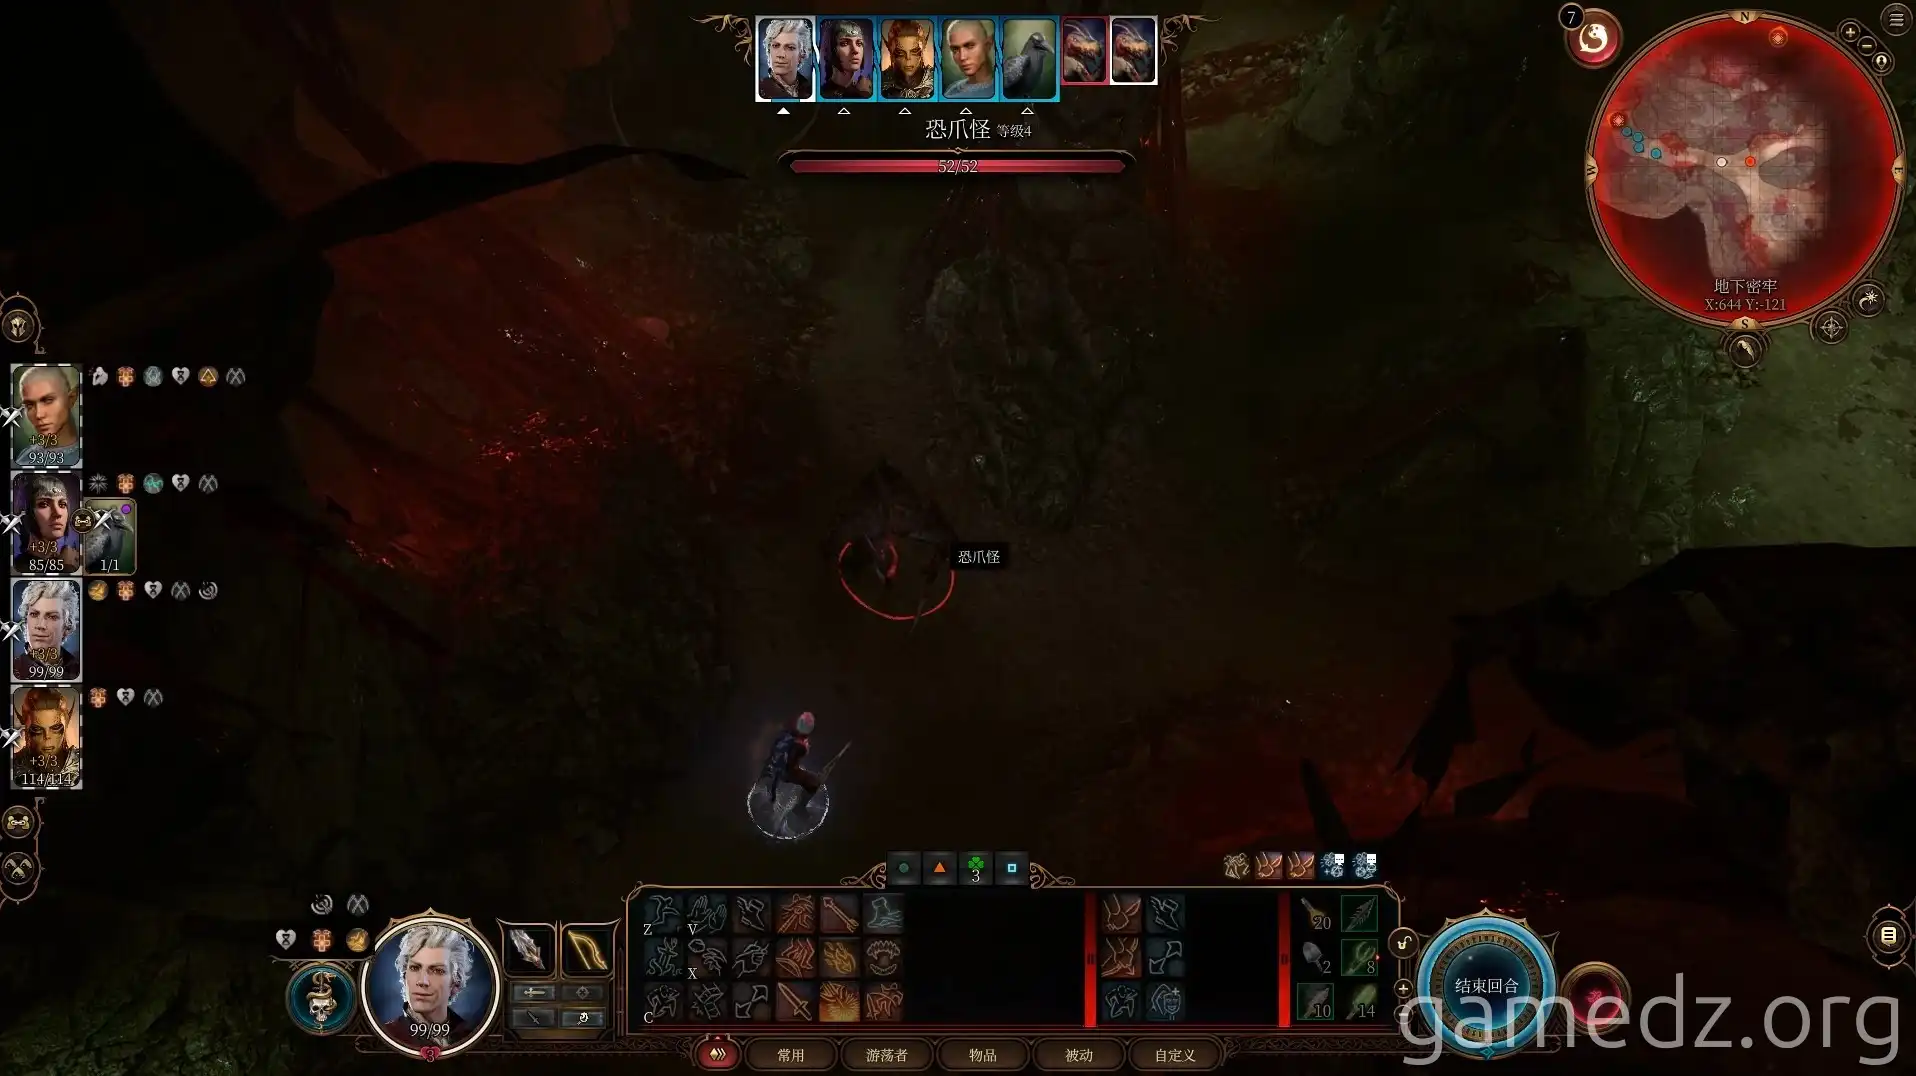
Upon entering the Underdark Prison, you'll find two Hook Horrors in the passage. Defeat them directly.
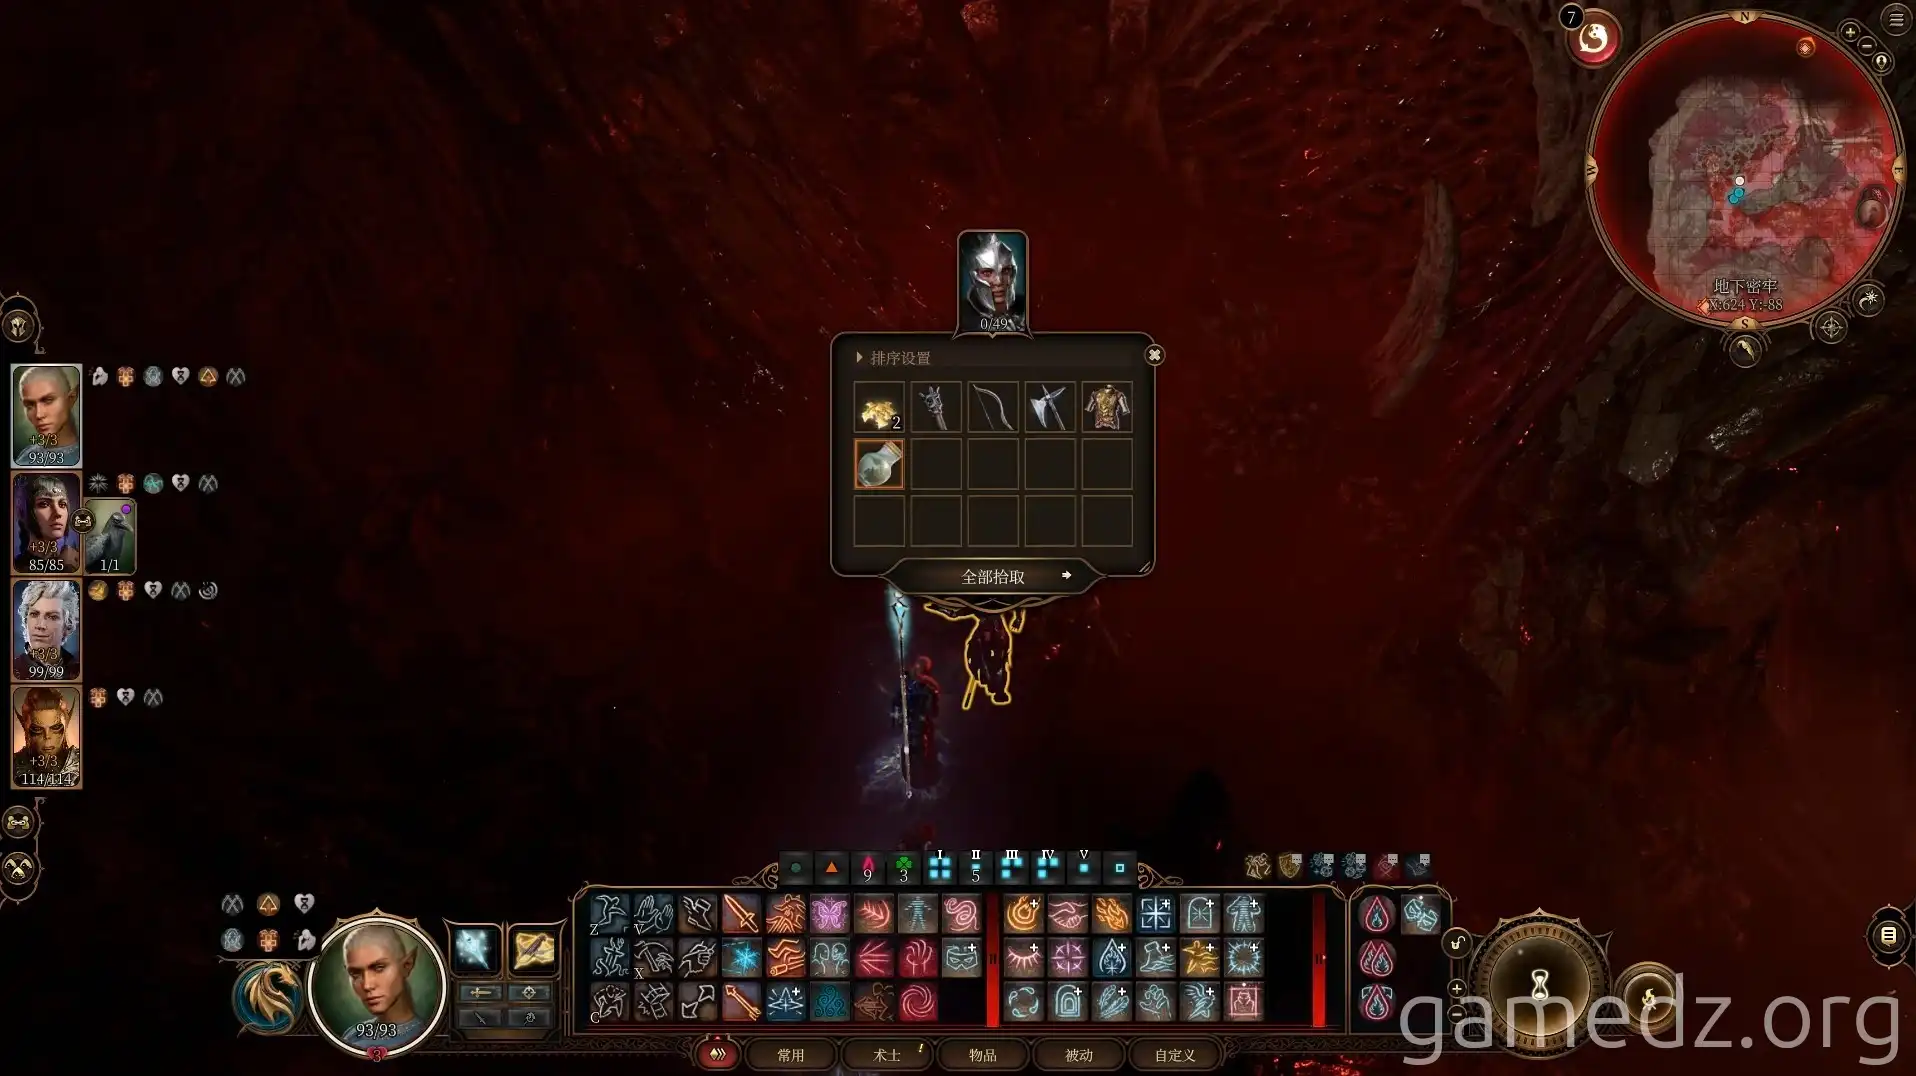
Continue deeper into the exploration. You can find a Mind Flayer Parasite specimen on a guard's corpse.
Breaking the adjacent membrane will reveal a goblin corpse. However, there's nothing of value on the goblin. Return the way you came to exit the Underdark Prison.
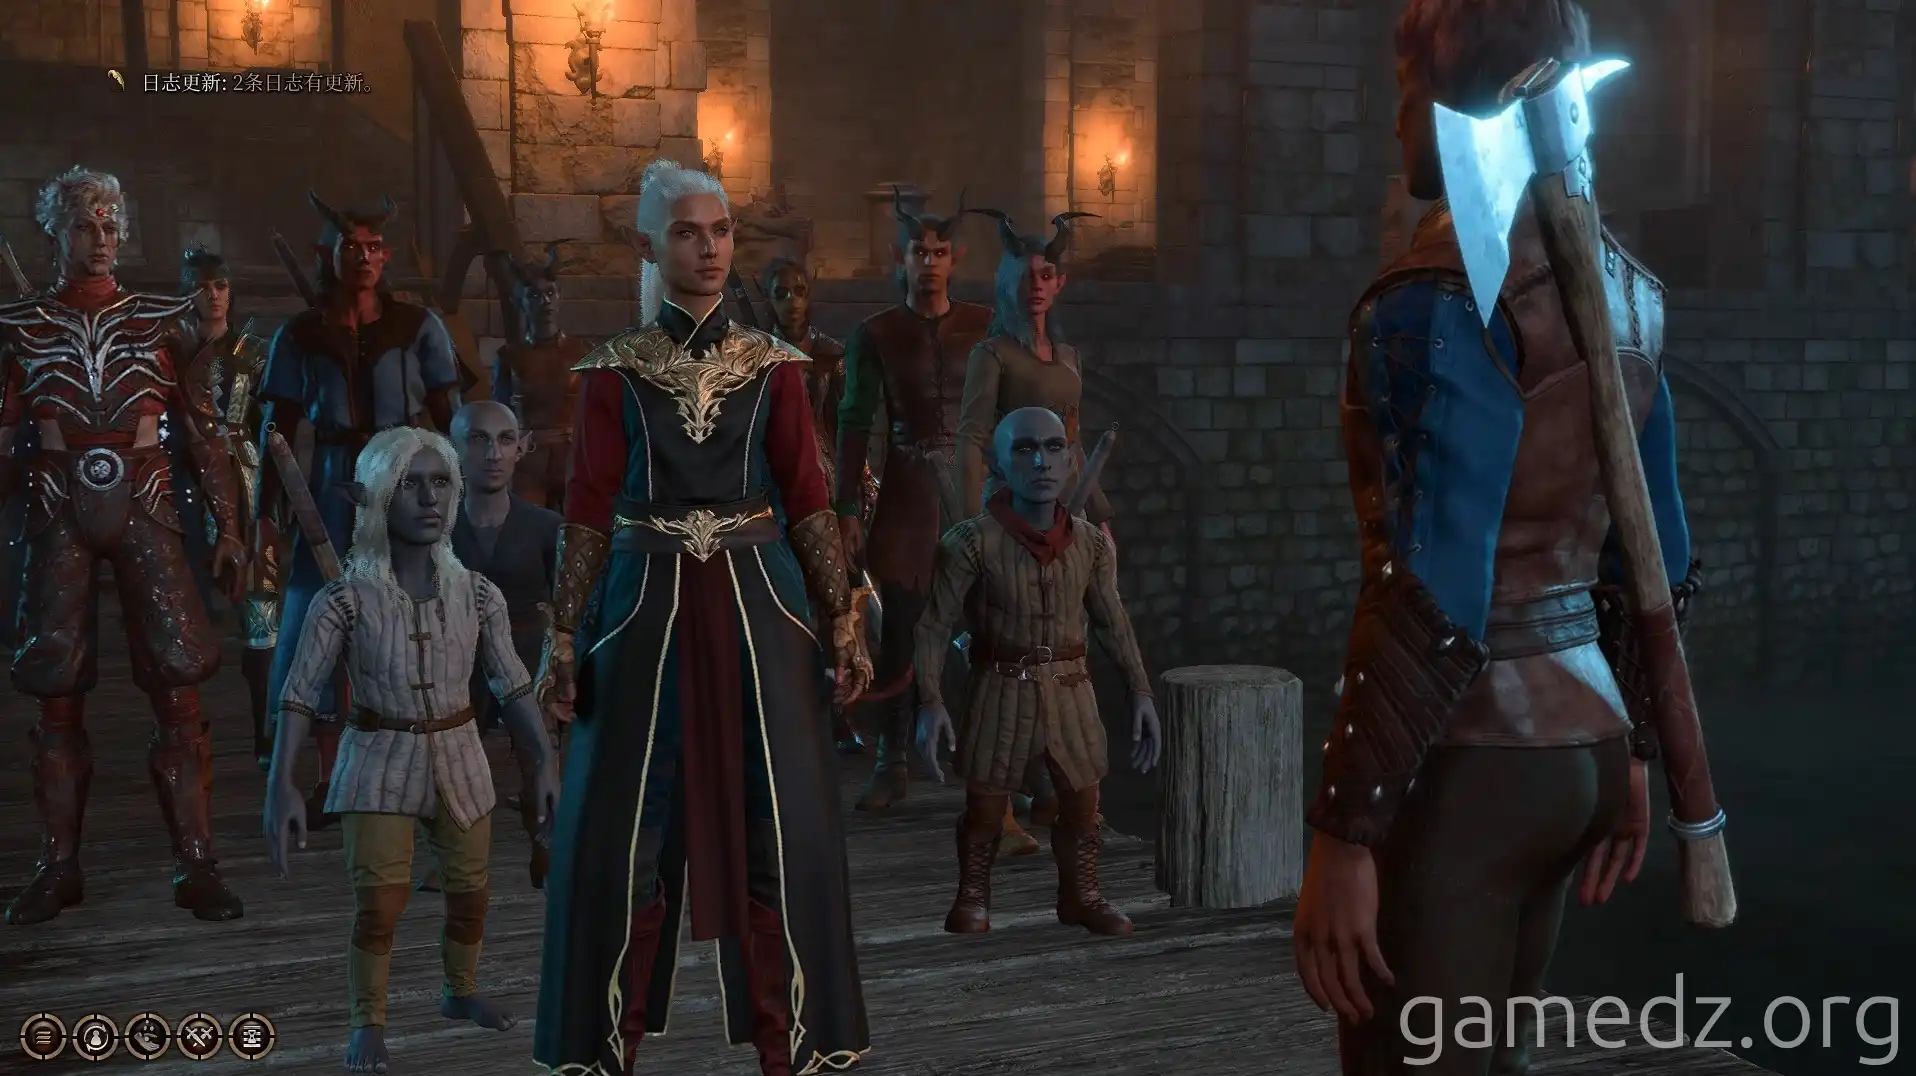
Return to the docks and speak with the gnomes. Board the boat to the Last Light Inn. The rescued individuals will then need to undergo an inspection. A long rest will suffice.
After successfully rescuing the tieflings and refugees, characters with the Folk Hero background will receive an inspiration.
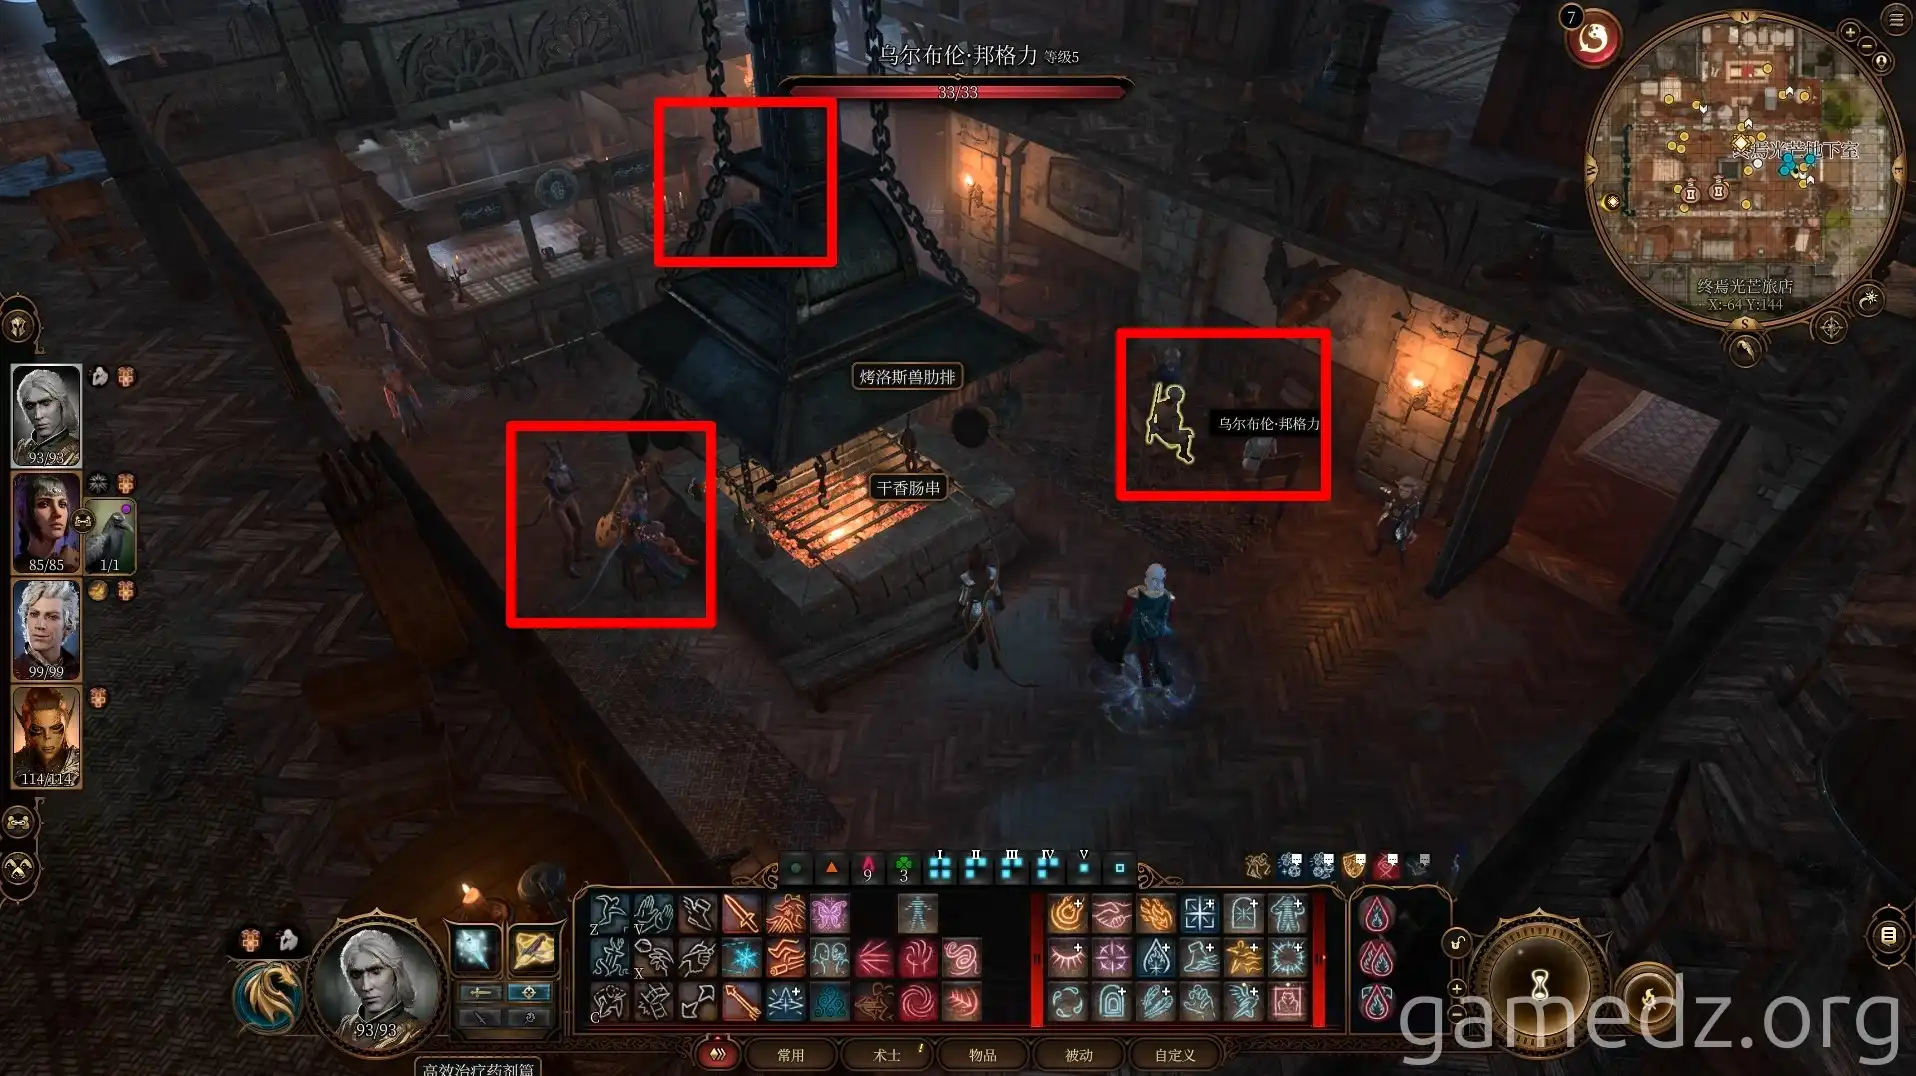
After the long rest, enter the inn and speak with Wulbren, Alfira, and Rolan.
If you met Balthazar at the inn previously, responding to him after Wulbren's return will reward you with a rare Alchemical Bomb. If Balthazar mysteriously disappeared, as happened to the author, speaking with Wulbren will only yield a few hundred gold as thanks. Speaking with Rolan and the other two will also result in a reward of a few hundred gold.
During the conversation, Wulbren will mention his intention to cause trouble in Baldur's Gate, and you will encounter him again later.
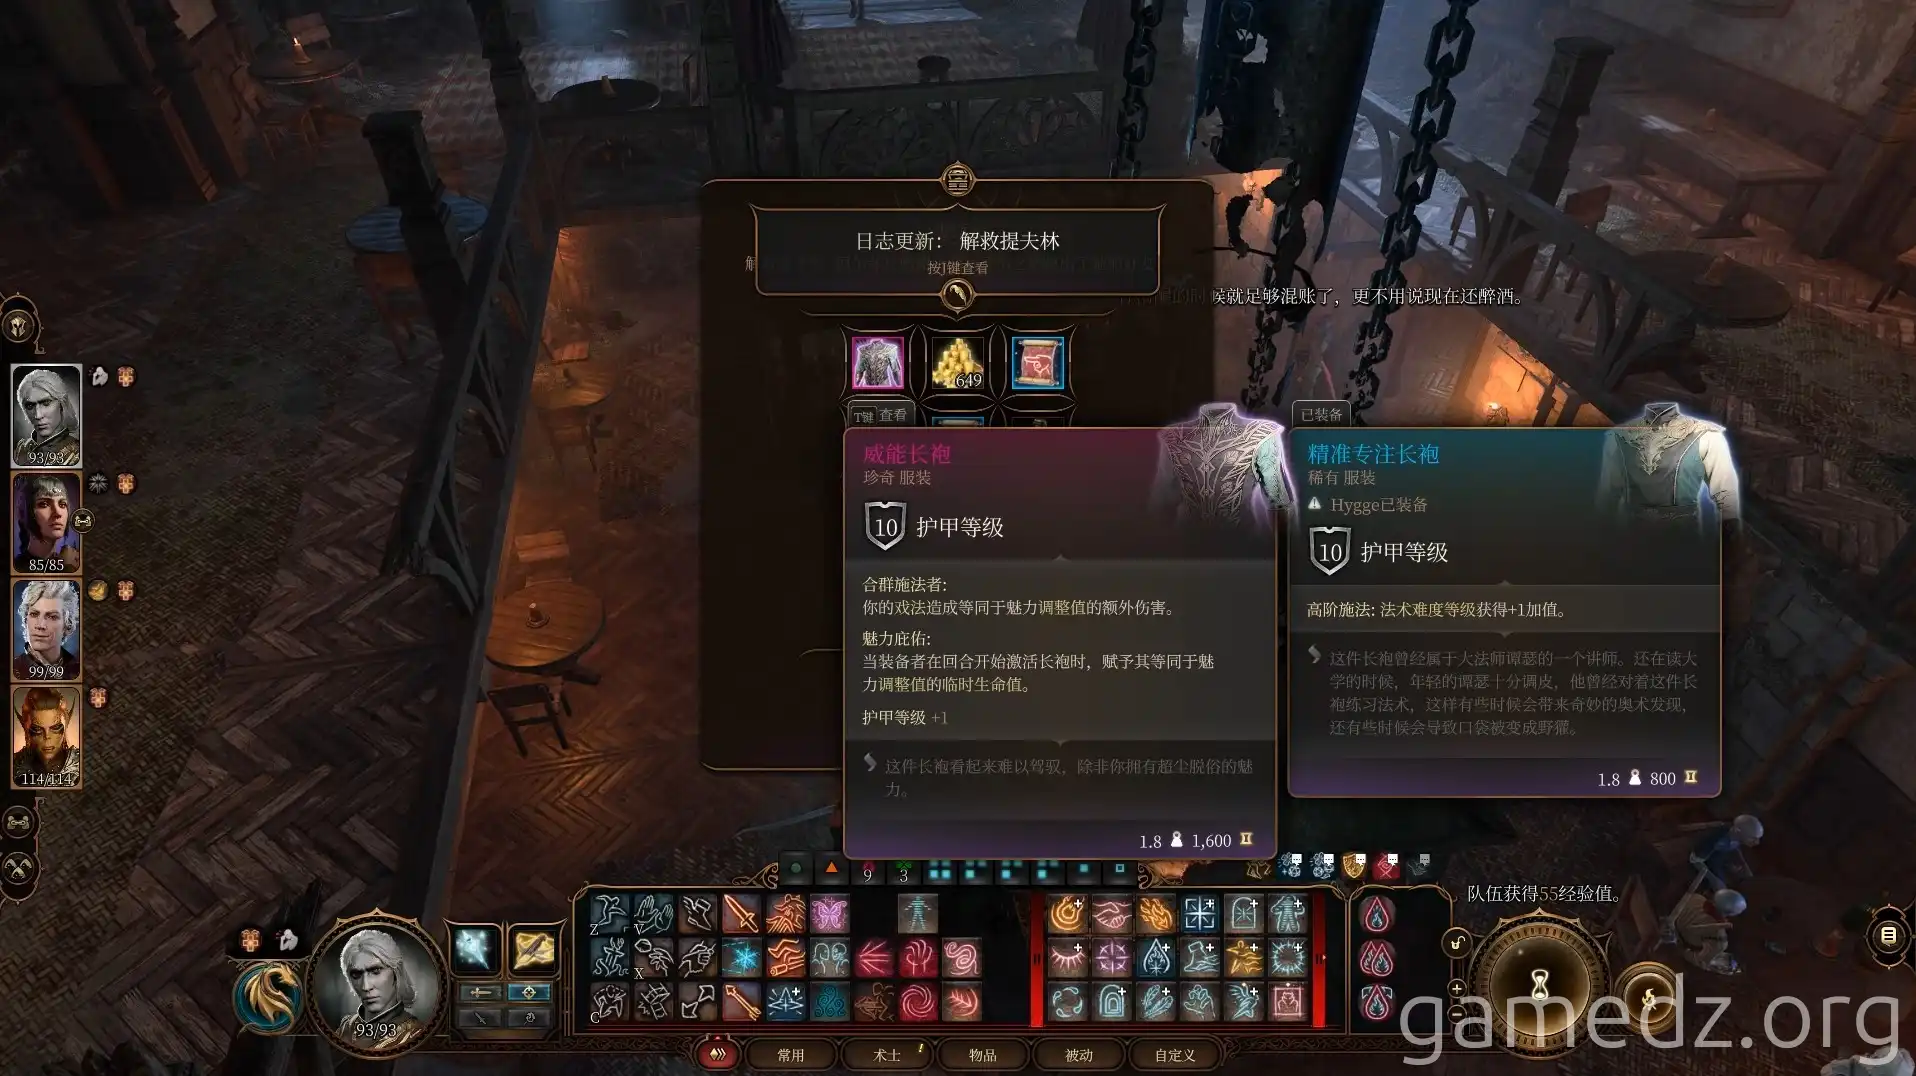
Speaking with Alfira will grant you the rare armor, the Robe of the Weave. This is likely the best-in-slot armor for a Sorcerer.
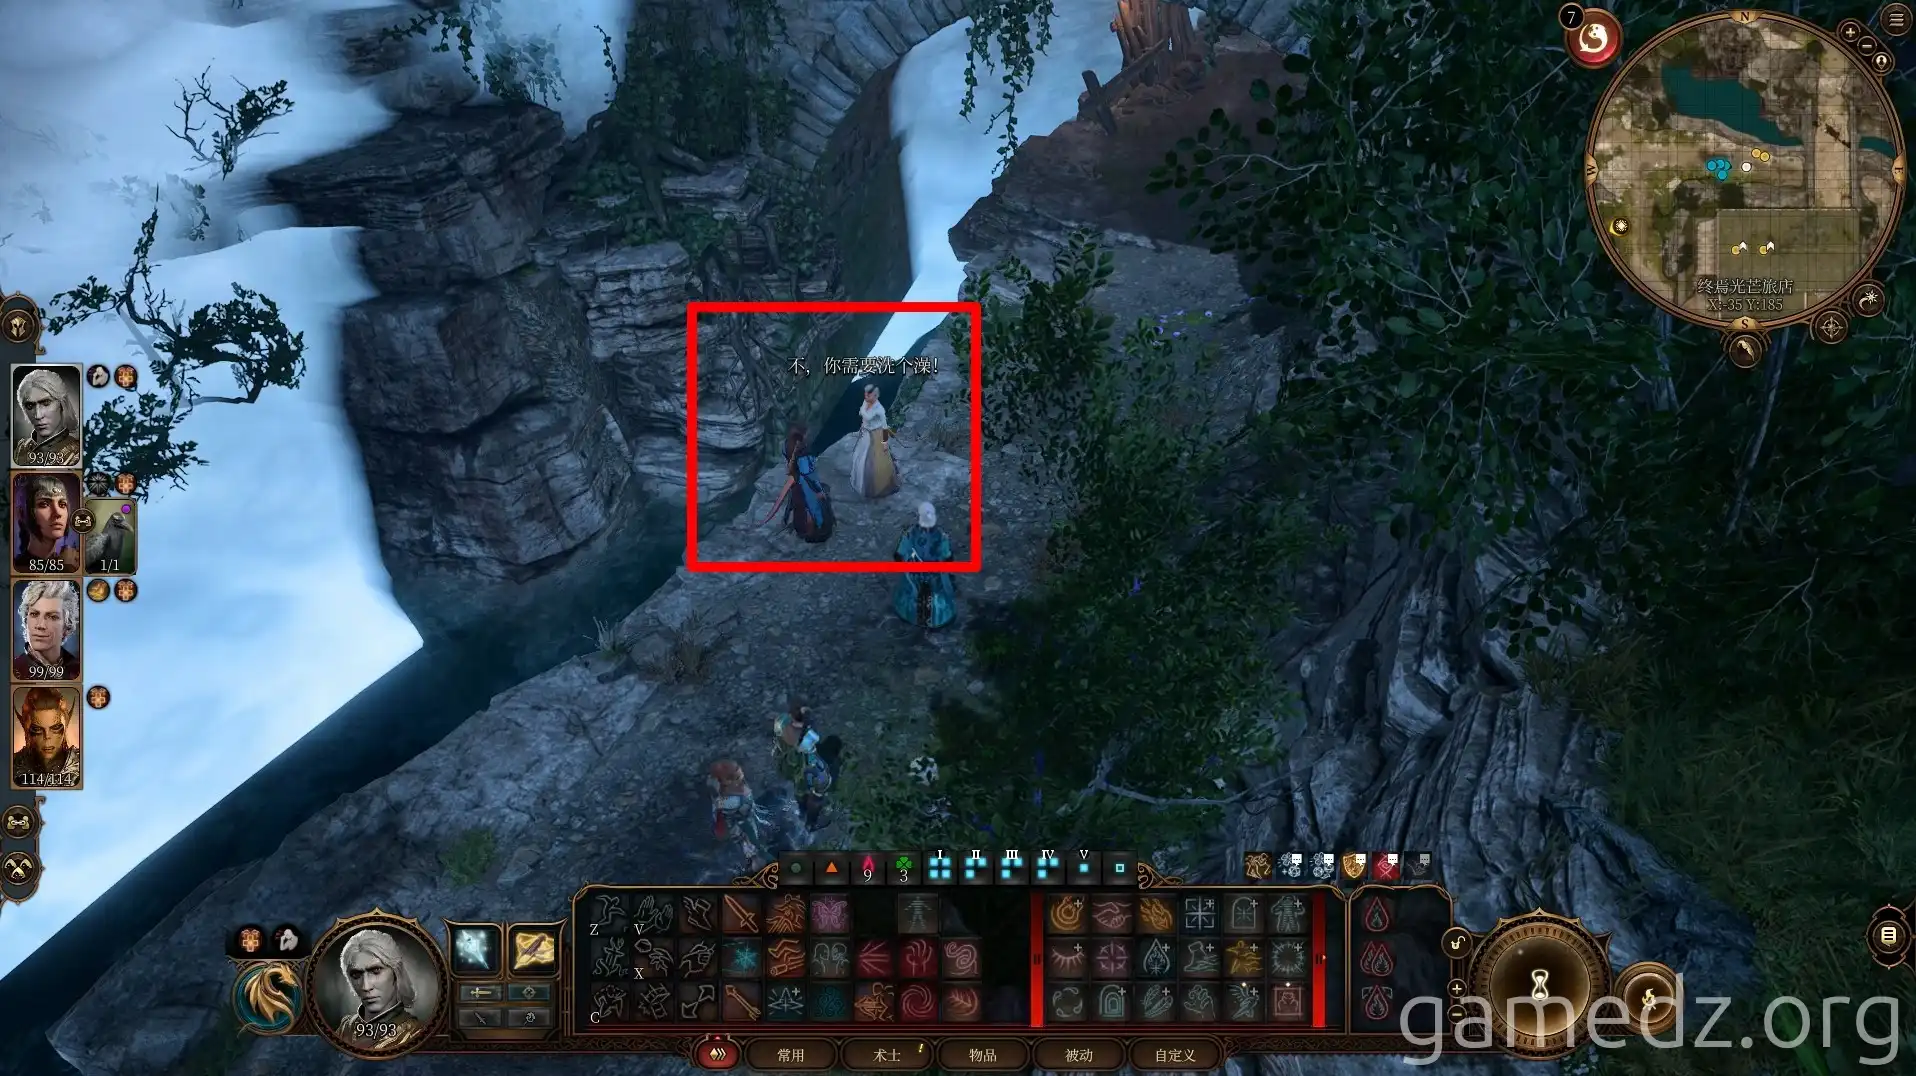
After speaking with the couple north of the inn, you will complete the "Rescue the Tieflings" quest.
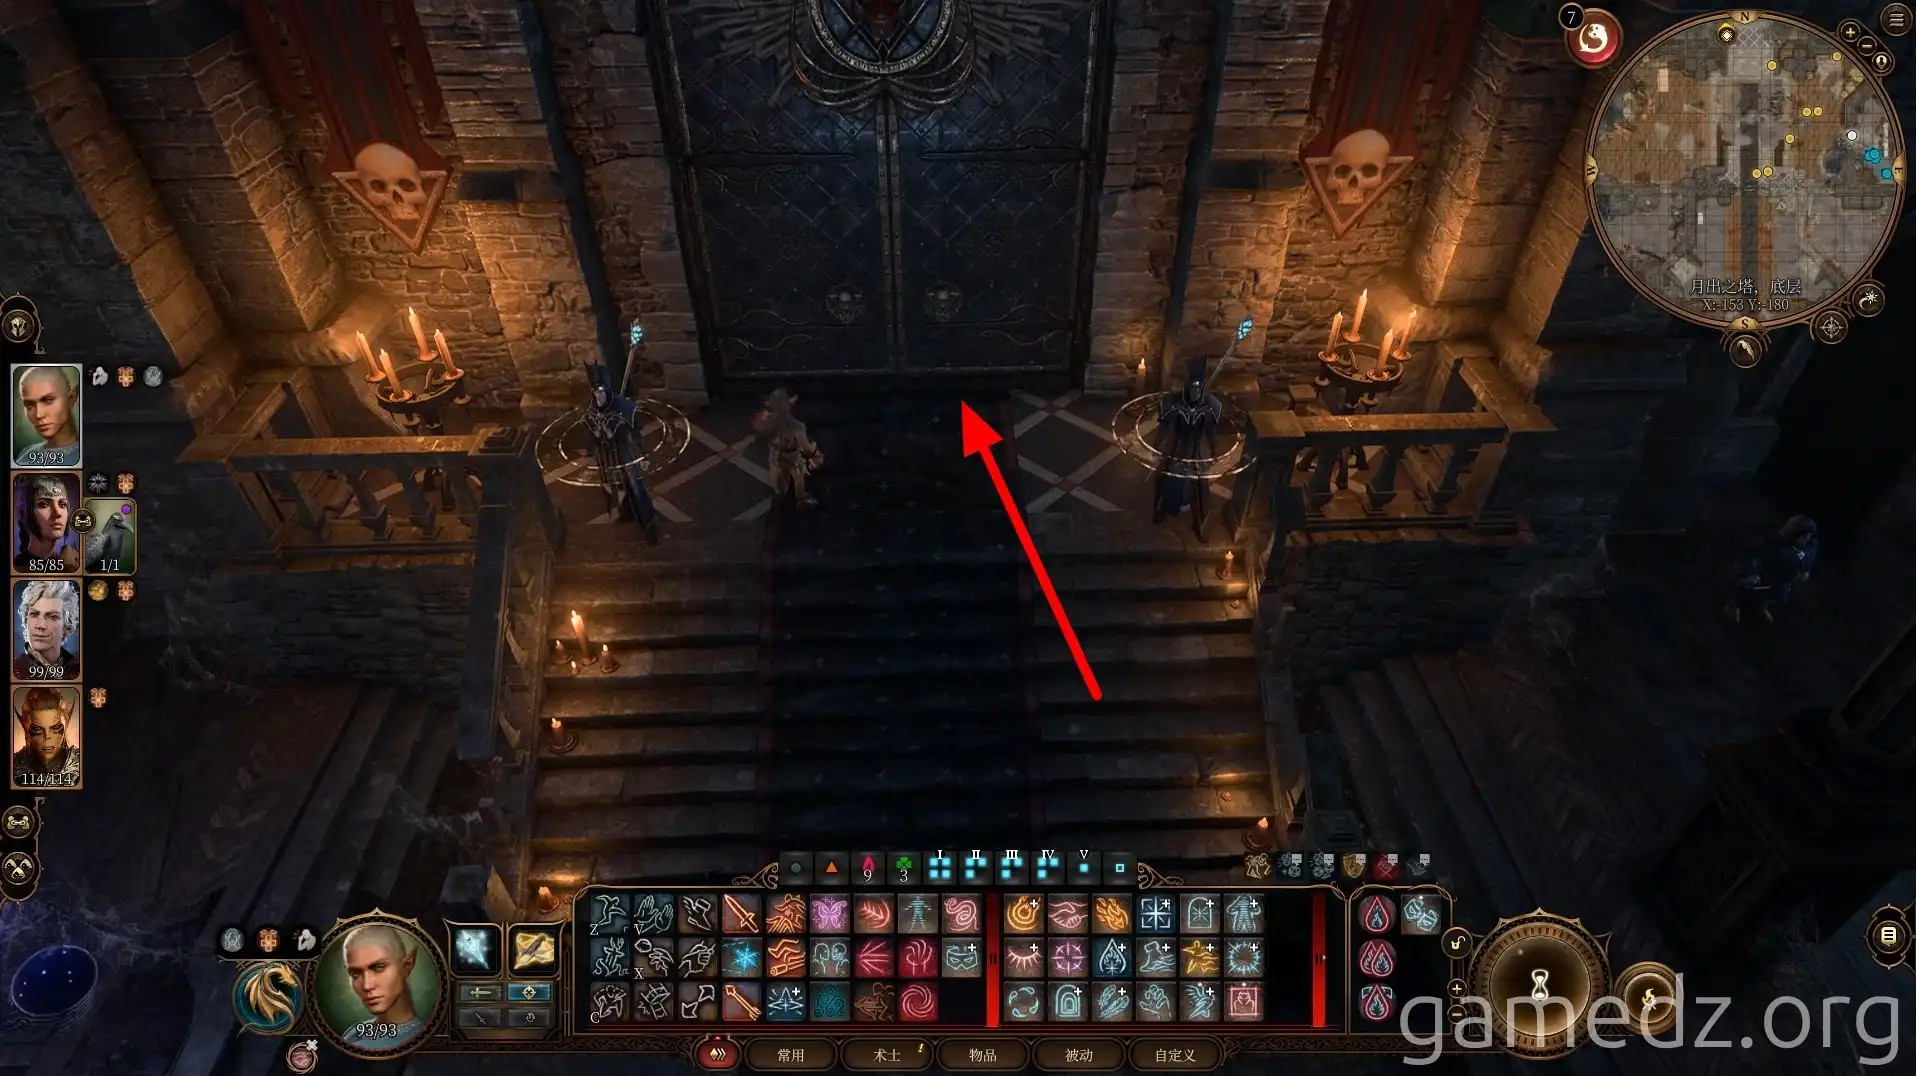
Return to the Moonrise Towers main hall and proceed through the north gate to meet Disciple Z'rell and Ketheric.
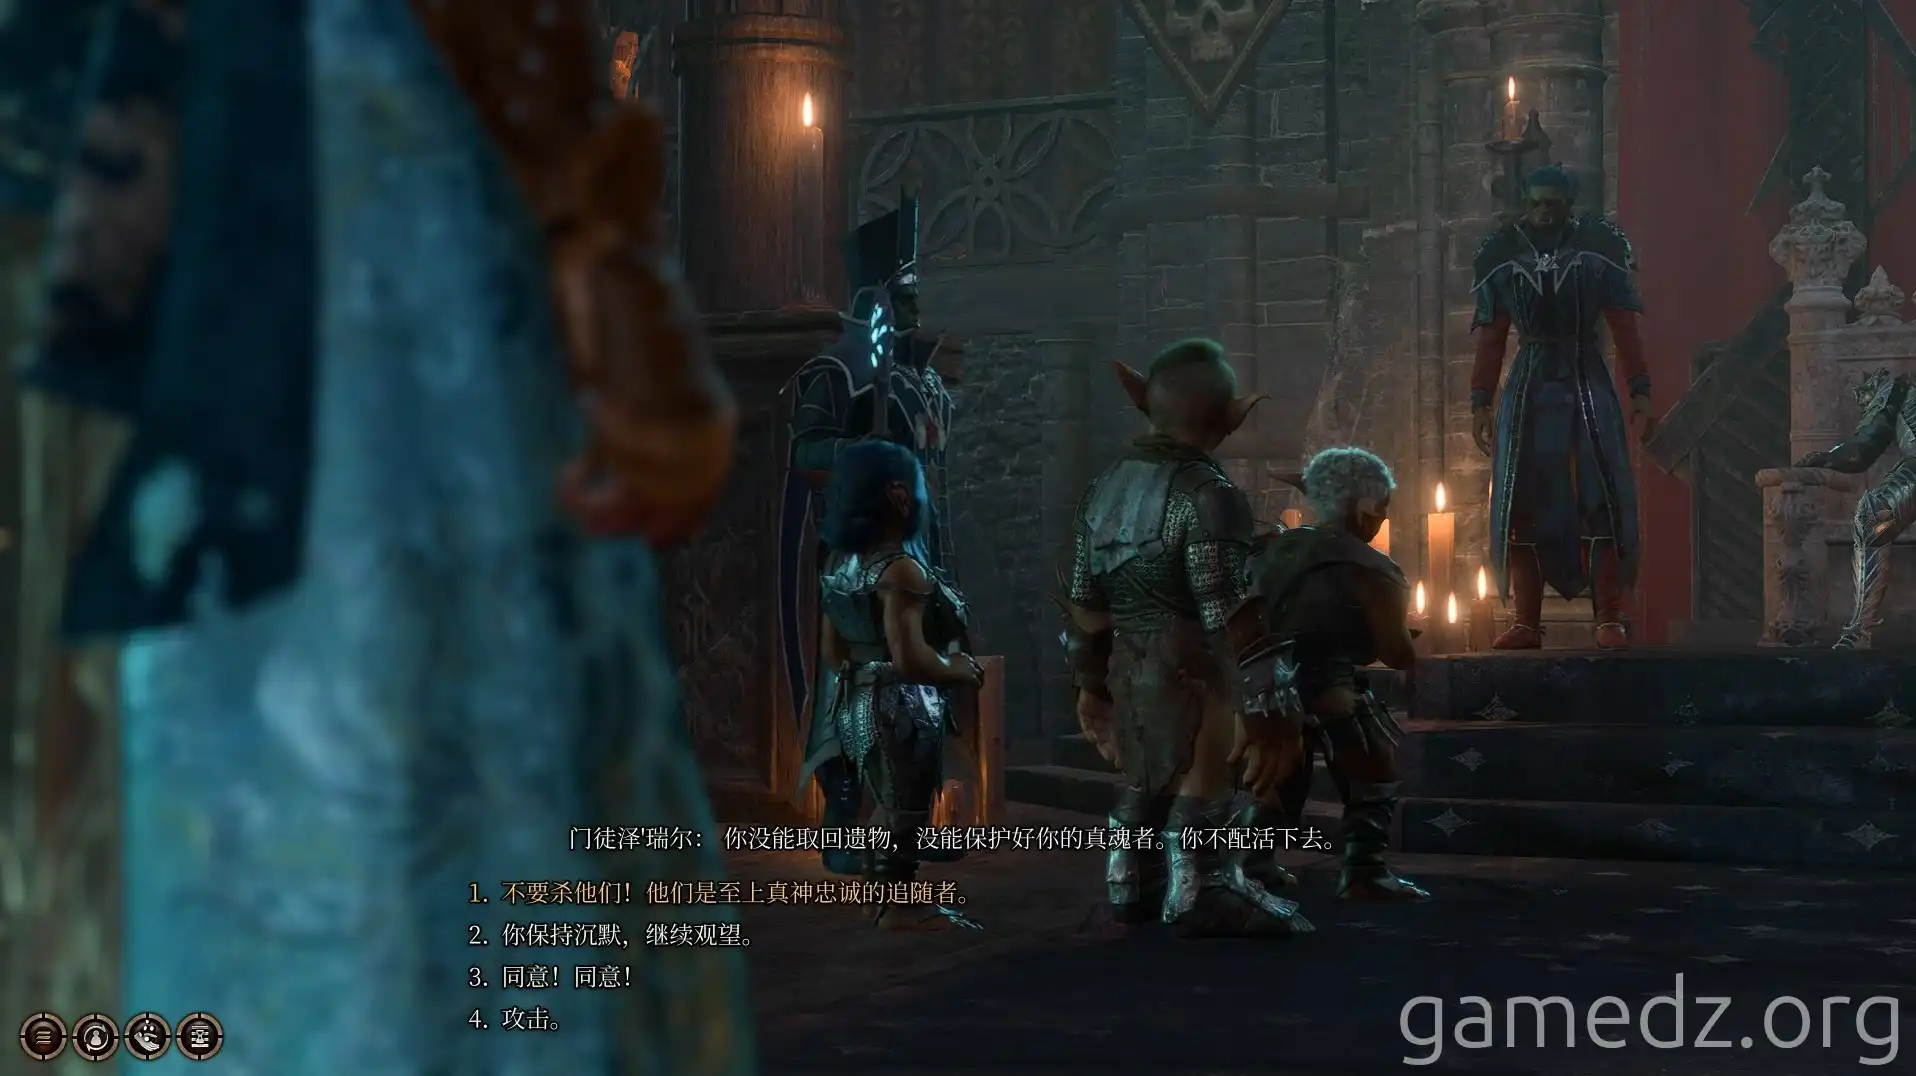
You will then witness a trial and decide the fate of the goblins. Initially observing will allow you to witness General Ketheric's immortality.
Subsequently, Z'rell will hand over the goblins to you. Order the other guards to kill them all. After the cutscene, characters with the Sage background will receive an inspiration.
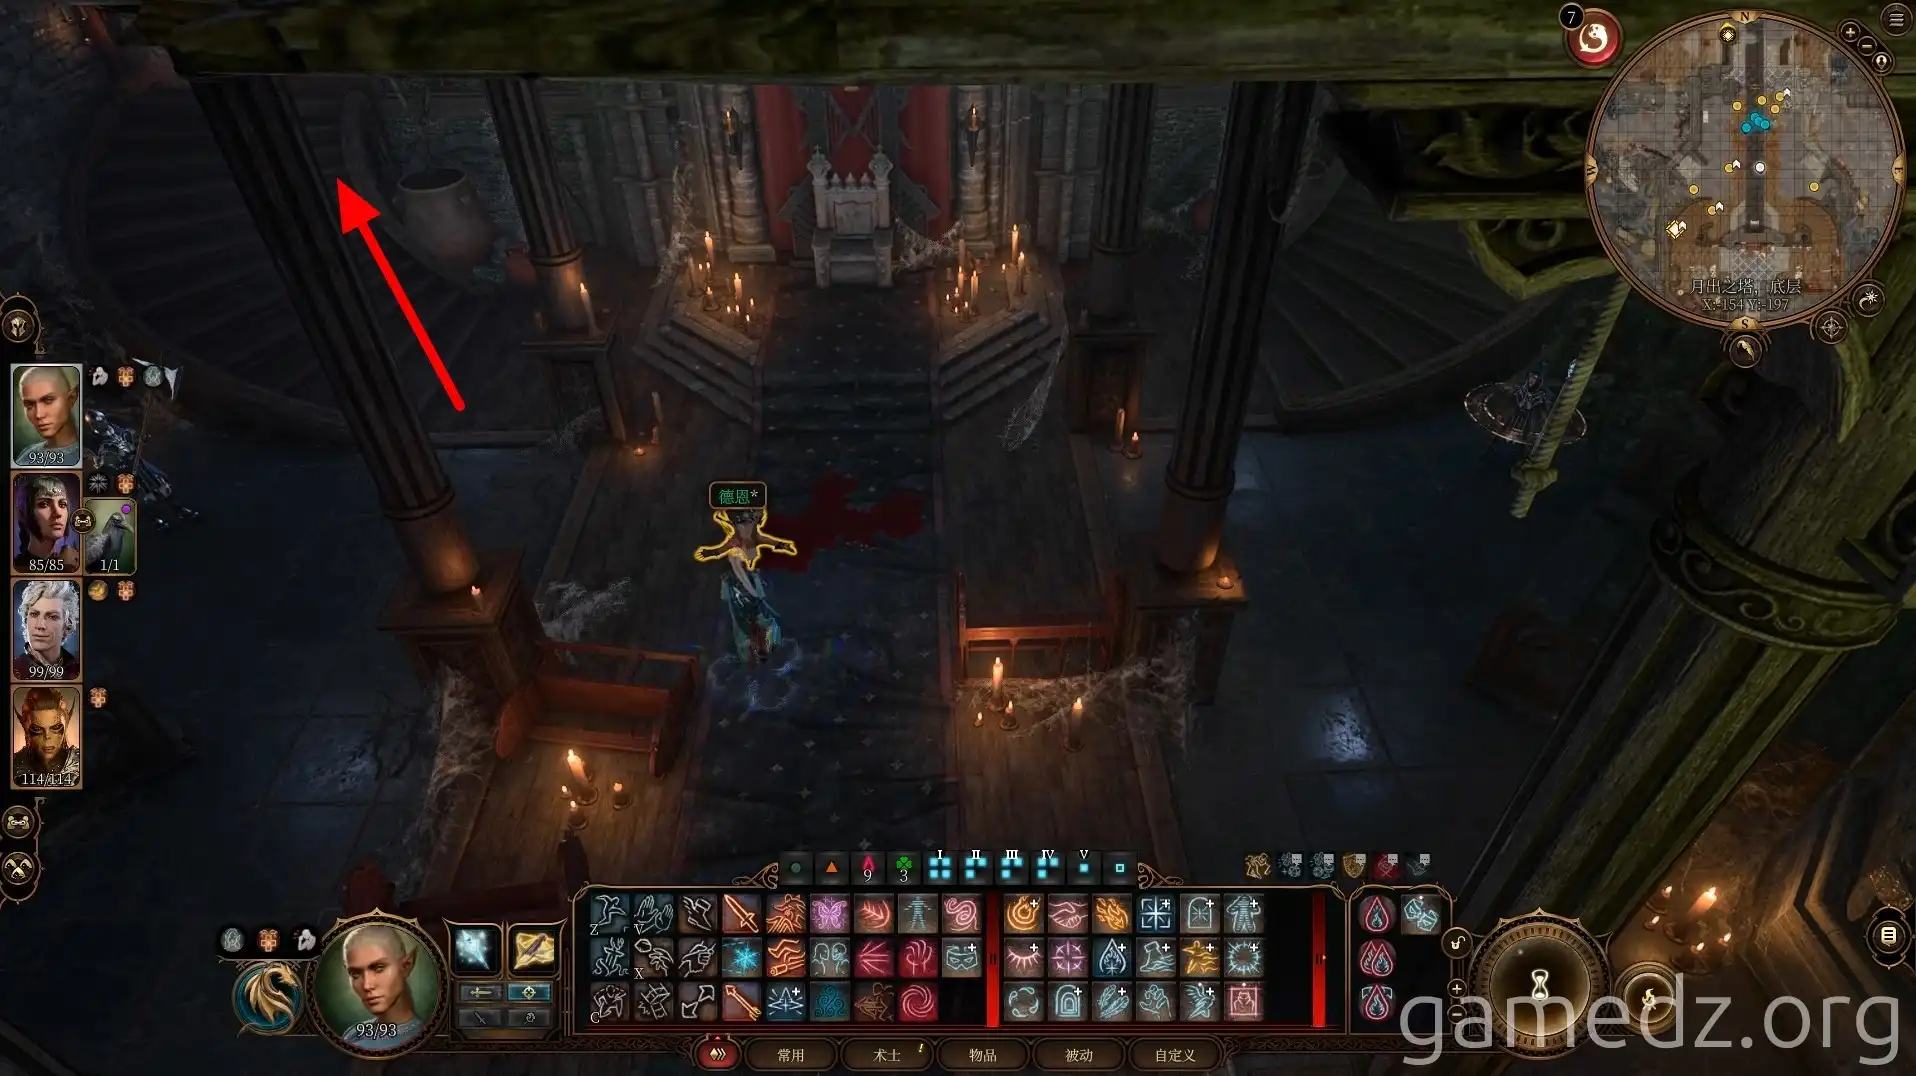
Then, proceed upstairs via the stairs.
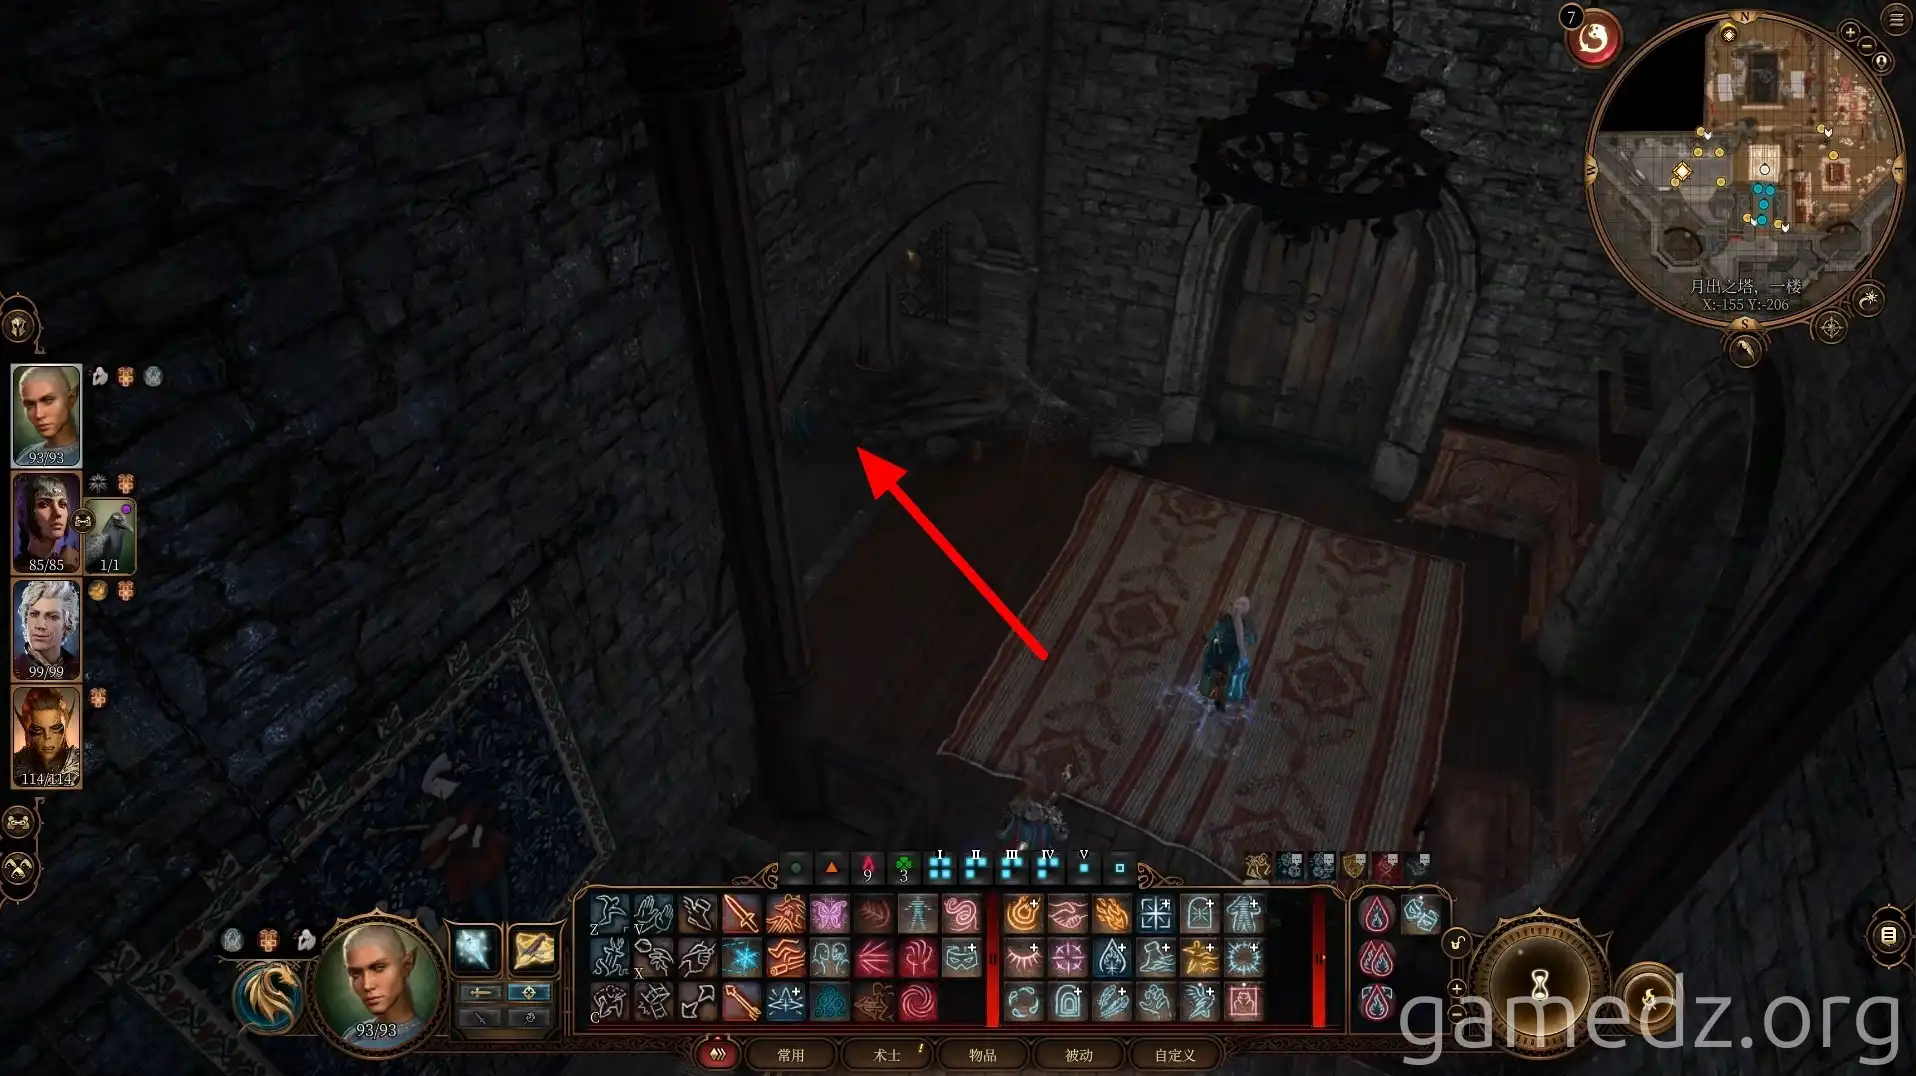
Upon reaching the first floor of Moonrise Towers, first enter the room on the west side.
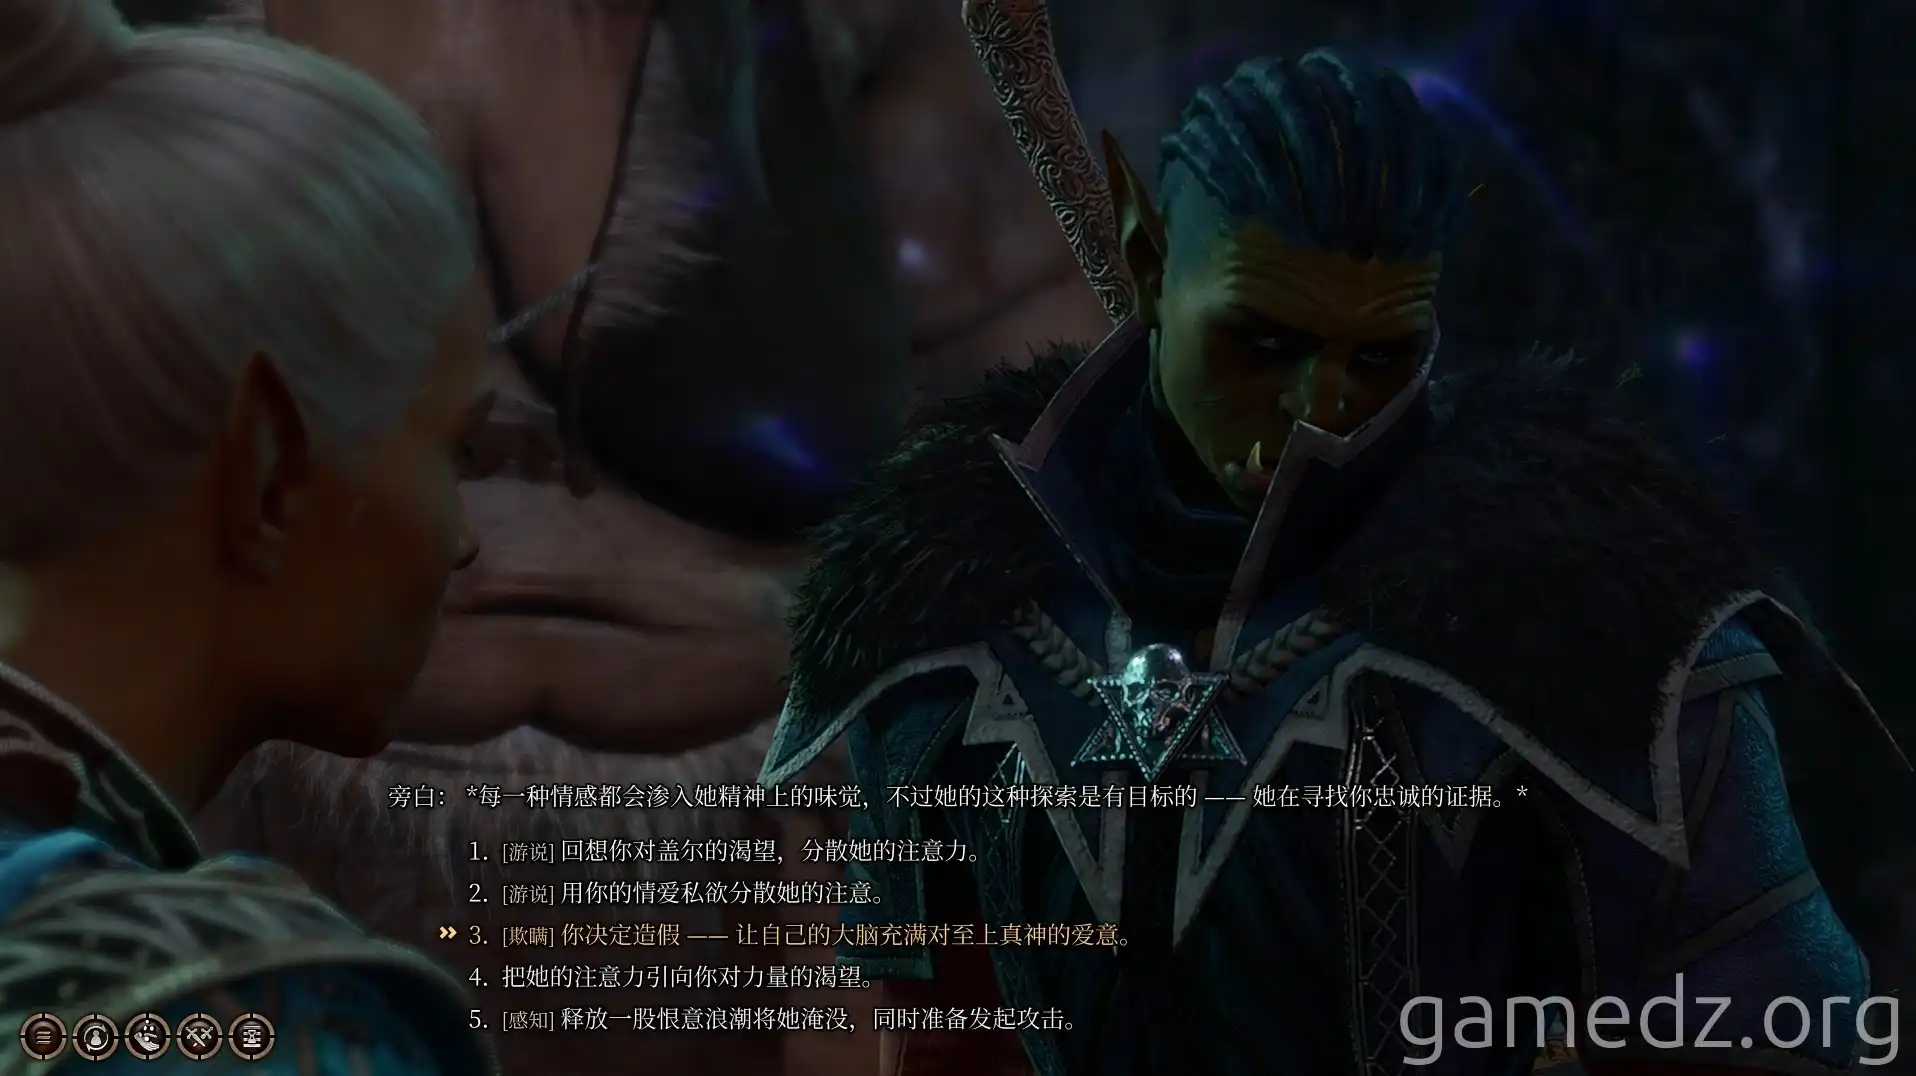
Speak with Disciple Z'rell. Through various checks, you can convince Z'rell to consider you allies.
Z'rell will then task you with finding Balthazar in the Mausoleum and retrieving the relic of the Sol family.
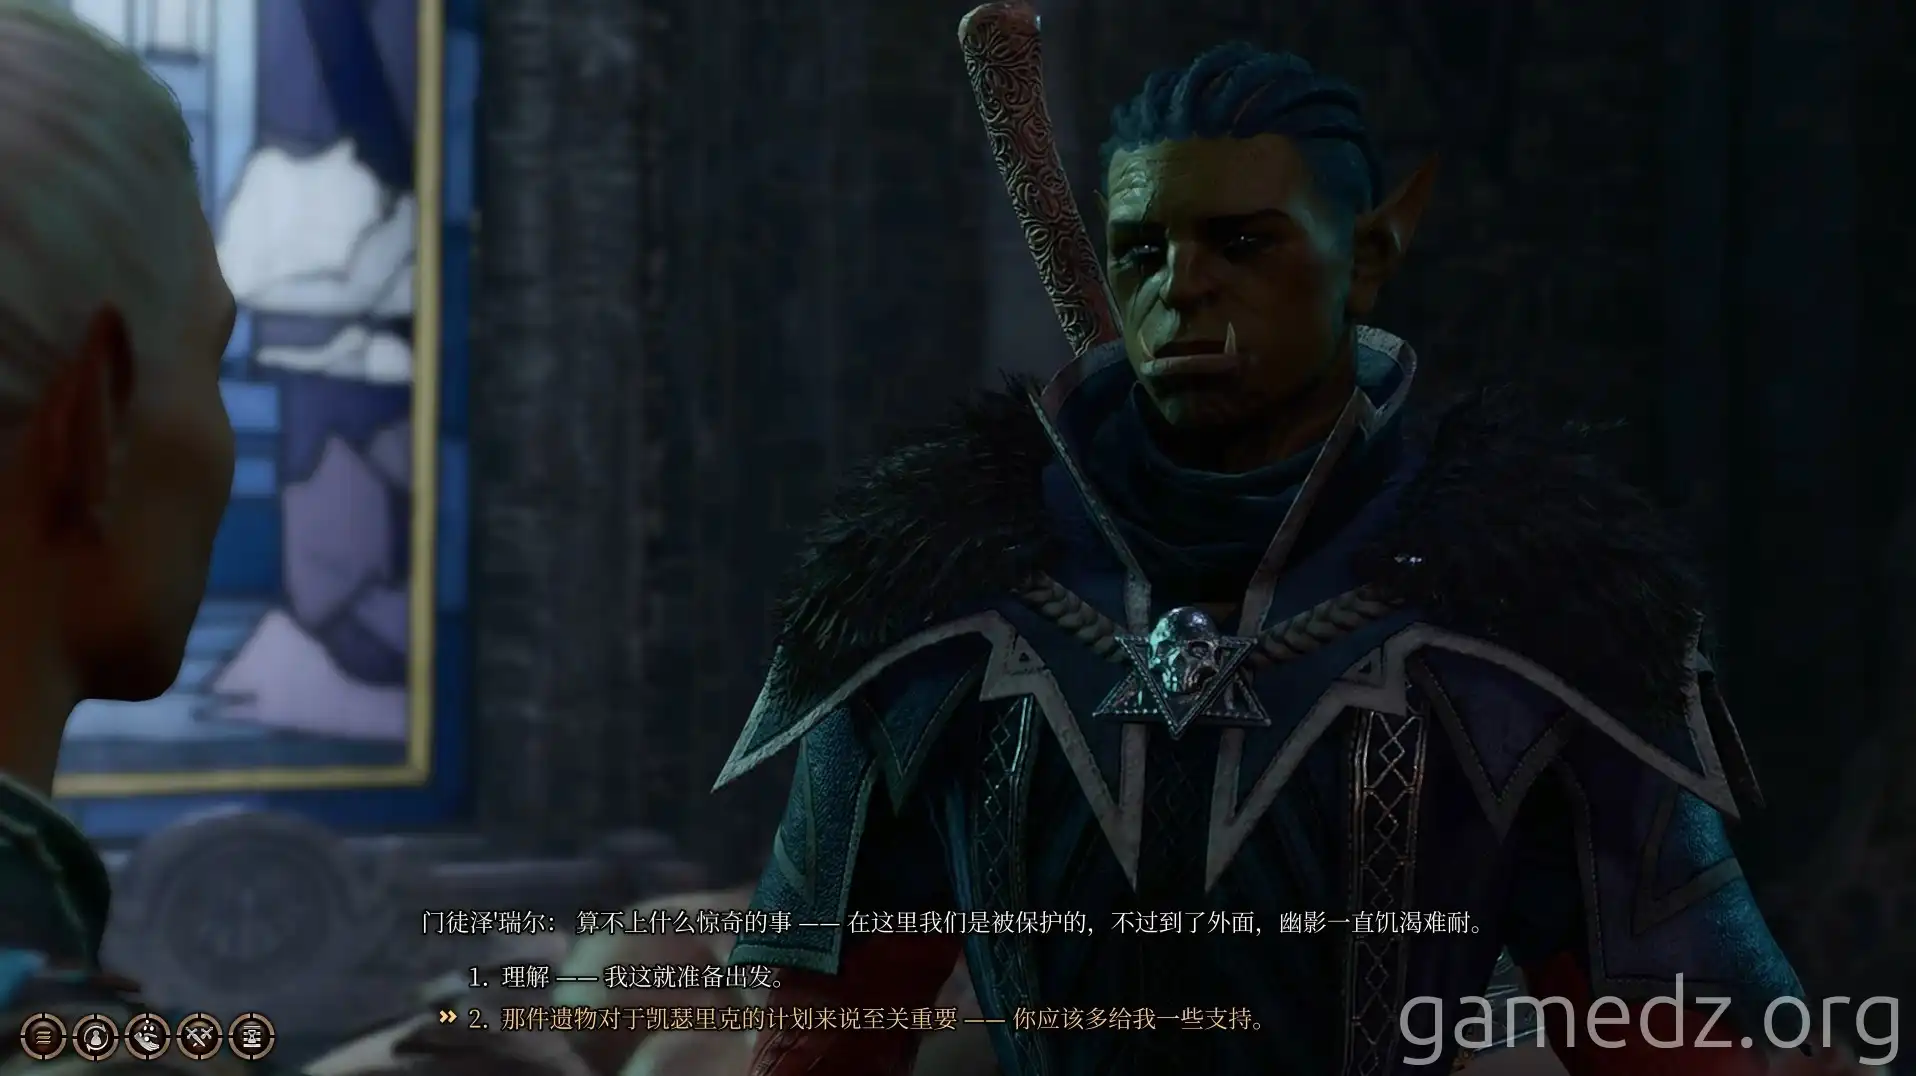
During the conversation, choosing the dialogue option "You should give me more support" will lead Z'rell to tell you to find the Owlbear merchant.
Finally, Z'rell will instruct you to retrieve a Moonlantern from Balthazar's chambers. Although you no longer need the Moonlantern, this presents an opportunity to enter Balthazar's chambers.
Characters with the Charlatan background will receive inspiration twice. Be sure not to enter the "Ornate Door" next to Z'rell.
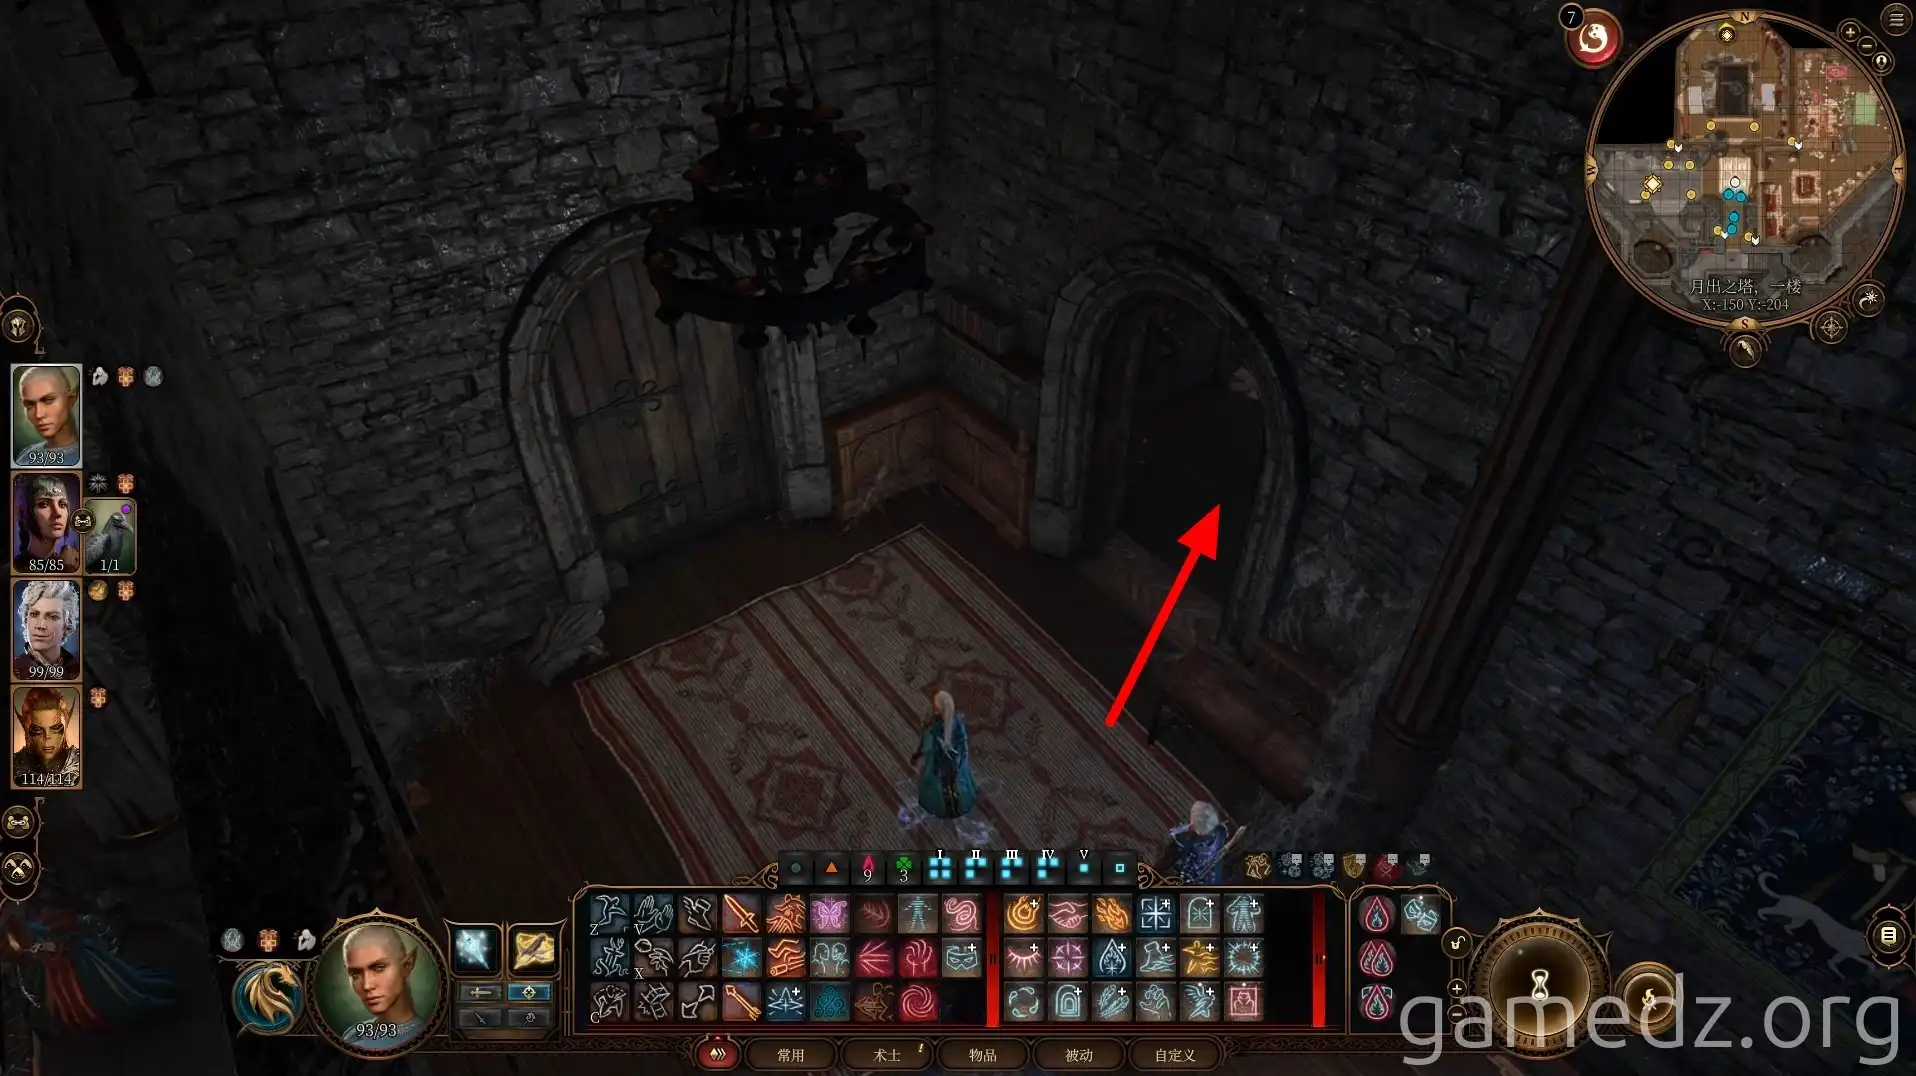
Then, return to the area where you first arrived on the first floor and enter the room on the east side.
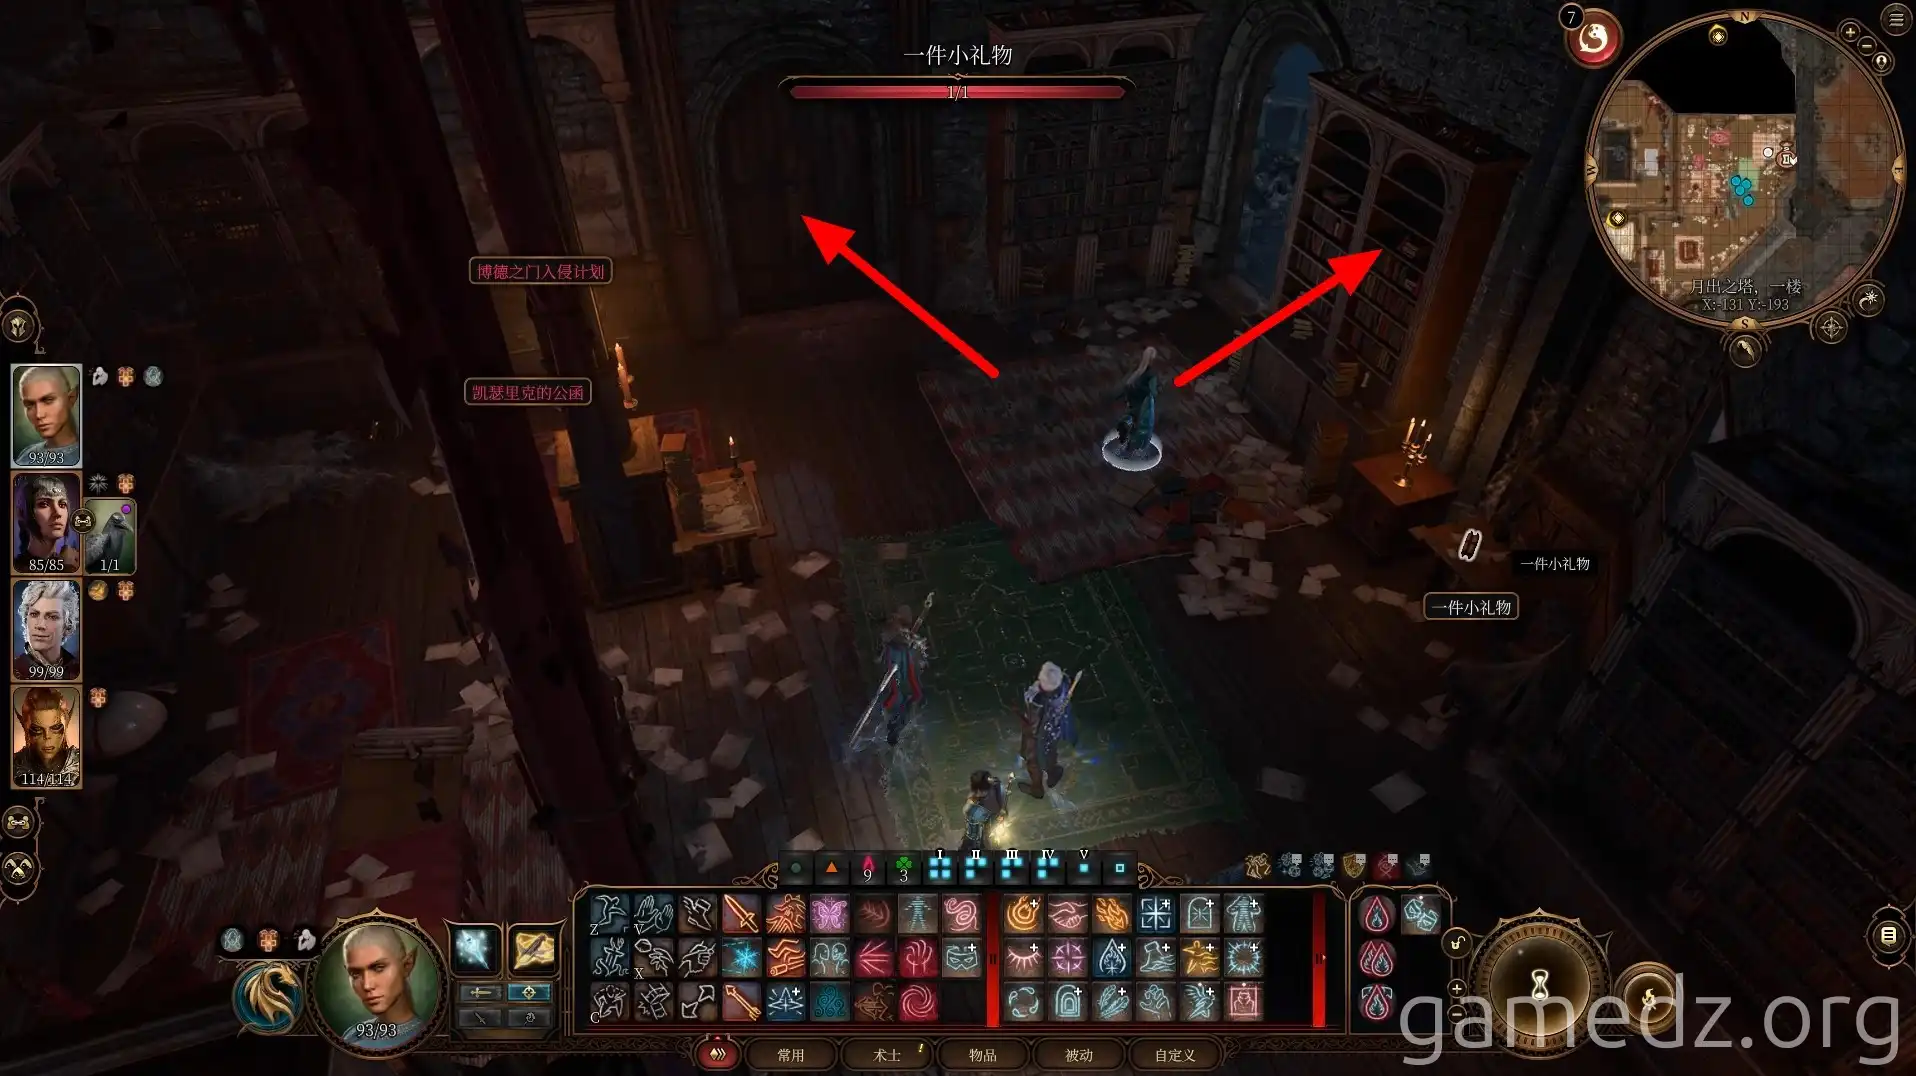
In the east room, you can access the terrace area through the eastern door. There's a chest next to the stairs.
Then, return to the room and head north into Balthazar's chambers.
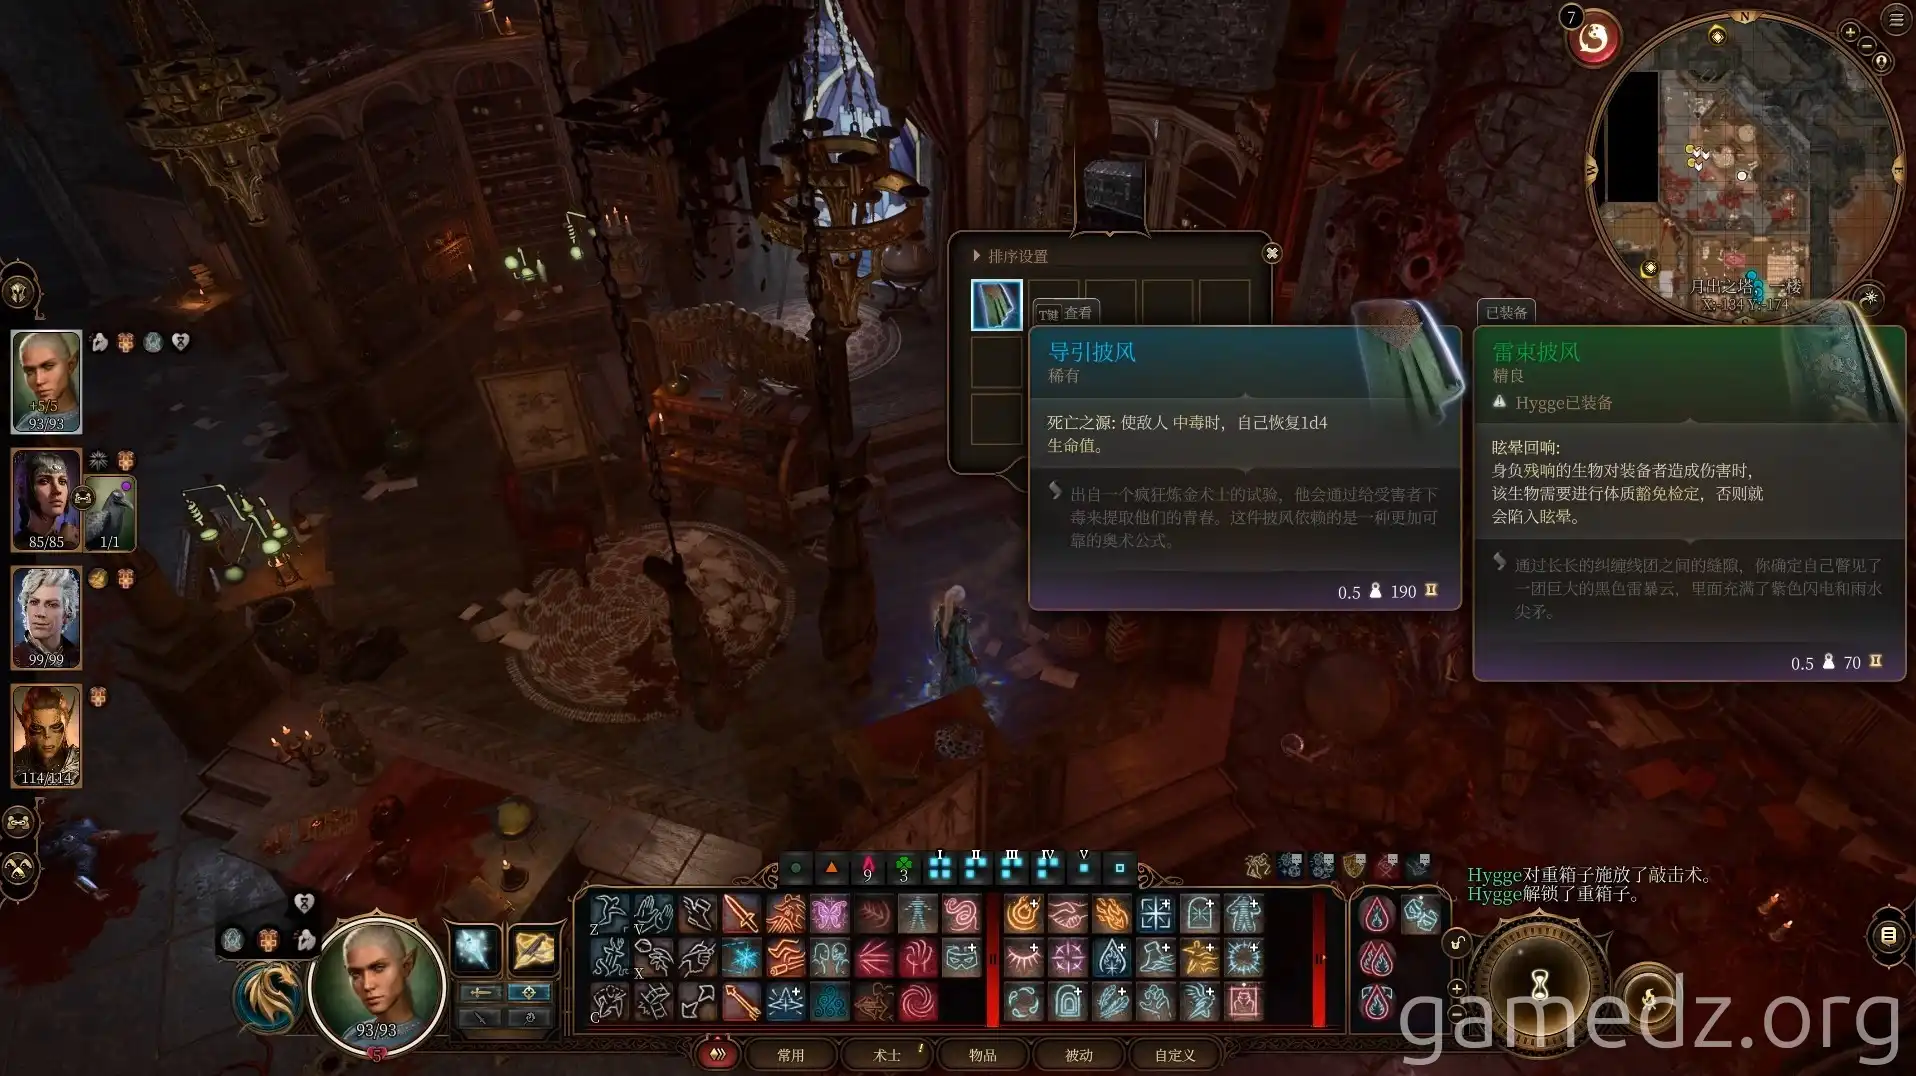
Upon entering the chambers, you can find the rare equipment, the Cloak of Protection, inside a chest.
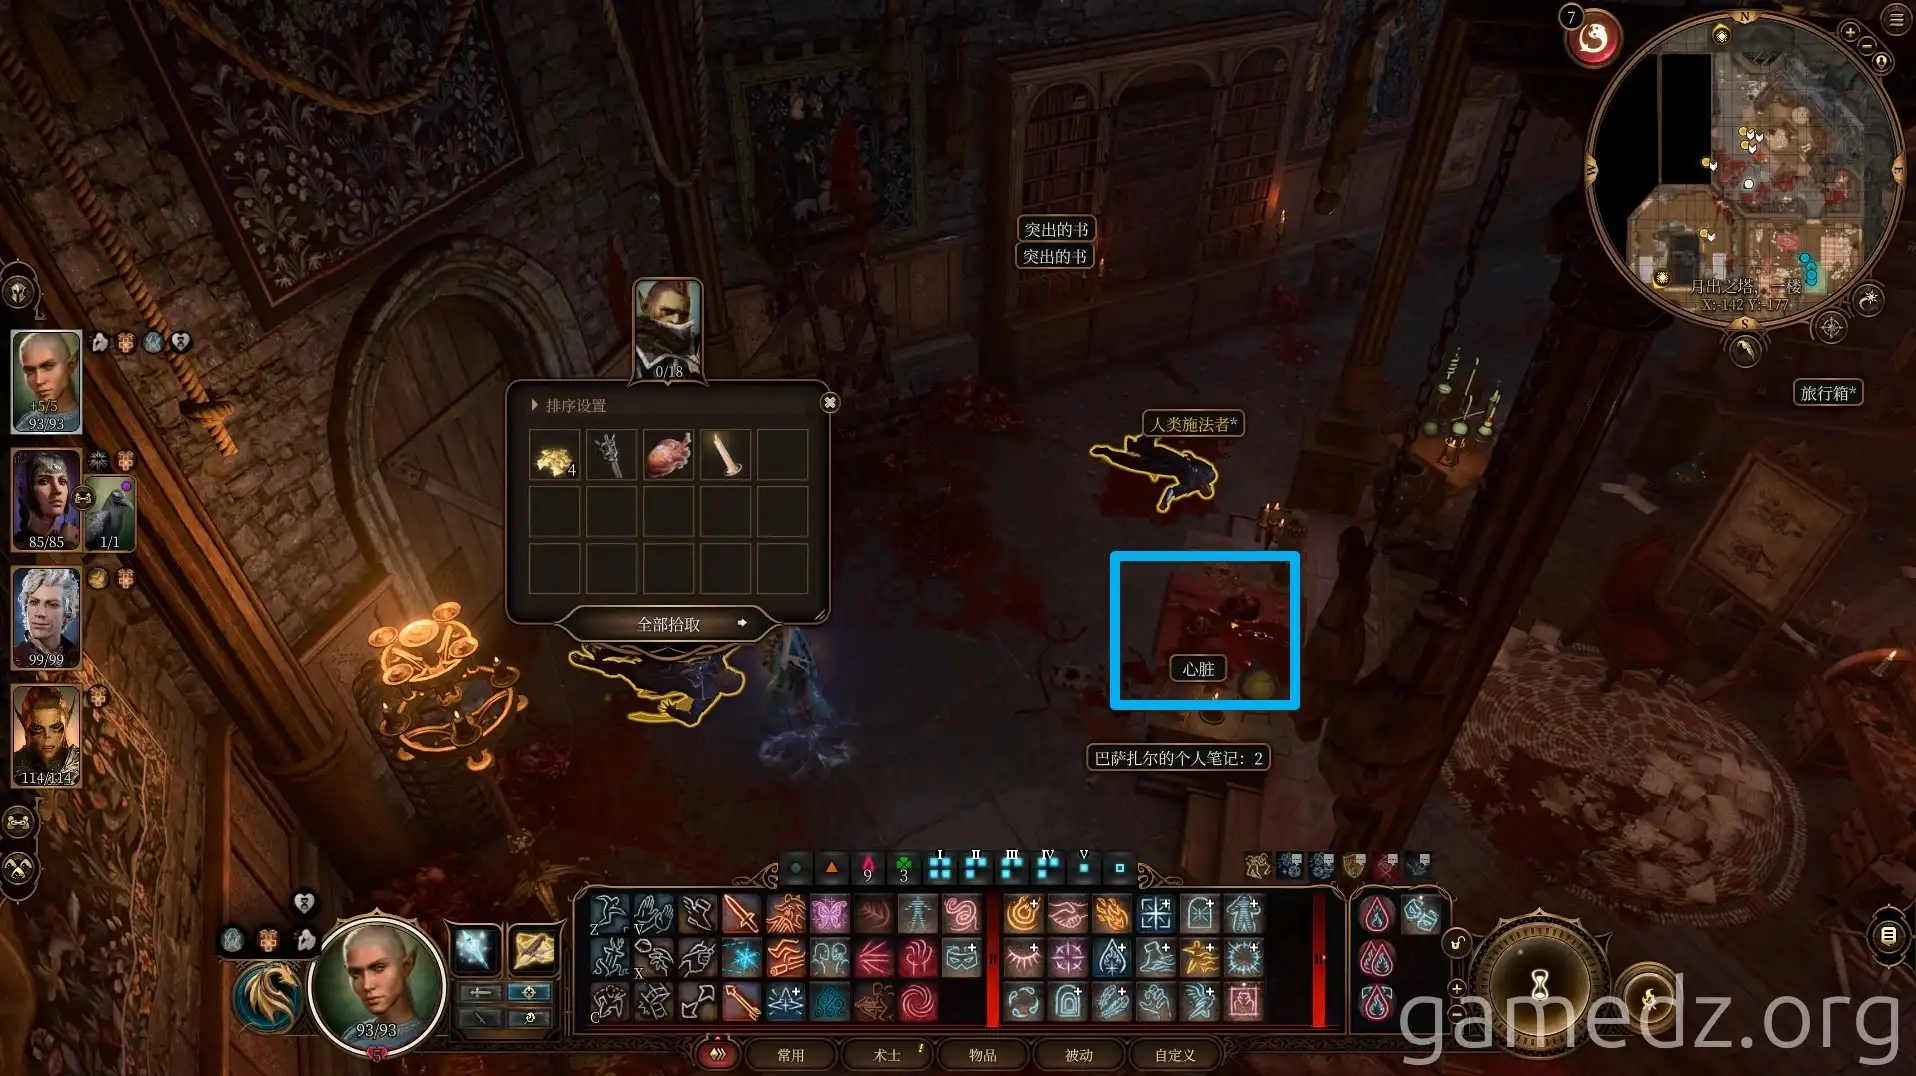
Obtain a heart from the surrounding corpses or altar.
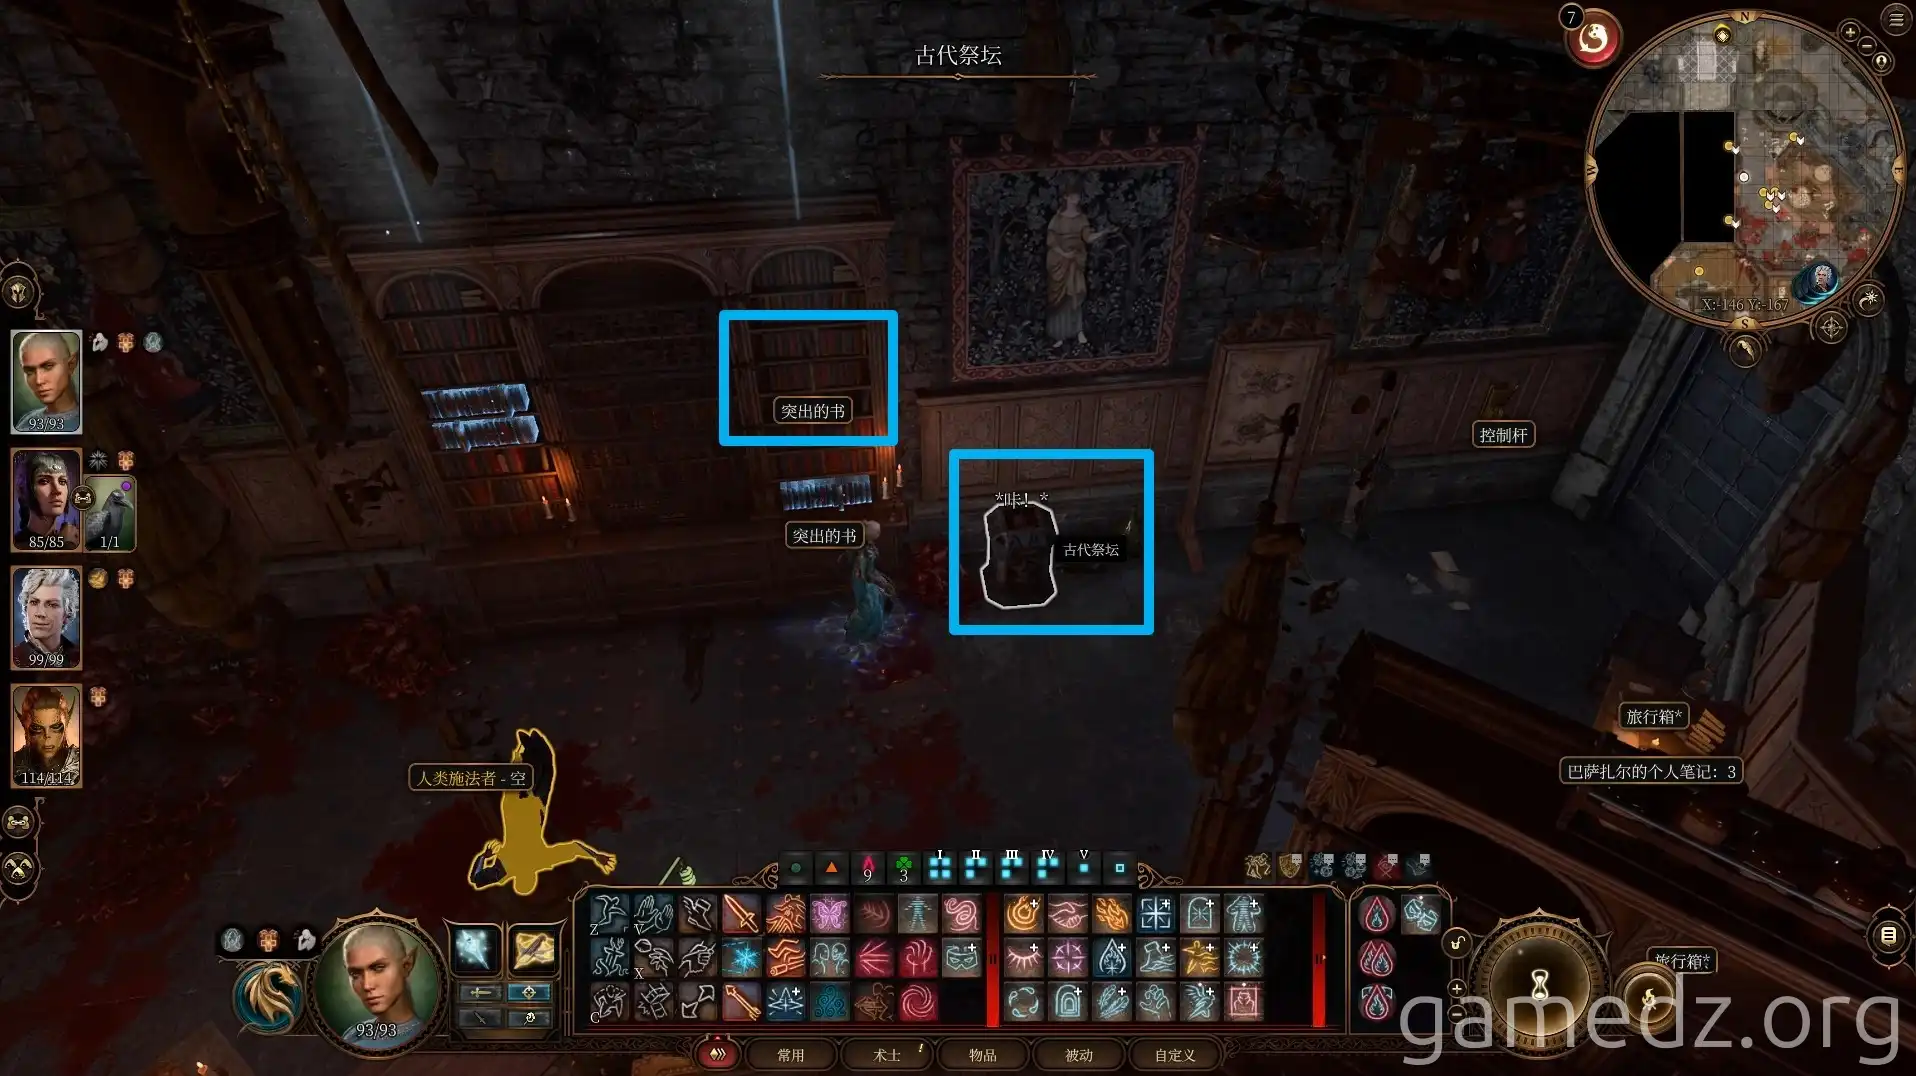
After succeeding on a Perception check, you can discover a mechanism on the bookshelf. Click on the "Protruding Book" in the upper right corner to activate it.
Then, place a heart into the nearby "Ancient Altar" to open a secret room. Characters with the Sage background will receive an inspiration upon successfully opening the secret room.
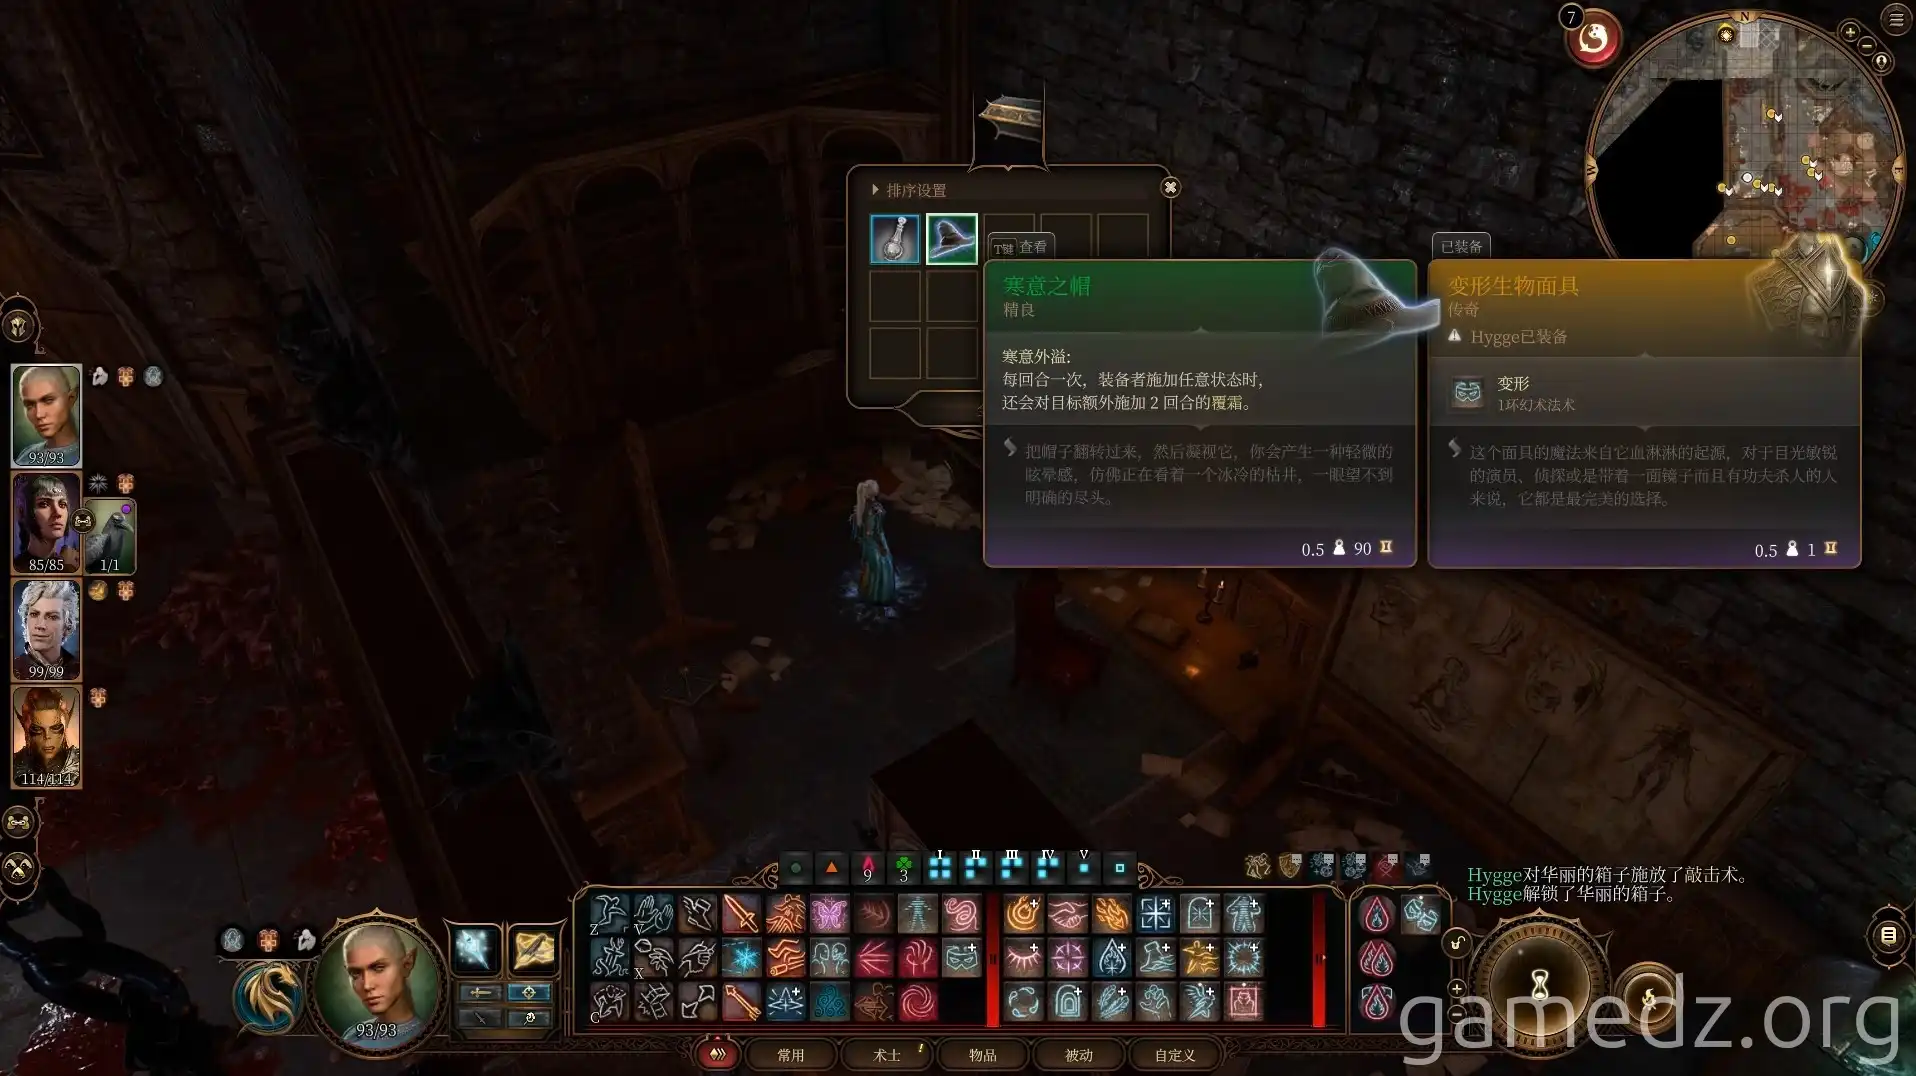
In the secret room, you can find the uncommon equipment, the Hat of the Unseen, inside a chest.
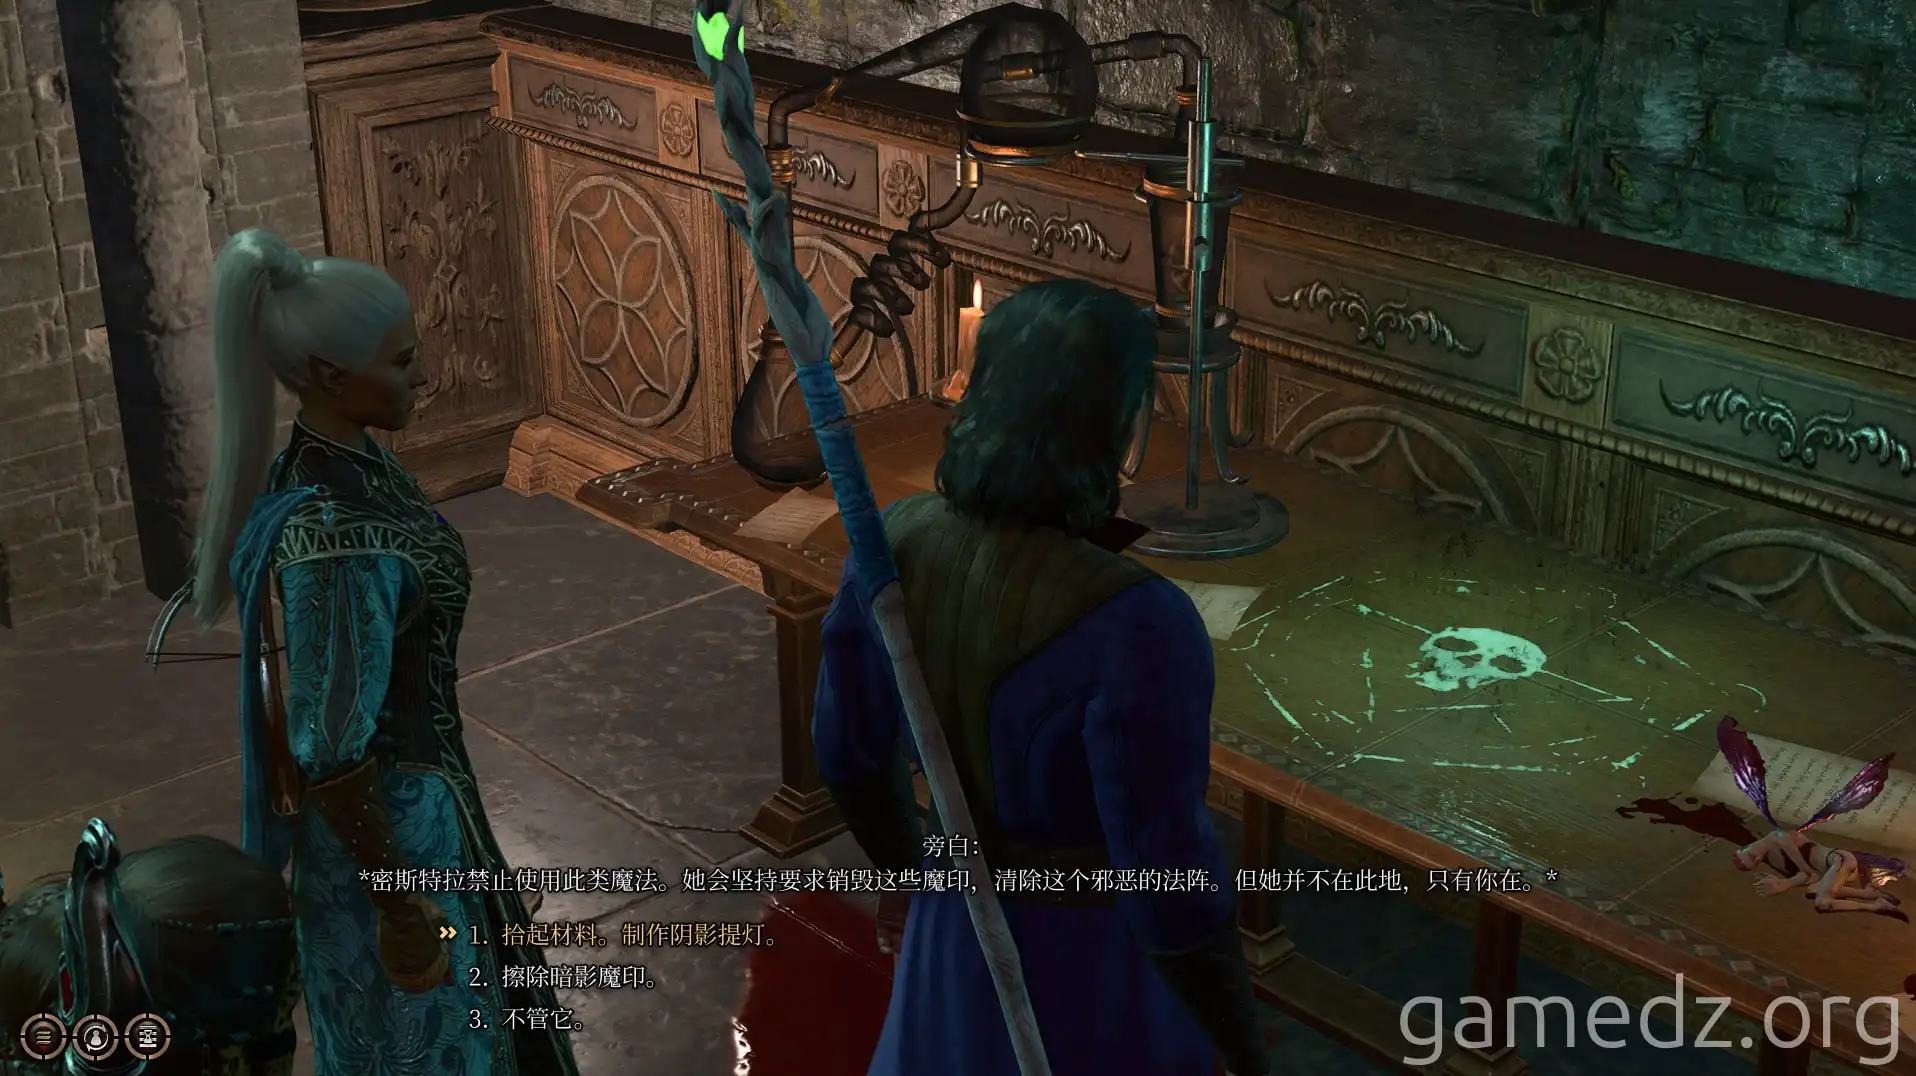
Have Gale investigate the ritual circlet on the table, and you can then use the nearby materials to craft a Moonlantern.
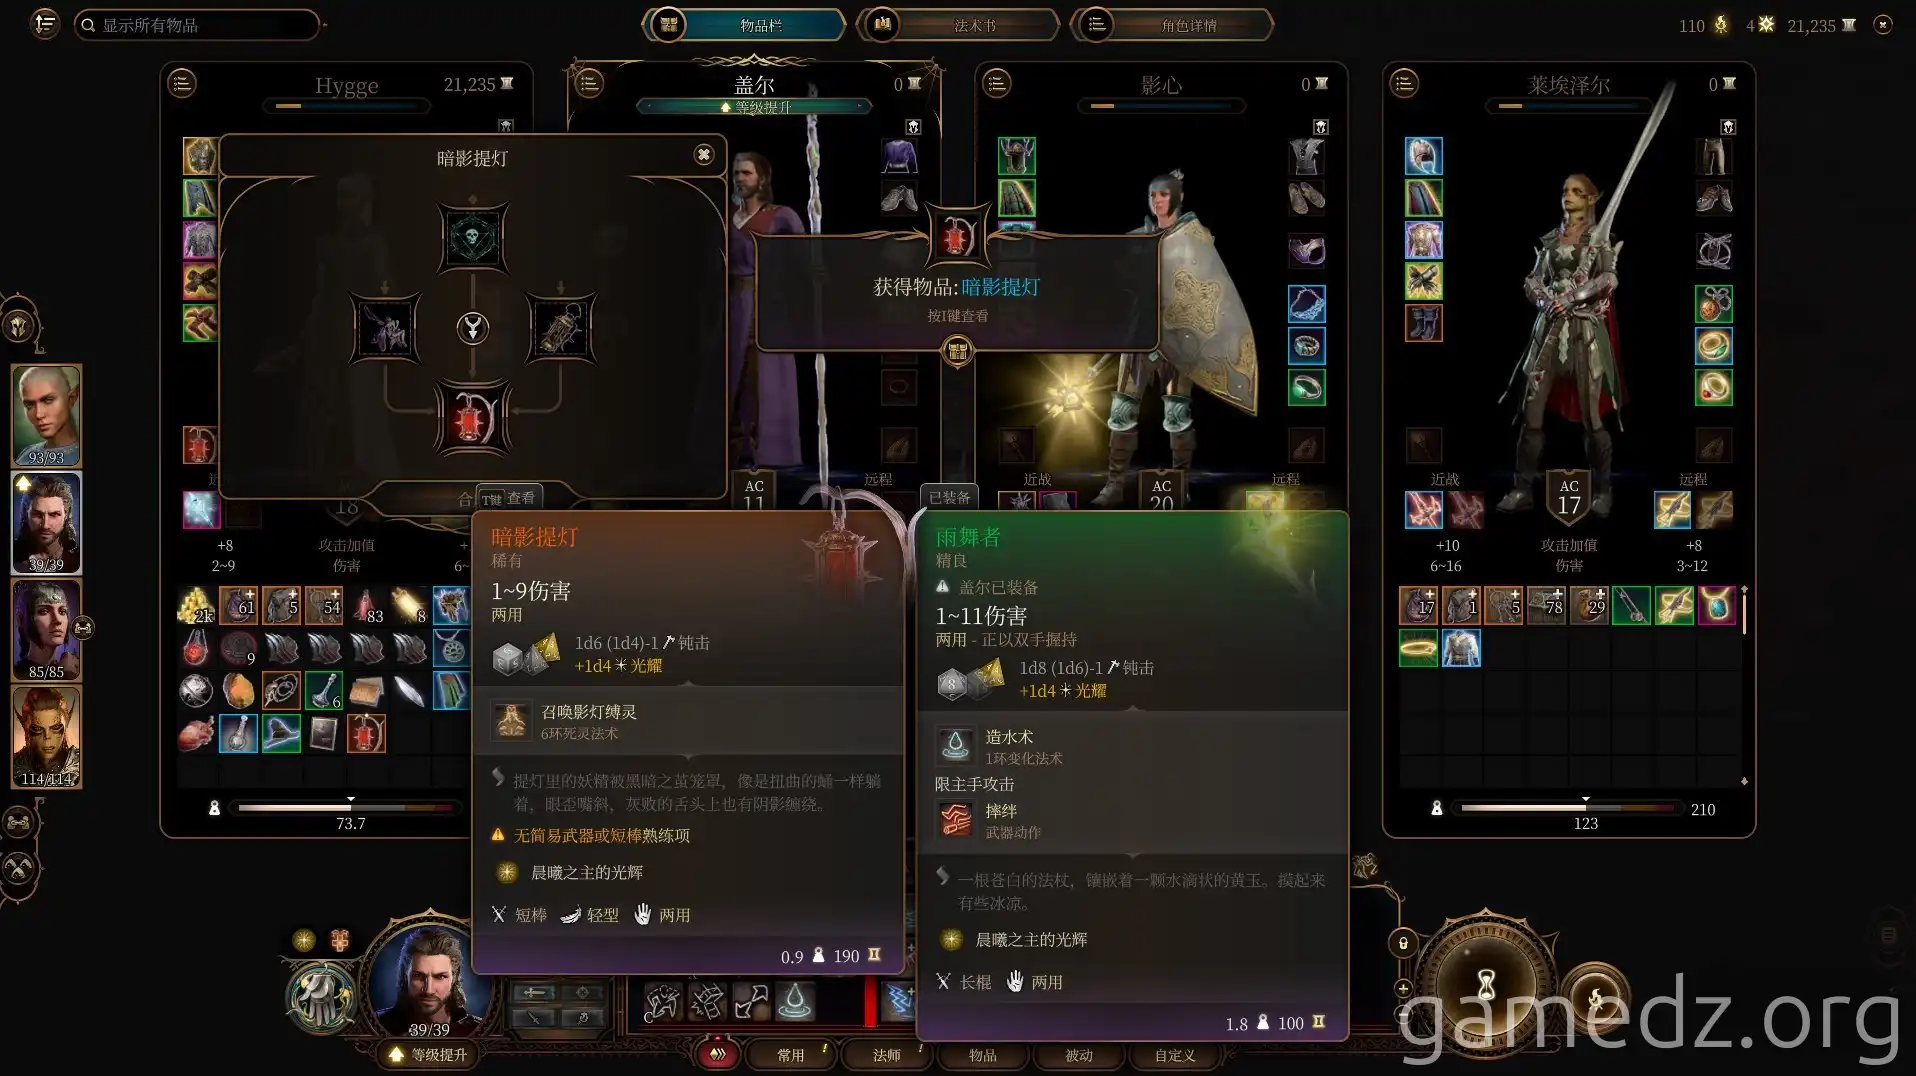
By adding a deceased pixie and a damaged lantern to the ritual circlet, you can obtain the rare equipment, the Shadow Lantern. This equipment comes with the 6th-level Necromancy spell, "Summon Shadow Sprout."
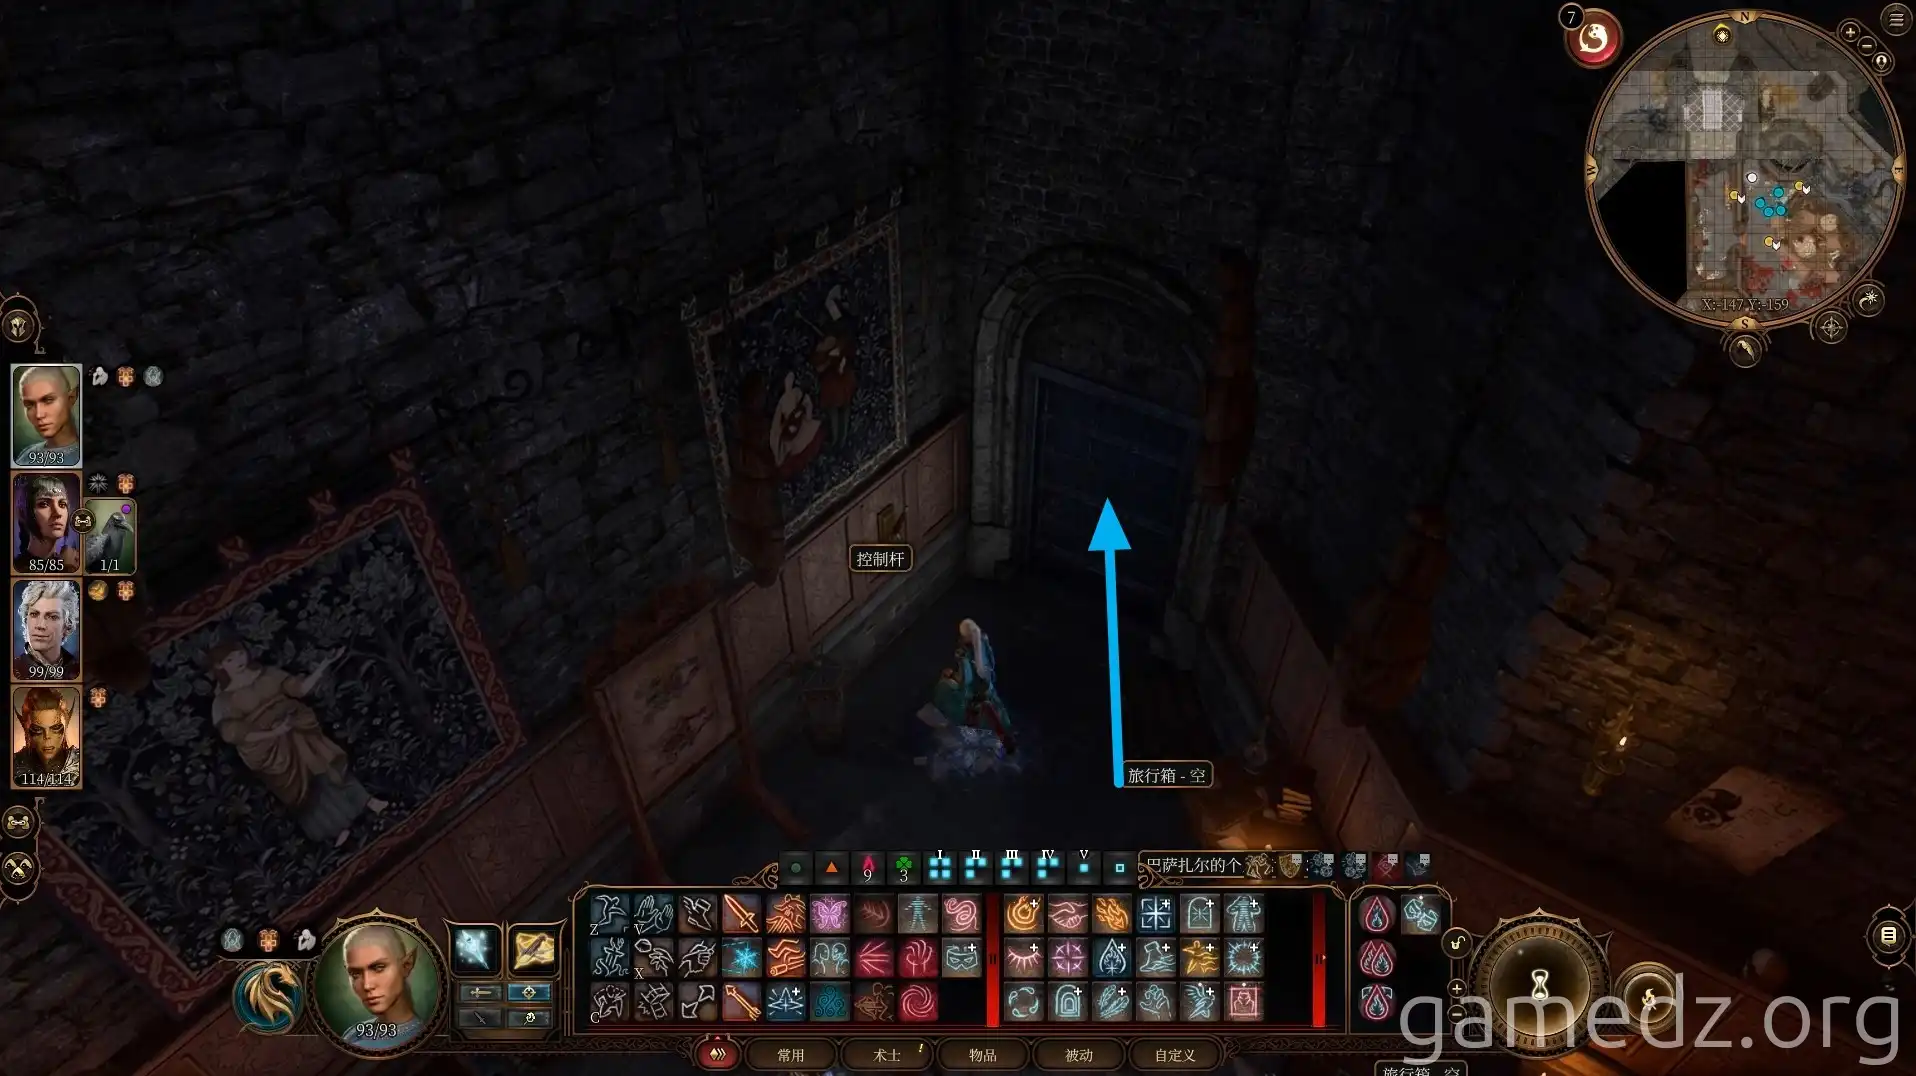
After leaving the secret room, pull the lever next to the north door to proceed to the north terrace of Moonrise Towers.
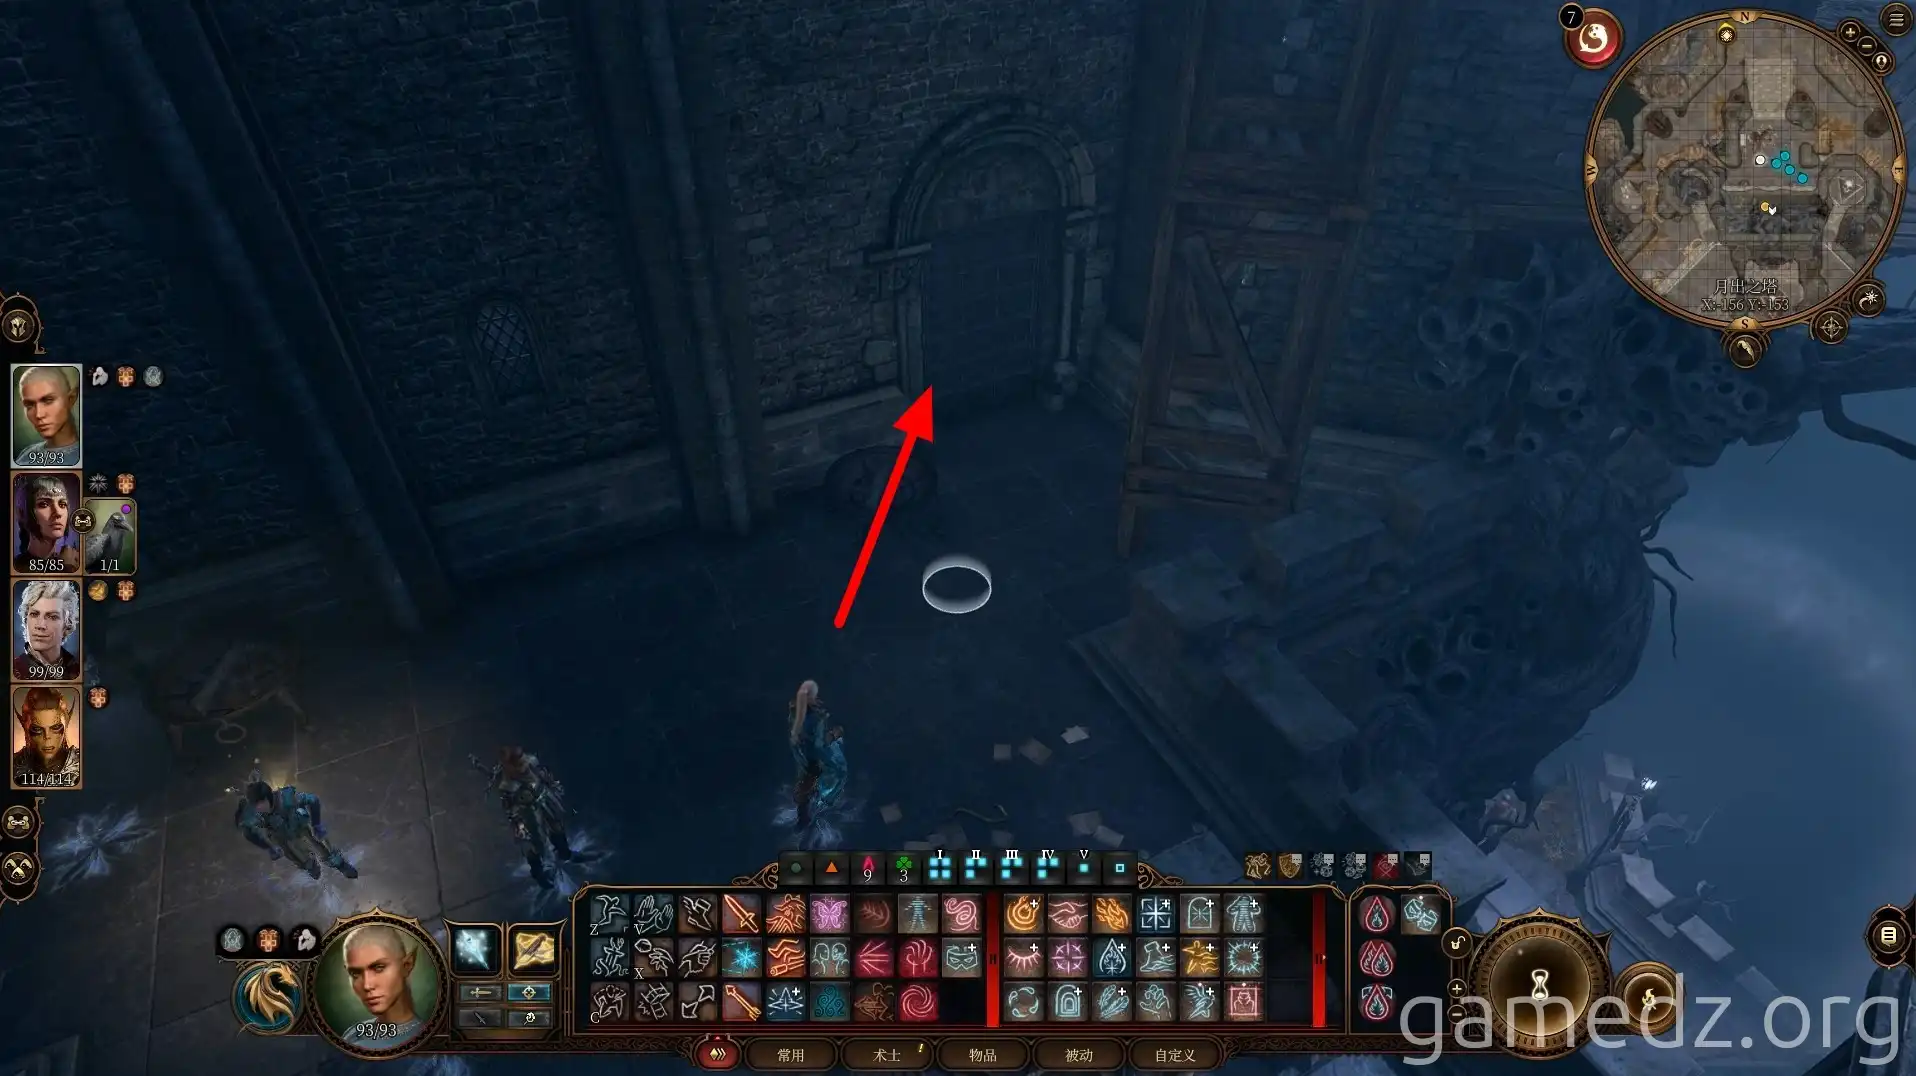
Pick the lock to open the door on the other side of the terrace.
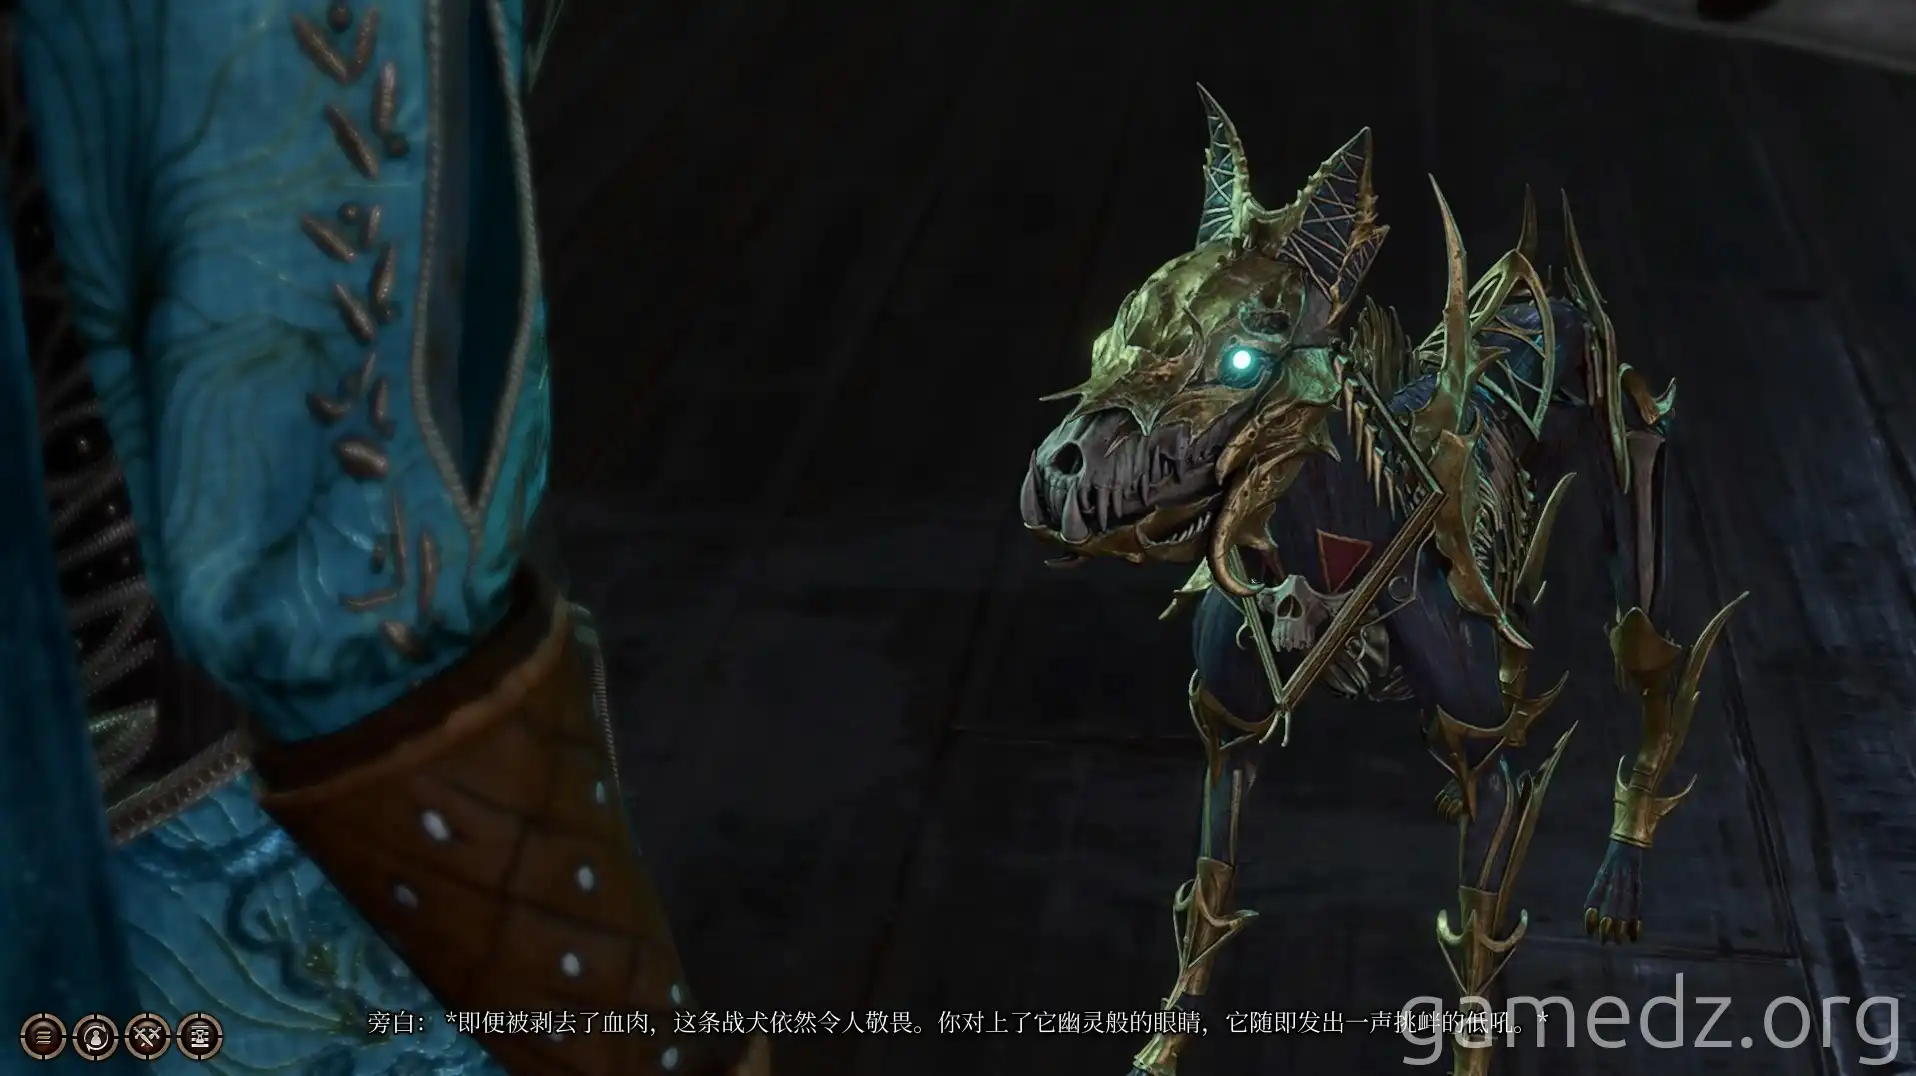
In the room, you will encounter a Hell Hound. You can pass various checks to have the Hell Hound recognize you as an ally.
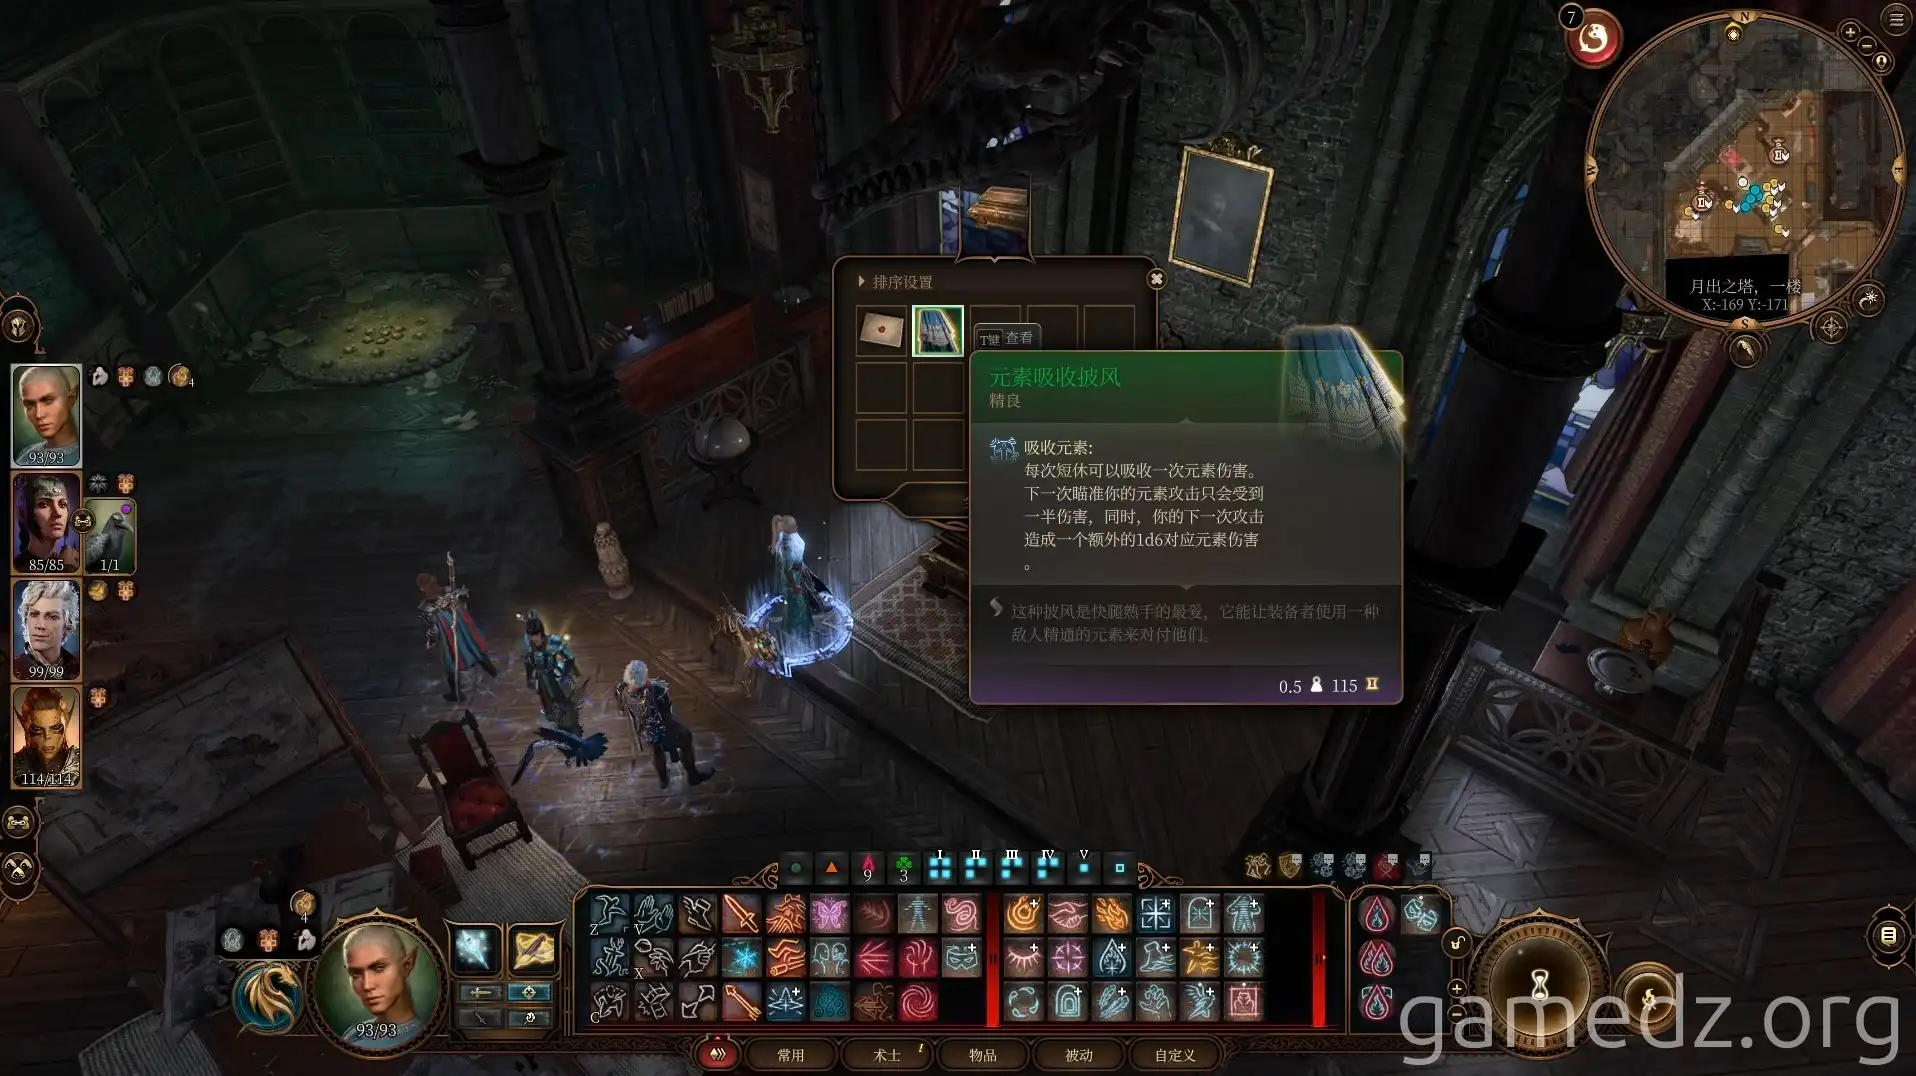
Then, in the chest in the room, you can find the uncommon equipment, the Cloak of Elemental Absorption, and also gain more lore through numerous letters.
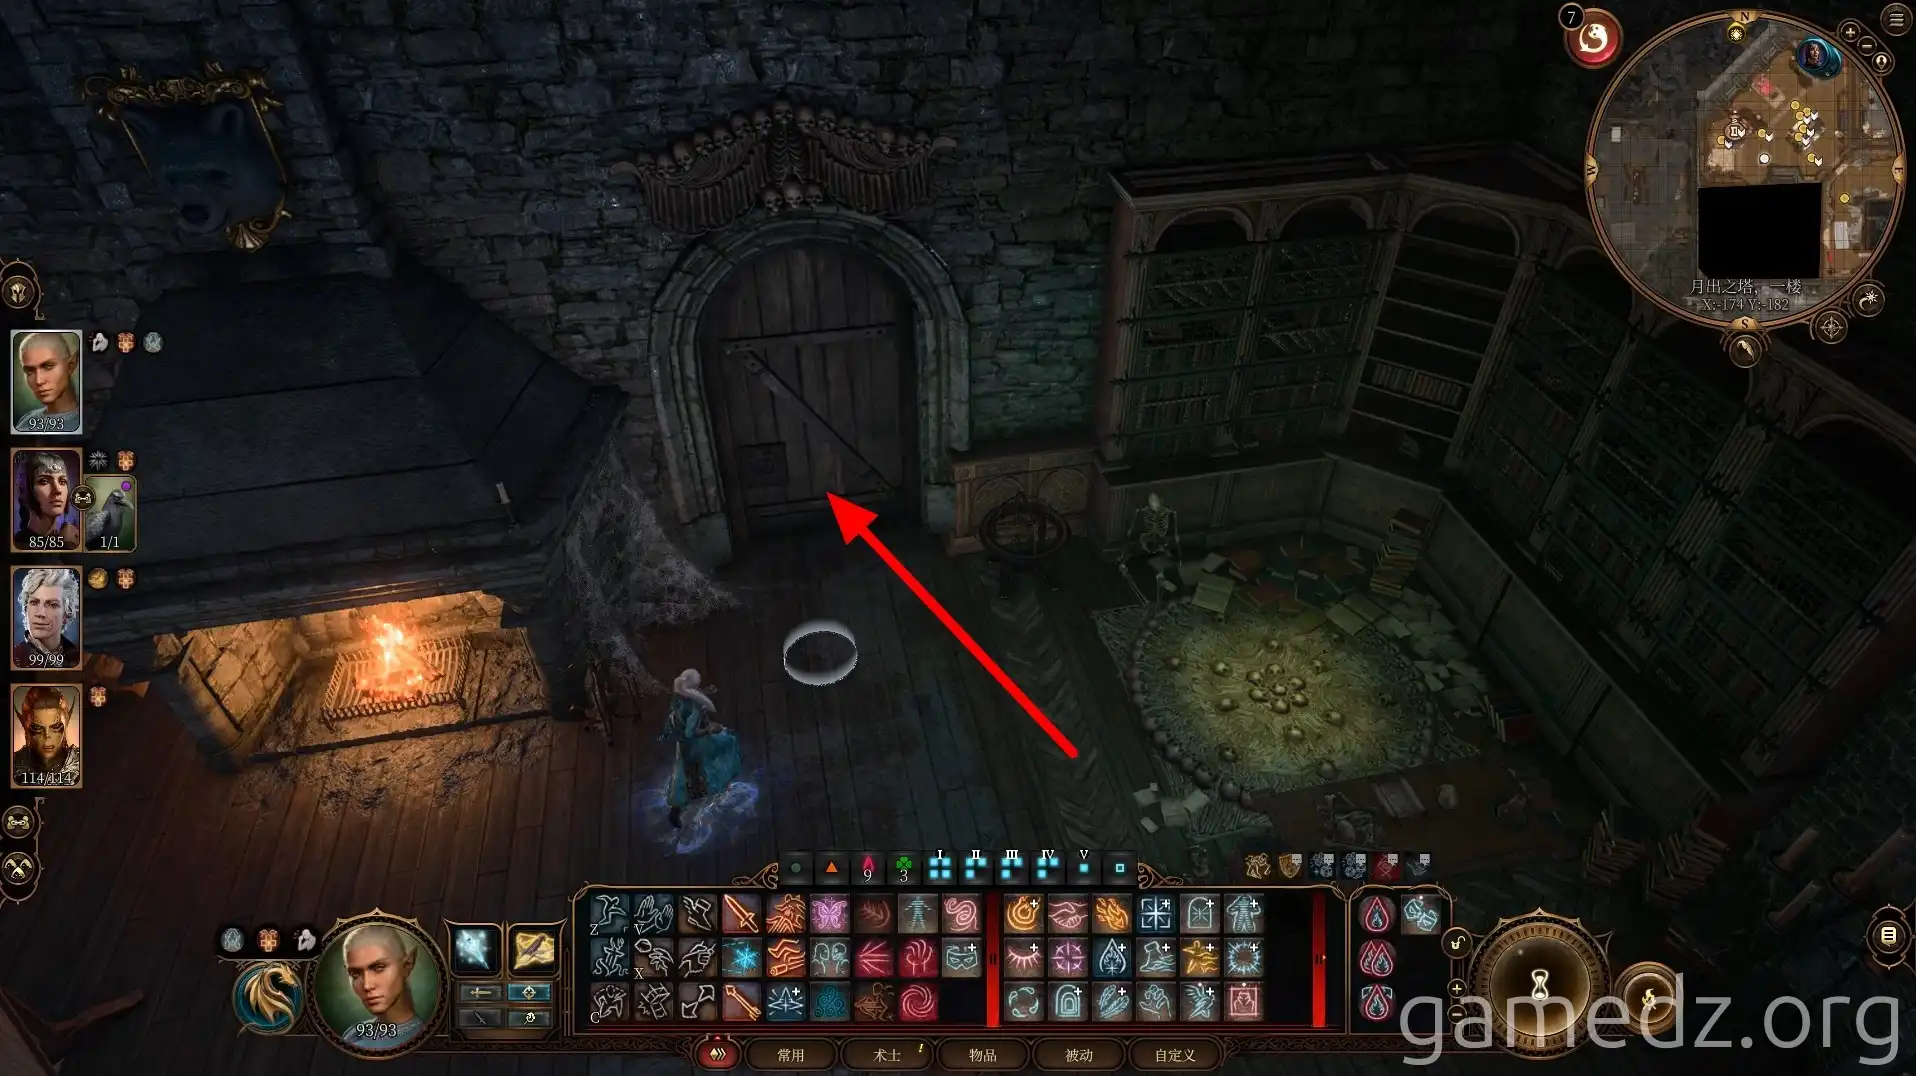
The chest in the room next to the bookshelf is a Mimic. There's nothing else of value, so you can skip it.
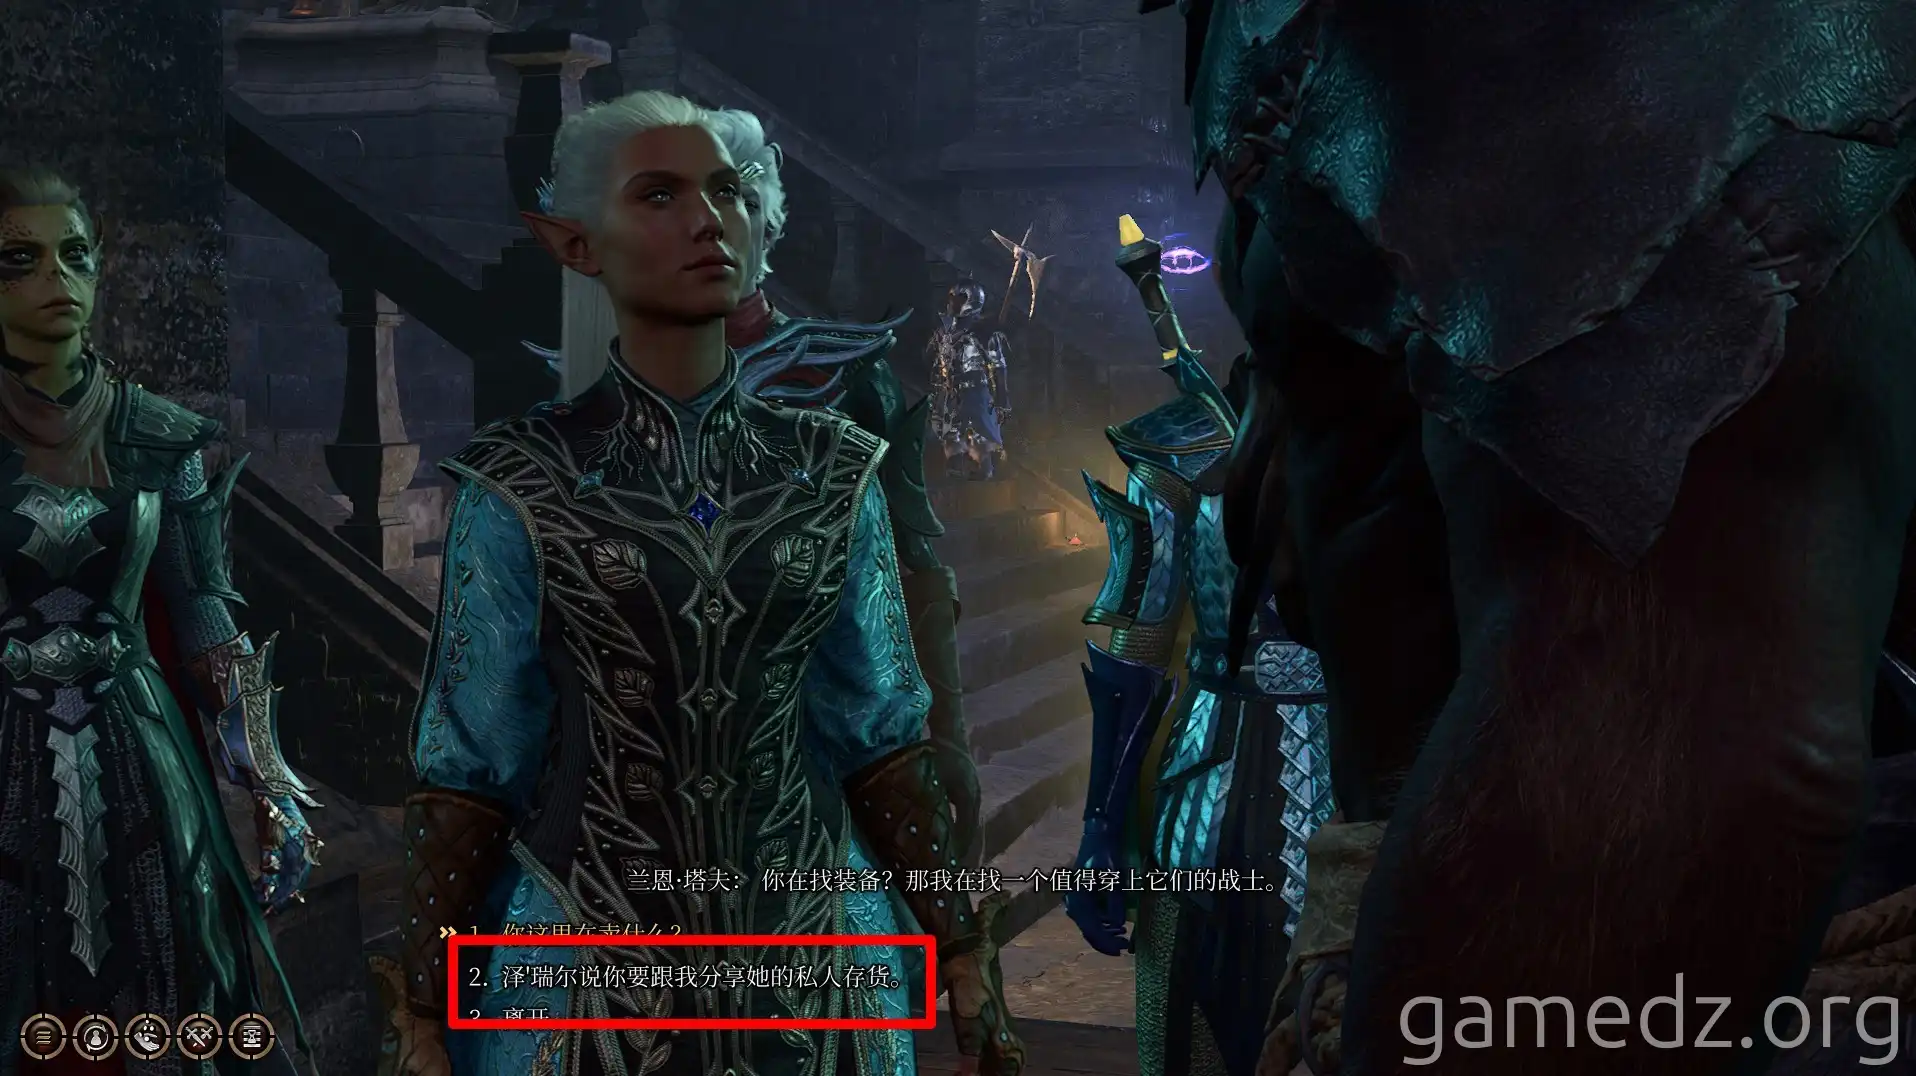
Return to the lower level of Moonrise Towers and find the Owlbear merchant. During the conversation, select "Share private stock" to purchase some new equipment from him.
After purchasing equipment, you will next head to the Mausoleum to find Balthazar, deal with Raphael's nemesis, and rescue the Nightsong.

Here is the list of private stock and their stats from the Owlbear merchant.

