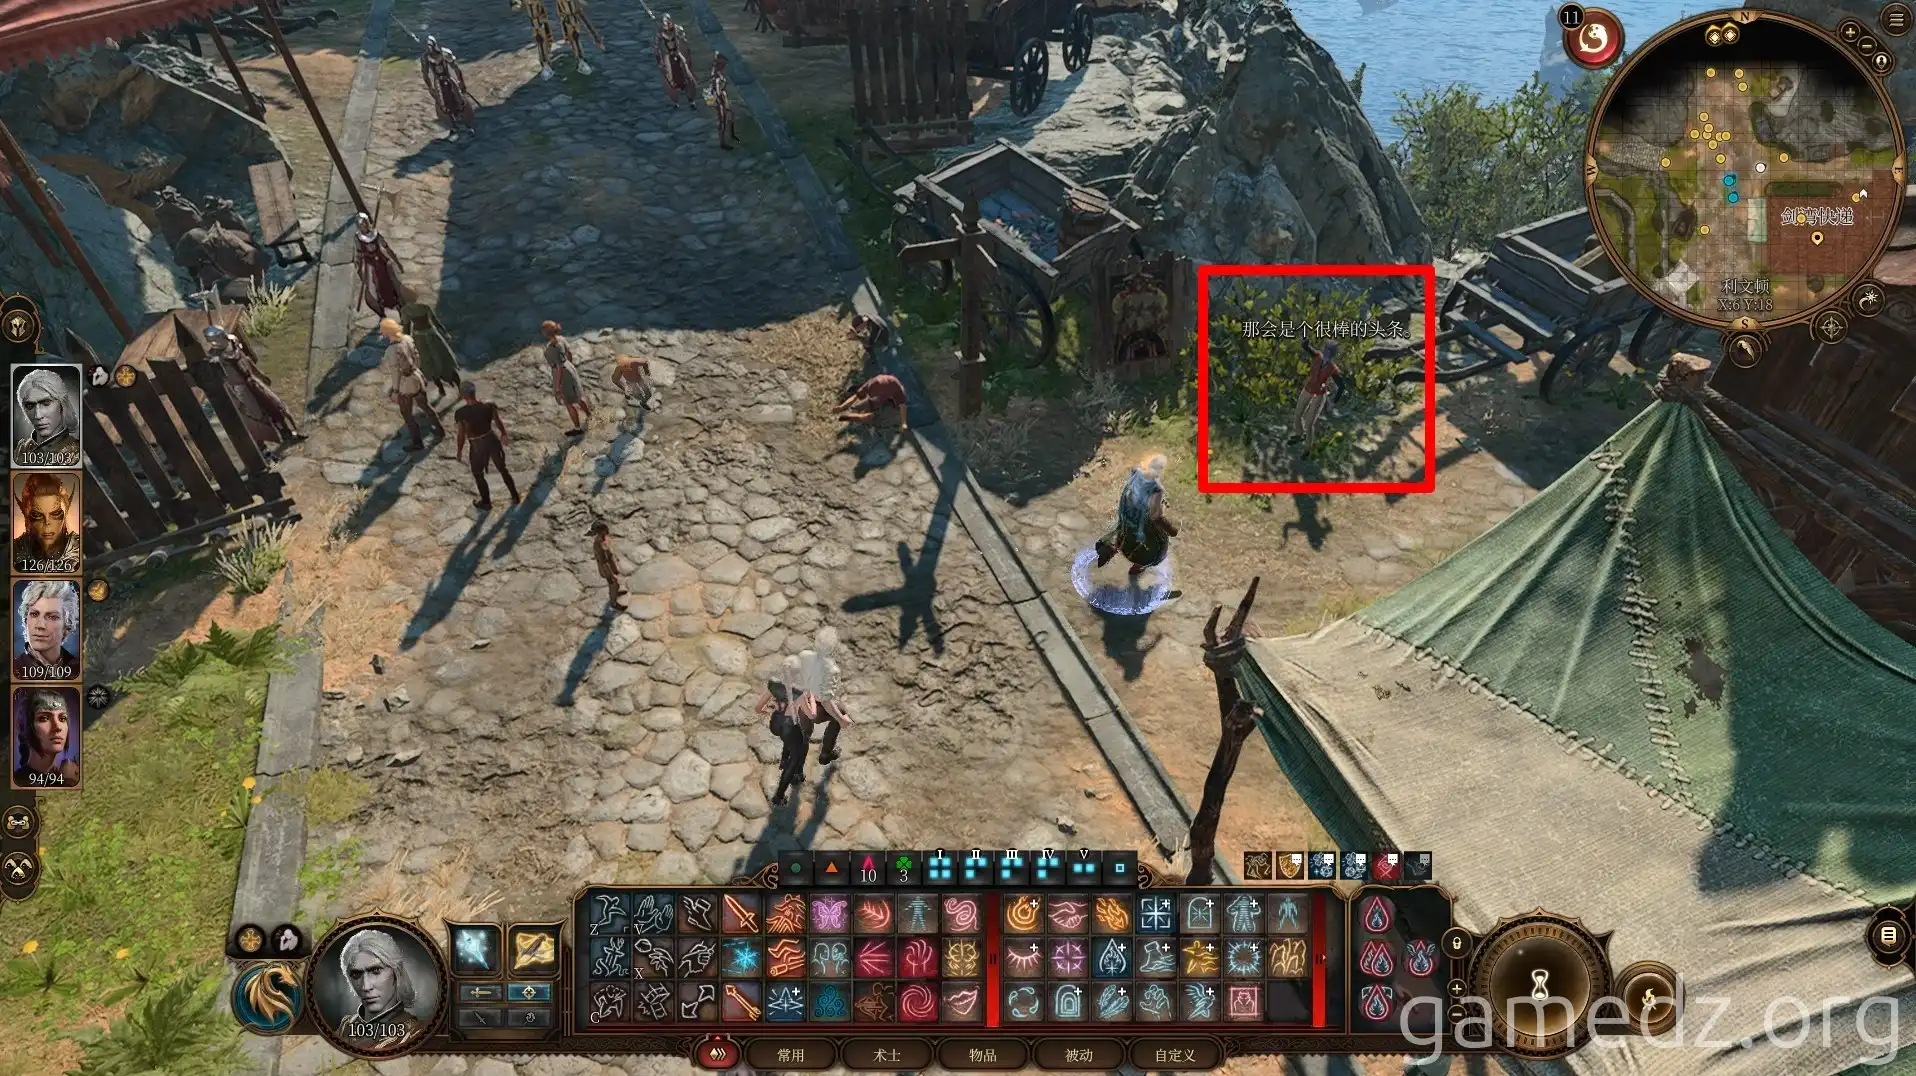
Baldur's Gate 3 Rivington: Full Map & Item Guide (Part 2)
This Baldur's Gate 3 guide explores Rivington, detailing the circus, House of Healing, and key quests. Discover legendary items like Nyrulna and the Circlet of the Blinding Star. Learn how to solve the murder mystery and help NPCs.
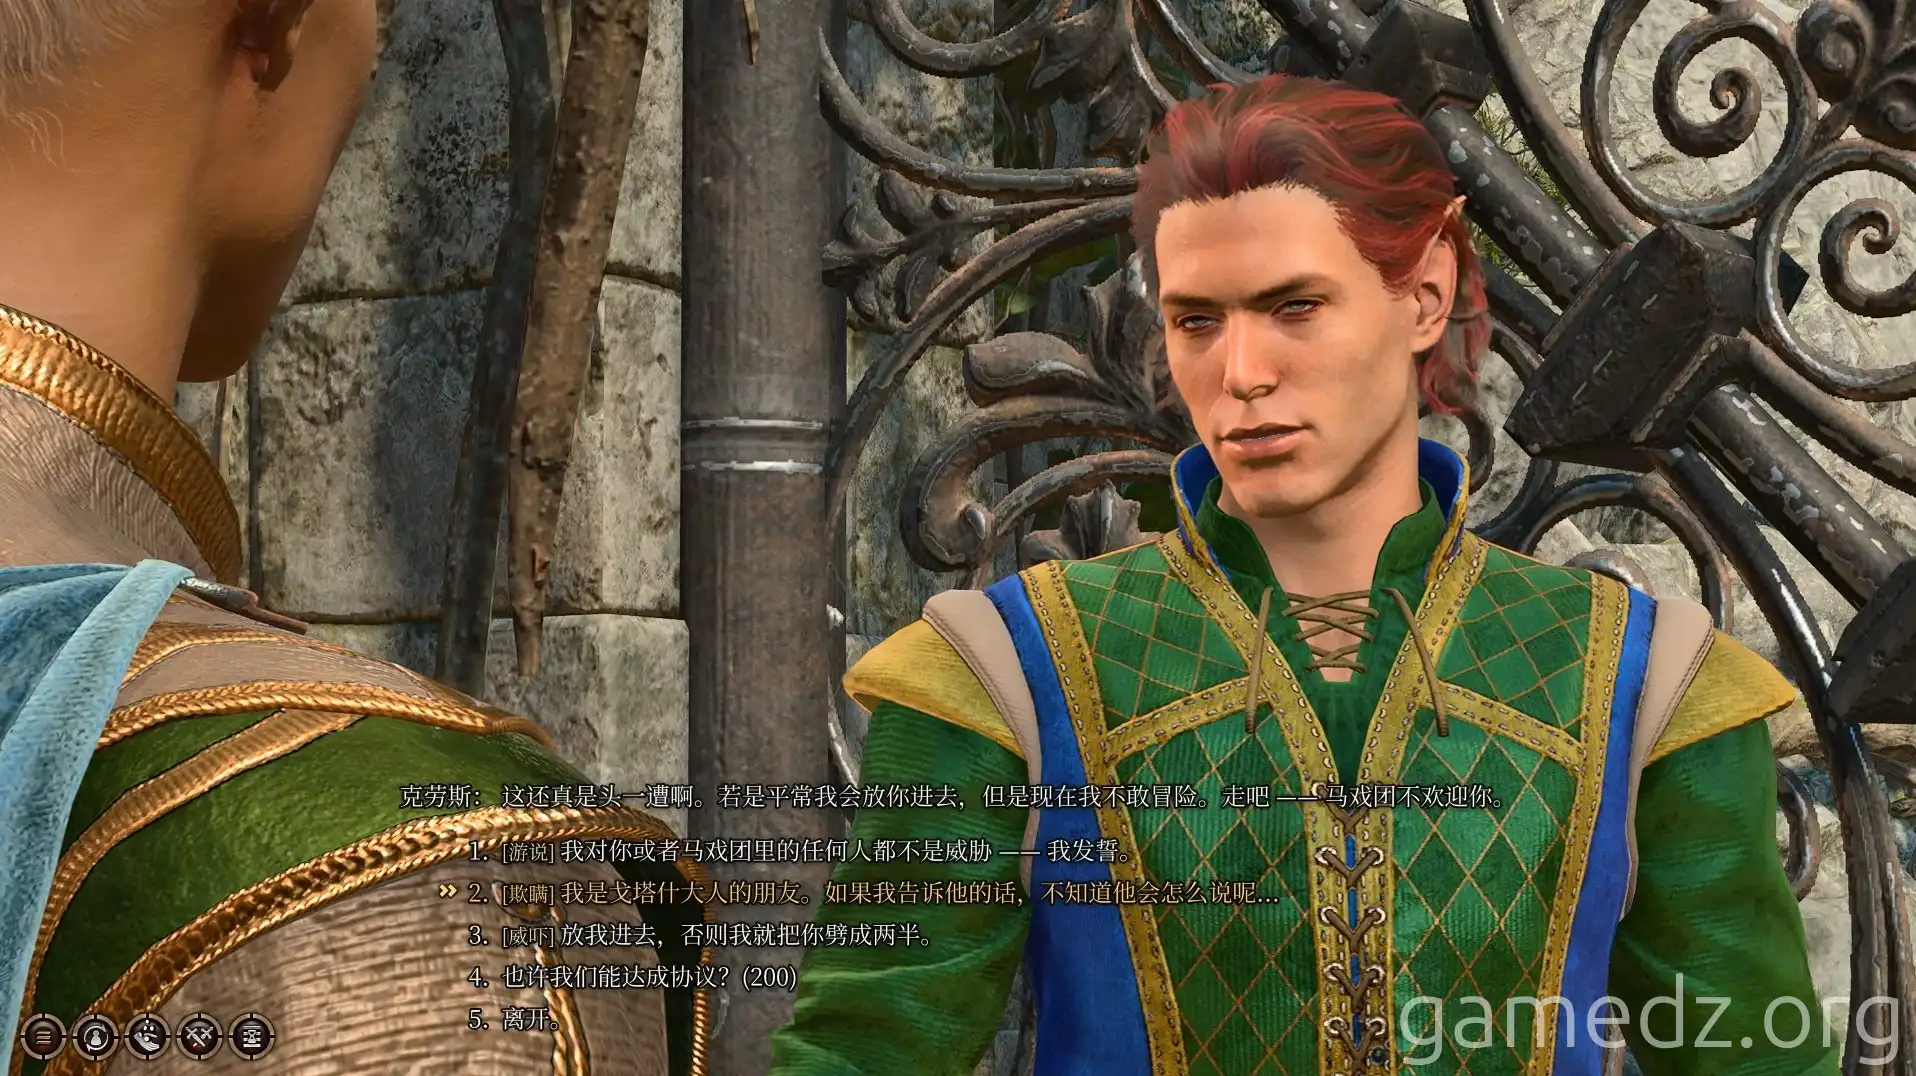
When speaking with the circus gatekeeper, we'll need to pass some checks or pay a fee to enter the circus. Characters with a Charlatan background will receive an inspiration if they use deception to gain entry.
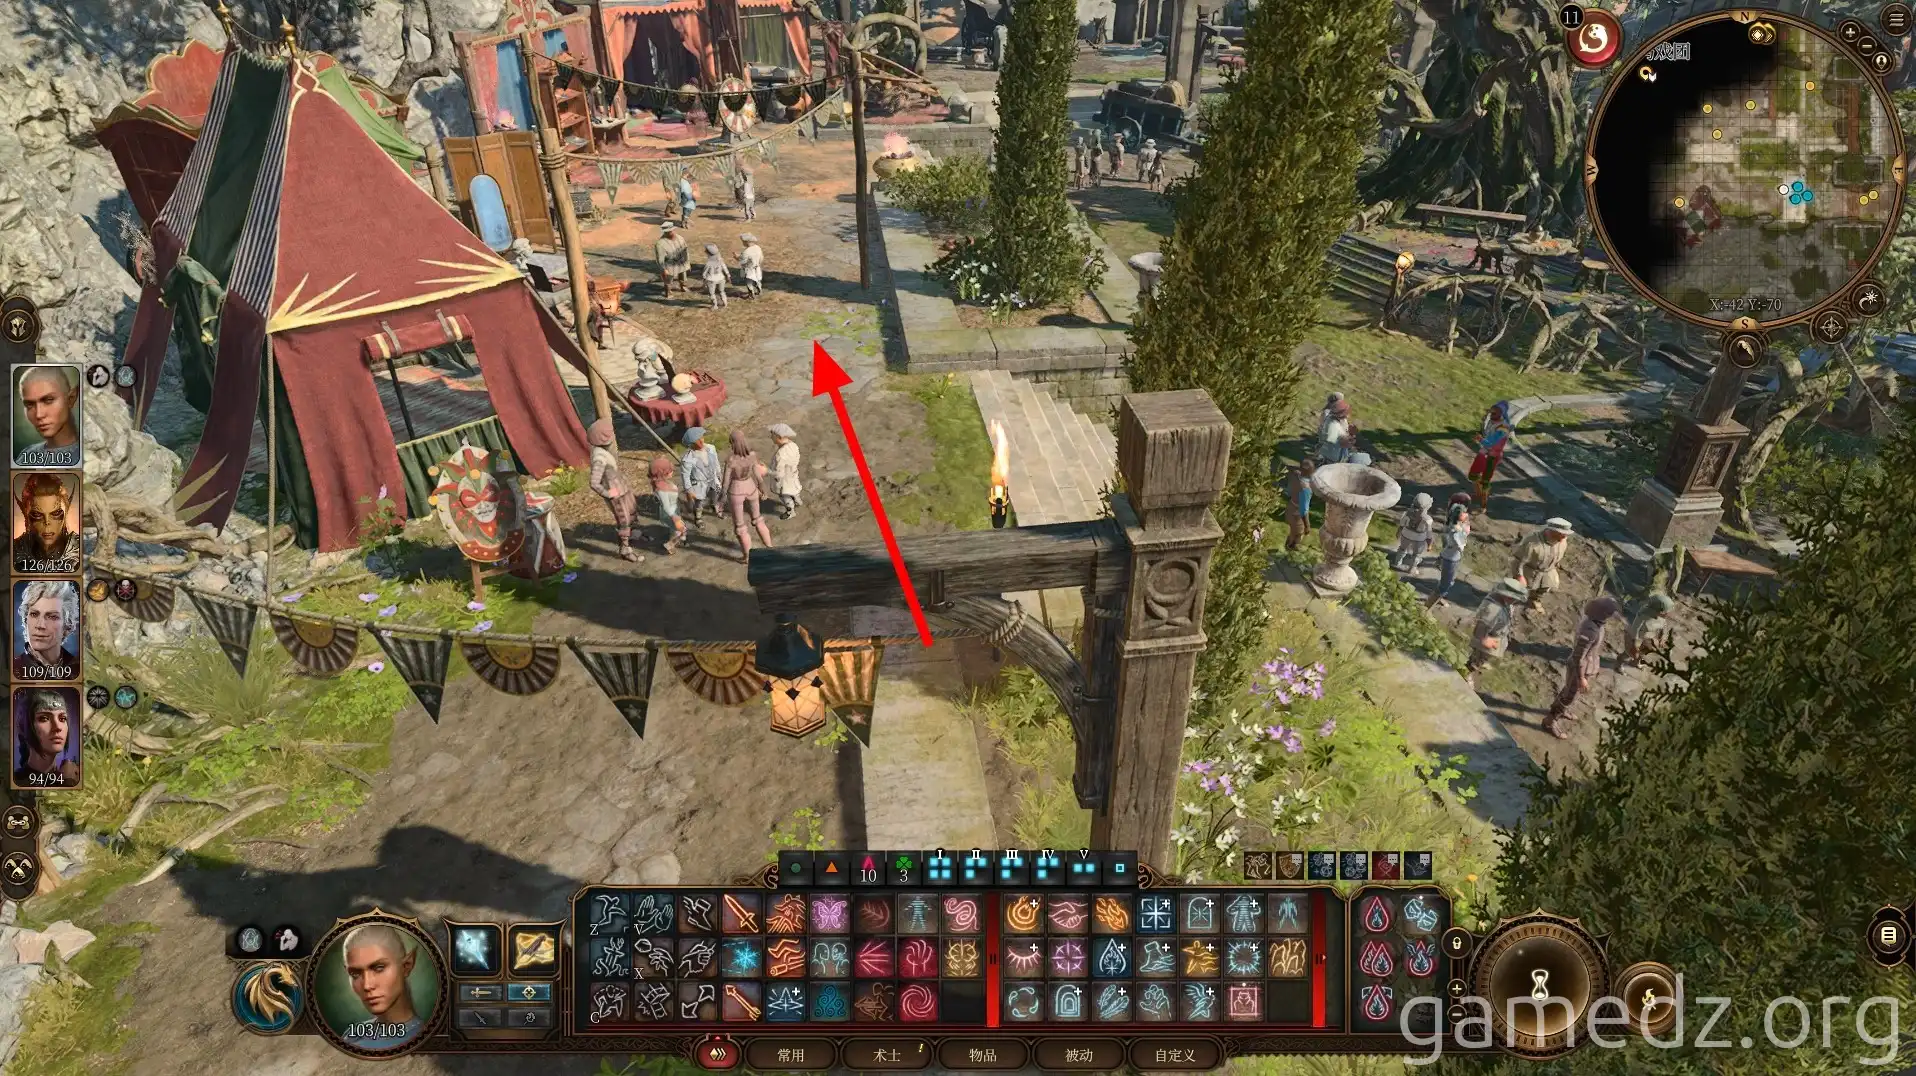
Upon entering the circus, head west along the southern path first.
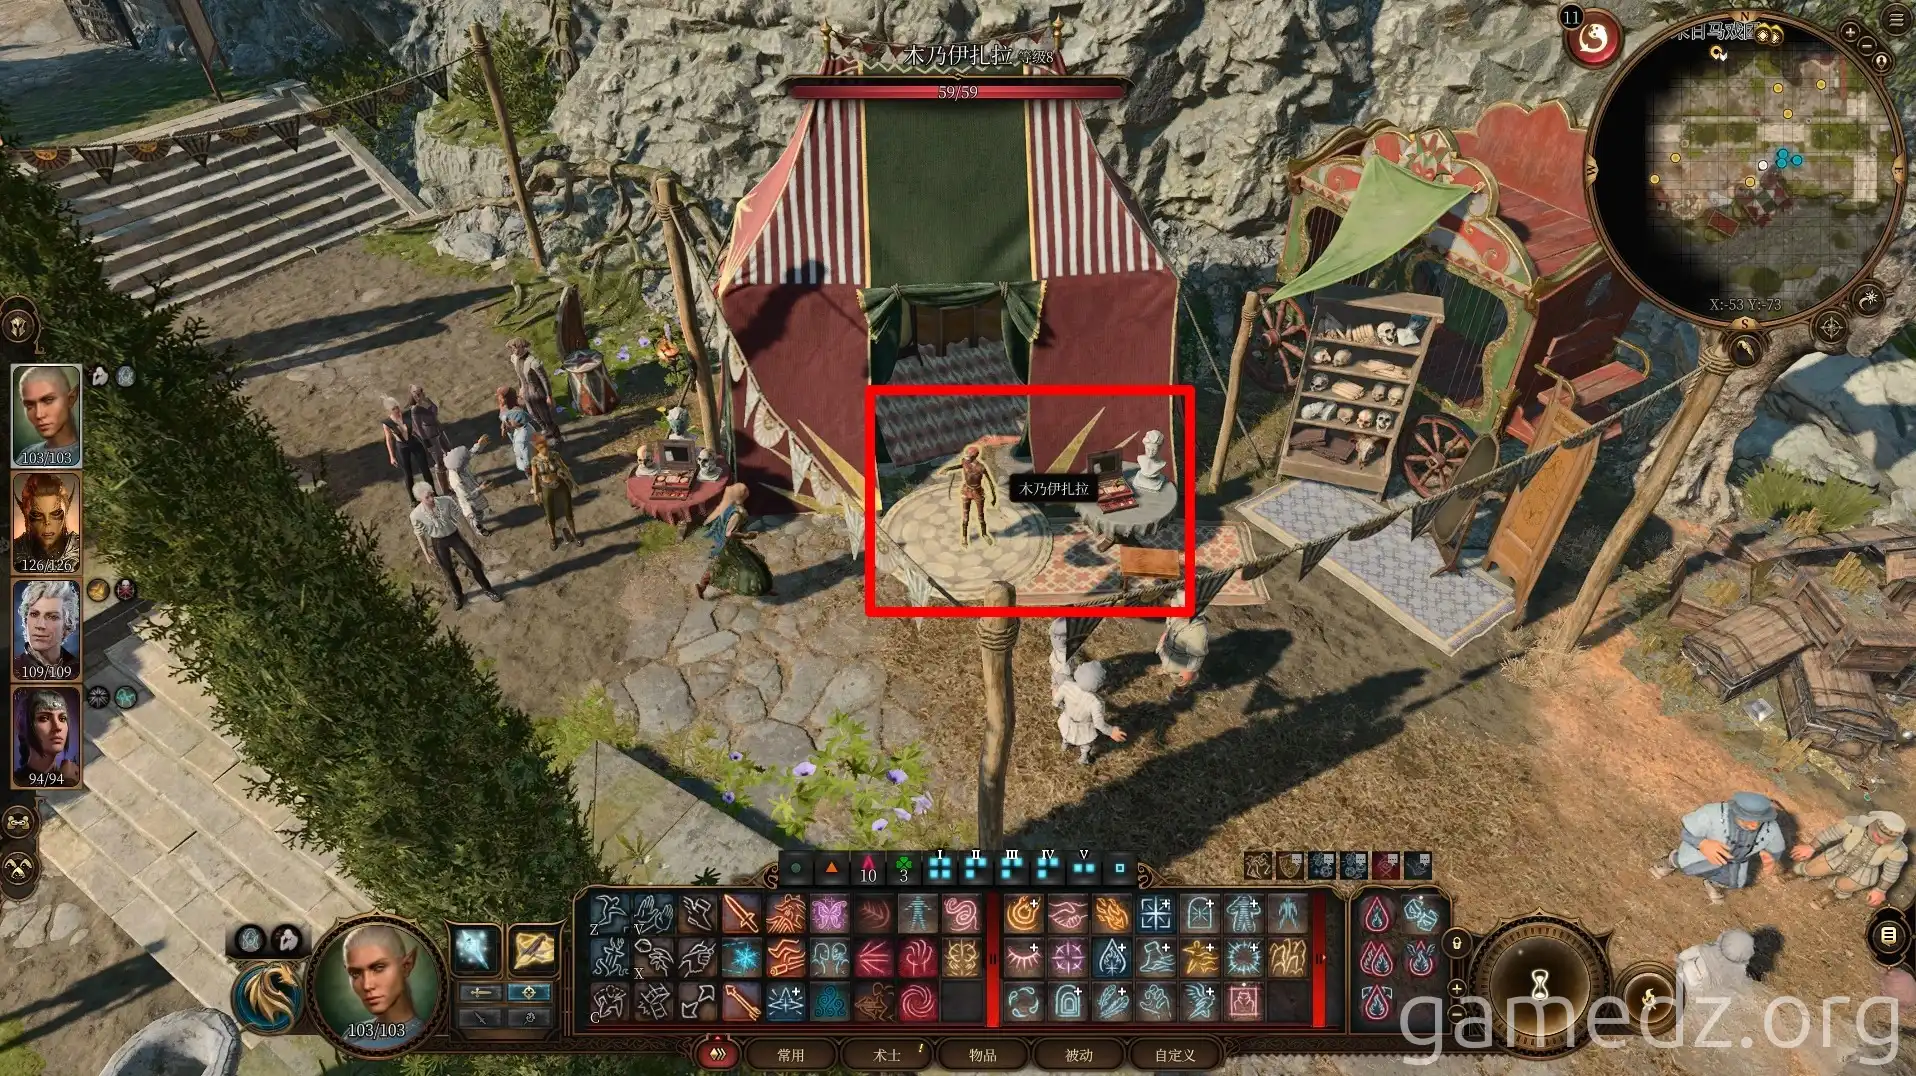
At Mummy Zarra, passing an Insight check to understand her intentions will allow you to purchase some dyes from her.
Next, approach the nearby Djinni, Akabi.
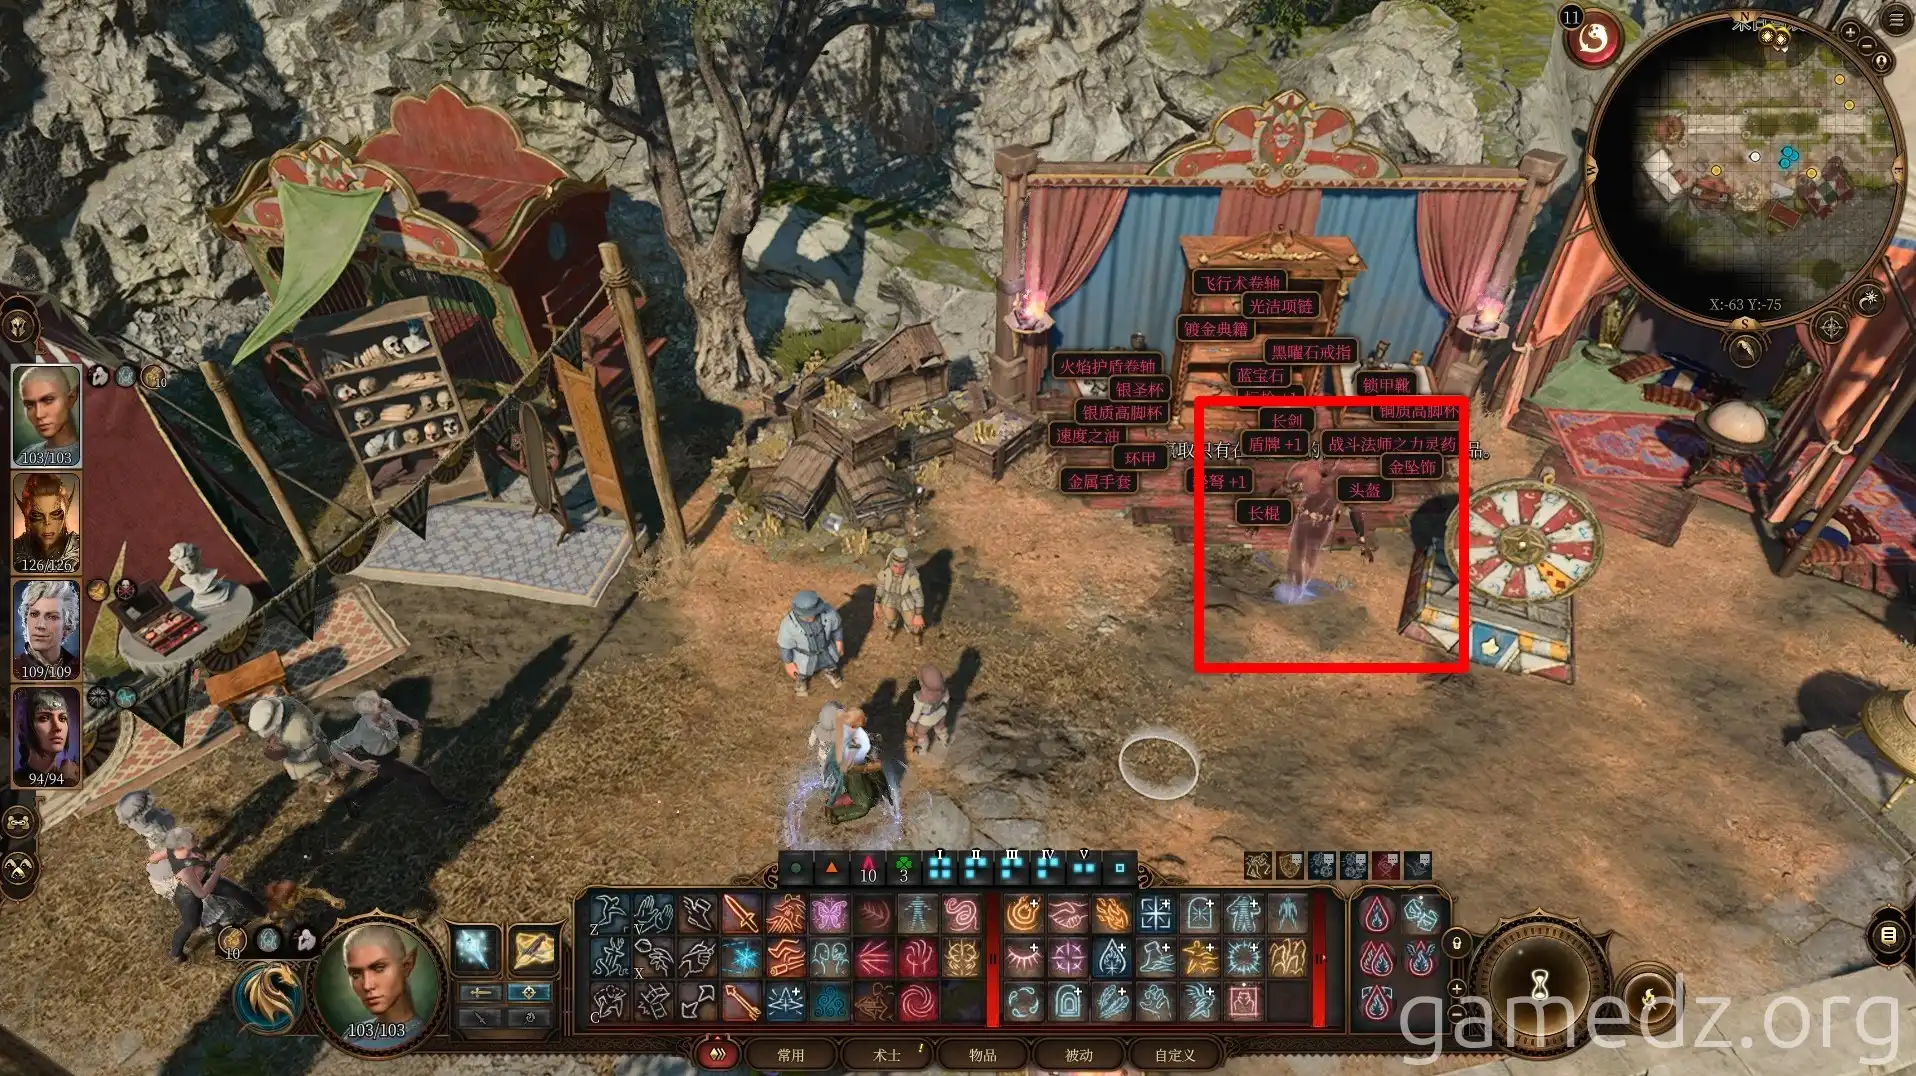
During the conversation, choose to approach him from behind. You can steal the Fine accessory, the Ring of the Air Elemental, from him.
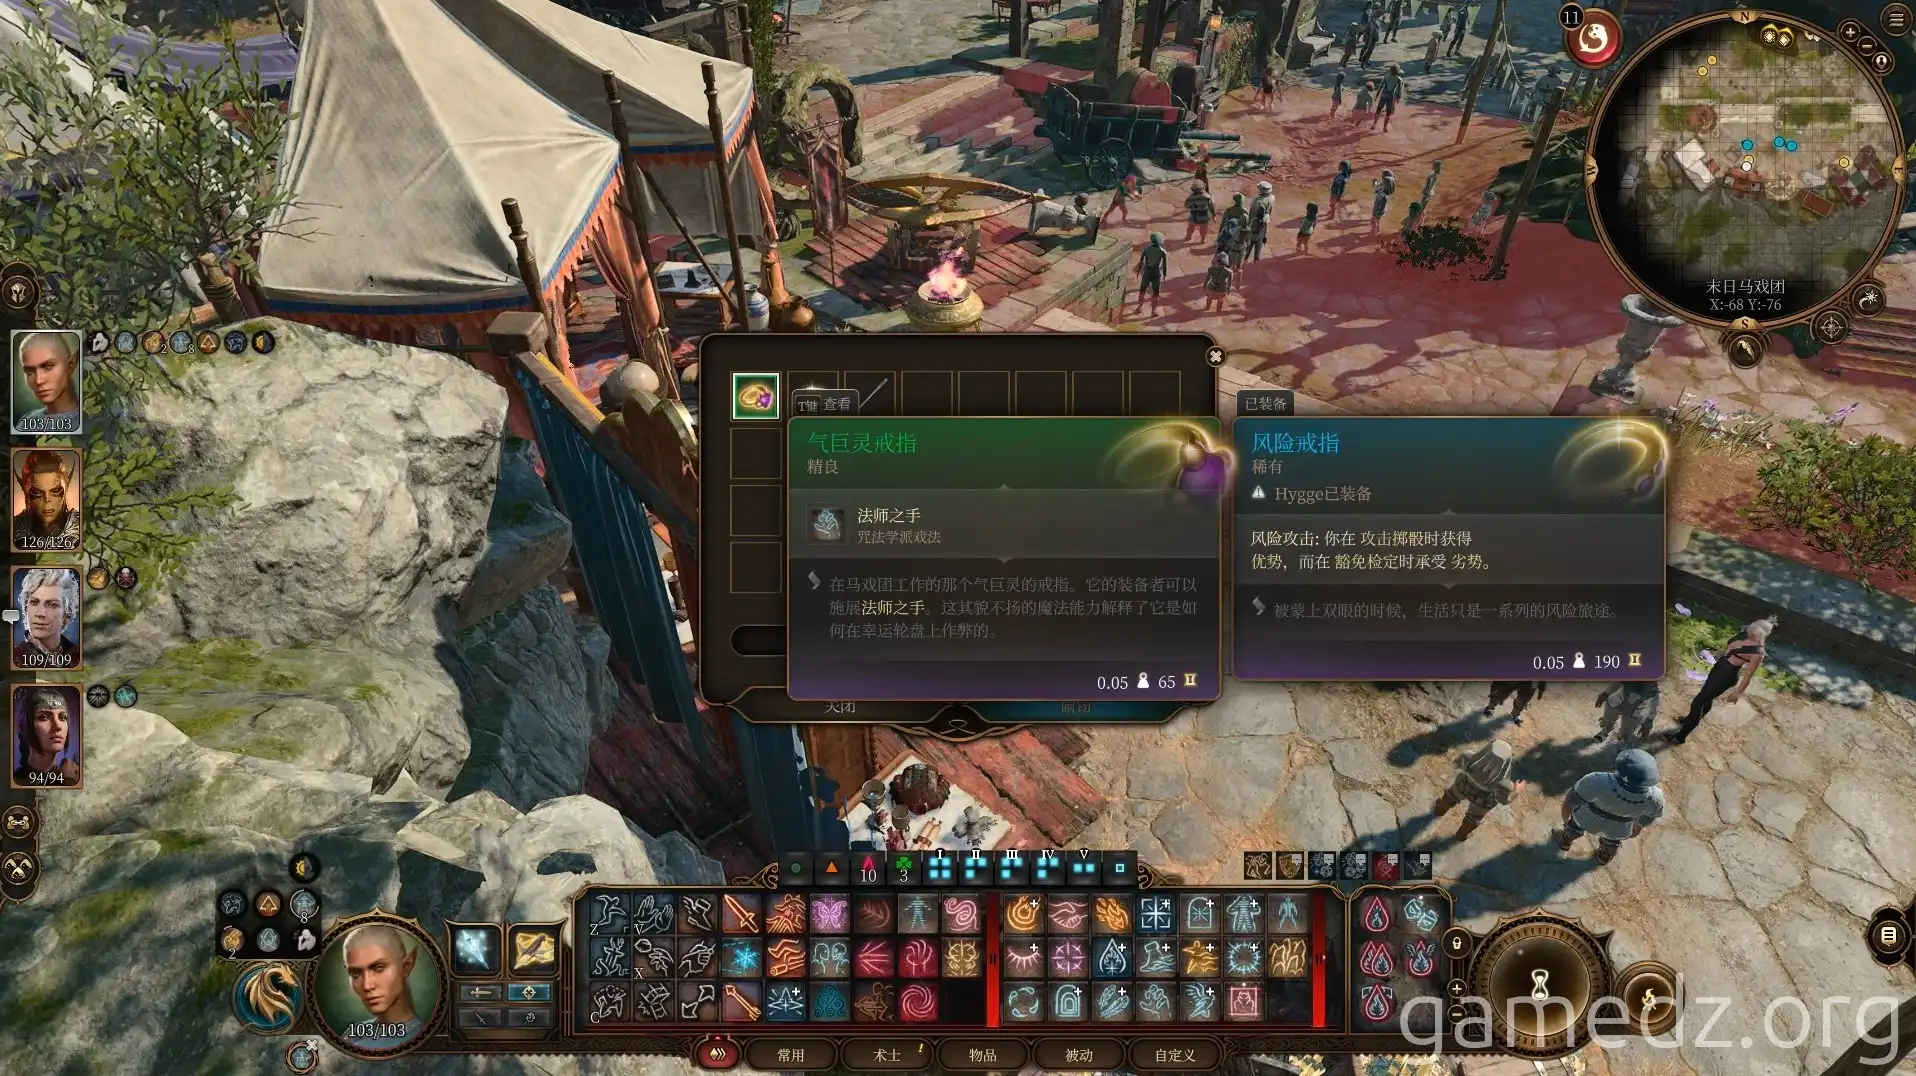
After taking the ring, participate in the prize draw, and you'll win the grand prize. This will also inspire characters with a Charlatan or Sage background.
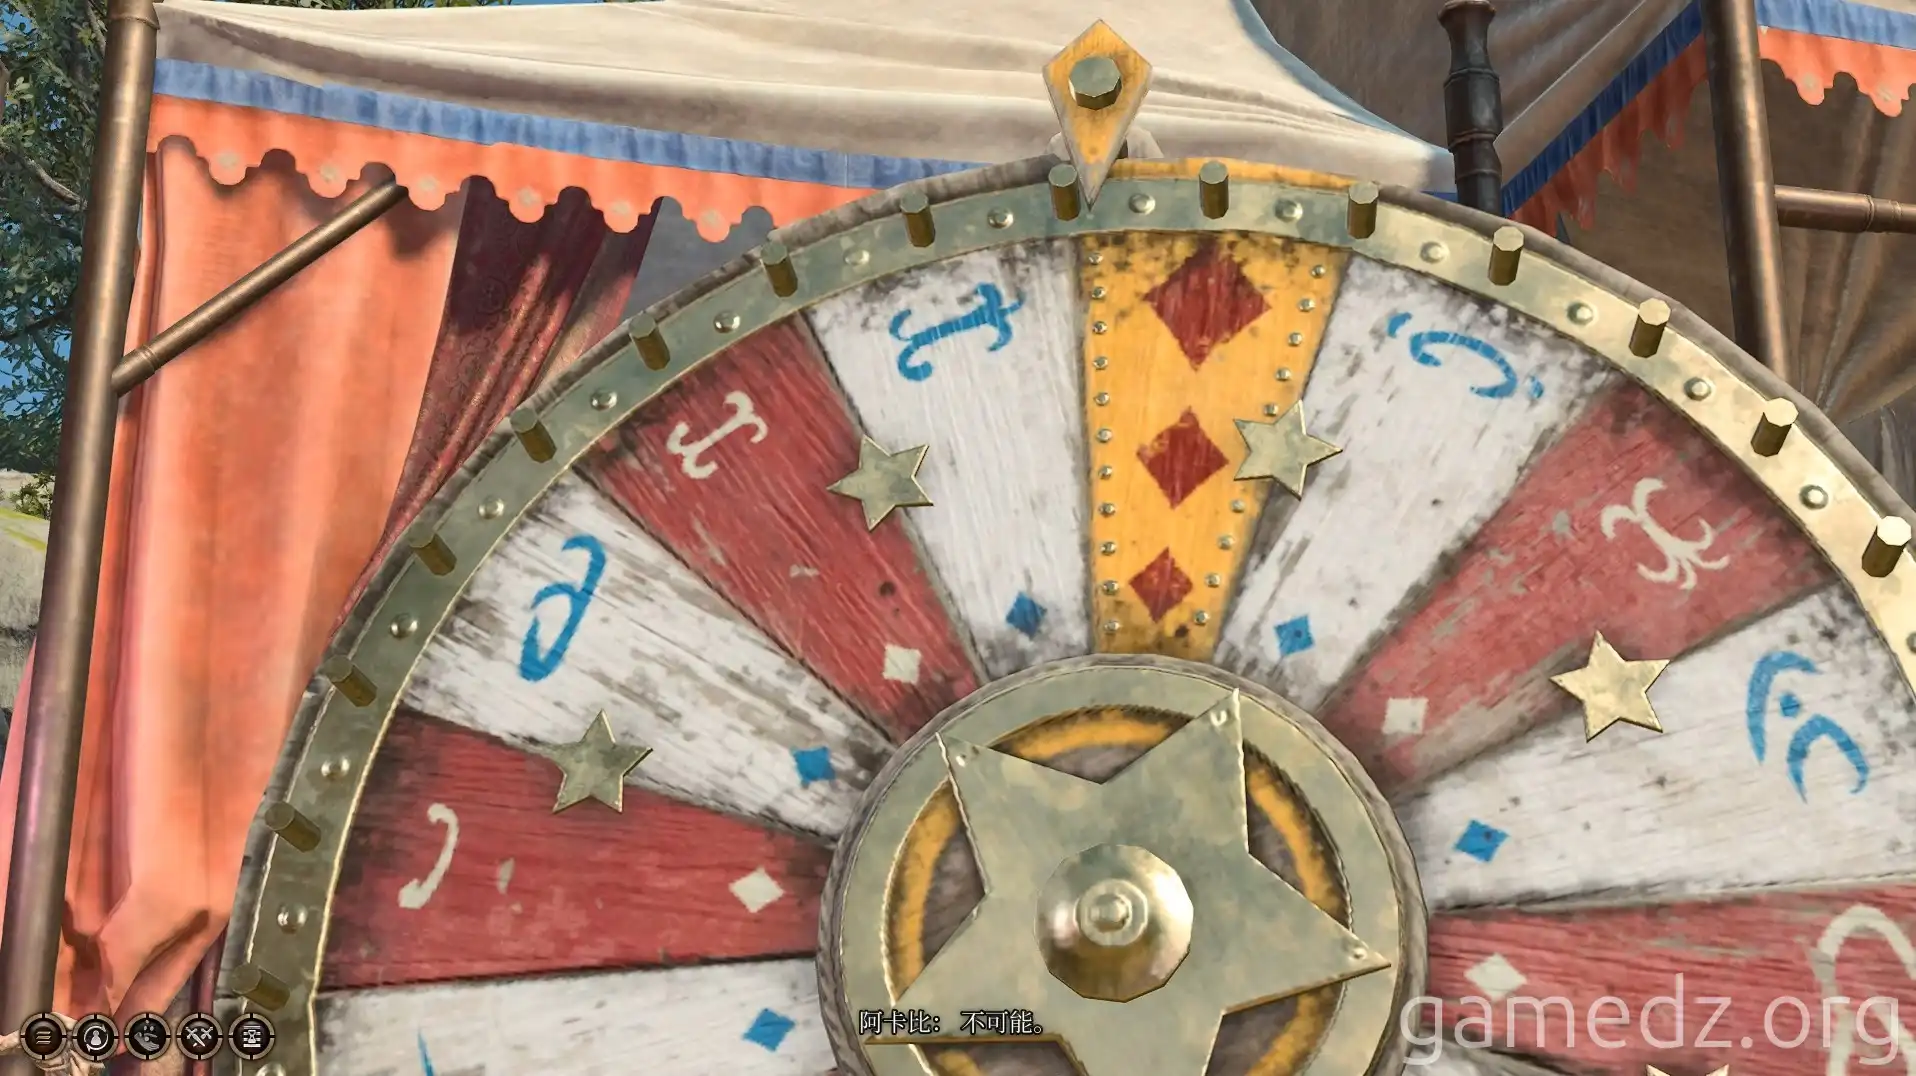
However, Akabi, enraged, will then teleport us to a jungle filled with dinosaurs. It's recommended to use Invisibility or an Invisibility potion to hide and then proceed to the portal.
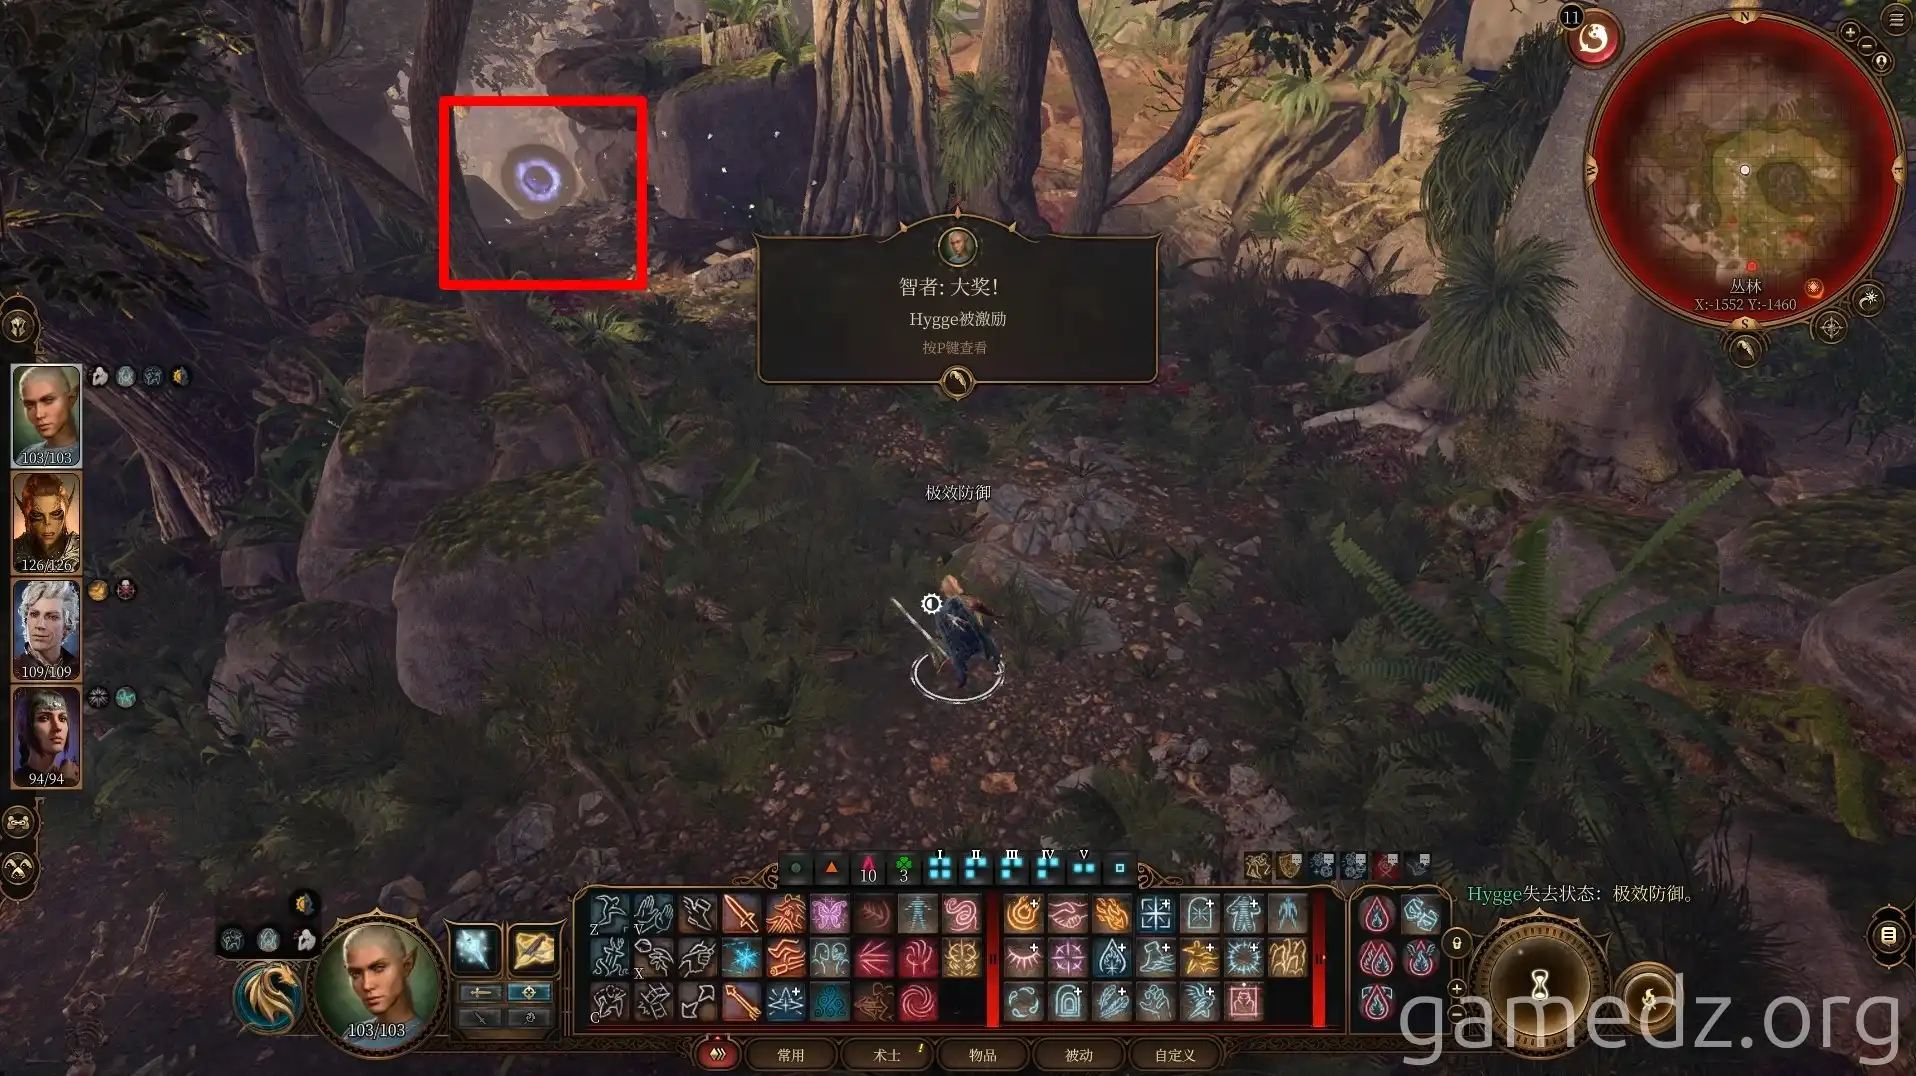
Outside the cave in the southwest corner of the jungle, you can reach a high platform using abilities like Misty Step.
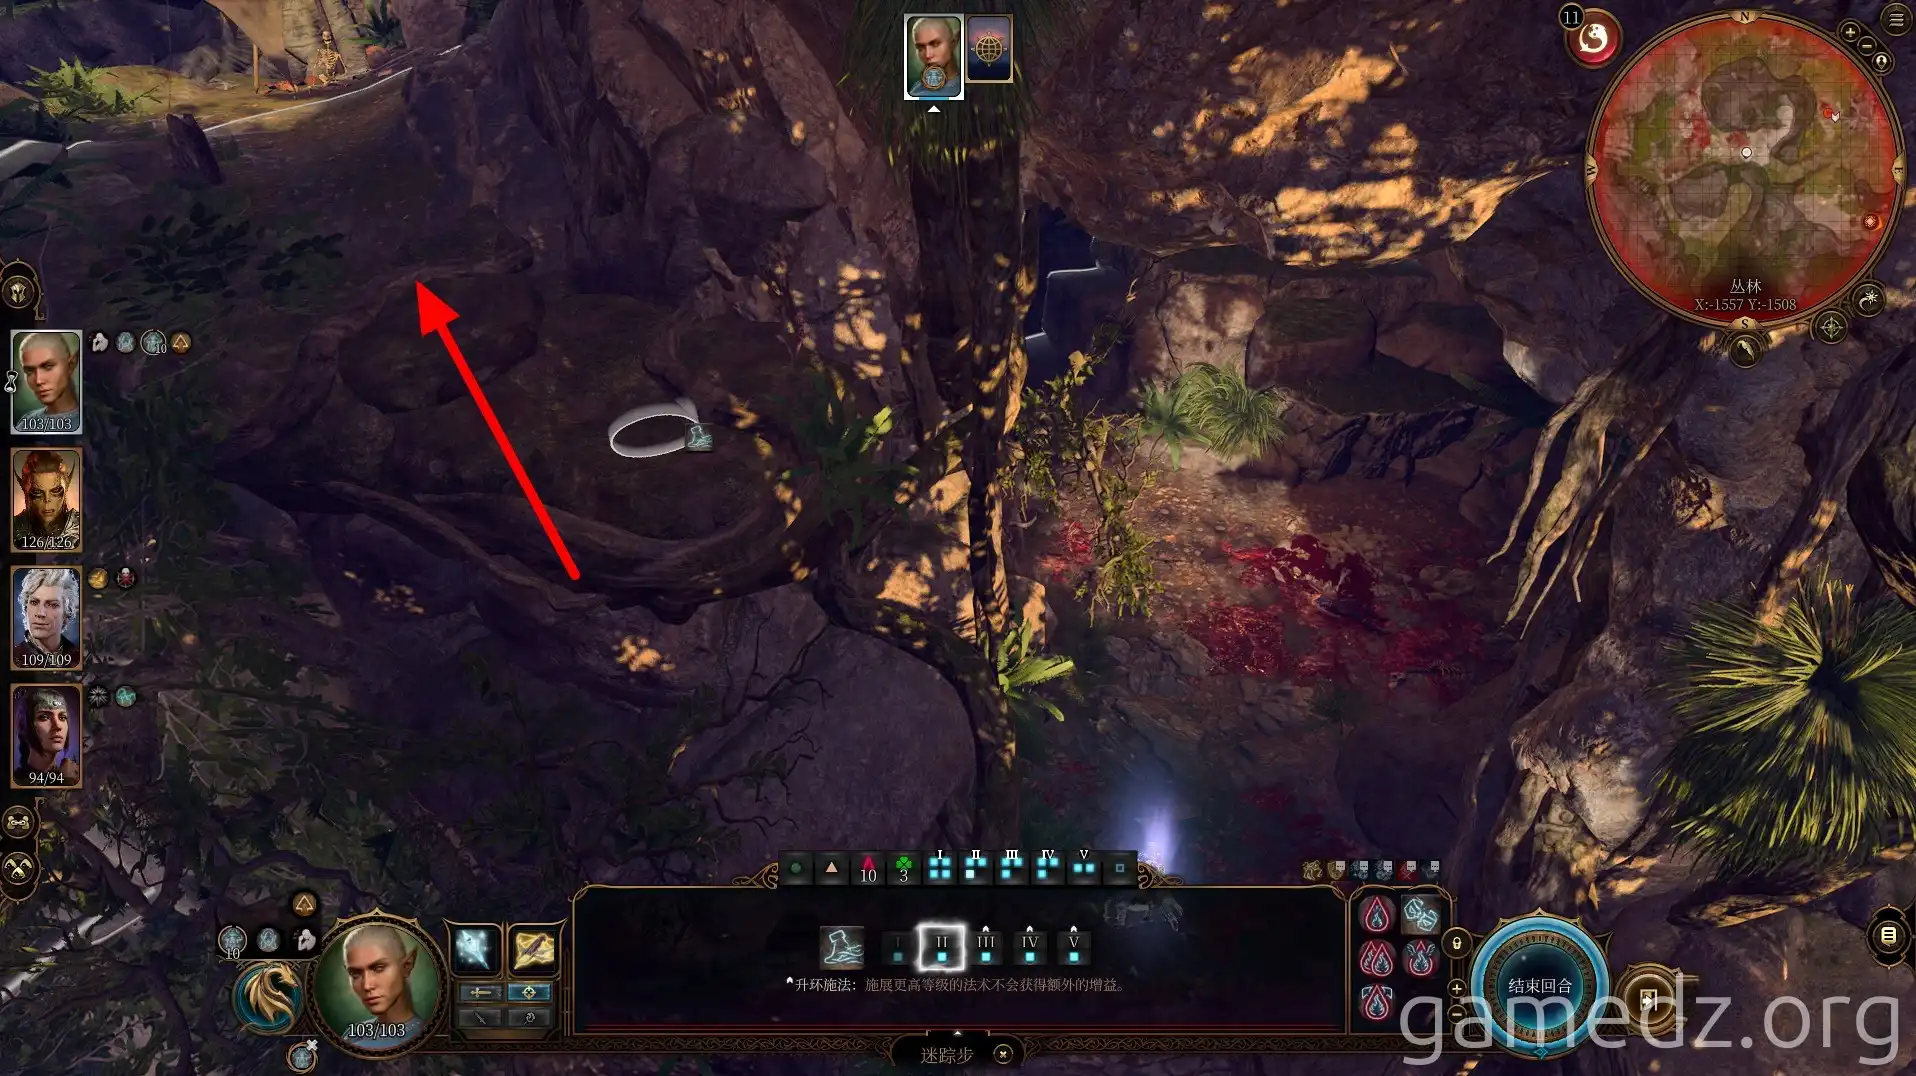
On the high platform, you can find the Rare accessory, the Circlet of the Blinding Star, in a backpack next to a skeleton.
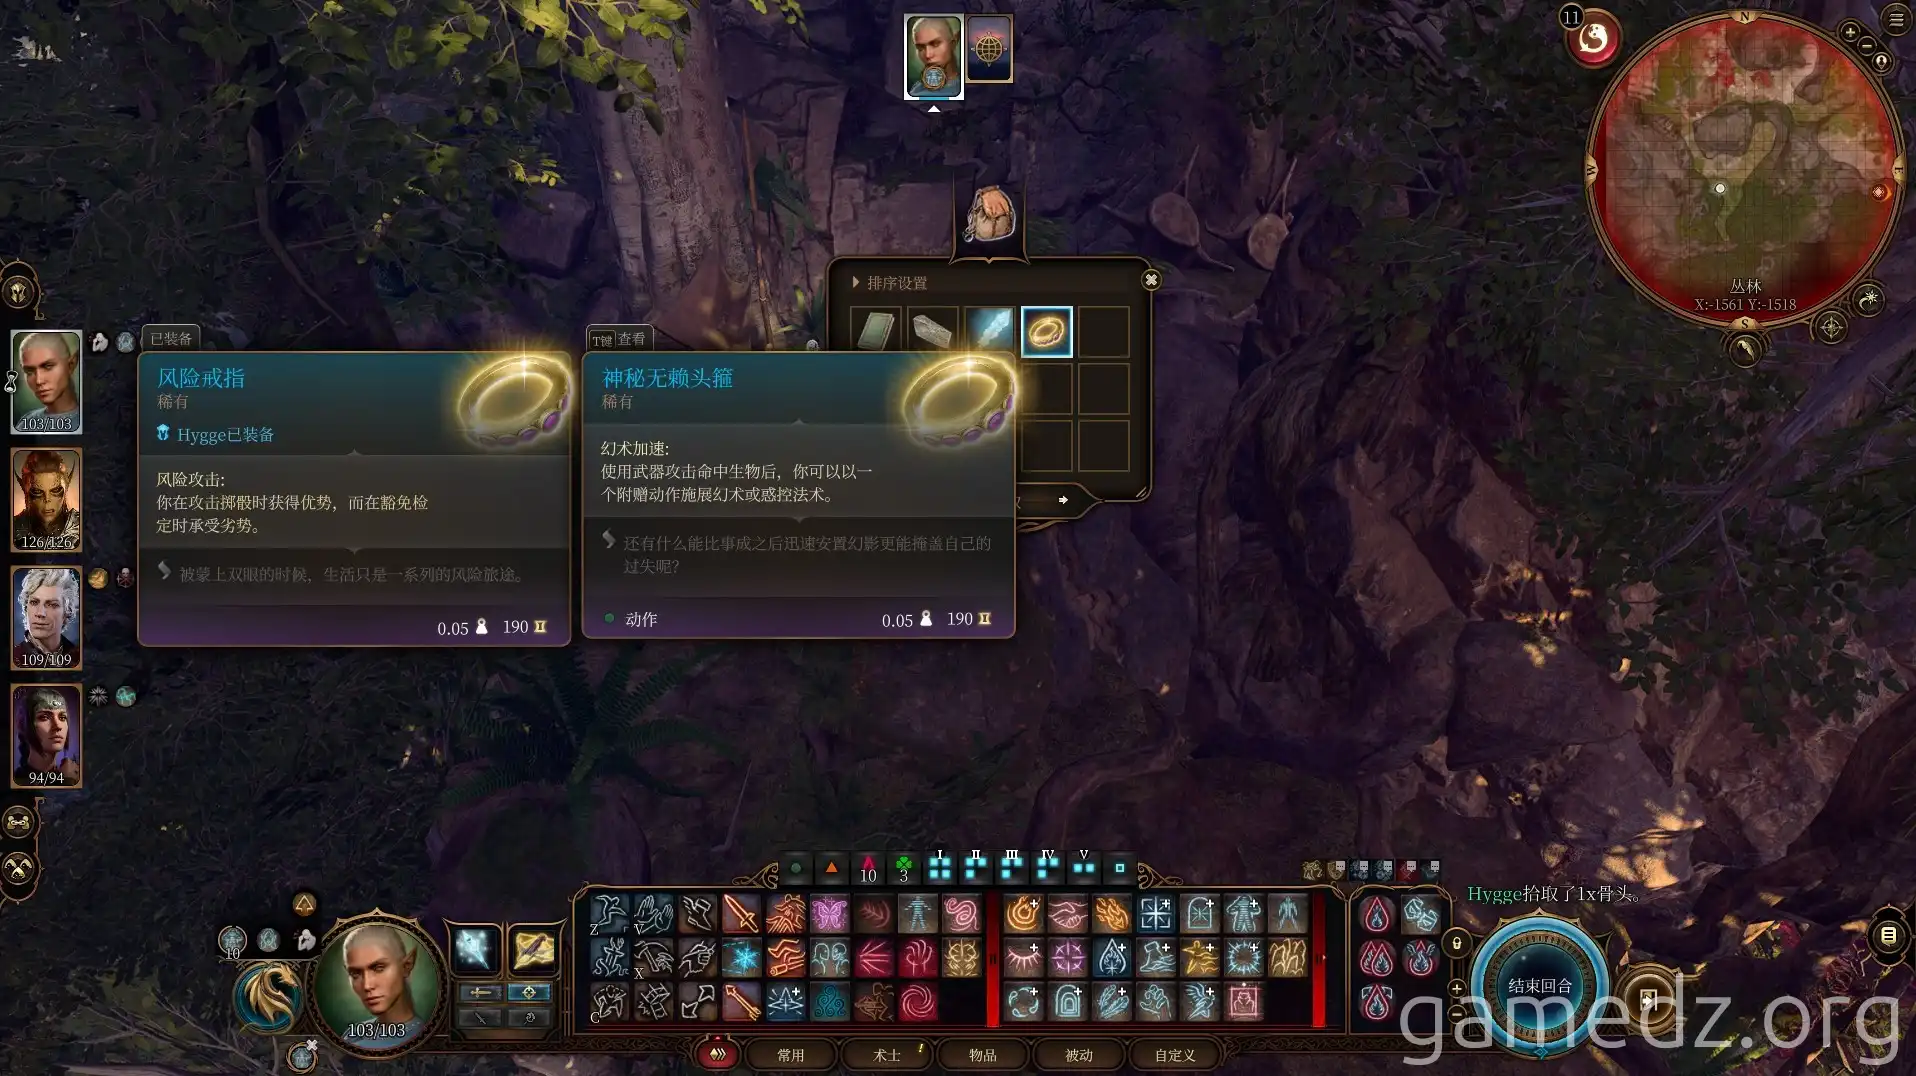
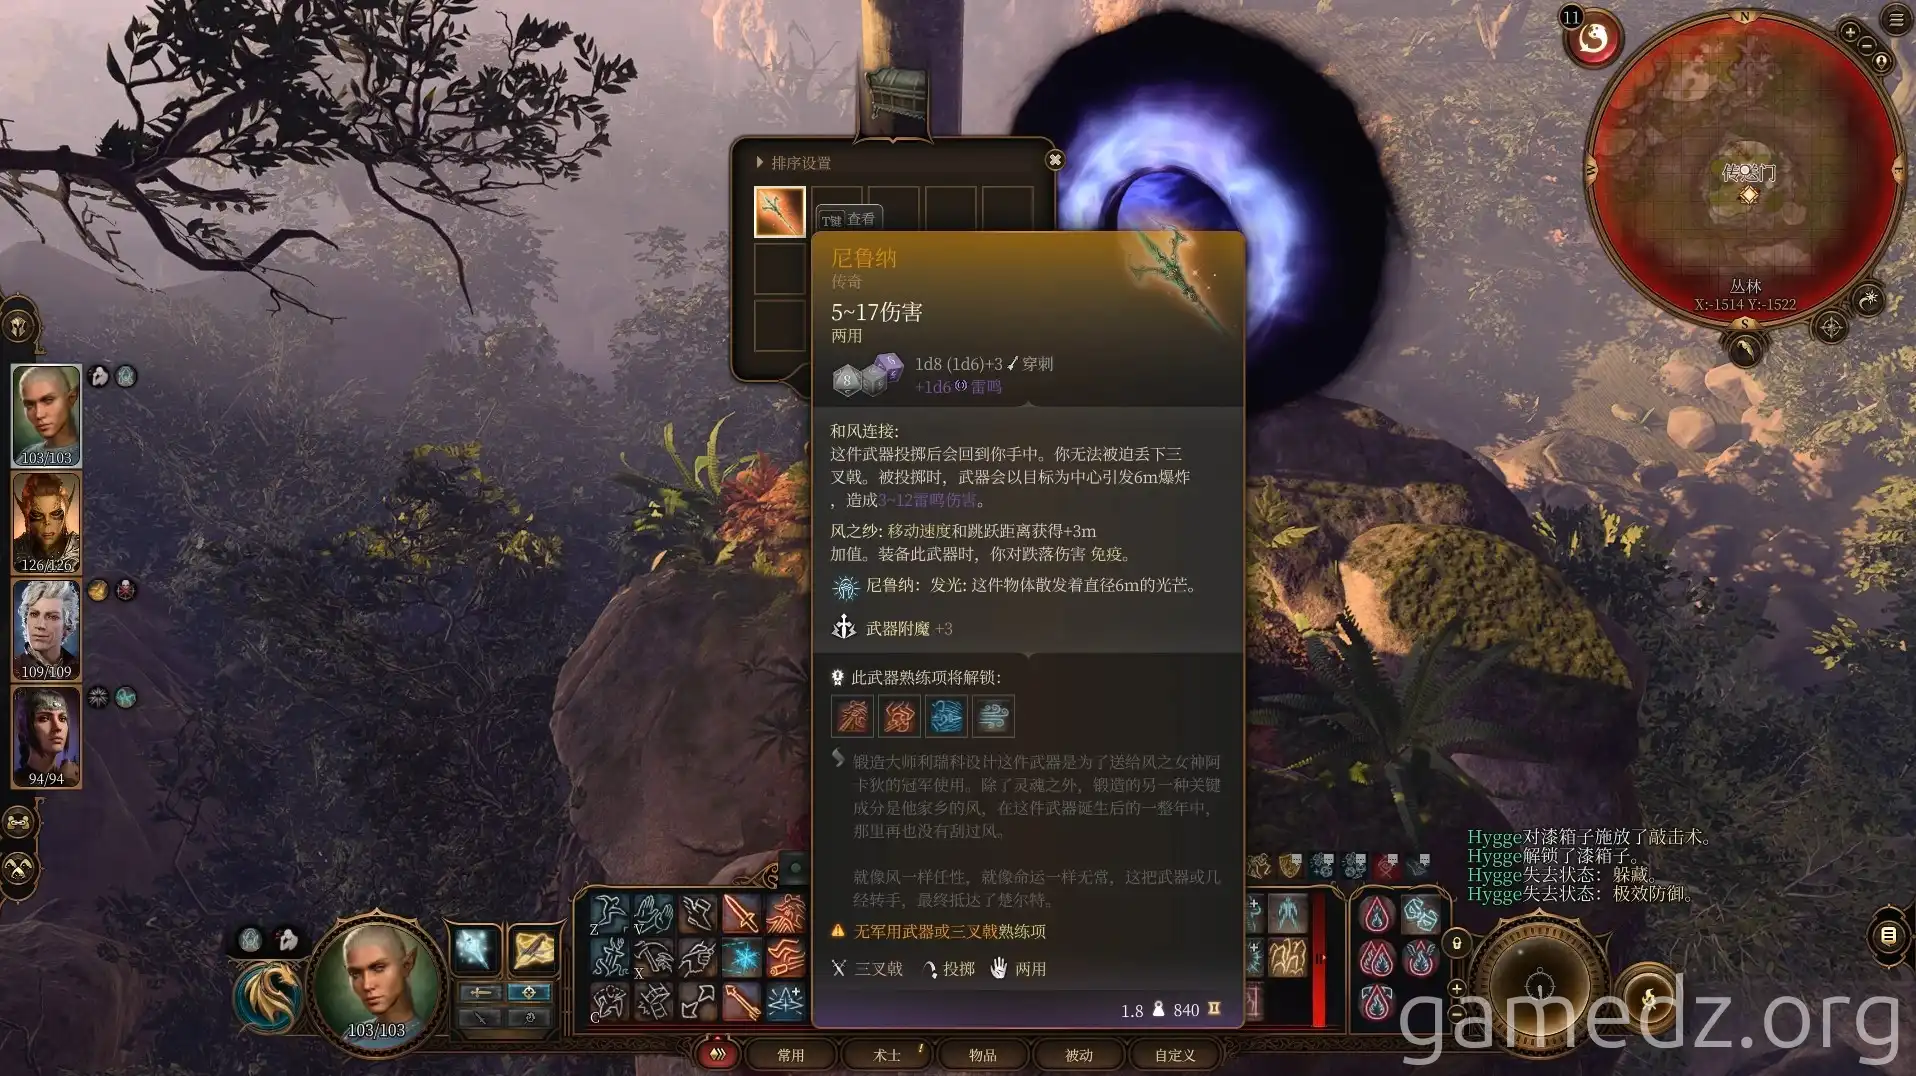
In a chest near the portal, you can obtain the Legendary weapon, Nyrulna. Then, use the portal to return to the circus.
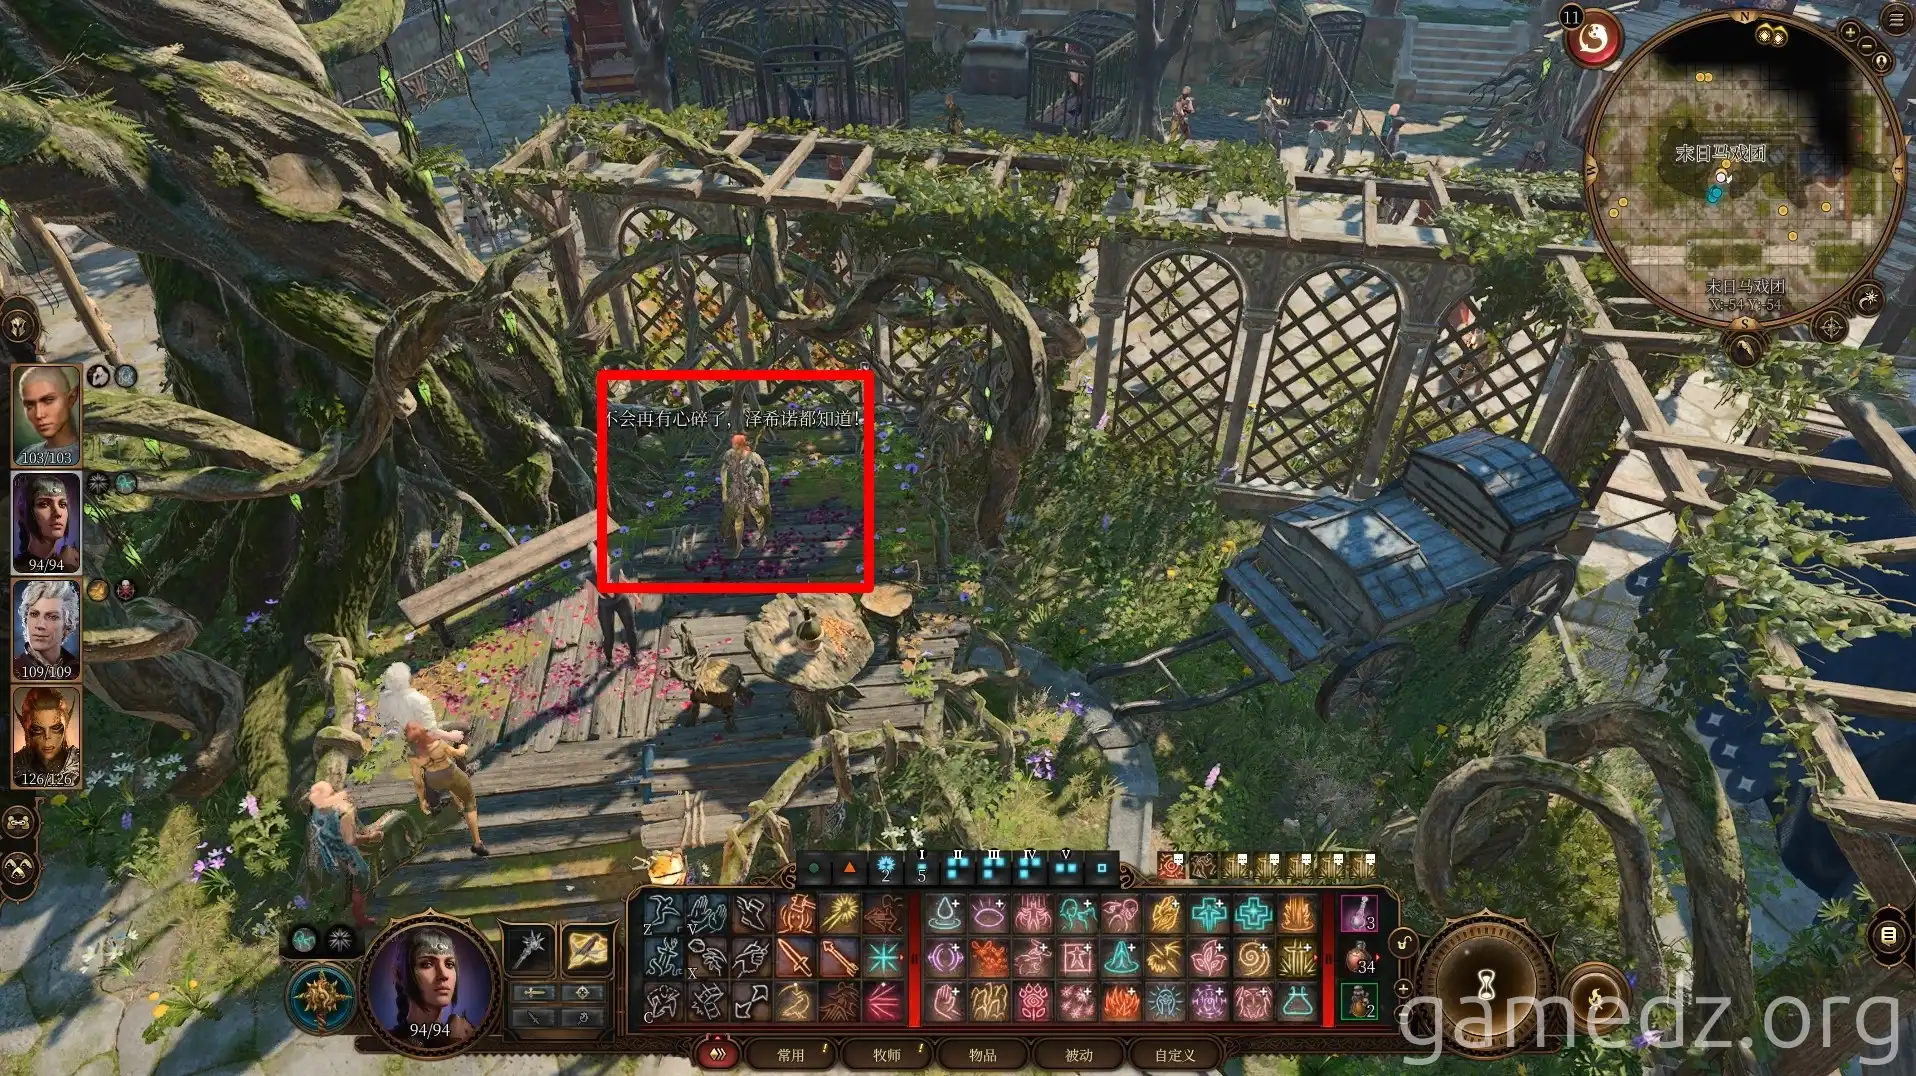
Next, head to the center of the circus plaza and speak with Zevlor to test your bond with your companions. It's recommended to choose Shadowheart. After the test, characters with a Sage or Acolyte background will be inspired.
Zevlor is actually an Illithid in disguise. You don't need to do anything further with her; just leave after the test.
Speak with the Cambion, Bonny, in the southwest corner of the circus. For 5000 gold, you can commission a statue to be placed in your camp.
Follow the path north and speak with the Kobold merchant, Popper. You can purchase the Rare equipment, Gloves of the Darkened Urge, from him. In addition to equipment, you can also buy a Cloud Giant Strength potion from Popper, which will increase your Strength to 27.
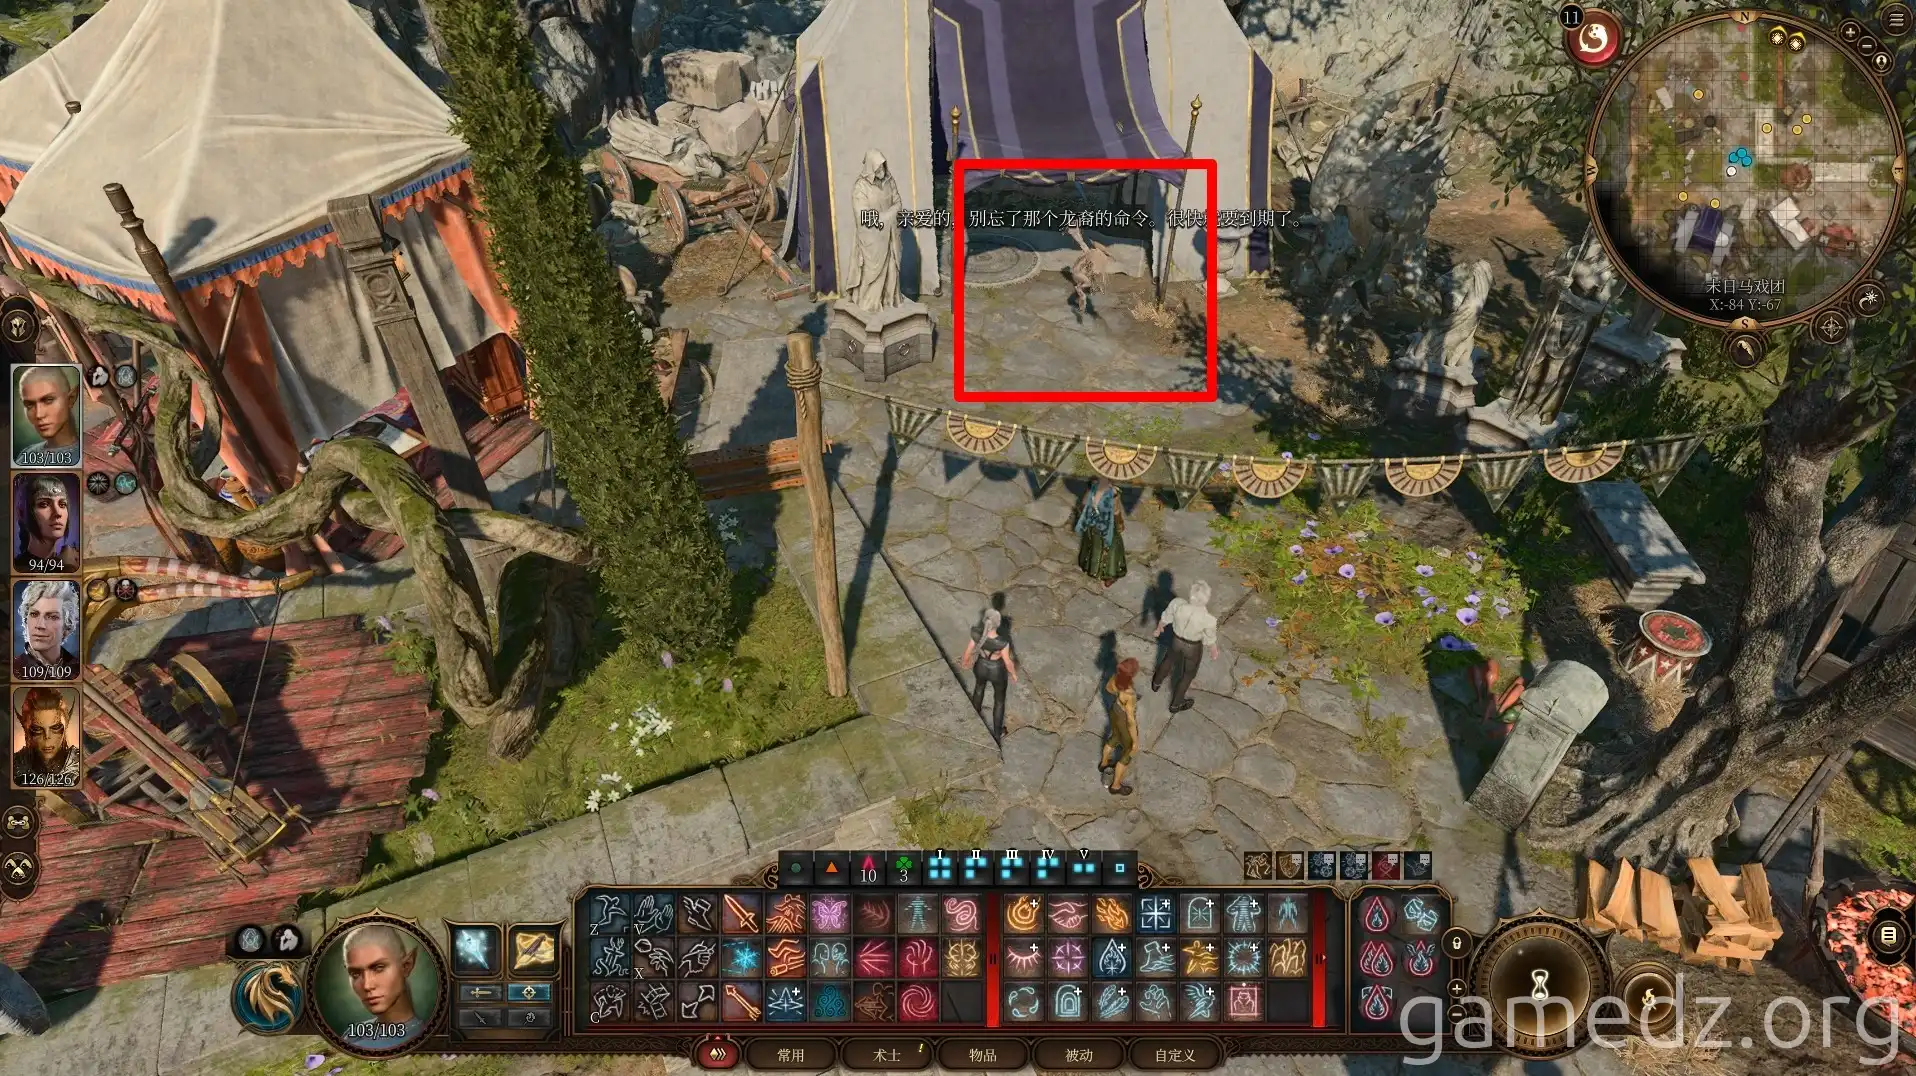
You can then directly take the Jester's Hand next to him. In the subsequent dialogue, use deception or similar methods to keep the hand. This item is a quest item for a side quest and will be useful later.
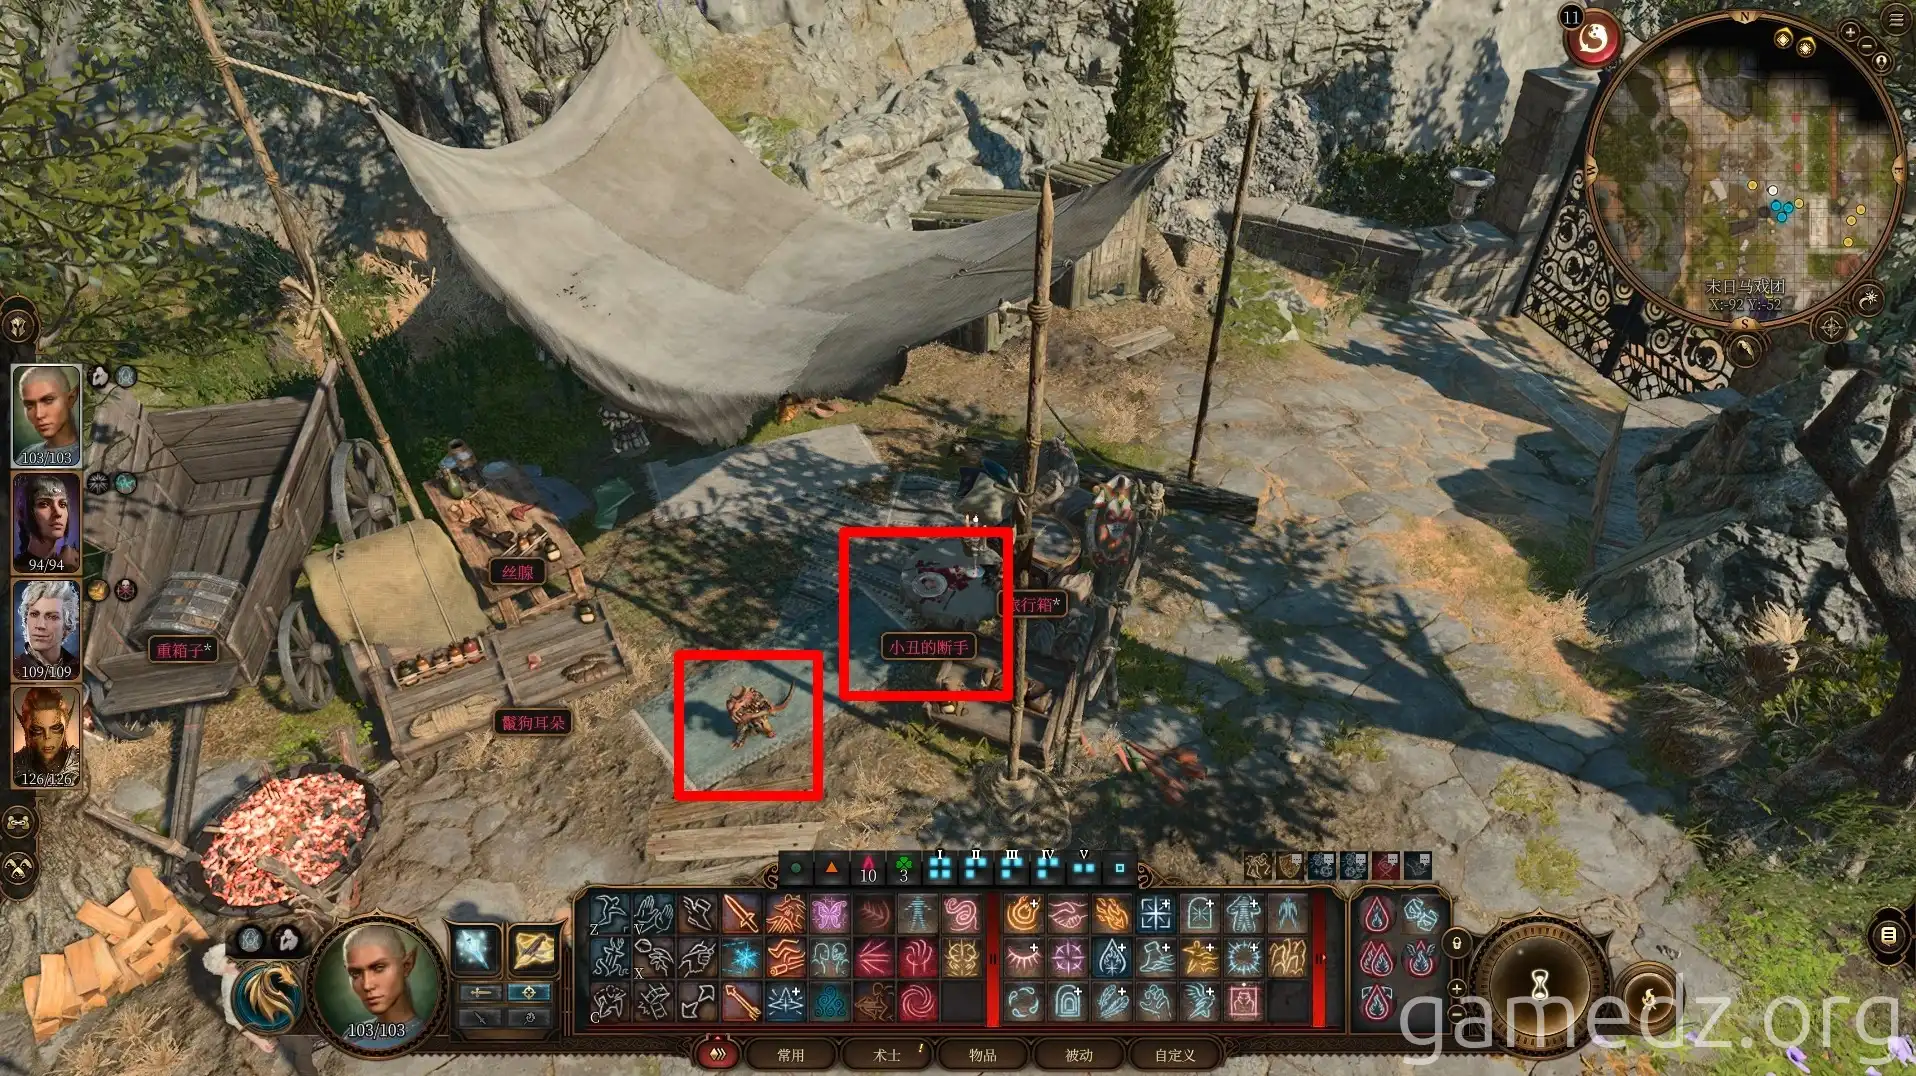
The stats for the Gloves of the Darkened Urge are as follows.
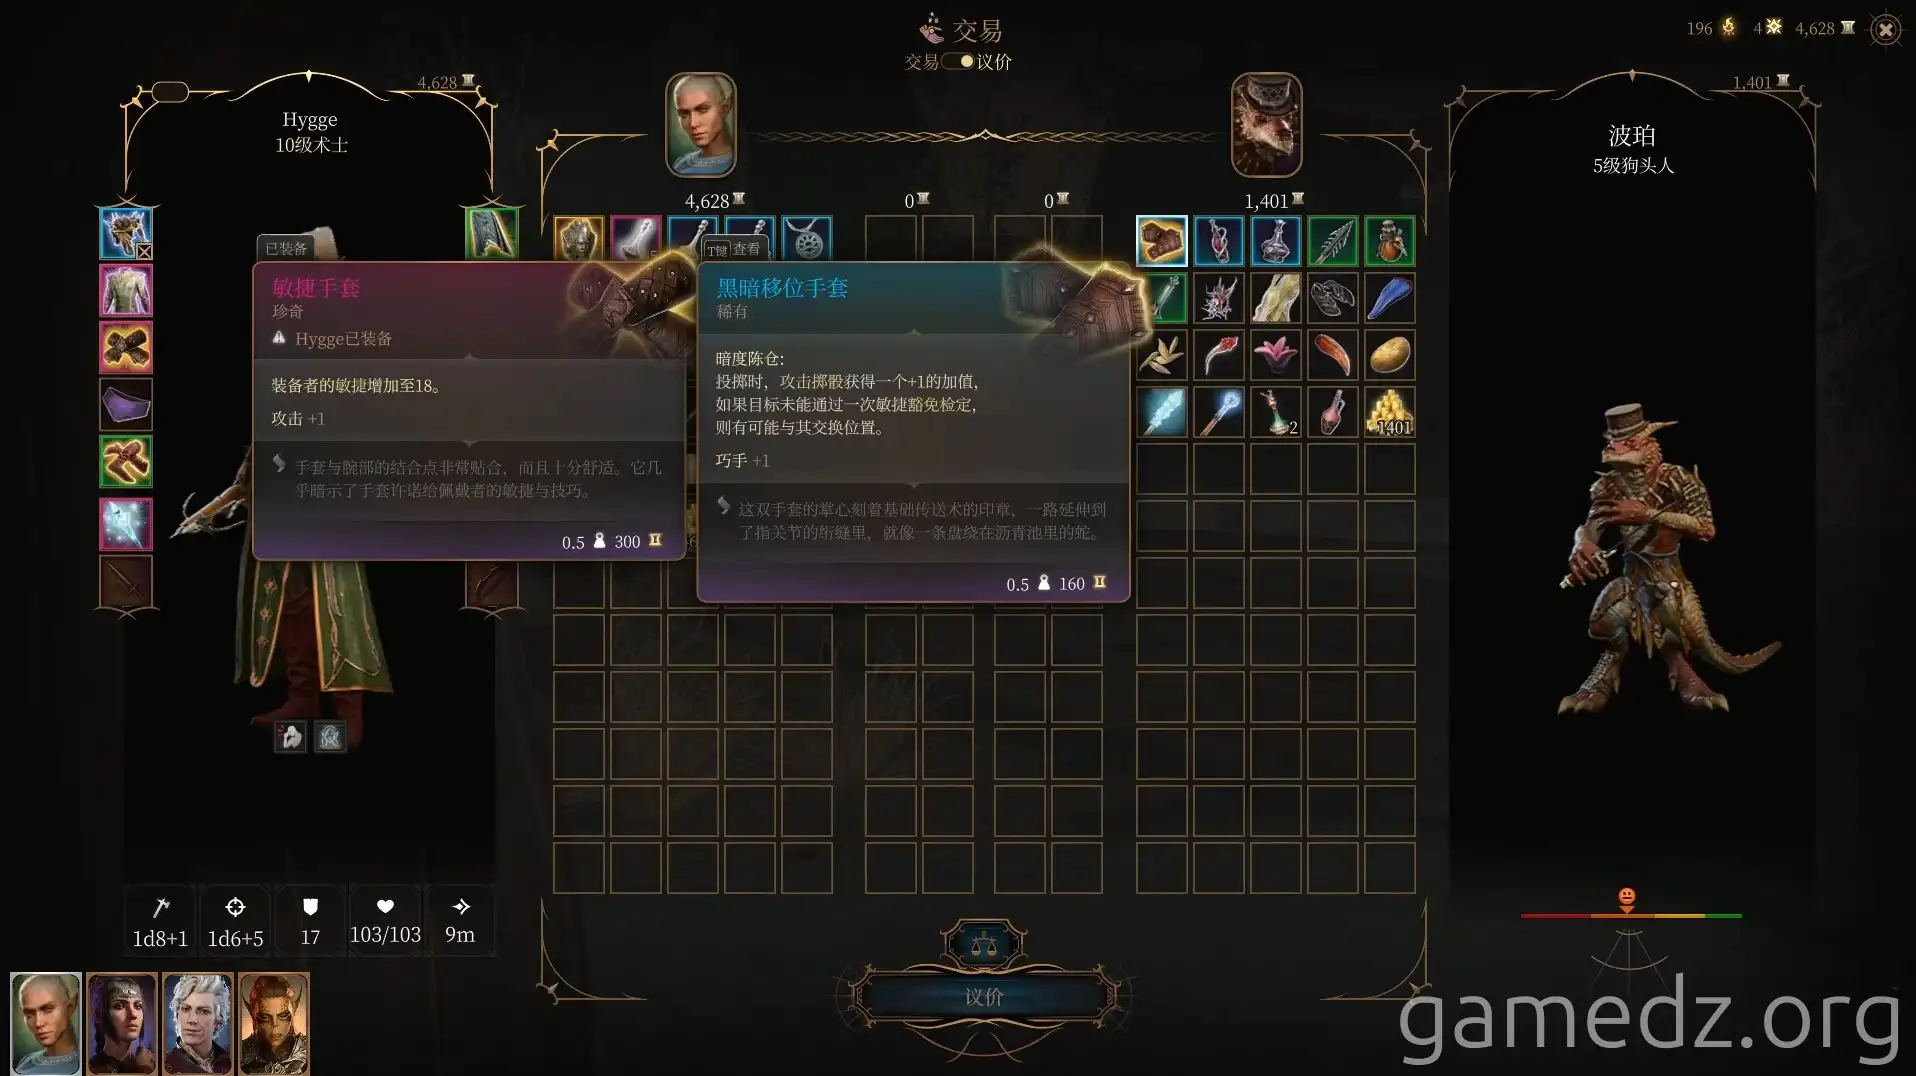
Continuing north, you'll encounter the Circus Master. The Circus Master and the chest in the nearby tent contain a Very Rare and a Rare piece of equipment. However, you don't need to worry about them for now; you'll obtain them later. Continue east along the path.
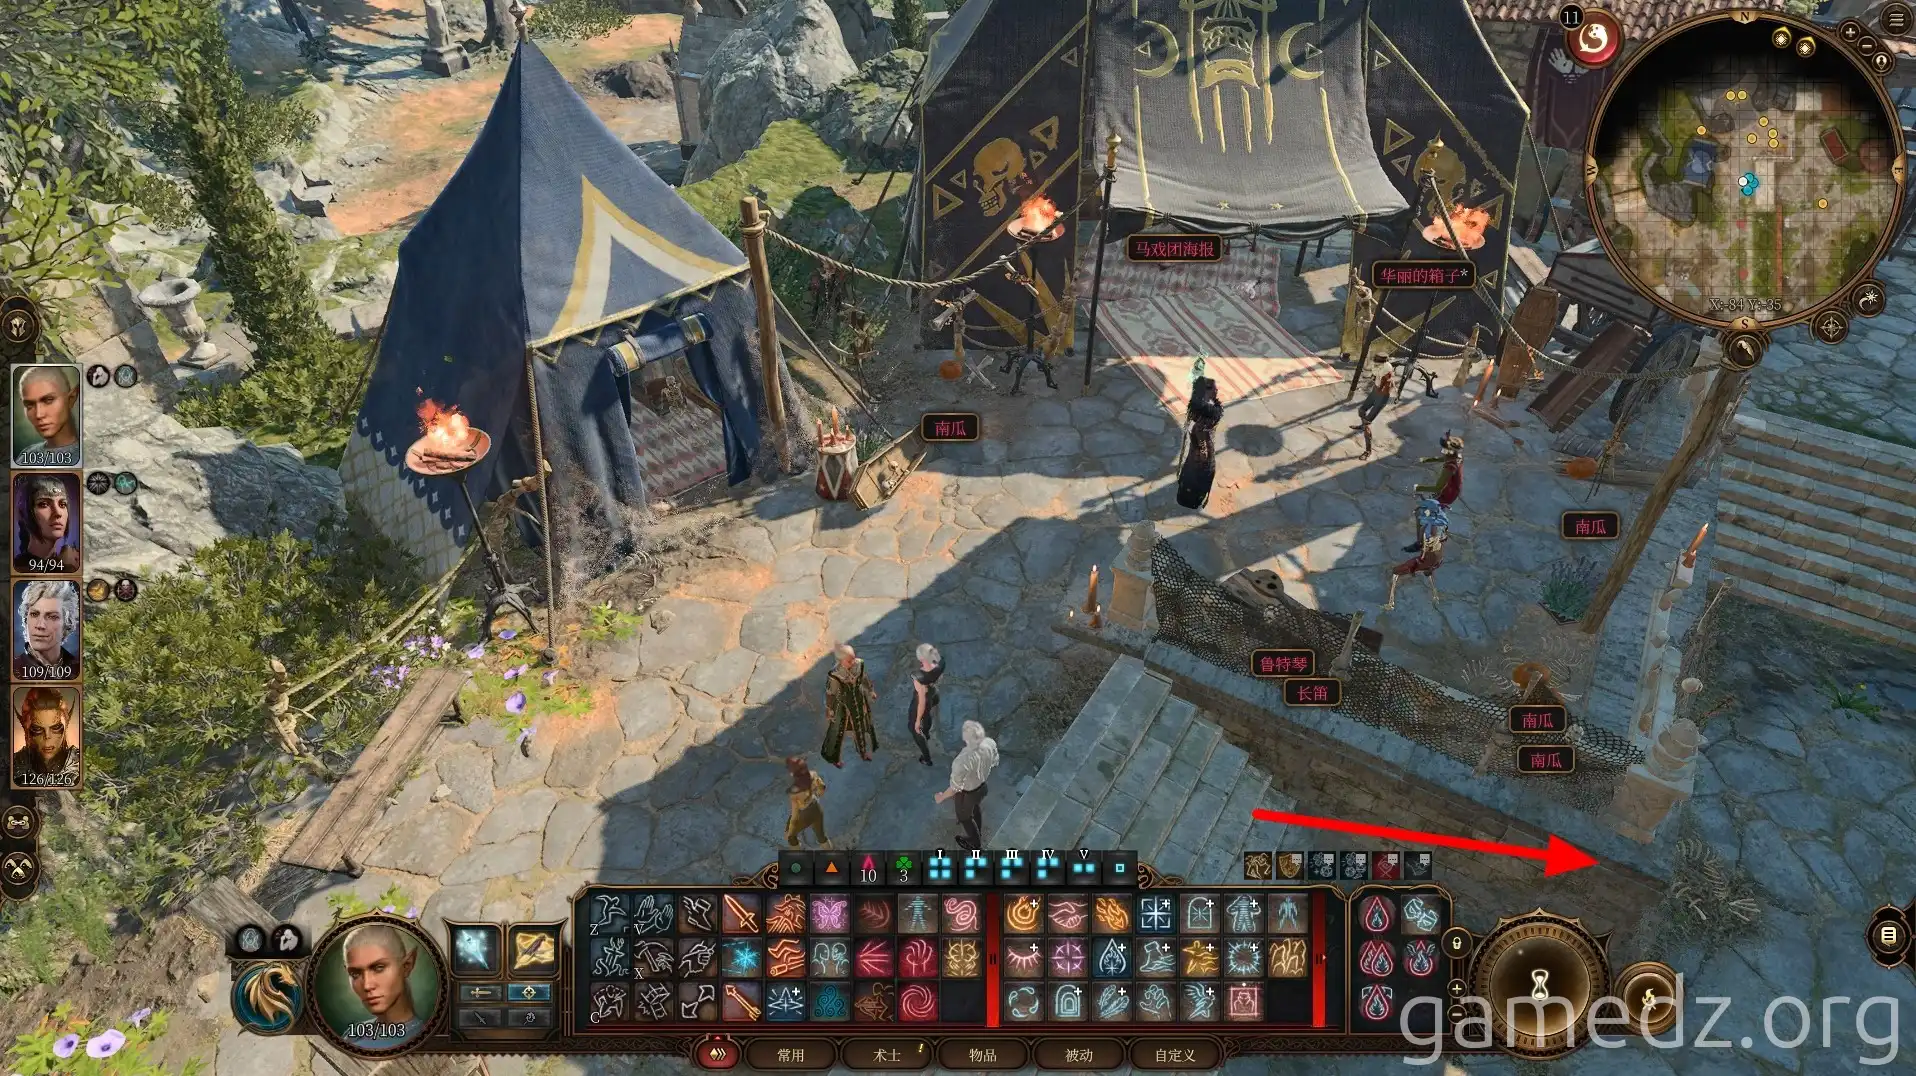
Ahead, you'll see two cages holding beasts. Break the lock on the left cage and feed the animal in the right cage. This will reduce the number of enemies by two in subsequent battles.
Feeding the animal in the right cage will inspire characters with an Outlander background.
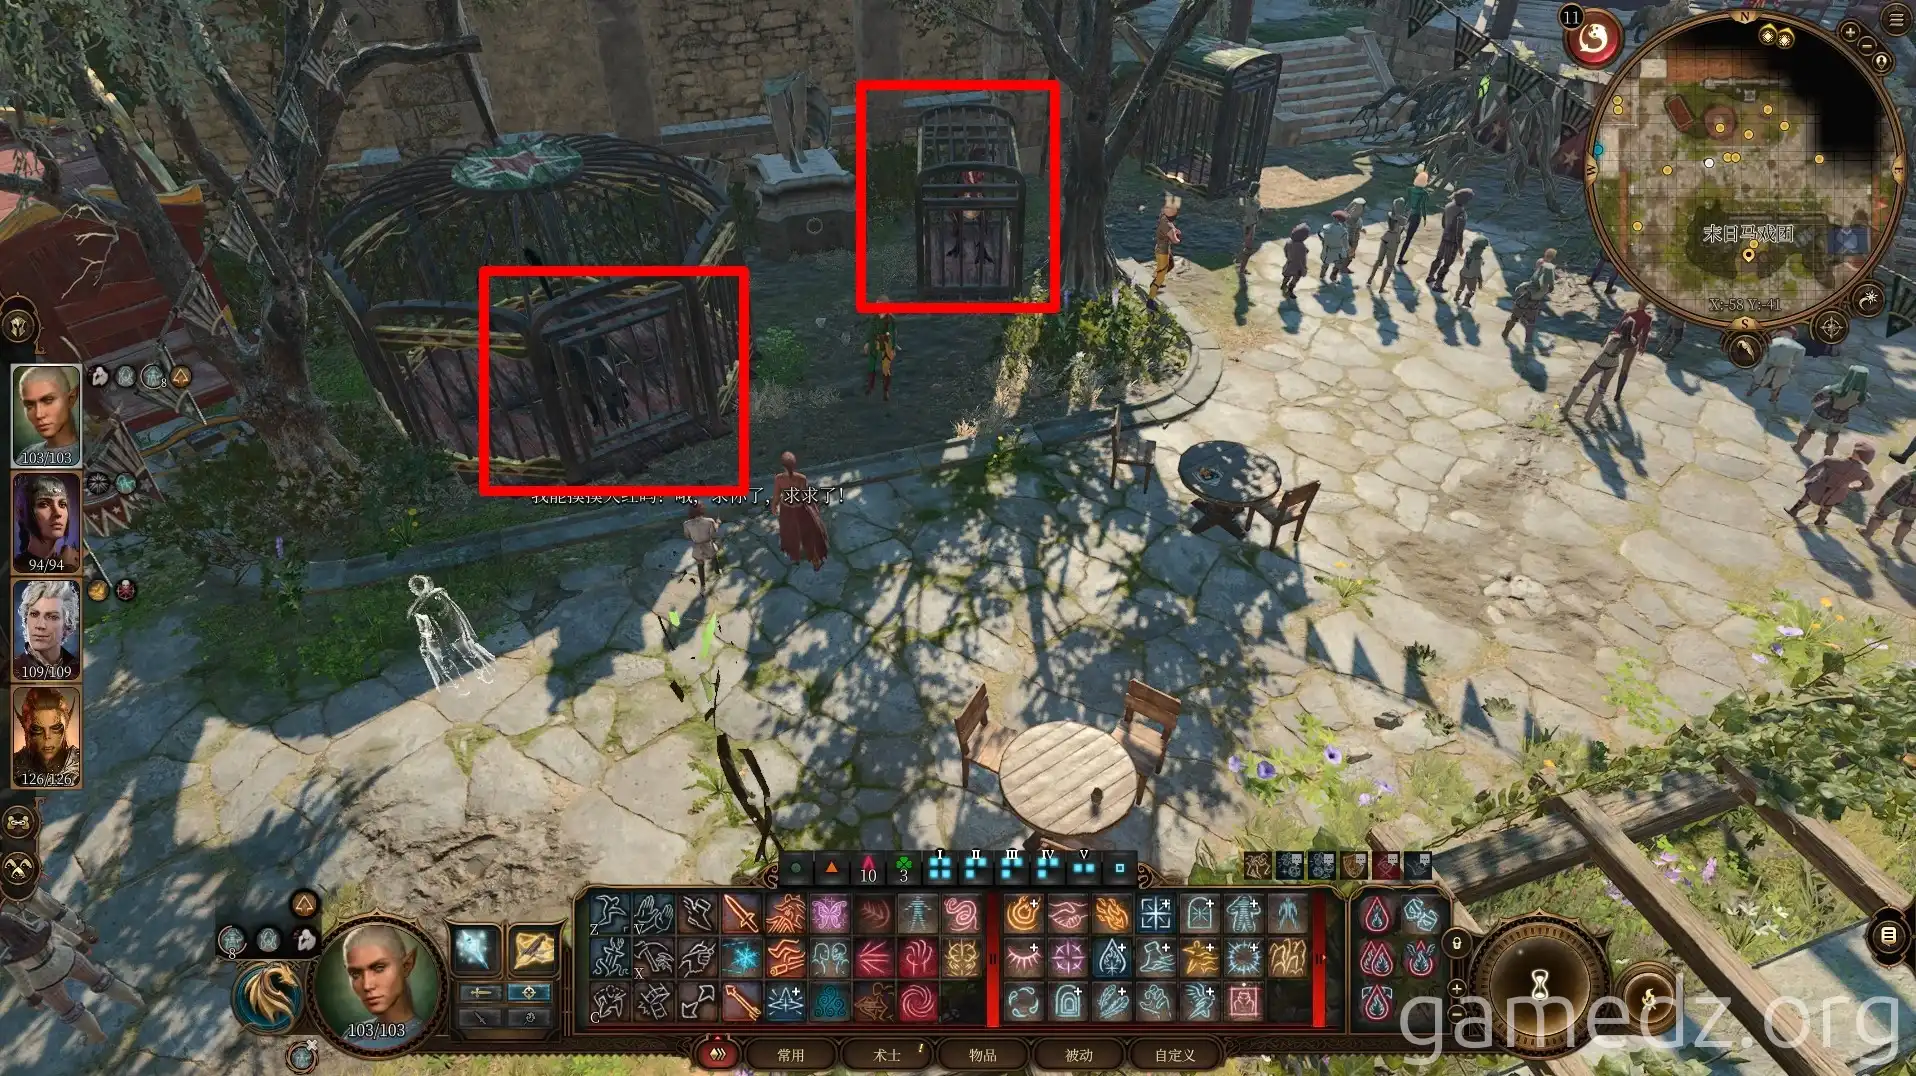
Continue forward to watch the Jester's performance. This Jester is actually a disguised shapeshifter trying to trick us. Therefore, whether you go on stage when he calls you or not, he will attack. Just ignore him.
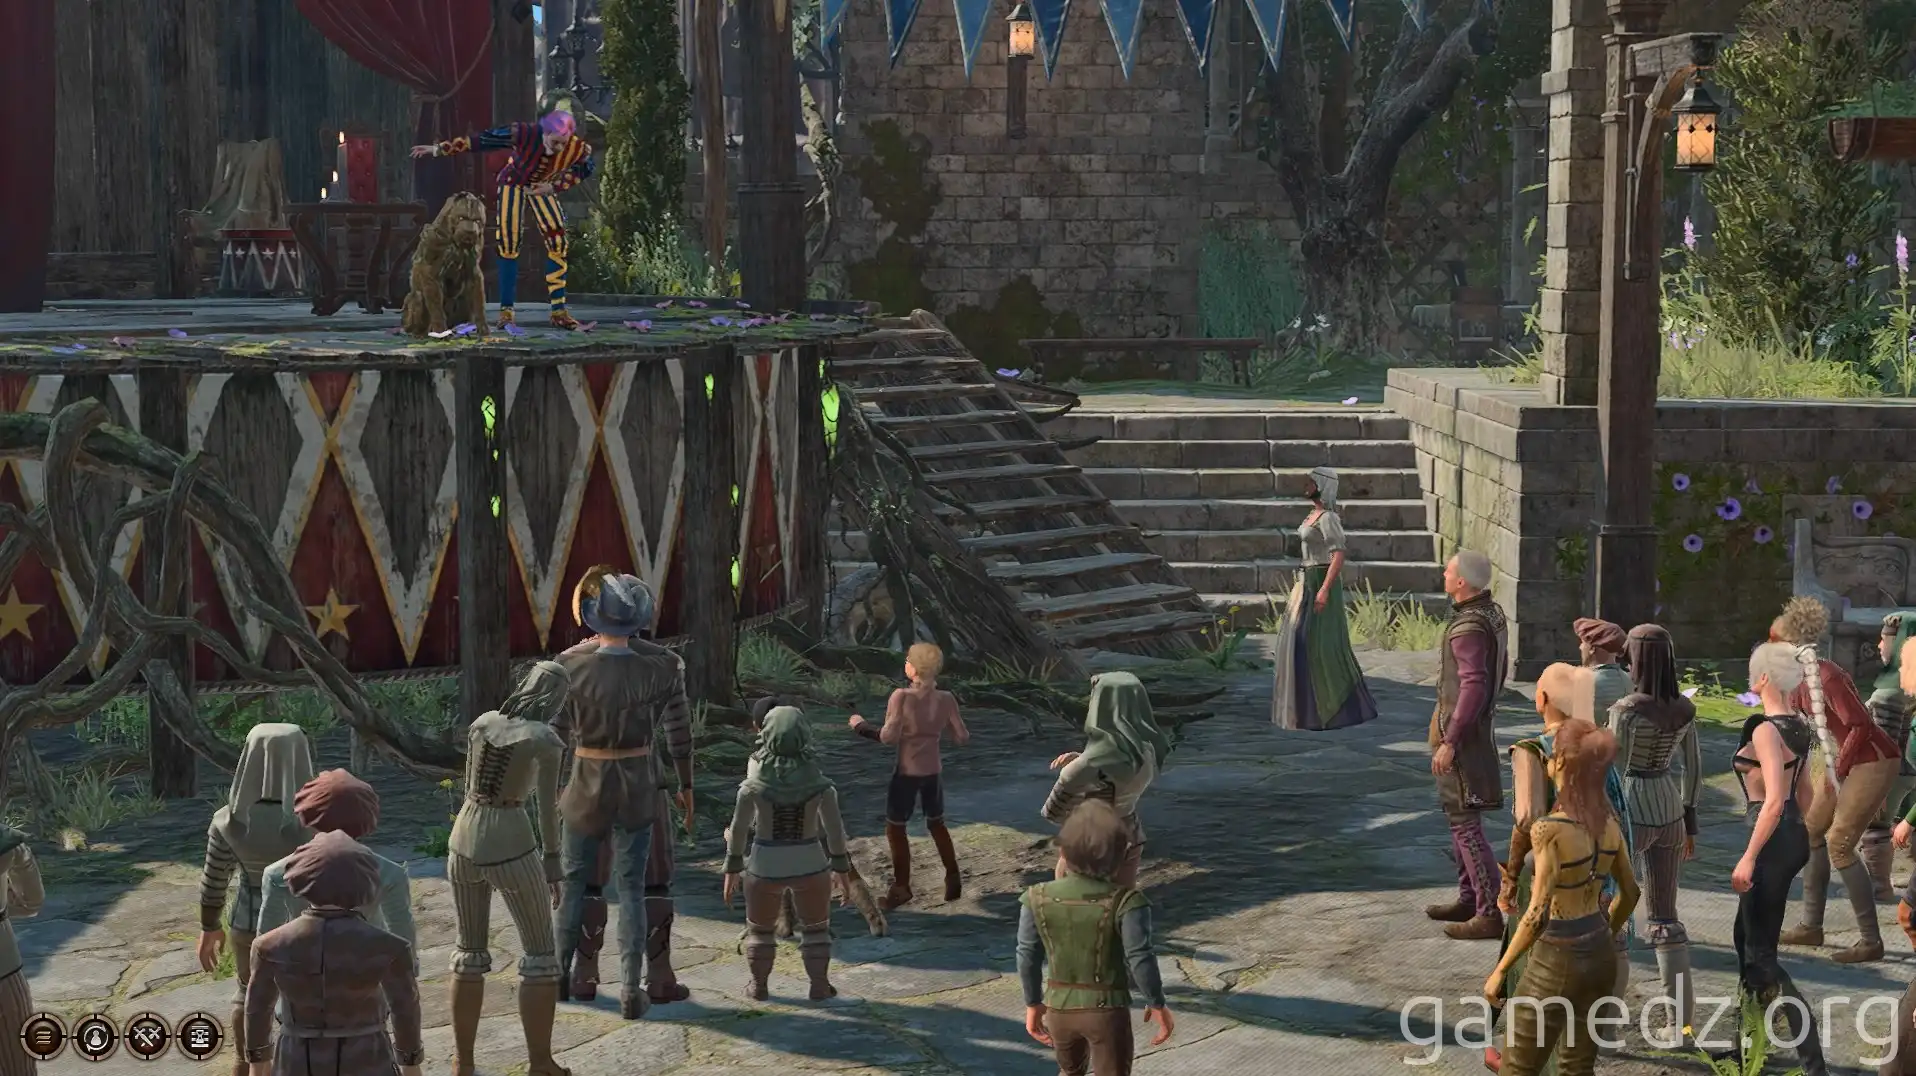
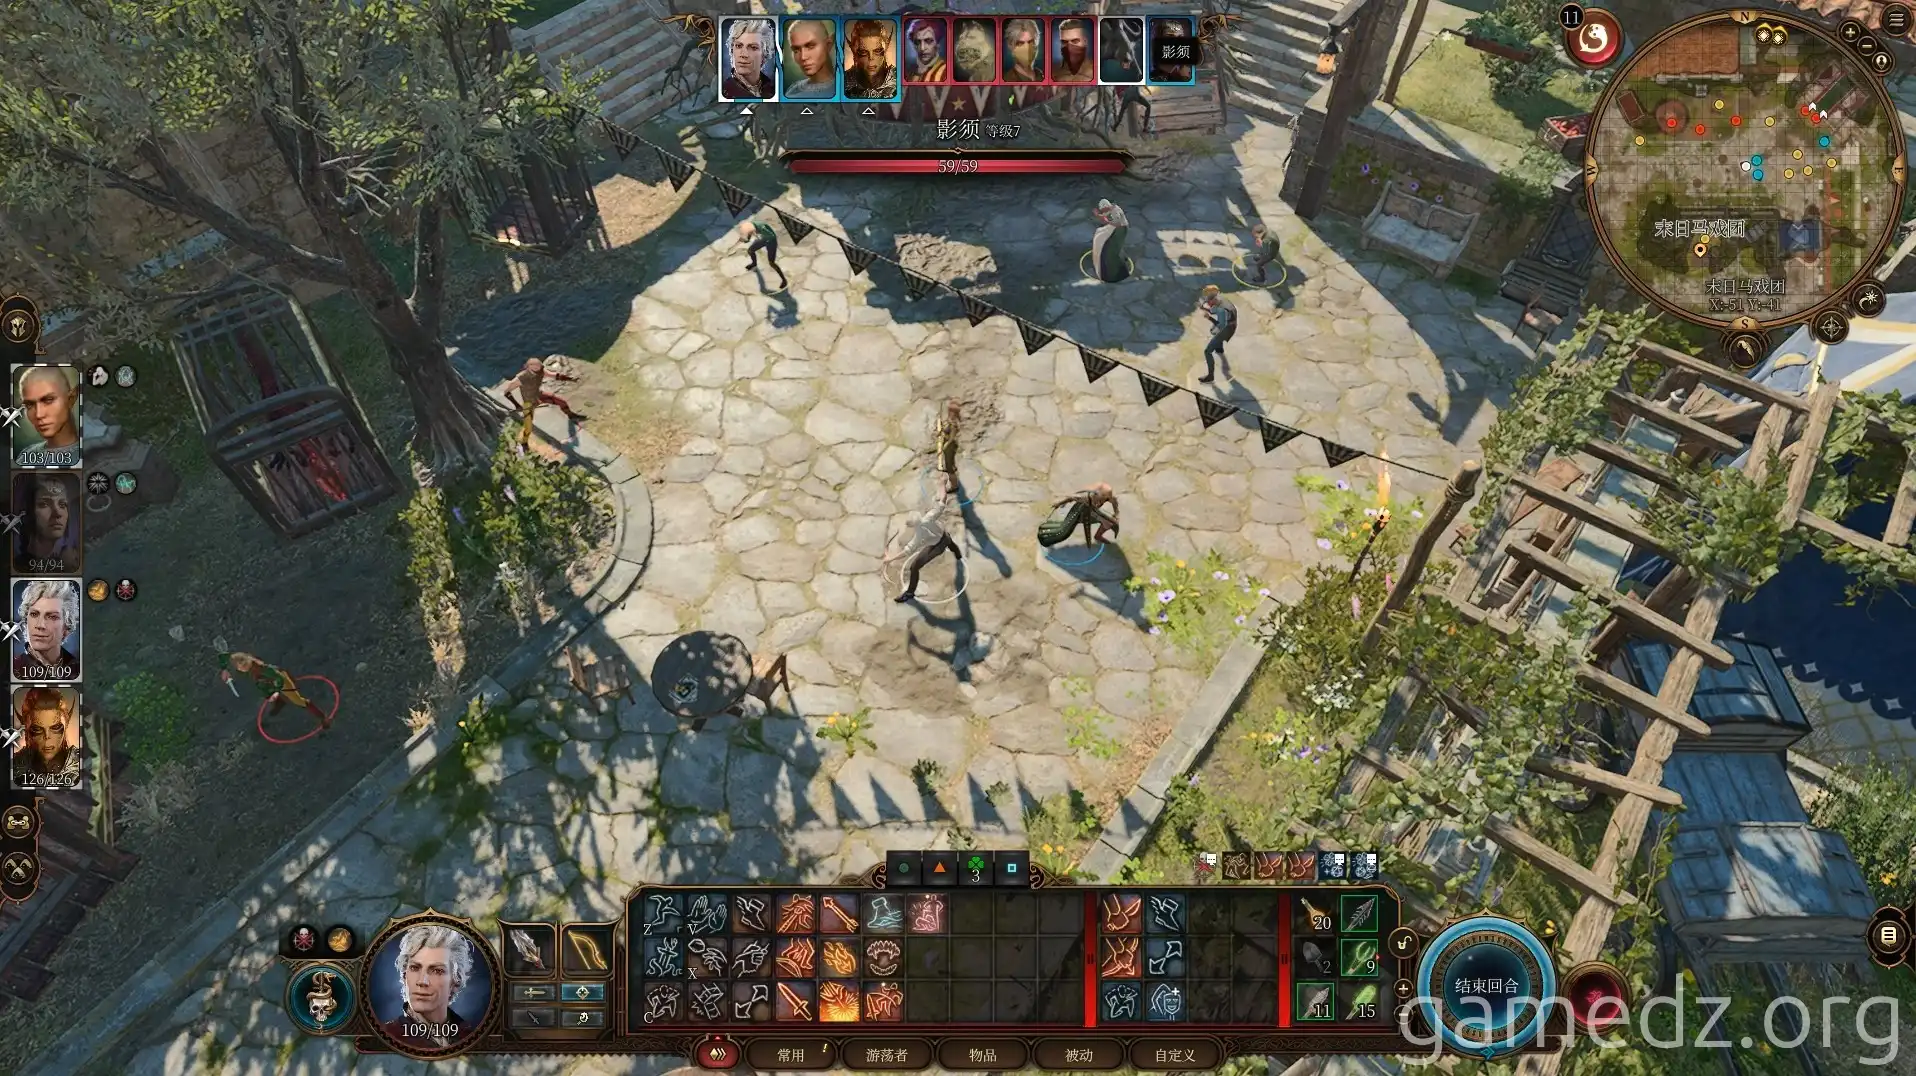
After some dialogue, combat will begin. Defeat the three shapeshifters and one dog.
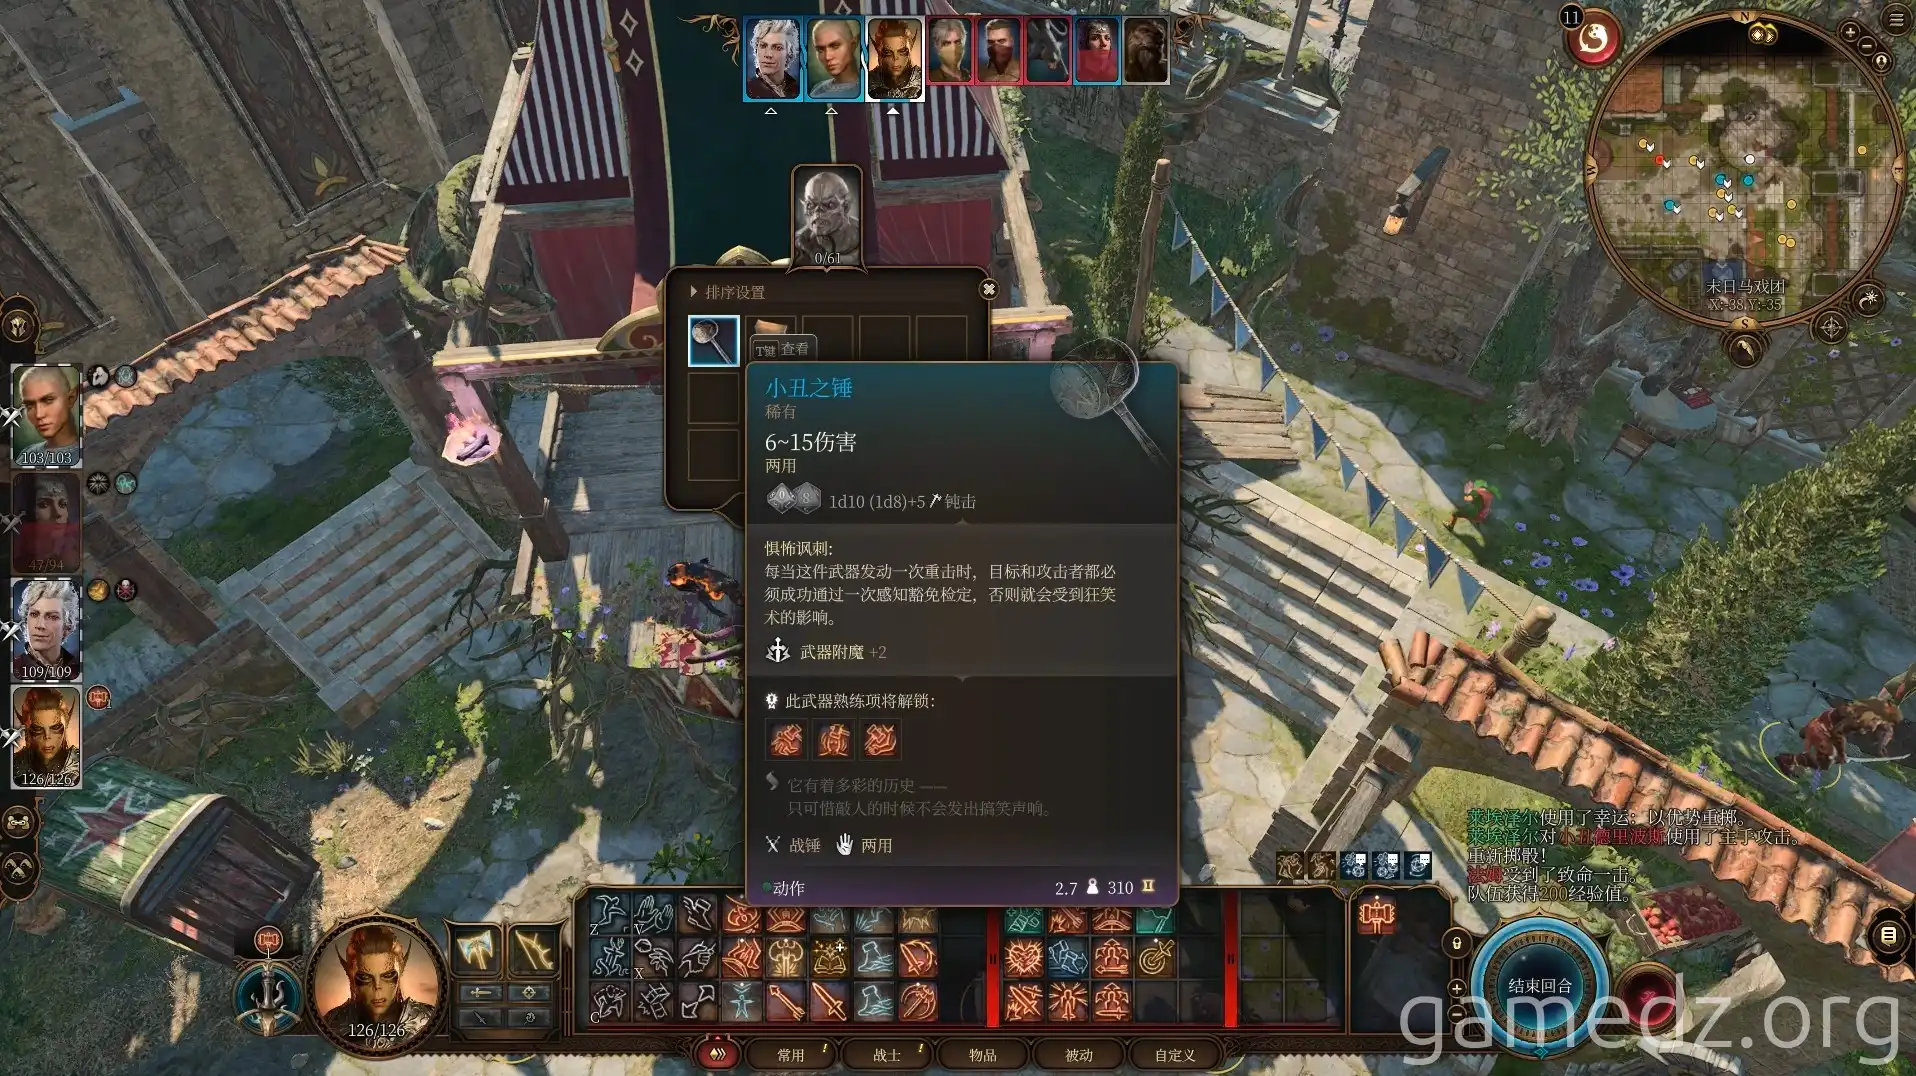
After defeating the Jester, you can obtain the Rare weapon, Jester's Mallet.
Subsequently, speak with the Circus Master who arrives. She will ask you to find the real Jester Dribbles. You'll need to collect seven parts from various locations in Act 3: the head, hand, foot, leg, arm, torso, and pelvis. The hand you took from the Kobold merchant earlier is one of these parts.
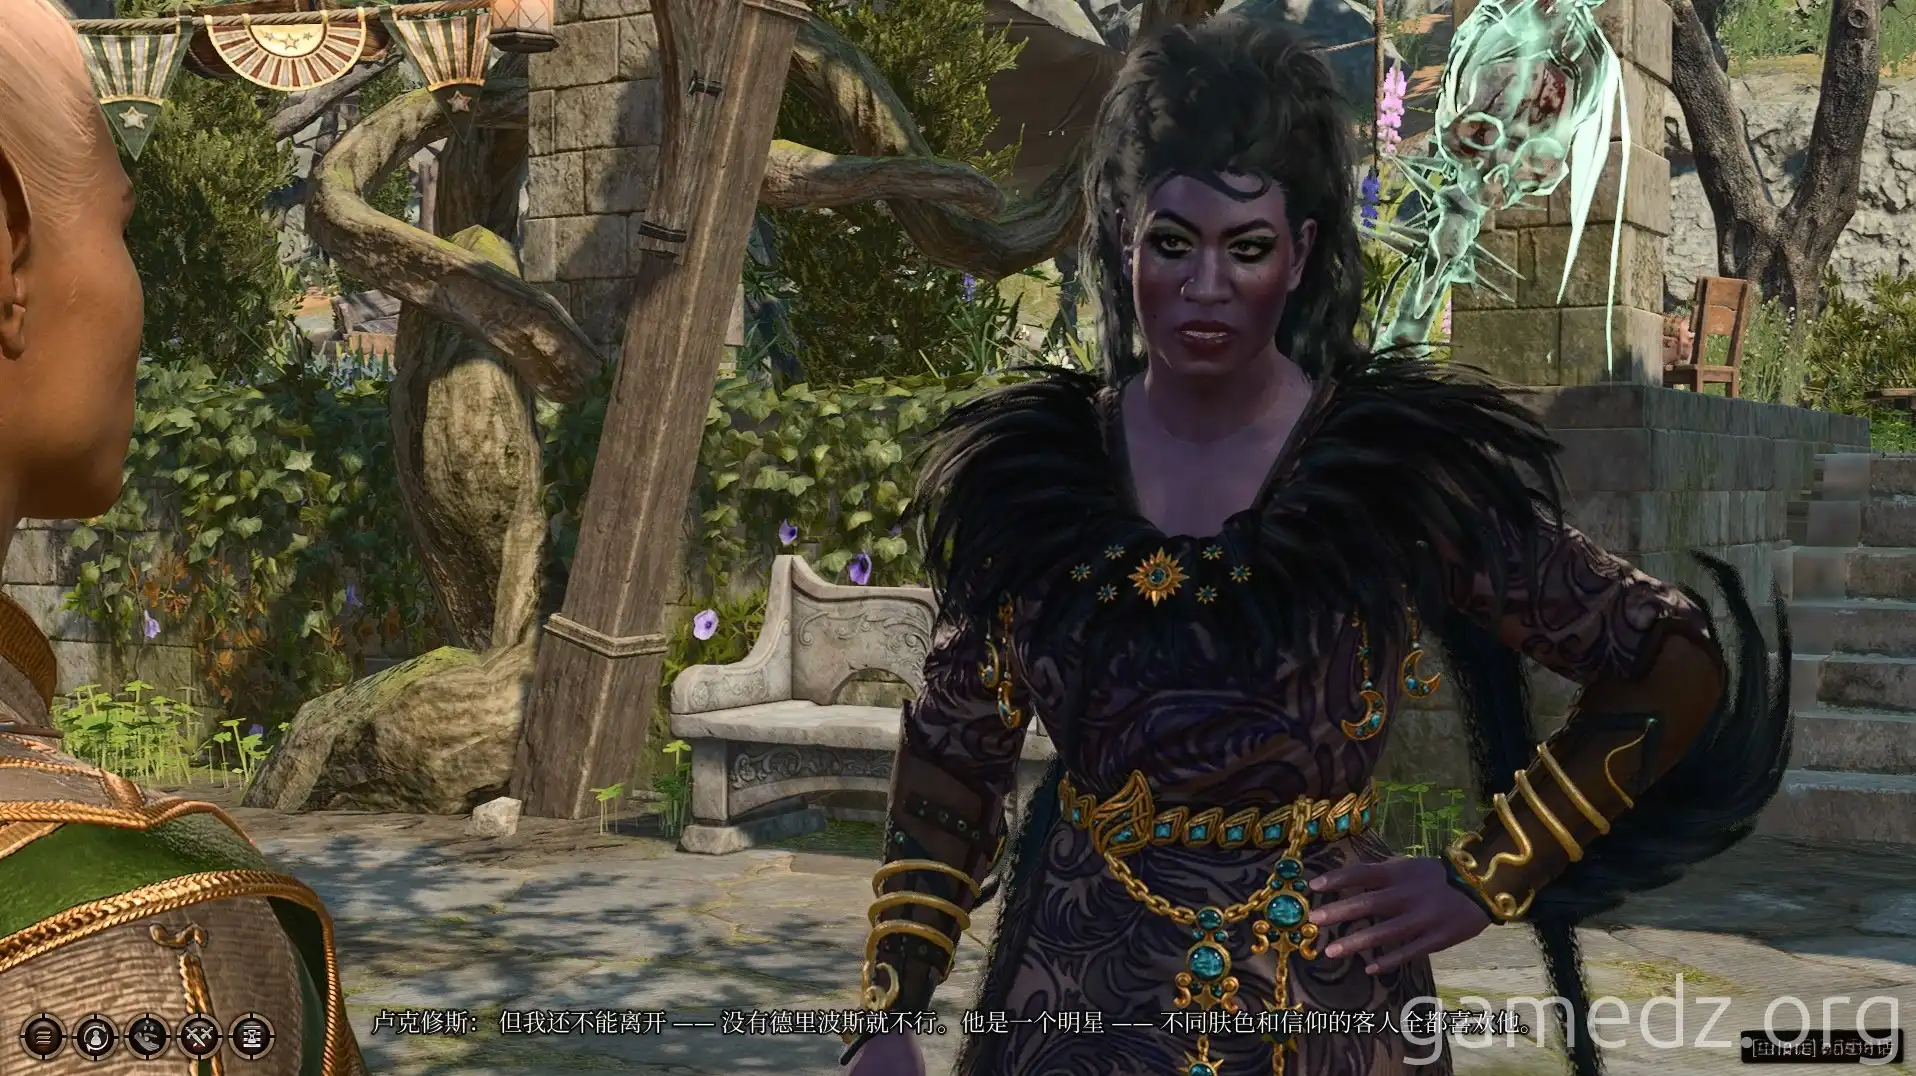
Then, enter the House of Healing from the north of the Circus Master's tent.
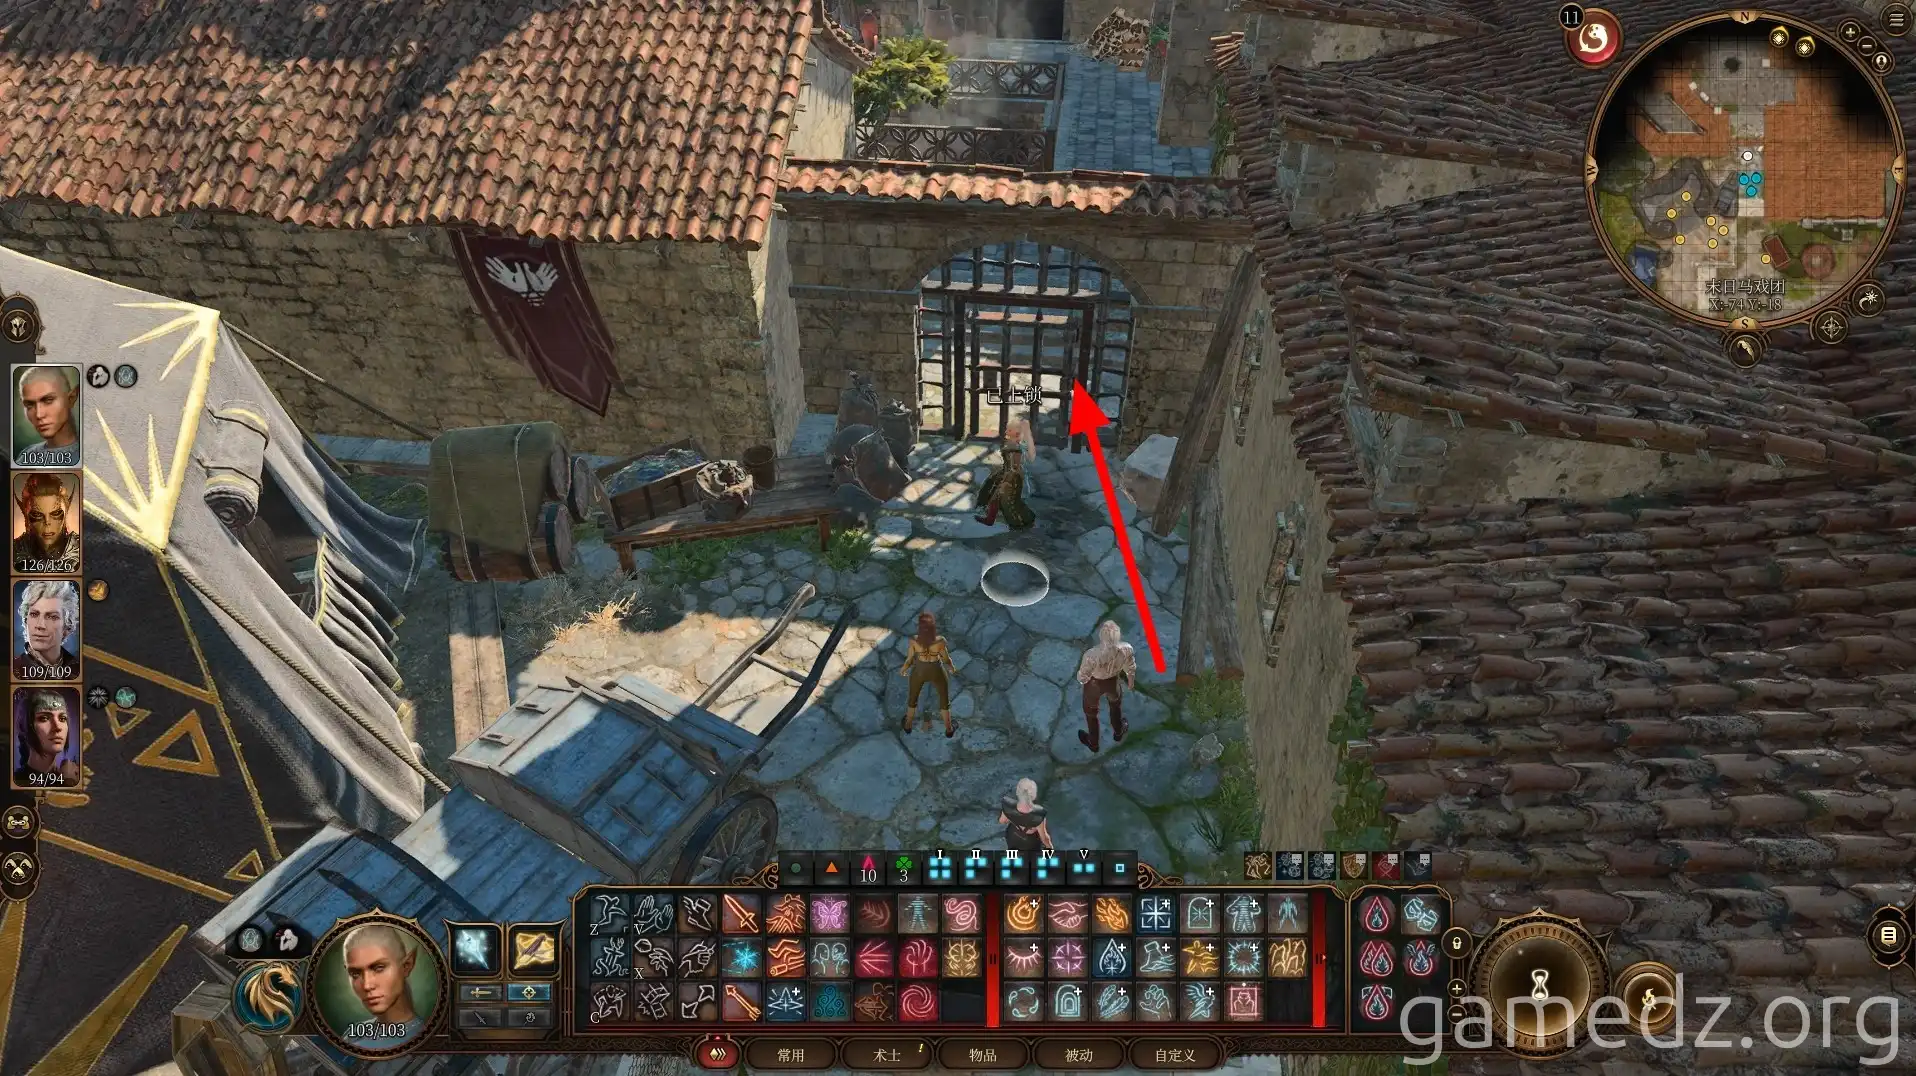
The western area of the House of Healing doesn't have much of interest. Attempting to pick locks will also alert the Flaming Fist. Therefore, directly enter the kitchen through the small northern door, pass through the kitchen, and reach the main hall.
The small door in the middle leads to the church tower. From the tower, you can see a winged cat on the roof.
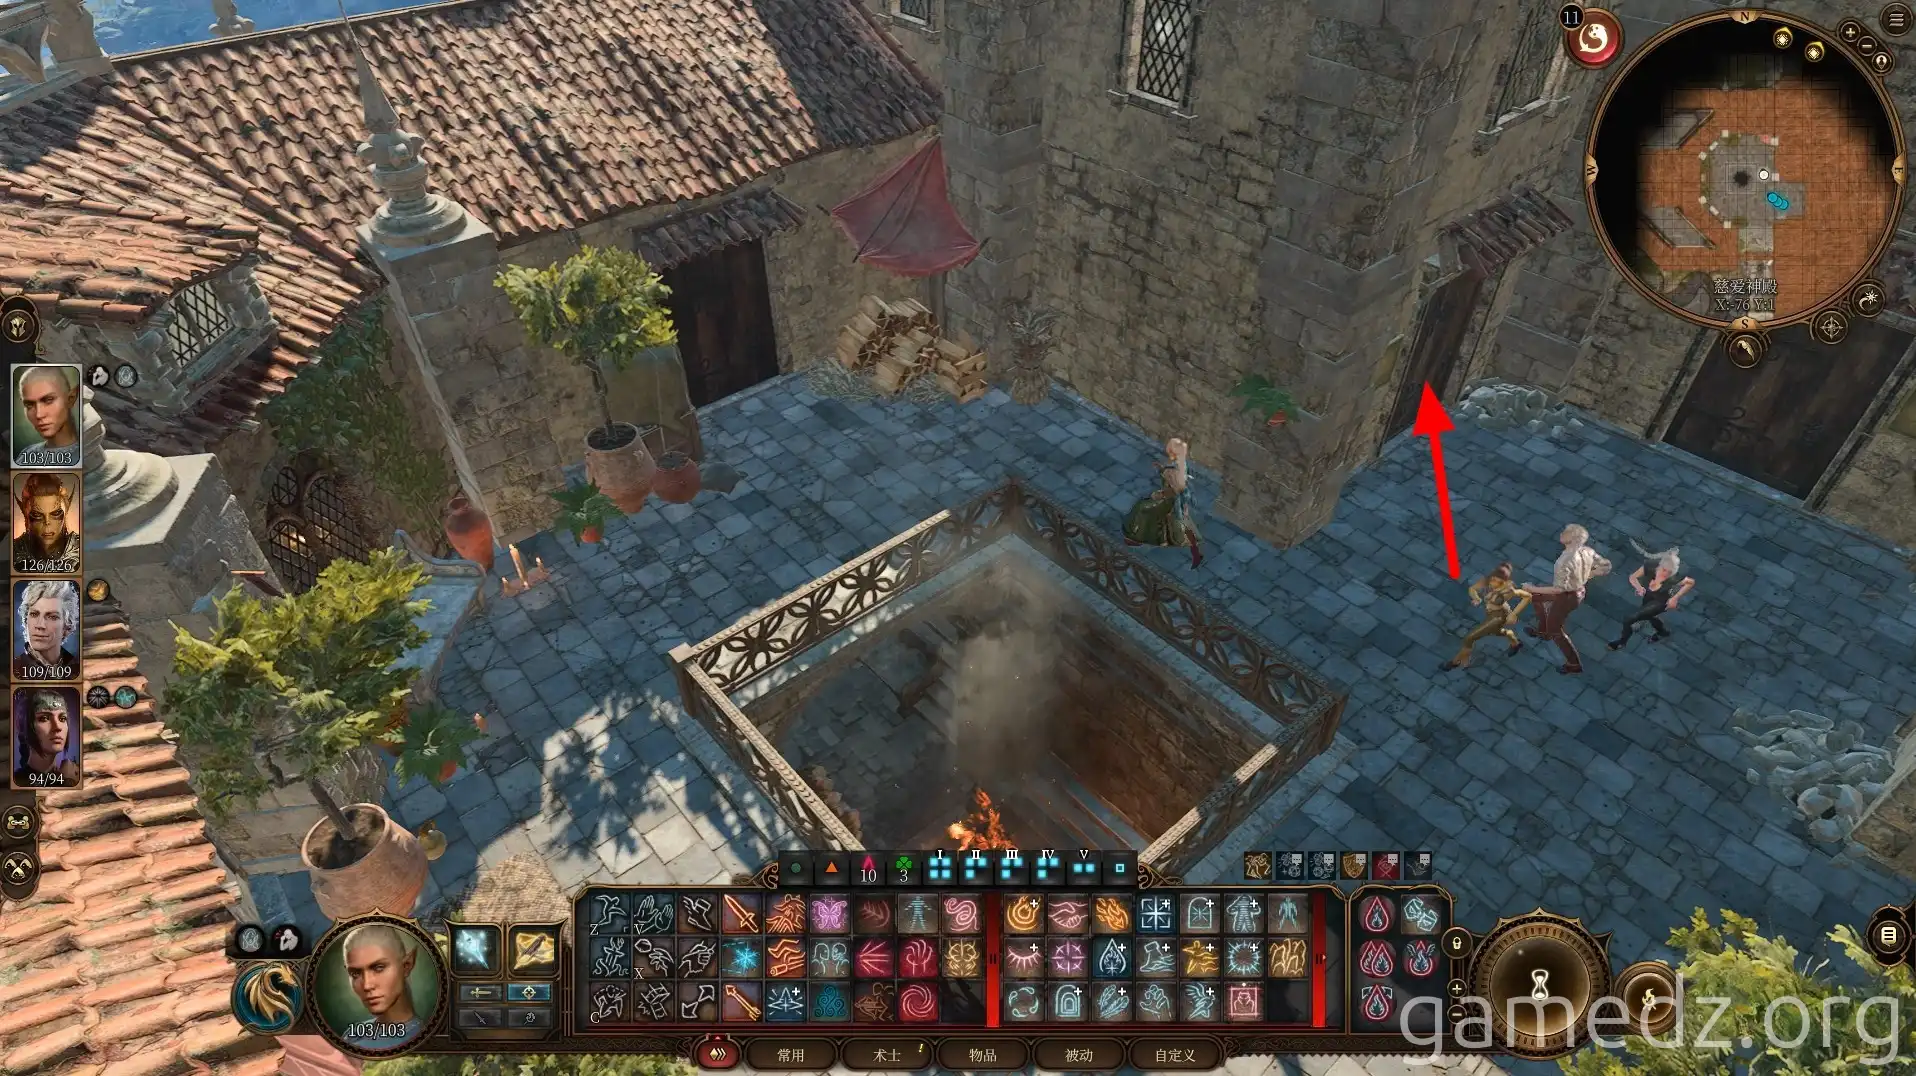
Upon entering the House of Healing, the side quest Help the Cursed Monk will be advanced. You'll need to find the monk's granddaughter, Shira.
Next, speak with the nun in the main hall. You'll learn that Father Logan was tragically murdered, and the investigator is trying to pin the crime on a refugee. The nun hopes you can find evidence to uncover the truth and mentions that you can find the investigator at "Sharess' Caress" in Wyrm's Crossing later, which will initiate the side quest Solve the Murder at the House of Healing.
After agreeing to investigate the murder, characters with a Commoner or Sage background will be inspired.
Inquiring about Shira from the nun reveals that she passed away a year ago and is buried in the temple's catacombs.
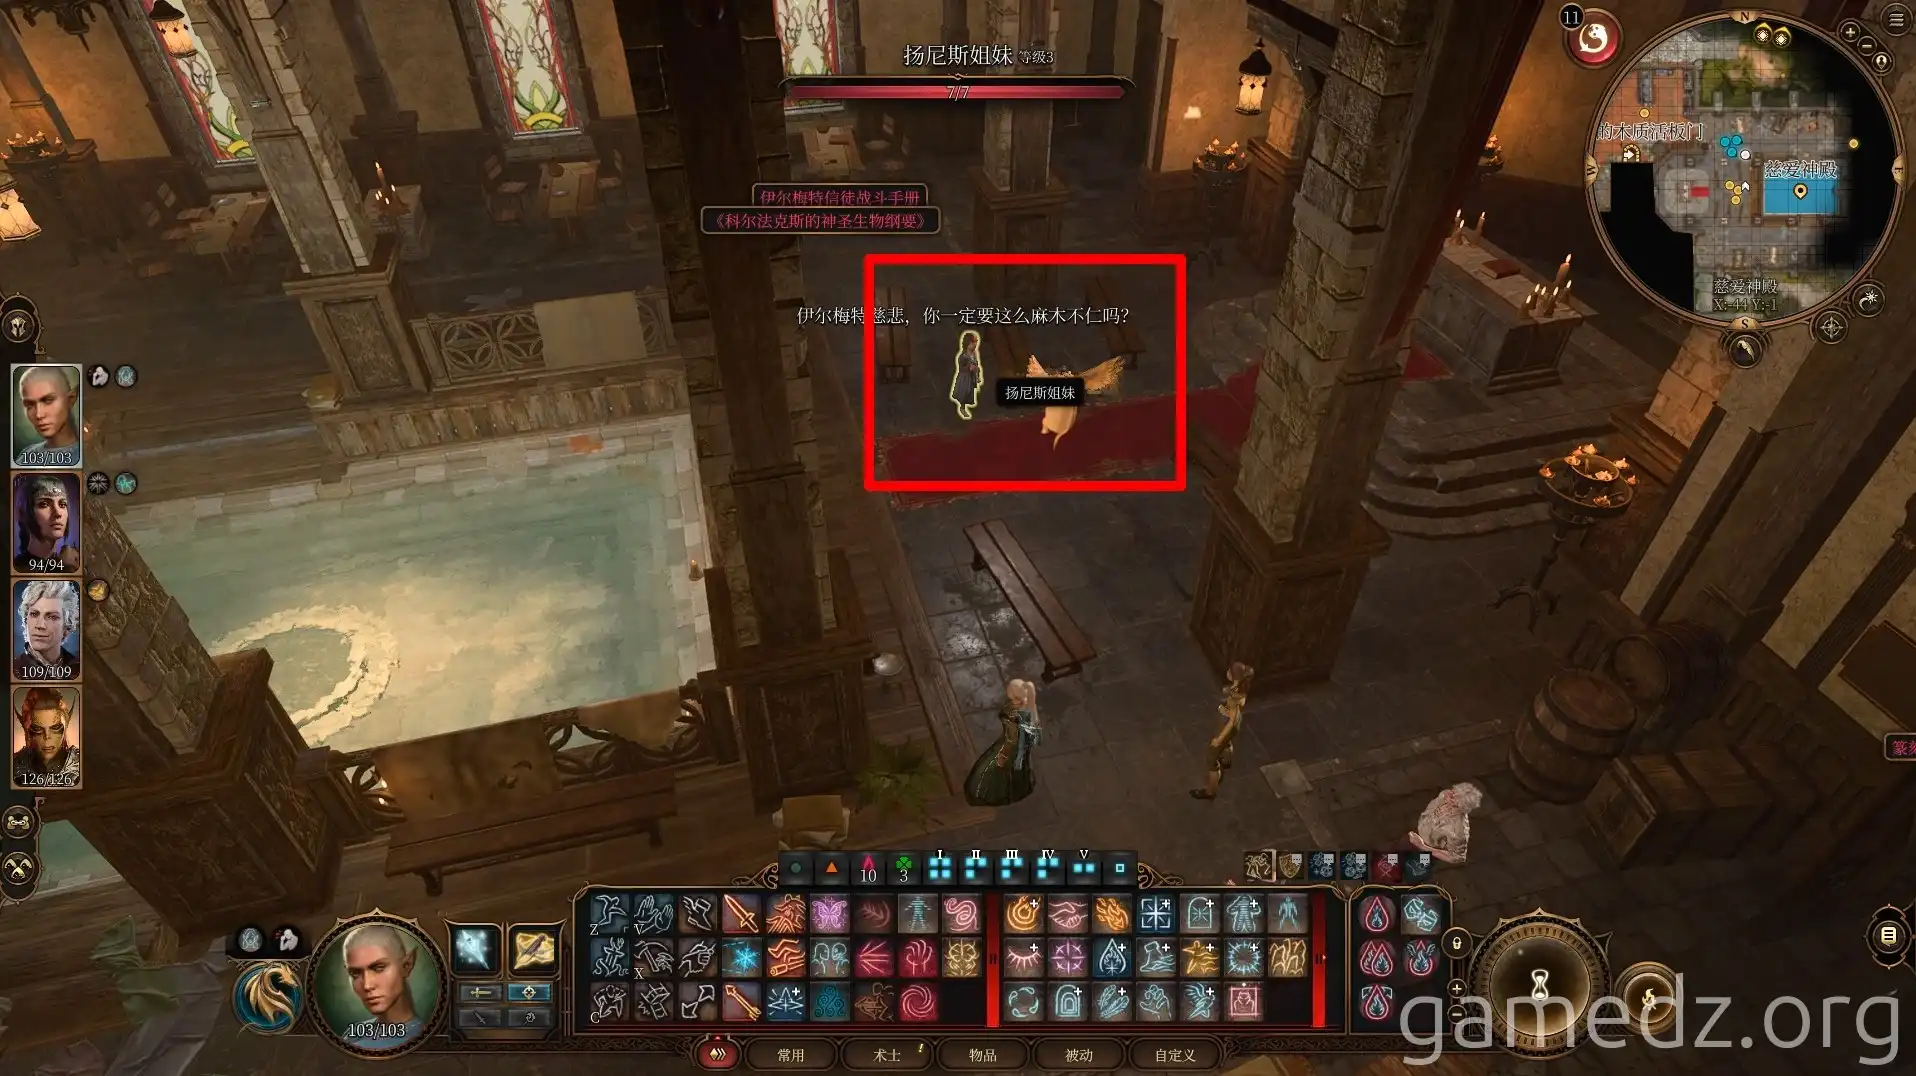
Speak with the two monks arguing in the northeast corner of the temple. In the dialogue, choose "The gods will be proud of Father Logan," which will inspire characters with an Acolyte background.
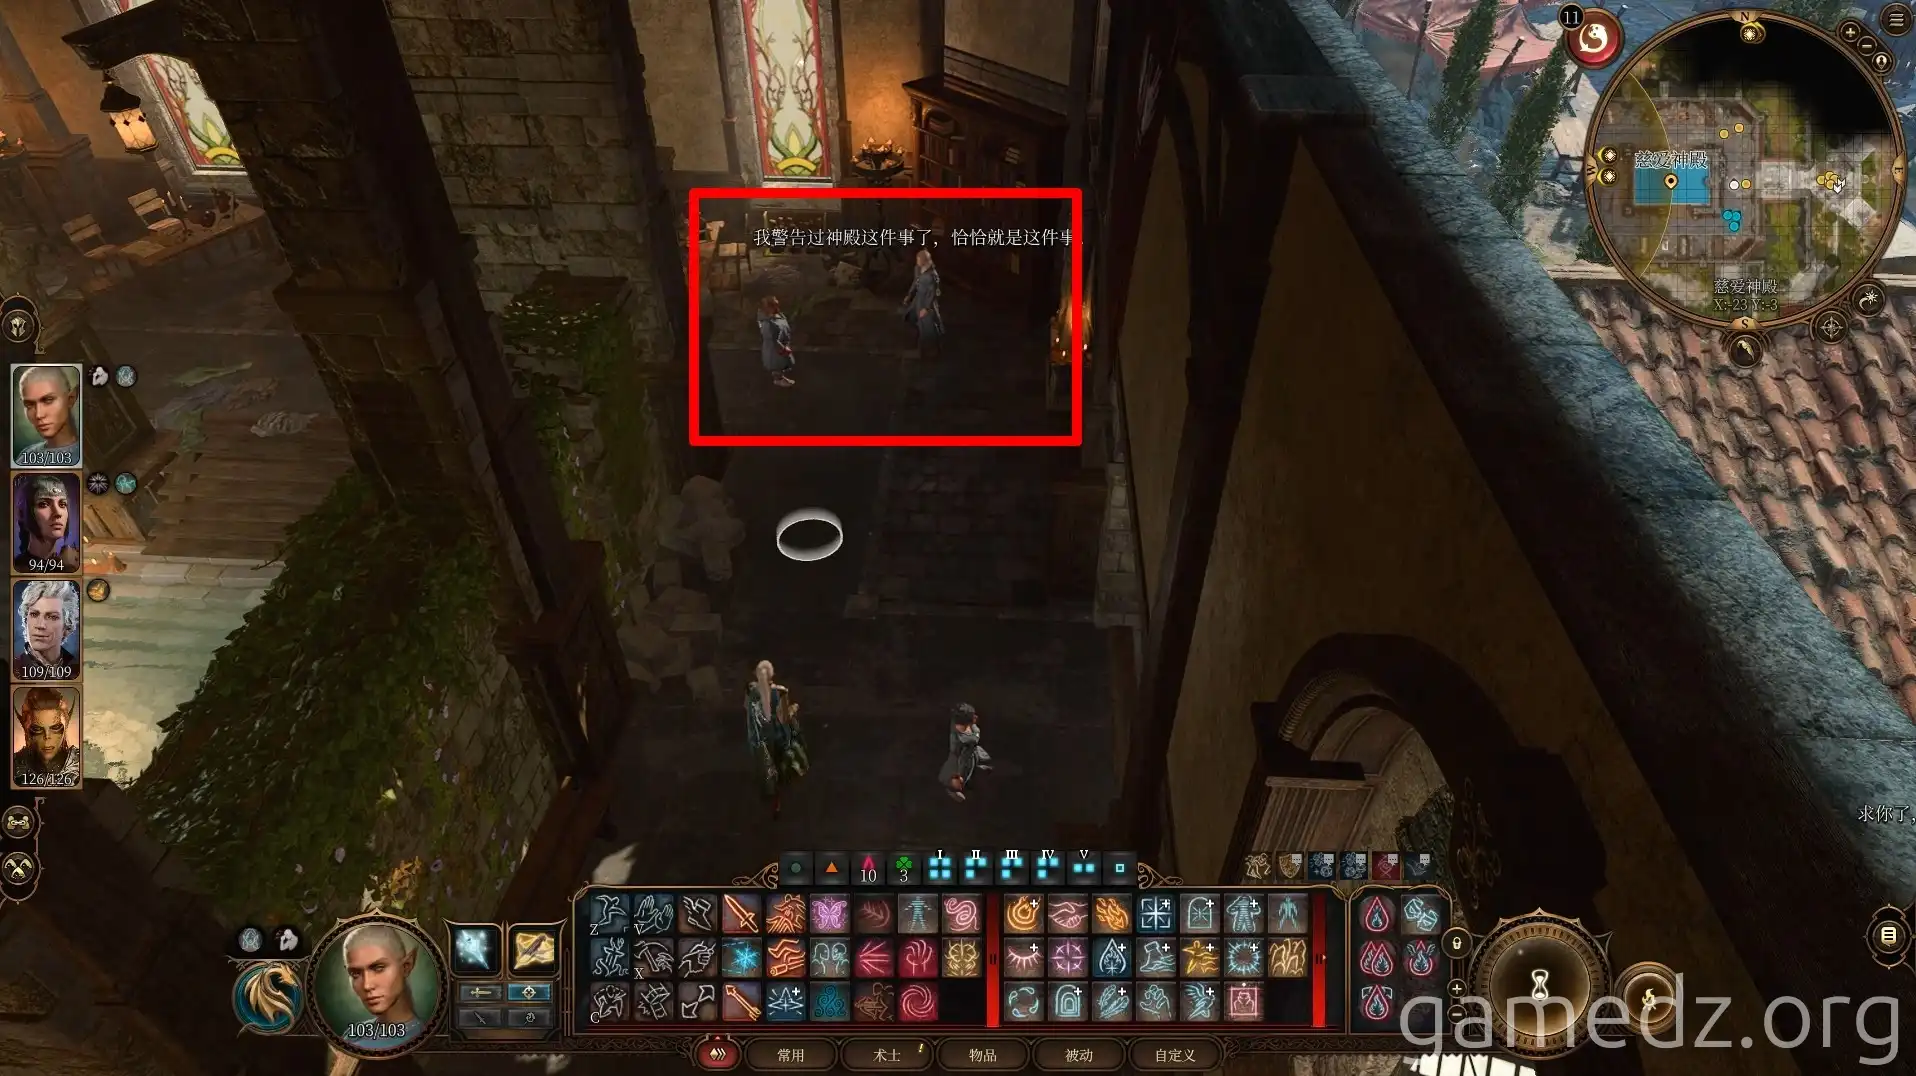
Enter the room in the southwest corner of the main hall.
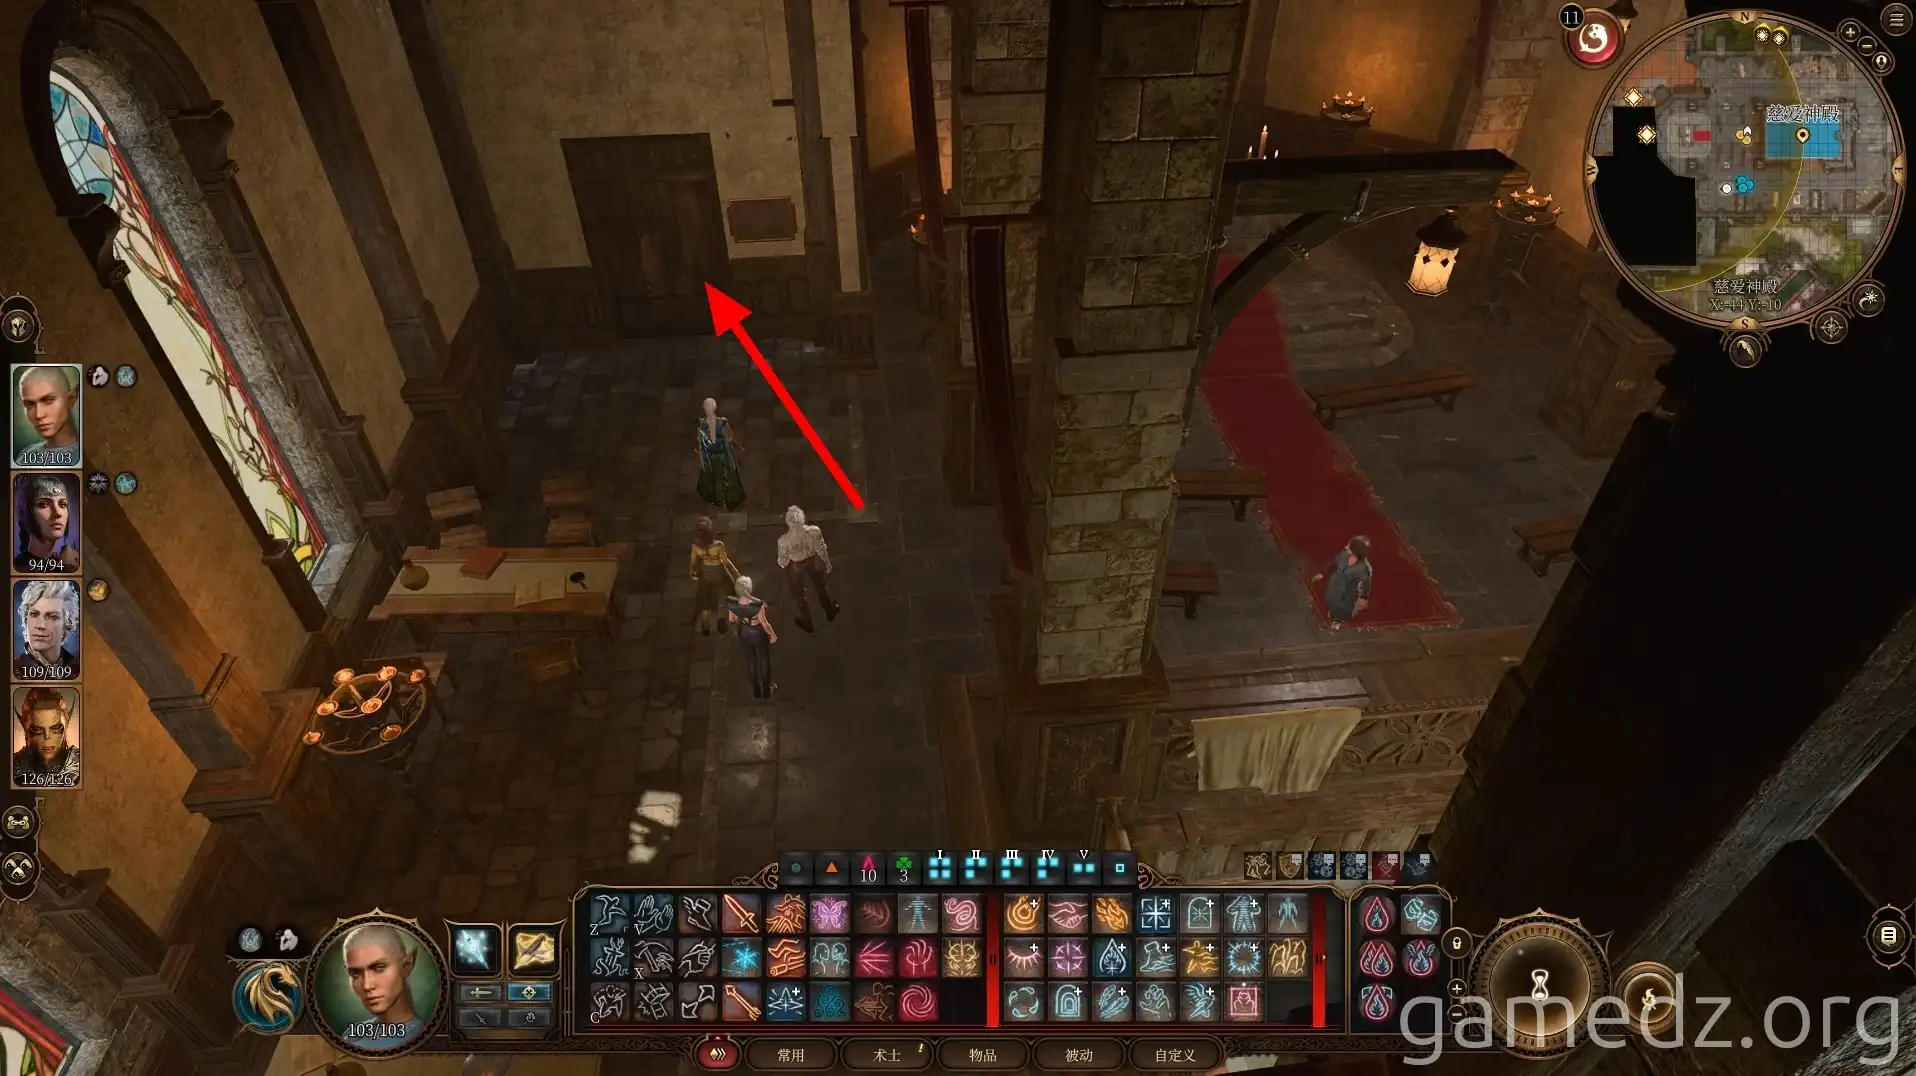
In the room, you'll find the deceased Father Logan. Using Speak with Dead to converse with Father Logan reveals that he was killed by a dwarf in red clothing, and the sword he used was poisoned.
Before his death, Father Logan was helping refugees evade the Flaming Fist, and he died in the underground passage.
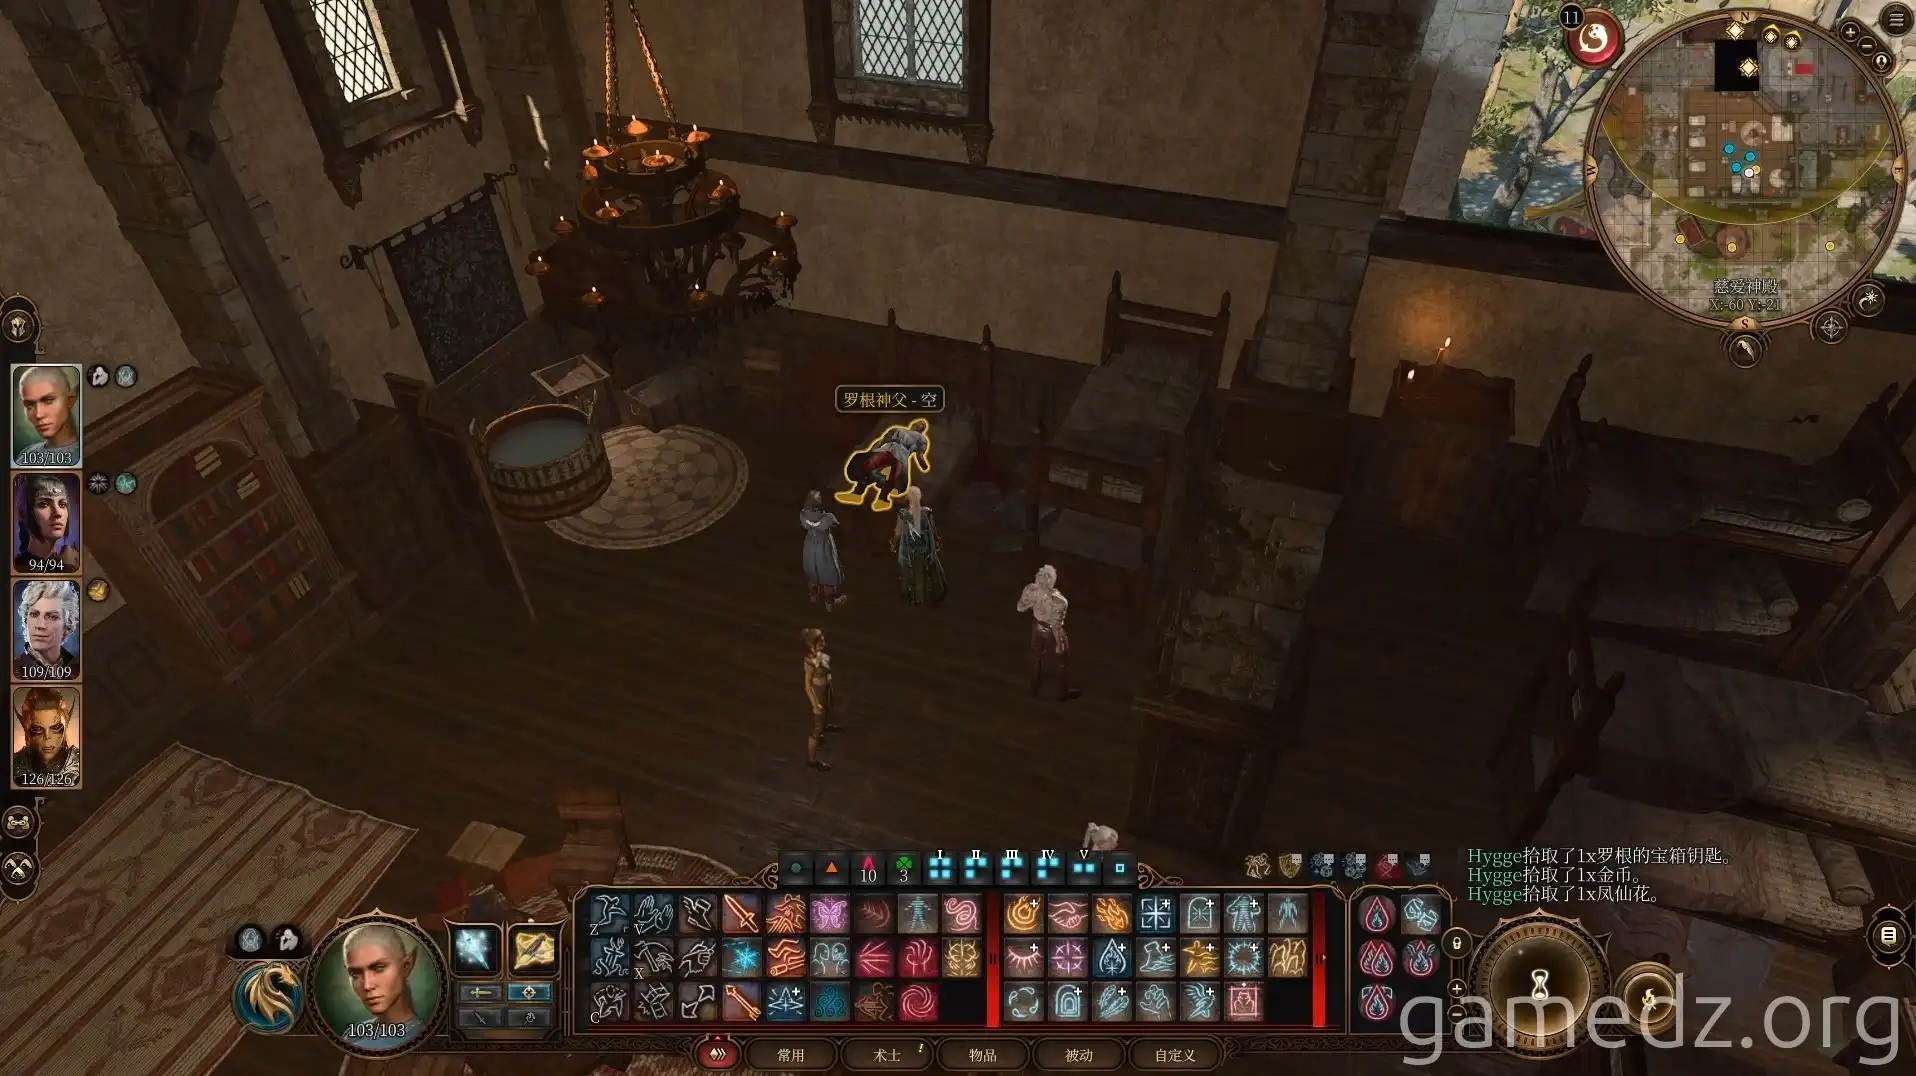
You can find the key to his chest on Father Logan. Then, go to the western room of the House of Healing, use the key to open the chest, and after passing a Perception check, you'll discover a hidden compartment containing a journal.
This journal also reveals that there's a secret passage beneath the temple. If you can't use Speak with Dead, this method can provide clues.
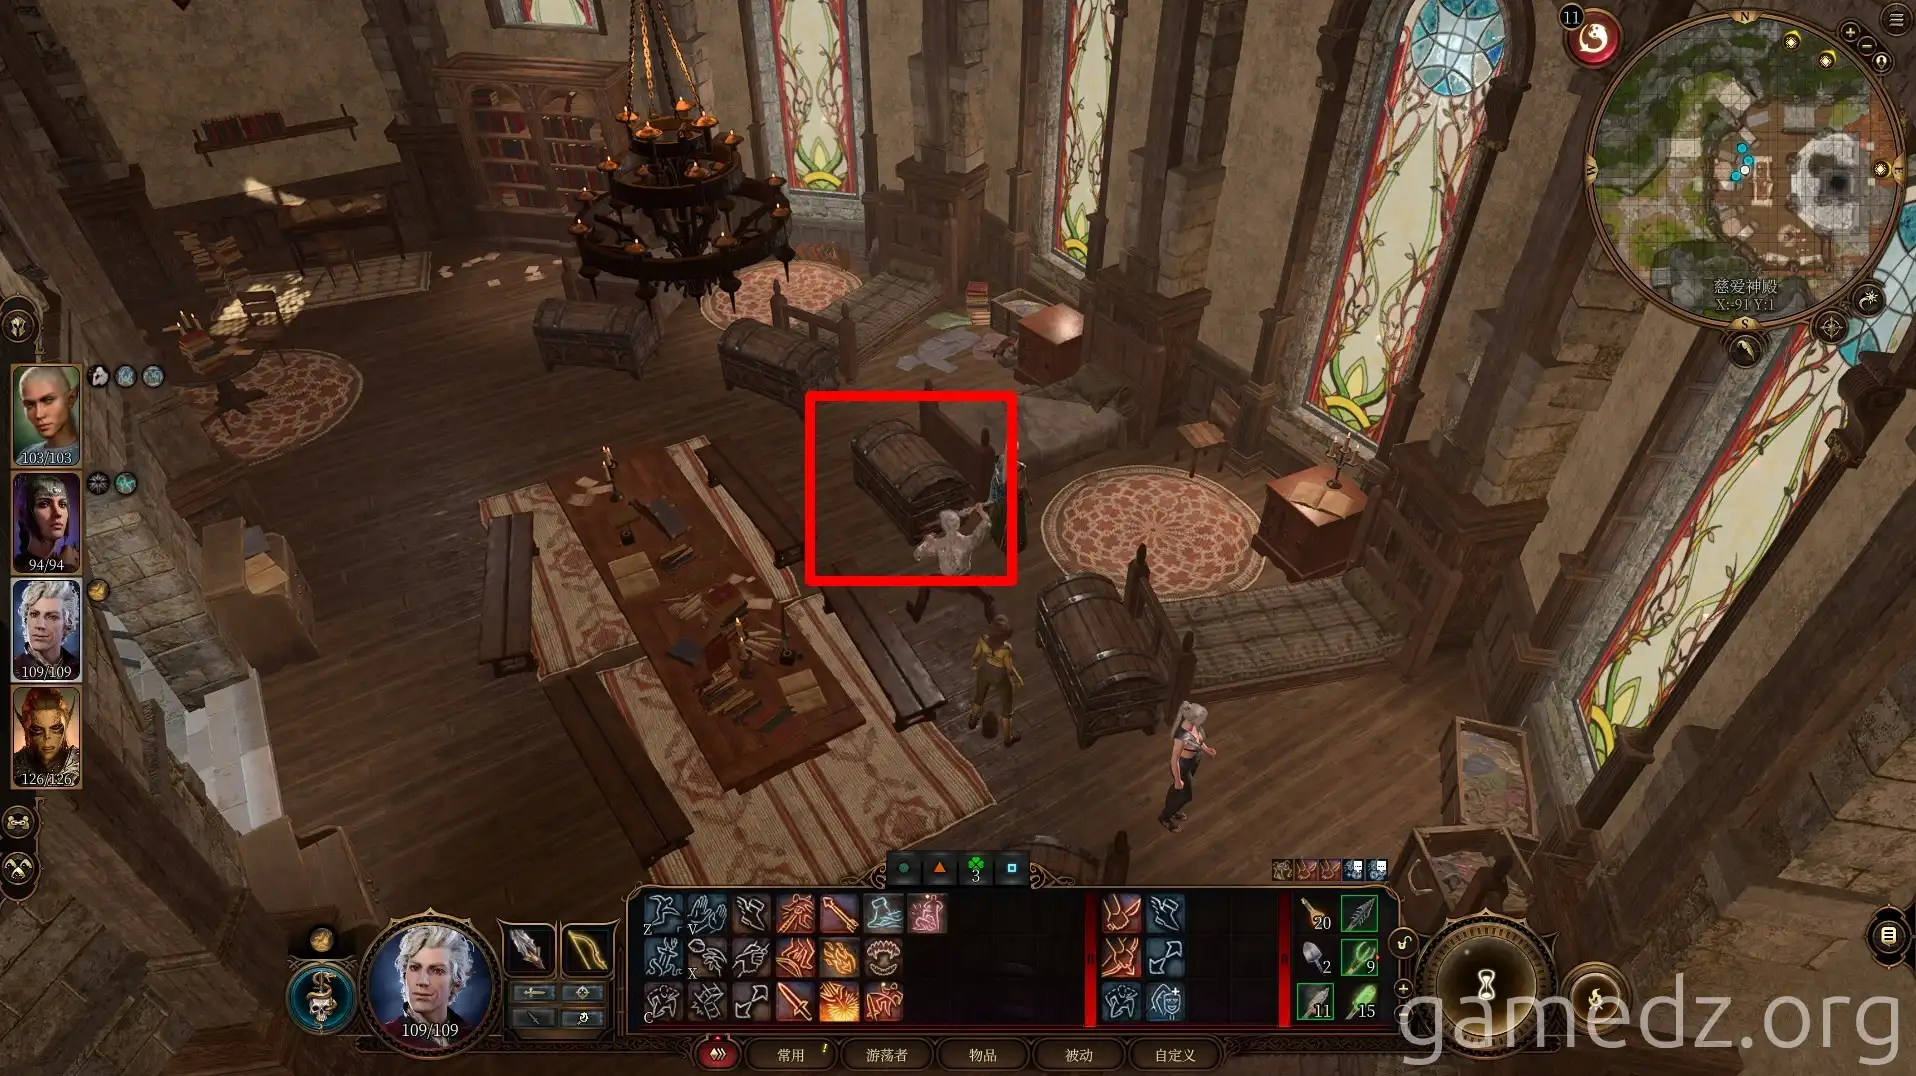
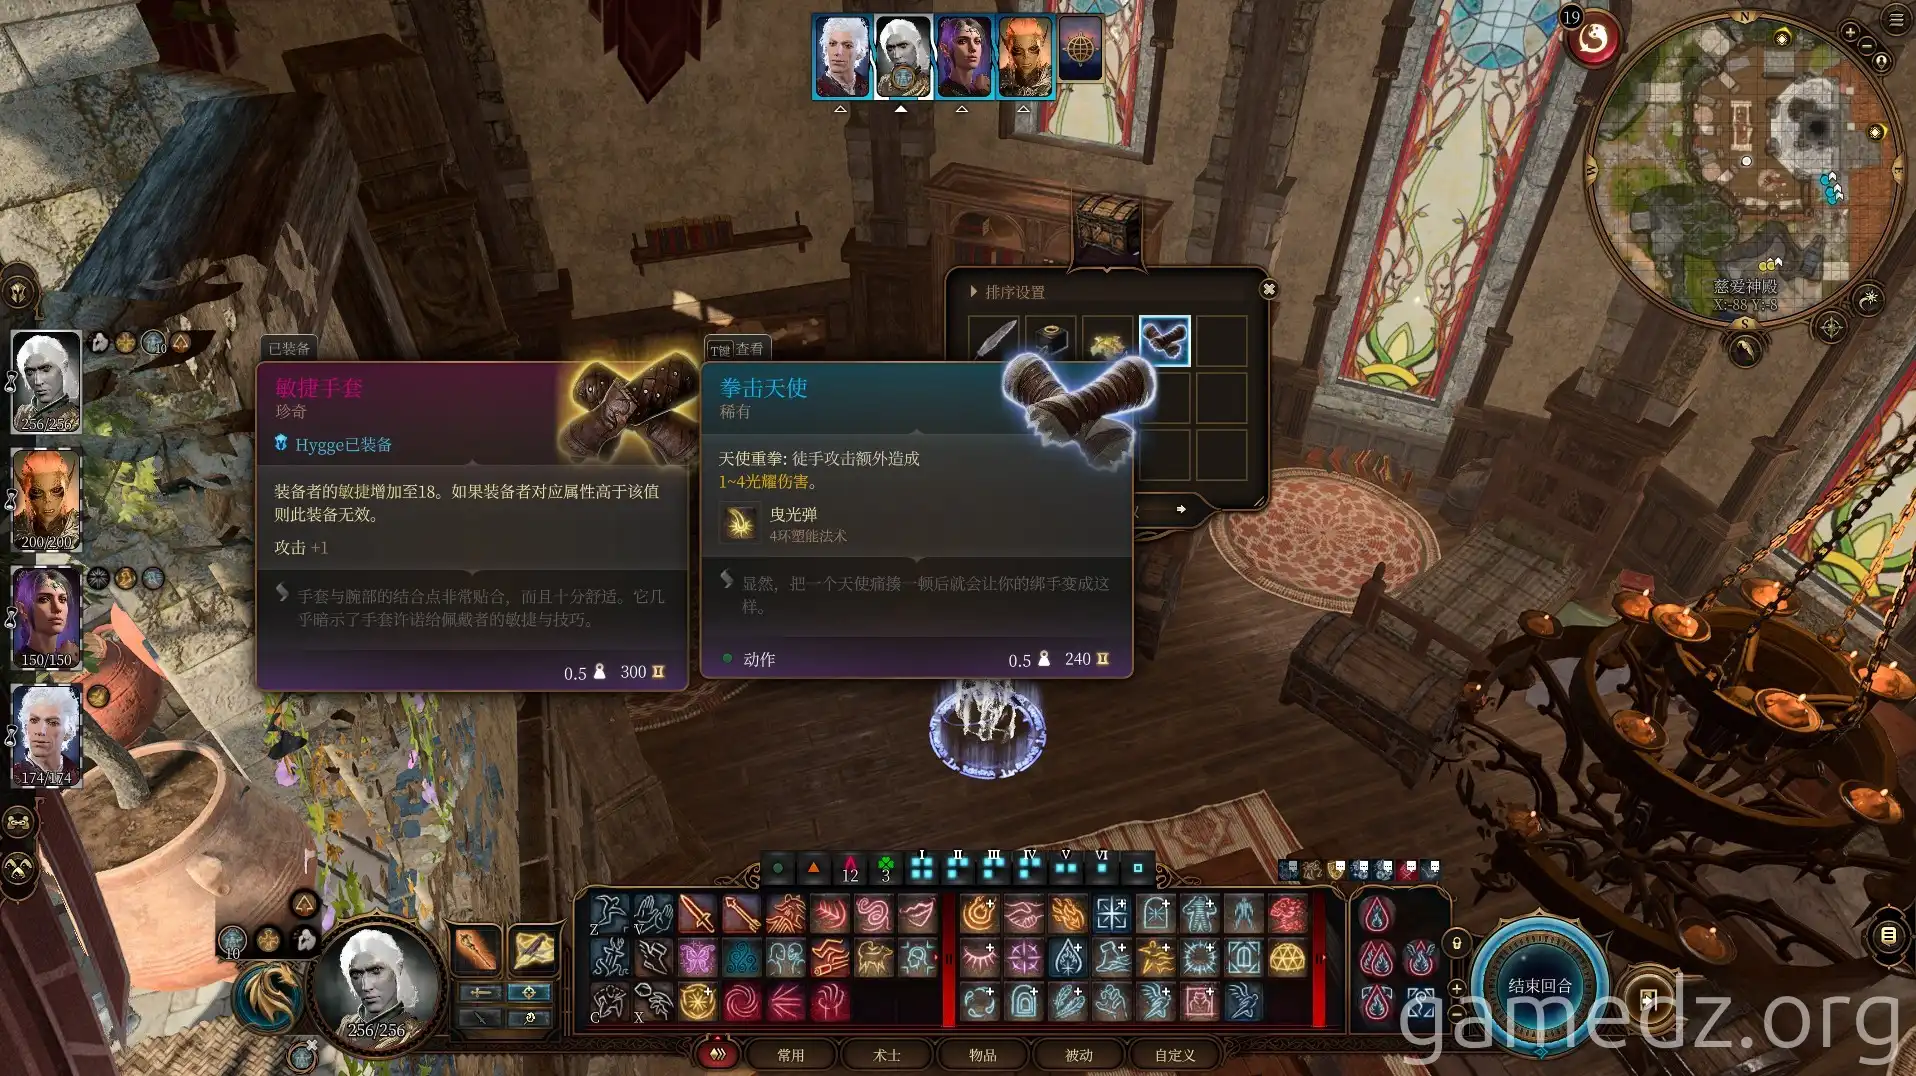
In the southernmost chest in the room, you can obtain the Rare equipment, Punching Angels.
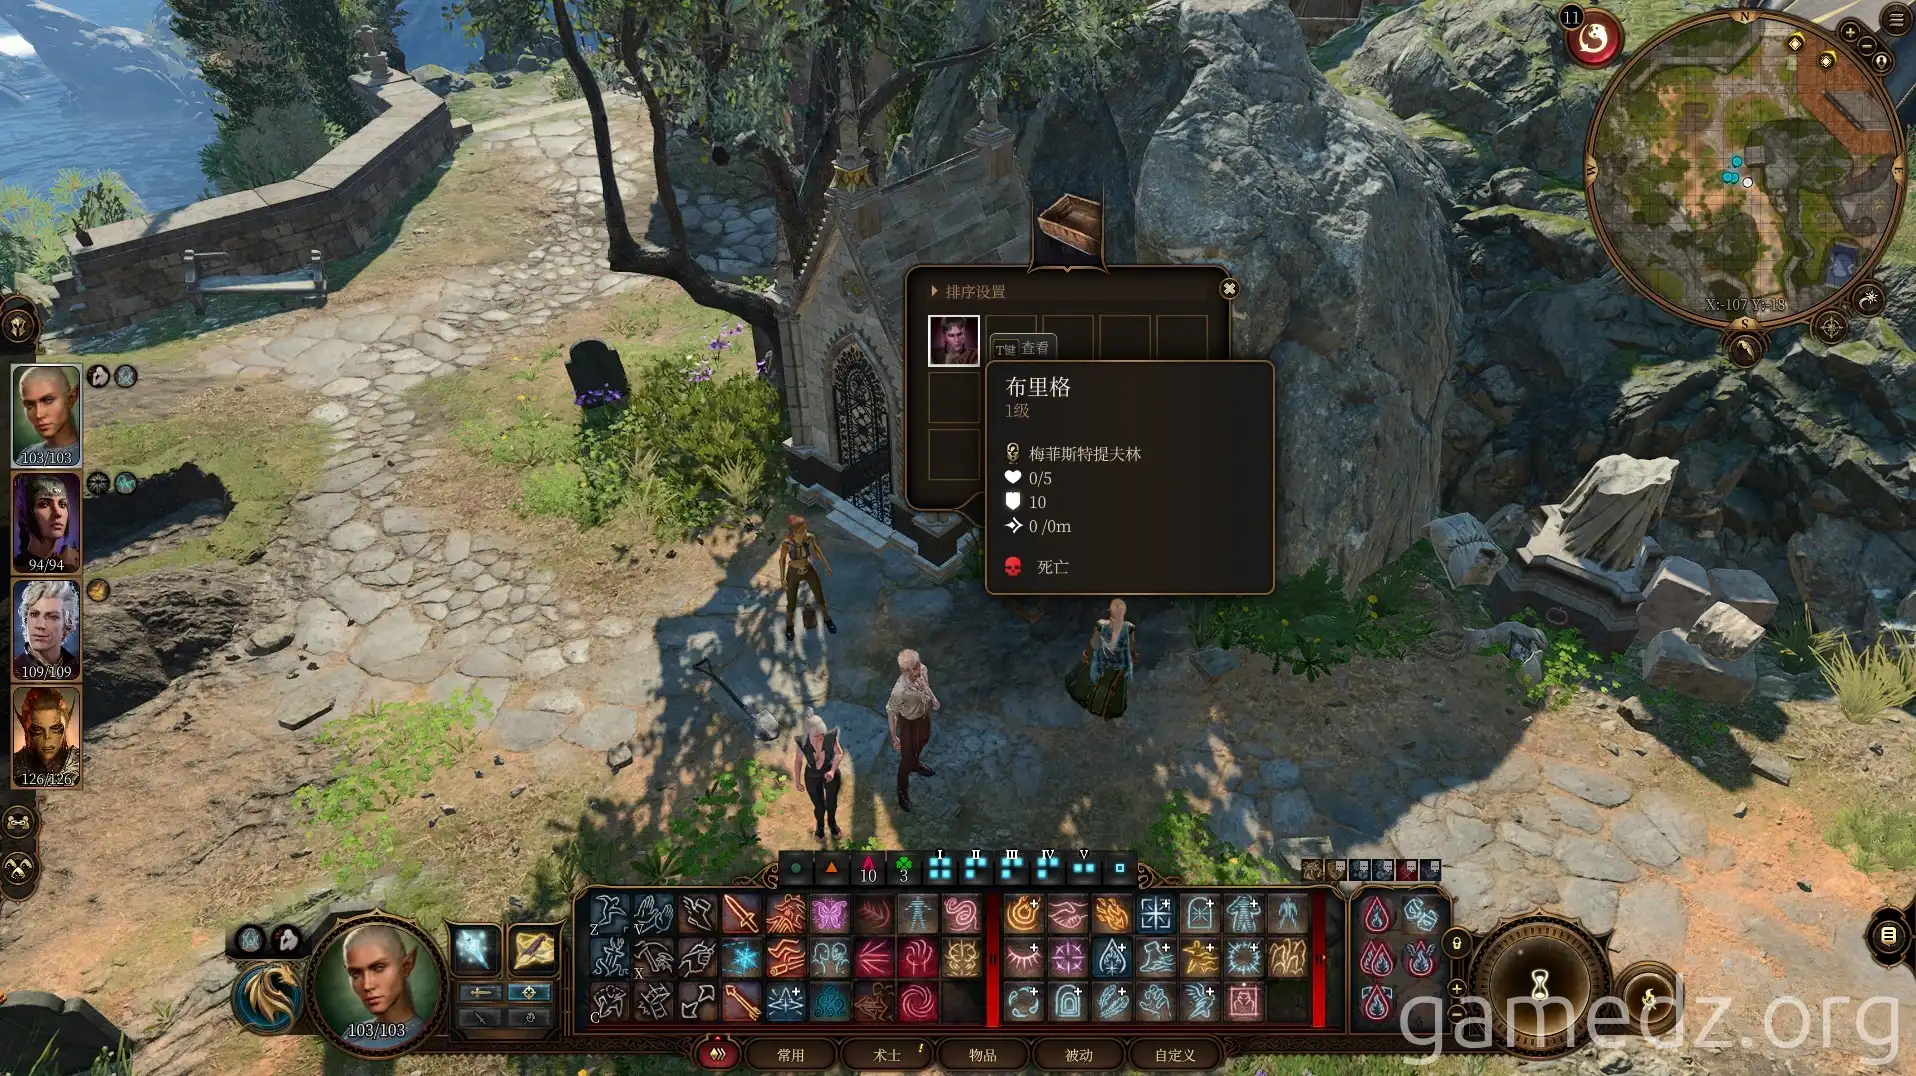
Next, proceed to the temple's western graveyard. In the tomb beneath the cliff face, you'll find Brig. Using Speak with Dead to question him yields the same answer as Logan.
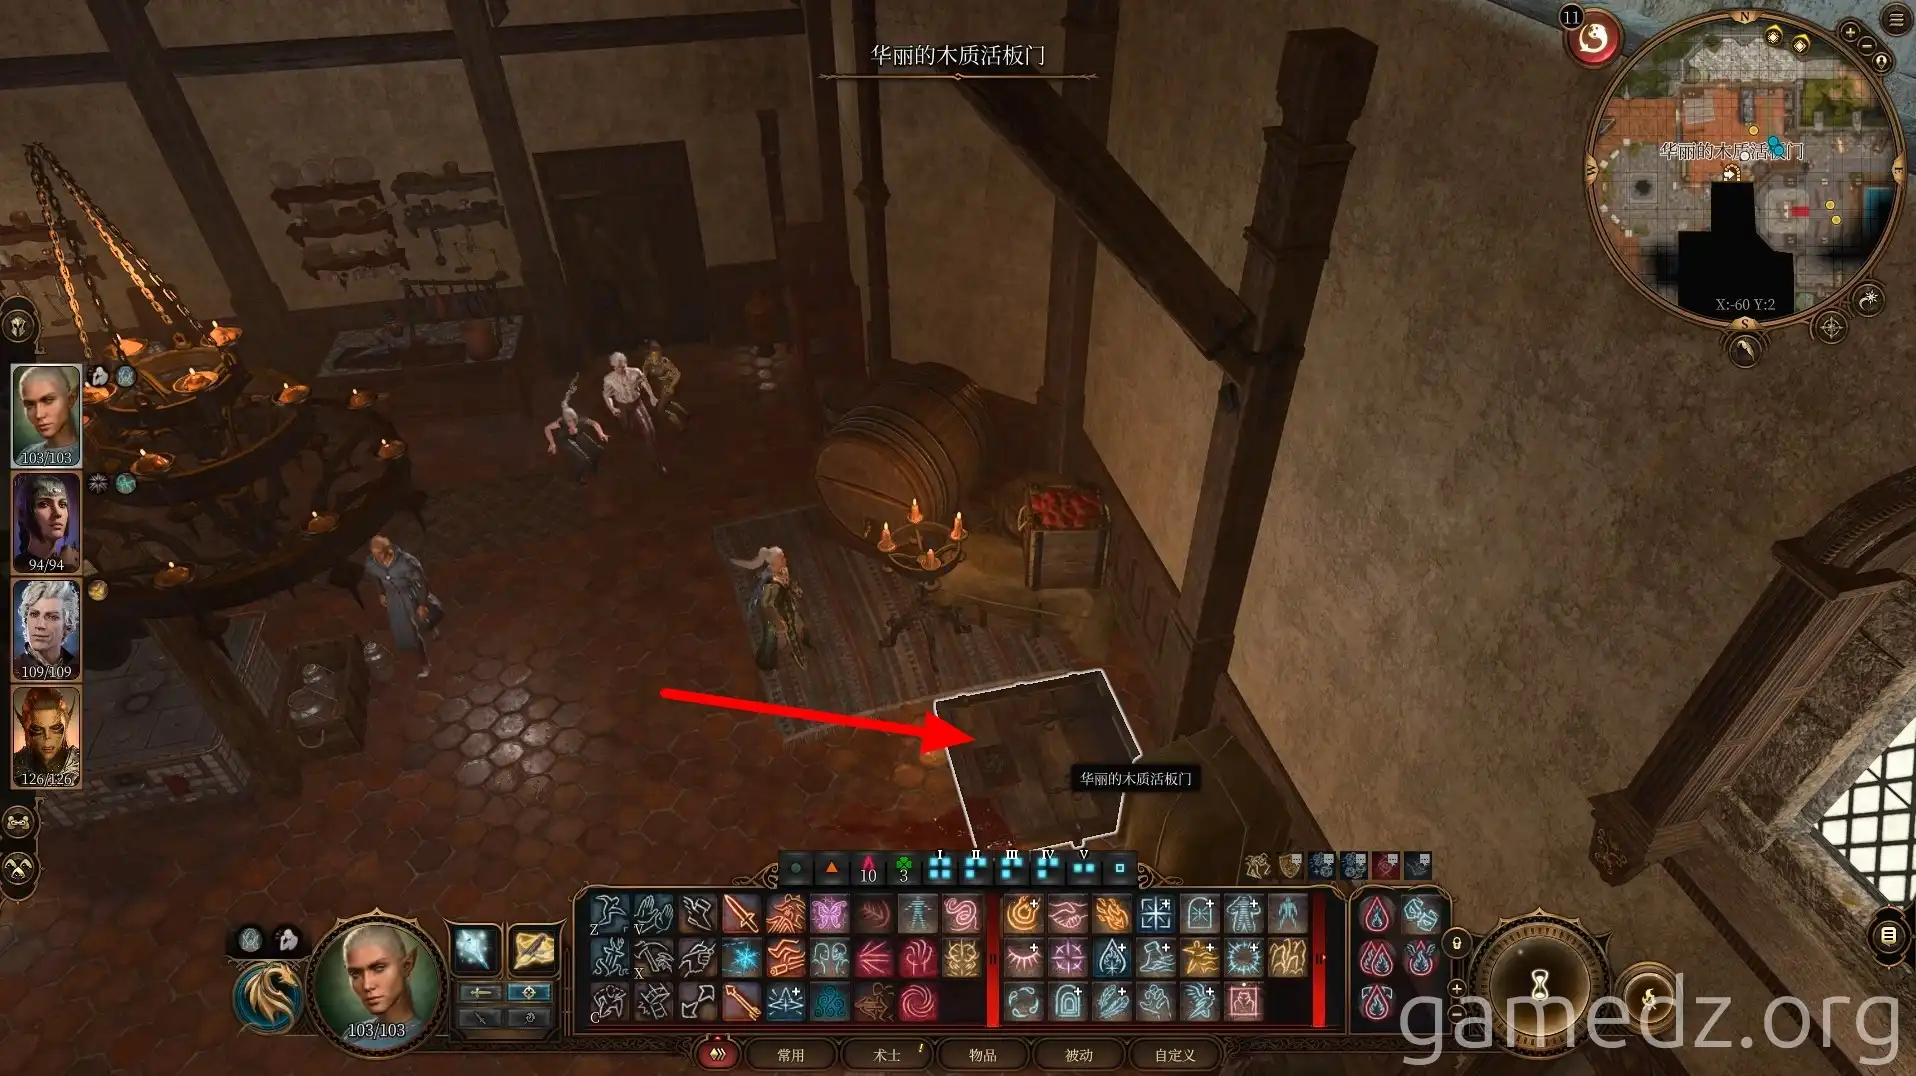
Return to the kitchen and enter the basement through the trapdoor in the room.
Arrive at the room with the sarcophagi in the basement. In the corner, you'll find the monk's granddaughter, Shira.
Then, speak with the monk. In the dialogue, choose to bear the monk's curse. After a series of checks, the monk is finally freed. You will receive Tasha's Hideous Laughter, and the Rare accessory the monk was possessing will lose all its stats.
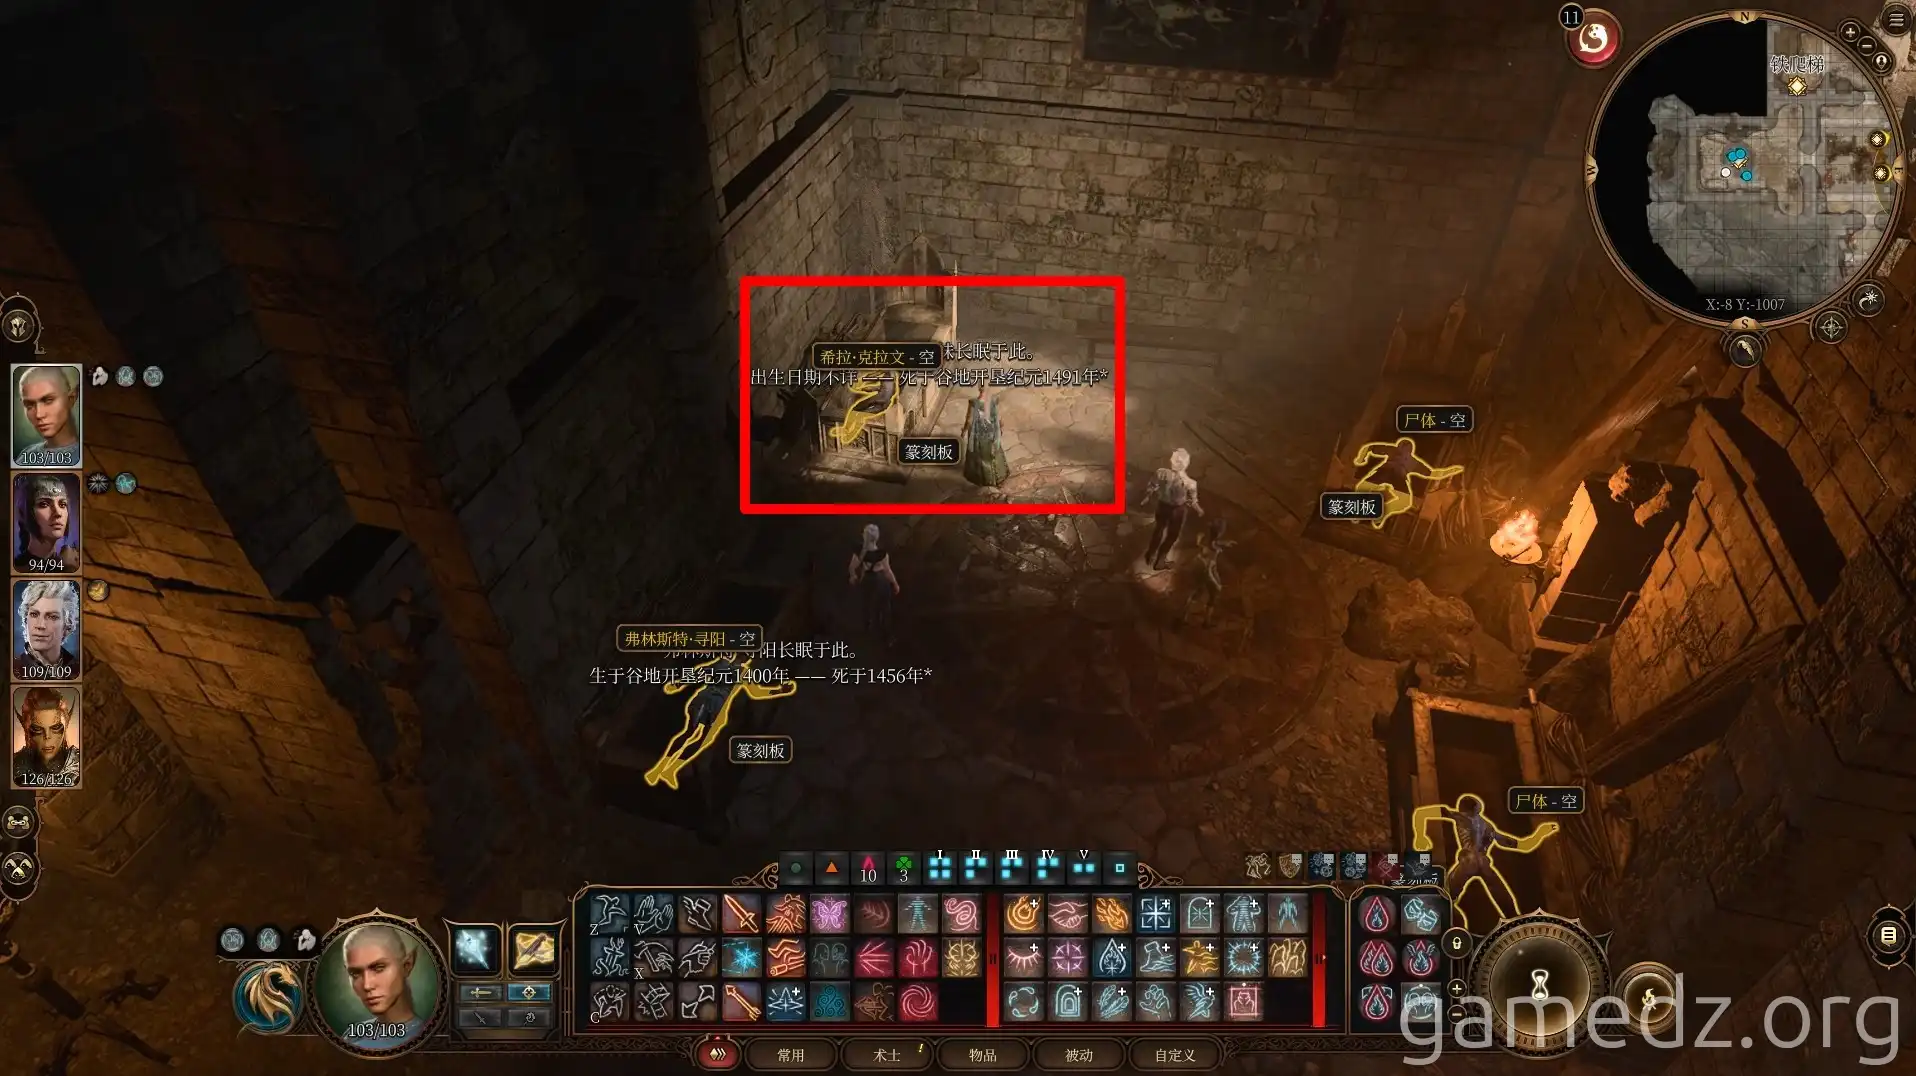
On the walls to the left and right of the platform in the cellar, you can find a crest. Interacting with the crest reveals buttons. Pressing both buttons will open the door to the secret passage.
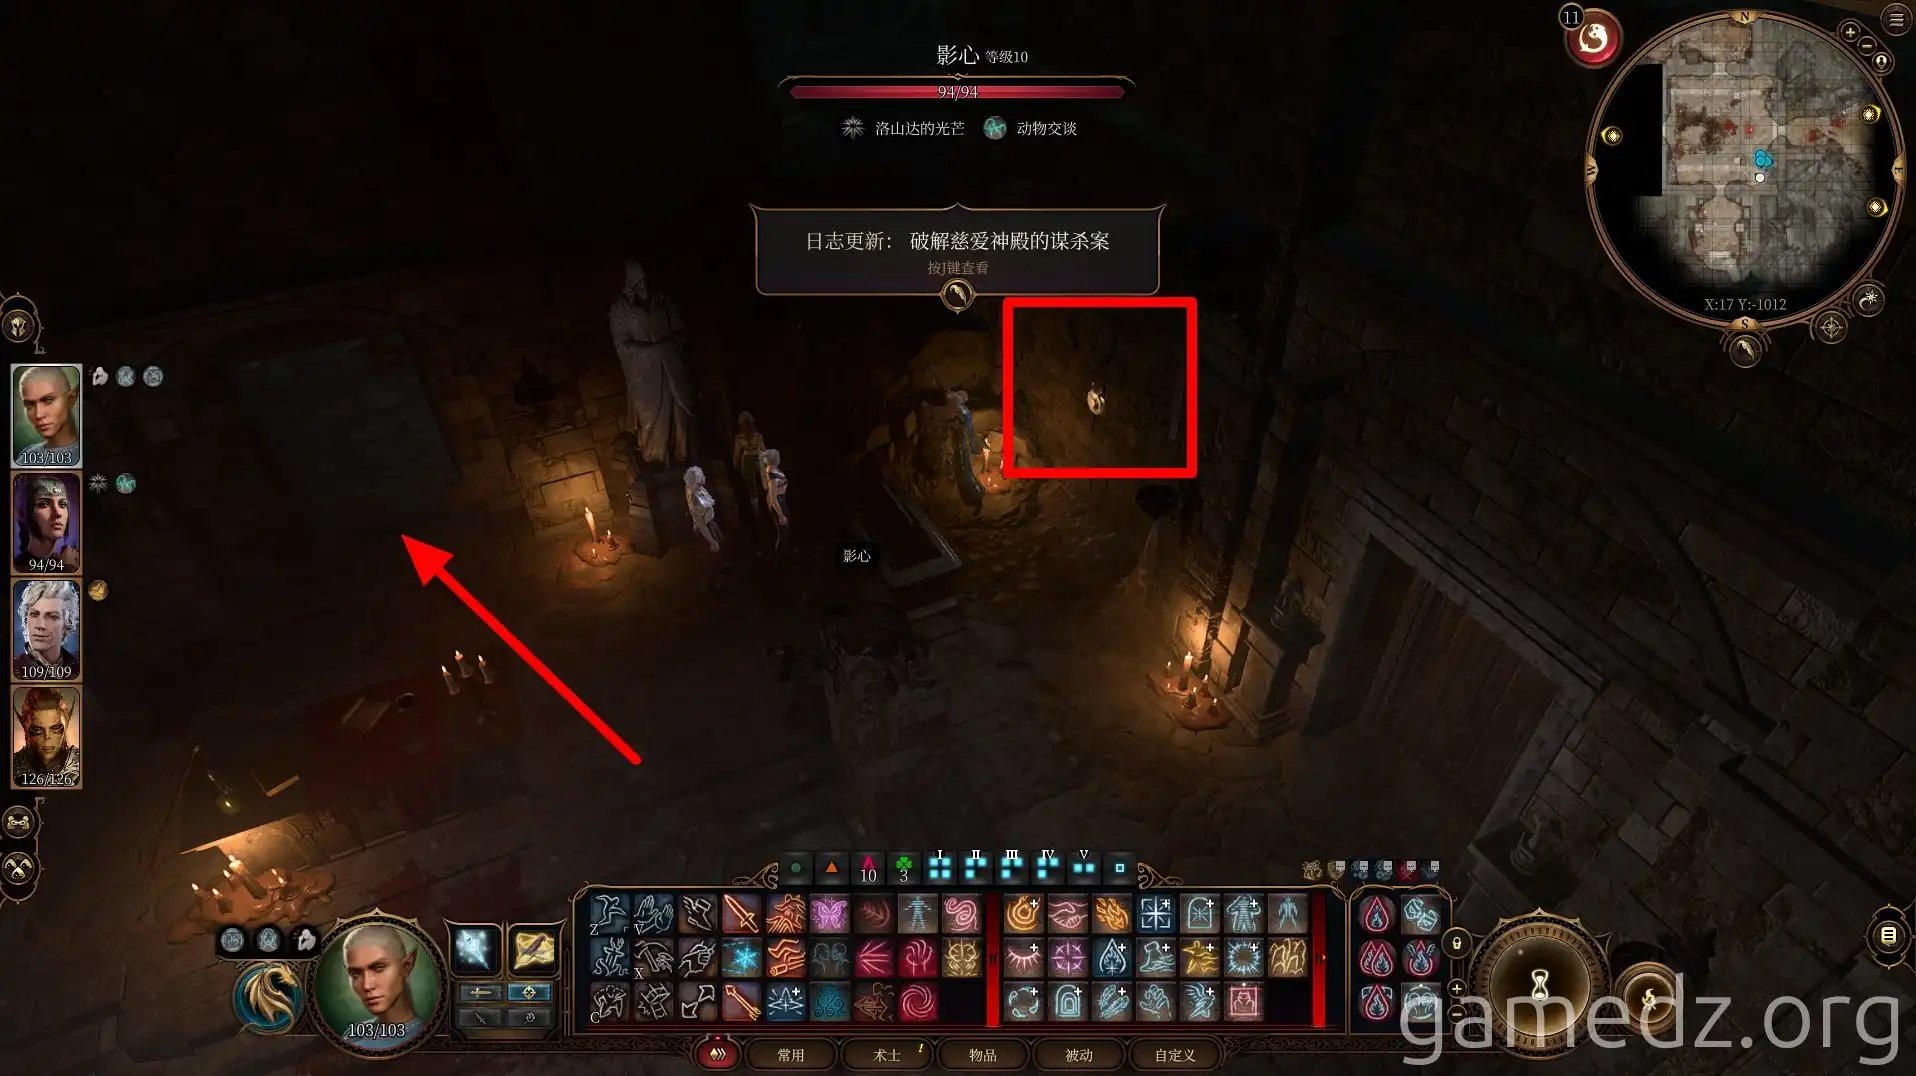
Additionally, you can enter the room with many spell scrolls and access the passage through a gap behind the bookshelf.
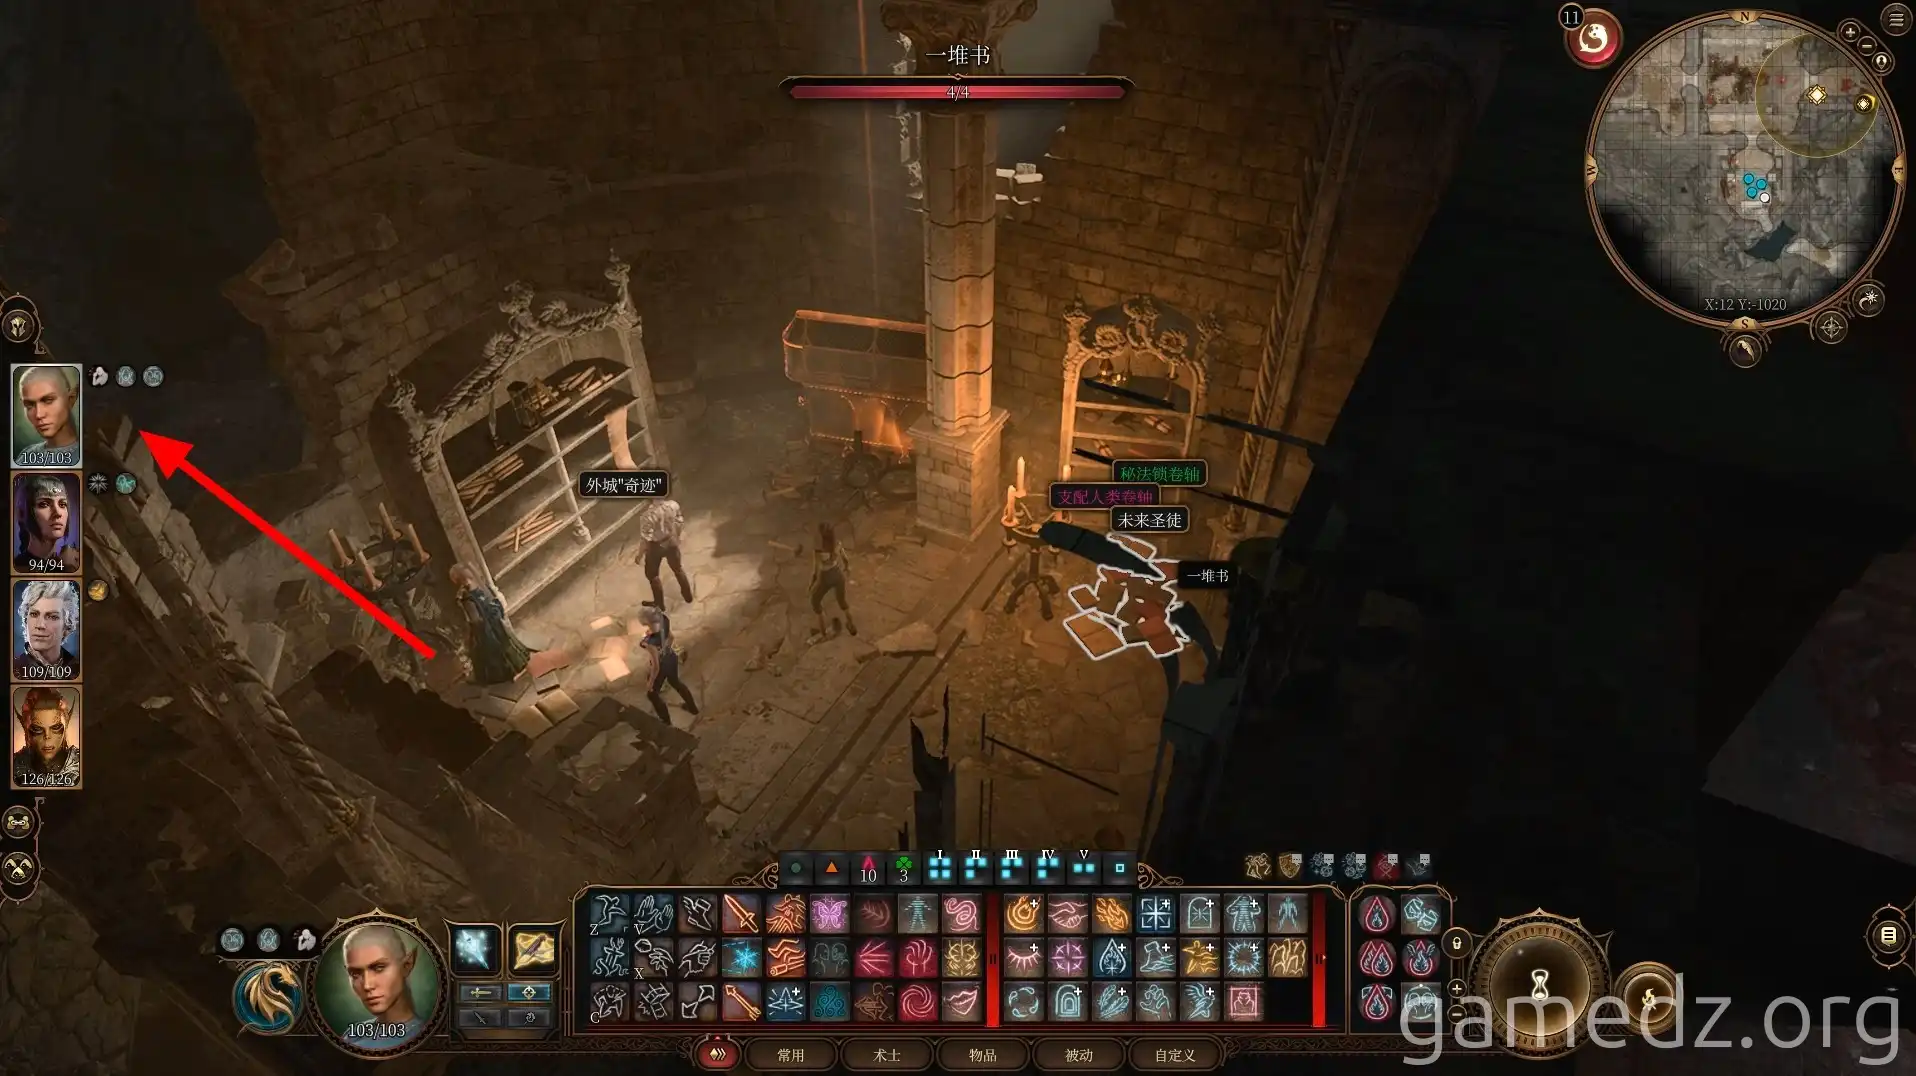
In a chest by the roadside, you can find some supplies. Continue deeper into the passage.
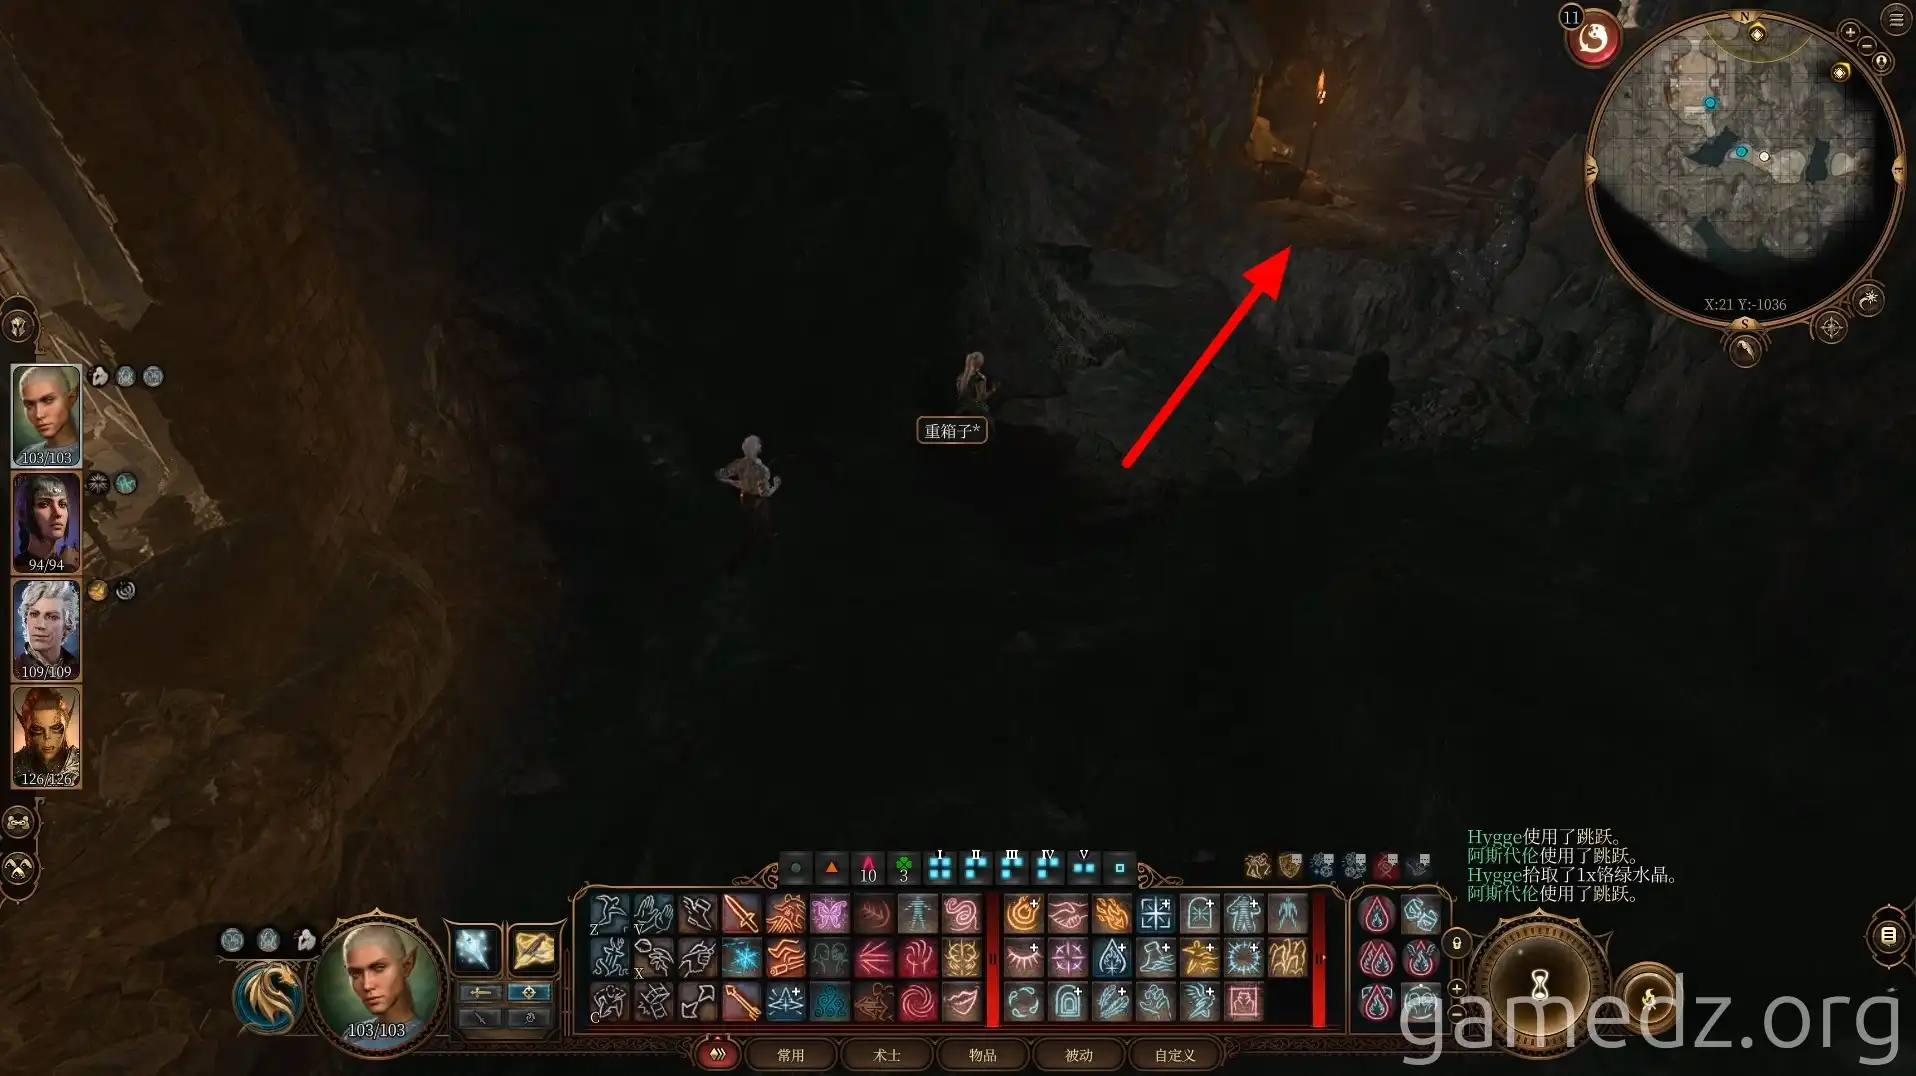
Ahead in the passage are three shapeshifters. Eliminate them all.
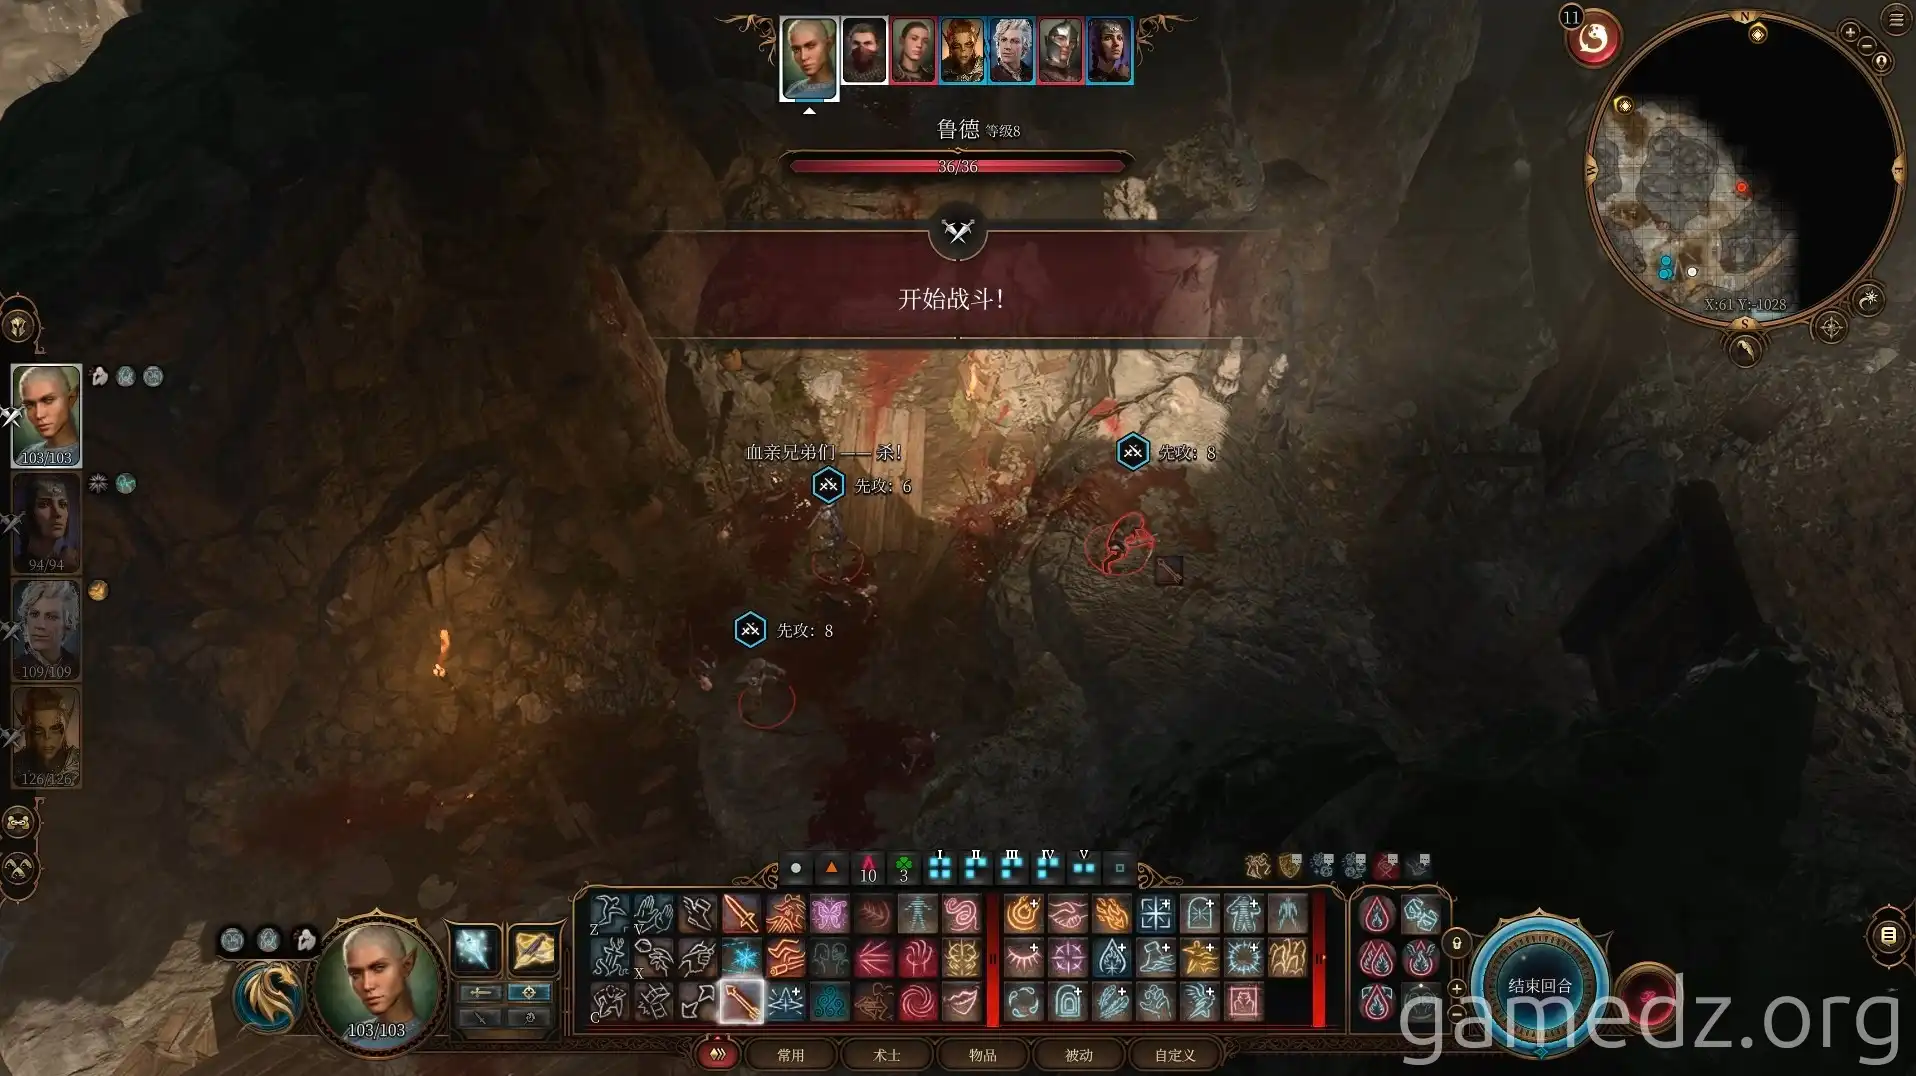
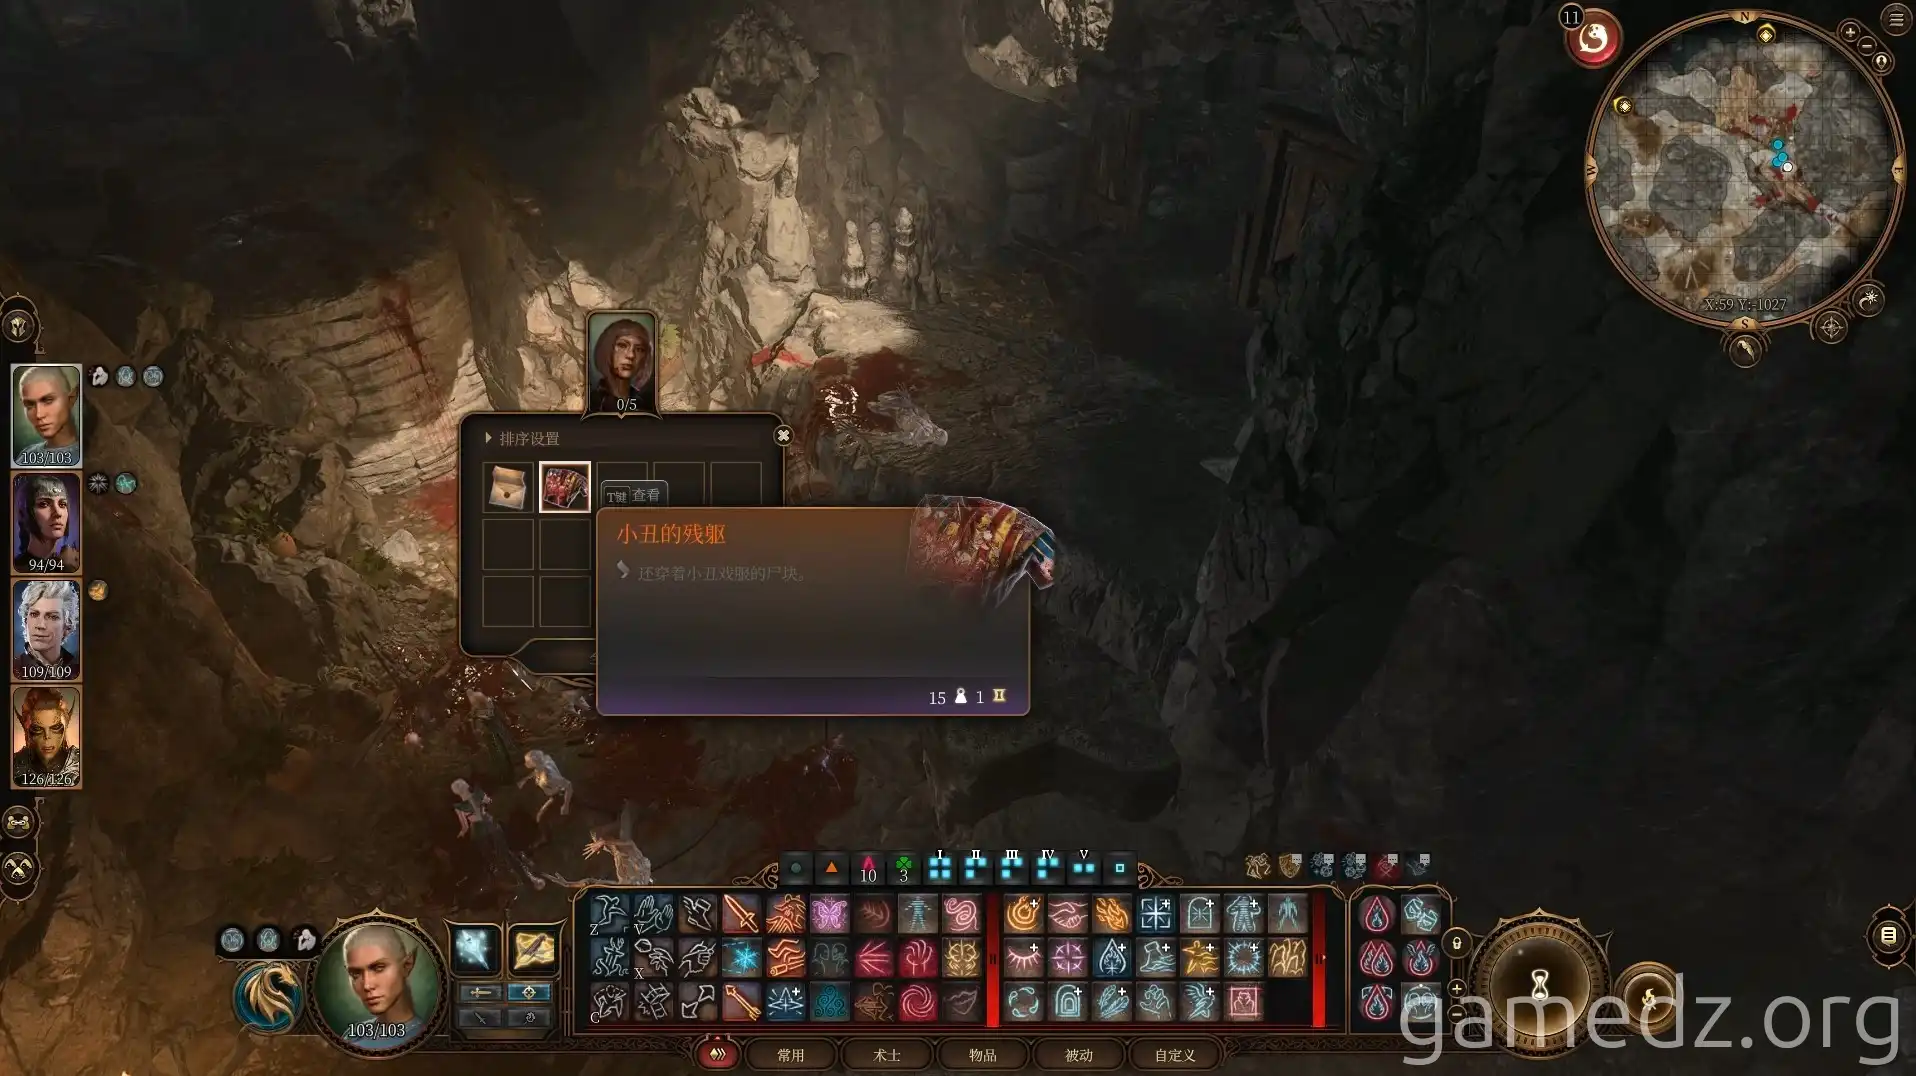
On a corpse near the shapeshifters, you can find Jester's Remains.
From the shapeshifters, you can obtain a Floral Key.
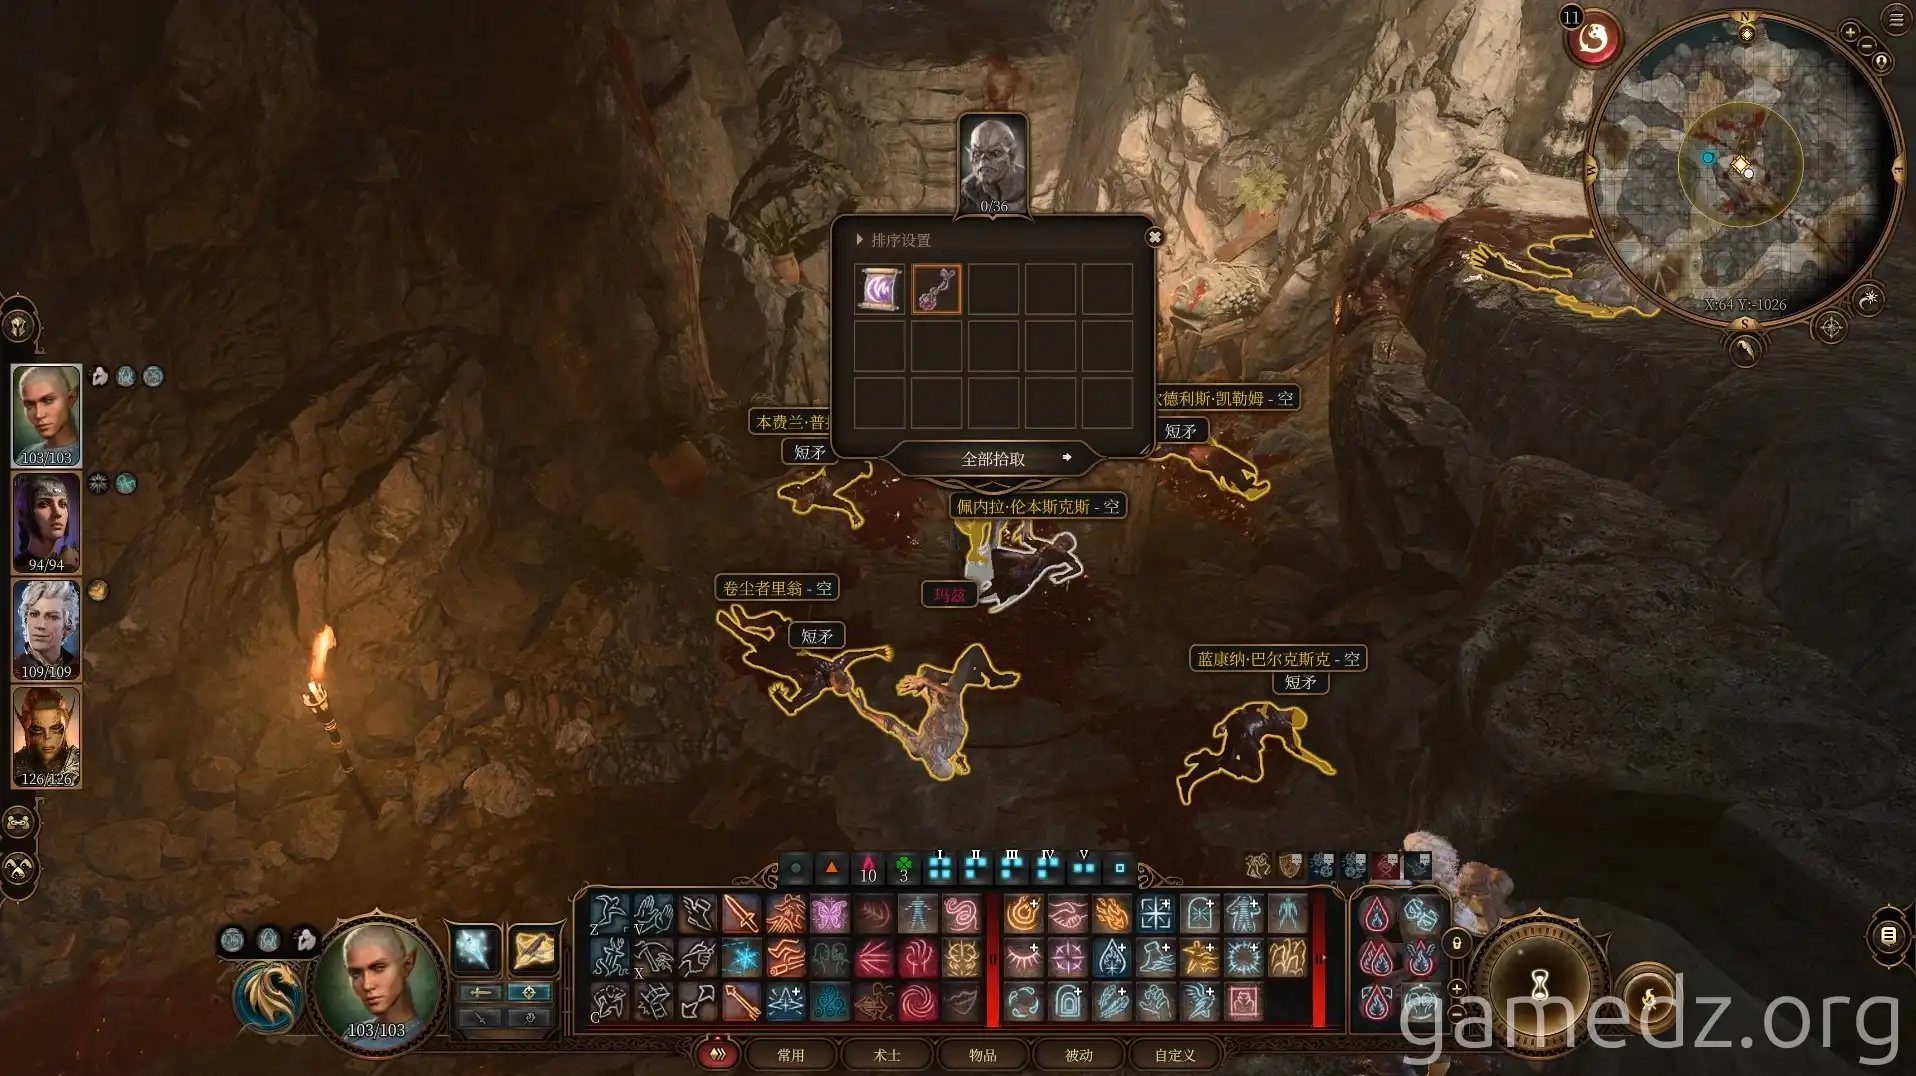
In a corner beneath the cliff face nearby, after passing an Insight check, you'll discover a hole. Inside the hole, you can find the Very Rare weapon, The Stillmaker. Upon investigation, you'll discover this is the murder weapon used against Father Logan.
Continuing south from here will lead you back to the secret door opened in the temple's basement.
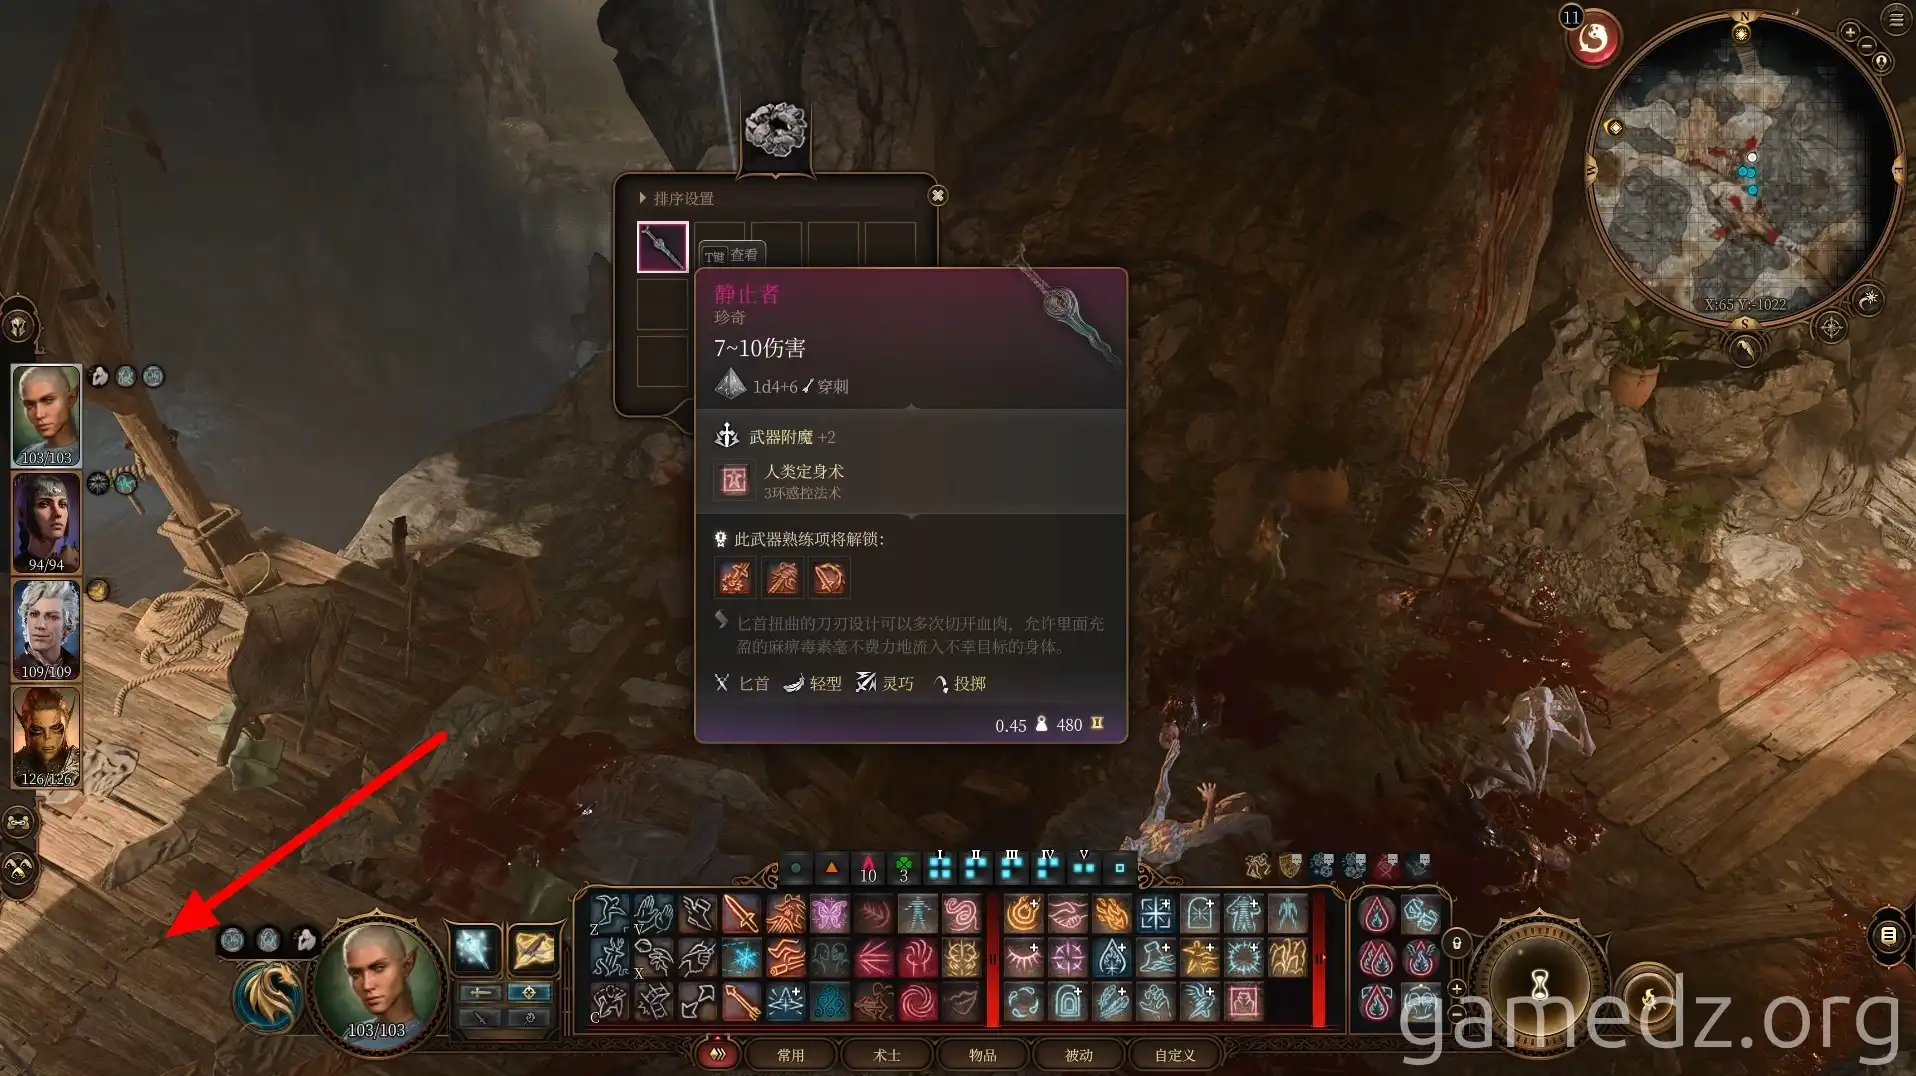
Ascend the rugged rocks next to the shapeshifters. On the upper level, you'll find a makeshift refugee camp.
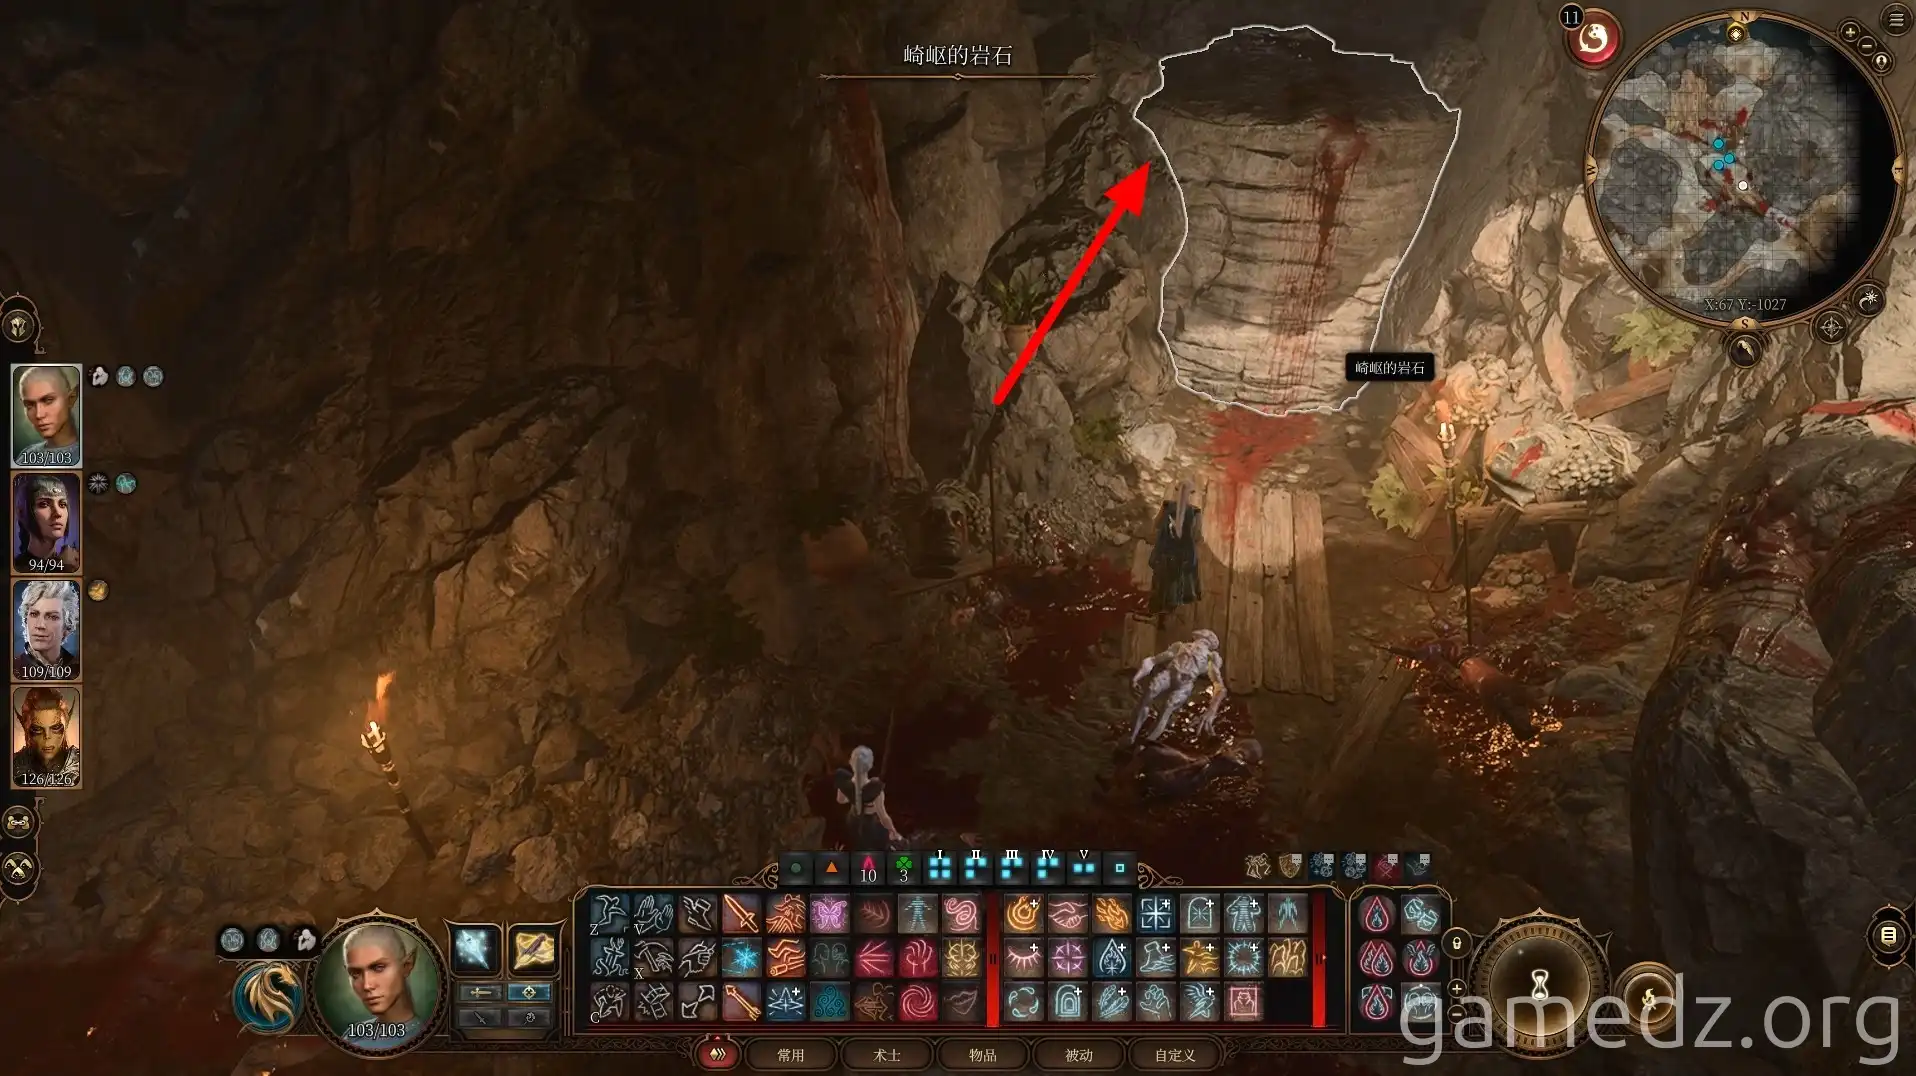
The northern exit of the cave leads to the lower area of Wyrm's Crossing South Wing. We won't go there for now. Return to the House of Healing the way you came.
Alternatively, you can directly teleport to the Rivington portal and then proceed straight down the main avenue in Rivington to the main entrance of the House of Healing.
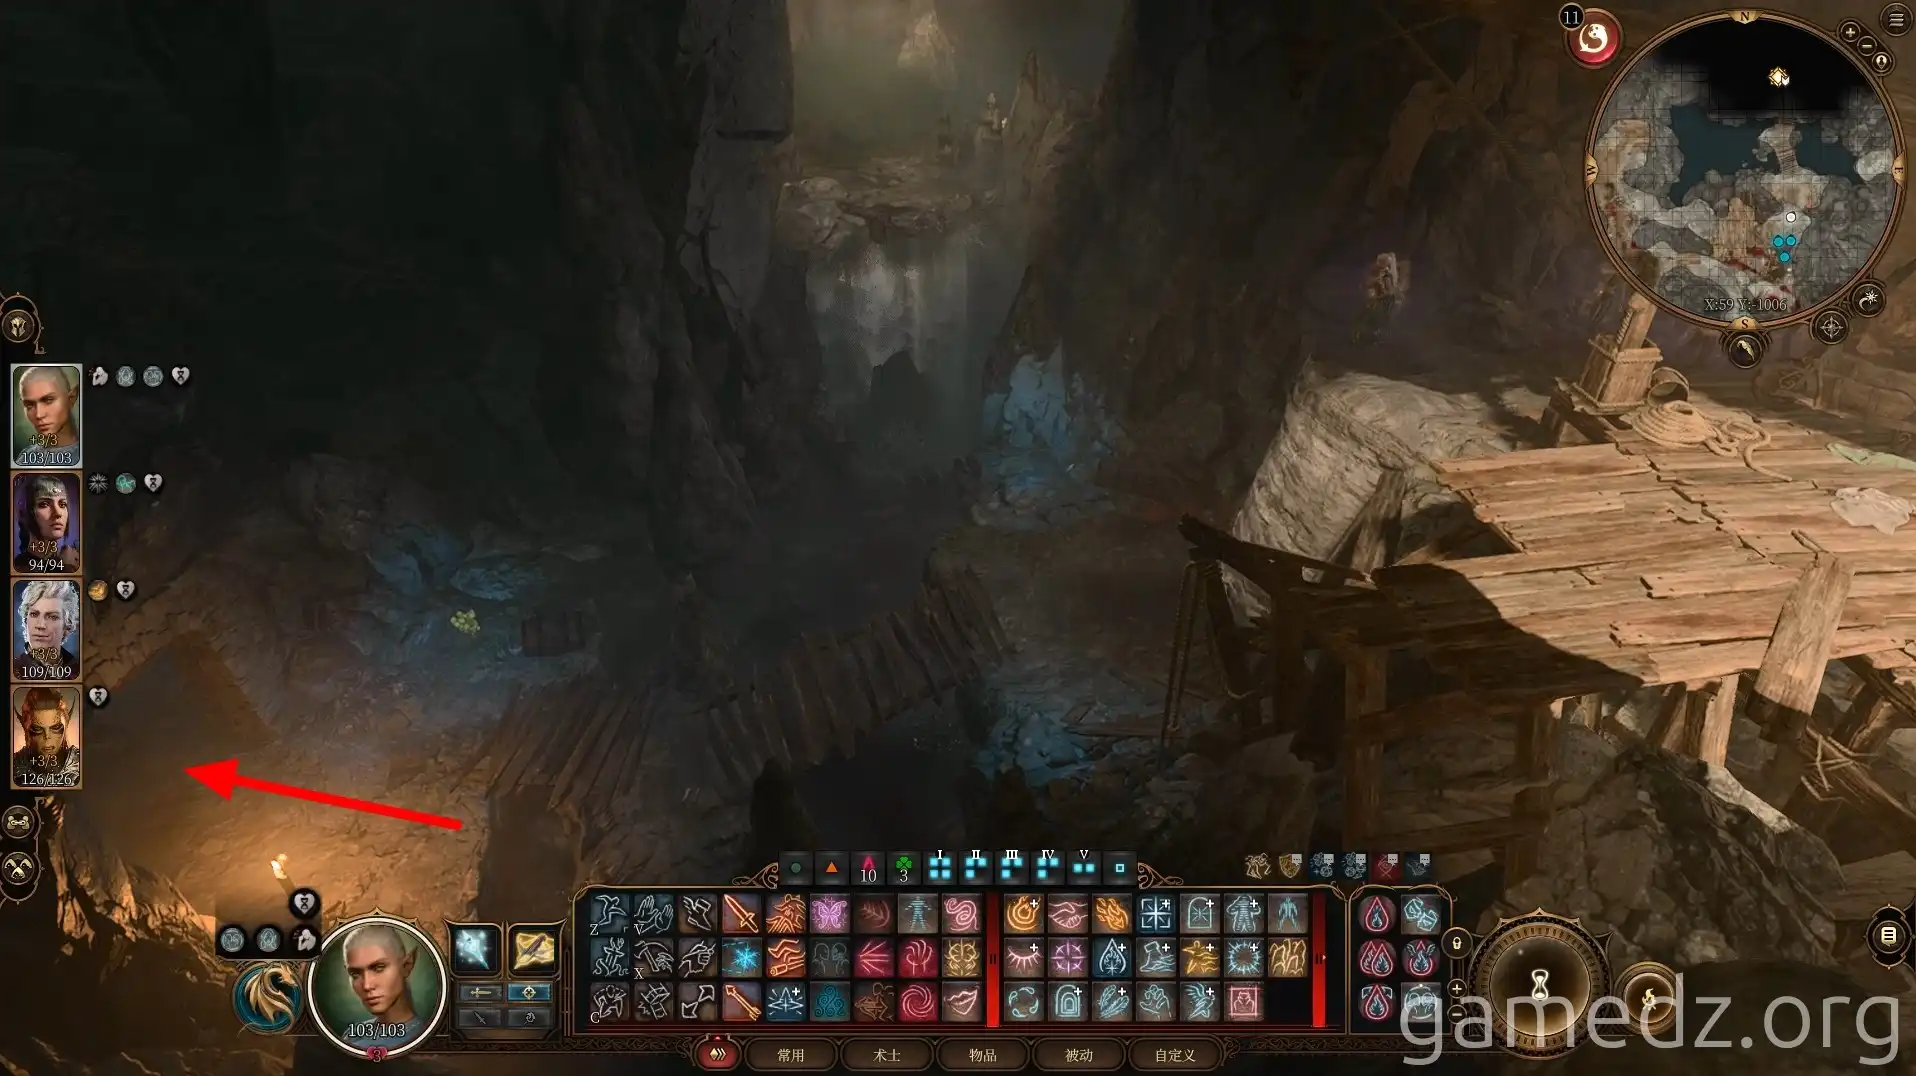
Enter the Sword Coast Courier, opposite the main entrance of the House of Healing.
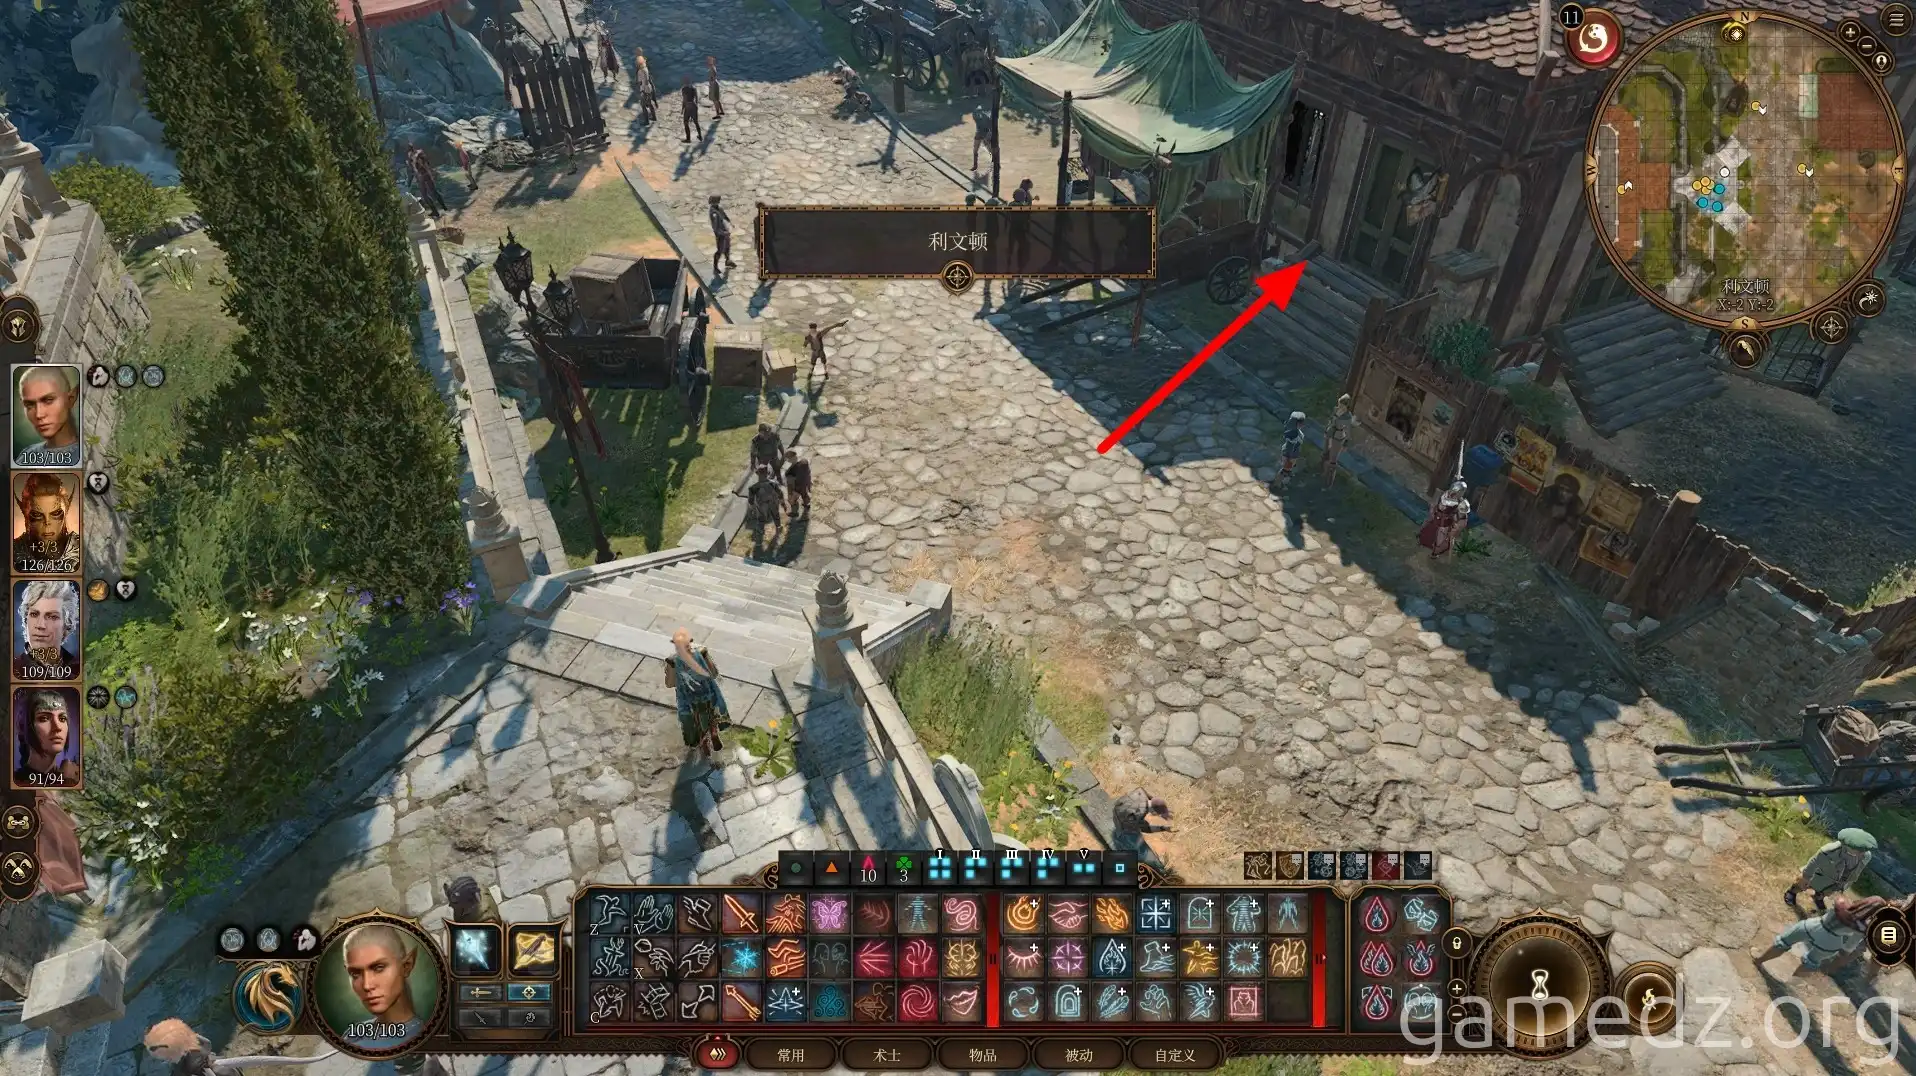
Speaking with the Postmaster reveals that pigeons have been dying frequently, causing mail to be lost as well. This initiates the side quest Lost Letters.
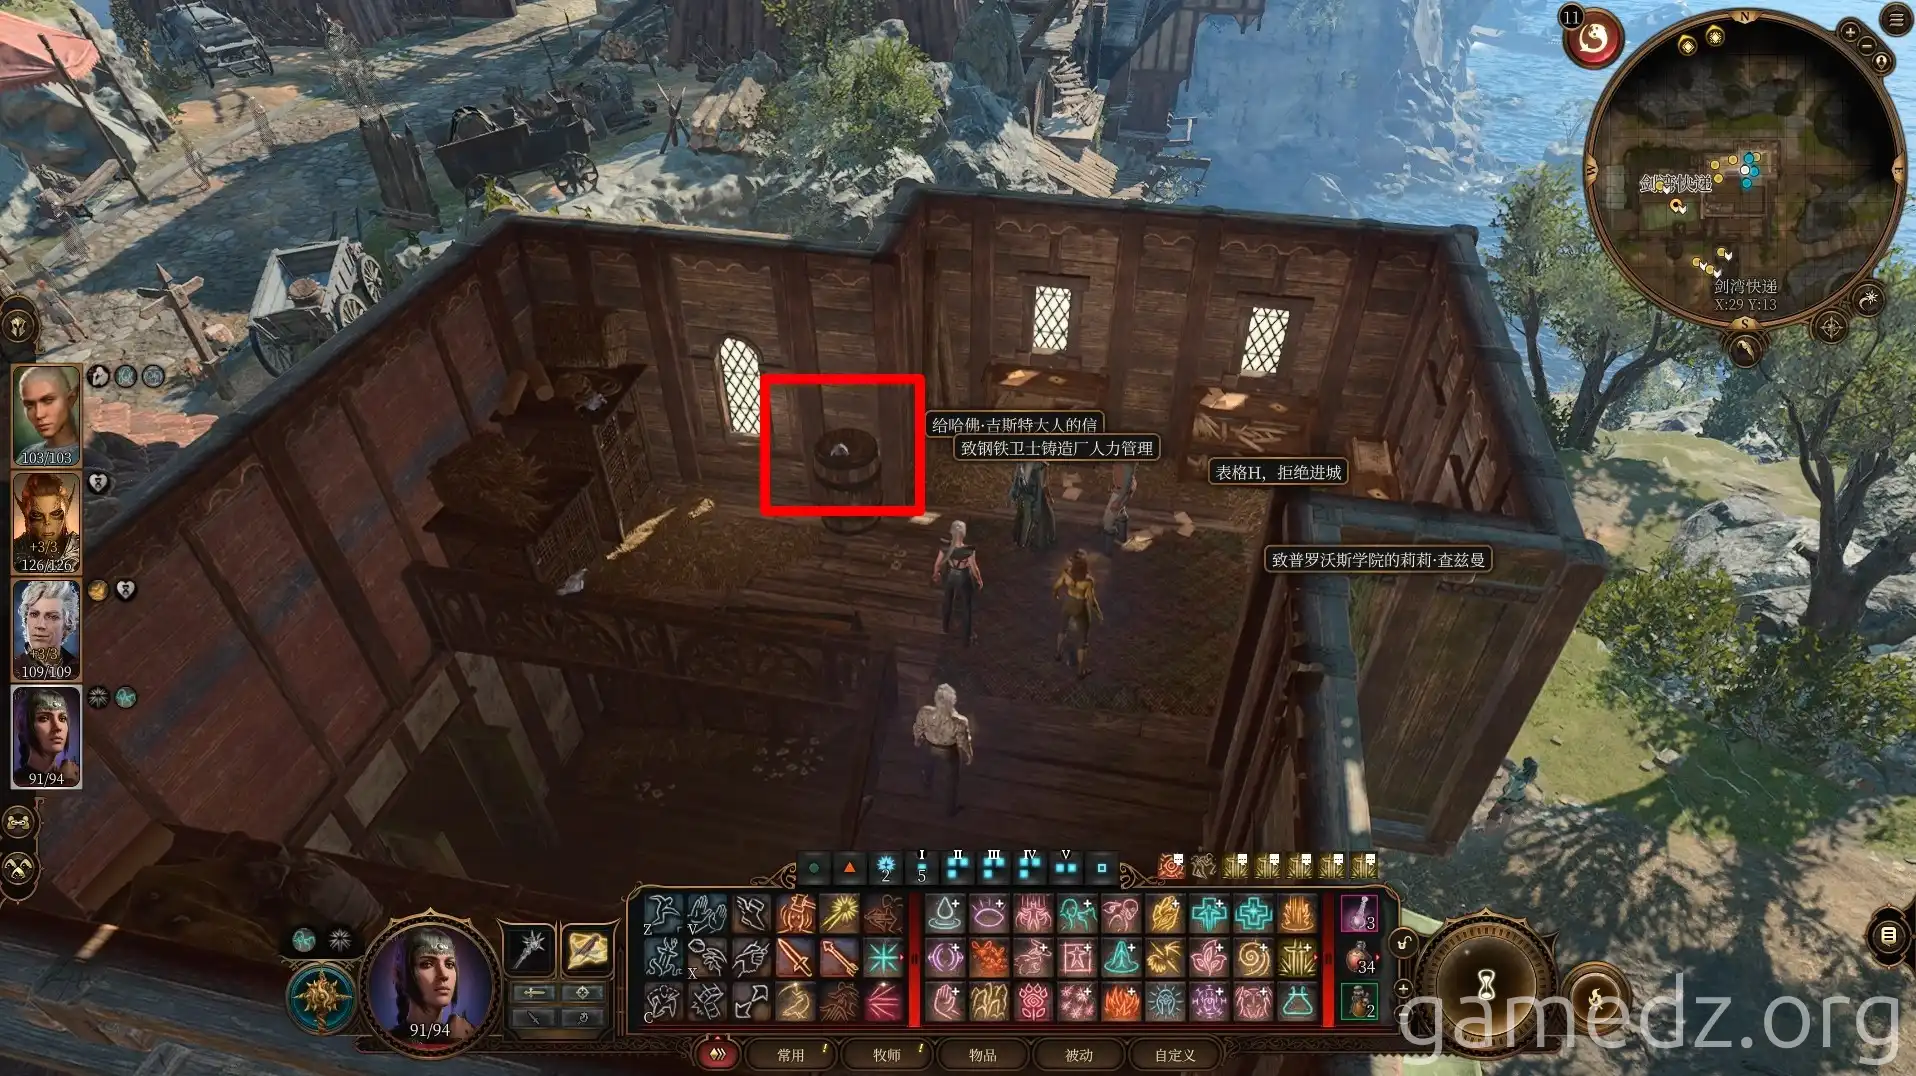
On the second floor of the post office, speaking with the pigeon, Whisper Commander, will inspire characters with a Soldier or Outlander background.
After returning to the main entrance of the House of Healing, use Misty Step or a Potion of Glorious Leap to jump onto the temple's roof.
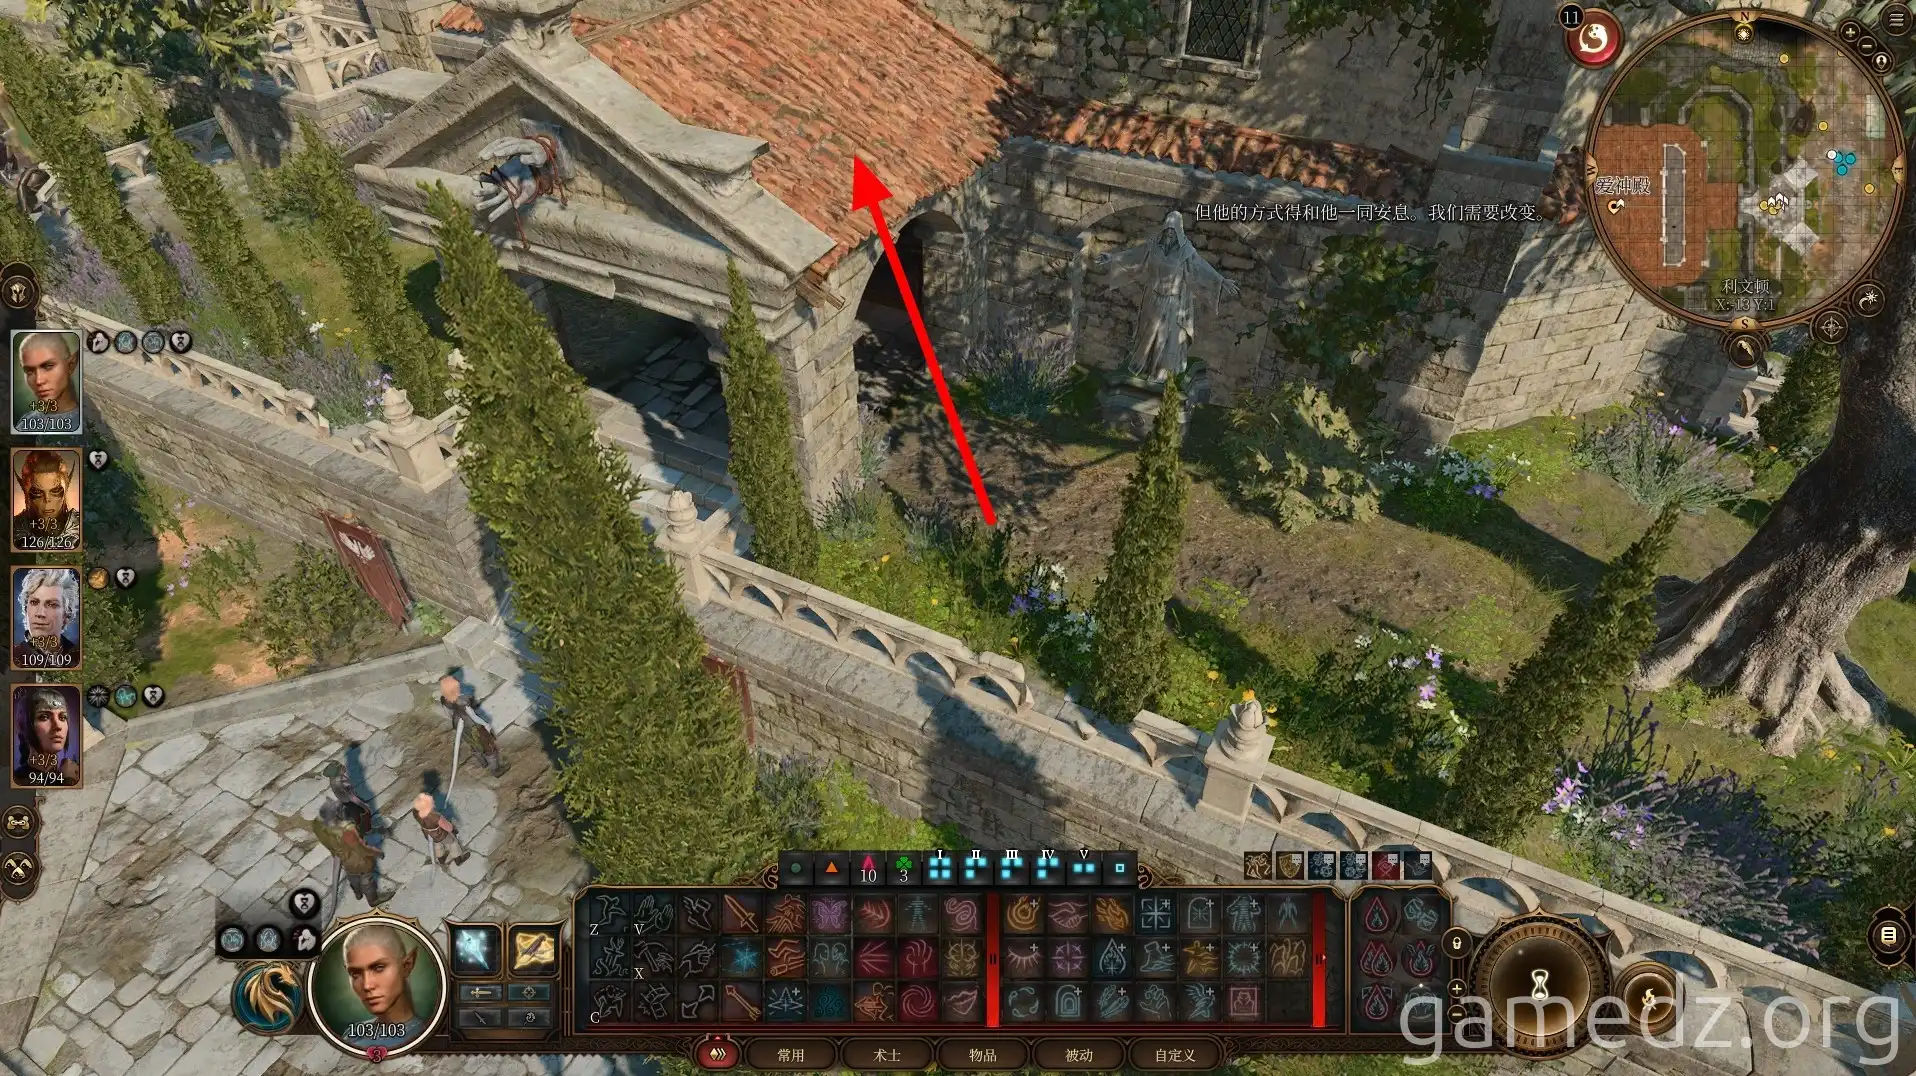
On the roof, you'll find Gale's winged cat. Now, have Gale come and speak with the winged cat.
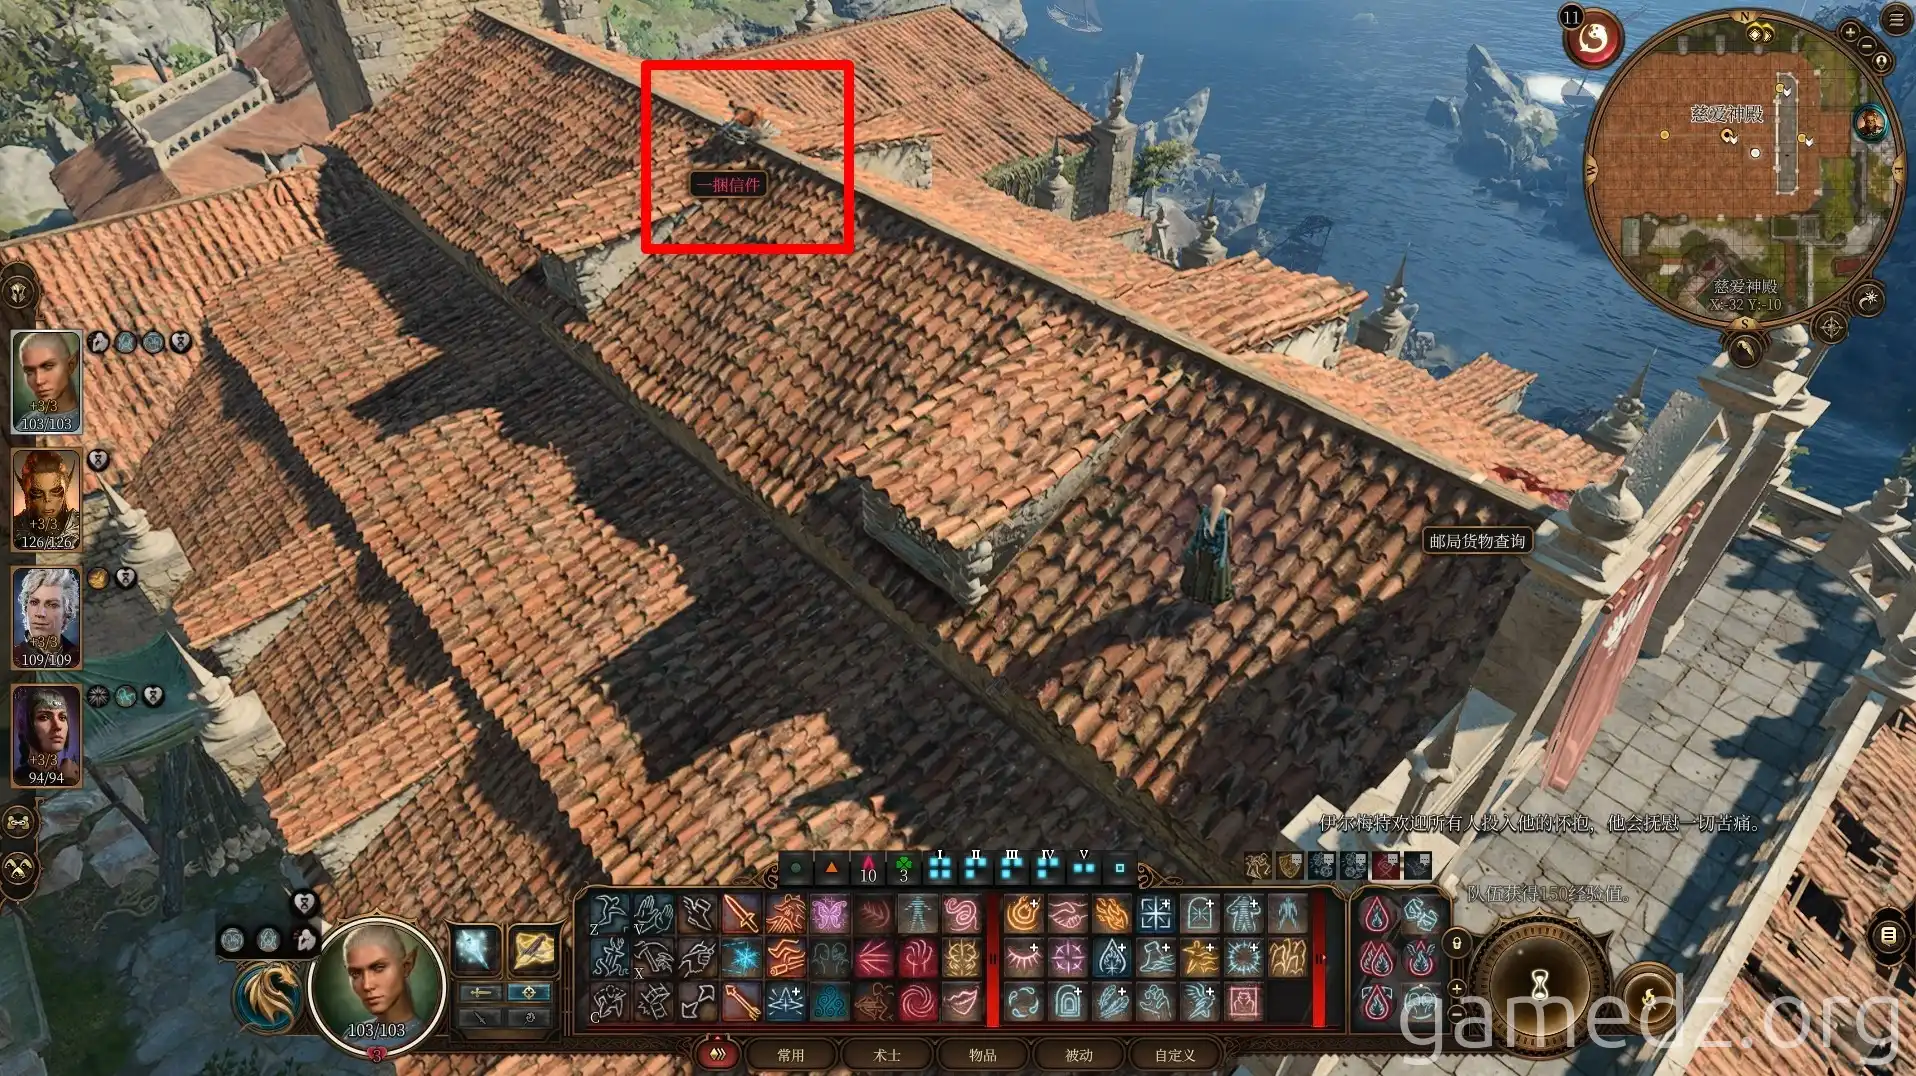
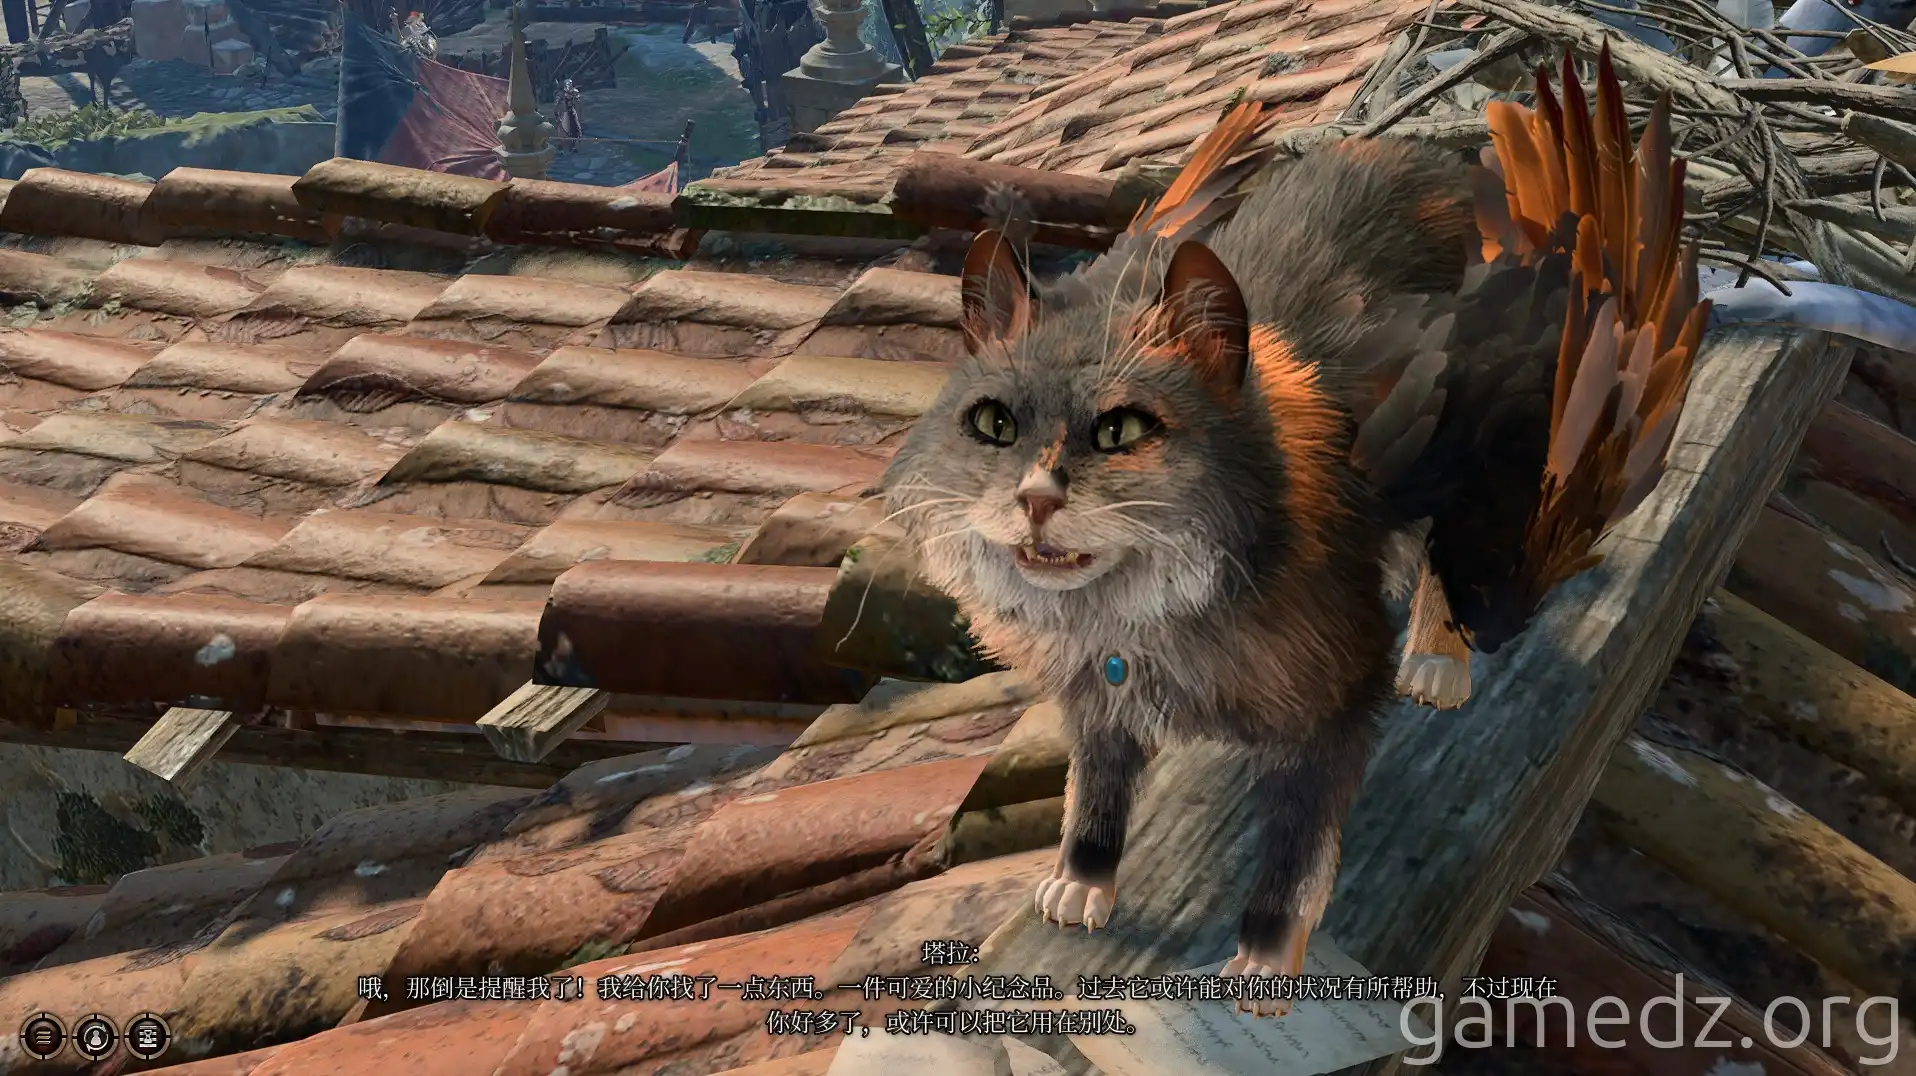
When speaking with Gale, the winged cat Tara will directly give us a ring from its nest and a letter. Other characters would need to pass various checks to obtain these items.
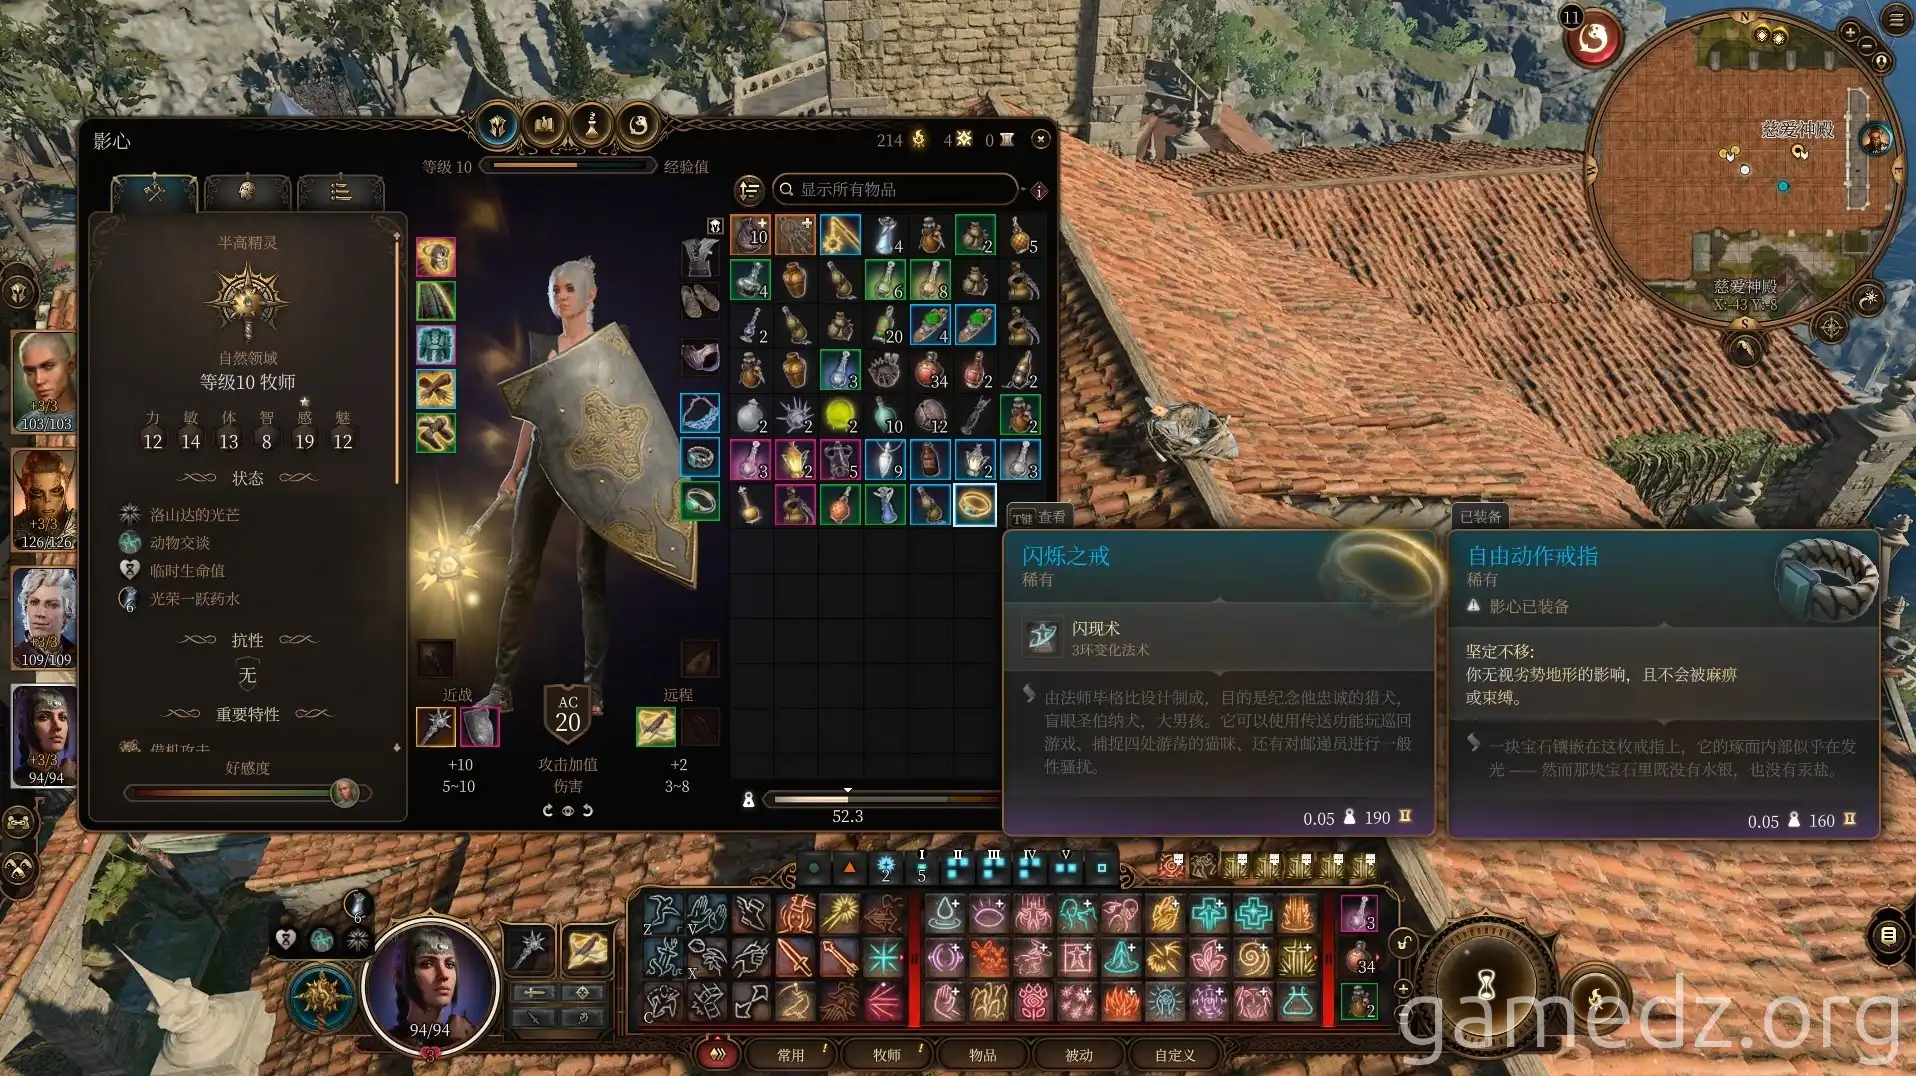
The ring Tara gives us is called the Ring of Flicker, and its stats are as follows. Then, open the bundle of letters to receive a letter from the Guild of the Unseen.
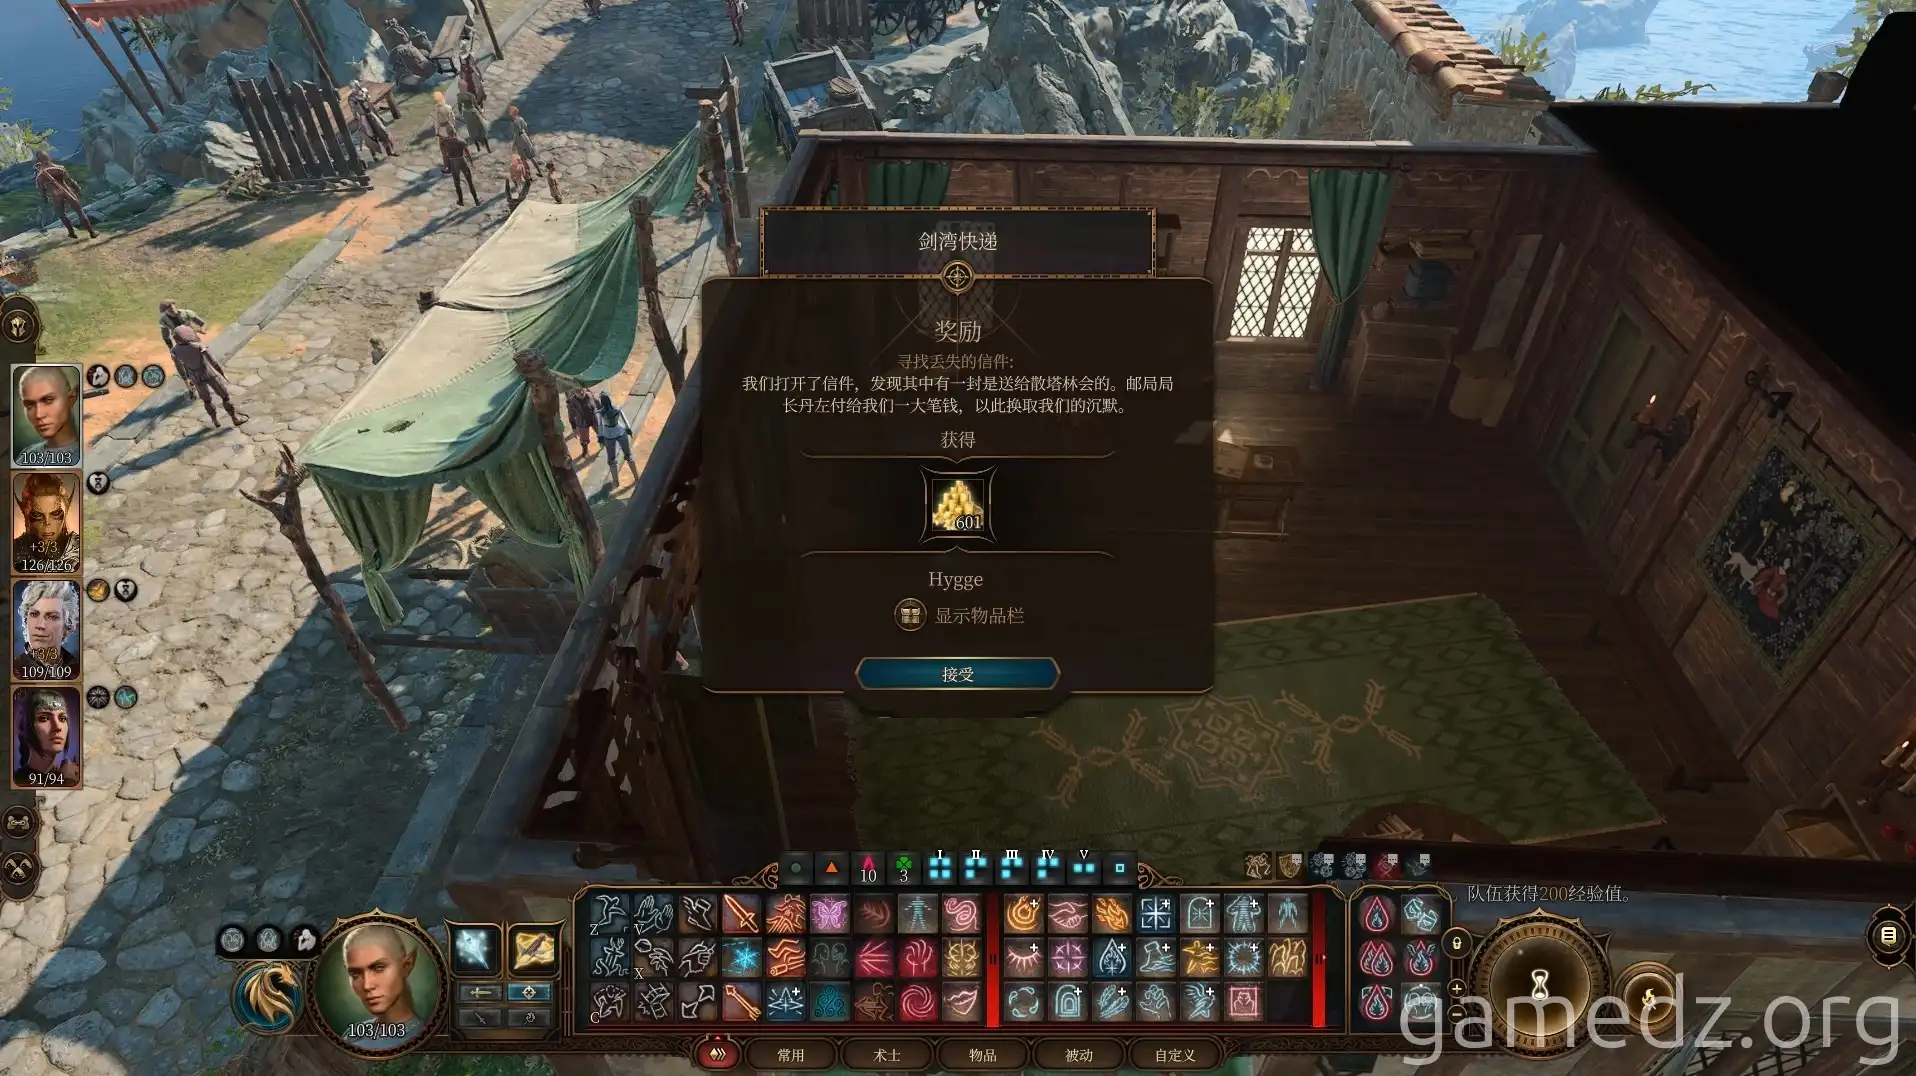
Return to the Sword Coast Courier and hand over the Guild of the Unseen letter to the Postmaster to receive some gold.
Behind the Postmaster, you can steal a letter addressed to the High Duke.
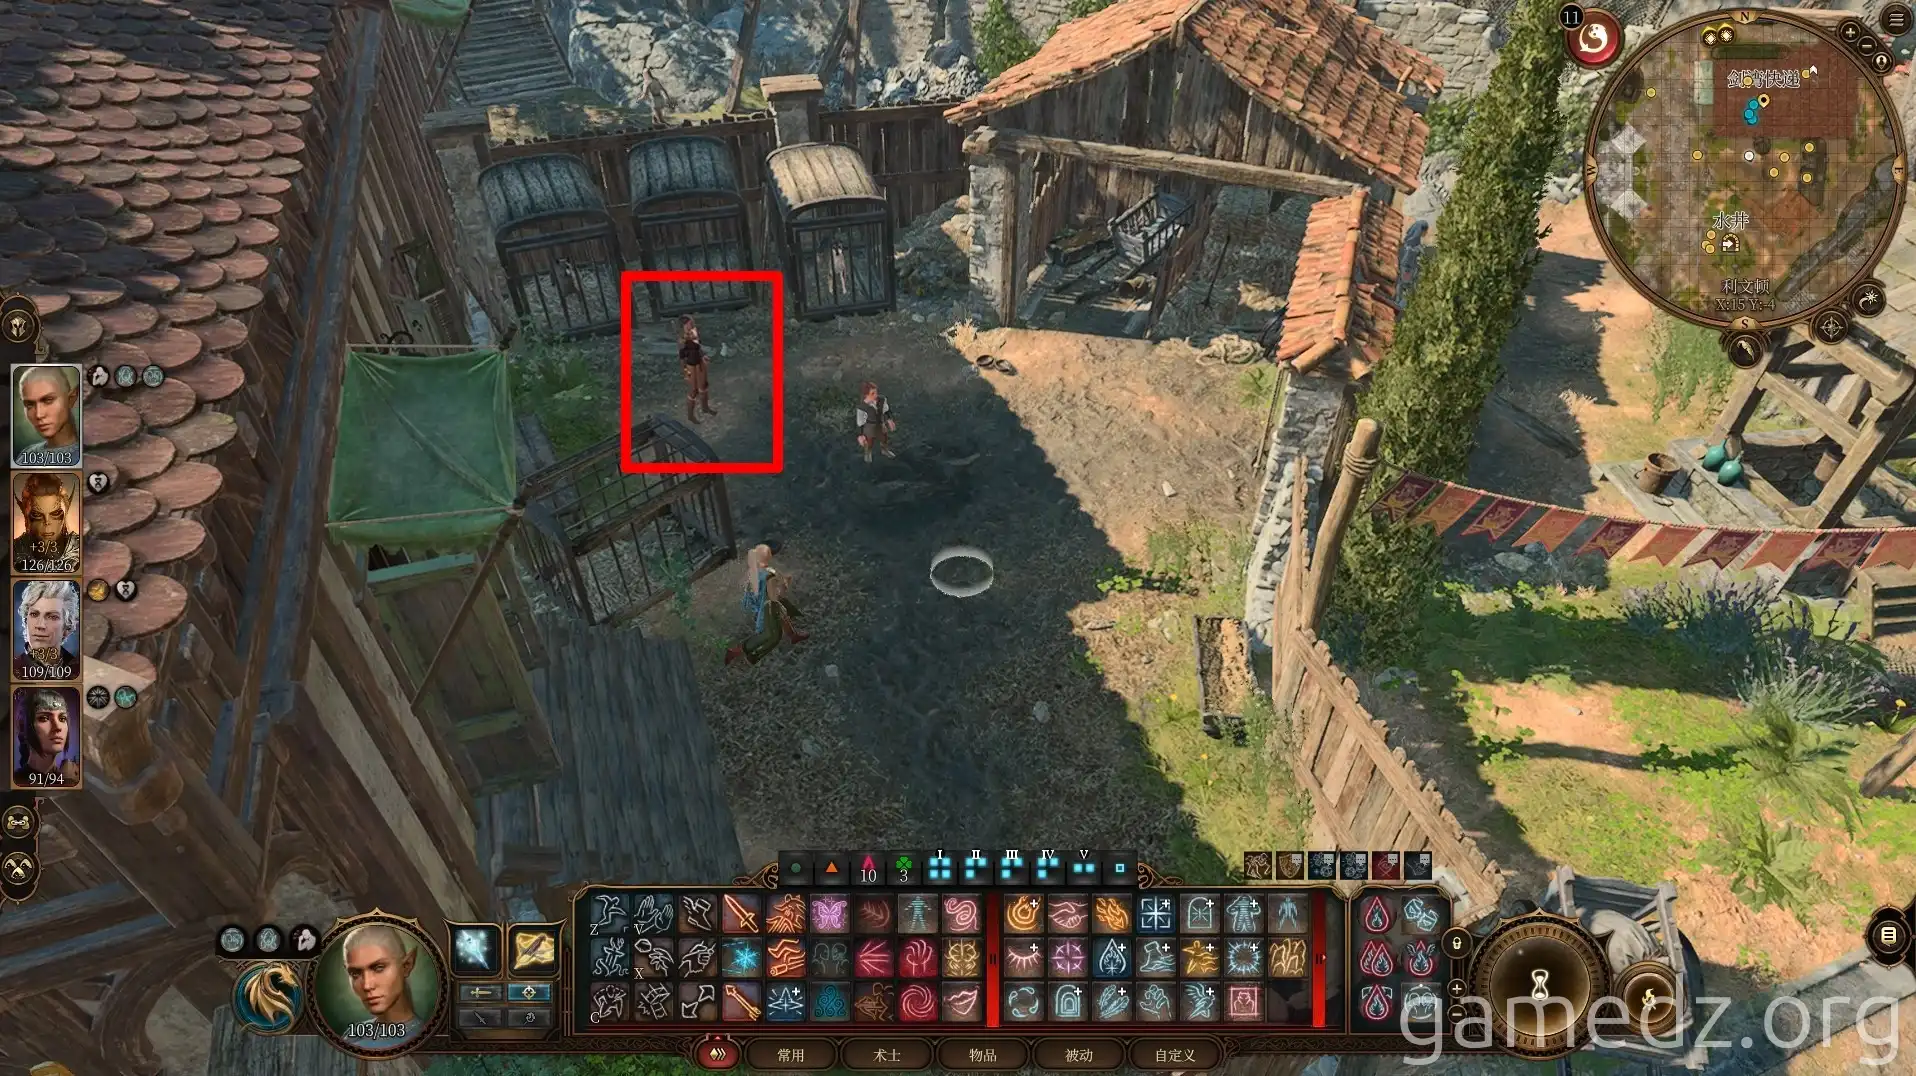
In the open area next to the Sword Coast Courier, you can call Scratch by talking to him and then drive away the abusive dog trainer. Scratch will be grateful for this.
Scratch will then return to camp again.
Purchase a newspaper from the newsboy next to the Sword Coast Courier. You'll learn that the Duke's companion, Duke Stelmane, has been assassinated. After a long rest, a scene with the Duke will occur.
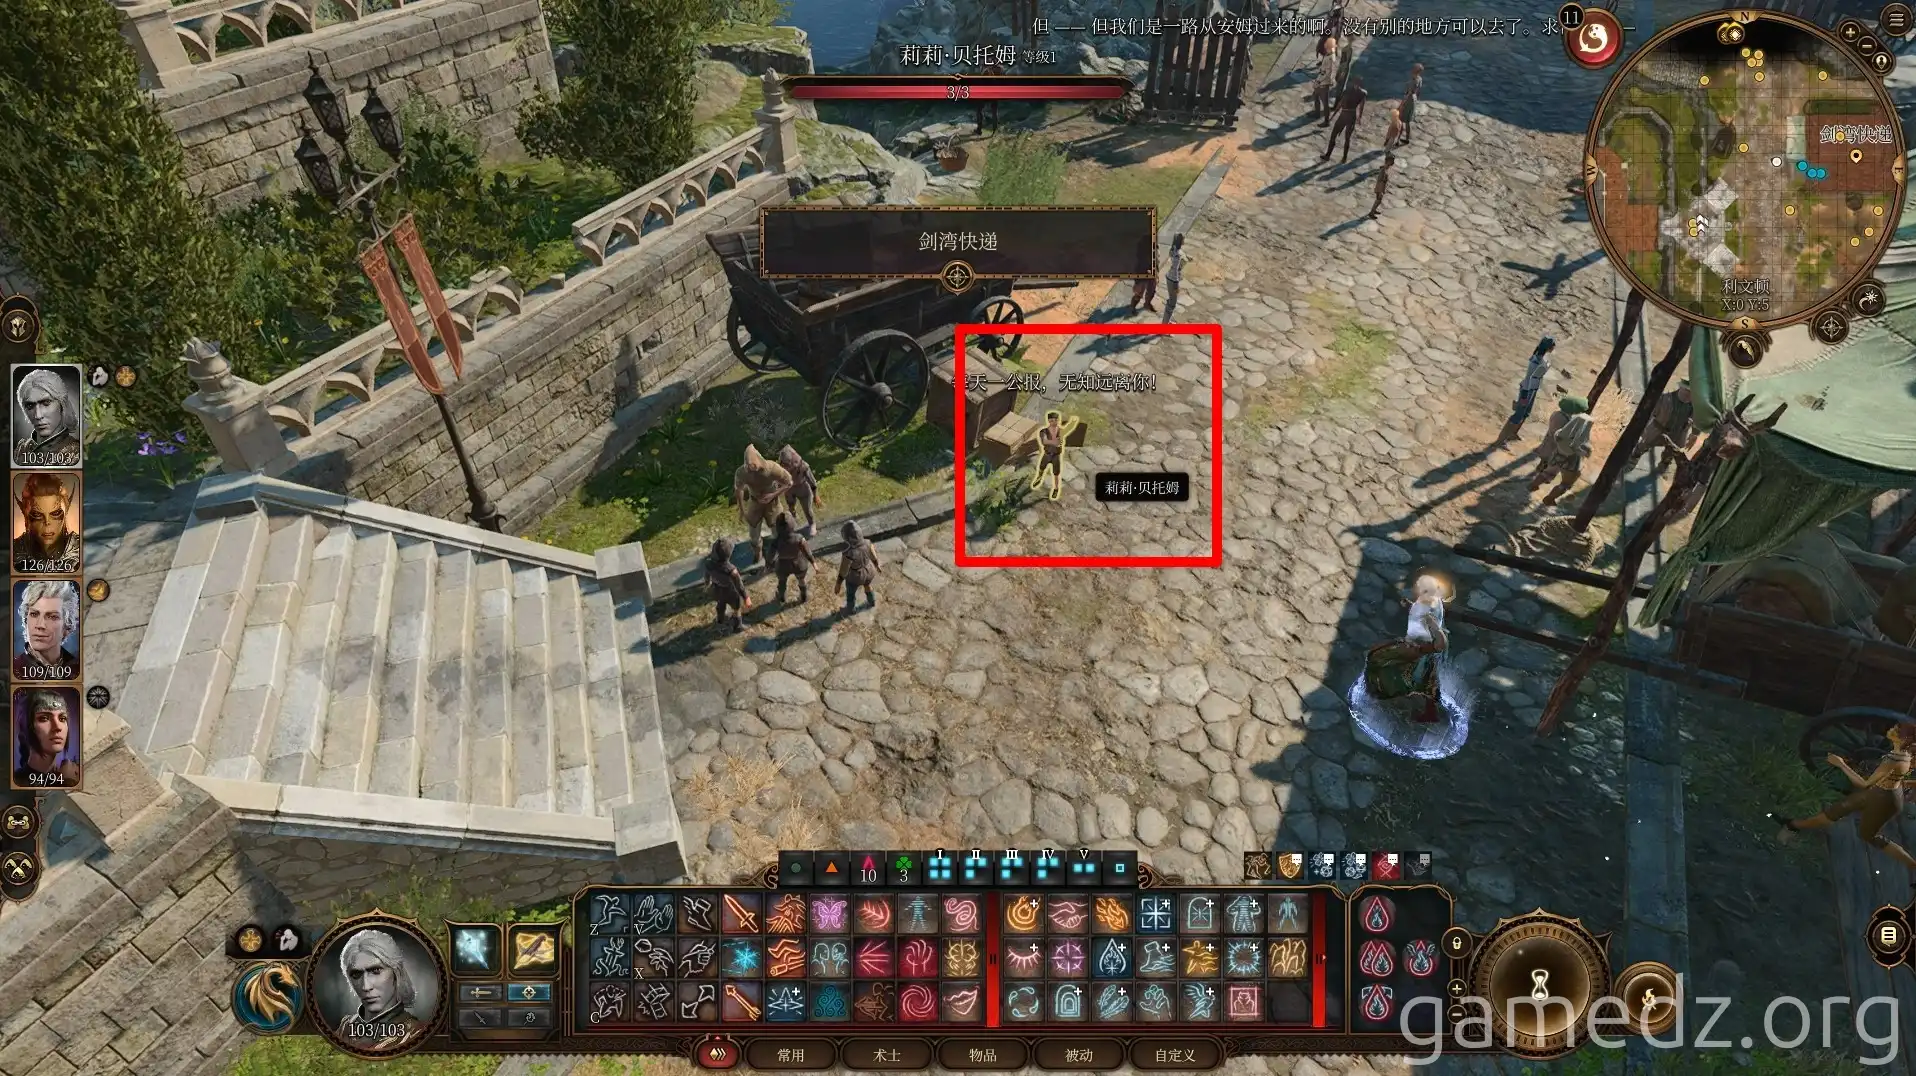
Continuing north, you'll encounter a reporter by the roadside. This reporter is also an Illithid in disguise. After completing the interview, characters with a Noble background will be inspired.
Next, we need to explore the lower area of Wyrm's Crossing South Wing.
