
Baldur's Gate 3 Rivington: Full Map & Loot Guide
Comprehensive Baldur's Gate 3 Rivington Town walkthrough, detailing map exploration, secret locations, and valuable loot like rare weapons and accessories.
This guide continues our exploration of Rivington Town in Baldur's Gate 3, focusing on uncovering secrets, finding powerful gear, and completing crucial quests.
Sharran Sanctuary & Sacred Rituals
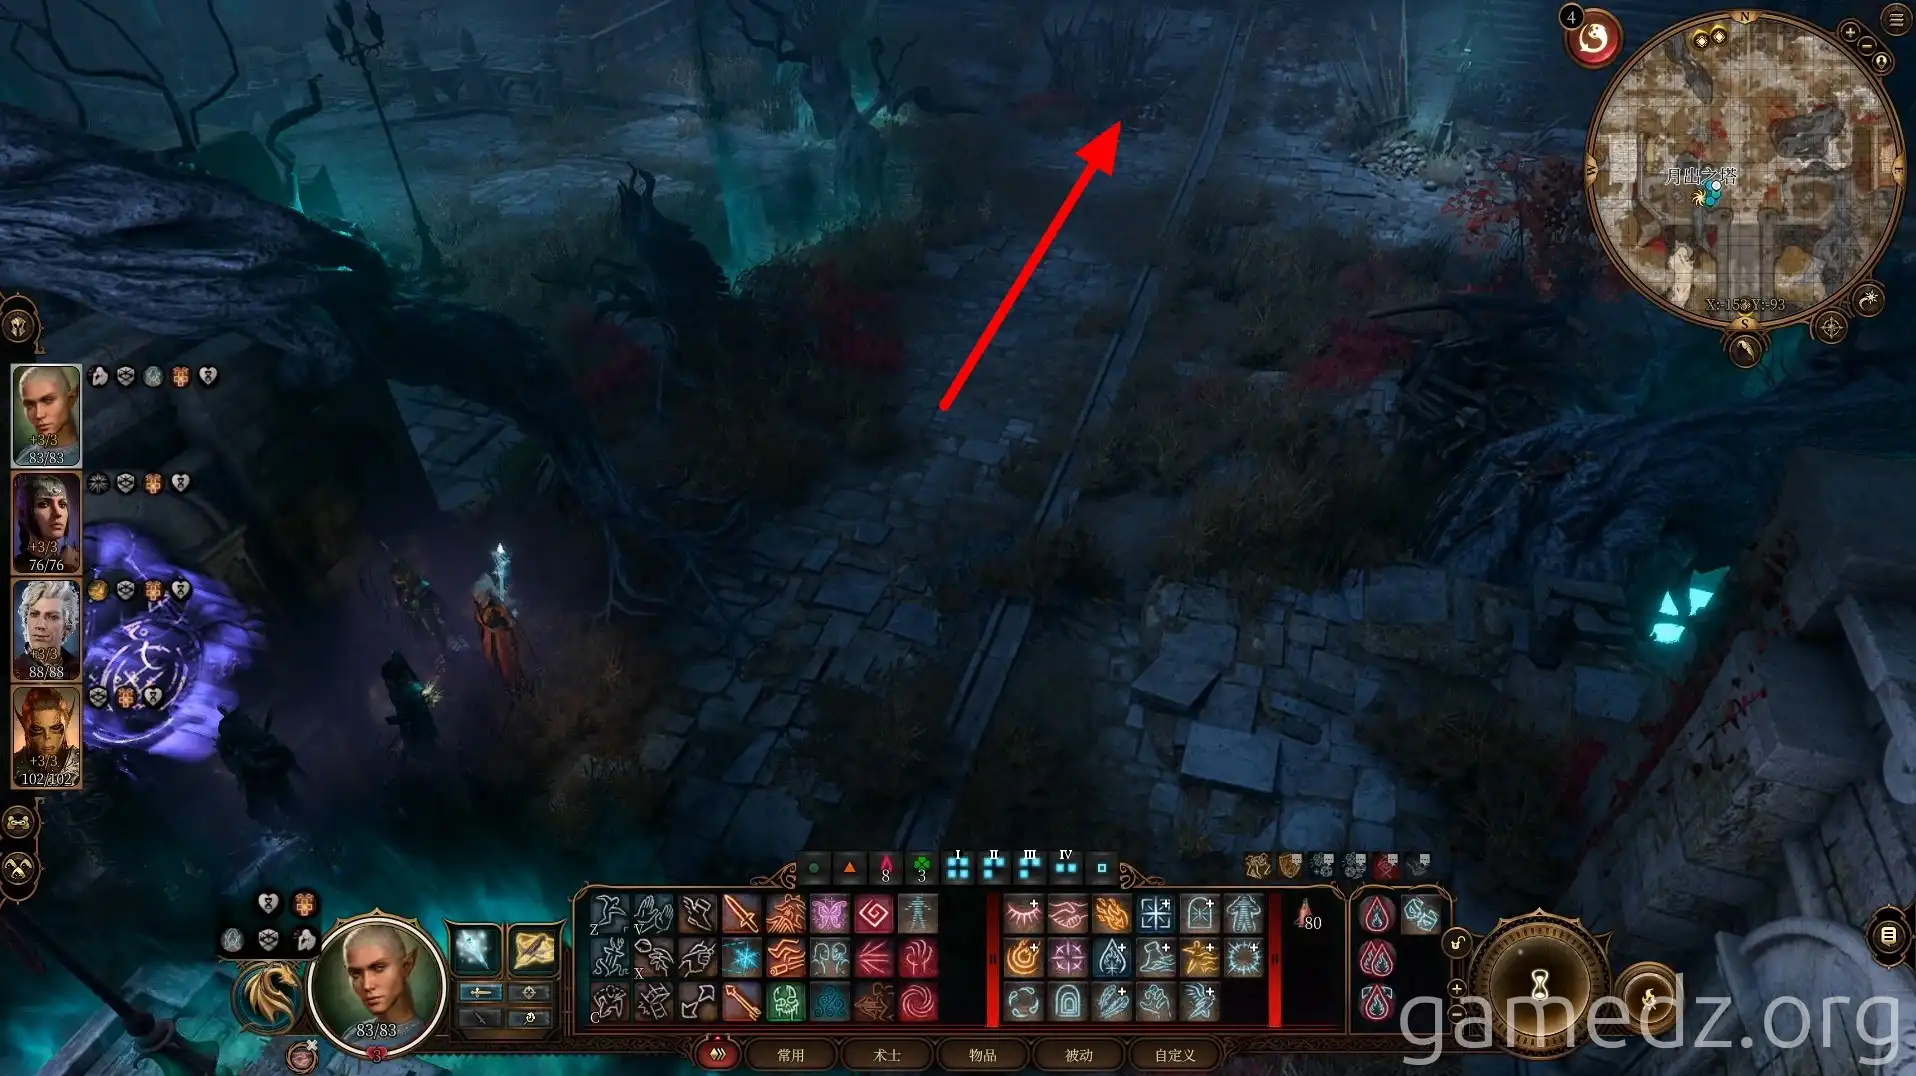
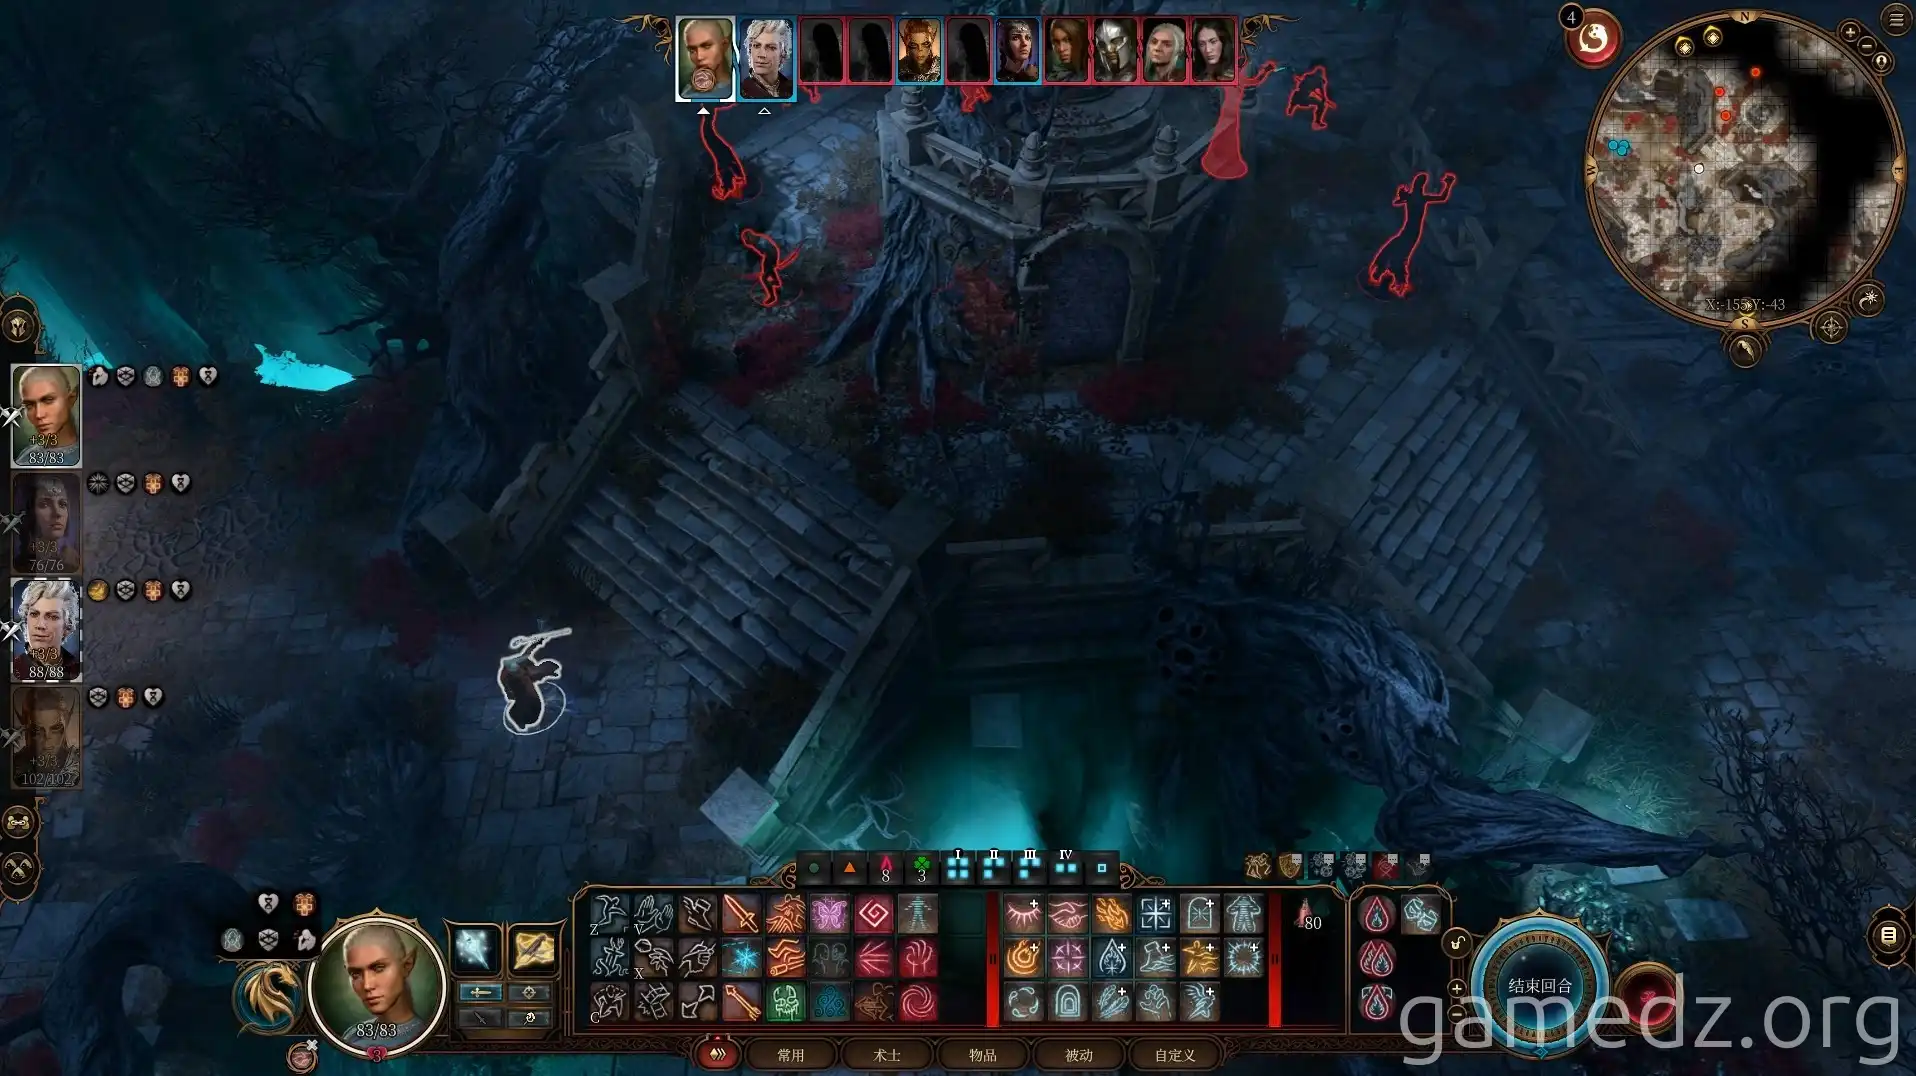
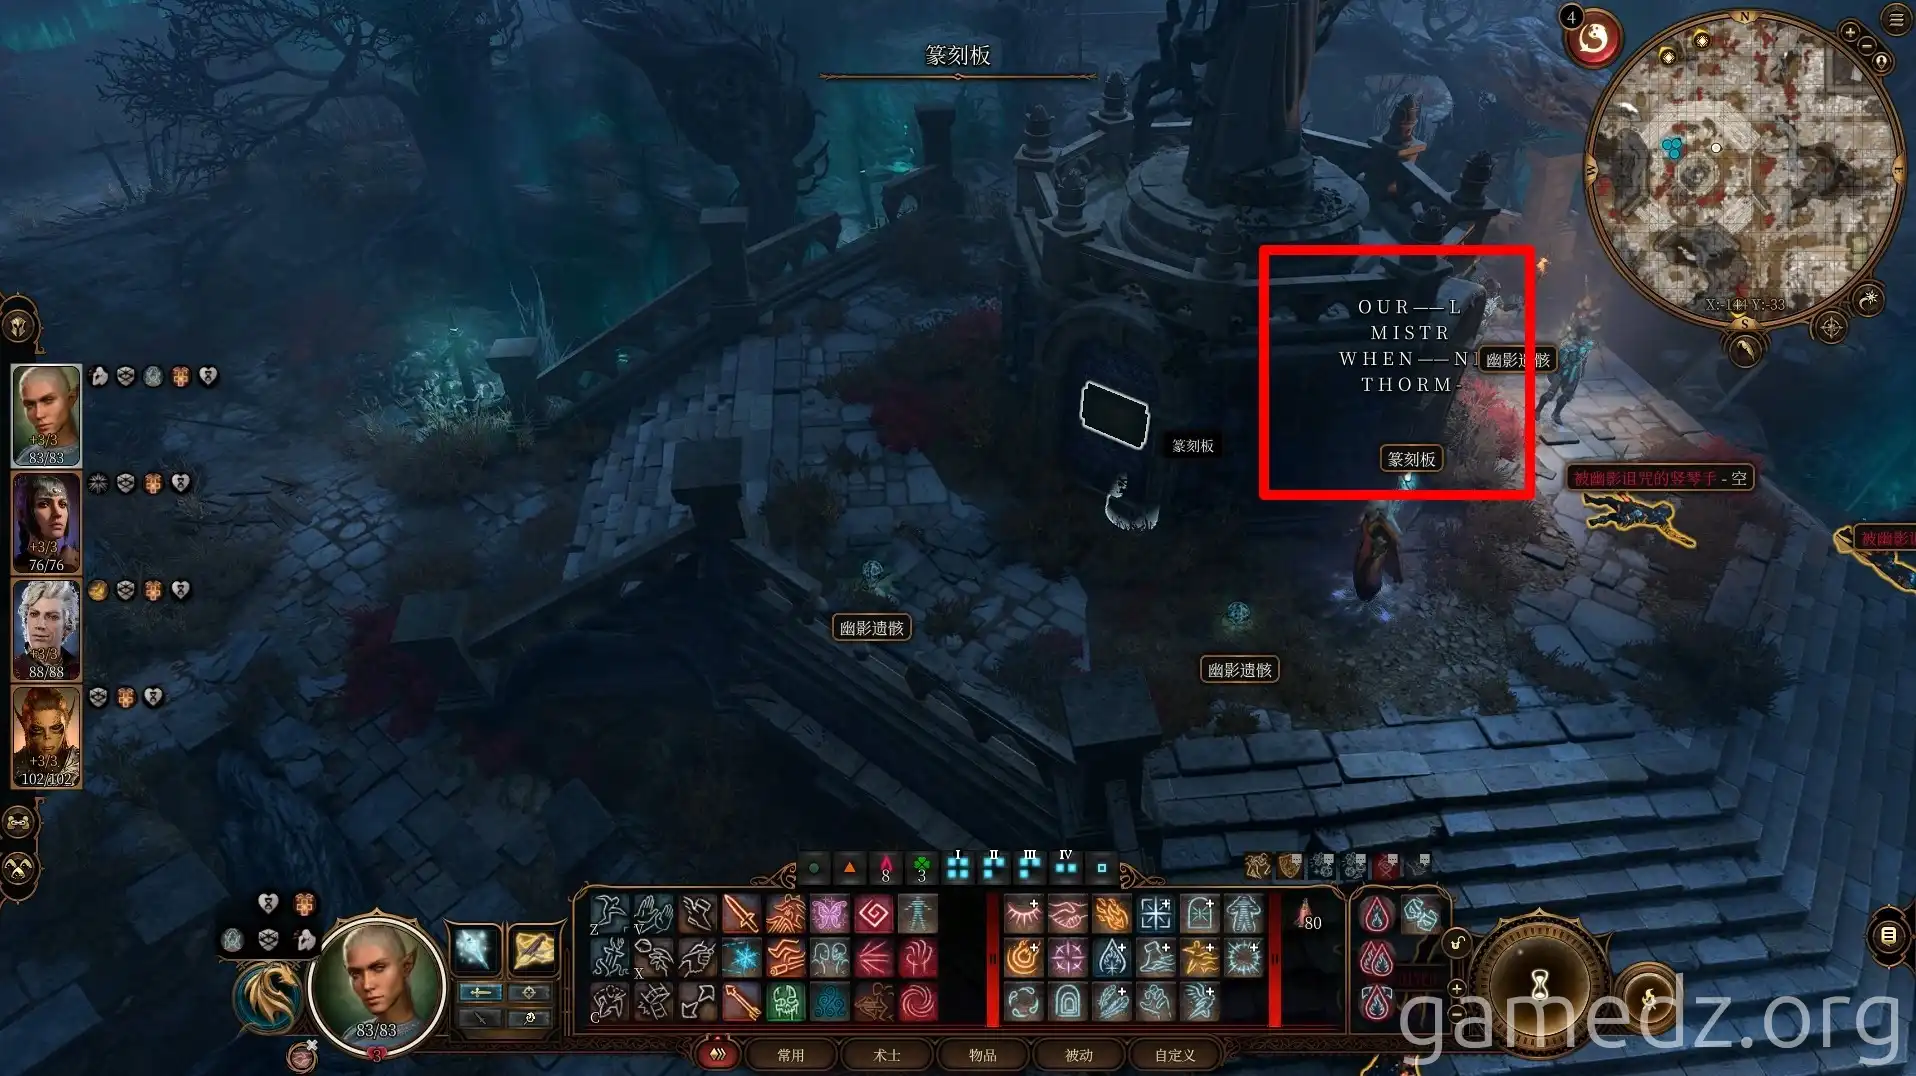
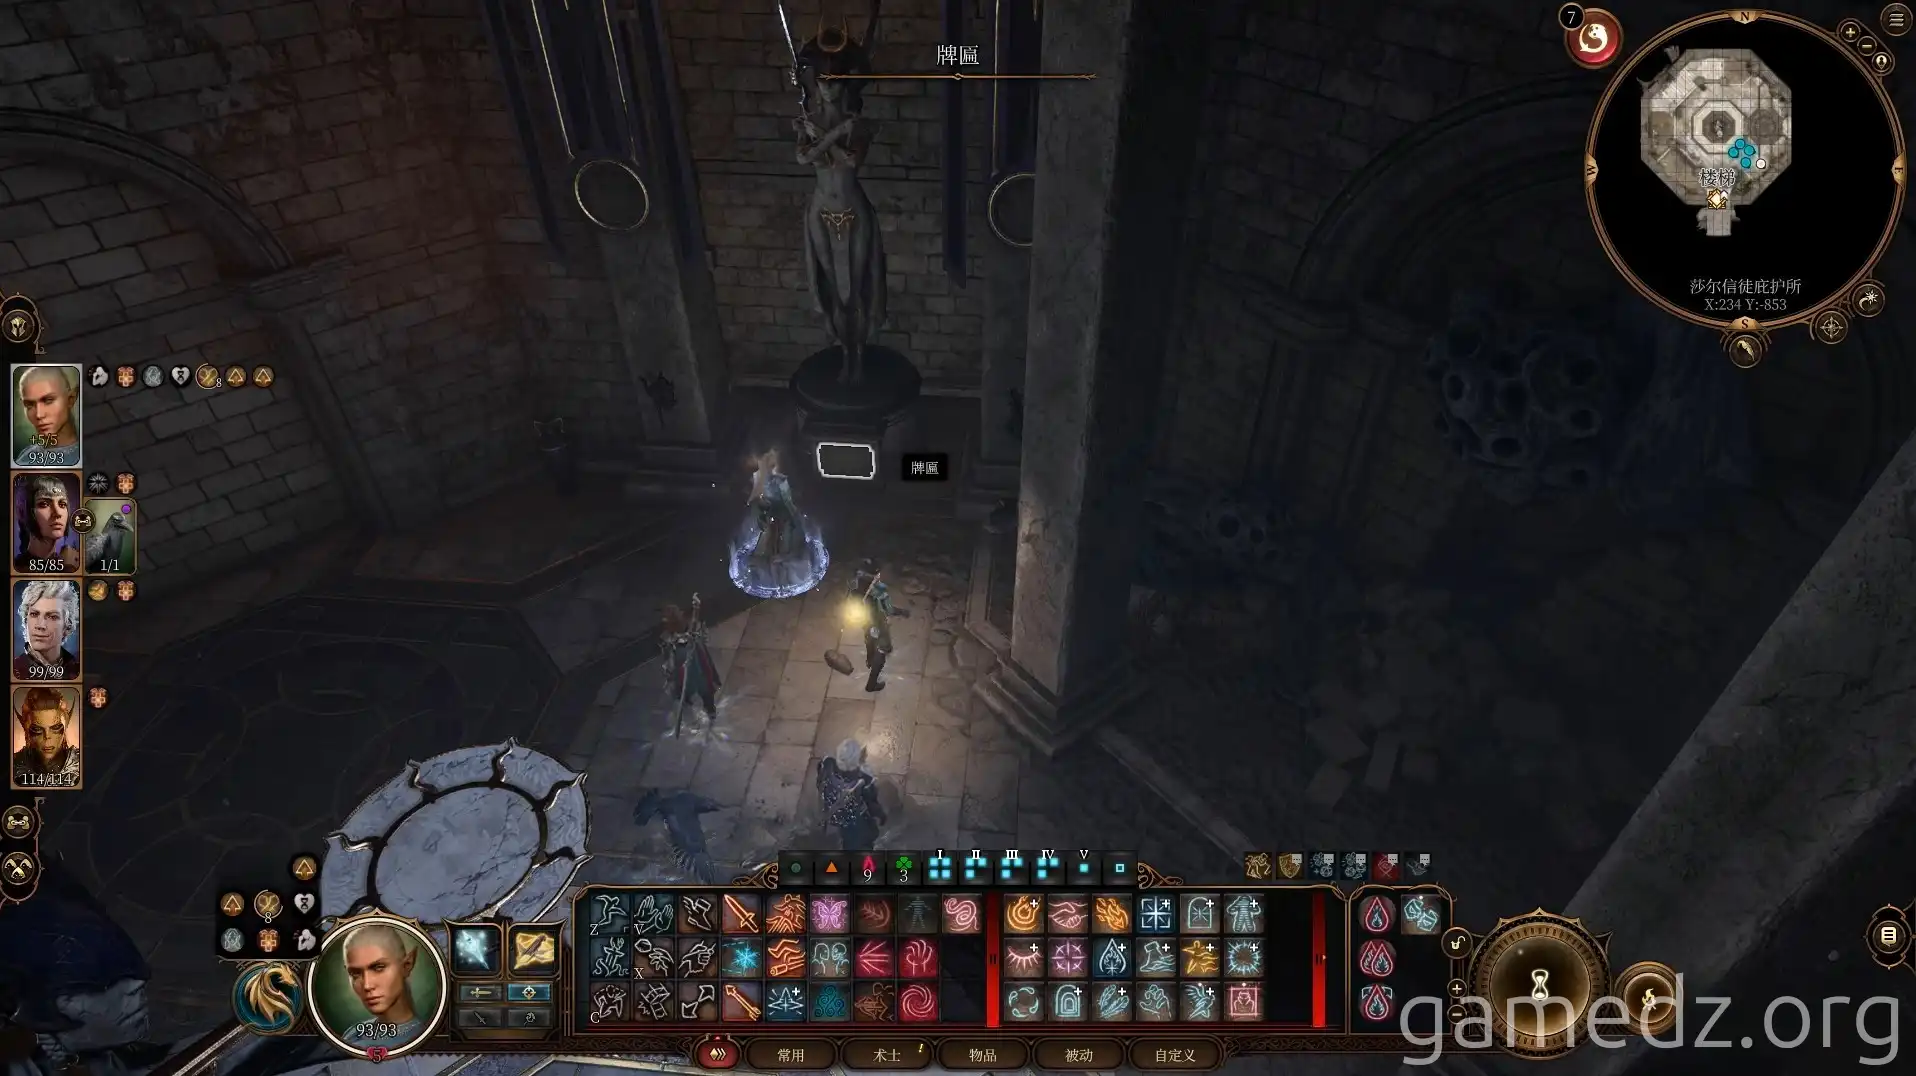
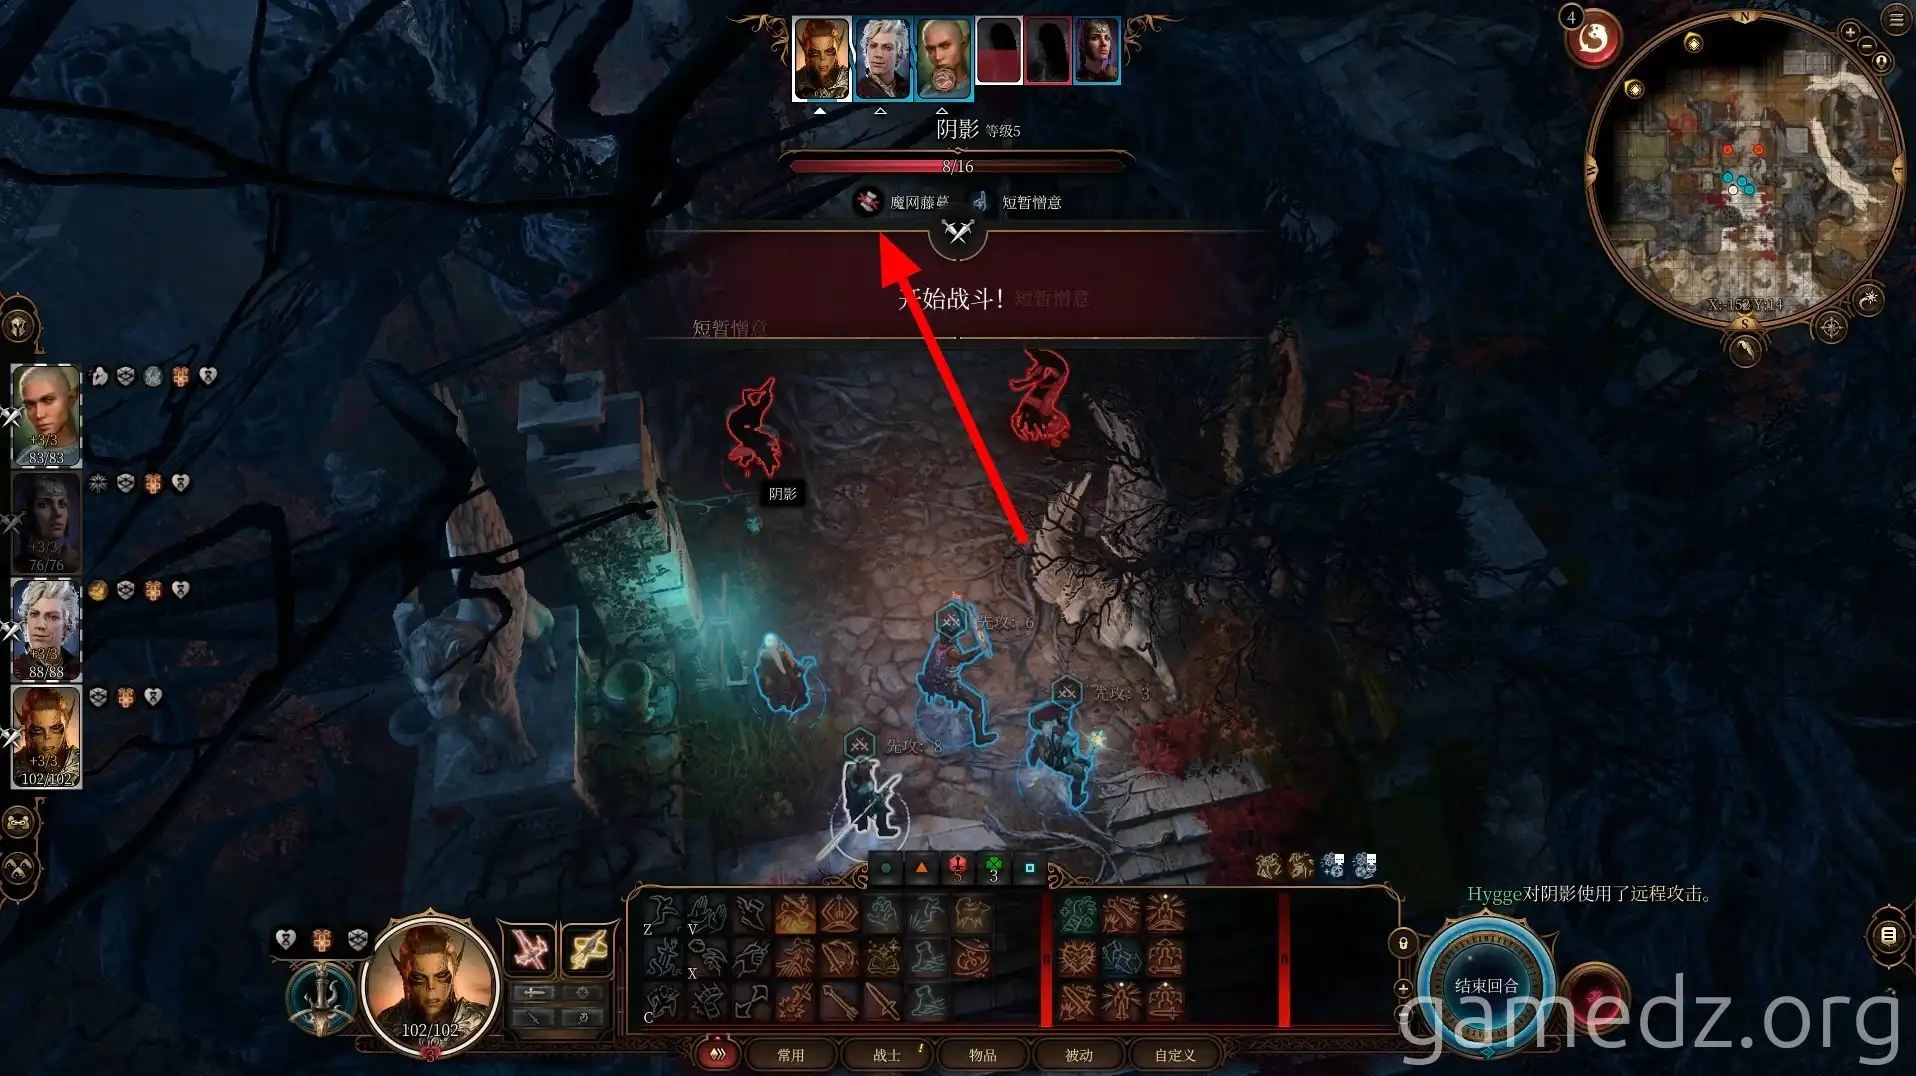
Teleport back to the Moonrise Towers main entrance and head north. In the central plaza, you'll face Shadows and corrupted Harpers. After the fight, examine the inscribed plates at the statue's base. The correct sequence to open the Sharran Sanctuary is:
- OUR-LADY-OF-LOSS
- MISTRESS-OF-PAIN
- WHEN--NIGHT--FALLS
- THORM--SHALL--RISE
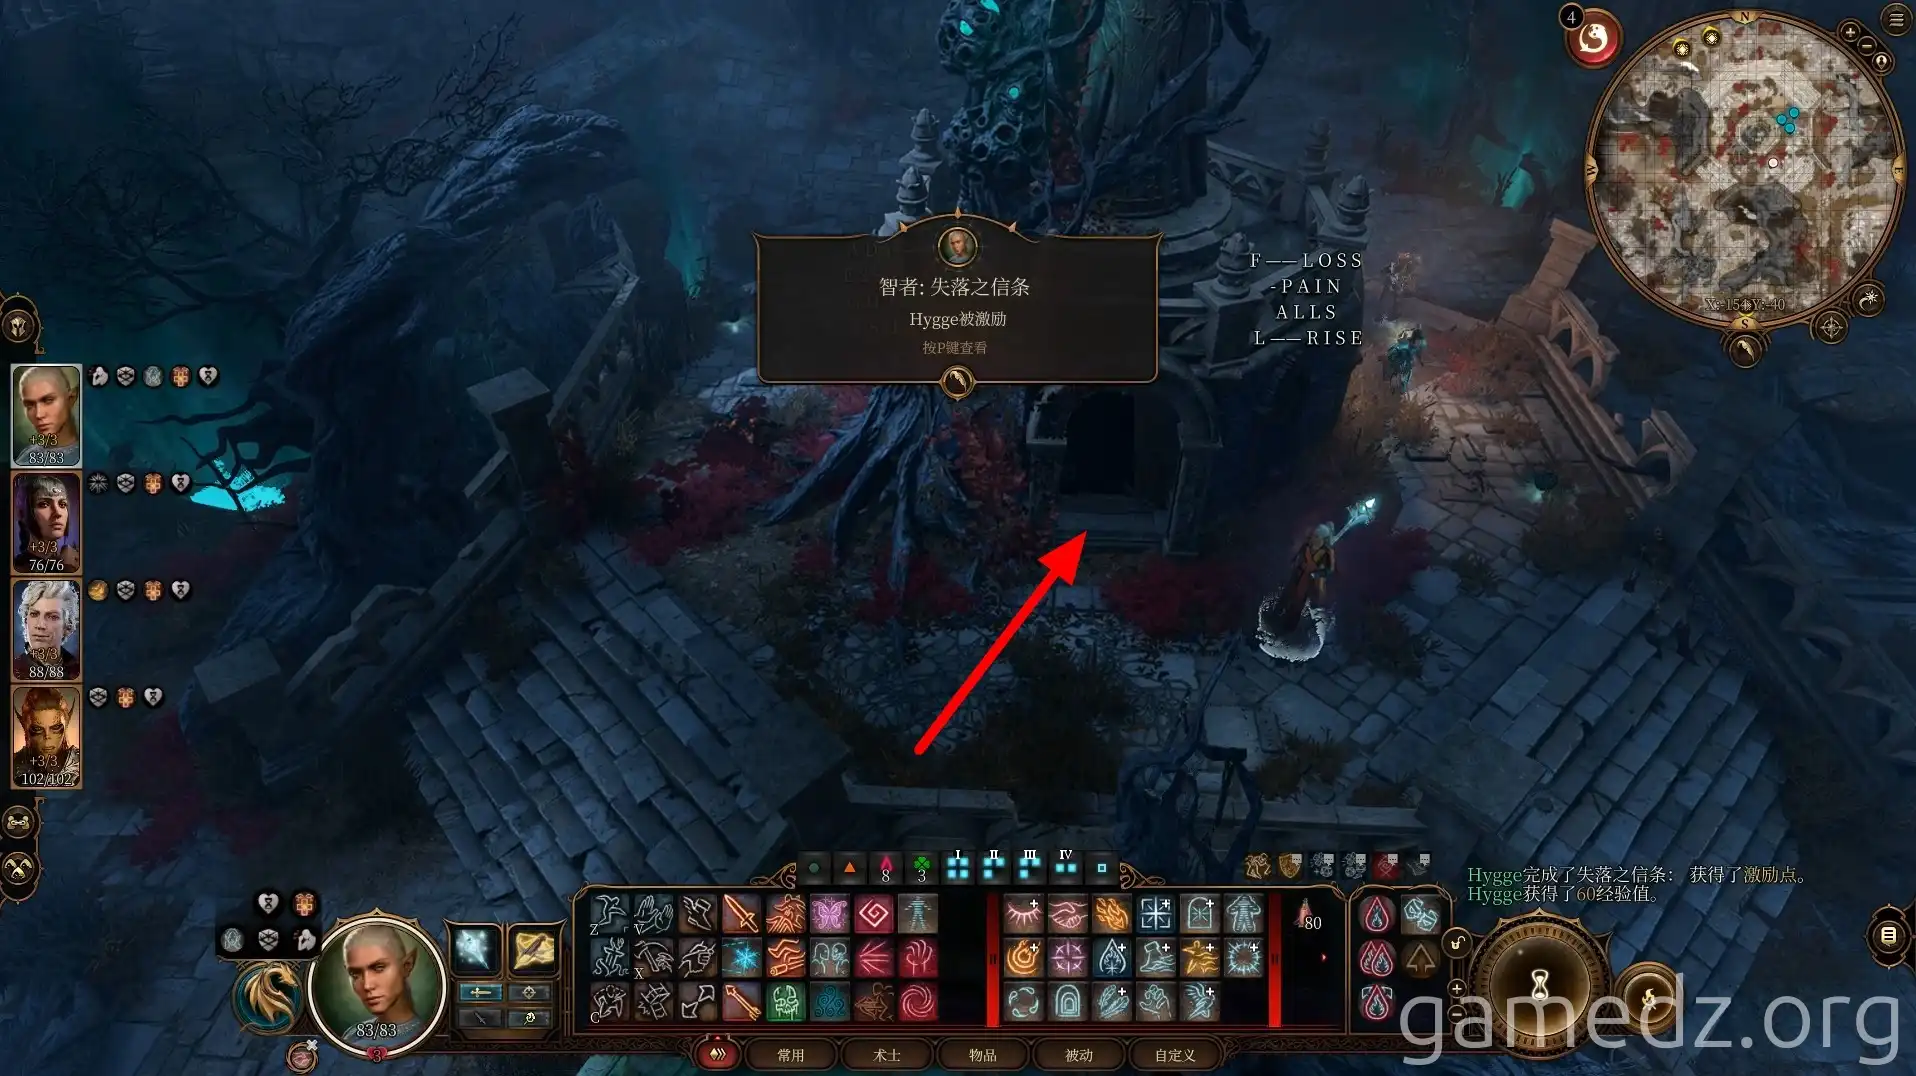
Inside the sanctuary, a skill check on the plaque grants an attribute bonus. Passing all three statue checks inspires Acolytes and reveals a secret door.
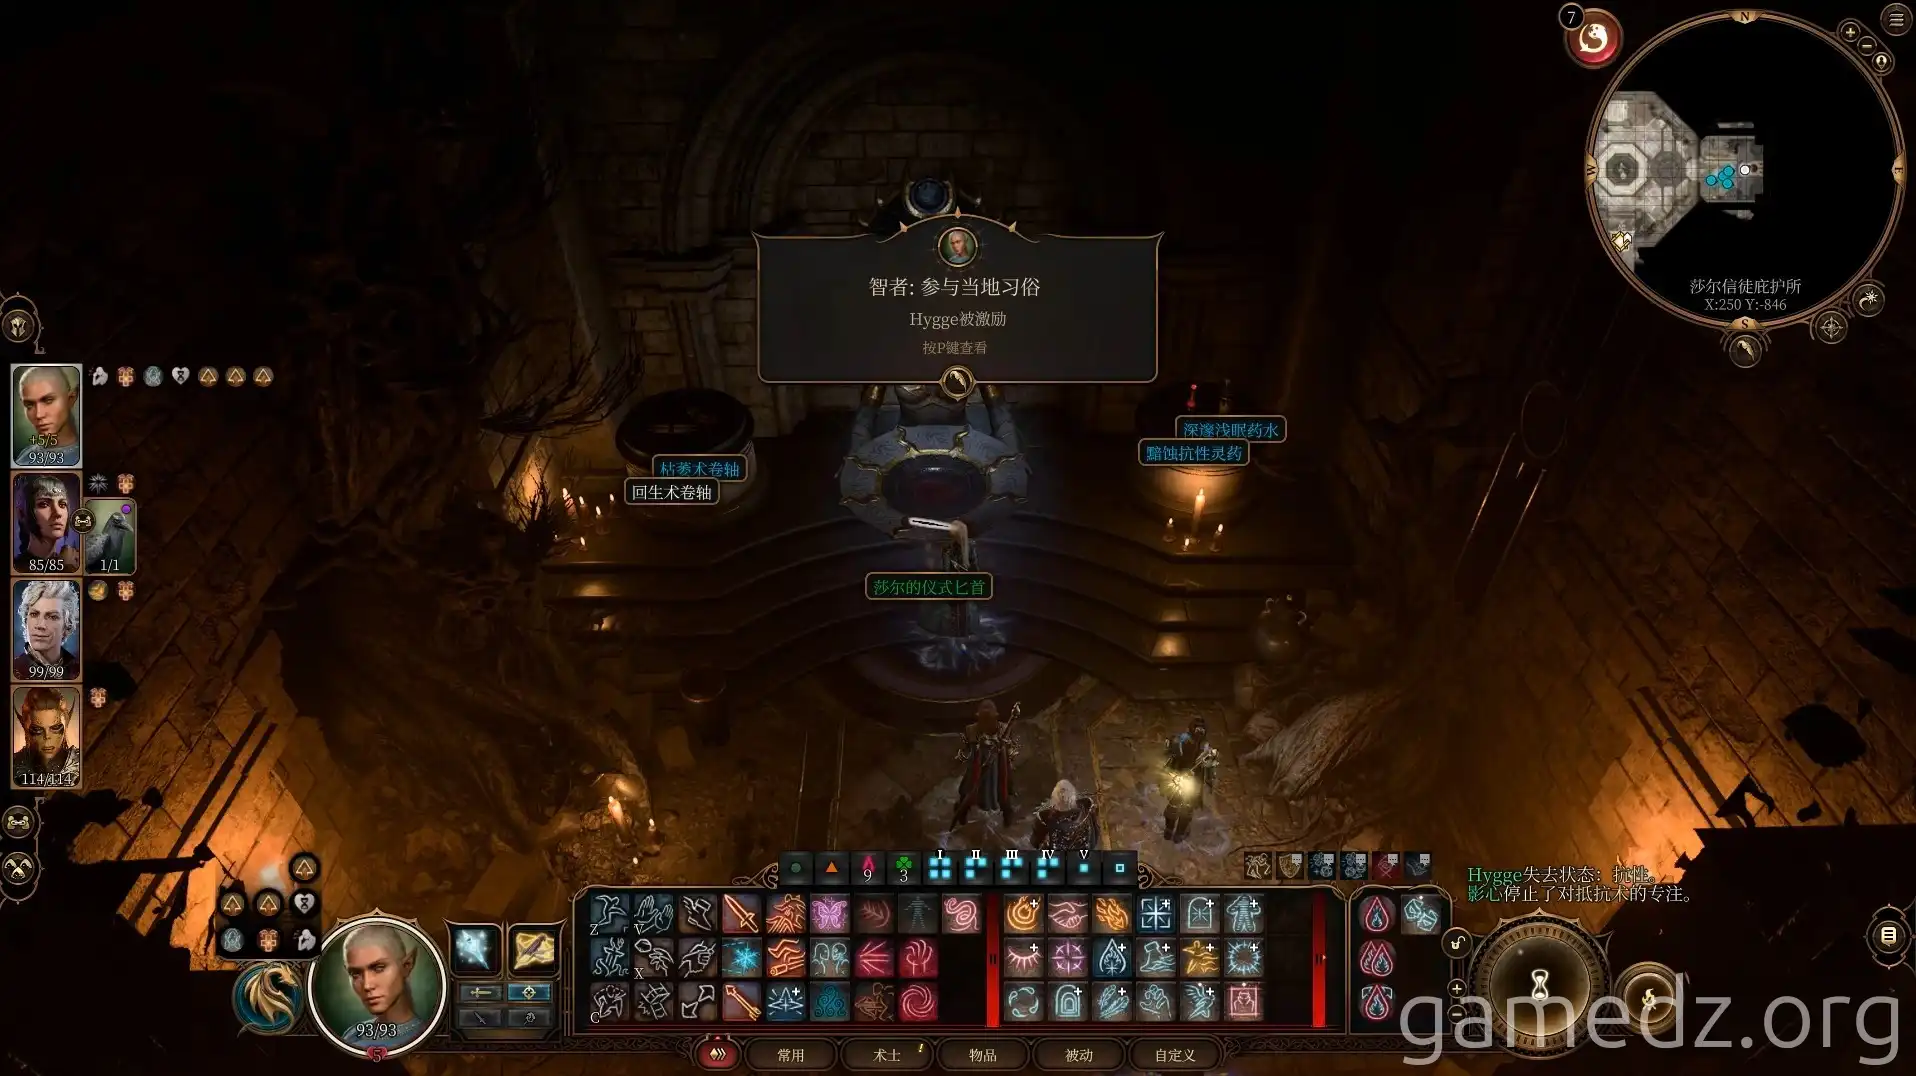
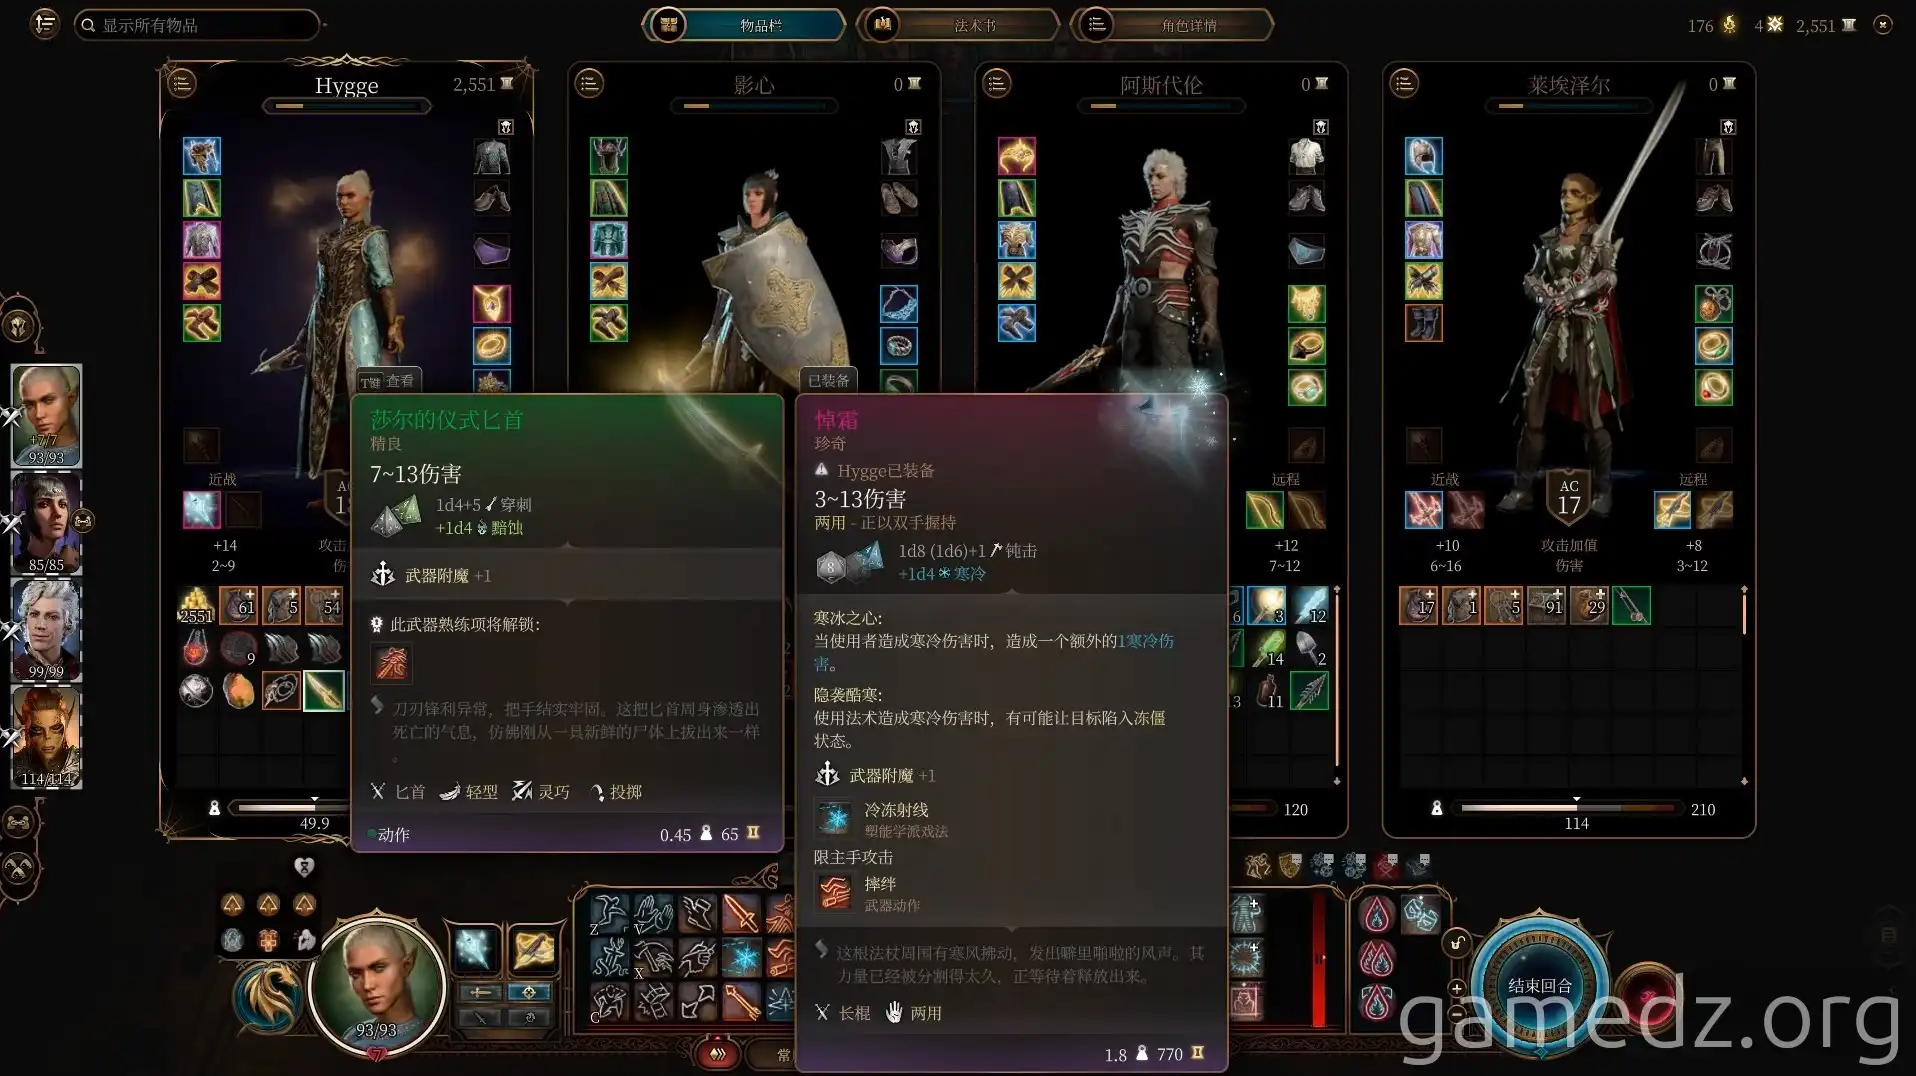
In the secret chamber, use the Ritual Dagger of Shar for spell scrolls and Sage inspiration. Taking the dagger will summon Animated Armors.
Graveyard Exploration & Arabella's Quest
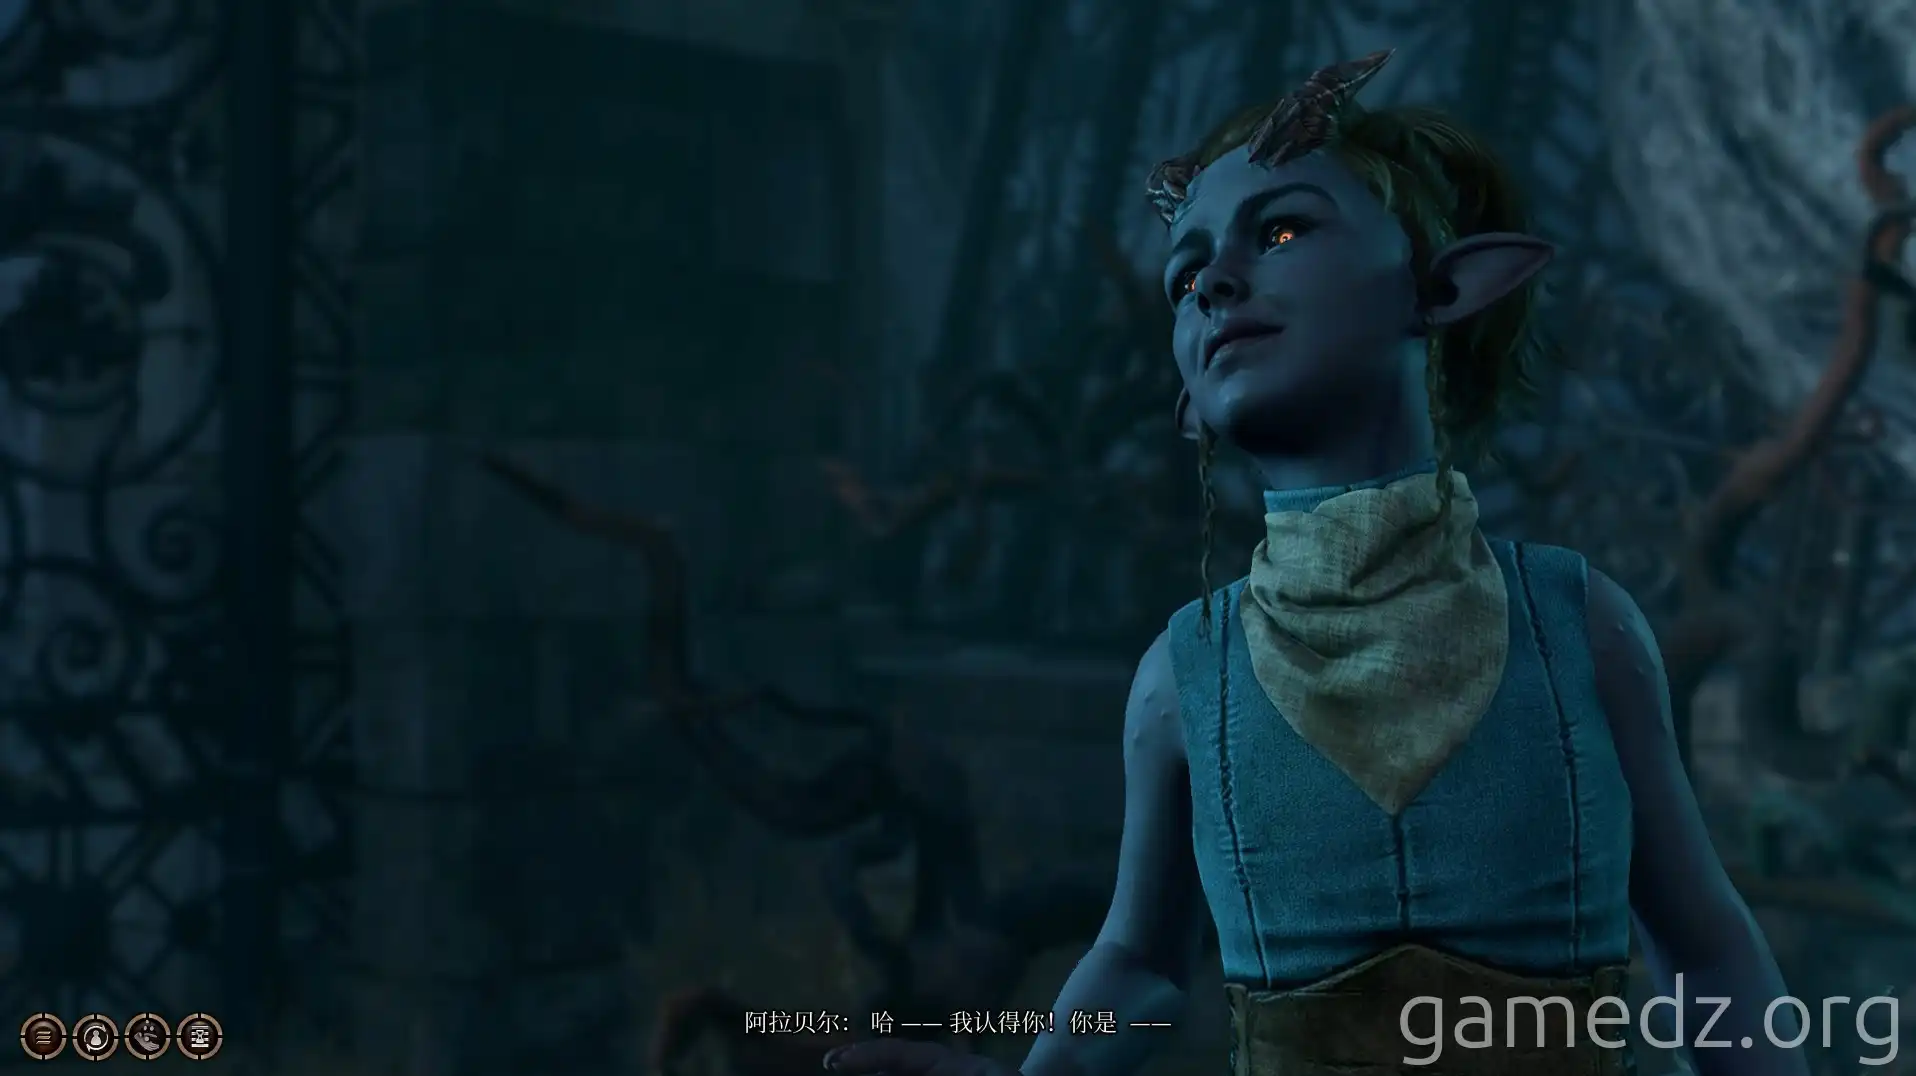
Continue north from the sanctuary. At the graveyard entrance, you'll find Arabella. After defeating Shadows she's trapped, you can ask her to wait at camp while you search for her parents.
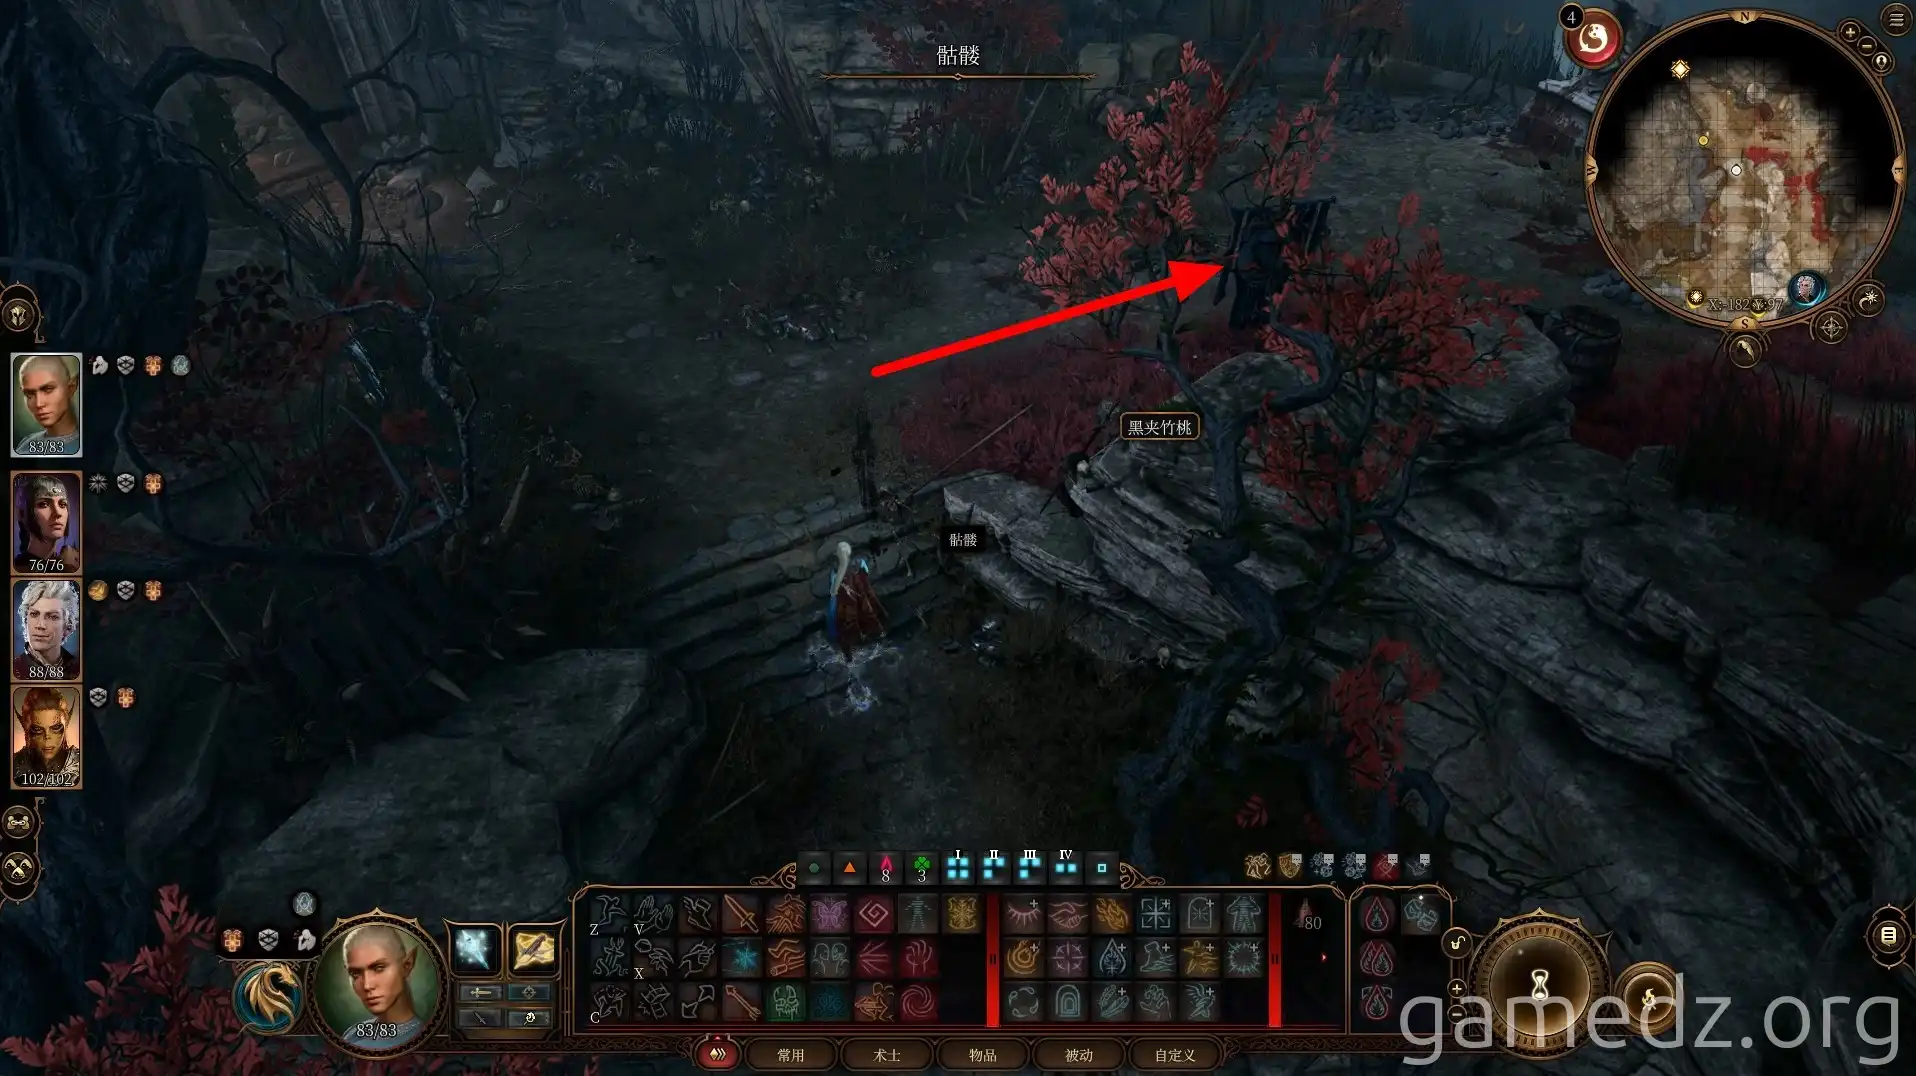
Head east from the road's tree trunk to the Mason's Guild. North of the trunk, find the Amulet of the Devout on a skeleton.
Enter the tomb opposite the Mason's Guild to find the Boots of Vitality in a sarcophagus.
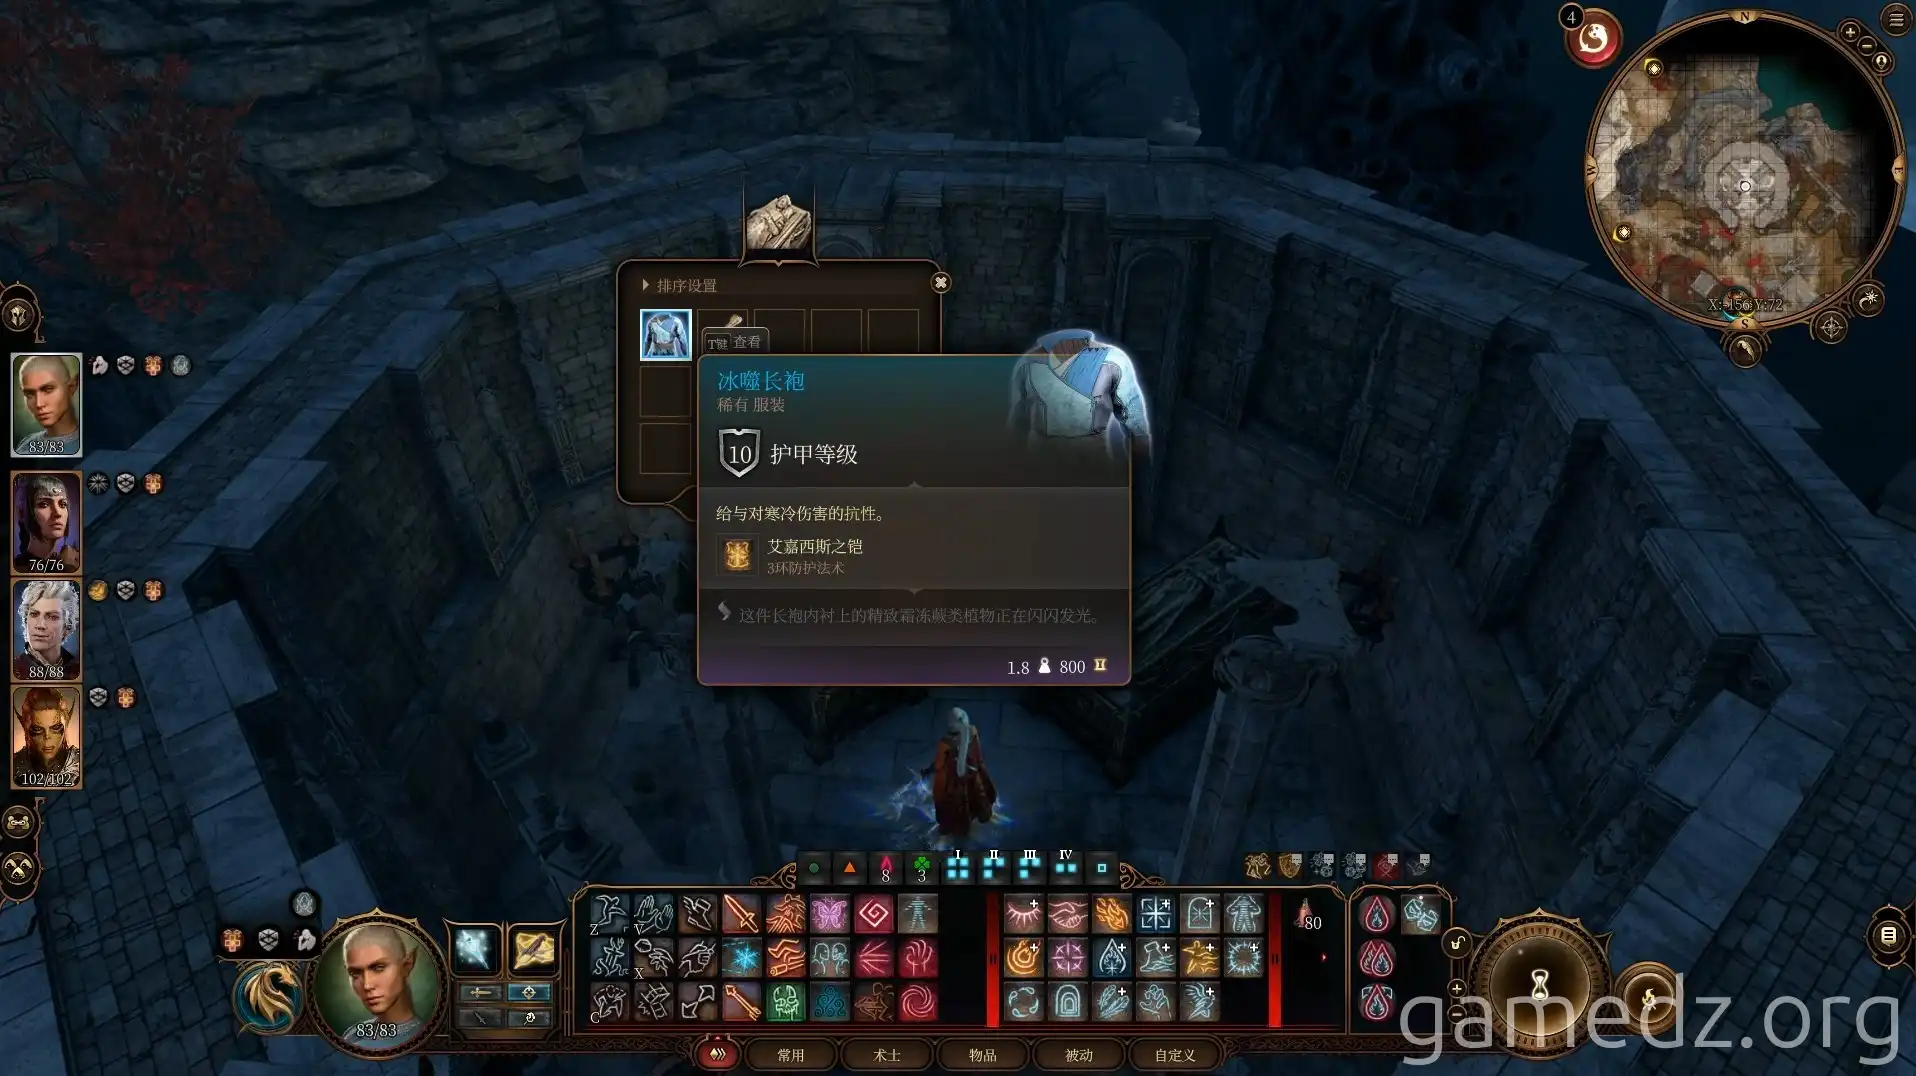
Continue north into the graveyard. Inside a hexagonal tomb, discover the Icy Vengeance Robe.
Mausoleum Path & Shadow-Cursed Battlefield
At a fork, the left path leads to the Mausoleum, where Raphael awaits. The right path leads deeper. Activate the Mausoleum waypoint on a skeleton south of a makeshift graveyard.
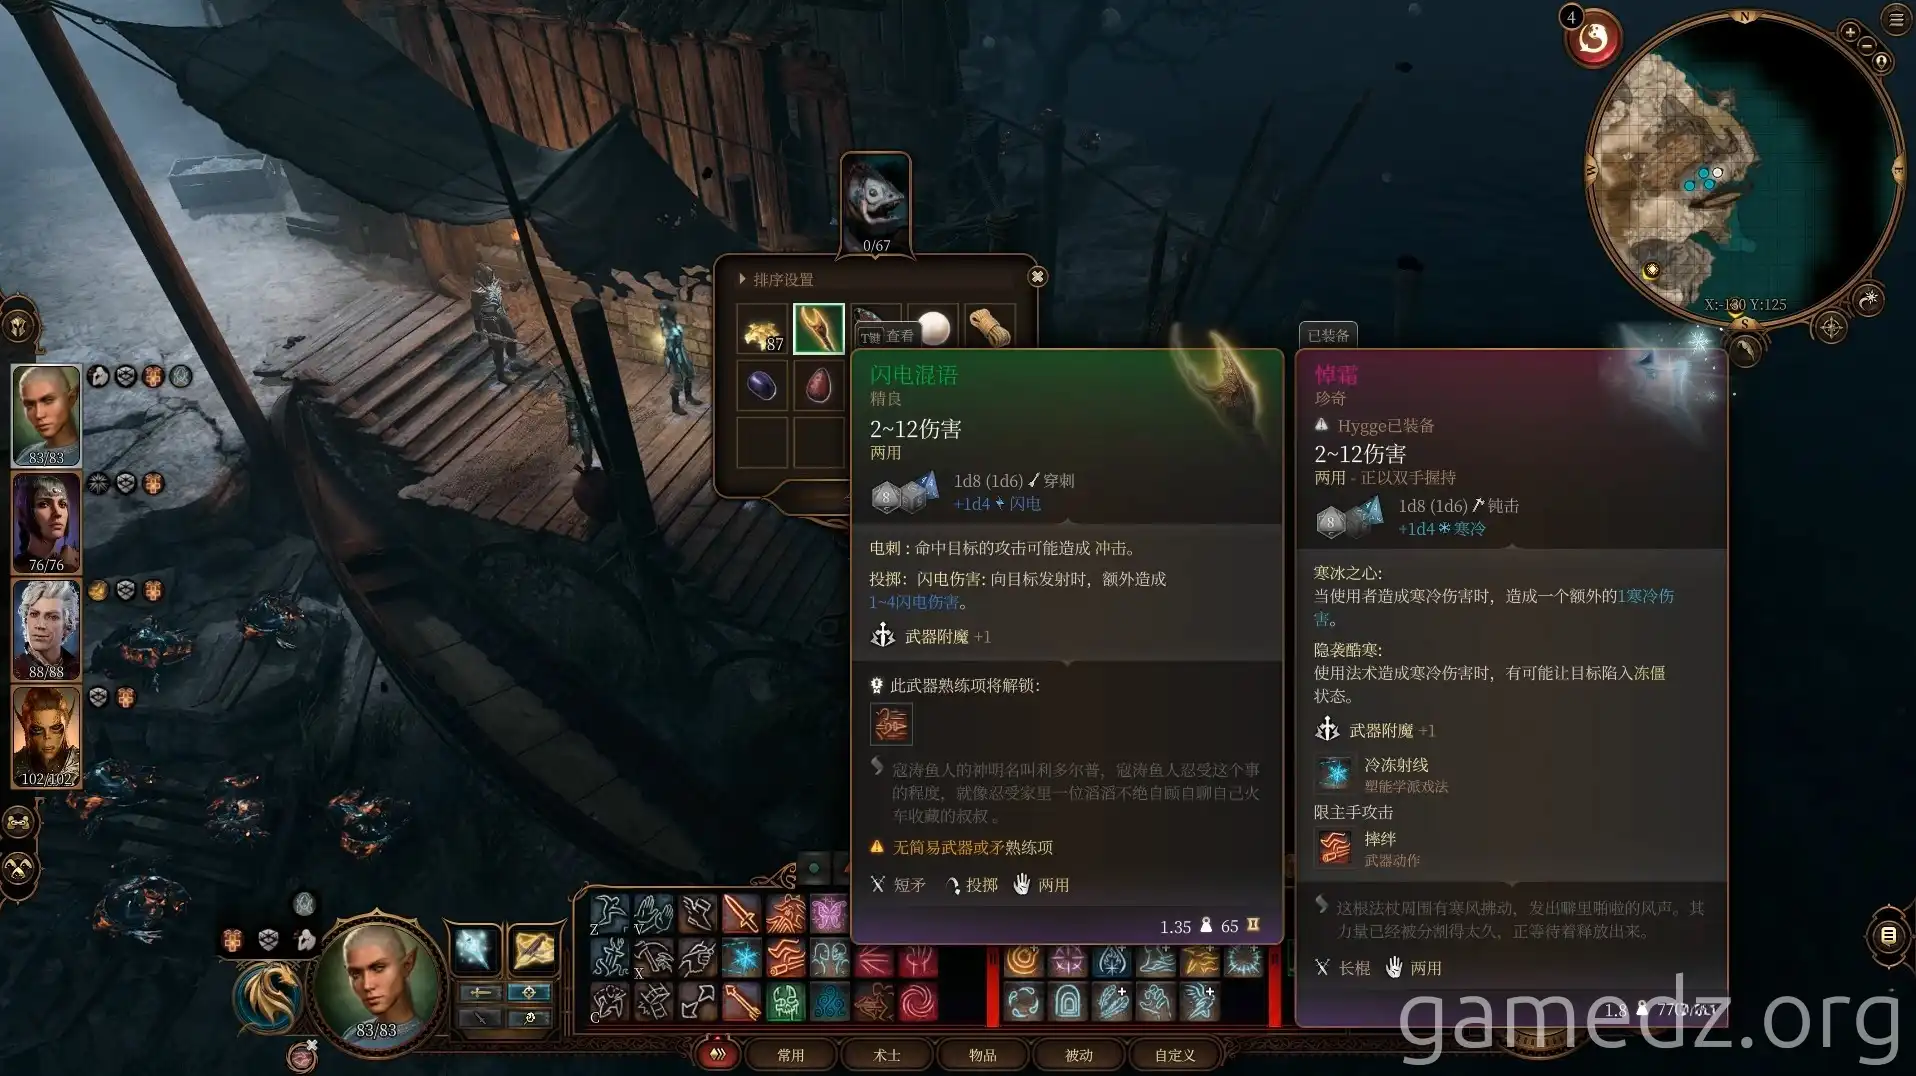
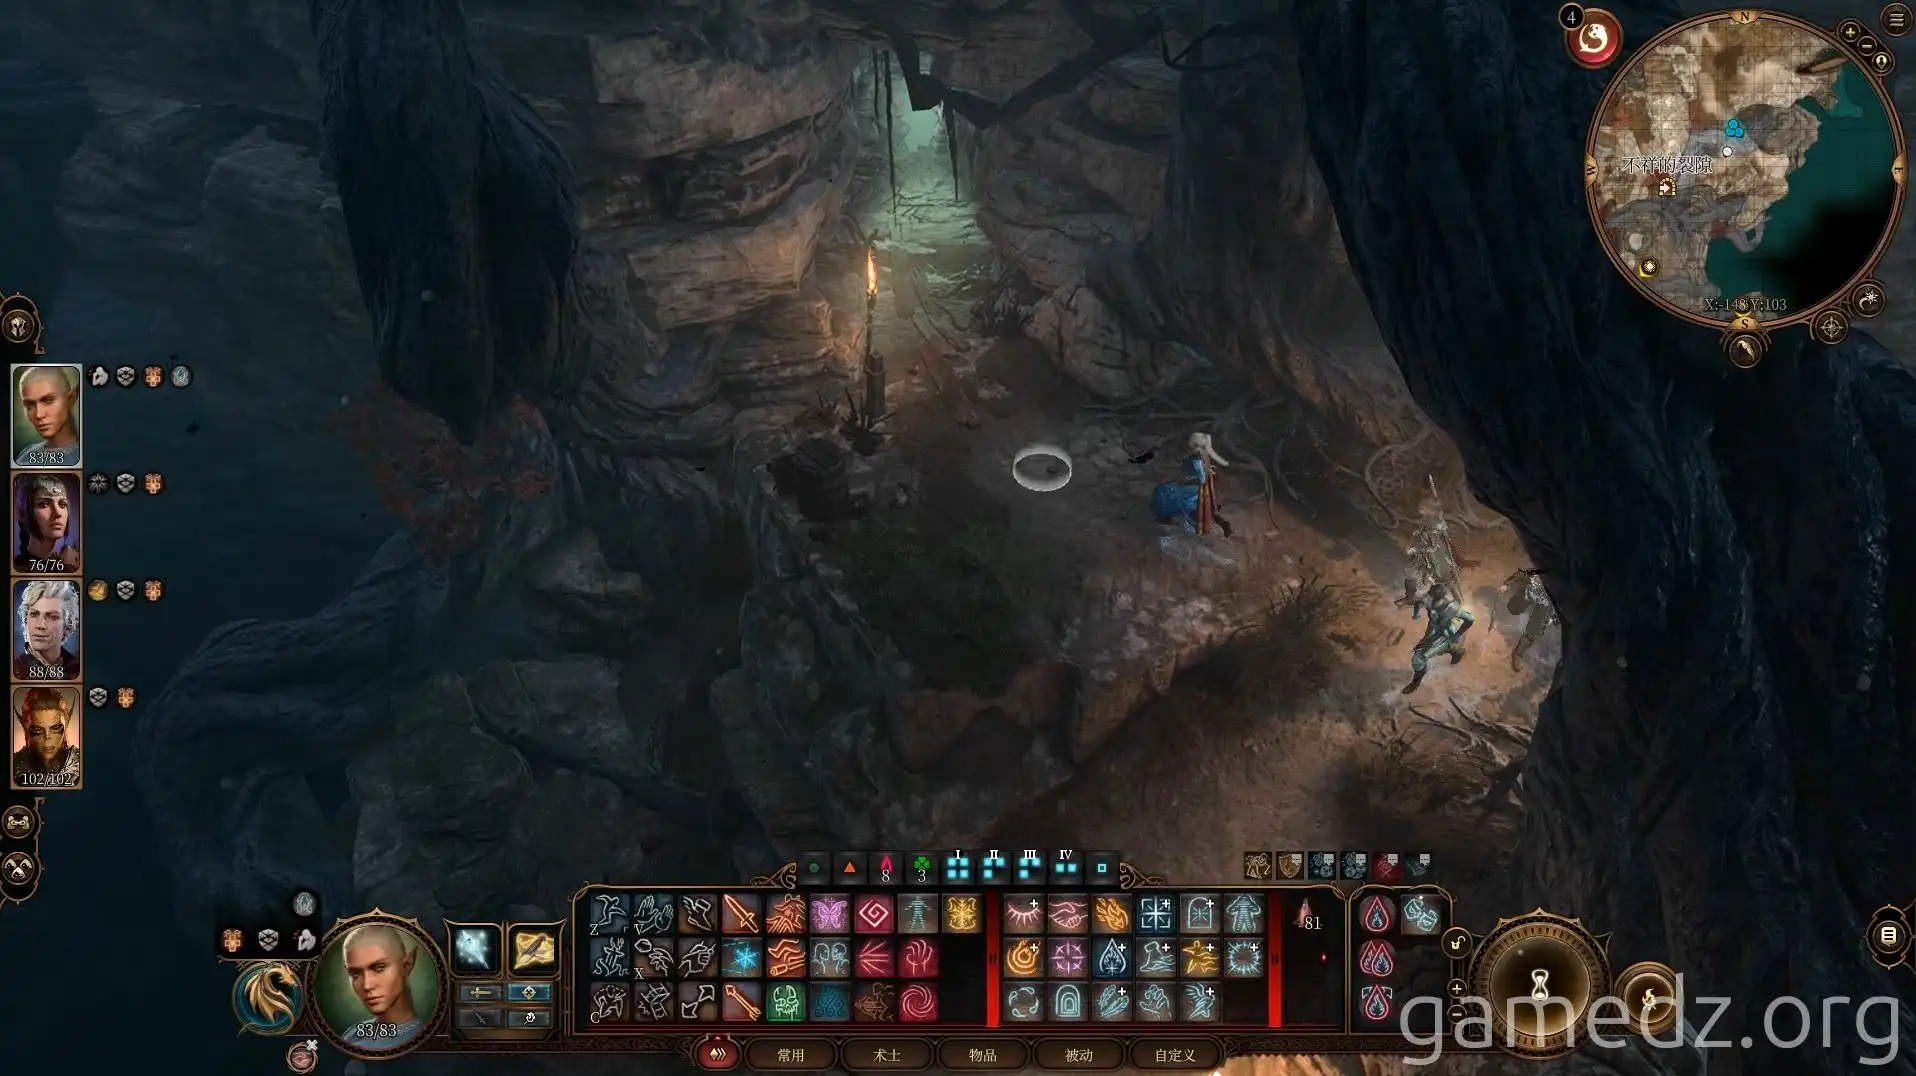
Take the path northeast through the graveyard and descend rugged rocks. Below, defeat Kuo-Toa controlled by Shadows. The Kuo-Toa leader drops the Lightning Spark weapon.
Infirmary & Morgue Secrets
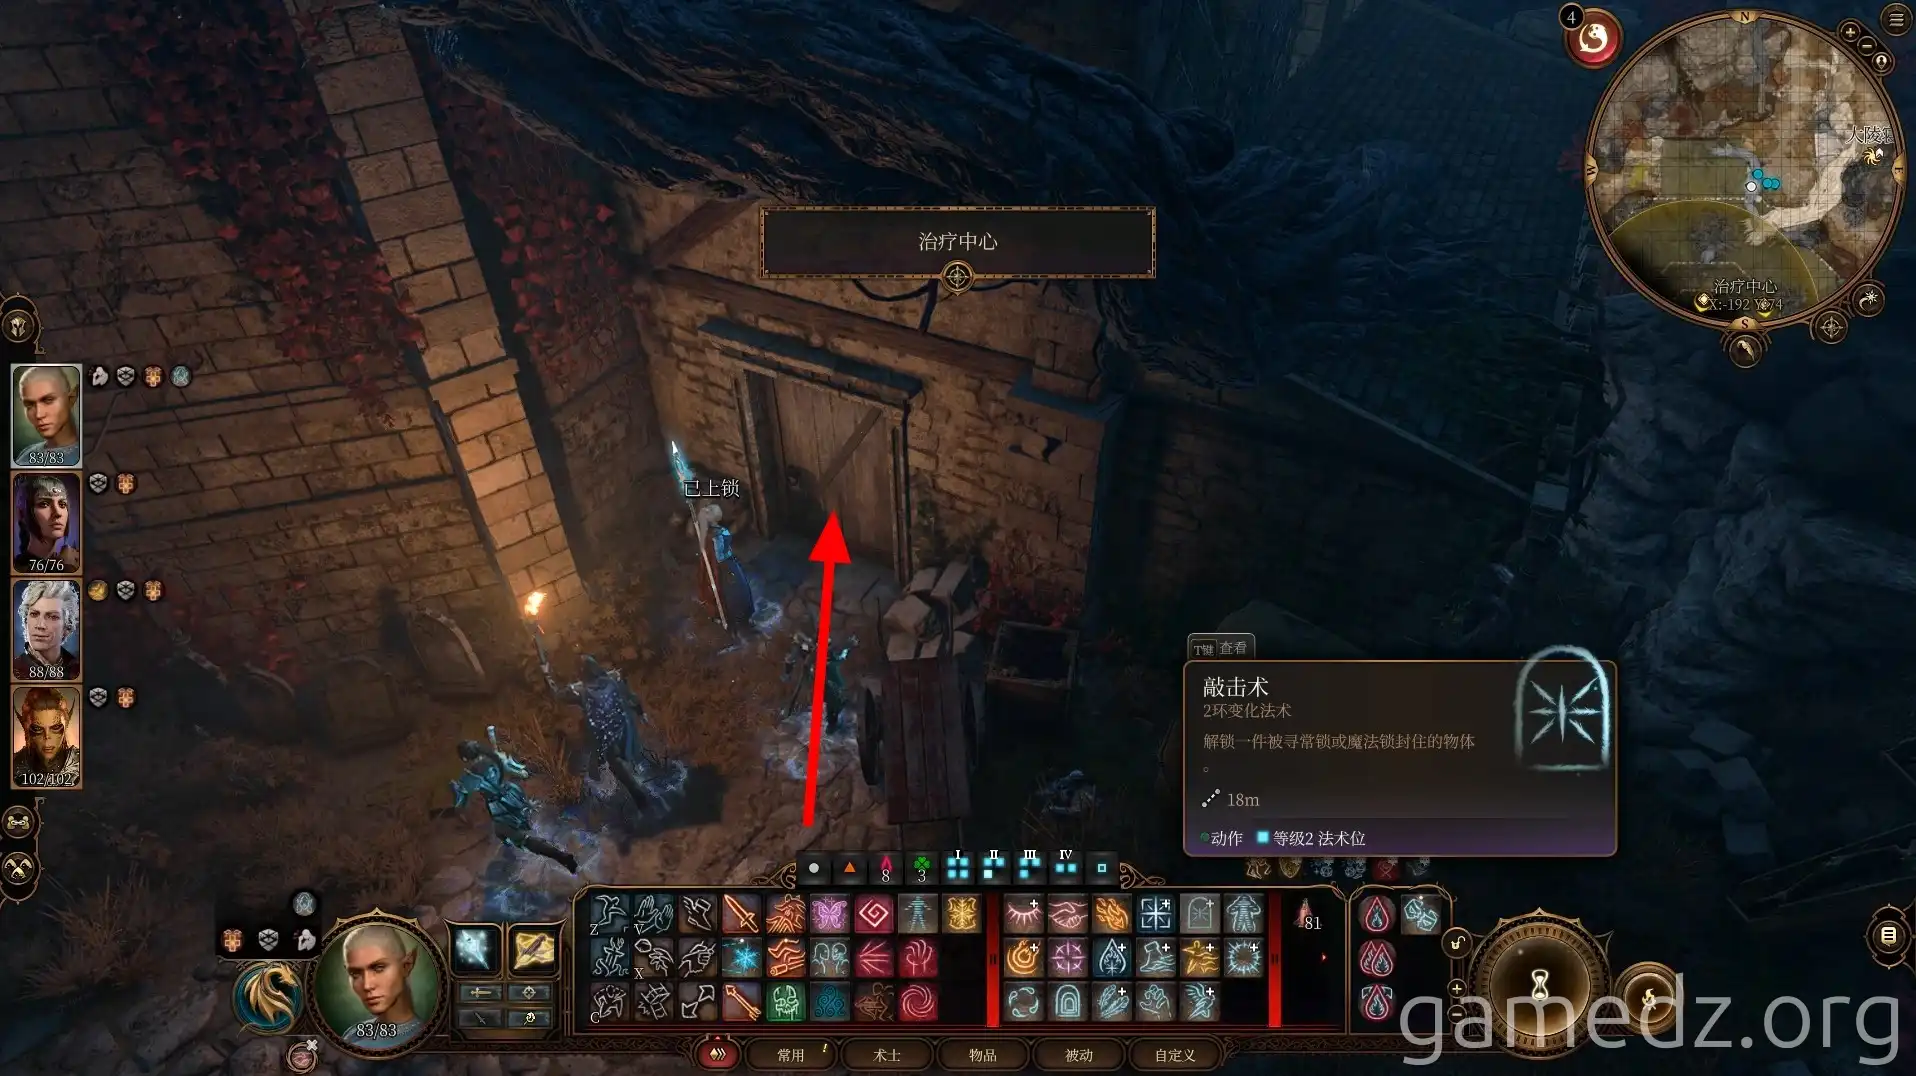
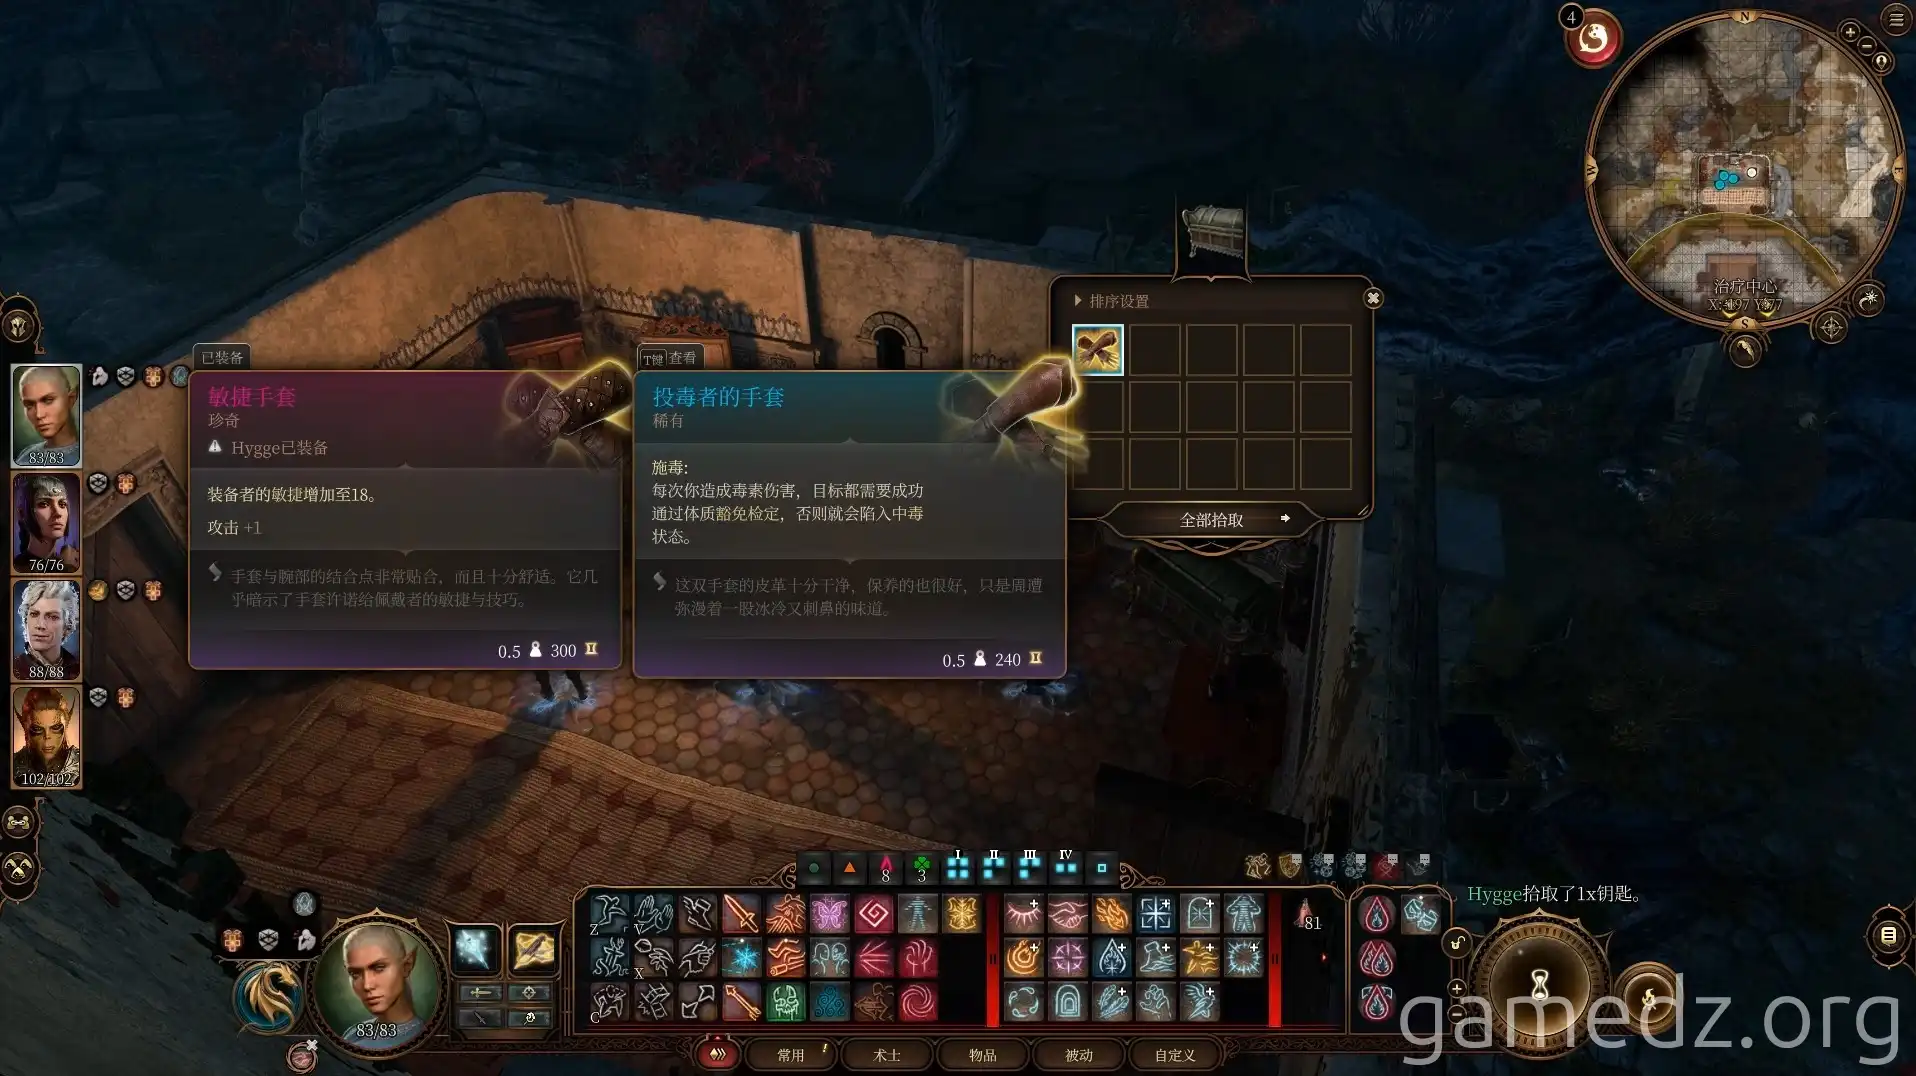
Return to the Infirmary's back entrance. Inside, a chest contains the Gloves of the Assassin and a key. Exit south and then west.
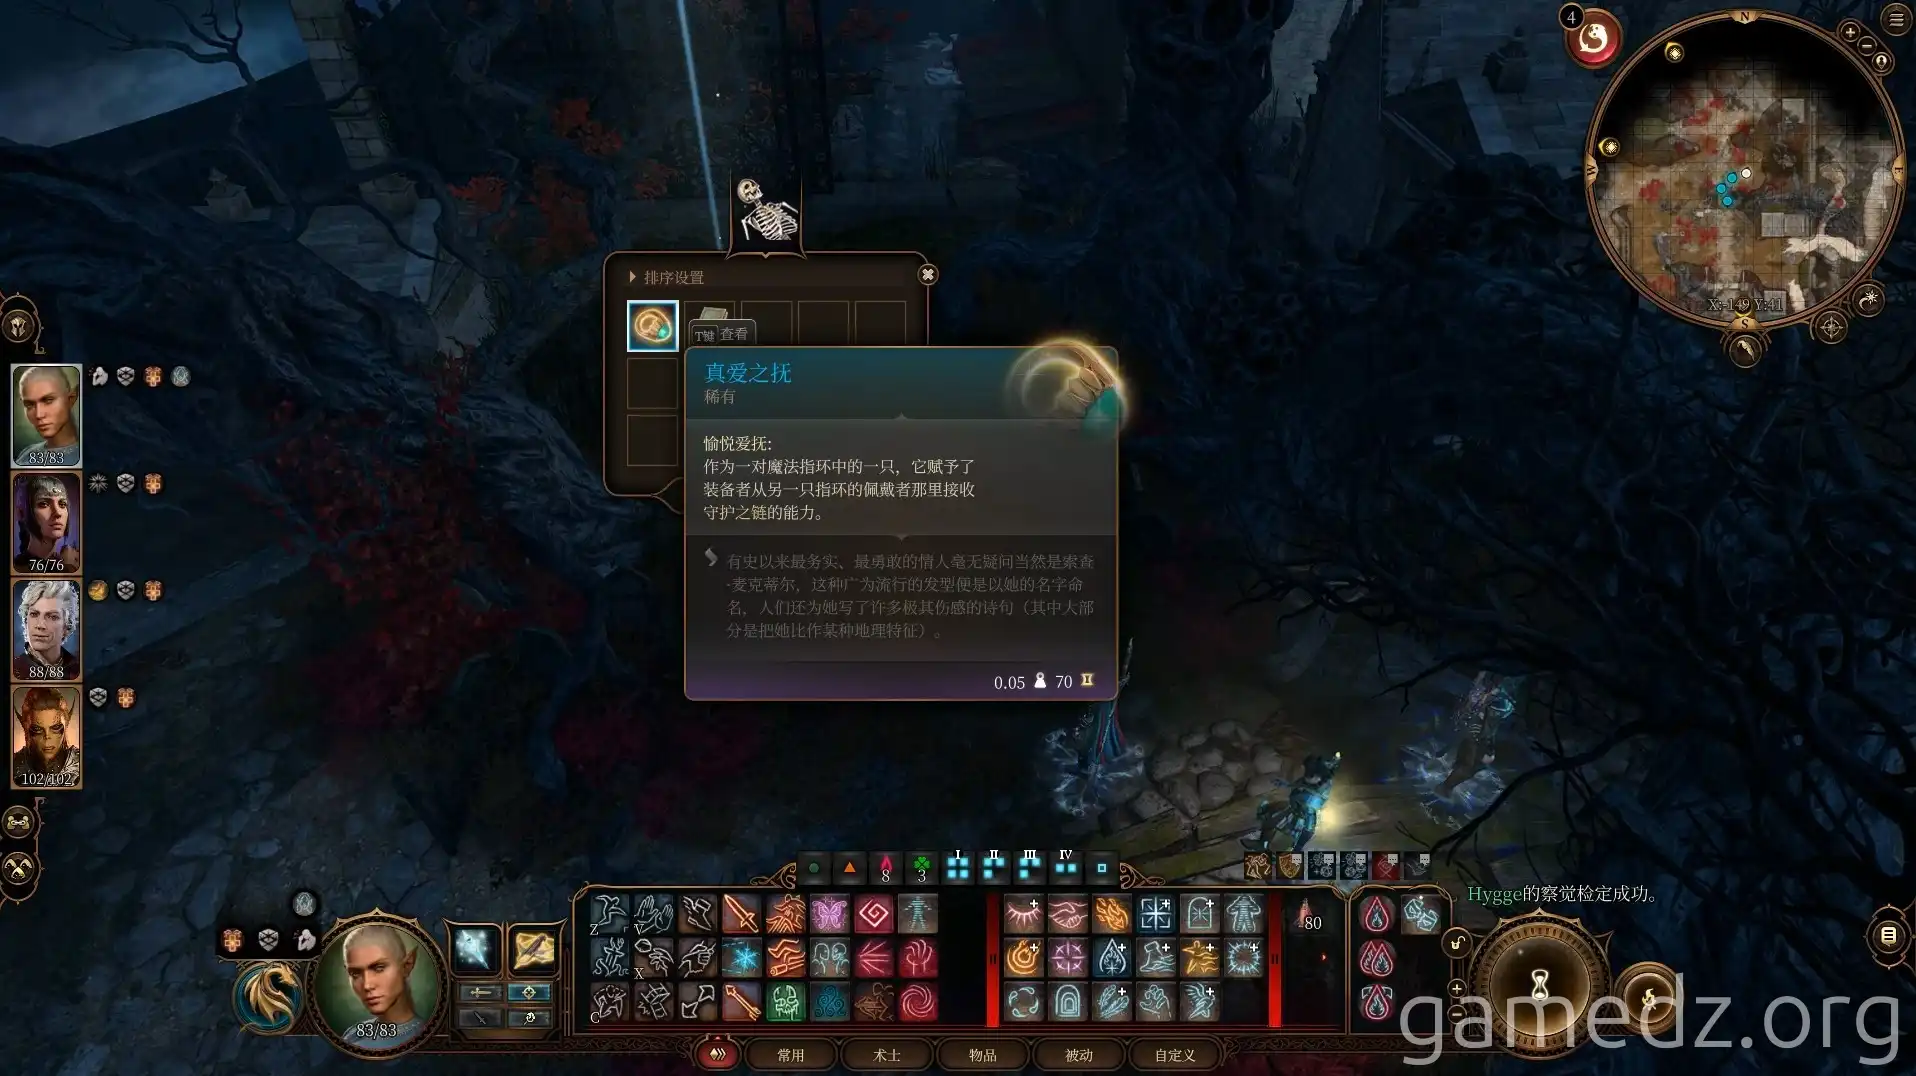
Head south from the battlefield to find a hidden treasure spot with four Moonpetal. Warning: Do not proceed further south, as a powerful Githyanki party awaits.
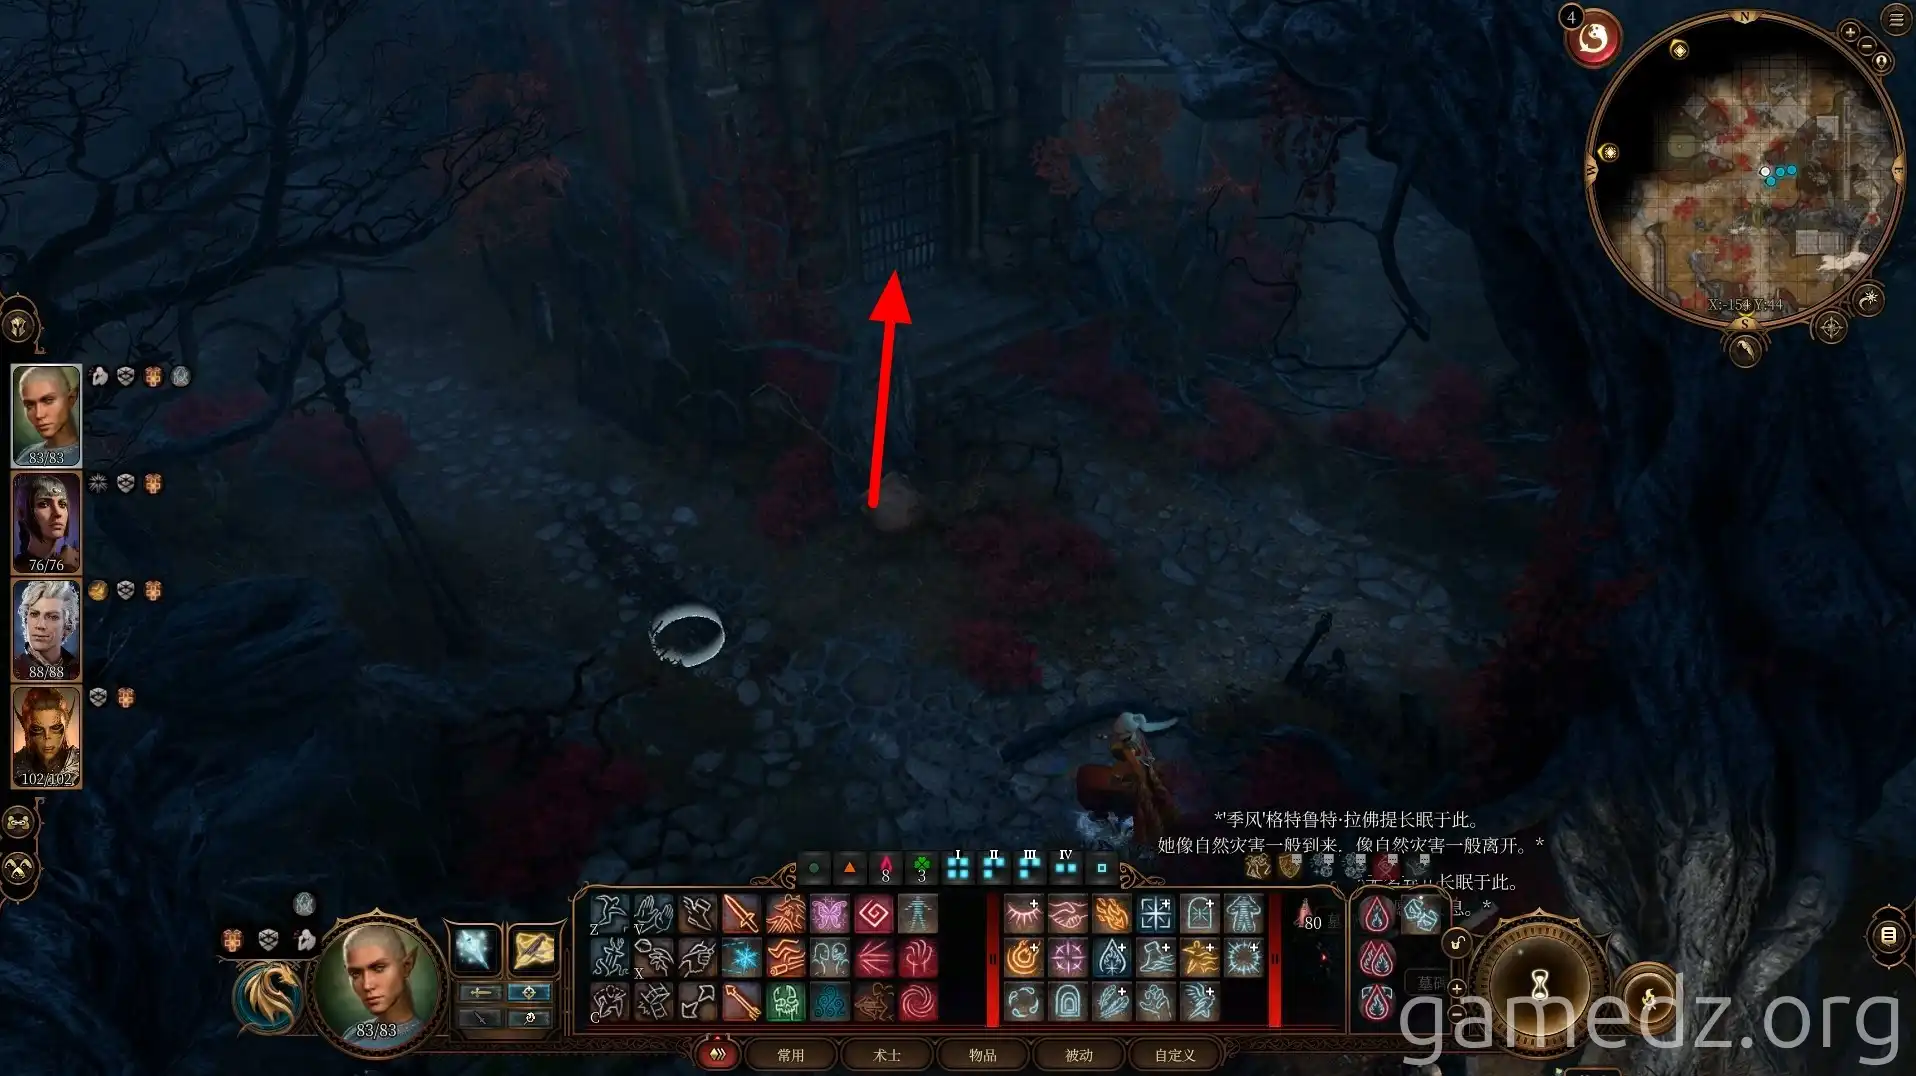
Return to the battlefield and head north. Find the Assassin's Shortsword and Shield of the Guardian on nearby skeletons.
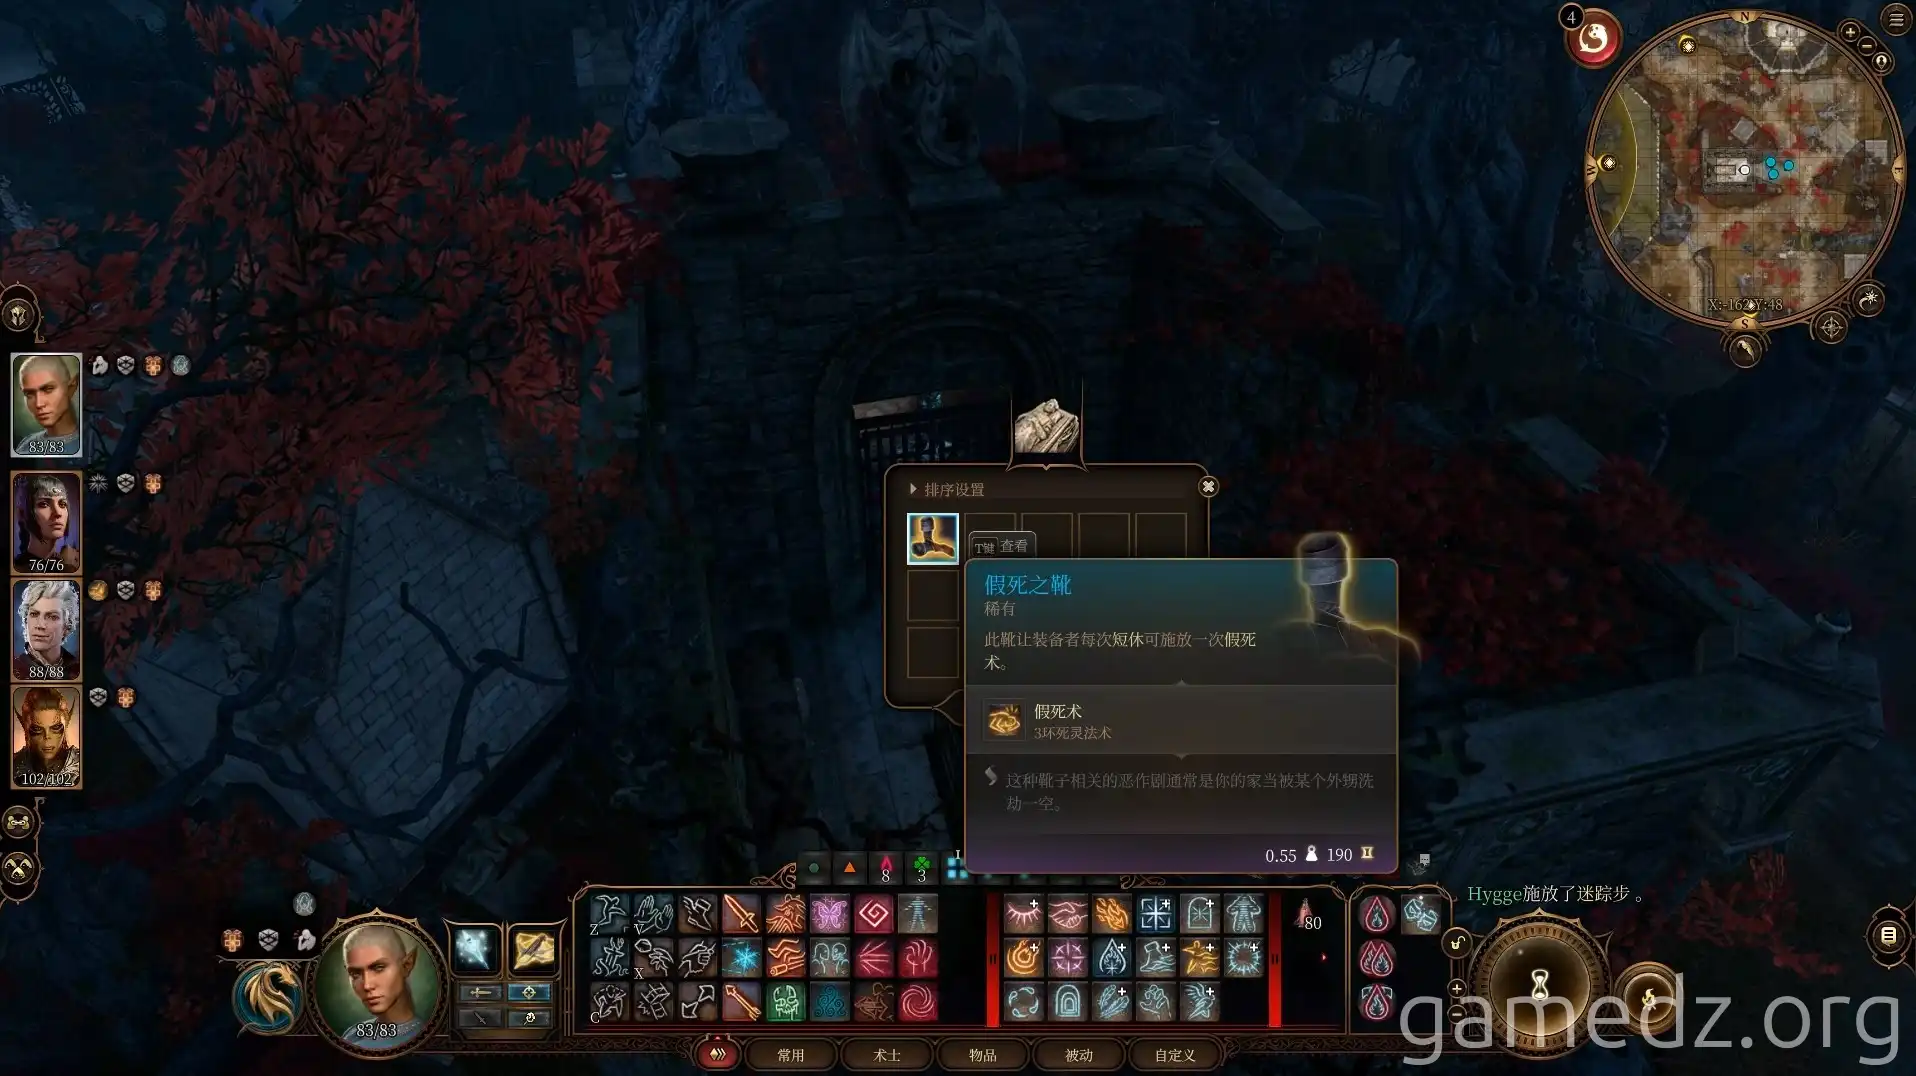
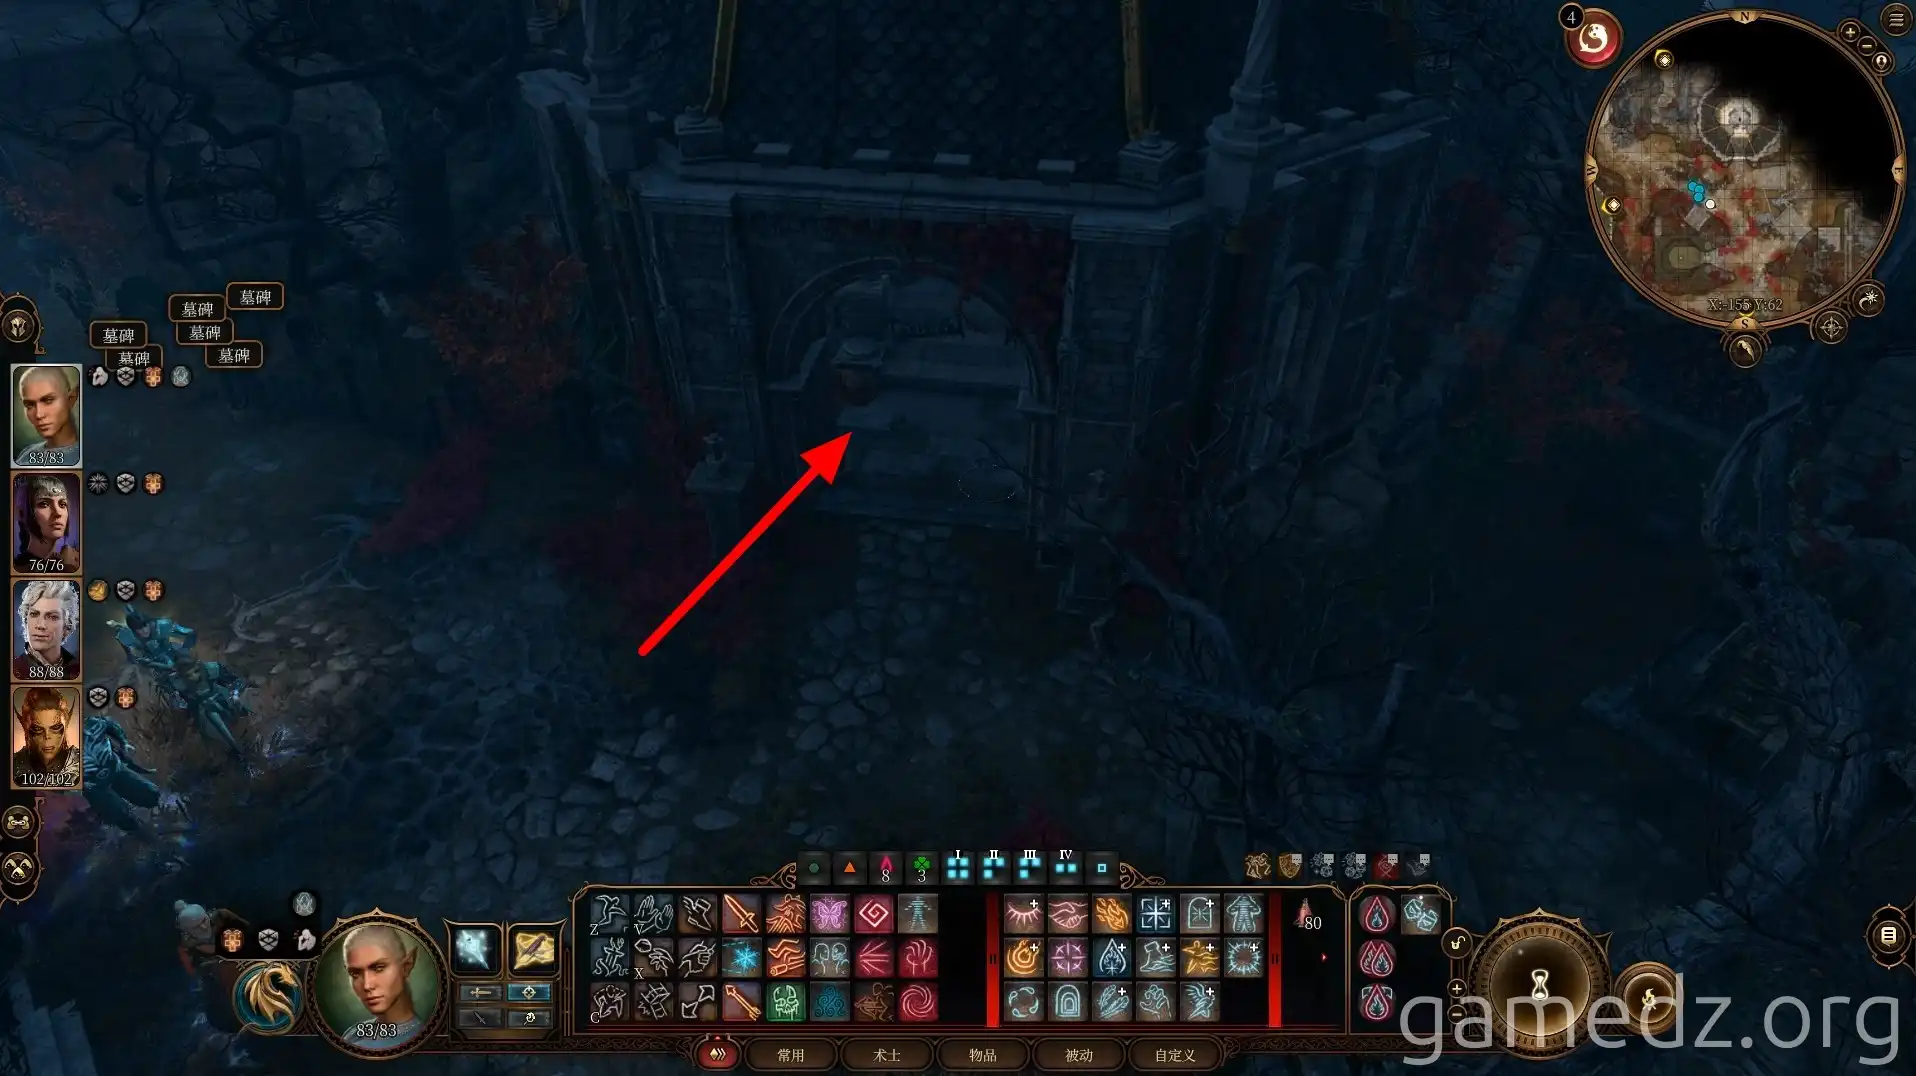
Head west into the Morgue. In a chest south of the entrance, find the Amulet of the Harmless. A scorched corpse nearby holds the Felldew's Bargain Ring.
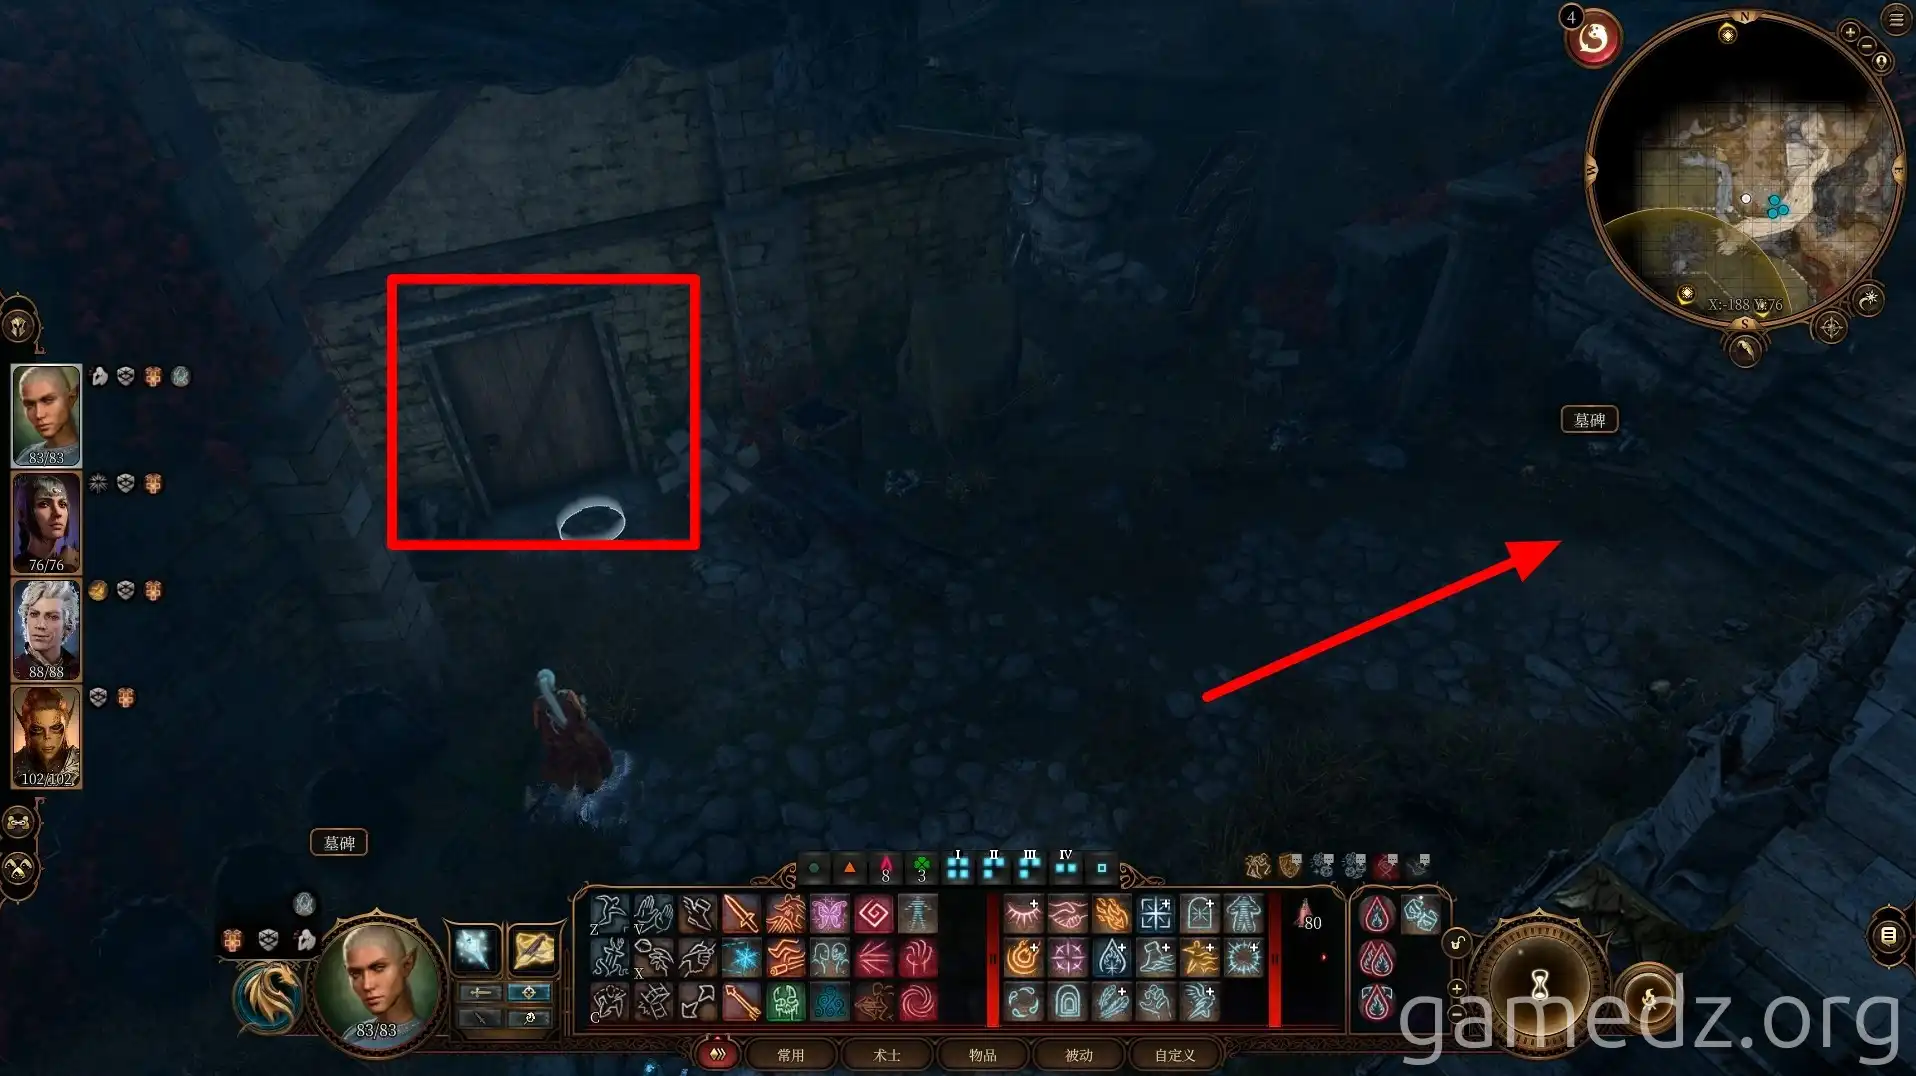
In the Morgue's small south room, a corpse yields the Key to the Necrotic Laboratory and a journal that inspires Acolytes and Sages. A chest here contains the Wait for the Opportunity clothing.
Use the key to open the west room. Potion supplies and notes await, inspiring Sages. A chest in the corner holds the Ring of Unwavering Sight.
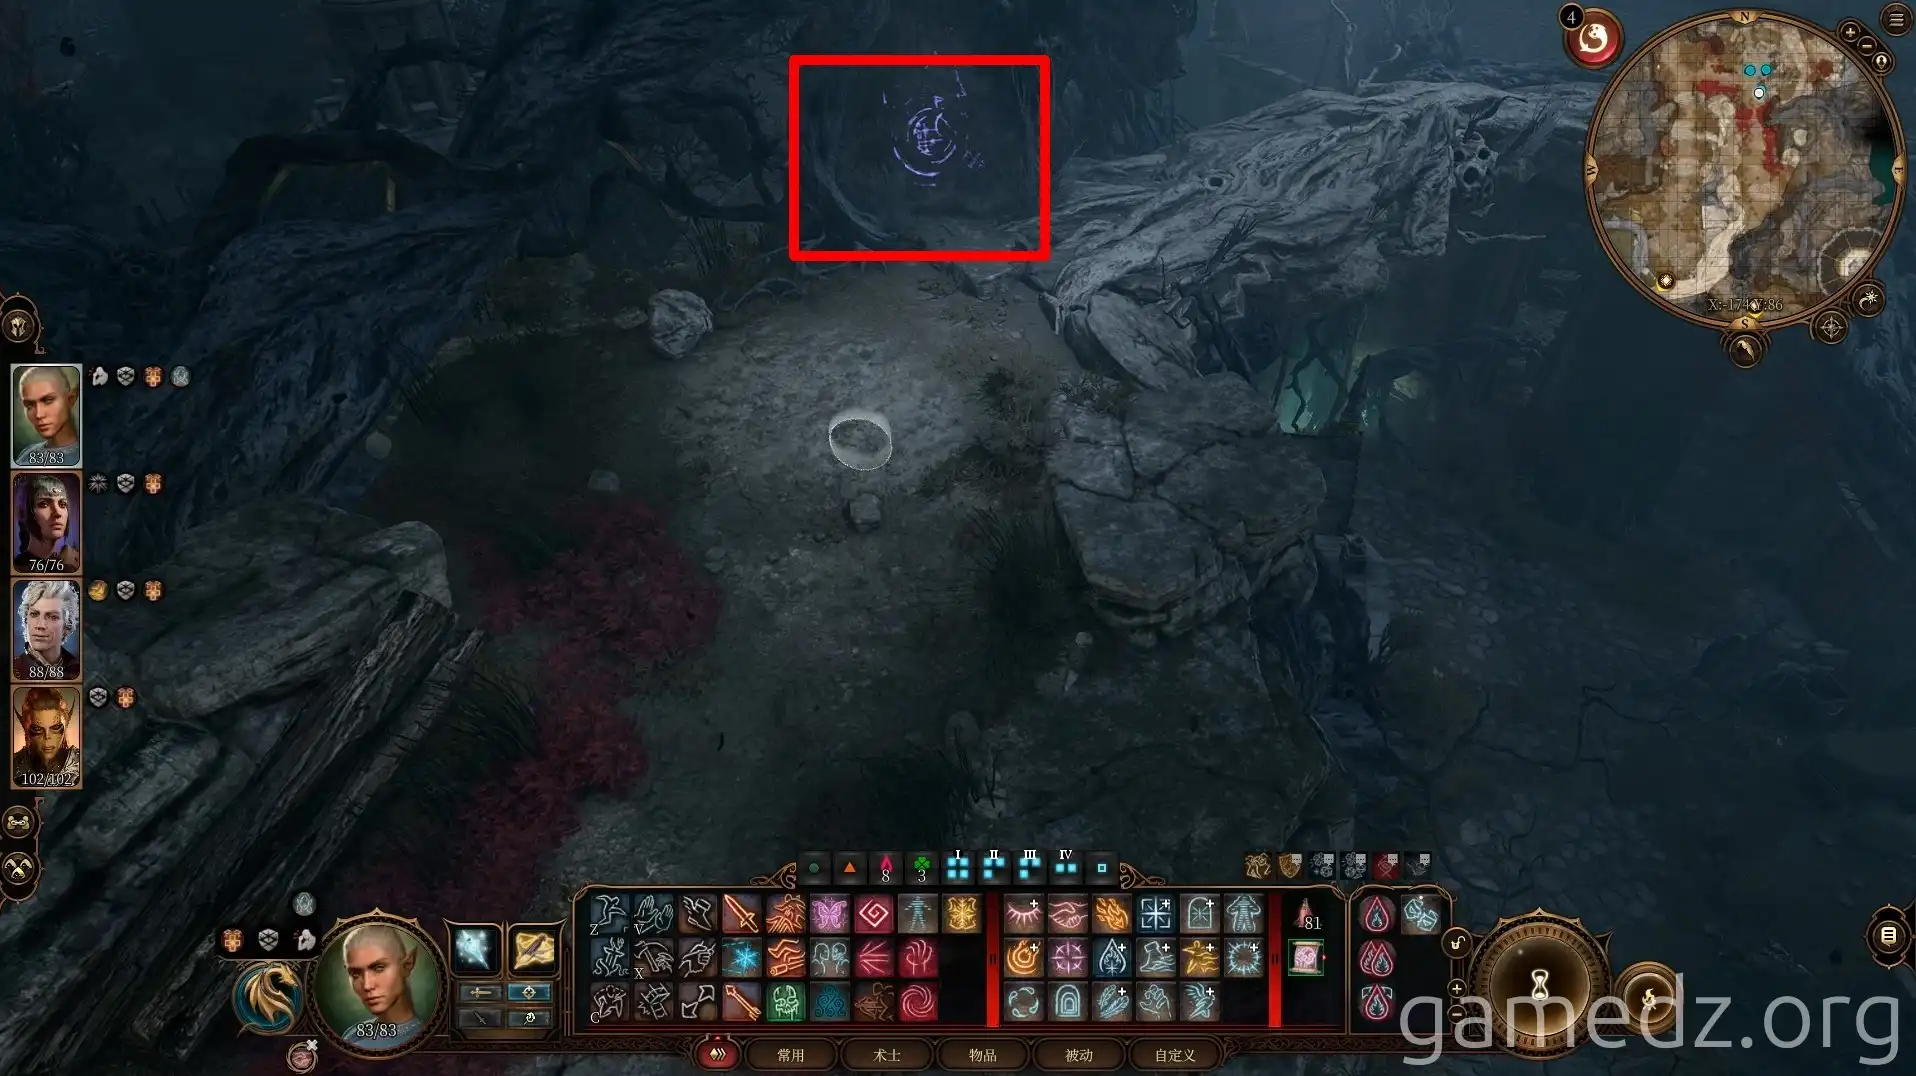
Cave Exploration & Infirmary Revisited
Enter the cave north of the Morgue. Use Misty Step to reach the east platform for the Cloak of the Disappearing Act.
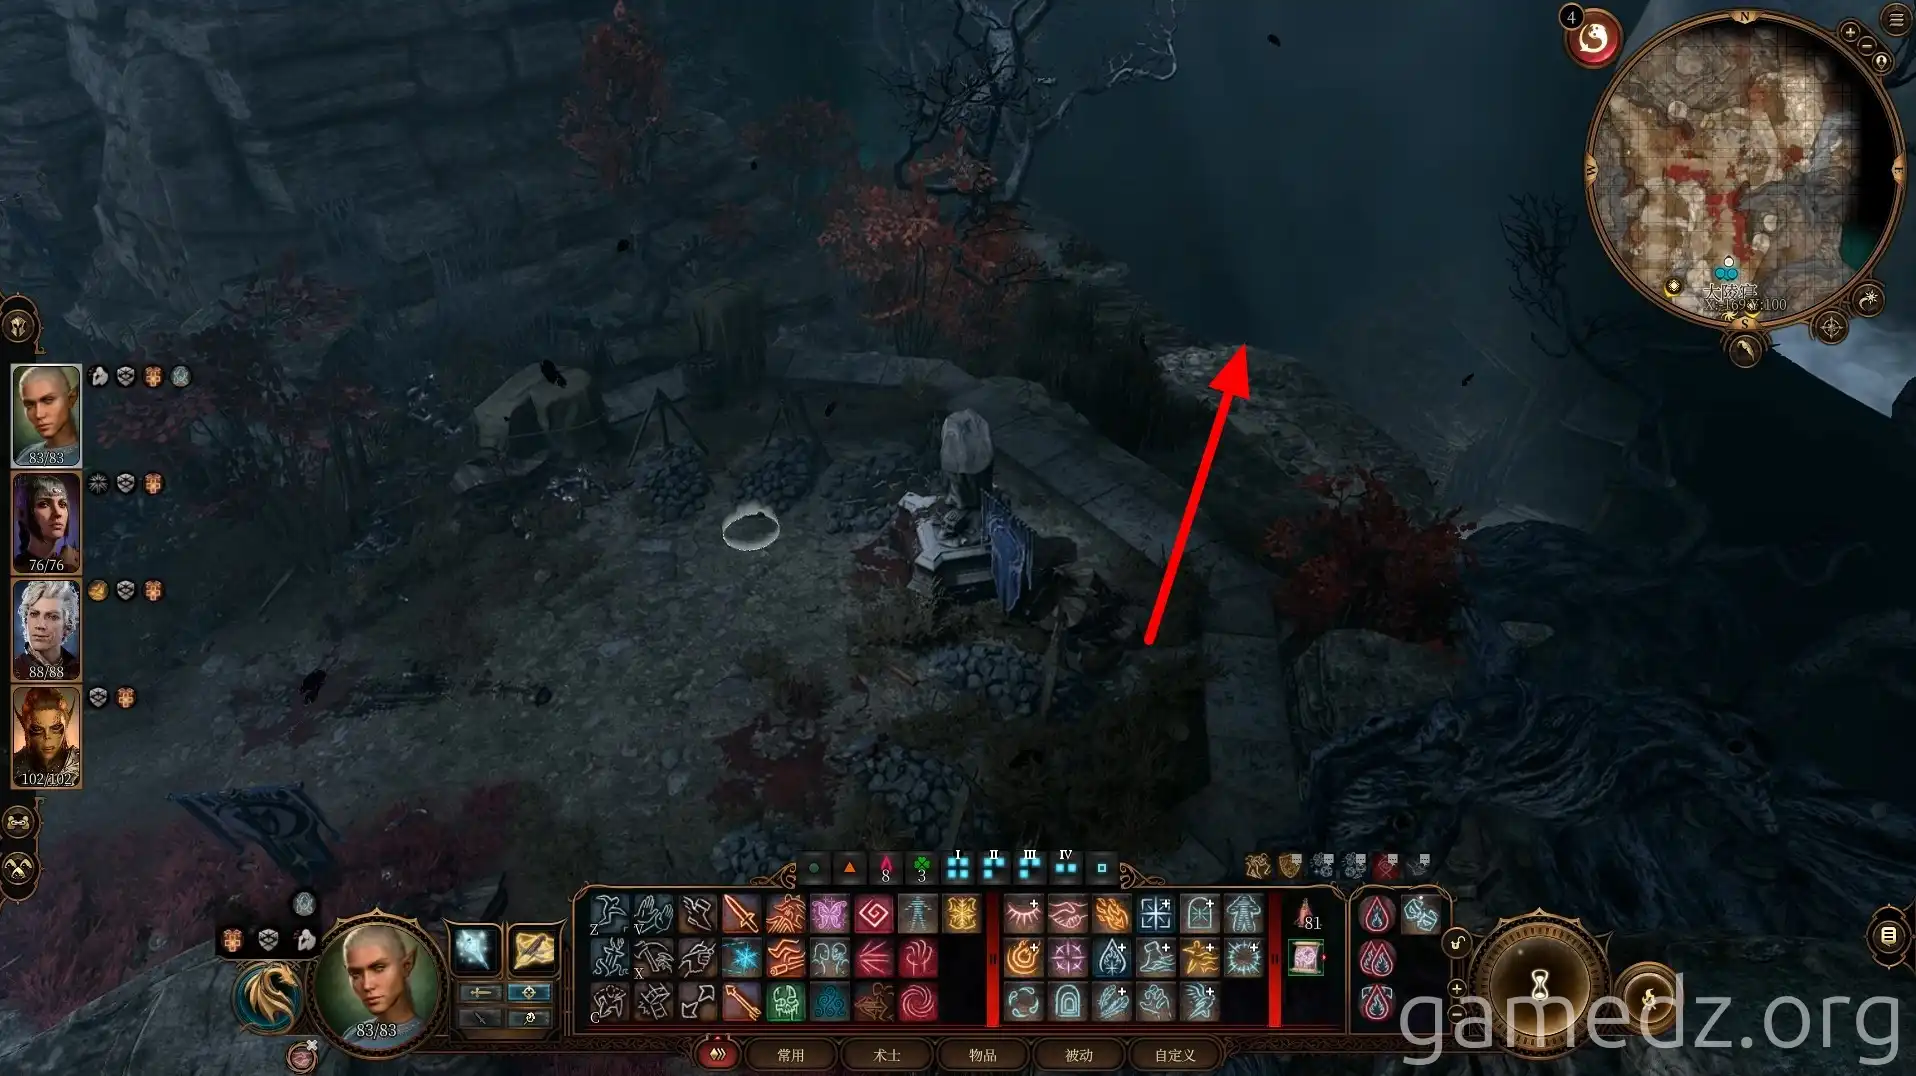
Descend to the cave bottom to fight an Animated Armor and Stinking Clouds. The armor drops the Protective Vest.
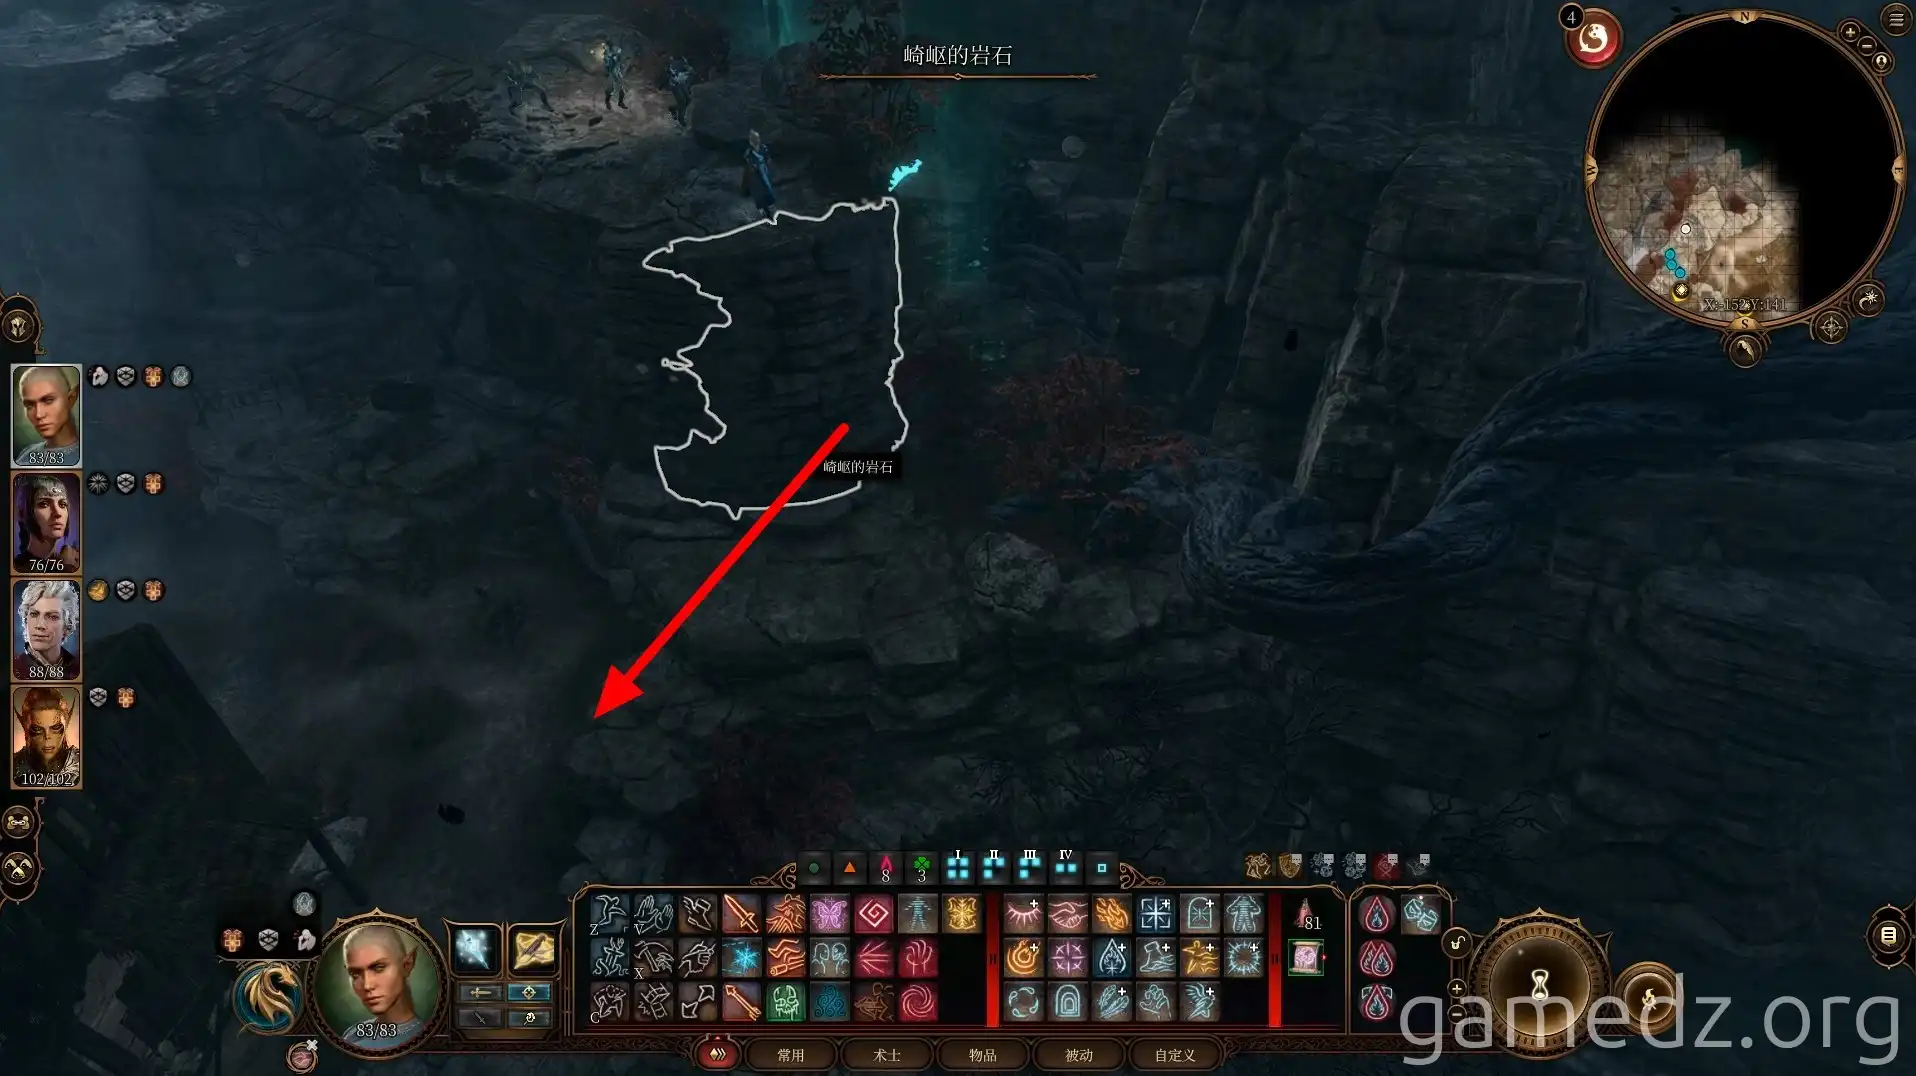
Return to the Infirmary. If entering from the main entrance, speak to the nurse as the doctor's assistant for free movement. Find a Library Key and potions in a chest. The Ring of the True Soul (paired with Amulet of the Devout) is on a skeleton. The Shar's Temptation ring is in a chest under a ladder.
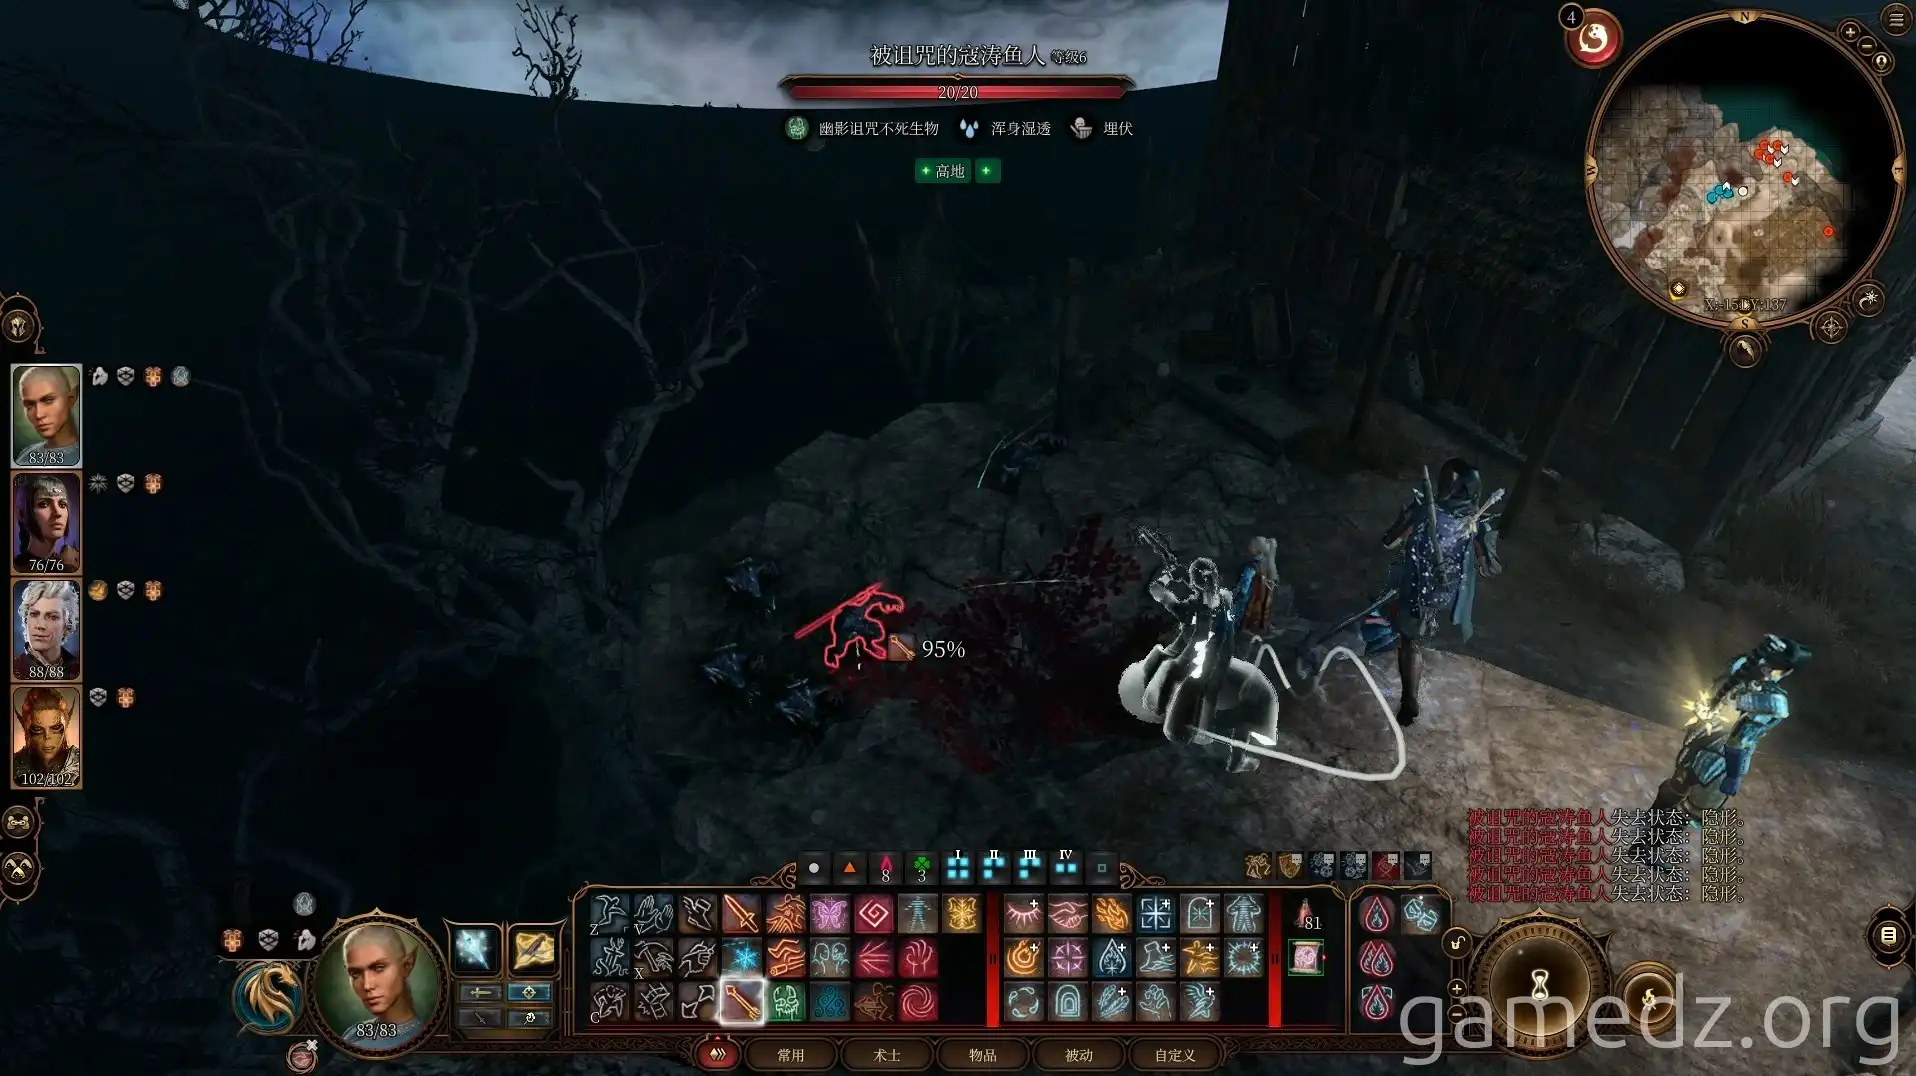
Lady Jannath & Malus Thorm
In the east room, find Lady Jannath and Arabella's deceased parents. You can trade with Lady Jannath, but be wary of the Blood of Lathander's effect.
Access the Infirmary library via ladder or elevator. In the northern hall, witness Malus Thorm's demonstration. A Religion check reveals Shar's teachings, and a Persuasion check can lead to Malus's demise, inspiring Acolytes. Loot Malus for the Surgical Suppression Amulet and a lute.
Defeating the nurses yields rare weapons: Bone Saw, Circular Saw, Syringe, and Artificial Leech.
Completing Arabella's Quest & Halsin's Pact
Return to the Last Light Inn and use the lute to awaken an unconscious man, gaining information about Thaniel. This inspires Sages. Halsin will then ask to meet outside.
Speak with Arabella at the camp and inform her of her parents' passing. This inspires Soldiers. The next day, the gravekeeper notes Arabella's talent. Completing this side quest grants the Shadow-Touched Ring.
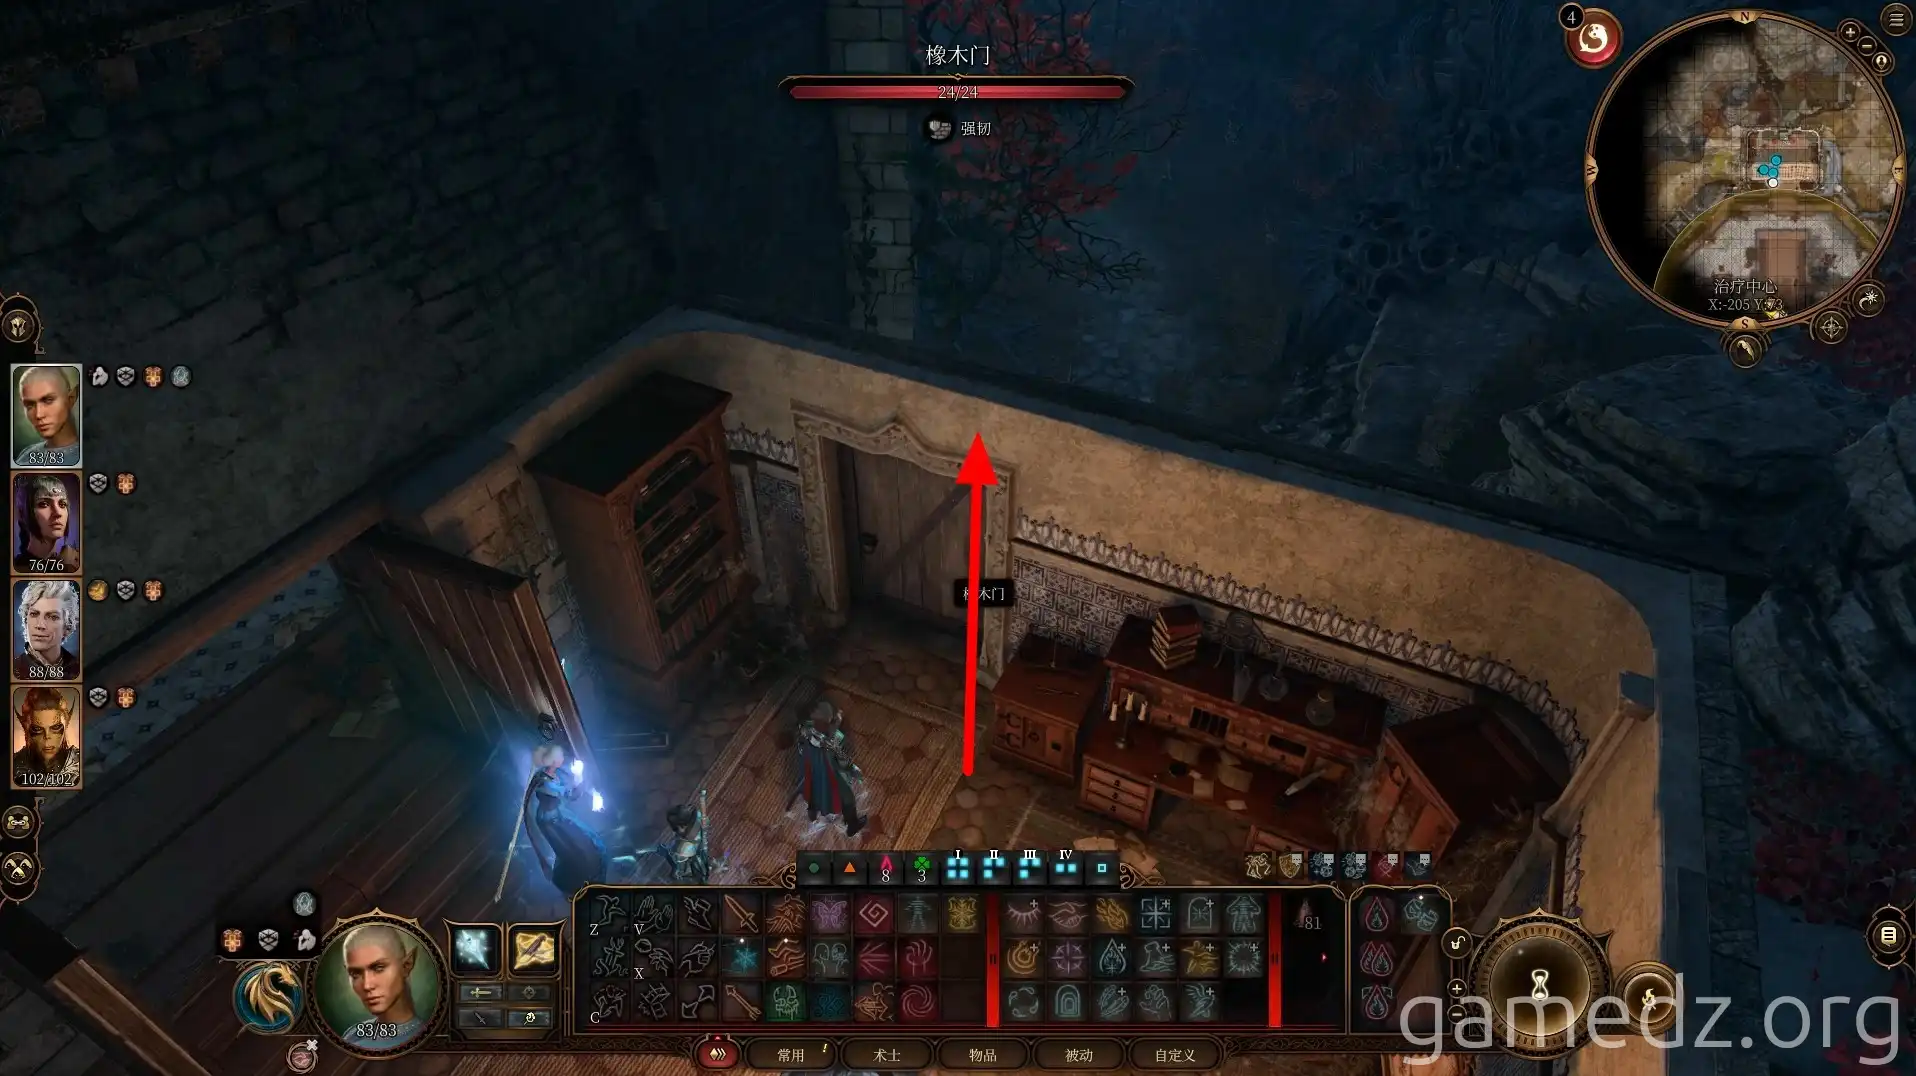
Head northwest of the Inn to find Halsin. He enters the Shadow-Fell to find Thaniel. Defend the portal from Shadow creatures for three turns.
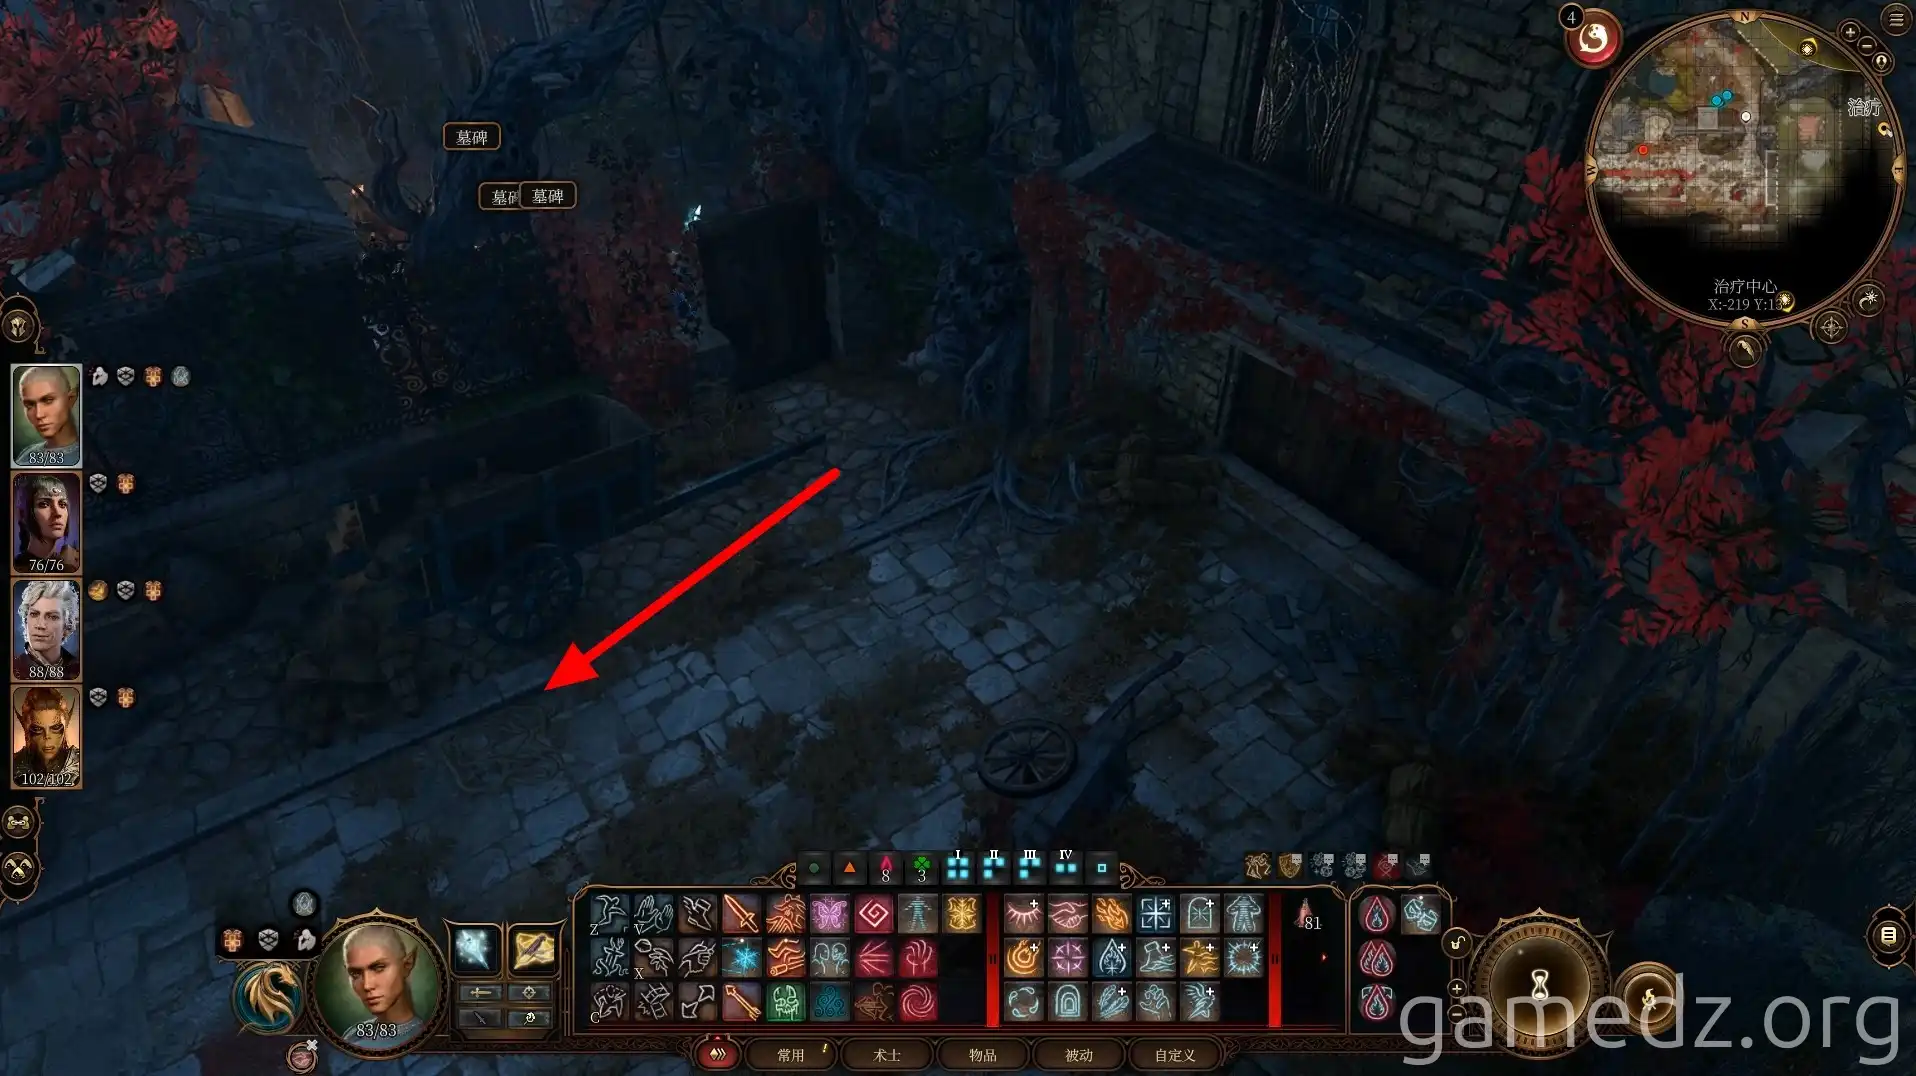
Restoring Thaniel & Rivington's End
Halsin returns with Thaniel, but he's incomplete. You'll need to find Oliver in the Shadow-Cursed Battlefield. Pursue Oliver through a portal.
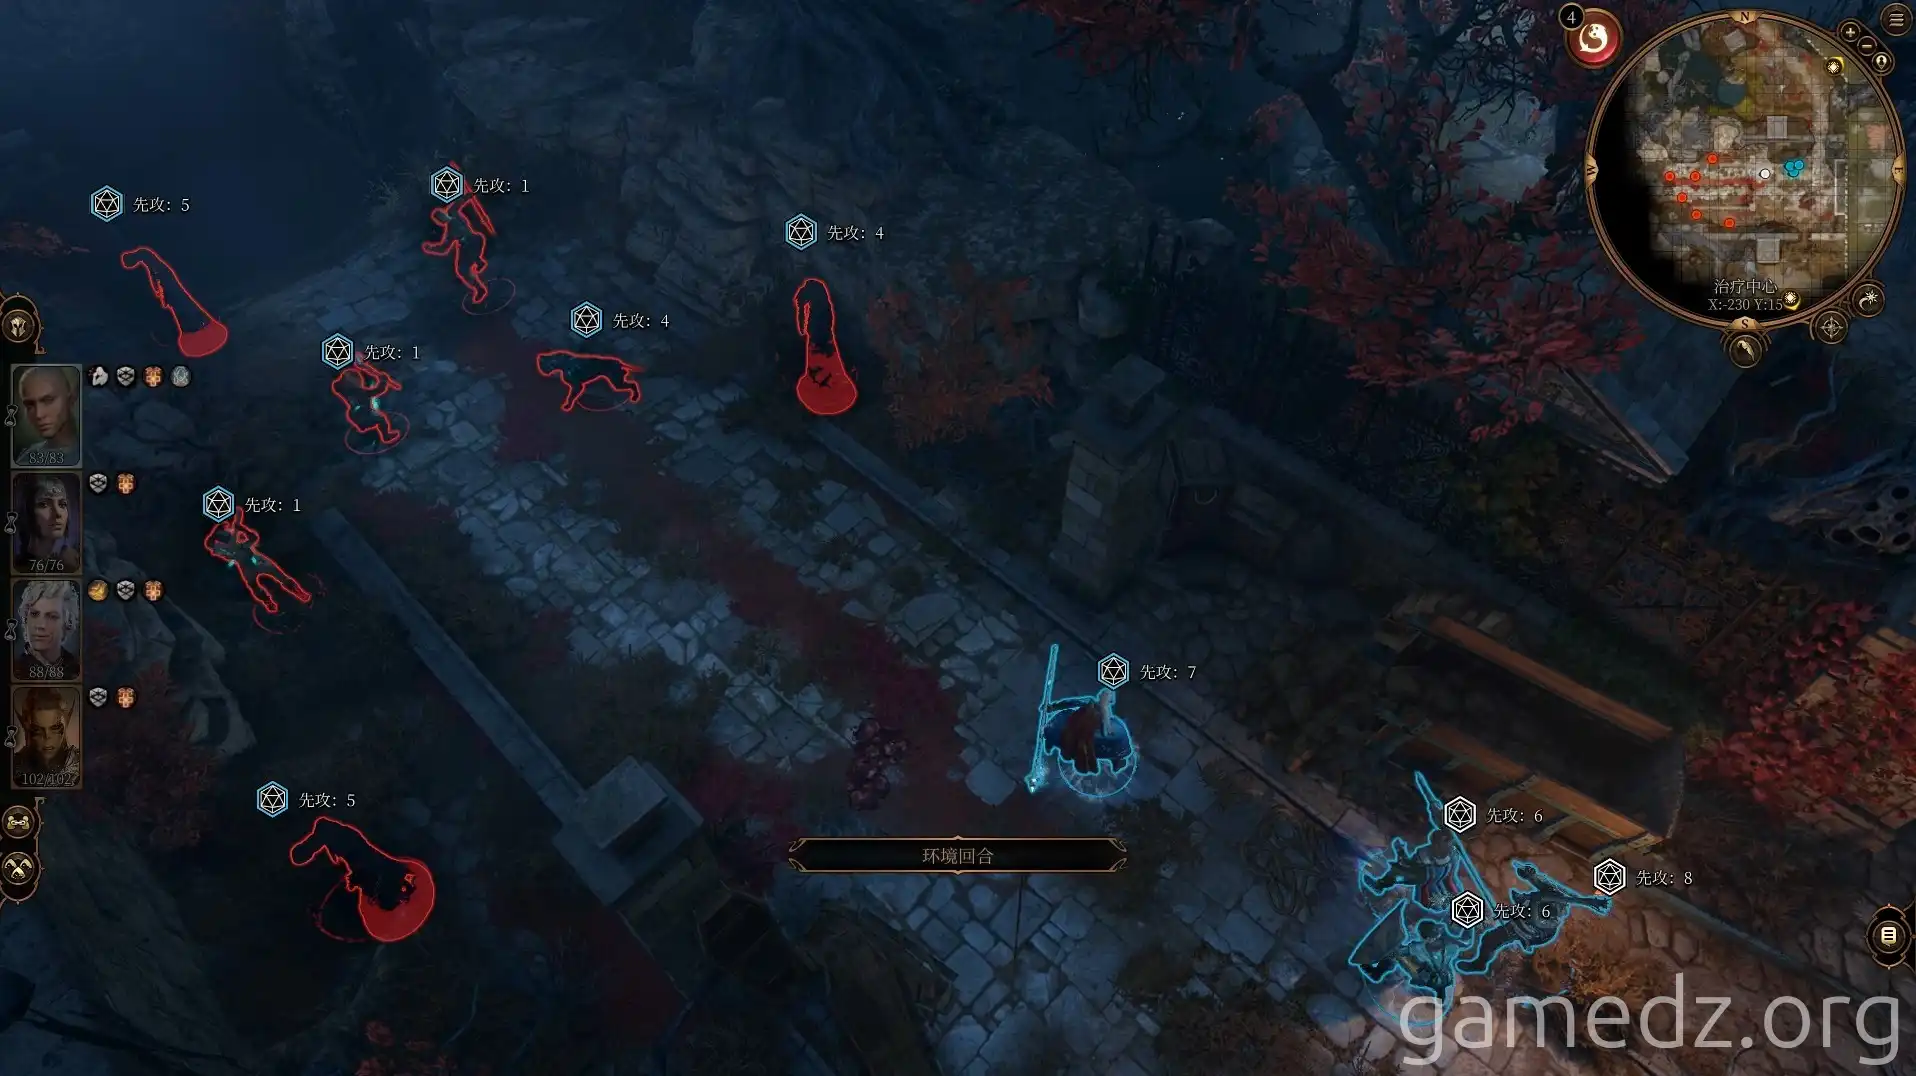
In Rivington Town's central plaza, defeat Shadows to break Oliver's barrier and convince him to return. With Thaniel restored, Halsin officially joins your party.
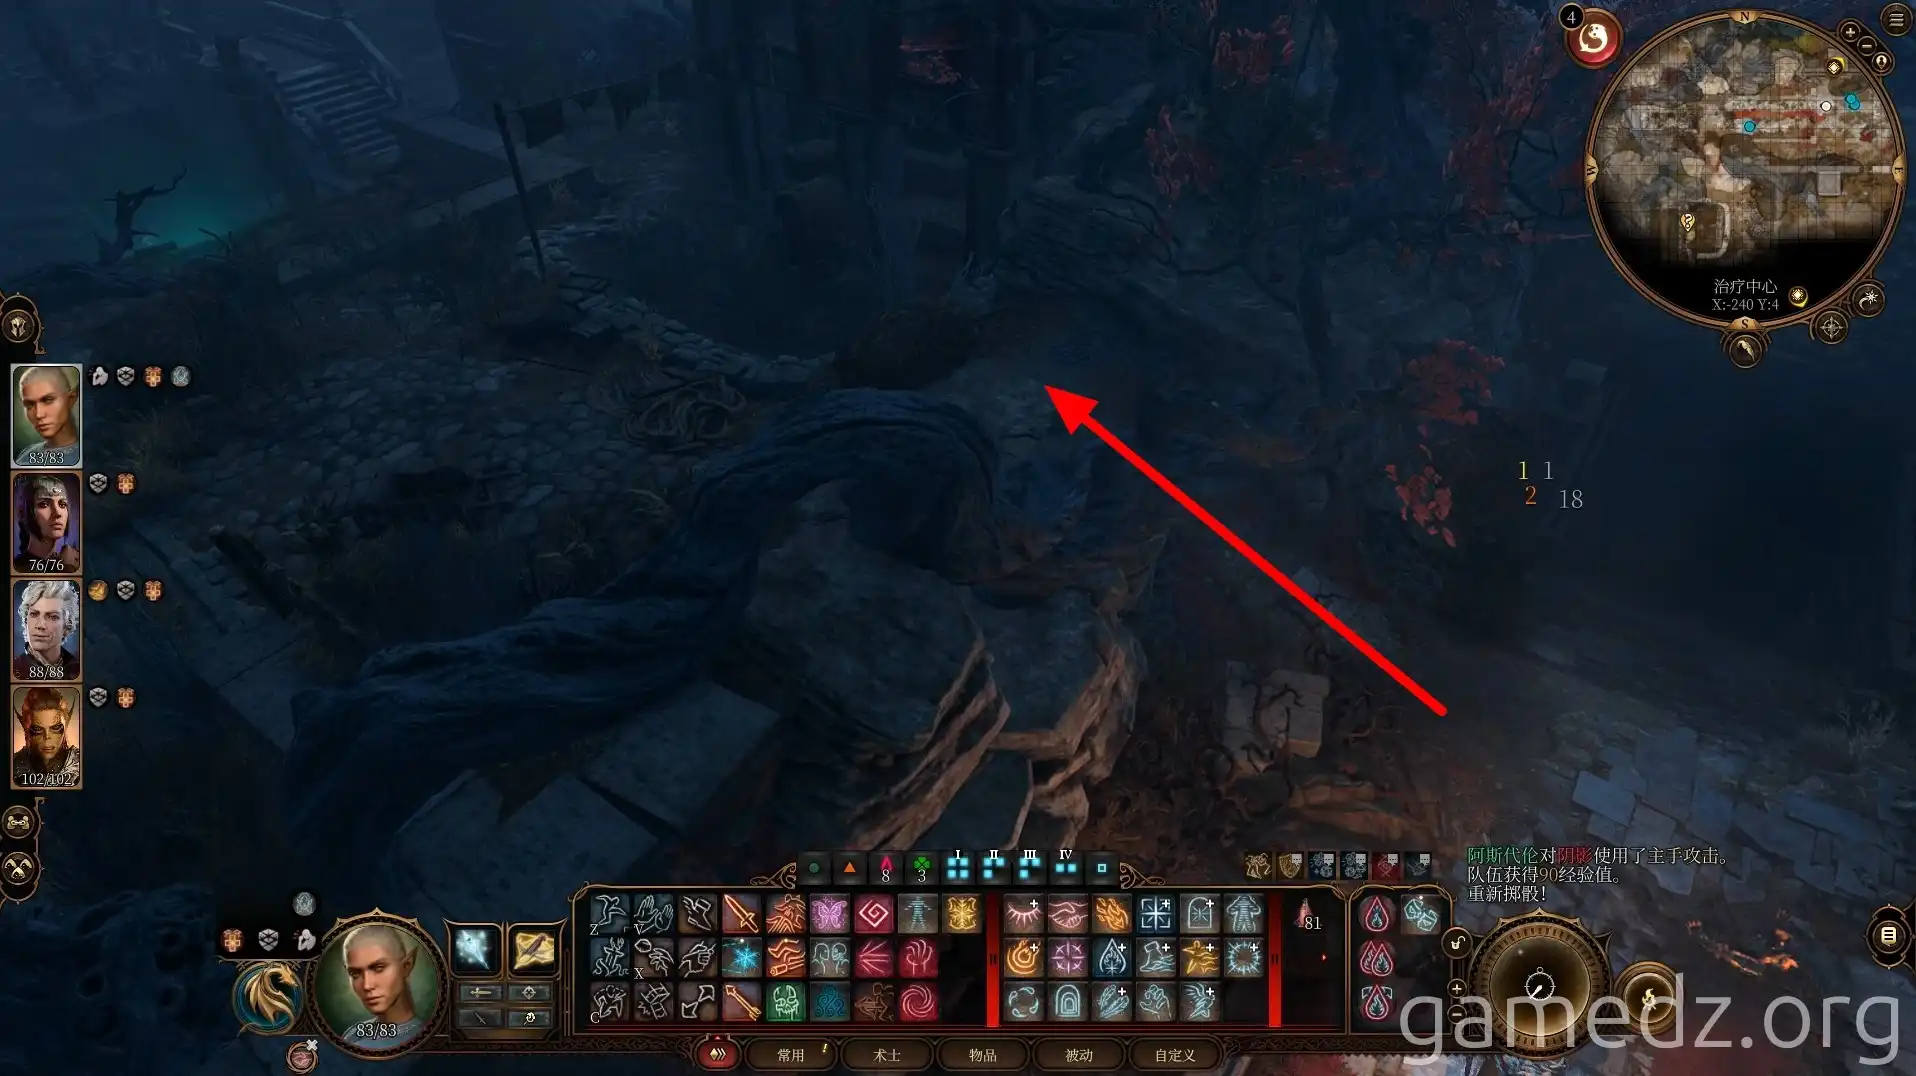
This concludes our full exploration of Rivington Town. The next step is to tackle Moonrise Towers and rescue the Tieflings.

