
Baldur's Gate 3 Rivington: Full Map & Secrets Guide (Part 1)
Baldur's Gate 3 Rivington walkthrough: discover hidden chests, interact with NPCs like Yenna and the Strange Ox, trade with merchants Fugger and Mattis, uncover the Toymaker's secrets, and find unique gear. Part 1 of a full map exploration guide.
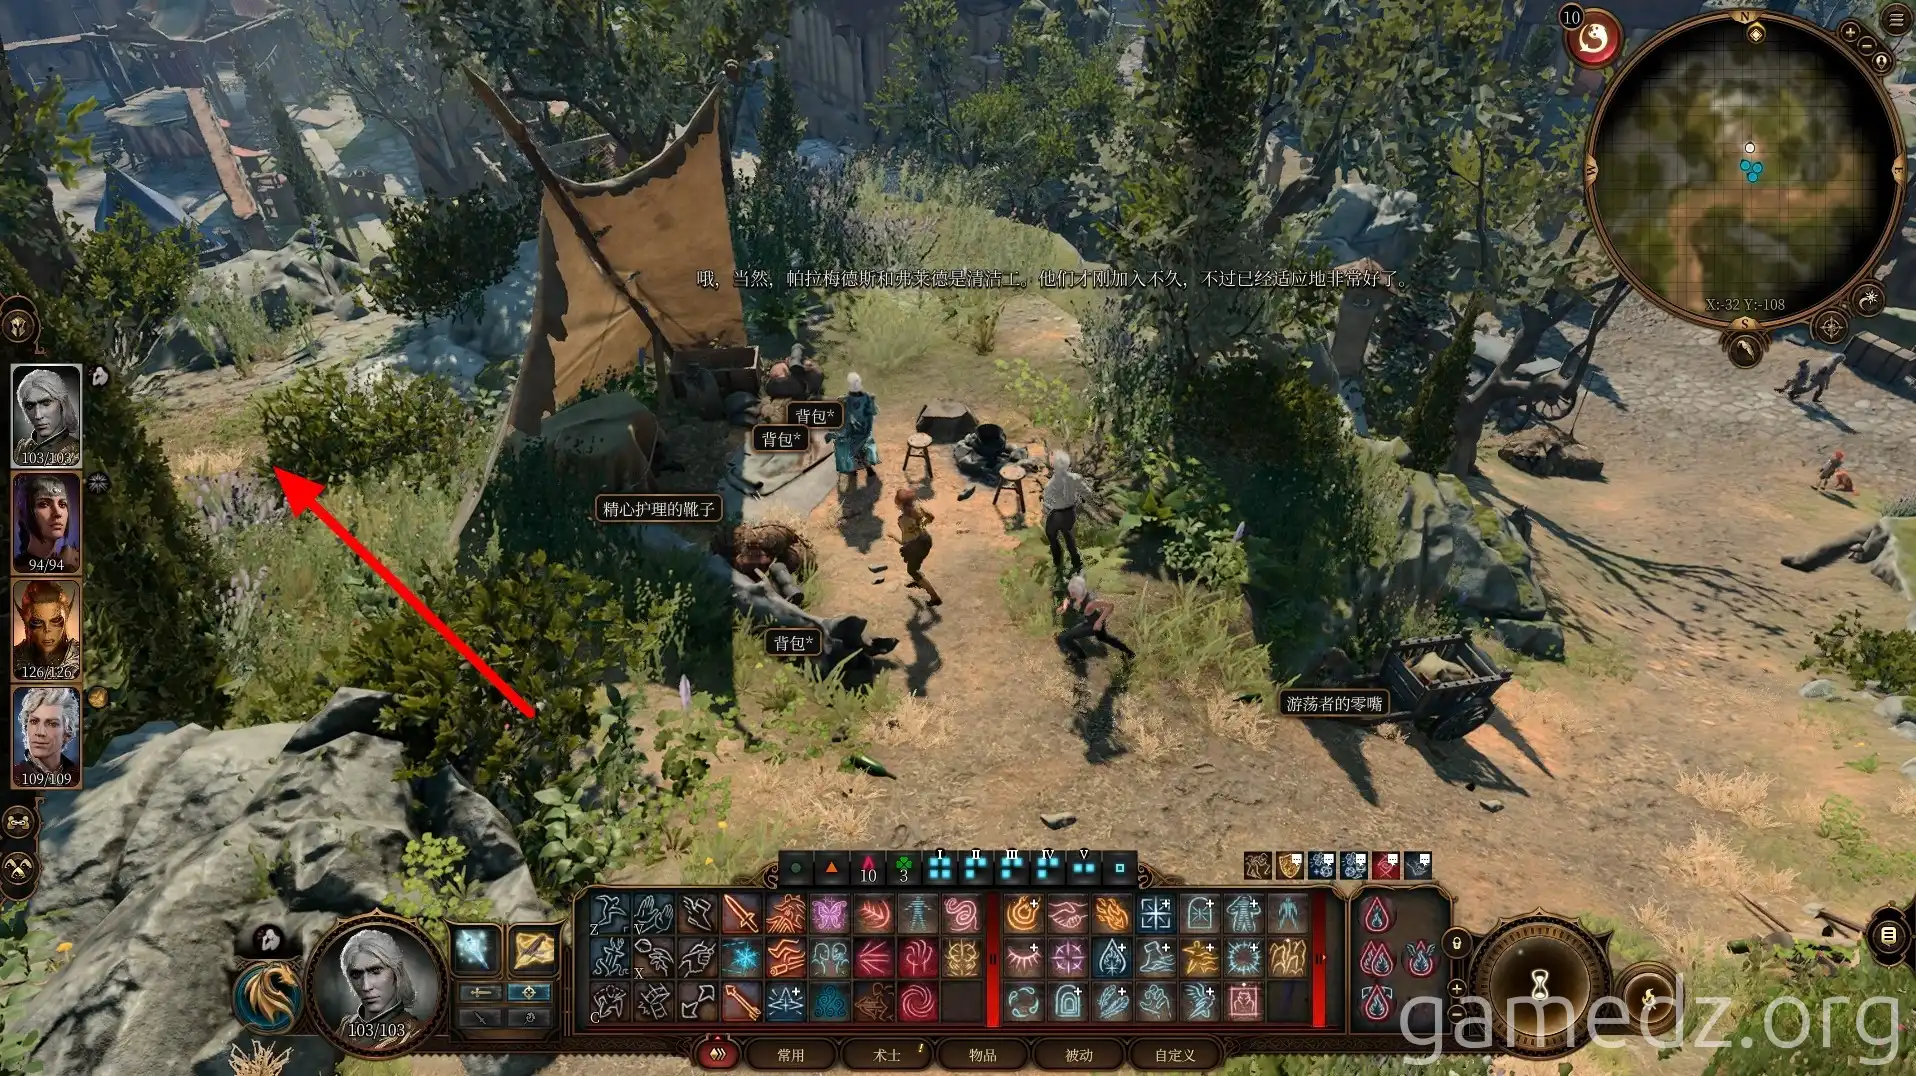
Behind the tent by the roadside on your way to Rivington, you can find a buried chest in a dirt mound.
Upon first entering Rivington, you'll be stopped by a child named [Yenna]. Through dialogue, you'll learn her mother went out and never returned. You can offer her some money or food. Afterward, Yenna and her cat will join your camp.
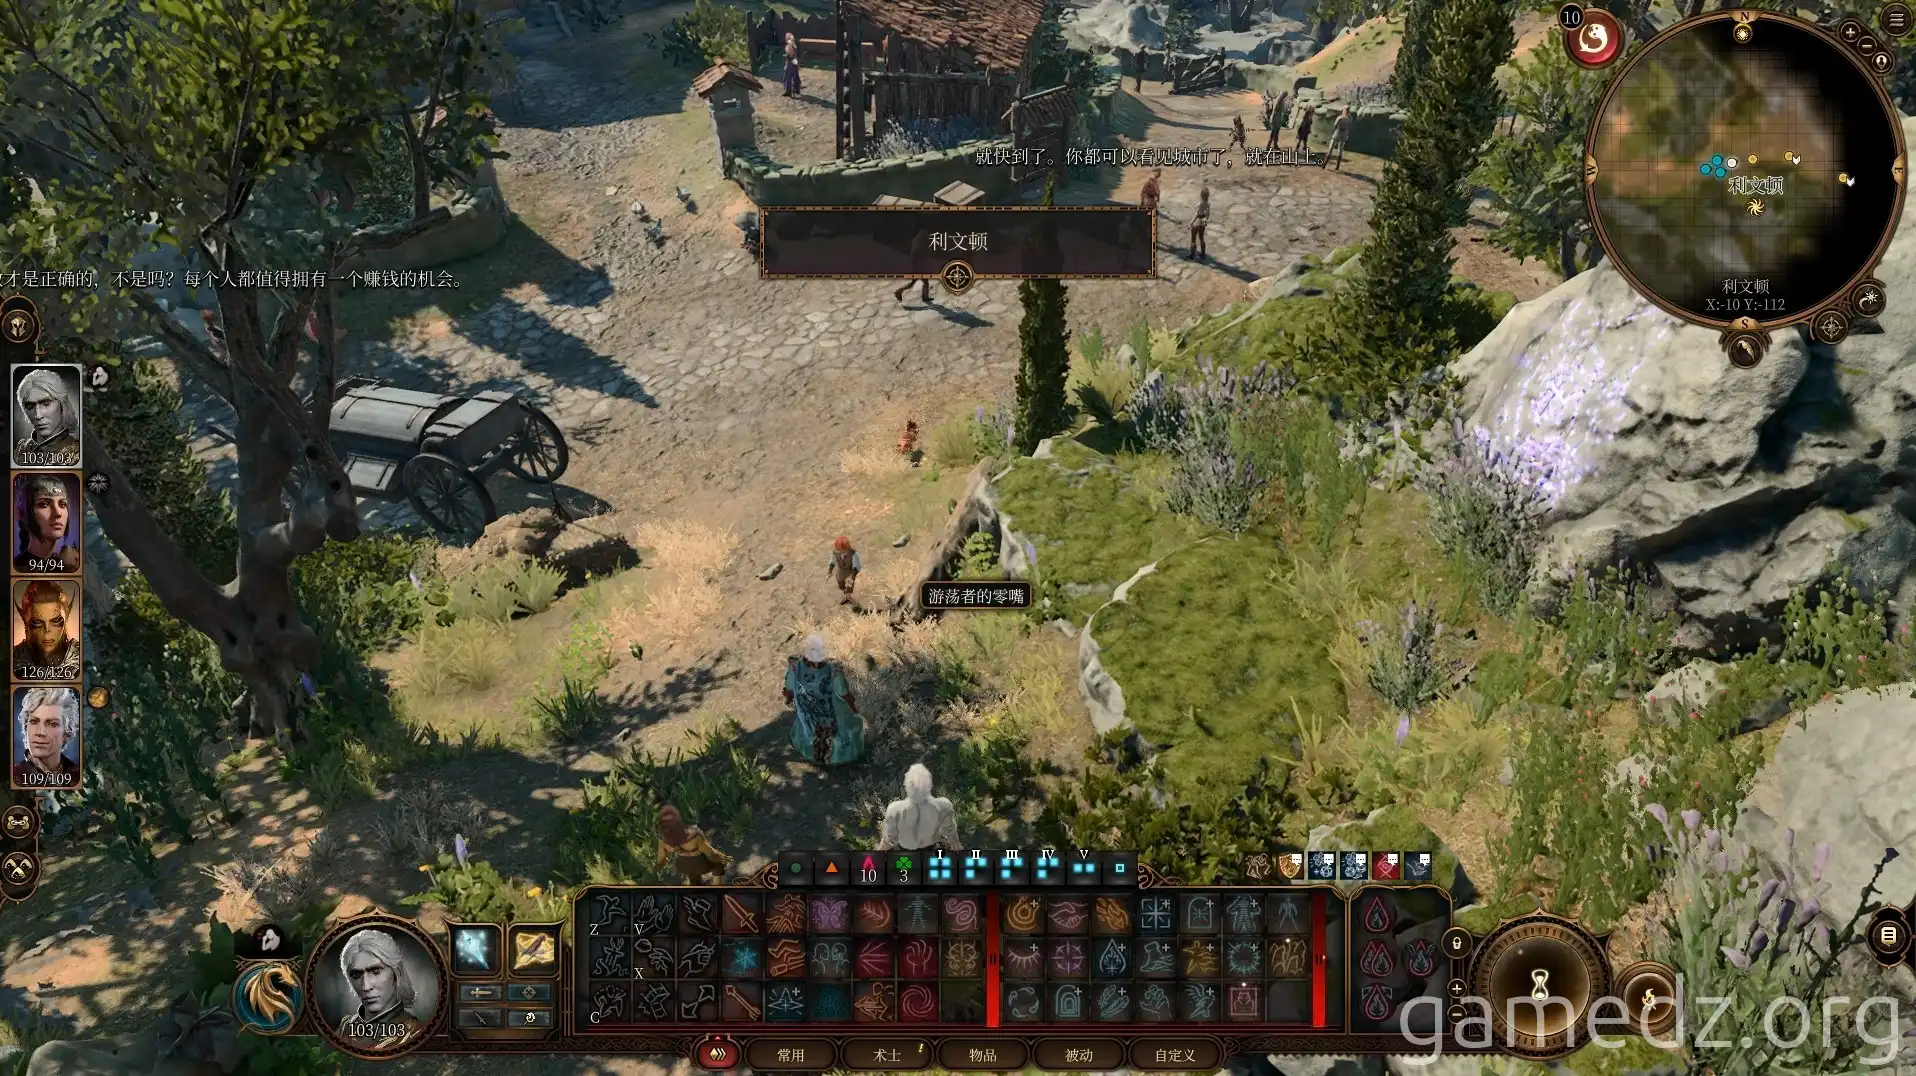
At the crossroads ahead, the southern path leads to Rivington's city gate, which doesn't offer much. It's best to head east directly.
At this point, you'll experience a violent earthquake. This tremor is actually the residual shockwave from the Absolute breaking free from control.
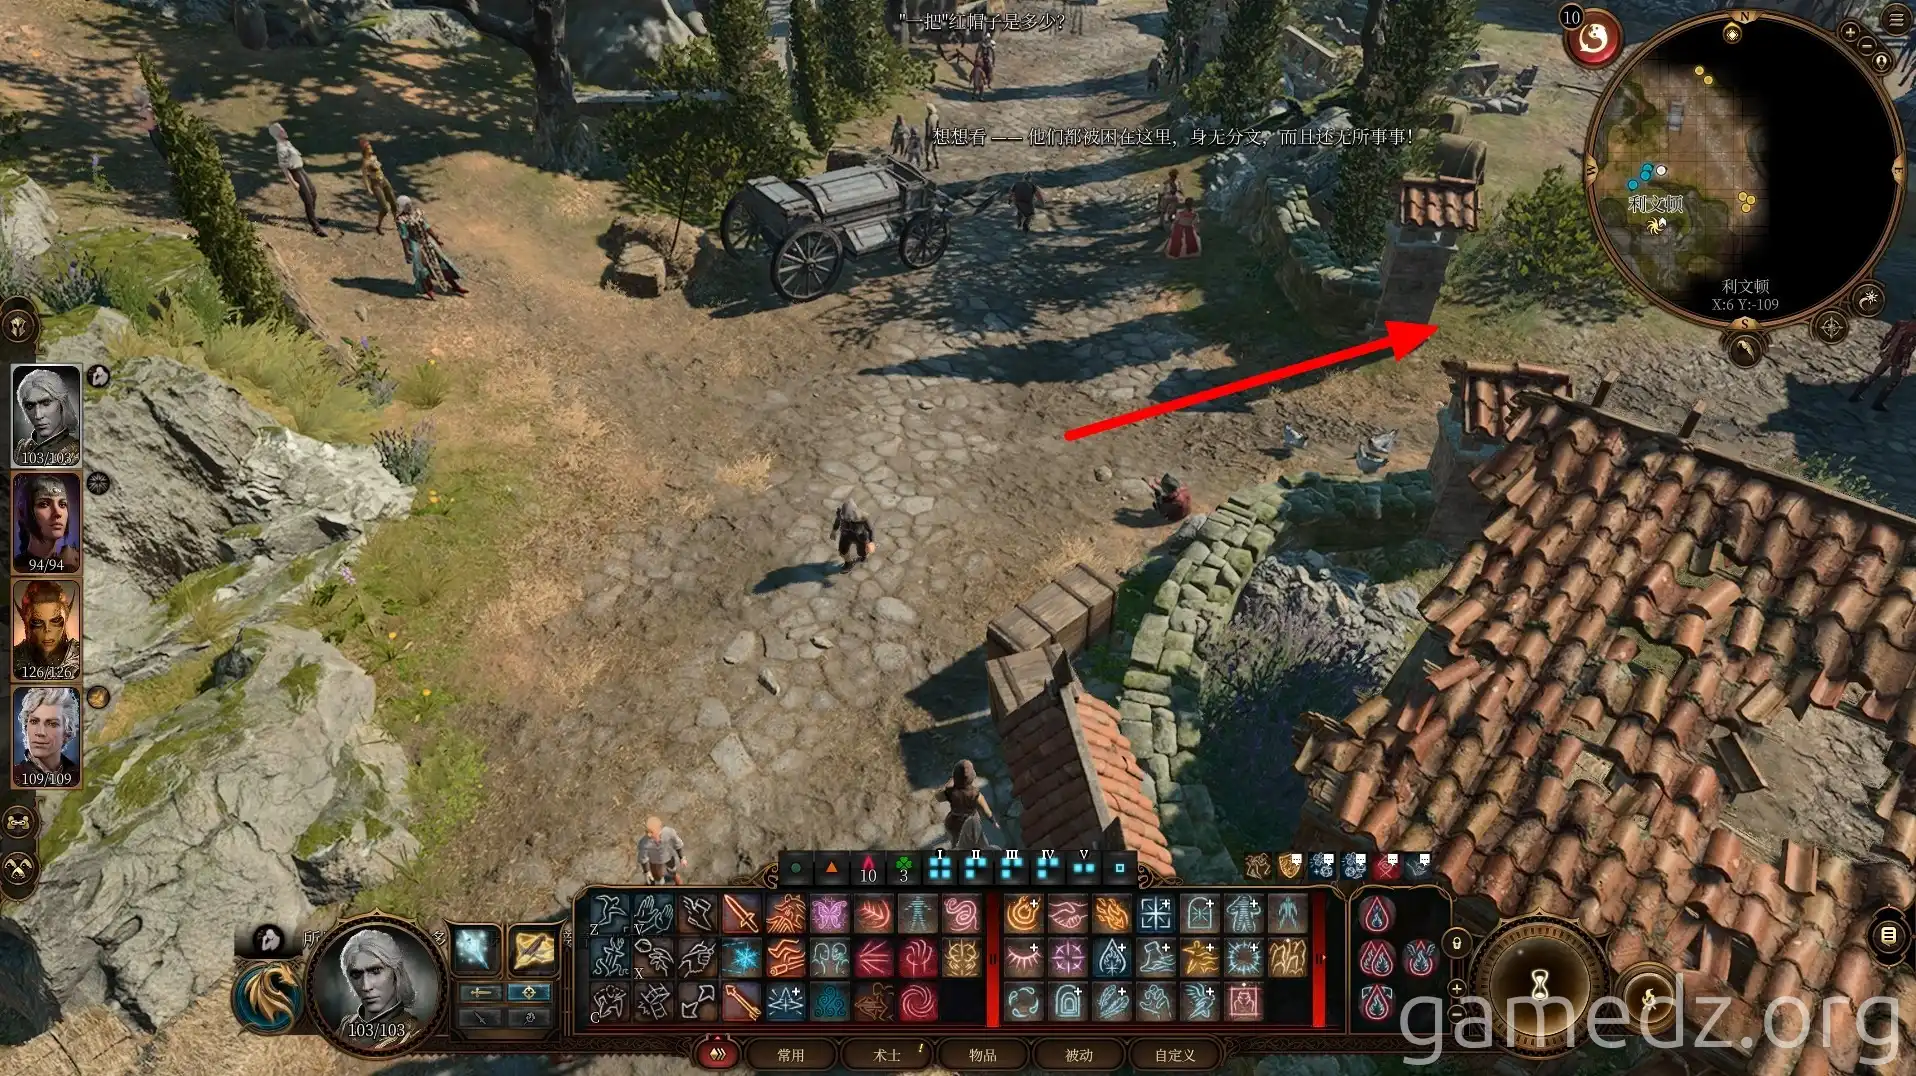
Following the path south, you'll encounter the Strange Ox again. Return to speak with the Ox after you obtain a pass to enter the Lower City, and you'll gain a new ally during the final battle. However, be careful not to reveal its true nature here, as it will immediately trigger combat. Killing the Ox rewards you with a ring and a hat, while completing the quest by sparing it only grants the ring.
Next to the Strange Ox, you can find another dirt mound. Afterward, return to the location shown in the image below and continue east along the road.
If Shadowheart is in your party at this time, you'll need to send her back to camp to rest first.
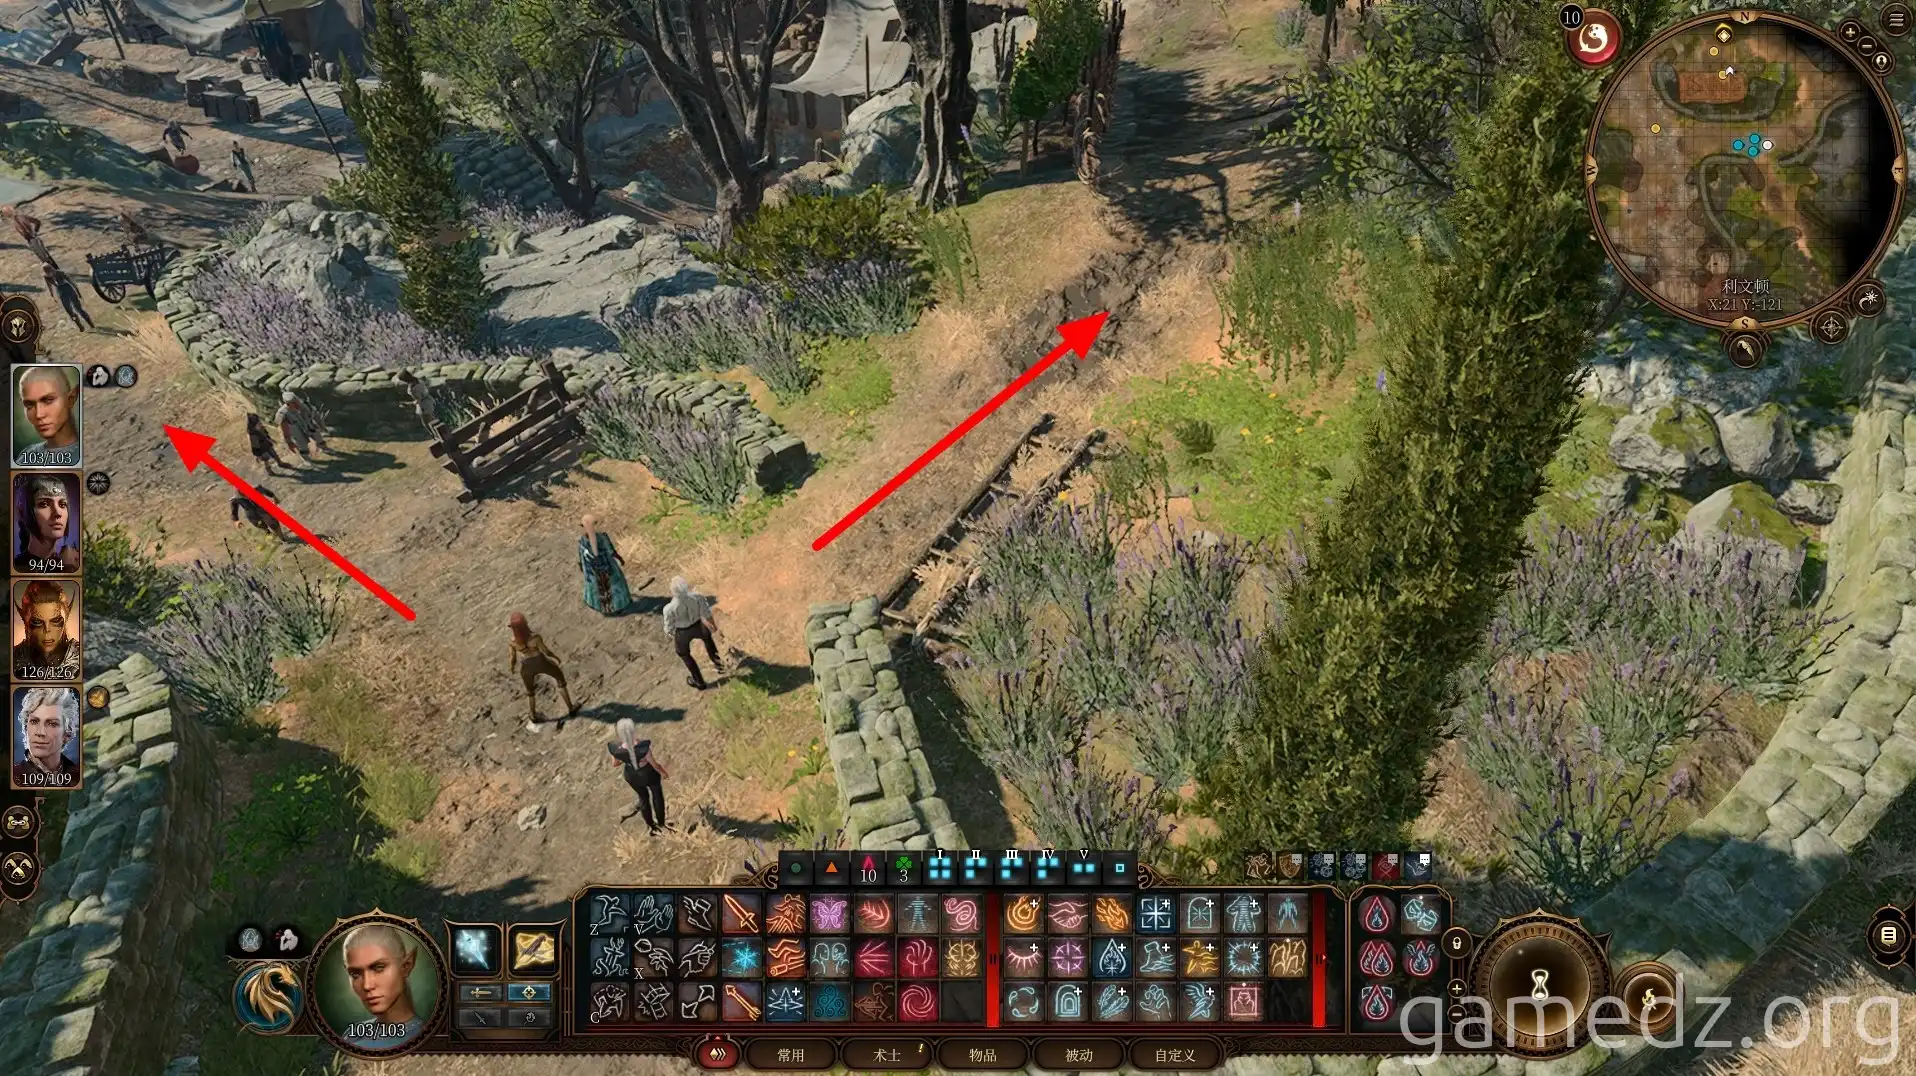
With Shadowheart out of the party, you can speak with the merchant [Fugger Drogos] and purchase some equipment from him.
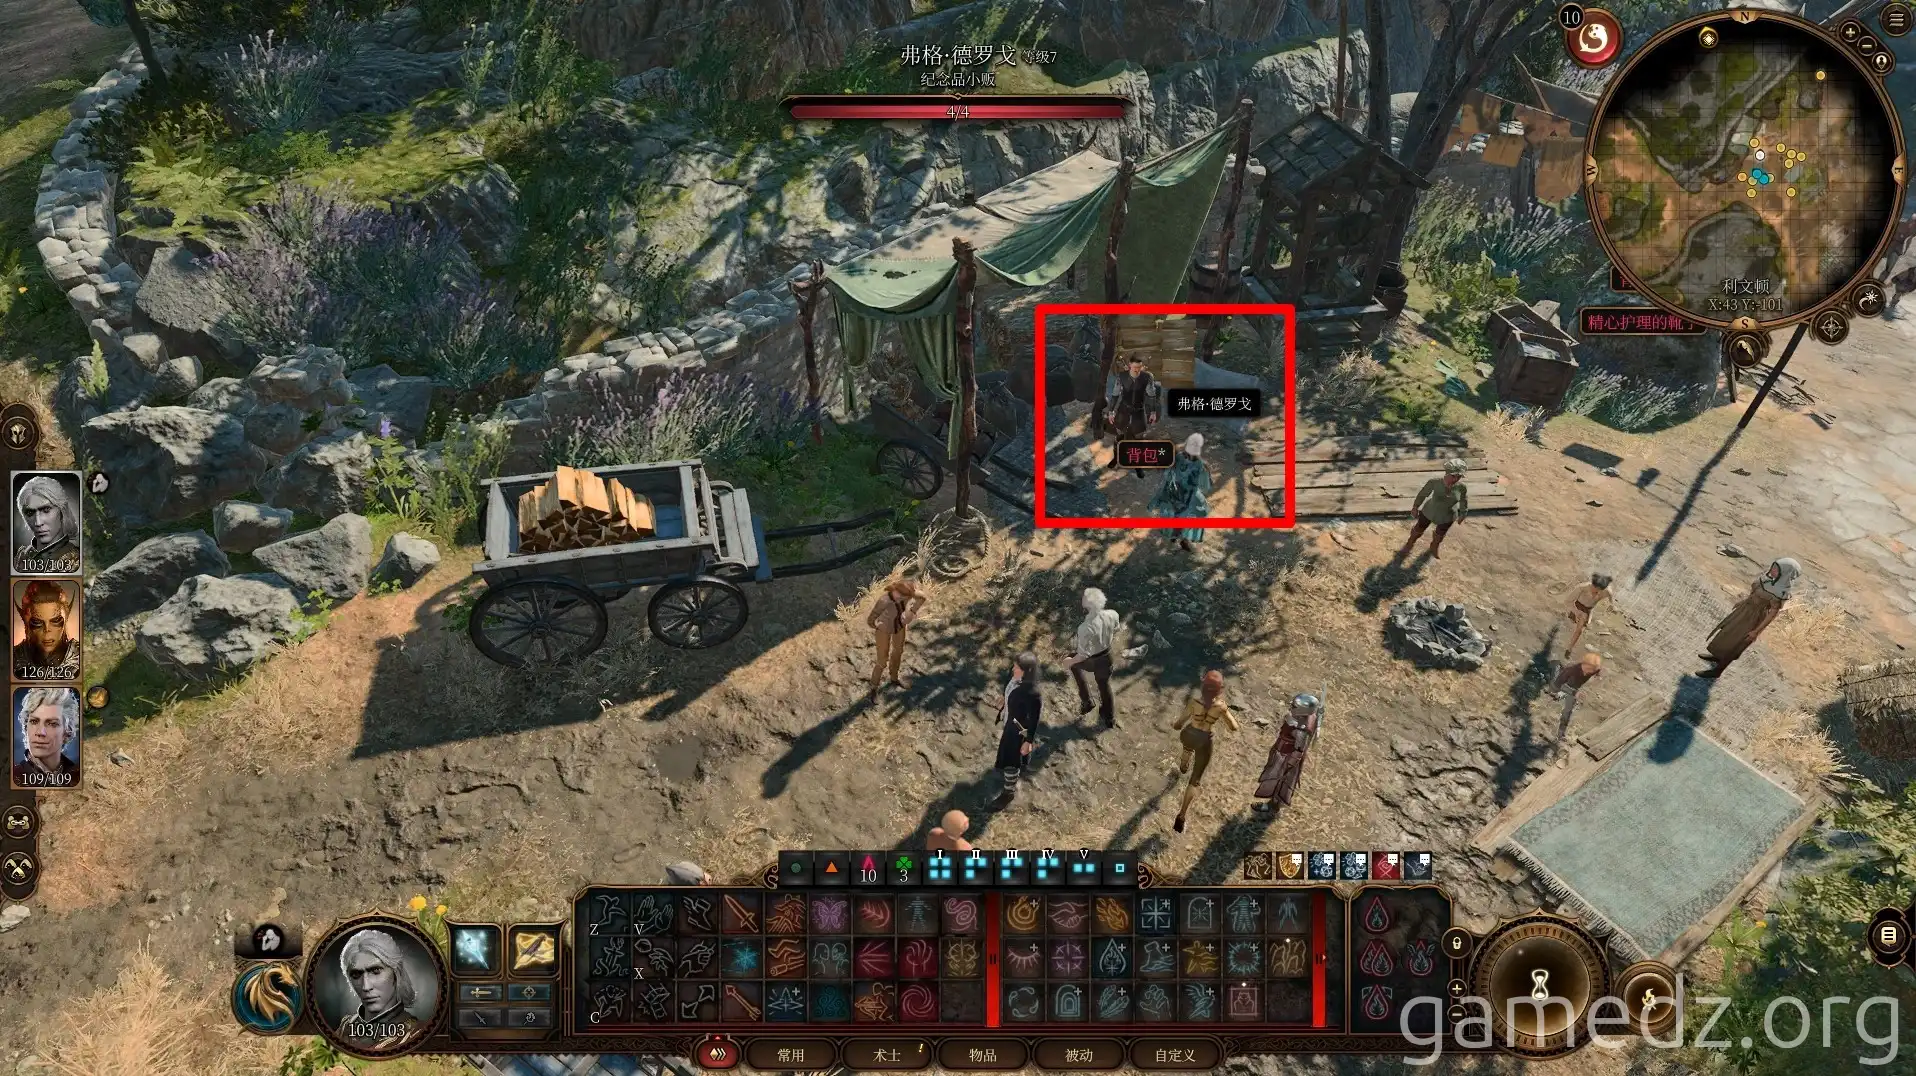
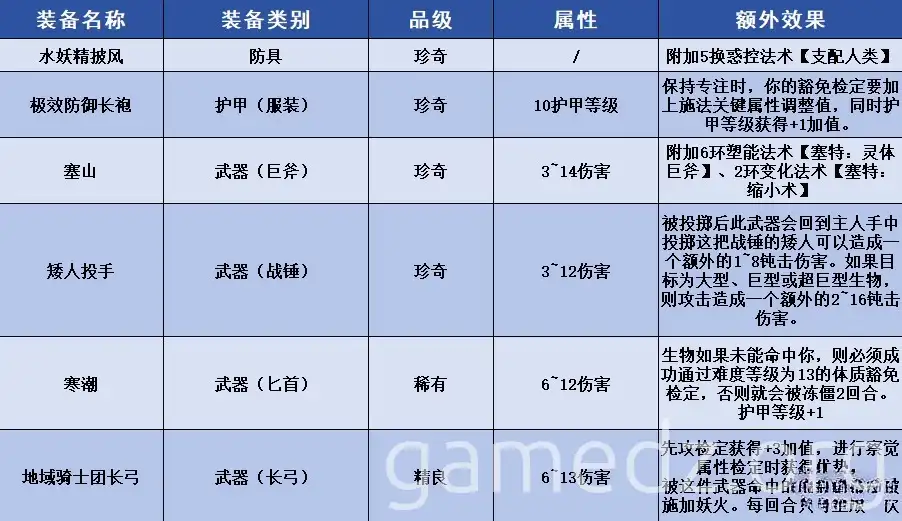
The list of unique equipment and their stats sold by Fugger Drogos is as follows.
Afterward, bring Shadowheart back and speak with Fugger. It seems all followers of Shar are aware that Shadowheart has defied Shar's commands.
At this point, you can have Shadowheart express her repentance. Fugger will then report back and instruct you to head to the [House of Grief] in the Lower City. After speaking with Shadowheart, you will no longer be able to purchase items from Fugger.
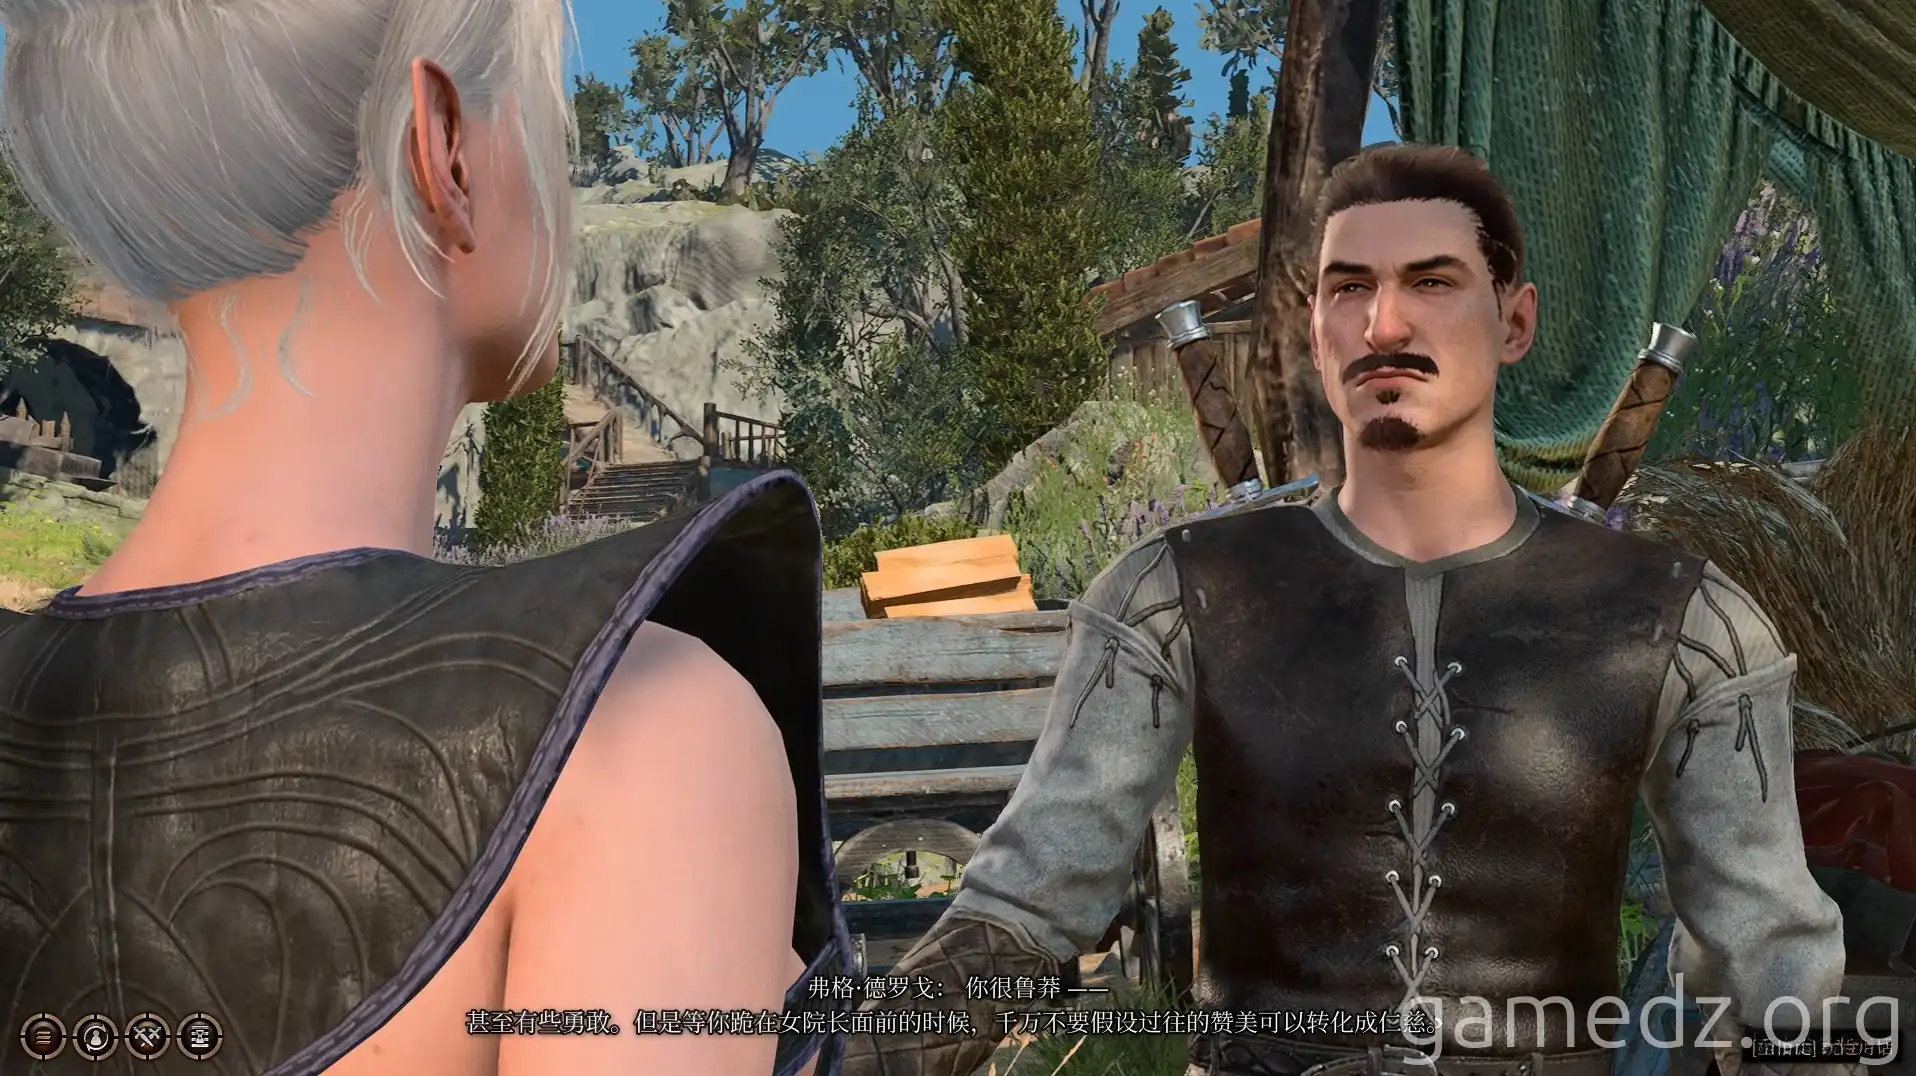
Continuing southeast, you'll find the Tiefling children Mattis and Milly in front of a wooden house. You can purchase more items from Mattis.
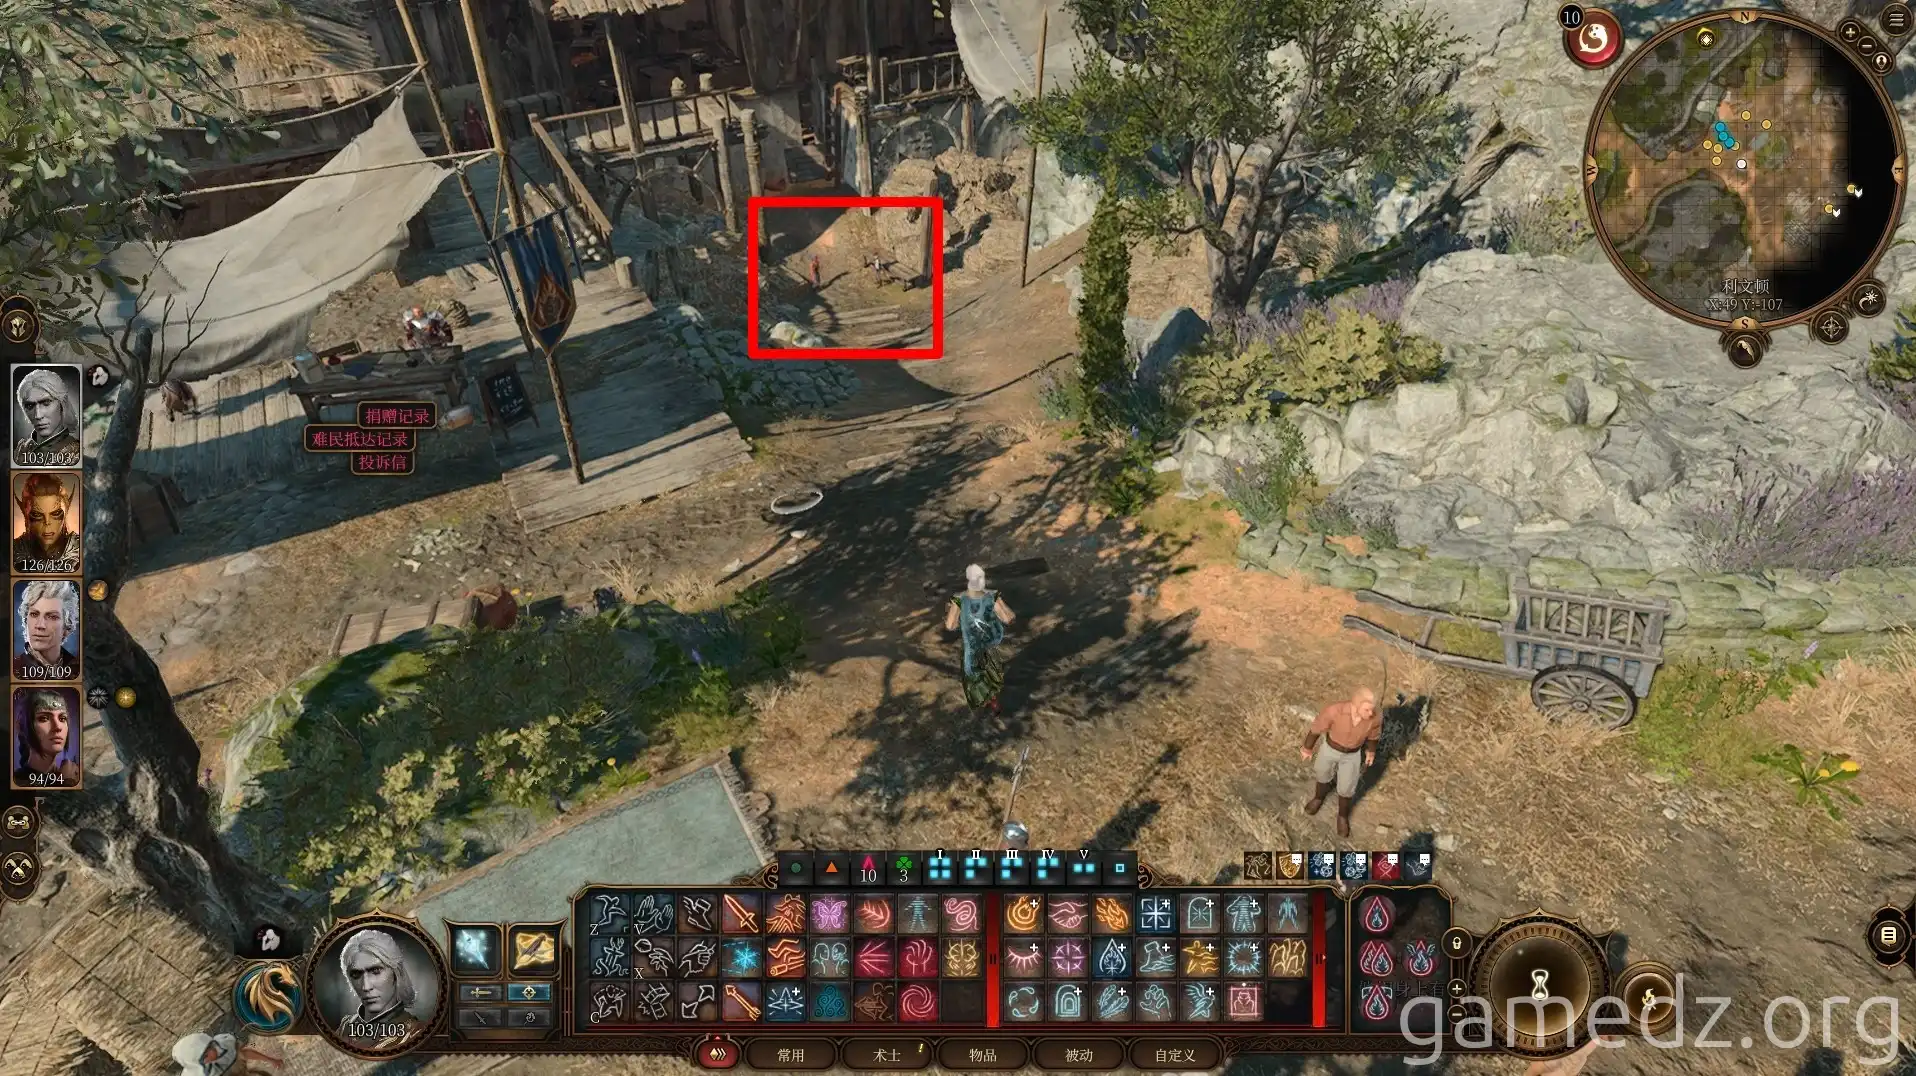
The list of unique equipment and their stats sold by Mattis is as follows.

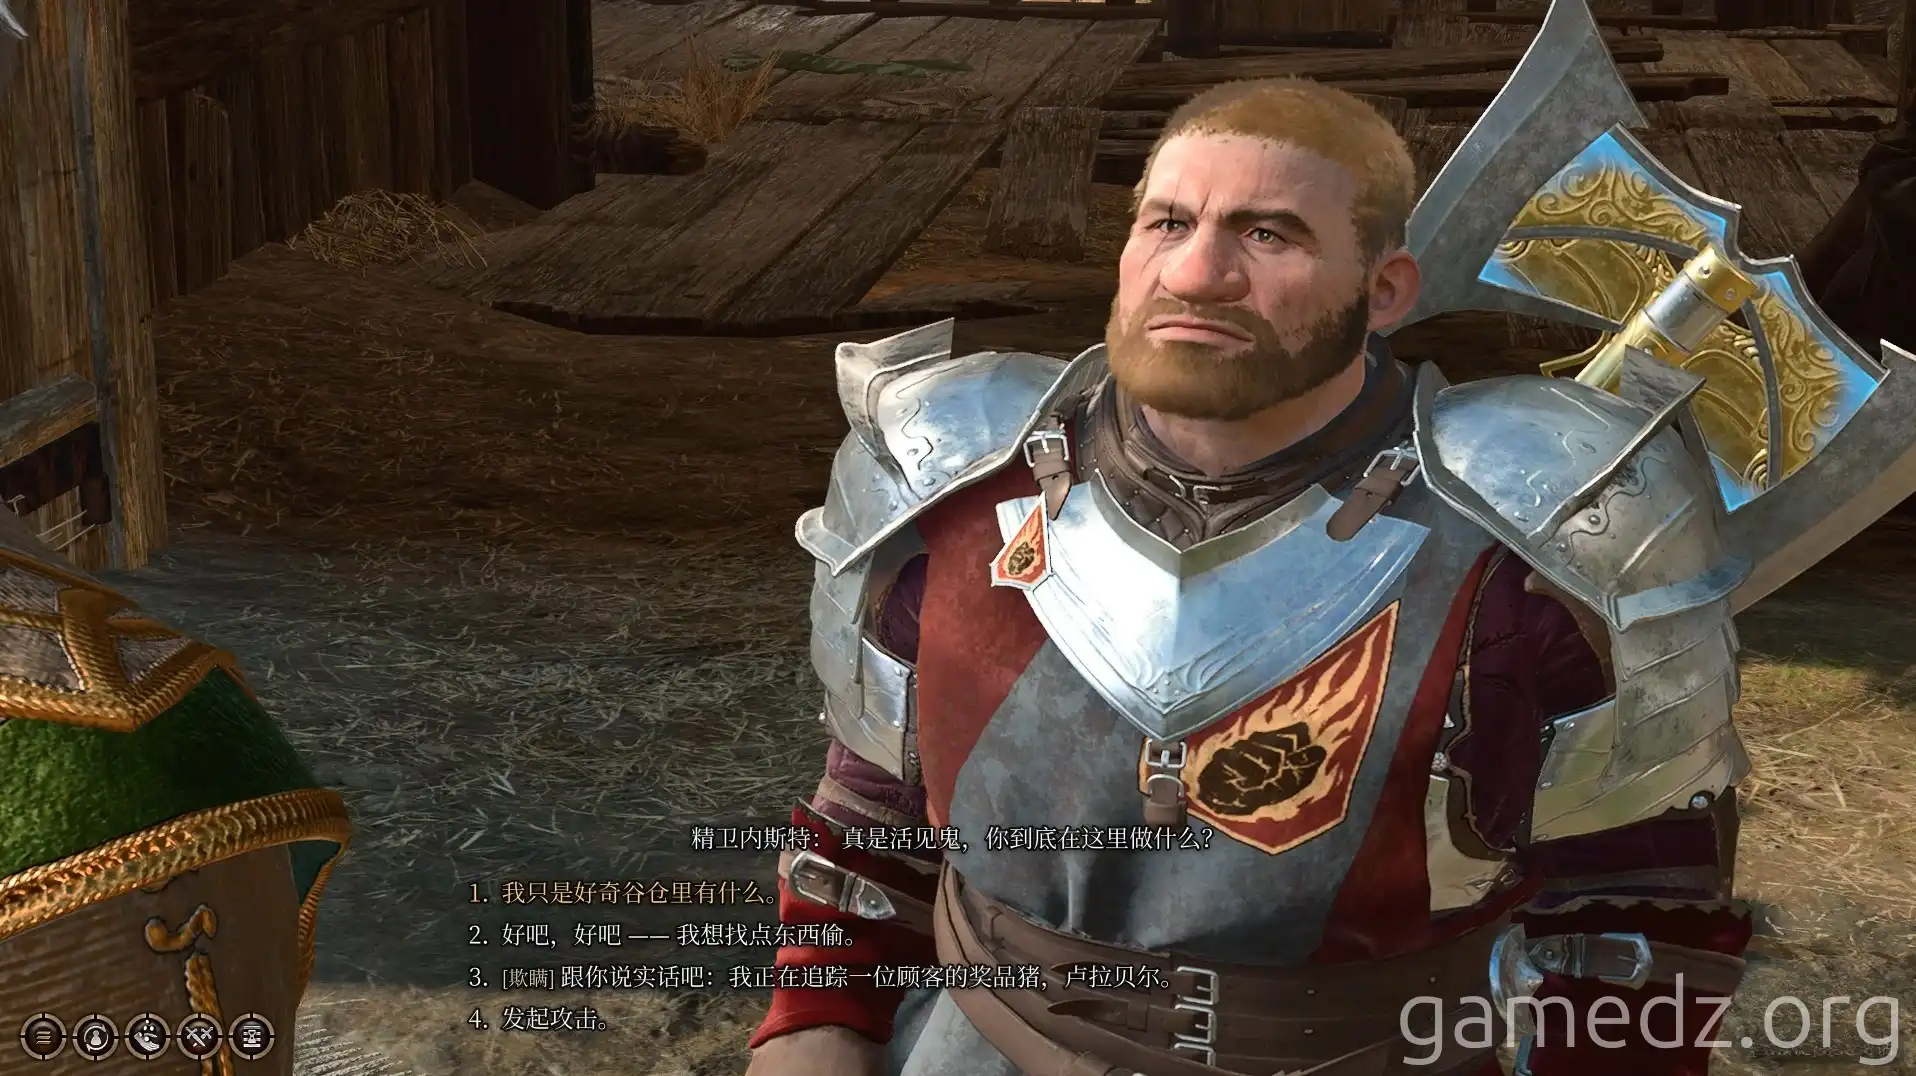
Enter the warehouse behind Mattis, but you'll be blocked by patrolling Flaming Fist guards. You can use deception to gain permission to operate within the warehouse.
If your deception is successful, characters with the Charlatan background will be inspired.
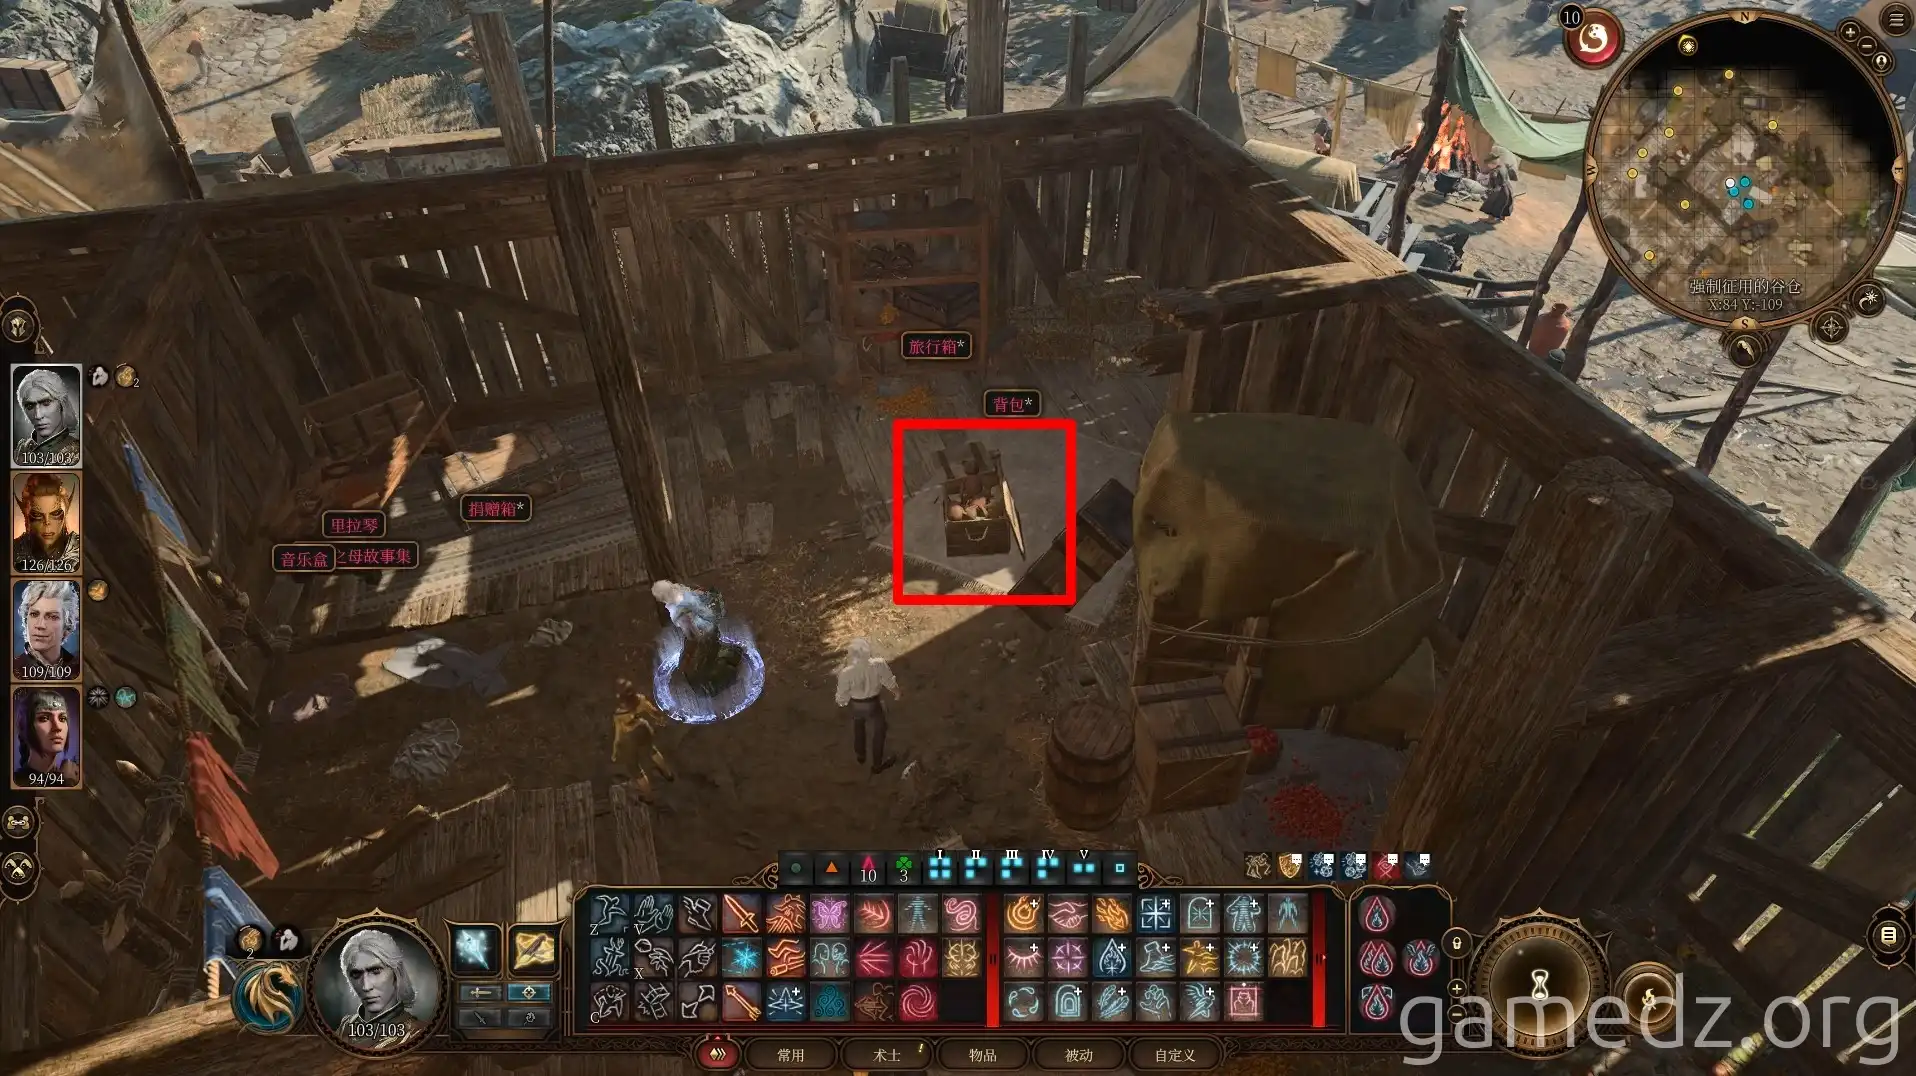
Inside a box in the corner of the warehouse, you'll find some explosive toys. After disarming the trap, the toys make noise, attracting guards. You can clear your name with a Persuasion check. This also initiates the side quest [Investigate the Suspicious Toys].
The other boxes in the warehouse don't contain anything of particular interest, so you can leave directly.
After donating some supplies to the refugees in the warehouse, characters with Noble or Urchin backgrounds will be inspired.
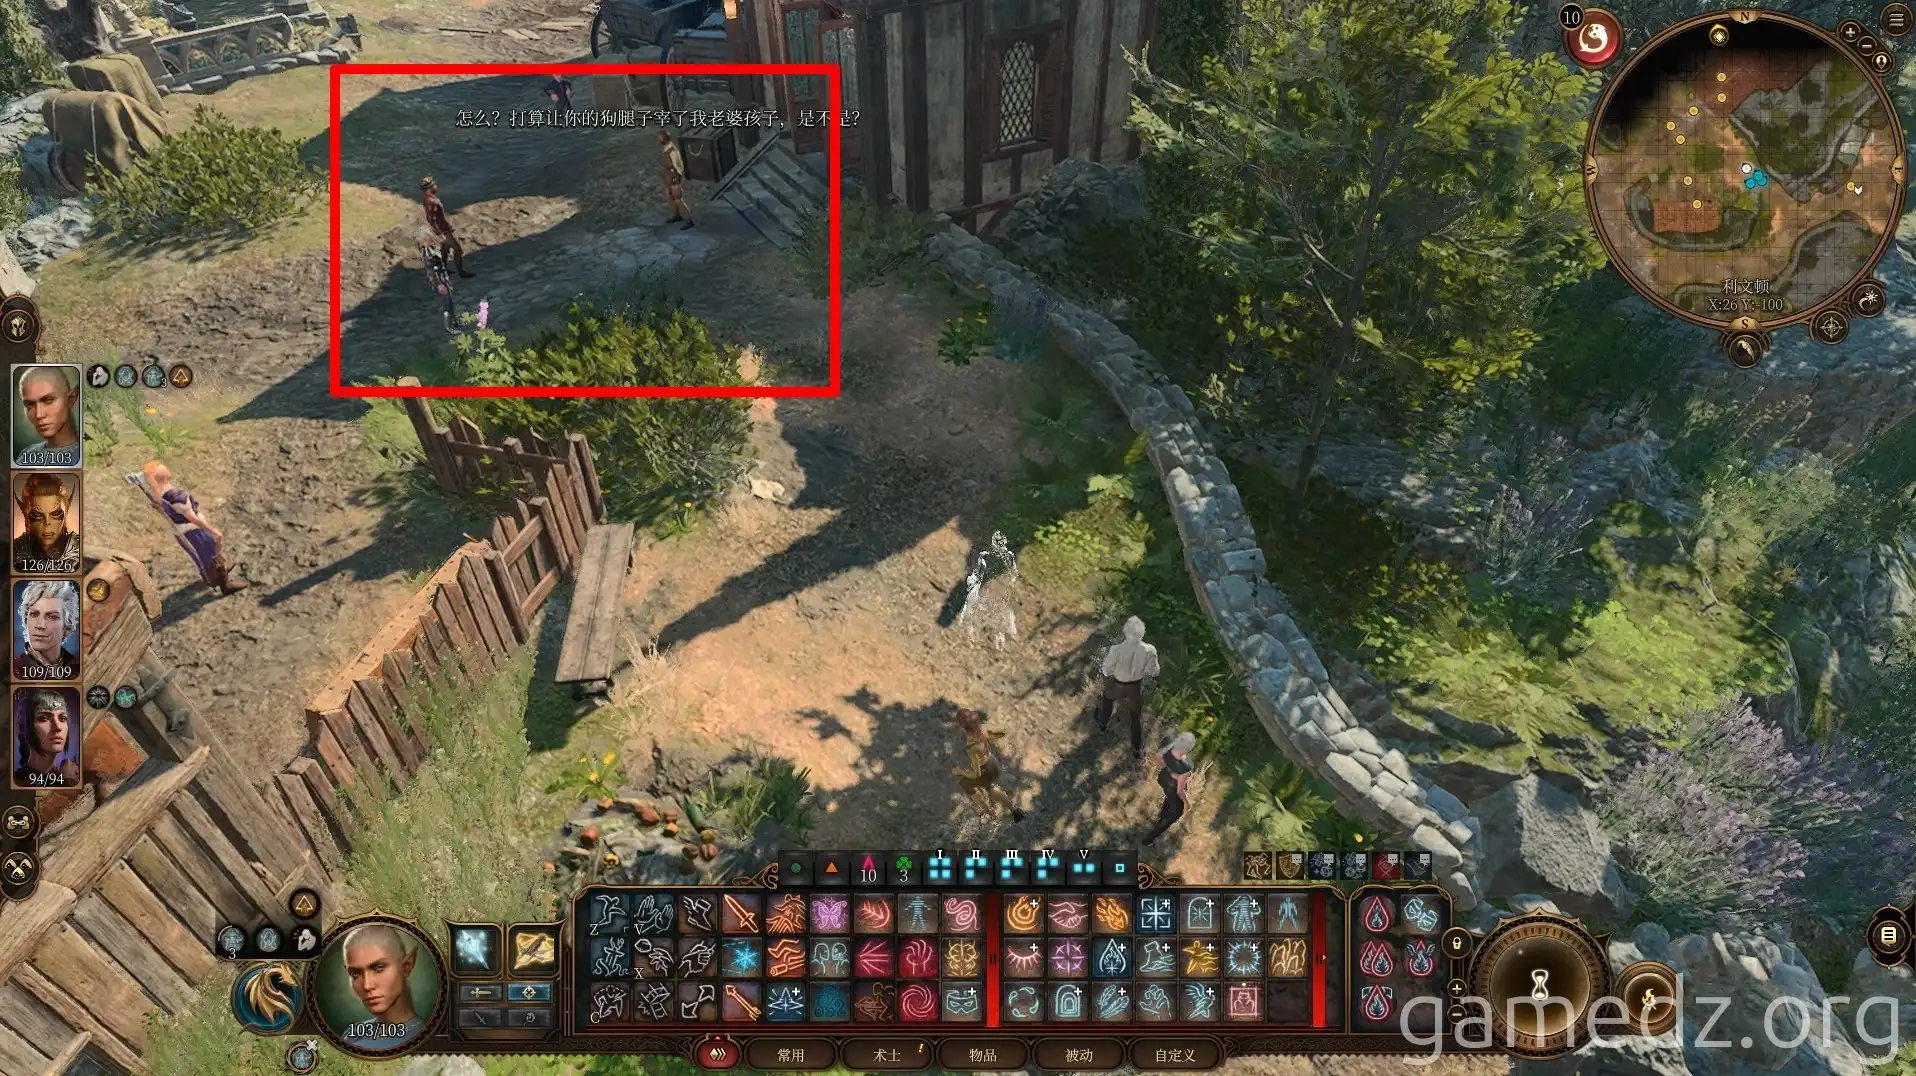
Then, return to the fork in the road near the merchant and head north. Ahead, you'll discover a dispute between the merchant and the refugees. For now, ignore them and proceed directly into the Toymaker's room.
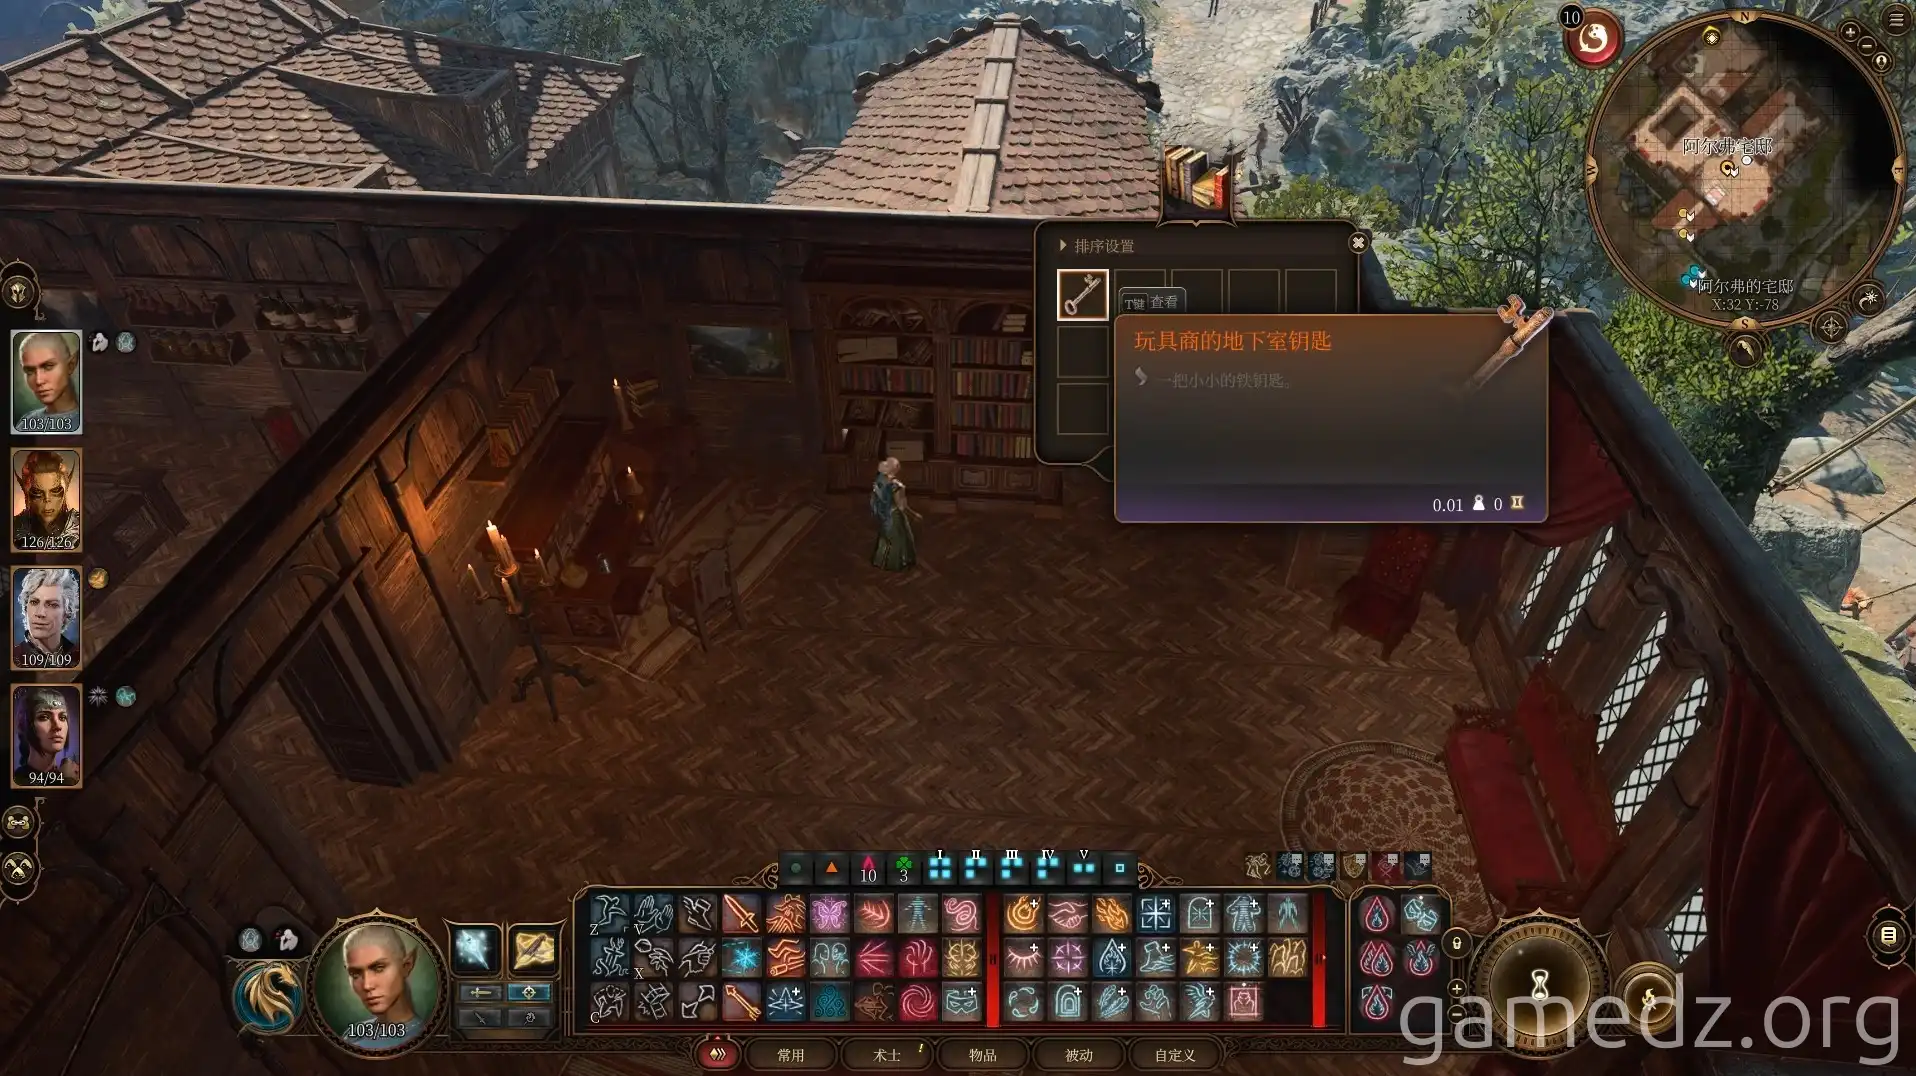
Pick the lock to access the second floor of the room. On the bookshelf, you can find the [Toymaker's Basement Key].
Go back to the first floor and enter the basement through the trapdoor in the room.
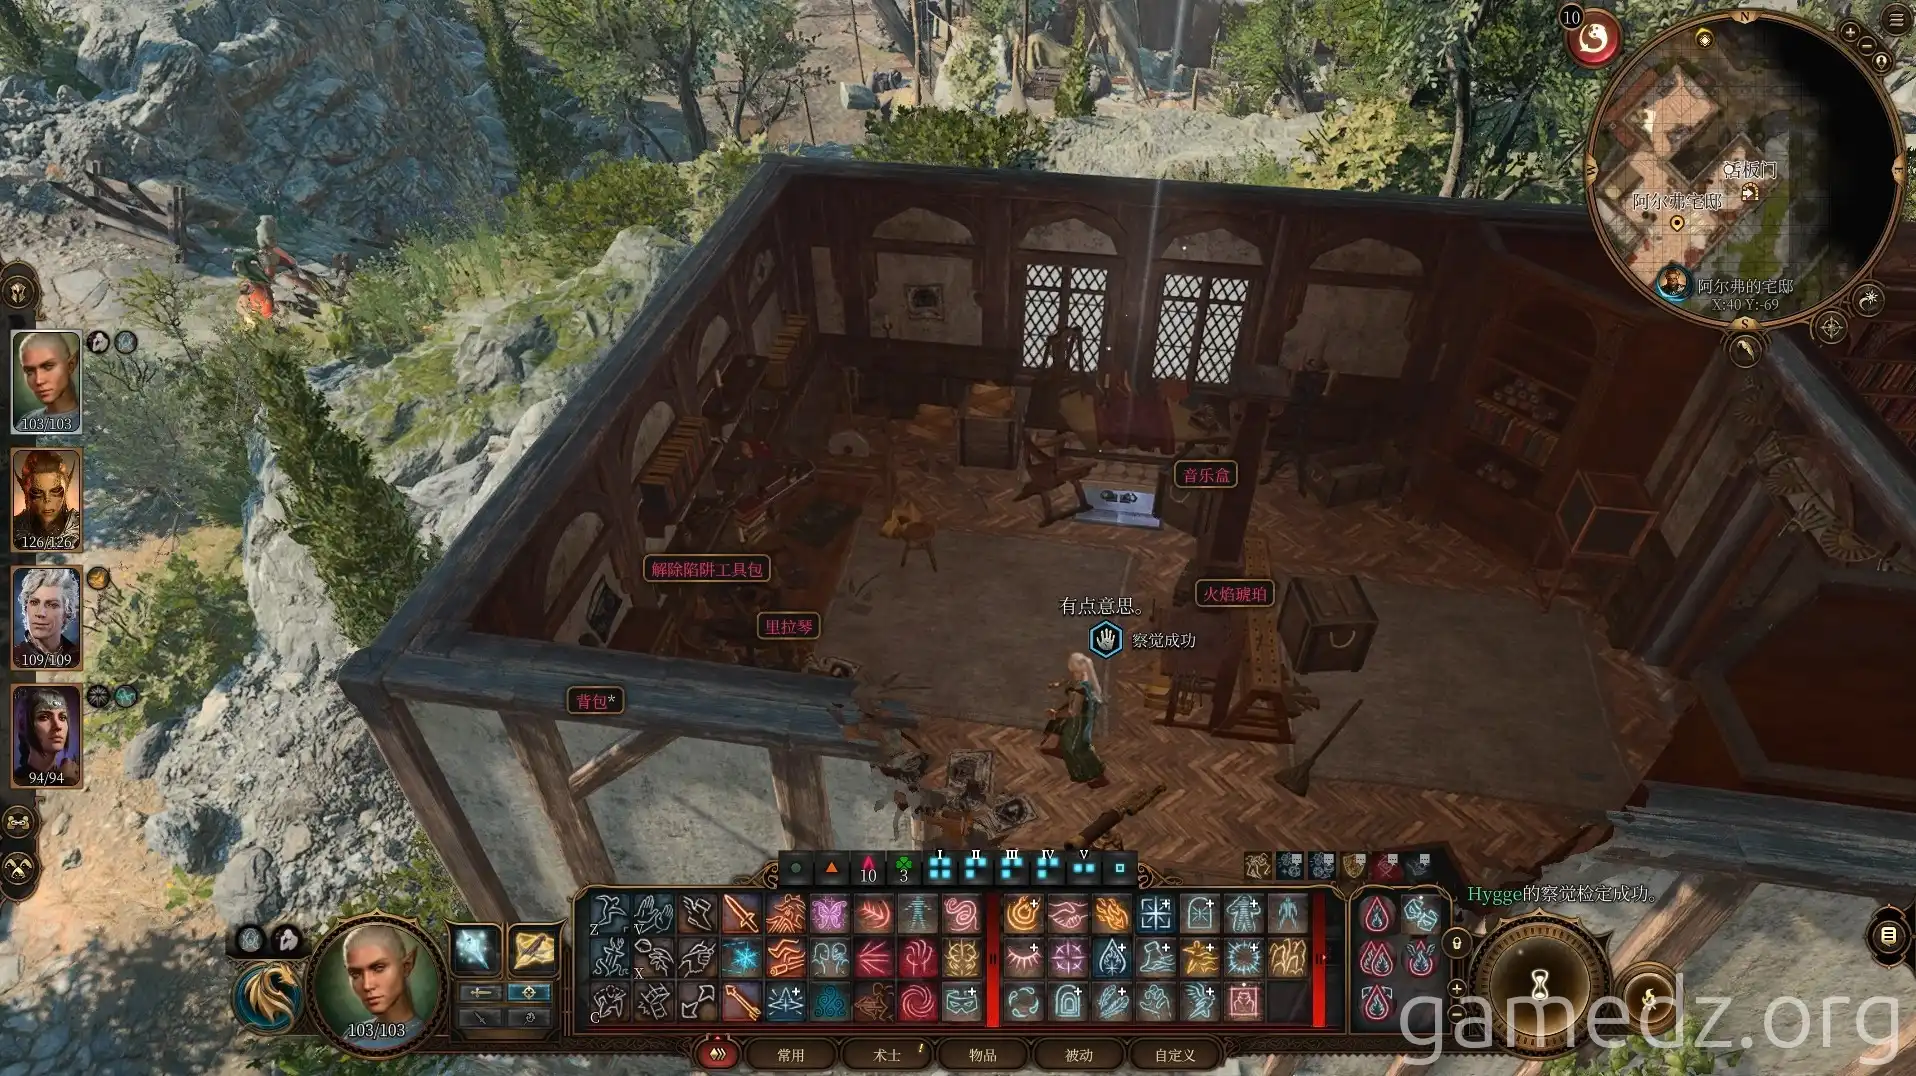
The basement is filled with numerous traps. It's recommended to use abilities like Misty Step to reach the southeast corner of the room directly.
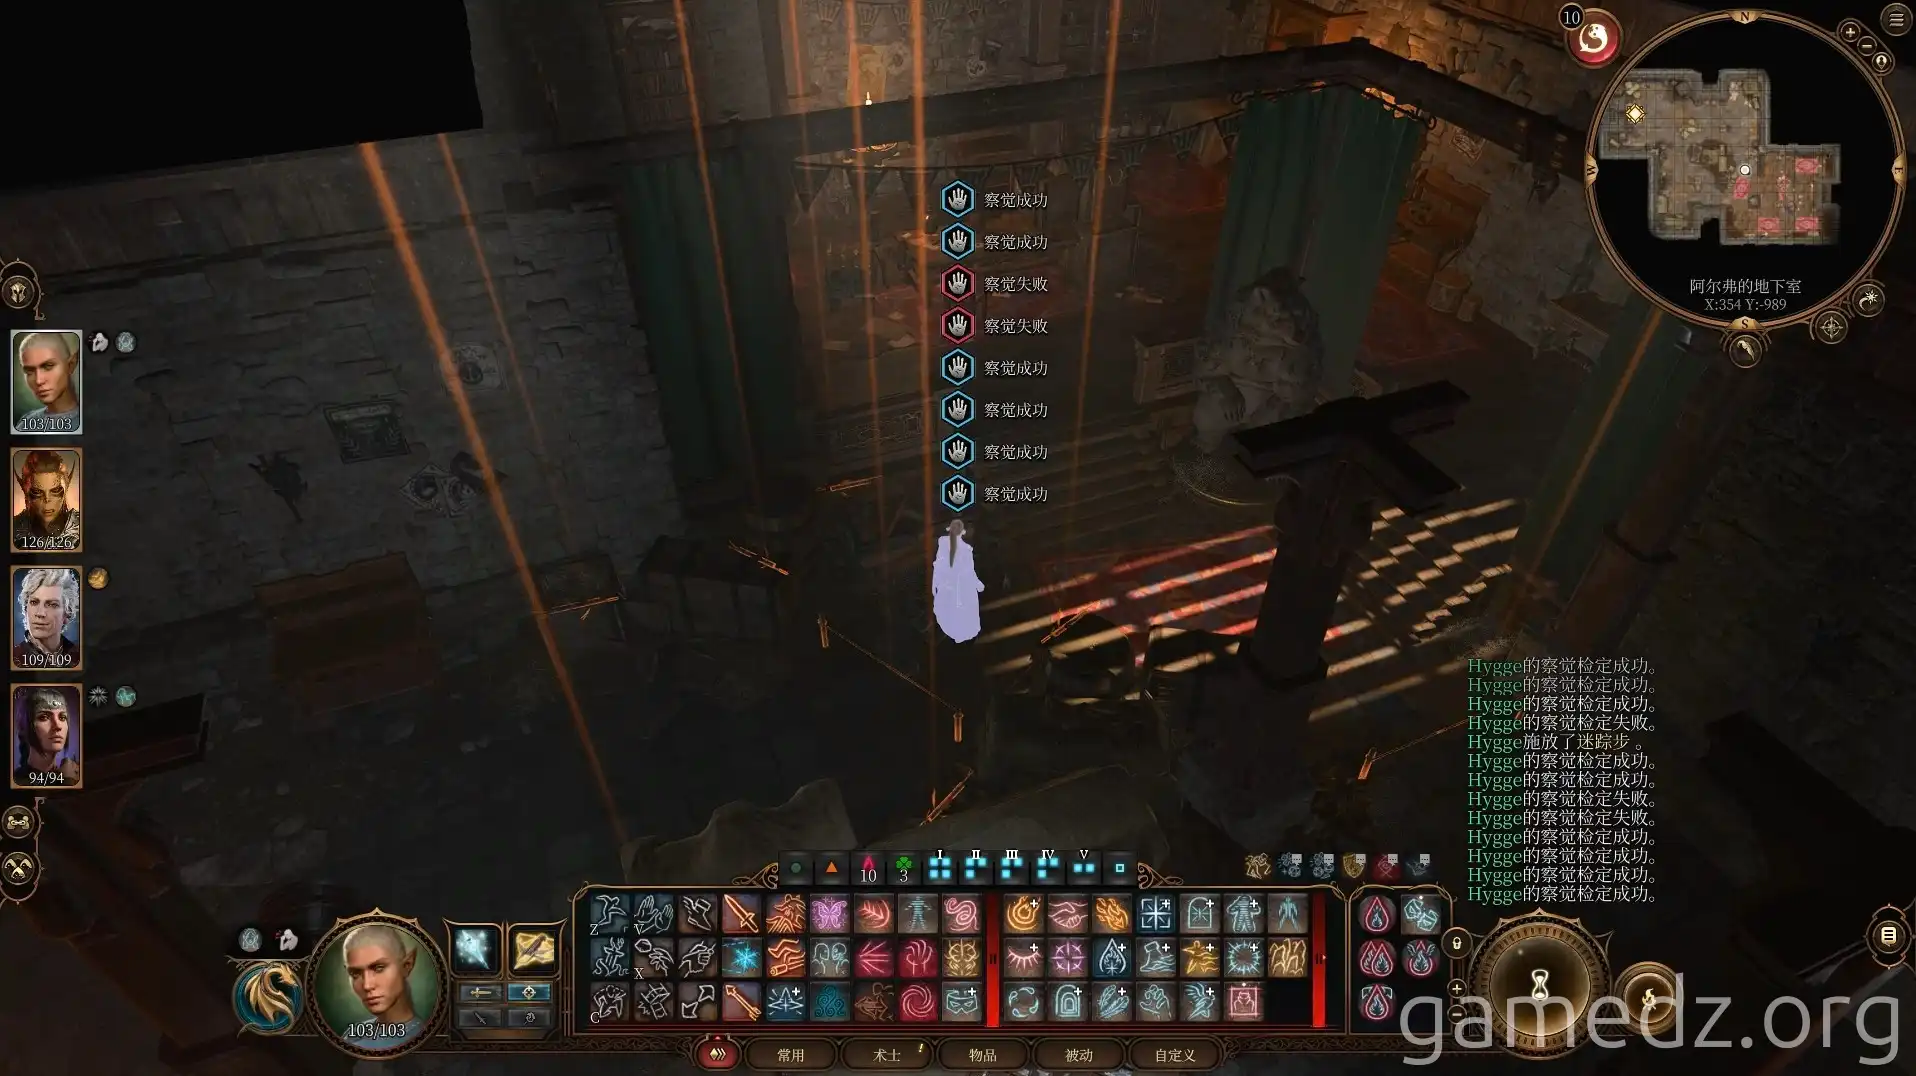
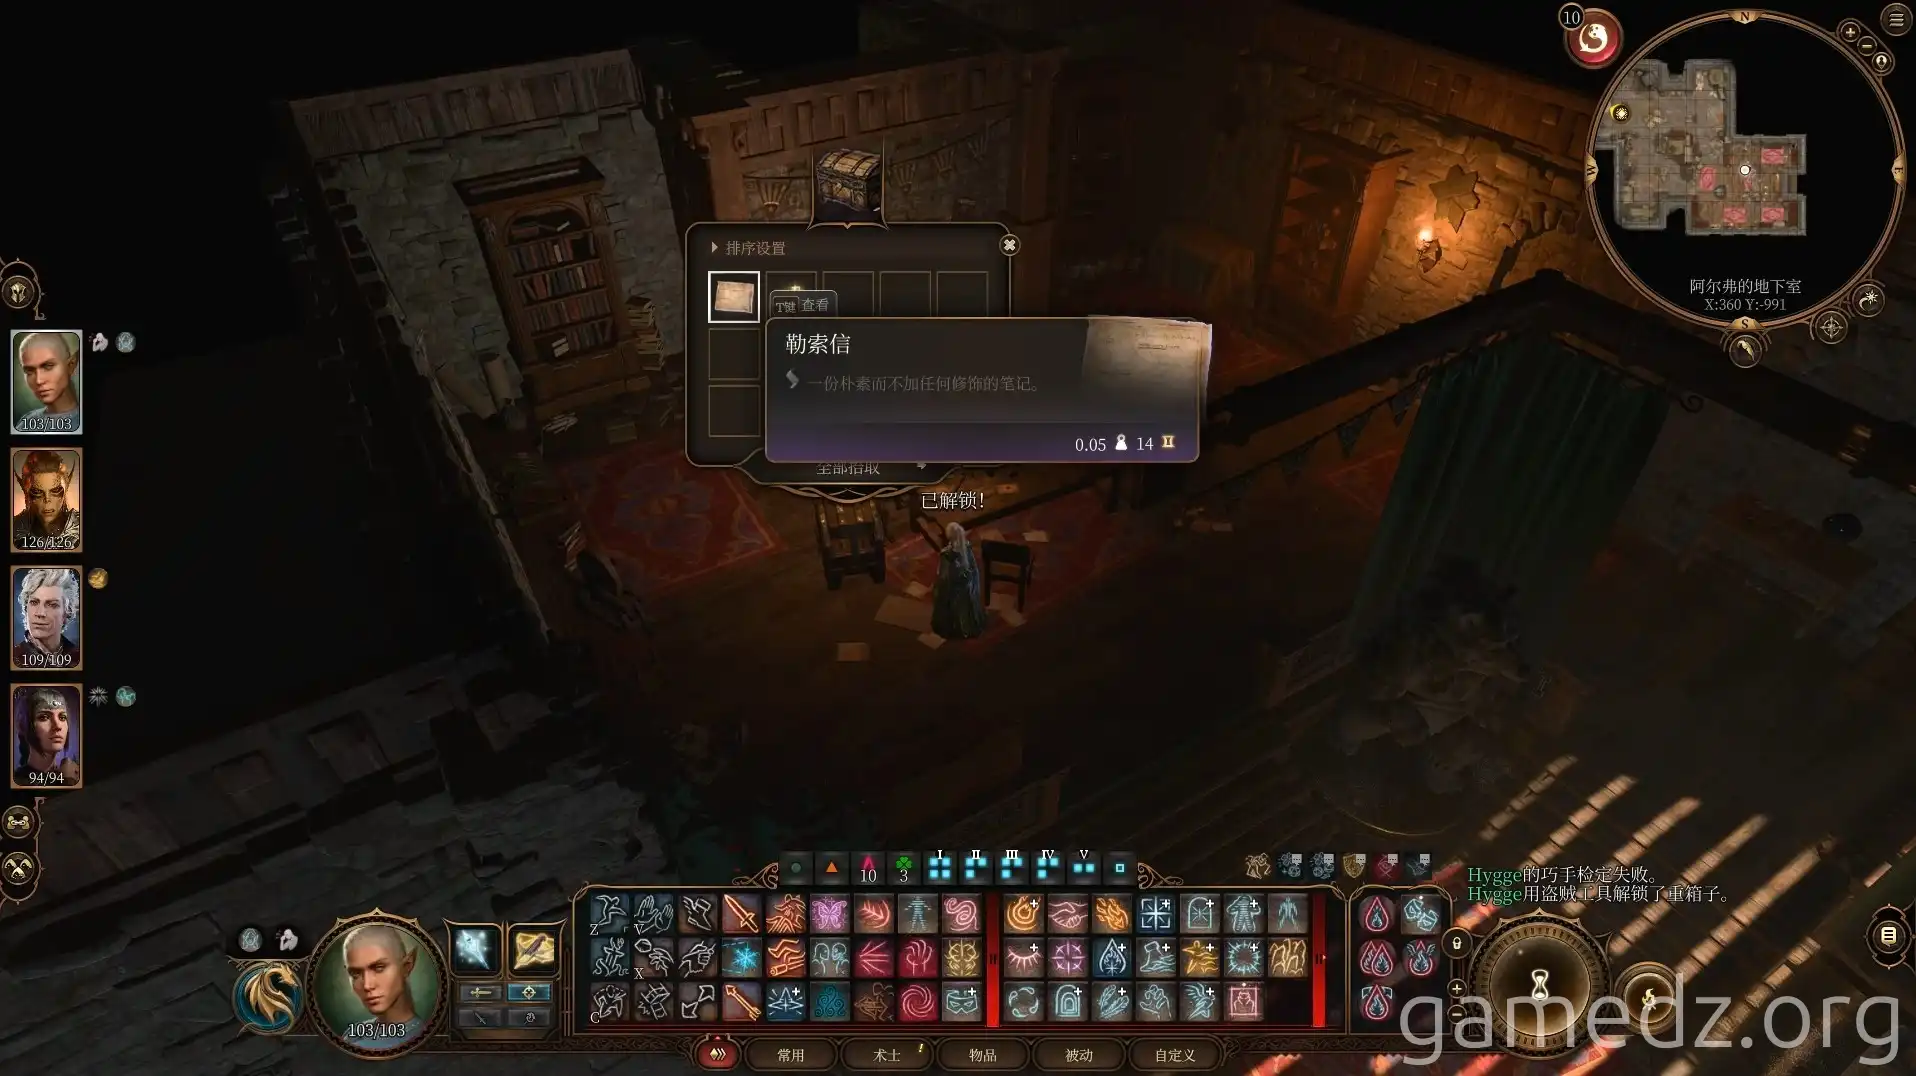
Inside a box, you'll find a blackmail letter. Through this letter, you'll learn that the explosive toys were made by the Toymaker.
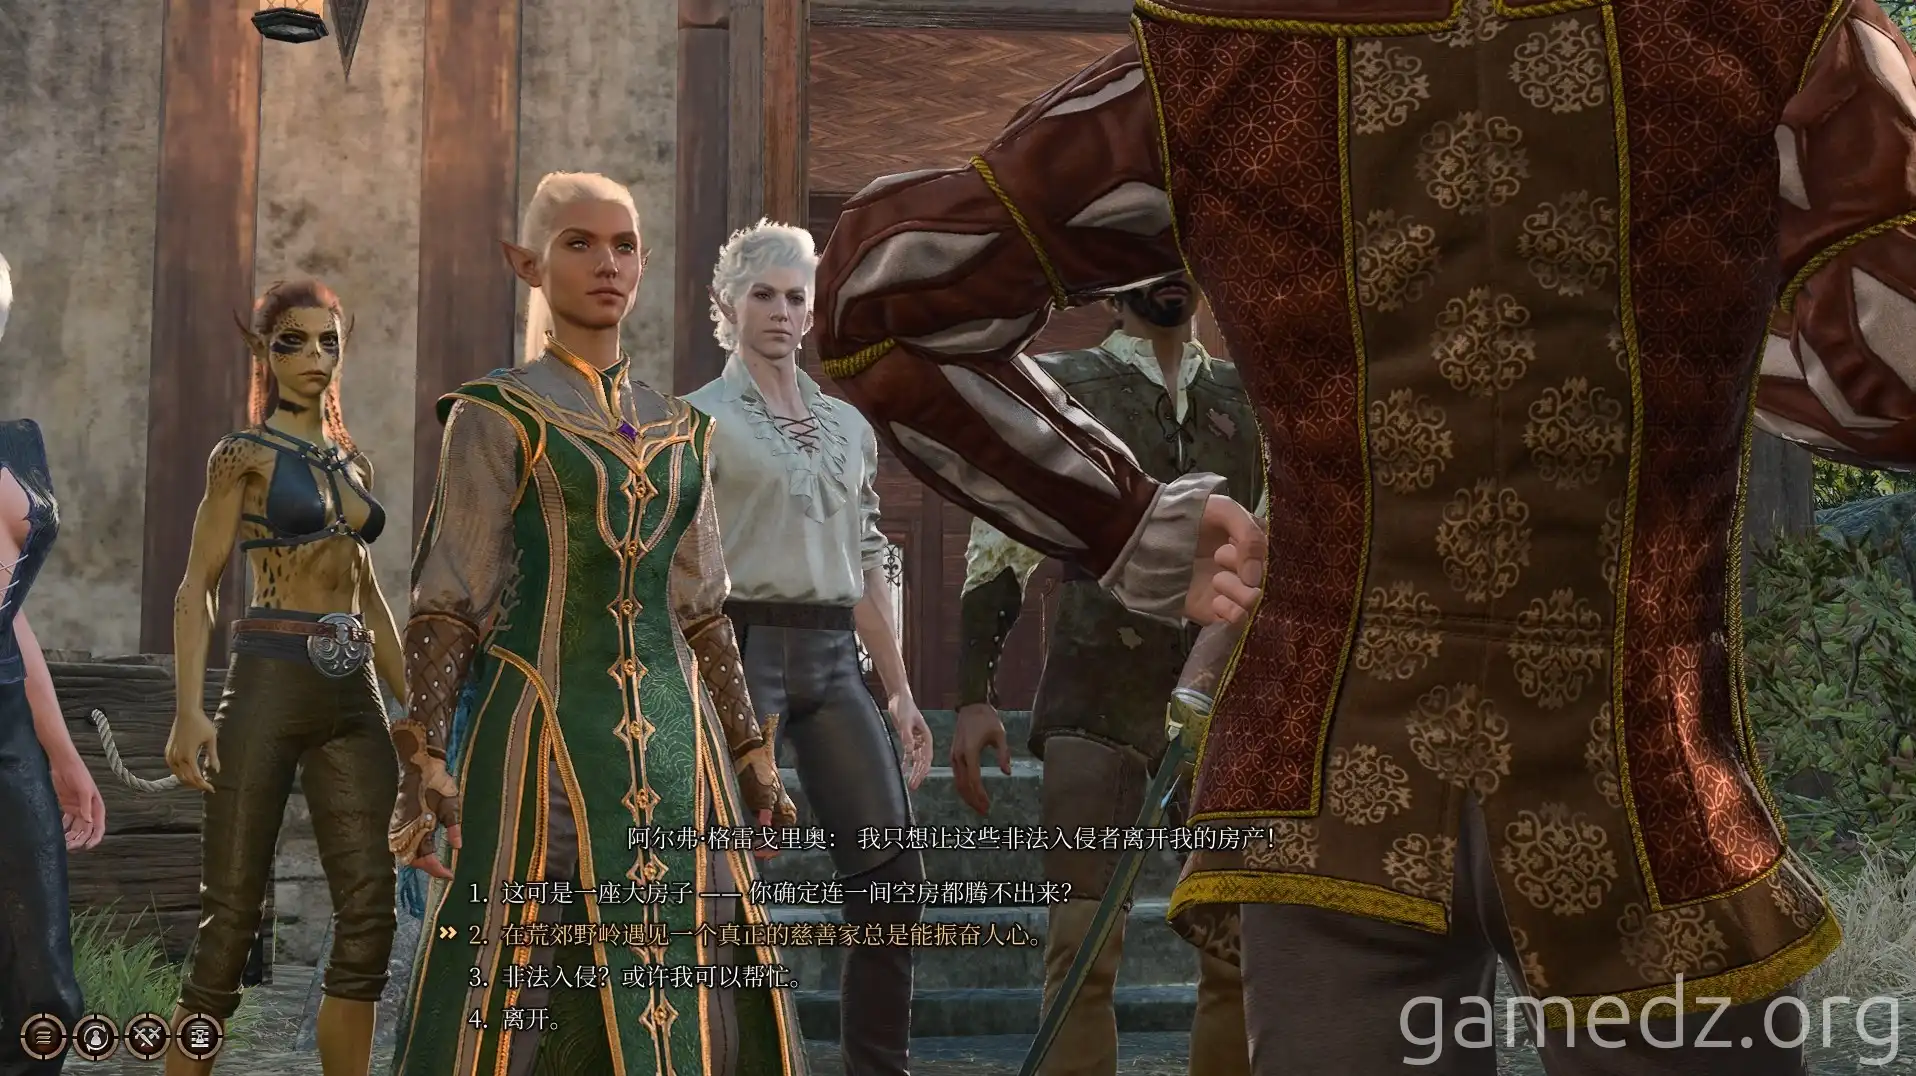
Afterward, return to the surface to mediate the dispute between the Toymaker and the refugees.
The outcome here will vary depending on your choices. If you successfully persuade the Toymaker to let the refugees stay, characters with the Acolyte background will be inspired. Regardless of how you ensure the civilians can continue living in the house, characters with the Folk Hero and Urchin backgrounds will be inspired.
No matter the final result, successfully resolving the dispute will inspire characters with the Noble background.
After successfully mediating the dispute, find the Toymaker and use the evidence to force him to reveal the truth. While he won't directly name the mastermind, he will indicate that all instructions originated from the Felogyr Fireworks shop. The fireworks merchant will also give you a pass to attend Duke Ketheric's coronation ceremony.
If you chose to have the refugees leave during the dispute mediation, the Toymaker will remain in the house. If you chose to let the refugees stay, the Toymaker will appear at the [Sharess' Caress] tavern in the South Span of Wyrm's Crossing.
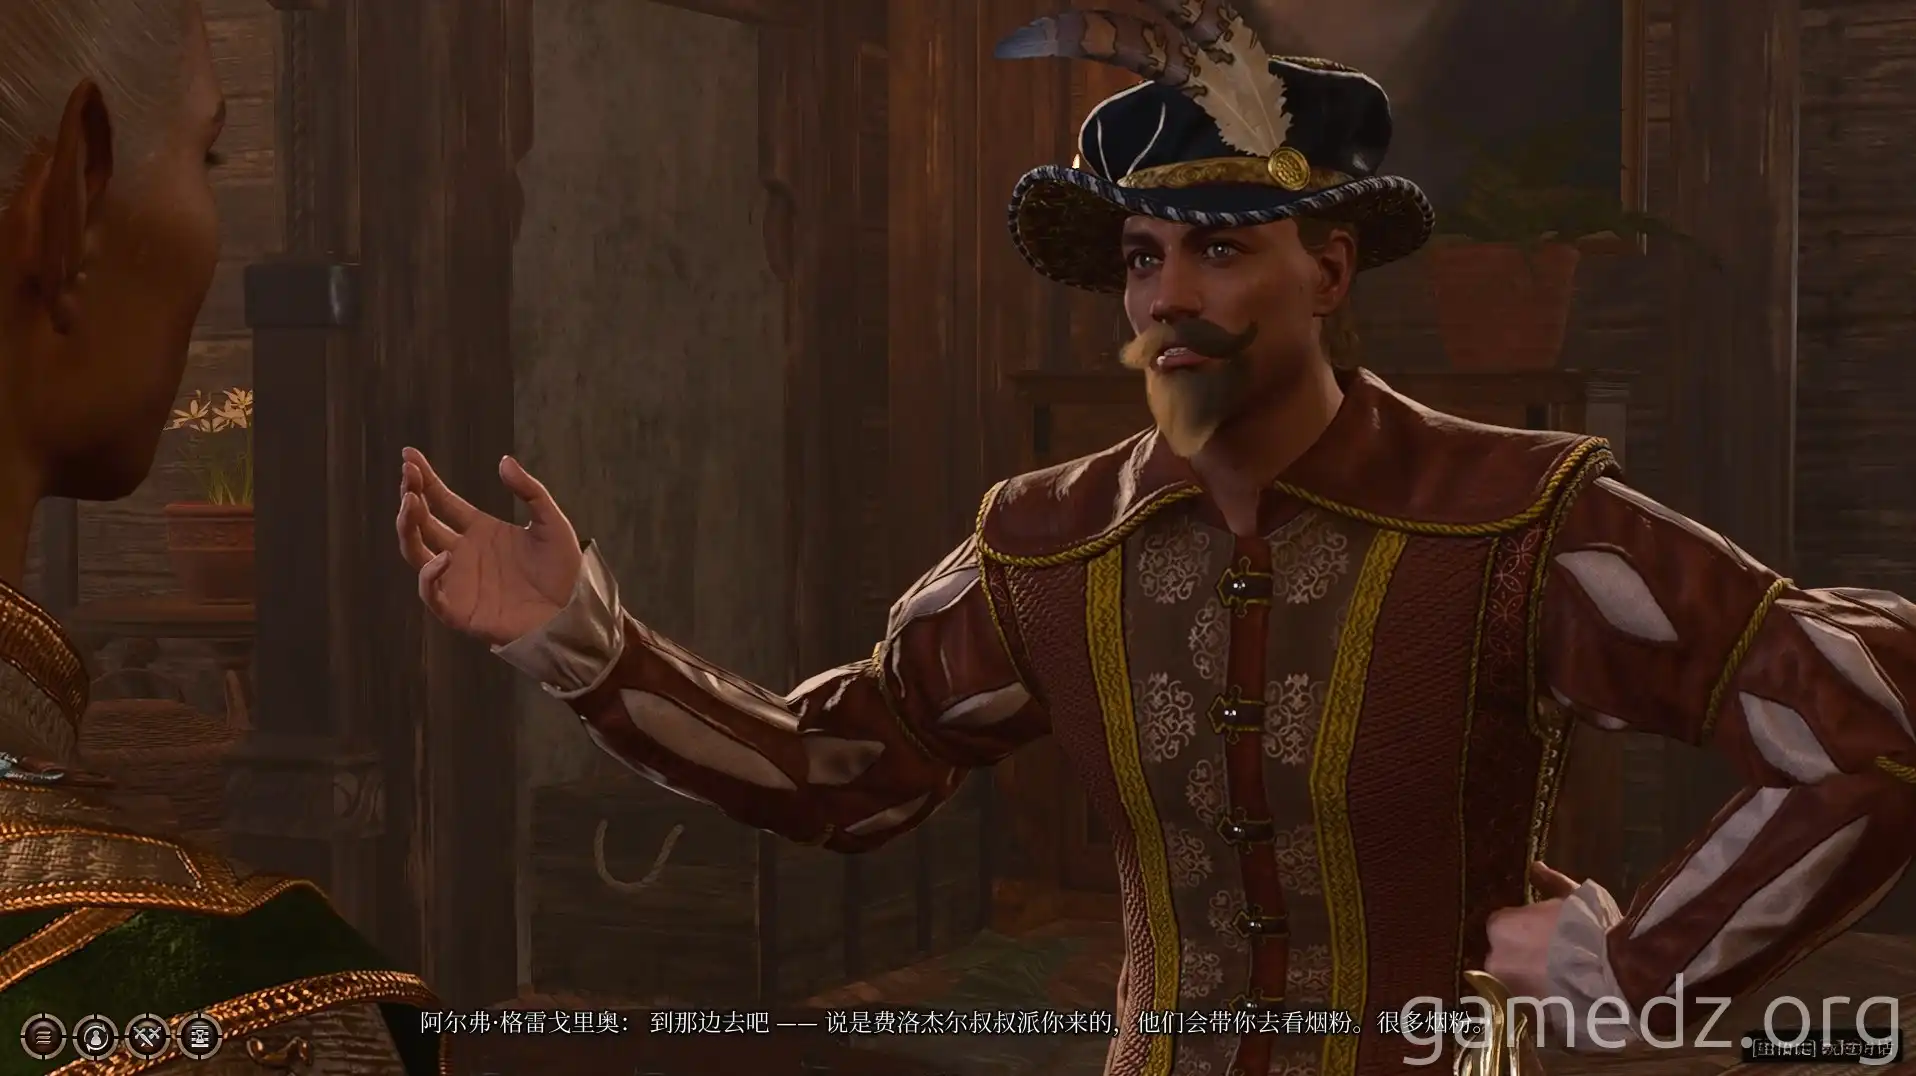
Return to the north side of the warehouse from before and speak with the guard, Flaming Fist Ron. You'll then discover that he is actually Orin in disguise.
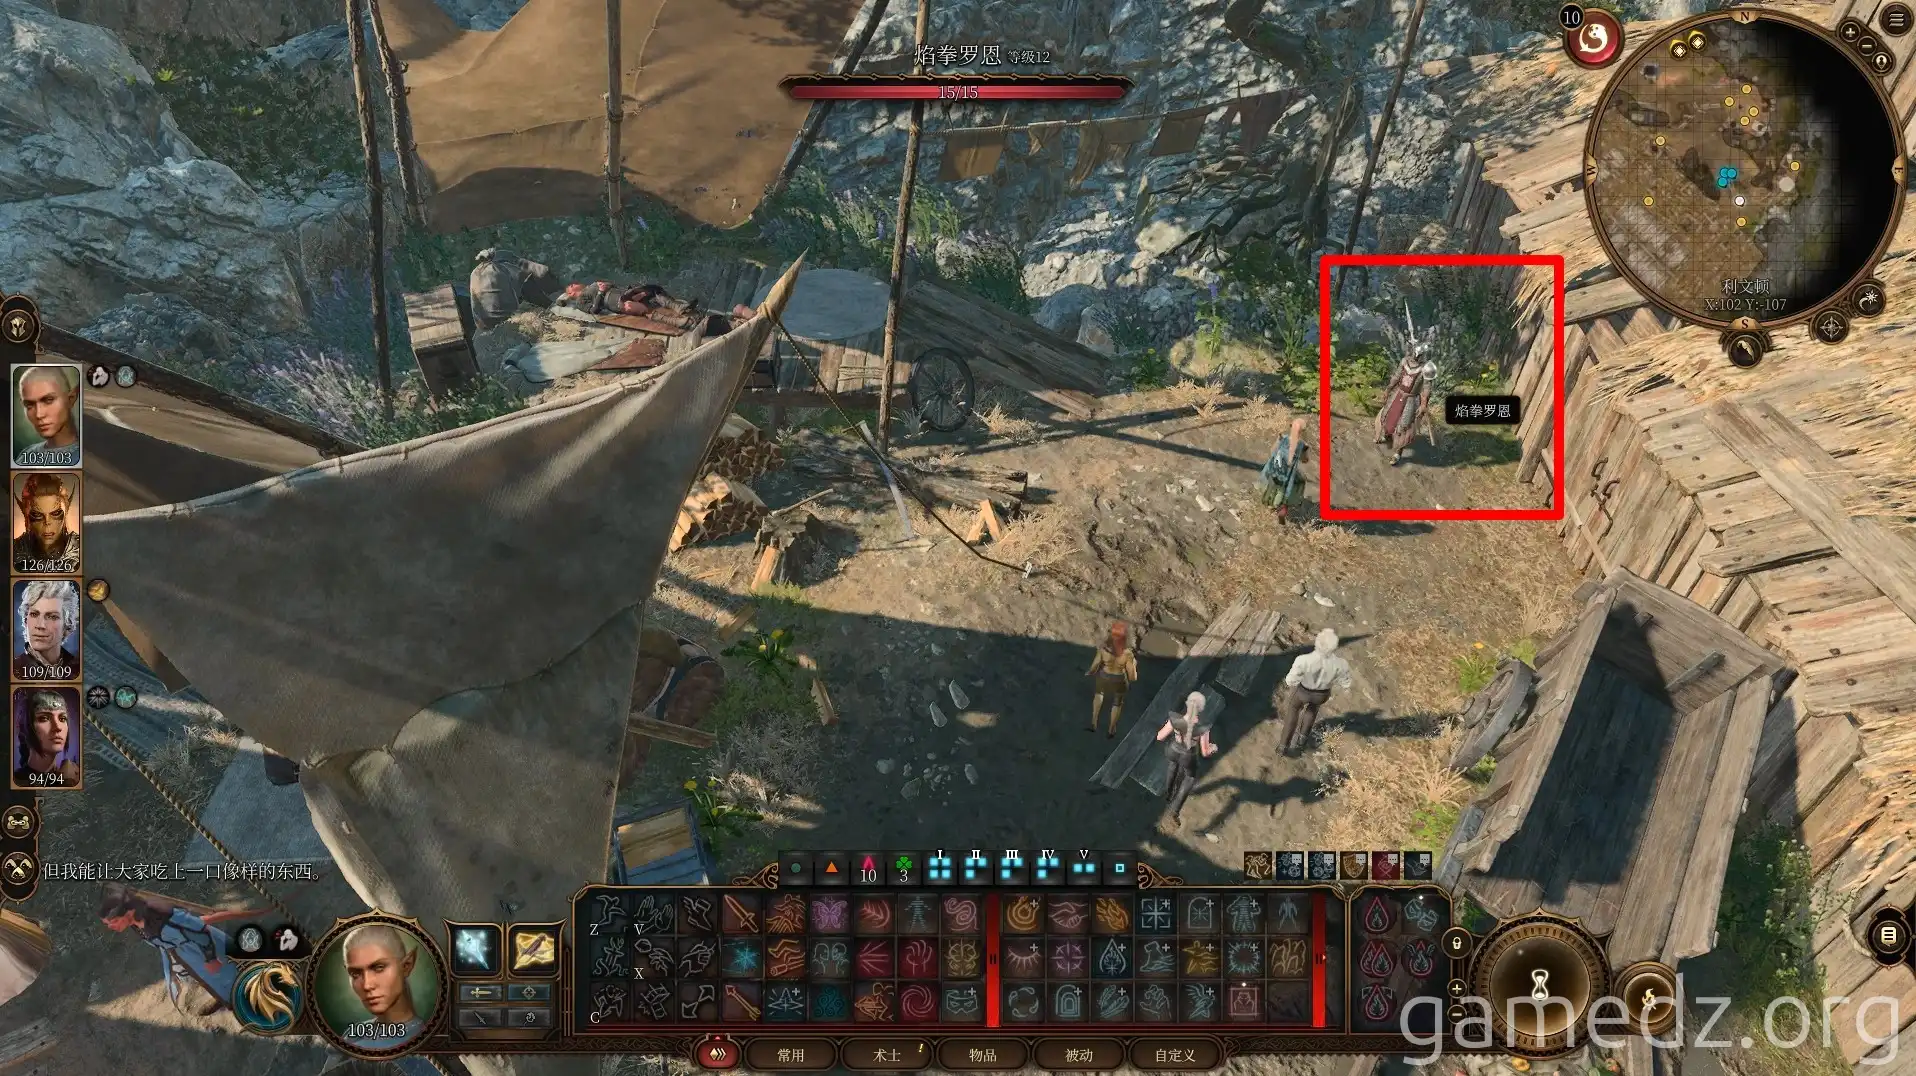
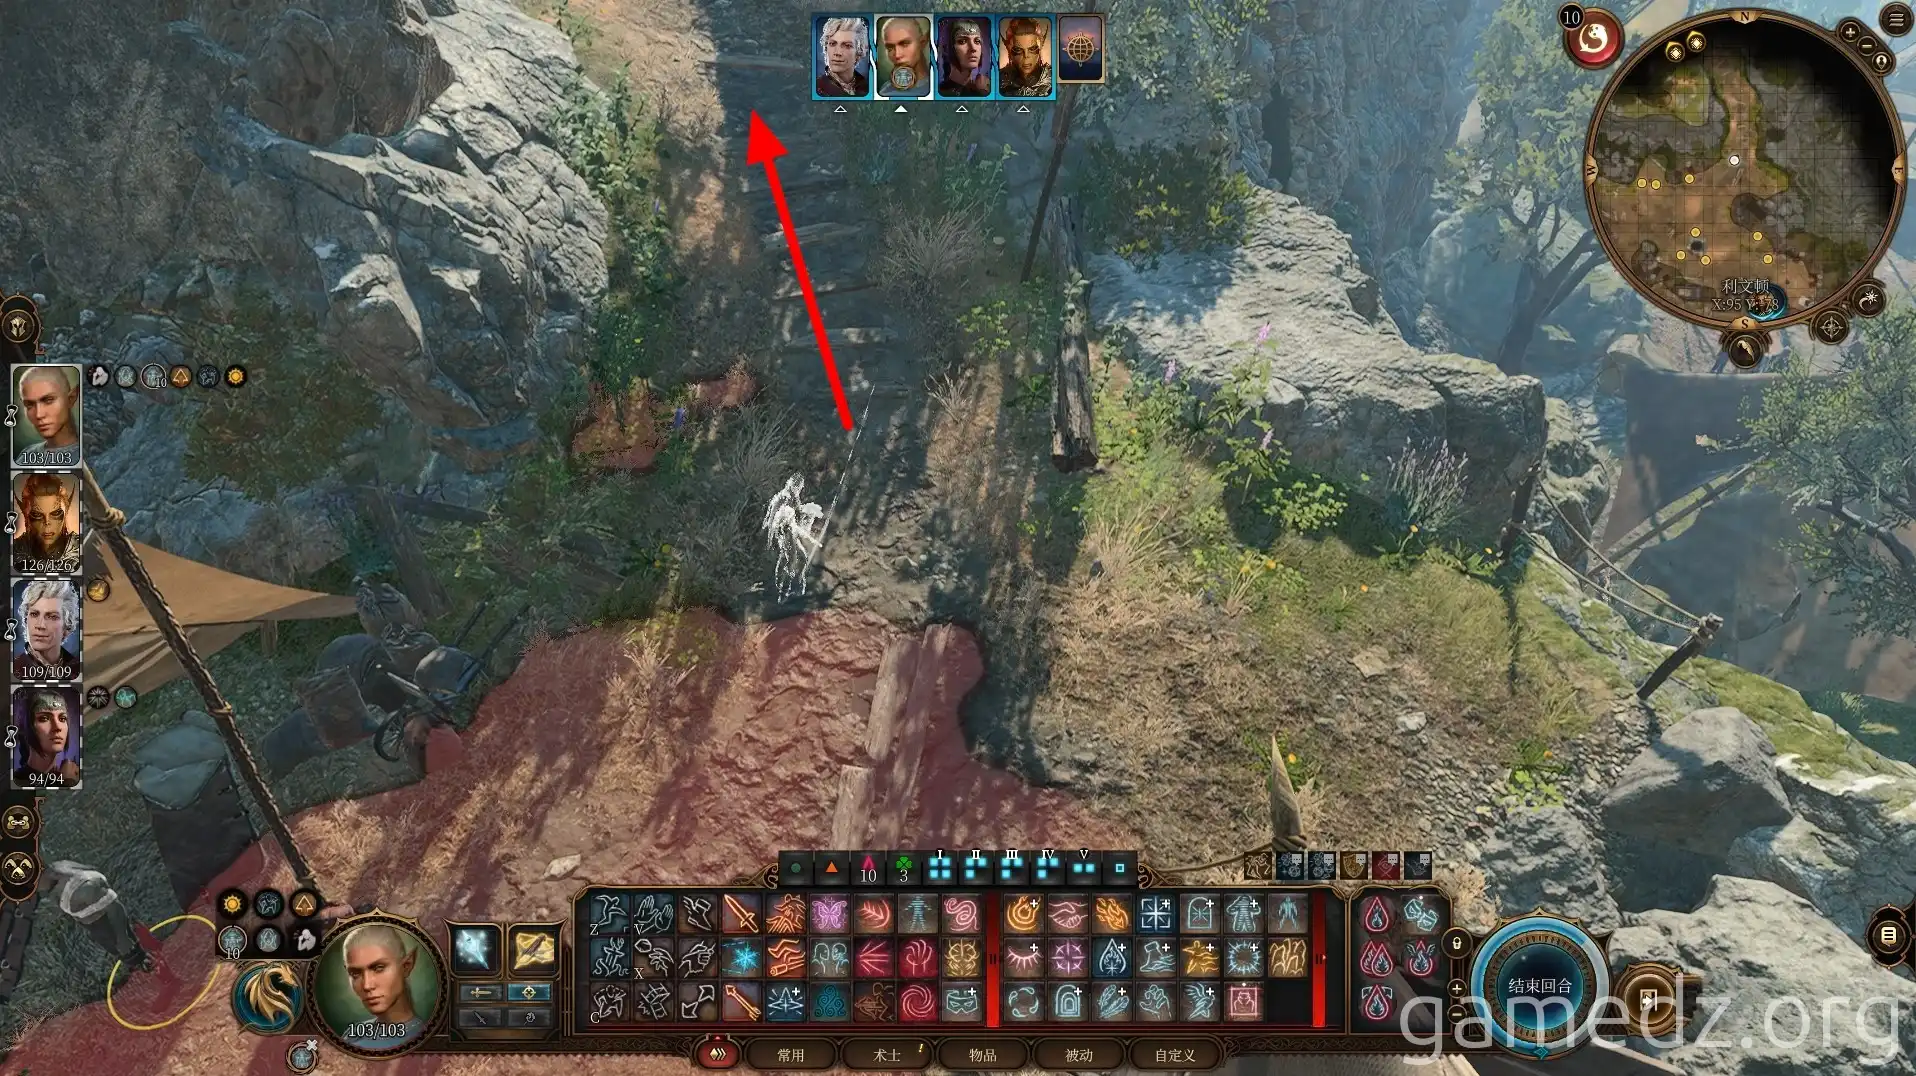
Afterward, head north along the path from the northeast corner of the refugee camp.
Ahead, you will witness a Gith funeral. Characters with the Entertainer background will be inspired.
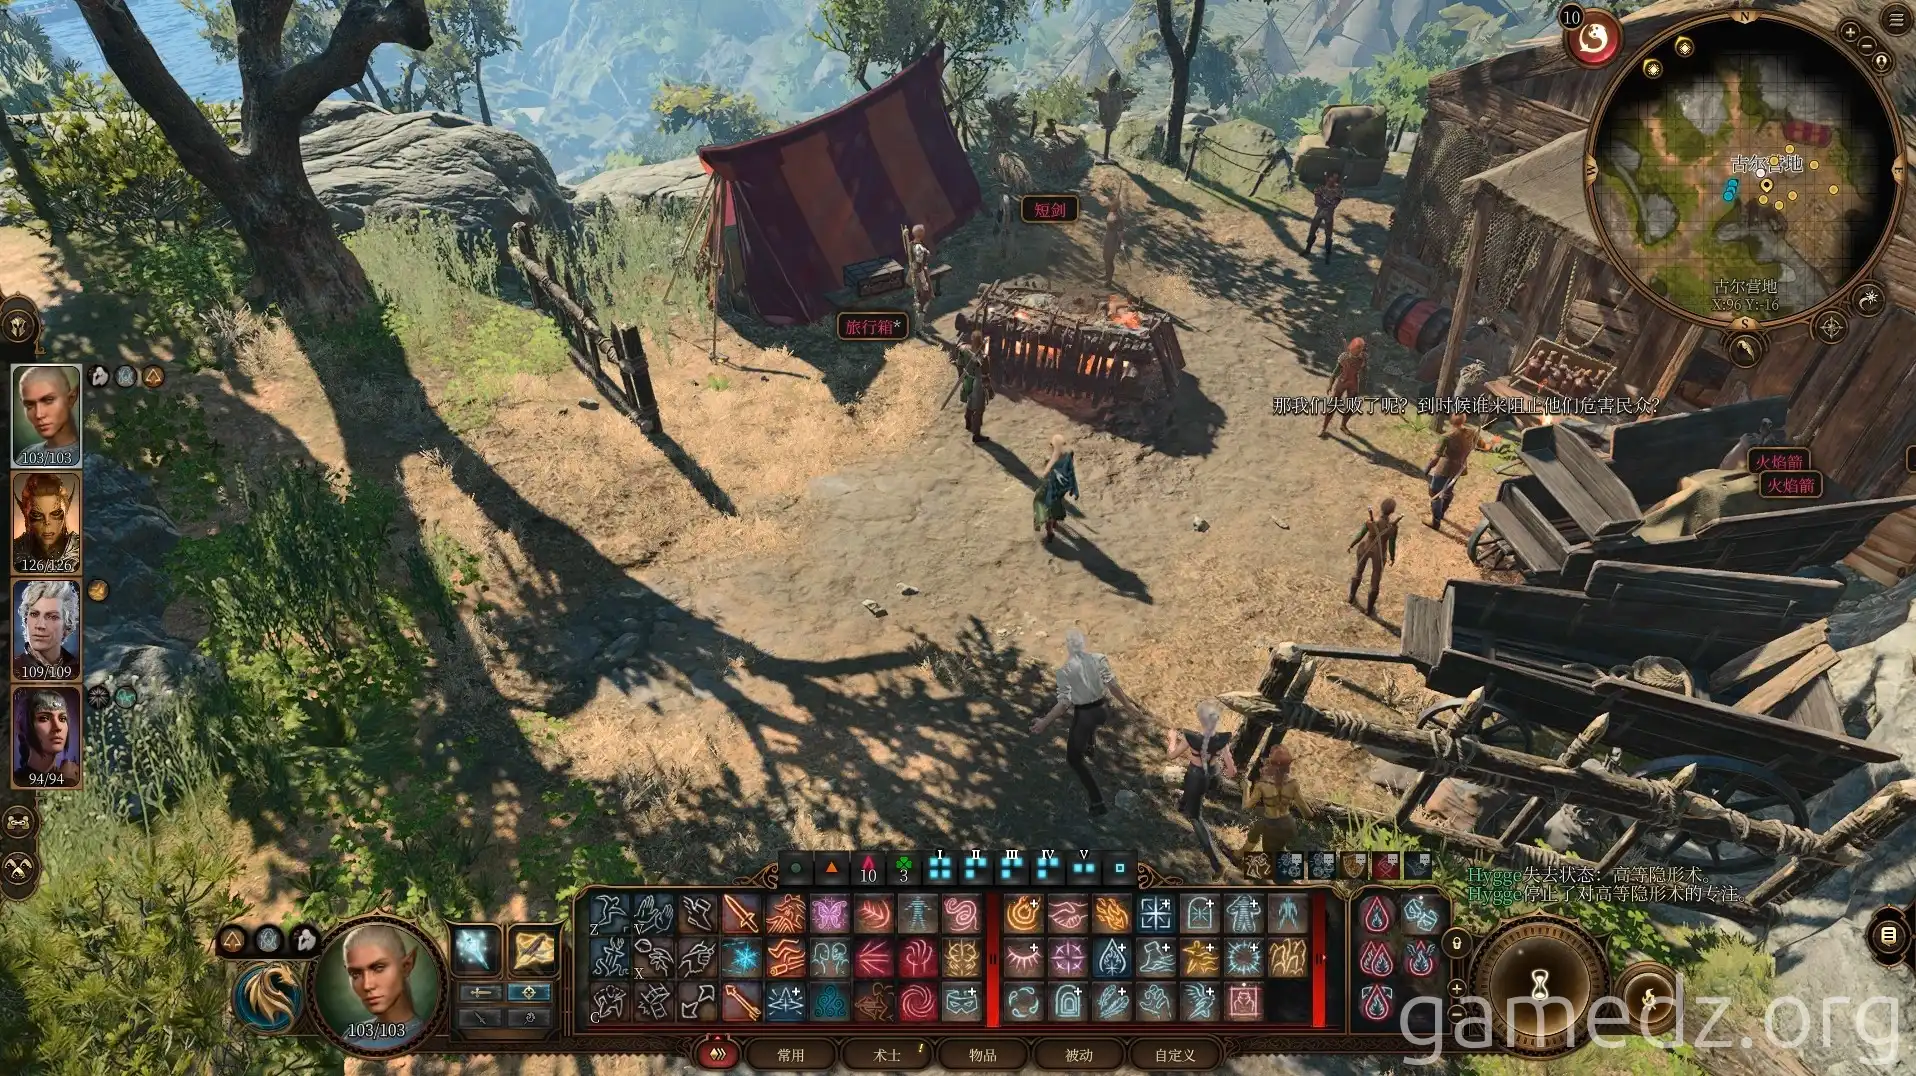
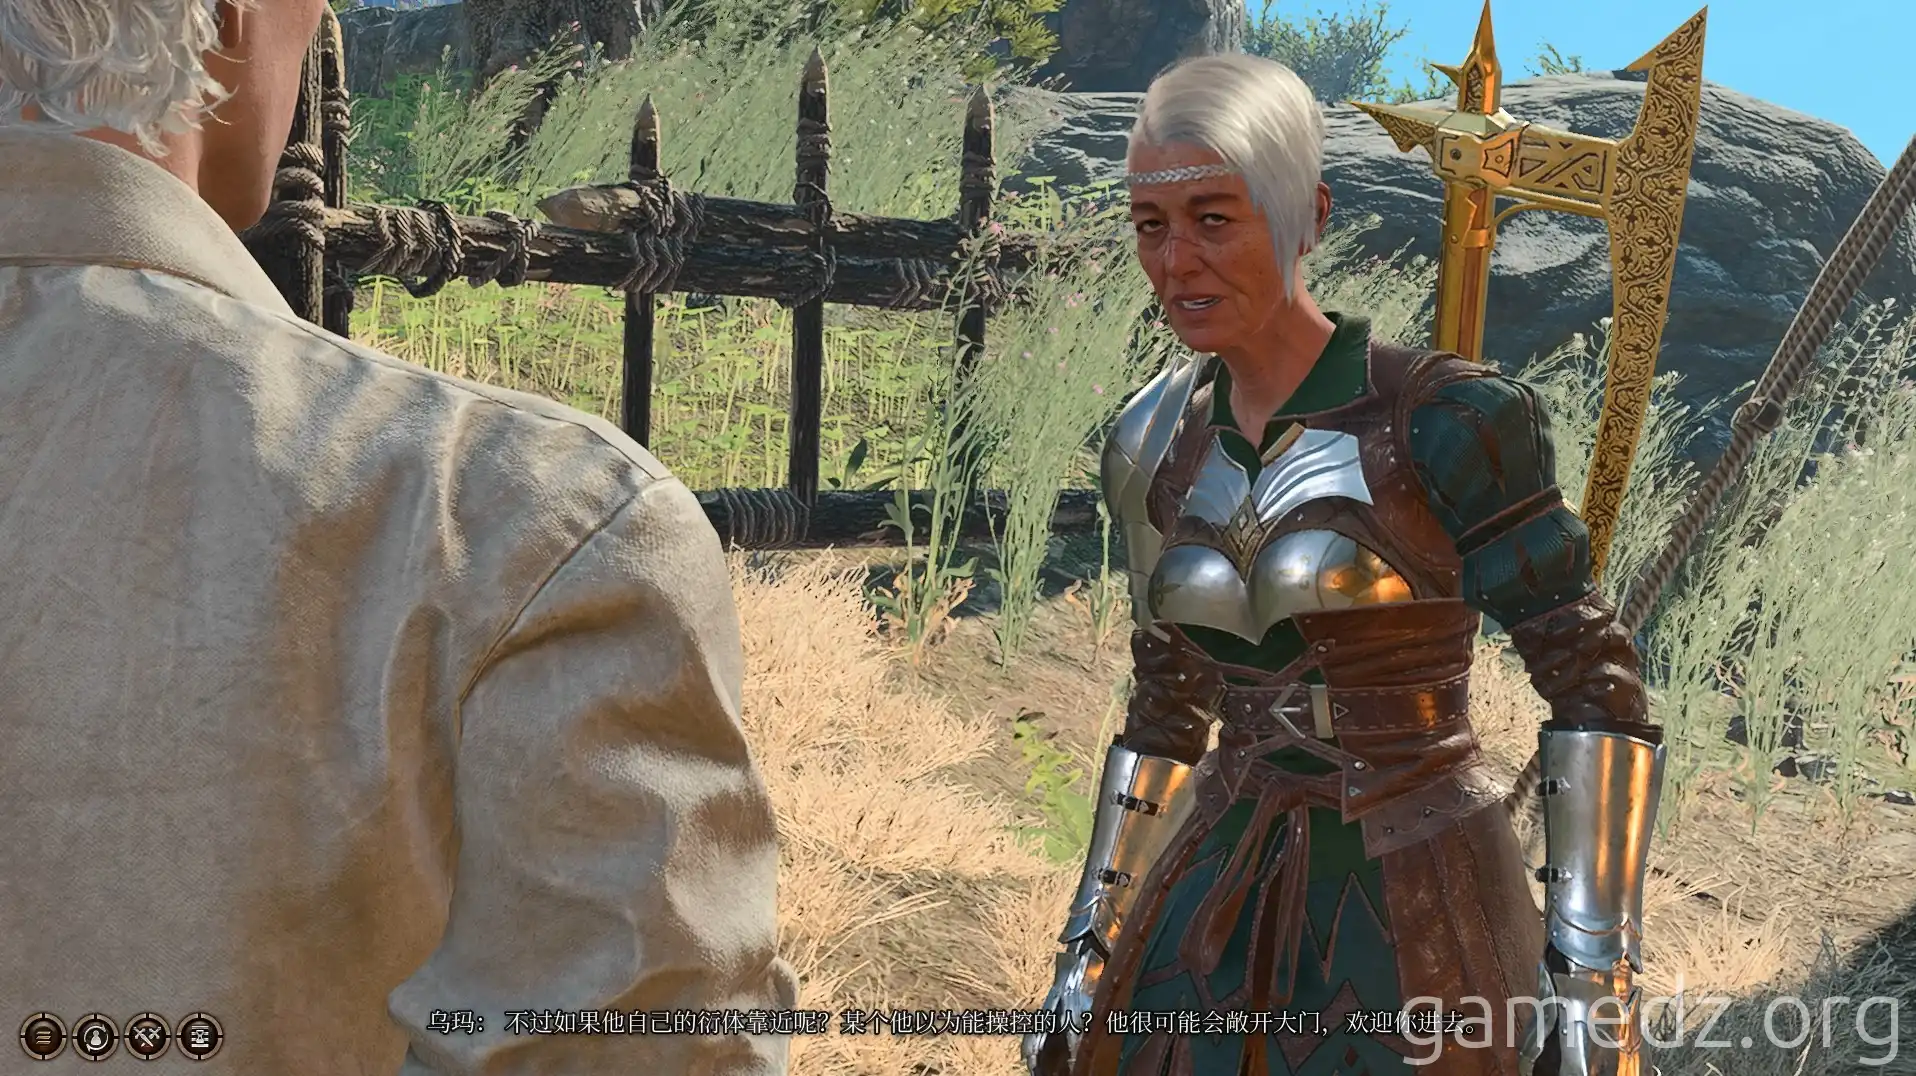
Speak with the Gith leader, U'ma. If you have Astarion in your party, she will express her need for your cooperation to attack the mansion of the vampire Karsadoth.
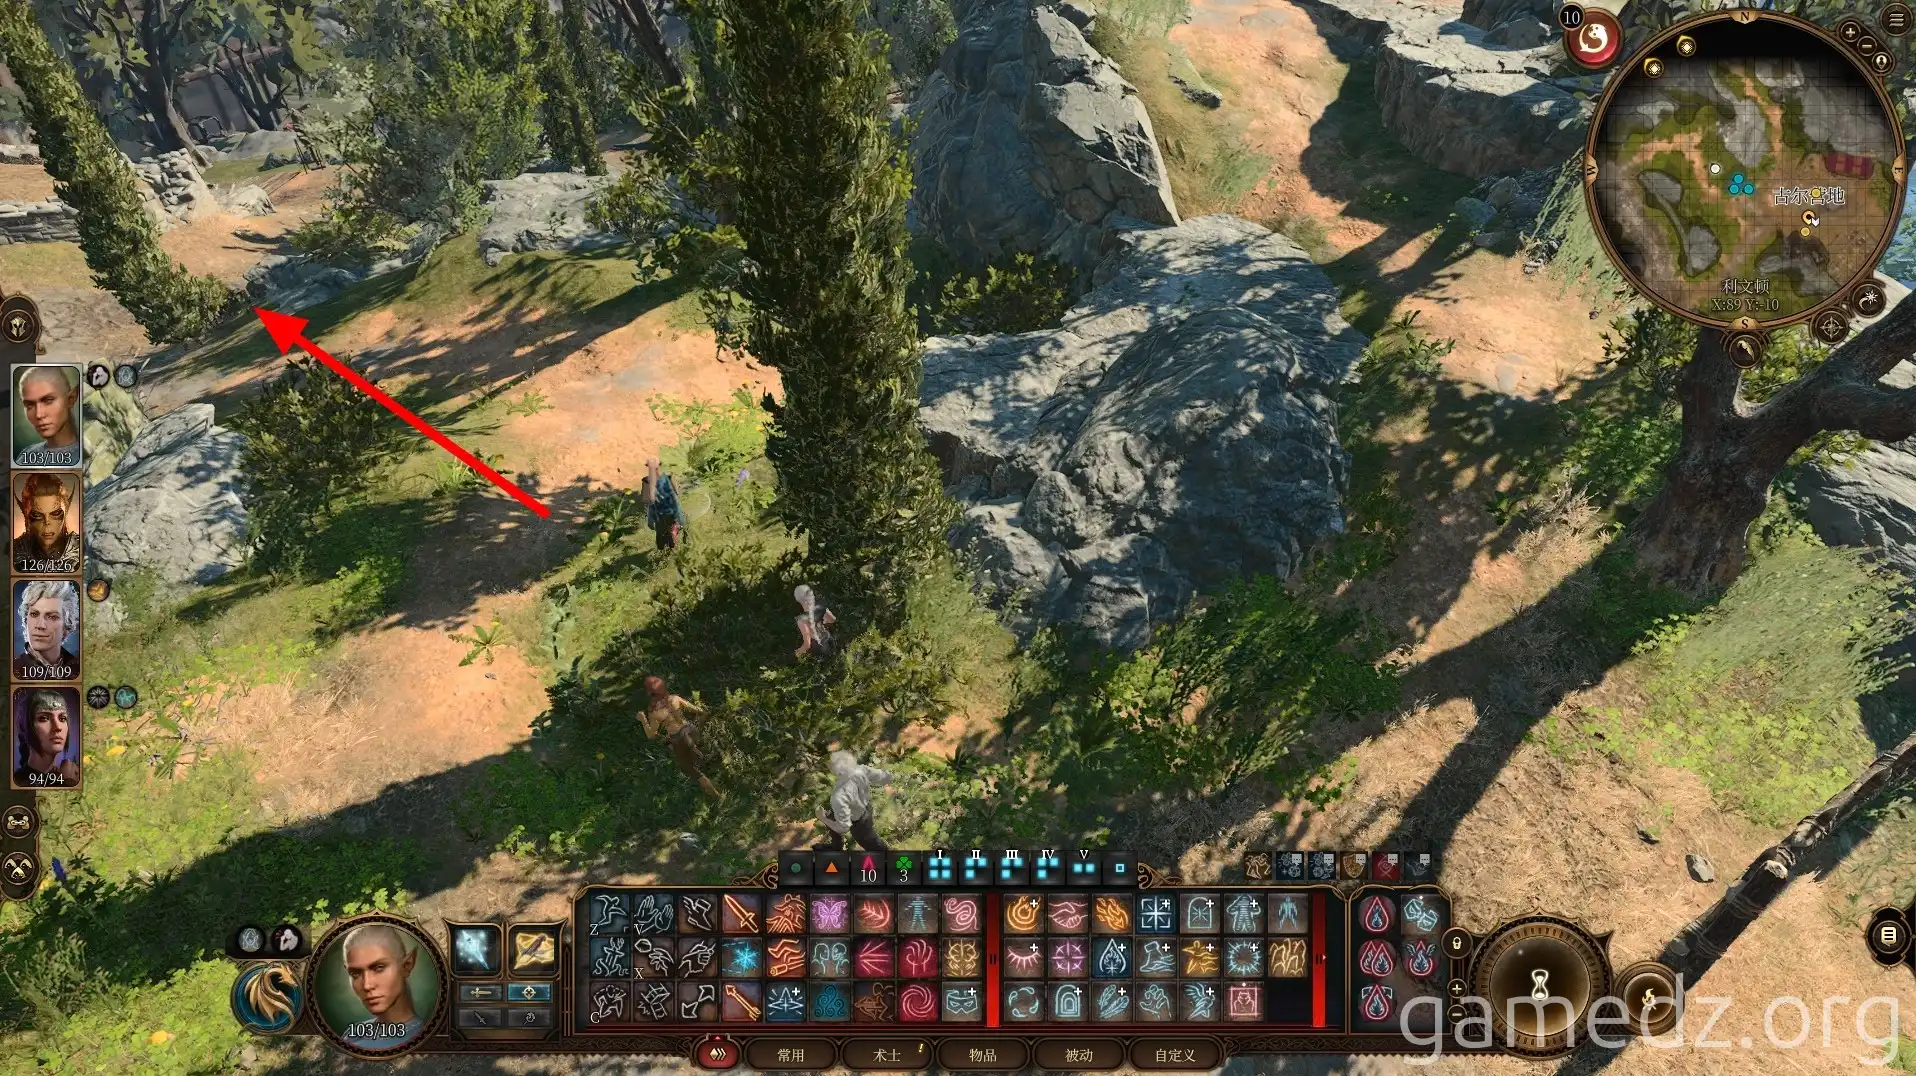
Then, proceed west along the road.
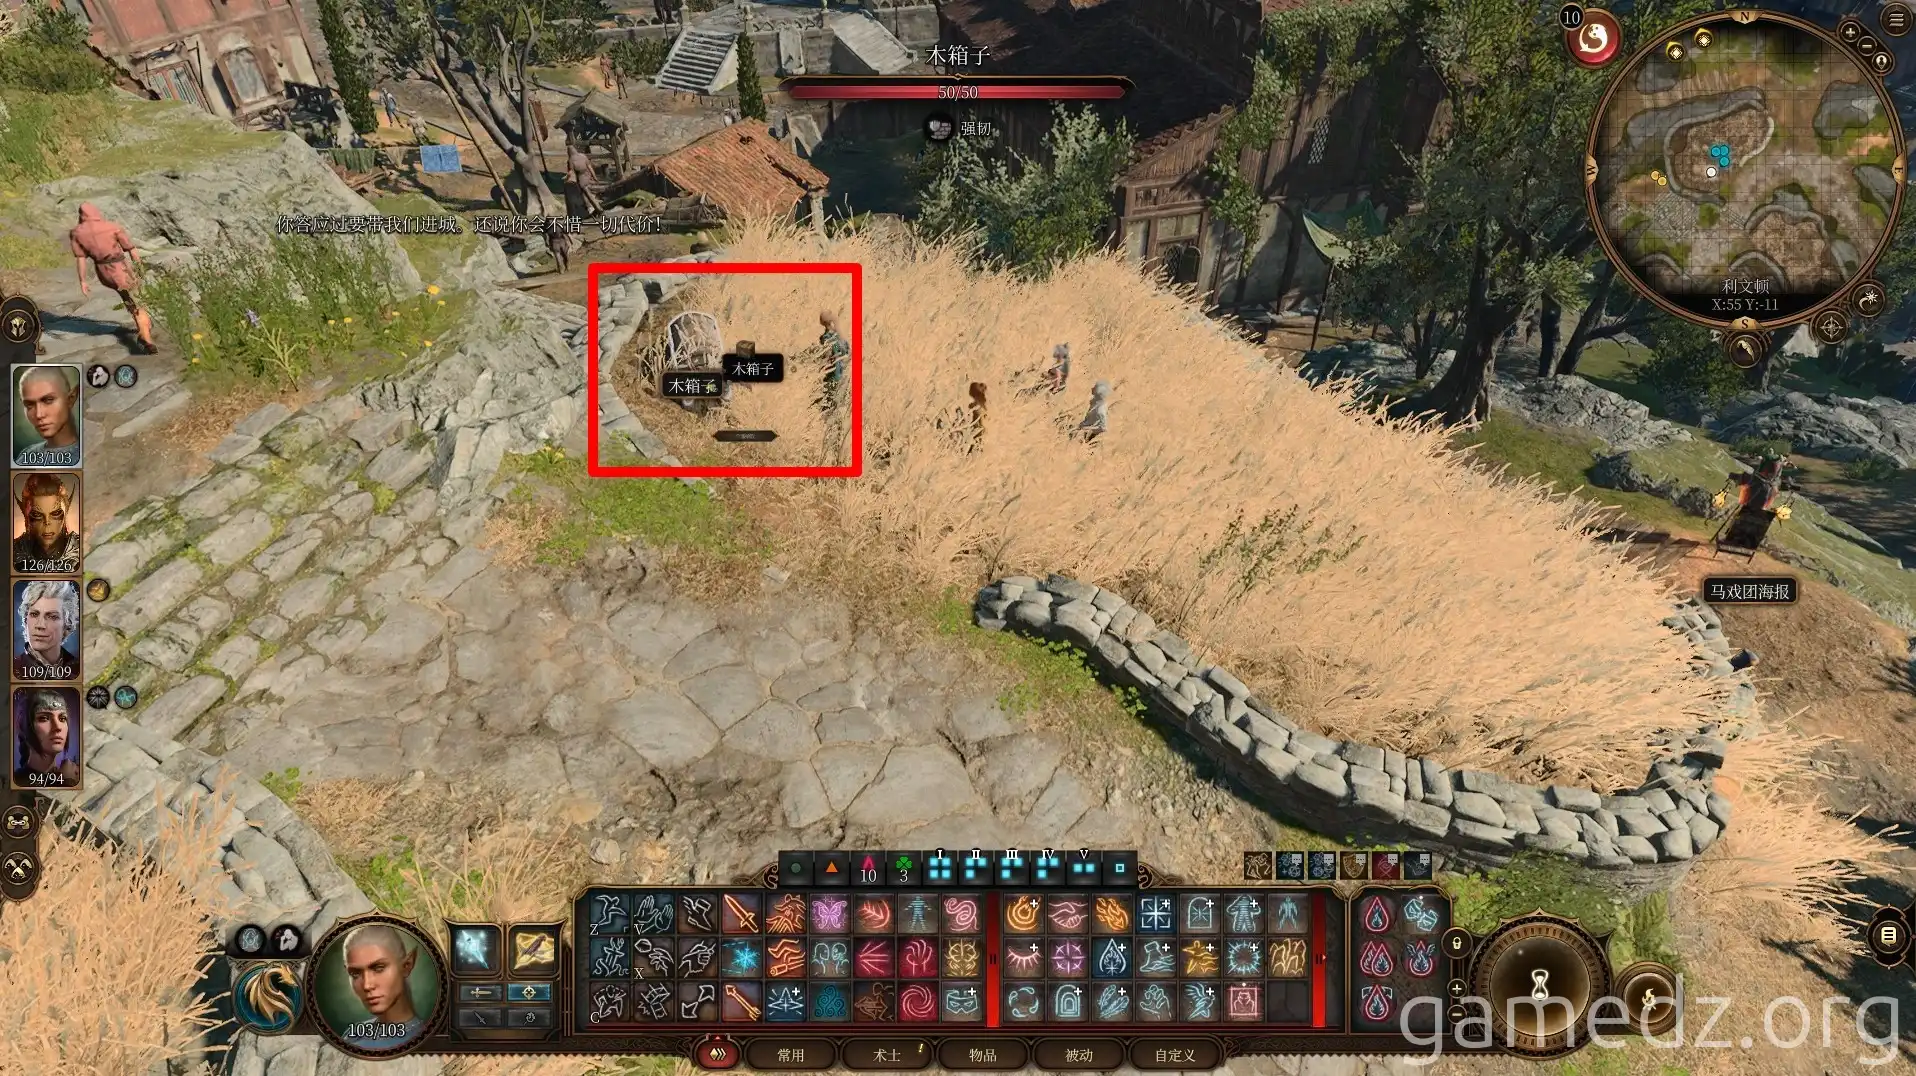
In the wheat field ahead, you can find a dirt mound with a buried chest.
Touch the nearby haystack to obtain an Acid Arrow, then enter the windmill.
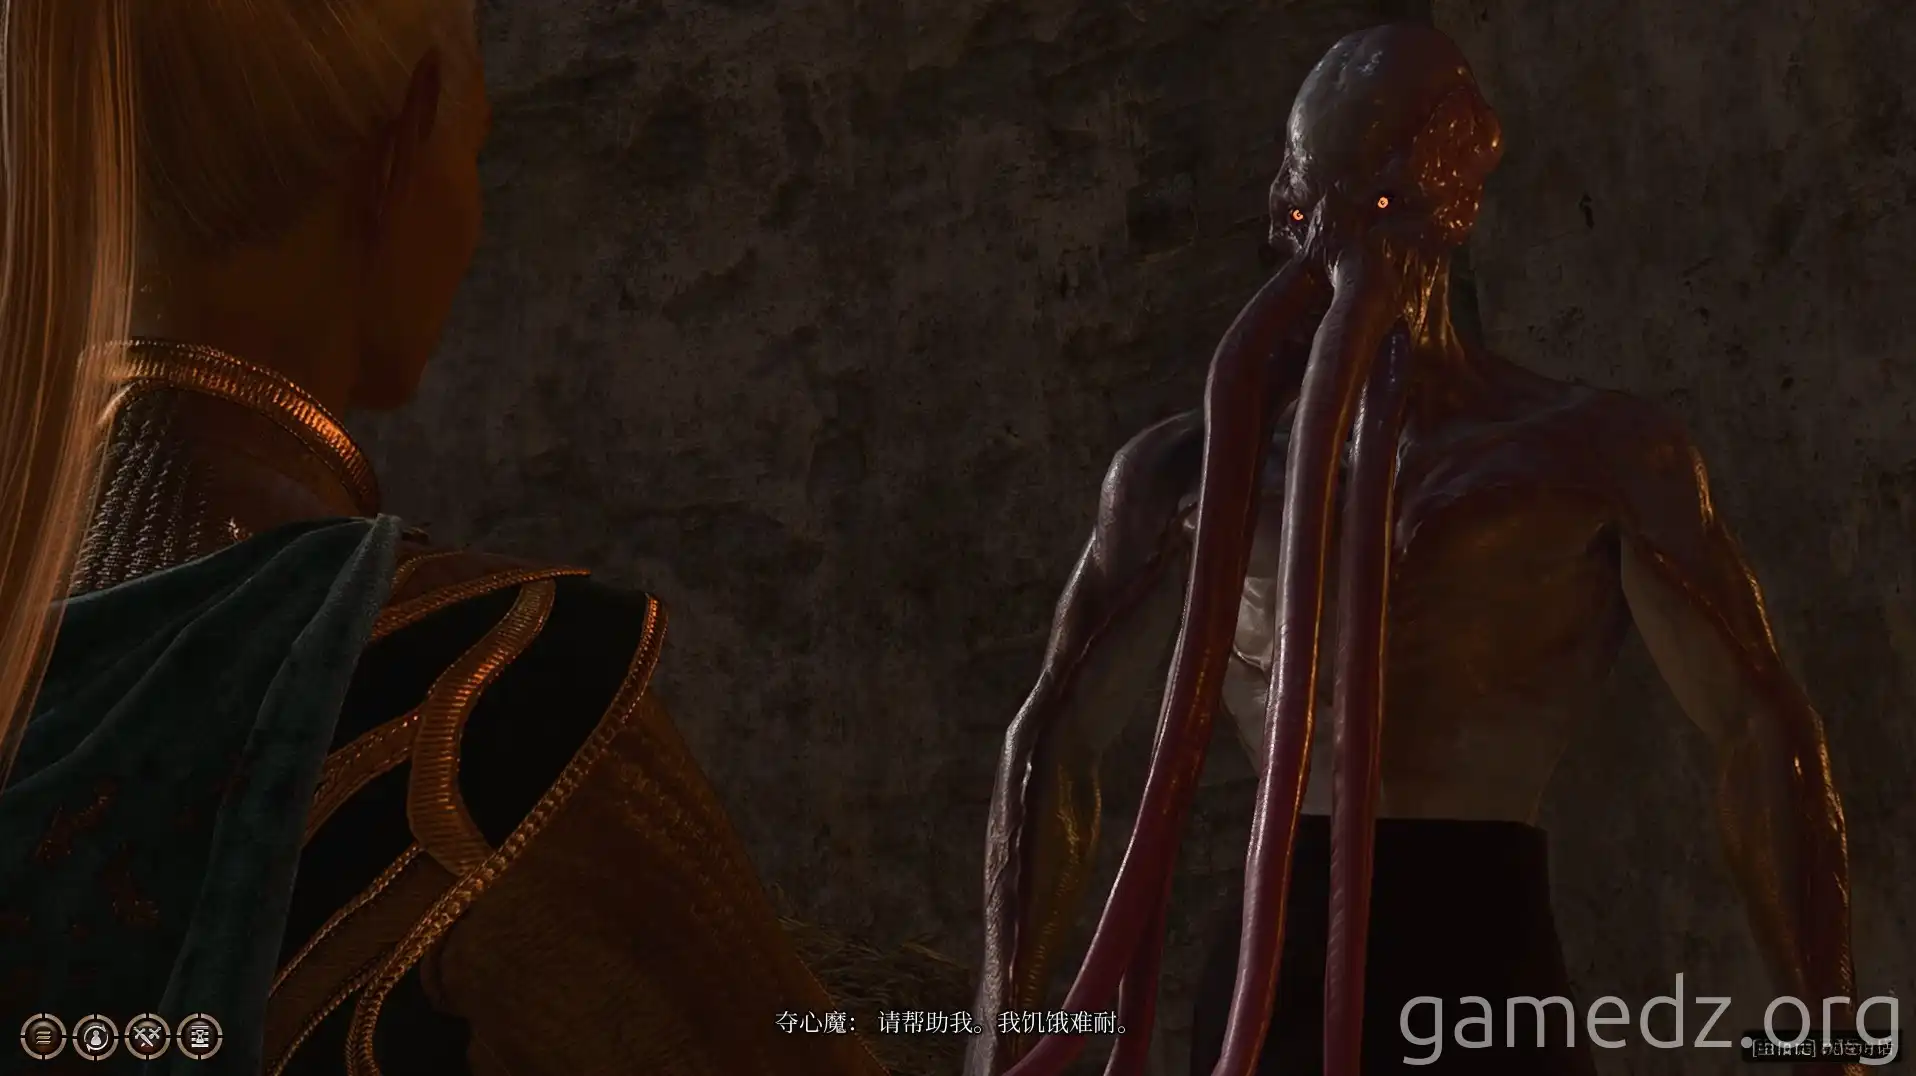
In the windmill's basement, you'll find a newly transformed Mind Flayer. After waking it up, speak with it. It will ask you to bring it a corpse with an intact brain.
Agree to the Mind Flayer's request and leave the windmill.
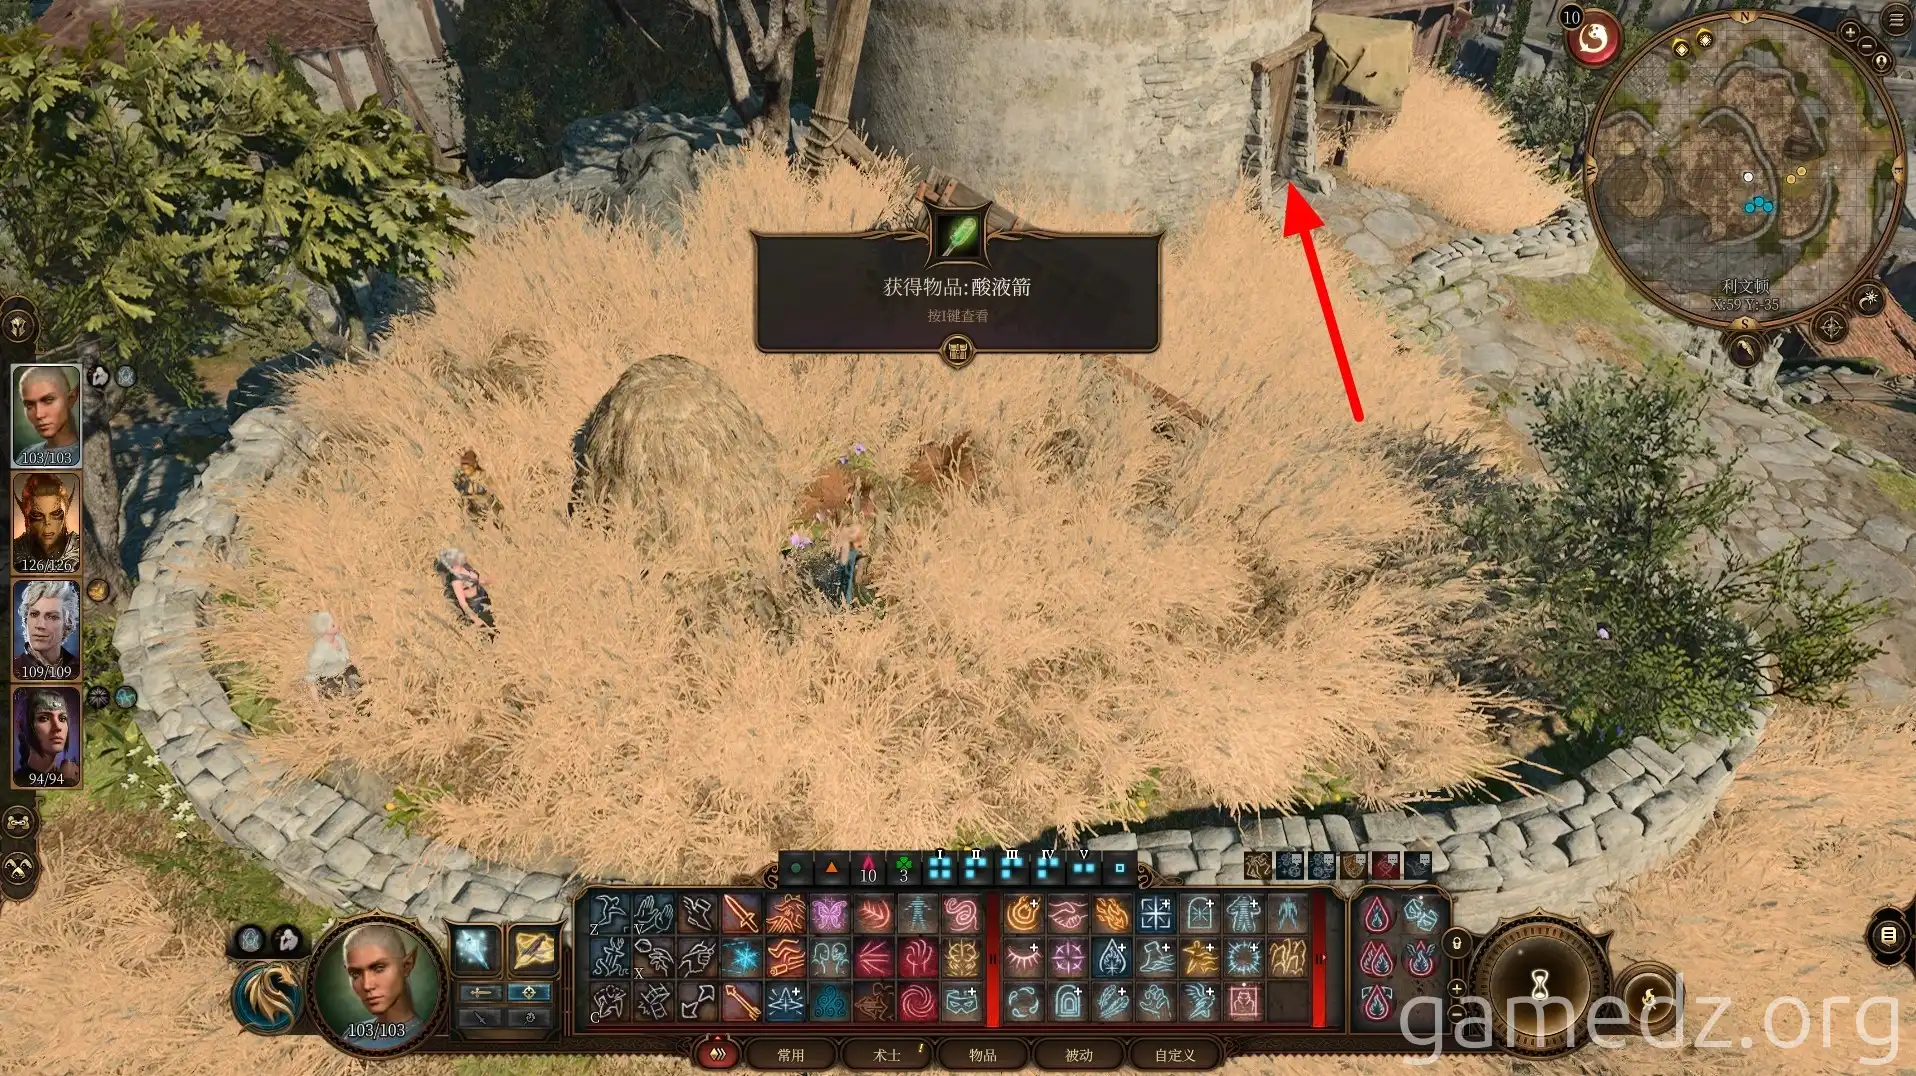
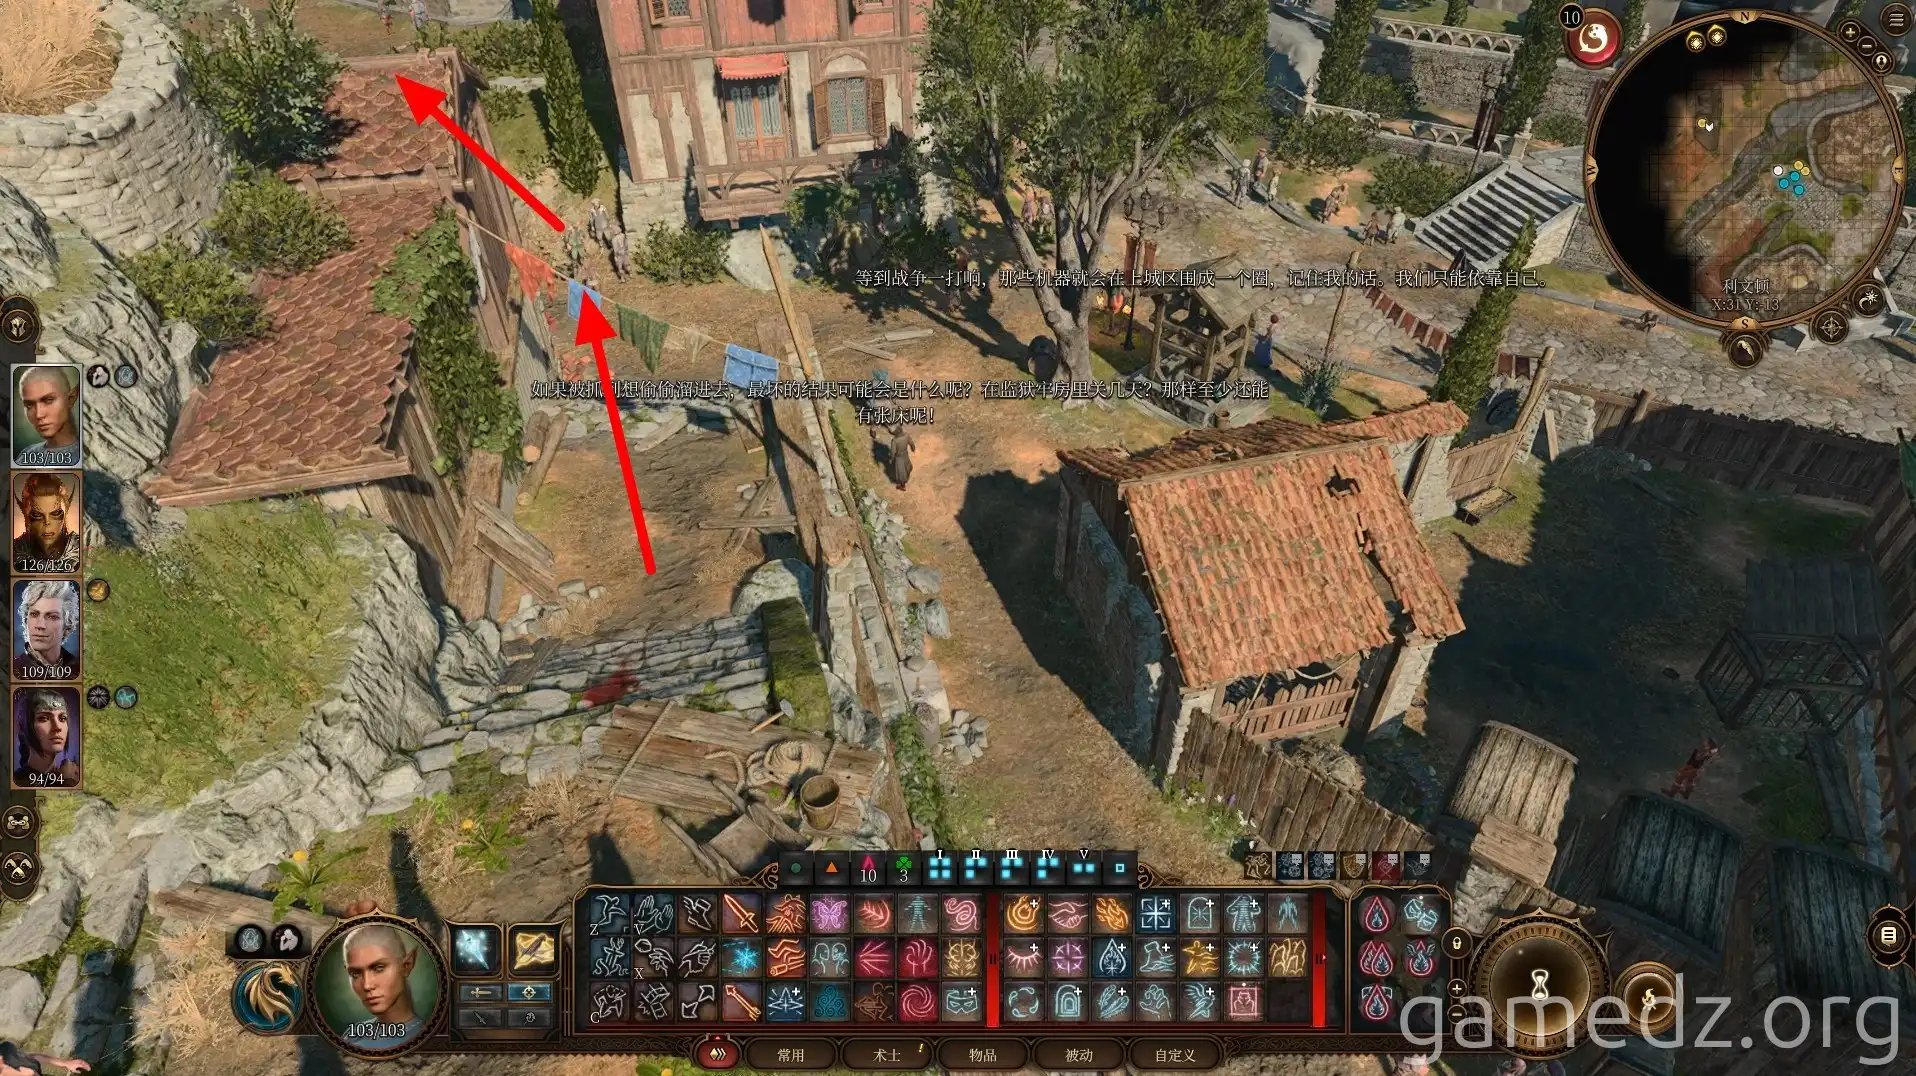
After leaving the windmill, follow the adjacent path directly south.
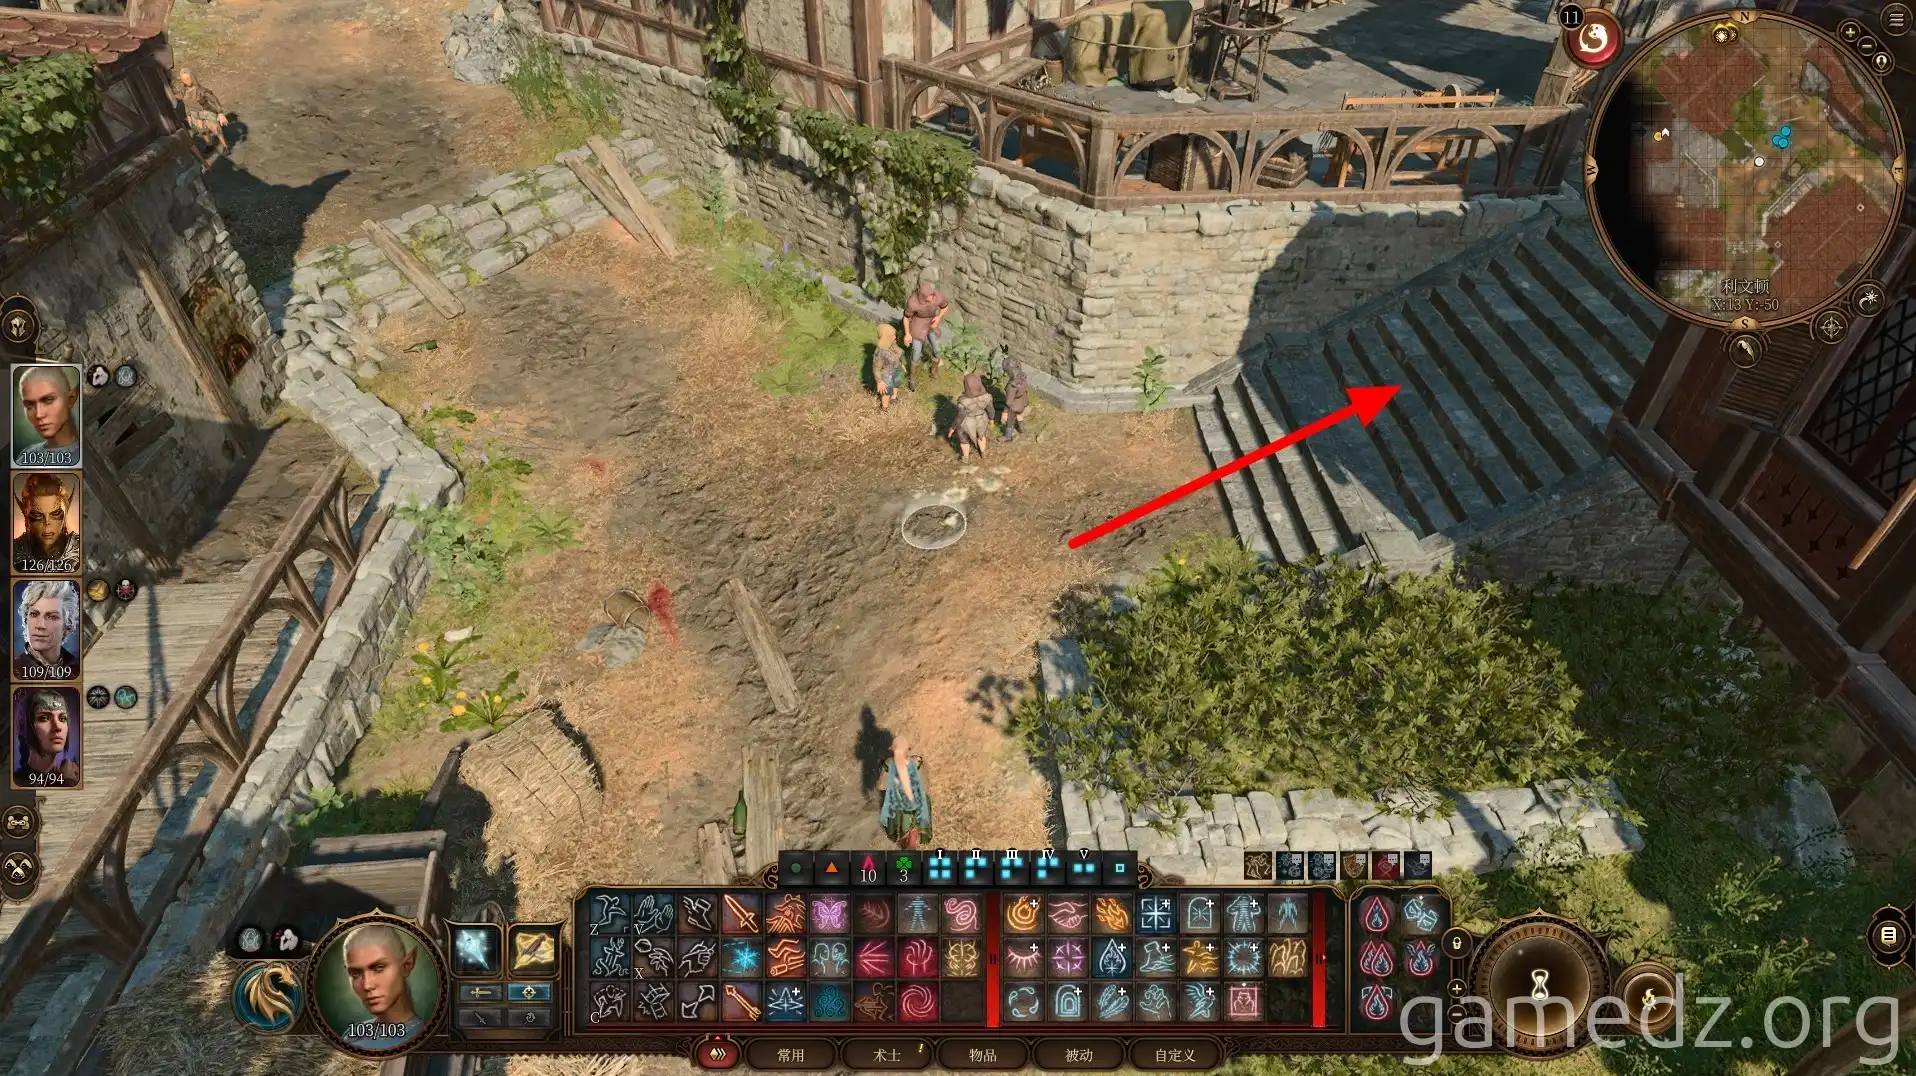
Upon reaching the location shown in the image below, turn right and ascend the stairs to enter the Rivington General Store.
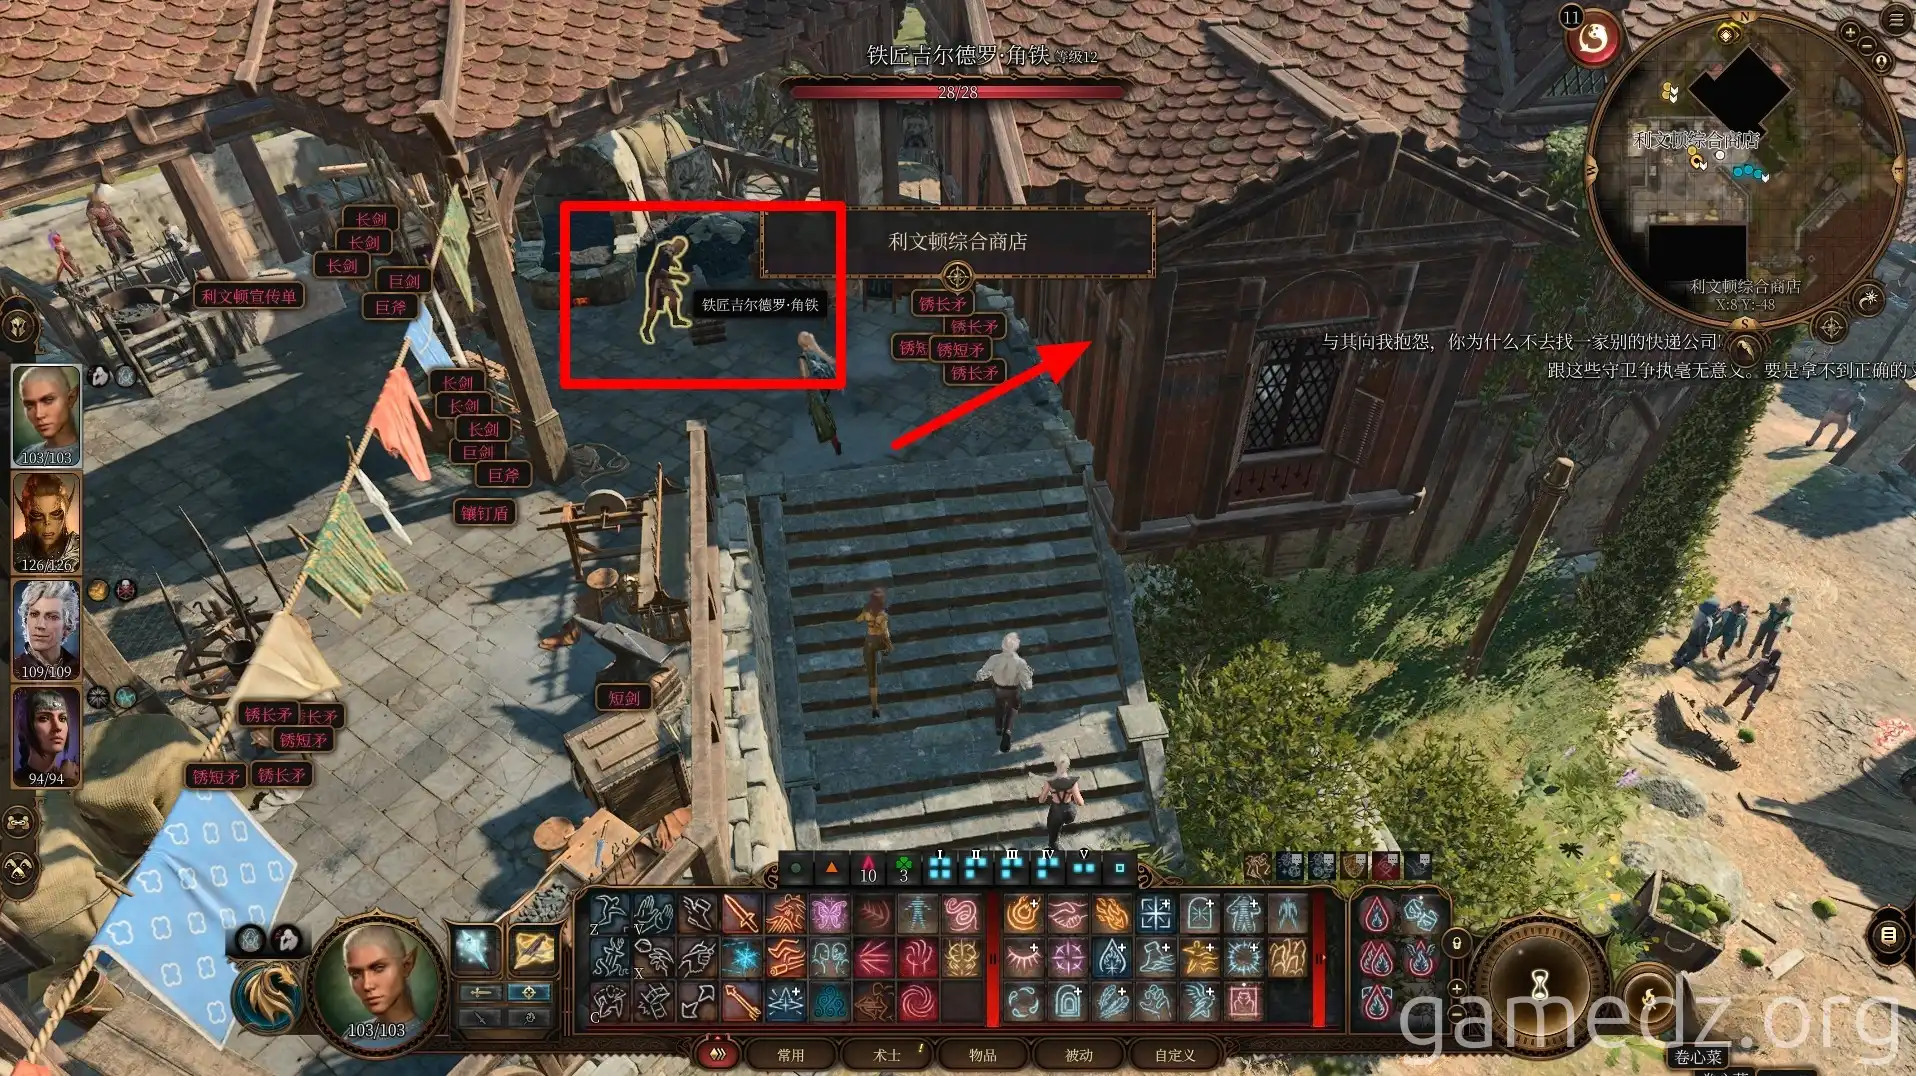
After speaking with the blacksmith, you'll discover he is also Orin in disguise. Once the conversation ends, the real blacksmith will emerge from the building. At this point, the blacksmith will believe you attacked him, and you'll need to pass various checks to get out of trouble safely.
Then, enter the room through the small door on the right and proceed to the first floor.
In the blacksmith's shed on the left, there's a trapdoor leading to the gnomes' hideout. However, you don't need to go there now, as you'll access the hideout through another entrance later.
On the first floor, you'll find the shopkeeper [Ekivikep], from whom you can purchase some equipment.
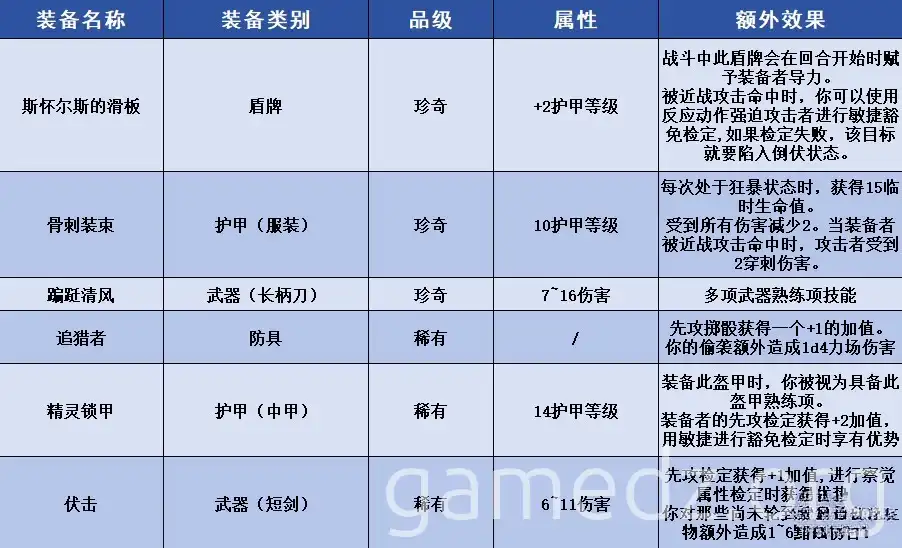
The list of unique equipment and their stats sold by Ekivikep is as follows.
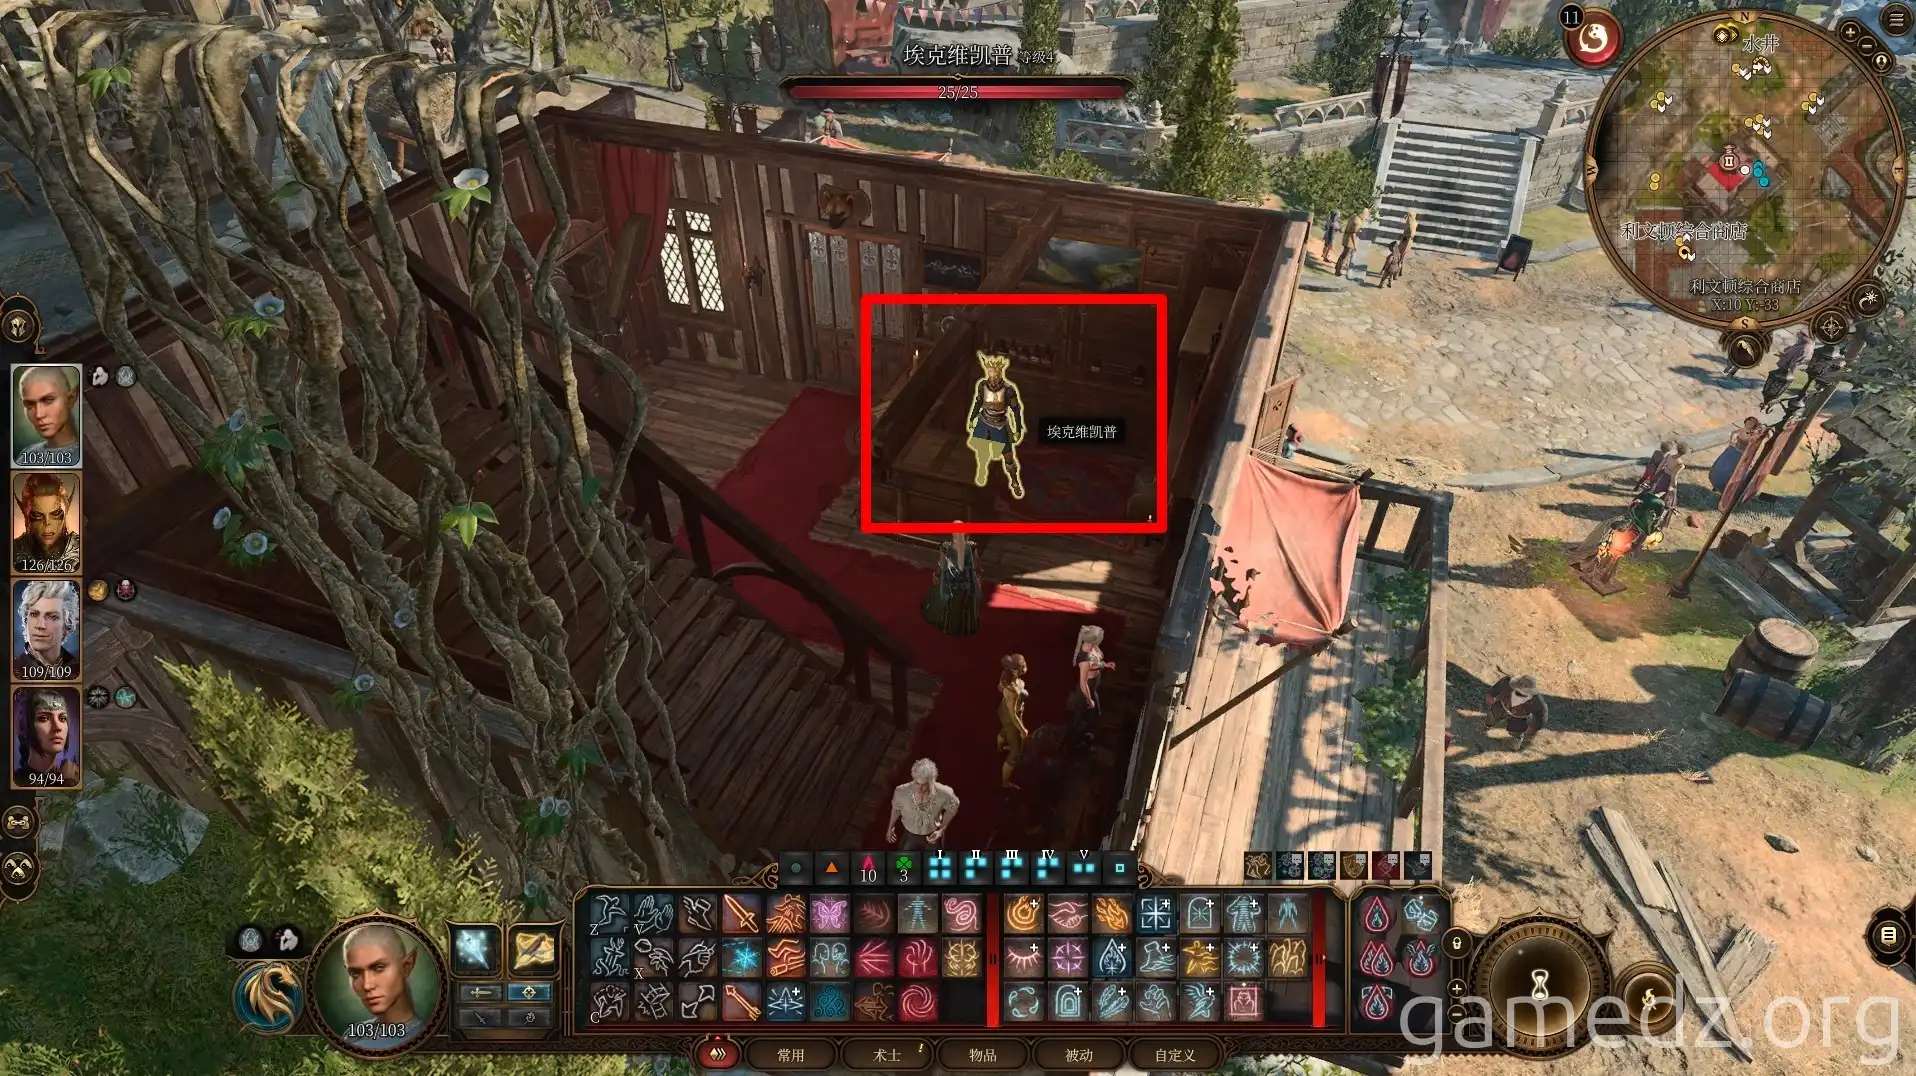
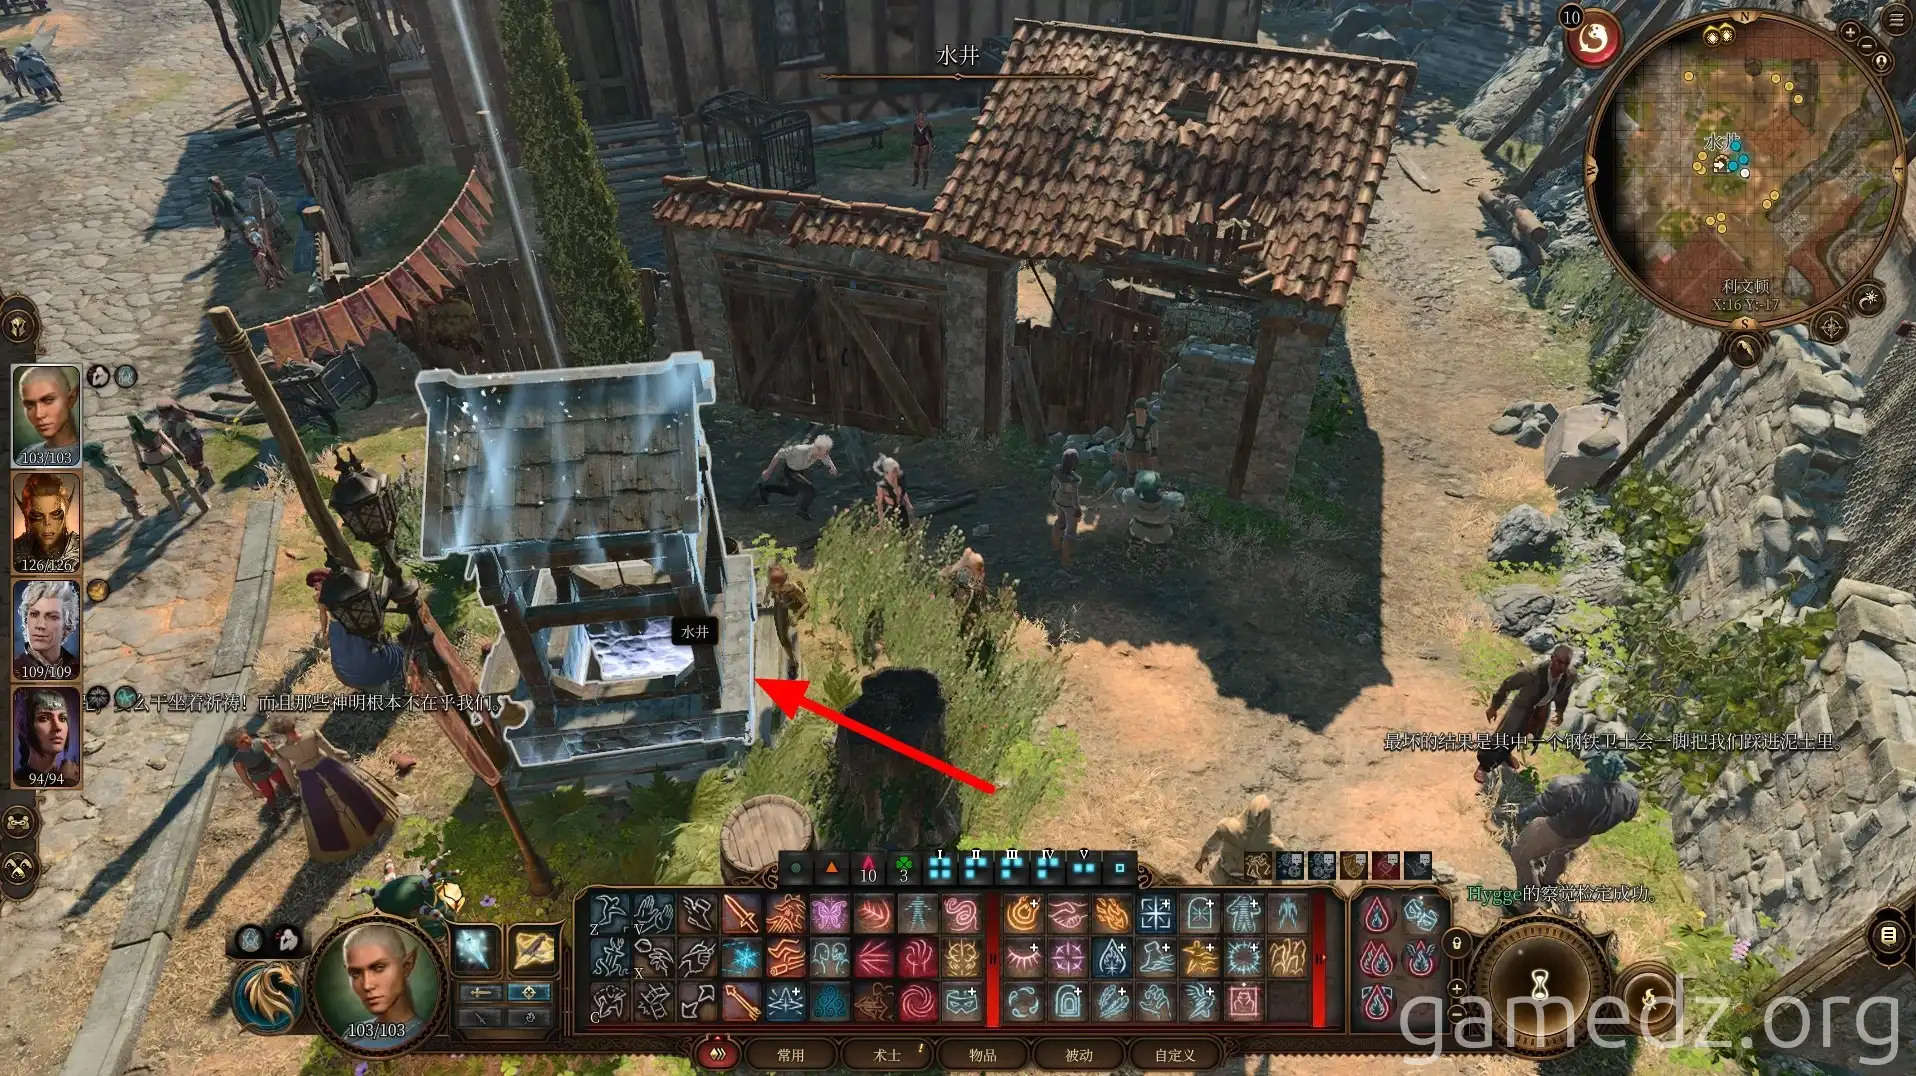
Leave the store and enter the underground area through the well.
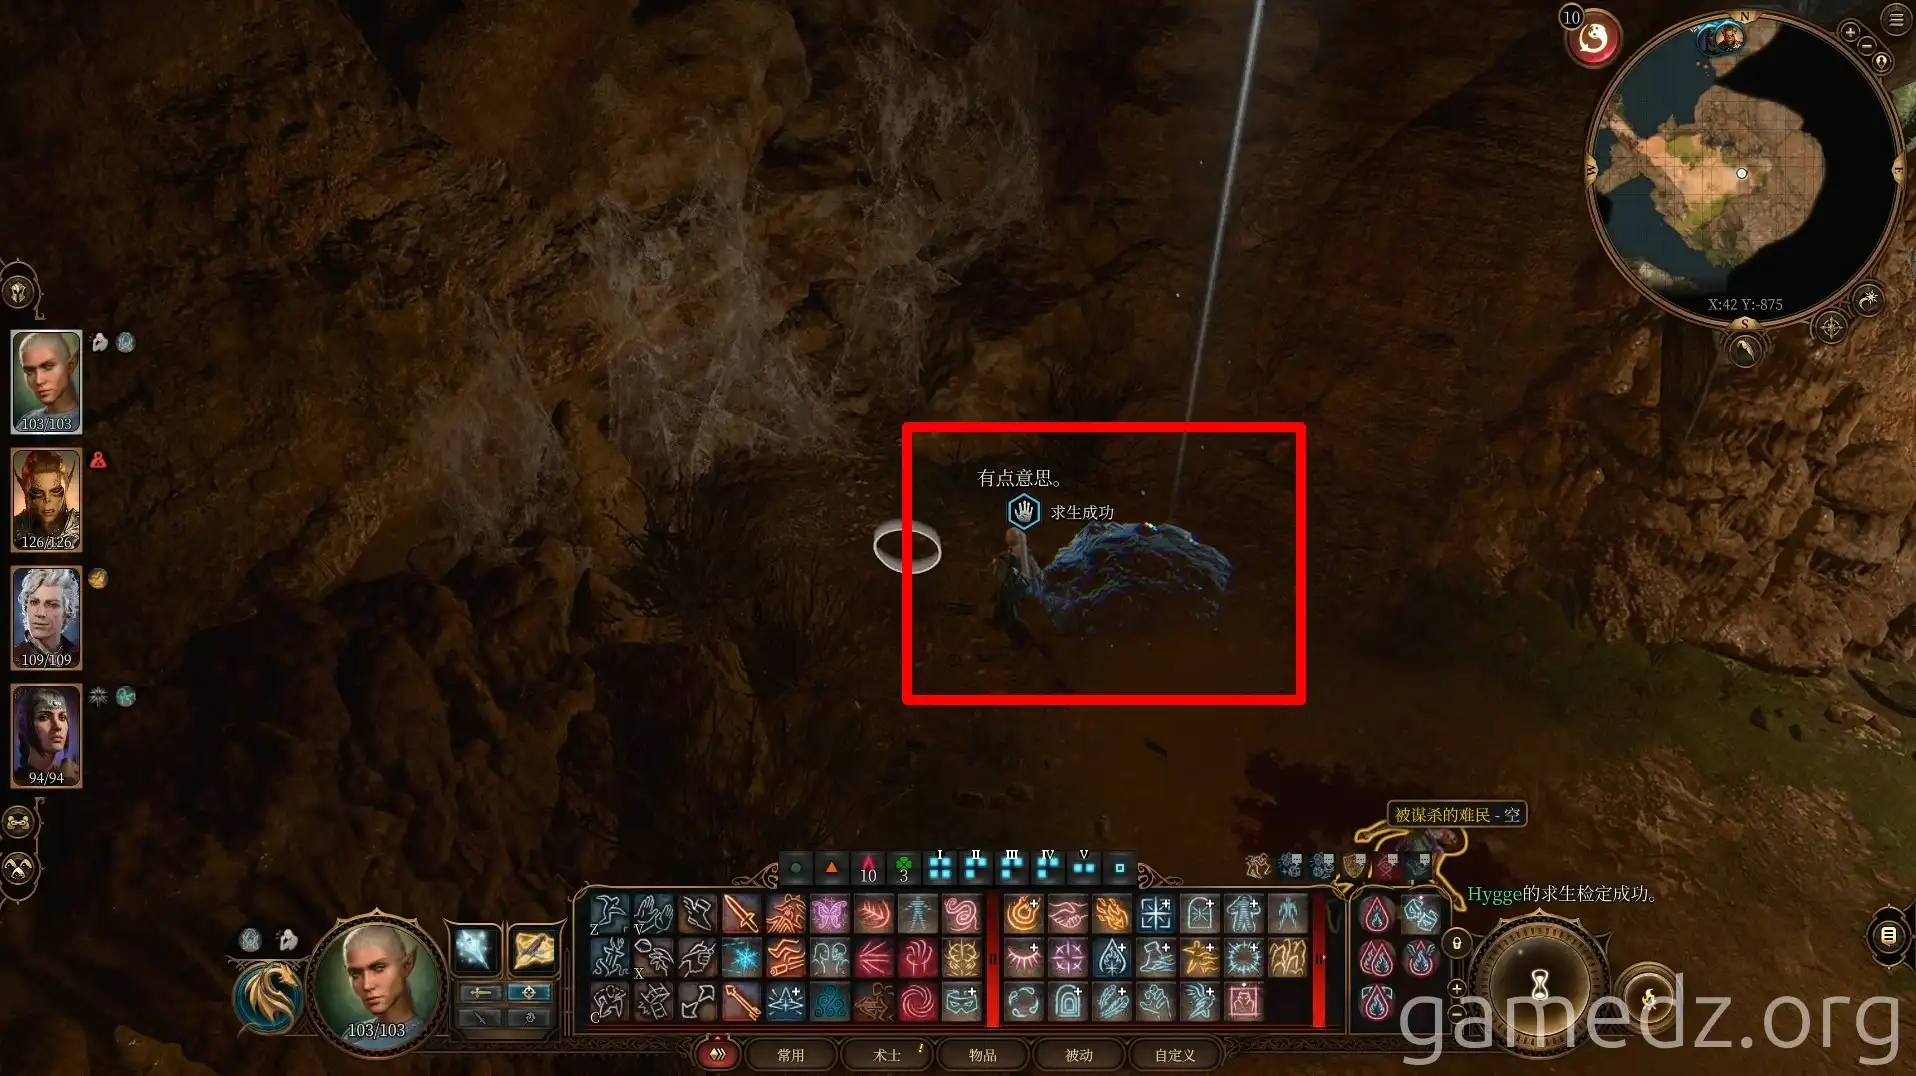
In the underground area, you'll discover many murdered refugees. Fill your inventory with a corpse to bring to the Mind Flayer.
In the corner, you can find a dirt mound with a buried chest.
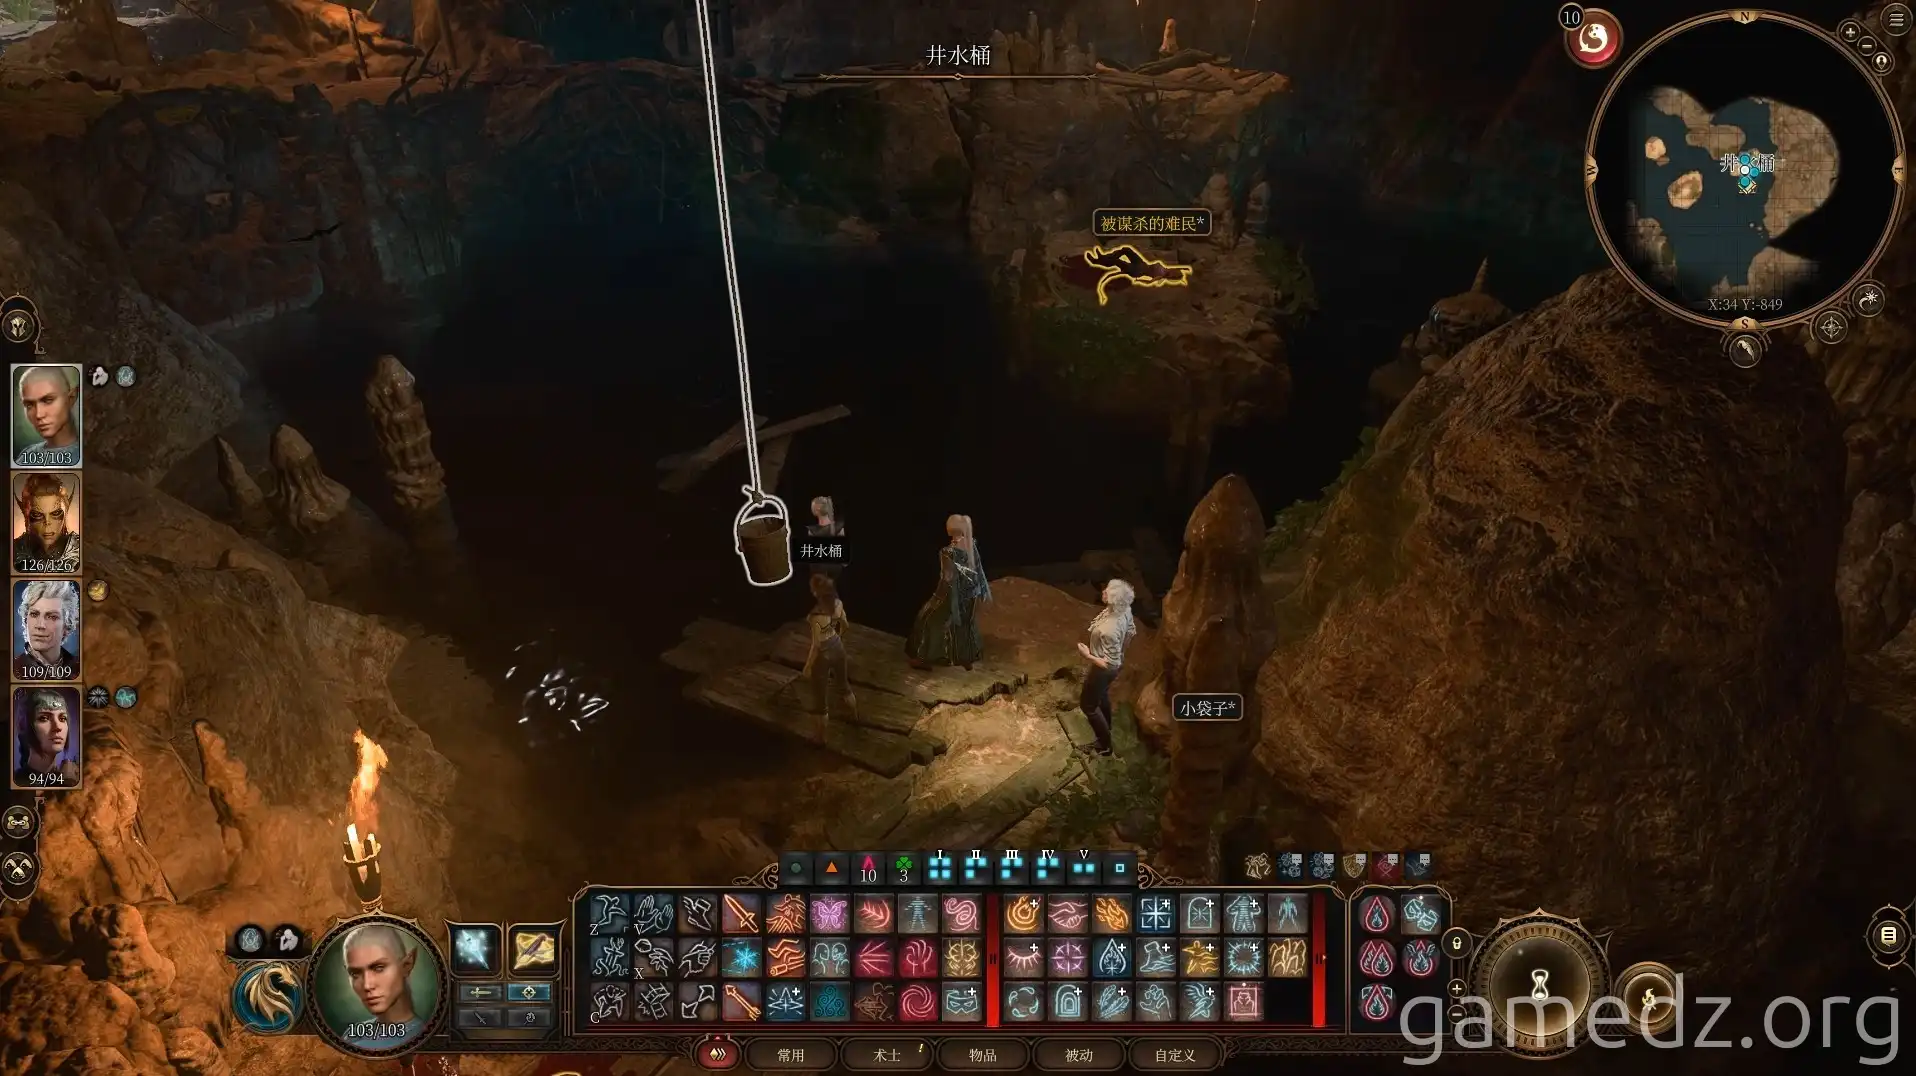
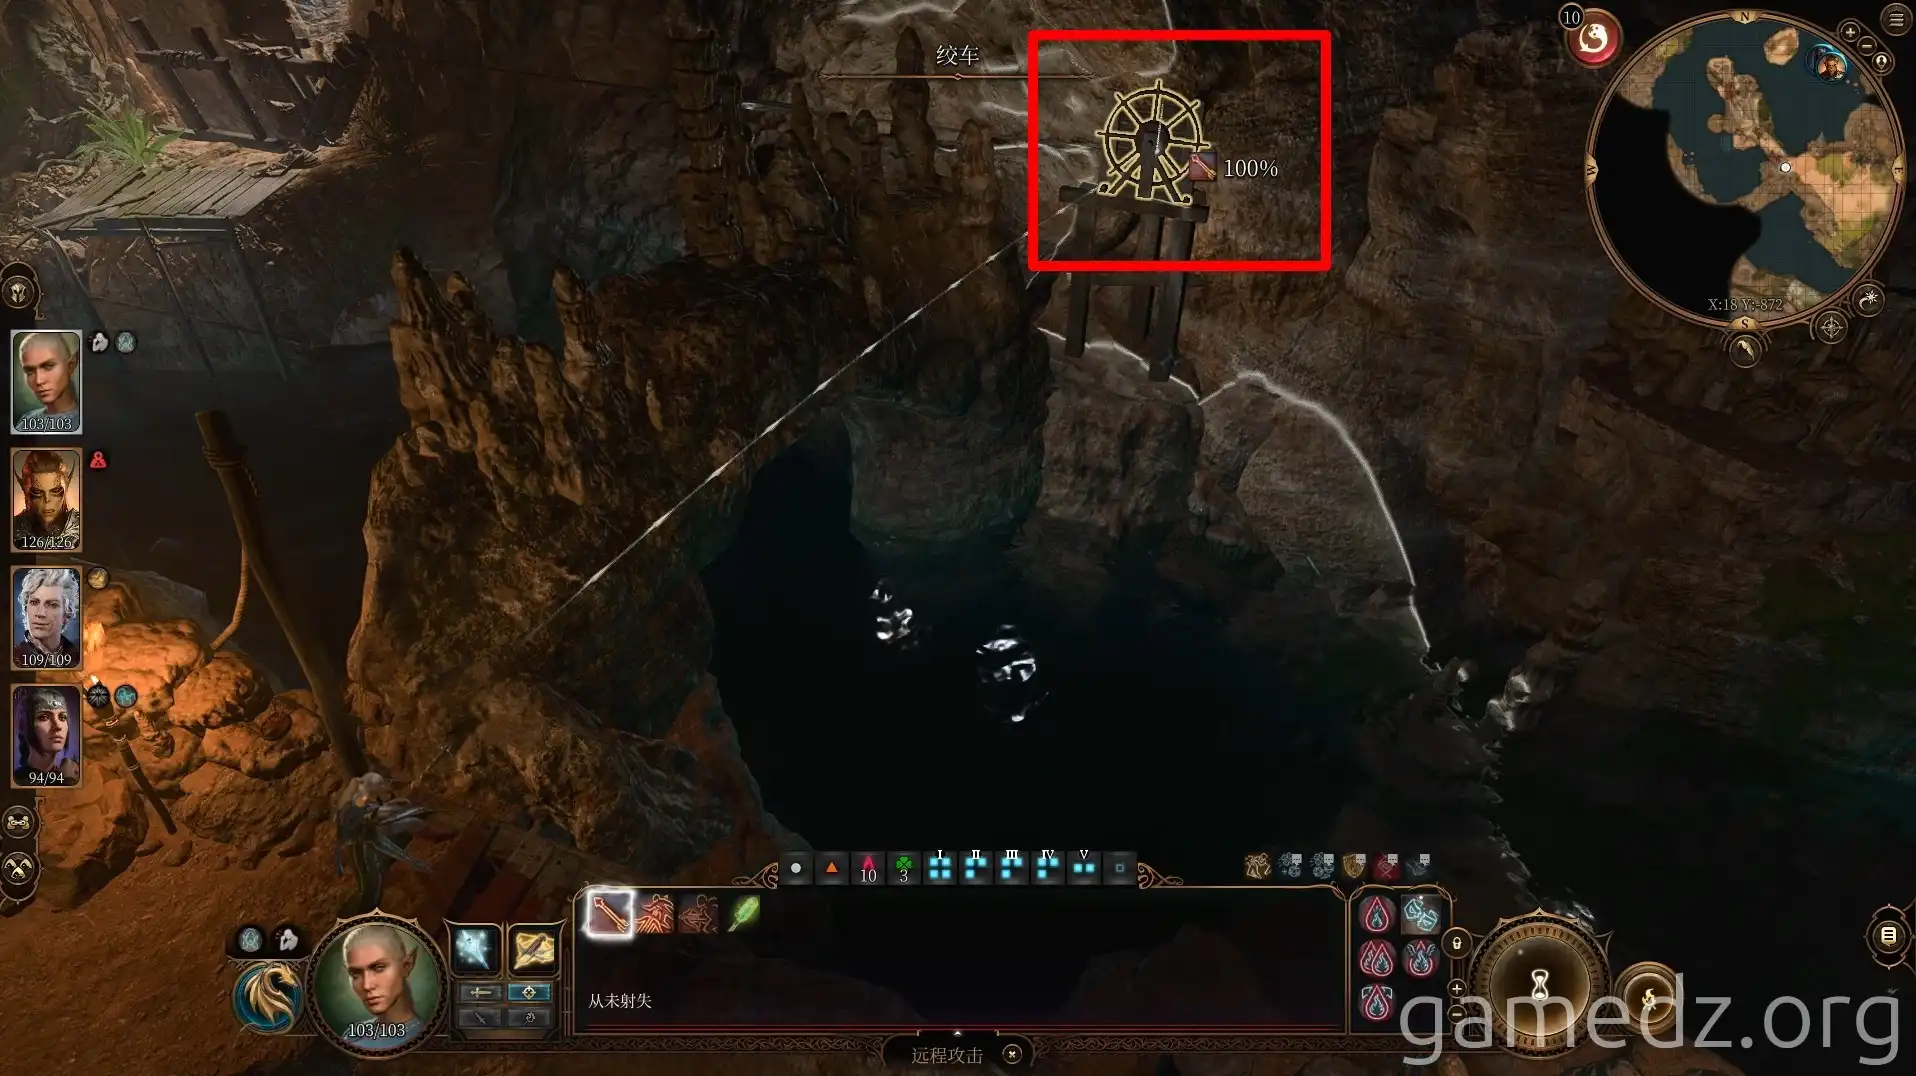
Use a ranged attack to hit the winch, revealing another exit to the underground cave on the other side. However, you don't need to leave through here at this time. Simply return the way you came.
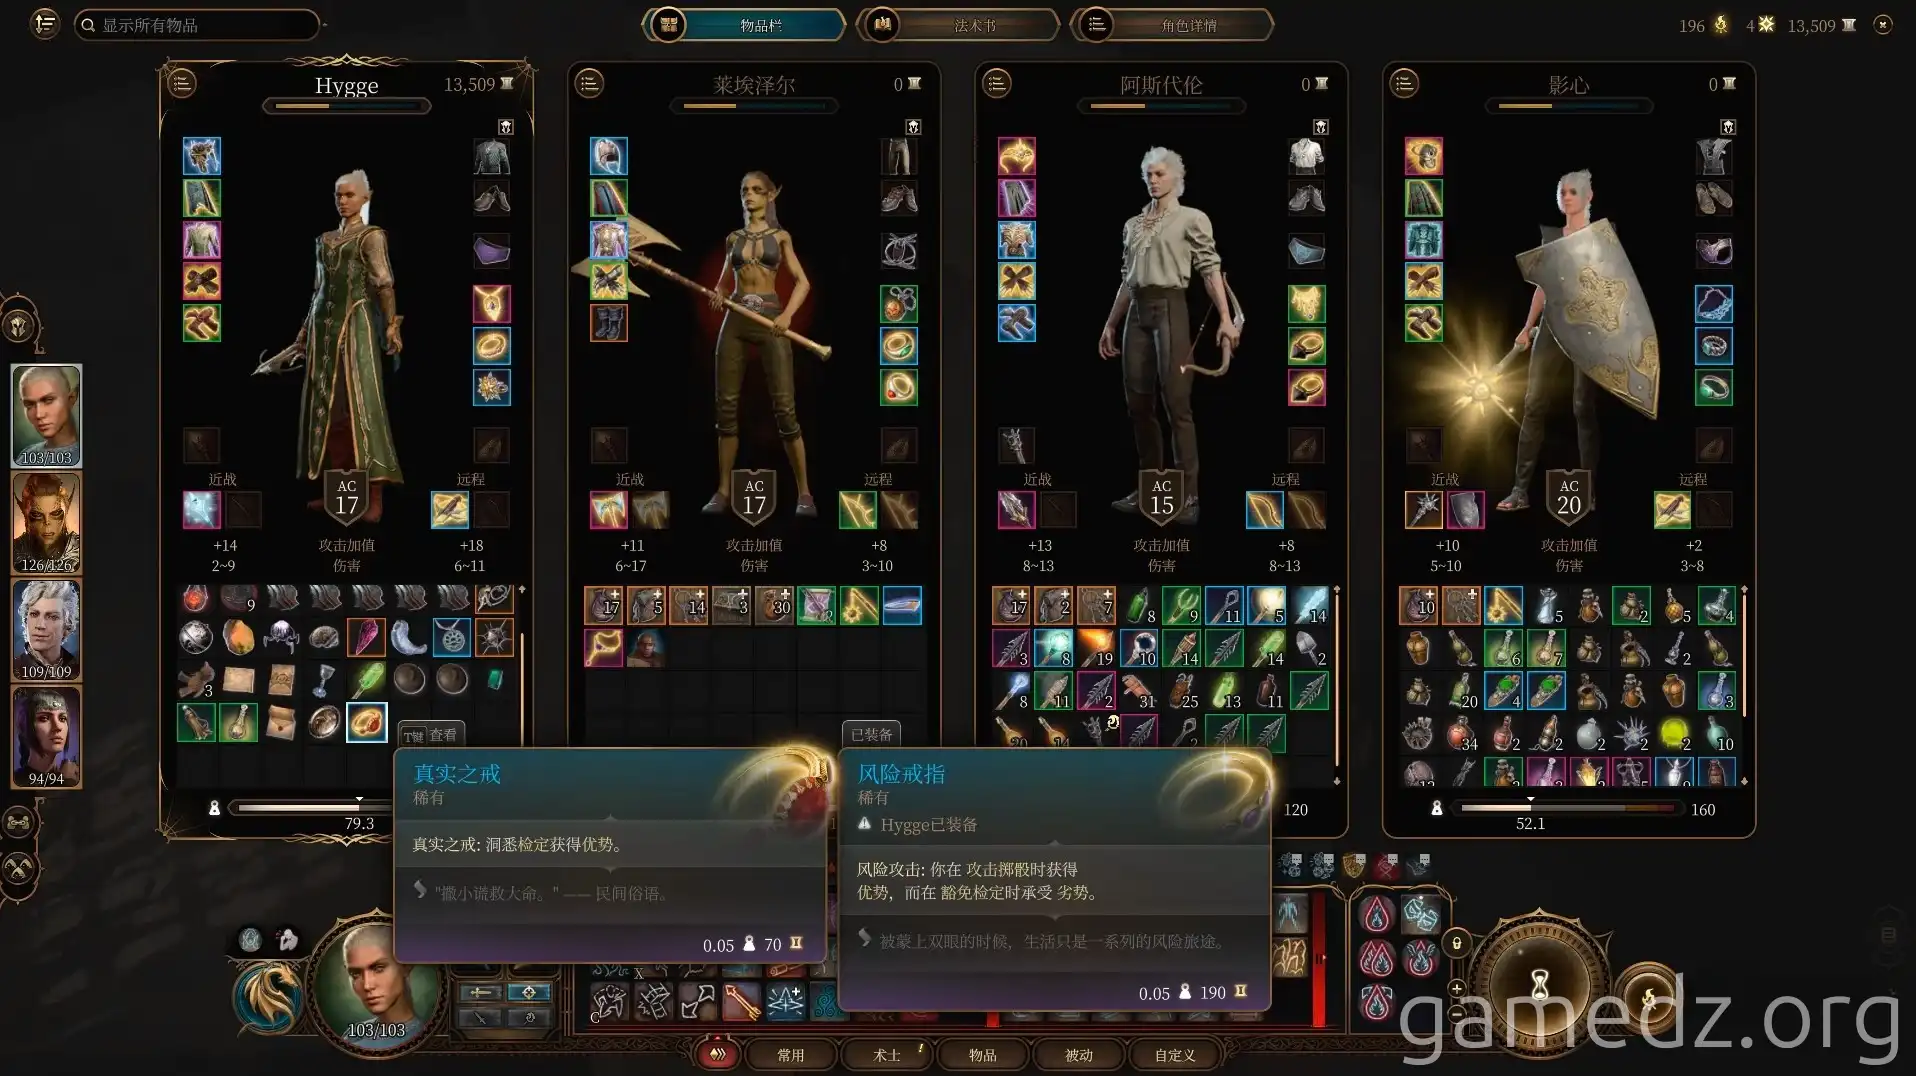
Return to the windmill basement and hand over the corpse to the Mind Flayer to complete the quest and receive the rare accessory [Amulet of True Sight].
Afterward, proceed to kill the Mind Flayer. You can obtain the [Mind Flayer Brain] from it. If you didn't give it the corpse, using the brain will grant you an Illithid Parasite Specimen. However, after giving it the corpse, this brain becomes largely useless.
Follow the central road of Rivington southward, preparing to enter the circus.

