Baldur's Gate 3 Rivington Village: Full Map & Loot Guide
This Baldur's Gate 3 guide explores Rivington Village, detailing the Mason's Guild, Tollhouse, and Waning Moon Inn. It highlights key locations, rare item drops, and quest completions for players.
This comprehensive walkthrough will guide you through Rivington Village in Baldur's Gate 3, uncovering all its secrets, rare loot, and quest objectives.
Rivington Village Entrance & Mason's Guild
Head to the circular building you passed earlier and enter Rivington Village through the northernmost entrance.
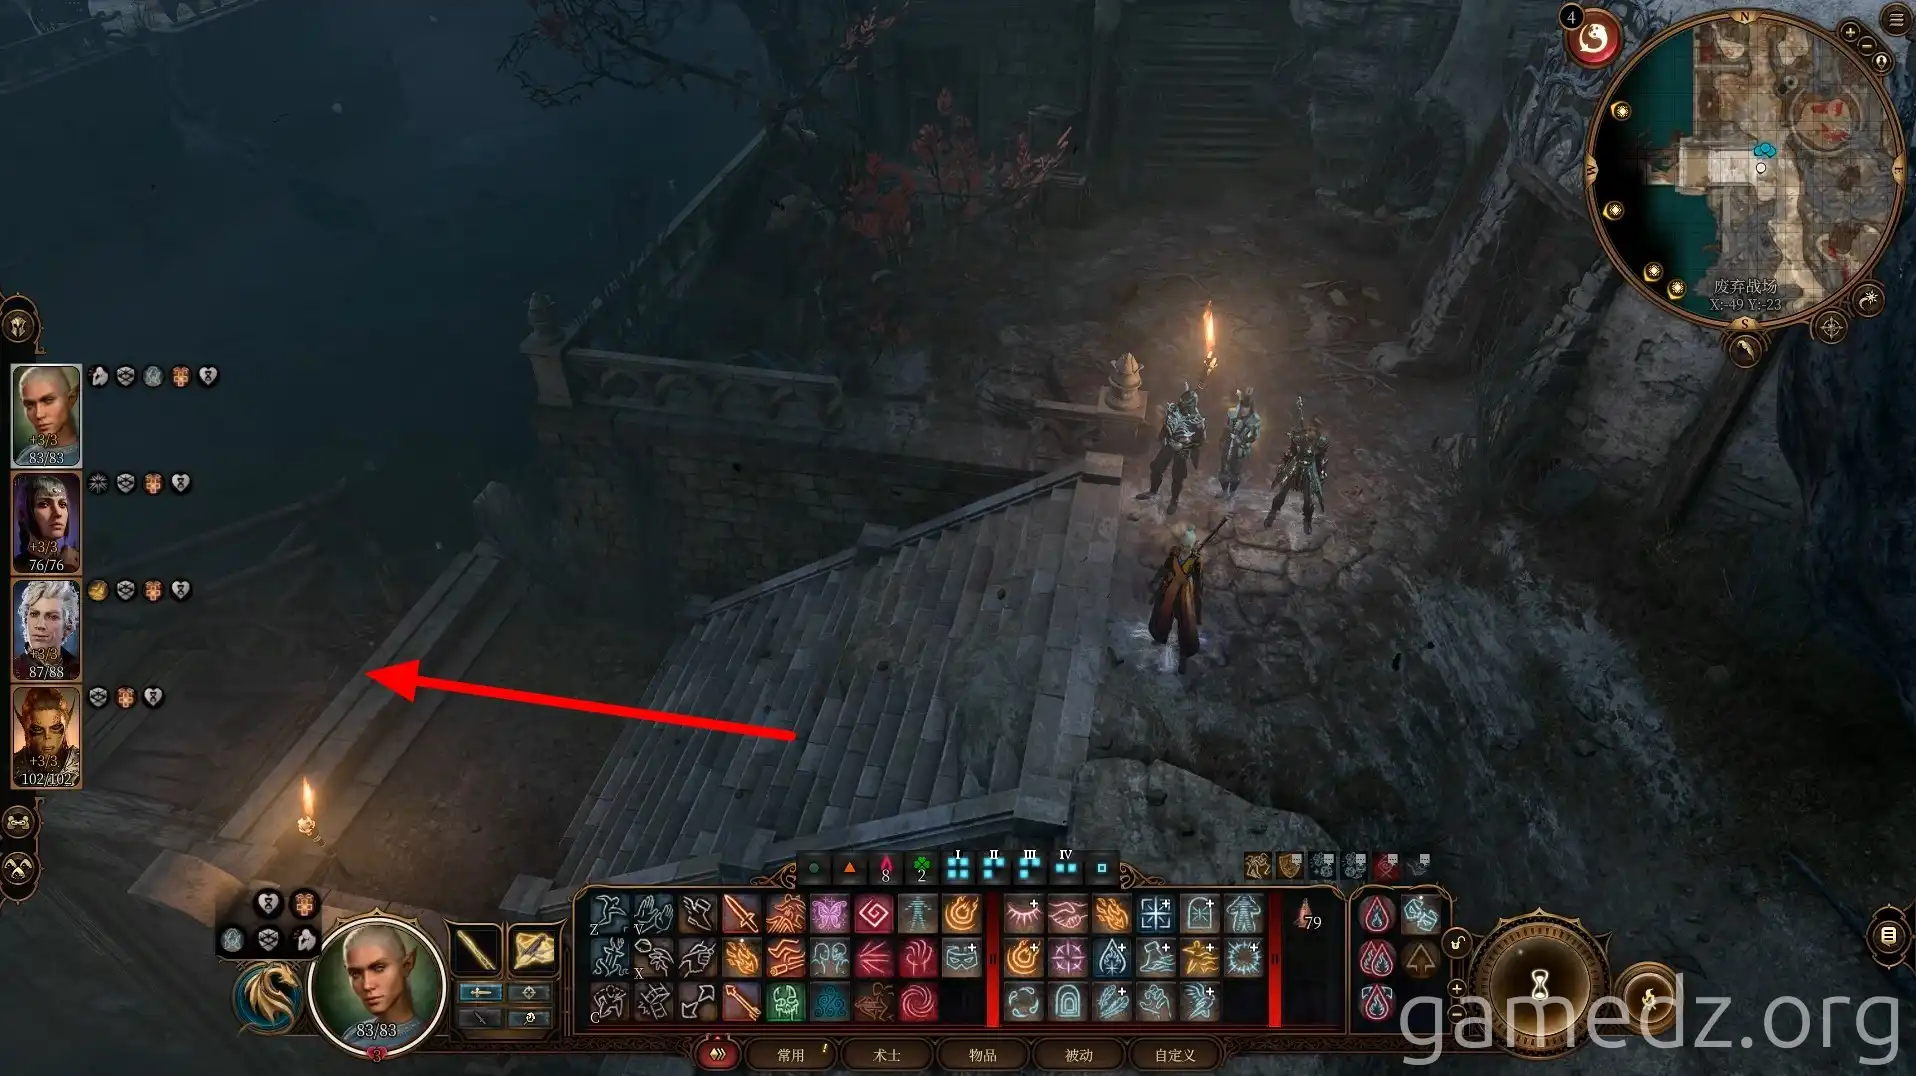
After entering the village, walk south a bit to activate the waypoint. Then, proceed north through the gate ahead to enter the Mason's Guild.
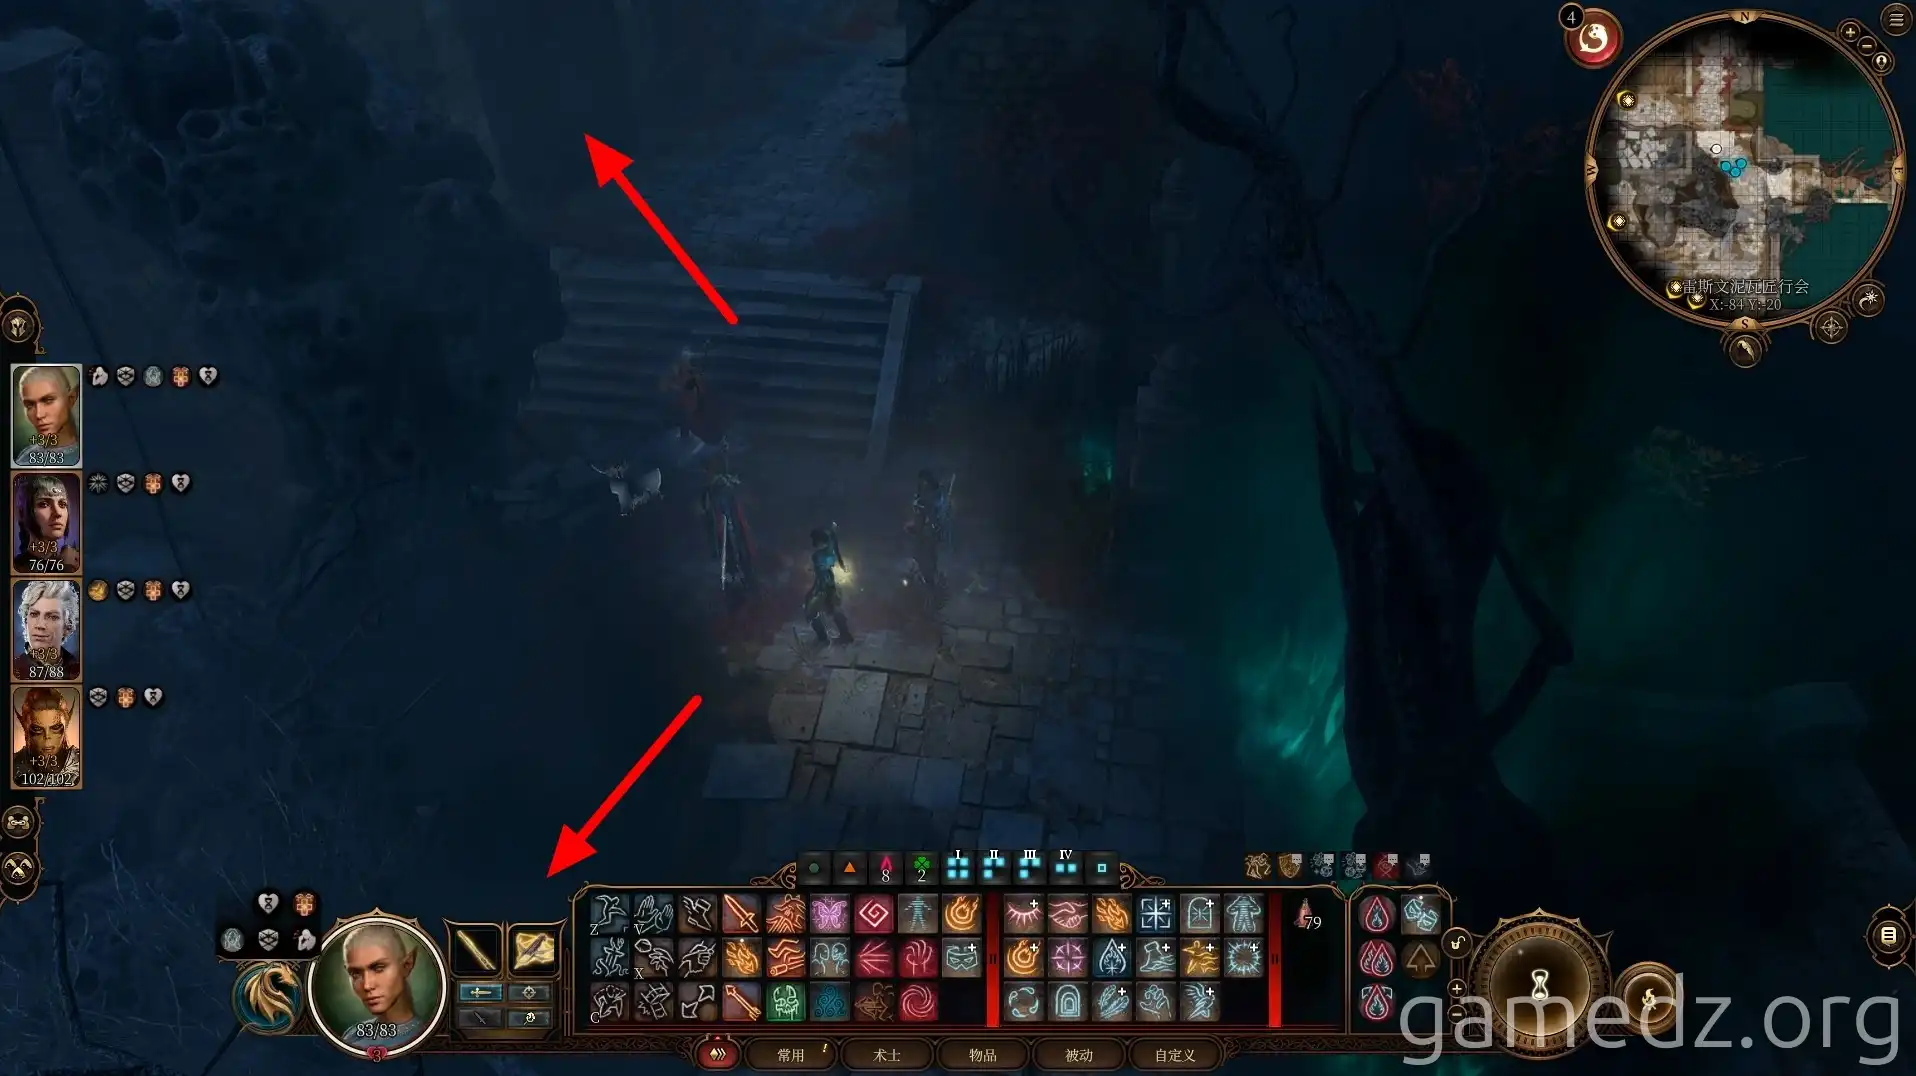
Once inside the Mason's Guild, you can find the Barkskin spell scroll on a counter in the main hall. Afterward, go through the door on the north side to reach the Mason's Guild backyard.
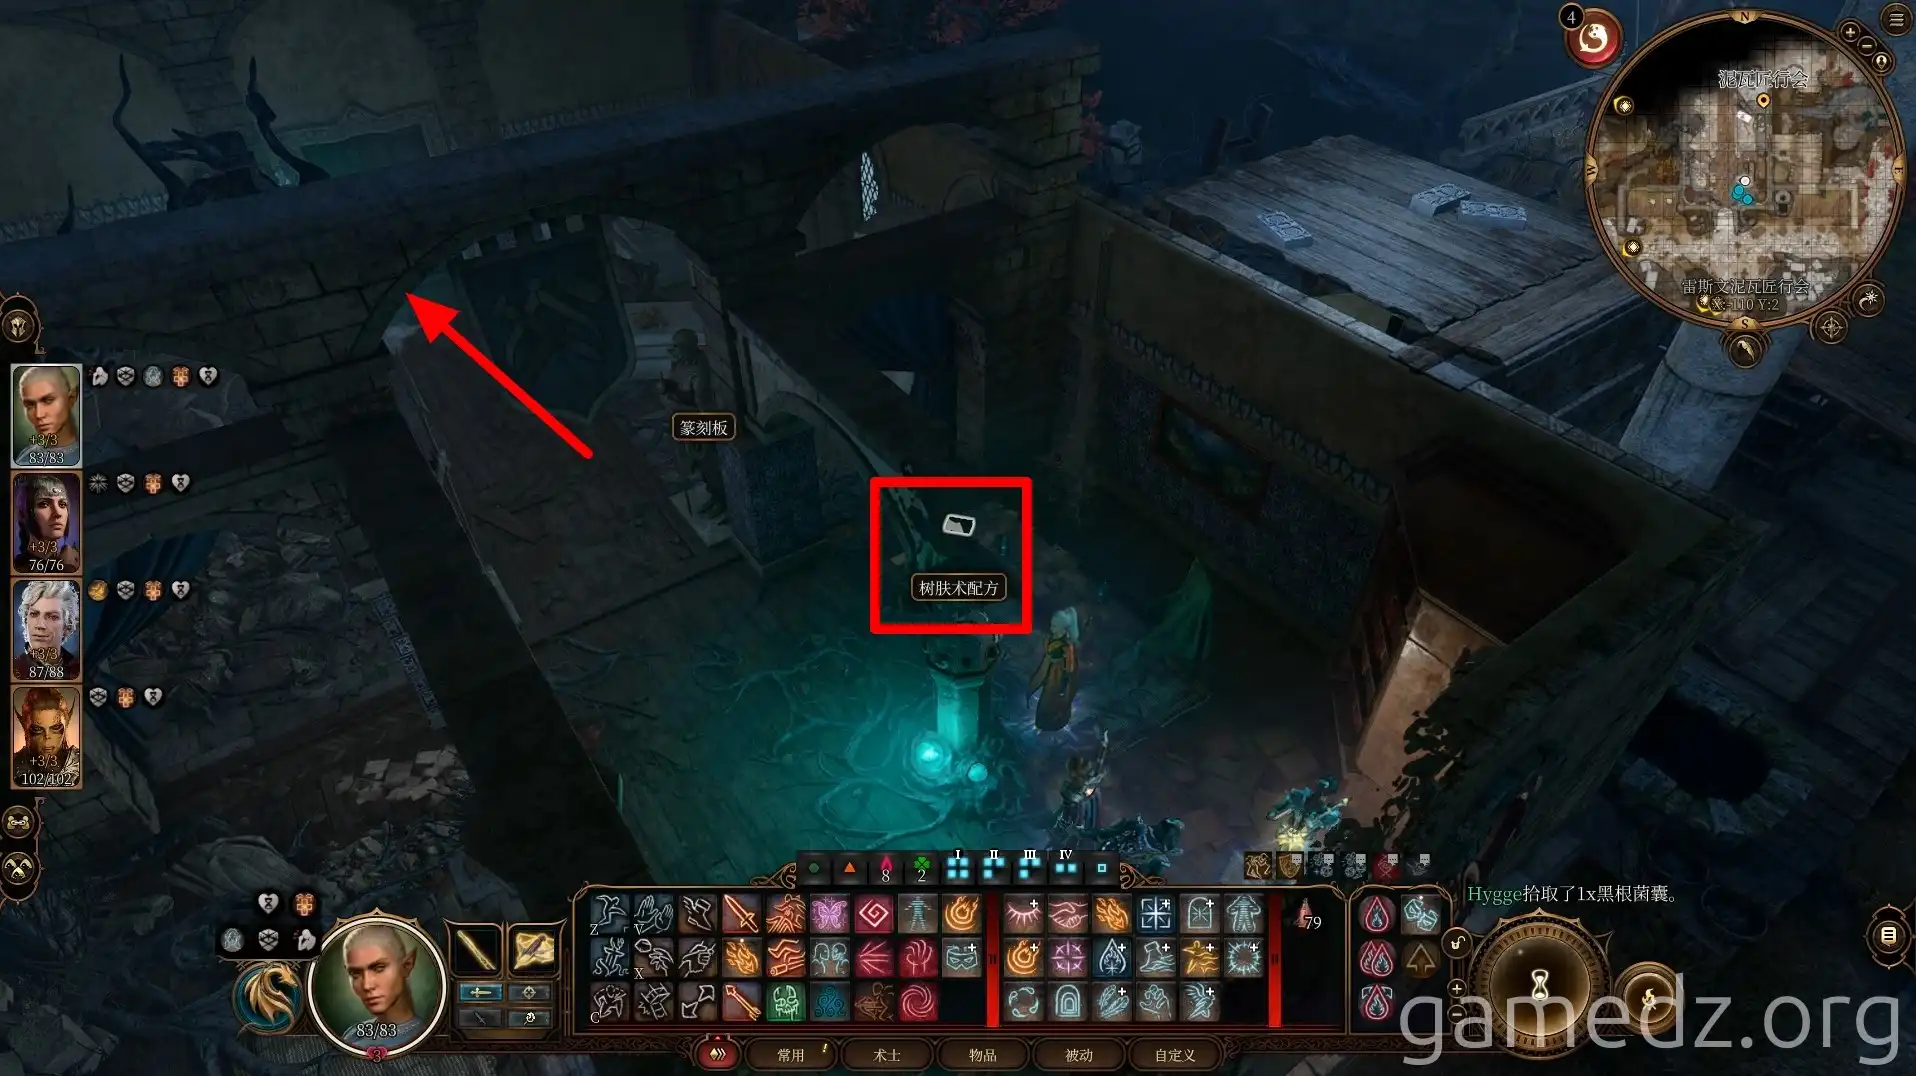
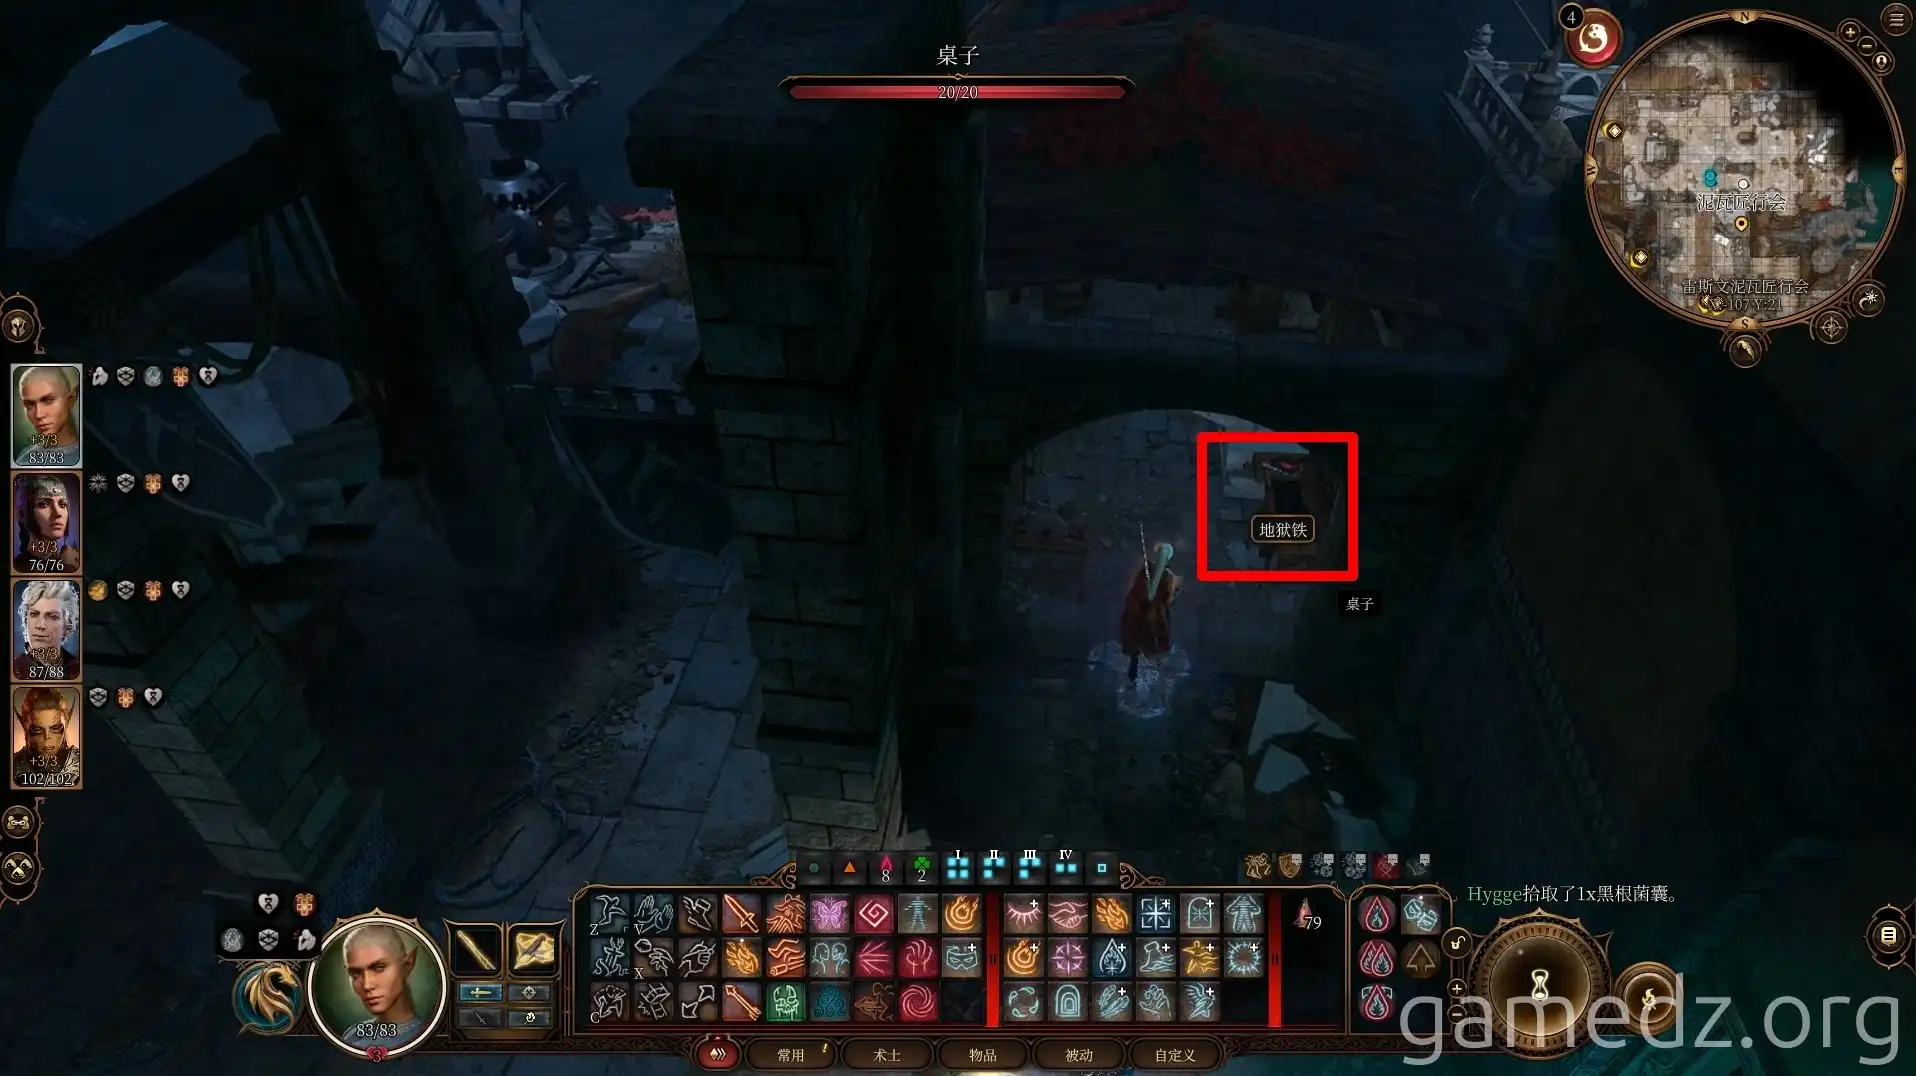
On a workbench near the river, you can find a Hell Metal.
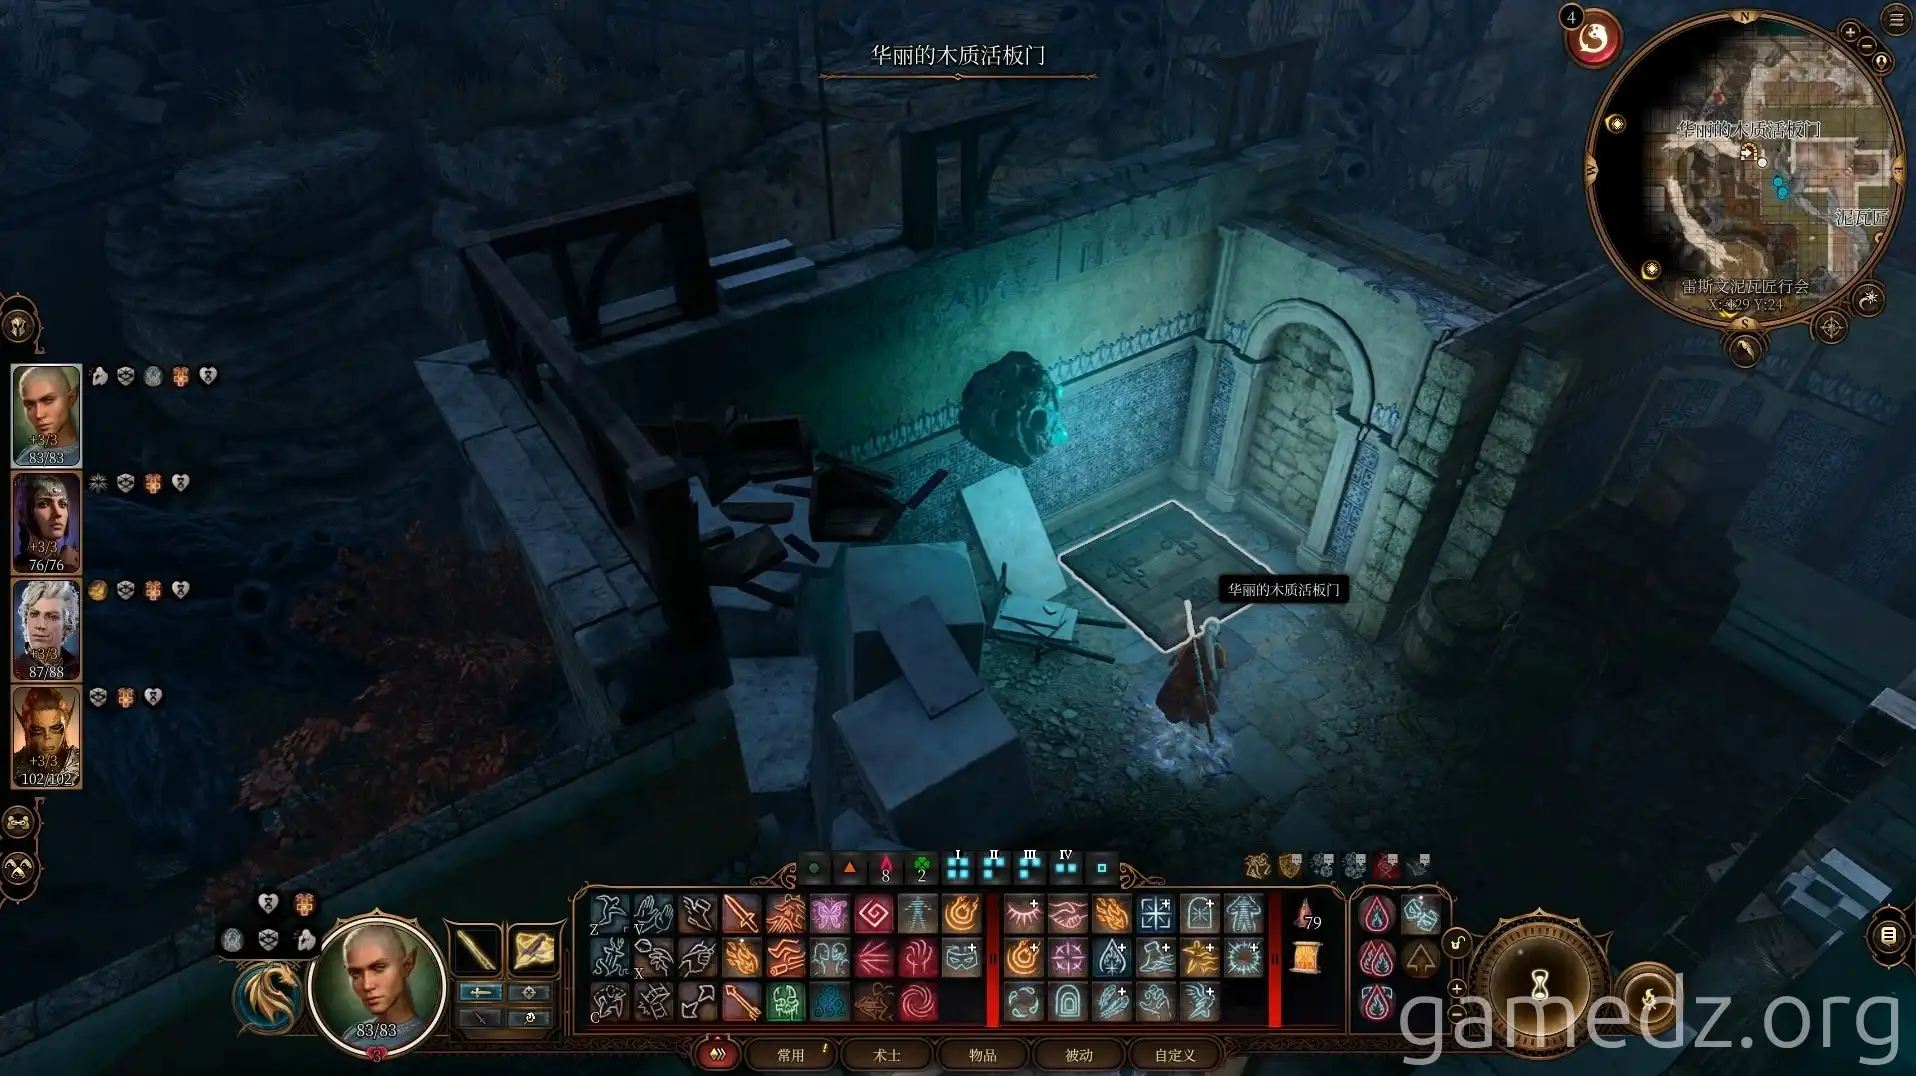
Next, use the ornate wooden trapdoor in the corner to descend into the basement.
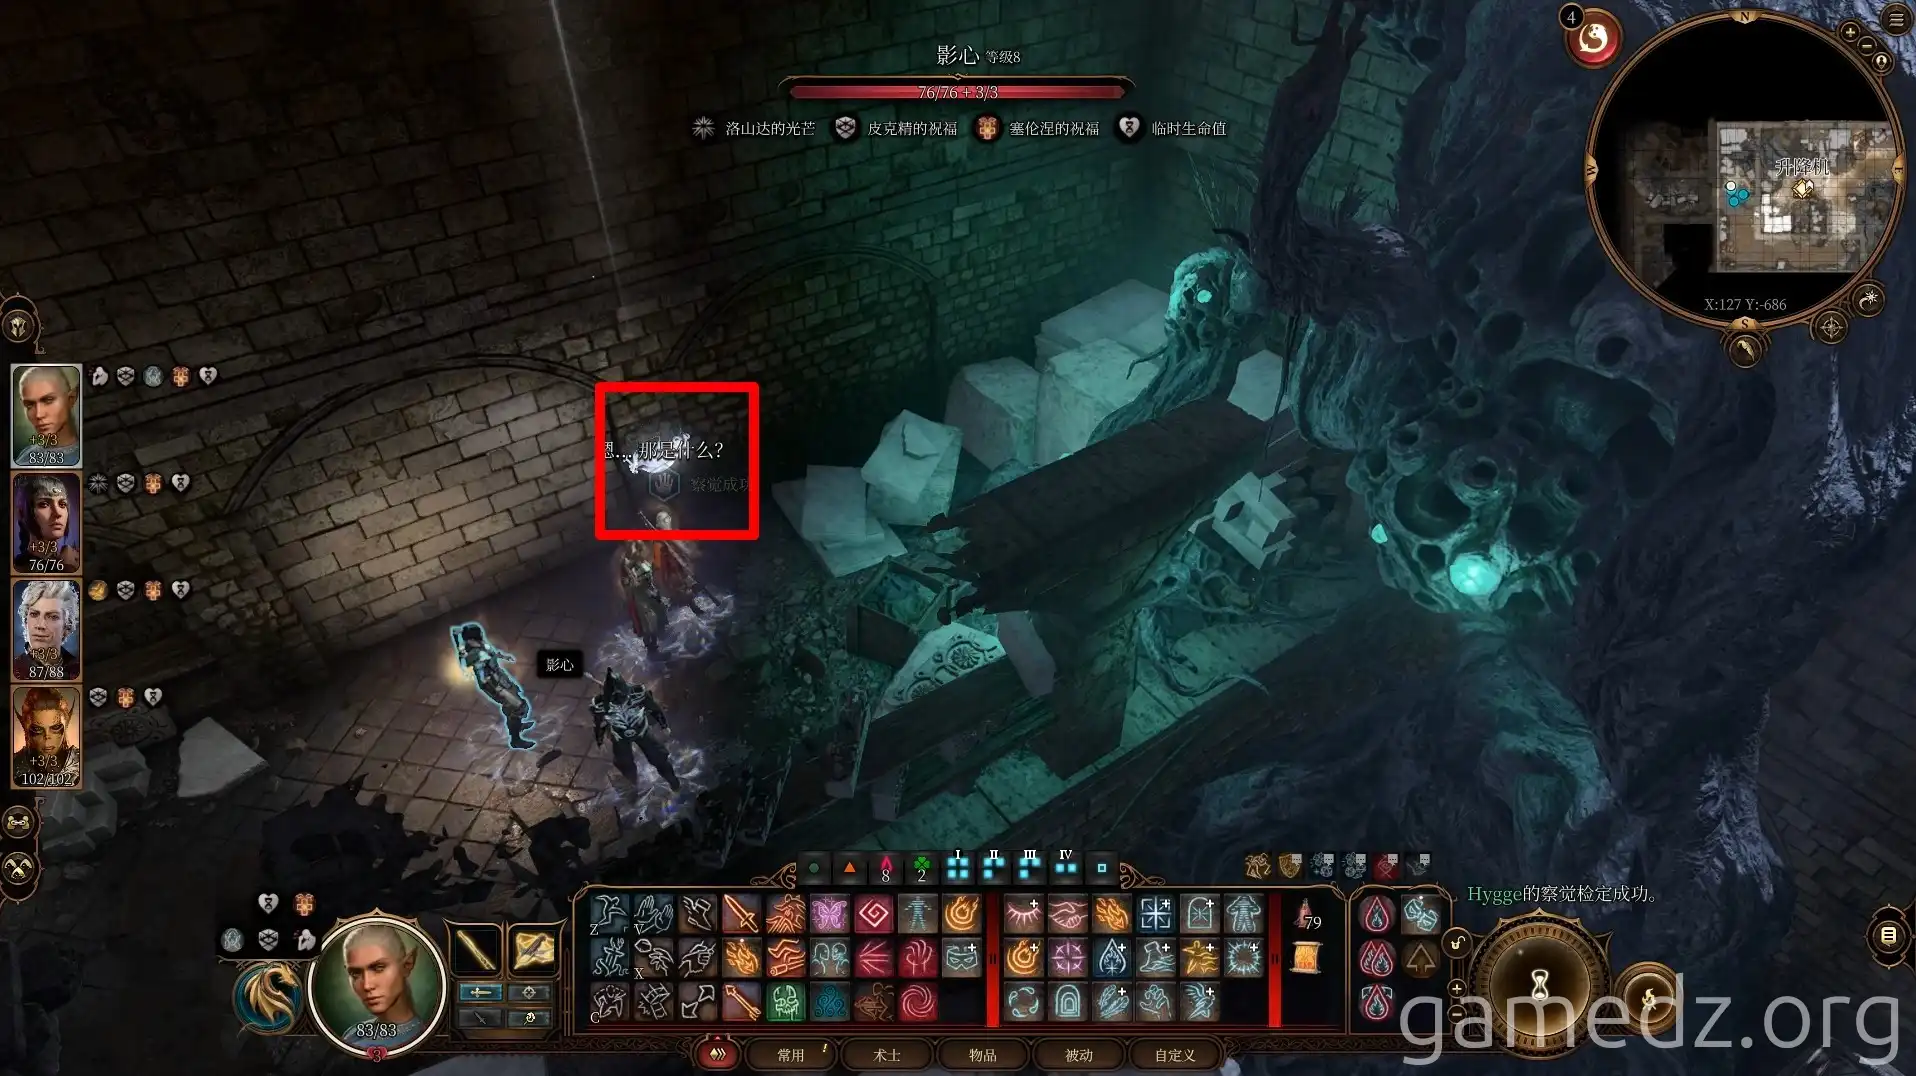
On the west wall of the basement, you can discover a keyhole with an Insight check. Use the Tower Key you previously bluffed from Mattis to open the secret room.
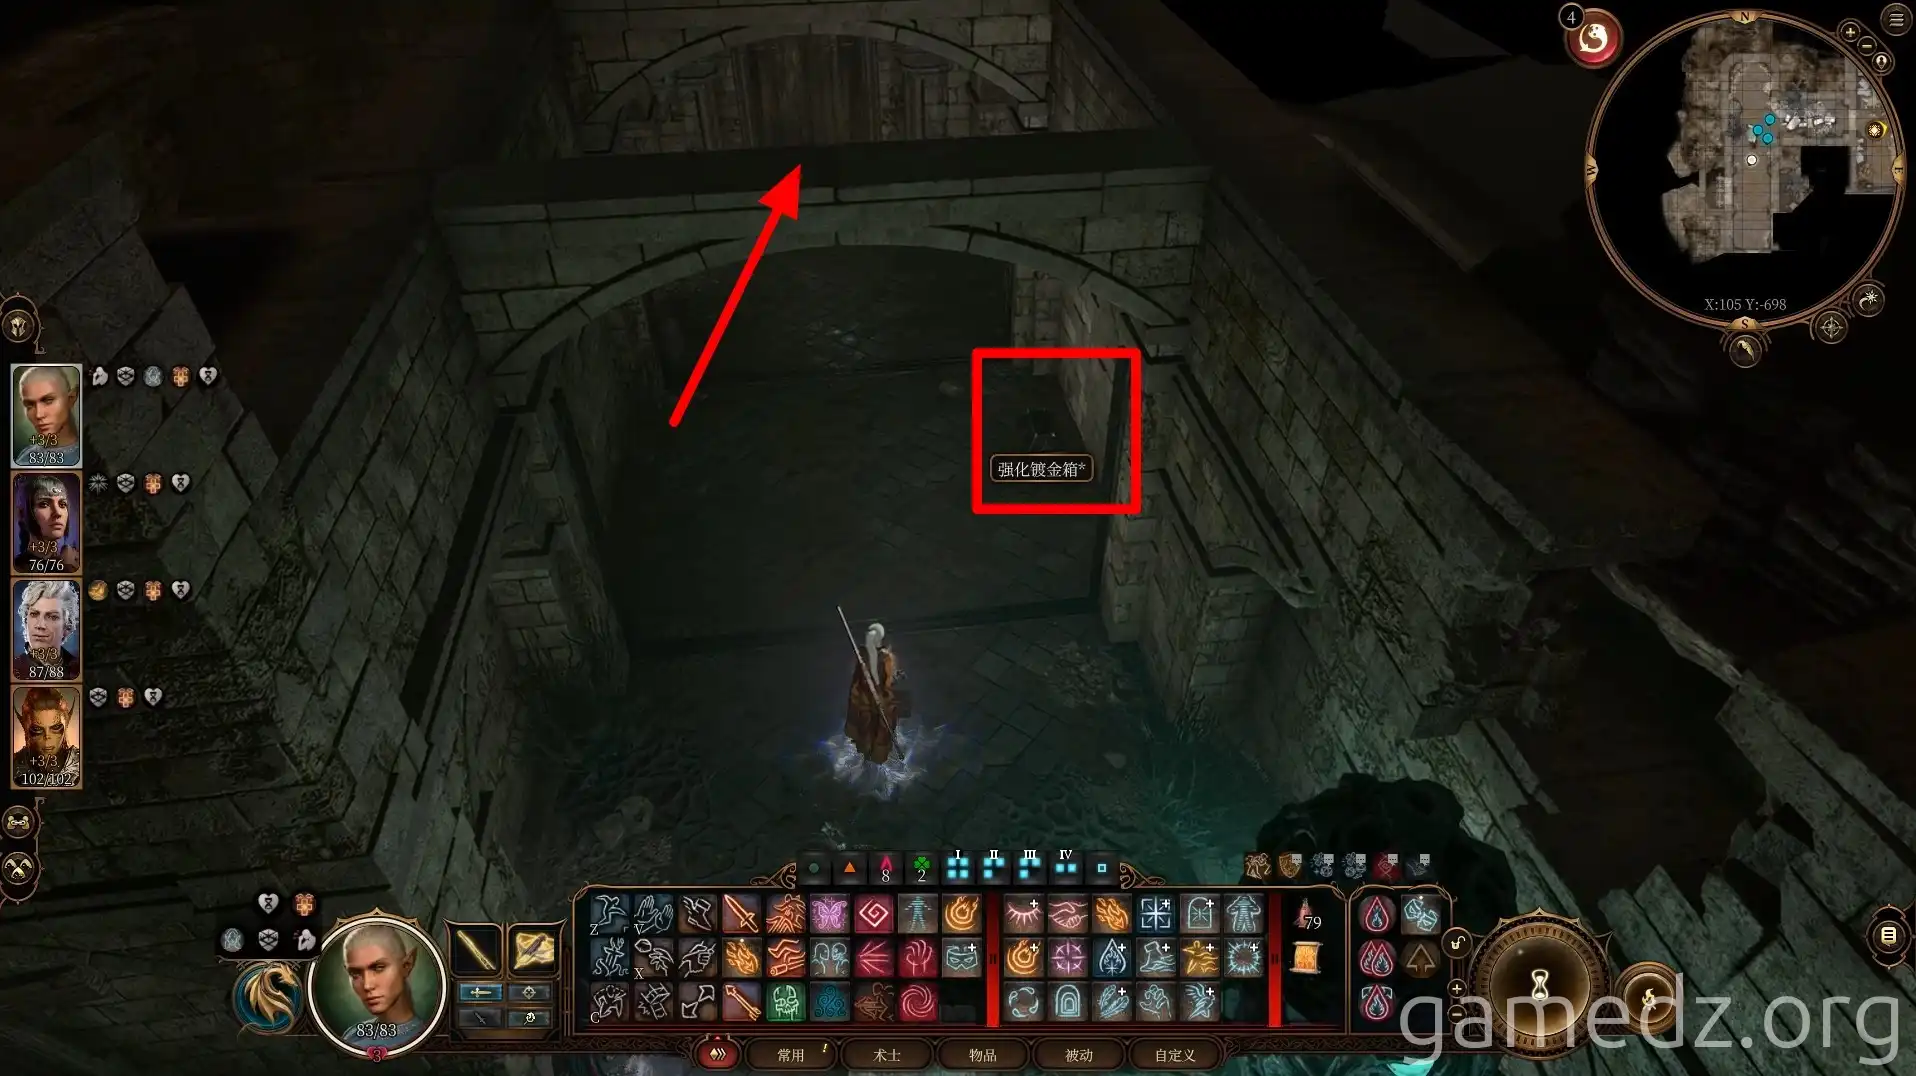
The chest in the secret room's corridor is trapped. Avoid touching it and proceed directly into the room to the south.
In the main hall ahead, you'll encounter six Shadow creatures. Defeat them all.
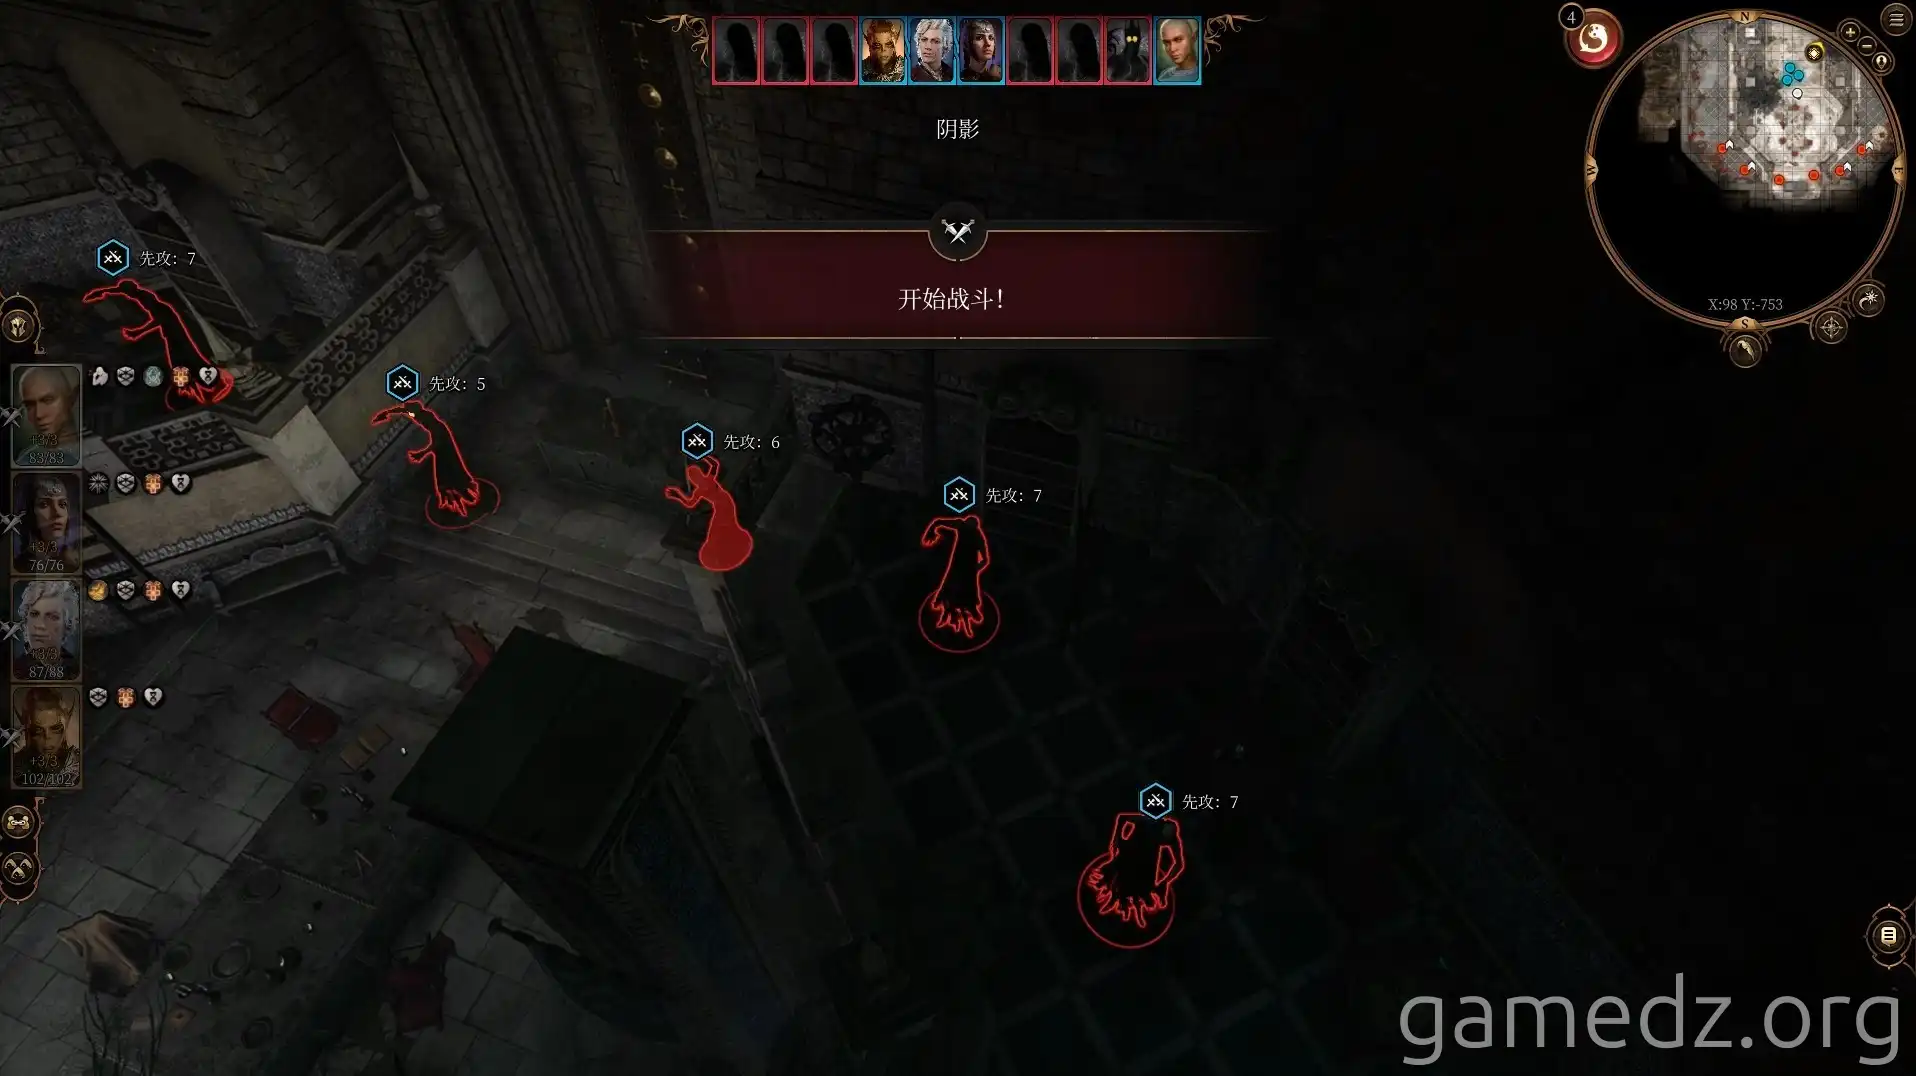
After the battle, reading the Stonecutter's Records on the table will complete the side quest "Investigate the Sharran Cultists' Resistance."
In the southernmost chest within the temple, you can obtain the rare equipment, Pride of the Battlemage.
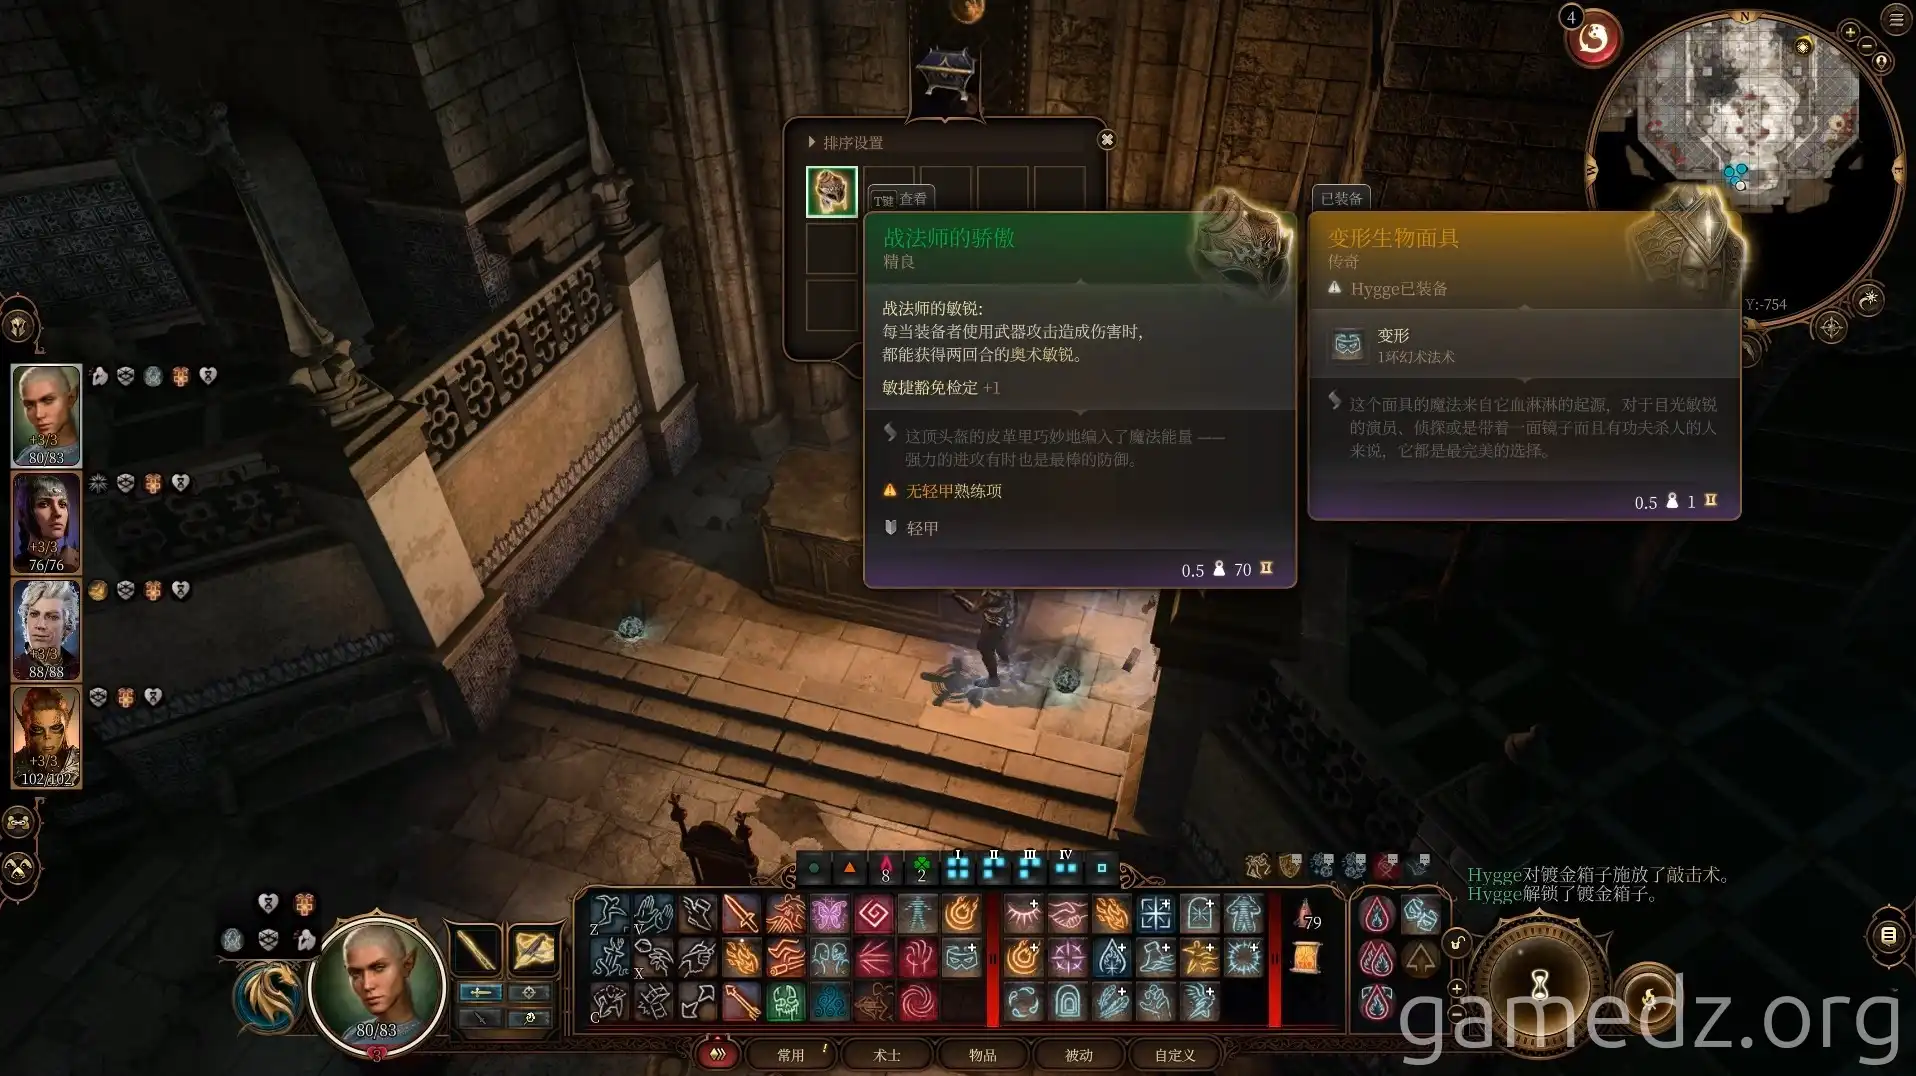
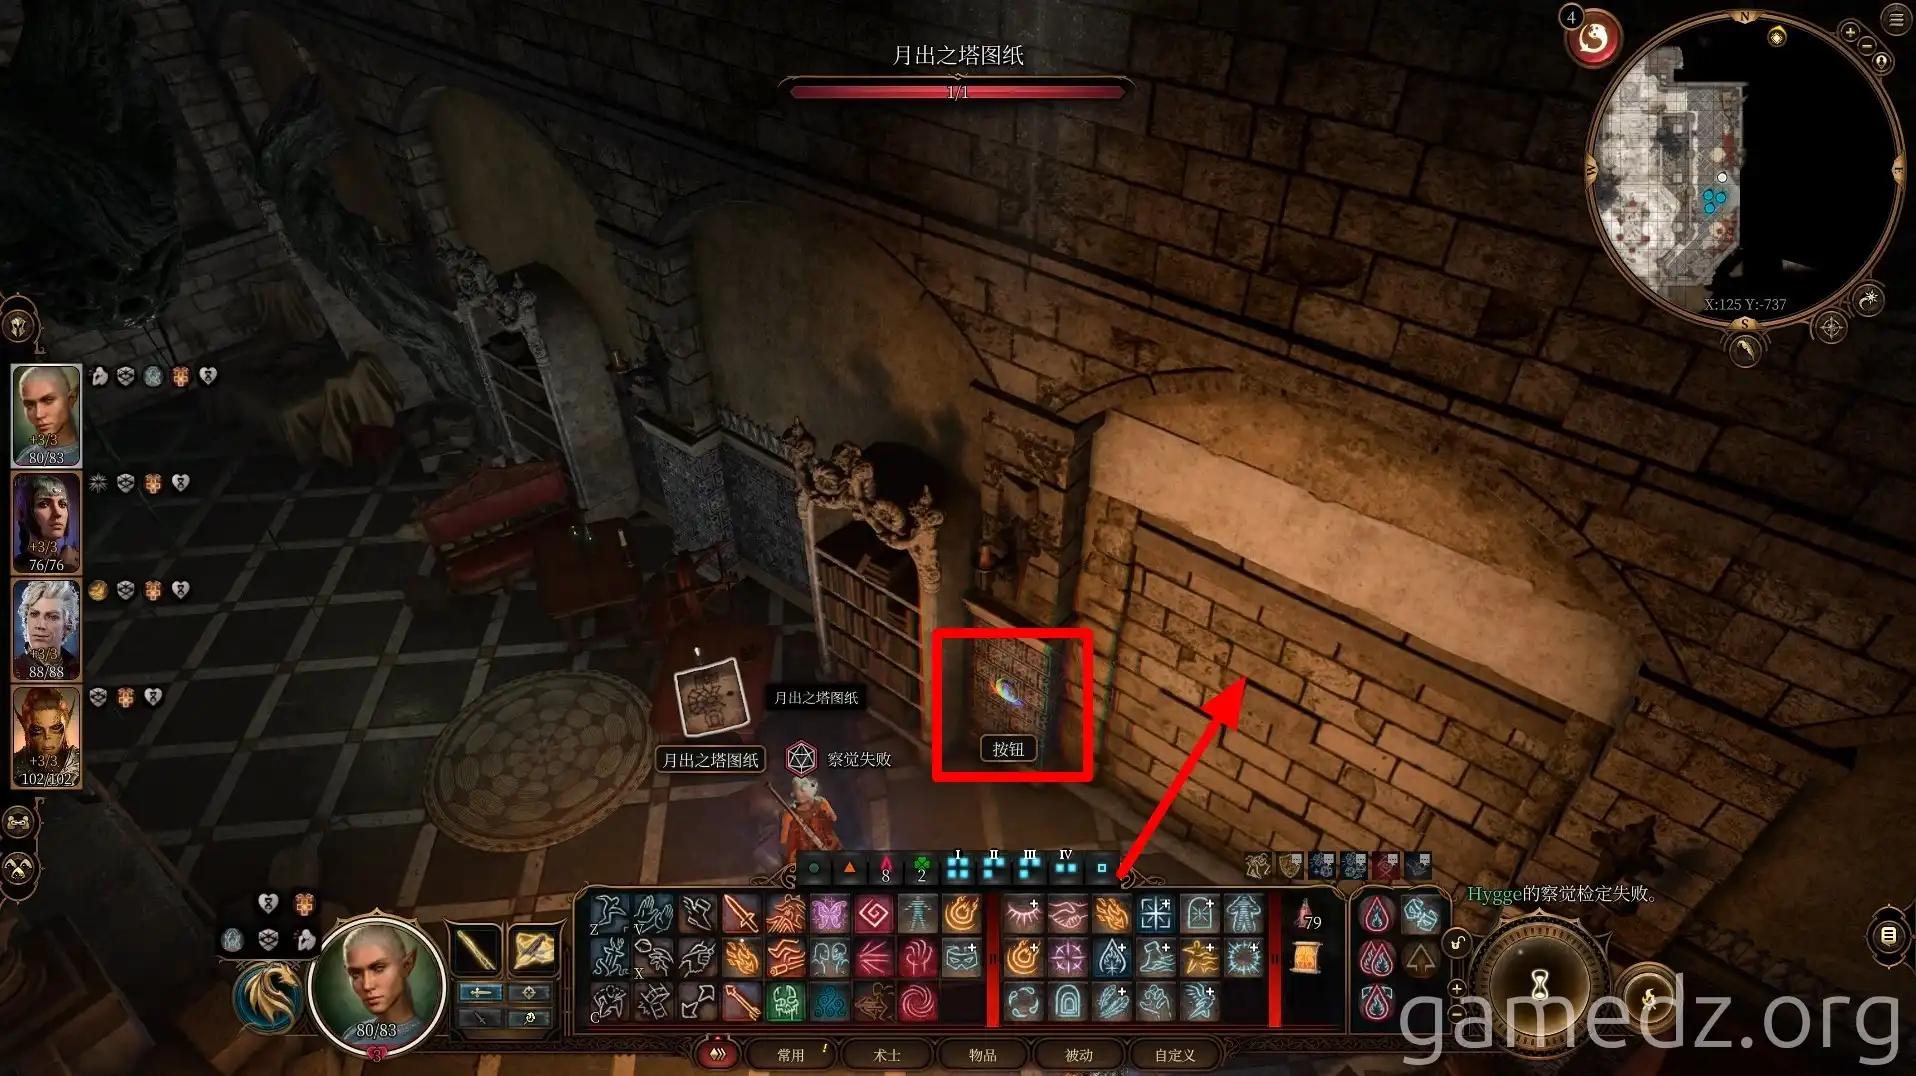
On the east side of the temple, you'll find a map marking a treasure location within the High Tower Prison.
Nearby, a Perception check will reveal a button. Pressing it will open another secret room.
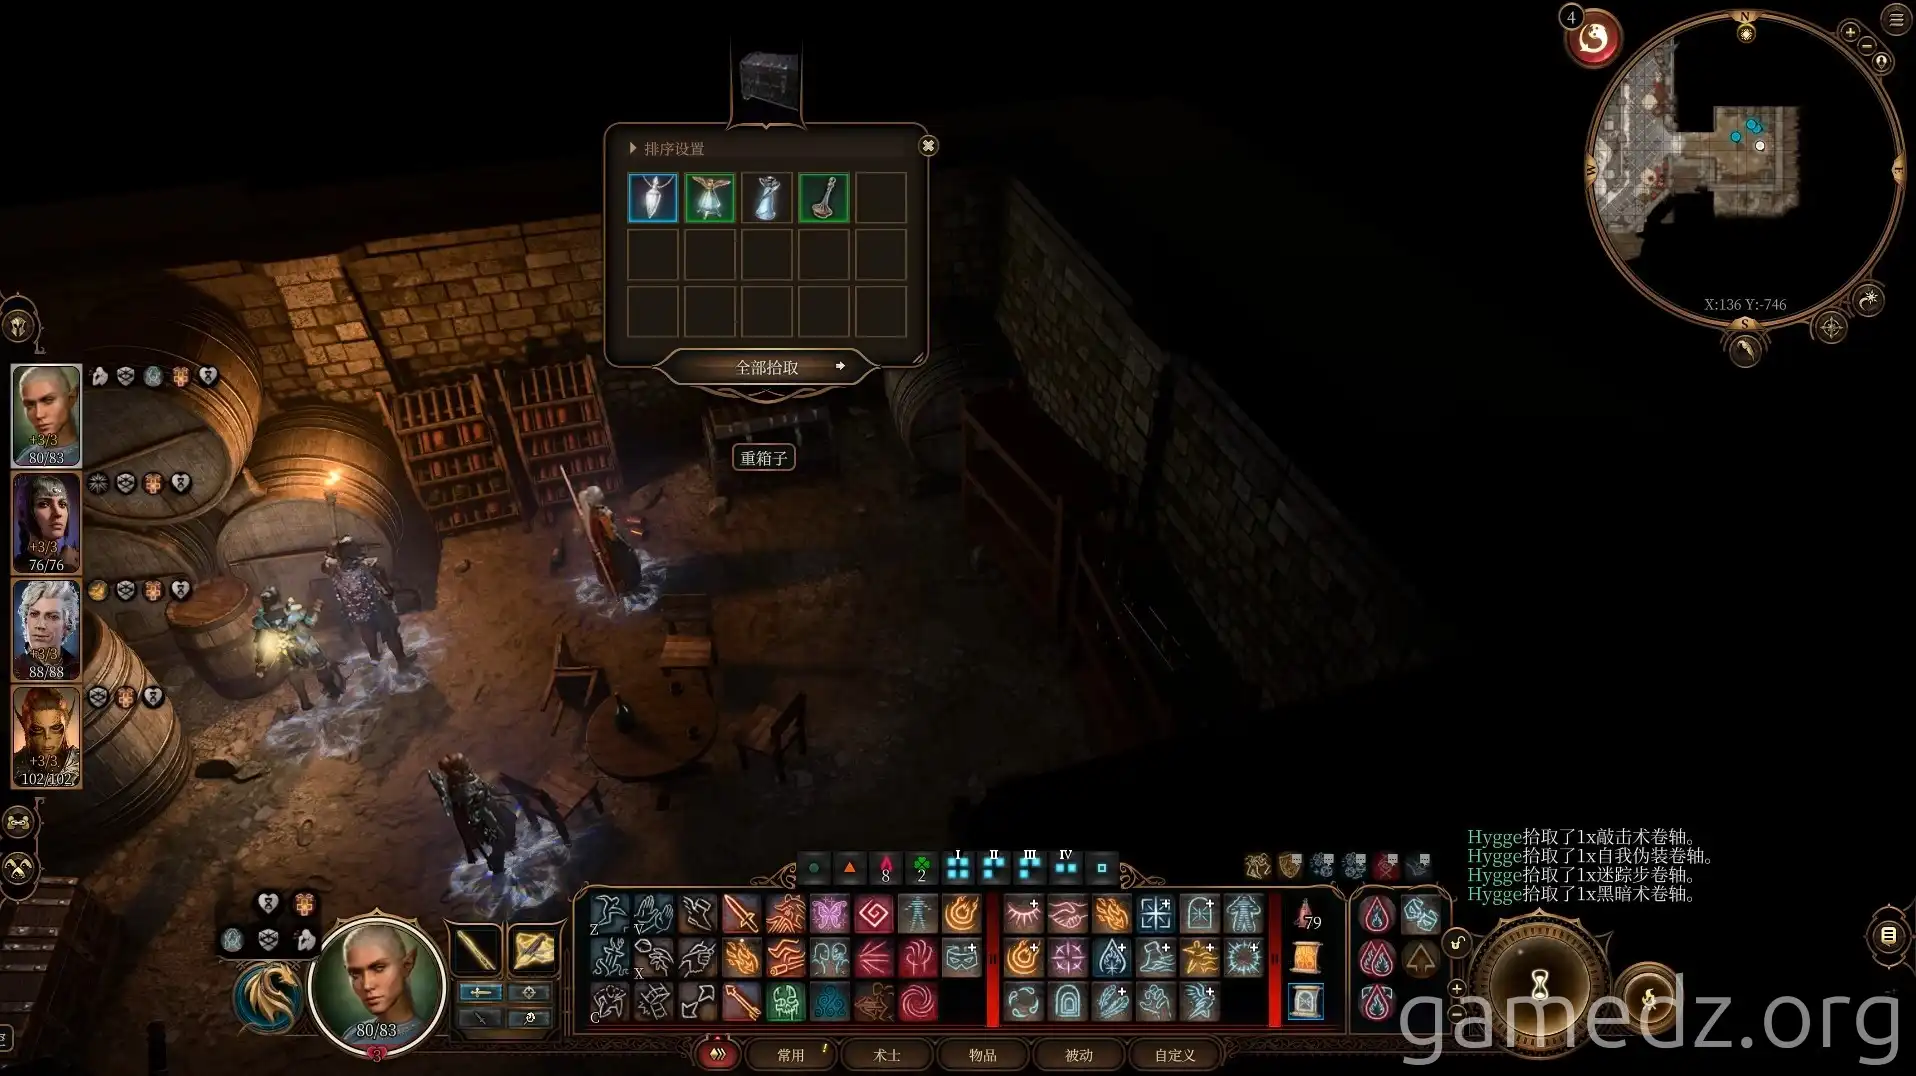
Inside the secret room's chest, you'll find some items. Then, retrace your steps to exit the Mason's Guild basement.
Use the ladder east of the Mason's Guild main gate to reach the second floor. Behind the wall above the main gate, you'll find a chest, but it only contains materials and no particularly valuable items.
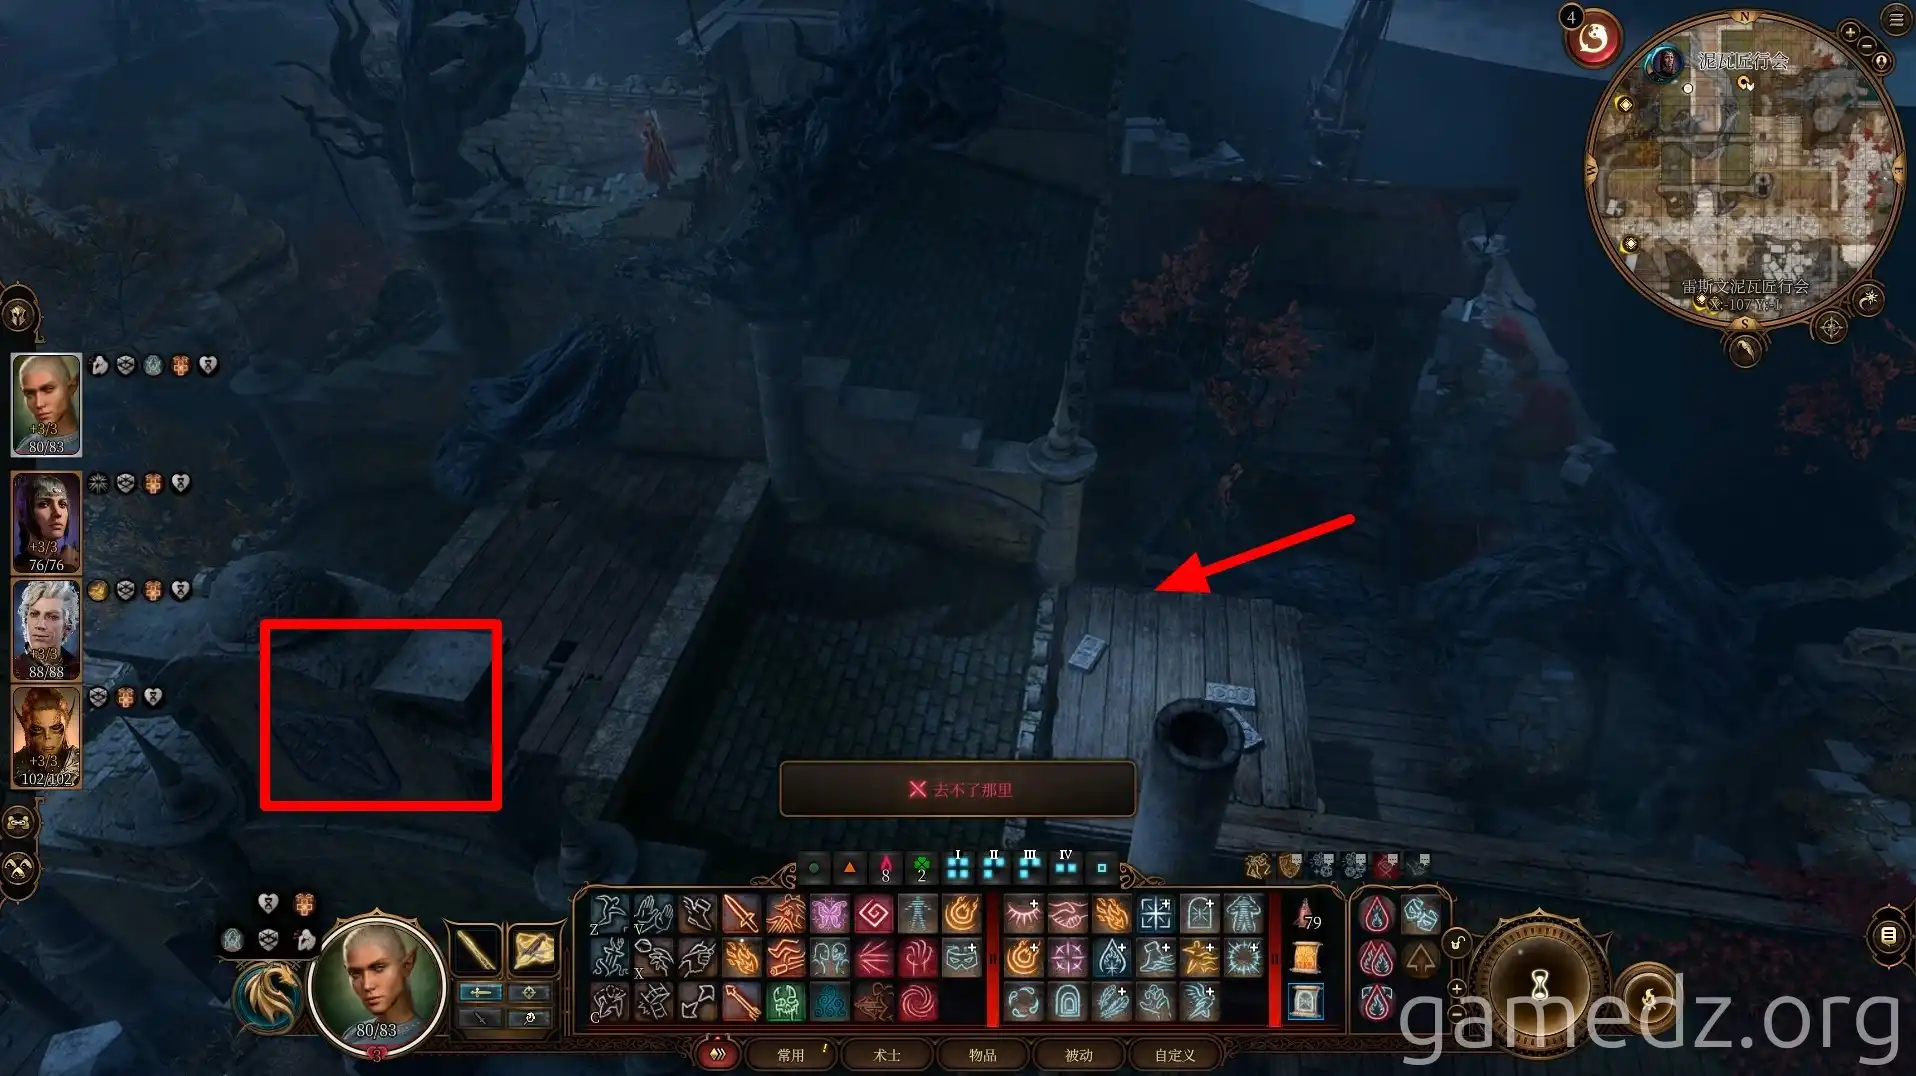
The Tollhouse Exploration
Return to the waypoint and head south to enter the Tollhouse. Before entering, make sure to store all your money in the warehouse.
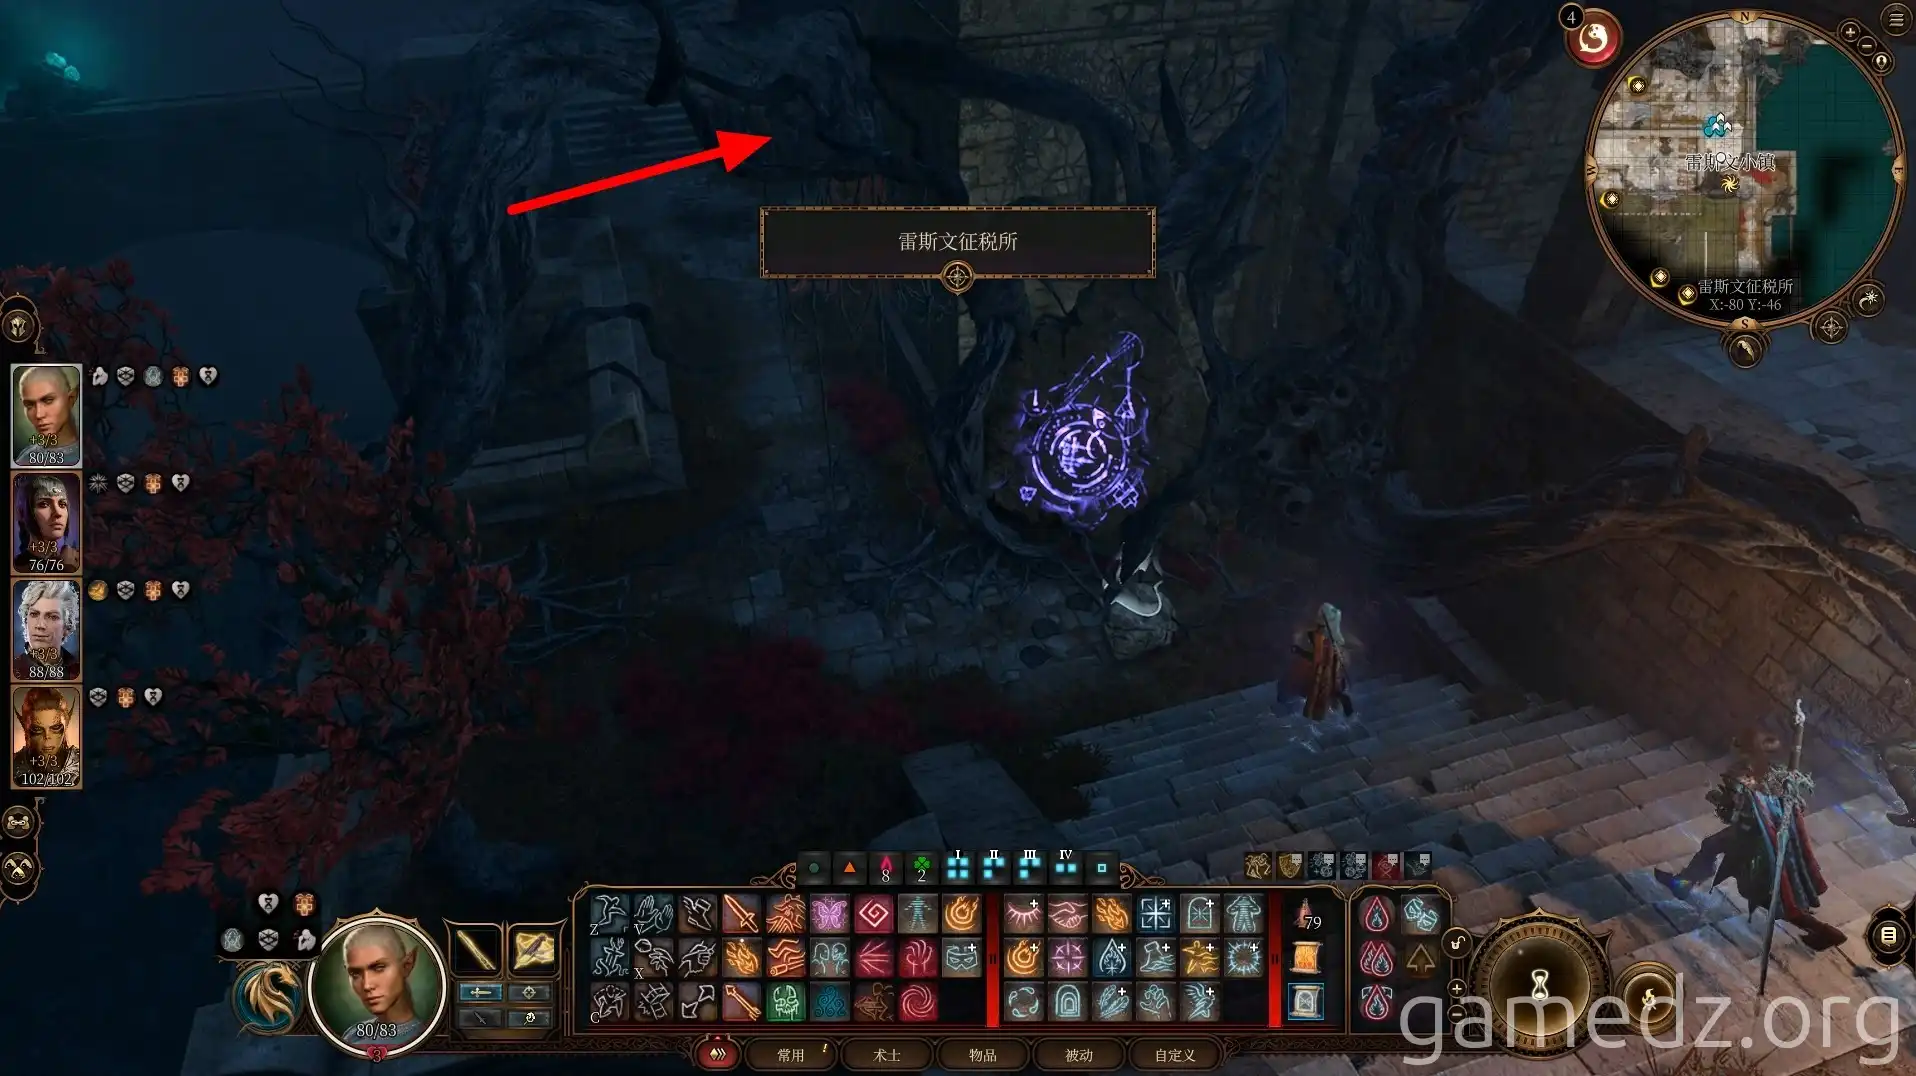
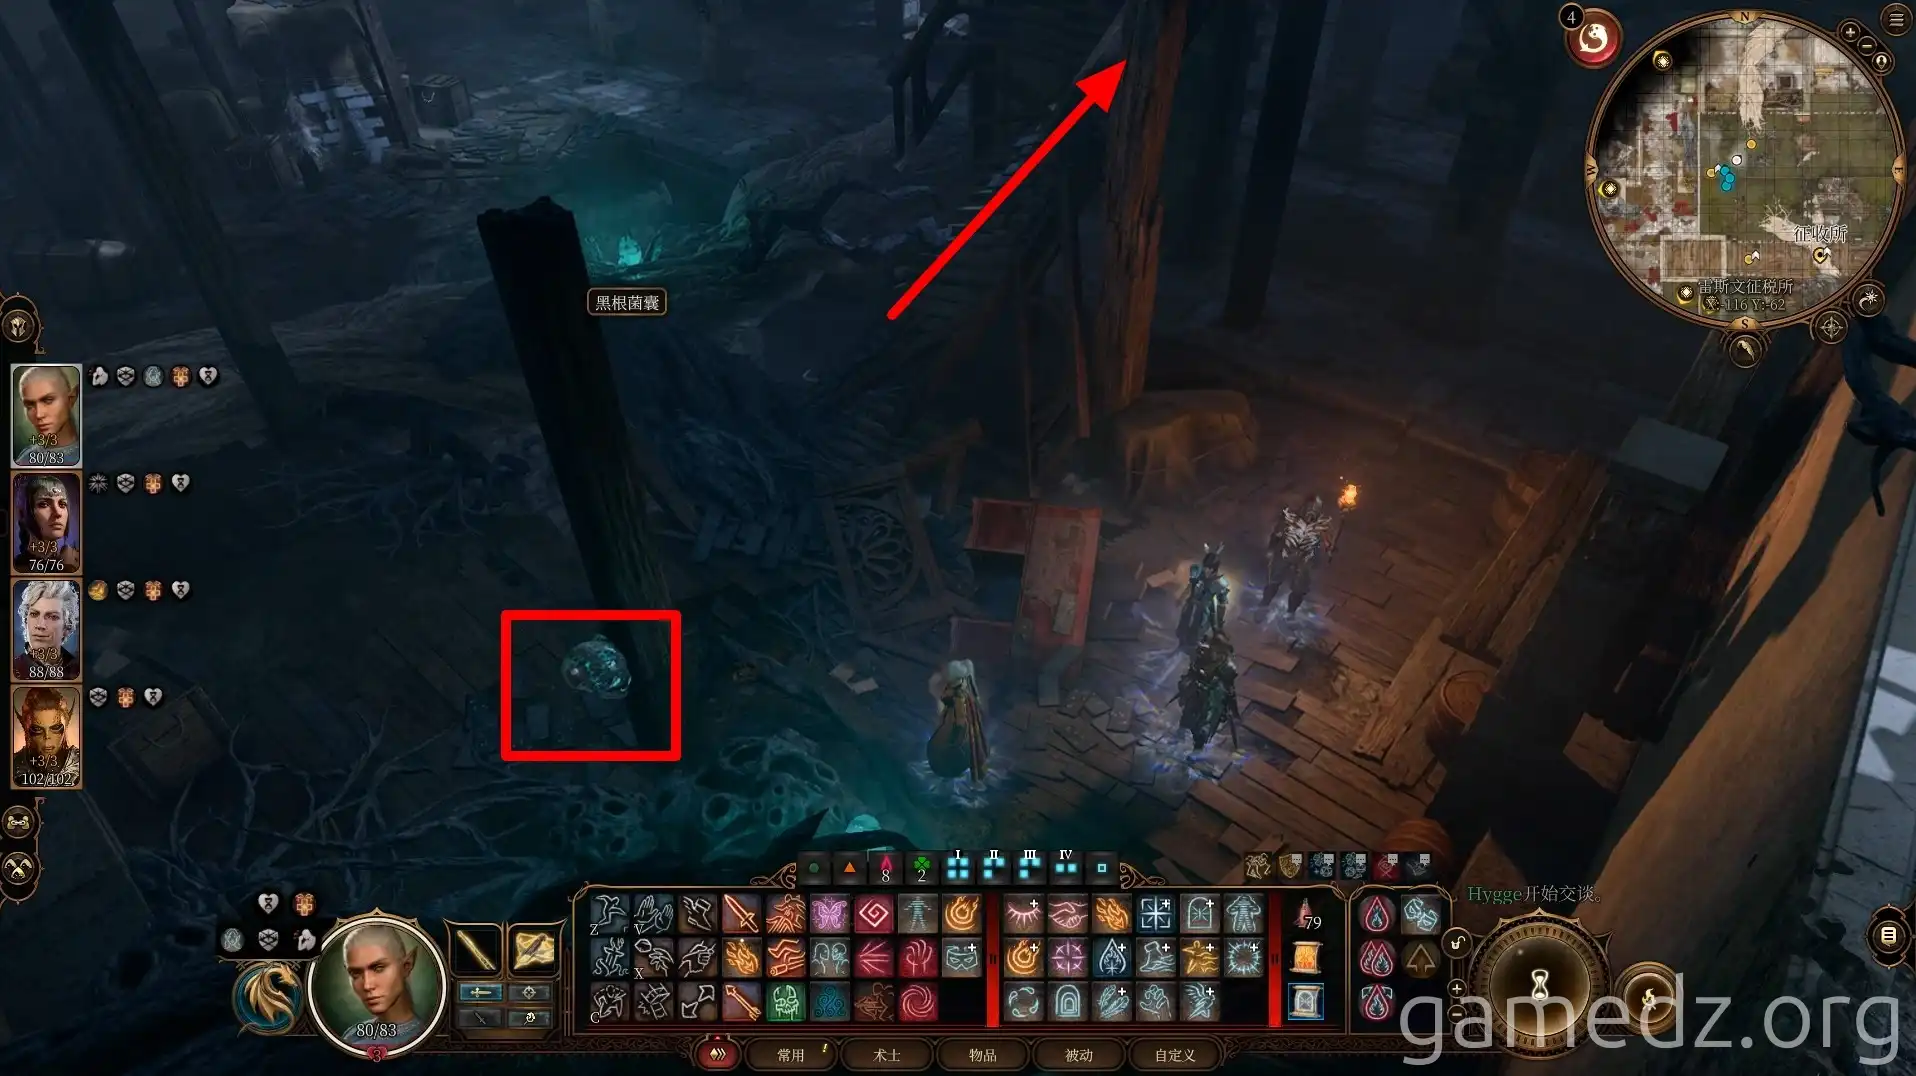
Inside the Tollhouse, you'll see several floating faces. For now, ignore them and proceed upstairs via the room's staircase.
Upon reaching the second floor, you'll meet the Tax Collector, Gremgoth Som. Most enemies from the Som family can be talked down, but the checks are extremely difficult. It's recommended to save beforehand.
If your persuasion check fails and combat ensues, Gremgoth, with over 600 HP, will be very hard to defeat directly. In this situation, you can use spells like Polymorph to incapacitate Gremgoth, then spread out to defeat the surrounding faces. Each face you defeat will cause Gremgoth to lose 100 HP.
Gremgoth's weapon has a skill that deals damage based on the amount of money the target is carrying. The more money you have, the higher the damage. This is why you were advised to store all your money in camp at the beginning. Otherwise, if you fail to control him even slightly, your character could be instantly killed.
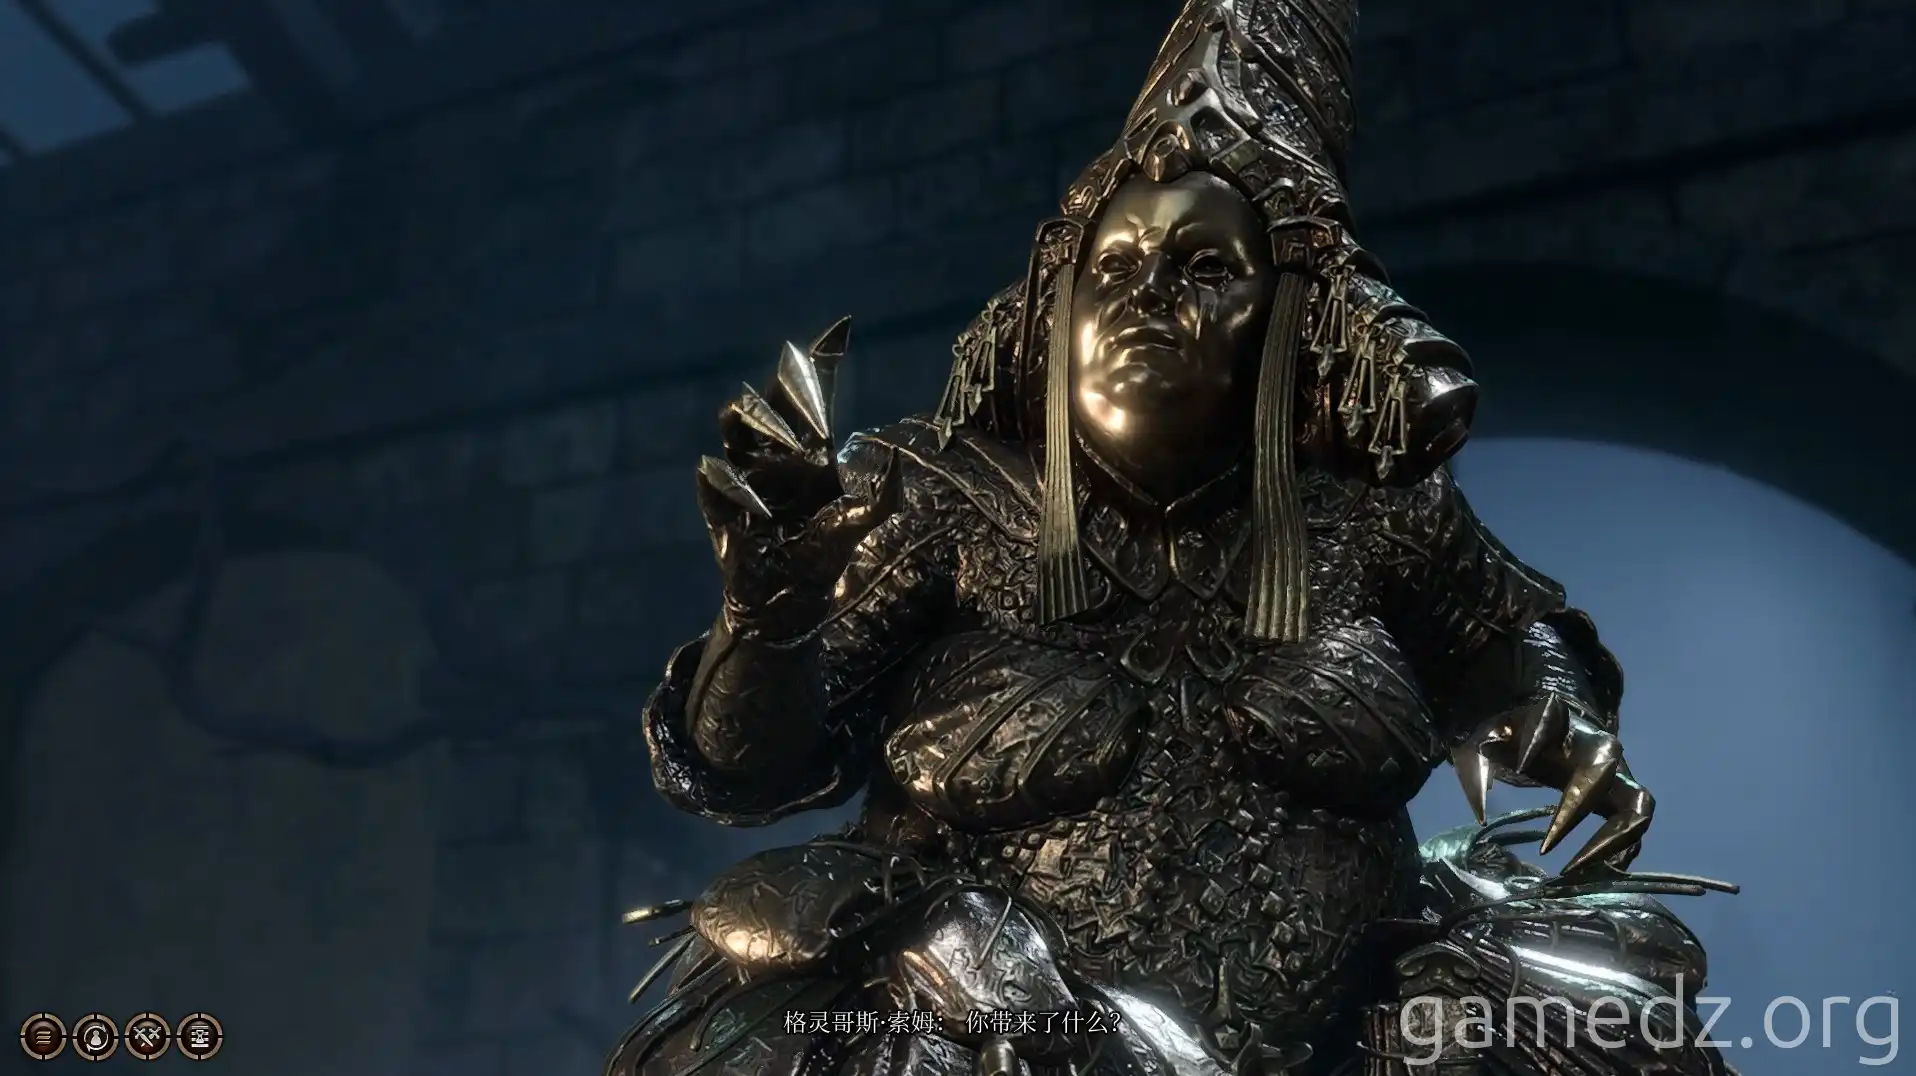
After defeating Gremgoth, you'll obtain the rare weapon Twisted Luck and the Tollhouse Supervisor's Key. The weapon's proficiency unlocks the "Blood Money" skill, which deals extra damage based on the money the enemy carries.
Once combat begins, you can sneak up to an enemy, stuff them with money, and then kill them with Blood Money. As long as the enemy's corpse remains, you can loot the money back.
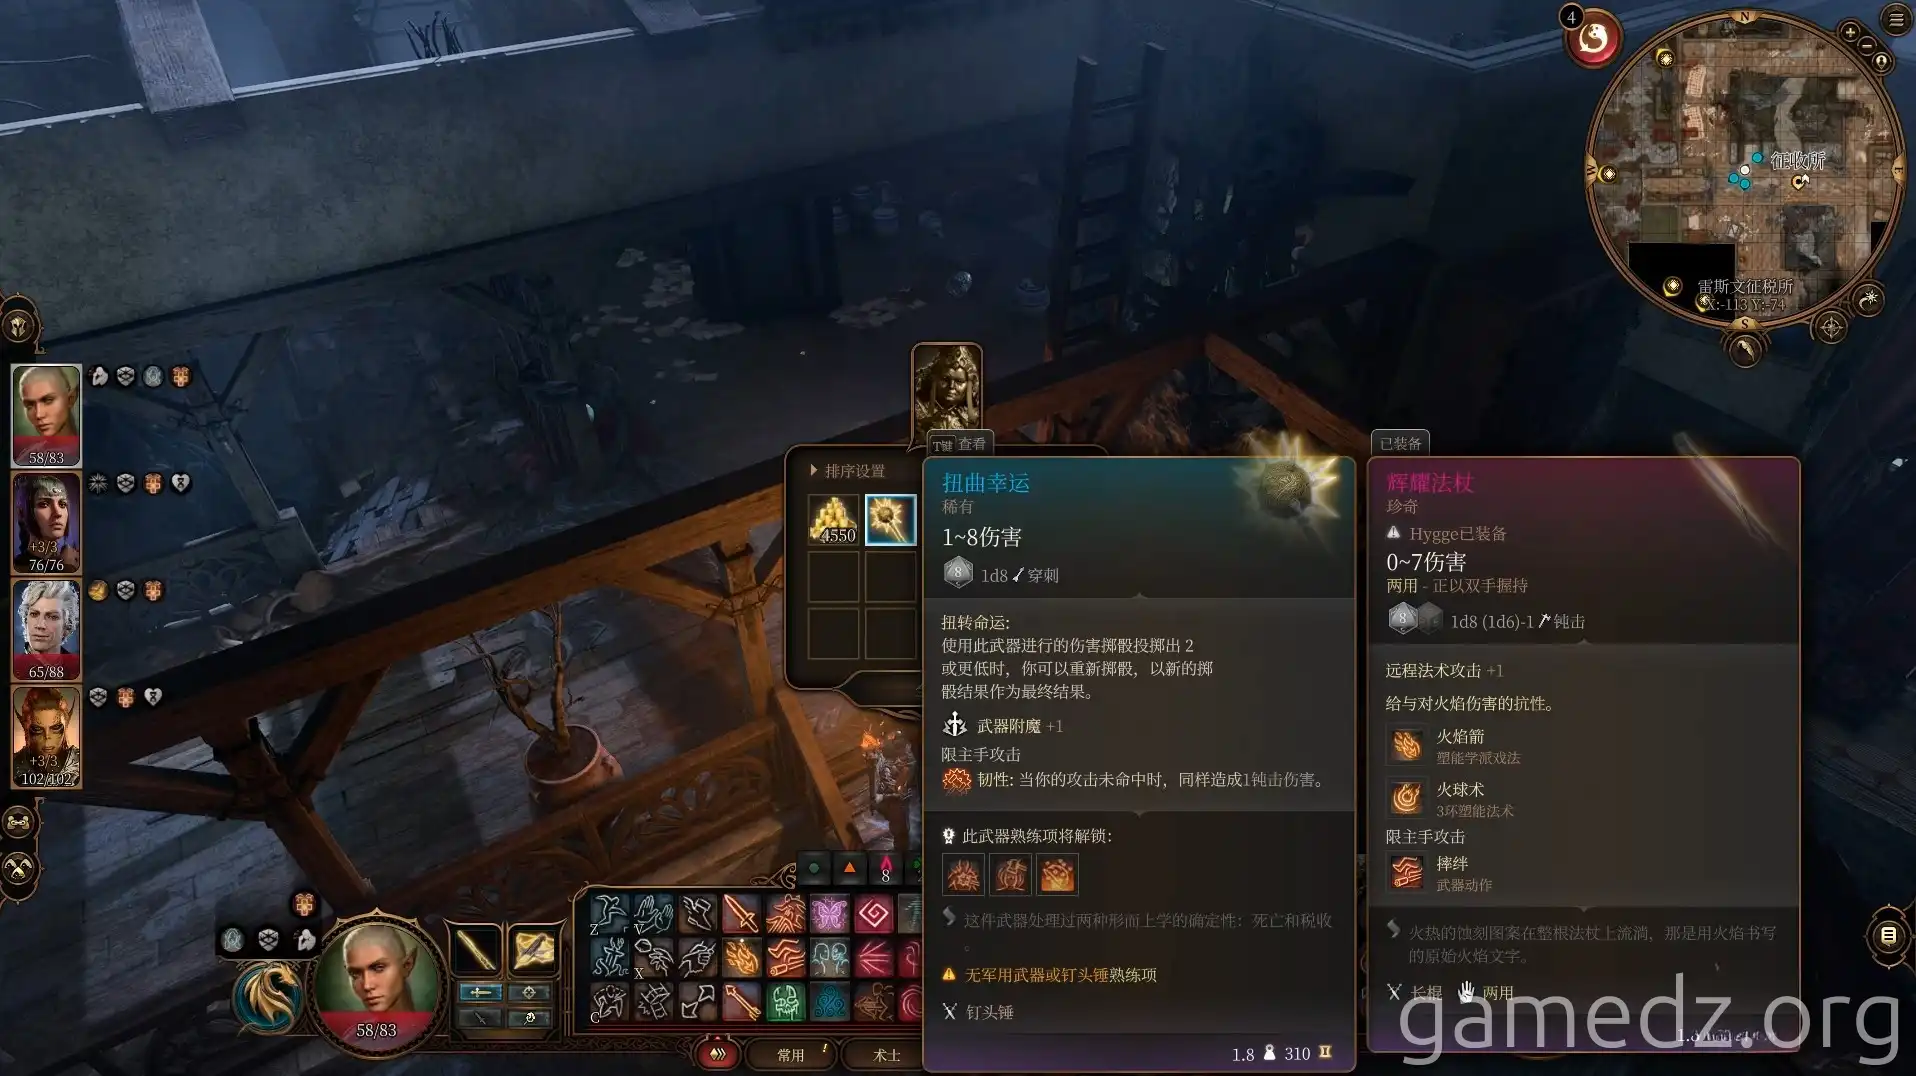
The safe in the room contains several hundred gold.
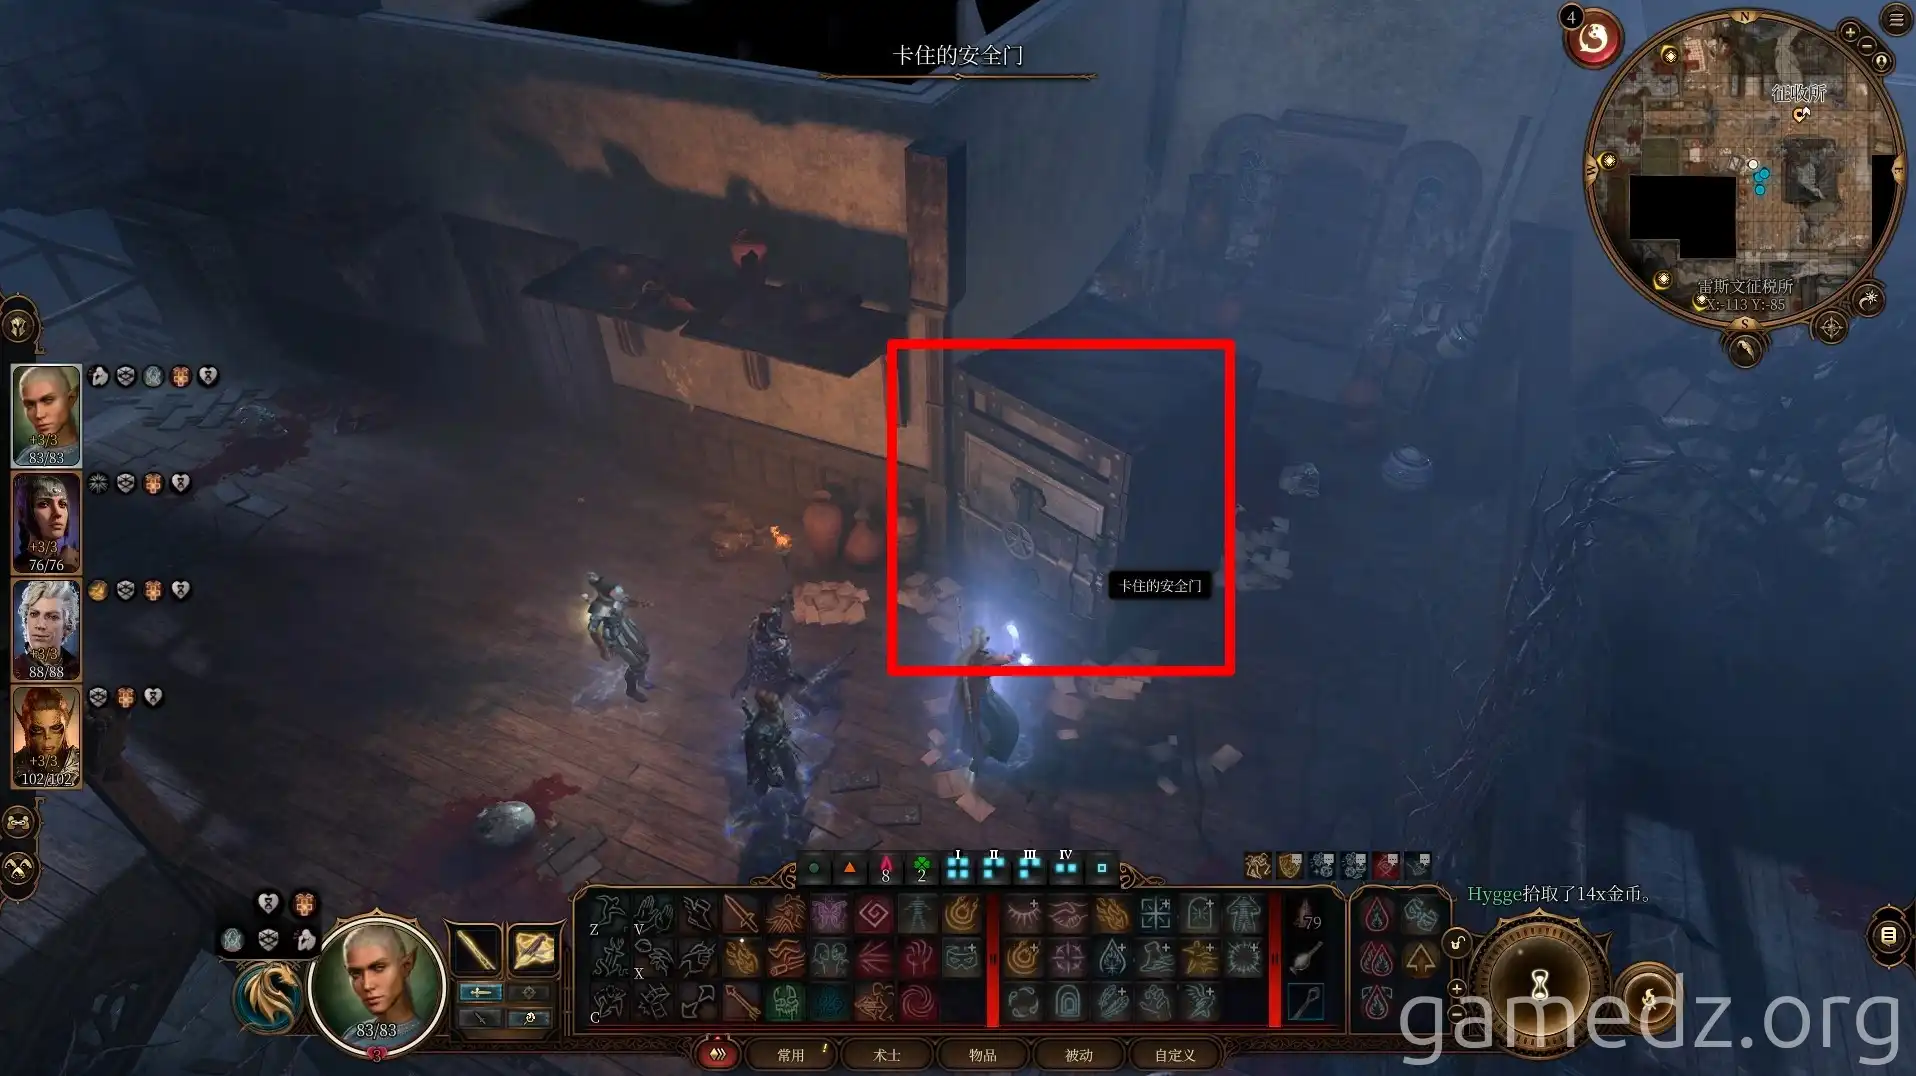
Use the Tollhouse Supervisor's Key to open the room in the southwest corner of the second floor. Inside the chest in this room, you'll find the rare shield Ironbark Shield. The floor in the room can be broken, but don't jump down to the lower room just yet.
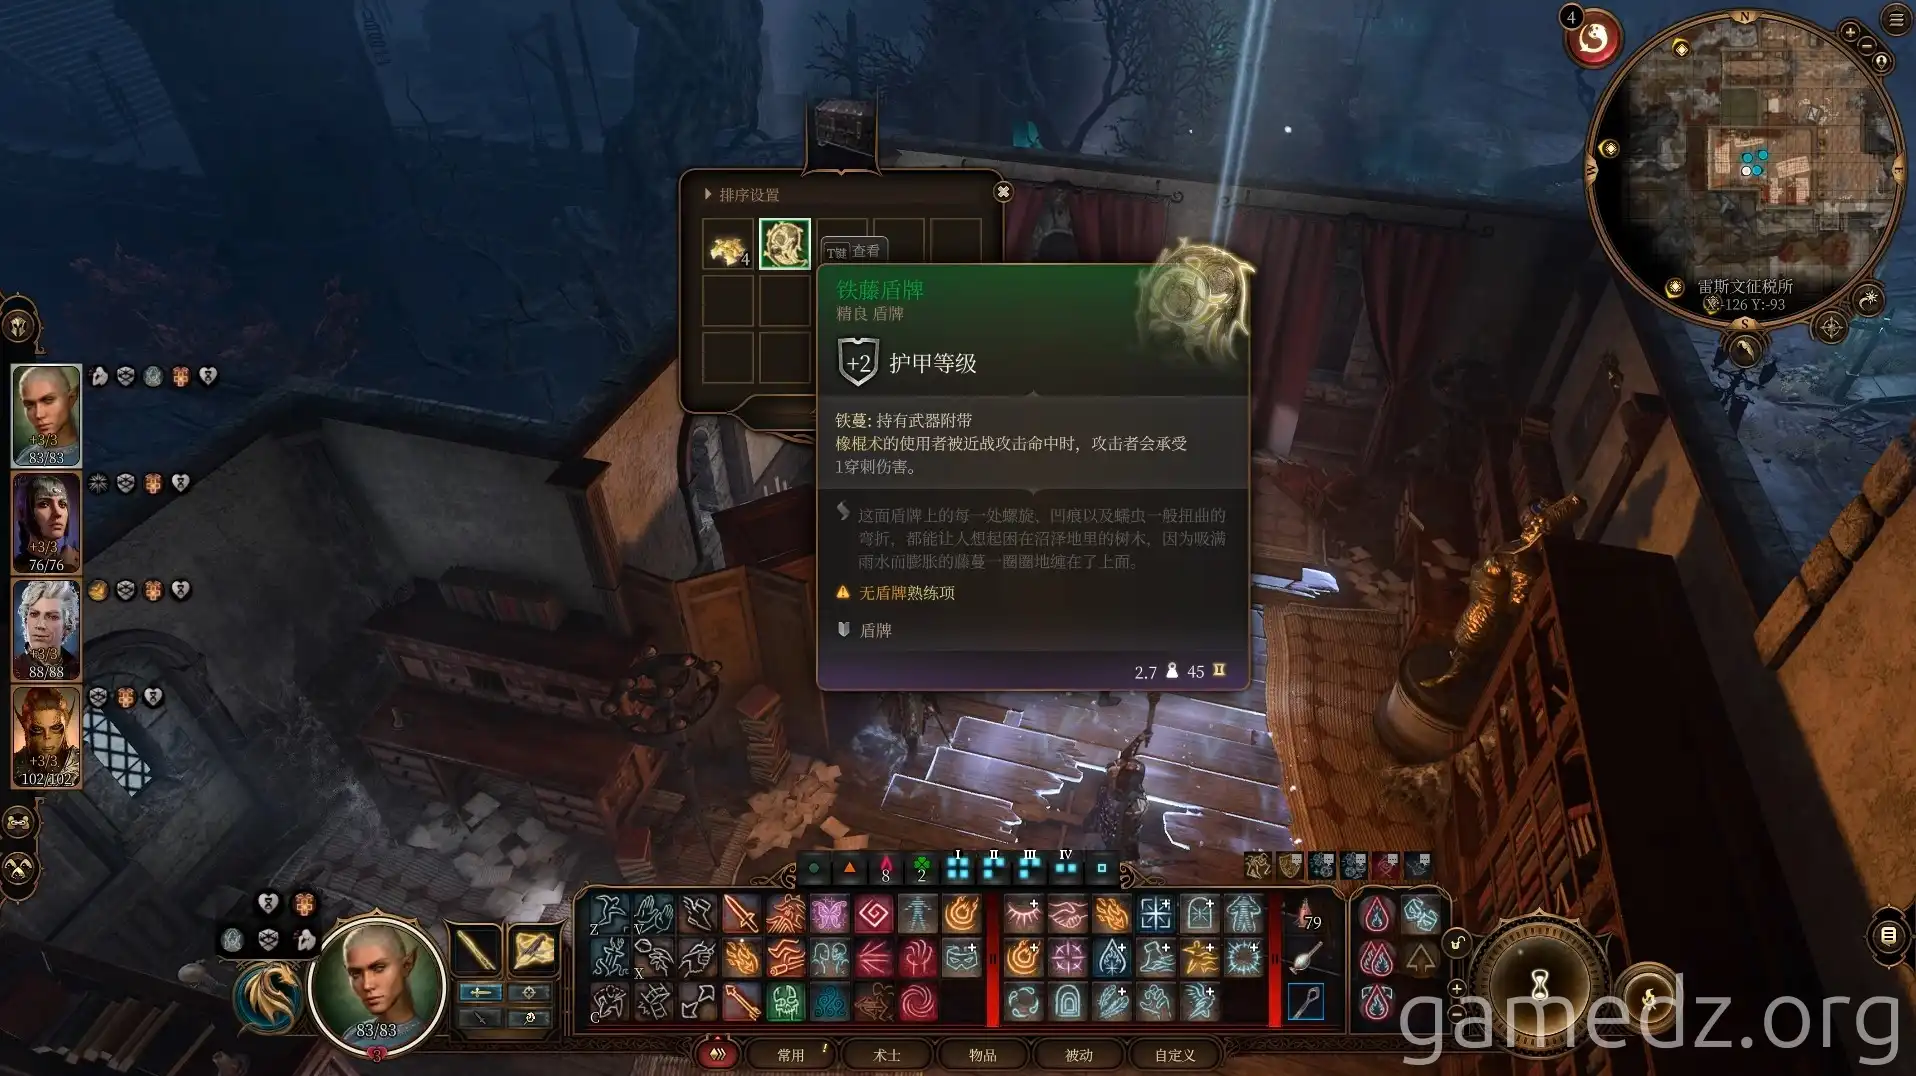
In the northwest corner of the second floor, you can find the Clerk's Key on a desk.
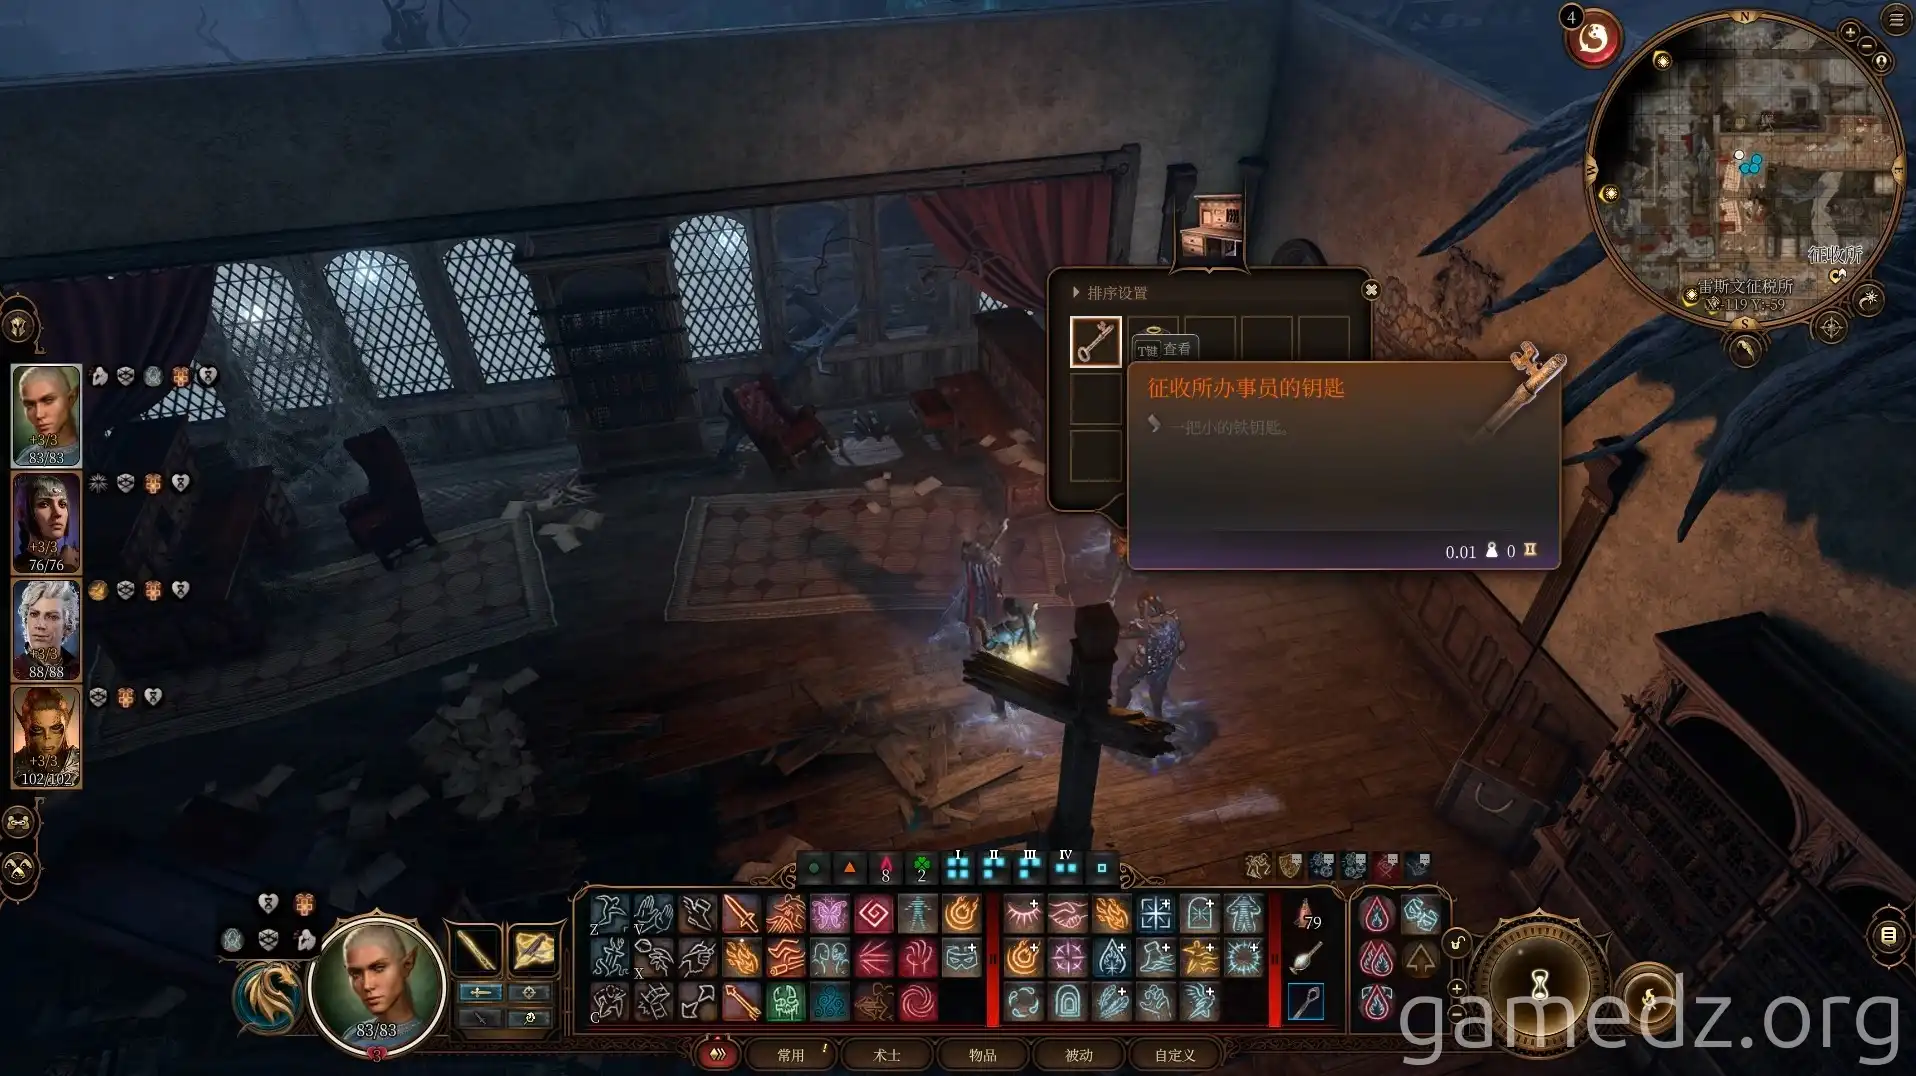
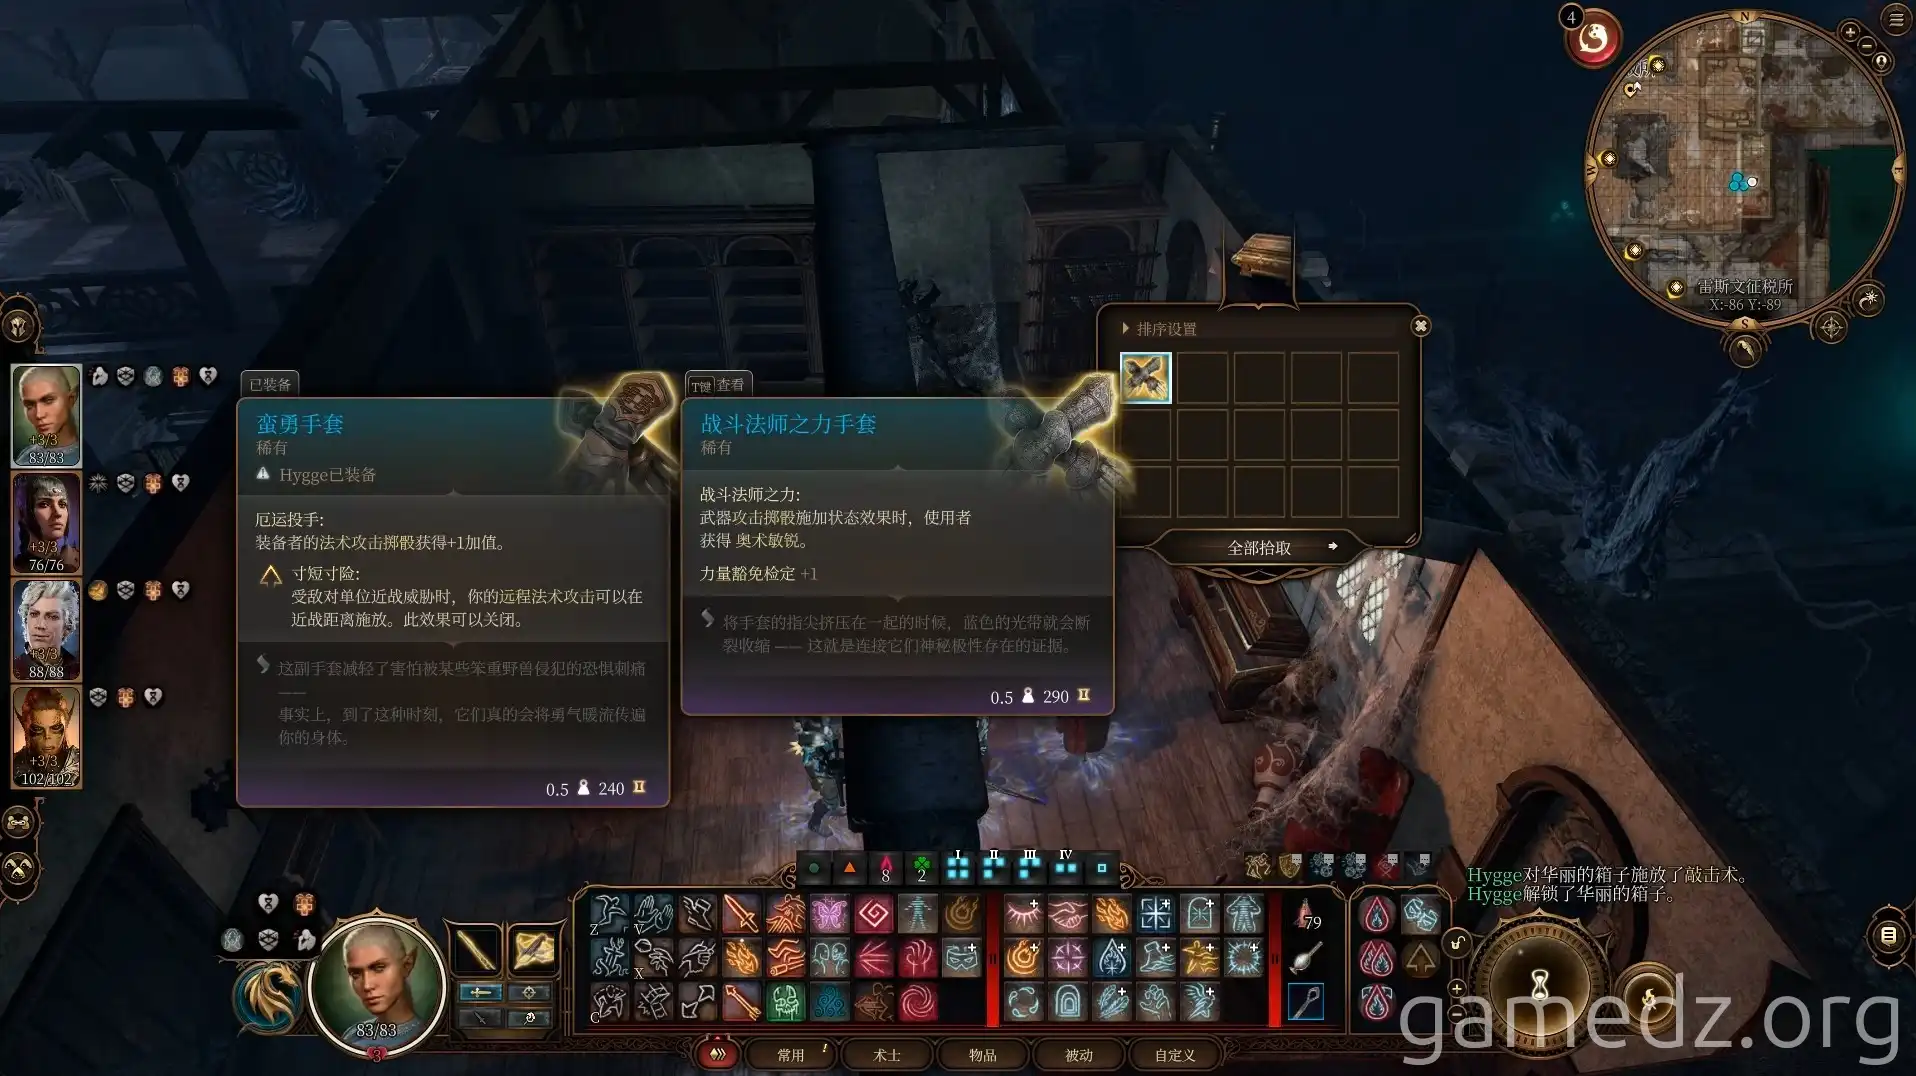
Use the Clerk's Key to open the room in the southeast corner of the second floor. Inside the chest in this room, you'll find the rare equipment Gloves of the Battlemage.
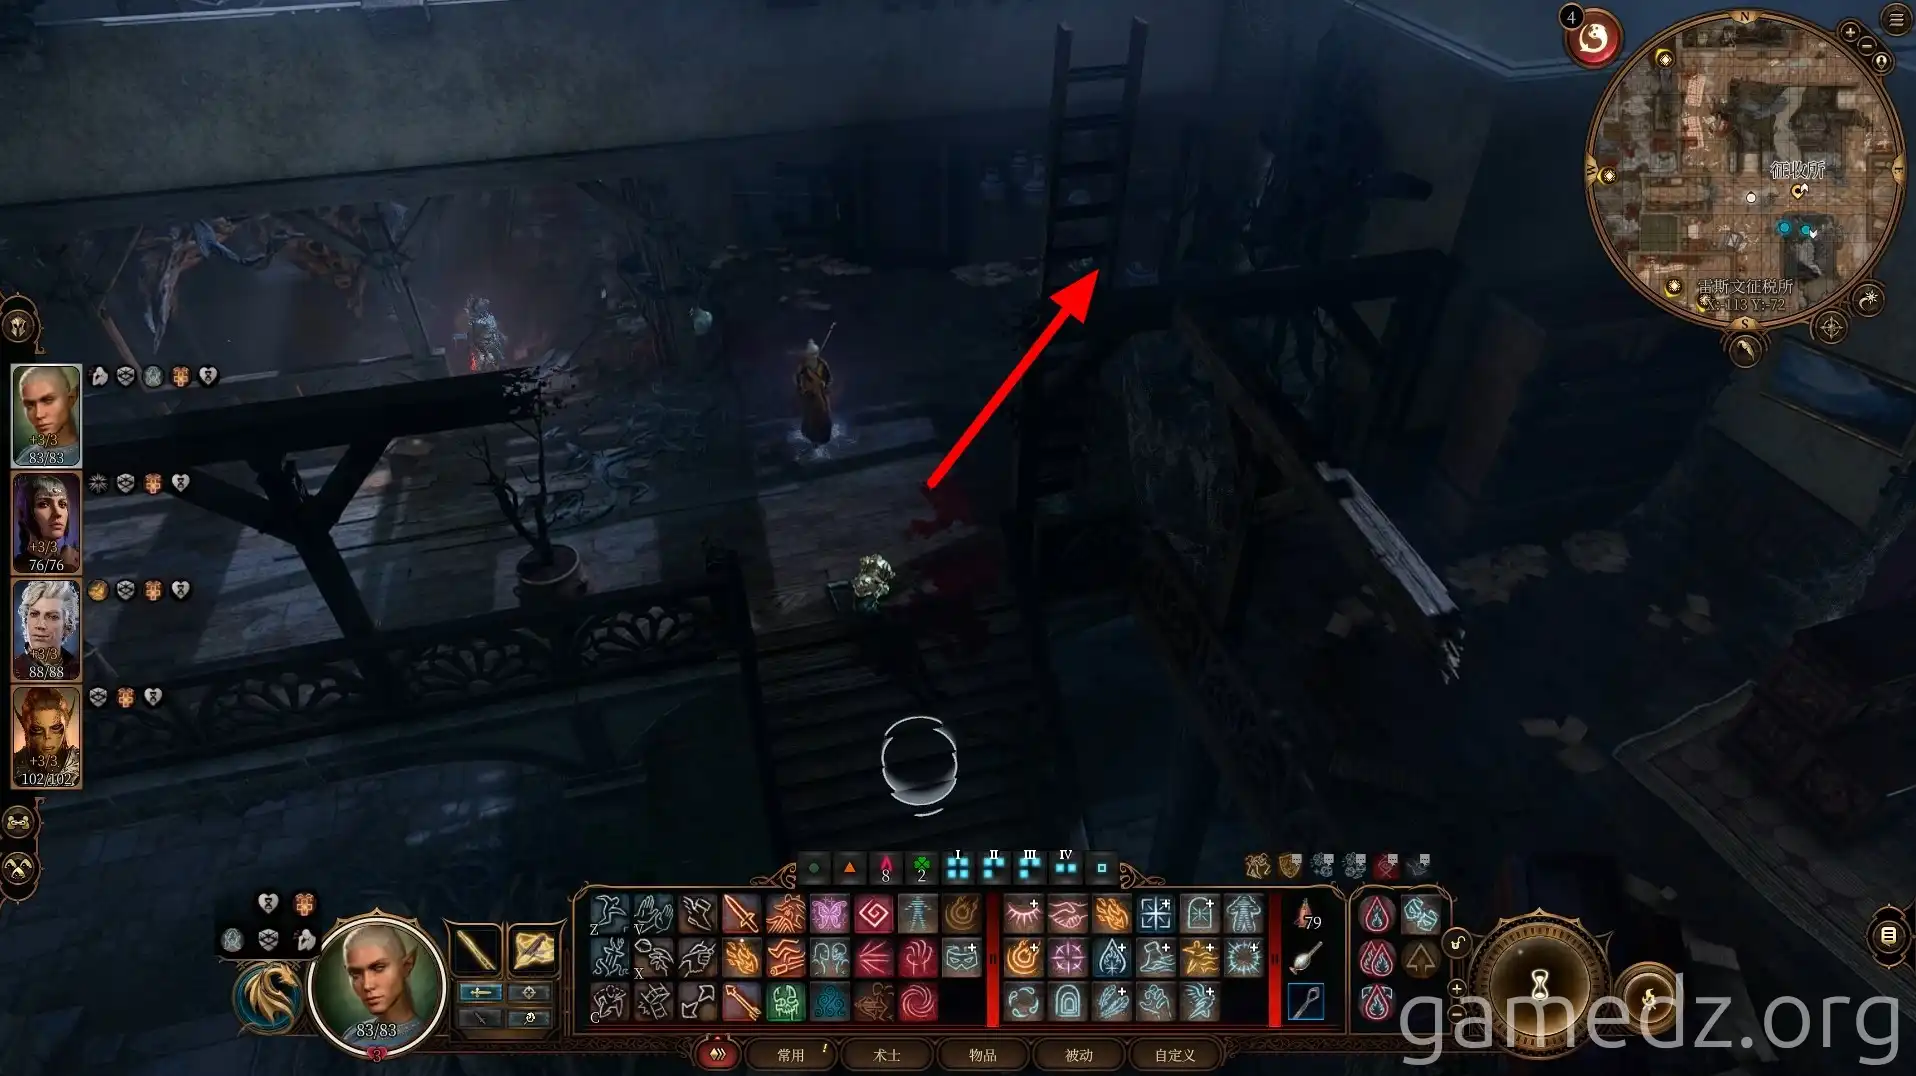
You can reach the rooftop via the ladder next to the stairs.
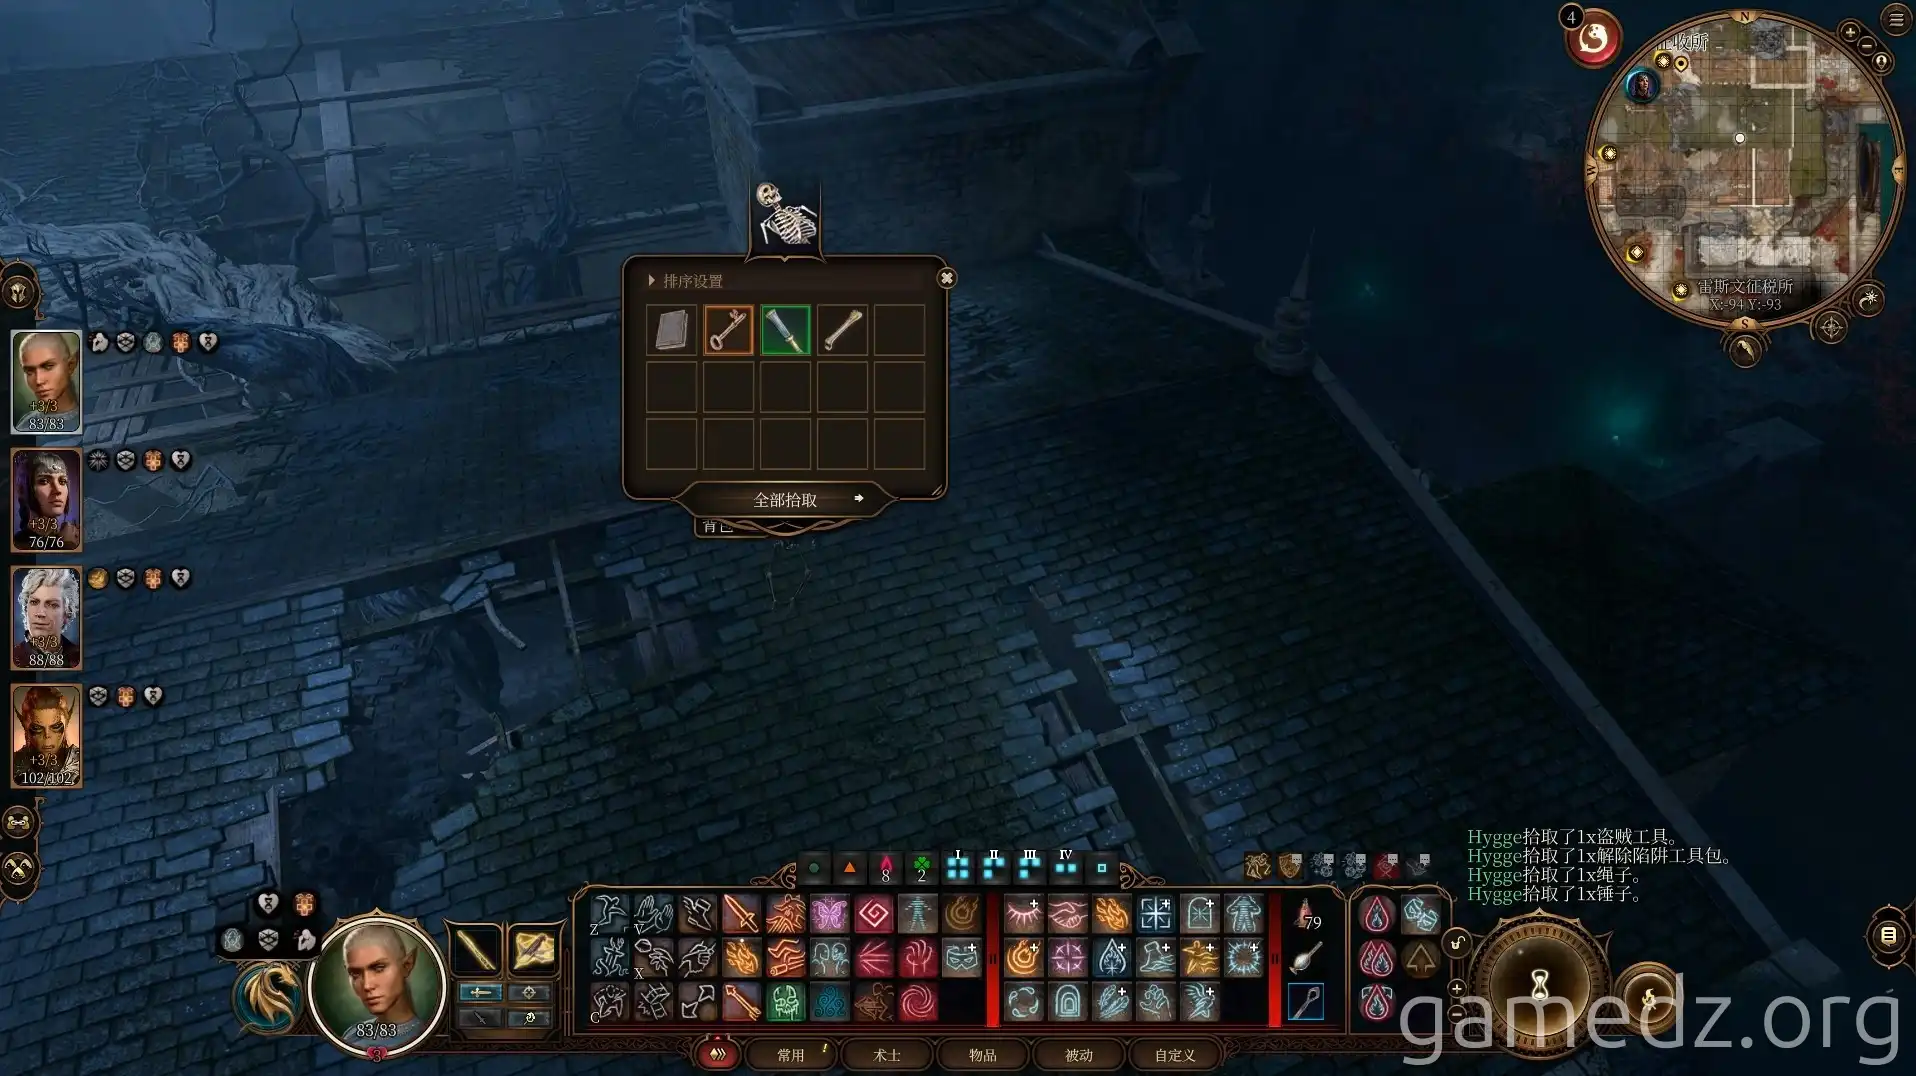
Among the skeletons on the rooftop, you can find a rare greatclub and the Tollhouse Basement Key.
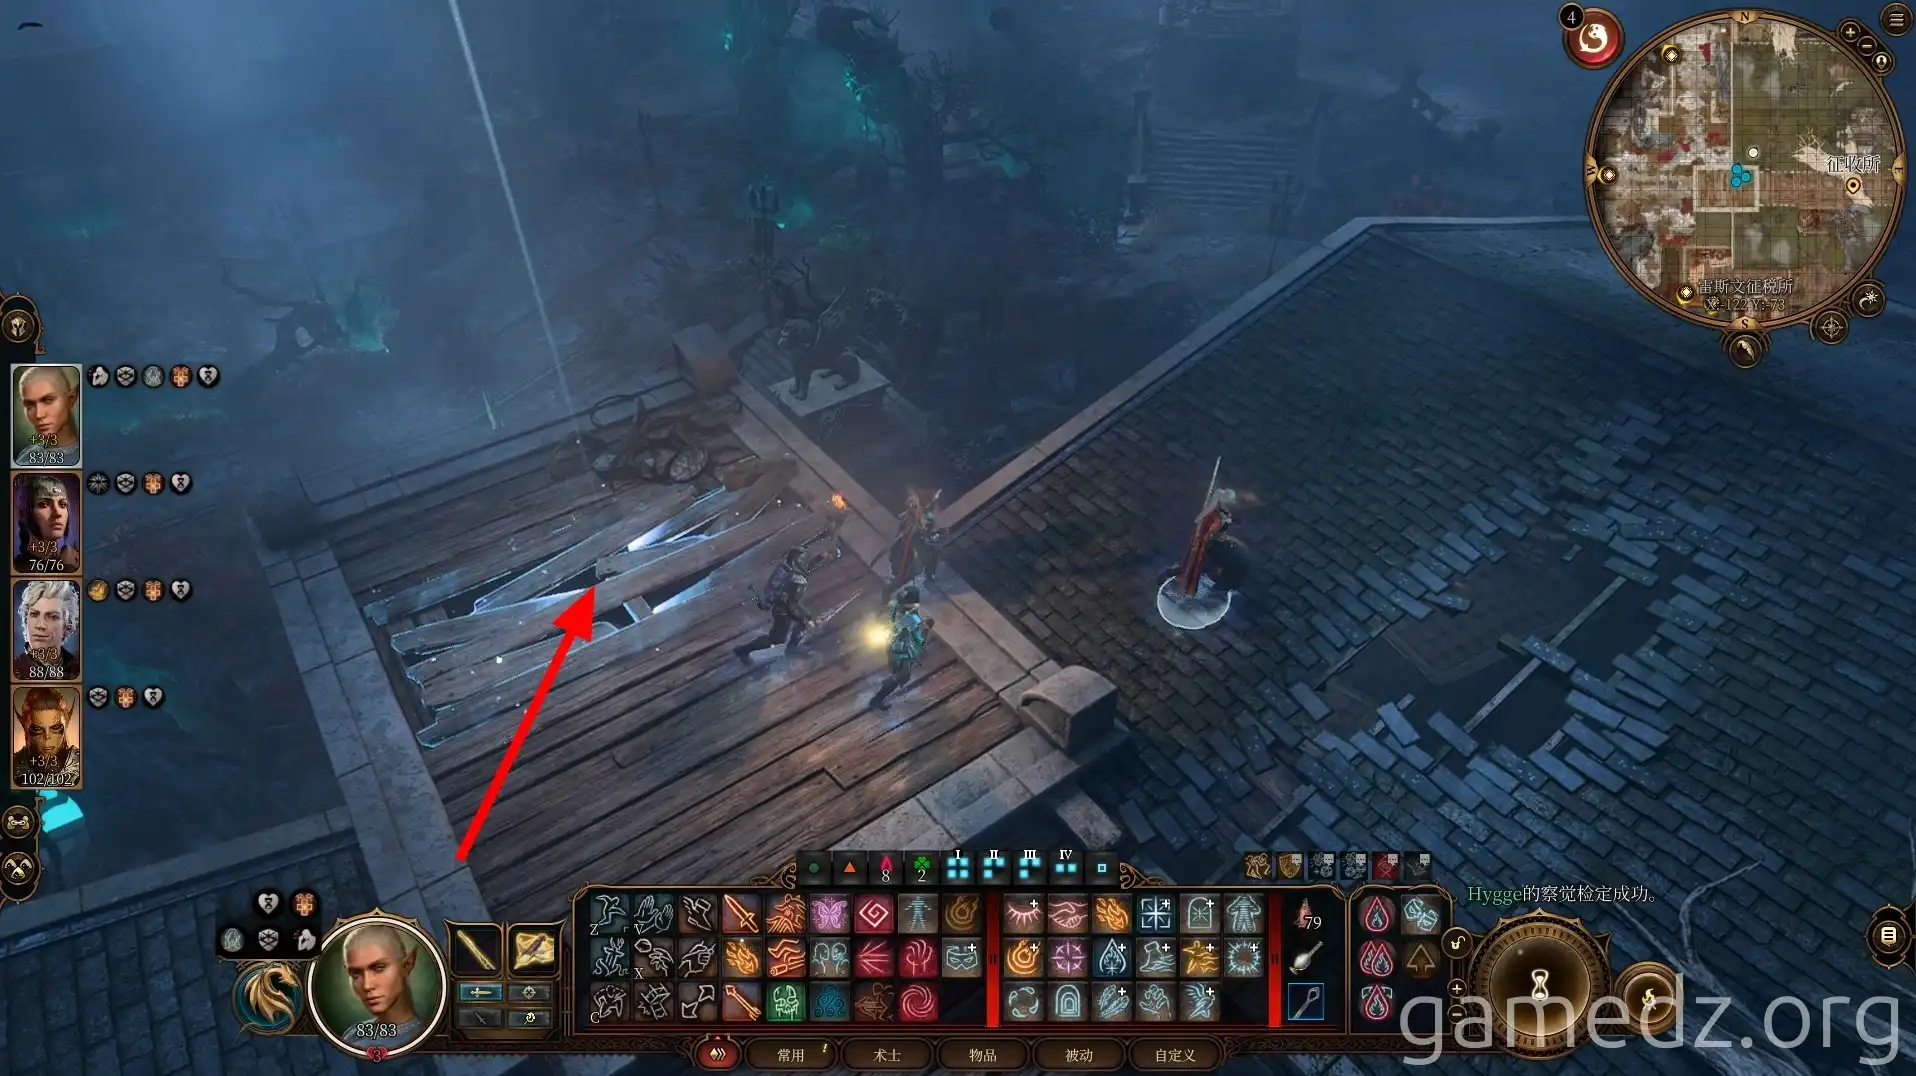
On the west side of the rooftop, break the floor and jump into the room below.
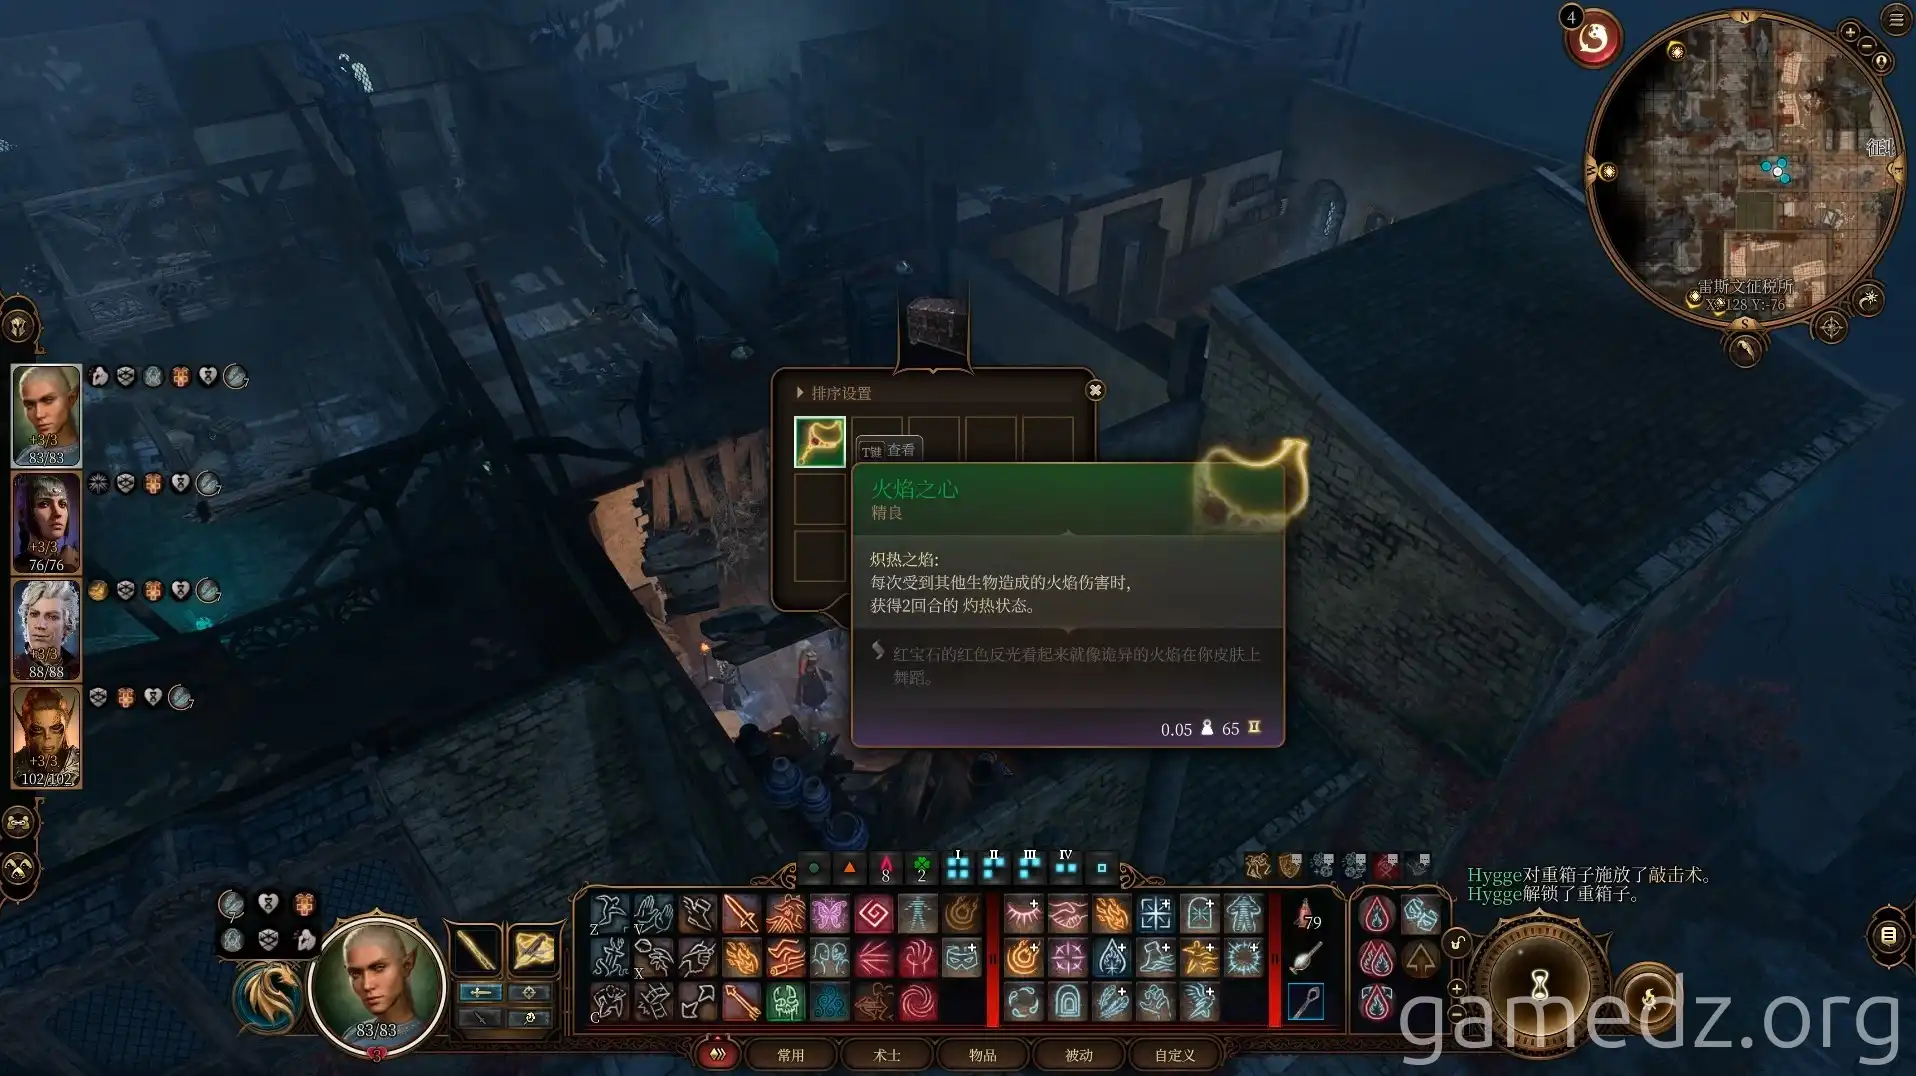
In the chest within the room, you can find the rare accessory Heart of Flame.
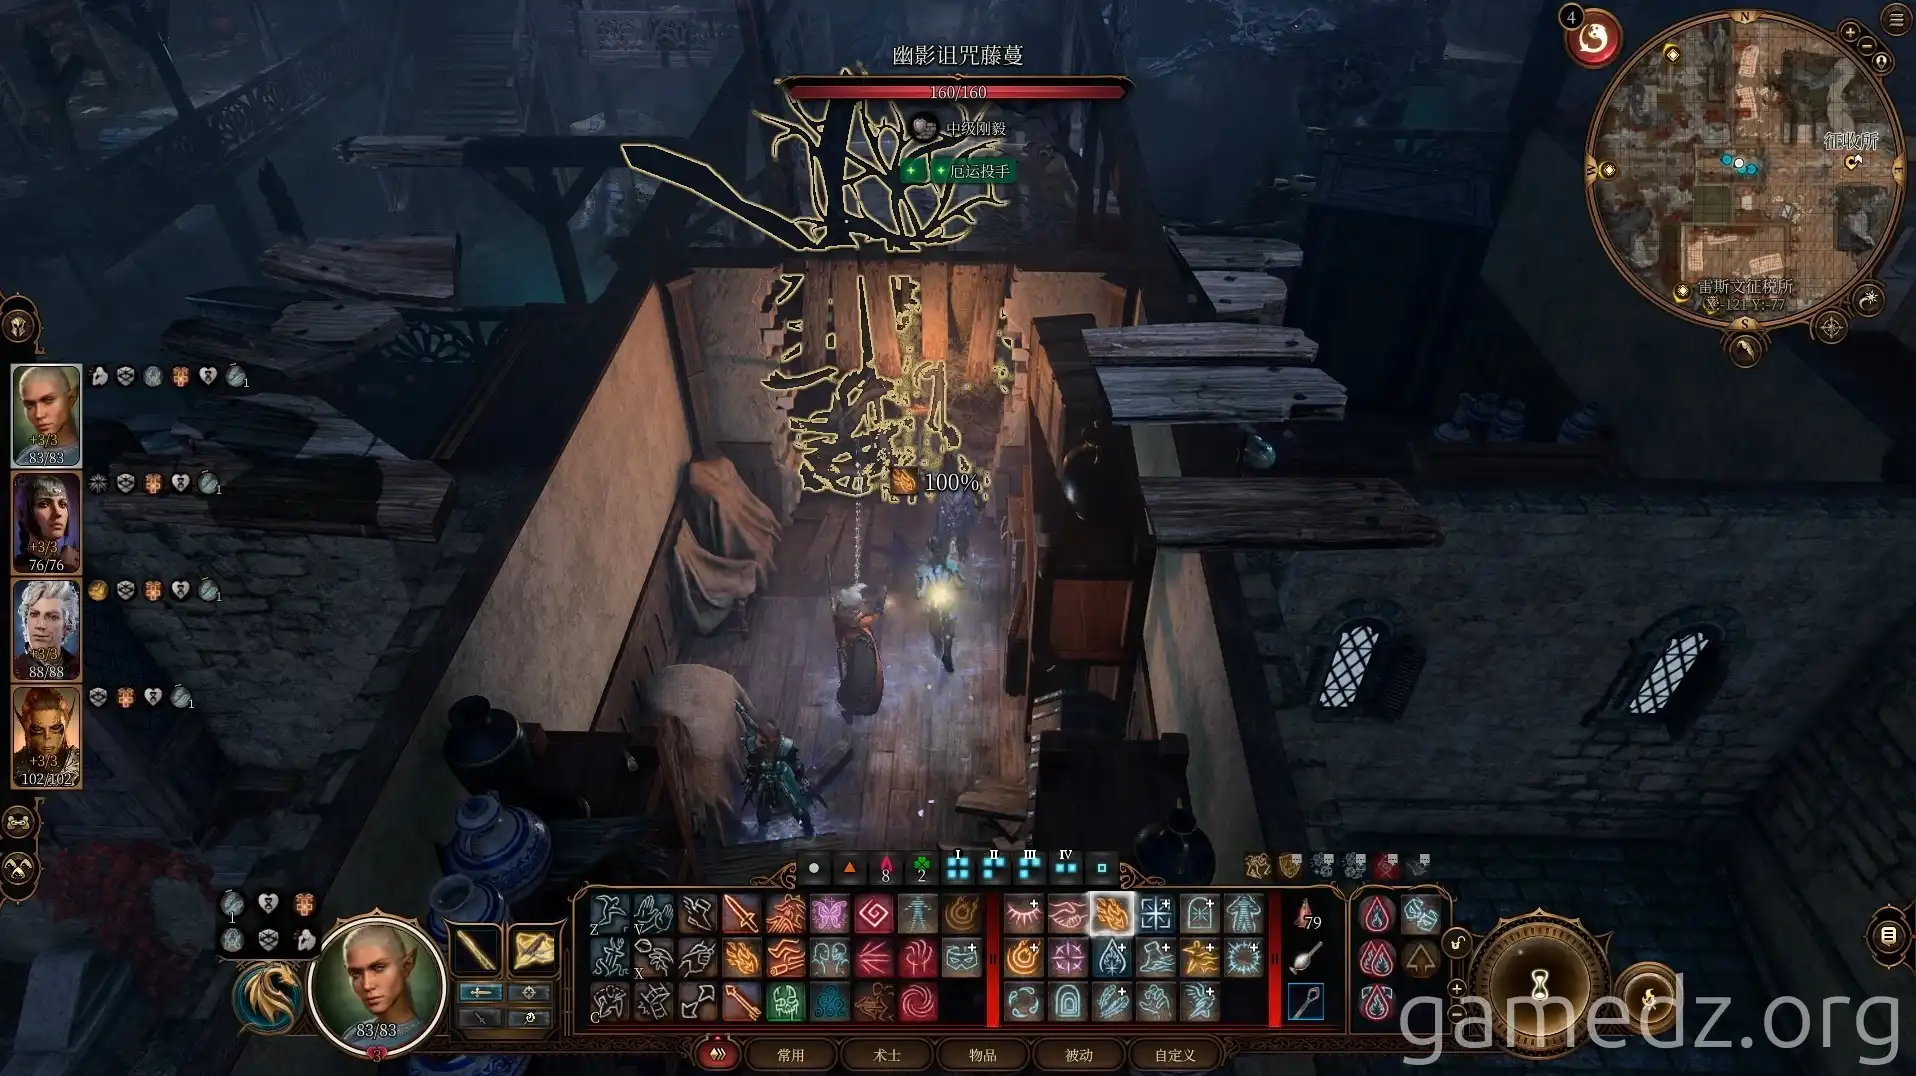
Then, destroy the vines blocking the room to return to the second floor.
Go back to the southwest corner room and break the floor to drop down to the first floor.
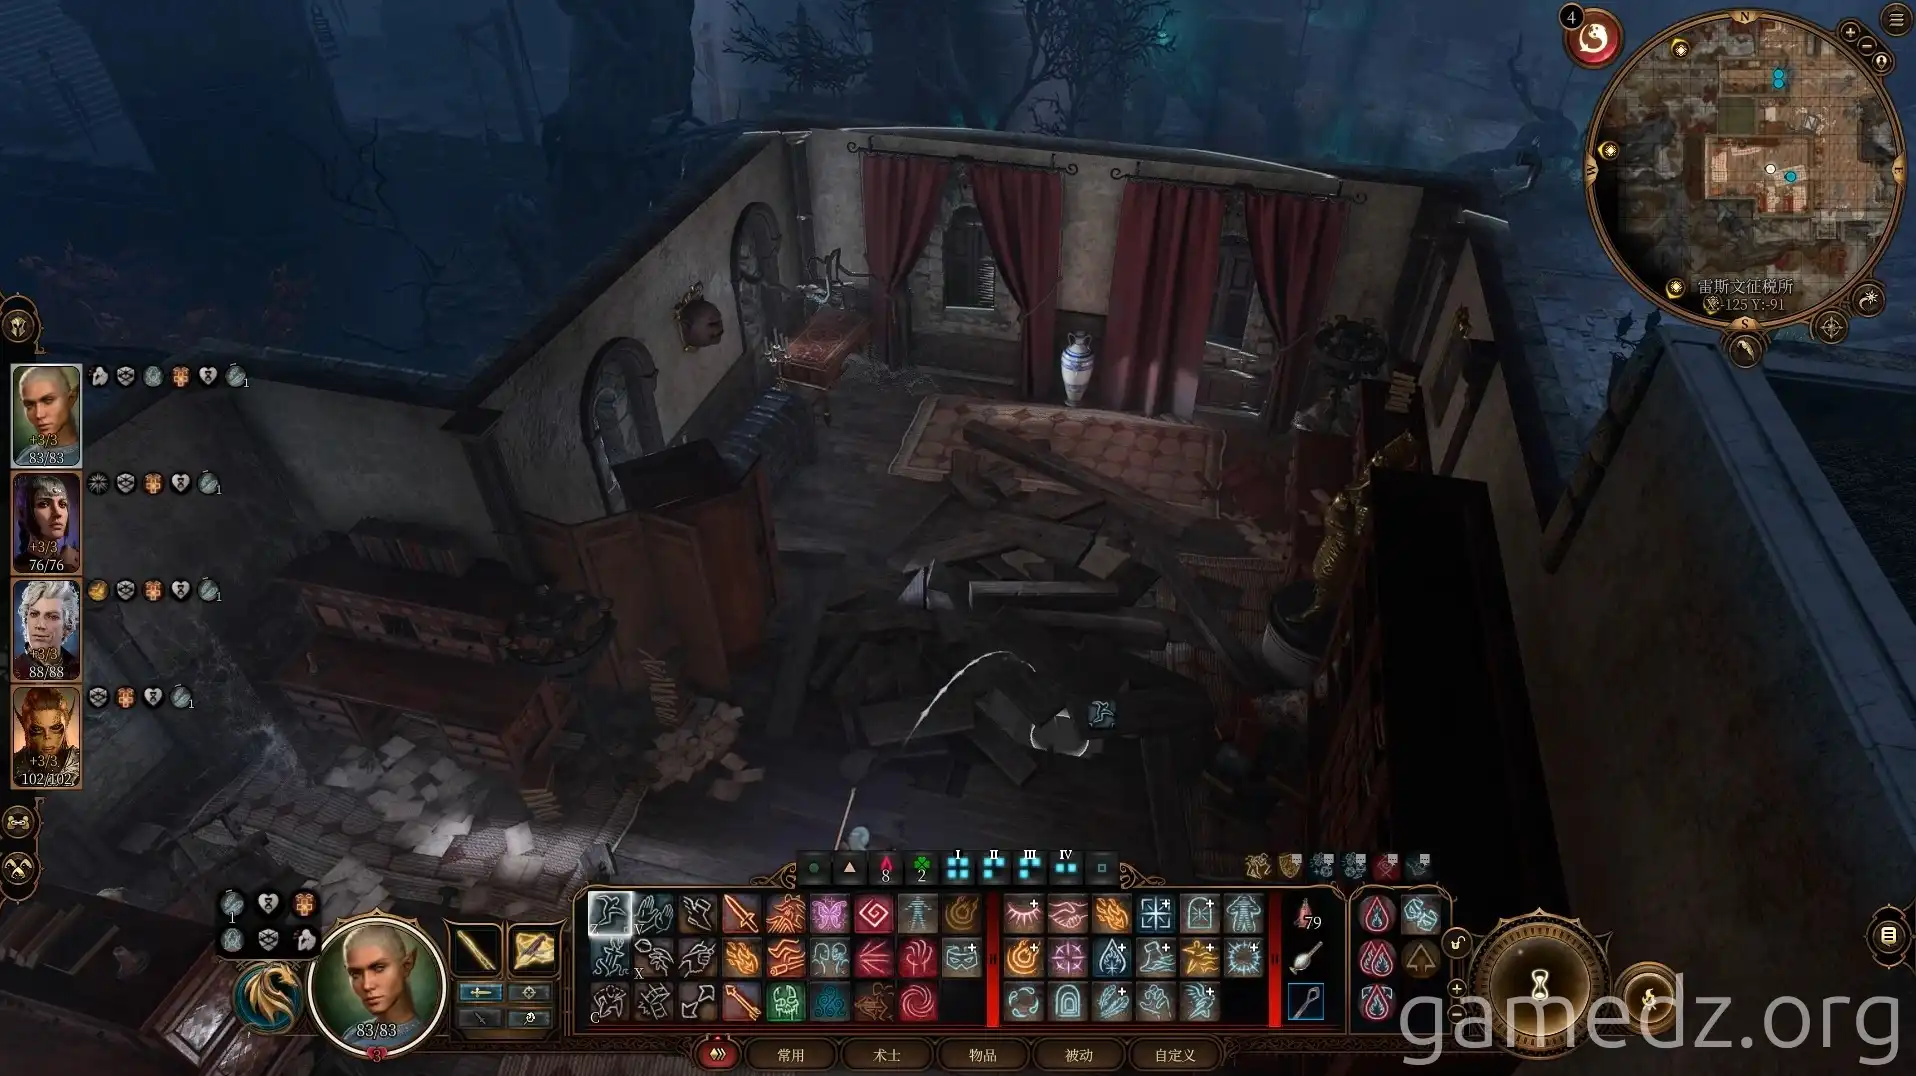
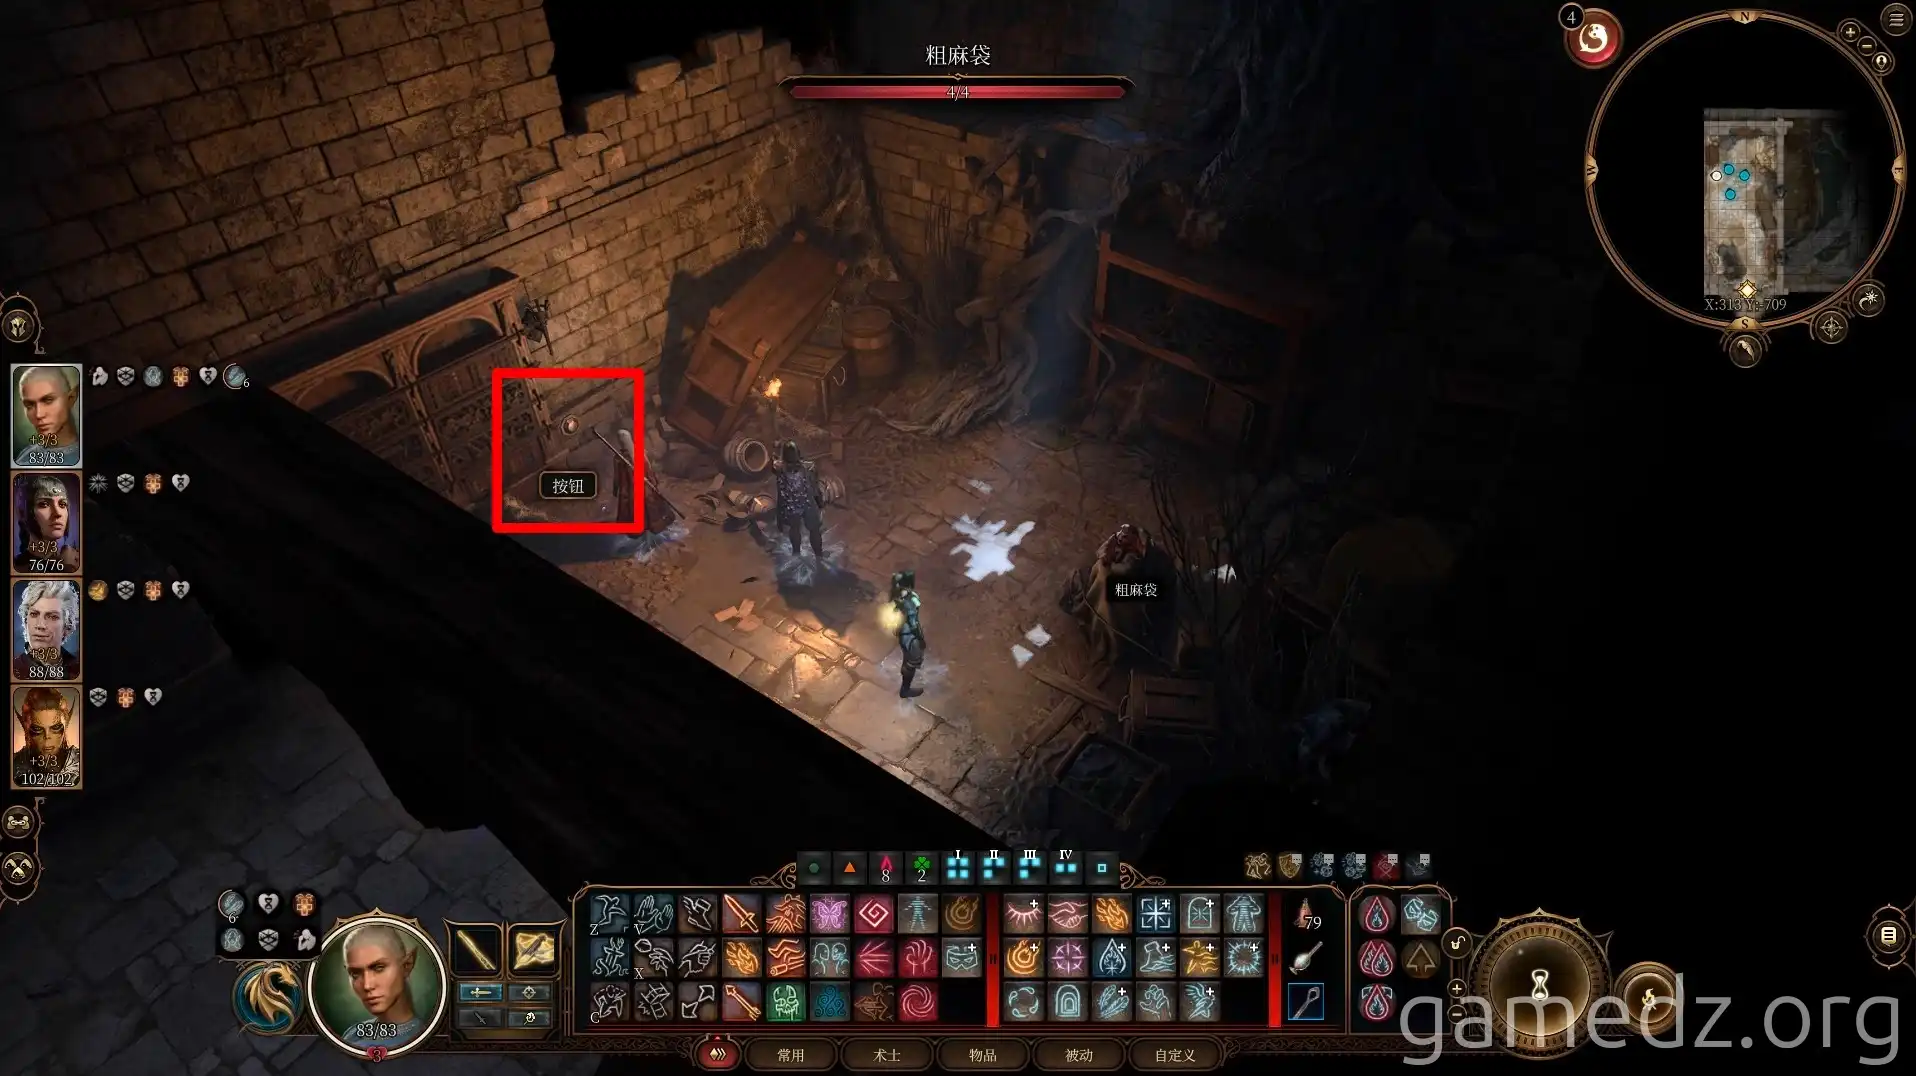
After looting the room, you'll find a button in the corner. Pressing it will open the wall, allowing you to exit the room.
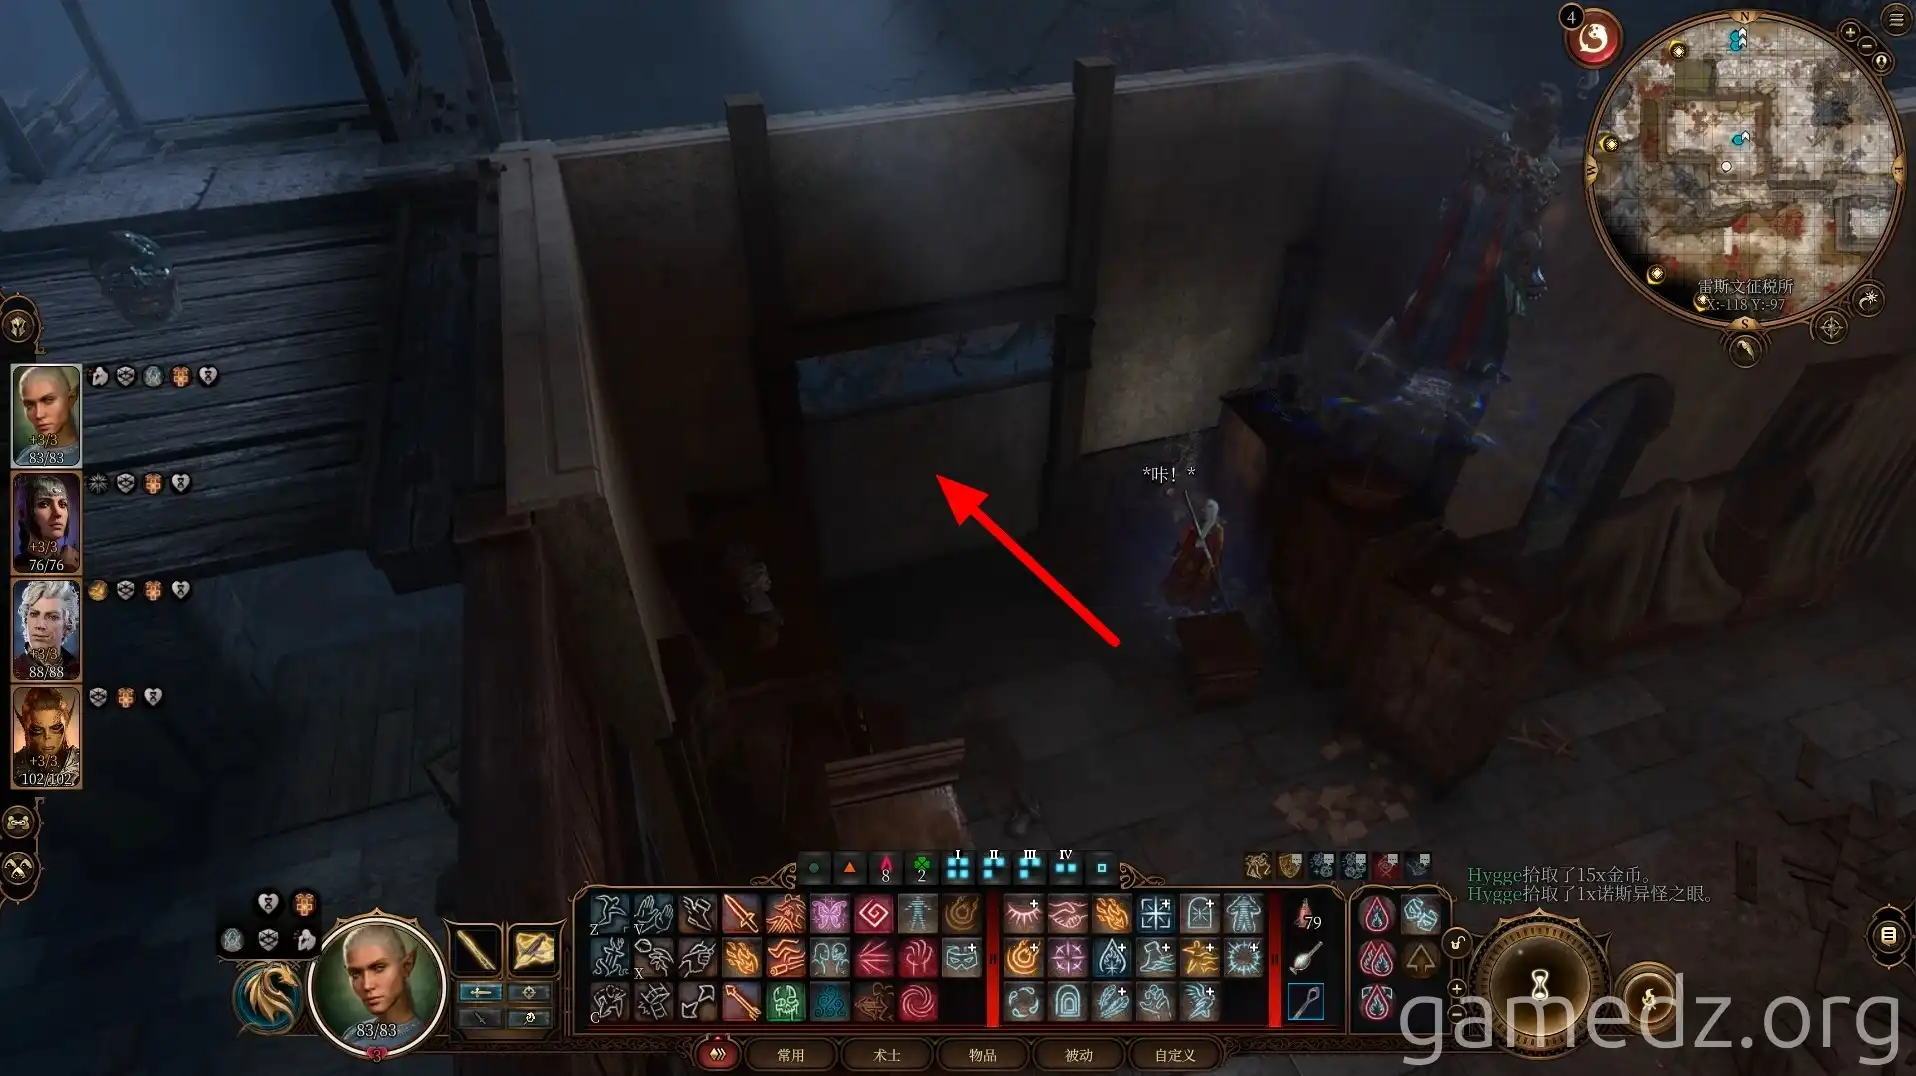
Go outside, cast Feather Fall, and jump back to the ground. Enter the Tollhouse basement through the wooden door nearby. If you don't have Feather Fall, you can take a detour around the other side.
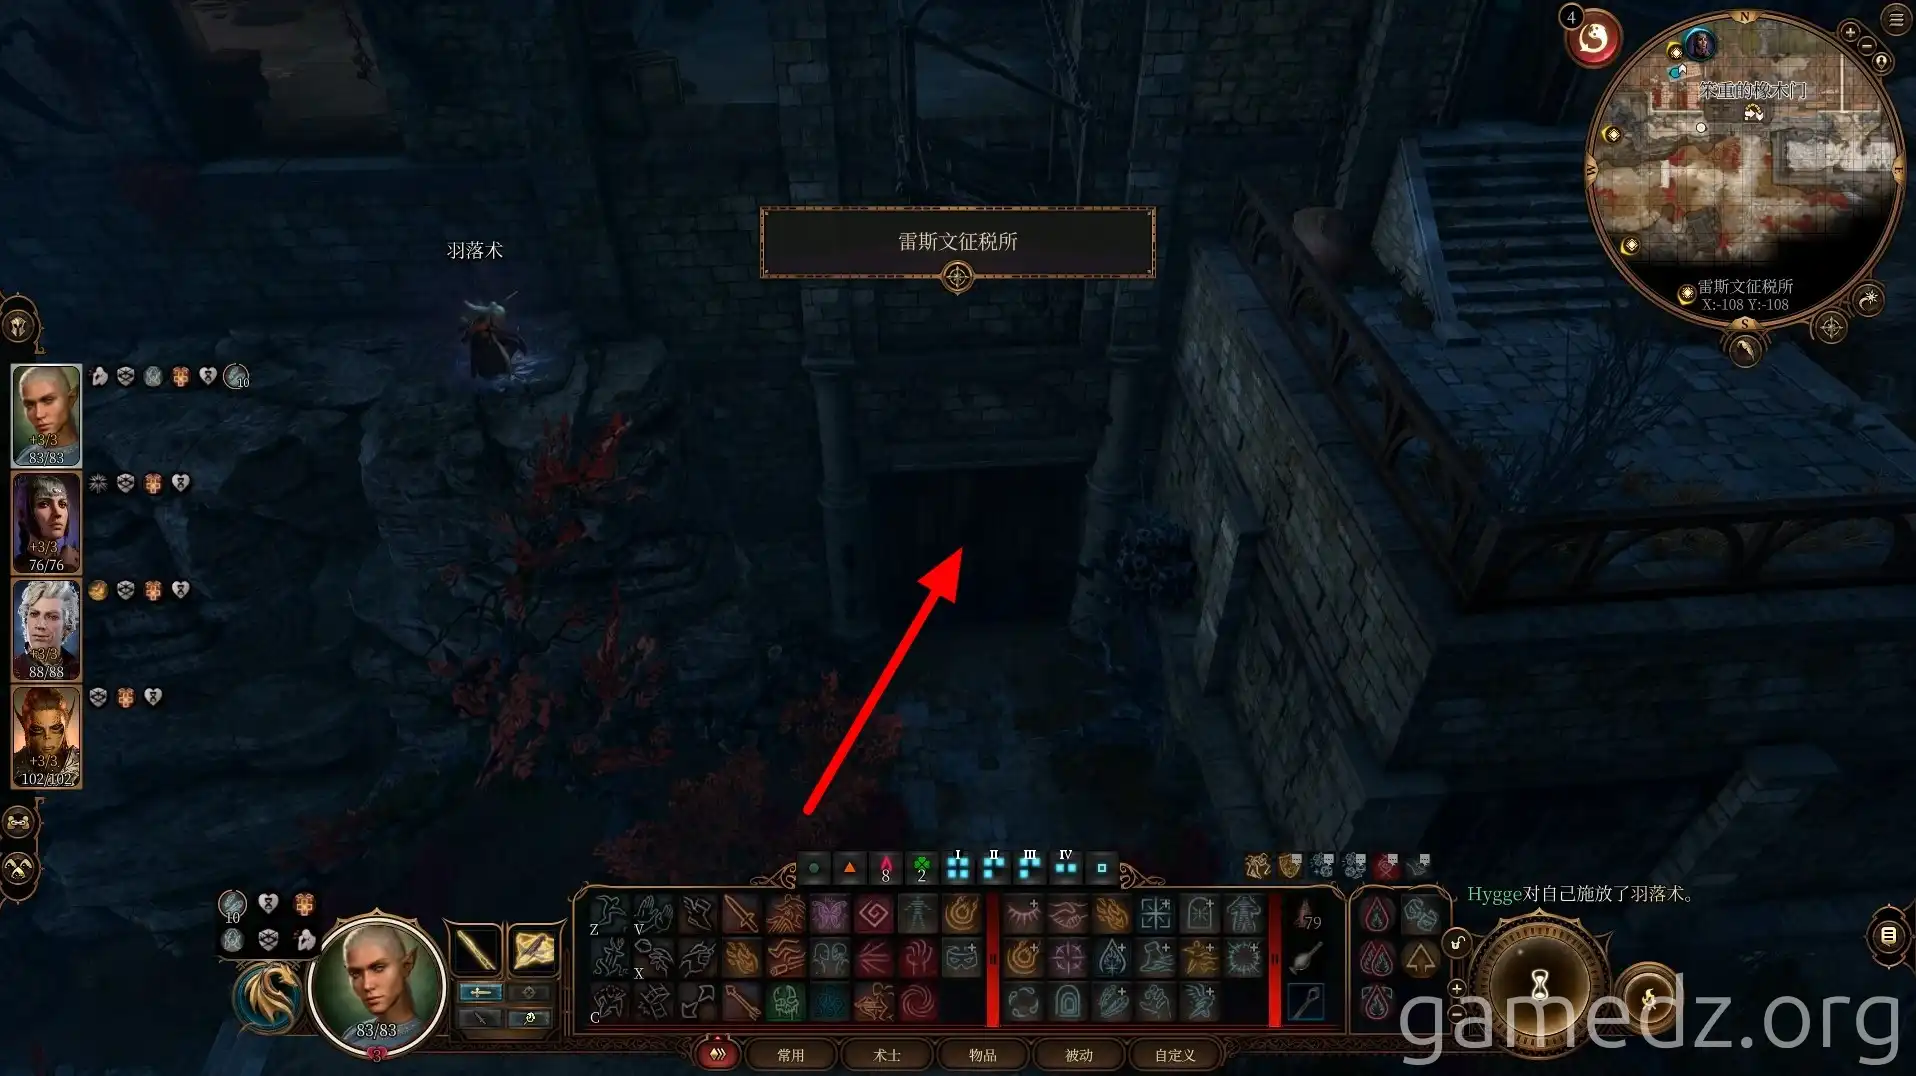
In the basement, next to the bookshelf, you'll find a button. Pressing it will move the bookshelf, revealing a secret room.
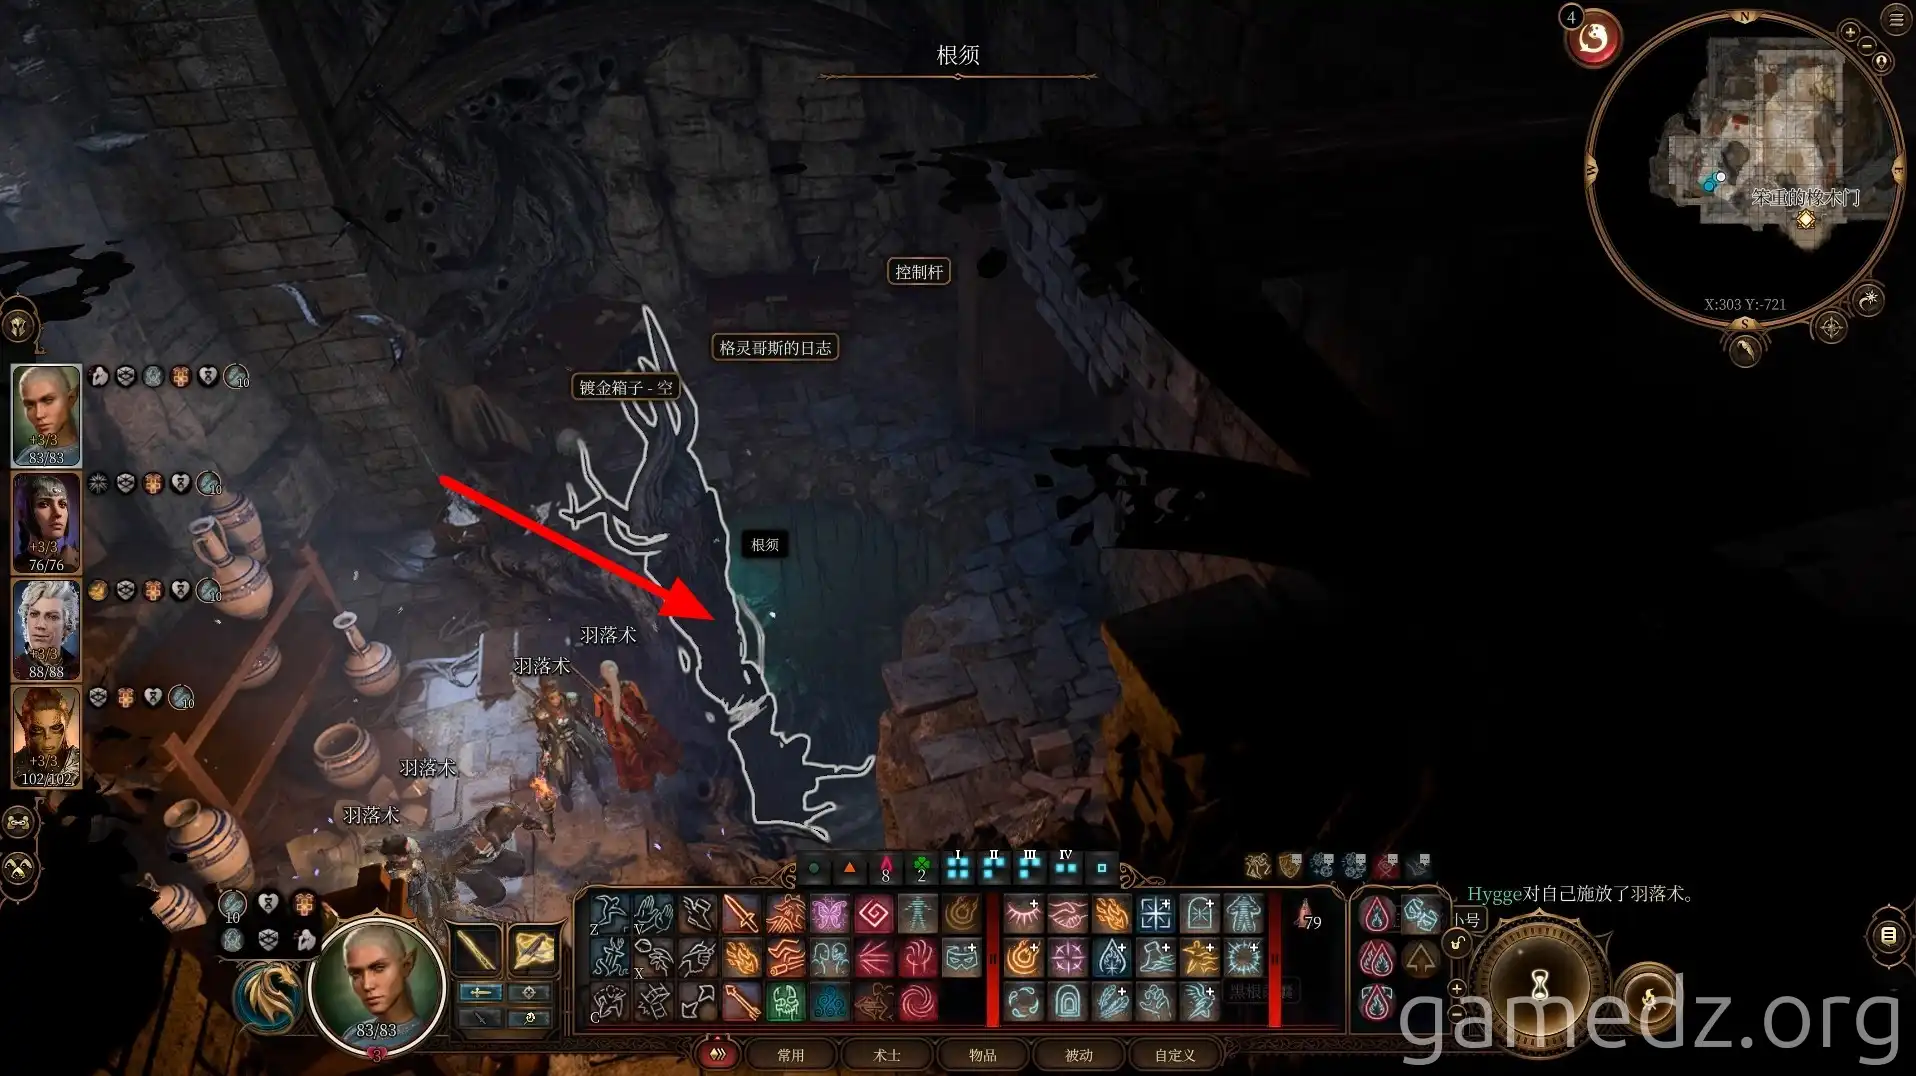
Inside the secret room, you'll find a Soul Coin, Gremgoth's Journal, and a pile of miscellaneous items. Continue downwards through the roots.
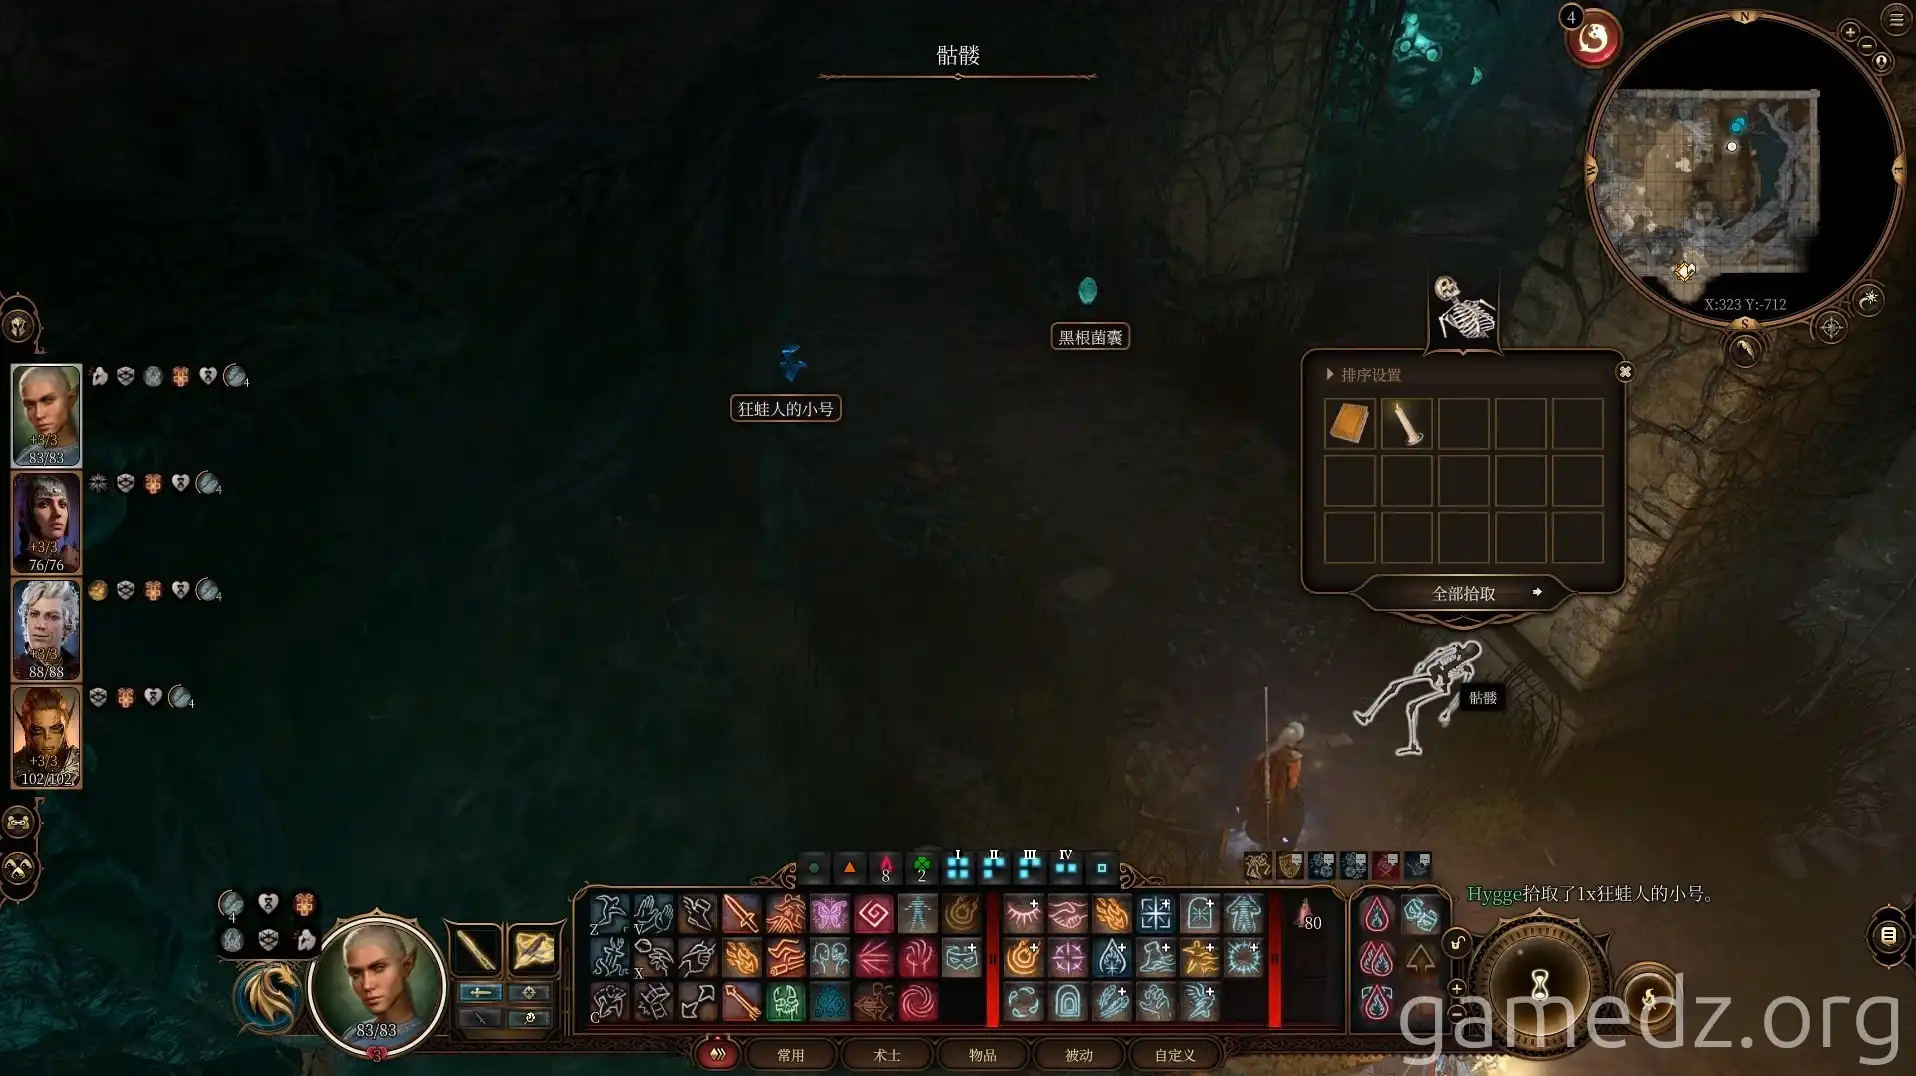
On a skeleton in the underground area, you can find a Mason's Journal. The journal mentions a secret passage, but after searching around, you won't be able to find it, so you'll have to give up on that for now.
After leaving the basement, head east to the southernmost entrance of Rivington Village. Walk north along the west side of the riverbank to find a chest. Heading south leads to Moonrise Towers, and there's also a chest at the base of the cliff by the river.
After collecting the items from the chest, return to the Tollhouse basement entrance and head west.
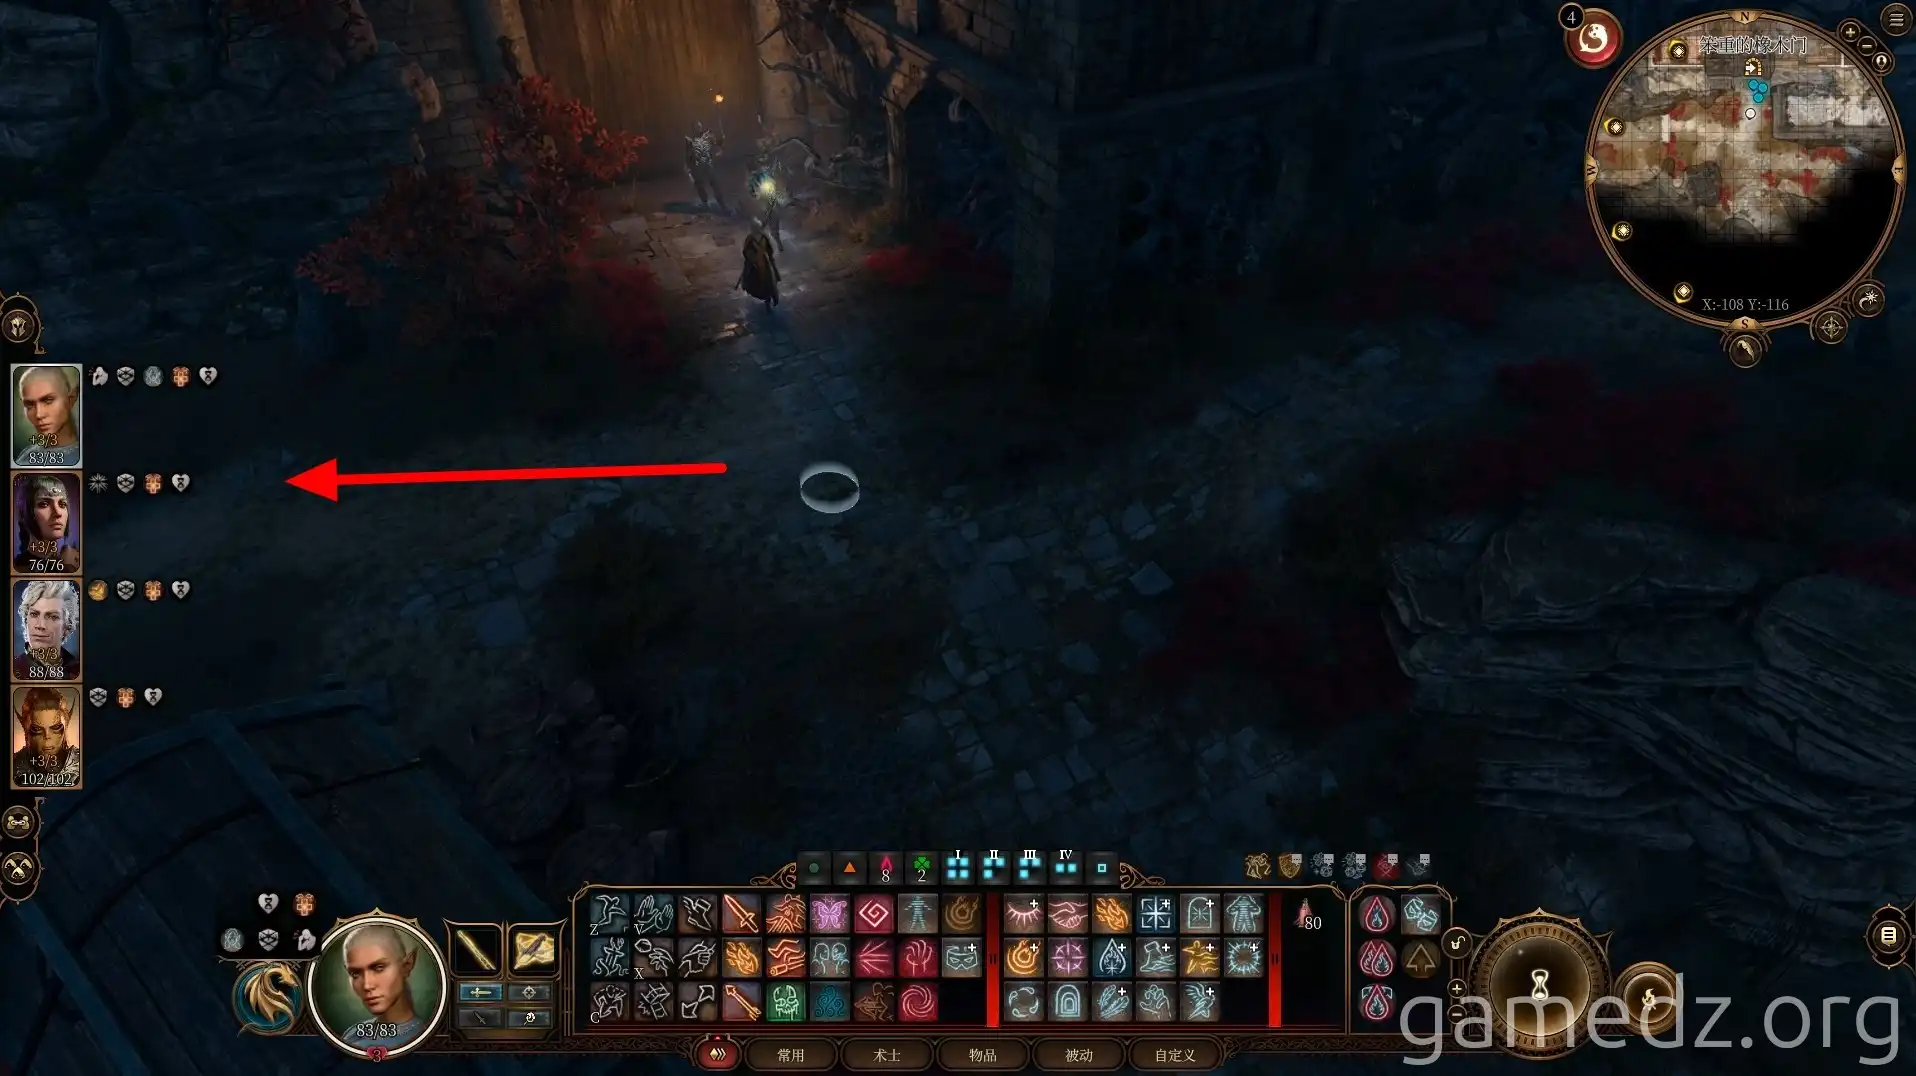
Waning Moon Inn & Quests
Proceed west to the Waning Moon Inn. First, walk north along the stairs.
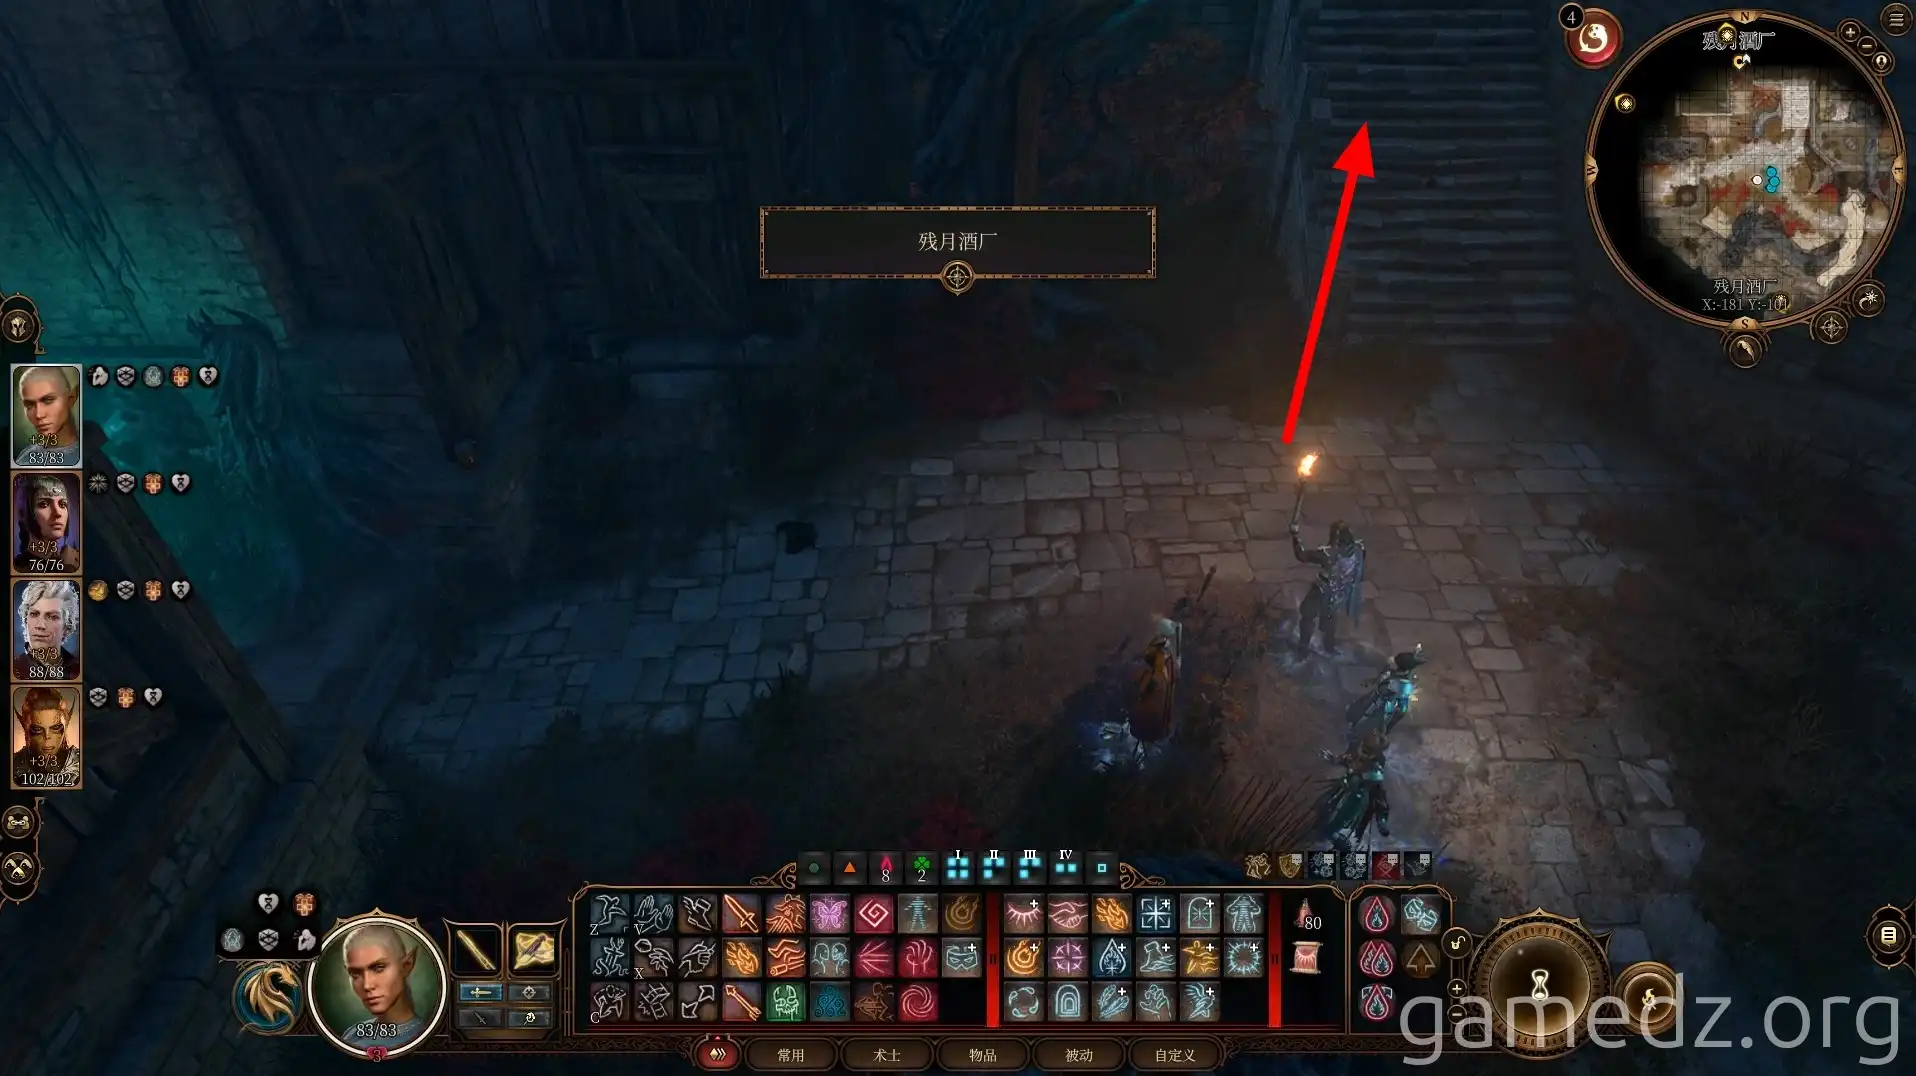
Head east to the entrance of Moonrise Towers and activate the waypoint. Then, turn back and enter the Waning Moon Inn.
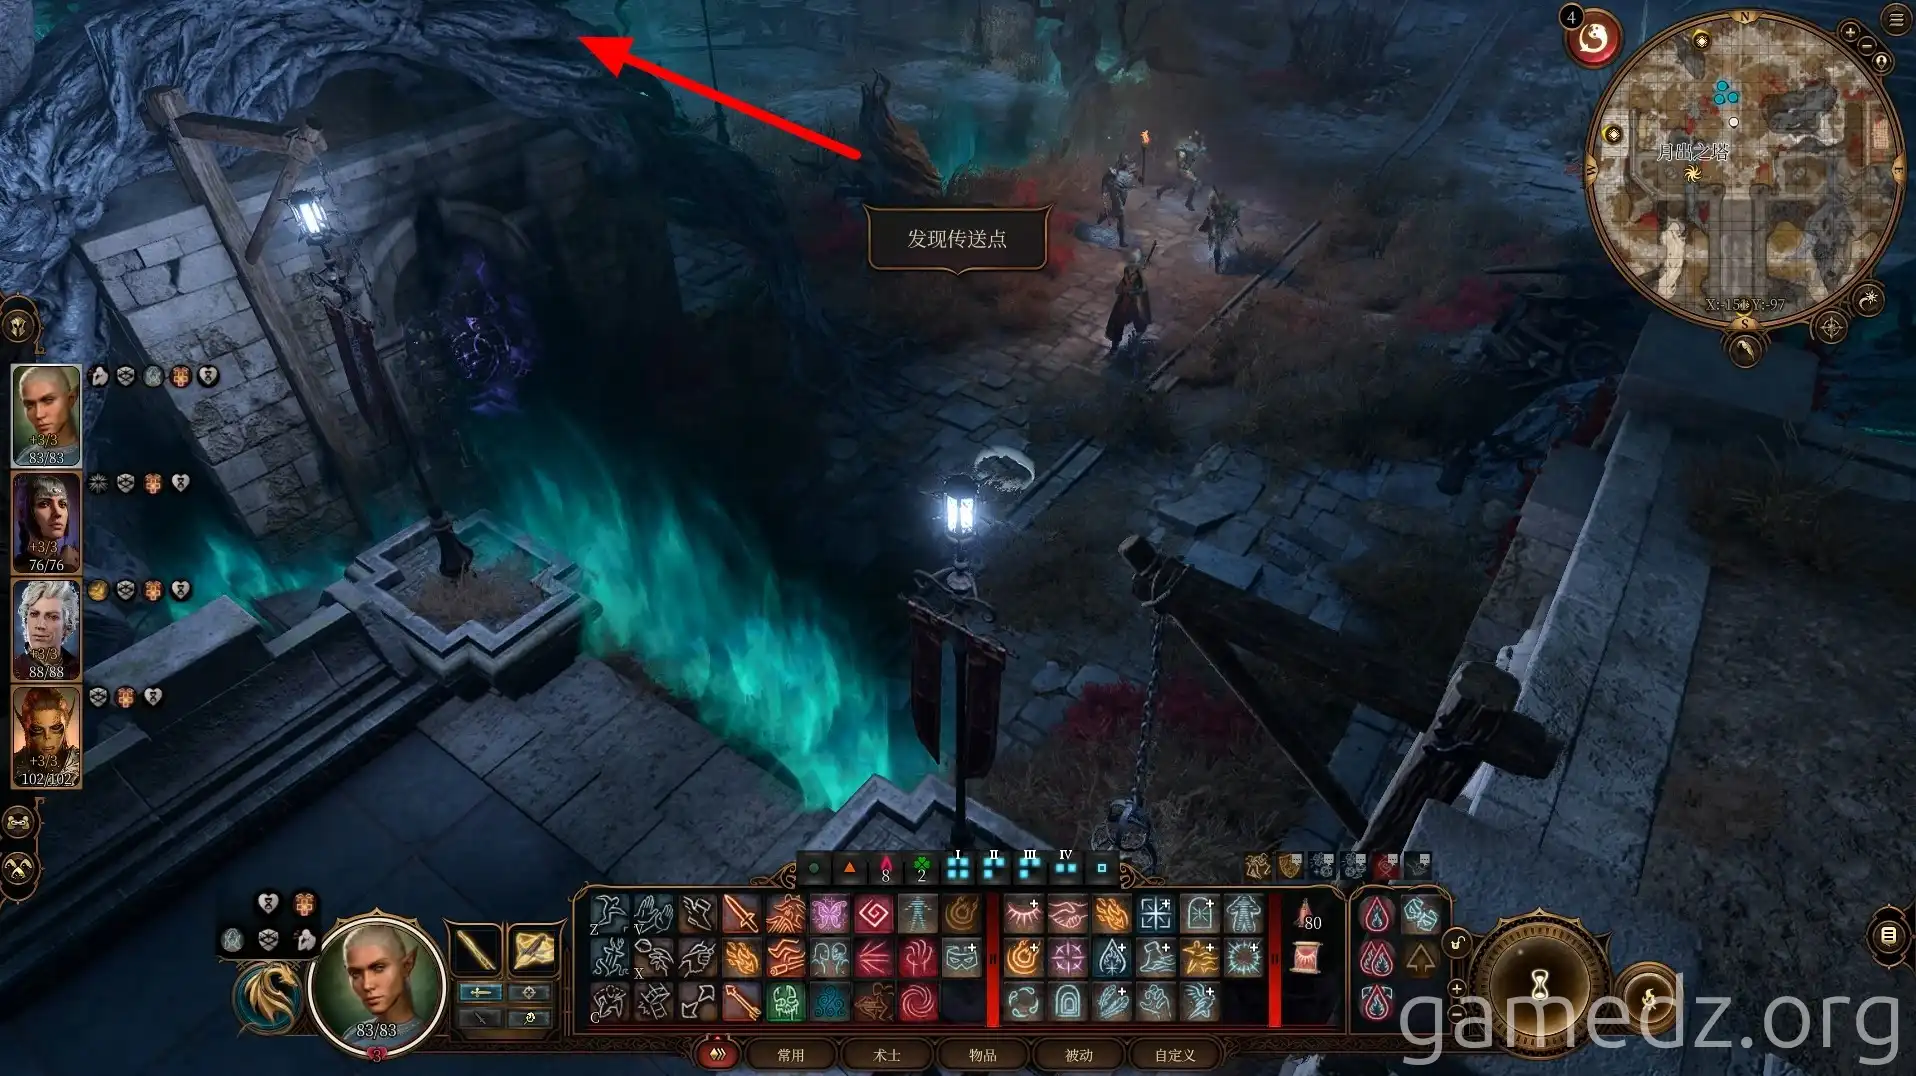
You can enter the Waning Moon Inn through the main entrance.
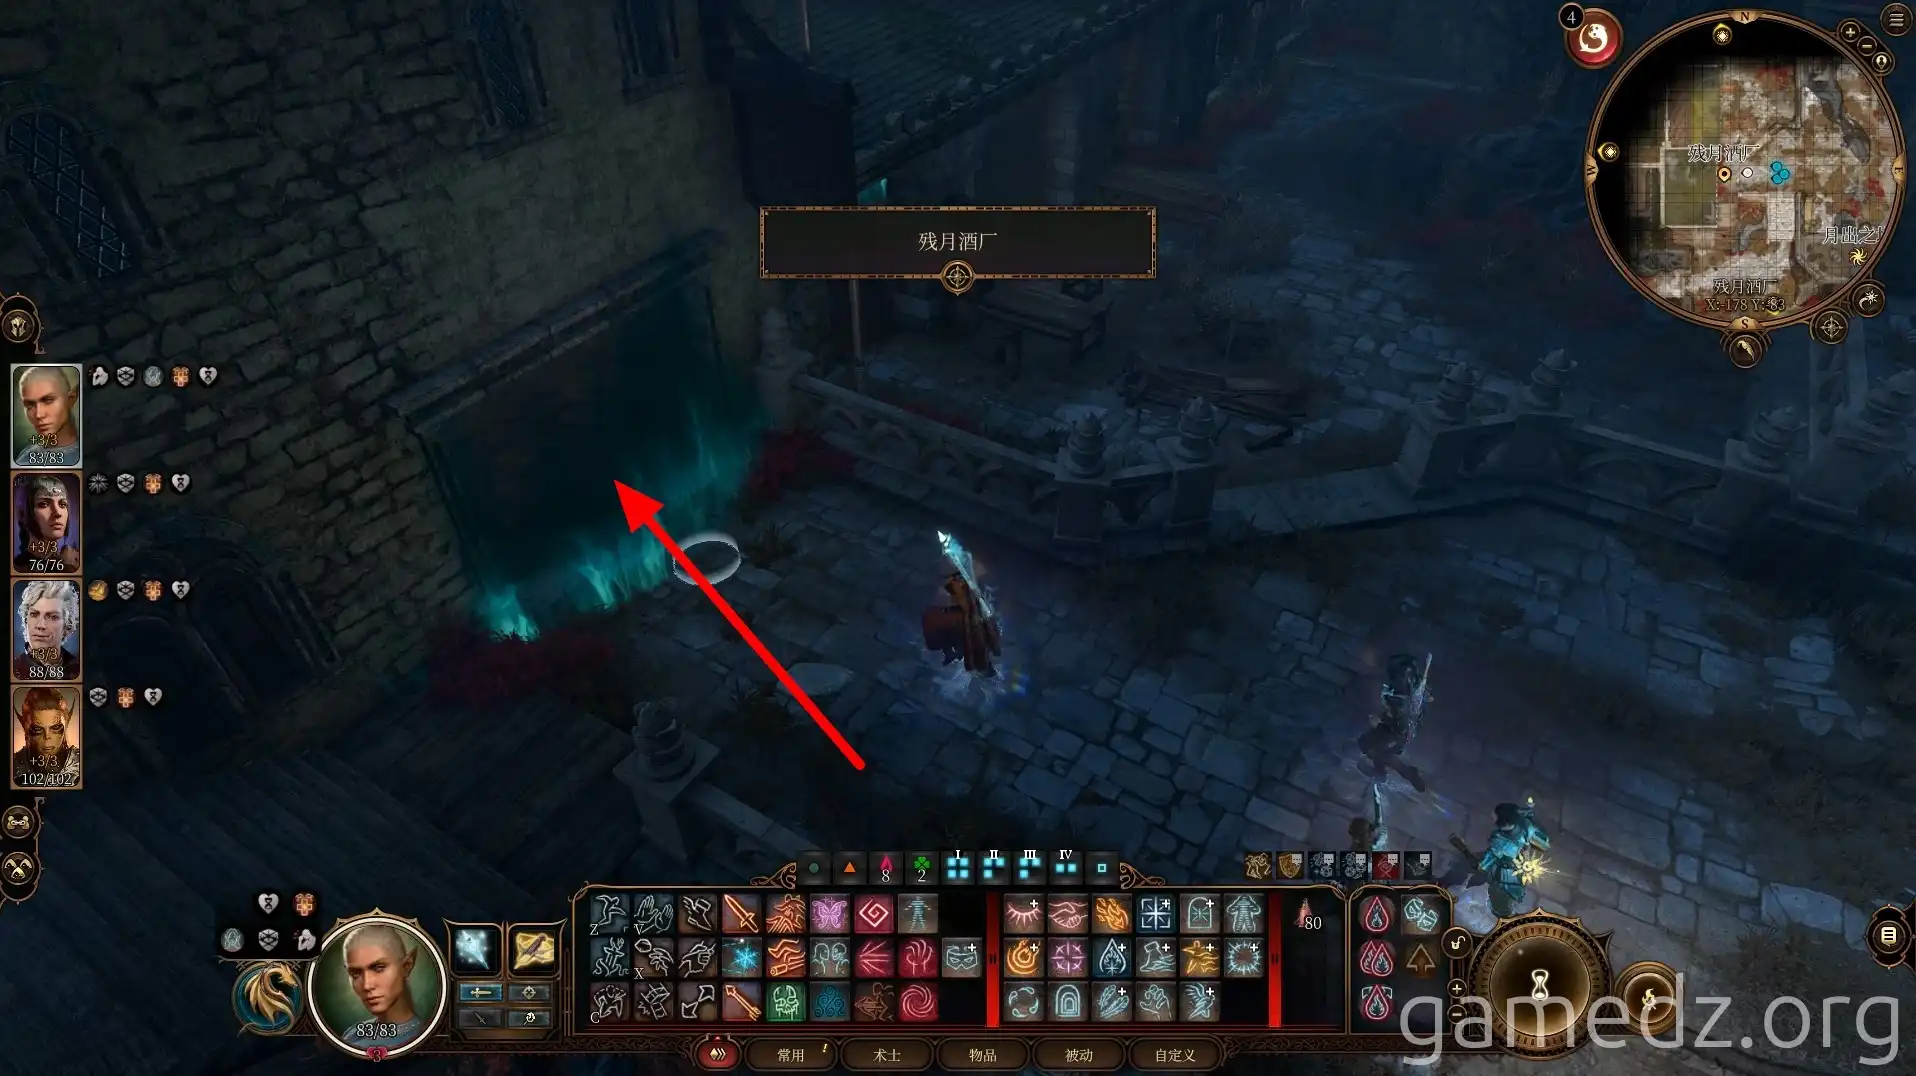
There are quite a few chests in the inn, but none contain anything particularly good. After a quick search, head directly to the lowest level to find Wulbren Bongle.
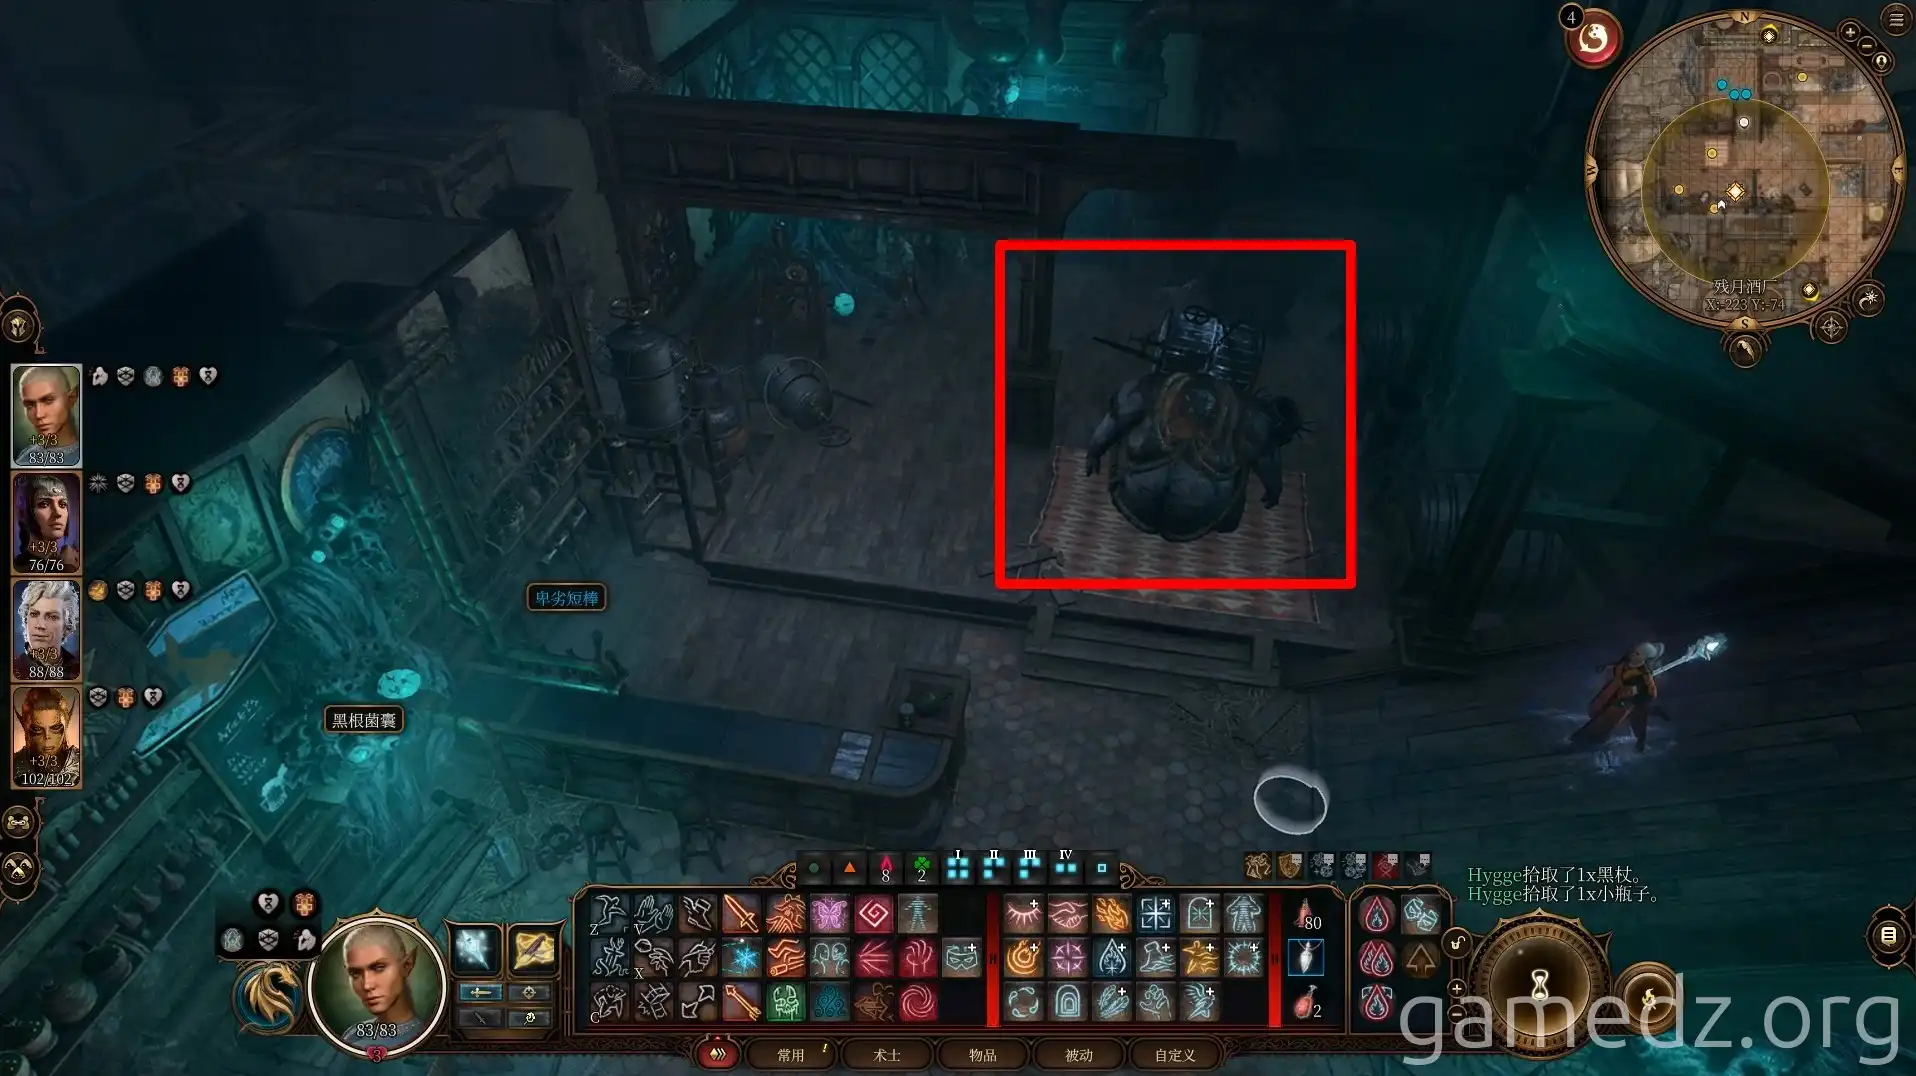
Remember to save before initiating dialogue. You can defeat Wulbren by passing various checks to get him to drink. Successfully passing three drinking checks and two storytelling performance checks will allow you to drink him to death.
If Wulbren dies from drinking, characters with a Deceiver background will receive one Inspiration, and characters with a Soldier background will receive two Inspirations.
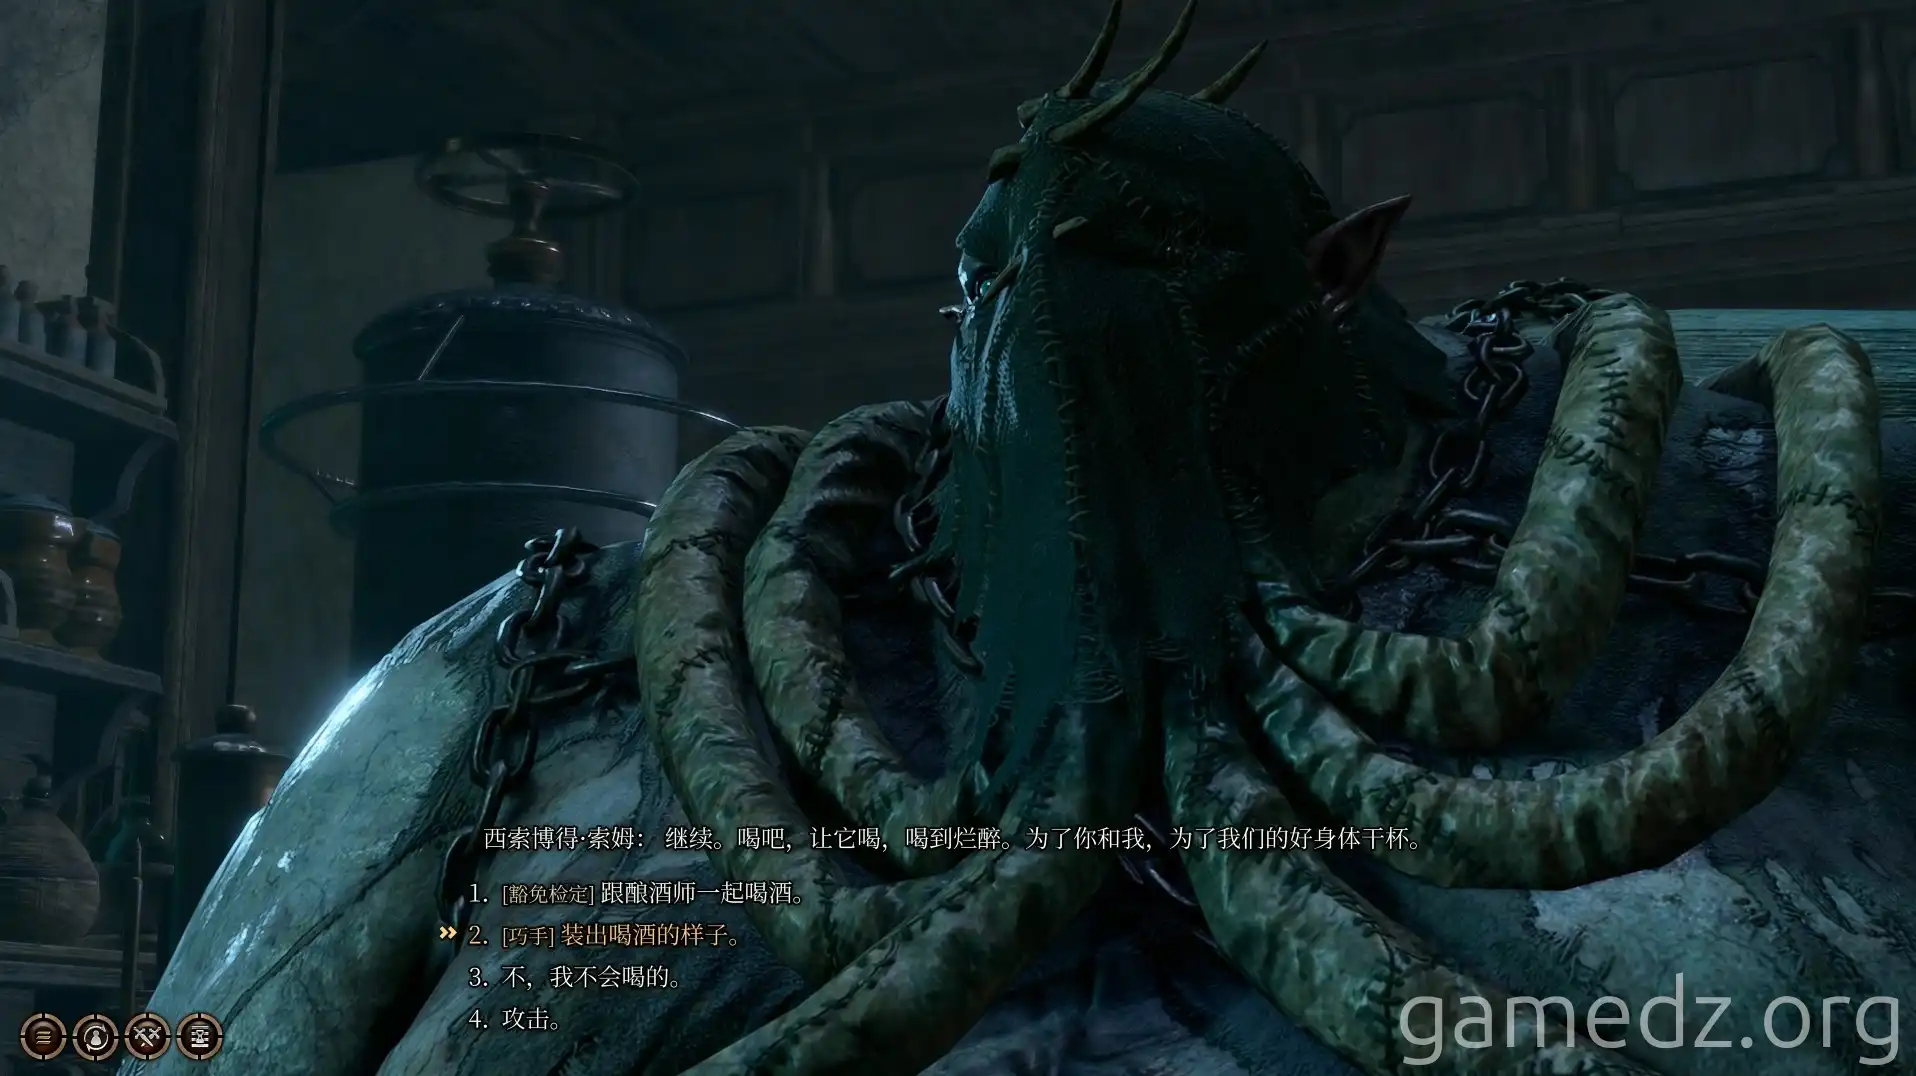
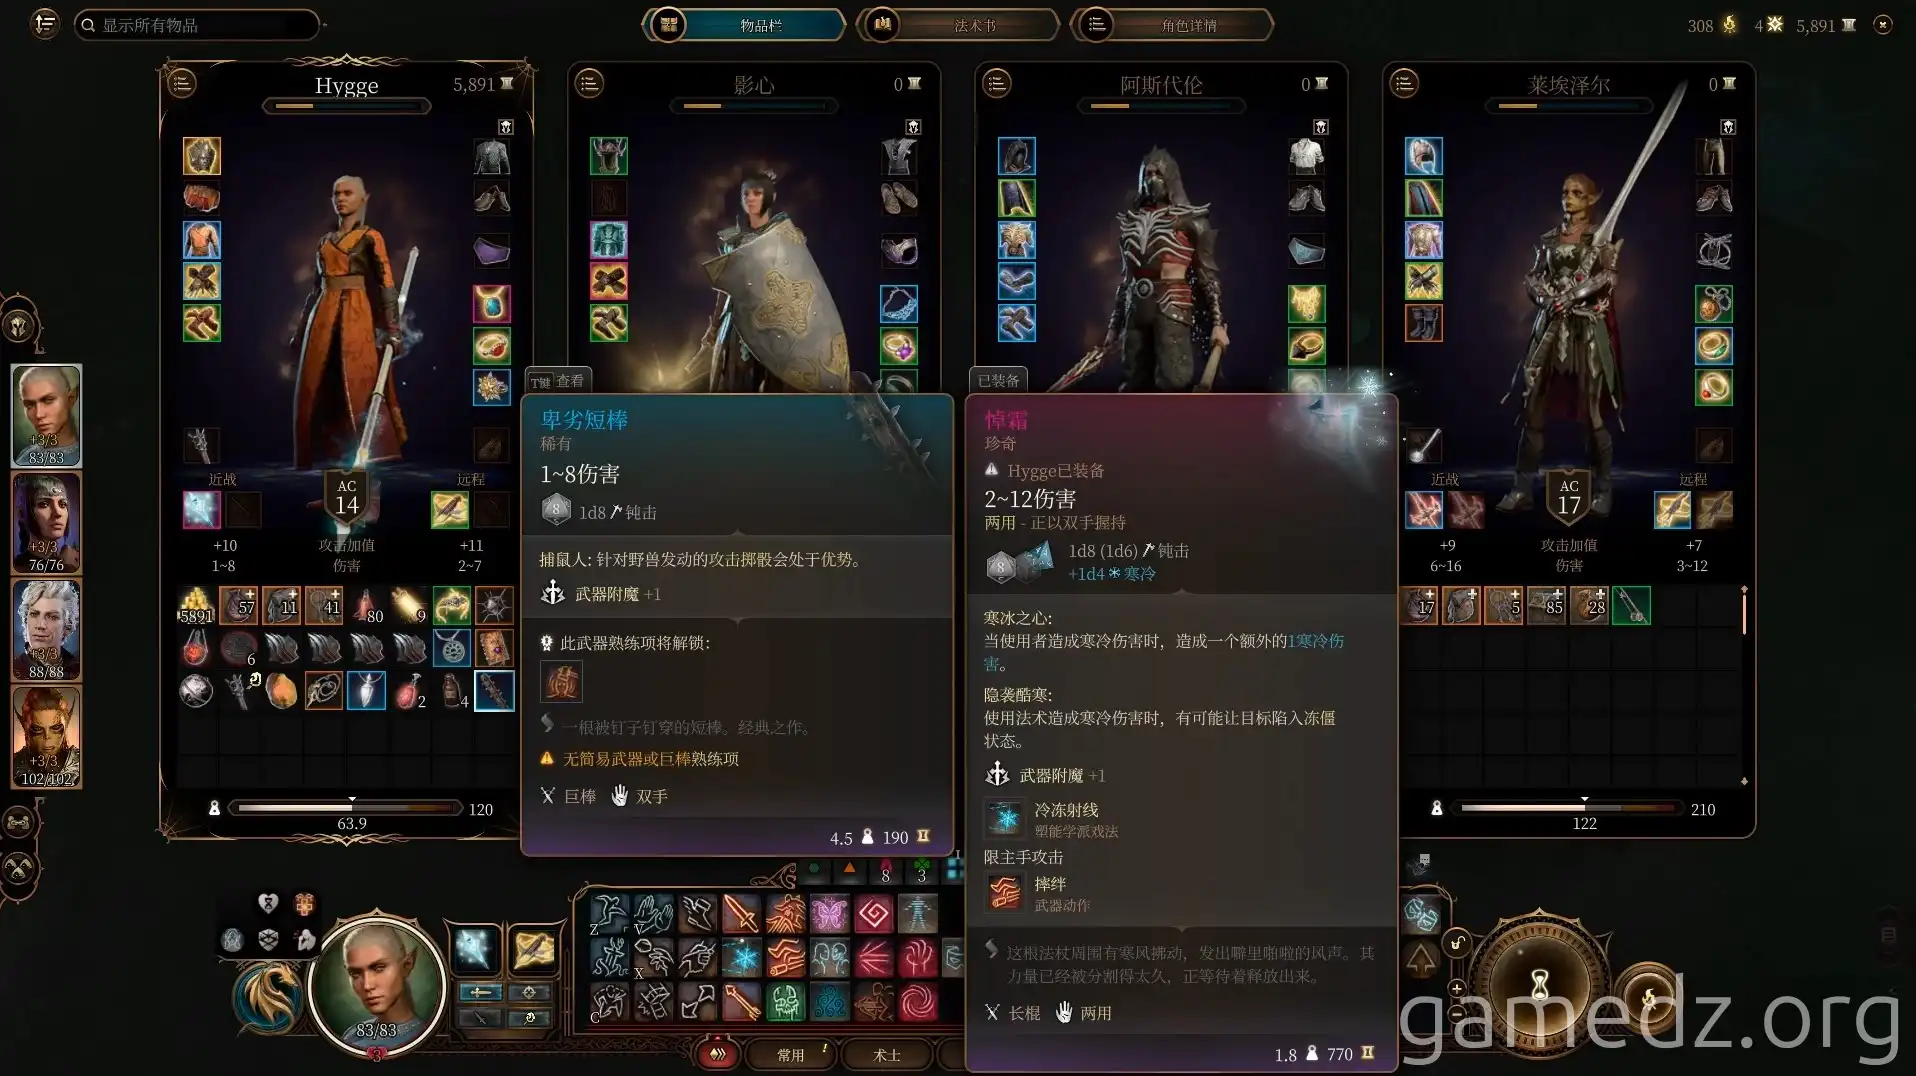
Afterward, you can obtain the Worn Key from Wulbren. Next to the bar, you'll find the rare weapon Nasty Shortbow.
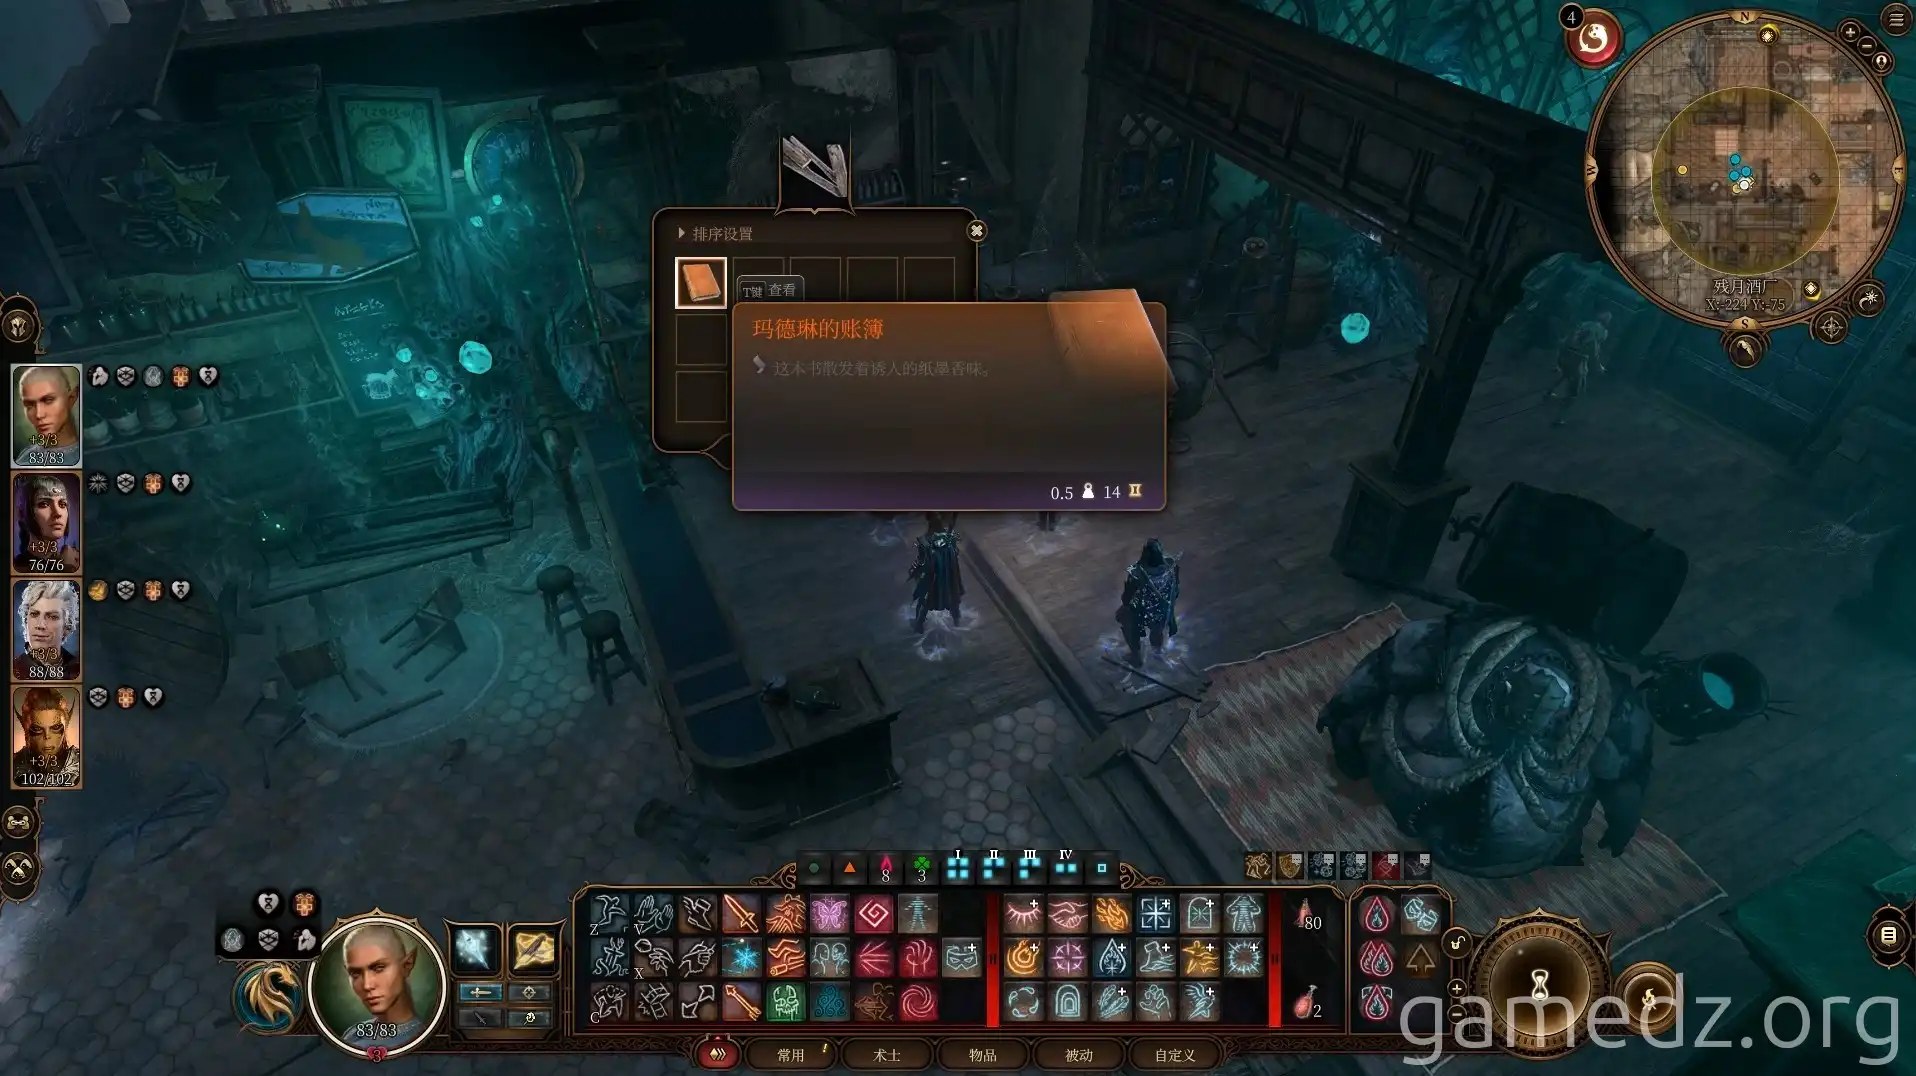
Beneath the floorboards near the Nasty Shortbow, you can find the quest item Madeline's Ledger.
Then, proceed through the door behind Wulbren to enter the western area of the inn.
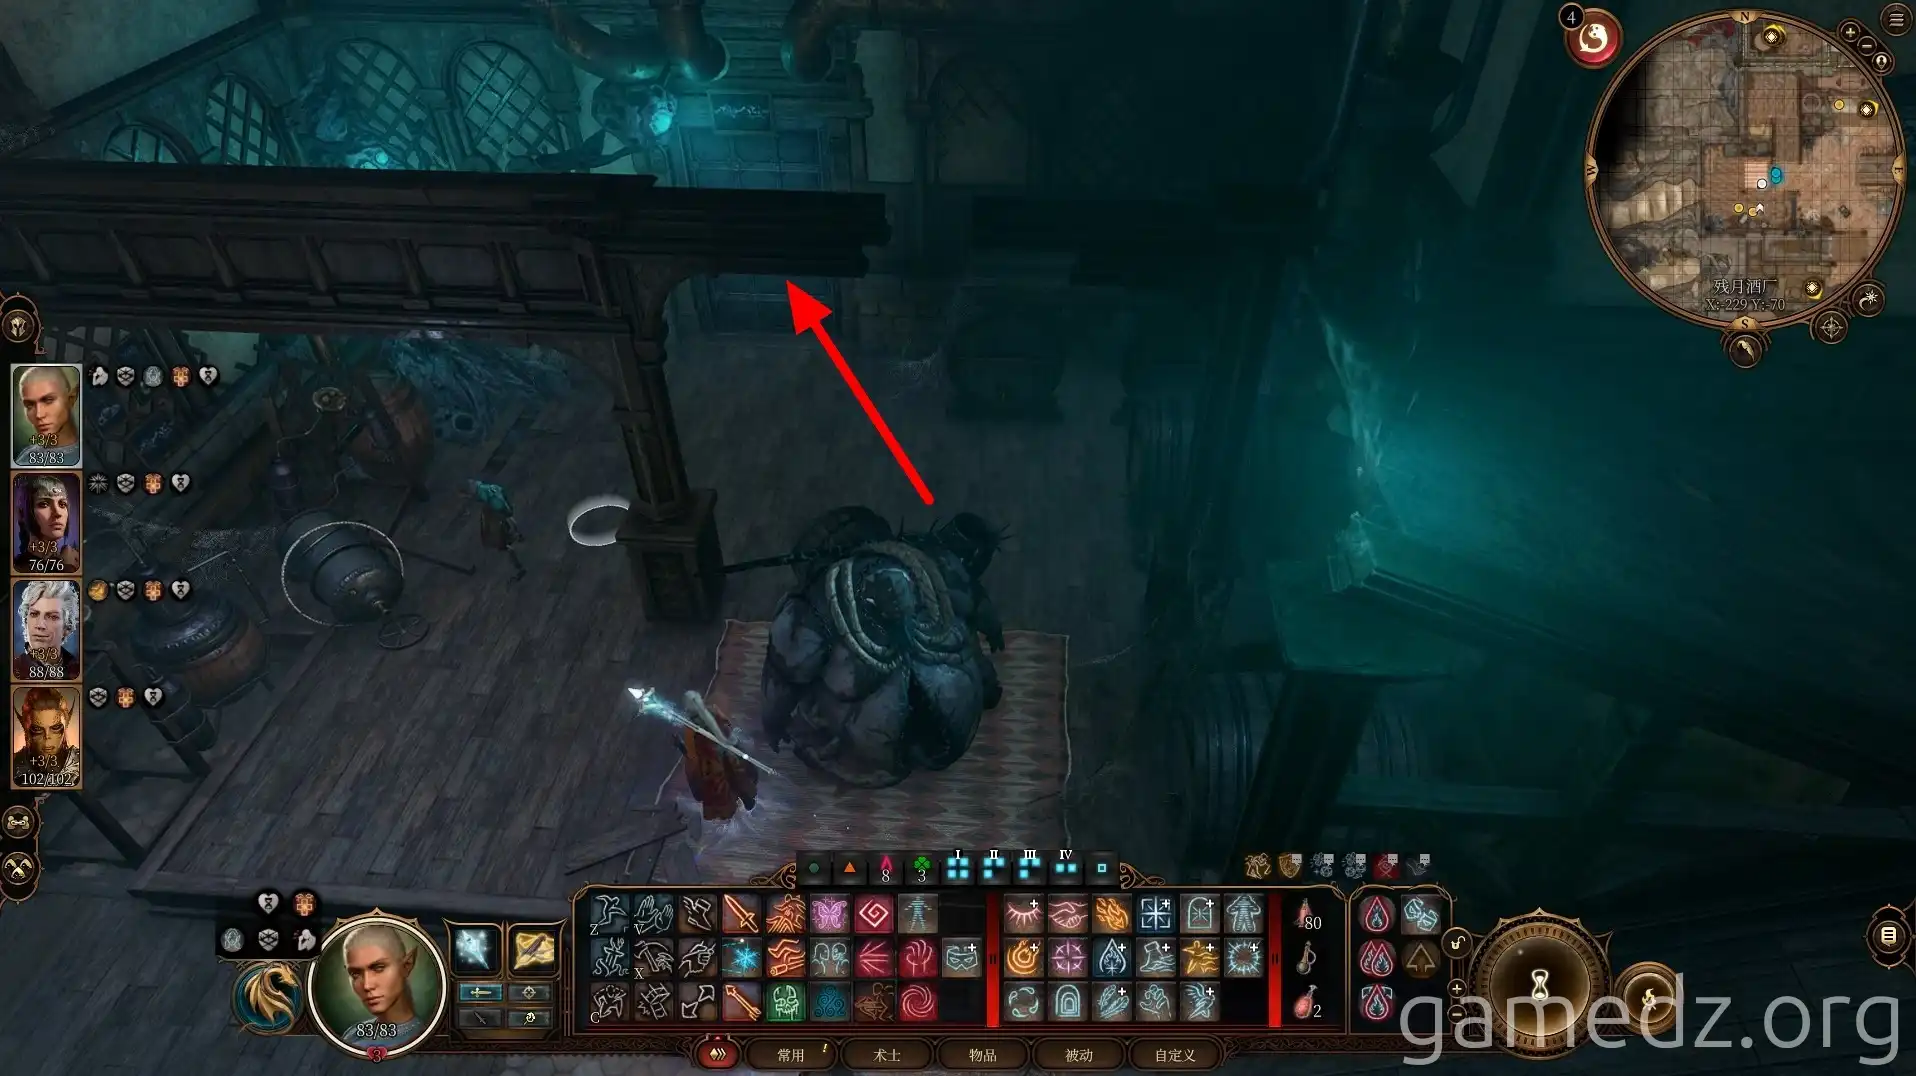
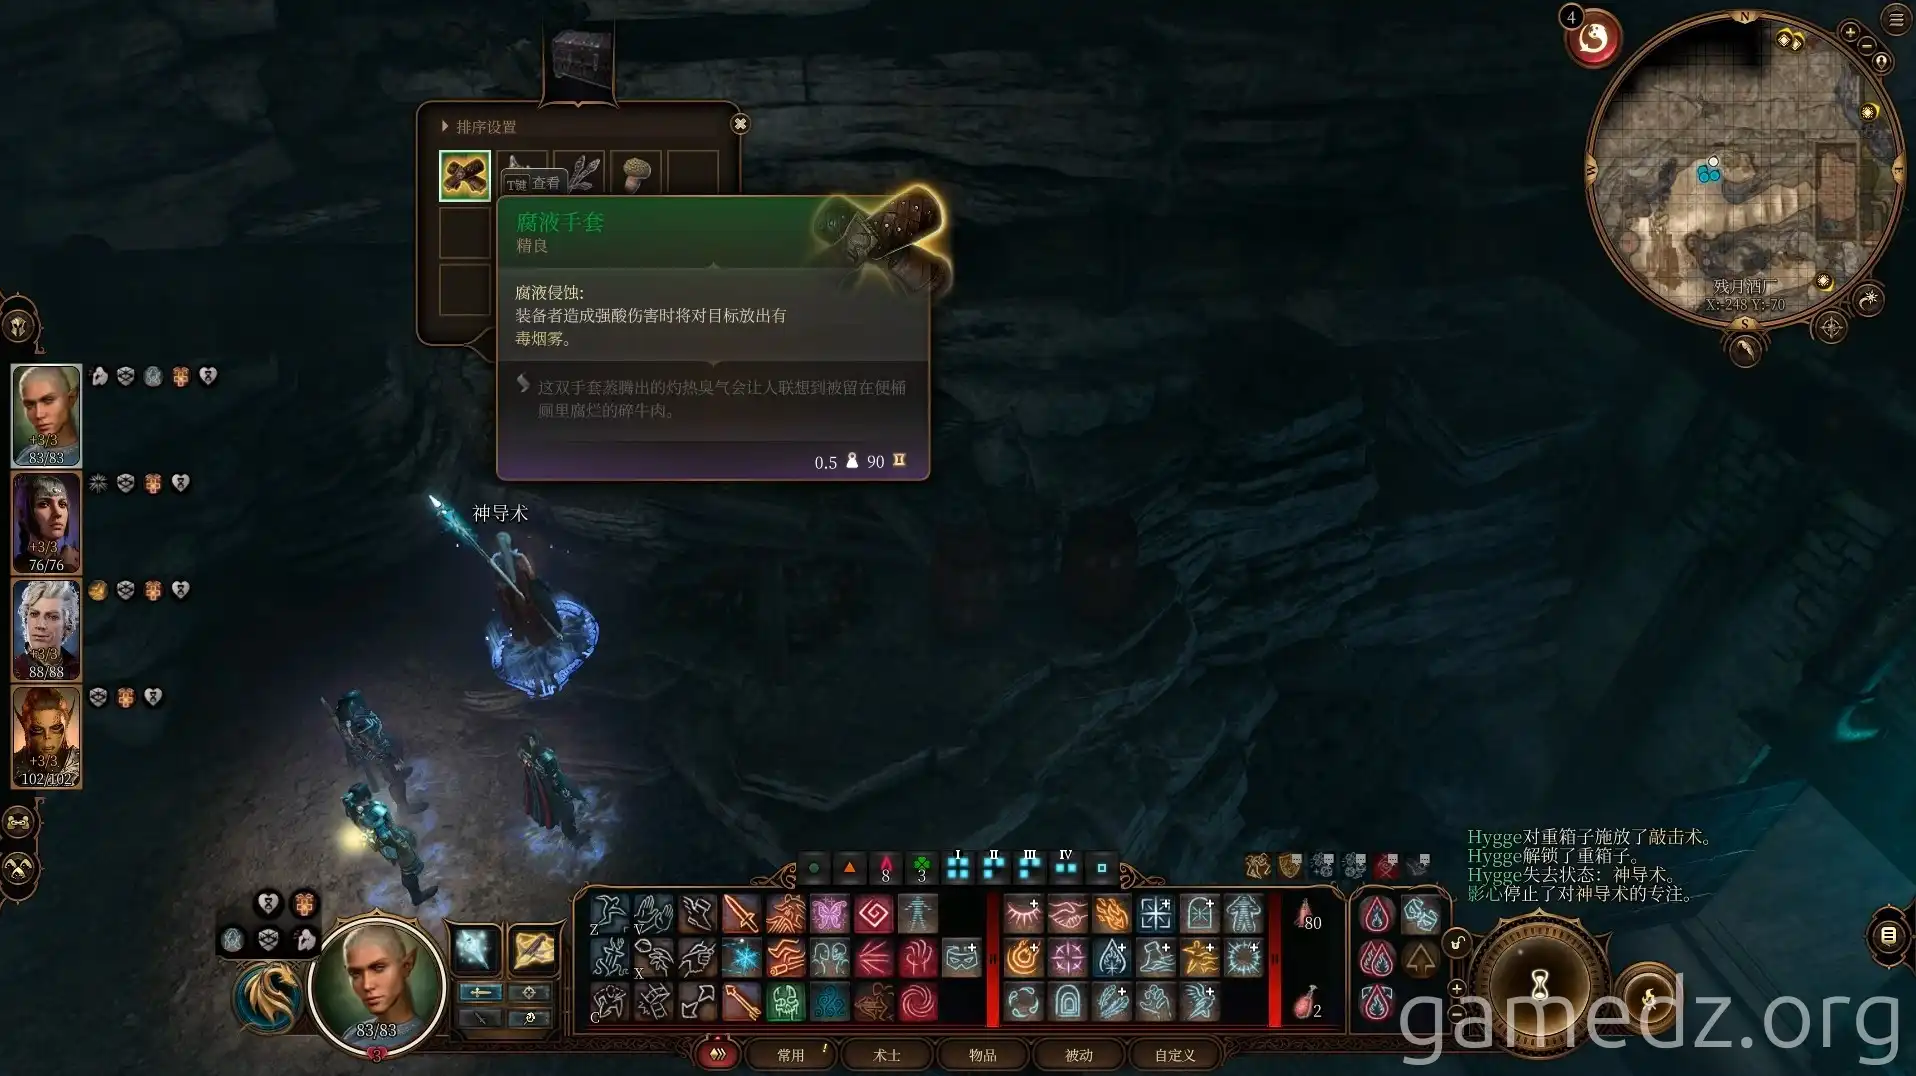
Upon entering, you can find the rare equipment Corrosive Gauntlets in a chest at the base of the northern cliff.
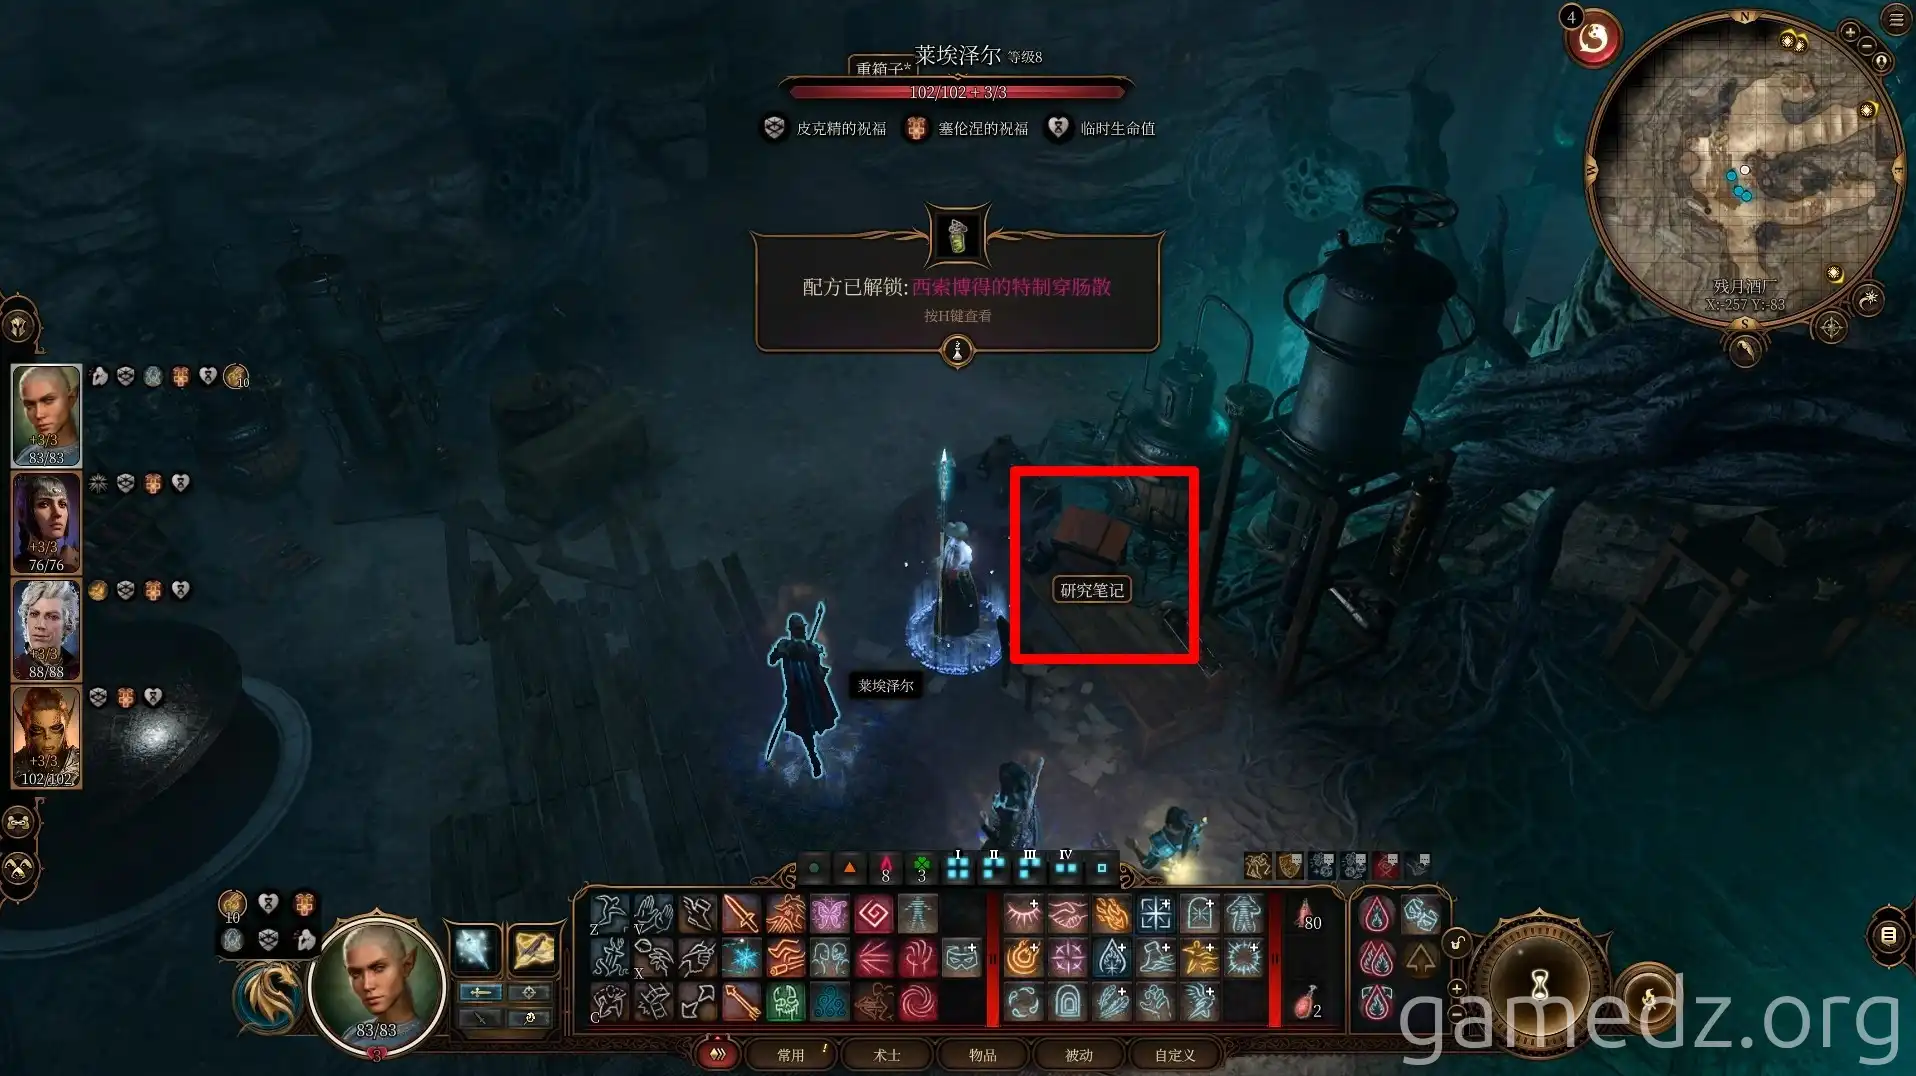
Reading the research notes on the table and passing a check will unlock the recipe for Wulbren's Special Gut-Ripper and mark a hidden treasure location on your map.
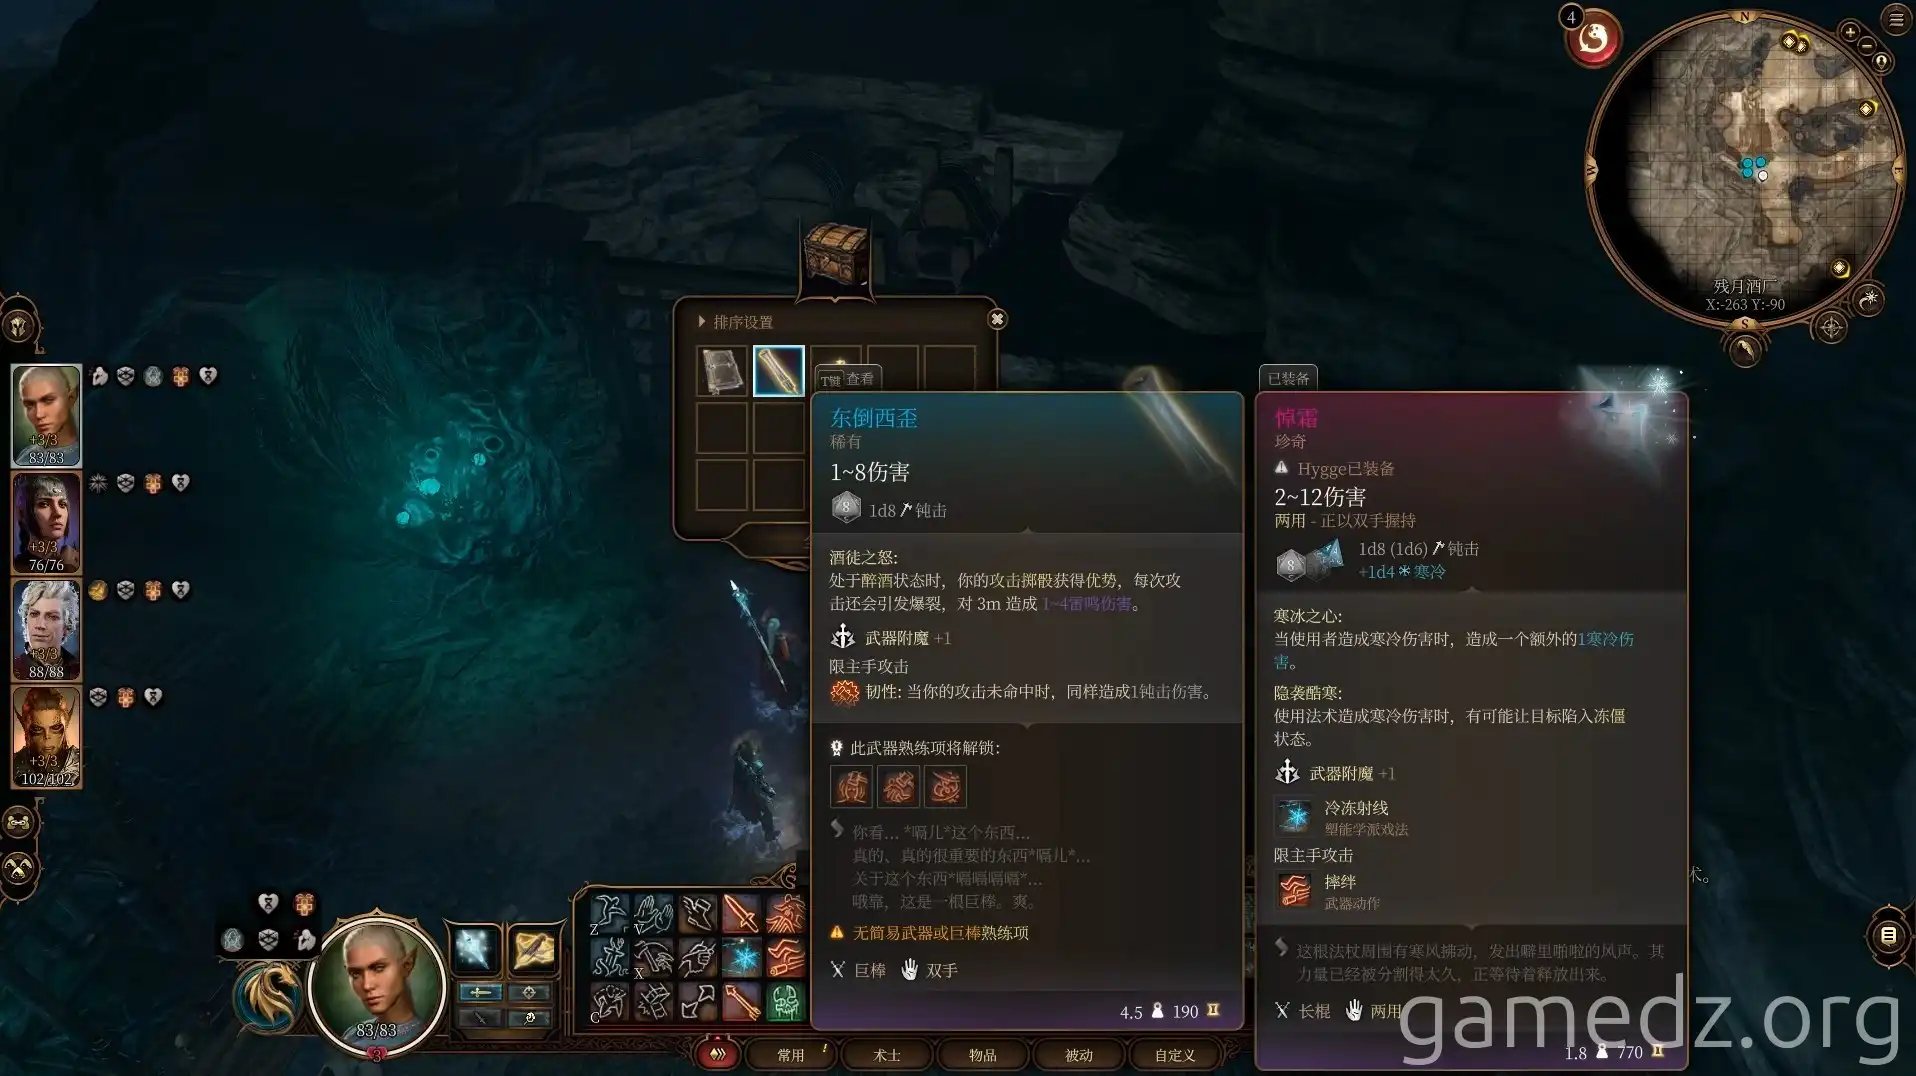
In the chest opposite the research notes, you can find the rare weapon Wobbly Bow and the recipe for Snake Venom. Behind the nearby fence are only some alchemy ingredients, no particularly important items. Continue left from the fence; at the end of the small path, you'll find a dirt mound with a buried chest.
Completing Madeline's Quest
After exploring the Waning Moon Inn, return to the Shadow-Cursed Lands and hand over the ledger to the "Past Selves." The Past Selves will then summon Madeline's soul and have it possess them. The so-called punishment is to have Madeline stab the Past Selves with a dagger to experience pain. One stab is sufficient; otherwise, you might kill the Past Selves.
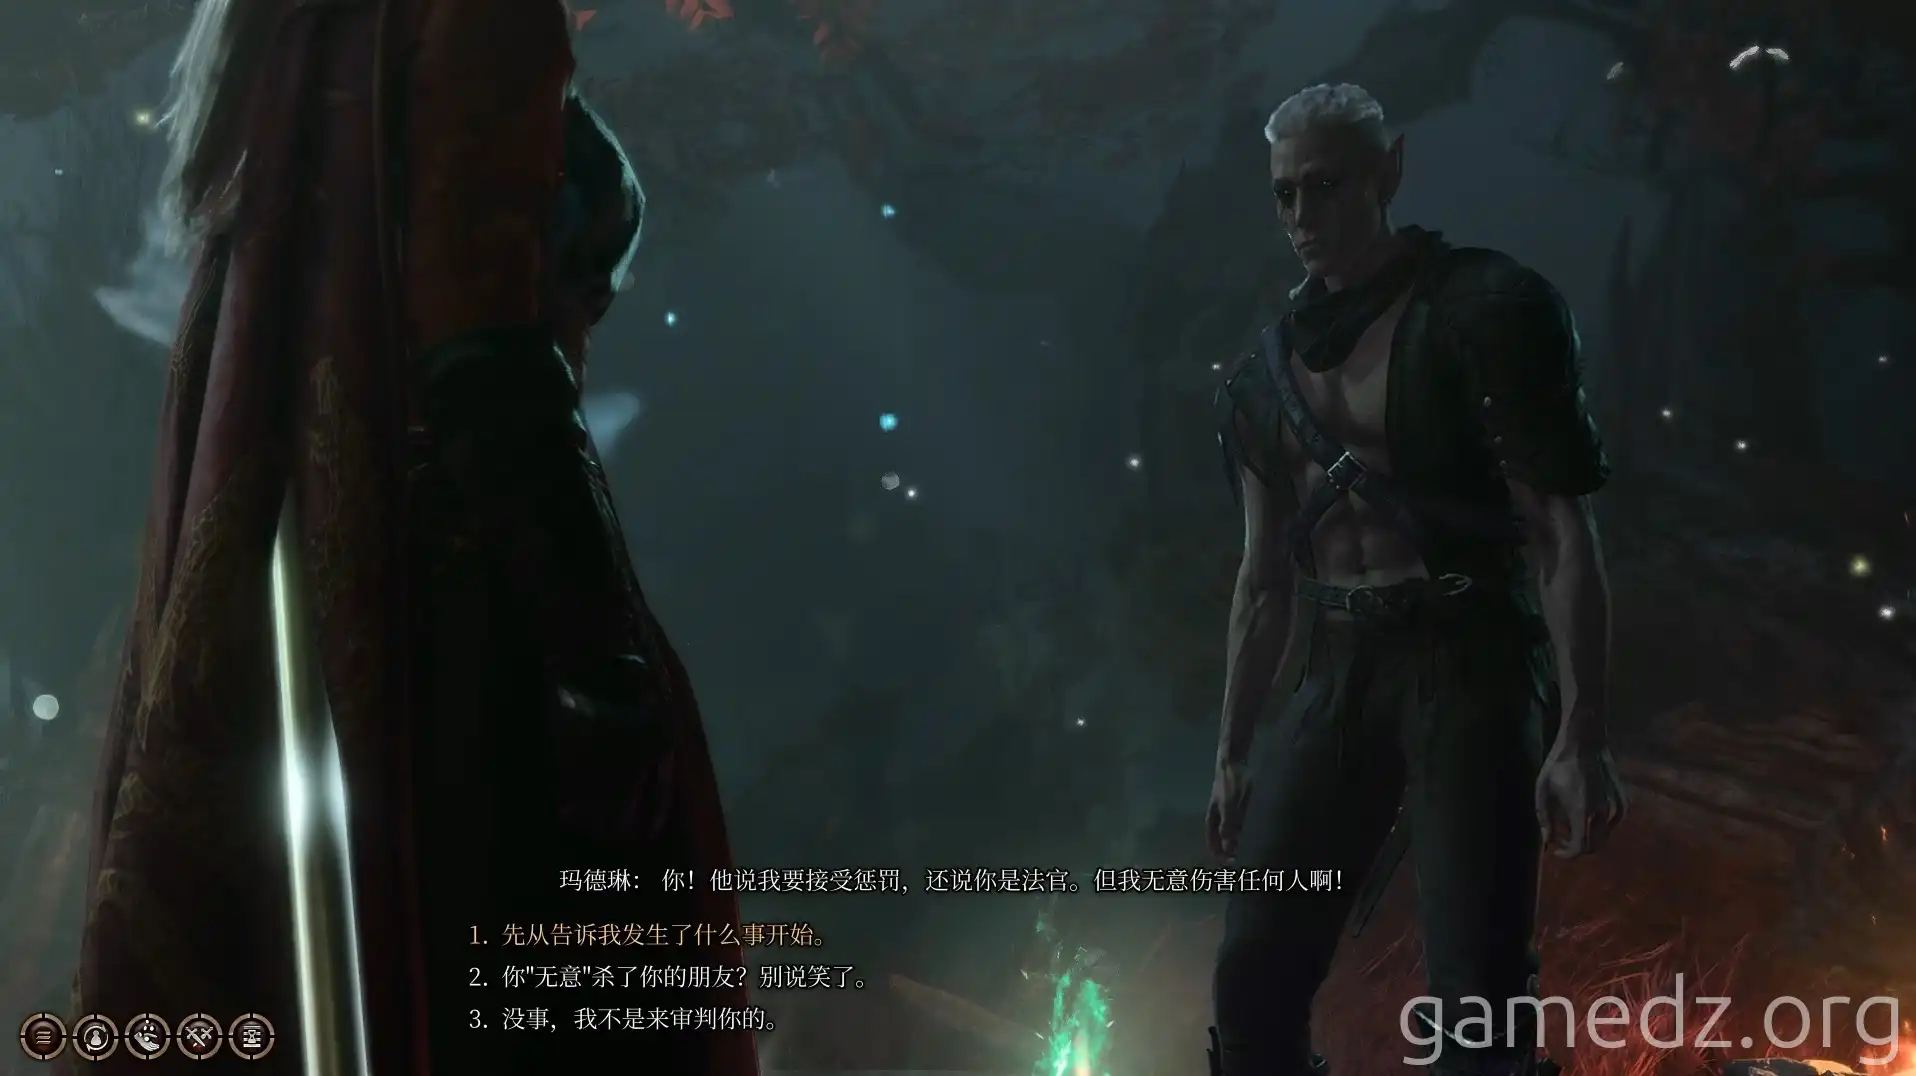
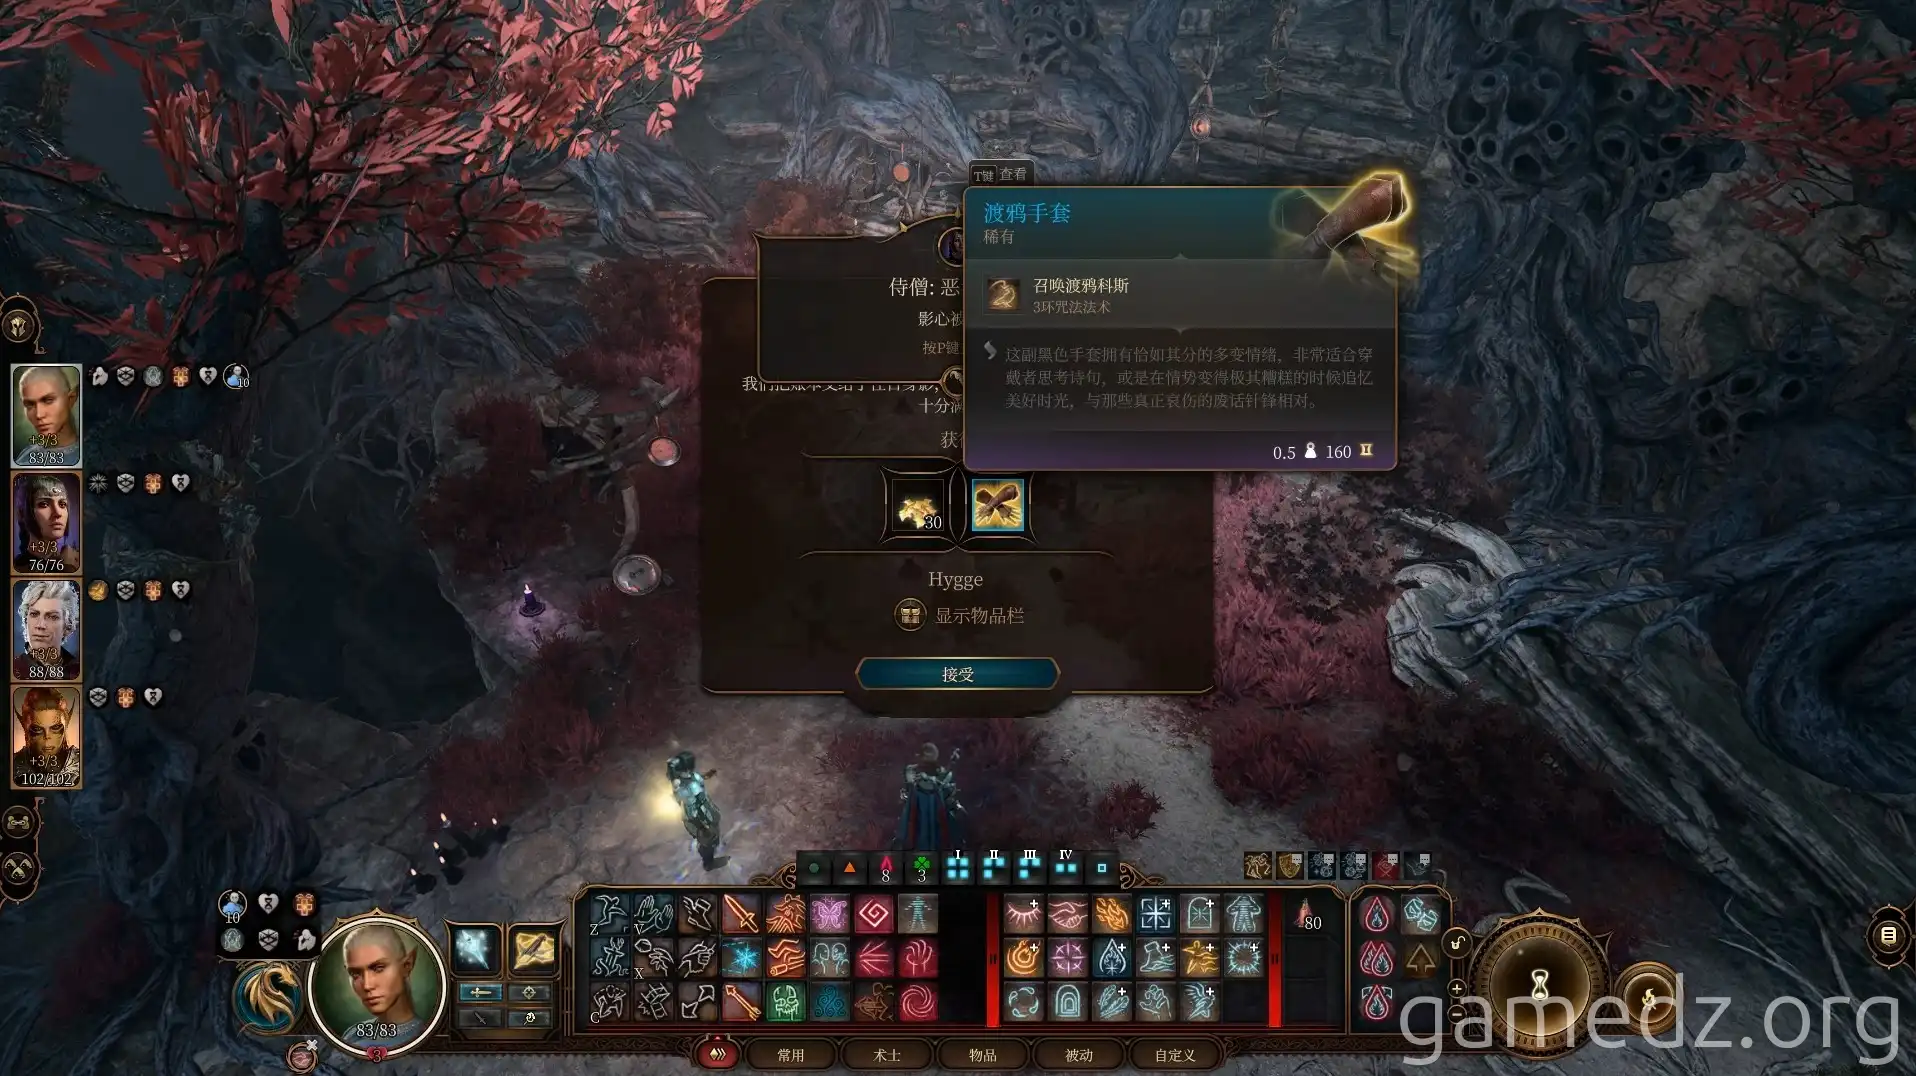
After the punishment, the quest is complete, and you'll receive the rare equipment Raven Gloves. Additionally, characters with an Acolyte background will receive an Inspiration.
