Baldur's Gate 3: Road to Ascension Walkthrough - Part 2
This Baldur's Gate 3 walkthrough covers Act 1's Road to Ascension, focusing on Waukeen's Rest, Zhentarim Hideout, and Githyanki encounters. It details quest progression, loot locations, and strategic choices for players.
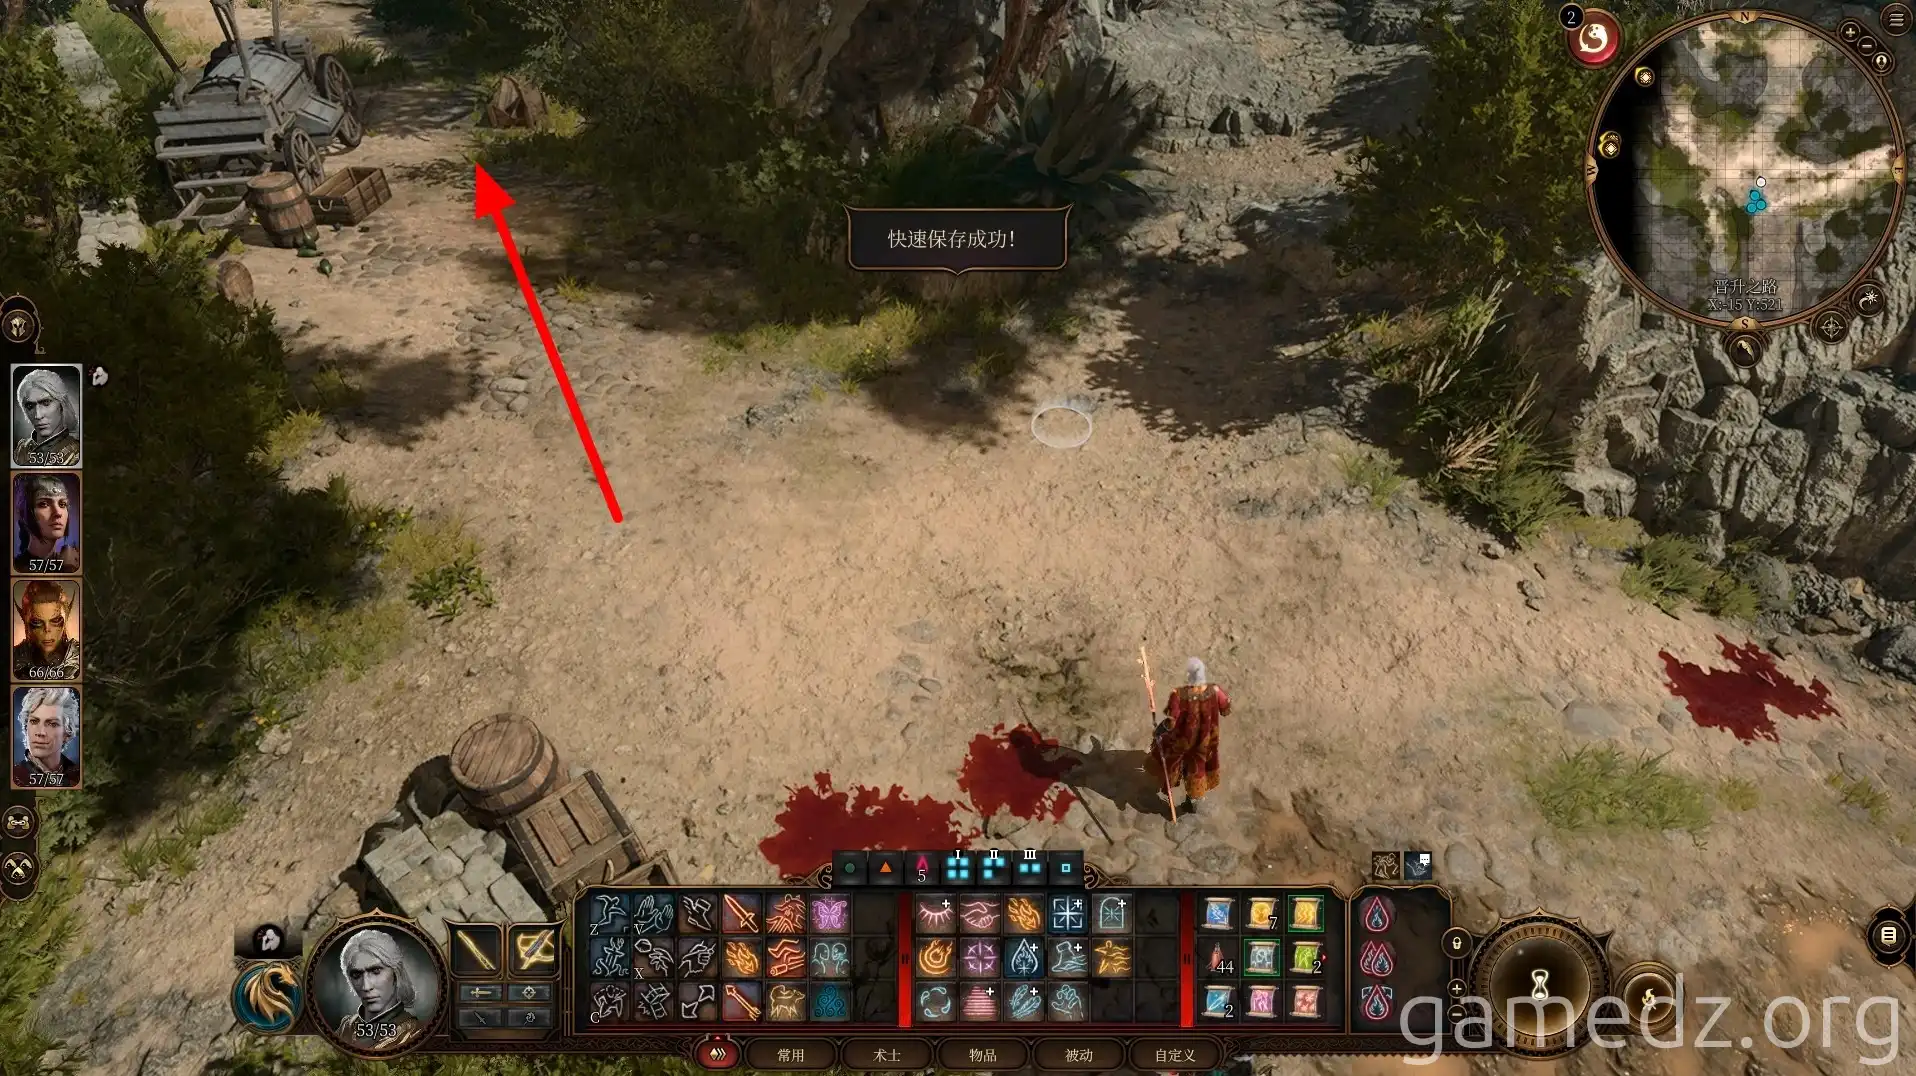
Return to the location where you fought the gnolls before continuing on the Road to Ascension. Proceed northwest along the path.
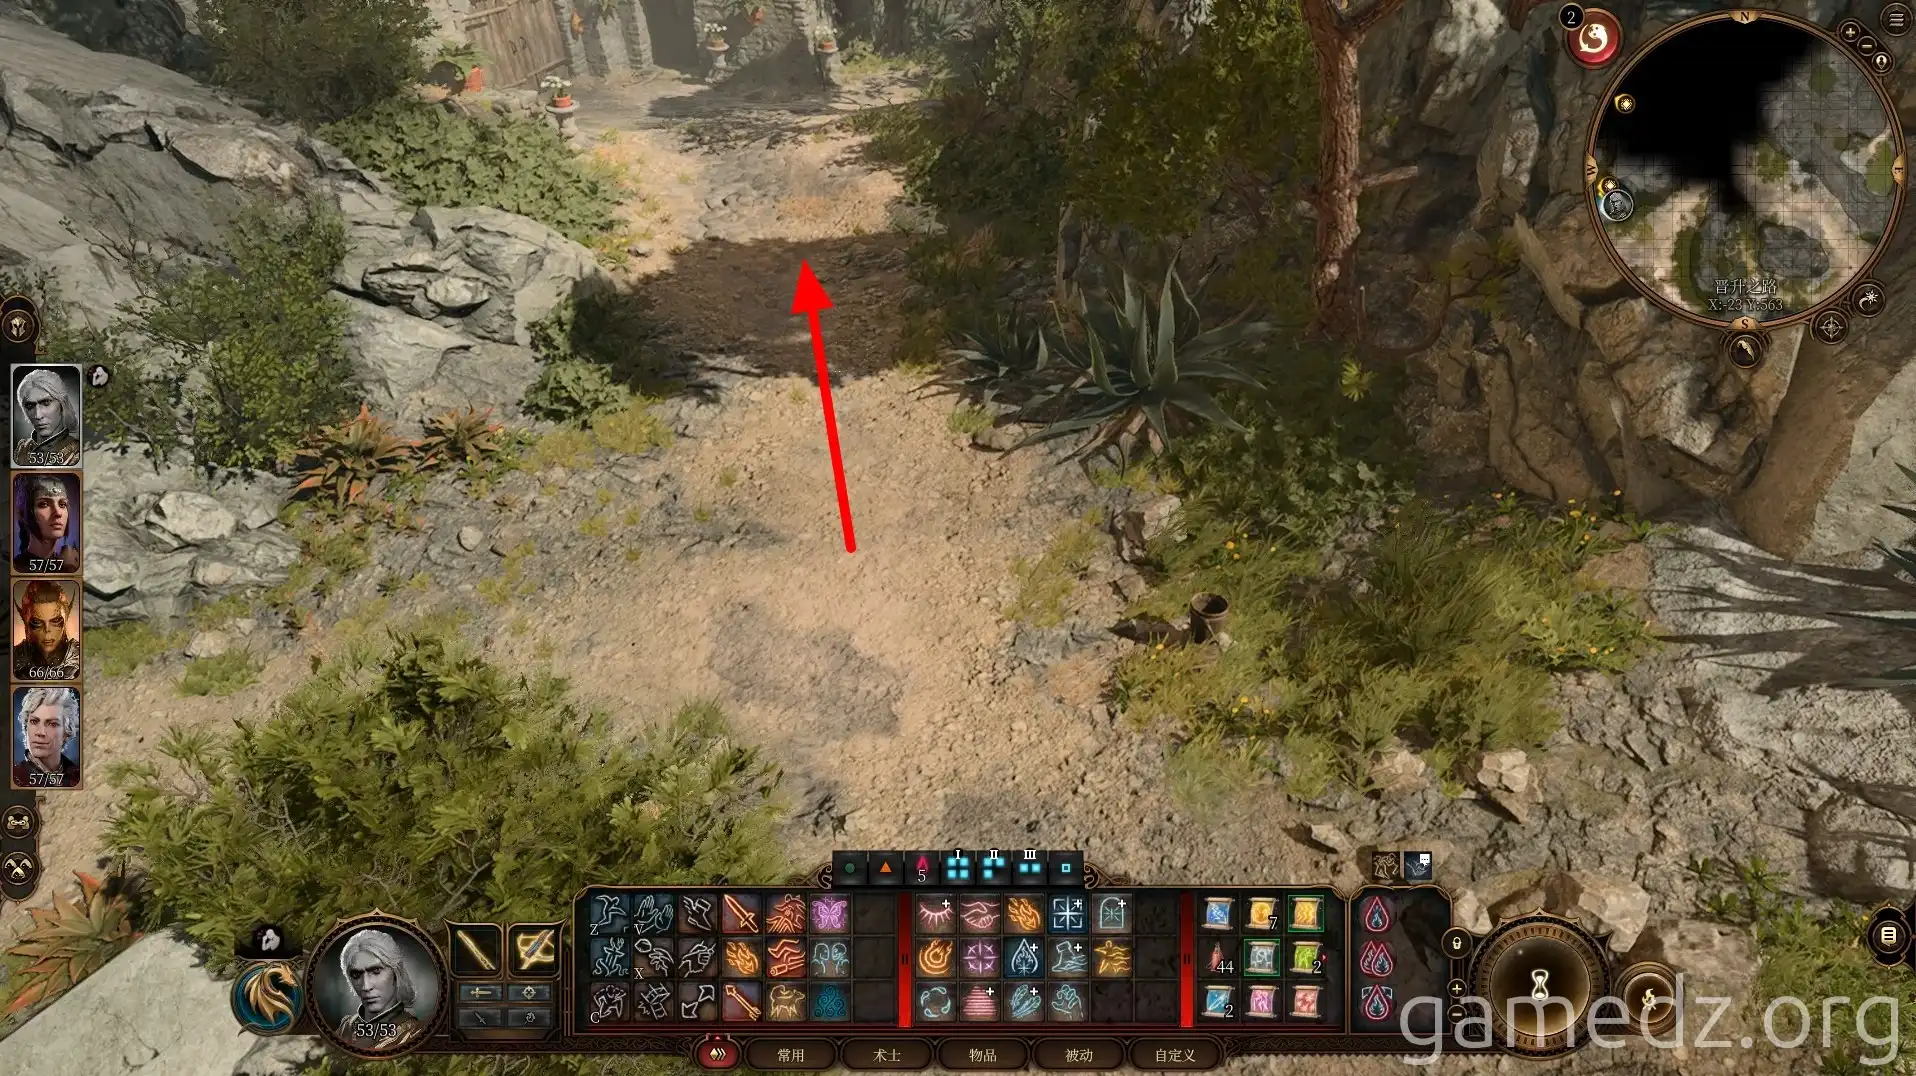
When you reach Waukeen's Rest, head north to the side entrance.
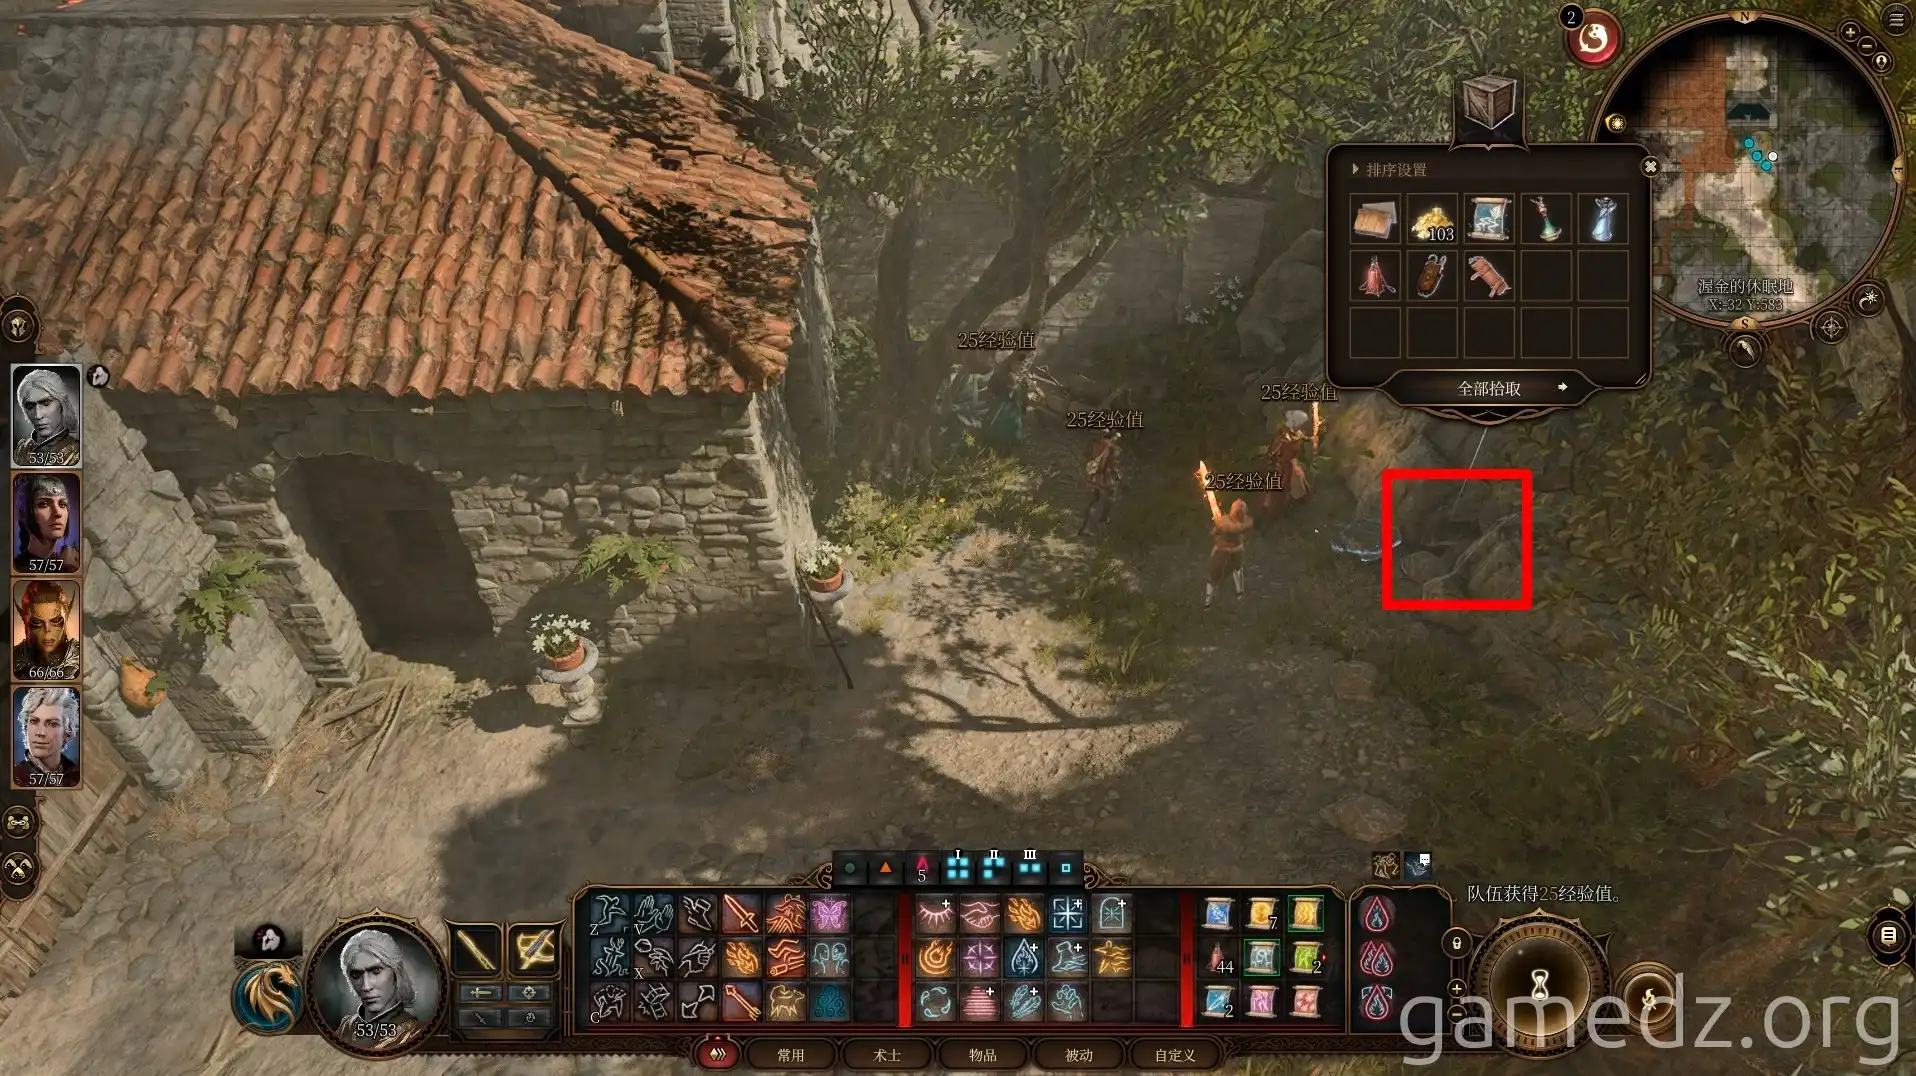
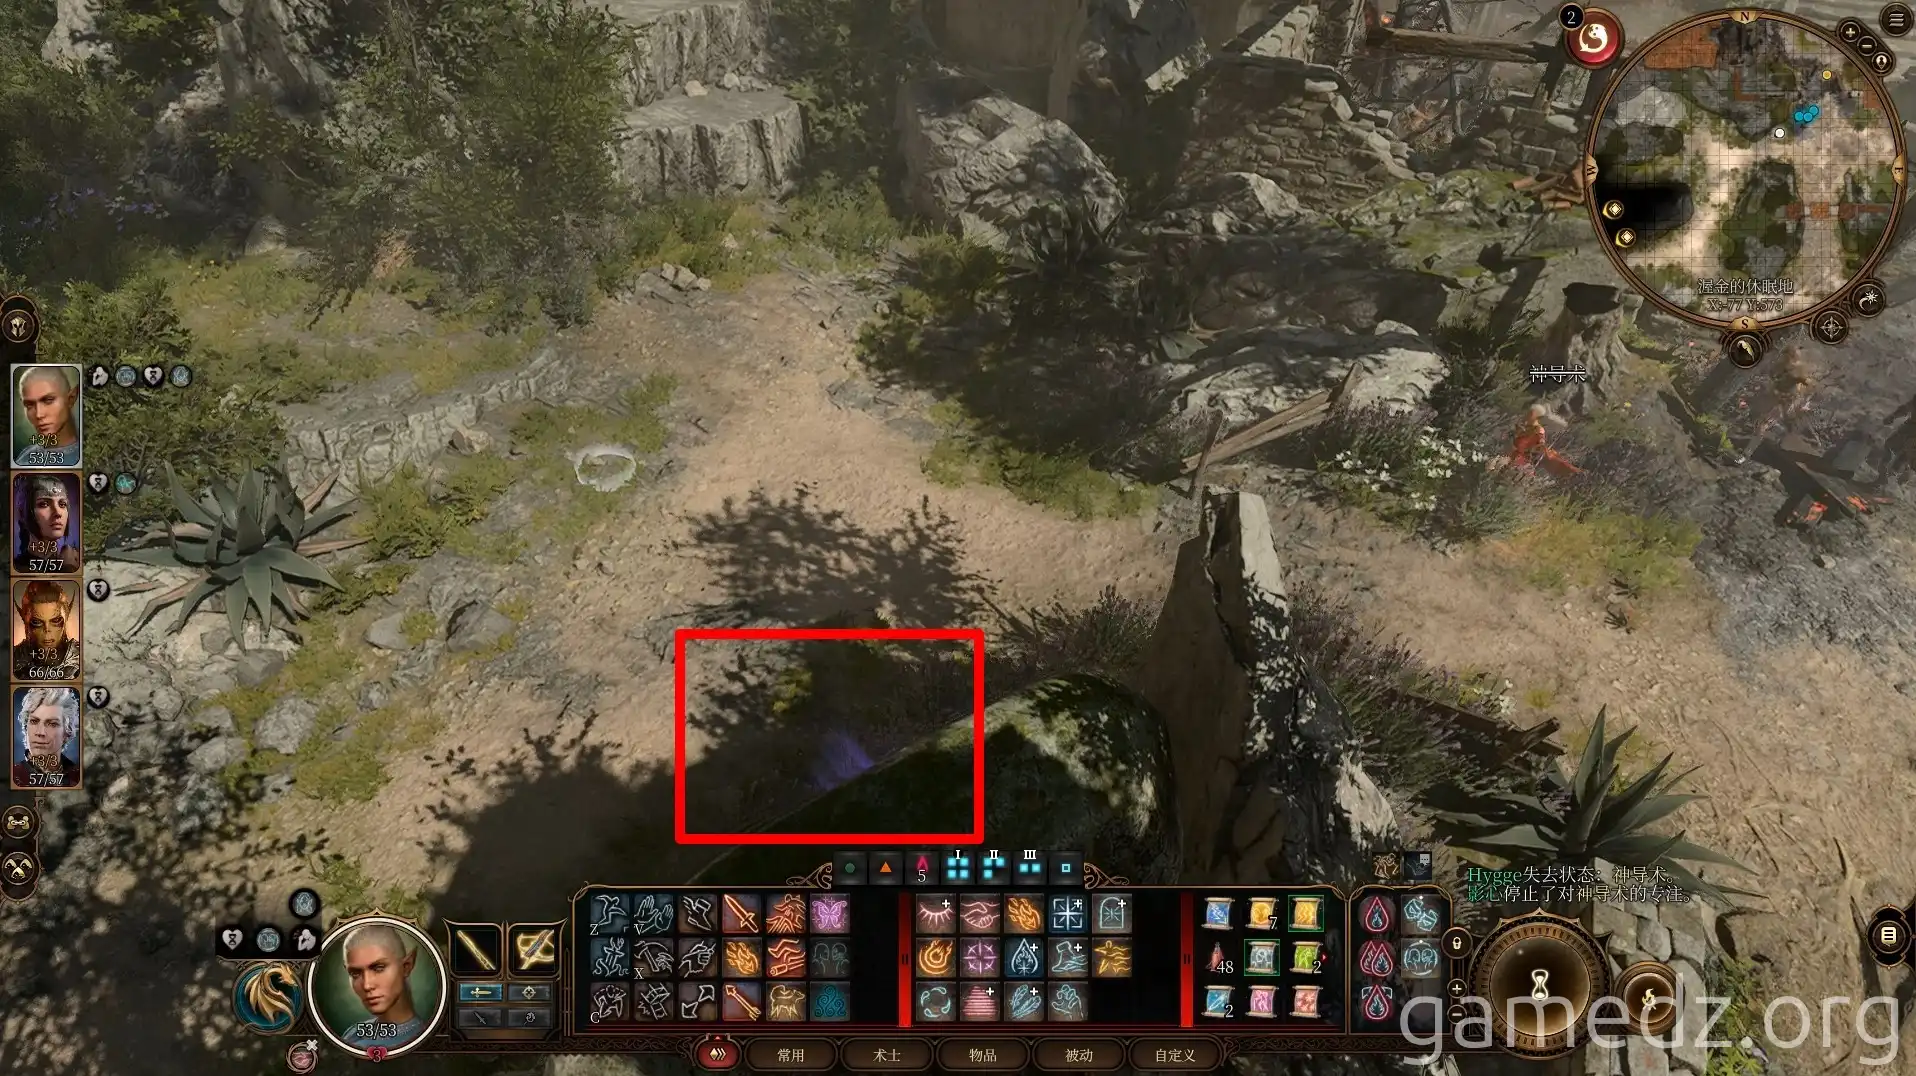
Beneath the cliff face opposite the side entrance, you'll find a hidden stash containing some items.
Next, proceed to the inn's main entrance and continue left to activate the waypoint [Waukeen's Rest].
Return to the inn's plaza. Speaking with the Flaming Fist members will reveal that goblins and drow attacked the inn, and the Duke's advisor, Florick, is still trapped inside a room.
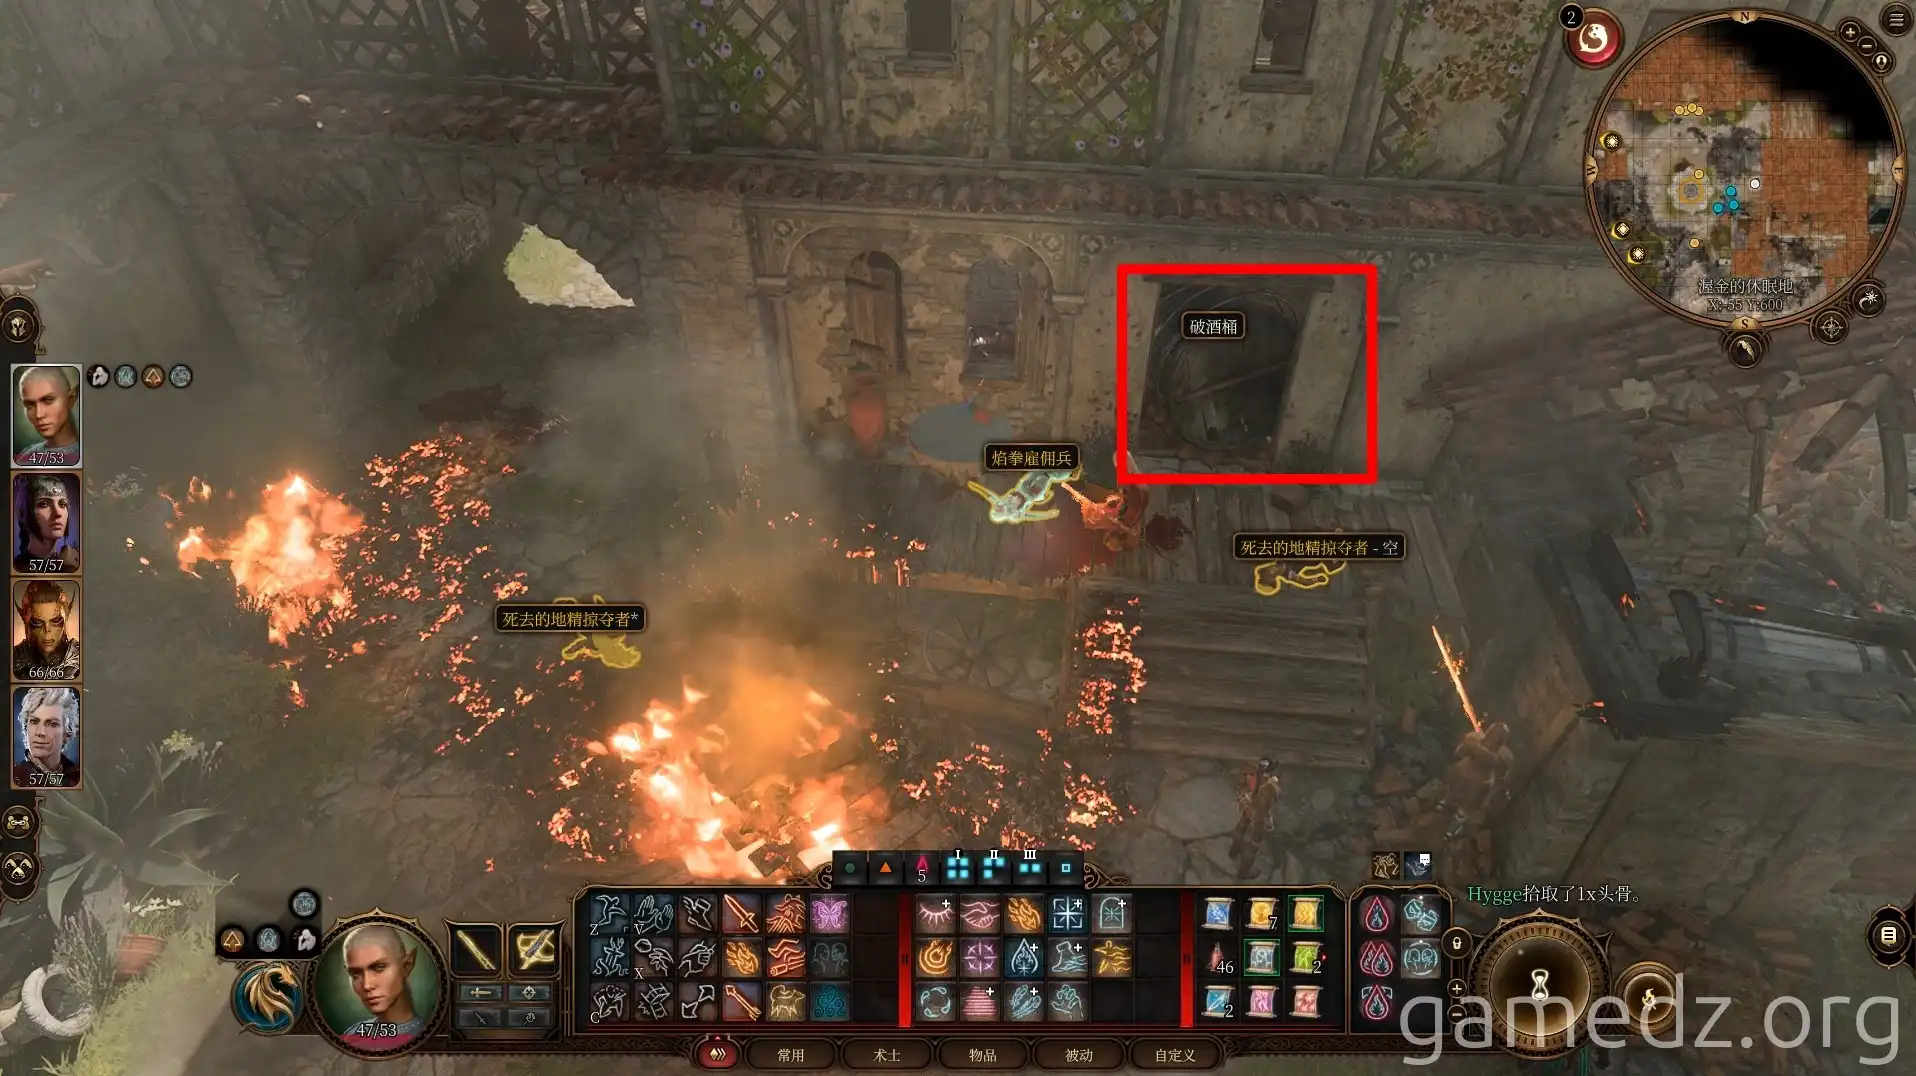
Subsequently, use an attack to break the ale barrels blocking the door to a side room and enter.
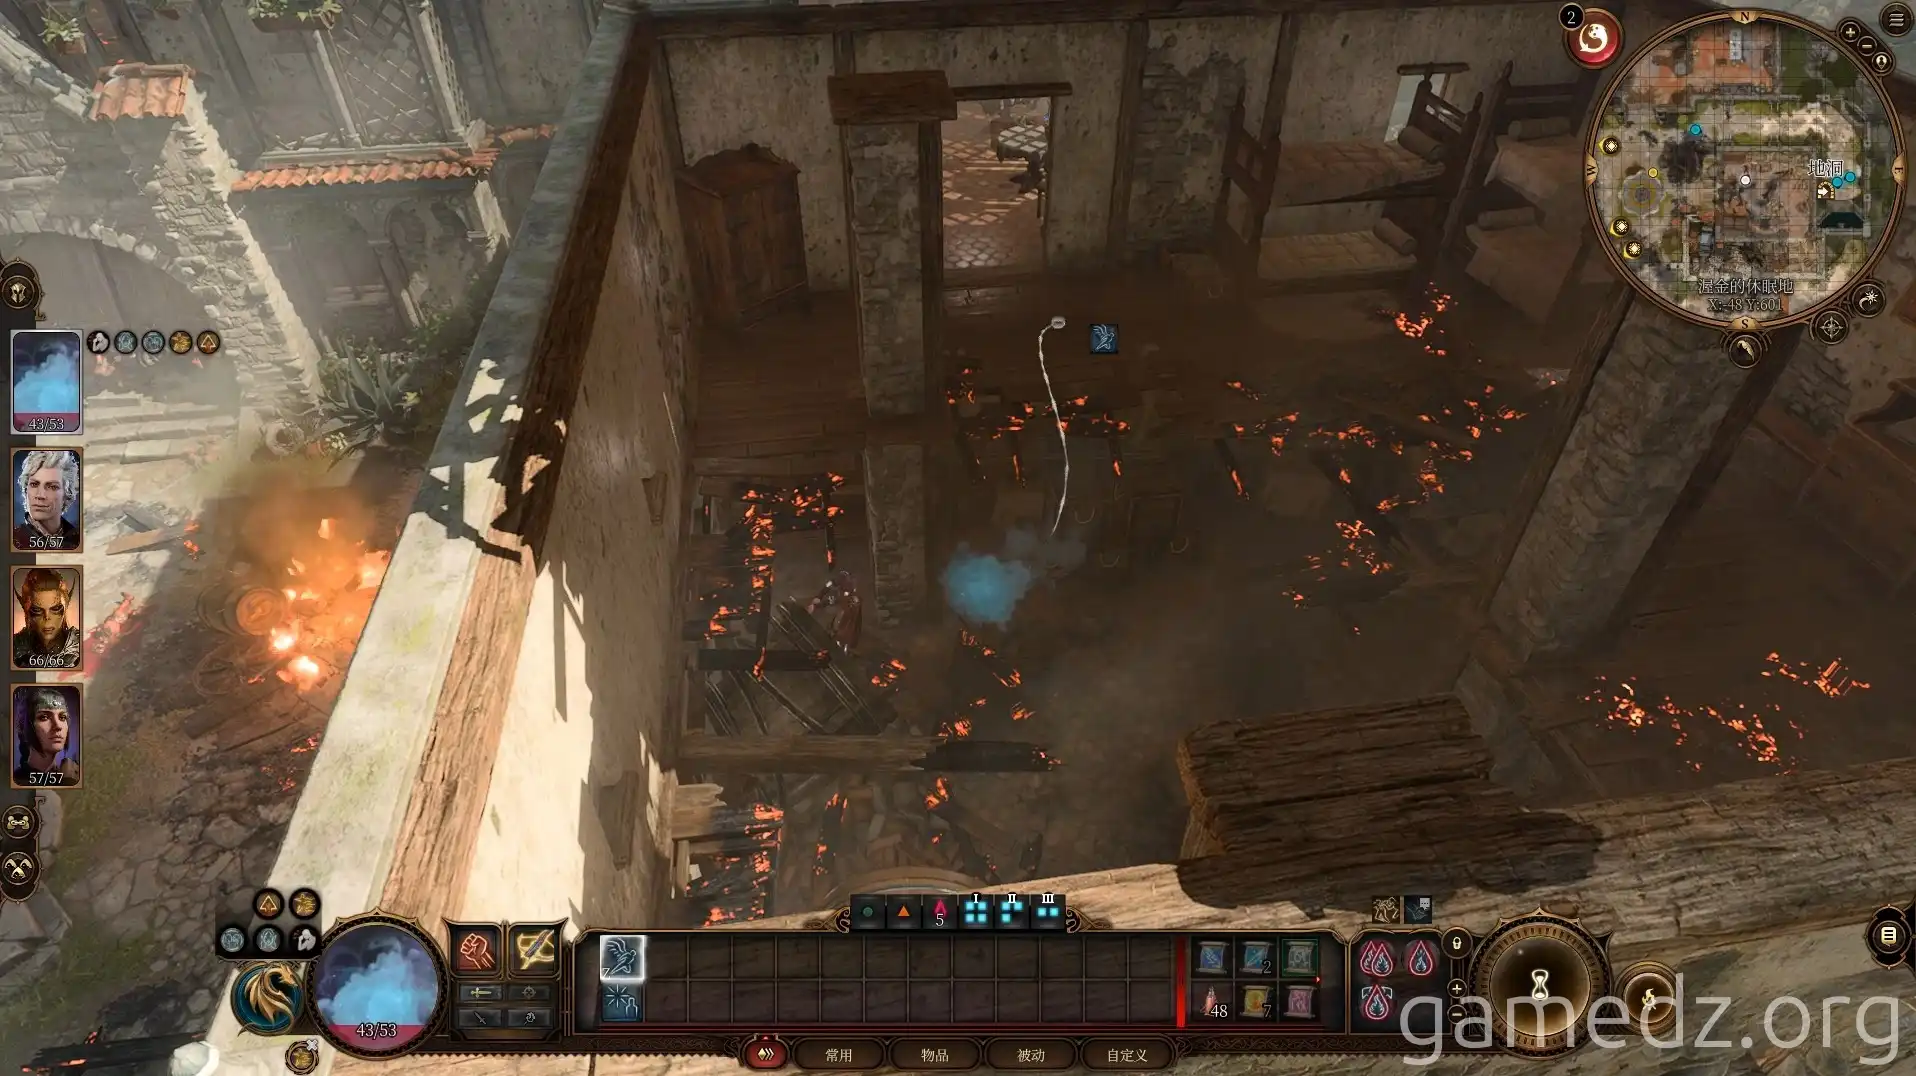
Once inside the room, you can reach the second floor using spells like Fly, Misty Step, or Lae'zel's powerful jump.
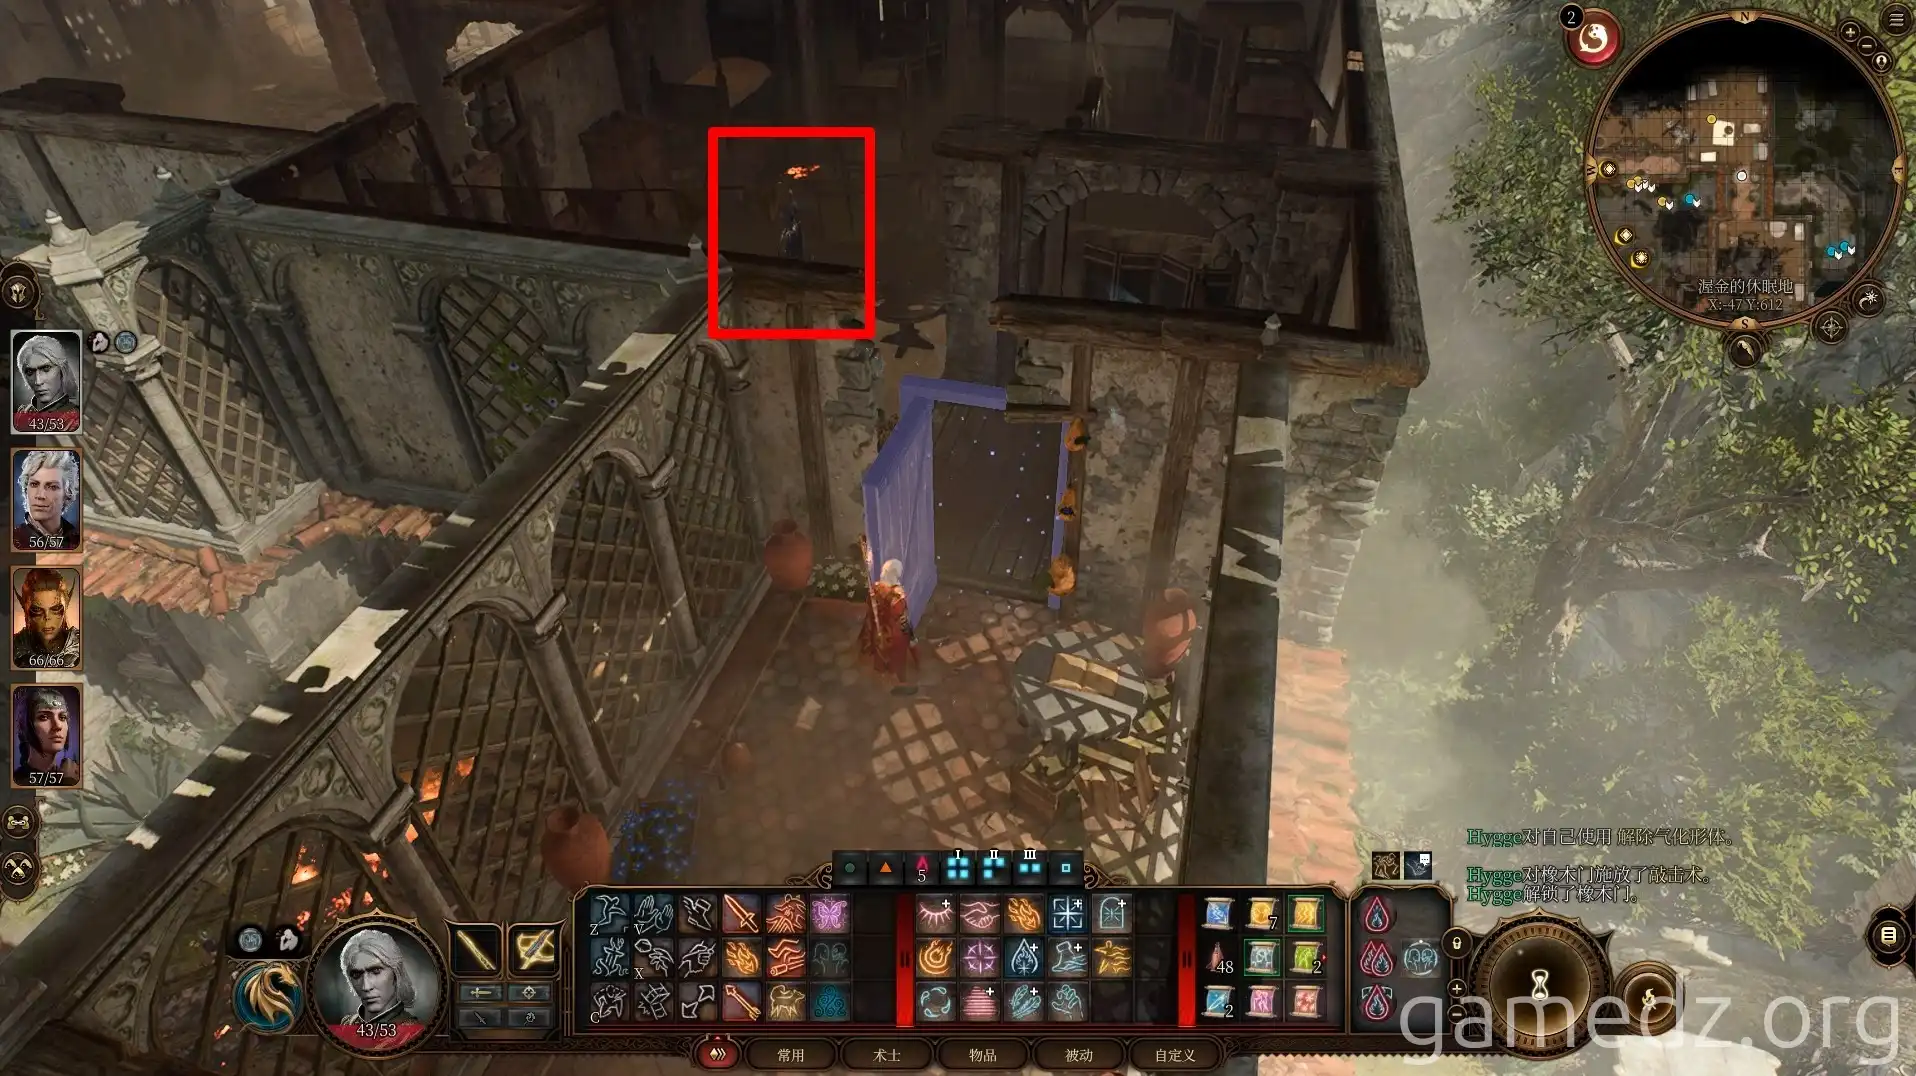
Open the door in the hallway to rescue the High Duke's advisor, then escort the advisor back the way you came out of the inn.
Speaking with the advisor reveals that the High Duke was kidnapped by drow and taken to the west. She requests that you go rescue the High Duke. Accepting the advisor's plea will initiate the side quest [Rescue the Grand Duke].
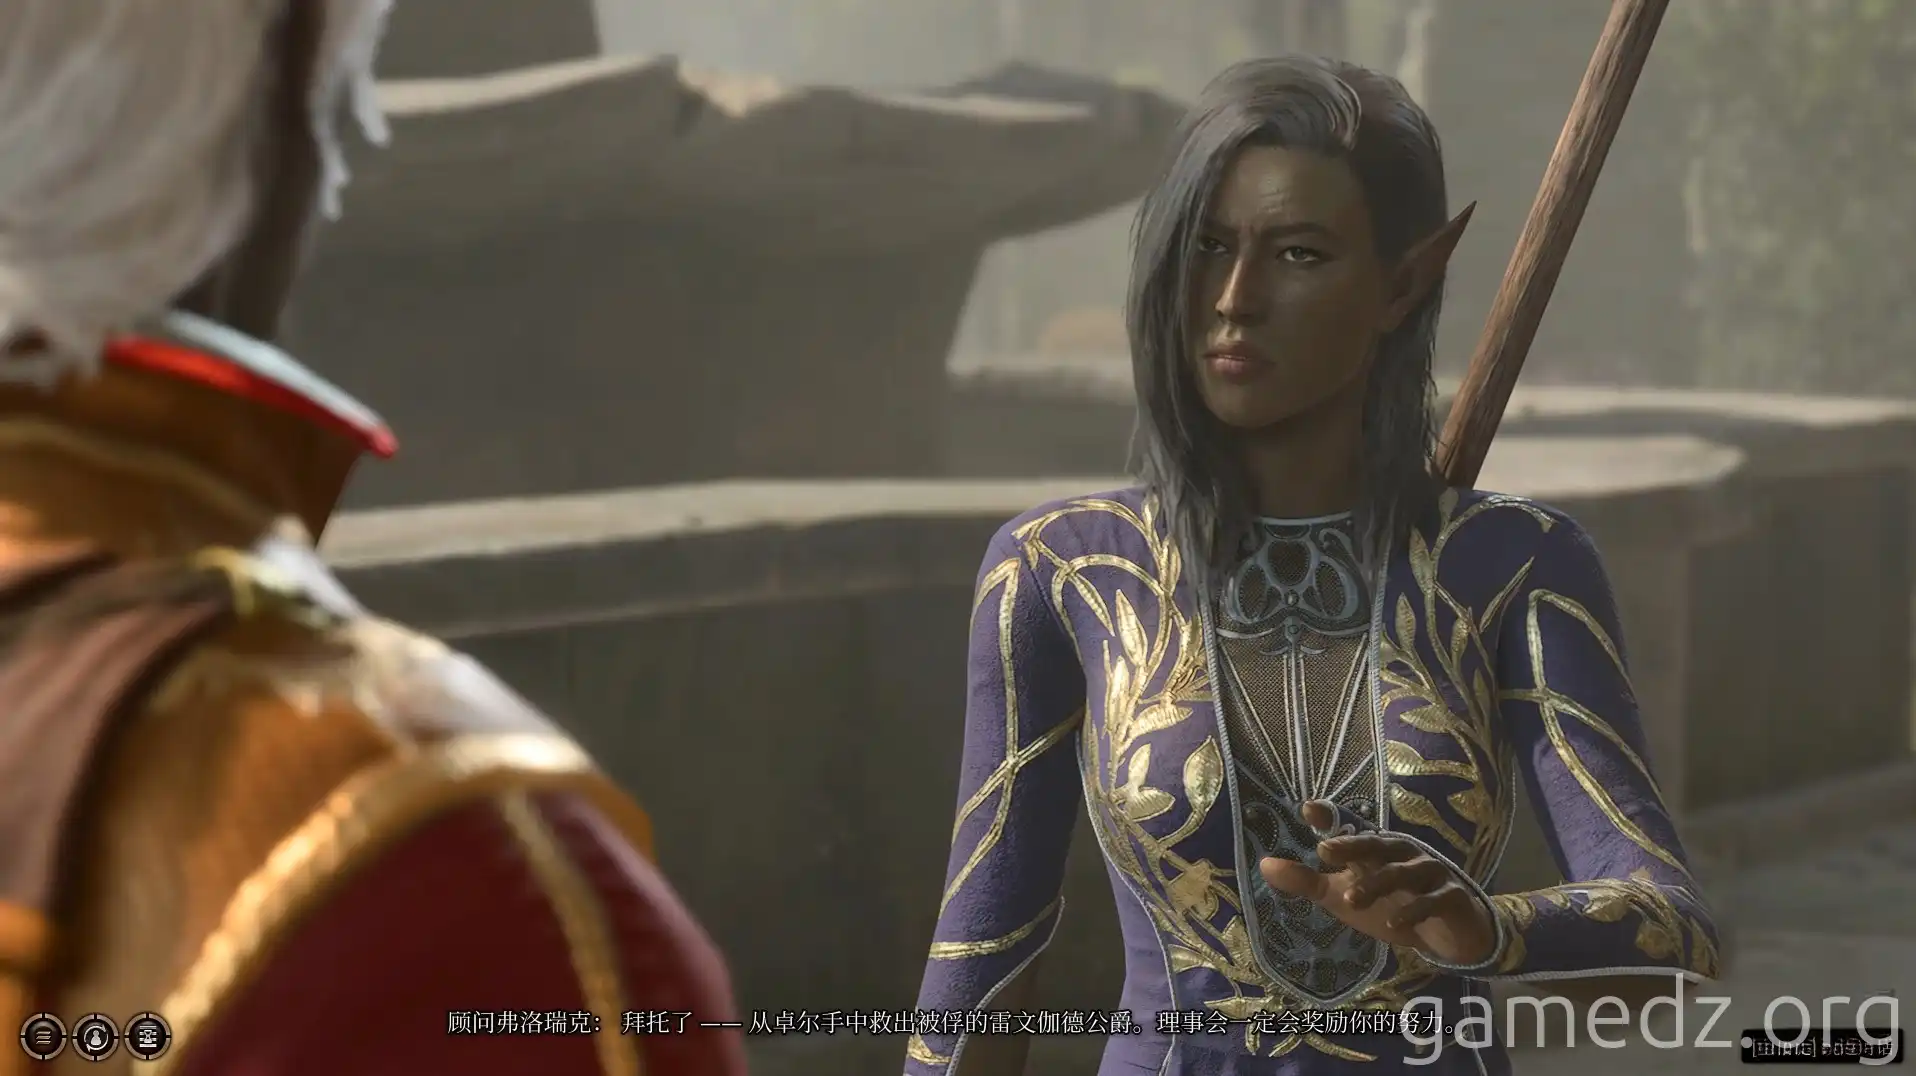
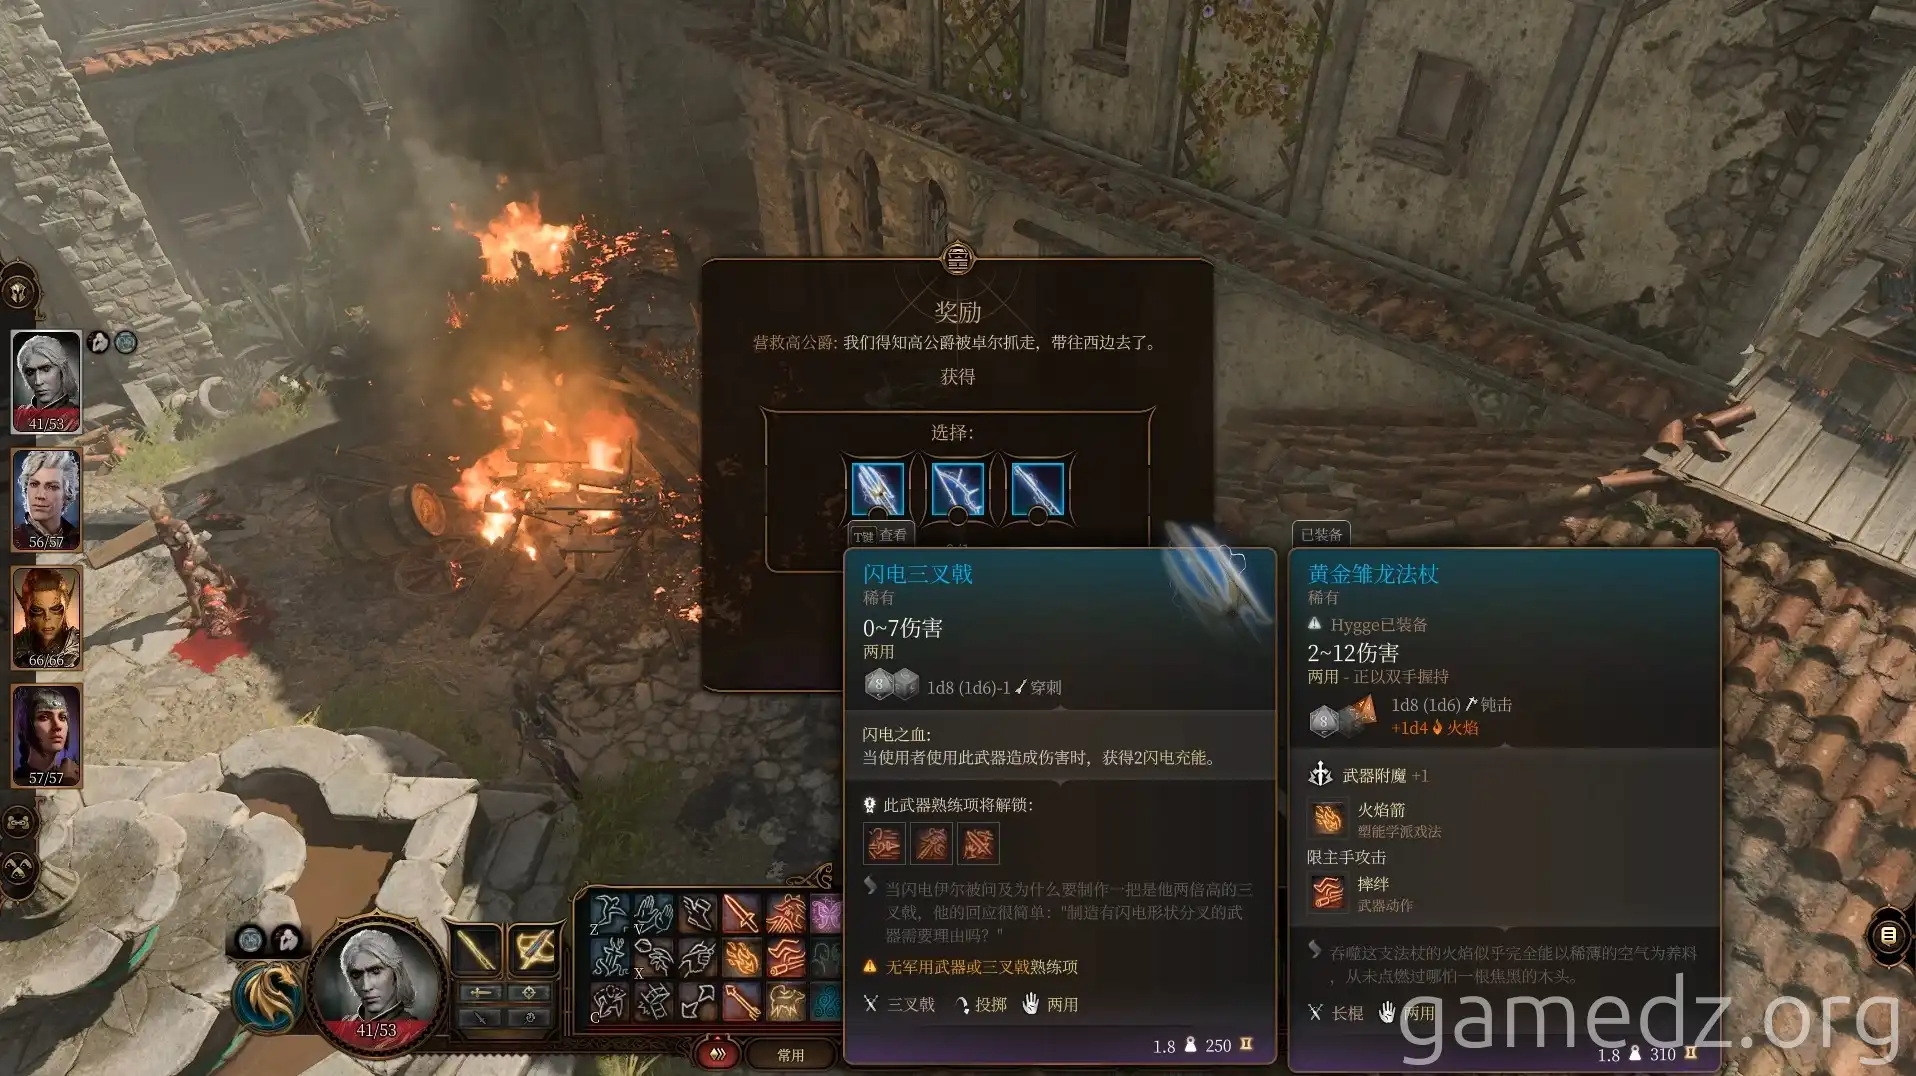
After the conversation, you'll receive a reward from the advisor. You can choose one of the following rare weapons: [Lightning-Charged Trident], [Lightning Arrows], or [Sparkle Hands].
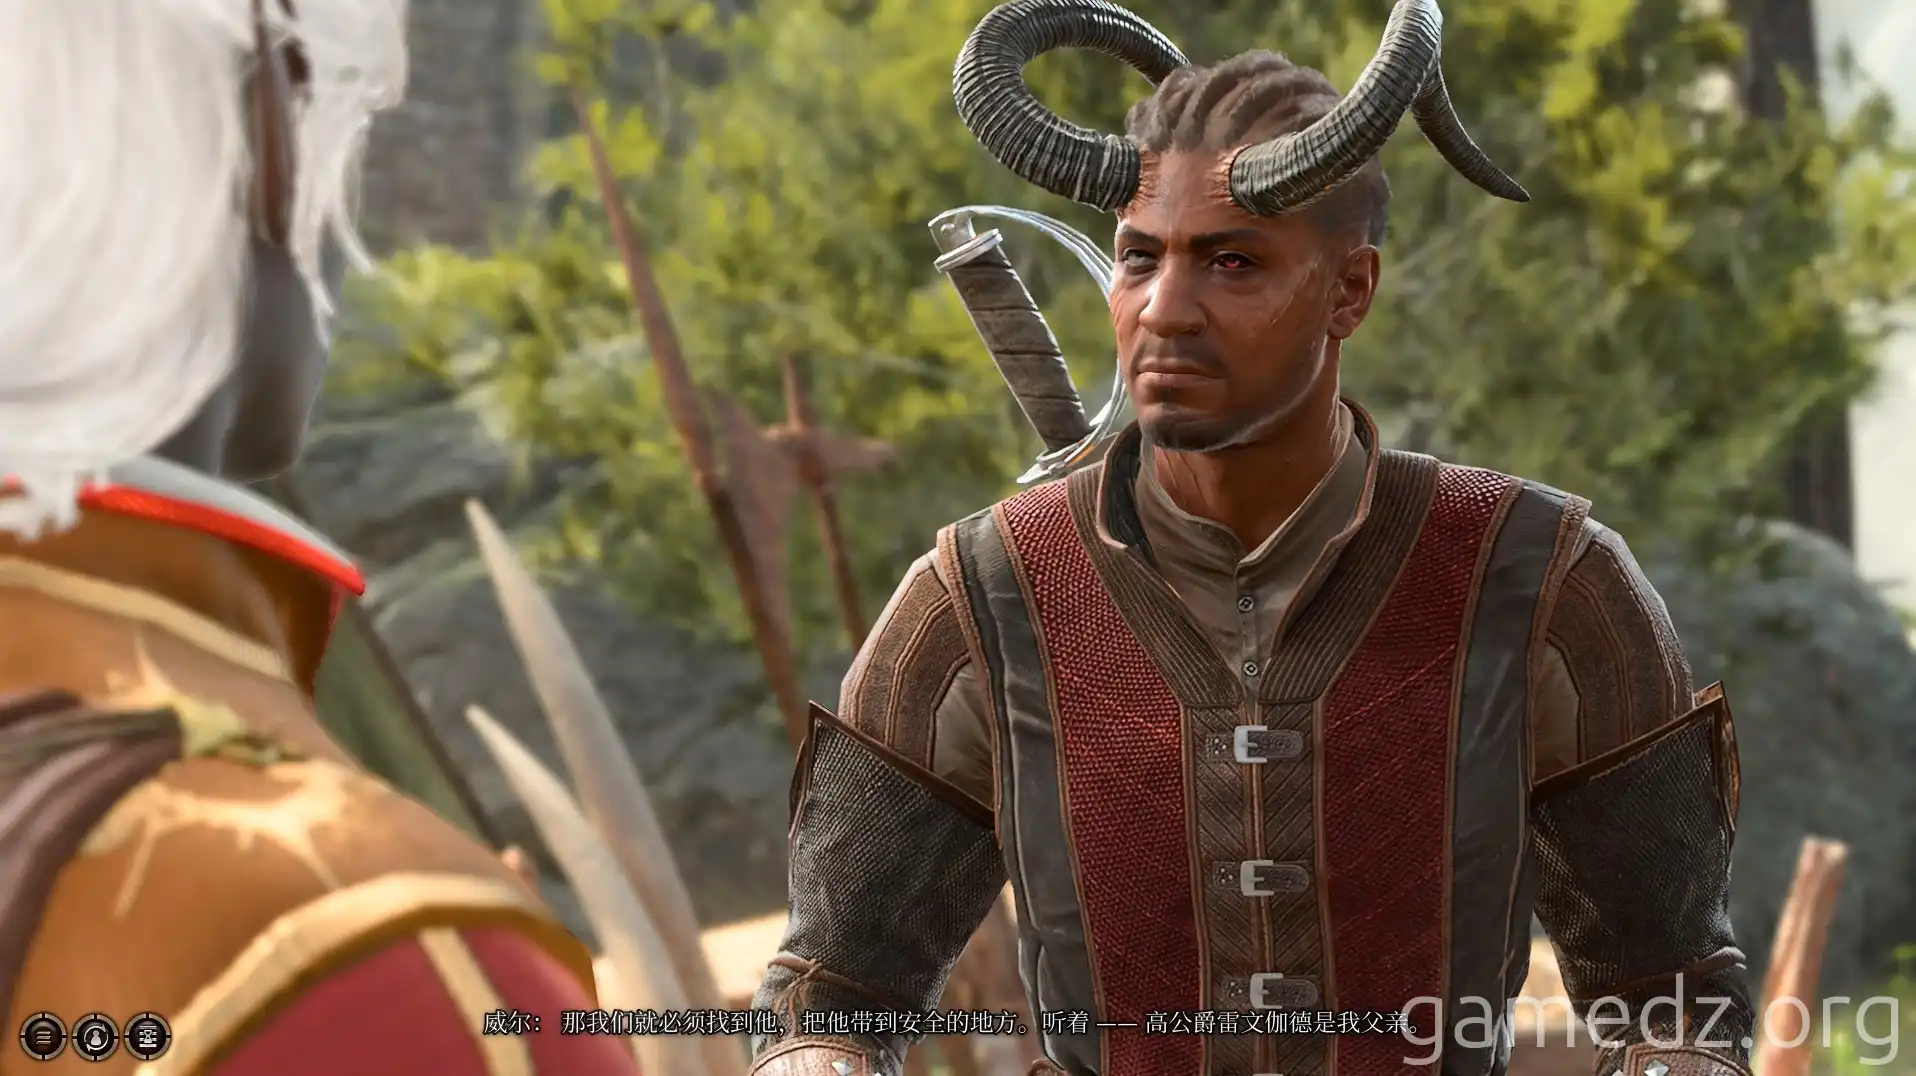
Now, return to your camp and speak with Wyll. You'll learn that the High Duke is his father.
Then, enter the inn through the door on the west side of the courtyard.
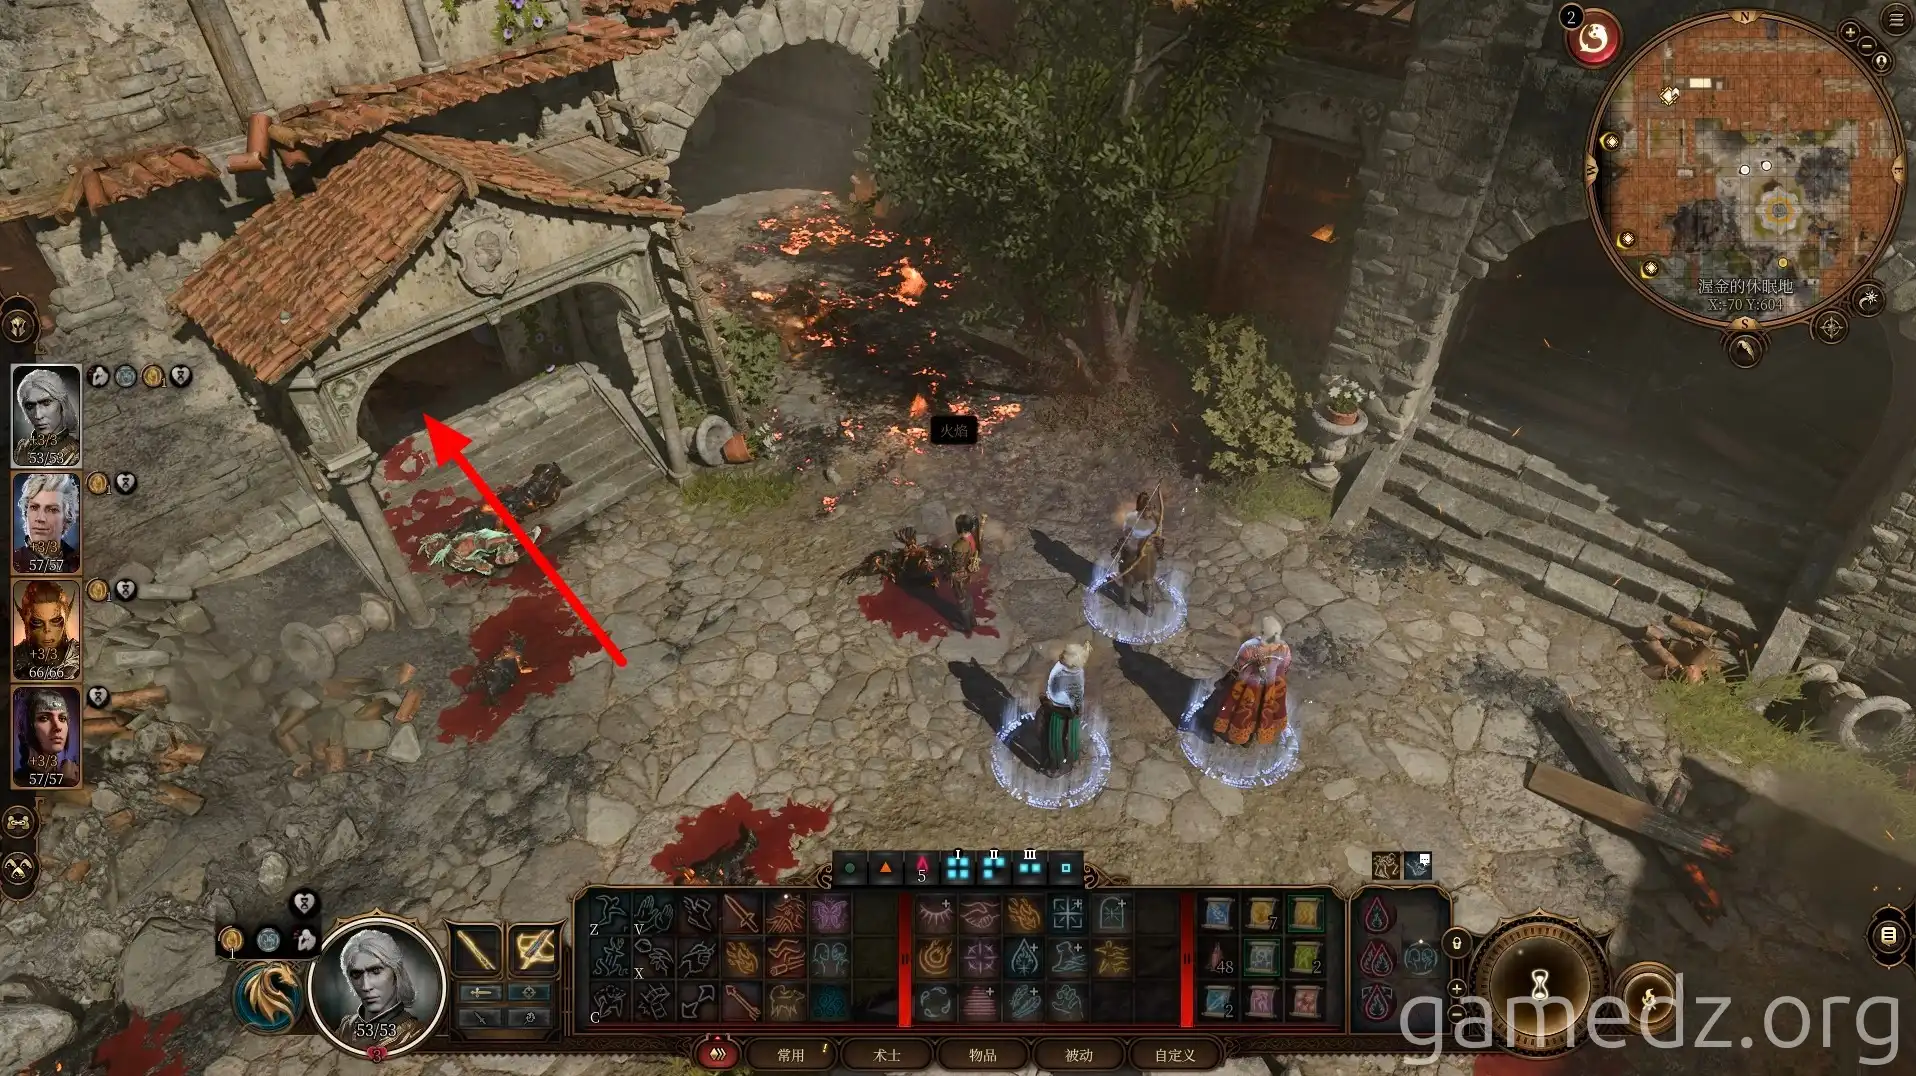
Proceed upstairs via the staircase.
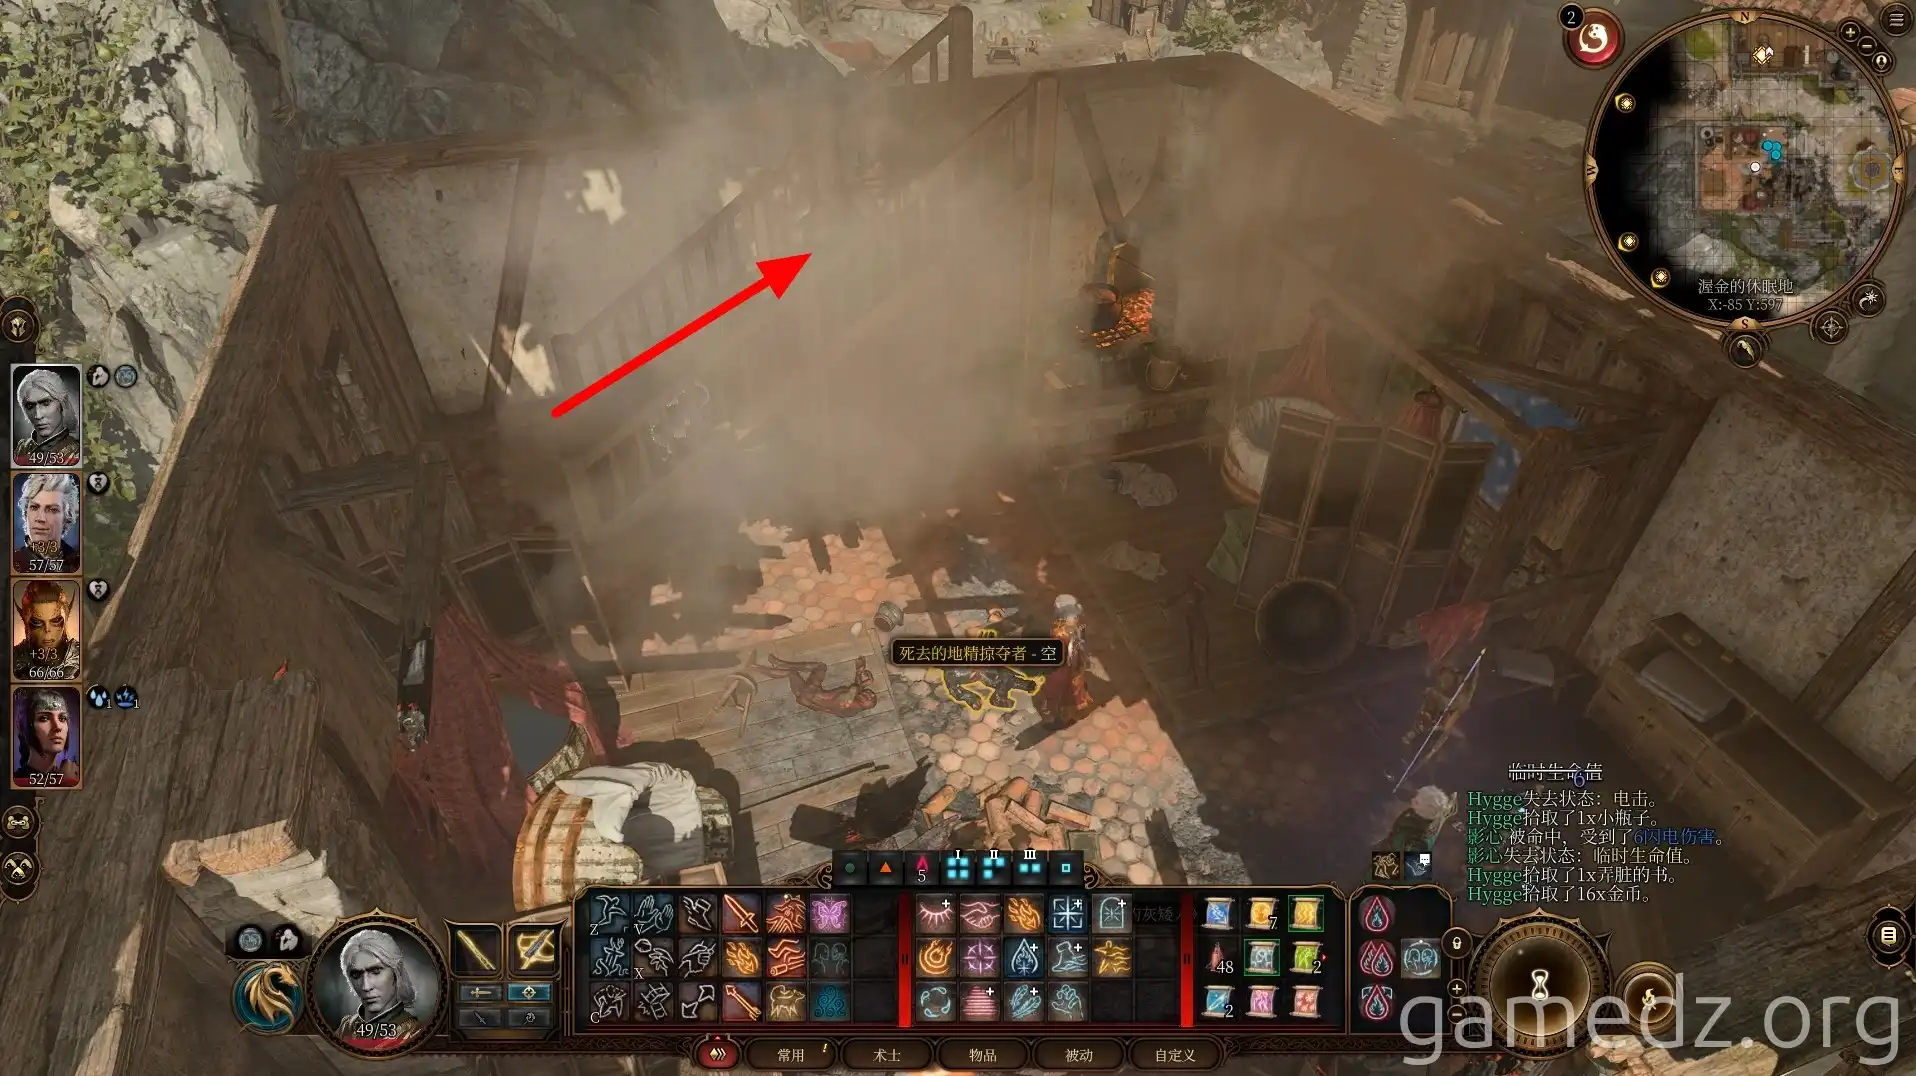
After traversing the hallway, you'll find another man trapped in the inn. Break down the wooden door to enter the room.
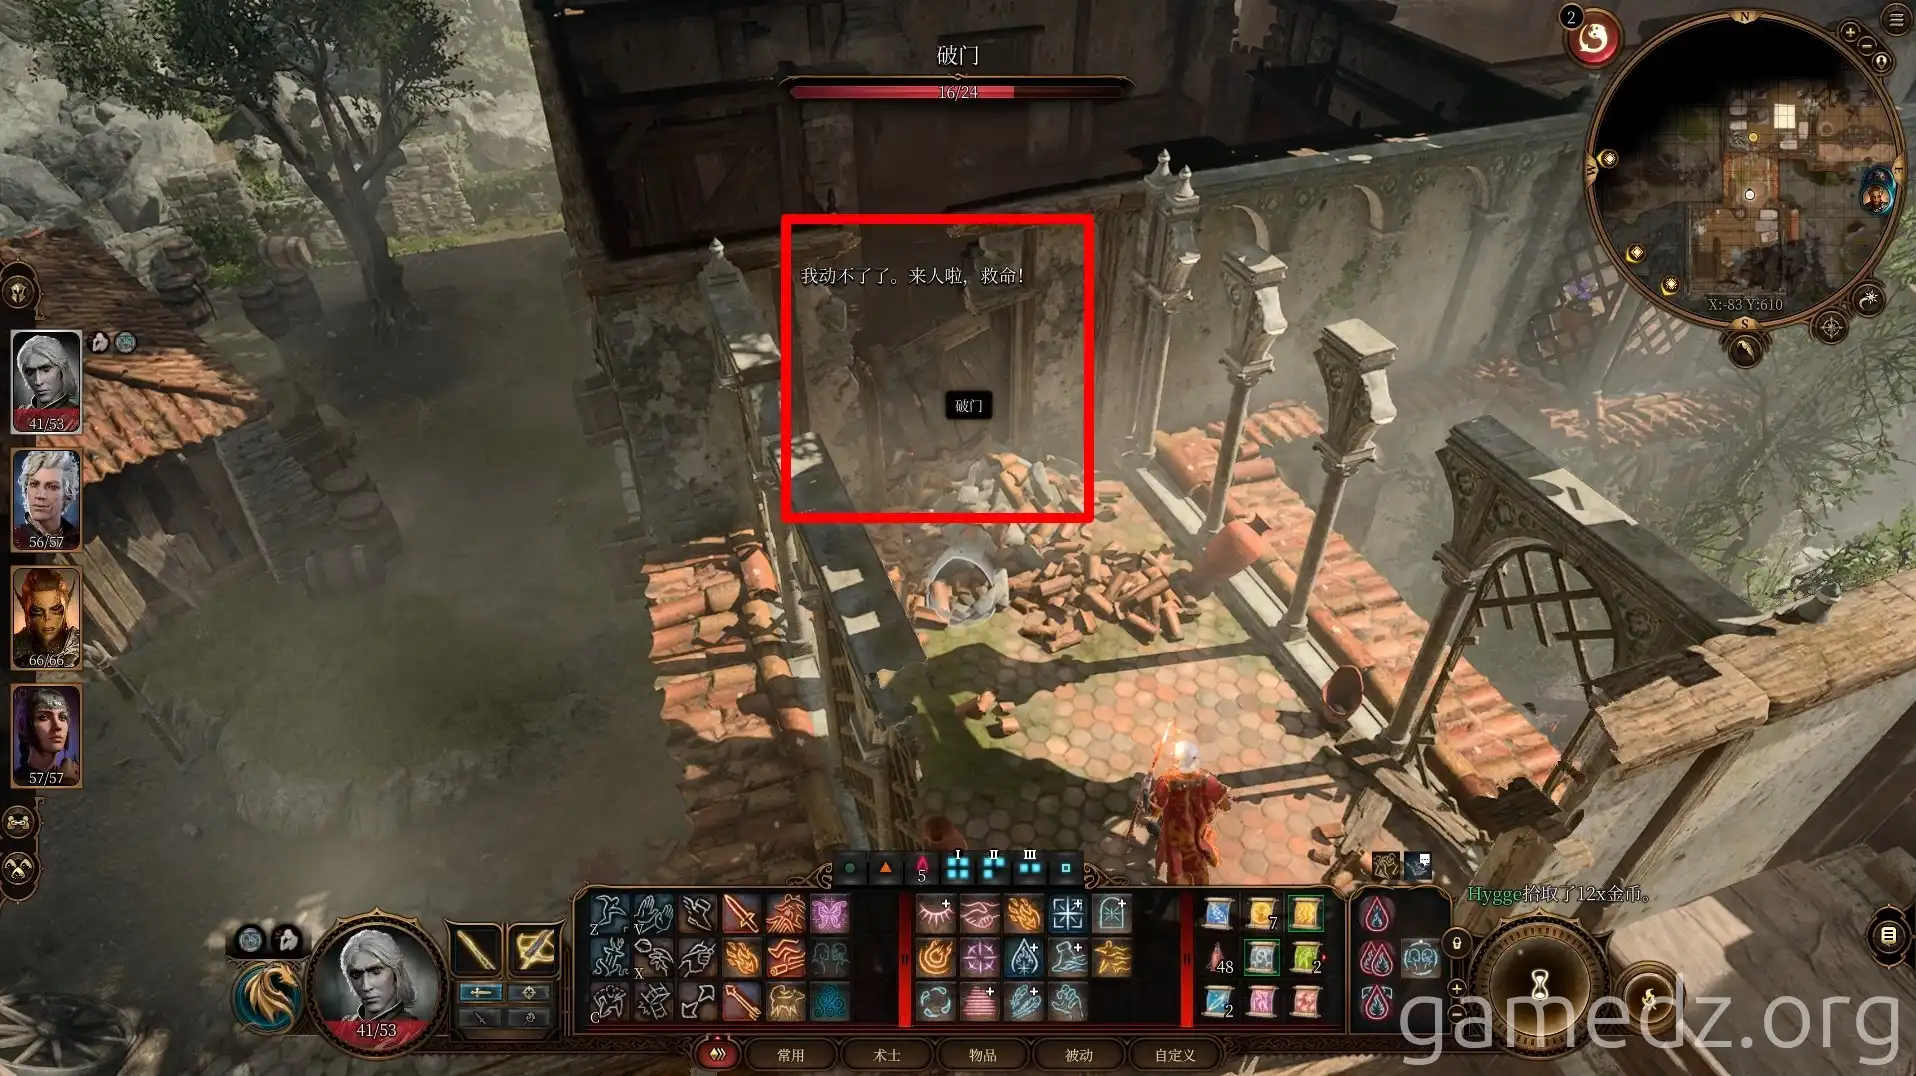
You can then rescue him by passing a Strength or Investigation check.
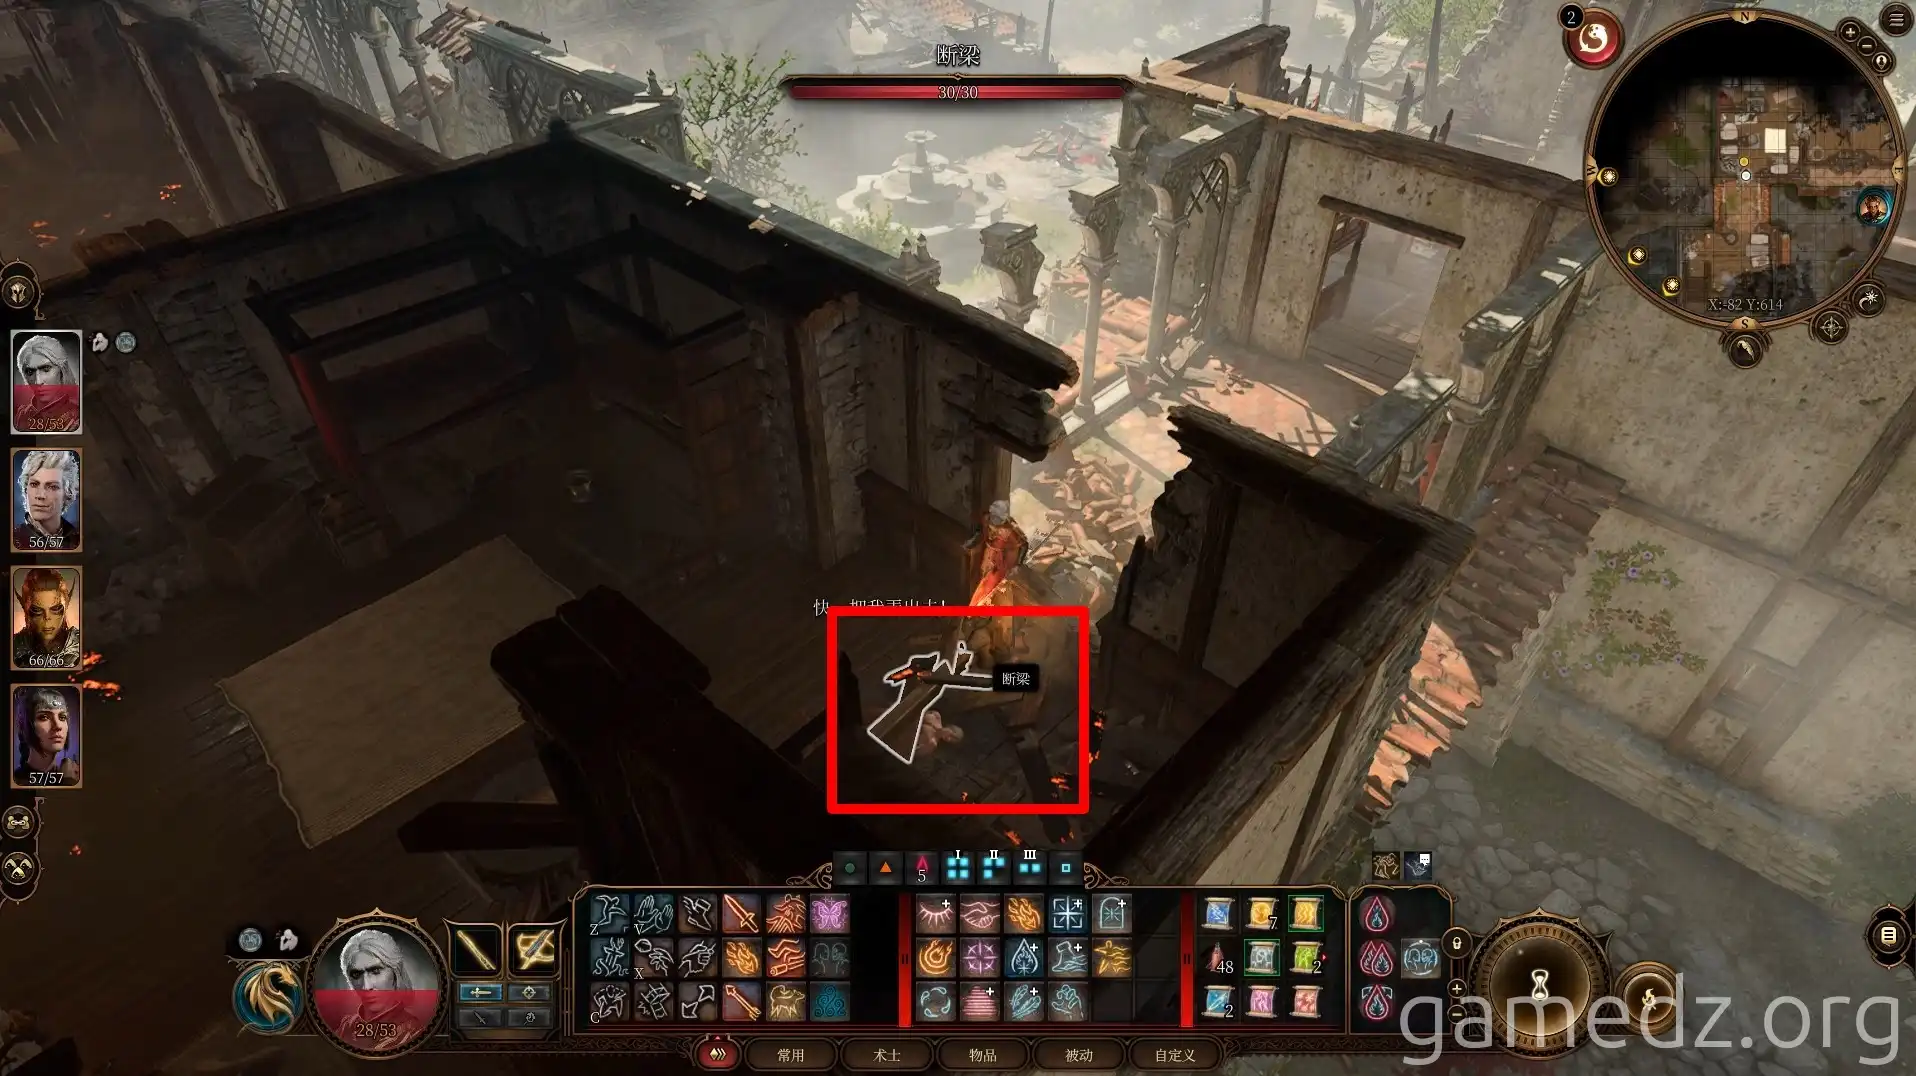
After rescuing Benryn, don't leave immediately. Continue into the room. If your health is high enough, you can endure the fire damage, or you can throw a water bottle to temporarily extinguish the flames, or choose a character with fire resistance.
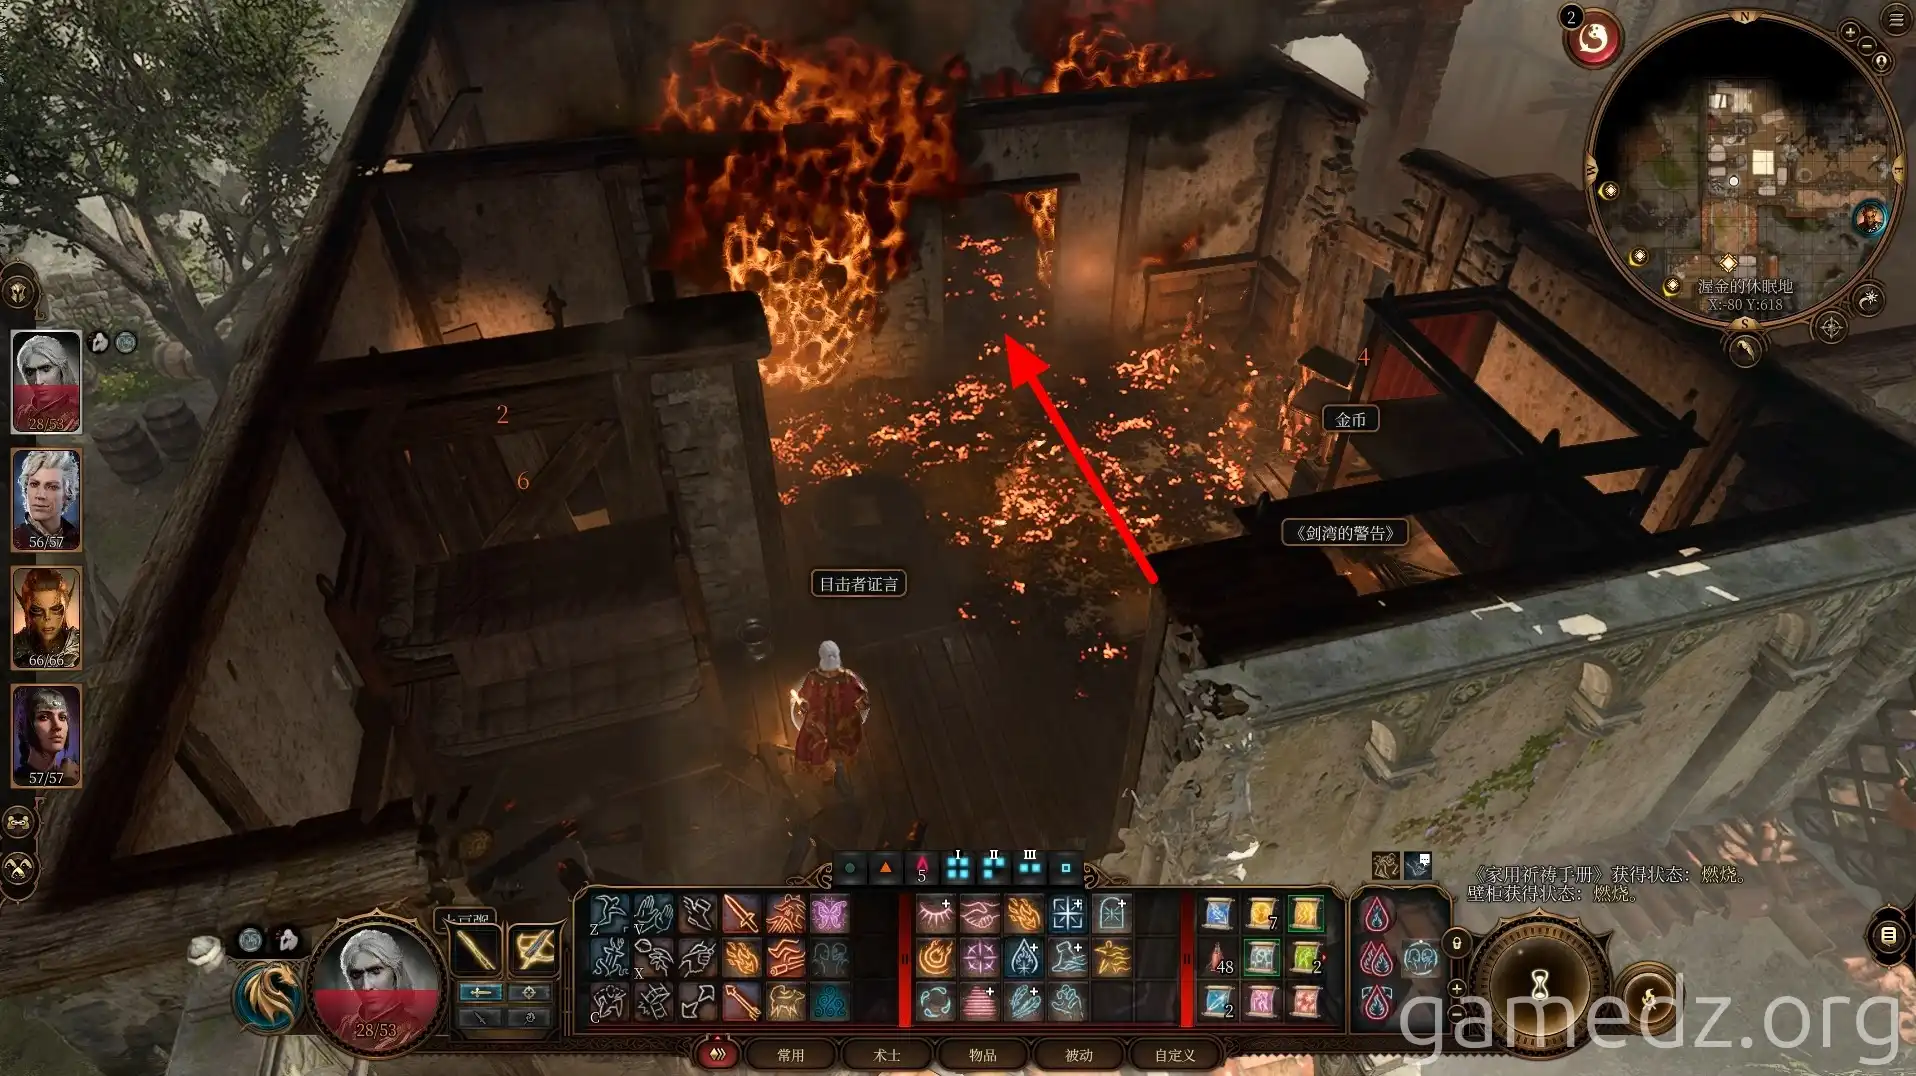
Opening the chest in the corner of the room will yield the uncommon weapon [Mace of Smiting]. If you don't have time to pick the lock, you can simply take the chest with you and open it in a safer location.
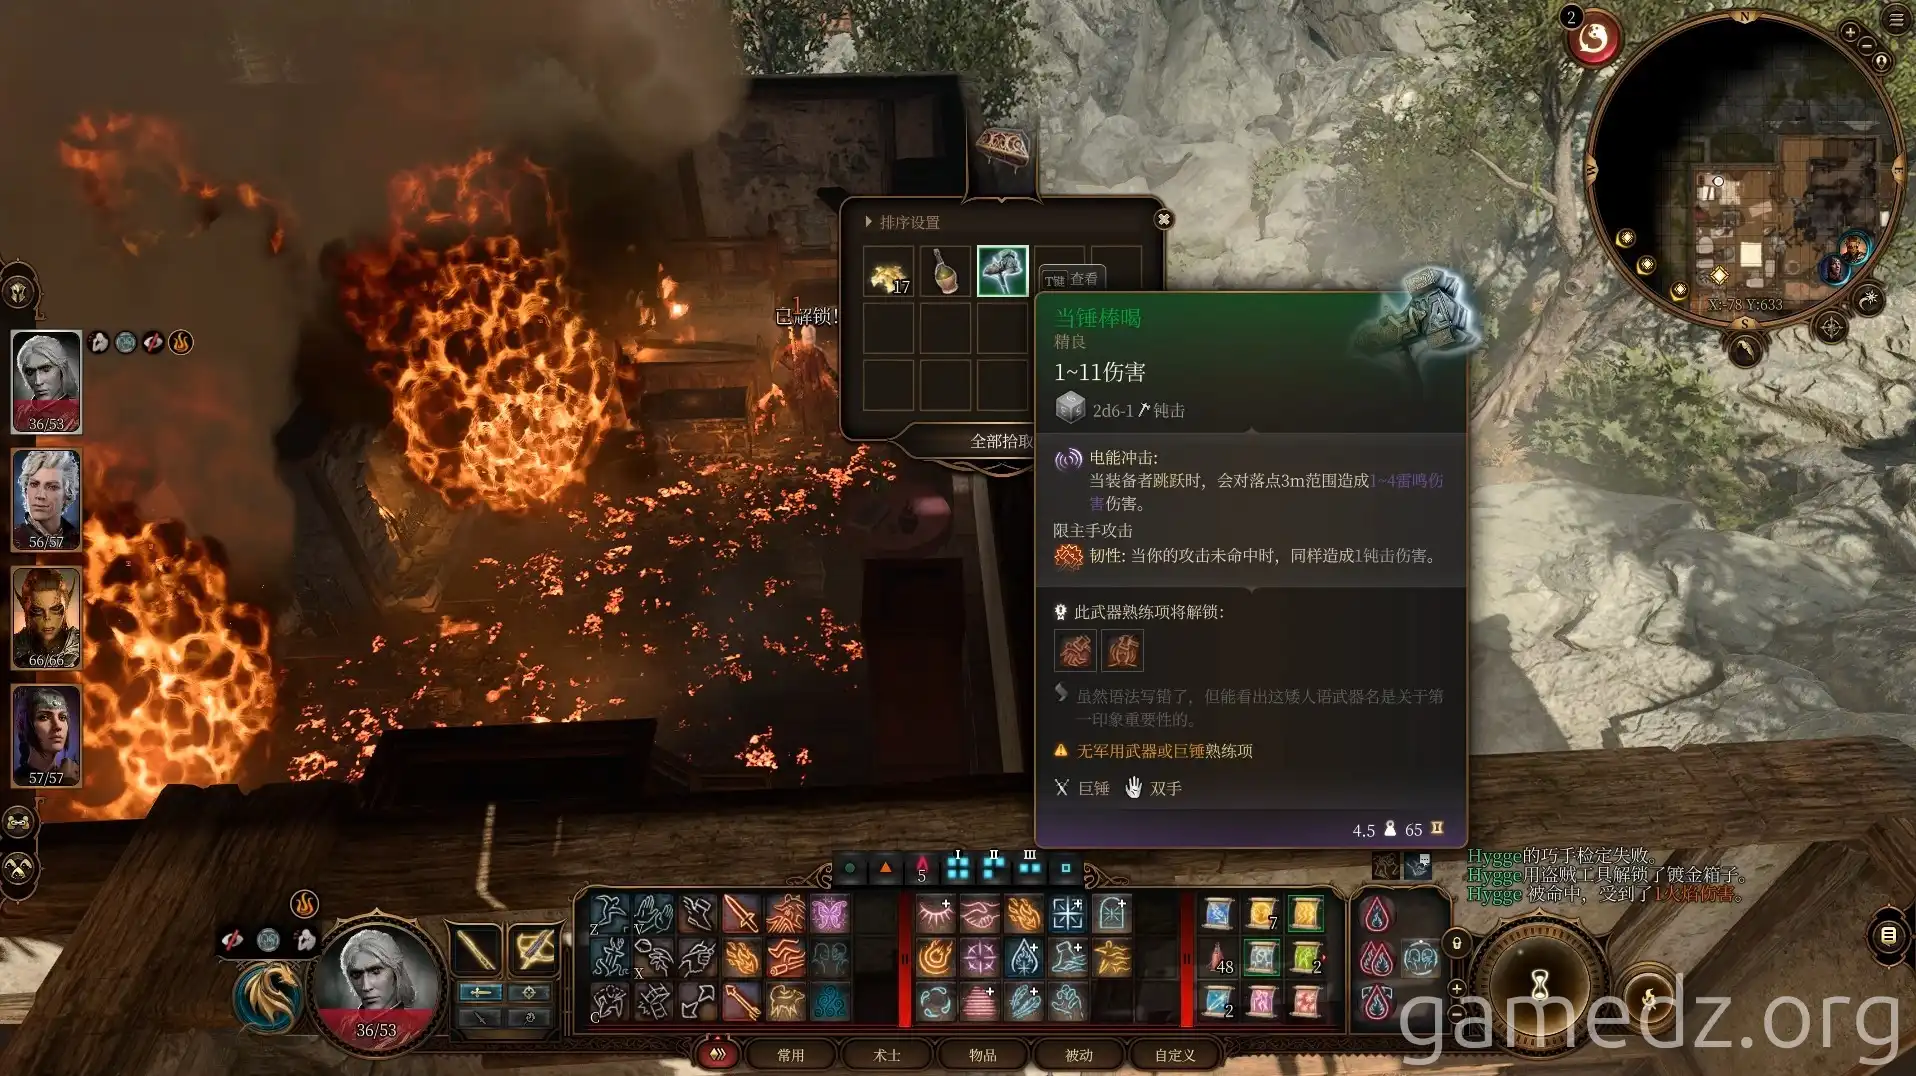
Next, speak with Benryn. You'll learn that the deceased woman in the room was his wife. Benryn is overcome with grief over his wife's death and doesn't want to leave. He asks you to find his wife's dowry, which she hid nearby.
Use Speak with Dead to converse with Benryn's wife. You'll learn that she hid the dowry in the barn. After the conversation, characters with an Intelligence background will be inspired.
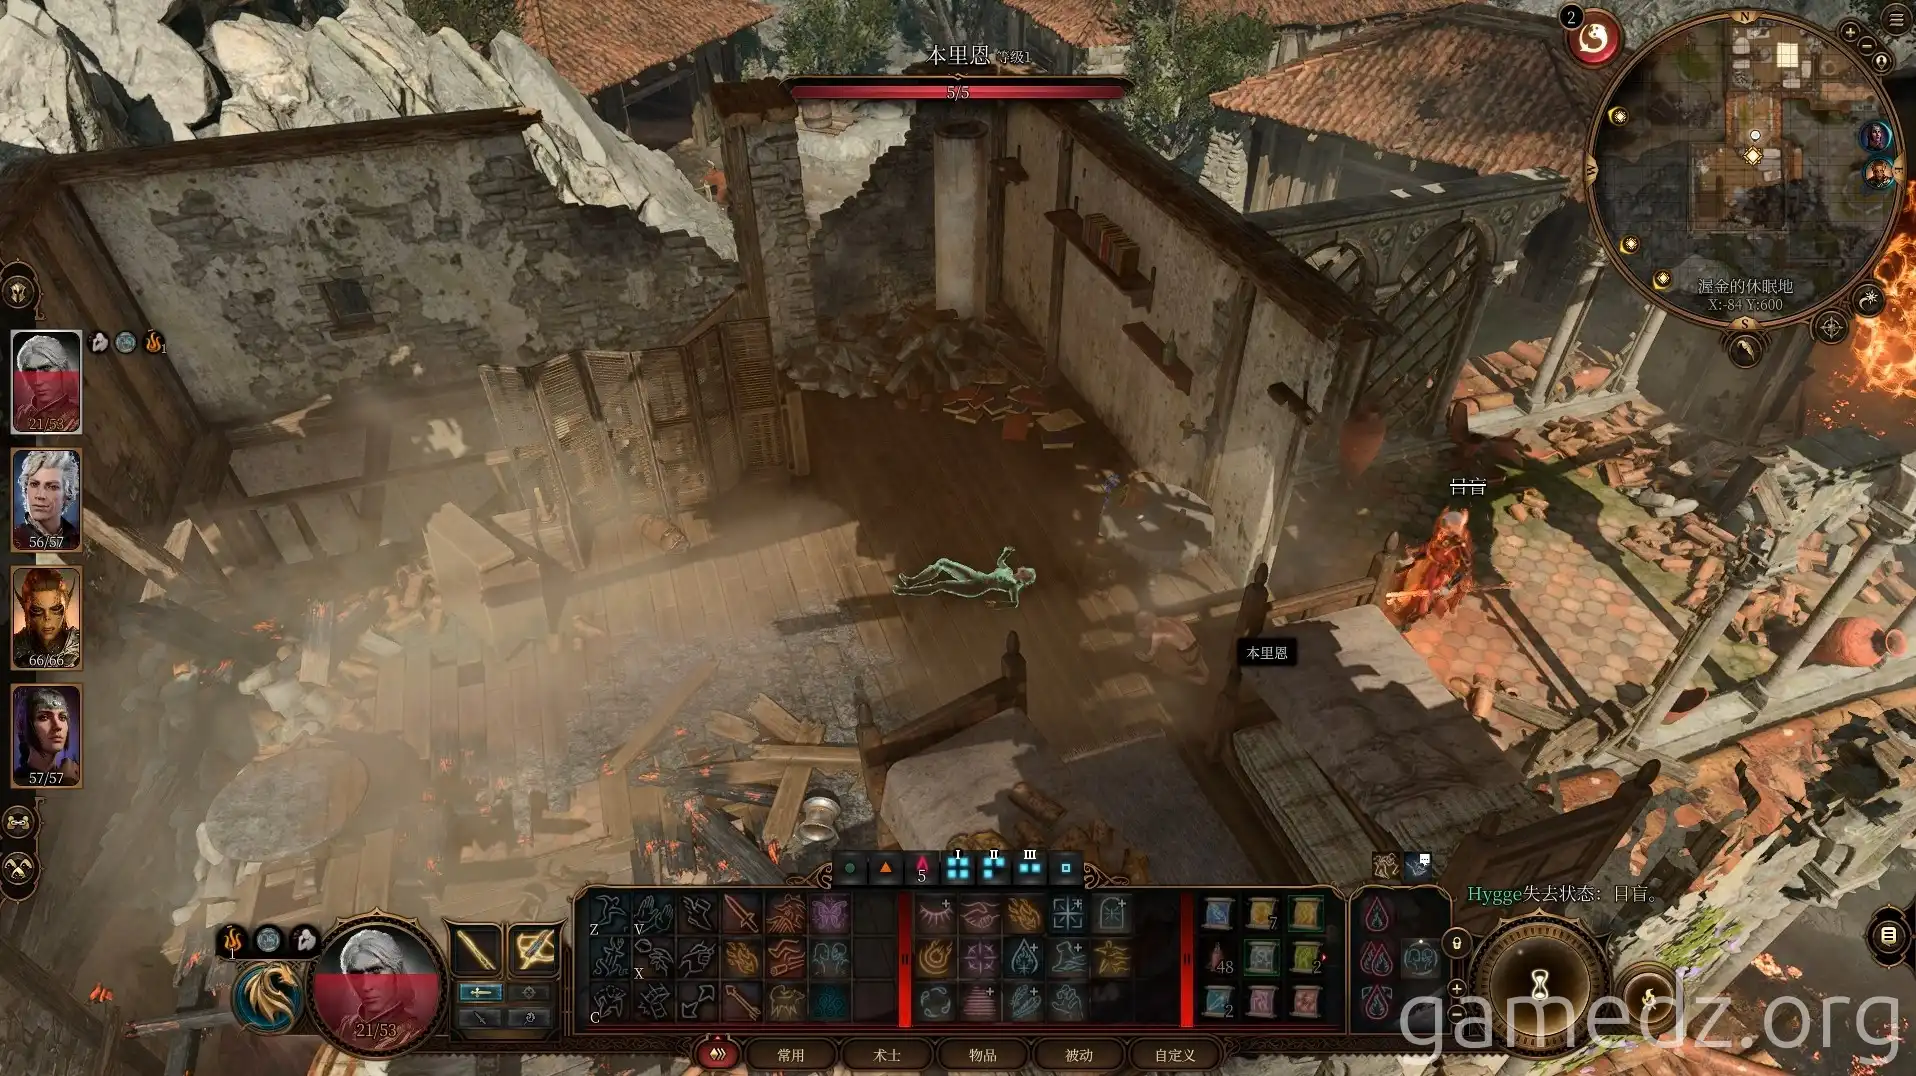
Then, enter the barn located to the west of the inn.
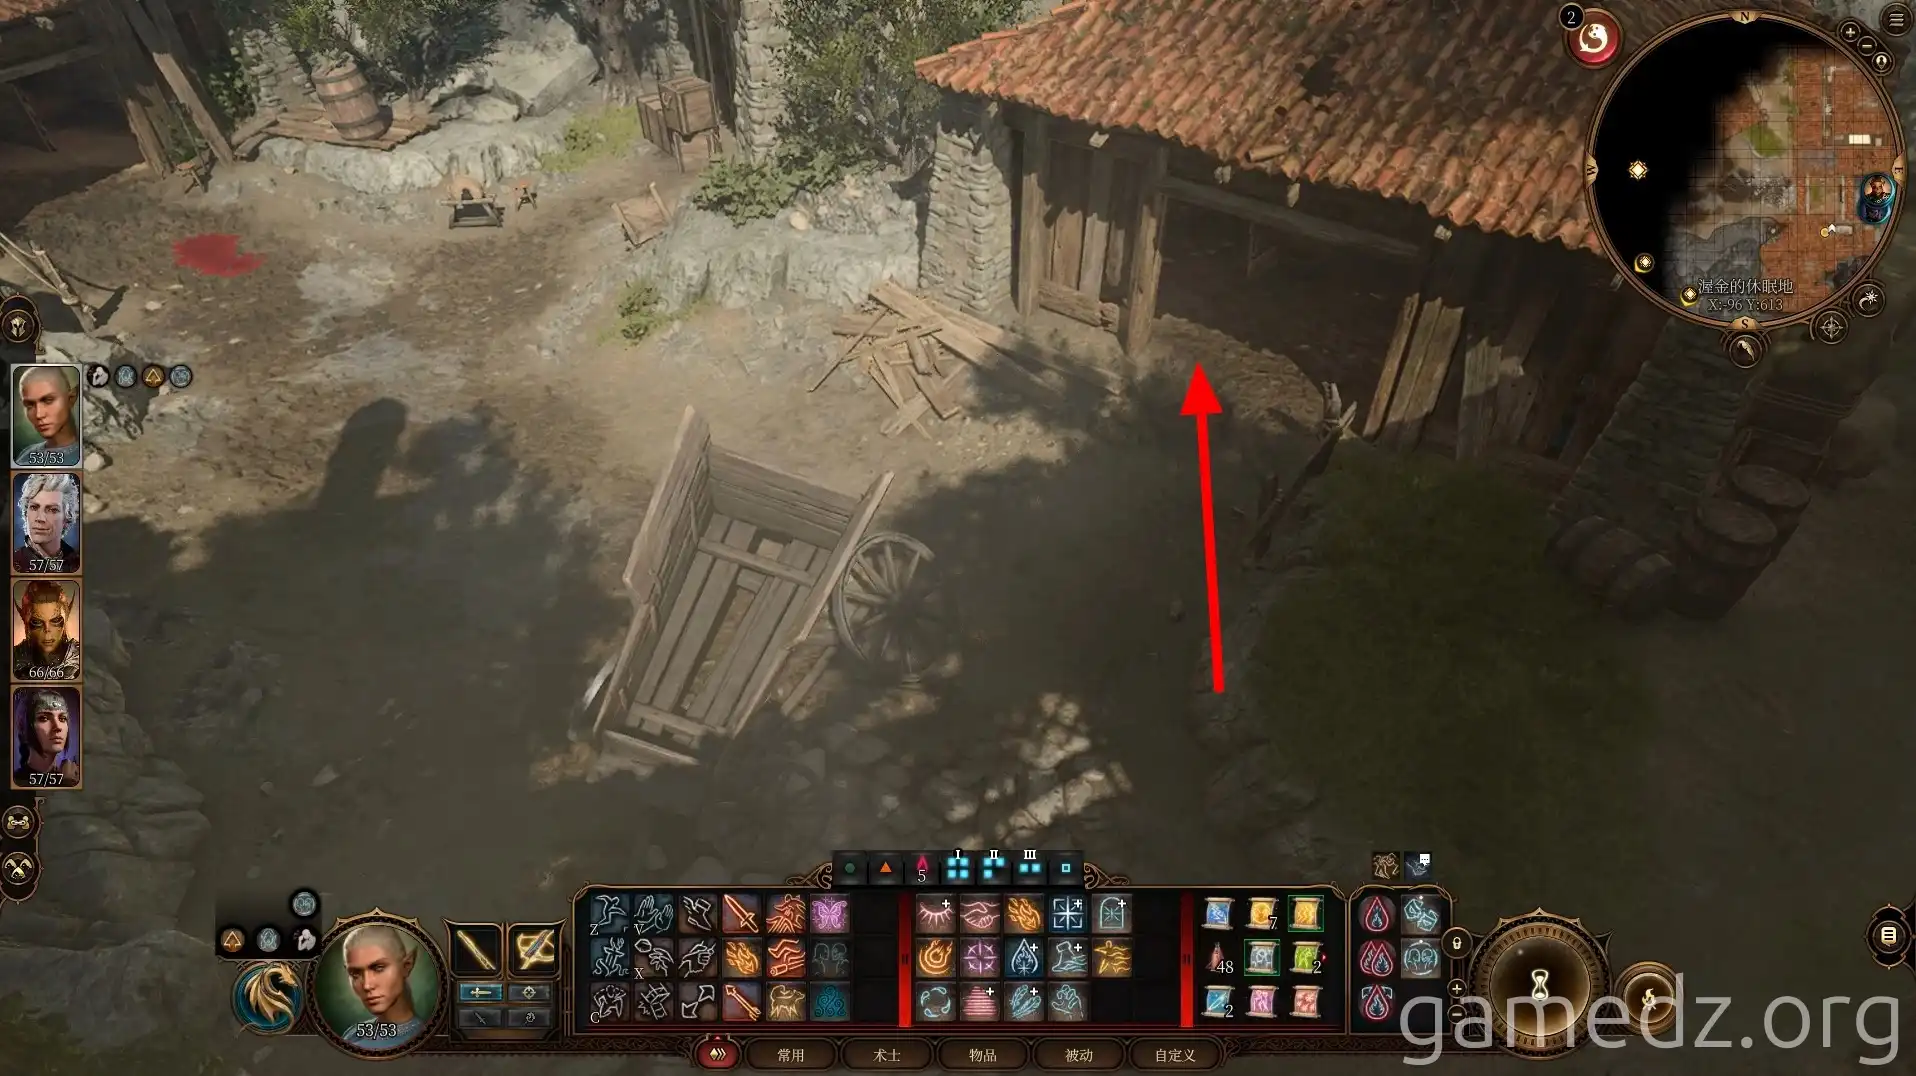
You'll find the dowry hidden within the hay bales in the barn. After returning the dowry to Benryn, he will express his gratitude and state that he wishes to stay and spend more time with his wife.
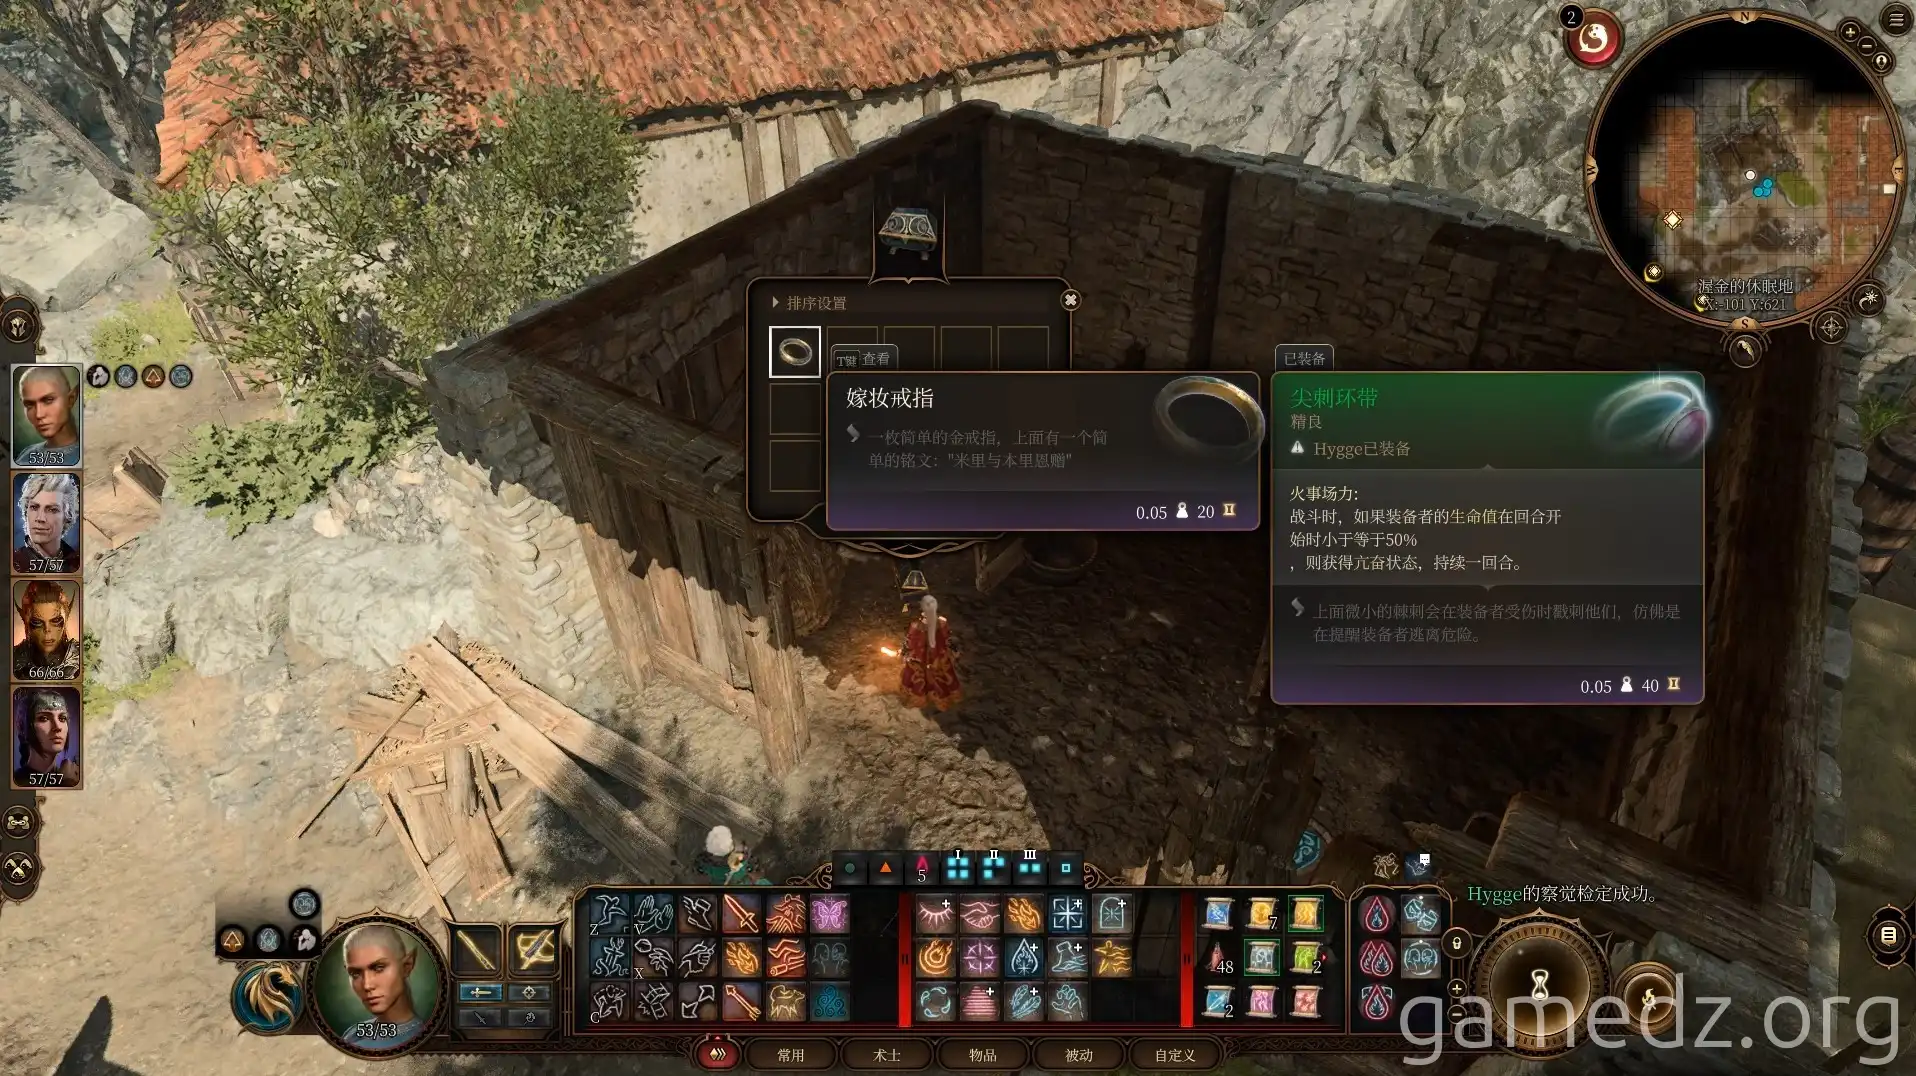
Behind the barn, you can find a mound of earth with a buried chest.
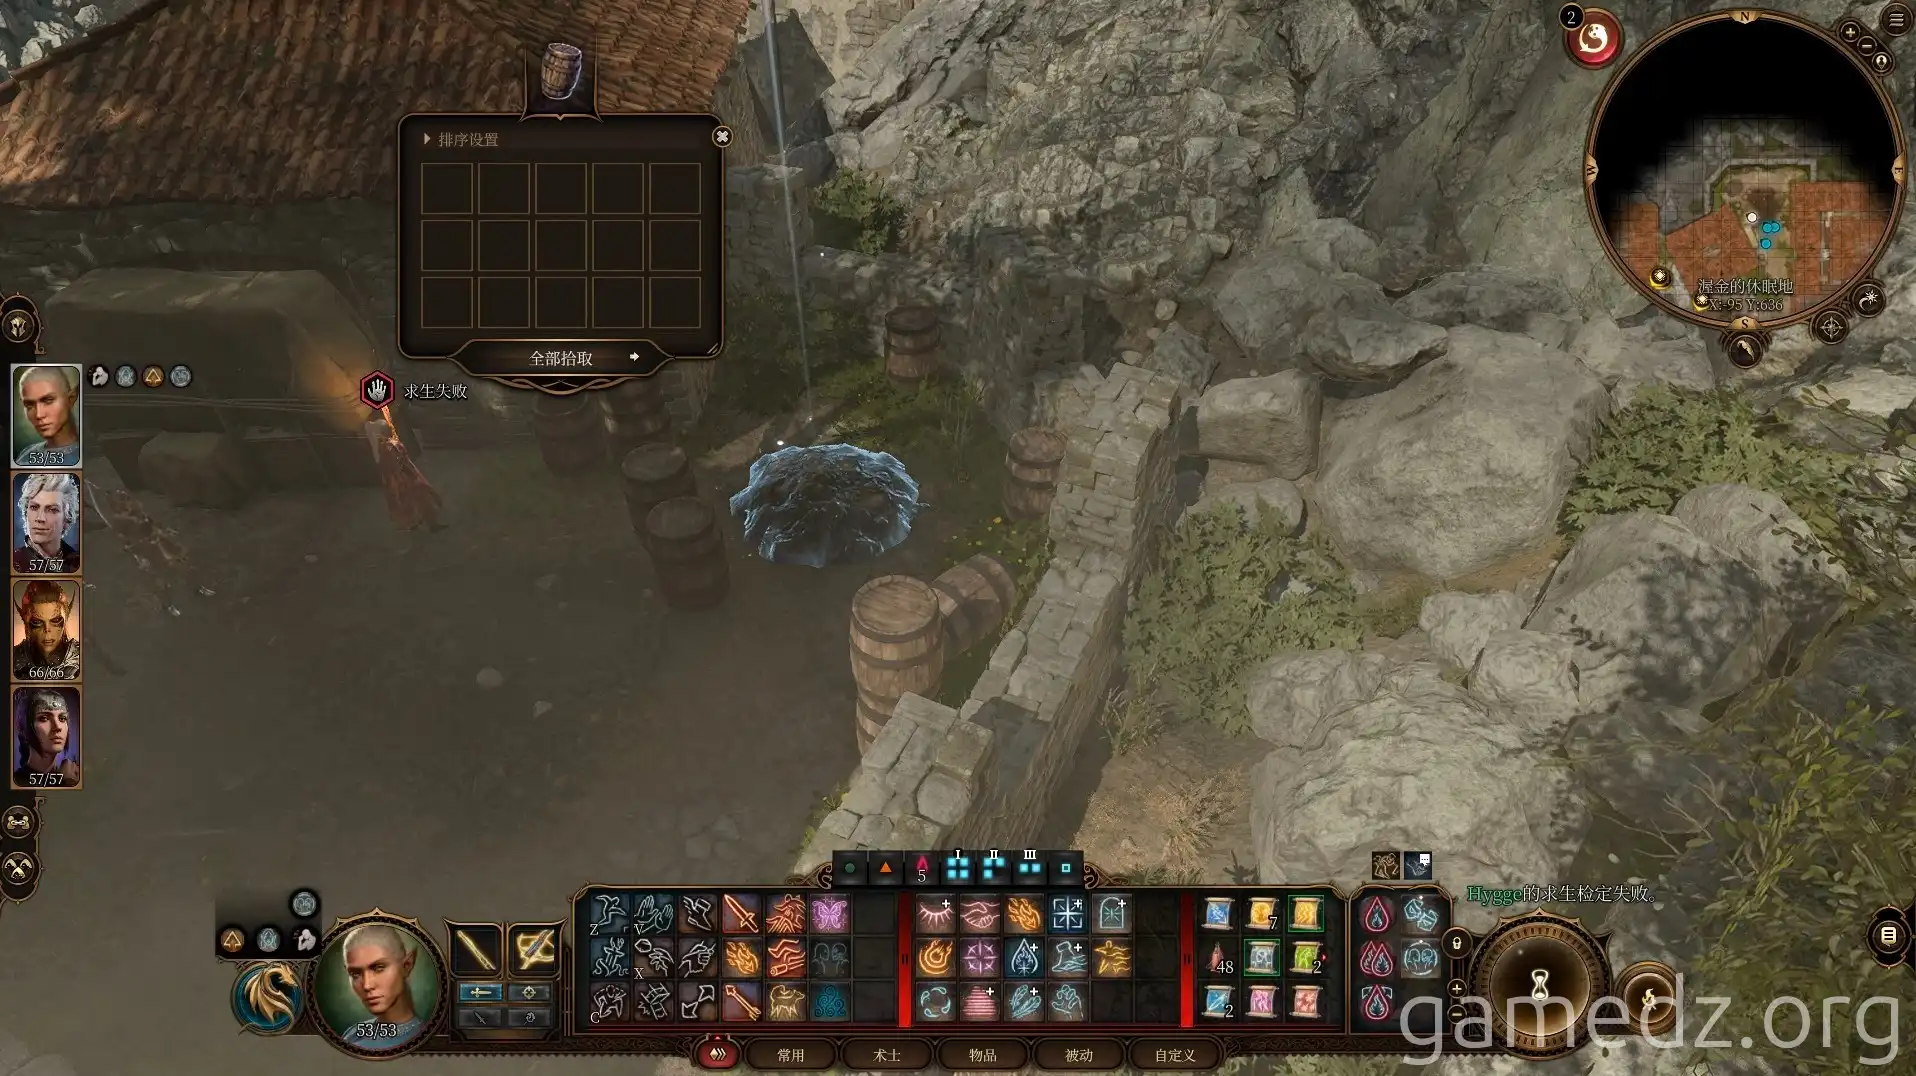
Move the crates blocking the door to a corner house and enter.
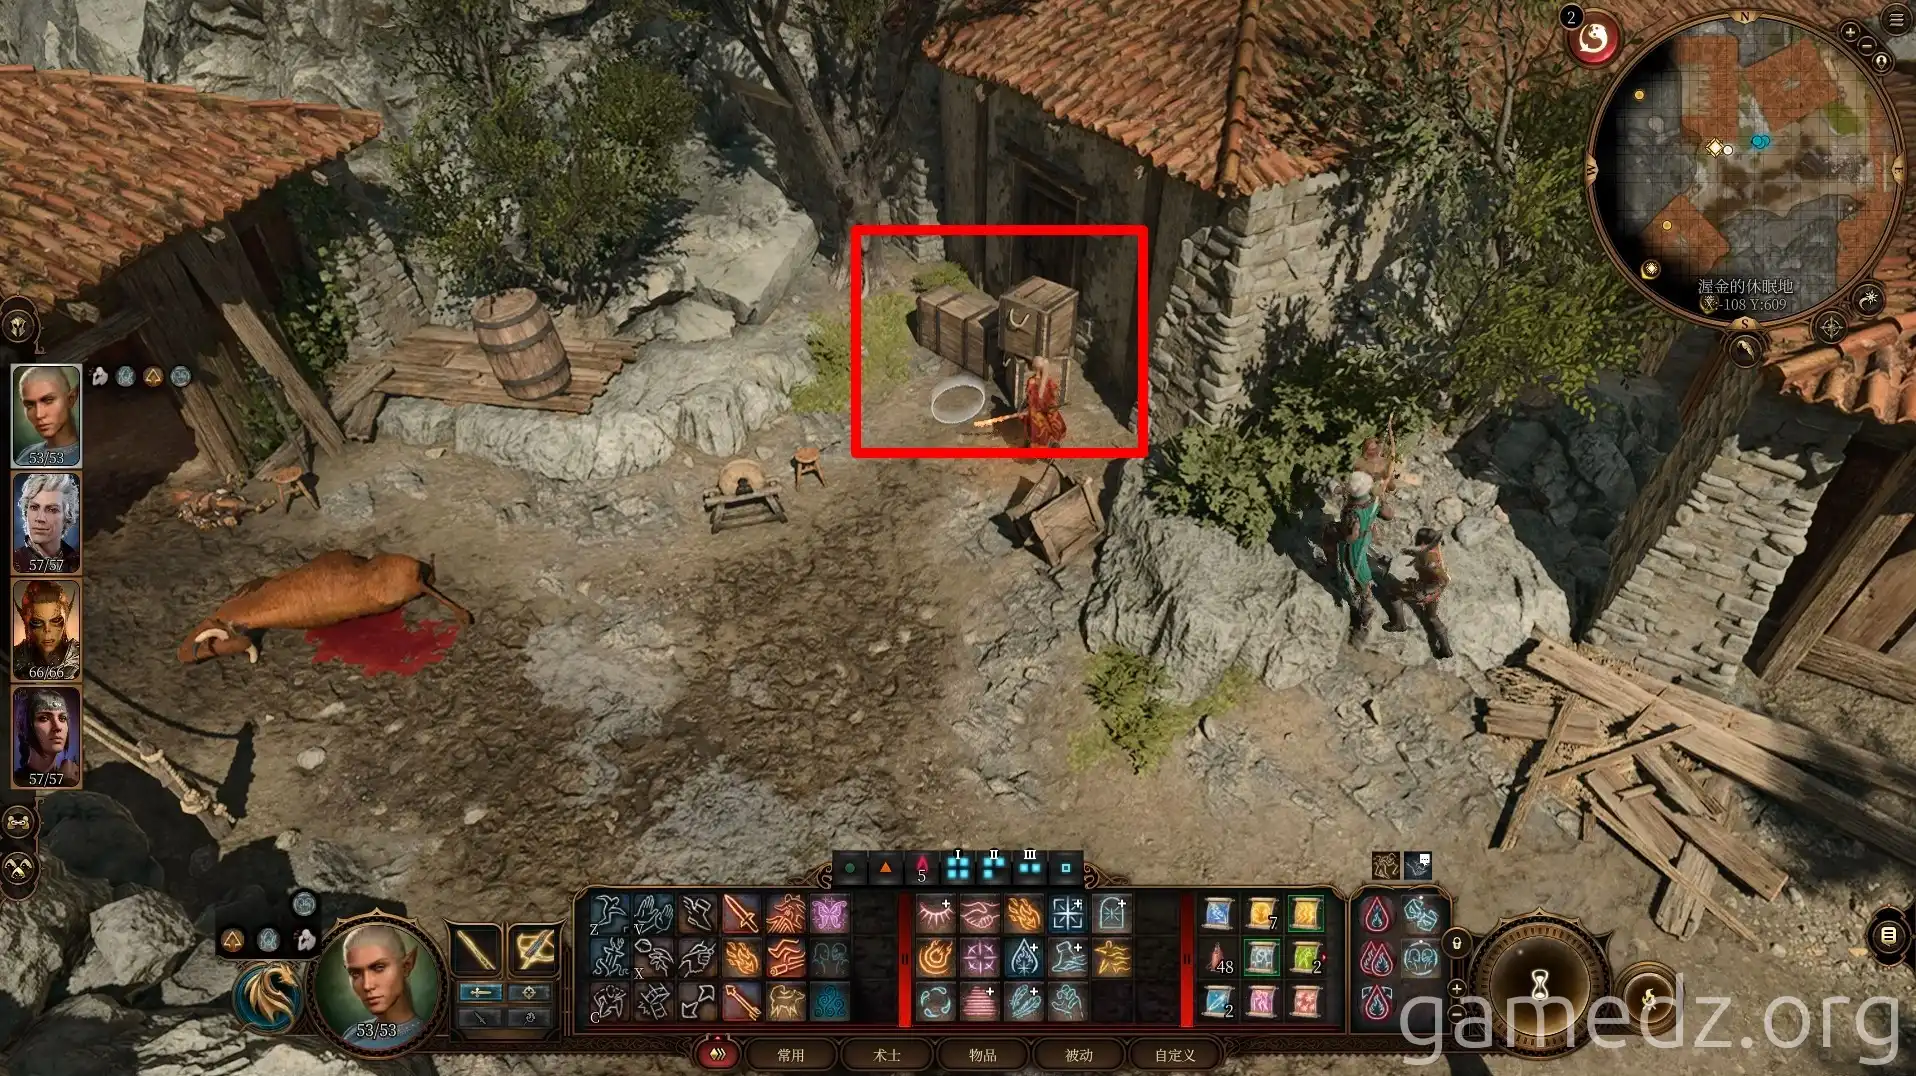
Upon entering the room, you'll encounter a member of the Zhentarim. If you have the password [Shortsword, Long Shadow] from Rugan, you can avoid combat. Otherwise, you'll need to pass persuasion or other checks.
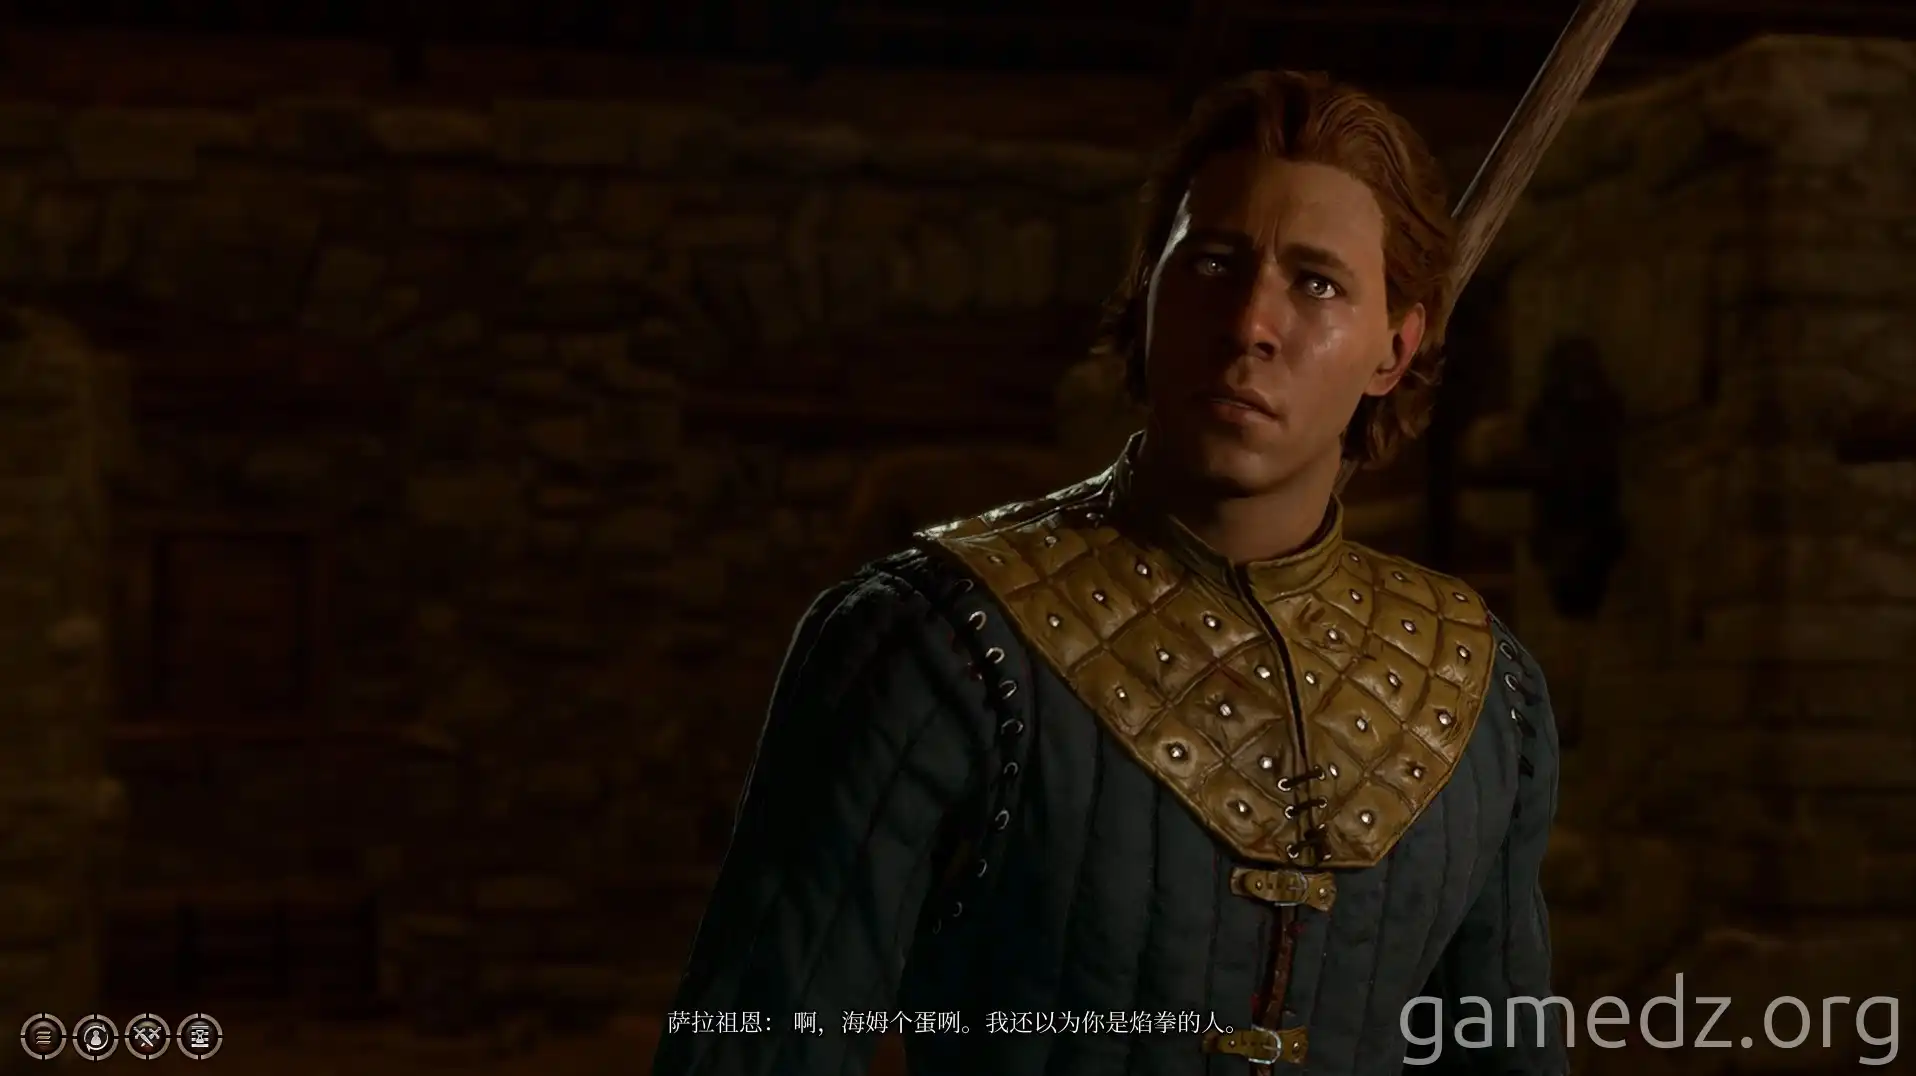
Then, enter the Zhentarim stronghold through the trapdoor on the floor.
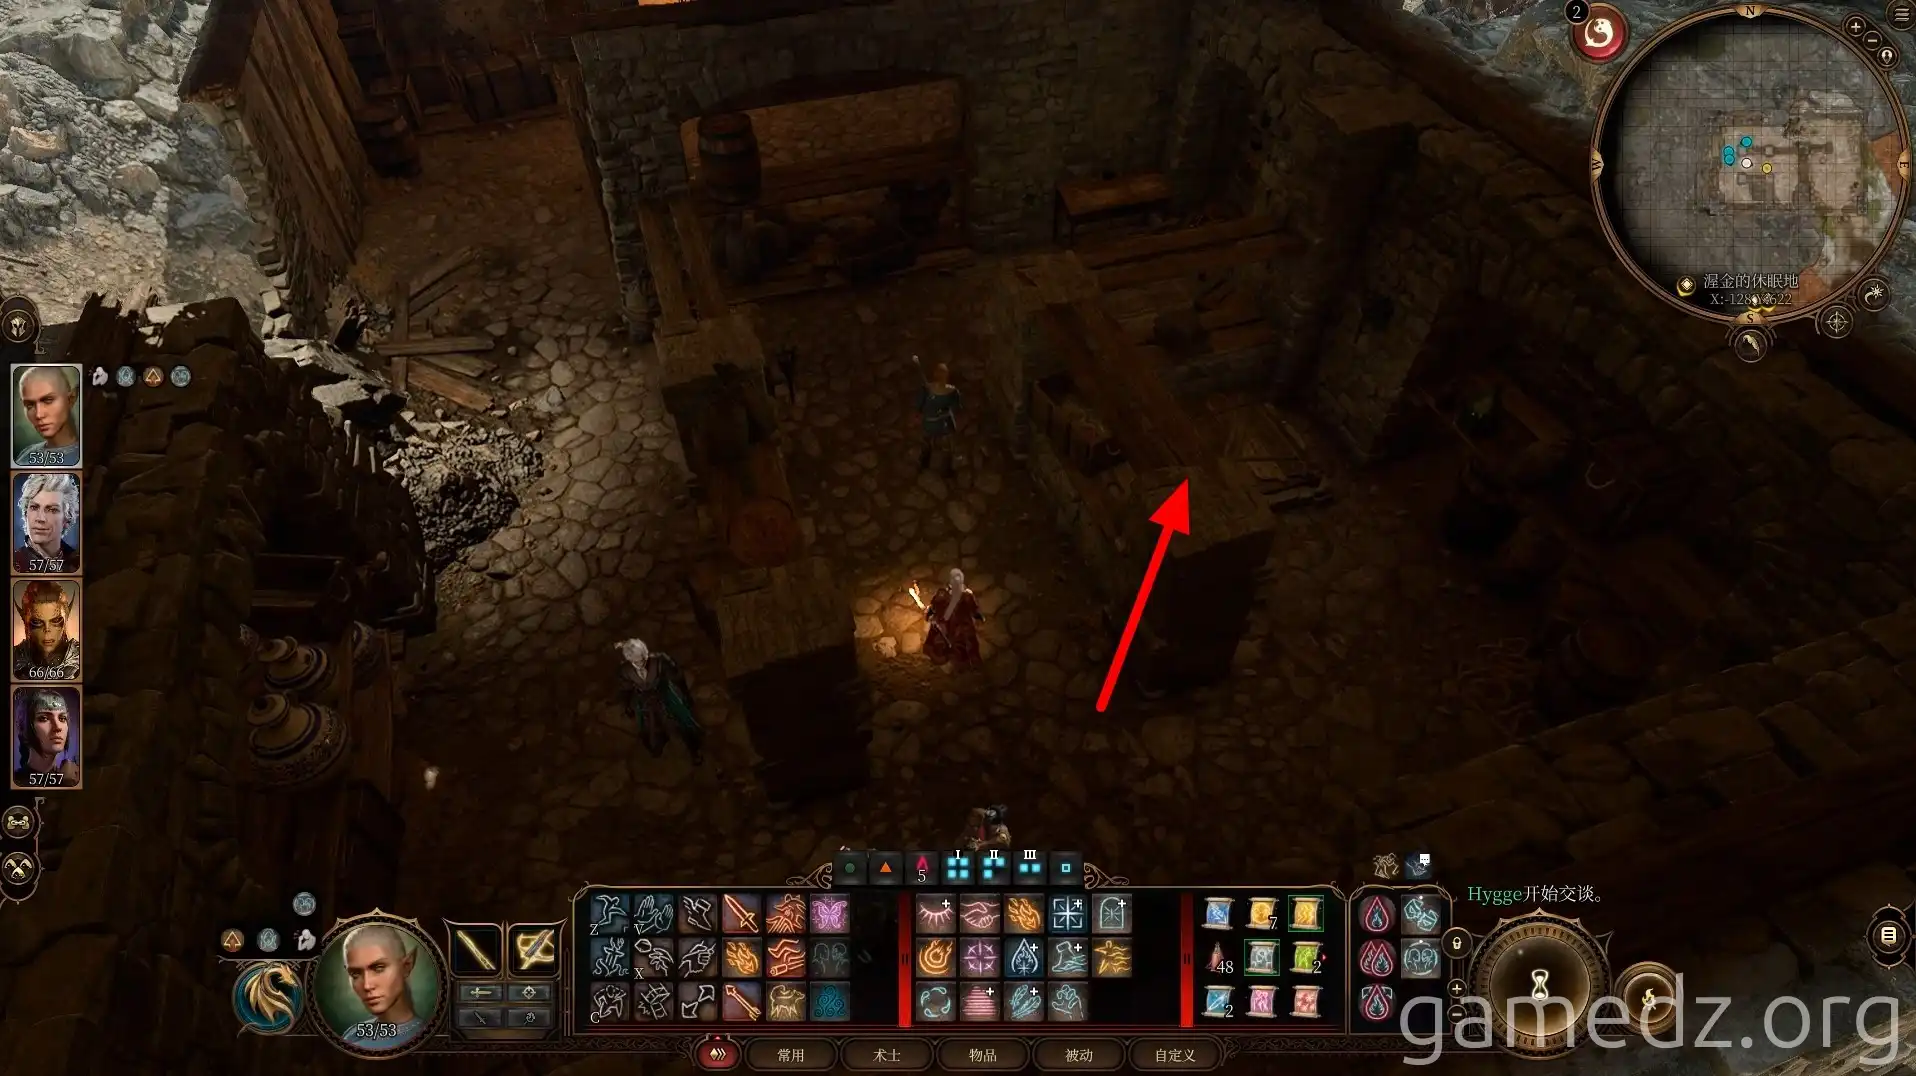
Searching the basement will yield a significant amount of camp supplies. Afterward, investigate the wardrobe in the corner to proceed further into the stronghold.
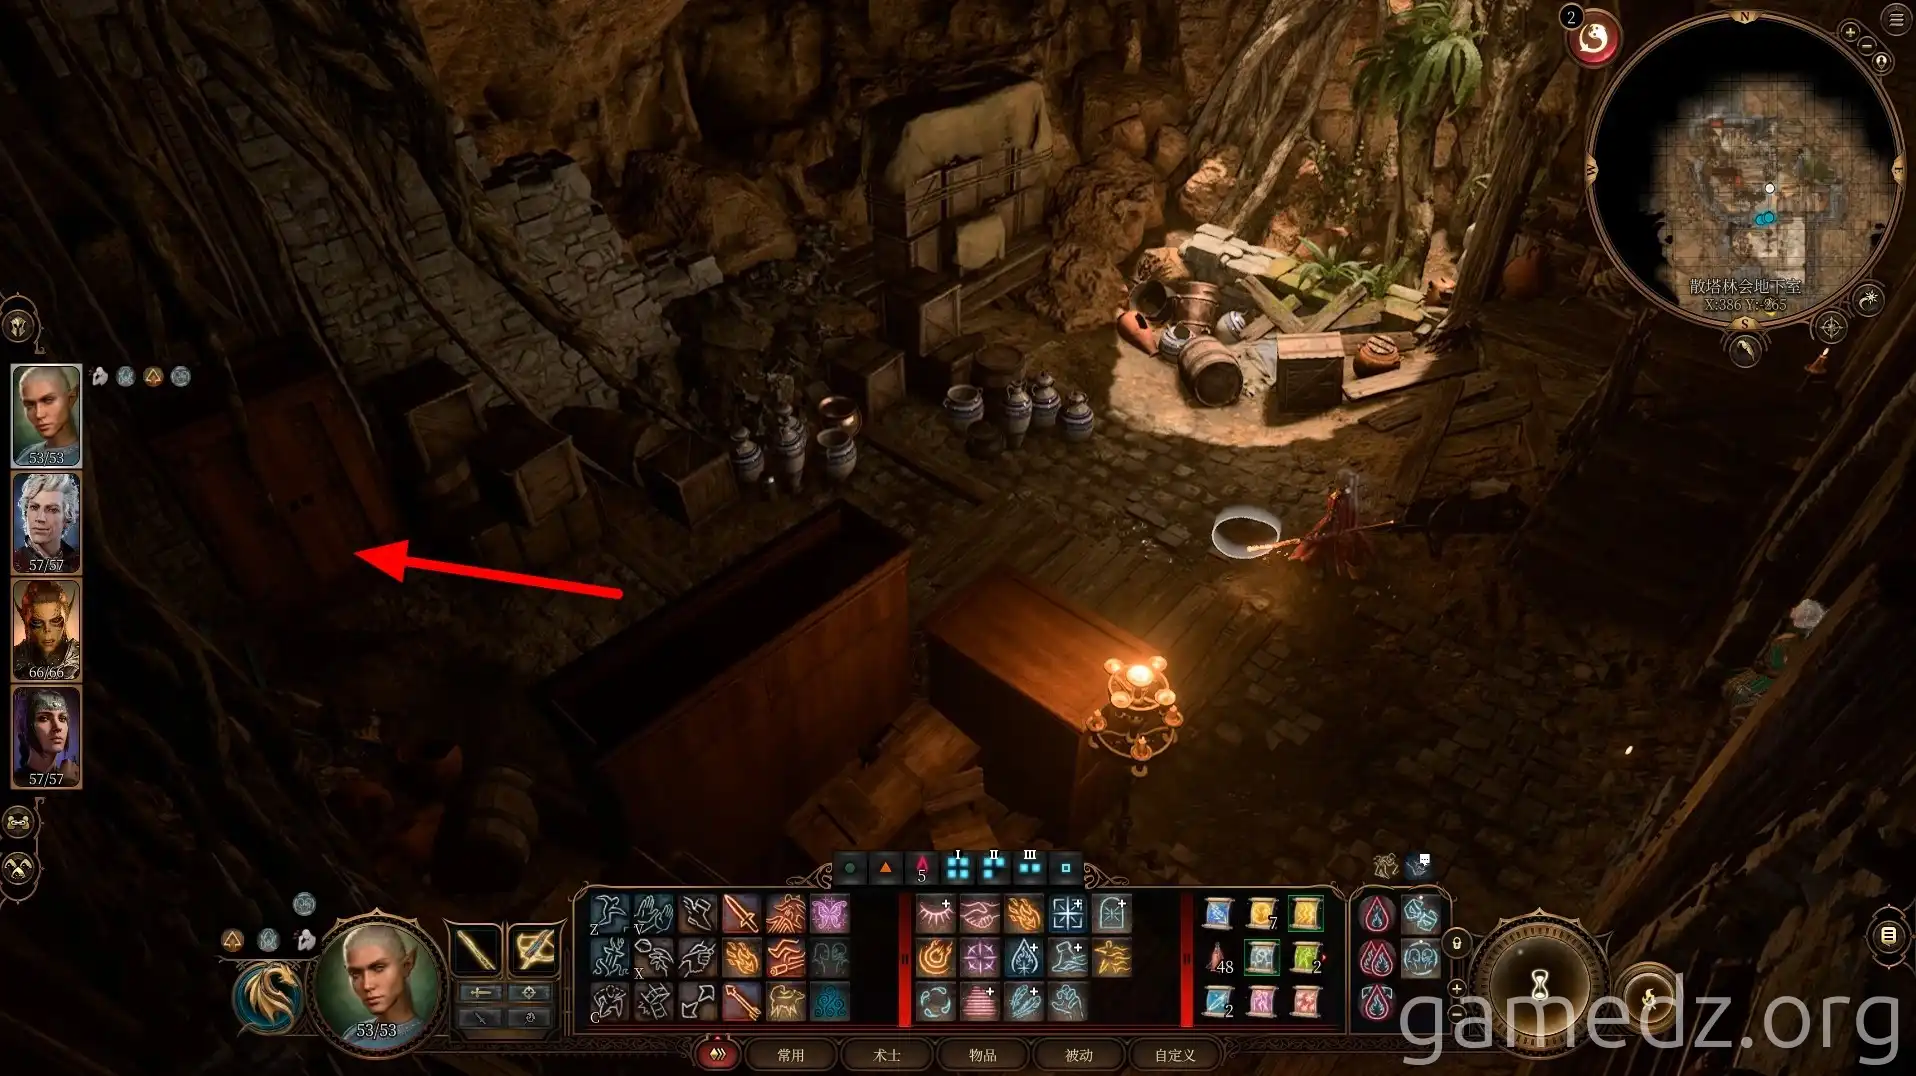
After activating the [Zhentarim Hideout] waypoint, proceed along the passage.
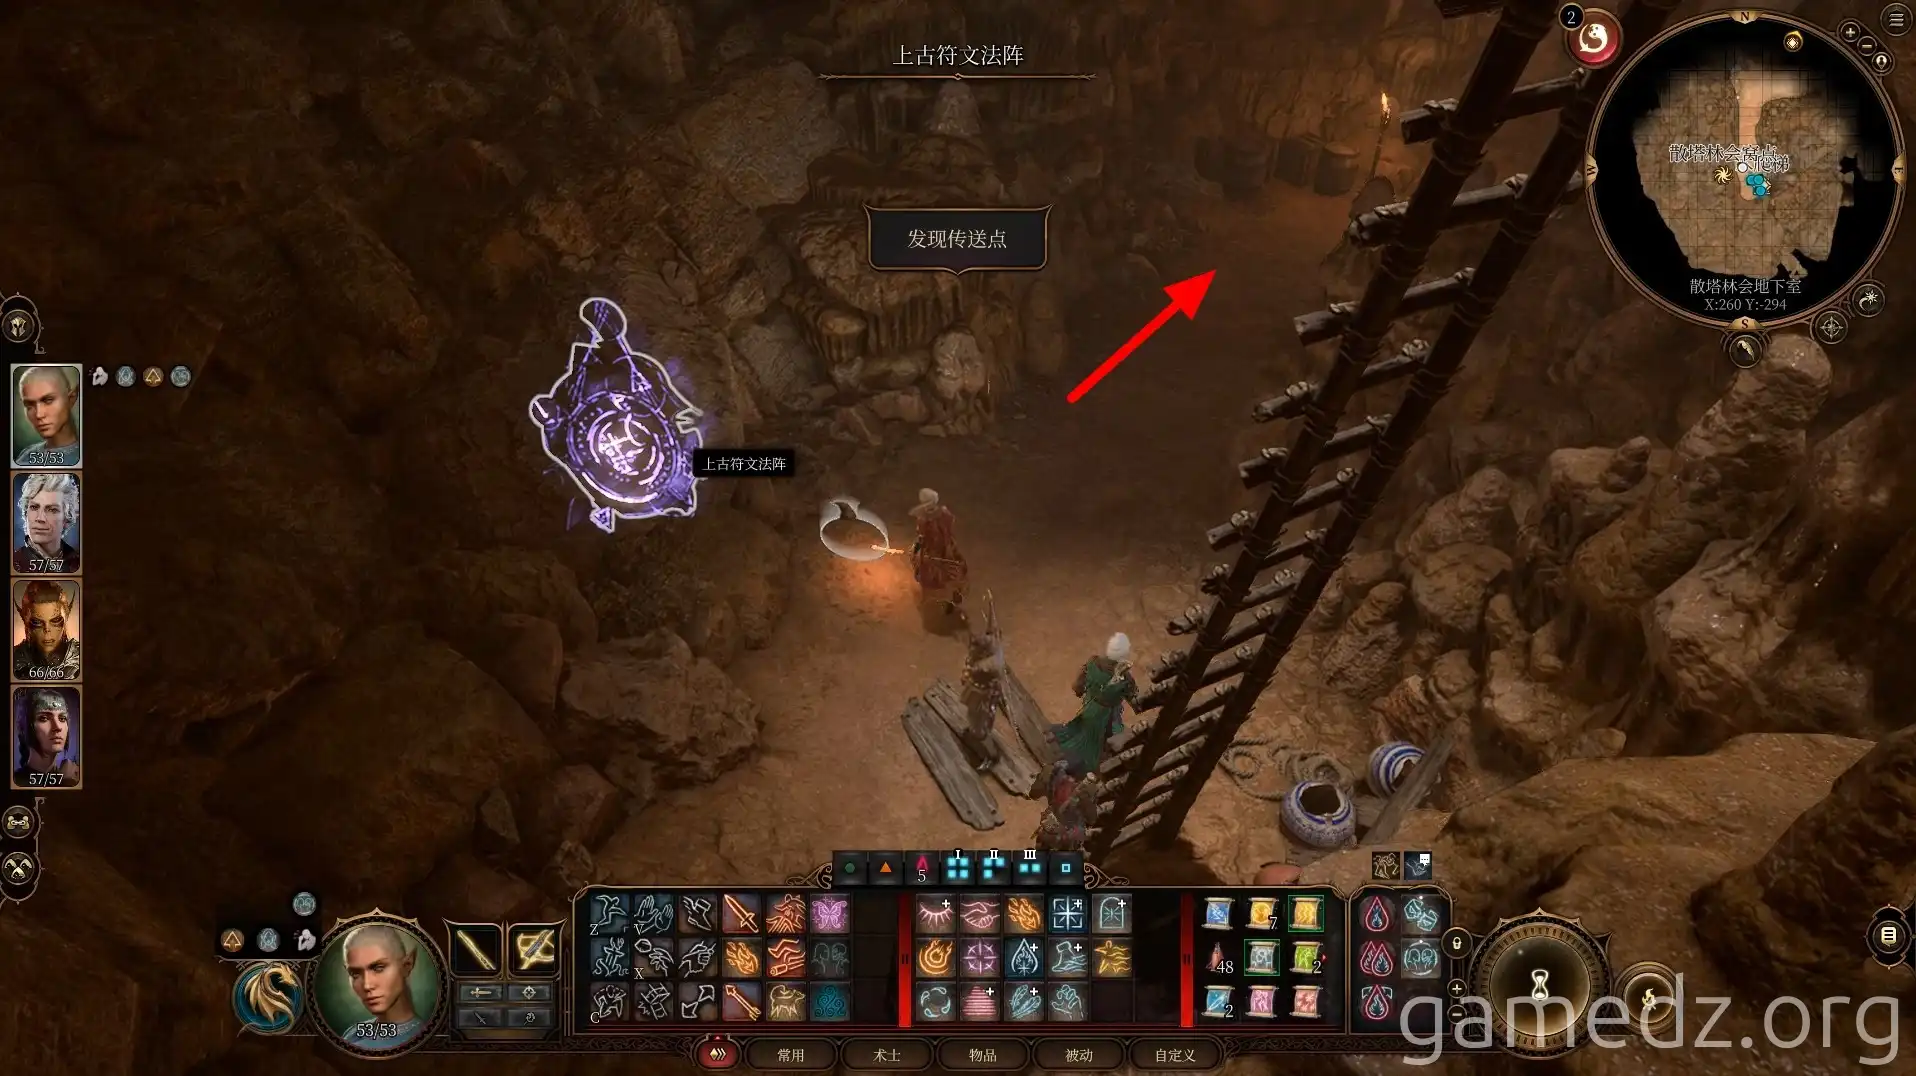
You will be stopped by Zarys upon entering the stronghold. If you successfully rescued Rugan earlier, you will be allowed to pass directly. If you did not rescue Rugan, you will need to pass a persuasion or similar check to enter the stronghold safely.
Upon safely entering the camp, characters with a Deception background will be inspired, gaining an Inspiration point.
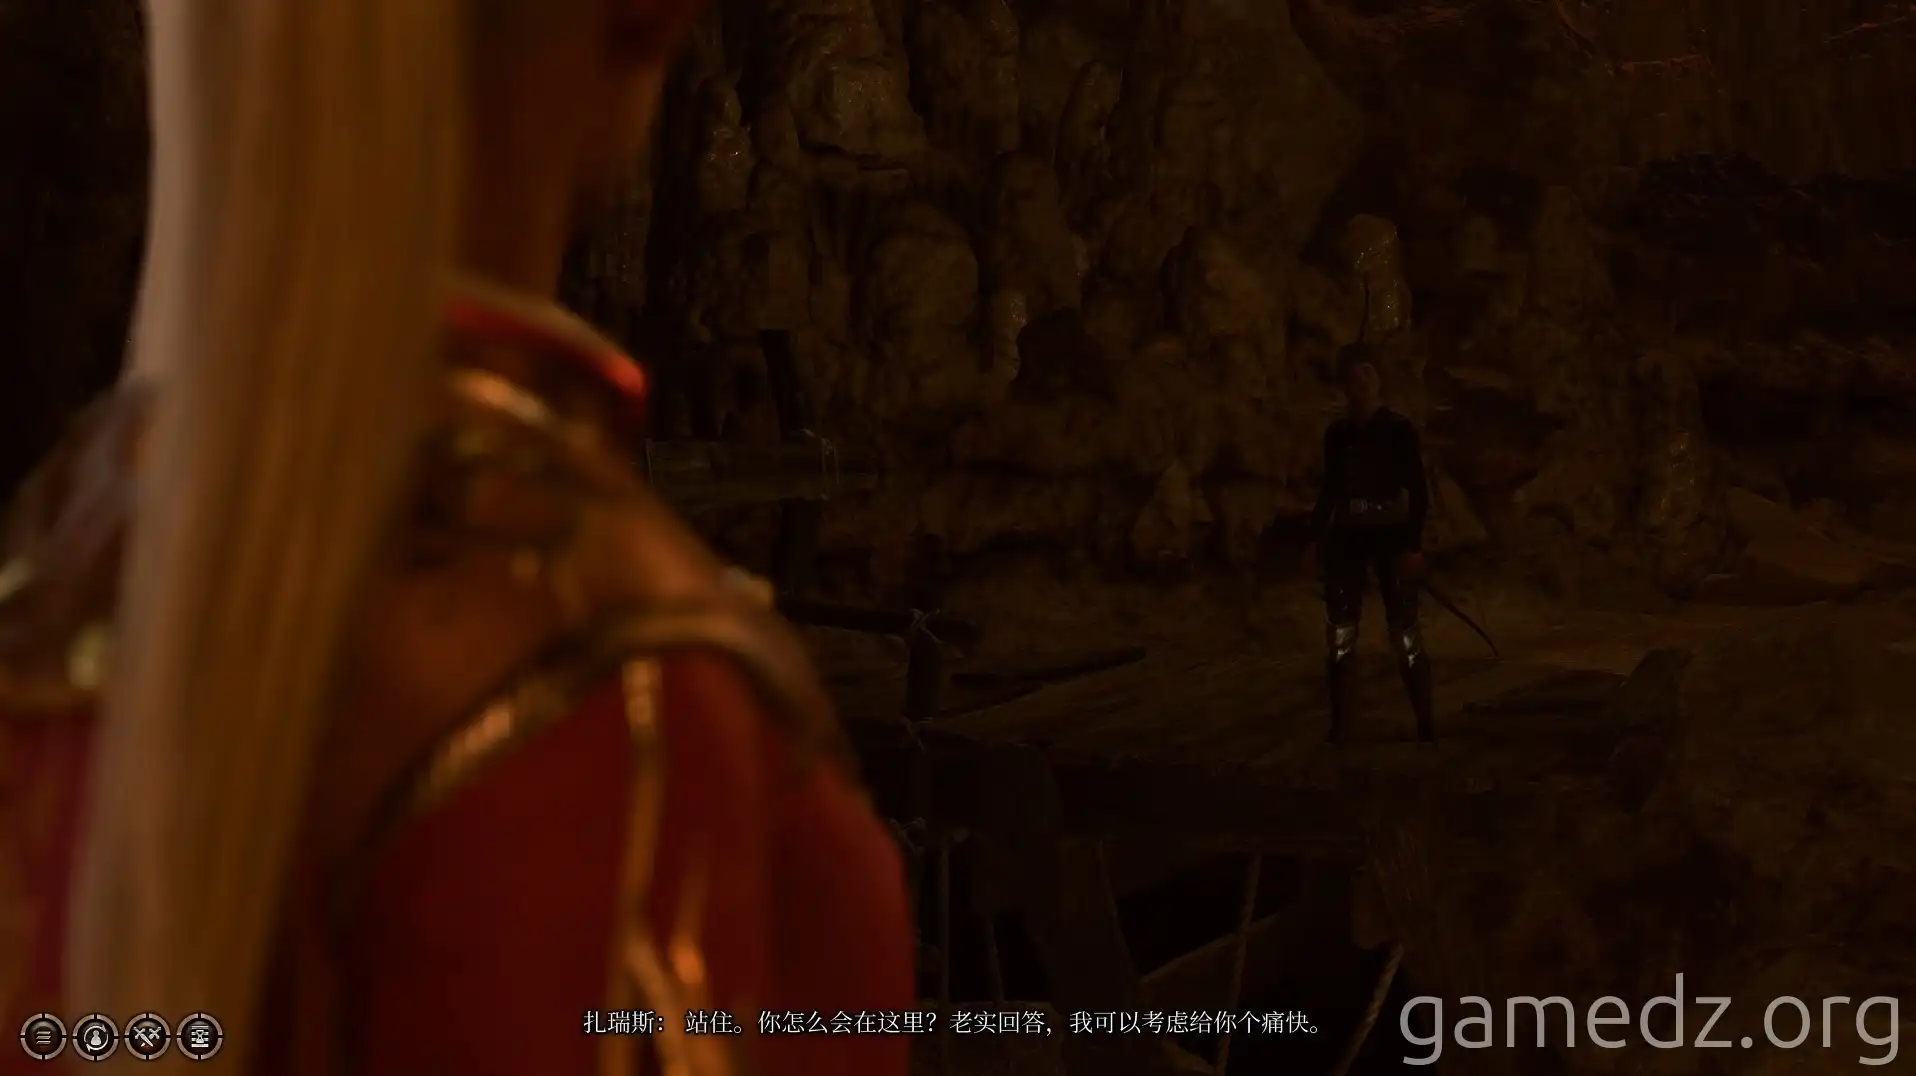
In the center of the lowest level of the stronghold is a merchant named [Brehm]. Speaking with him will reveal that he has a painter as a follower.
You can then rescue the painter for 600 gold by haggling, and then give the painter 200 gold for travel expenses to return to Baldur's Gate.
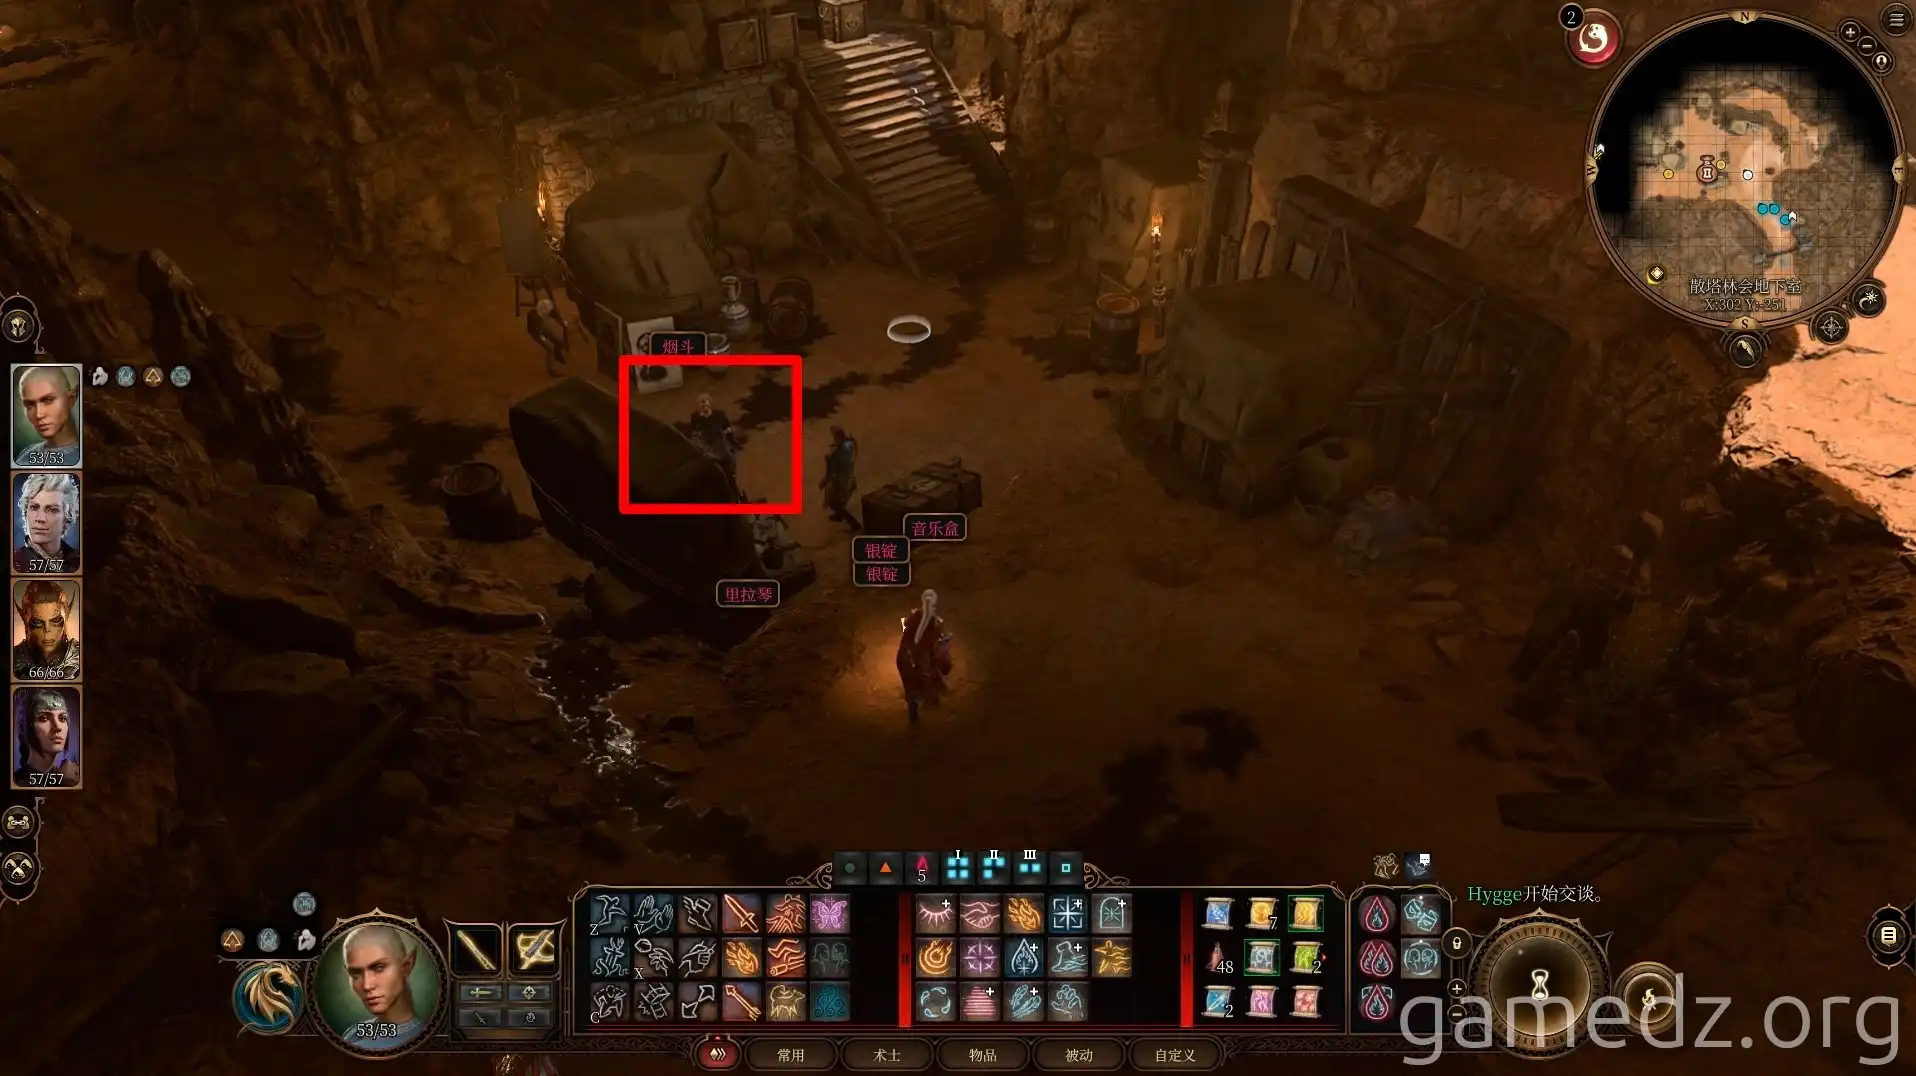
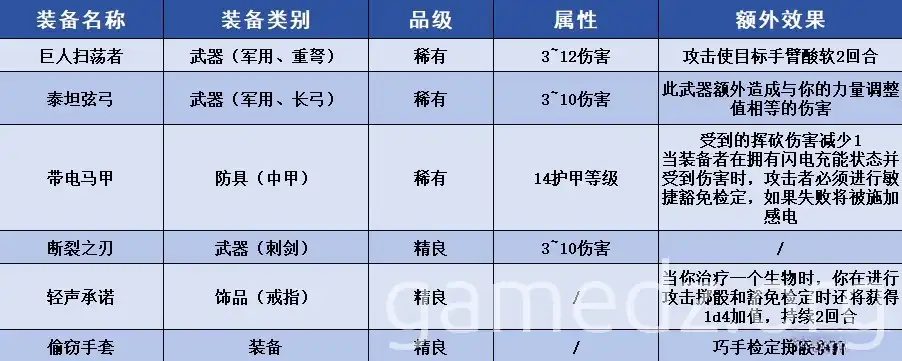
Afterward, speaking with Zarys to complete the chest quest will update Brehm's inventory, regardless of whether you successfully completed the quest by handing over the chest.
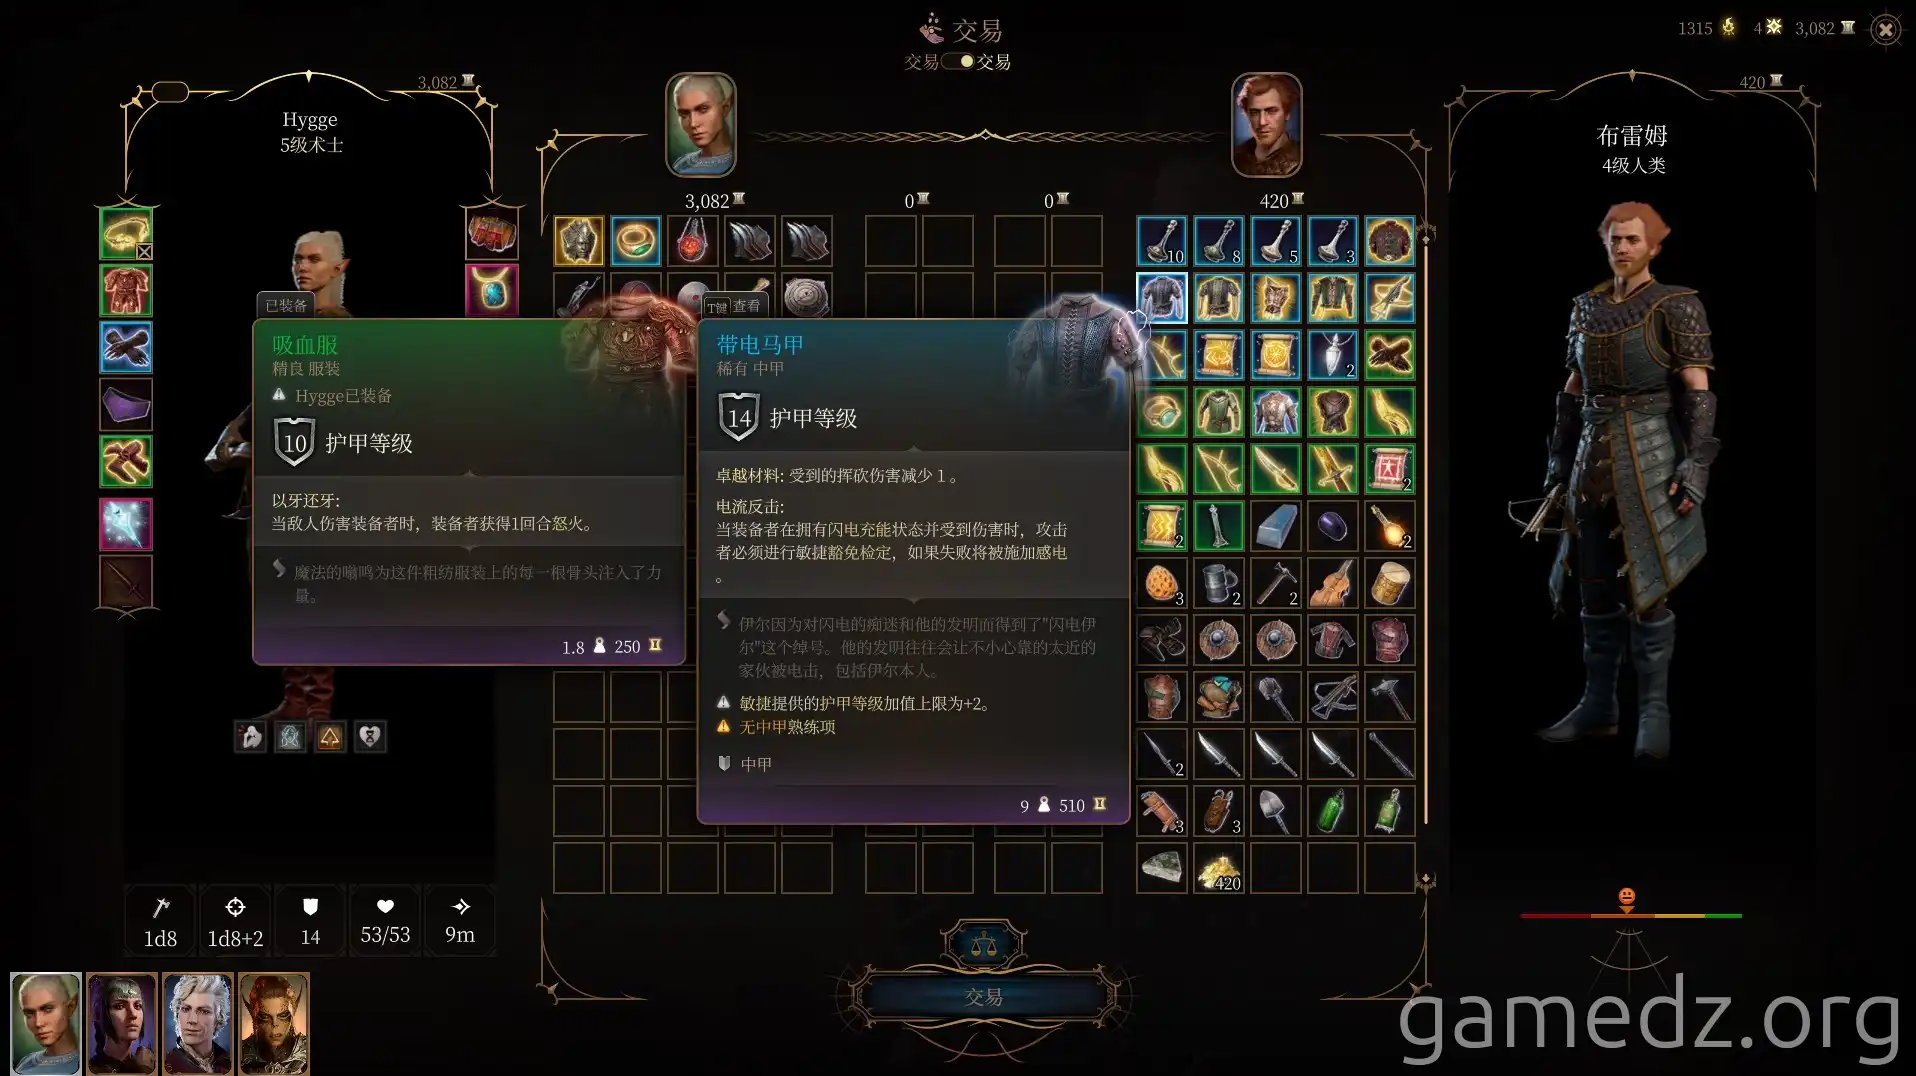
The list of new unique equipment added by Brehm and their stats are as follows.
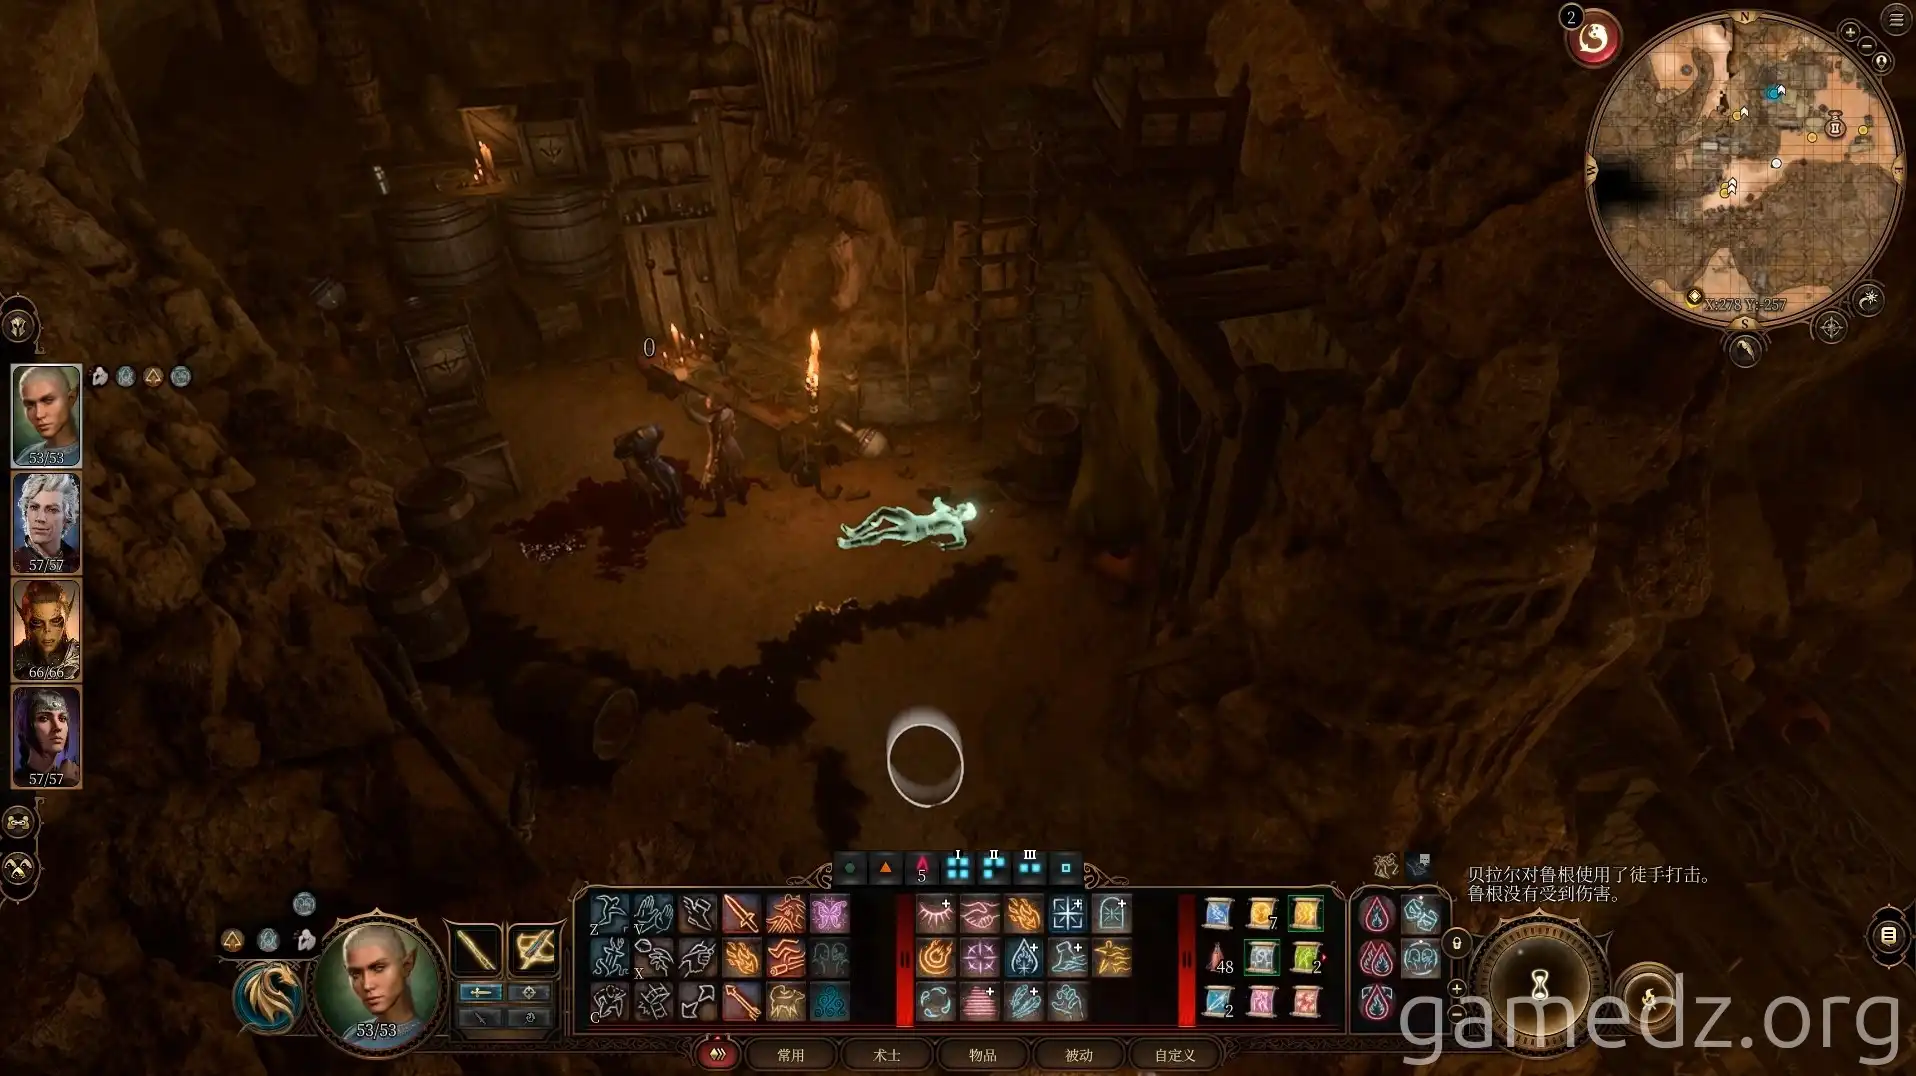
In the corner, you'll see Rugan, who lost his cargo, being beaten. If you speak with Rugan at this point, you can incite him to resist, directly initiating combat and making him an enemy of the other Zhentarim members.
Speaking with Zarys will reveal that she is looking for lost cargo and asks you to find it.
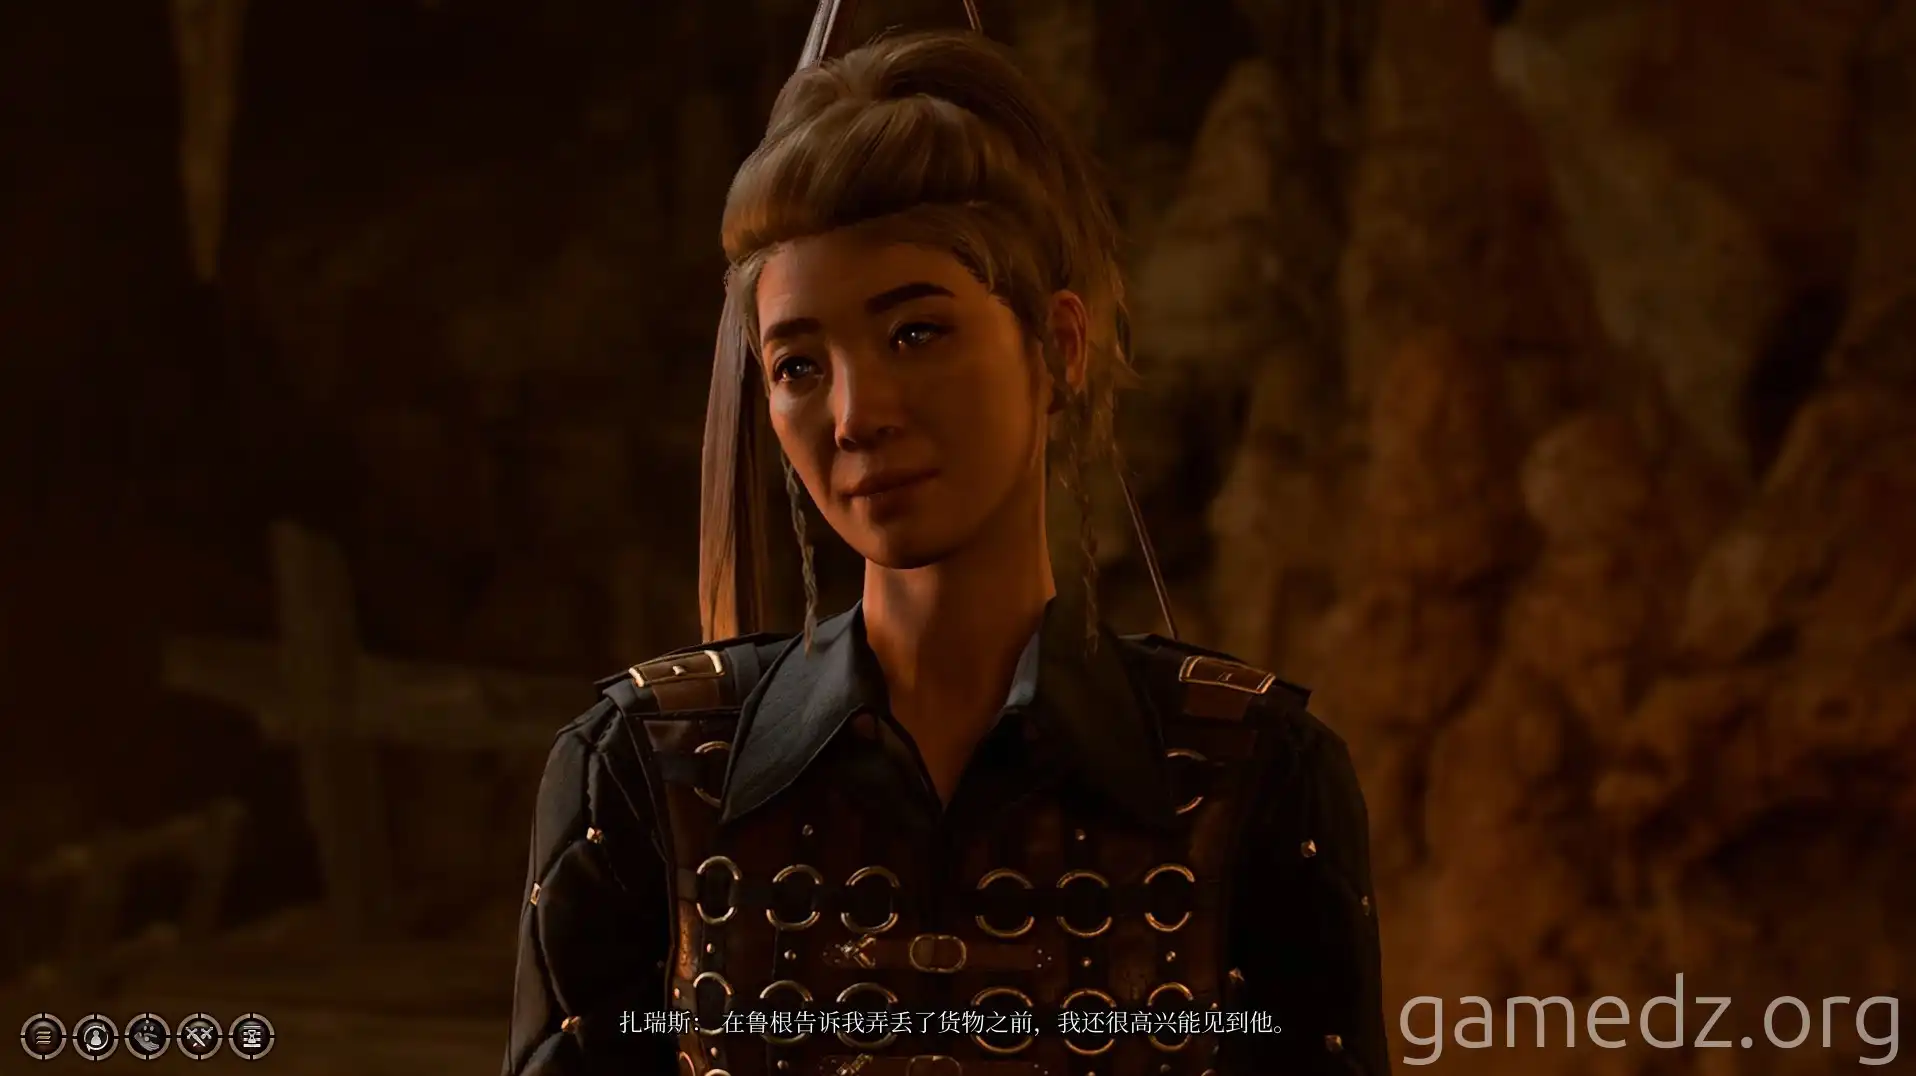
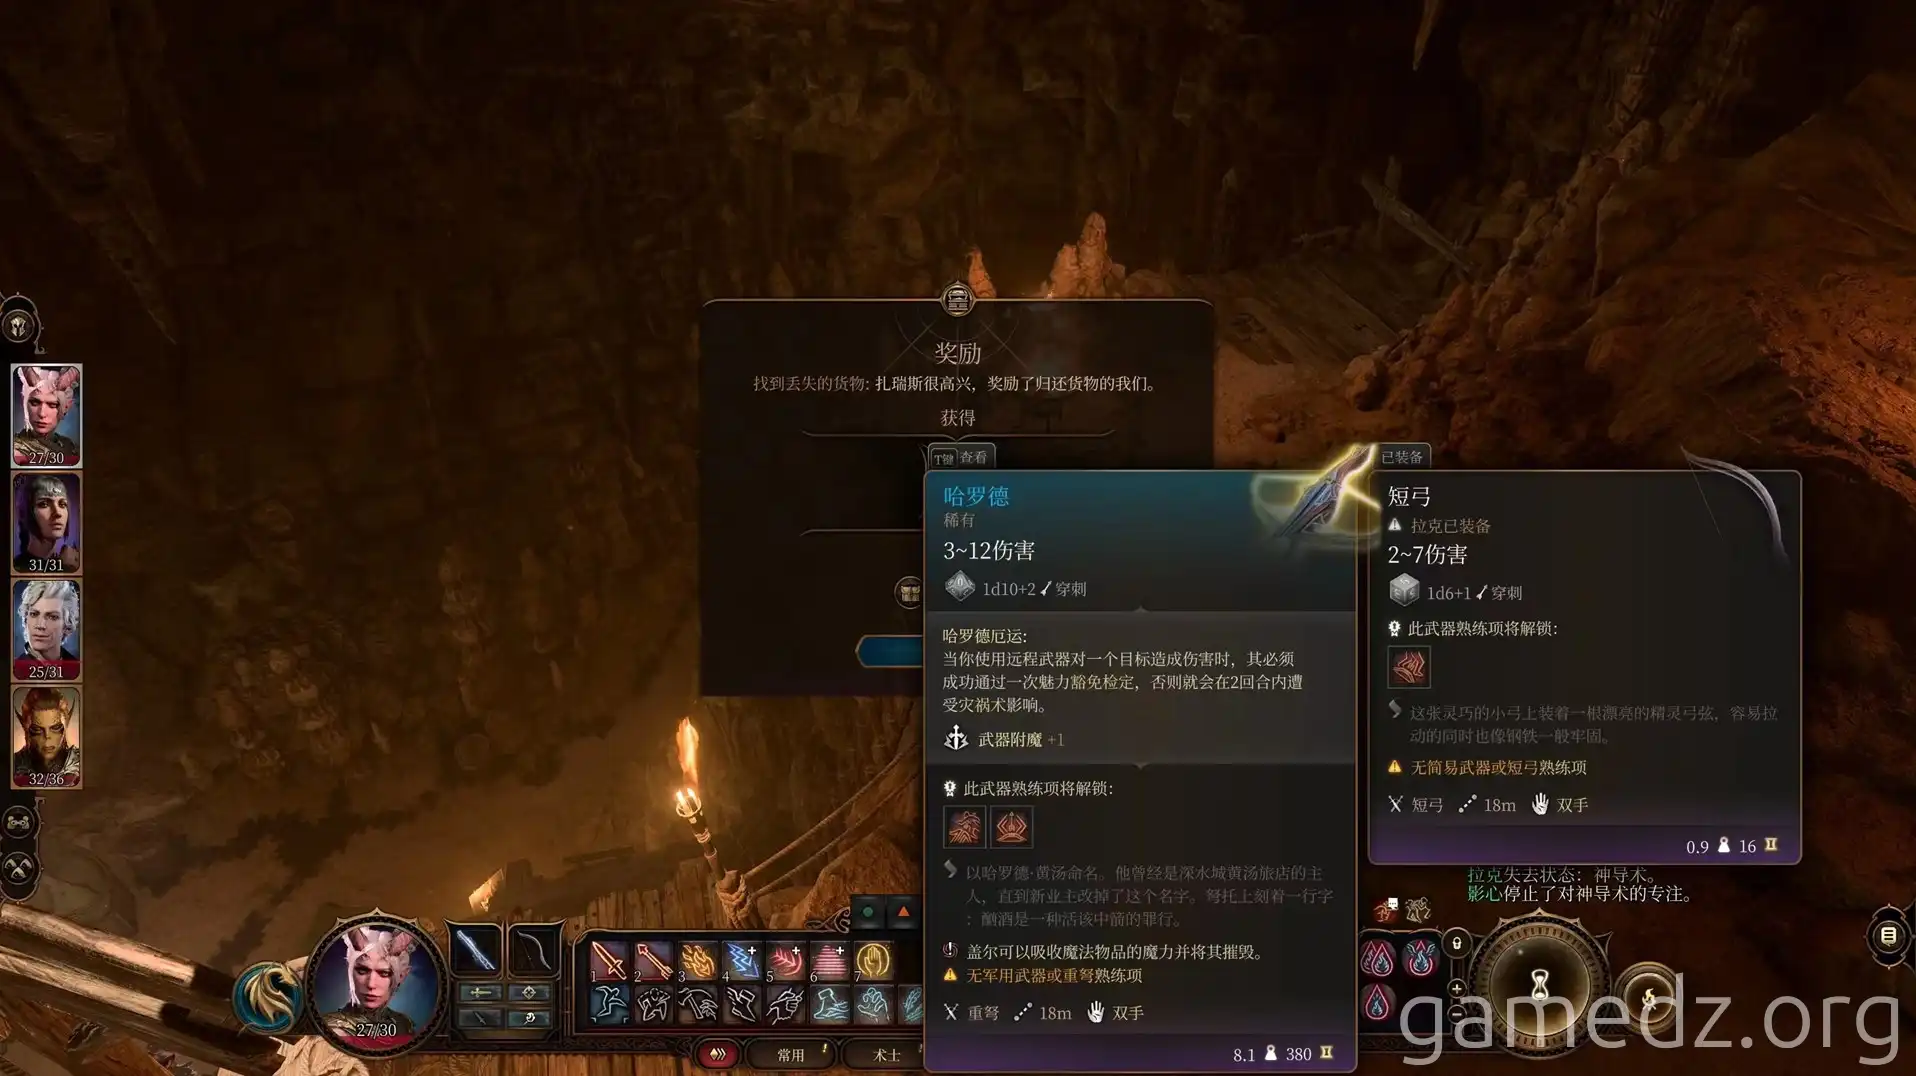
If the lost cargo you found earlier was unopened, you can directly hand it over to Zarys to complete the quest. The quest reward is the rare weapon [Harold].
If you give her the opened cargo or tell her you have the cargo but won't give it to her, combat will be triggered directly.
You cannot obtain this weapon by stealing or by killing Zarys and looting her body.
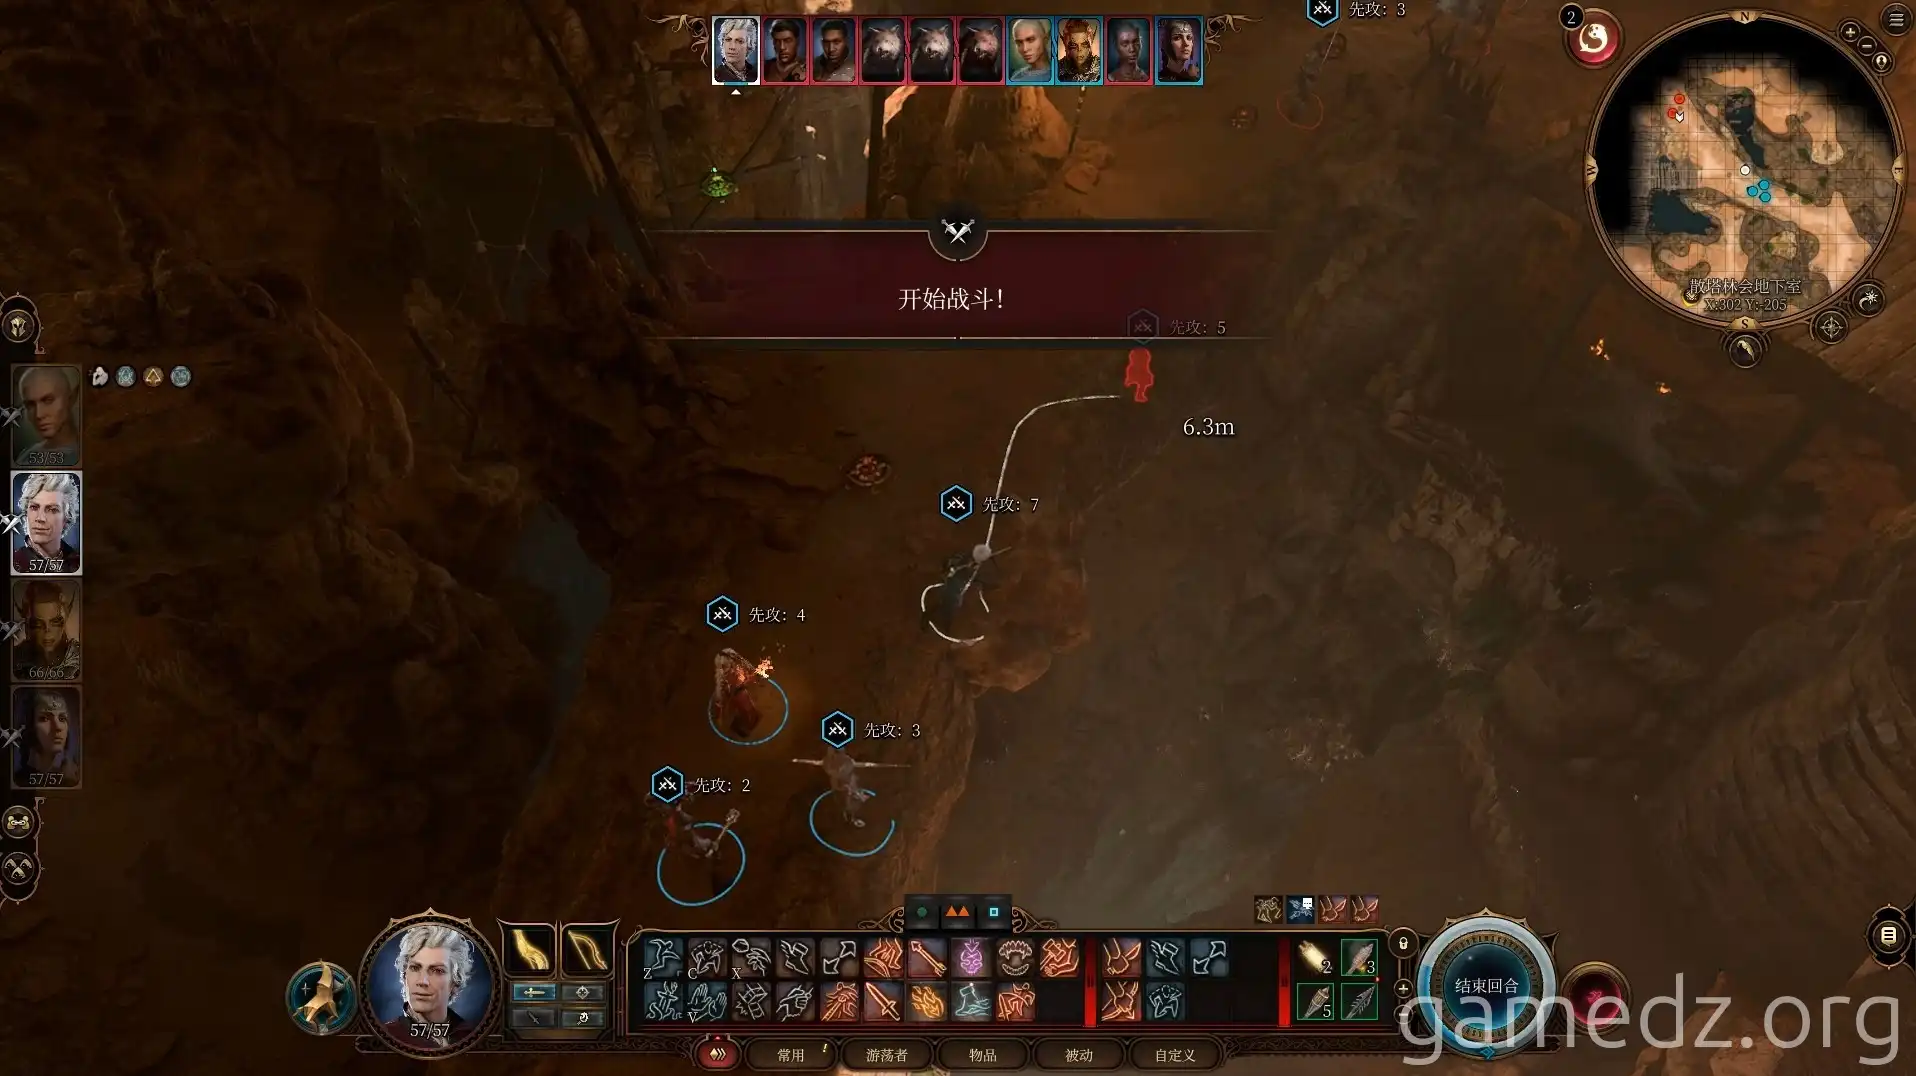
Continuing deeper into the stronghold will trigger combat. The enemies consist of three warriors and three wolves, and the difficulty of the fight is not high.
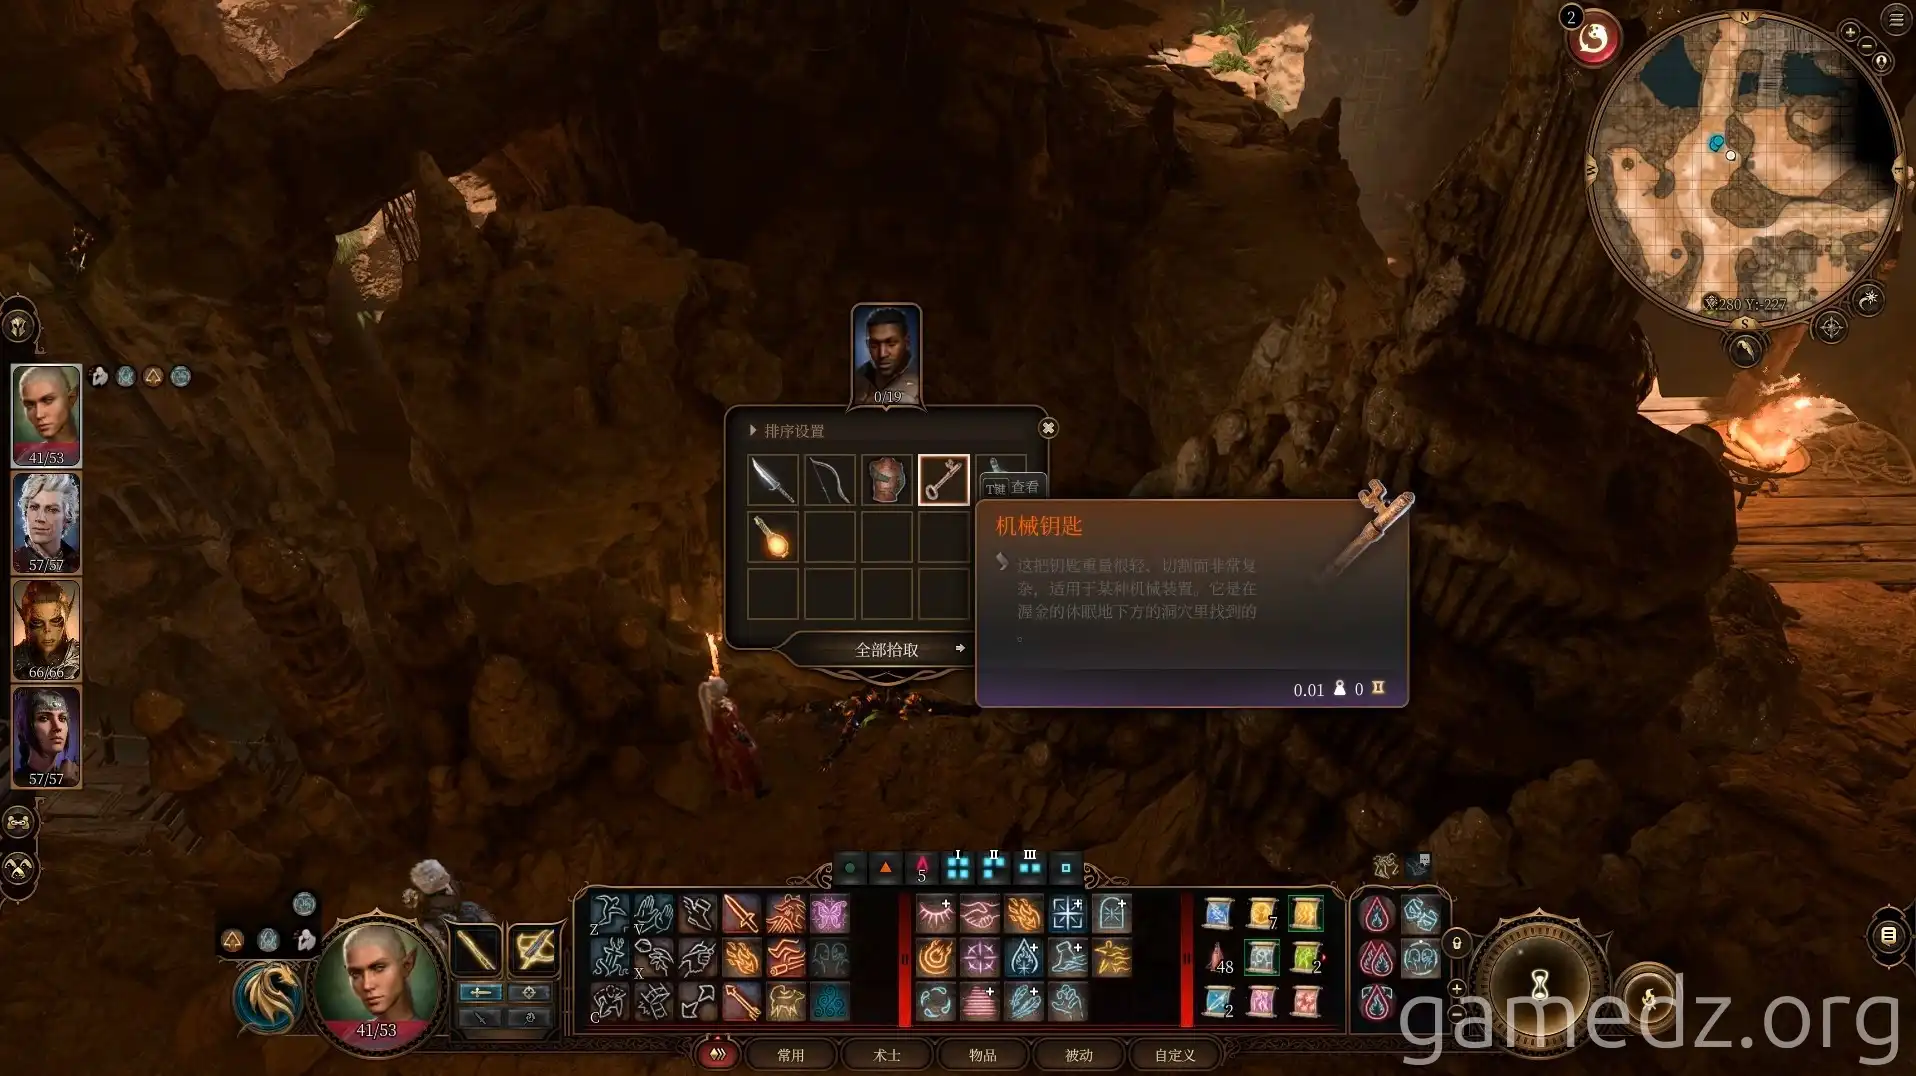
From the enemies, you can obtain the [Mechanical Key], [Zhentarim Key], and [Fine Key].
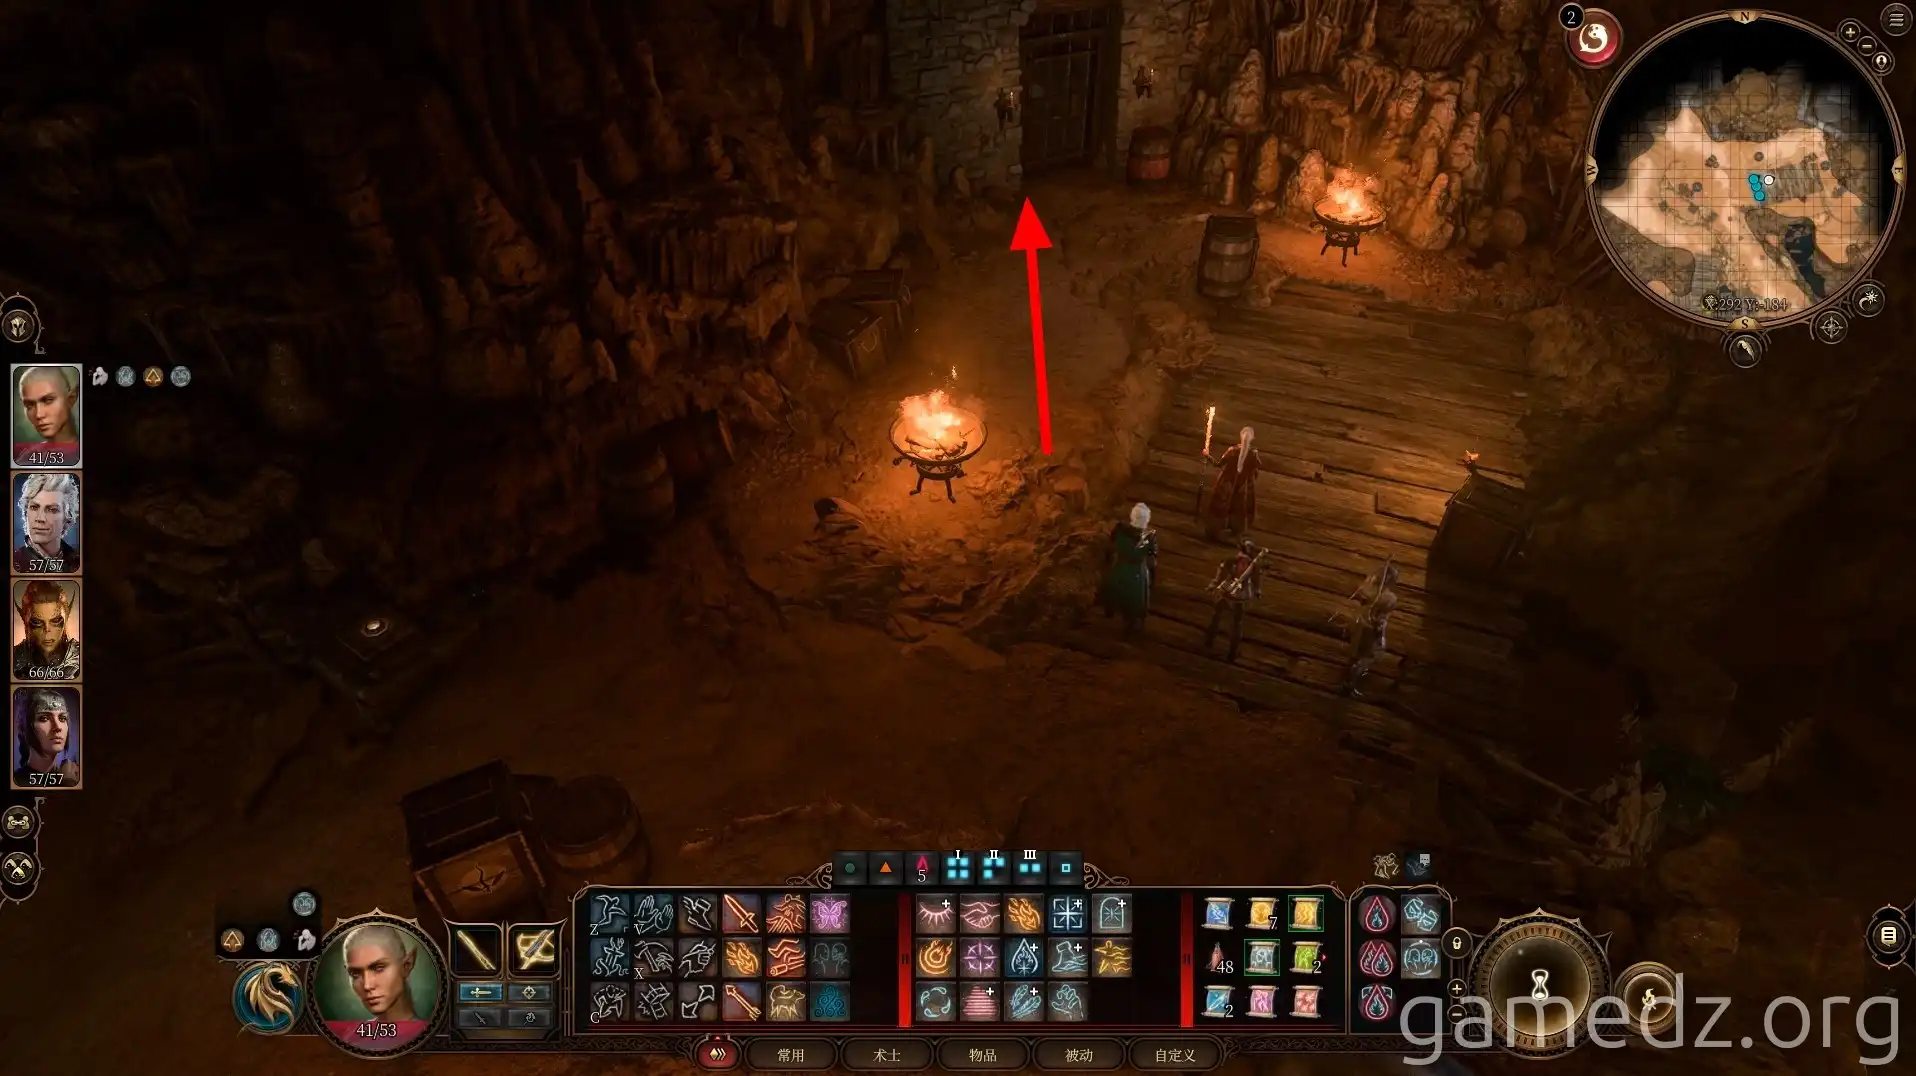
Upon reaching the deepest part, first enter the room on the right.
In the chest within the room, you can find the rare equipment [Abyssal Summoner].
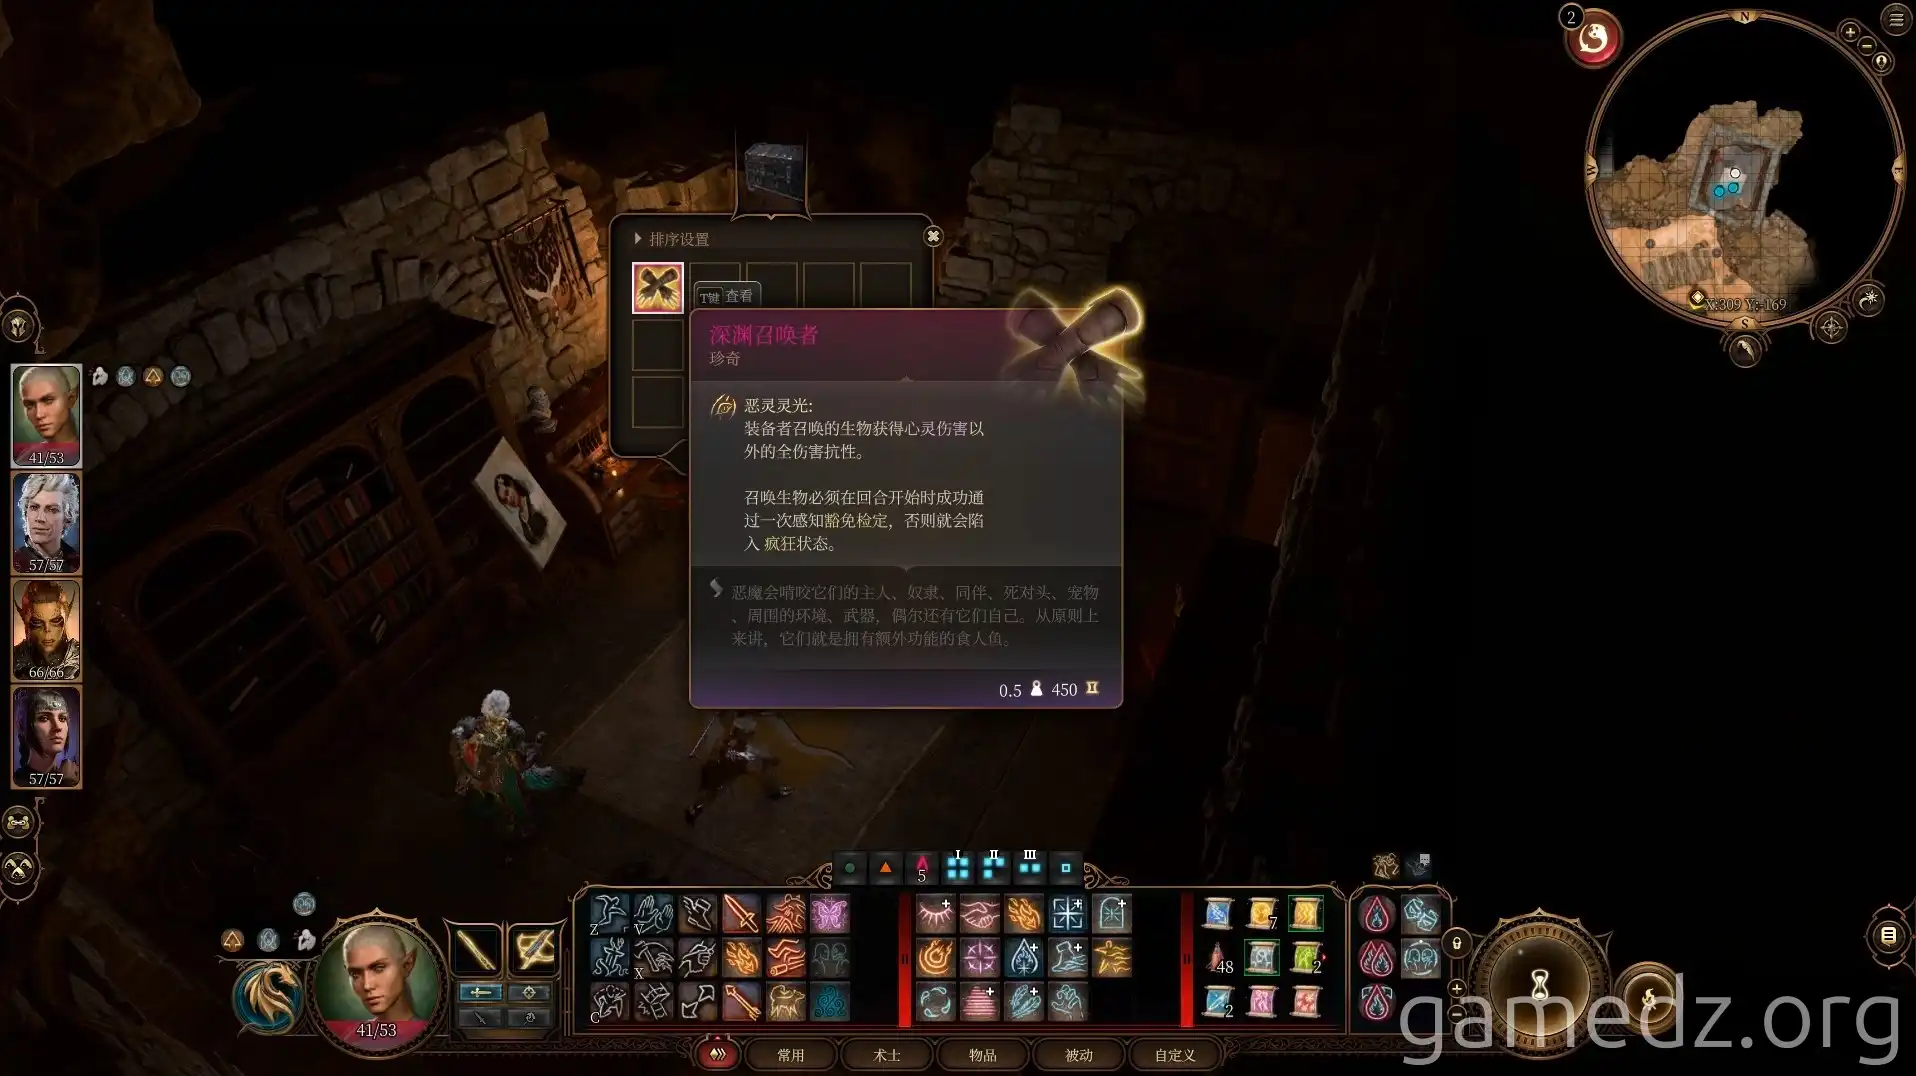
After looting the camp area, enter the room on the left. Be careful not to press the button outside the door, as this will immediately make Zarys and others hostile.
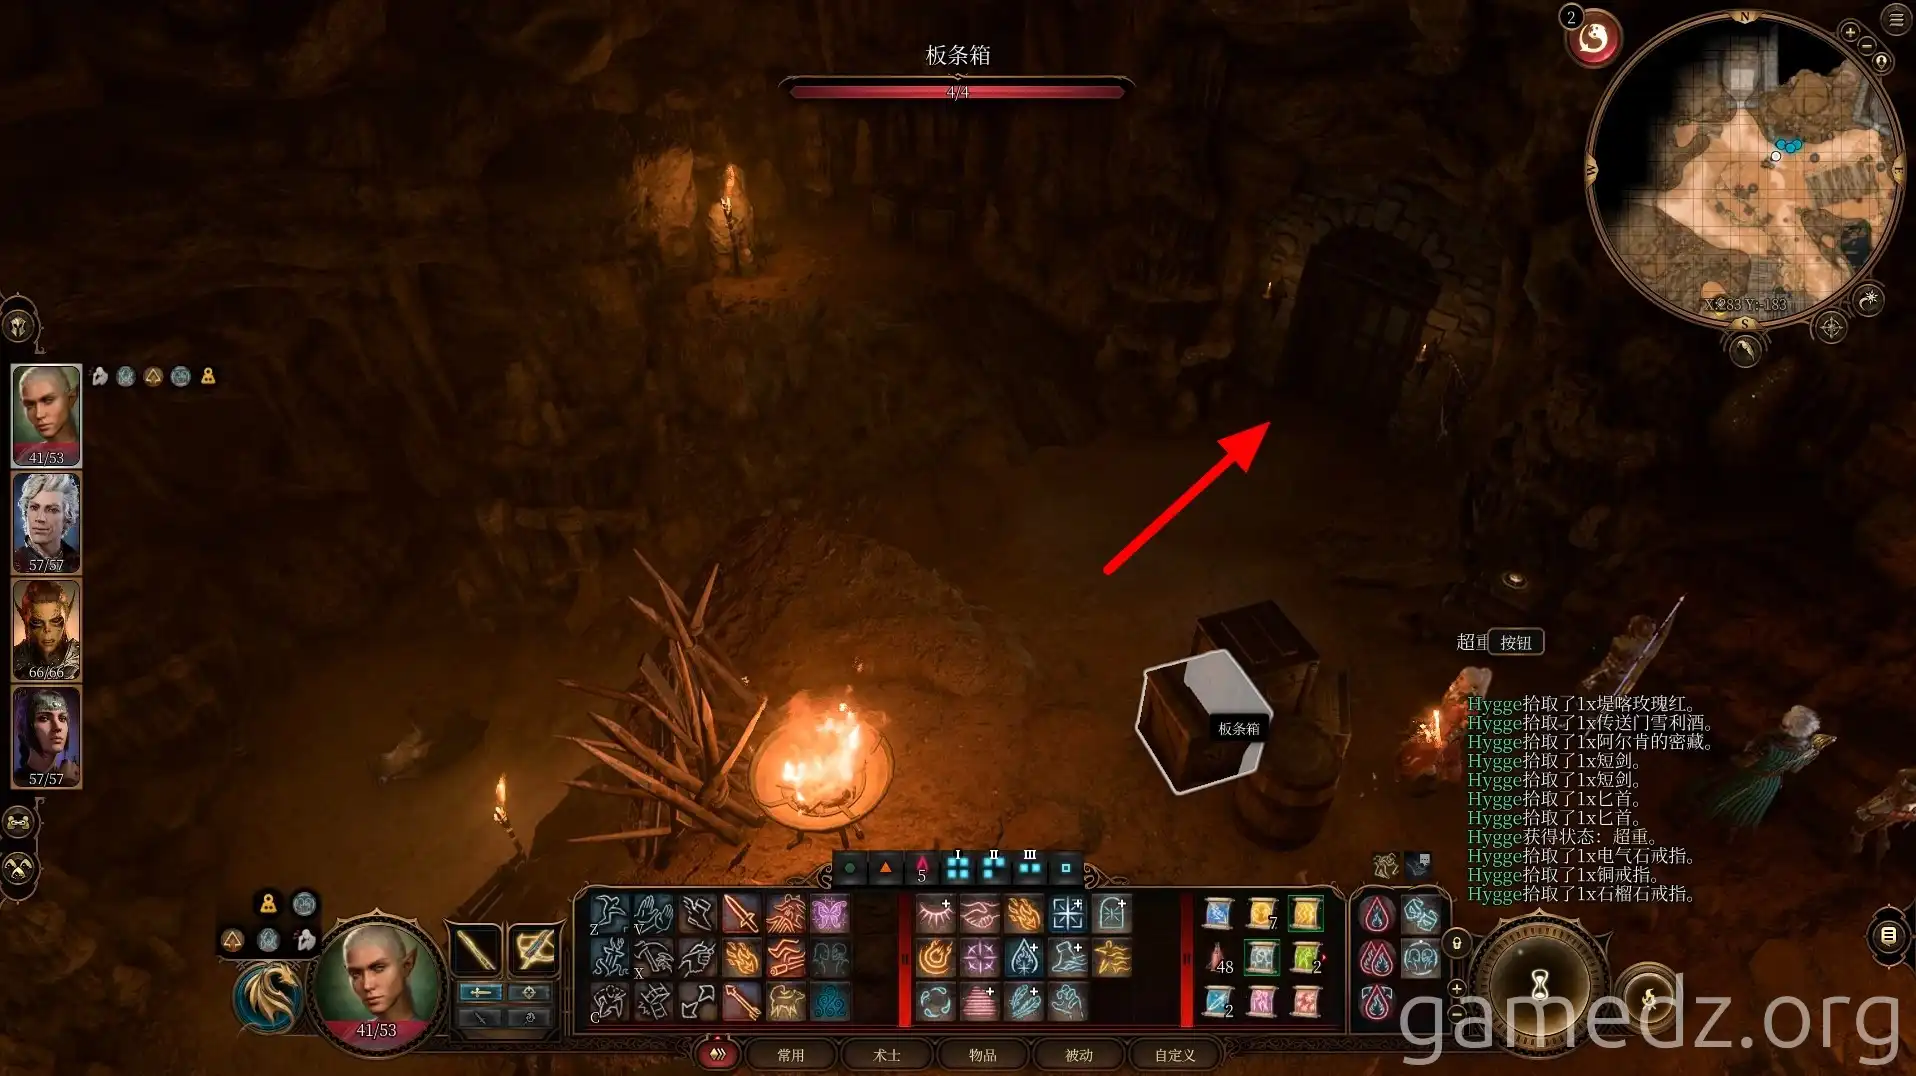
Disarm the trap on the chest before opening it. You can obtain a piece of Infernal Iron from the chest.
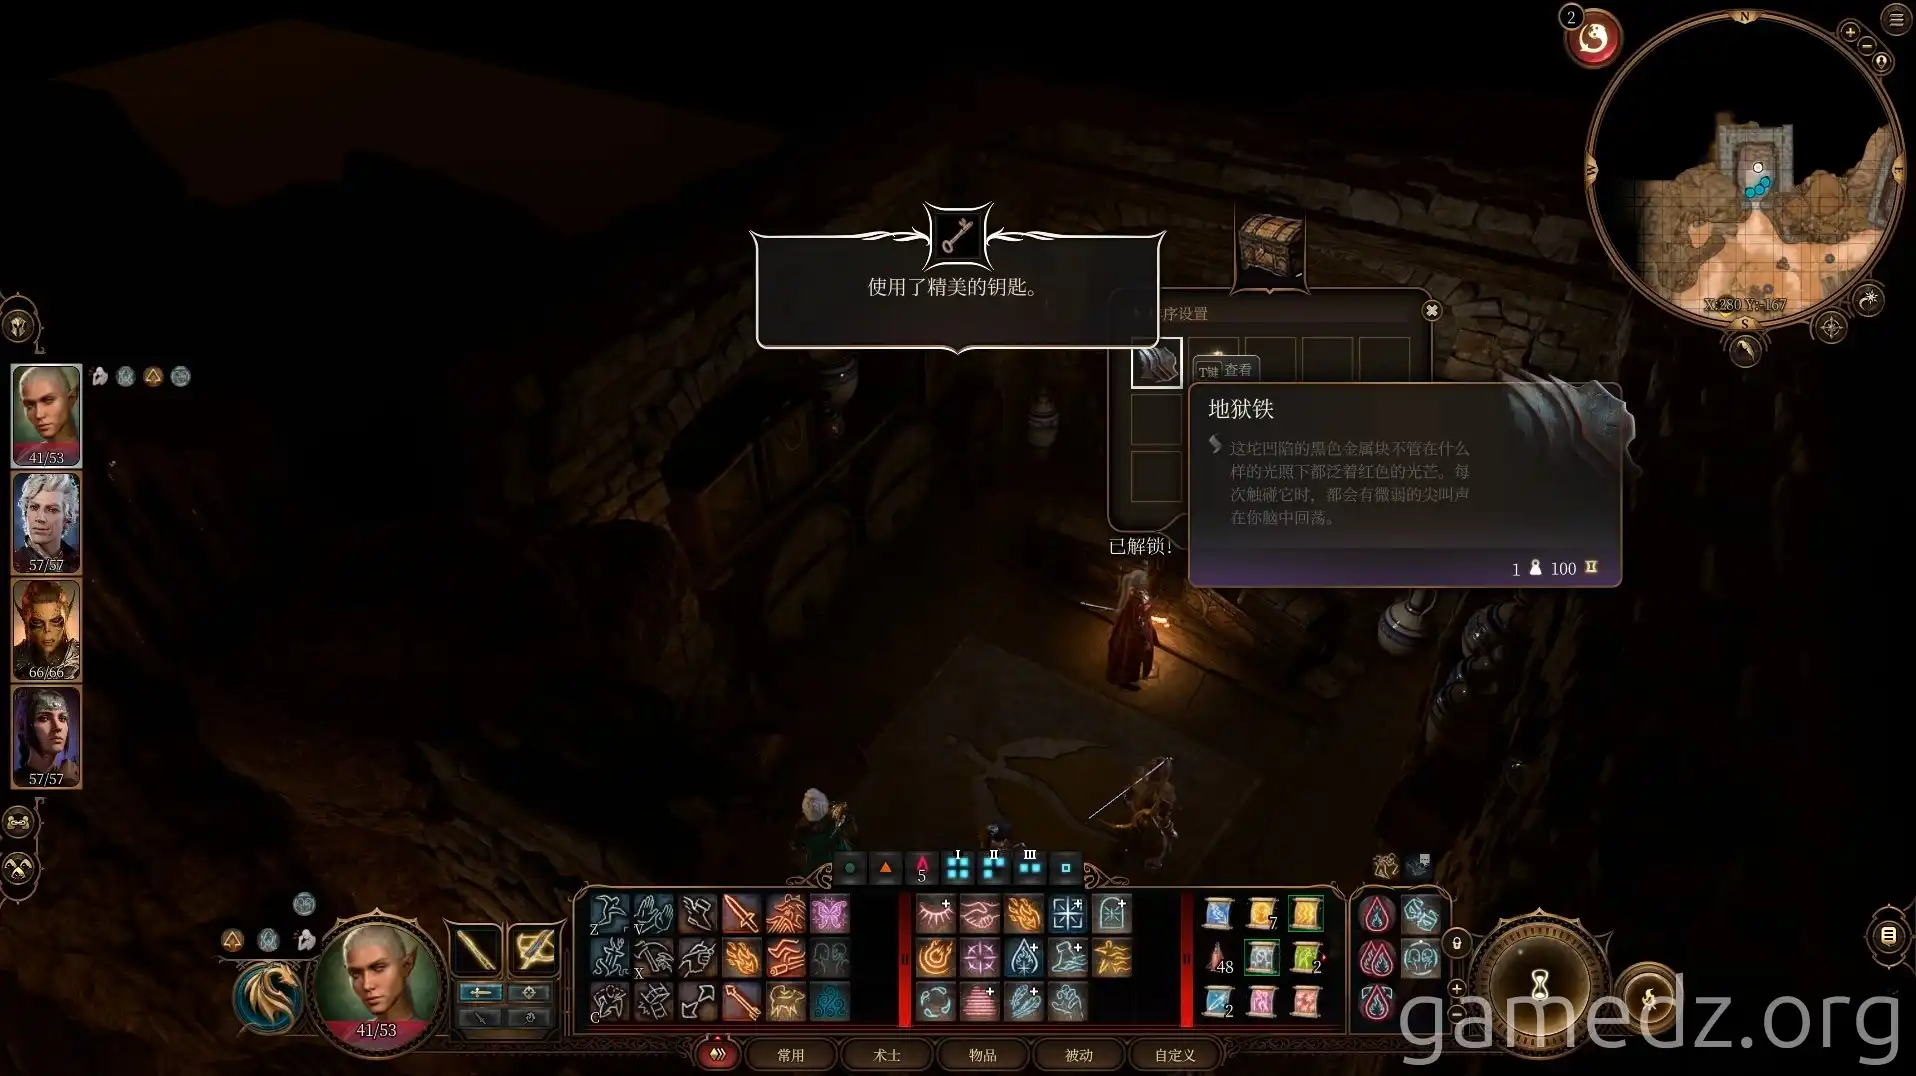
Then, proceed down the ramp. The wall at the bottom is an illusionary wall that you can pass through directly.
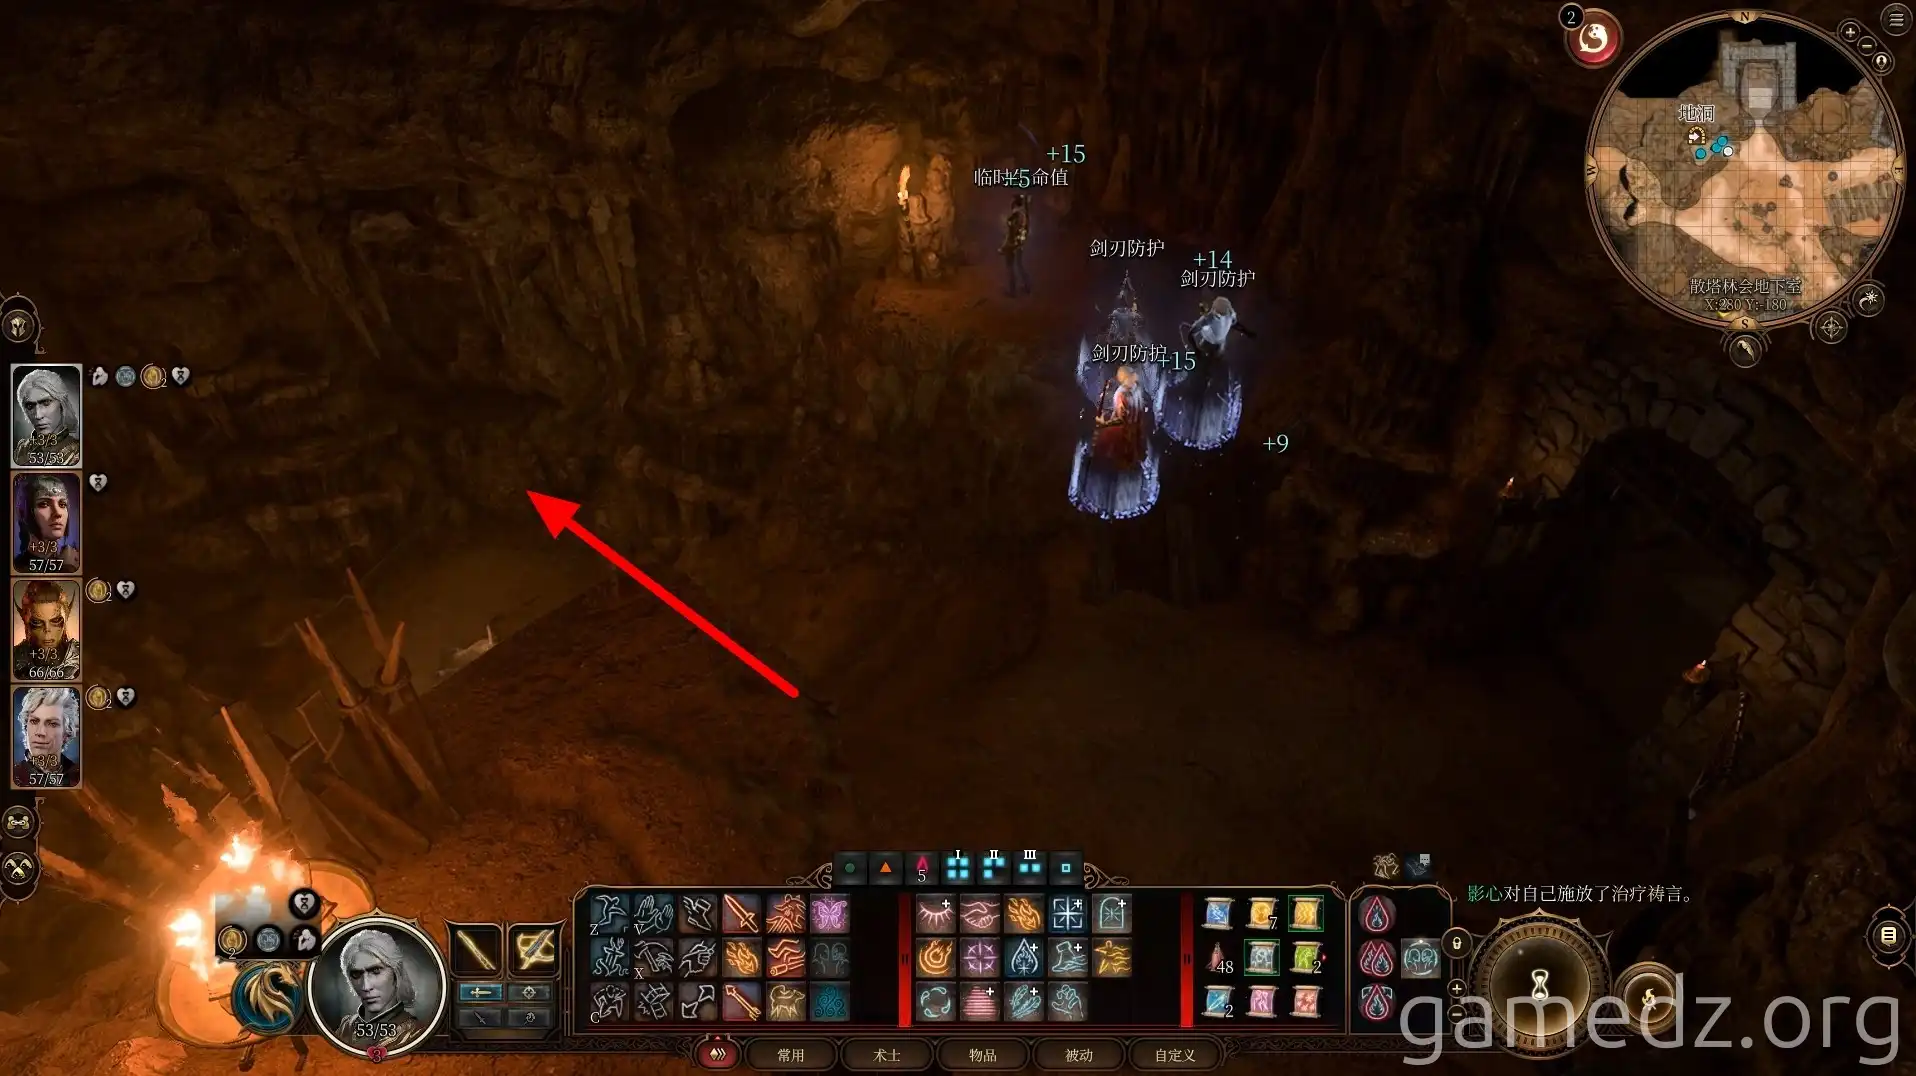
In the cave, you'll find a lift. First, unlock the lock on the lift's crank, and then you can ride the lift.
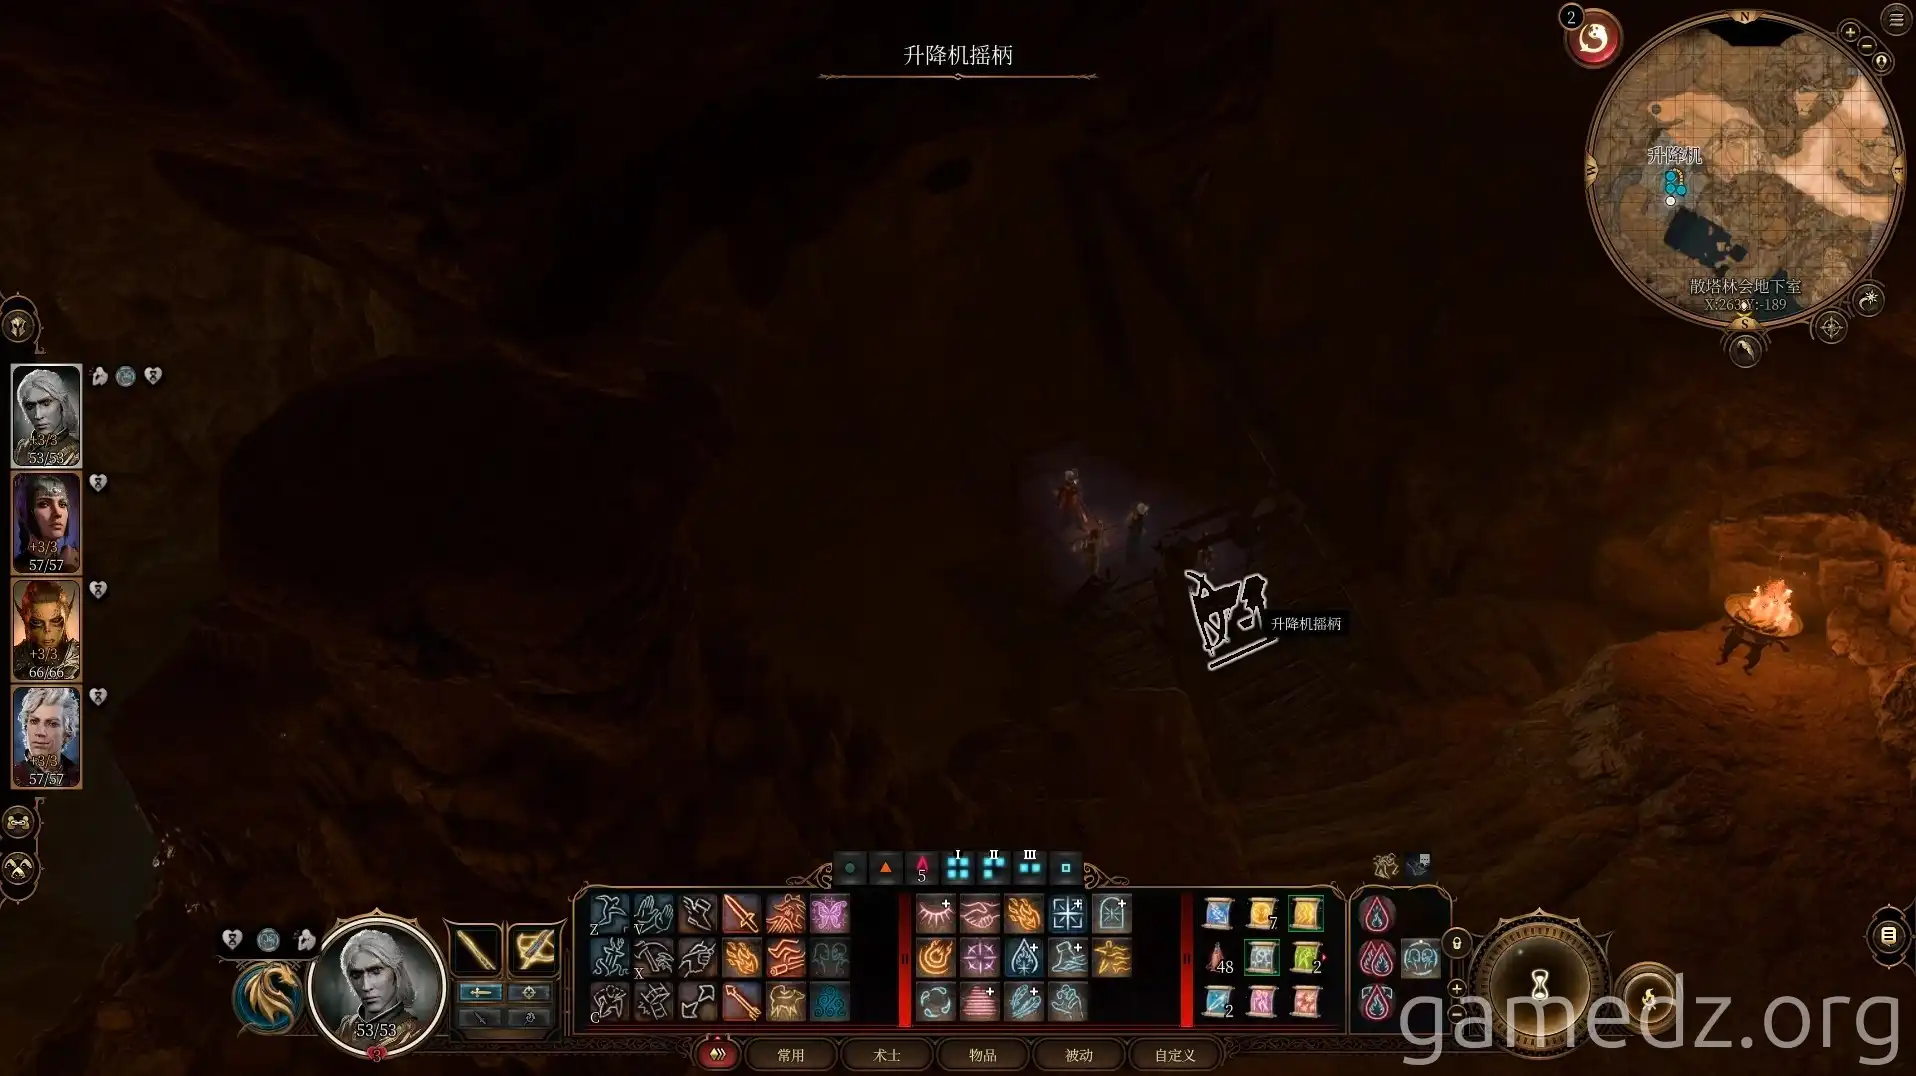
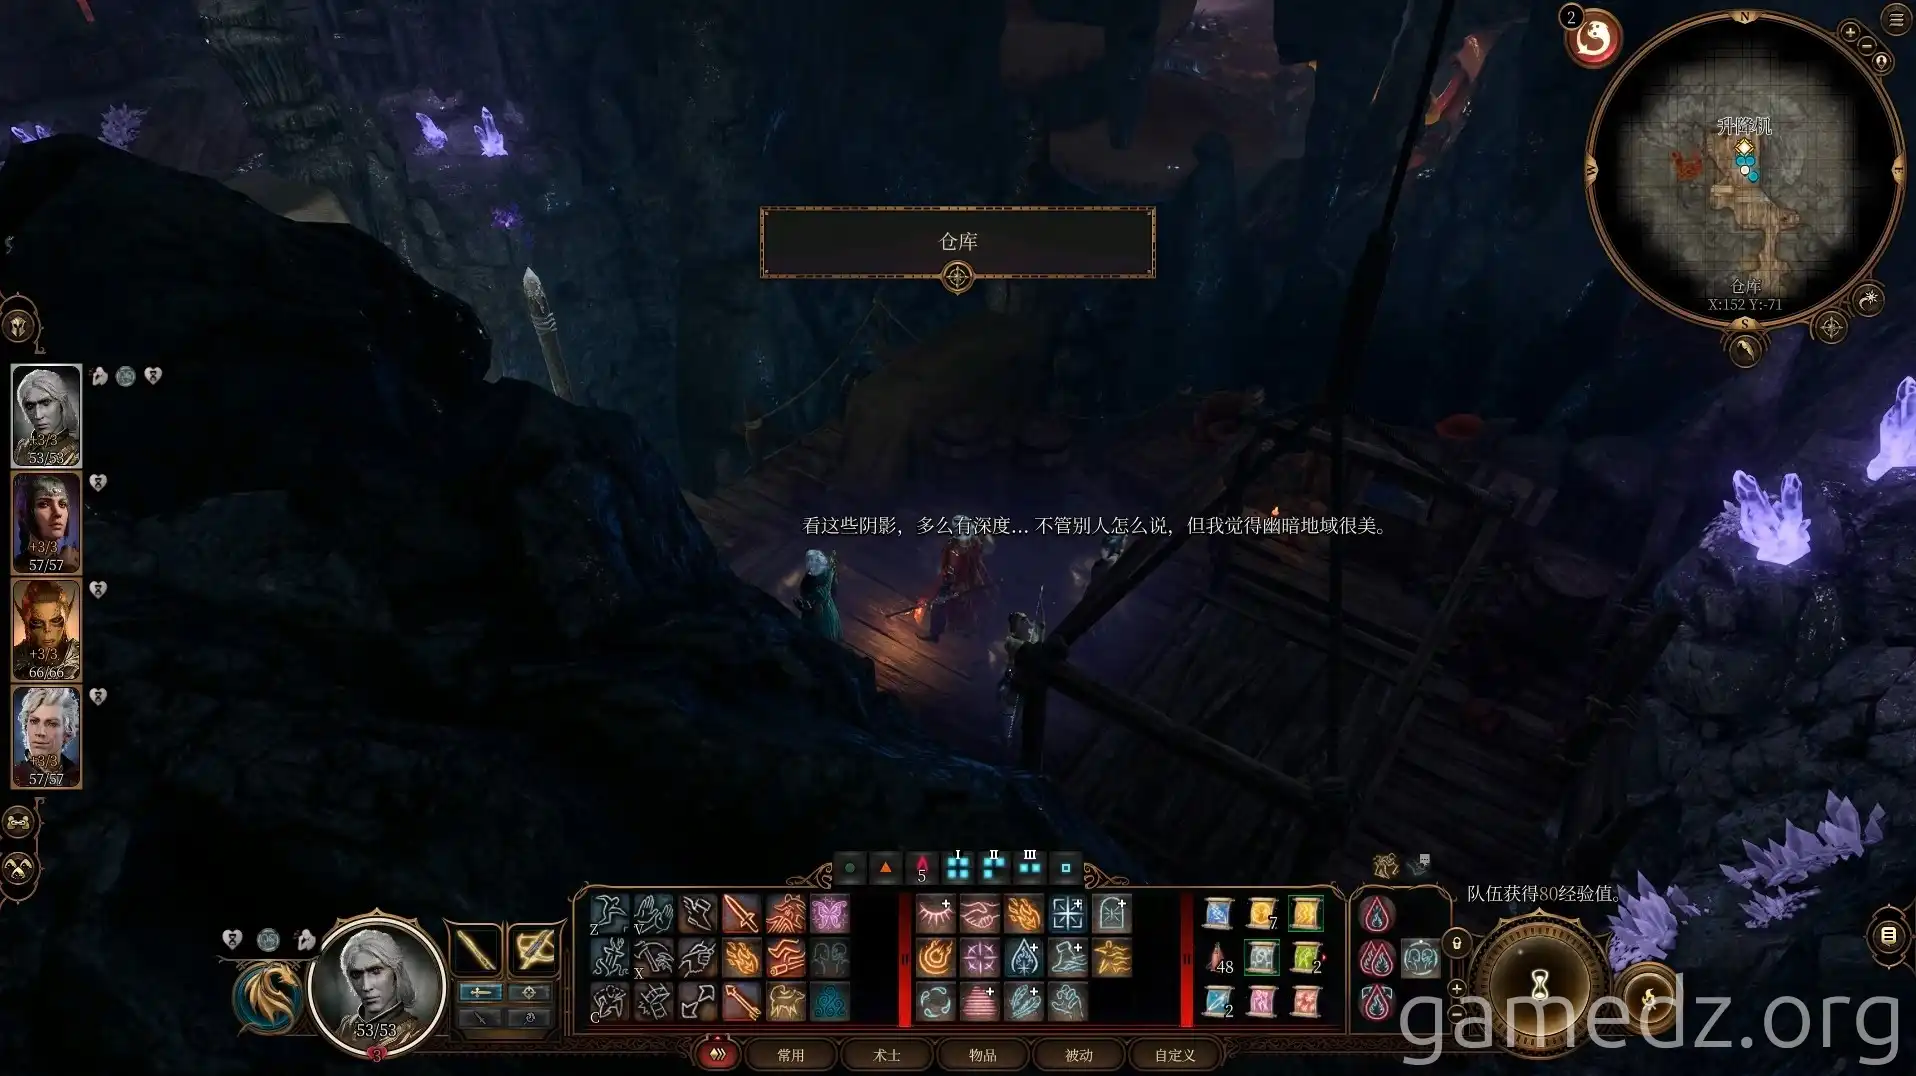
Using the lift, you can reach the Zhentarim warehouse in the Underdark. Since you're here, loot the warehouse completely; you won't need to come back later.
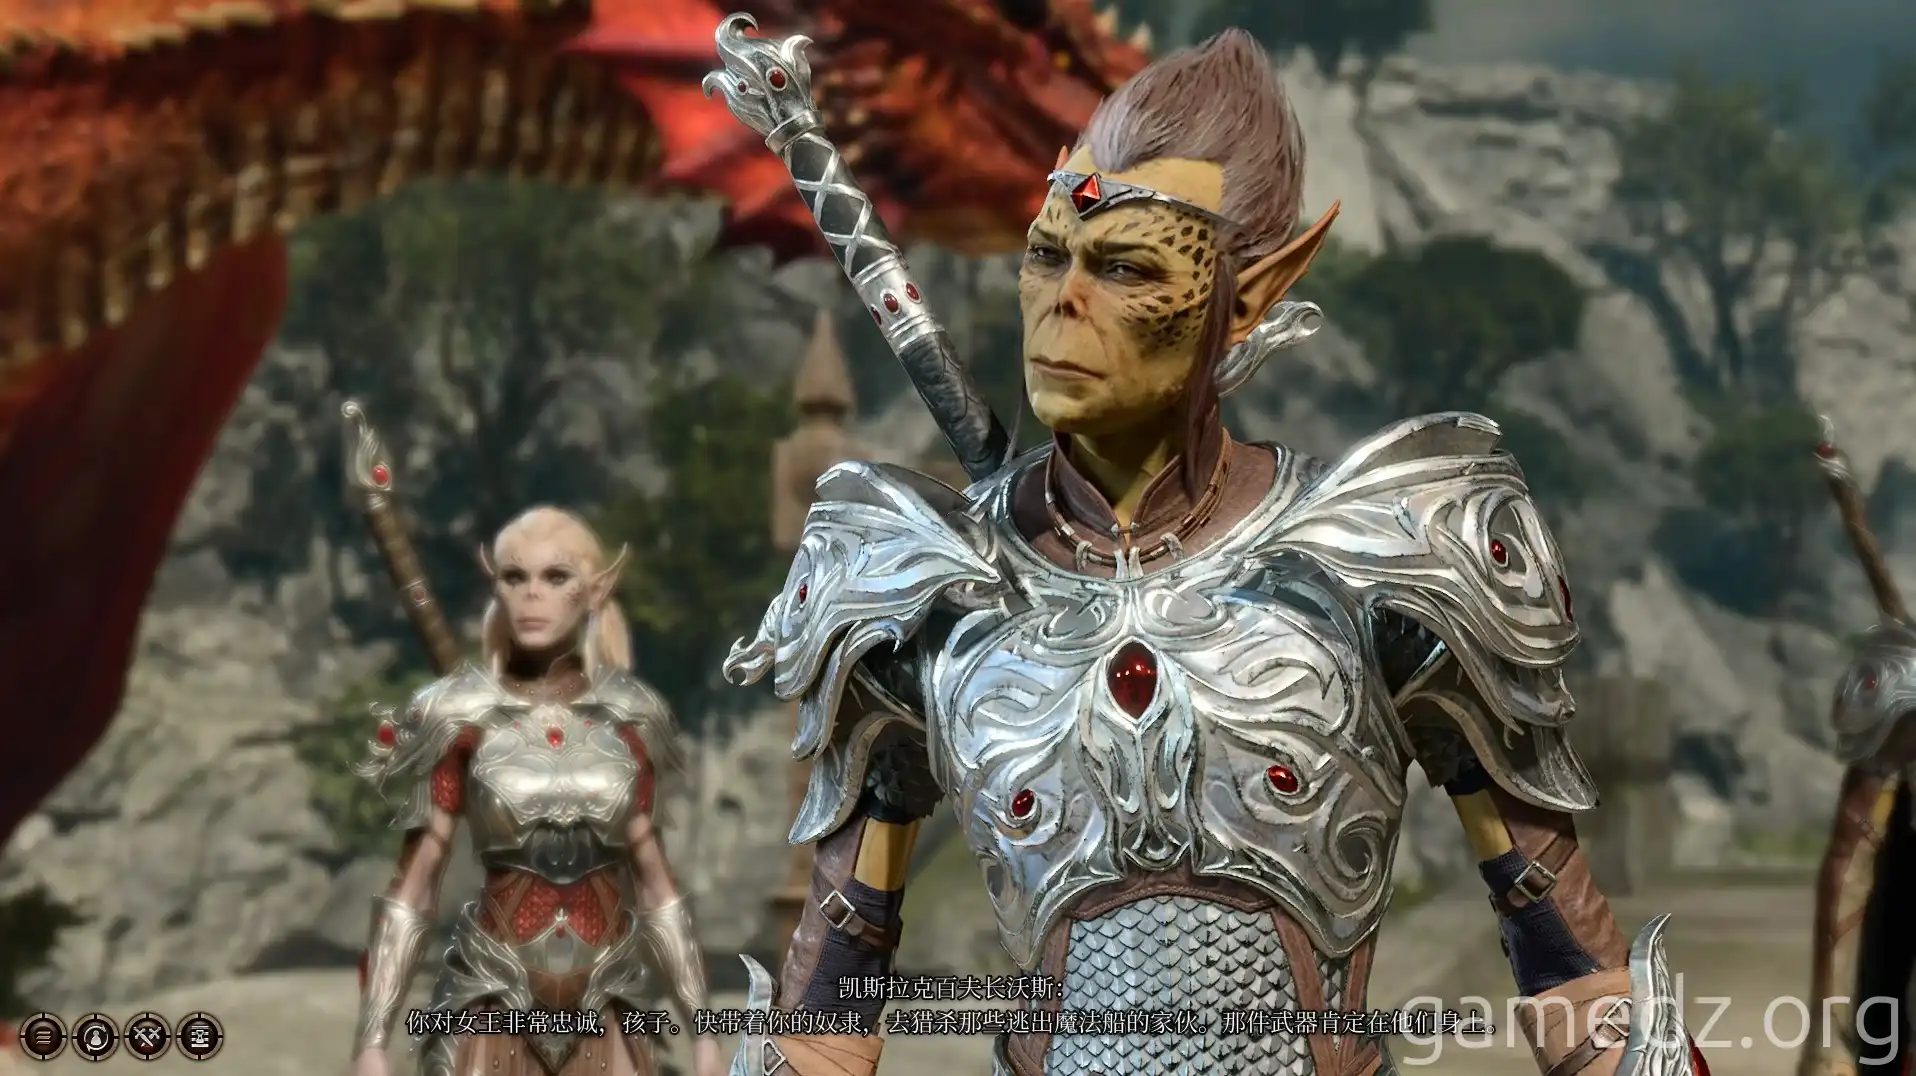
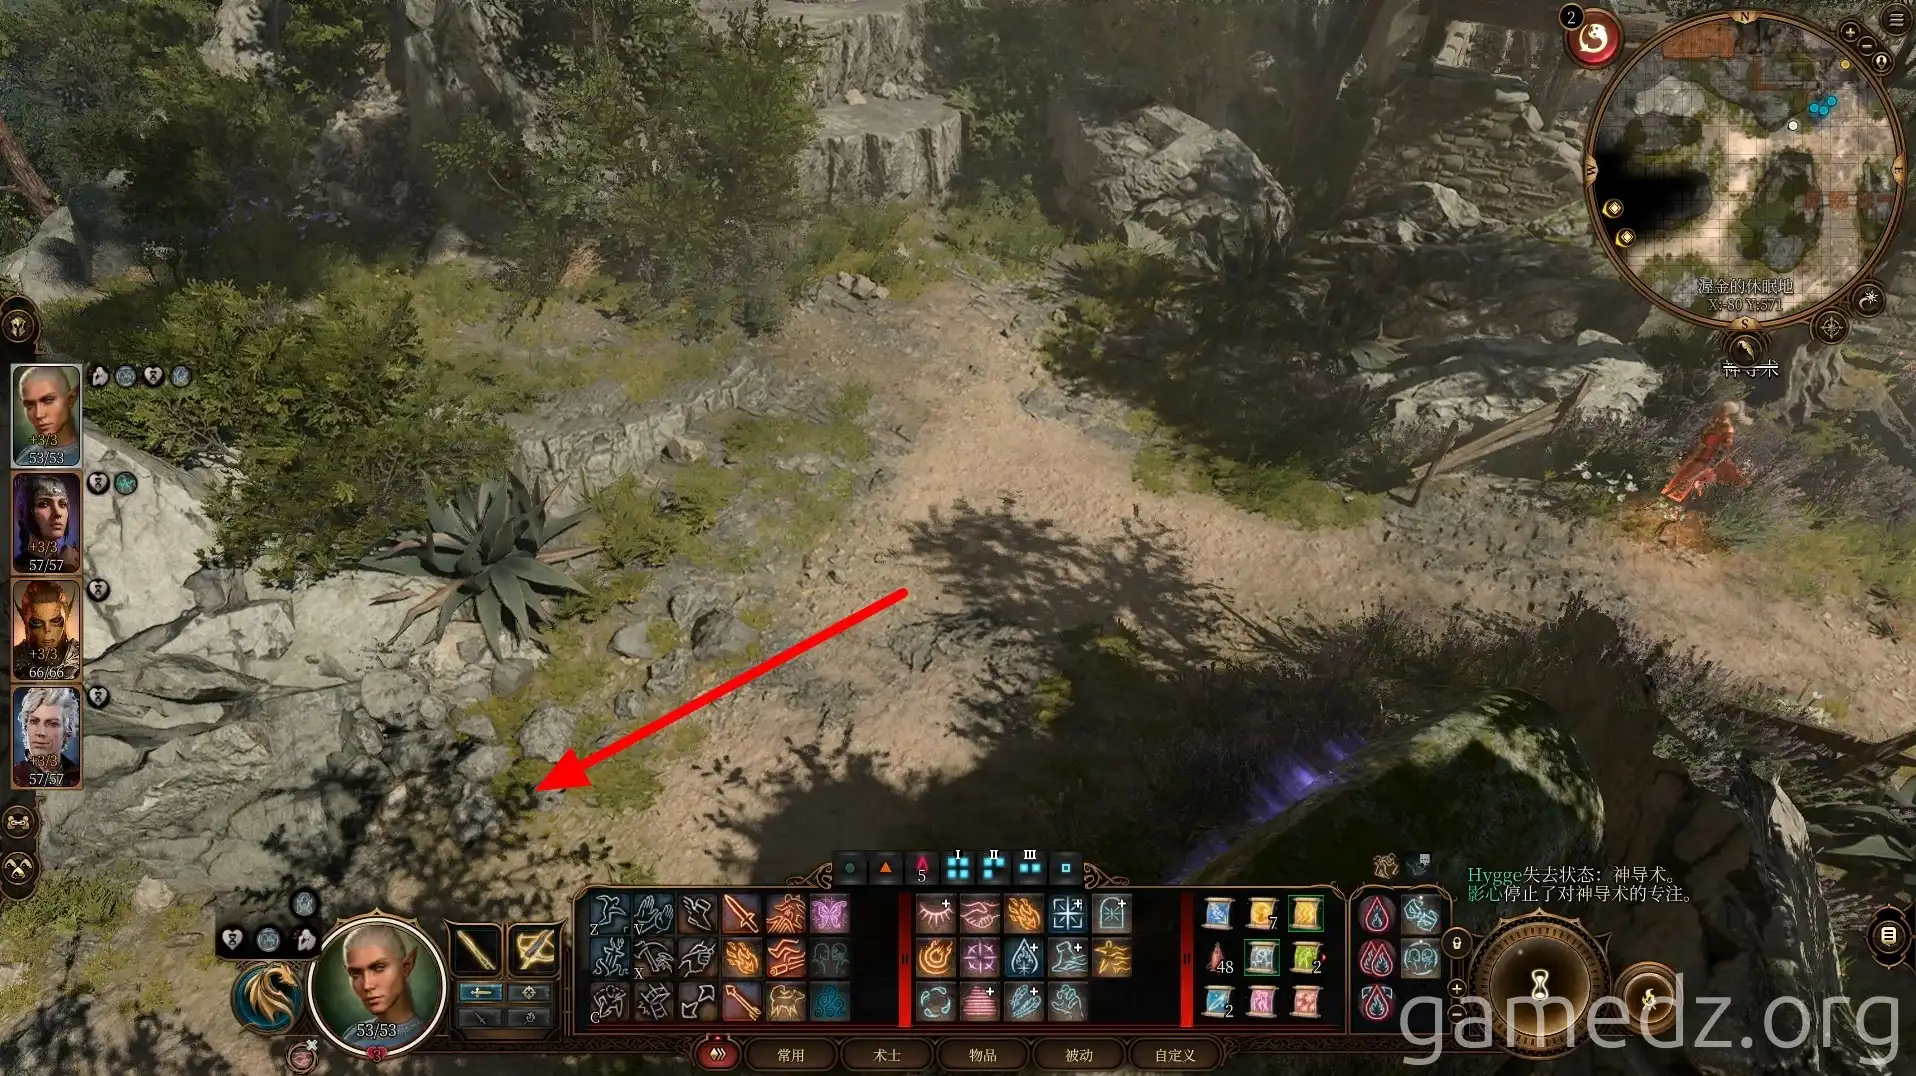
Teleport back to Waukeen's Rest and continue west. You will encounter a Githyanki patrol ahead. As there is further story progression with Commander Varrus, it is recommended to resolve the situation peacefully through dialogue.
Upon encountering the Githyanki patrol, you'll learn their objective is the mysterious artifact carried by Shadowheart. You can then use persuasion to have Lae'zel cooperate in a ruse to avoid combat.
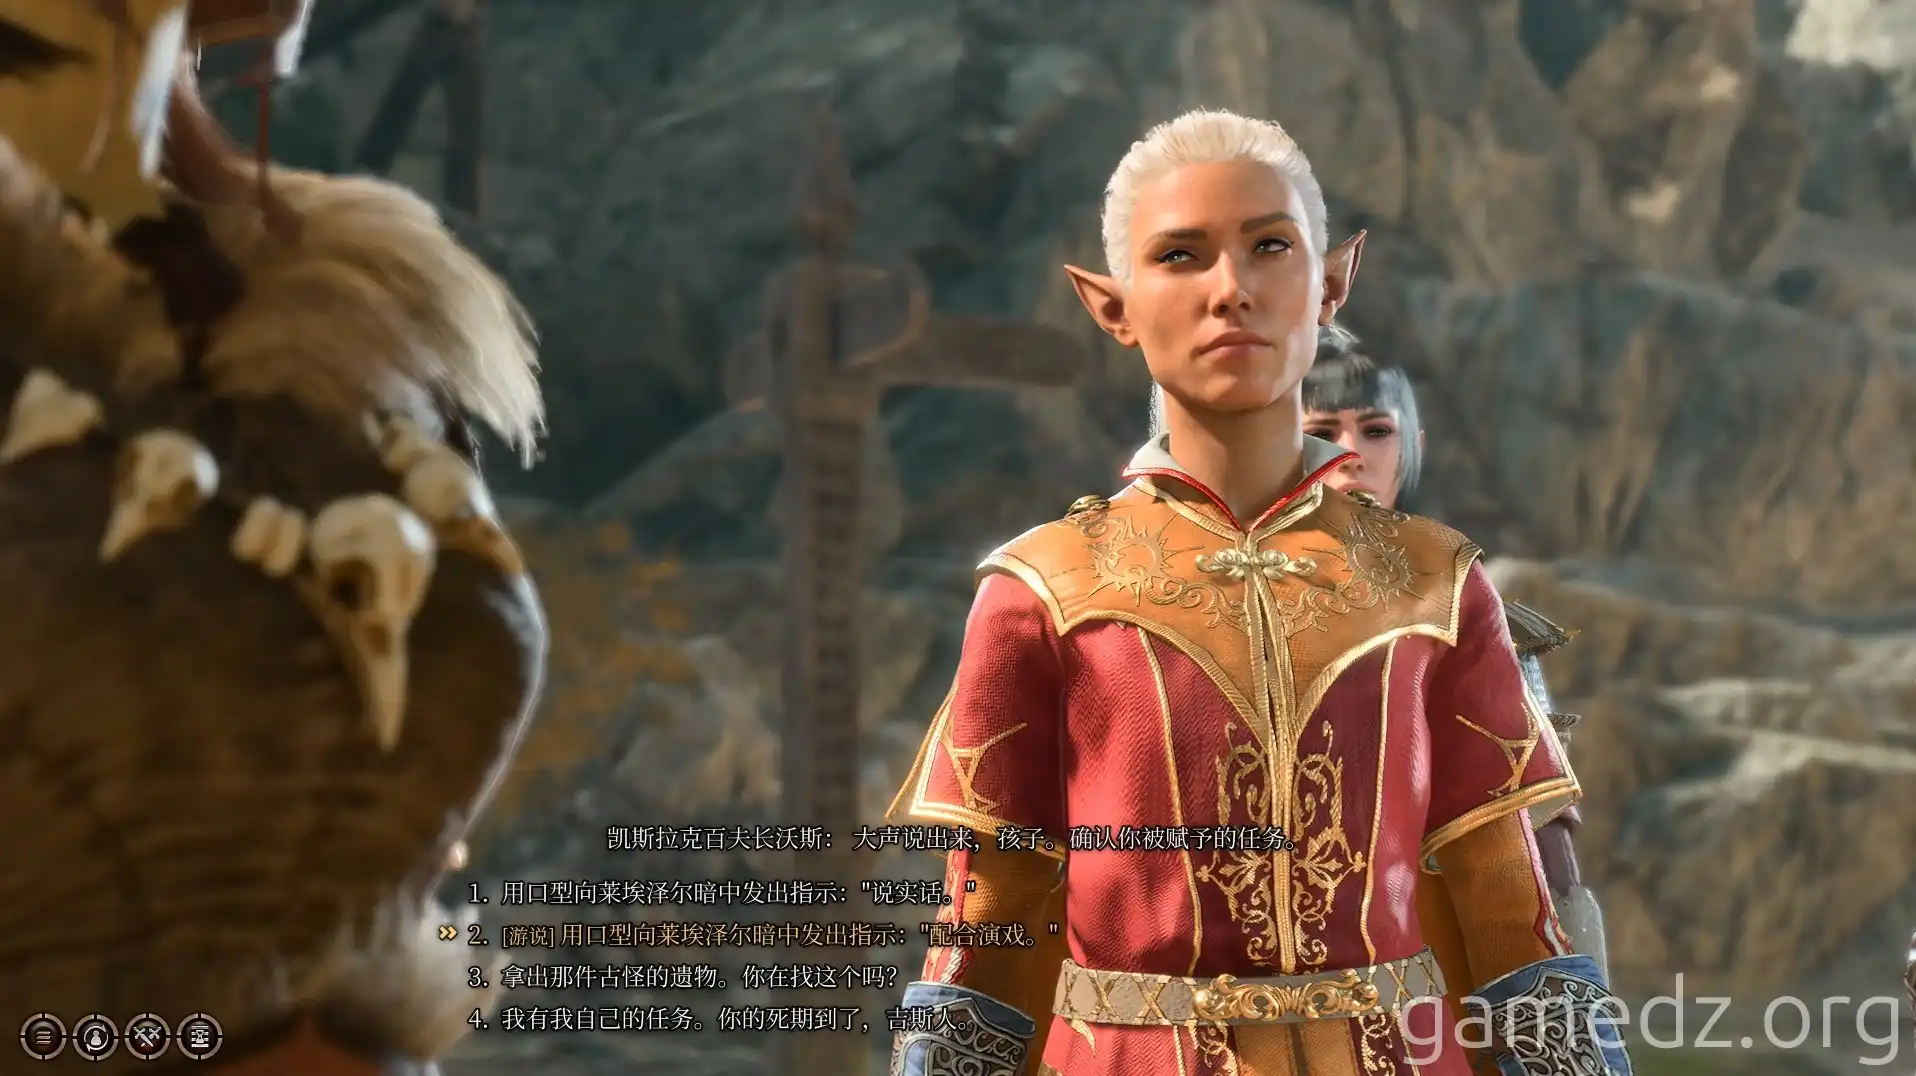
Through conversation, you can discern that Commander Varrus's motives may not be entirely pure.
If you choose to fight the Githyanki patrol at this point, you can use Command to make the Commander drop his weapon, thus obtaining the legendary weapon [Belts of the Astral Plane] early. However, the success rate of this is very low, requiring repeated saves and loads, and it can lead to bugs in subsequent story events. Therefore, the author has not chosen this path here. Players who are interested can try it themselves.
With this, the entire ground area of the Road to Ascension, or rather the first act, has been explored. Next, we will head into the Underdark to continue searching for a way to cure the illithid tadpoles.
