Baldur's Gate 3: Road to Revelation Walkthrough & Secrets
This Baldur's Gate 3 walkthrough covers the Road to Revelation, detailing exploration, recruiting Karlach, defeating Zariel's minions, and finding hidden treasures like the Iron Flask.
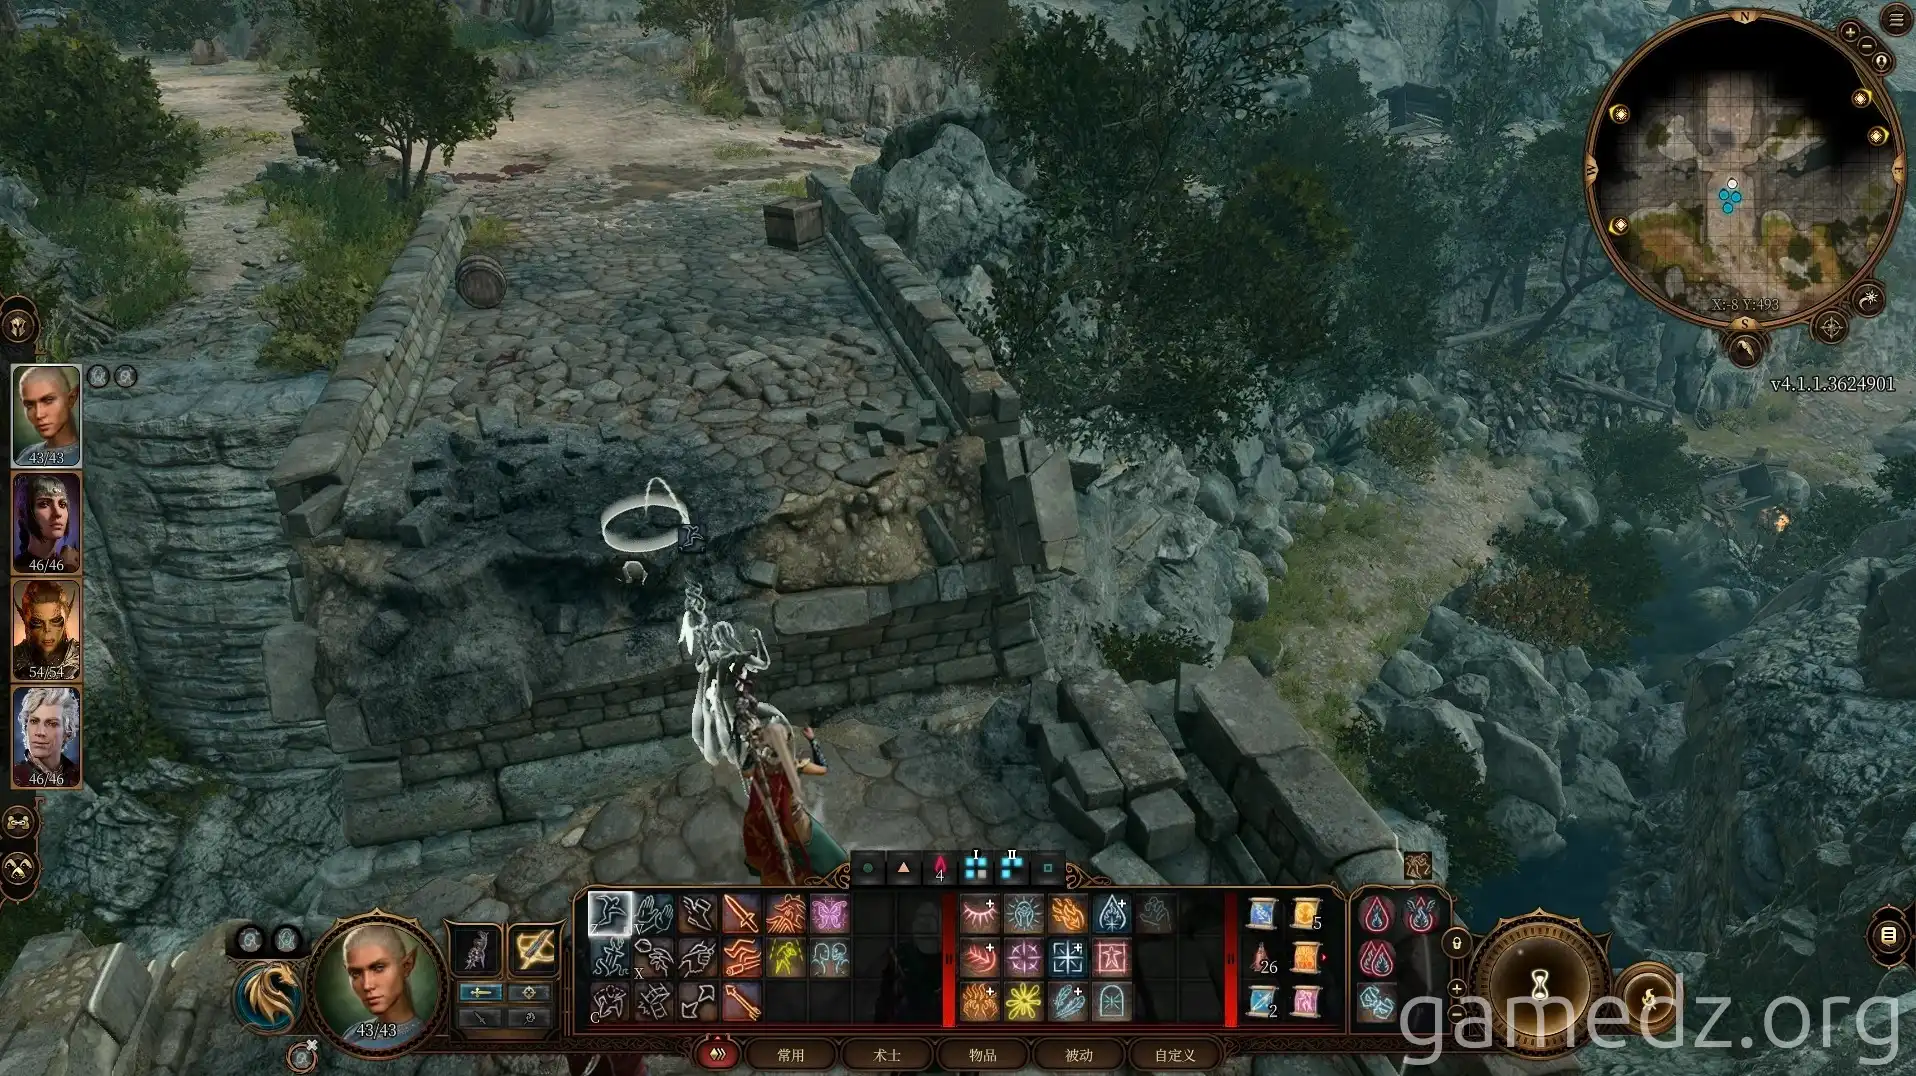
Head to the location north of the Blighted Village where you first encountered Raphael. After jumping across the broken bridge, you'll enter the Road to Revelation area.
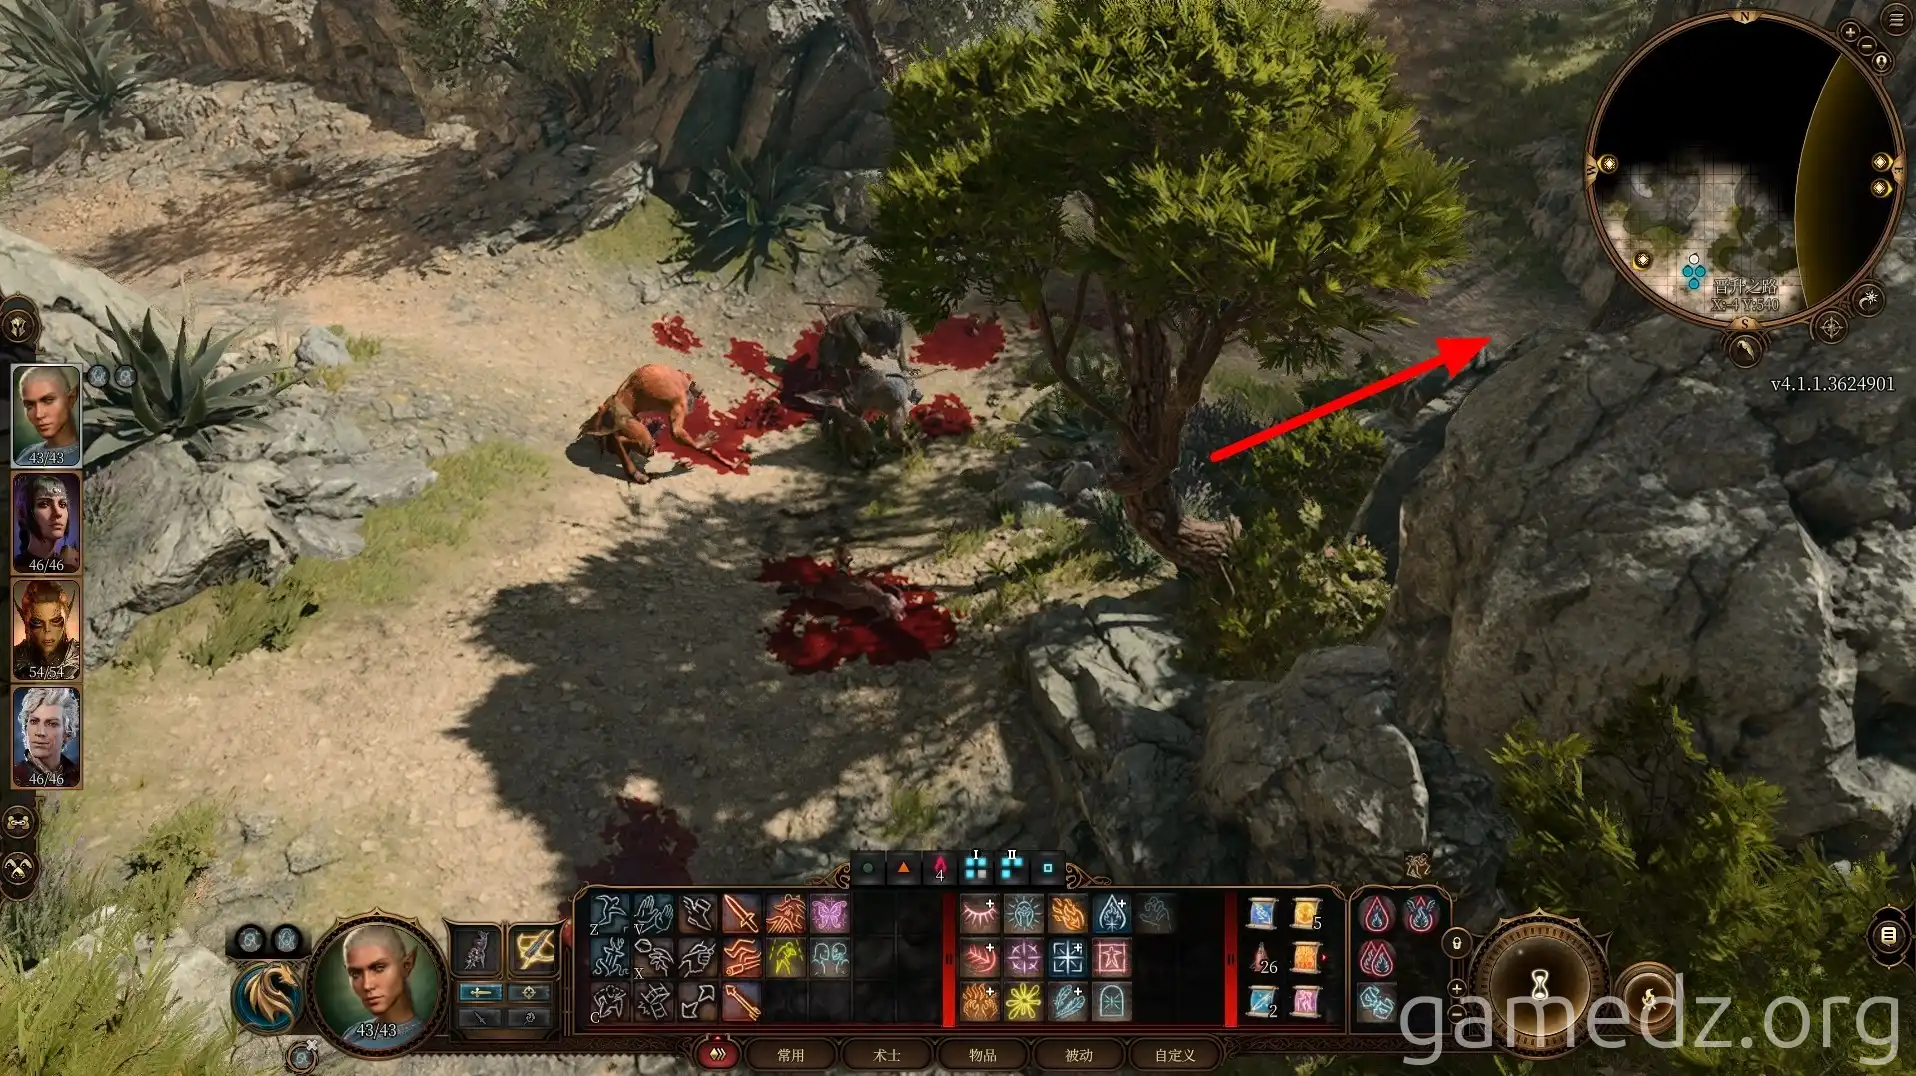
Use the area where the gnolls are as a dividing line. After defeating the gnolls, proceed east. You can leave the western part of the Road to Revelation for later.
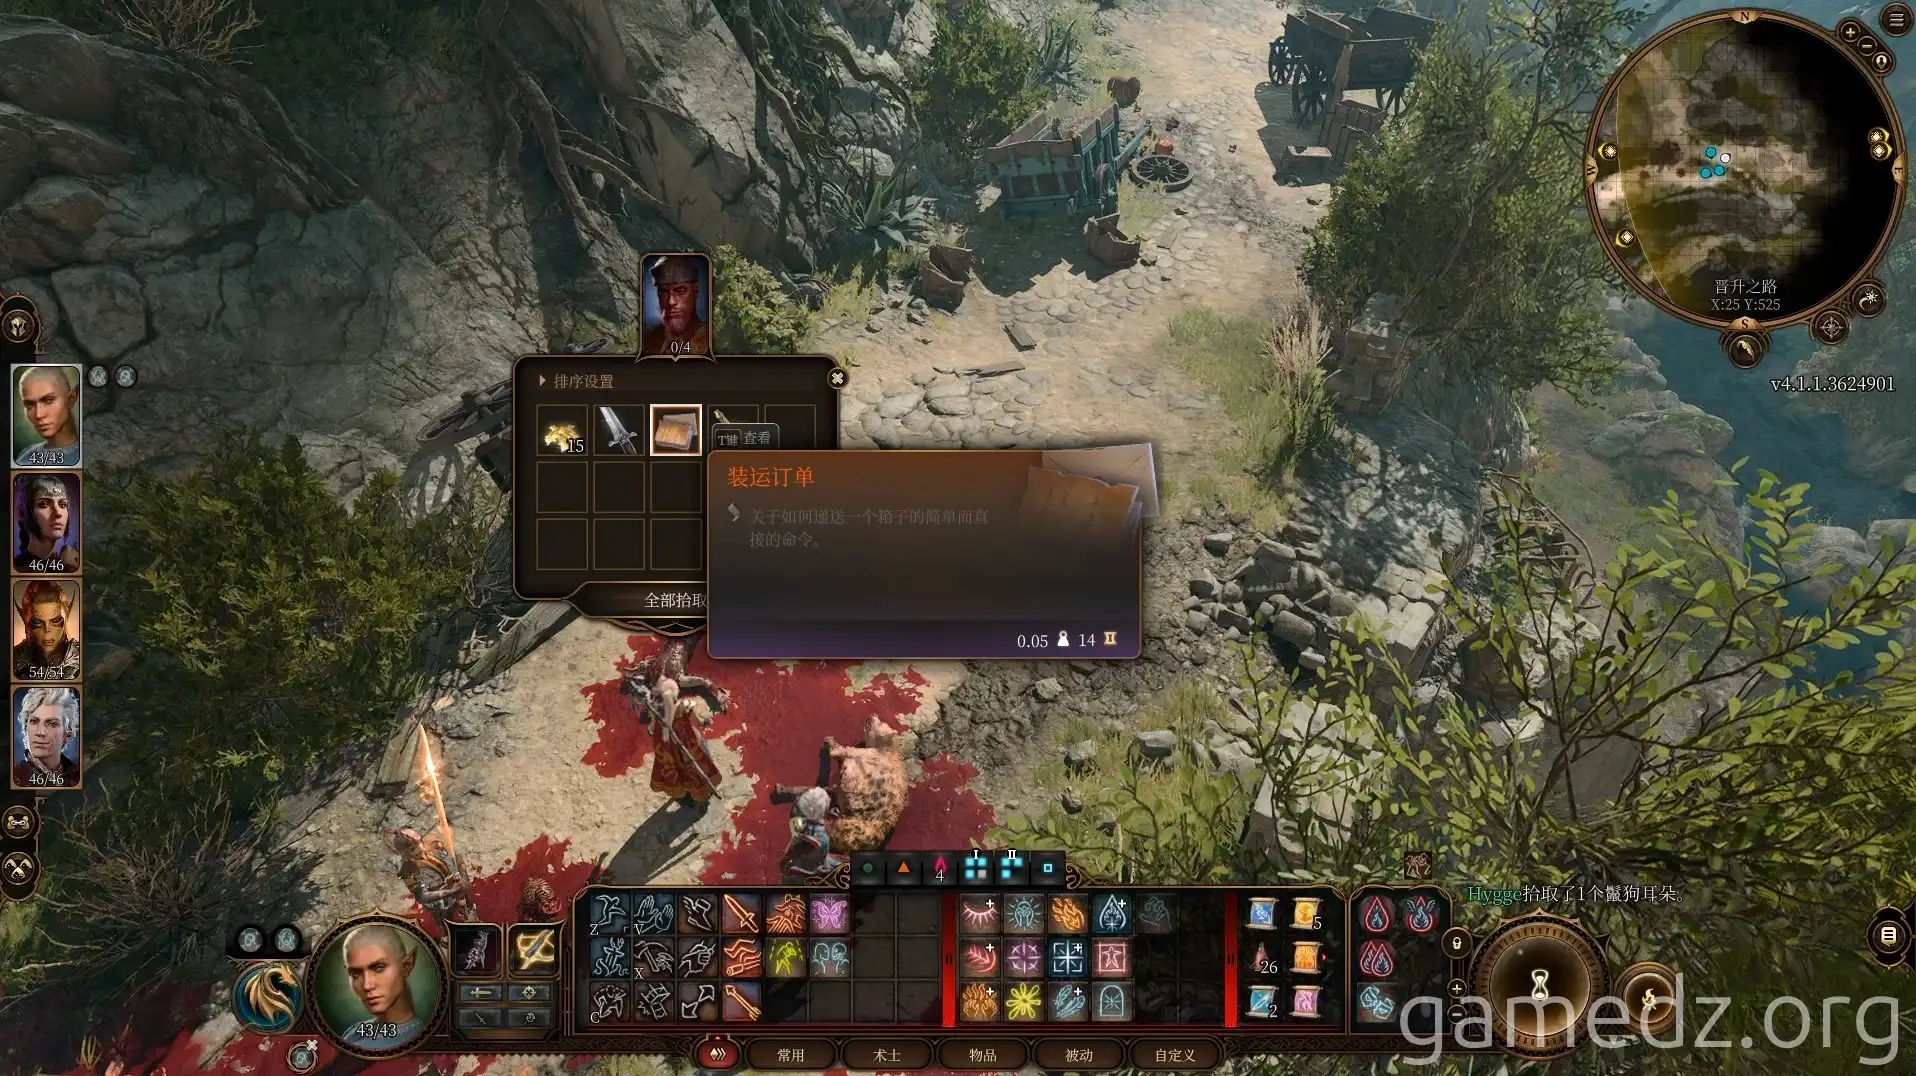
At the ambushed caravan, you can find the item "Shipment Order" on a deceased caravan scout. Reading this order will unlock the side quest "Find the Missing Cargo."
When you reach the stone bridge, take the lower path southeast first.
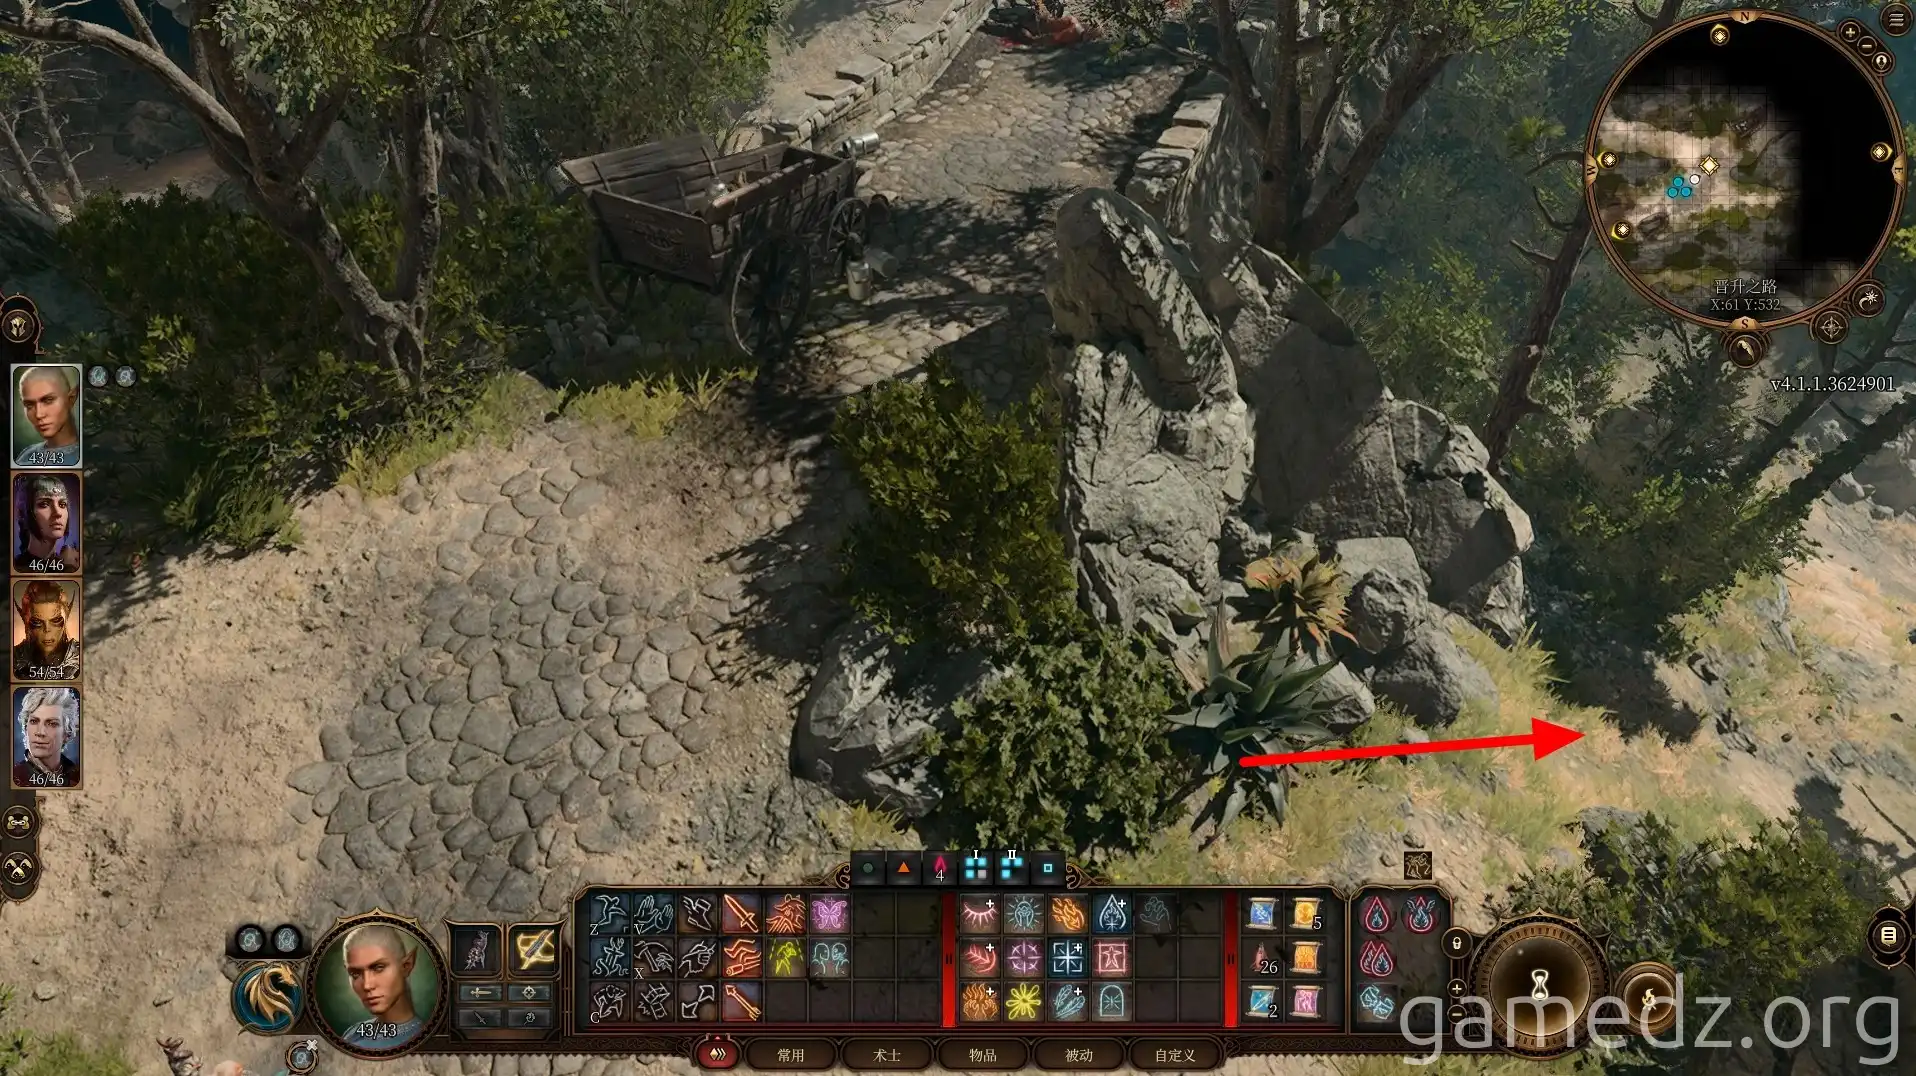
Under the cliff face ahead, you can find the "Toll Collector's Key."
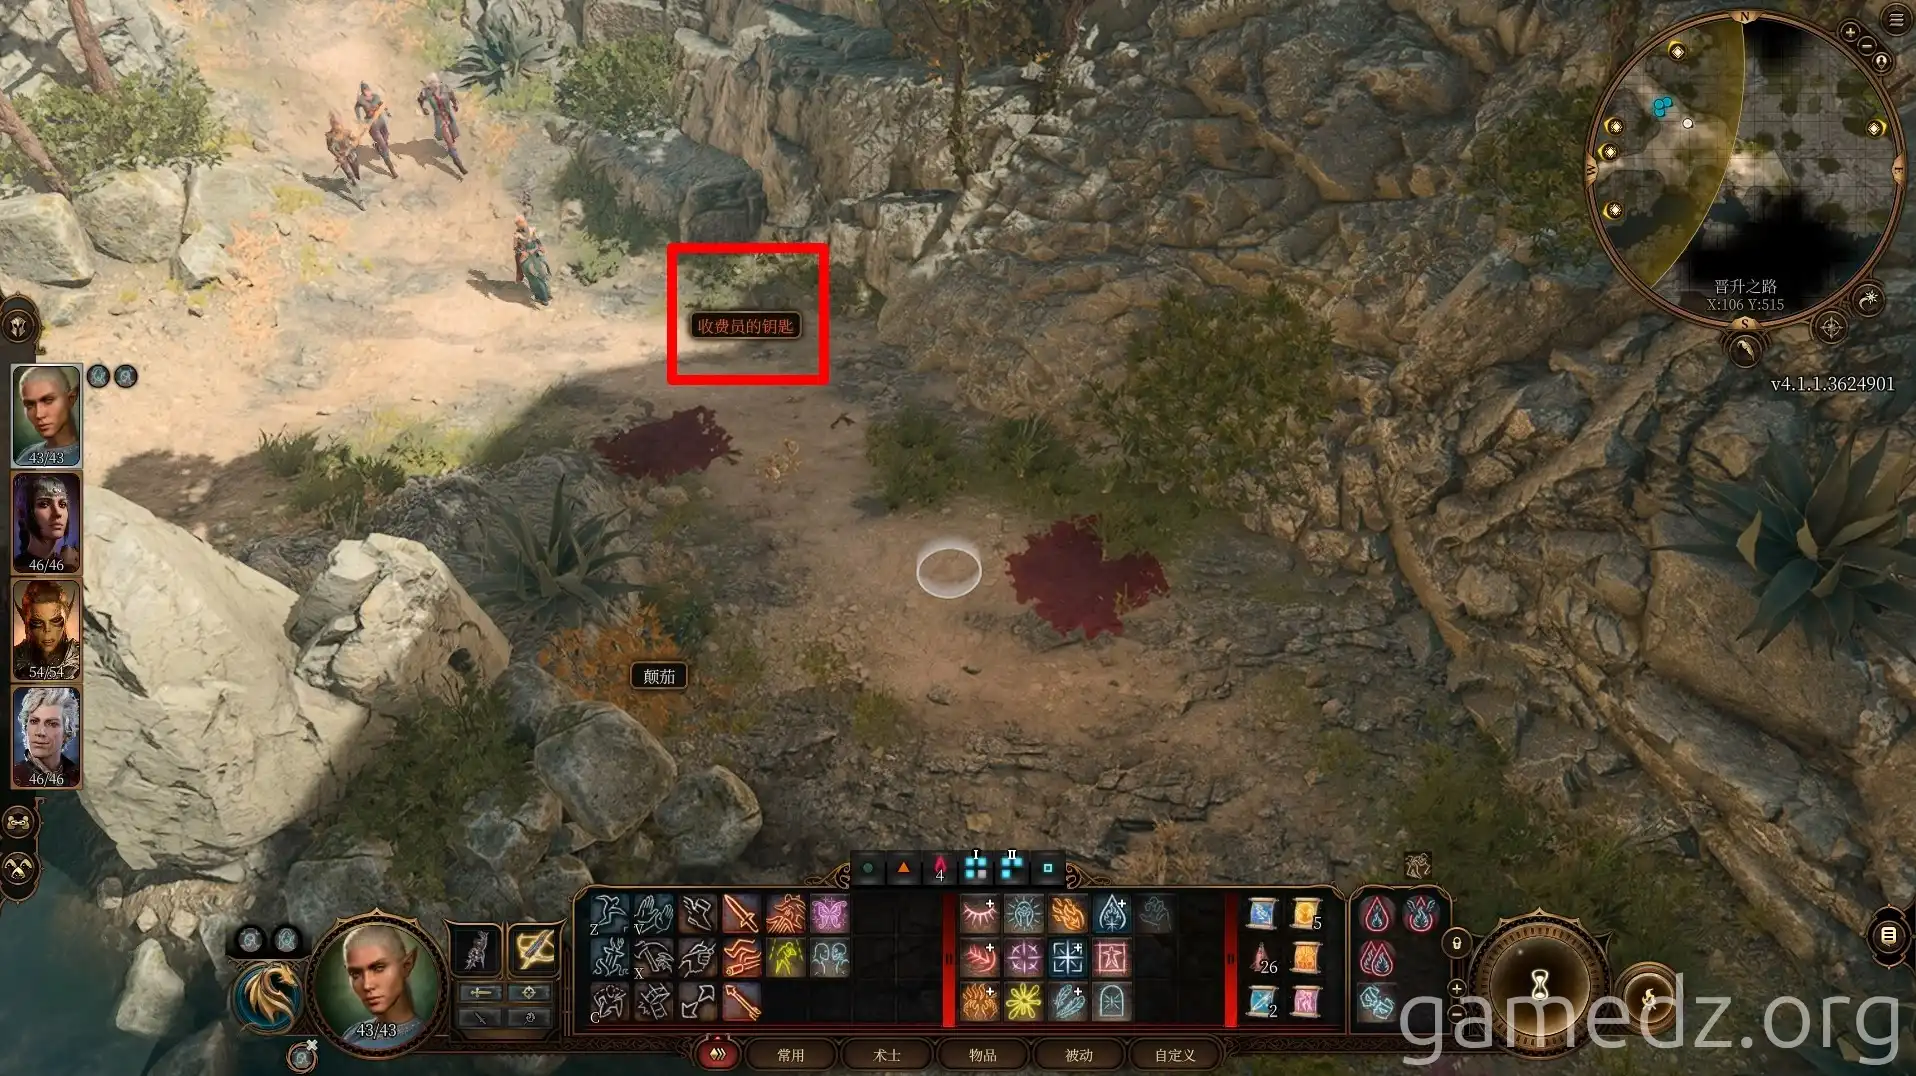
Continue along the path. Near the waterfall, you'll encounter Karlach, the very person Will is hunting.
Speaking with her reveals that she's controlled by the Archdevil Zariel, not the demon Will described. You'll also learn that a group of Zariel's minions is currently searching for her. After the conversation, you can recruit Karlach to your party.
After she departs, you can collect some items from a nearby backpack.
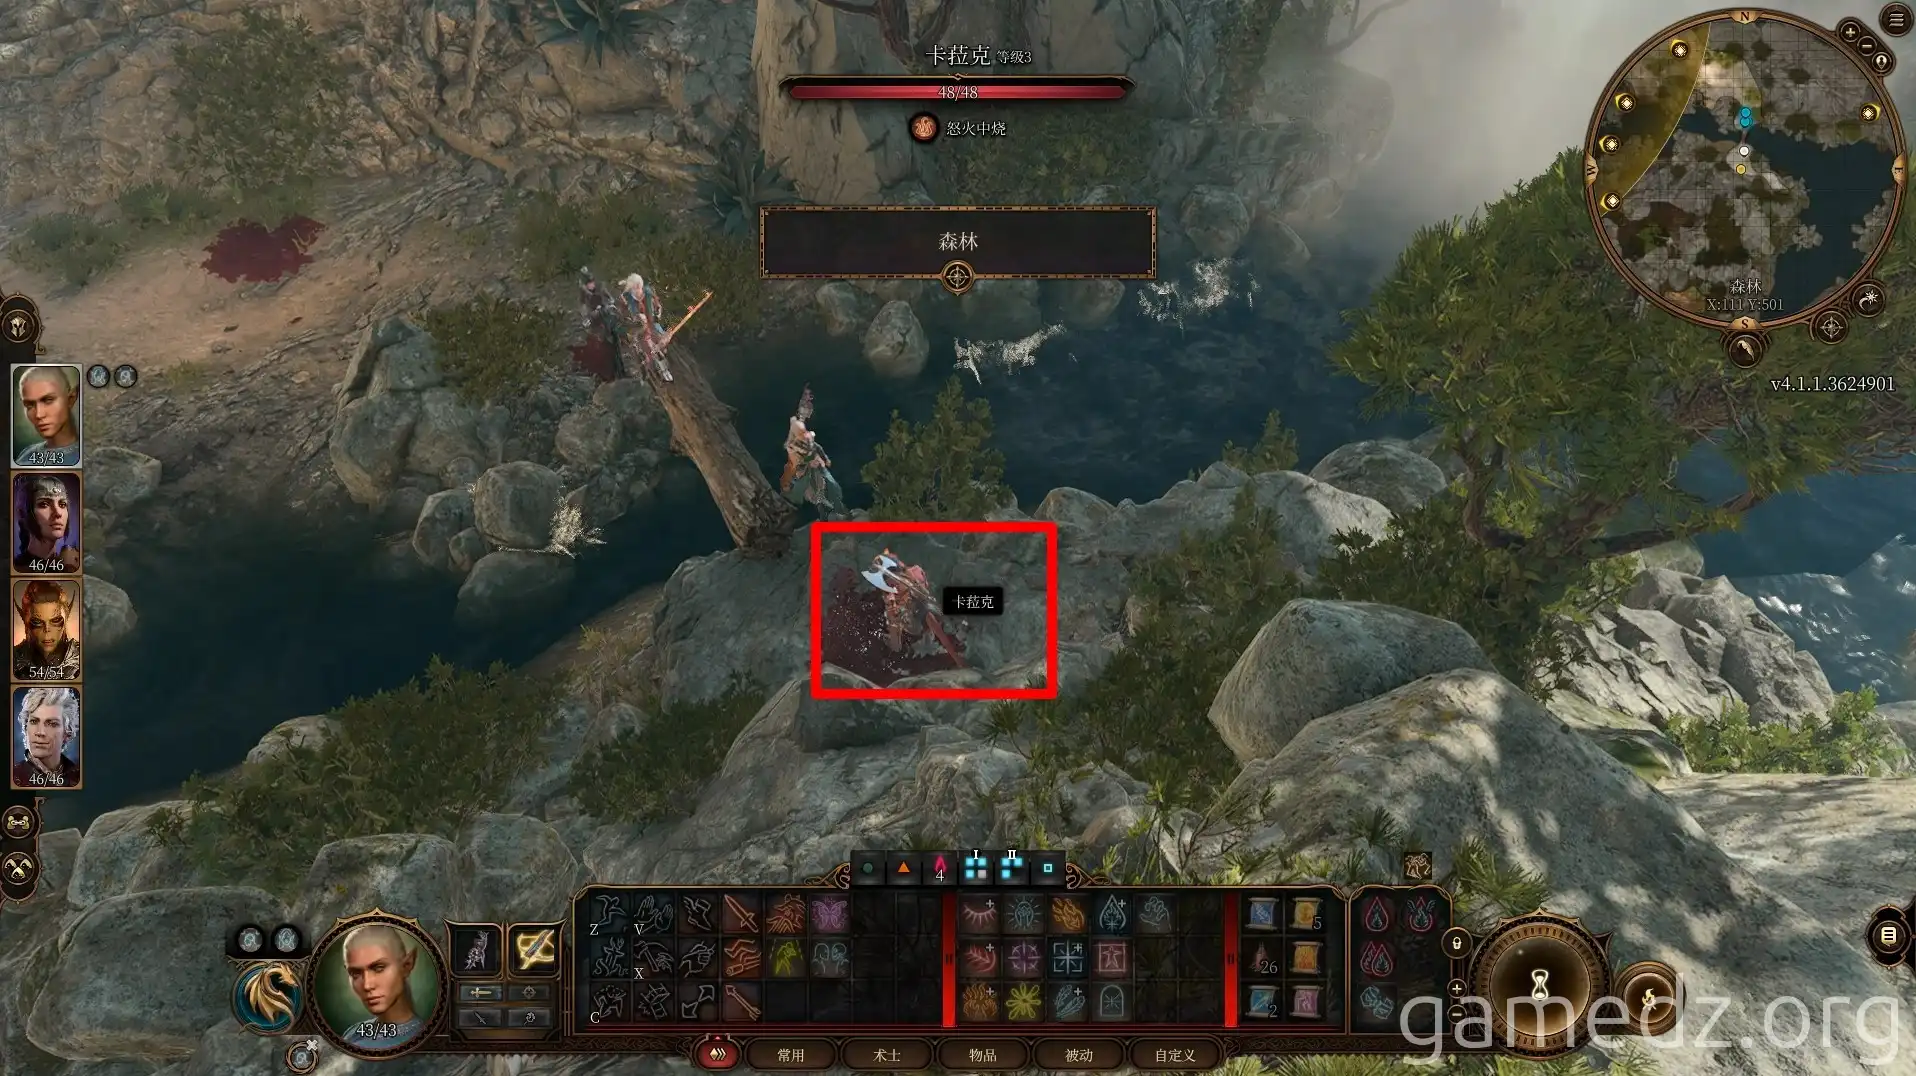
Leaving Karlach, head west along the river path.
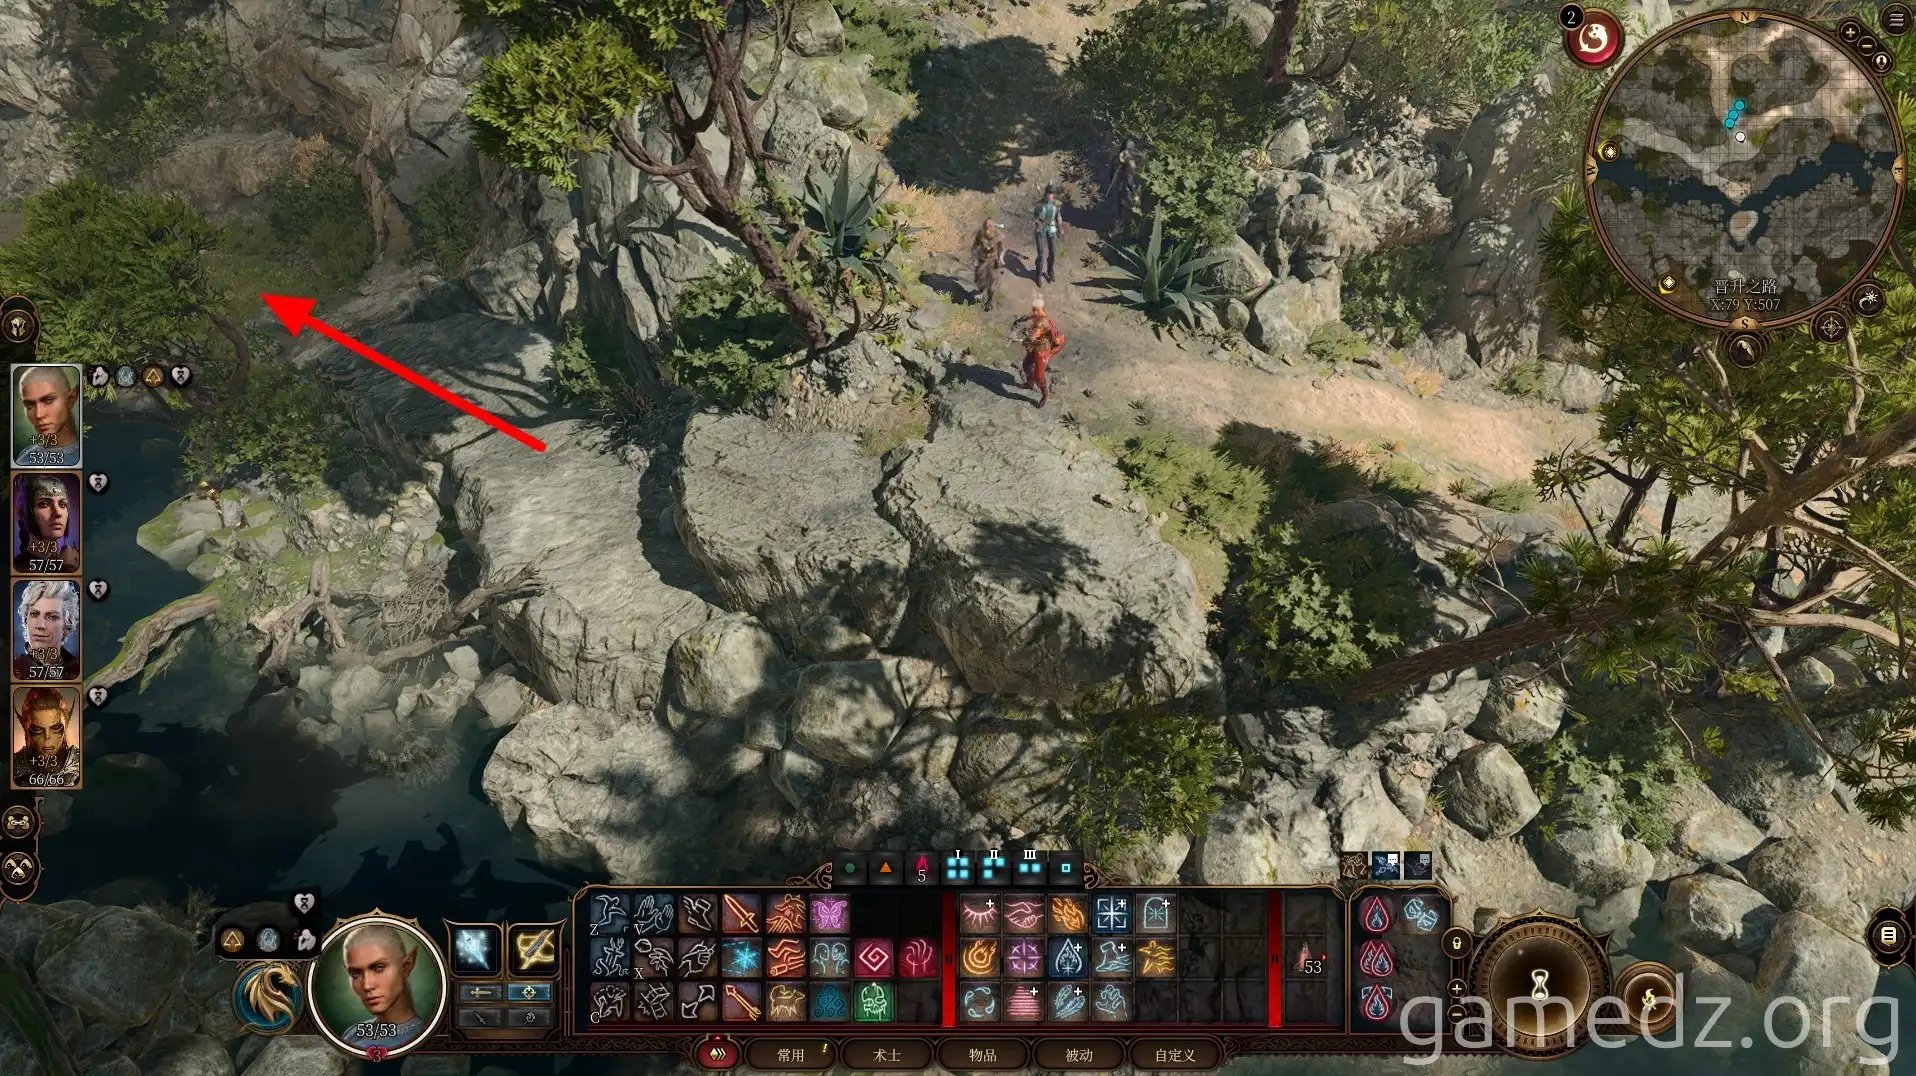
On a skeleton by the roadside (coordinates X: 61, Y: 515), you can find the "Smuggler's Ring," a Fine accessory.
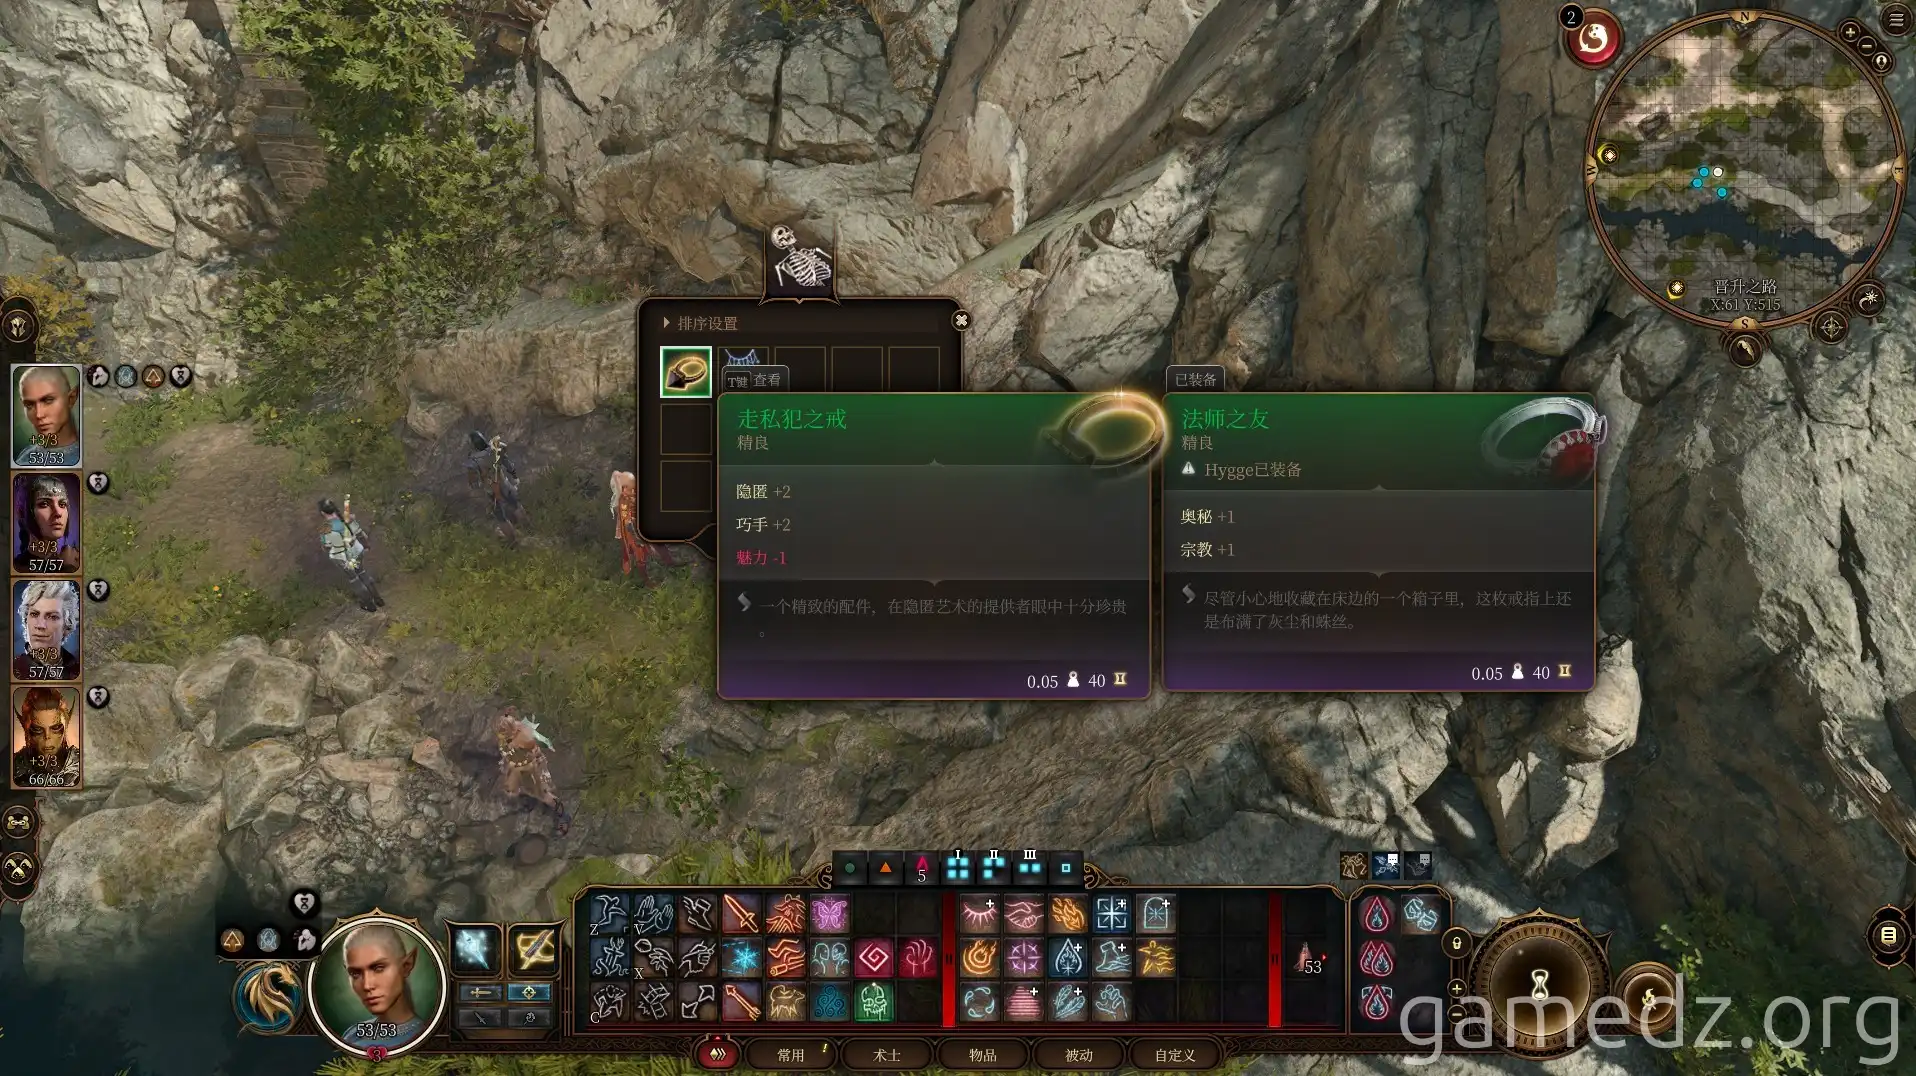
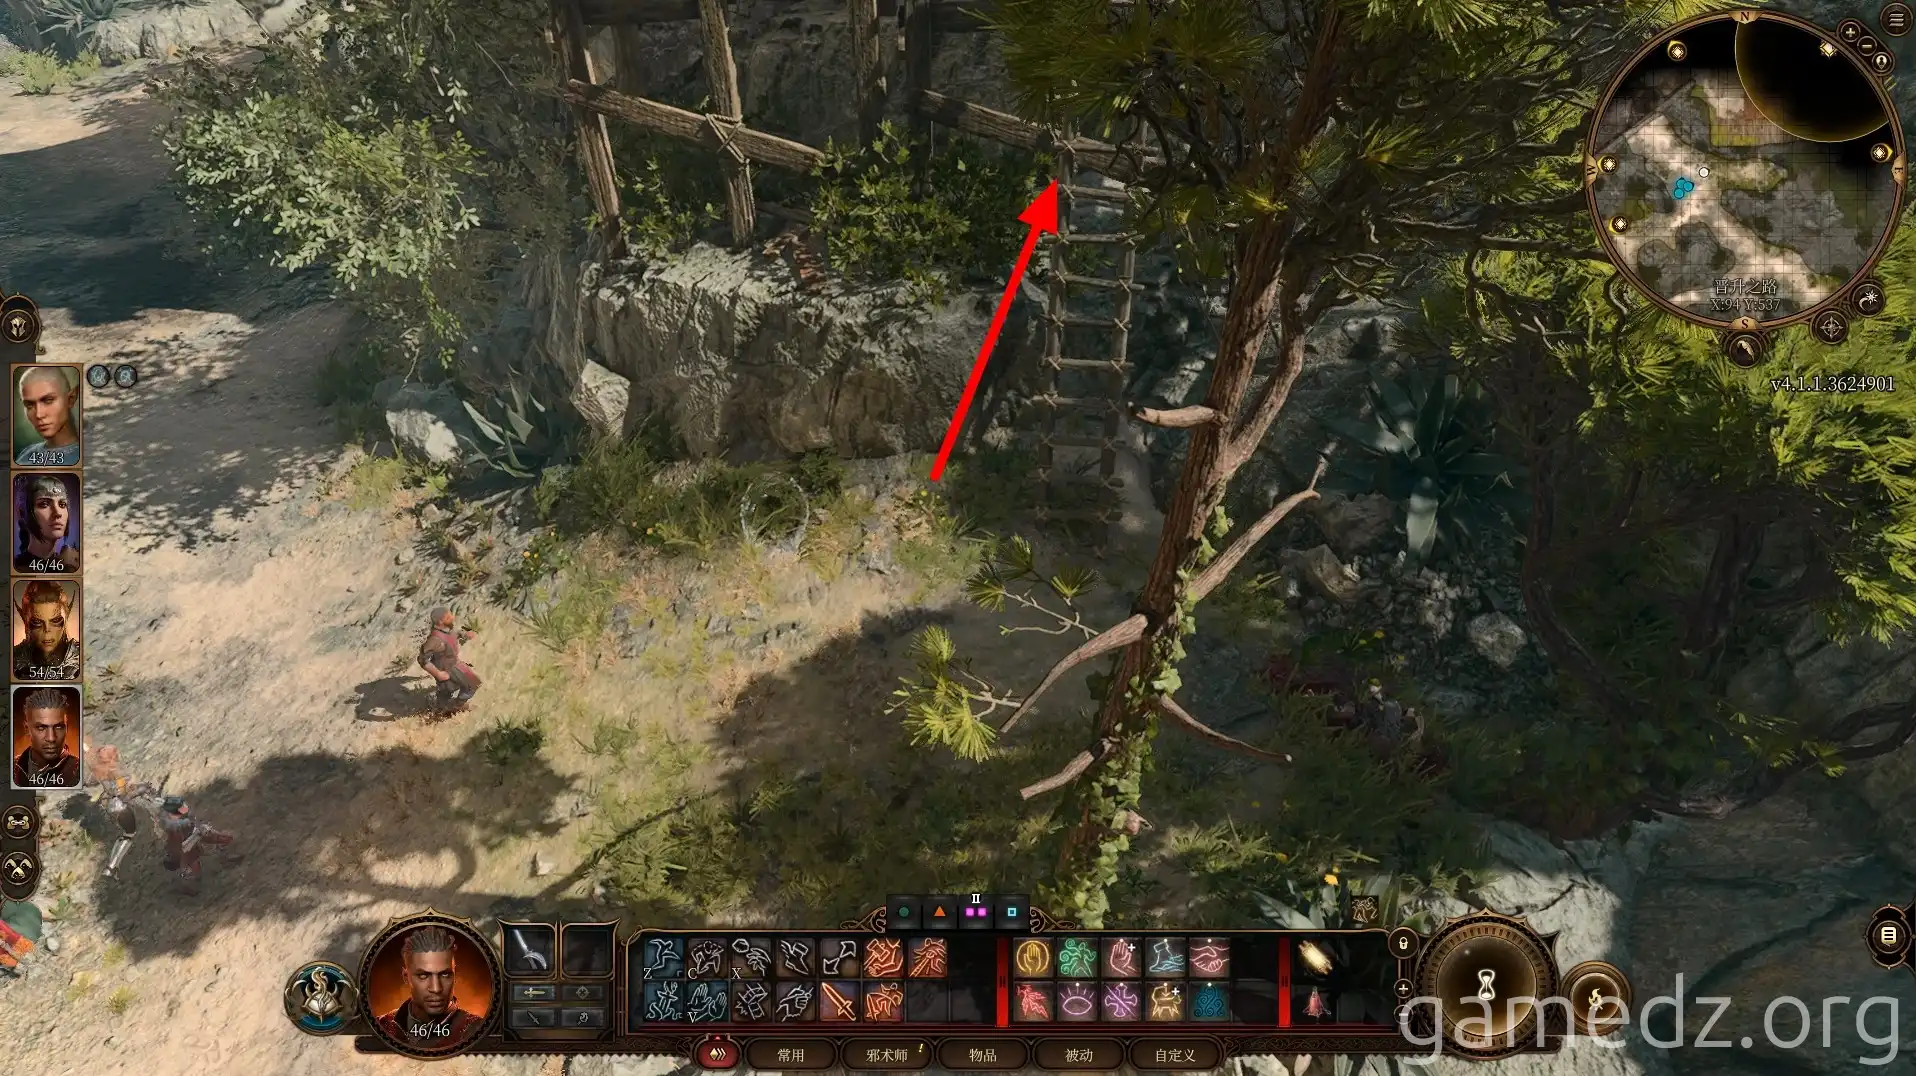
Then, backtrack and head north, using a ladder to reach the Inn.
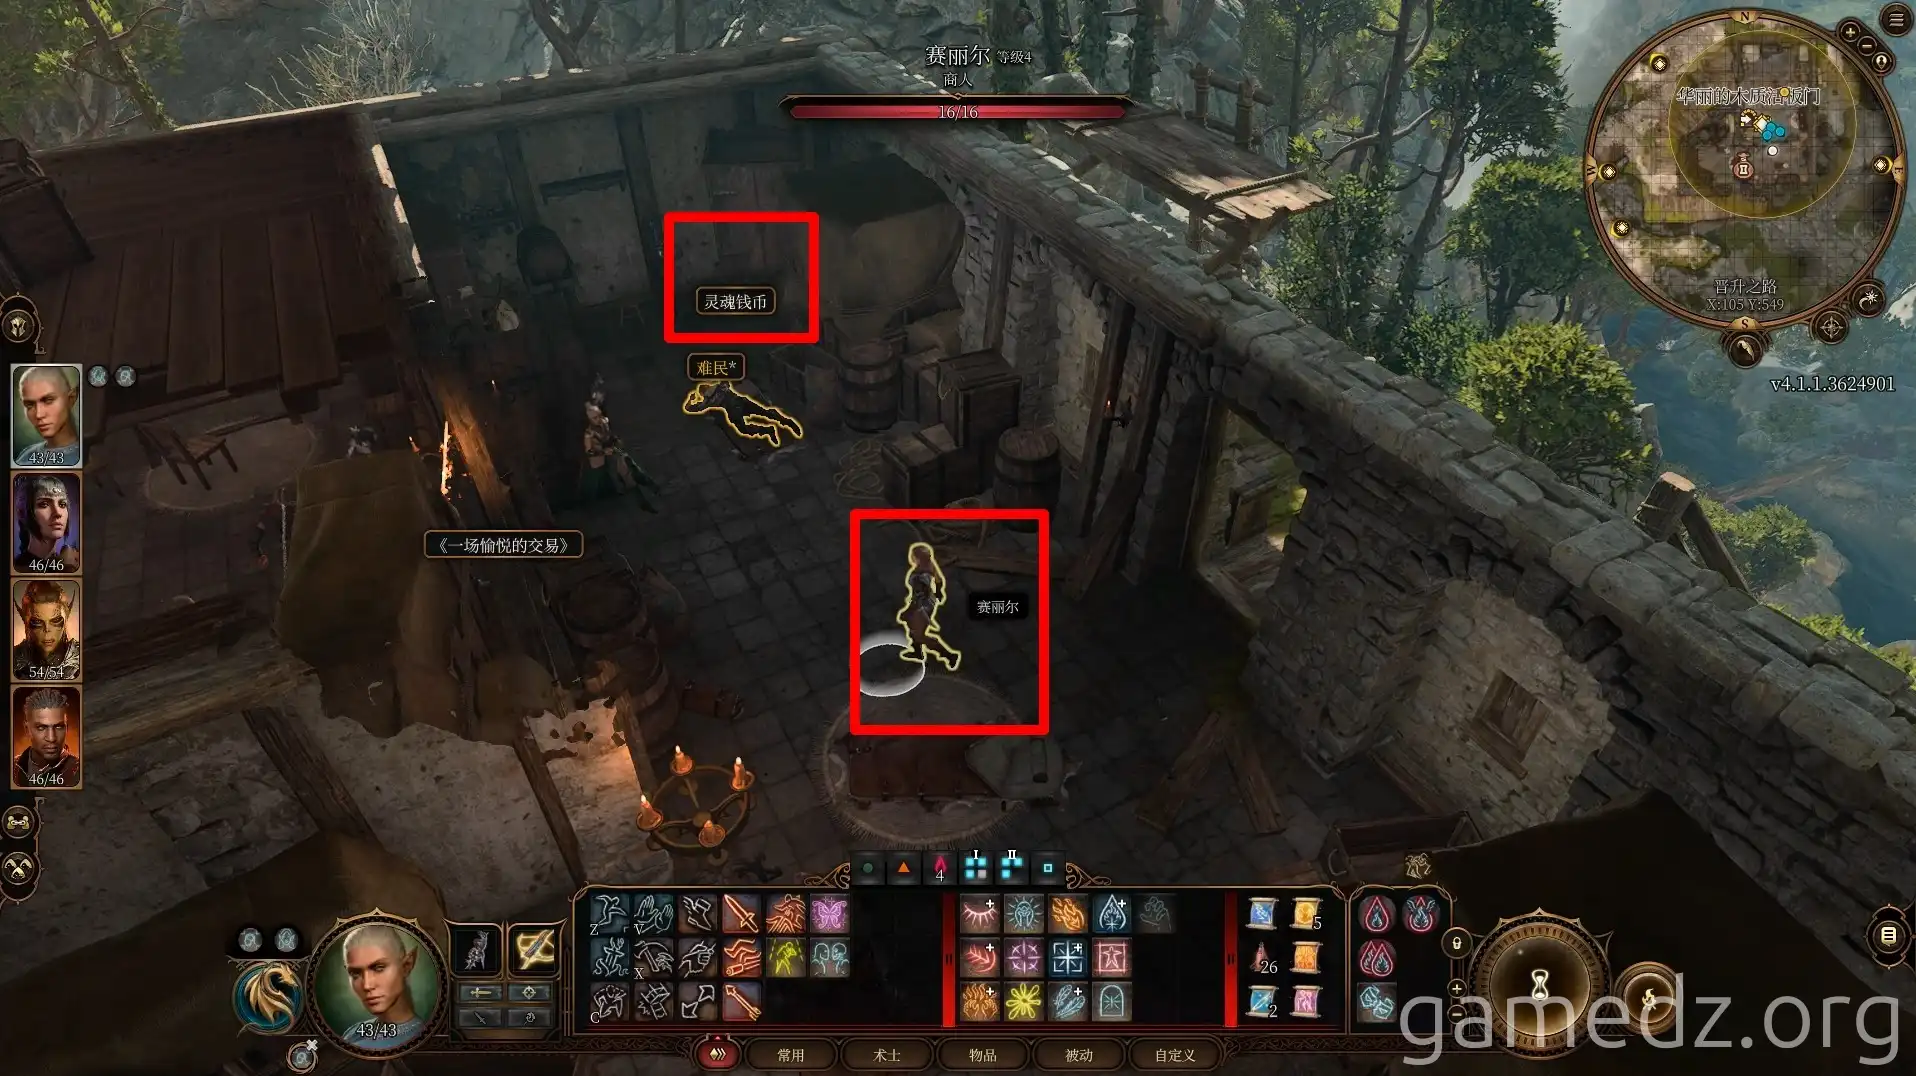
Upon entering the Inn, you'll find three of Zariel's minions disguised as paladins. Before the fight begins, you can purchase some items from Cyrillus.
In a corner of the Inn's warehouse, there's a Soul Coin.
In the Inn's main hall, you'll find the remaining two devilish subordinates. No need for pleasantries; engage them in combat. You can climb to the second floor via the ladder and launch an attack from above to gain a positional advantage.
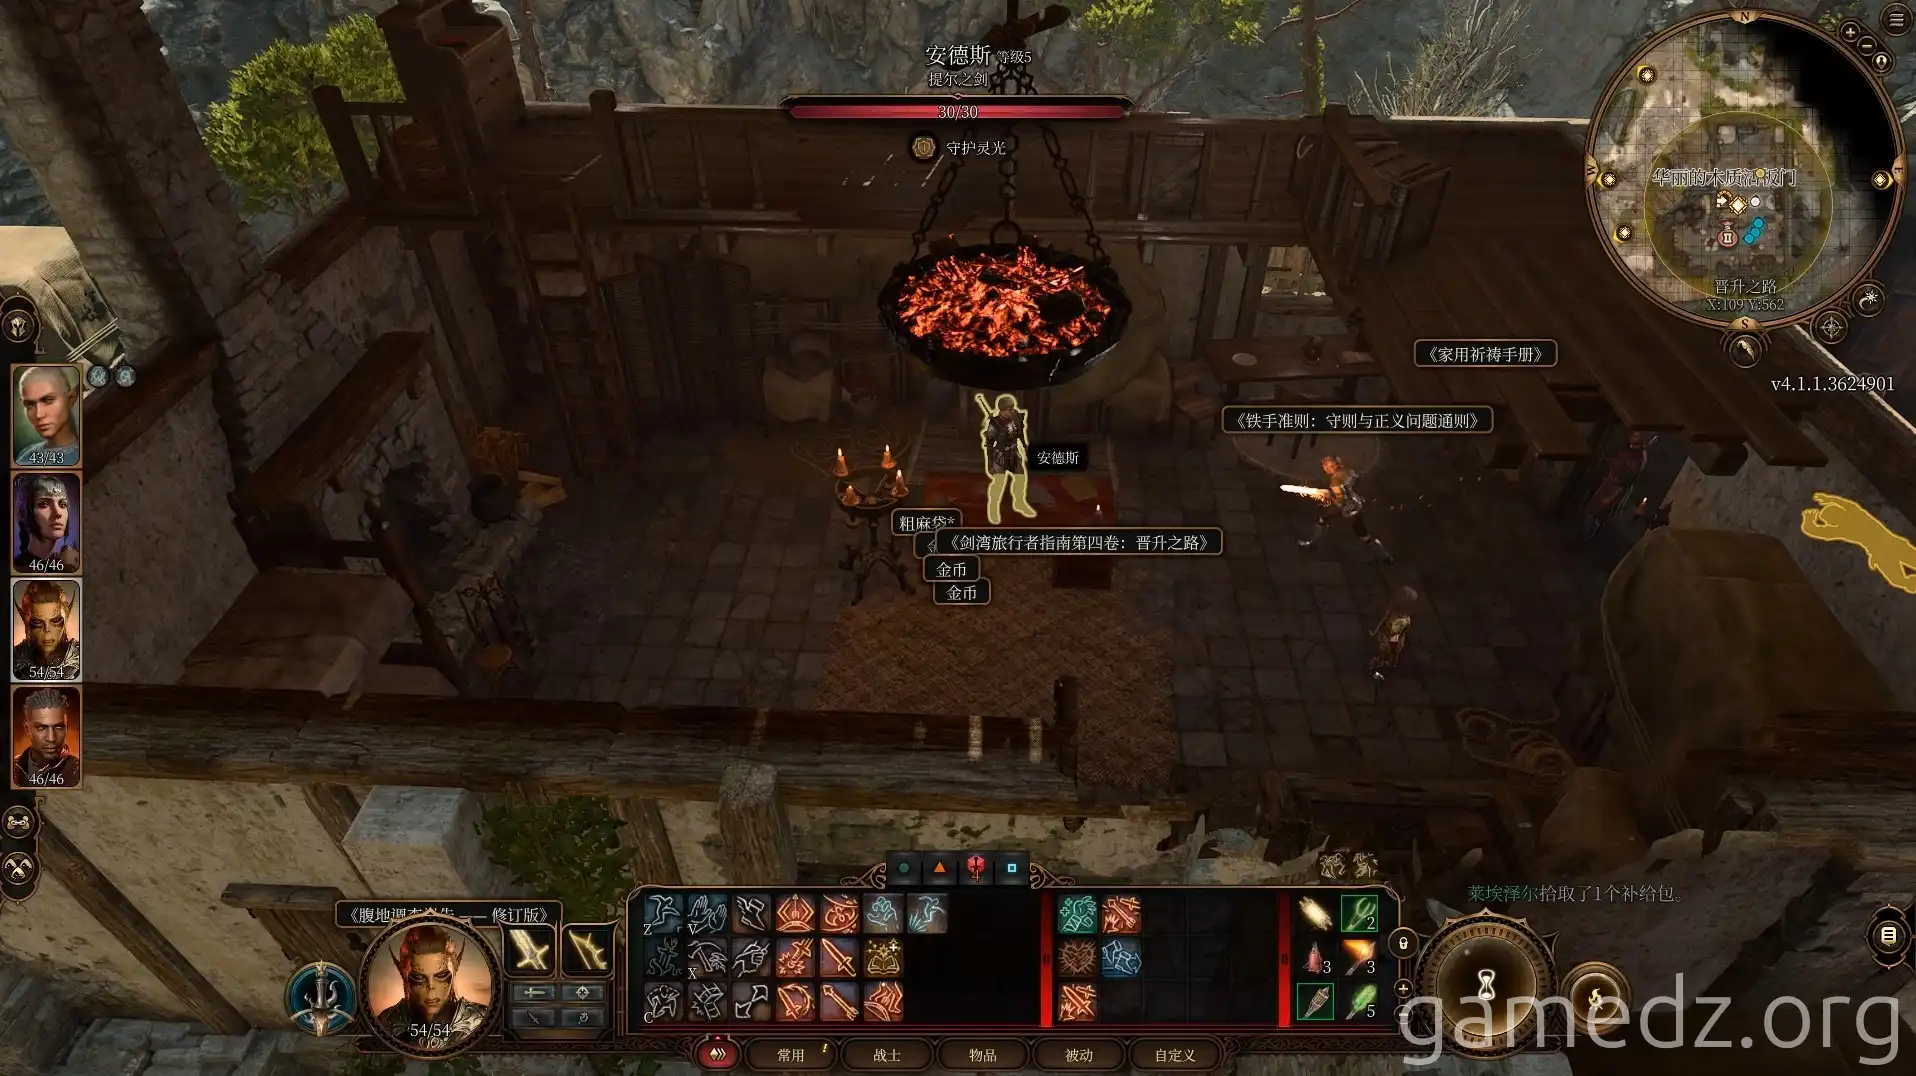
After defeating Anders, you'll obtain the "Sword of Justice," a Fine weapon.
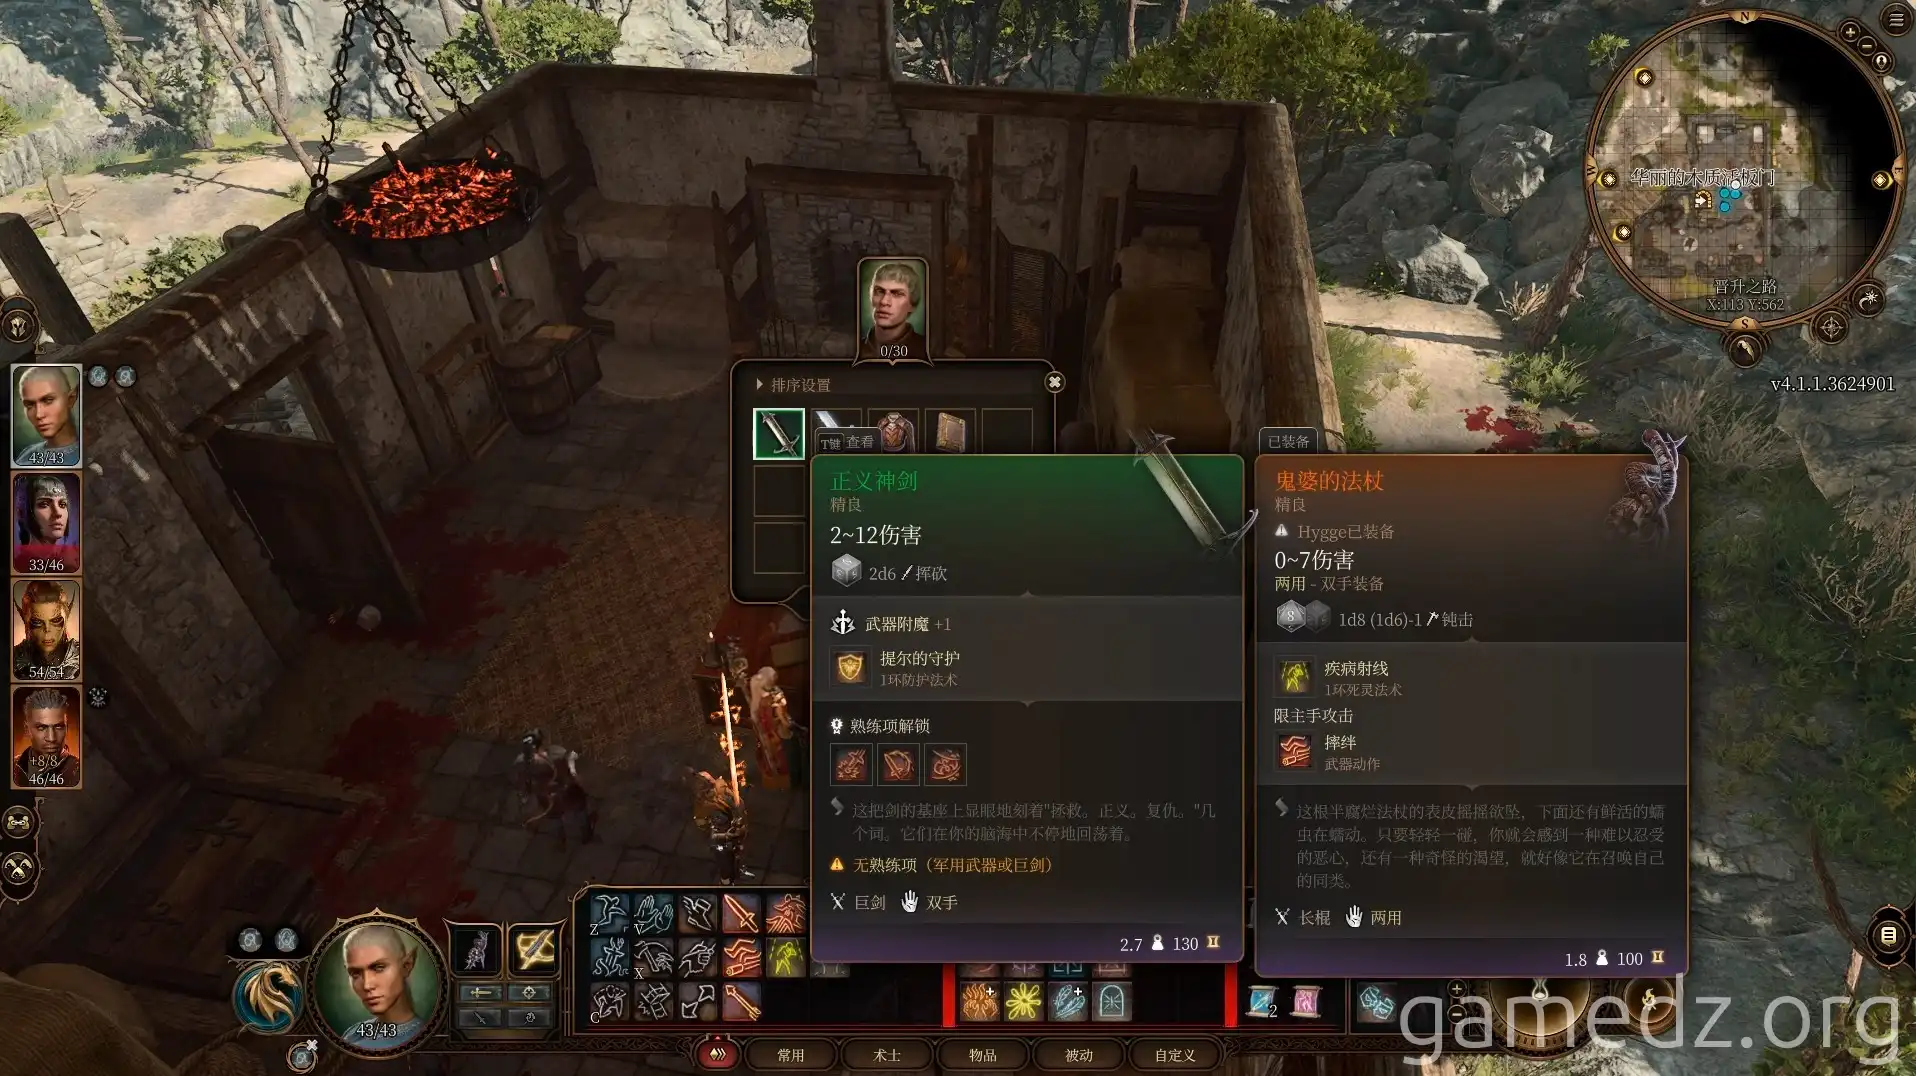
Once all the devilish minions are eliminated, return to camp and report to Karlach. You'll learn that a Tiefling blacksmith might be able to repair her Infernal Engine.
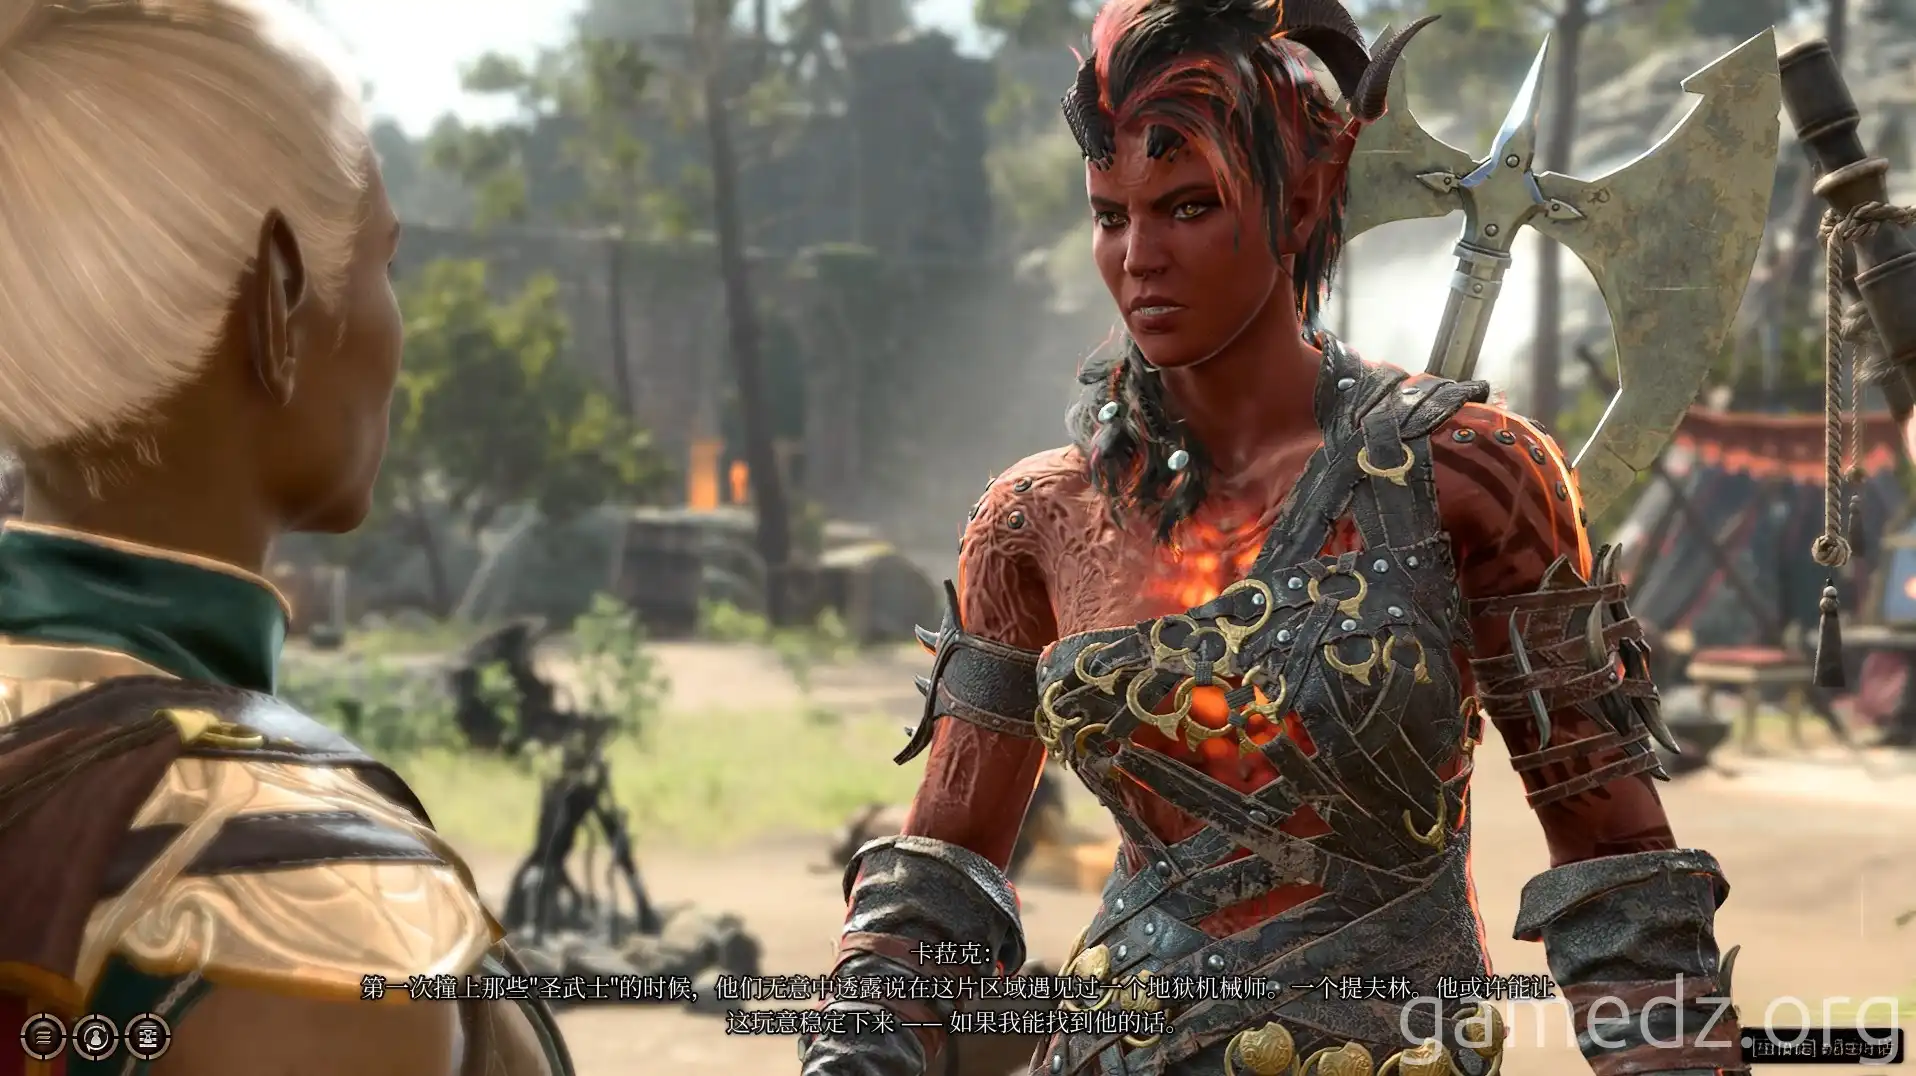
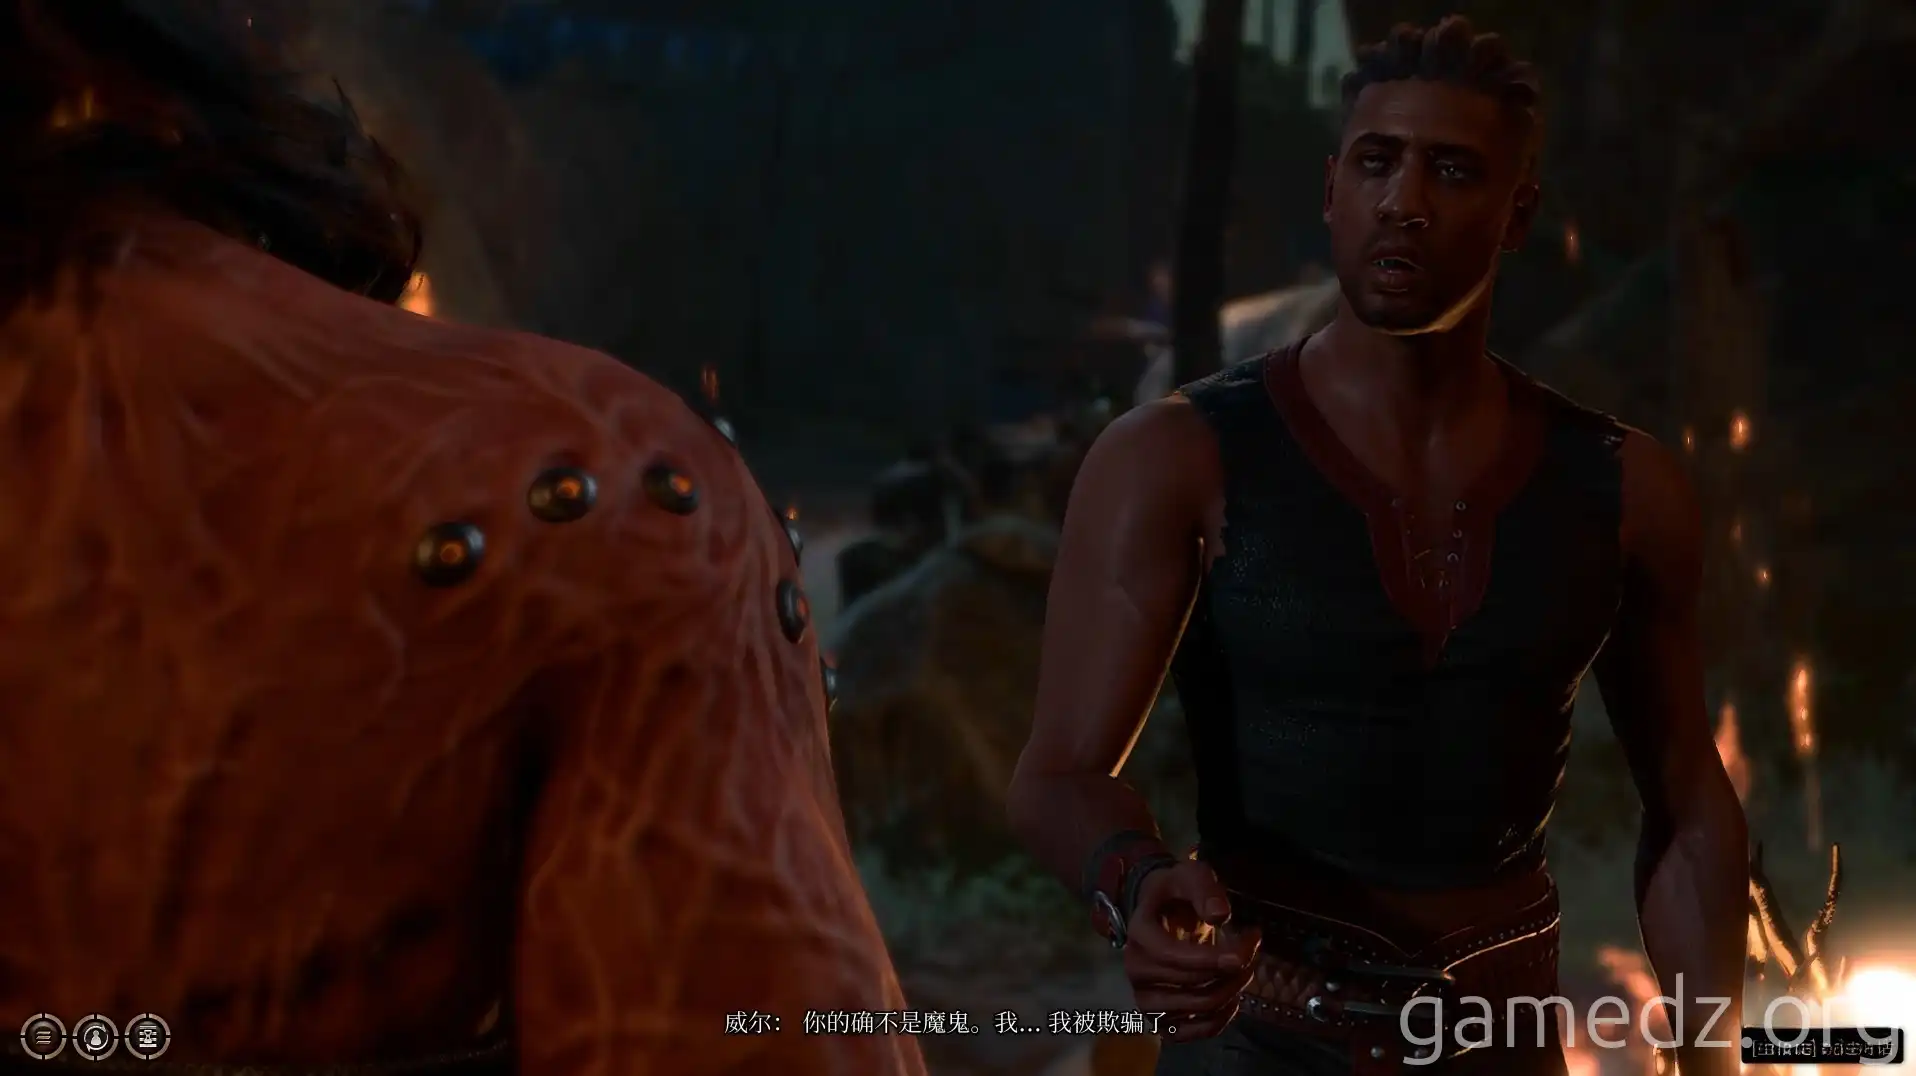
Later, a Long Rest will trigger a cutscene where Will and Karlach clash. You can persuade Will to see Karlach in a new light, convincing him to abandon his pursuit.
Return to the Inn. You can access the basement through a trapdoor near the door.
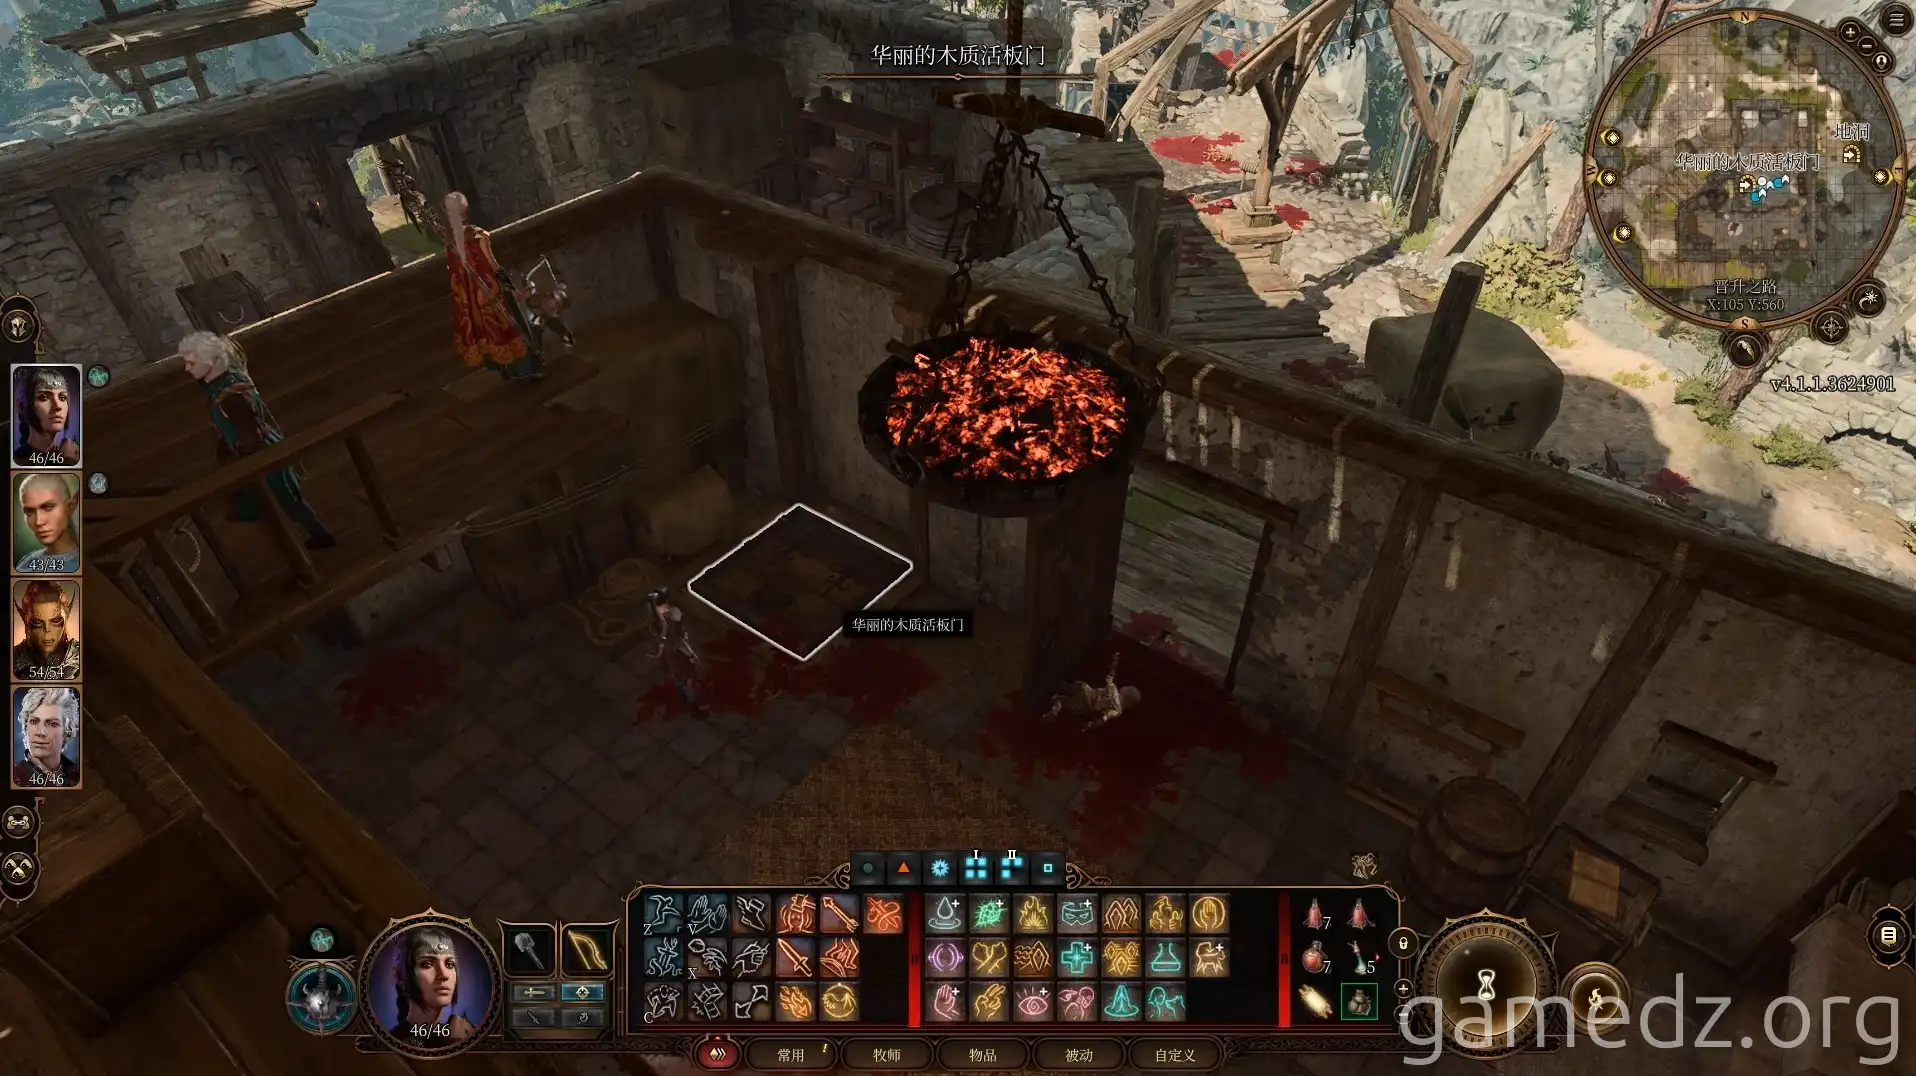
Using the Toll Collector's Key you found earlier, you can unlock and open the large door in the basement. Enter the room, disarm the traps, and loot the area.
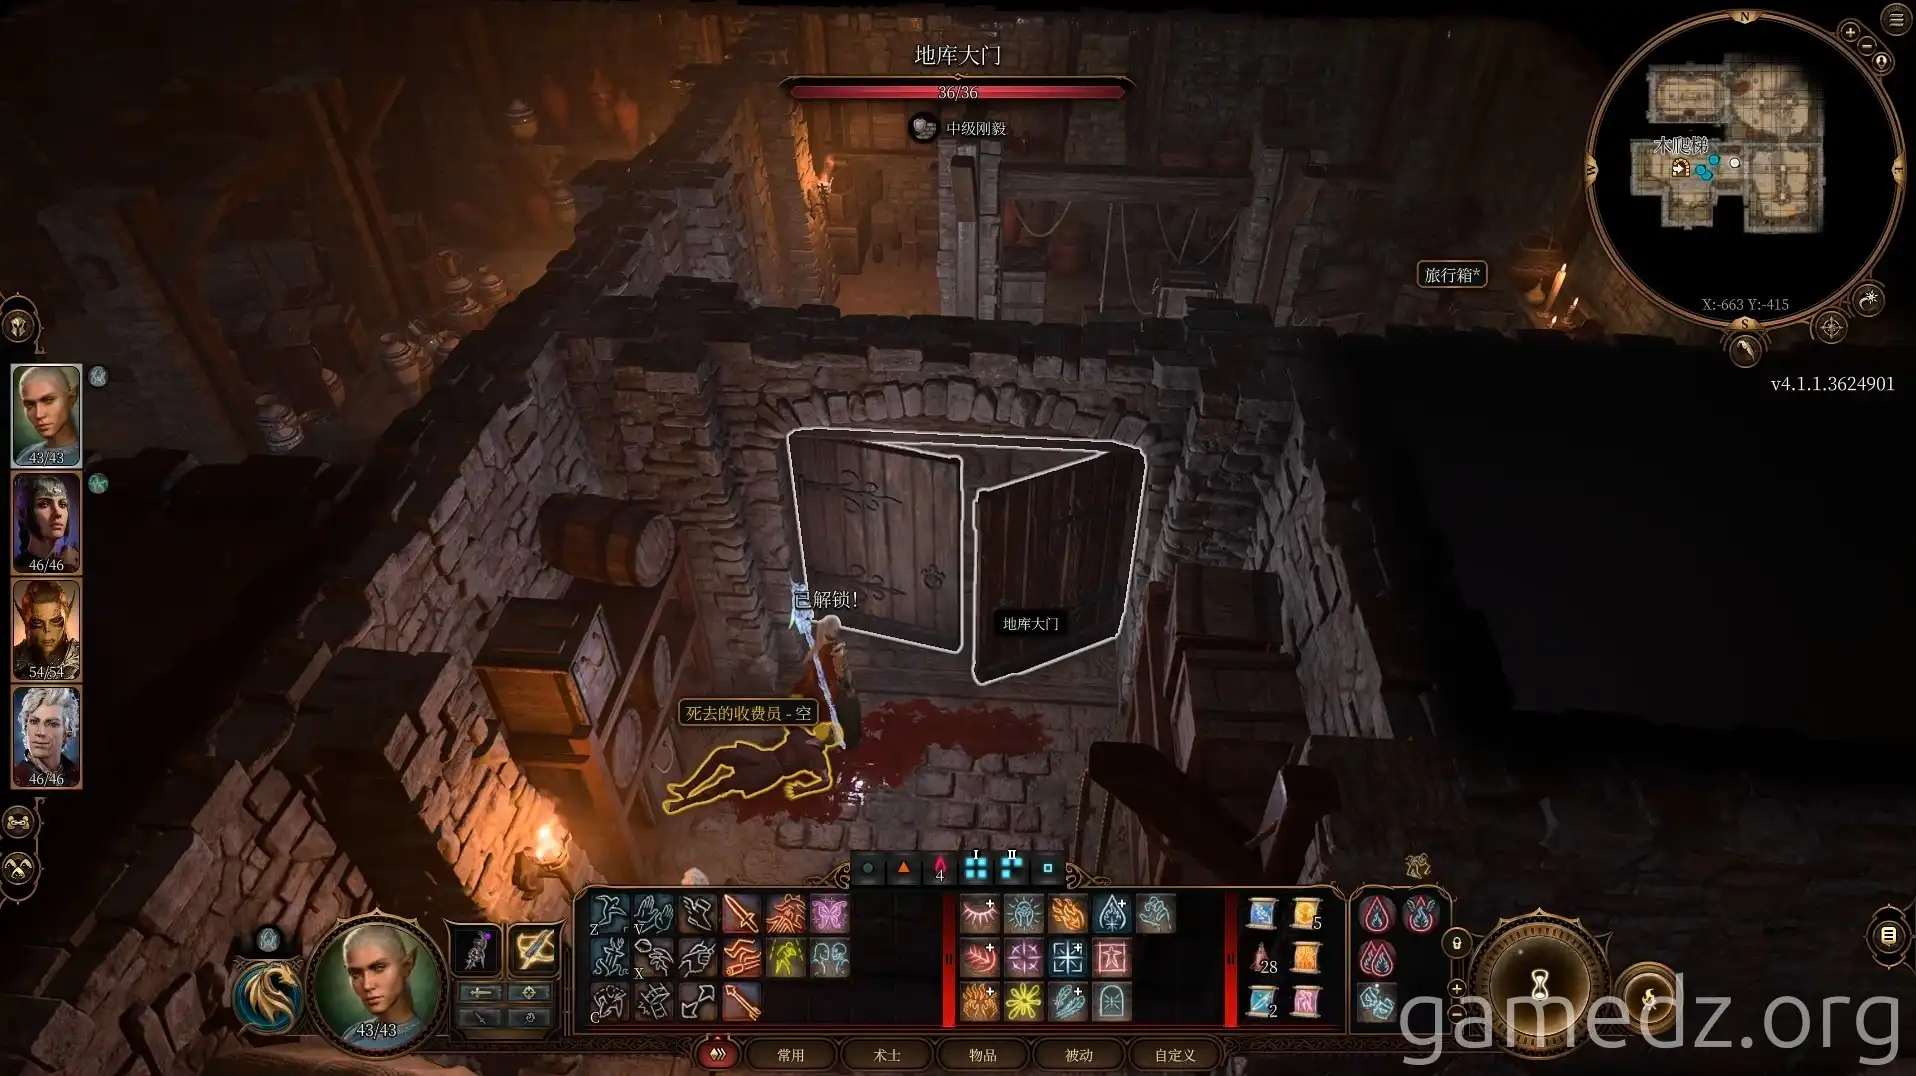
Split your party and have any two characters sit on the chairs on either side of the stone wall. This will cause the wall to lower.
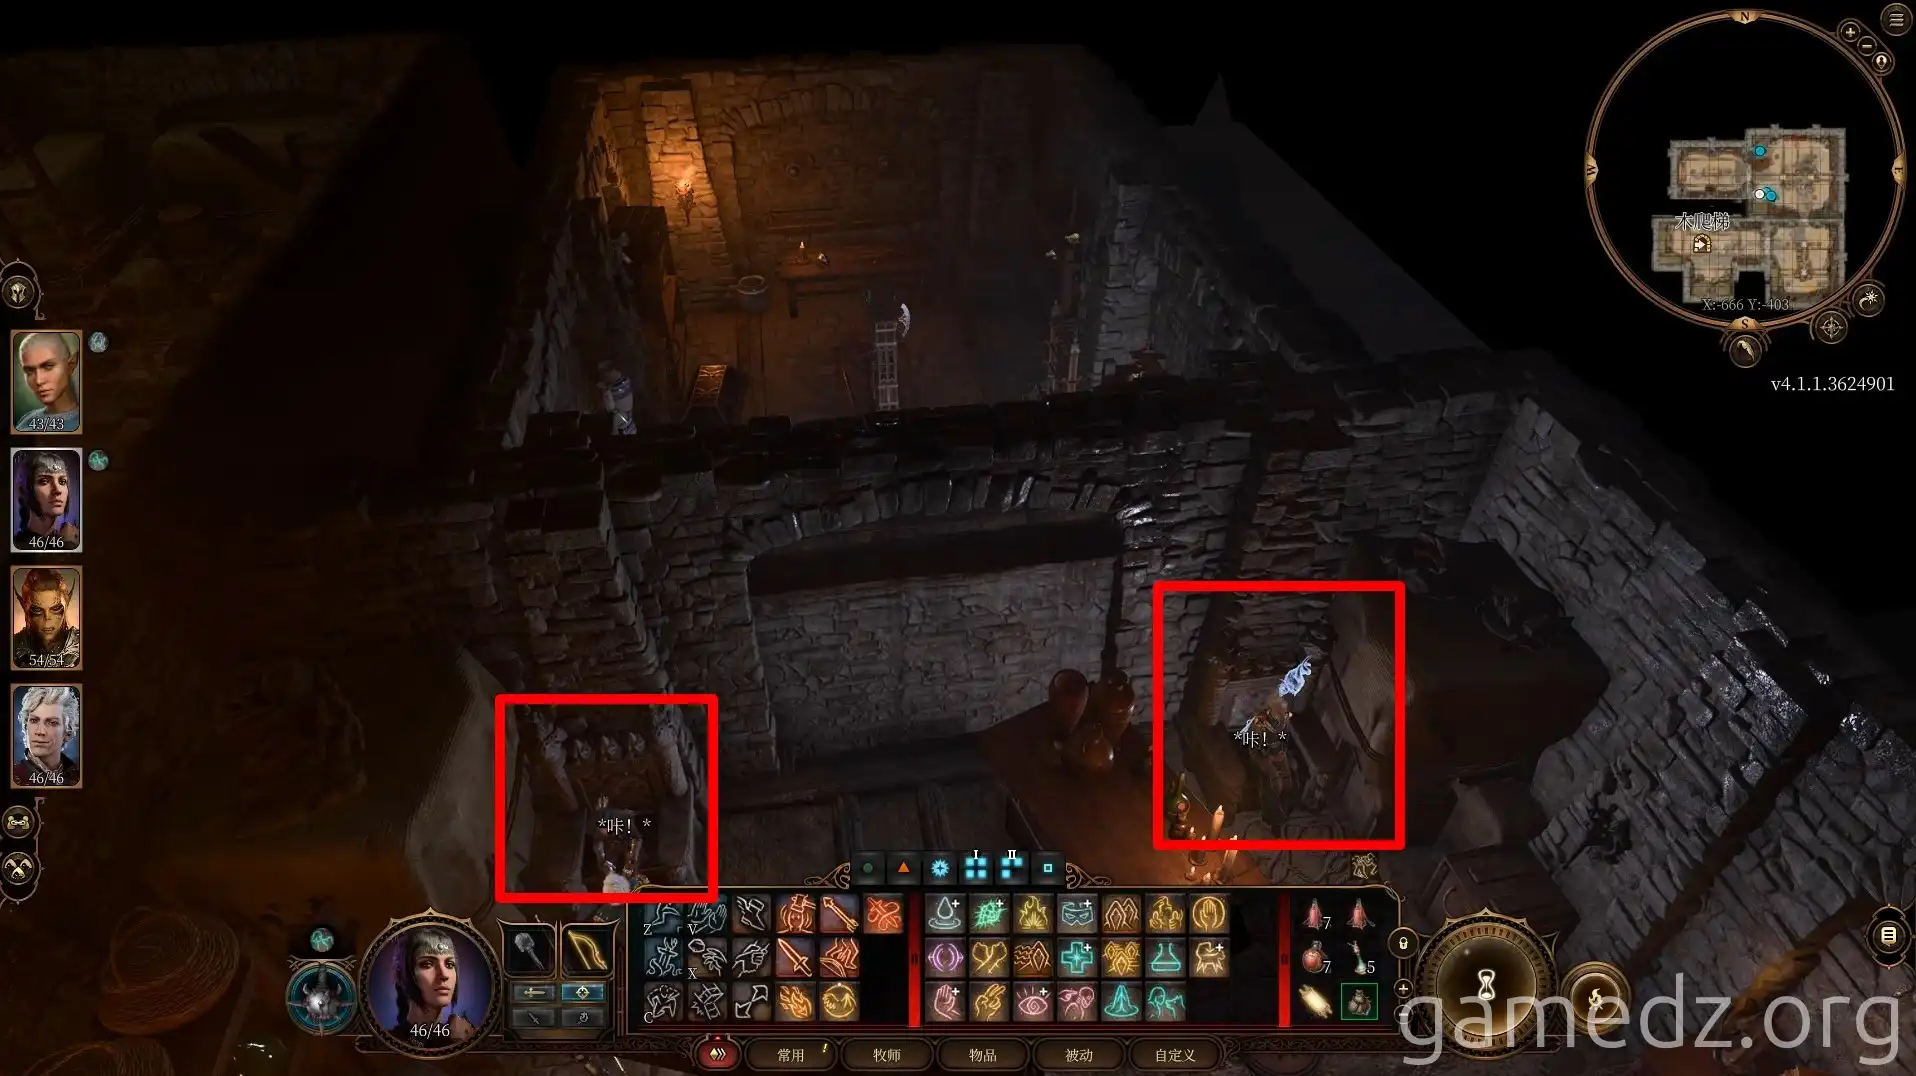
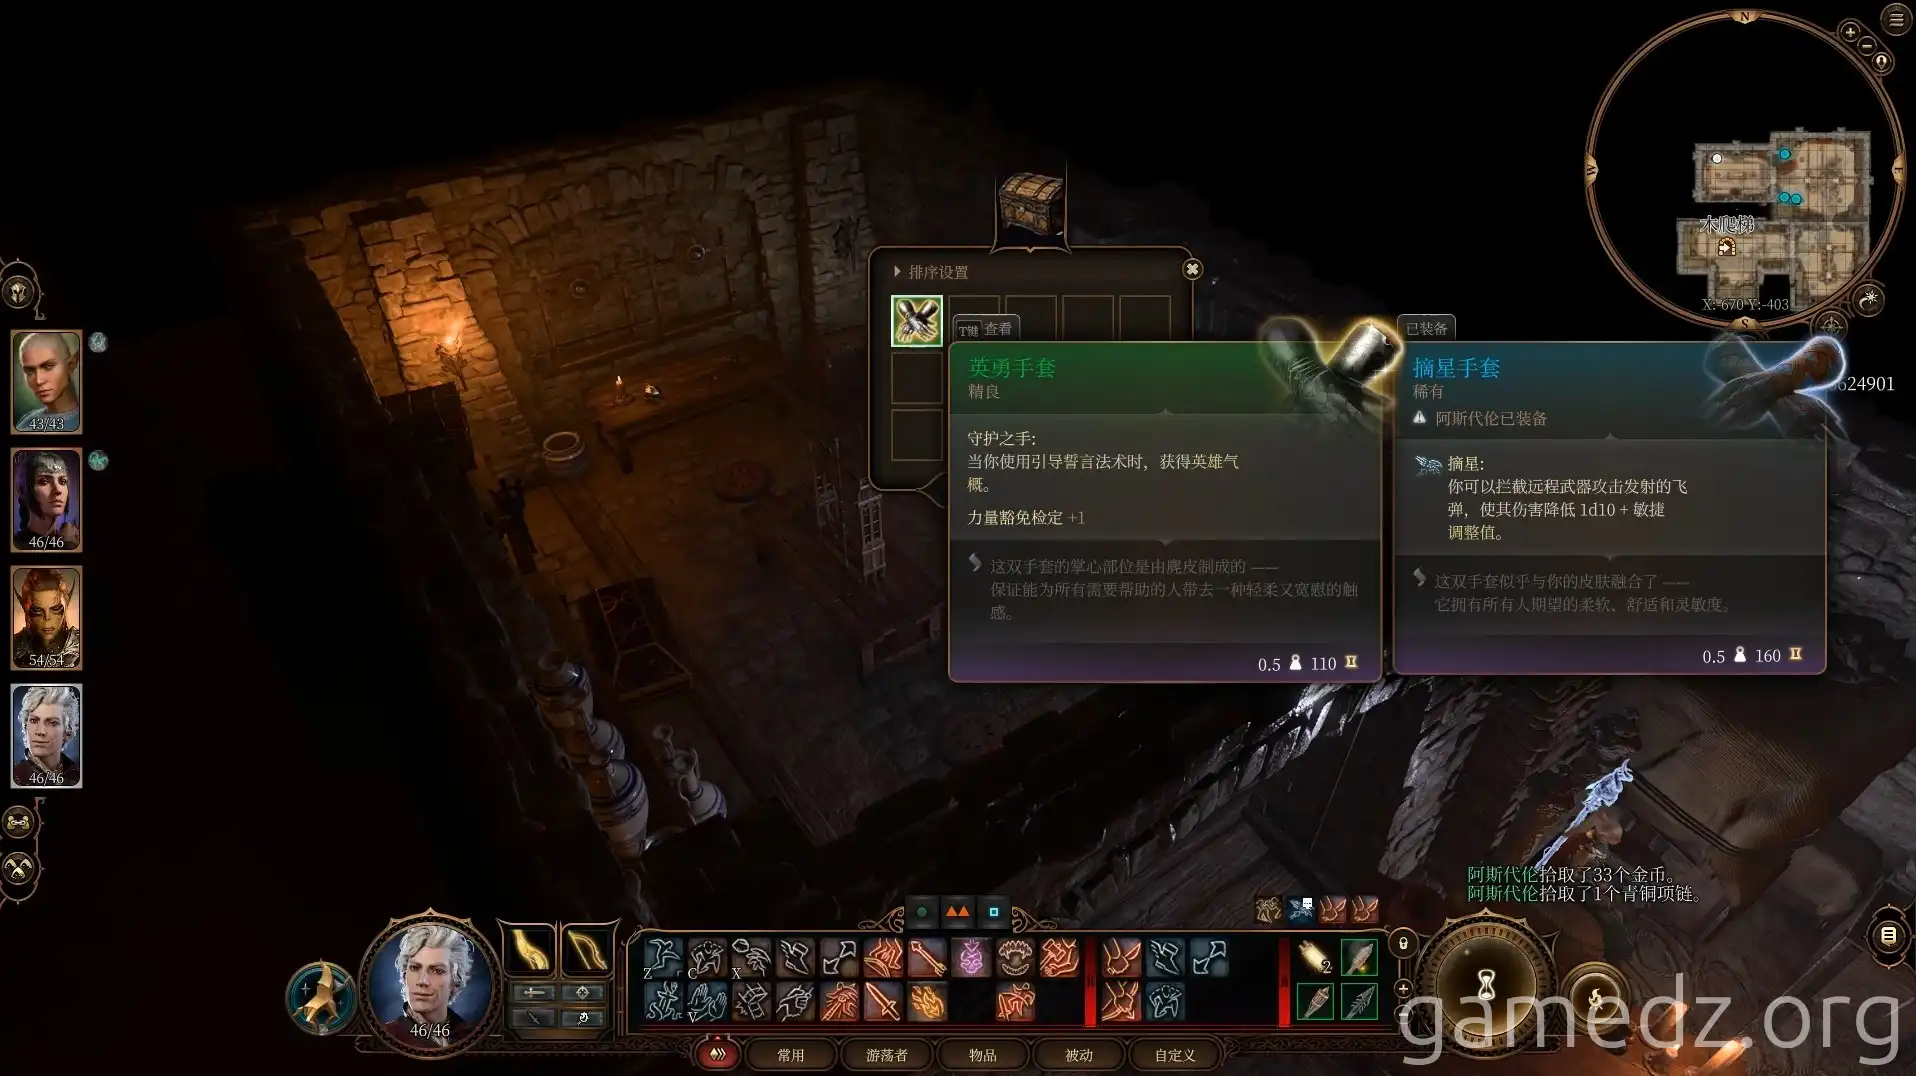
In the room behind the stone wall, you can find the "Gloves of Heroism," a Fine piece of equipment, and a "+1 Greataxe."
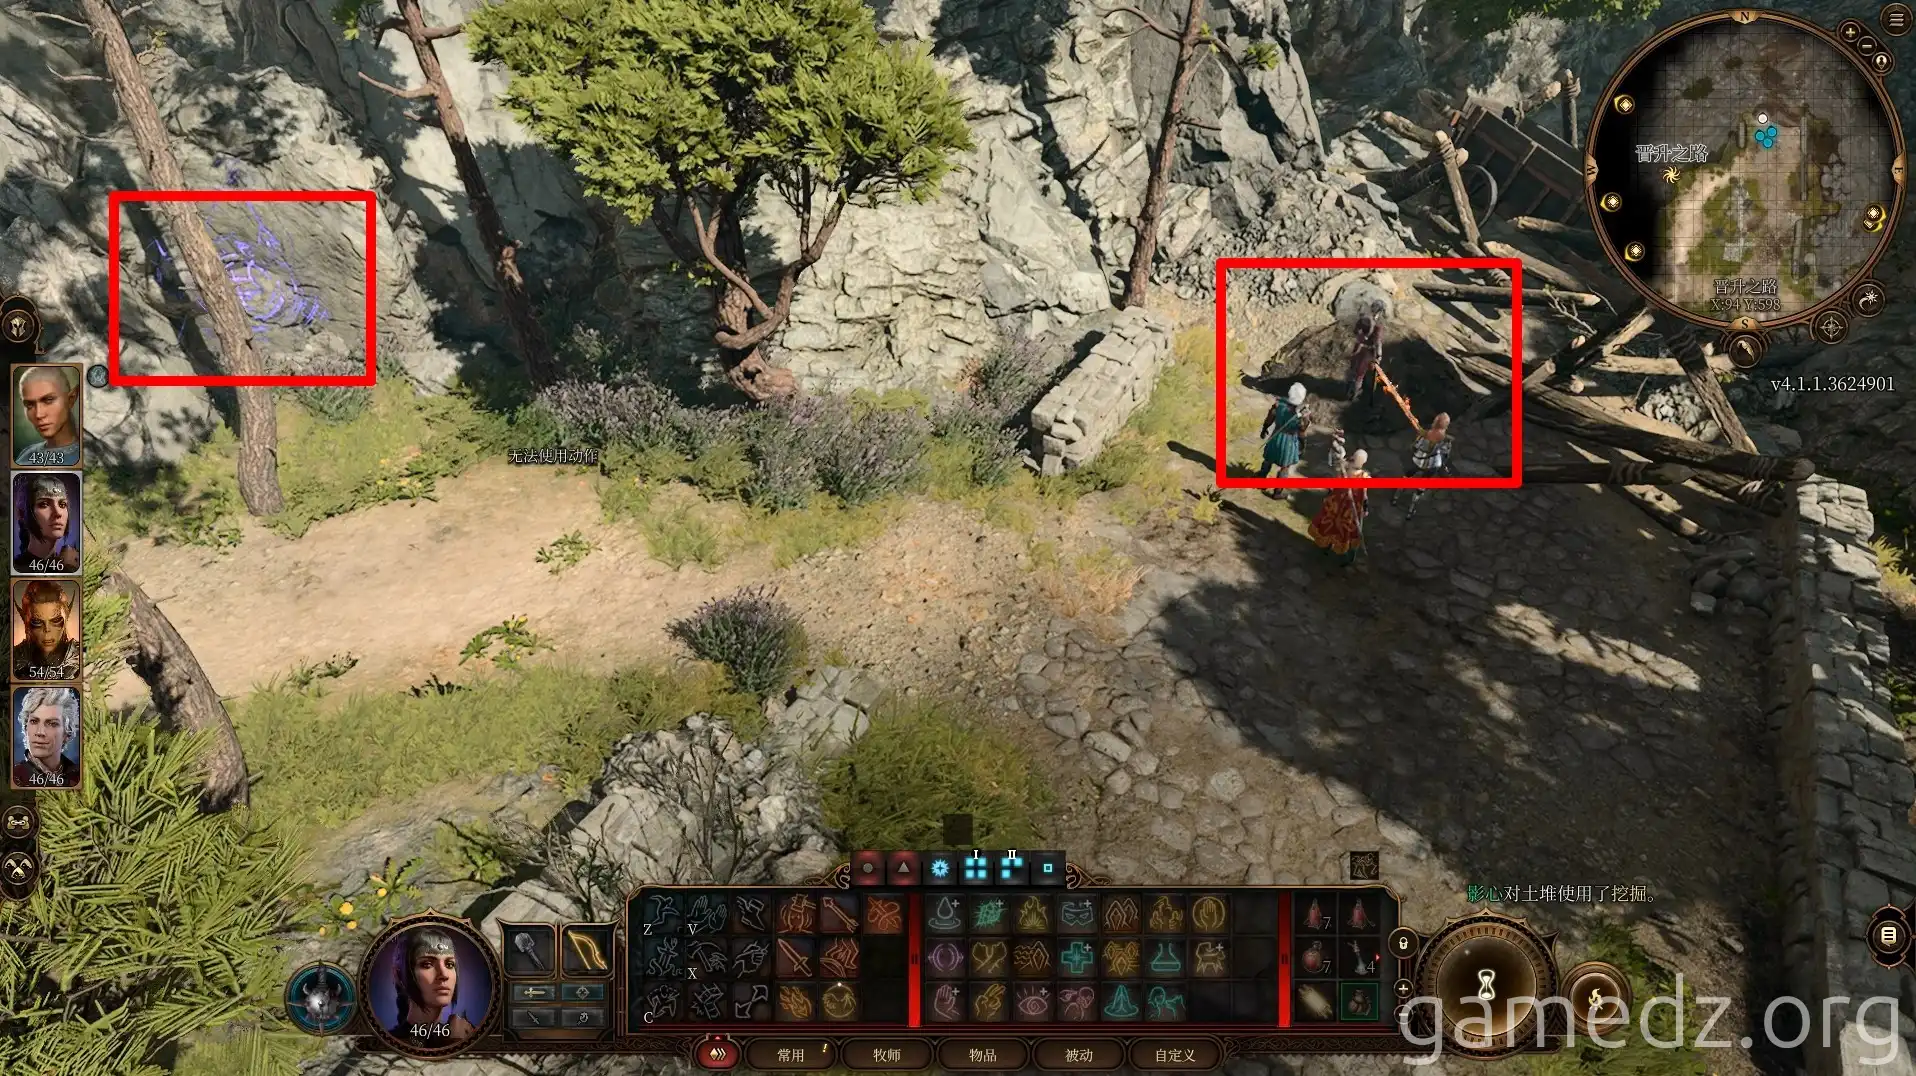
After thoroughly looting the basement, leave the Inn and head north. At the northern end of the path, you'll find a mound of dirt with a buried chest. On the cliff face nearby is the "Road to Revelation" waypoint.
Next, proceed west to a cave entrance.
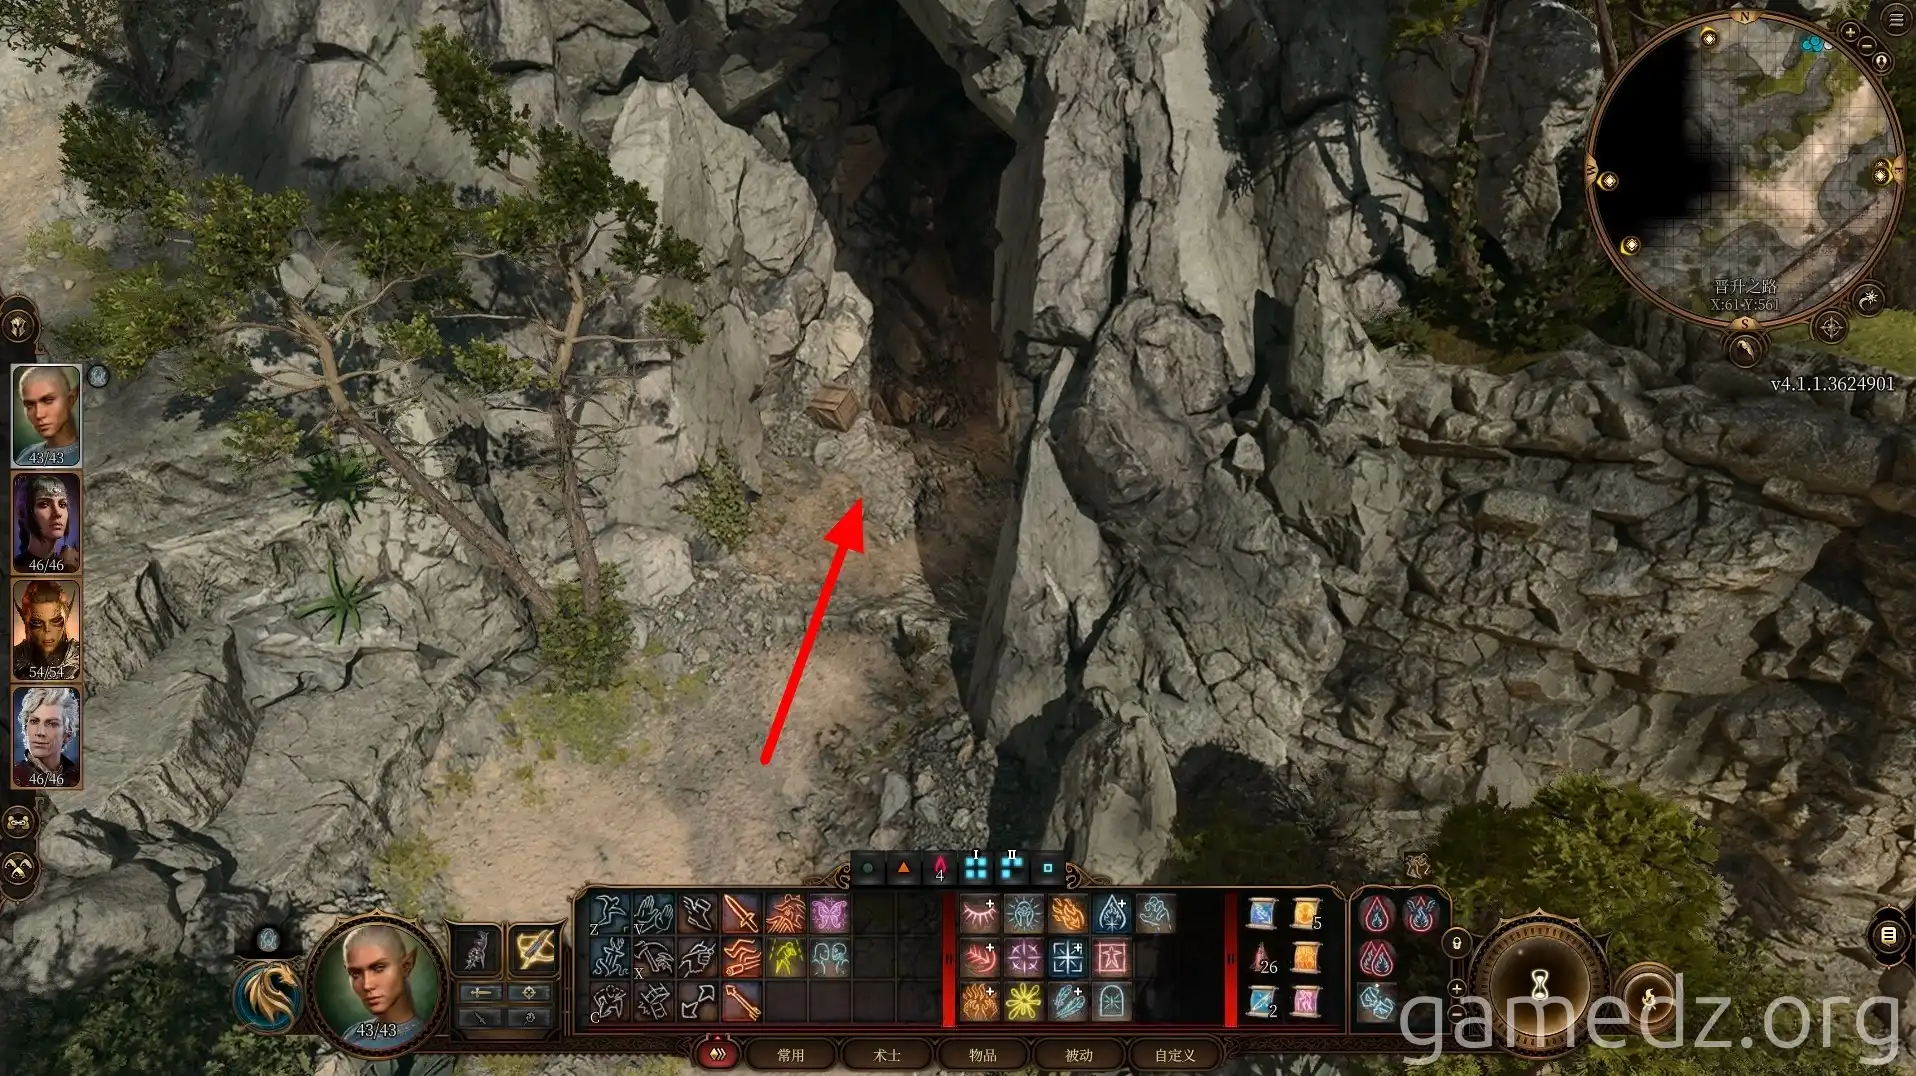
Use any spell to detonate the oil barrels, blasting open the roadblock and entering the cave.
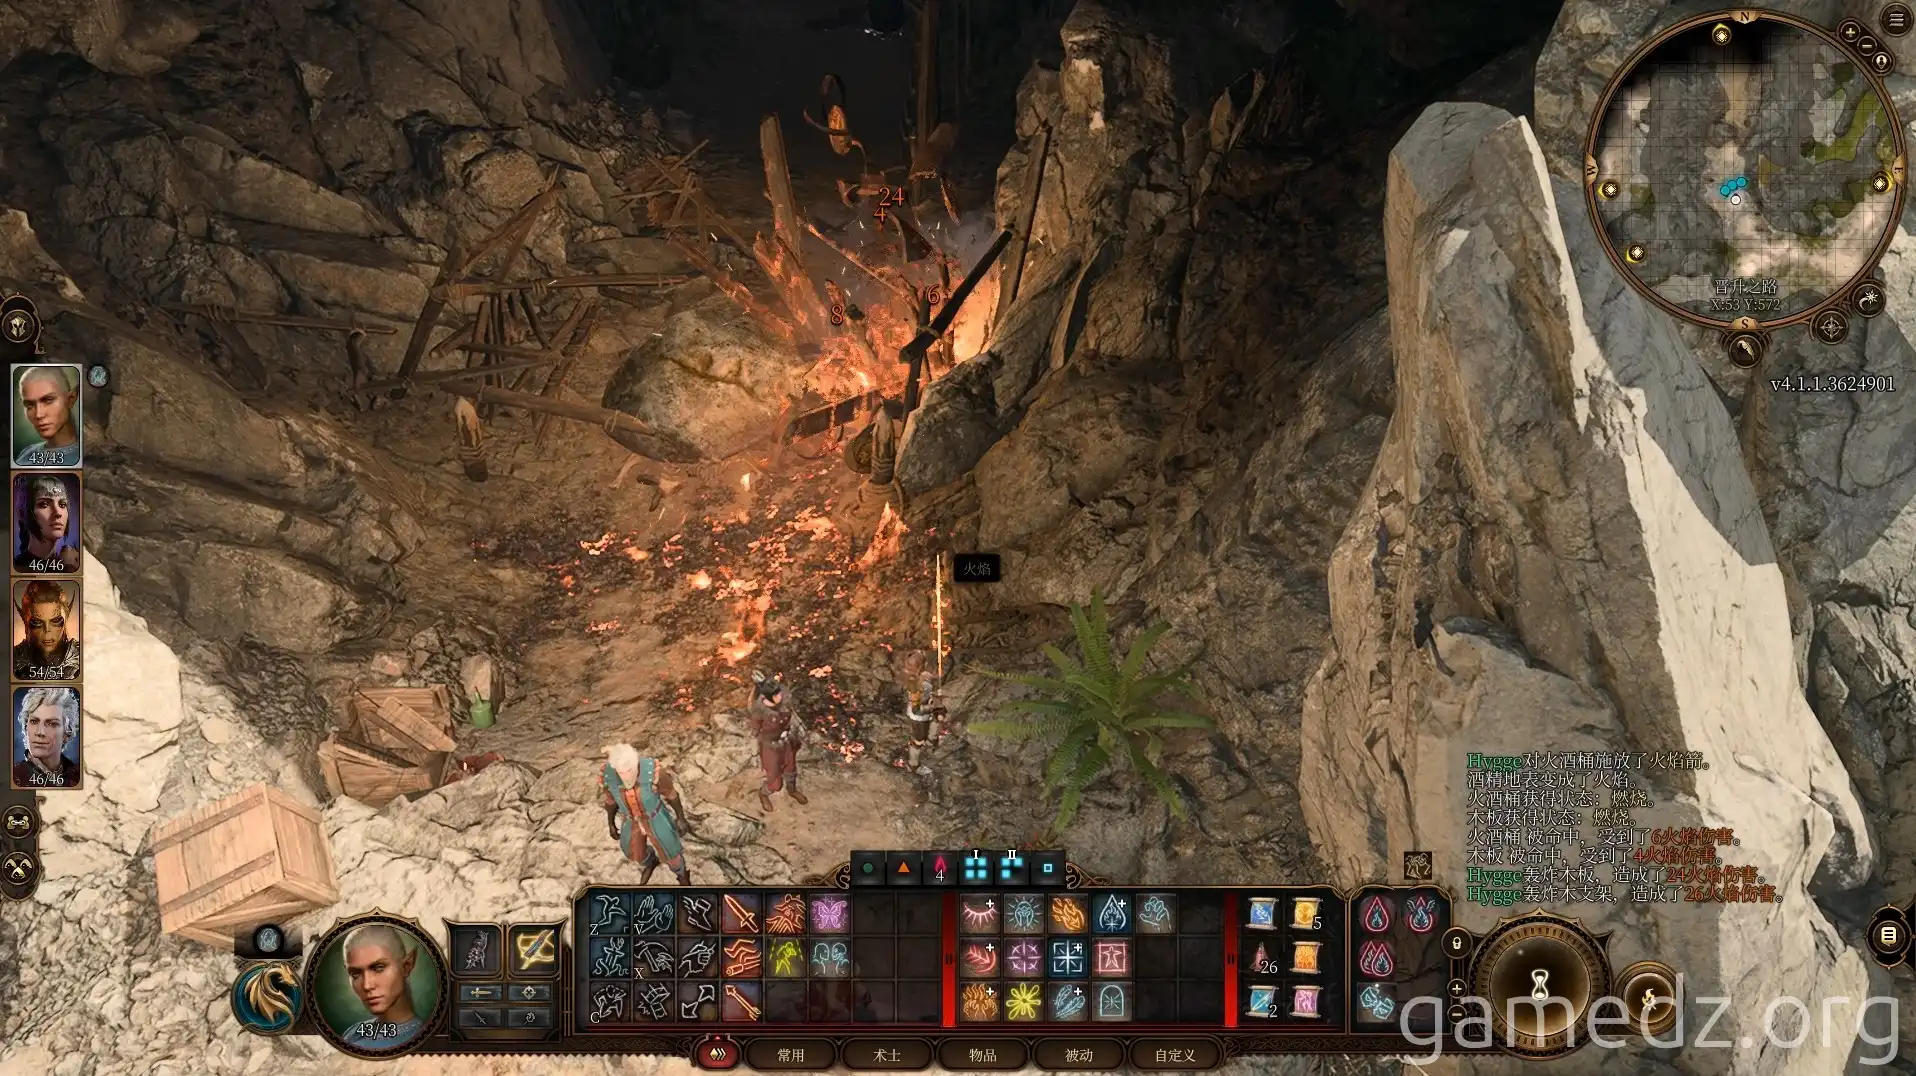
Now, split your party again. Have a rogue-class character like Astarion enter the cave.
Be aware that there are two tripwire traps inside the cave. Make sure to disarm them. If you accidentally trigger them, boulders will fall from above, dealing significant damage and blocking the cave entrance.
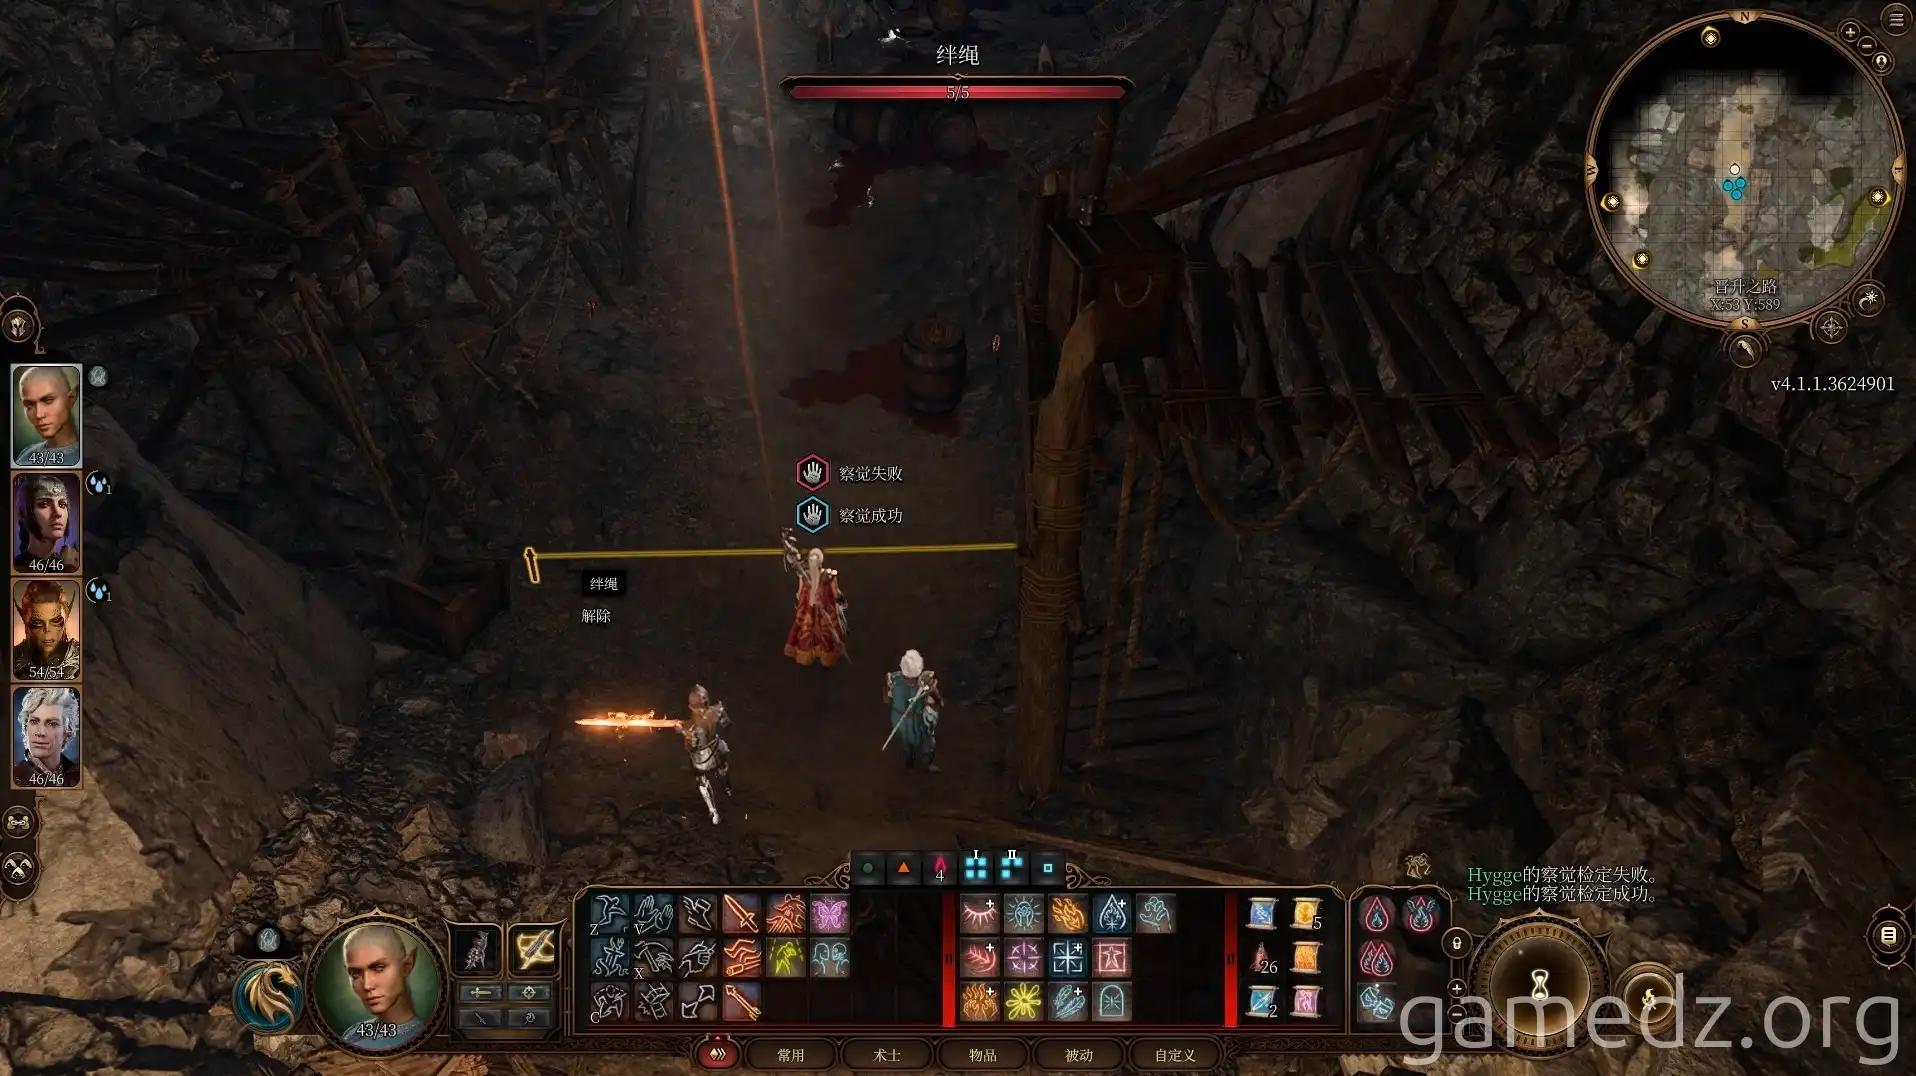
Ahead in the cave, jump across the broken bridge and immediately enter stealth mode.
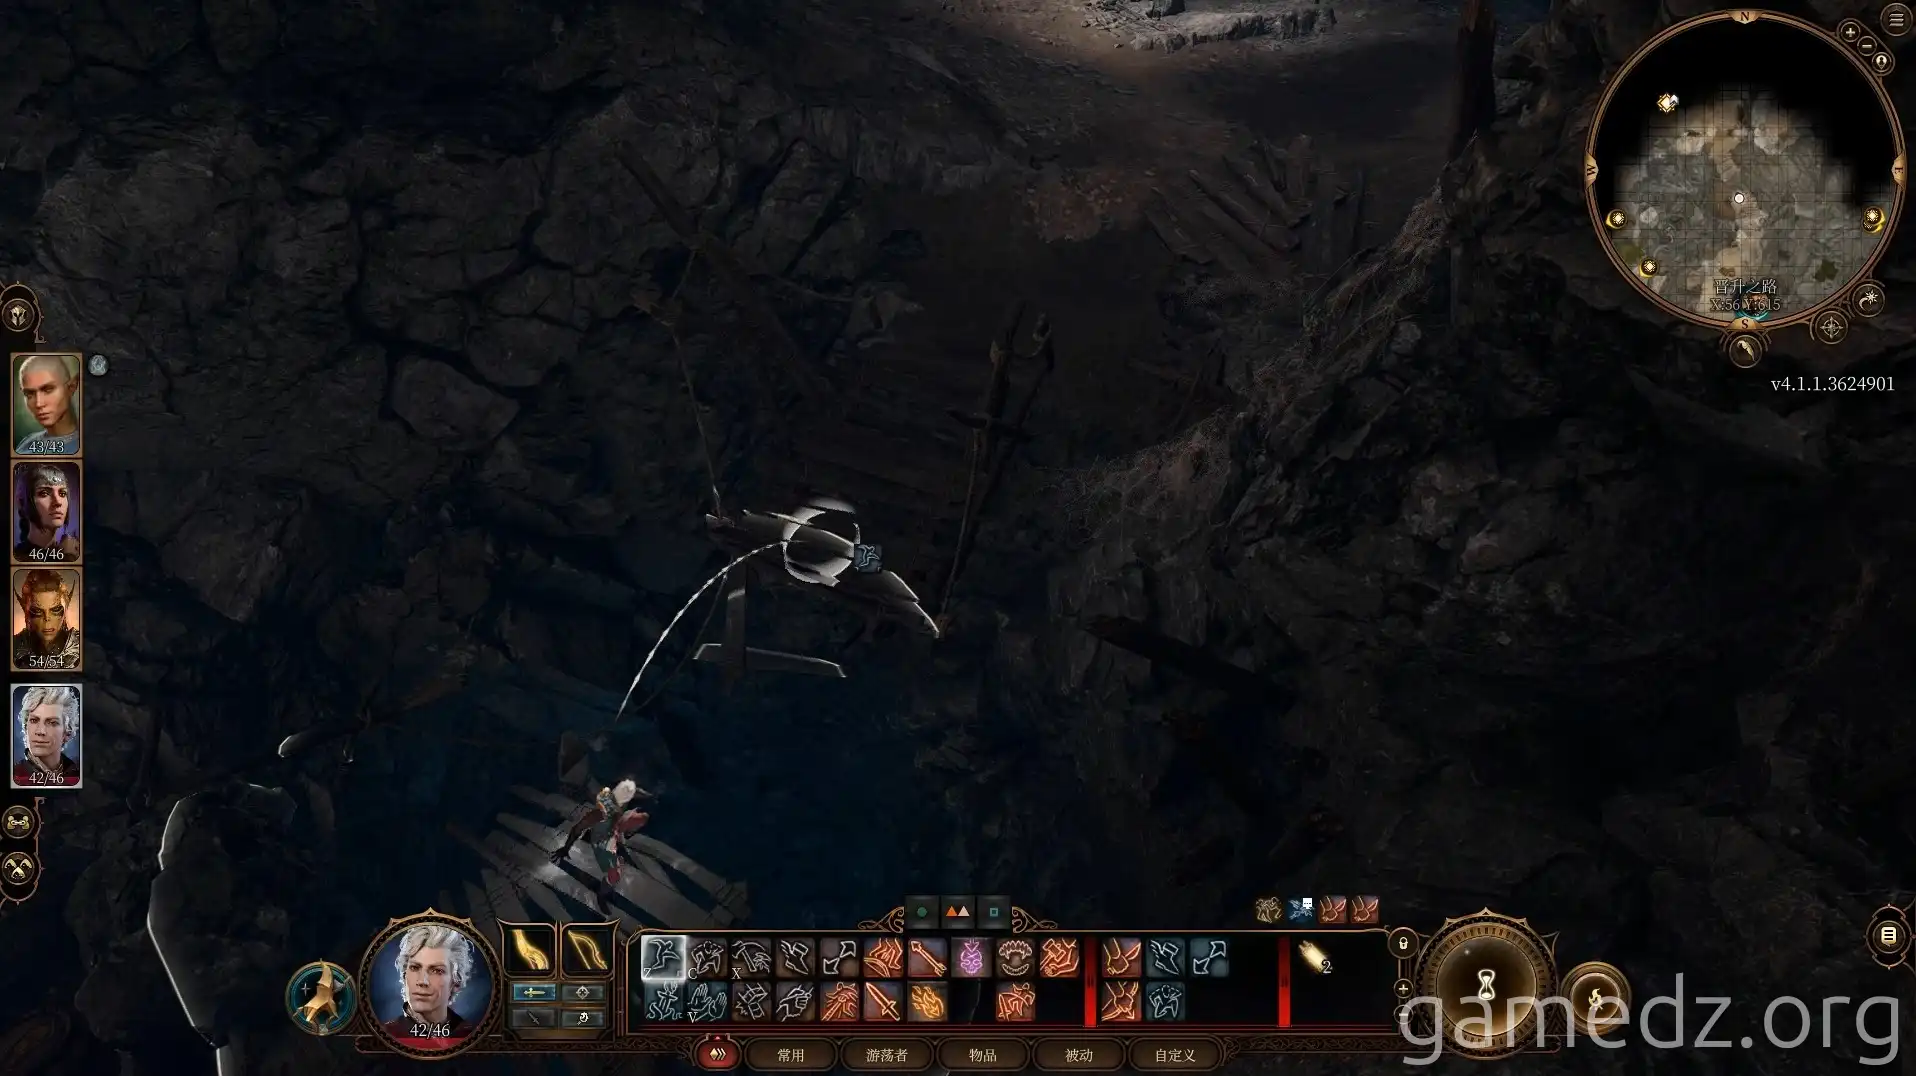
Inside the cave, you'll find the missing cargo. Stick close to the wall and, while the two guards are distracted by the gnolls outside, steal the chest directly.
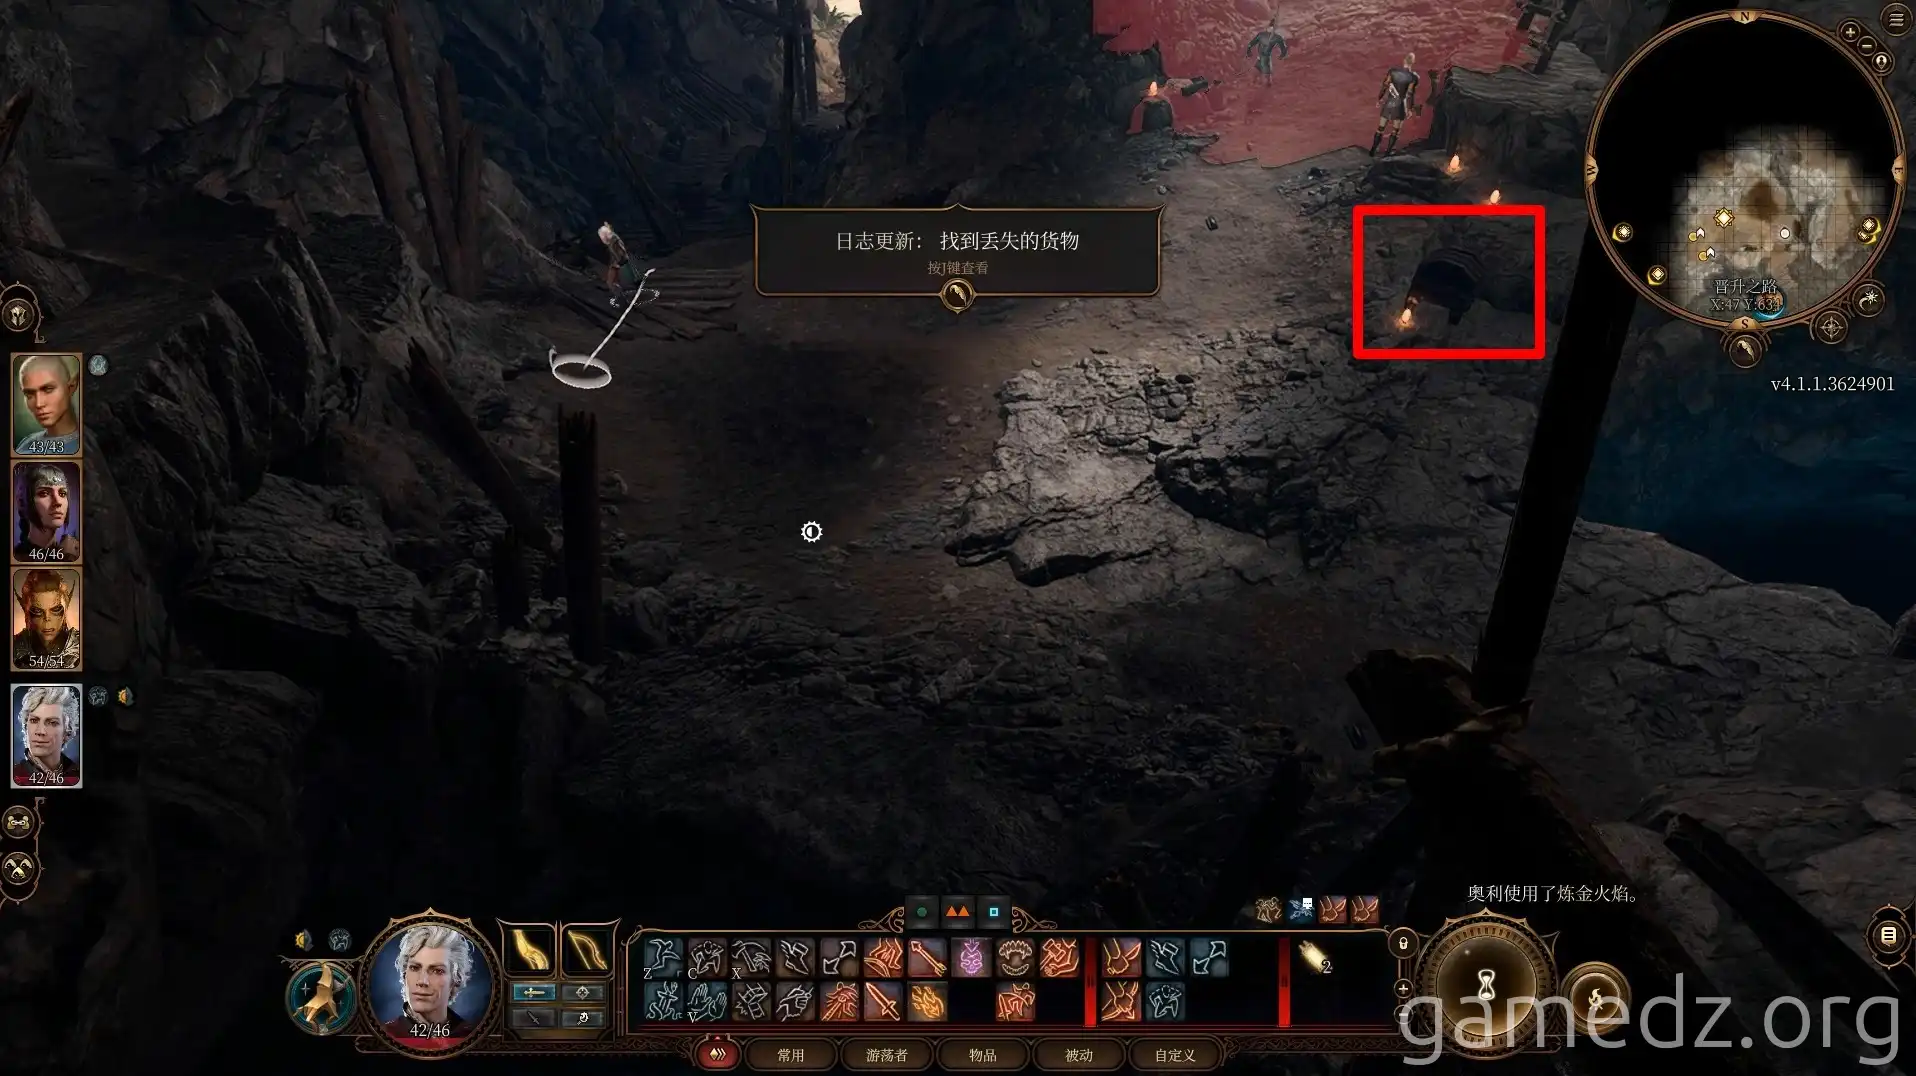
Afterward, move to the high ground to the north and make your escape.
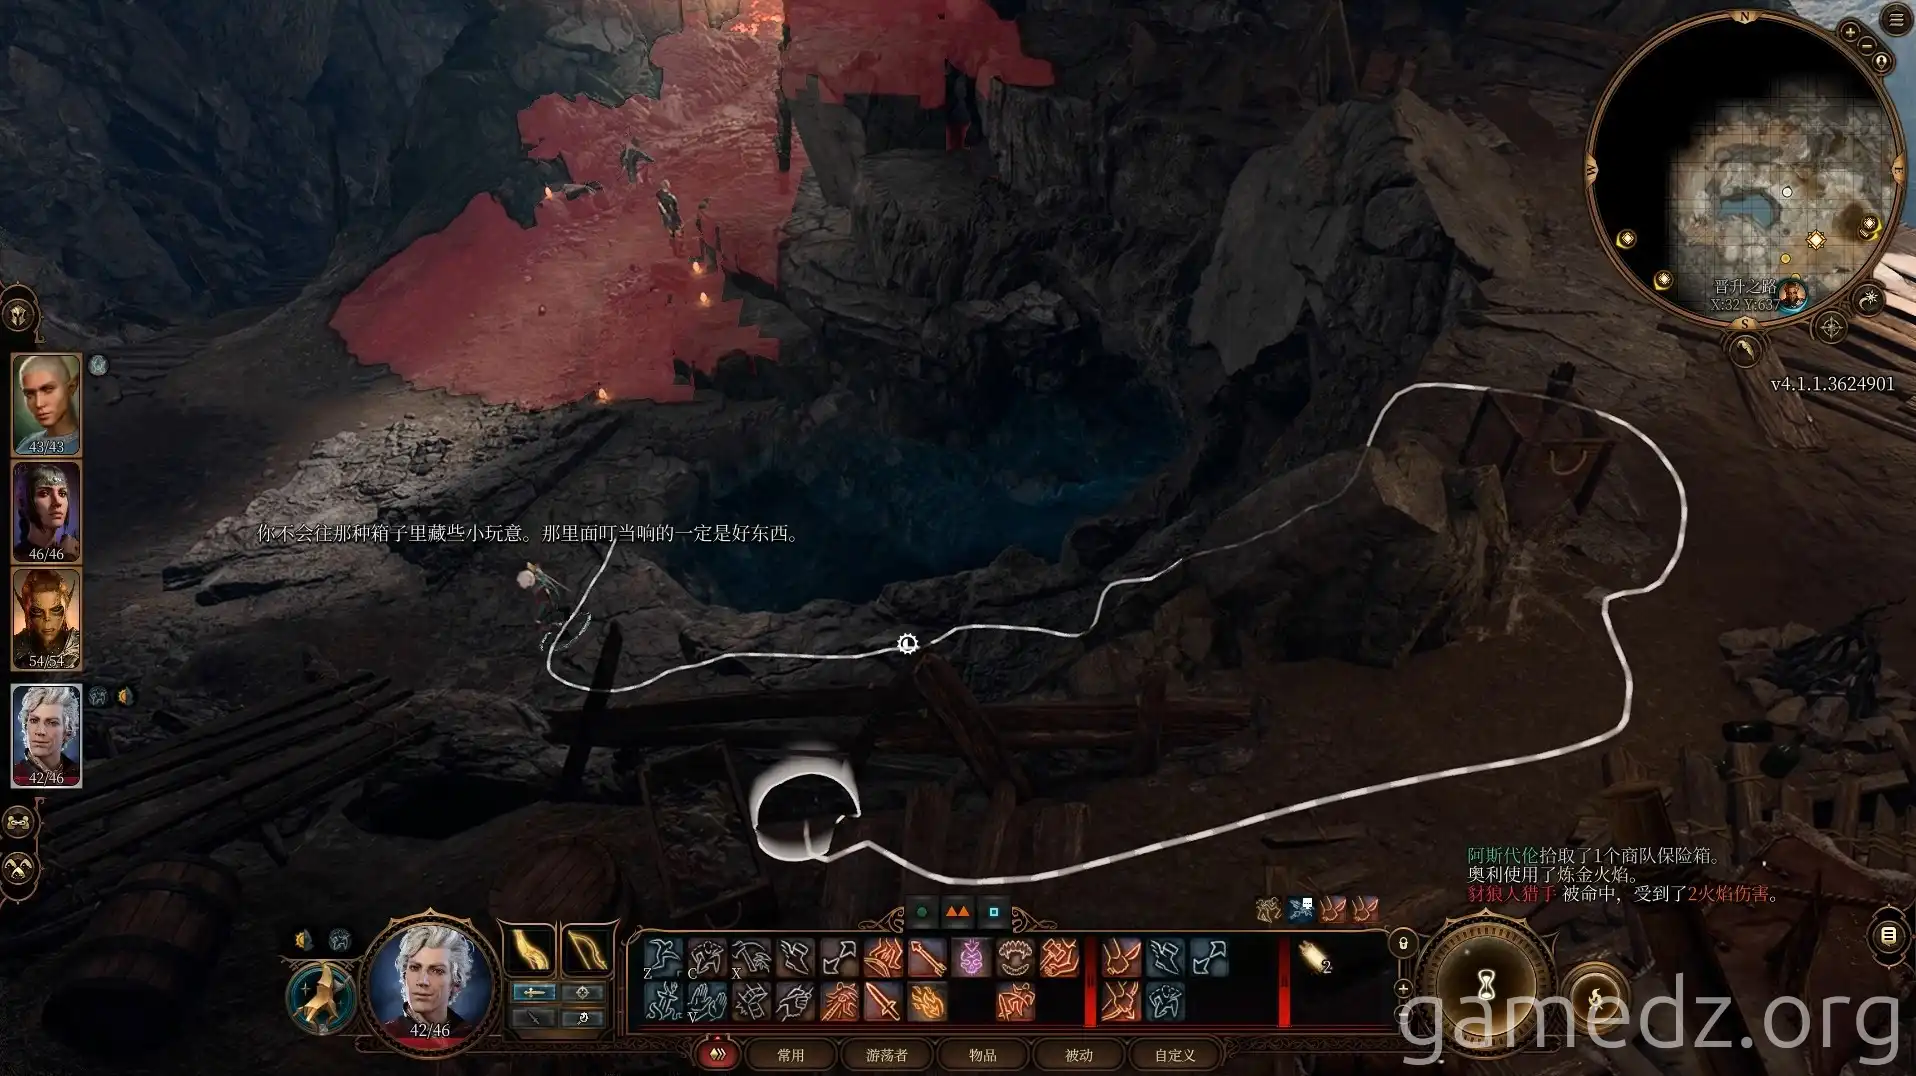
Switch your perspective to the remaining three party members. Reach the upper level via the stairs west of the cave entrance.
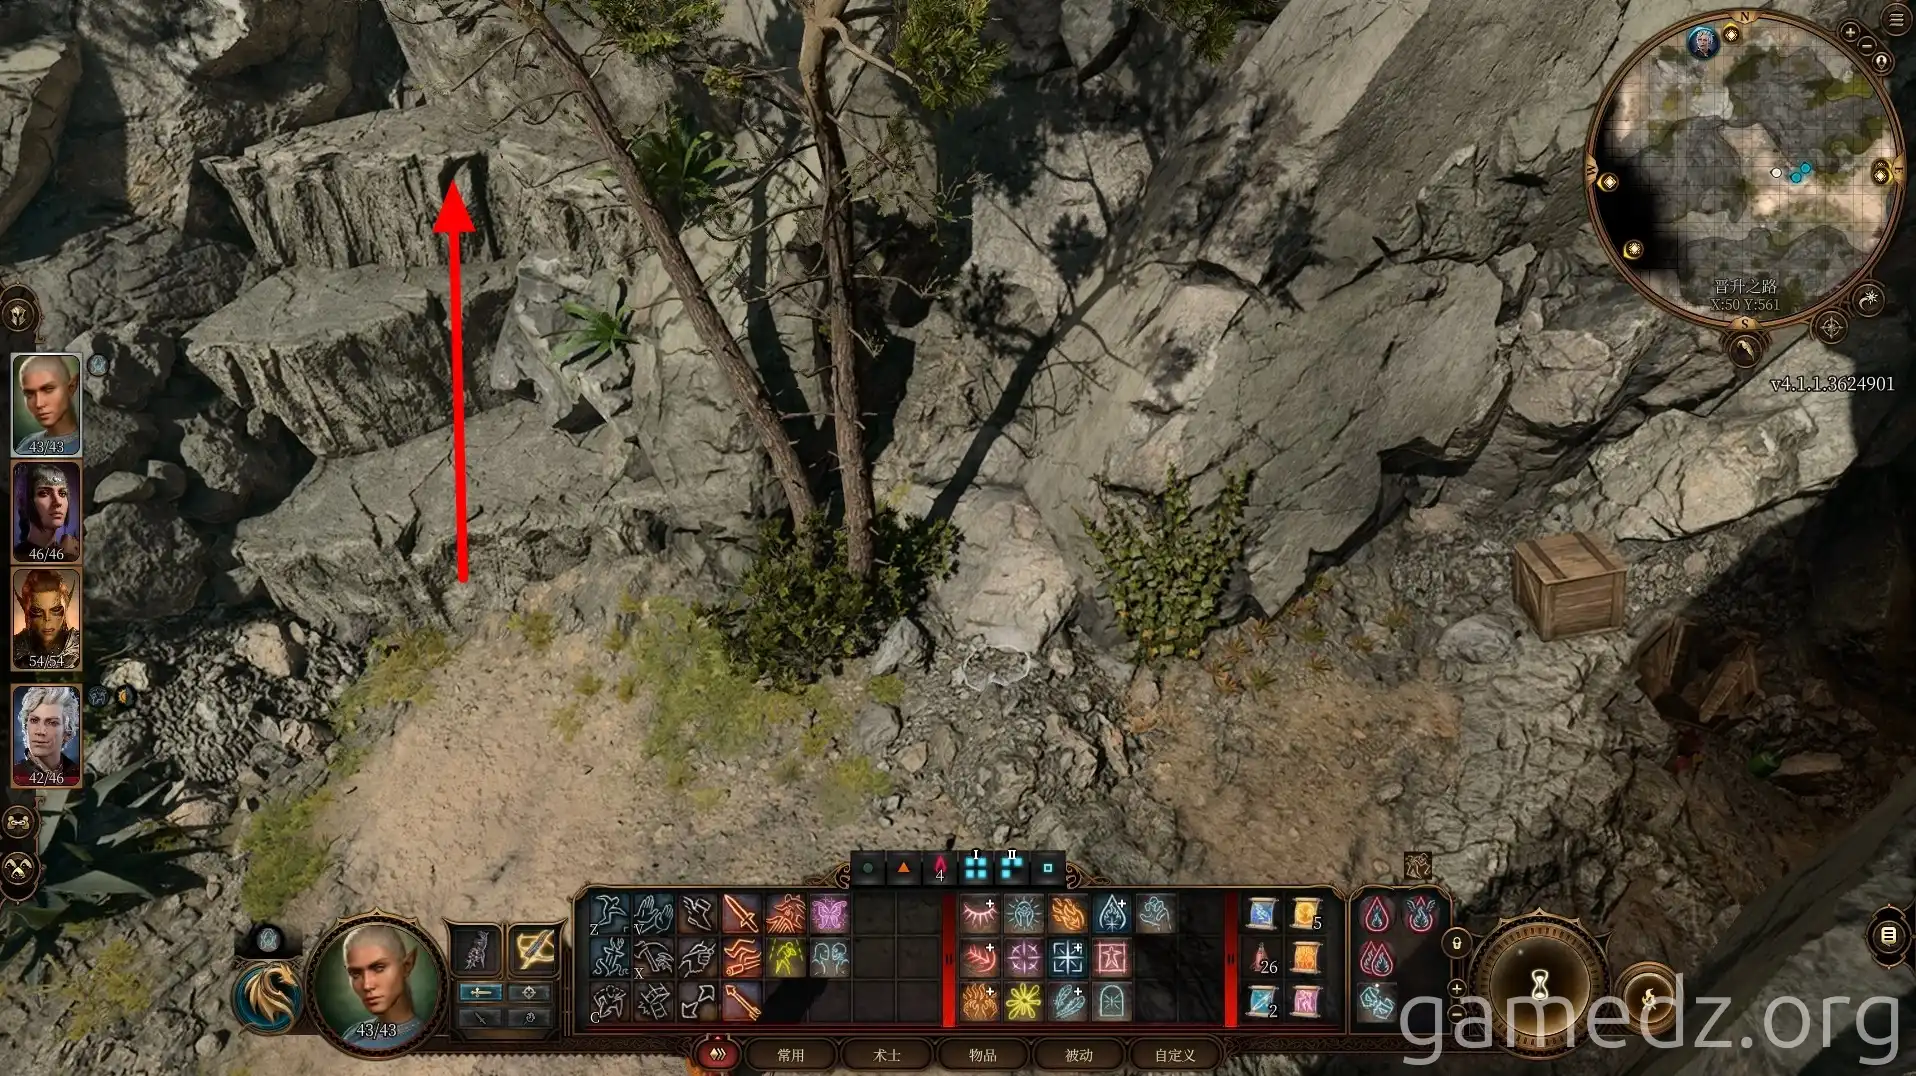
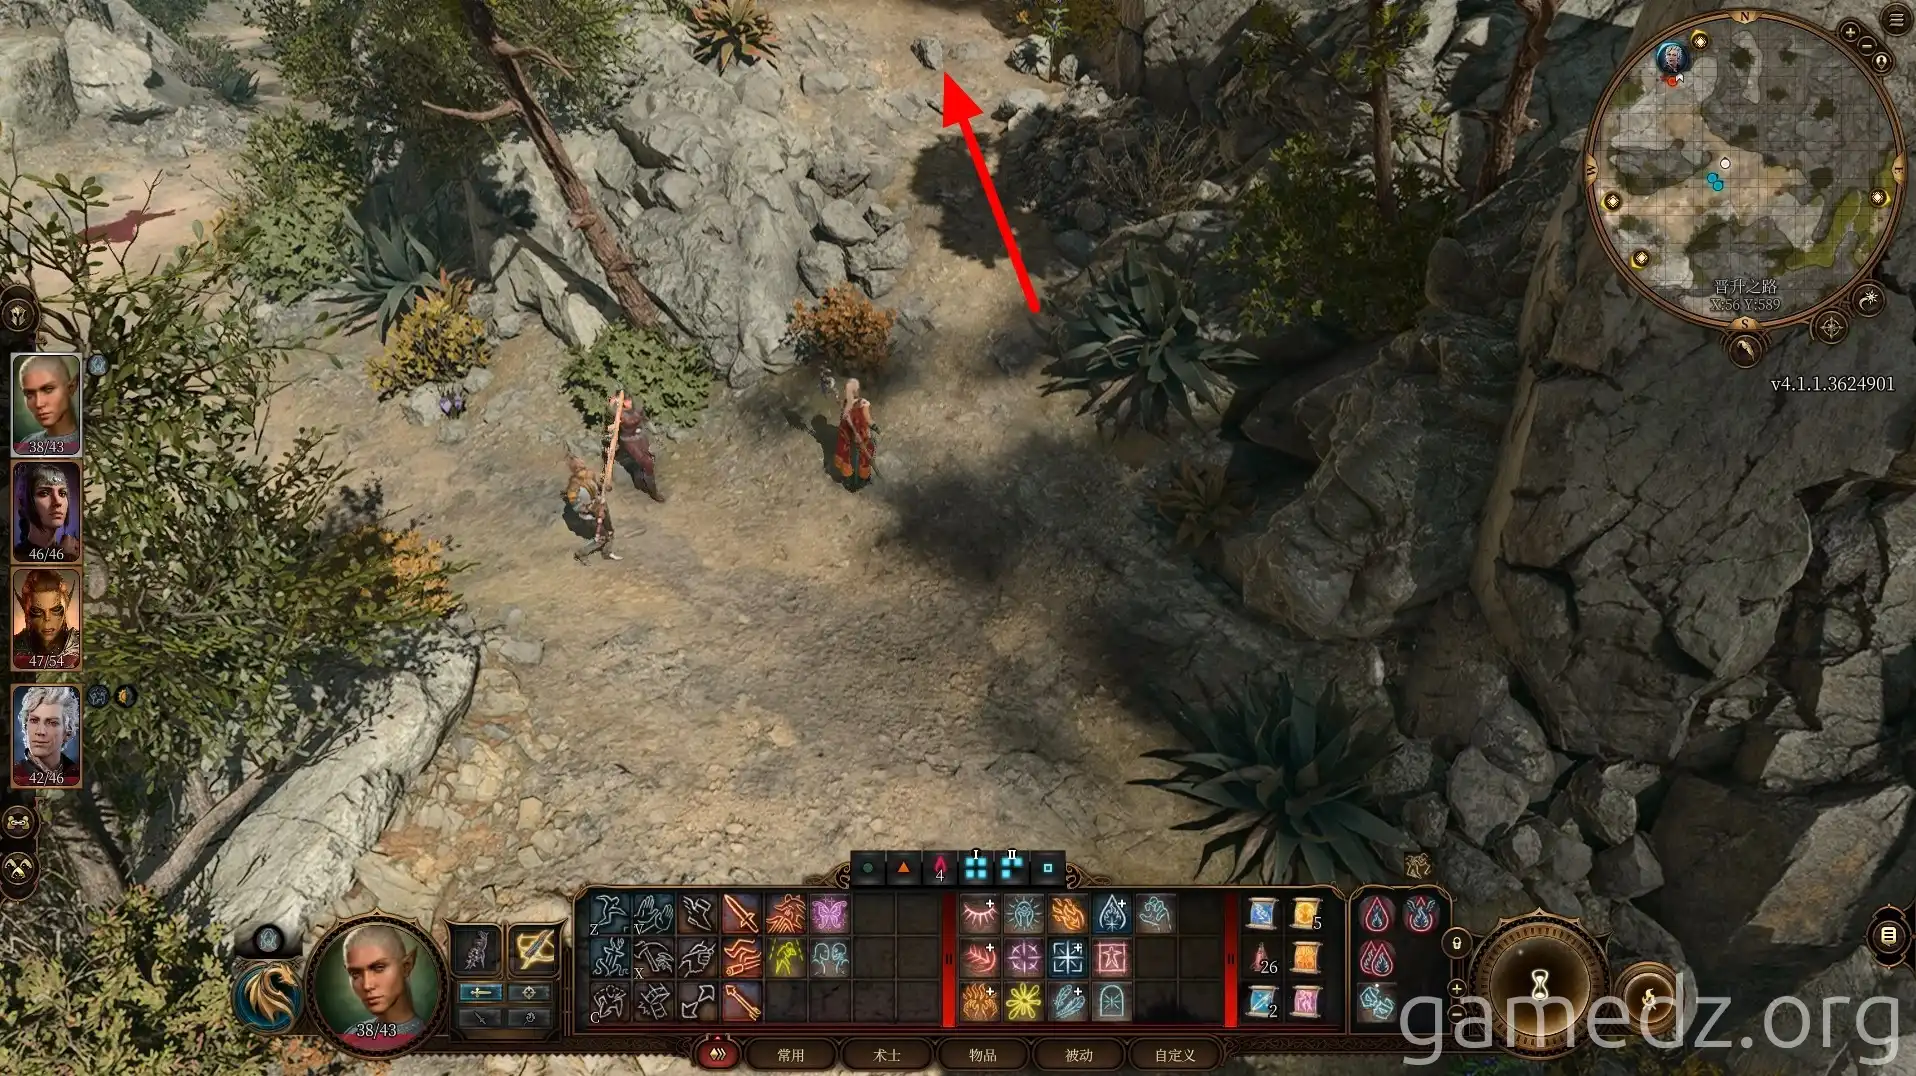
It's recommended to head directly to the location shown in the image below (coordinates: X: 56, Y: 589). This will draw the attention of the gnolls as you proceed along the ramp, saving the lives of the two guards in the cave. Alternatively, you can directly speak with the gnoll leader and use your Illithid Tadpole powers to influence them. The first time will make them lead all gnolls to attack the cave guards. The second time will make them kill all other gnolls. The third time will make them commit suicide.
After defeating all the gnolls, speak with the guard Rugen. He will give you the passphrase for the tavern in the Grove of the Weeping Willow: "Short shadow, long snake." If you chose to use the gnoll leader to kill everyone, you can use the Speak with Dead spell to obtain this passphrase.
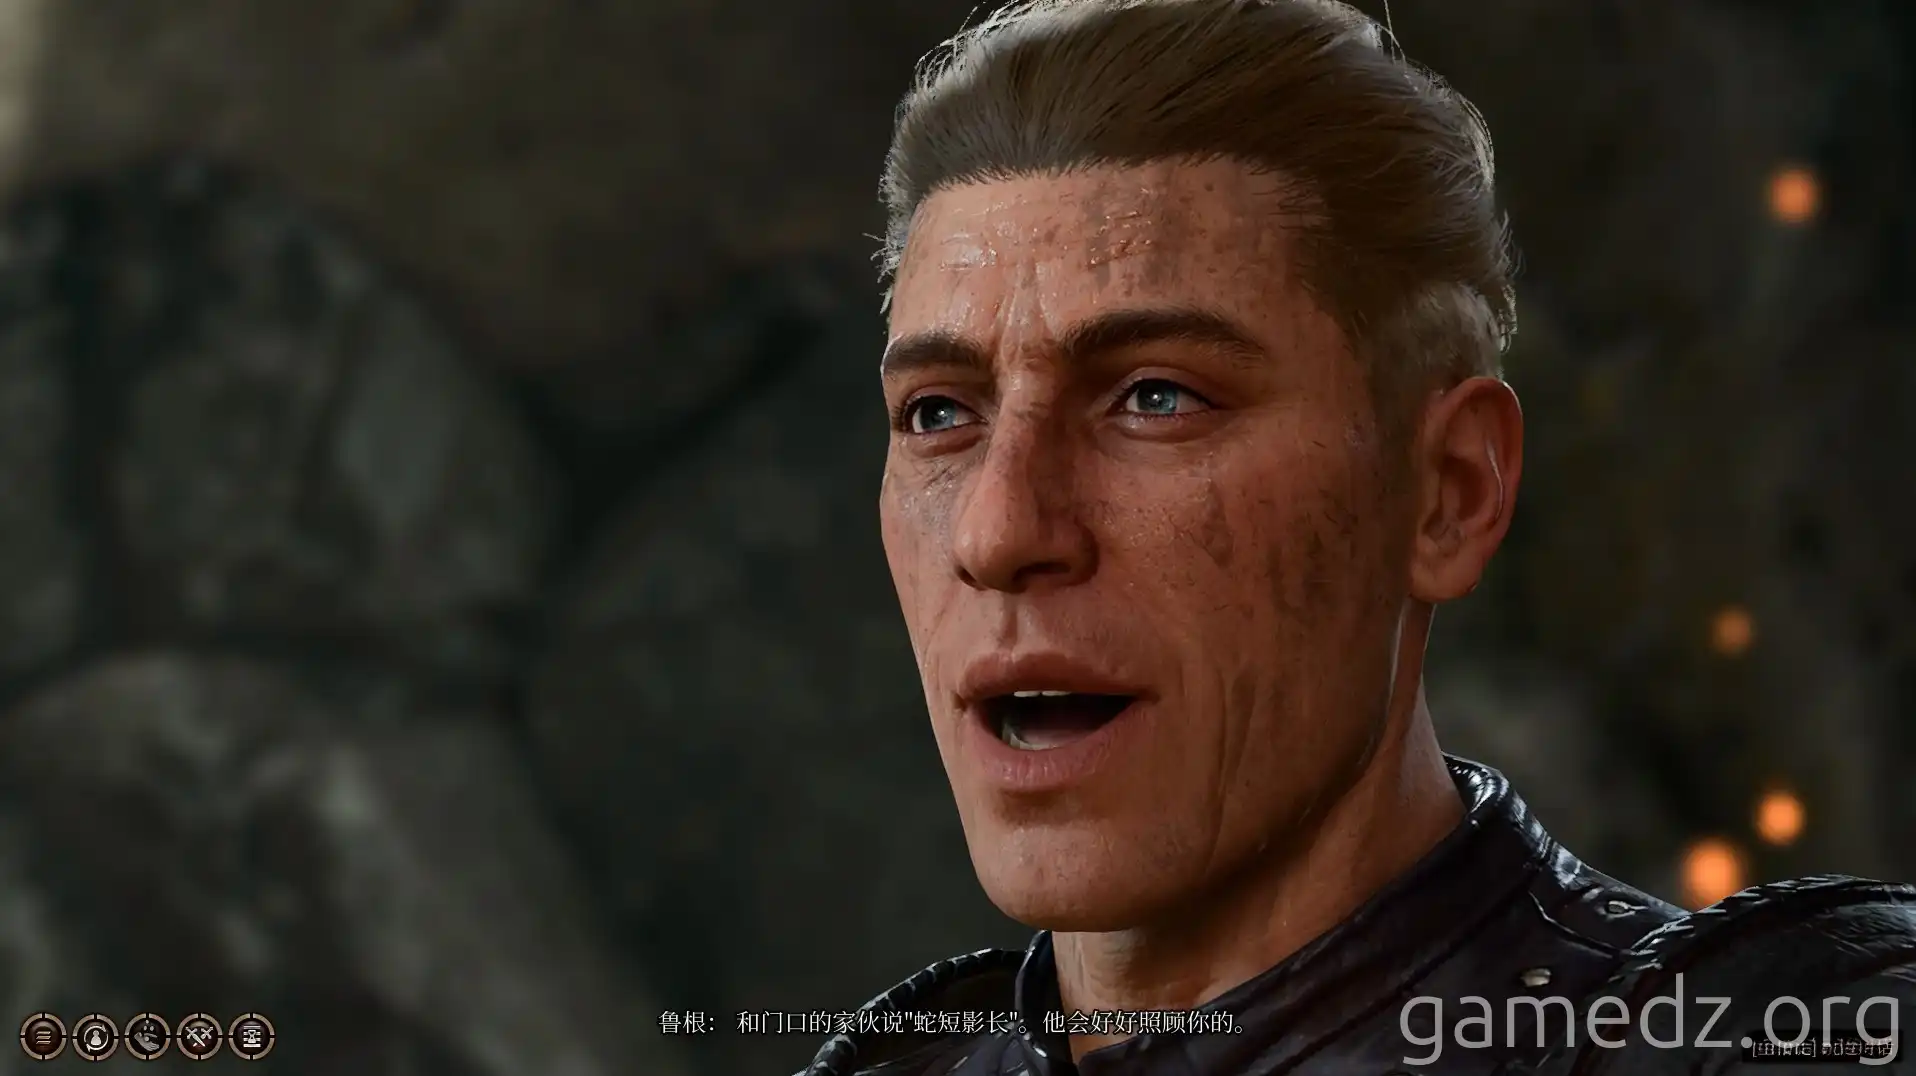
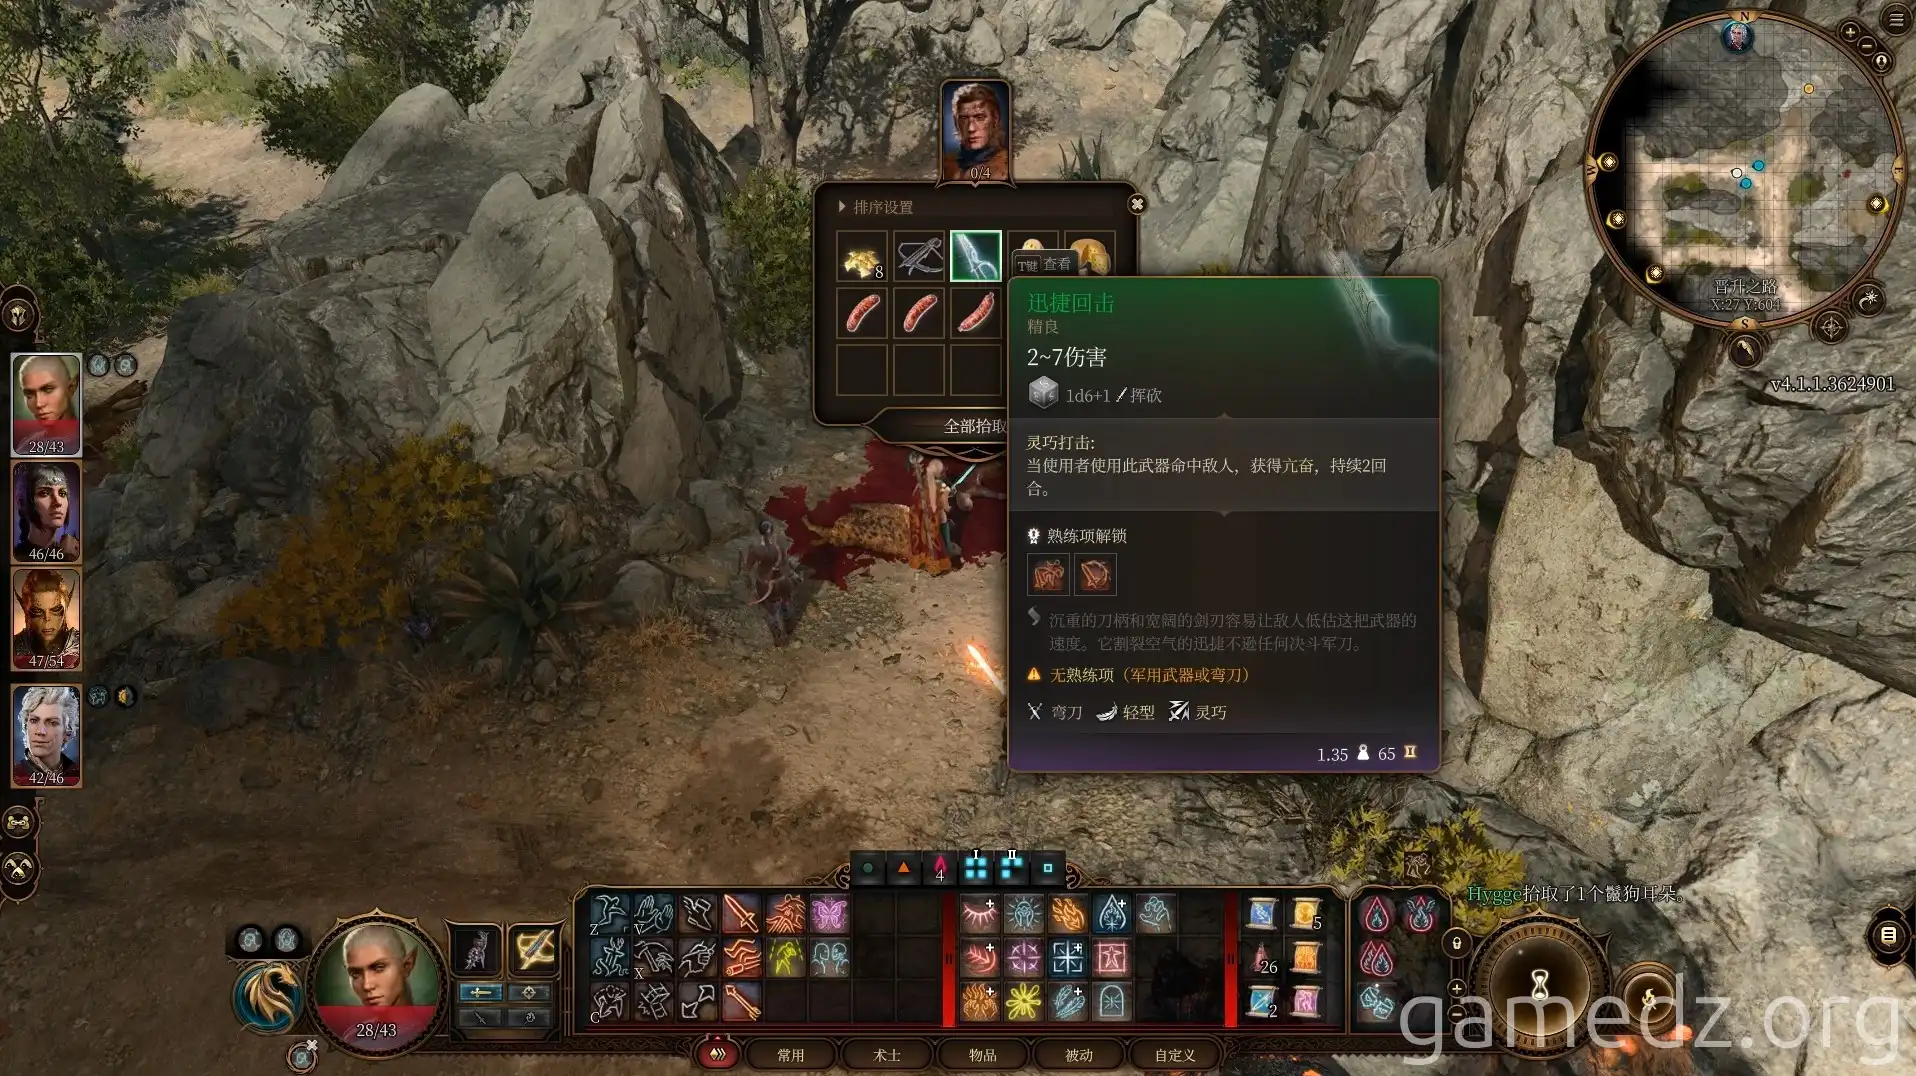
After the conversation, loot the battlefield. On the deceased scout outside the cave, you can find the "Swift Reply," a Fine weapon.
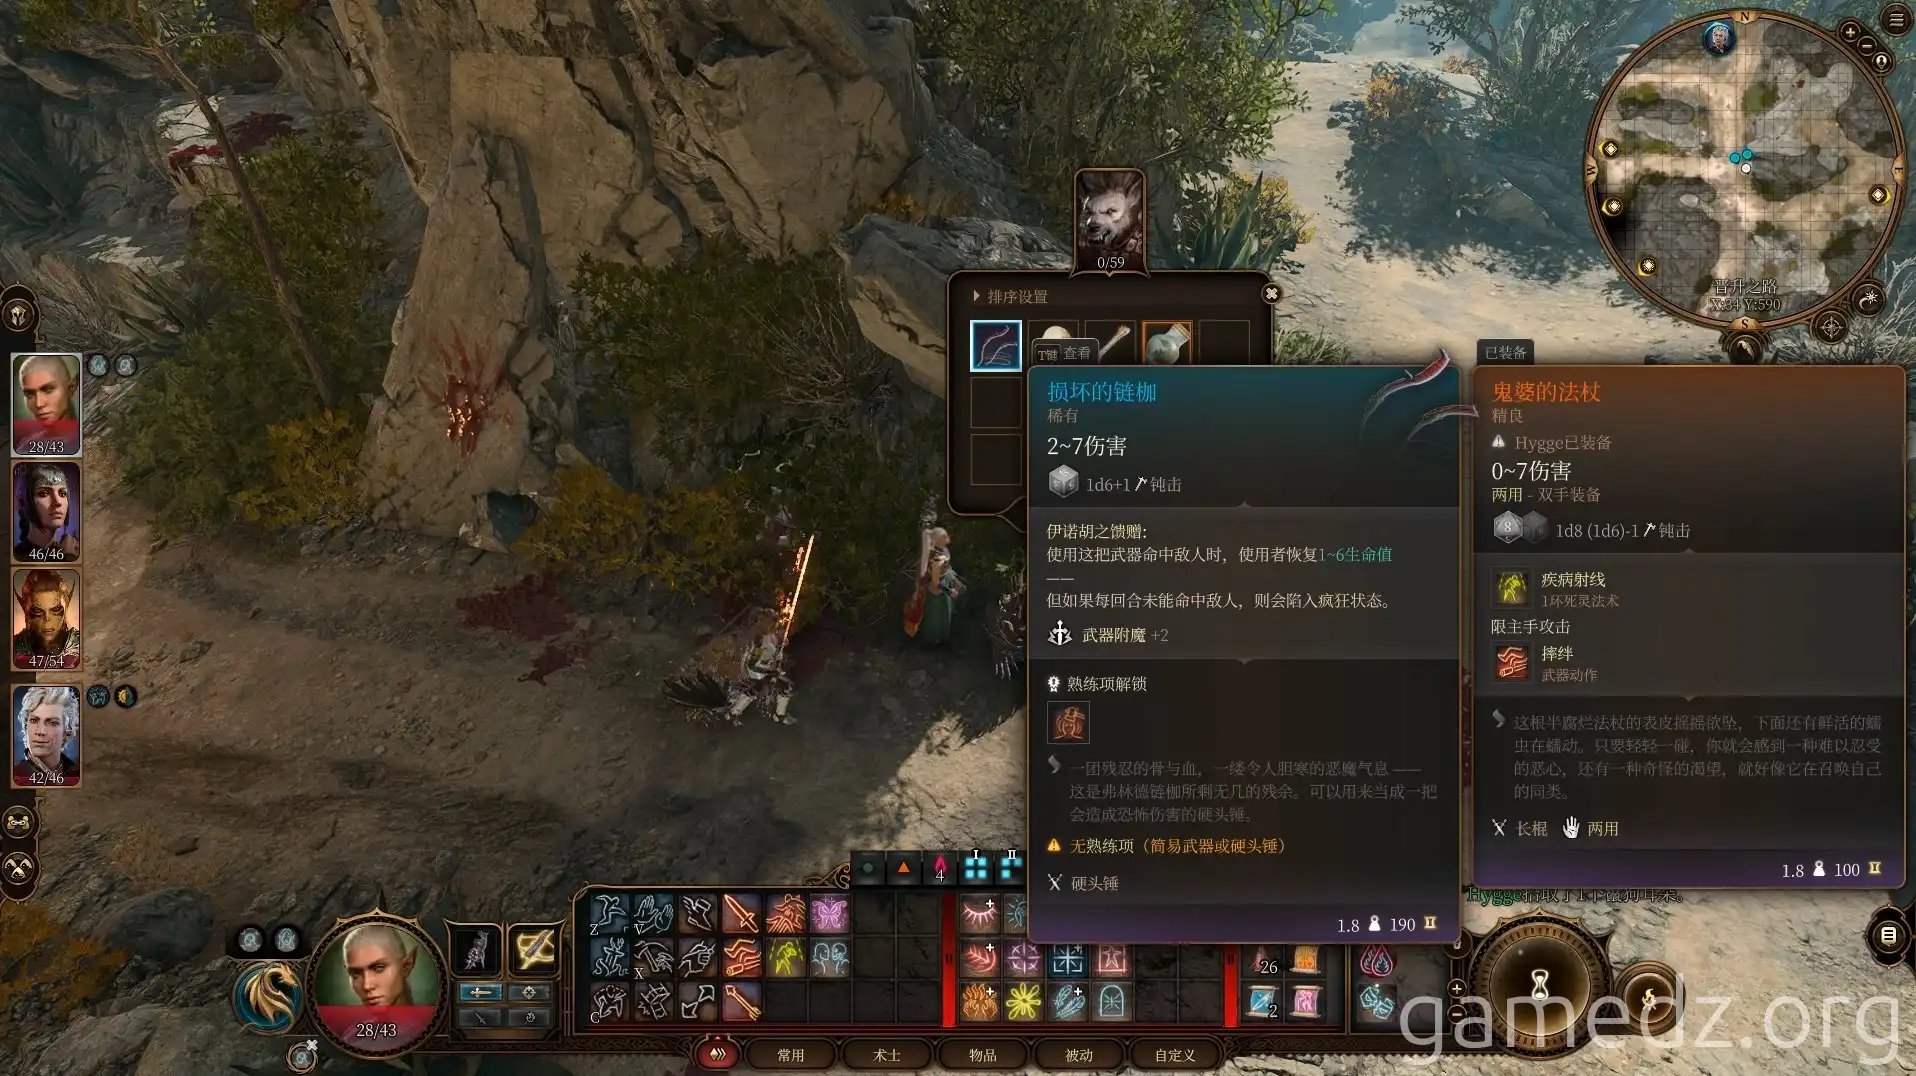
On the gnoll leader, you can find the "Broken Flail," a Rare weapon, and an Illithid Parasite specimen.
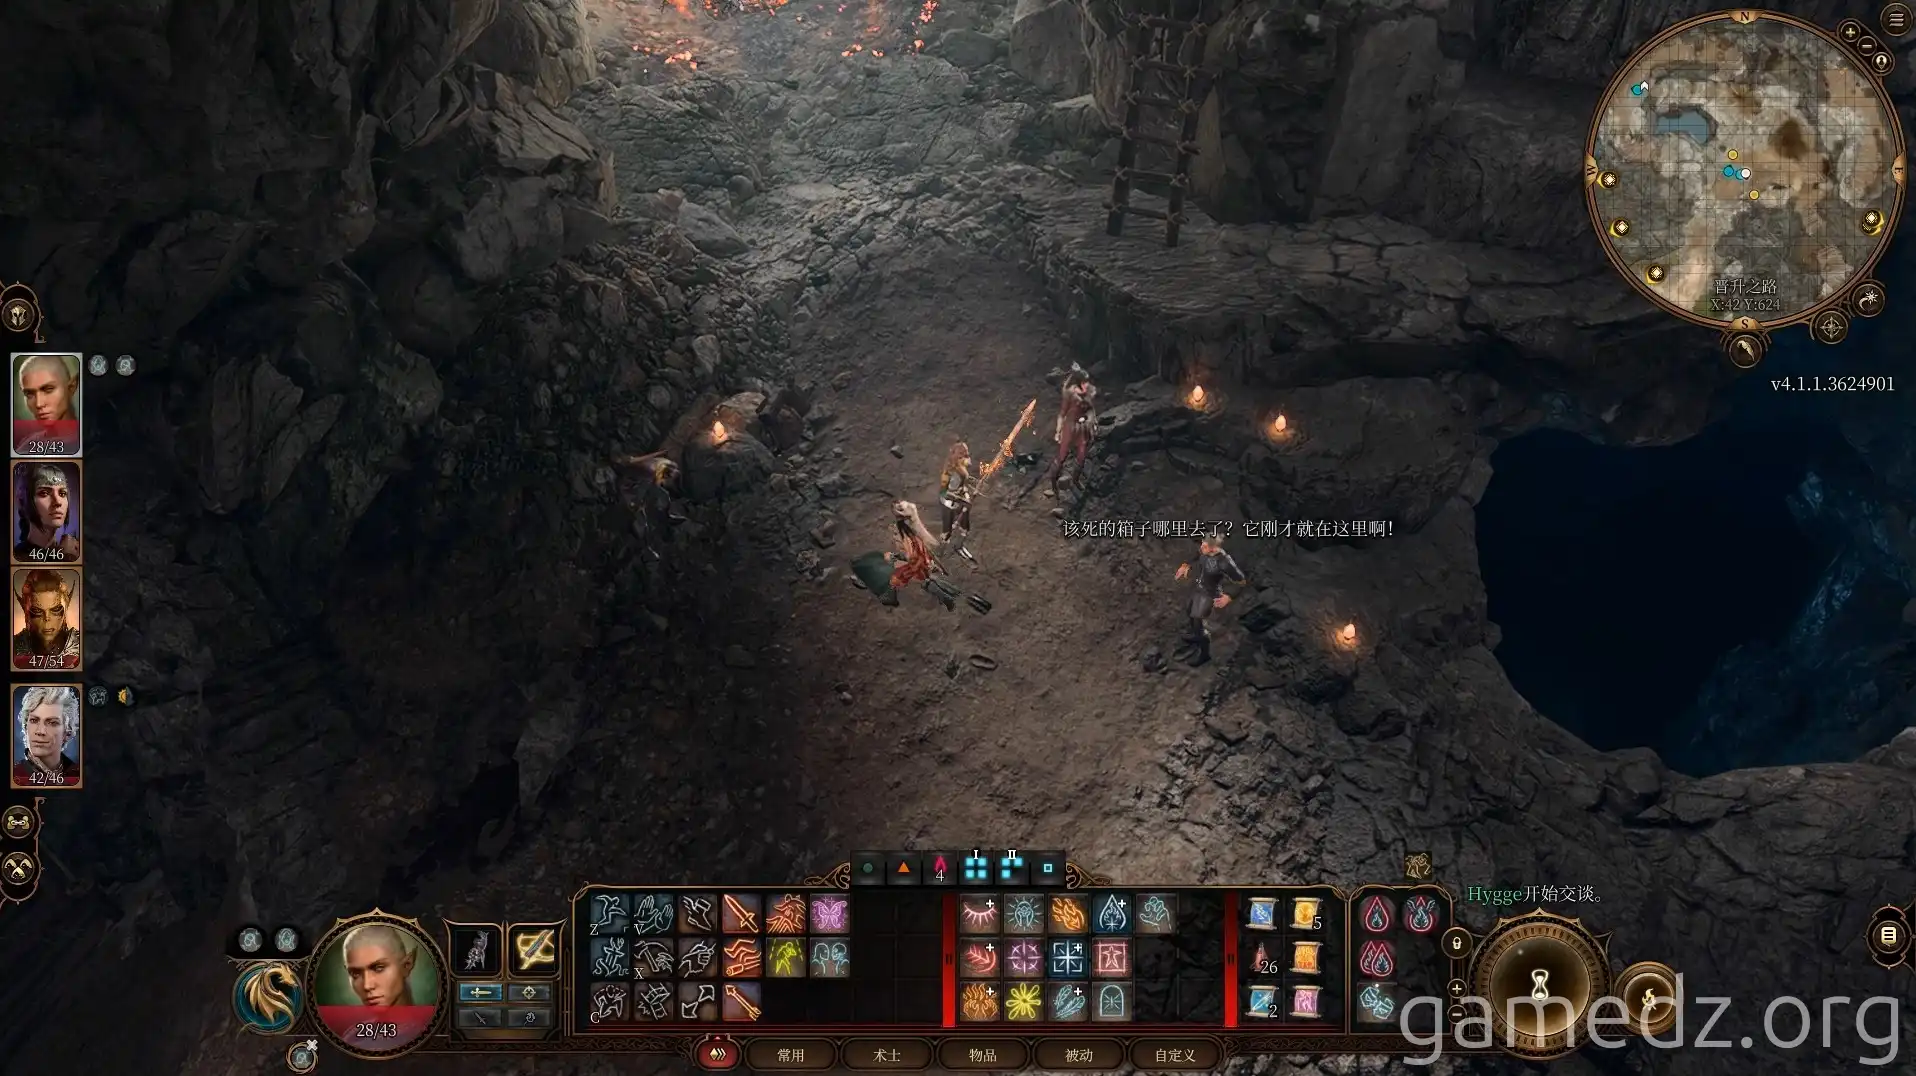
Return to the cave to regroup with Astarion. At this point, the guards will notice the chest is missing, but what does that have to do with you?
Inside the chest is a special item: the "Iron Flask."
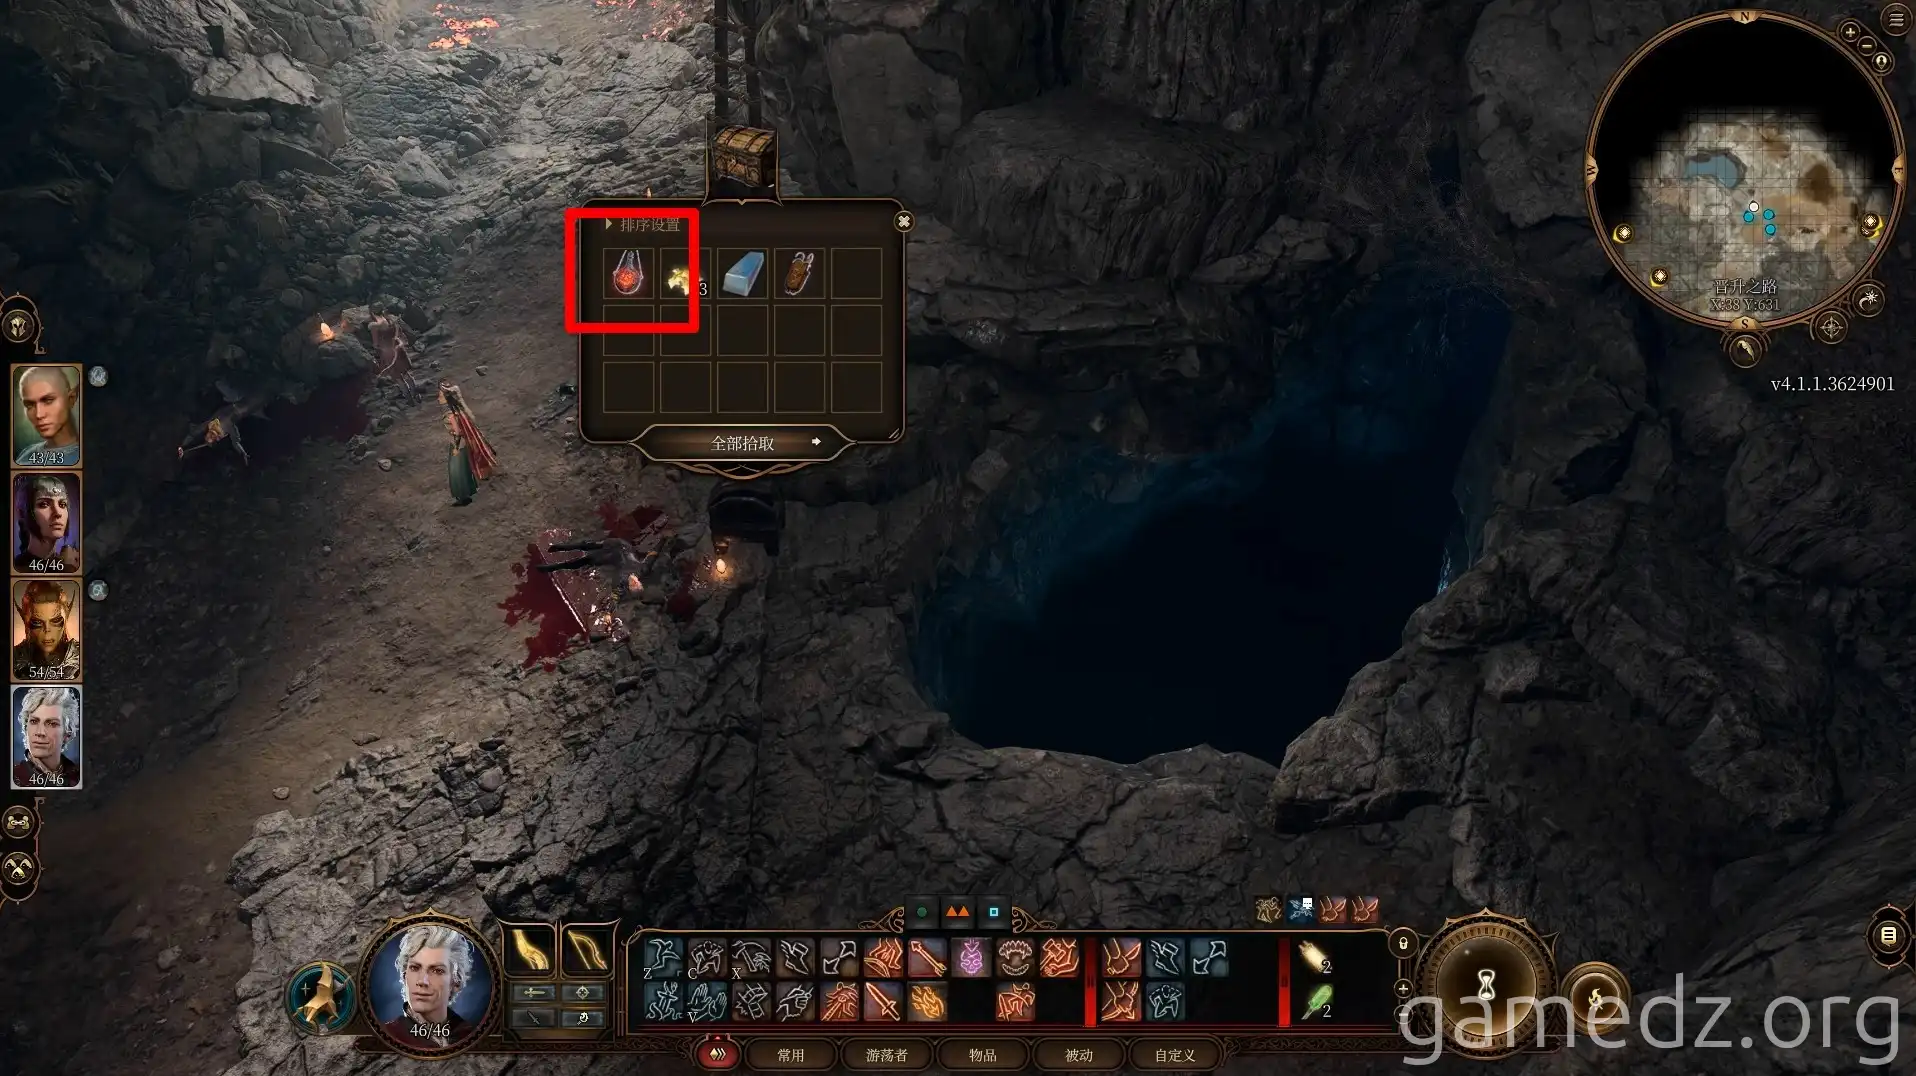
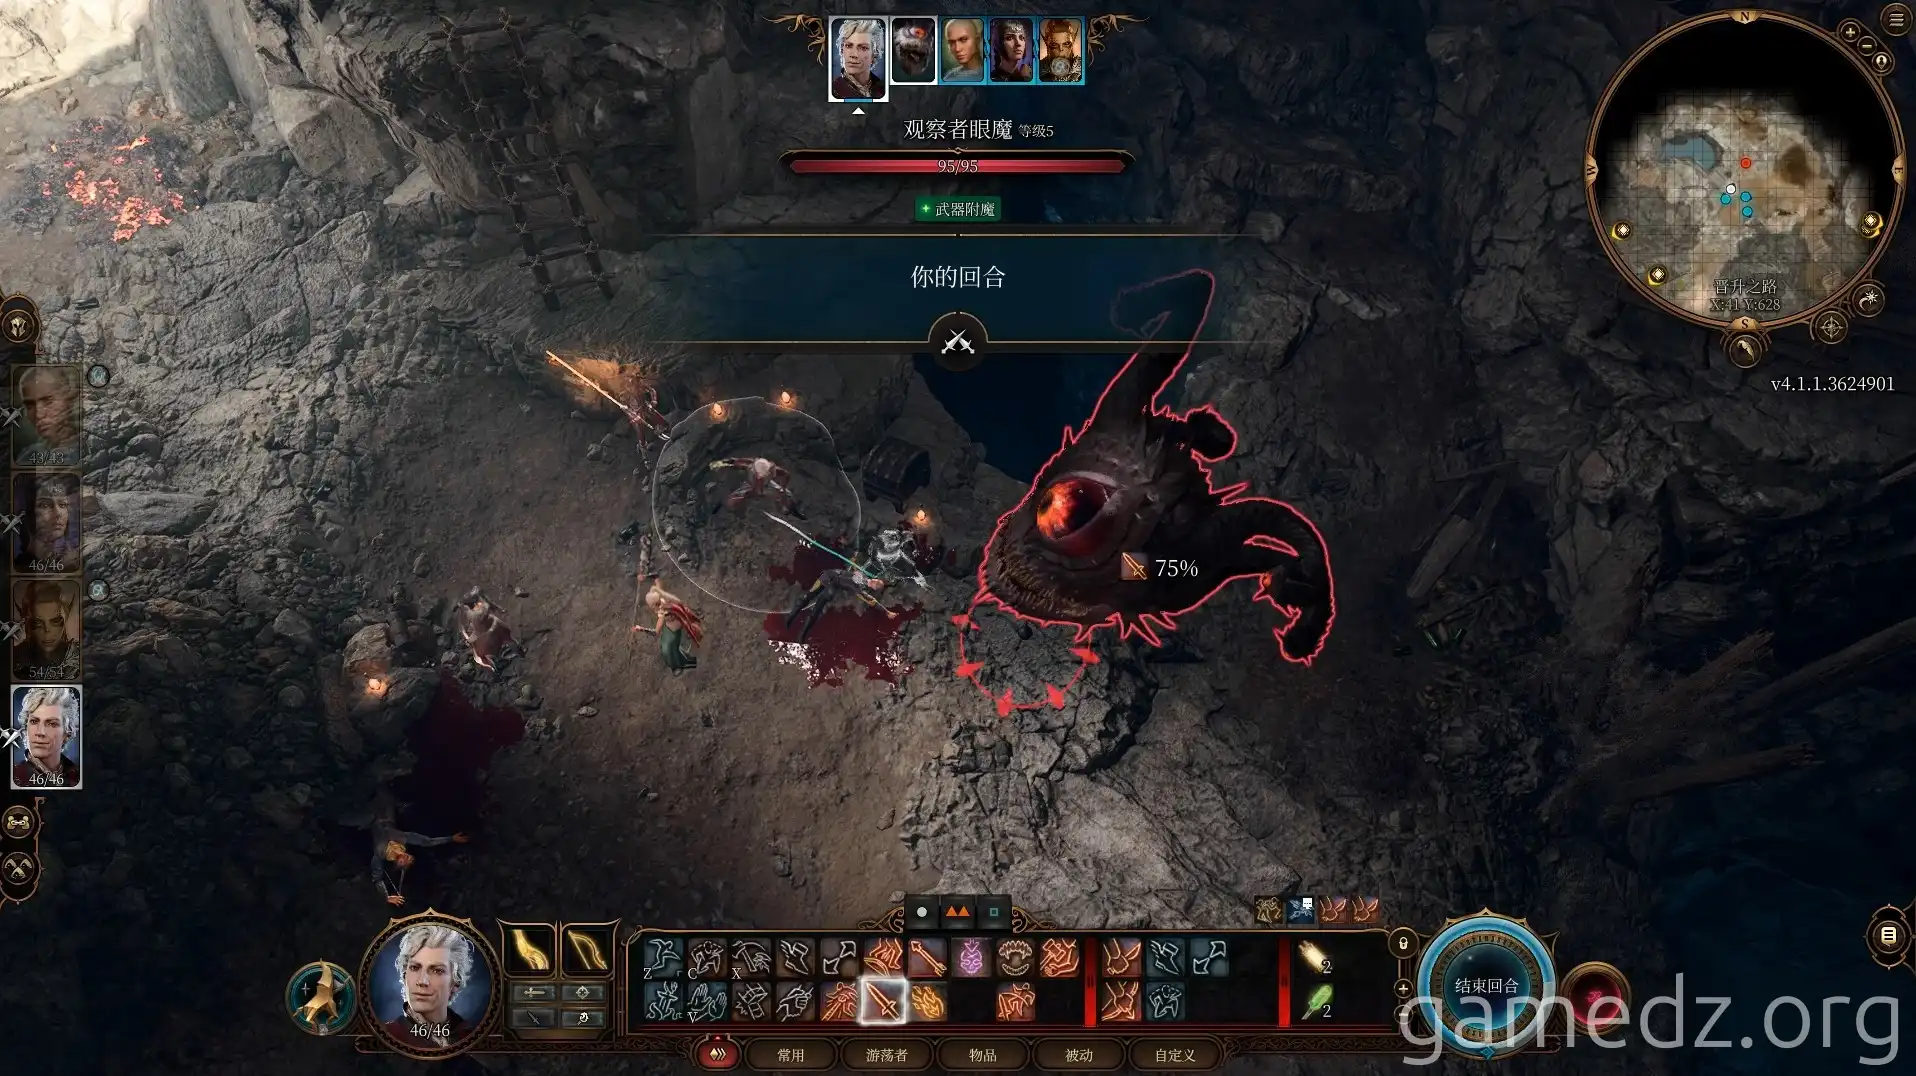
When you throw the Iron Flask, a Level 5 Spectator will appear. It drops nothing after the fight. Therefore, it's recommended to steal the chest but not open it, preparing to turn in the complete chest later to fulfill the quest.
Since you expended a lot of resources fighting the gnolls, it's advisable to take a Long Rest.
At night, a cutscene will trigger. Because Will abandoned his pursuit of Karlach, he is punished by his master, Mizora, growing demonic horns on his head.
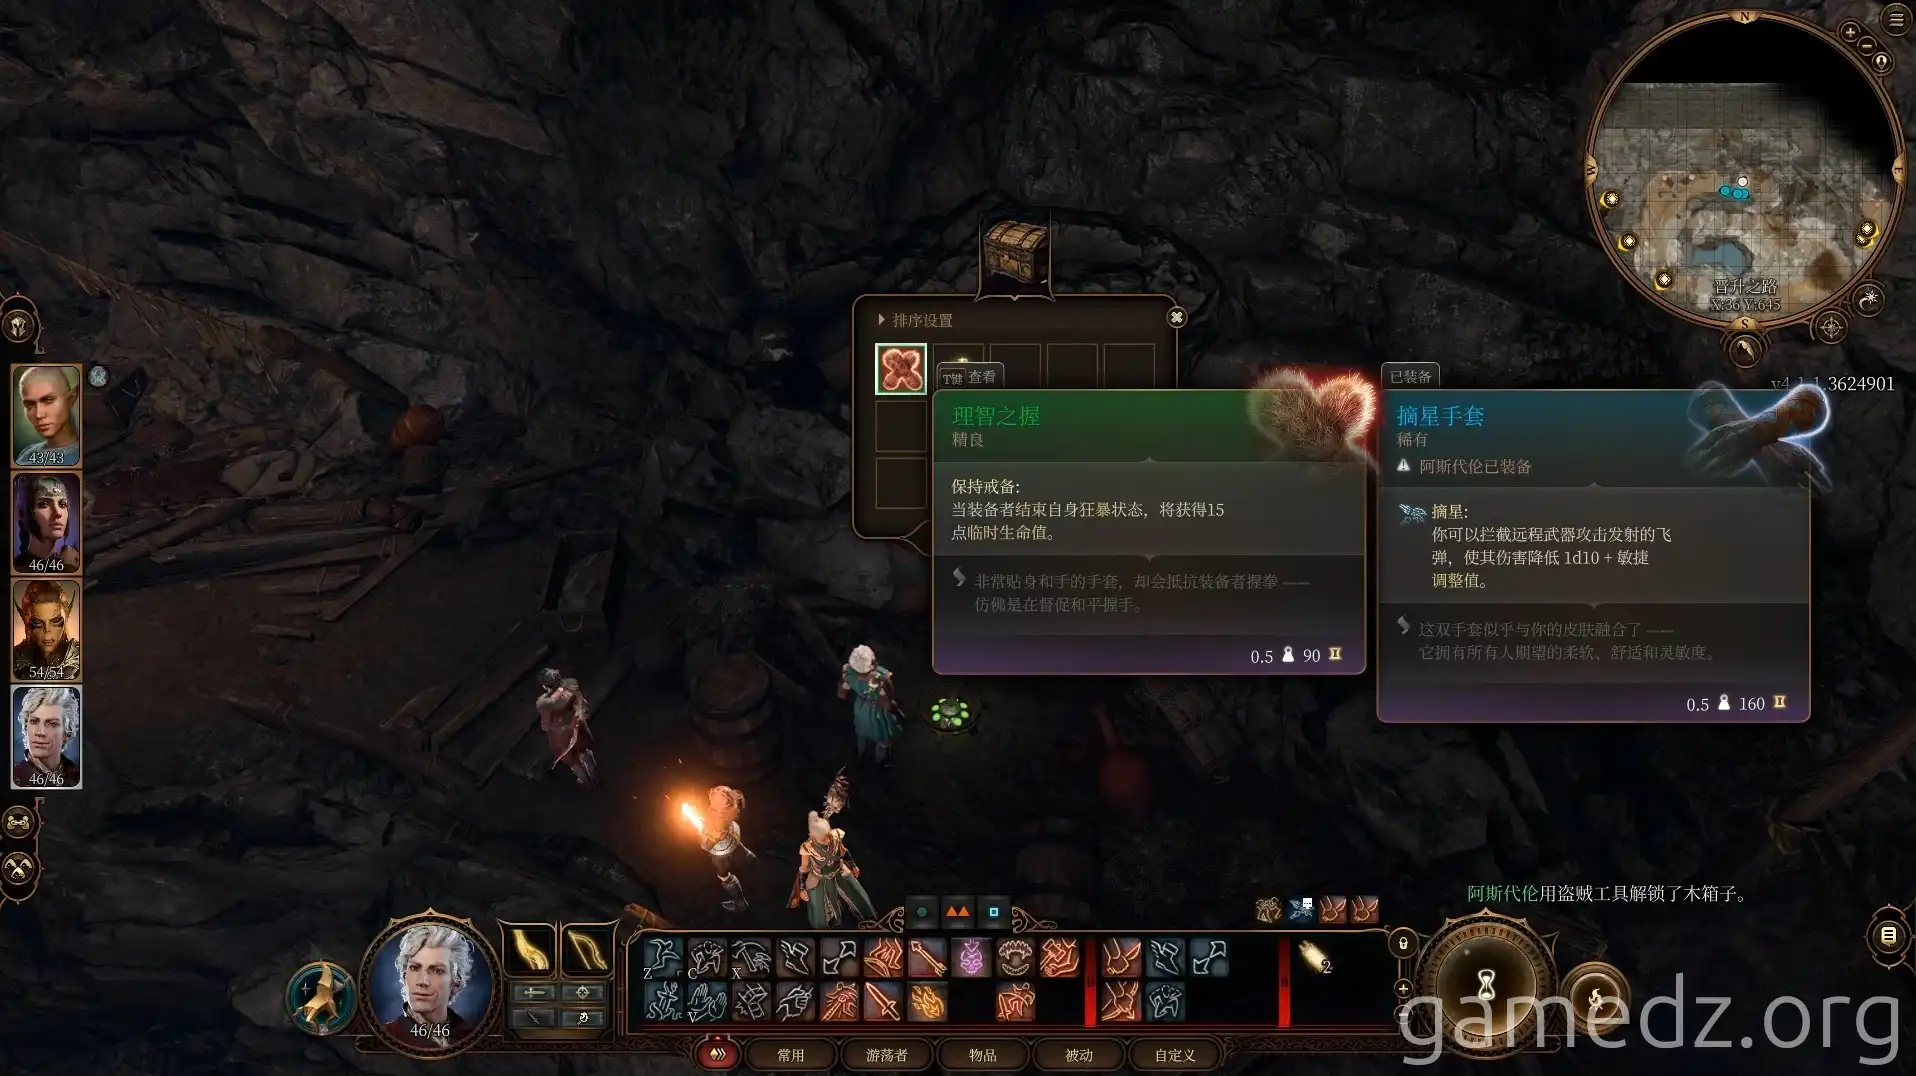
After your Long Rest, you can find a makeshift camp north of the cave where you stole the chest. Inside a chest at the camp, you can obtain the "Grasping Hand of the Master," a Fine piece of equipment.
Then, take Karlach to the blacksmith Dammon in the Emerald Grove. Using the "Hellfire Iron" material you acquired in the Blighted Village, you can perform maintenance on Karlach's Infernal Engine.
Dammon mentions he's heading to Baldur's Gate, and you'll encounter him again elsewhere later.
During combat, using a Soul Coin on Karlach can activate her Infernal Engine's power, granting a damage-boosting buff that lasts until your next Long Rest.
