
Baldur's Gate 3 Shadow-Cursed Lands: Full Map & Loot Guide
Explore the Shadow-Cursed Lands in Baldur's Gate 3 with this comprehensive walkthrough. Discover hidden loot, defeat enemies, and navigate the treacherous terrain.
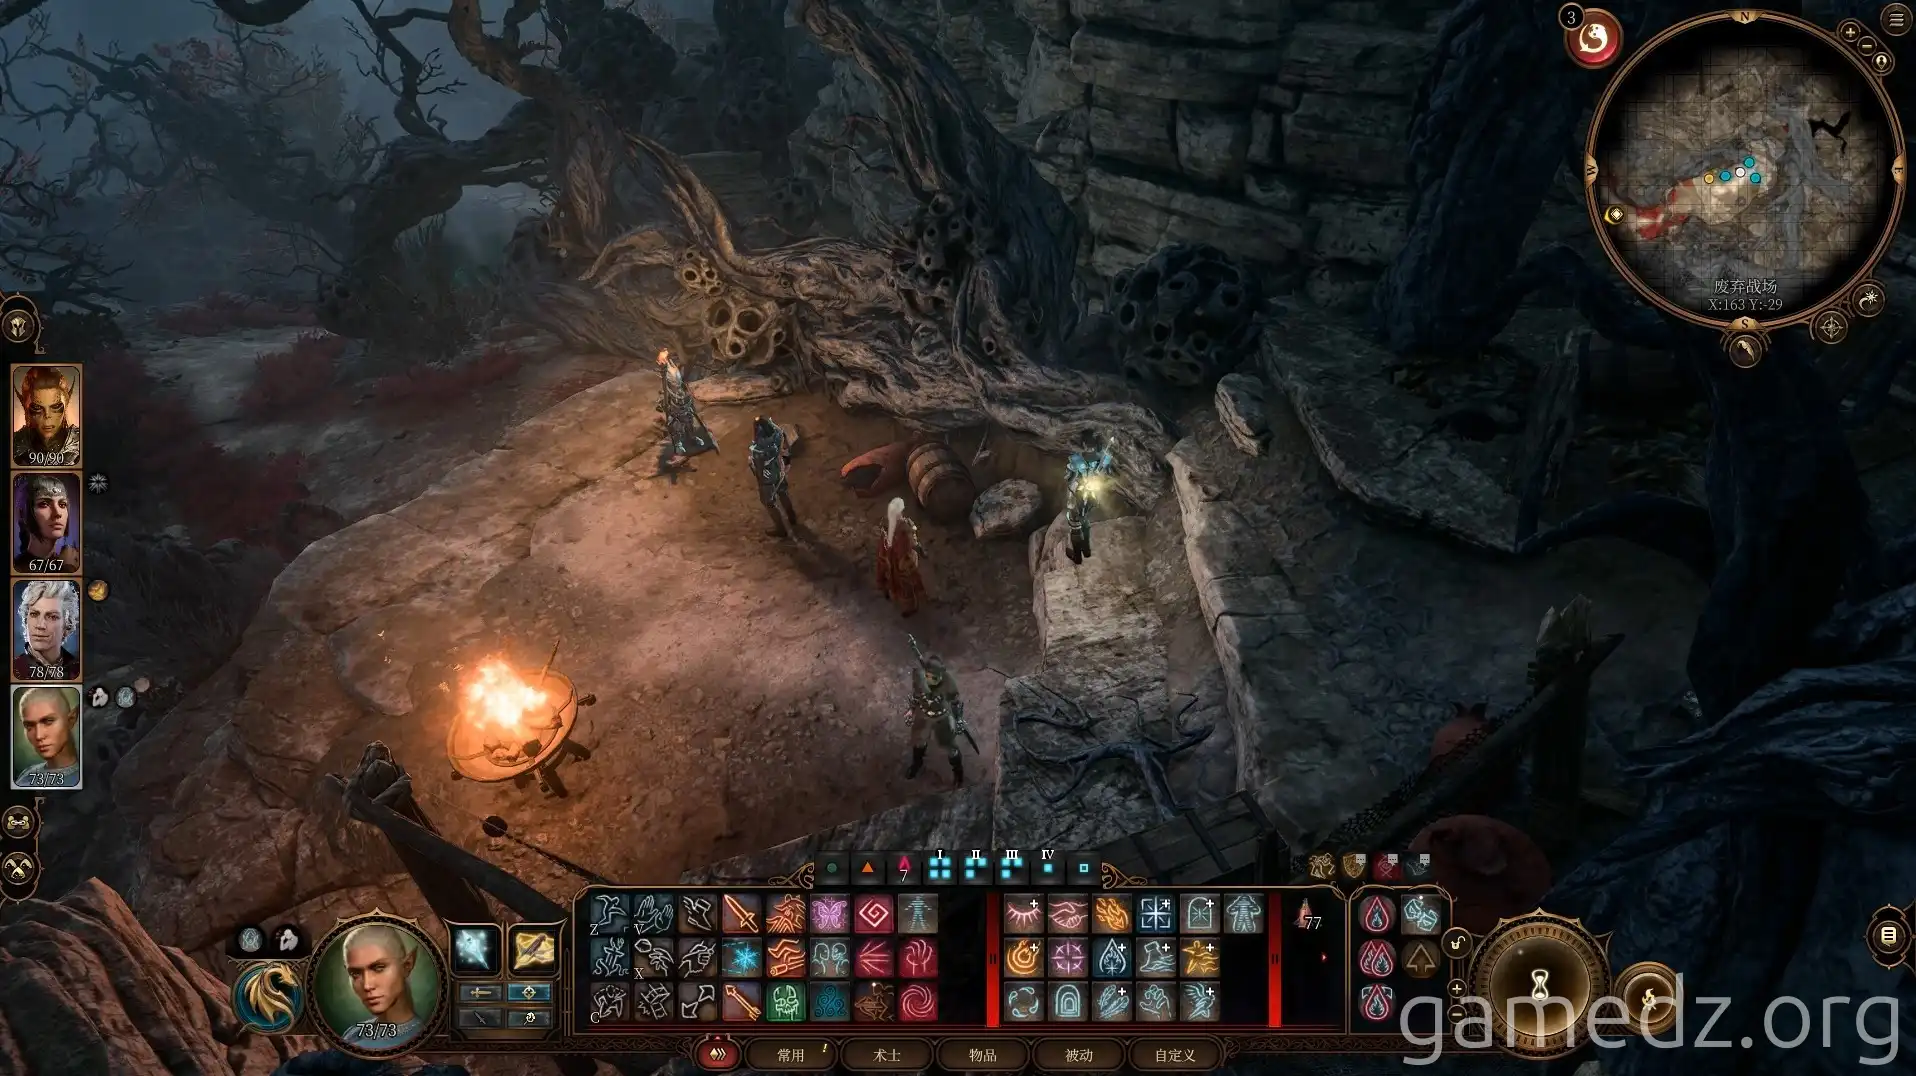
Upon entering the Shadow-Cursed Lands, a goblin will greet us. At this point, we need to light at least one torch to safely traverse the area.
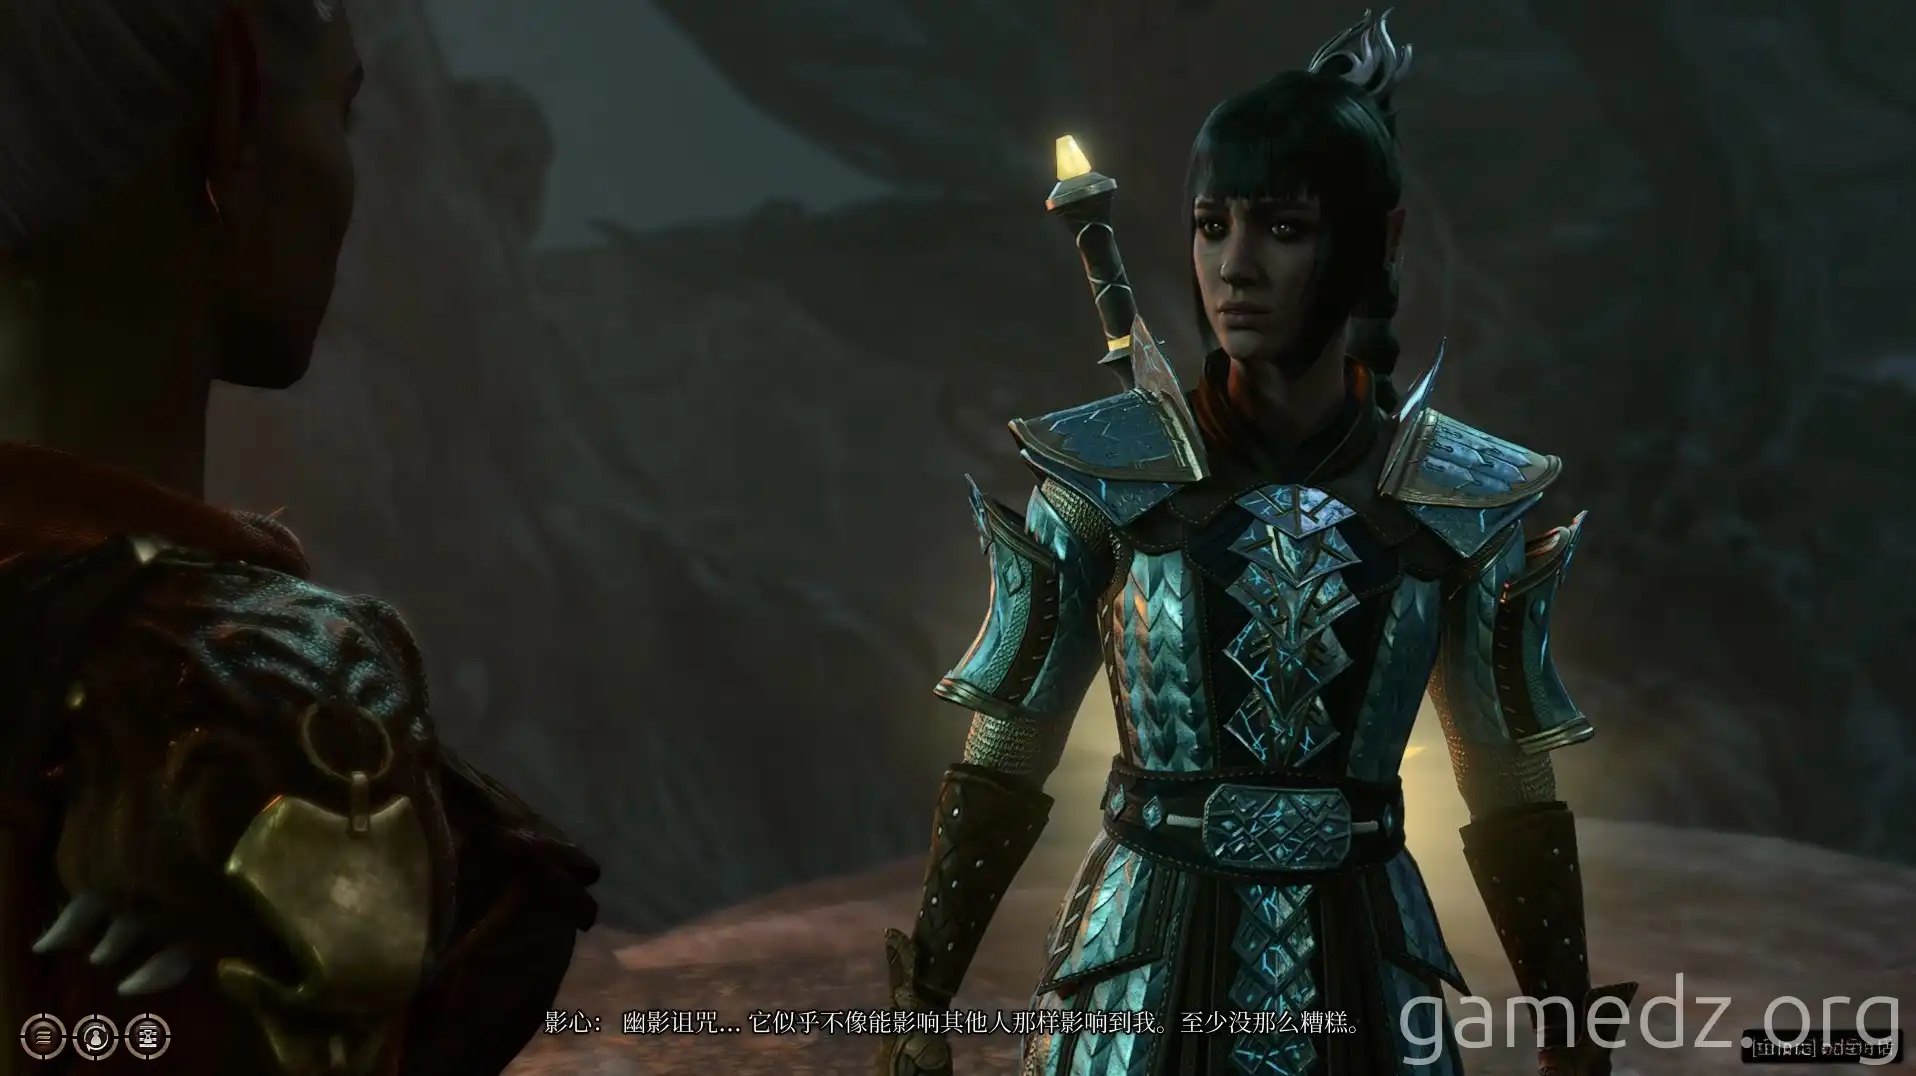
Speaking with Shadowheart, we learn that the shadow curse seems to have no effect on her.
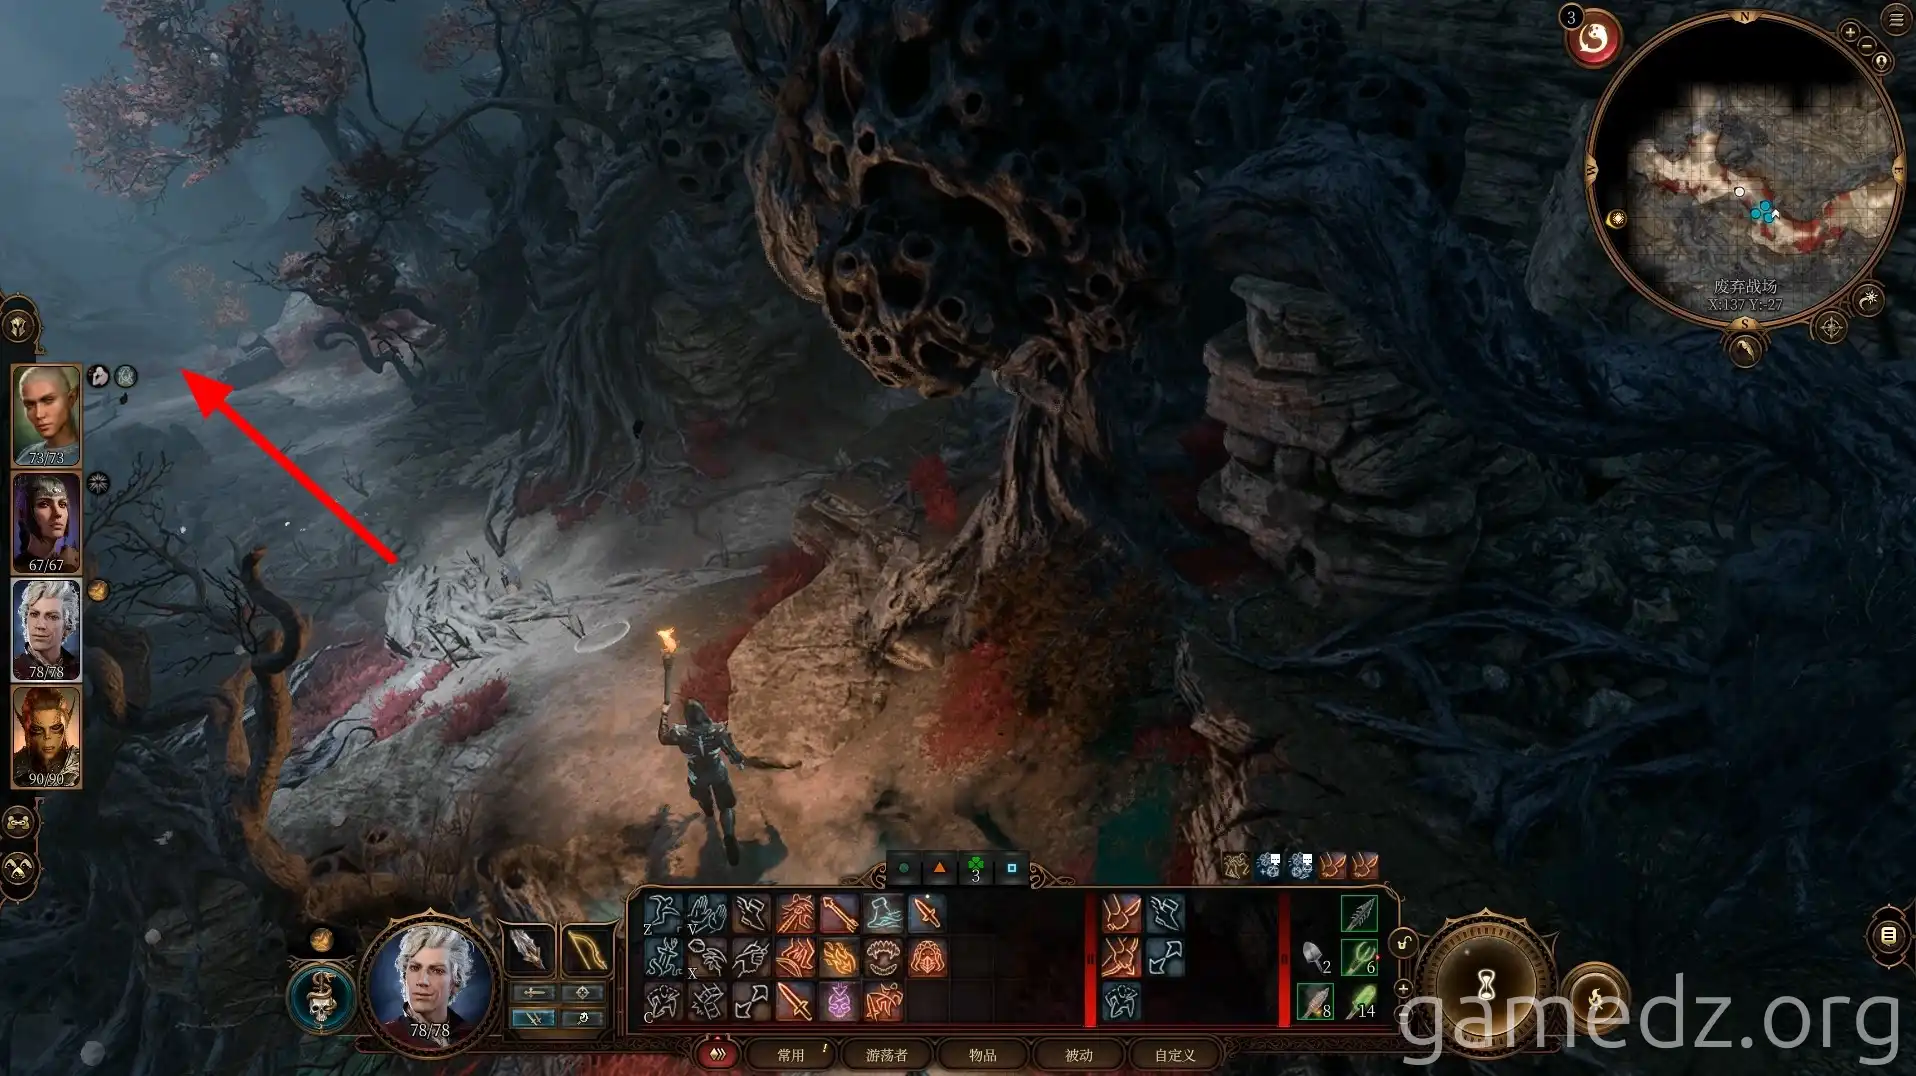
Light a torch and proceed along the path. At the upcoming fork, there are chests on both the left and right. Open them and continue westward along the path.
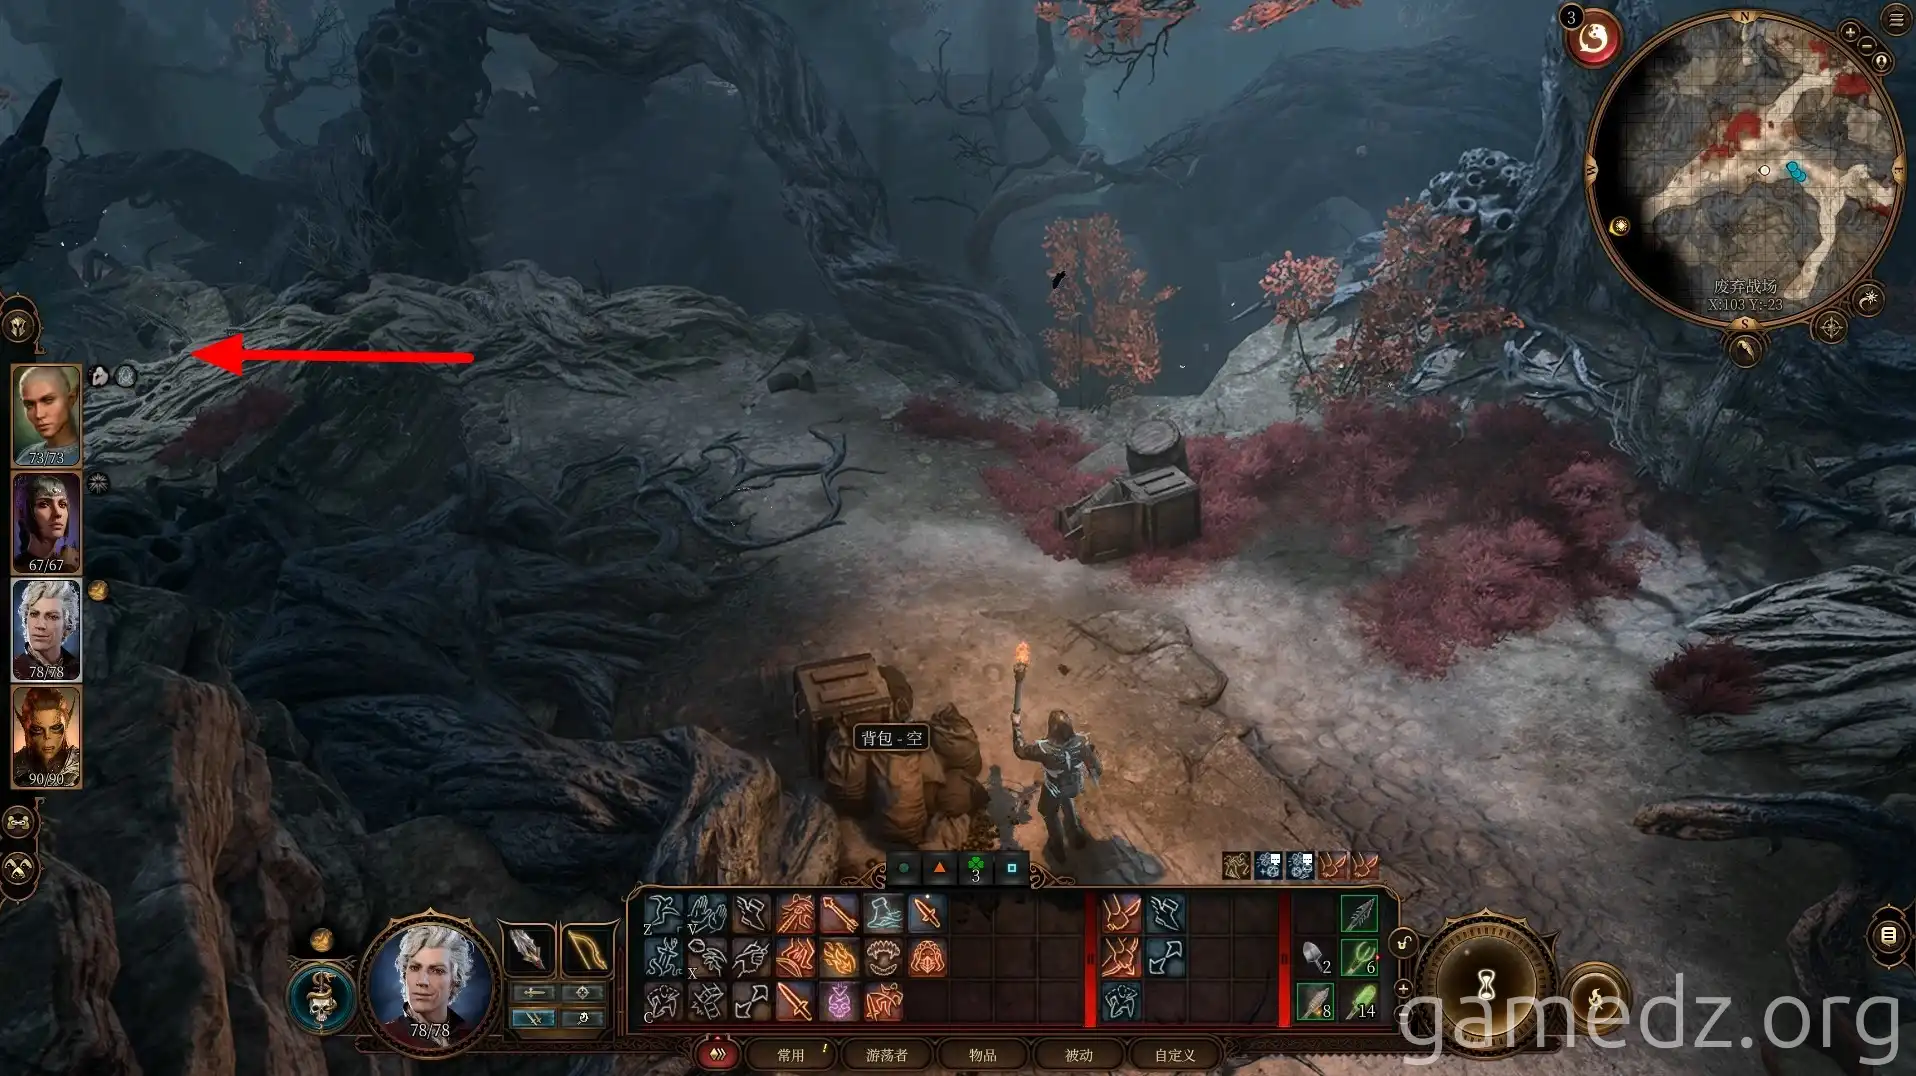
At the very front, head south through the tree trunk.
In the south, you'll reach a temporary goblin encampment. Speak with Ketheric. During the conversation, choose the Illithid and Perception options to summon a guiding Drow.
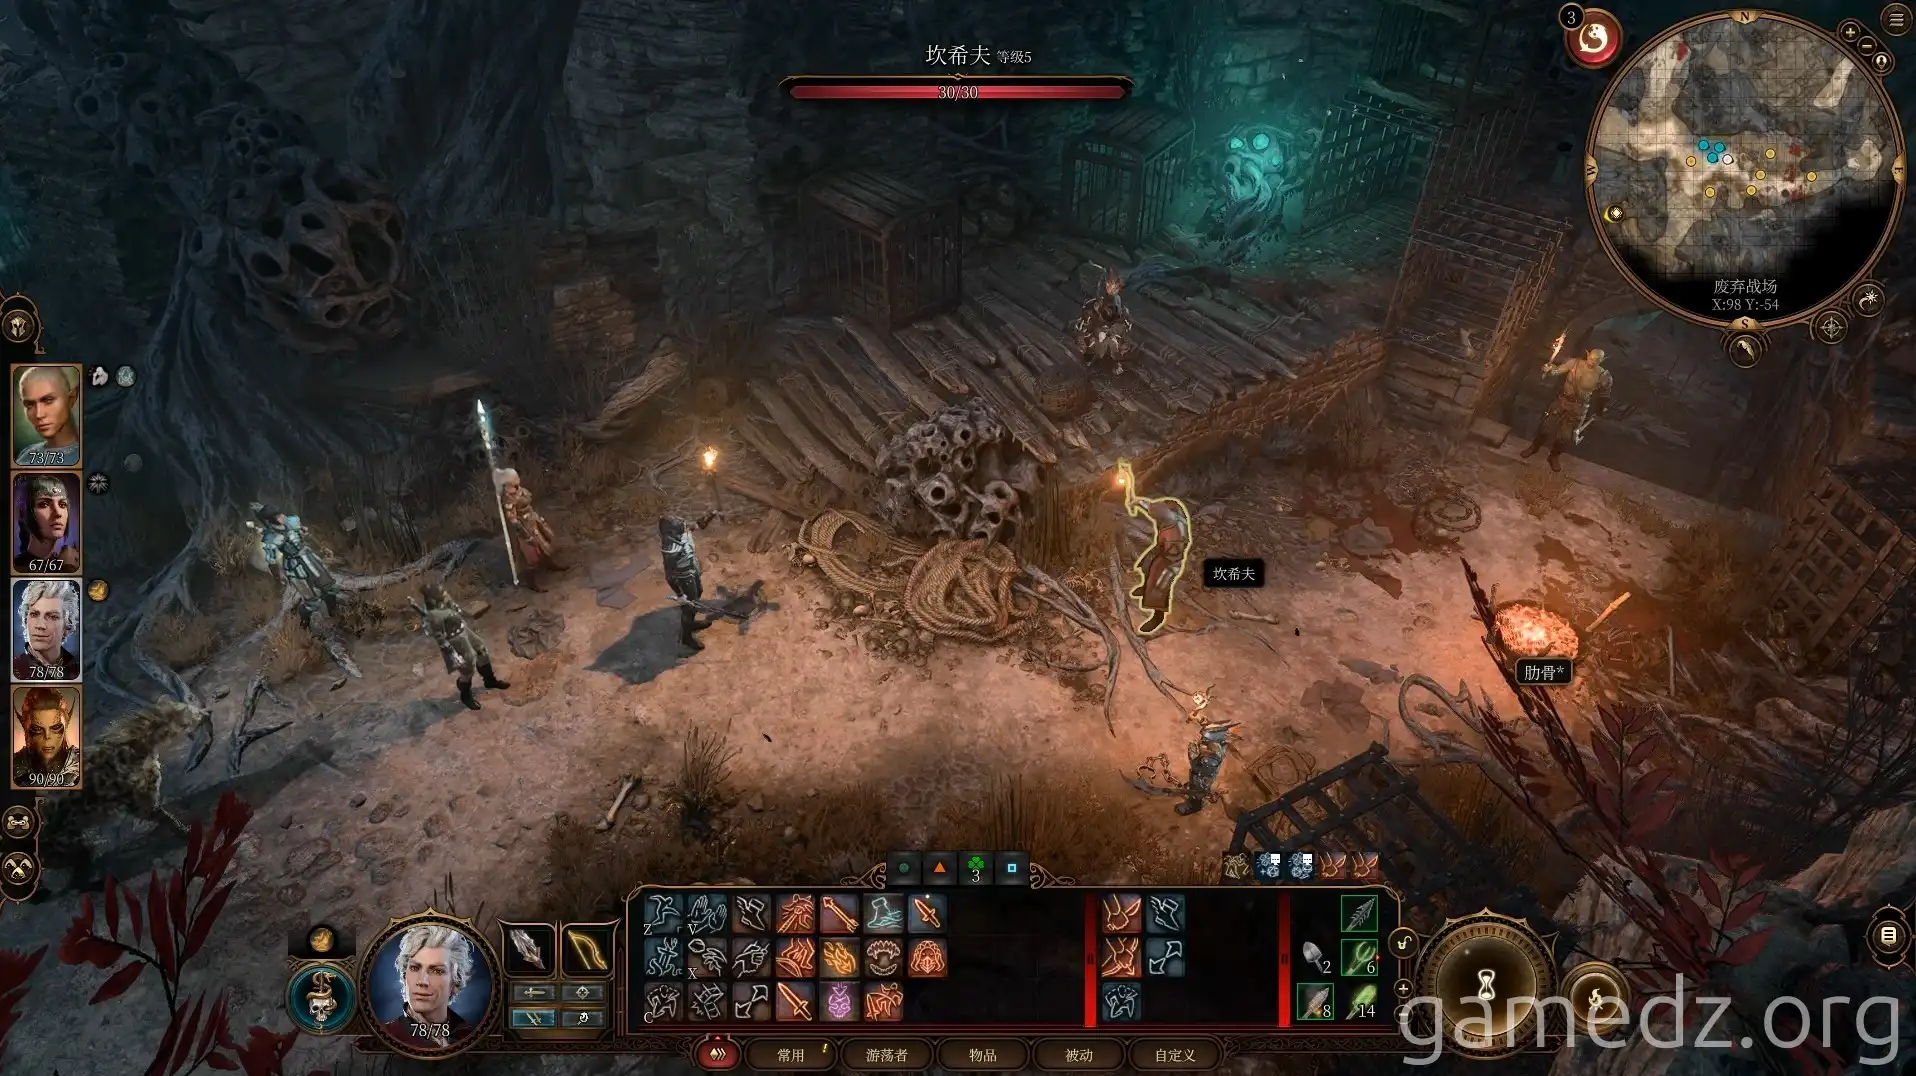
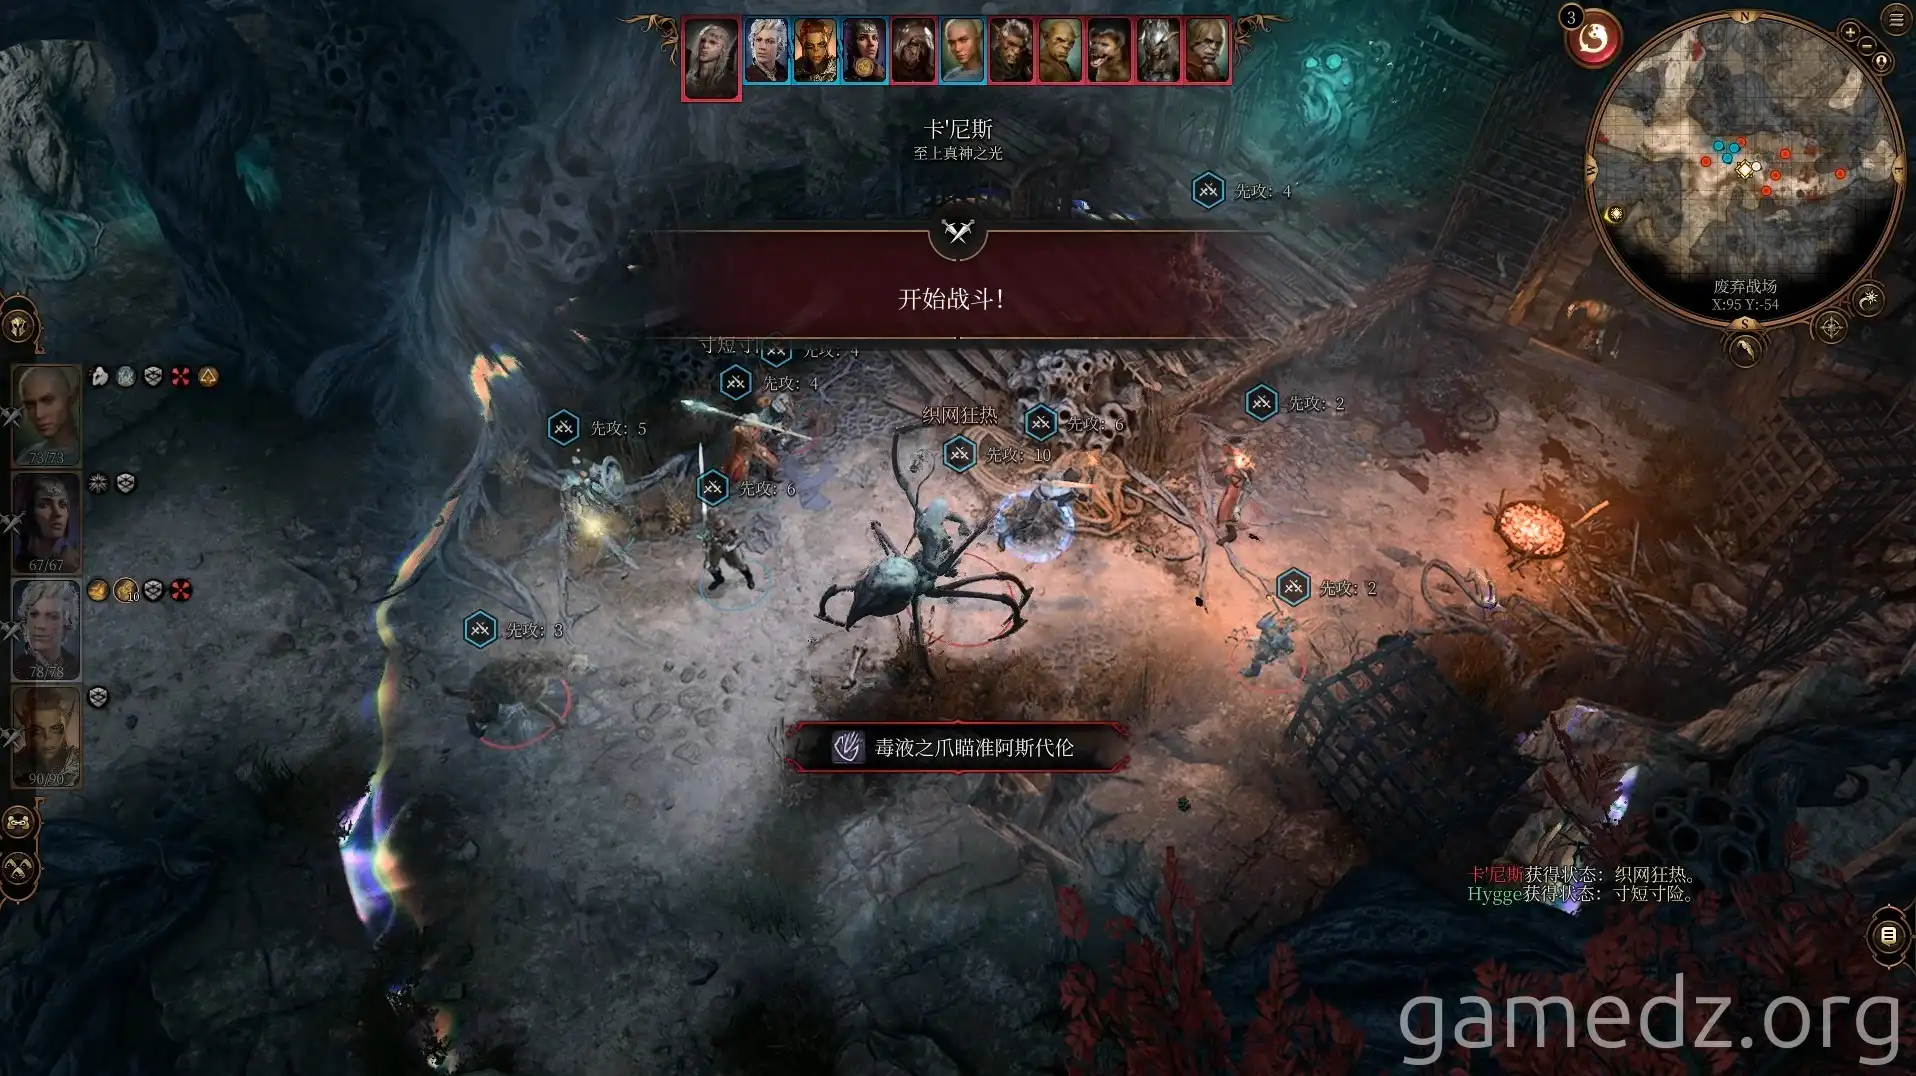
After summoning Kar'niss, chat briefly and then engage in combat.
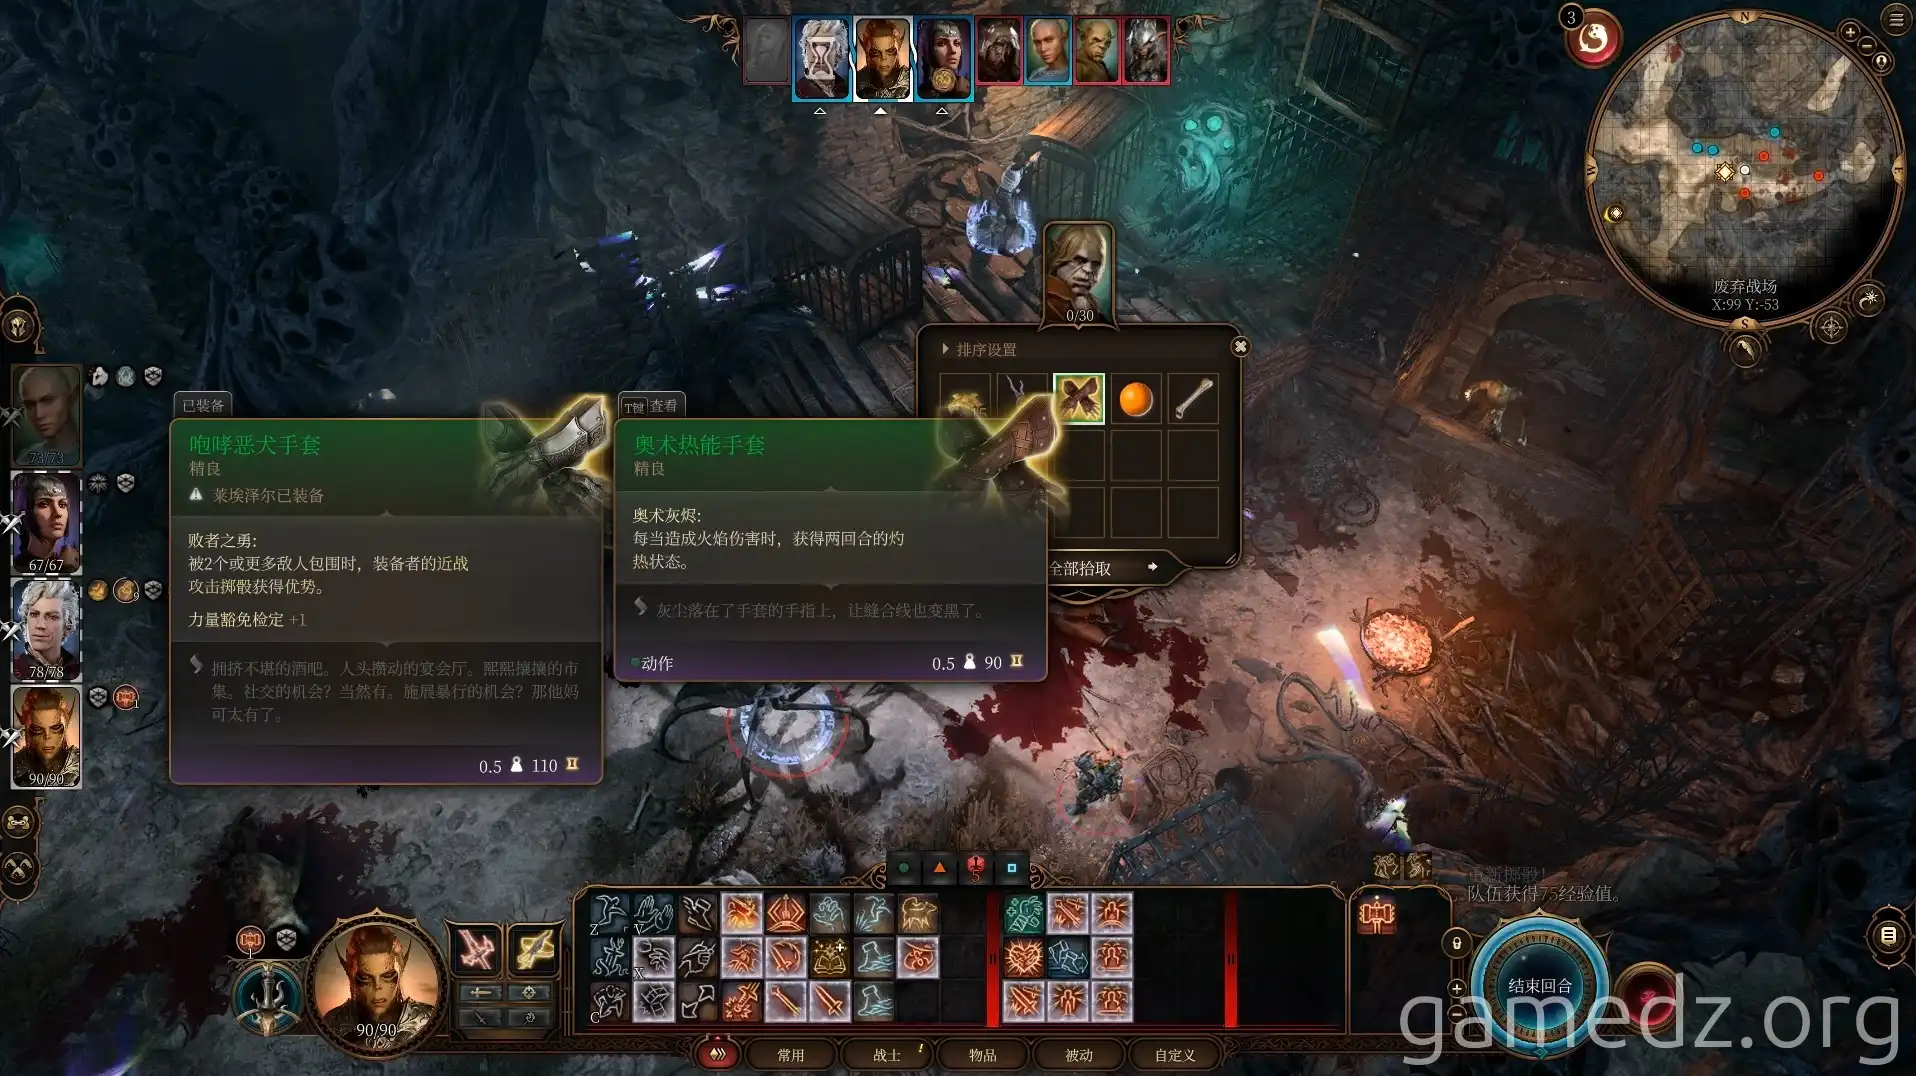
From Ketheric, you can obtain the Arcane Heat Gloves, a Fine item.
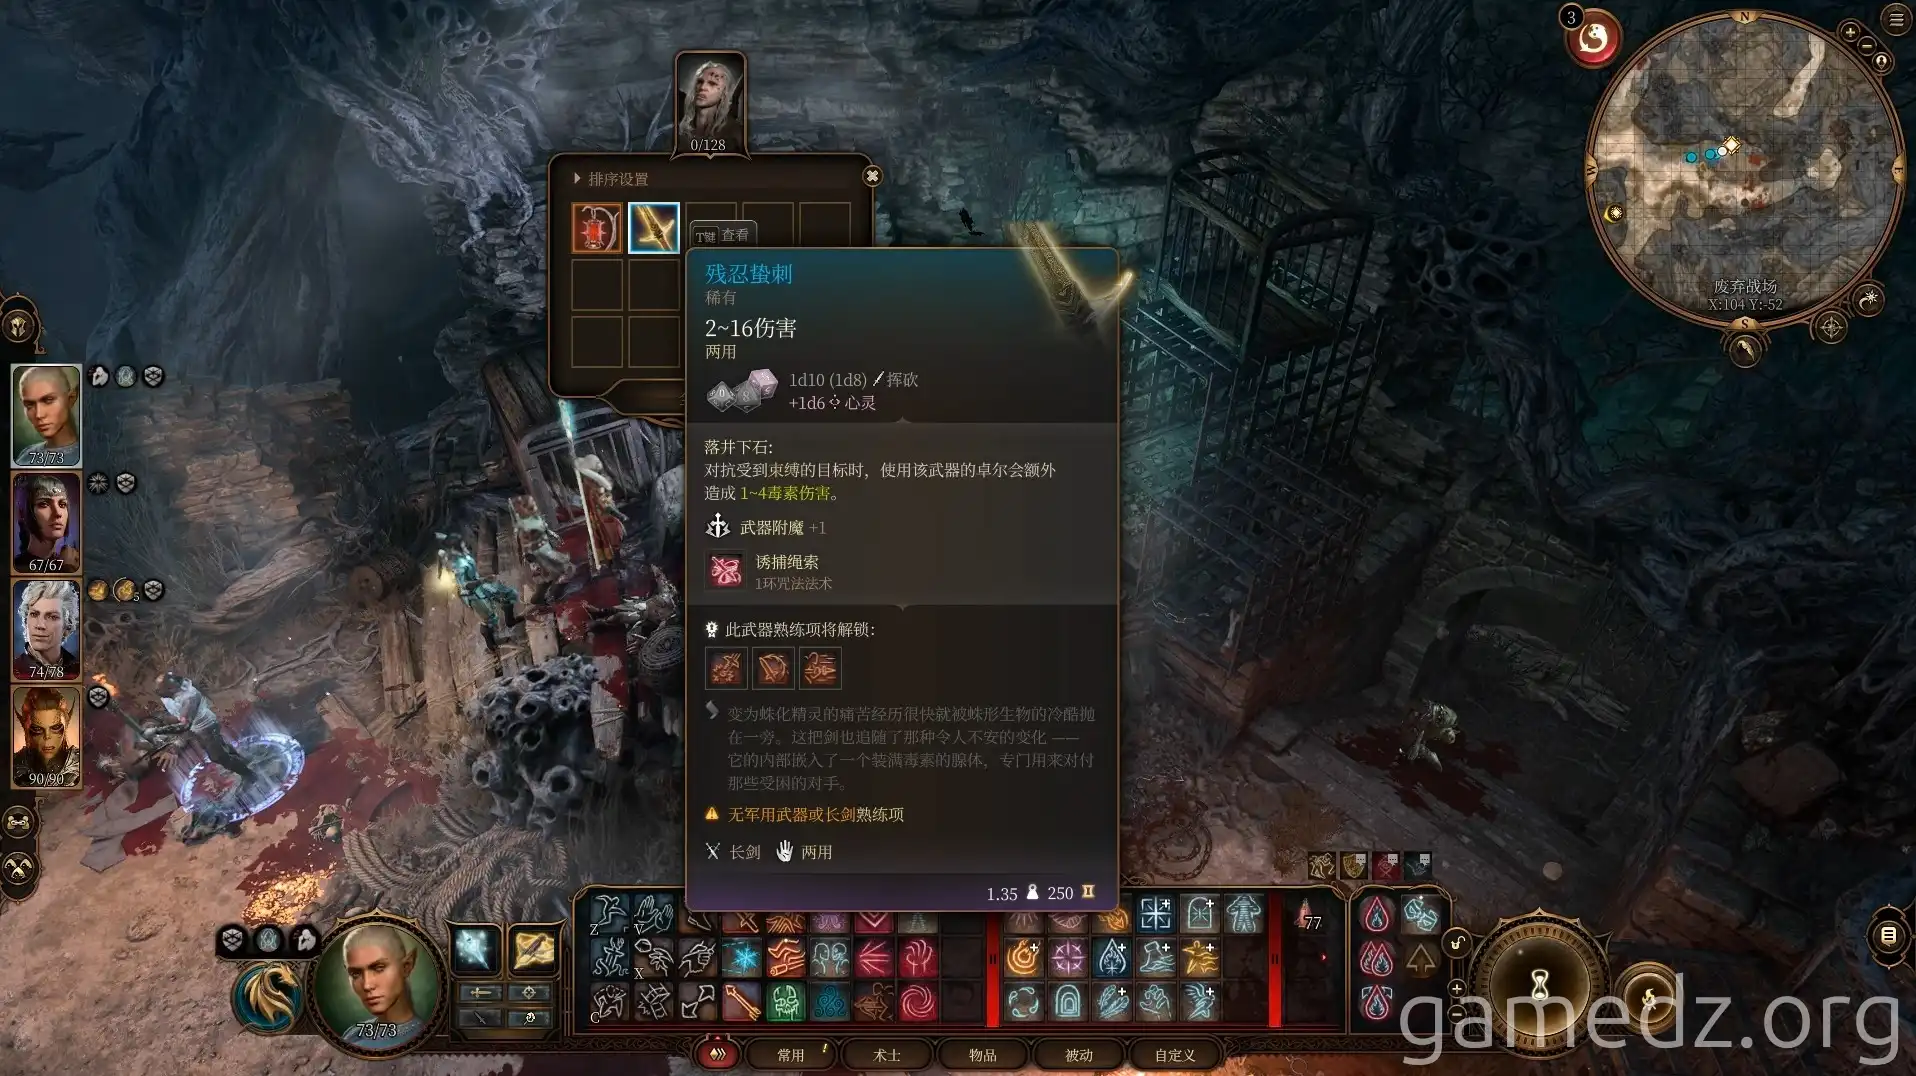
Defeating Kar'niss yields the Cruel Sting, a Rare weapon, and the Moonlantern.
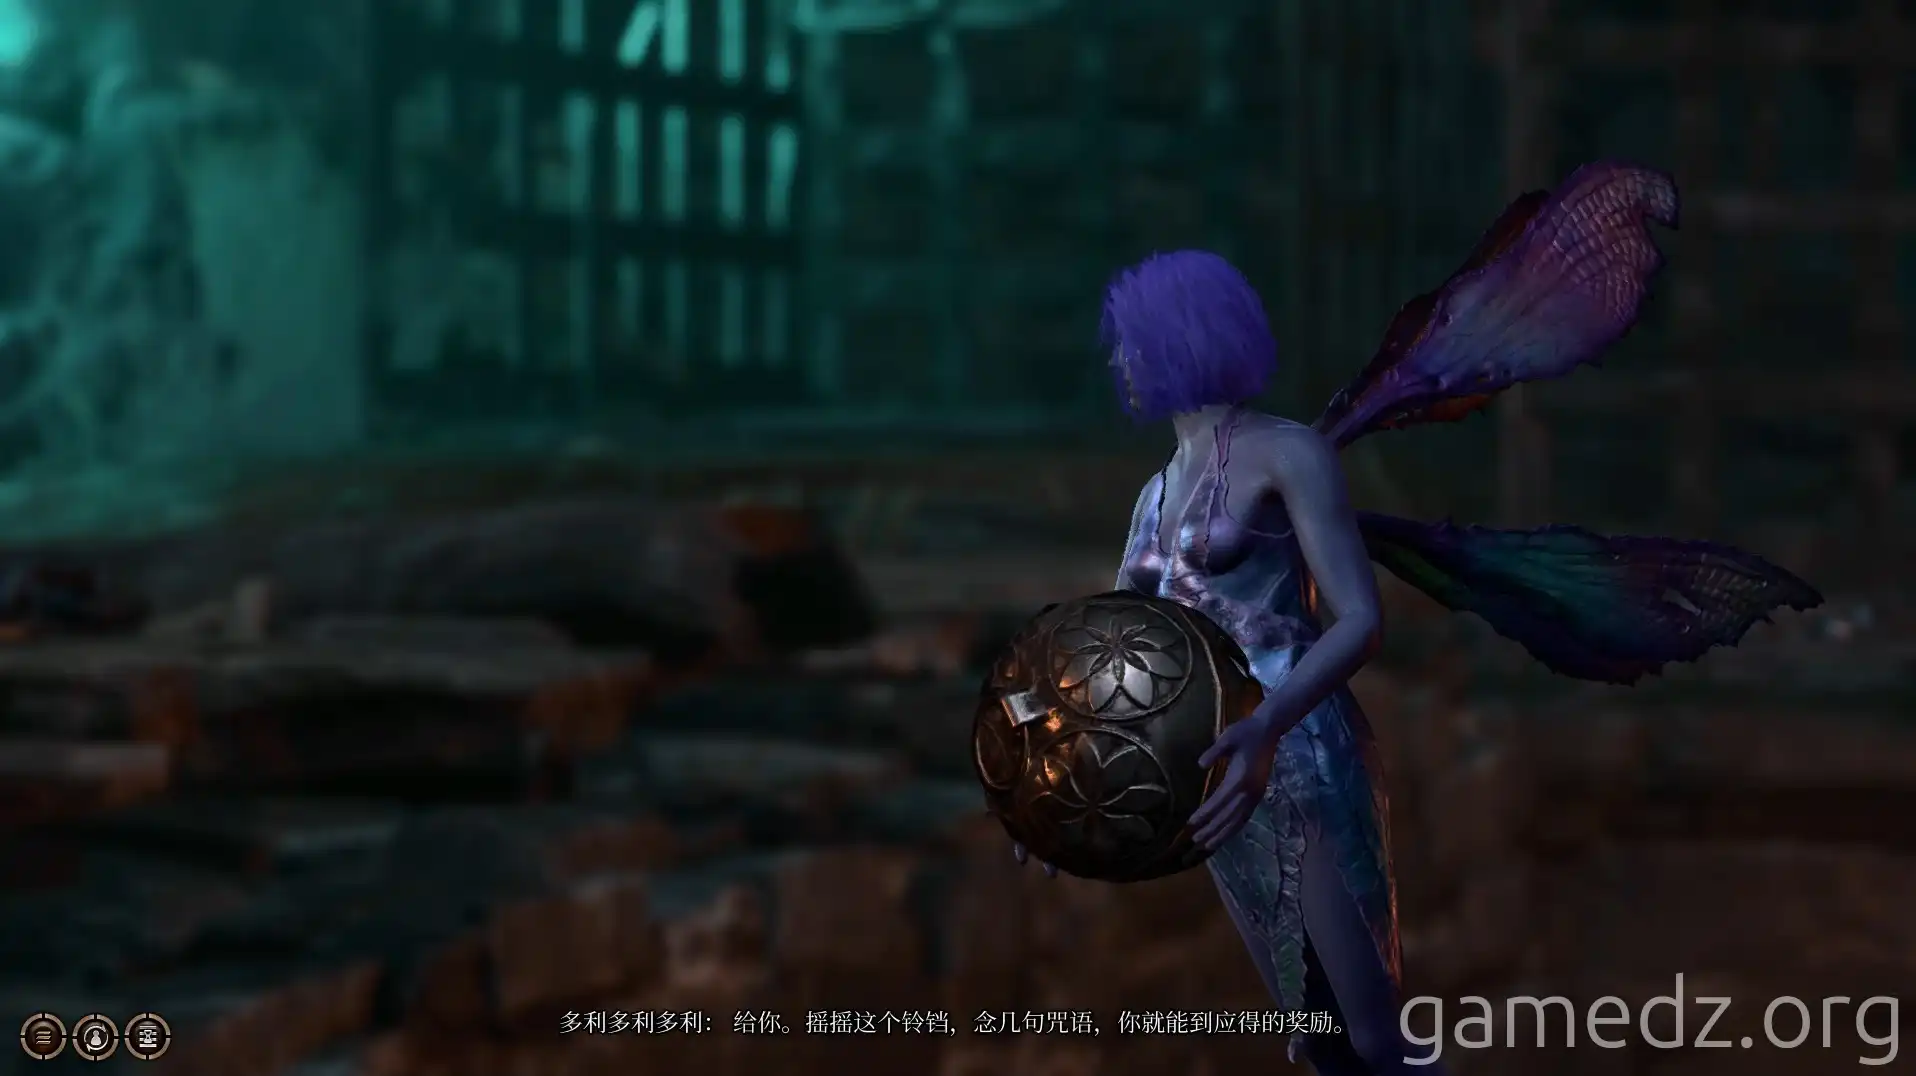
Freeing the pixie trapped within the Moonlantern will reward you with a Gilded Feywild Bell. Using this bell grants the entire party a buff, allowing safe passage through the Shadow-Cursed Lands without the need for a torch.
After the battle, head south from the combat area and pass through some ruined structures.
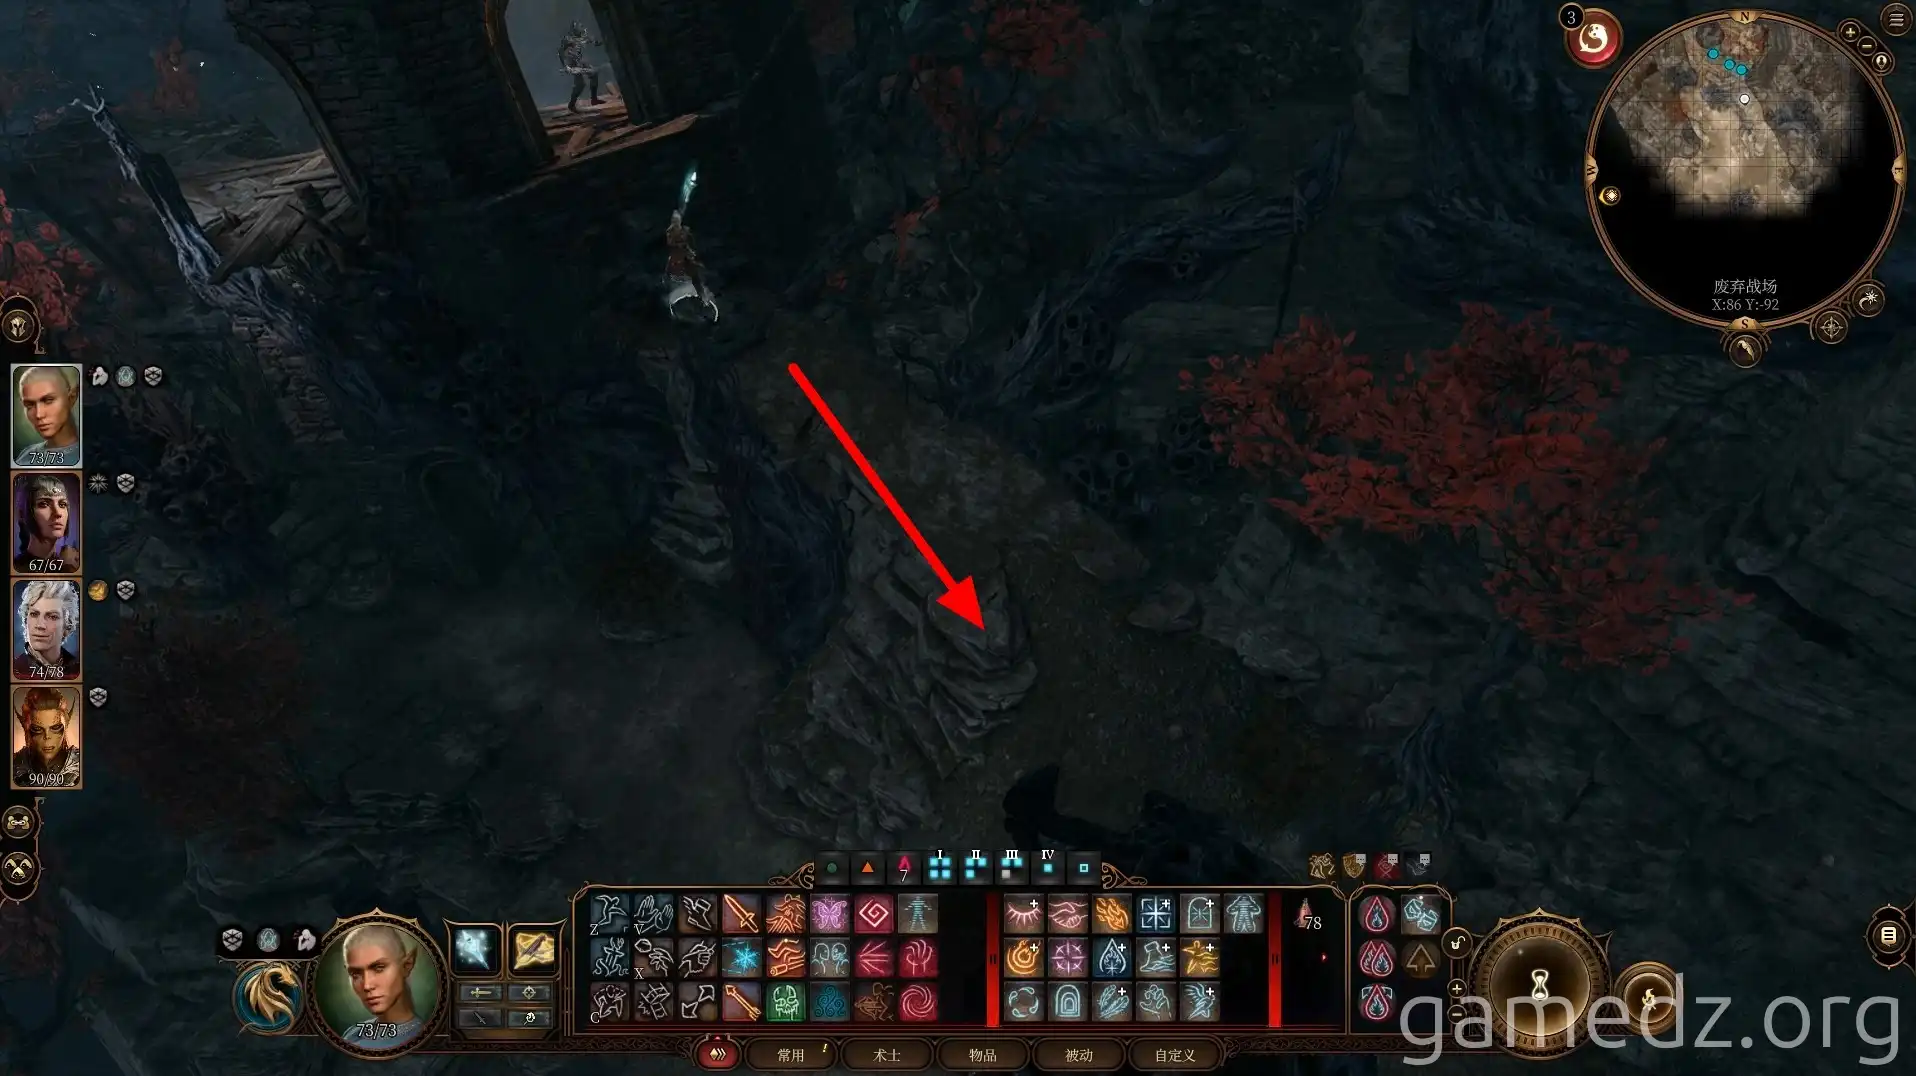
In the tall grass ahead, several Twig Blights and Needle Blights are ambushing. Needle Blights explode upon death, so it's recommended to eliminate them with ranged attacks.
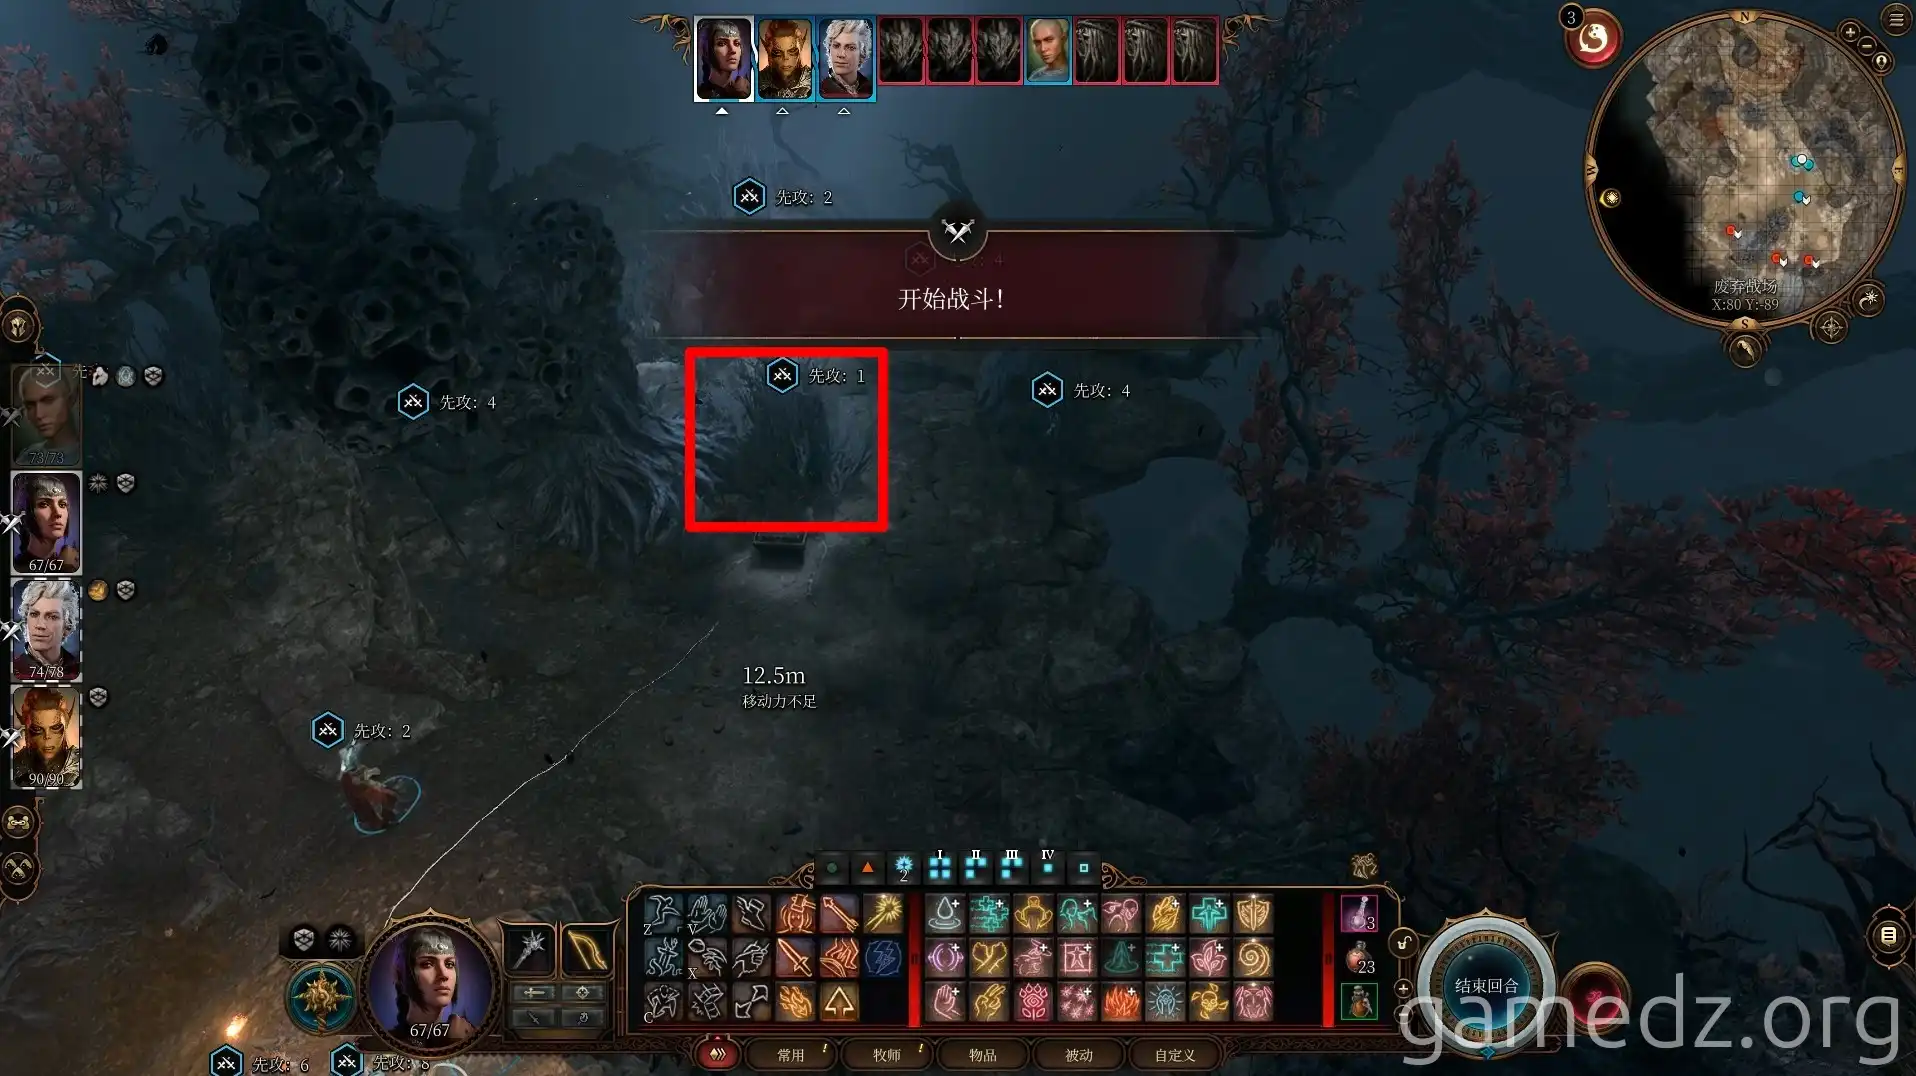
In a chest located in the center of the area, you can find the Prince of Frost, a Fine accessory.
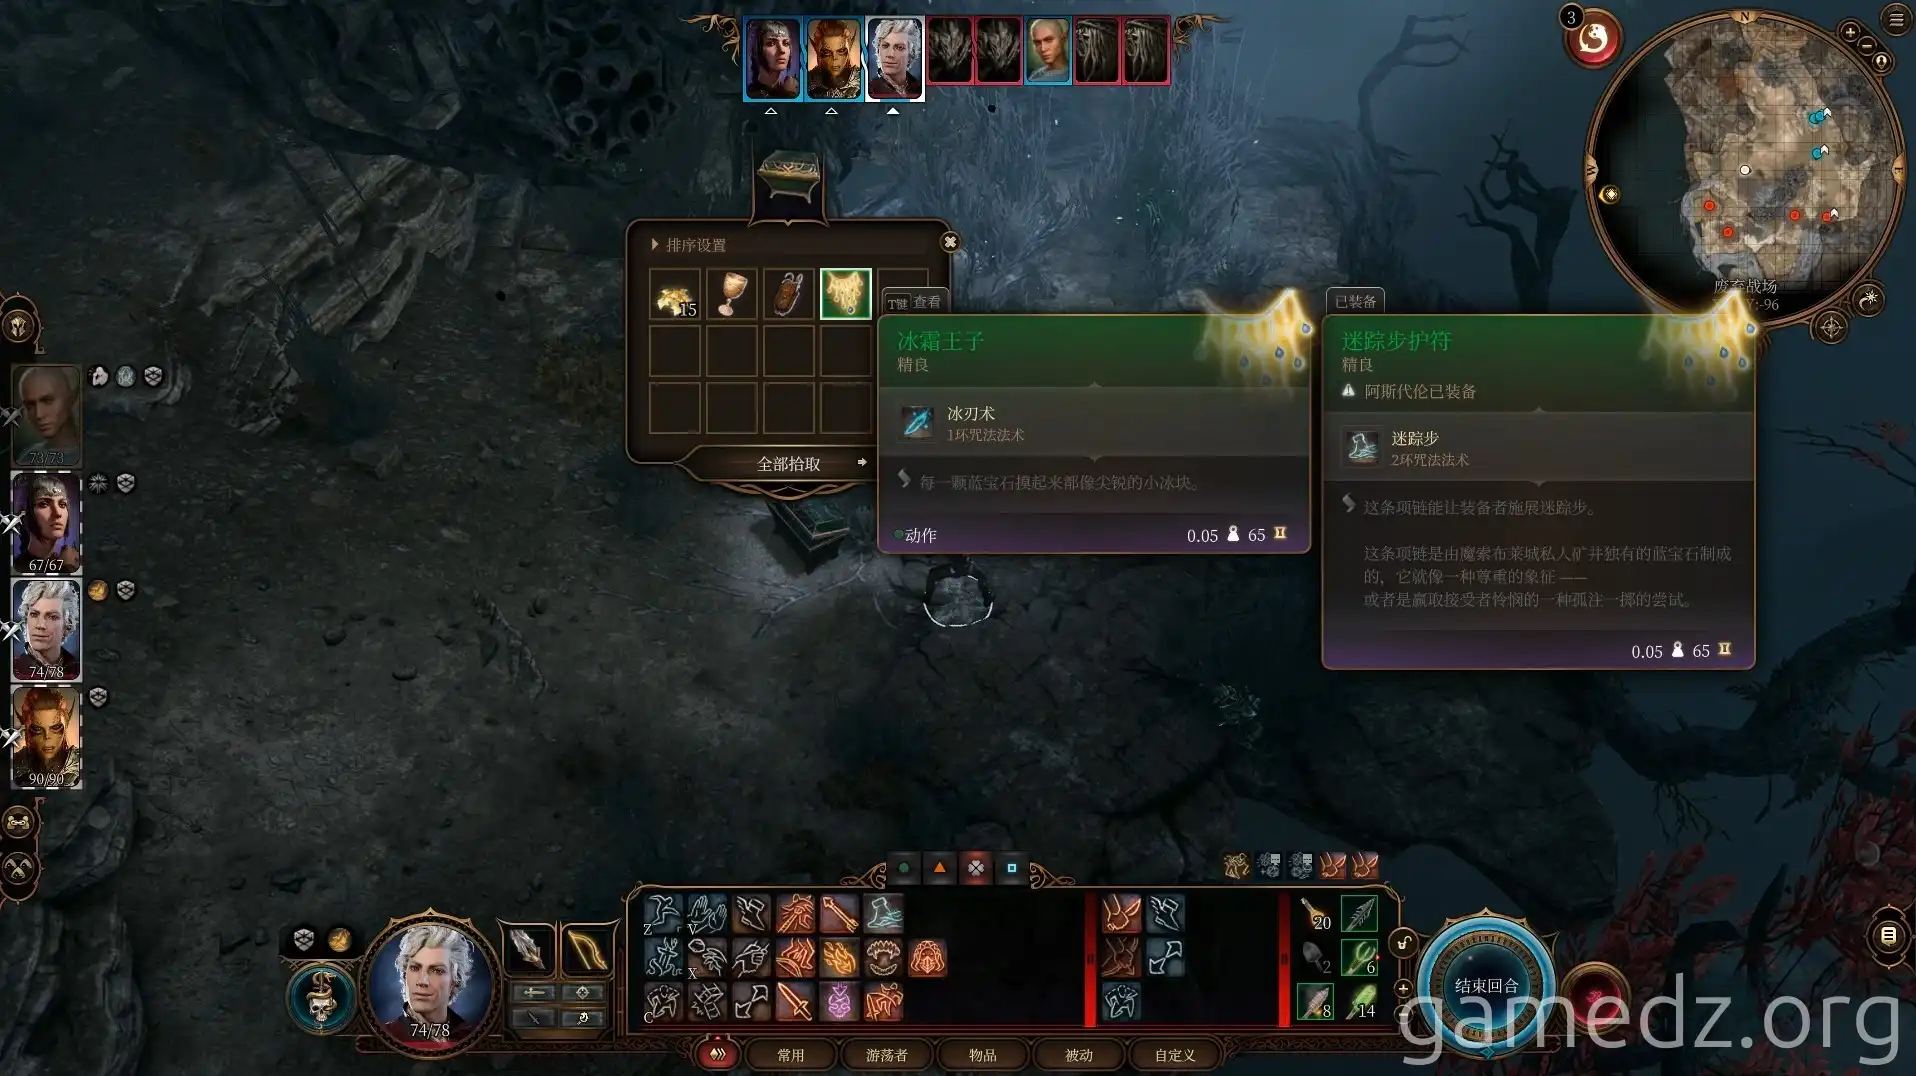
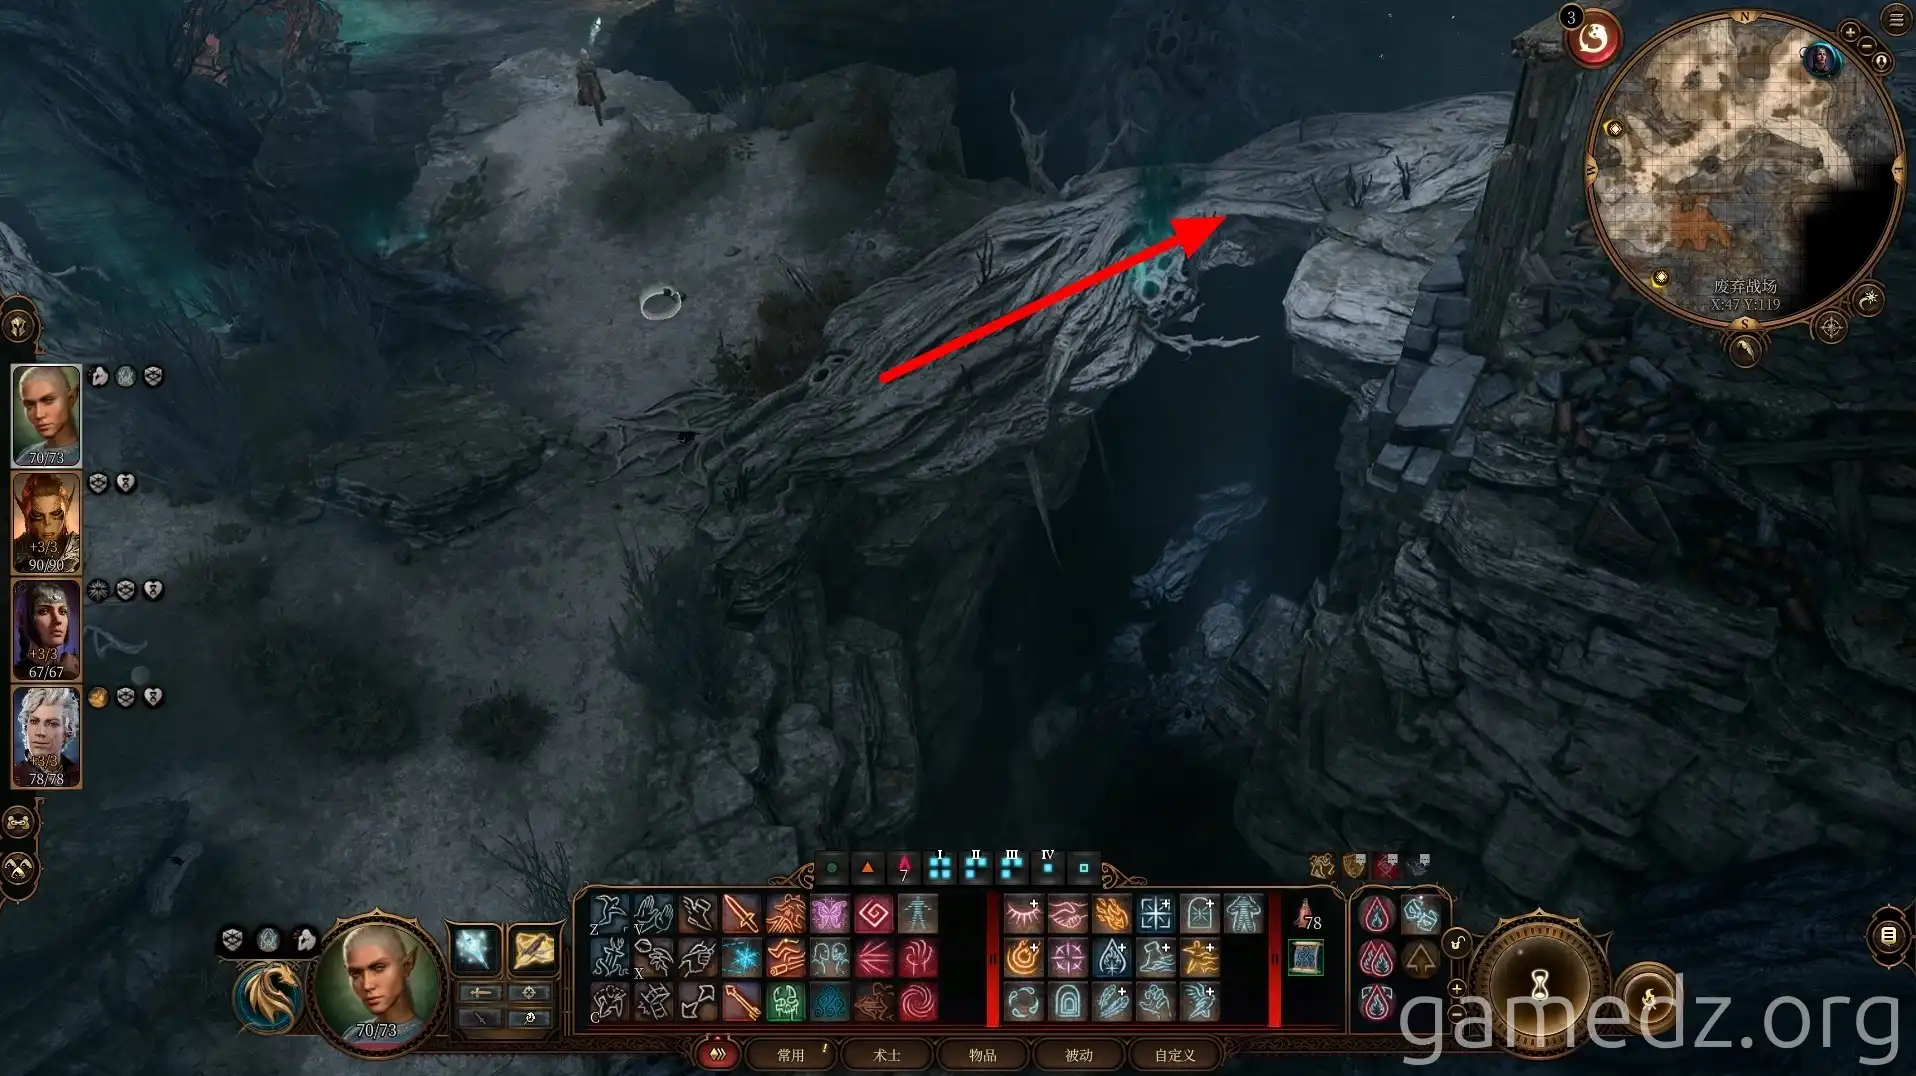
Return to the previous battlefield and head west, crossing a stone bridge.
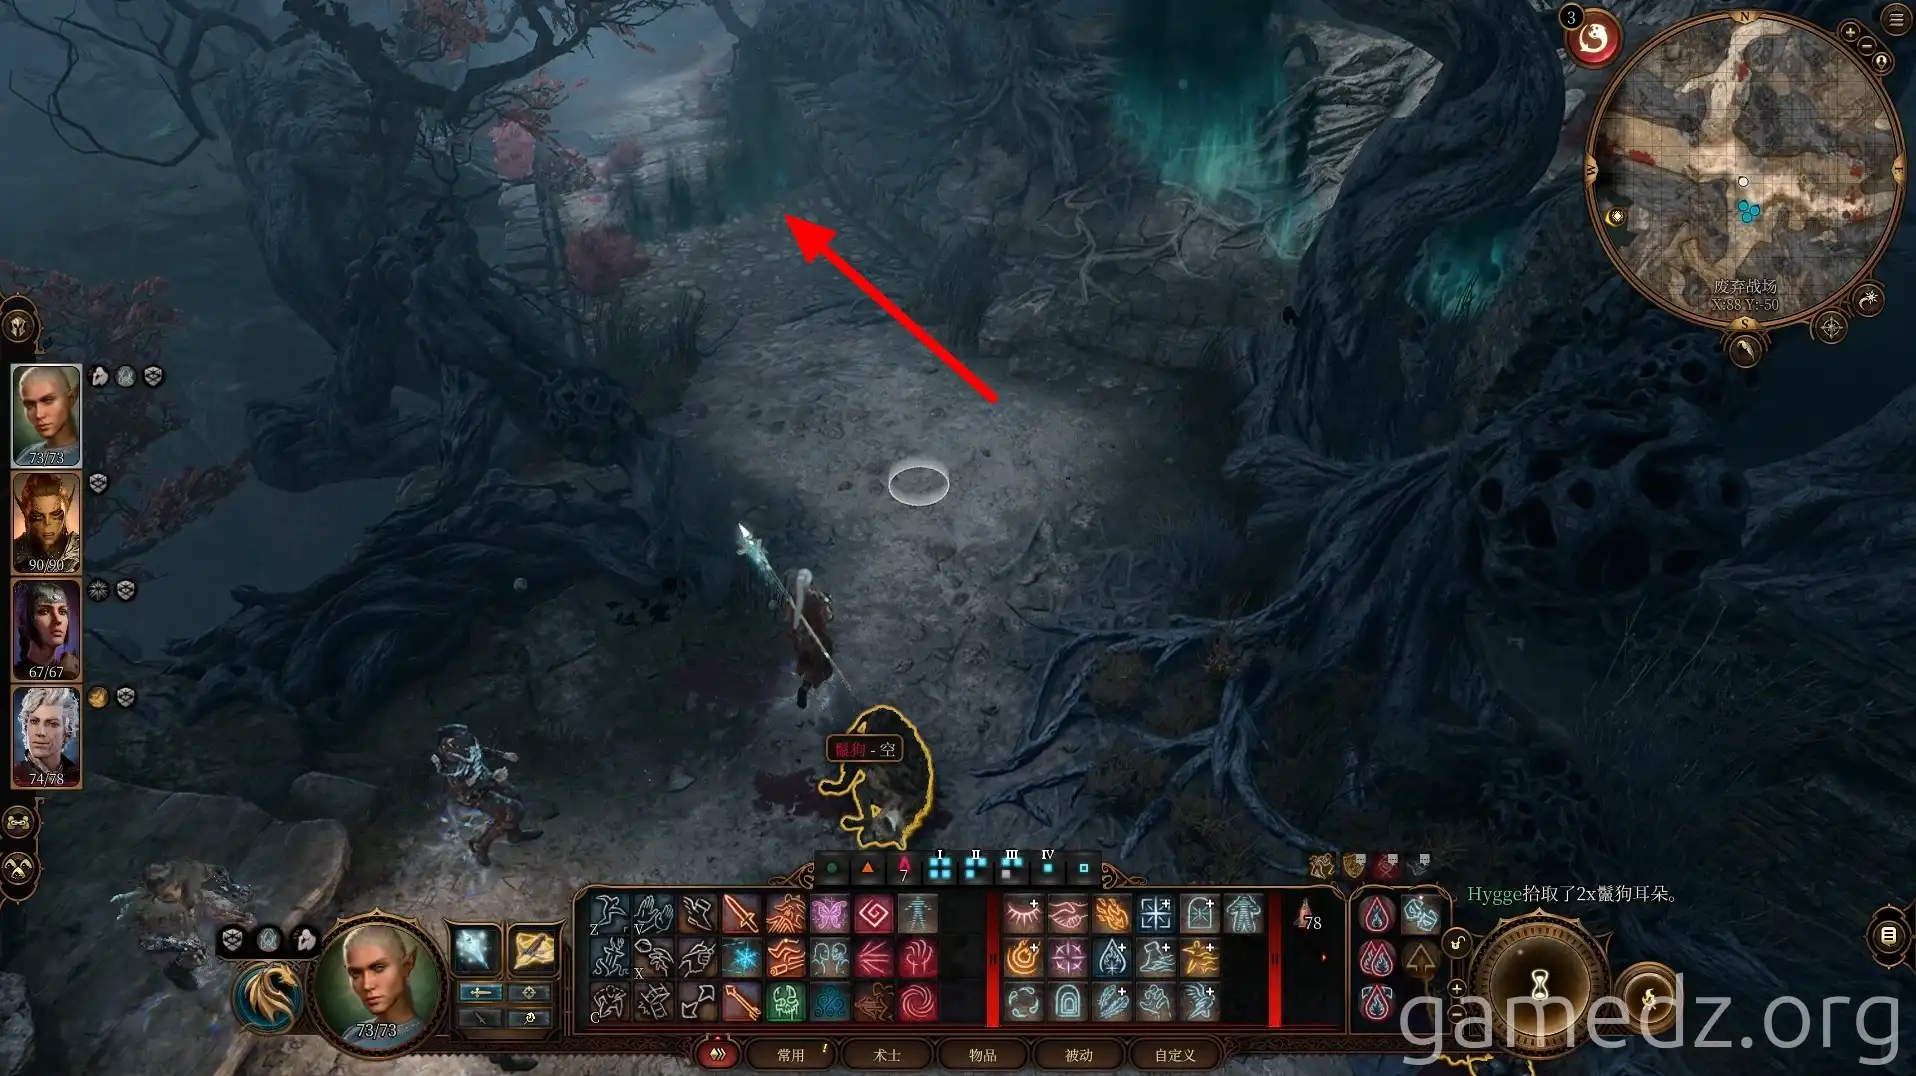
At the west end of the stone bridge, jump to the platform on the south side, then continue along the path.
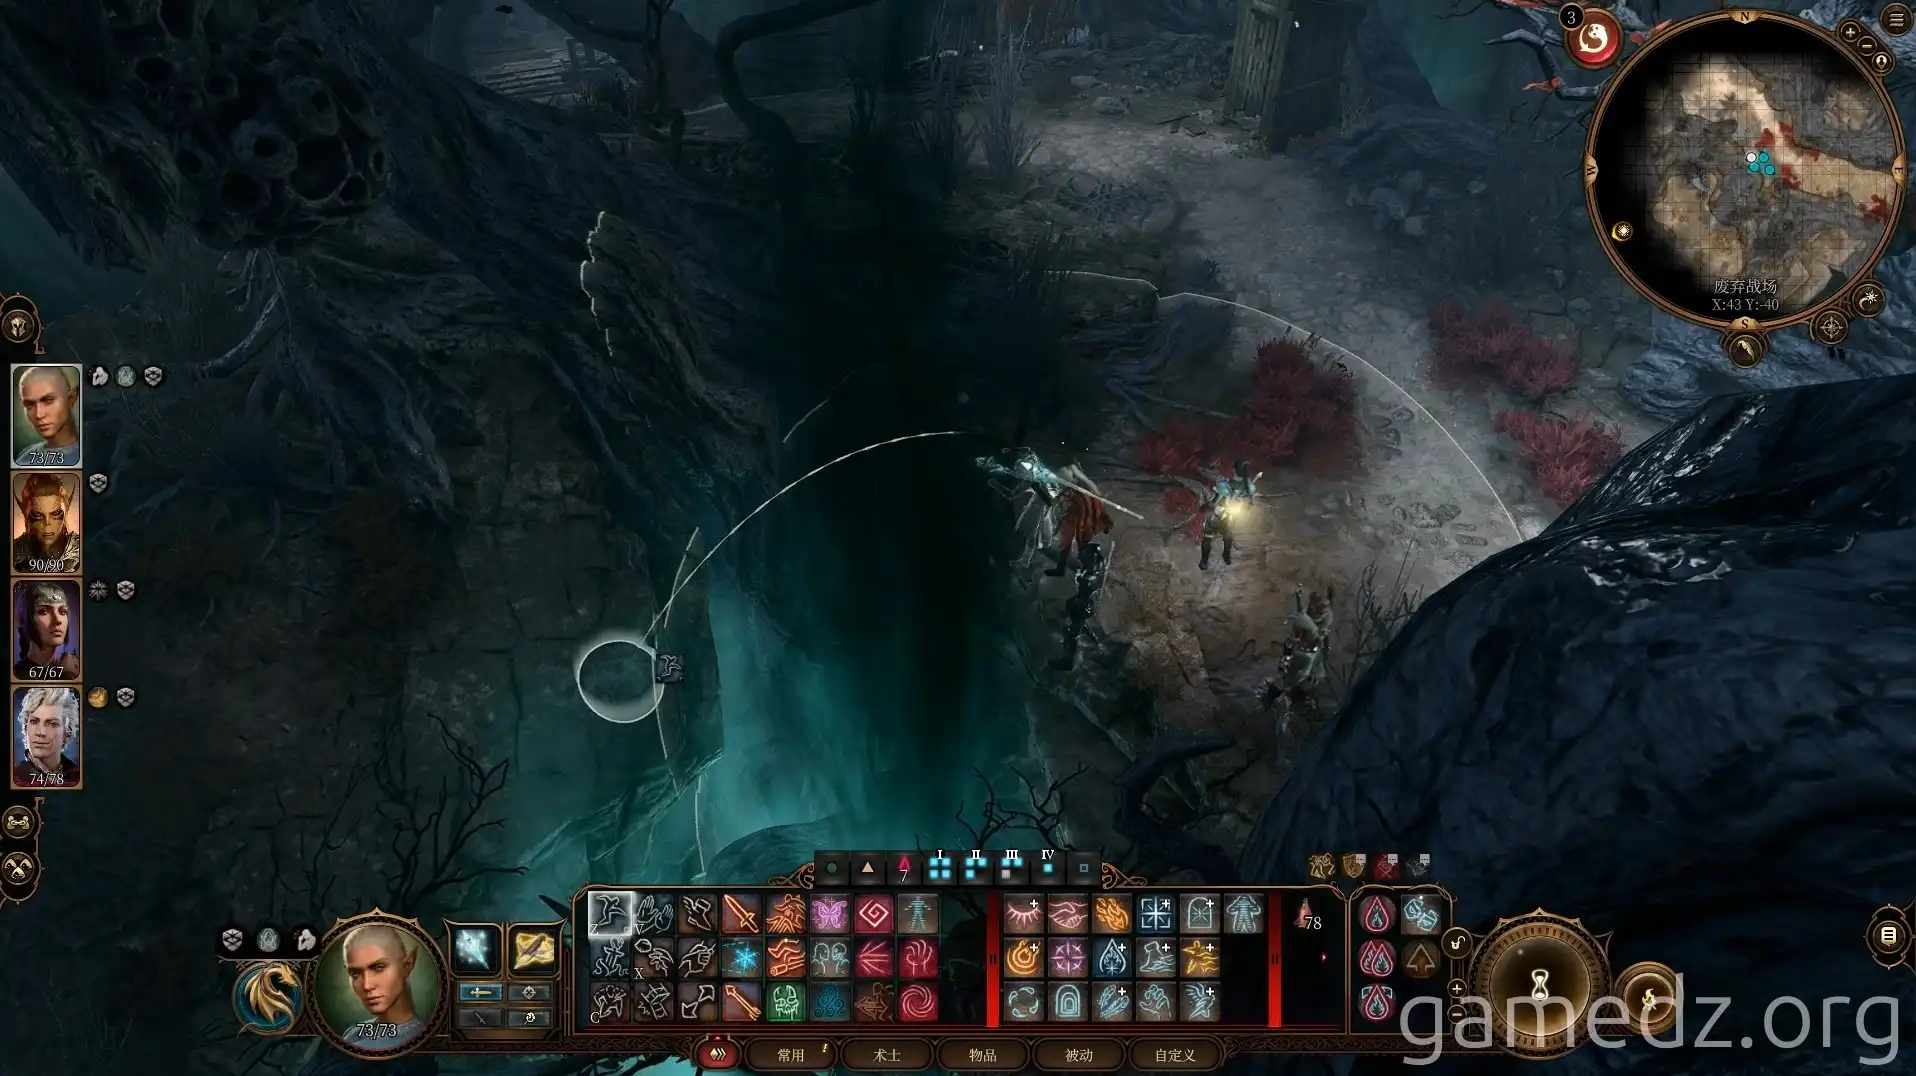
Next to the city defense crossbow ahead, you'll find a chest containing some magical arrow supplies.
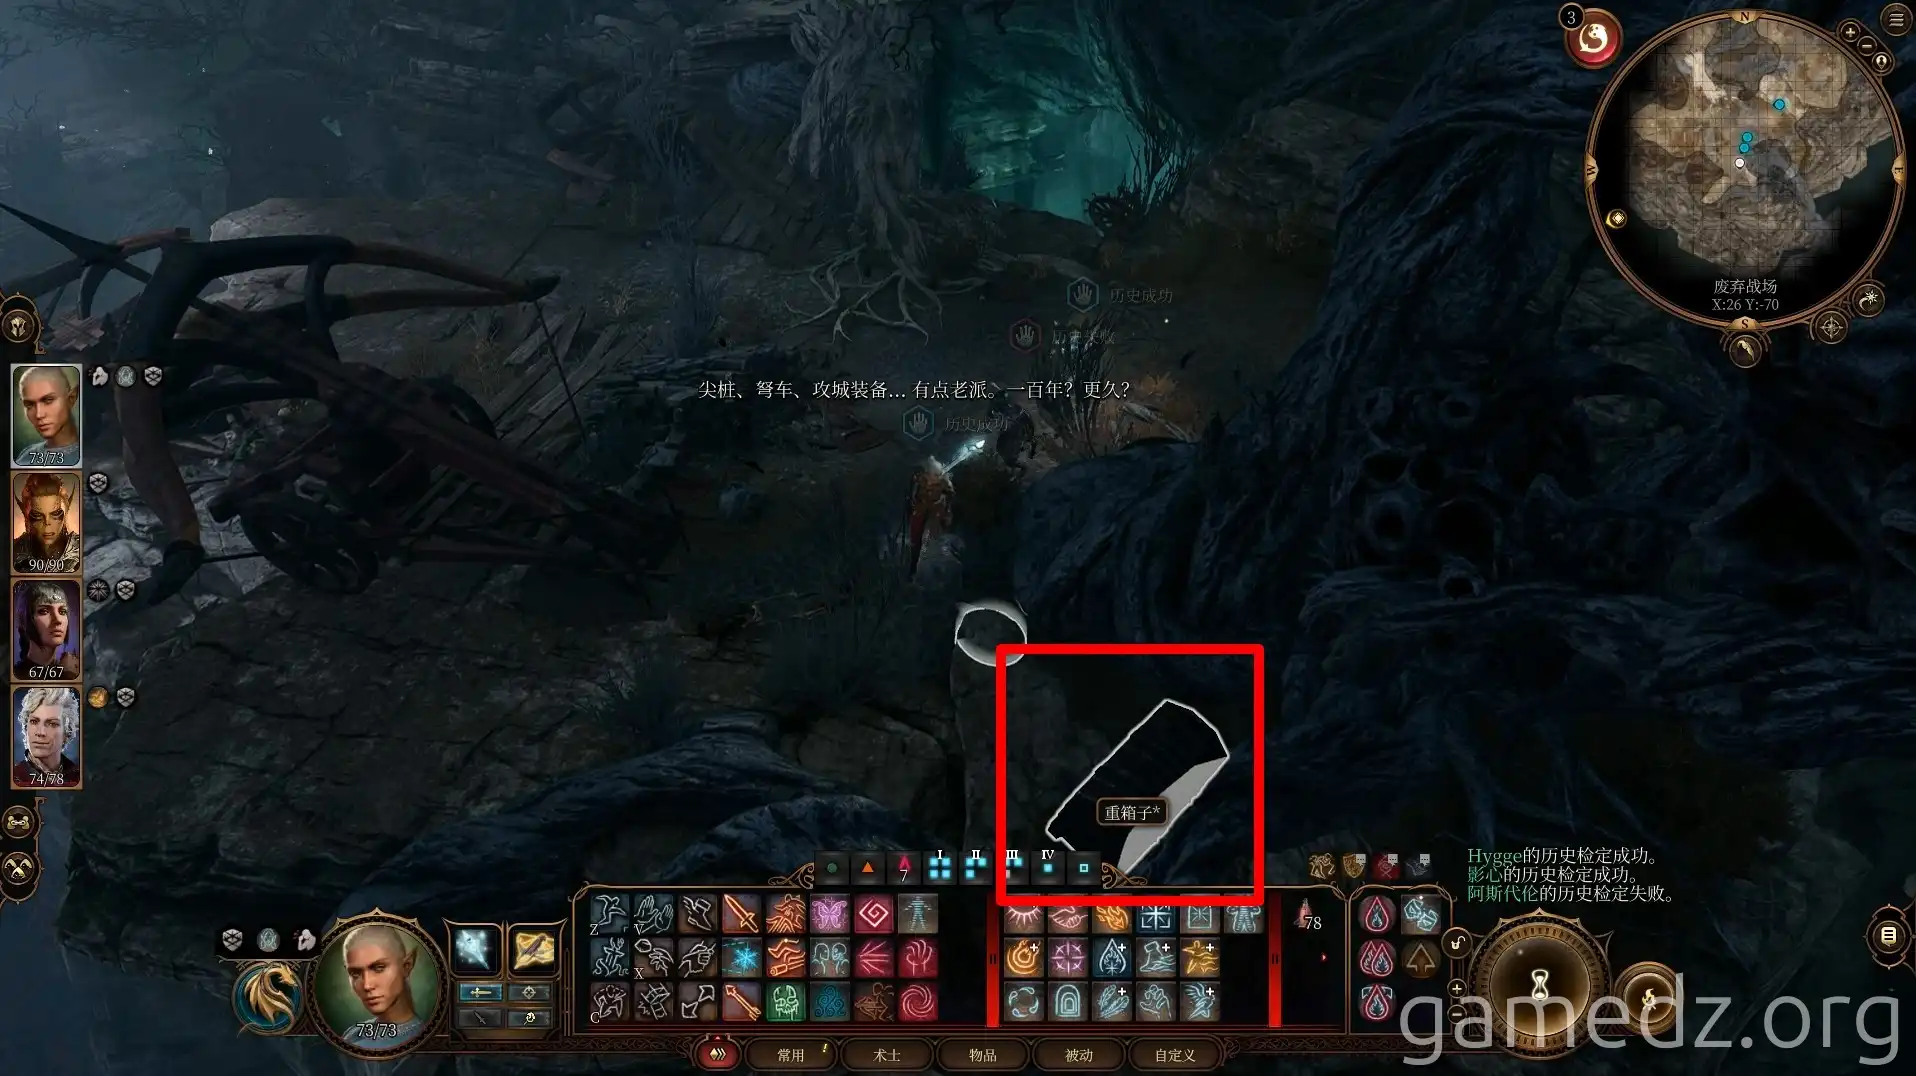
Continue heading southwest until you reach the location shown below. Proceeding west from here will lead you into the town of Reithwin. There are three entrances to Reithwin within the Shadow-Cursed Lands; this is the middle one.
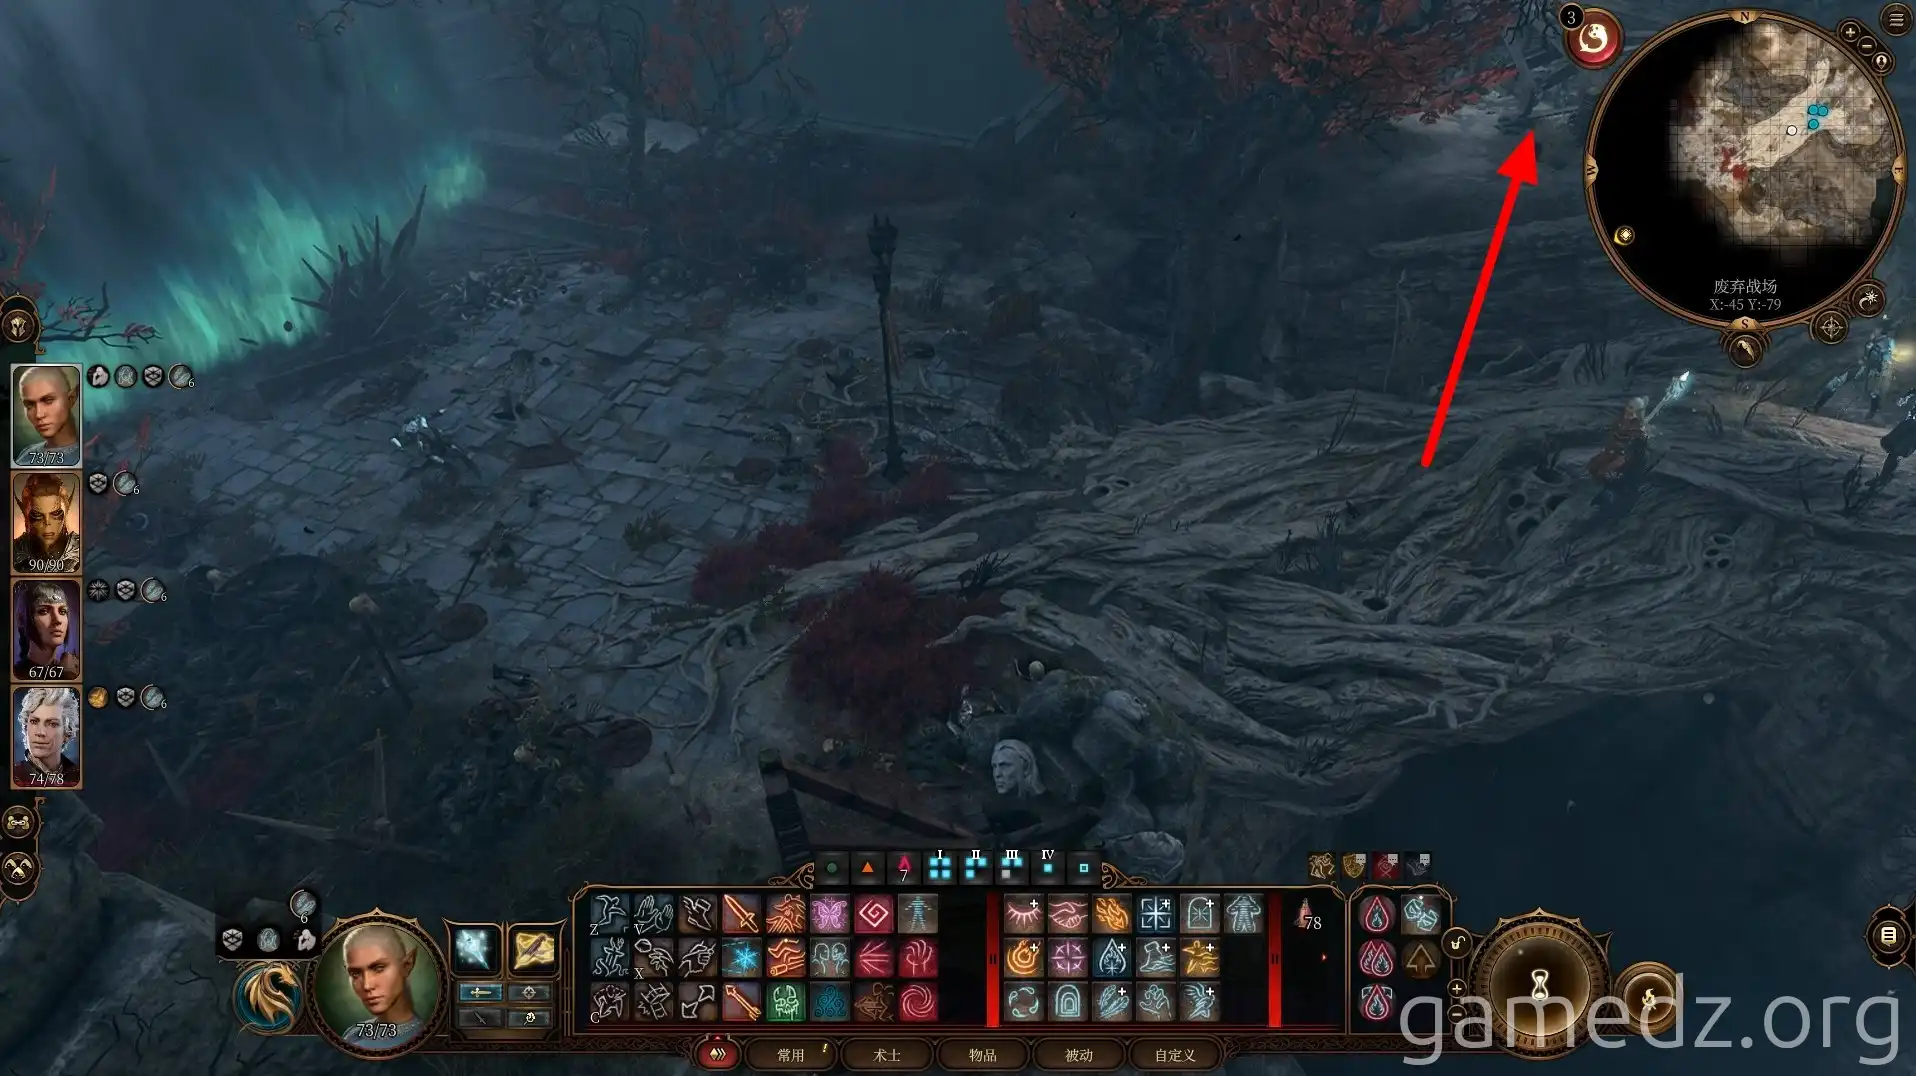
Near the Githyanki corpse, you'll find a surrender letter from the Harpers. For now, don't enter Reithwin. Instead, head north from the east side of the tree trunk.
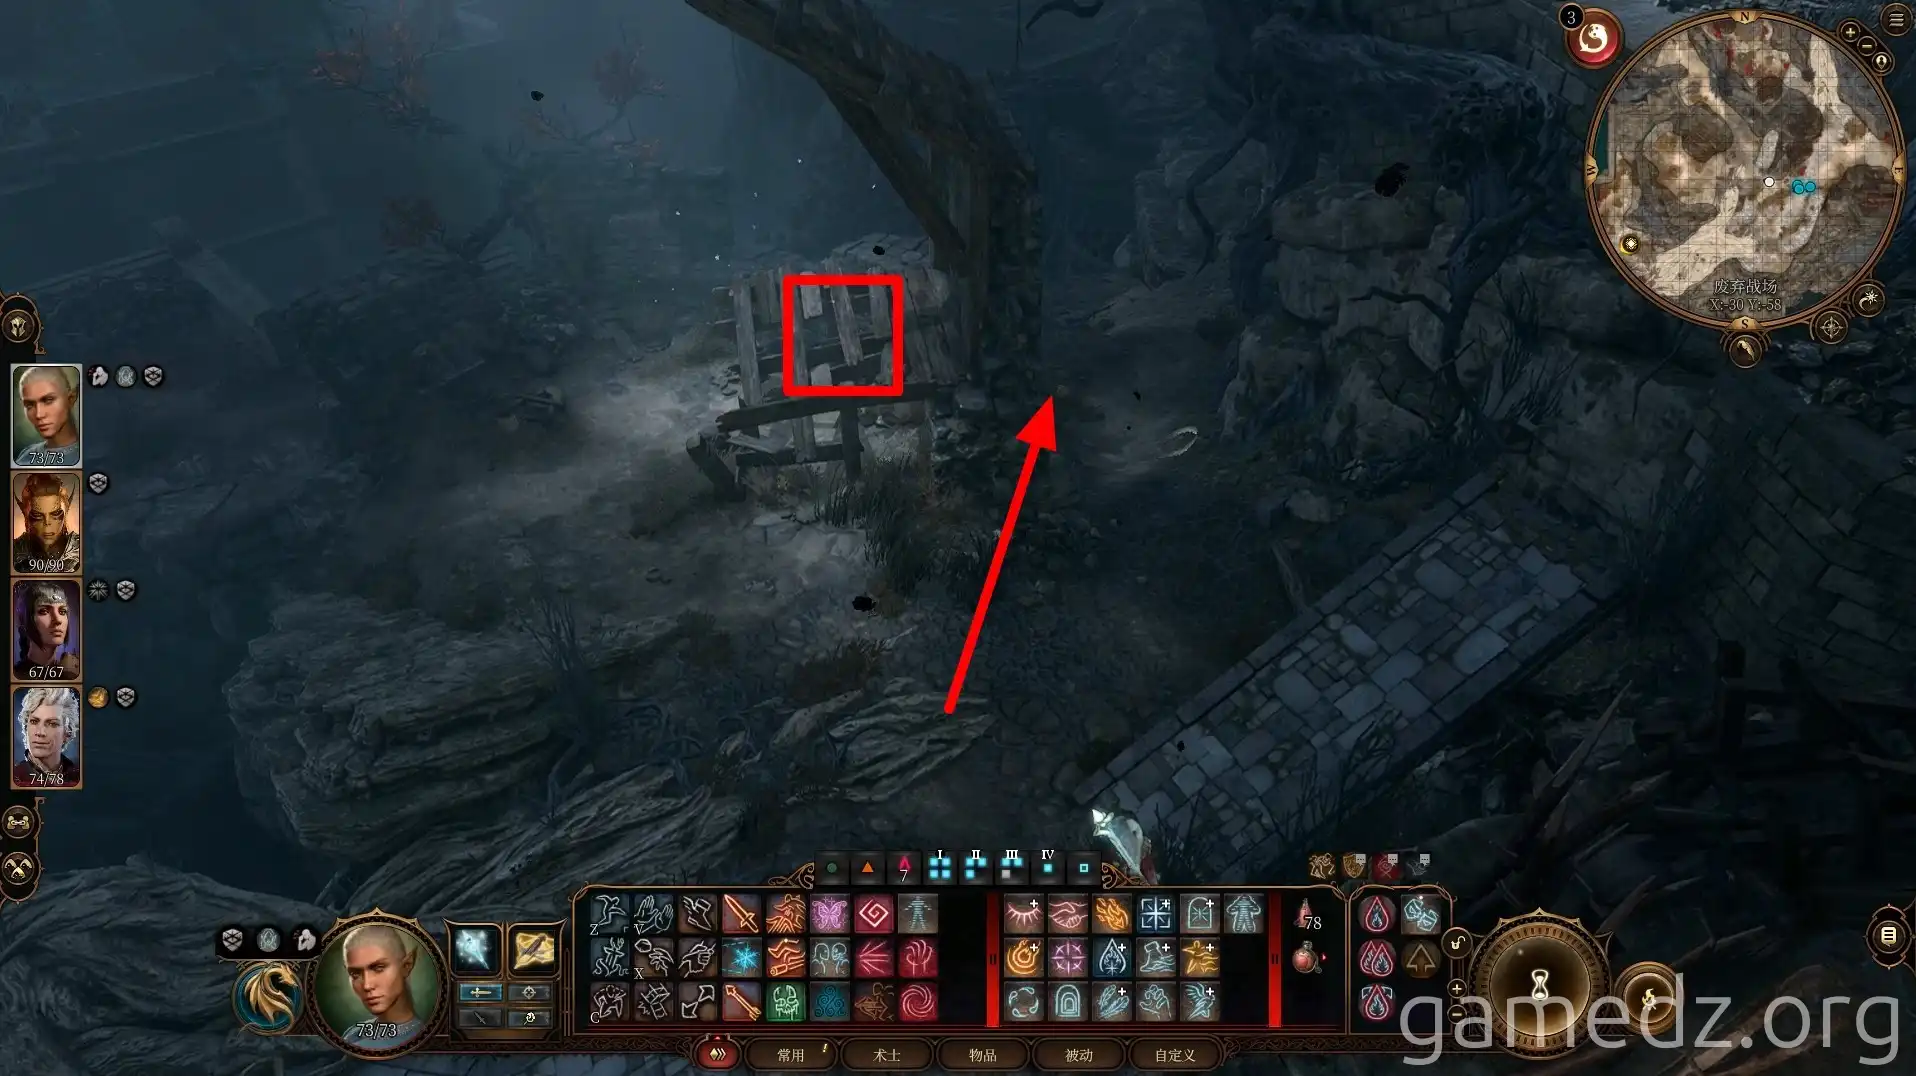
From the opening beneath the wooden frame, you can acquire some items. Then, follow the path behind the wall northward.
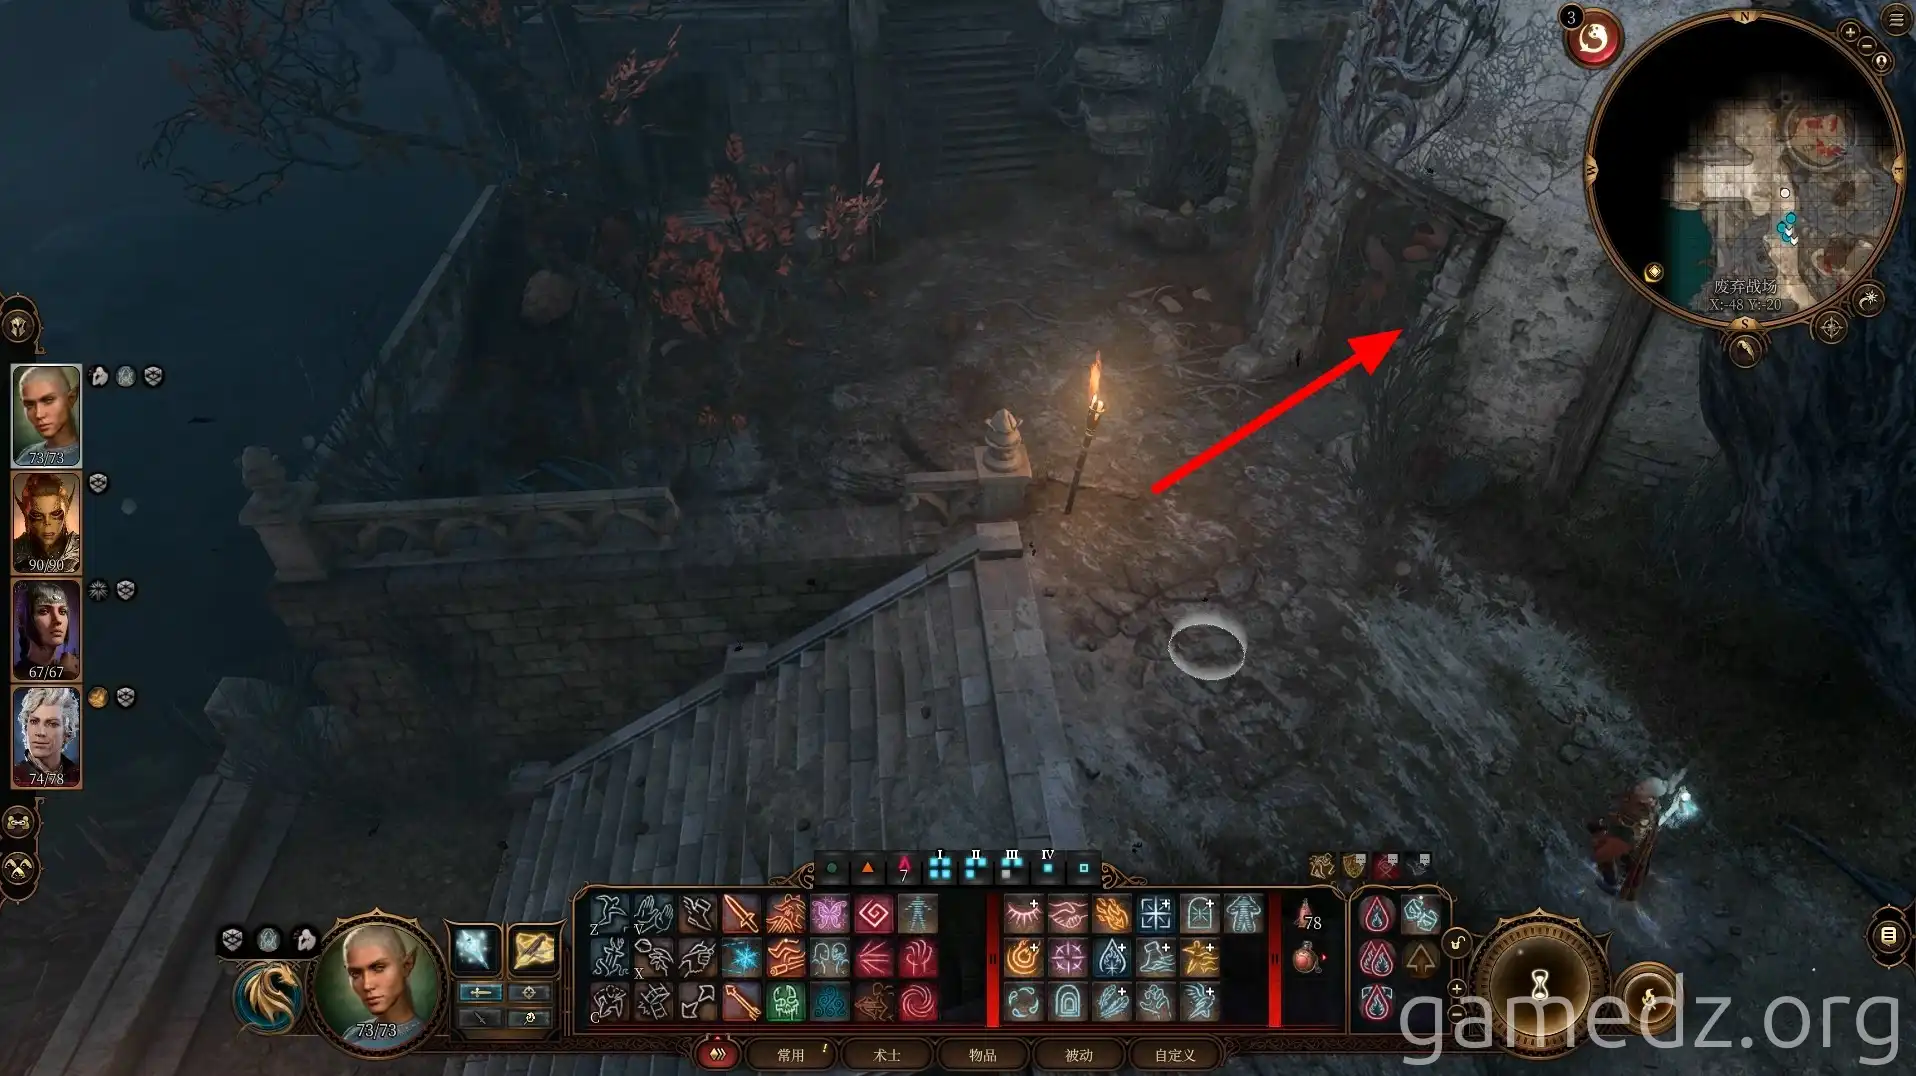
Ahead, you'll reach the north entrance to Reithwin. Enter the circular building next to the stairs. There's a trap at the entrance; be sure to disarm it after passing a Perception check before entering the room.
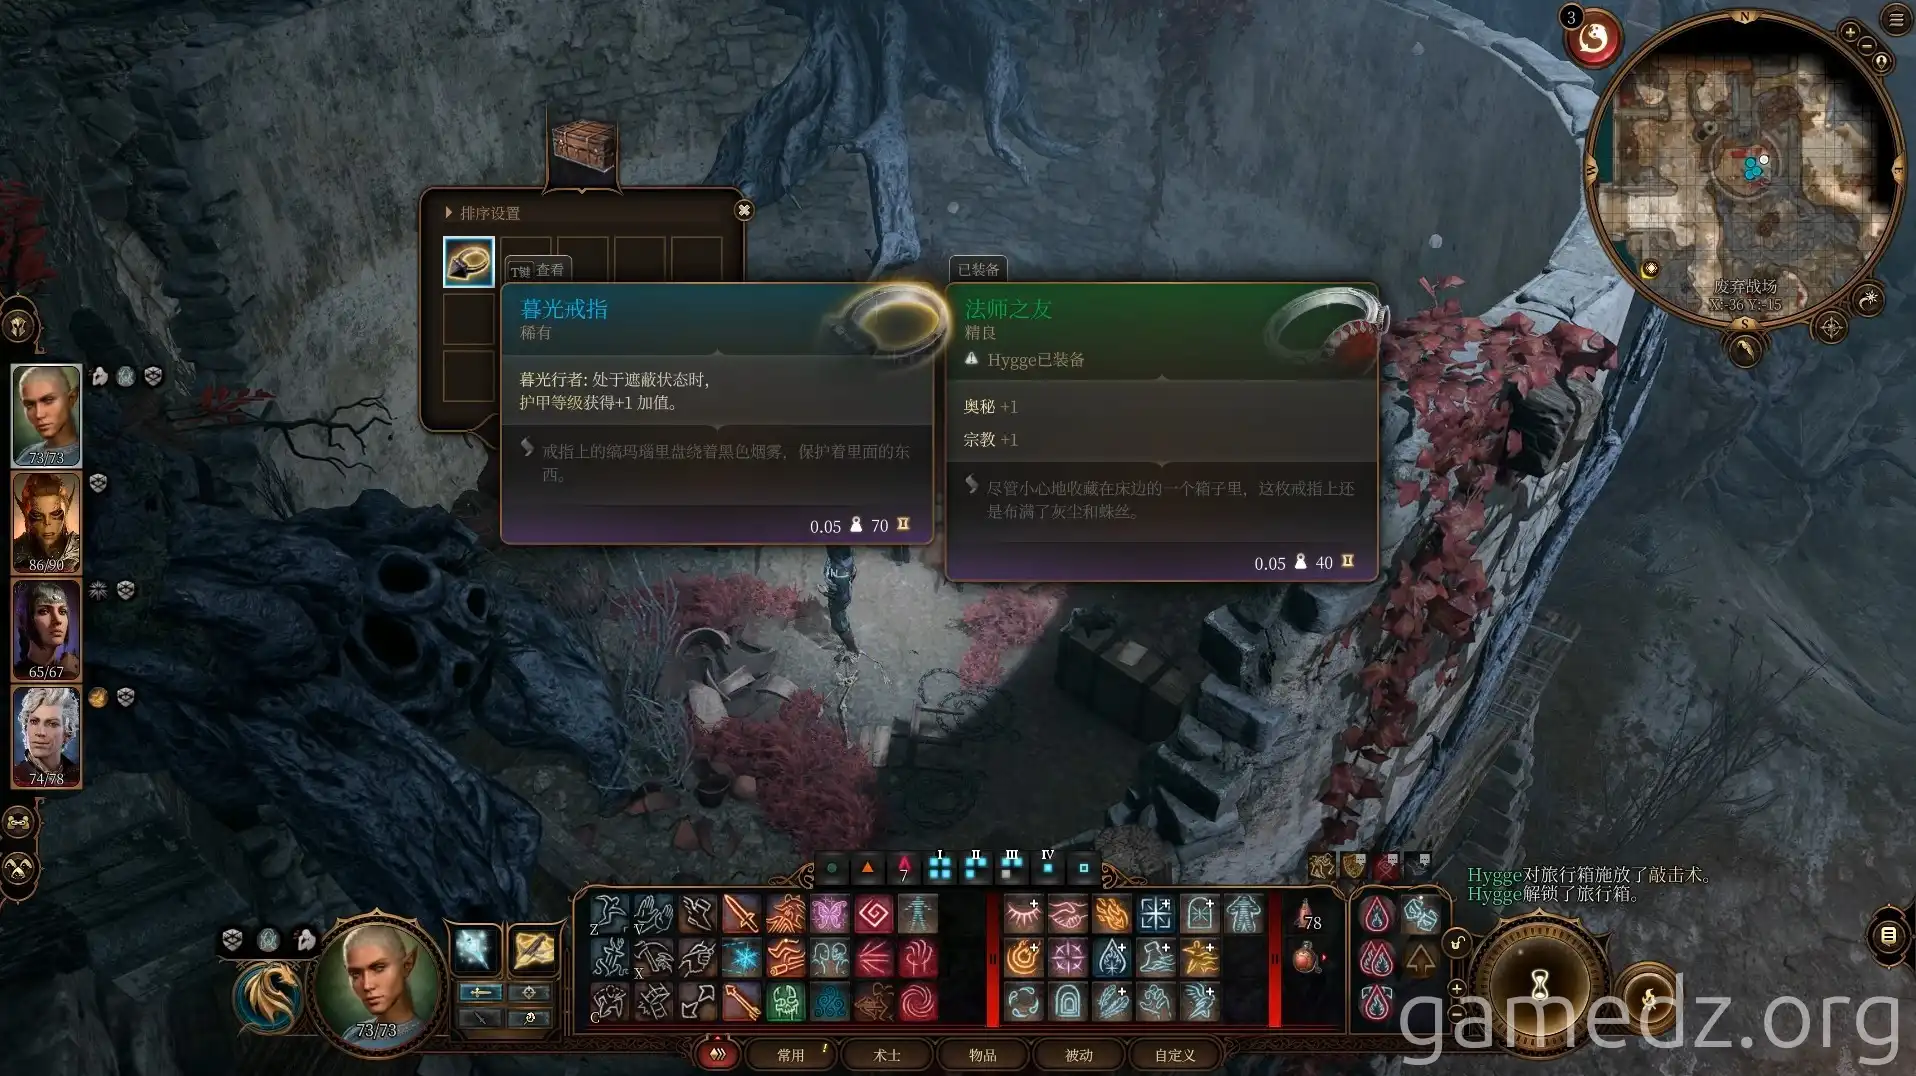
In a locked chest in the corner of the room, you can find the Twilight Ring, a Rare accessory.
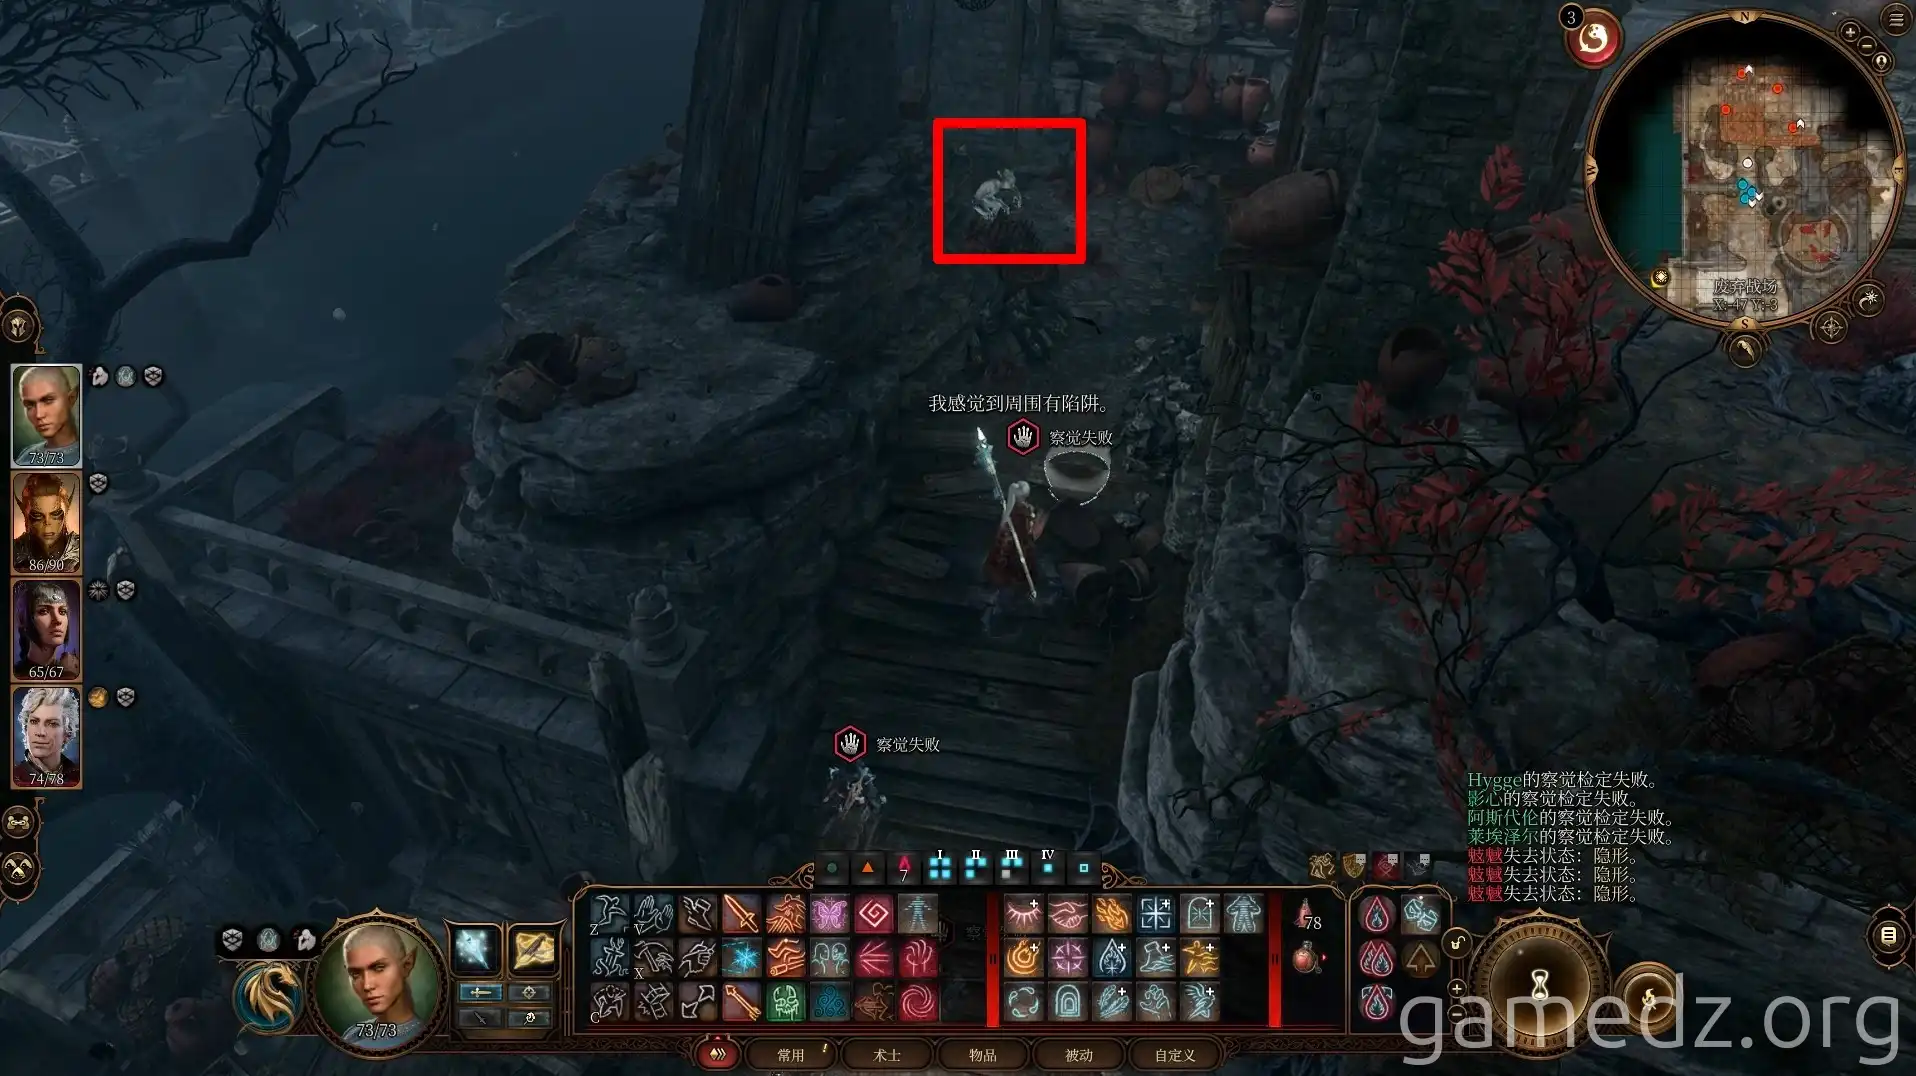
Continue north to the next room, where you'll encounter four Spectators. Defeat them all.
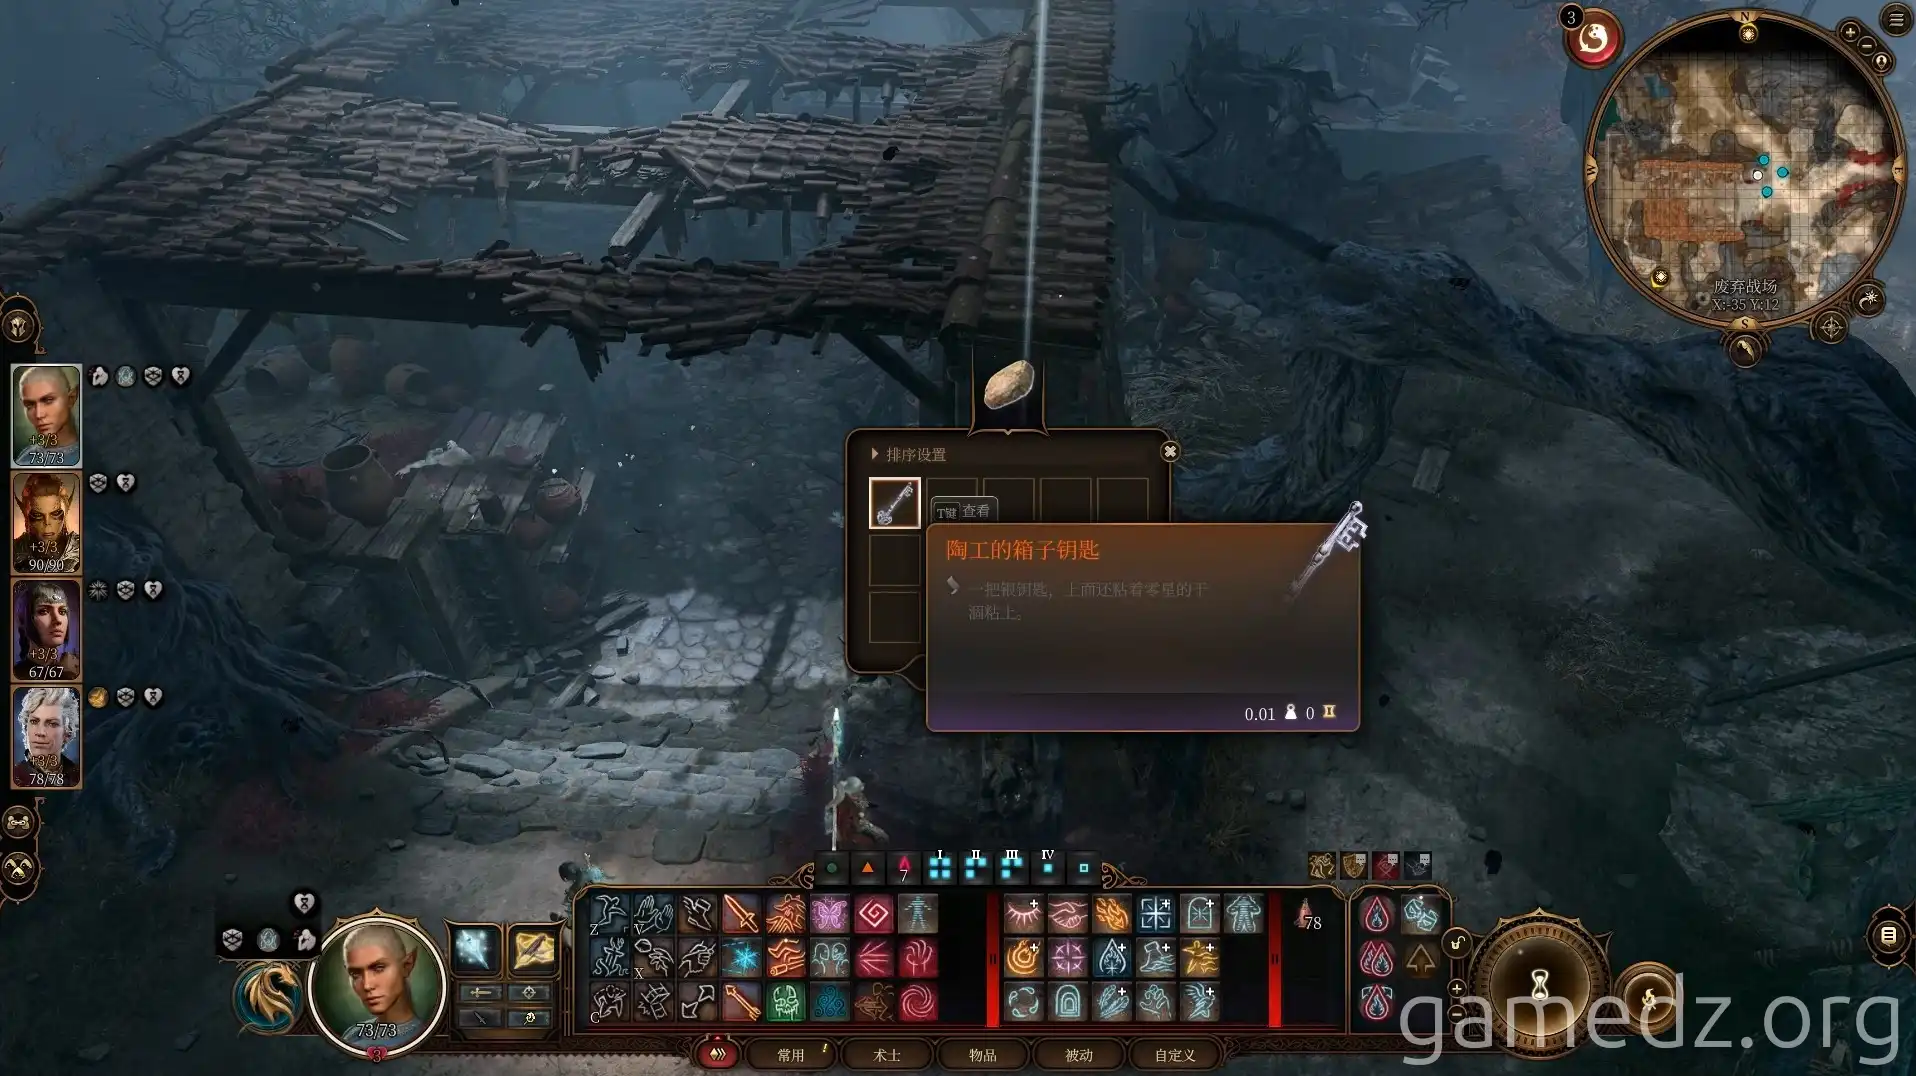
After defeating the enemies, you can find the Potter's Key in a crack in the east wall of the room.
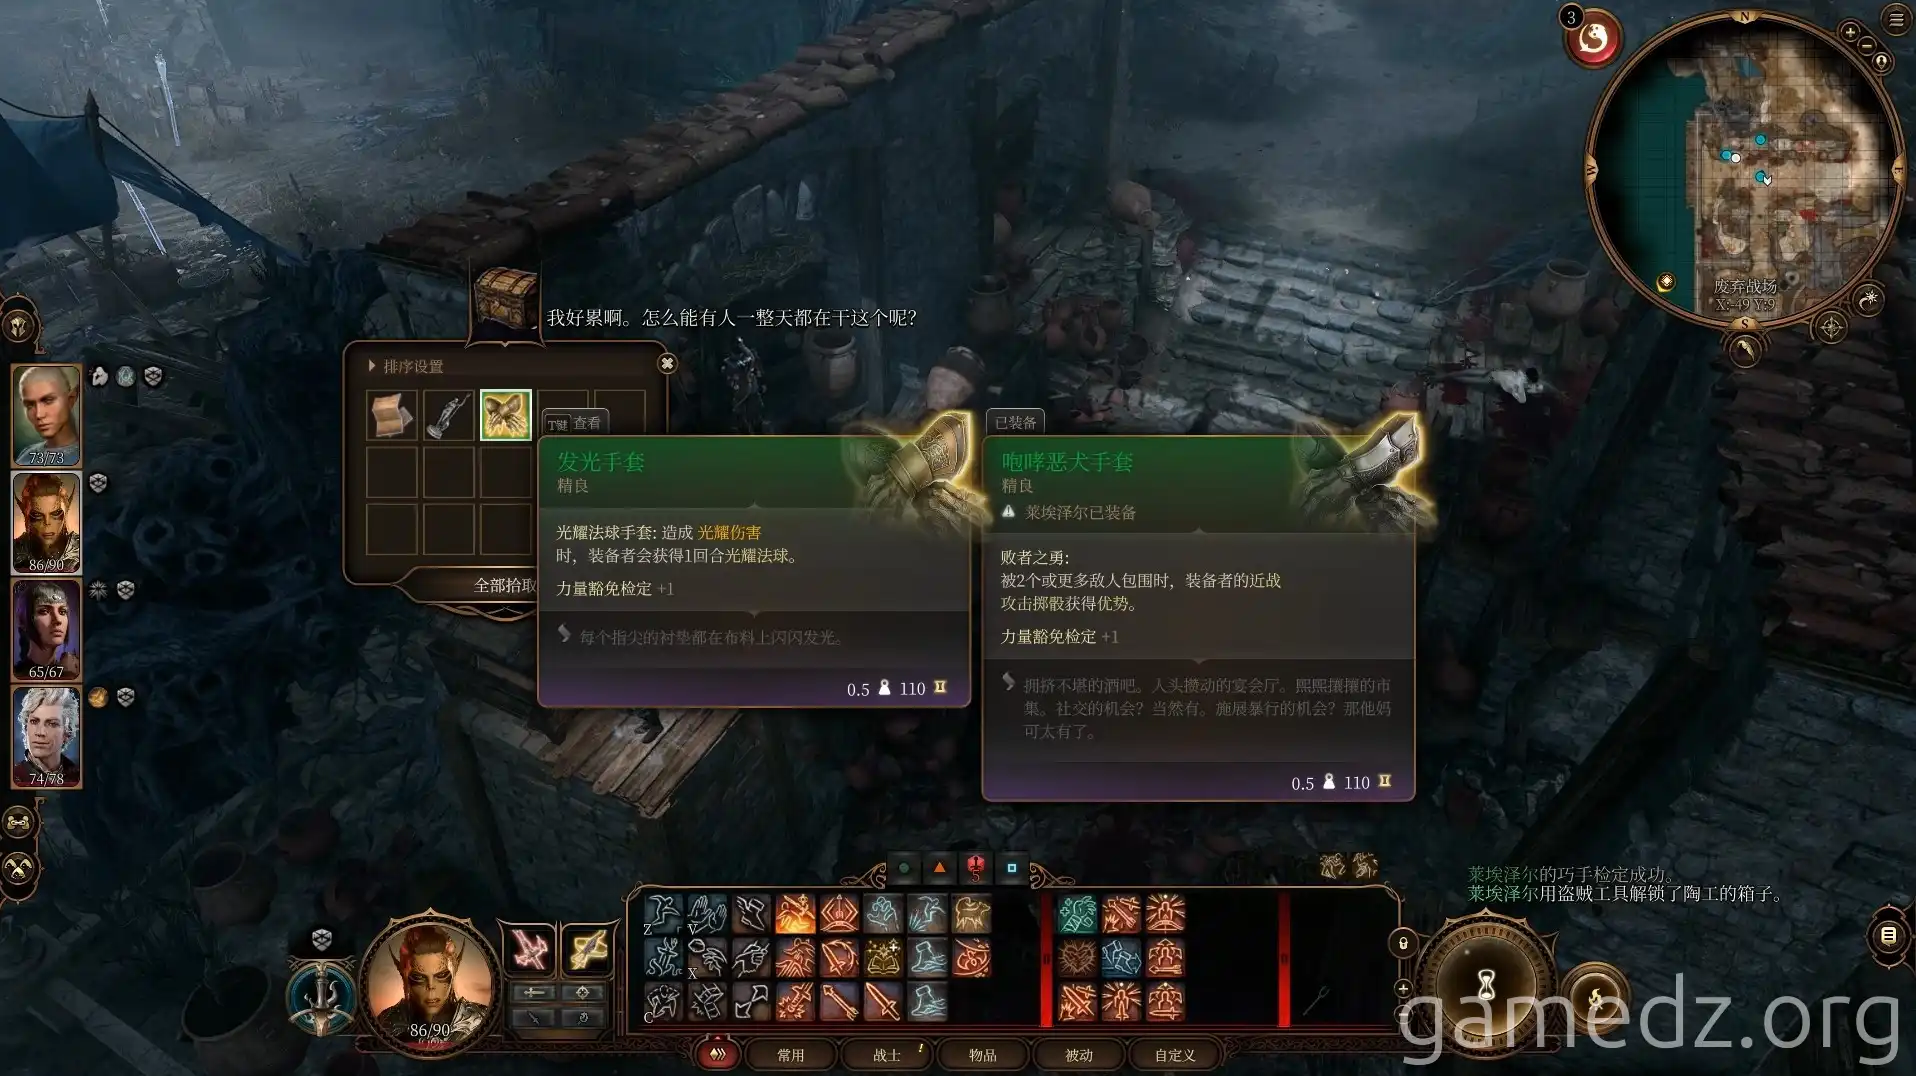
Move to the west side of the room. In the upper corner, there's a chest. Use the Potter's Key you just acquired to open it and obtain the Glowy Gloves, a Fine item.
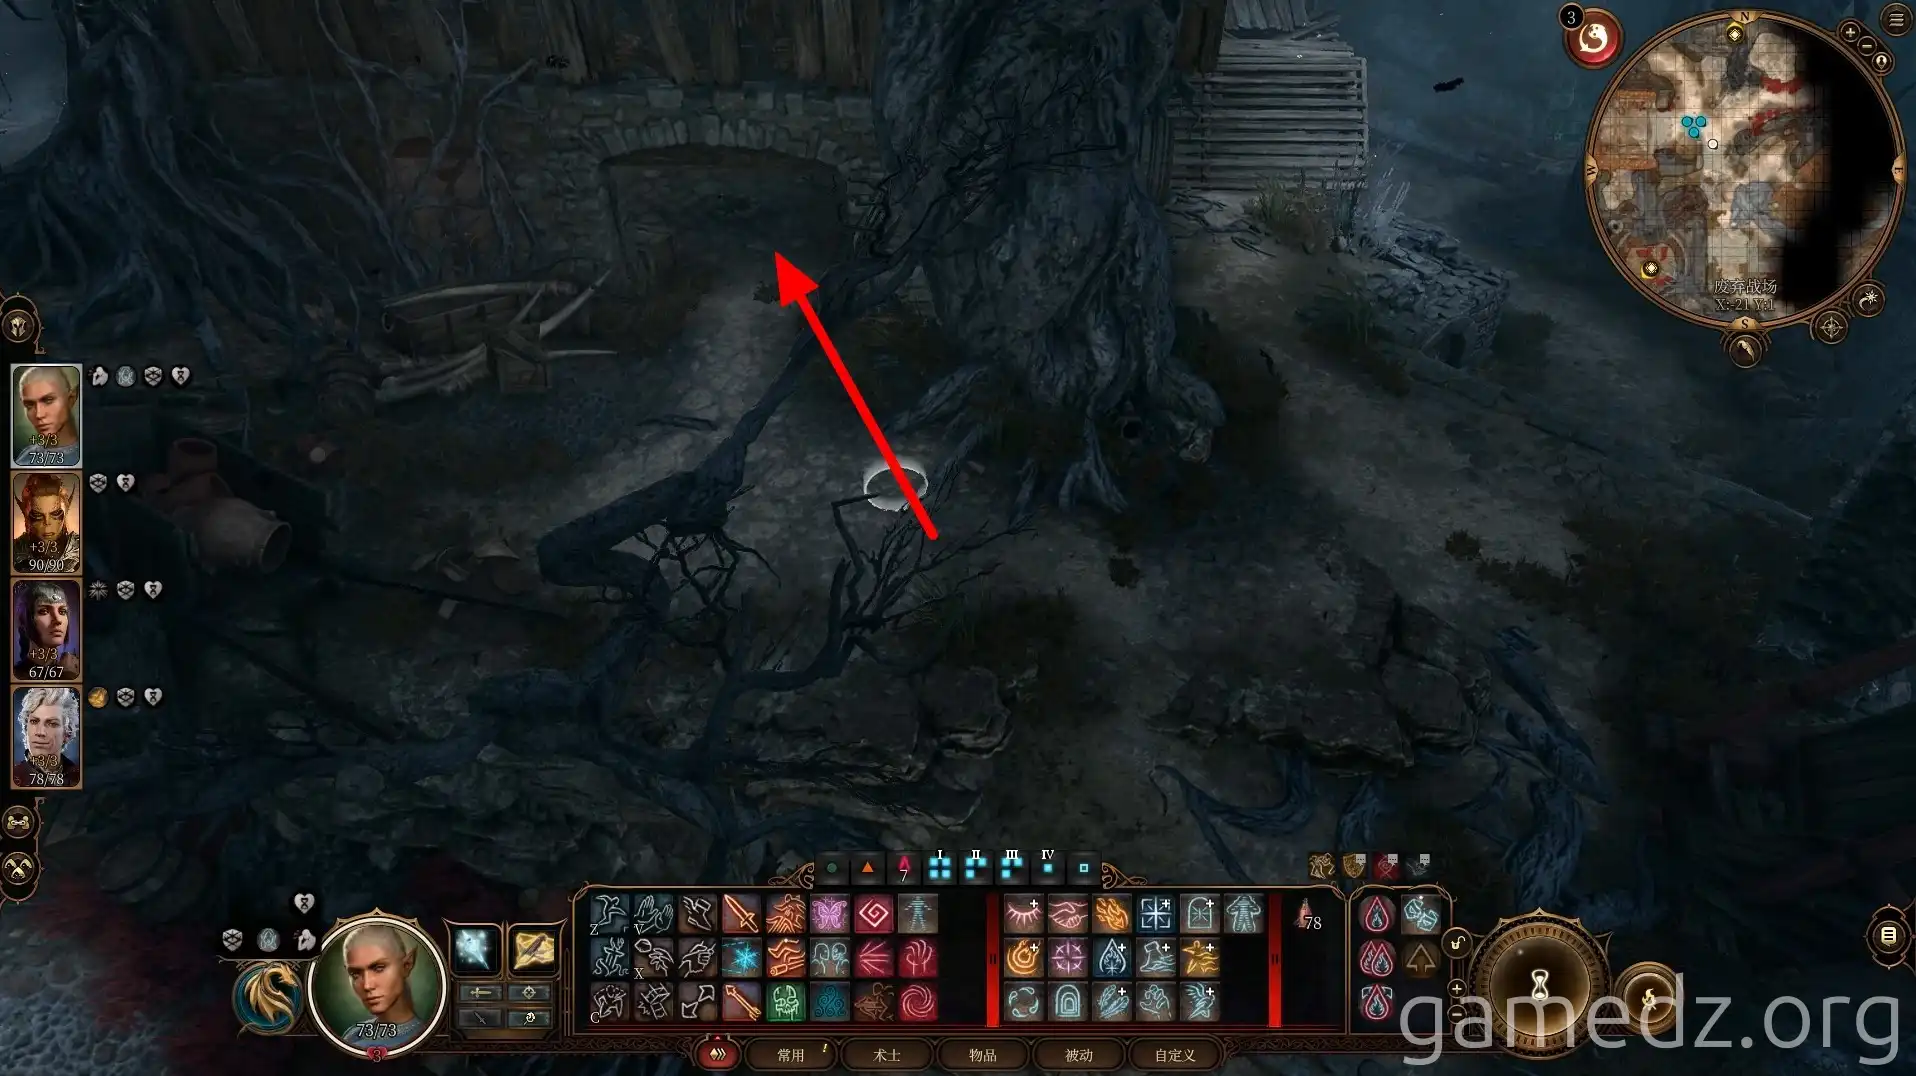
Reading the documents in the chest will also trigger the side quest Investigate the Selûnite Resistance.
Continue east and enter the adjacent barn.
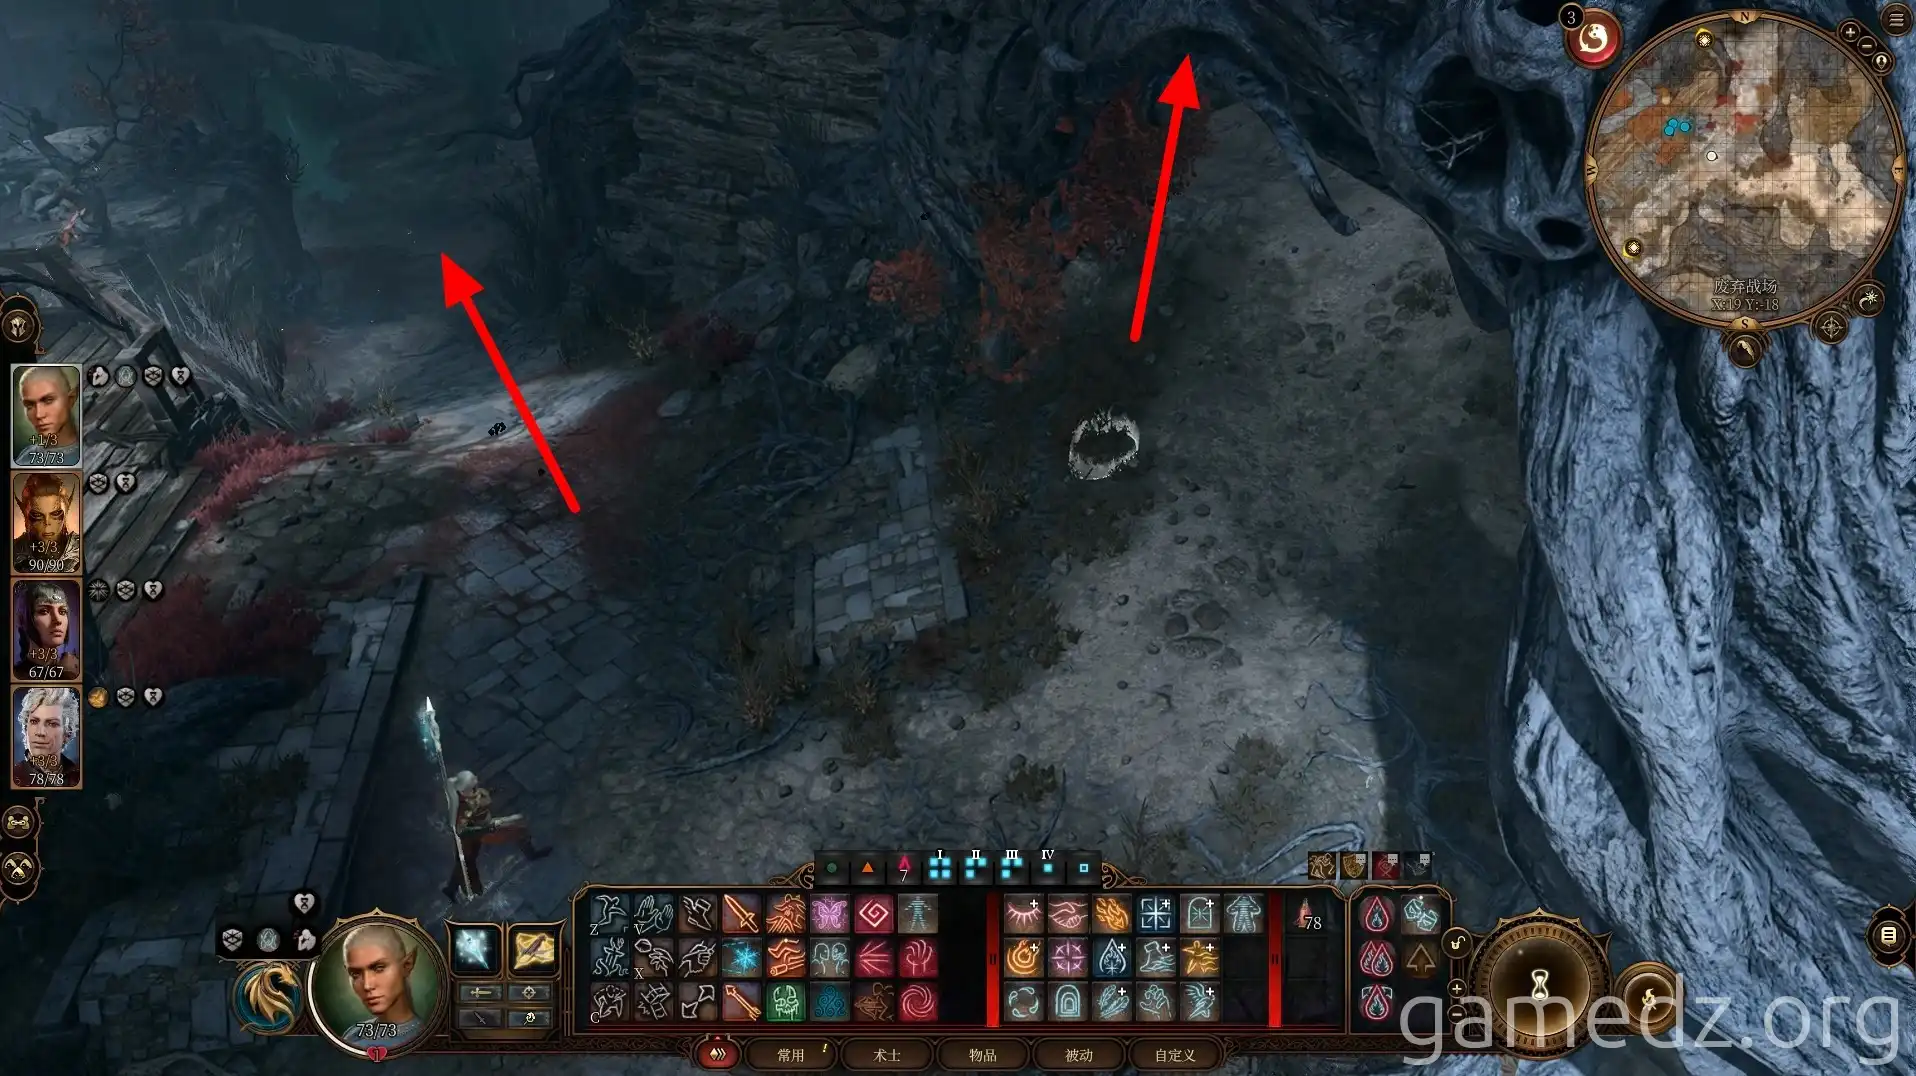
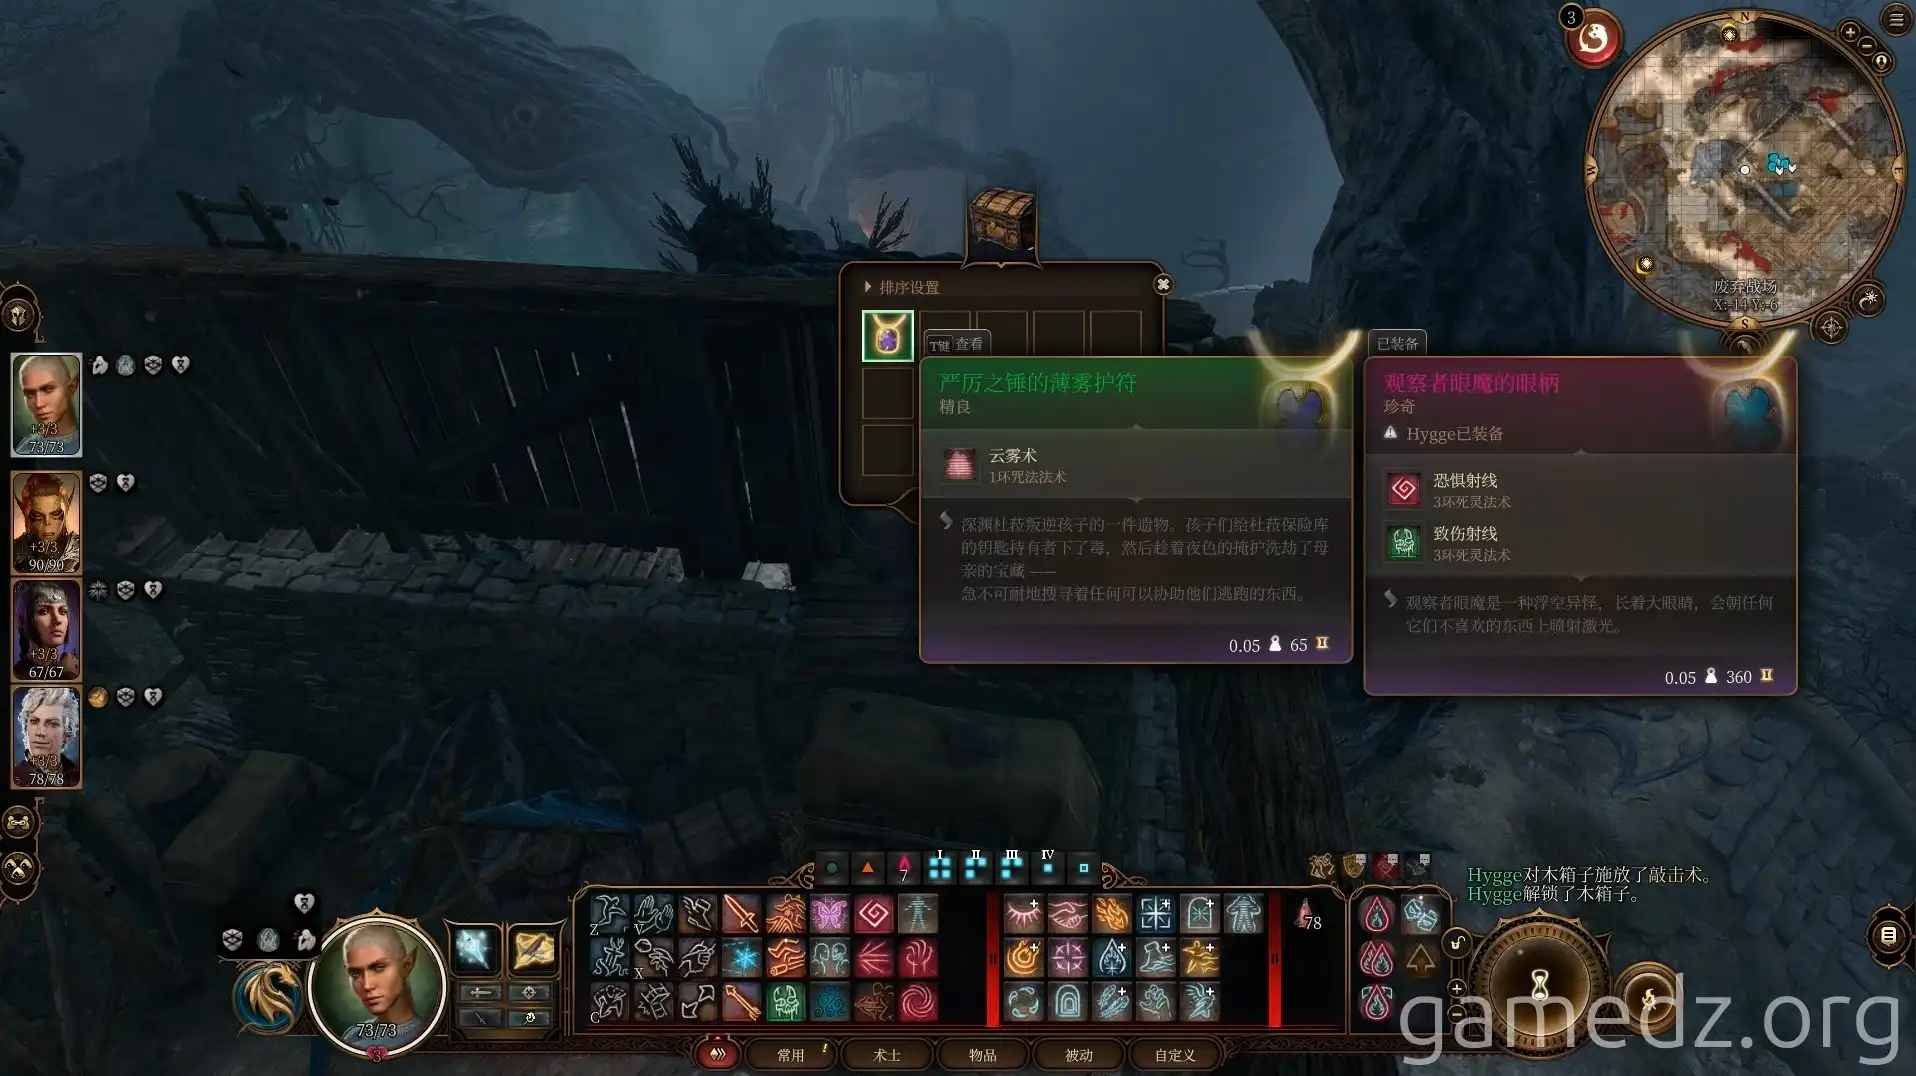
In a chest in the corner of the barn's second floor, you can find the Misty Fog Amulet of the Stern Hammer, a Fine accessory.
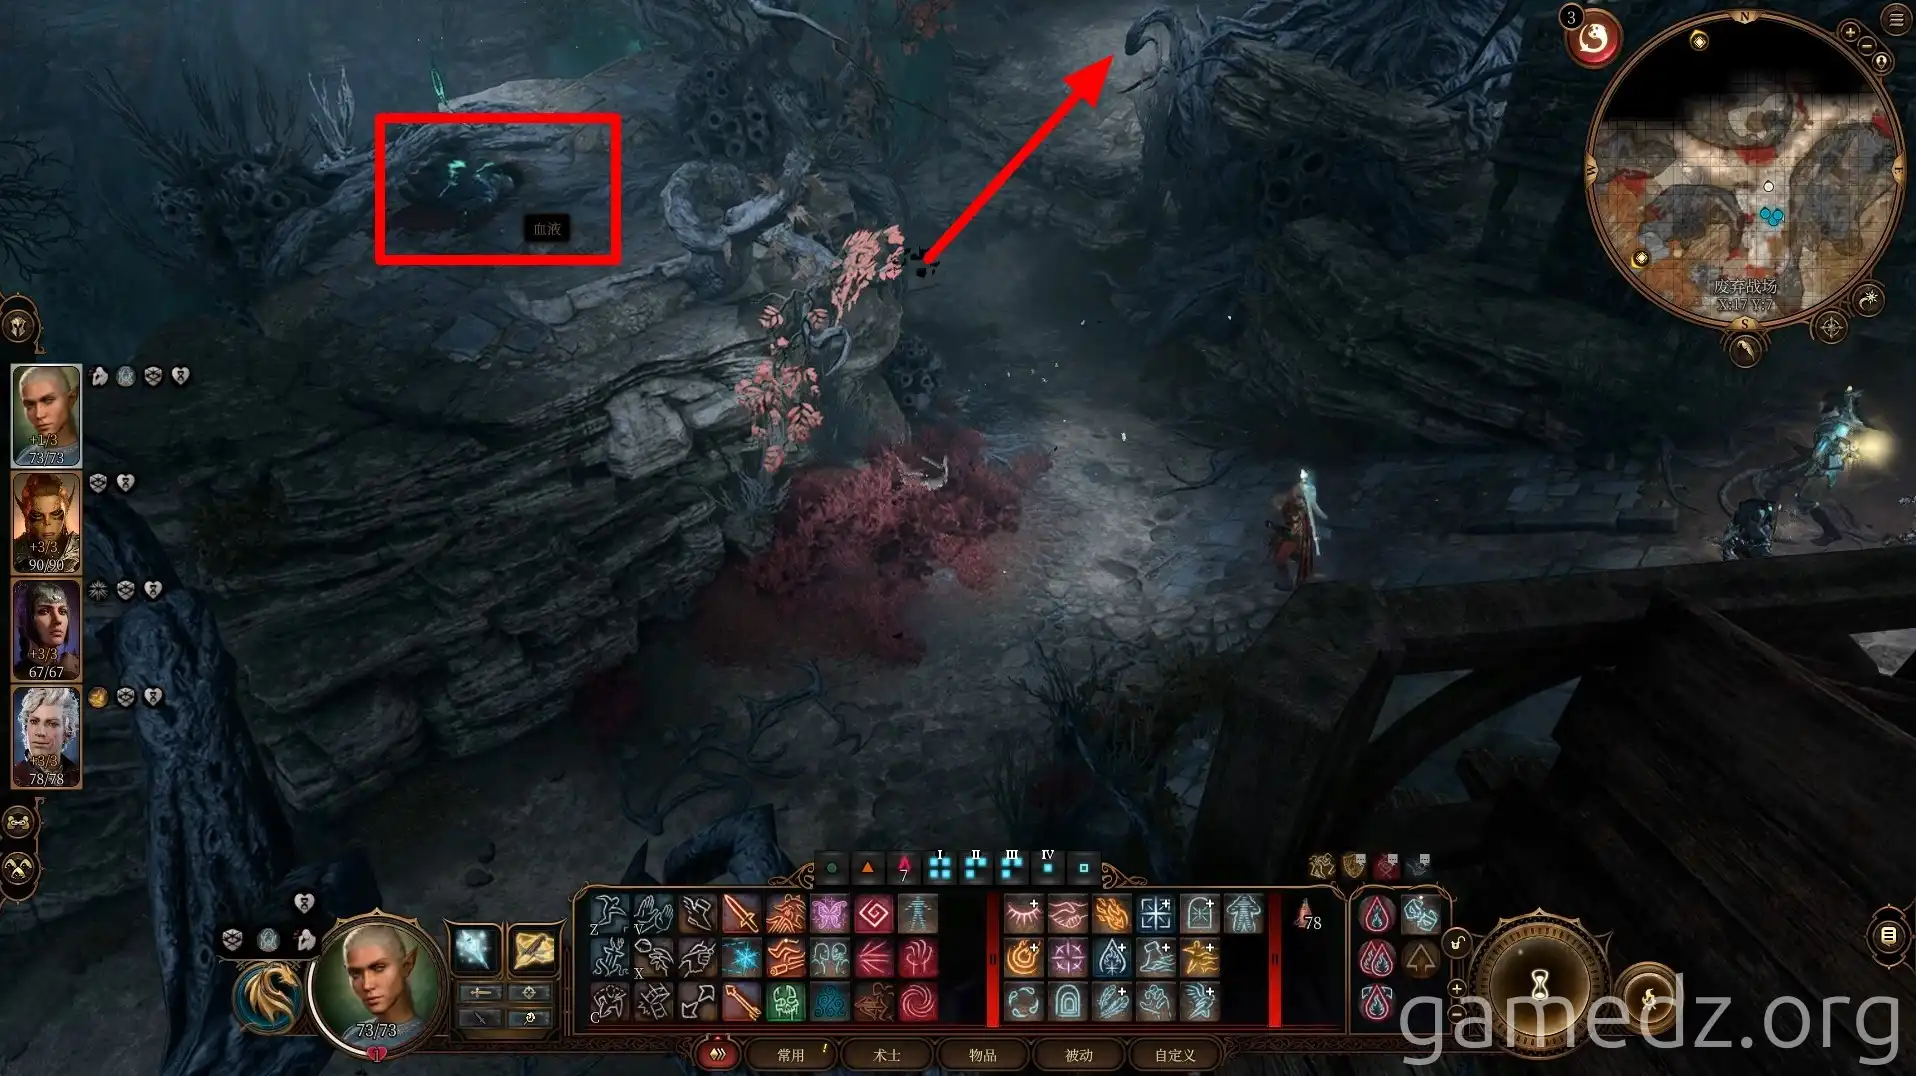
Pass through the room to a tree trunk archway. On a high platform next to the archway, there's a chest. After collecting some items, continue north along the path.
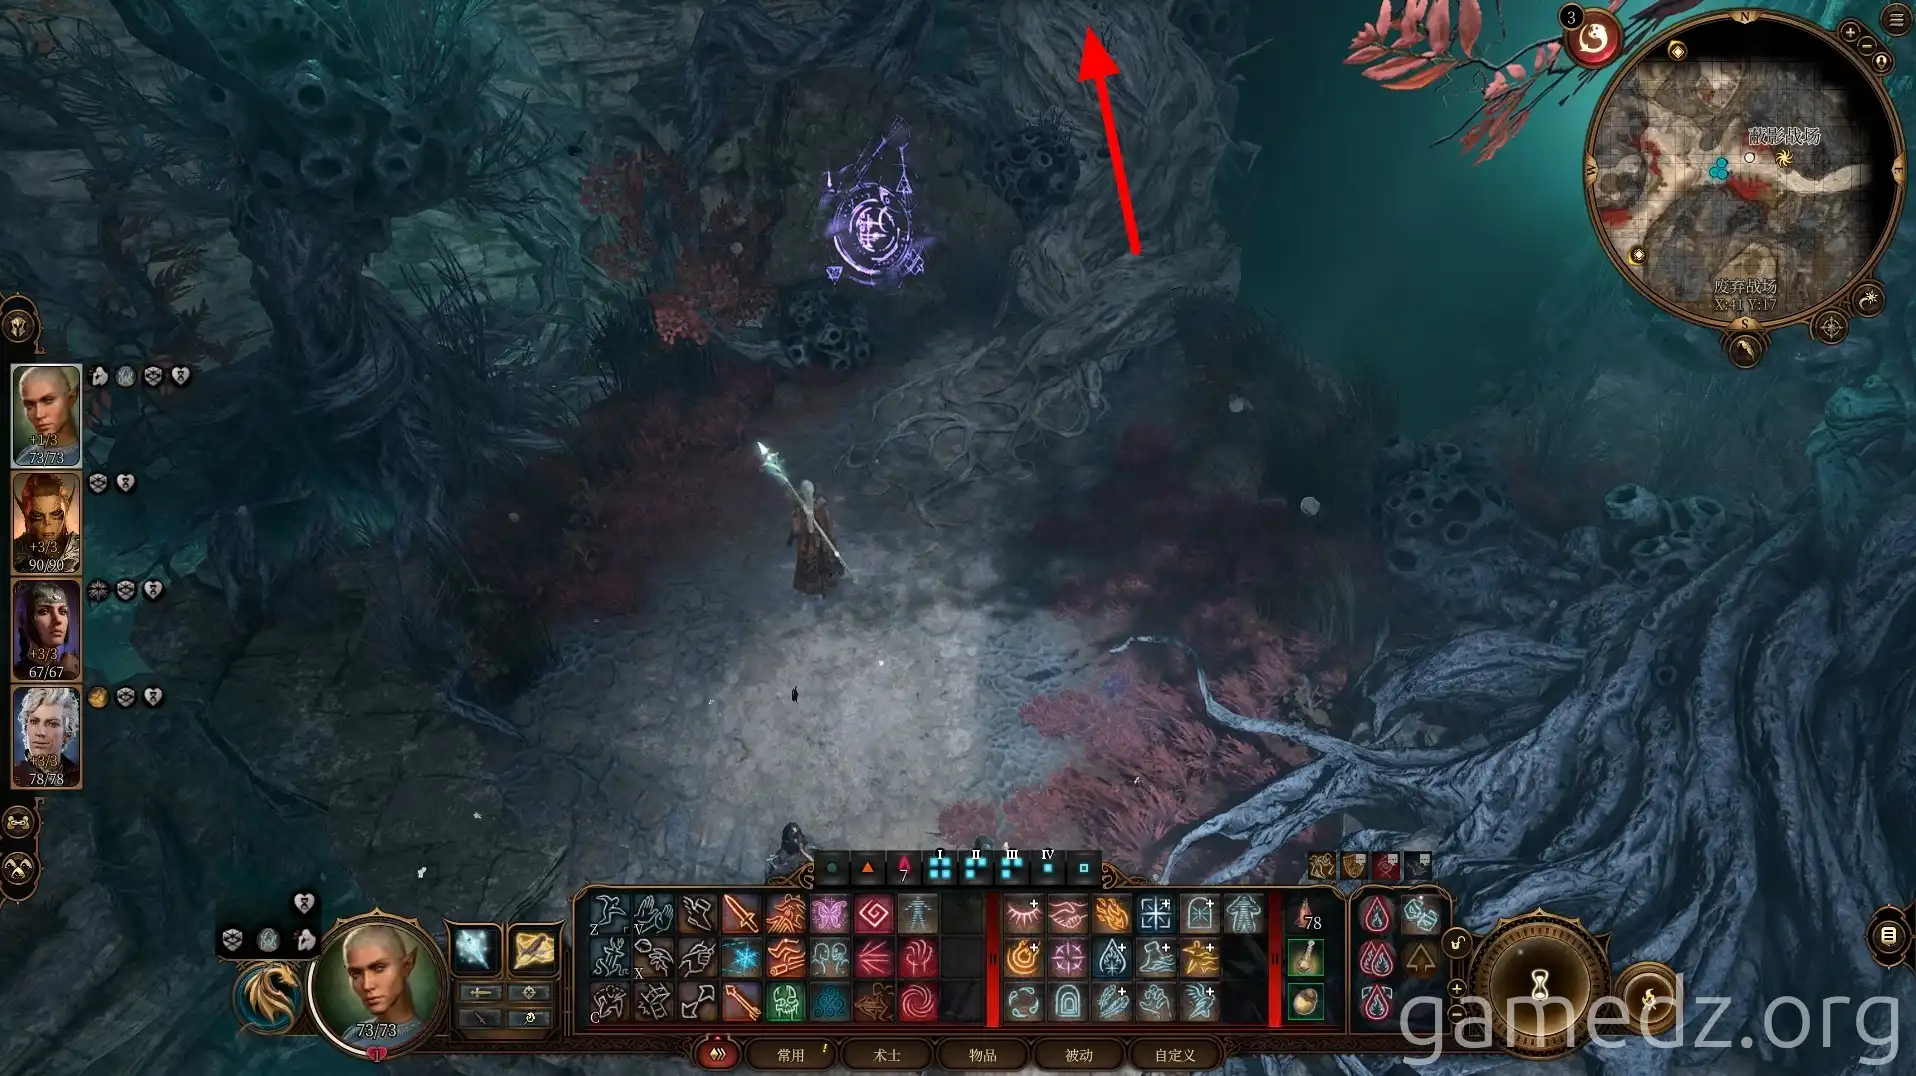
Heading east from the archway will lead you back to the area where you fought the Drow. This means we've circled around the southern part of the Shadow-Cursed Lands and returned.
Next to a dead Grey Dwarf on the platform ahead, there's a mound of dirt with a buried chest. Open the chest and then head east along the path.
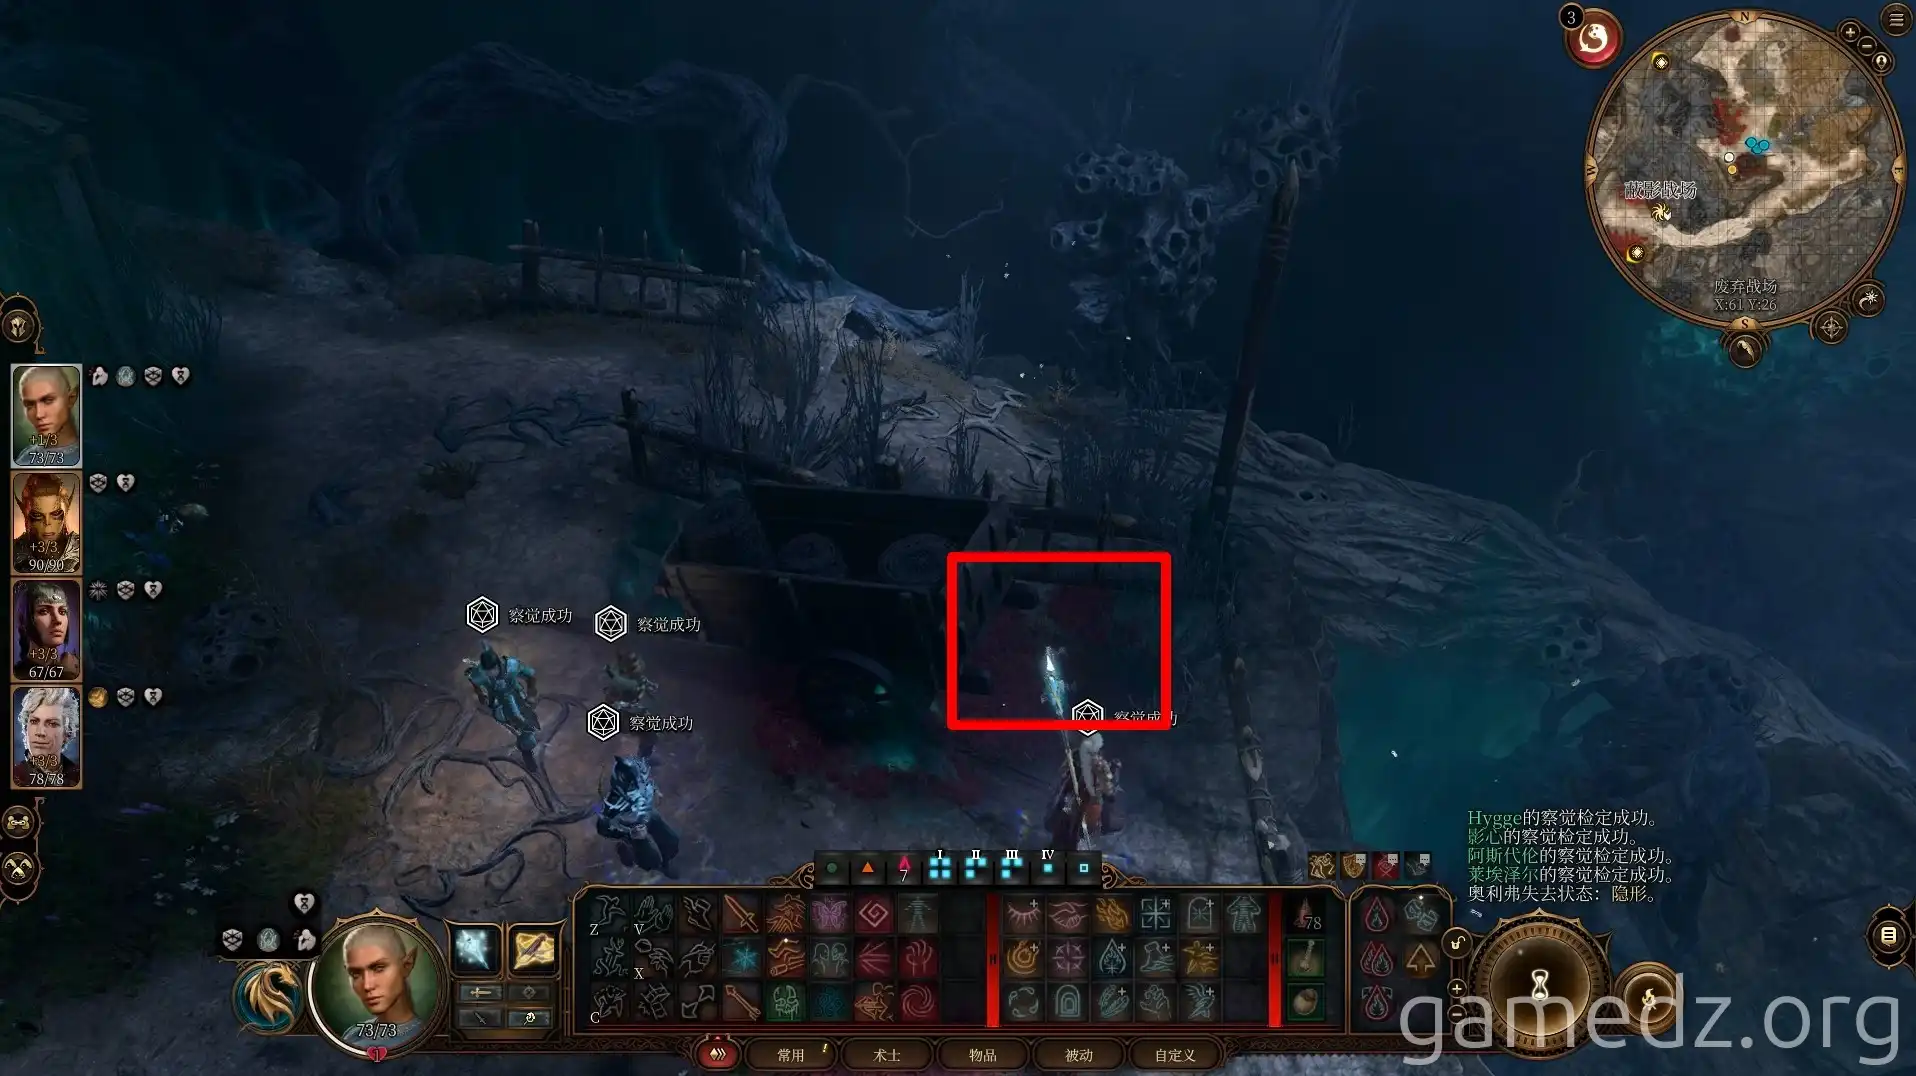
Activate the Gauntlet of Shar waypoint and continue deeper through the vines.
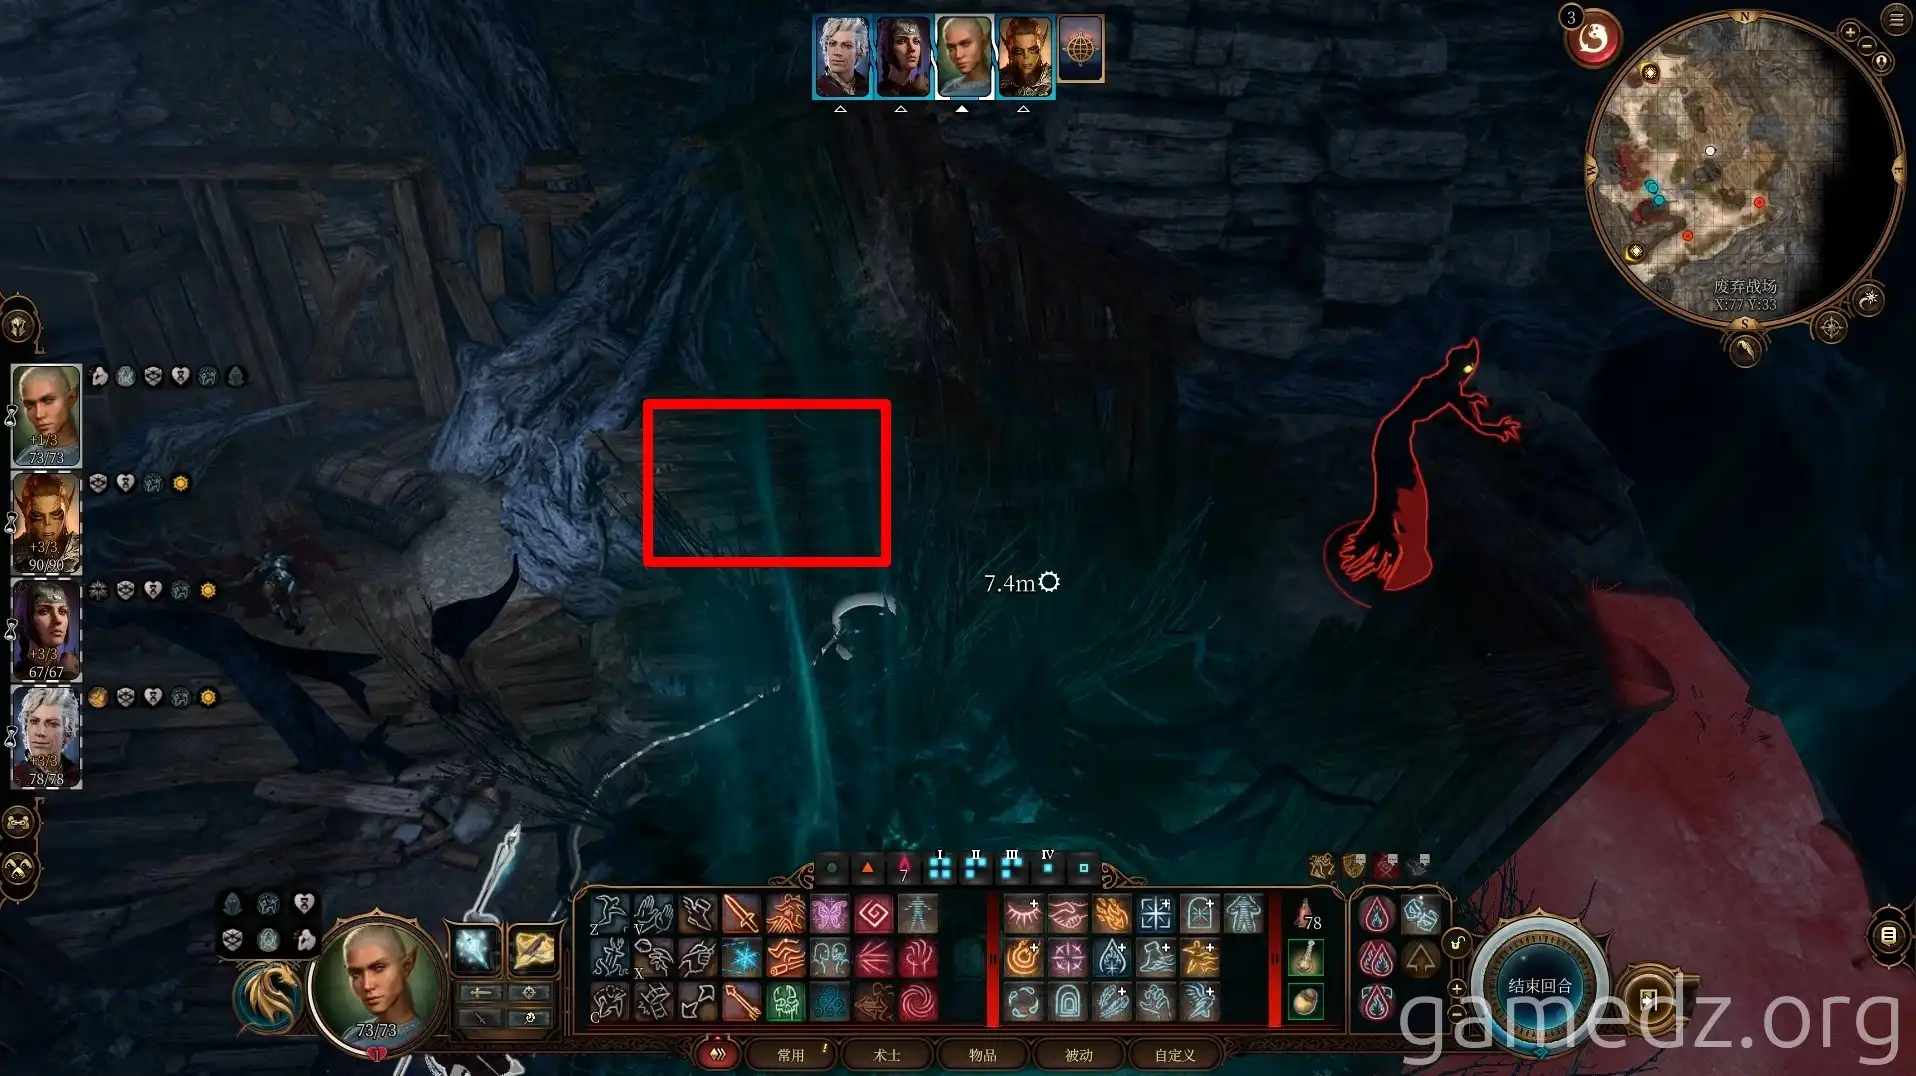
Entering the house ahead, you'll meet a child named Oliver. After a conversation, you'll start a game of hide-and-seek.
The first time, you can find him behind the carriage outside the door.
The second time, you can find him to the right of the room where you first met him. If you don't see him, he might not have moved yet; wait a few turns.
It's important to avoid the gaze of other shadows during this process and not trigger combat.
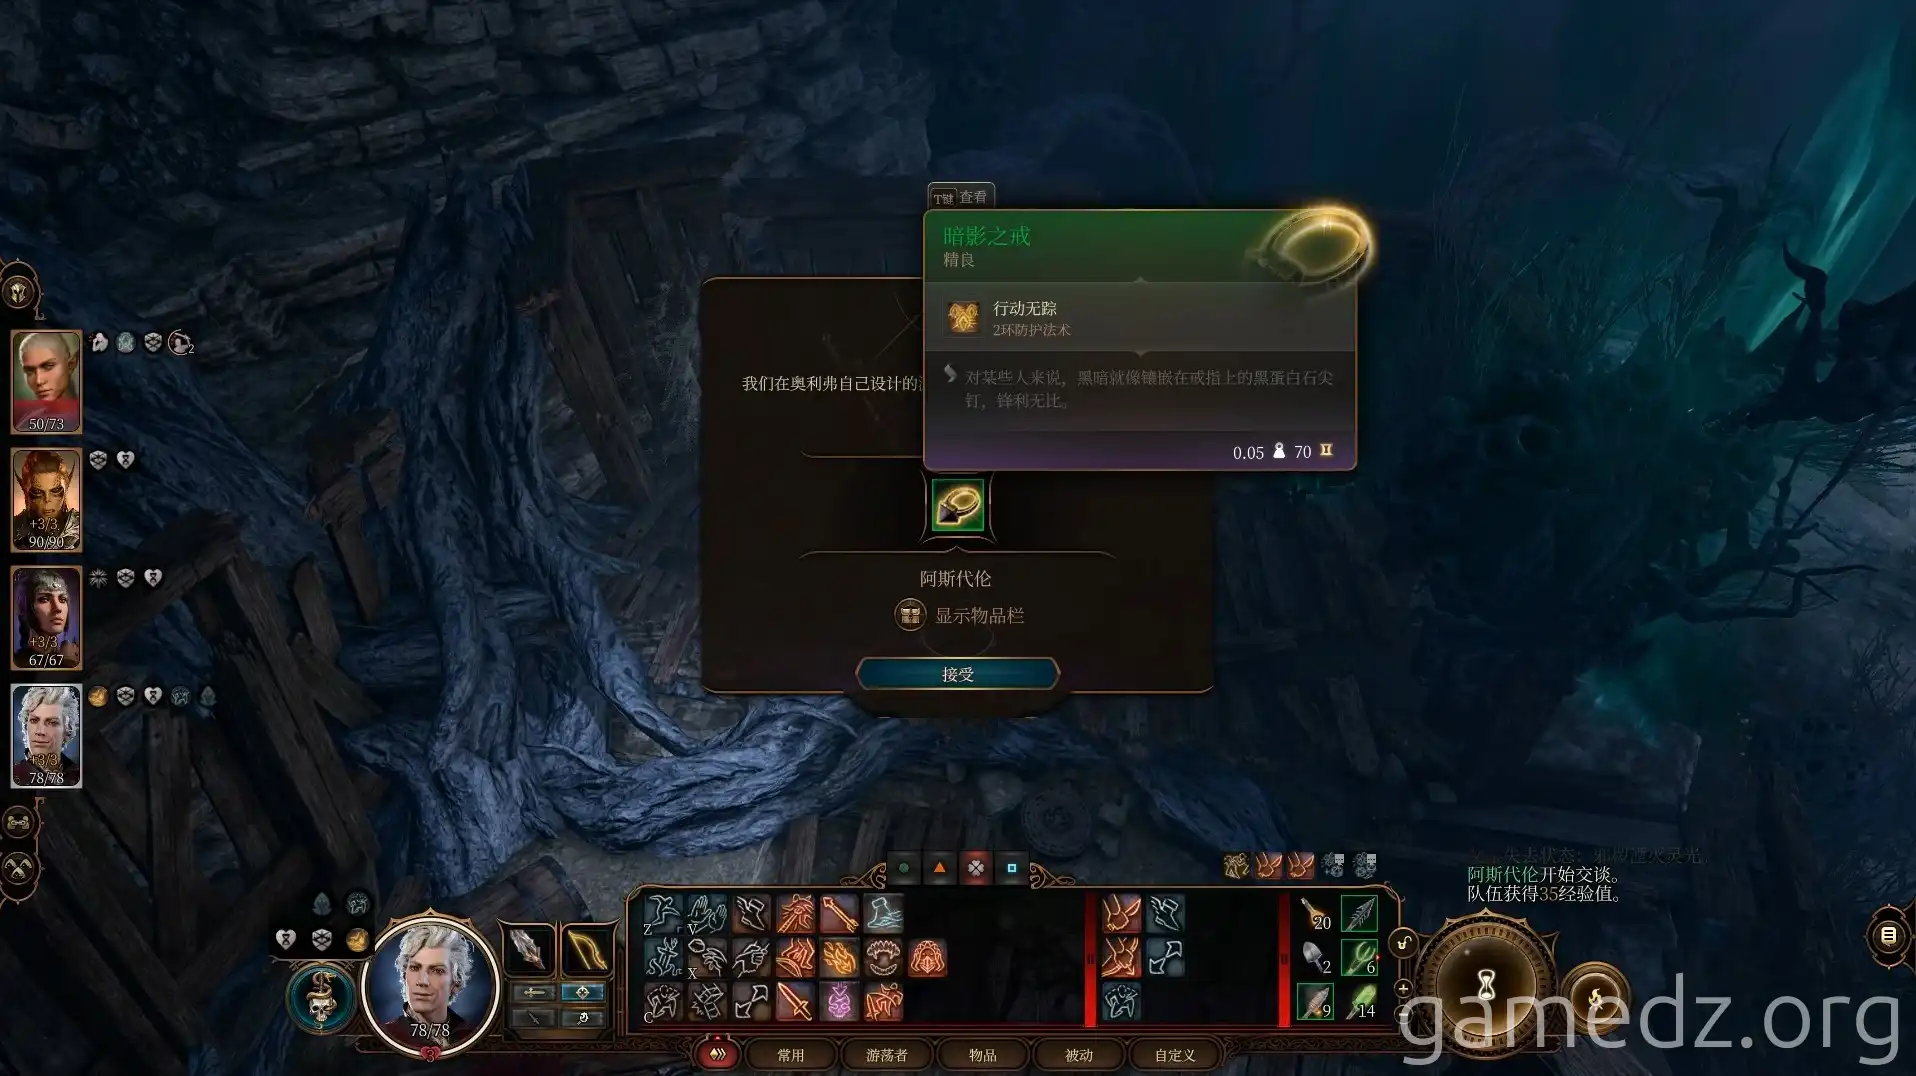
Finding him the second time completes the game. Speak with Oliver to receive the Ring of Shadow Suppression, a Fine accessory.
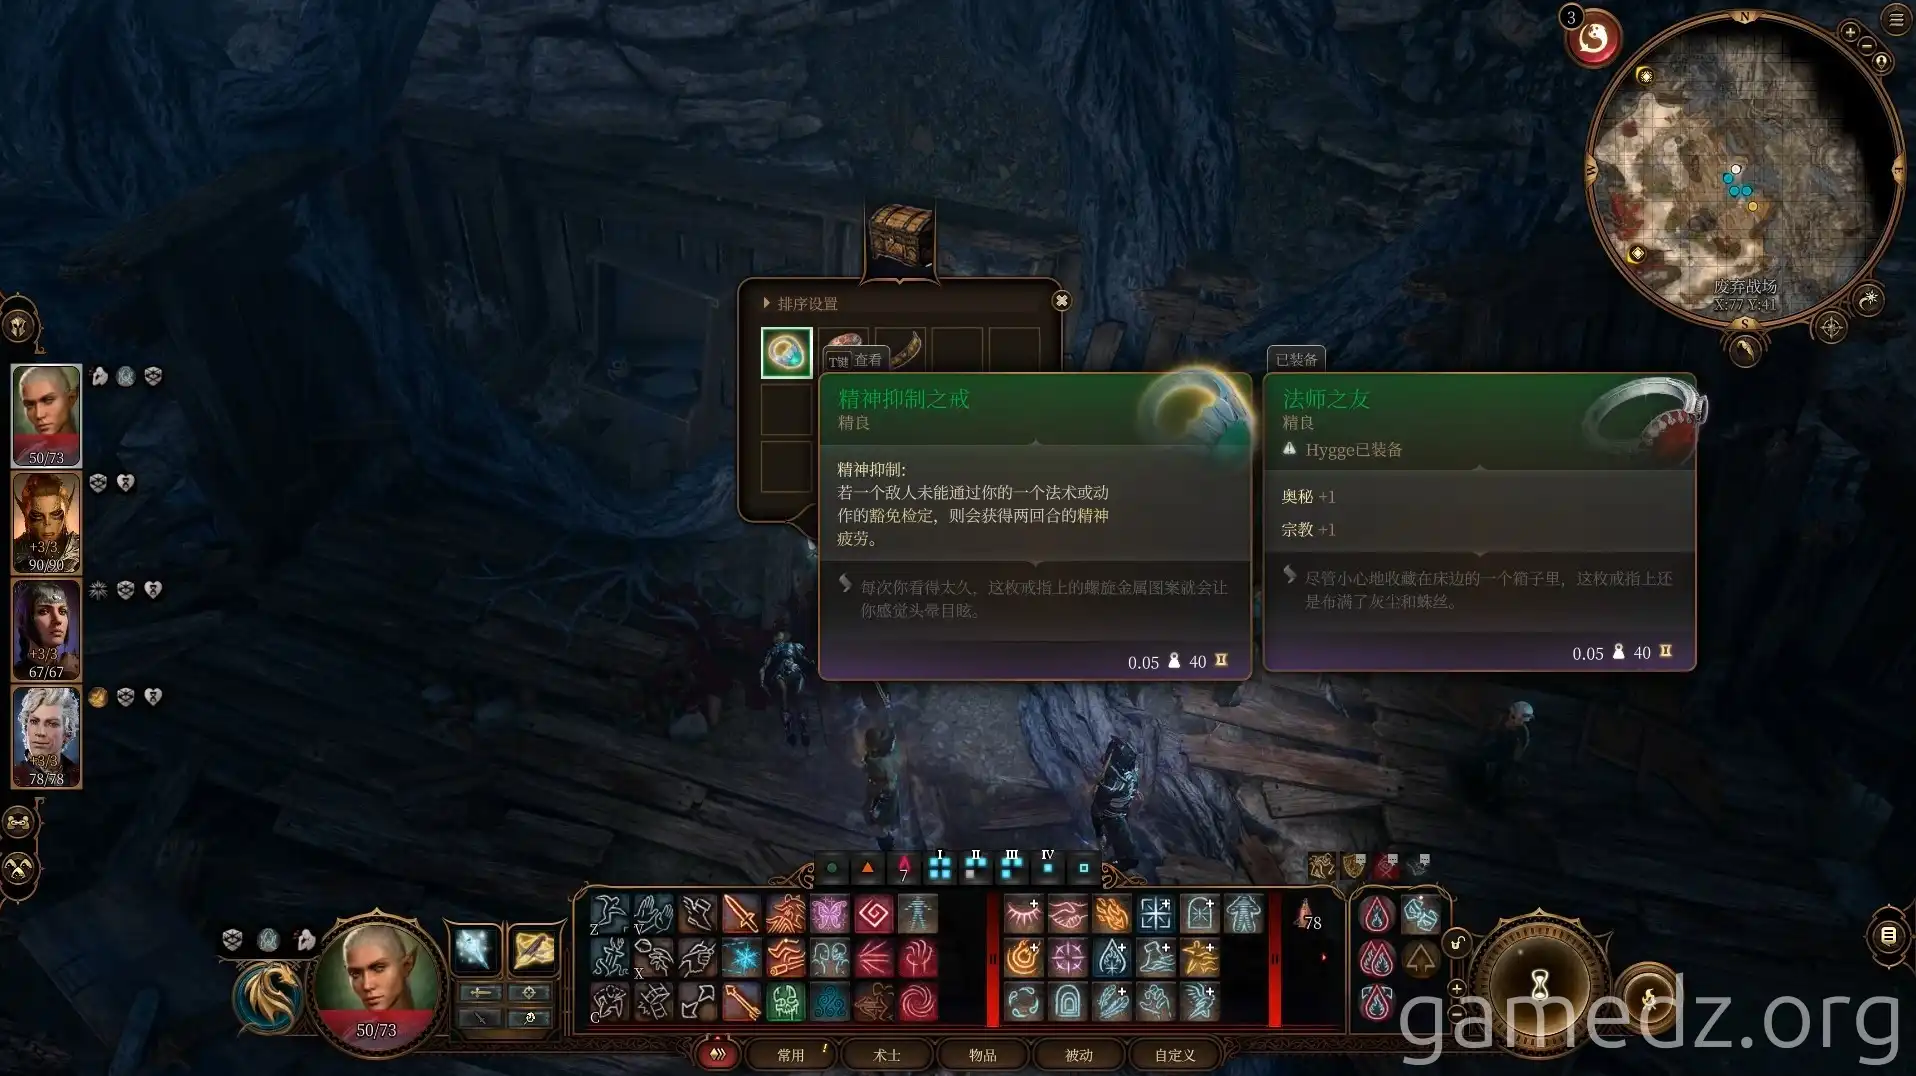
In the wooden chest nearby, you can also find the Ring of Mental Suppression, a Fine accessory.
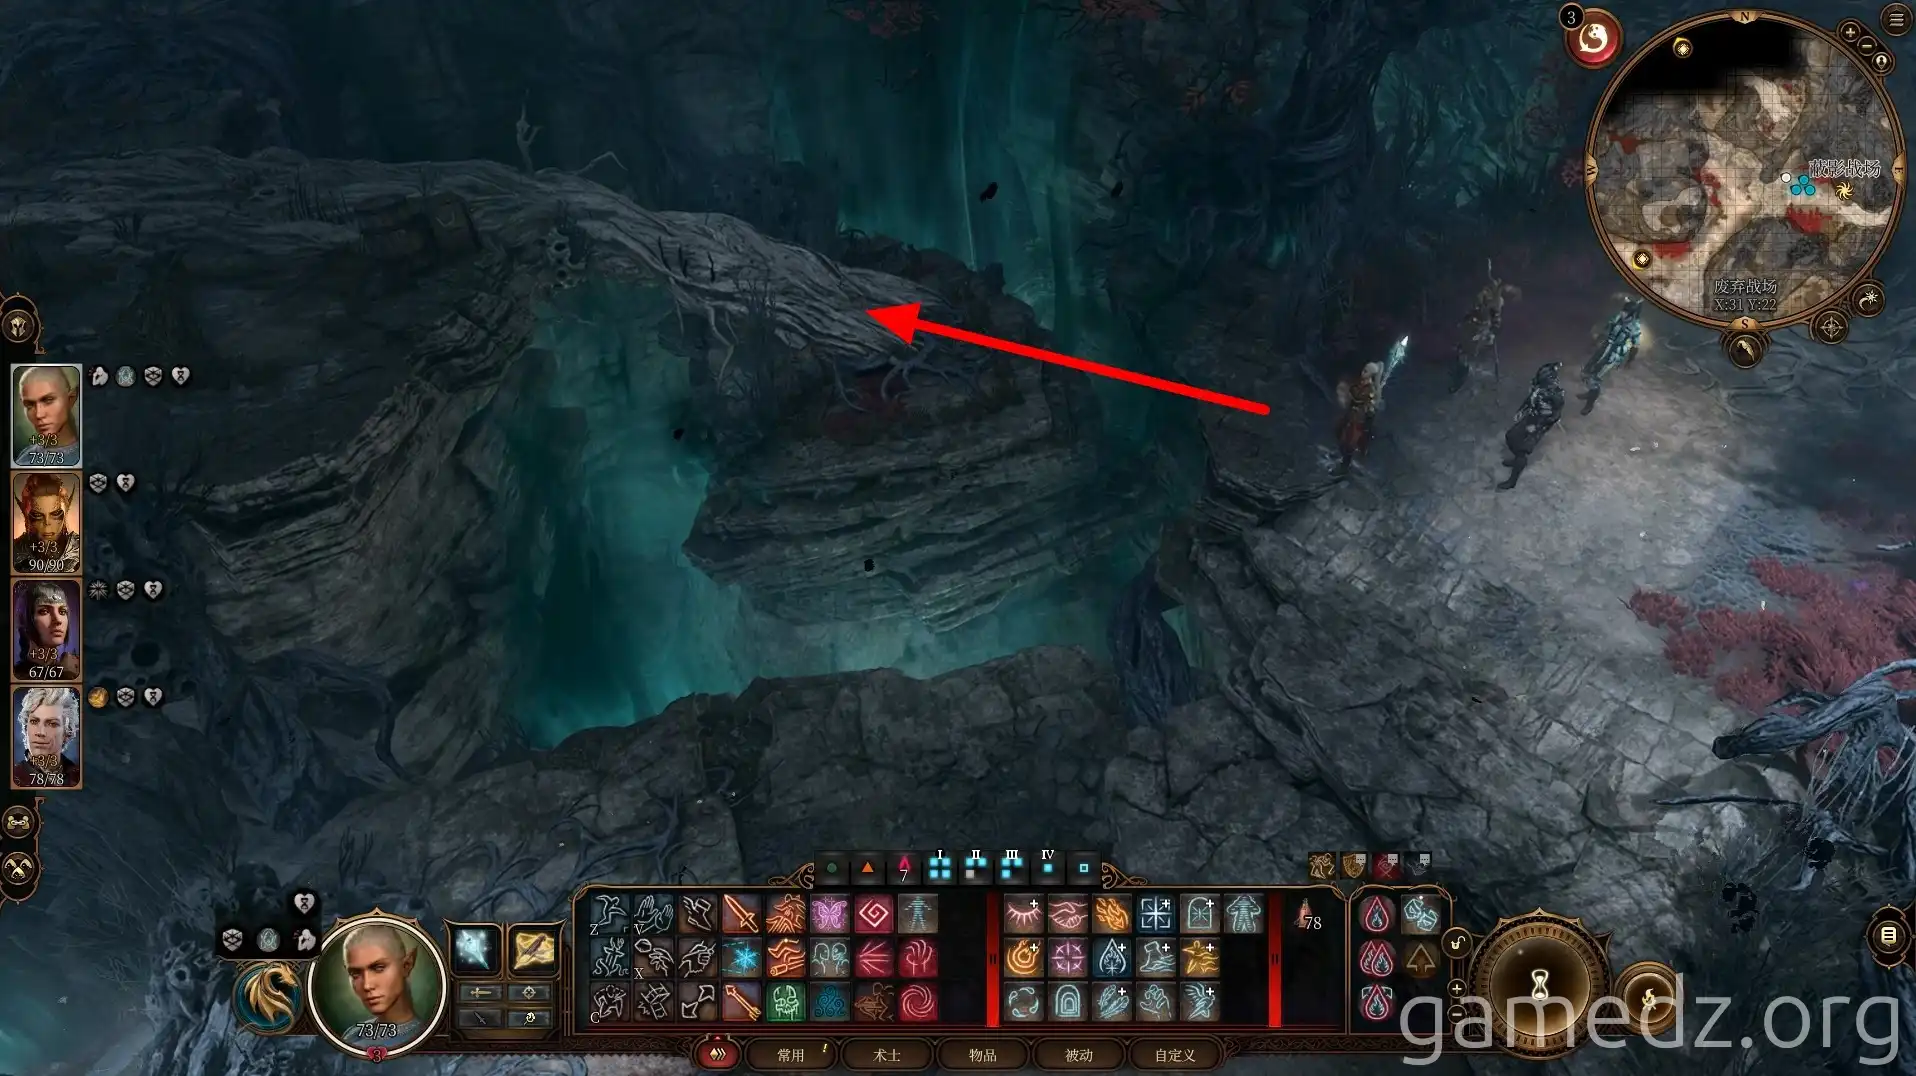
Leave the Gauntlet of Shar area and head northwest.
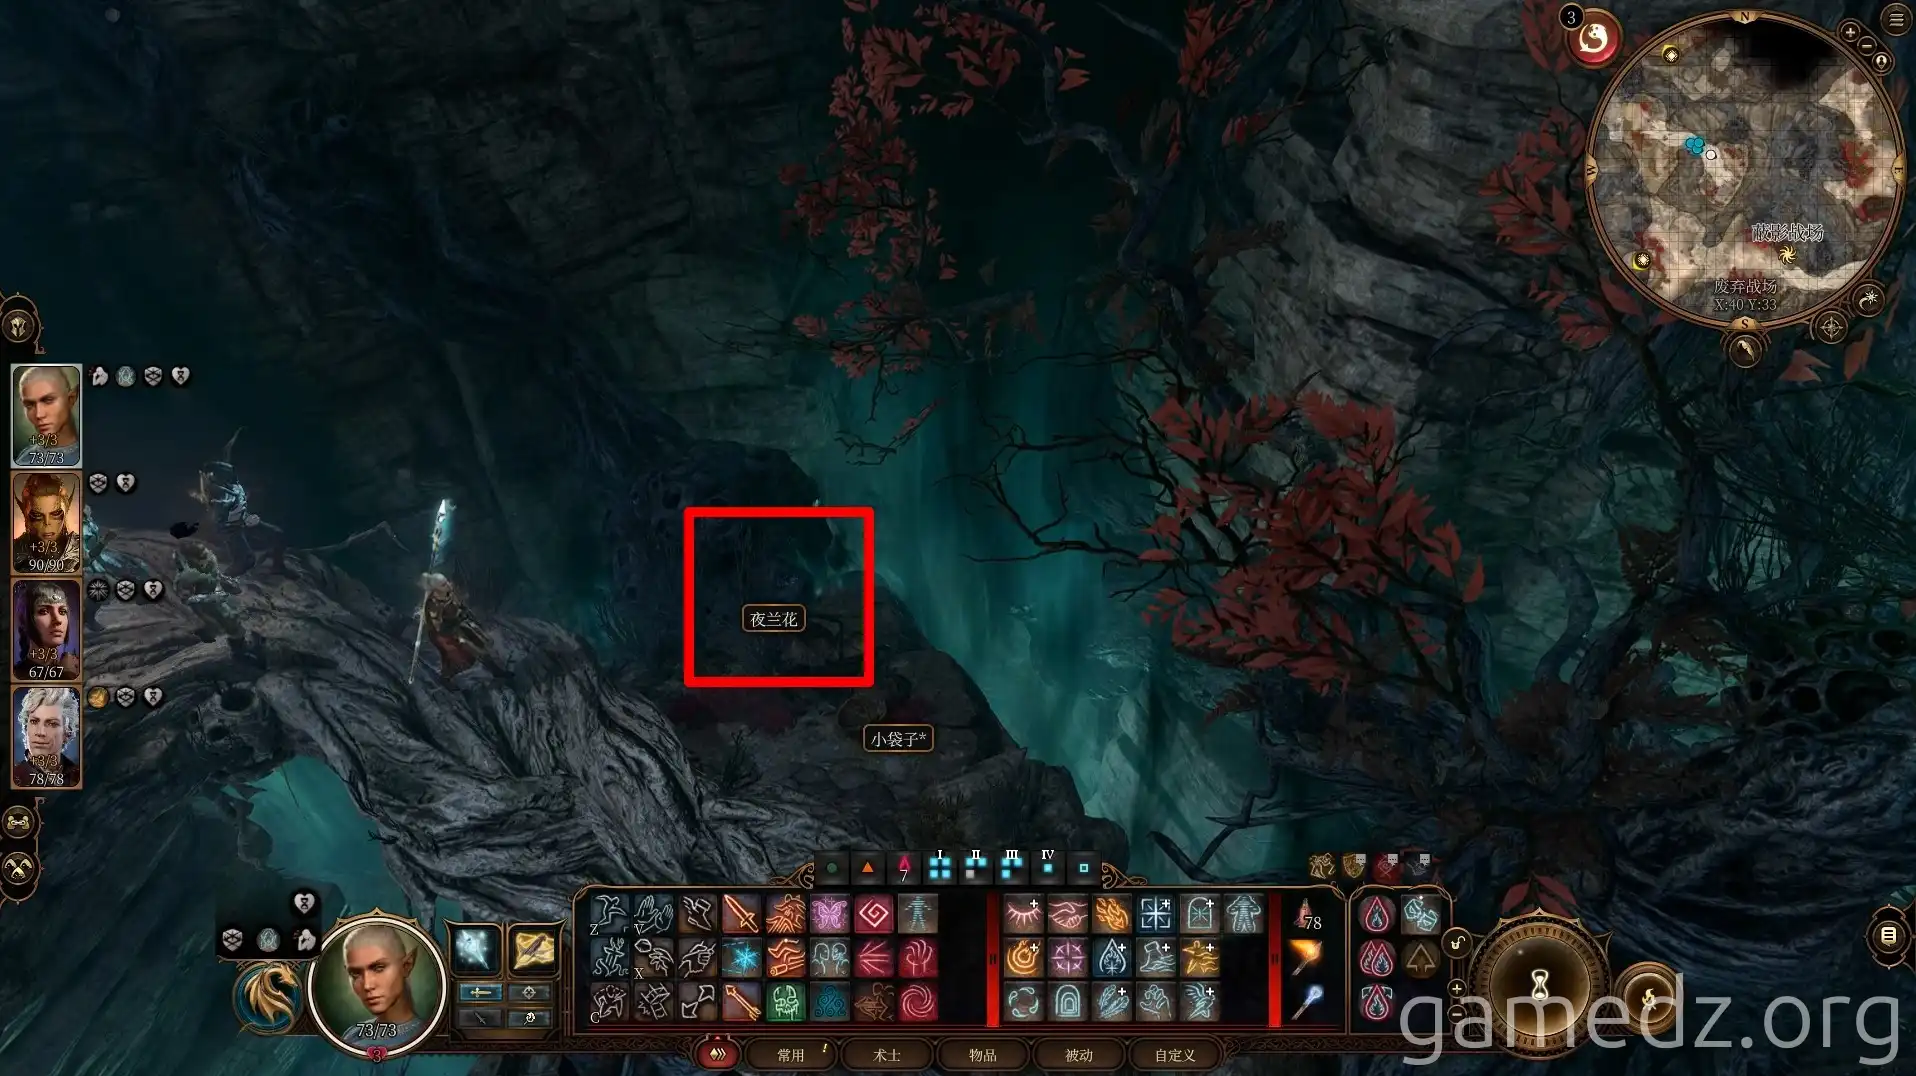
Jump to the platform ahead, and you'll find a Moonpetal in the corner.
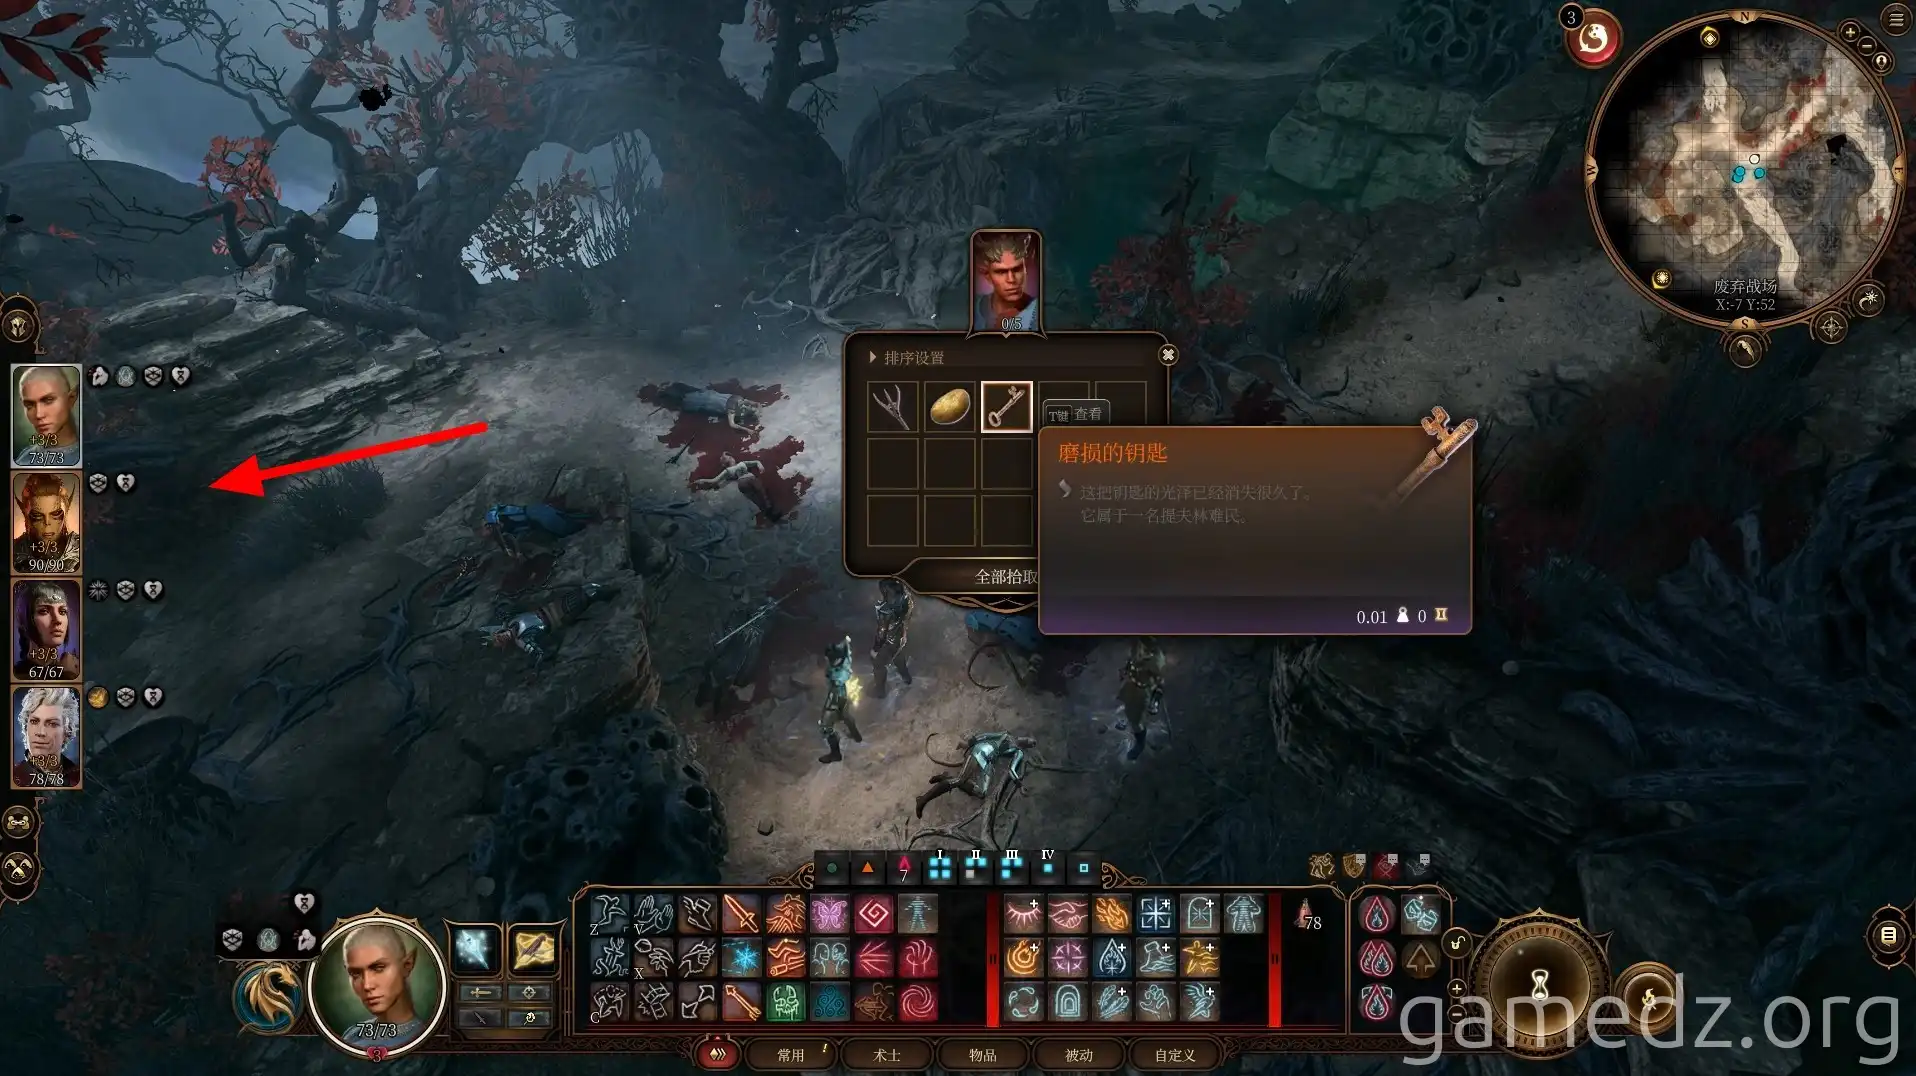
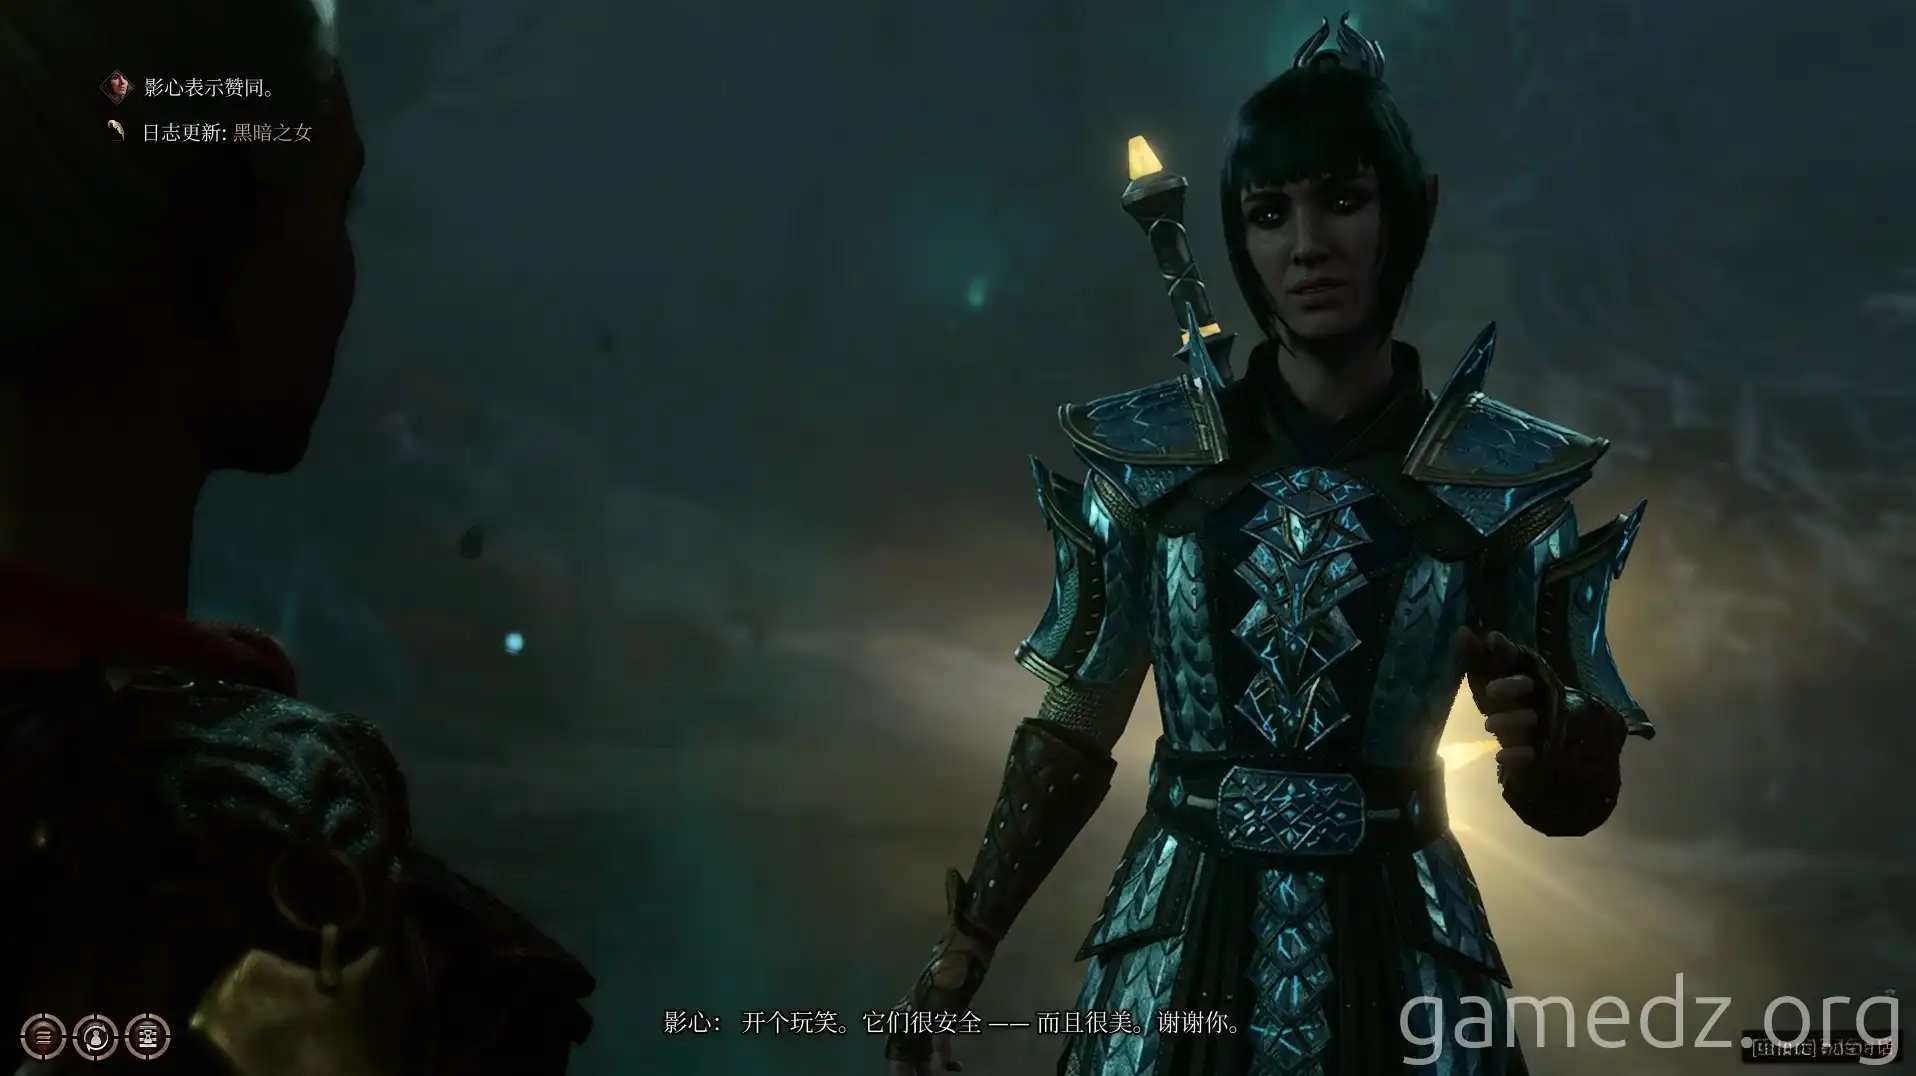
Subsequently, speak with Shadowheart and give her the Moonpetal. She'll also make a small joke.
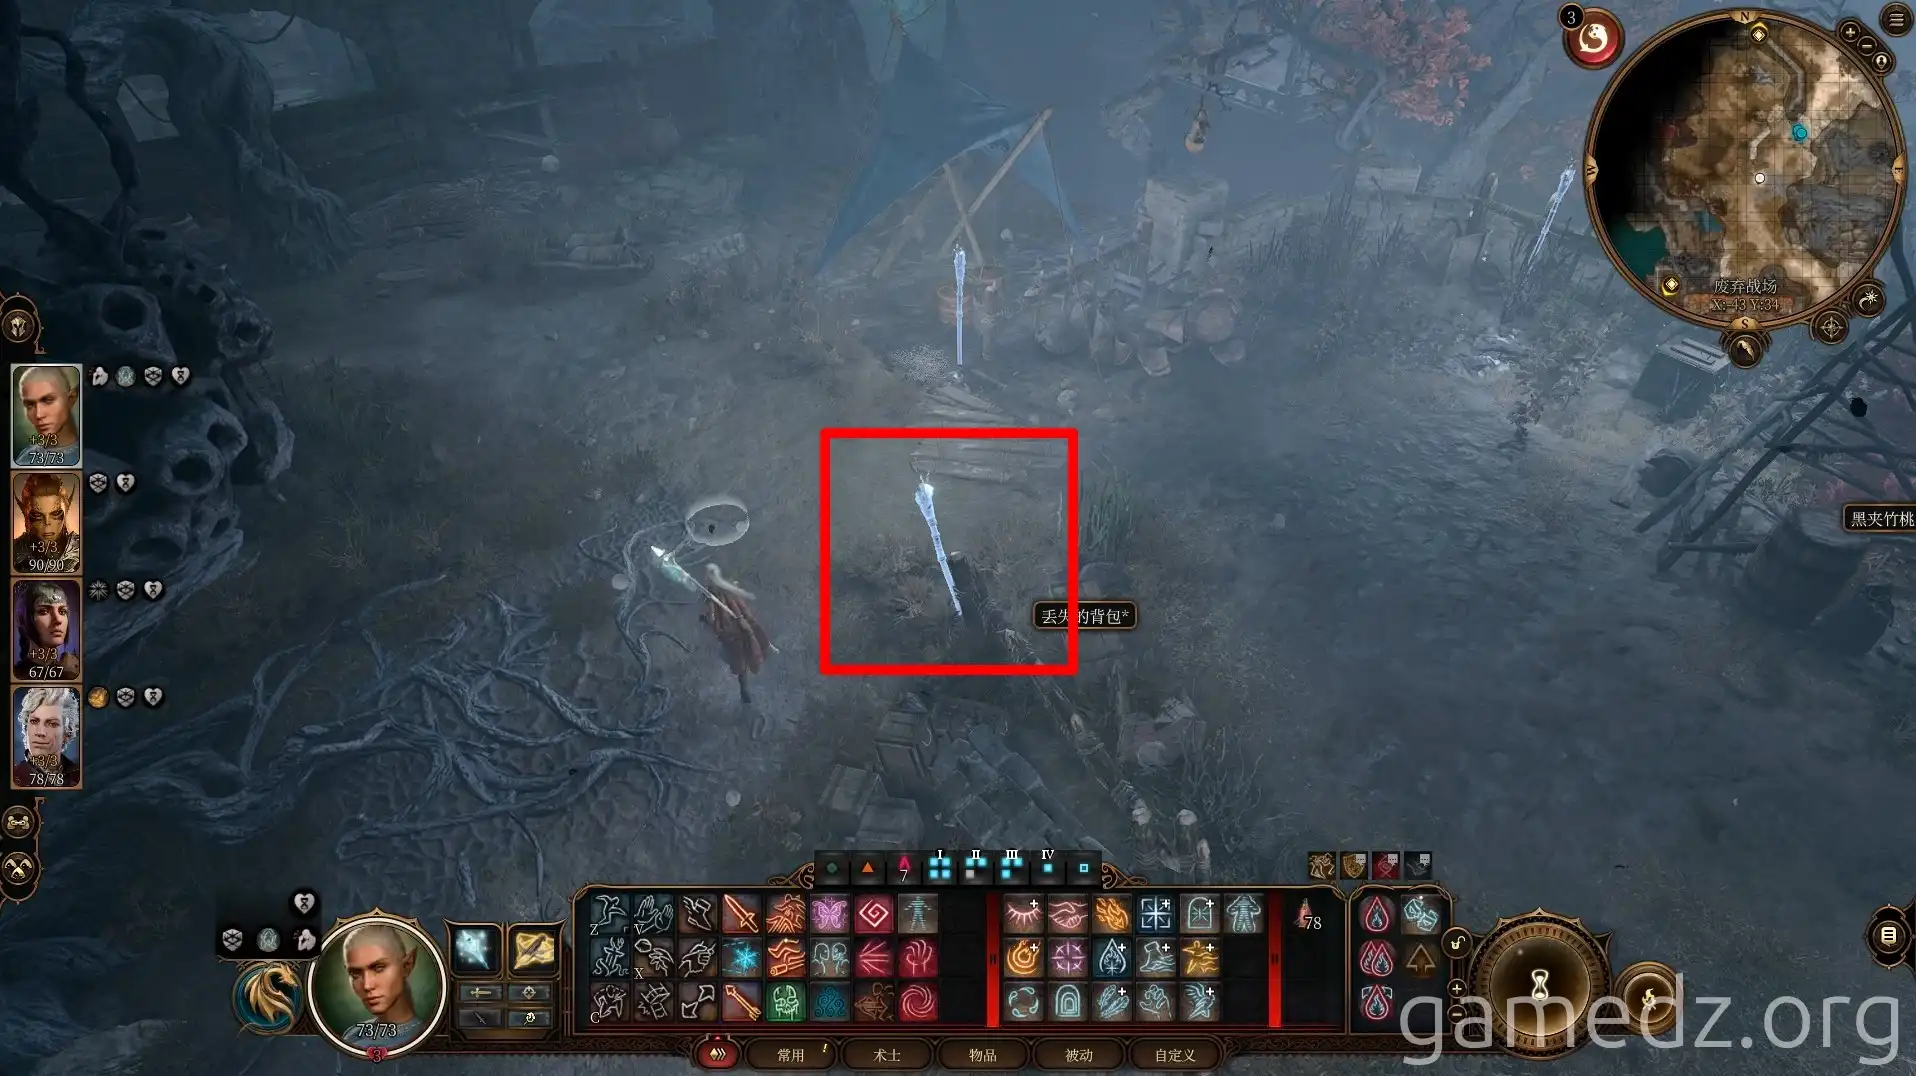
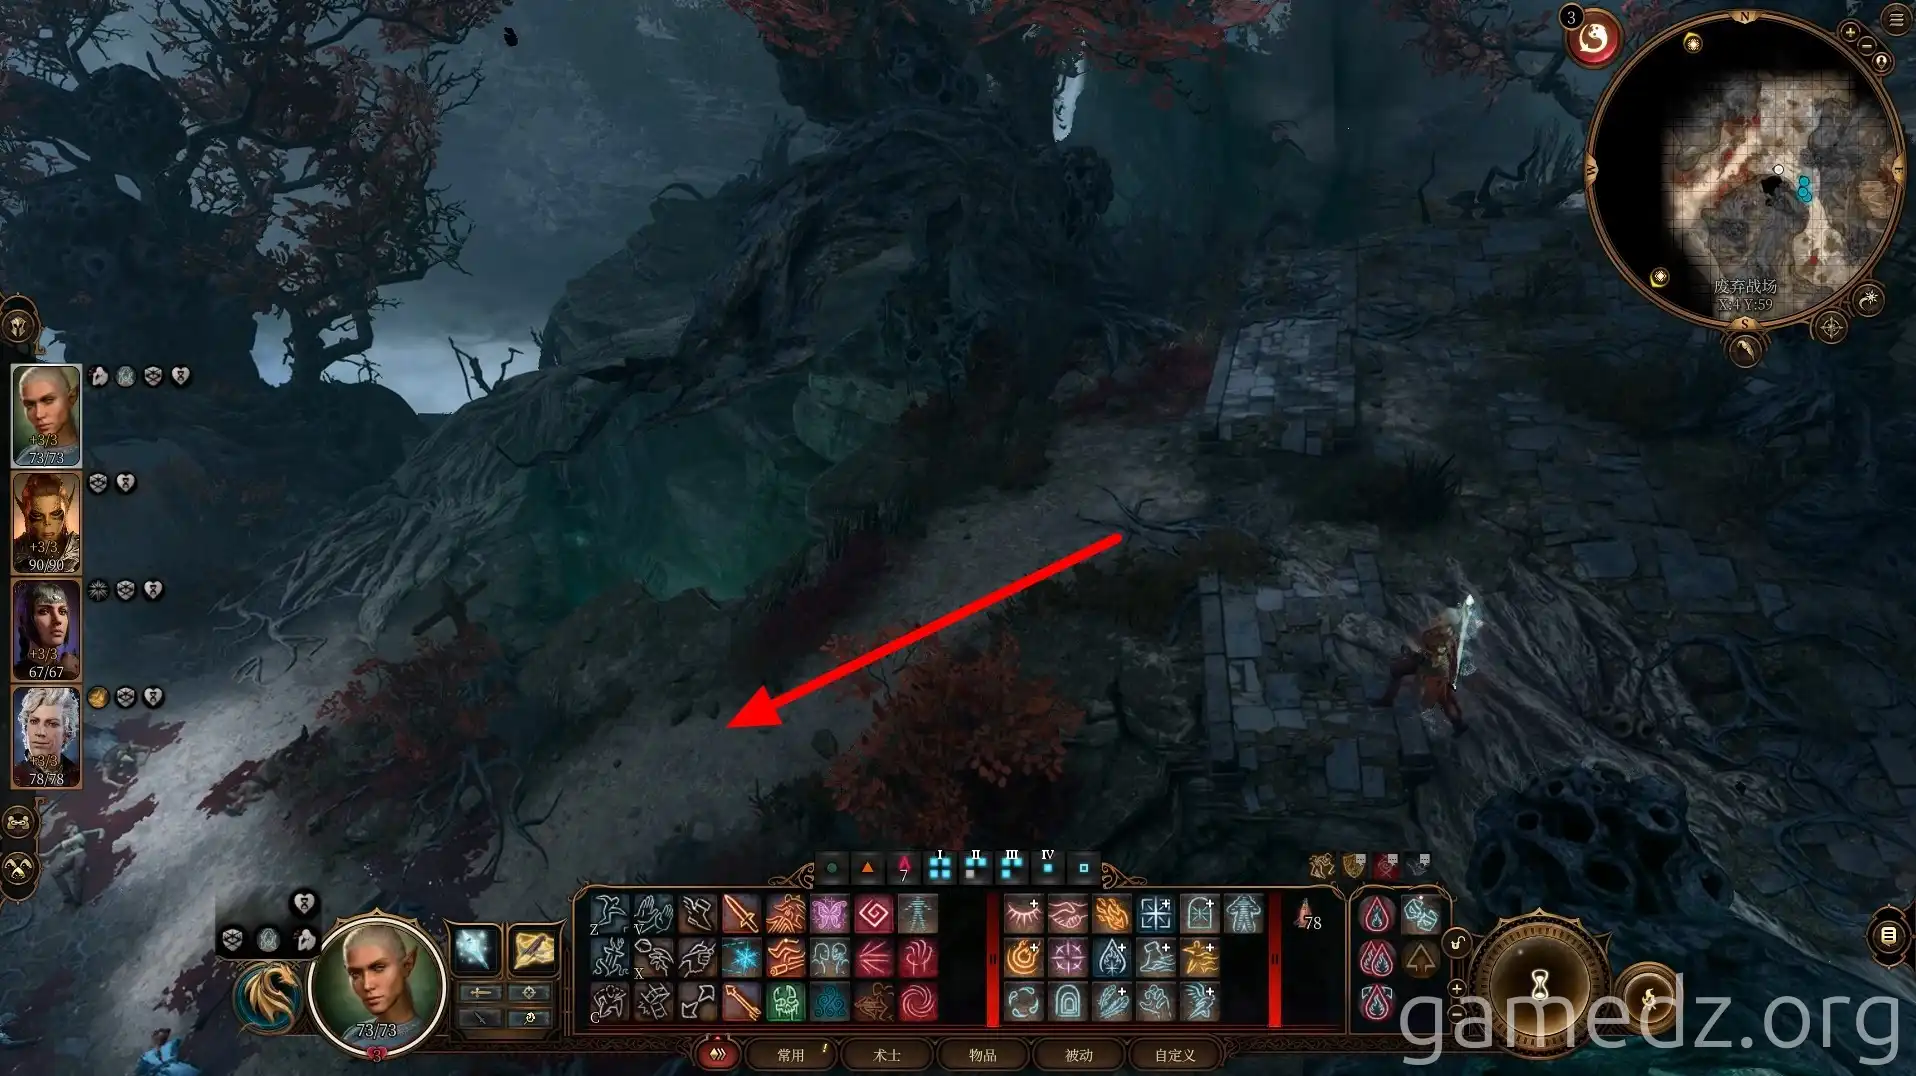
At the fork ahead, heading west will reveal the corpses of many Tiefling refugees.
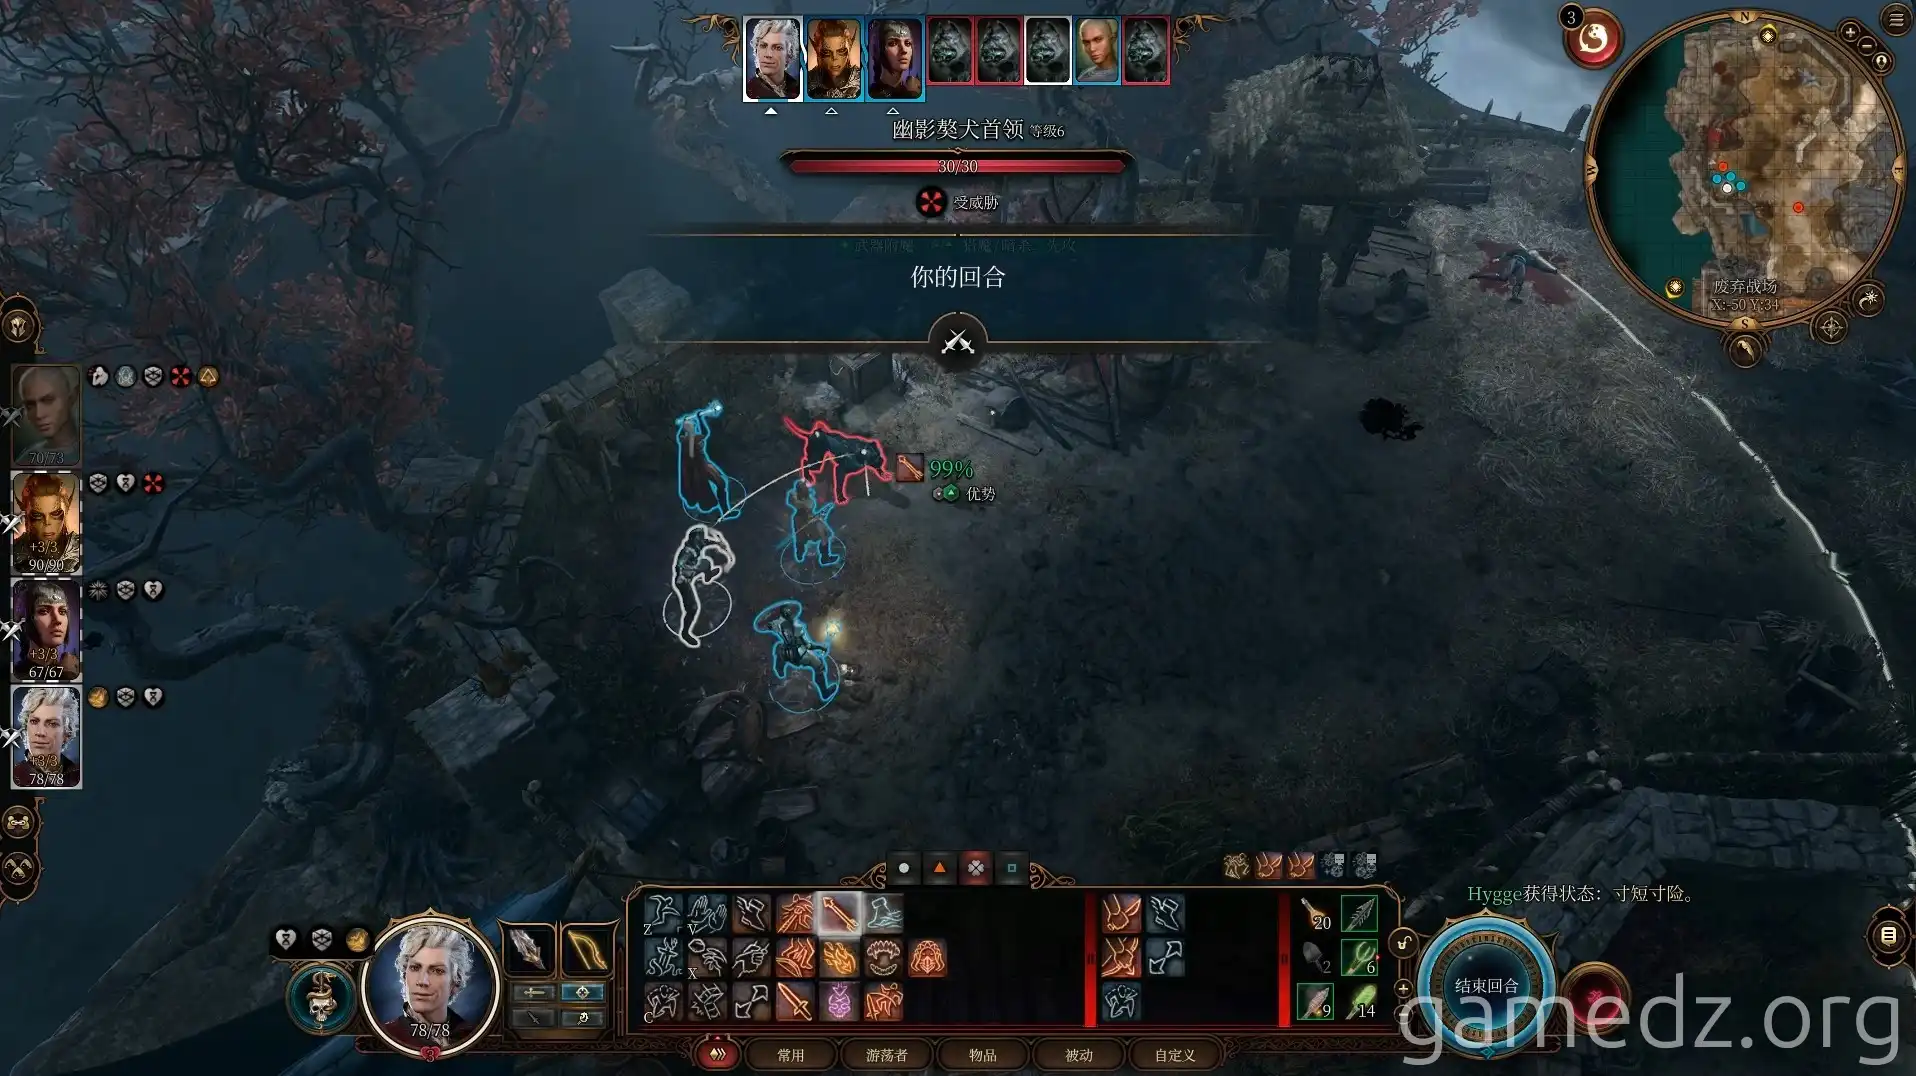
From the Tieflings, you can obtain three different keys. Then, continue westward.
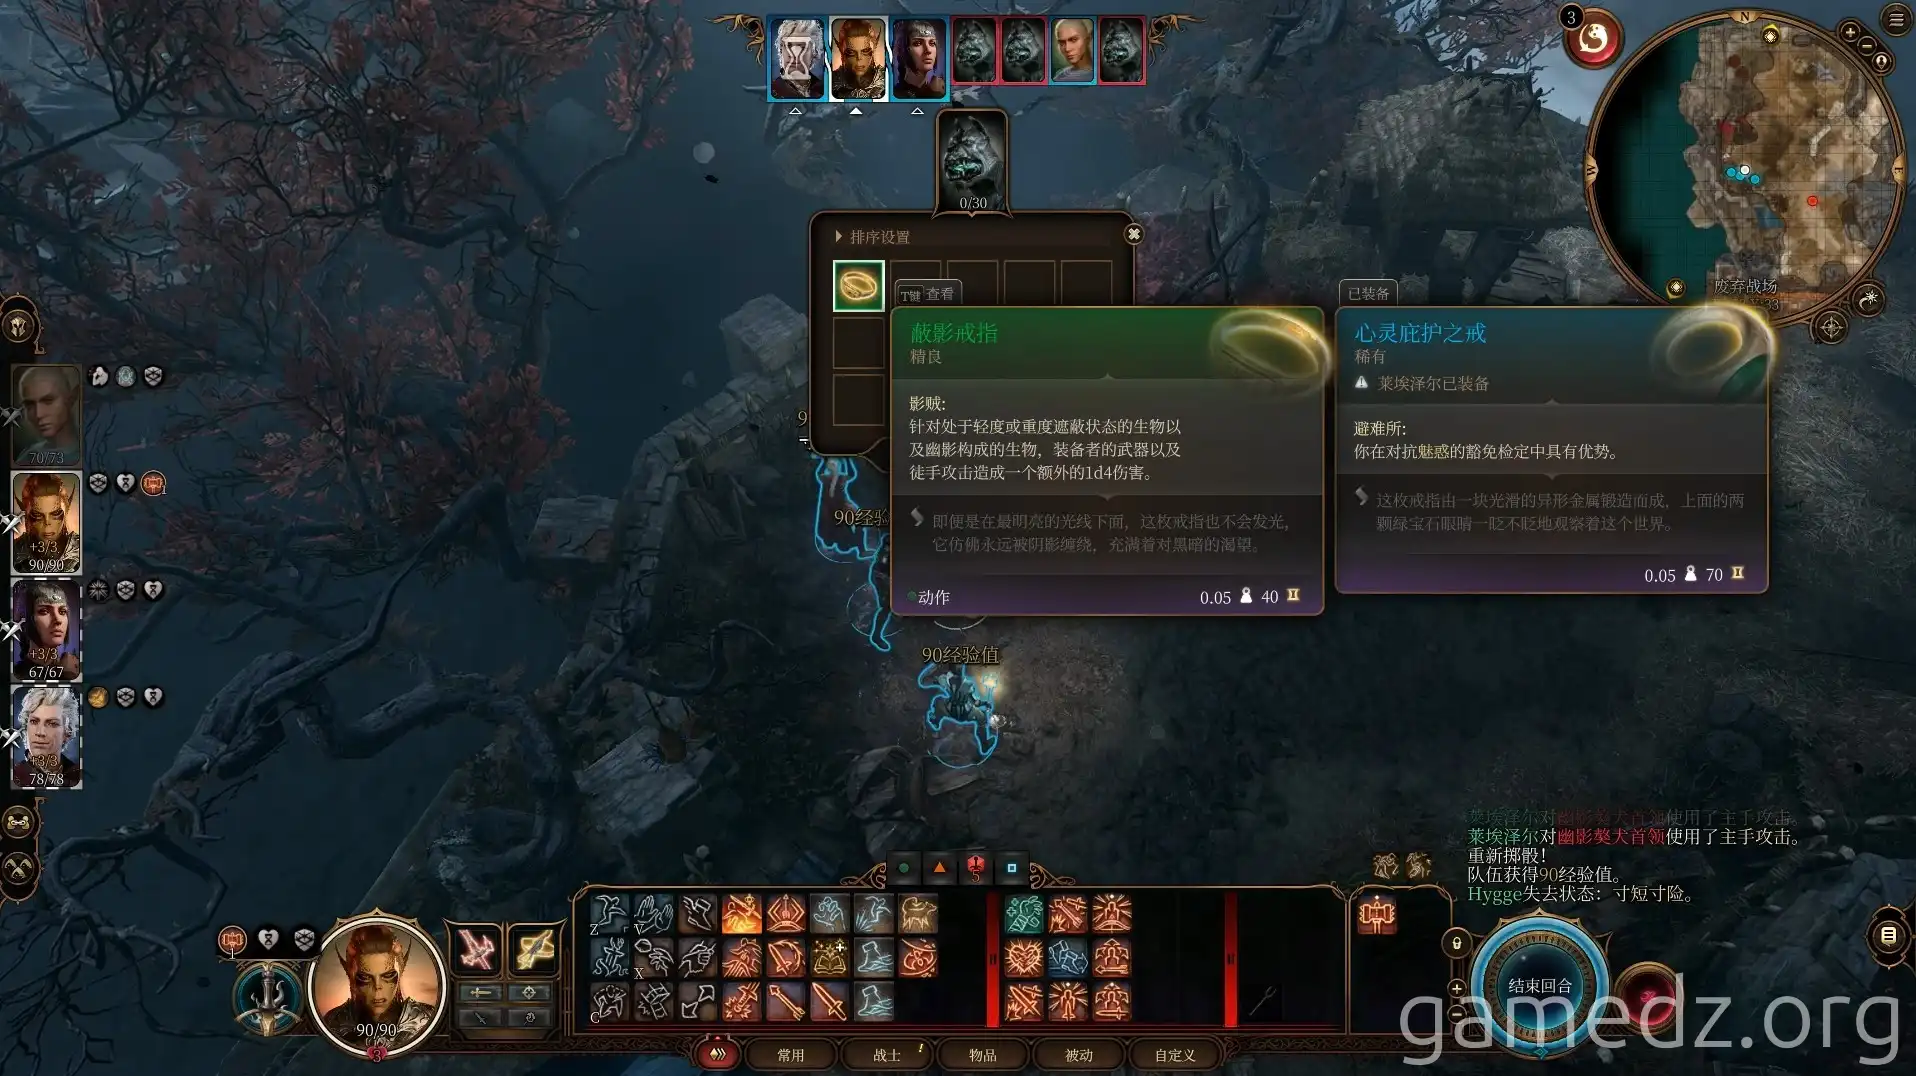
Upon reaching the camp shown below, extinguish all the lit torches. A simple attack on the torches will do.
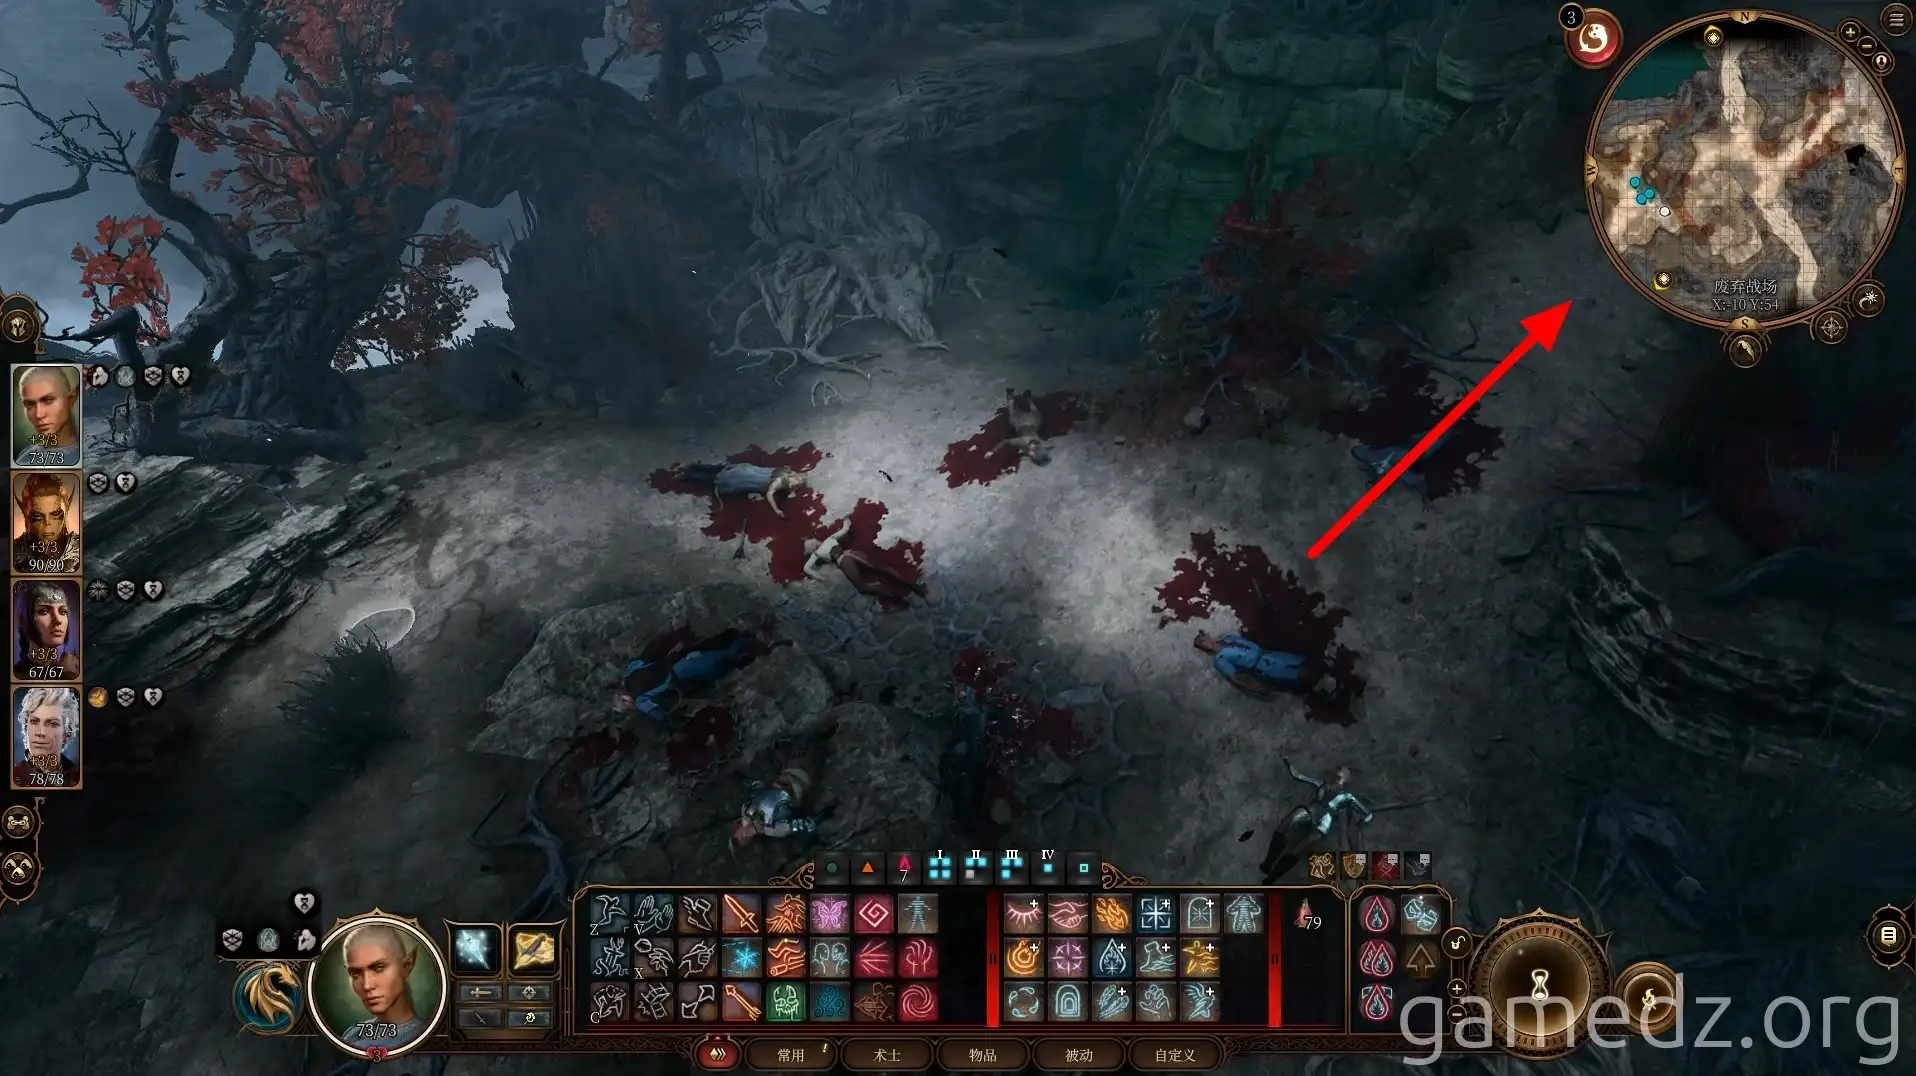
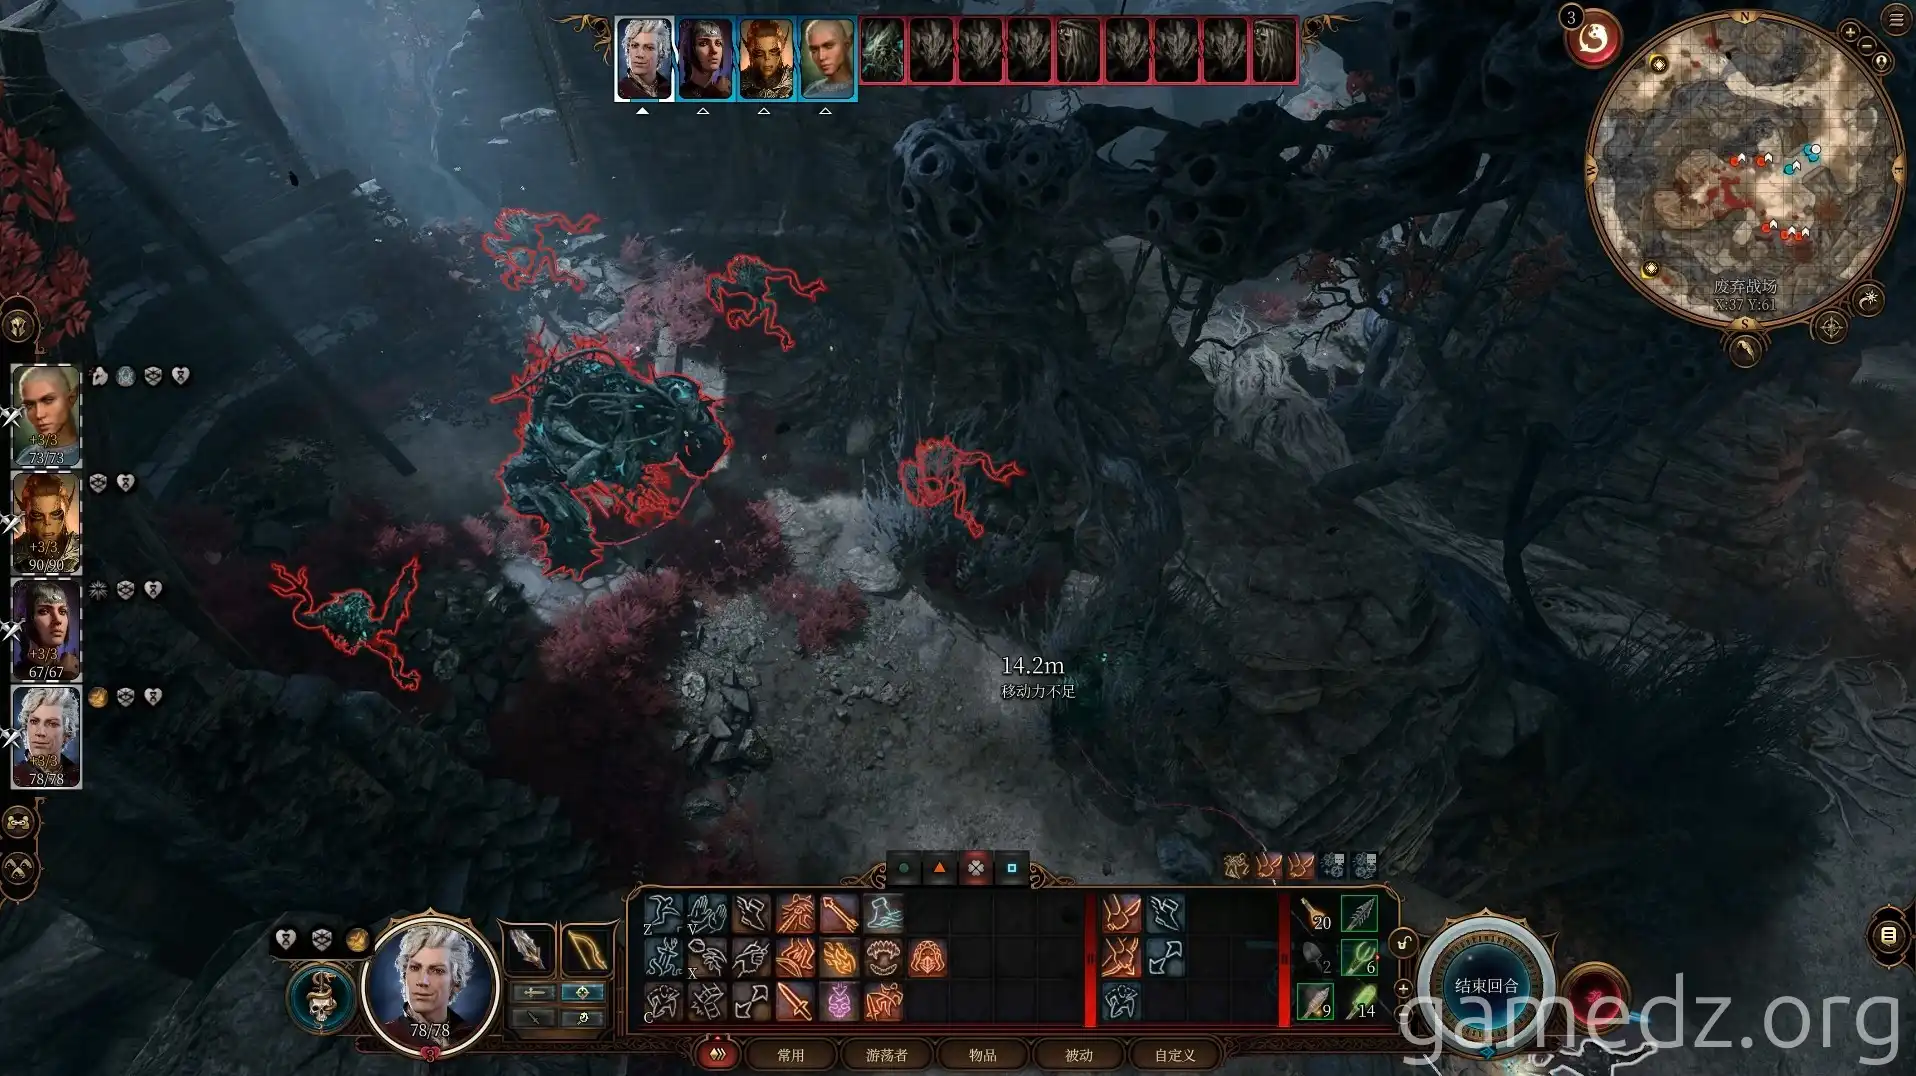
Once all torches are extinguished, four Shadow Mastiffs will appear.
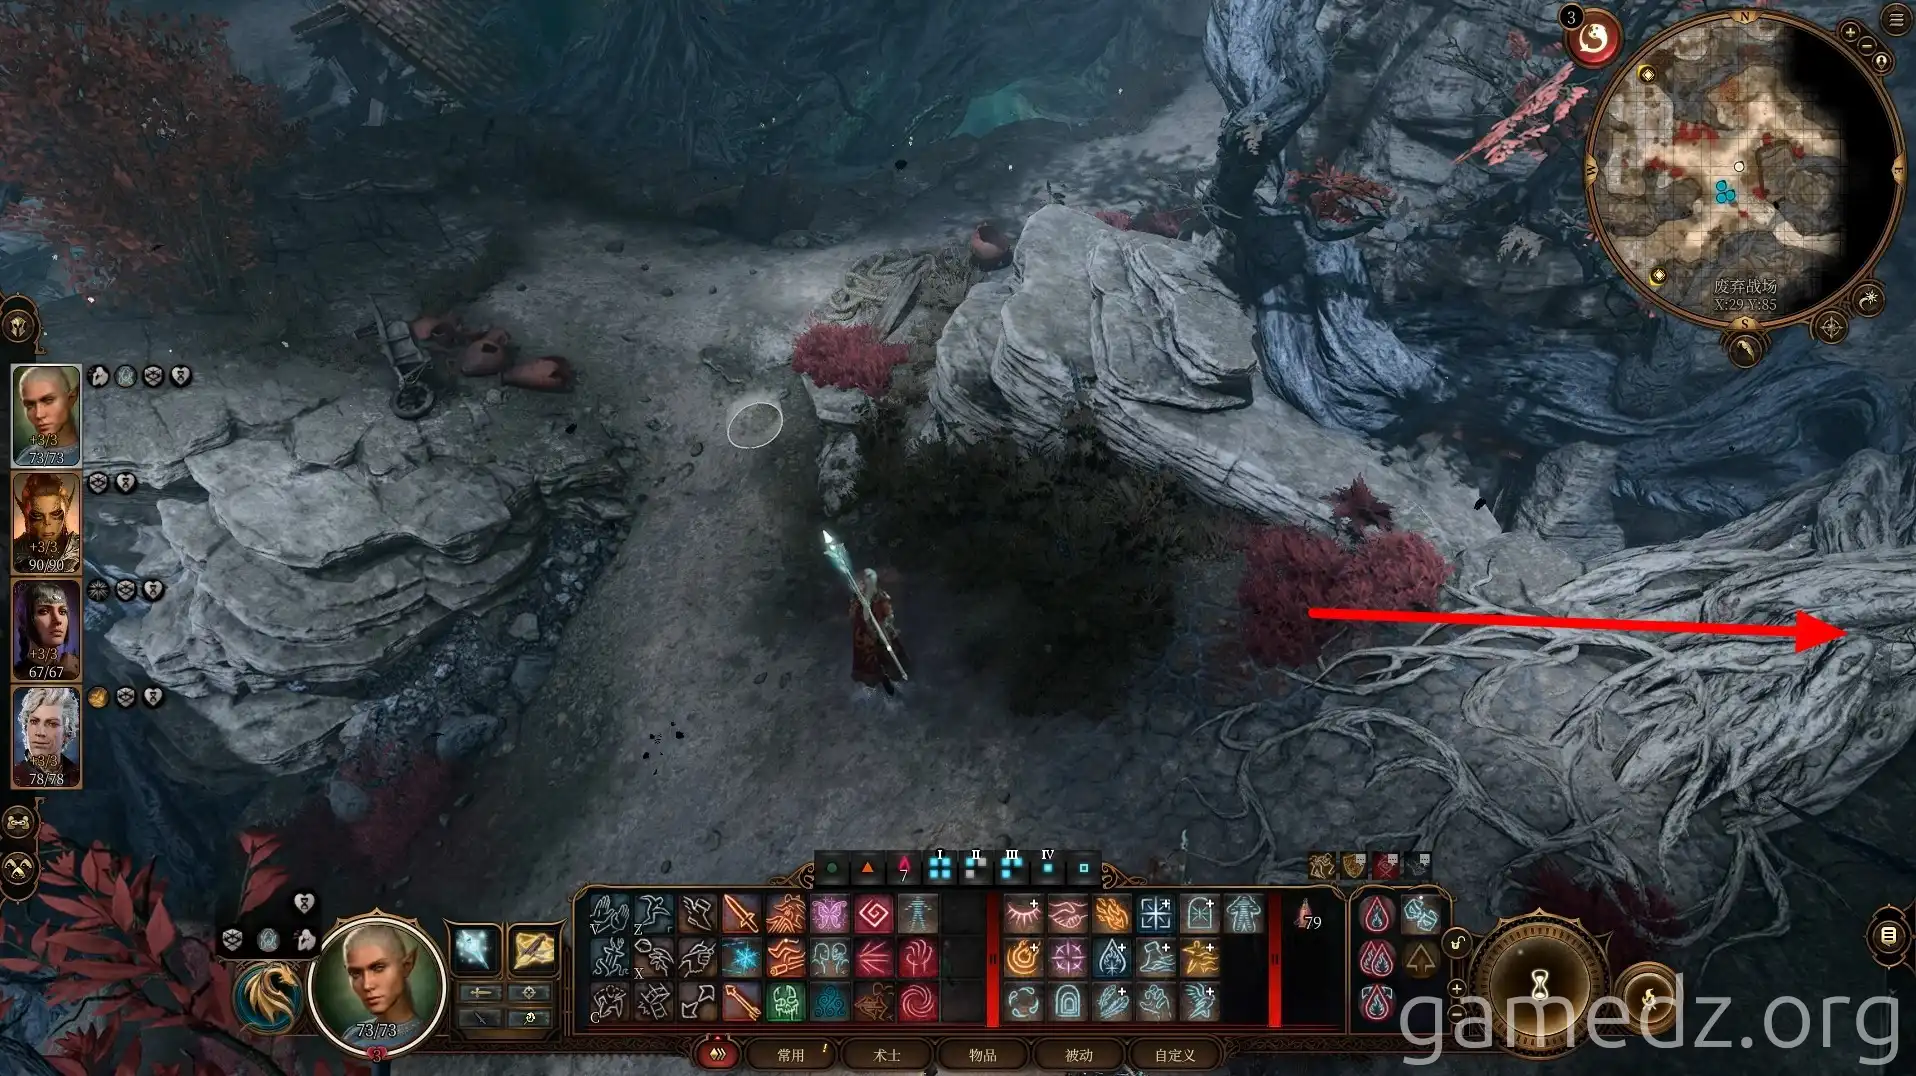
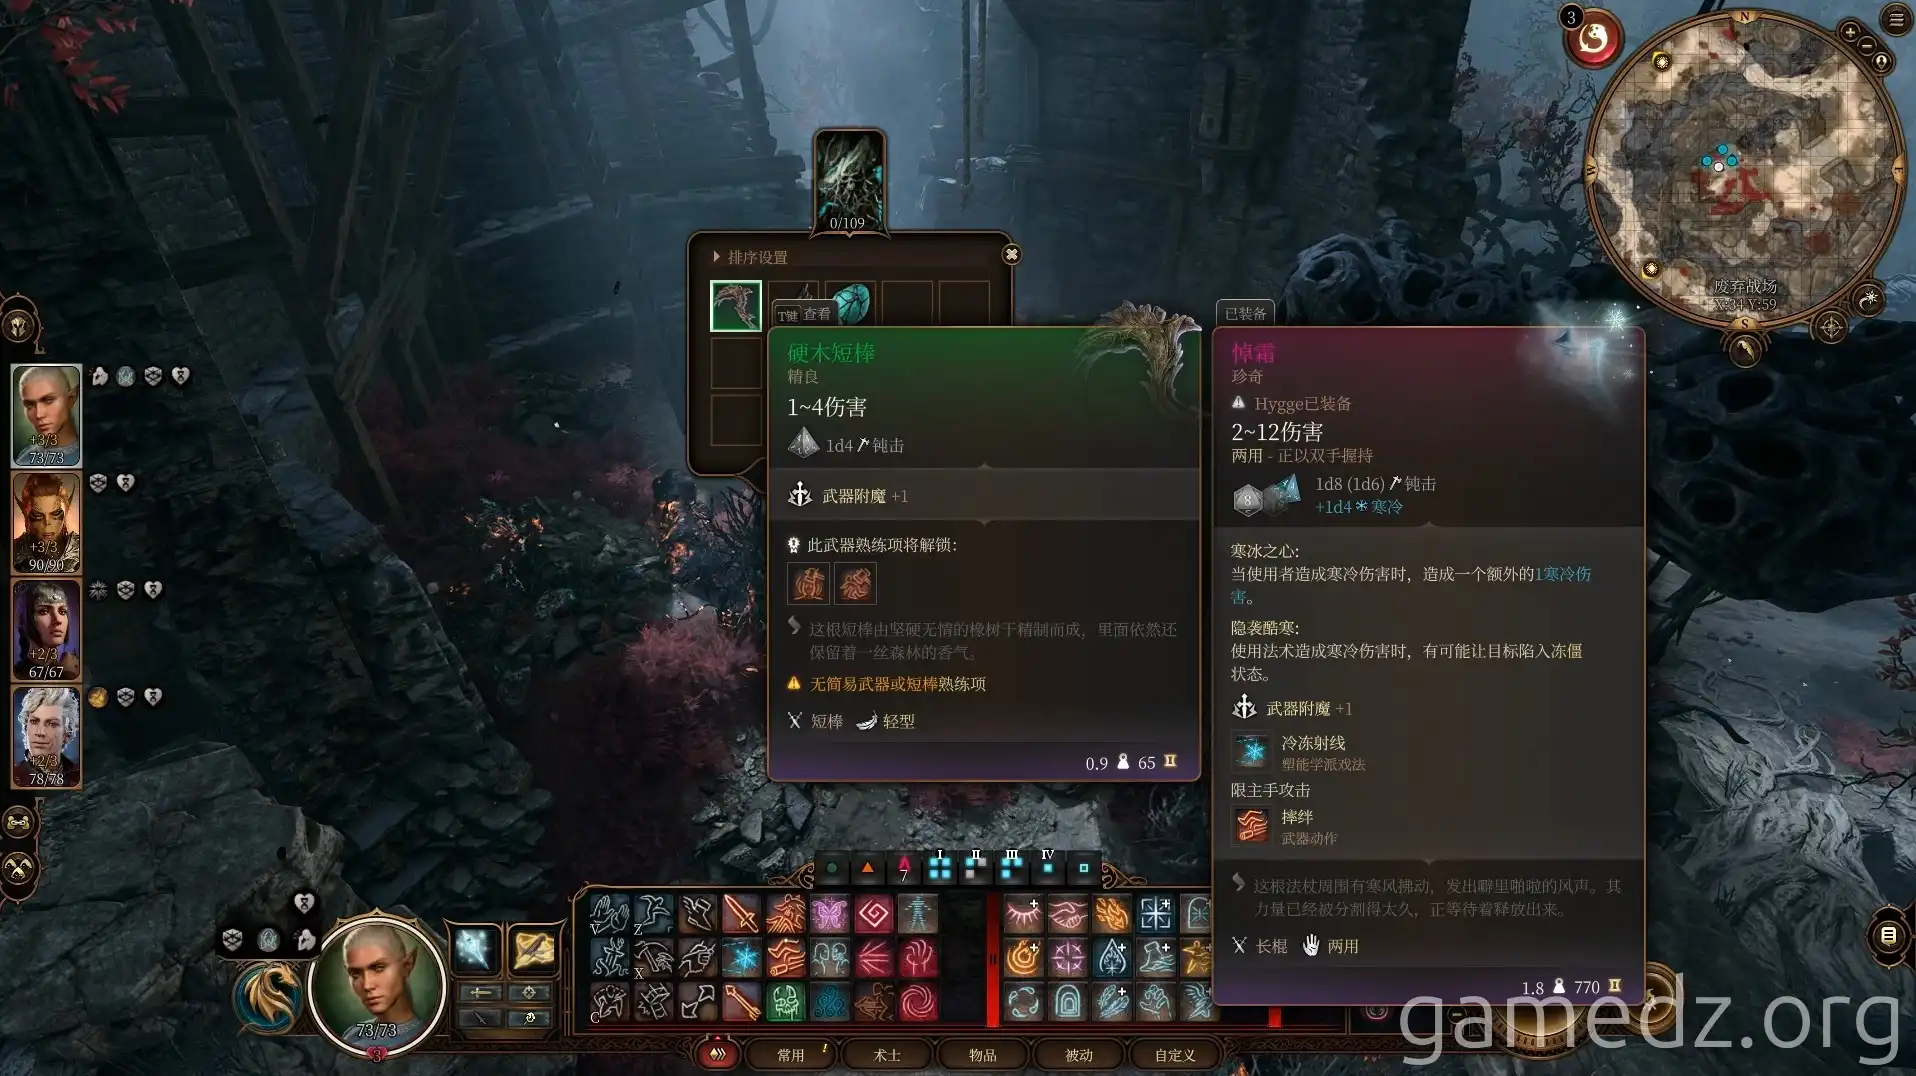
From their leader, you can obtain the Ring of Shadowing, a Fine accessory.
Return to the Tiefling refugee corpses and follow the path northeast.
Ahead, head southeast through the tree trunk.
On the high platform and in the grass ahead, there are ambushes of Myconids and Needle Blights. Prepare for combat.
The explosions from defeated Needle Blights can deal considerable damage to the larger Myconids. You can use this to your advantage, weakening the Myconids while eliminating the Needle Blights.
From the Myconids, you can obtain the Thorn Whip, a Fine weapon.
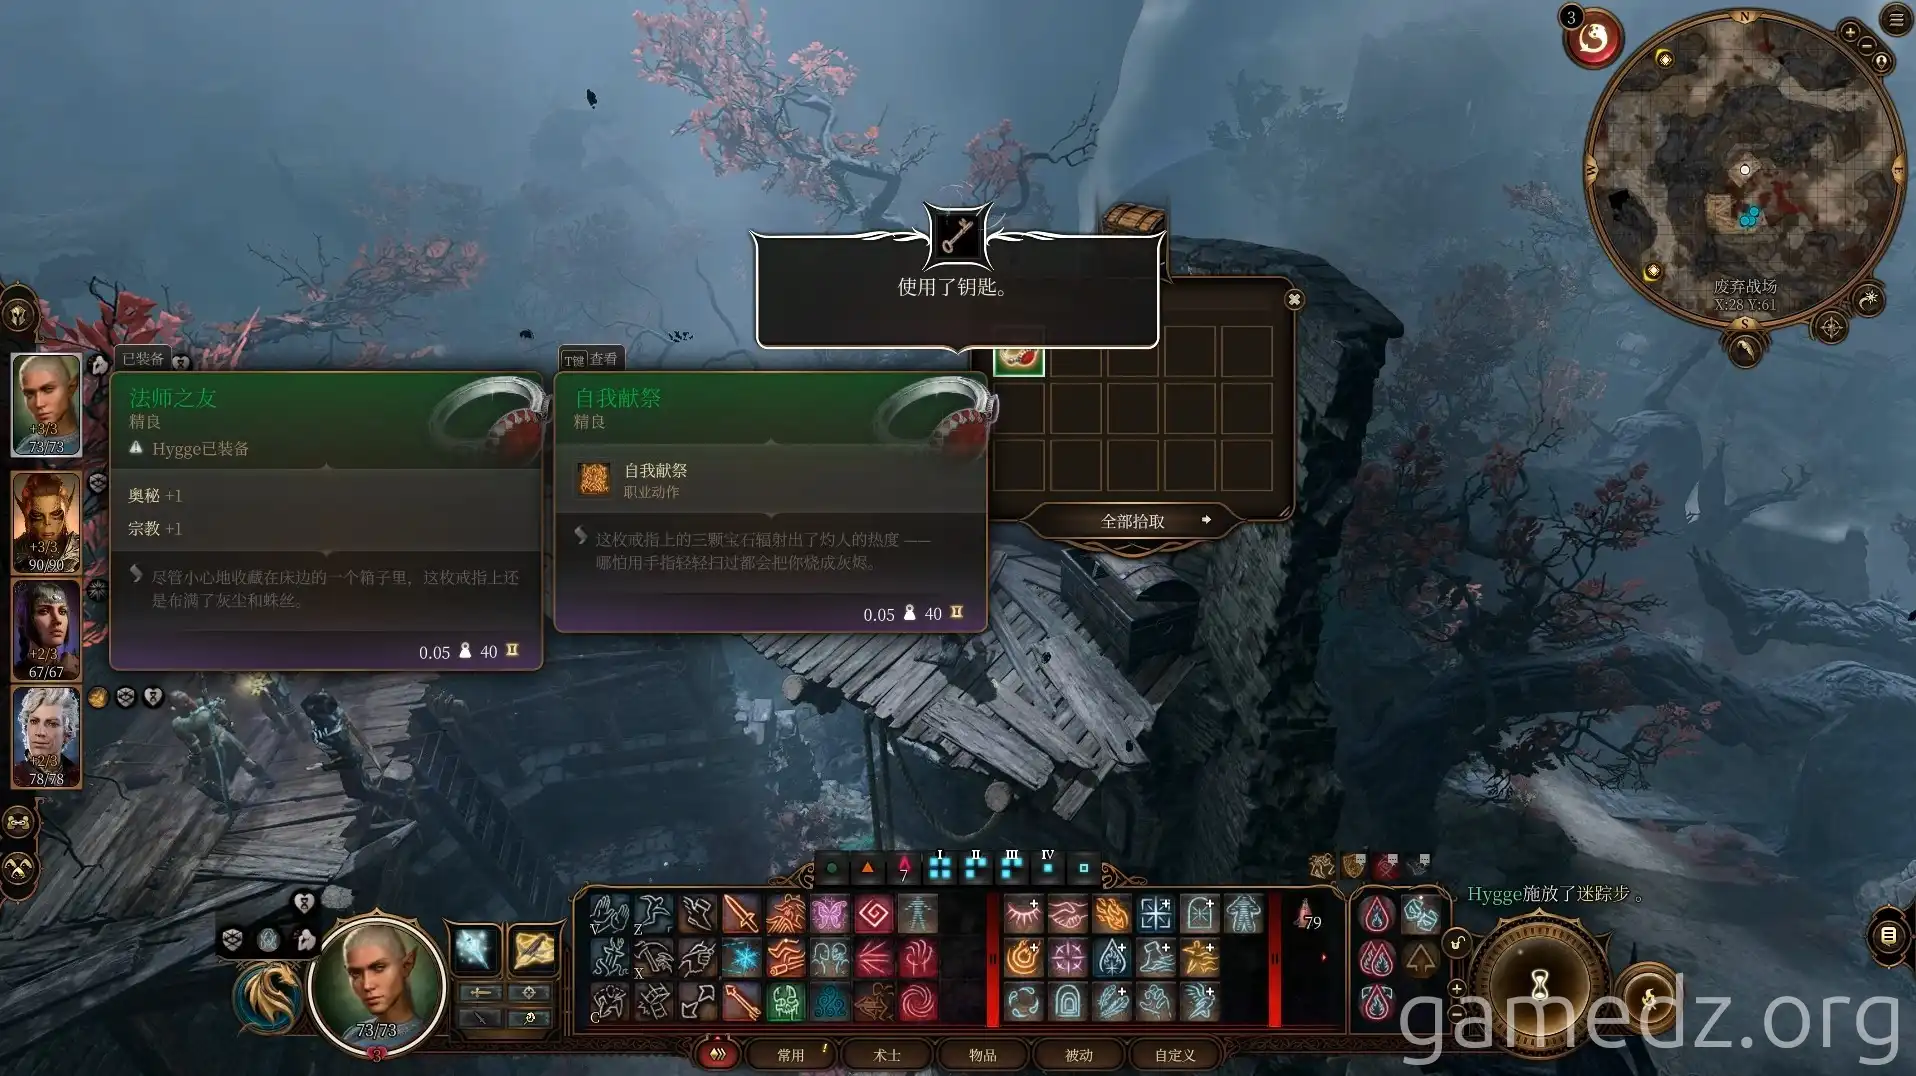
Take the key from the skeleton on the upper level of the tower, then open the adjacent chest to find the Self-Sacrifice, a Fine accessory.
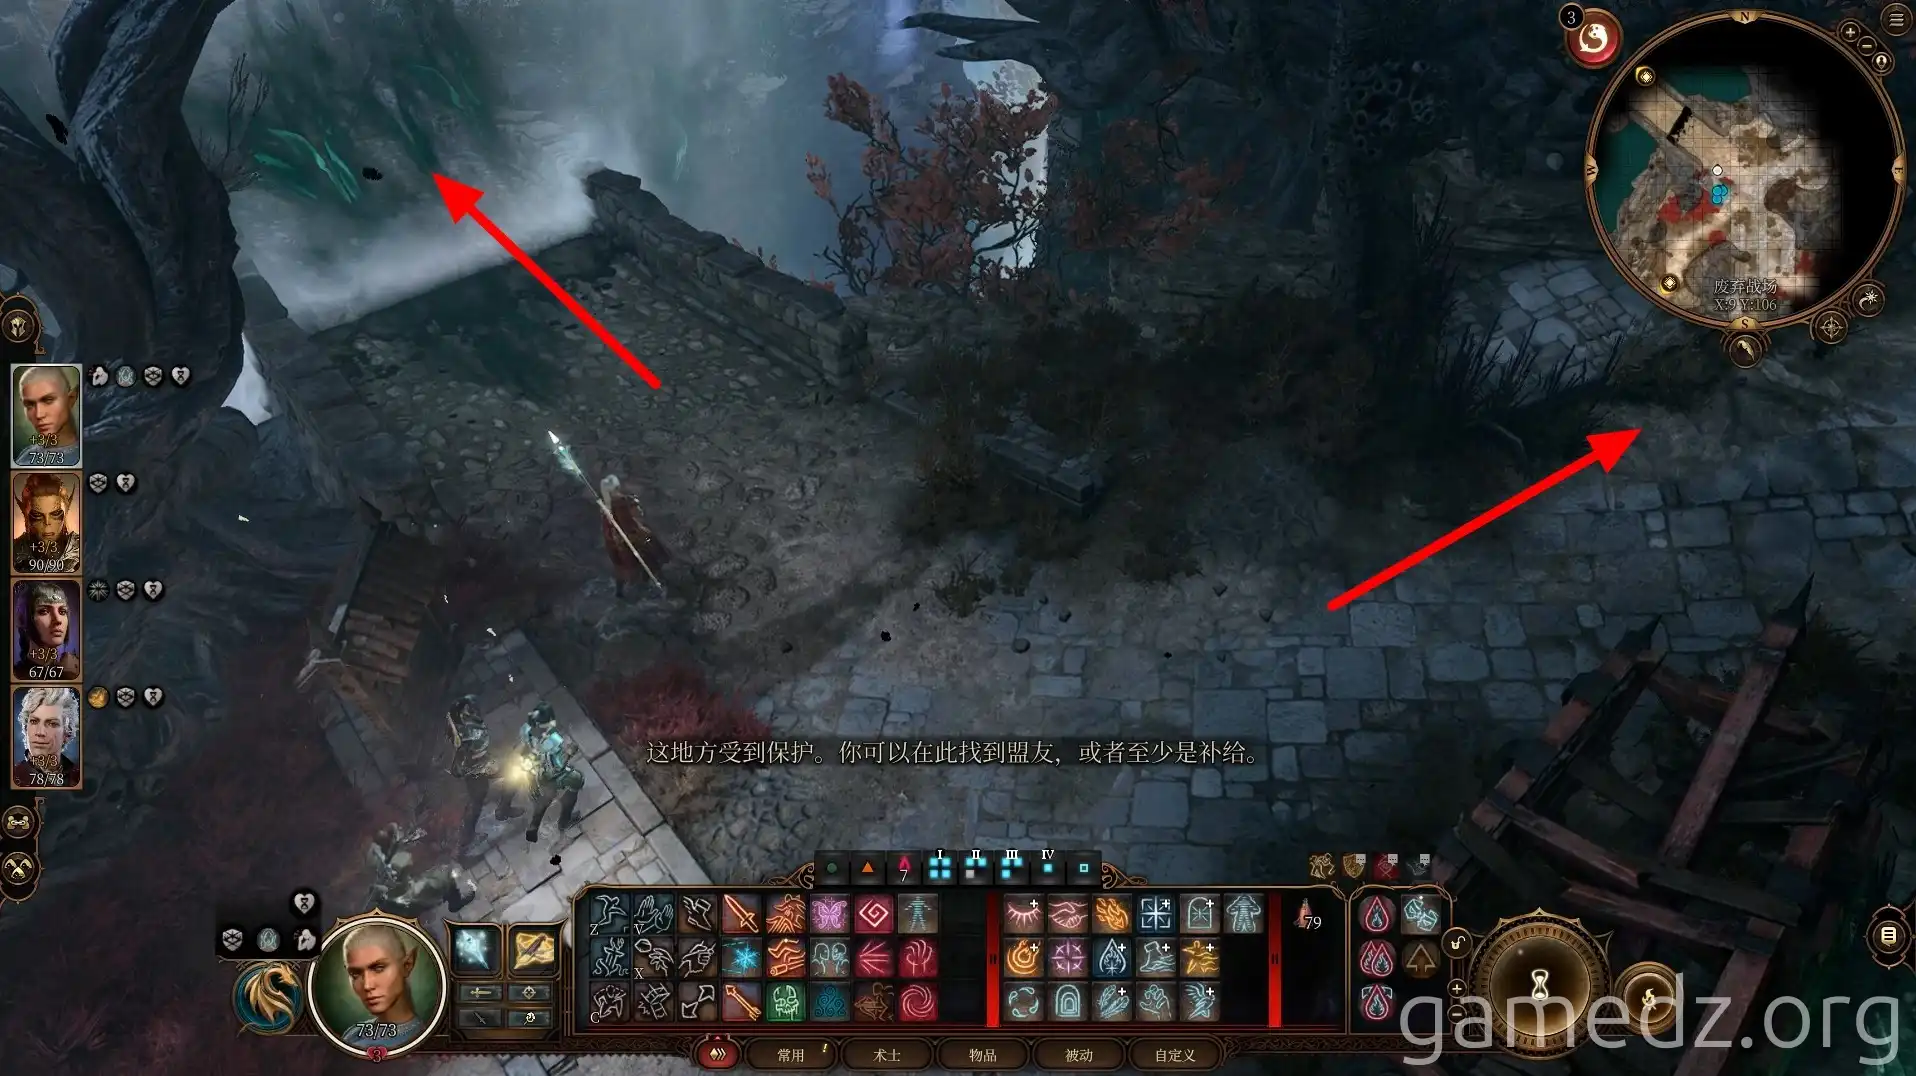
Follow the path northwest to the location shown below.
Crossing the stone bridge will lead you to The Last Light Inn. For now, don't go there. Instead, take the path next to the stone bridge northeast to explore the northern part of the Shadow-Cursed Lands.

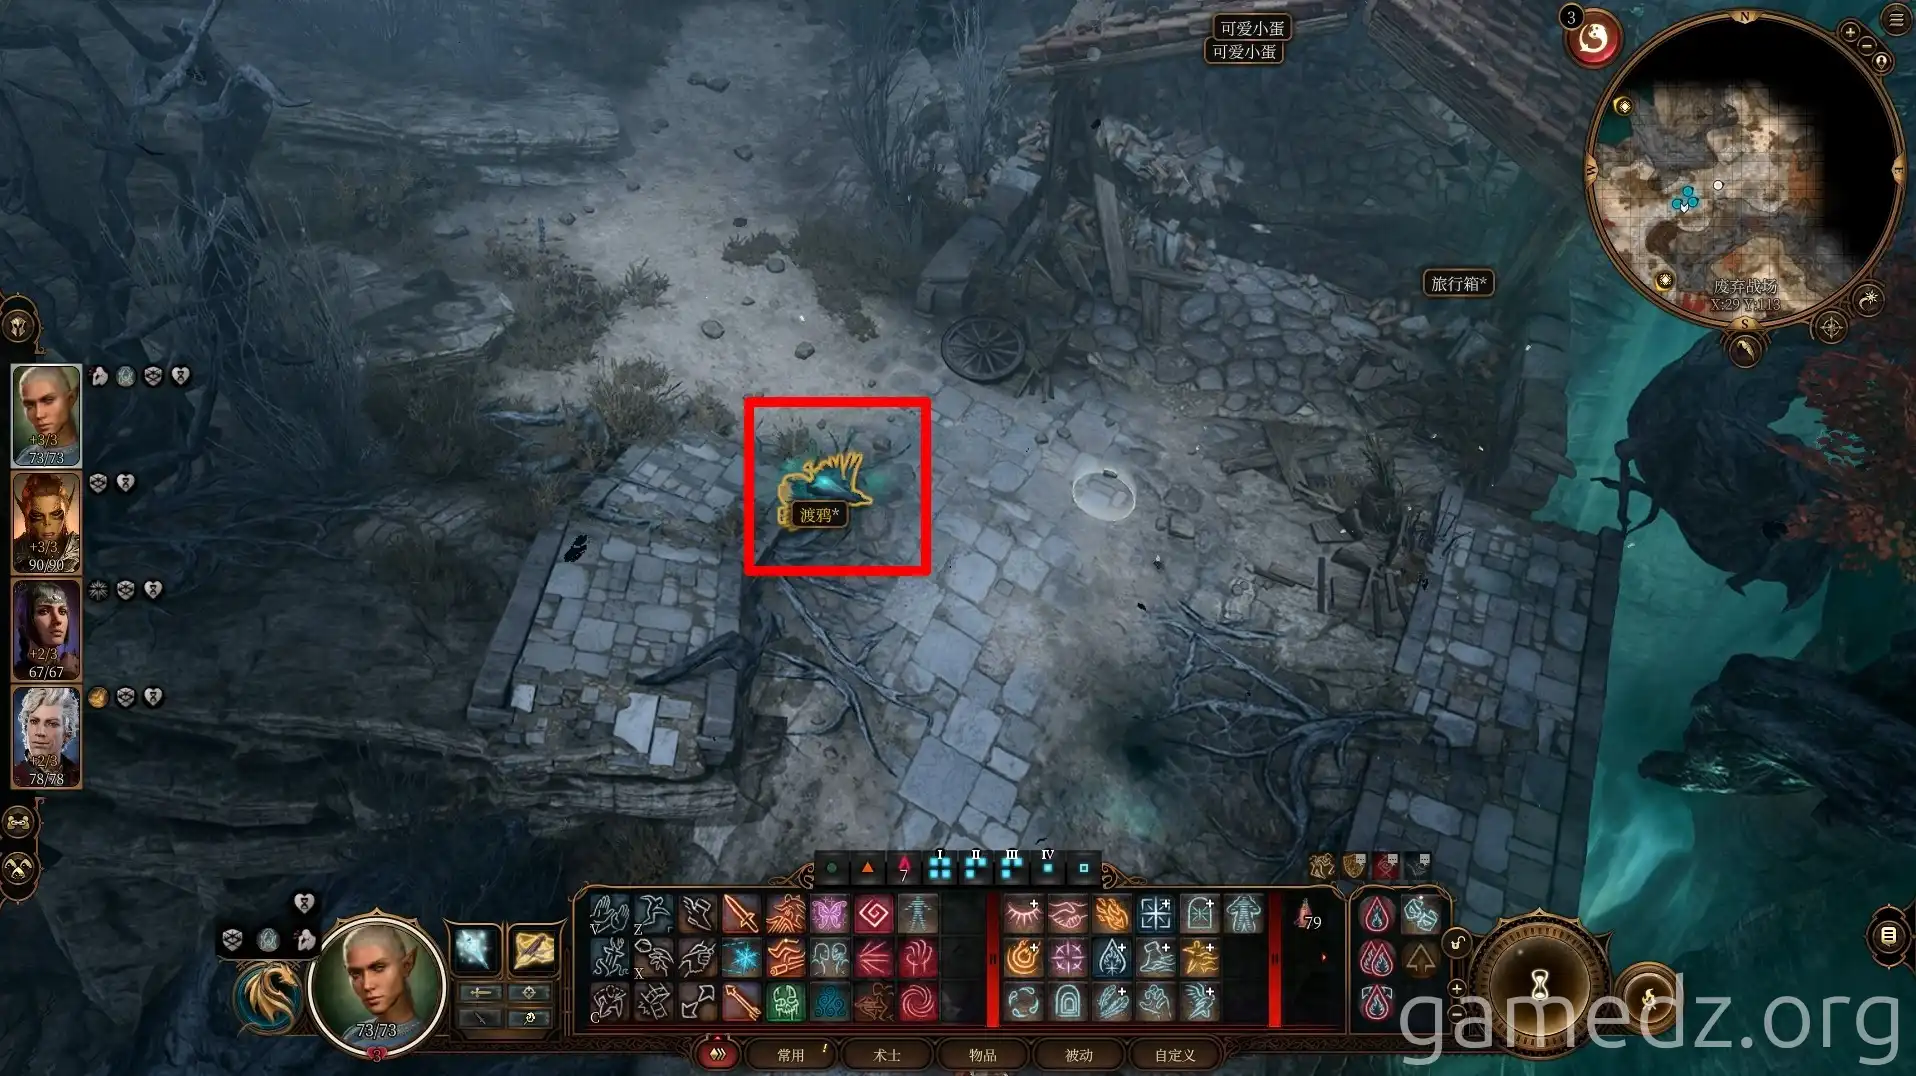
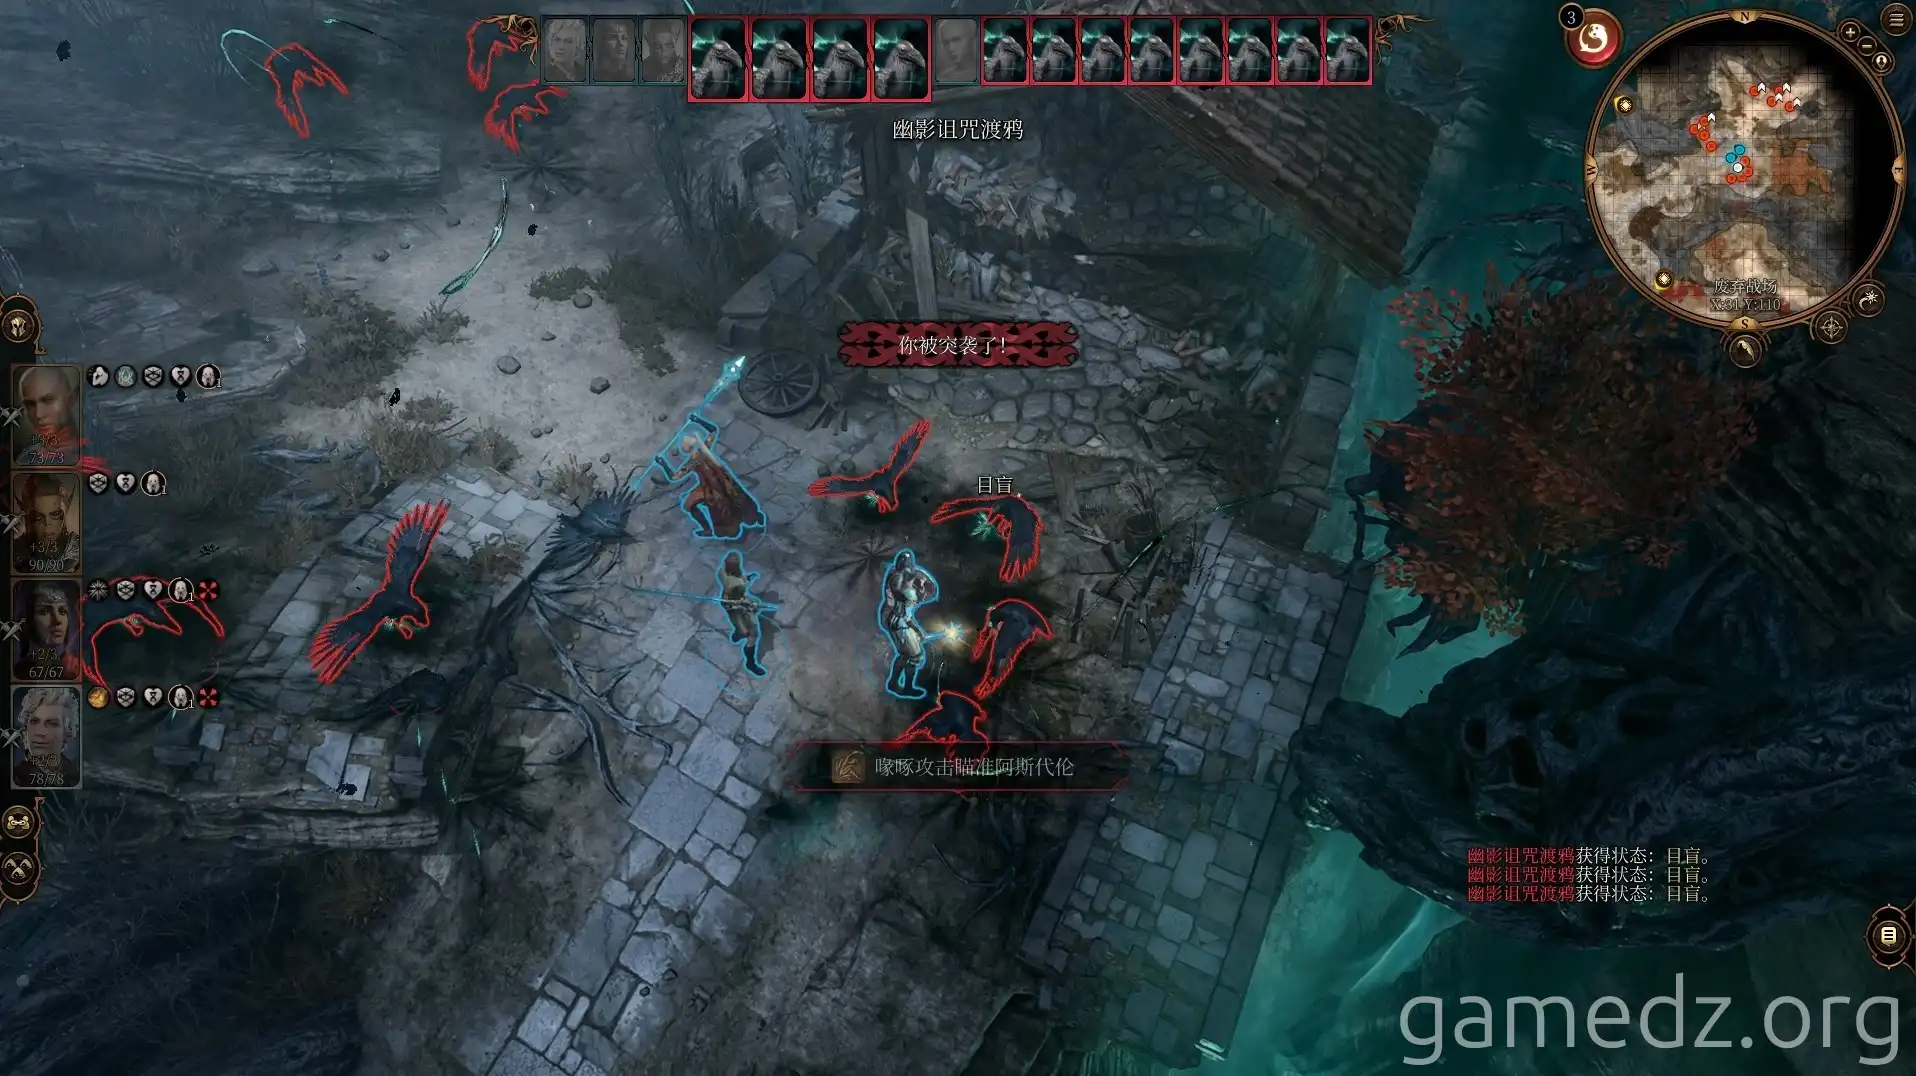
On the path ahead, there's a dead raven. Absolutely, absolutely, absolutely do not touch it.
Touching it will cause a swarm of ravens to appear. Combined with the fact that you'll skip a turn after being startled, it's very easy to die instantly.
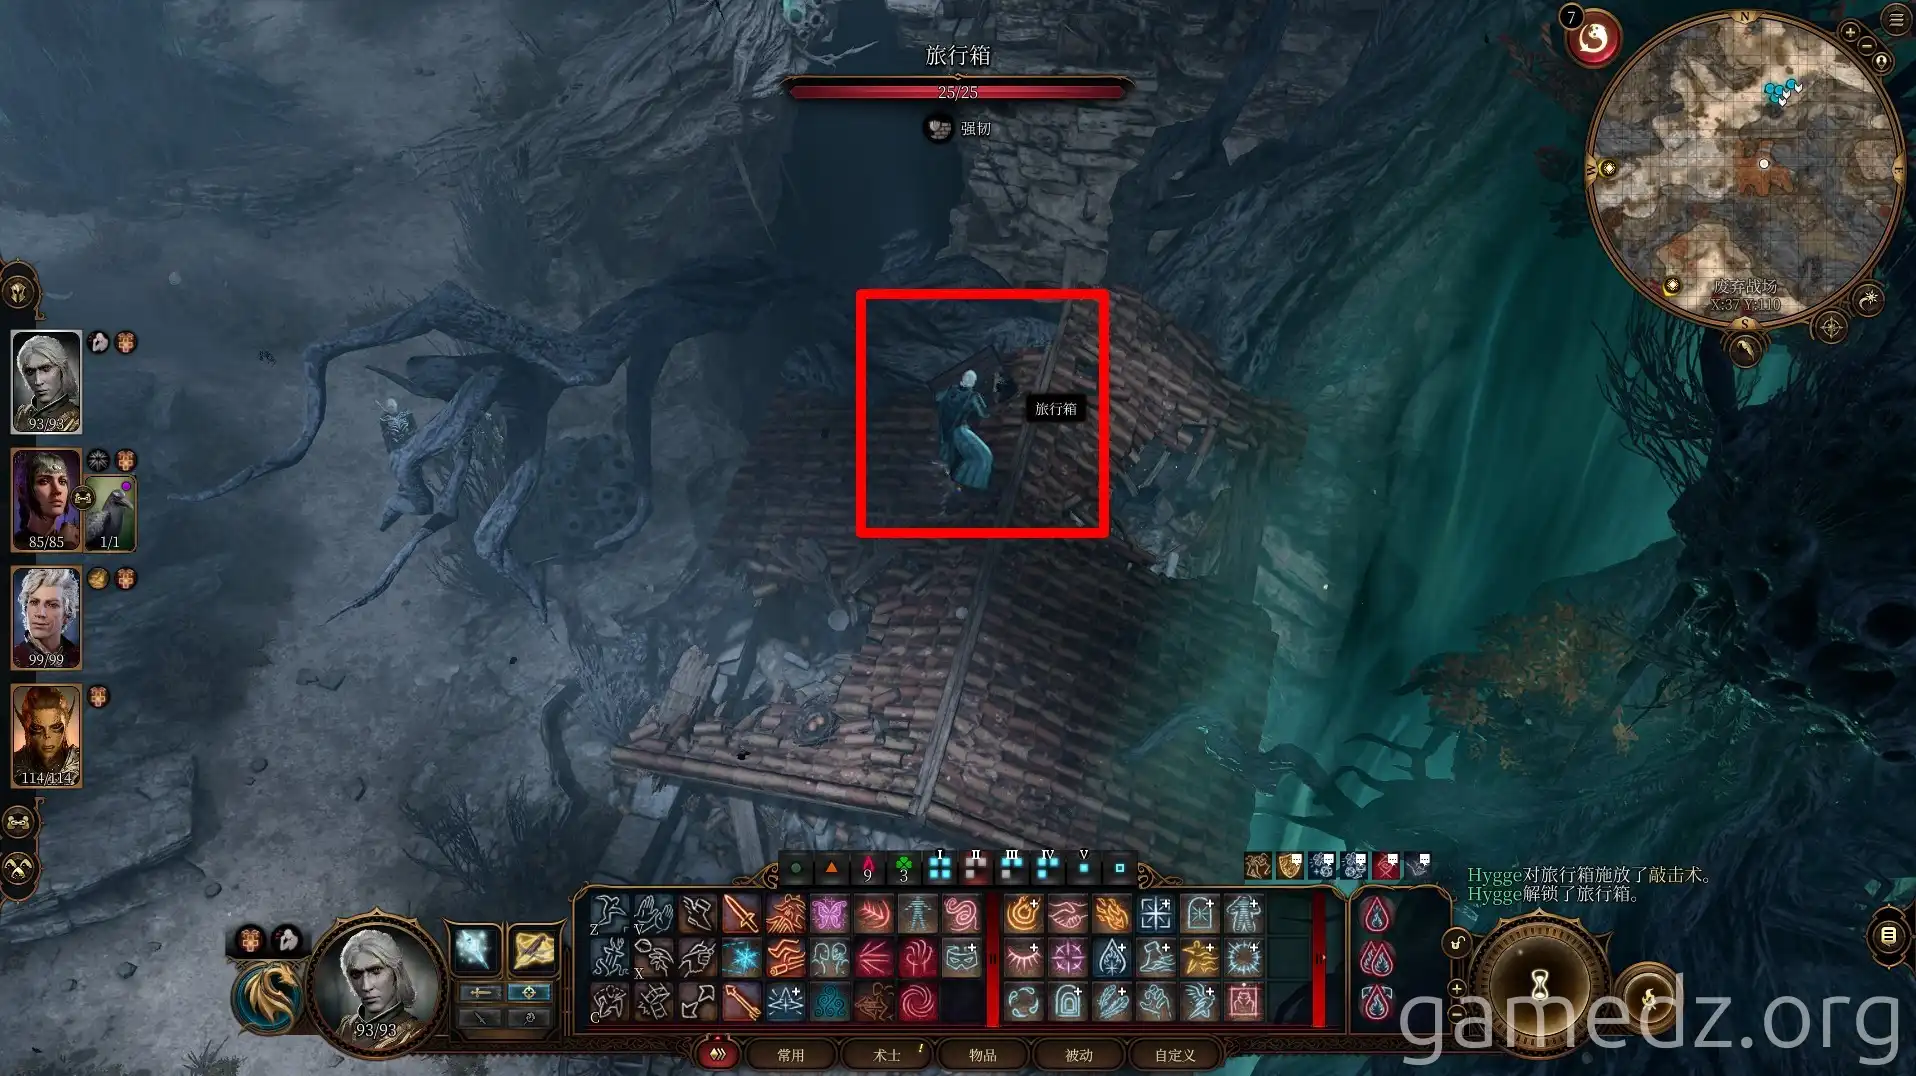
Inside the small hut next to the raven and on its roof, there are chests.

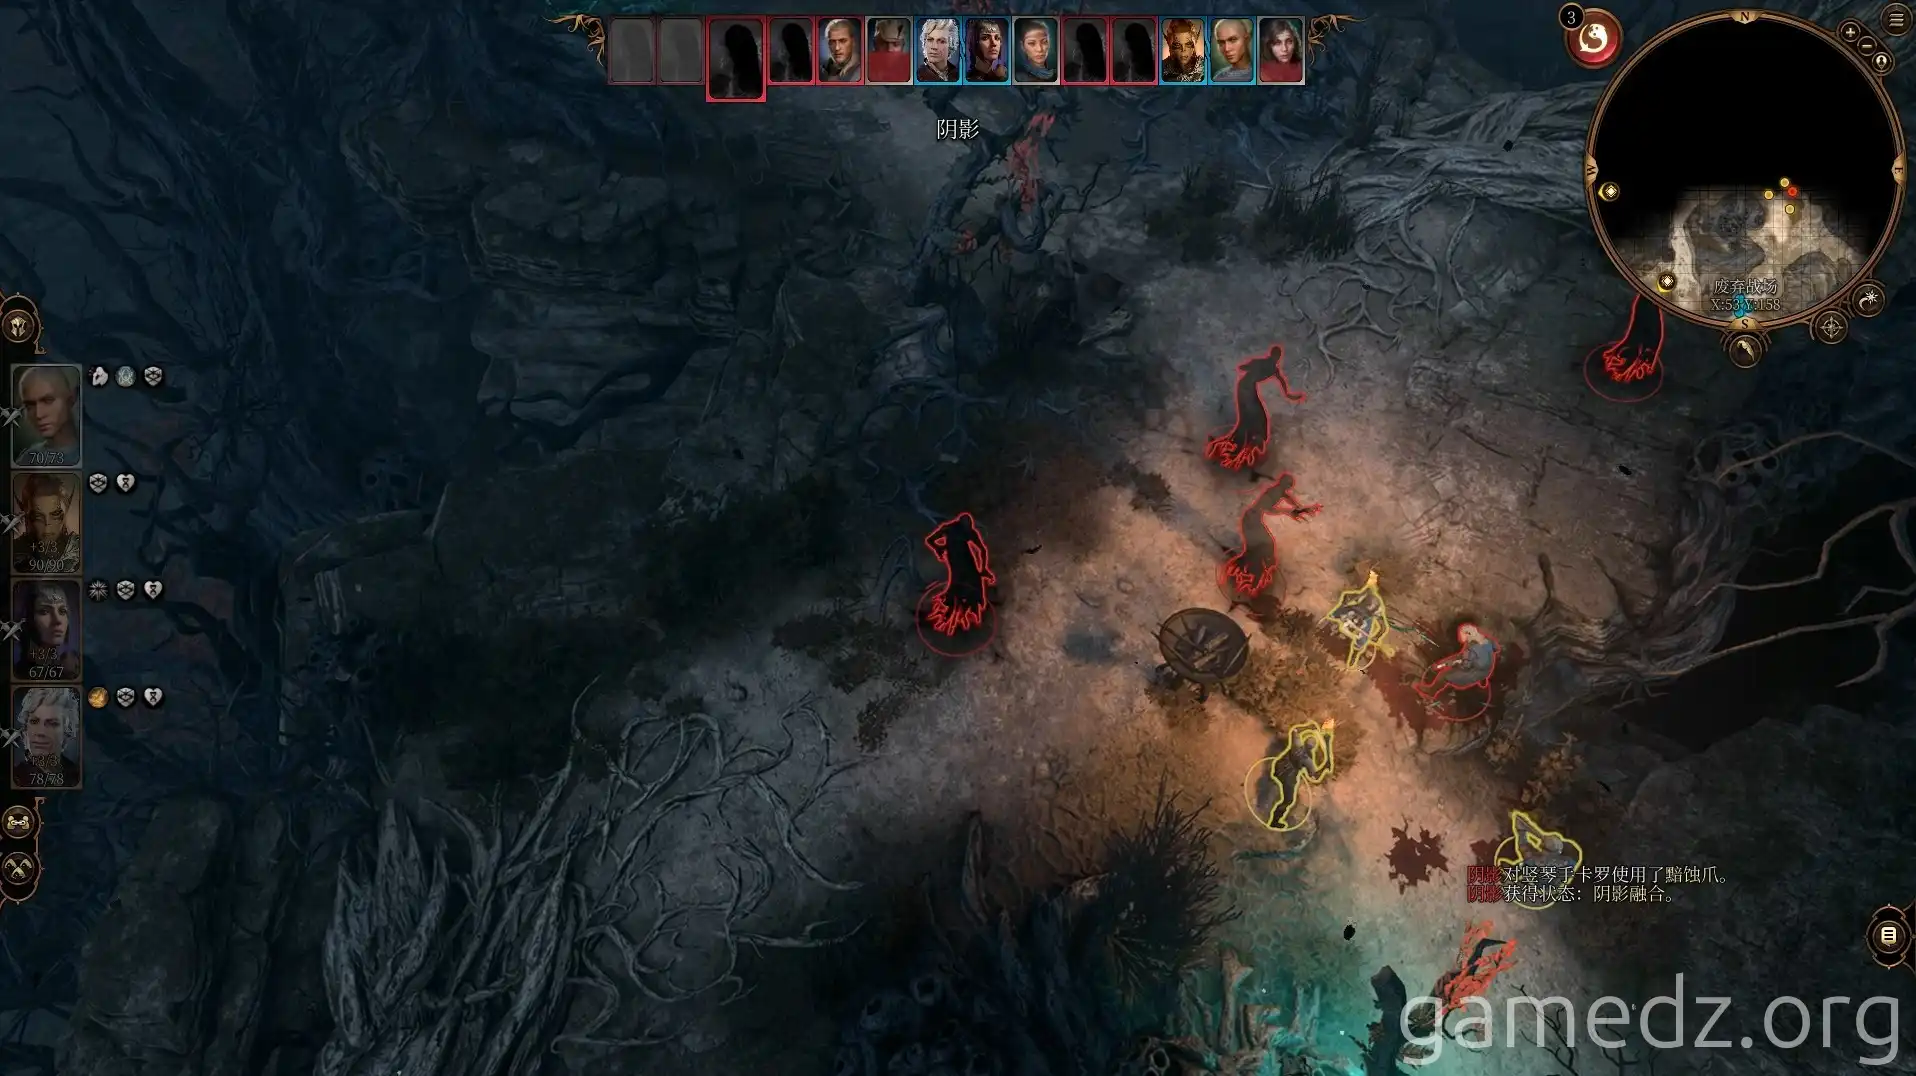
Continue forward and you'll encounter Harper members. During the confrontation, everyone is ambushed by shadows, and combat ensues.
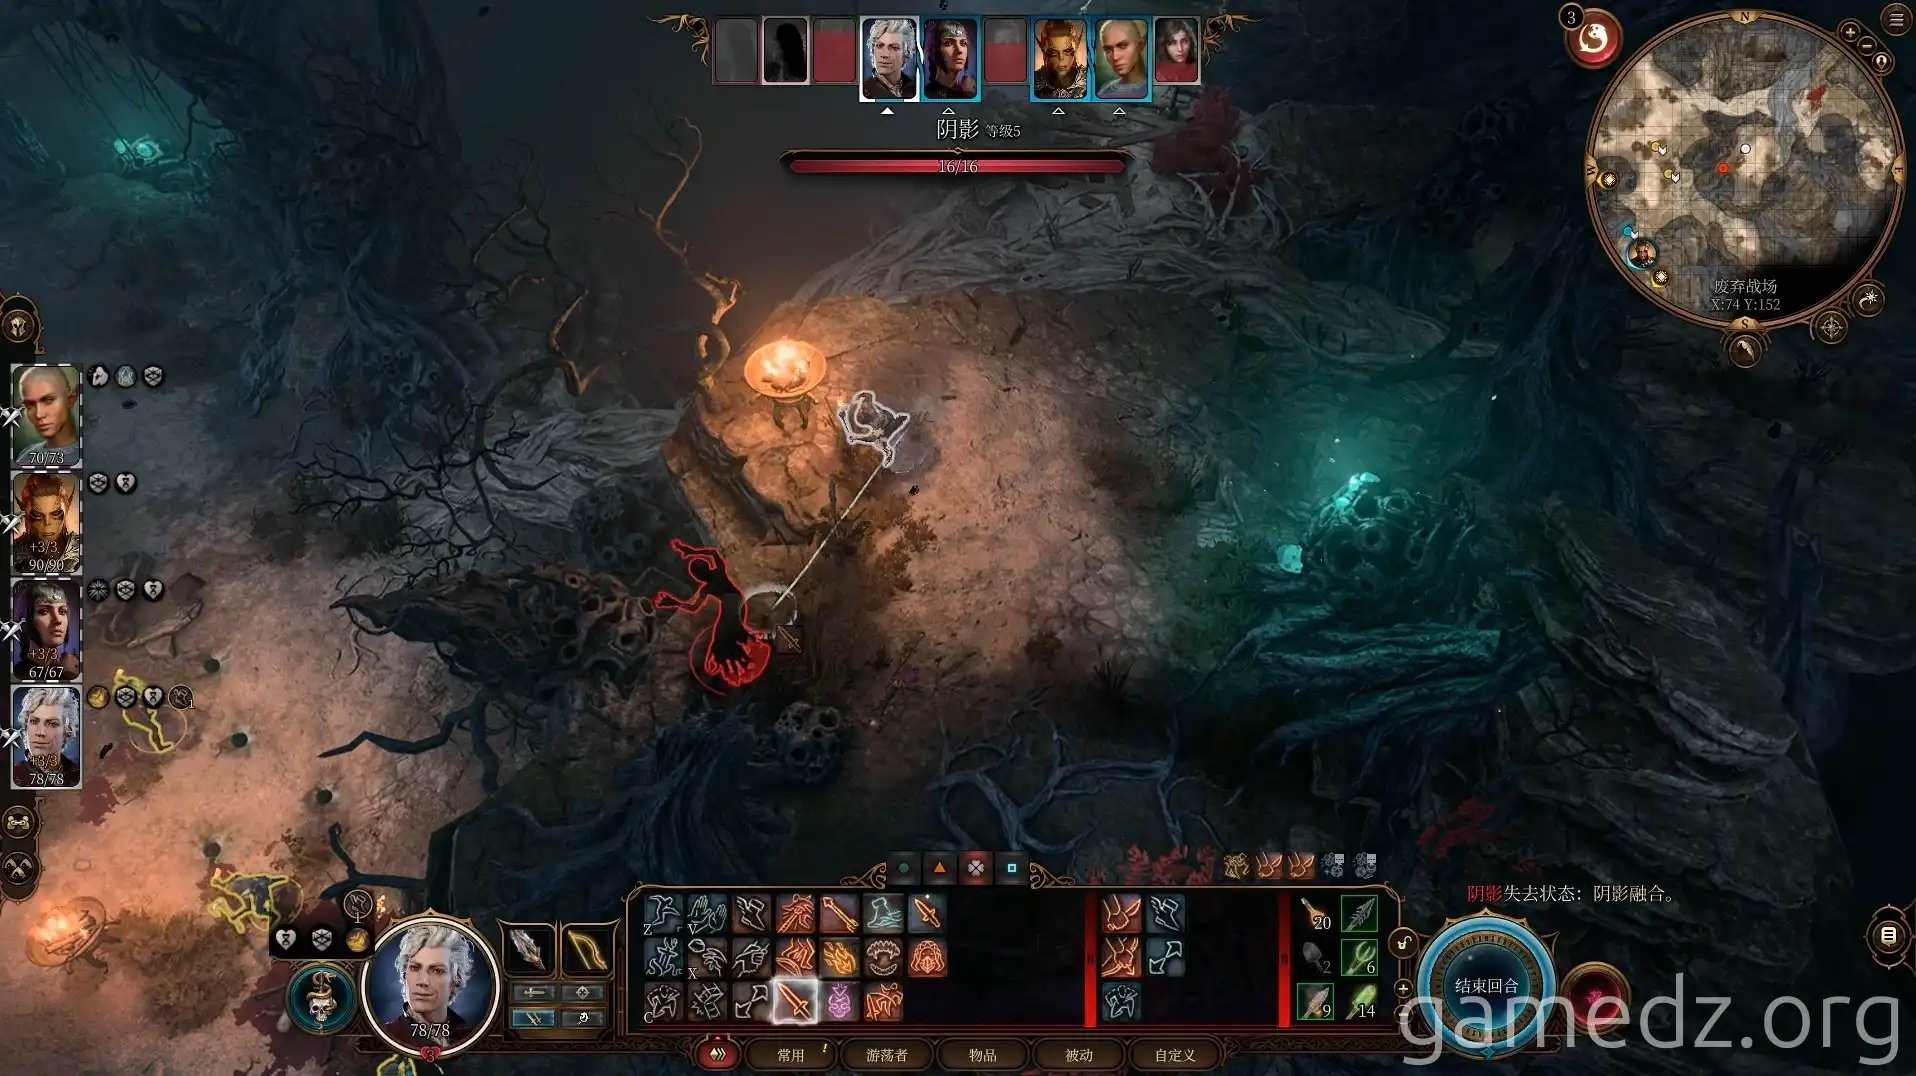
Since the Harper members will encounter the enemies before you, it's advisable to have some healing items ready to prevent their deaths.
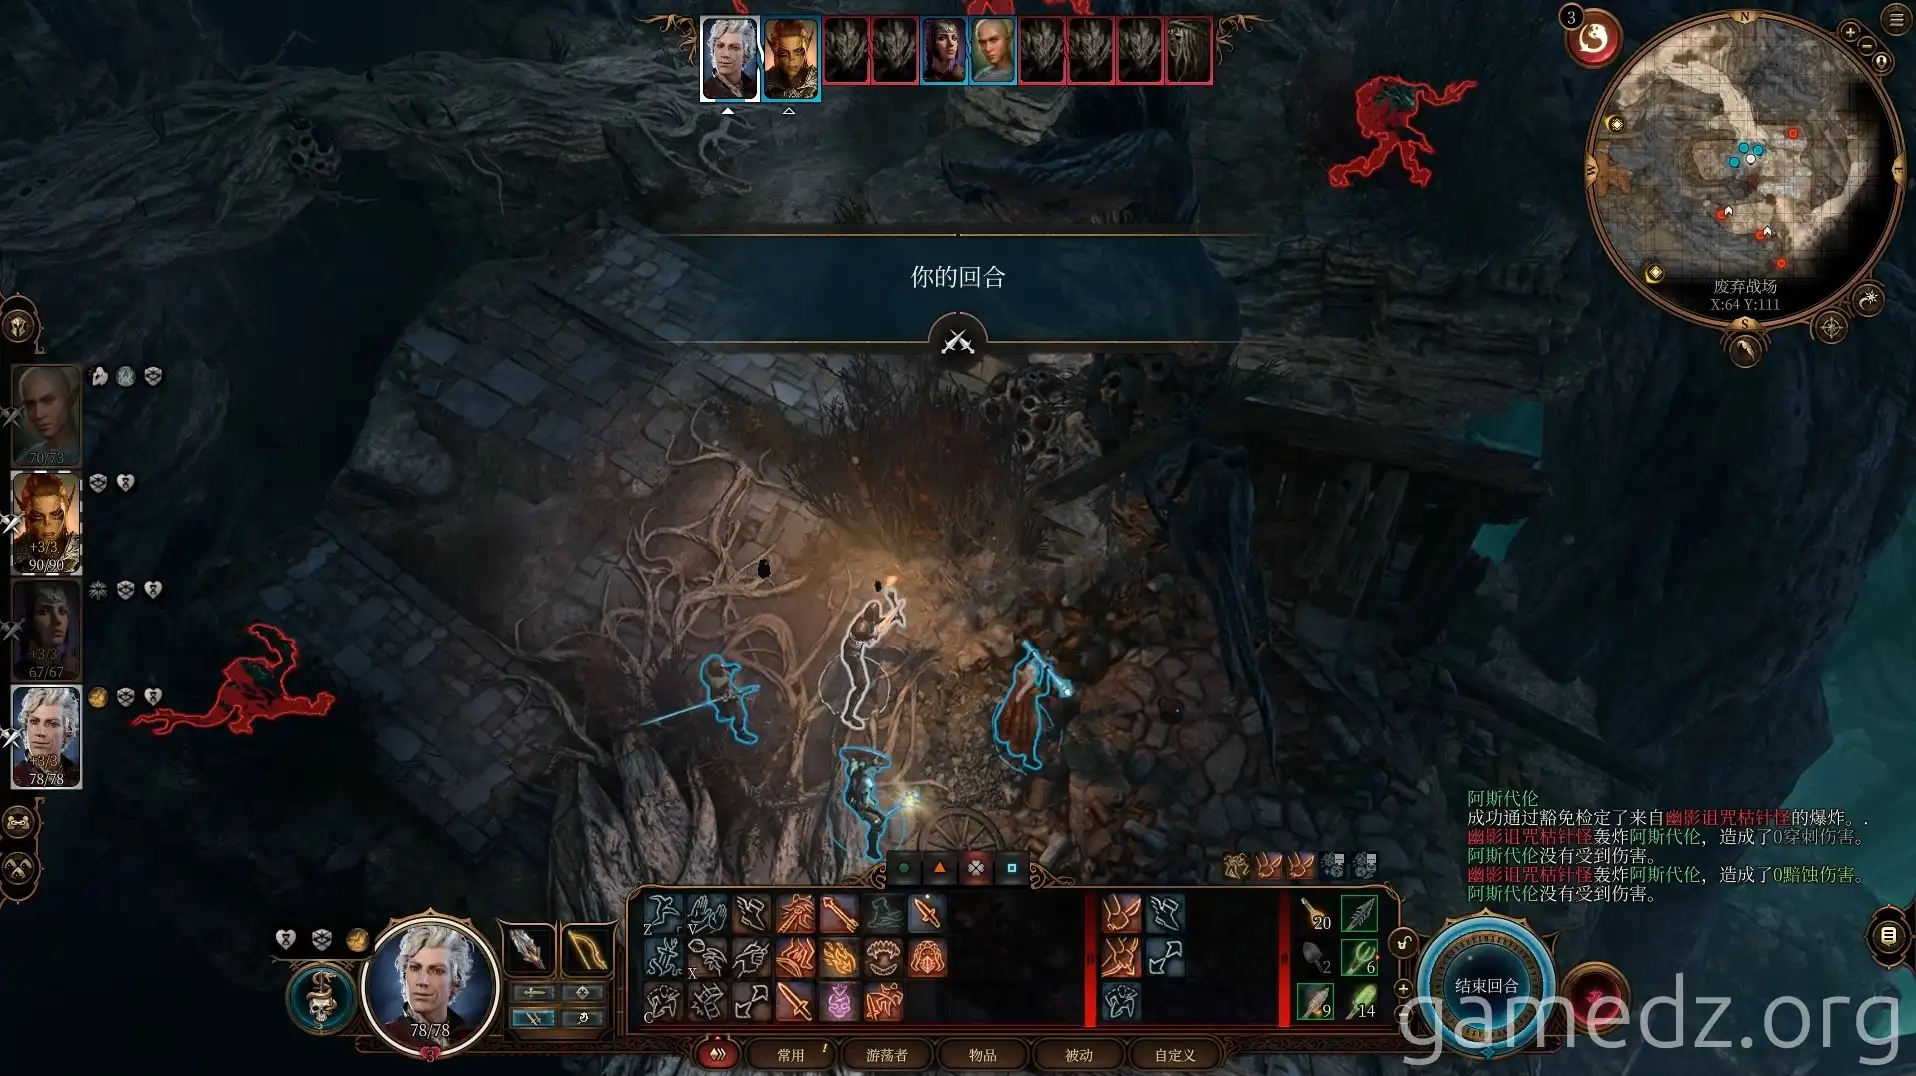
Shadows only become visible in areas with light. Be mindful of enemies hiding in the shadows around you.
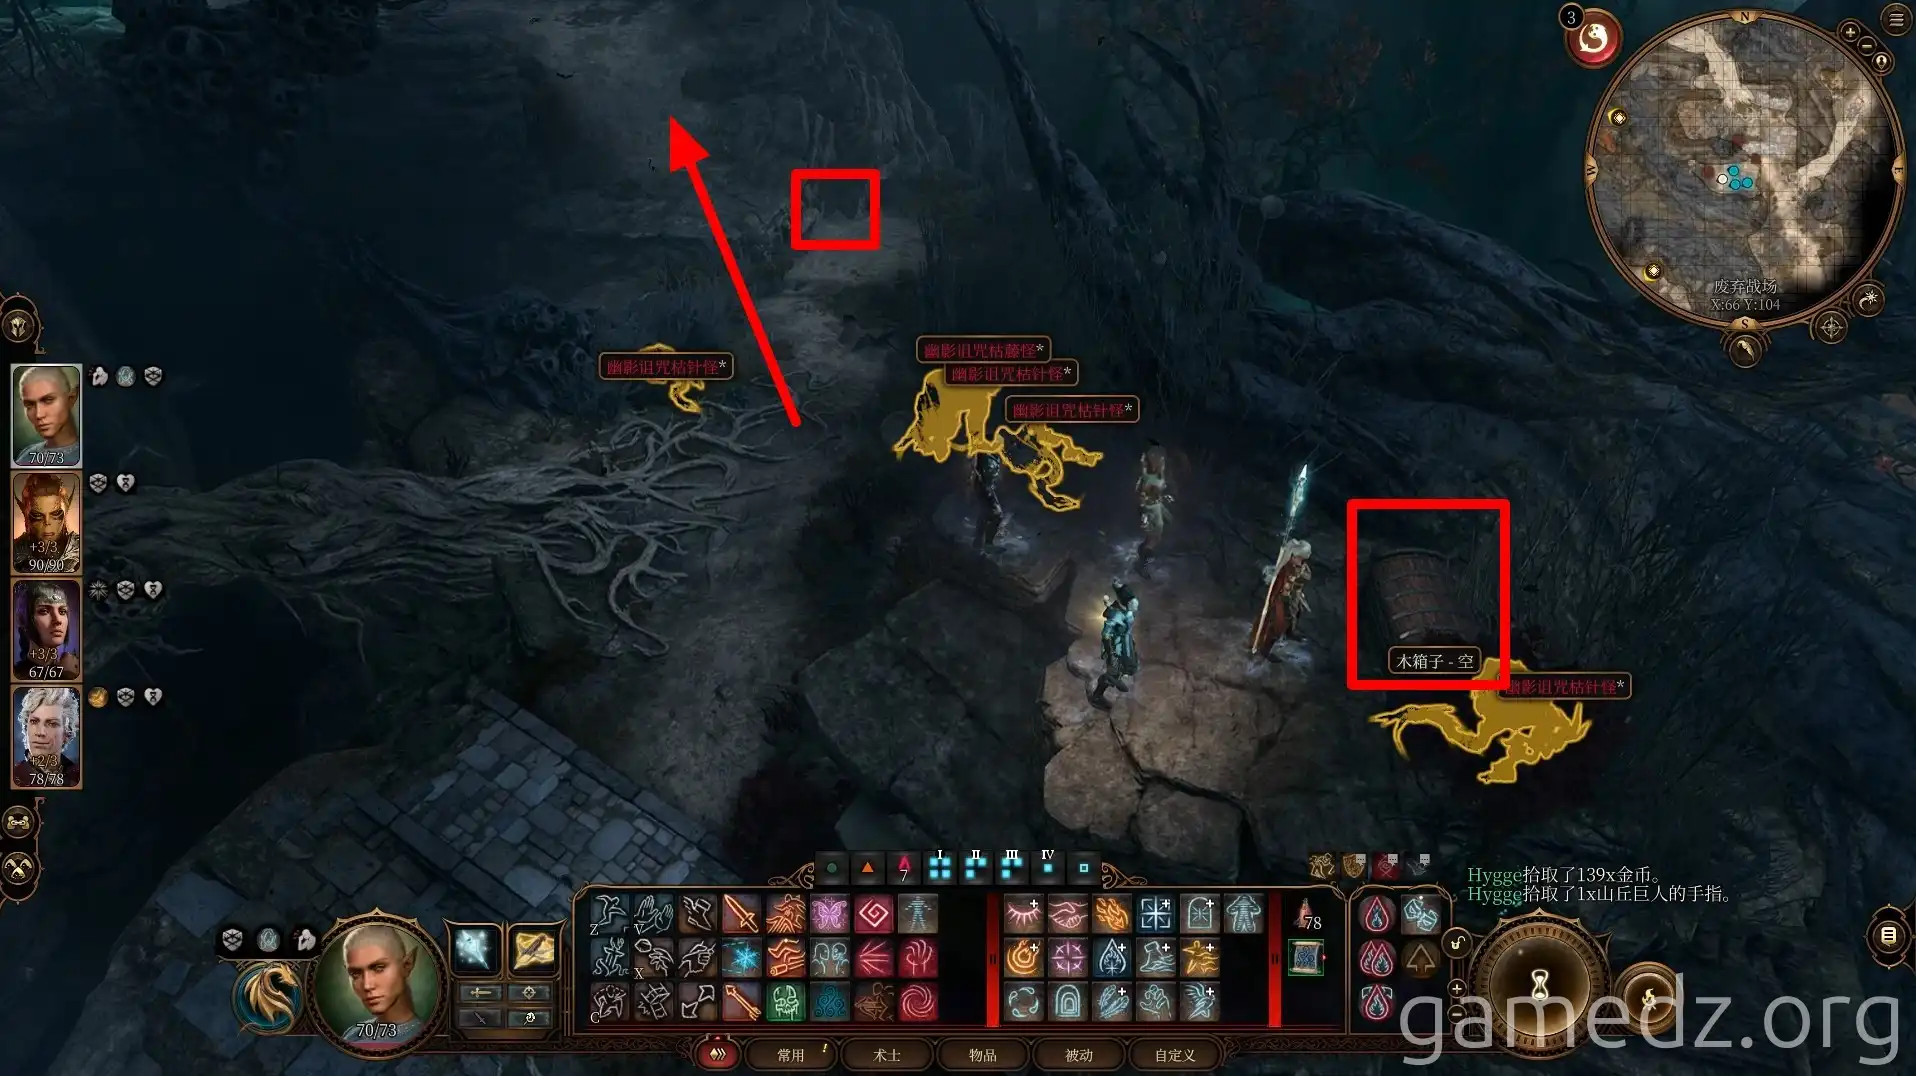
After rescuing the Harper members, speak with them. They will then head back to The Last Light Inn first, while you continue north to explore the remaining areas of the Shadow-Cursed Lands.
There's another Moonpetal in the northwest corner of the battlefield, but it won't trigger Shadowheart's special dialogue again.
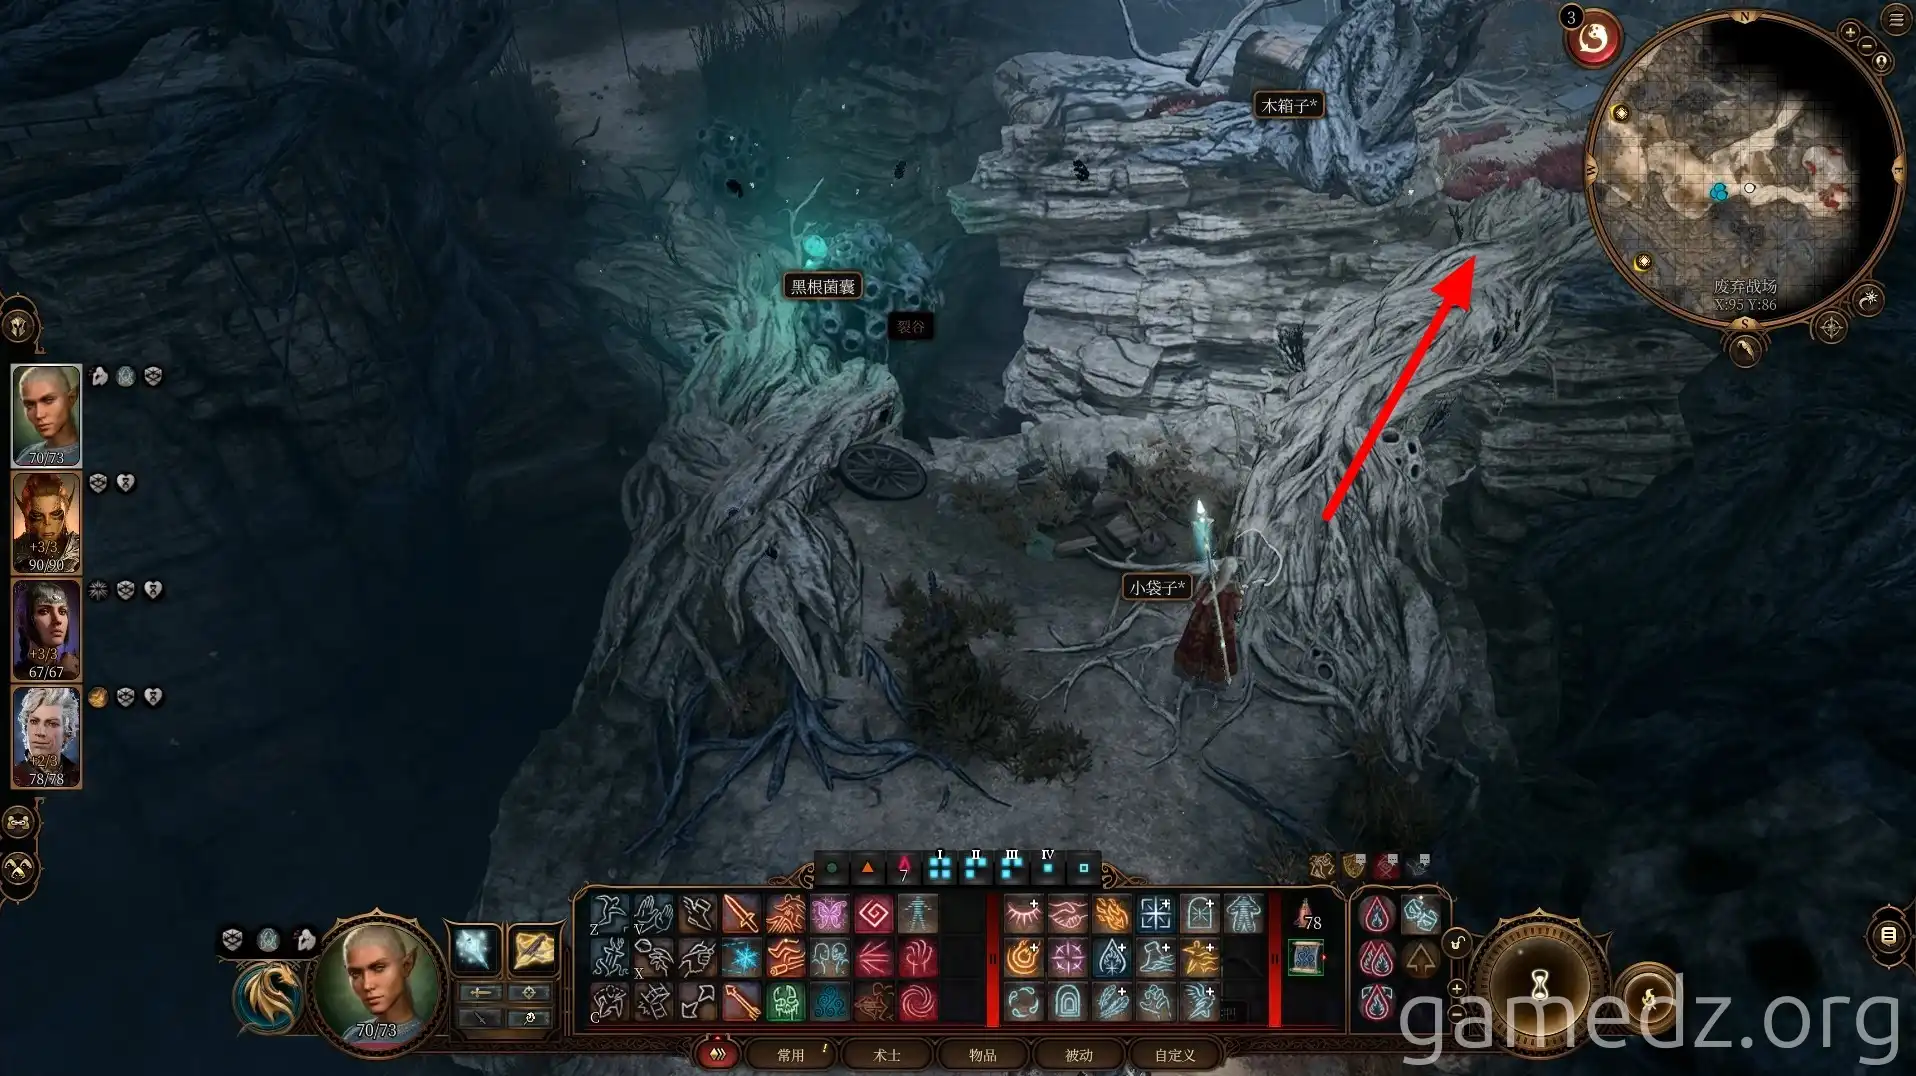
Return to the south side of the battlefield and head southeast through the tree trunk.
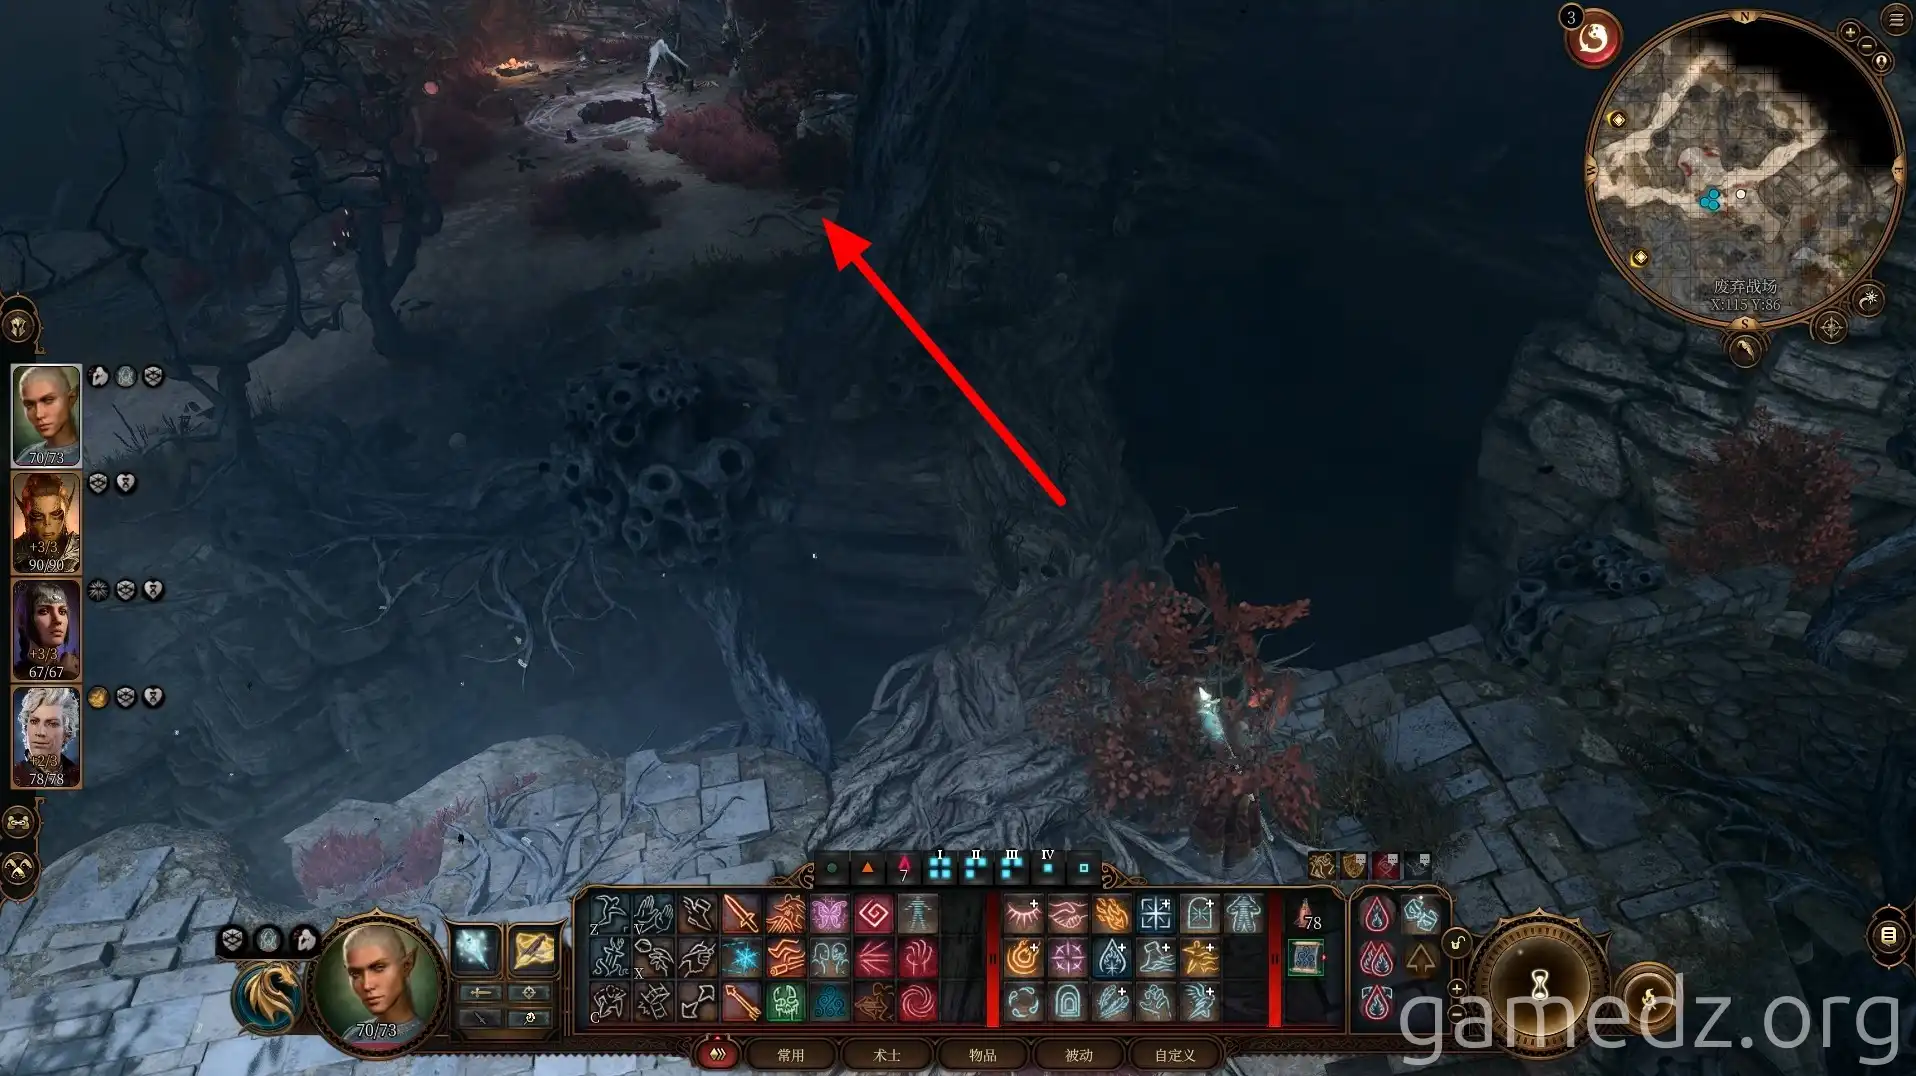
Ahead, you'll enter combat. Defeat several Shadow-Cursed Needle Blights.
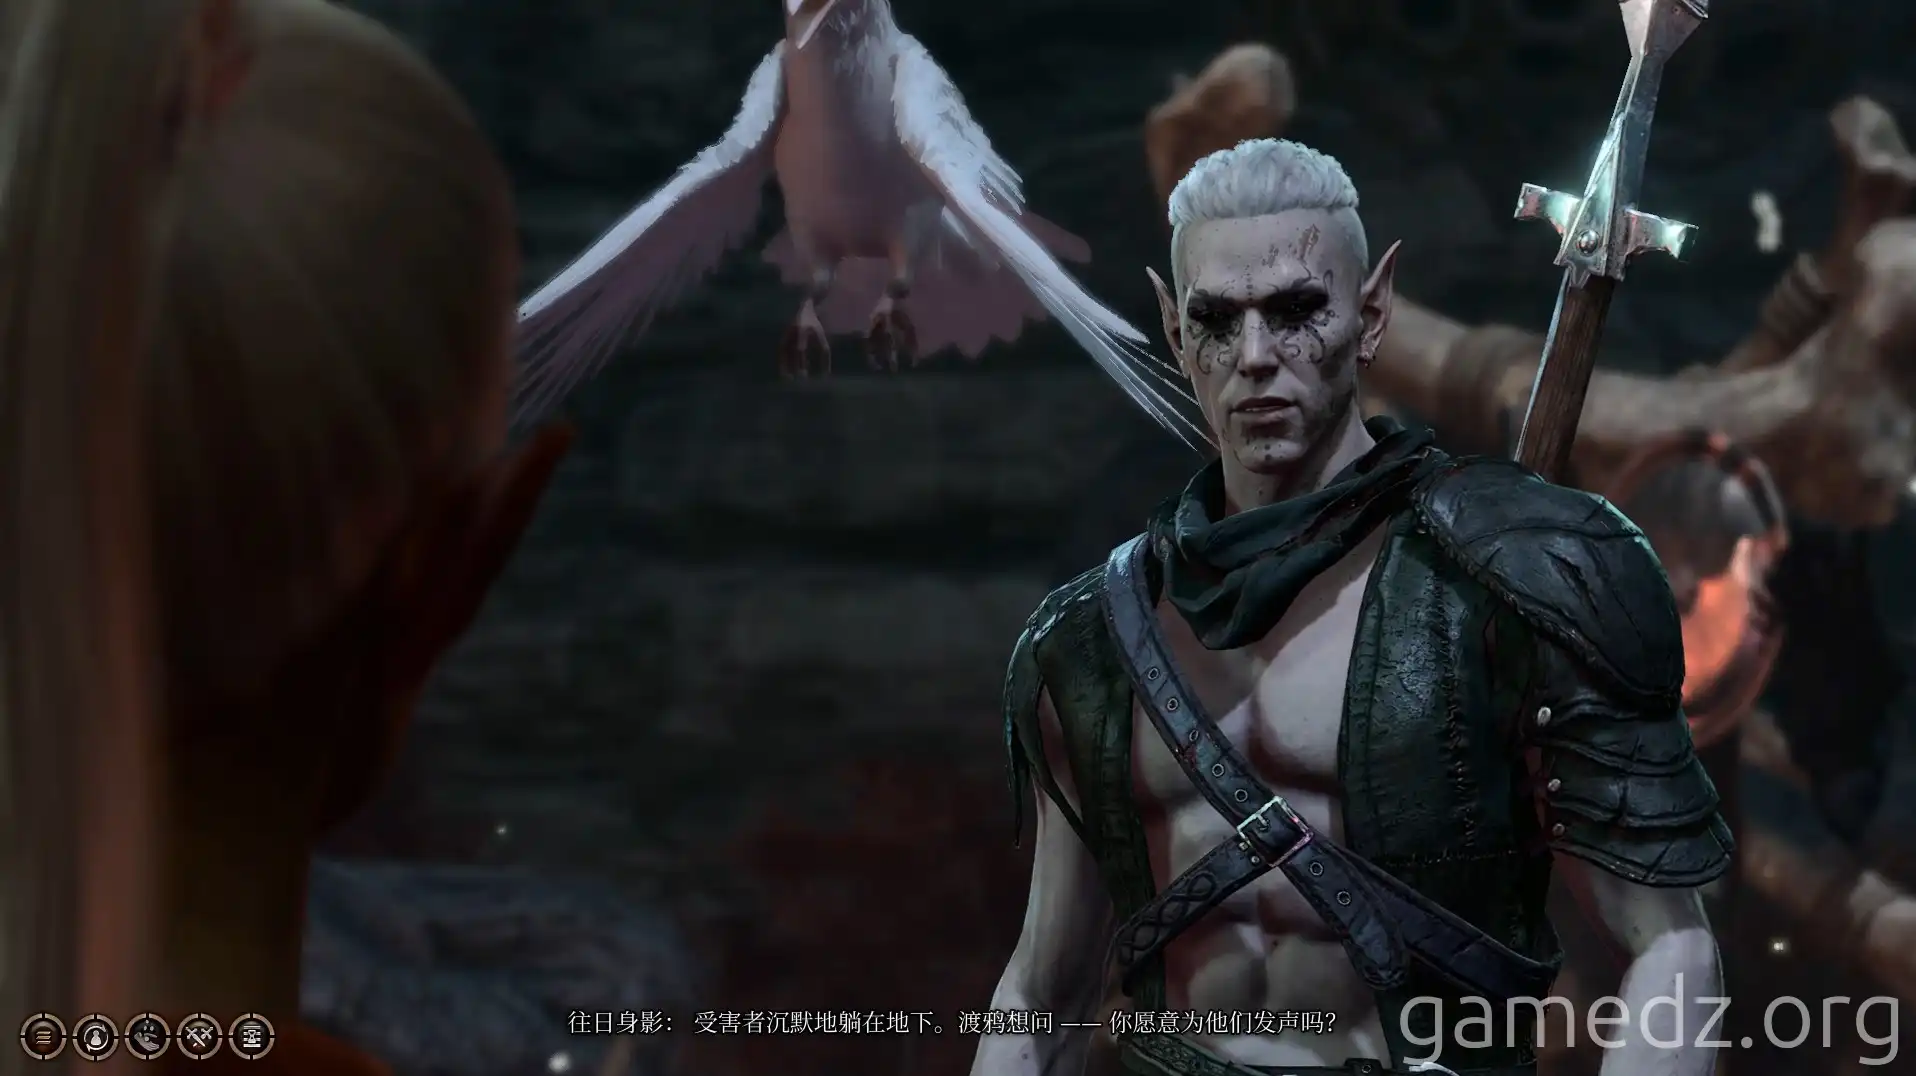
After defeating the enemies, you'll find a chest on the high platform nearby. Then, continue along the path.
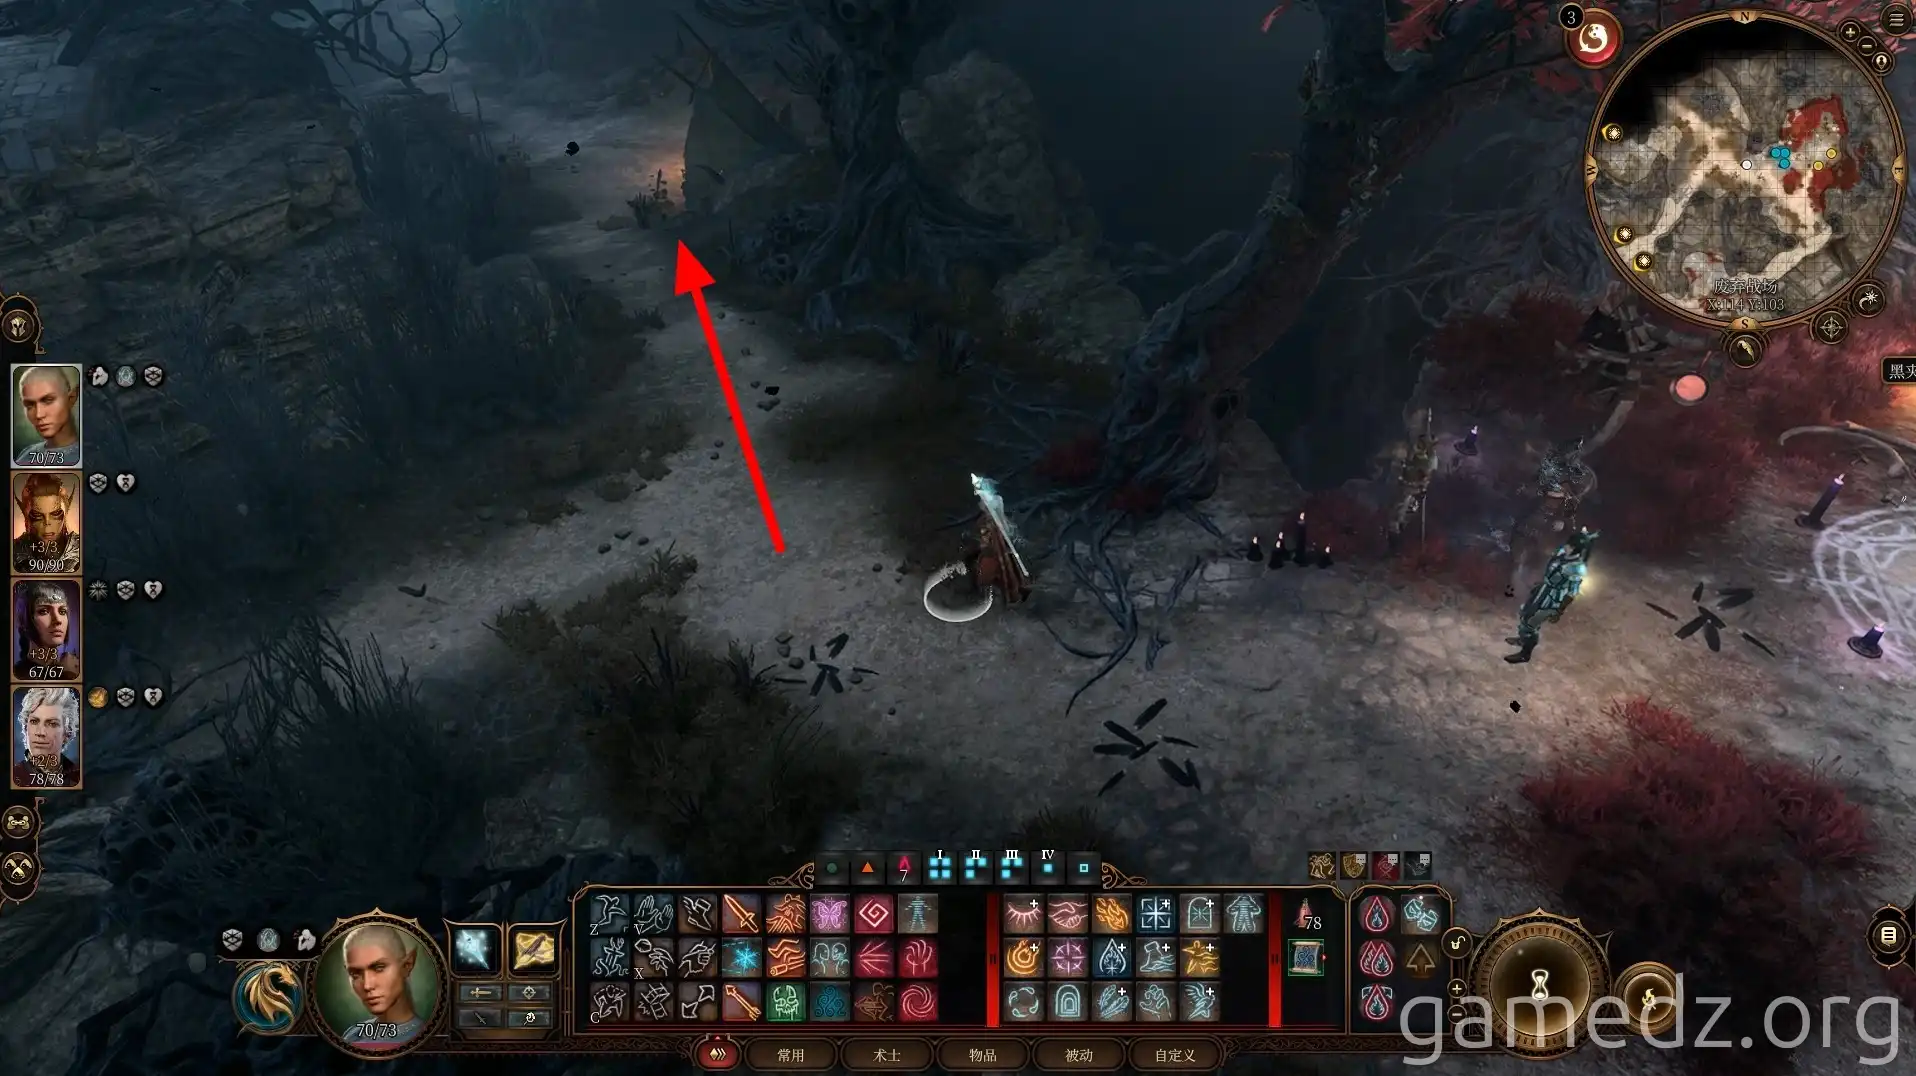
Along the roadside ahead, you can find a small pouch by passing a Perception check. Inside, you'll find a key.
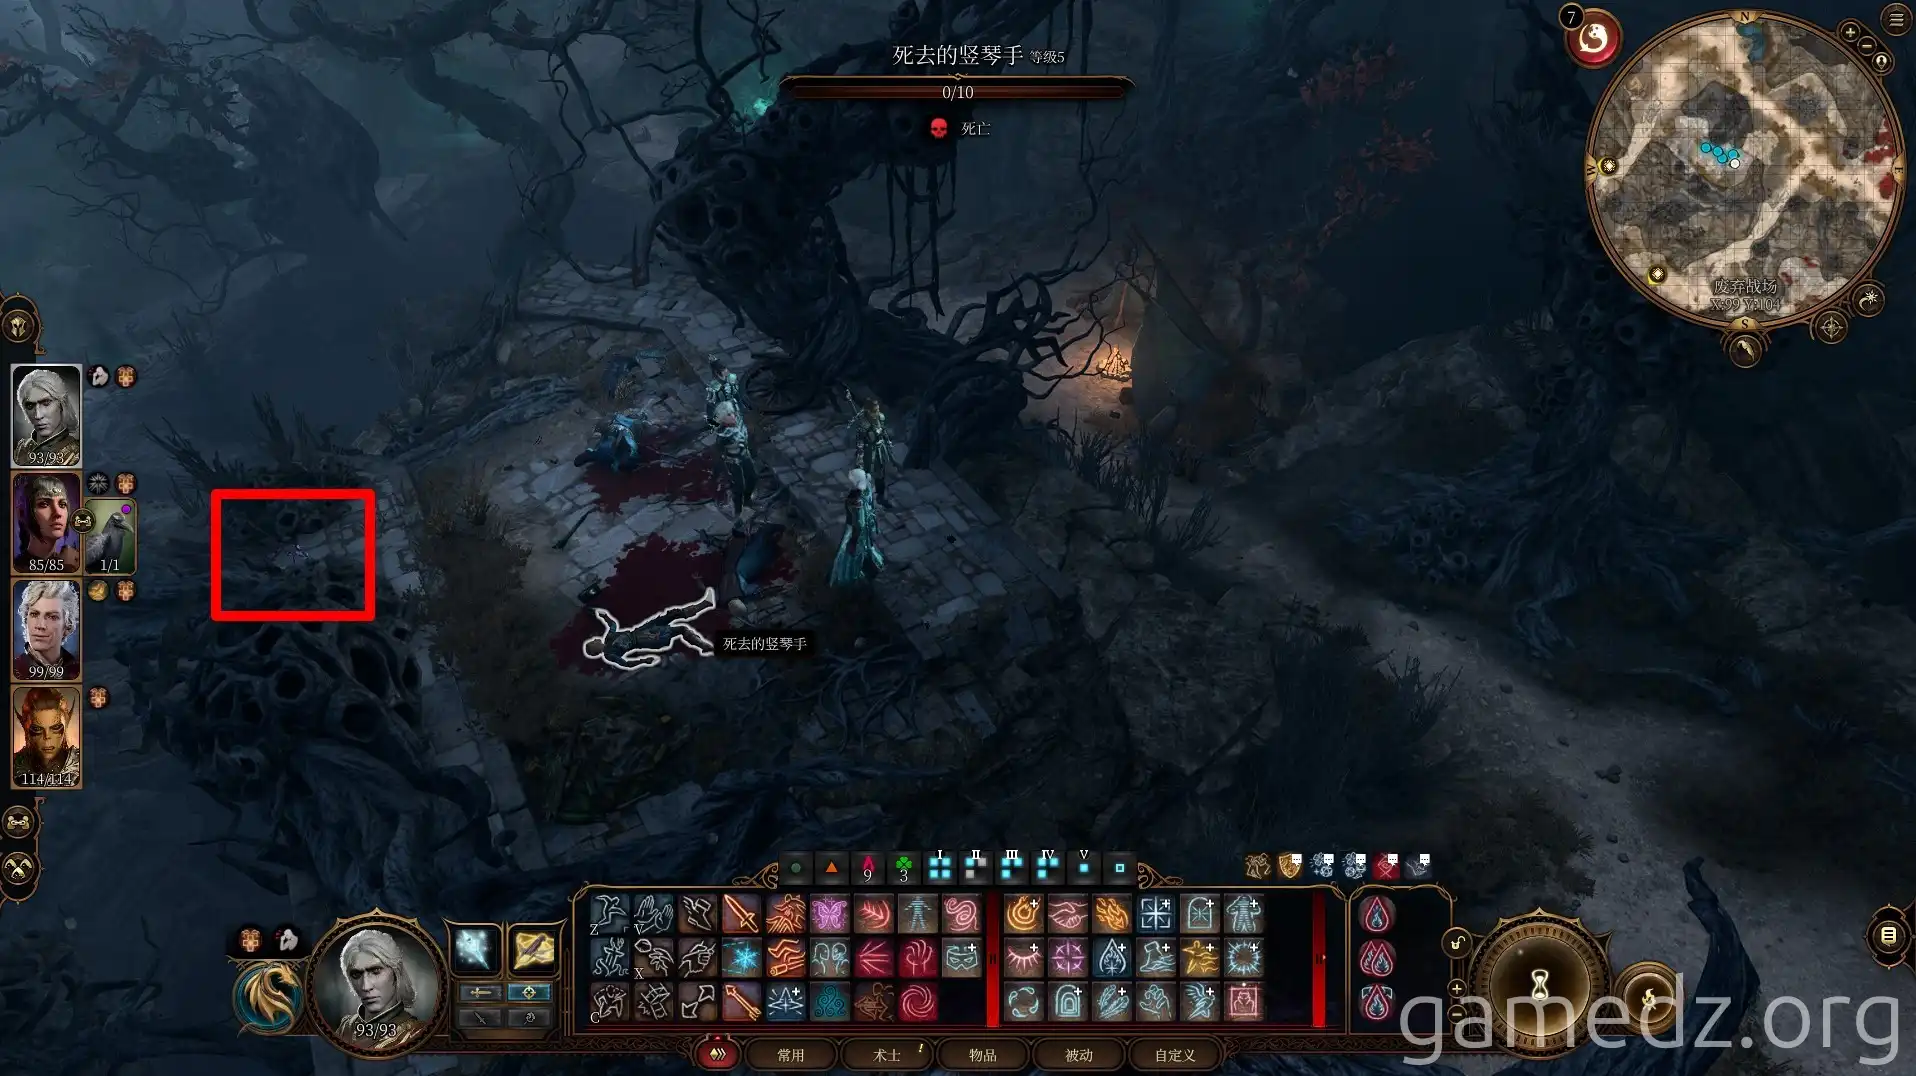
At the fork shown below, the road to the right has two chests that can be opened with the key you just found.
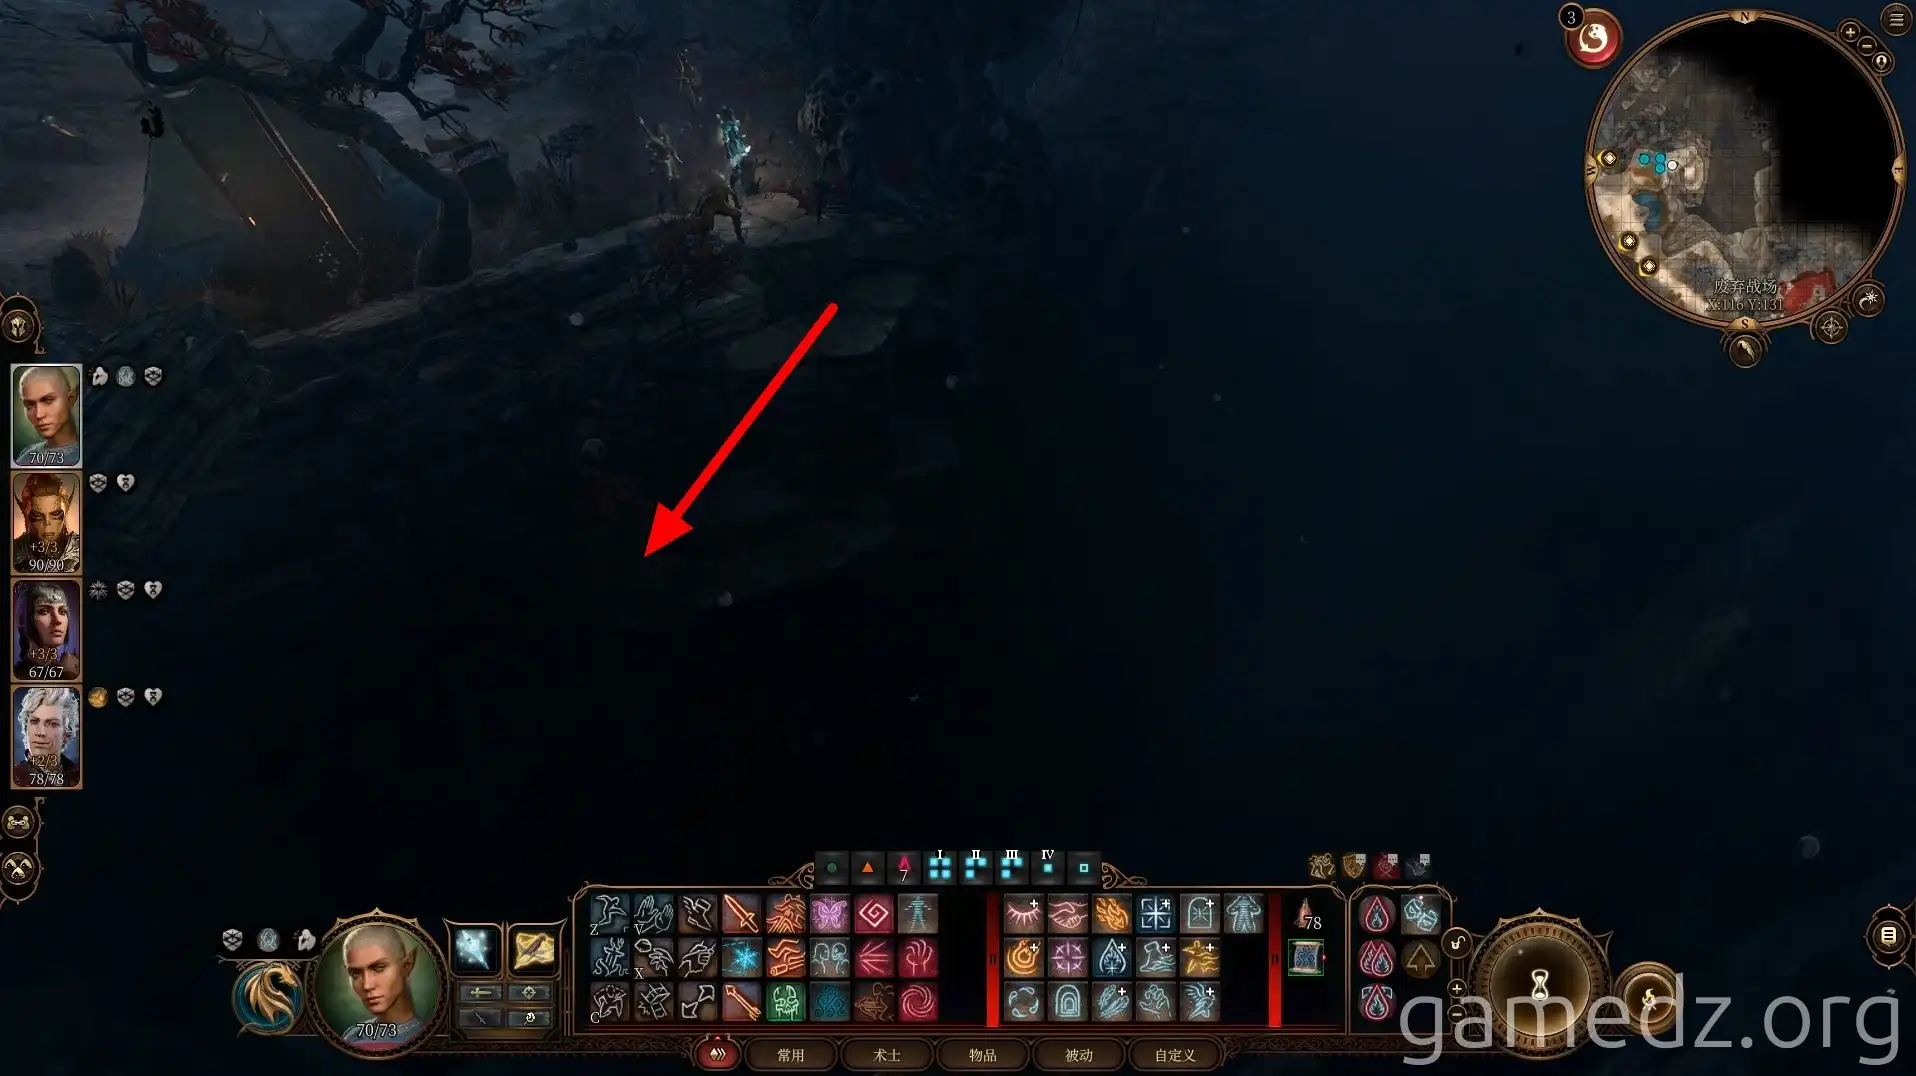
Cross the tree trunk in the center of the platform and head north.
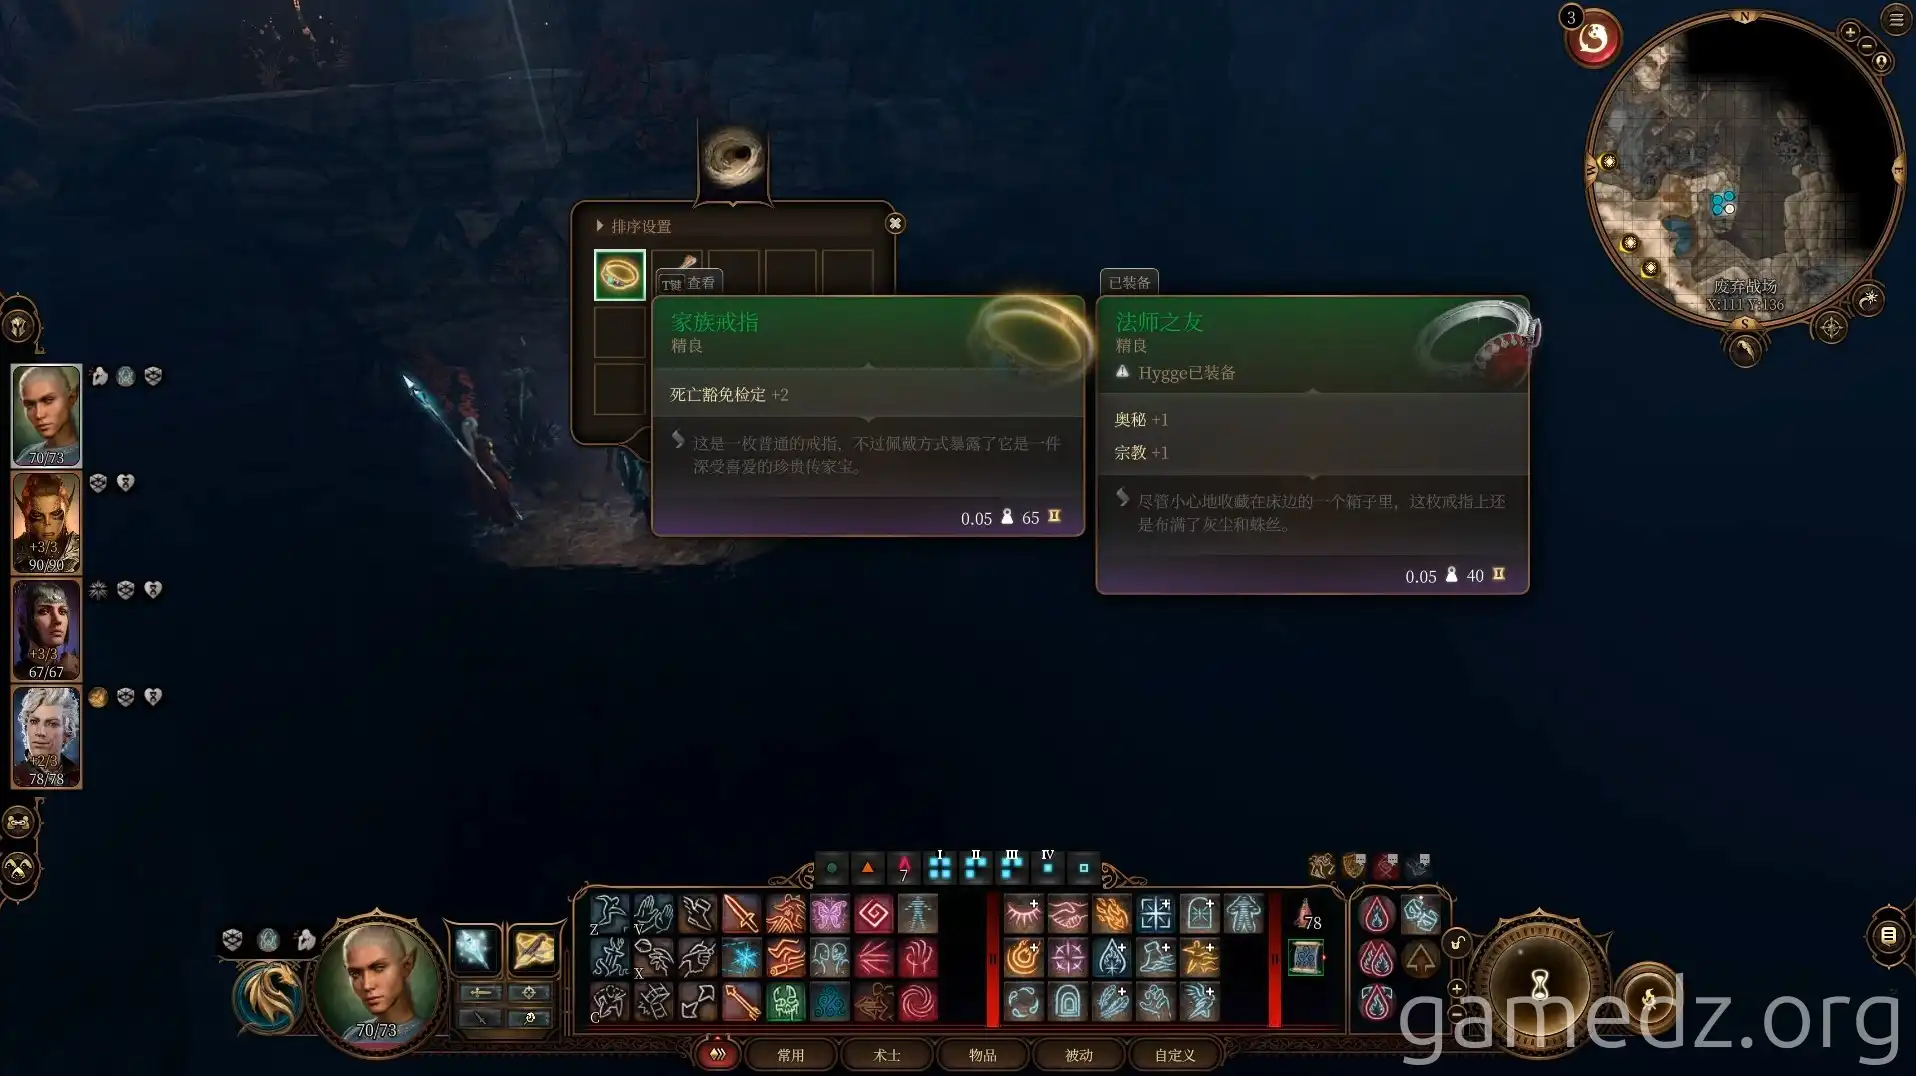
Ahead, speak with an "Old Self." During the conversation, choosing to "Uphold Justice" will initiate the side quest Punish the Wicked. You'll later need to find evidence inside the Waning Moon Brewery in Reithwin.
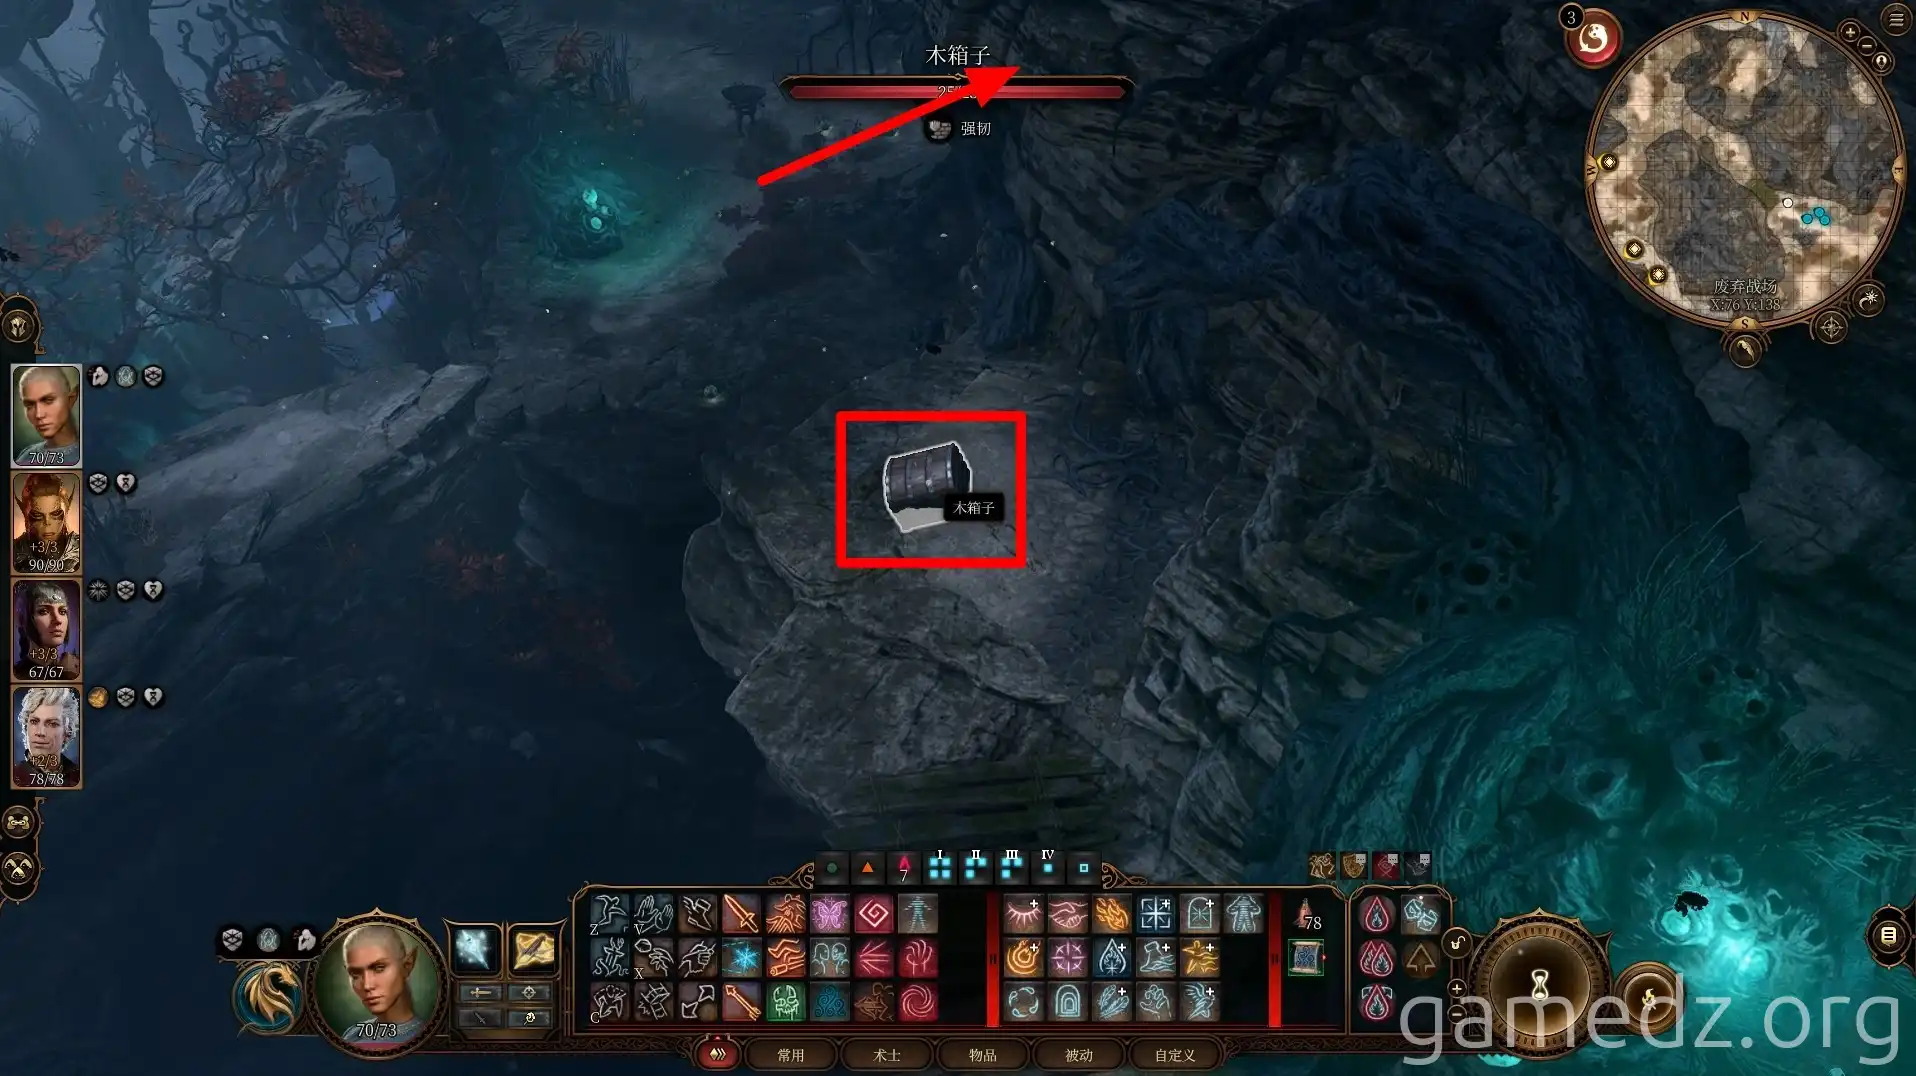
From the "Old Self," head west.
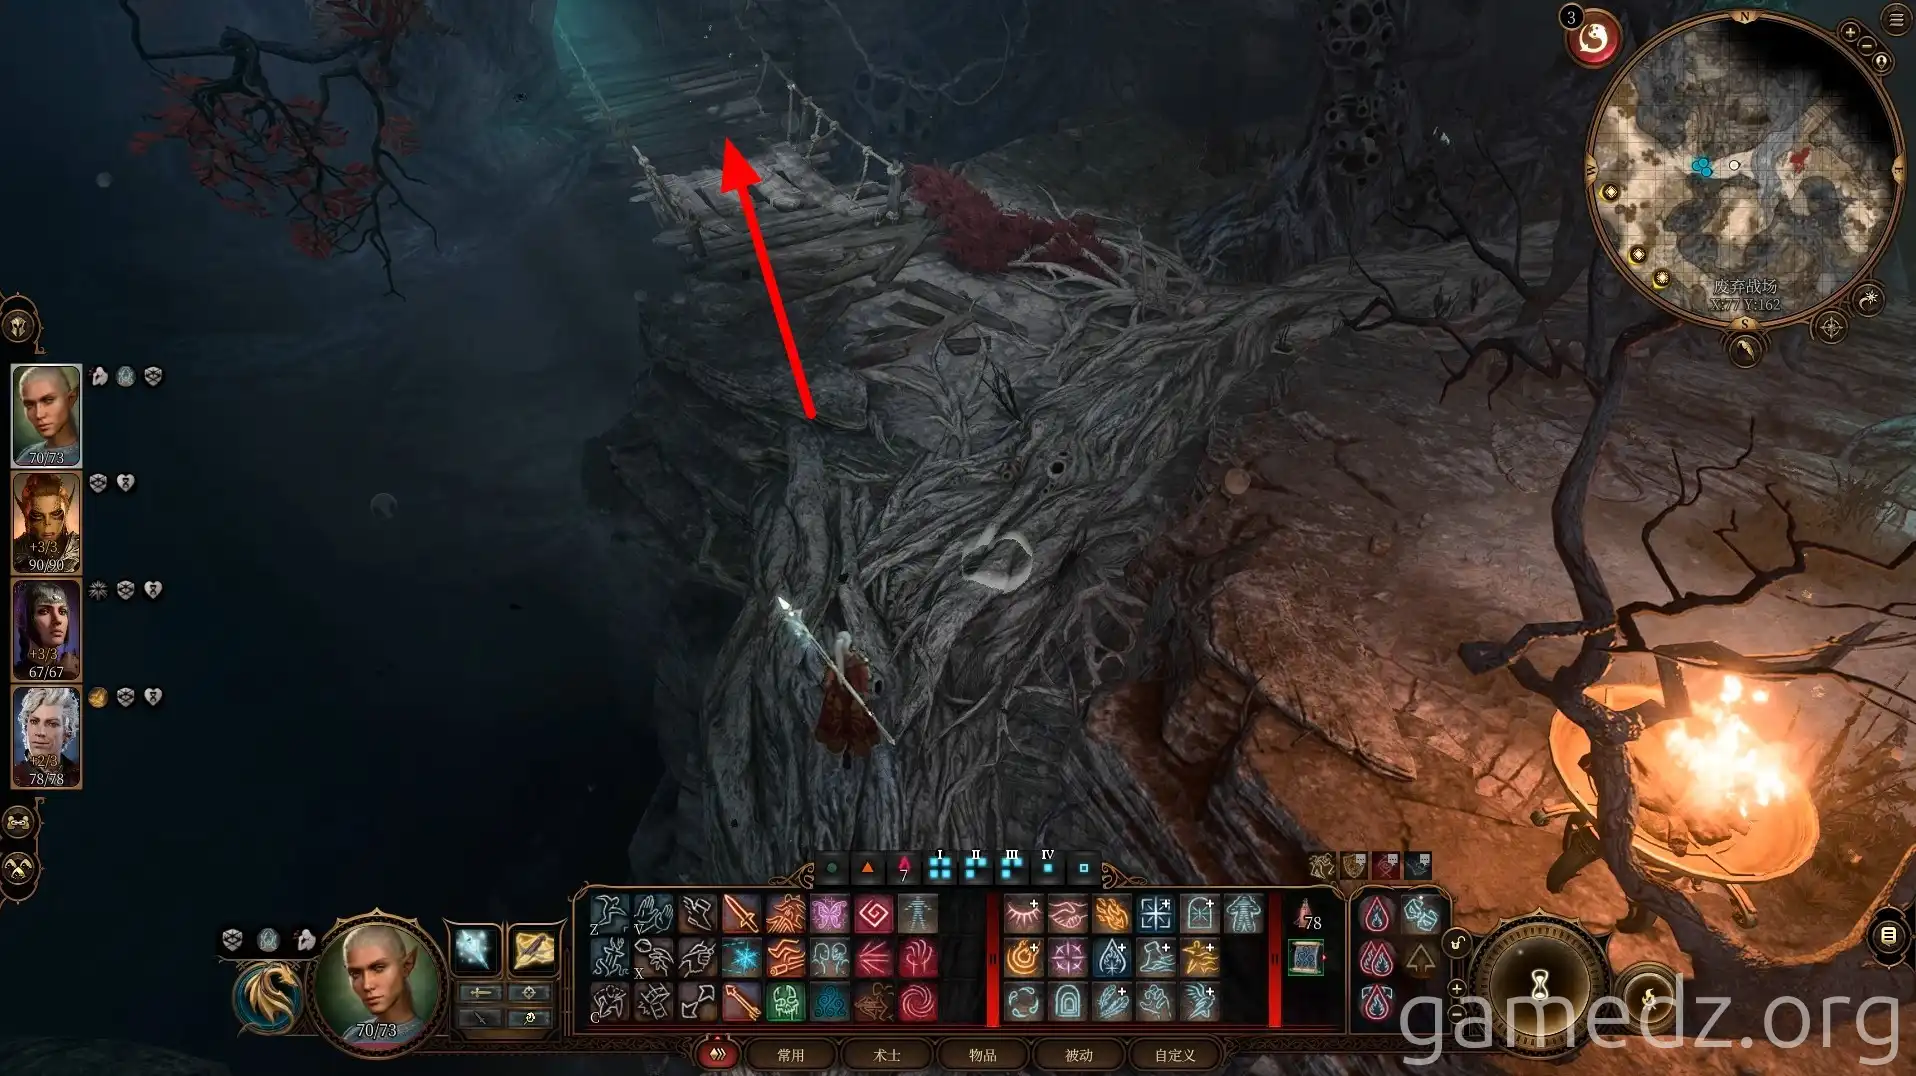
On the high platform south of the path, there are several dead Harpers and a Moonpetal.
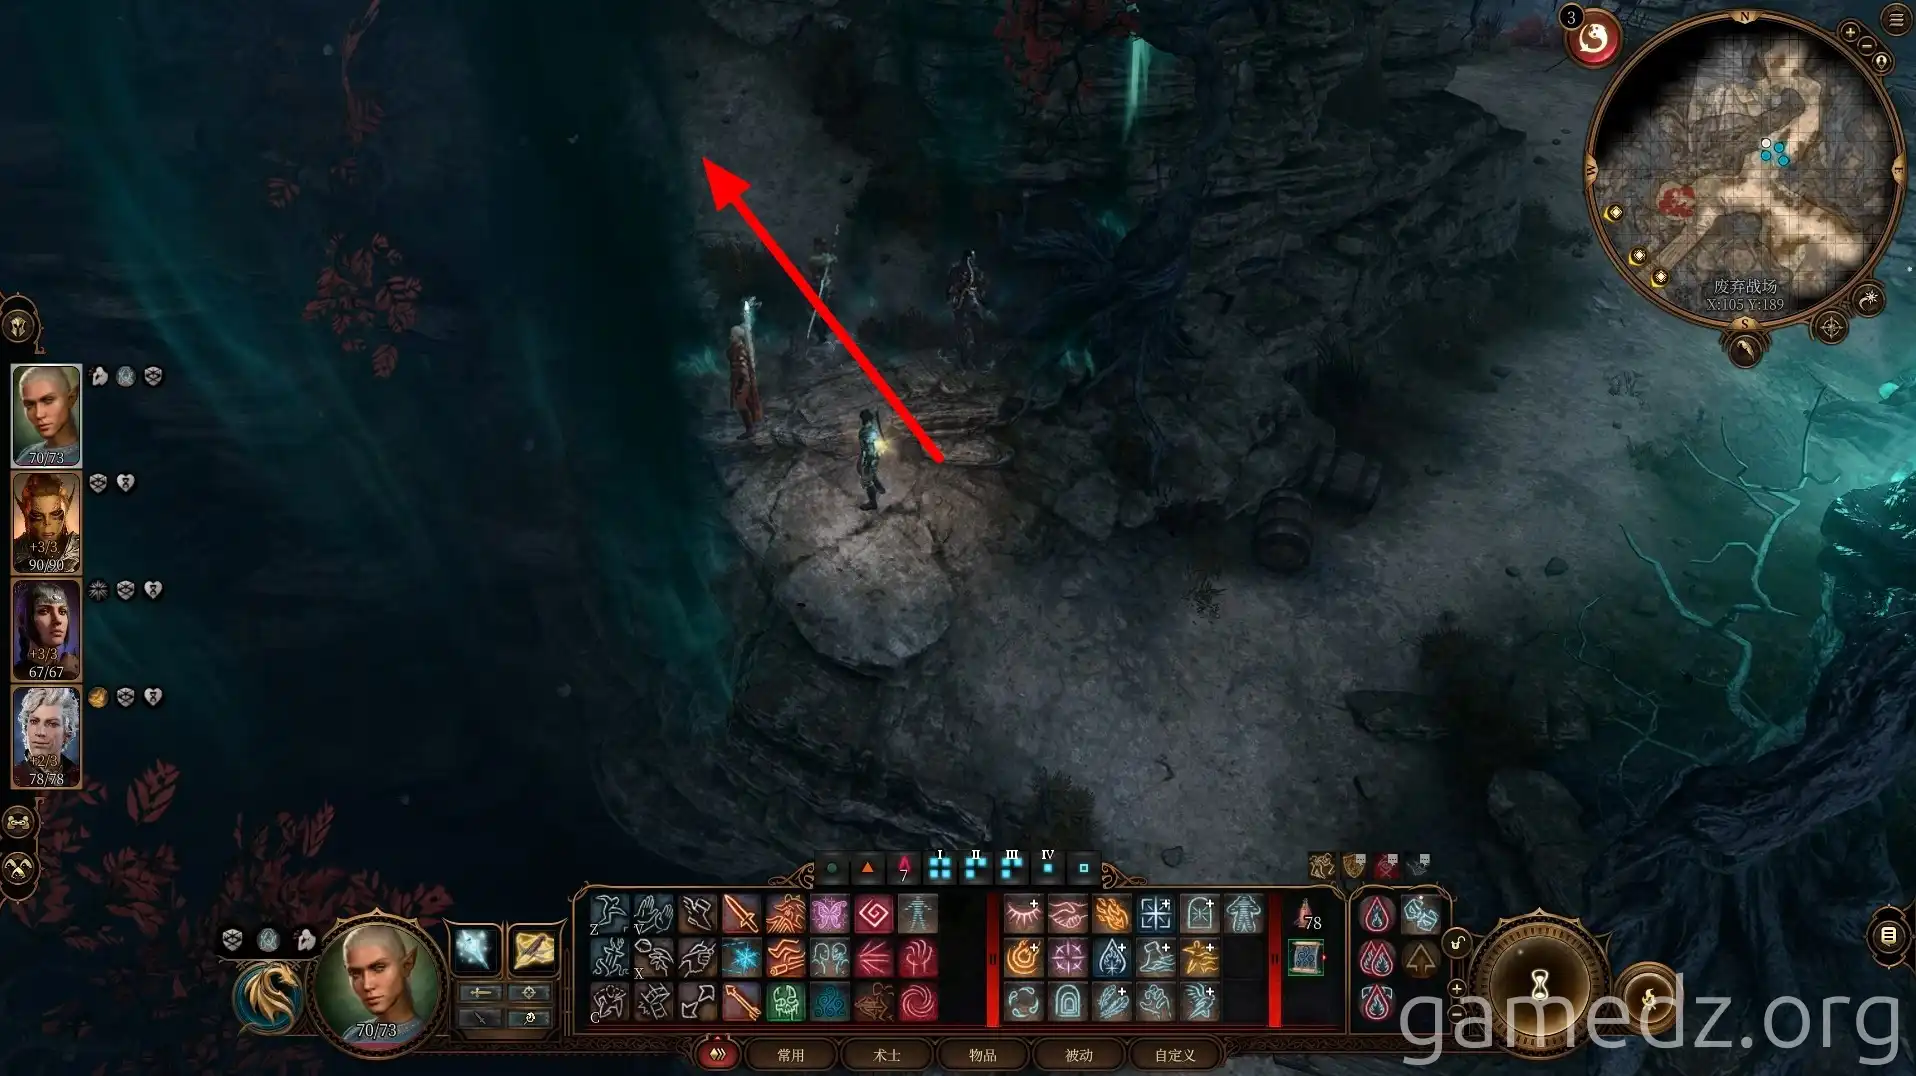
Continue west. On the north side of the path ahead, you'll see a tent and a grave. Then, proceed to the cliff edge and descend.
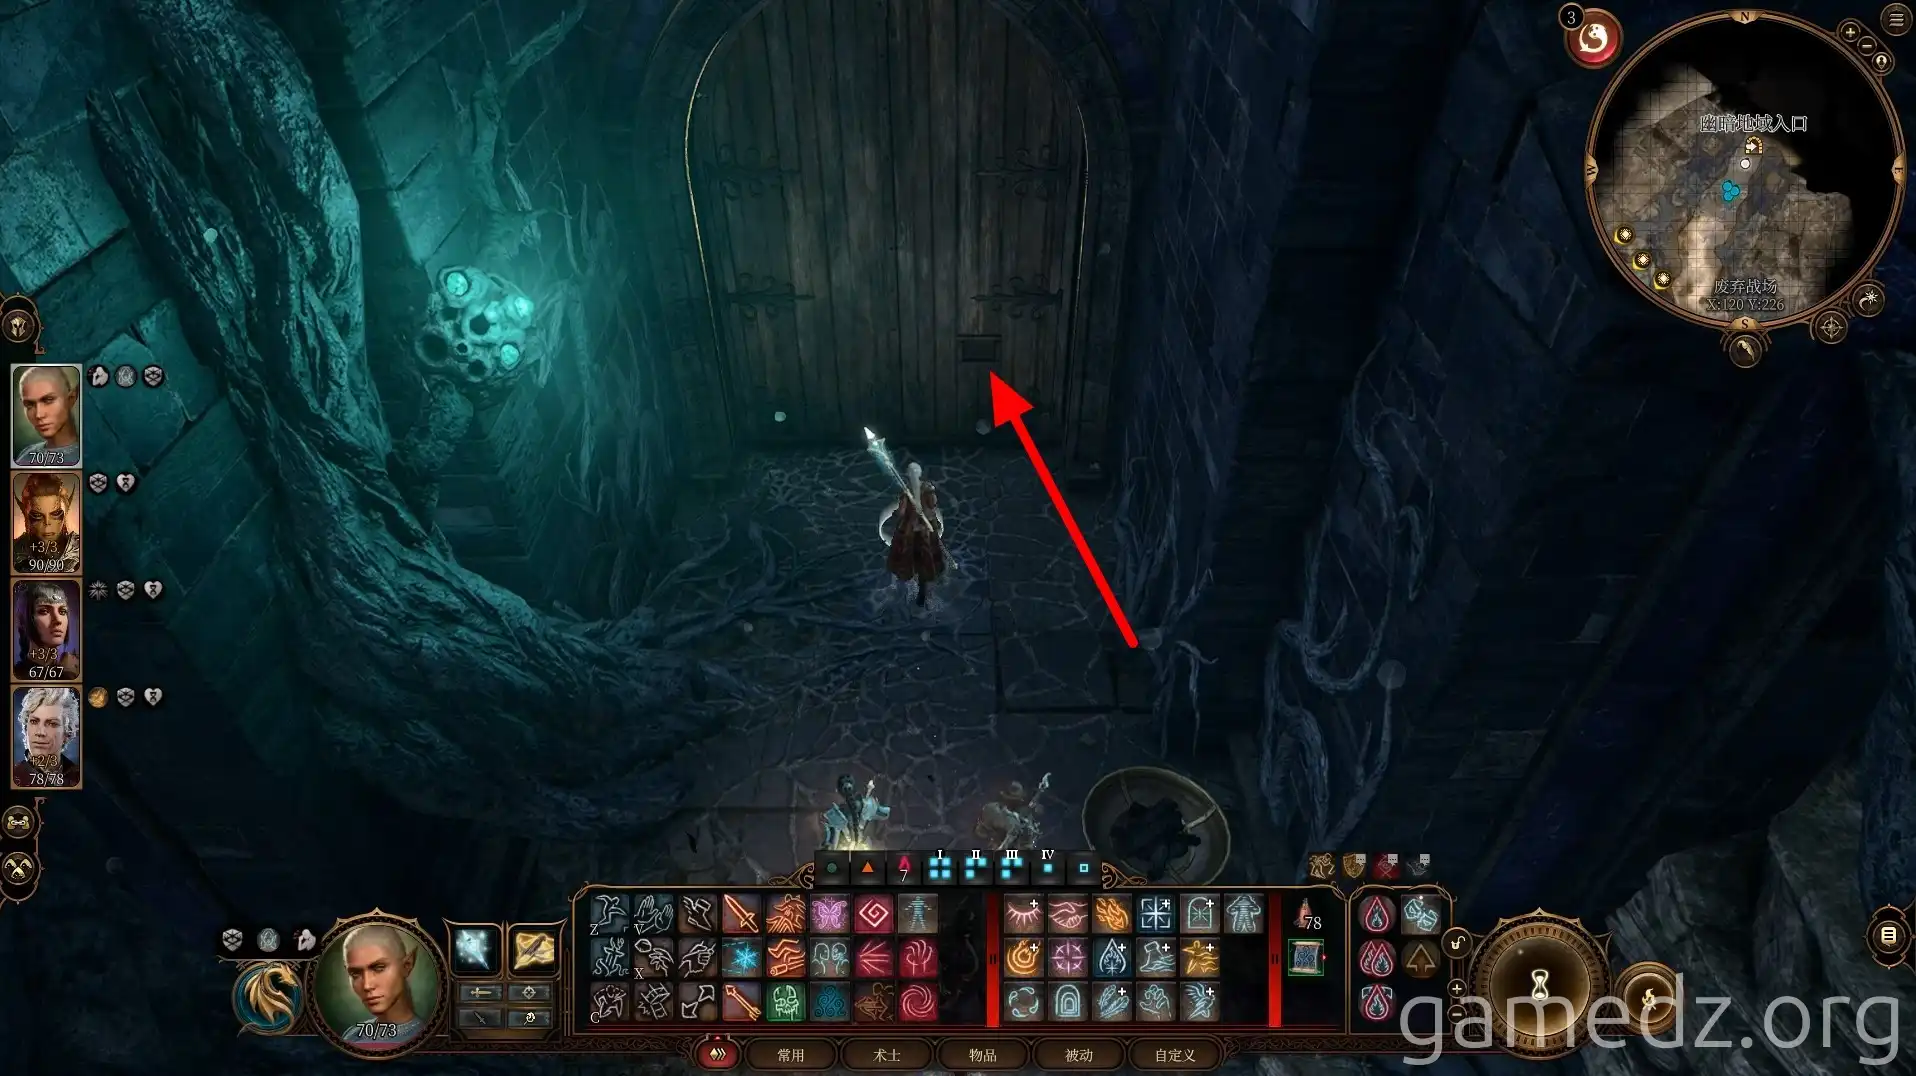
Below, you'll find the Family Ring, a Fine accessory.
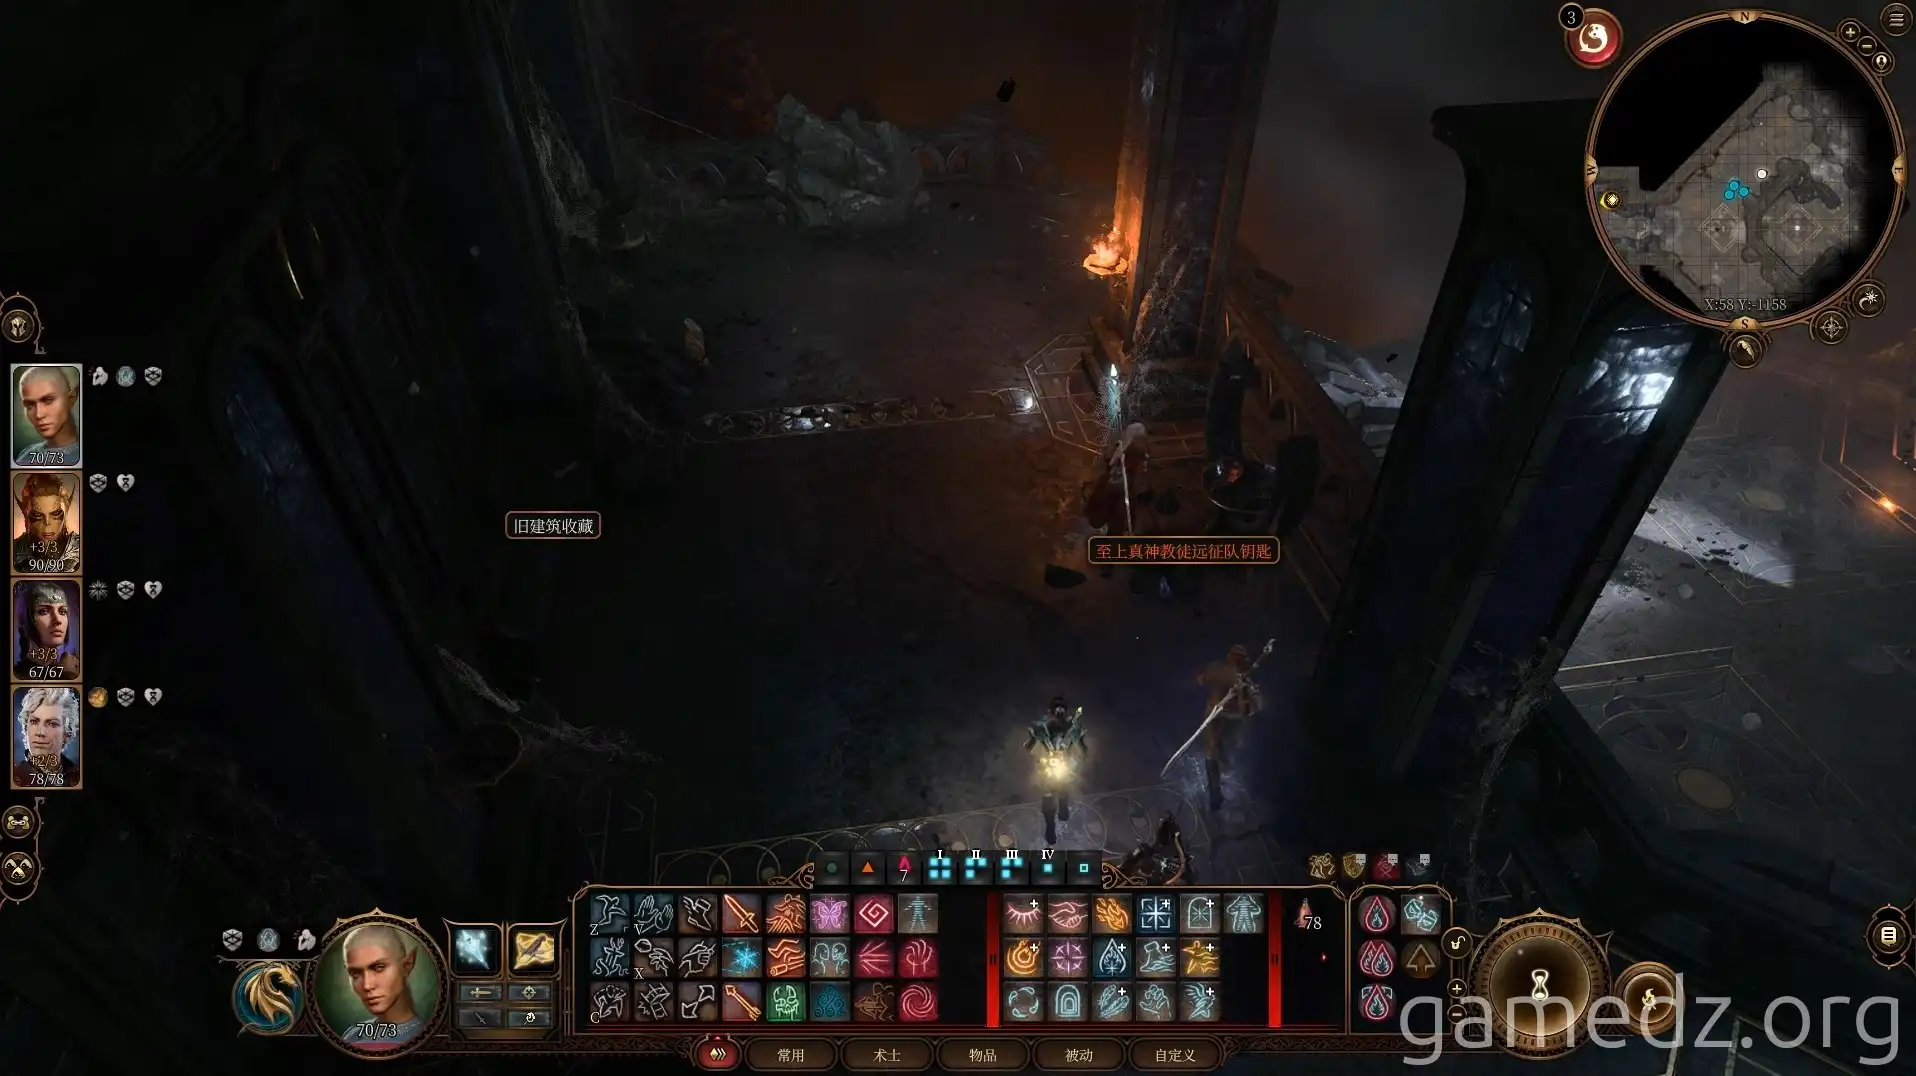
Follow the path west again, which will lead you back to the battlefield where you rescued the Harpers. The chest along the way contains some spell scrolls.
After returning to the battlefield, continue north.
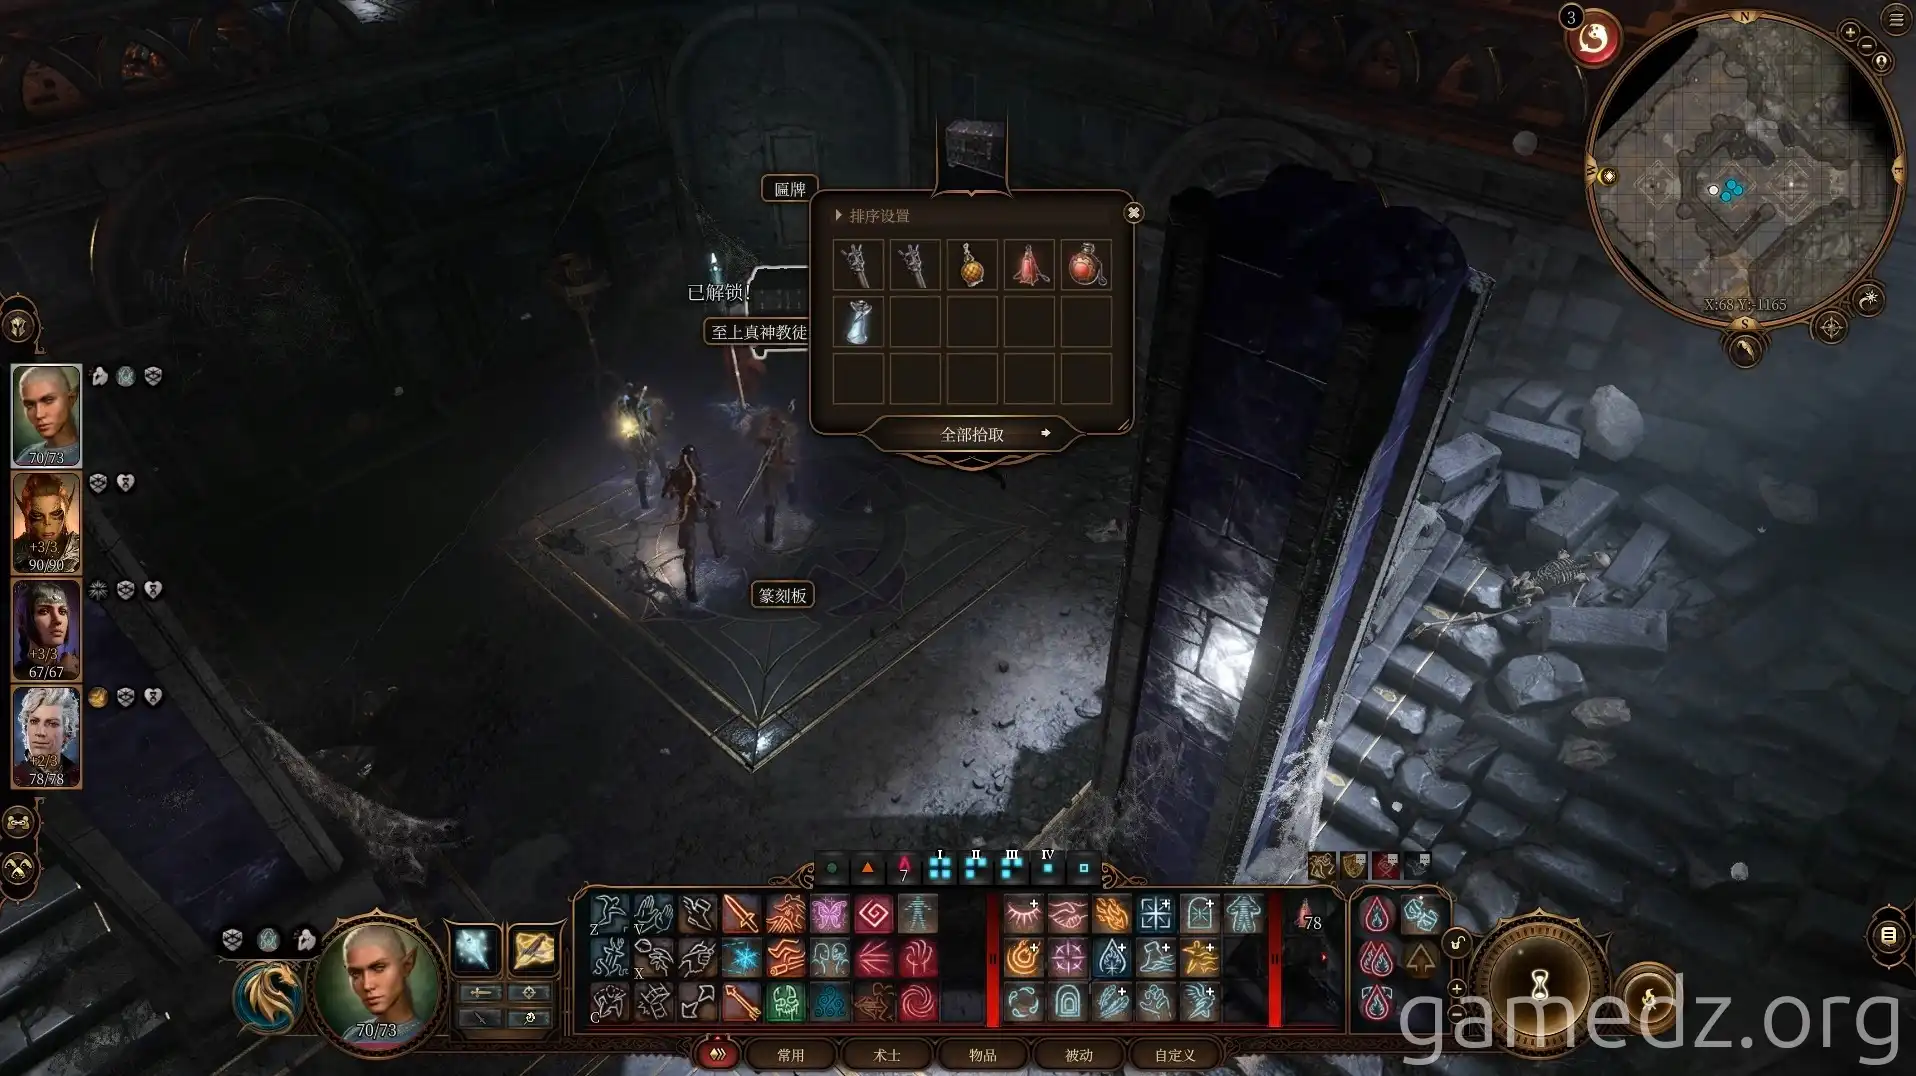
Ahead, cross the suspension bridge to the north.
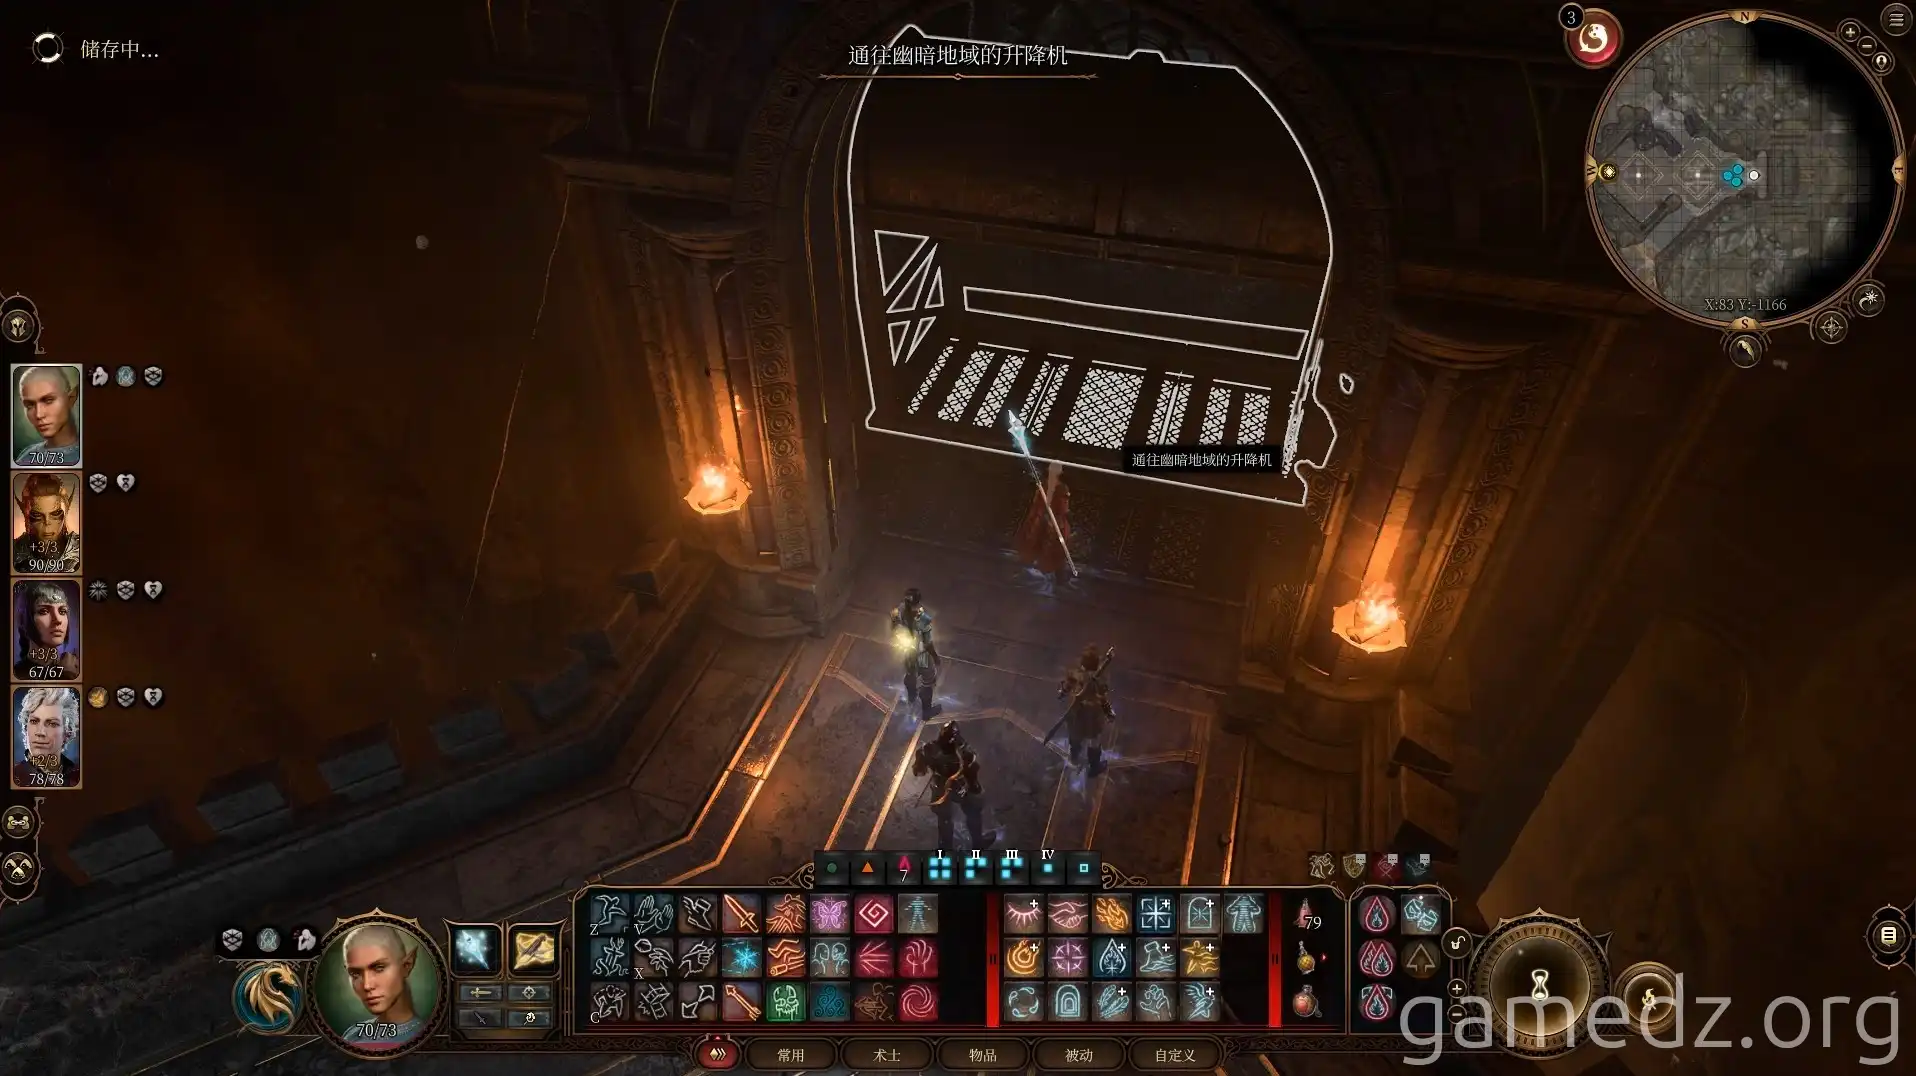
After crossing the suspension bridge, you'll reach another fork. First, proceed north.
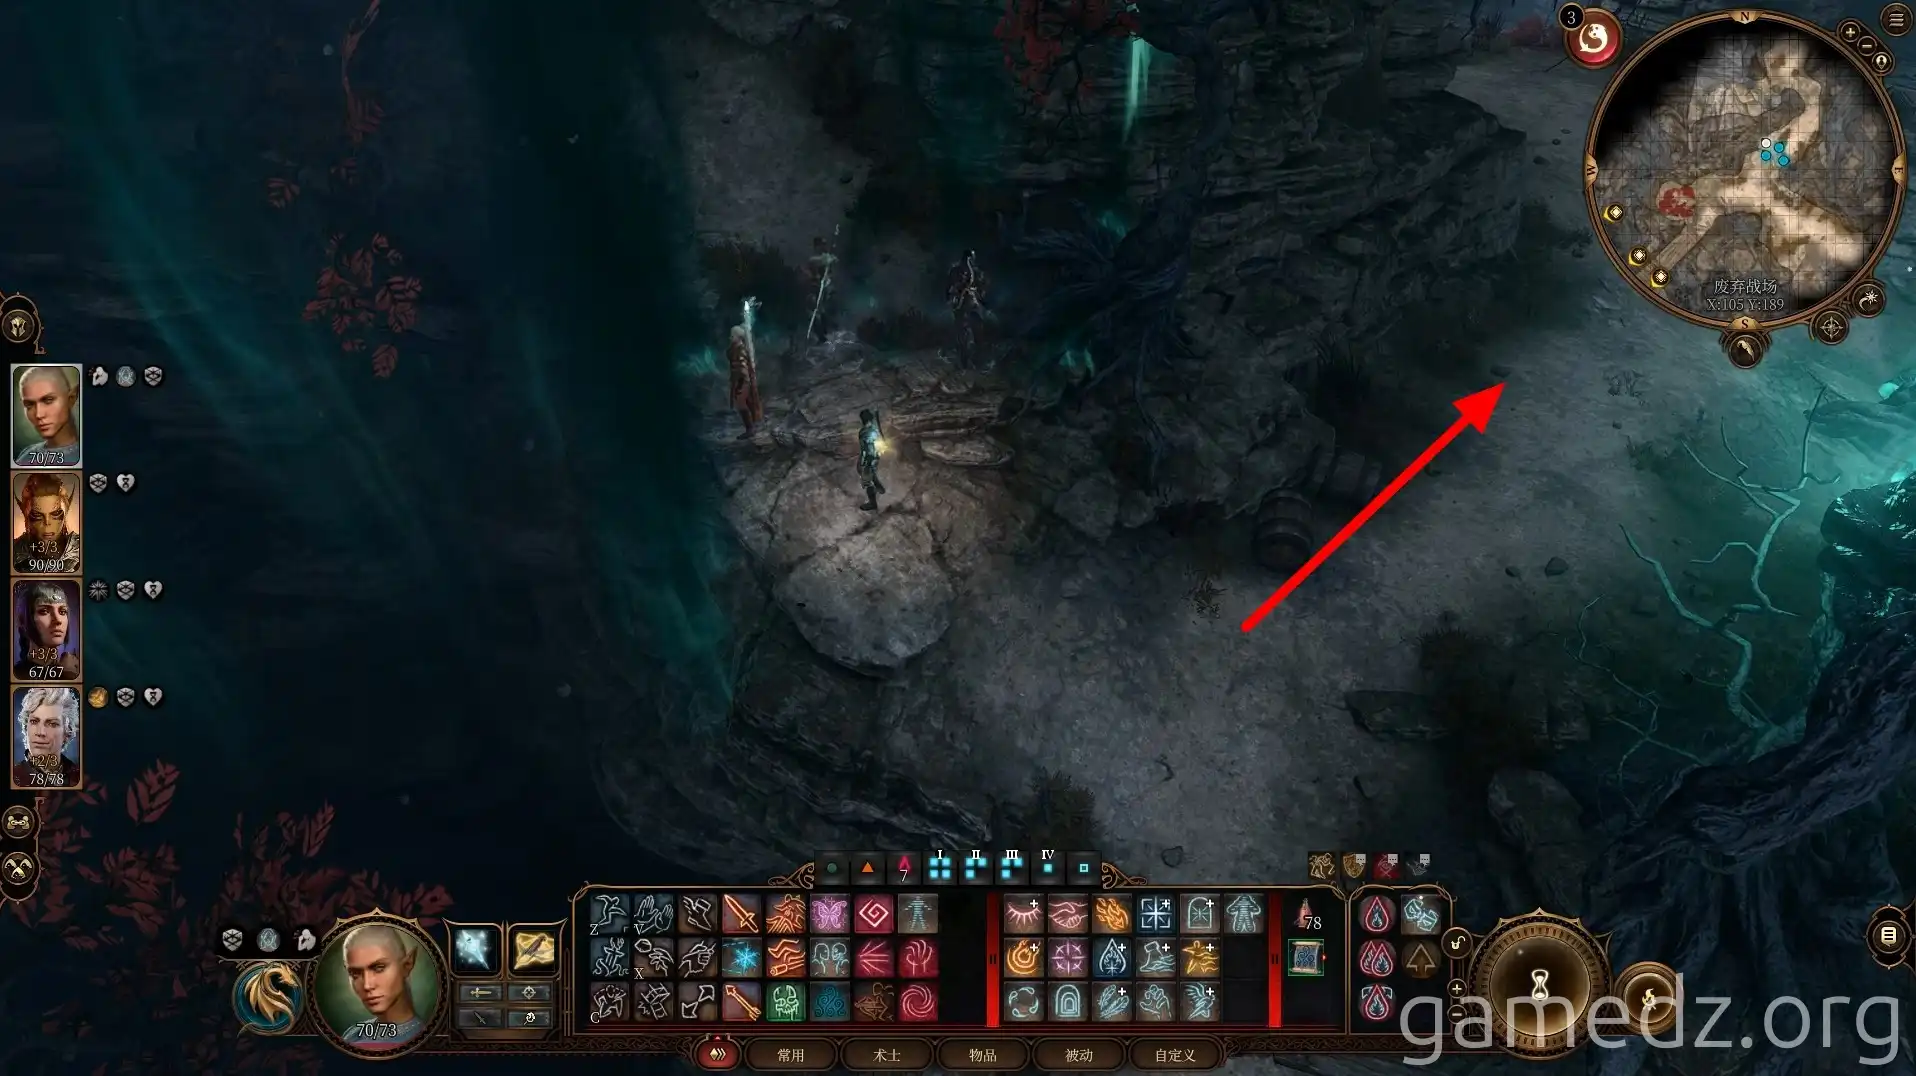
Ahead, you'll enter an area you explored previously in the Underdark.
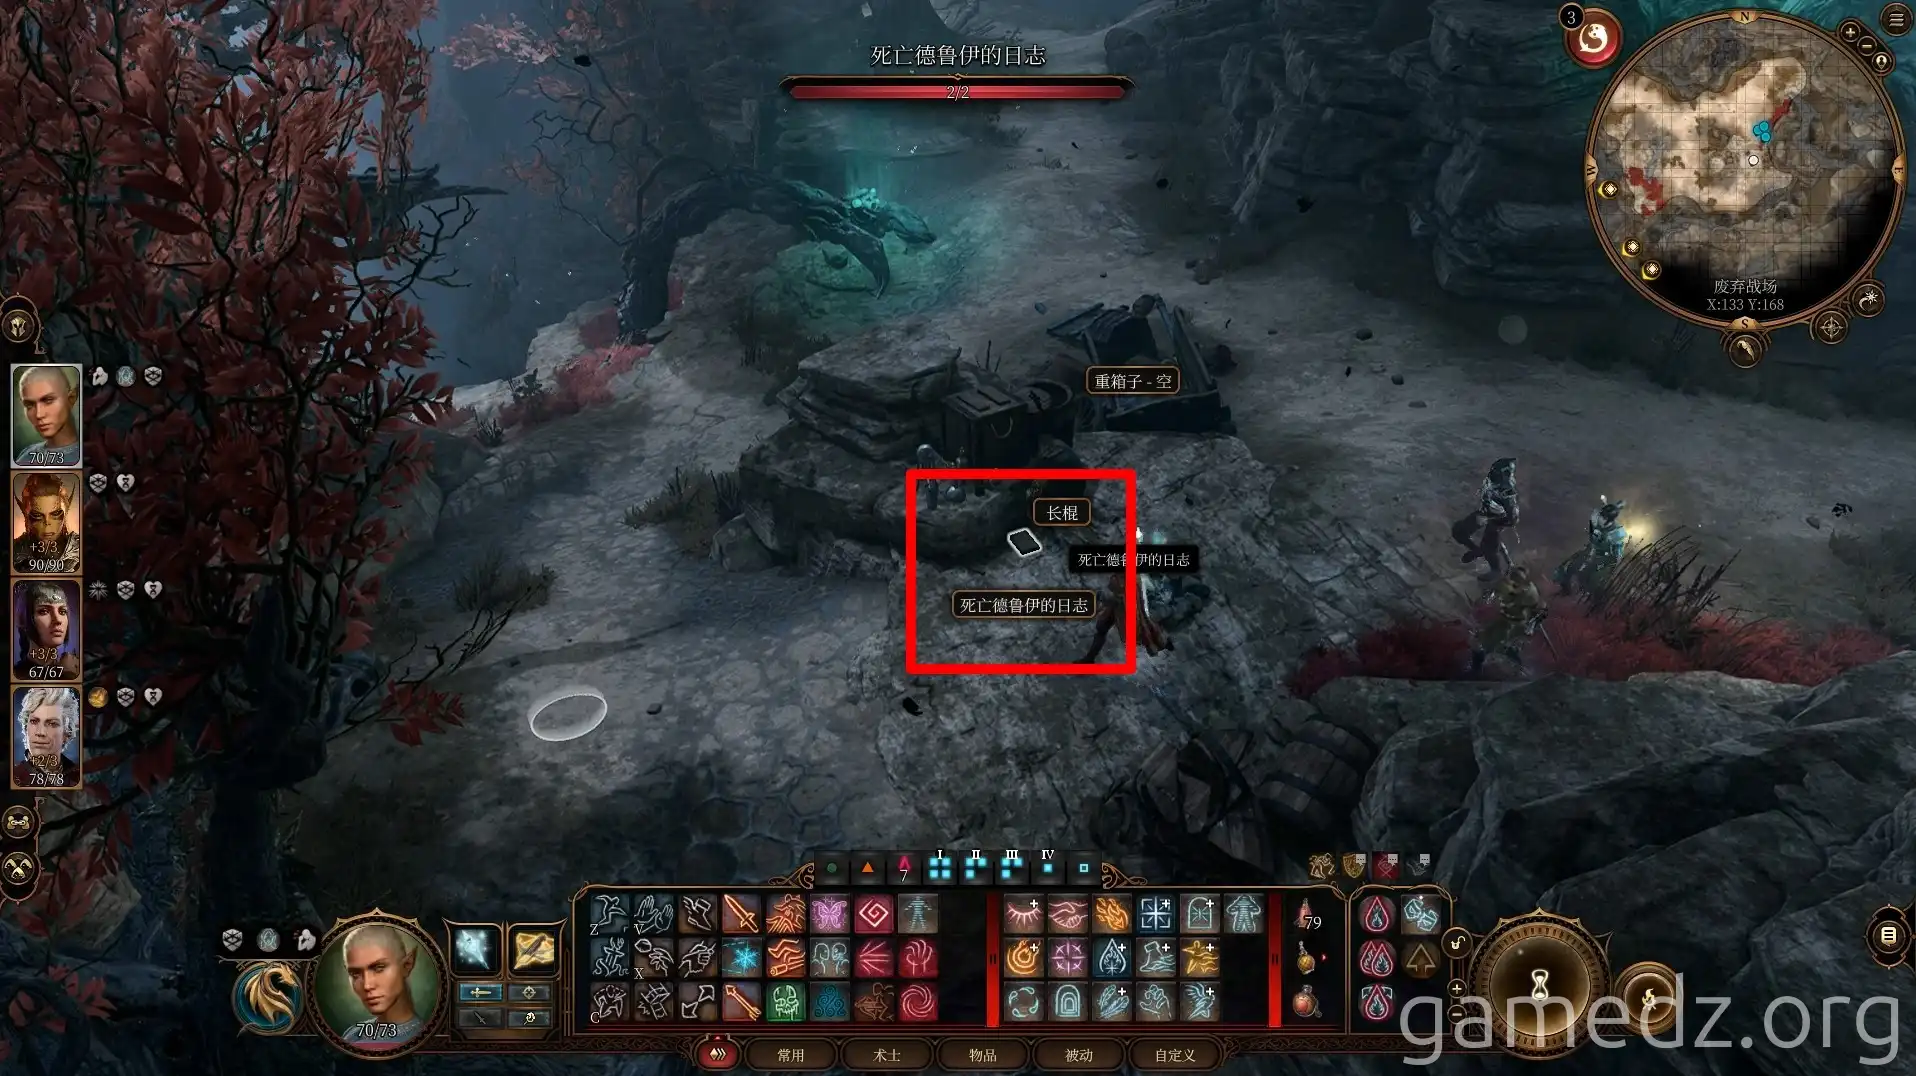
You'll arrive at a building that is clearly a church. Here, you can find items related to the Absolute cultists, including keys and letters.
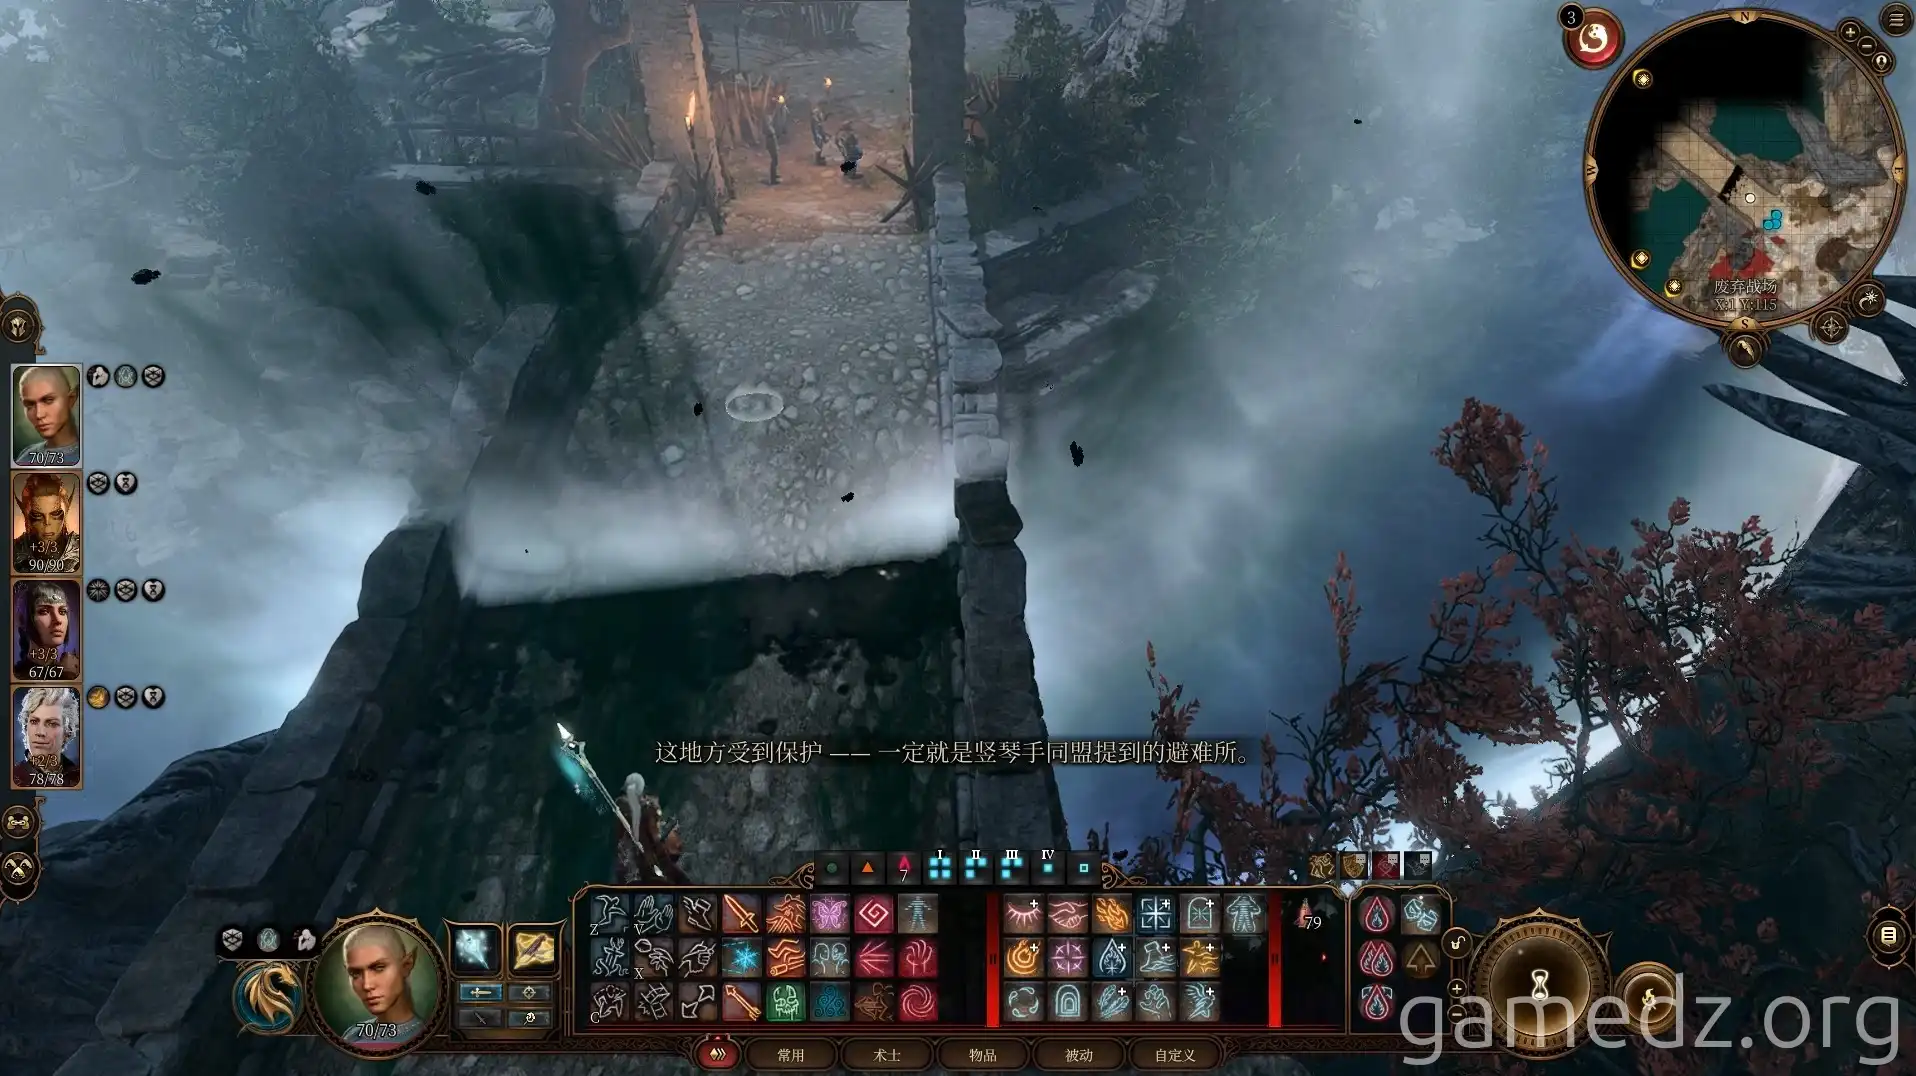
Use the key to open the suitcase below and obtain some item supplies.
Using the elevator on the other side will take you back to the west side of the Reithwin Port, but there's no real need to go back now.
Return to the fork where you crossed the suspension bridge and head southeast.
In the camp ahead, reading the Death Druid's Log will grant an inspiration to characters with the Sage background.
With this, the entire Shadow-Cursed Lands have been explored. Return to the stone bridge you passed earlier and enter The Last Light Inn.

