
Baldur's Gate 3 Sunlit Wetlands: Auntie Ethel & Druid Grove Guide
Explore Baldur's Gate 3's Sunlit Wetlands, guide players through Auntie Ethel's challenges, Druid Grove combat, and uncover hidden loot and secrets.
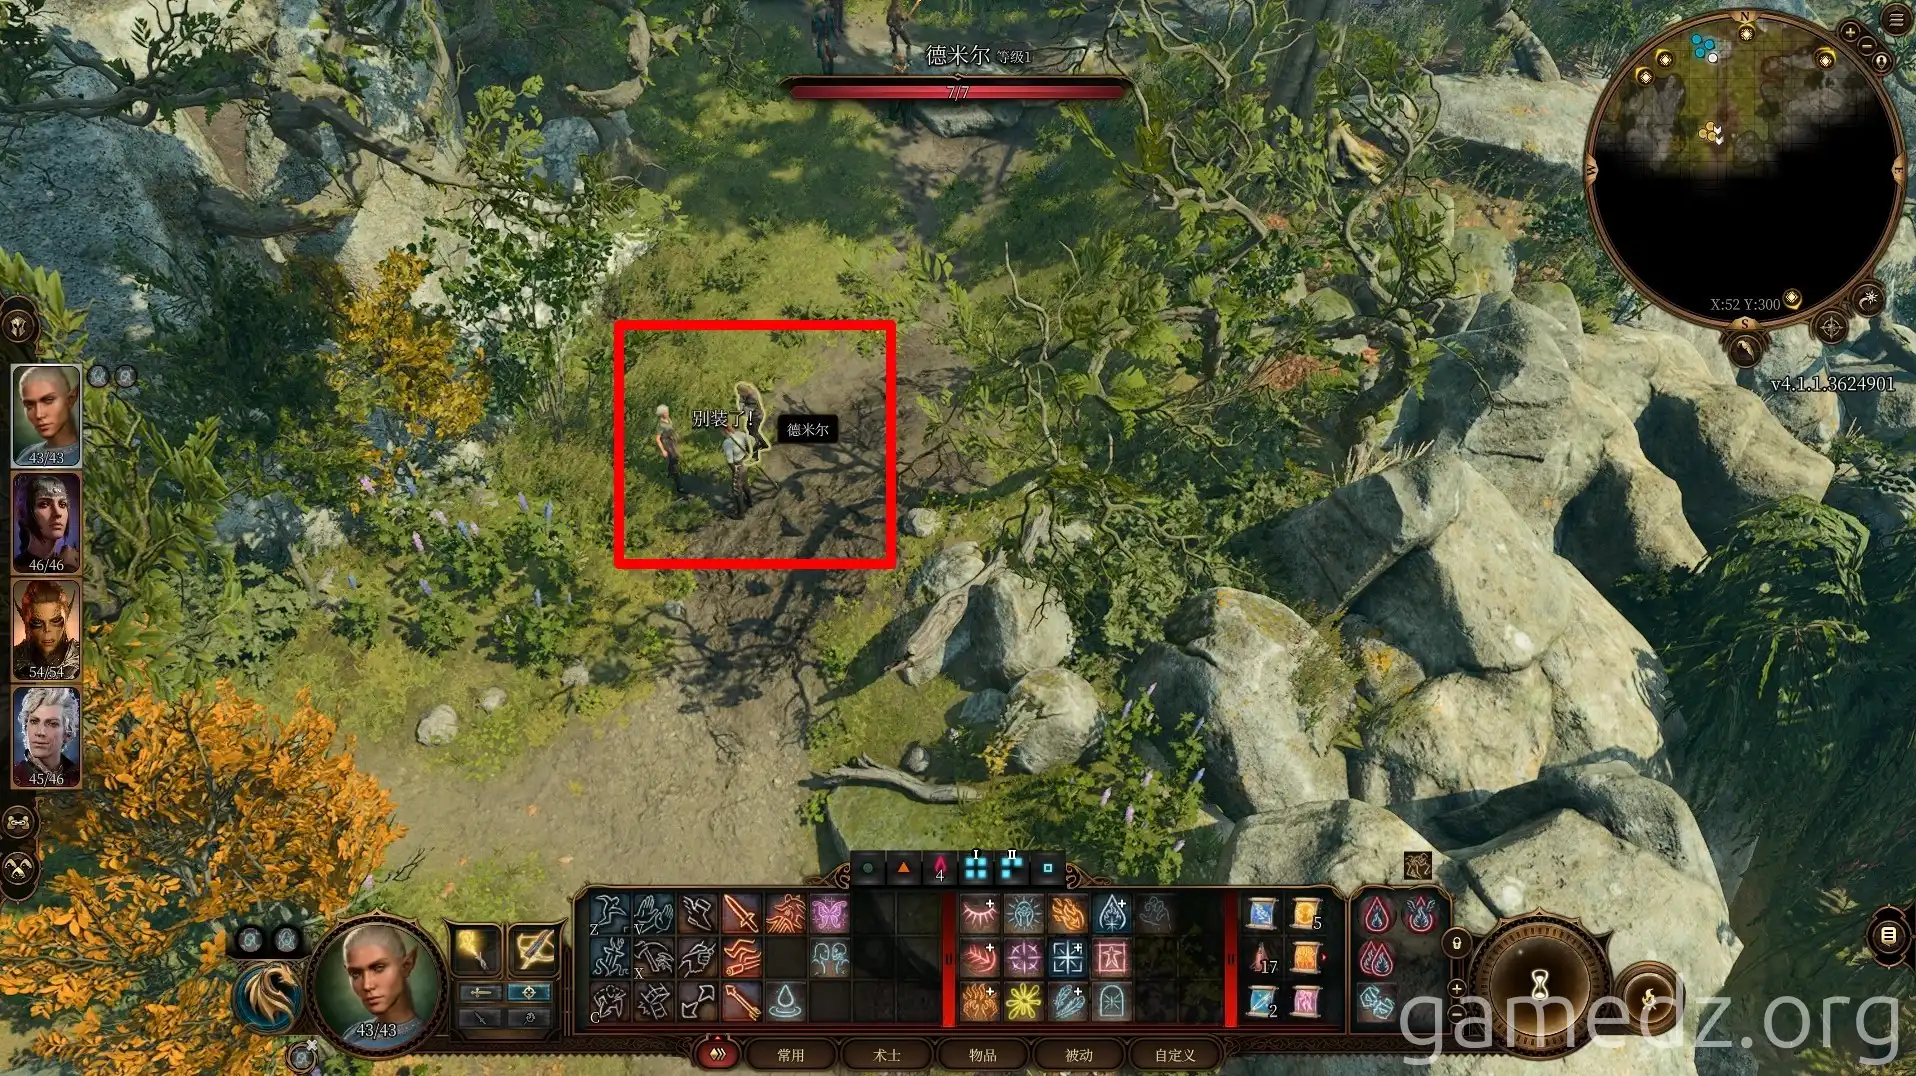
Departing from the south gate of the Infected Village, head towards the coast. Along the way, you'll encounter two men confronting Auntie Ethel.
Through dialogue, you'll learn that the men's sister, Melina, is missing, and they suspect Auntie Ethel is responsible. During the conversation, passing a Perception check will allow you to expose Auntie Ethel's lies, causing her to leave in a huff.
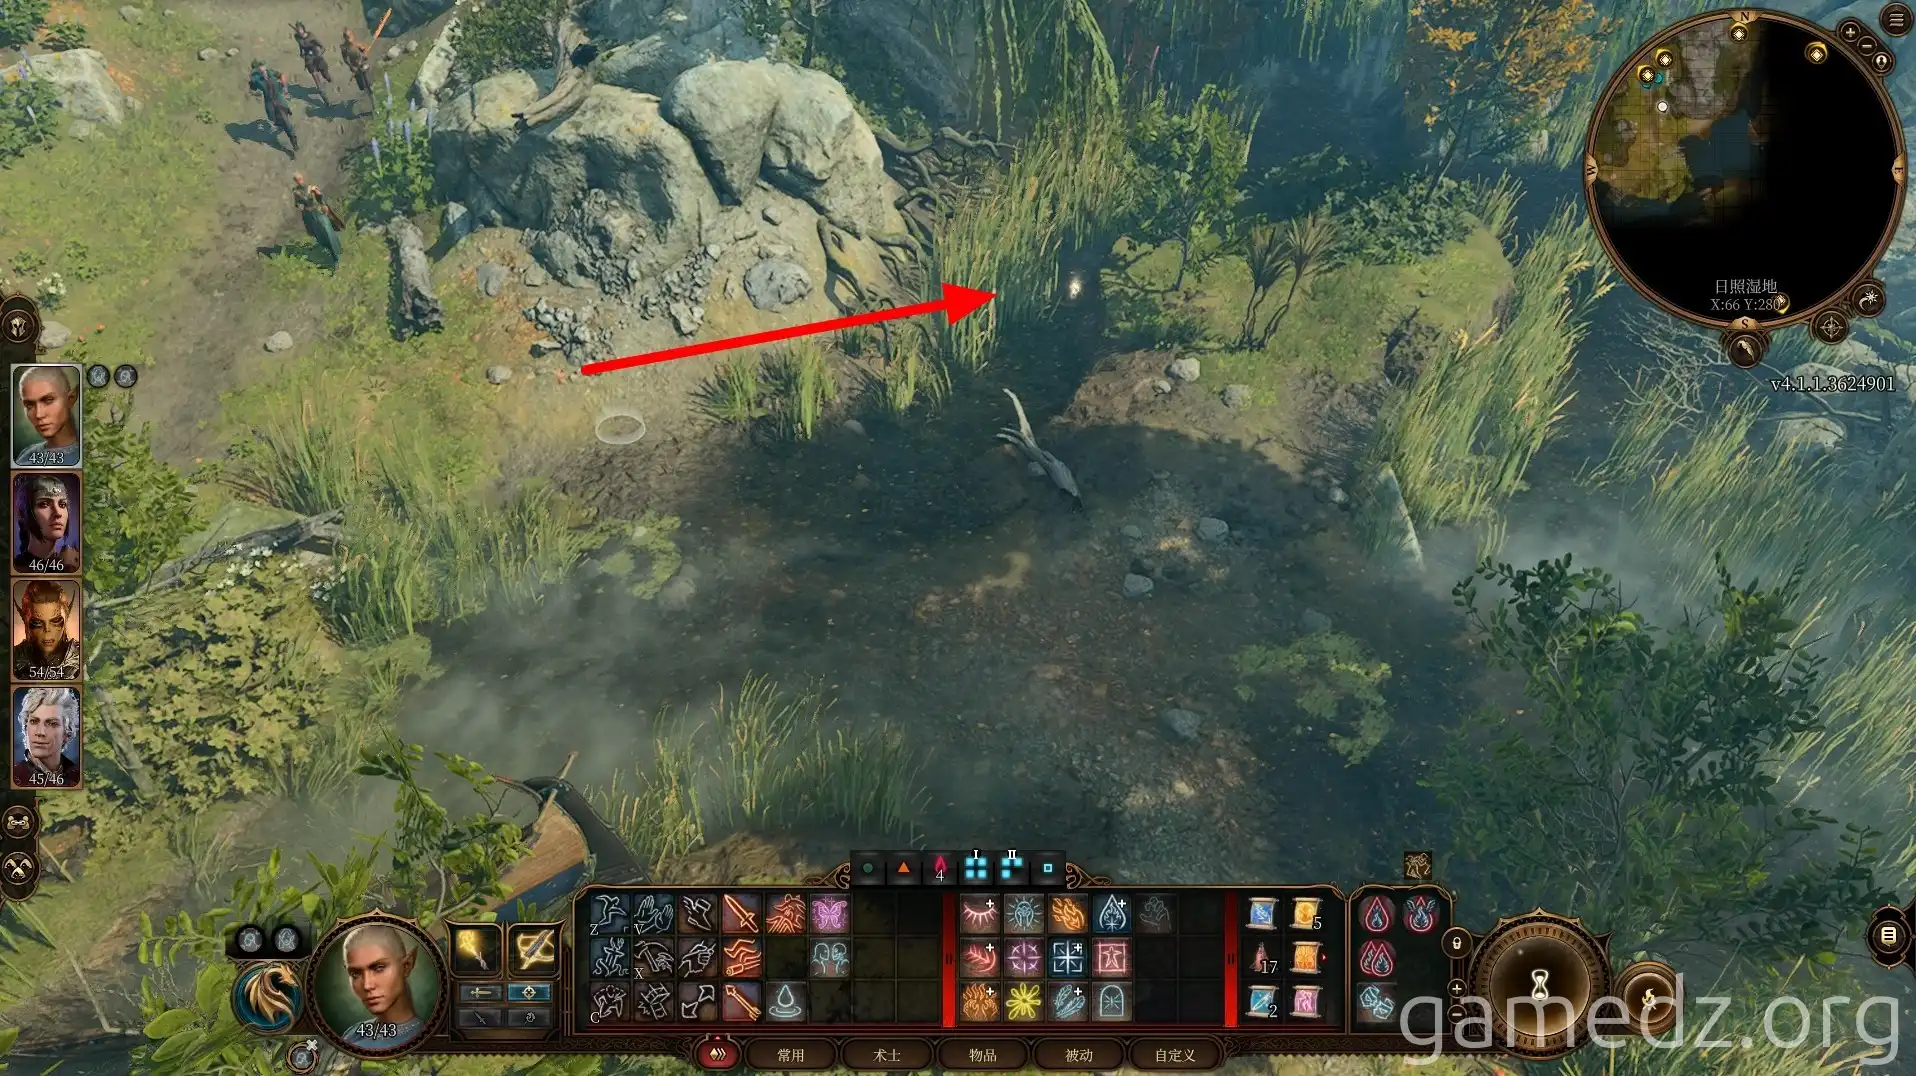
Upon entering the wetlands, proceed east. Be mindful of the numerous spike traps scattered throughout the swamp.
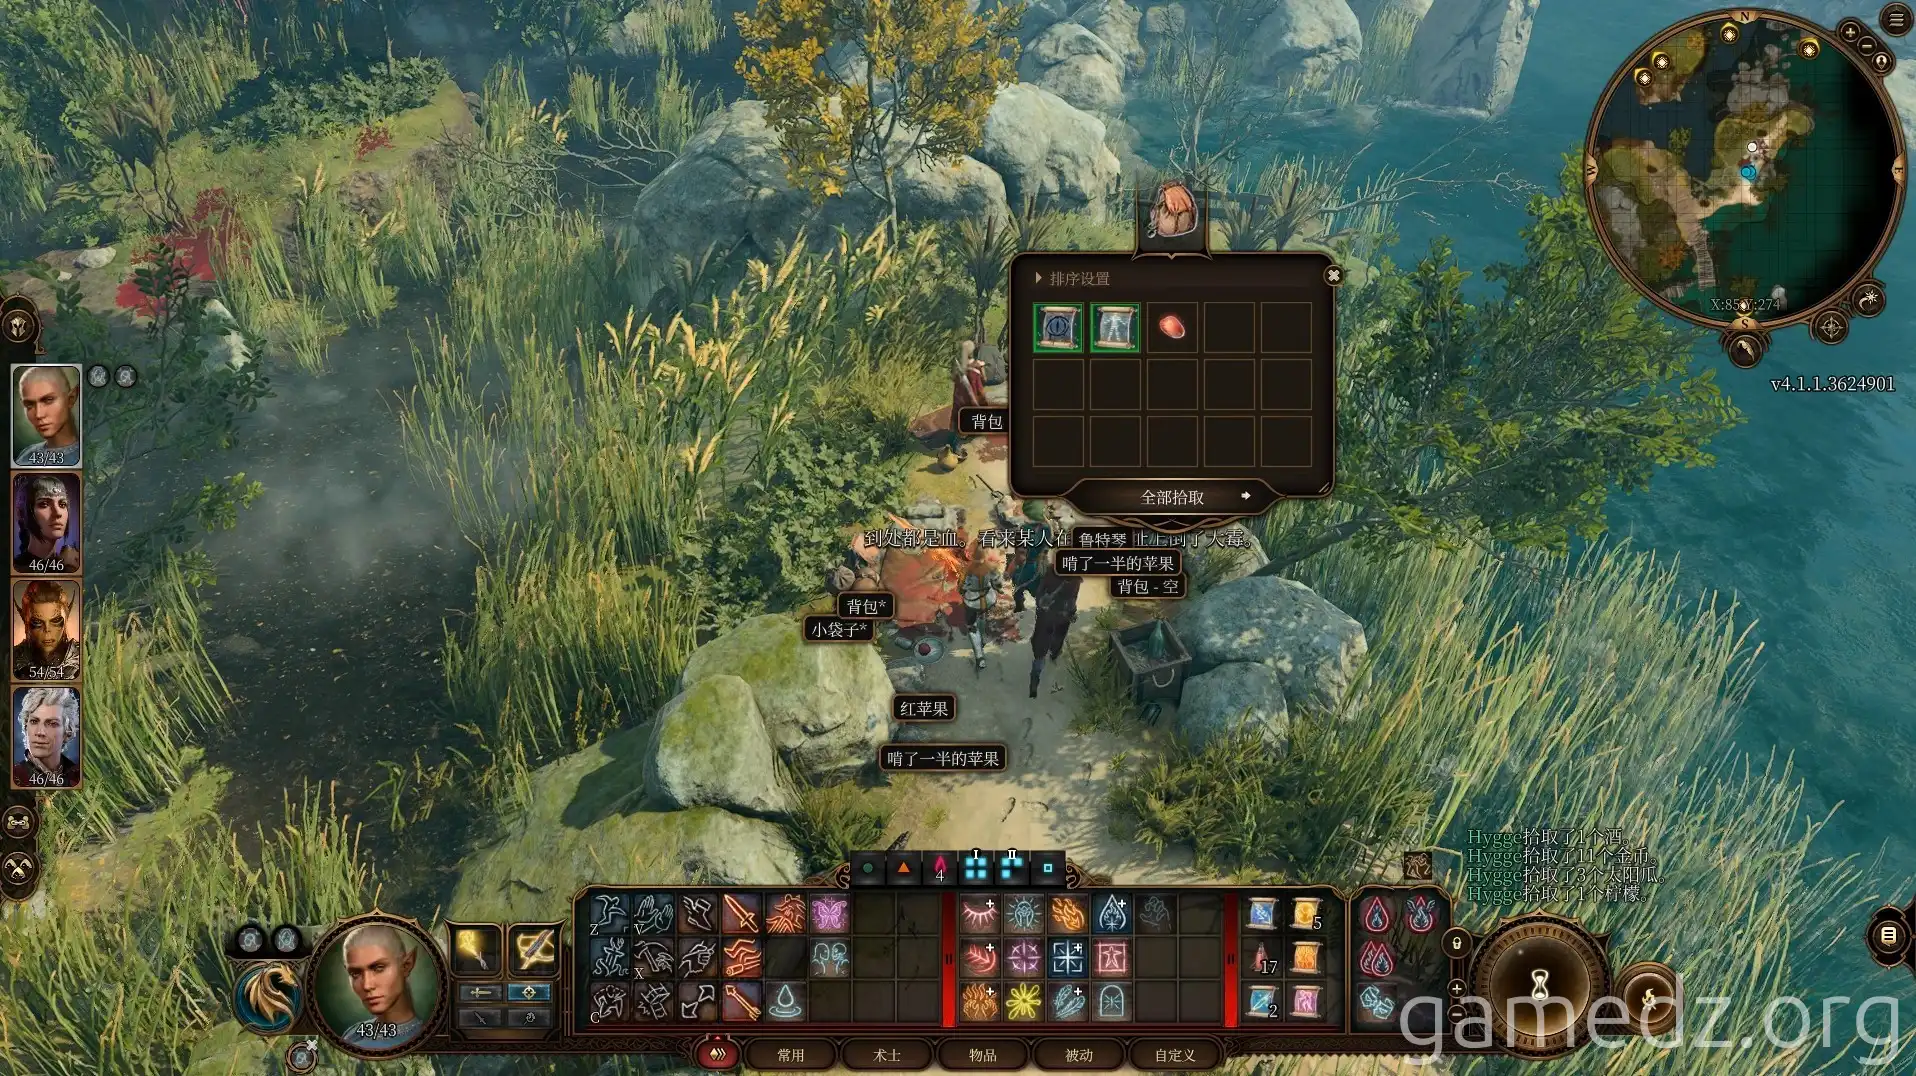
In the southeastern part of the wetlands, you'll discover a makeshift camp. Here, you can find some supplies and spell scrolls.
Next, make your way to the dock near the camp and jump onto the rocks beside it.
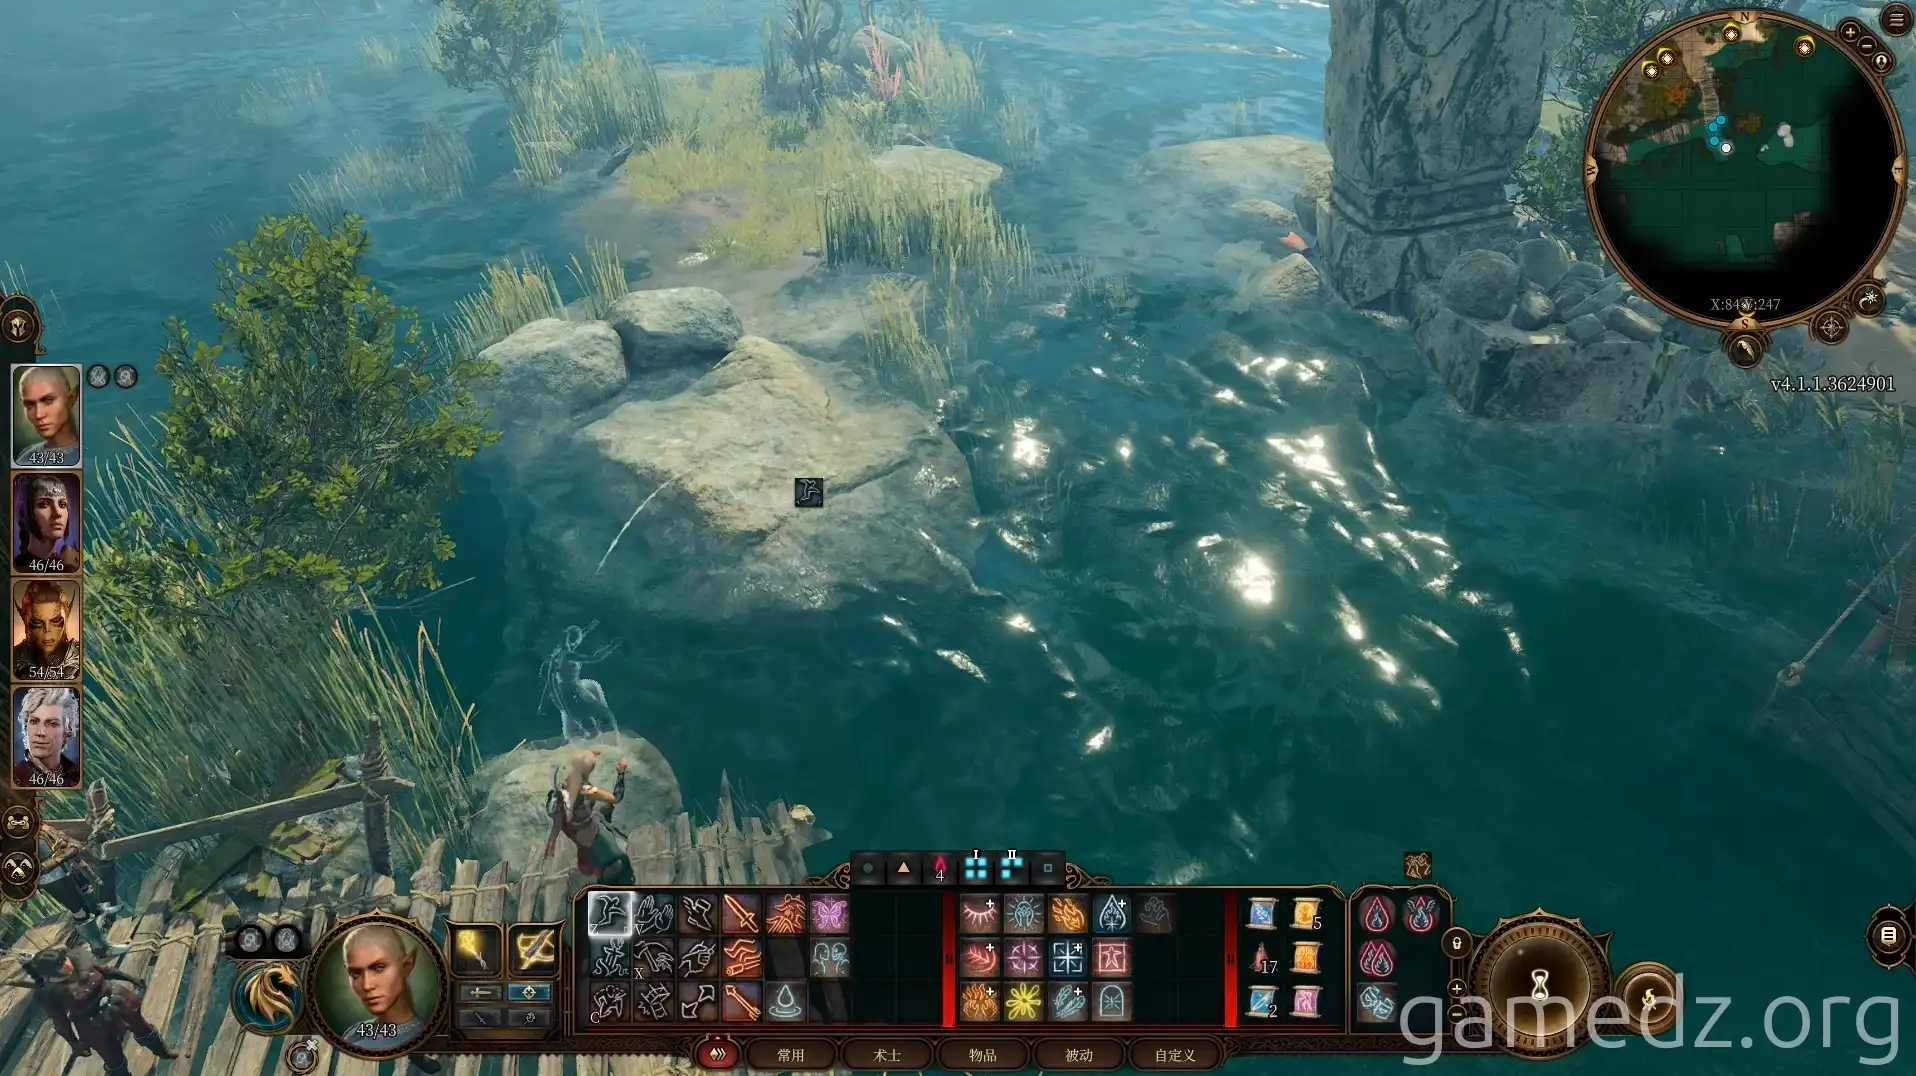
Then, jump again to the small island to the south, entering the Druid Grove.
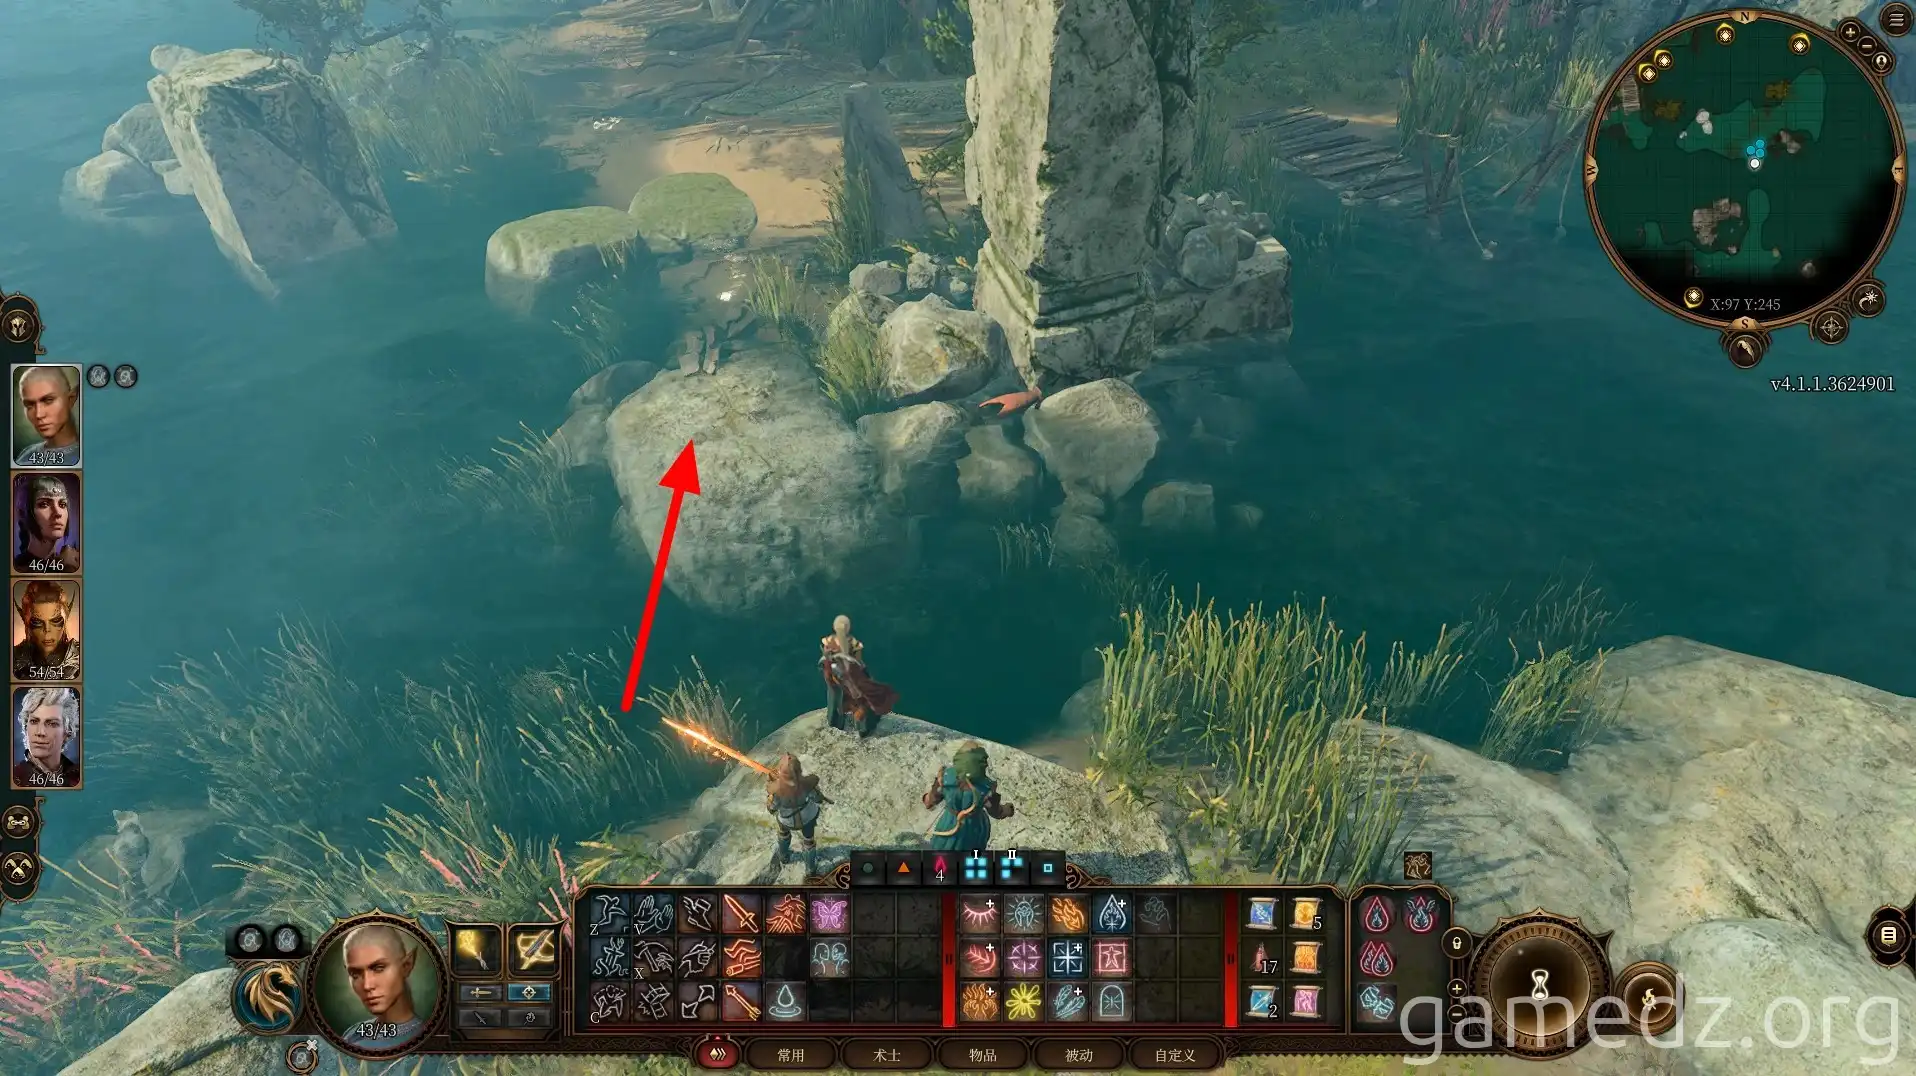
Upon arriving at the Druid Grove, you'll immediately be thrust into combat. Your enemies will be four Ancient Mud Mephits and two Blighted Treants. Each Mud Mephit can summon an additional one, so it's advisable to prioritize defeating the Mephits that haven't used their summoning ability to reduce enemy numbers.
Mud Mephits explode upon death, so it's best to eliminate them with ranged attacks.
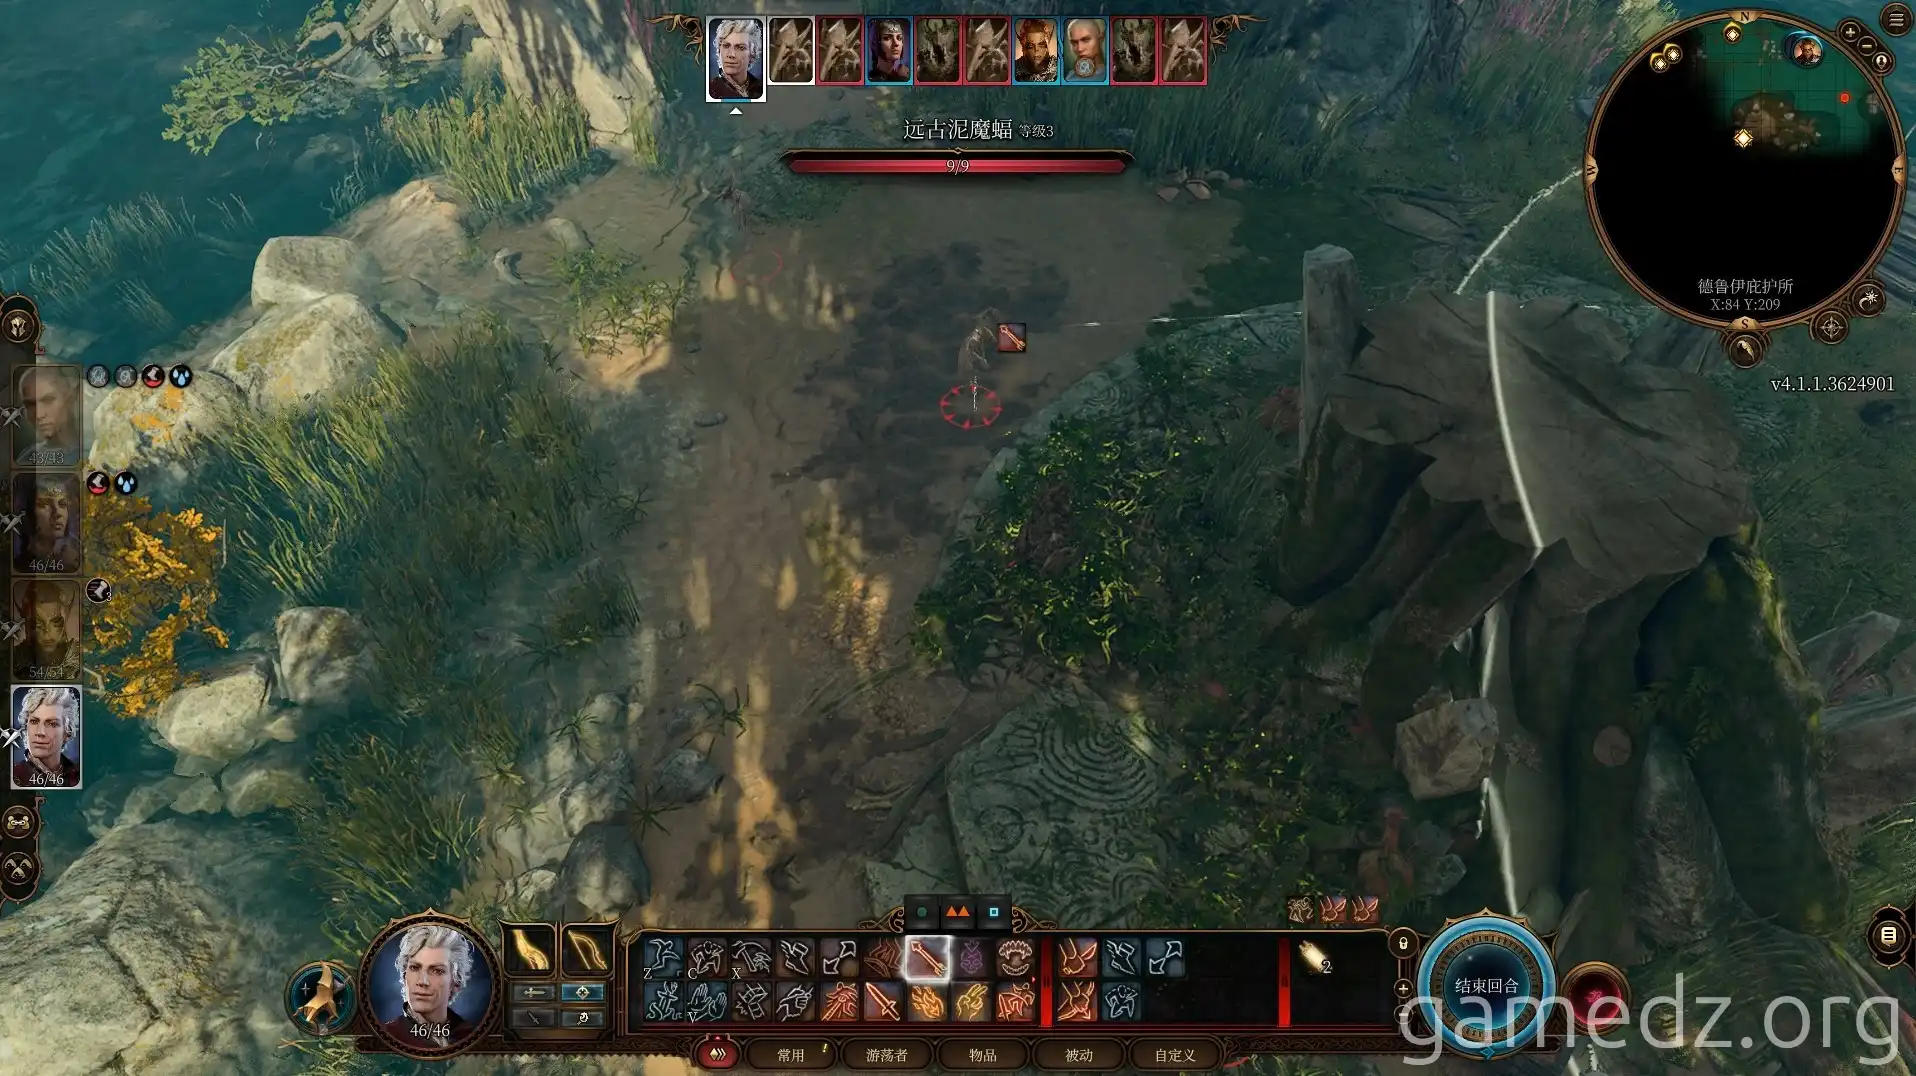
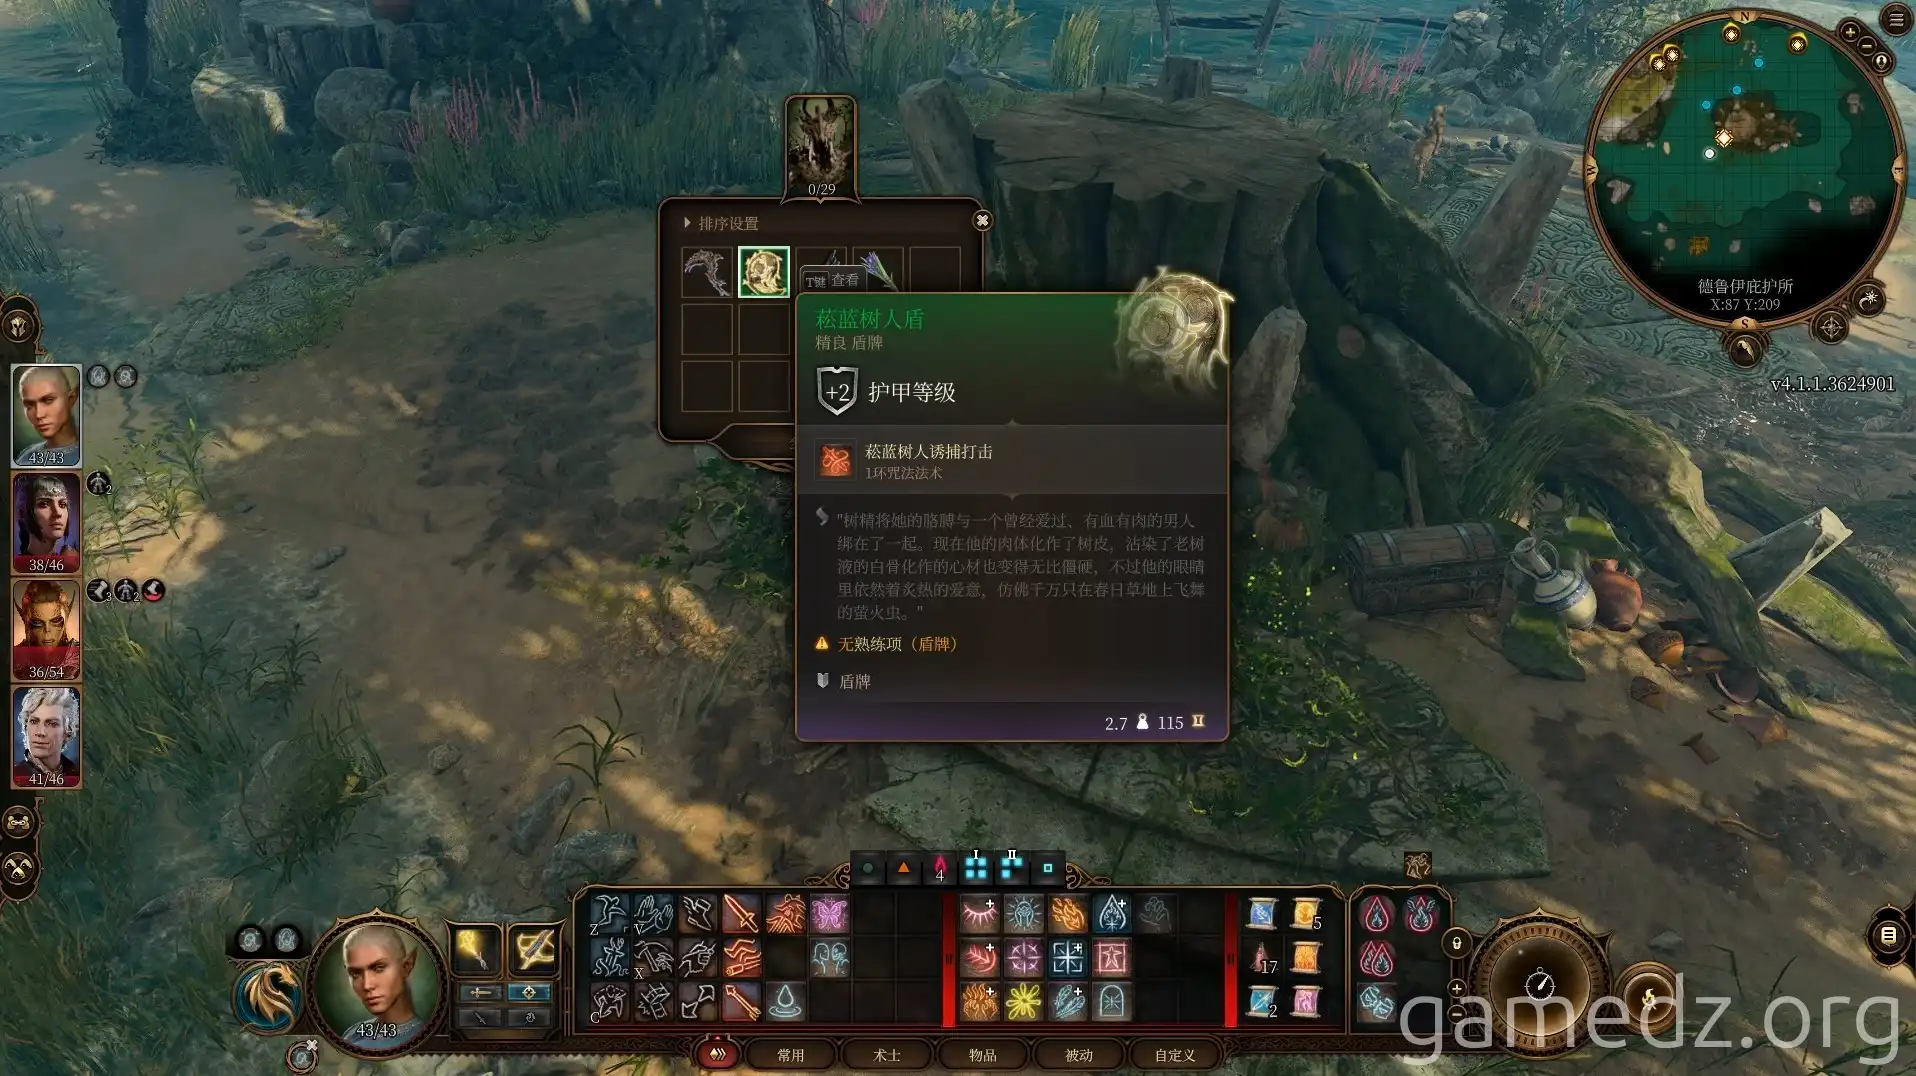
From one of the Blighted Treants, you can obtain the fine shield, the Blighted Treant Shield.
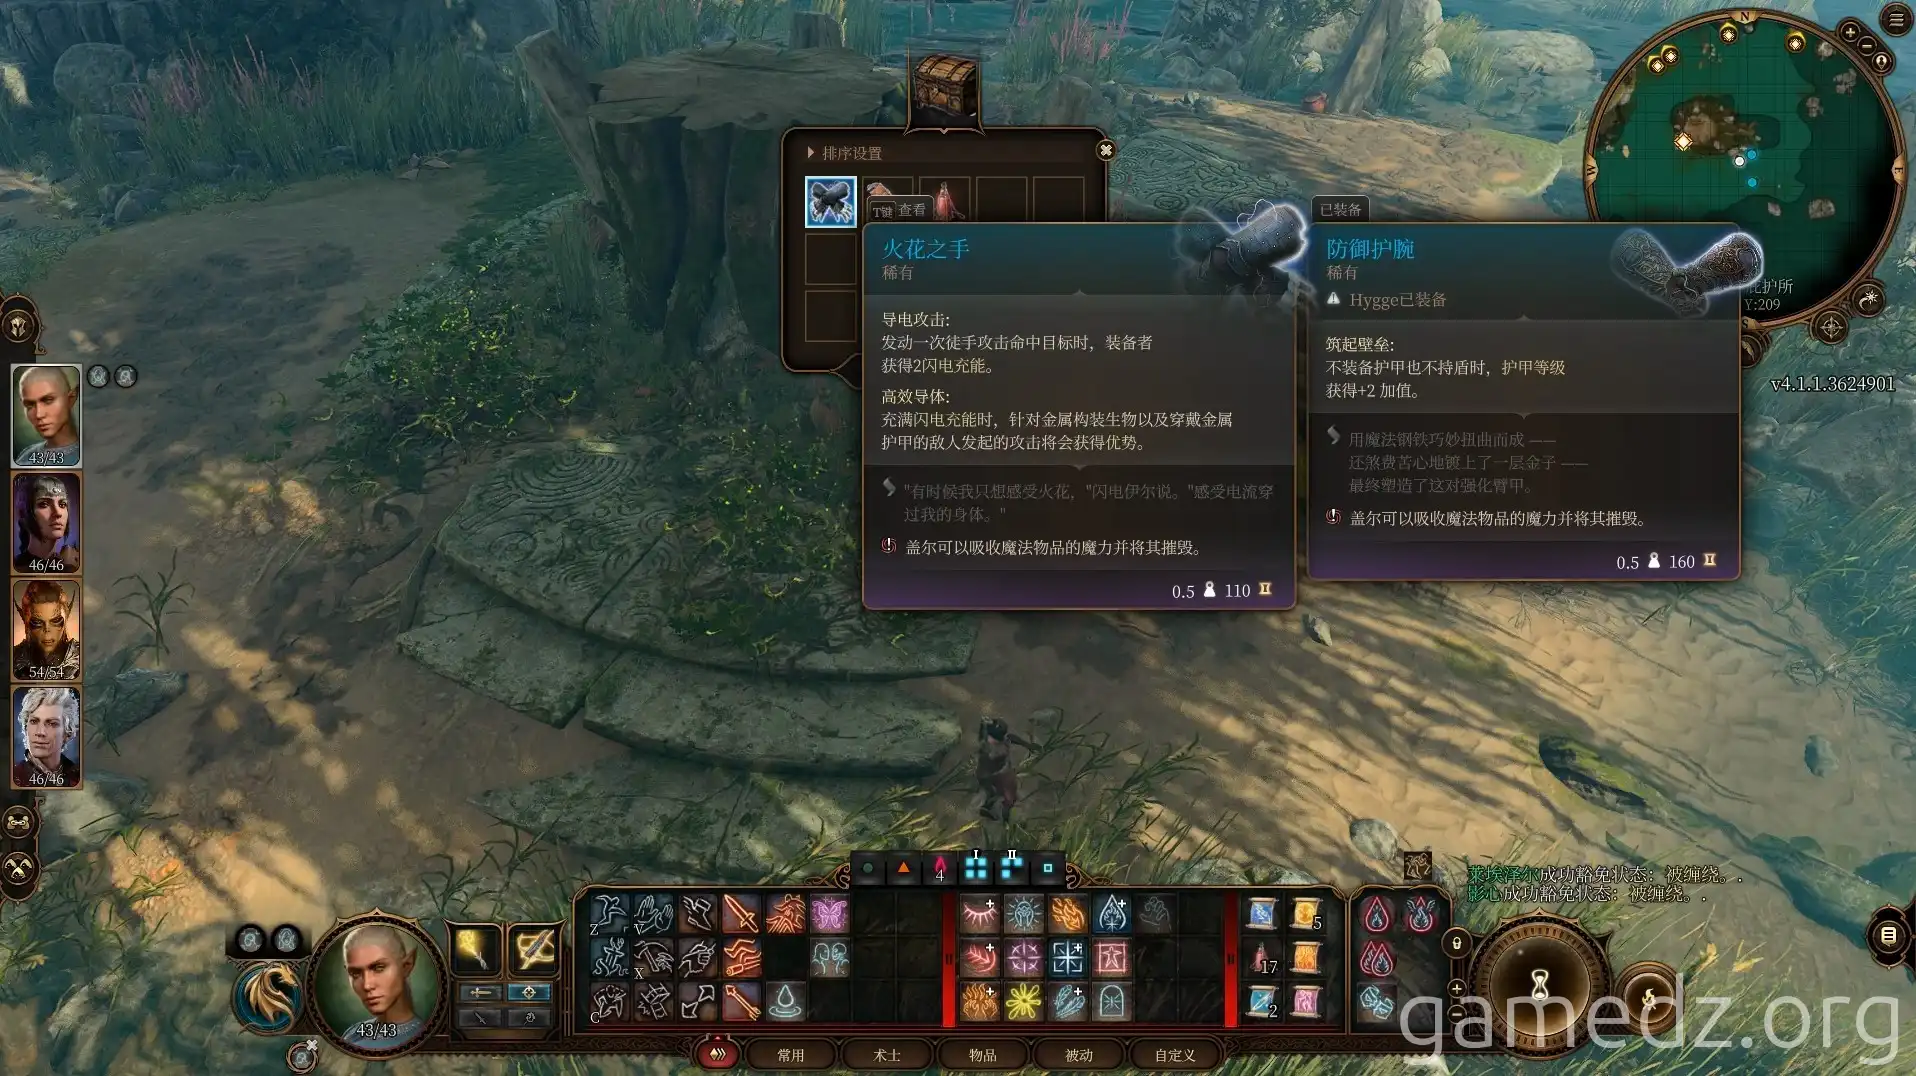
In the chest next to the large tree stump, you'll find the rare equipment, Sparkling Hands.
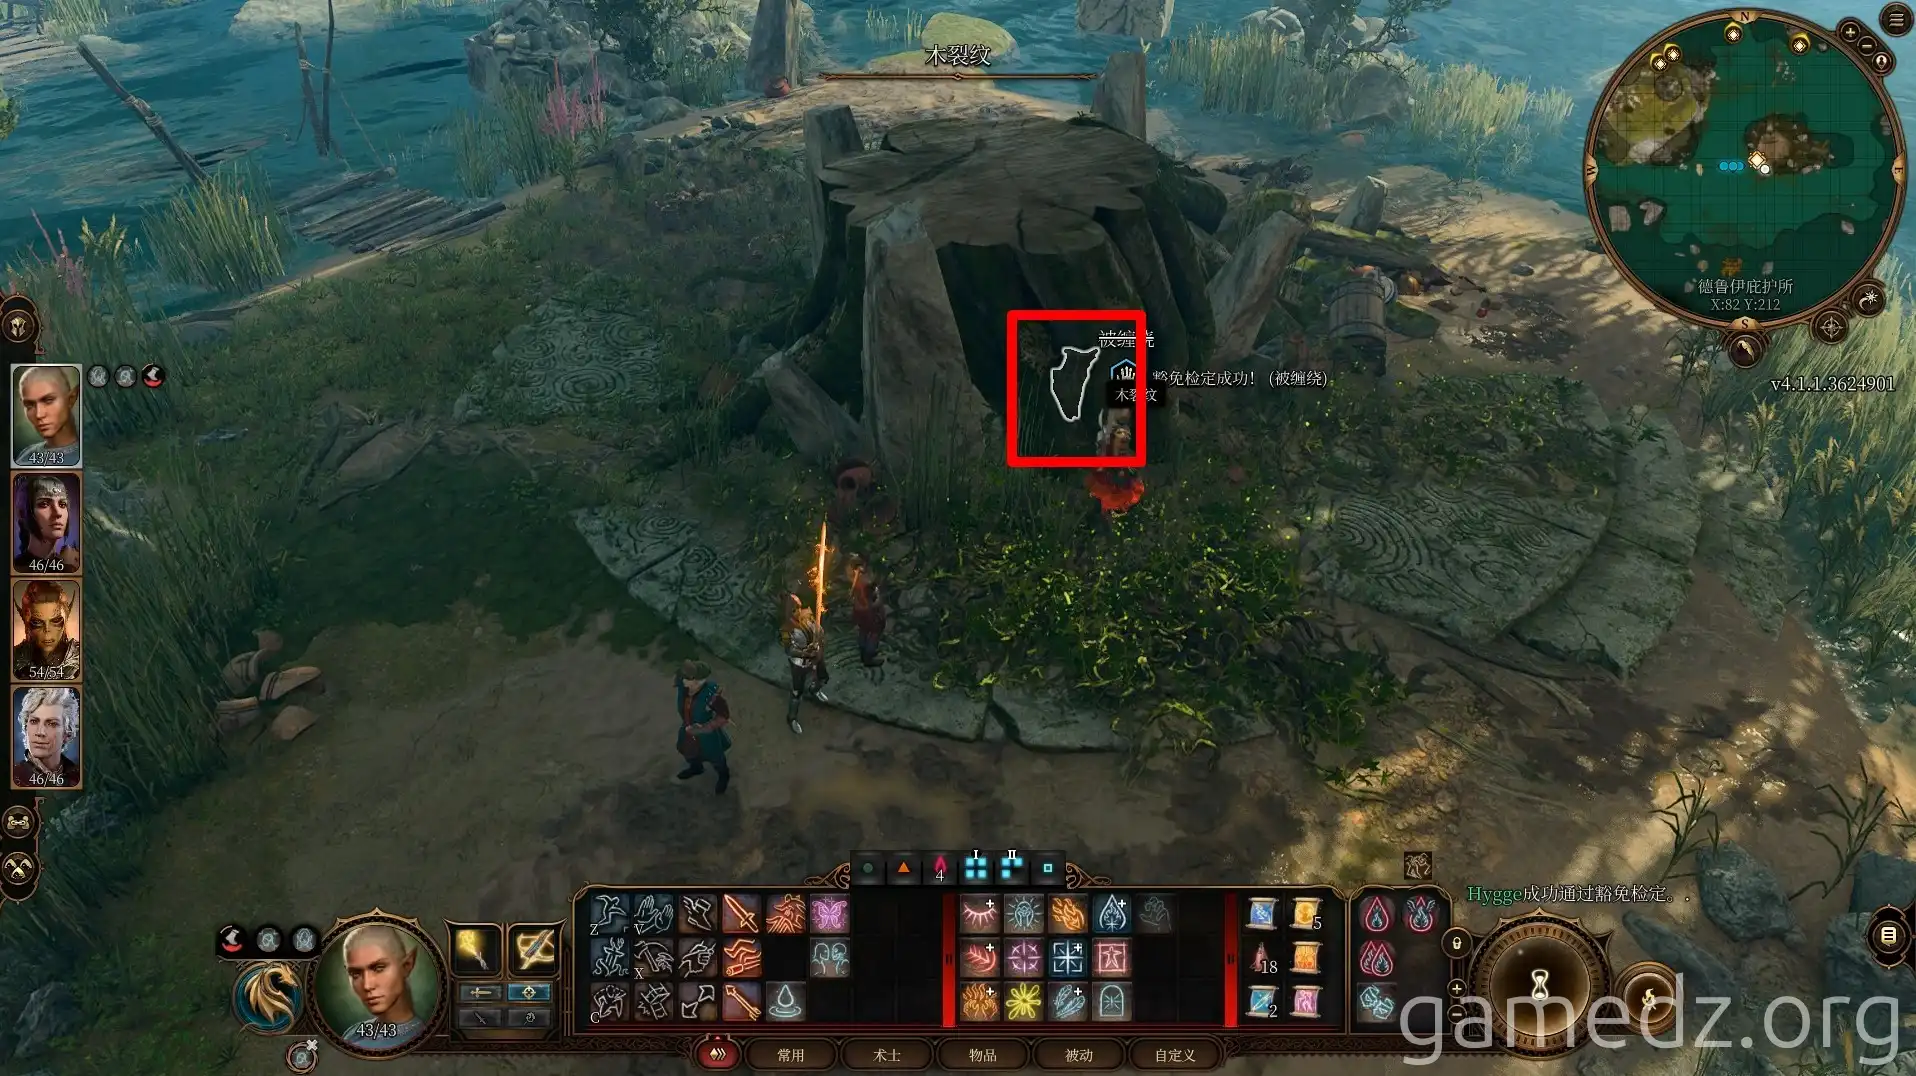
Through the wood crack on the large tree stump, you can find a letter addressed to Kagha. This confirms that Kagha has betrayed the Emerald Grove and sided with the Shadow Druids.
Return to the dock and head west. At this point, you'll trigger a check with a difficulty class of 20.
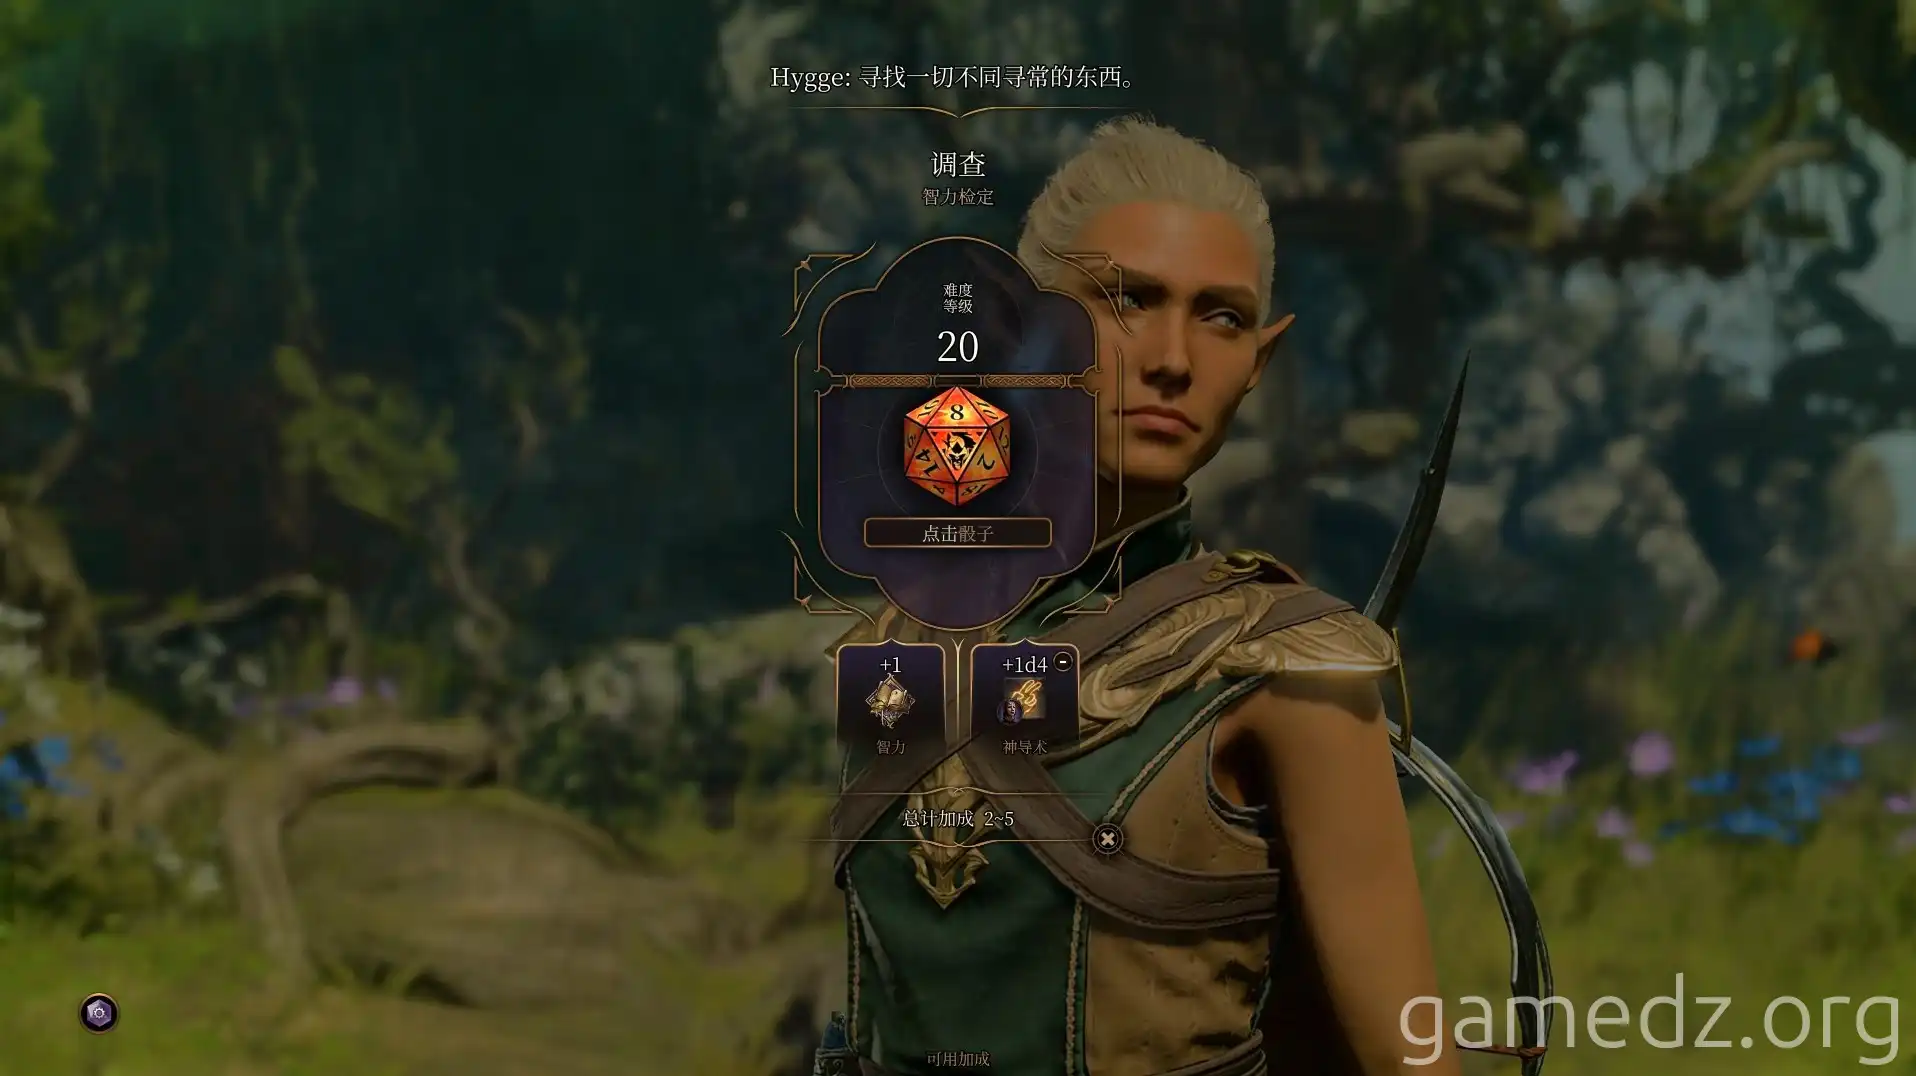
Successfully passing this check will transform the once sunny Sunlit Wetlands into a grim and eerie Rotting Mire.
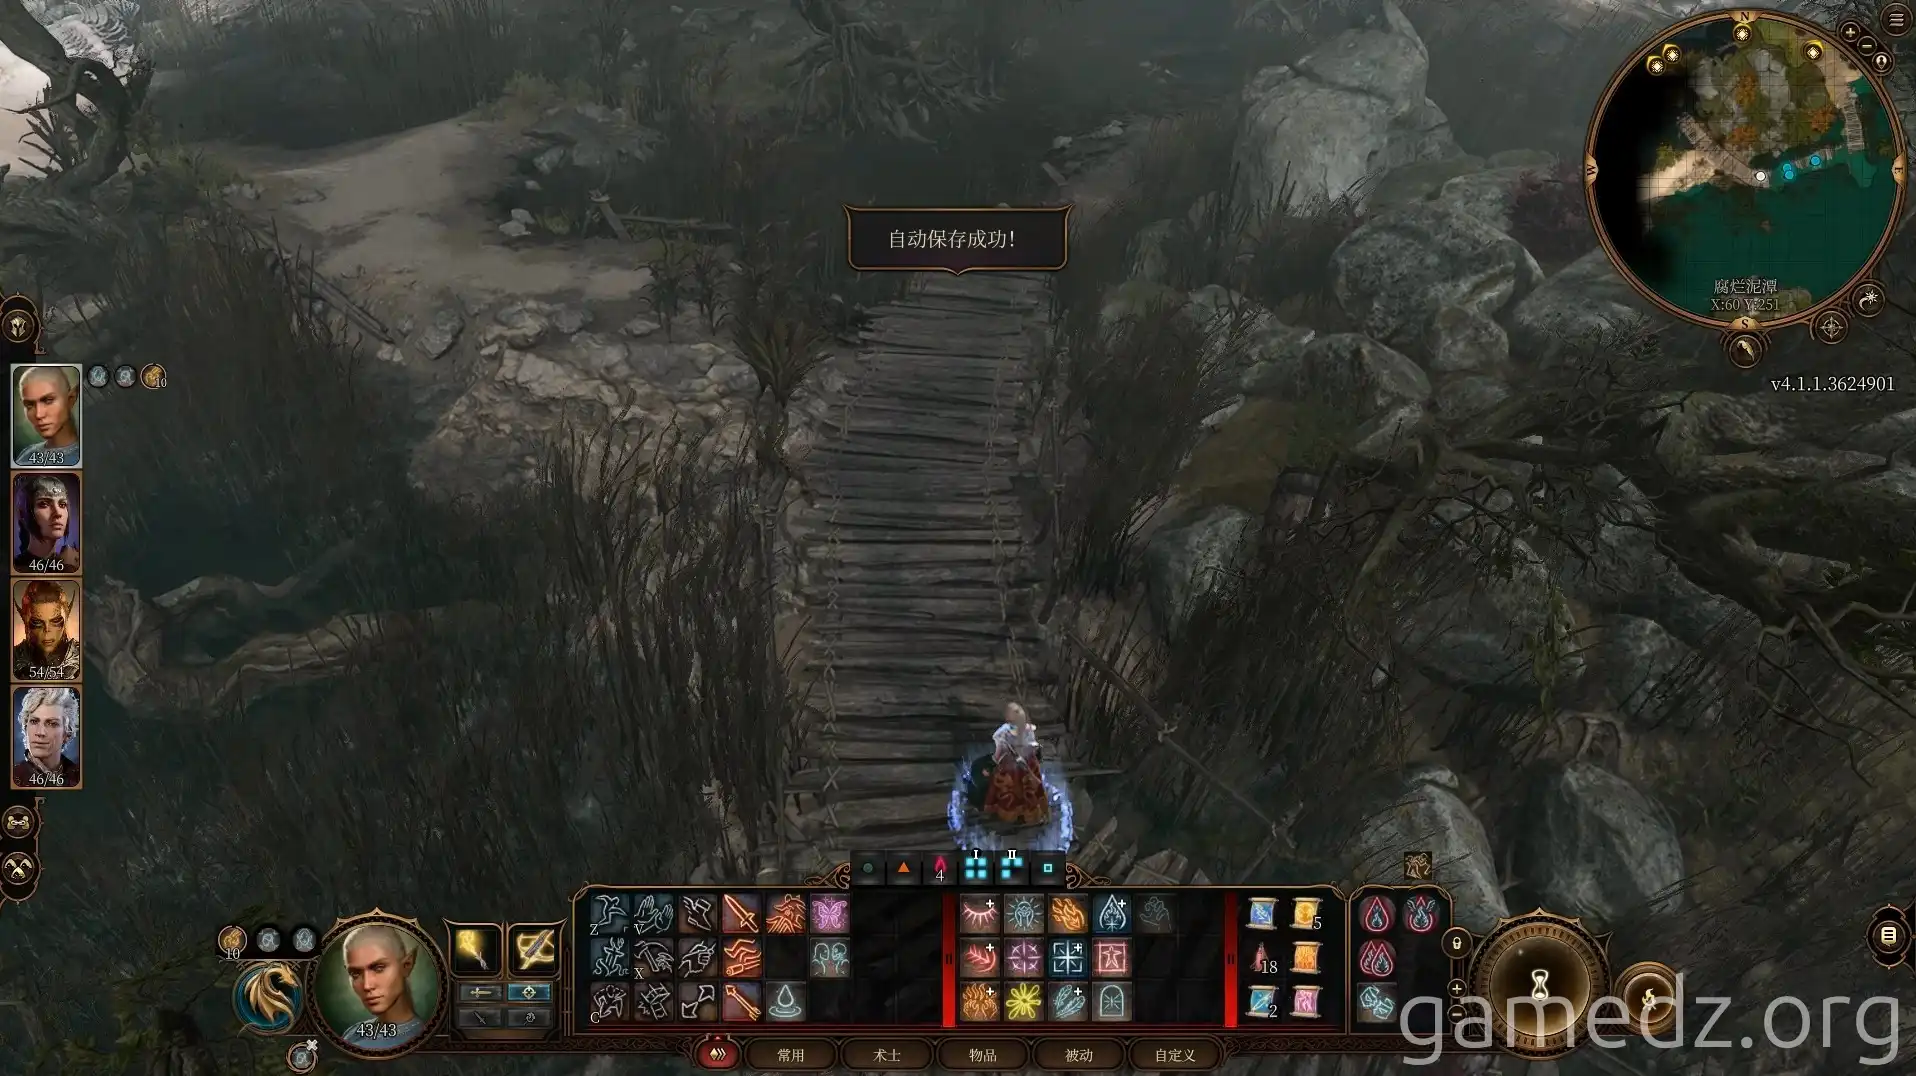
Continue westward, and you'll encounter several Redcaps. While they won't welcome you, they won't attack proactively. You can ignore them and proceed.
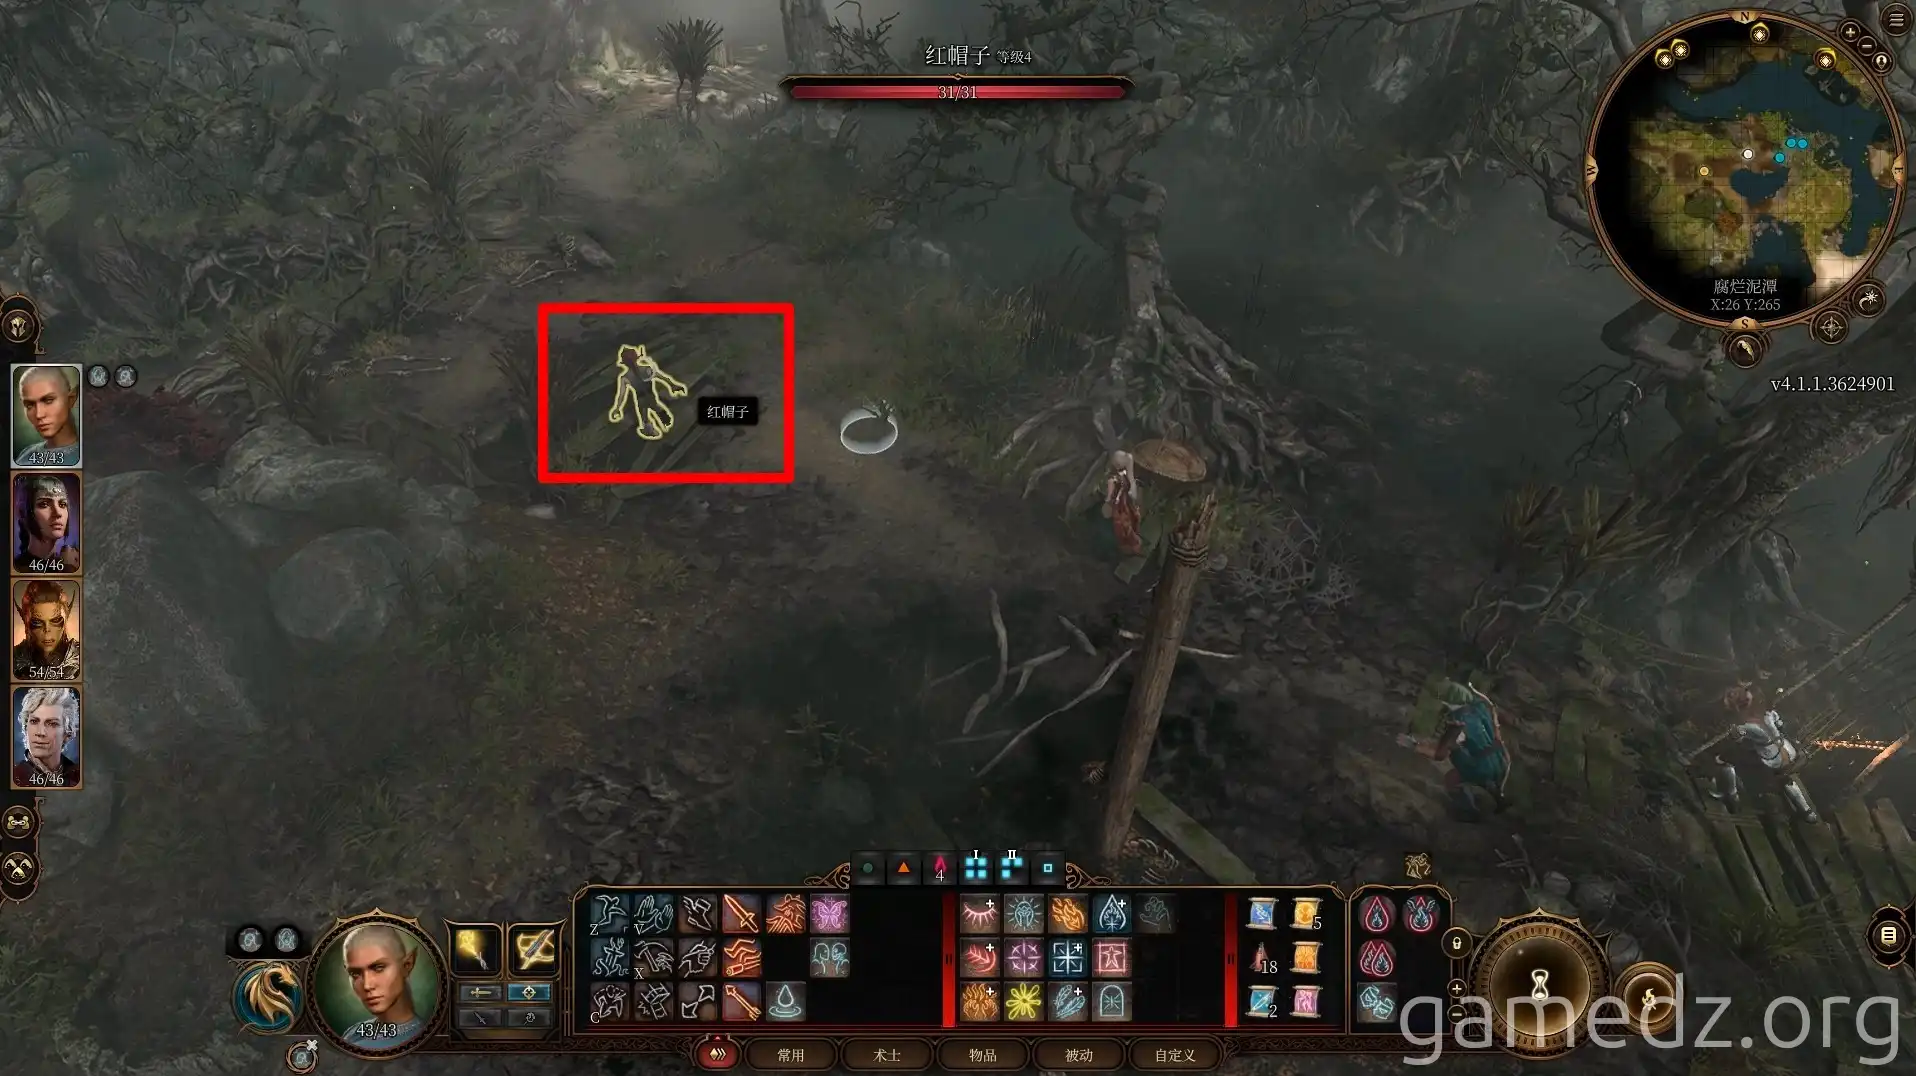
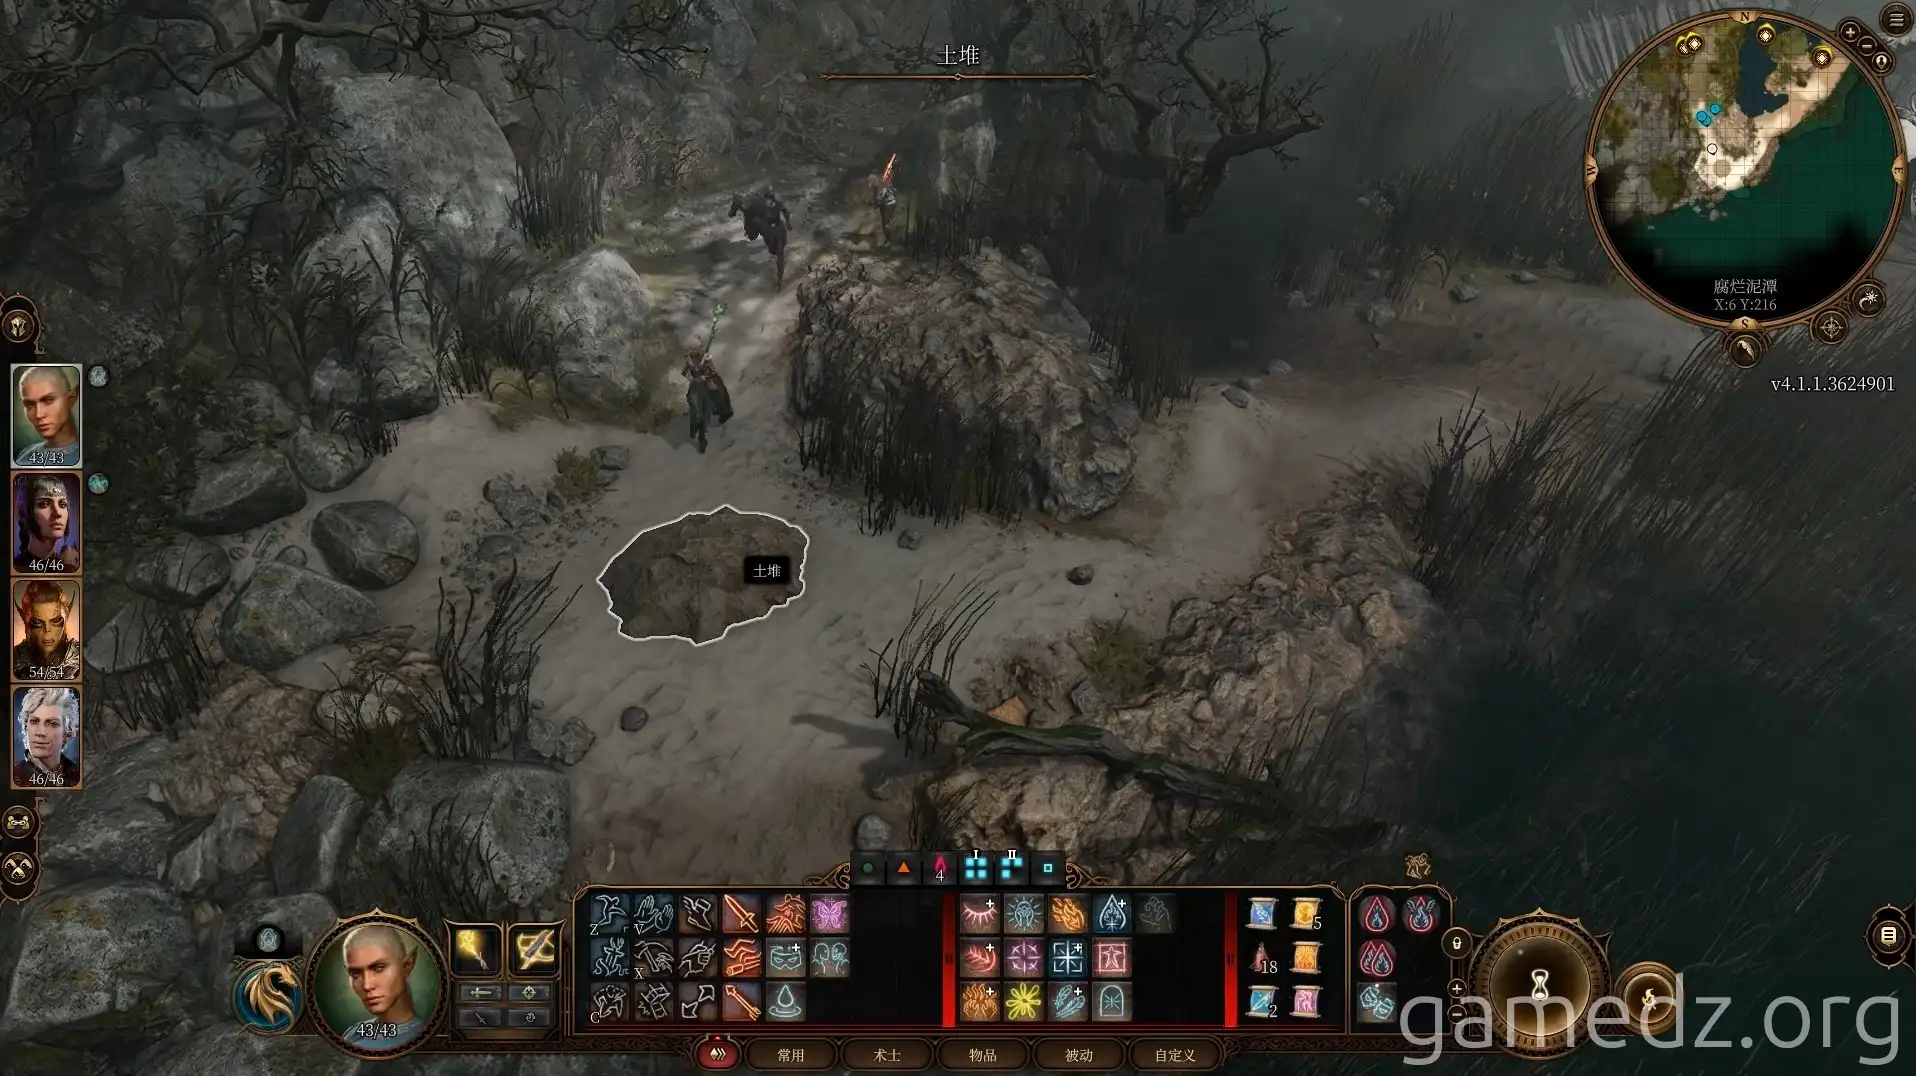
Reach the southwestern corner of the wetlands. In the middle of the path, you'll find a mound of dirt containing a buried chest.
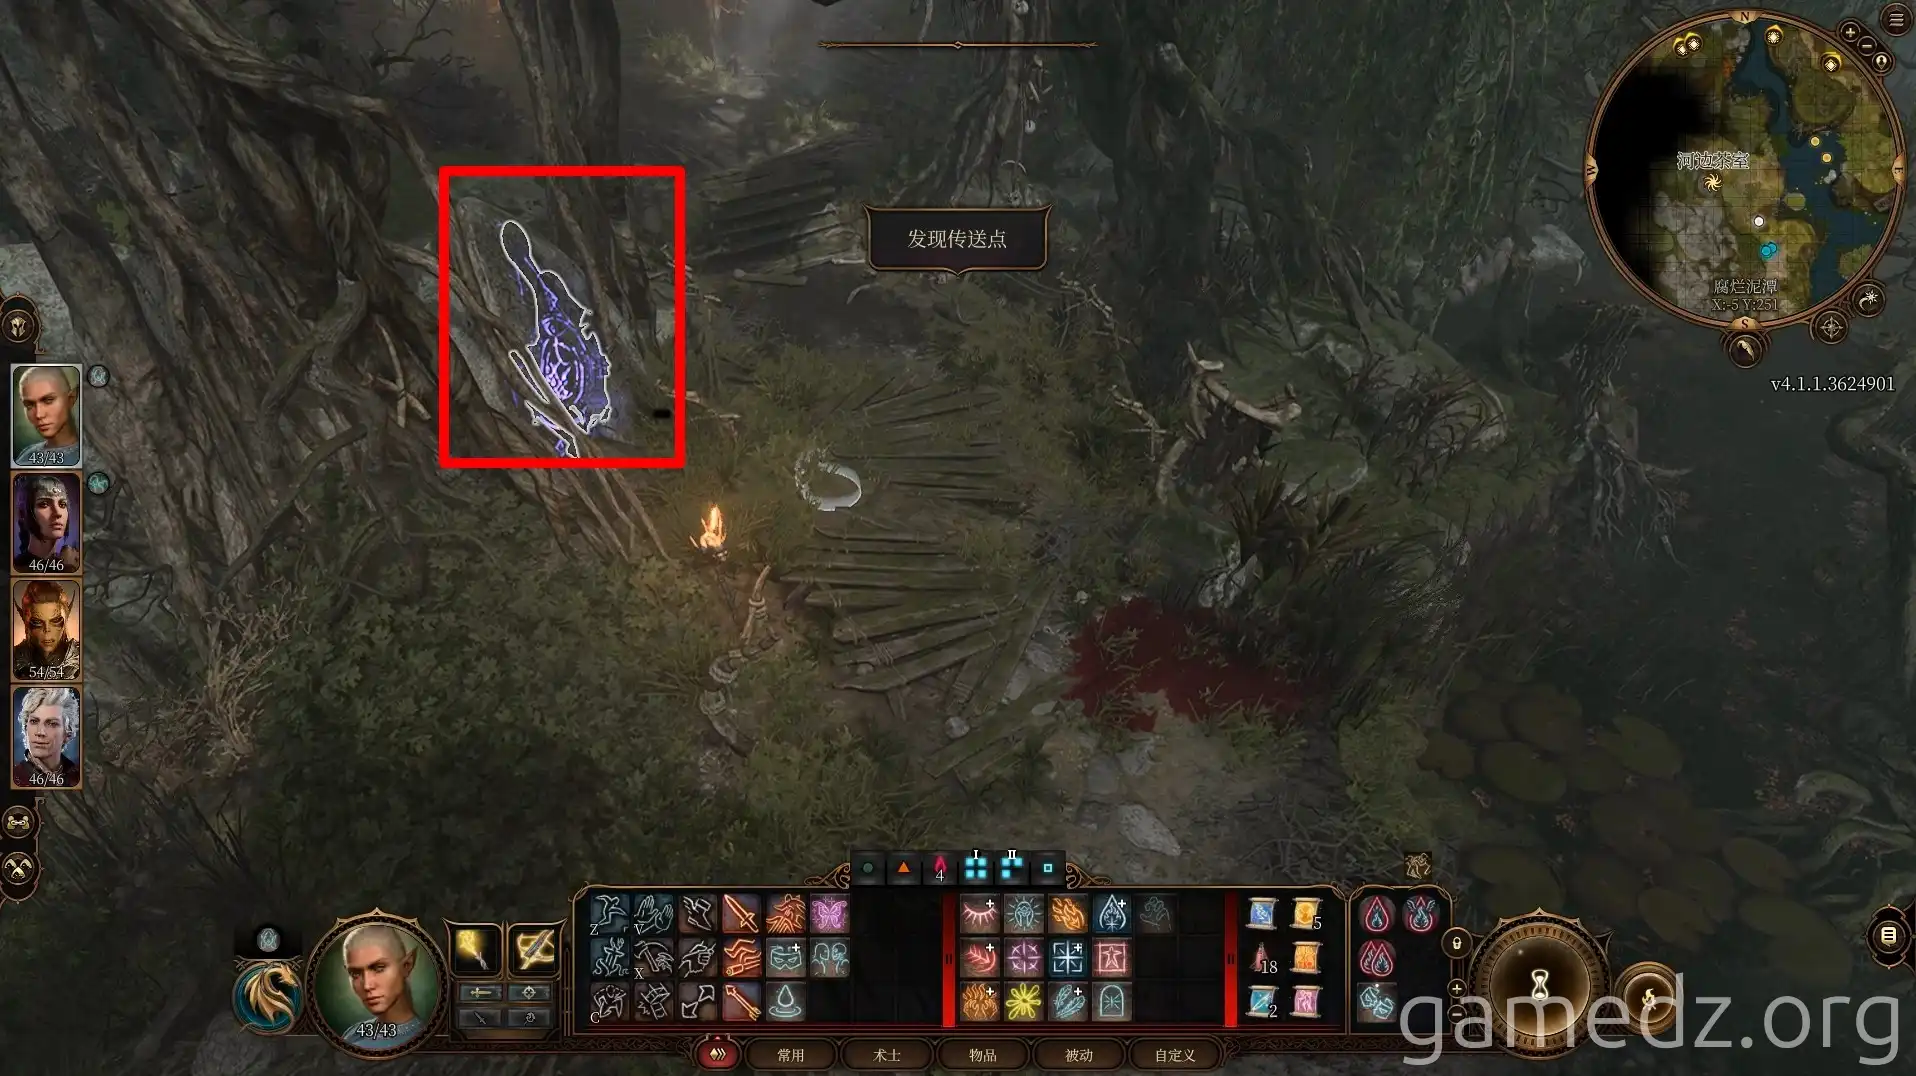
Continue forward to activate the Riverside Teahouse waypoint.
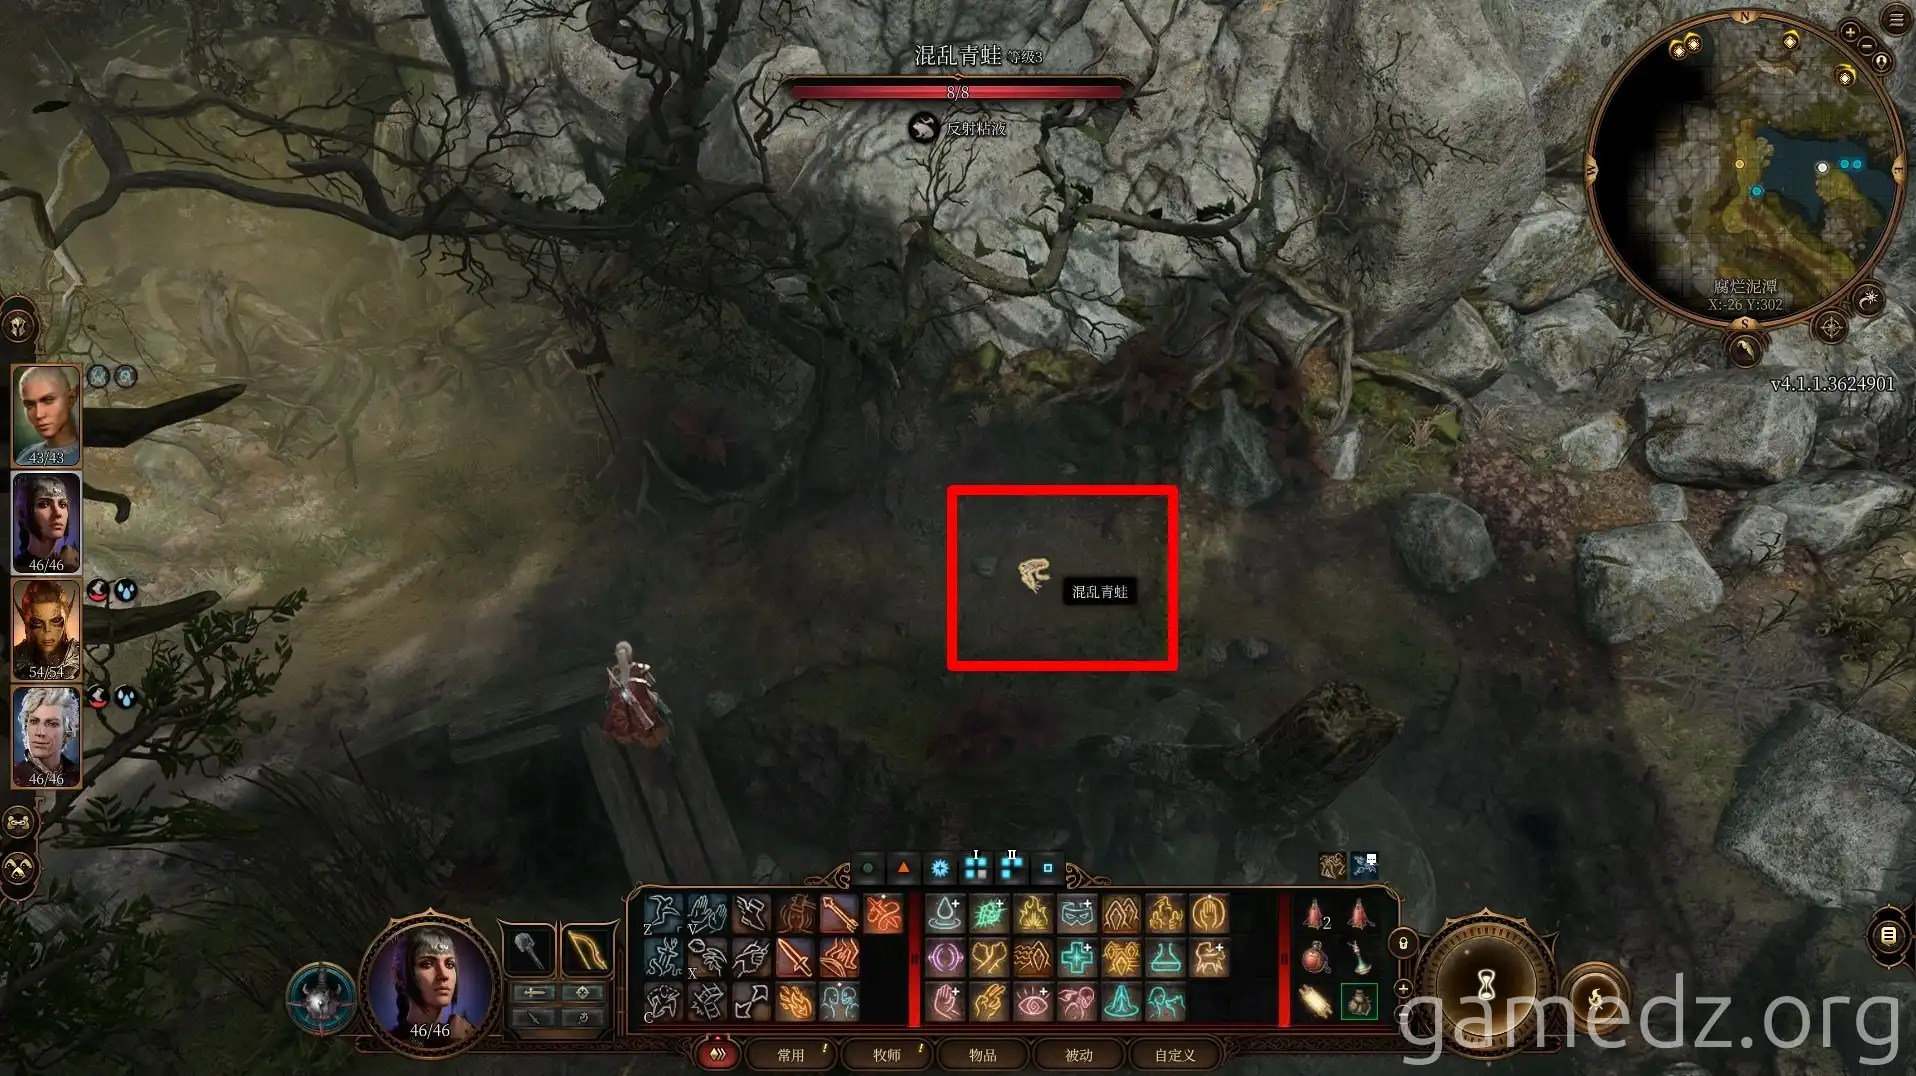
In the northwestern corner of the wetlands, you'll find a chaotic frog. You can attempt to speak with the frog using "Speak with Animals," but be cautious, as it's easy to initiate combat. This frog deals immense damage and reflects ranged attacks, so it's best to avoid it and proceed directly to the teahouse.
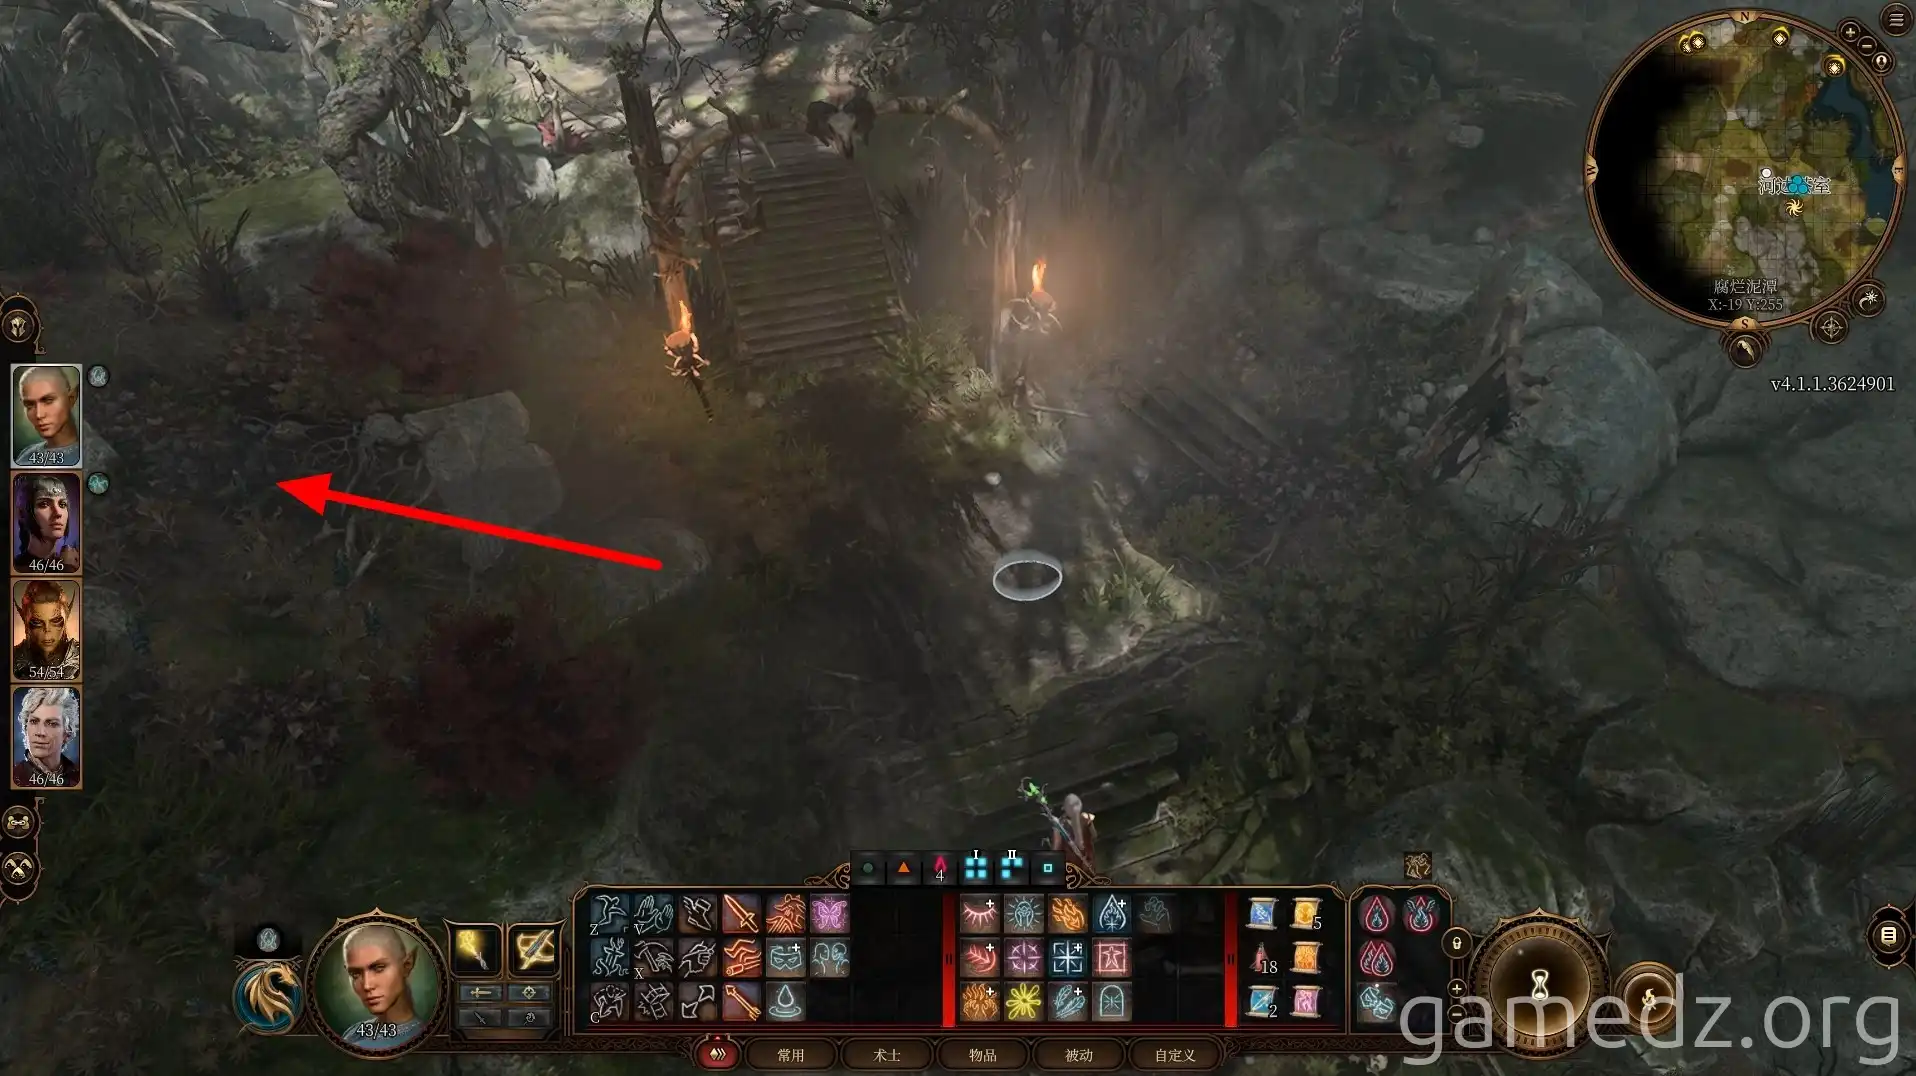
Upon reaching the teahouse, before entering the main door, head south.
Here, you'll meet a hunter named Gandrel, who states he's tracking Astarion. If Astarion is in your party, you can trigger a dialogue option to have him killed off immediately. Even if this doesn't happen, it's recommended to kill him after the conversation.
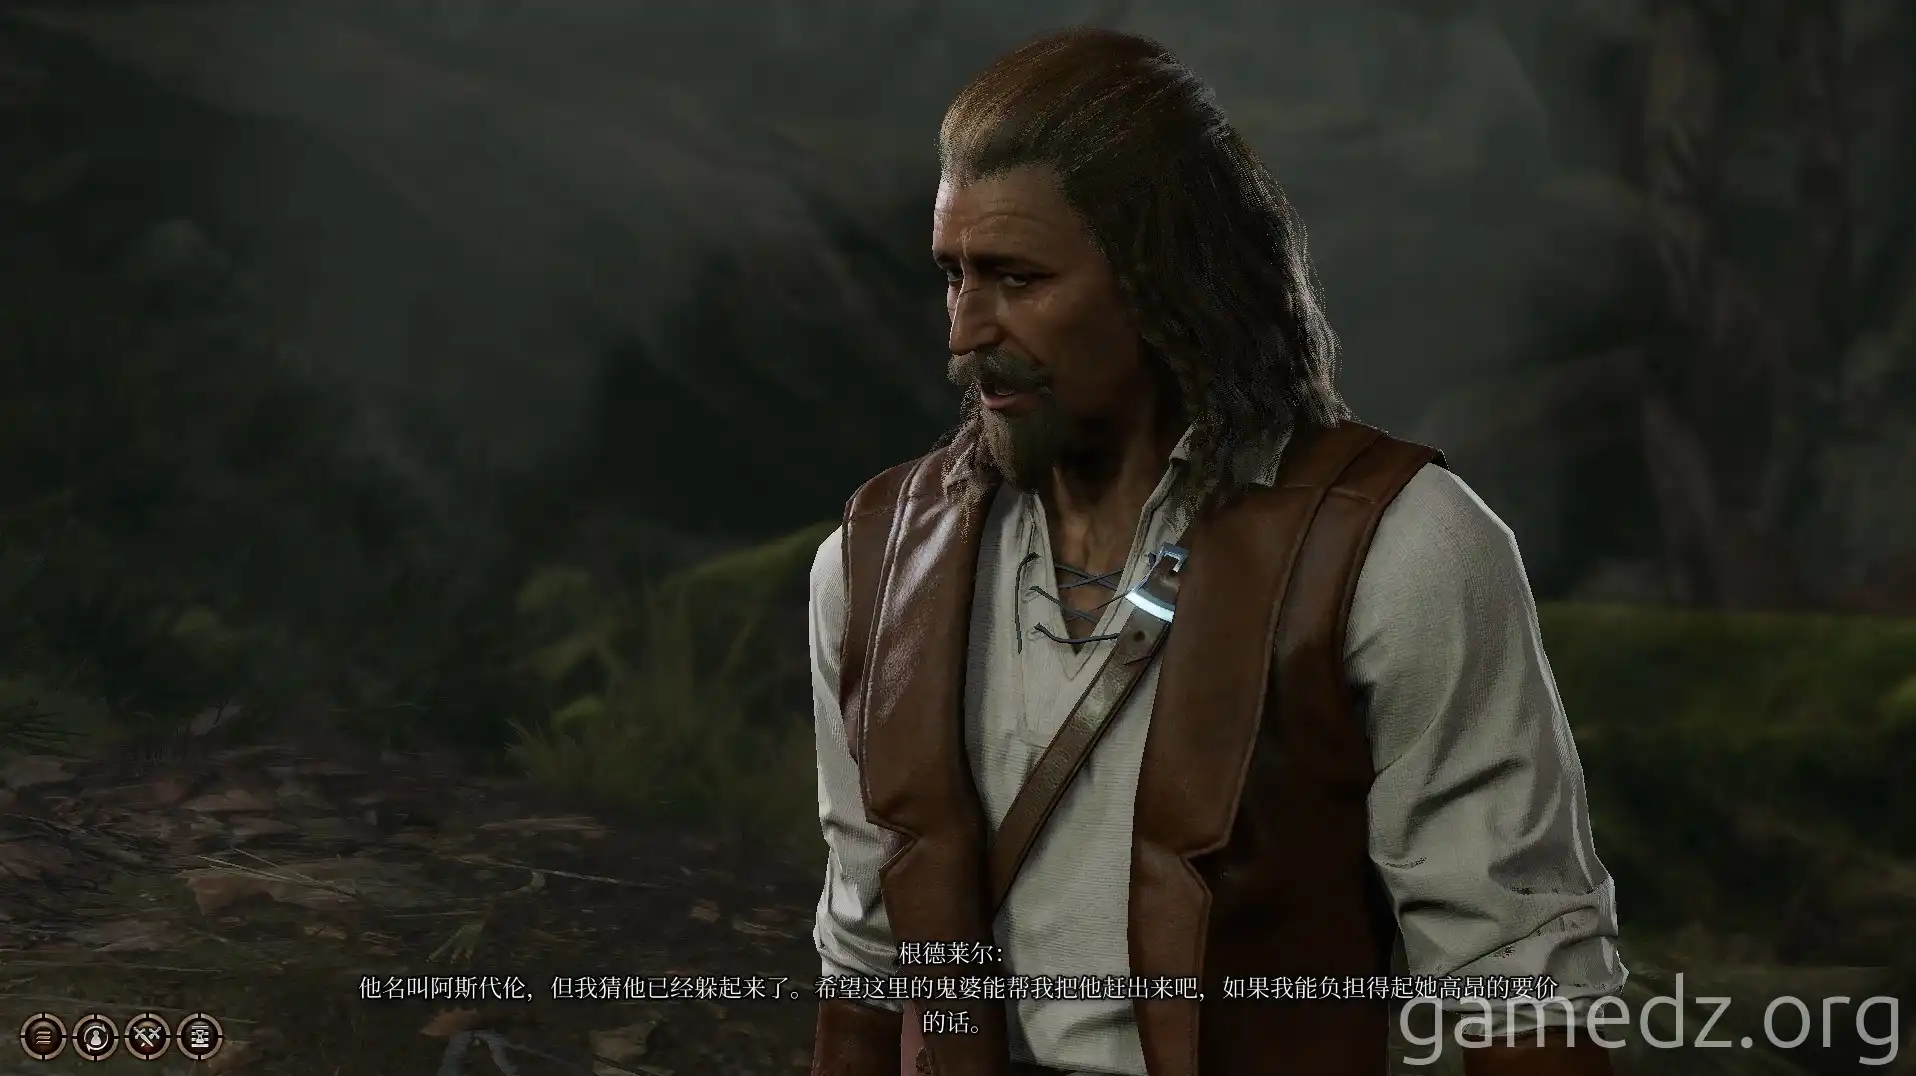
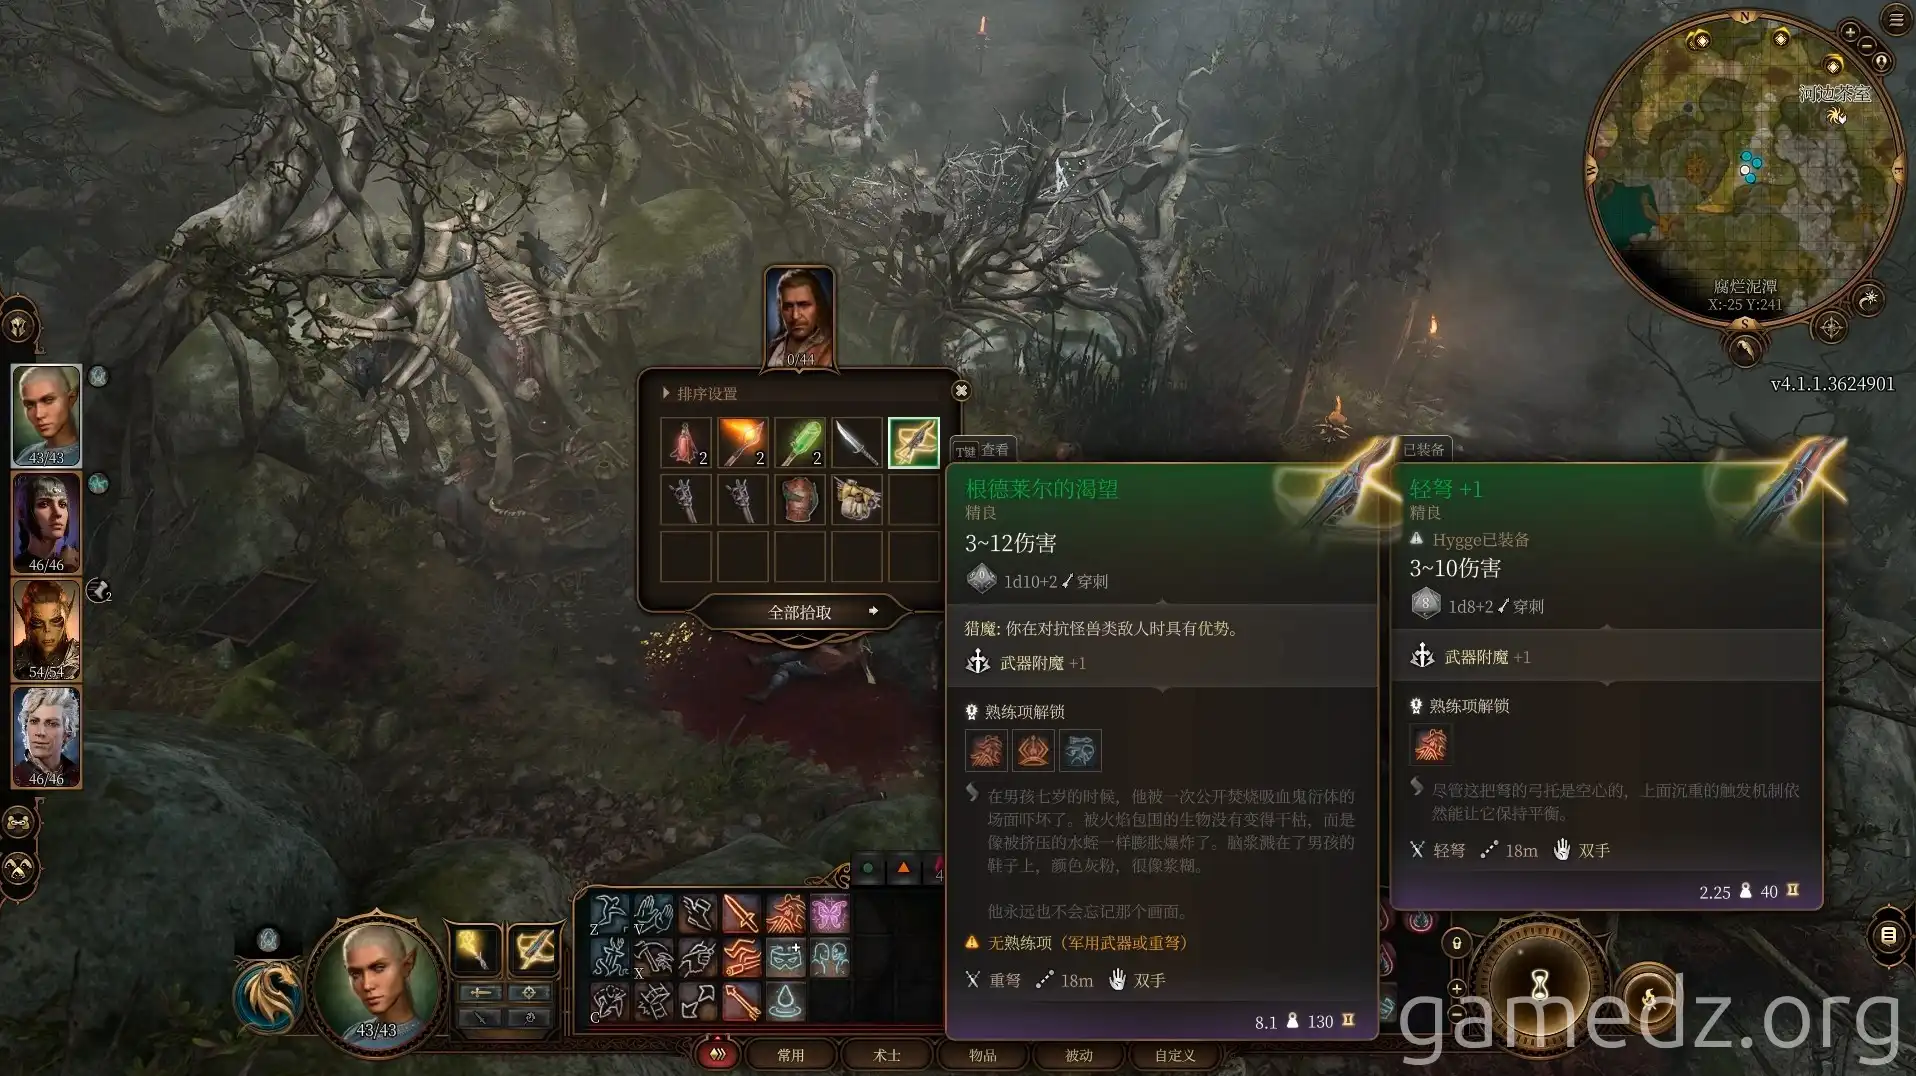
After defeating Gandrel, you'll obtain the fine heavy crossbow, Gandrel's Desire.
Later, speaking with Astarion will reveal that these individuals were likely sent by his master, Ketheric Thorm.
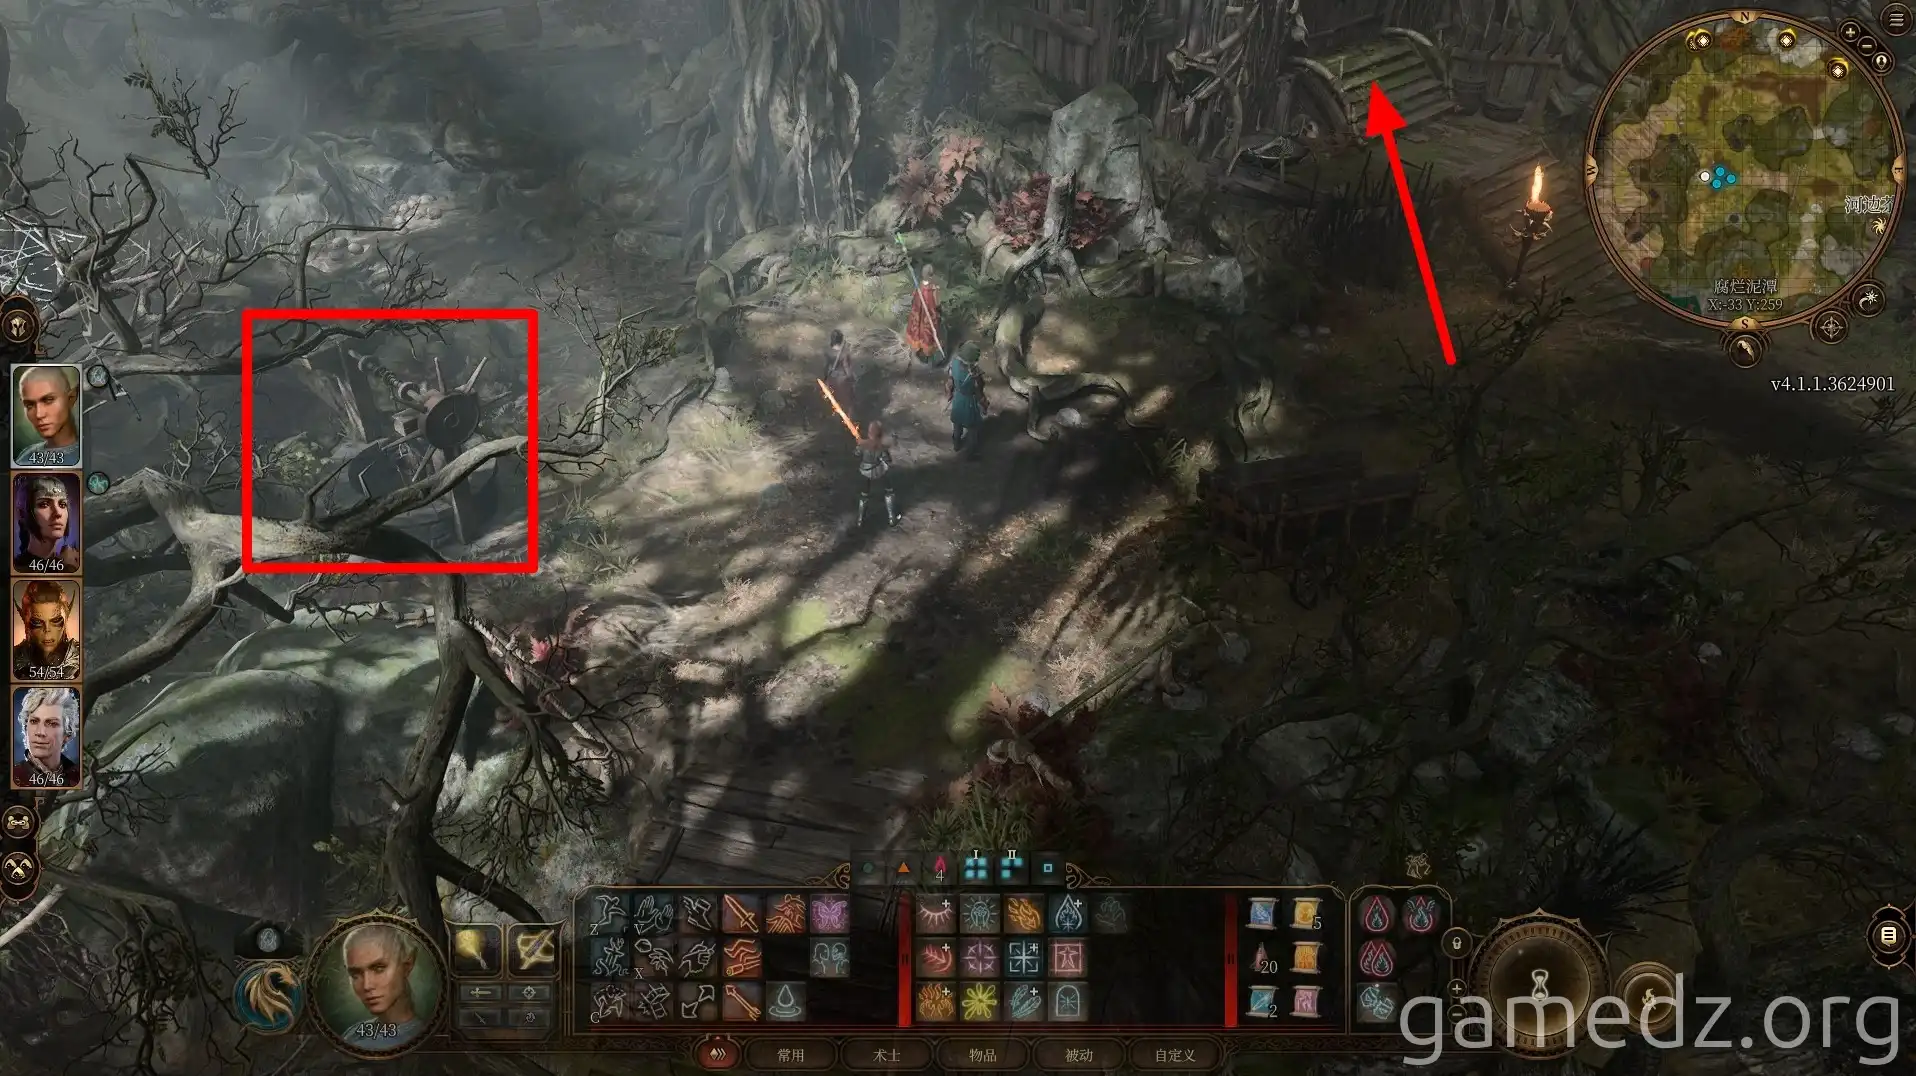
If you don't see through the illusion of the Hag's crystal, you might mistake it for something that increases your maximum health. However, upon closer inspection, you'll discover the well is filled with corpses.
Do not drink the water from the well; proceed directly into the teahouse.
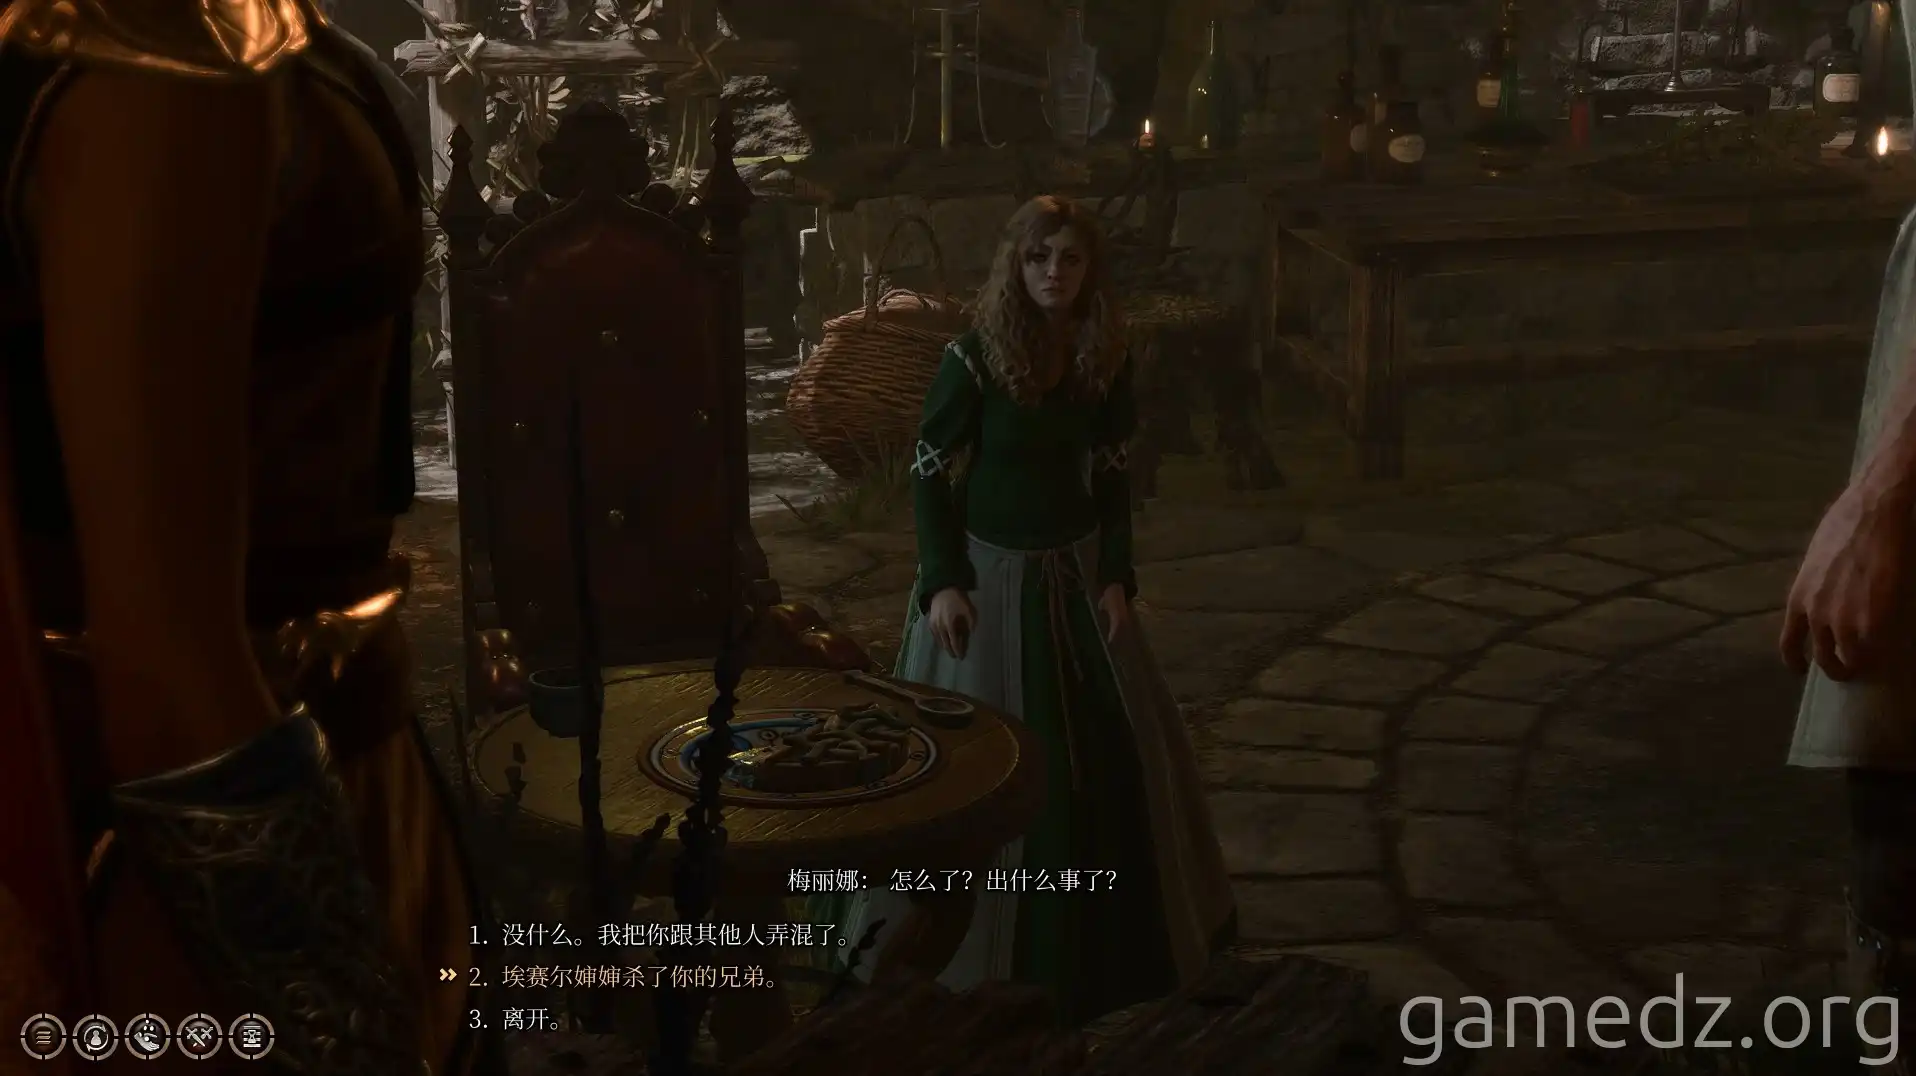
Once inside the teahouse, avoid revealing that the Hag has killed Melina's brothers. While Melina will be teleported away, this will prevent an immediate fight with the Hag.
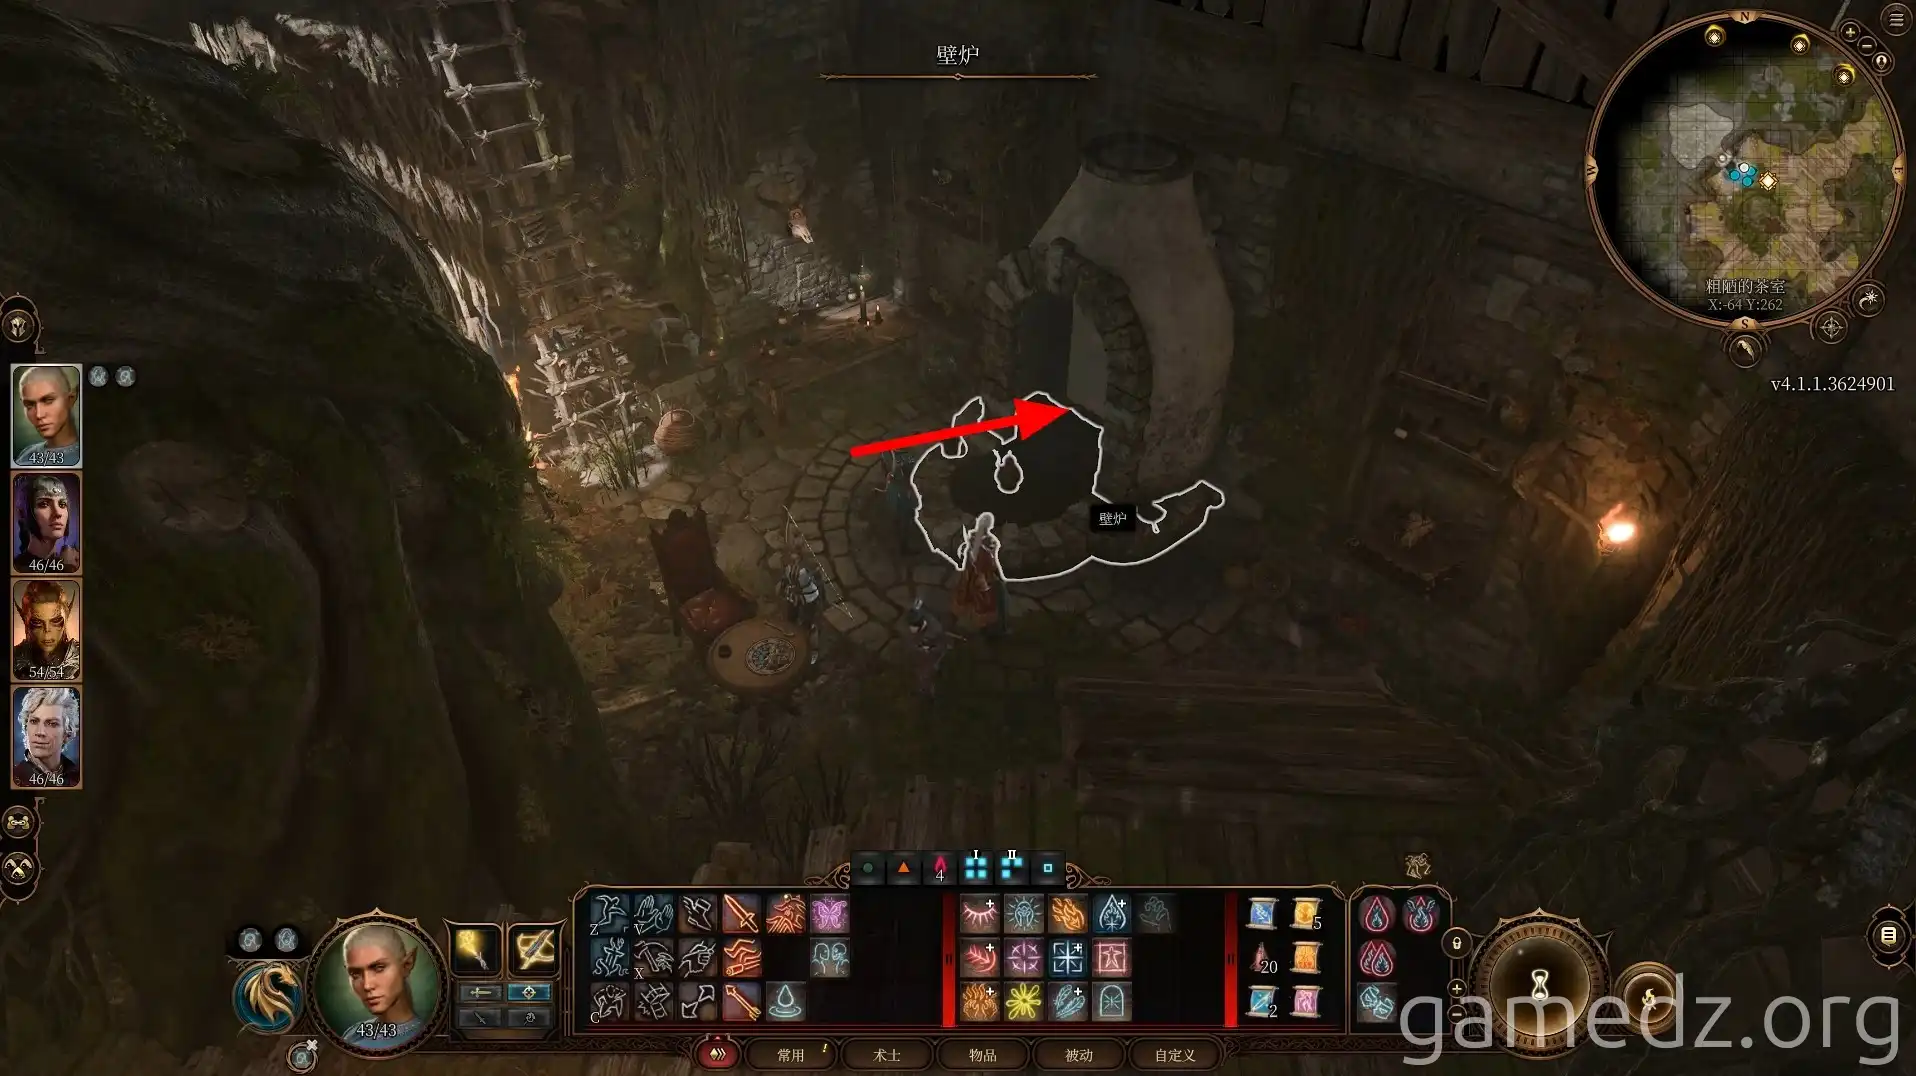
You can then move freely within the teahouse. Investigate the fireplace and extinguish the flames to access a secret room behind it.
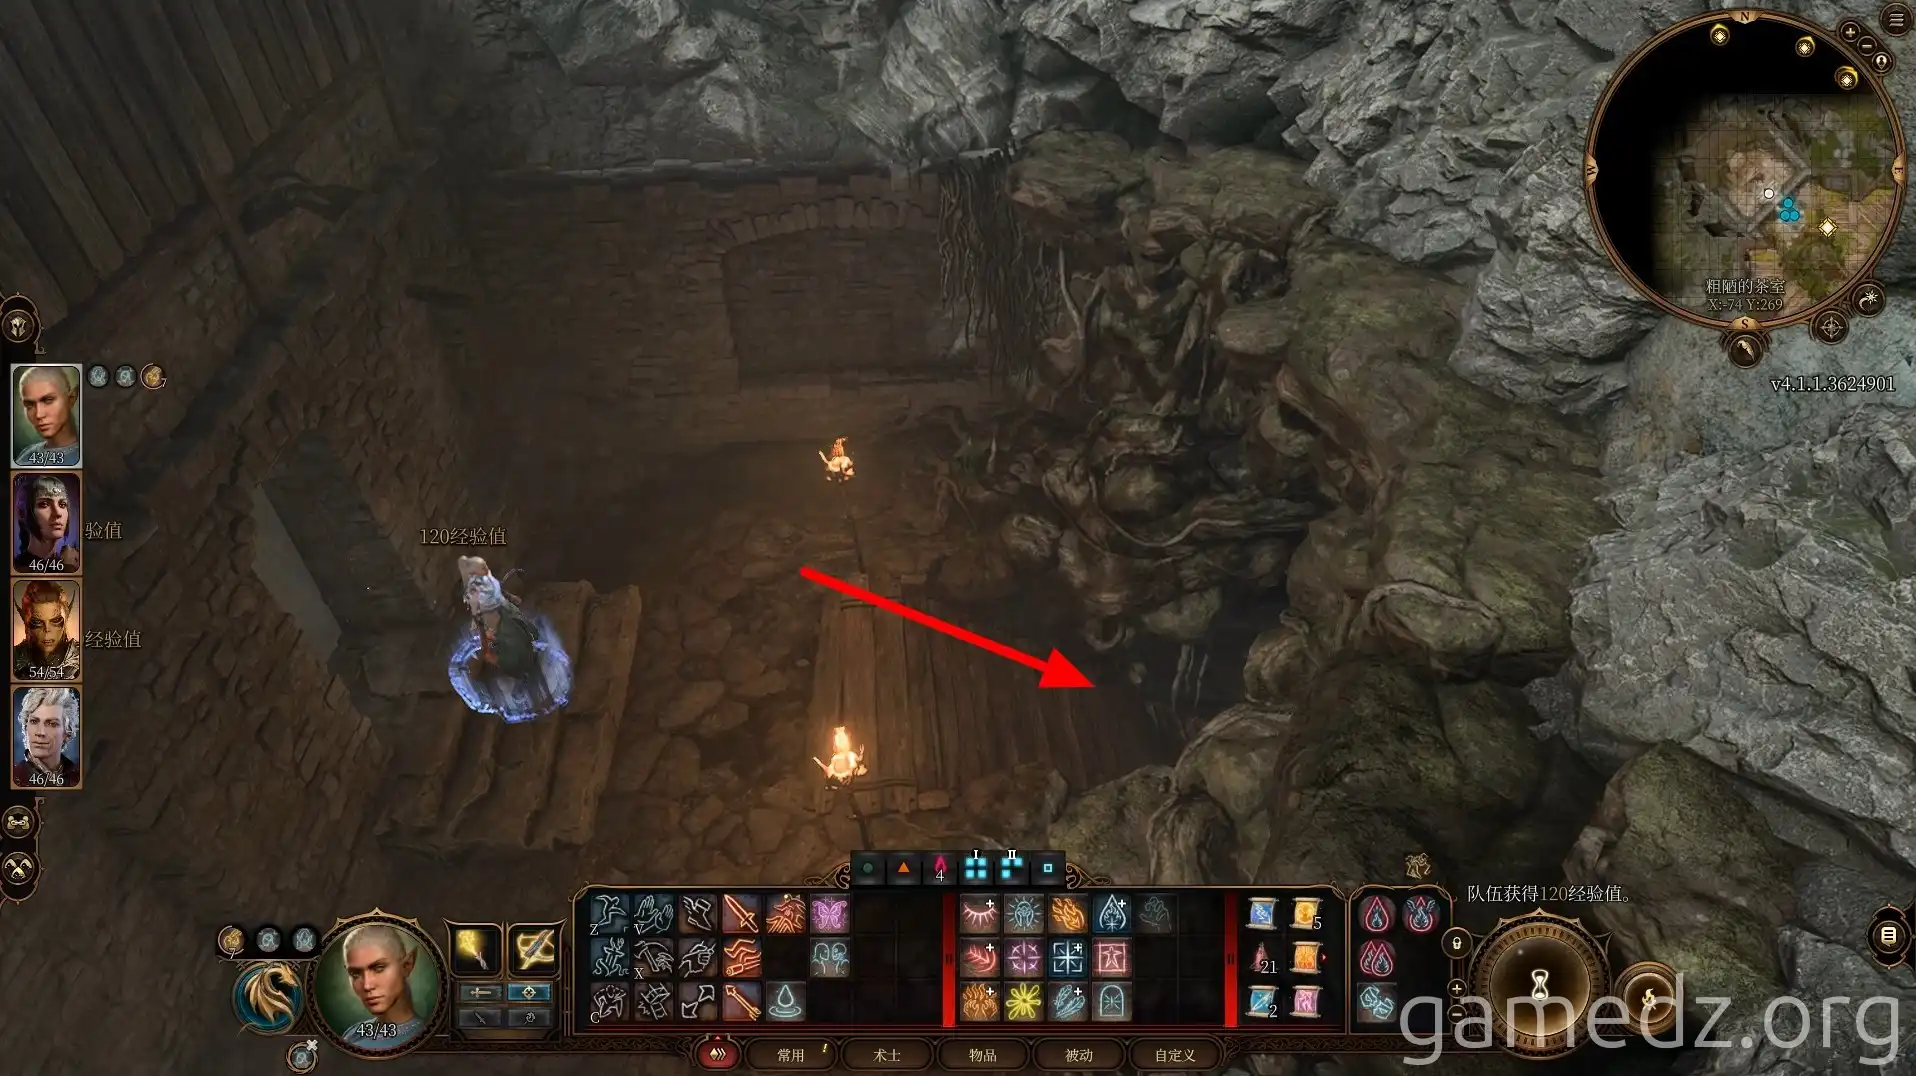
Use the stairs to enter the Vine Path.
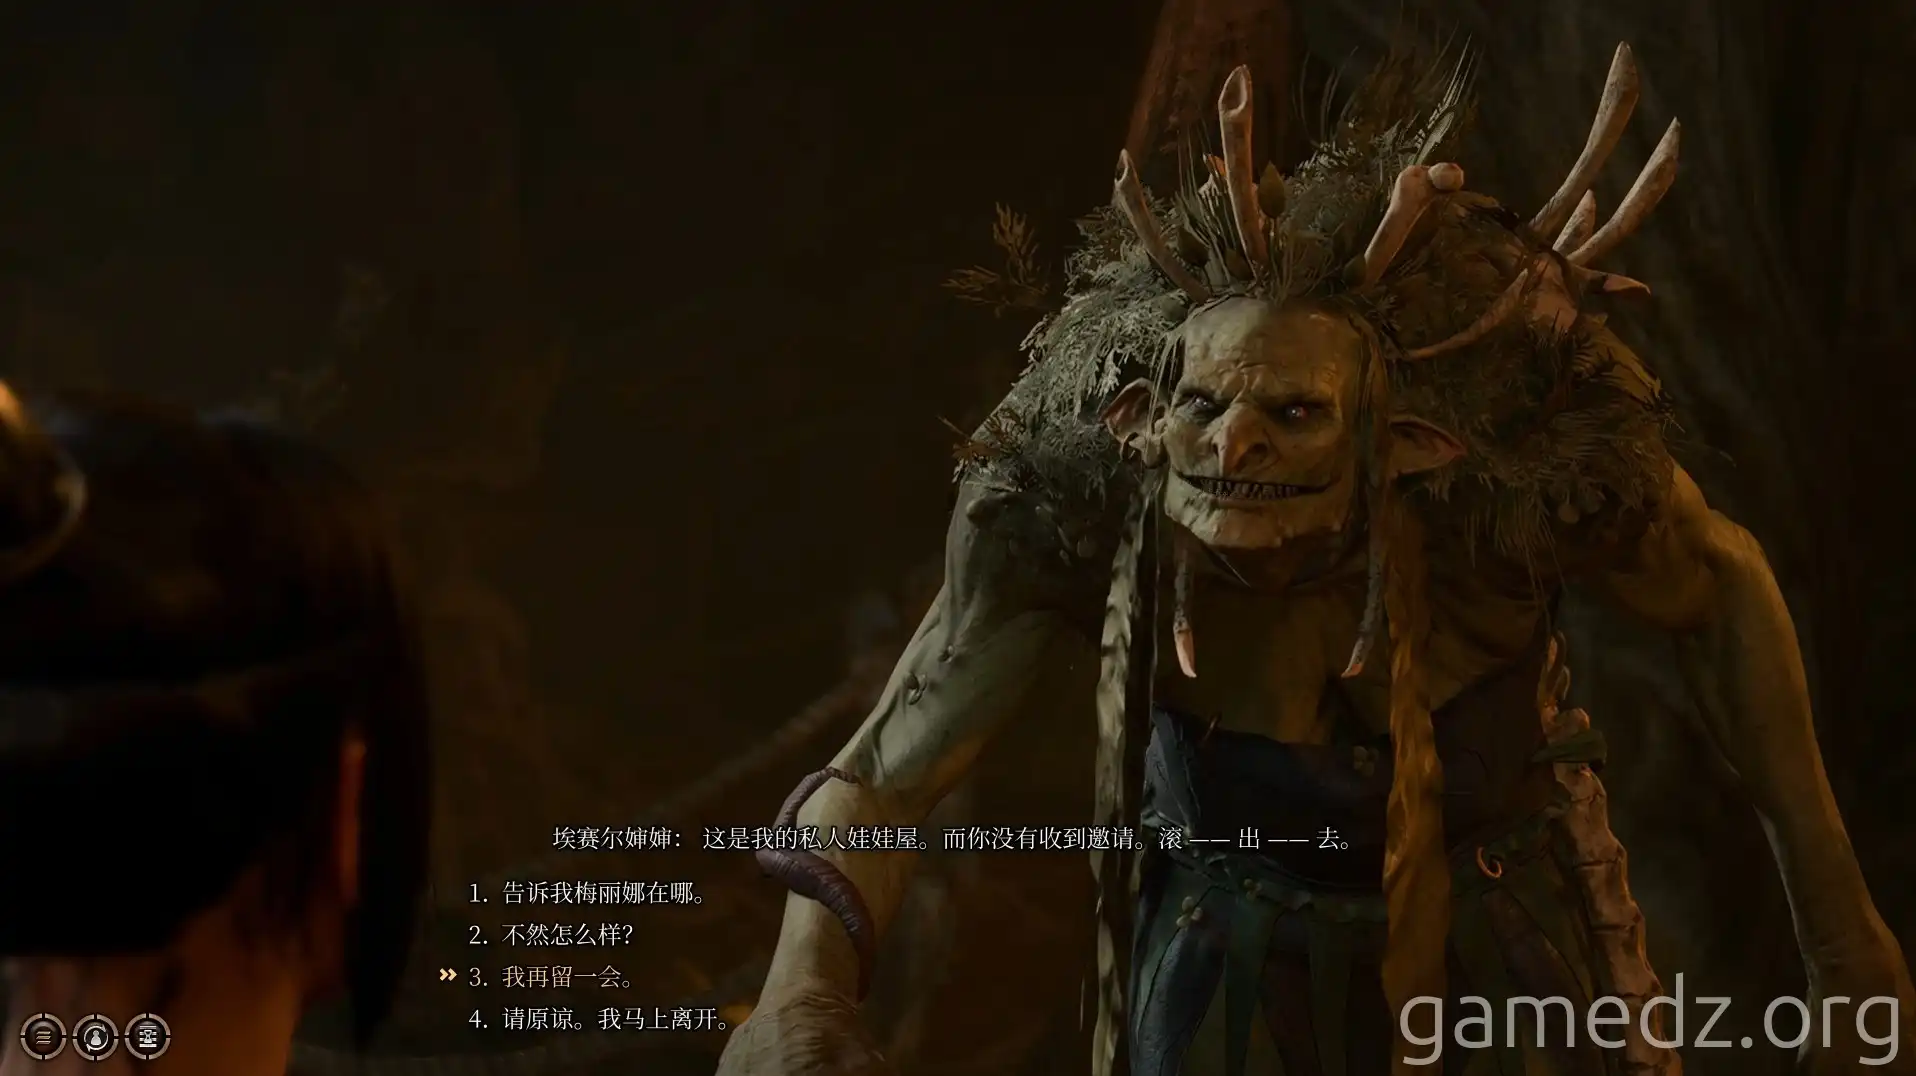
Upon entering the Vine Path, the Hag will ask you to leave. Choosing option 2 or 3 will allow you to ignore her and continue exploring the path.
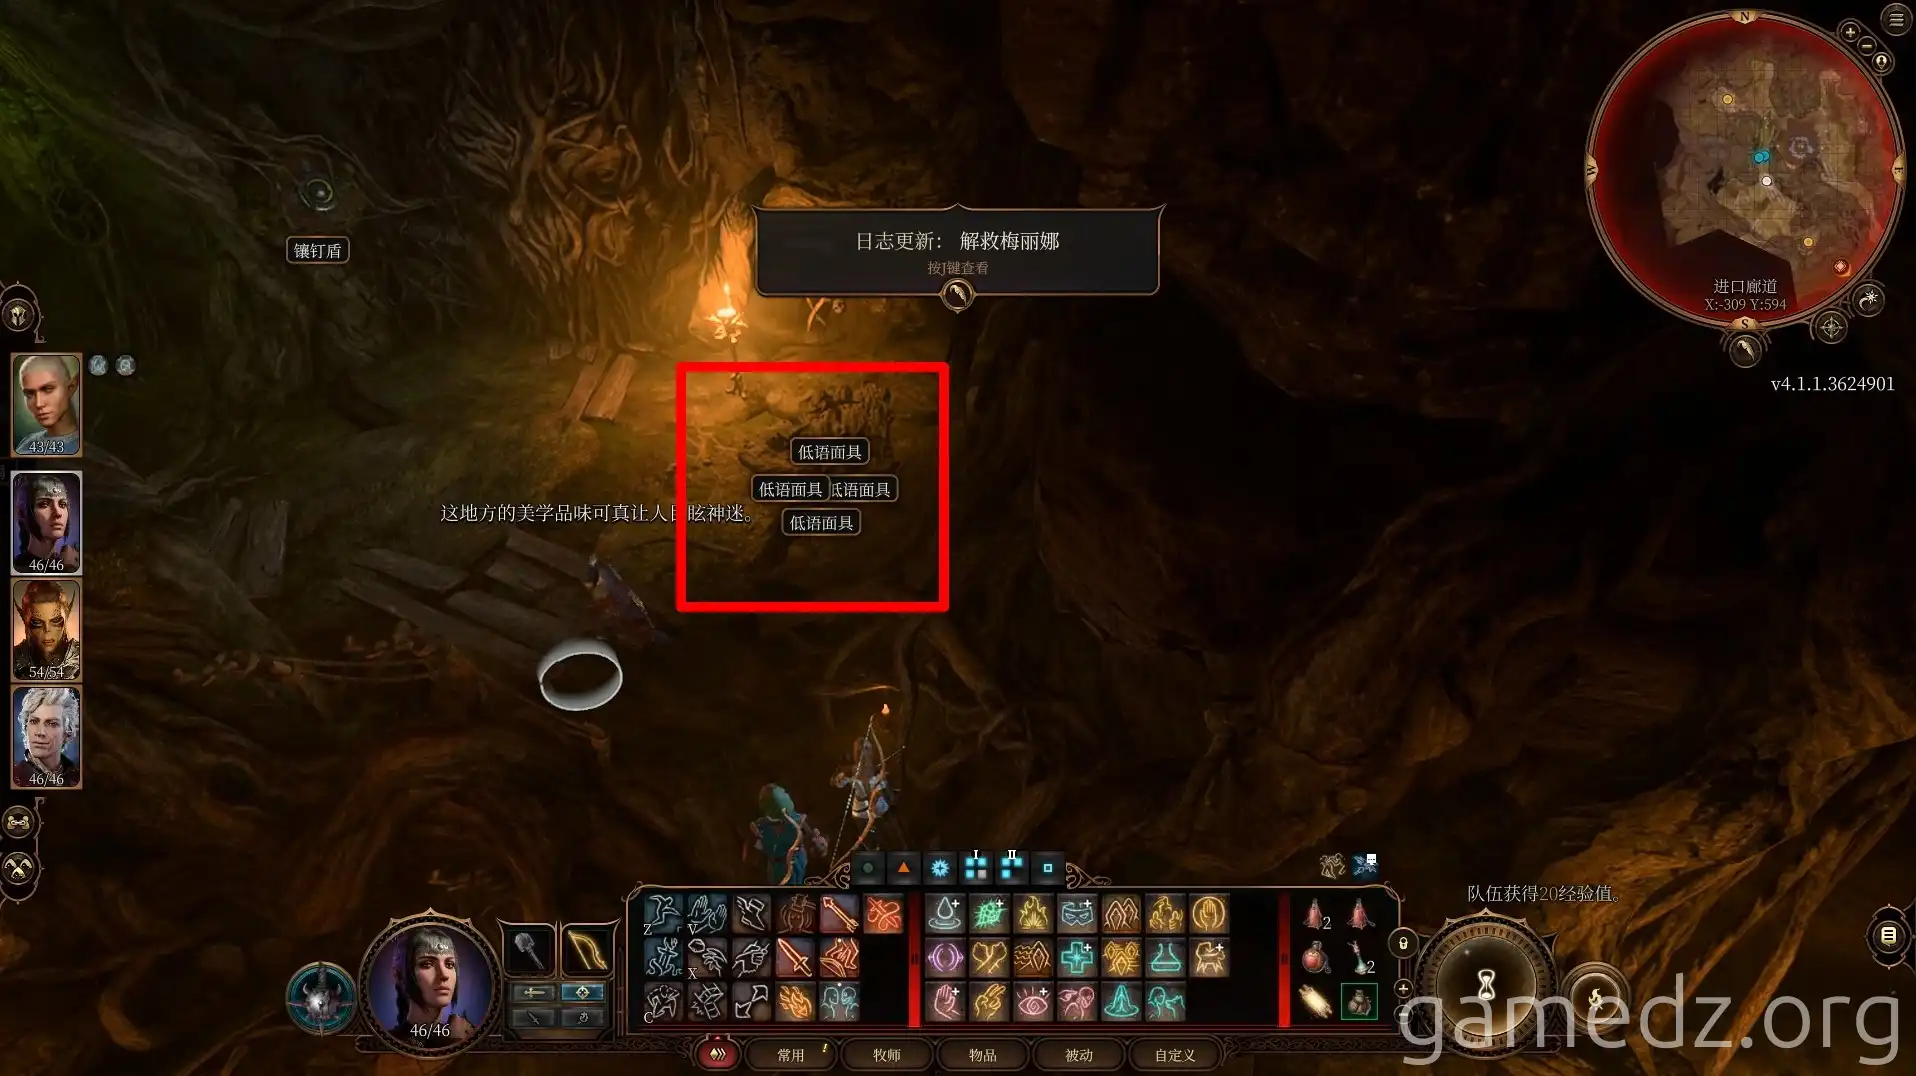
On the table in the room, you'll find the Whispering Mask.
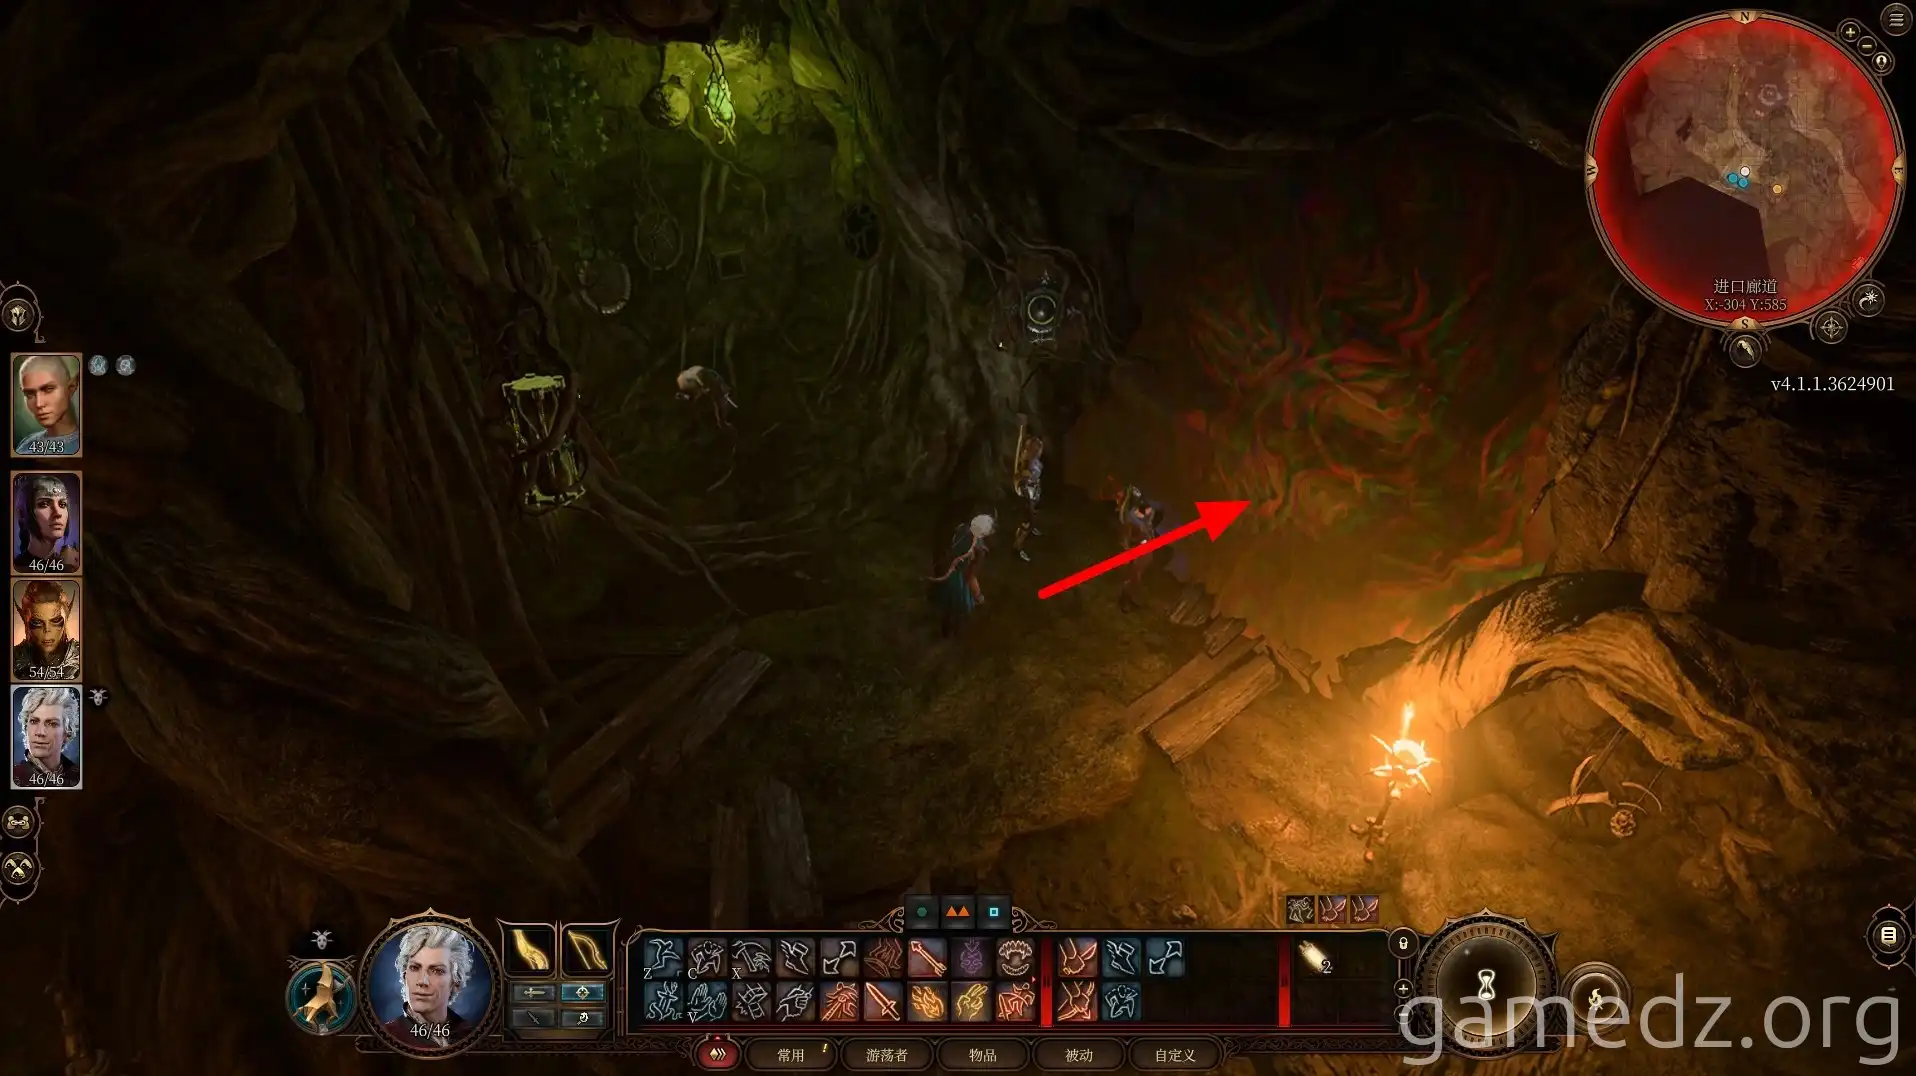
Wearing the Whispering Mask will allow you to pass through the door ahead. However, the wearer of the mask may be controlled by the Hag, so it's best to remove it immediately after passing through the door.

Ahead, you'll encounter four enemies controlled by the Whispering Mask. You must defeat them all to proceed.
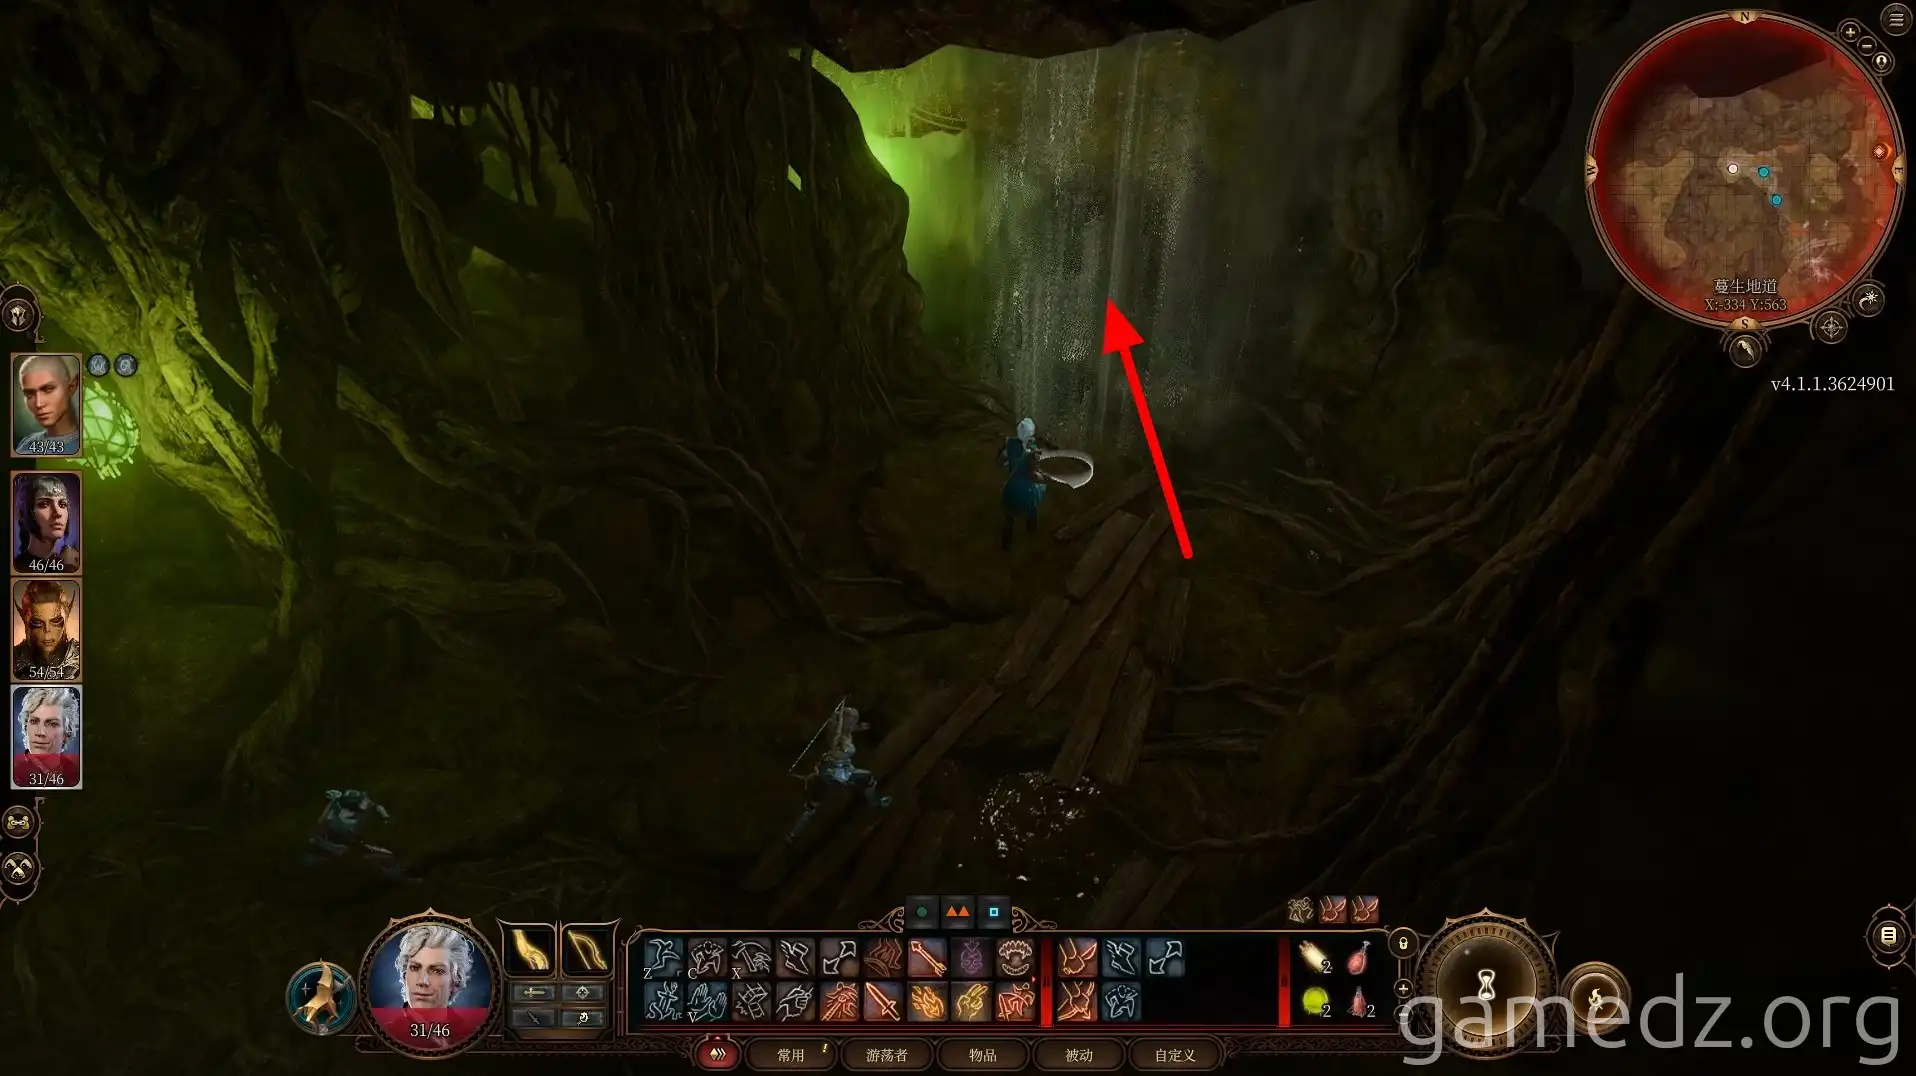
Then, use a jump to cross the waterfall and enter the next area.
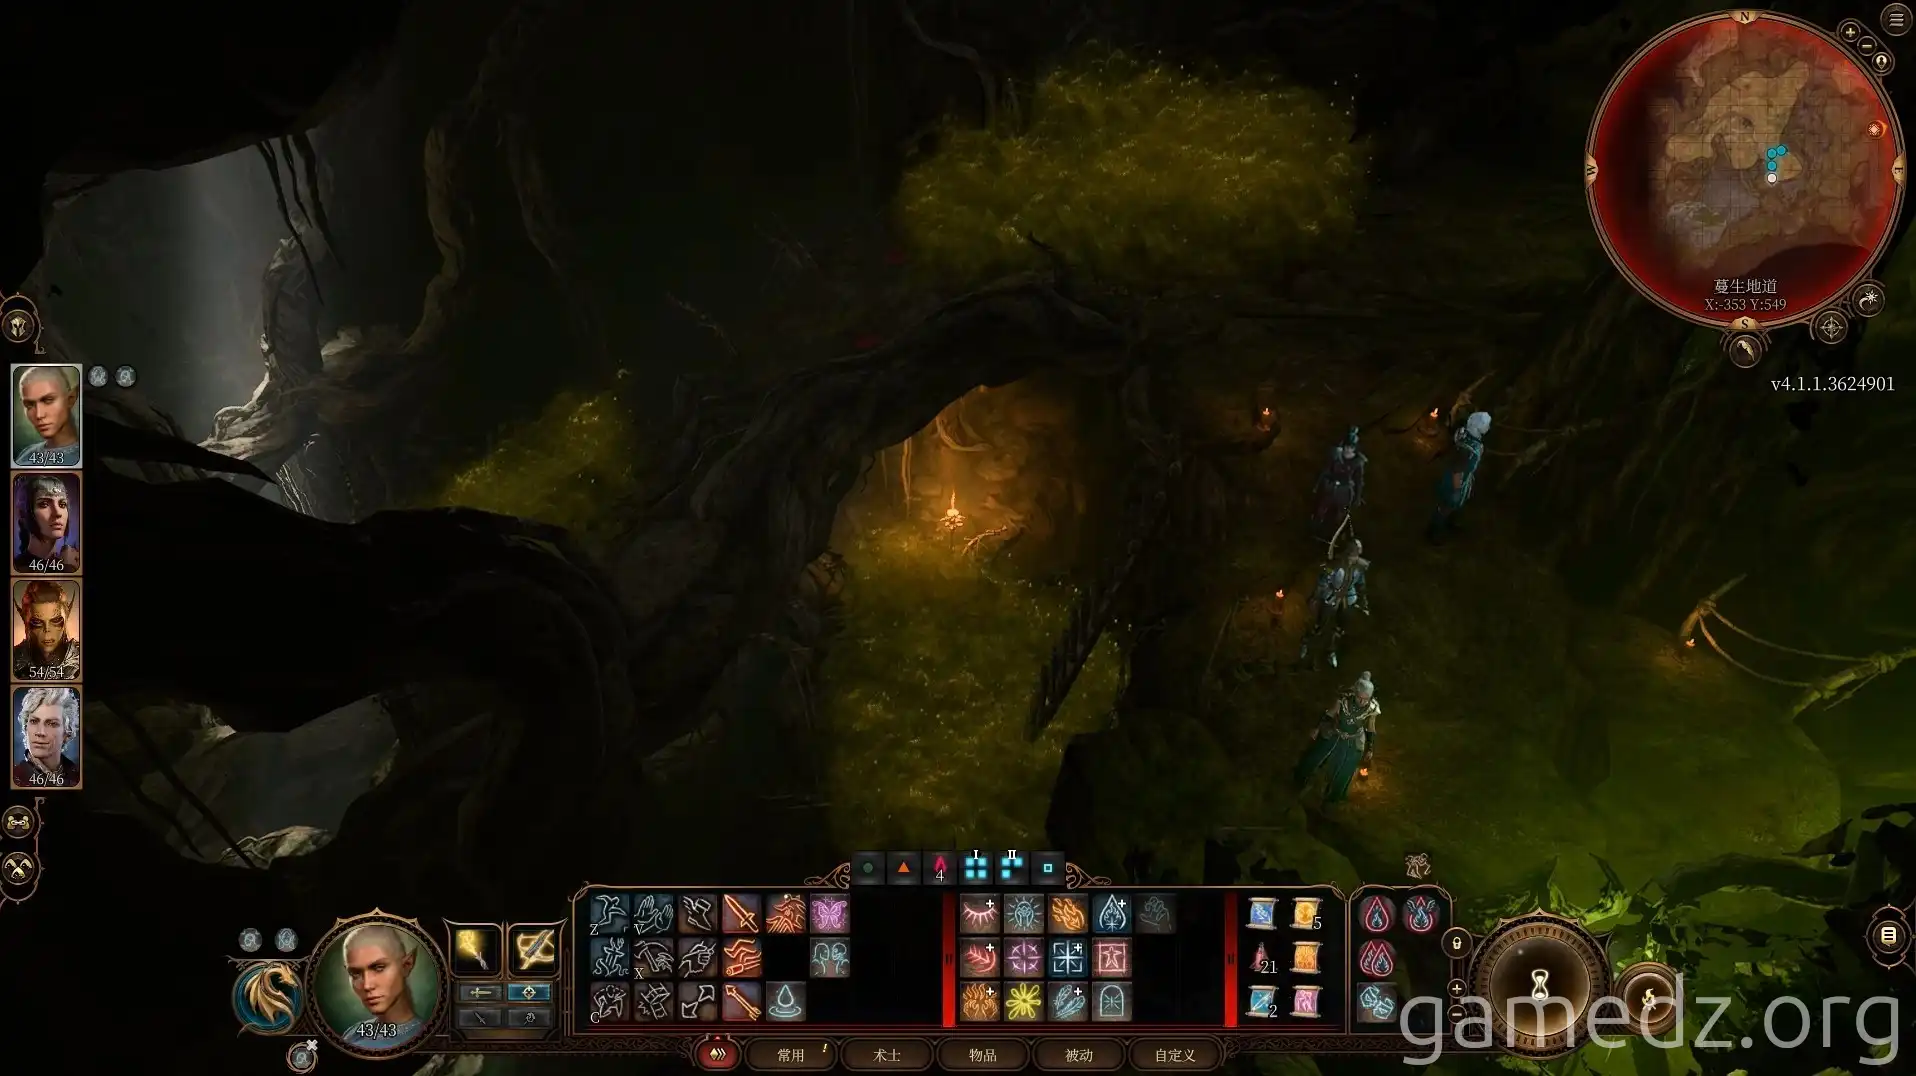
In the area ahead, you'll find many patches of poisonous gas, and within the gas are explosive flowers. Getting too close will result in both poisoning and explosion damage.
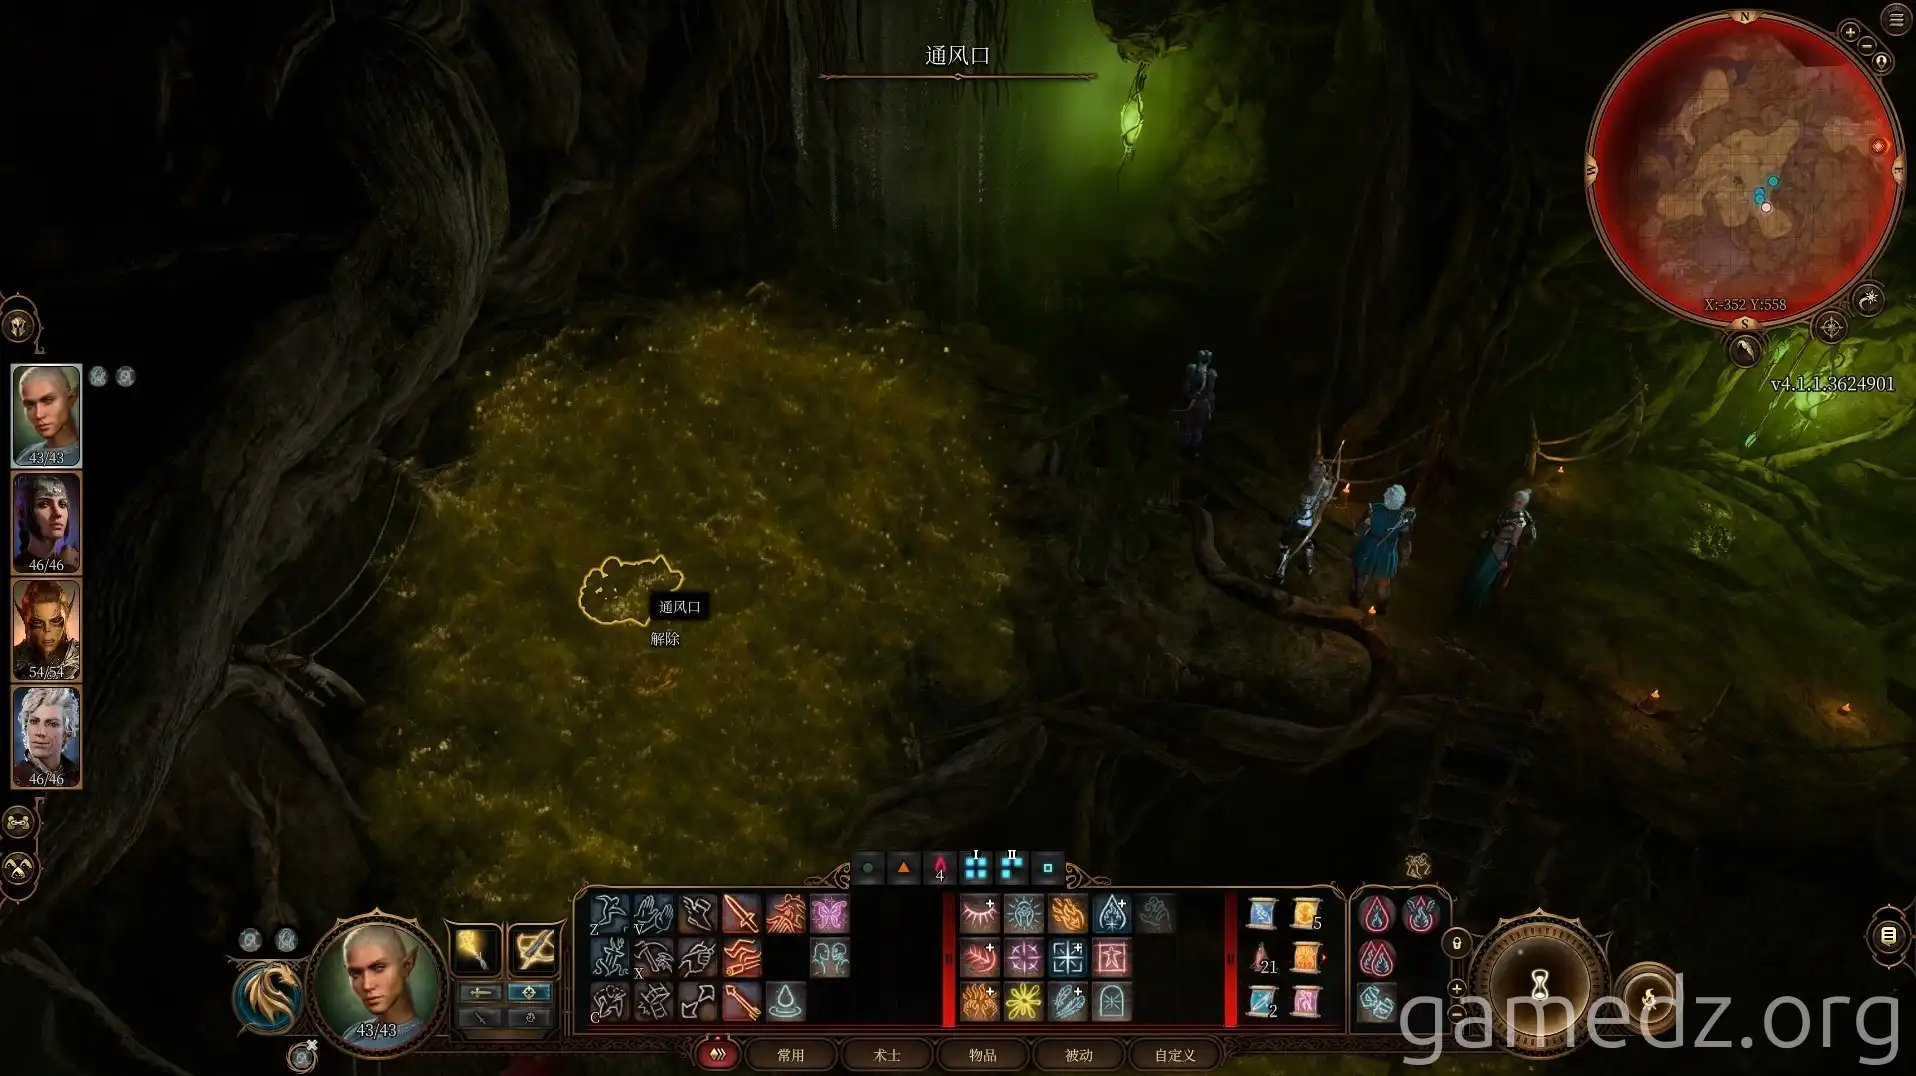
Passing a Perception check will allow you to locate ventilation shafts within the poisonous gas. Throwing anything into them, such as the Whispering Masks you've collected, can block the shafts and clear the gas.
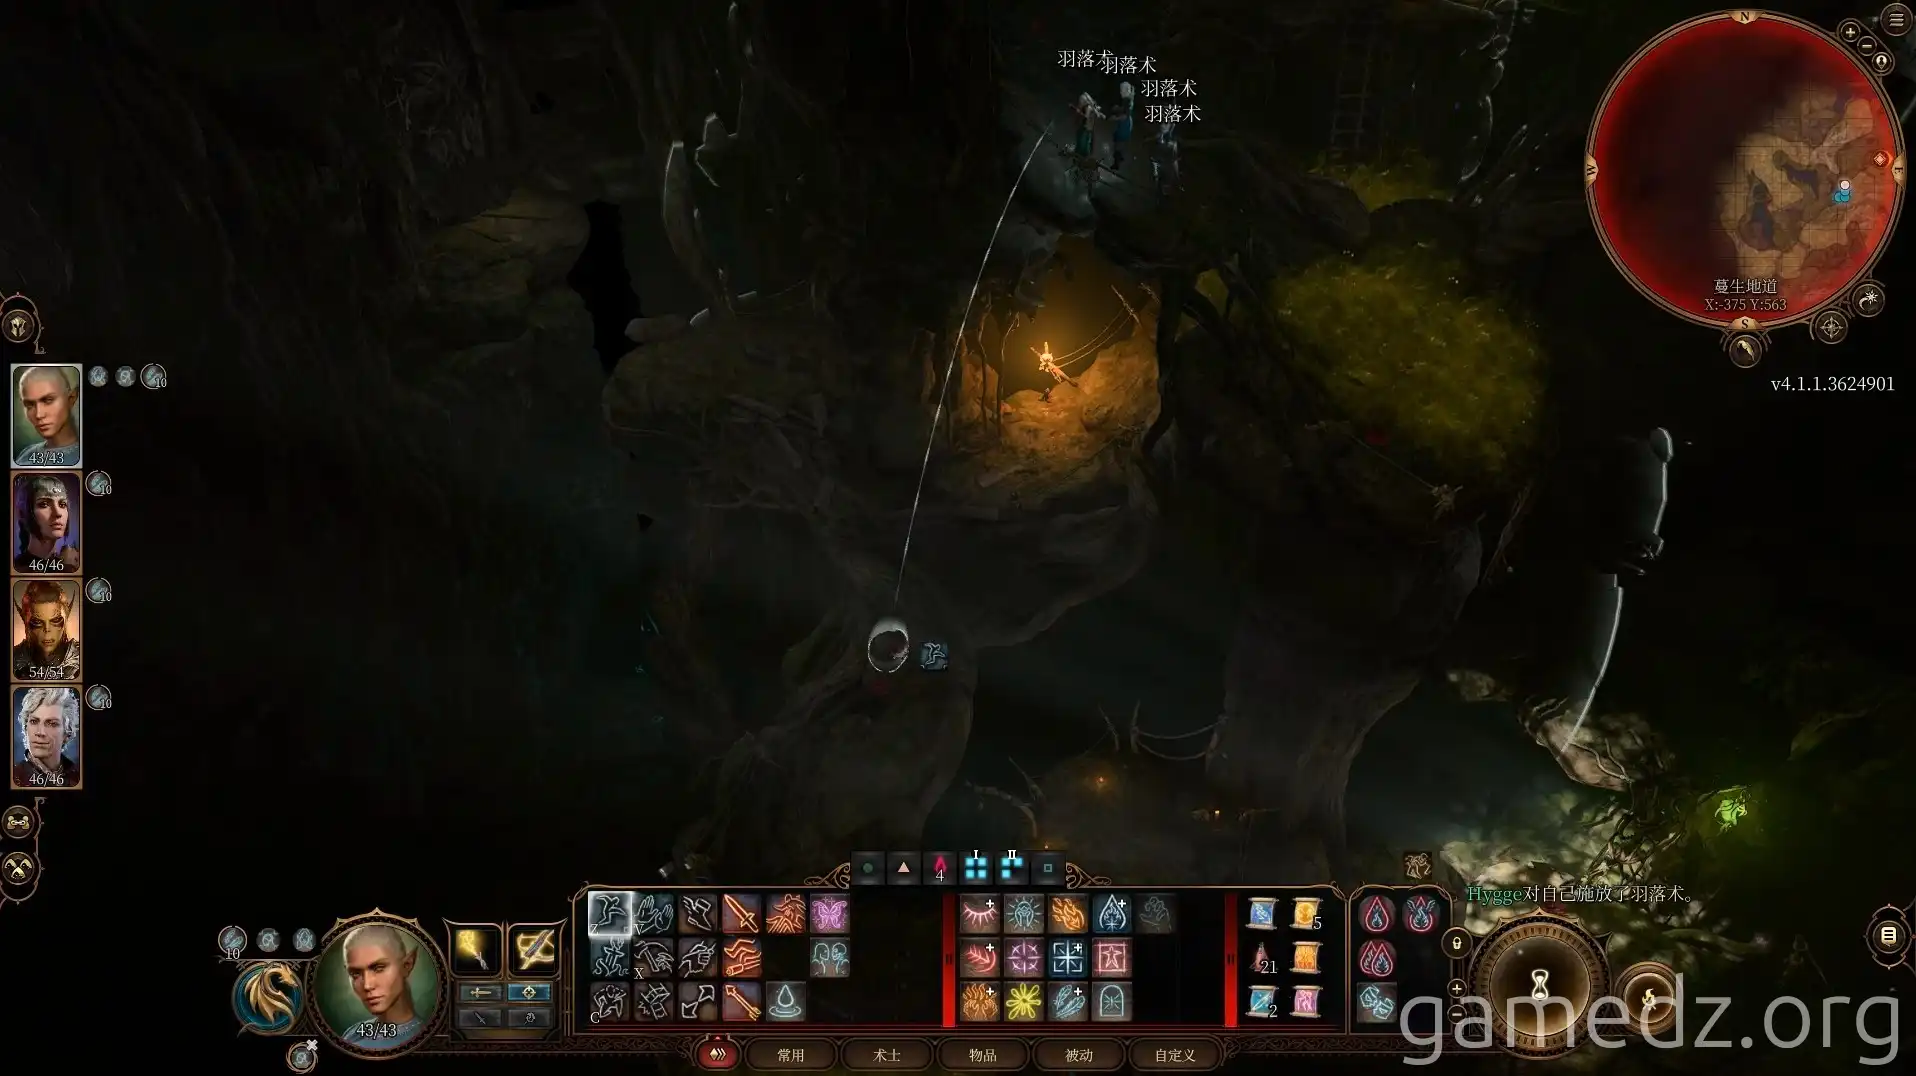
If you can't find the ventilation shafts, you can use Feather Fall to jump your way down. As a last resort, you can detonate the explosive flowers with alchemical fire and then endure the poison to reach the bottom.
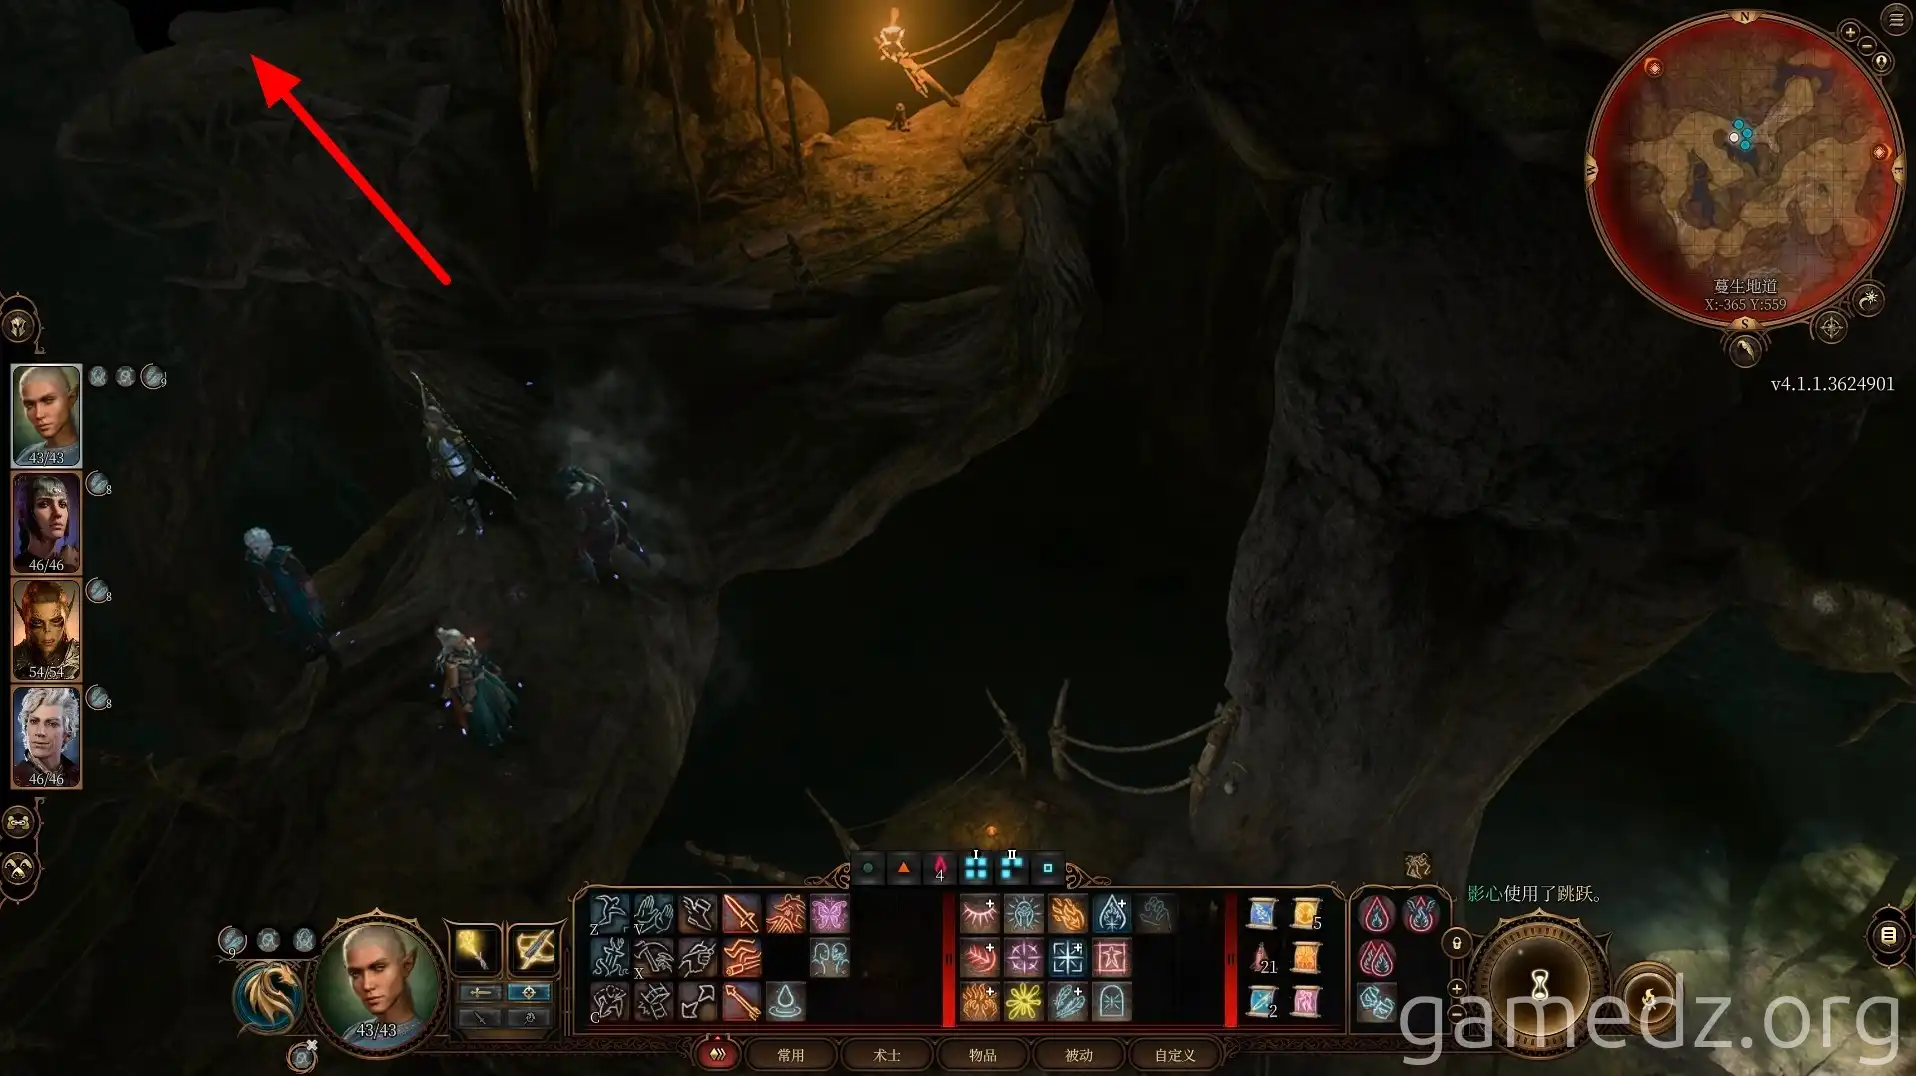
On the central vines, ascend diagonally to the other side.
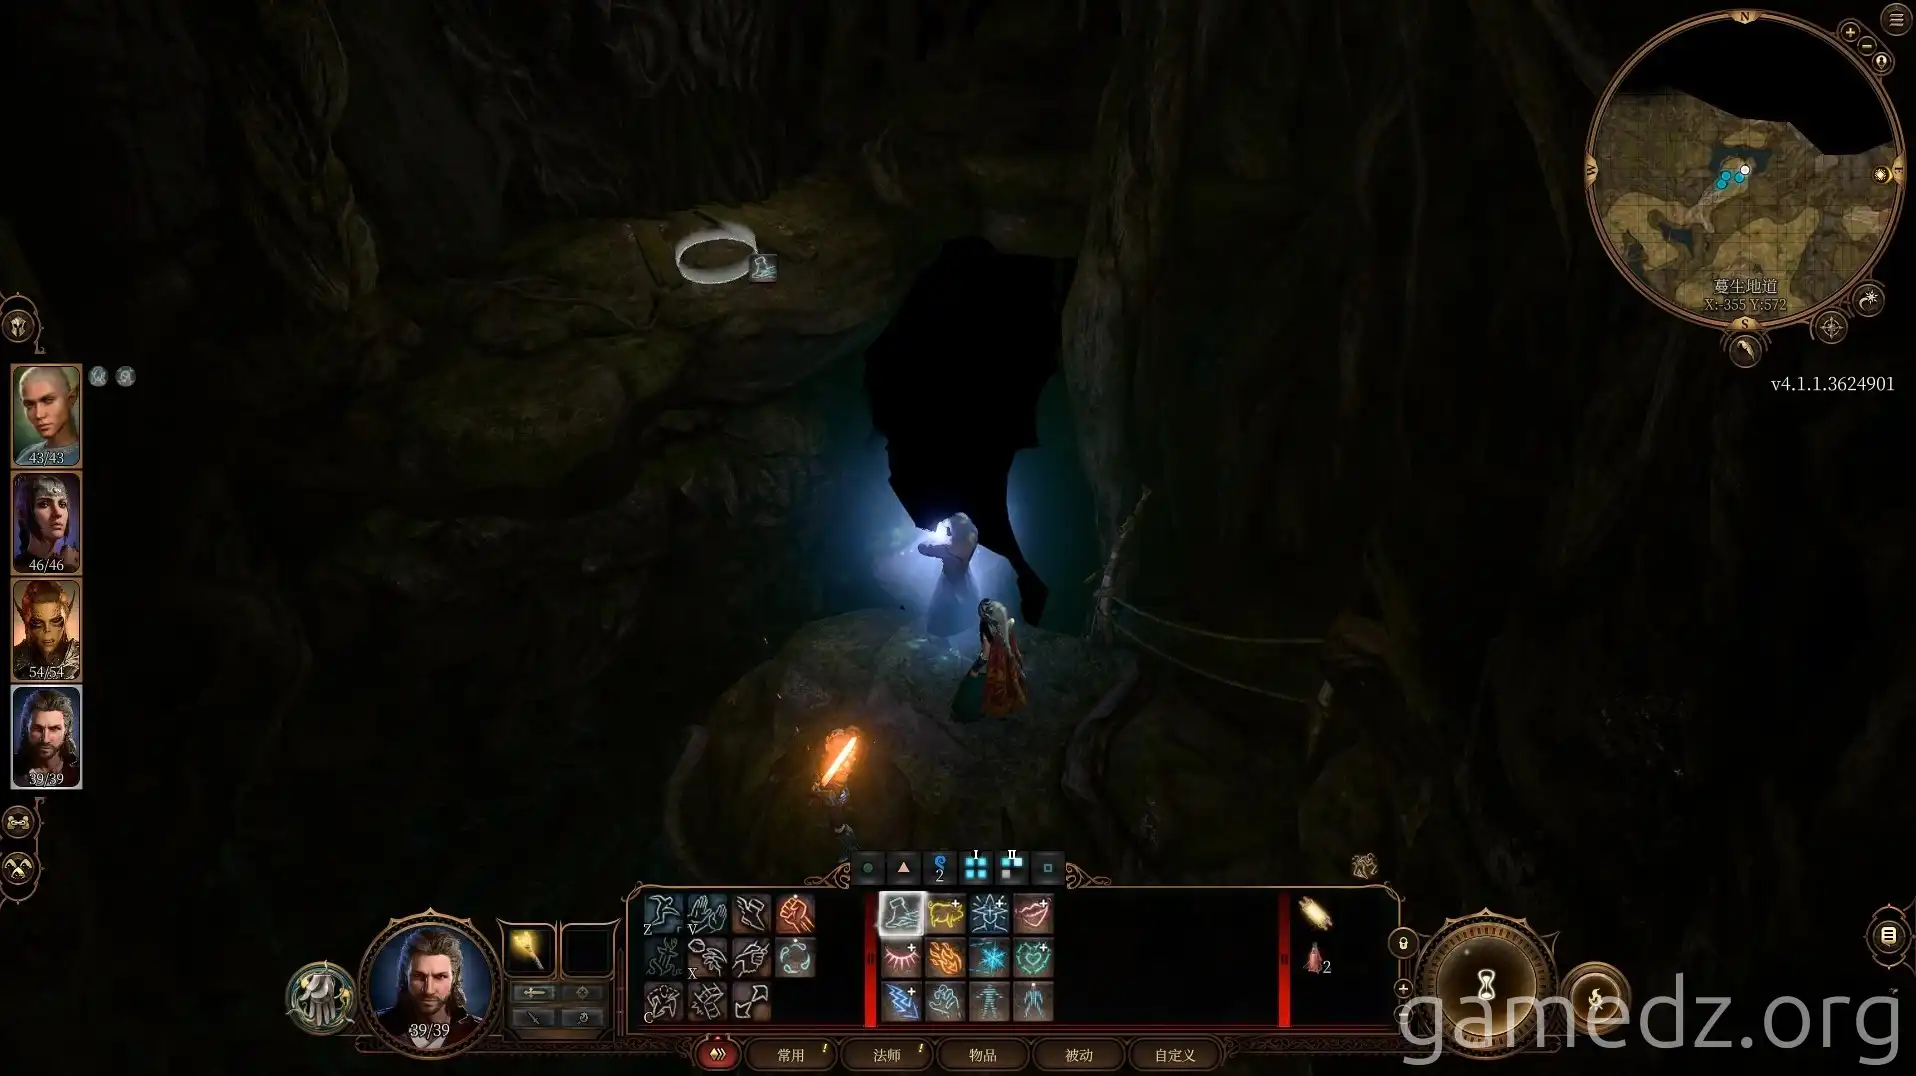
In the corner, use abilities like Misty Step to reach the higher platform. With the Whispering Mask equipped, you can pass through the door.
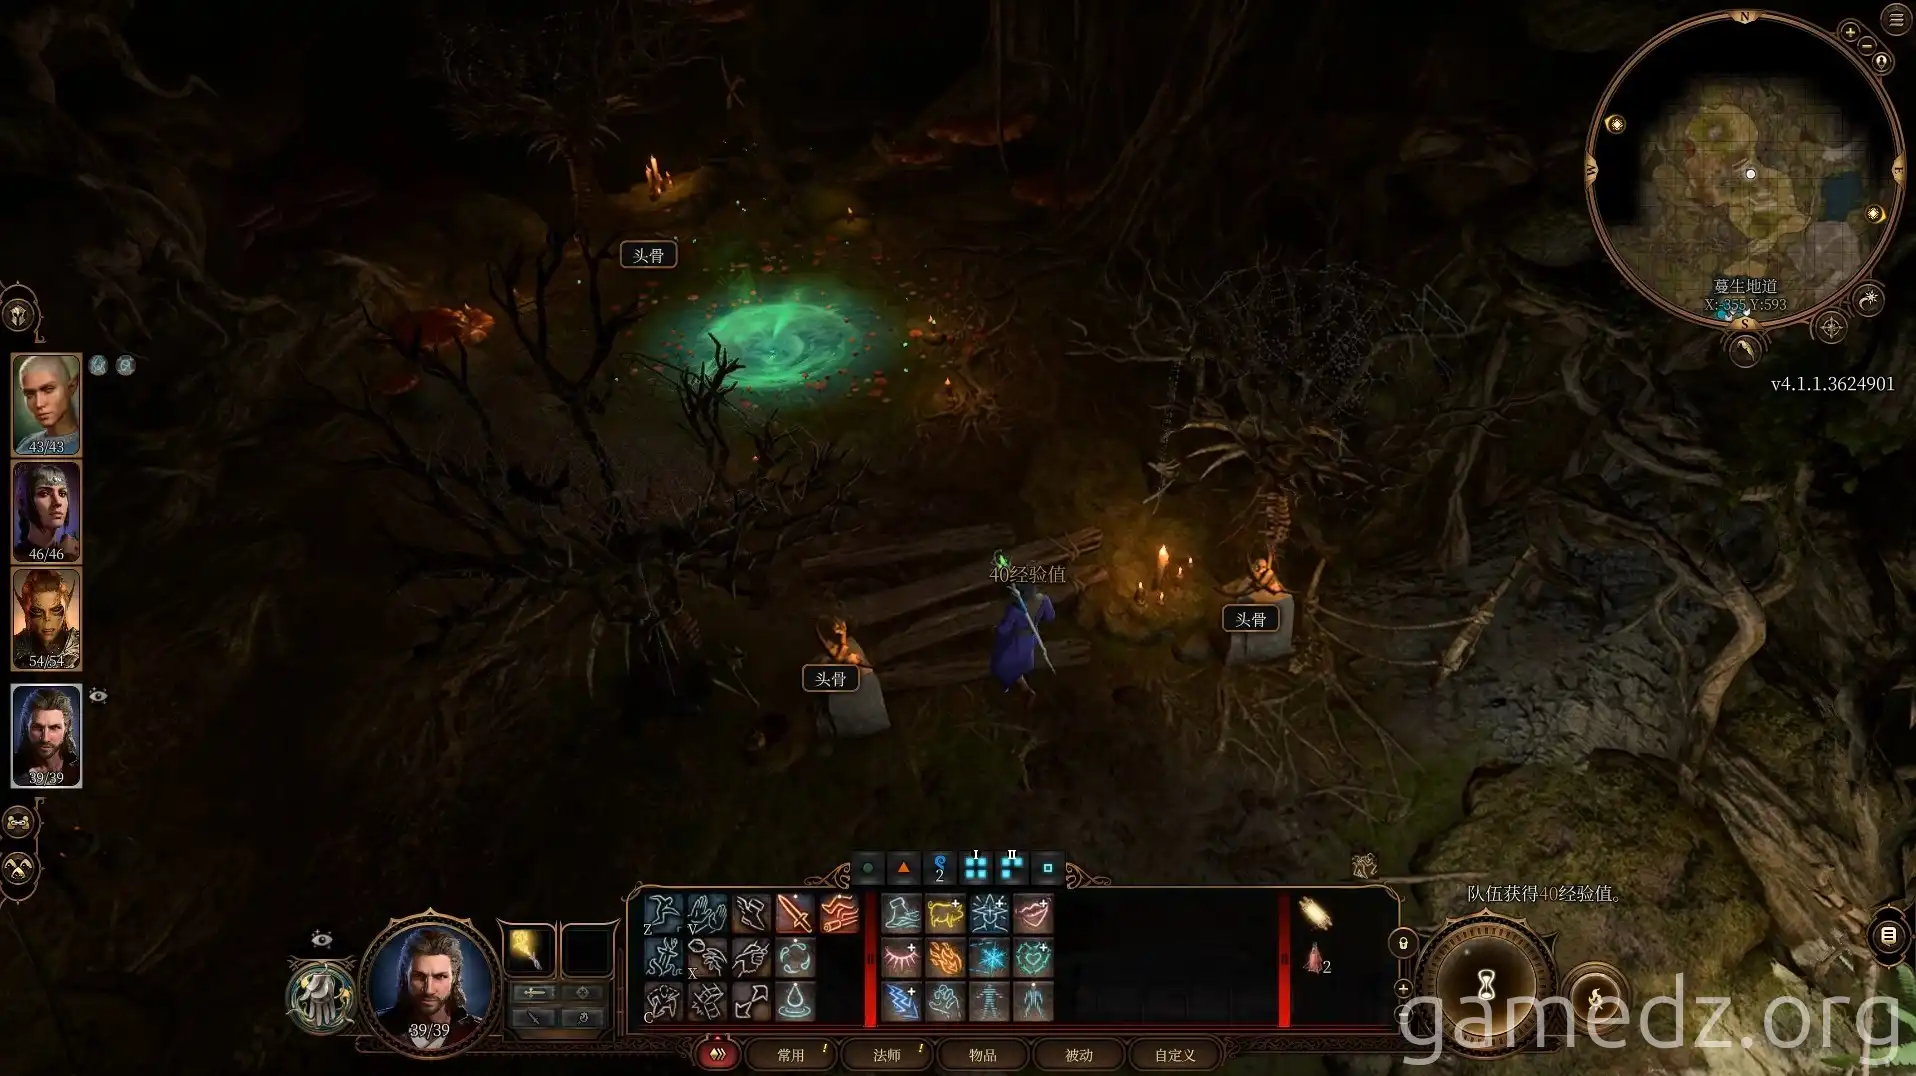
In the room behind the door, there's a portal to the Underdark. For now, ignore it and continue deeper underground.
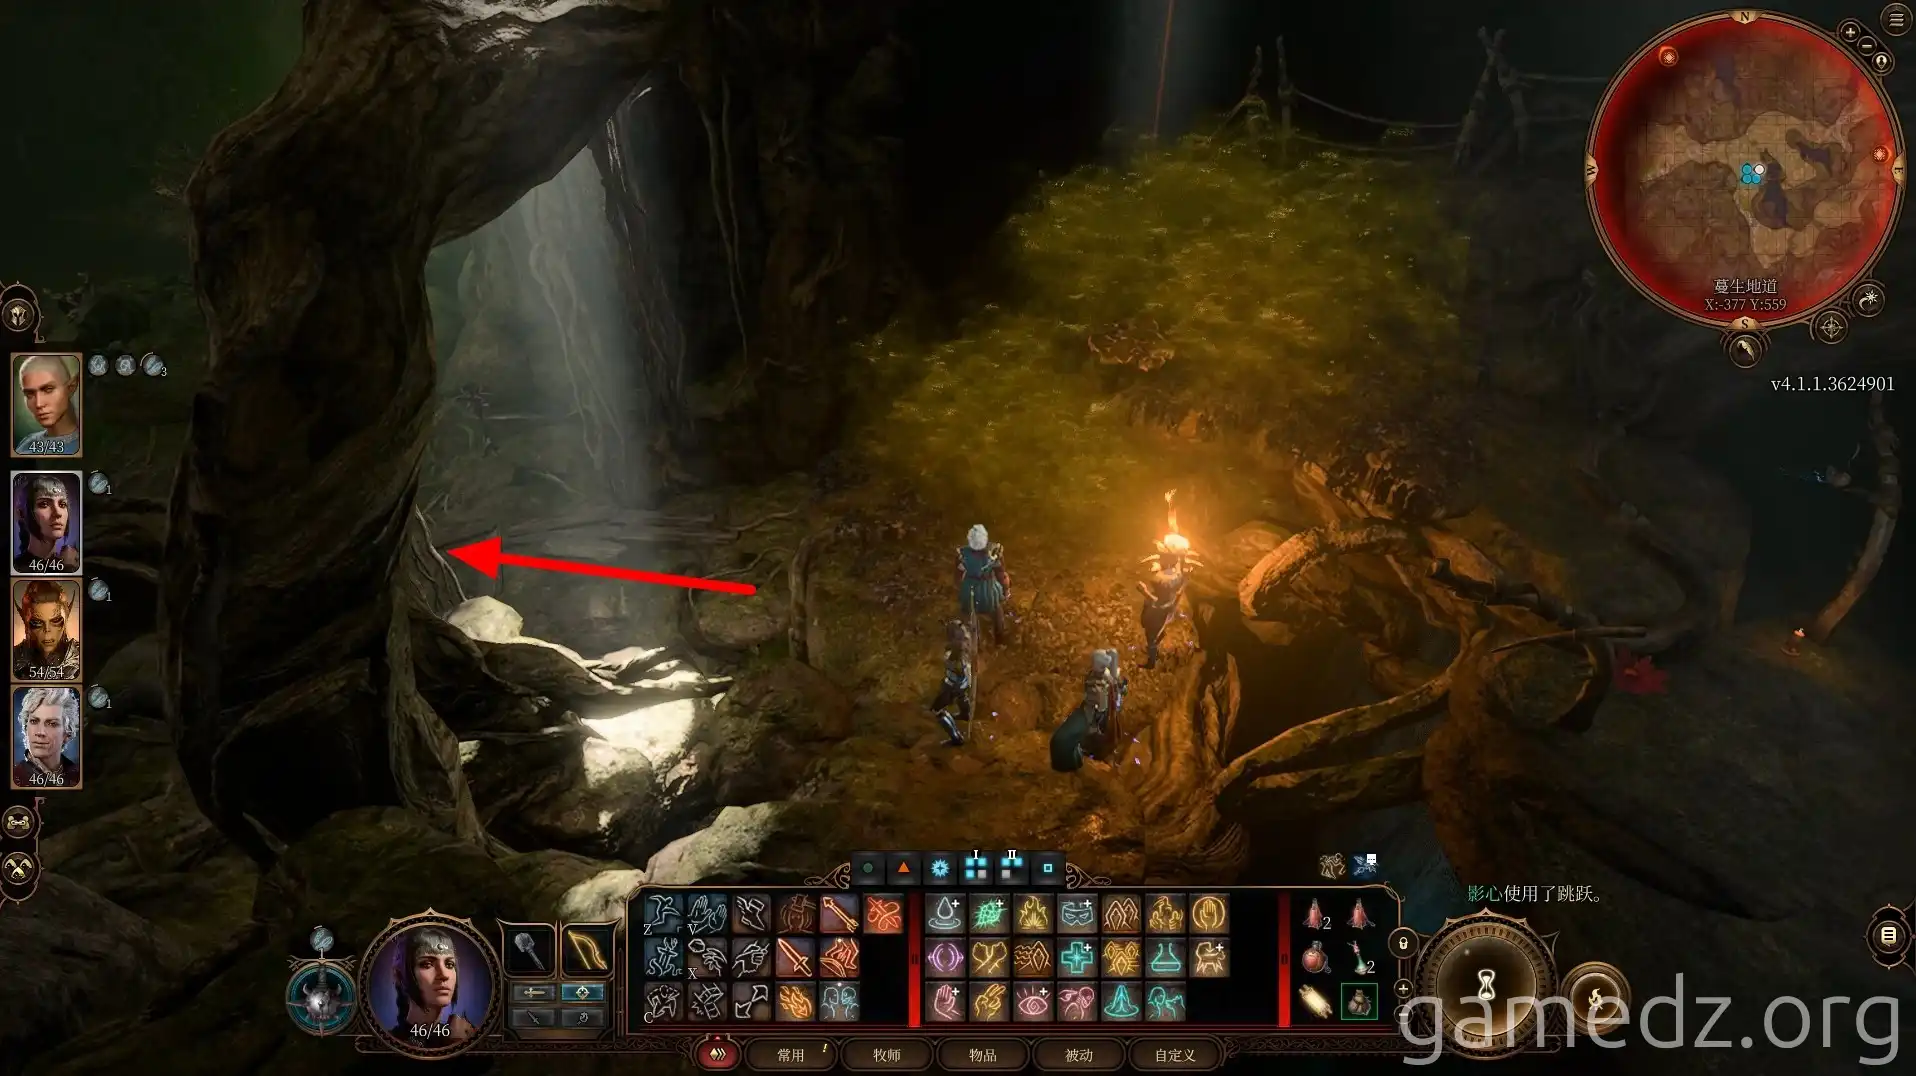
As you approach the Ancient Residence, leave a character with a sleep spell outside the door, allowing only three party members to enter the room.
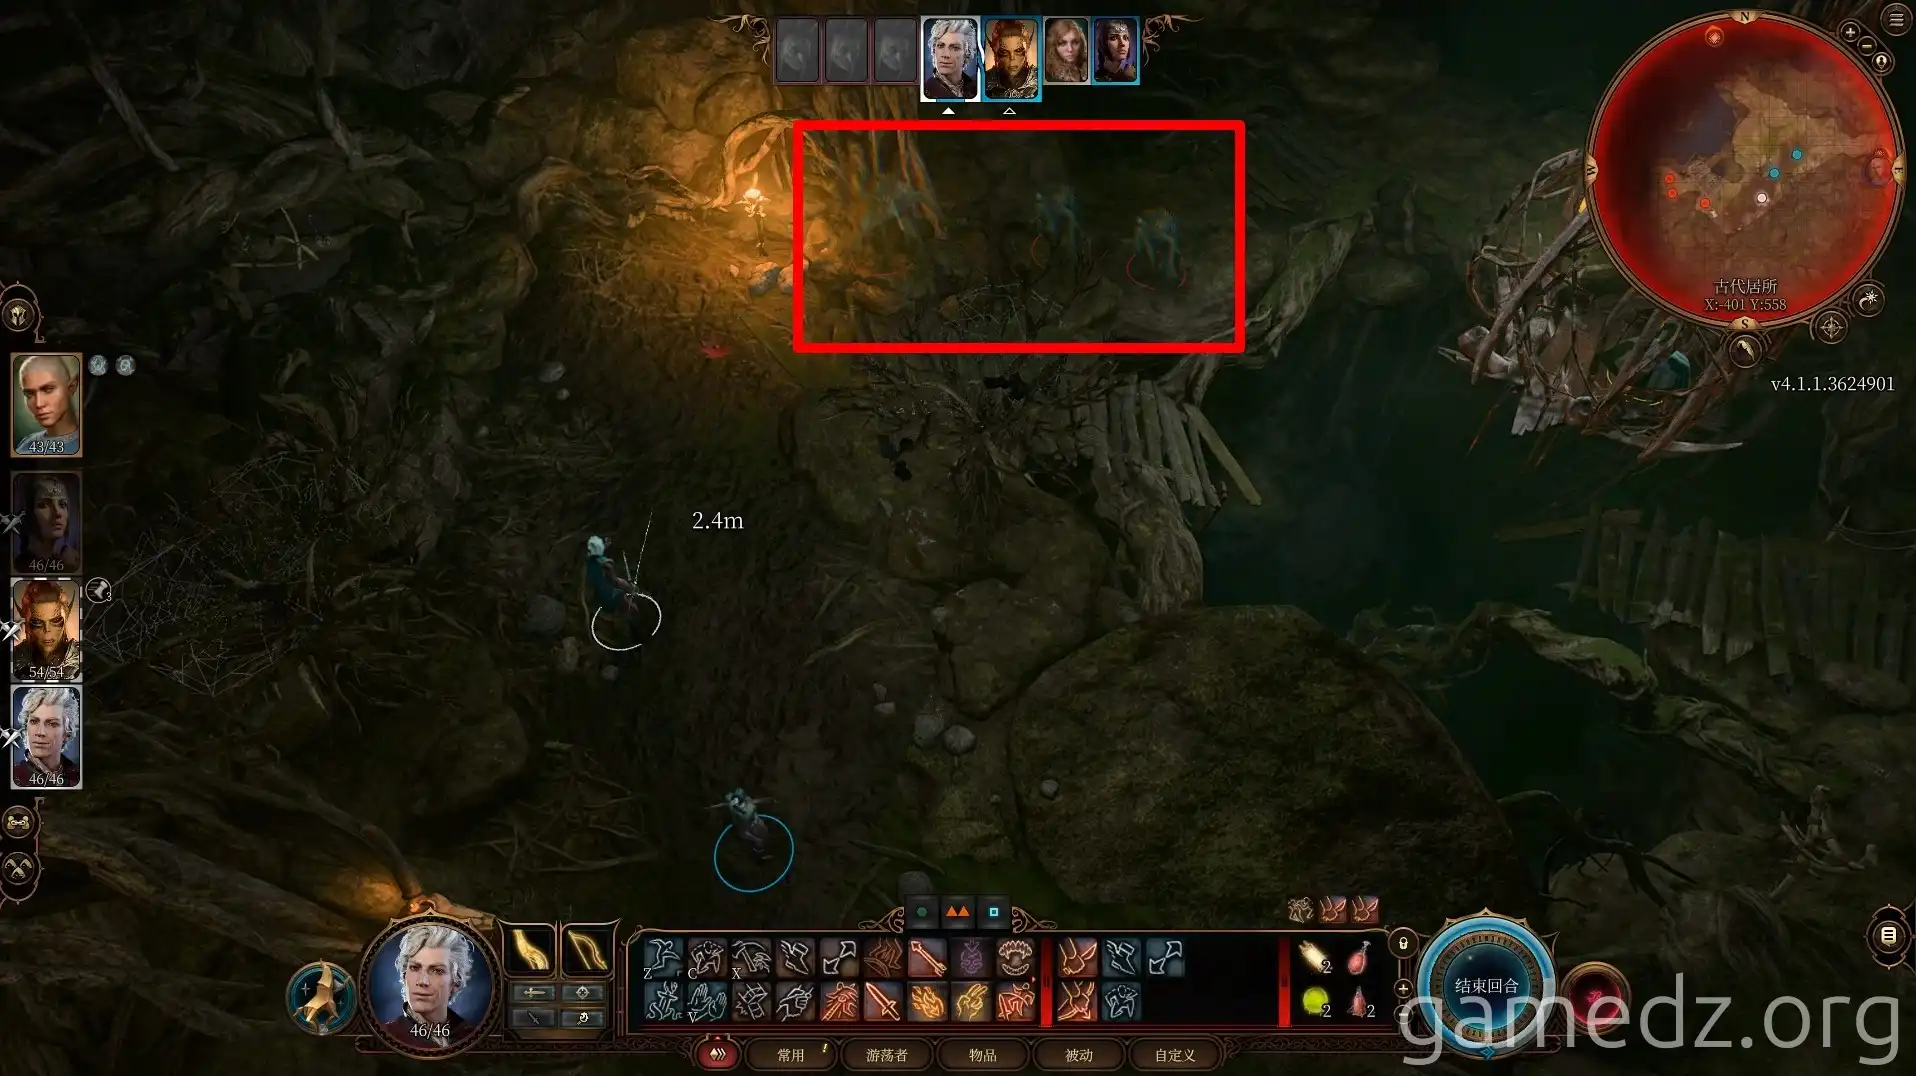
Upon entering the Ancient Residence, you'll begin combat with the Hag. The Hag will first set fire to the wooden cage containing Melina. To protect the cage, you can use Create Water to extinguish the flames.
The Hag can use a duplication ability. You can utilize your wizard's Magic Missile to attack three Hags simultaneously; the duplicates will disappear immediately upon being hit.
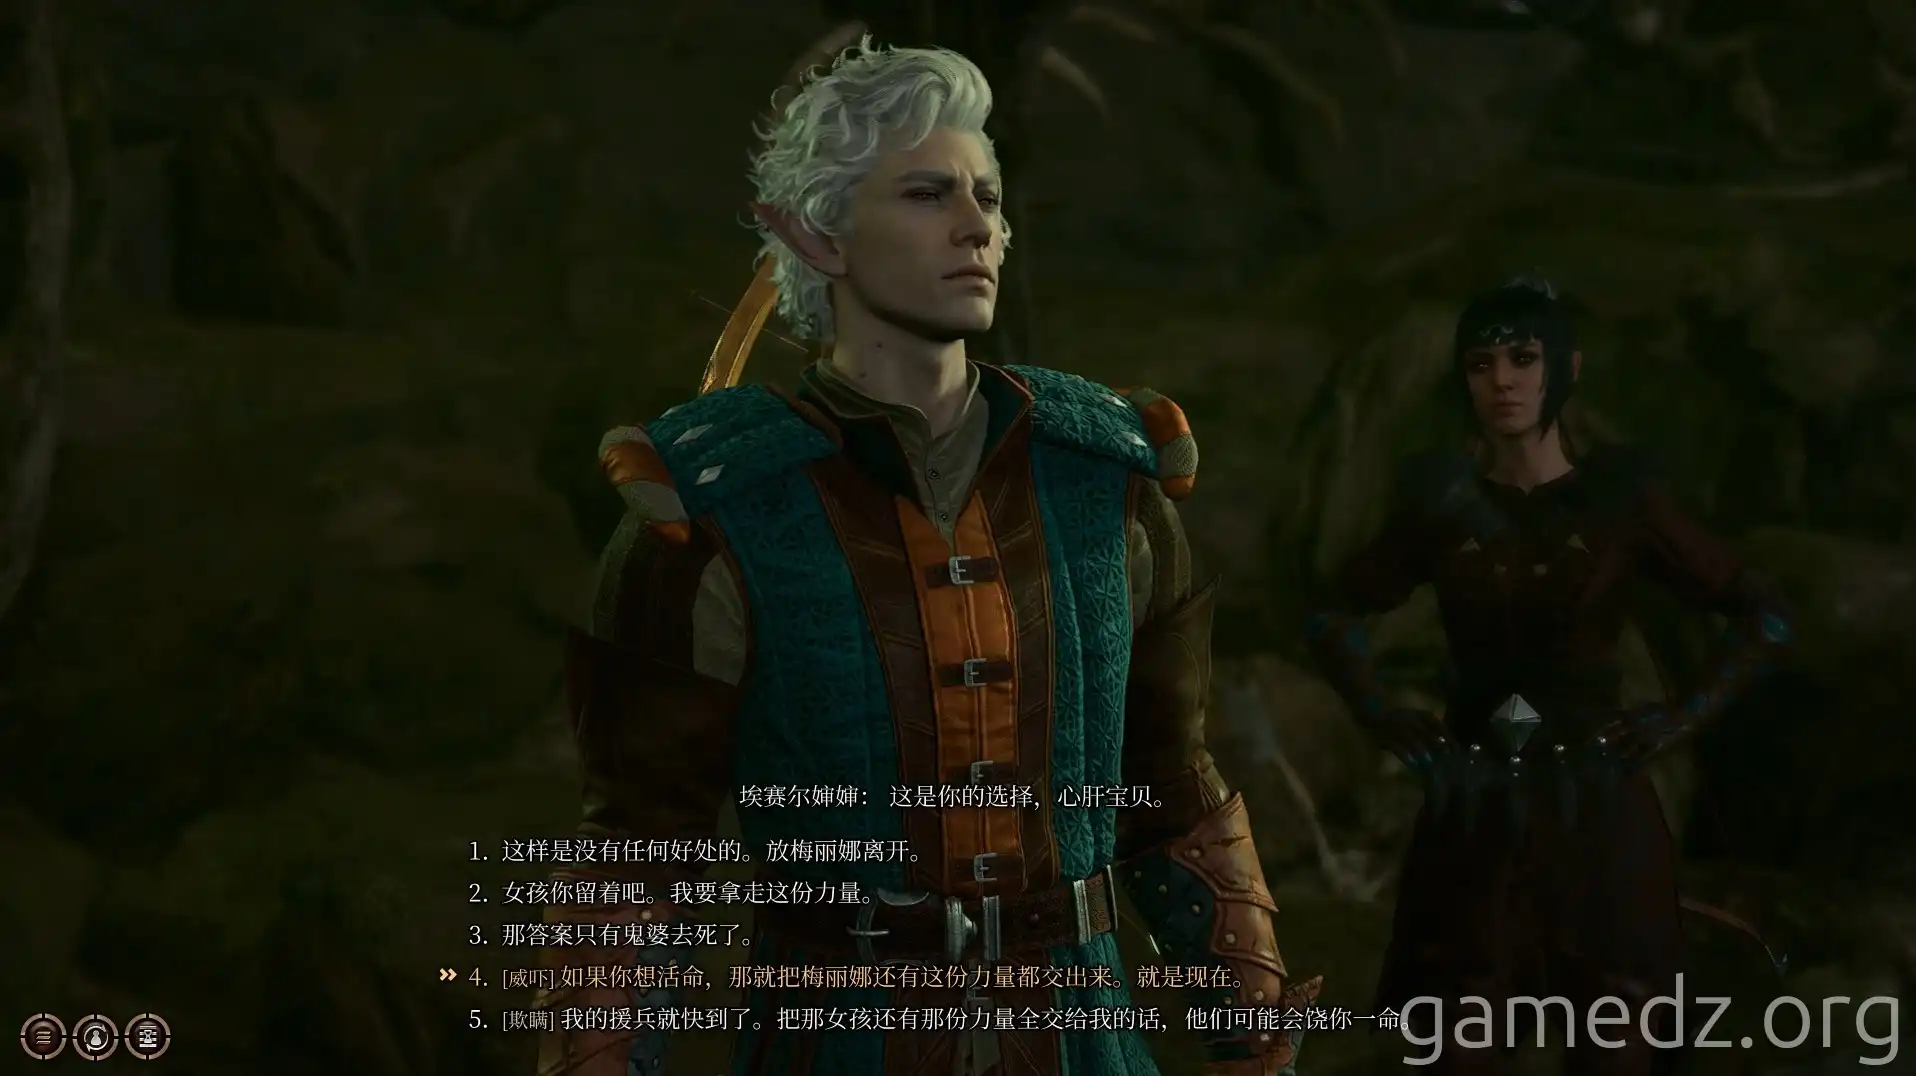
When the Hag's health drops to 20% or lower, she will attempt to negotiate during her turn. You'll need to pass checks like Intimidation or Deception to persuade the Hag to spare Melina while also retaining her power.
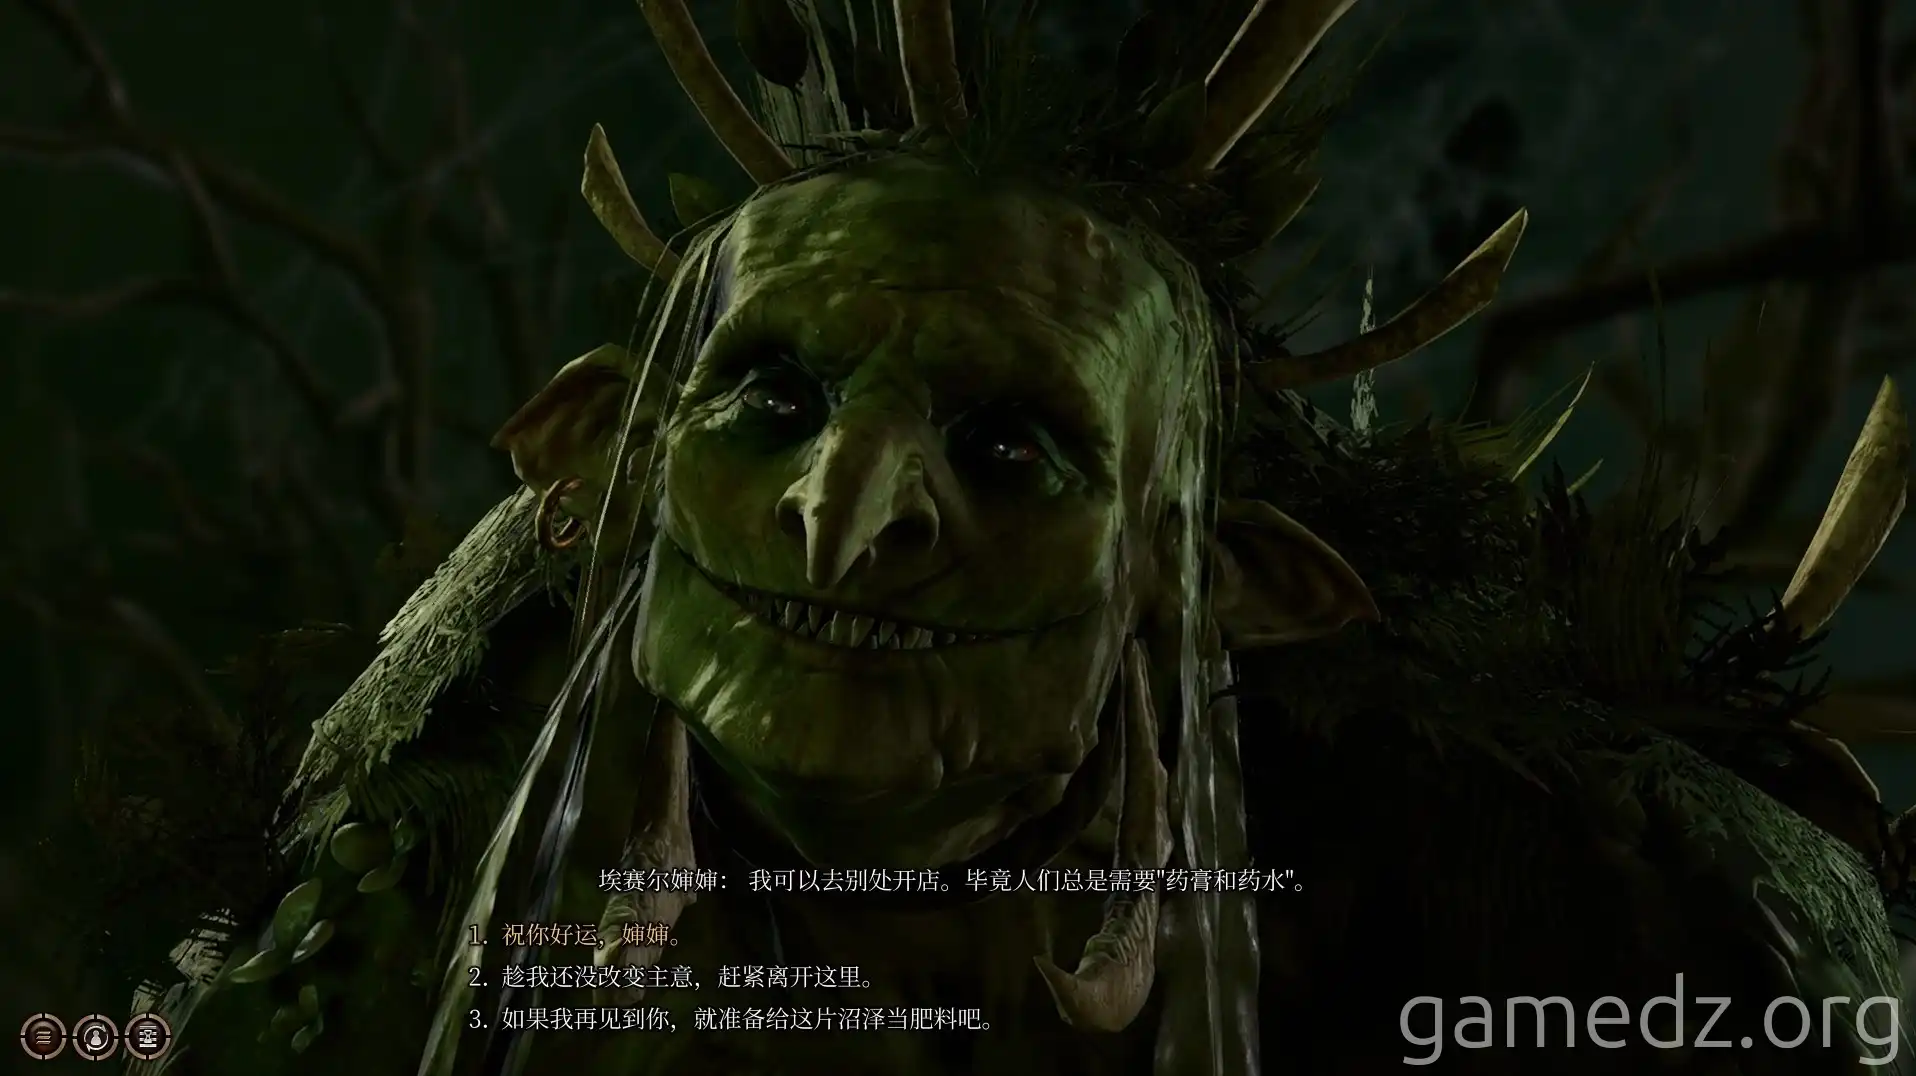
When you reach the dialogue stage with options, immediately switch to the character you left outside the door.
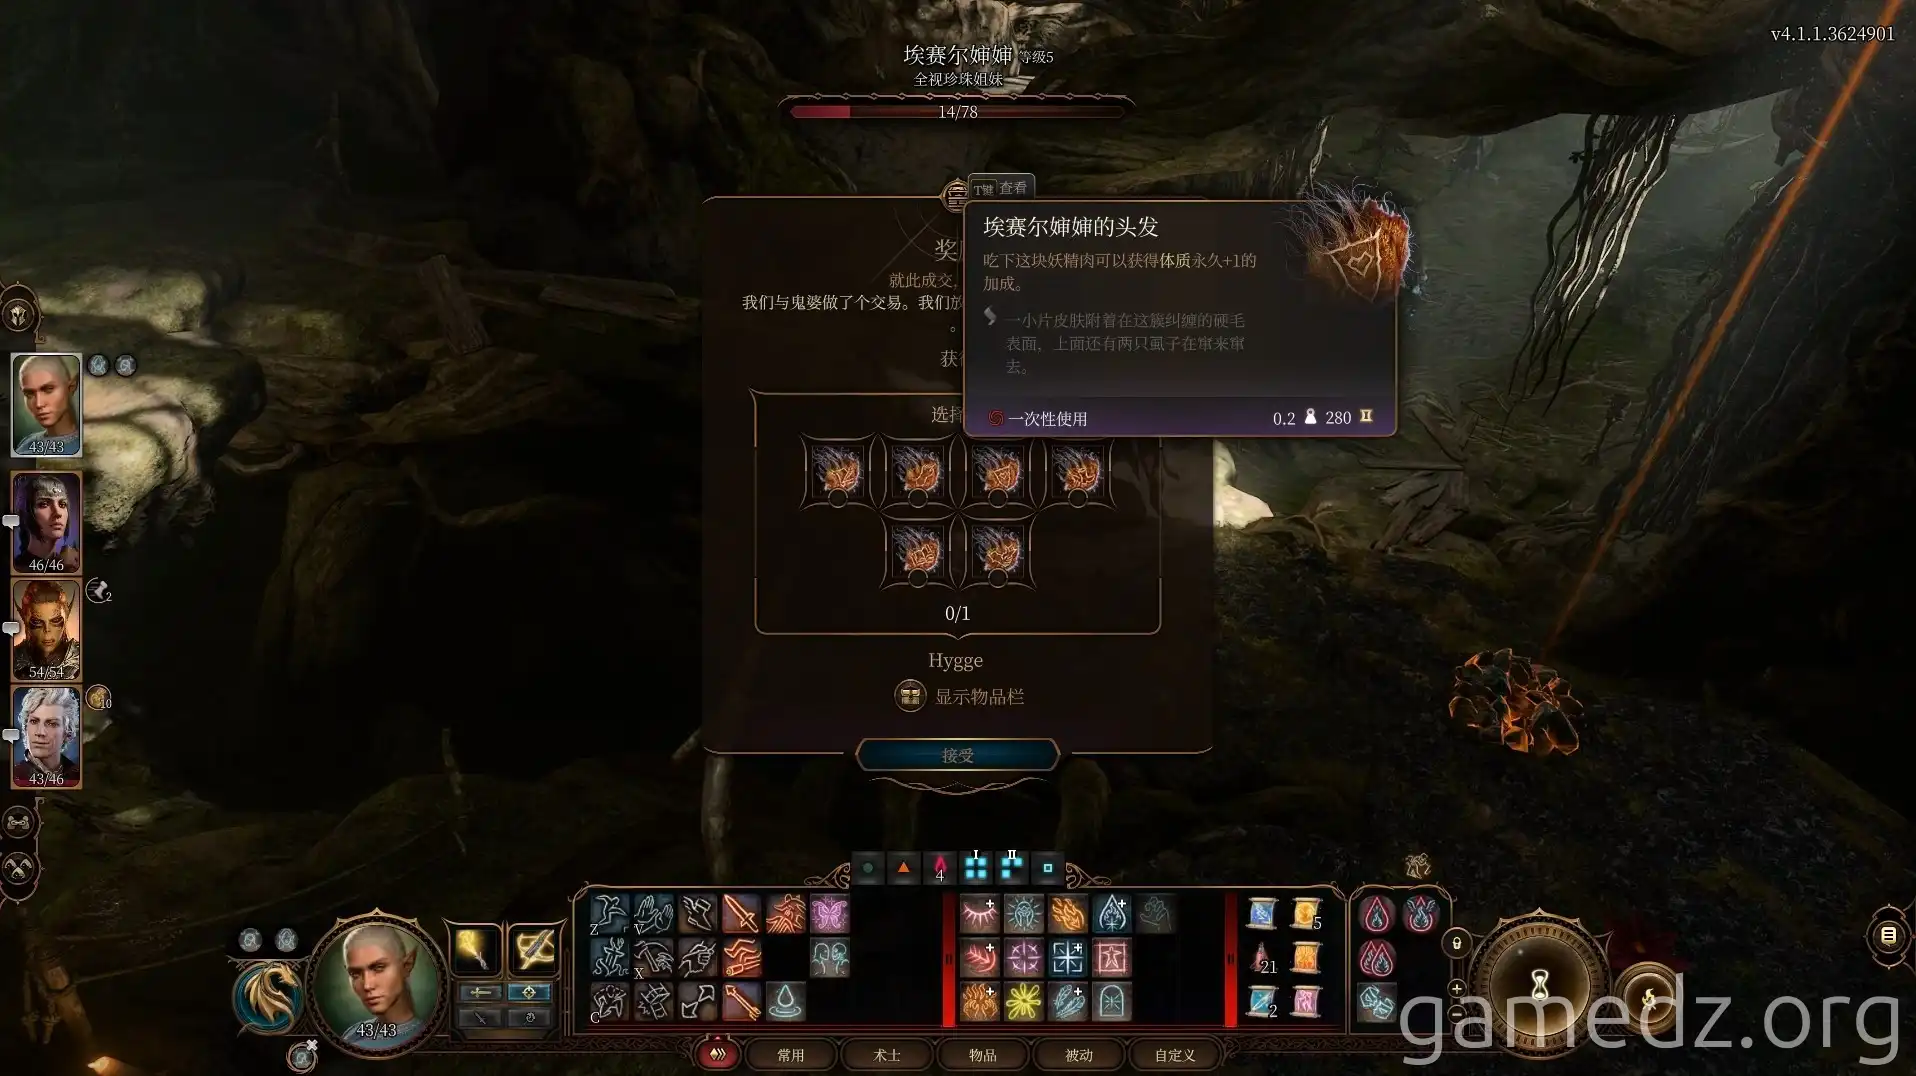
At this point, you can immediately obtain the Hag's hair, allowing you to permanently increase one of your six attributes.
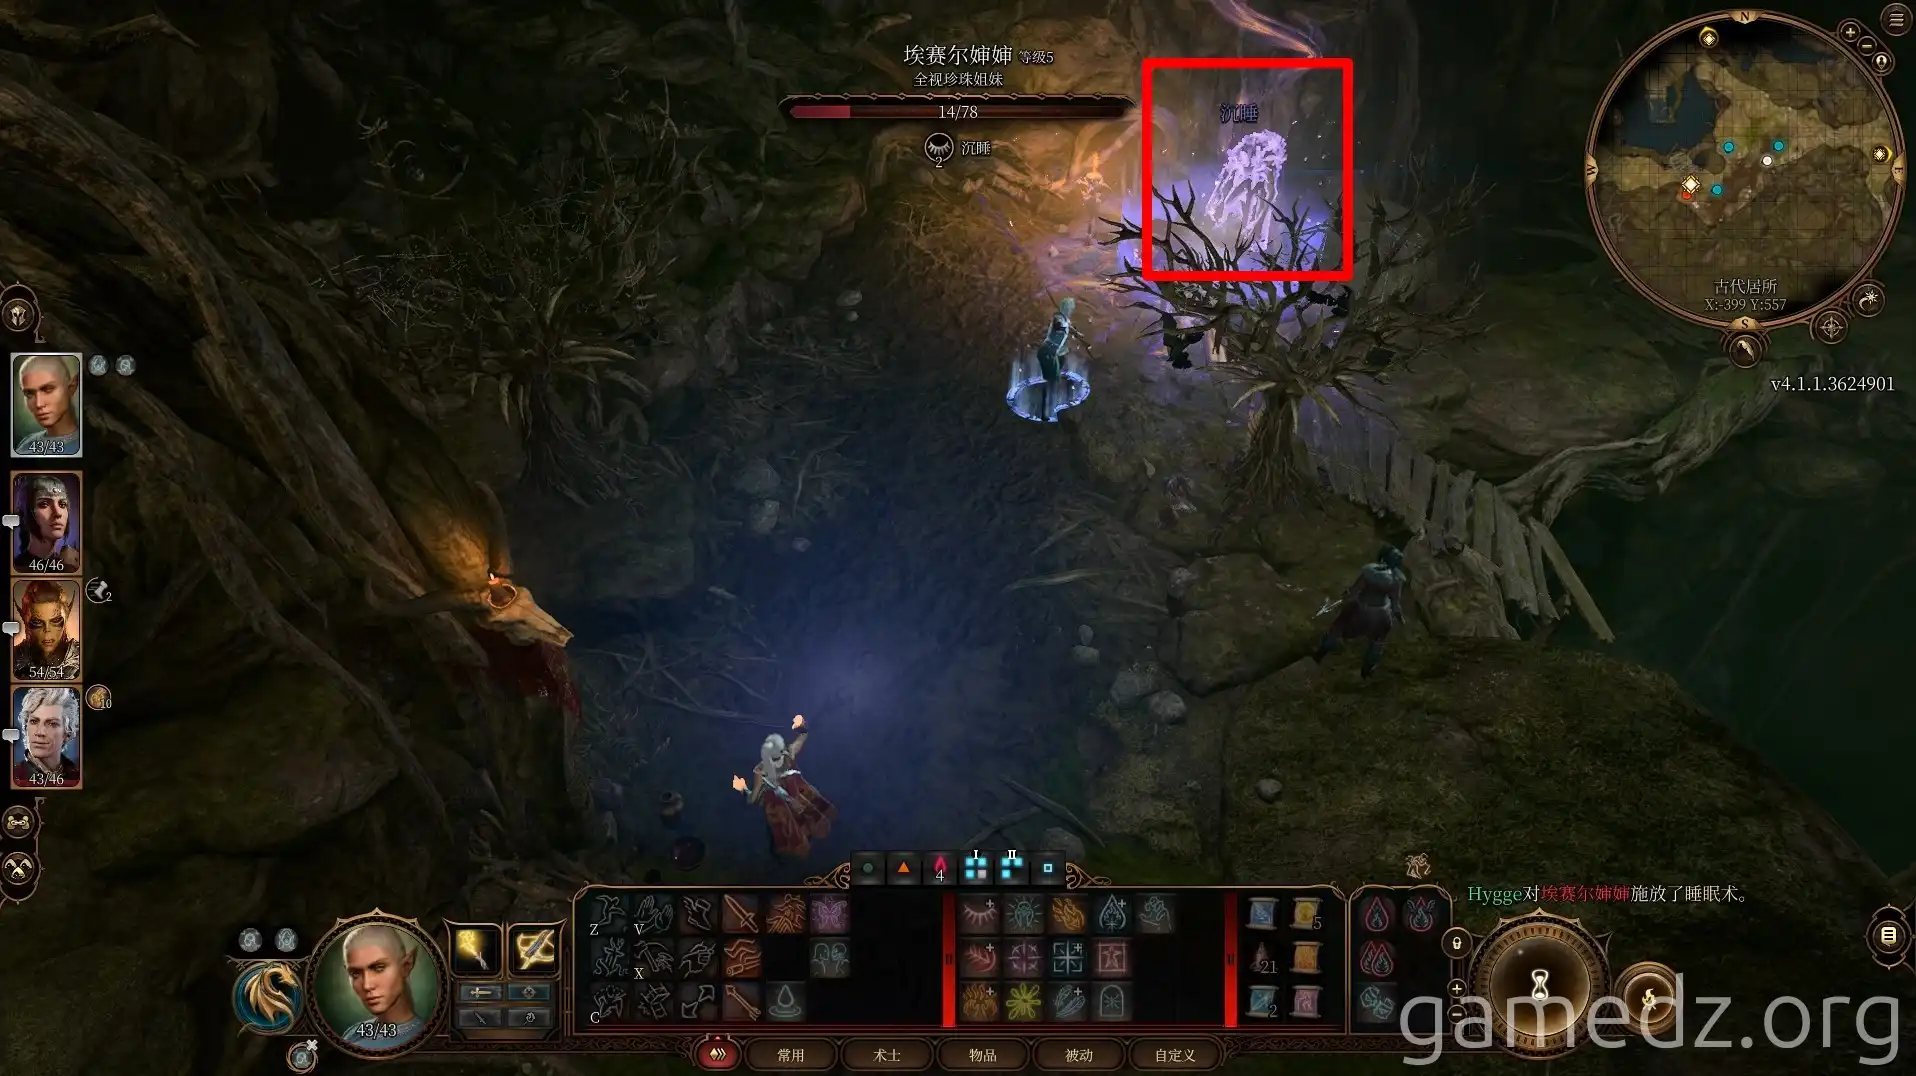
Then, have the character you left outside rejoin the fight and cast Sleep to incapacitate the Hag.
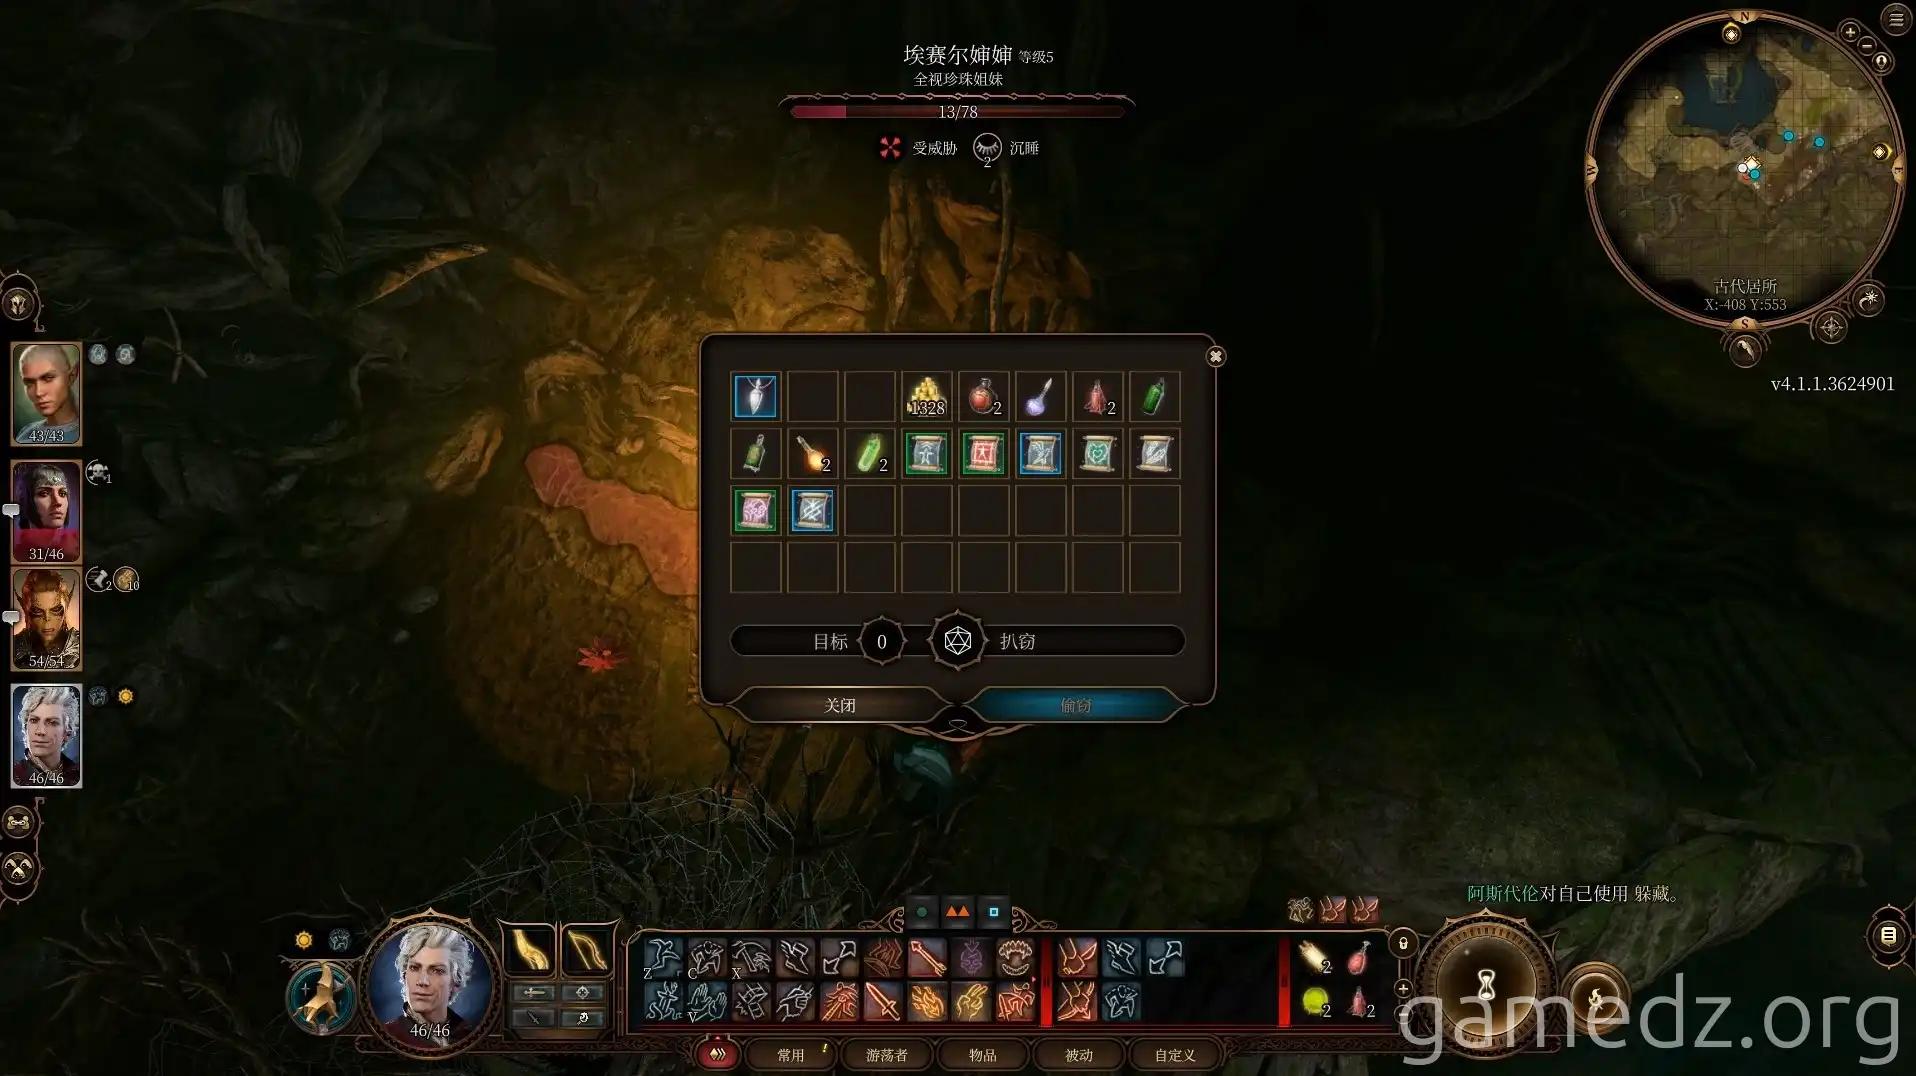
This allows you to steal a large amount of loot from the Hag. After looting everything, you can then defeat her.

After defeating the Hag, speak with Melina to learn that she sought to resurrect her husband.
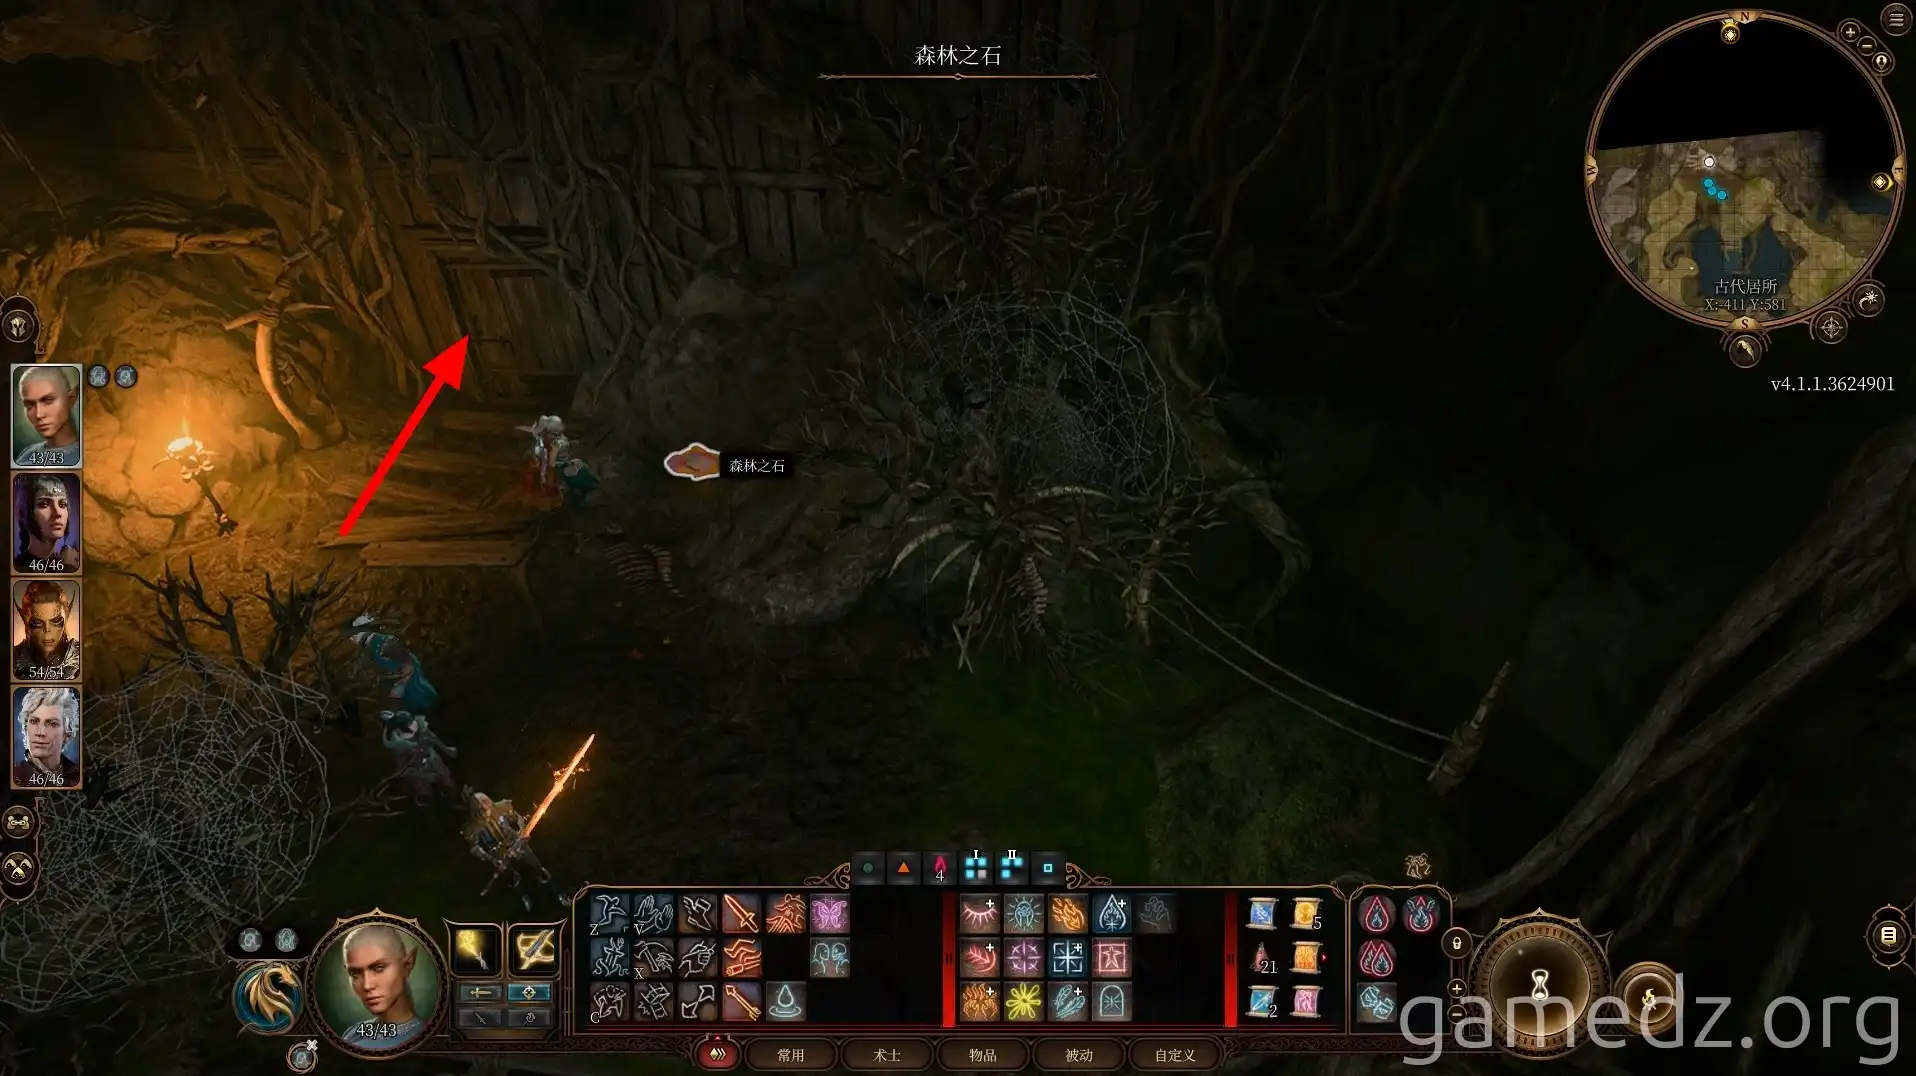
Exit the area through the north door into the Noxious Alchemist's Workshop.
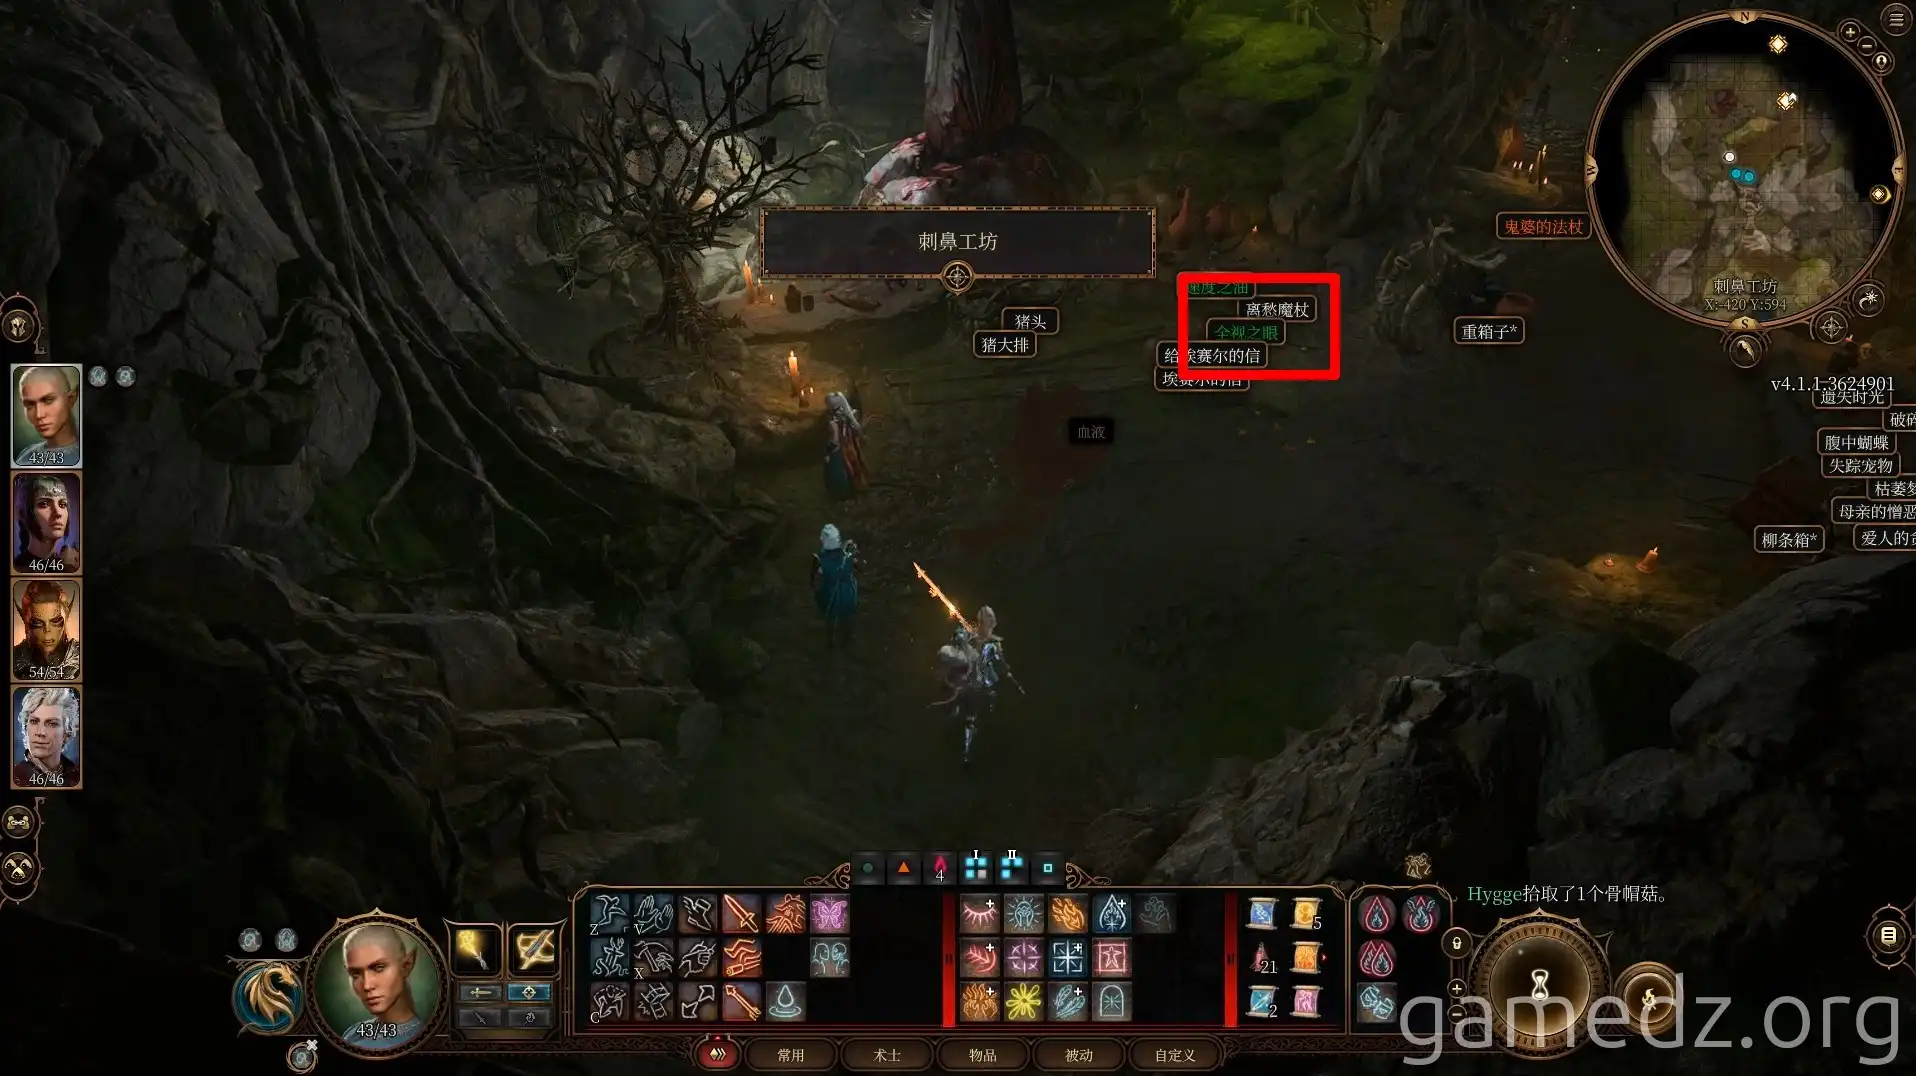
In this room, you'll find many potions and equipment. On the table near the entrance, you can obtain the fine circlet, All-Seeing Eye, and the quest item, Sorrow Mace.
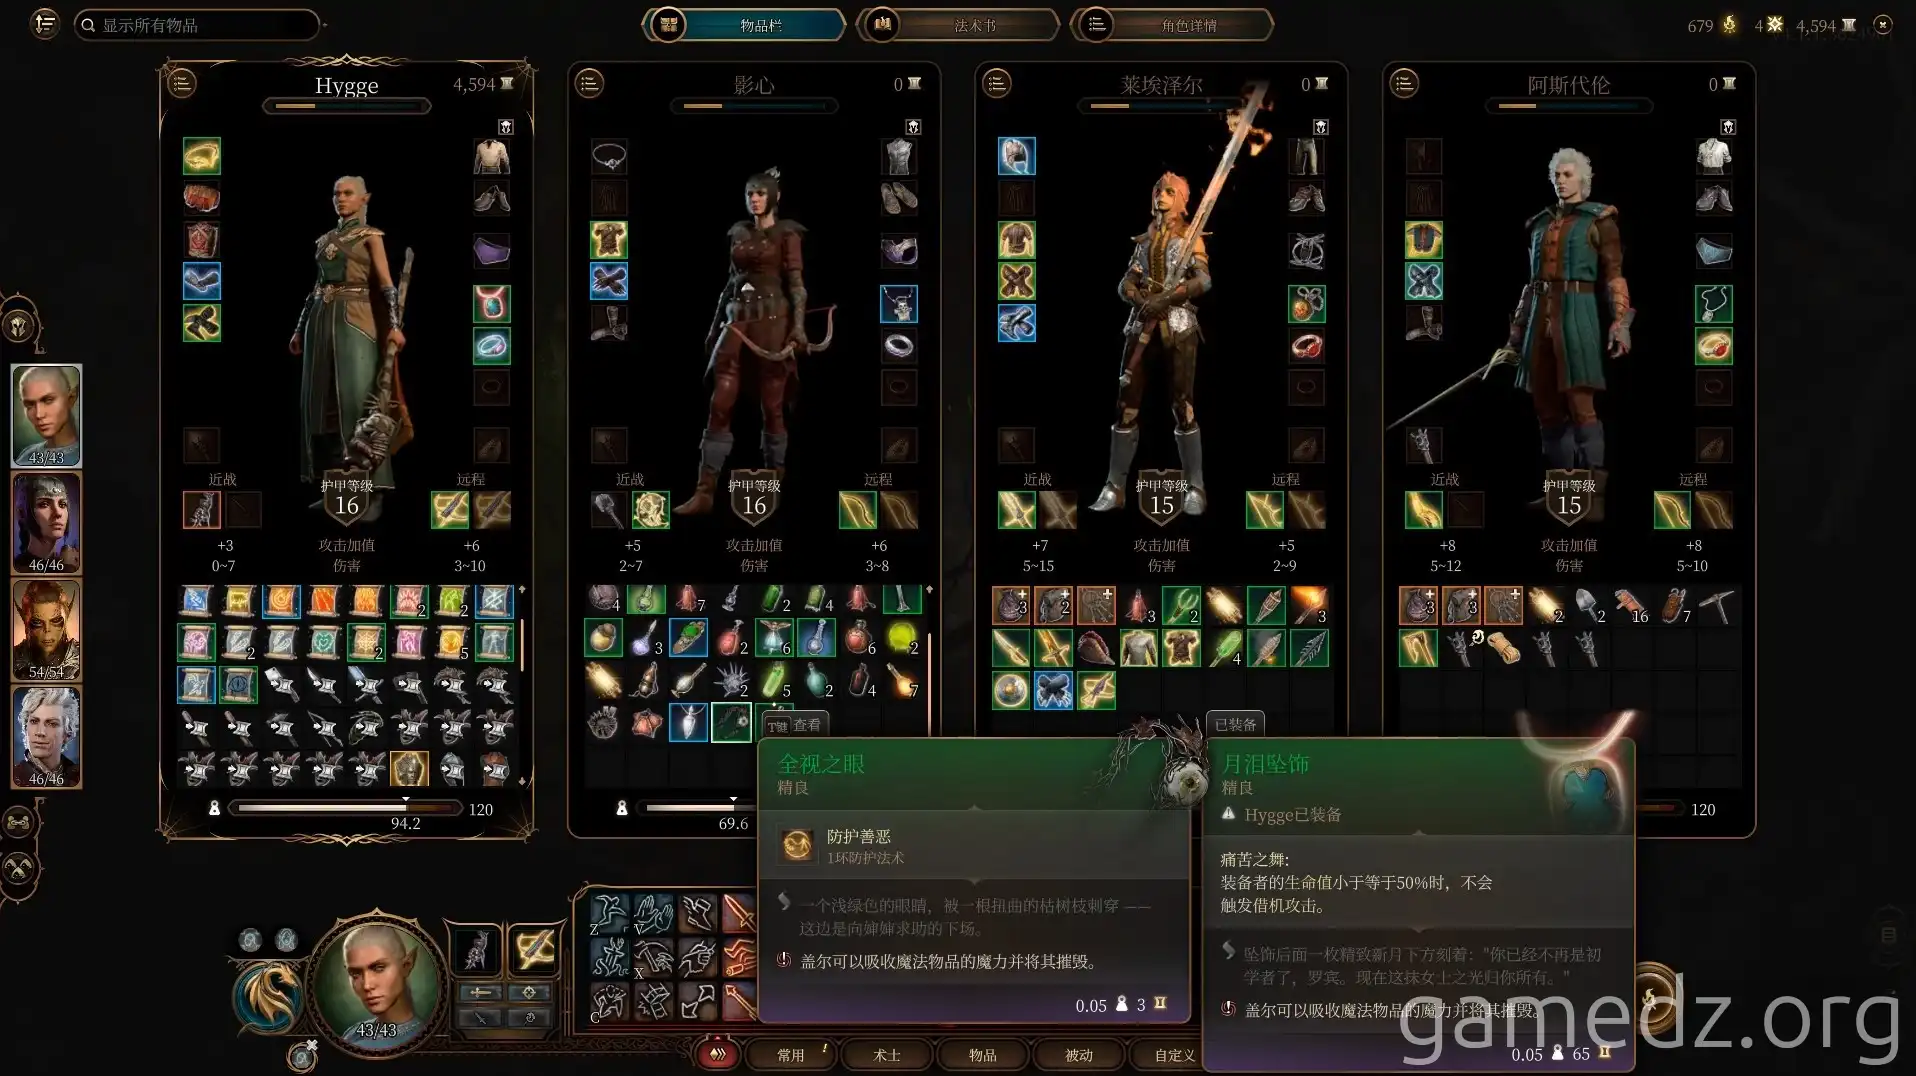
The stats for the All-Seeing Eye are as follows.
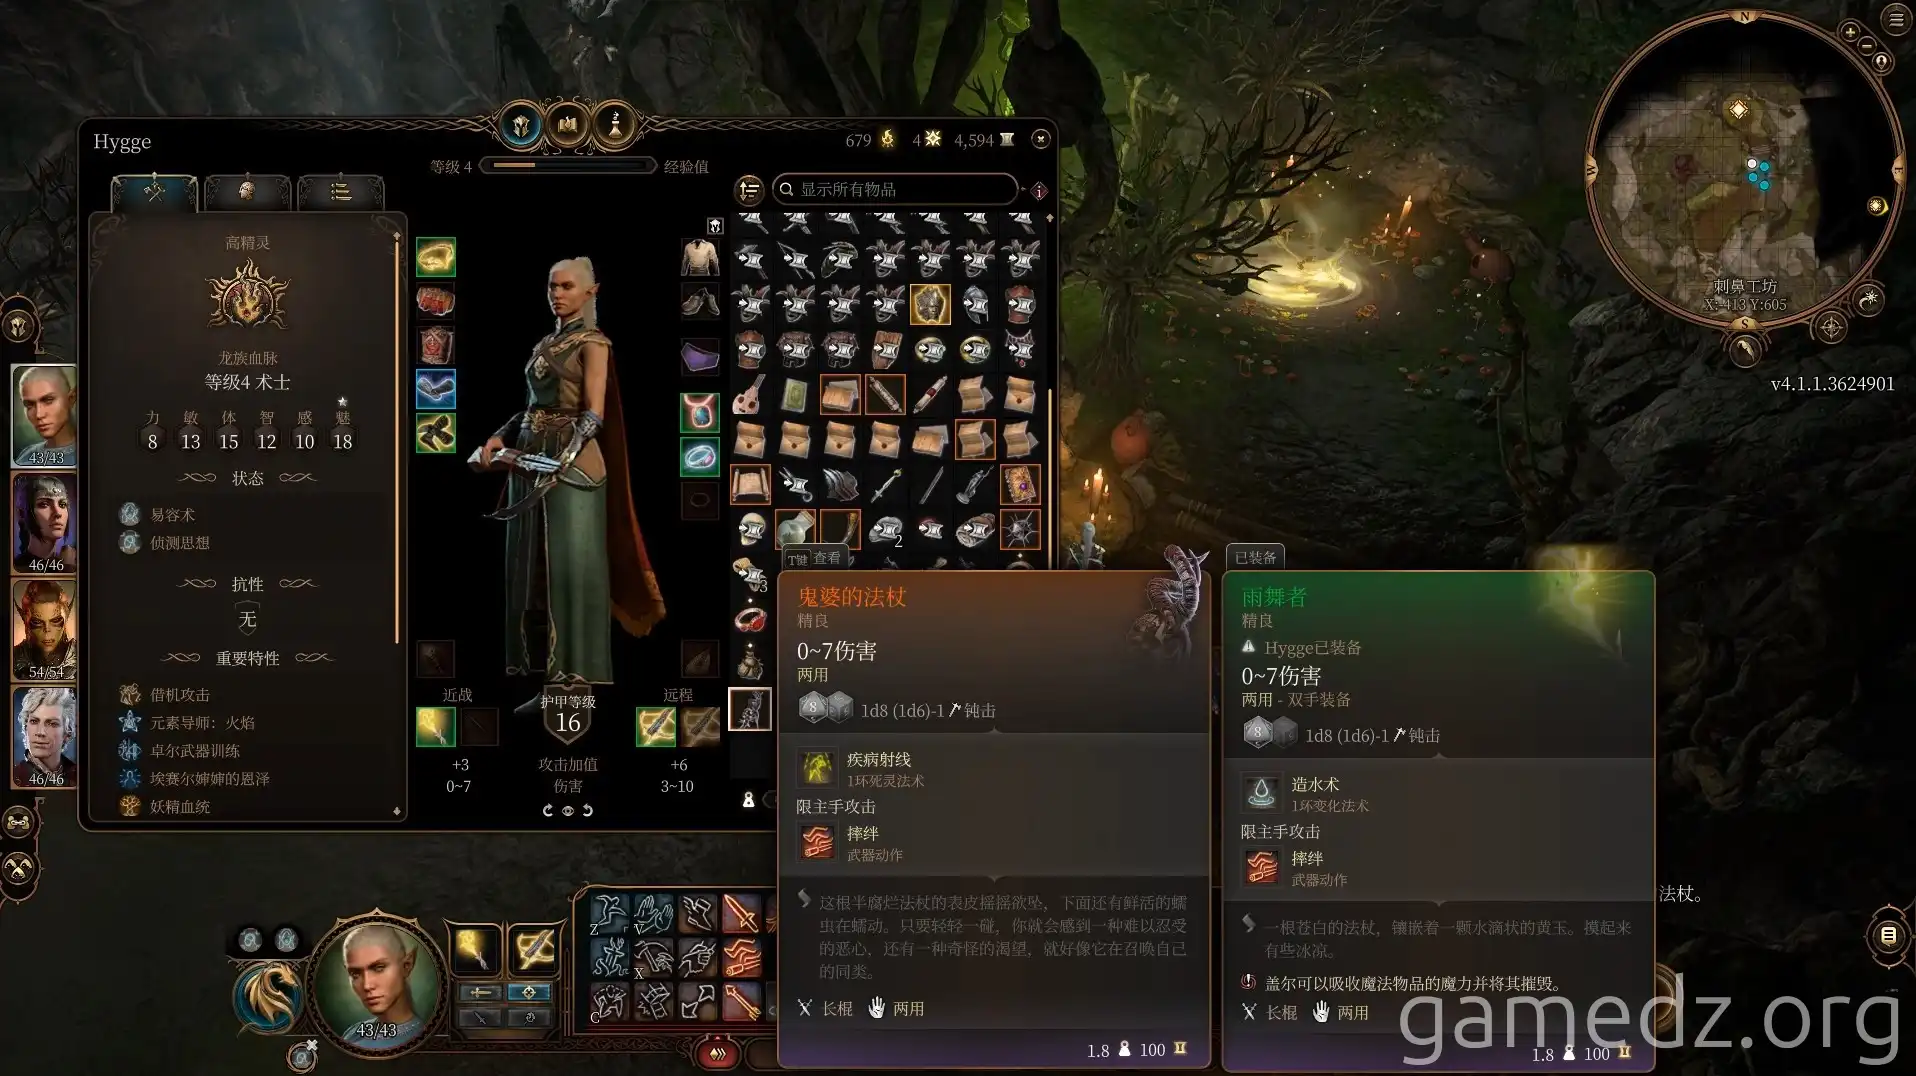
On the stone platform next to the chest, you can acquire the fine weapon, Hag's Staff.
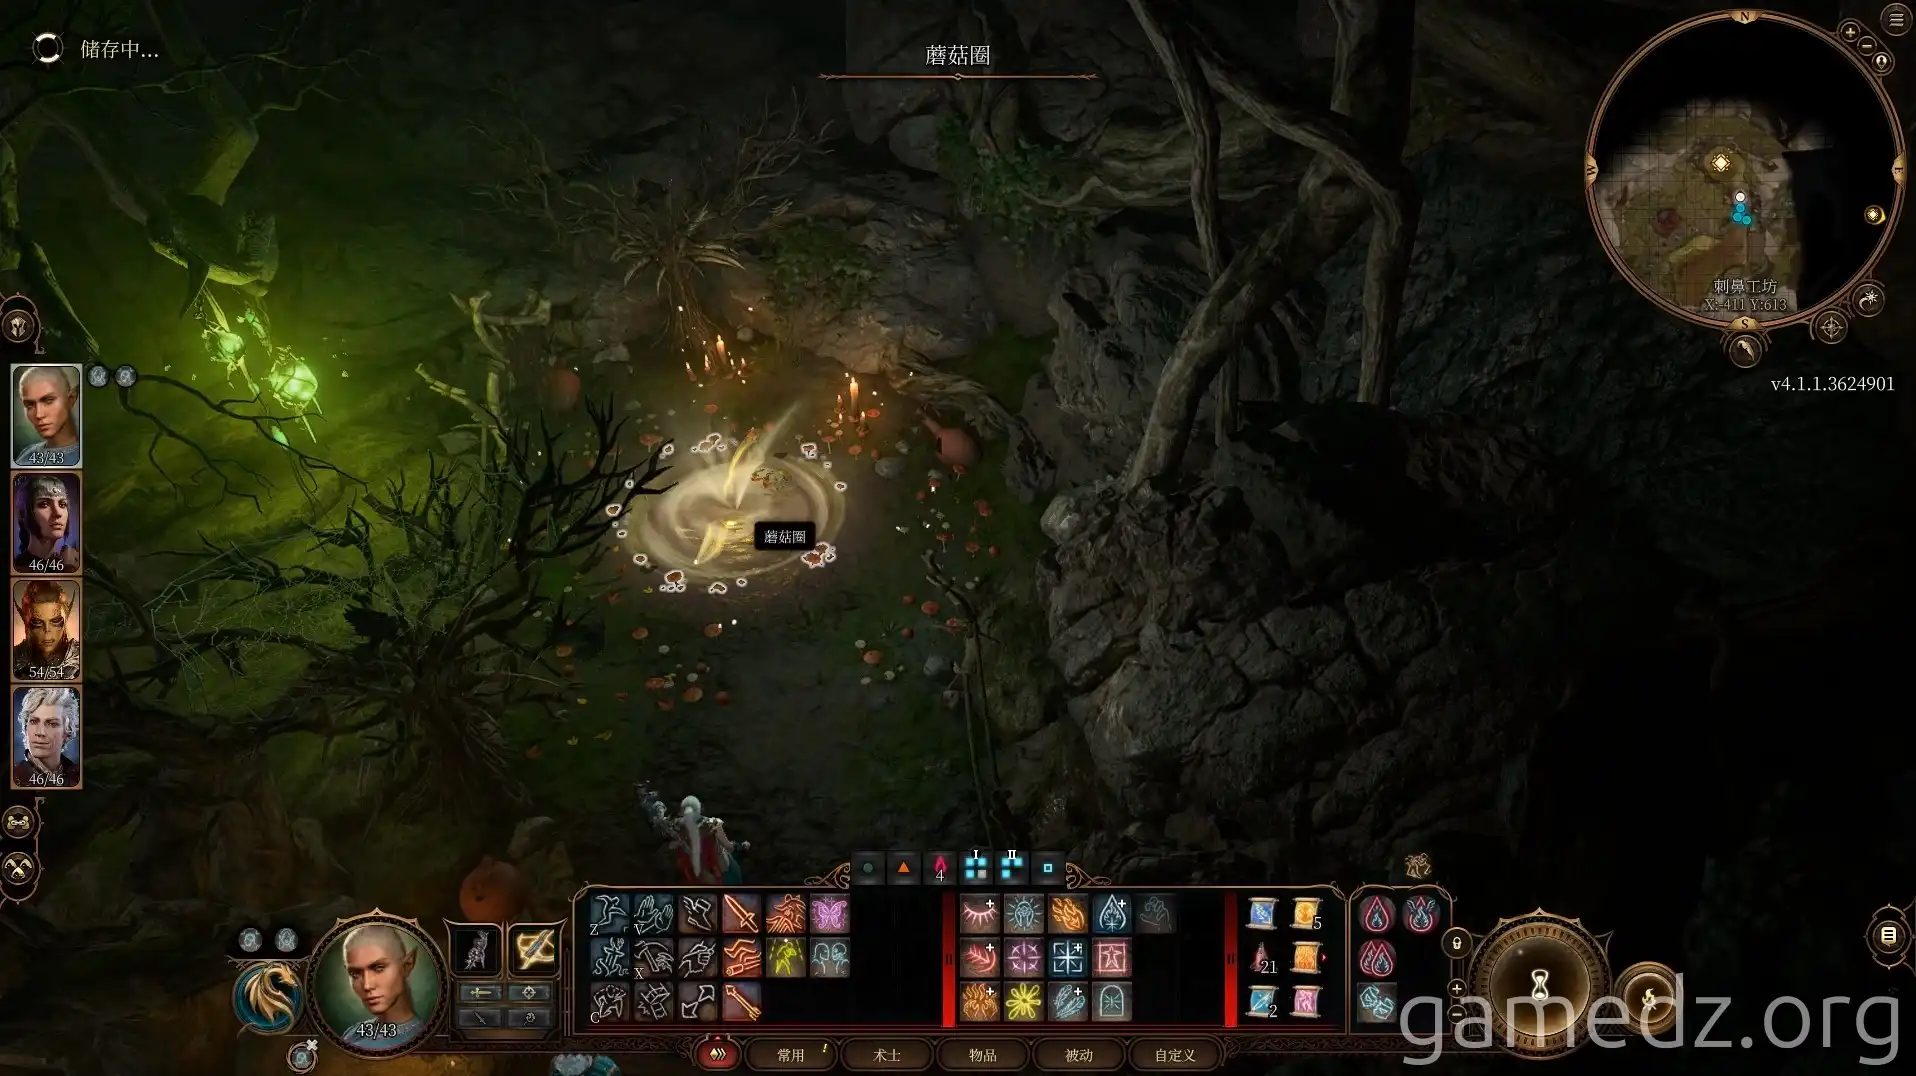
Then, exit the room through the mushroom circle.

Outside the teahouse, by the coffin, you'll find Melina. After using the Sorrow Mace to resurrect her husband, he transforms into a zombie.
Giving the Sorrow Mace to Melina, she will take her husband to Baldur's Gate, and you may encounter them again later.
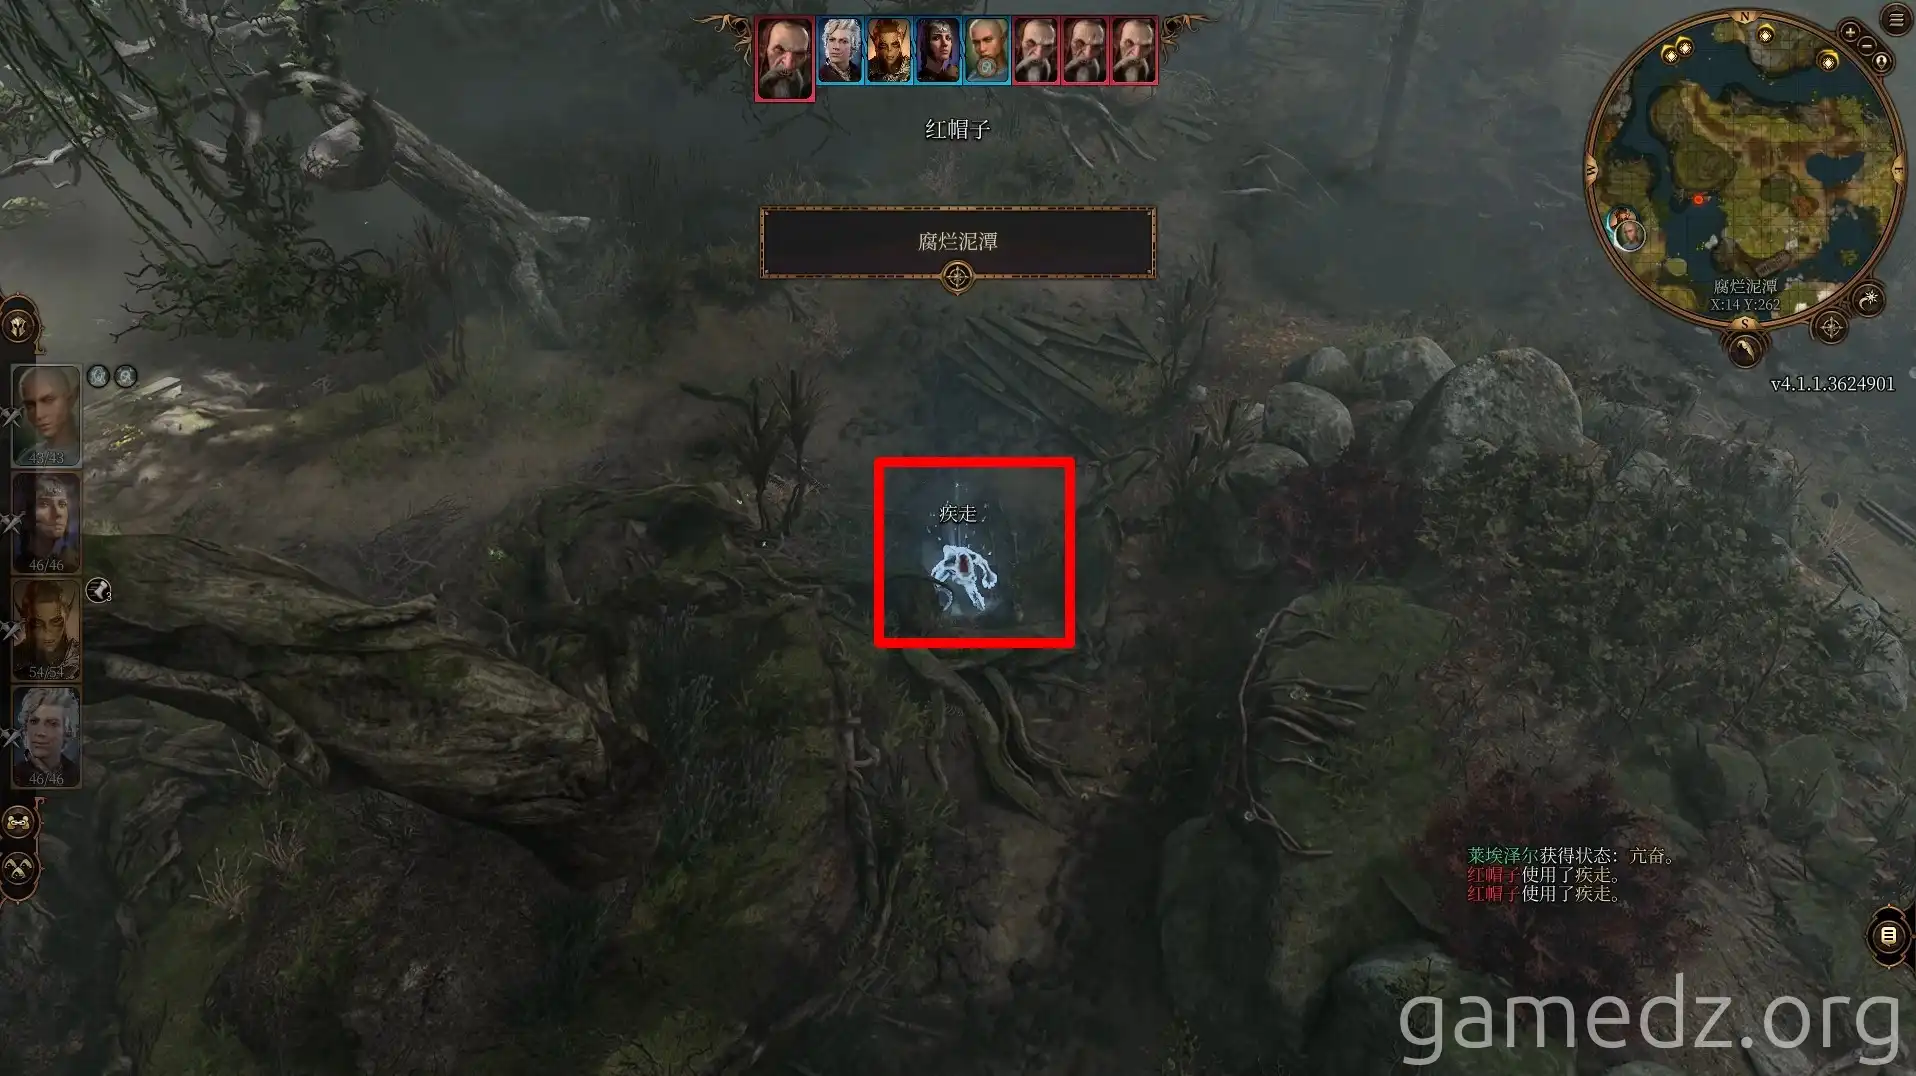
When you circle back to the front of the teahouse, you'll be pulled into combat by the four Redcaps you previously avoided. Defeat them all.
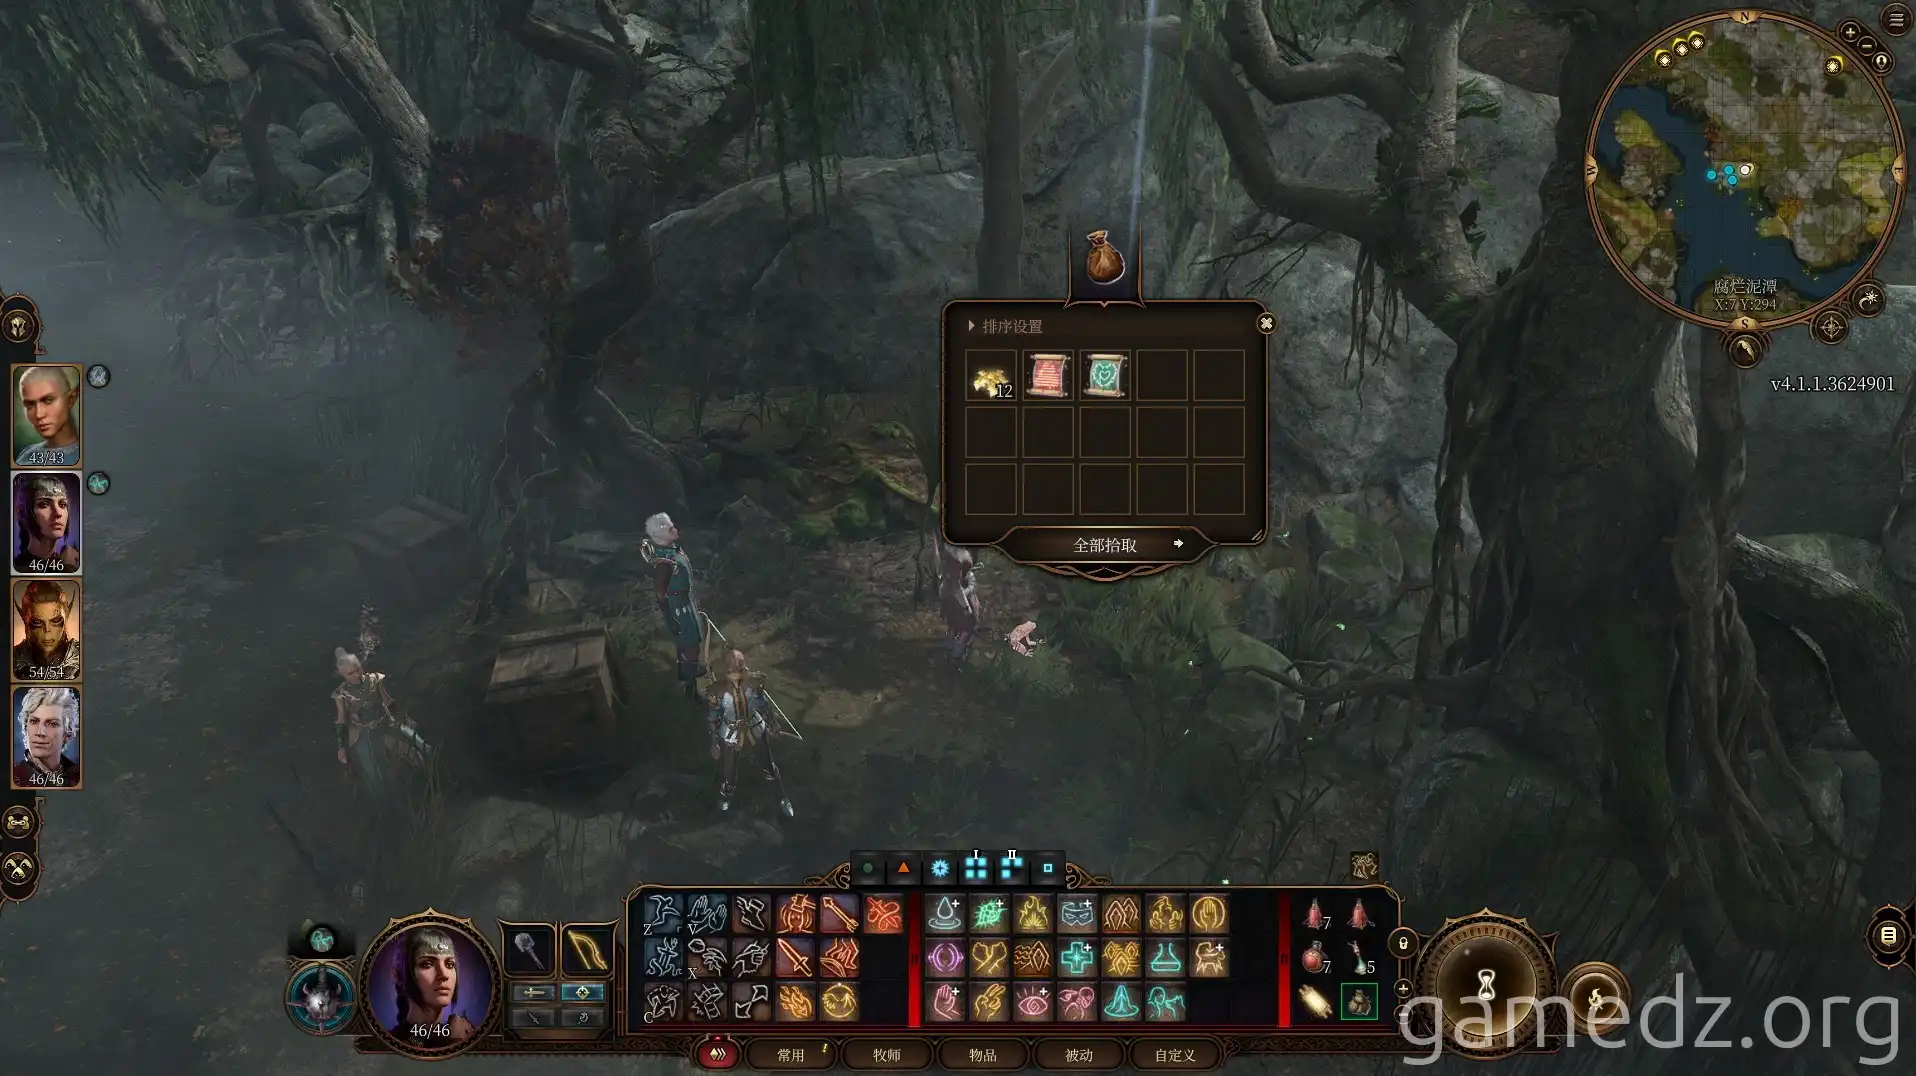
Now, if you speak with the chaotic frog again, it will express its happiness and lead you to a hidden pouch containing some spell scrolls.
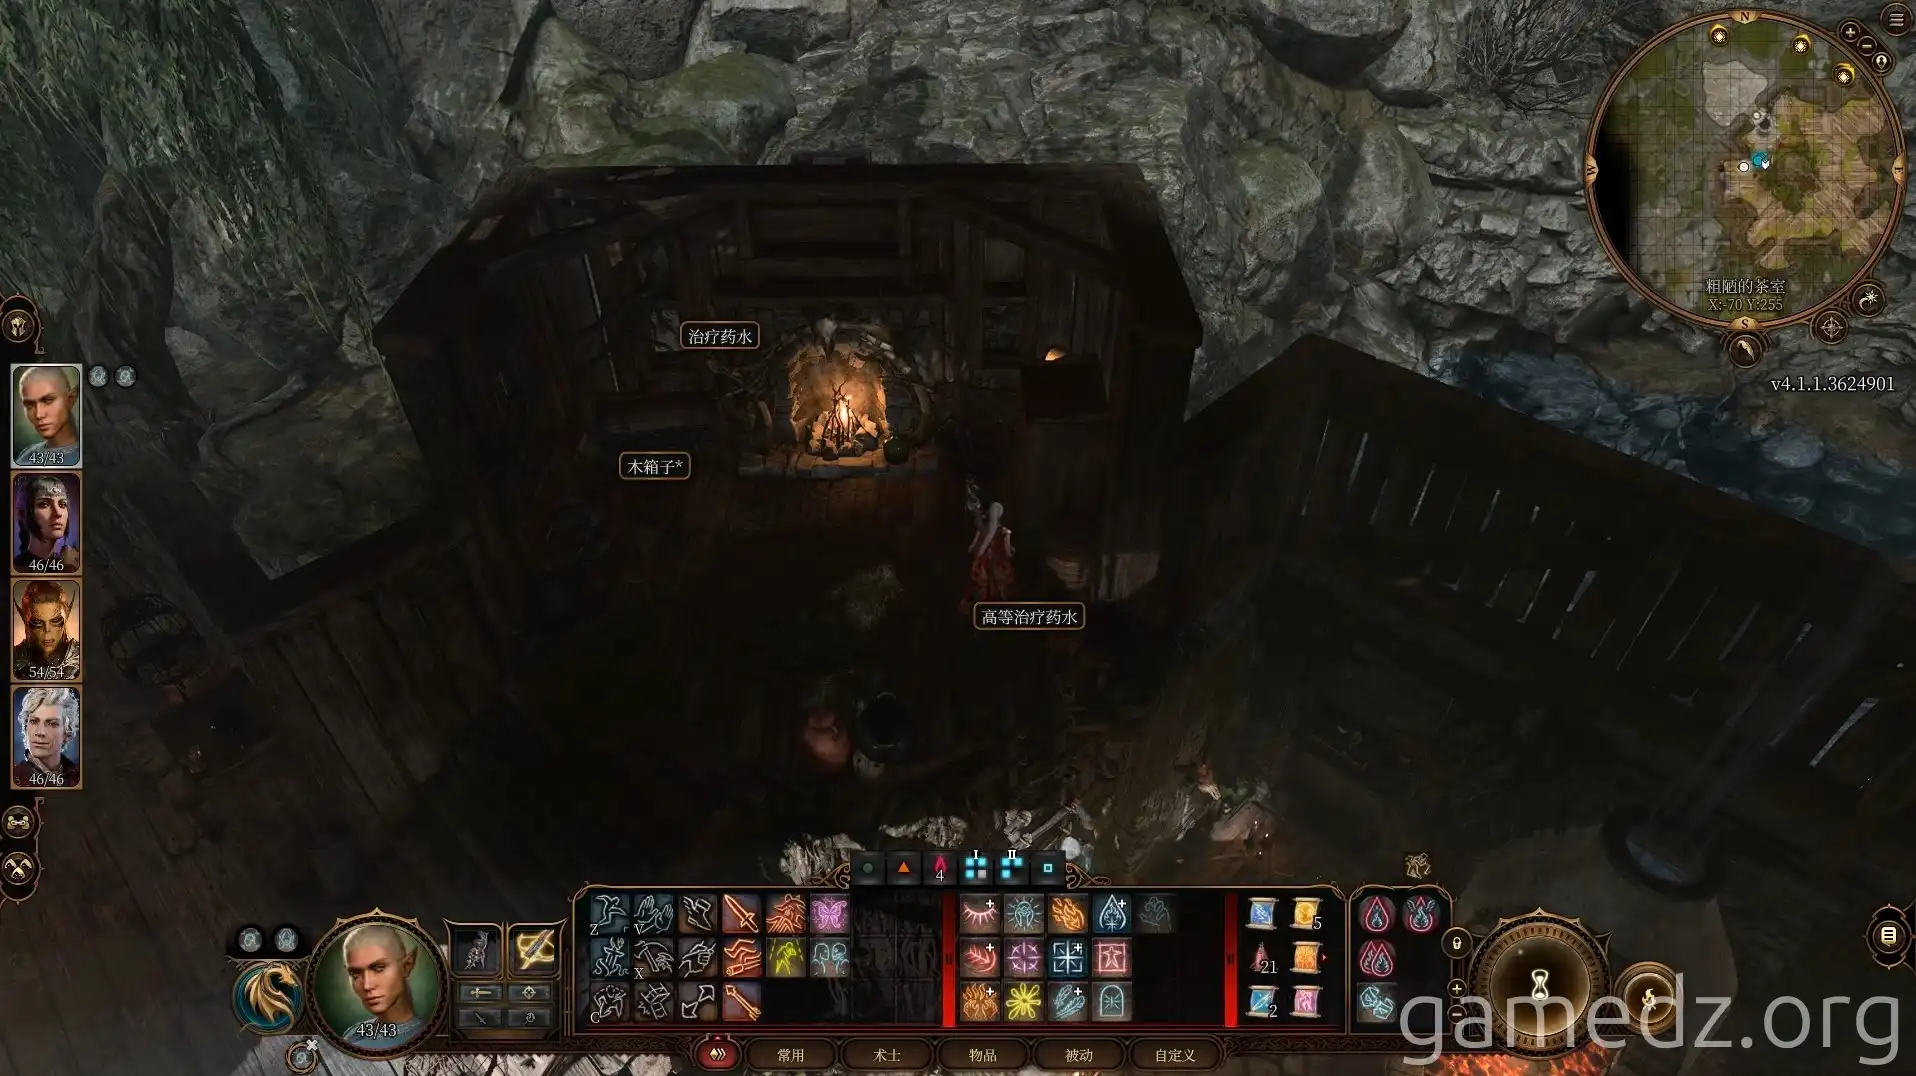
Returning to the teahouse, you can loot the area for various alchemical ingredients and potions. Afterward, you can head back to the Emerald Grove.
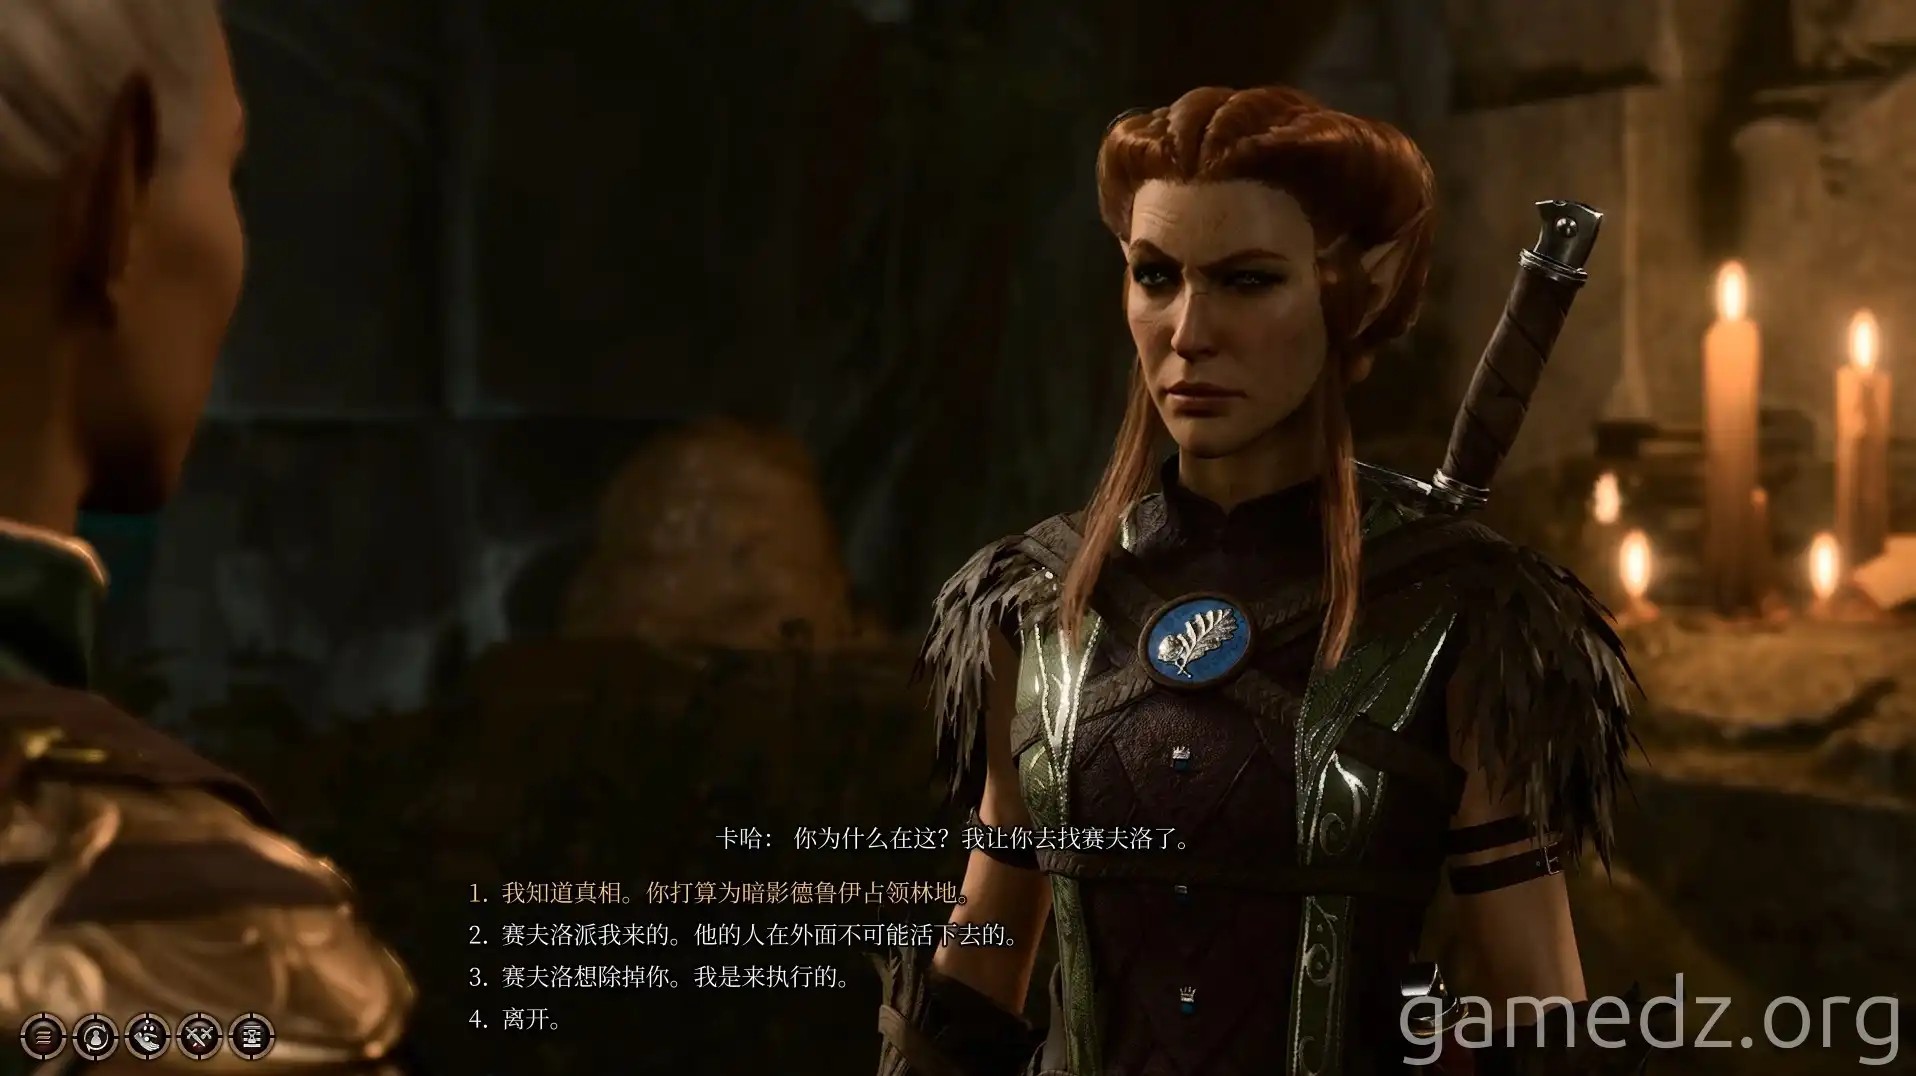
Upon returning to the Emerald Grove, speak with Kagha and choose to expose her true nature. It's recommended to initiate combat immediately and defeat Kagha rather than attempting to persuade her to stand down.
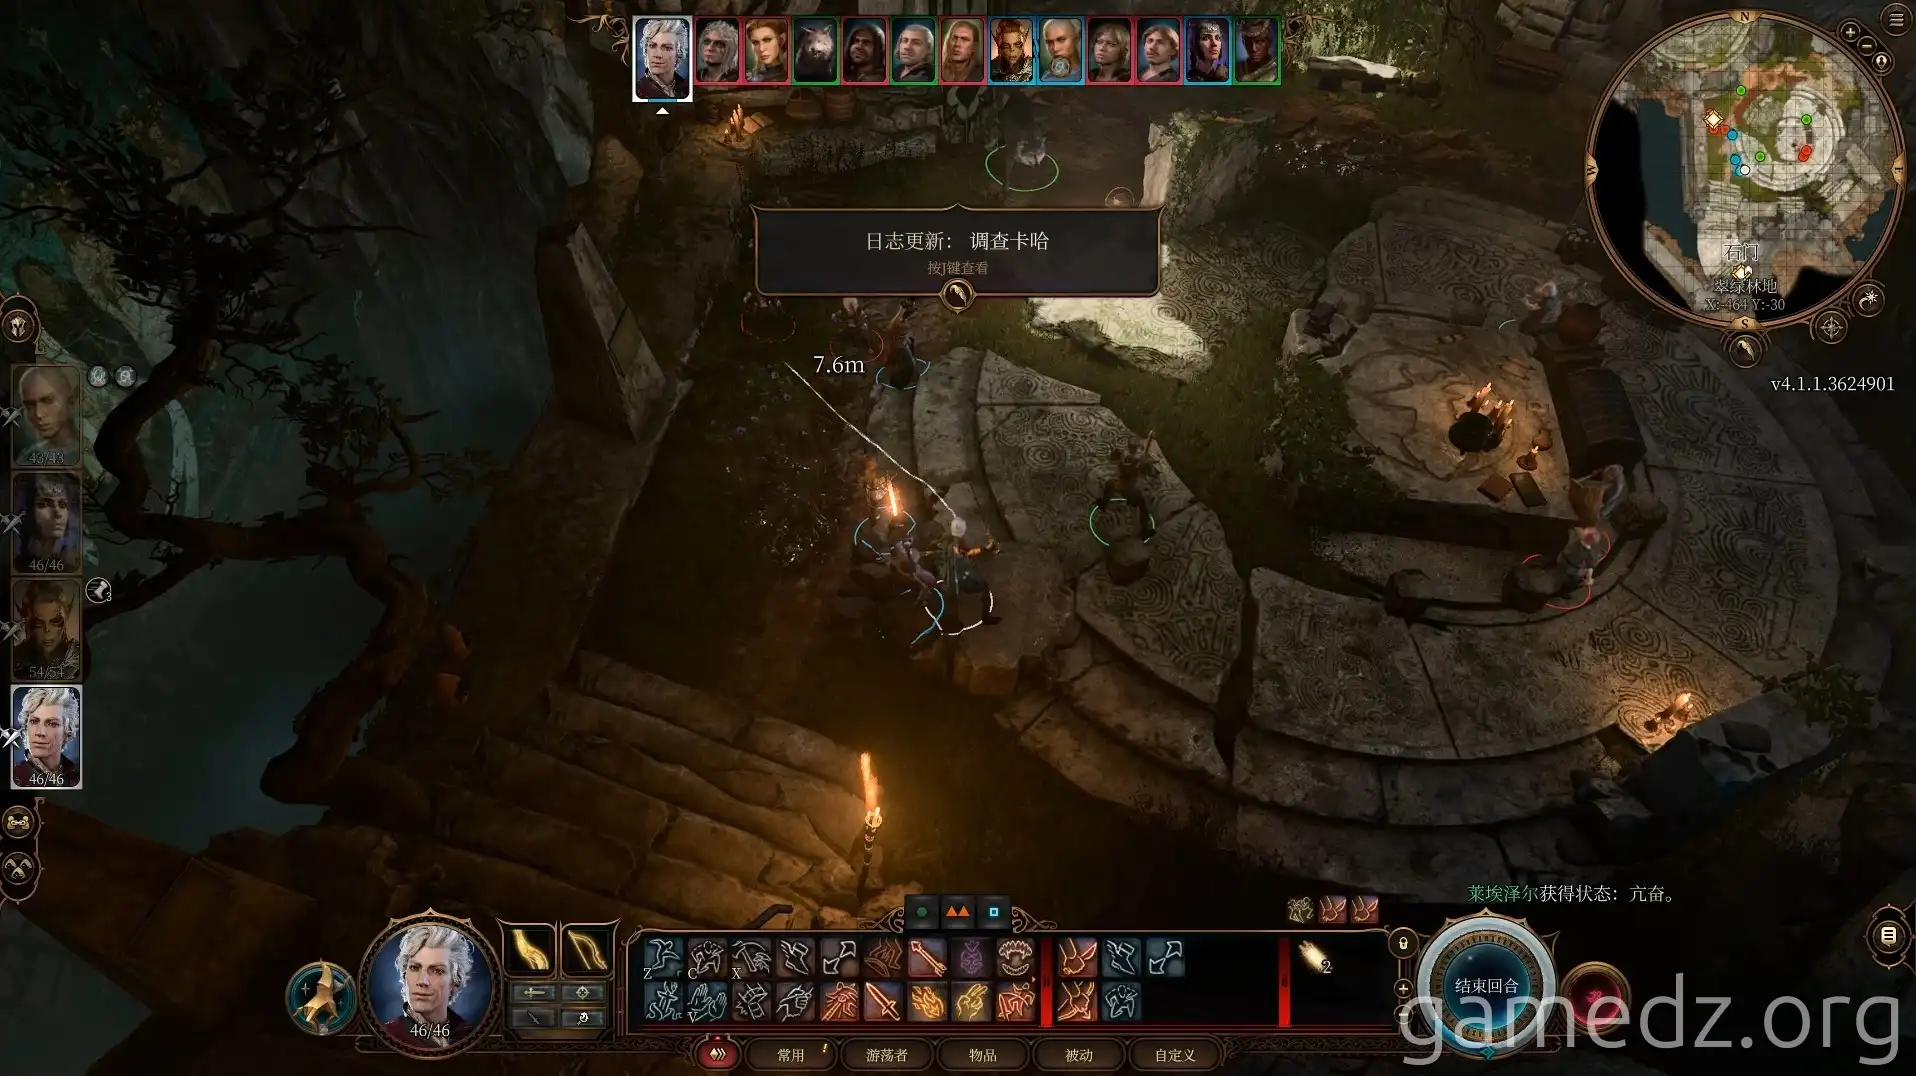
Combat will then commence. With the assistance of Halsin, Oliver, and the wolf Silver, you'll fight Kagha, four Shadow Druids, and one of Kagha's subordinates. If you didn't save Oliver earlier, you'll have one fewer ally in this battle.
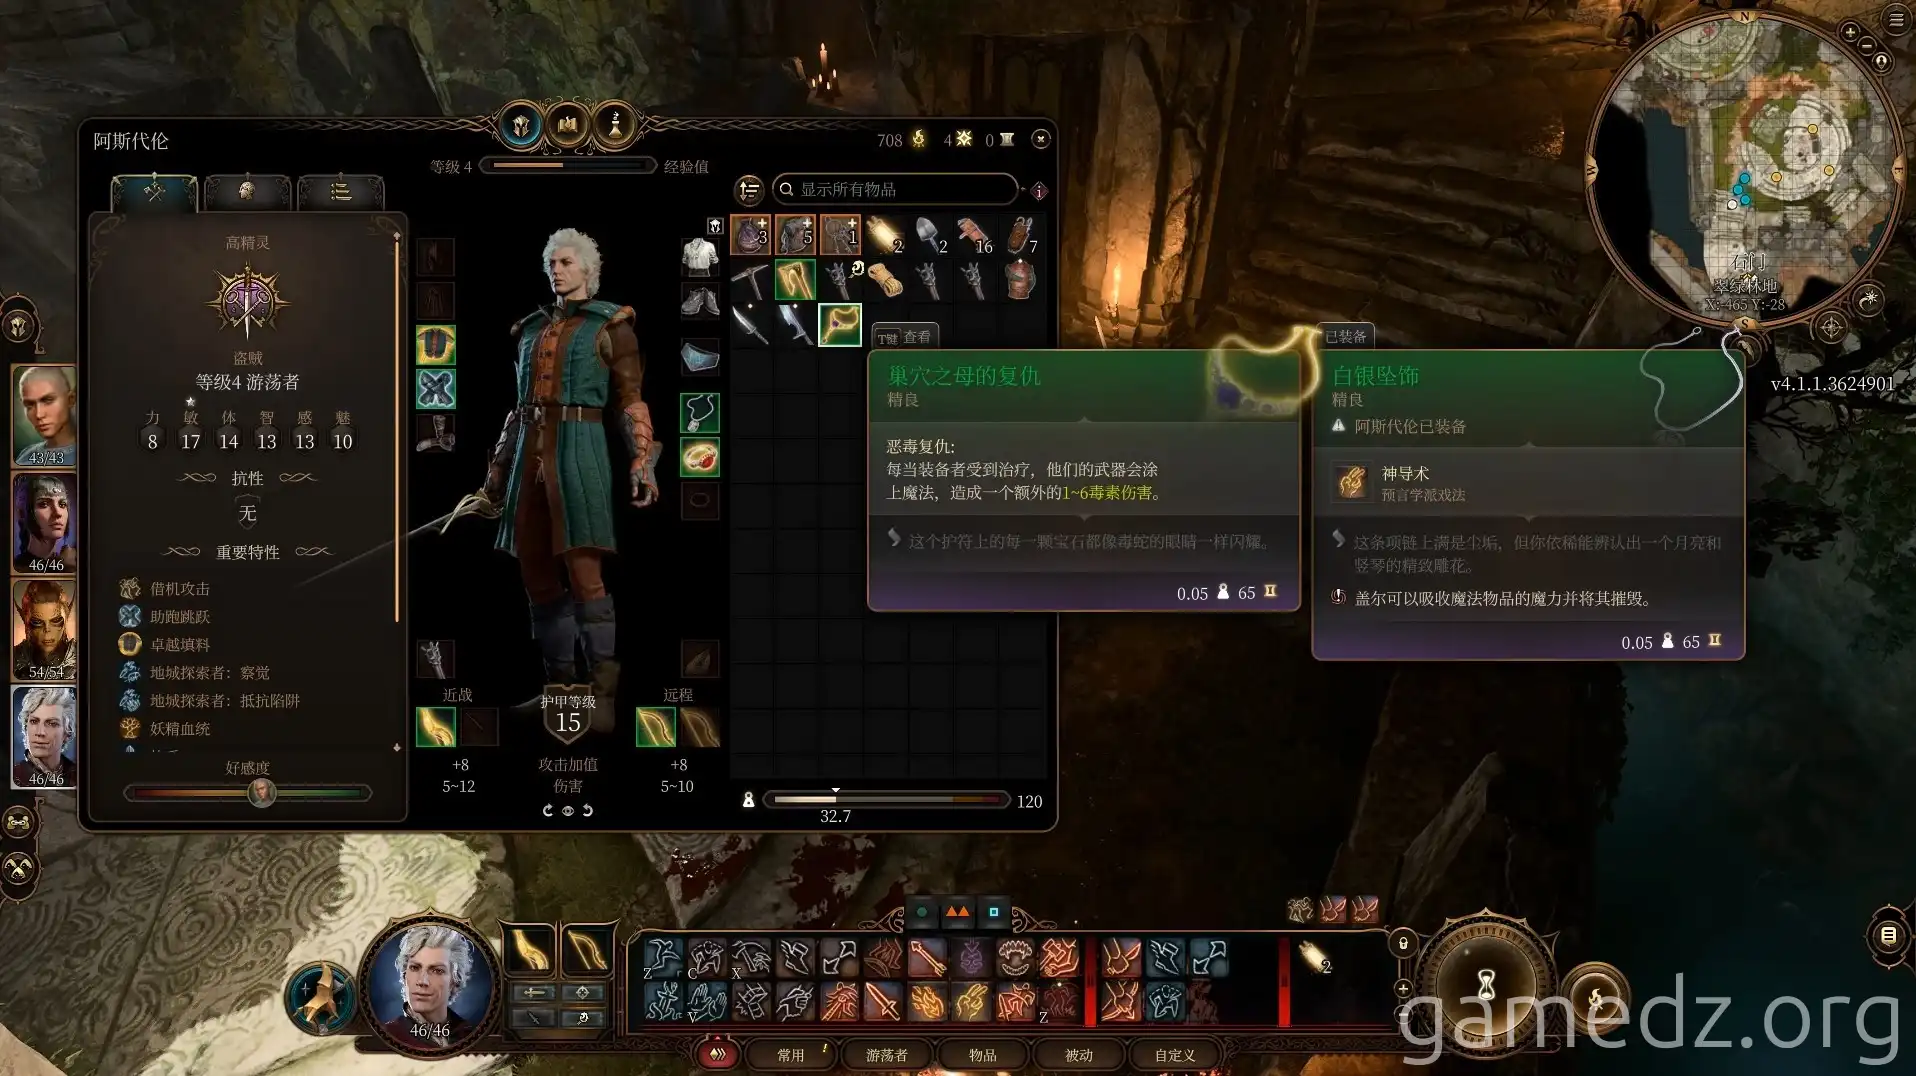
After defeating Kagha, you can obtain the fine accessory, Nestmother's Vengeance, from her.
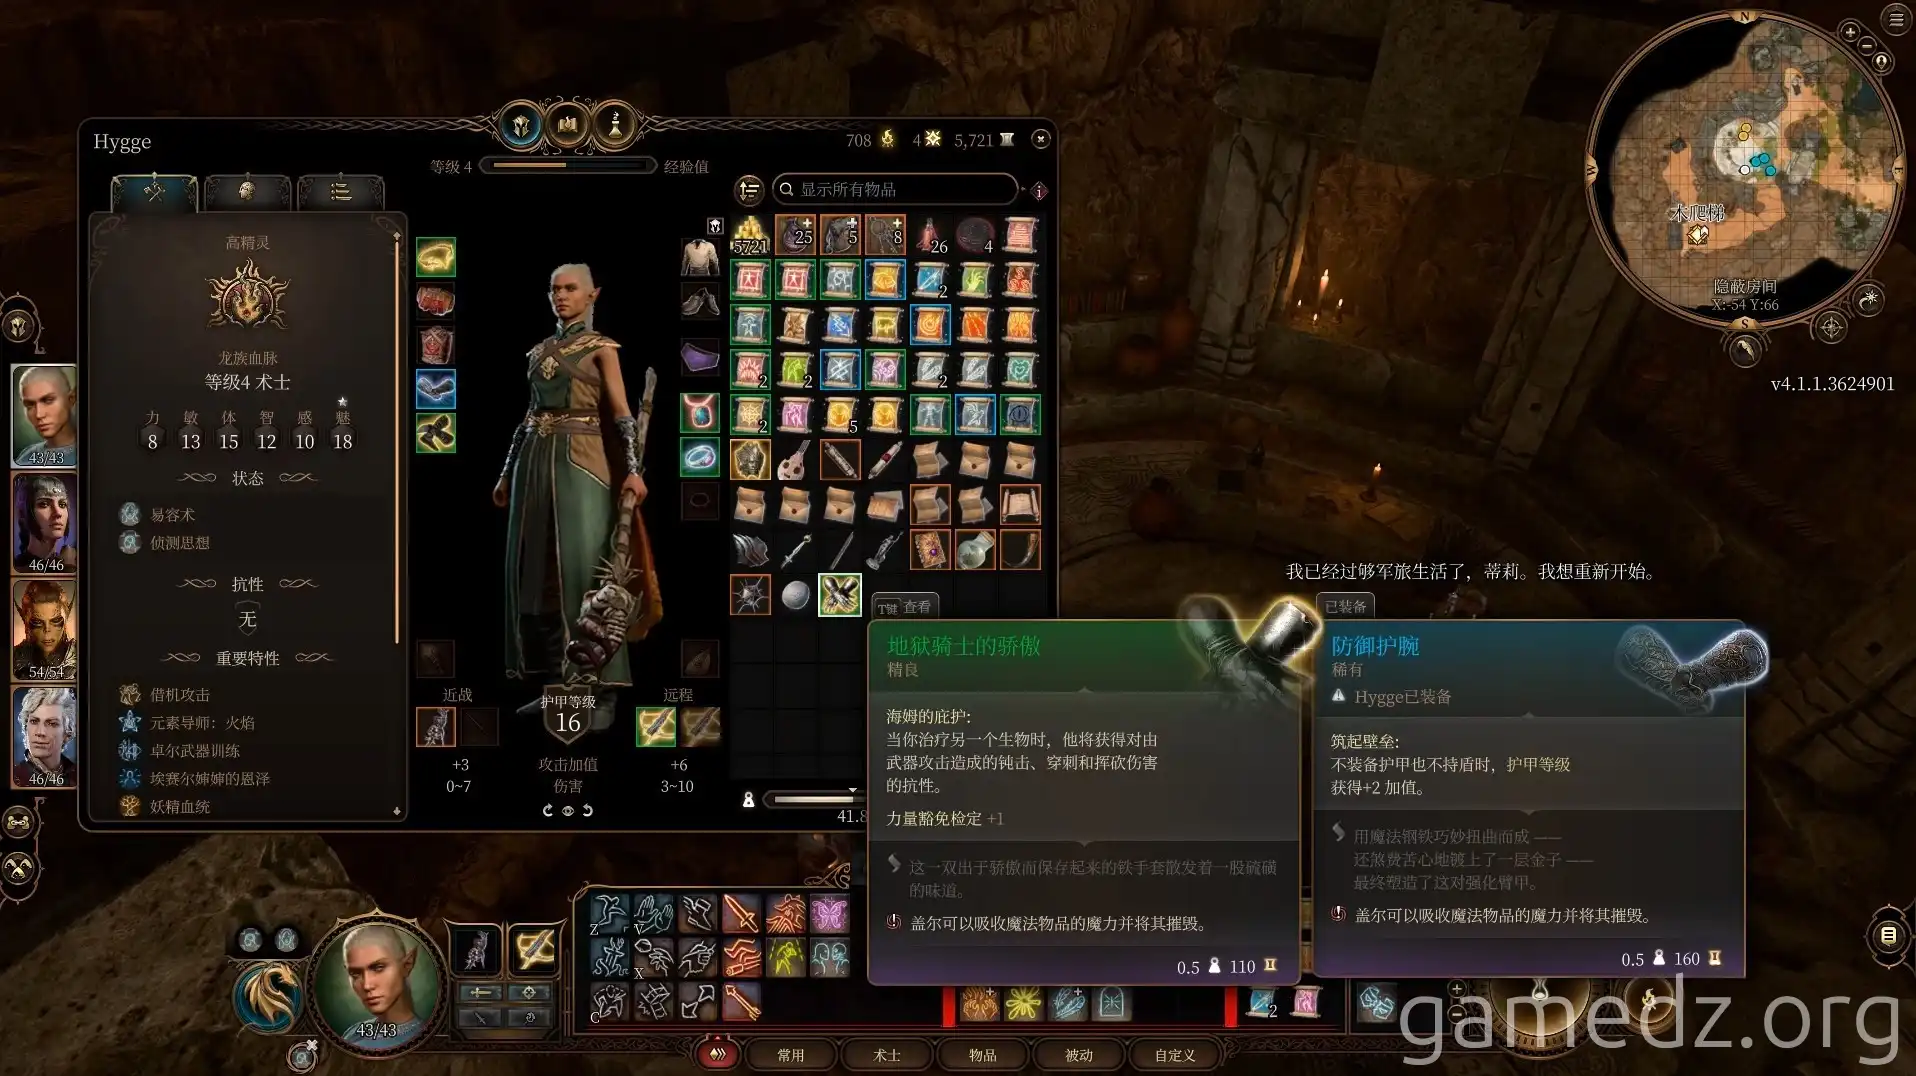
Subsequently, find Zevlor and inform him of Kagha's demise to receive the fine equipment, Hell Knight's Pride.
With Kagha dead, the plan to blockade the grove is halted. You can now steal the Druid idol. Even on a good-aligned playthrough, stealing the idol is acceptable, as you'll be clearing out the Goblin Camp later, making the idol's presence or absence for the Druids inconsequential. Walk up to the idol, cast Fog Cloud, and then you can take it and teleport away.
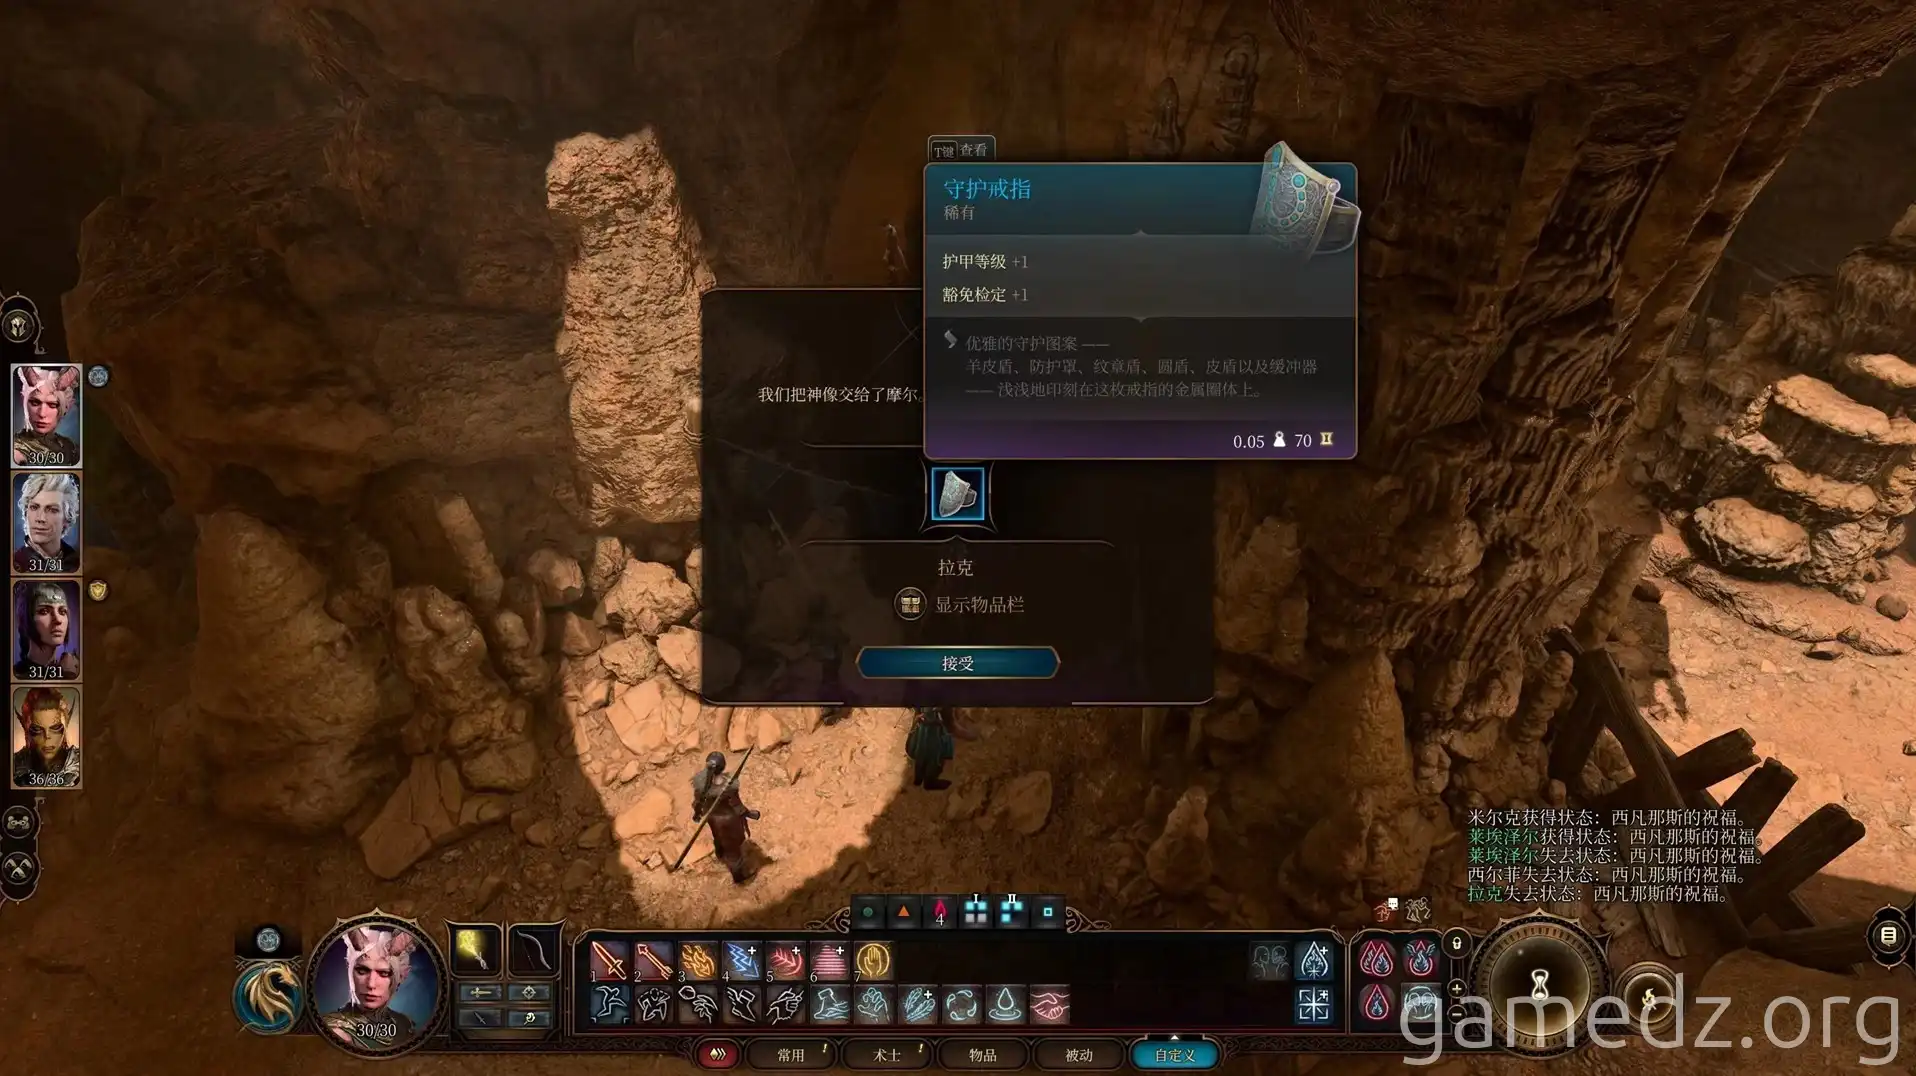
Handing the Druid idol to Mol will earn you the rare accessory, Ring of Protection. He will then state that you'll meet again in Baldur's Gate.

