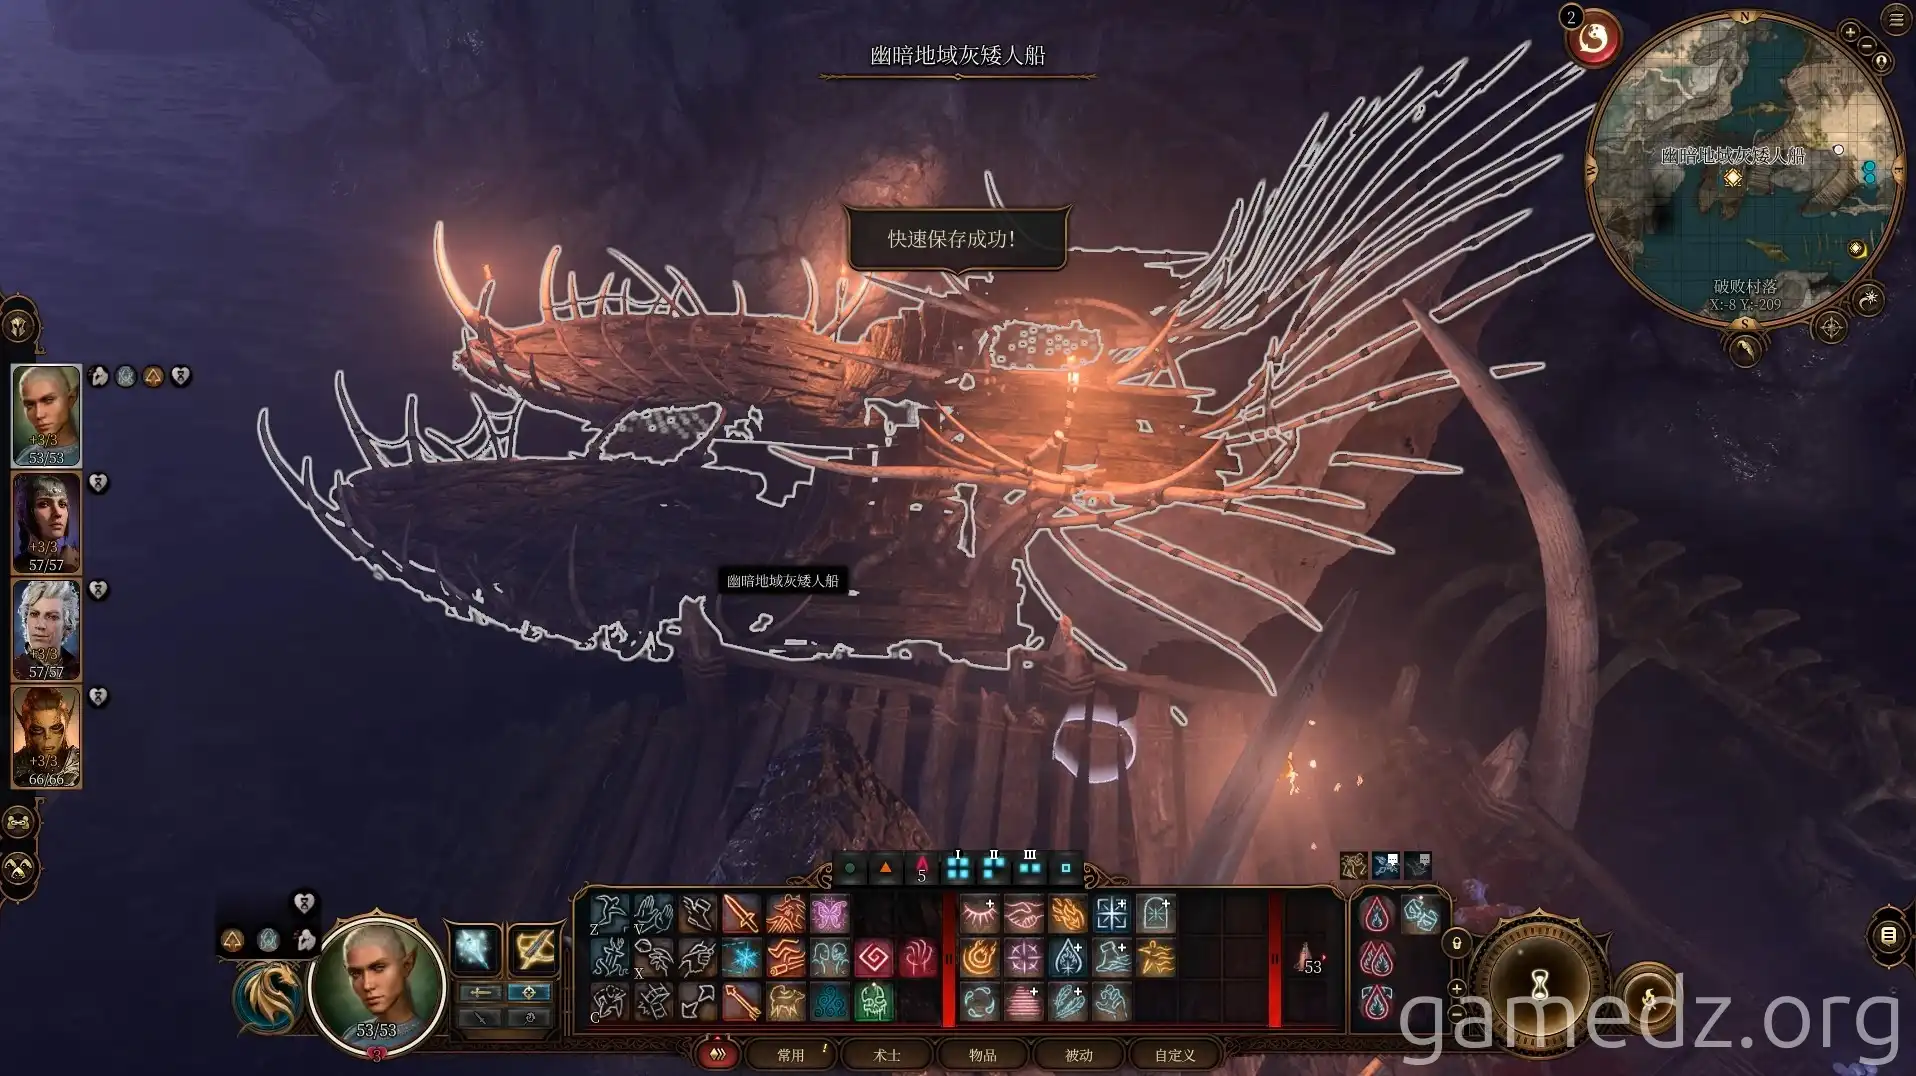
Baldur's Gate 3 Underdark: Arcane Tower & Underdark Map Guide
This Baldur's Gate 3 walkthrough guides players through the Underdark, focusing on the Arcane Tower. It details exploration, combat strategies against turrets and Bernard, and the acquisition of rare items like Smith's Fury and the Mind Sanctuary Ring.
Return to the plaza and head to the southeast corner. You'll find a deceased Drow there.
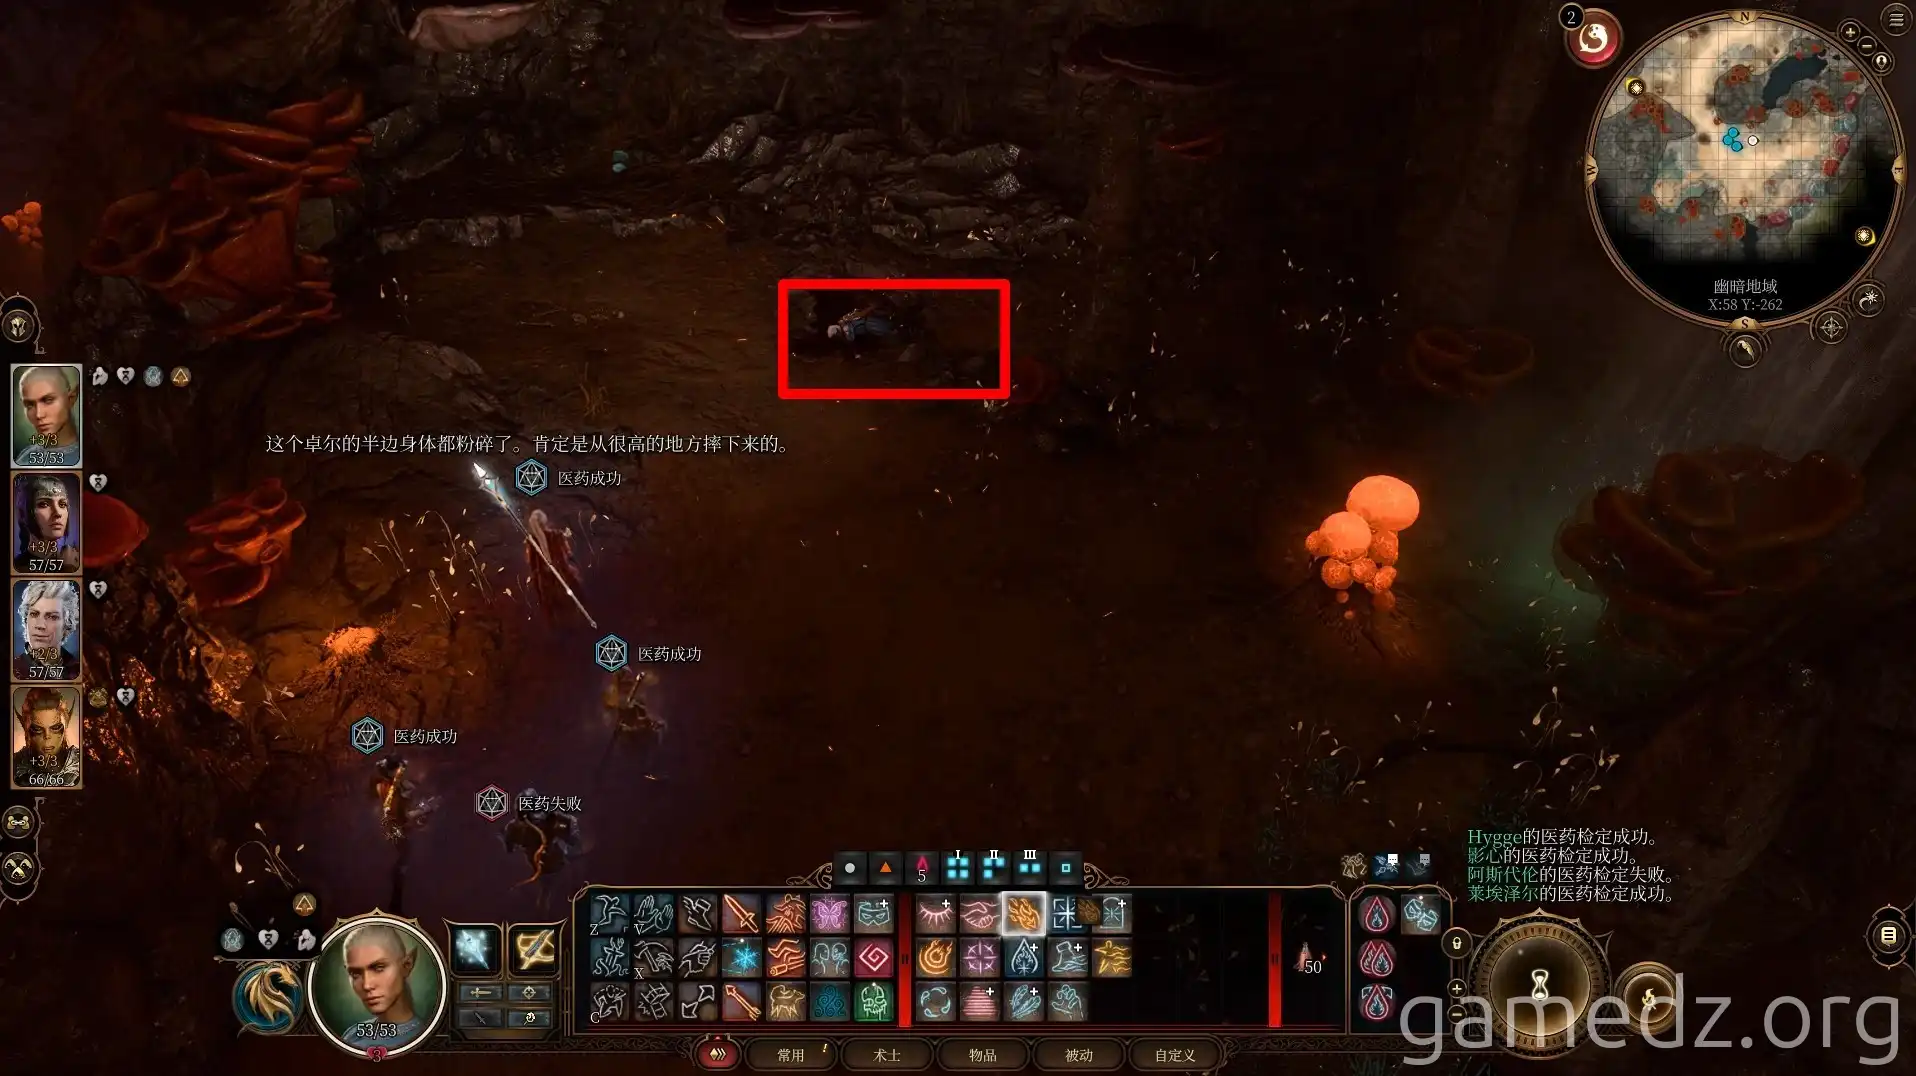
As you approach the wall, you'll notice mushrooms disappearing into thin air.
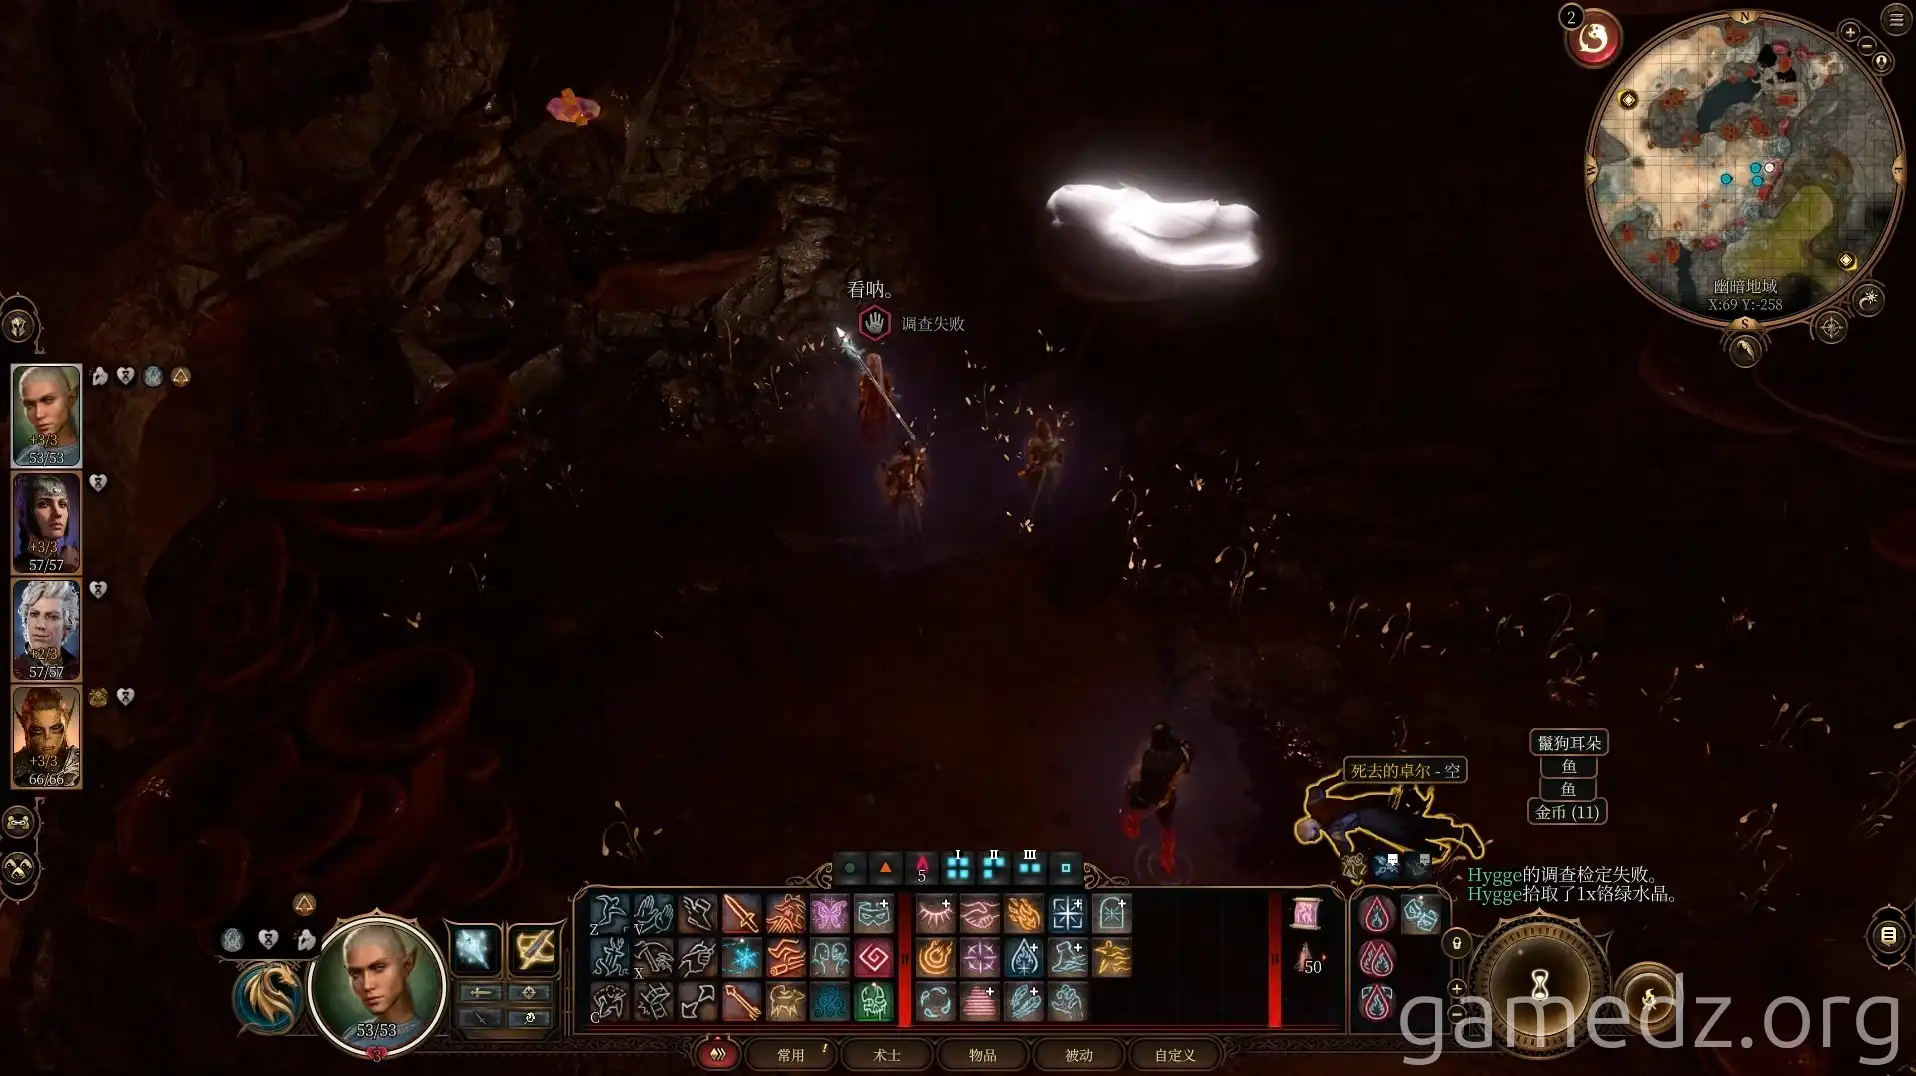
You can then ascend the wall using the mushrooms, but be careful to distinguish the real ones from the illusory ones.
Each successful jump will trigger a check. If you pass, the illusory mushroom will vanish.
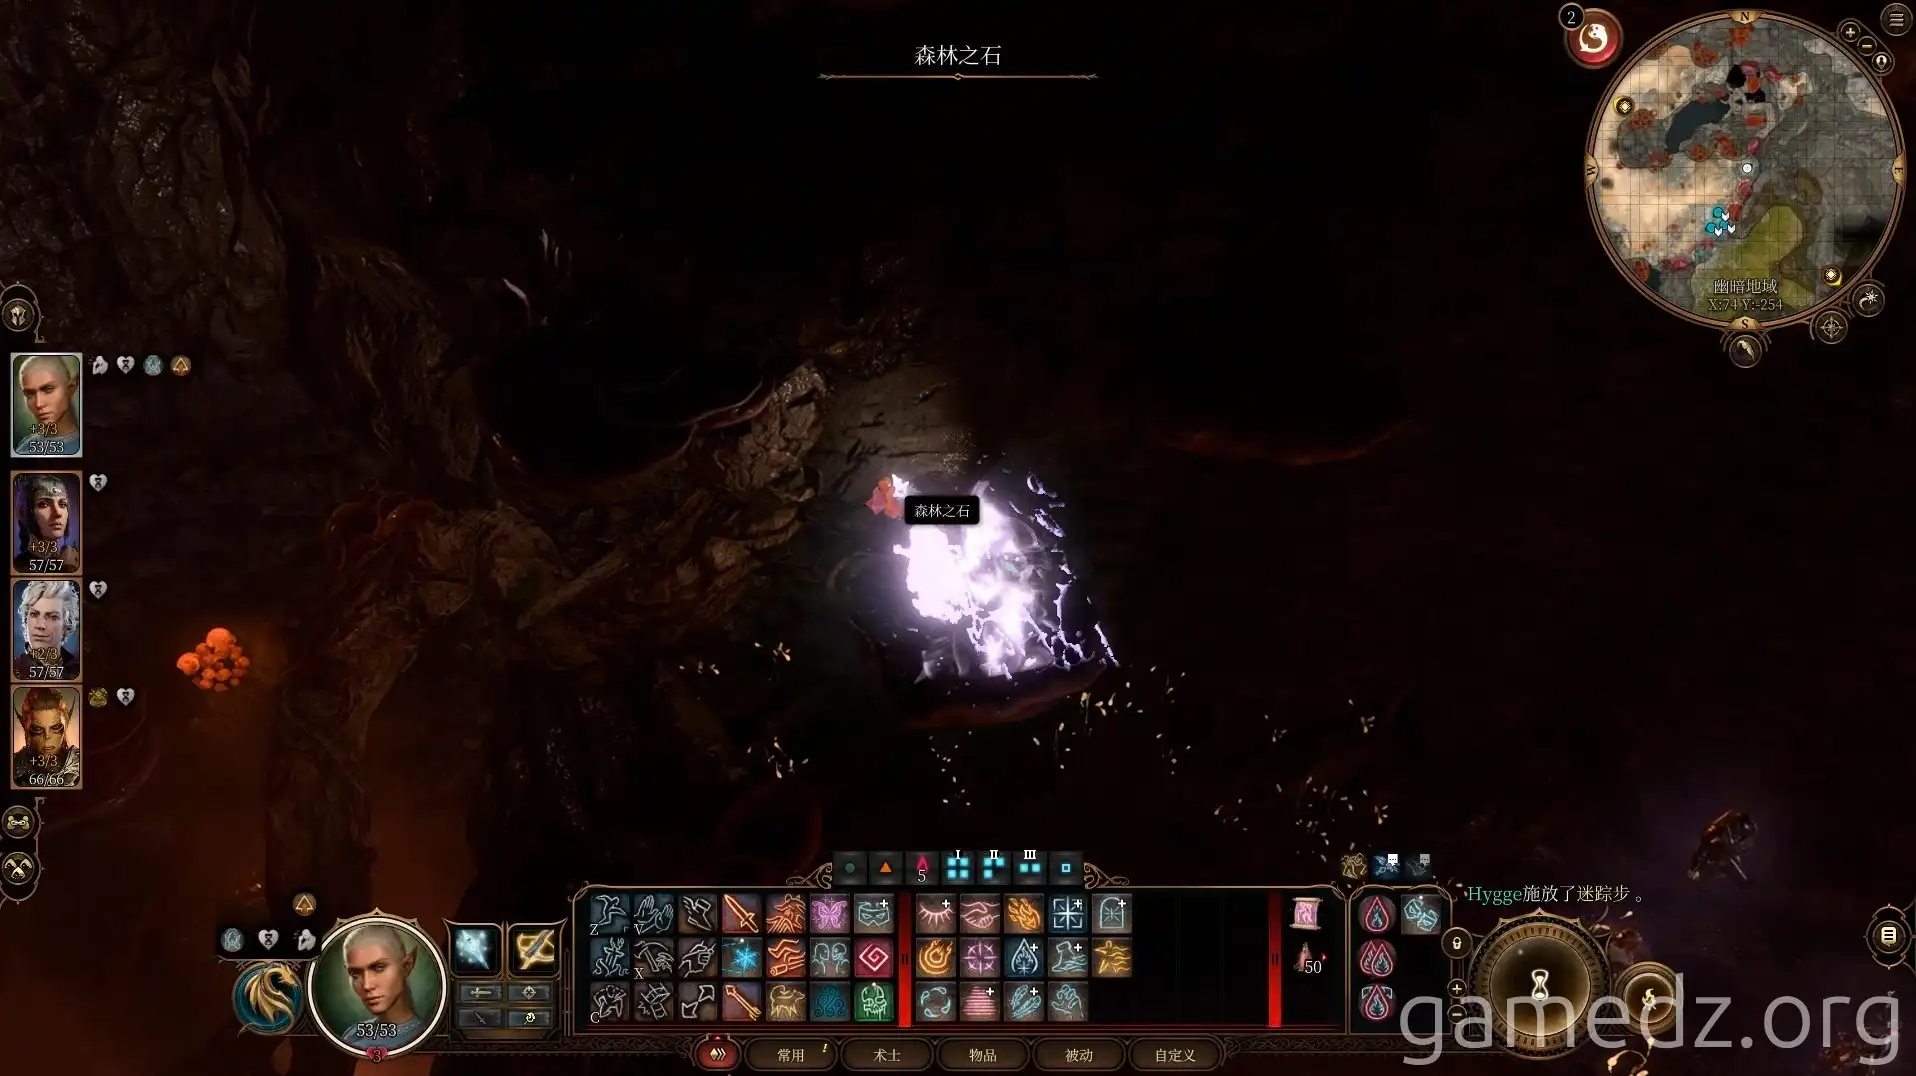
At the uppermost level, you can activate a two-way portal that leads downwards. The wall next to the portal is an illusionary wall.
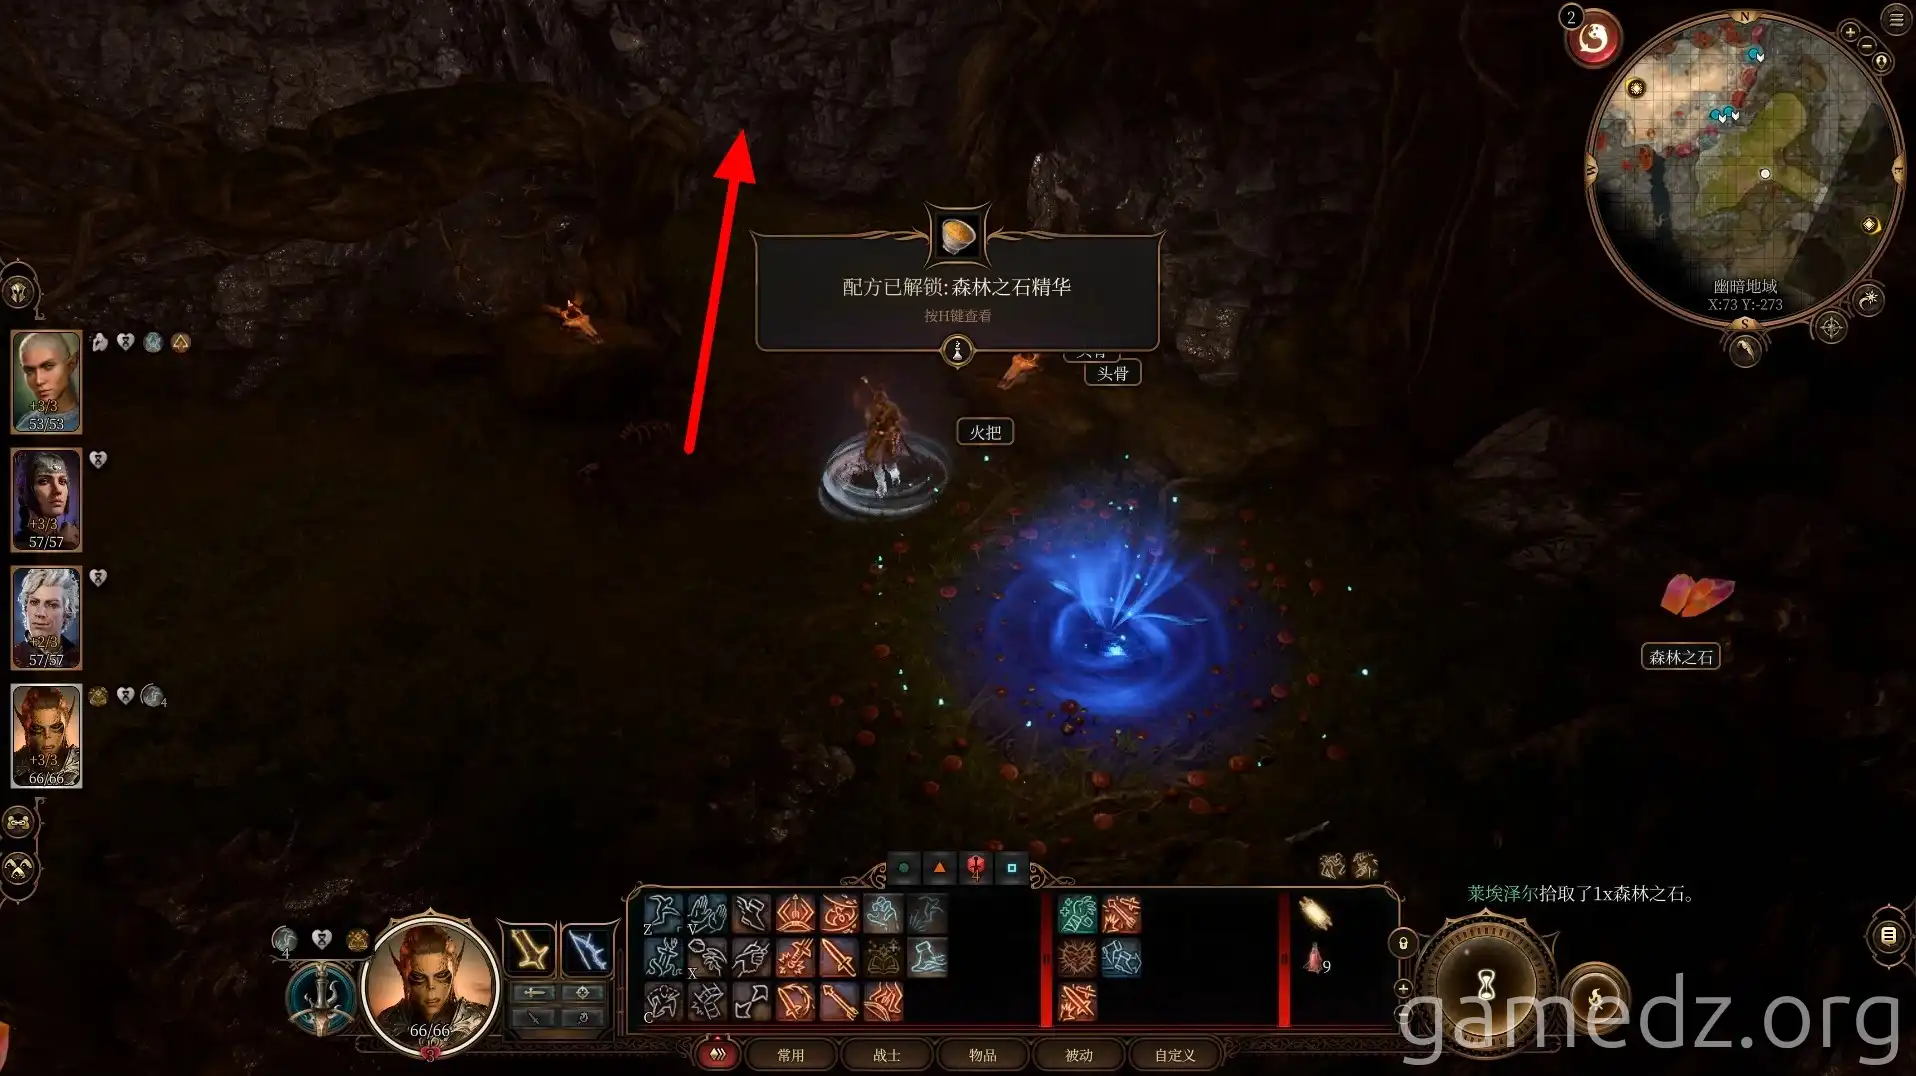
Passing through the wall leads to a portal that takes you to the basement of Auntie Ethel's teahouse.
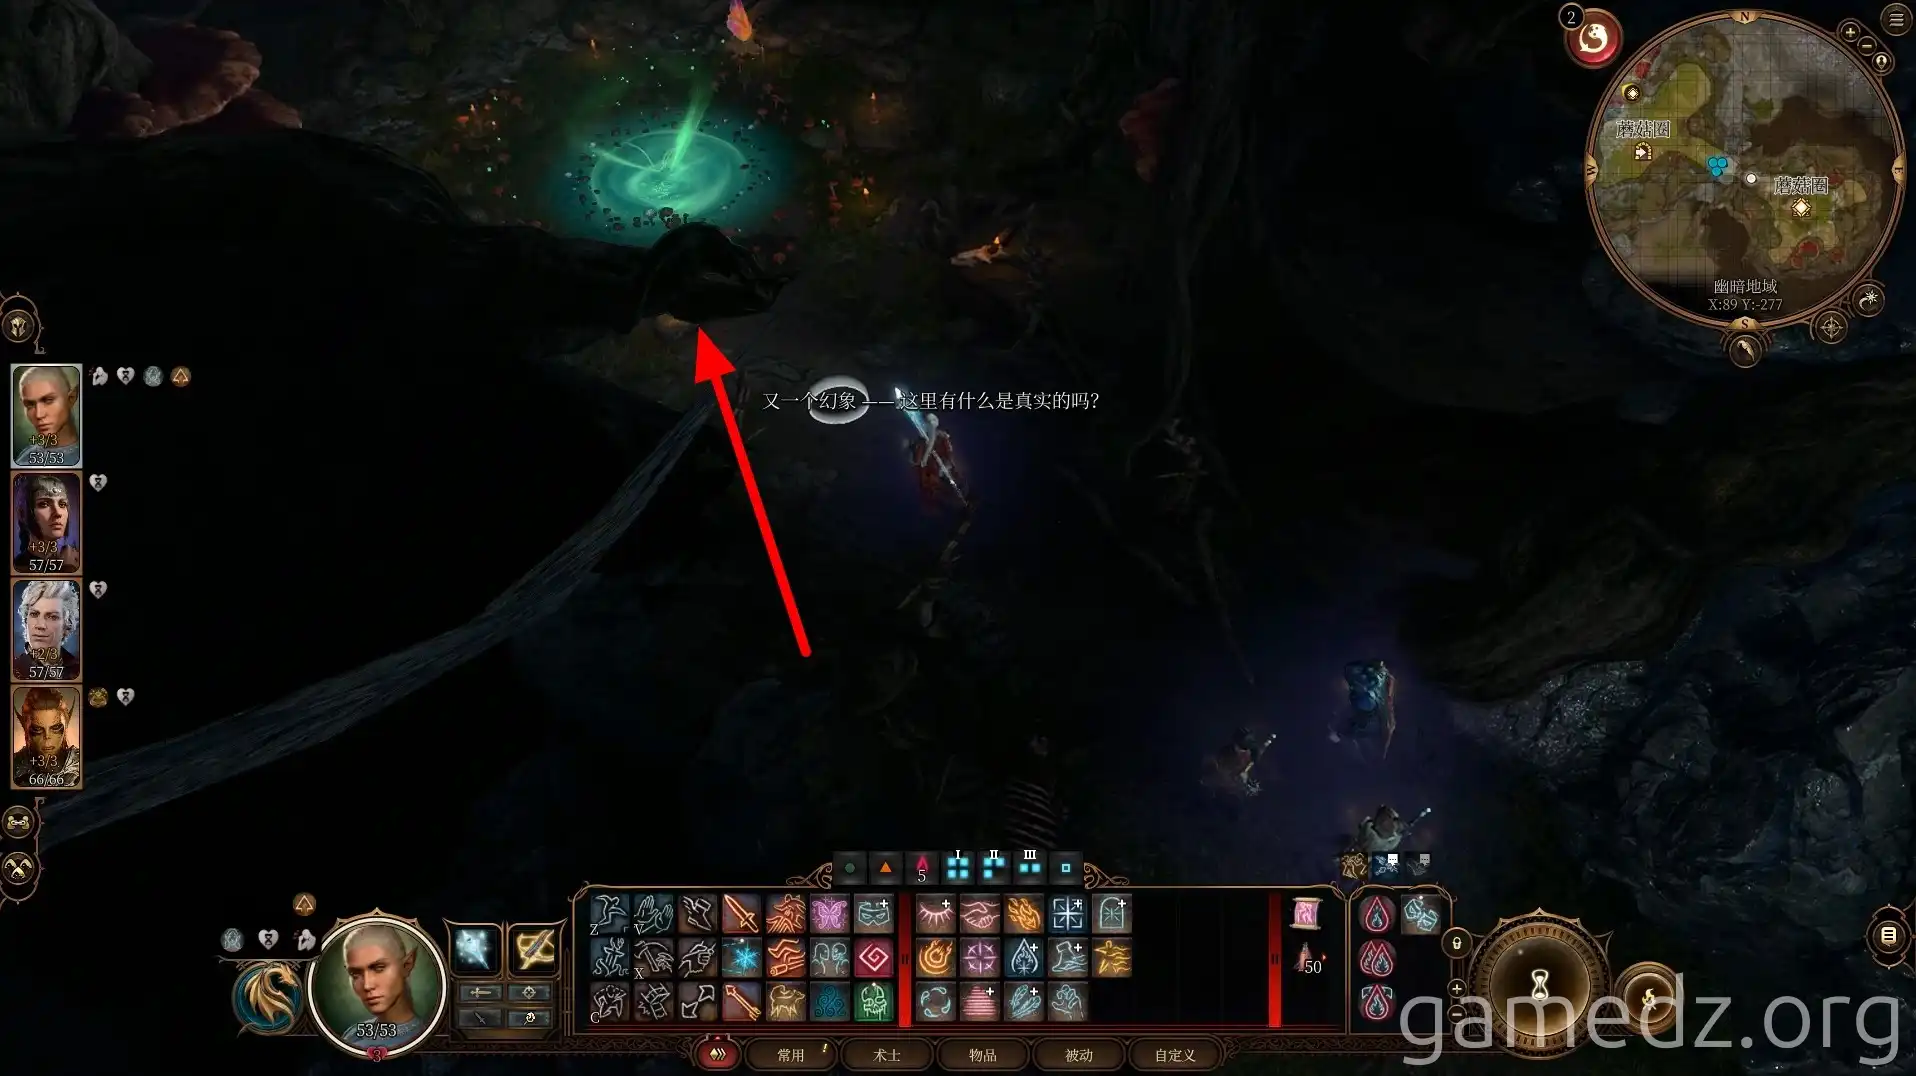
Back at the small plaza, take the stairs on the west side to advance towards the Arcane Tower. It's recommended to have two Sussur Flowers with you before heading to the tower.
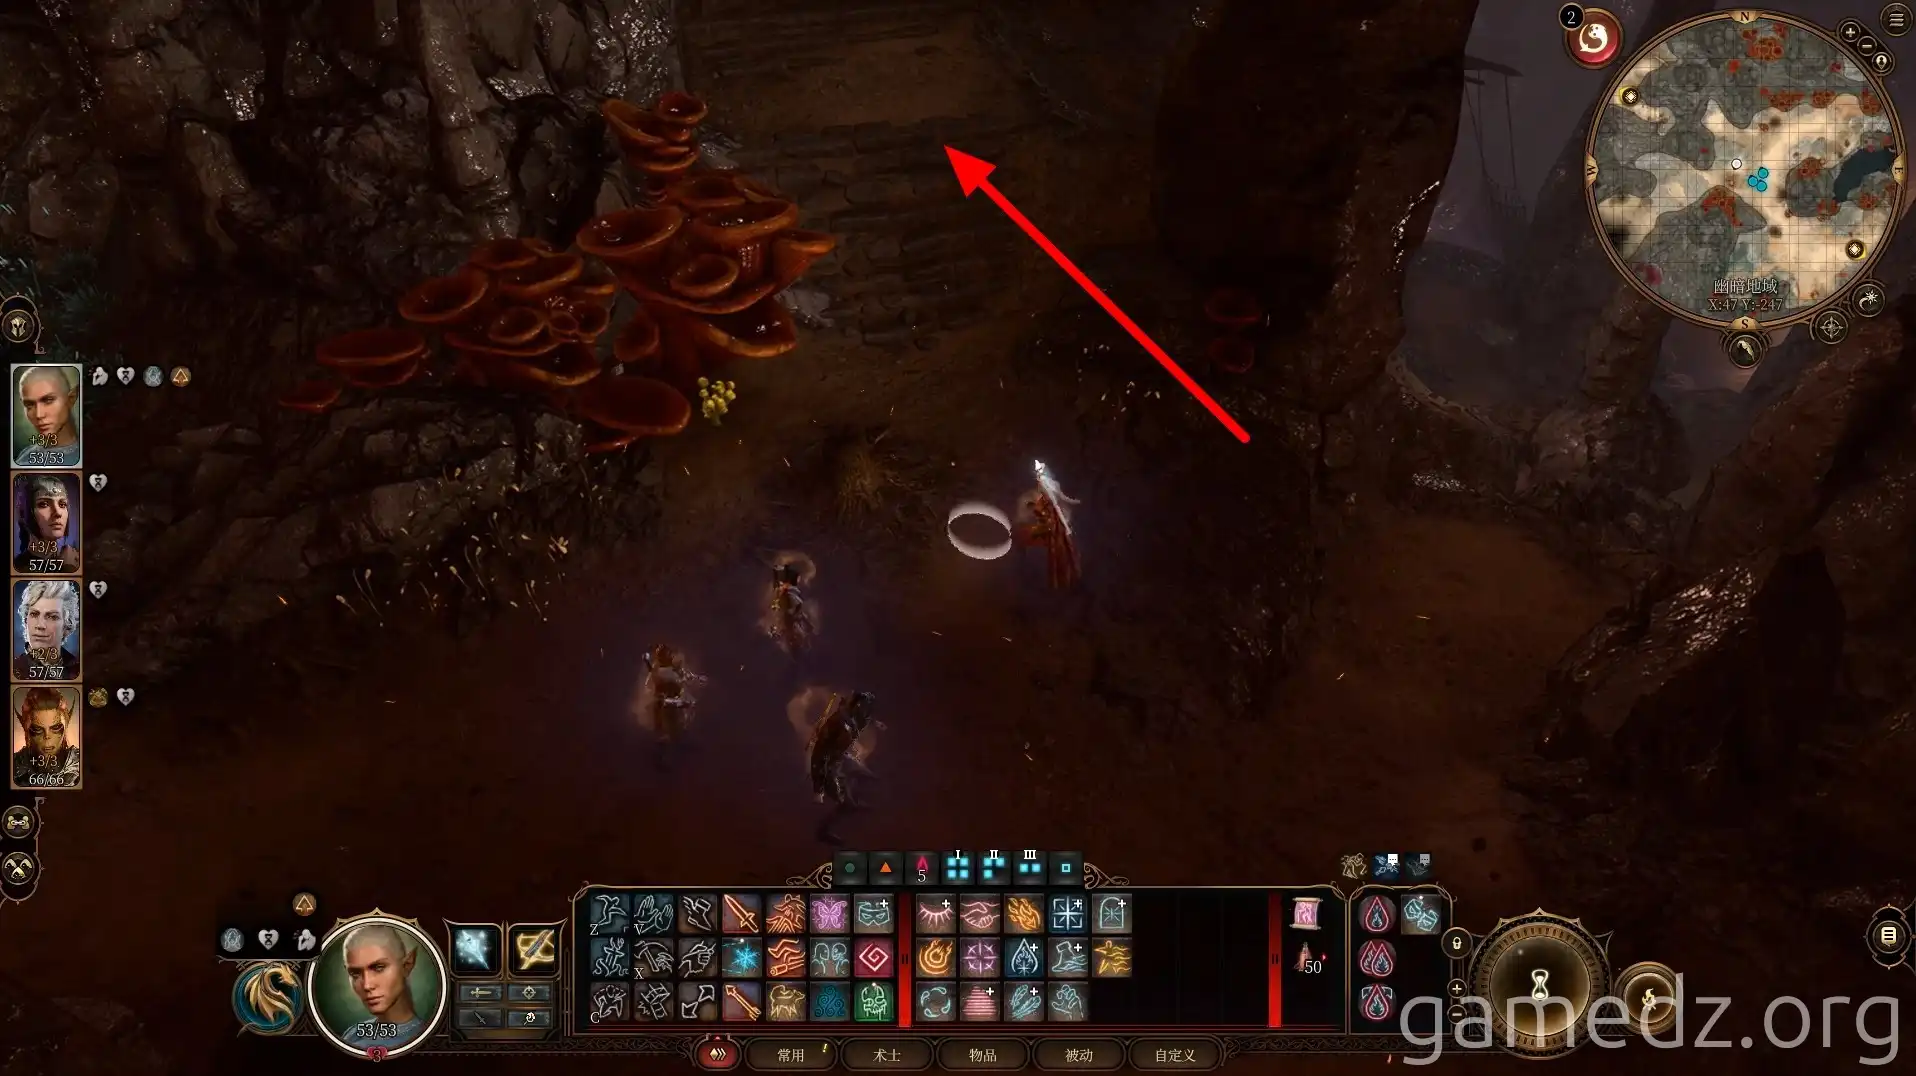
Once you ascend the stairs, you'll notice a blue beam targeting you. This indicates that your character has been locked onto by an arcane turret. If you expose yourself in open areas, you'll be attacked by the turrets.
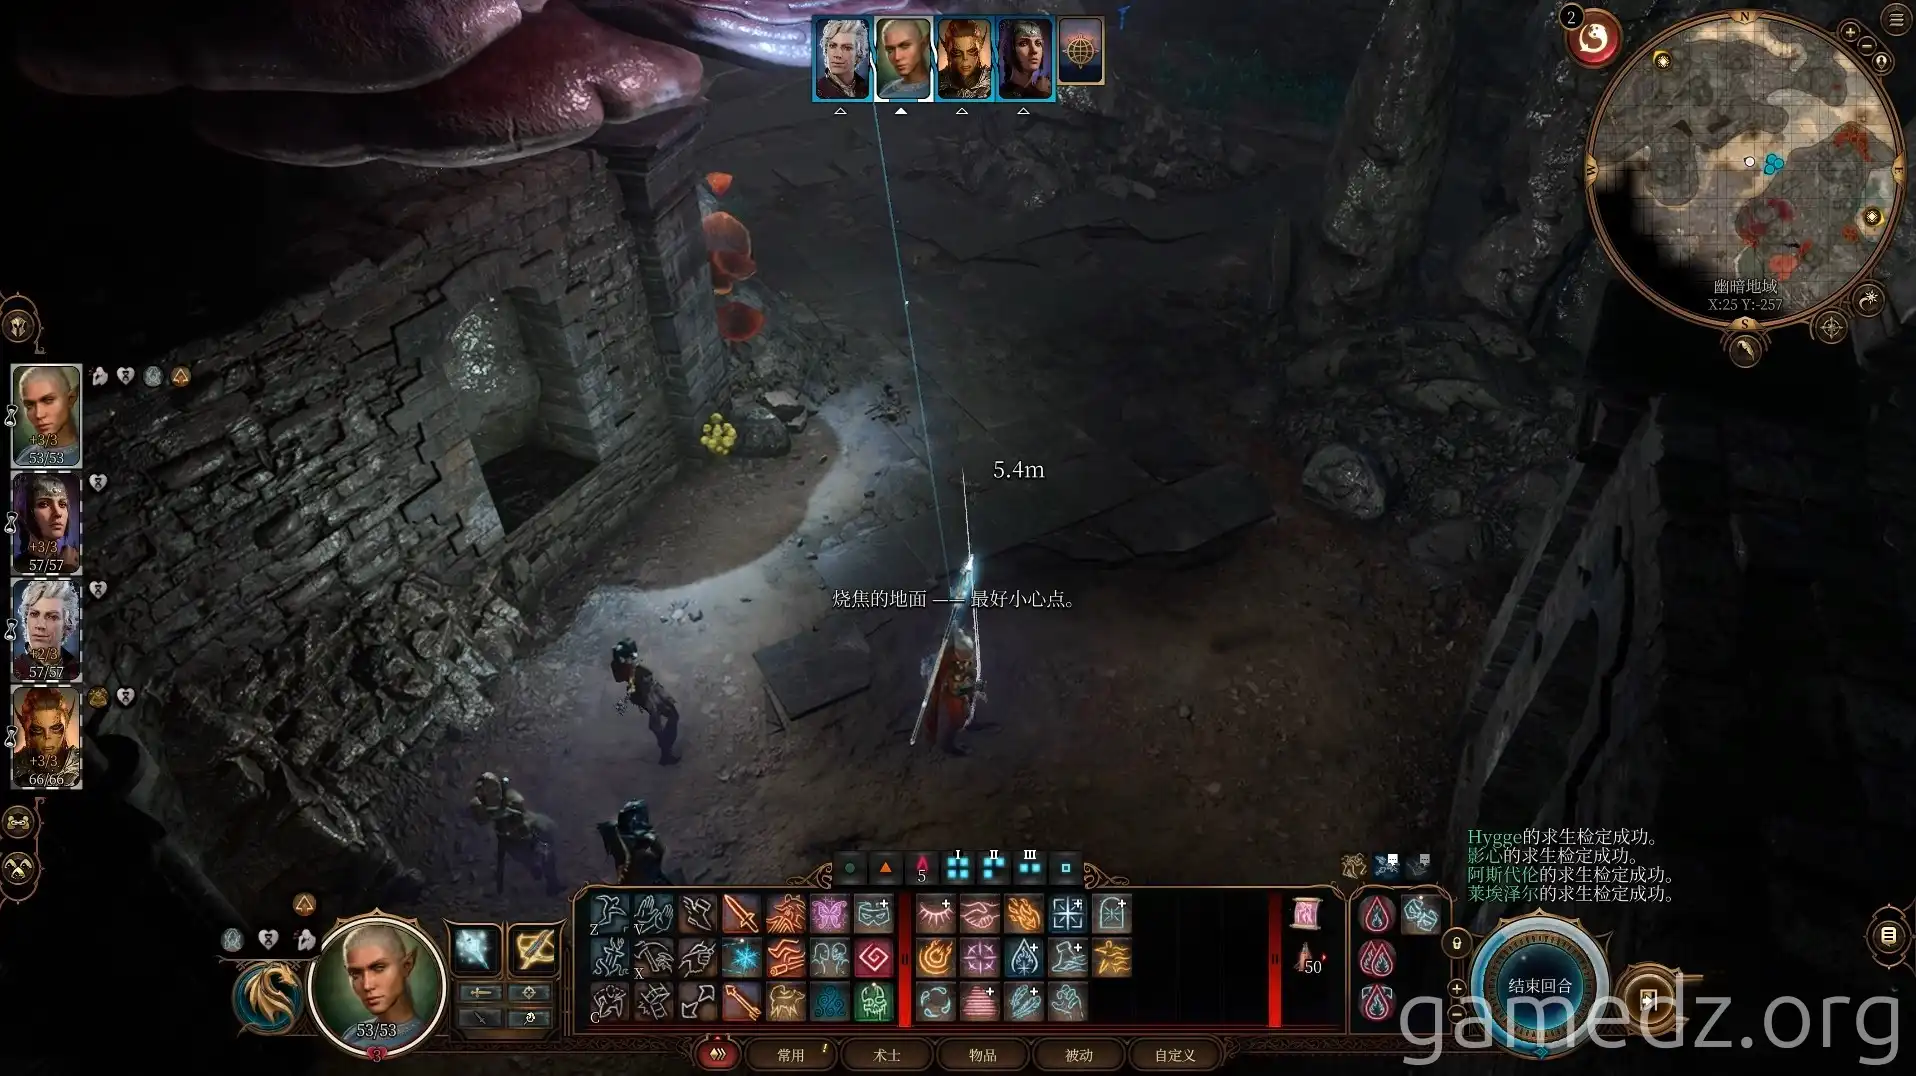
At this point, you can switch the game to turn-based mode and use the obstacles in the area to approach the turrets.
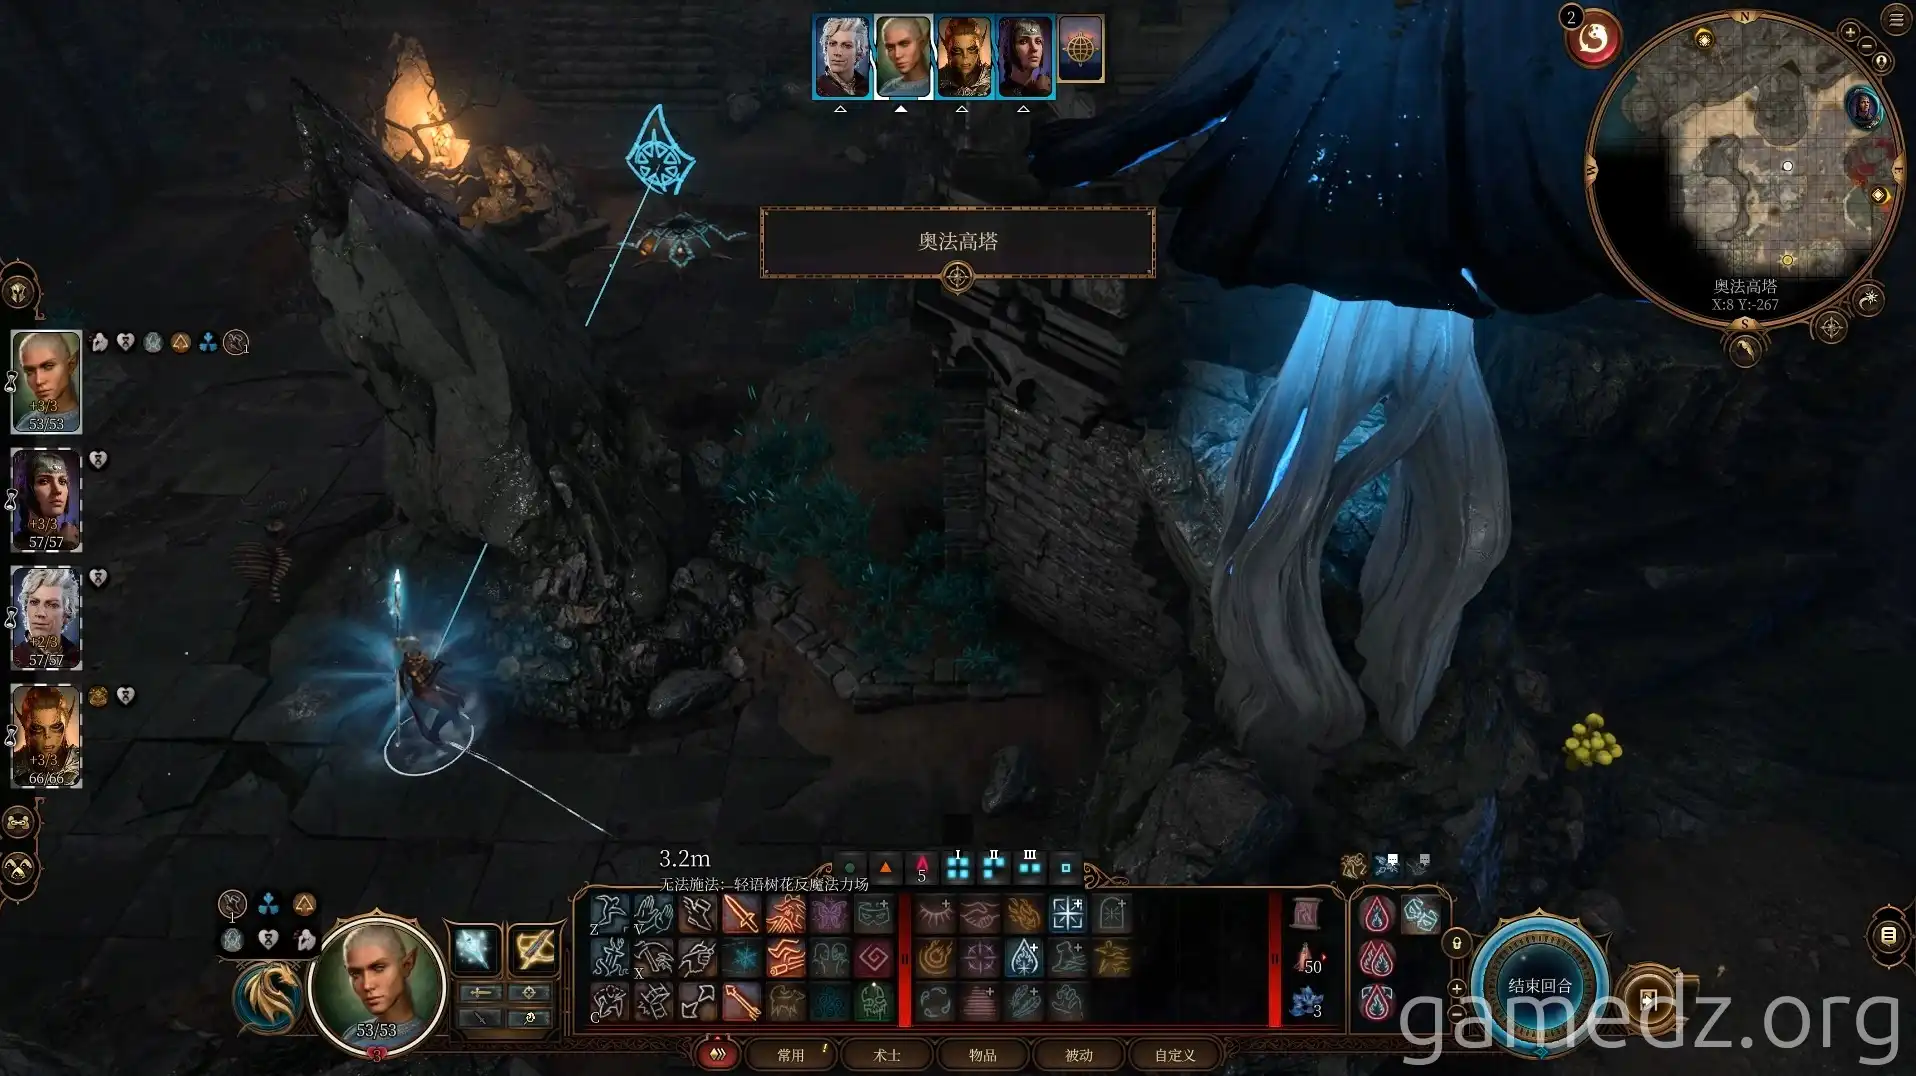
Throwing a Sussur Flower next to a turret will deactivate it. Characters with the Sage background will be inspired and gain an Inspiration point for using this method to disable the turrets.
Be aware that there's another turret above the stairs ahead. You can disable it using the same method.
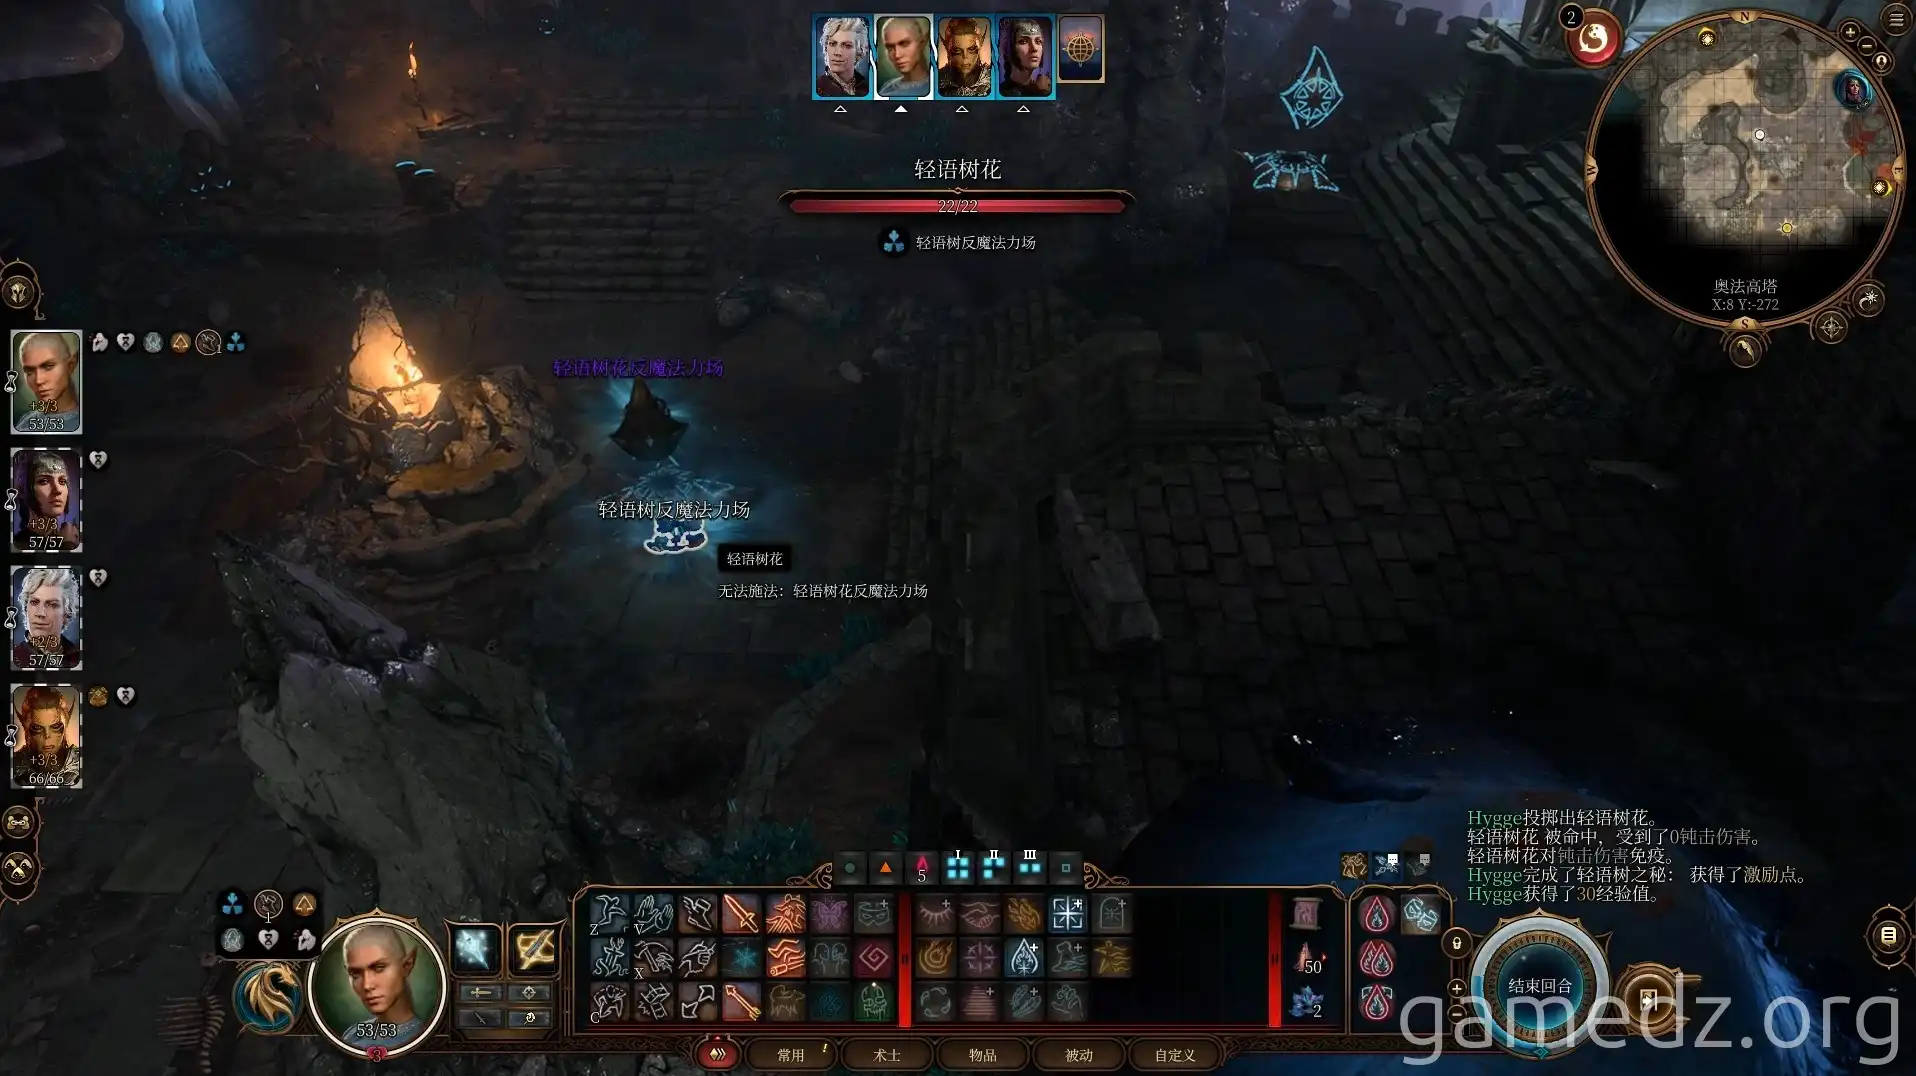
In a heavy chest located in the corner of the entrance, you can find the Rare Weapon: Smith's Fury.
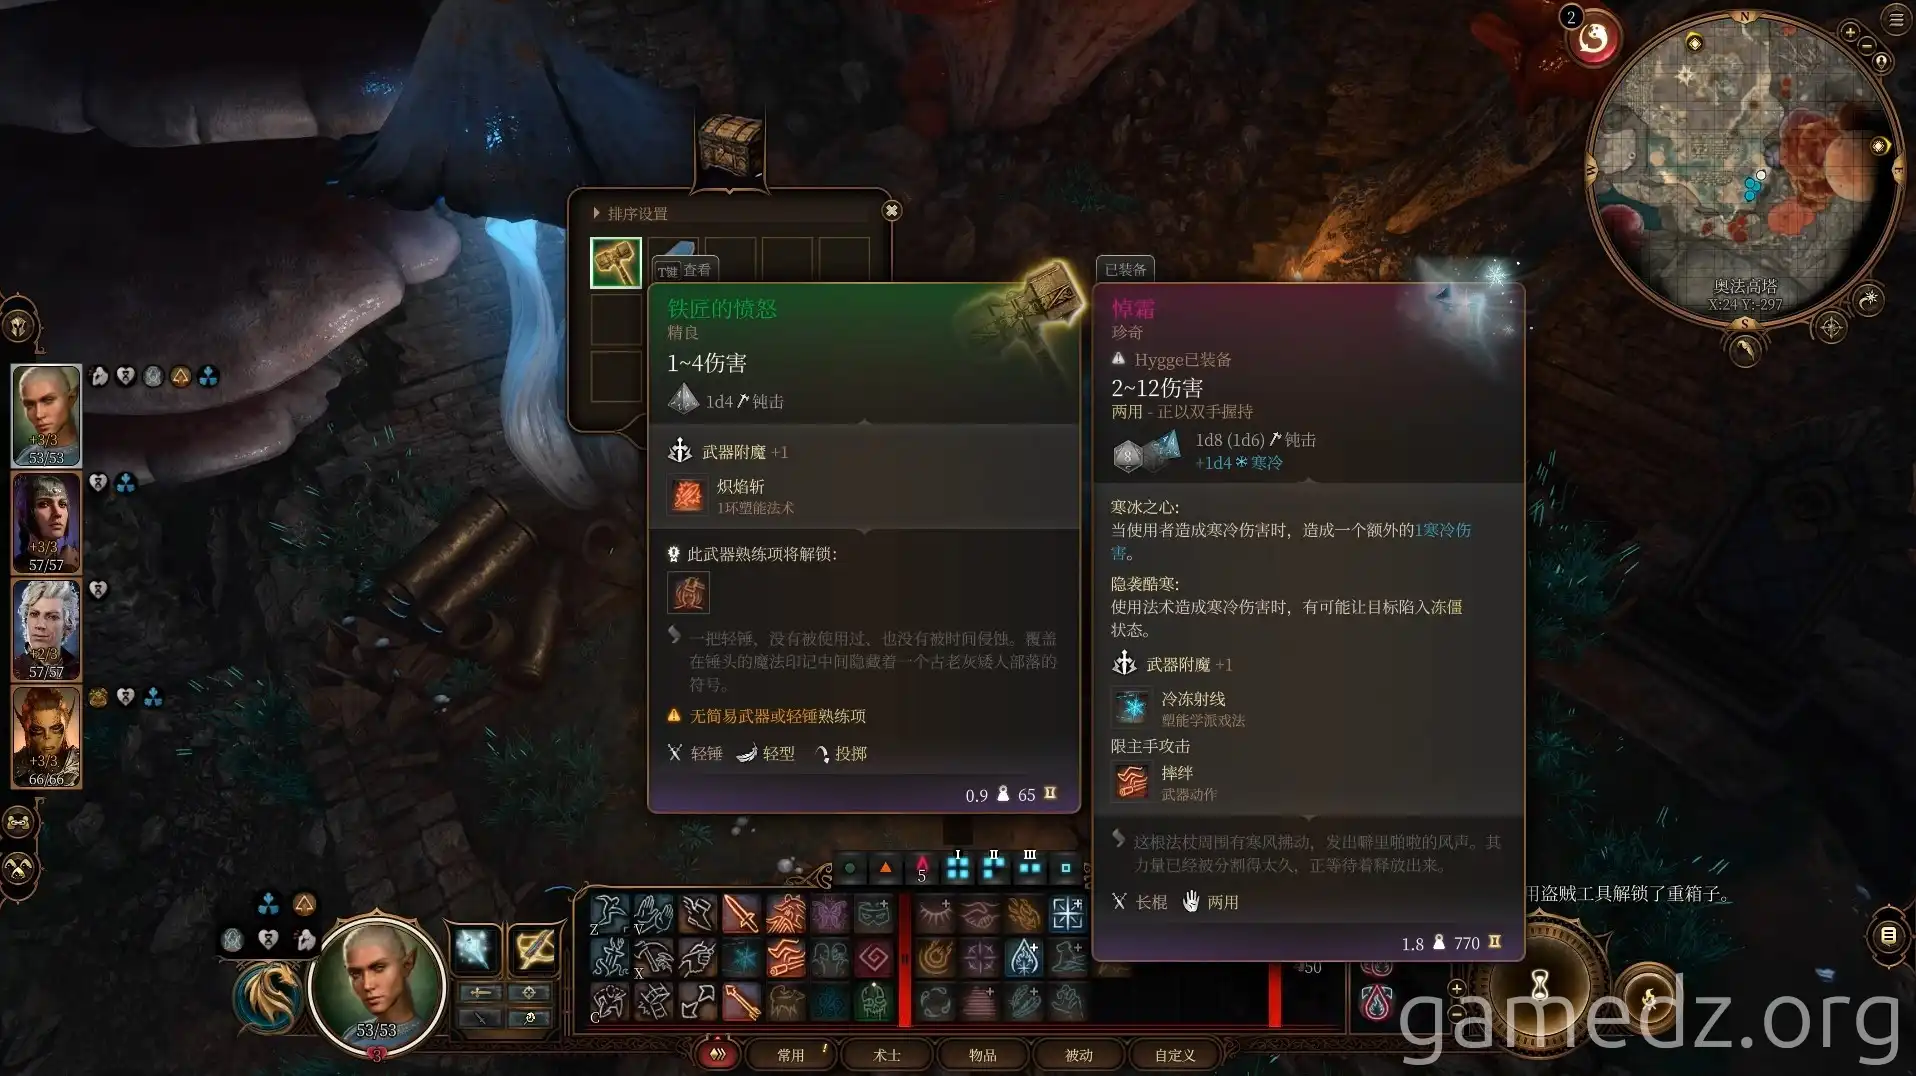
In the open area nearby, there's a patch of dirt with a buried chest.
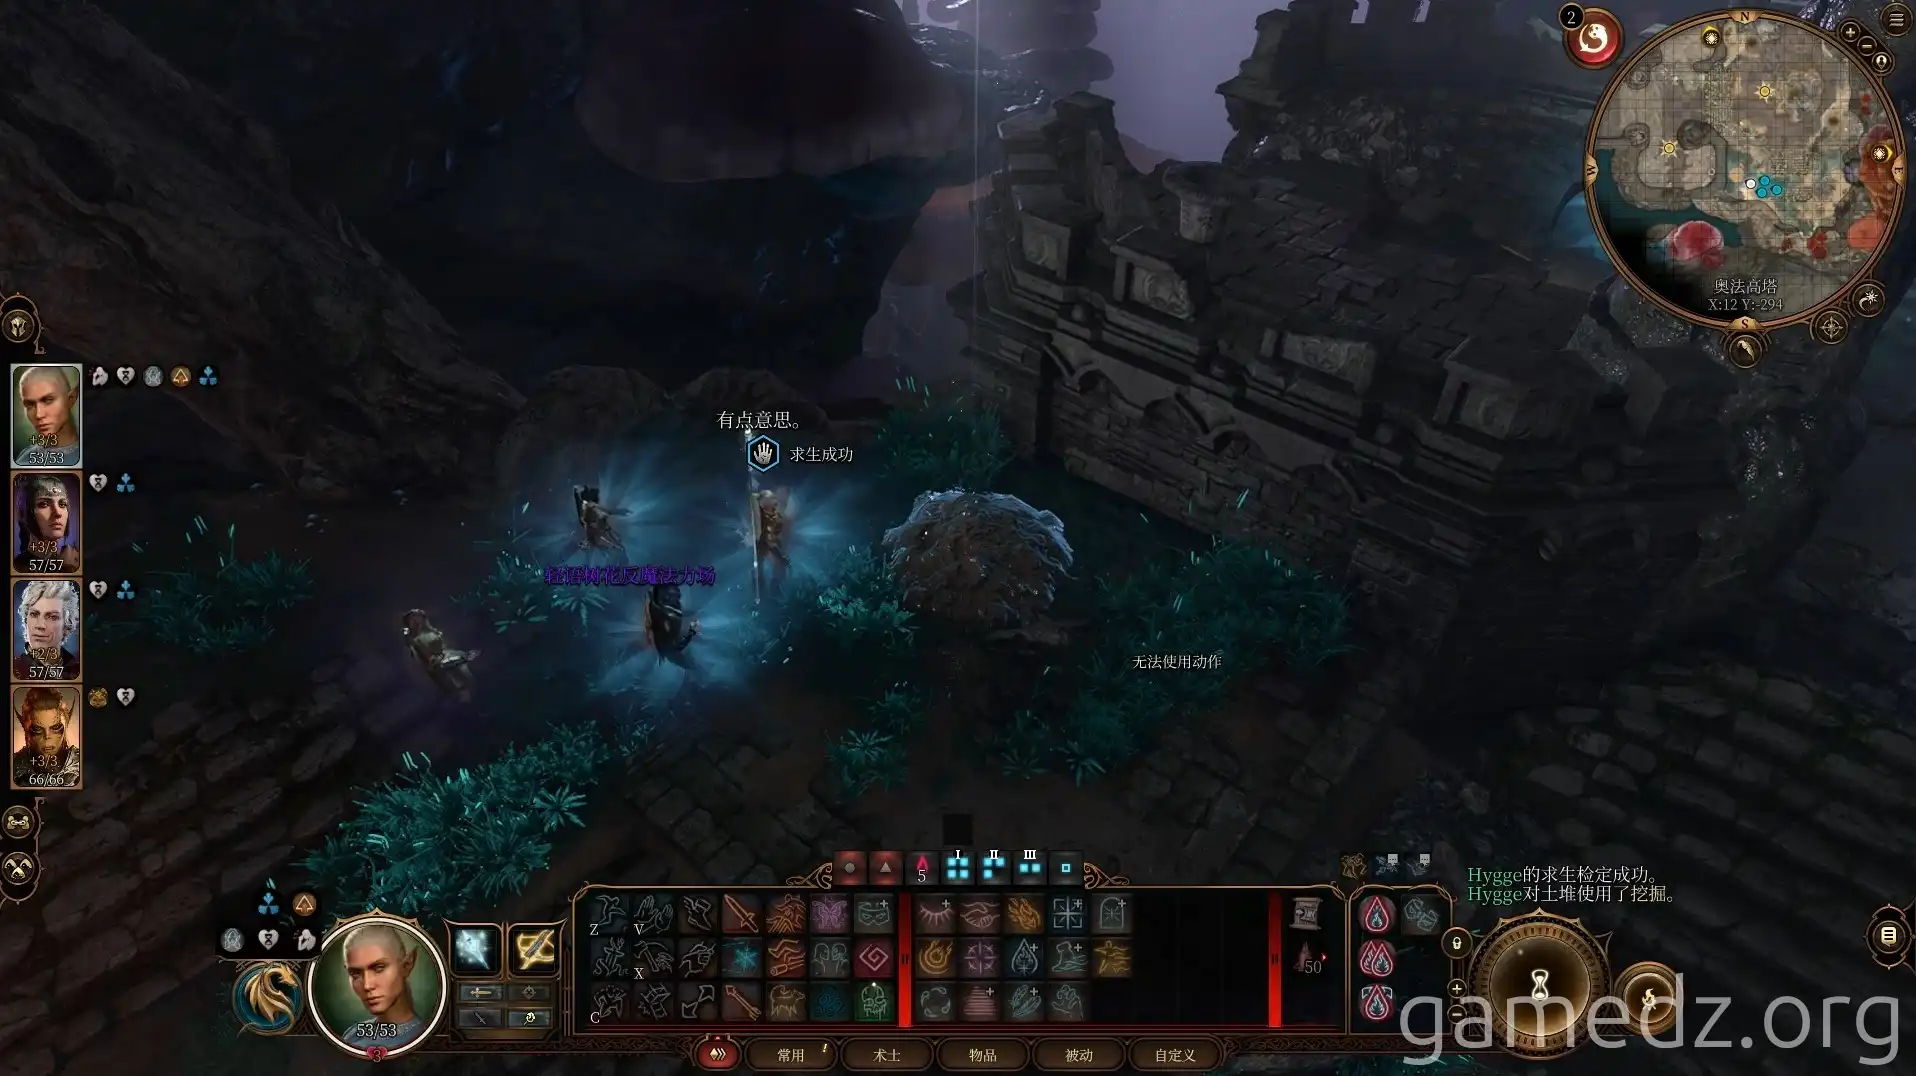
Afterward, jump from behind the turret on the high platform onto the mushrooms on the adjacent cliff face and proceed along them.
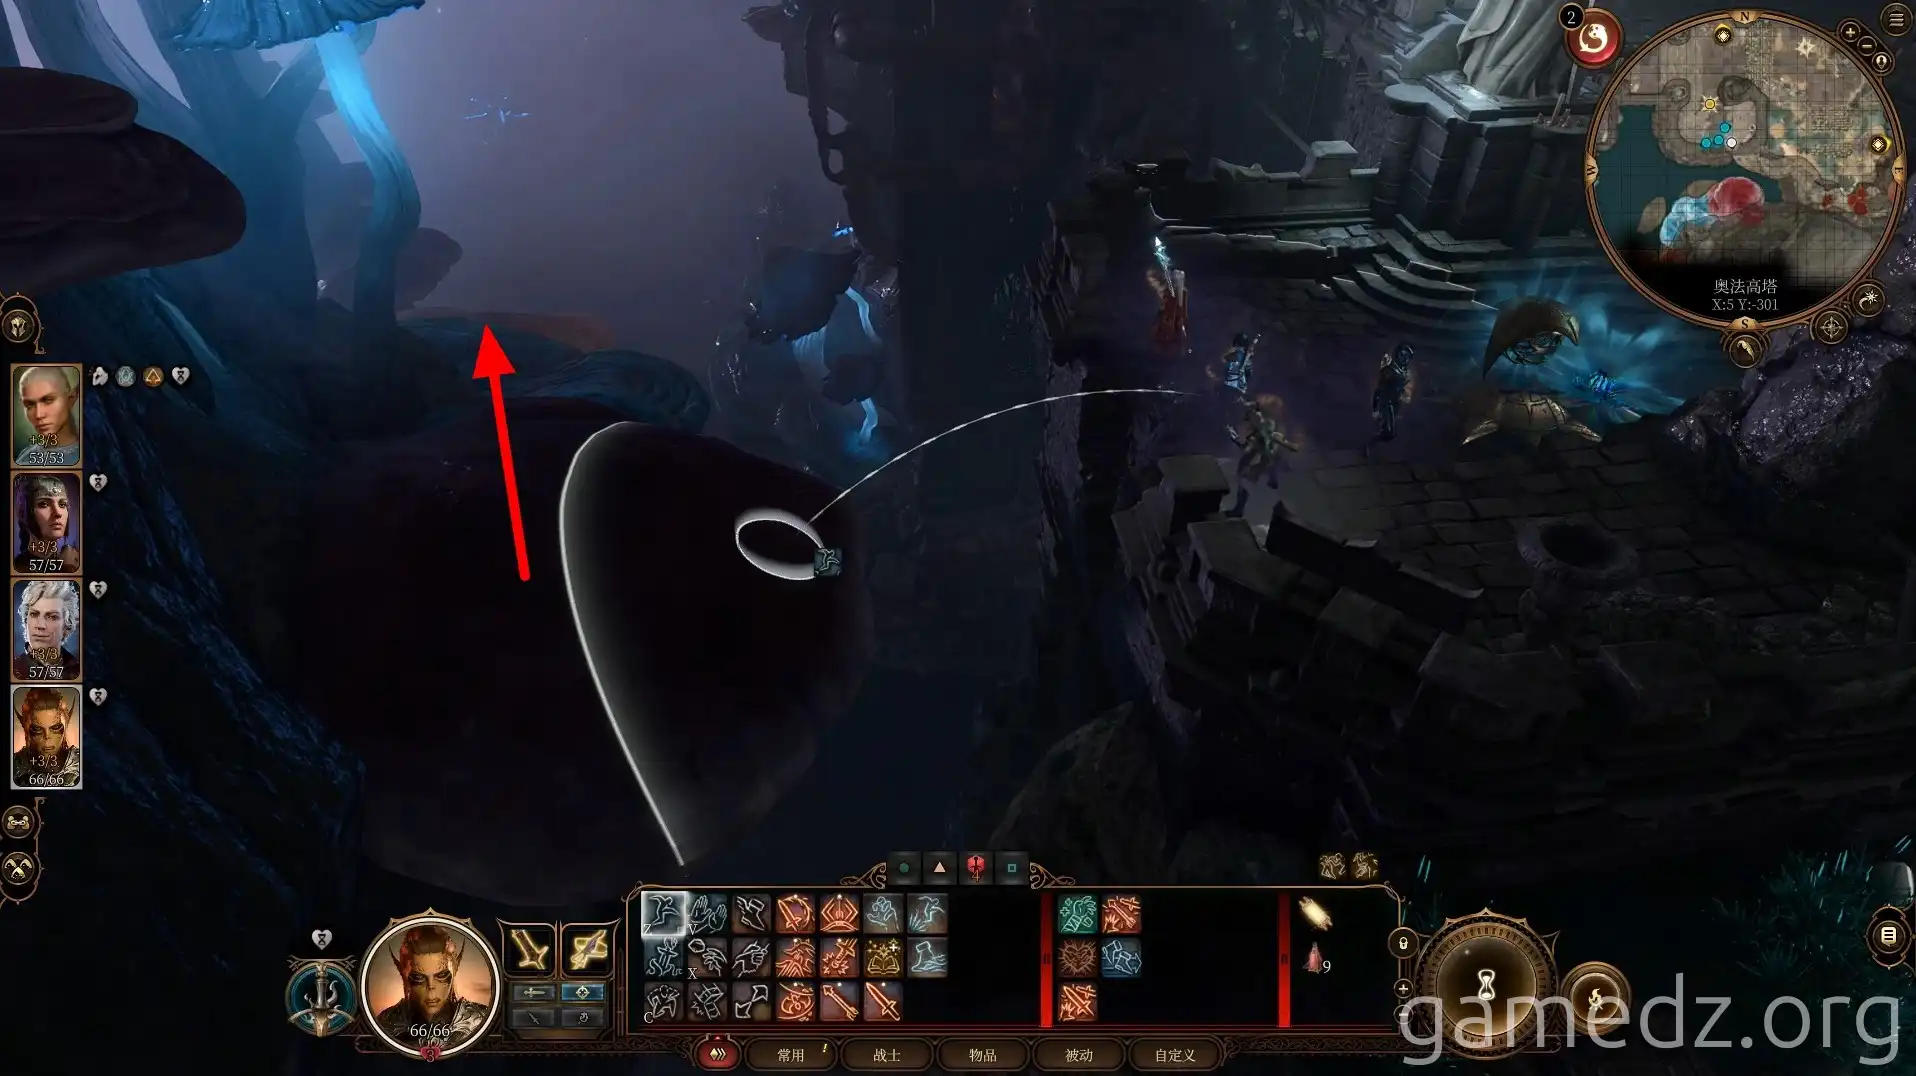
Reach the very front and jump to the ground. The height is considerable, so you'll need the Feather Fall spell to land safely.
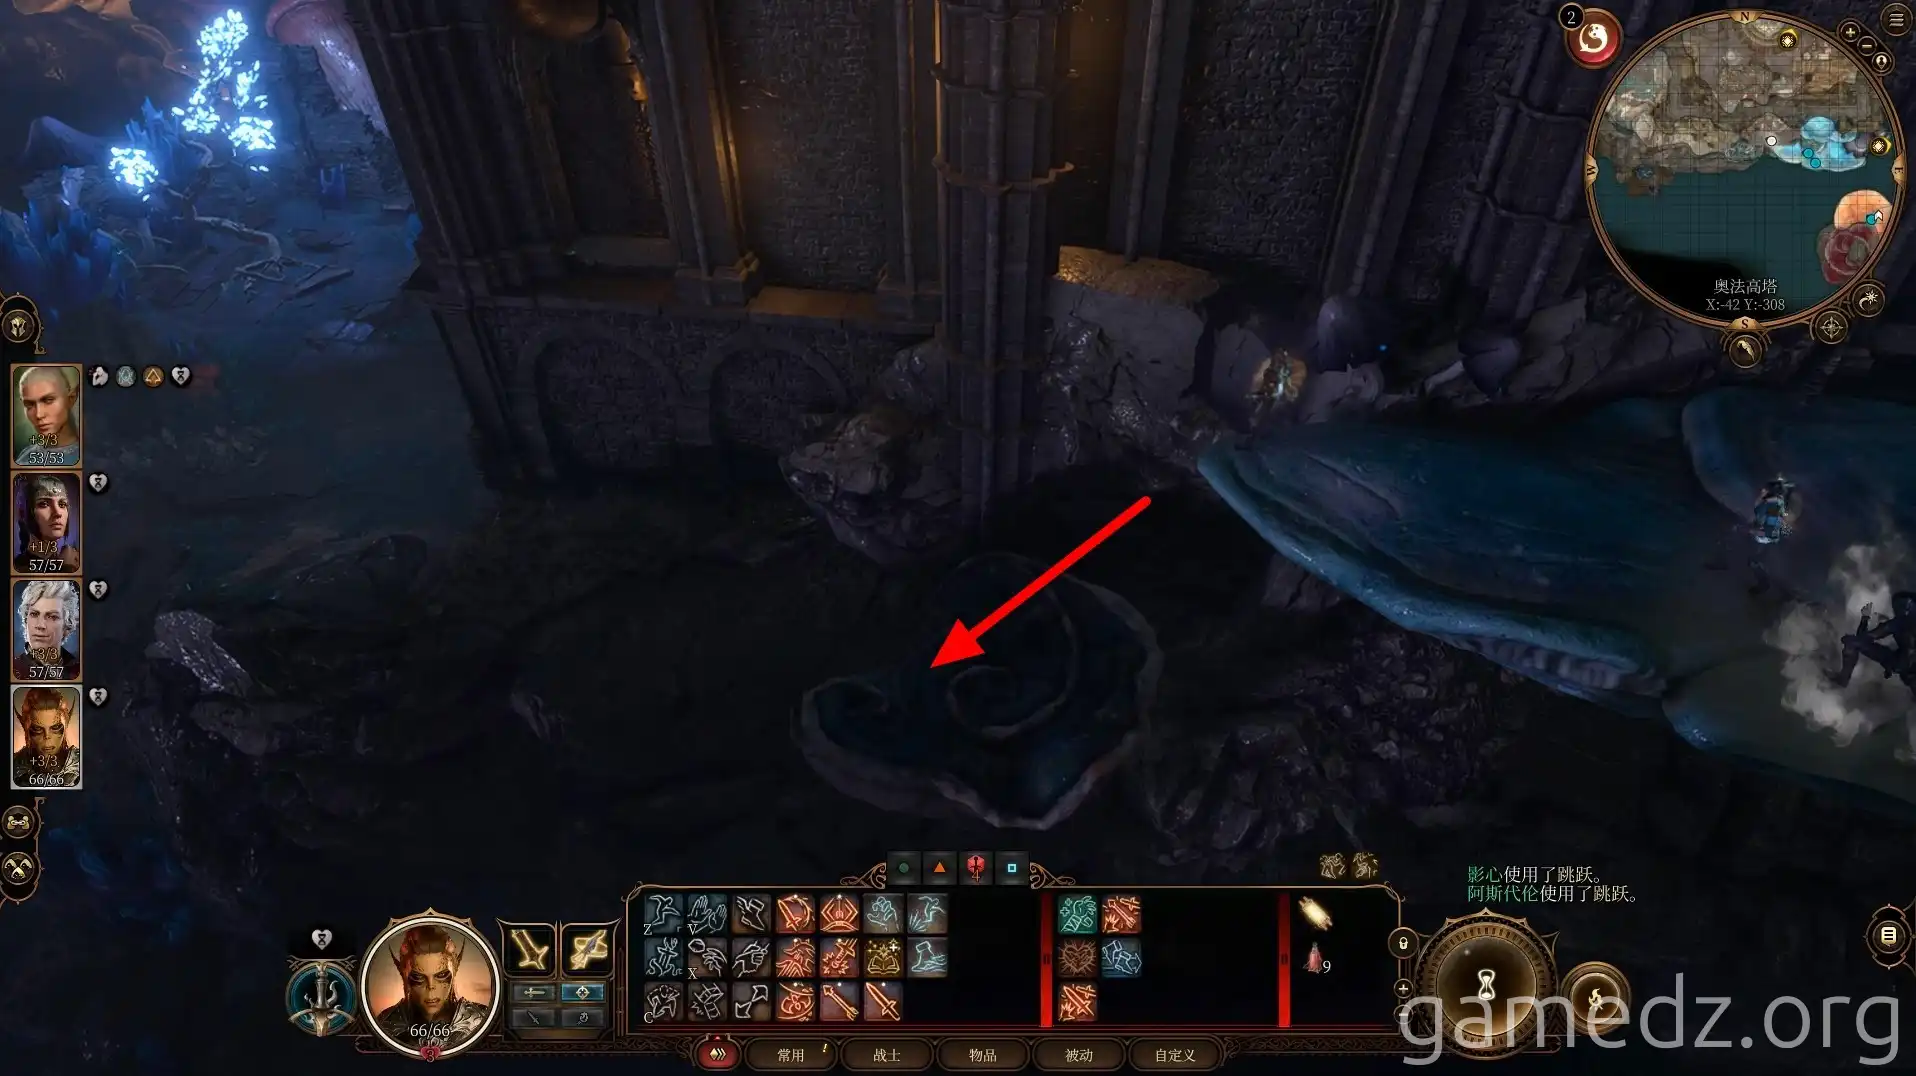
Under the Sussur Tree ahead, you'll find another patch of dirt with a buried chest. After opening the chest, take a Sussur Flower from beneath the nearby Sussur Tree.
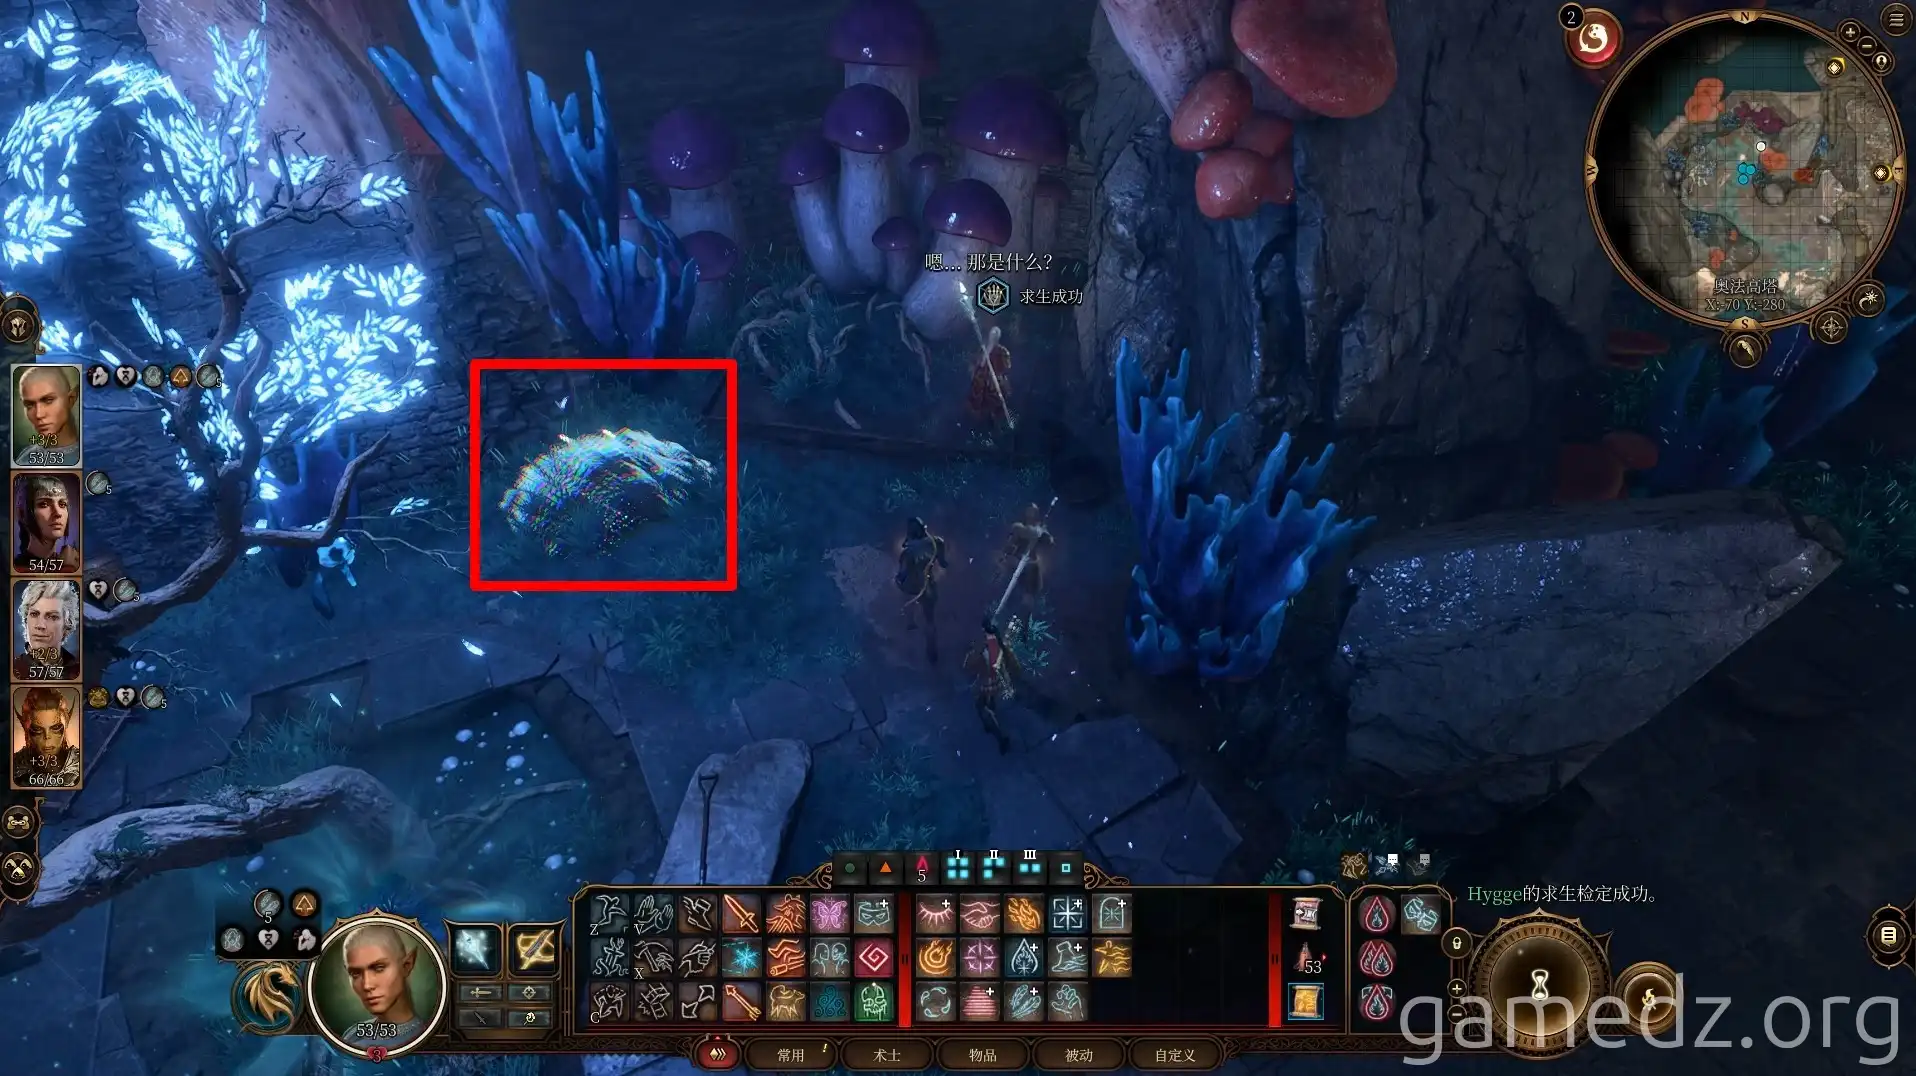
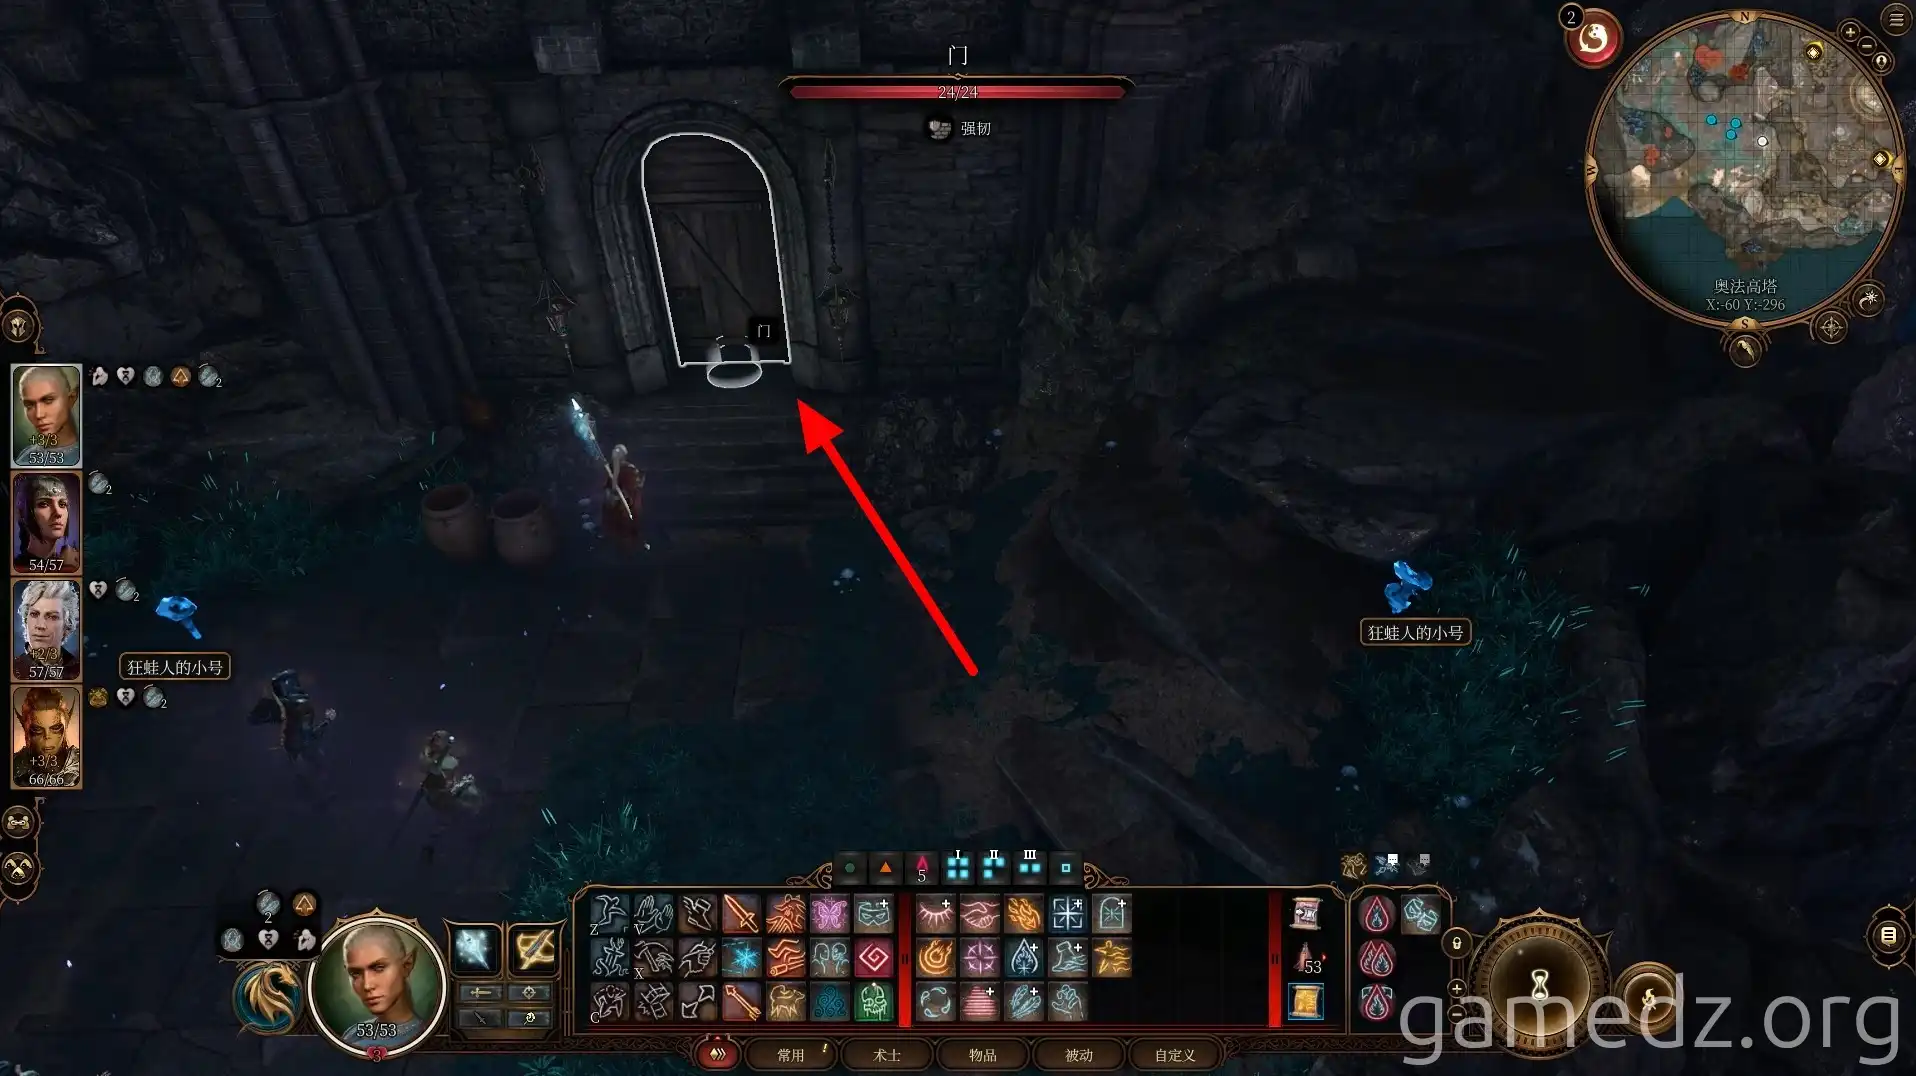
Then, open the door and enter the first floor of the Arcane Tower. You'll find many alchemical materials in the room.
By using the crafting menu, add a Sussur Flower to the generator to activate the Arcane Tower's elevator.
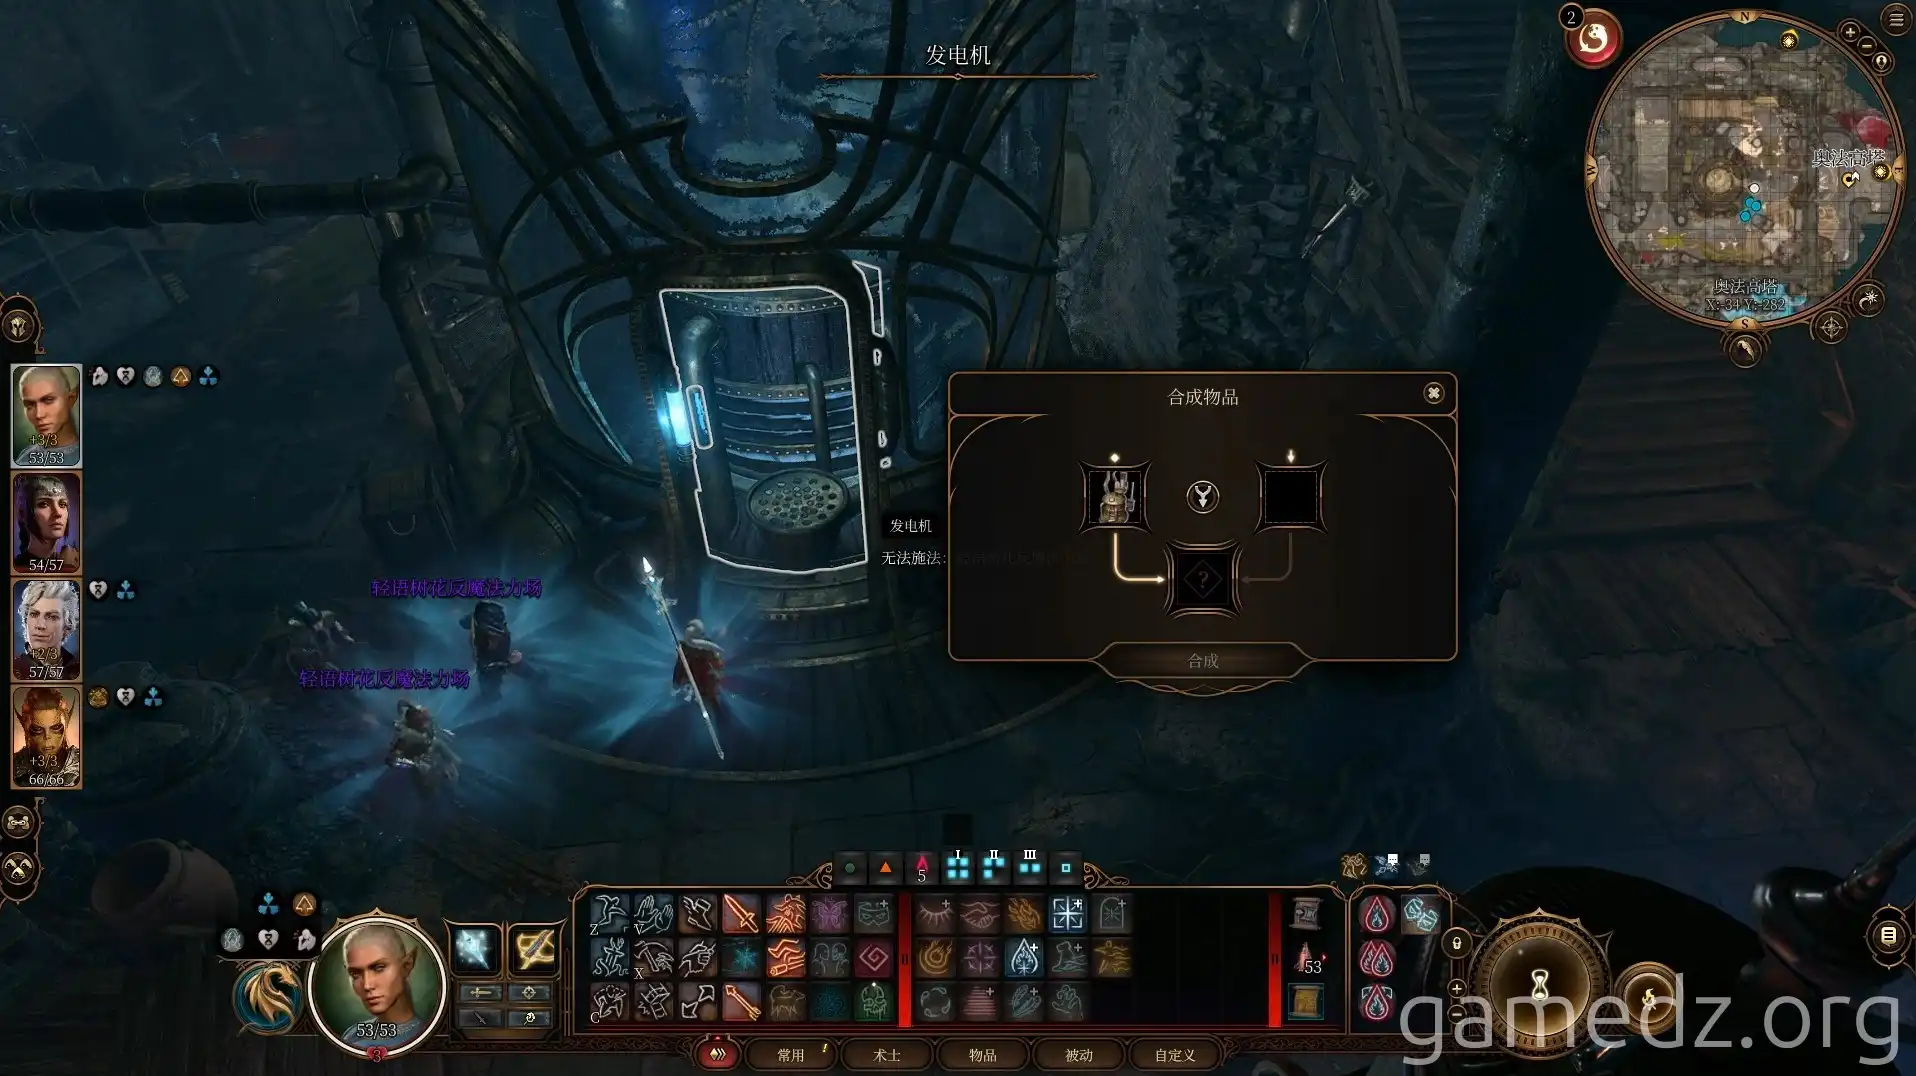
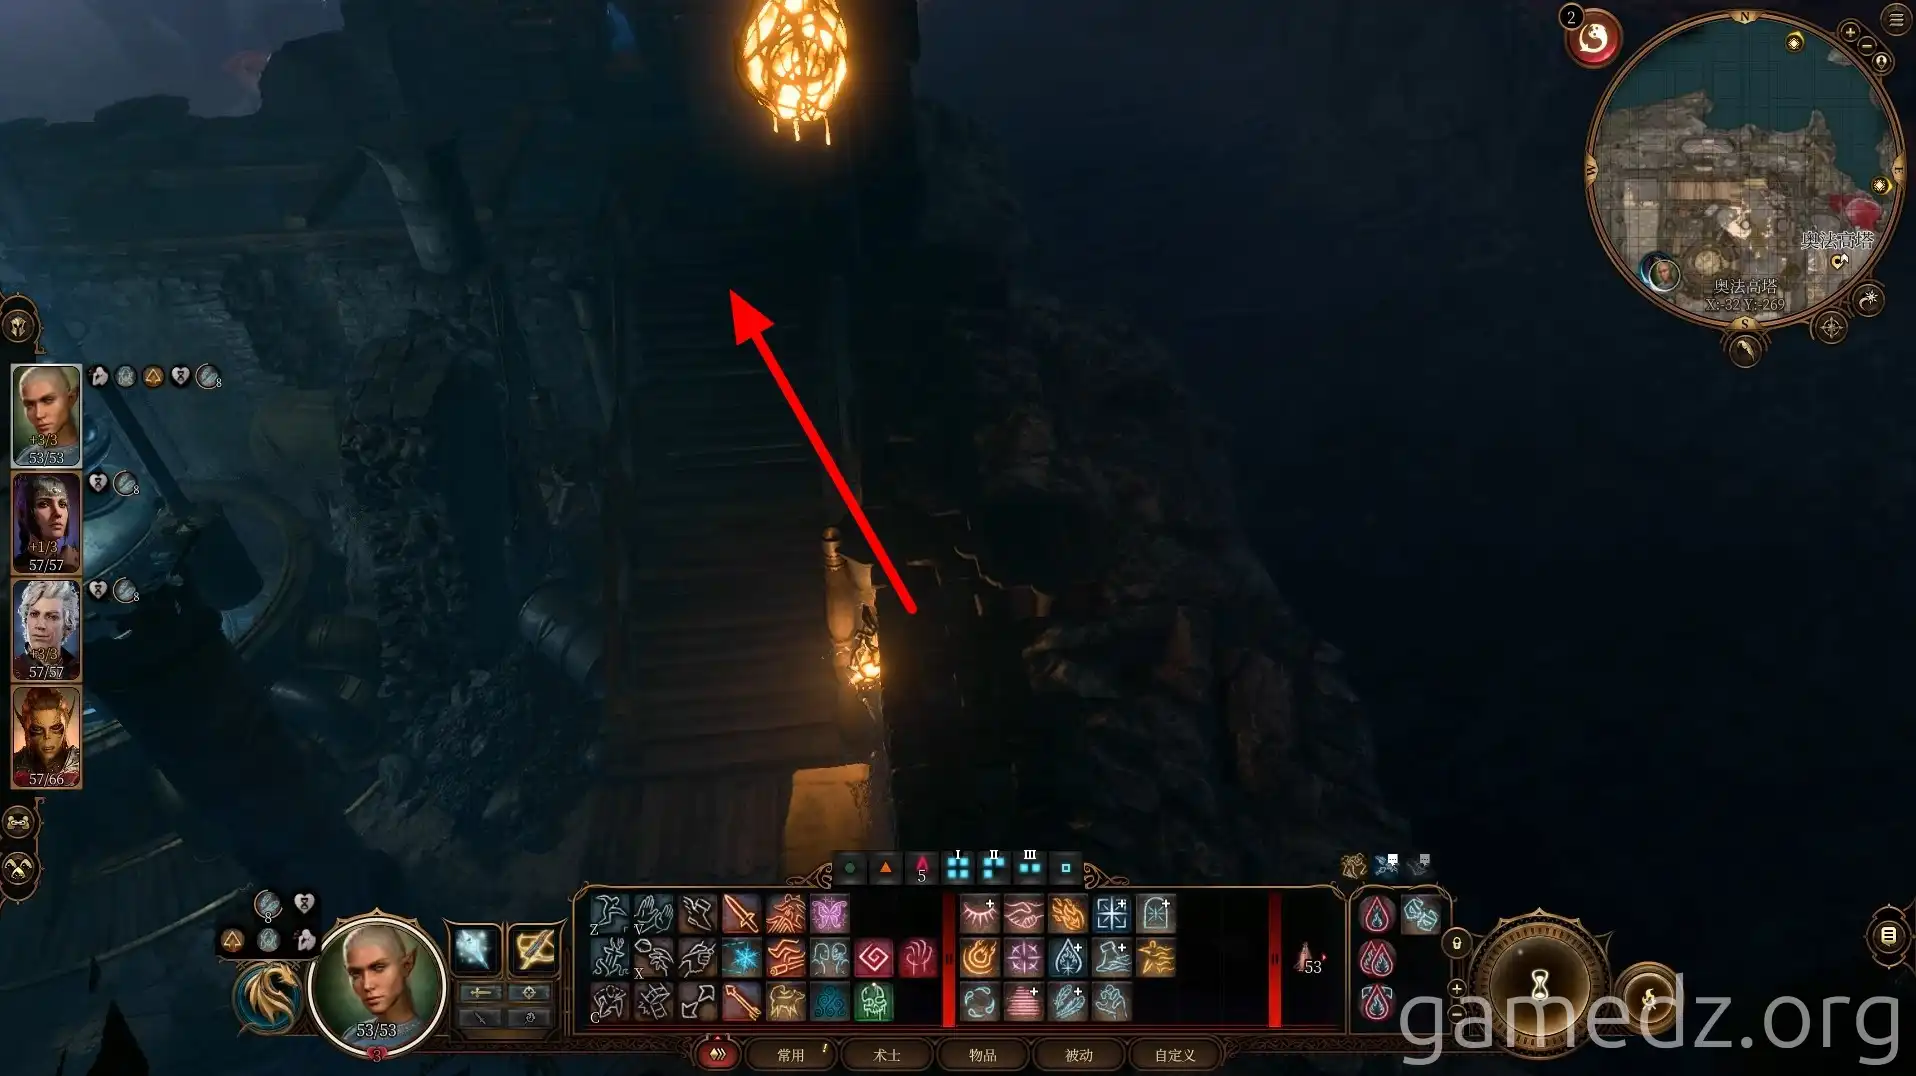
Then, take the stairs inside the room to reach the second floor.
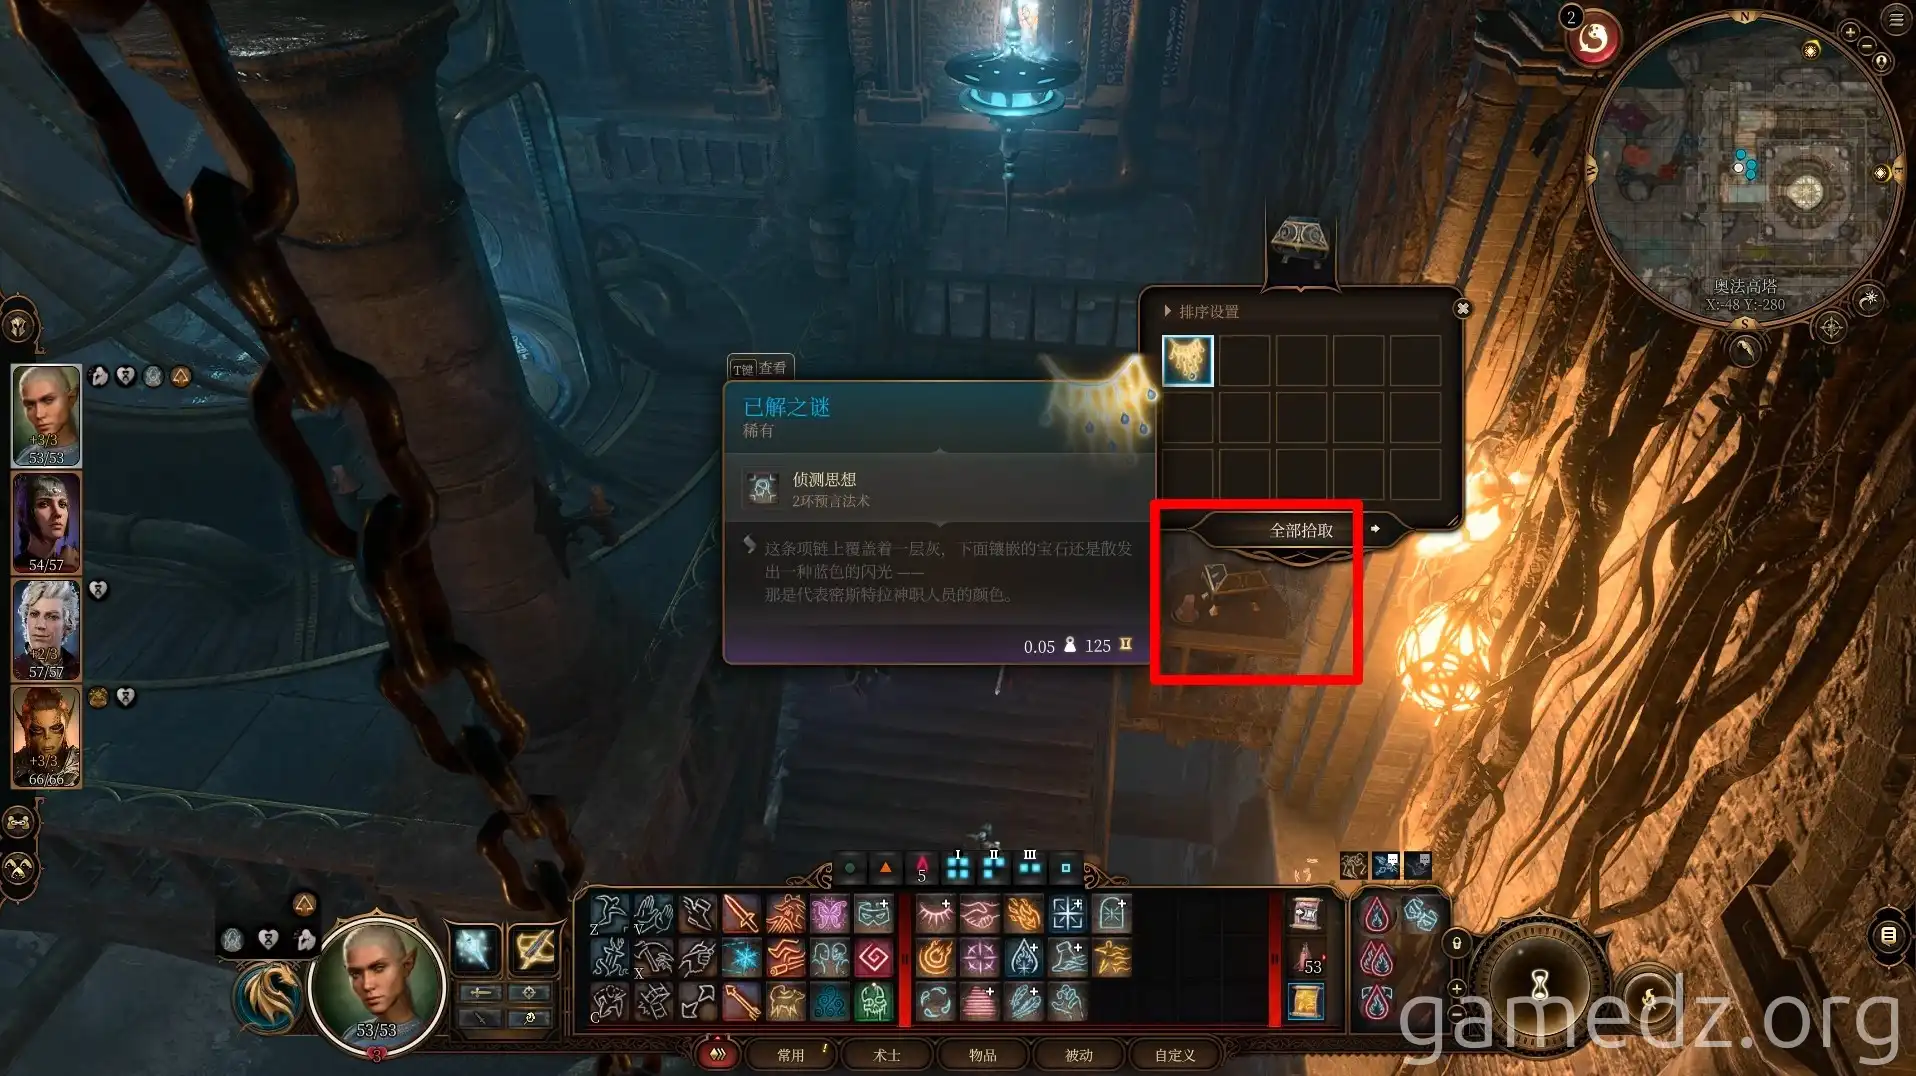
To the right of the stairs on the second floor, there's a chest. Opening it will yield the Rare Accessory: Unsolved Mystery.
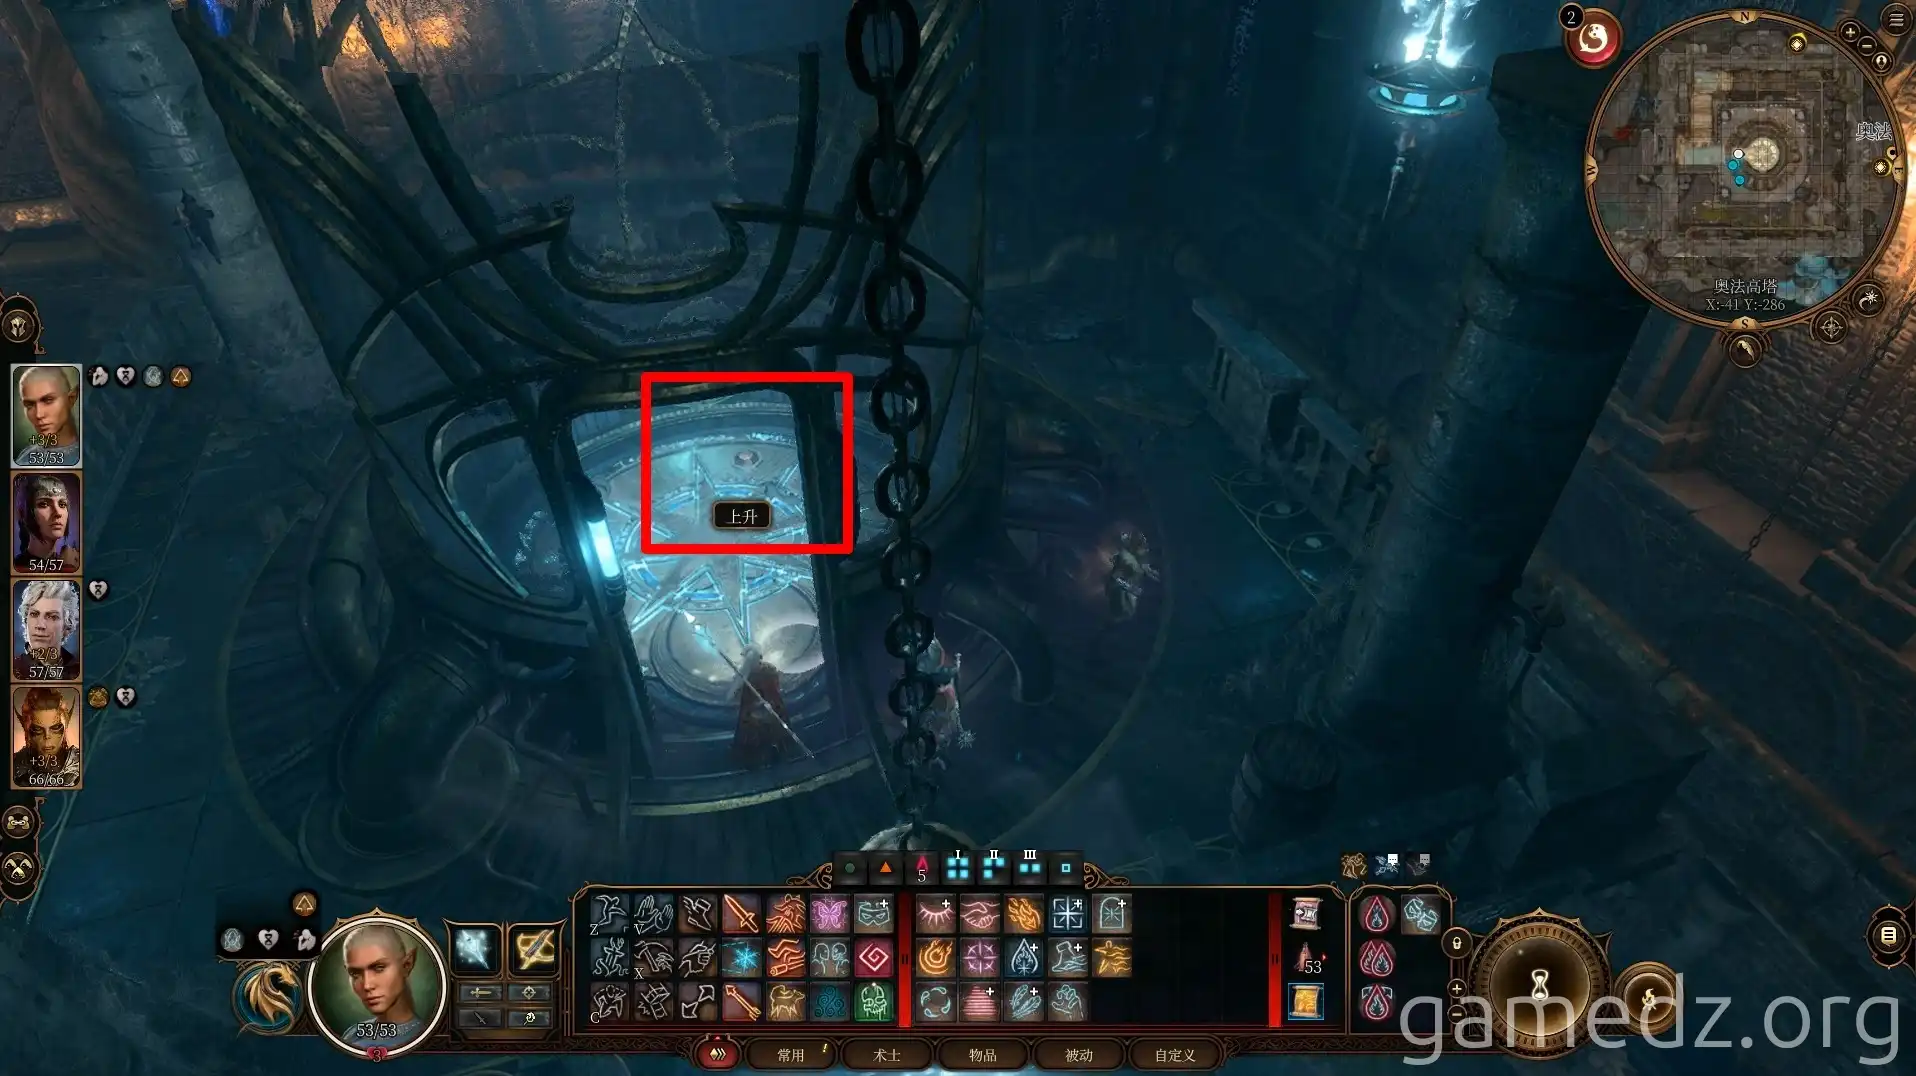
Enter the elevator and click the button on the floor to travel to the third floor.
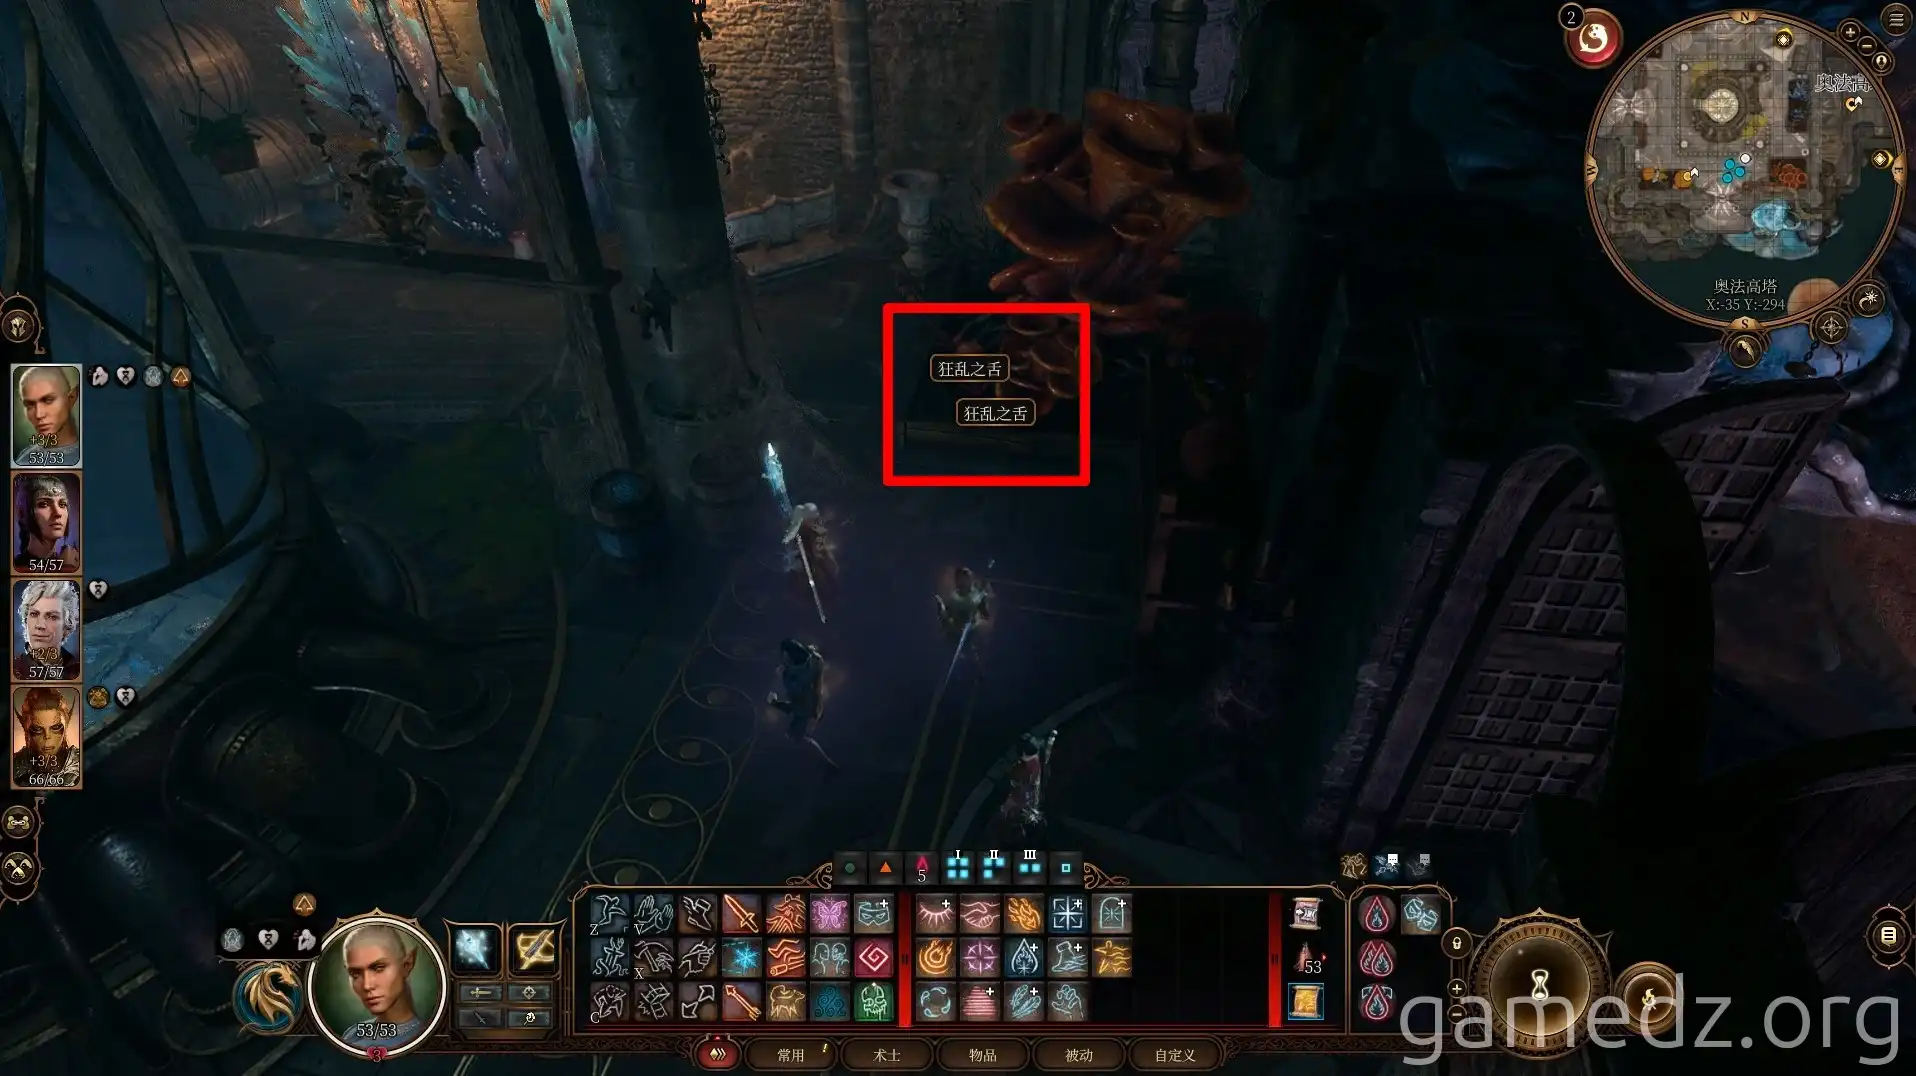
In a corner of the room on the third floor, you can find the Maddening Whispers needed for Omeluum.
On a shelf on the other side of the room, you'll find the Githyanki Githyanki Carved Disc. Continue upwards using the elevator.
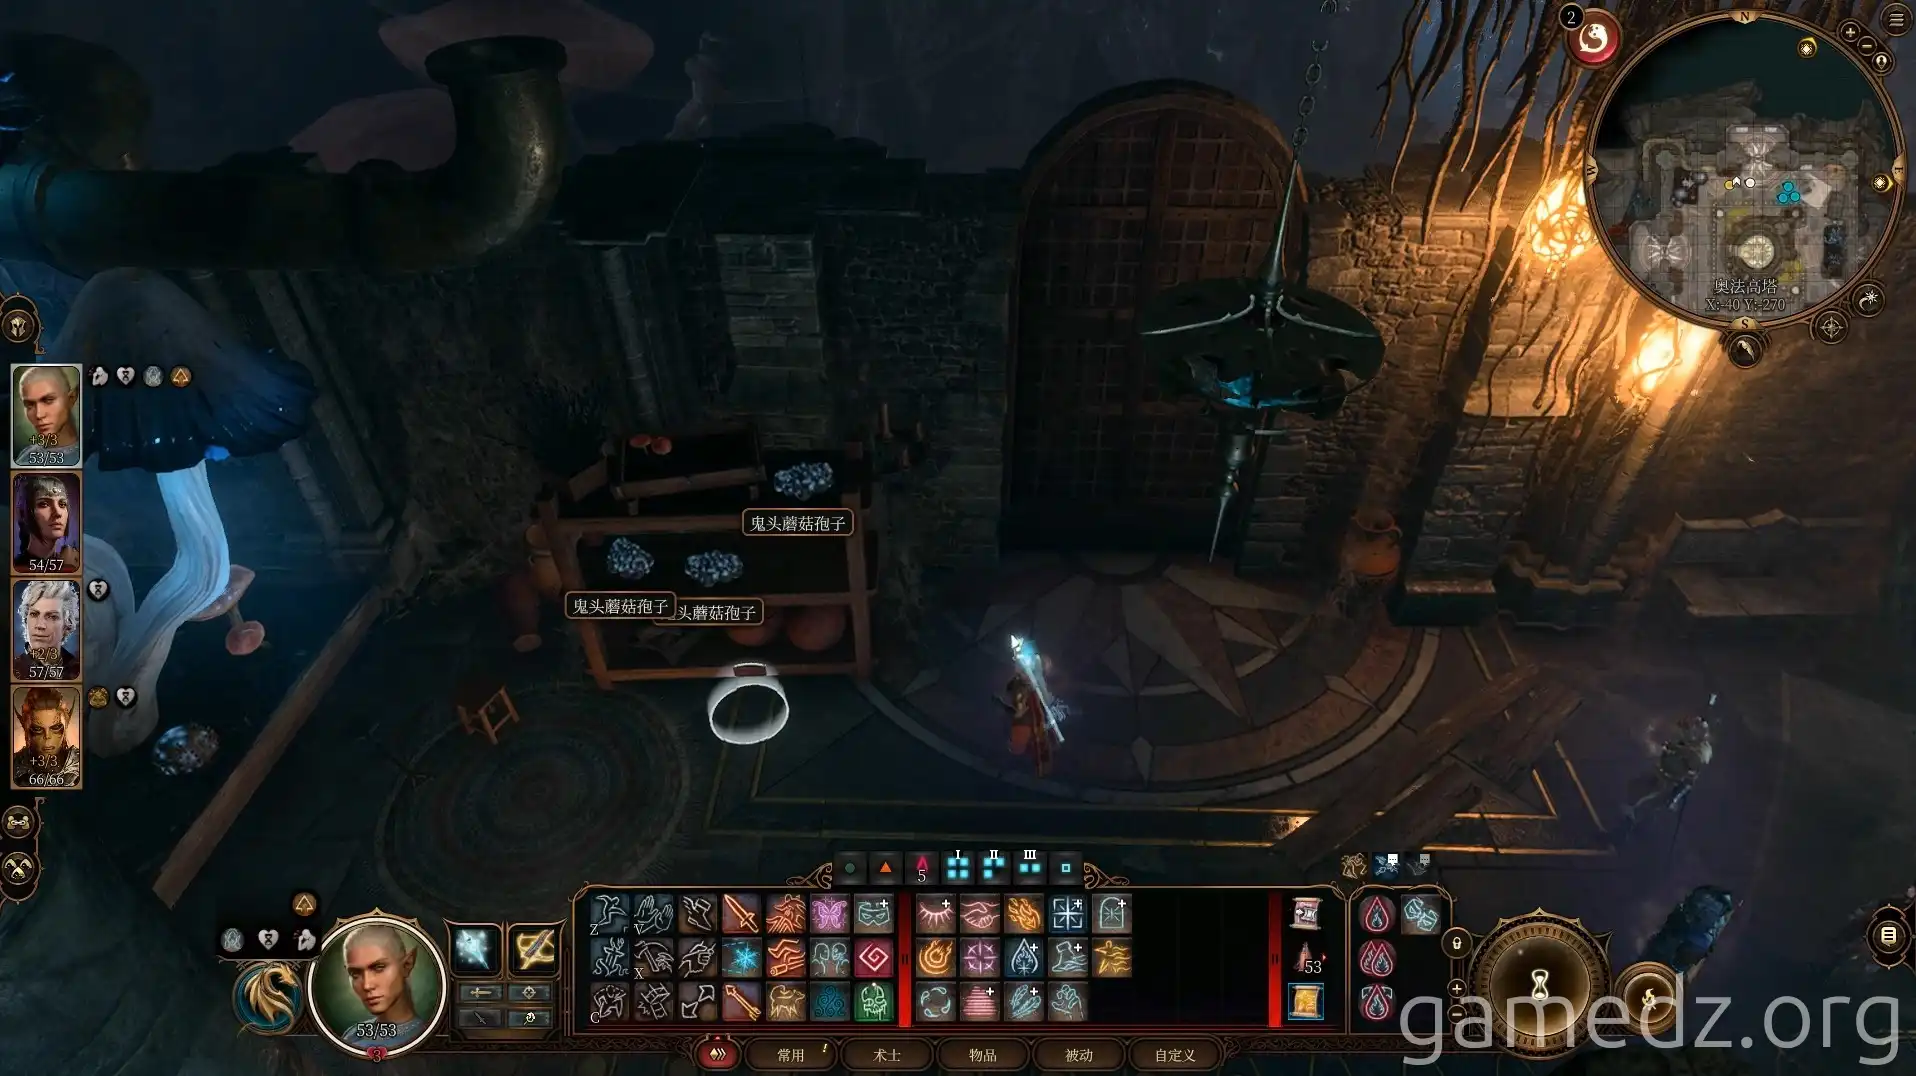
Since there are two arcane turrets in the room on the third floor, dealing with them without Sussur Flowers will be troublesome. Therefore, we'll skip the third floor for now and proceed to the fourth floor.
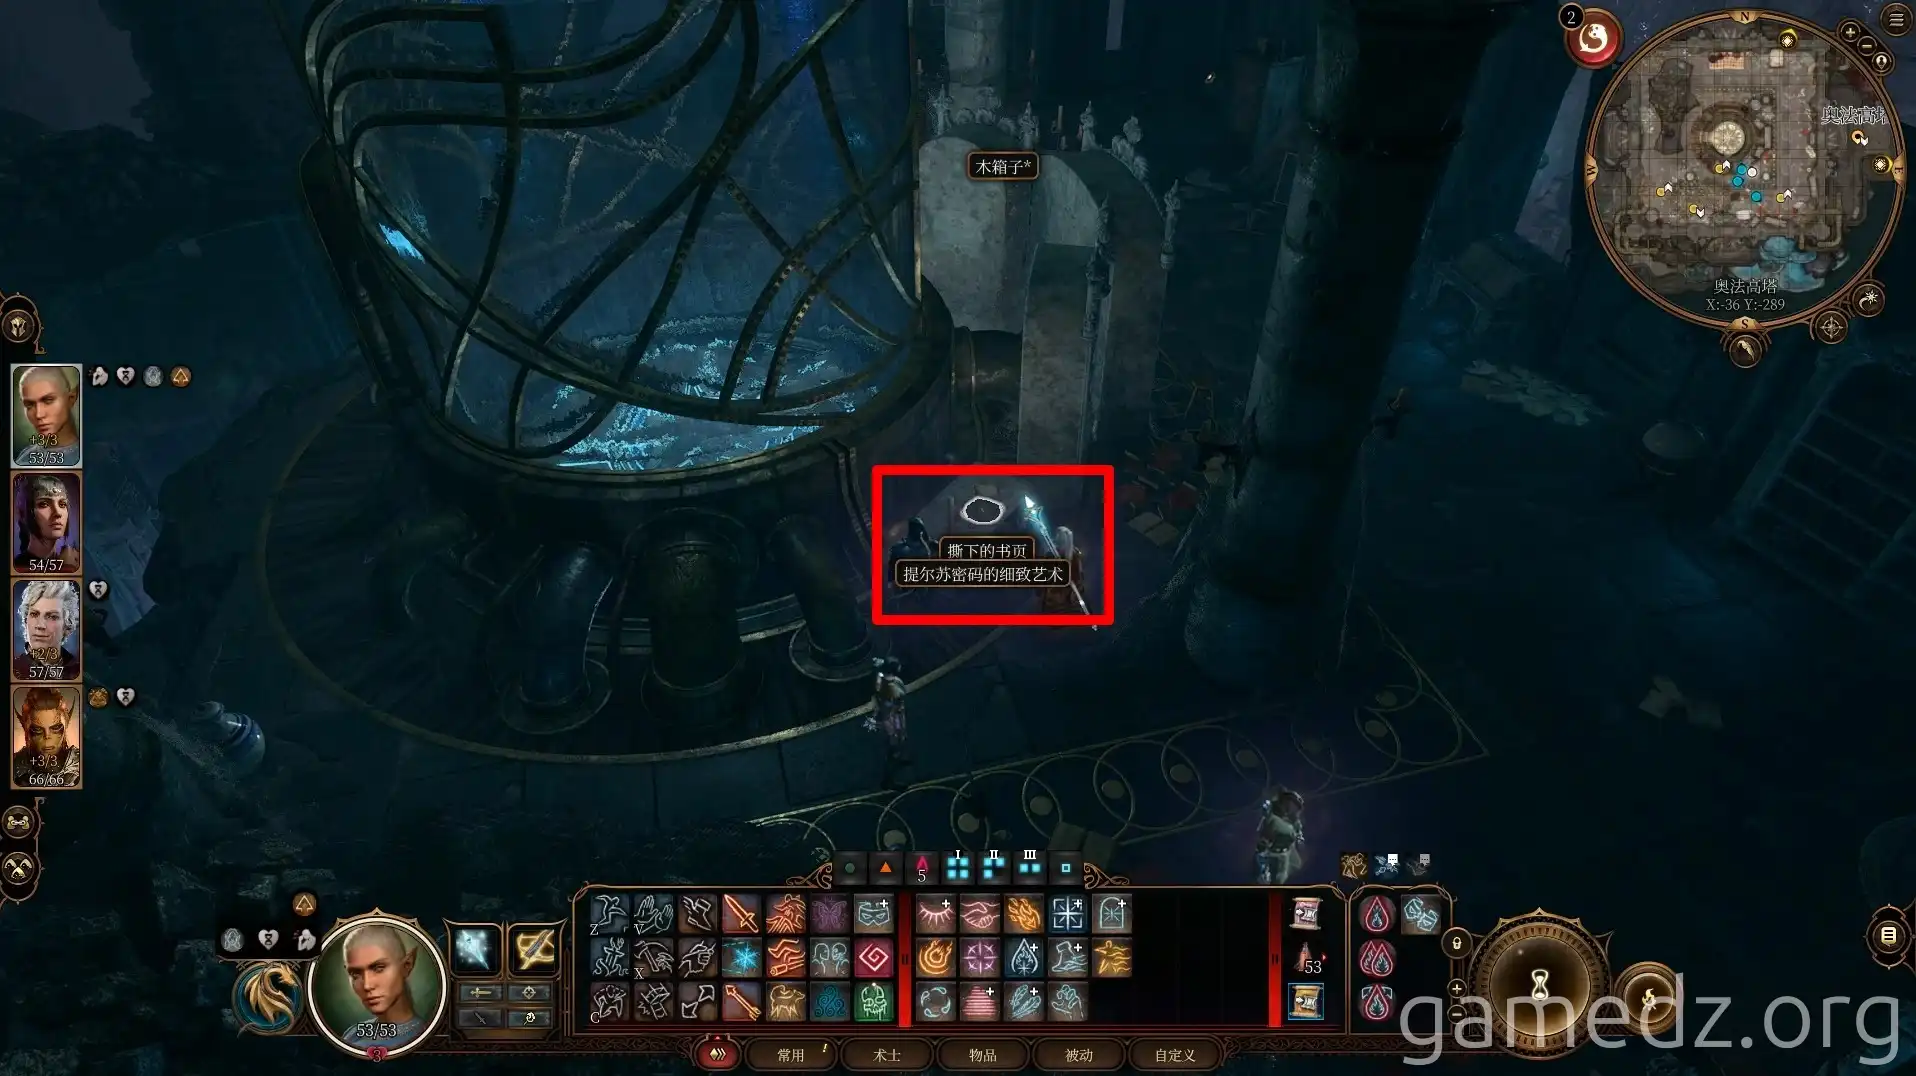
On the fourth floor, on the table next to the elevator, you can find The Precise Art of Thay's Cipher.
On the bookshelf nearby, you'll find the Githyanki Githyanki Carved Disc.
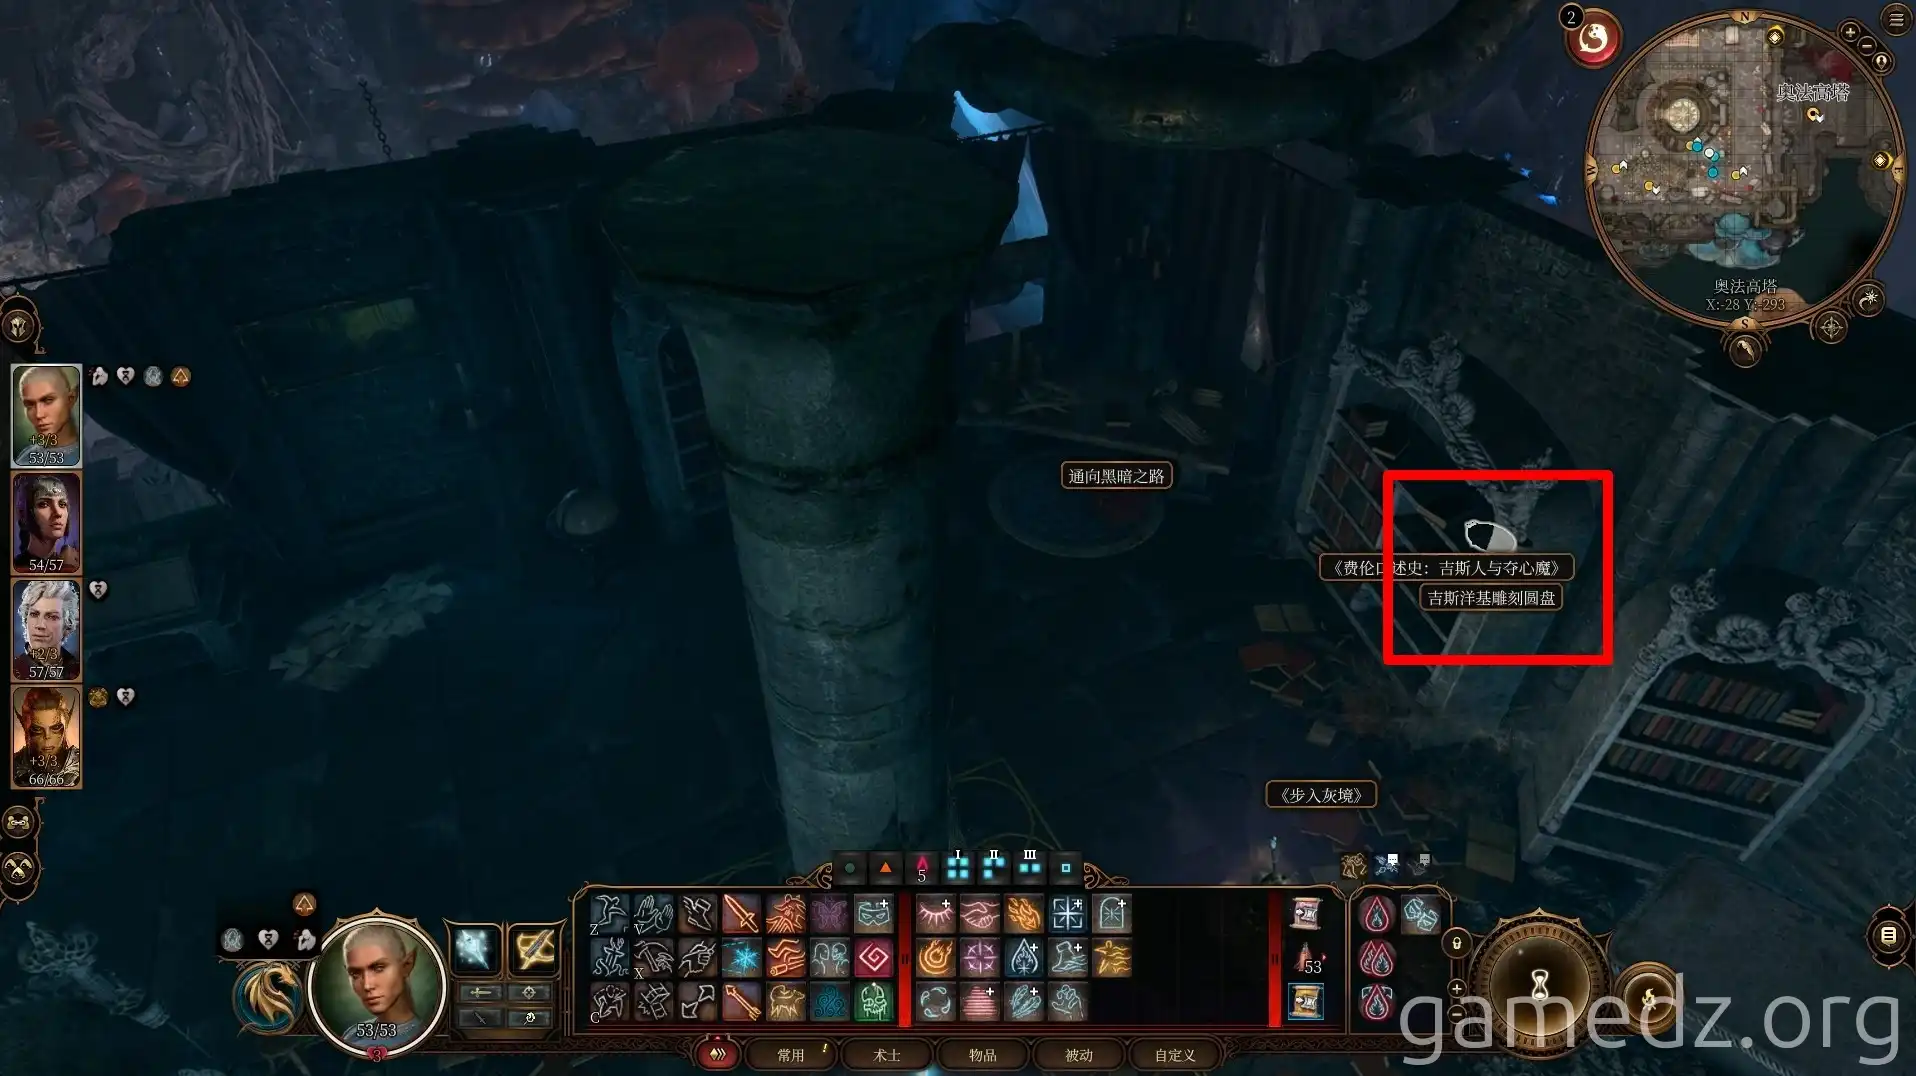
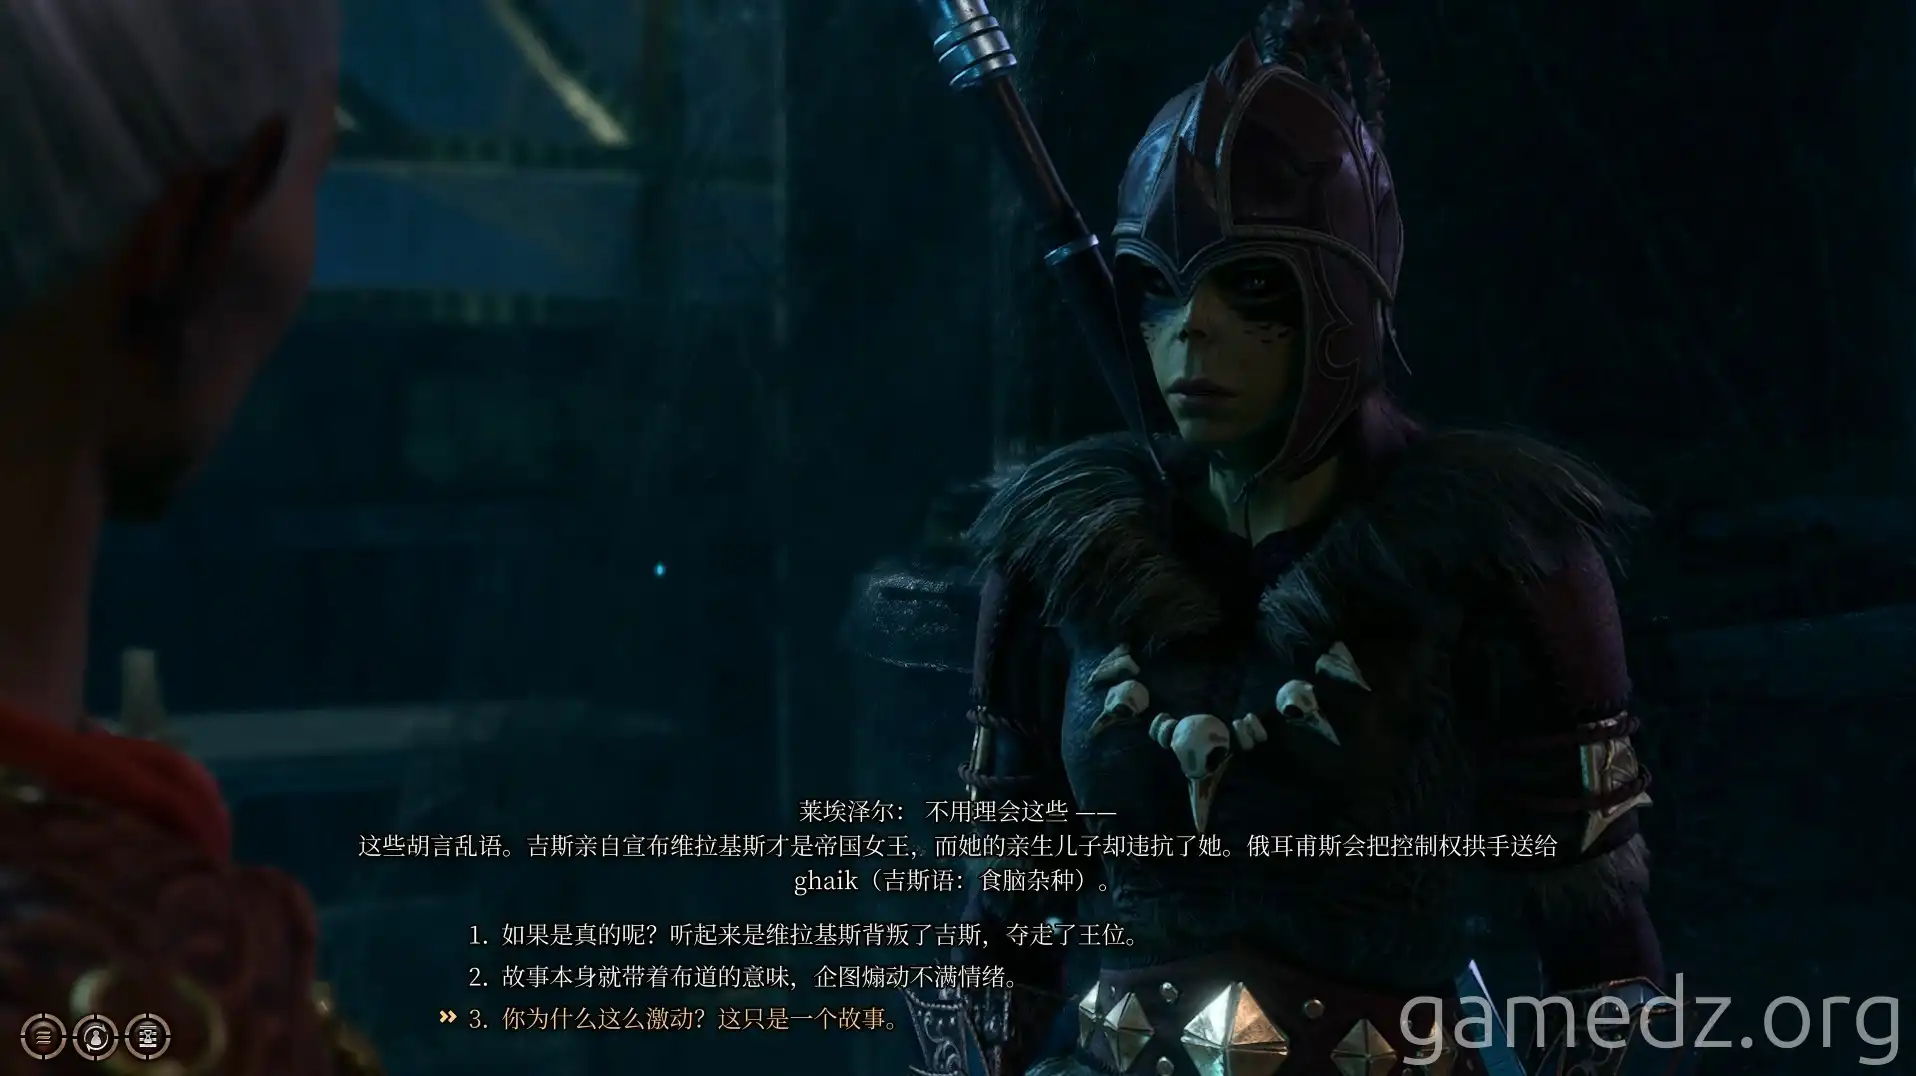
If Lae'zel is in your party, interacting with the disc can trigger a scene, revealing that the history recorded on it completely contradicts the history known by the Githyanki.
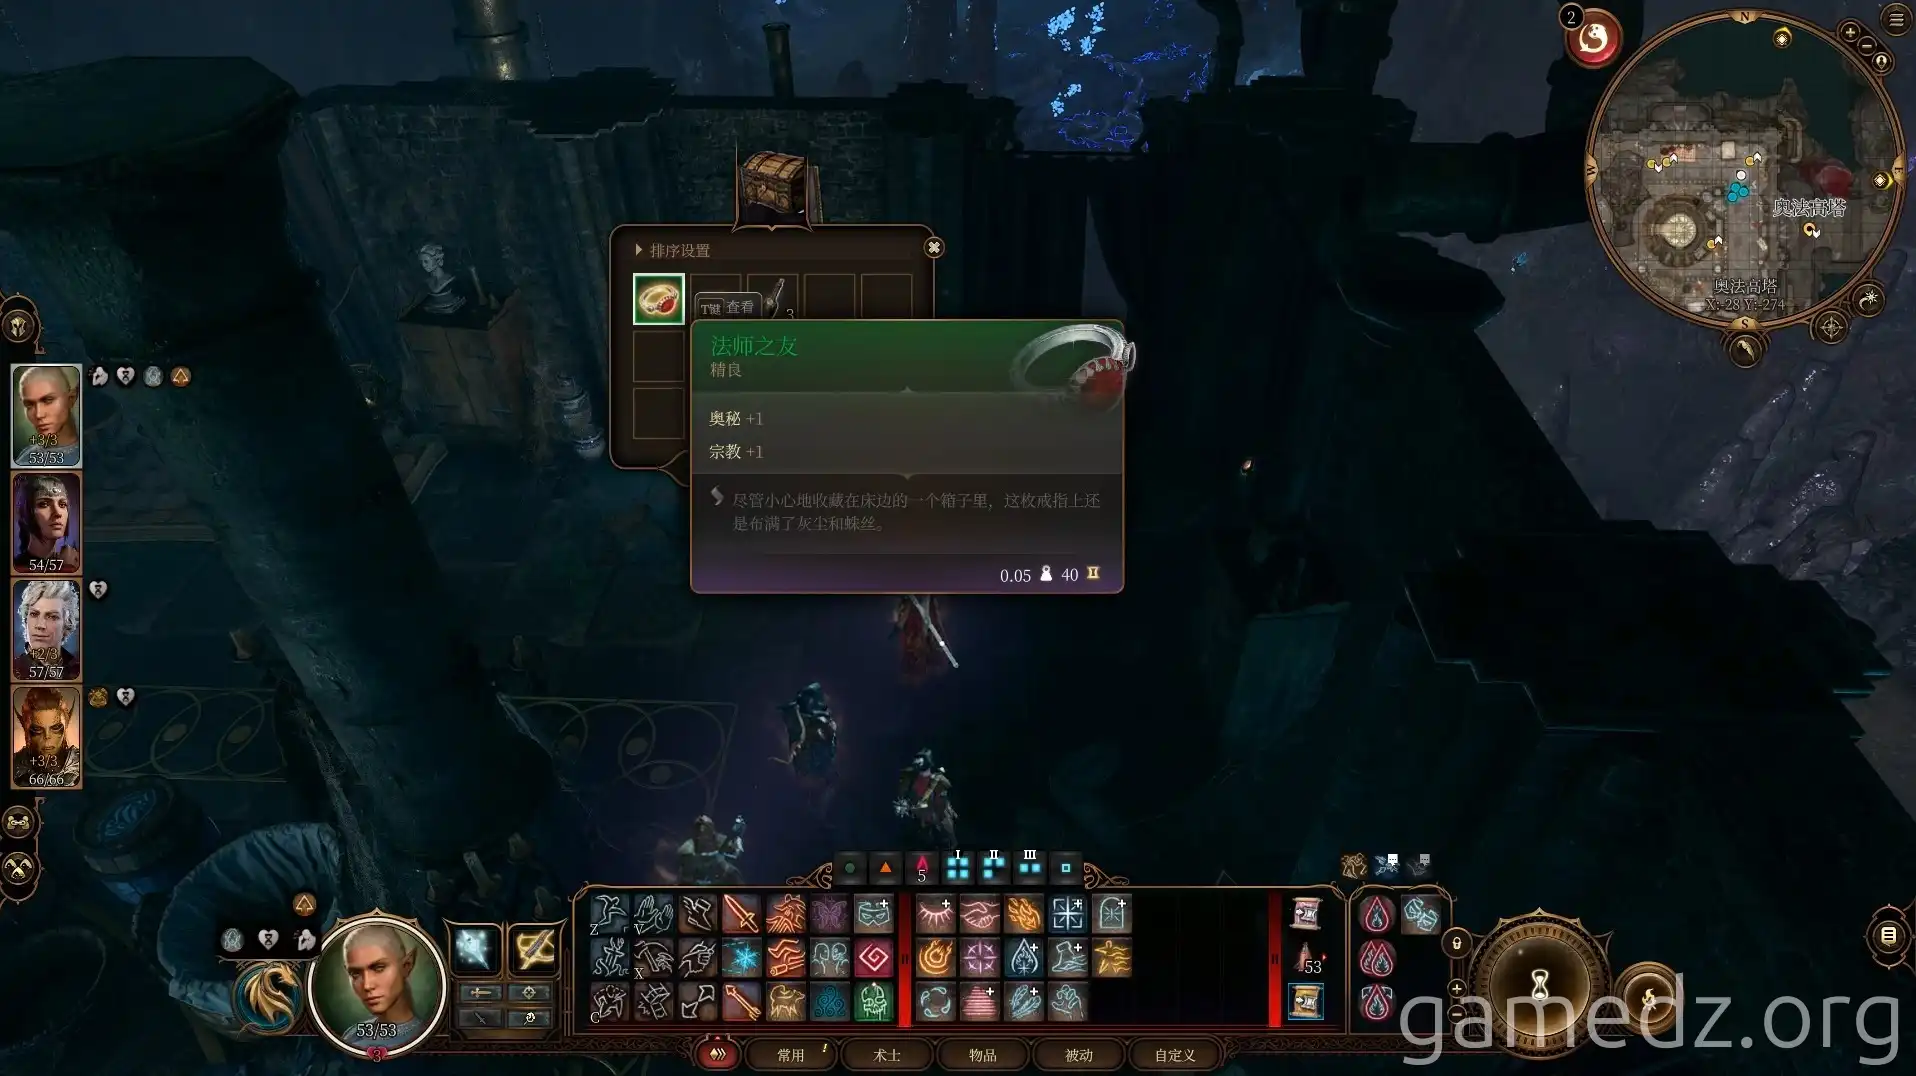
In the wooden chest by the head of the bed, you can find the Rare Accessory: Friend of the Mages.
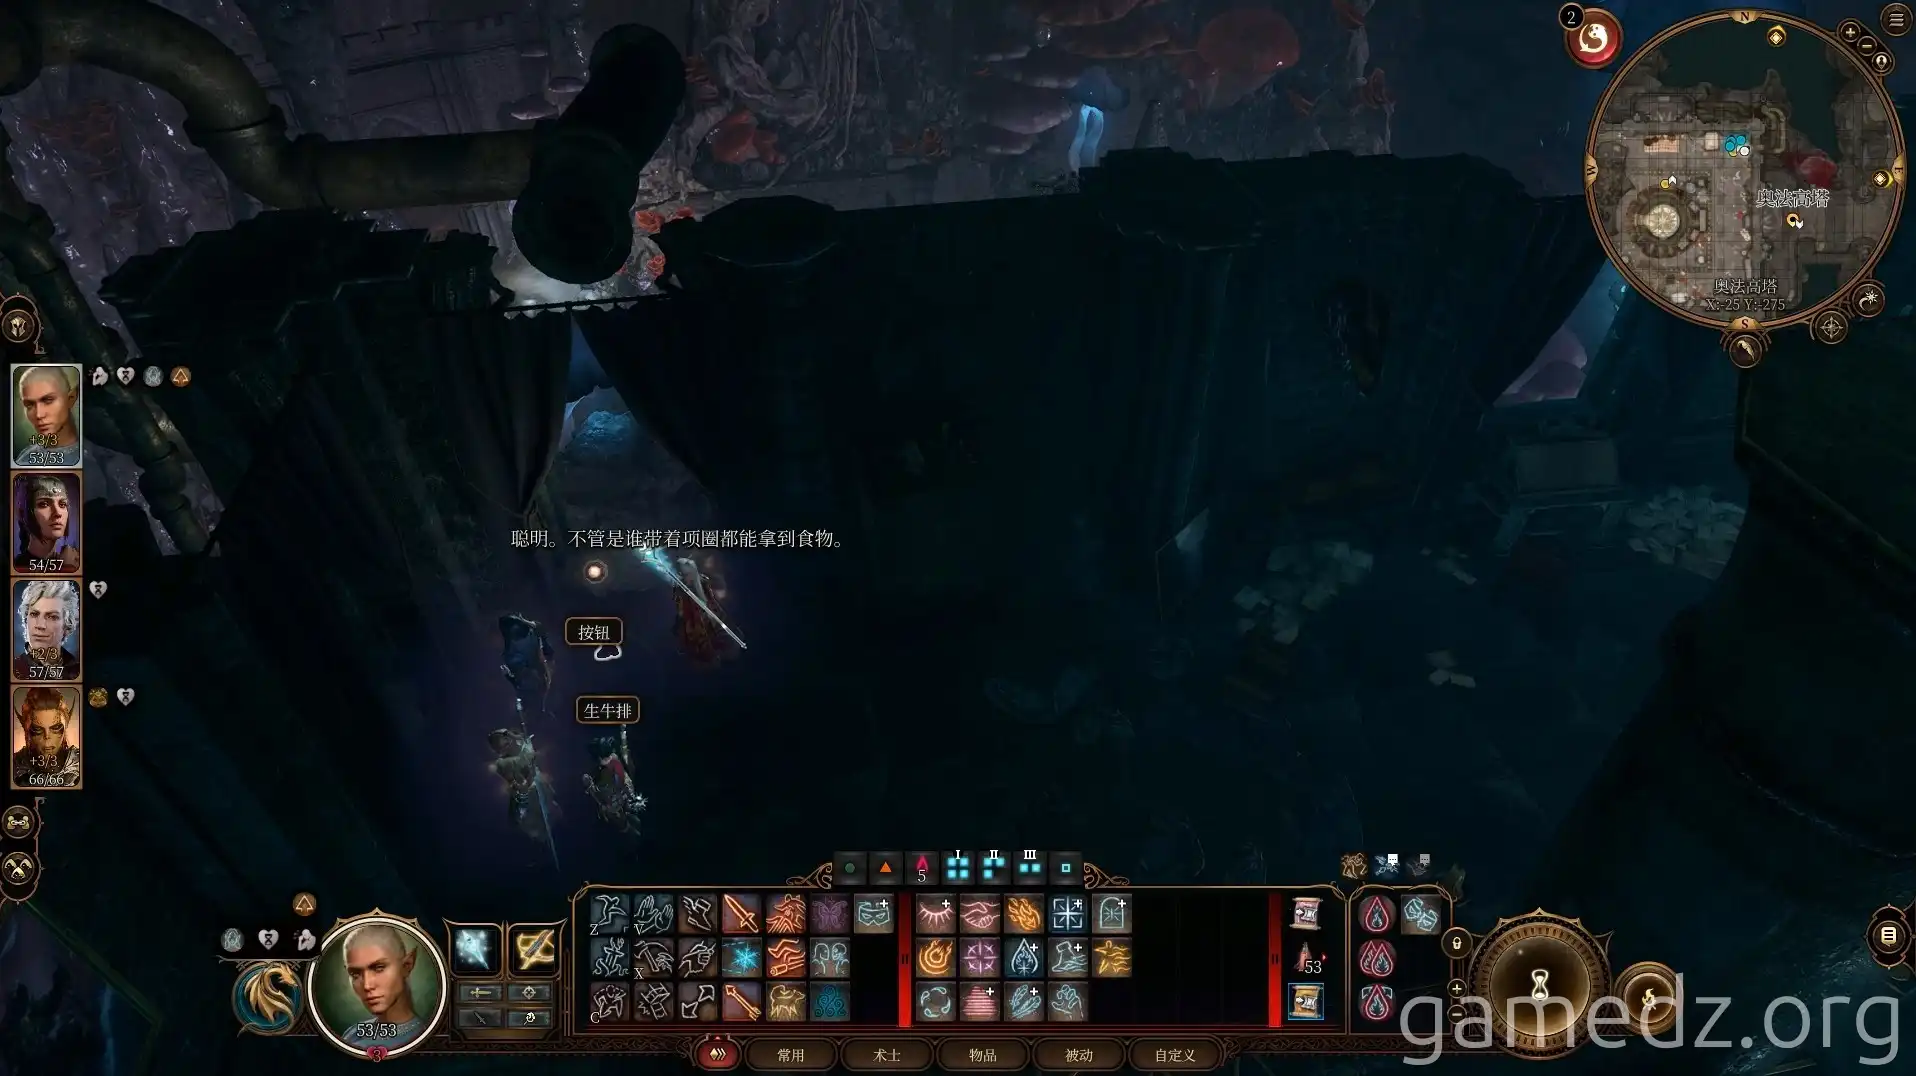
If you equip the dog collar obtained earlier from the graveyard and press the button in the corner of the room, you'll receive a raw steak. The room on this floor contains many books related to theater; remember to read them, as they'll be useful later.
Continue upwards via the elevator to reach the very top floor of the Arcane Tower. Here, you will encounter the tower's guardian, Bernard.
During your conversation with Bernard, if you successfully recite the correct theatrical lines and pass the secret handshake, you can avoid combat. Subsequent items and equipment can be obtained through conventional means like Command and Fog Cloud.
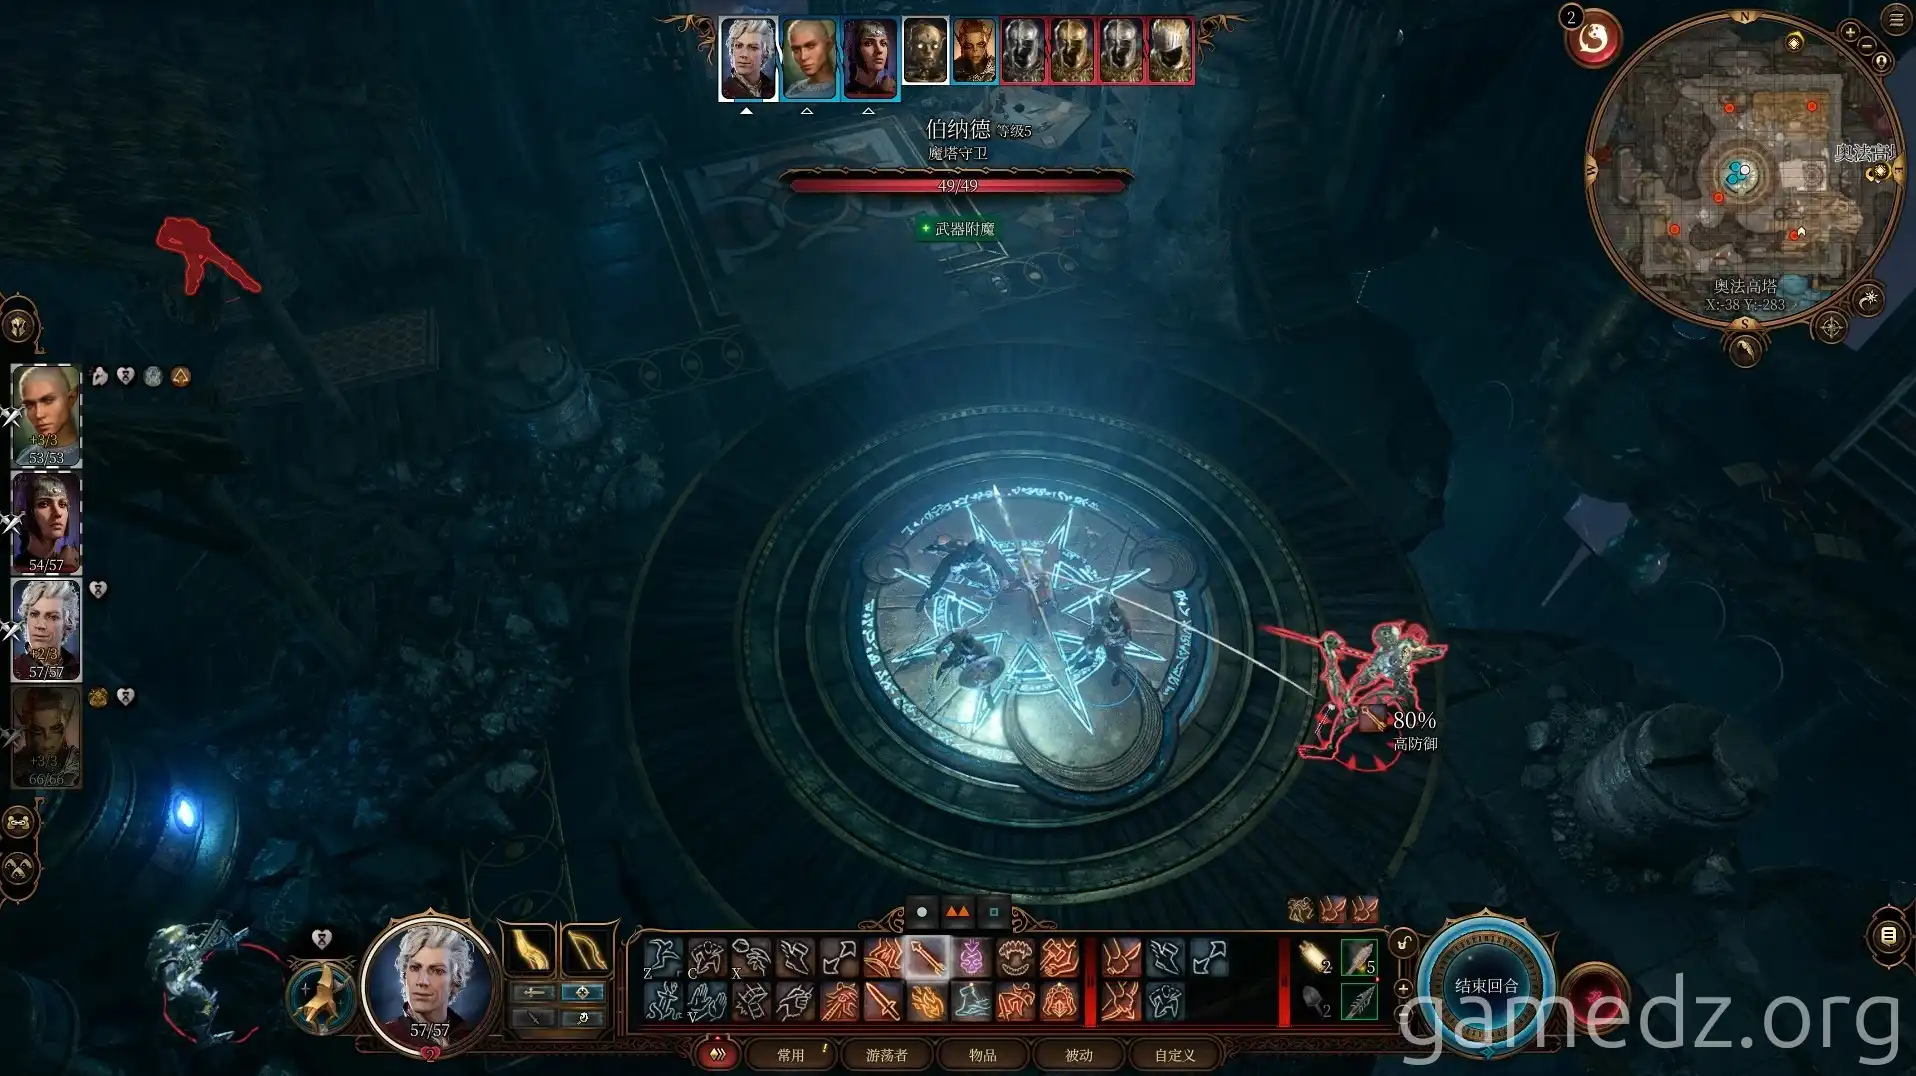
If you fail the secret handshake, combat will commence. In addition to Bernard, there will be four other Animated Armors. You can utilize the thatched roof on the left and the high ground on the right to gain a tactical advantage. Bernard, unable to reach you, becomes an easy target.
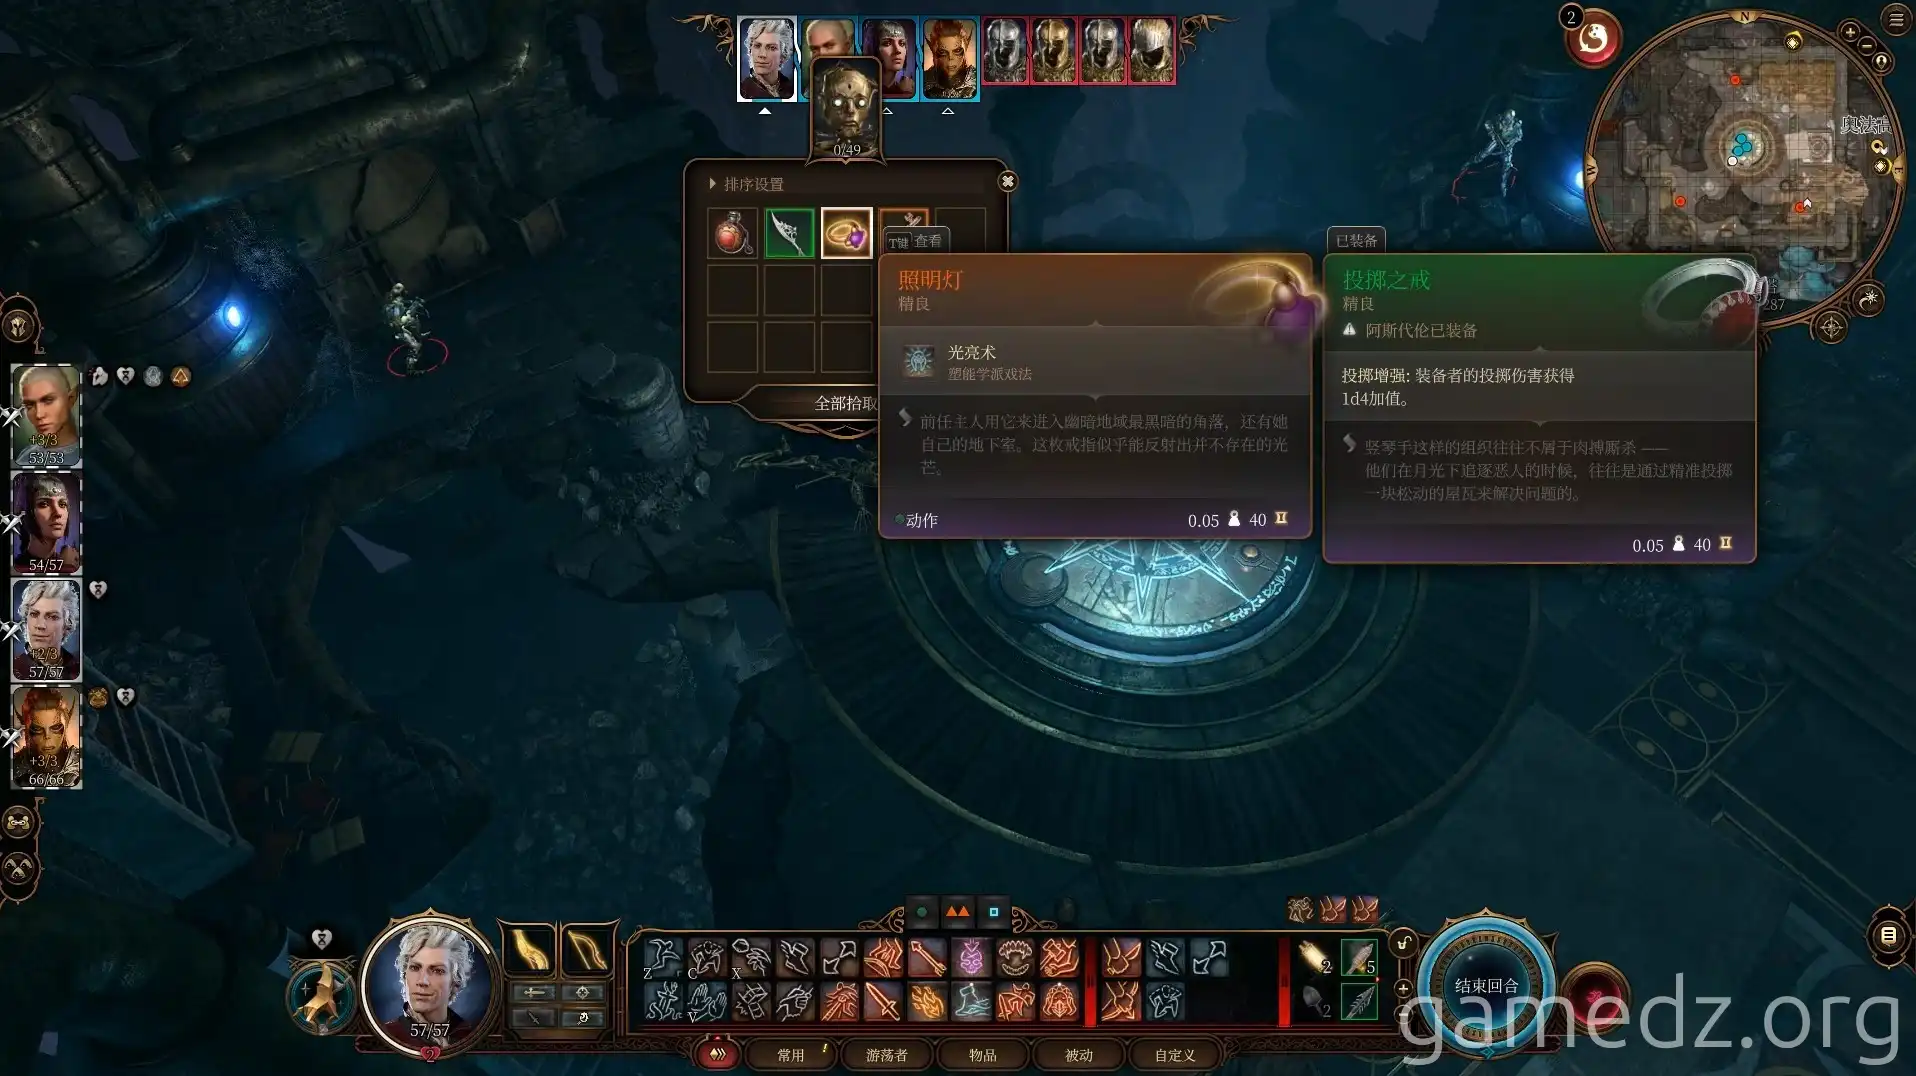
After defeating Bernard, you will obtain the Rare Weapon: Light of Creation, the Rare Accessory: Illuminator, and a key.
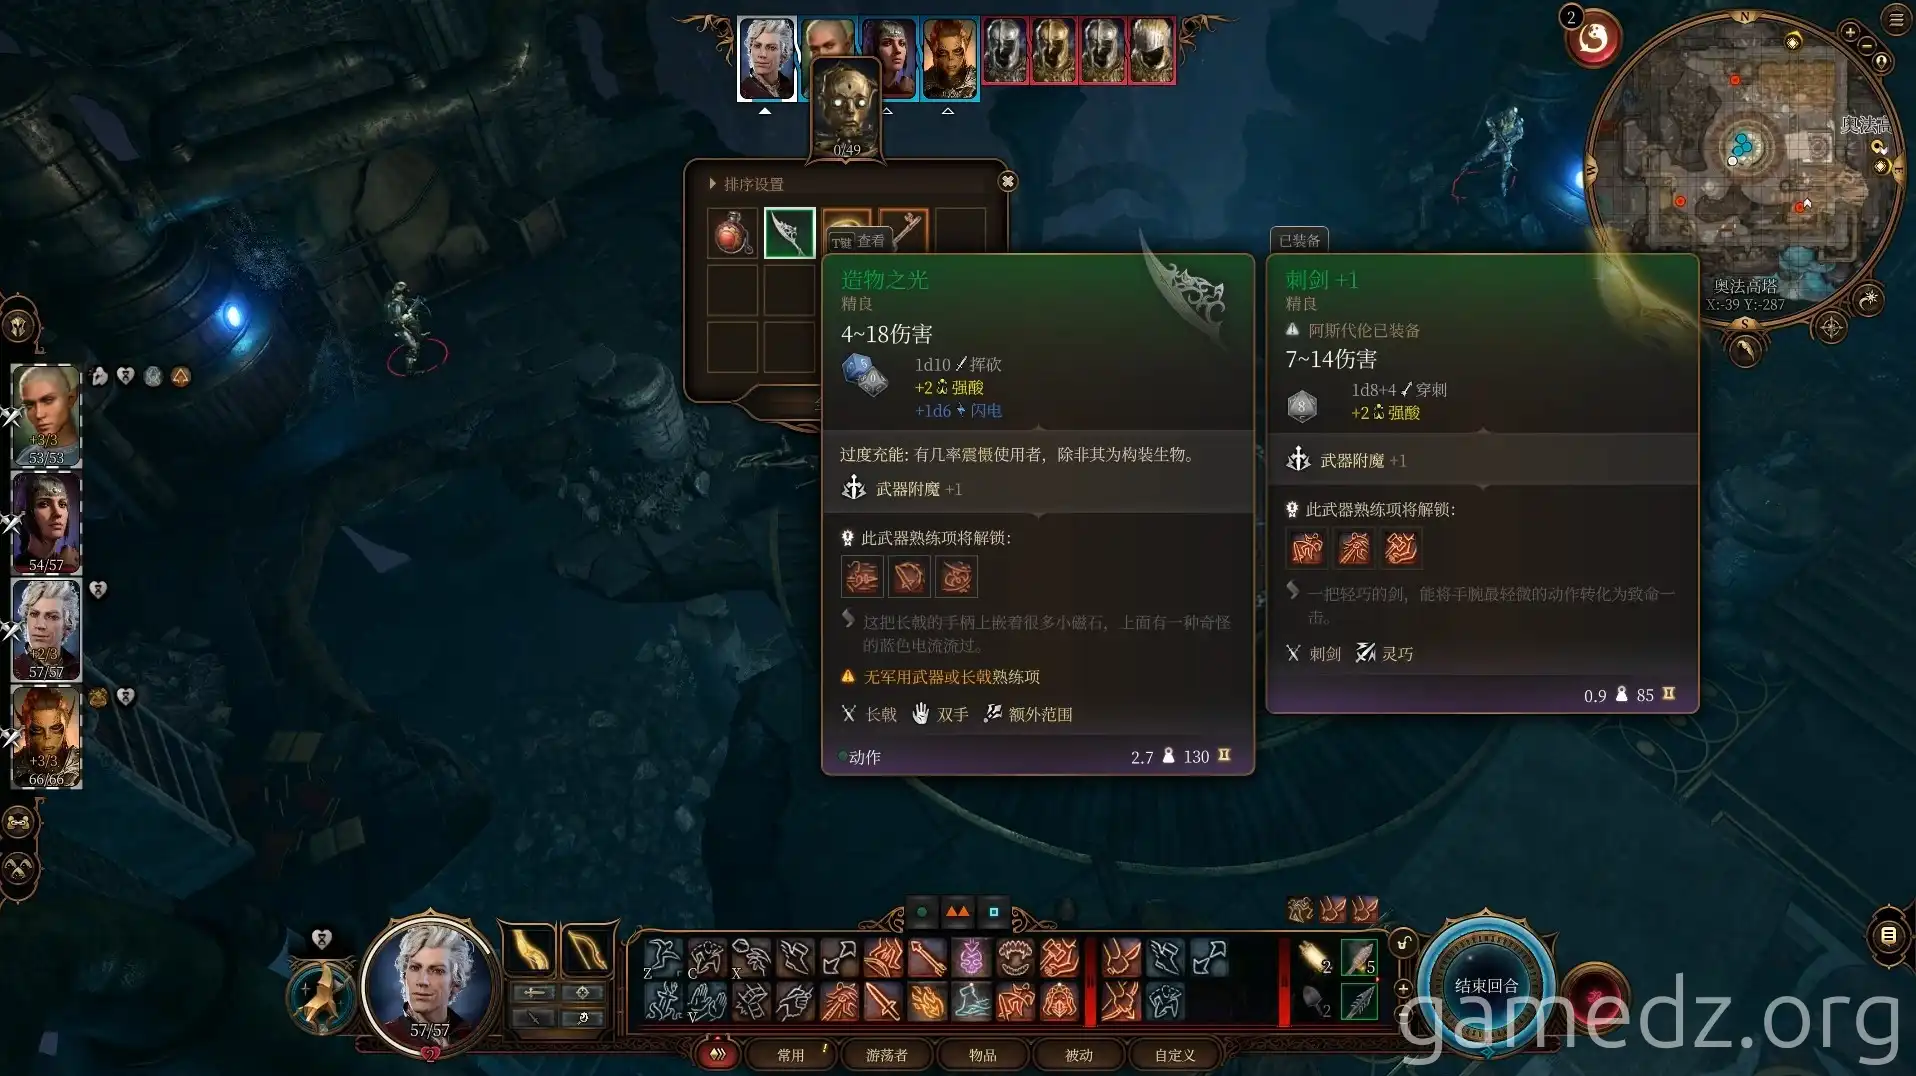
The Illuminator is a crucial item, as the wearer automatically becomes the master of the Arcane Tower.
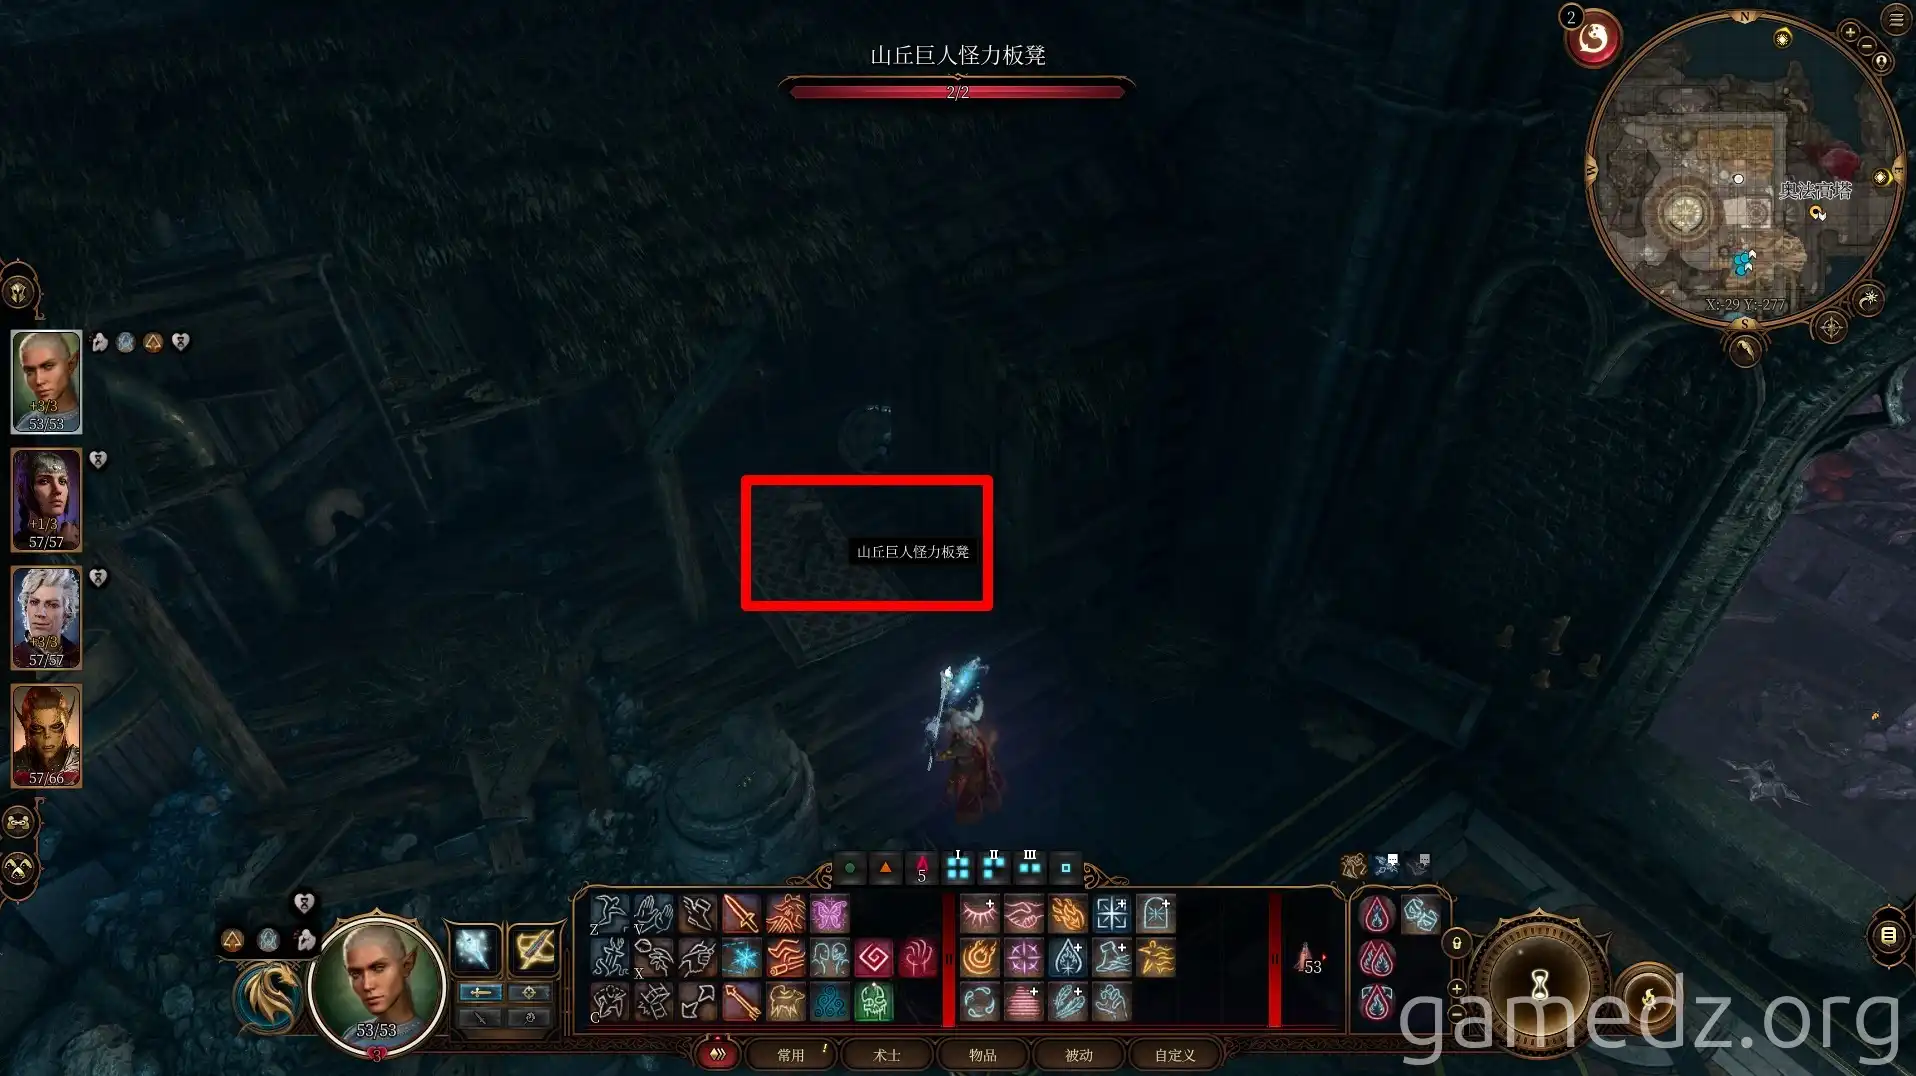
In a small hut in the corner, you'll find a Hill Giant Strength Bench.
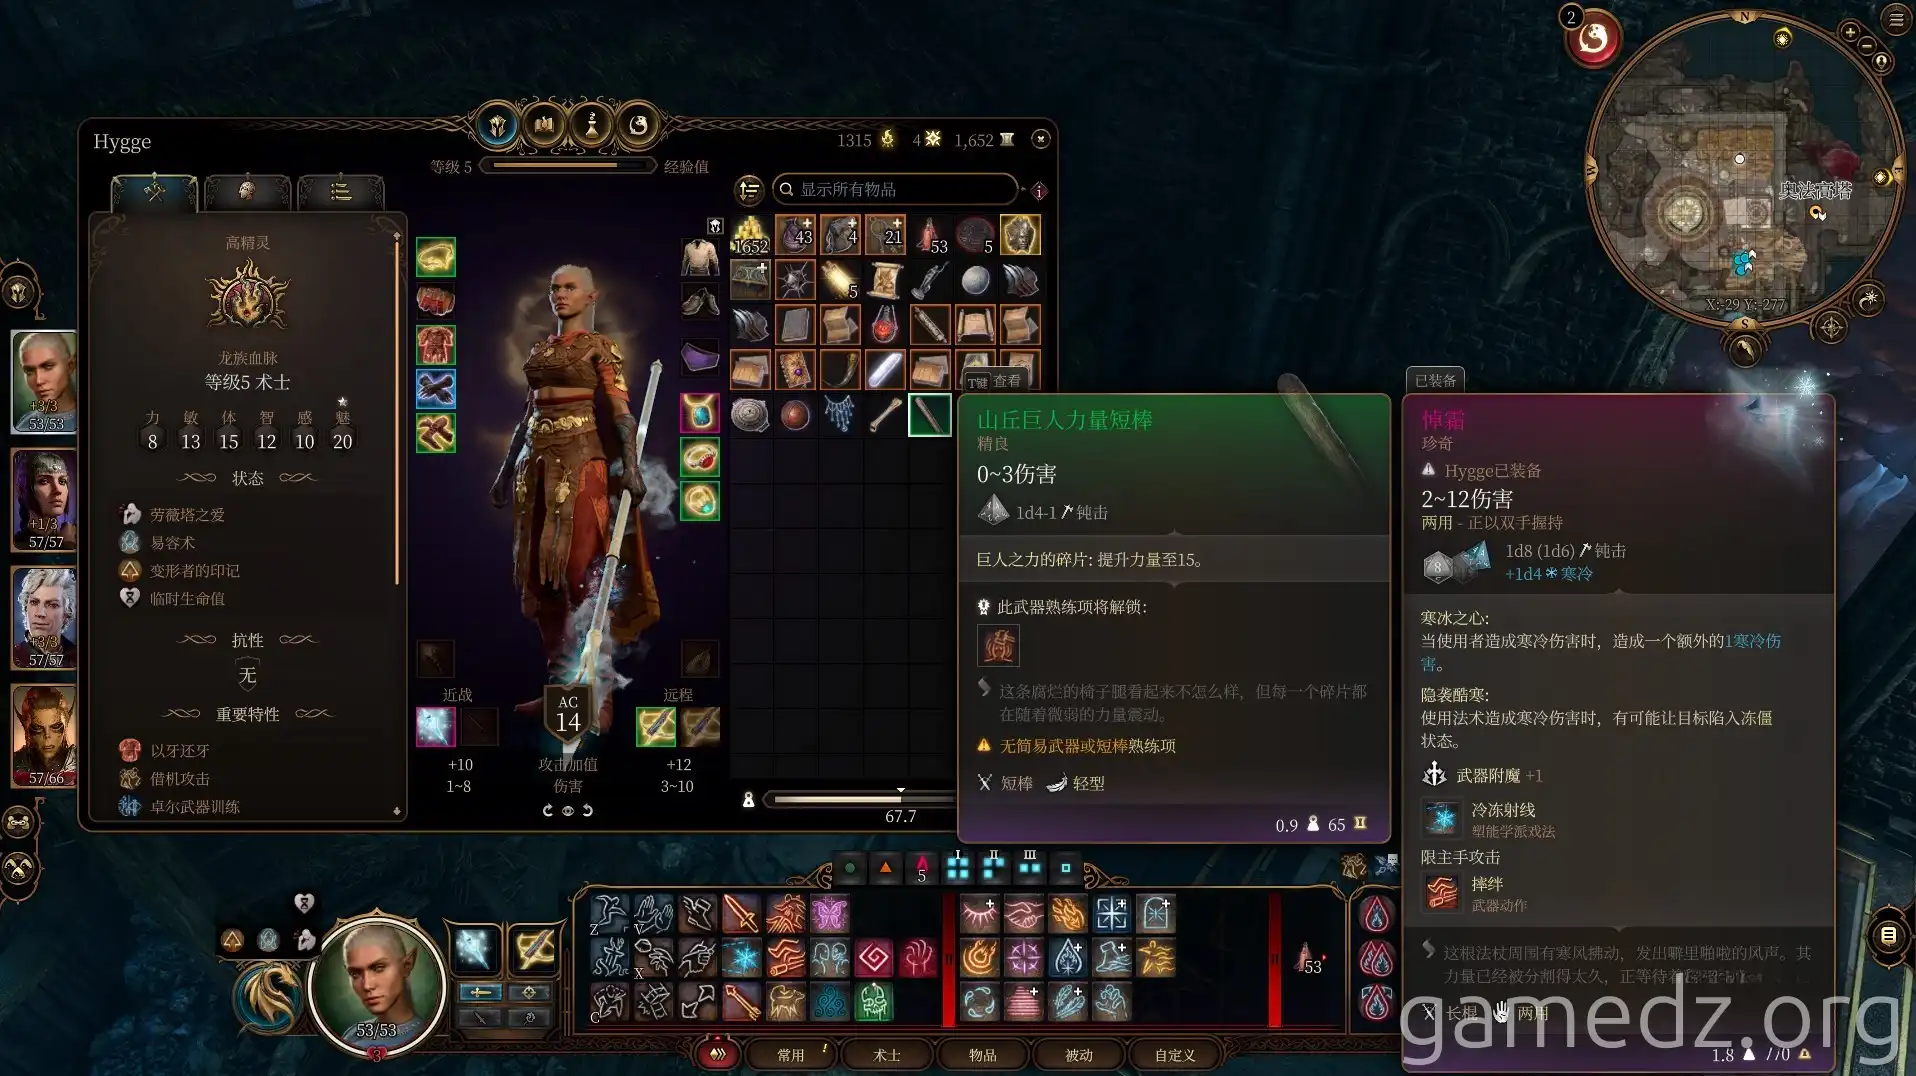
After destroying the bench with an attack, you can obtain the Rare Weapon: Hill Giant Strength Club.
Next to a bookshelf in the corner, you can find a control lever by passing a Perception check. This lever can be used to activate and deactivate the arcane turrets within the tower.
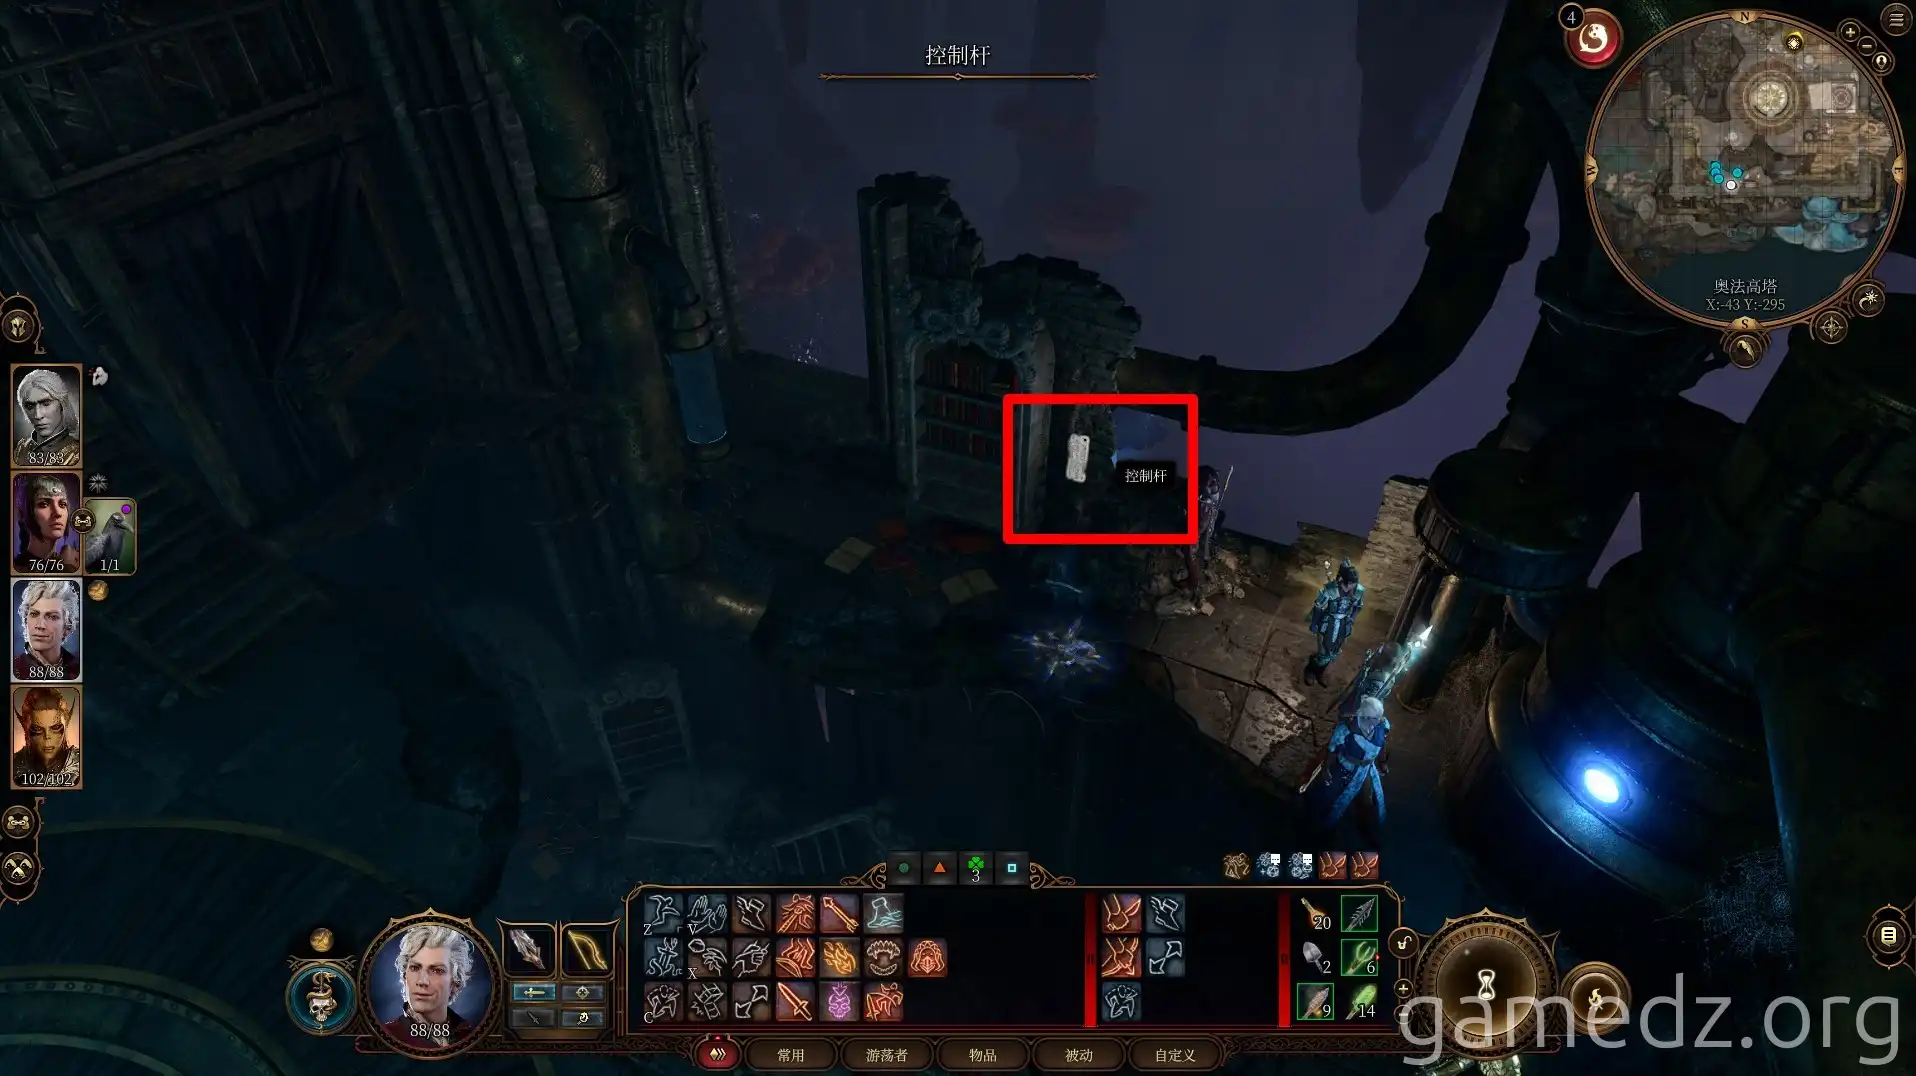
Once Bernard is defeated, the arcane turrets within the tower will automatically cease operation. At this point, take the elevator to the third floor.
On the north balcony on the third floor, there's a mundane chest. Any items placed inside this chest will transform into miscellaneous clutter like cups, and their weight will also change. This is perfect for storing junk items found during exploration, so it's advisable to take the chest with you.
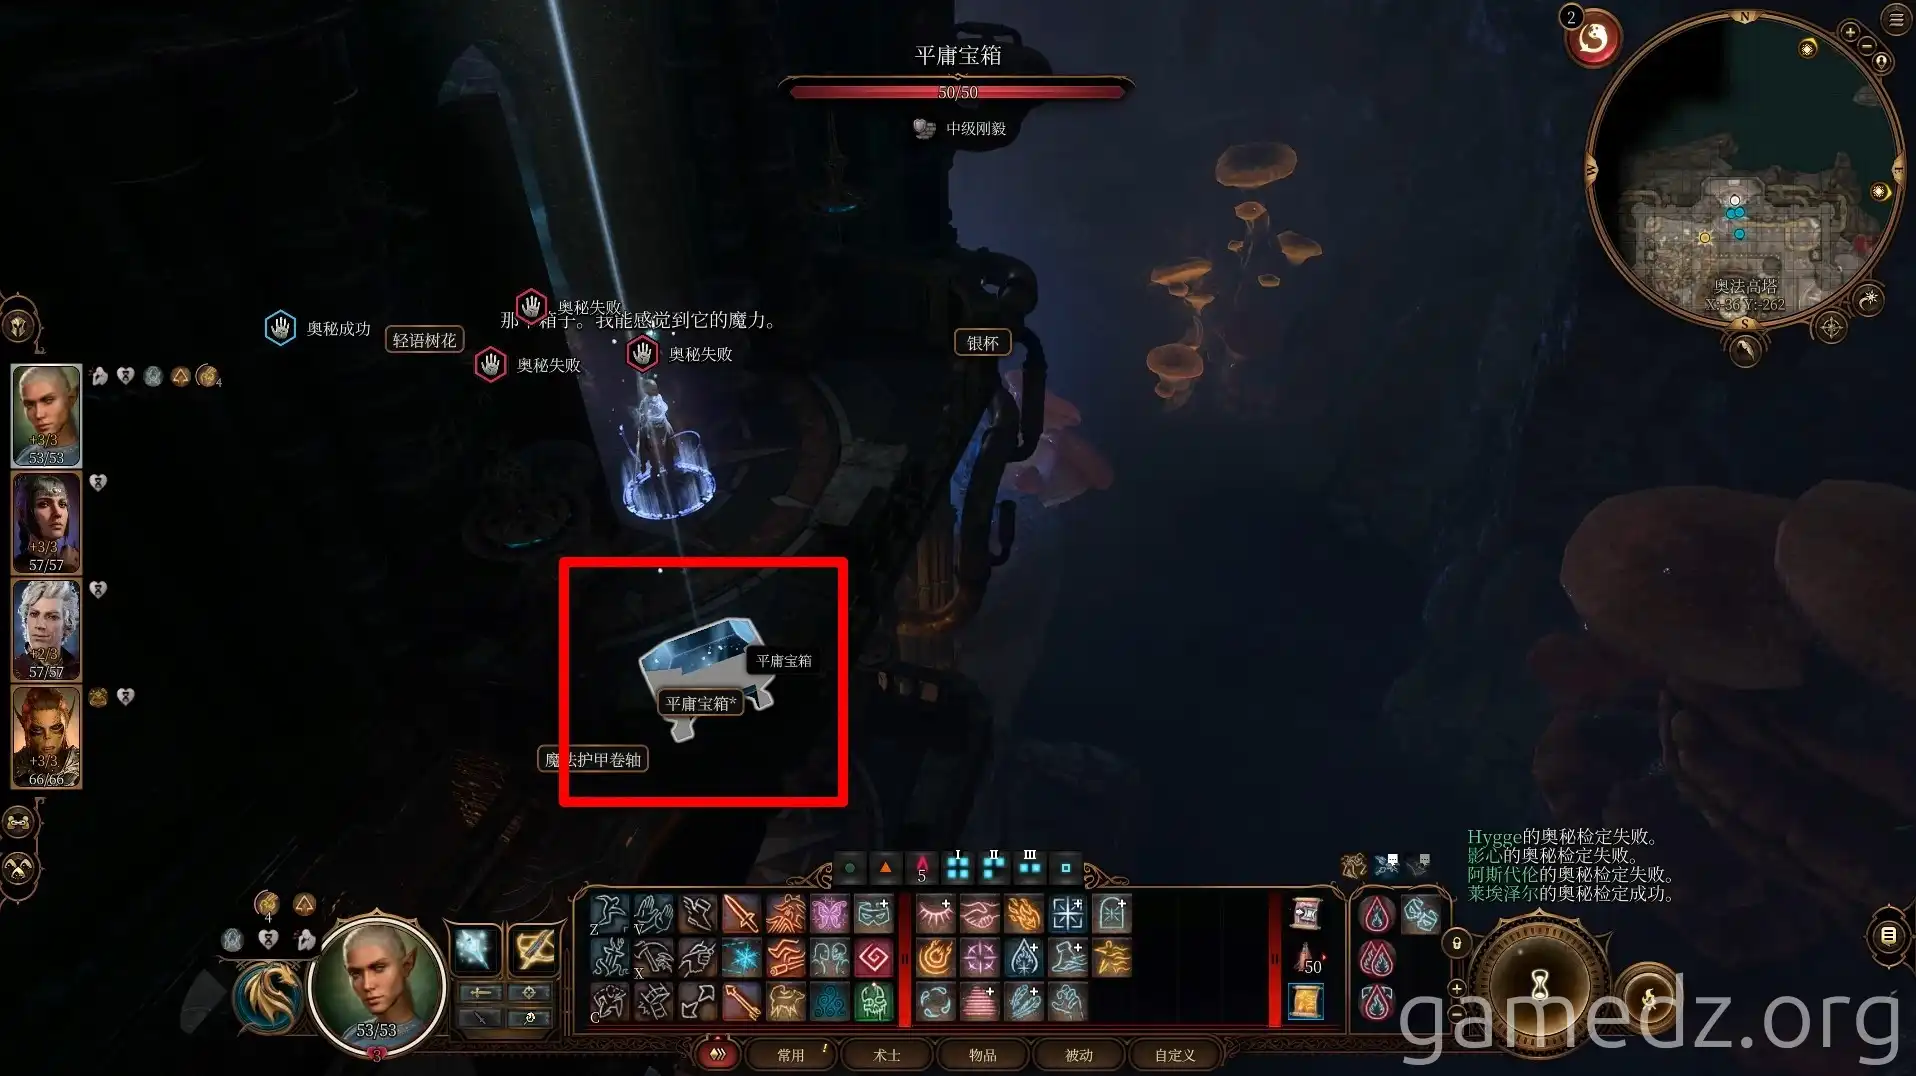
Inside the chest, you can find the Rare Armour: Grace of Mystra.
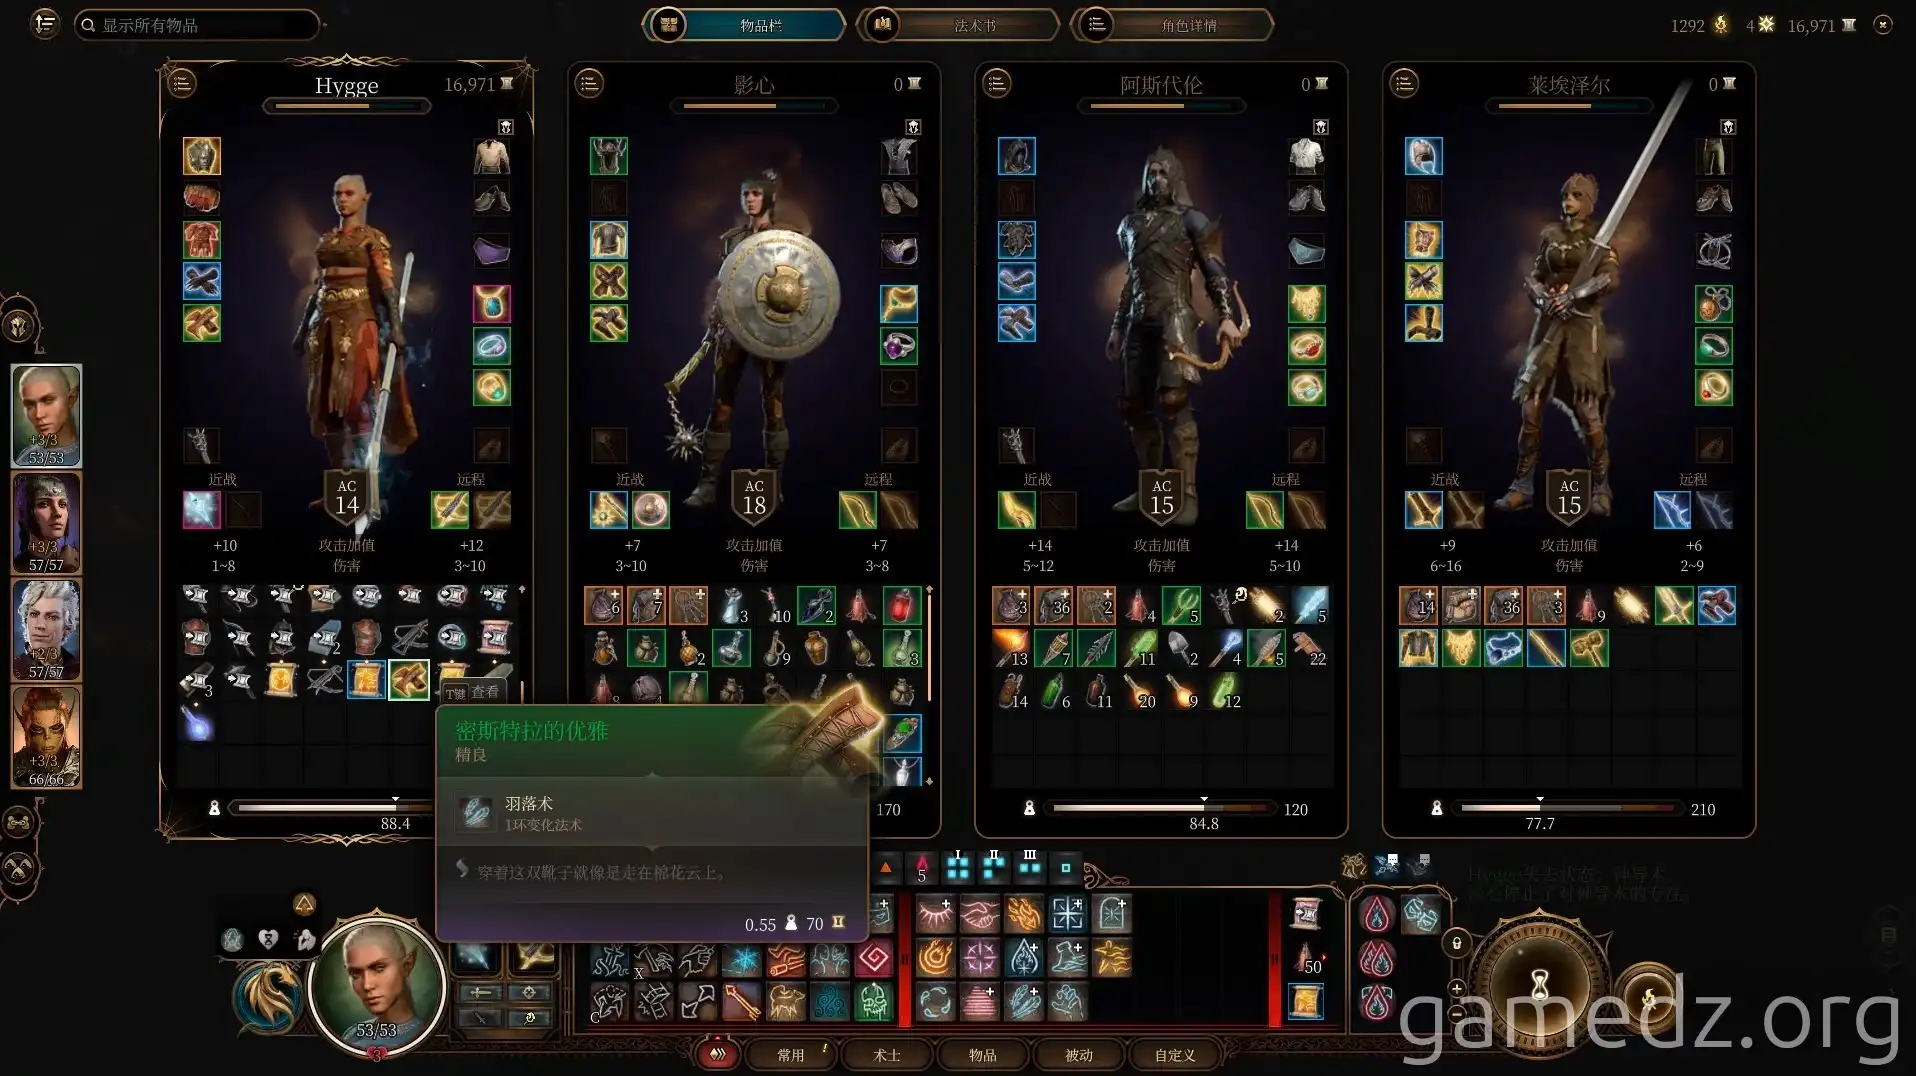
Then, take the elevator all the way down to enter the basement of the Arcane Tower.
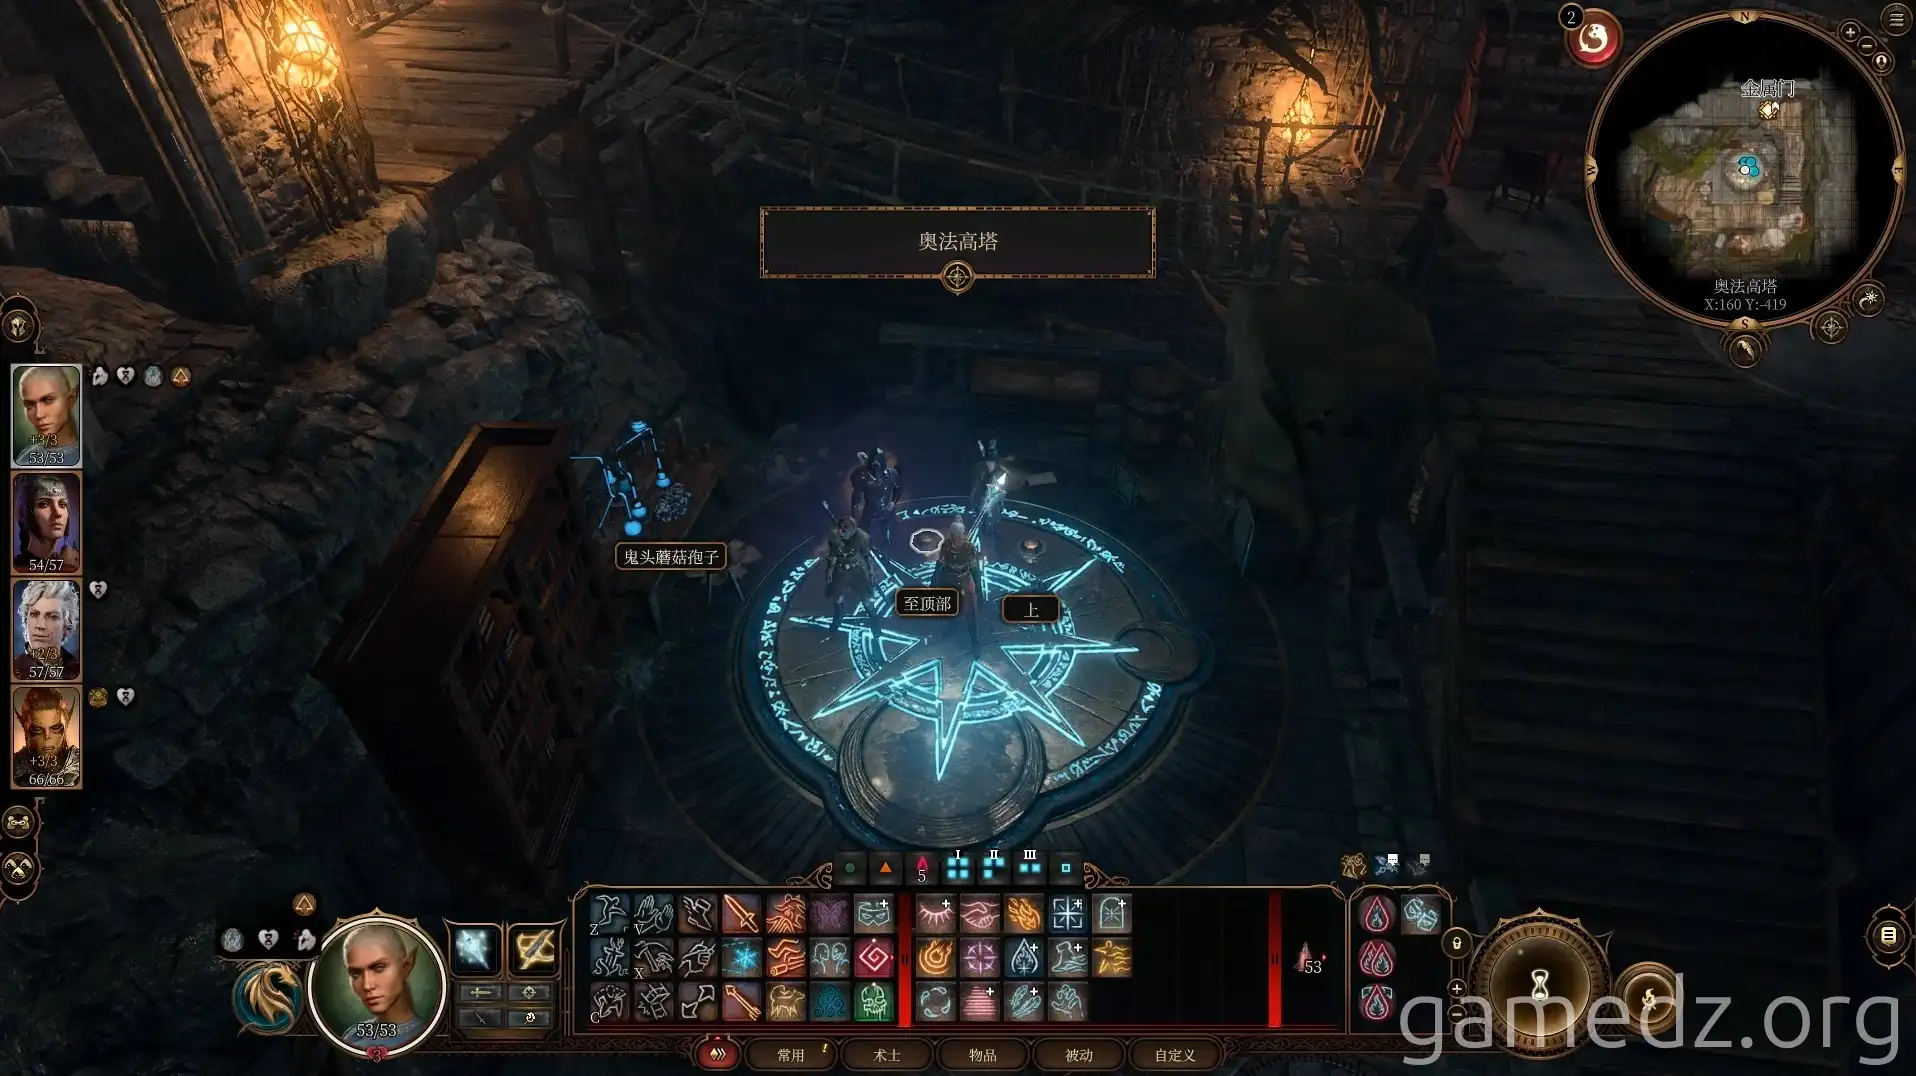
In the basement, you'll find a large number of spell scrolls and the Rare Weapon: Arcane Boon Staff.
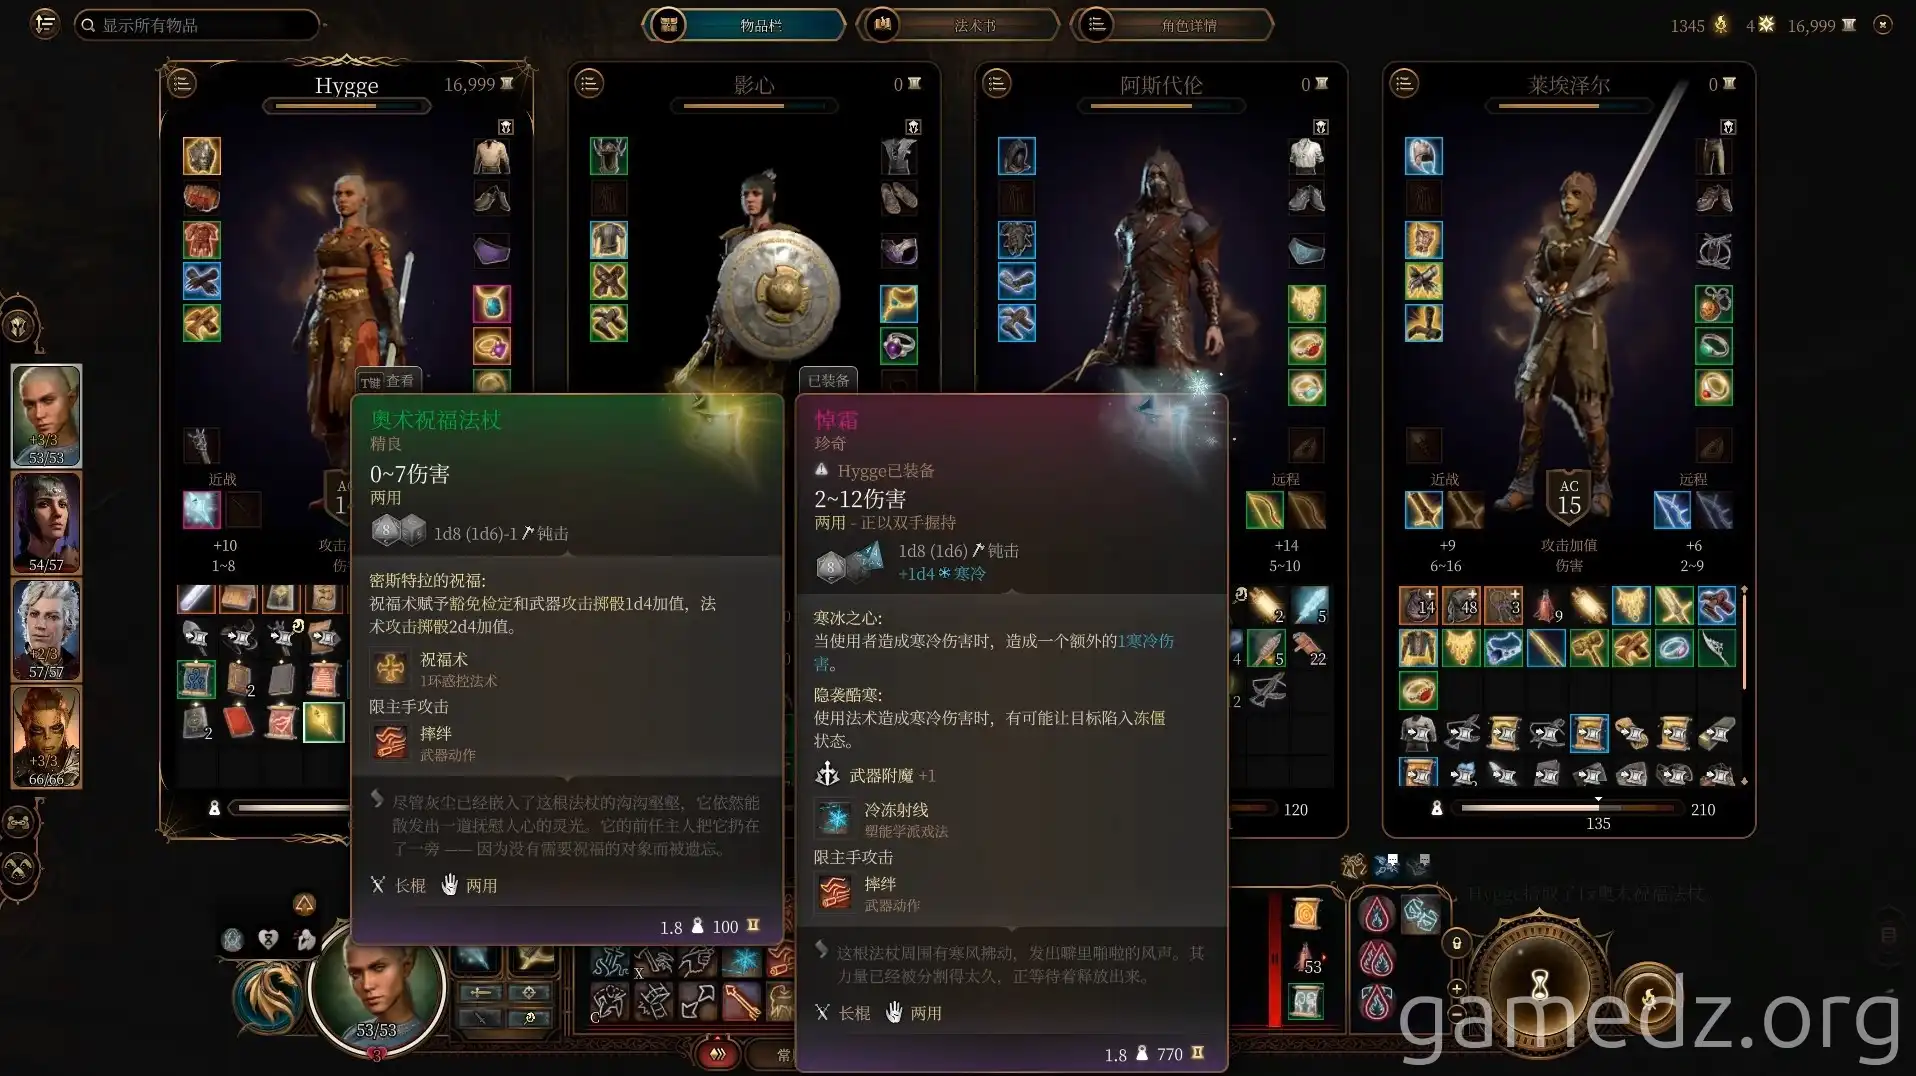
In the chest next to the staff, you can find the Rare Accessory: Sparkle Barrier.
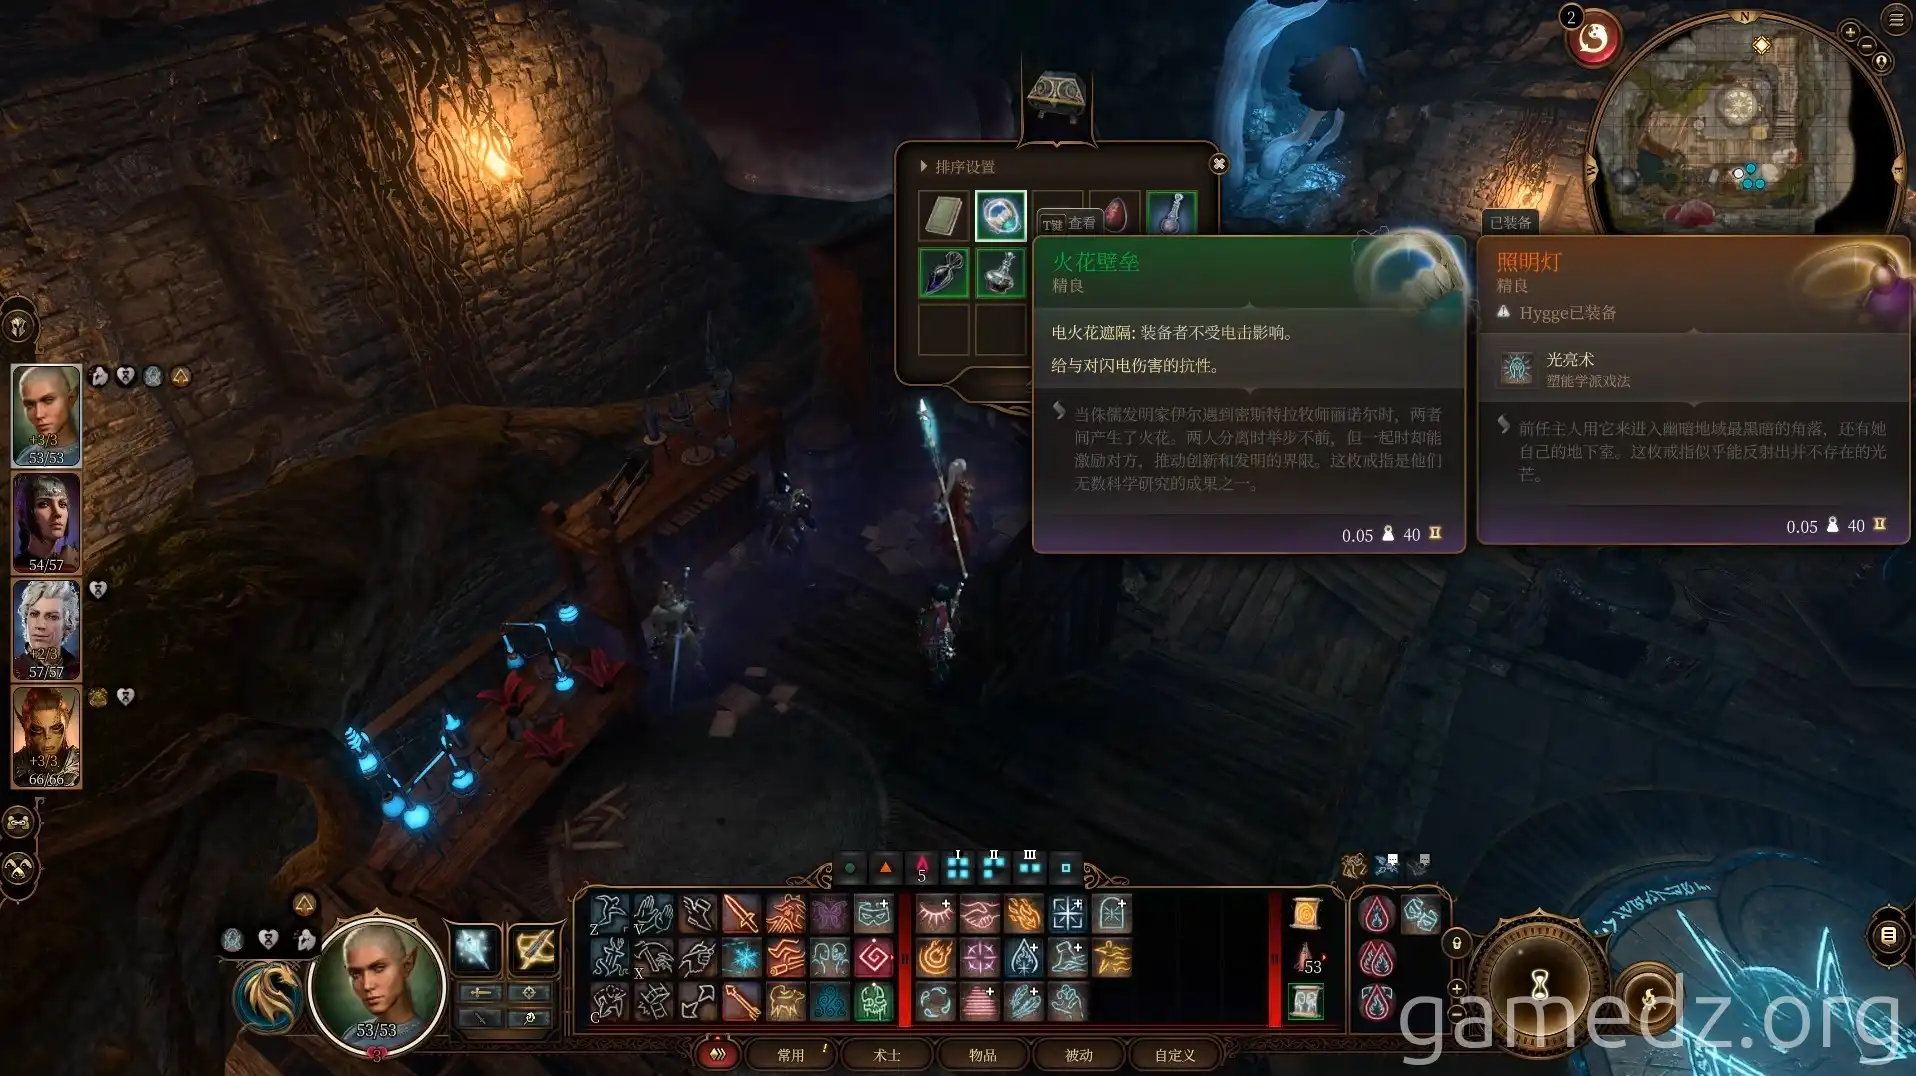
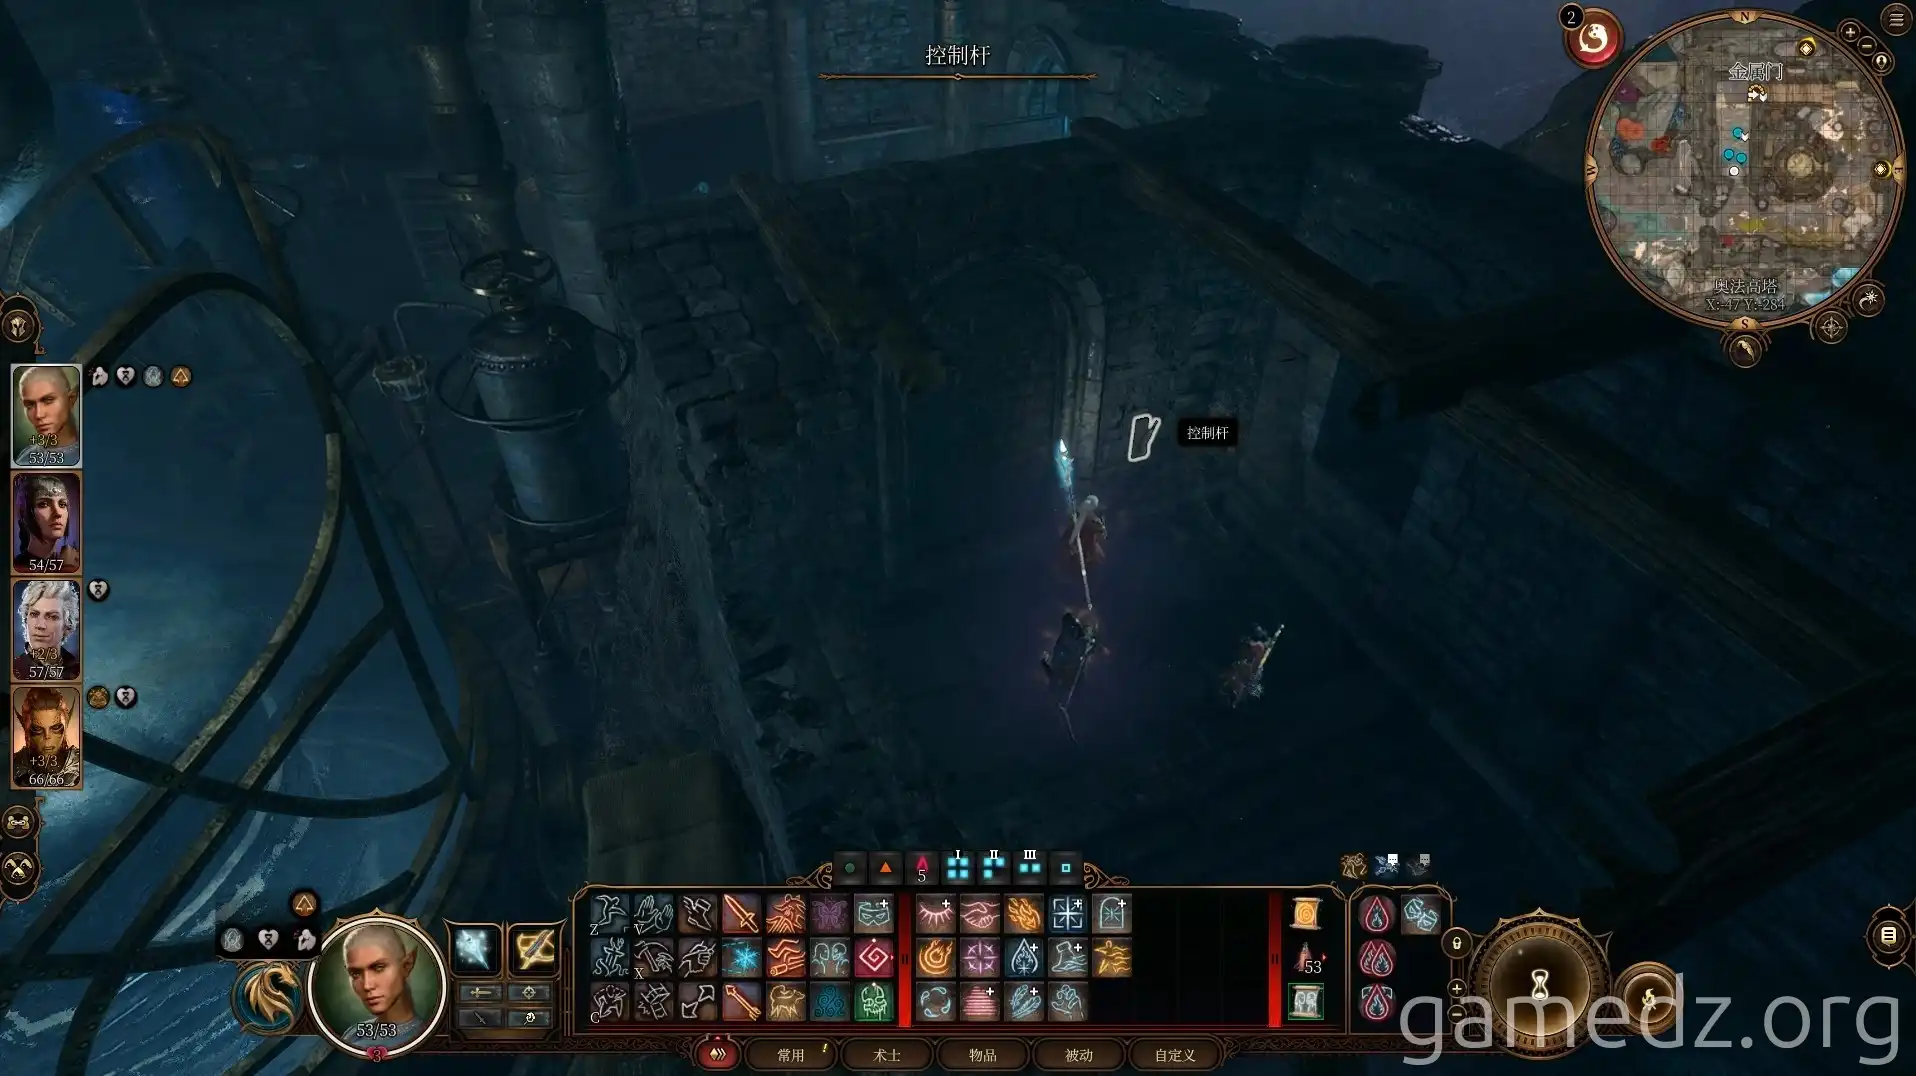
Continue along the basement passage. Ahead, you will return to the entrance of the Arcane Tower on the first floor.
After teleporting back to the Myconid Colony, give the Maddening Whispers and Githyanki Githyanki Spores to Omeluum, and then drink the potion he prepares. When the potion doesn't seem to work, Omeluum will mention that he has a ring that can suppress the Mind Flayer tadpole. You can try various methods to obtain this ring.
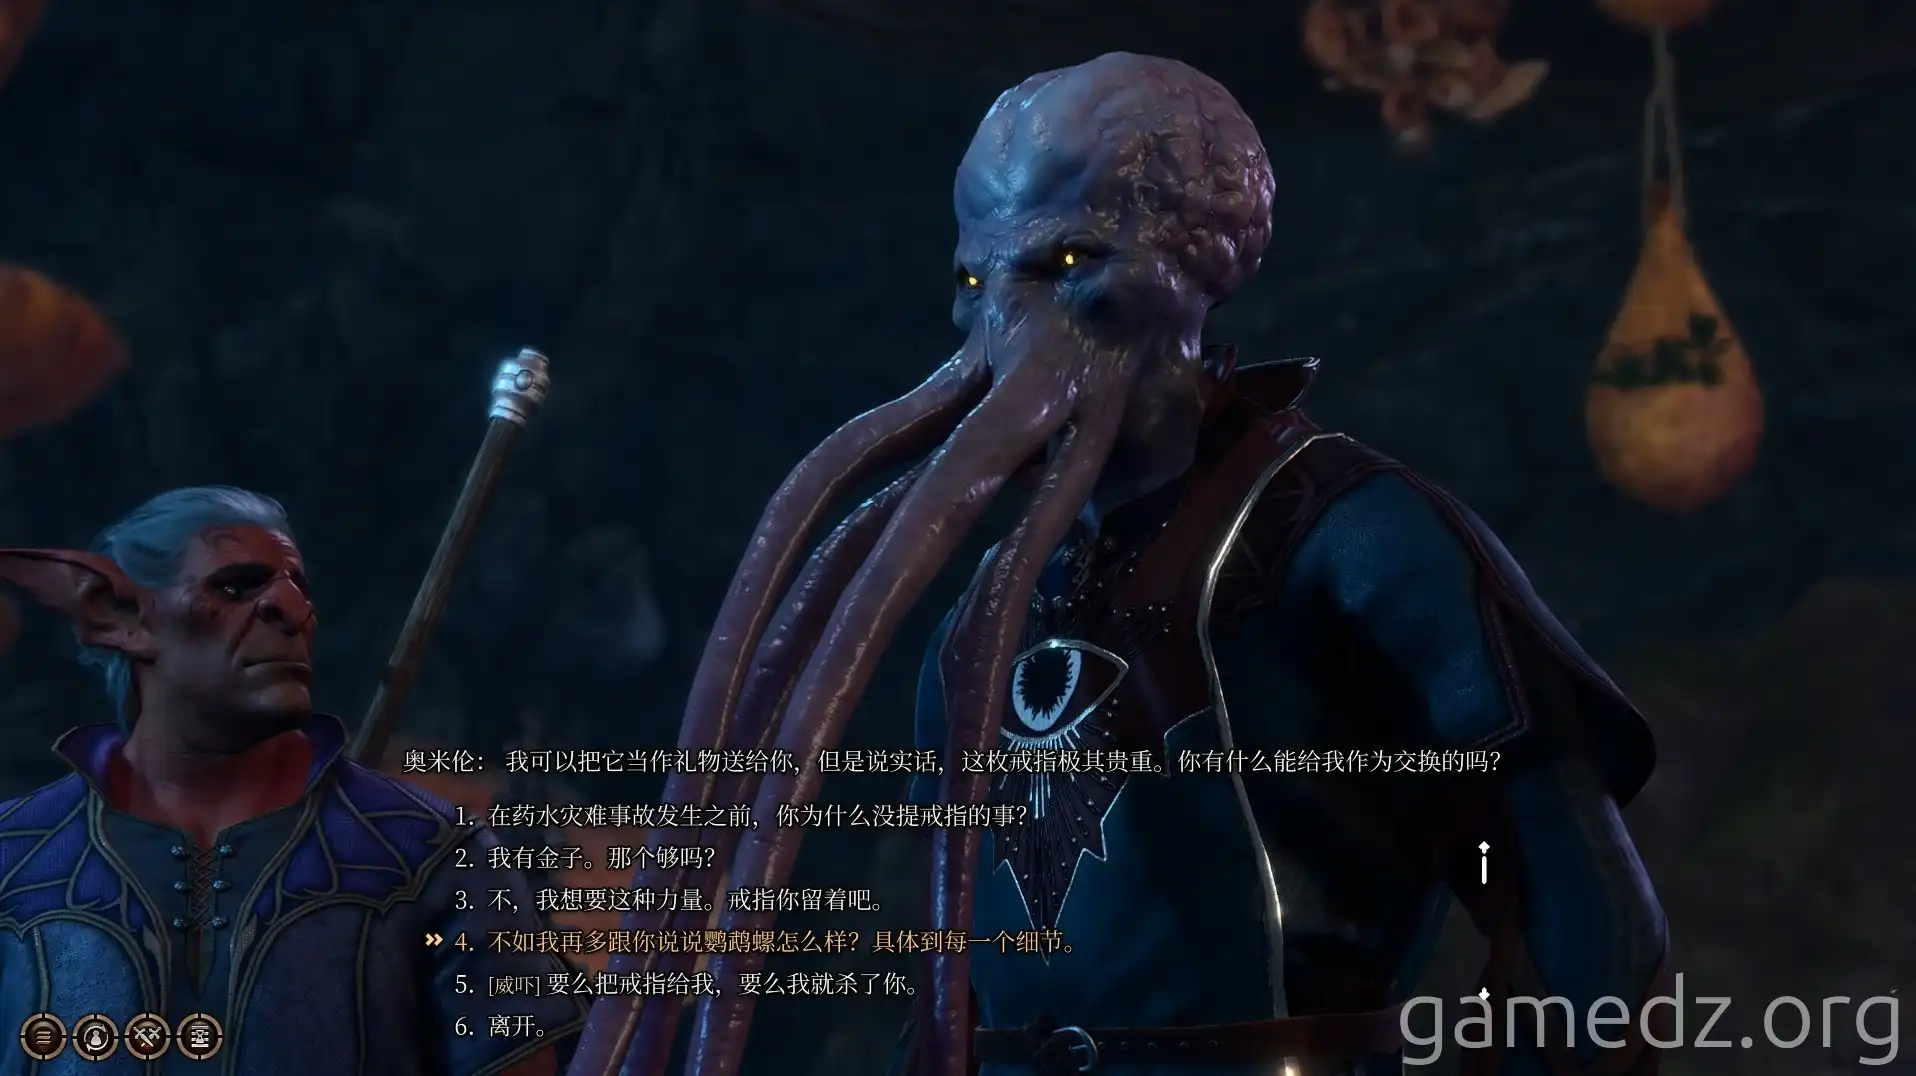
Upon successfully passing the check, you will obtain the Rare Accessory: Mind Sanctuary Ring.
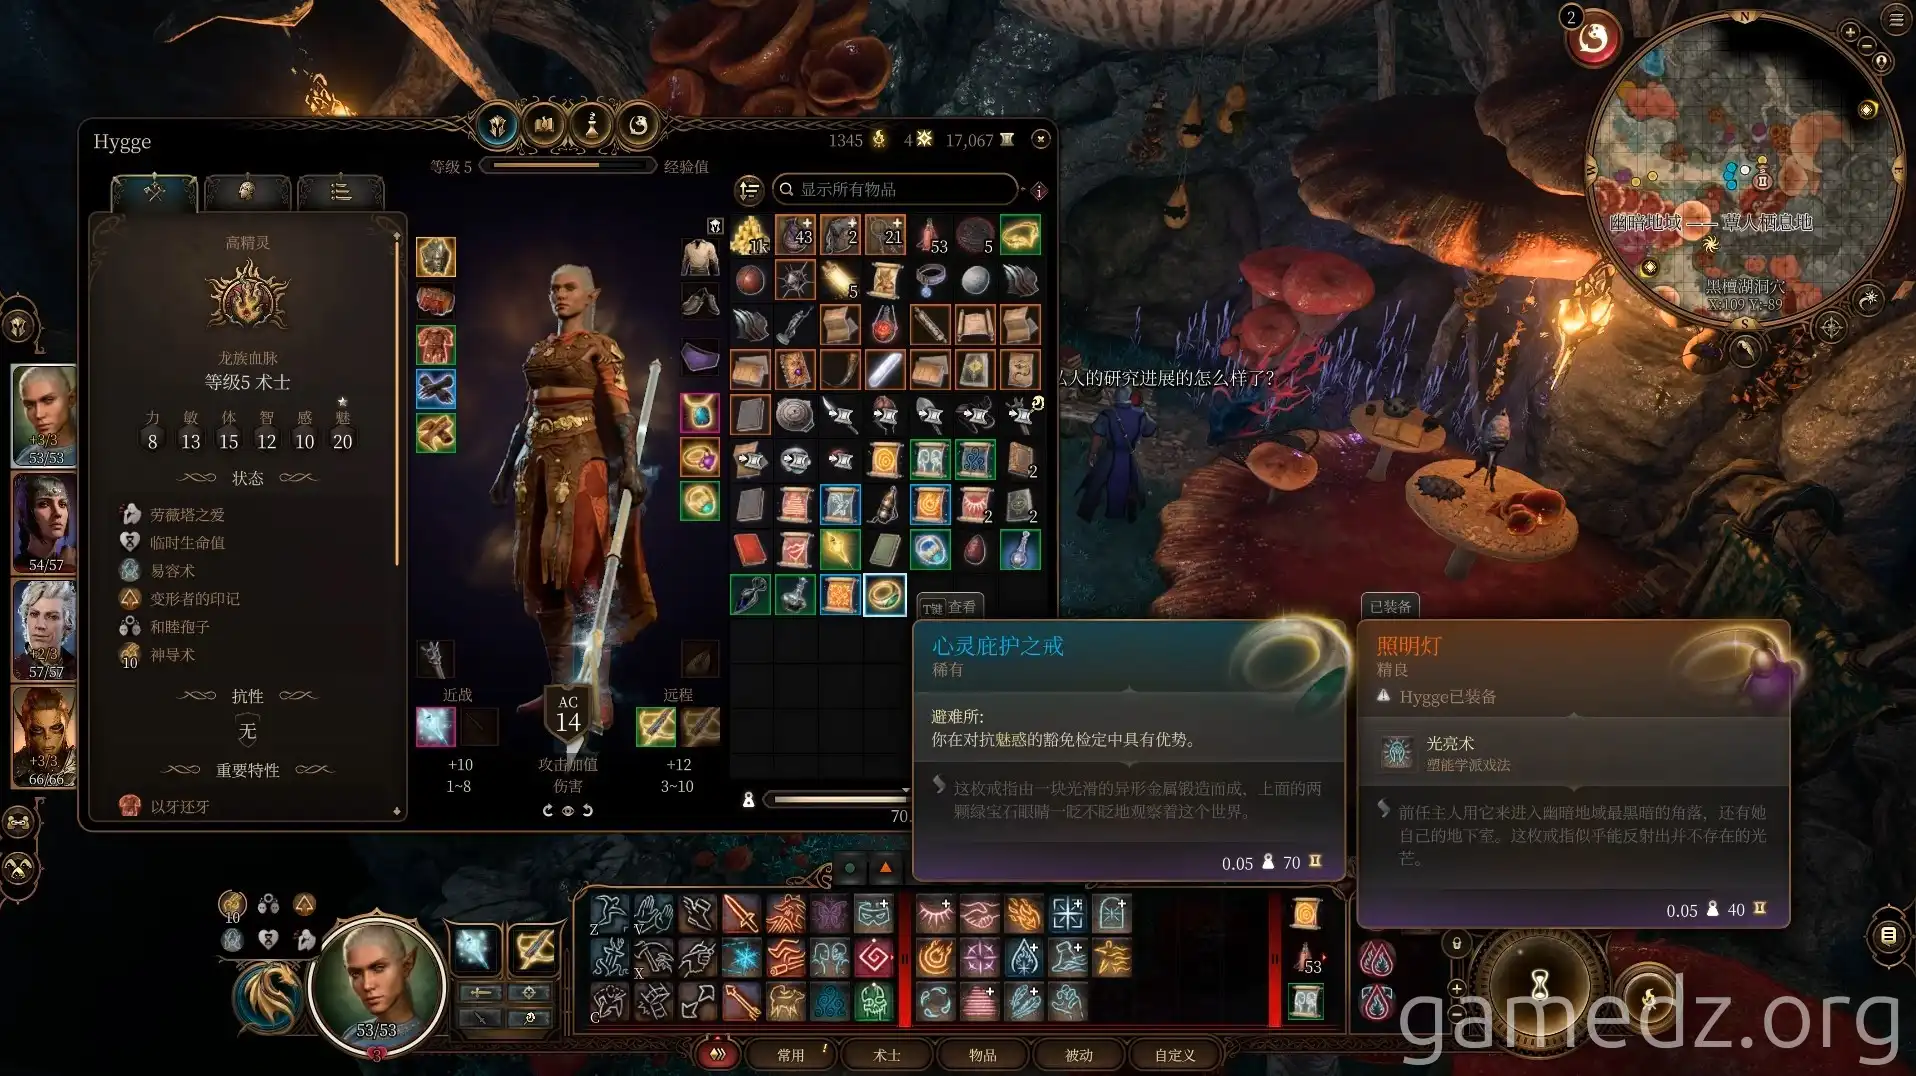
After obtaining the ring through peaceful means, you can purchase some unique equipment from Omeluum.
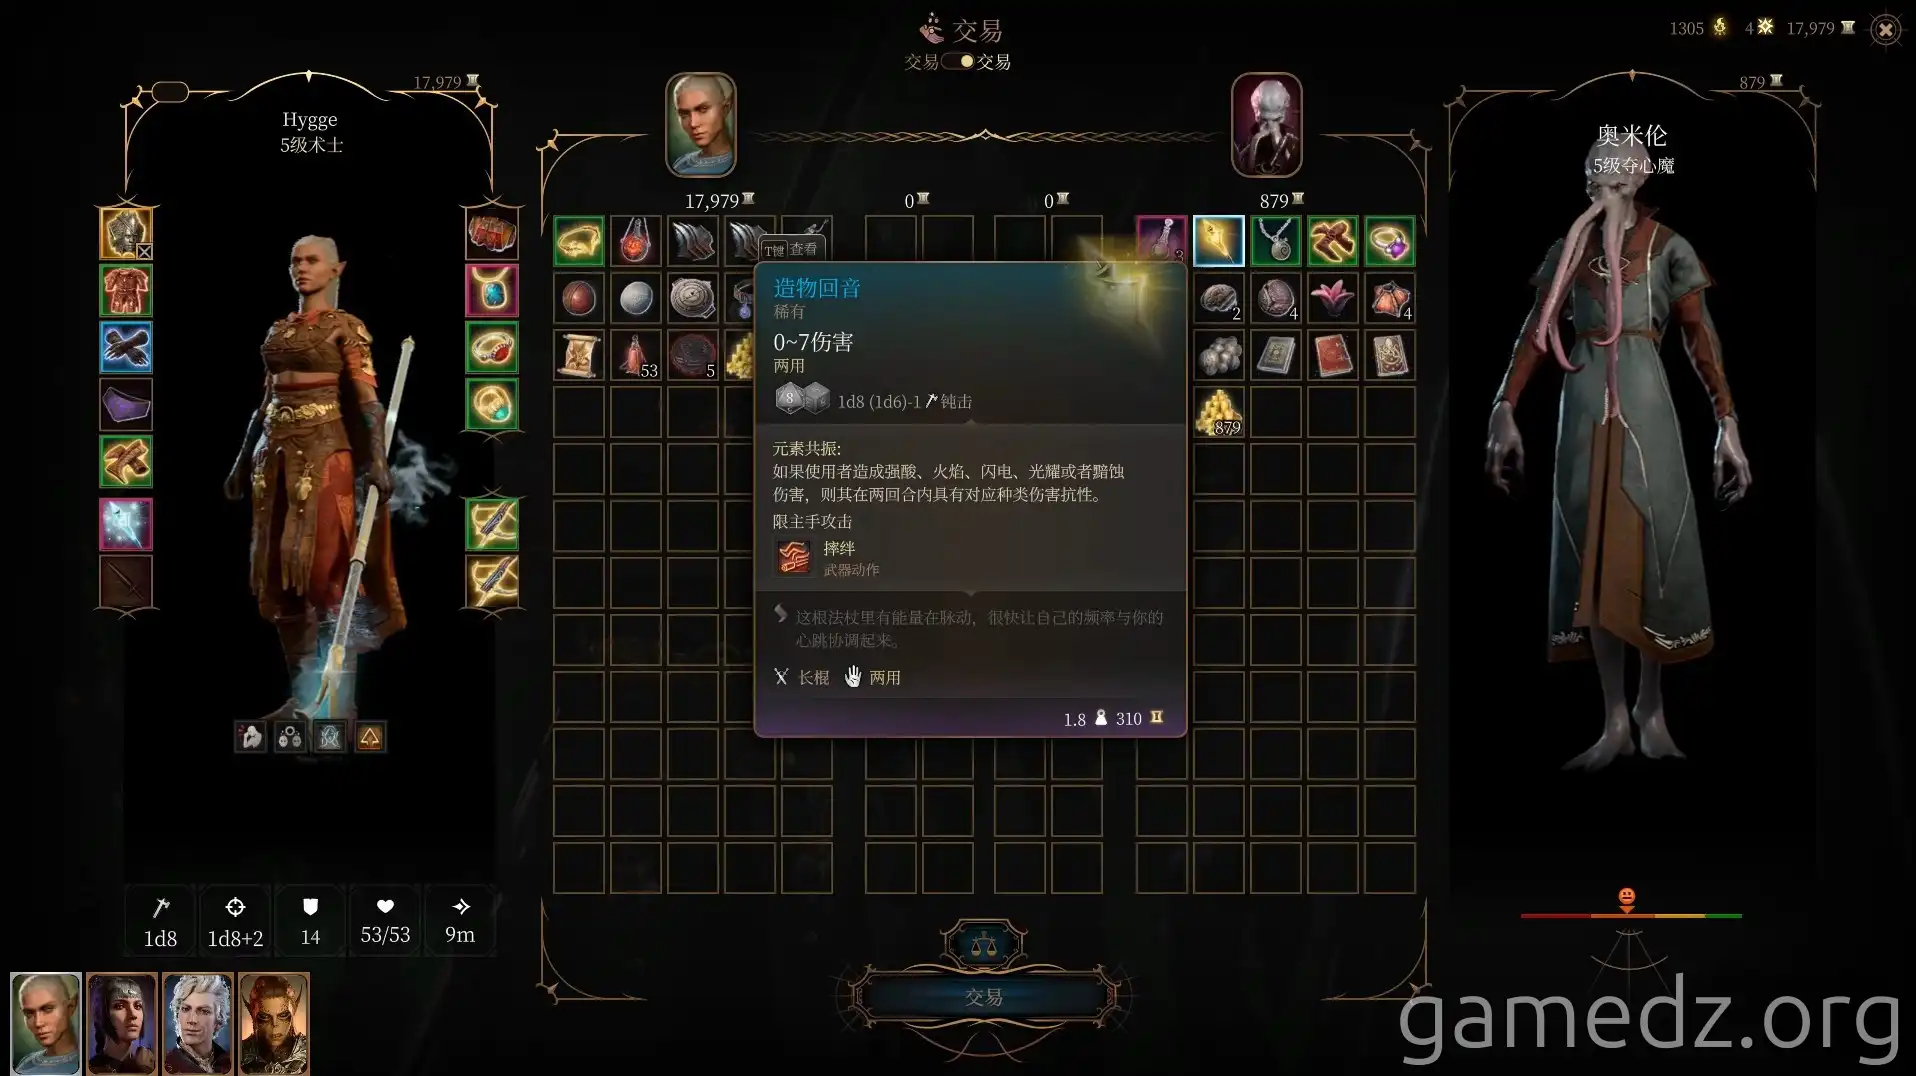
The list of unique equipment sold by Omeluum and their stats are as follows:

With this, the entire Underdark has been explored. Head to the beach and take the Underdark Grey Dwarf boat to the Forge of the Revenged.
