Baldur's Gate 3 Underdark Walkthrough: Underdark Beach & Caves
This Baldur's Gate 3 walkthrough guides players through the Underdark, focusing on the Underdark Beach and caves. It details combat encounters, item acquisition (including rare weapons and armor), quest progression, and puzzle solutions.
Return to the vines that led to the area where Barron was trapped, and continue northwest into the Underdark. You'll encounter a pack of Hook Horrors ahead; focus fire to eliminate them.
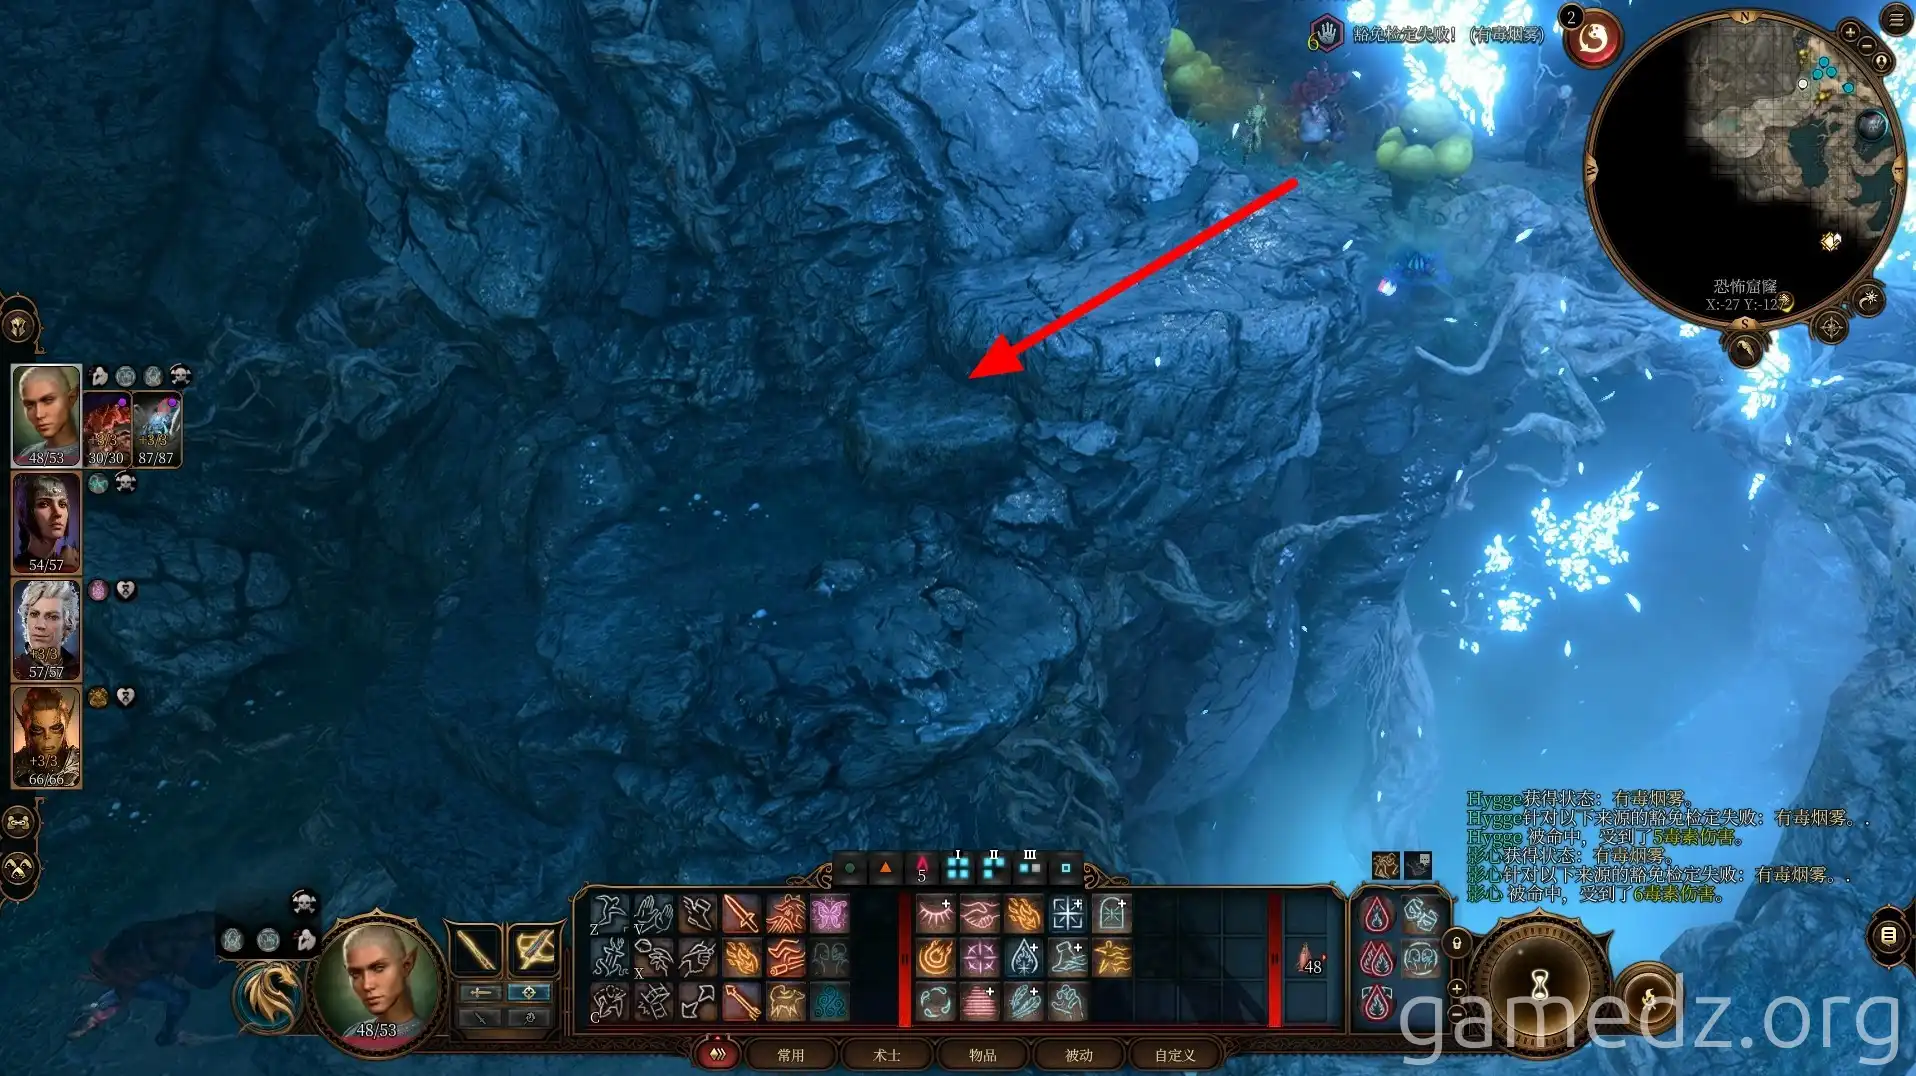
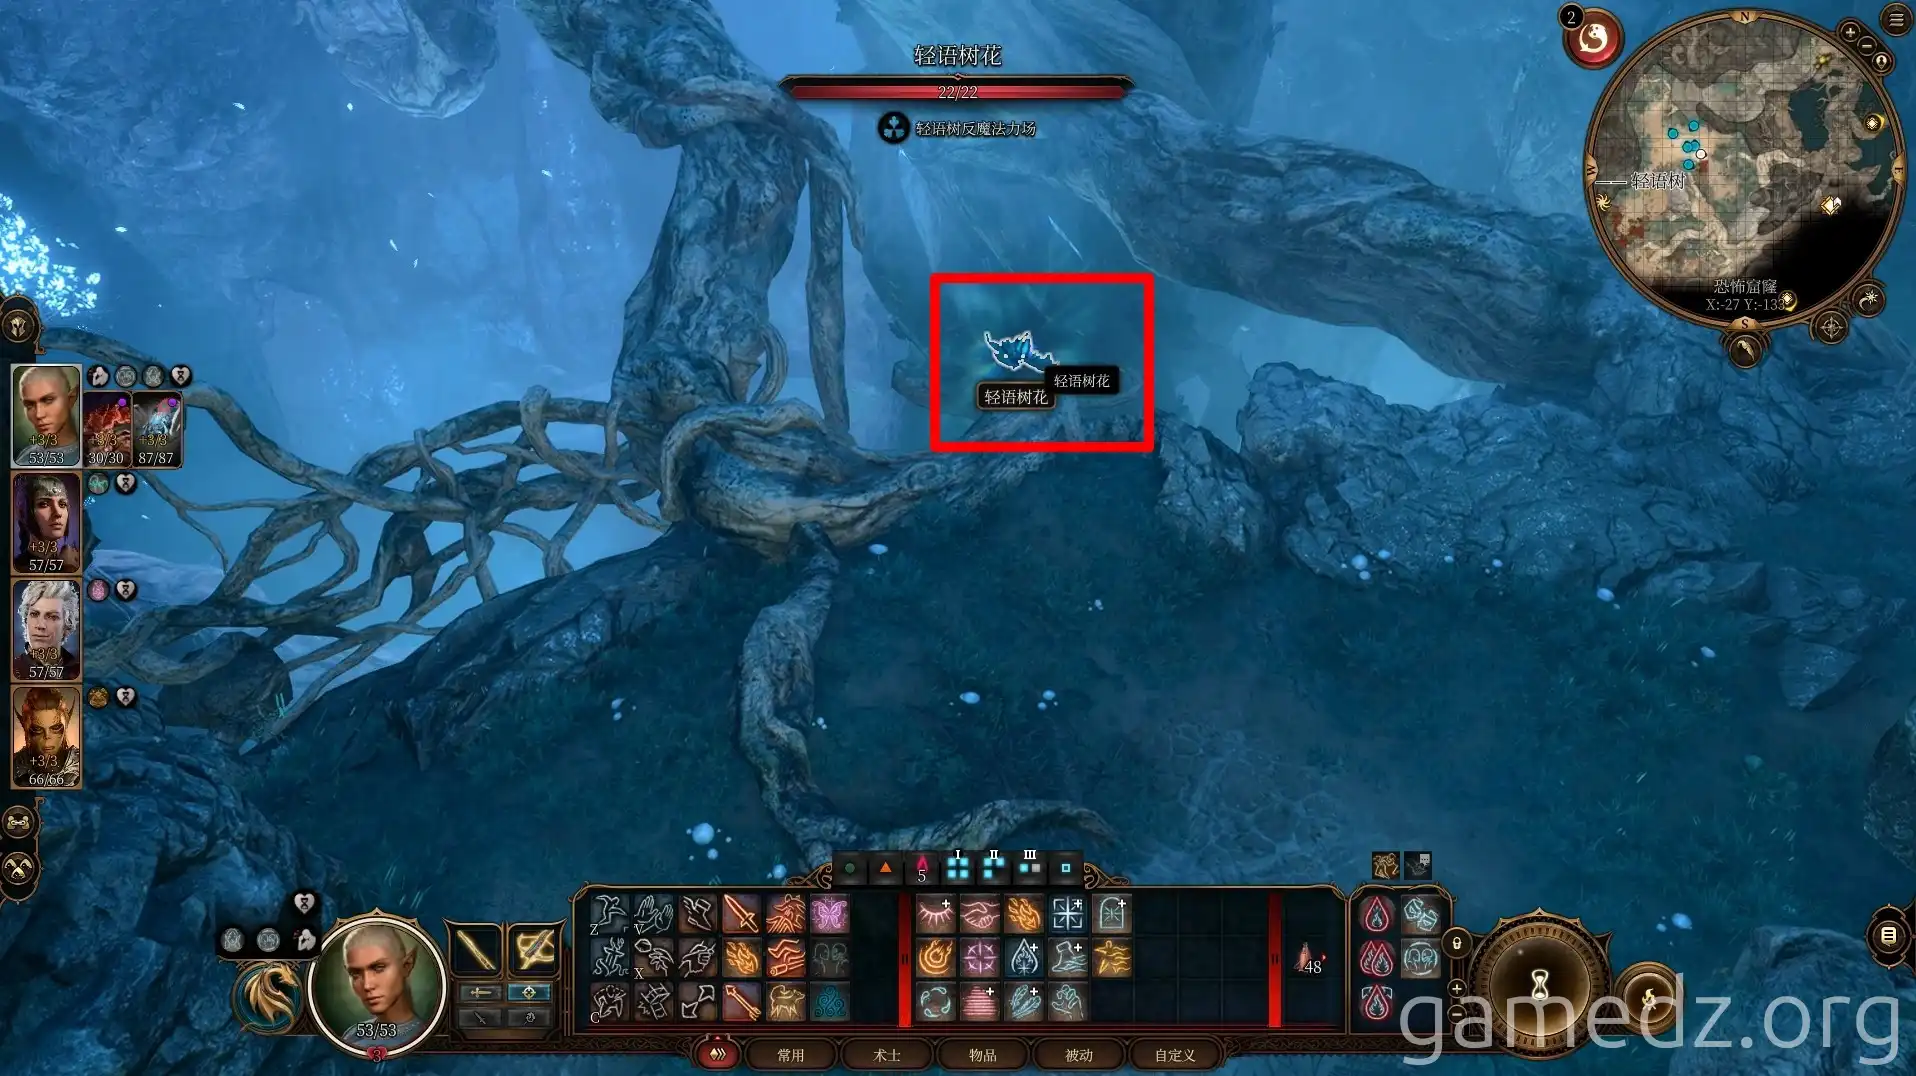
Approaching or carrying a Whispering Bloom will inflict Silence, which will be useful later, but don't pick them up just yet.
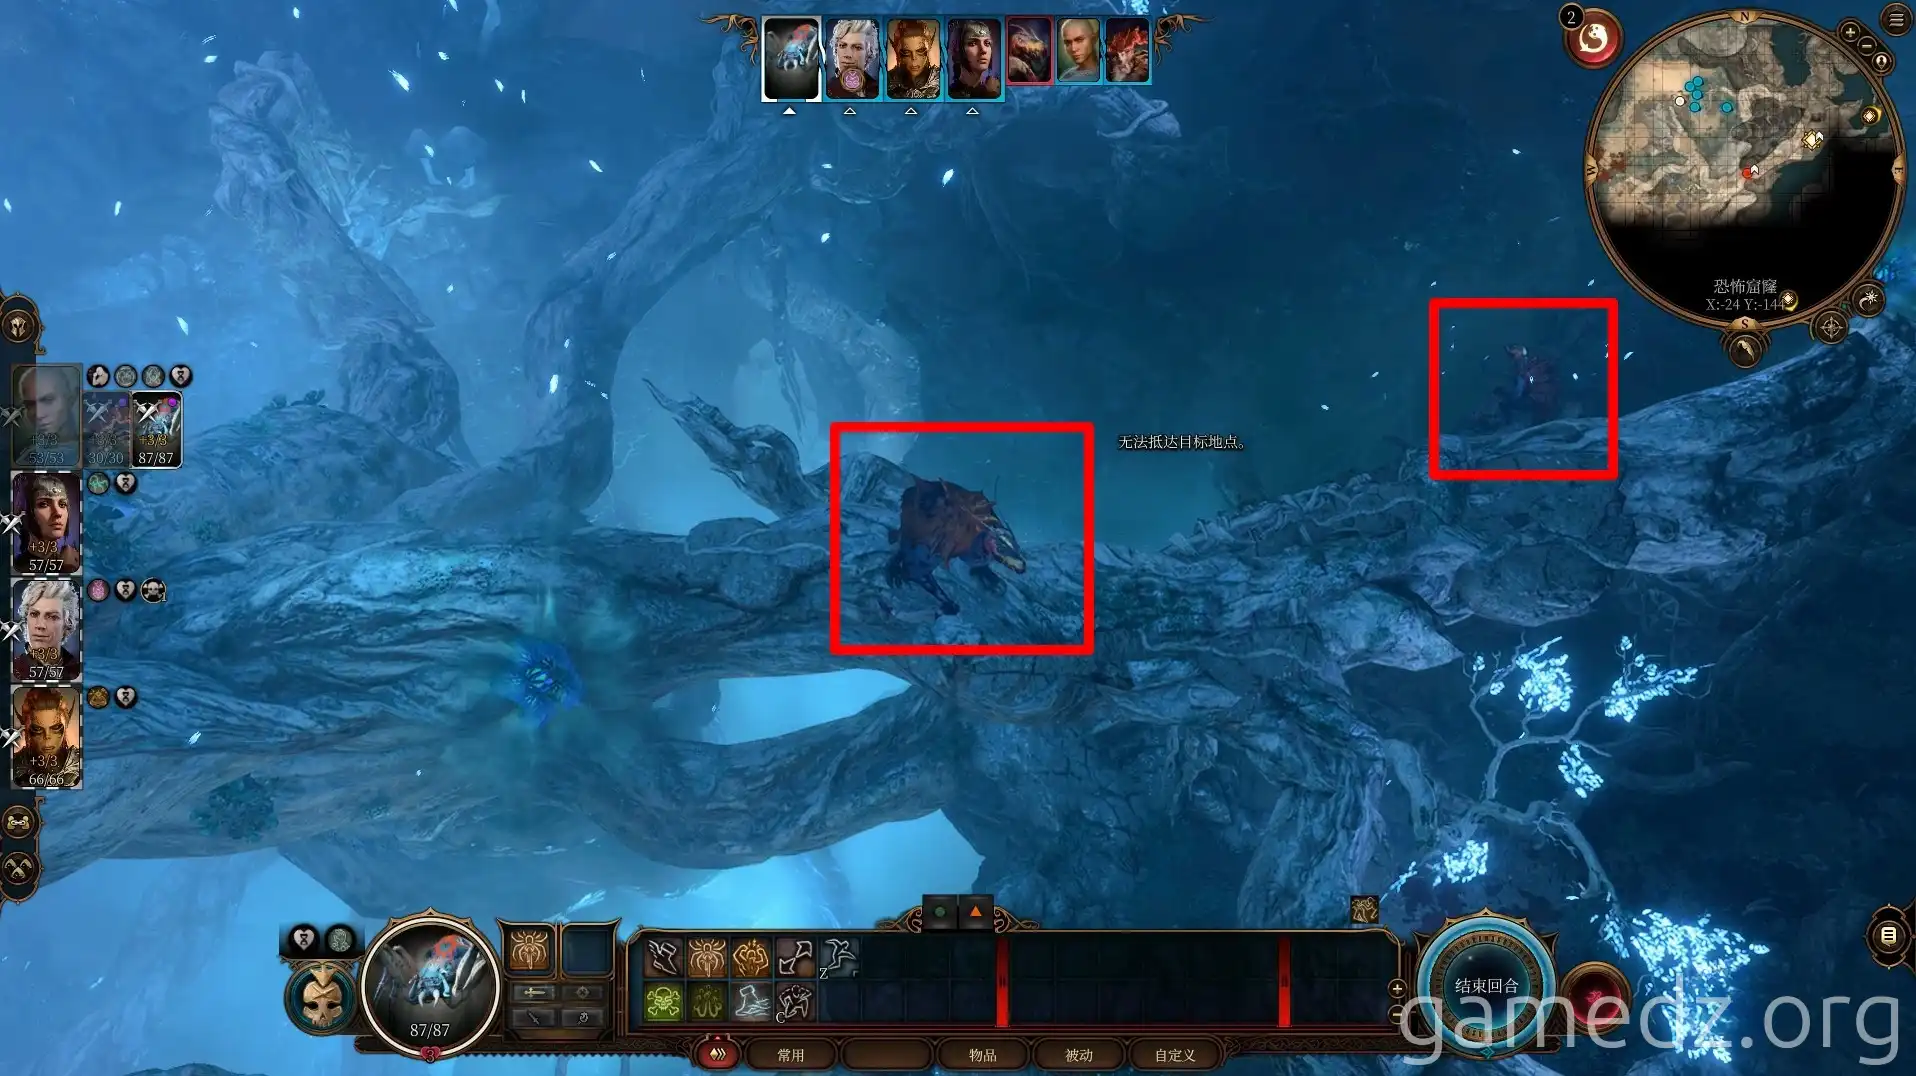
After reaching the west side of the Whispering Bloom area, follow the path south. There are three Hook Horrors on the tree trunks ahead, with one perched on a very high trunk. It's advisable to find a good position before engaging to avoid being at a terrain disadvantage.
Activate the Waypoint [Whispering Bloom] on the west wall of the combat area.
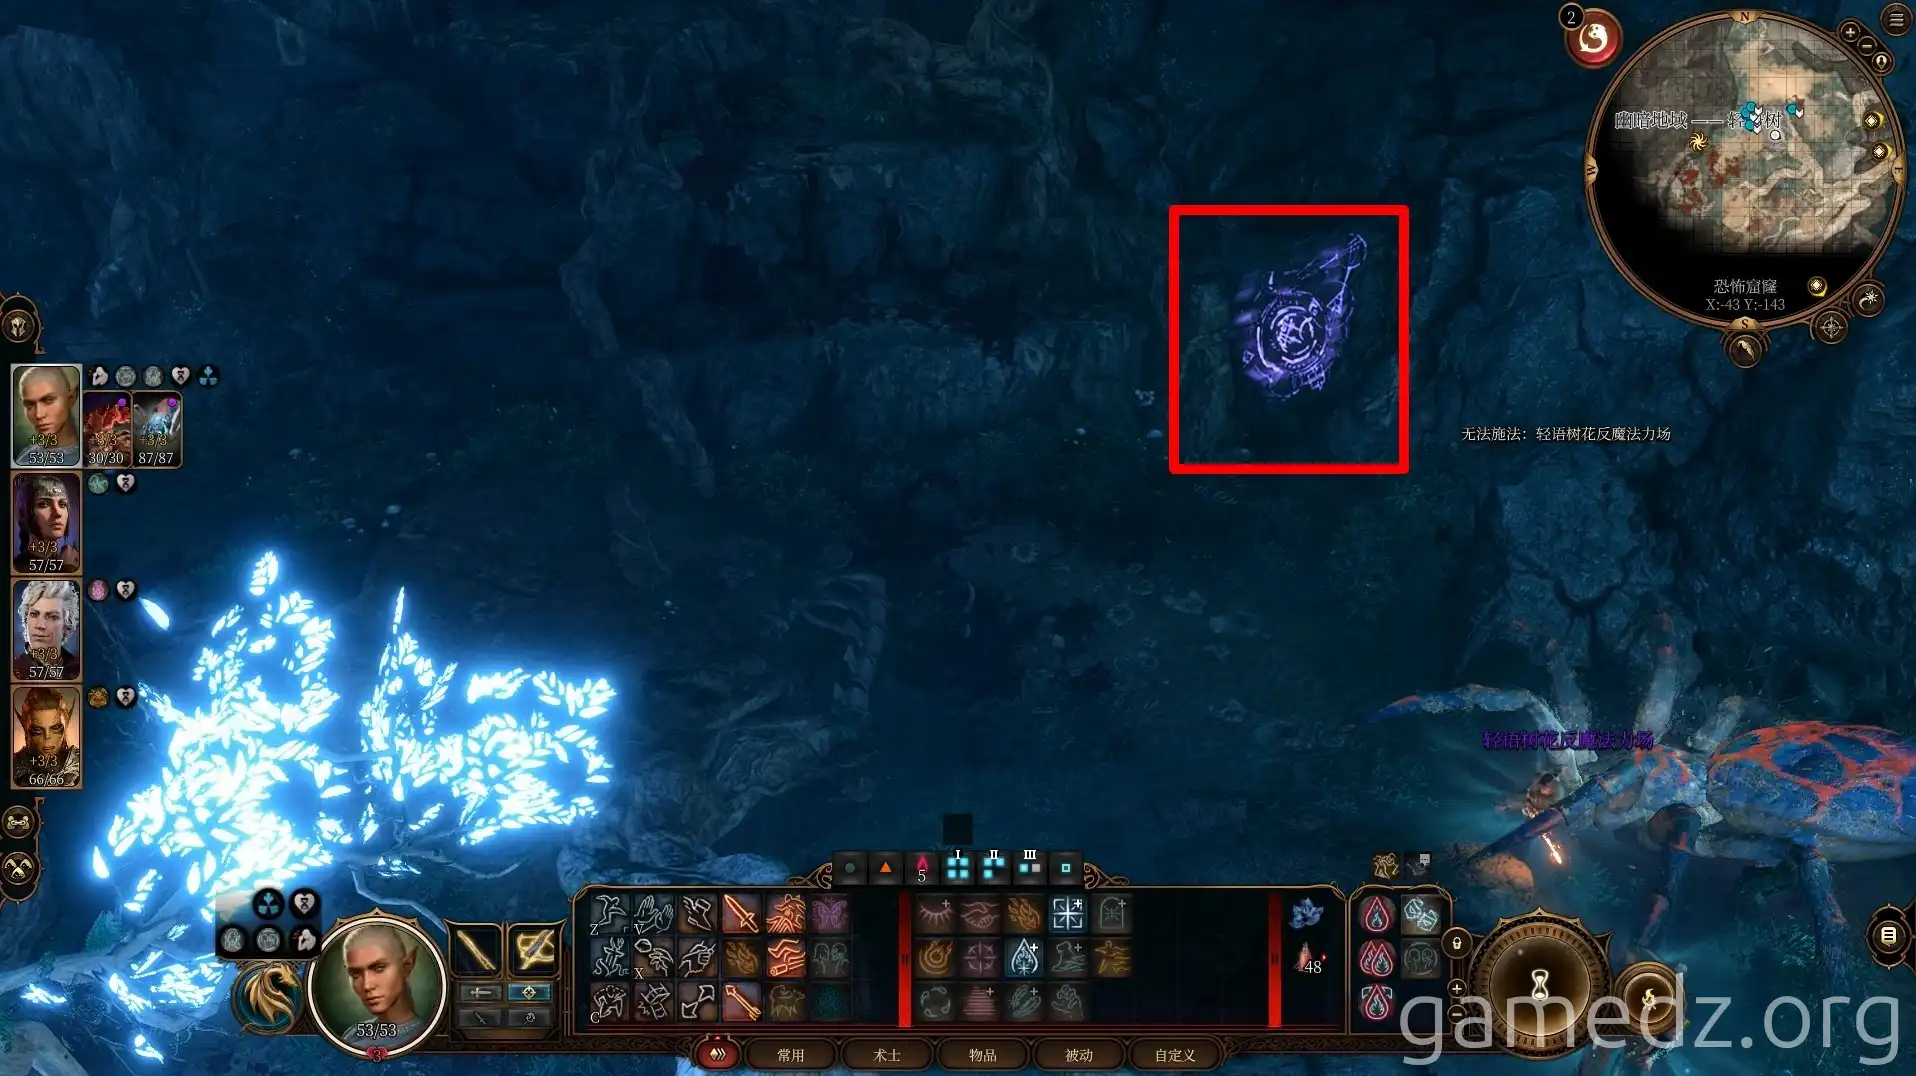
Climb the Whispering Tree using the branches where the Hook Horrors were located. You can obtain the item [Whispering Bark] from the trunk.
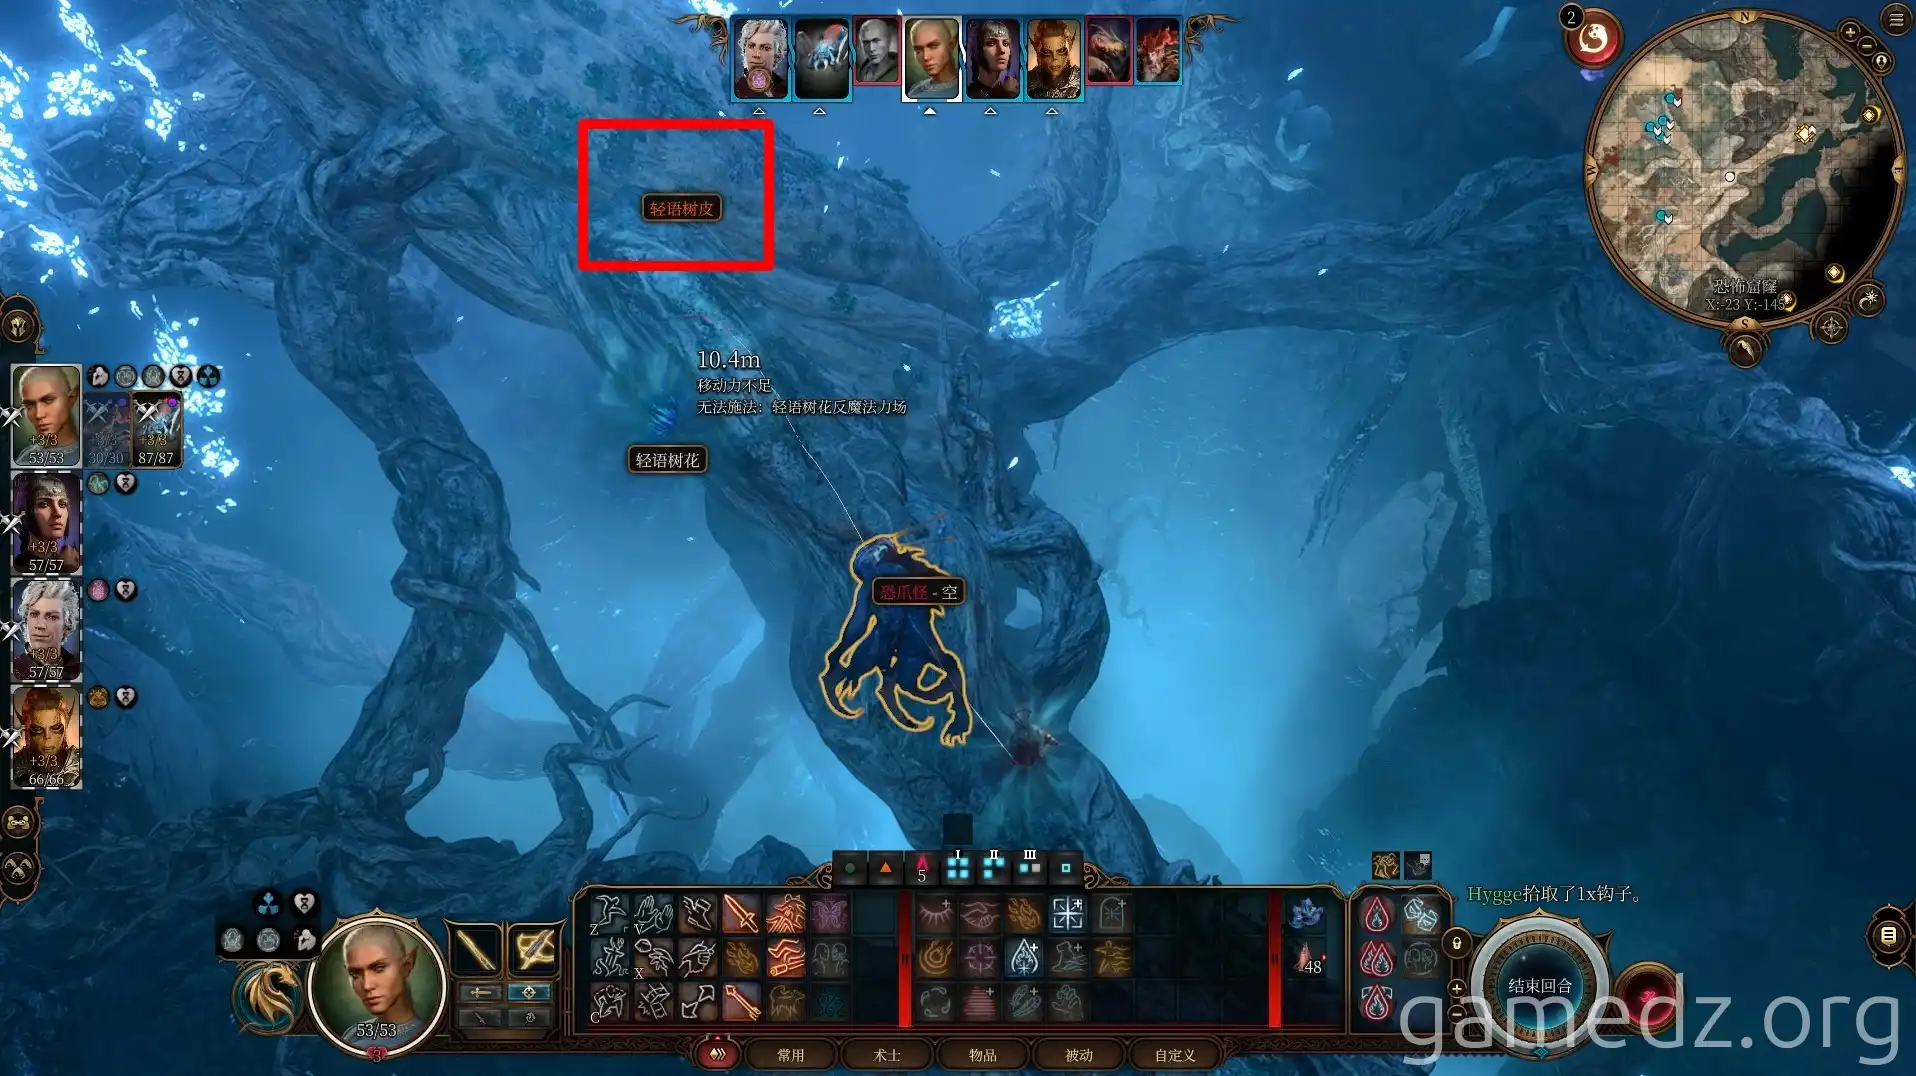
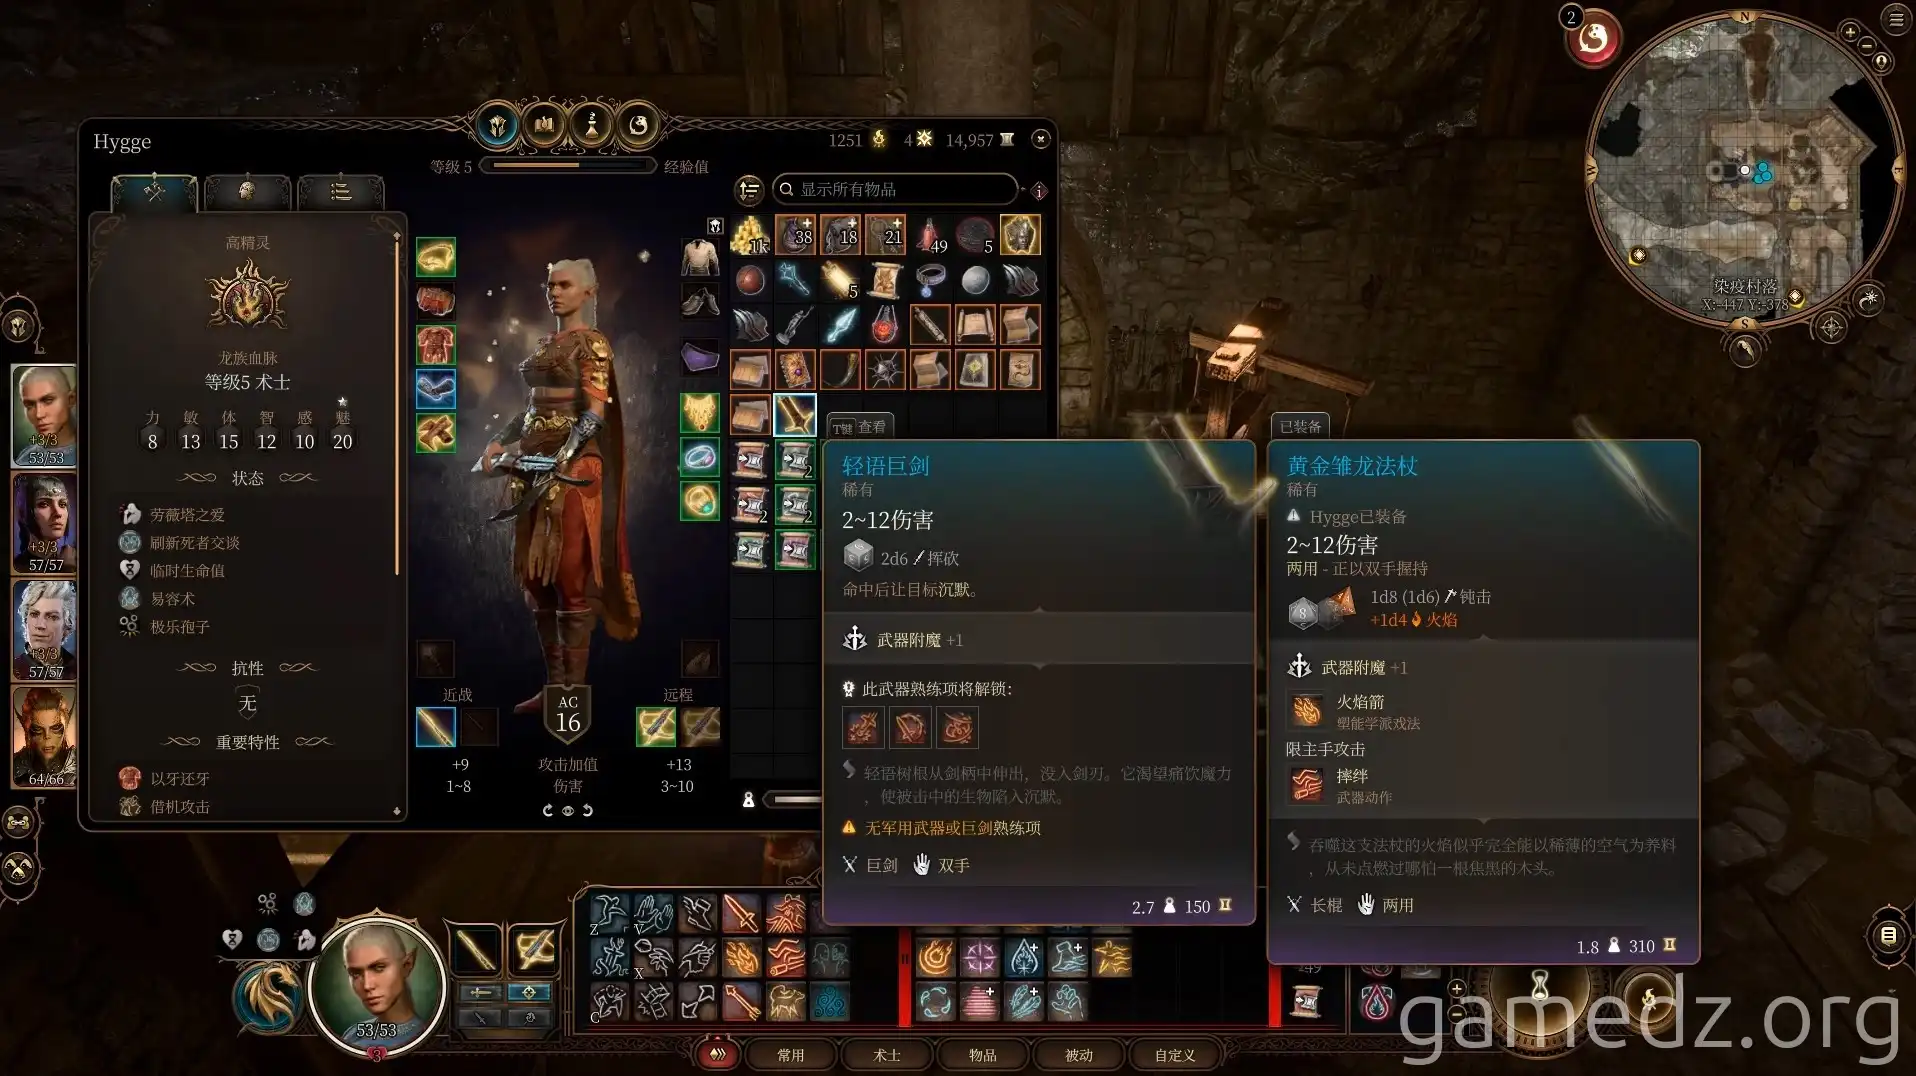
Whispering Bark can be used to craft three types of weapons: Greatswords, Daggers, and Scythes. Before you start crafting, you'll need a regular base weapon. The type of base weapon will determine the type of Whispering weapon you create.
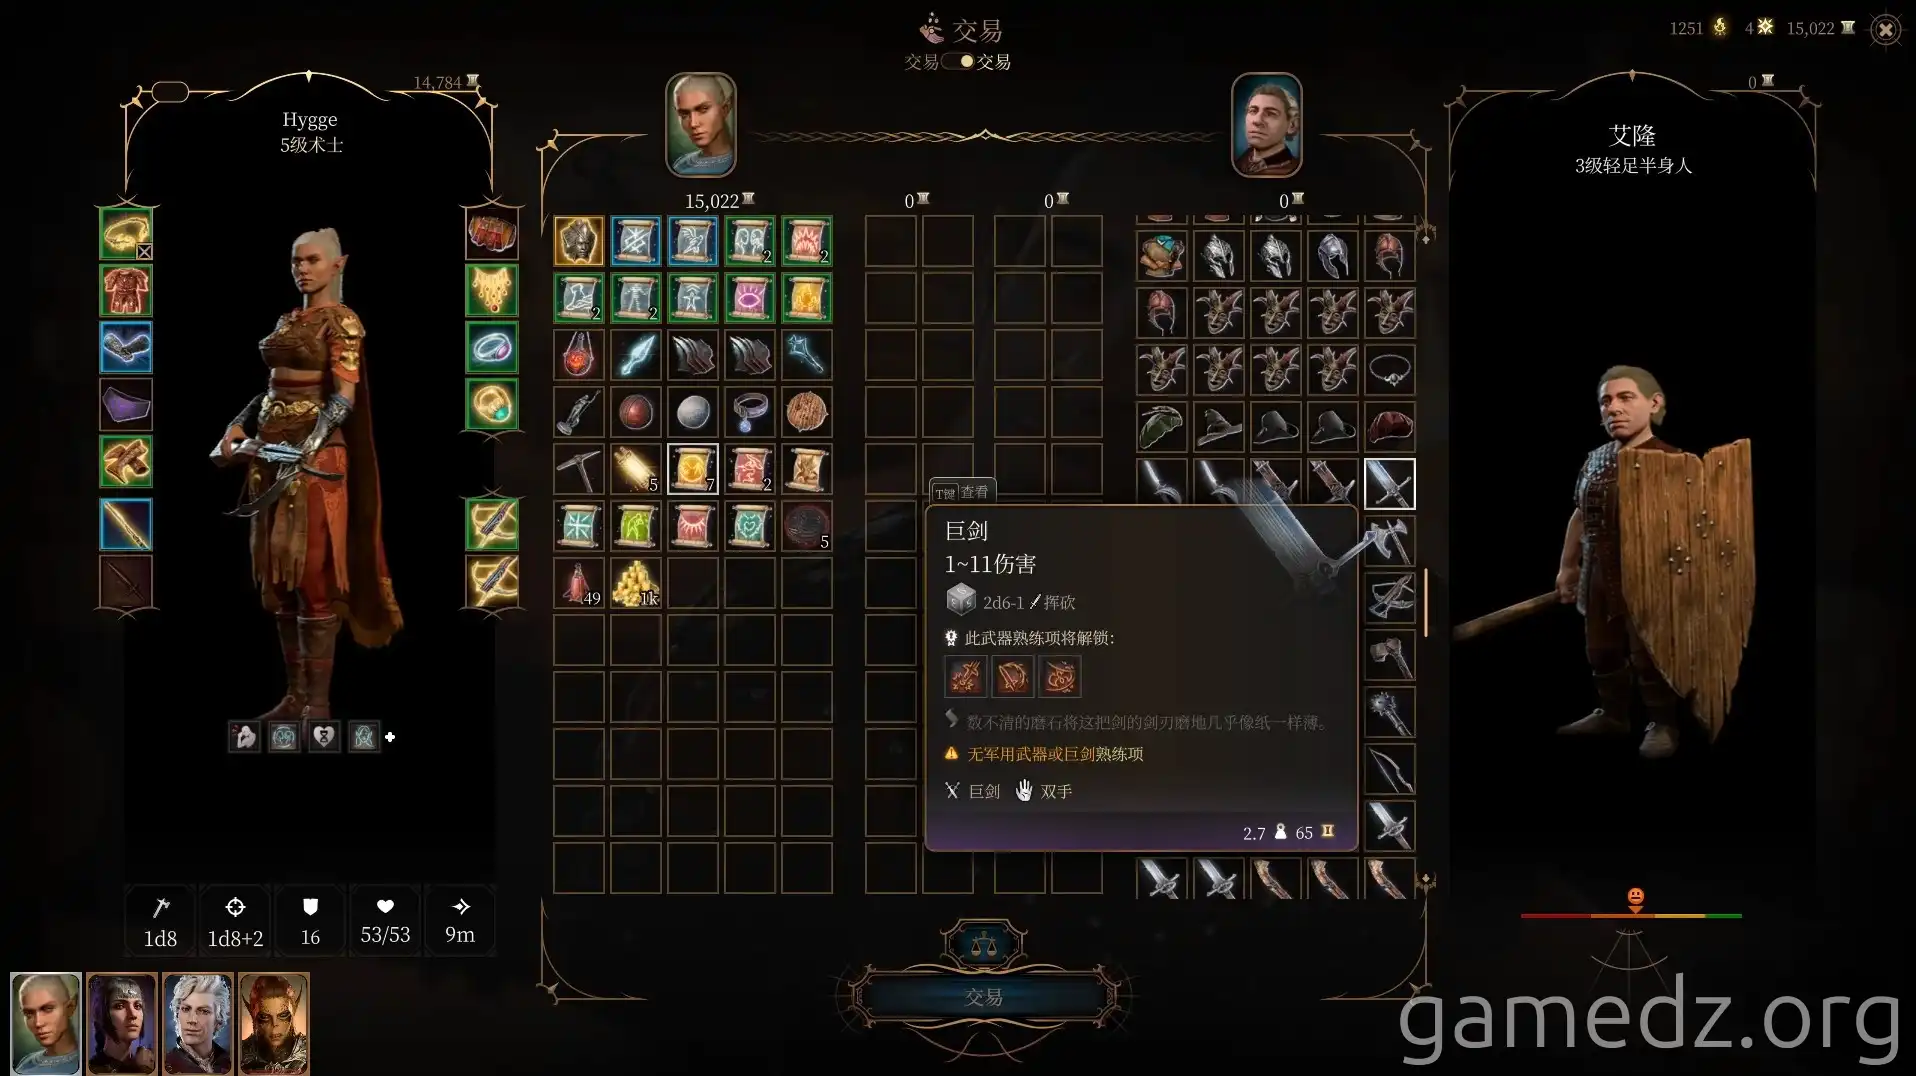
Afterward, return to the Blighted Village and enter the underground blacksmith.
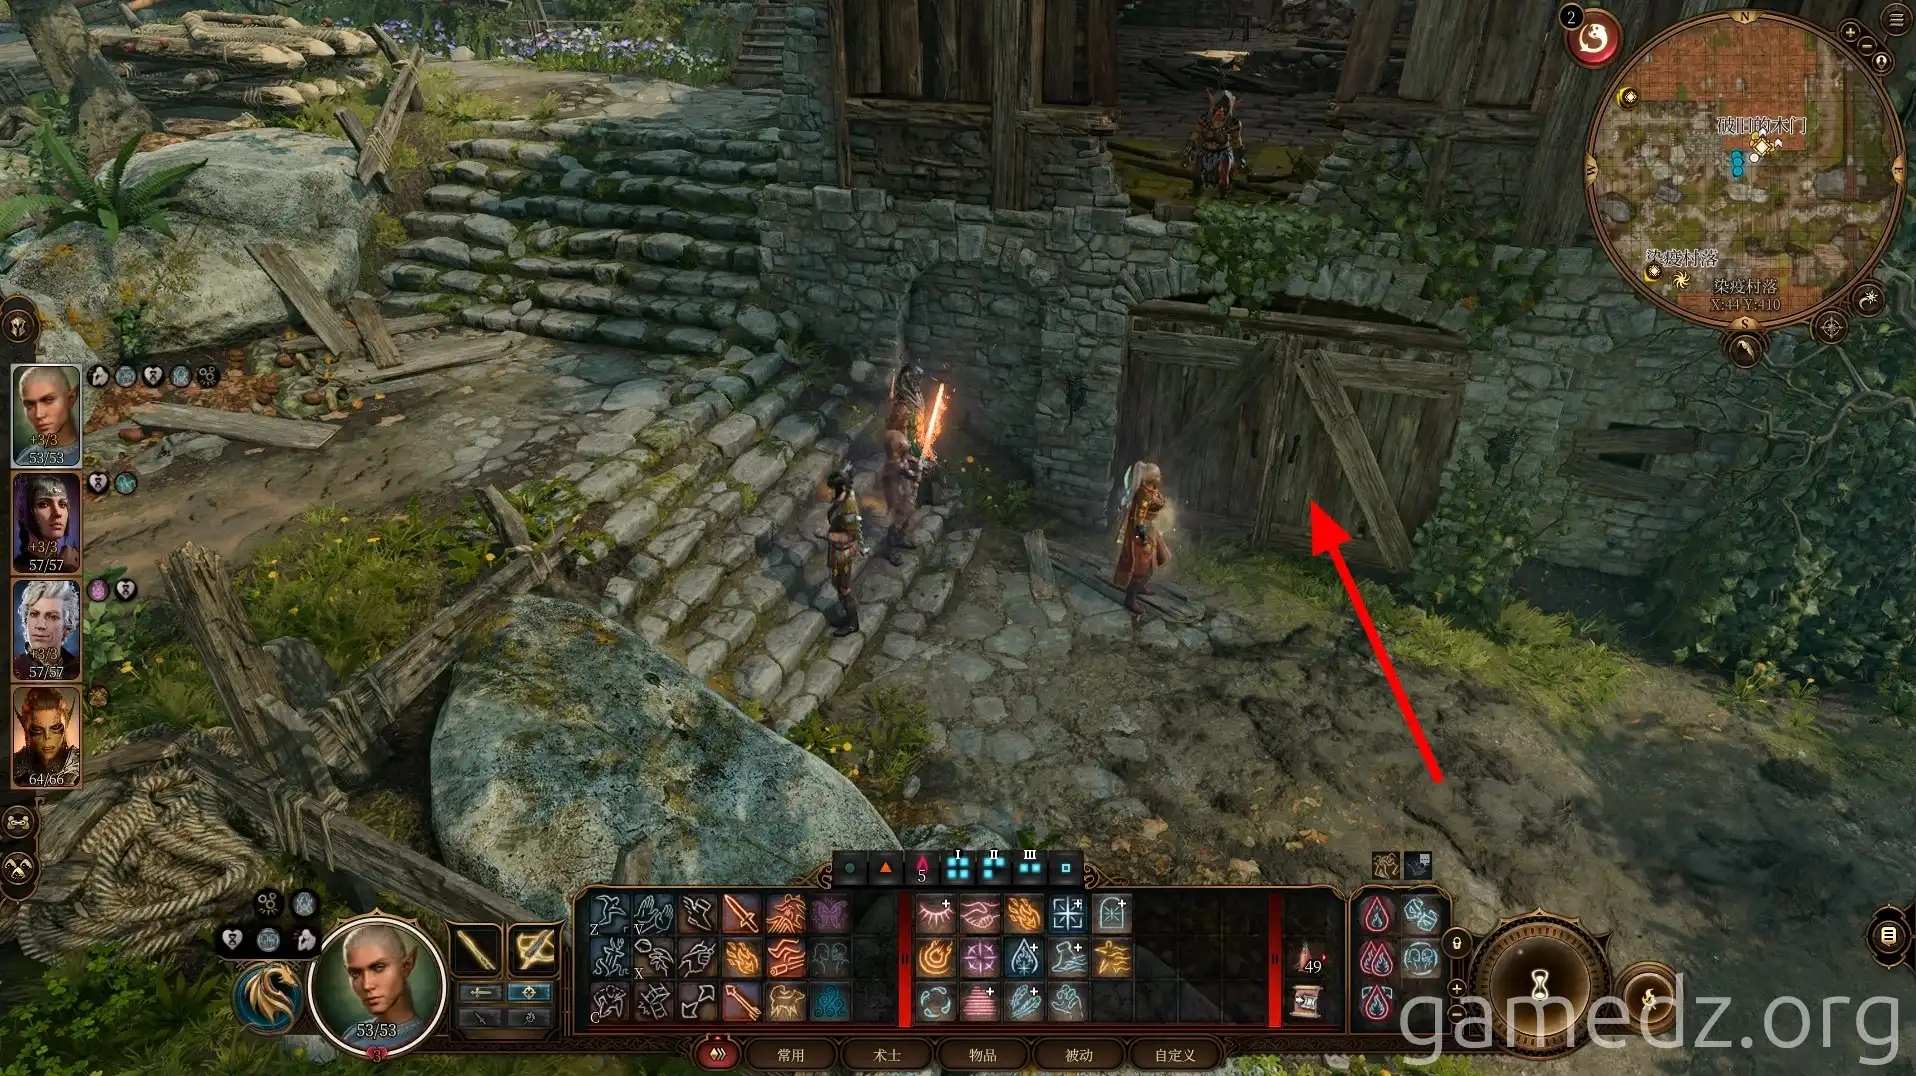
First, click on the smelter and then click on the bellows next to it to start the fire.
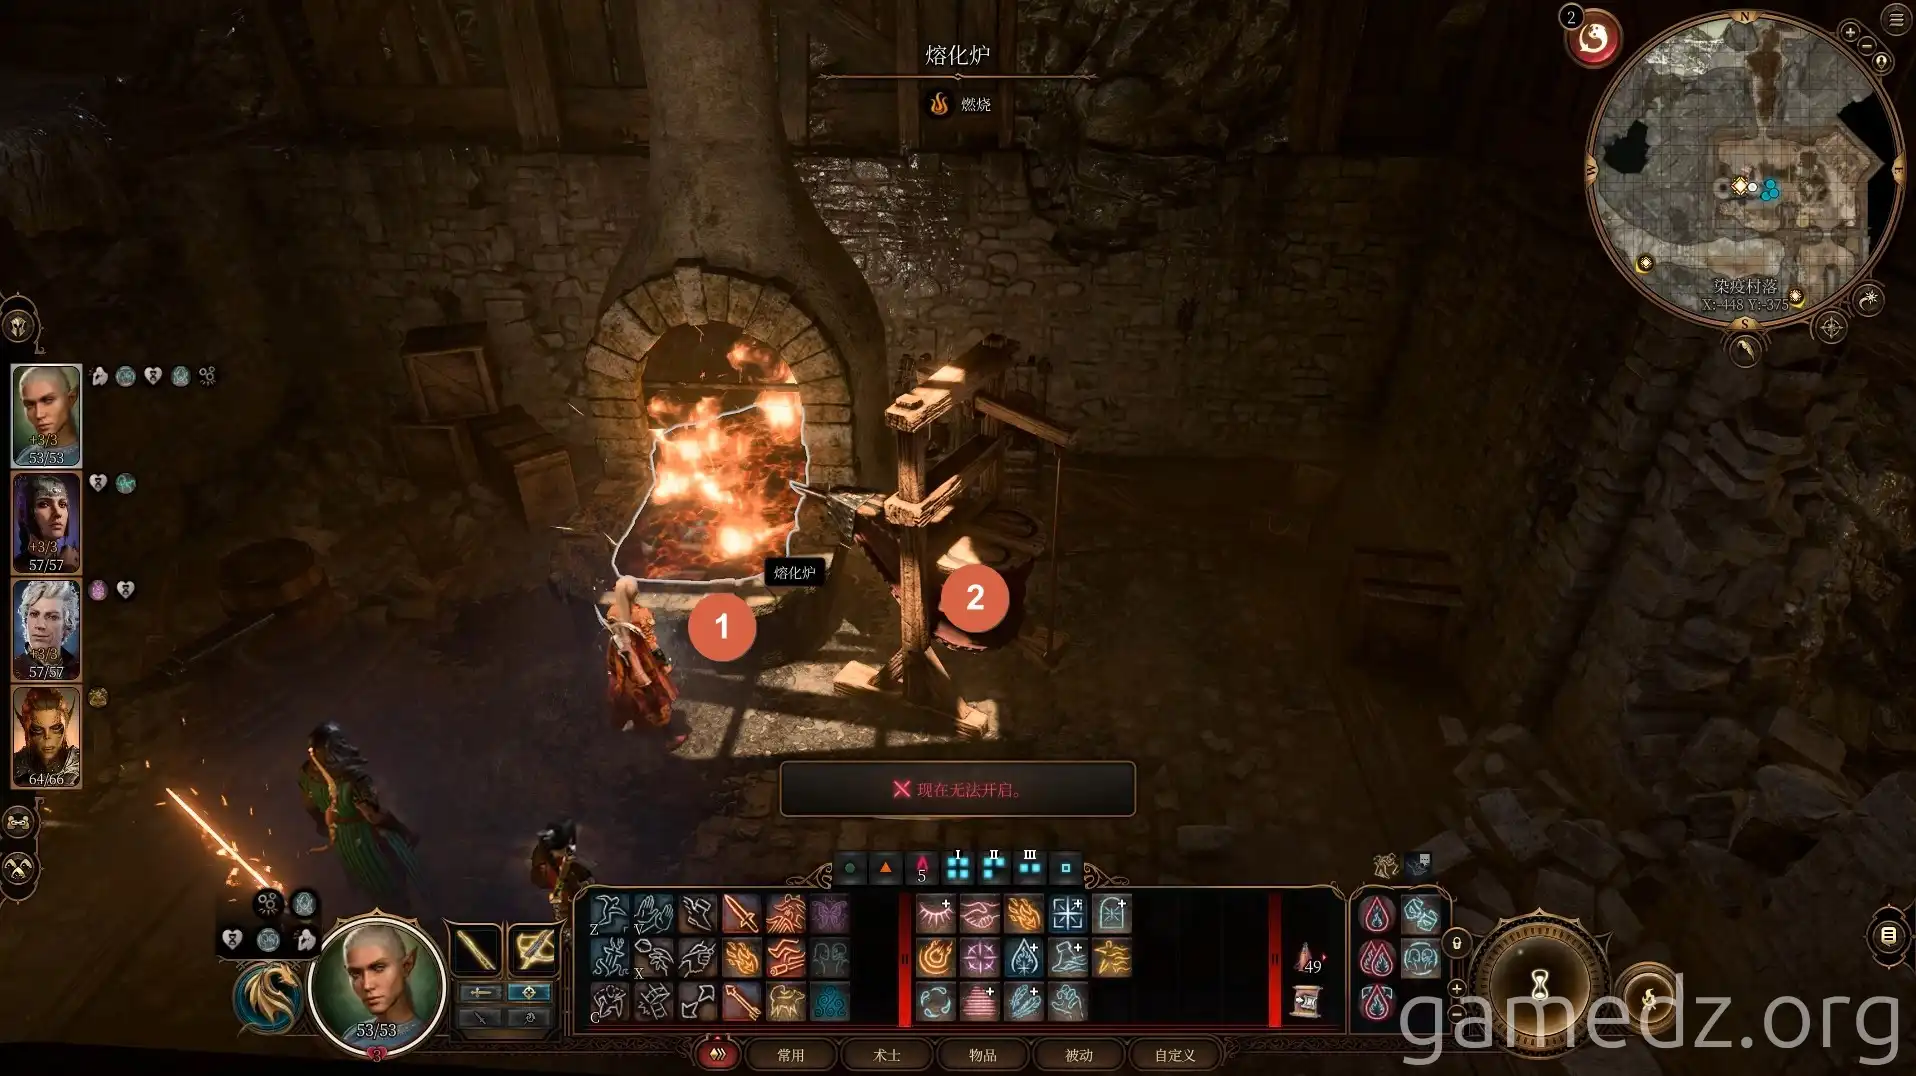
Then, right-click the smelter to open the crafting interface. Place the Whispering Bark inside, and the smelter's flame will turn blue.
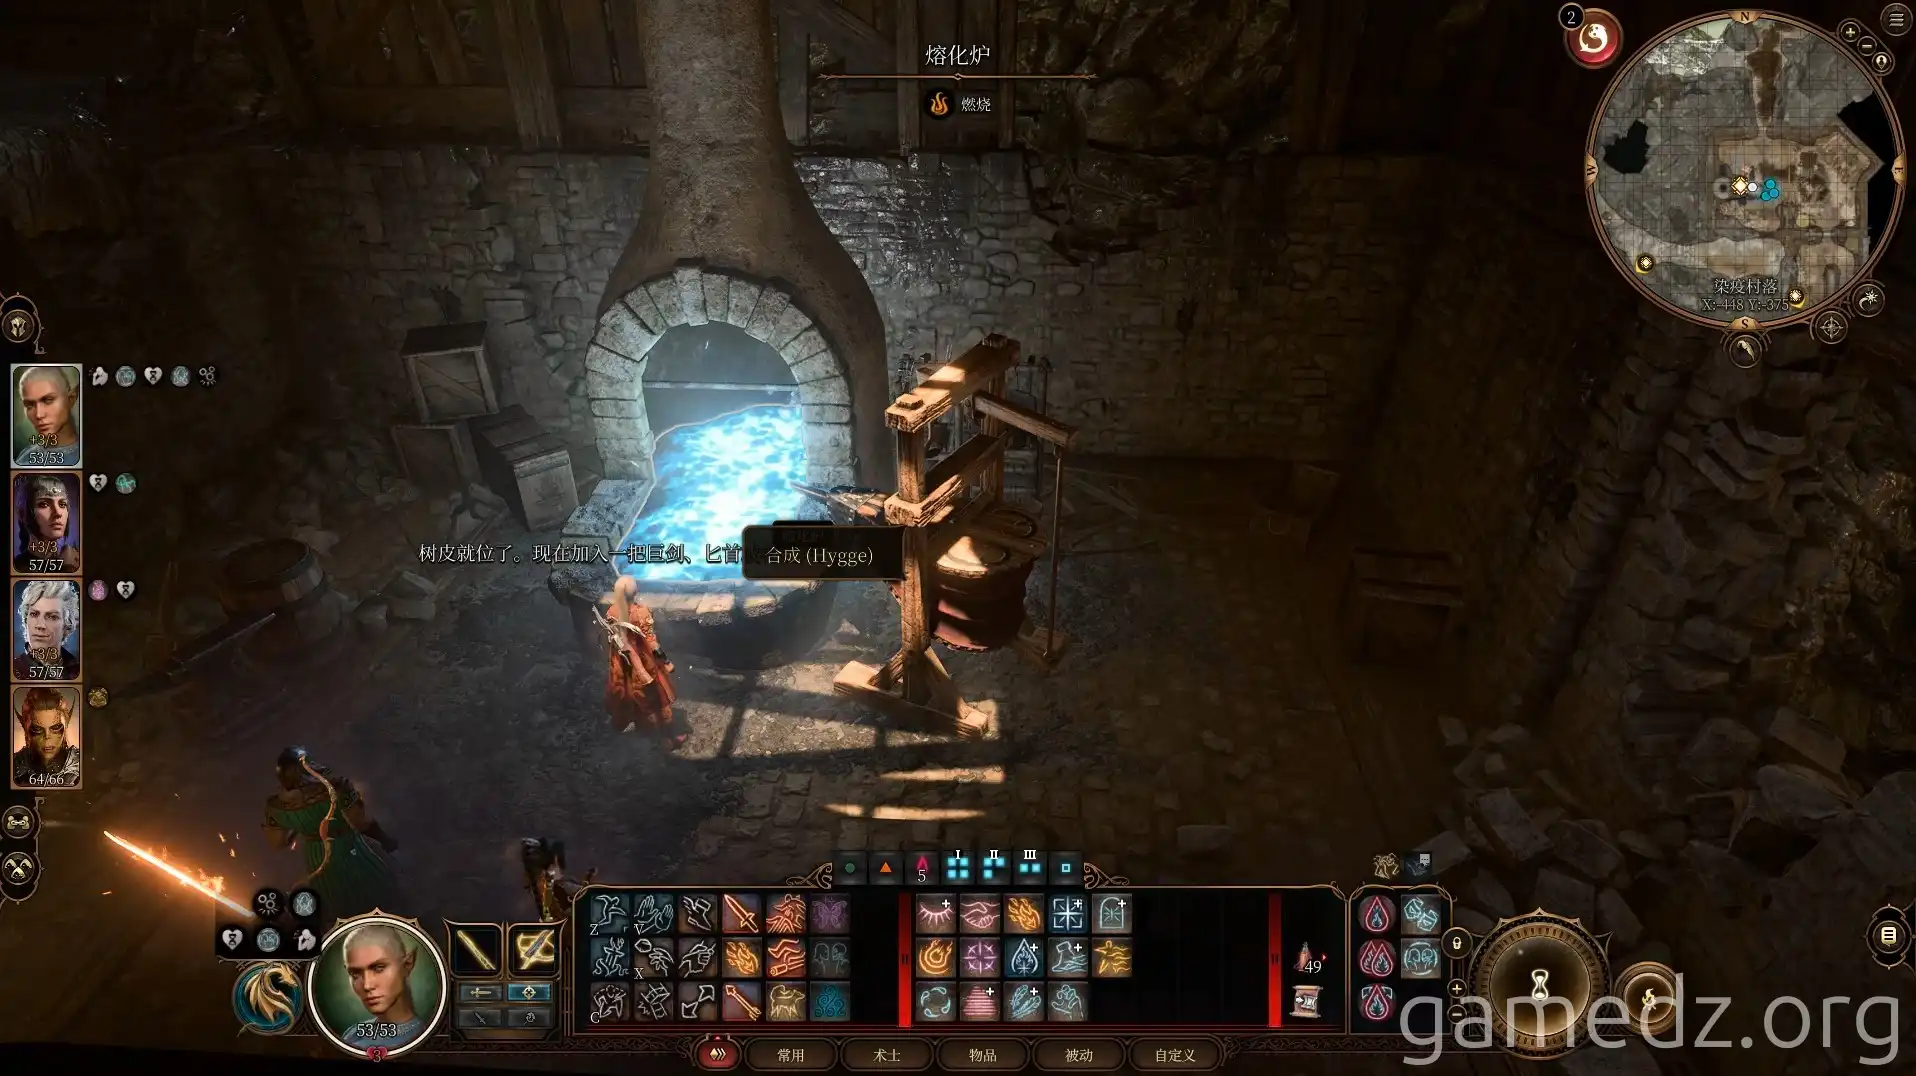
Finally, use the crafting function to add your base weapon to craft it into a Whispering weapon. The Masterwork Weapons side quest is now complete.
Use the Waypoint to return to the Whispering Tree. On the high platform south of the Waypoint, defeat the Hook Horrors and [The Forgotten Filro].
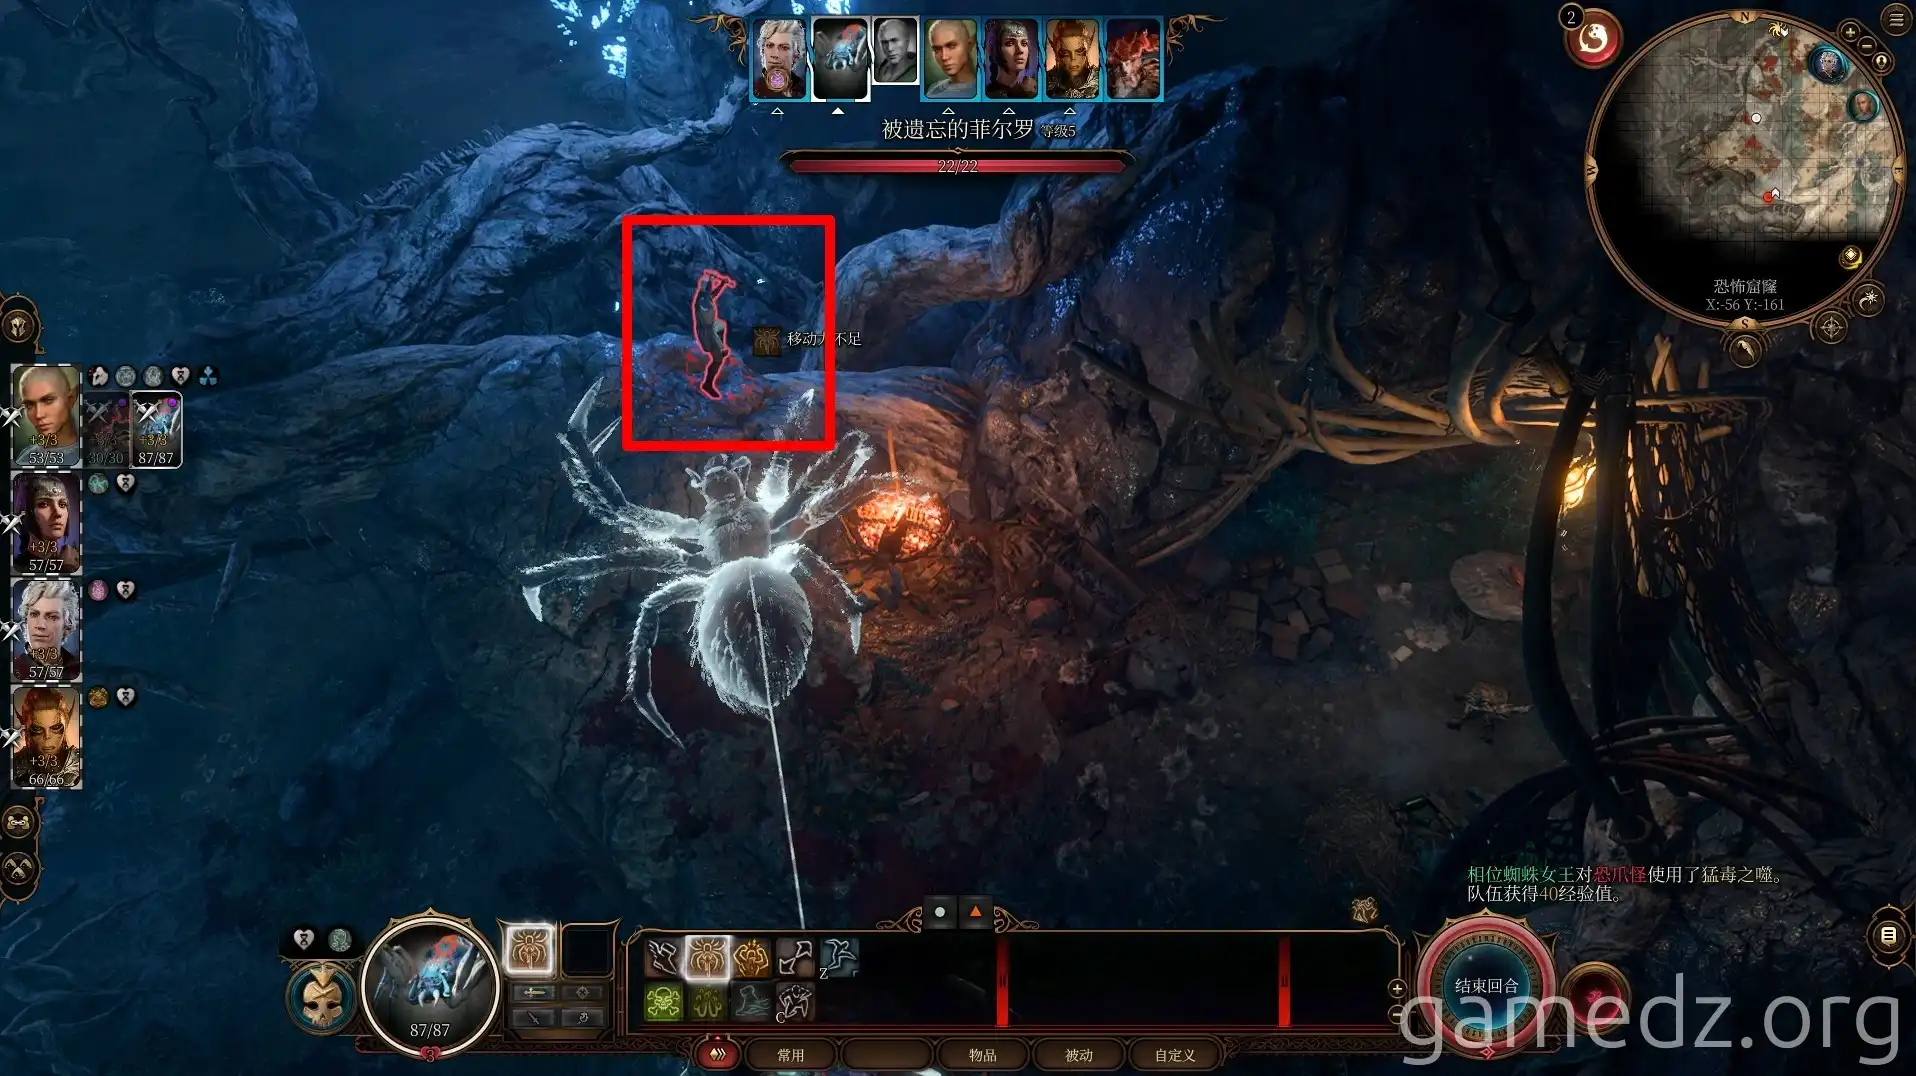
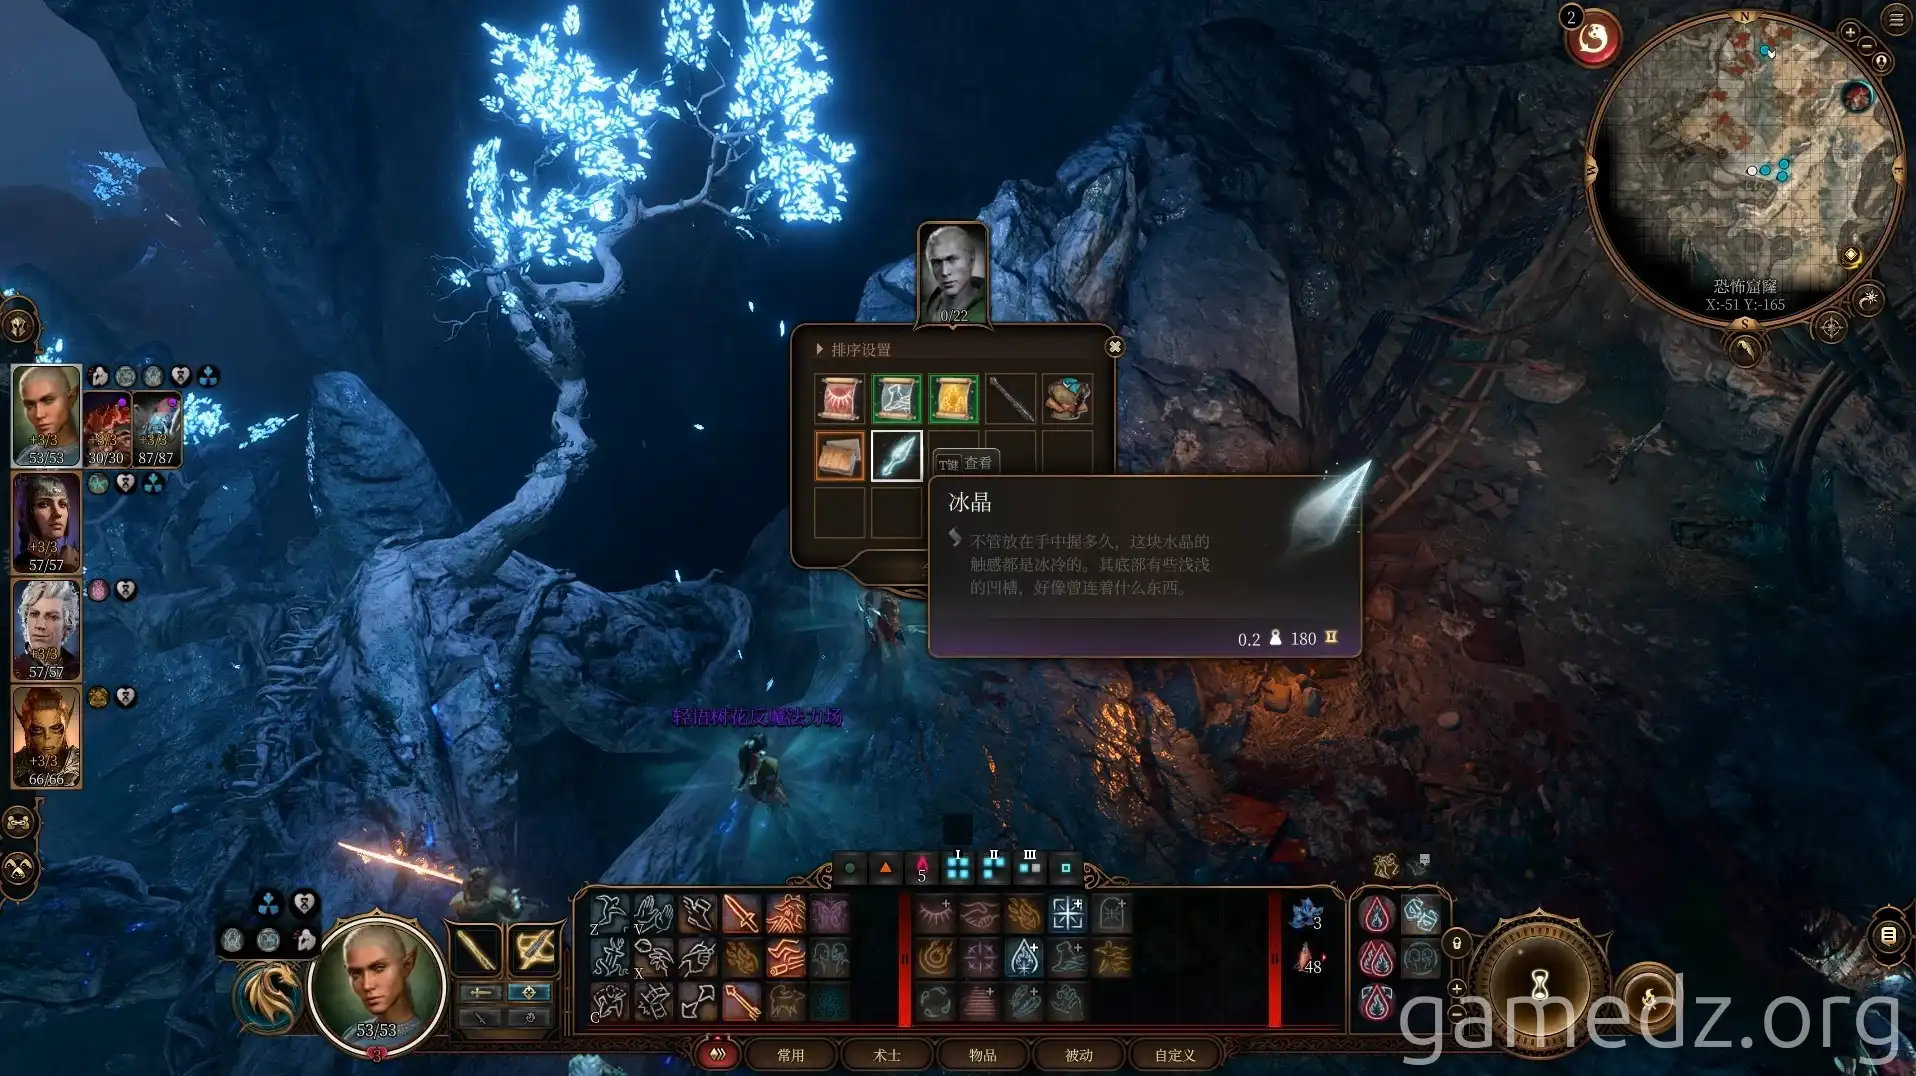
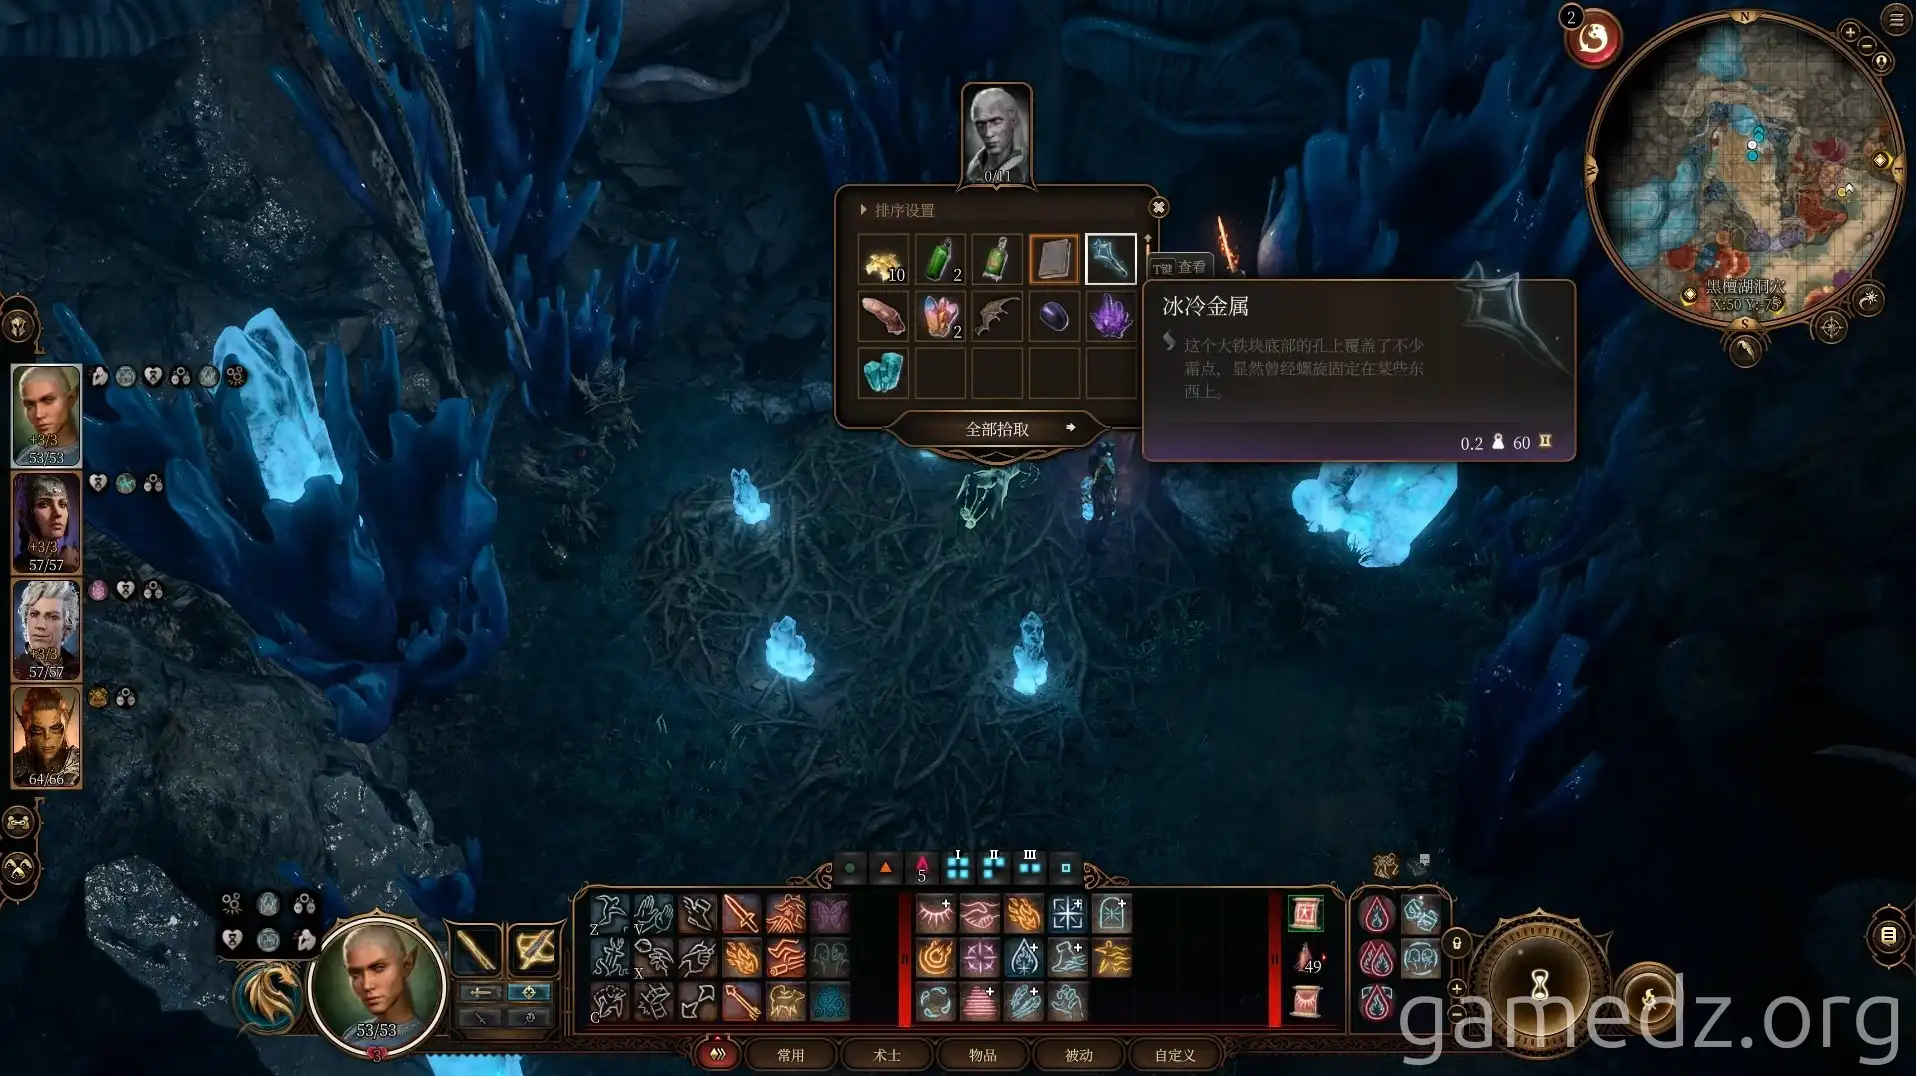
From The Forgotten Filro, you can obtain a Scrawled Note and [Ice Shard]. The Ice Shard is a component for a rare weapon, so keep it and don't sell it.
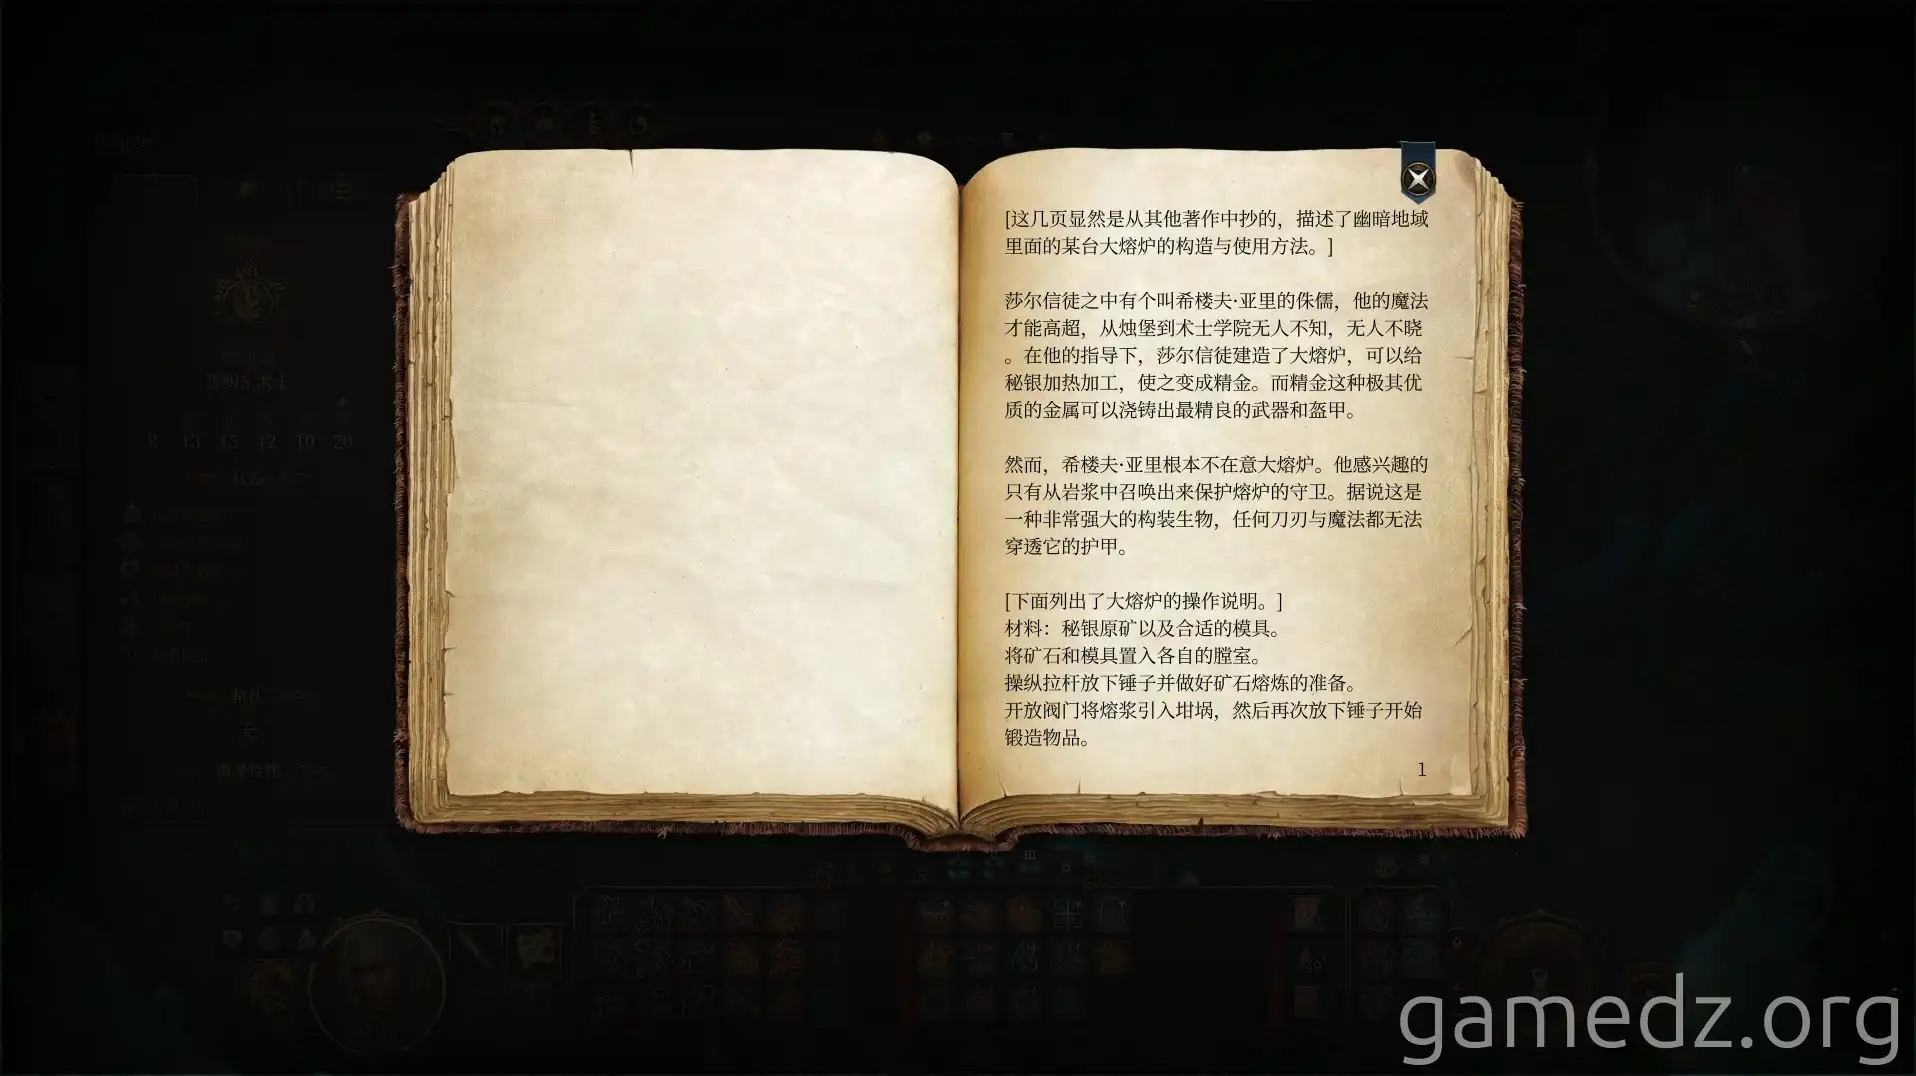
The Scrawled Note reveals that a Mithral Forge is hidden beneath the Underdark.
There's also a [Tattered Scroll] containing a spell in the makeshift camp.
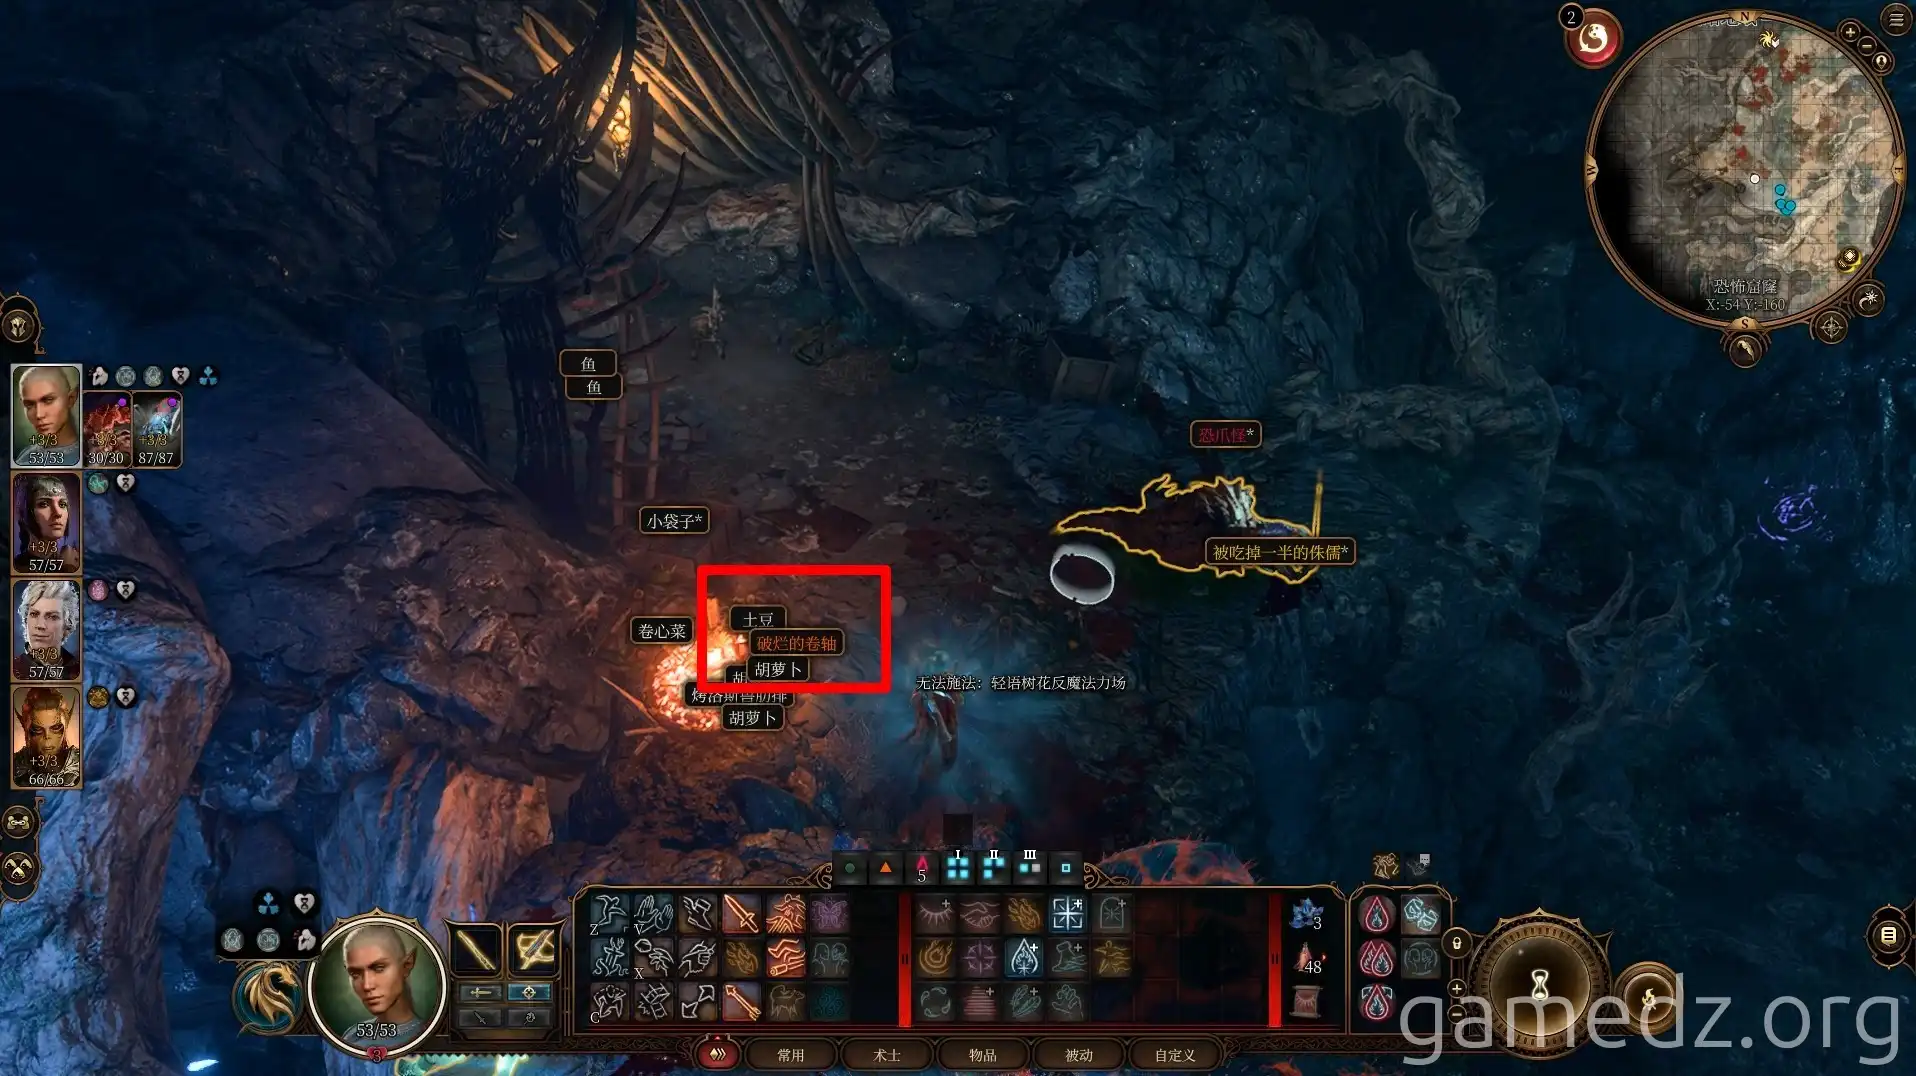
Continue southwest to the Dank Crypt. In a corner, you'll find a tombstone.
If you didn't kill the Kuo-Toa previously, you'll encounter them again here. With the Spider Queen in your party, fighting the Kuo-Toa will be much easier than before.
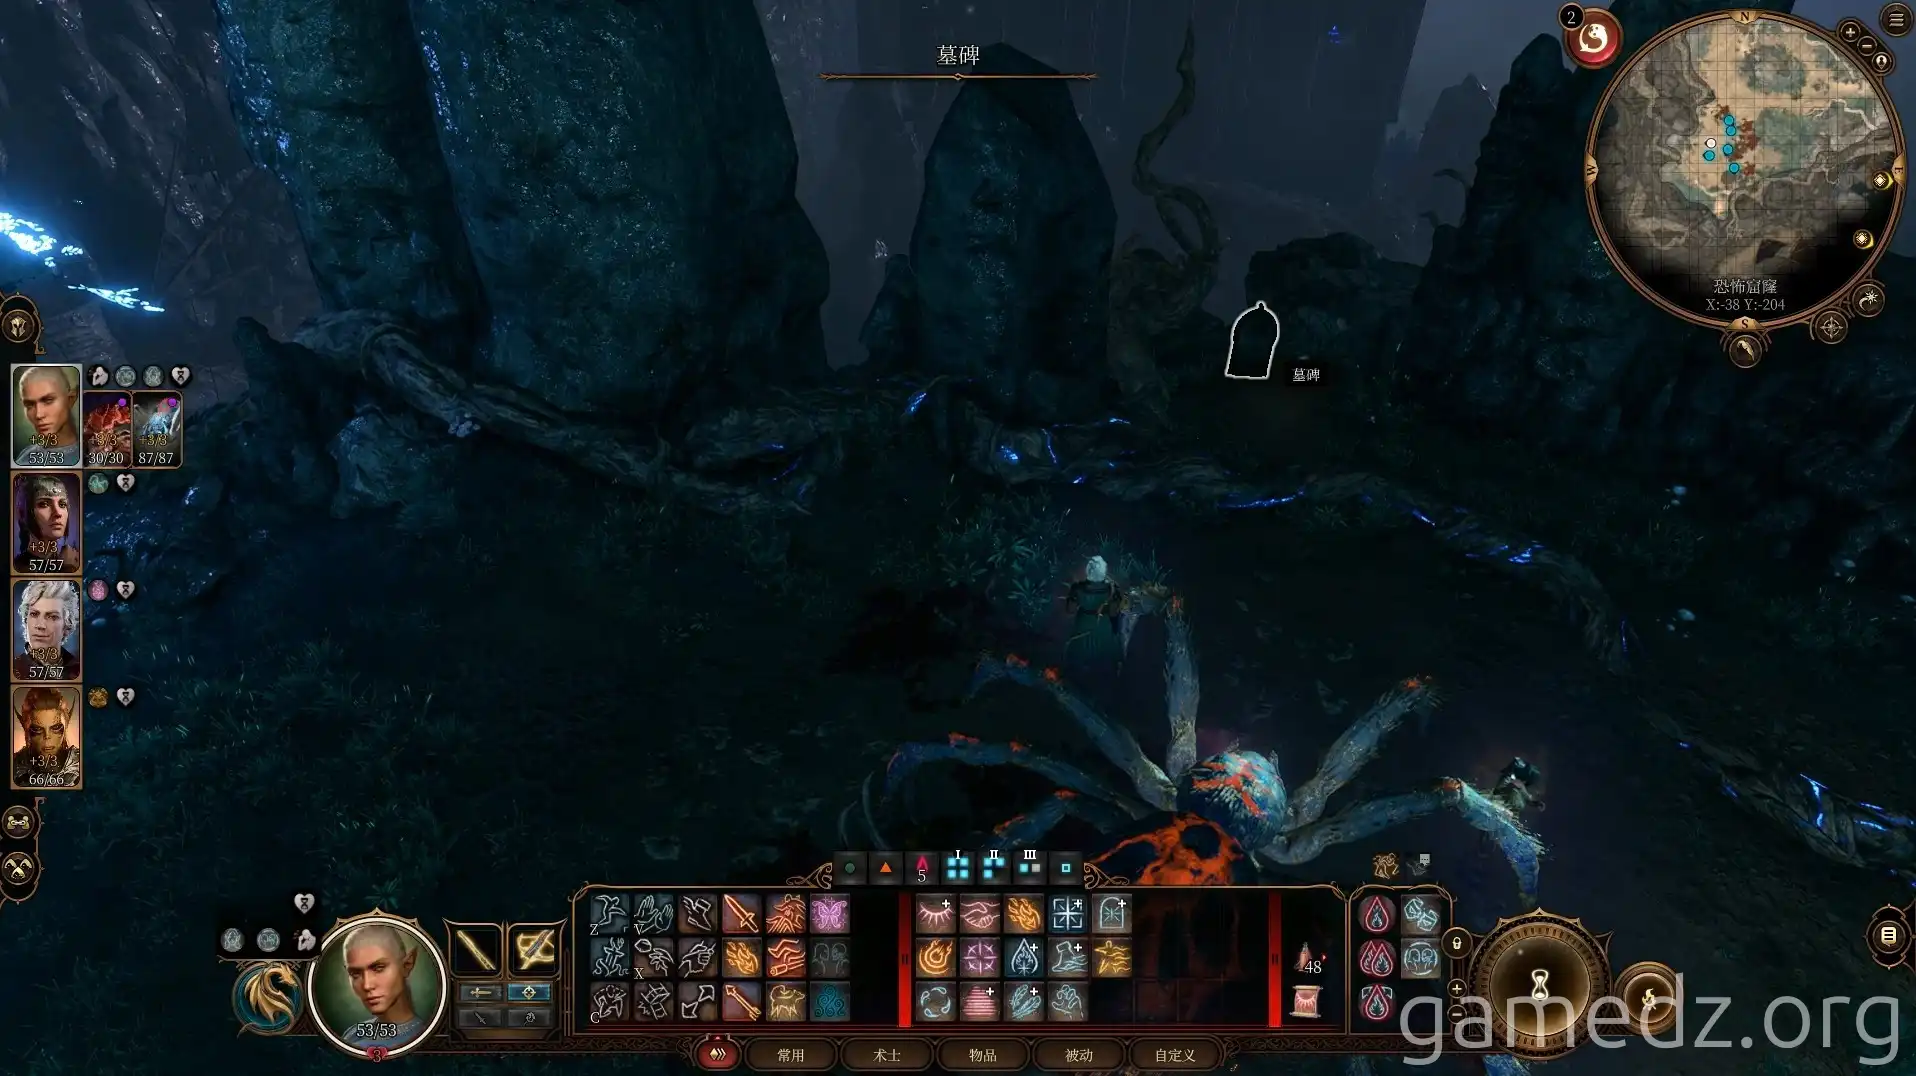
Digging up the grave will yield an item: [Dog Collar].
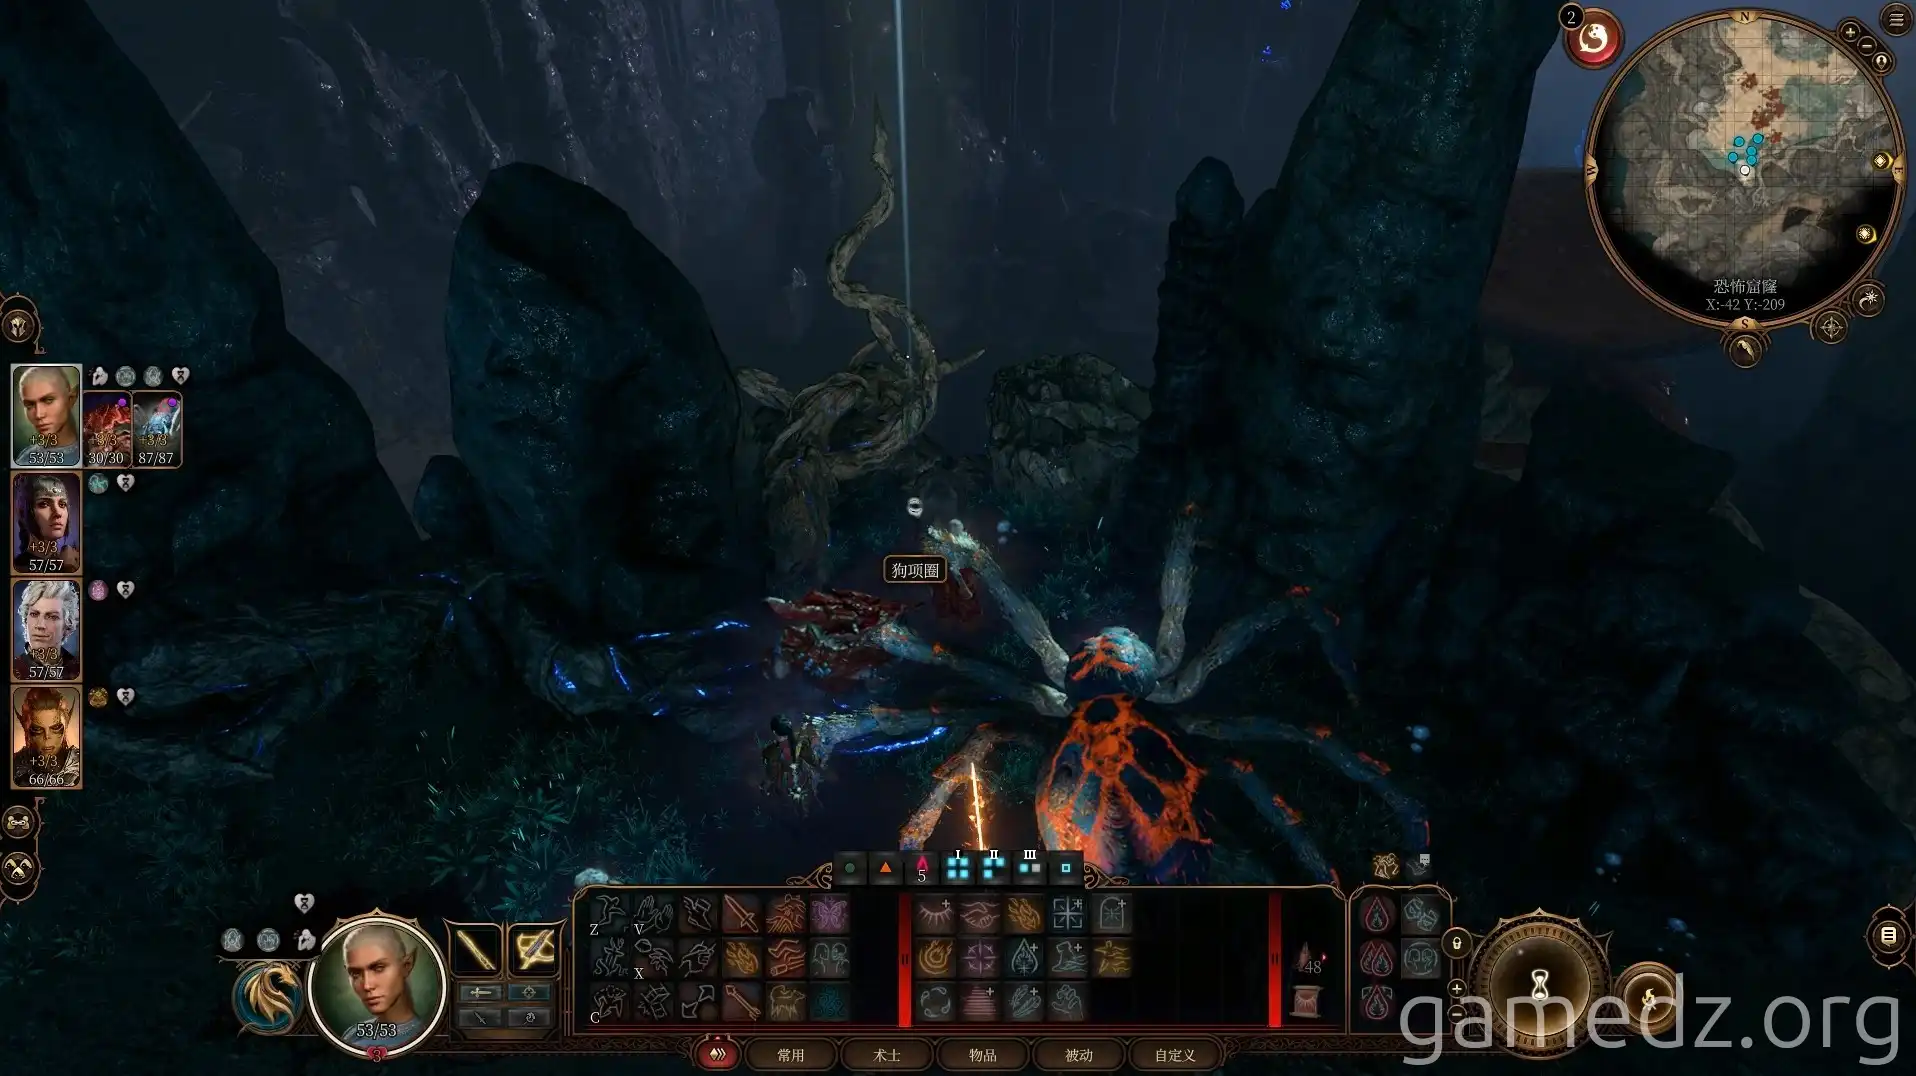
Proceed east from the Whispering Tree via the southern path.
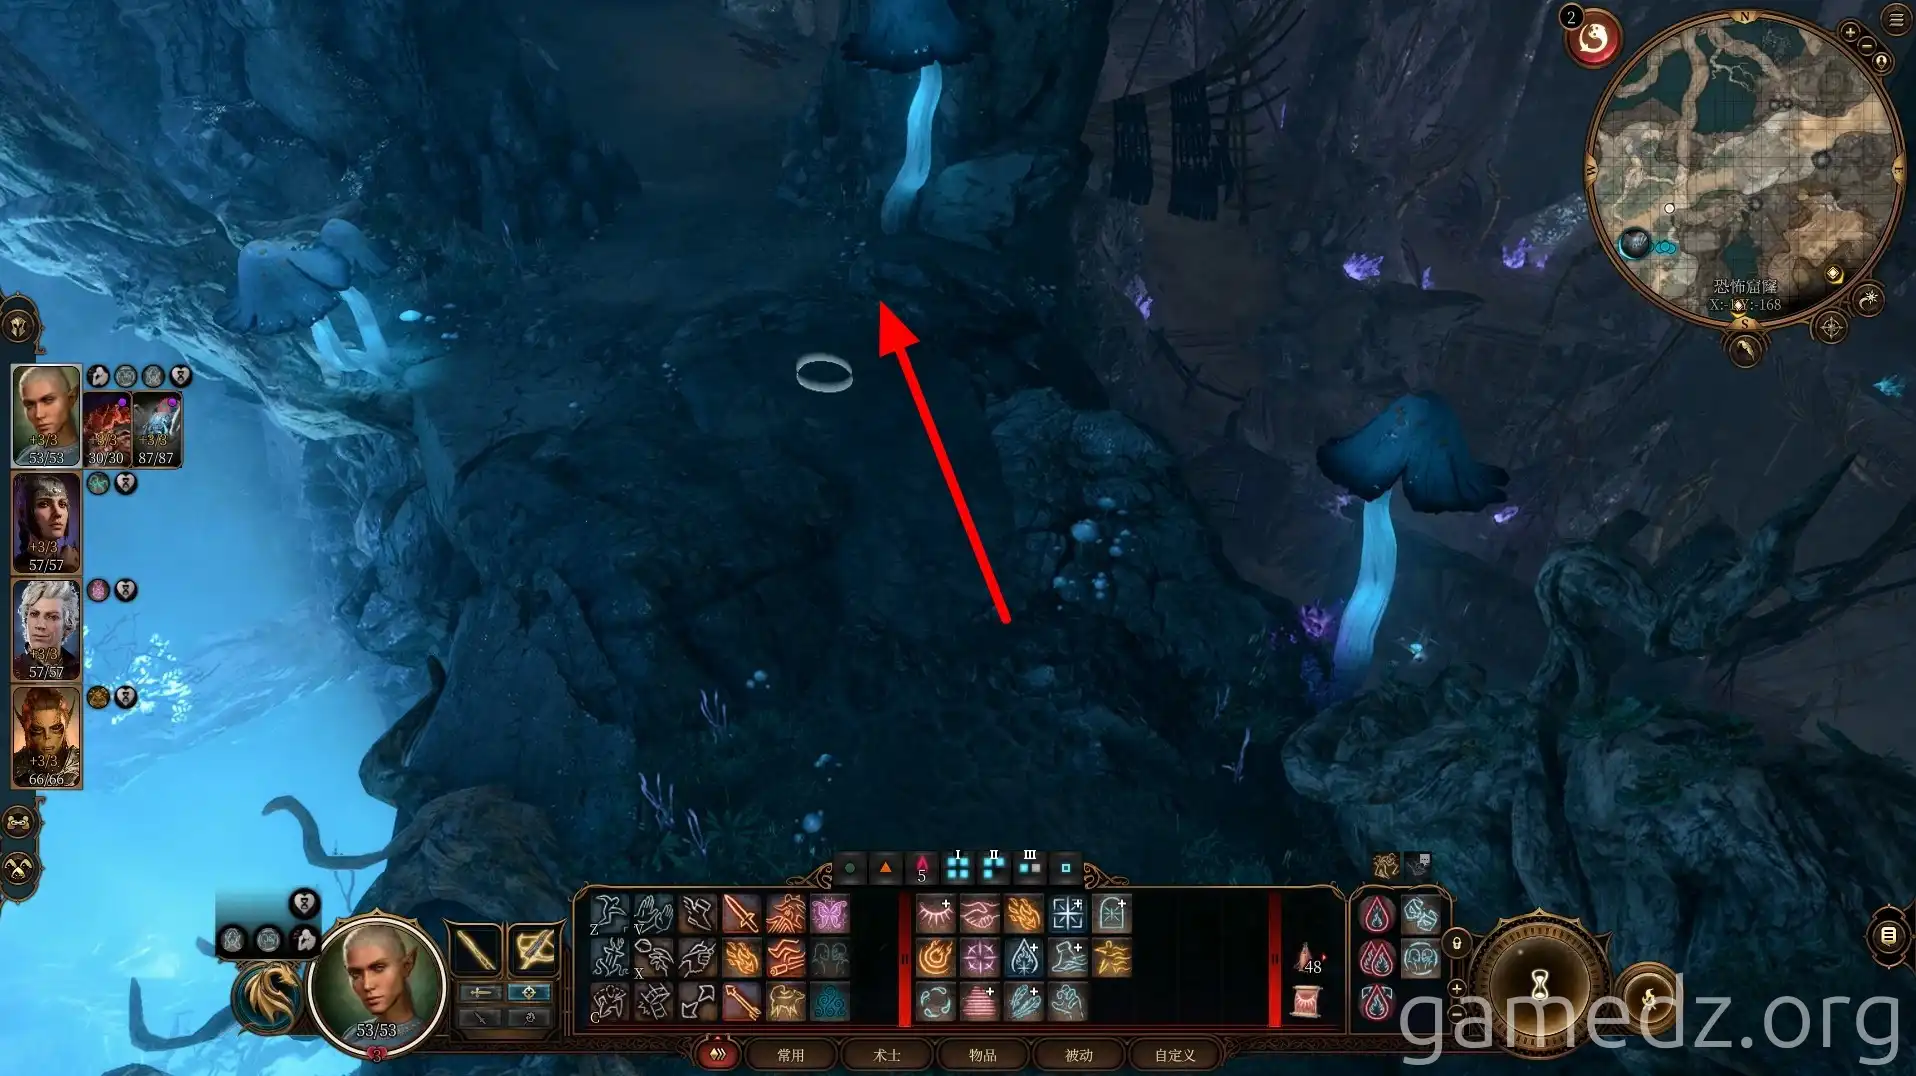
At the fork in the road with the dead Duergar, head south into the Ruined Village. Continuing east will lead you back to the west entrance of the Myconid Colony.
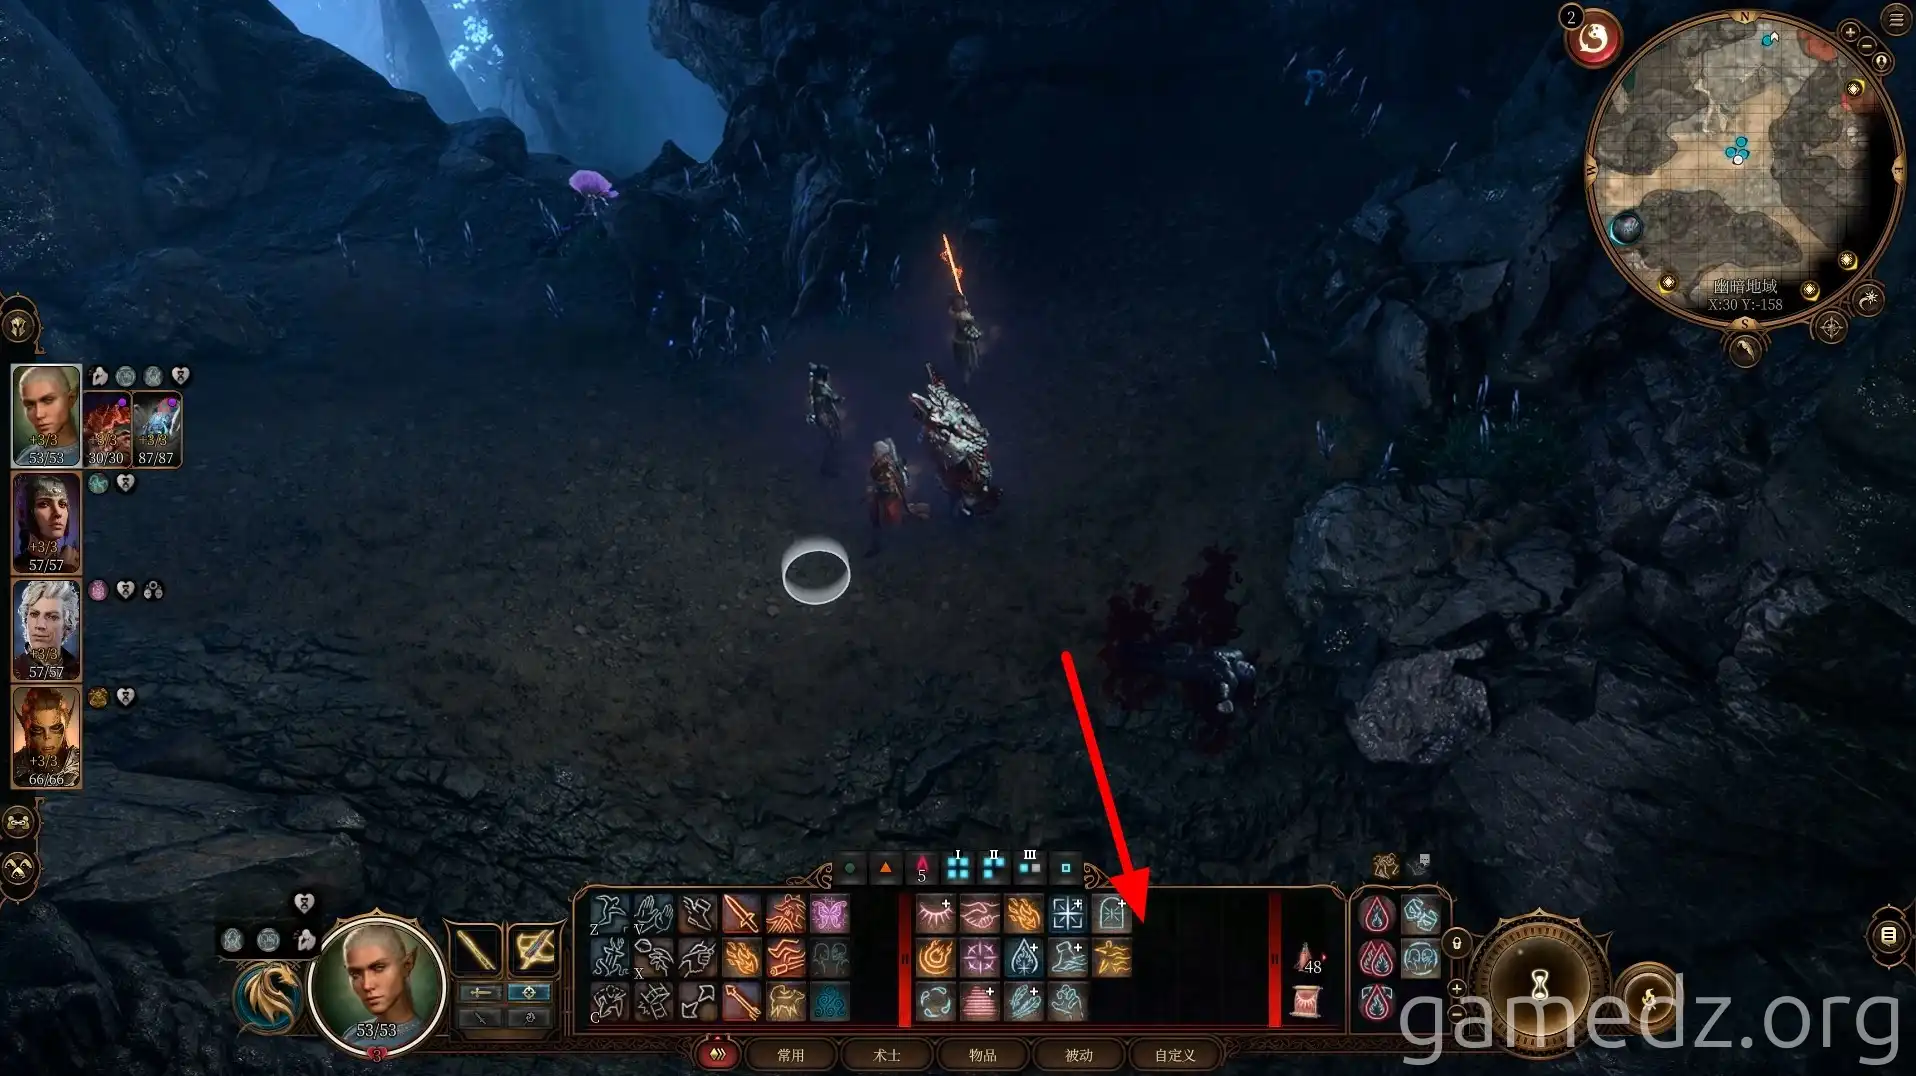
Once inside the Ruined Village, follow the path east.
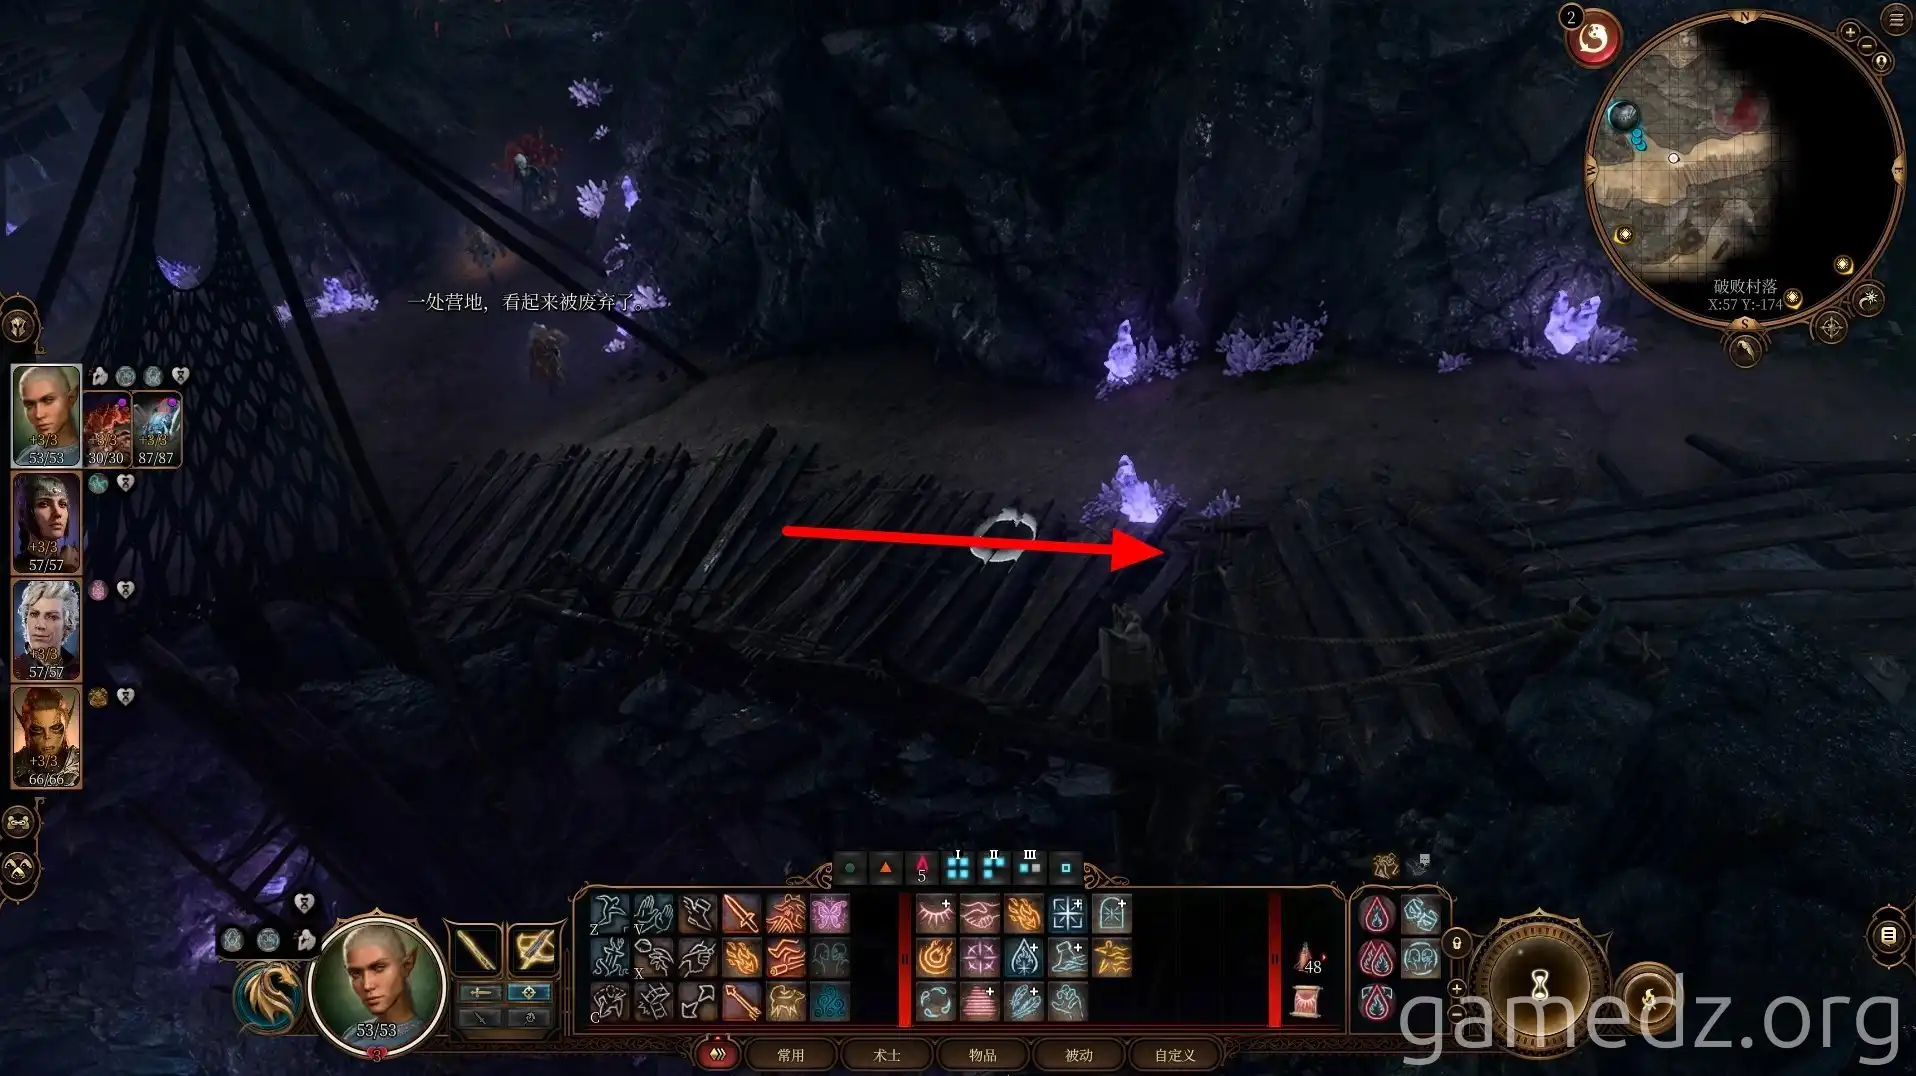
At the fork with the large mushrooms, head south. Continuing east will eventually loop you back to the east entrance of the Myconid Colony.
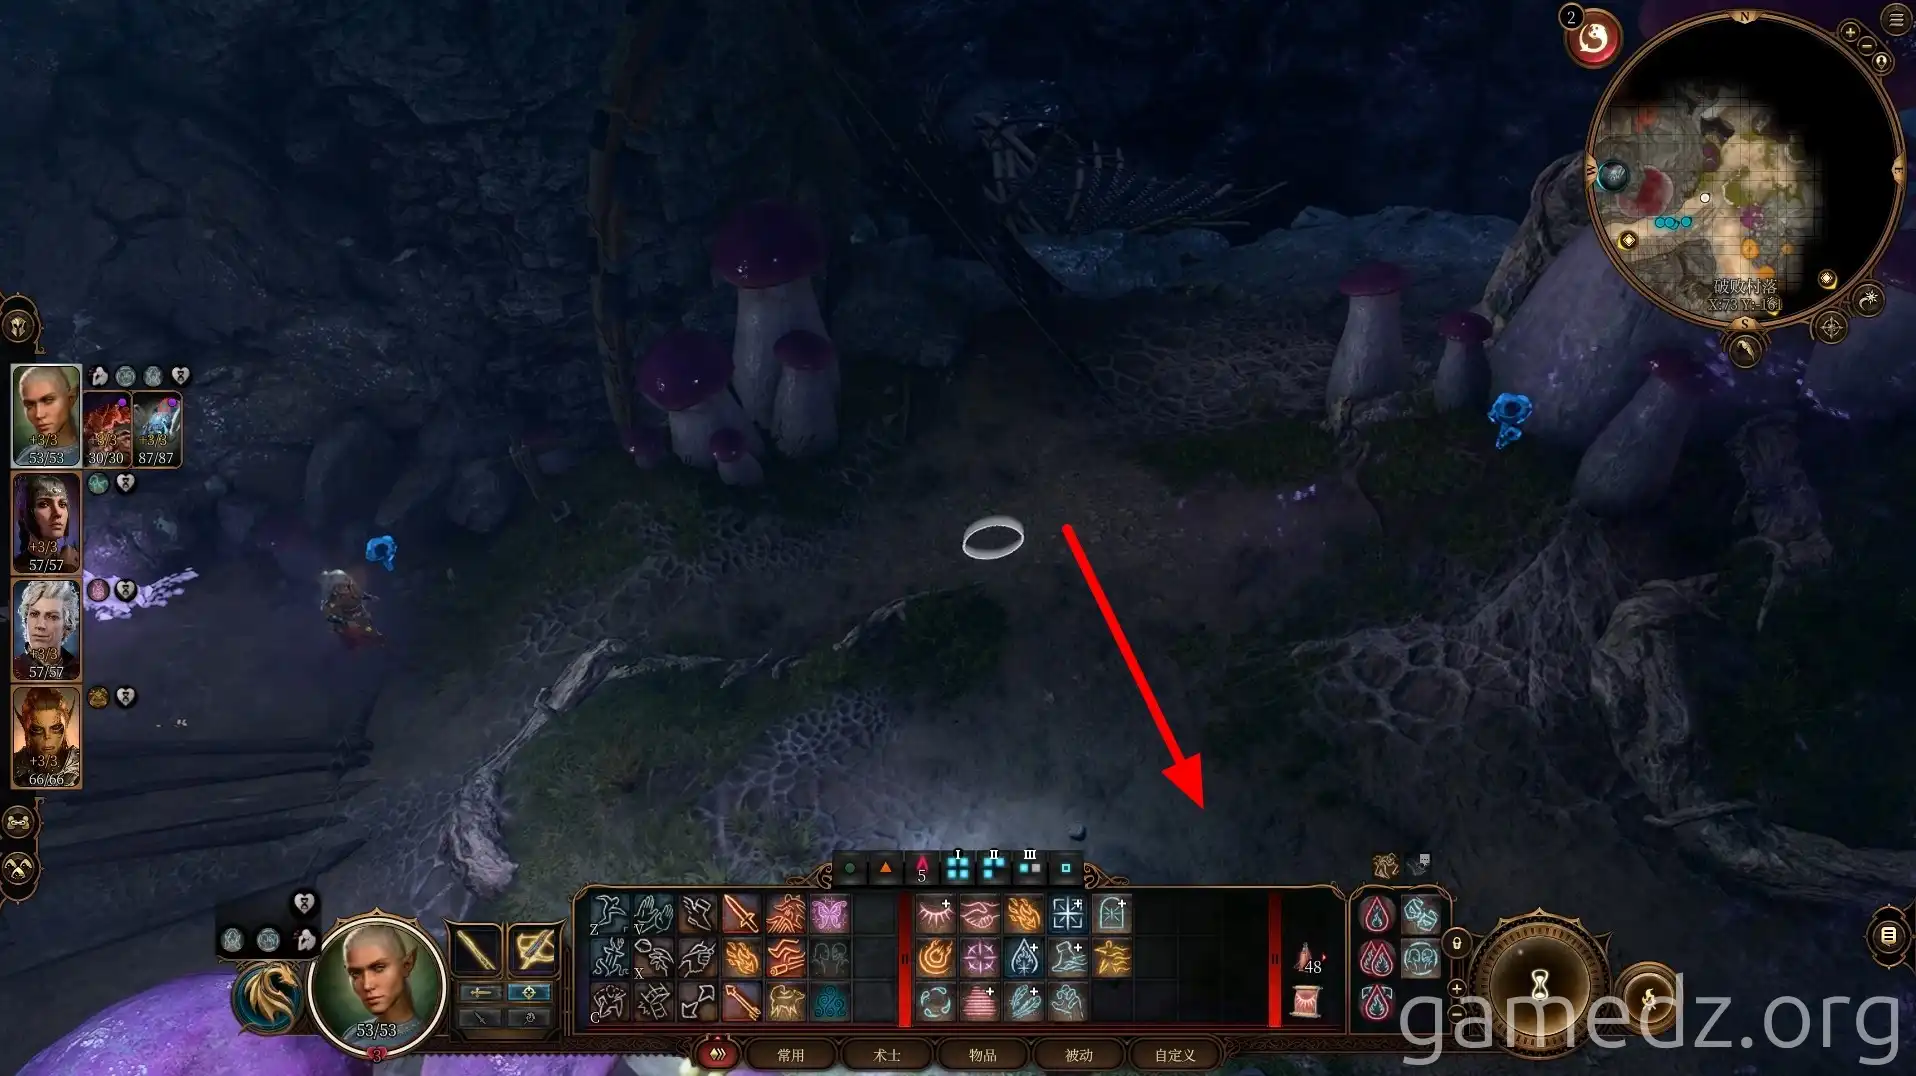
Under the yellow glowing mushroom, you'll find a dead Deep Gnome from whom you can obtain the rare weapon [First Blood Dagger].
Then, use the nearby rope to descend into the lower passages.
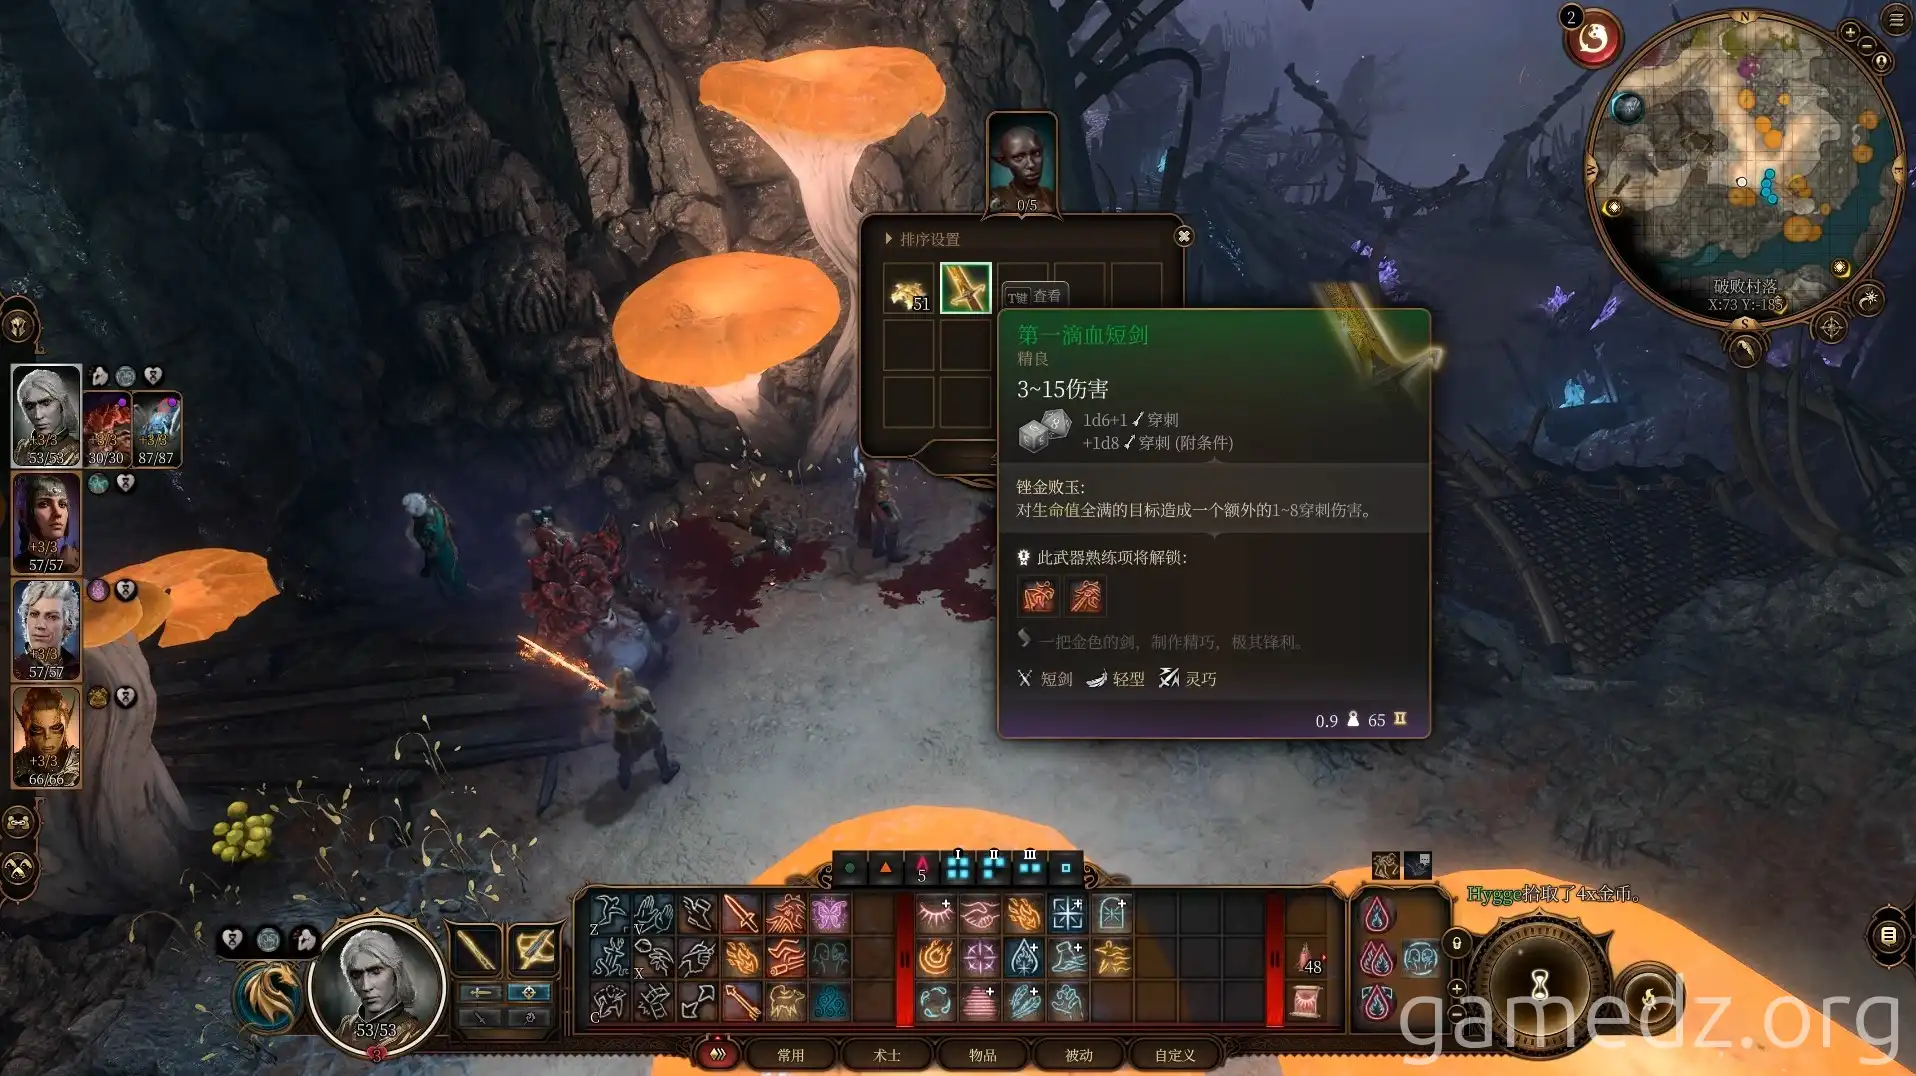
At the fork, head northwest.
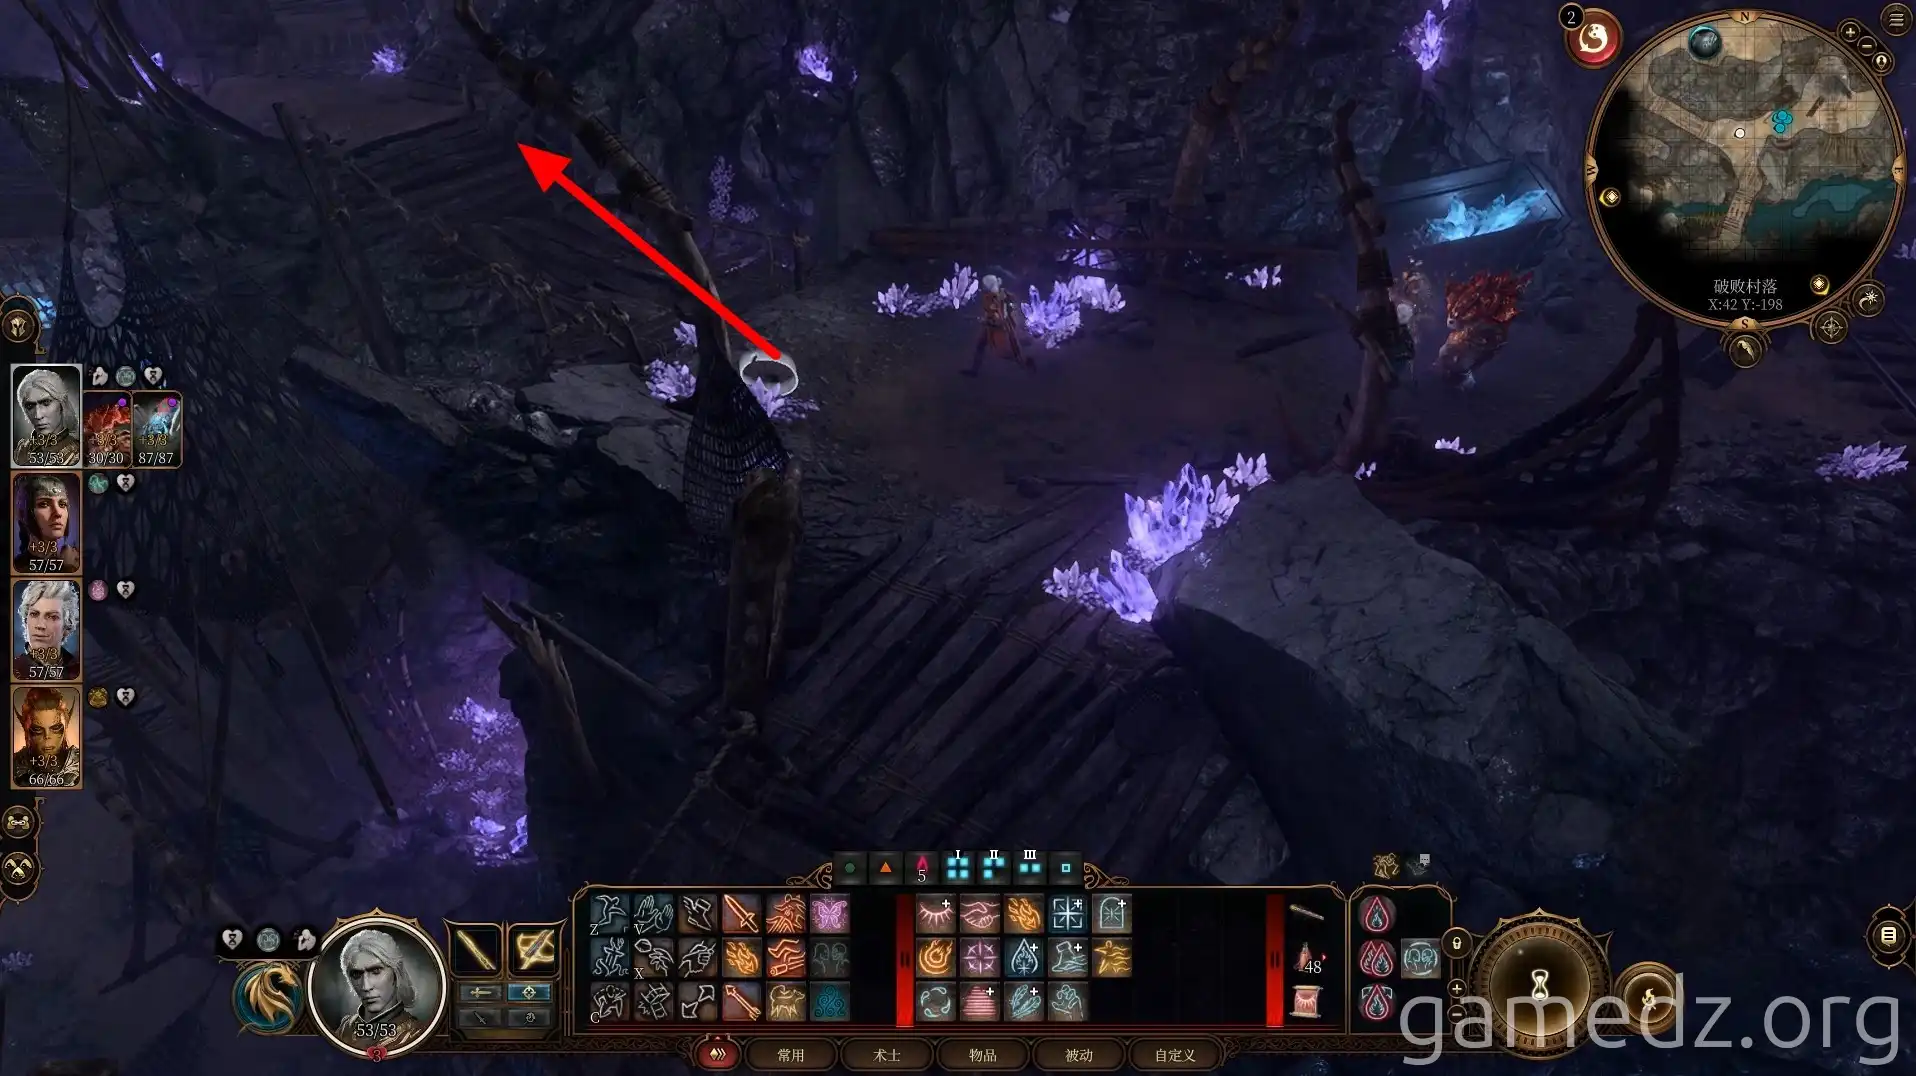
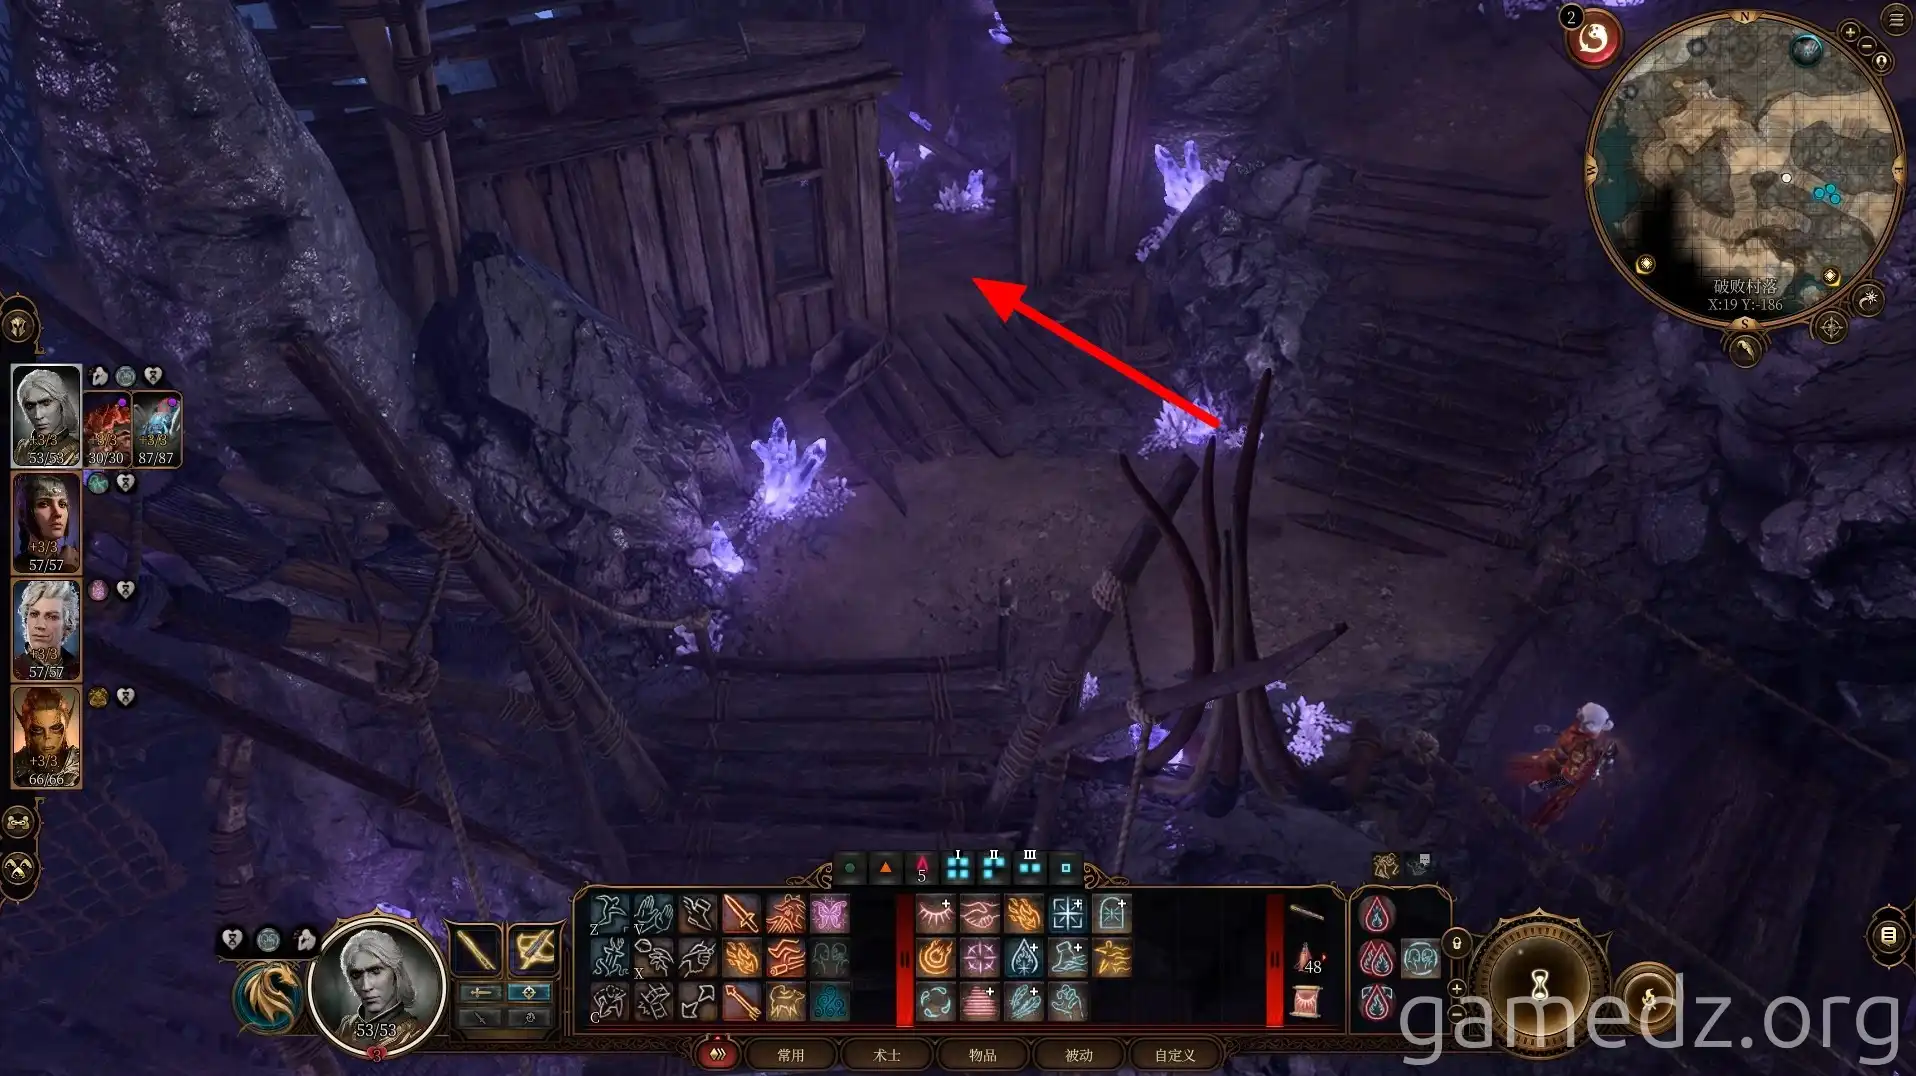
Enter the wooden hut ahead to prepare for combat.
Here, you can pass a check to peacefully coexist with the Duergar, which will trigger the "Lost Boots" side quest. However, since you can obtain the quest reward item by defeating the Duergar Sergeant later, this quest isn't crucial.
The enemies in this fight are four Duergar, with one inside the hut and three in the lower area to the south. The Duergar utilize invisibility magic, so it's recommended to have some form of counter-invisibility prepared.
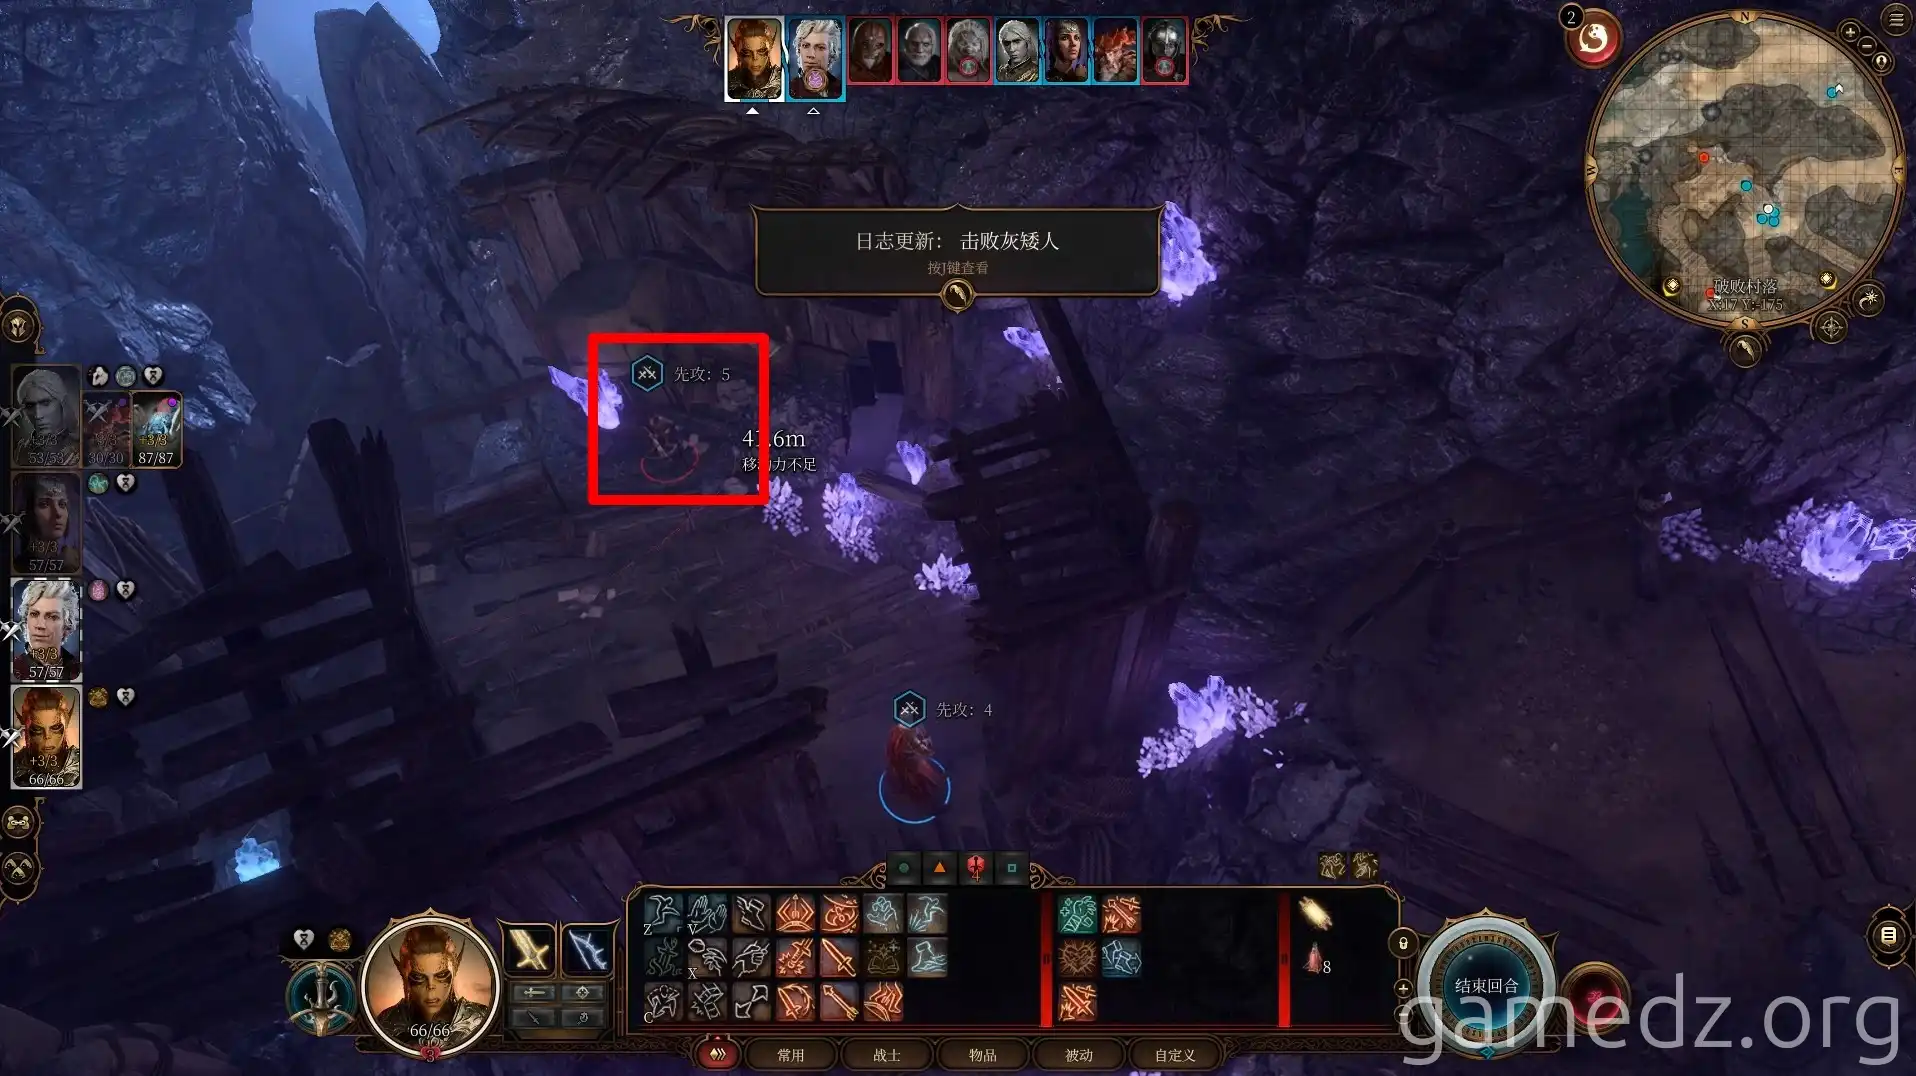
After defeating all the Duergar, loot Gek for the rare weapon [Slayer's Axe] and [Duergar Antidote].
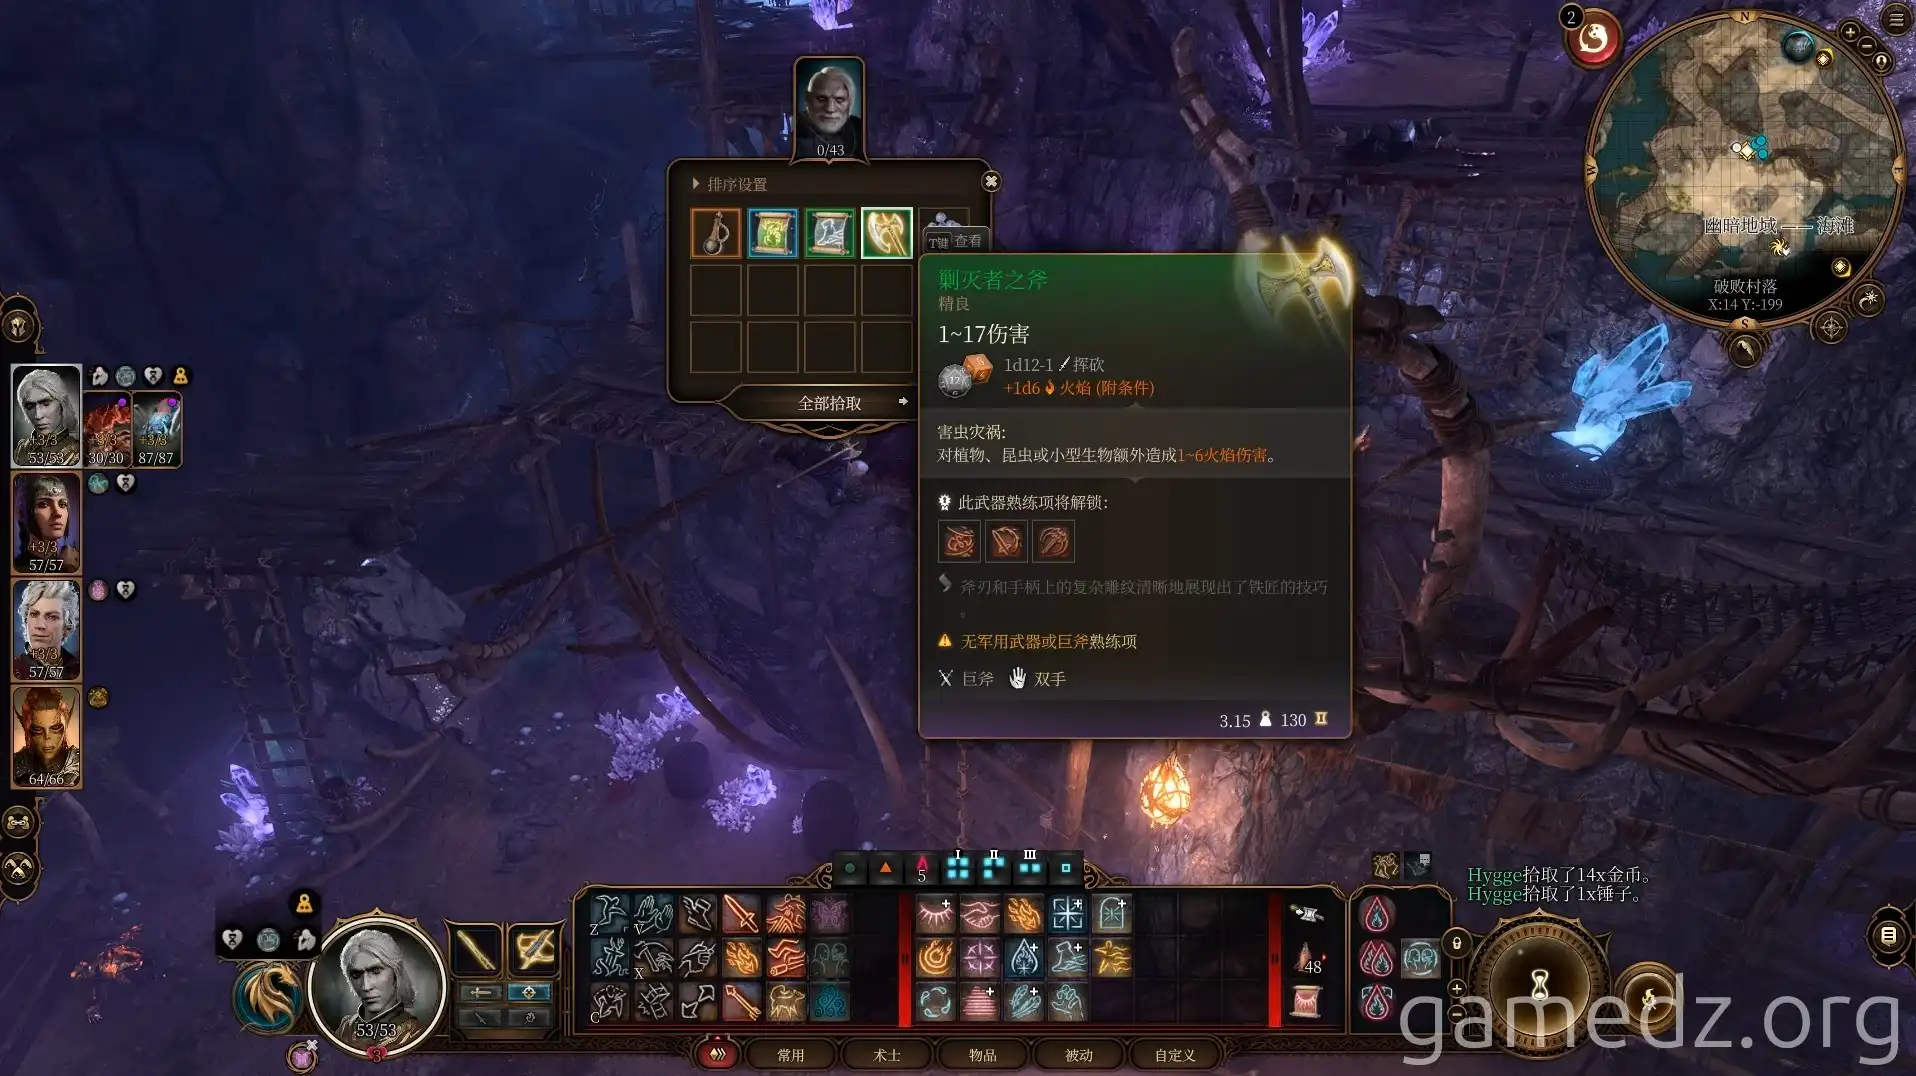
On a stone pillar in a corner of the plaza below, you can activate the Waypoint [Underdark Beach].
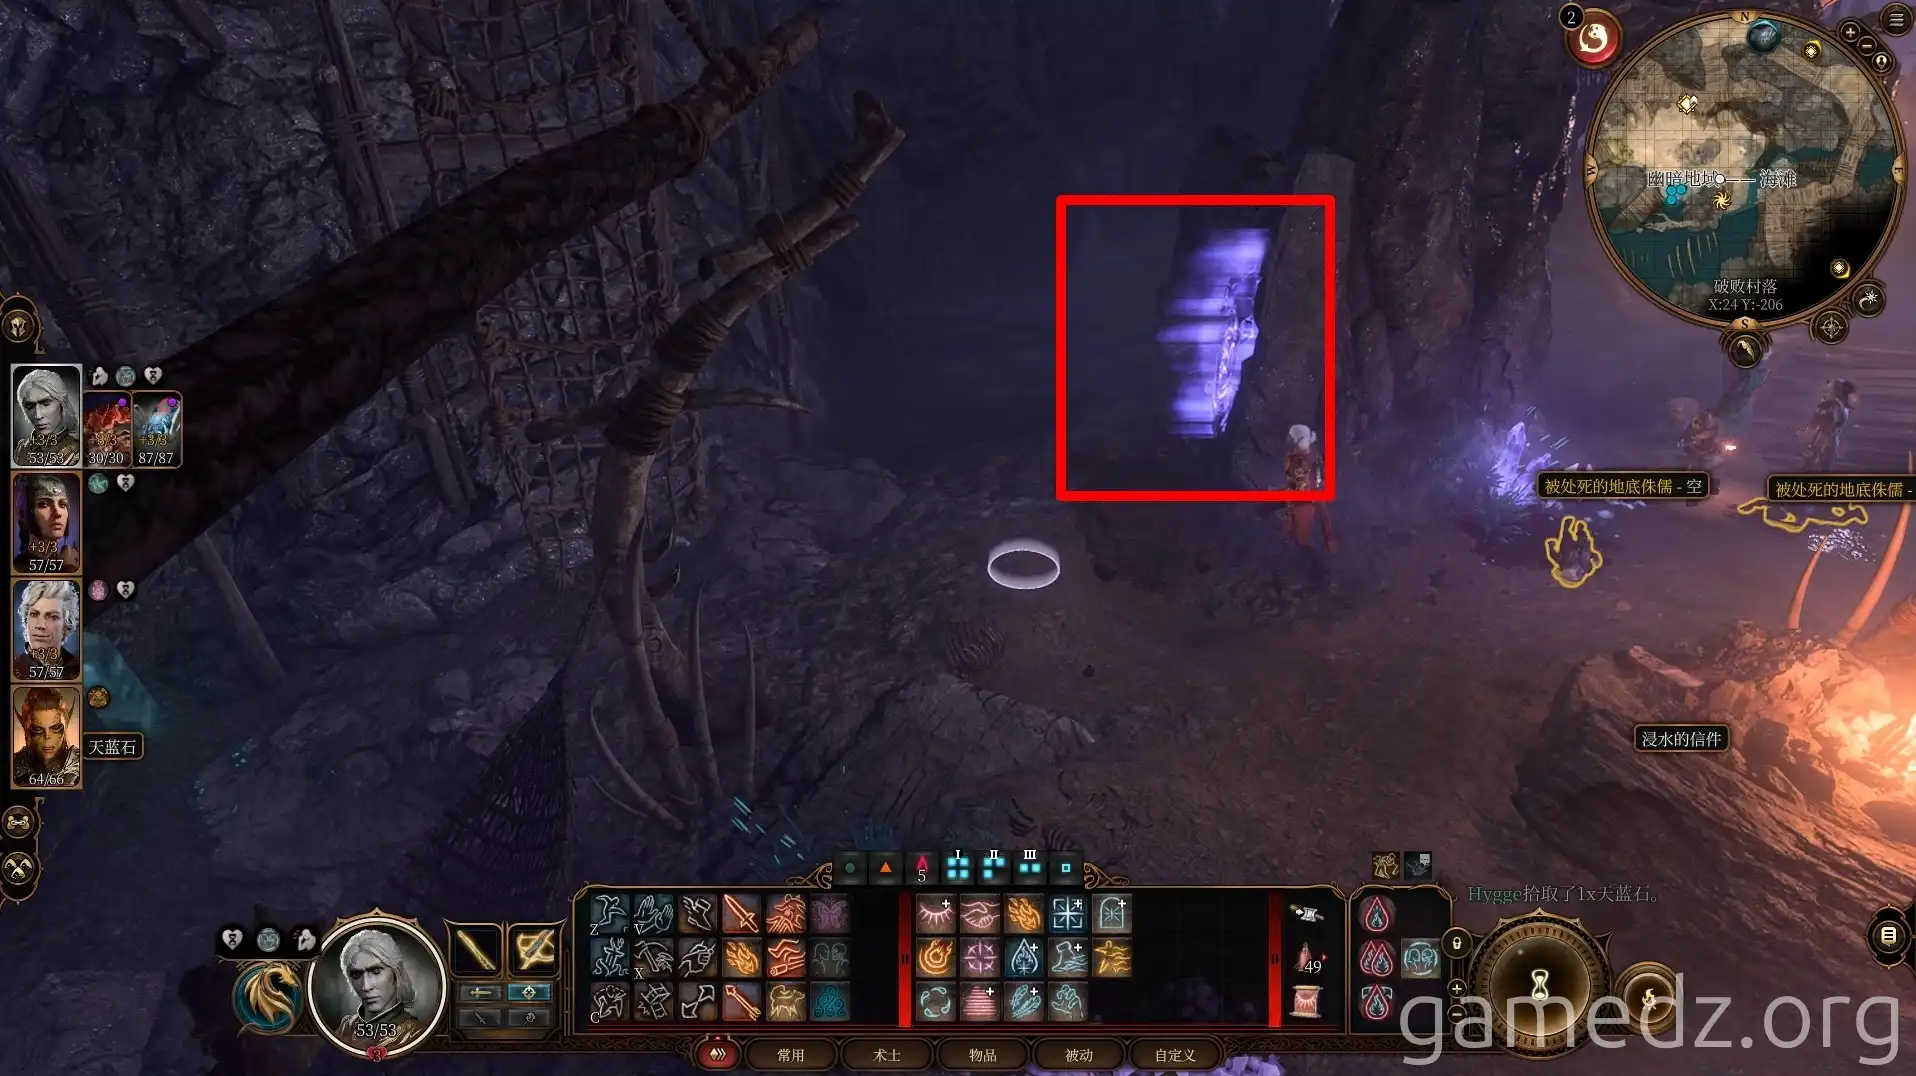
After successfully avenging the Myconids by defeating the Duergar, it's crucial to move the Spider Queen to a secluded area you won't revisit or have her jump off a cliff to her death. Only then should you speak with the Fat Myconid King. He will then present a new request: to kill the Thin Myconid King and seize power.
For moral and practical reasons, you cannot assist the Fat Myconid King. Proceed to engage and defeat him.
If you don't deal with the Spider Queen first, she will become uncontrollable after the Fat Myconid King's death and will attack you directly after a map refresh.
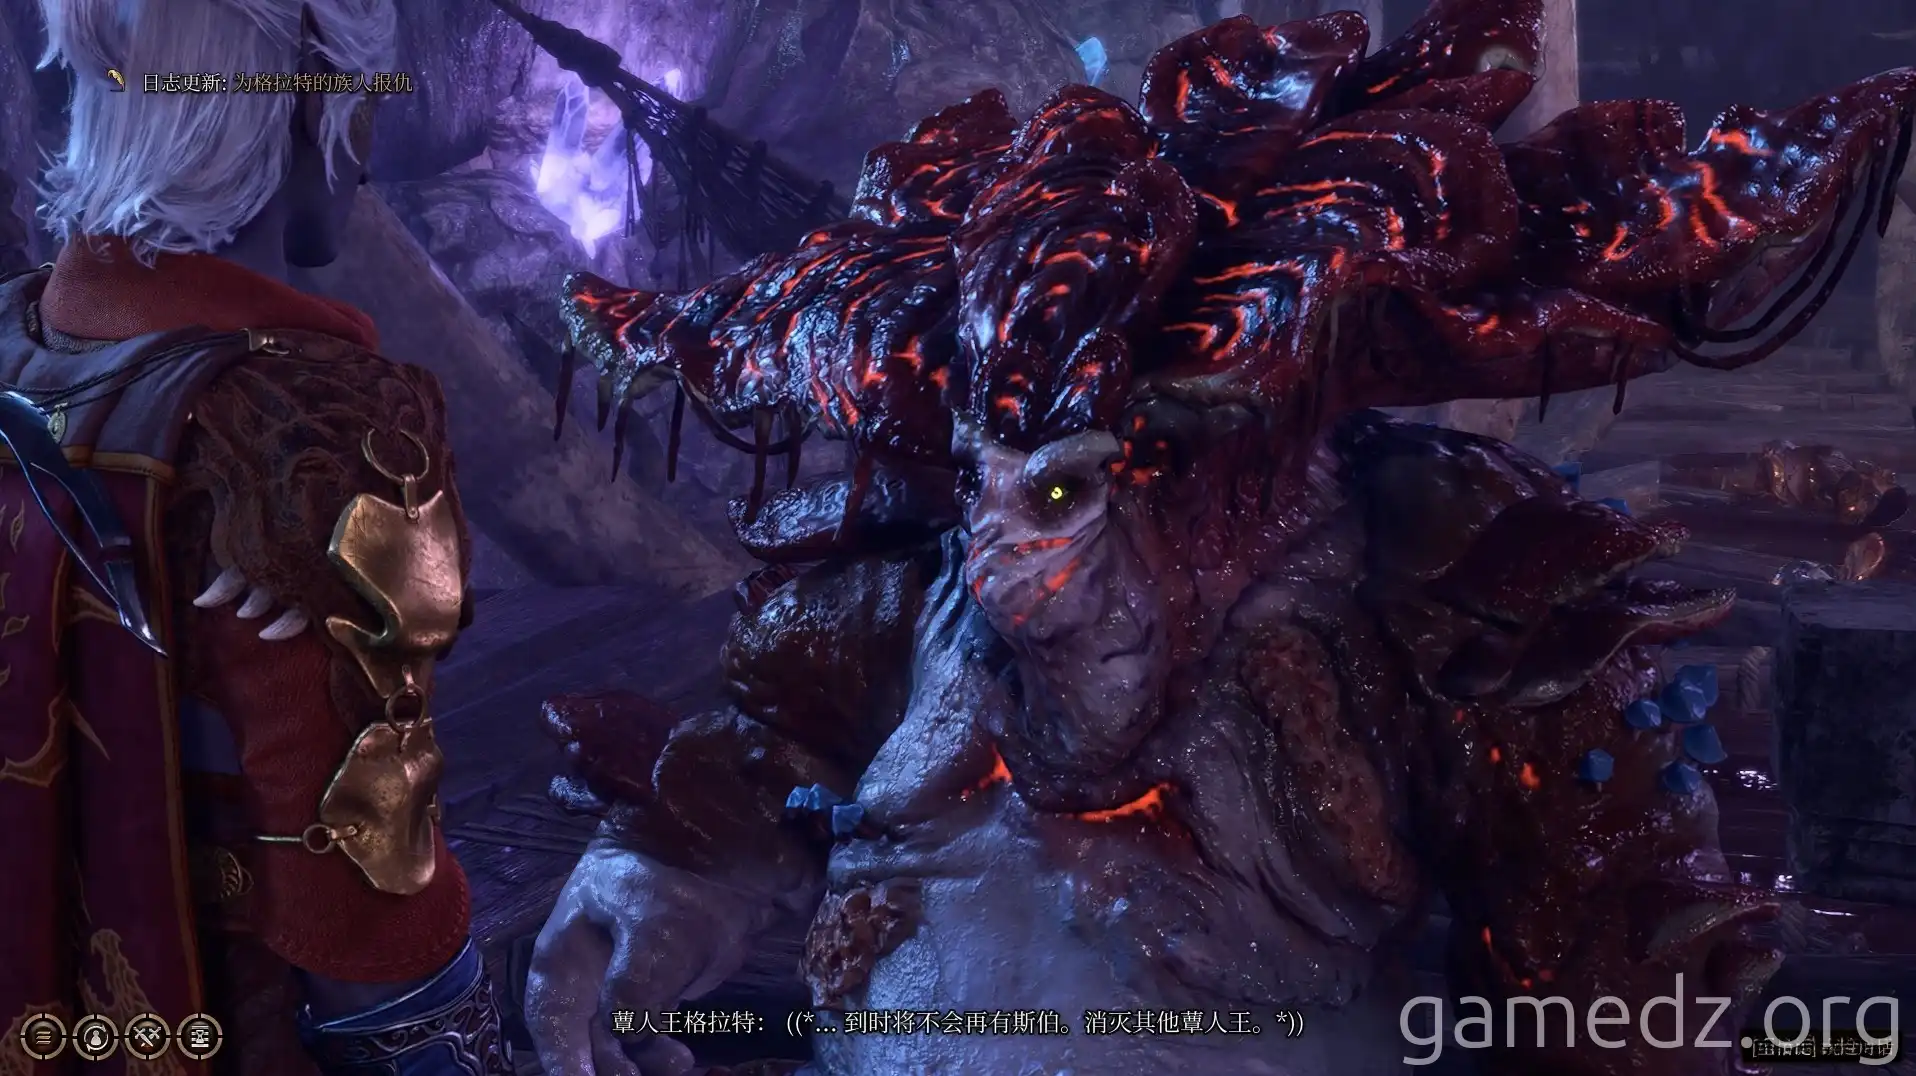
Subsequently, return to the Myconid Colony and speak with the Thin Myconid King. As a reward for defeating the Duergar, the door next to the Bulette in the colony will open. During the conversation, he will give you a new quest: to kill the True Soul, [Nymessa].
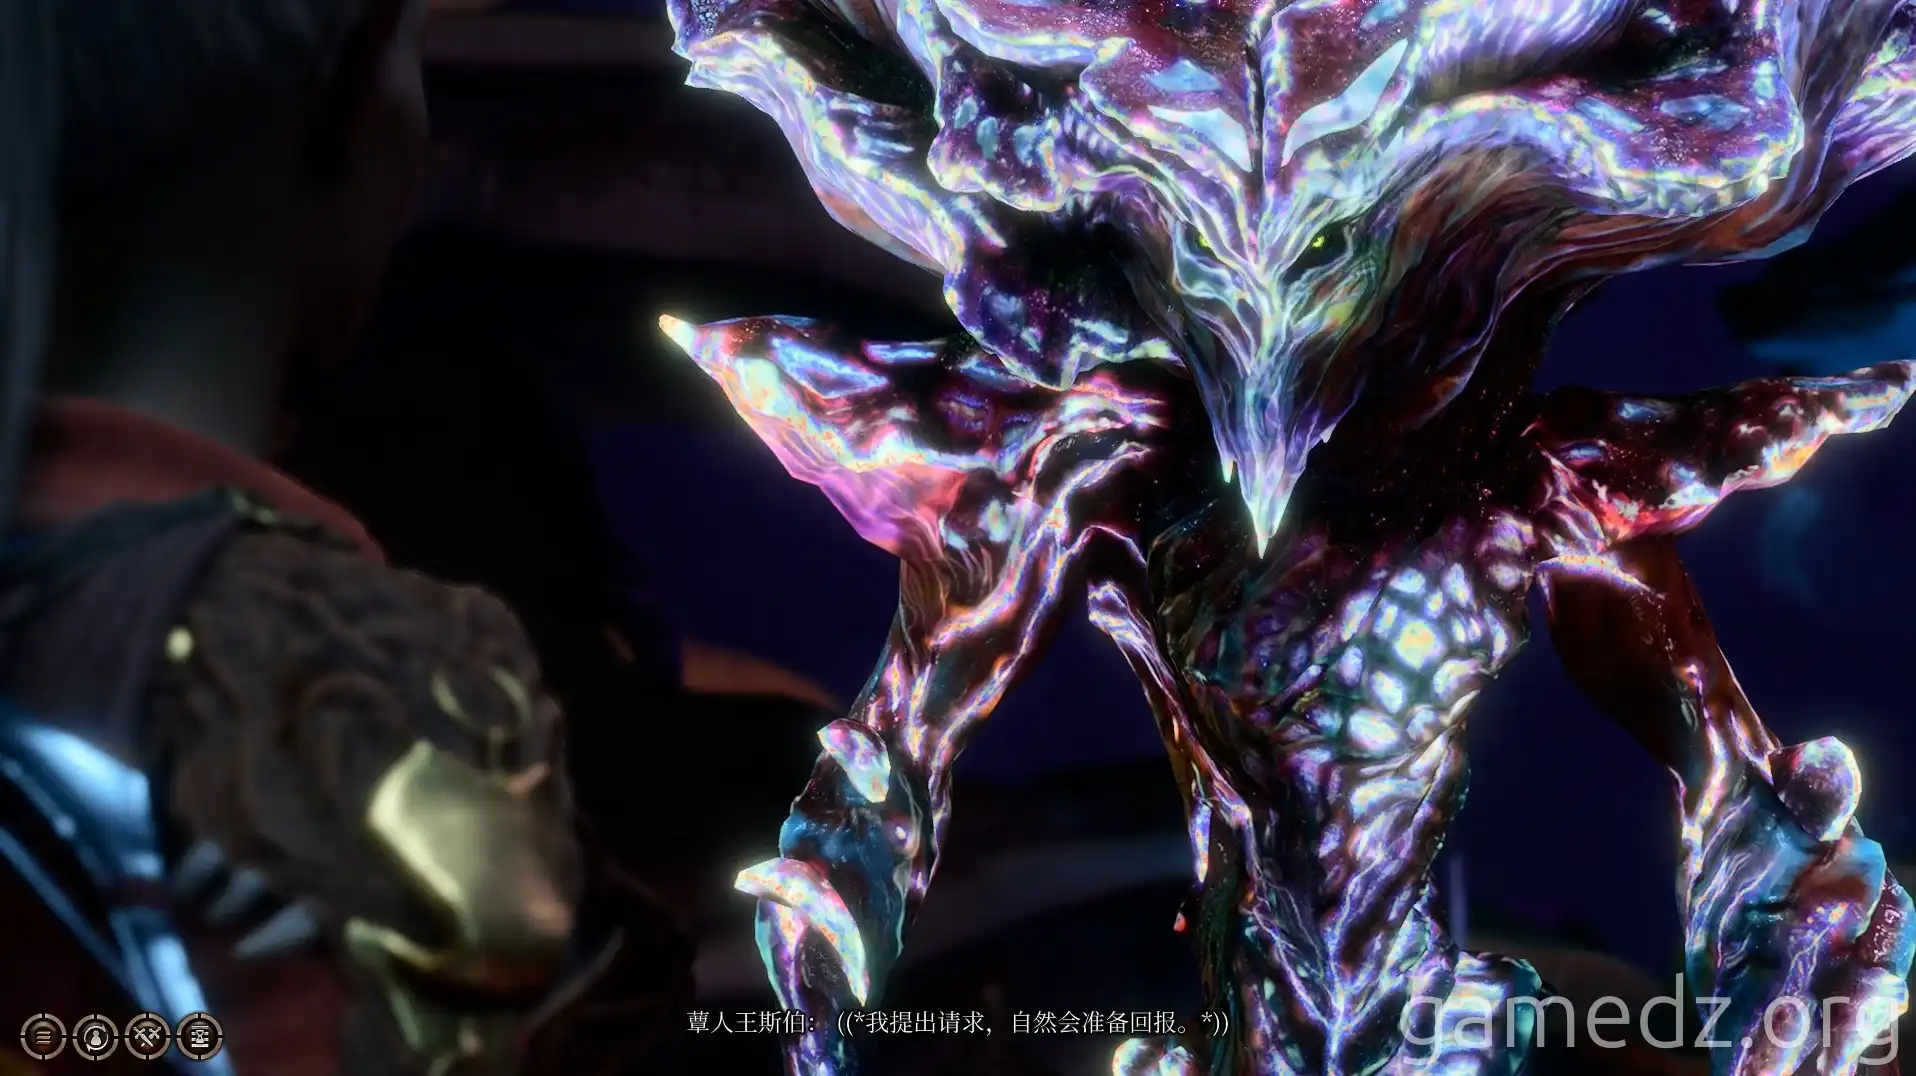
After the conversation, speak with the downed Gnome in front of the Thin Myconid King and give her the antidote you obtained from the Duergar.
Through dialogue, you'll learn that her clan, the Ironhand, are the finest artisans in Baldur's Gate. They were captured by the Duergar while conducting business in the Underdark, and she will ask you to rescue her kin.
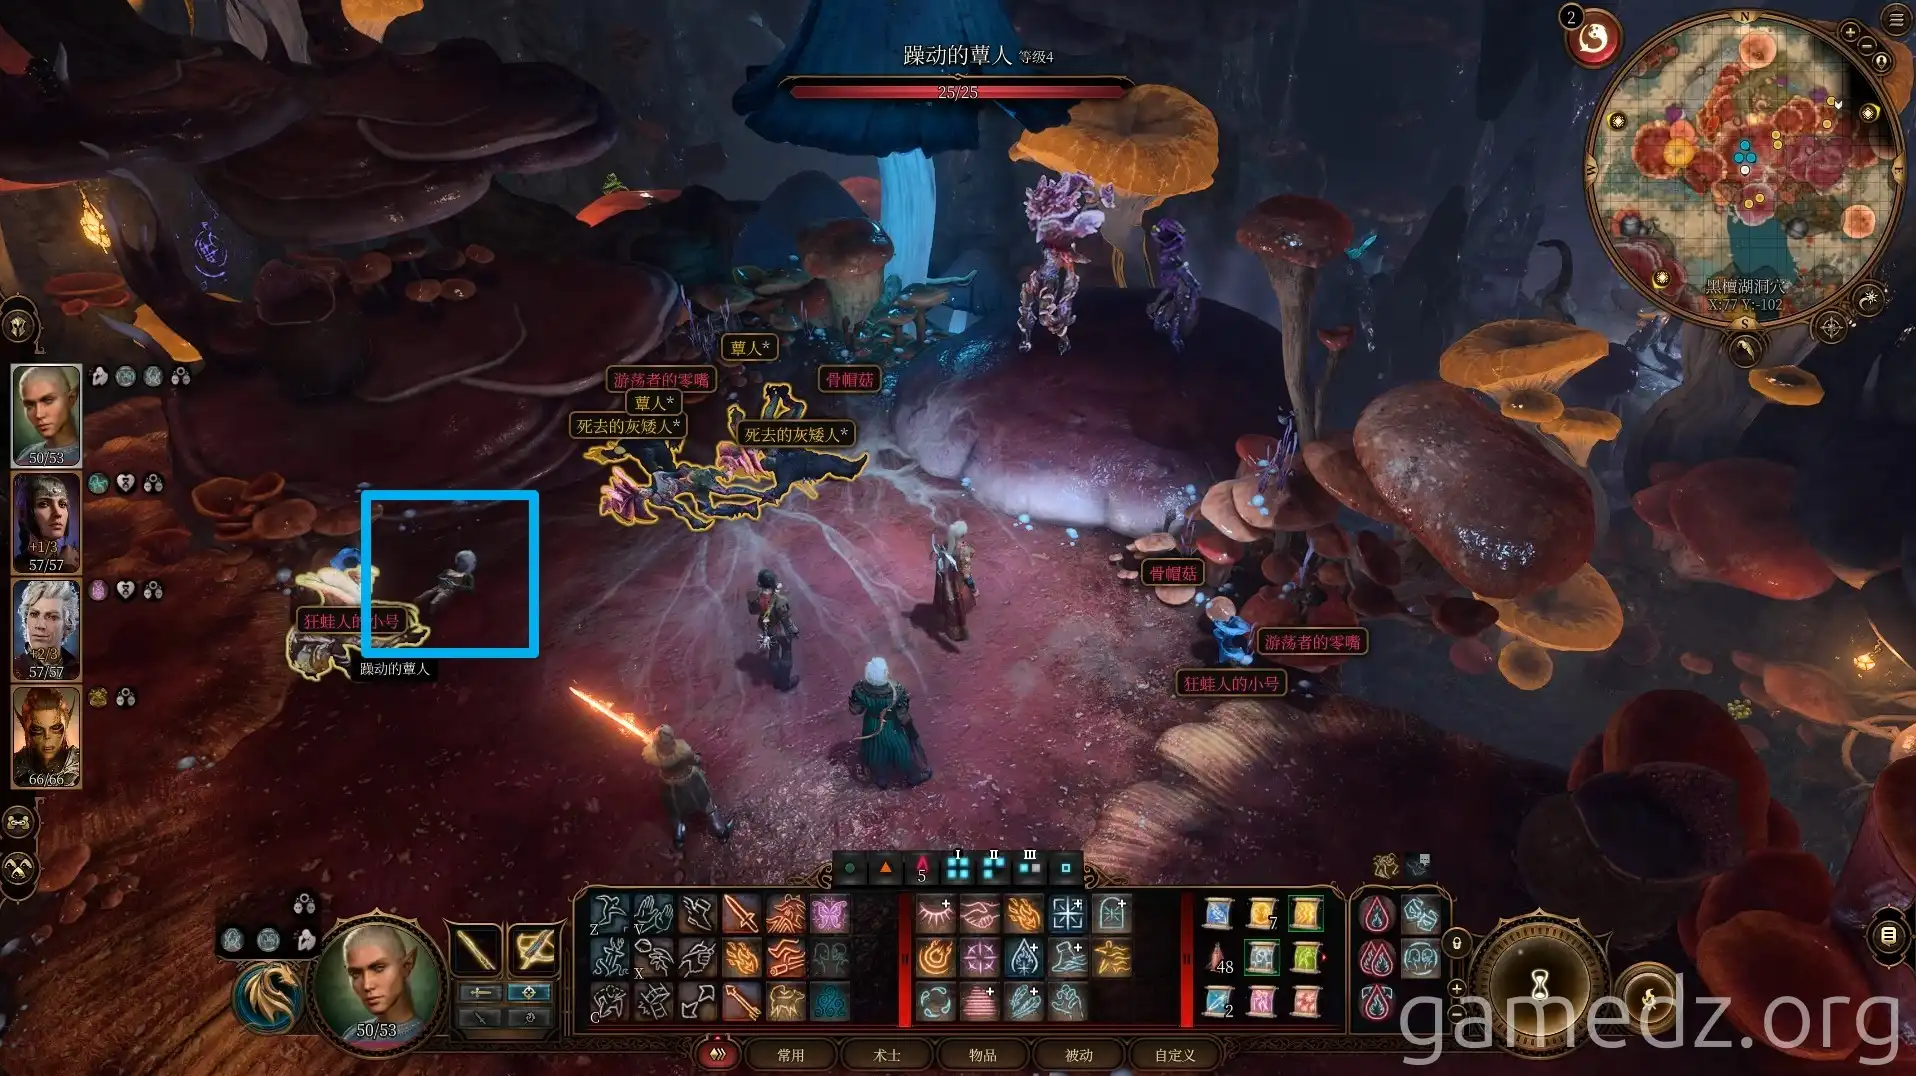
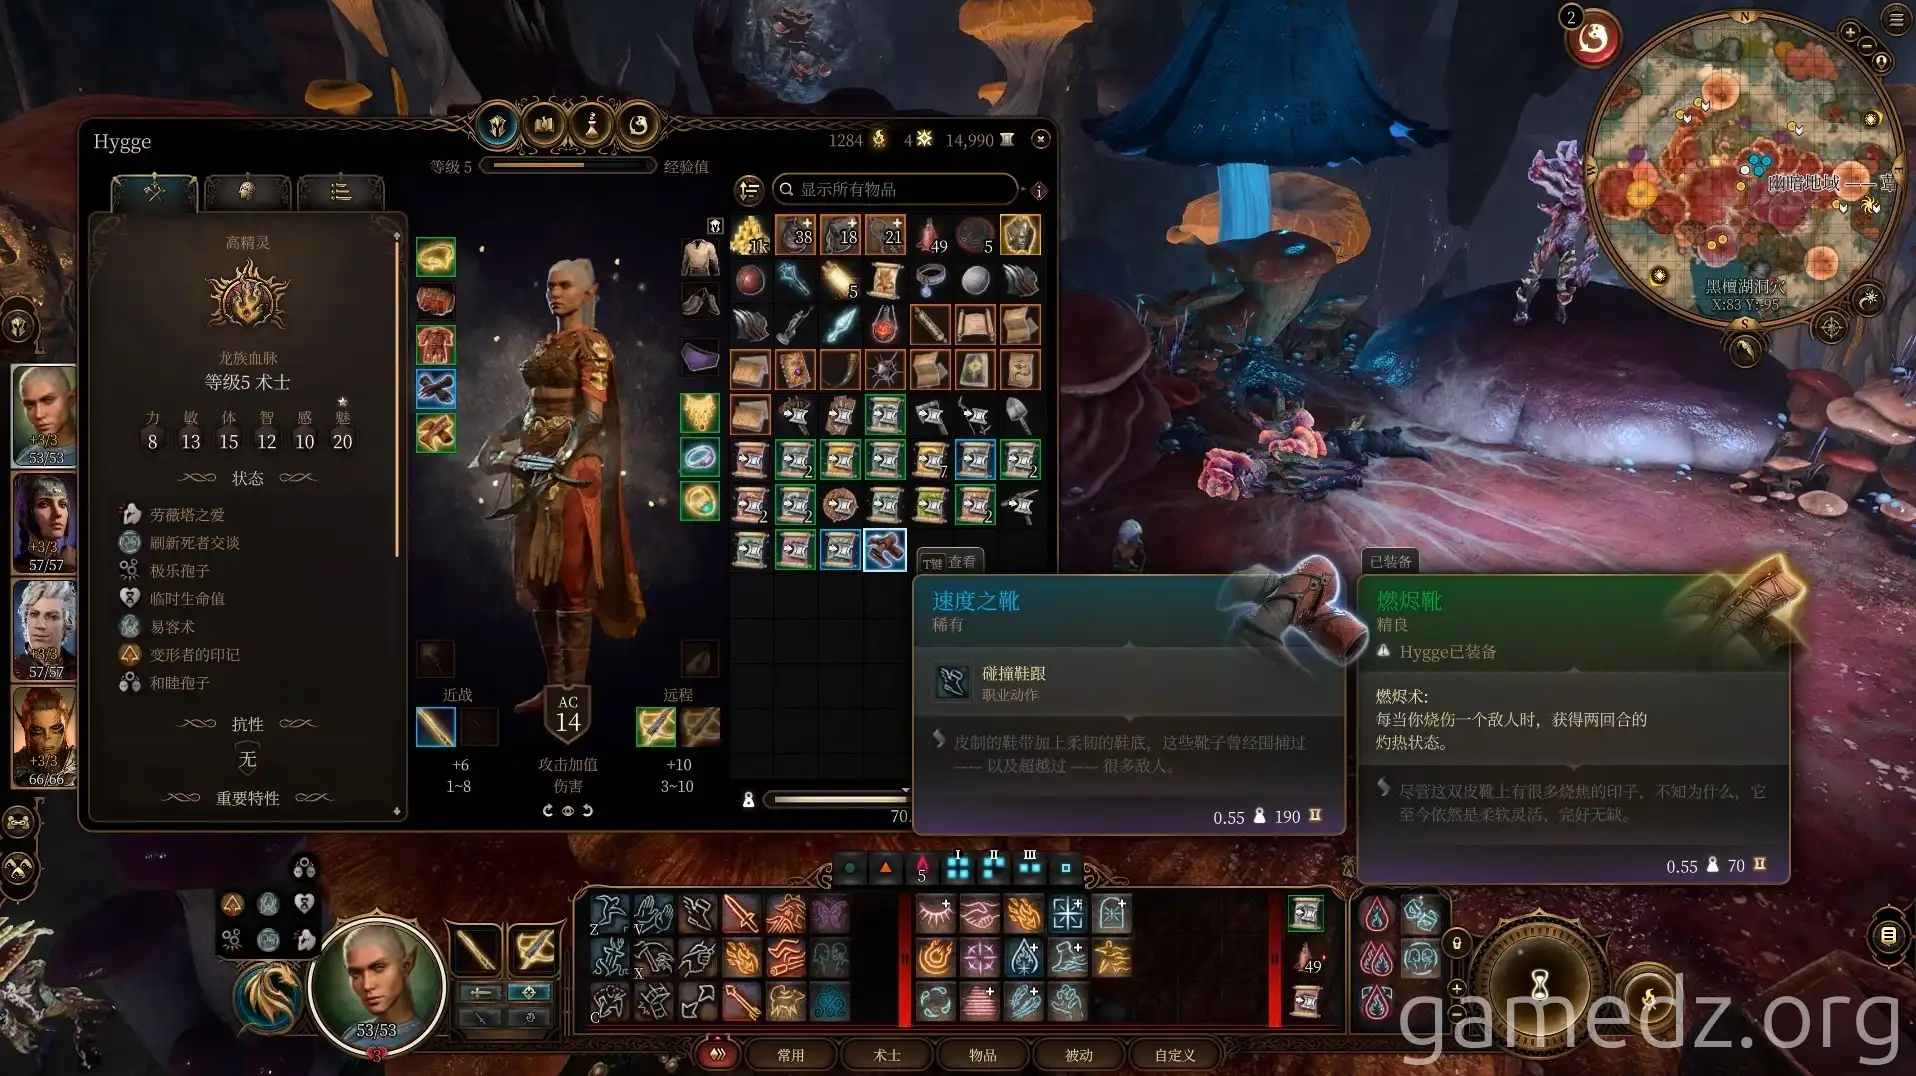
Upon agreeing to rescue her kin, you will receive the rare armor [Boots of Speed], which the Gnome snatched from the Duergar, and the side quest [Cure the Poisoned Gnome] will be completed.
Then, enter the guard gate next to Drider.
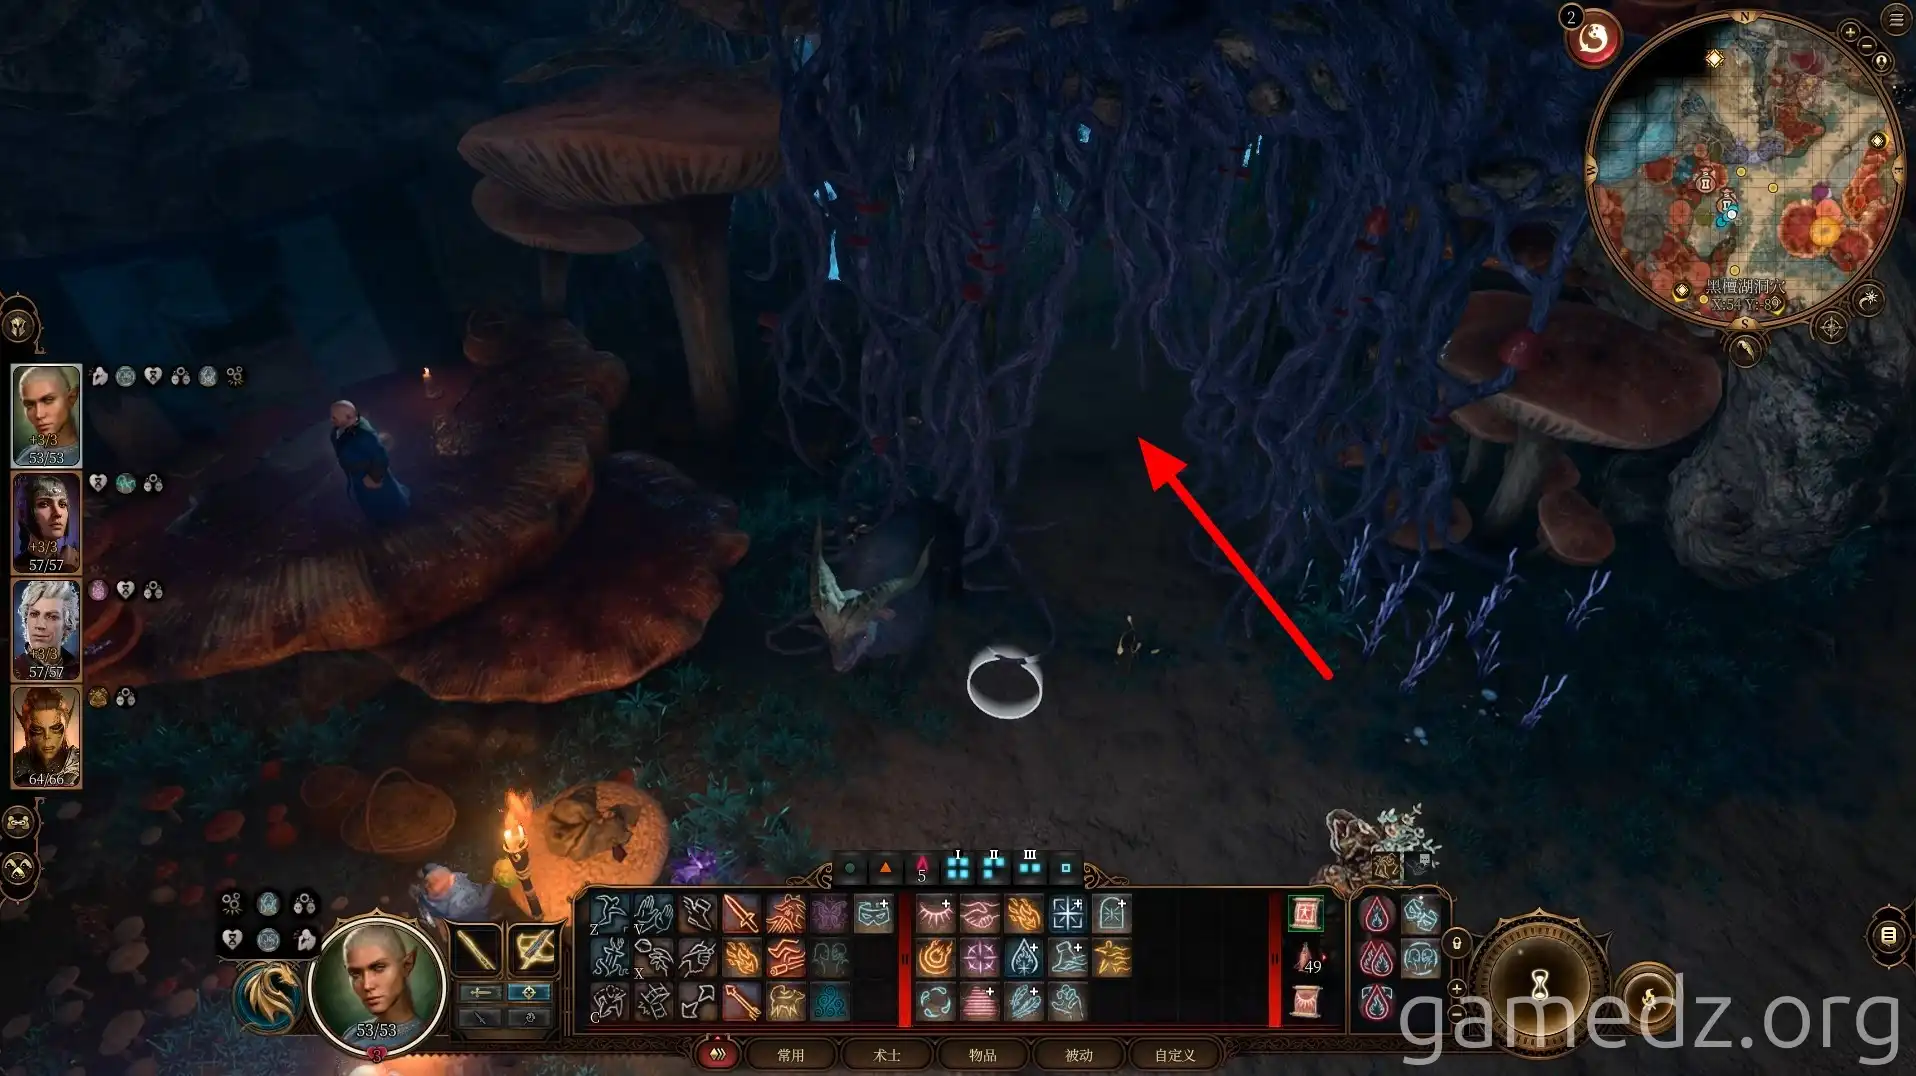
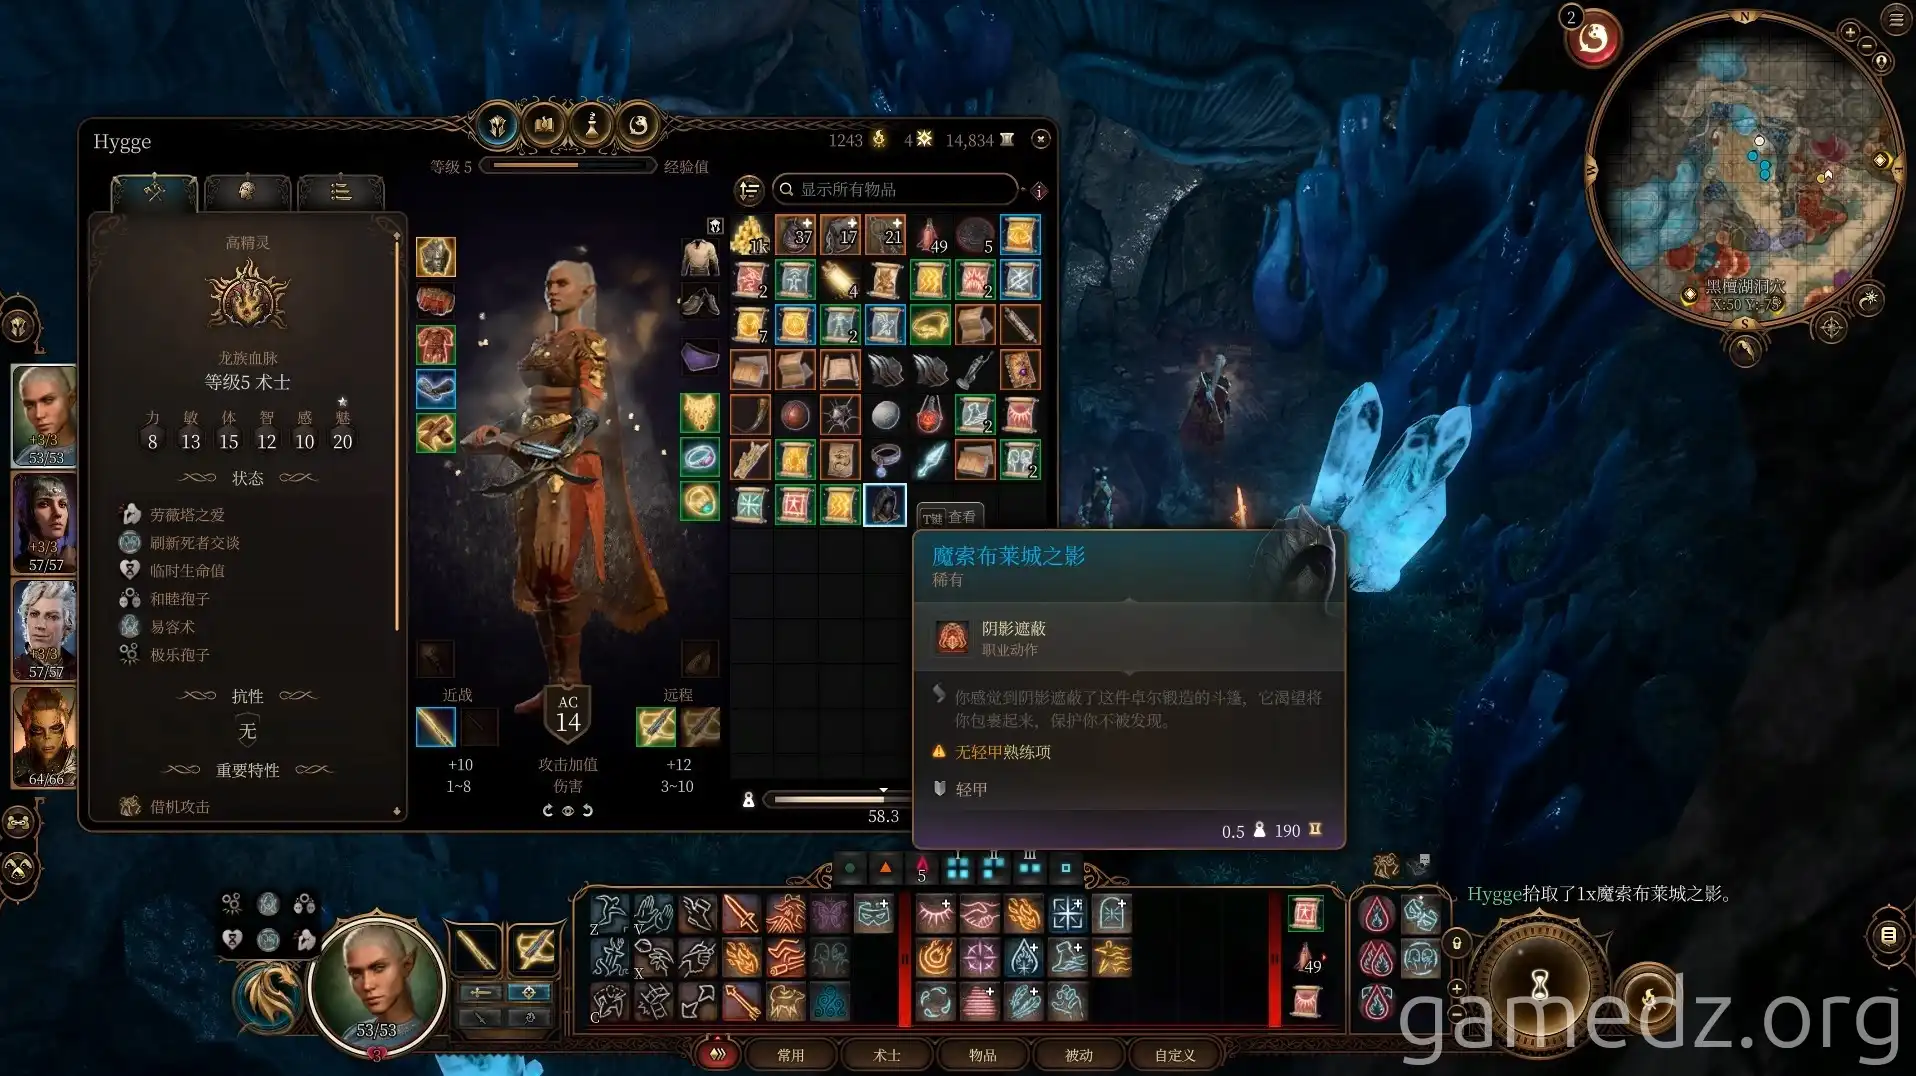
Inside the cave, you can find the rare armor [Shadow of Baldur's Gate] and discover a pale corpse.
On the pale corpse, you'll find the quest item [Fungal Mating Ritual] and the second component for a rare weapon: [Cold Iron].
By reading the Fungal Mating Ritual in your inventory and passing a check, you can break the book's disguise, revealing the crafting method for Mithral equipment.
Return to the beach and head south from the fork where you previously encountered the Duergar.
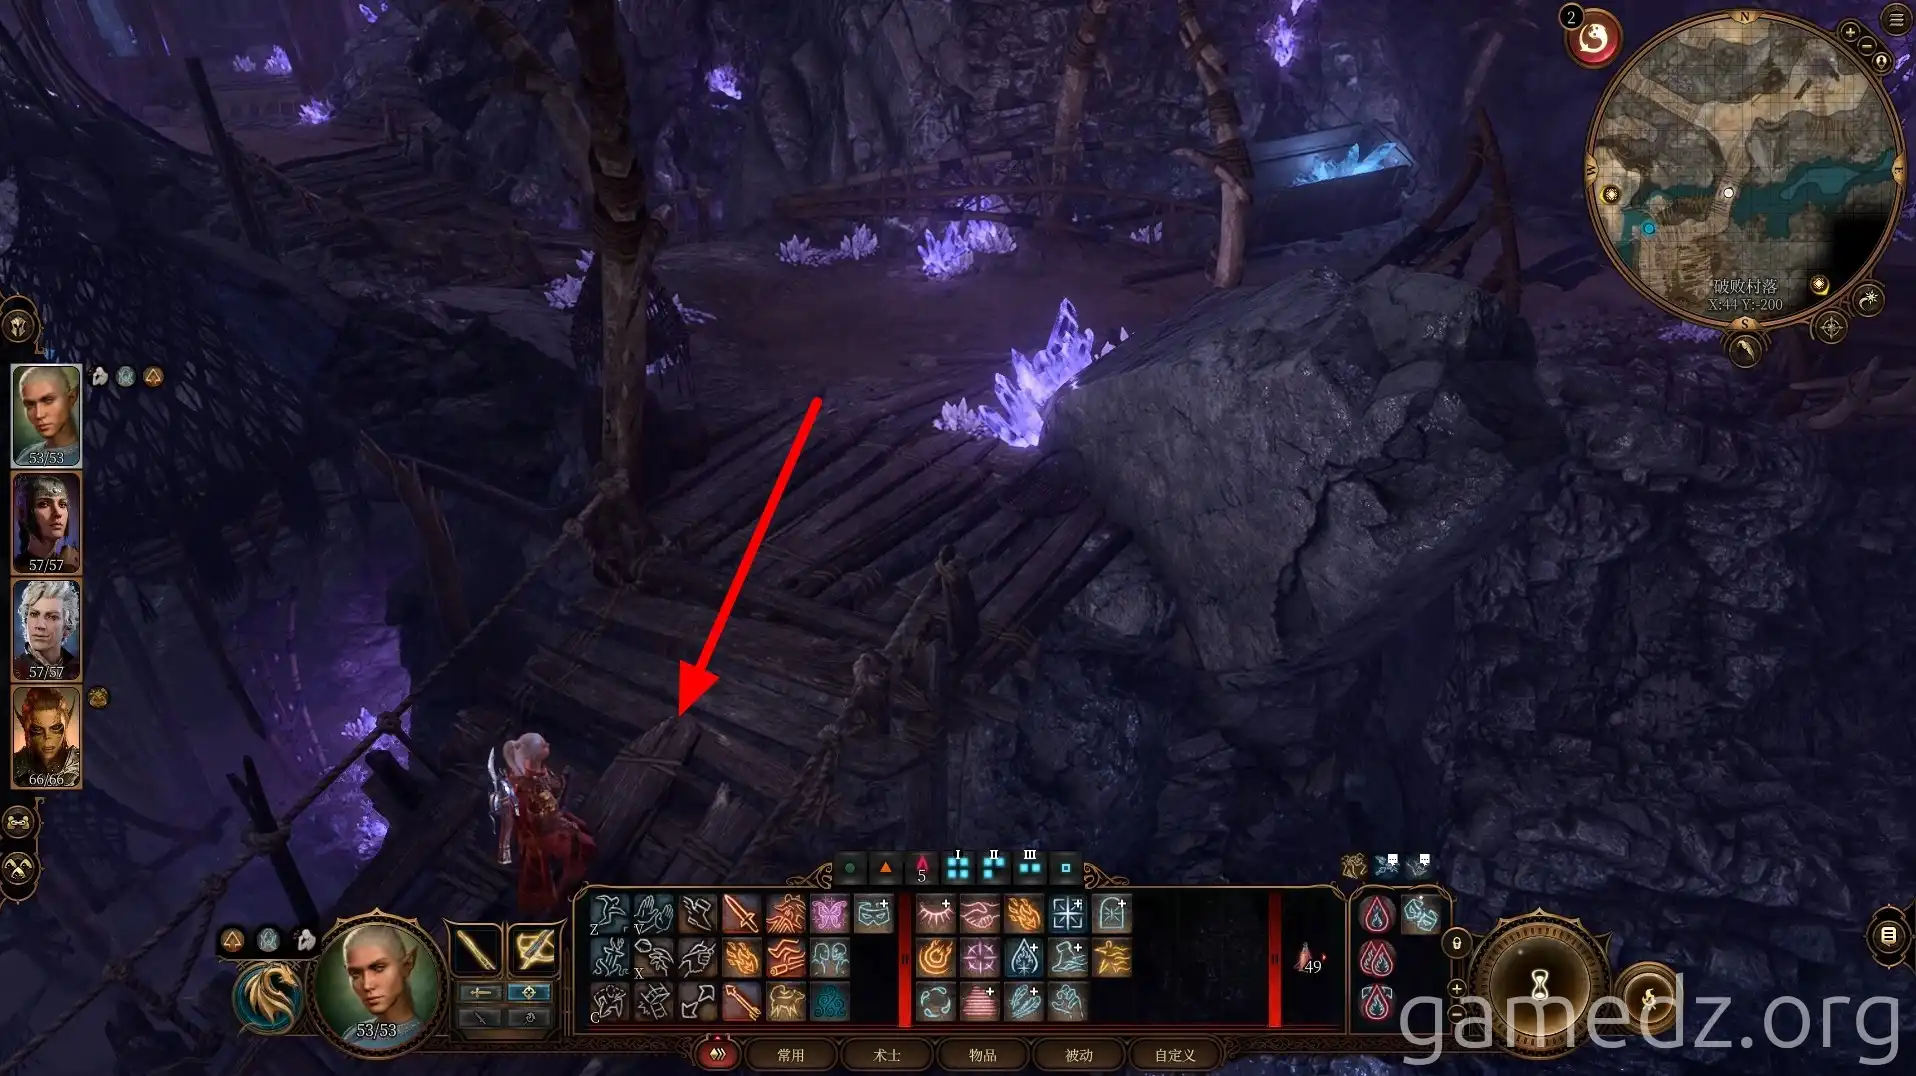
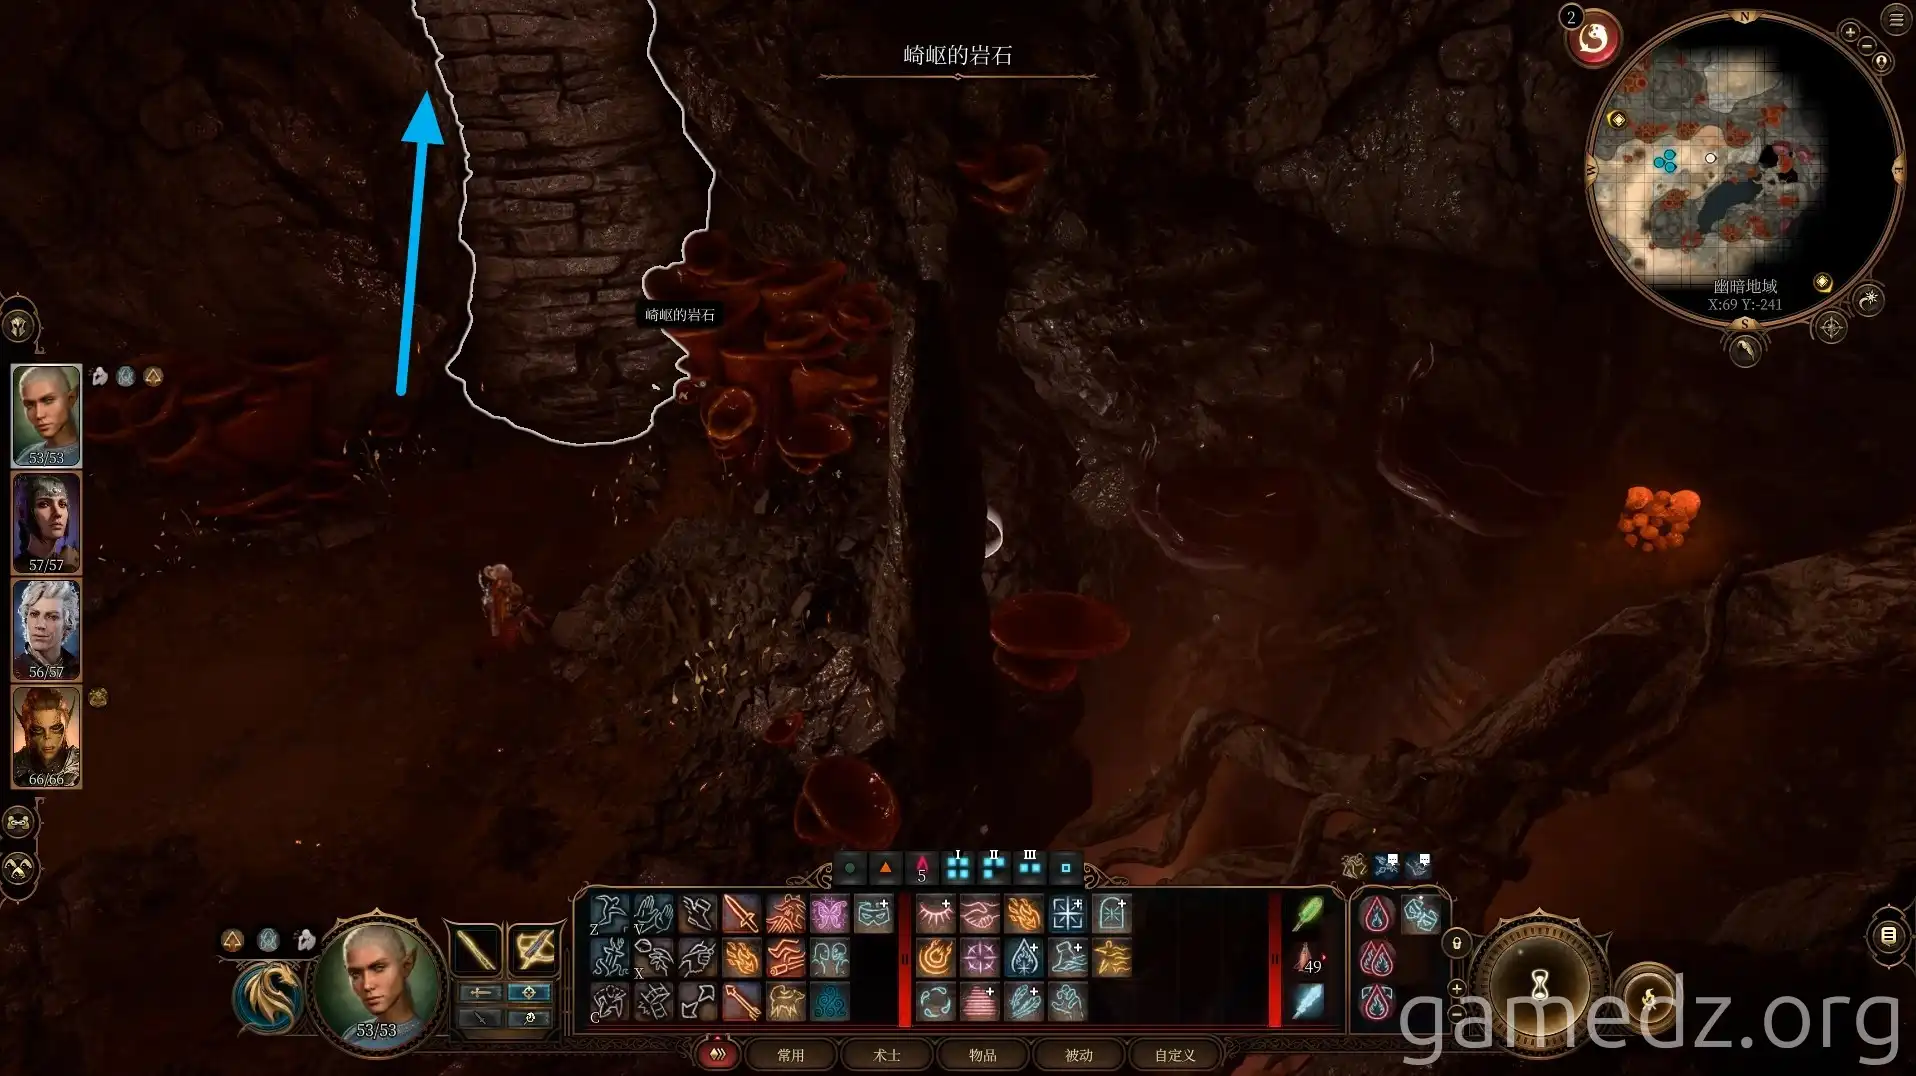
First, descend using the rugged rocks on the west side of the path.
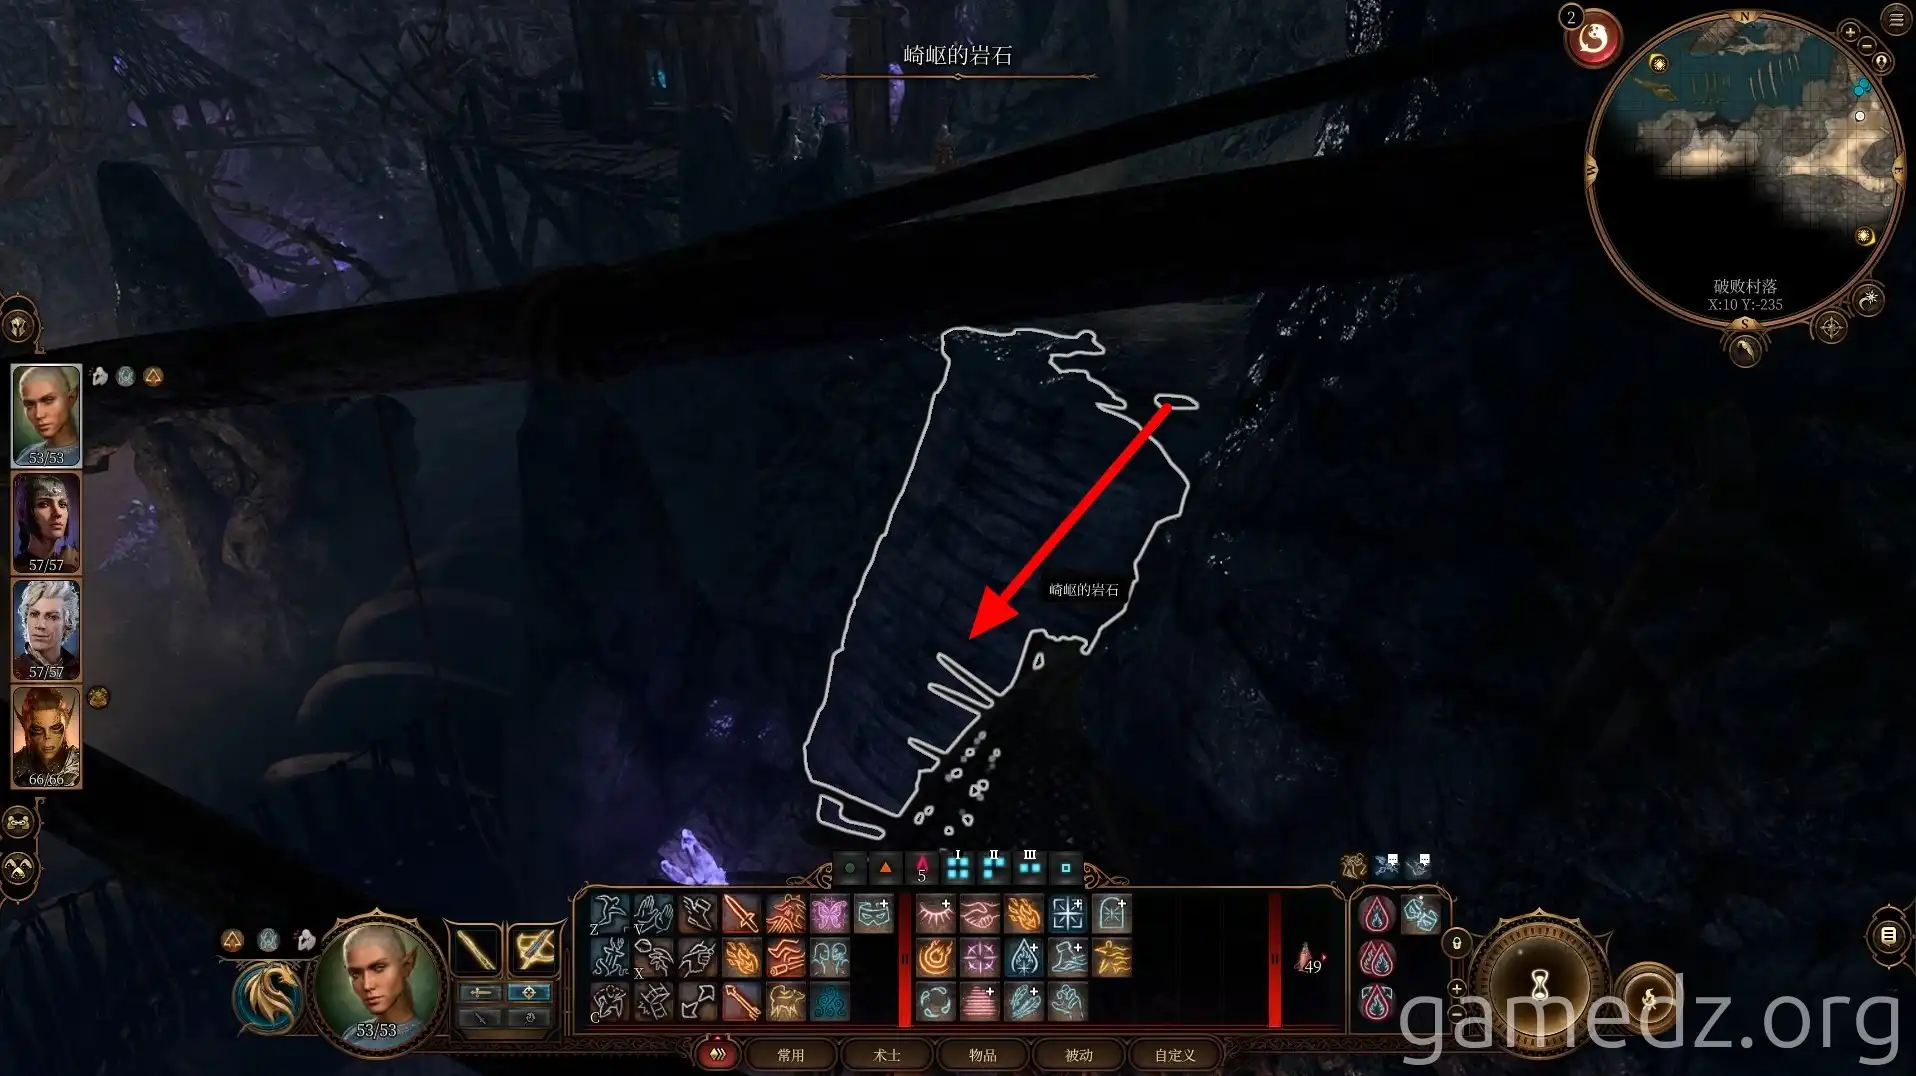
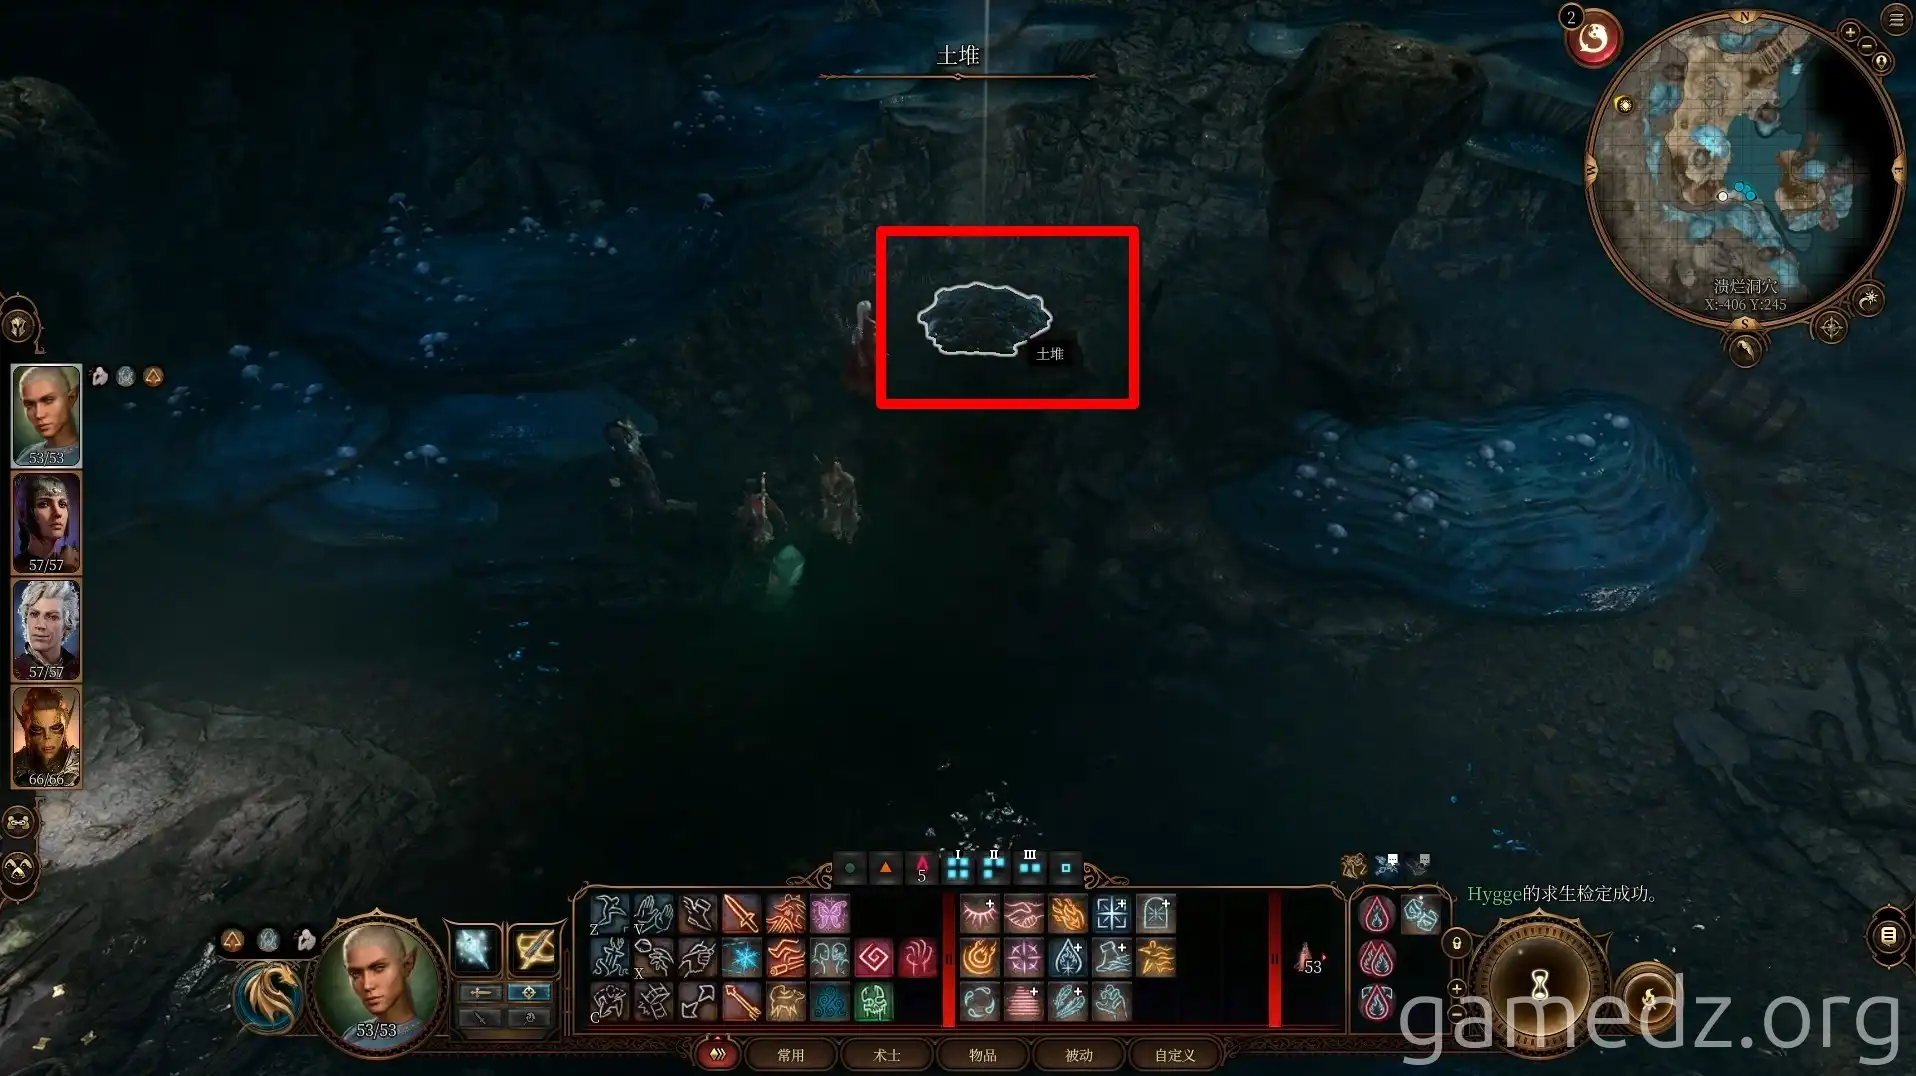
Below, you'll find a mound of earth with a buried chest.
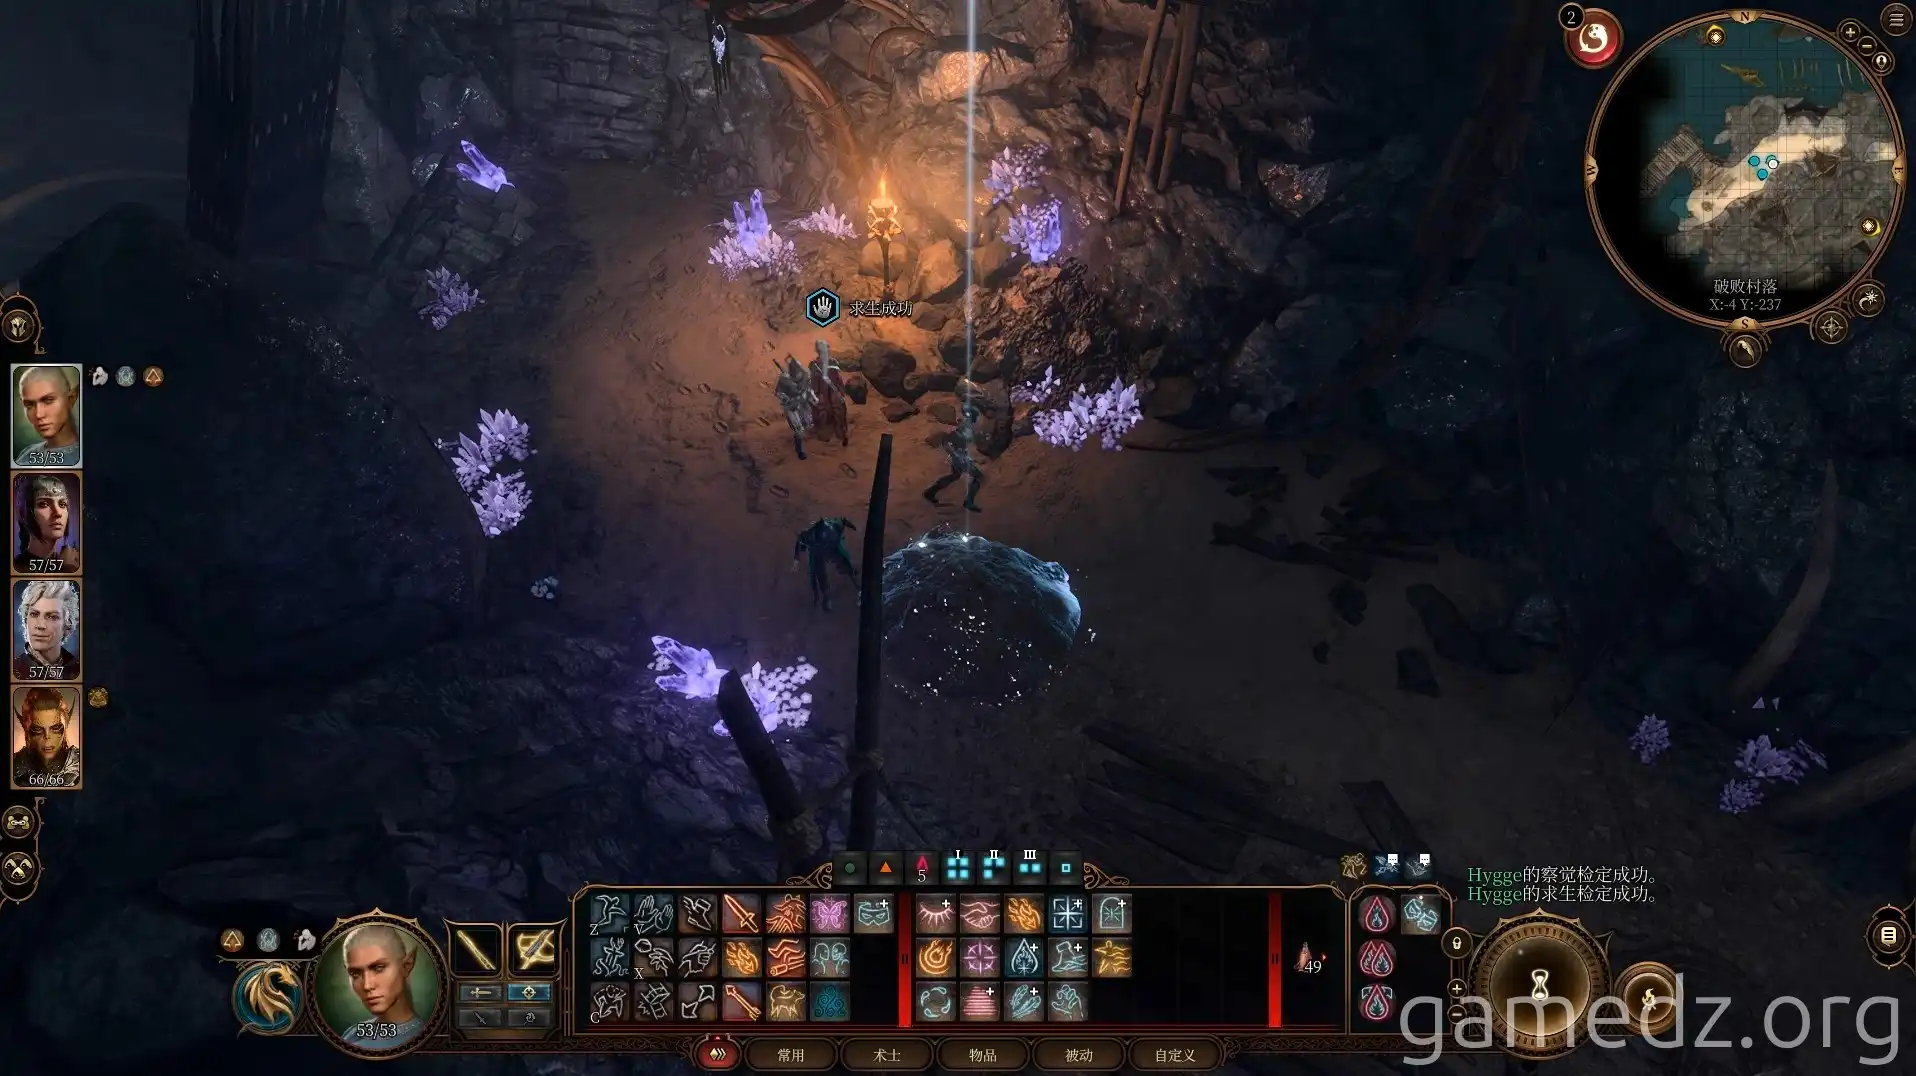
Then, return to the upper level and proceed east along the slope.
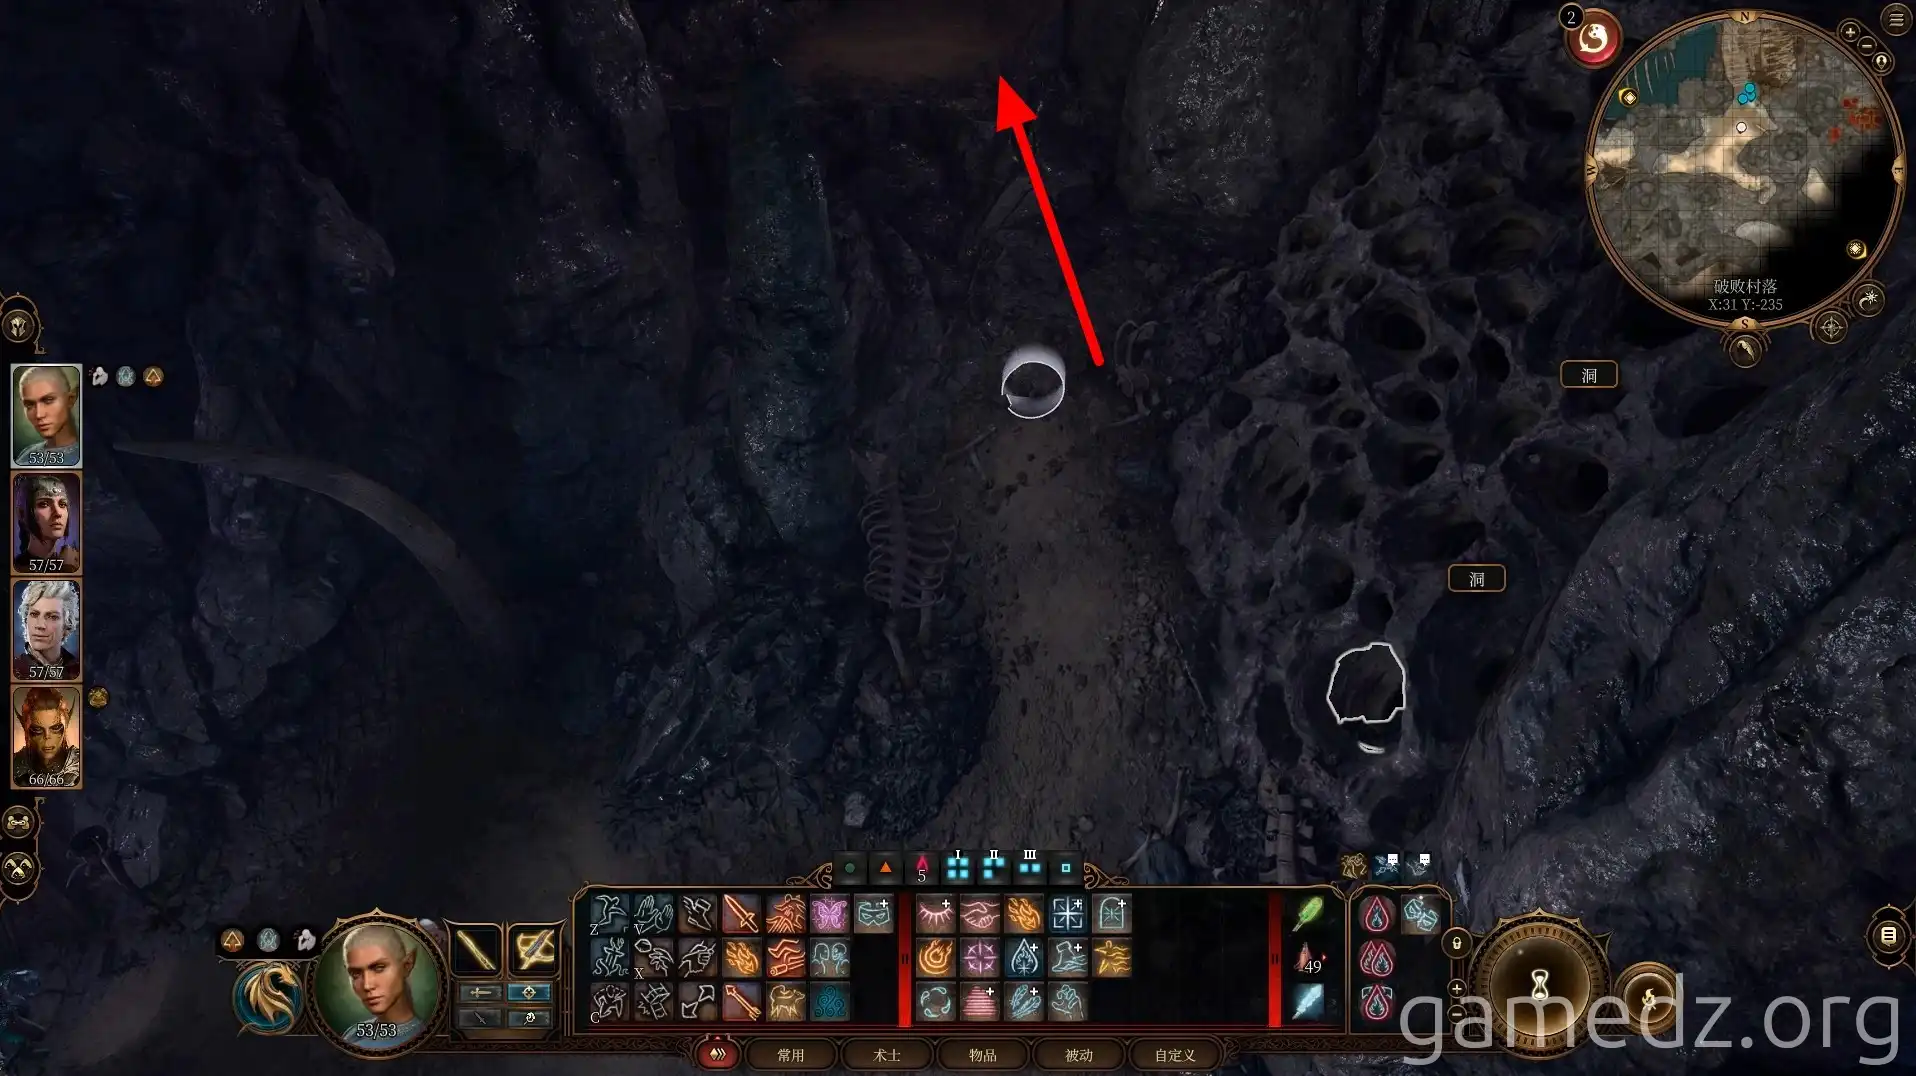
Use ranged attacks to clear the Torch Mushrooms in the small plaza ahead, then jump into the area.
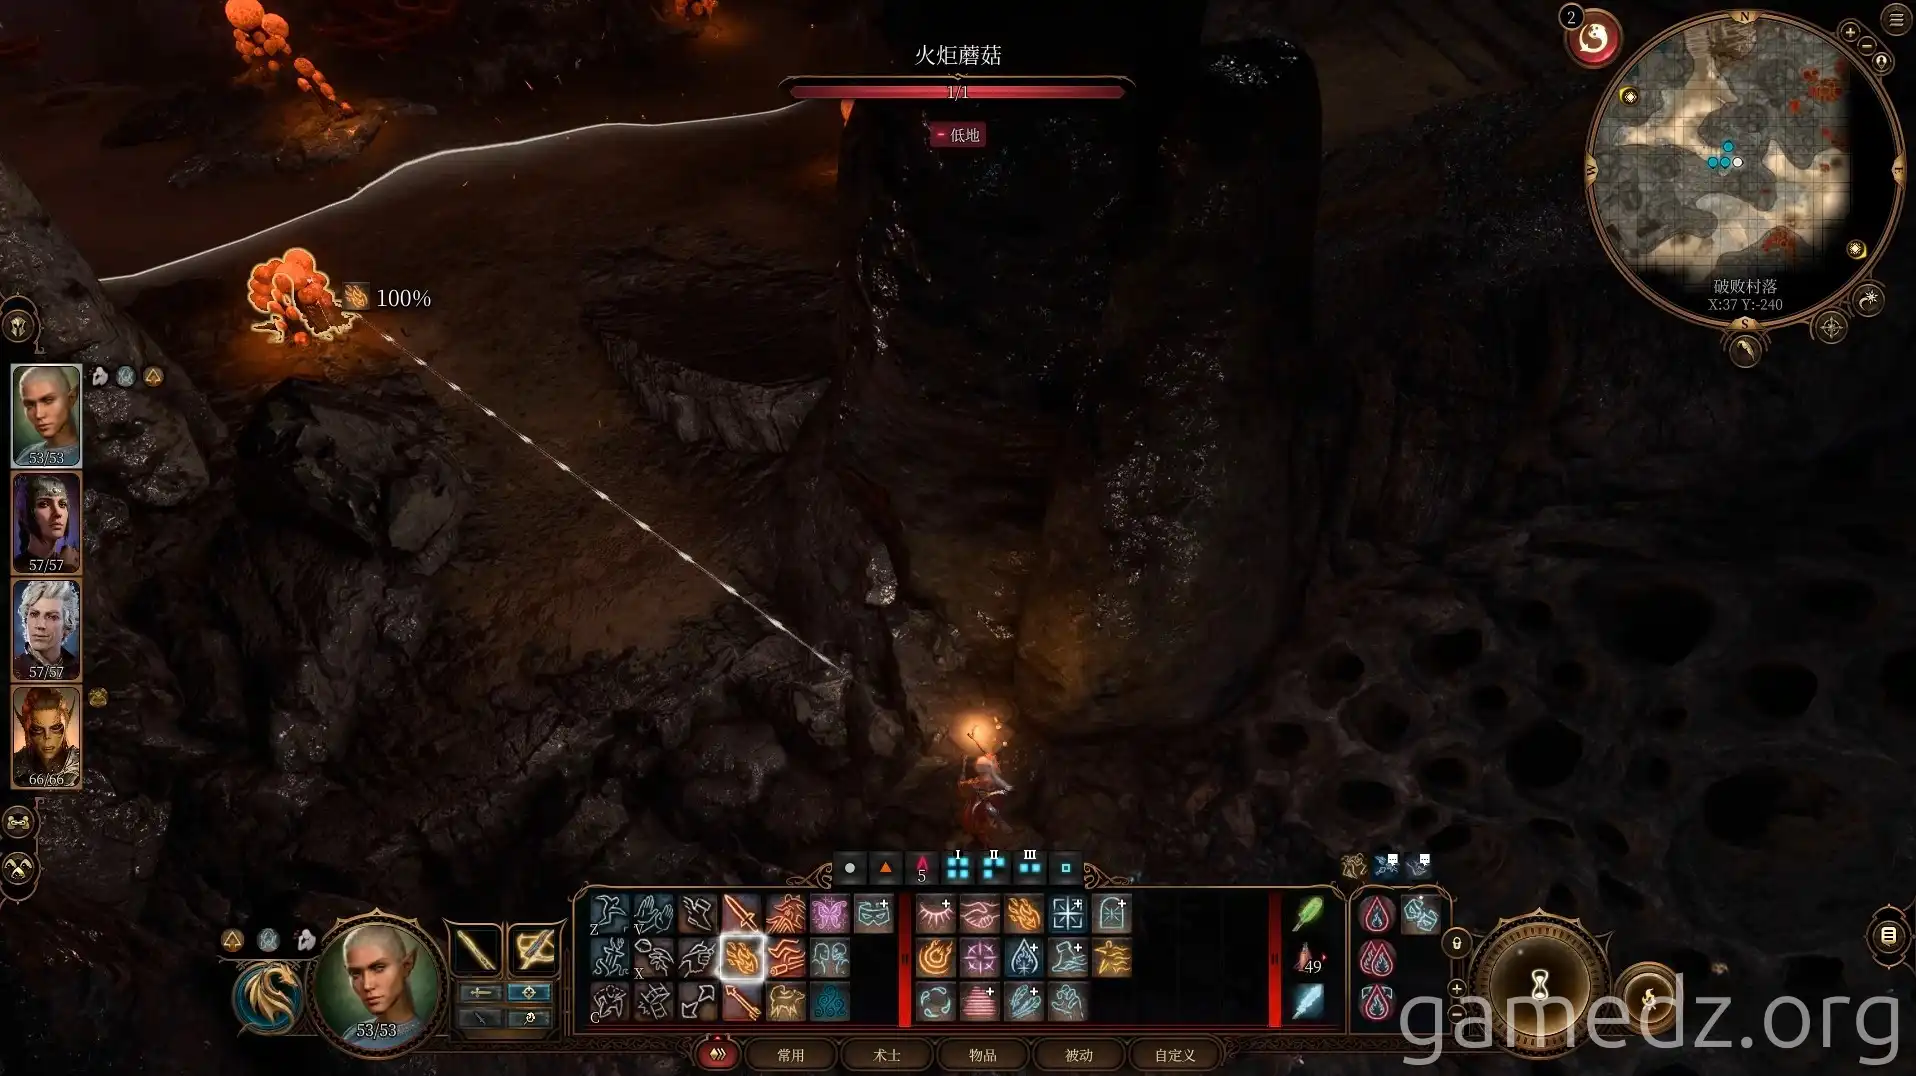
Once in the small plaza, head left (east).
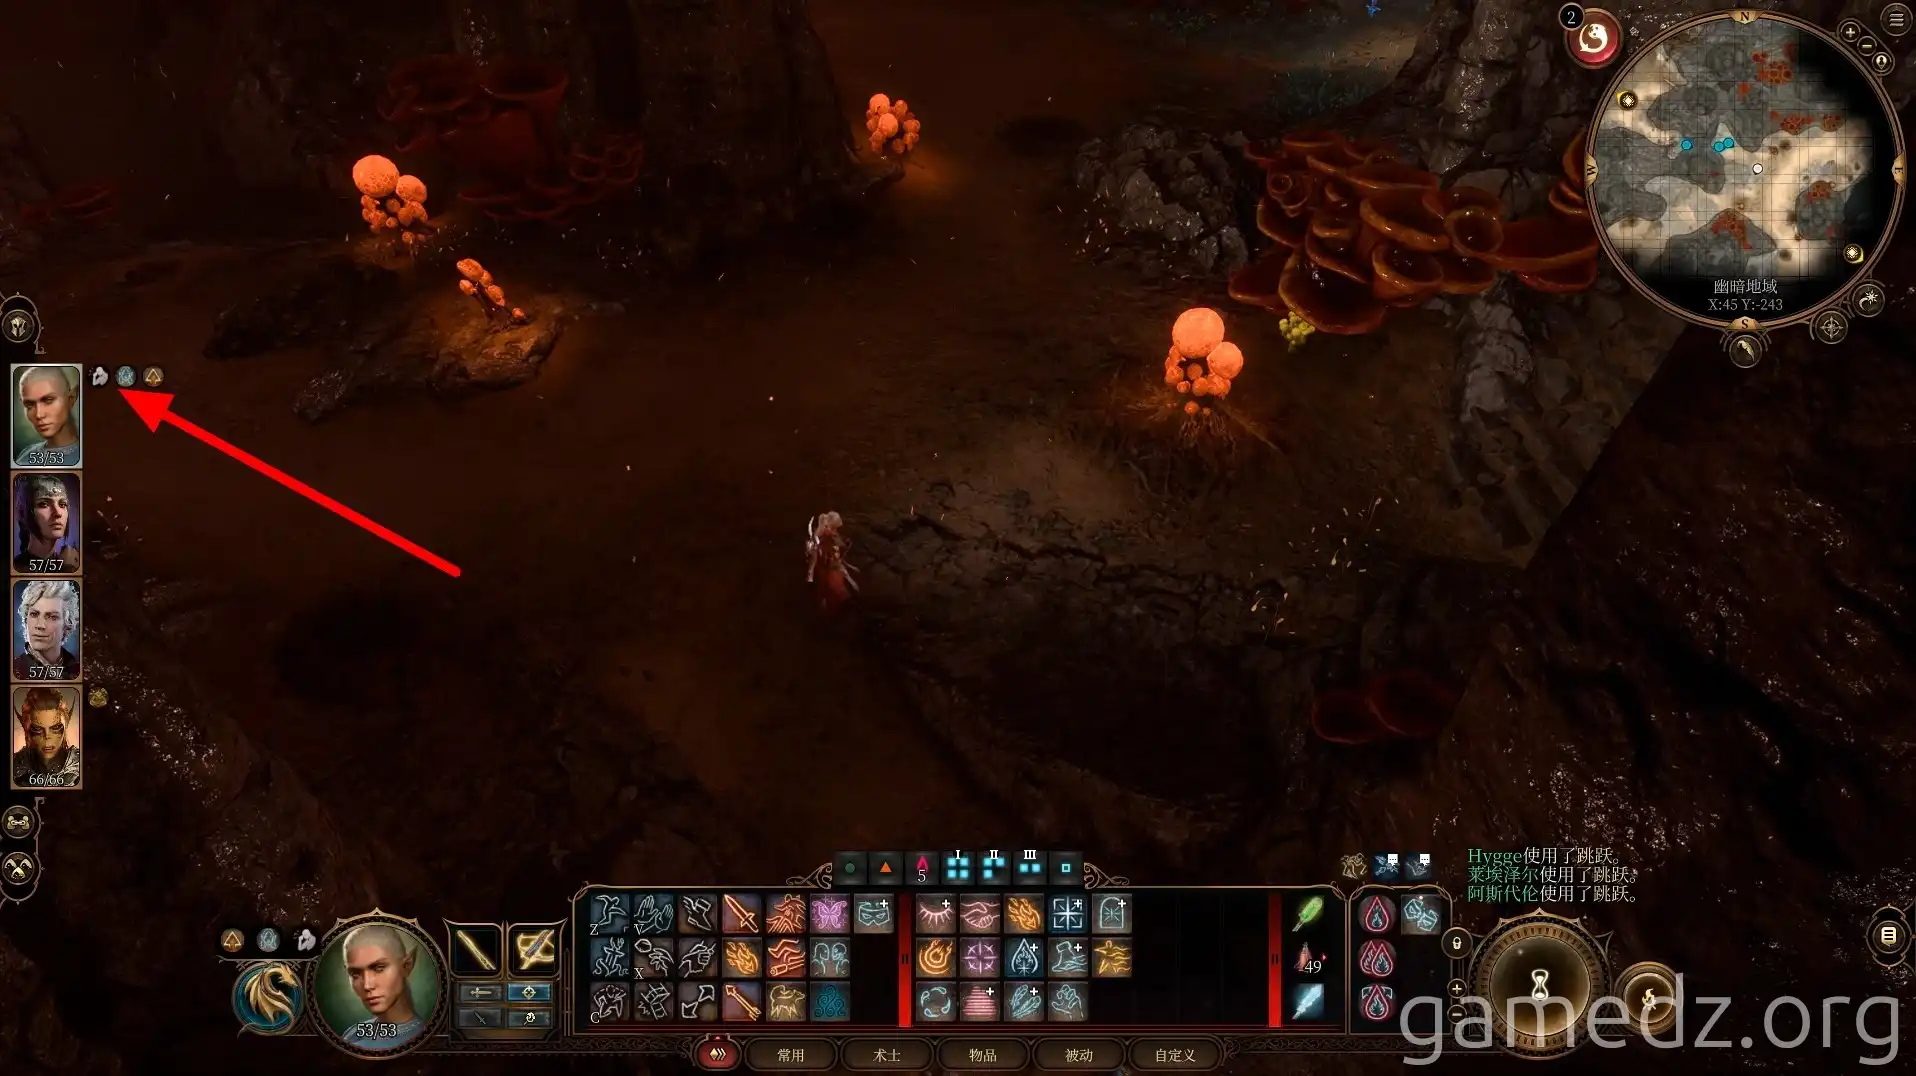
The east side of the plaza is actually a fork. By jumping, you can follow the mushrooms. Use ranged attacks to destroy the Torch Mushroom ahead, then descend using the rugged rocks to enter the Kuo-Toa village.
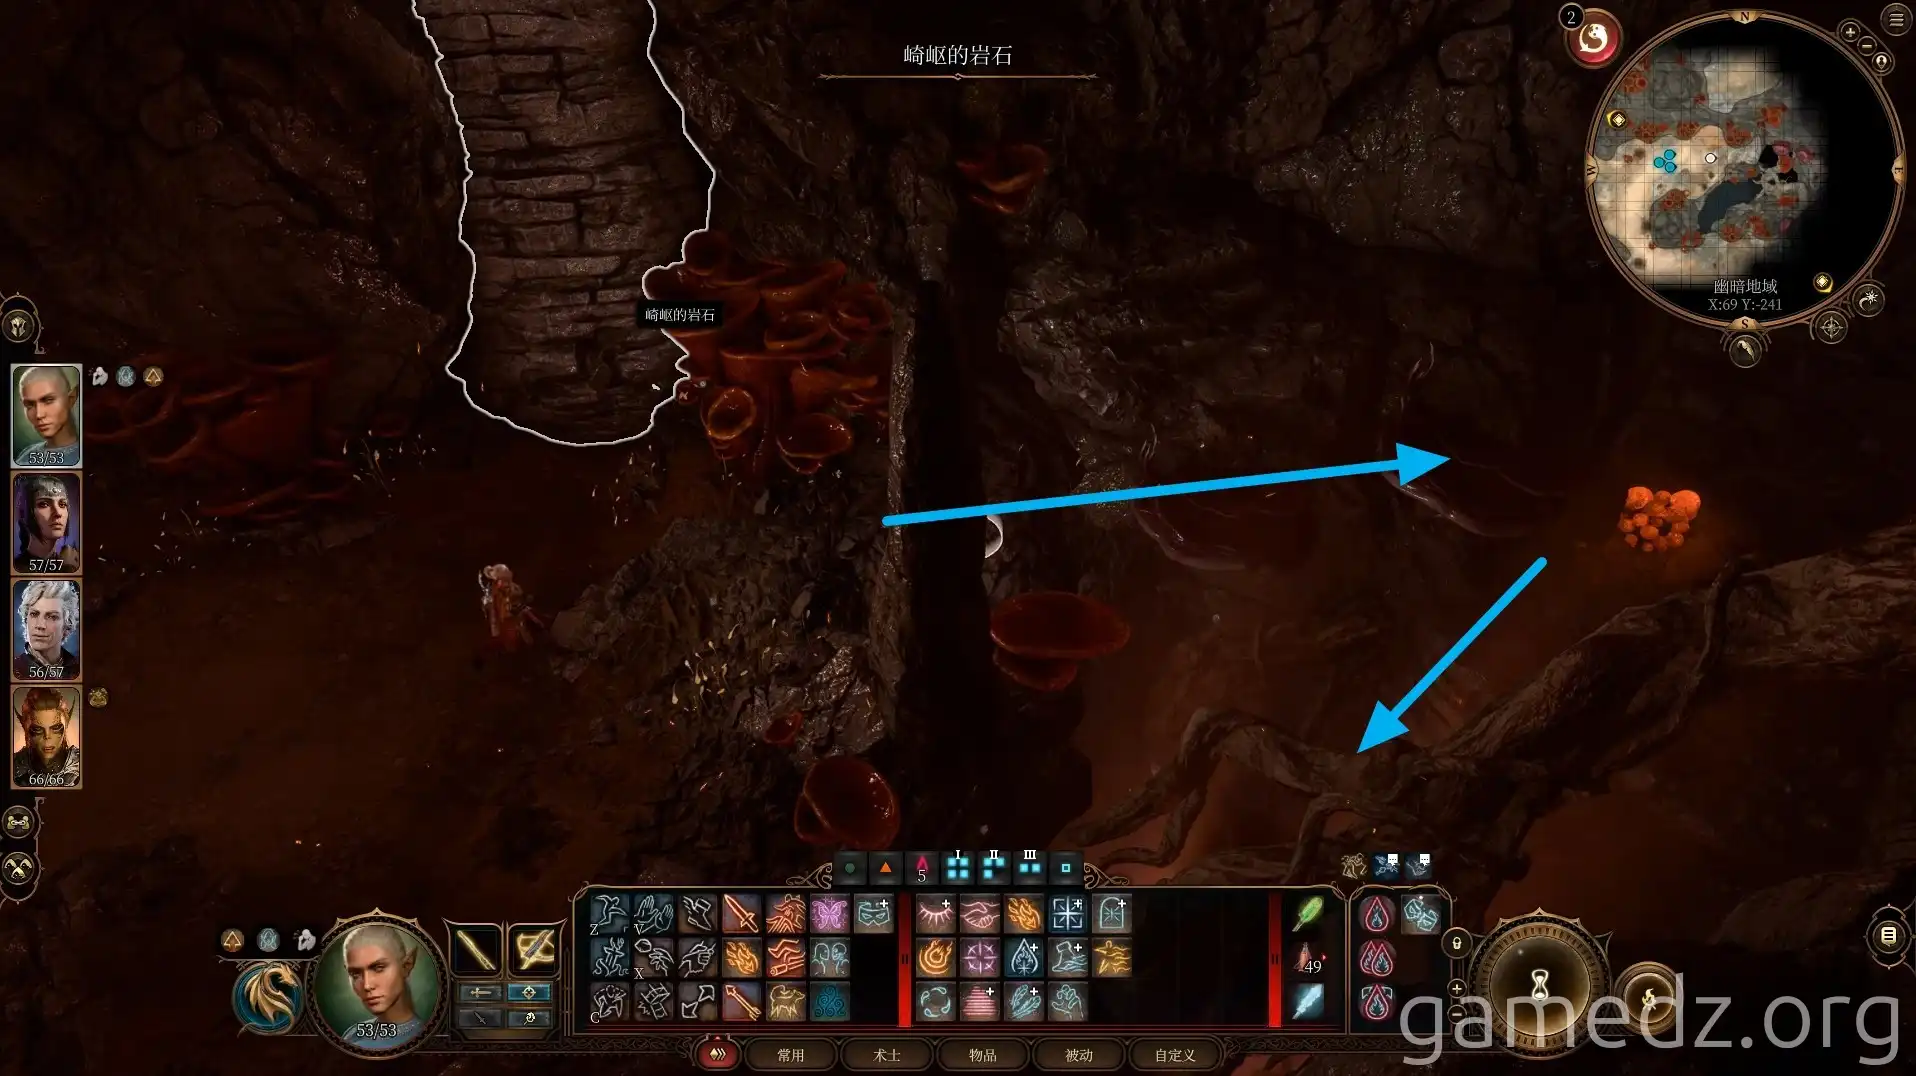
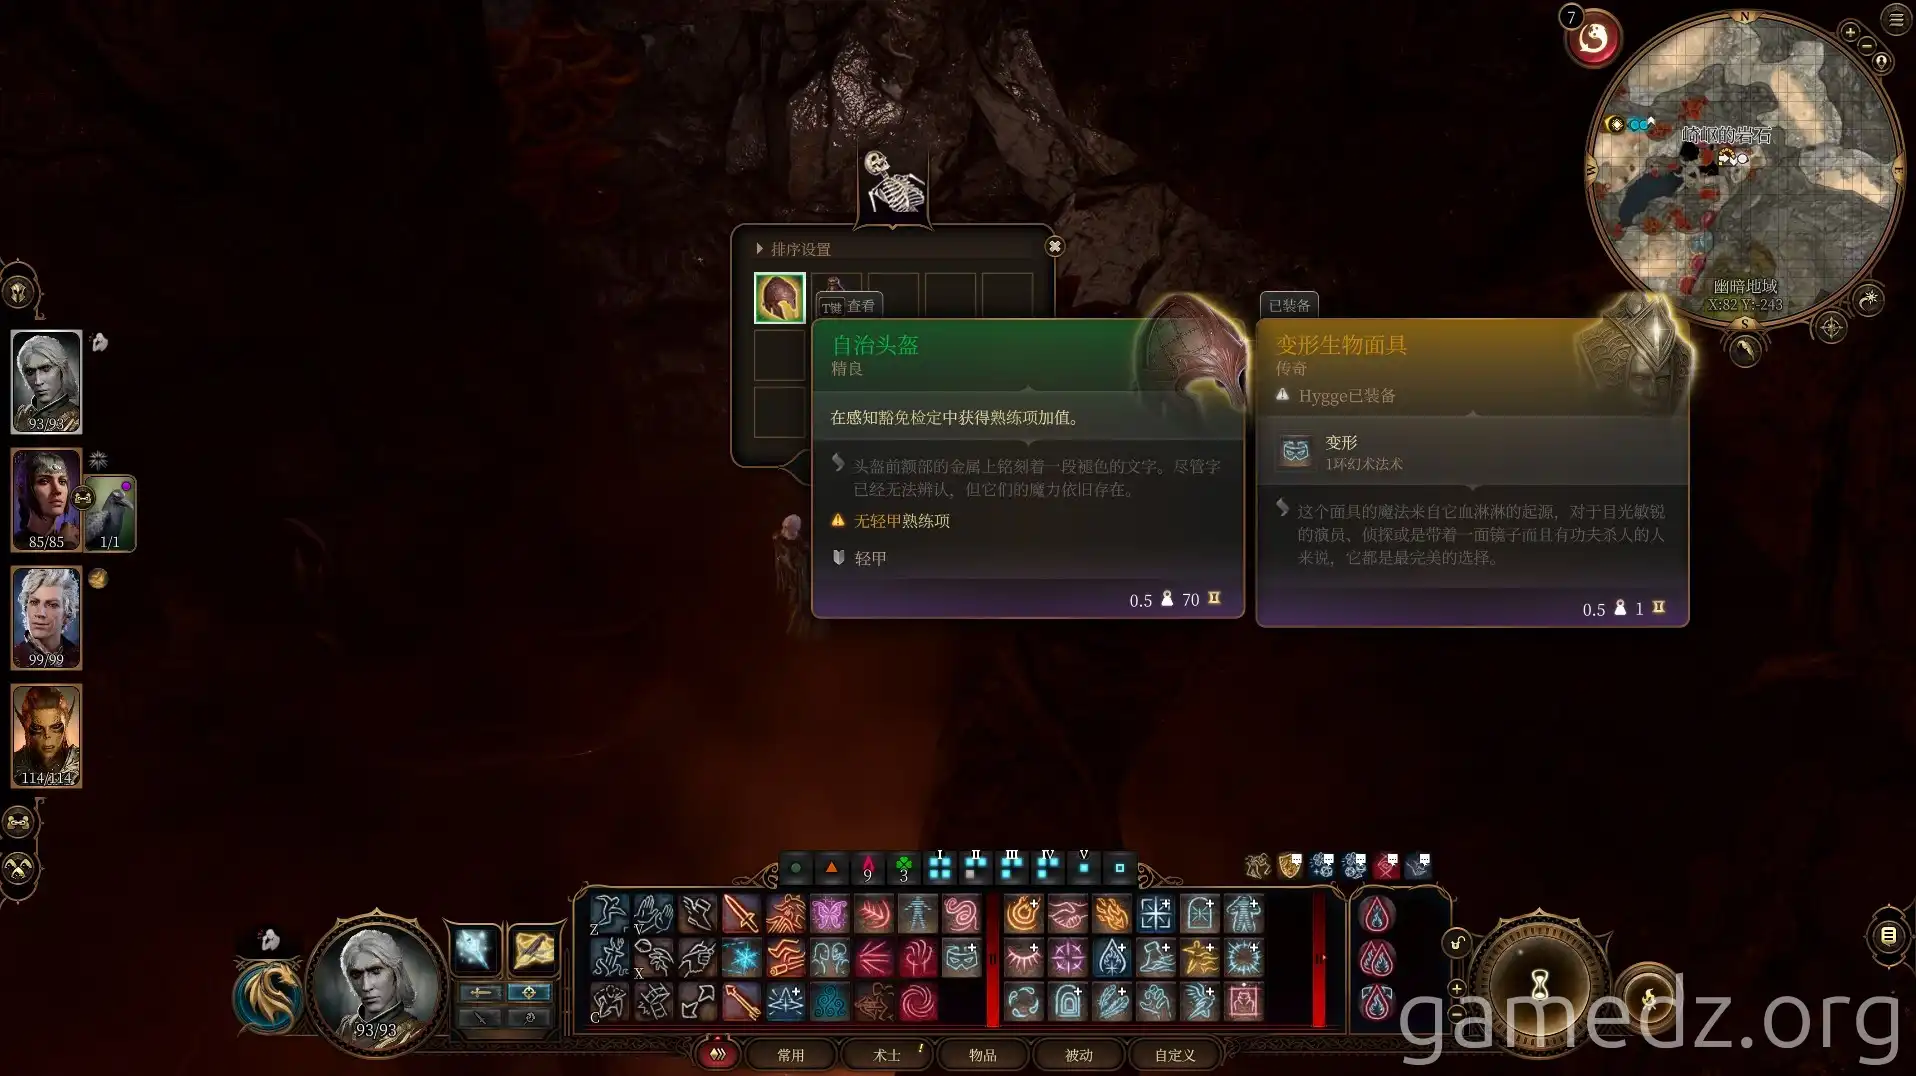
Before descending using the rugged rocks, you can find the rare armor [Helmet of Autonomy] on a skeleton on the platform.
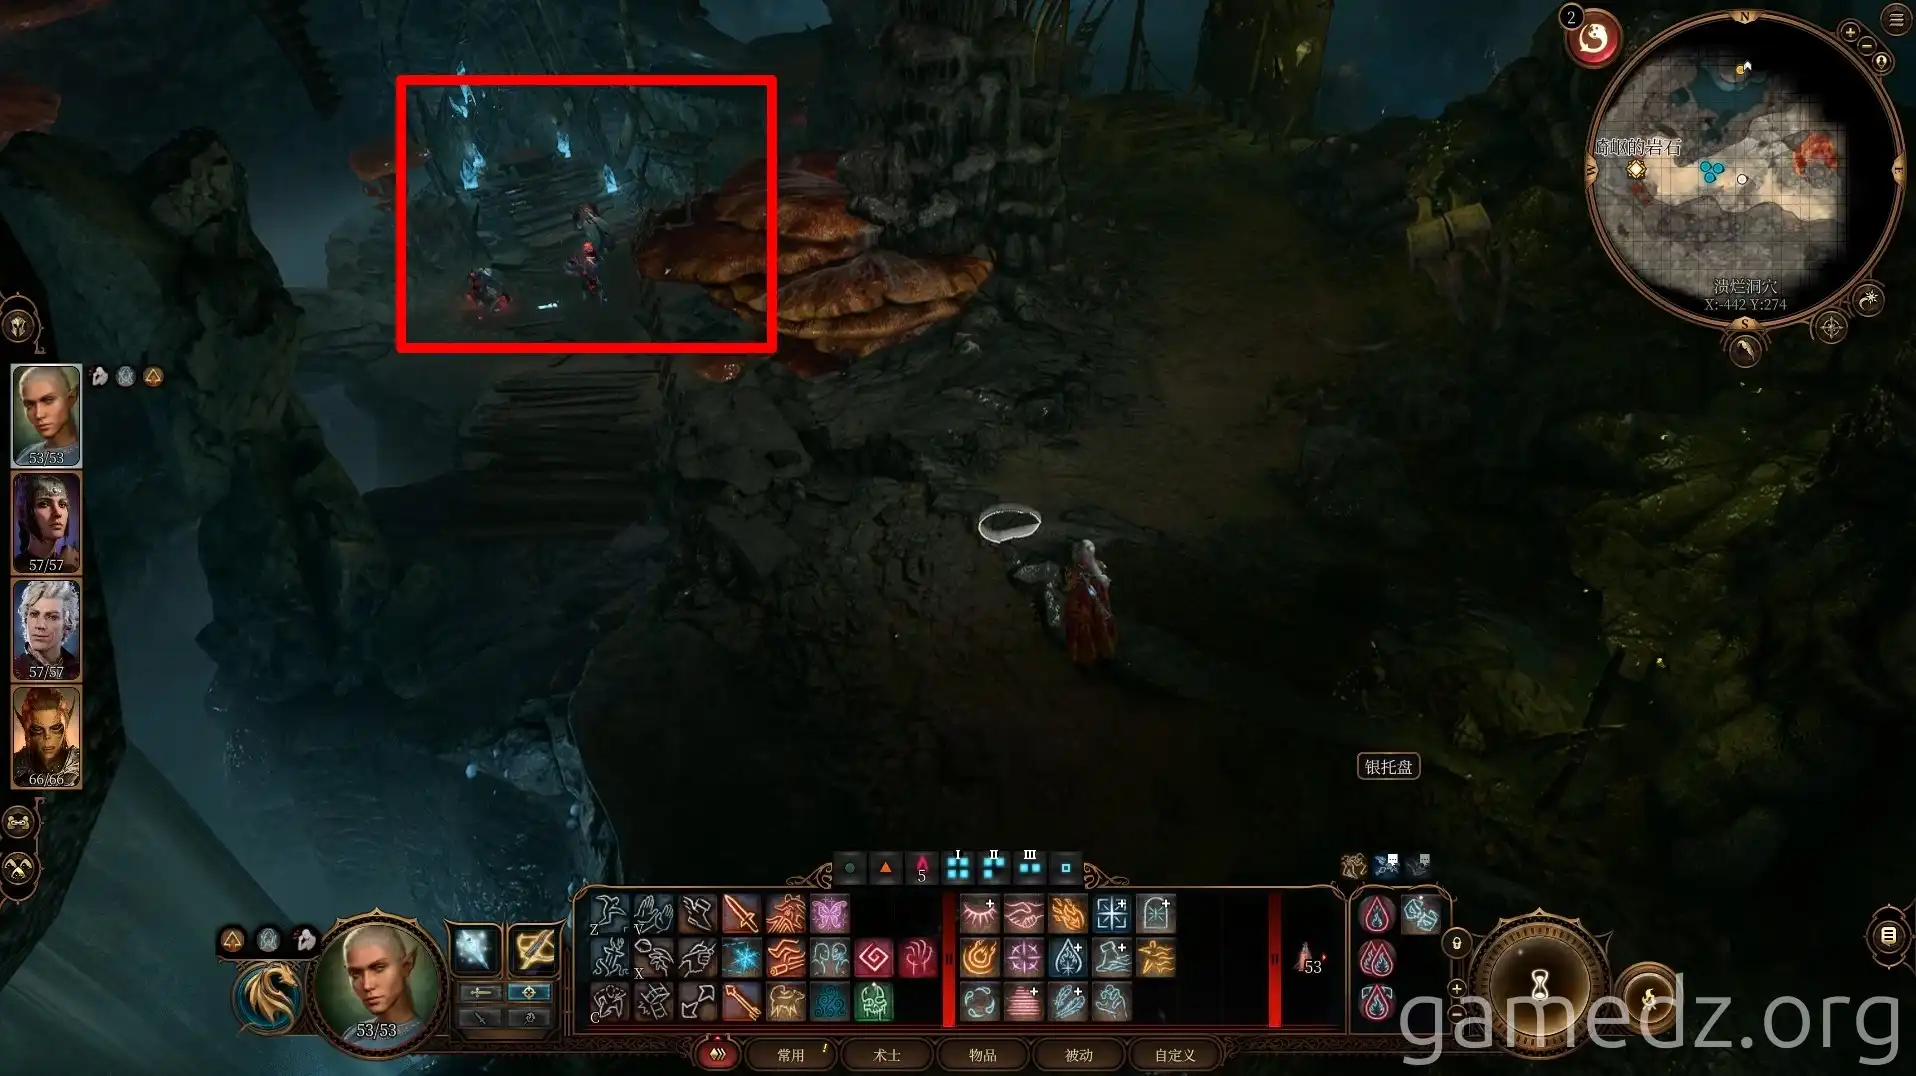
Upon entering the Rotting Caves, you'll see Kuo-Toa performing a ritual. Approach the Kuo-Toa to trigger a cutscene.
During the dialogue, you can investigate and discover that the deity the Kuo-Toa worship is just an ordinary Red Cap. However, you can still choose to cooperate and declare your willingness to become Boal's chosen.
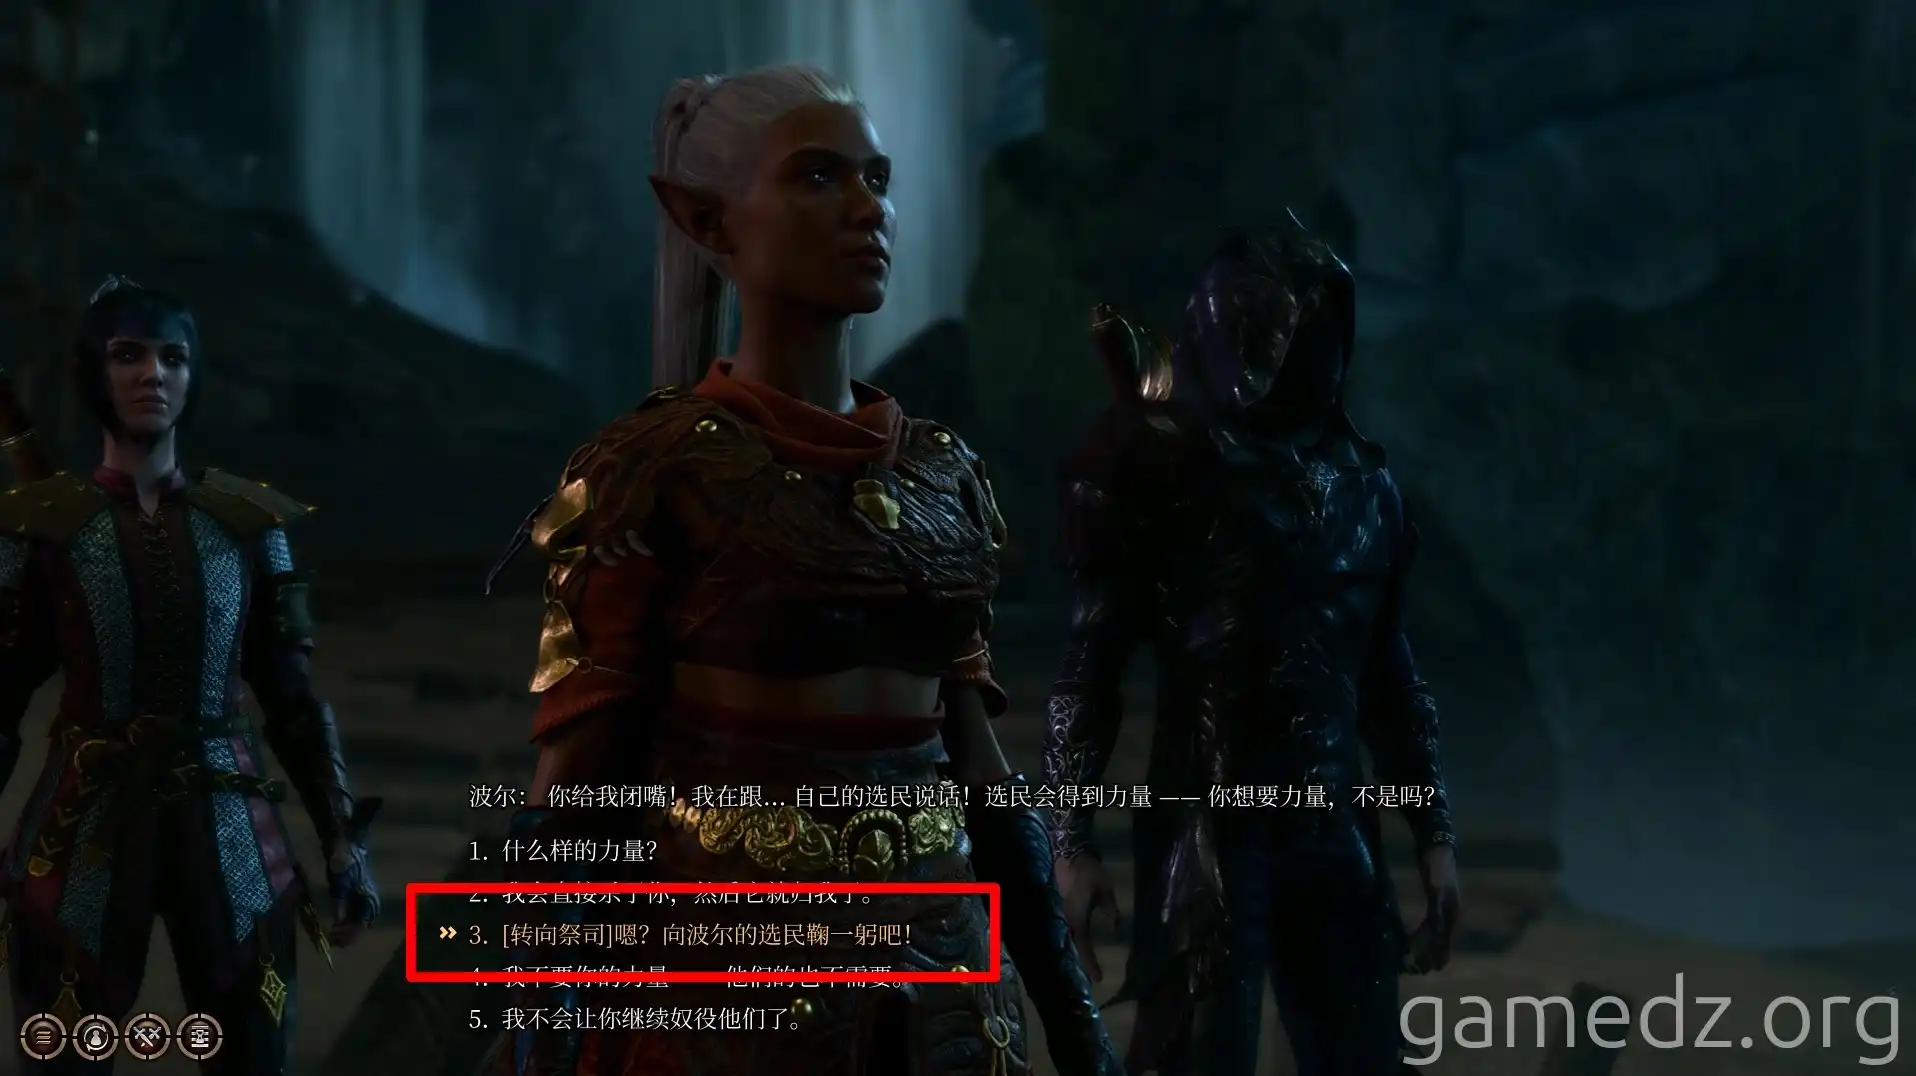
After agreeing to cooperate, Boal will gift you a rare weapon, [Boal's Scythe]. Characters with a Acolyte background will also receive an inspiration point.
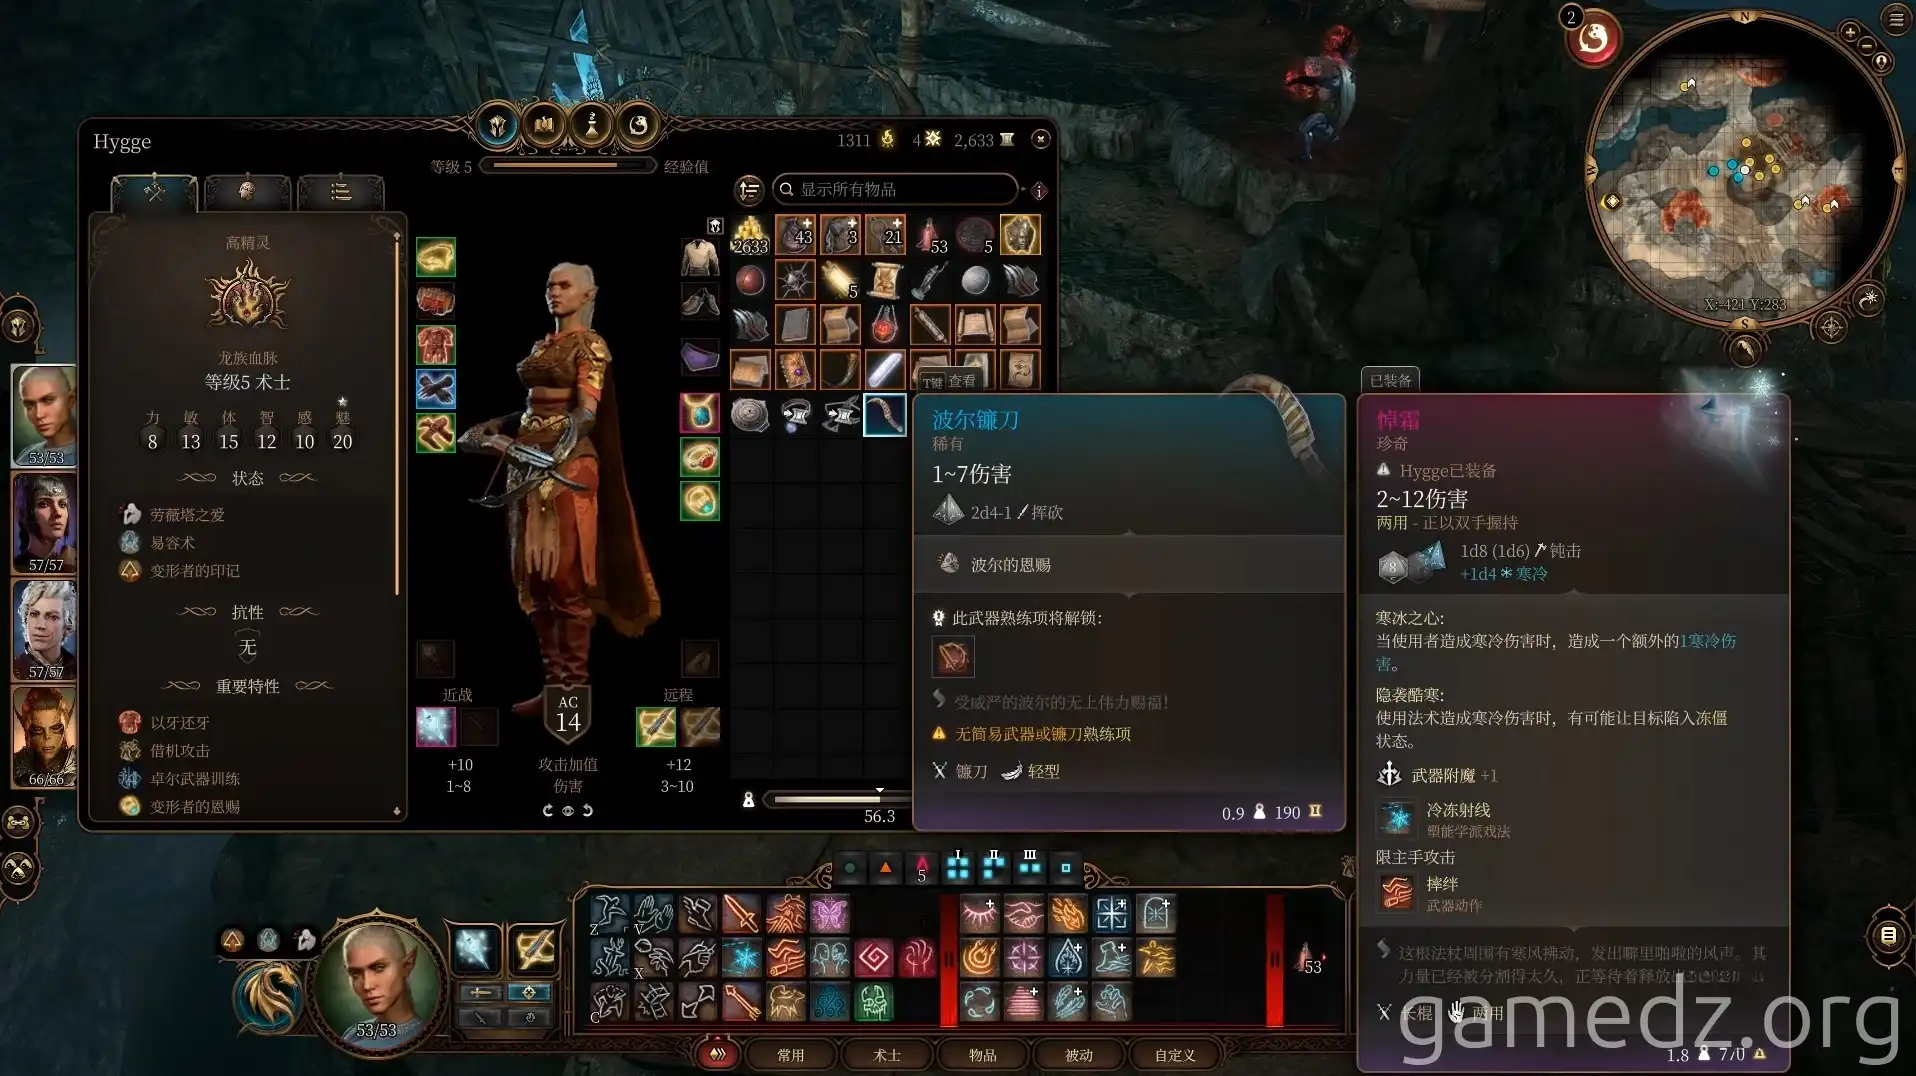
Afterward, head north from the ritual site and climb to the upper level using the rope.
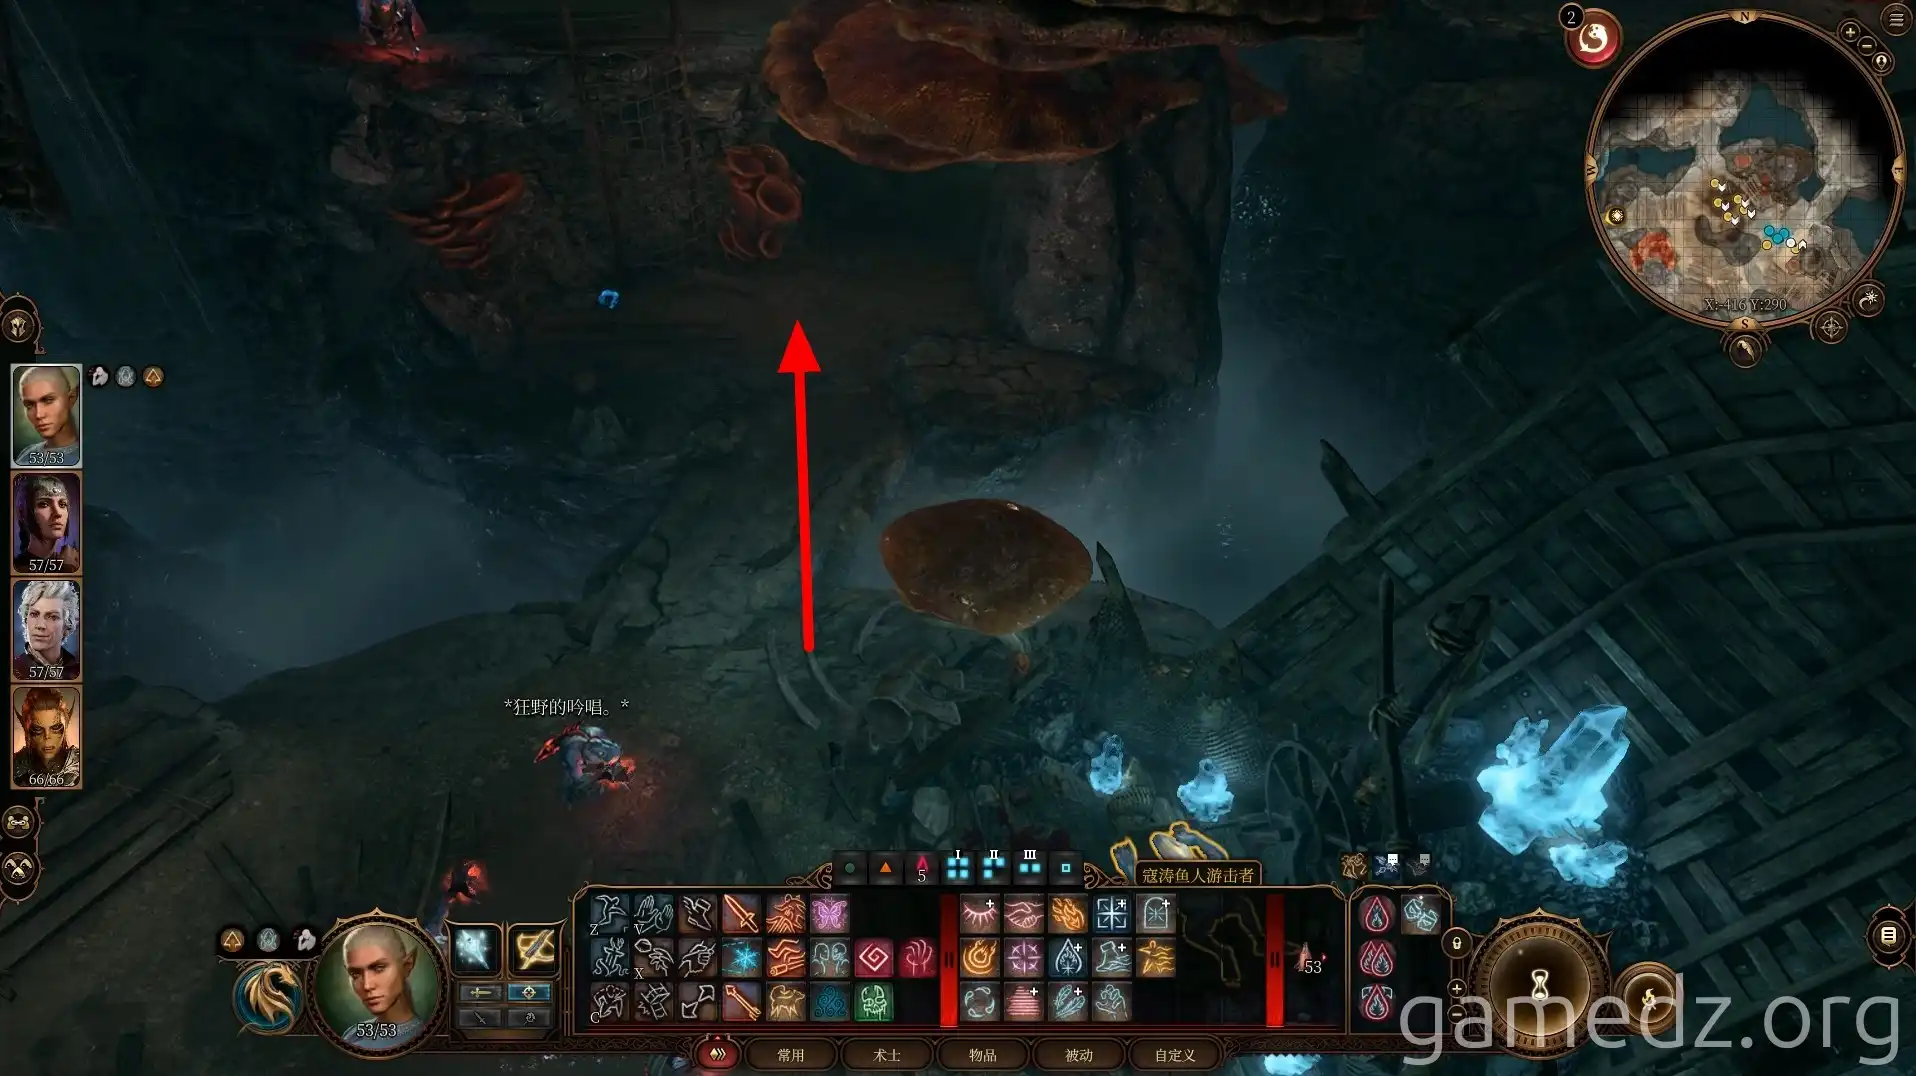
Once on the upper level, follow the path next to the mushrooms.
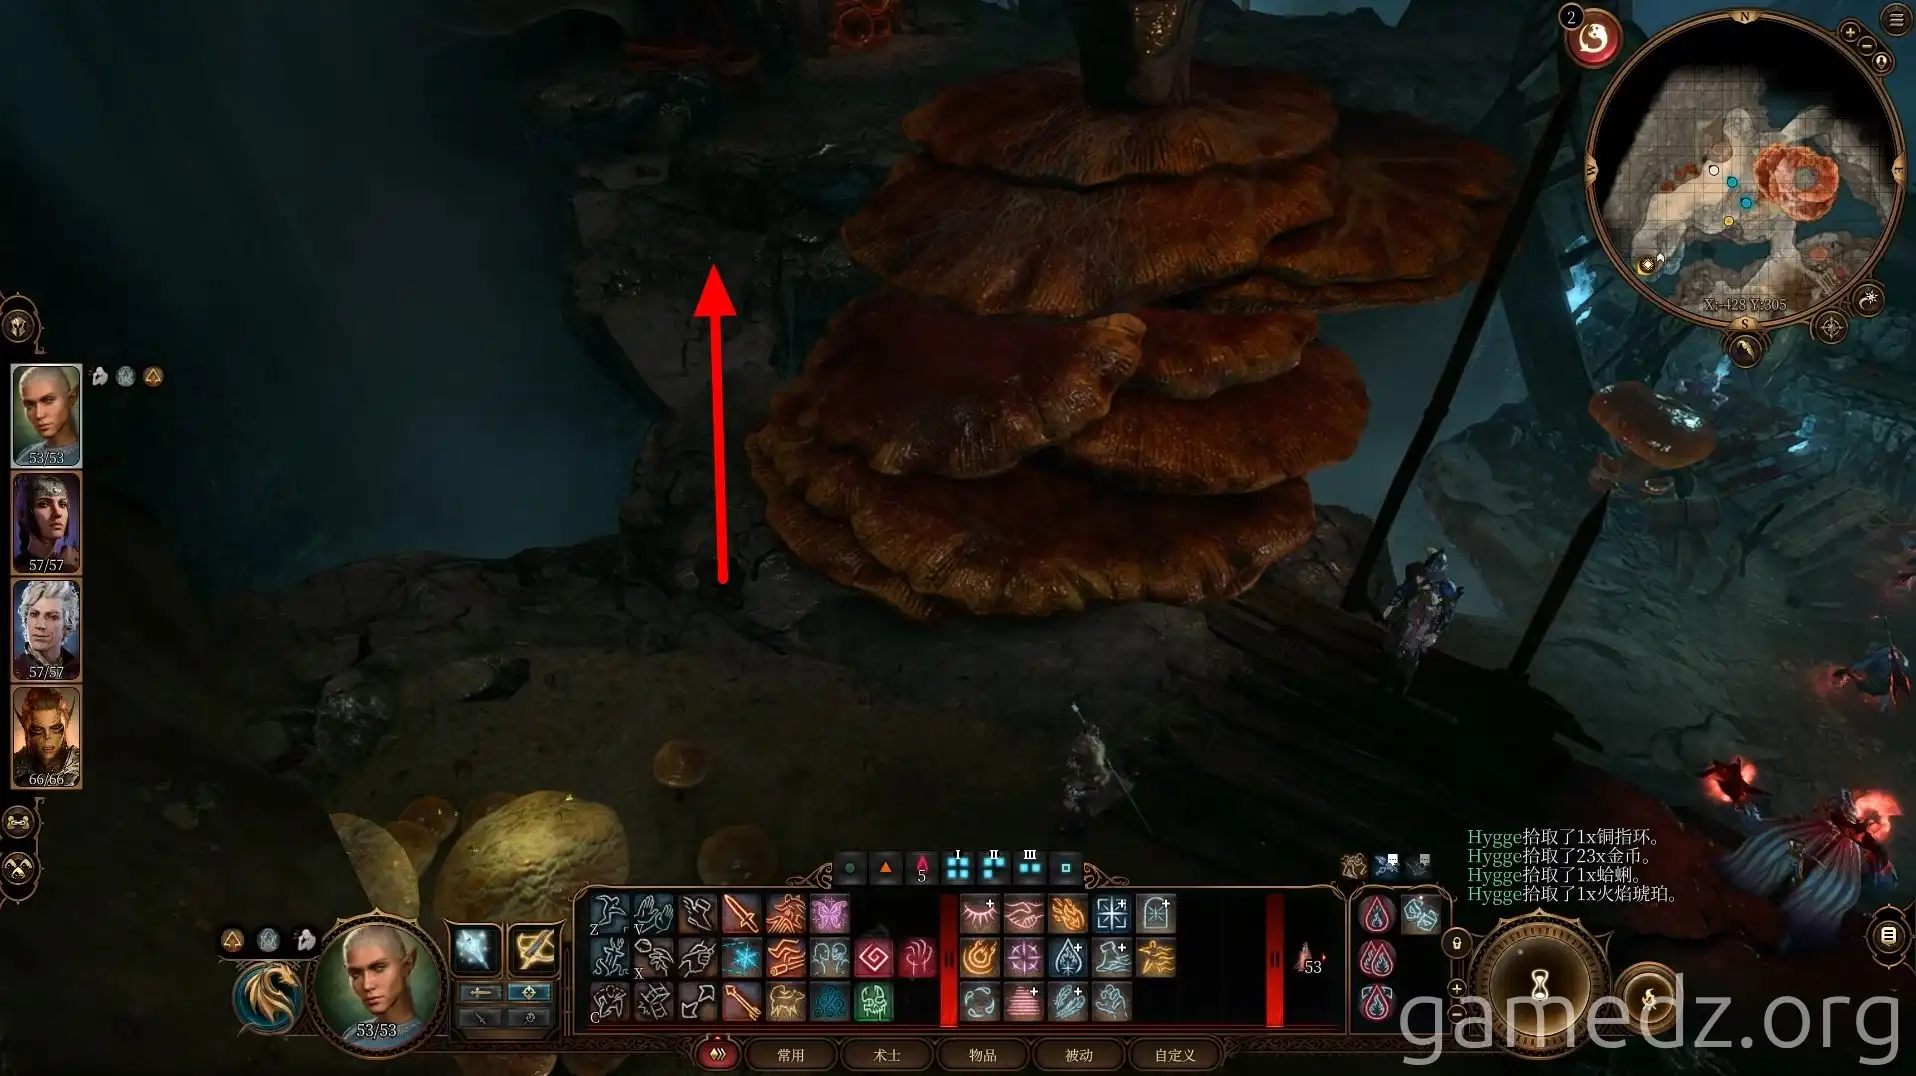
Under a glowing mushroom ahead, you'll find a mound of earth, but it doesn't contain a chest.
After digging up the mound, proceed diagonally forward and to the right.
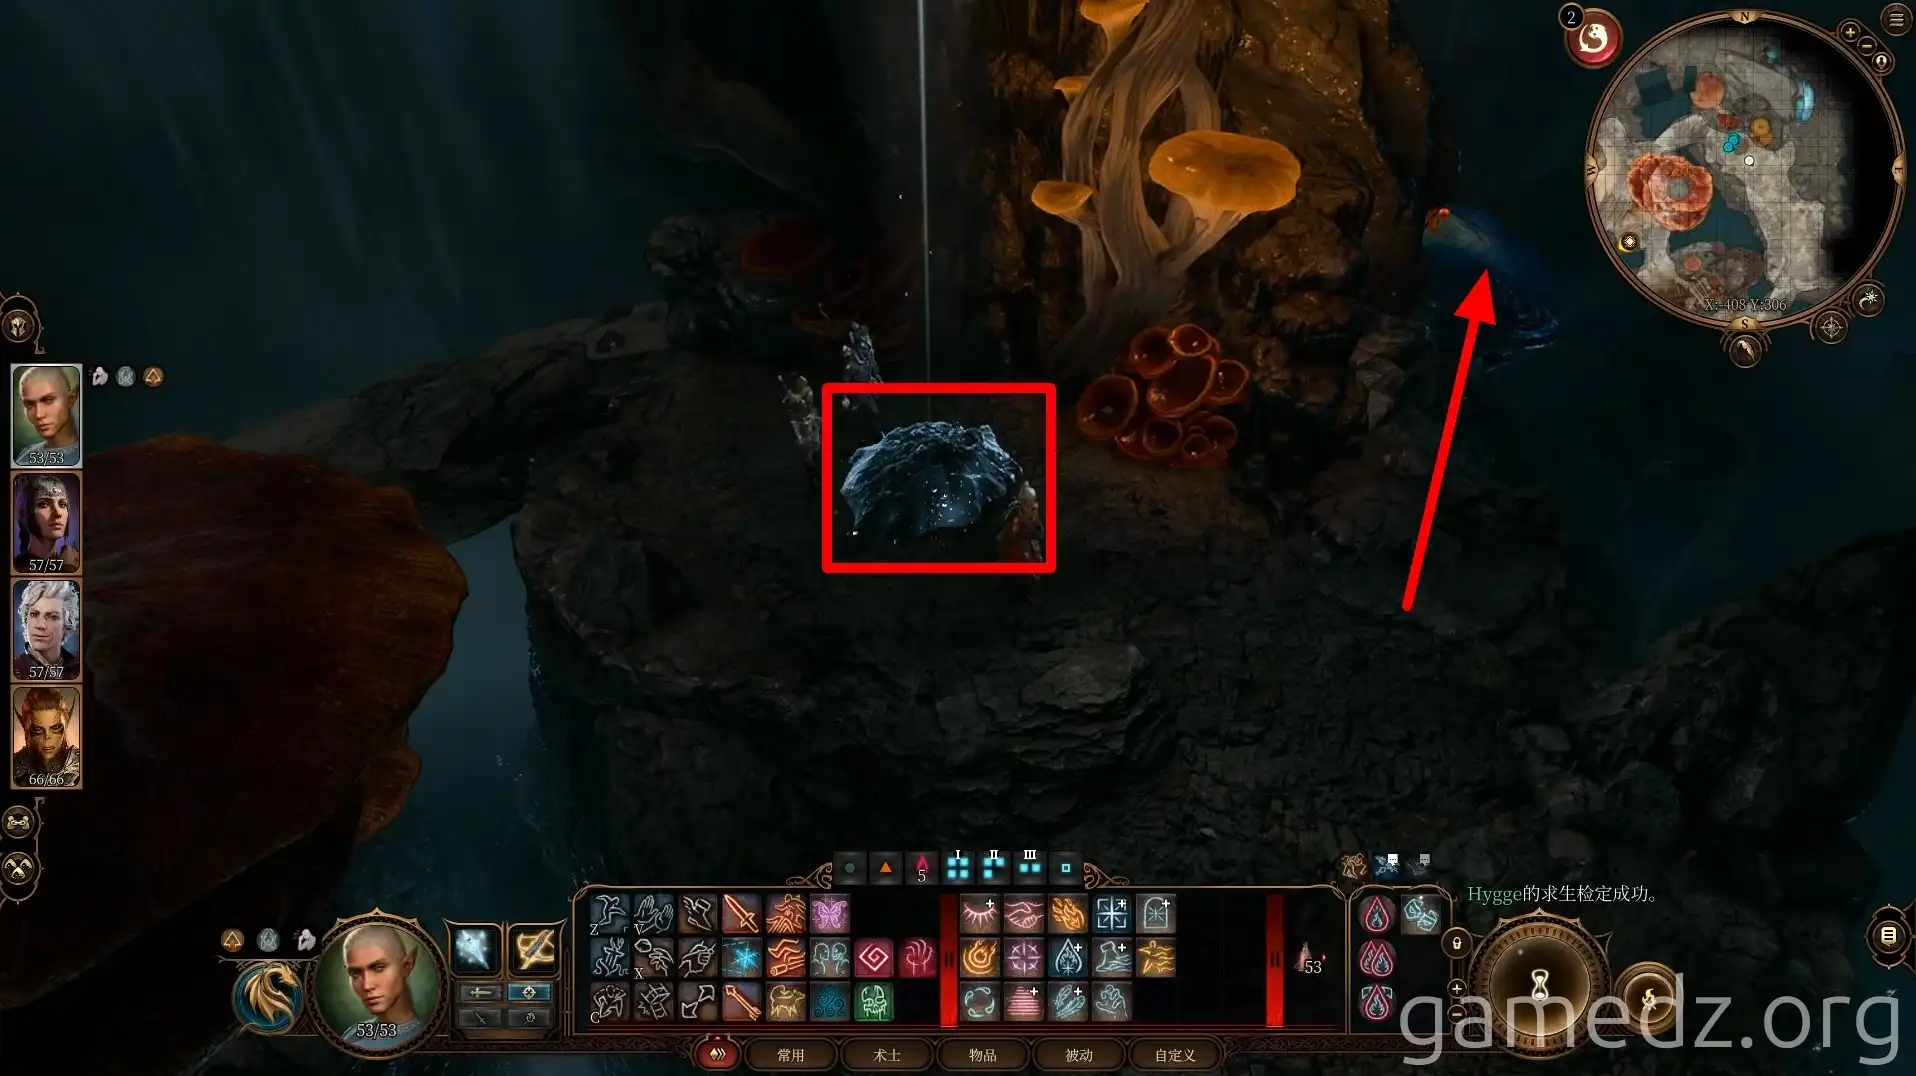
Use ranged attacks to destroy the Torch Mushroom on the mushroom, then proceed by jumping.
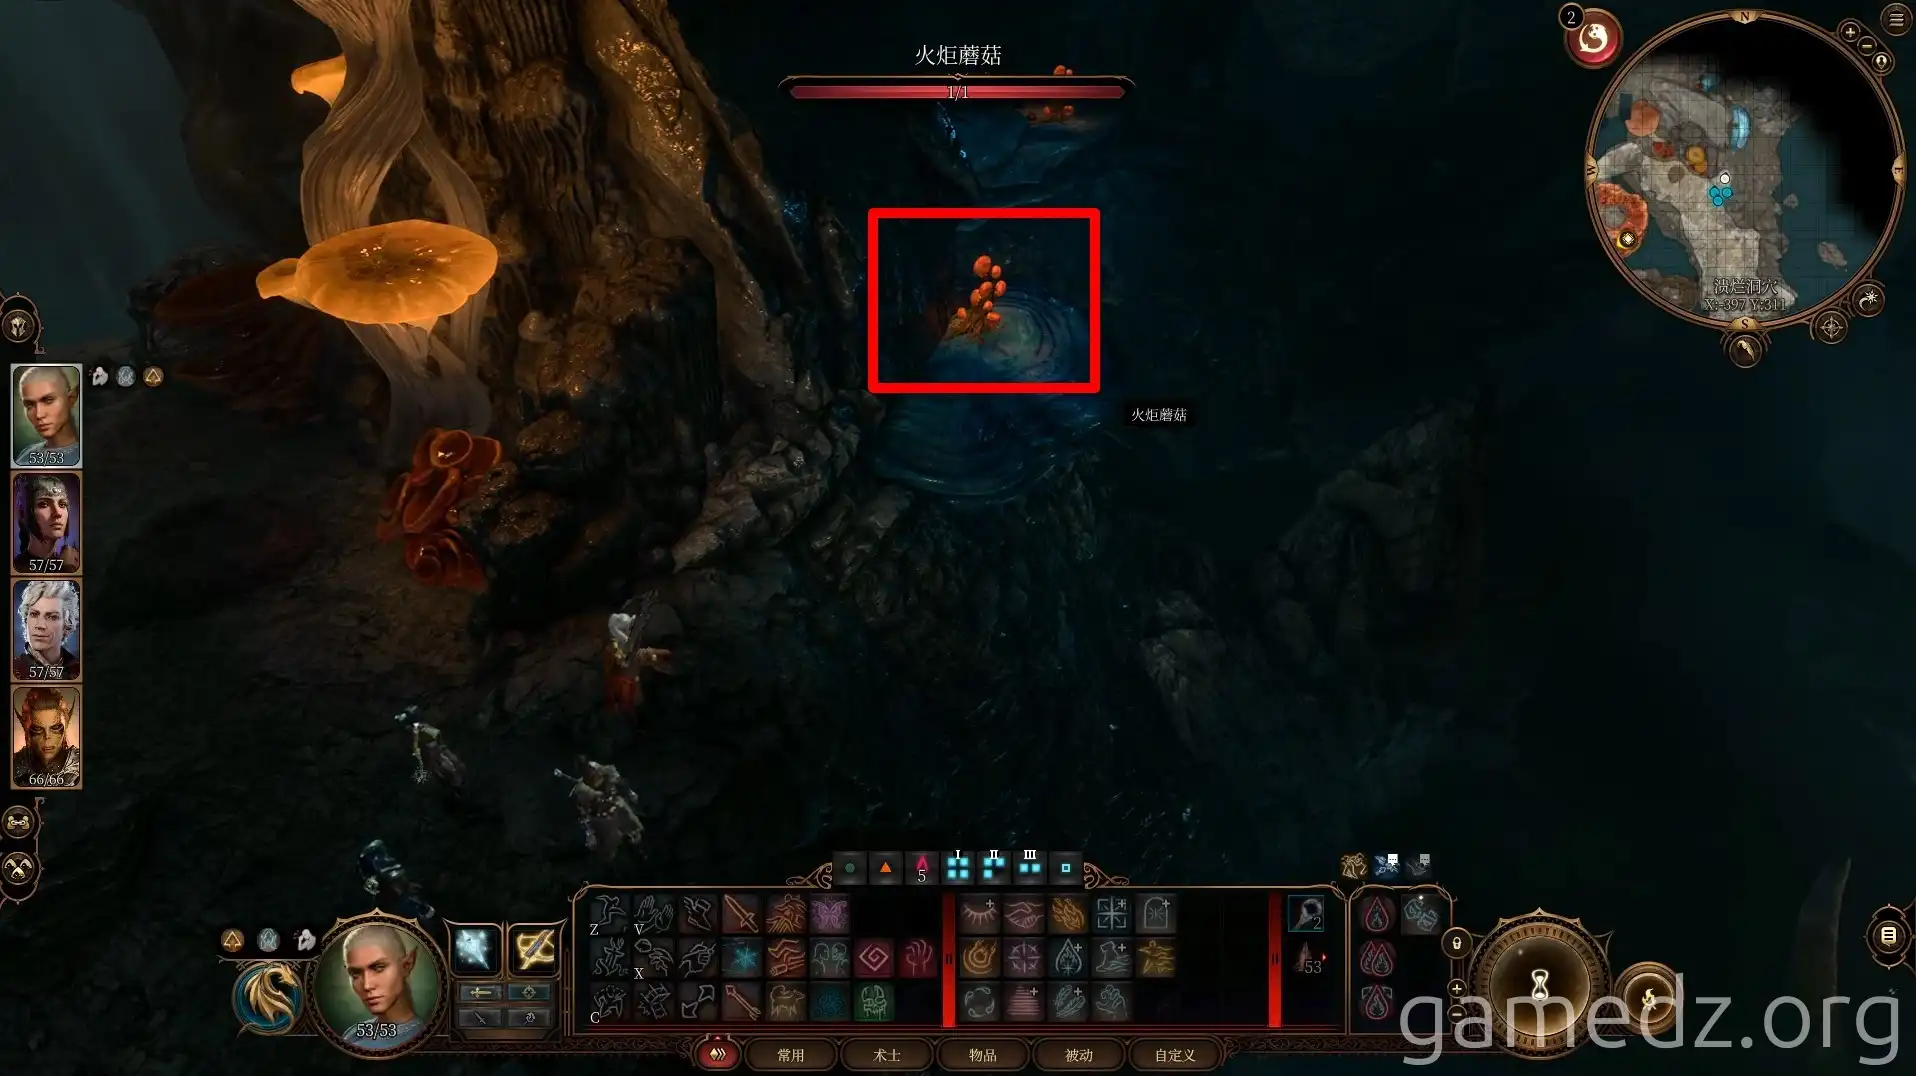
Ahead, you can first destroy the Torch Mushroom in the distance, then control a character to jump to the foremost platform. Afterward, destroy the Torch Mushroom in the corner to the left. You can then open a chest on this platform.
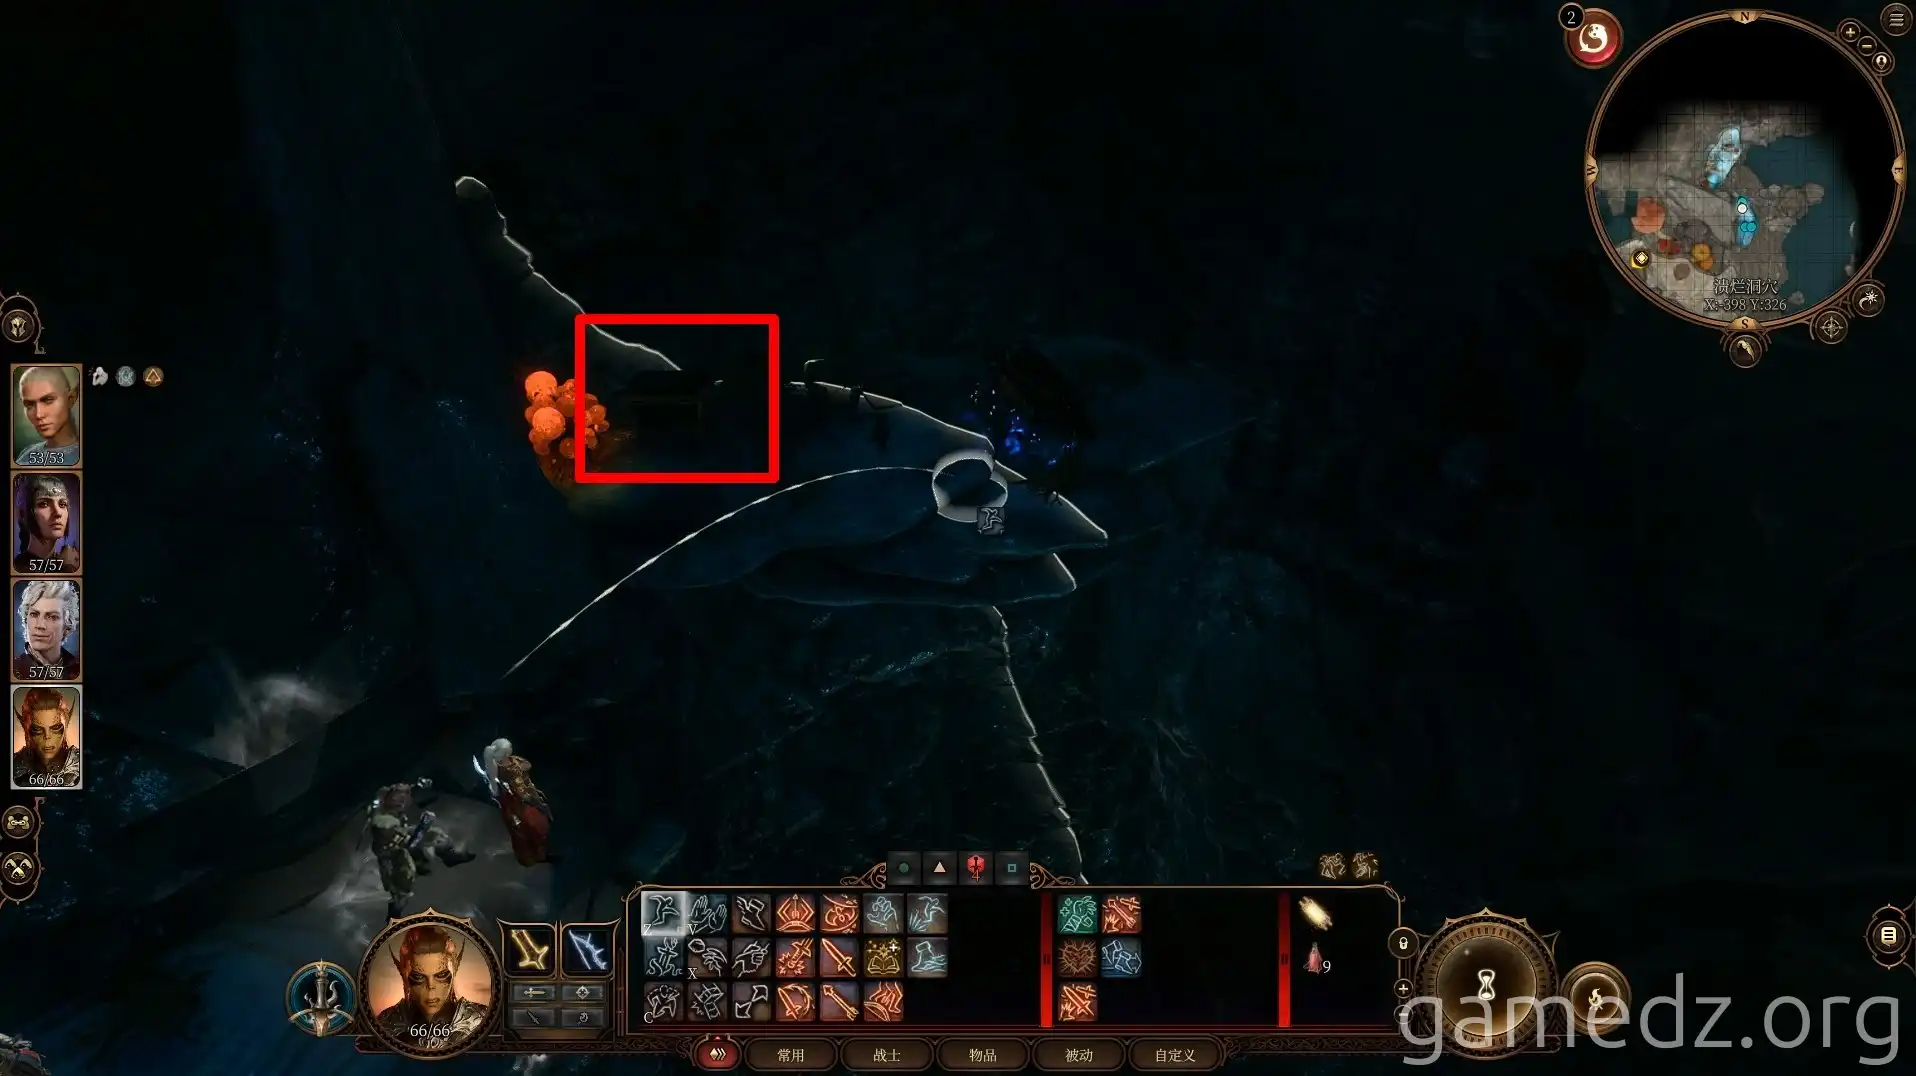
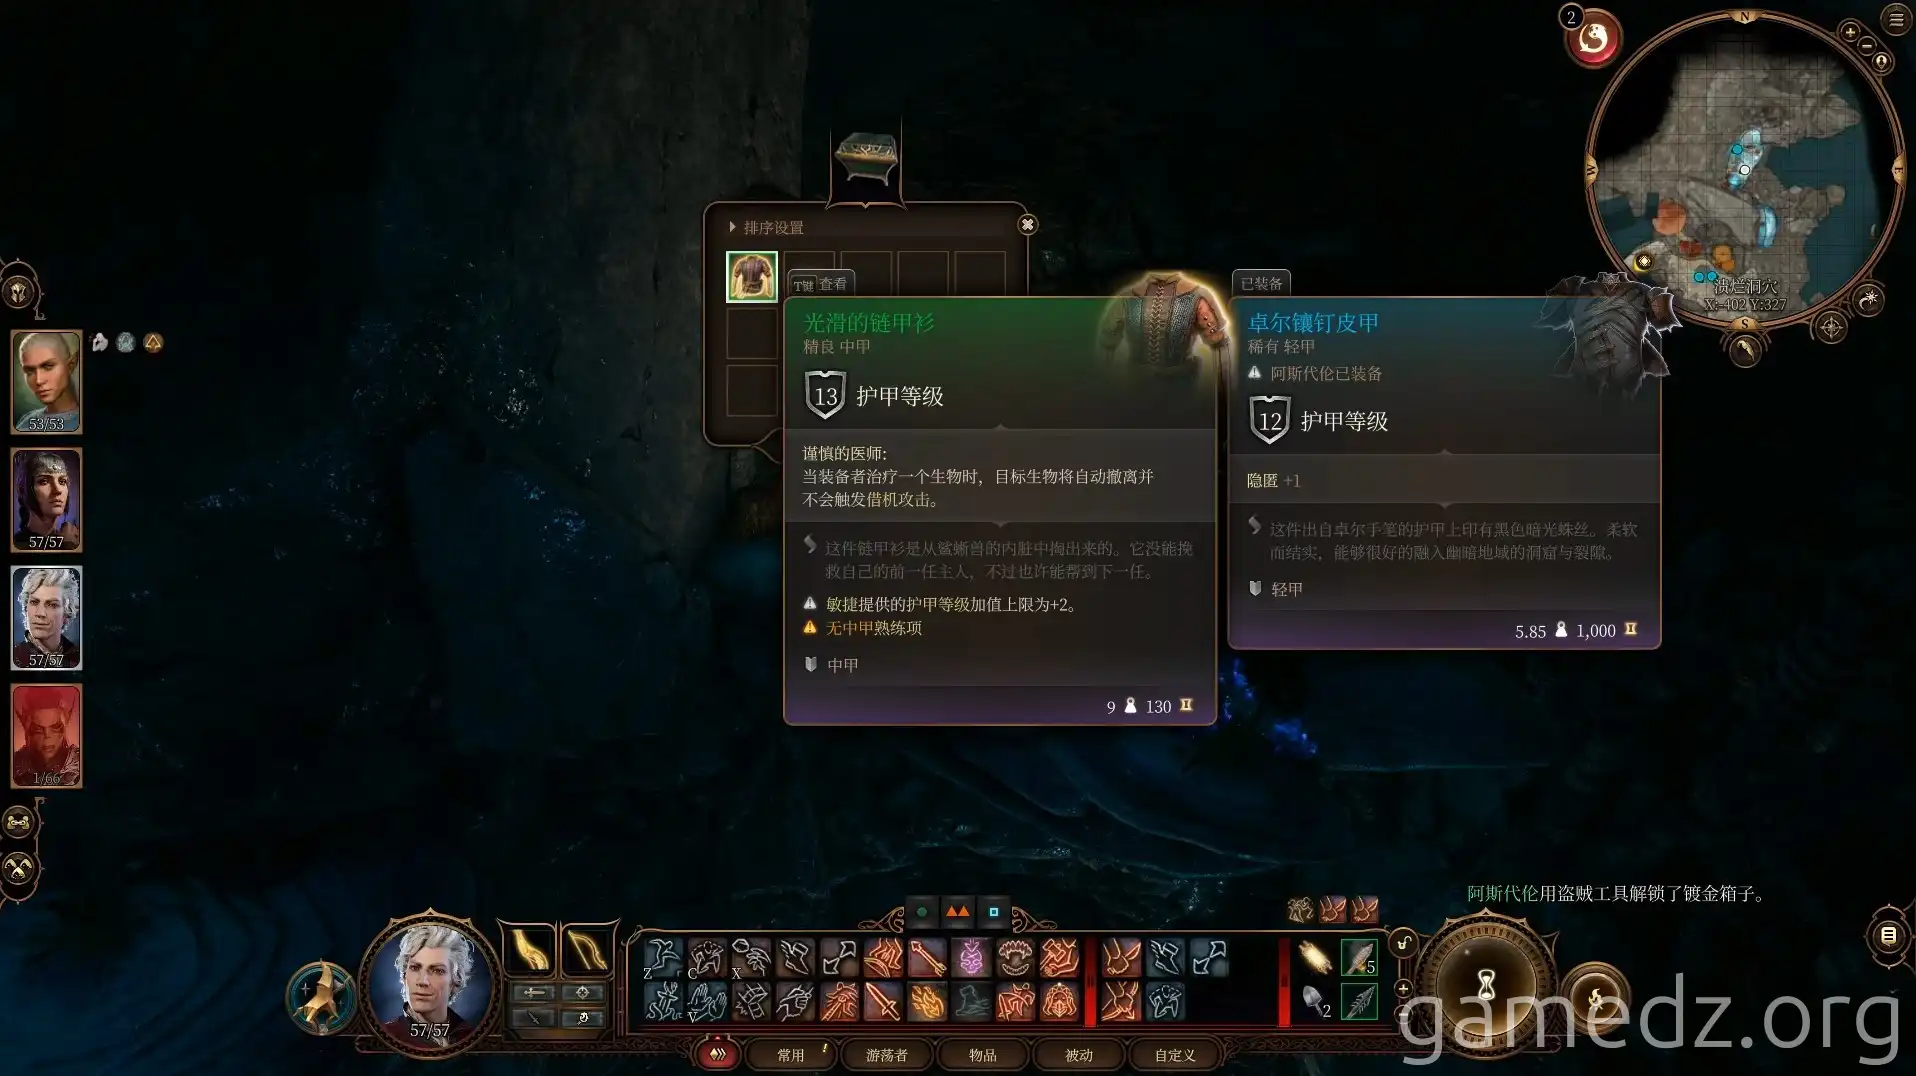
Inside the chest, you'll find the rare armor [Slick Chain Shirt].
Return to the area above the ritual site and follow the path all the way south.
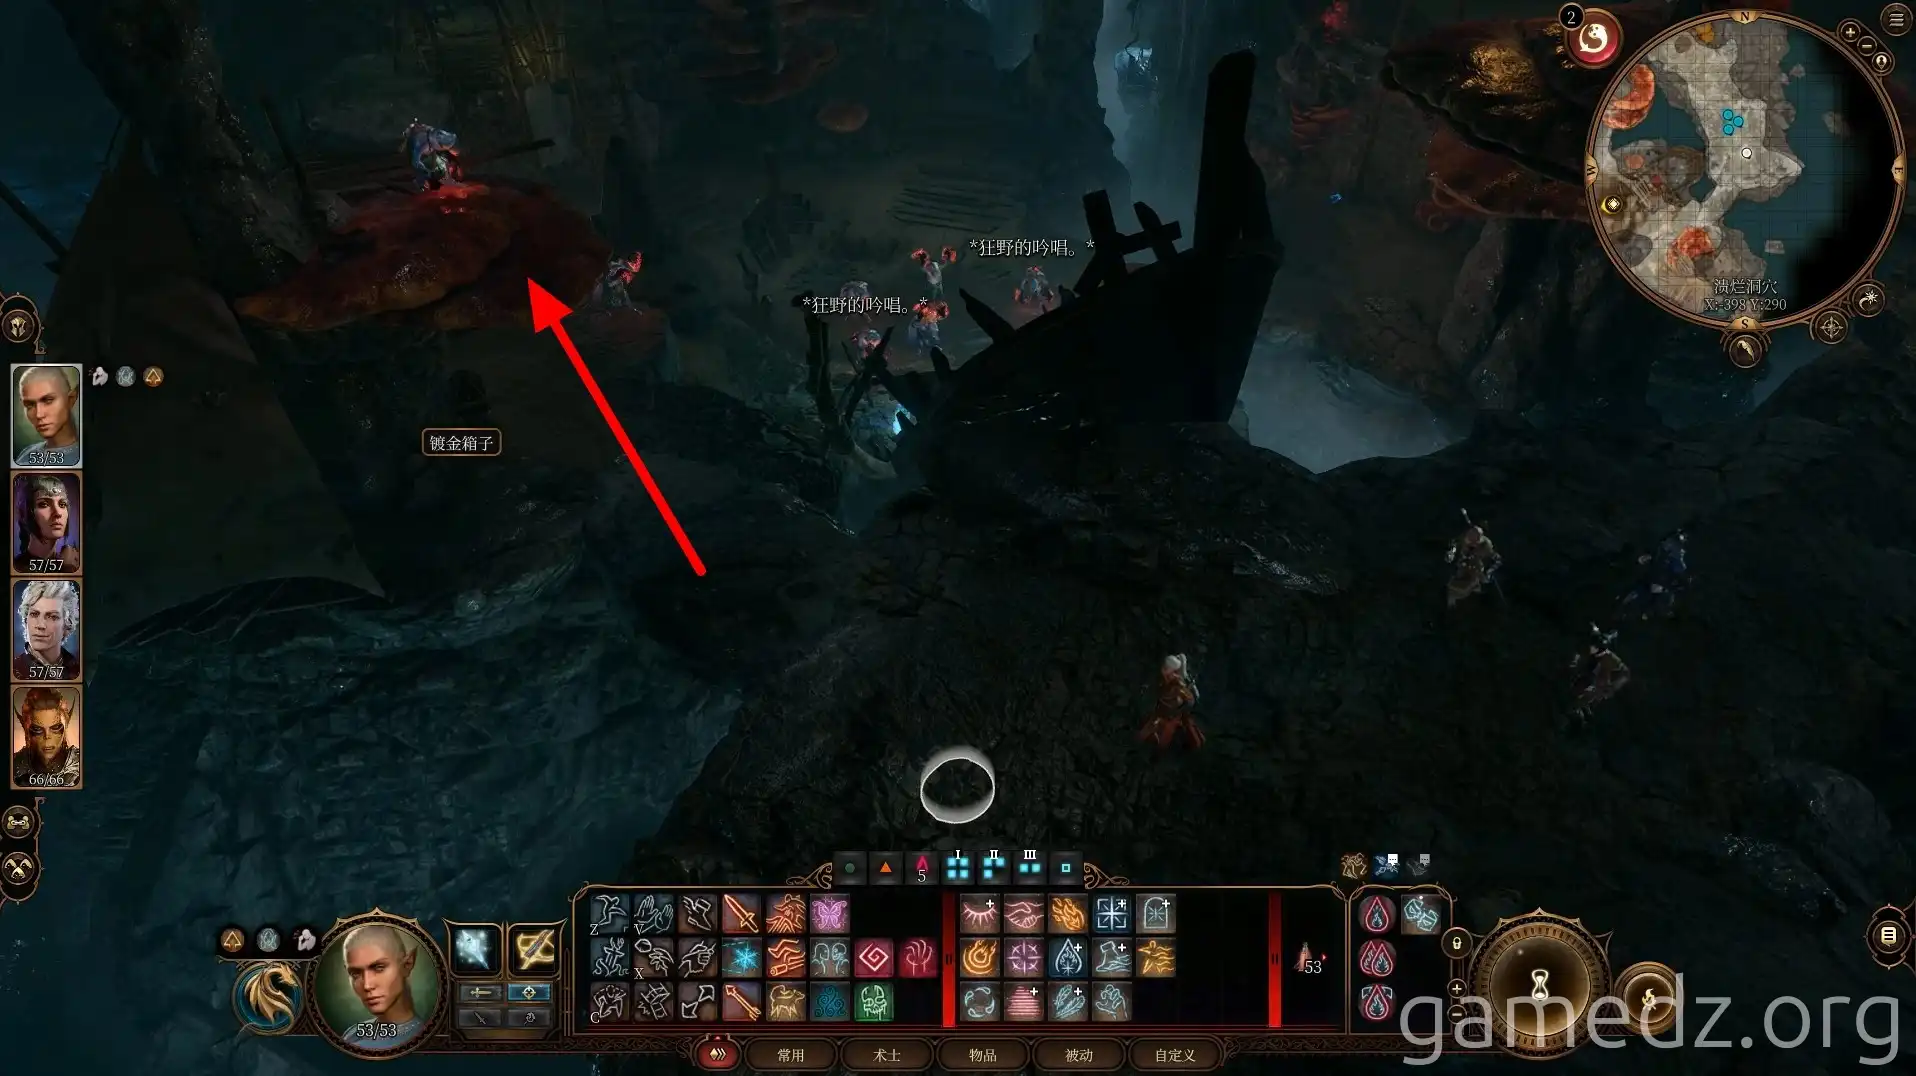
In a hollow on the beach ahead, you'll find a mound of earth with a buried chest.
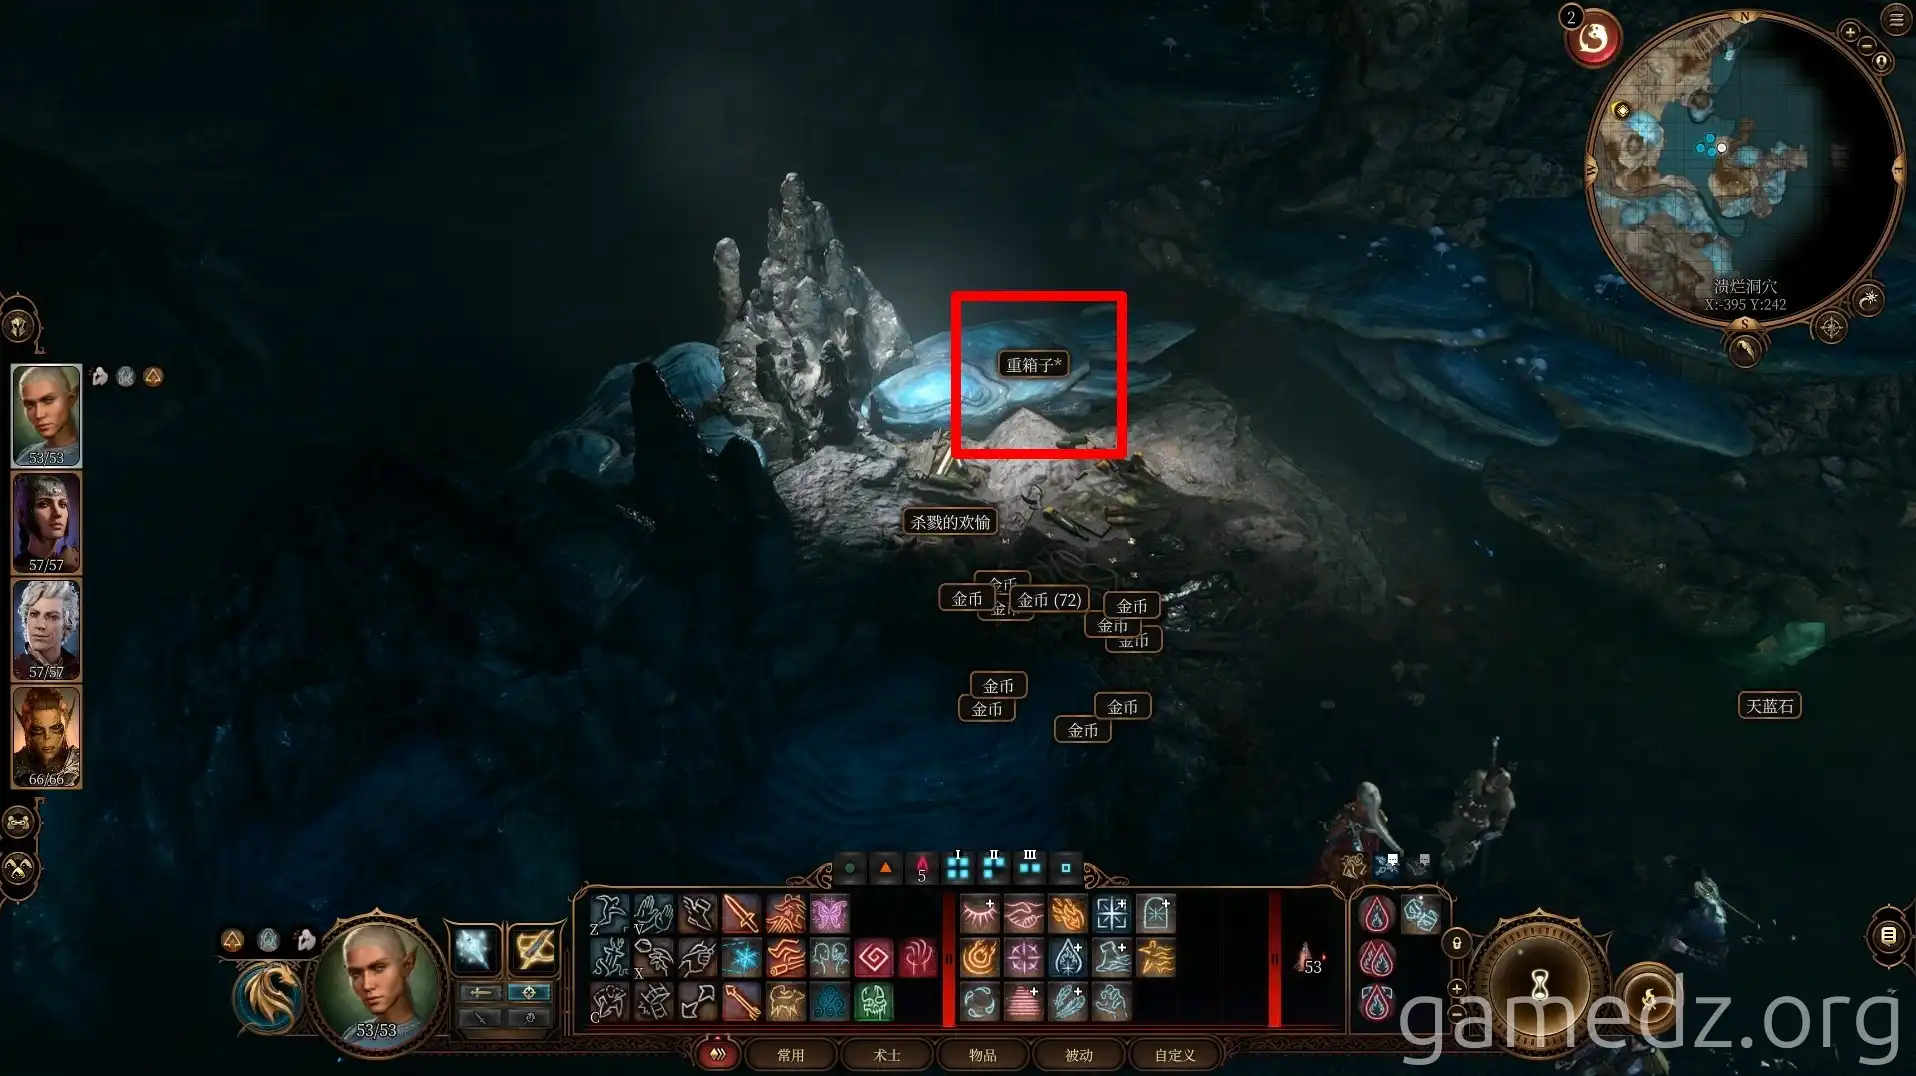
Continuing south, you'll find a large amount of gold and a heavy chest. The contents of the heavy chest are random, with a chance to obtain some powerful magic arrows.
With this, the entire Kuo-Toa village has been thoroughly searched. Leave directly and return to the fork where you came from.
Once back at the fork east of the small plaza, head north via the rugged rocks.
Upon reaching the upper level, proceed straight along the path and use fire-based attacks to burn away the spider webs.
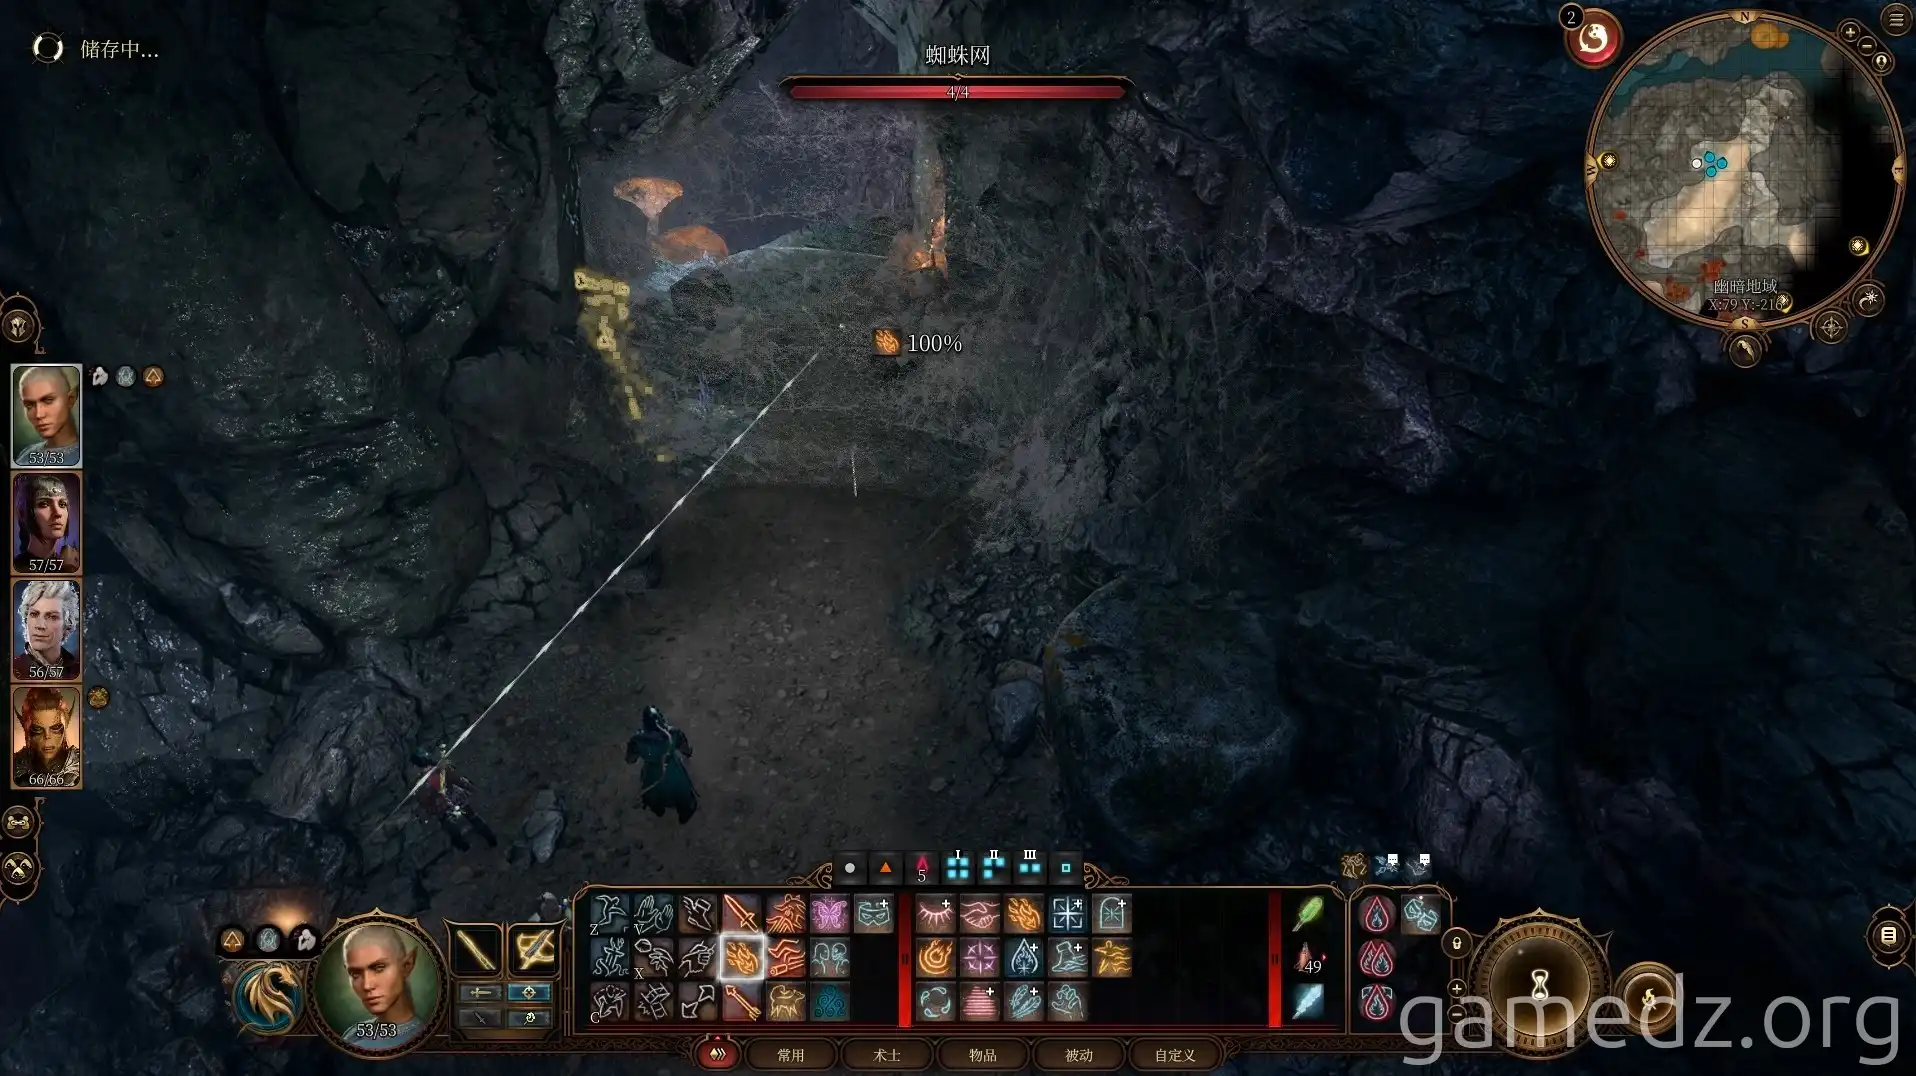
Behind the spider webs is a heavy chest. Lockpick it open to obtain the rare armor [Drow Studded Leather].
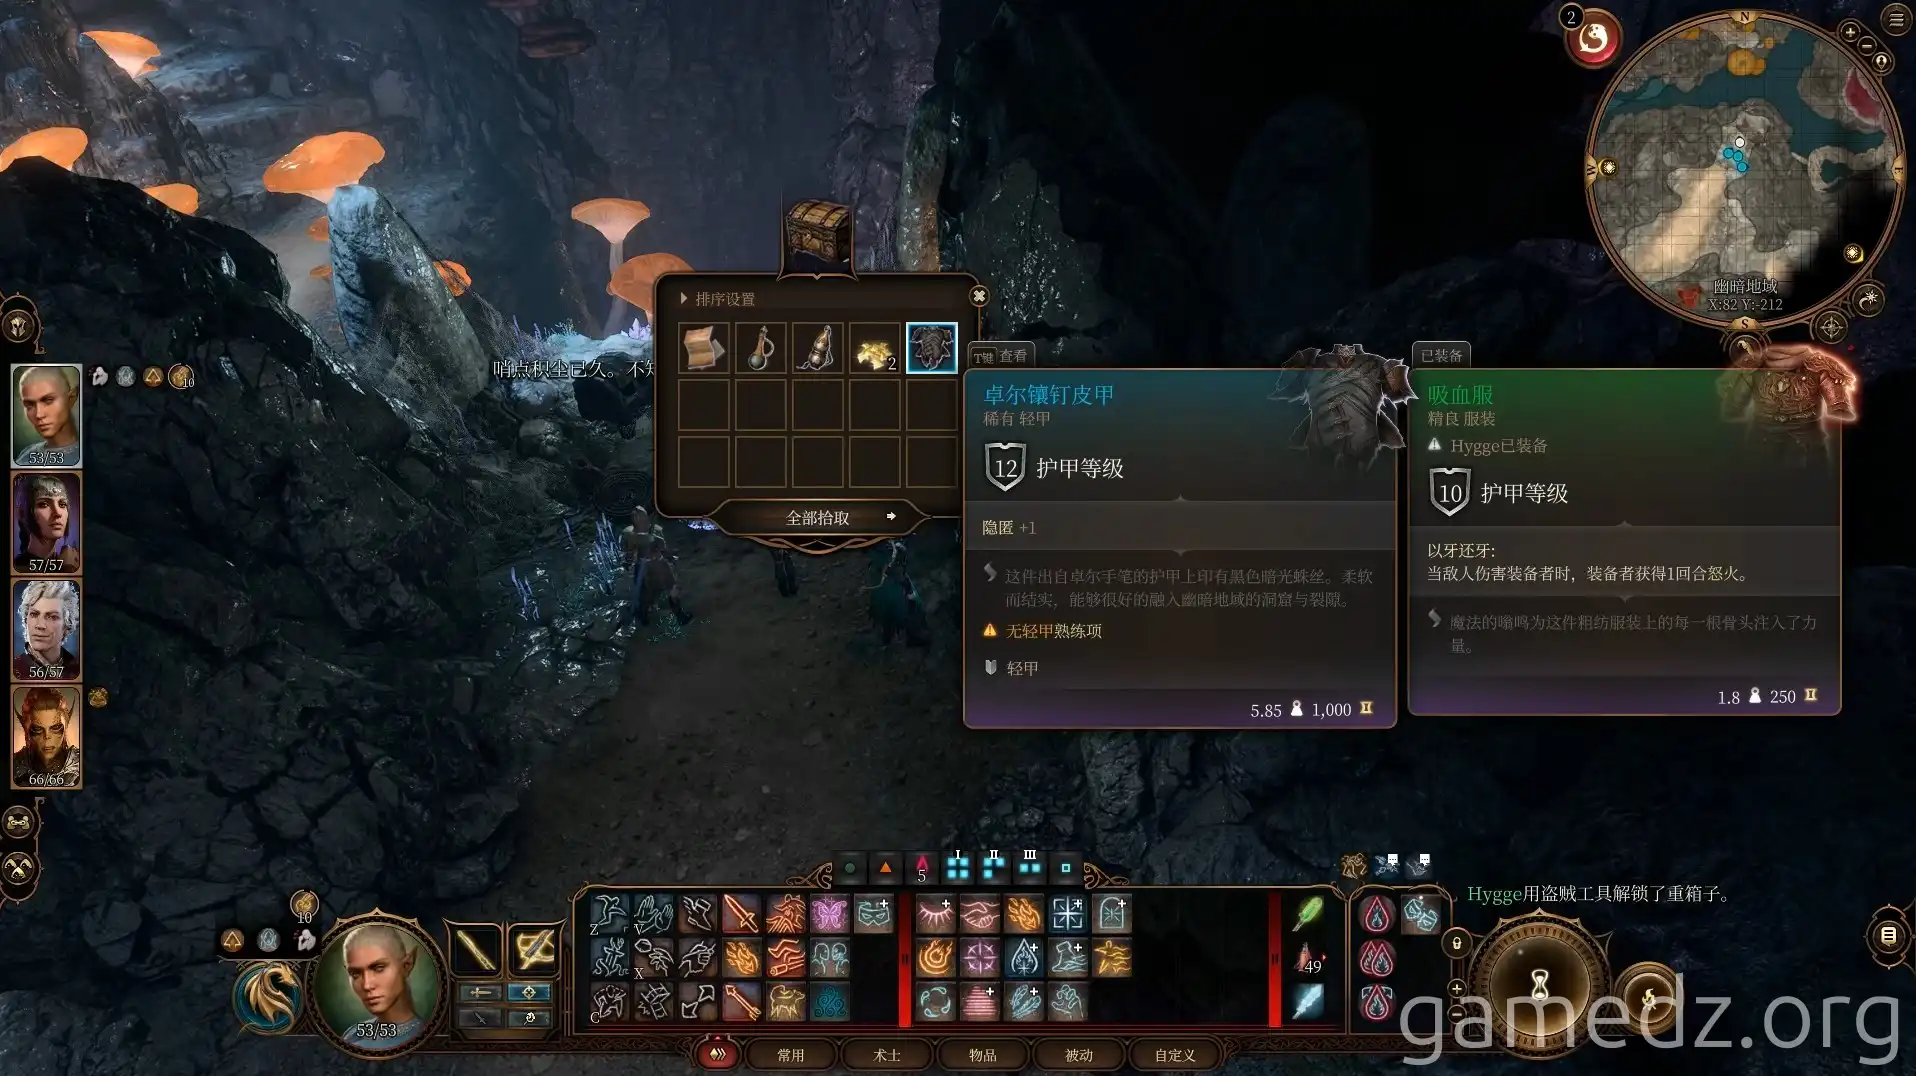
Then, before the spider webs, continue east to the upper level using the stone steps.
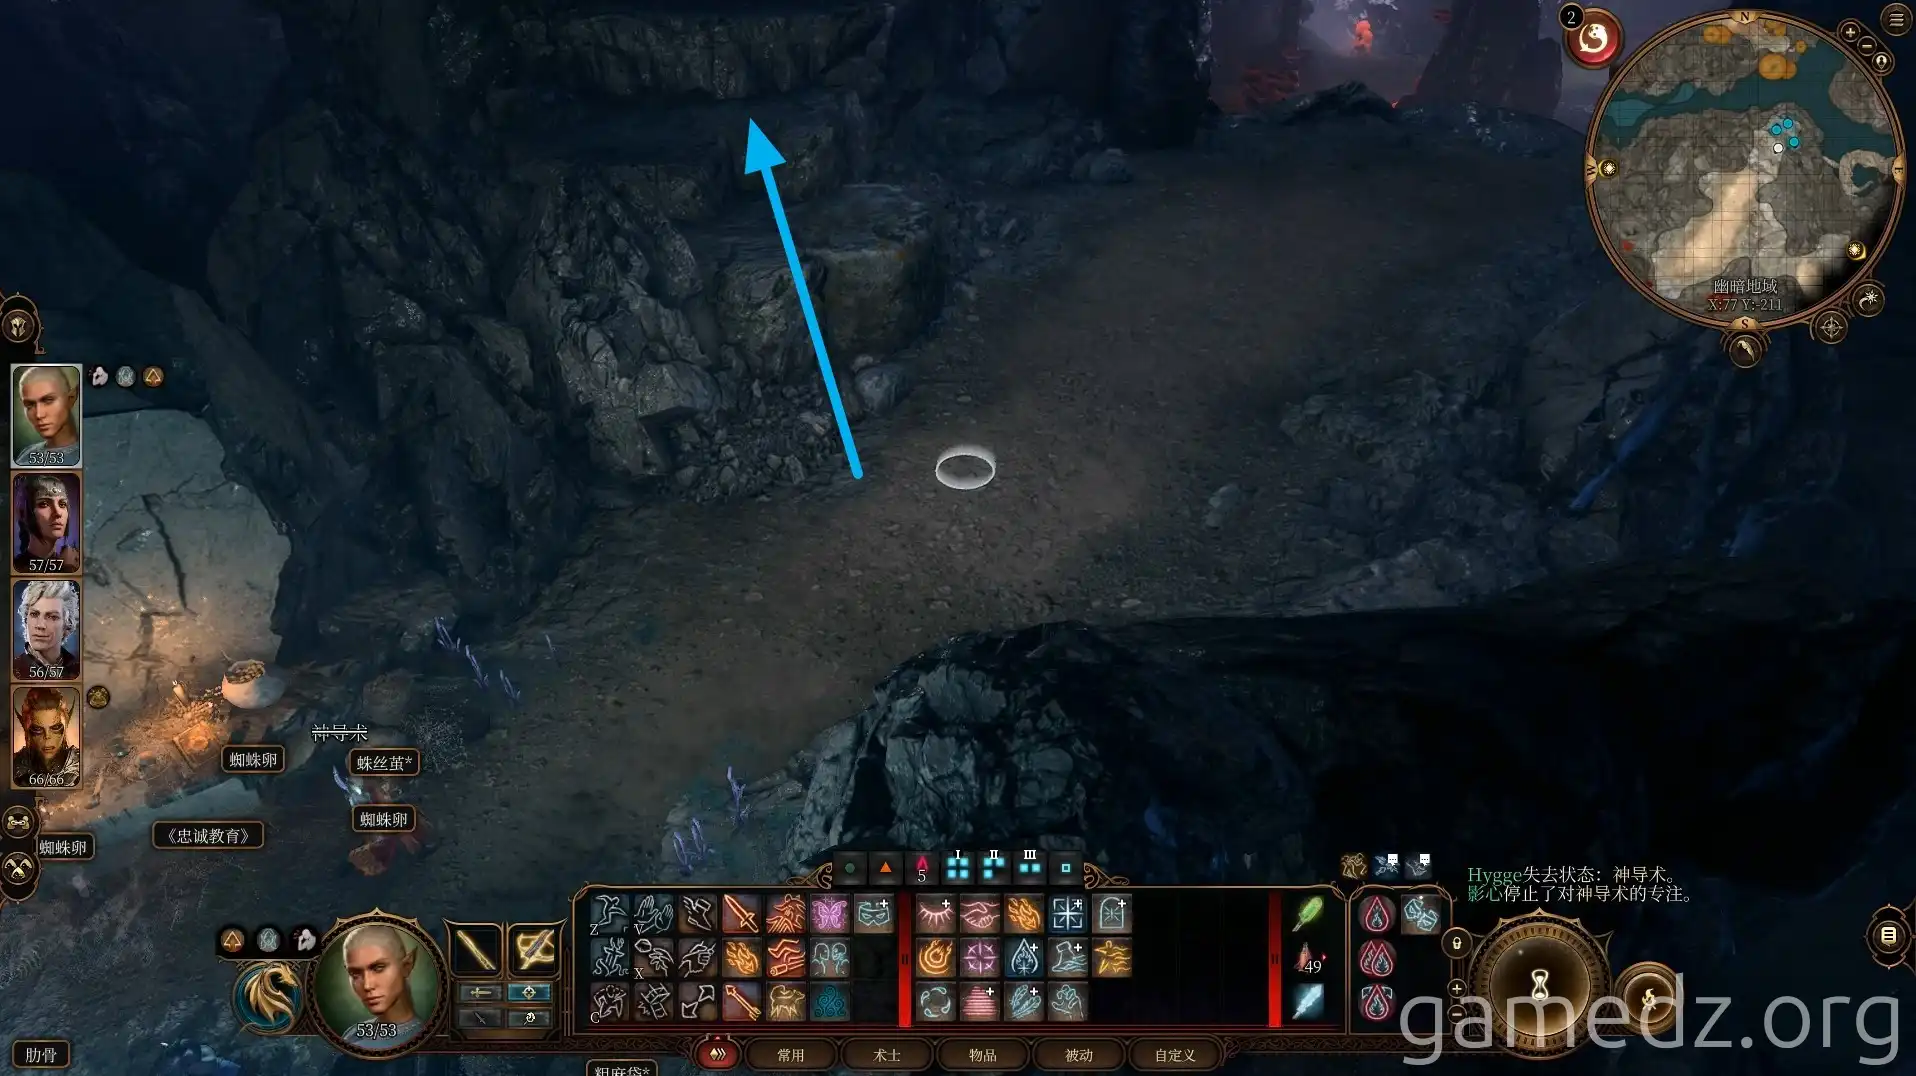
Ascend using the rugged rocks.
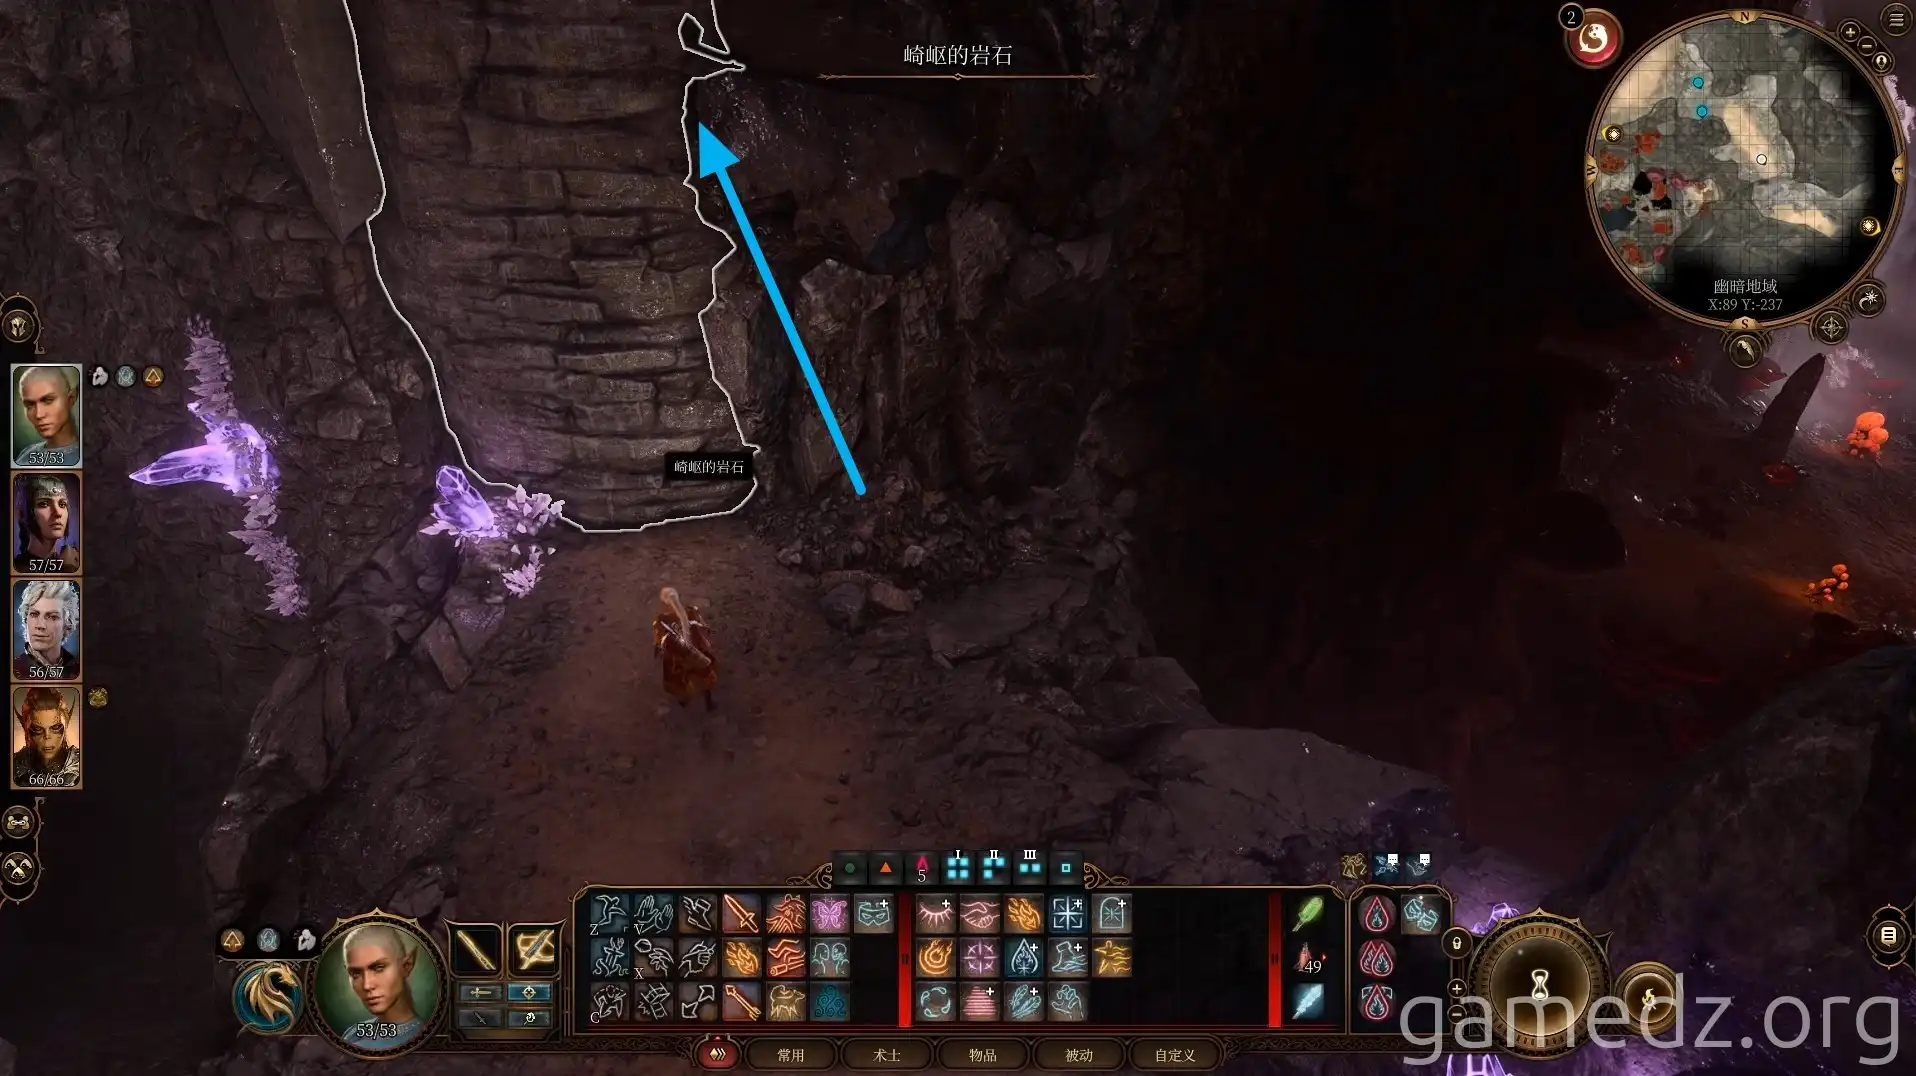
Be aware of poisonous gas on the upper level. You can send one character up first to block the ventilation shaft, then have the others follow. Afterward, continue to the left.
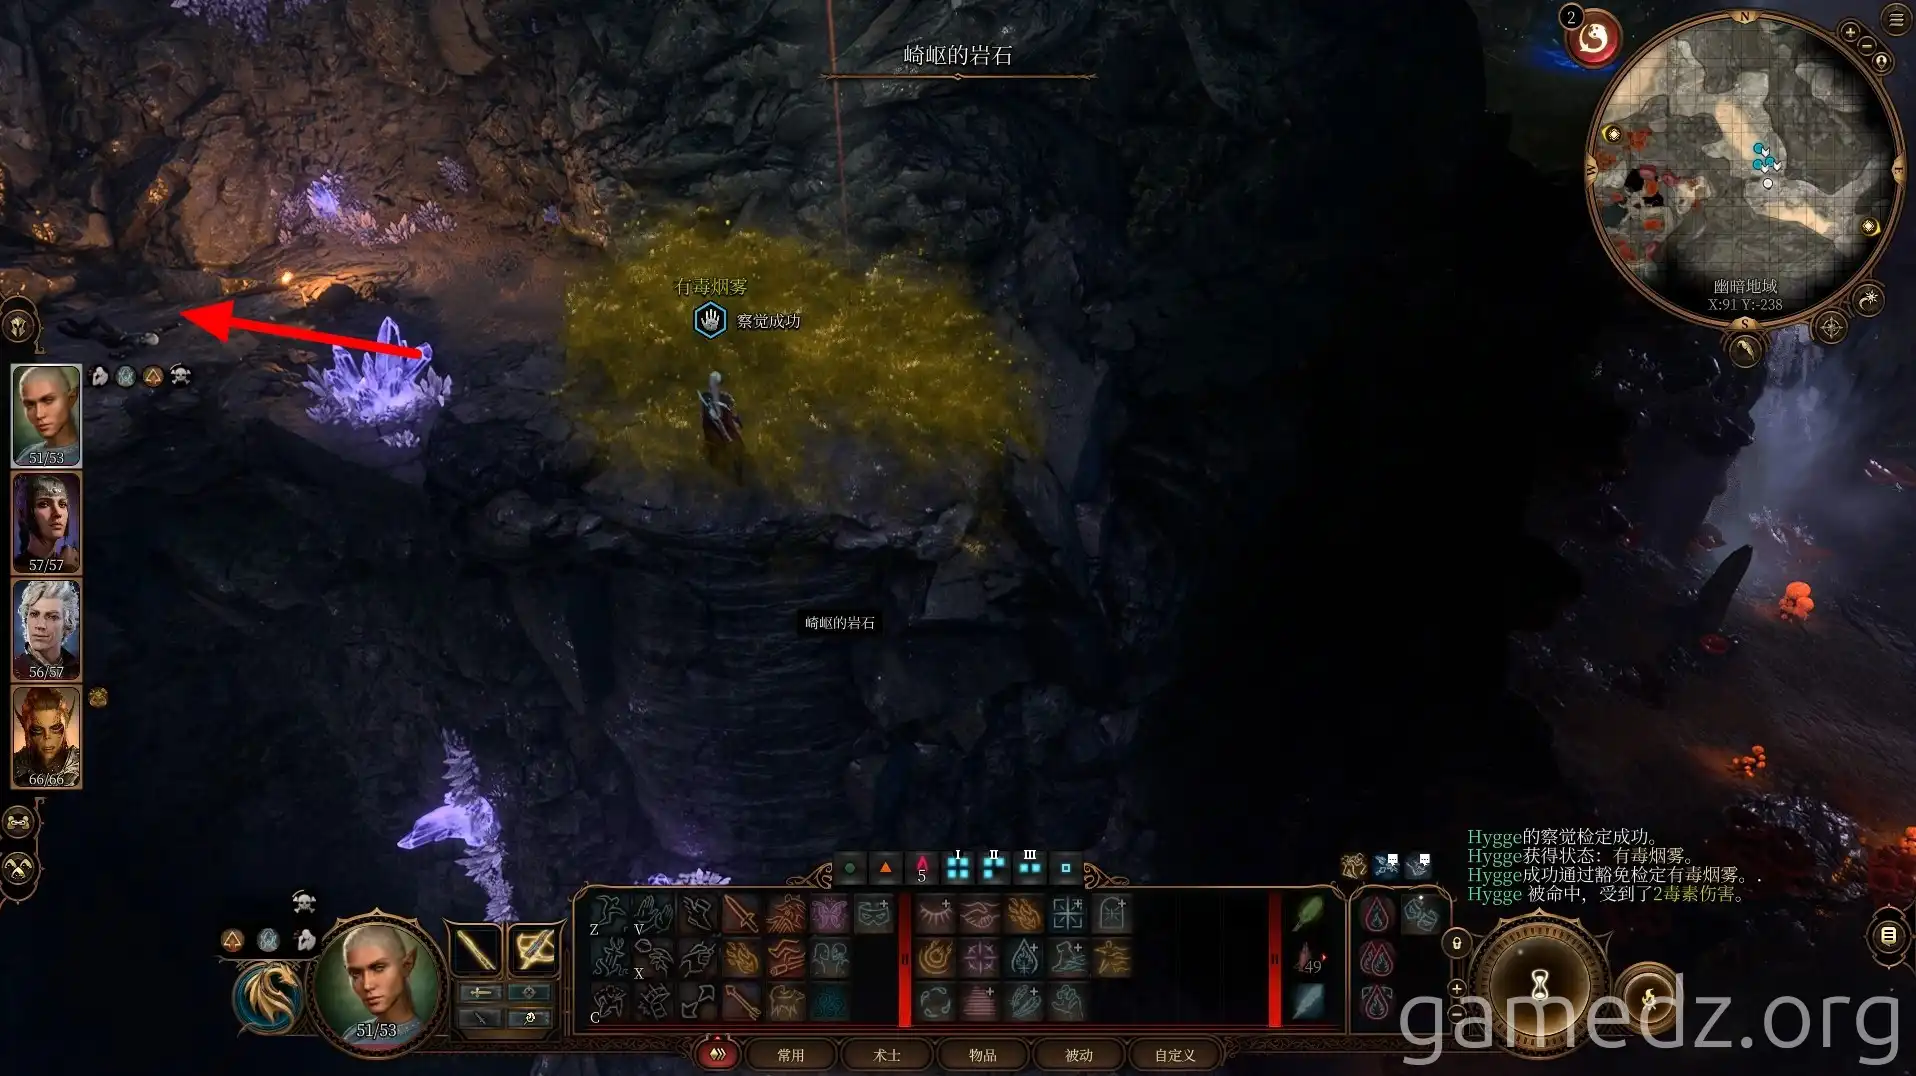
Ahead, you'll find a petrified Drow. Throw the Petrified Lizard Oil found on a nearby corpse at the petrified Drow to remove its petrification.
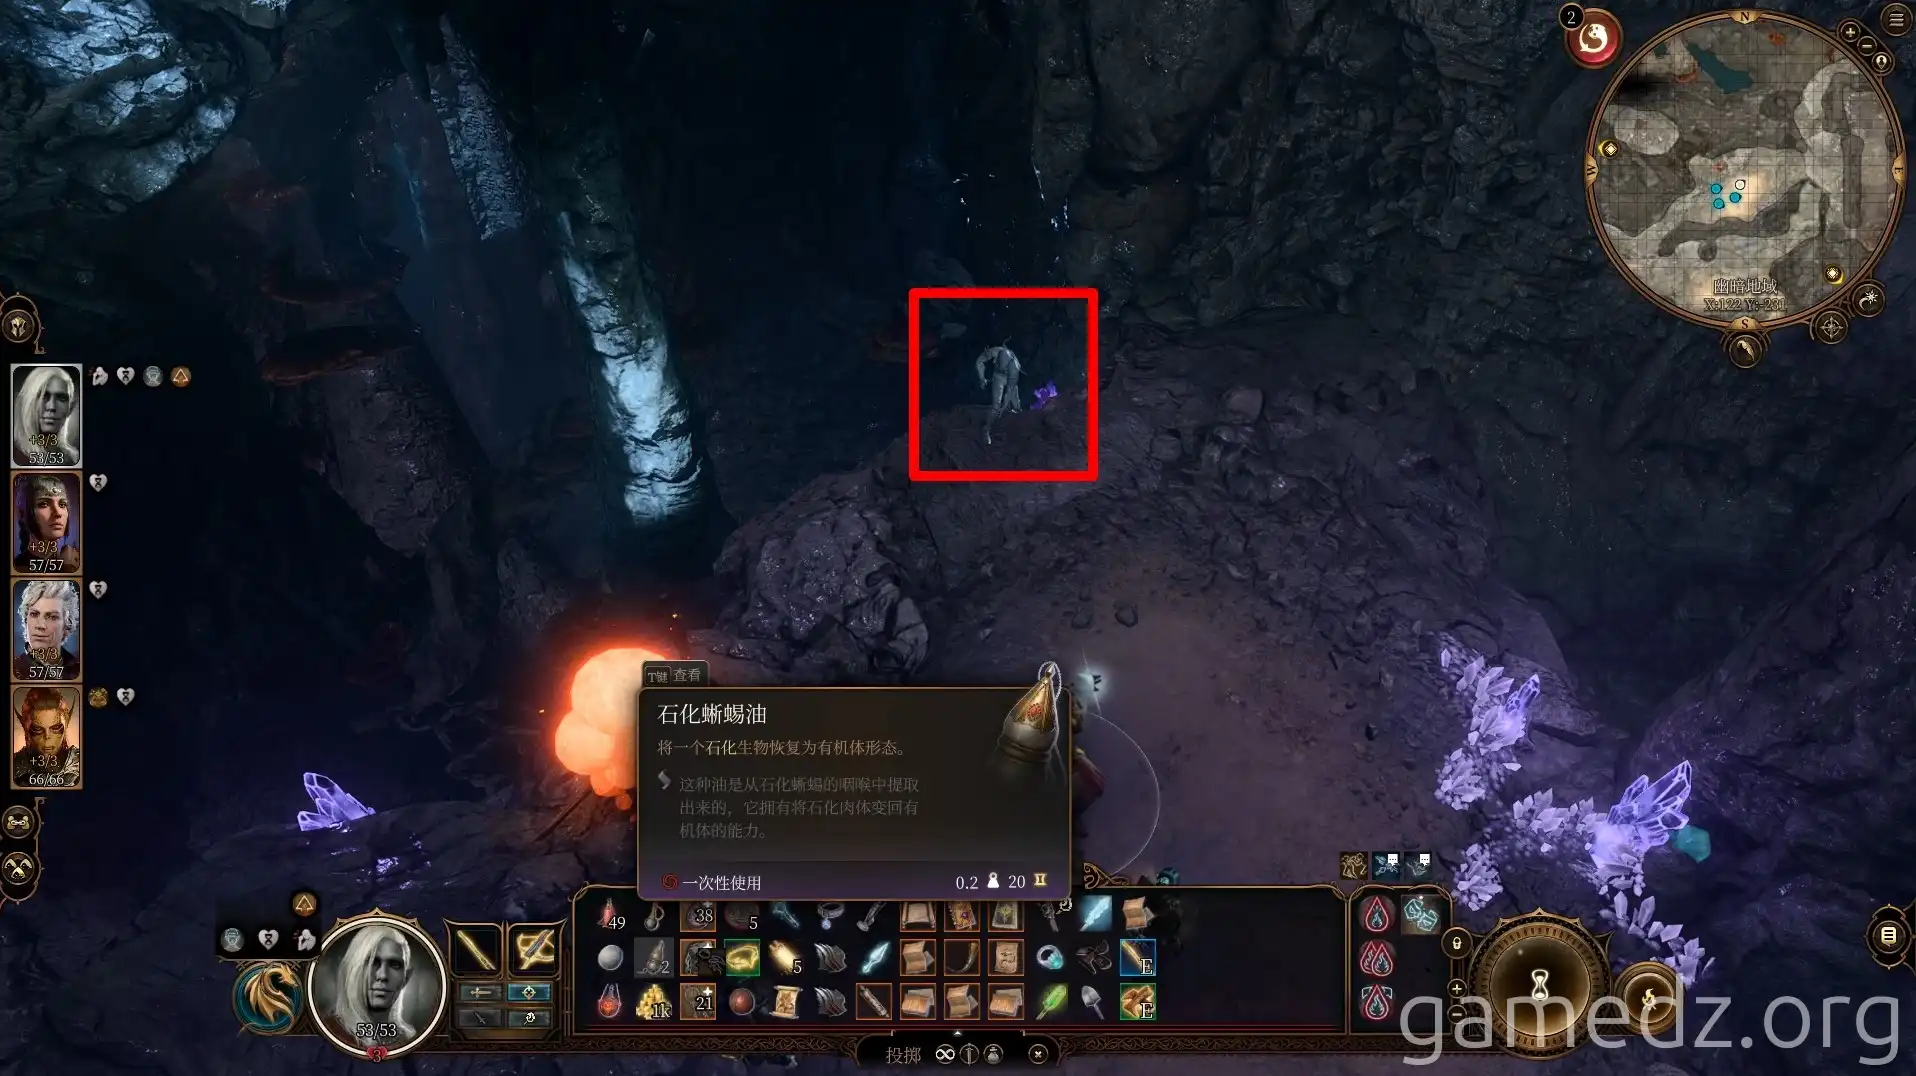
After the petrification is removed, an Observer will appear. The freed Drow will become an ally and will attack the Observer with you.
It's recommended to strategically place a large number of oil barrels here beforehand. As soon as the Observer appears, detonate the oil barrels to eliminate it.
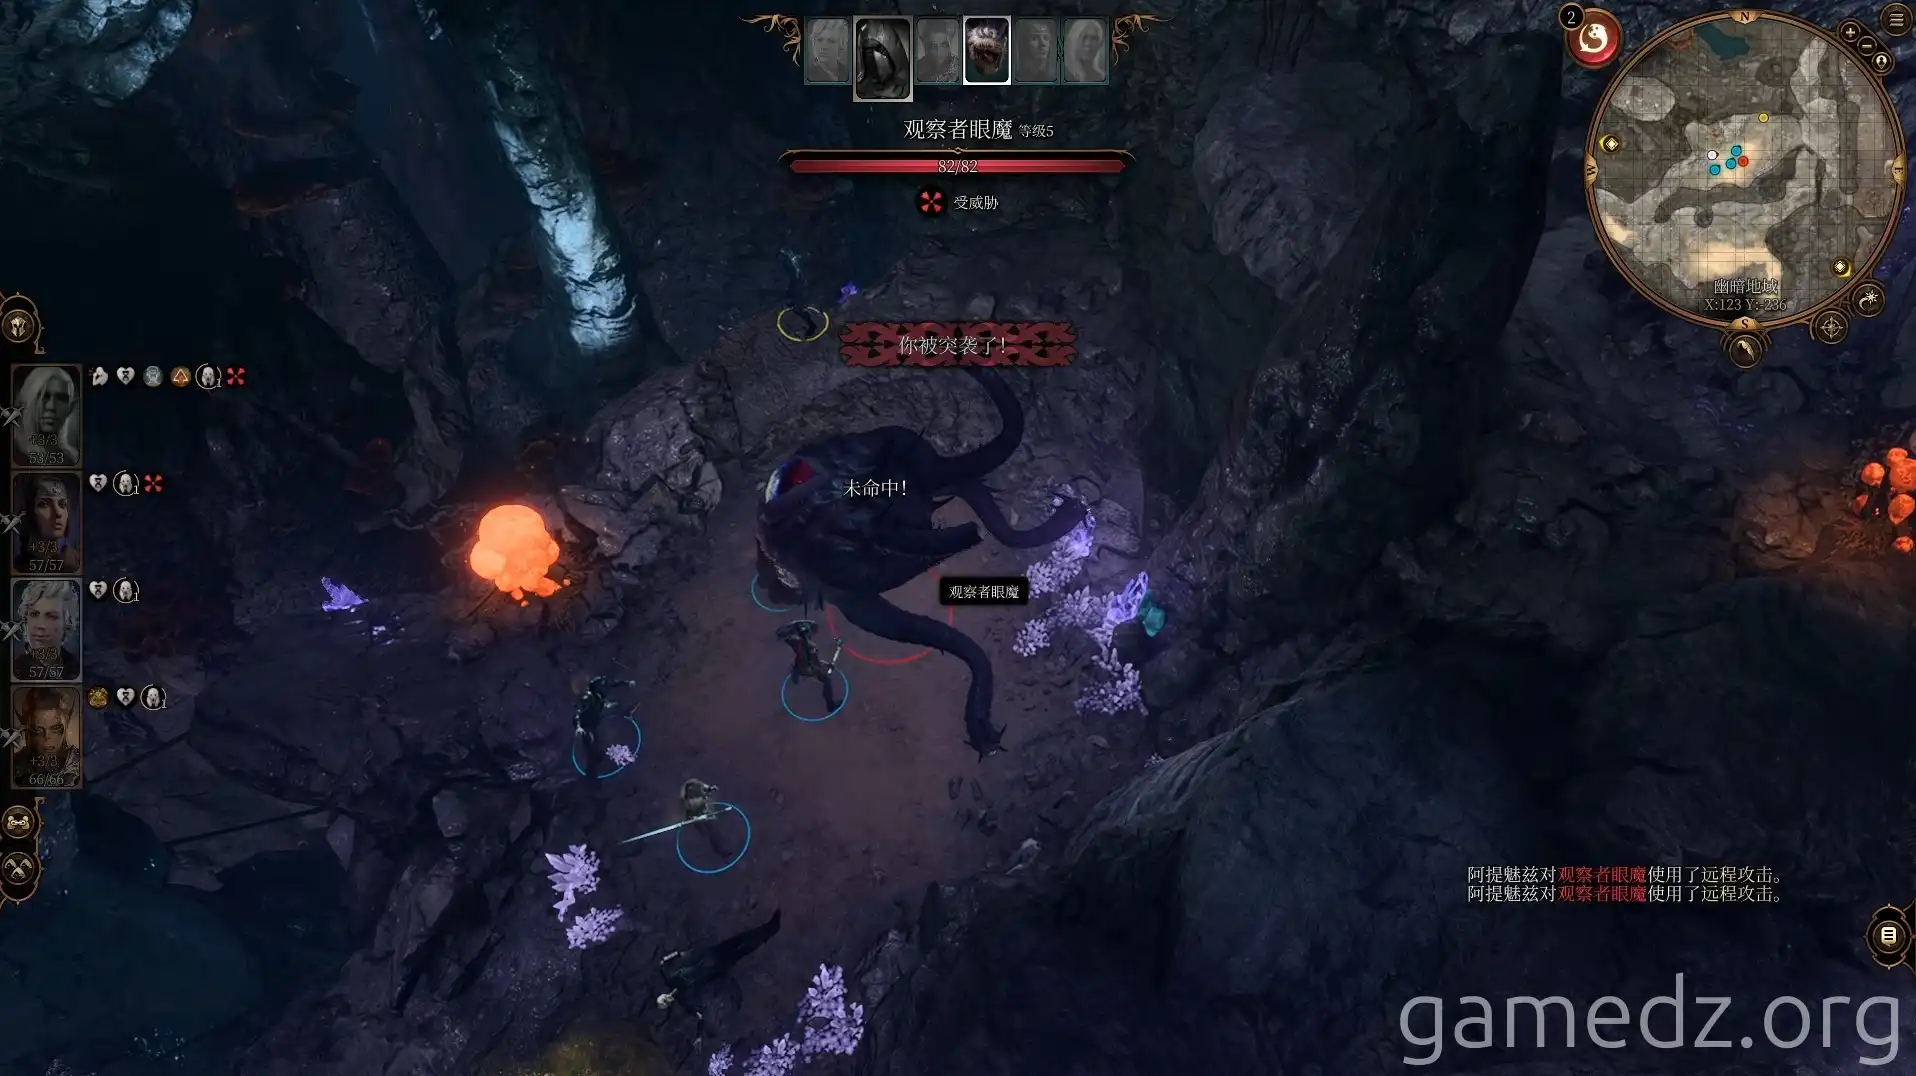
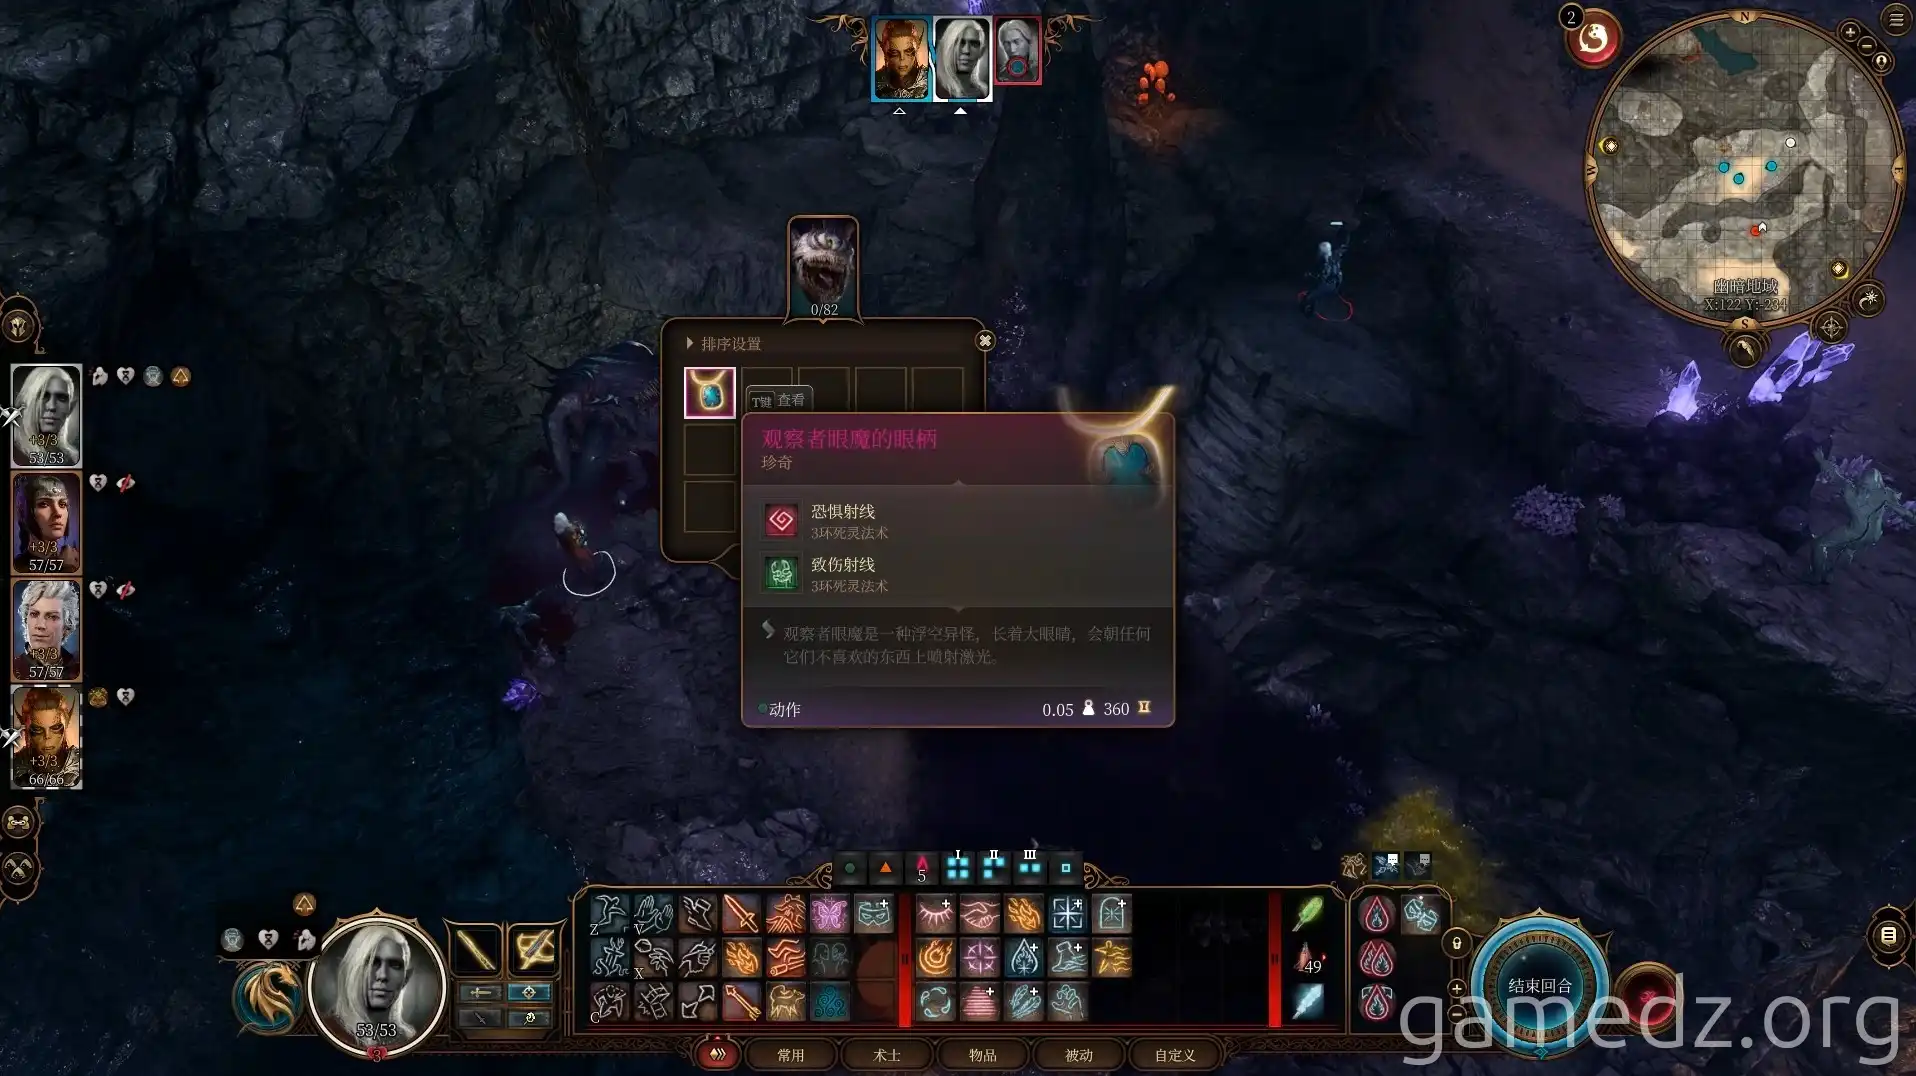
From the Observer, you can obtain the rare accessory [Observer's Eye Stalk].
During the fight, the Observer will also unpetrify a Drow named [Dawn] and control him to attack you.
After defeating the Observer, interact with the freed Dawn to speak with him. Through conversation, you'll learn that he is searching for the forge.
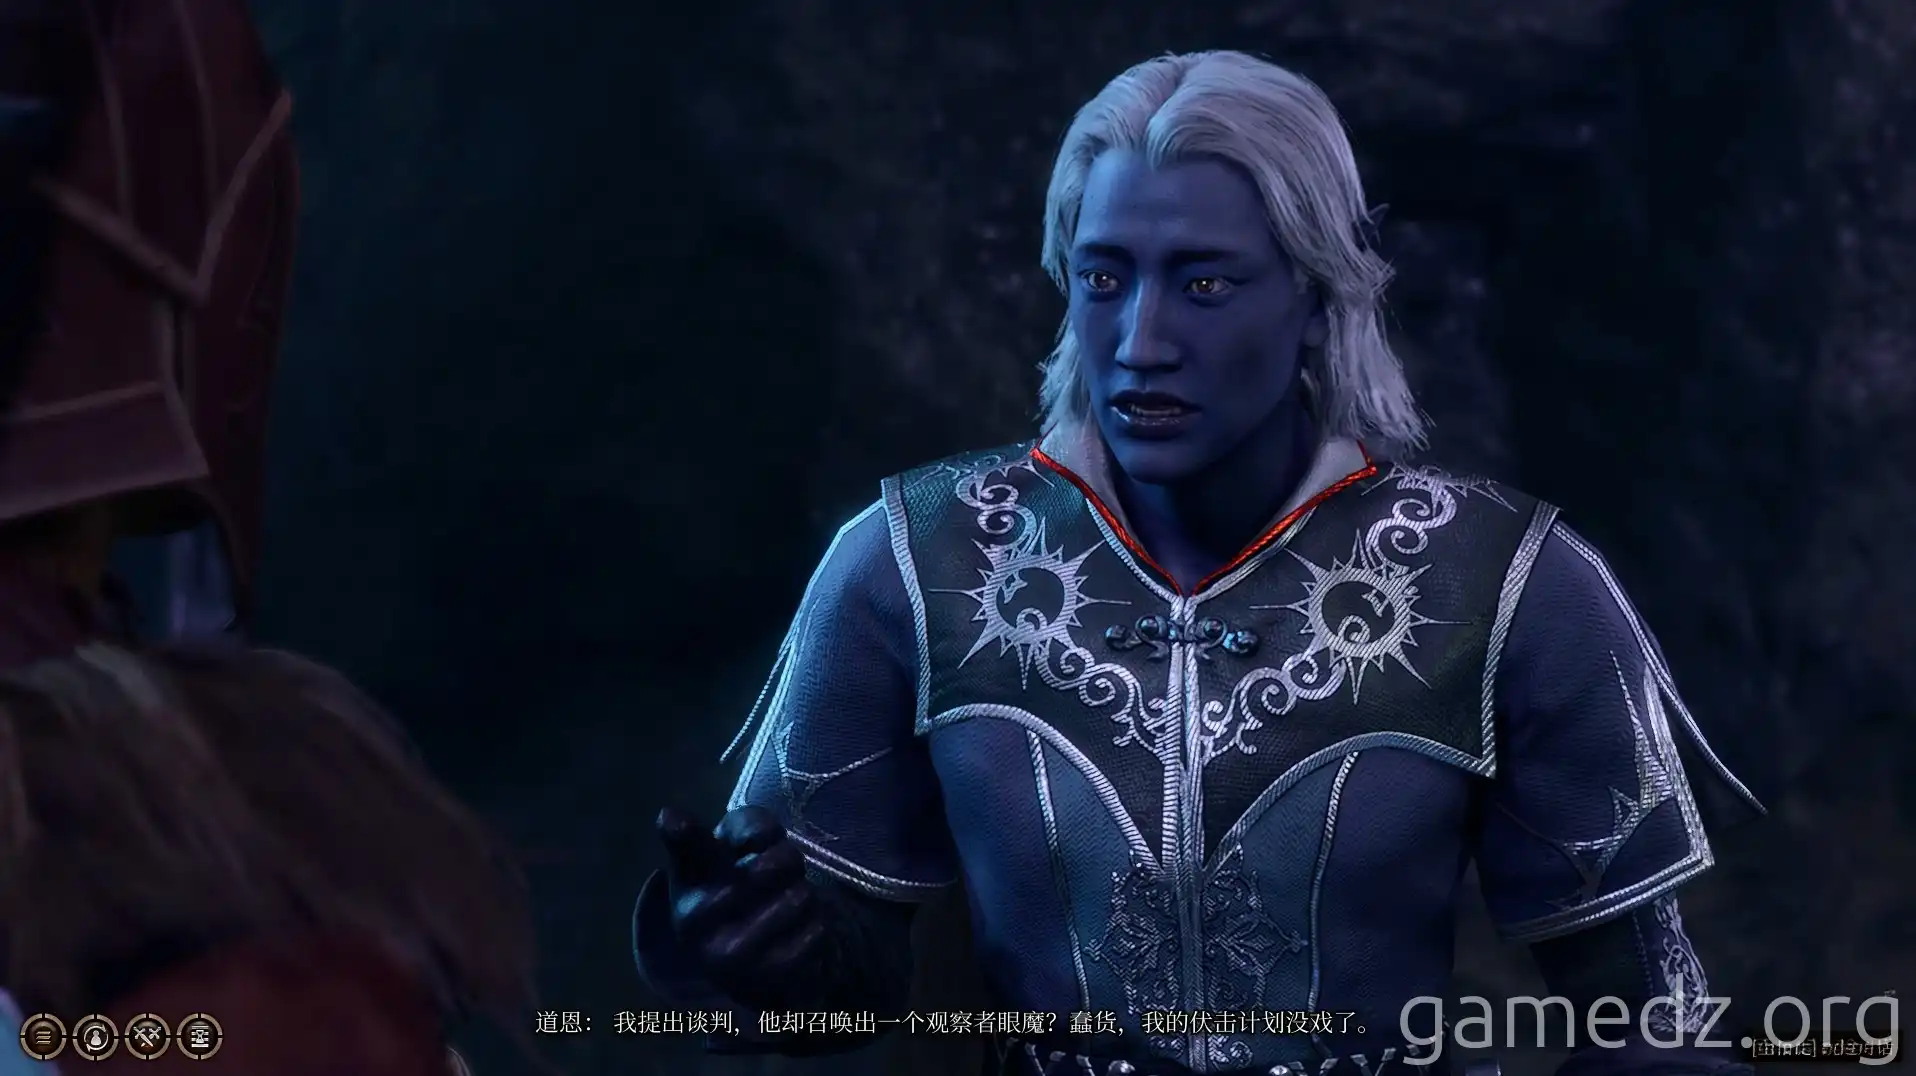
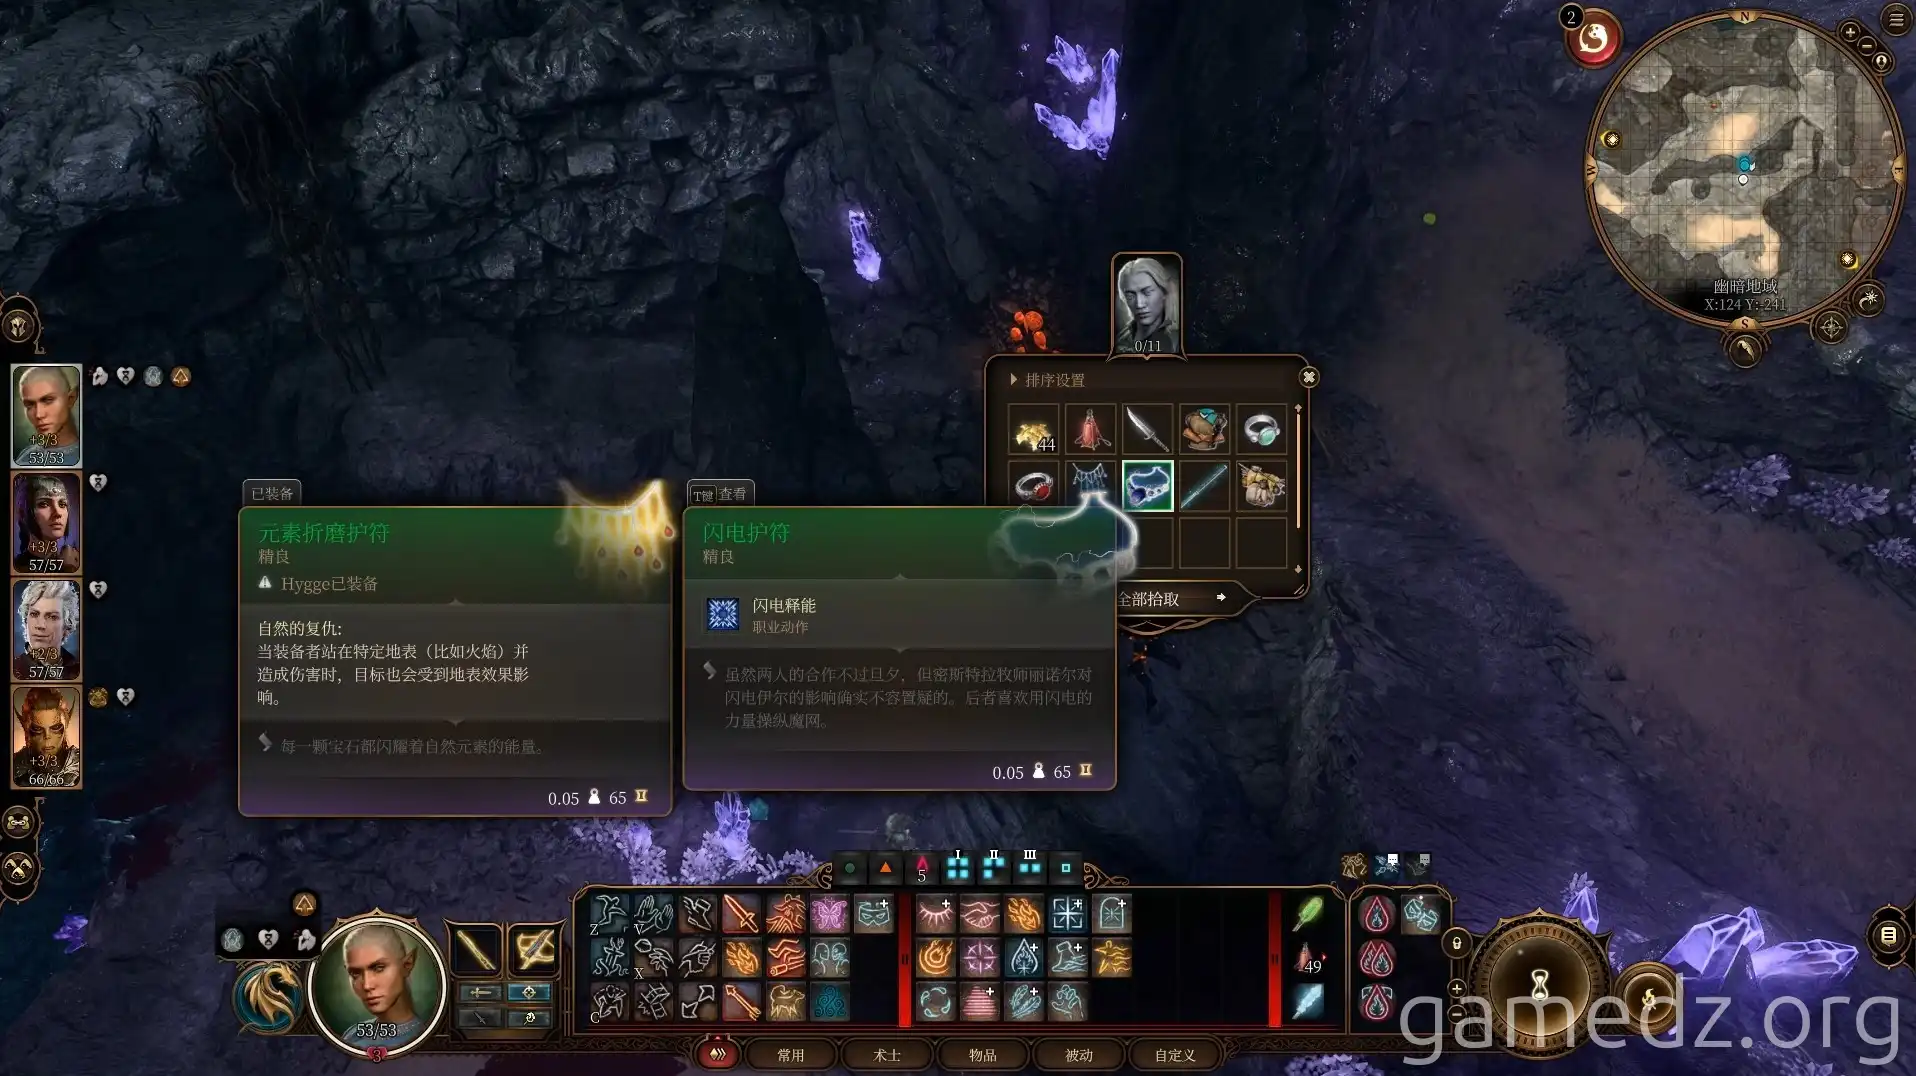
After the conversation, he will view you as rivals and initiate an attack. After defeating Dawn, you will obtain the rare accessory [Amulet of Lightning], the final component for a rare weapon [Cold Iron Hilt], and a Memory Crystal.
Using the Memory Crystal will provide some information about the Mithral Forge.
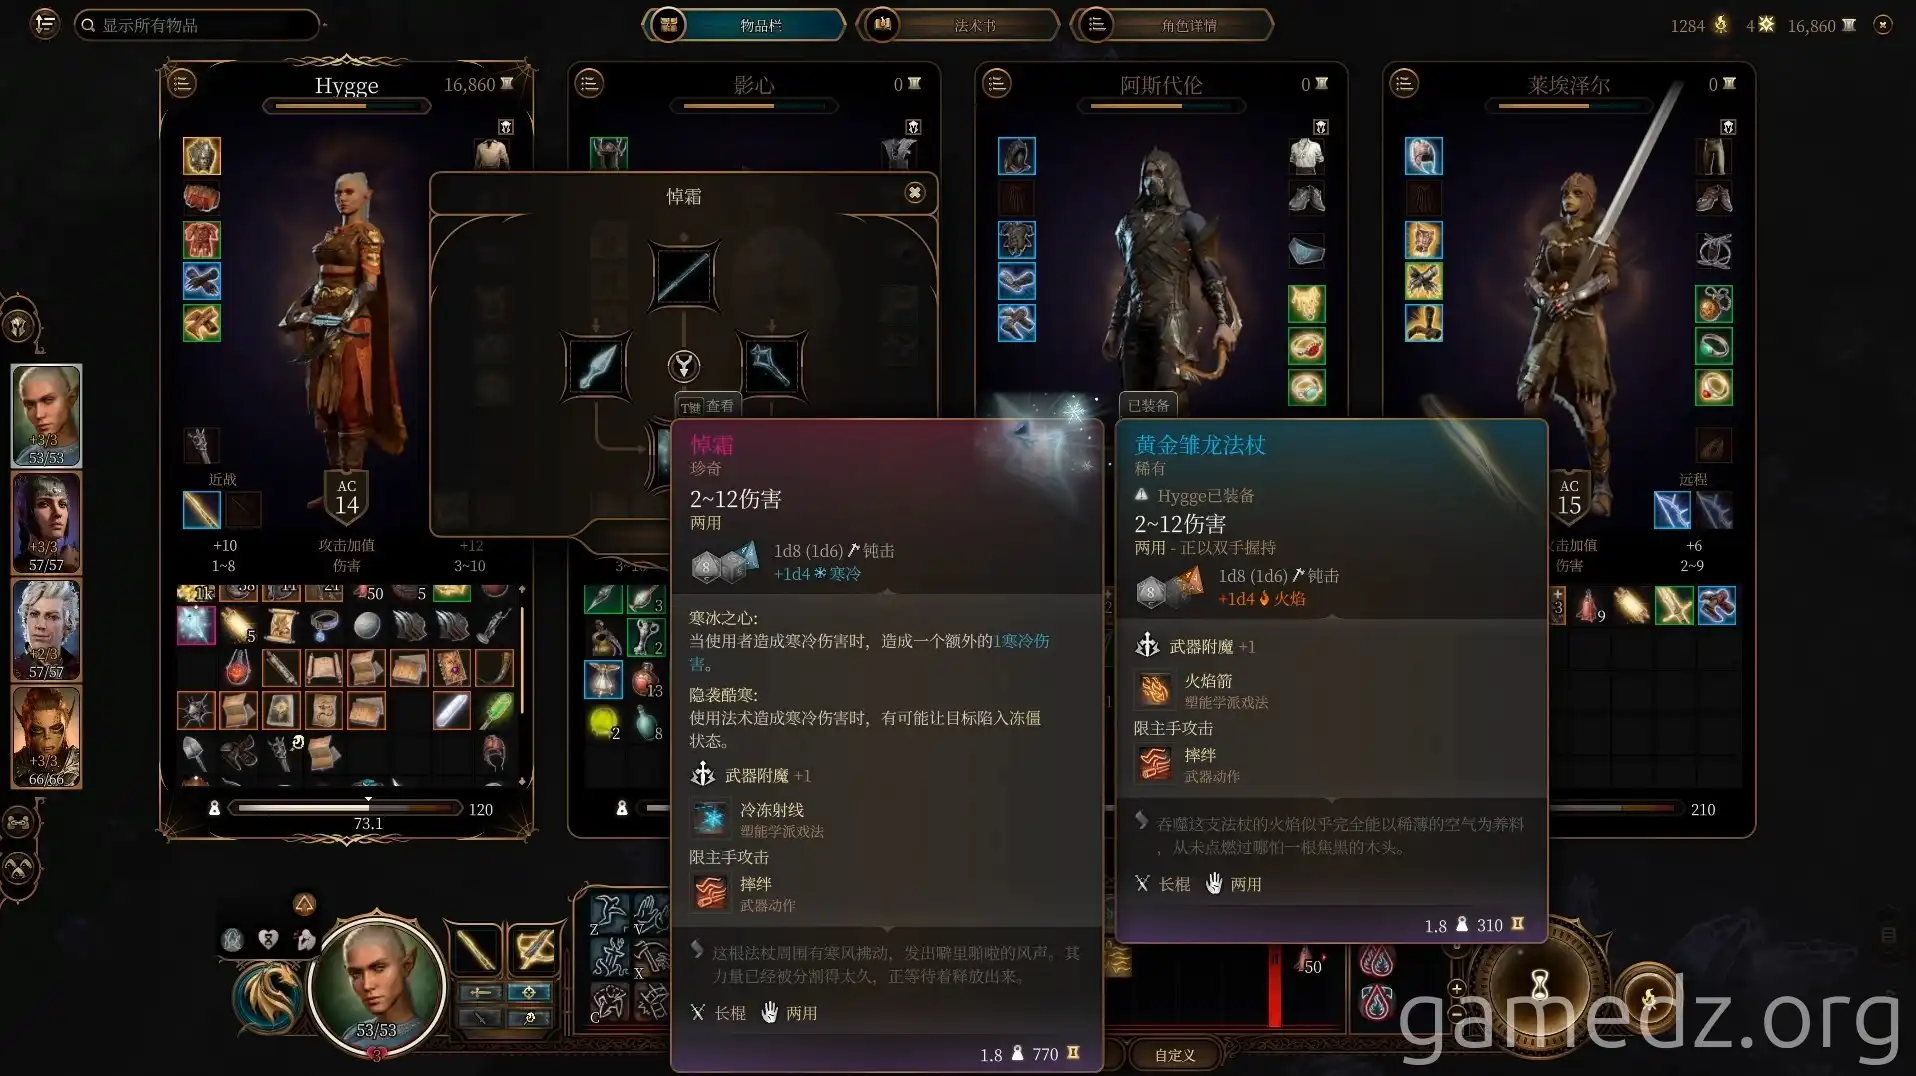
Combine the Ice Shard, Cold Iron, and Cold Iron Hilt in your inventory to craft the rare weapon [Rimefang].
The nearby vines lead directly to the Selûnite Outpost. You don't need to rescue the other petrified Drow nearby; if you do, they will attack you.
