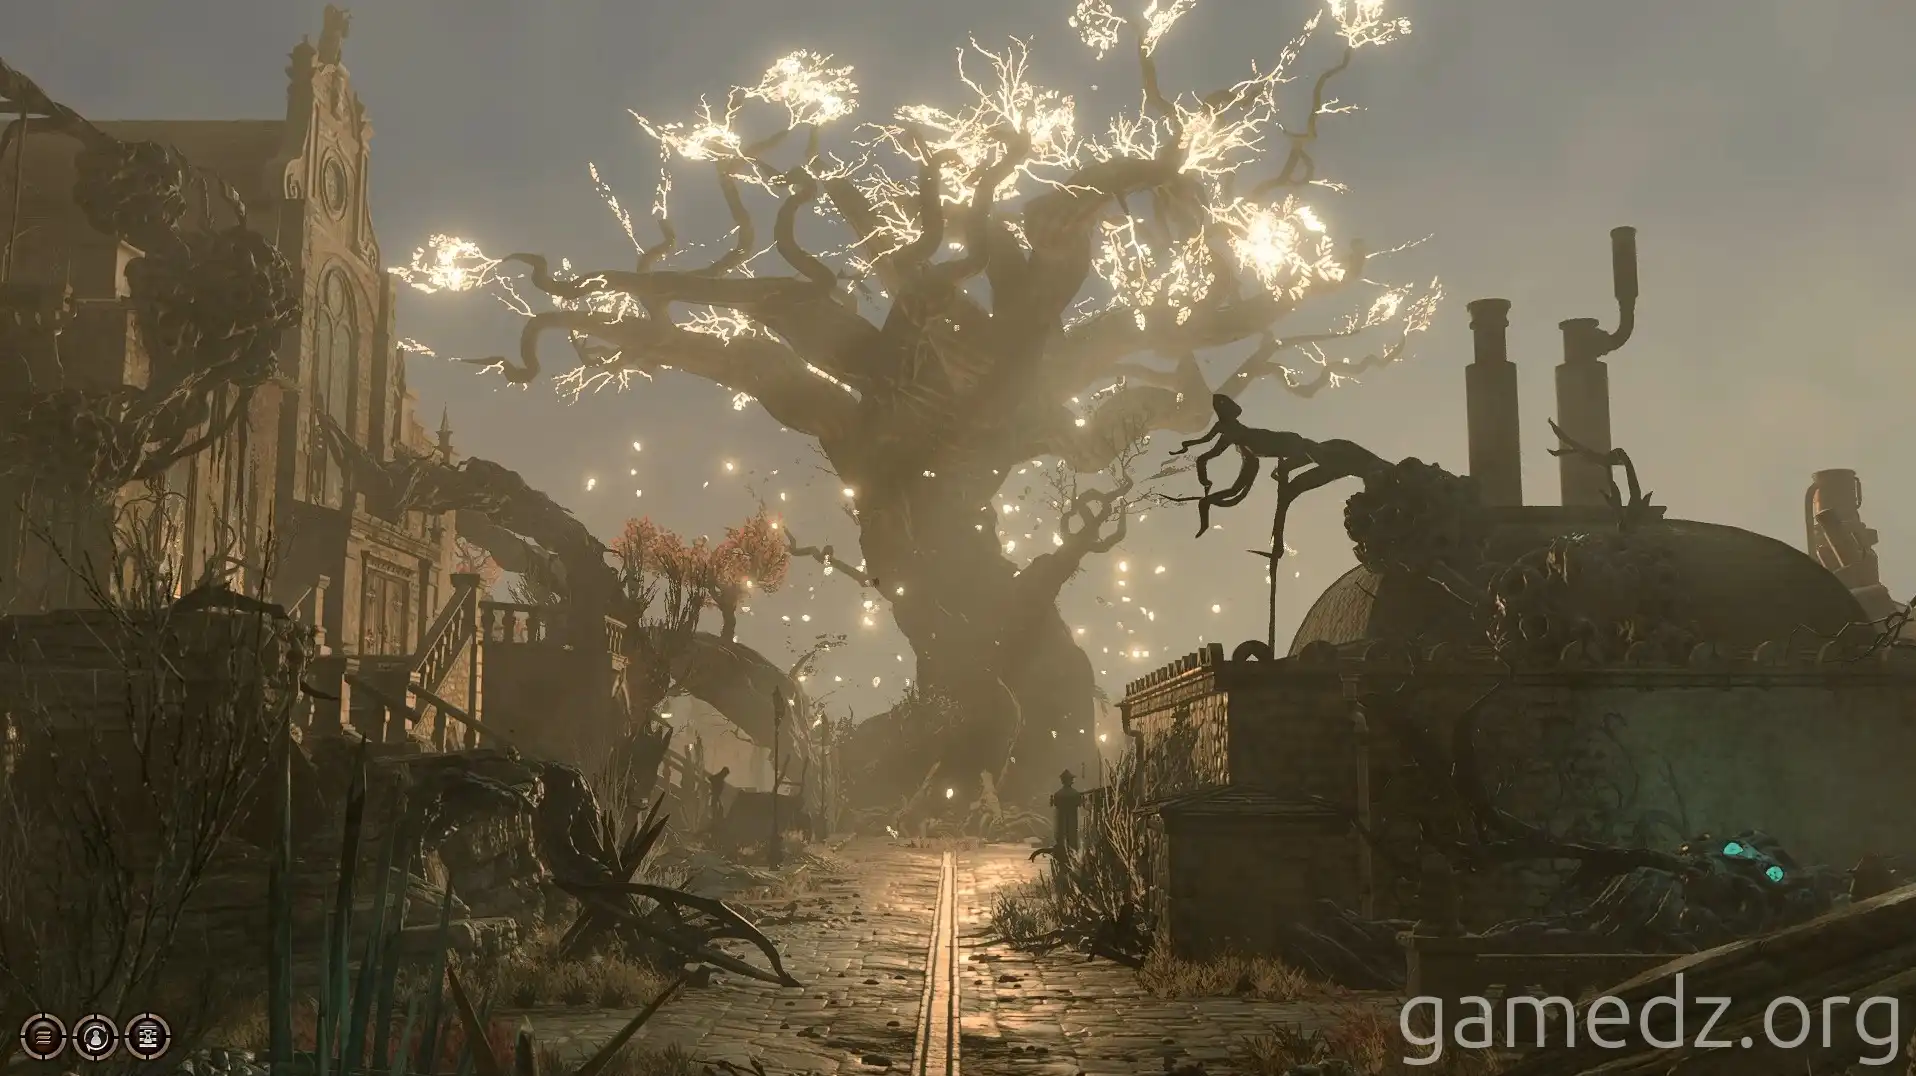
Baldur's Gate 3 Walkthrough: Moonrise Towers & Mind Flayer Colony
Comprehensive Baldur's Gate 3 walkthrough for Moonrise Towers and Mind Flayer Colony. Includes boss strategies, loot locations, and key decisions for optimal gameplay.
Teleport to the main entrance of Moonrise Towers and speak with Jaheira to recruit her into our party.
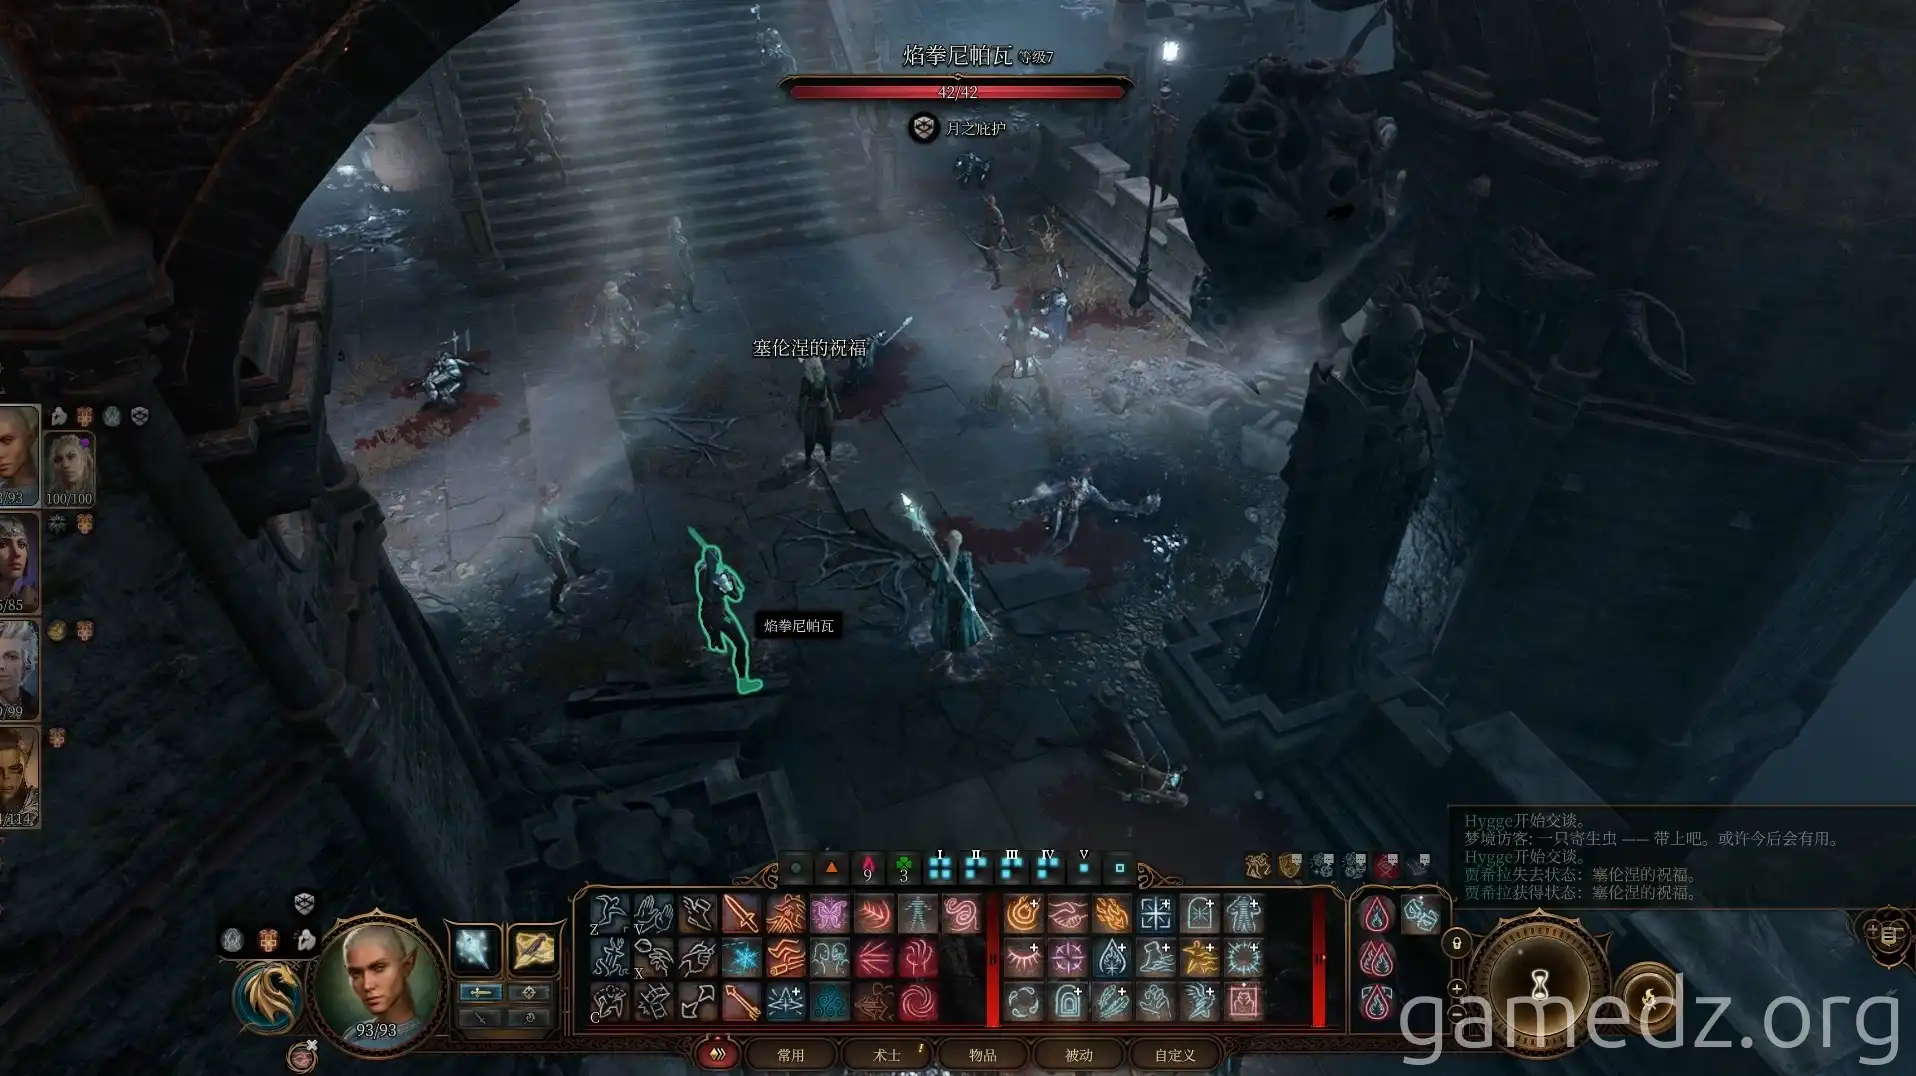
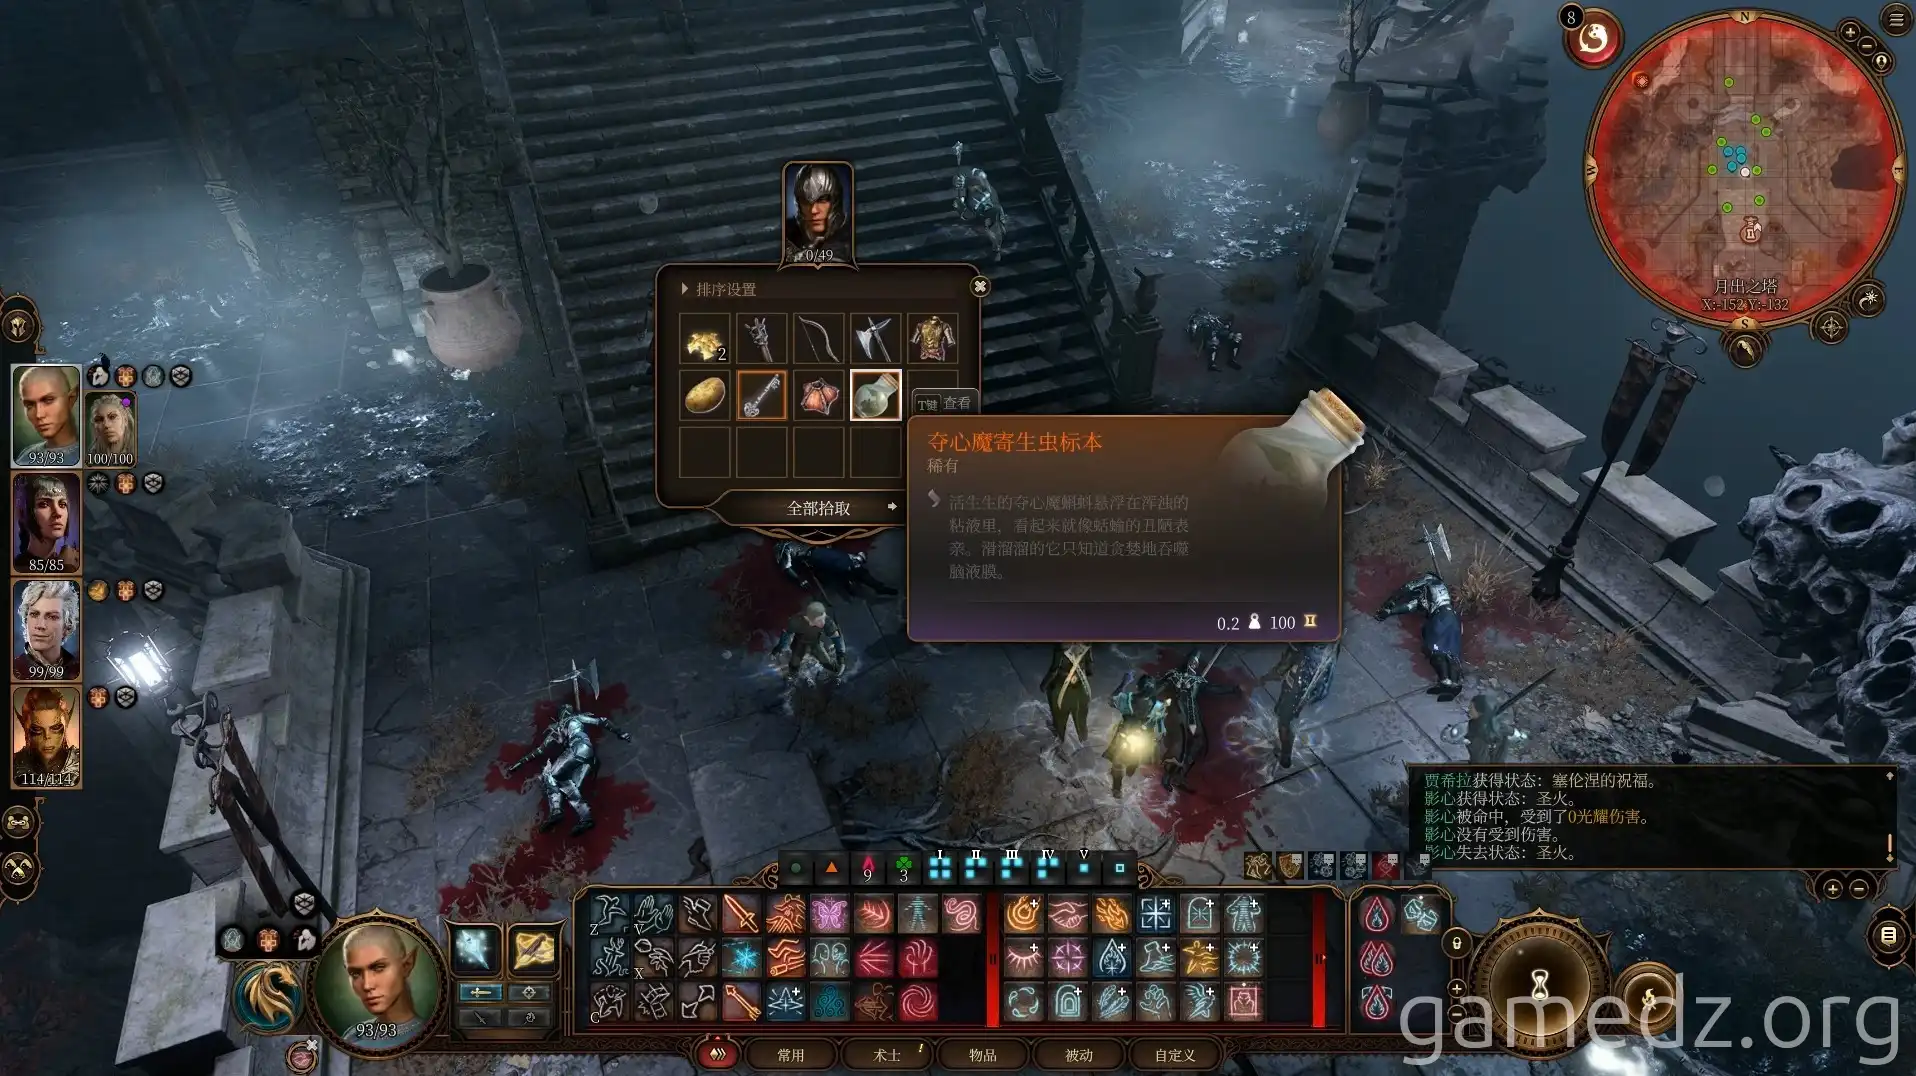
Two Mind Flayer Parasite Specimens can be obtained from the deceased cultists at the foot of the stairs.
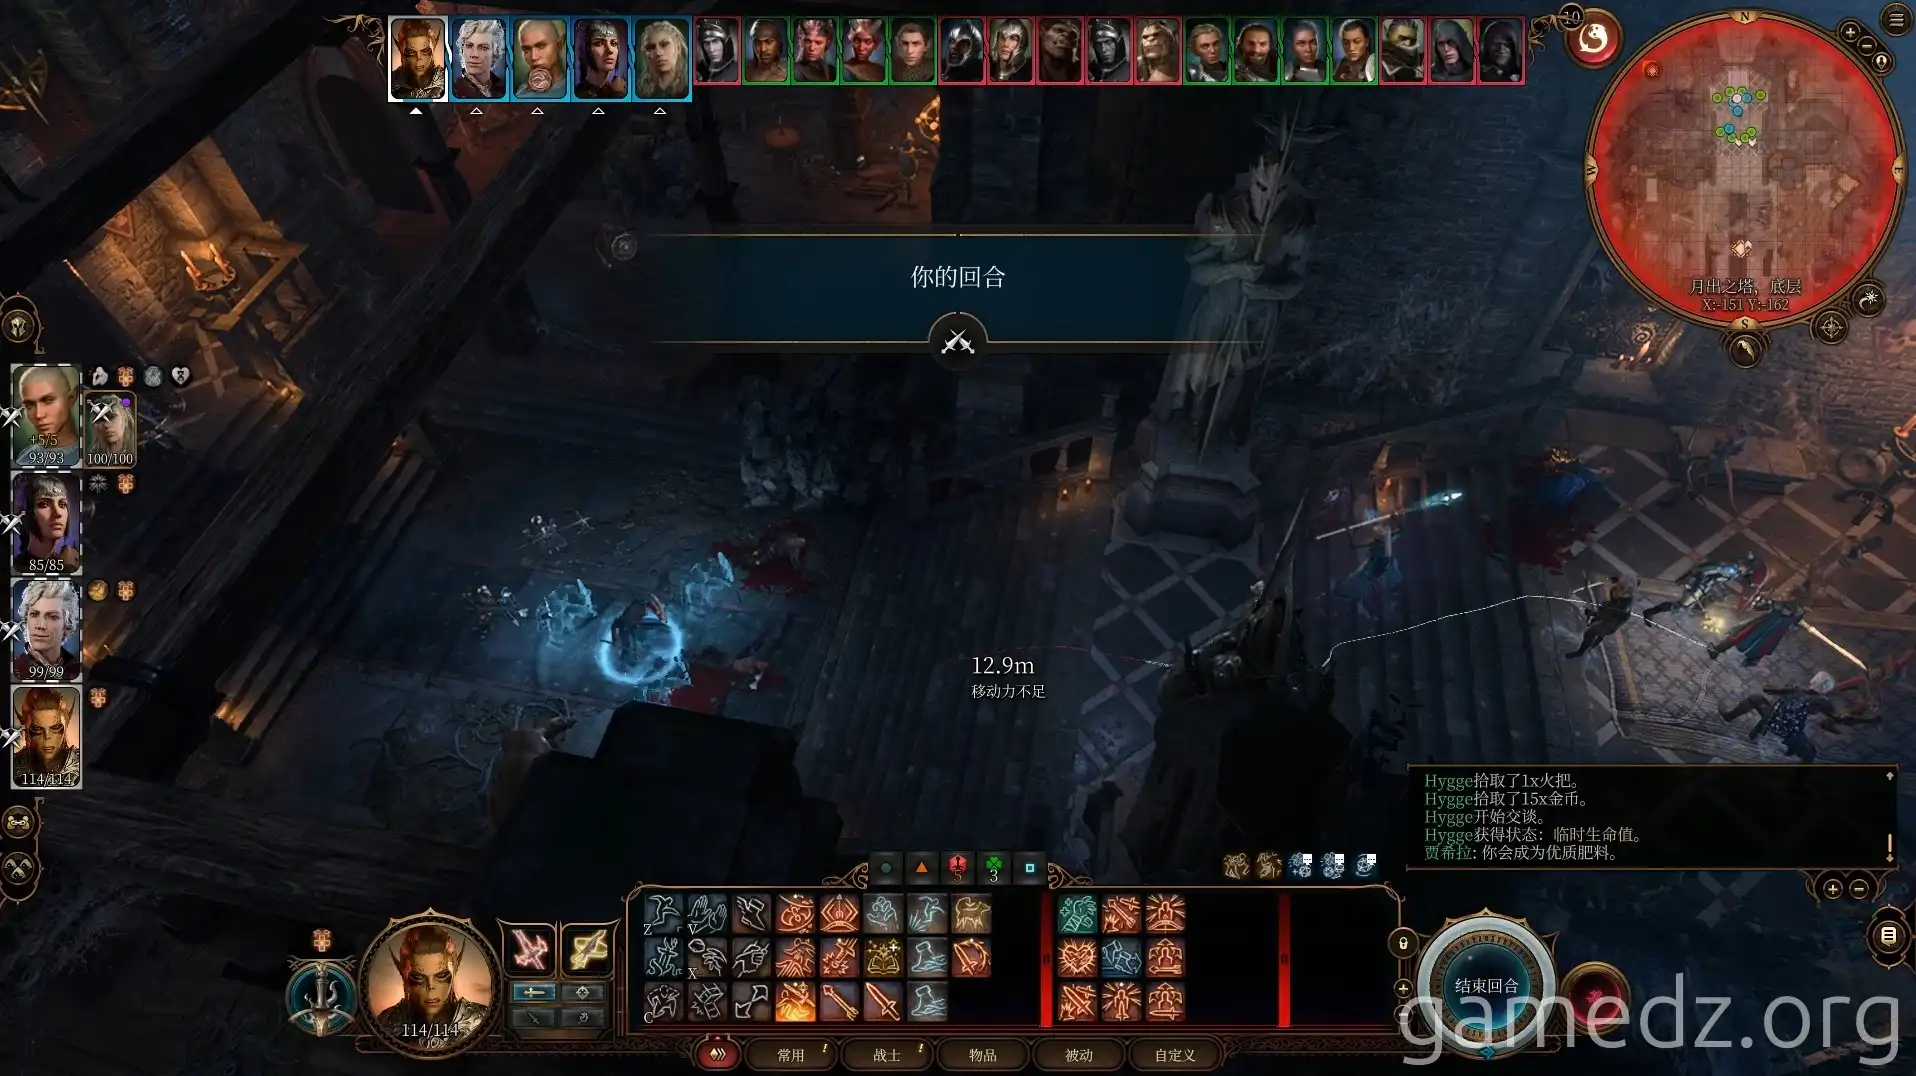
Upon entering Moonrise Towers, we'll first battle Disciple Z'rell on the lower level. We'll have many Harpers as allies in this fight, and the Gnolls we rescued earlier will also come to our aid.
This battle is extremely difficult, and allies like Jaheira can easily fall. It's highly recommended to save frequently. If you wish to avoid this fight, you can bypass Z'rell by taking a side path up to the second floor, allowing you to confront Ketheric directly.
Defeating Z'rell will reward you with the rare shield, Shield of the Absolute, and one Mind Flayer Parasite Specimen.

You can obtain the uncommon weapon, Resolver, from the female Ogre.

Proceeding to the second floor of Moonrise Towers, defeat Lathrea and three skeleton soldiers. After resting to restore your status, enter the ornate doors nearby for a direct confrontation with Ketheric.
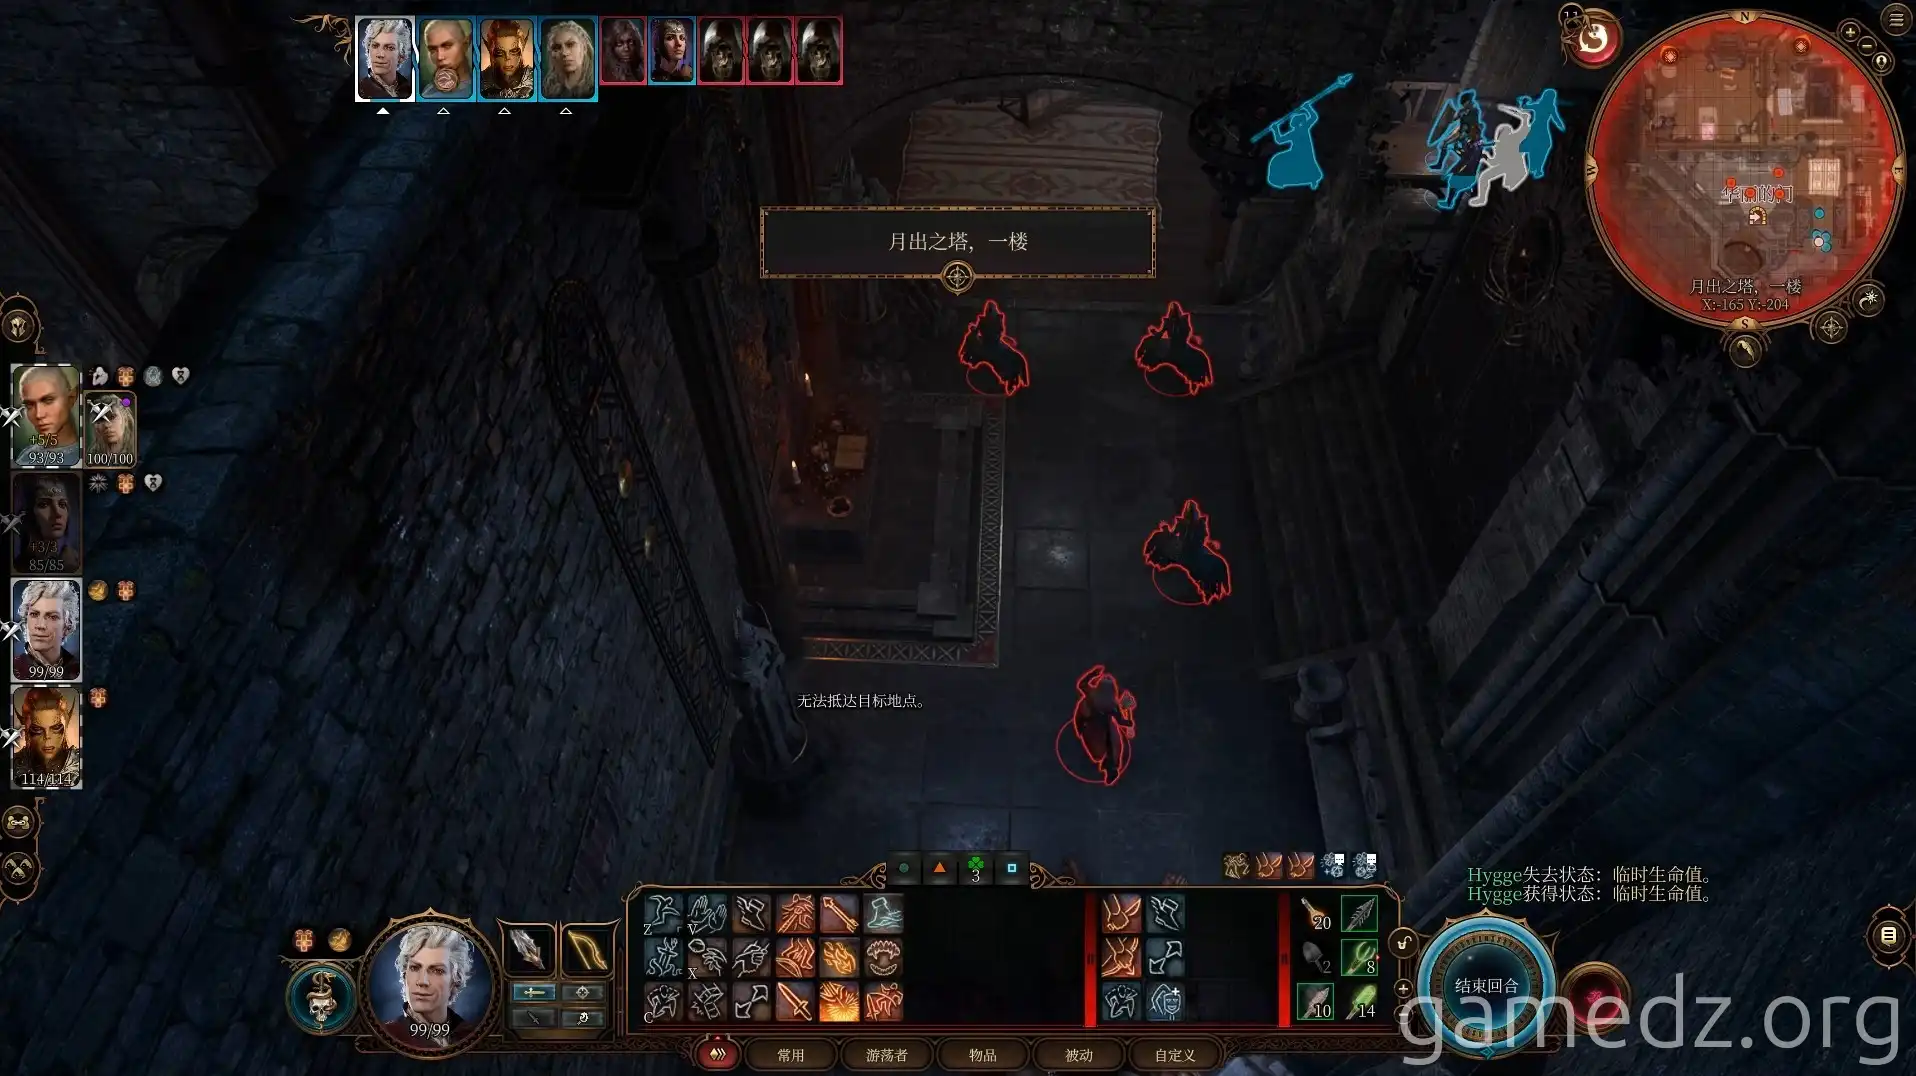
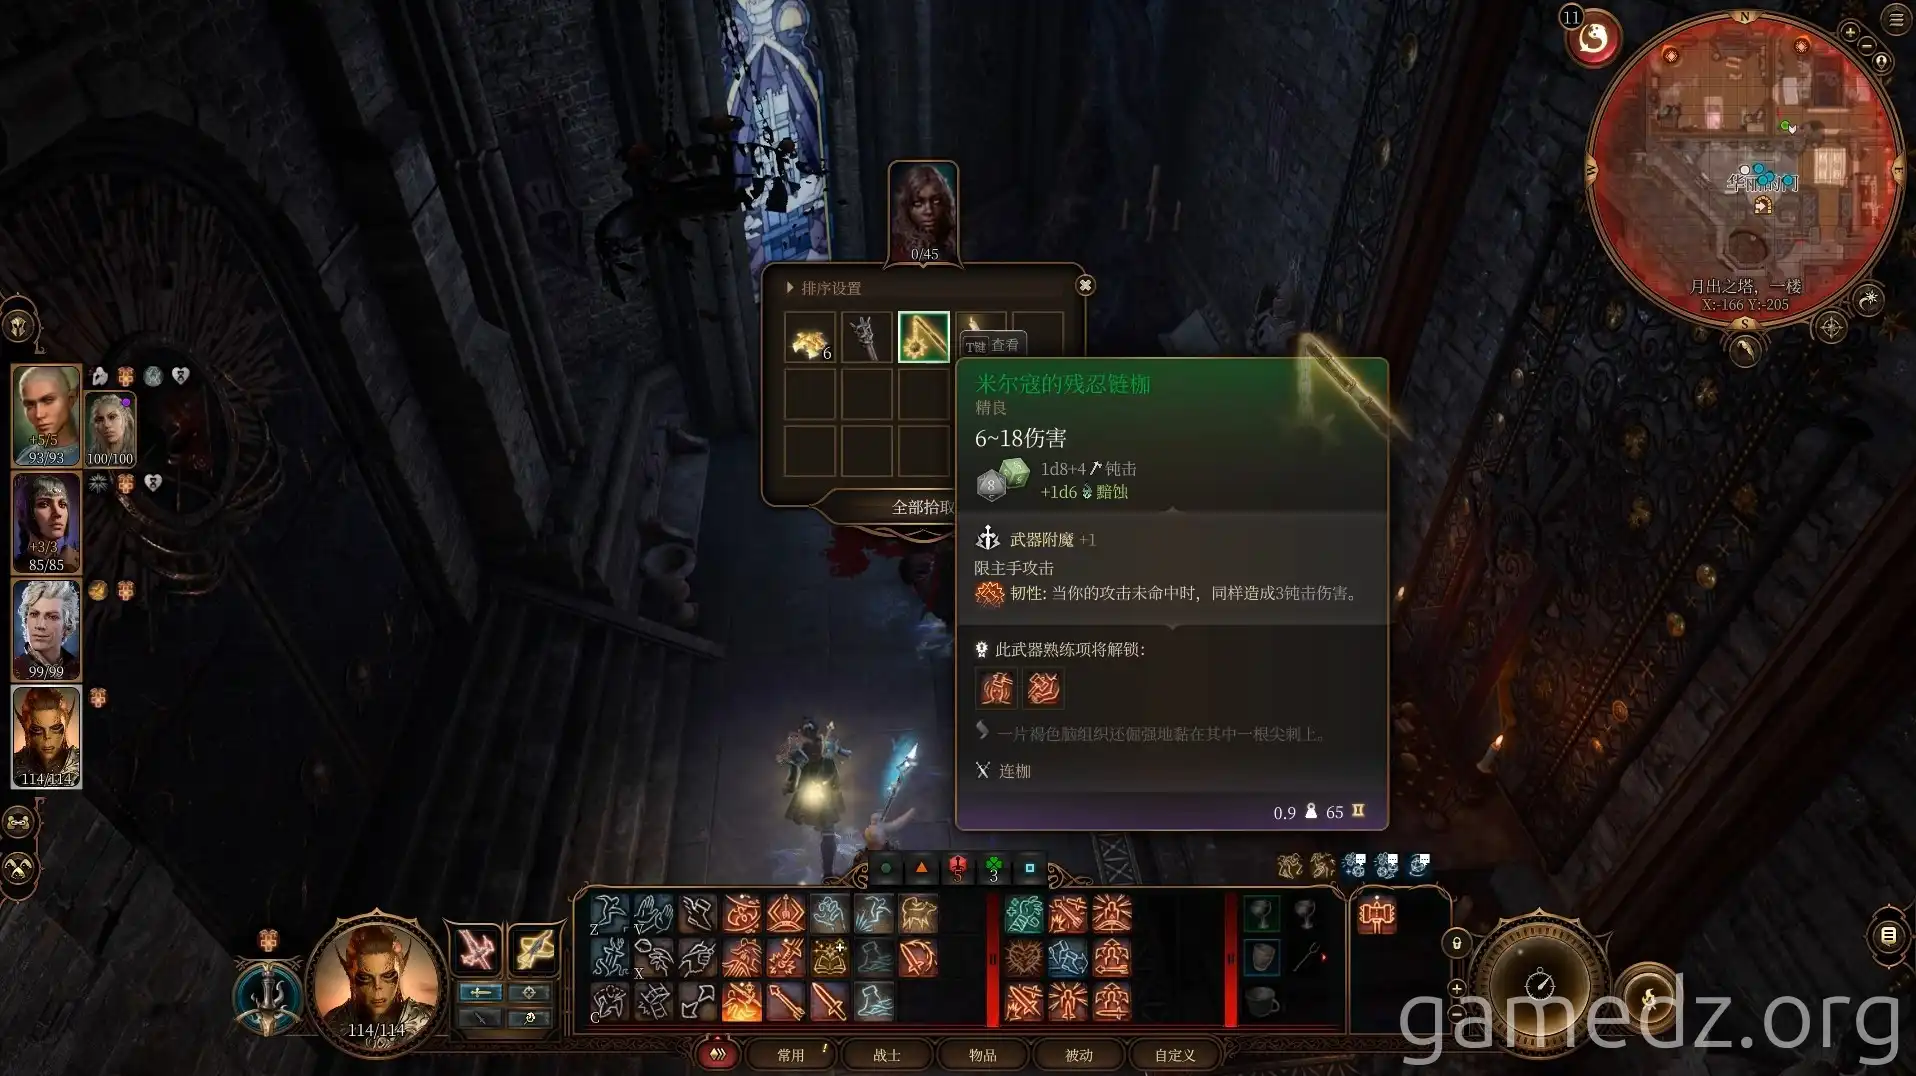
Lathrea drops the uncommon weapon, Cruel Scythe of Myrkul.
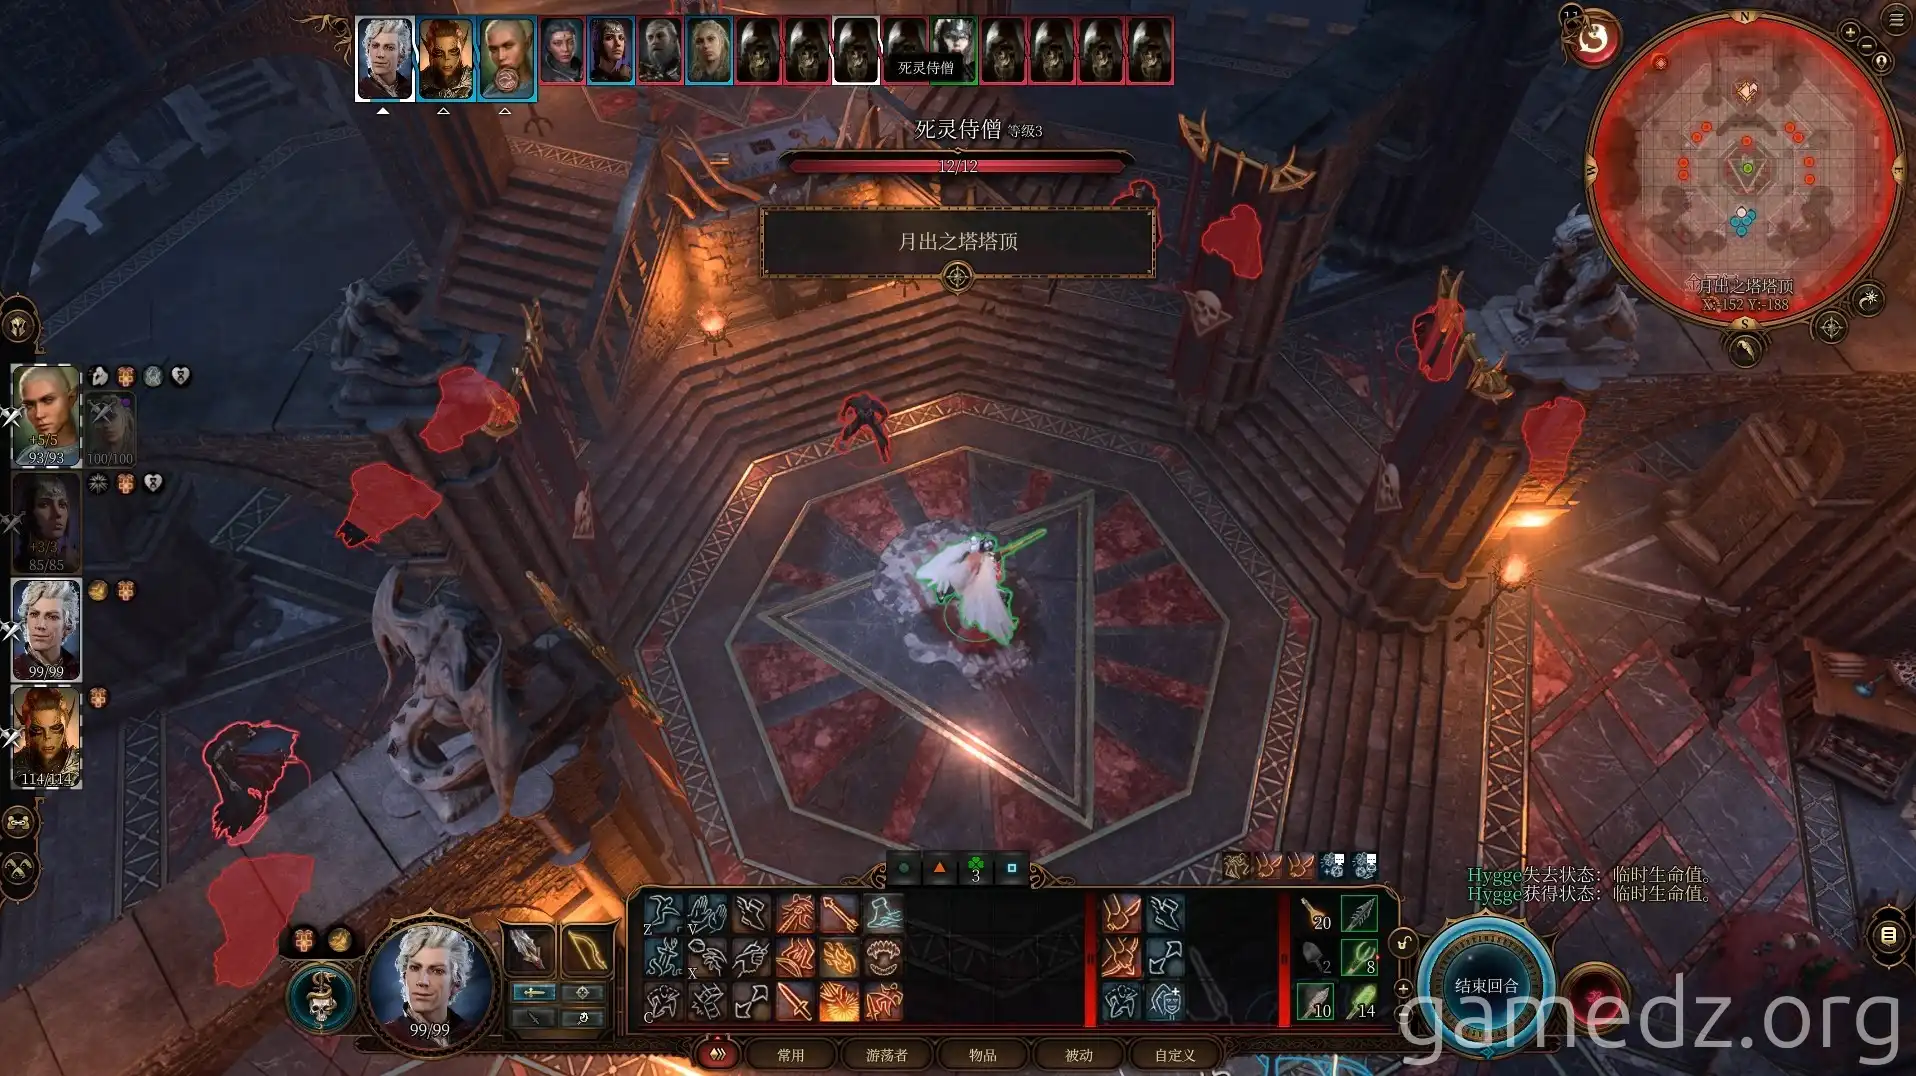
At the very top of Moonrise Towers, we'll face Ketheric, who is accompanied by a Soul Maiden and eight Necromancy Skeletons. At this point, Isobel, the Nightsong, will join us in battle.
When Ketheric's health drops below 50%, he will summon the so-called Absolute to aid his escape, taking Isobel with him after she is stunned by the Absolute.
Characters with a Soldier background will receive an inspiration buff after this battle.
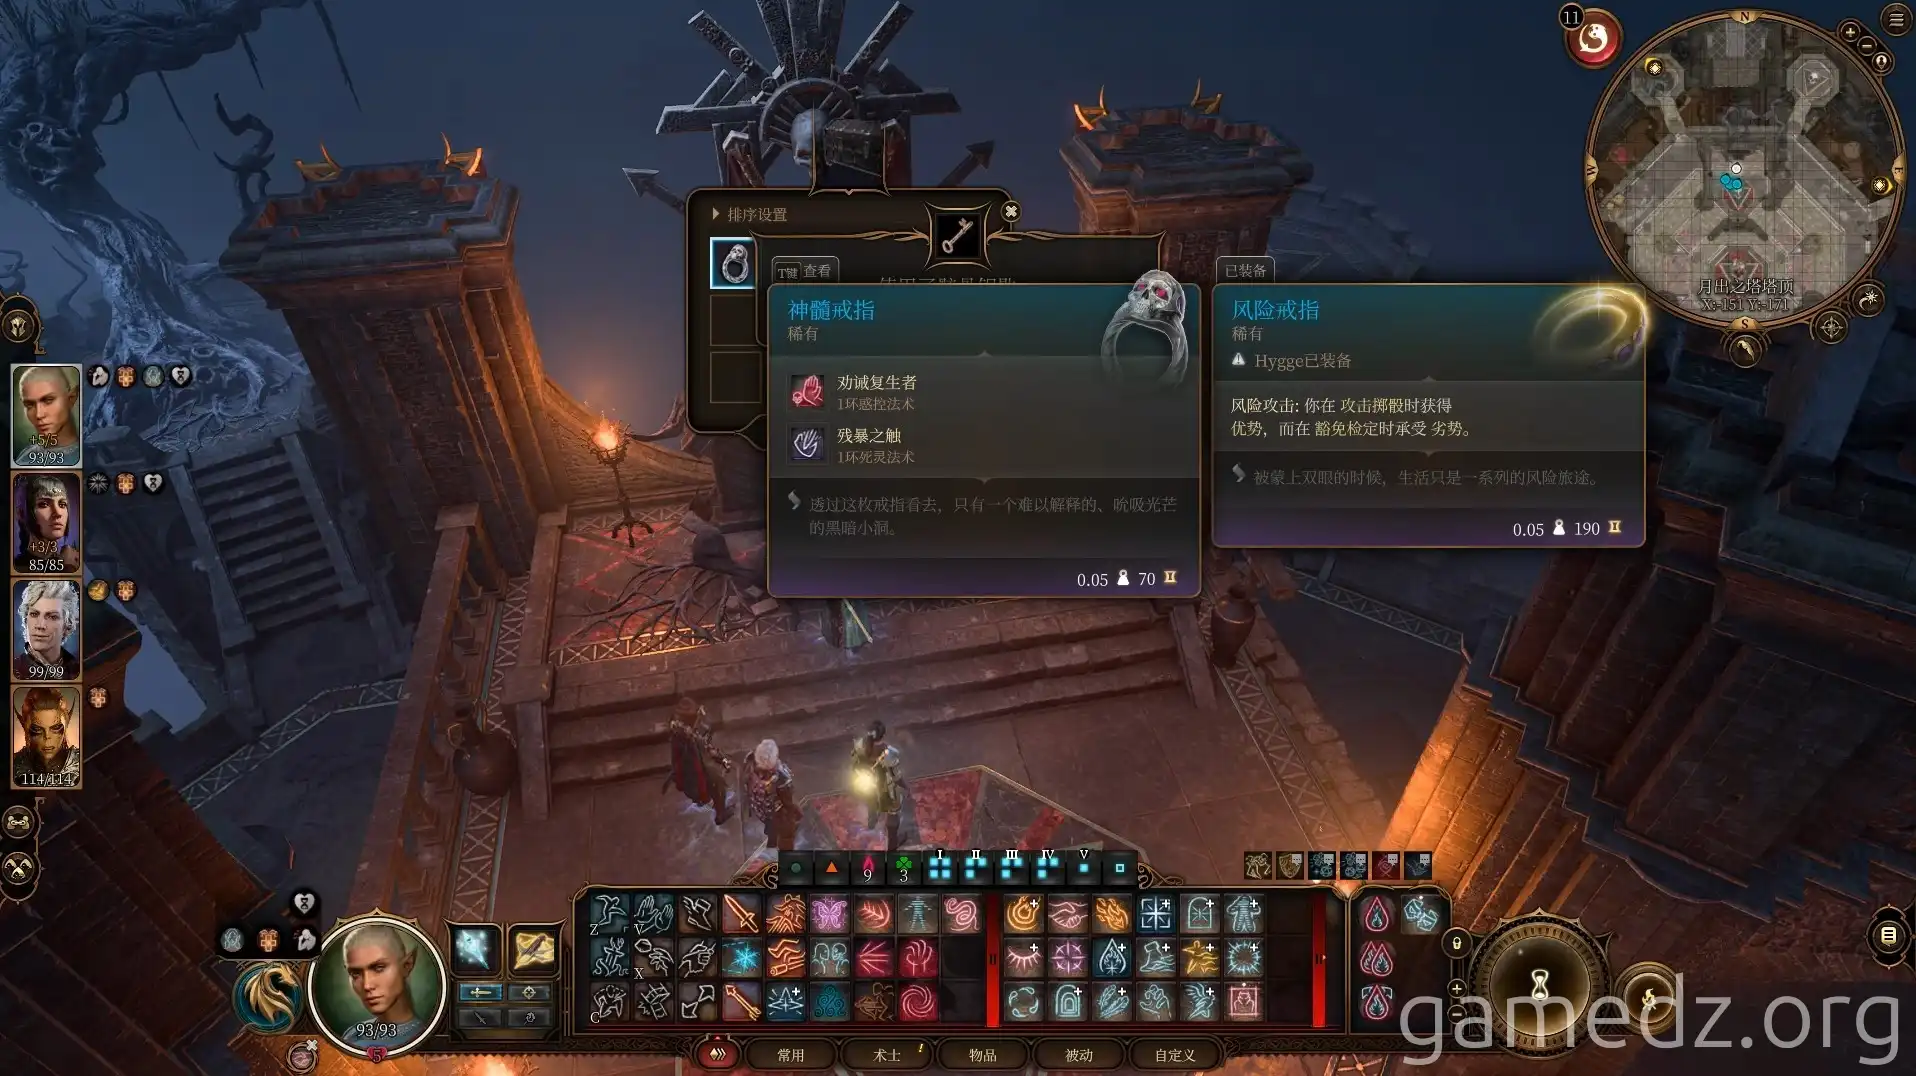
After the battle, you can find the rare accessory, Amulet of Greater Health, in a chest near the throne.
After resting, proceed through the hollow tower to the Mind Flayer Colony to track Ketheric and Isobel. It's advisable to have Wyll in your party when entering the Mind Flayer Colony. However, you cannot return to camp or change party members within the colony, which might impact your combat effectiveness. Choose wisely based on the situation.
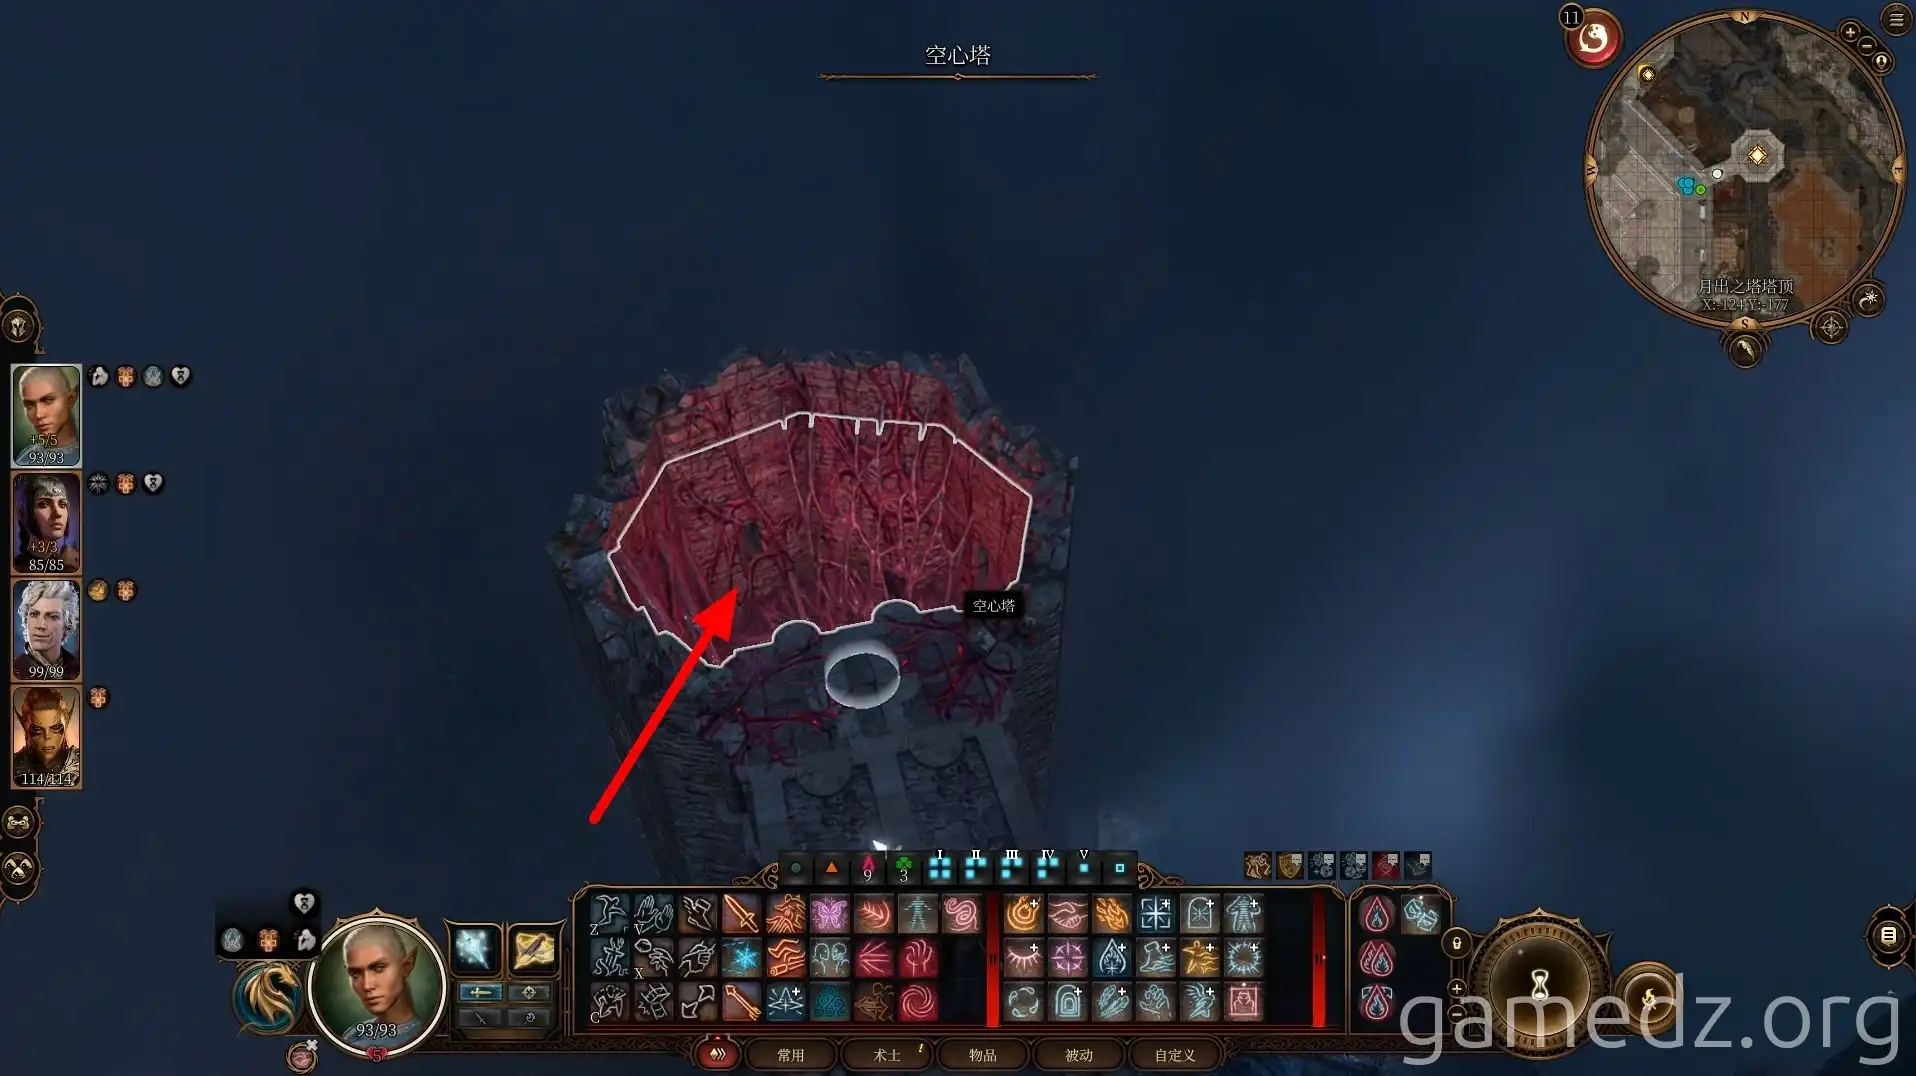
Venture deeper into the Mind Flayer Colony through the passageway. At the first fork in the road, continue eastward.
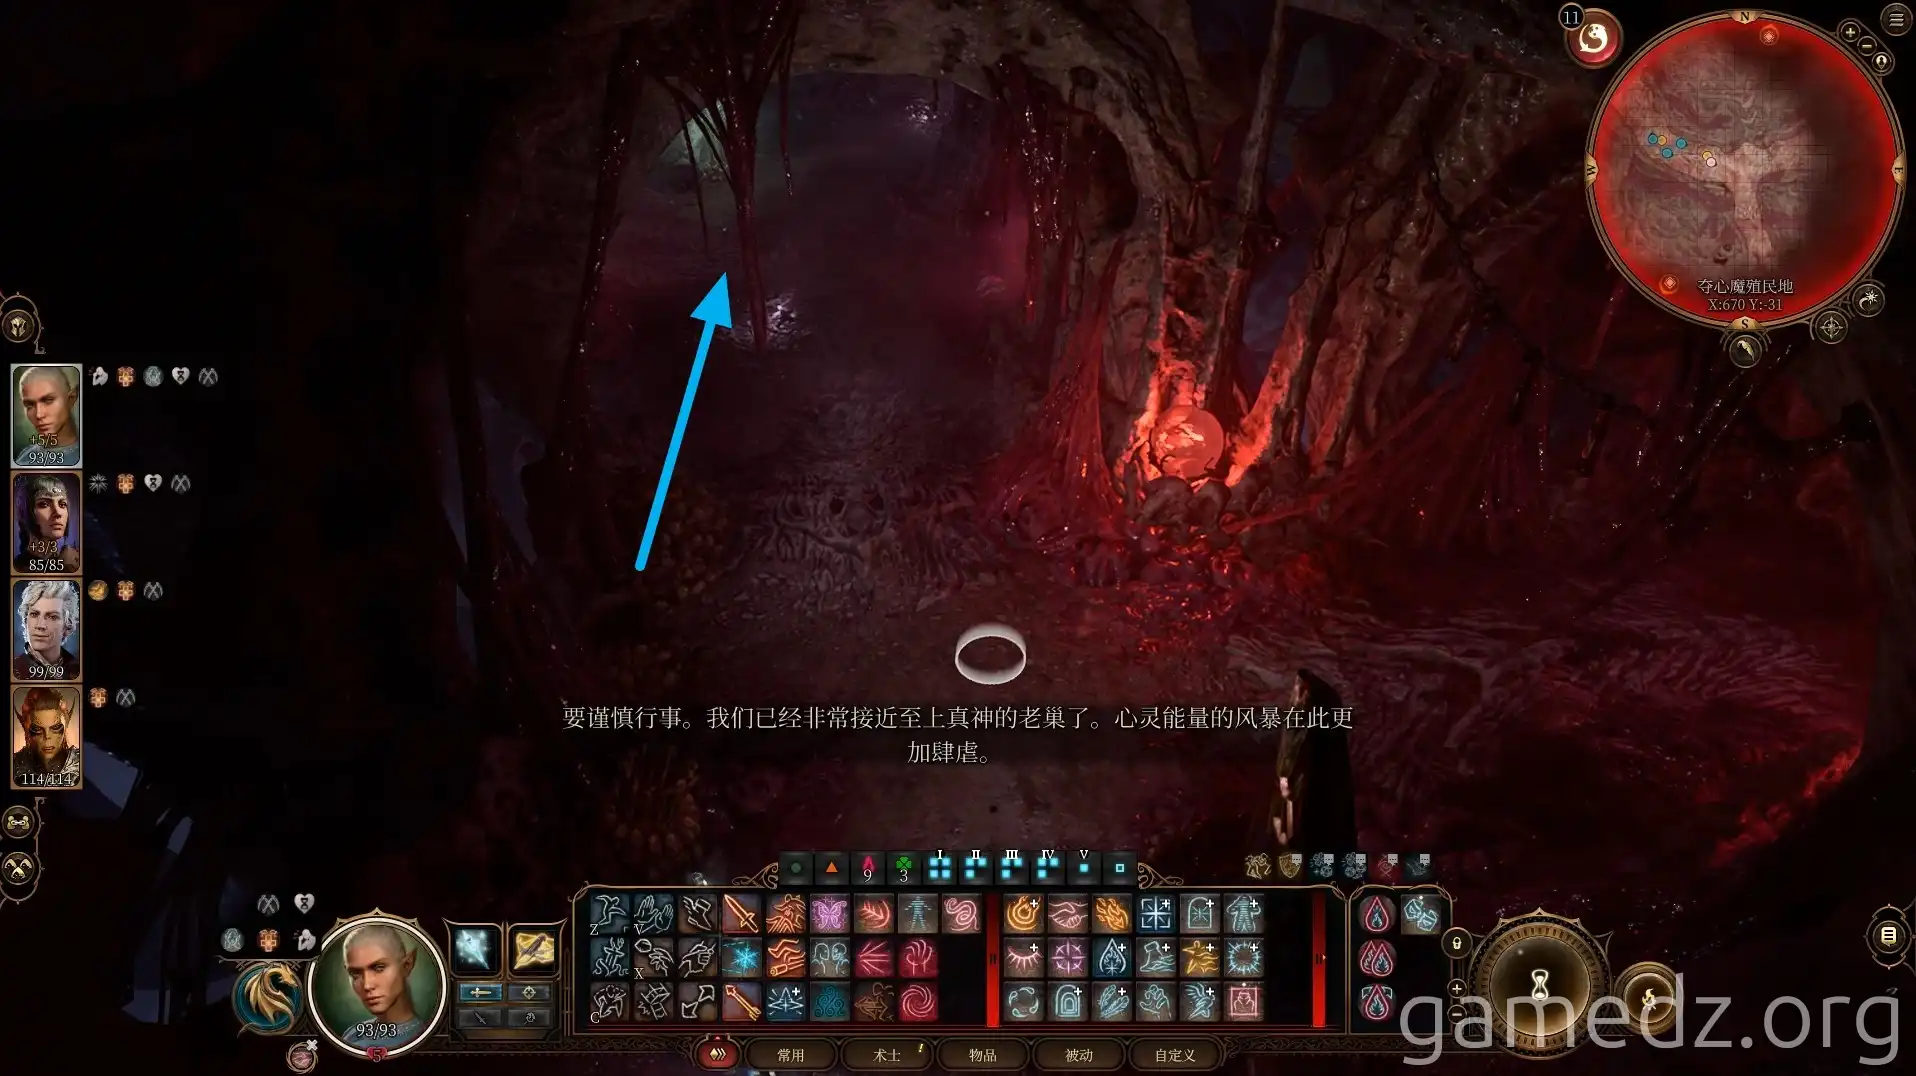
At the second fork ahead, head north.
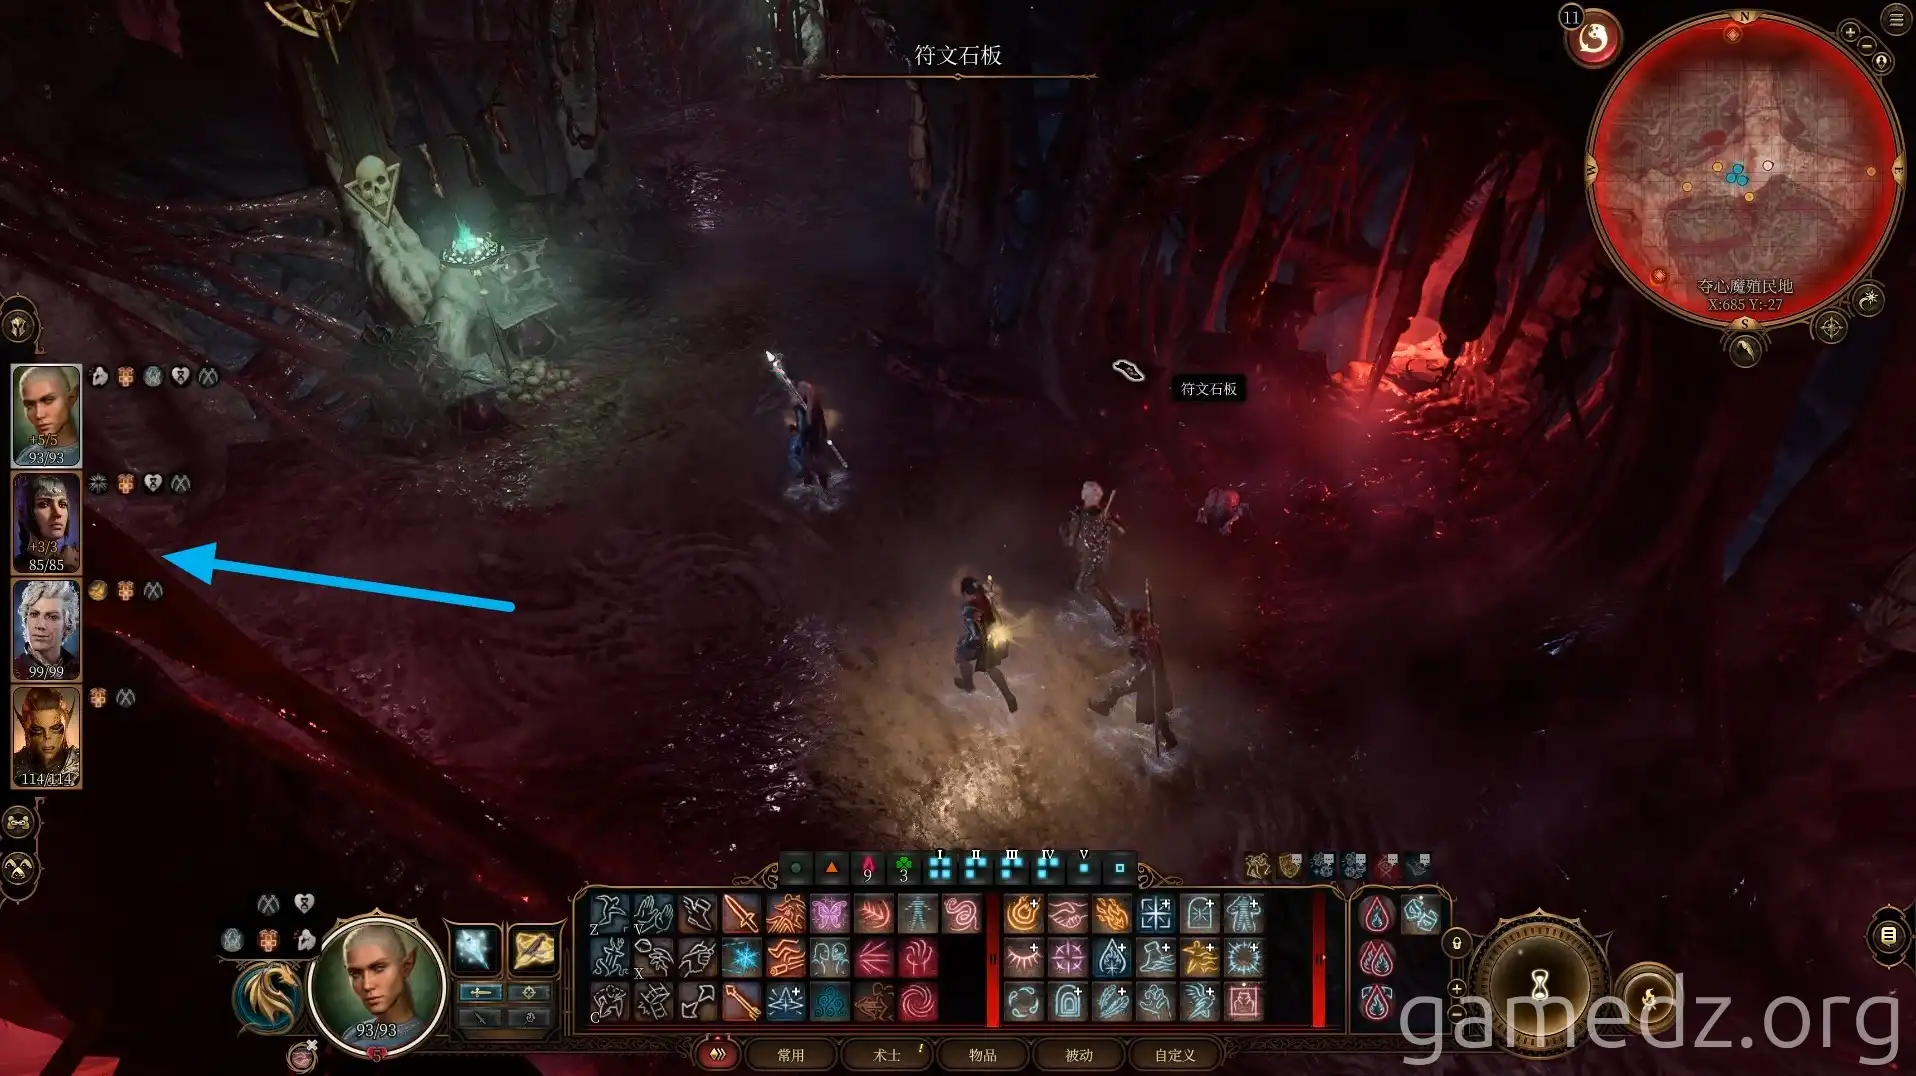
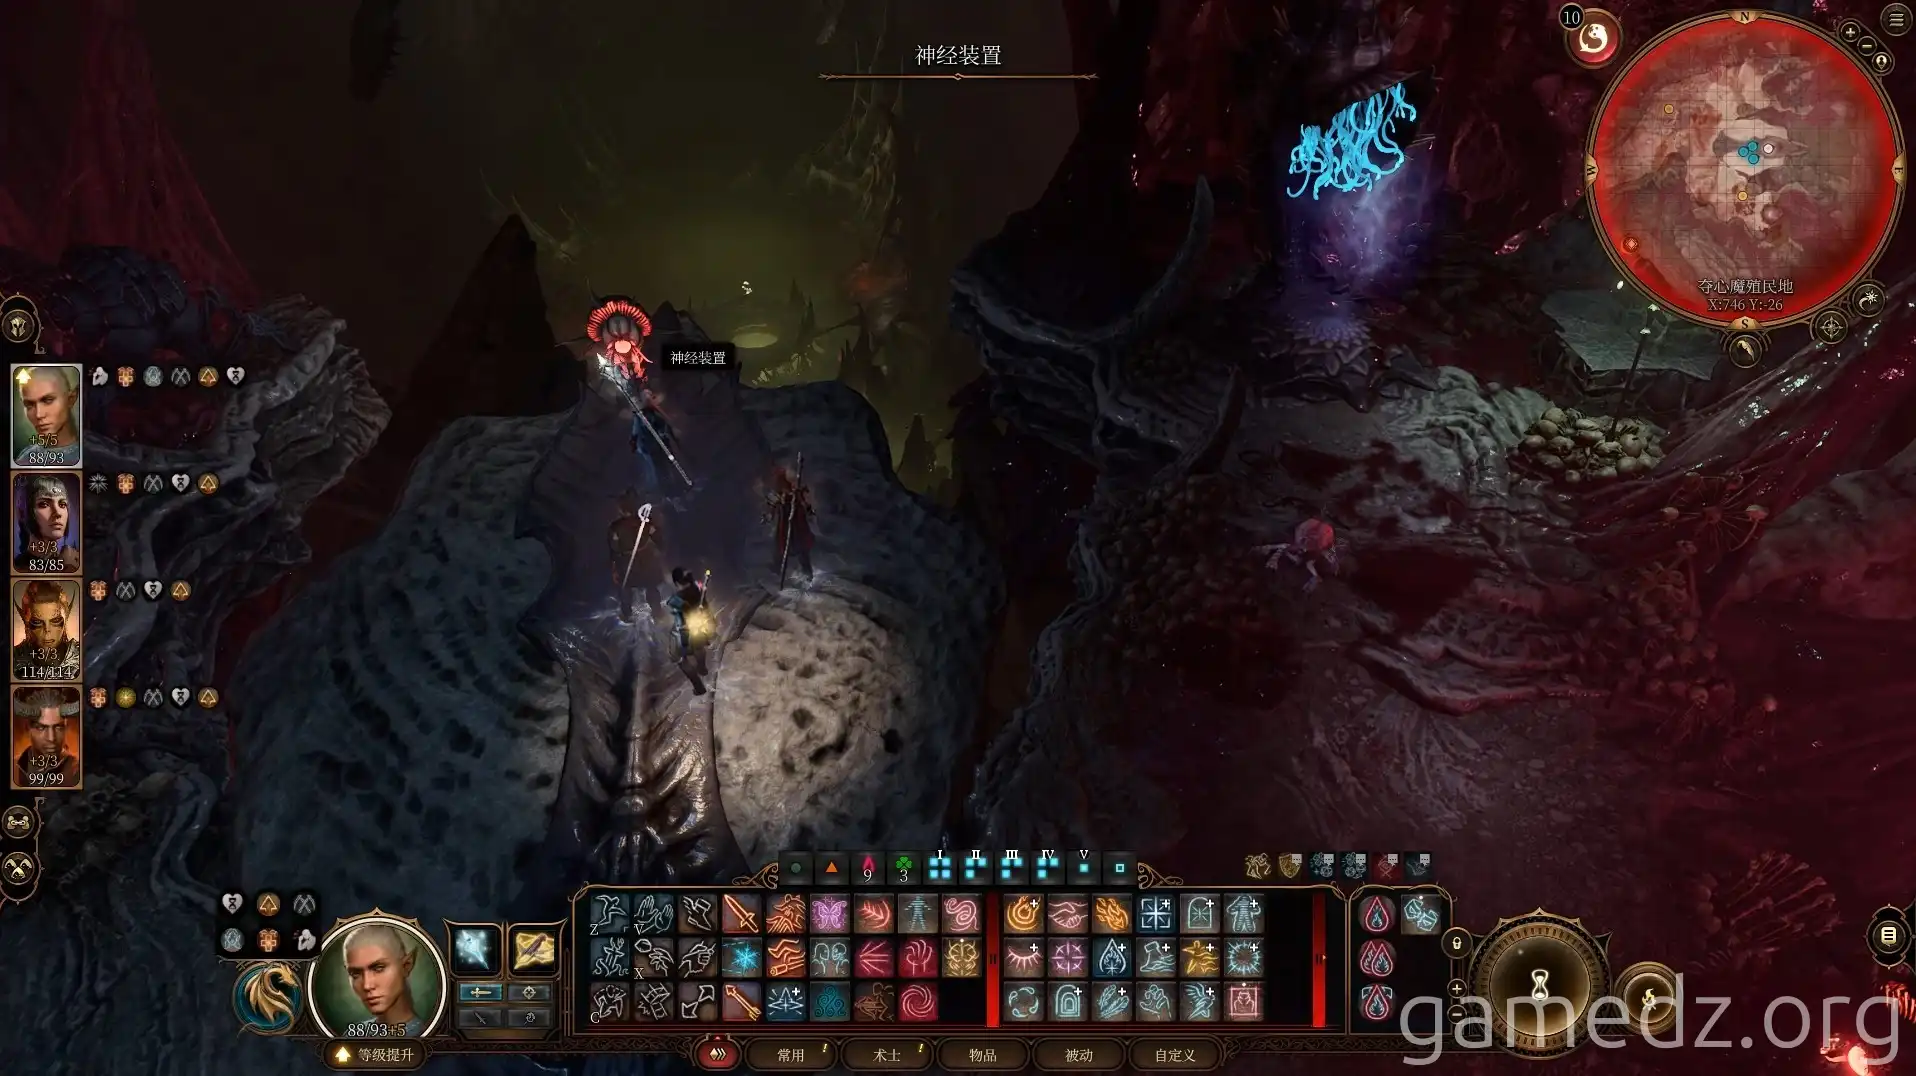
Use the neural apparatus in the room to release all individuals within the transformation pods.
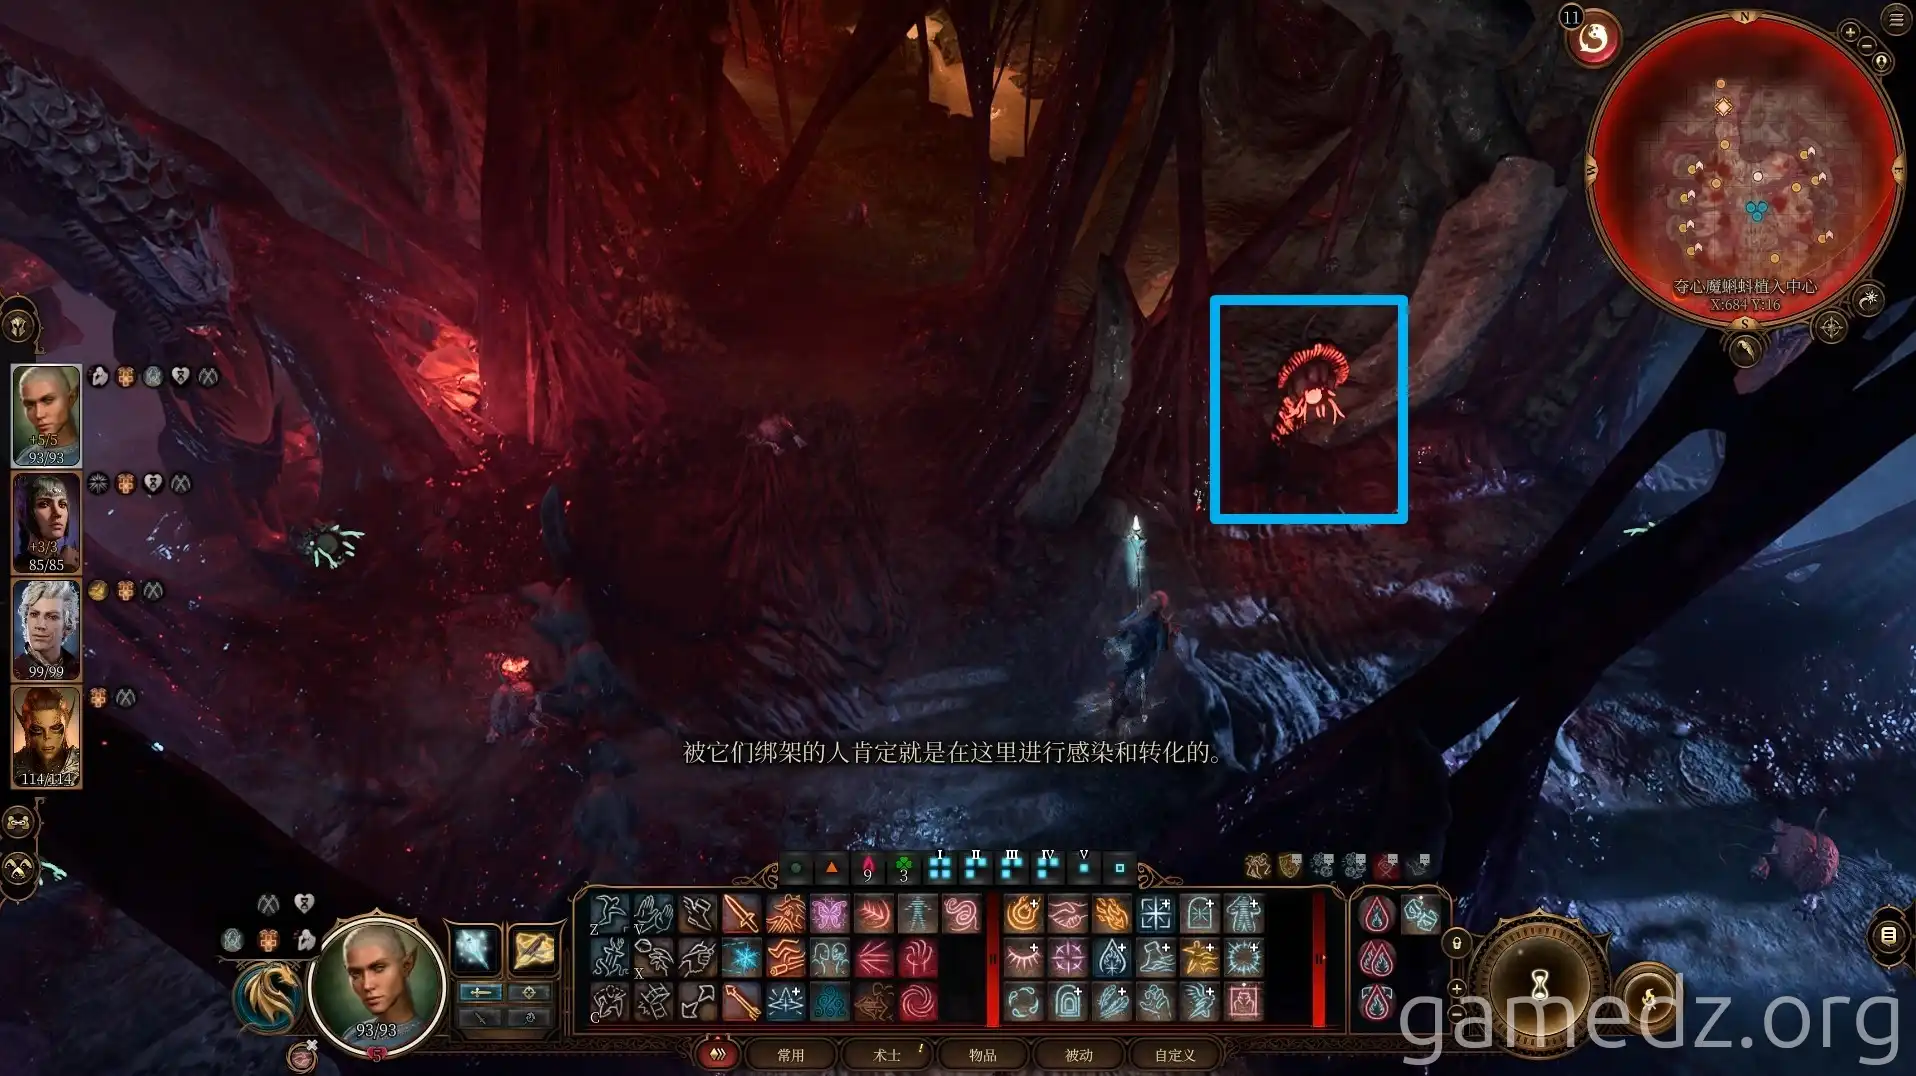
Subsequently, engage in combat and defeat all the newly spawned Mind Flayers and Intellect Devourers.
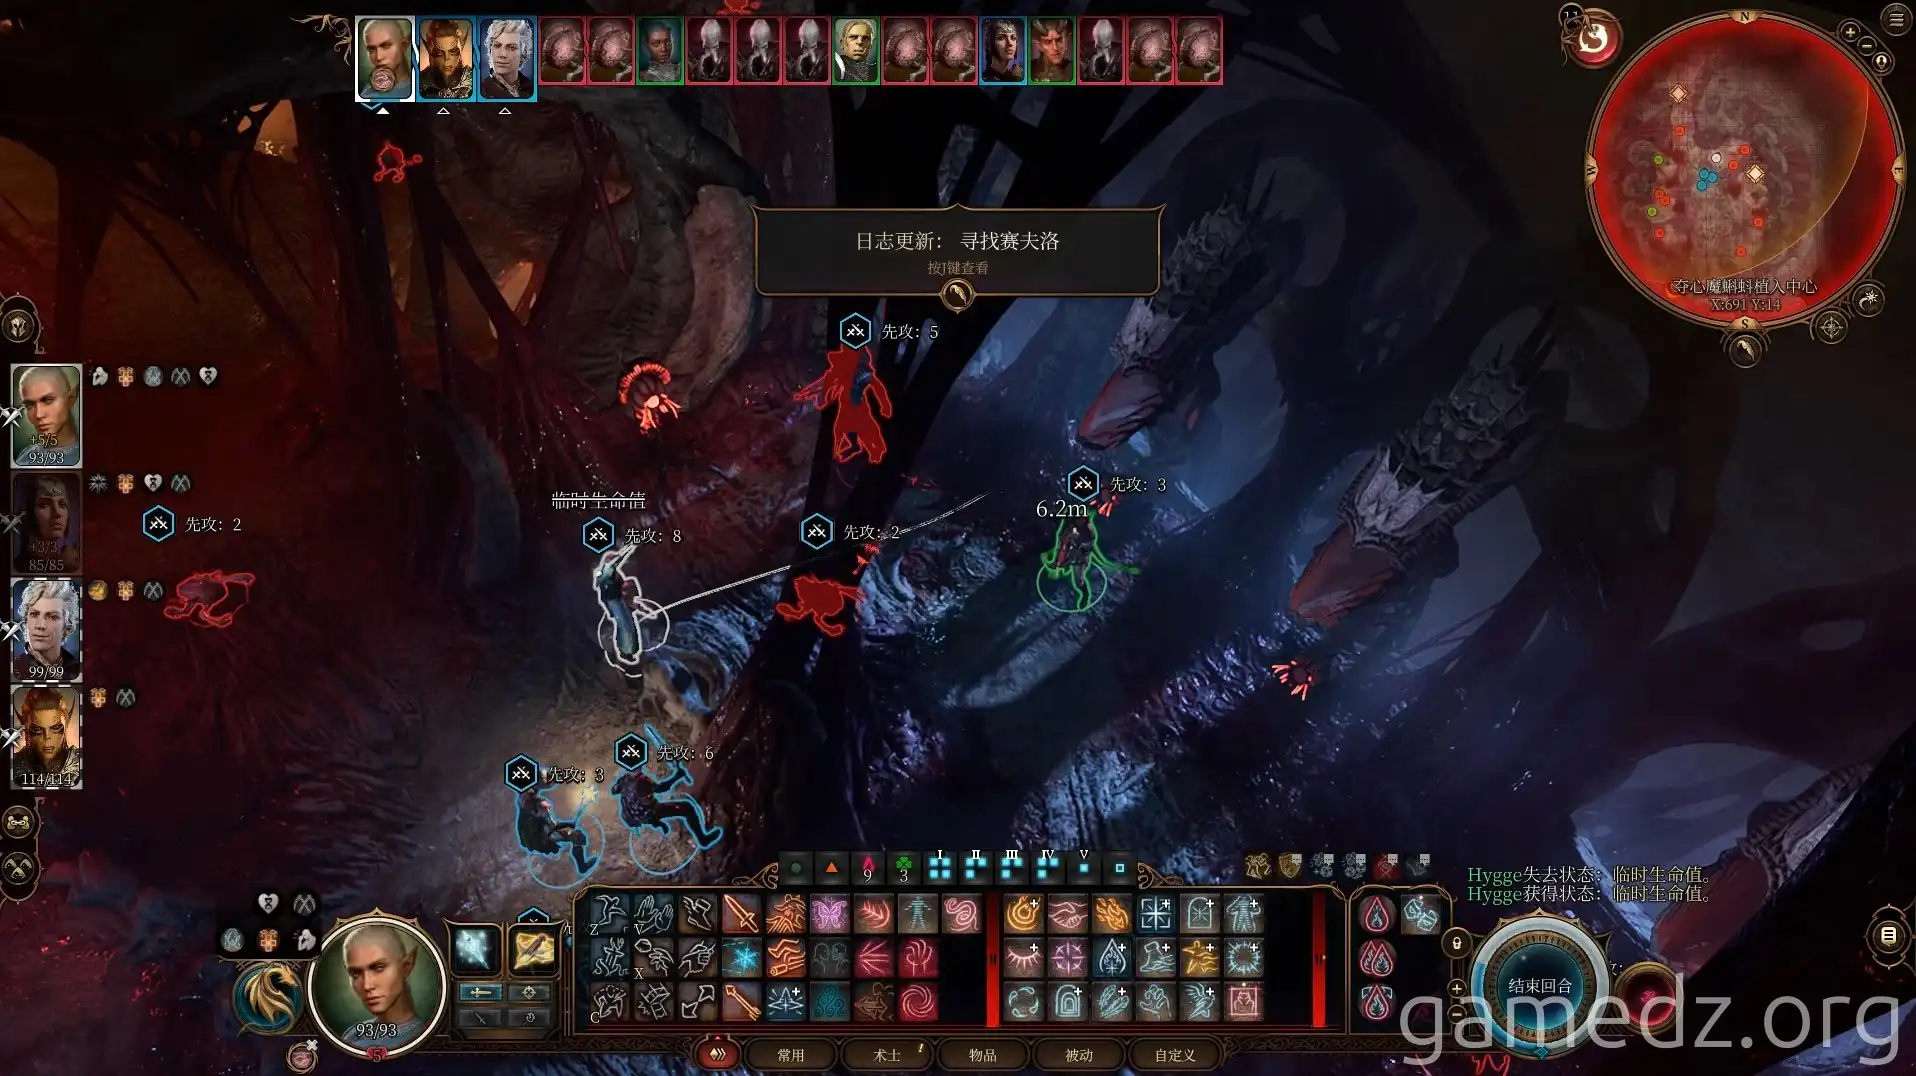
After the battle, speak with the rescued Sarevok. Due to his previous control by the Absolute, he can no longer return to the Tiefling community and offers to help us in our fight.

After the conversation, continue north to the Mind Flayer Tadpole Implantation Center and investigate the incubation pod in the northwest corner of the room.
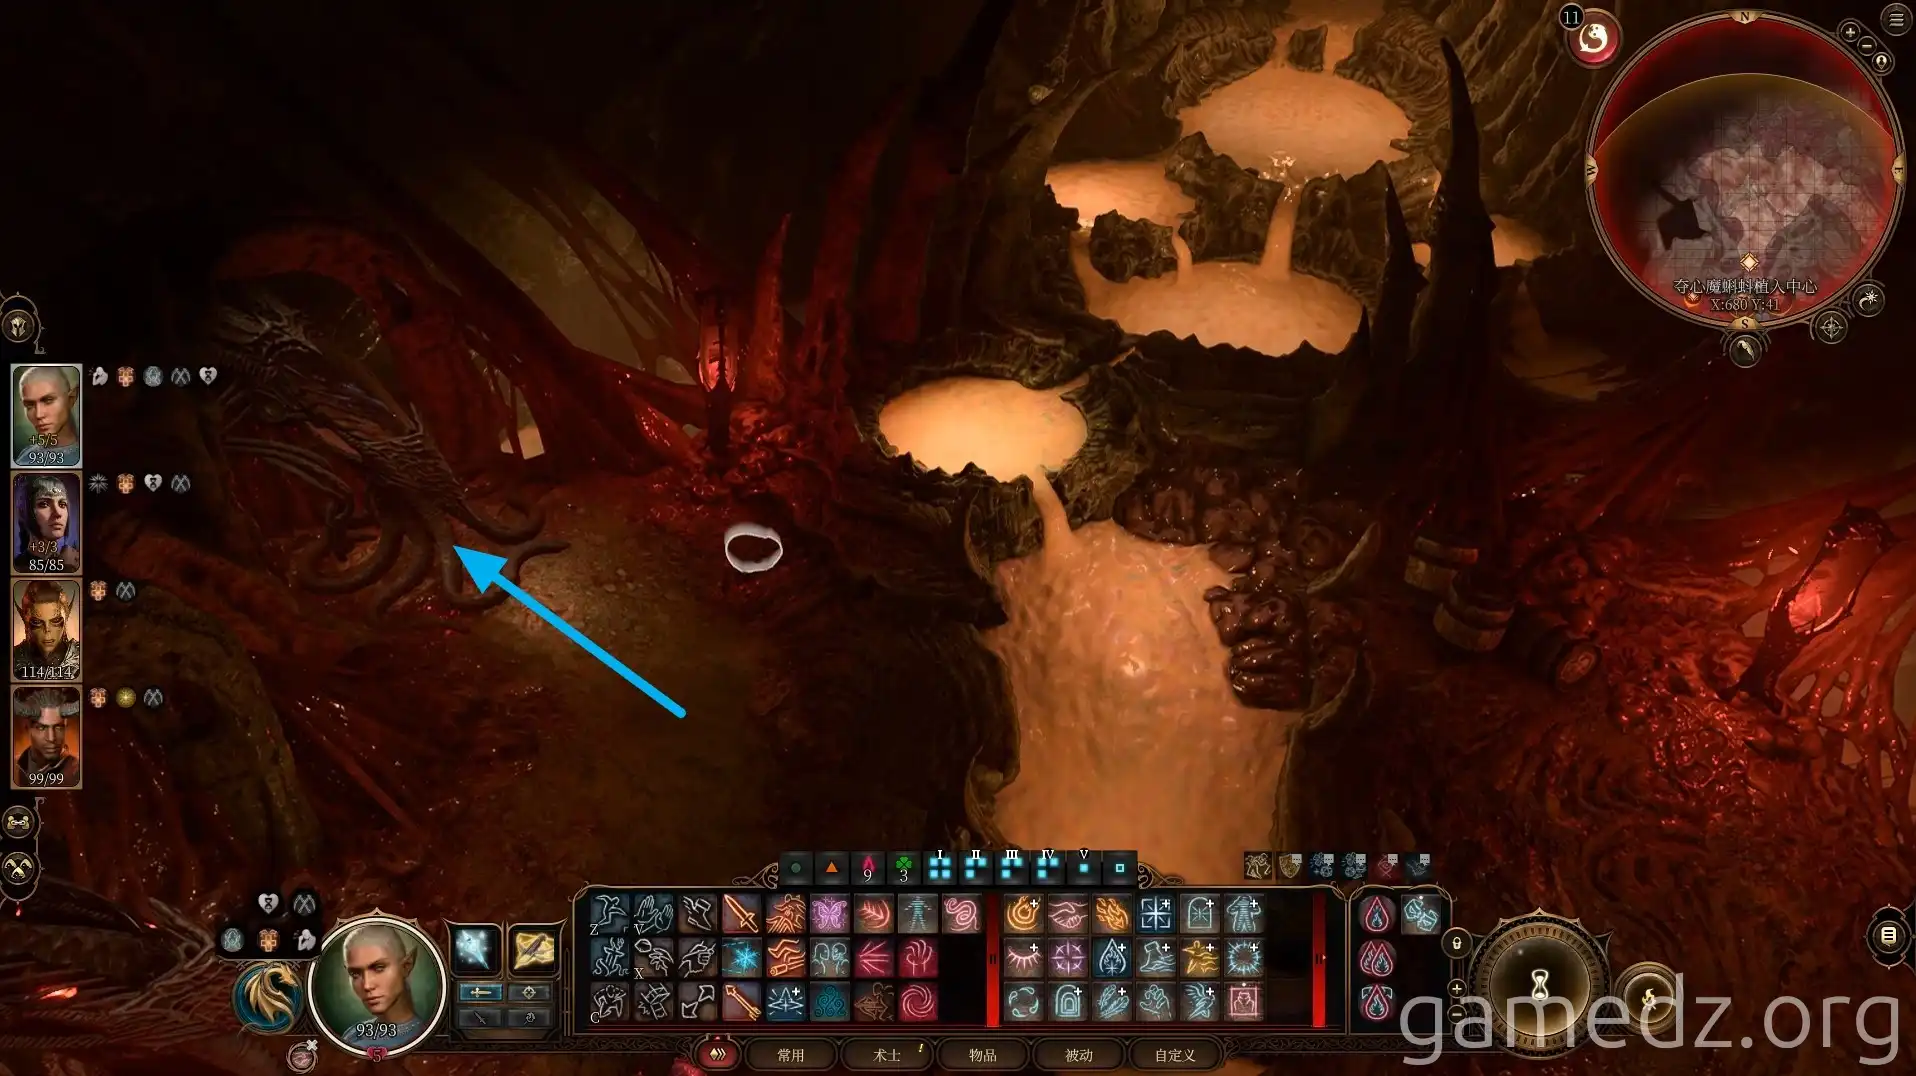
Upon investigating the incubation pod, we discover that Mizora has been captured by the Absolute cult. After freeing her, select the Persuasion option during the dialogue.
This option will not appear if Wyll is not in your party.

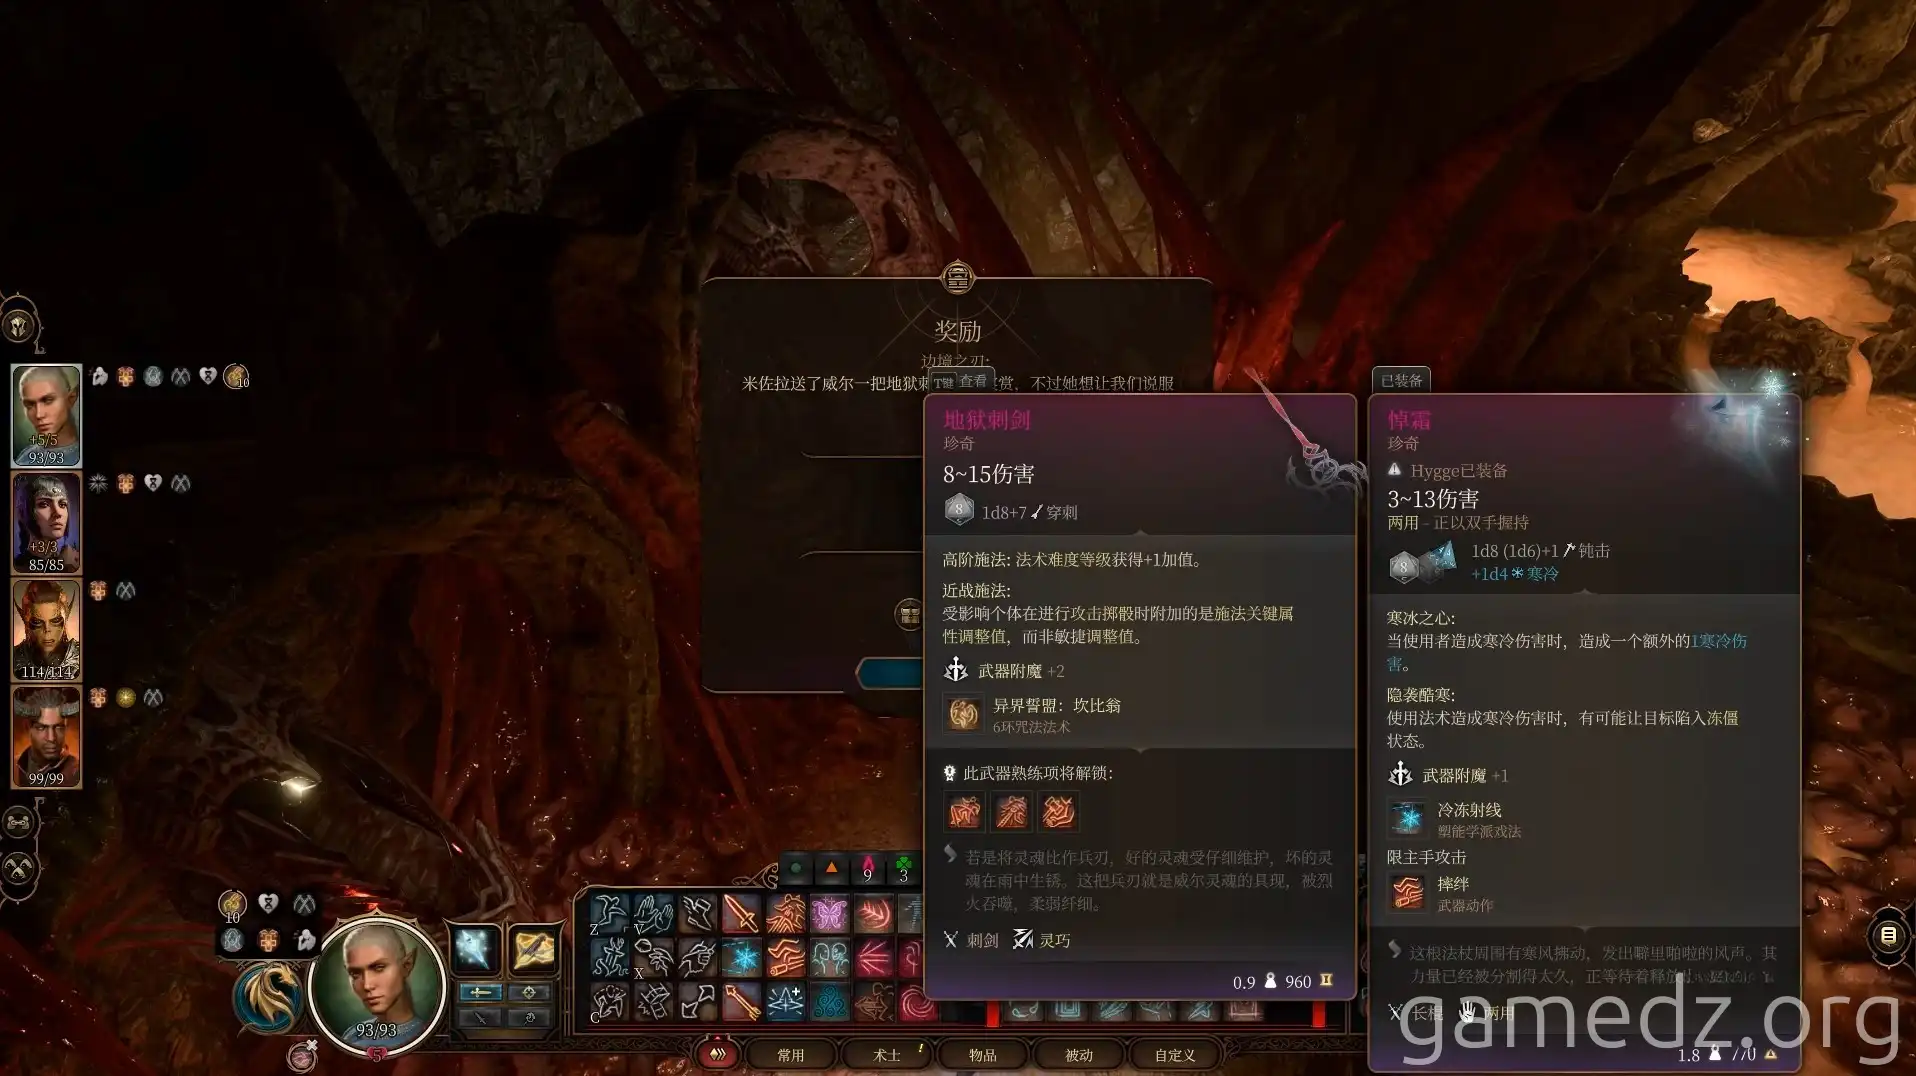
If your Persuasion check is successful, Mizora will gift you the rare weapon, Hellfire Hand Crossbow.
Continue deeper through the passageway on the other side of the implantation center.
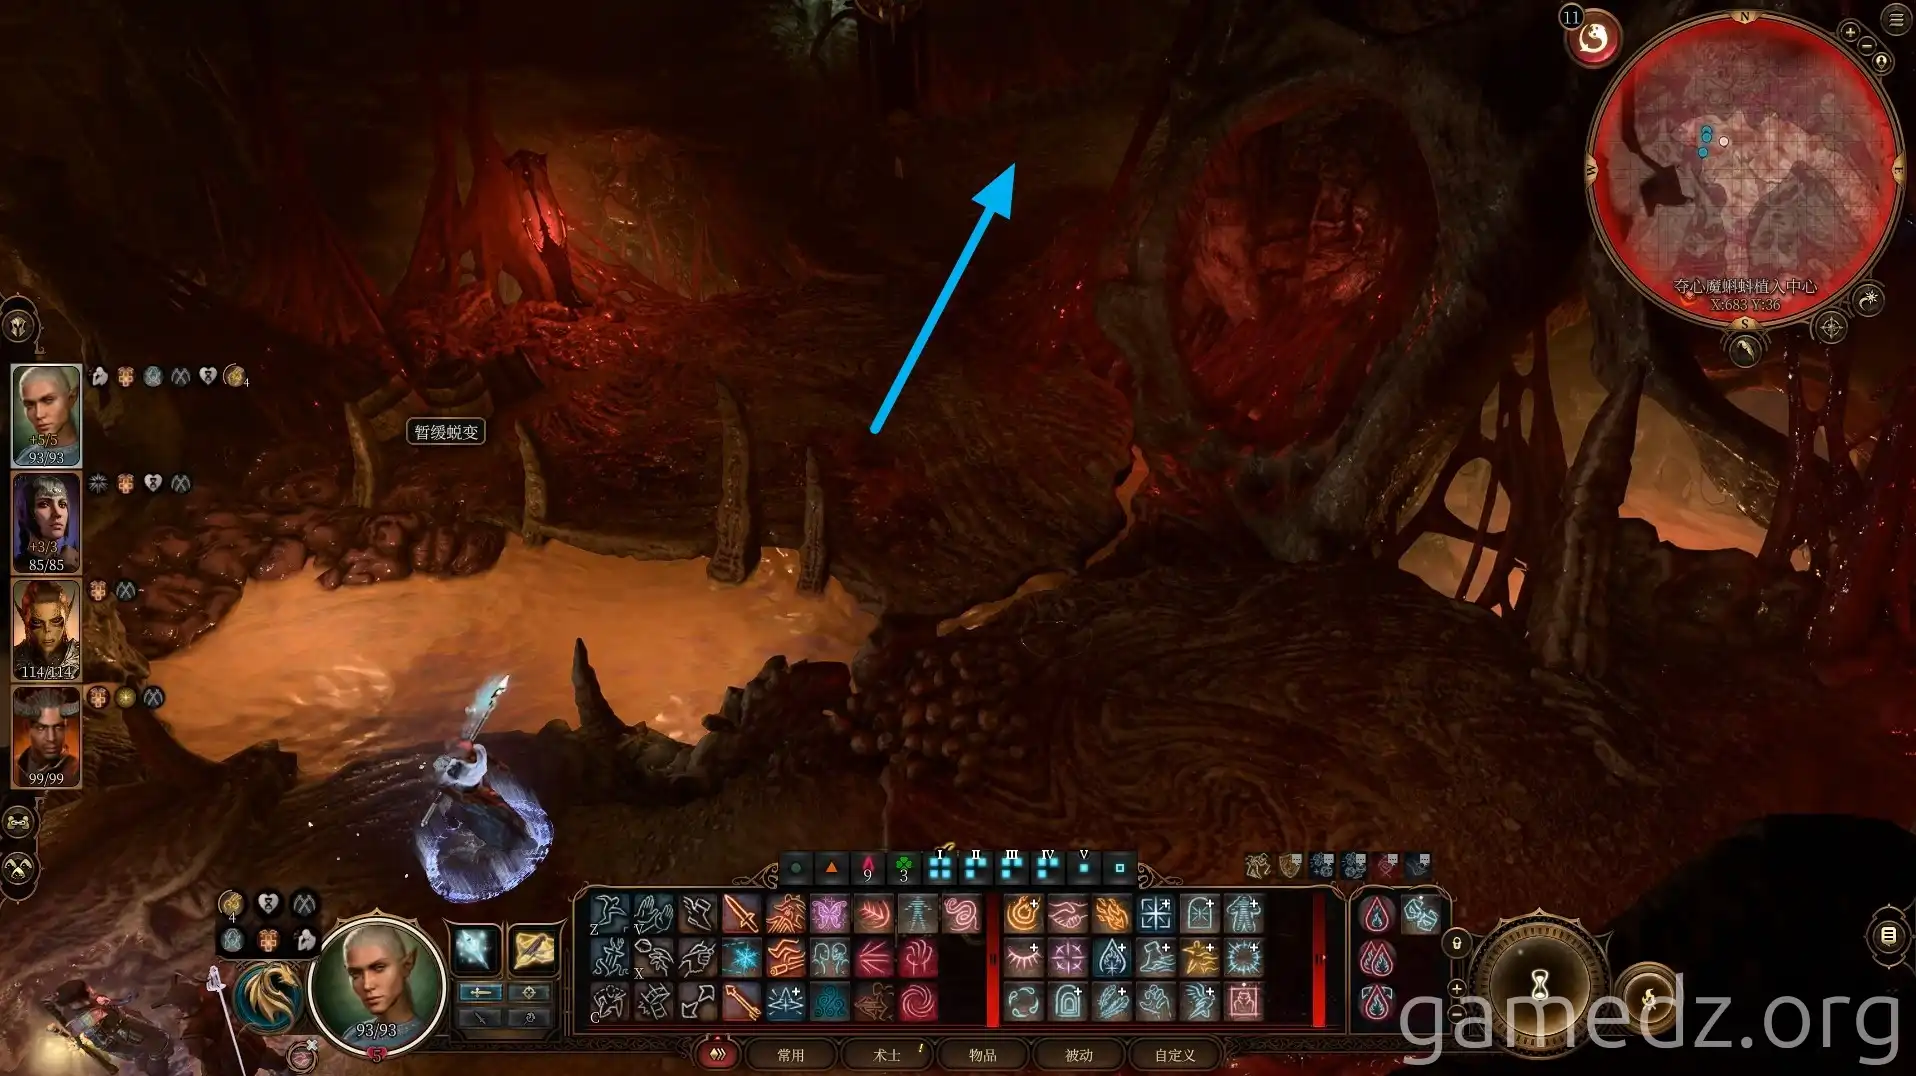
The room ahead contains four cultists. If you fail the dialogue check, combat will ensue. Since resting here is difficult, it's recommended to simply ignore them and exit through the southern exit.
These four level 8 enemies are not only tough but also offer little reward after the fight, aside from the uncommon weapon Cruel Scythe of Myrkul (which you likely already have) and some chests.
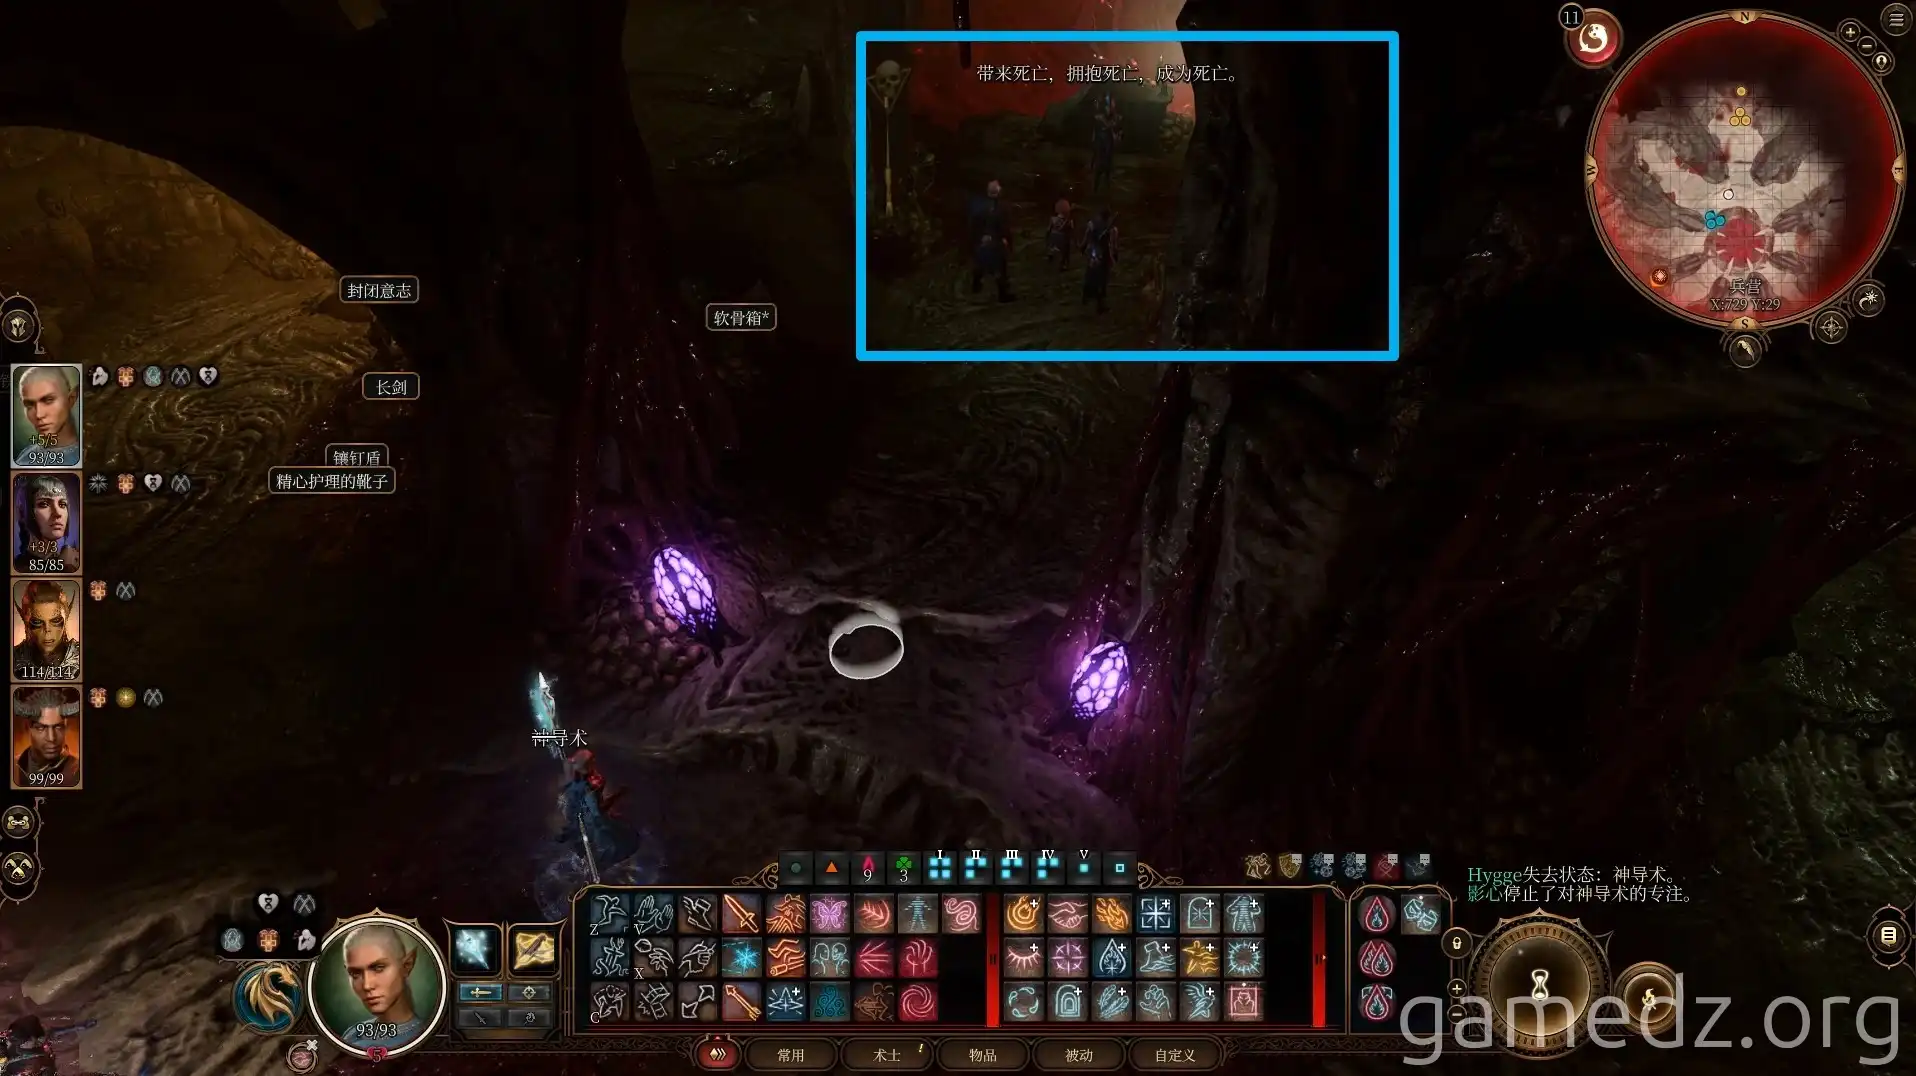
At the crossroads ahead, continue southward.
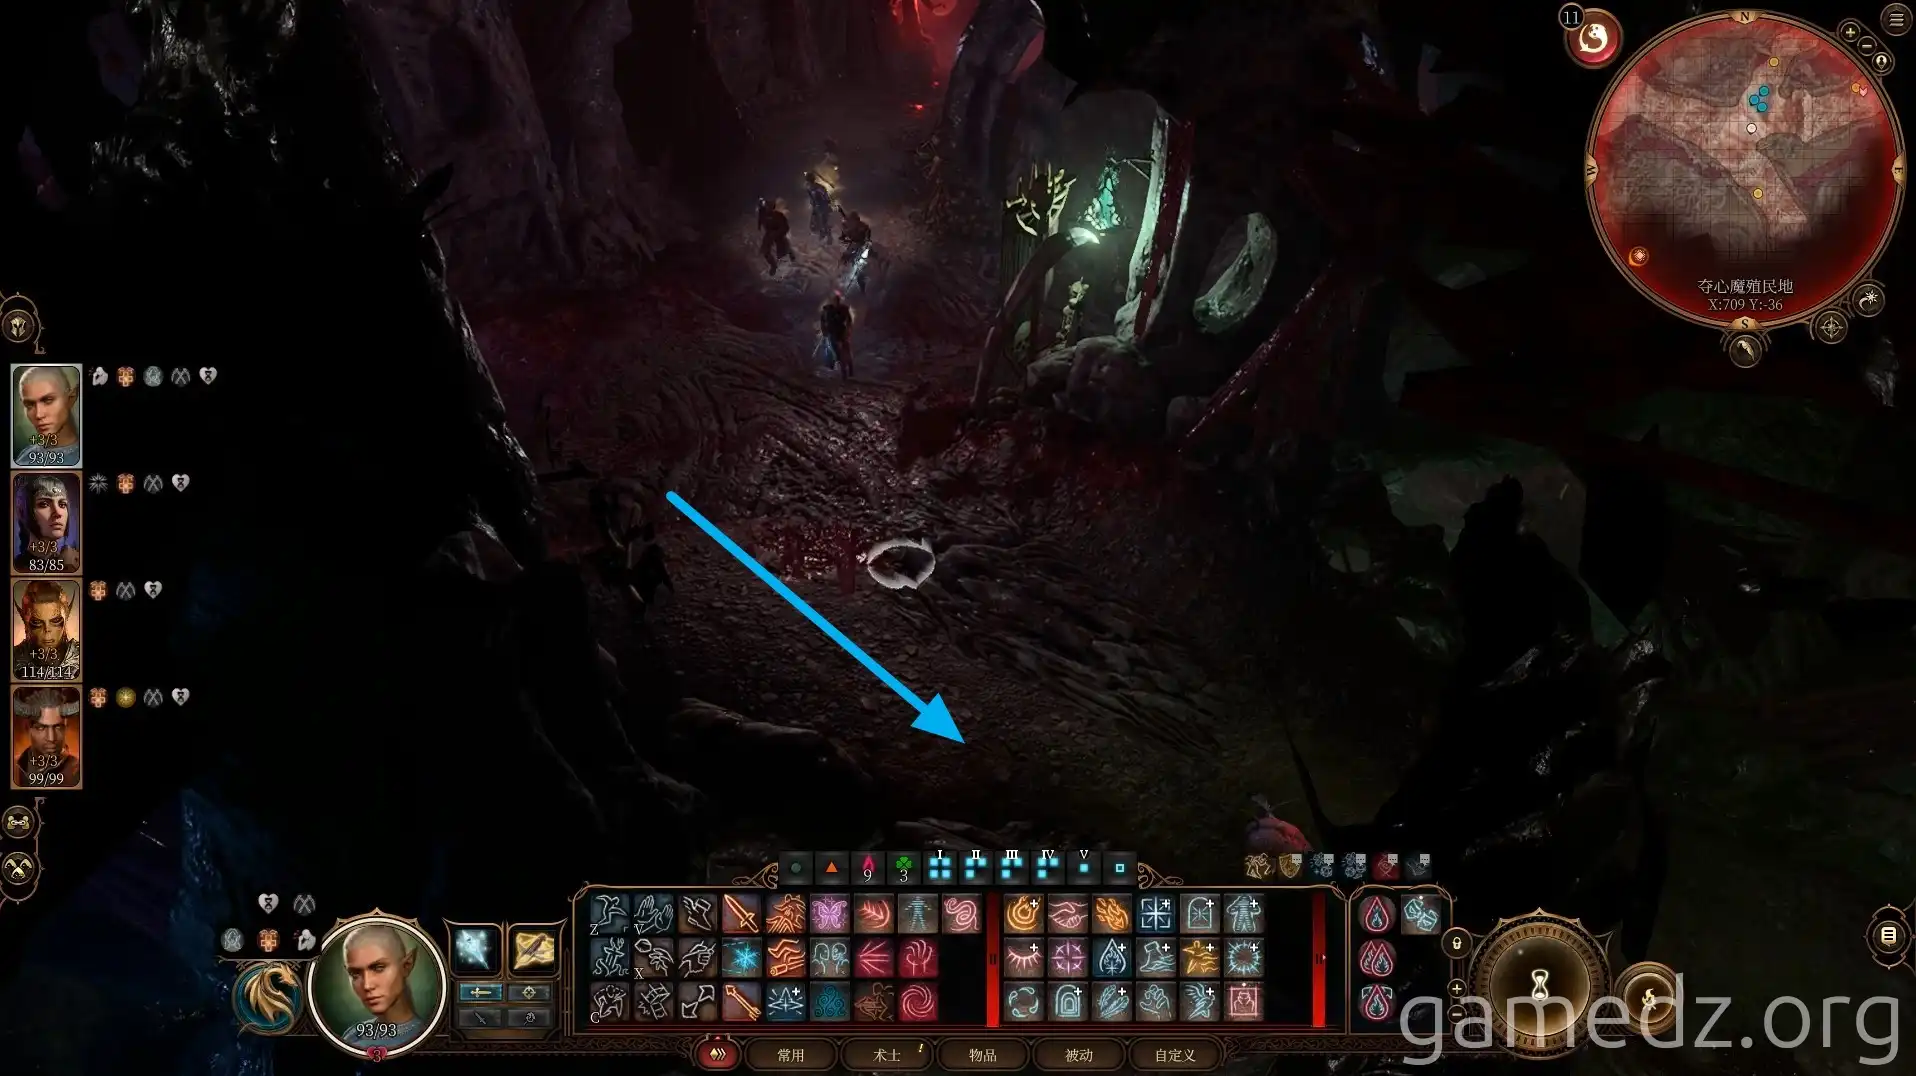
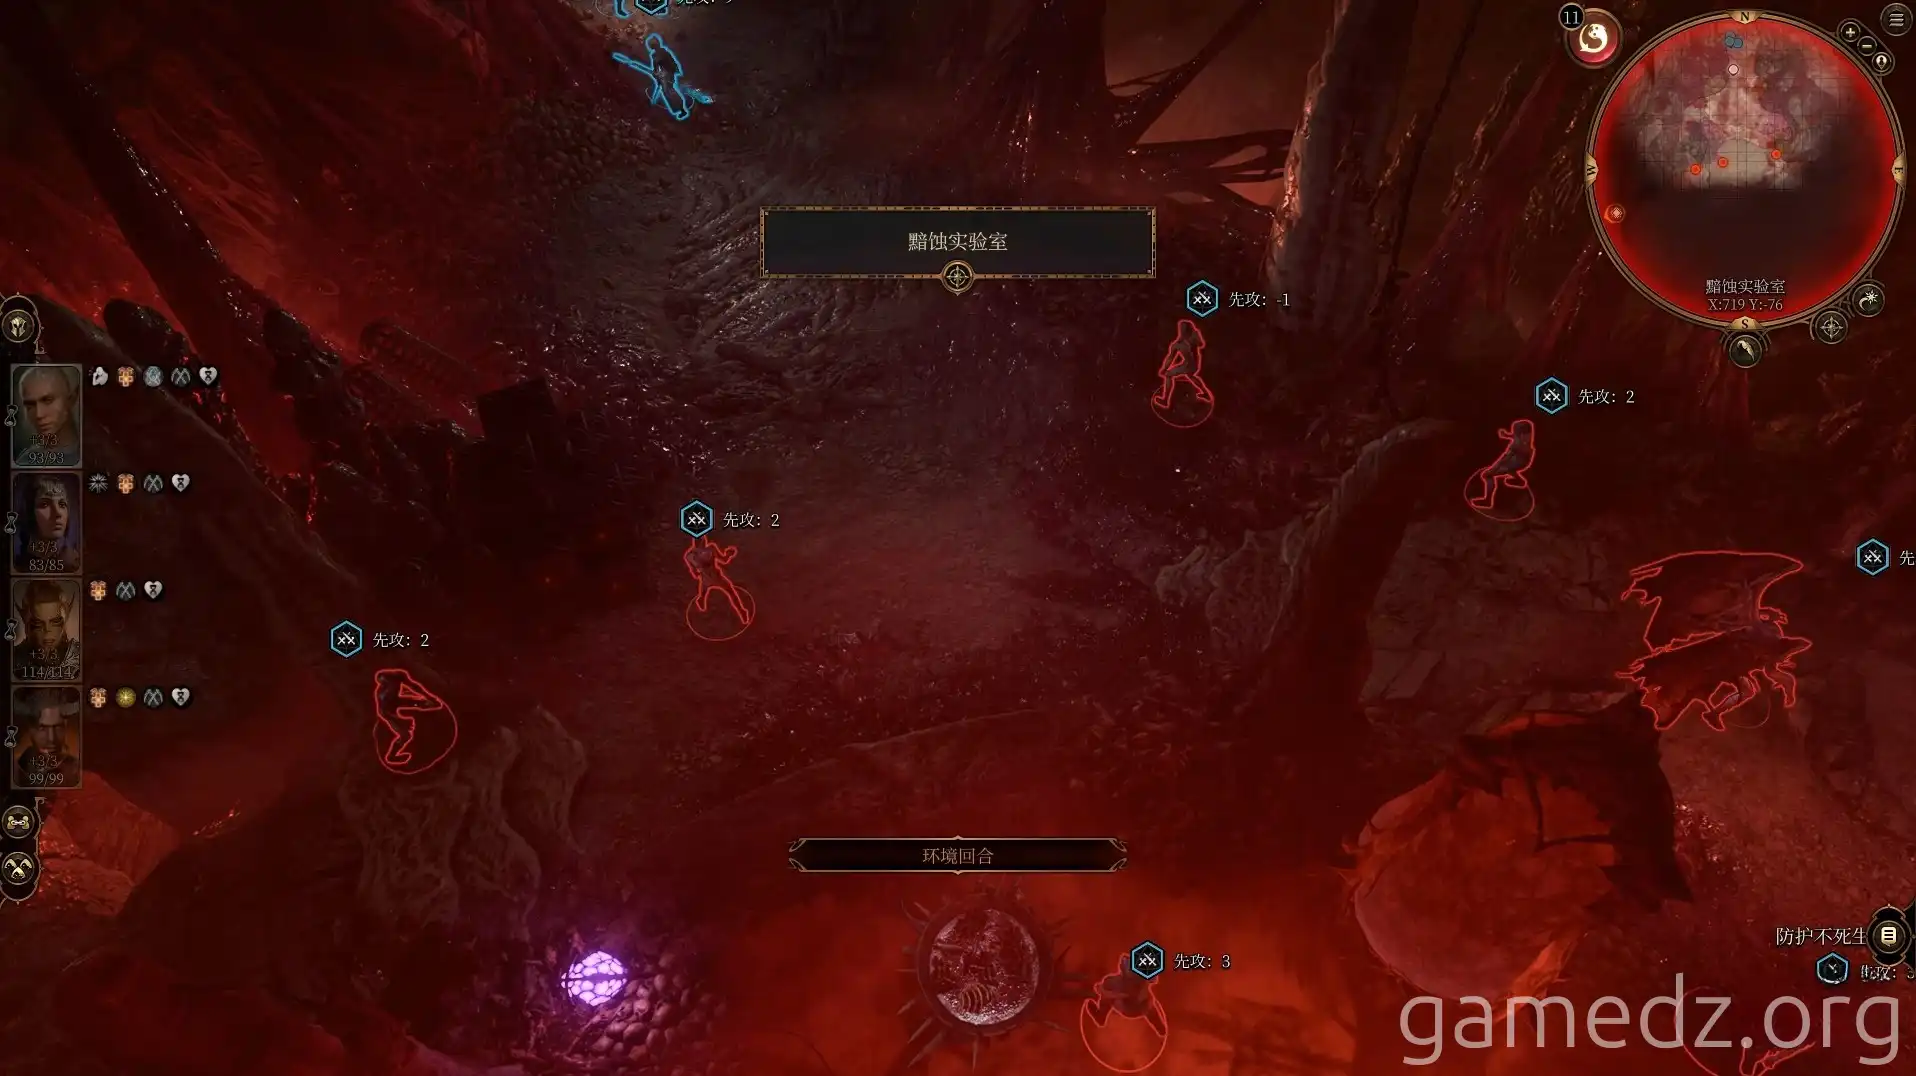
Enter the Absolutist Laboratory to trigger a battle against numerous undead and a Death Shepherd.
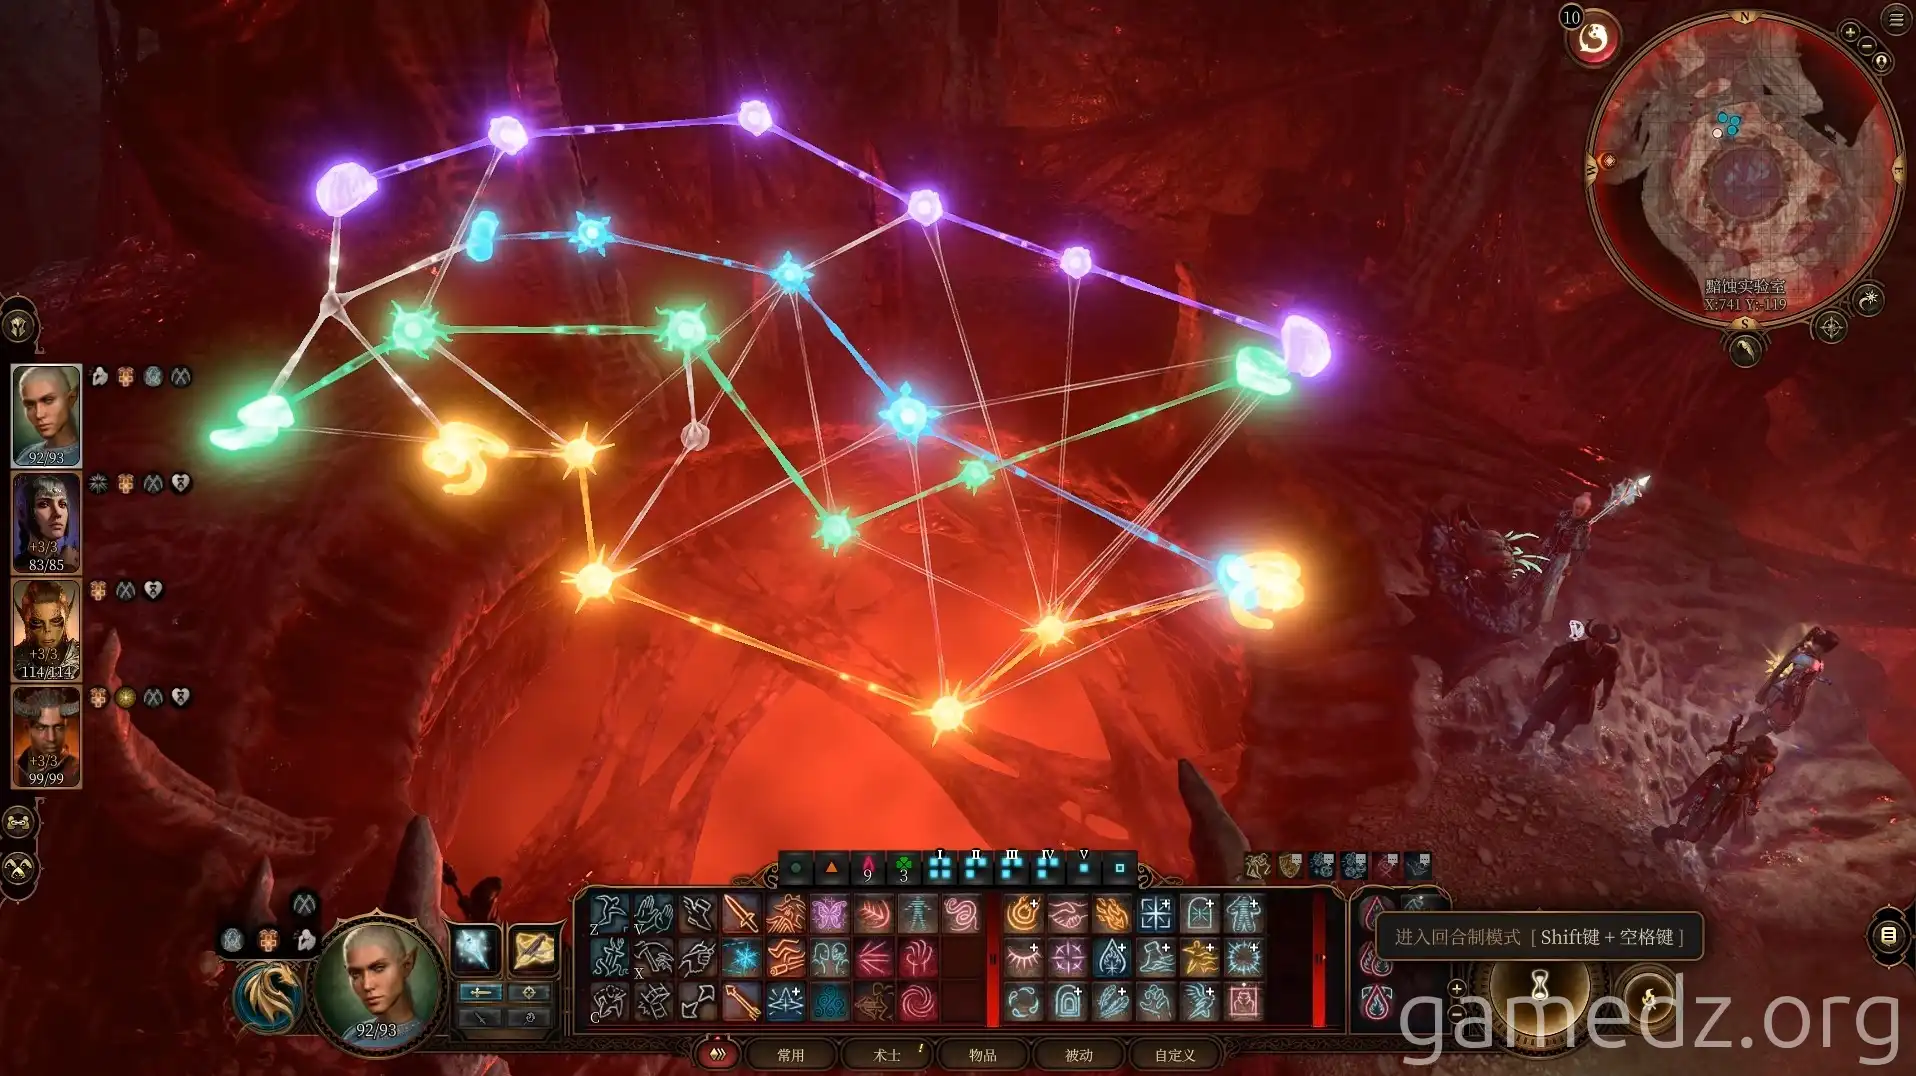
After defeating all enemies, interact with the console on the south side of the room. Connect nodes of the same shape on the left and right sides, ensuring no lines intersect, to open the door to the southern chamber.
In the room, you can acquire the rare weapon Sunder the Soul and the item Awakened Will.
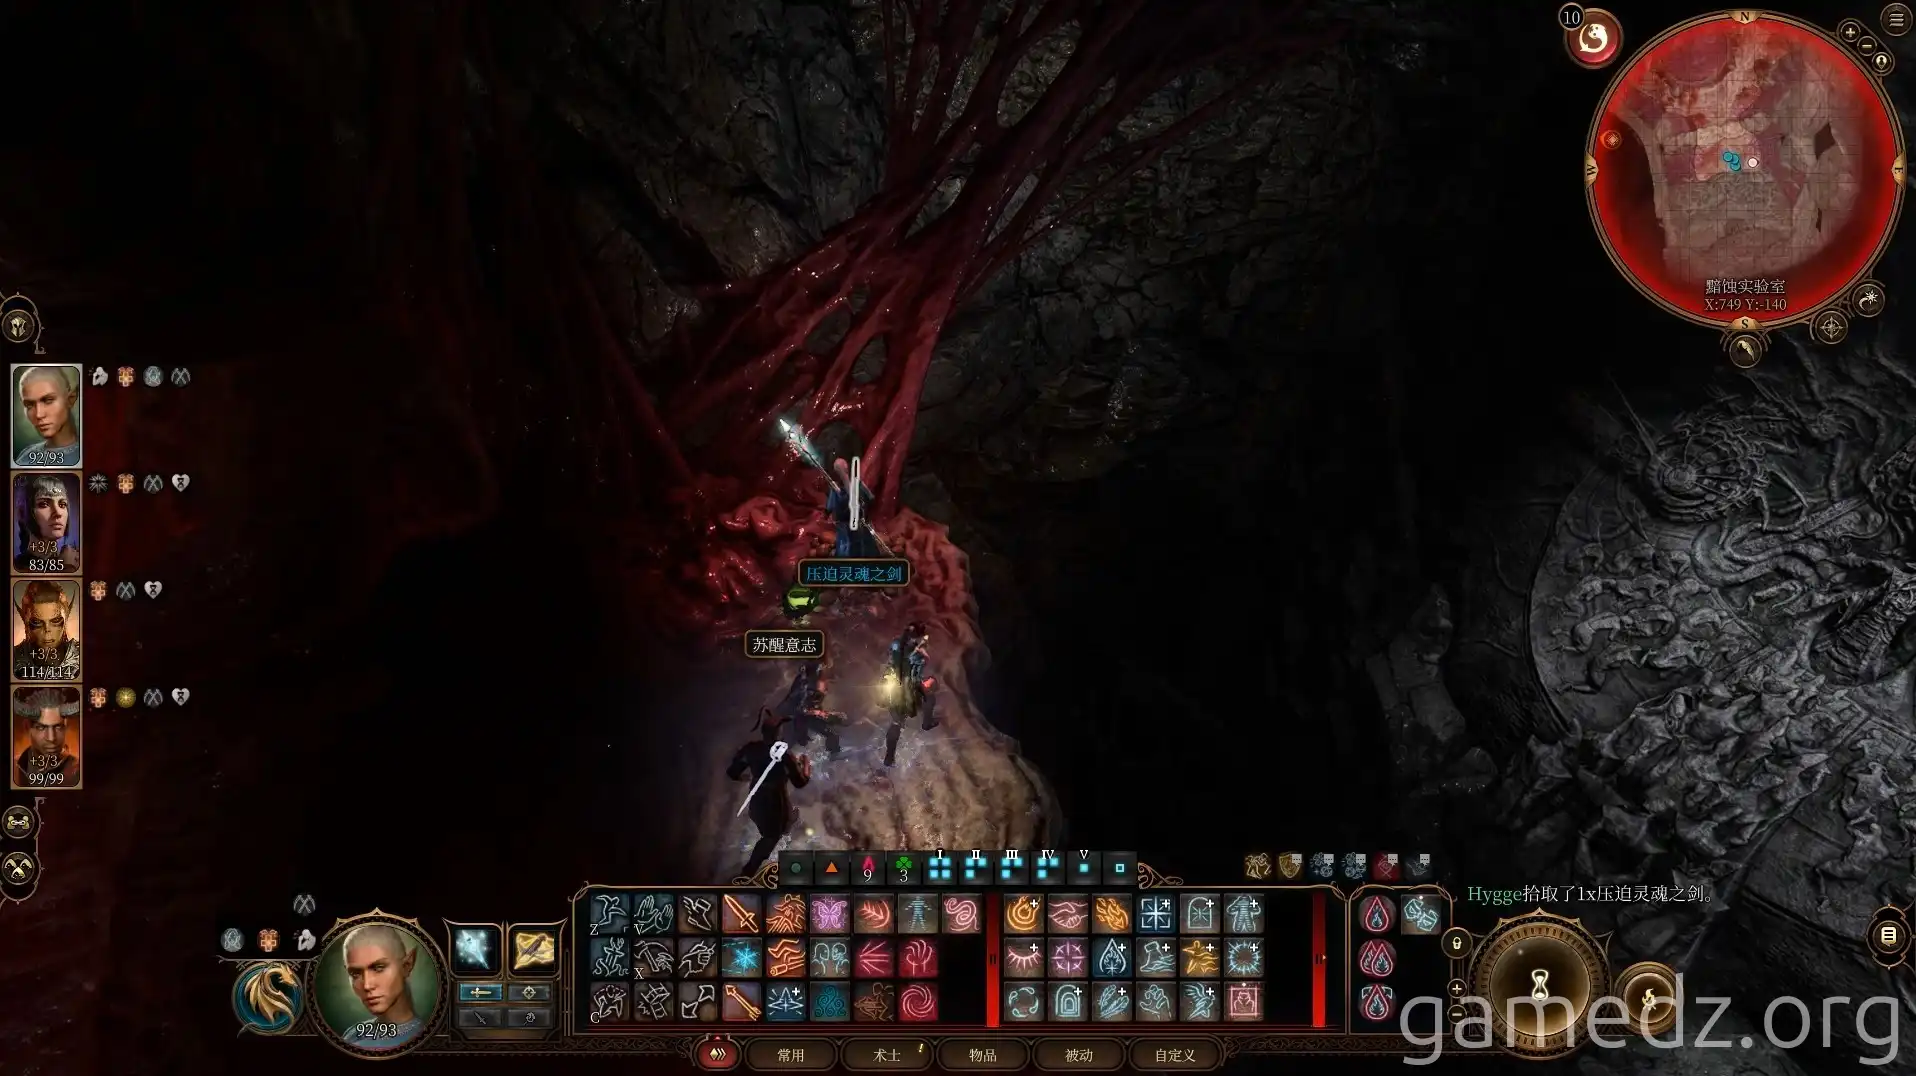
The attributes of Sunder the Soul are as follows:

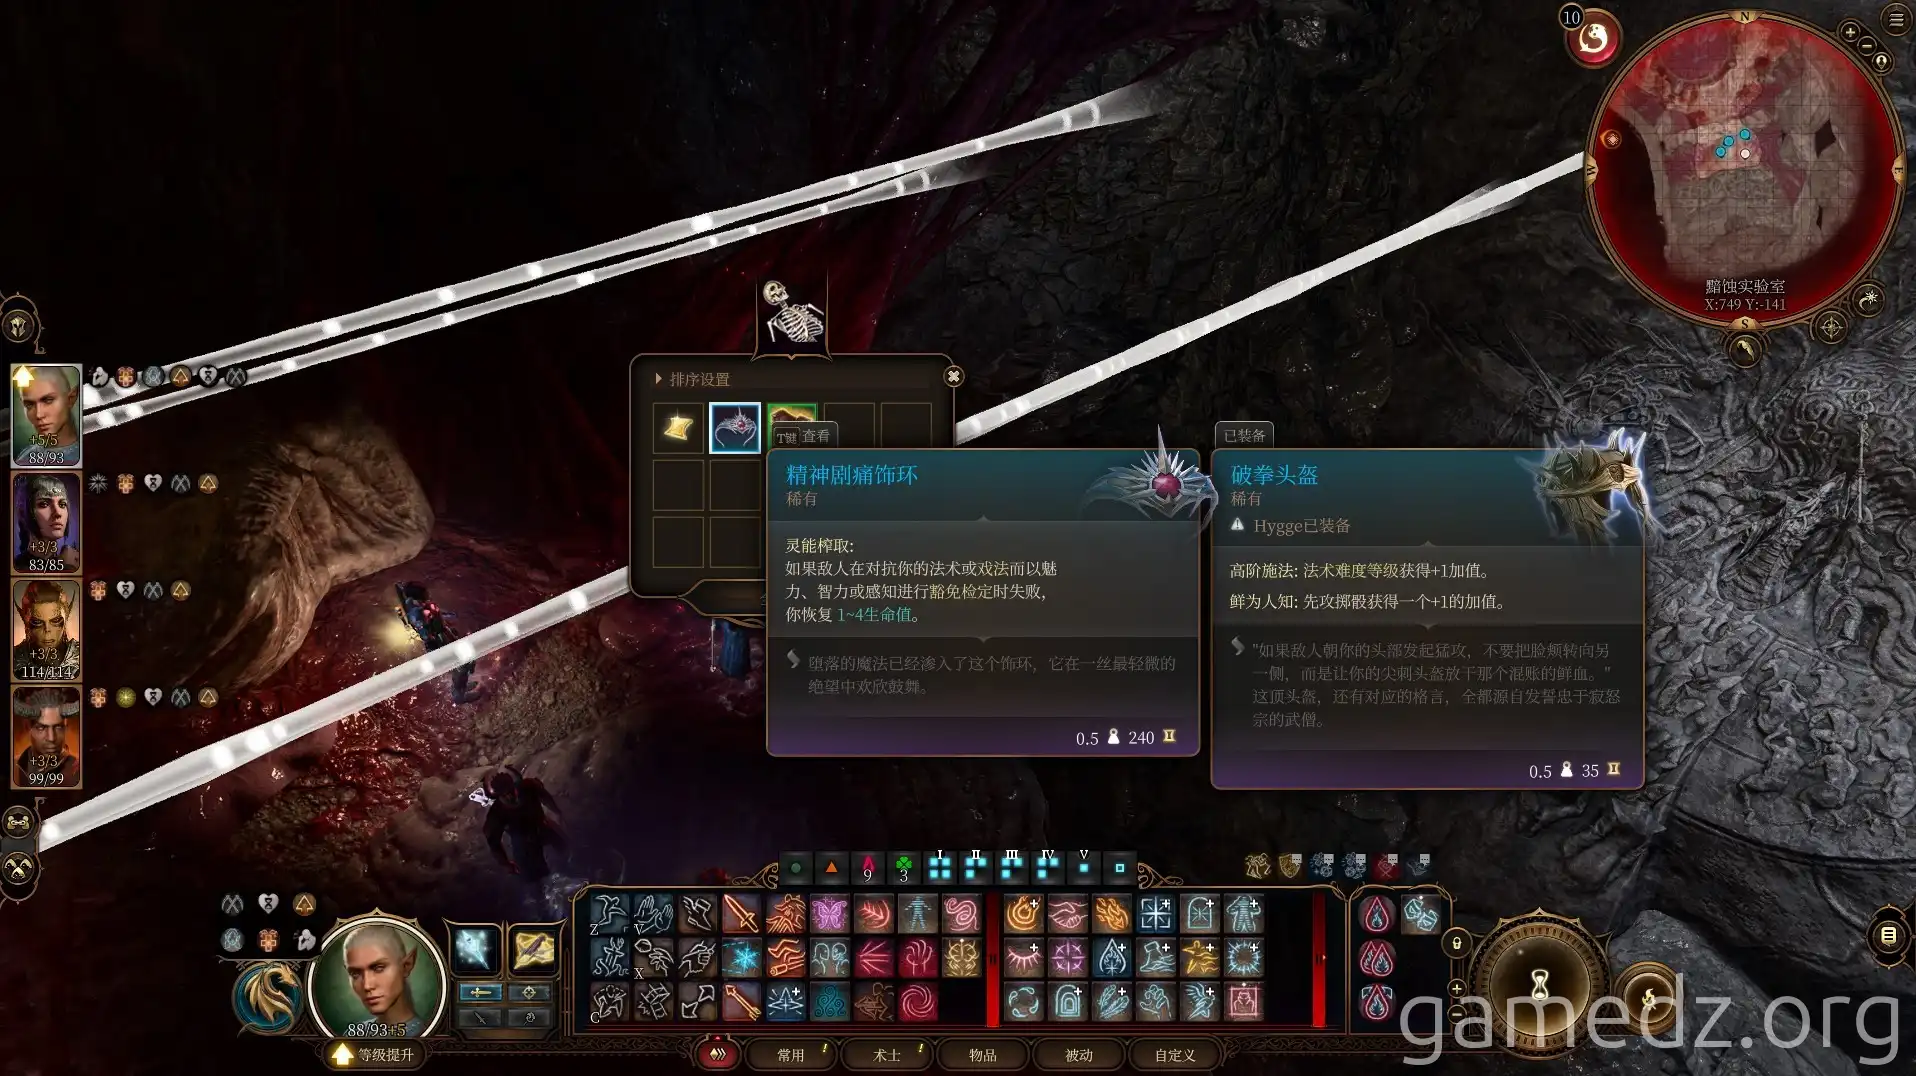
On a nearby skeleton, you can find the rare equipment Circlet of Psionic Strain.
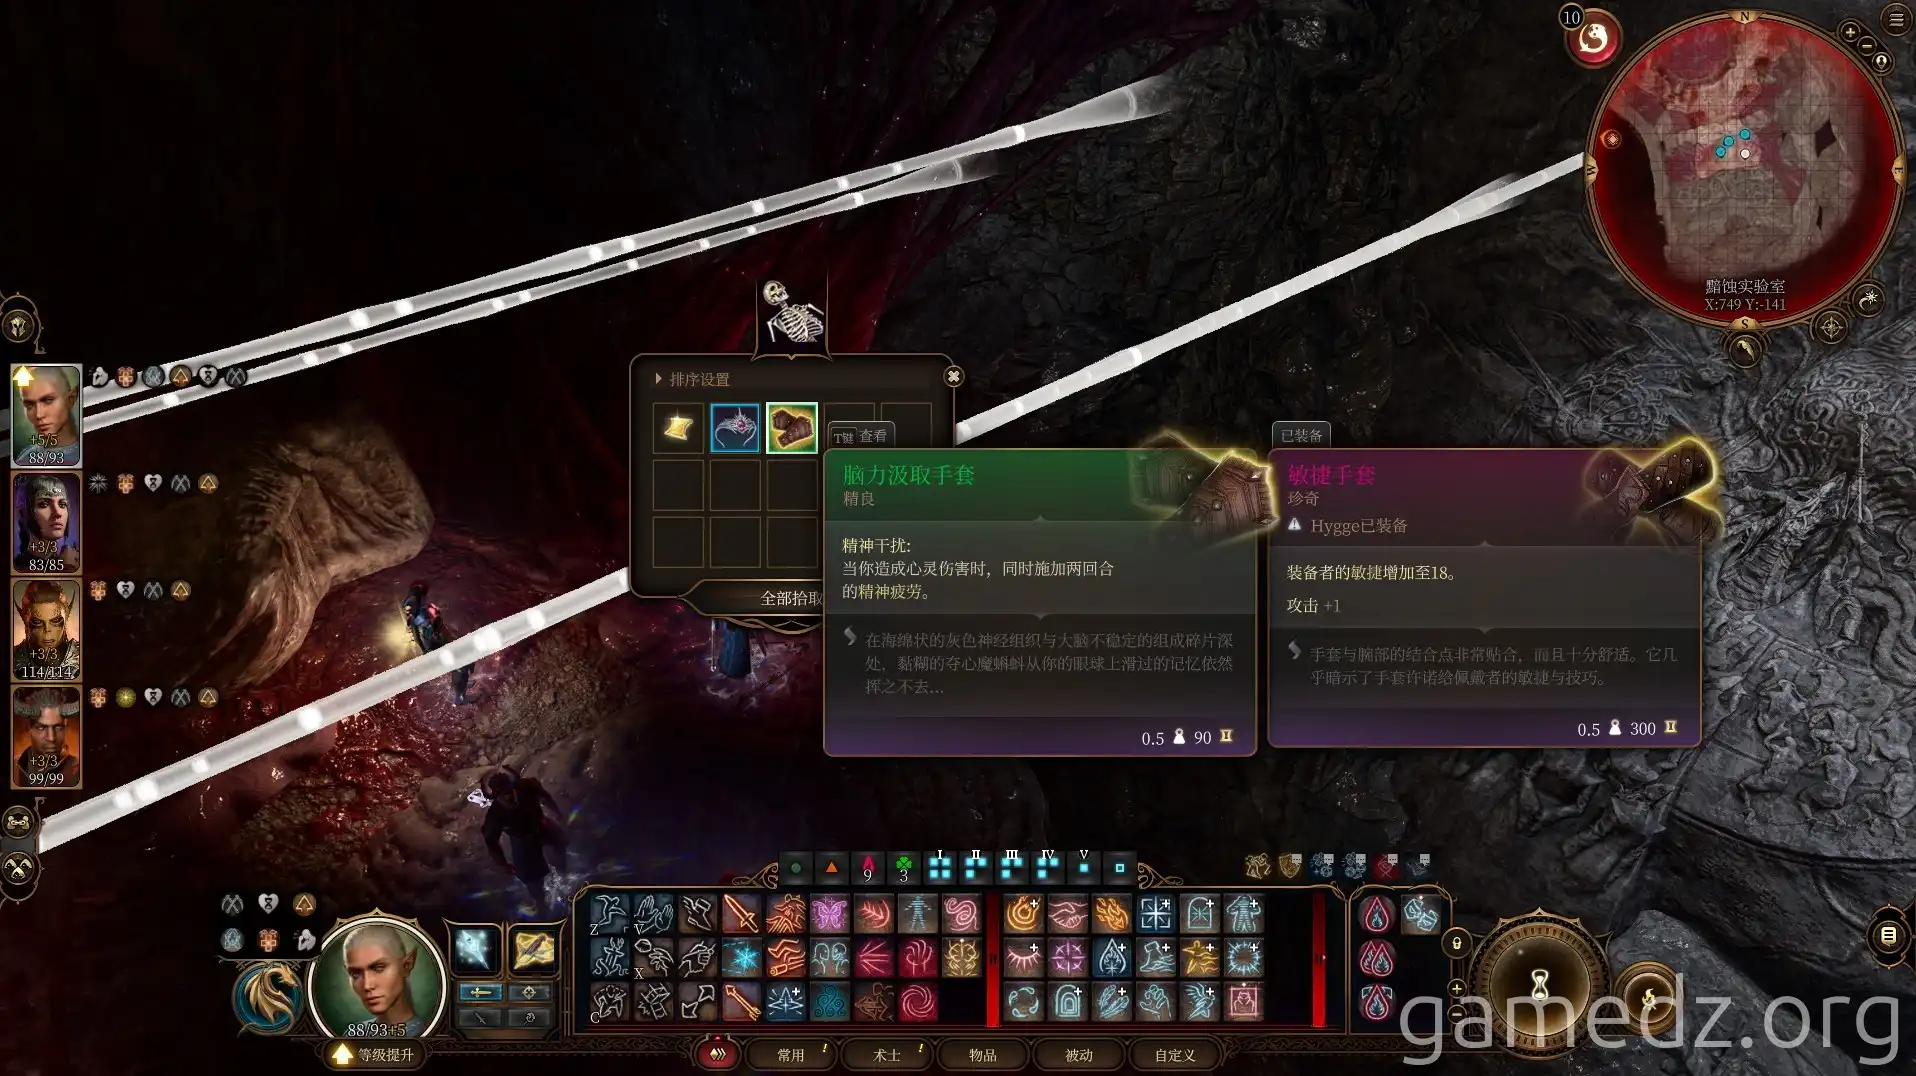
And the uncommon equipment Brain Drain Gloves.
Return to the Absolutist Laboratory and jump to the platform across the southwest corner.
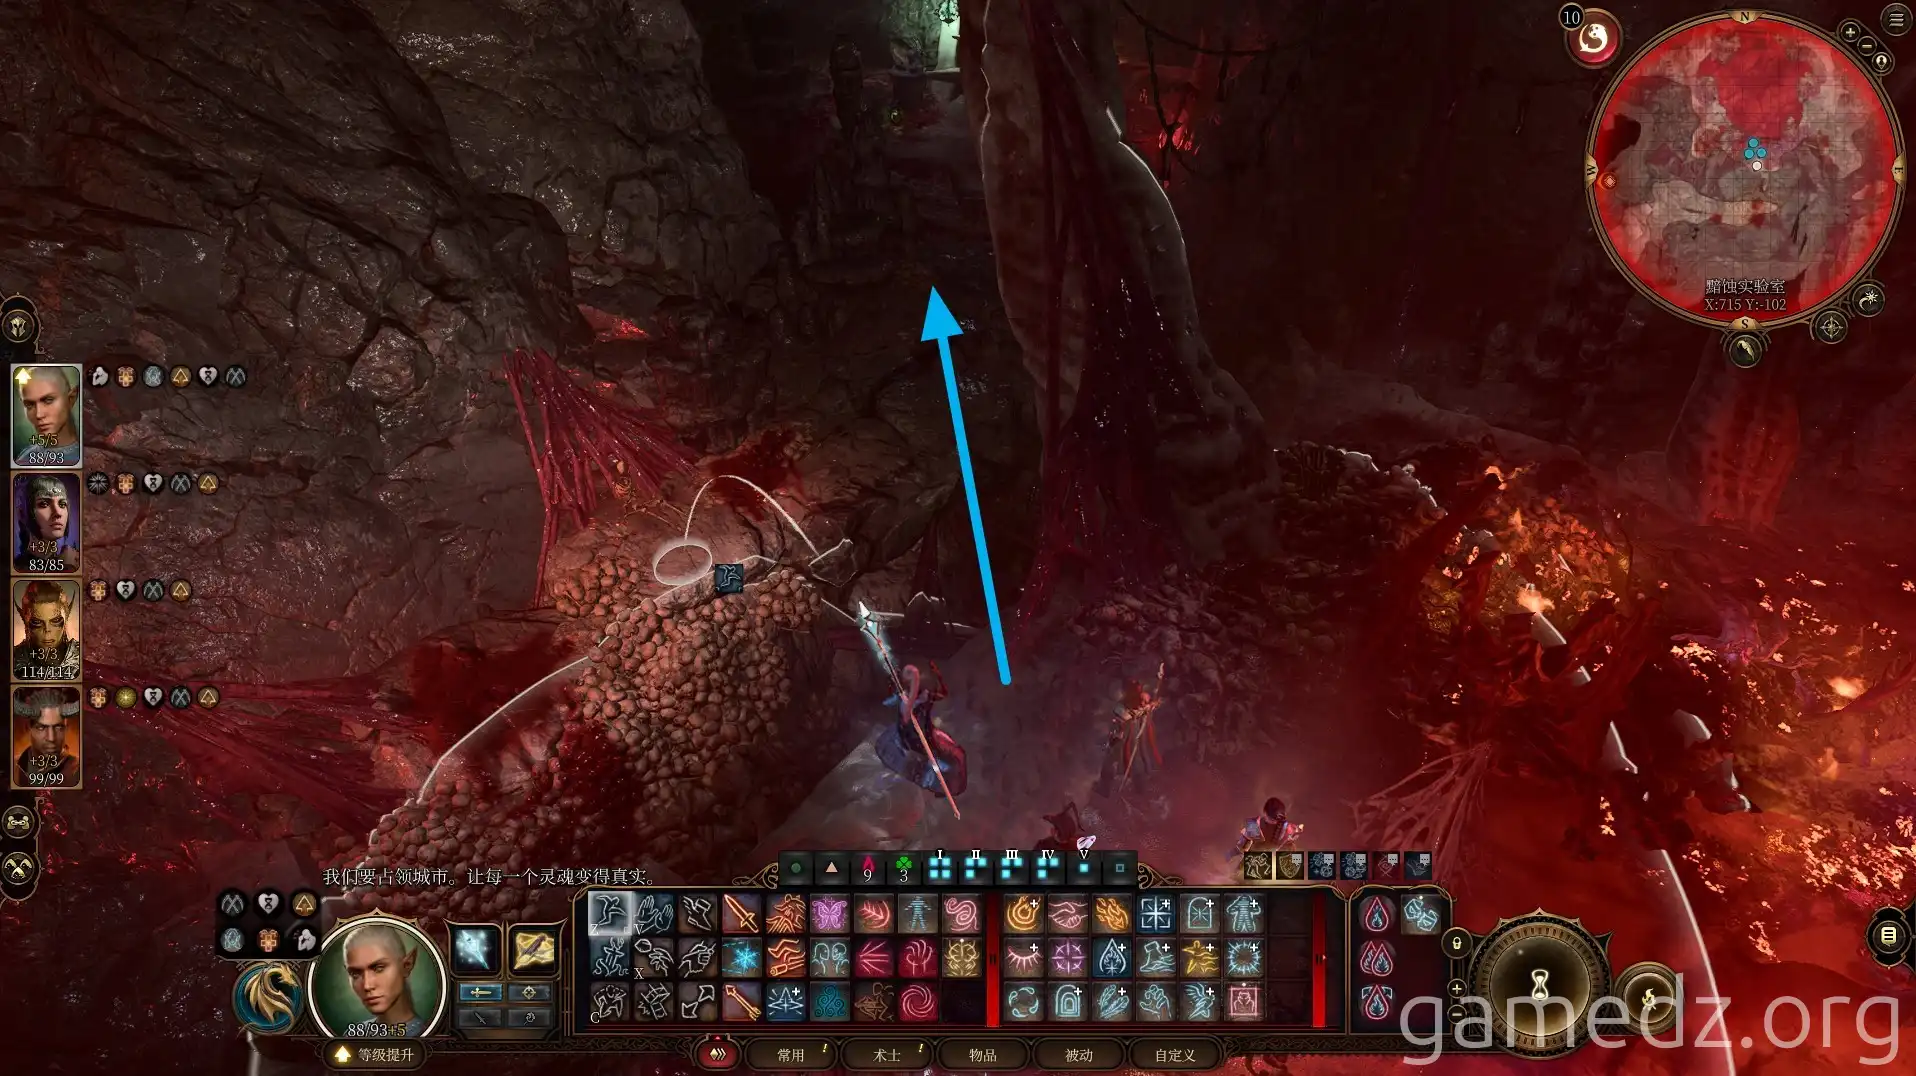
In the corner, besides a chest, you'll find a Brain Archive Interface. Insert the Awakened Will you just obtained into the interface. It will then ask you to kill it.
Upon killing the Awakened Will, you'll receive the Githyanki Psychic Barrier, which grants permanent advantage on Intelligence saving throws.
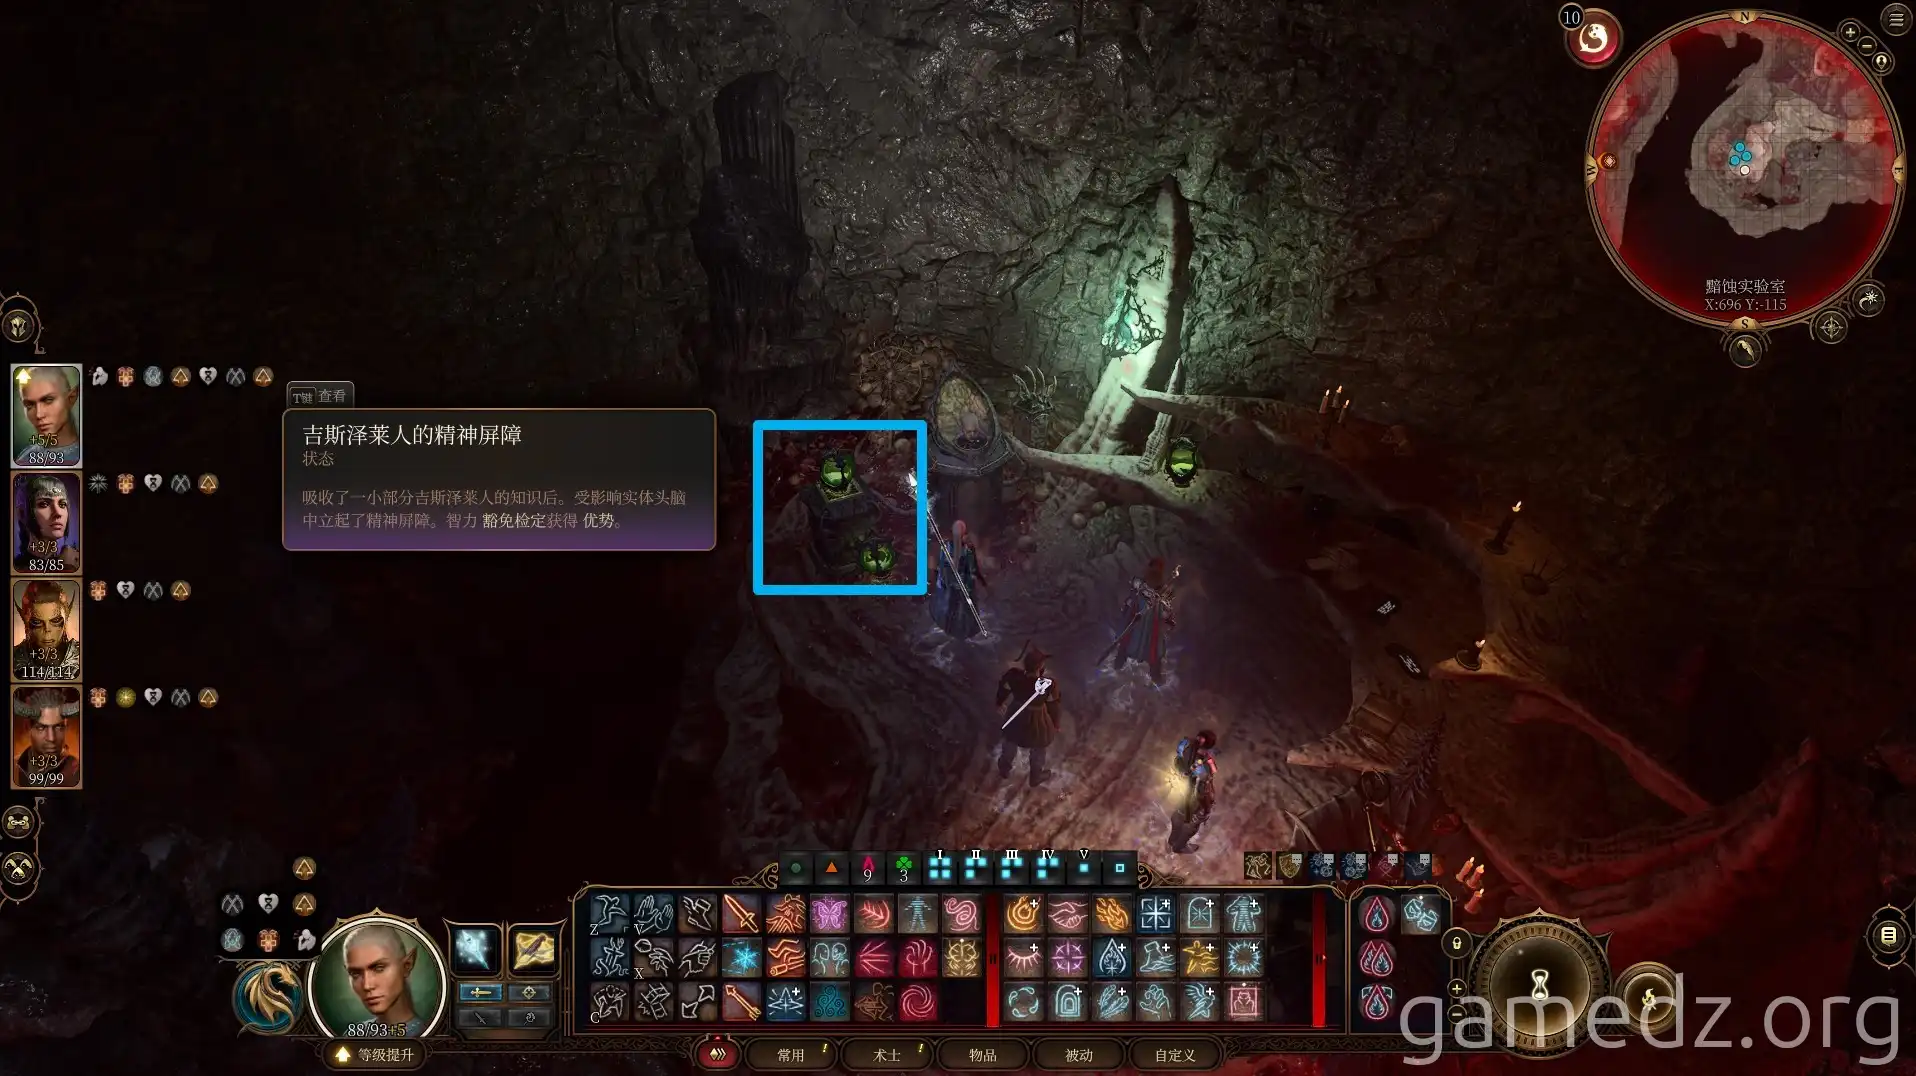
Then, exit the room through the western exit to enter the next area.
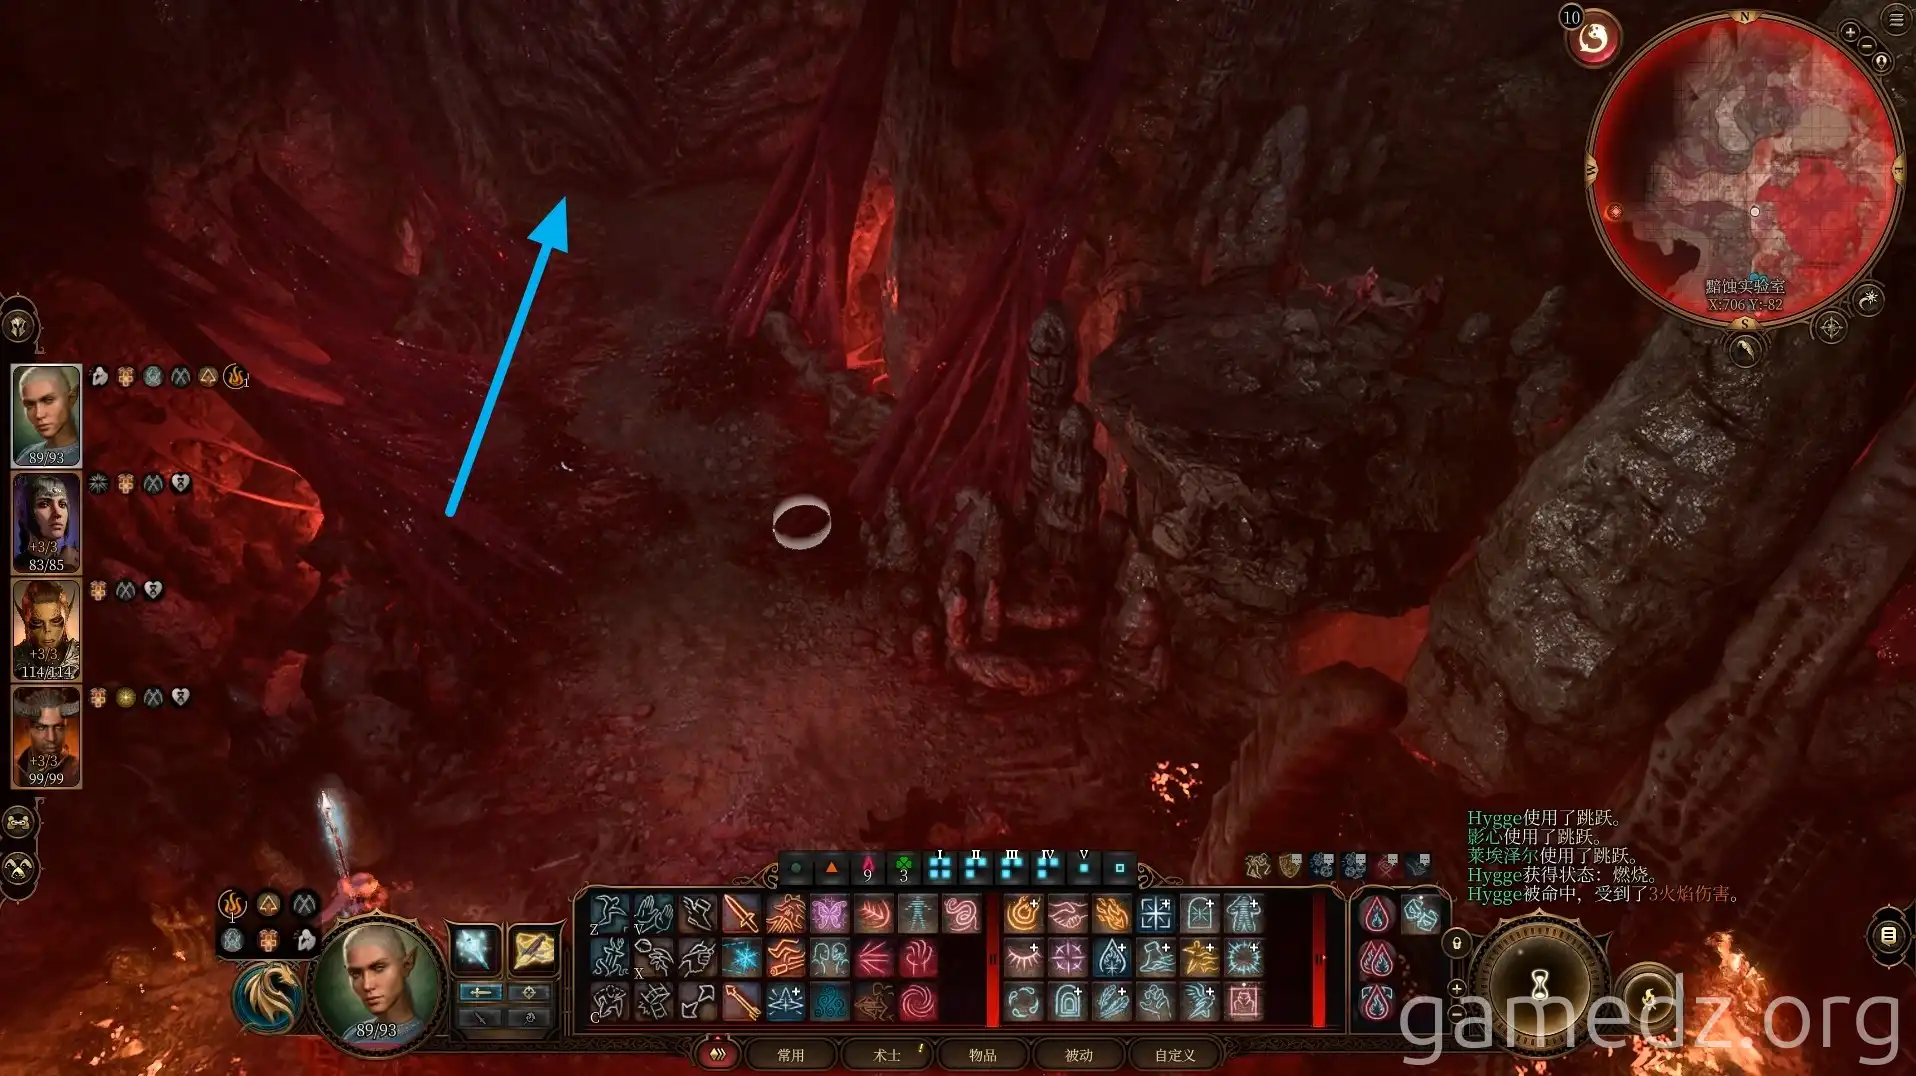
In the room ahead, you can pick up a pile of miscellaneous gear. Then, proceed to the location of the cages.
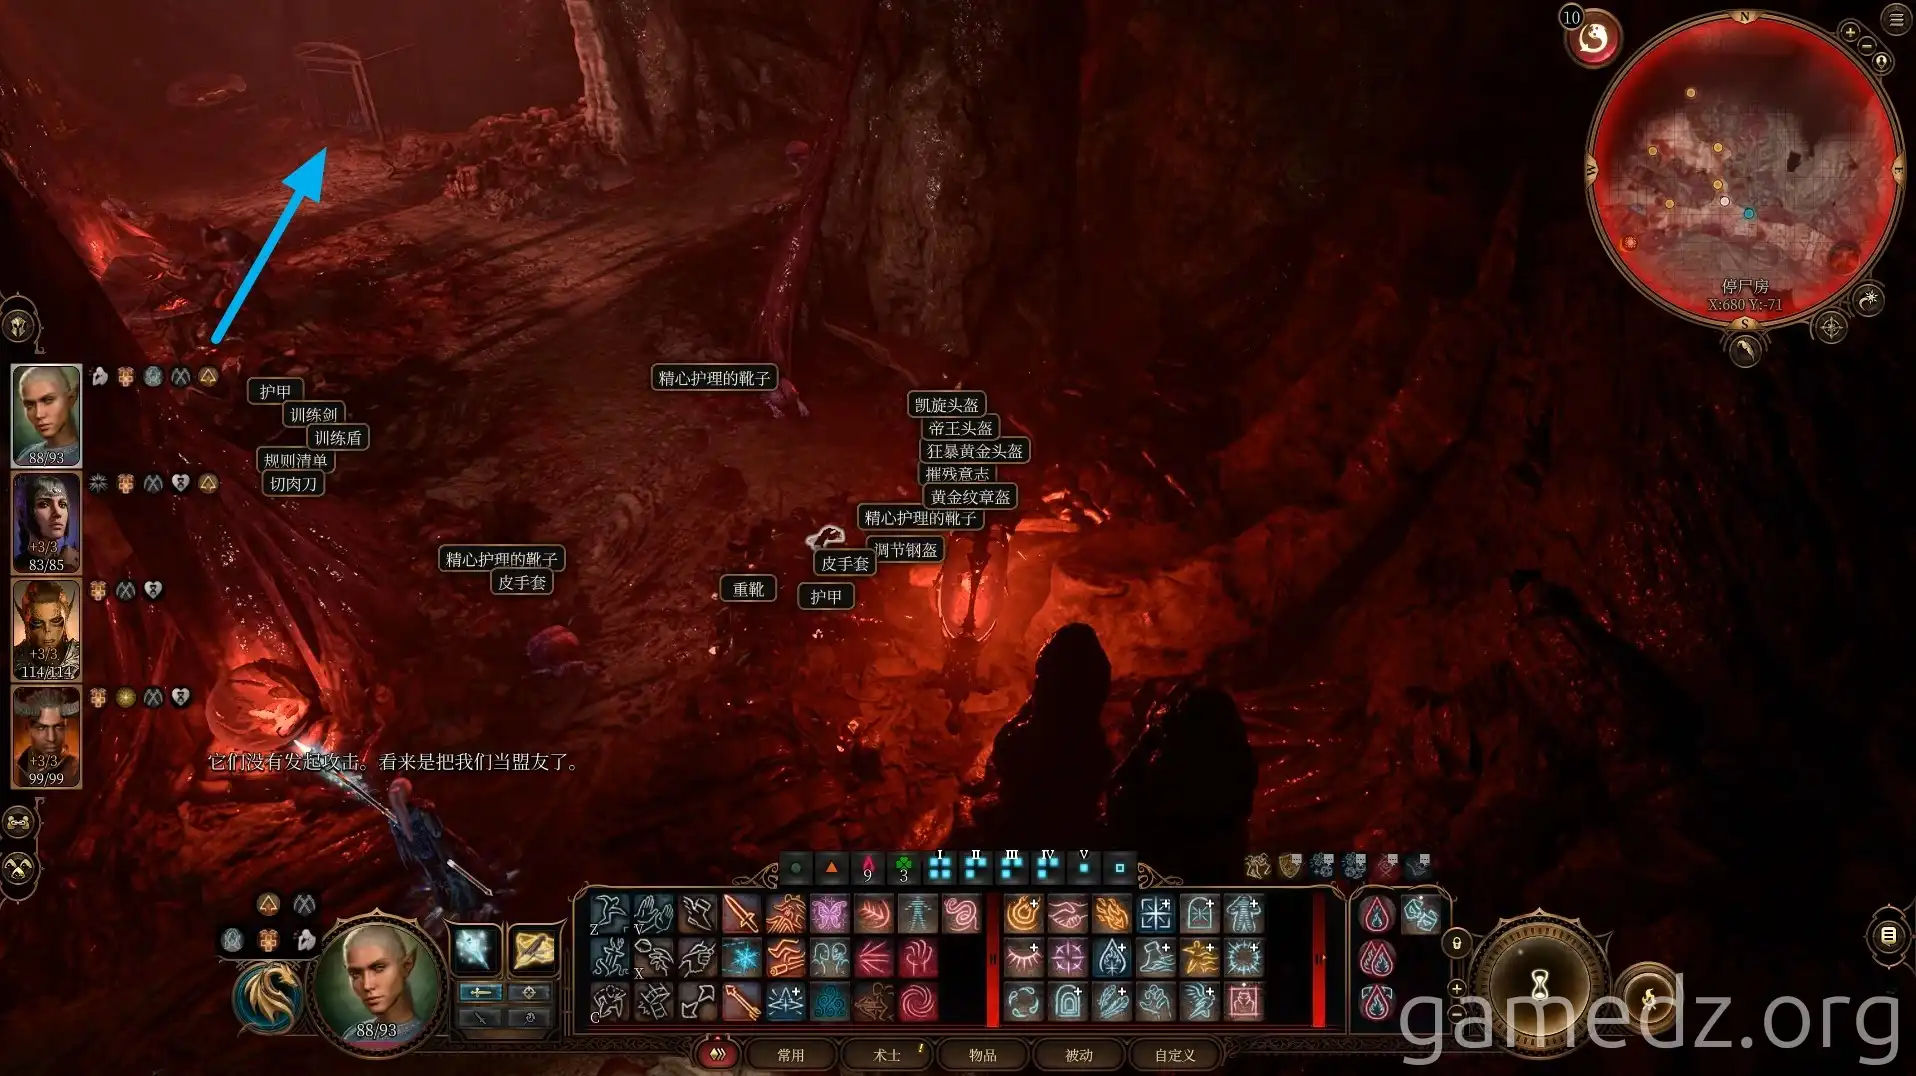
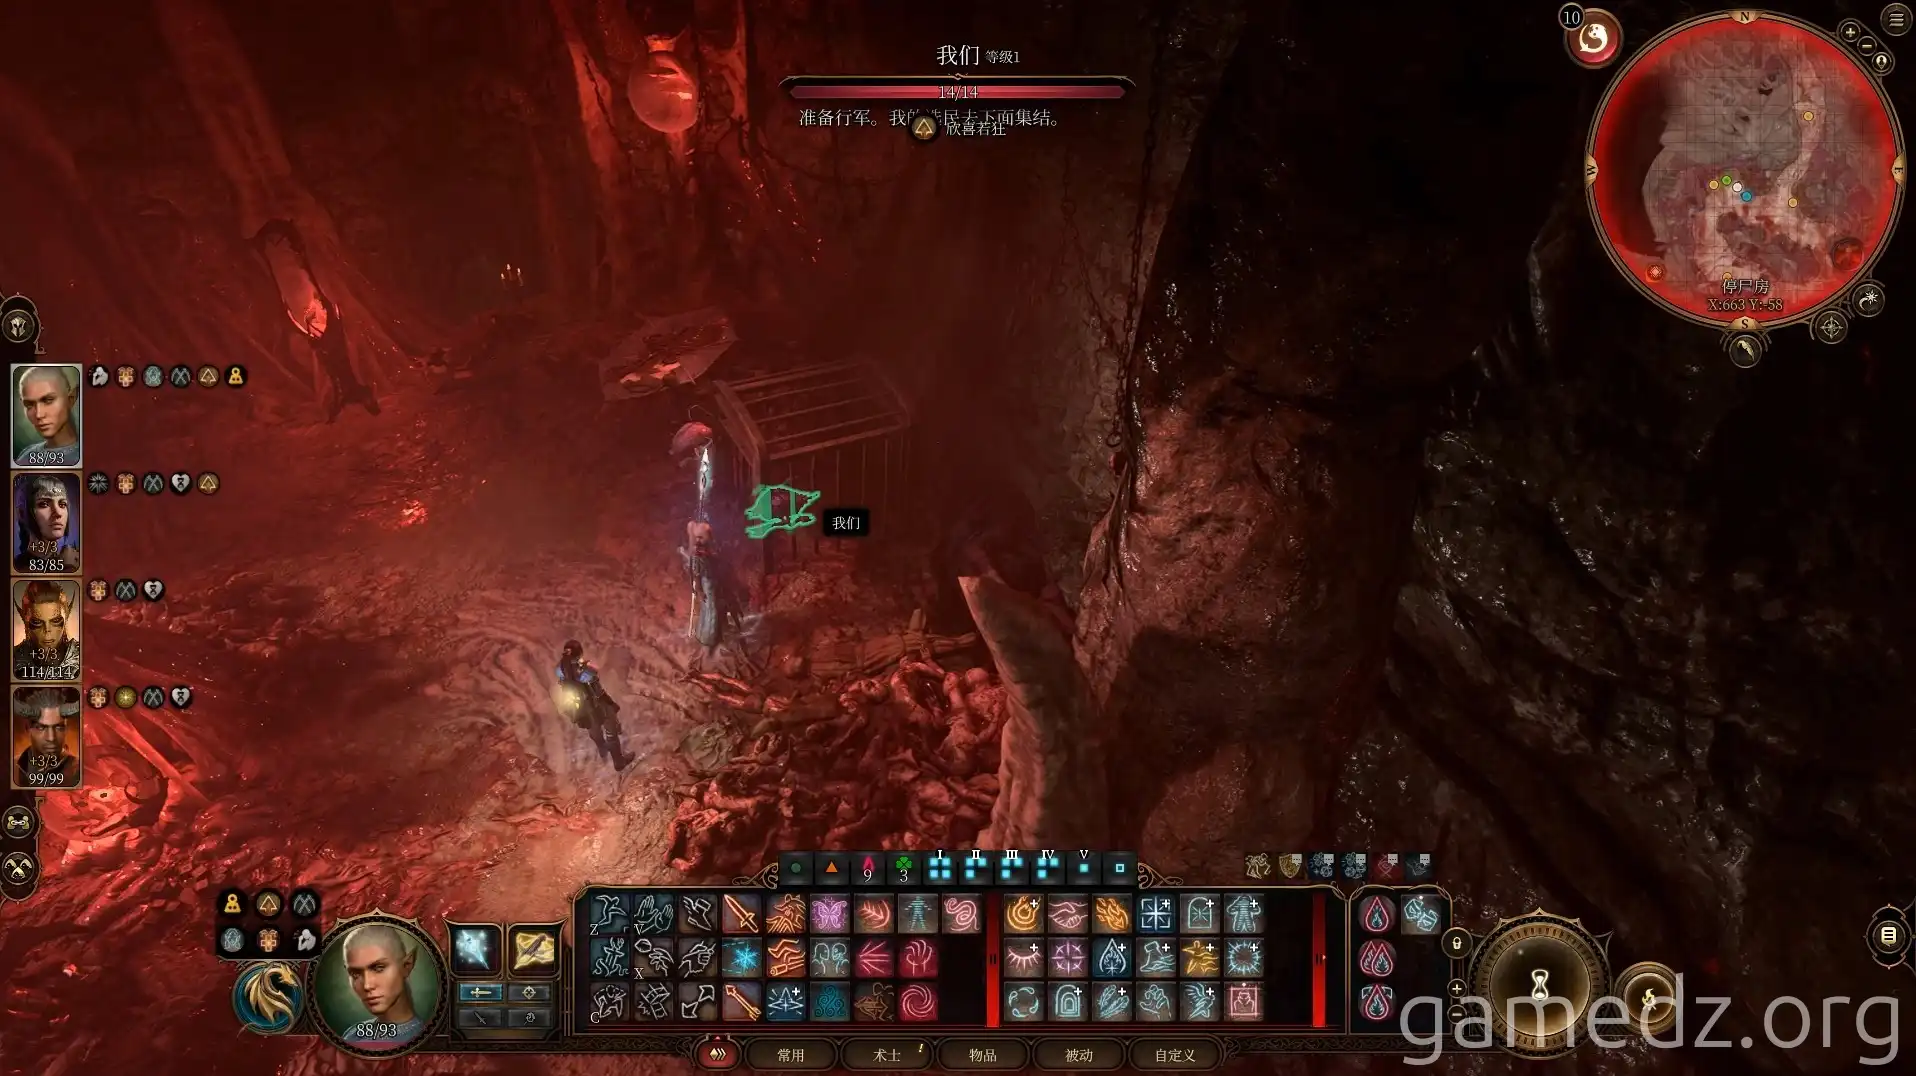
Inside a cage, you'll find the Intellect Devourer you rescued earlier from the Nautiloid. It will ask you to free it.
The key is on a not-so-bright Goblin nearby, but you can also pick the lock directly or use the Knock spell. Passing a check will allow the Goblin to pretend it didn't see anything.
Successfully freeing the Intellect Devourer will grant you a new spell, Summon Us. You can later use this spell to summon the Intellect Devourer to aid you in combat; the little guy is quite formidable.
Then, leave the room from the back and follow the main central path eastward. Take the elevator to the deepest part of the Mind Flayer Colony, preparing for the final battle with Ketheric.
There's a recovery station here to restore your status. Since you'll be facing two boss battles consecutively, ensure your party is at peak condition.
Upon reaching the deepest chamber, you'll discover that the so-called Absolute is actually a Mind Flayer Netherbrain controlled by three followers of the Dead Three: Orin, Ketheric, and Enver Gortash.
Here, you'll also see the High Duke implanted with a Mind Flayer tadpole. Through the conversation between the three, you'll learn that Gortash plans to use the High Duke to gain complete control over Baldur's Gate.
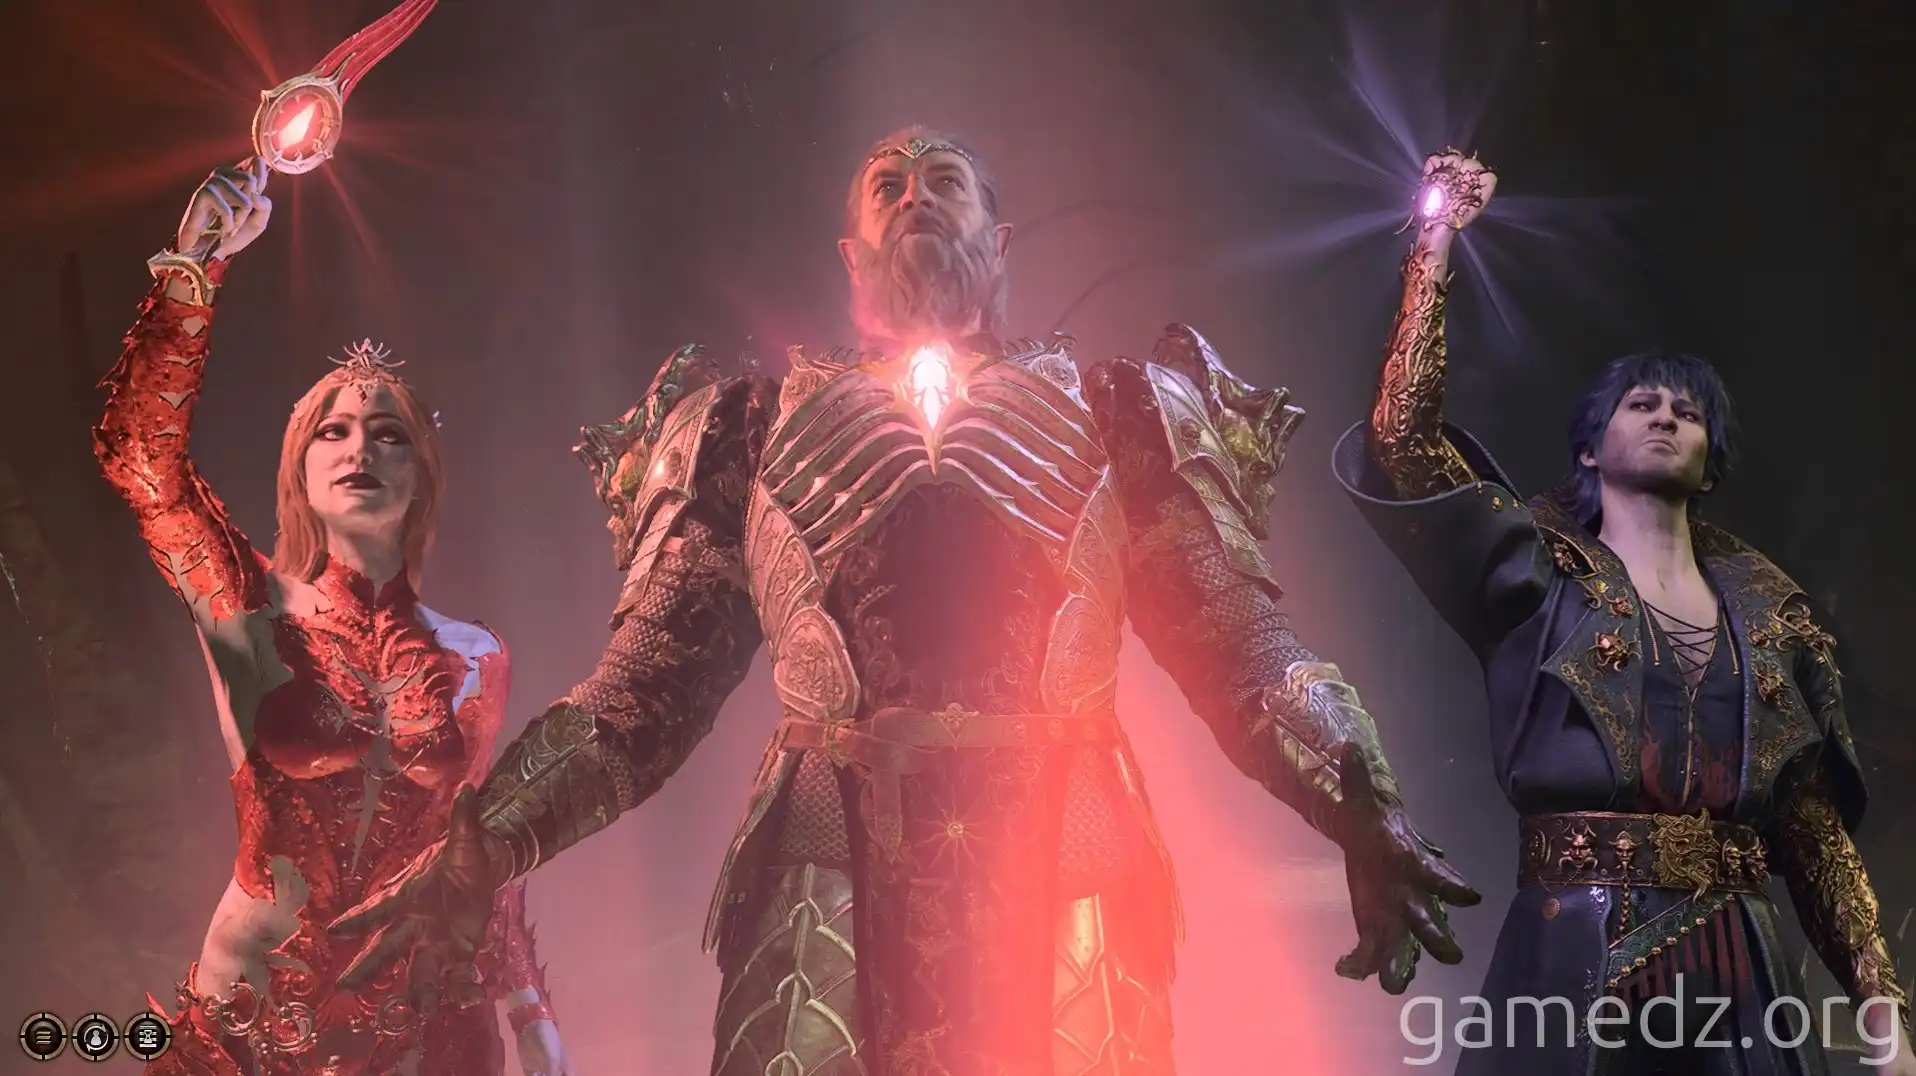
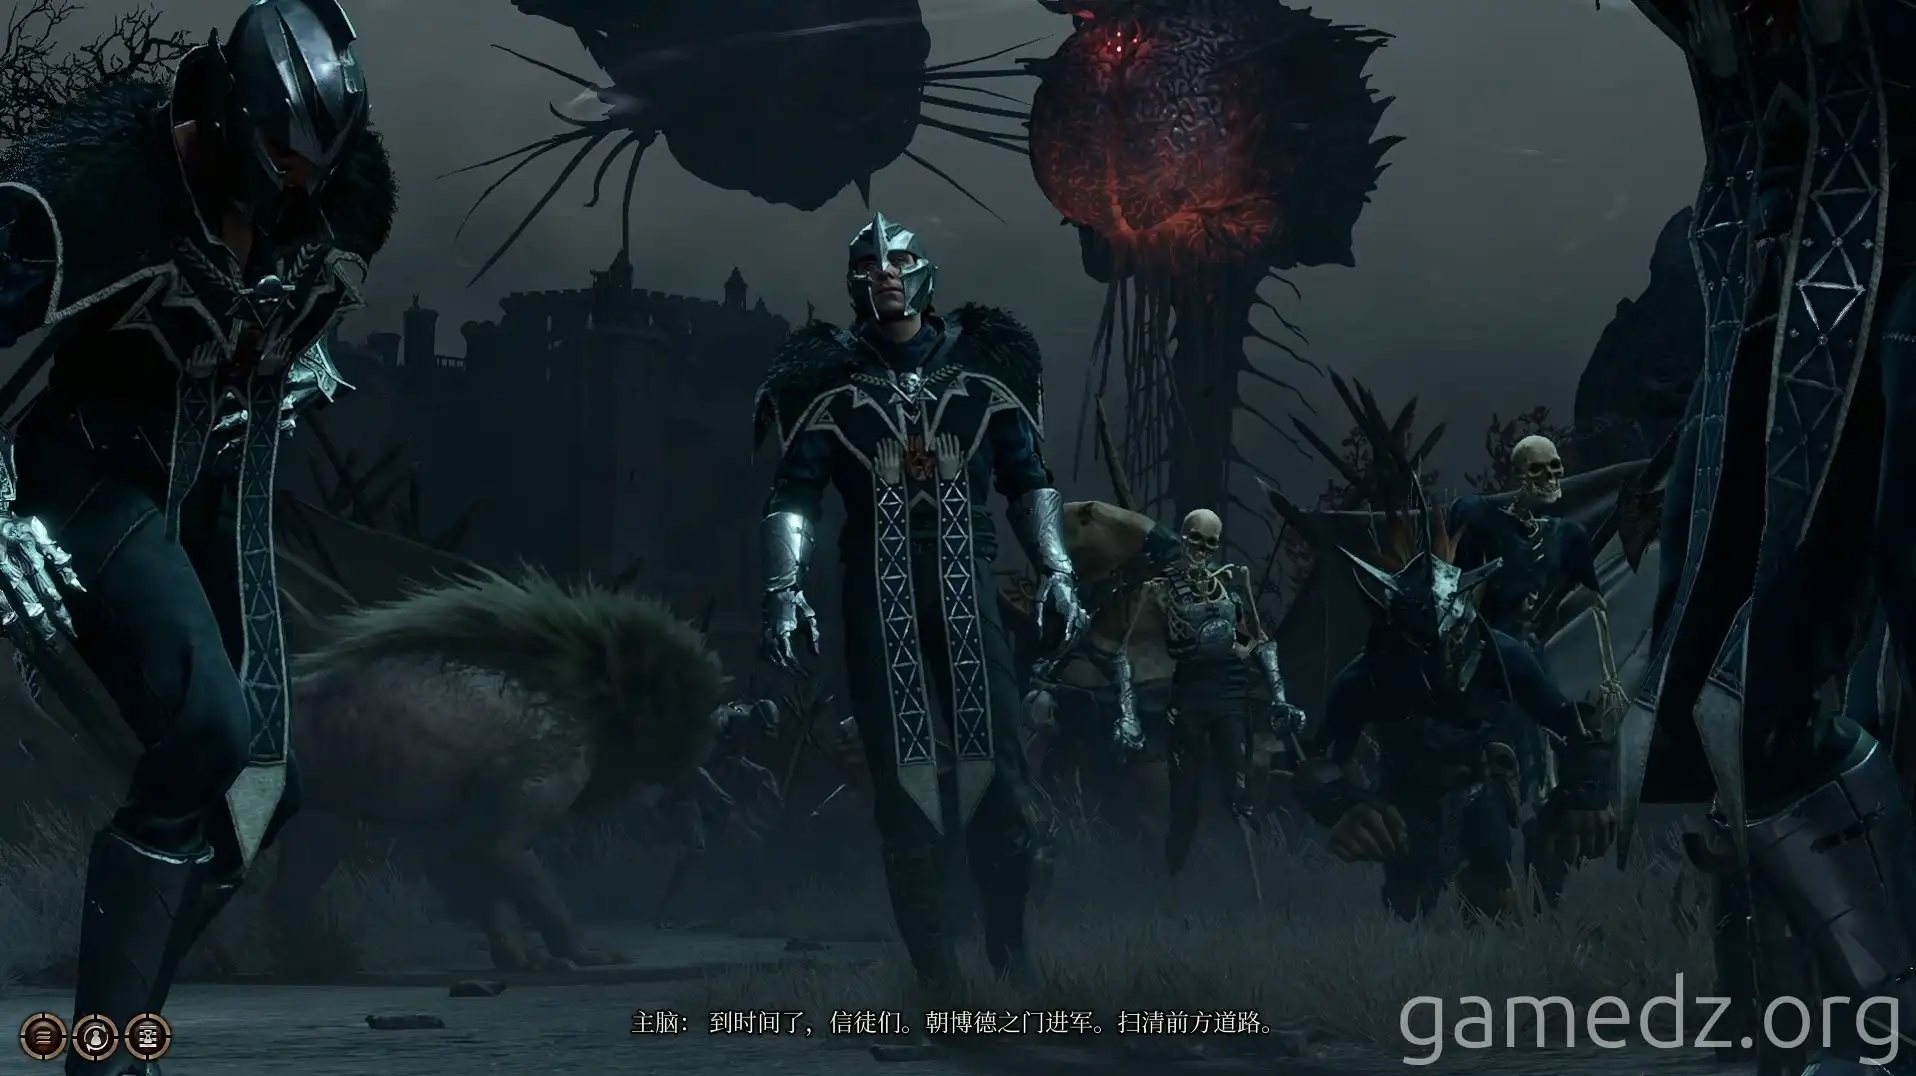
Orin and Gortash will then depart, and the cult's army will march towards Baldur's Gate under the Netherbrain's command.
After the cutscene, characters with a Acolyte or Outlander background will receive an inspiration buff.
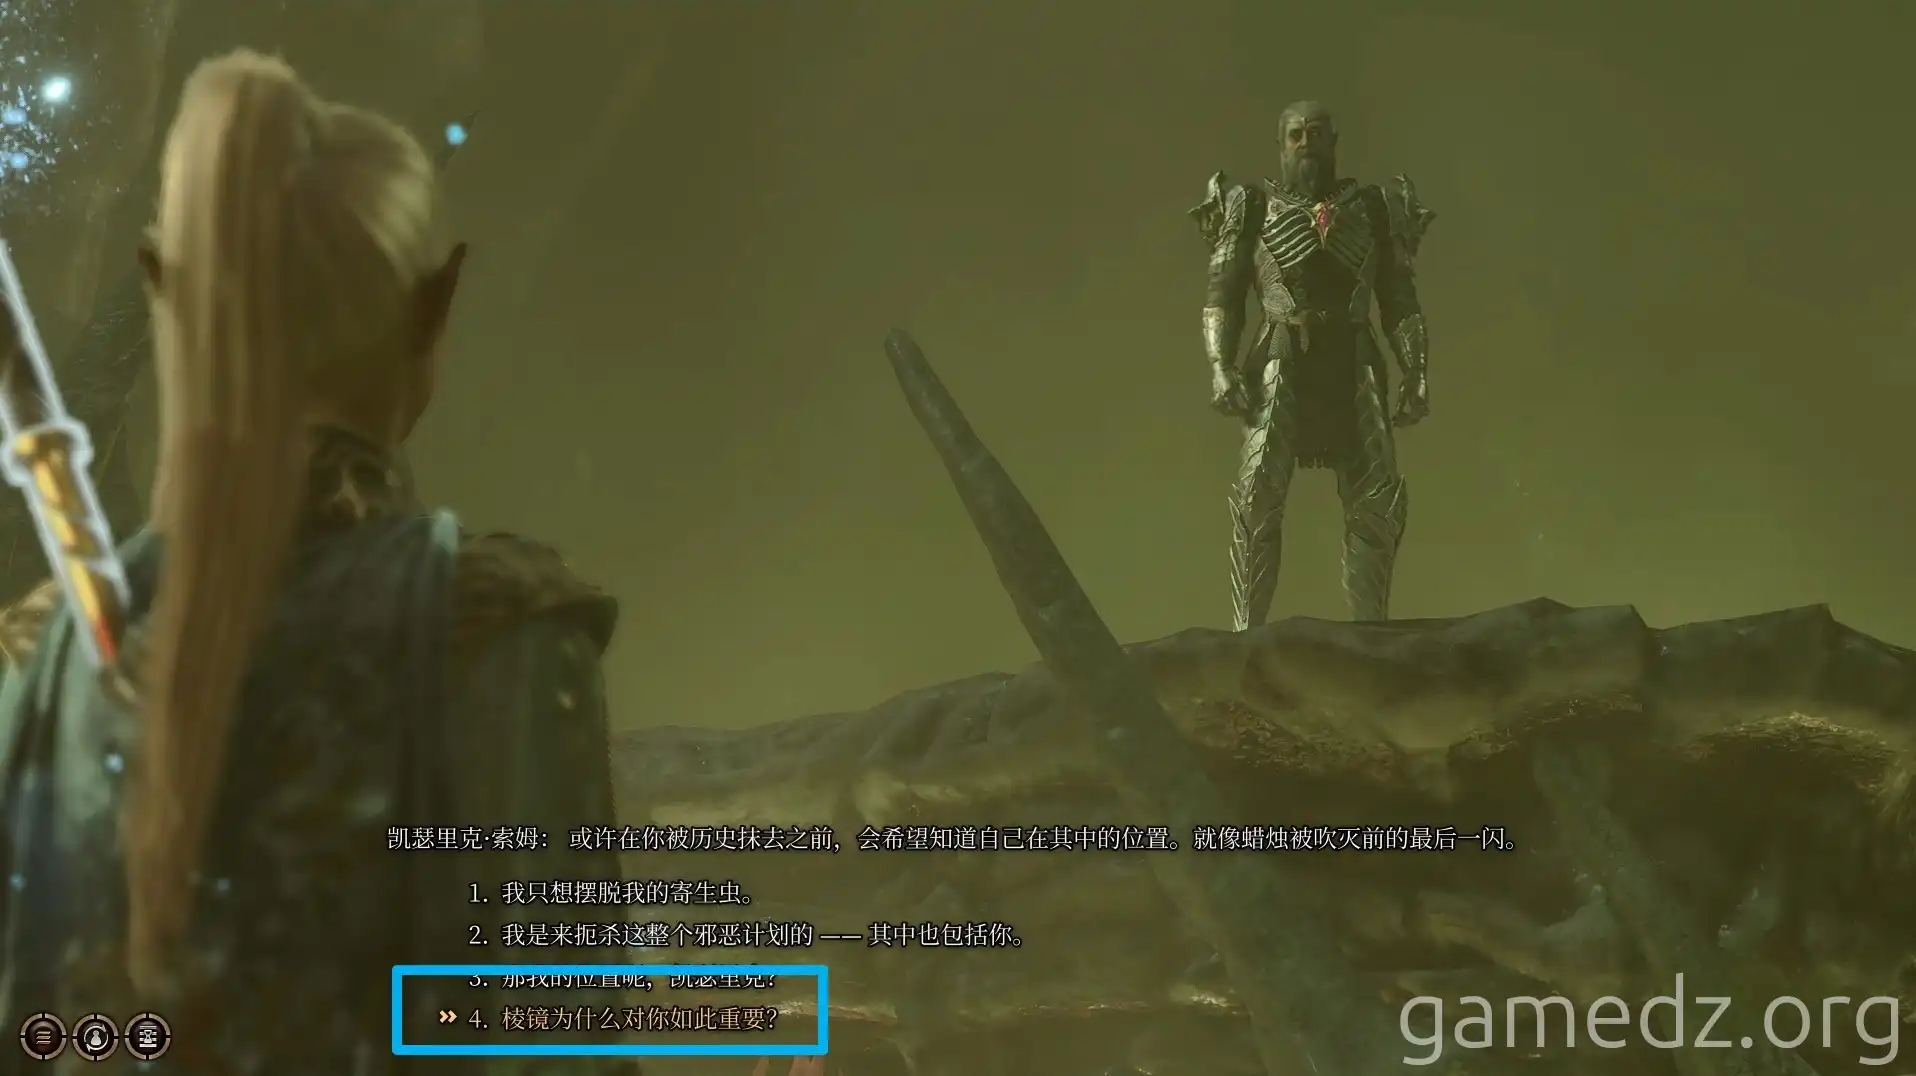
Approach Ketheric and choose the dialogue option "Why is the prism so important to you?" In the subsequent conversation, select "You still have a chance to repent." If you succeed in the Persuasion check, Ketheric will poison himself, committing suicide and skipping directly to the second phase.
If your Persuasion fails, combat will begin. In addition to a weakened Ketheric, you'll face four Intellect Devourers, four Death Shepherds, and one Mind Flayer.
Furthermore, Ketheric is continuously draining power from Isobel. You must first proceed to the high platform on the south side of the room to free the imprisoned Isobel, otherwise Ketheric will remain invincible. Once freed, Isobel will be a significant help in the battle, killing two birds with one stone.
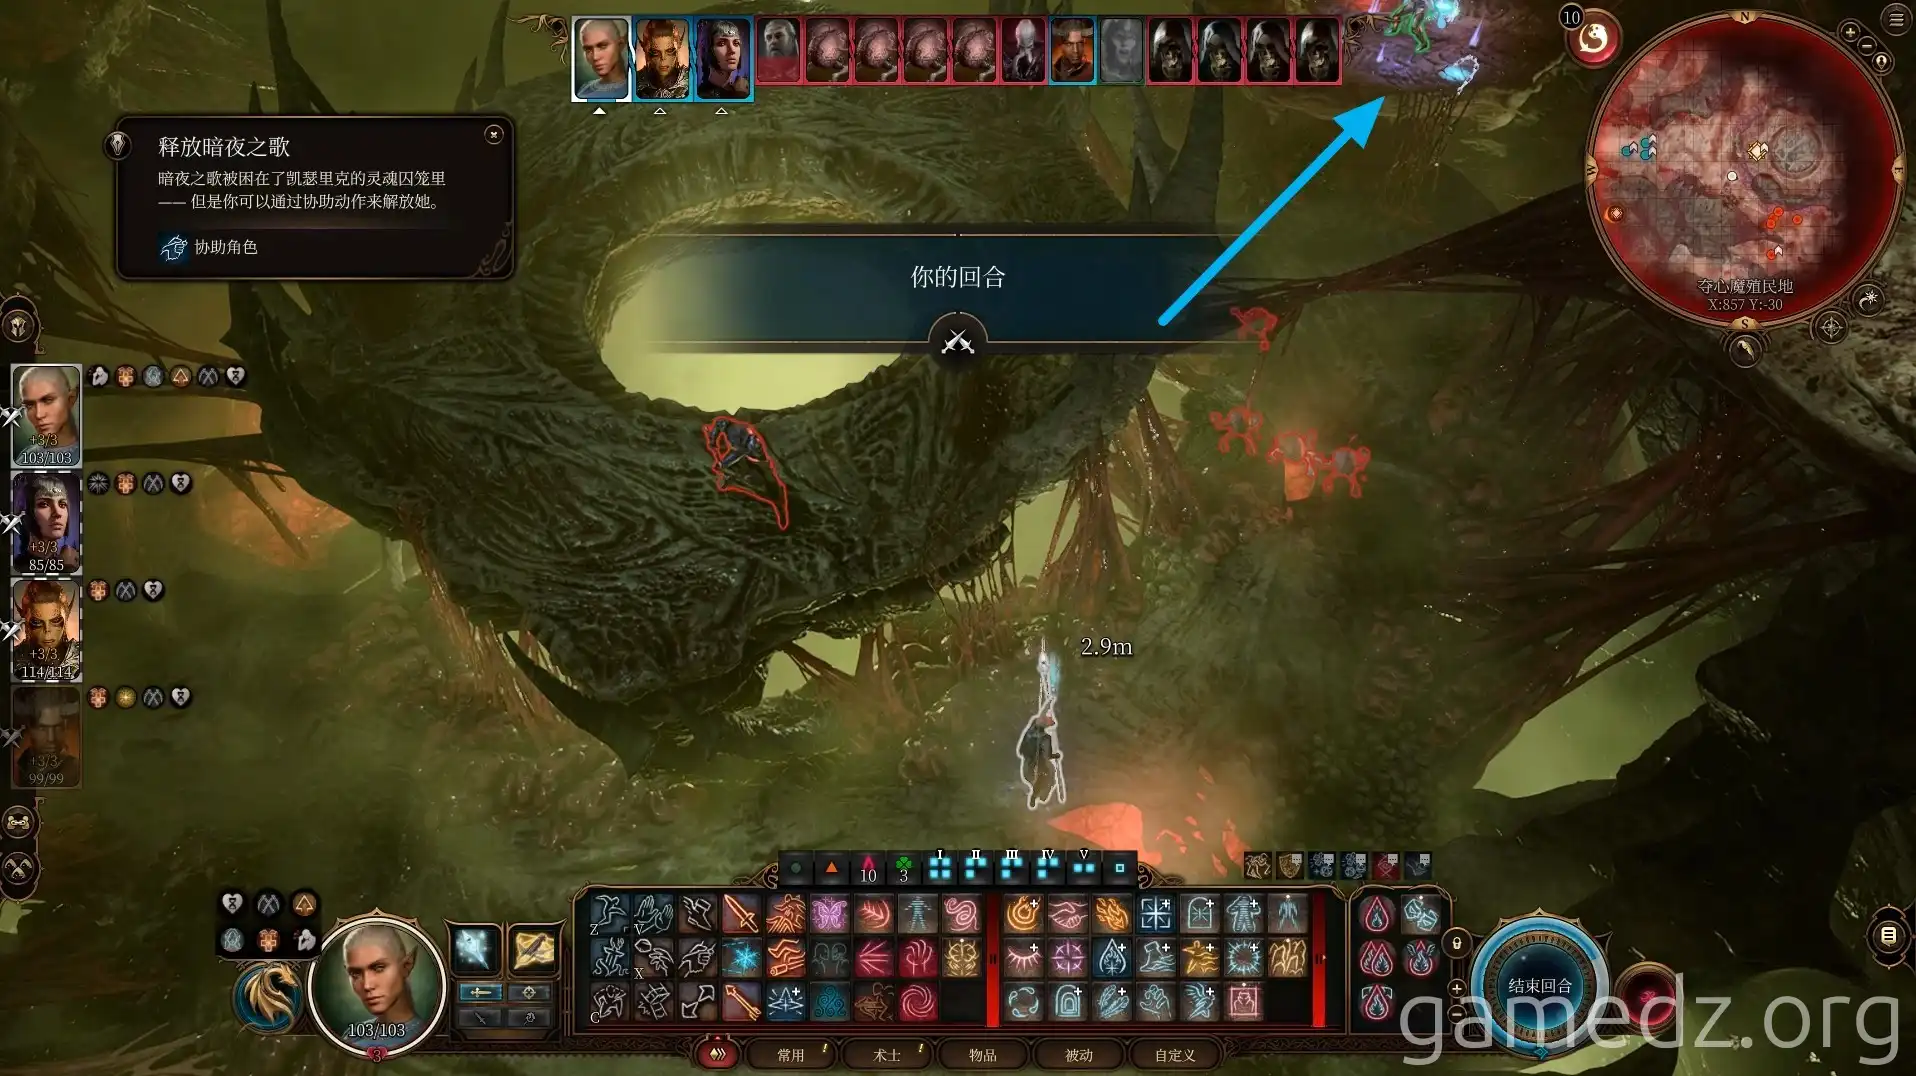
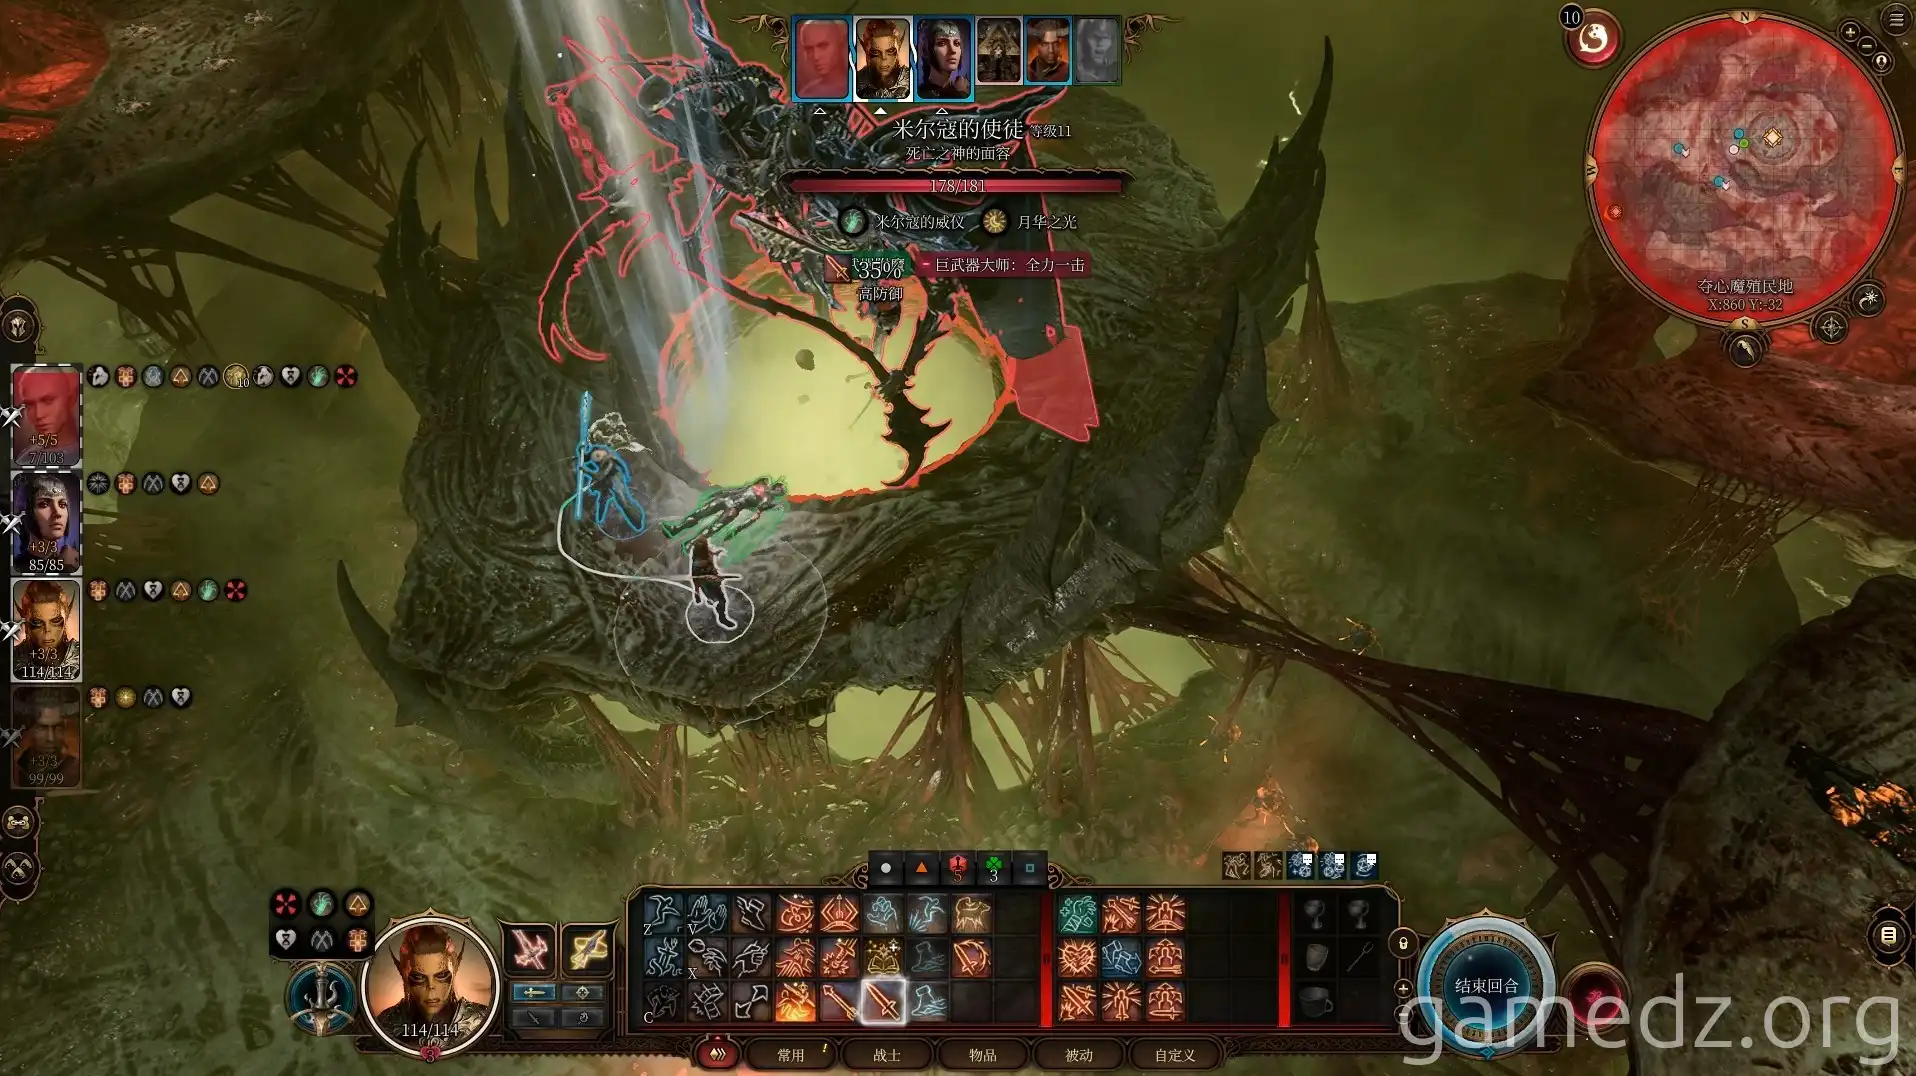
After Ketheric falls into the pool, he summons the second boss, an apostle of Myrkul. While this creature looks formidable, it's actually quite manageable and can even be controlled.
Defeating Myrkul while he's under control will grant you the apostle's weapon, Scythe of Myrkul. However, this will cause a progression block in the subsequent story. While you can leave through other means, you won't be able to obtain Ketheric's Netherstone or progress Isobel's storyline, so it's not recommended.
Soldier background characters will receive an inspiration buff after defeating Myrkul's apostle.
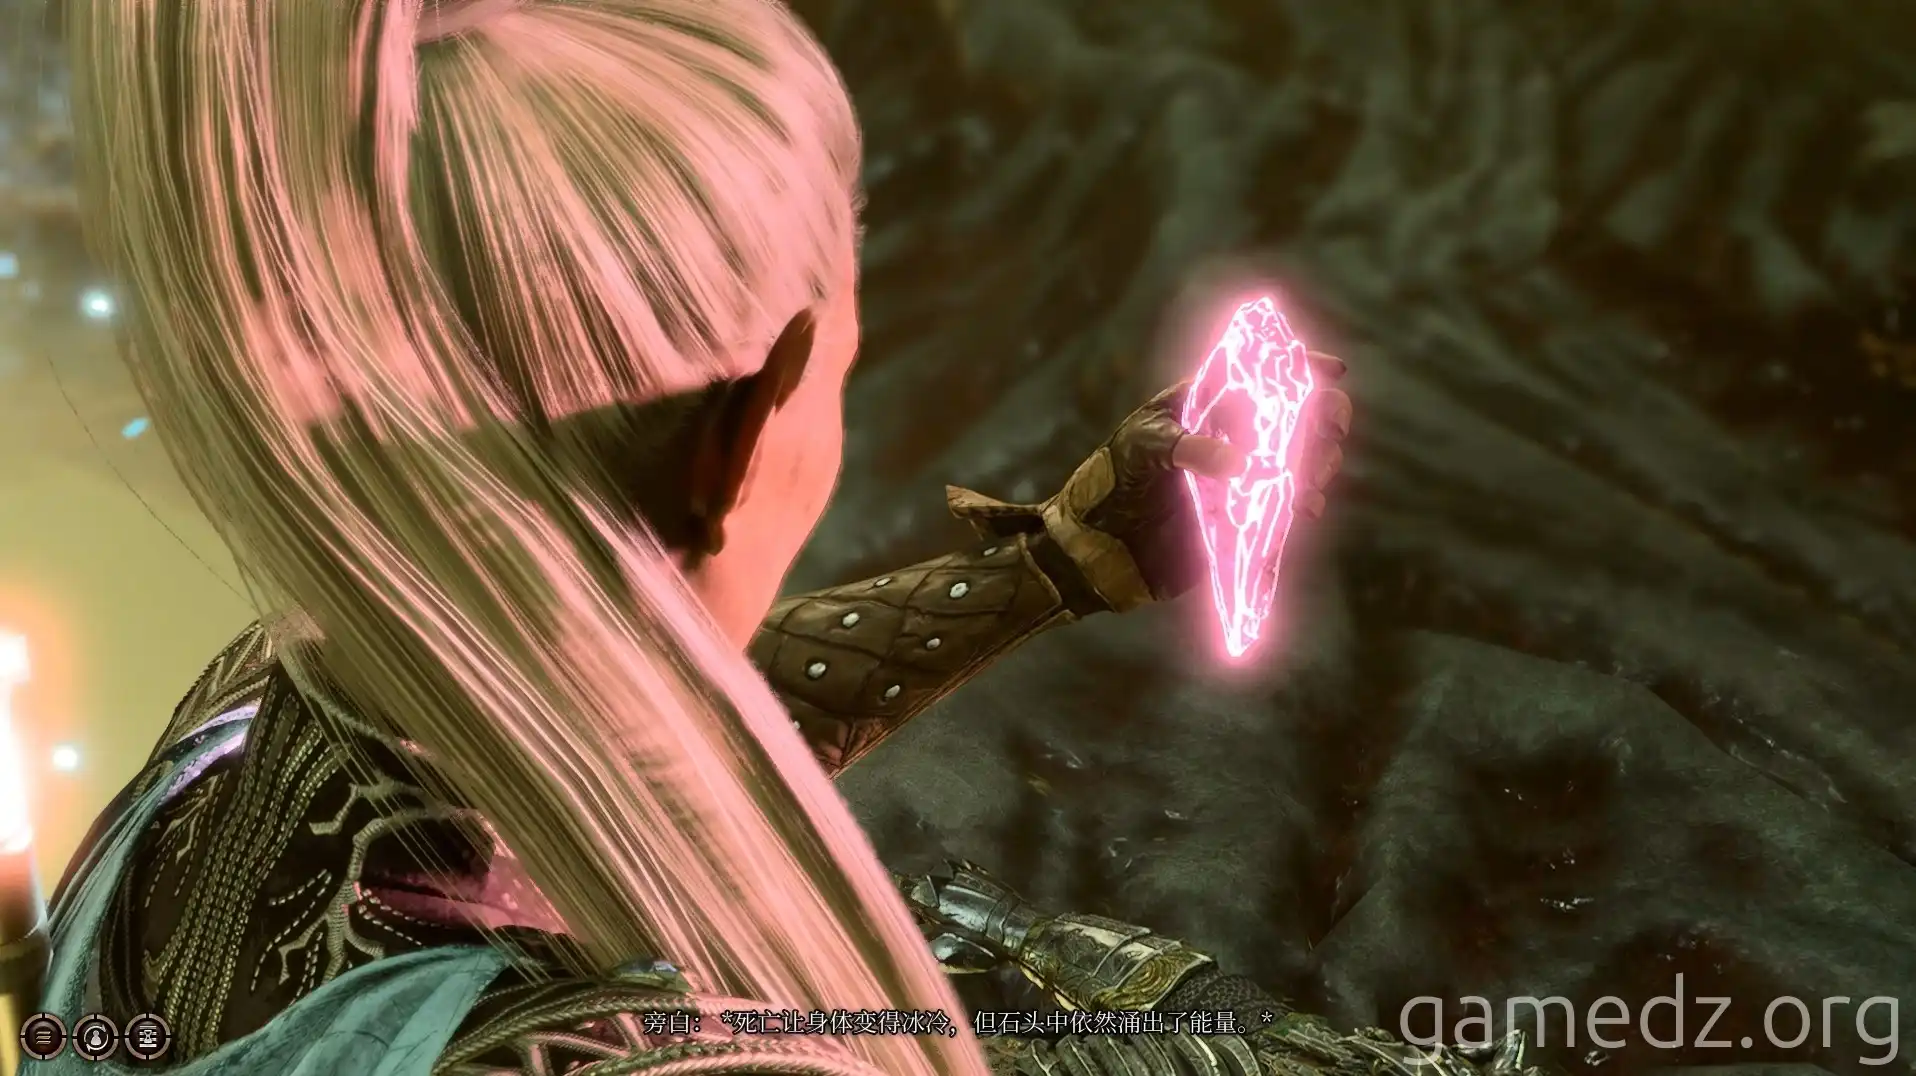
Subsequently, investigate Ketheric's corpse to obtain a magical crystal. From the suddenly appearing Guardian, you'll learn that this is a Netherstone created by the ancient empire of Netheril. The followers of the Dead Three use three Netherstones to control the Netherbrain.
With one stone lost, Gortash and the others' control over the Netherbrain will weaken. To further eliminate the threat of the Absolute, you must also obtain Orin's and Gortash's Netherstones.
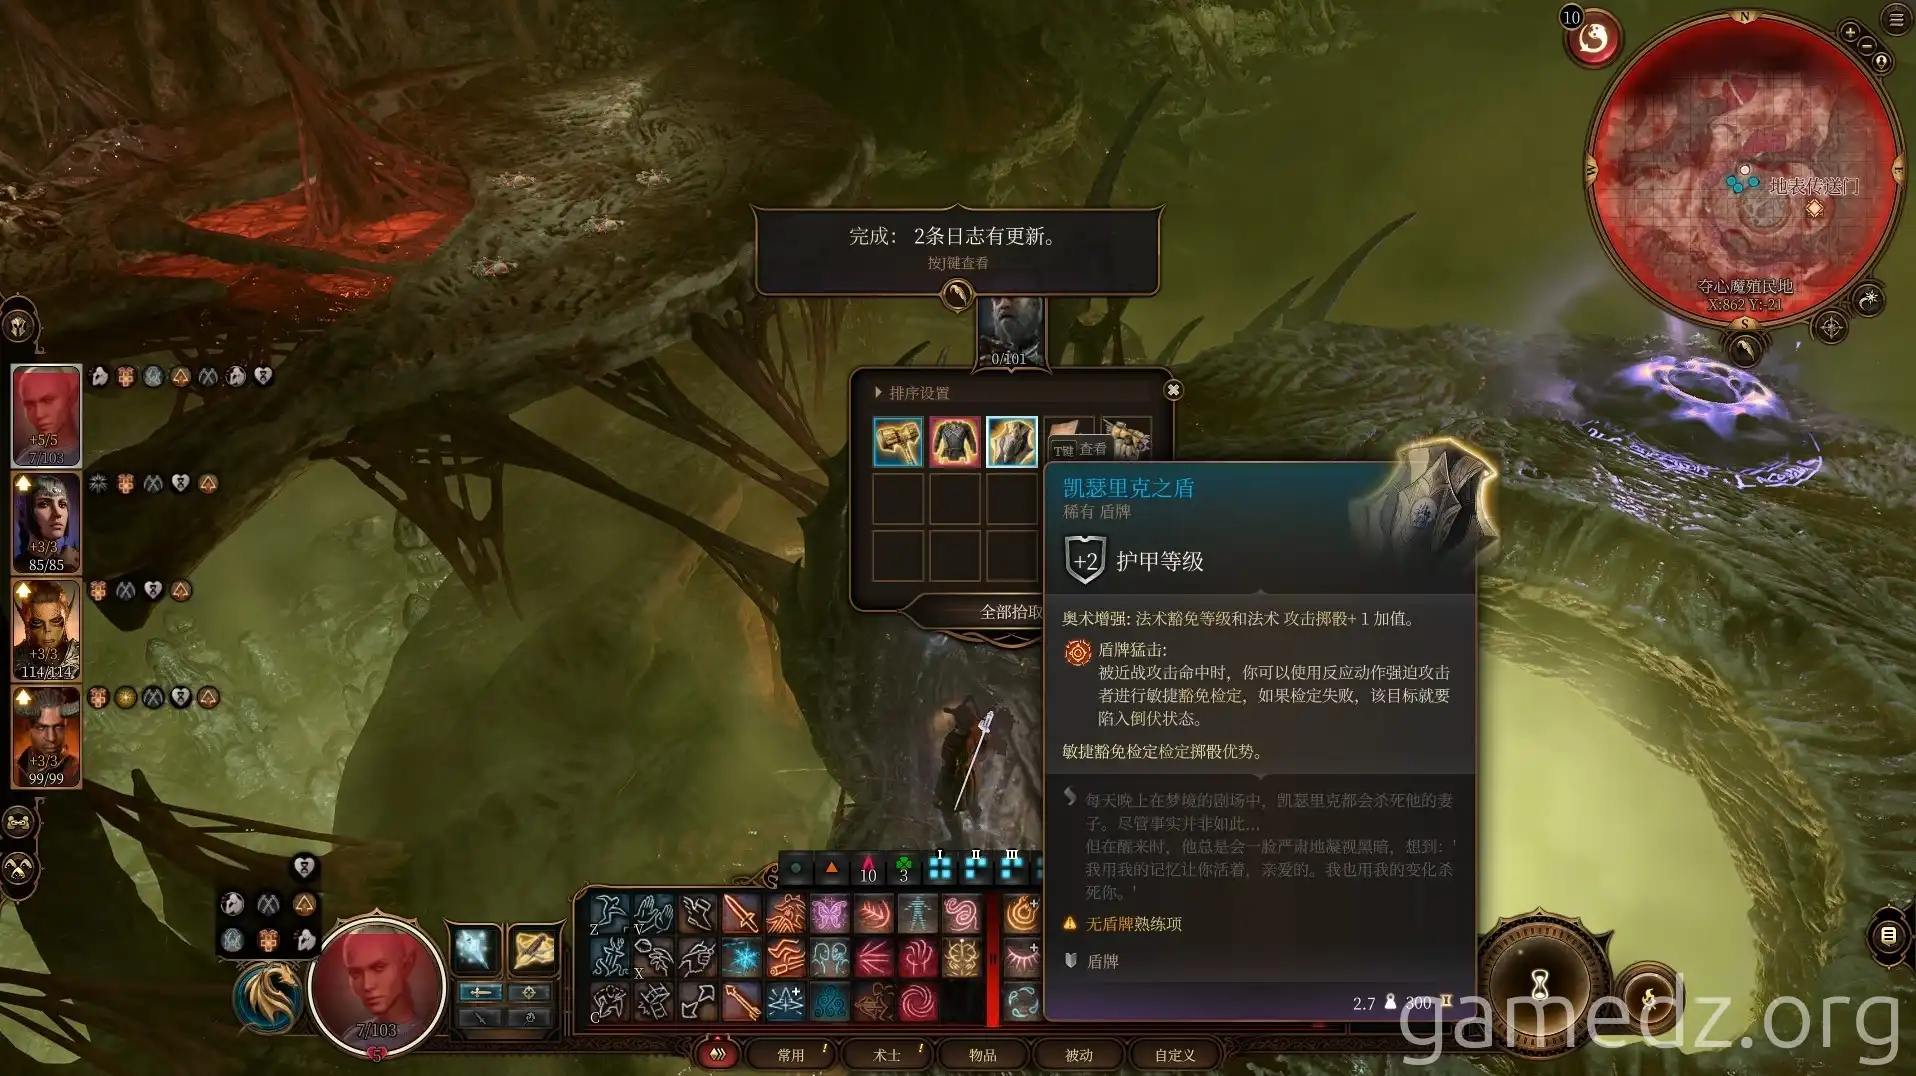
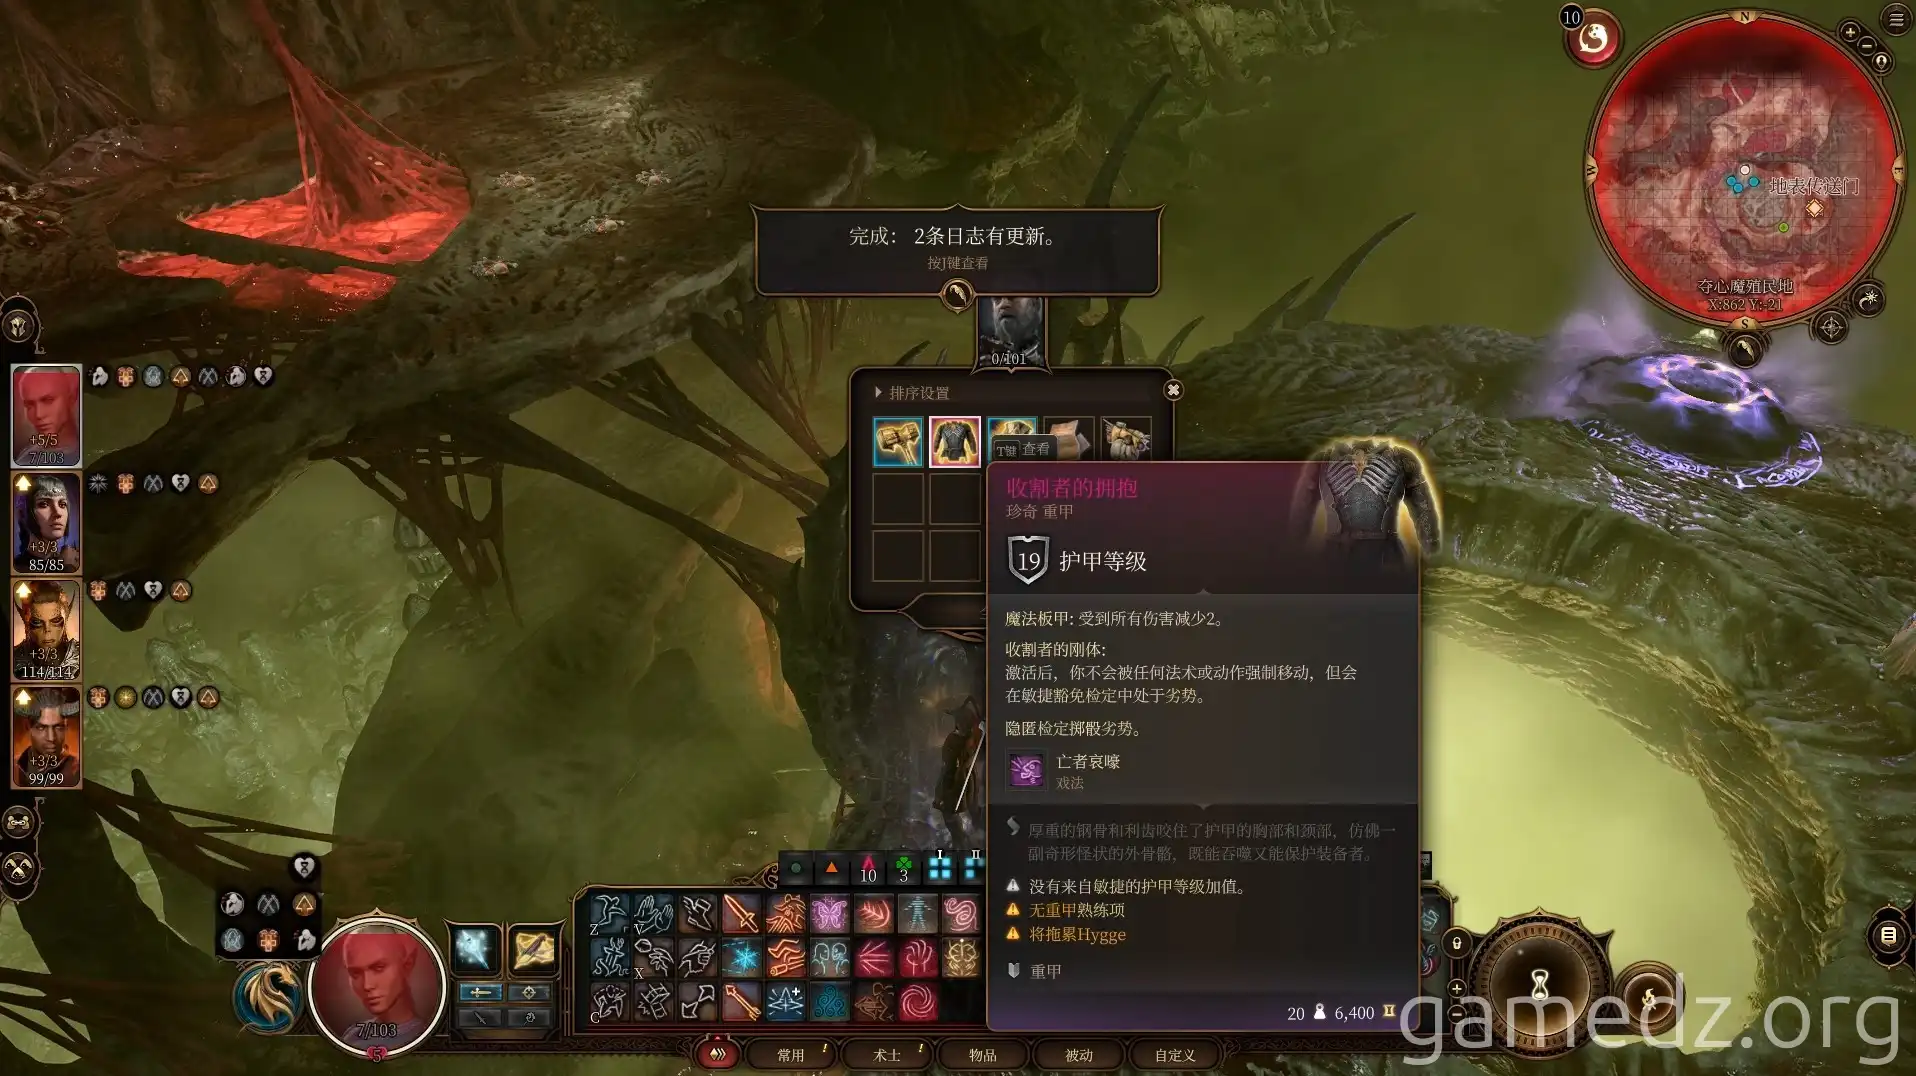
After the conversation, you can find the rare weapon Ketheric's Warhammer, the rare shield Ketheric's Shield, and the rare heavy armor Embrace of the Reaper on Ketheric's corpse.

The attributes of Ketheric's Shield are as follows:
The attributes of Embrace of the Reaper are as follows:
After returning to Moonrise Towers via the portal, speak with Wyll to learn about his story of becoming a warlock and his estrangement from his father.

Speak with Jaheira to officially recruit her into your party. You can then use Jaheira during your explorations.

Speak with Isobel and her father, Ketheric. After the events, they will head to your camp.

It's recommended to have one party member return to camp to recruit Halsin. If you don't recruit Halsin, he will remain in this location regardless of how many long rests you take. If you enter the Chapter 3 map at this point, you might permanently lose Halsin.
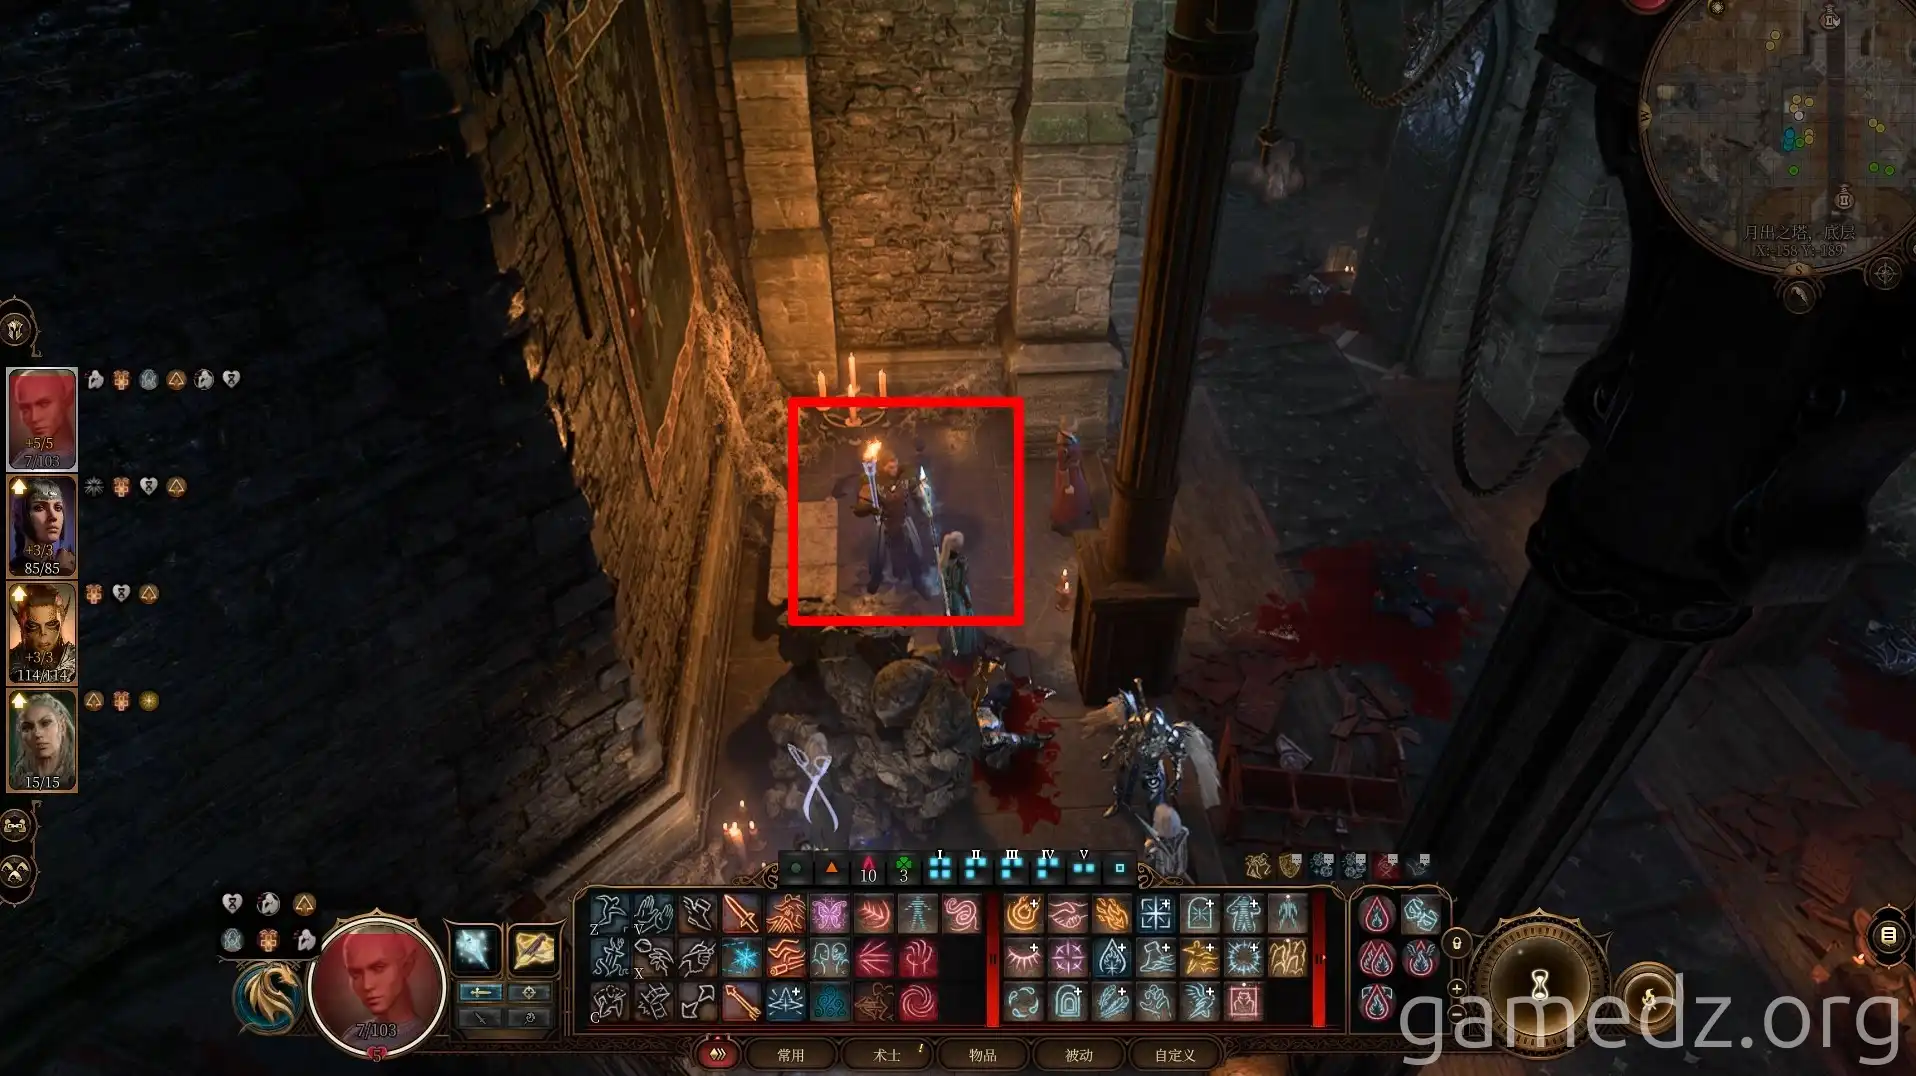
Recruit Halsin first, then have him return to camp to rest. Only then will he appear in camp. Otherwise, this spot will remain empty.
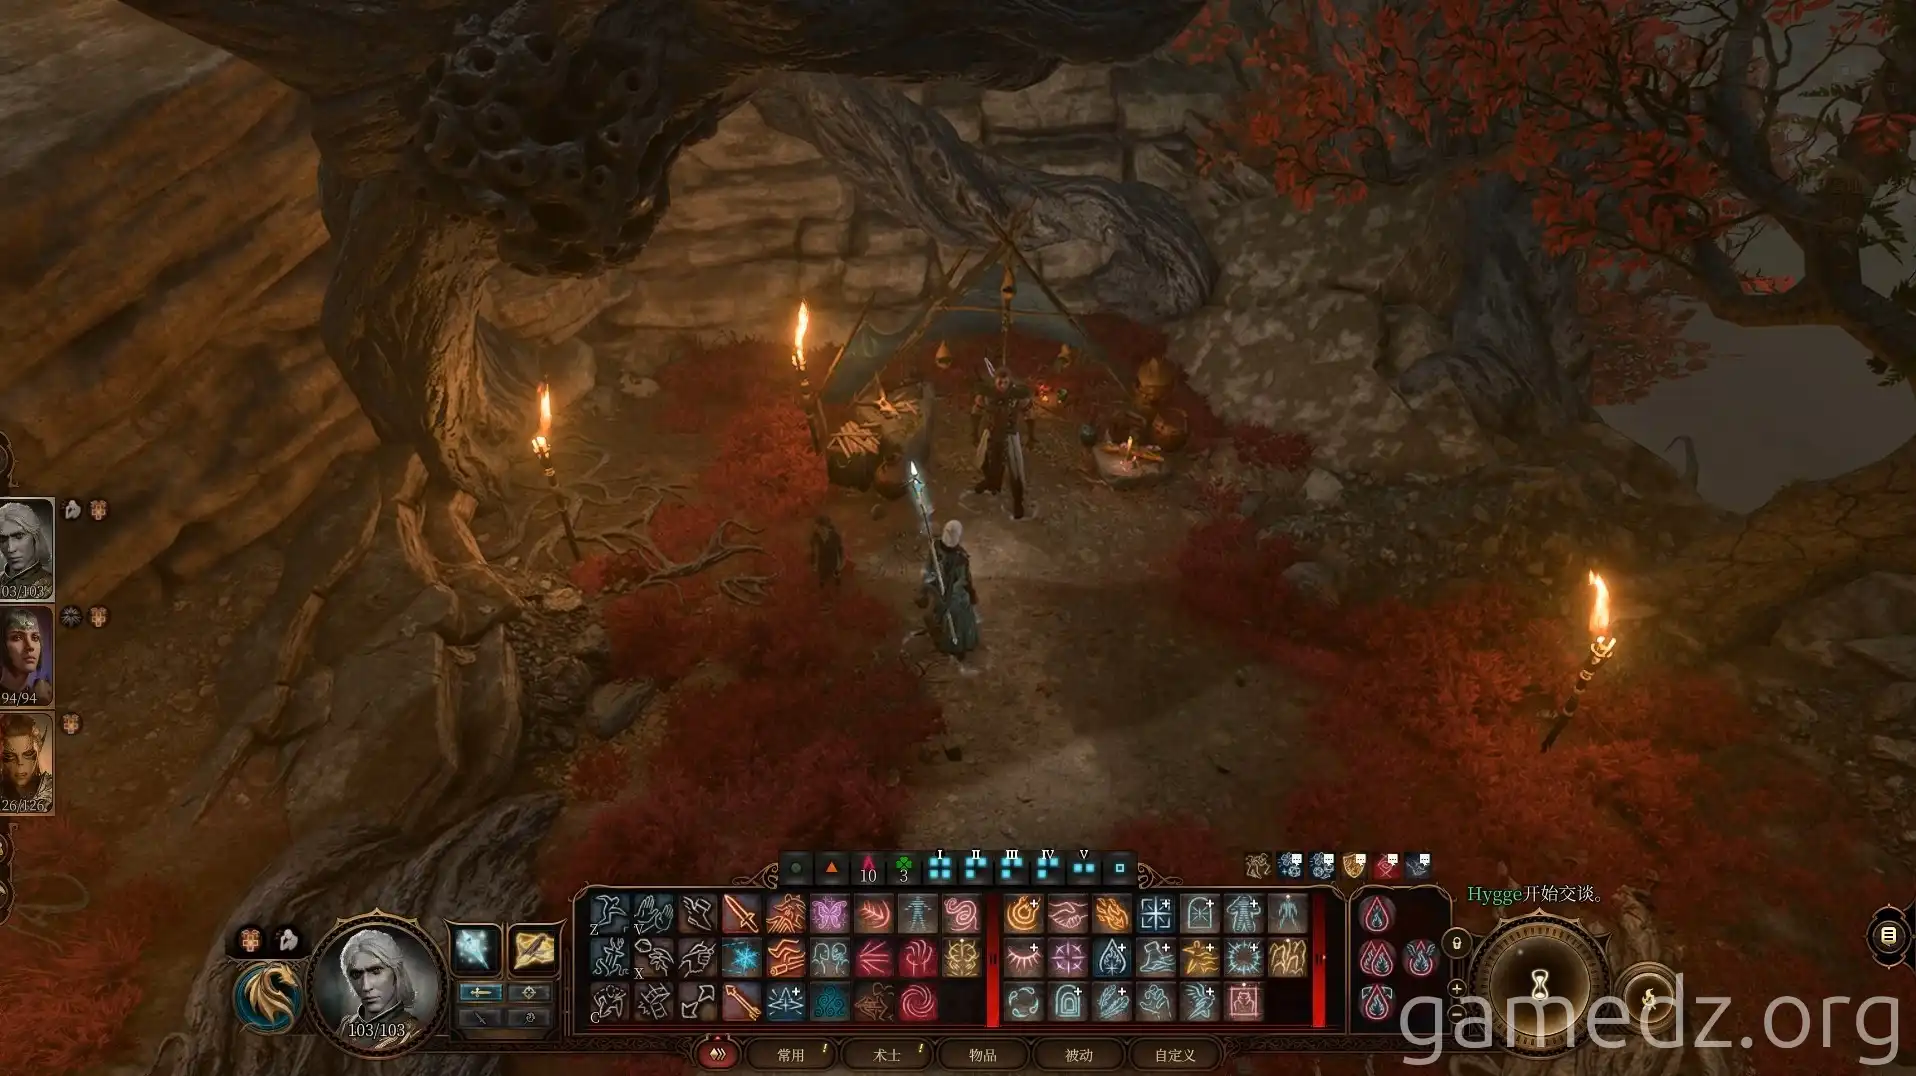
Speak with Ulder Ravengro. He now recognizes your efforts and expresses his desire to join forces with you to save Baldur's Gate.
You will encounter him again in Chapter 3.

Speak with Karlach to learn that she once served Gortash, and it was Gortash who betrayed her to the Archdevil.

After agreeing to Isobel and her father's request, they will appear in your camp. They will then travel with you and offer assistance.
Additionally, Isobel will mention that she has something to say to Shadowheart when the time is right.
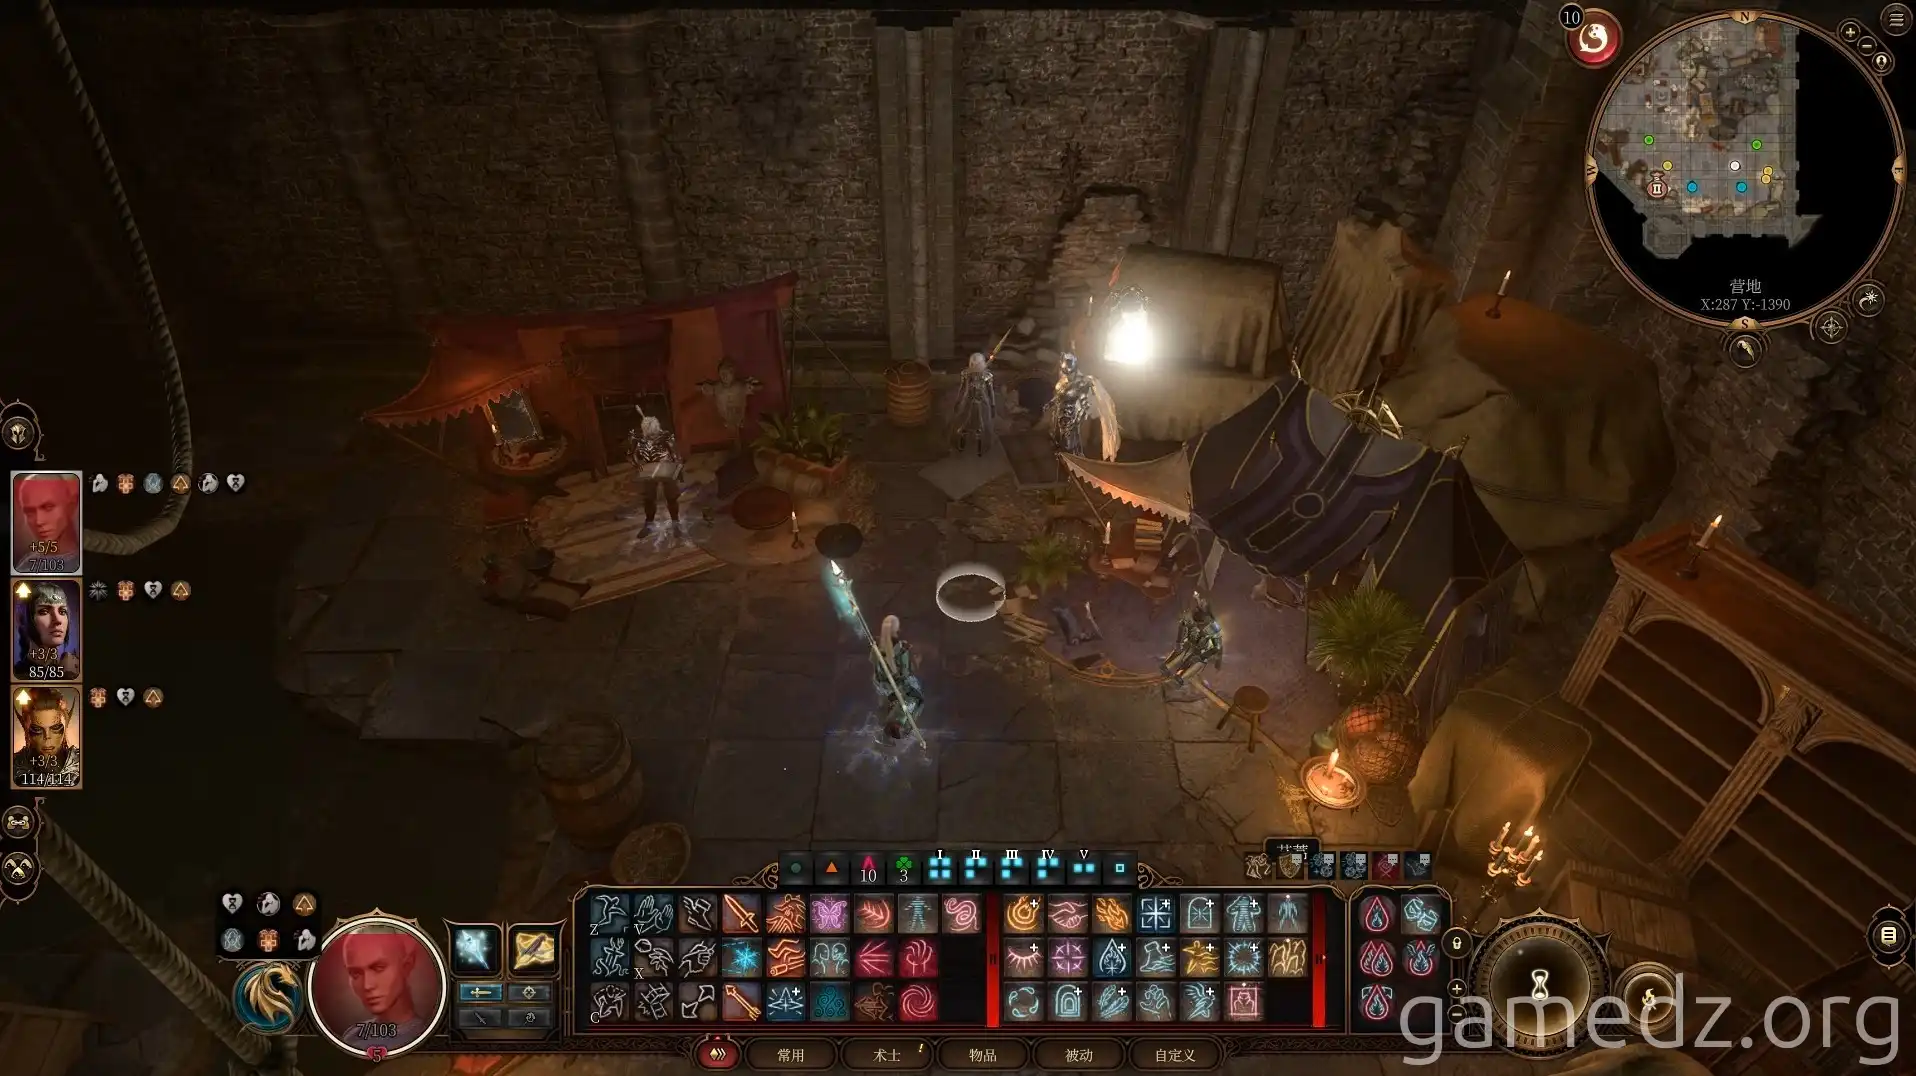
After a long rest, leave and return to camp to trigger a cutscene. With Isobel's help, Shadowheart regains some memories. It turns out that the Shadow Thirsters were not hunting a dire wolf, but Shadowheart's father.

After the dialogue, Isobel will return the Nightspear she lost to you. This weapon has now evolved into the legendary weapon Selûne's Spear of the Night, and its attributes are as follows:

Once you've rested, head west from the road in front of the healing center, preparing to travel to Baldur's Gate.
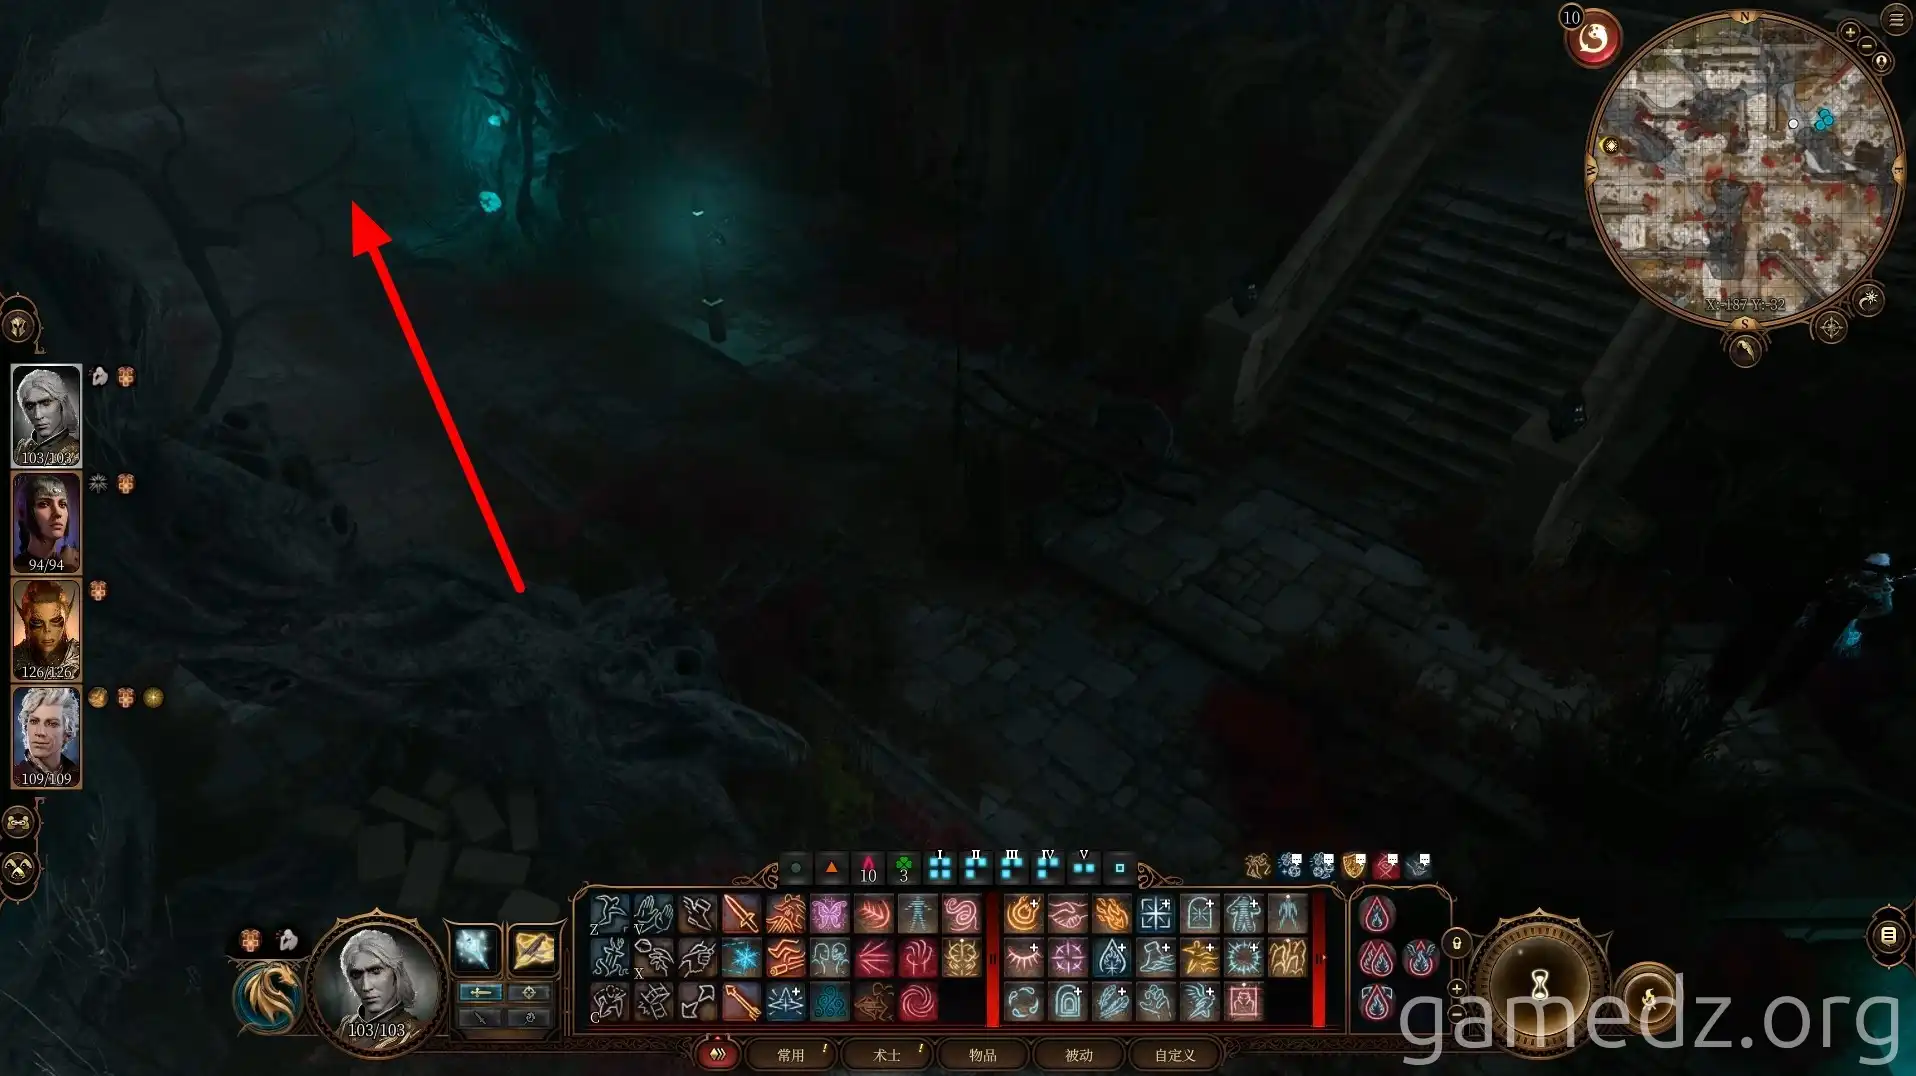
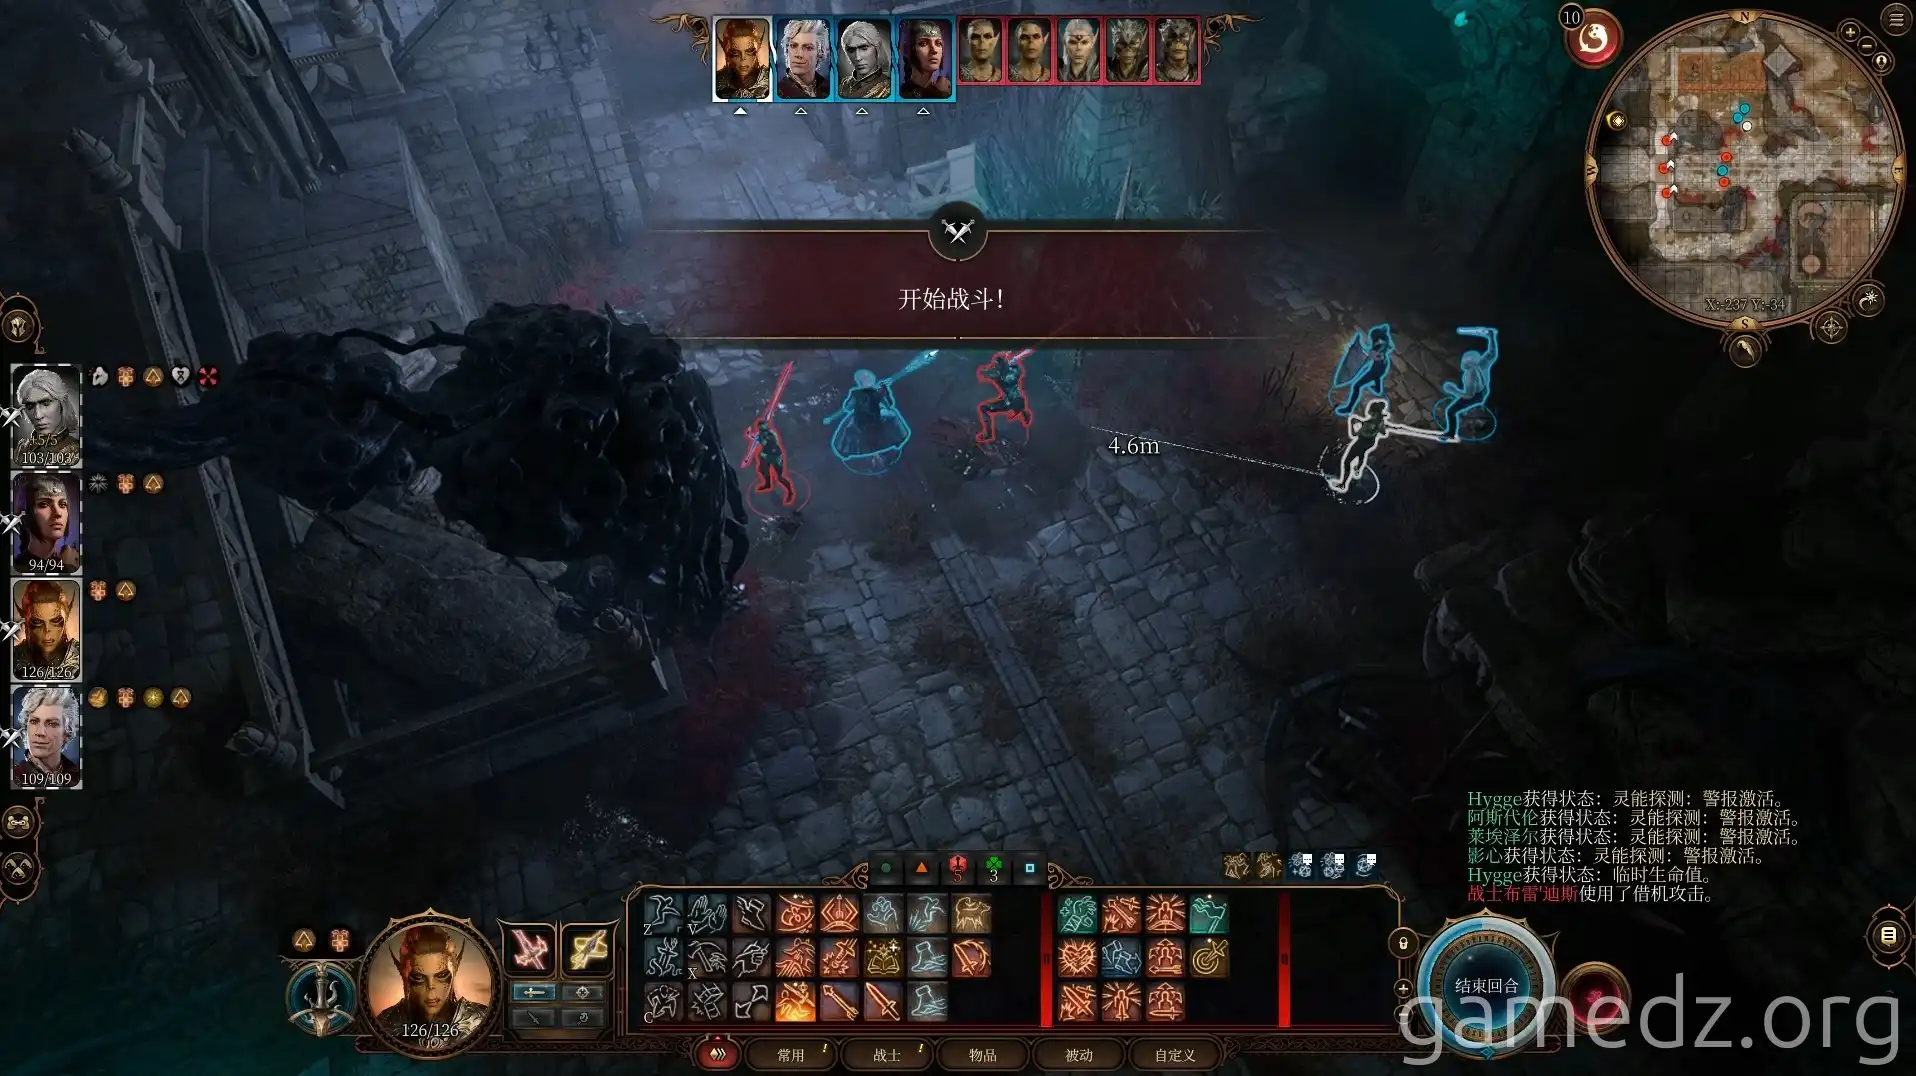
Under the bridge ahead, you'll be ambushed by a Githyanki patrol. You'll find them to be trivial to defeat at this point.
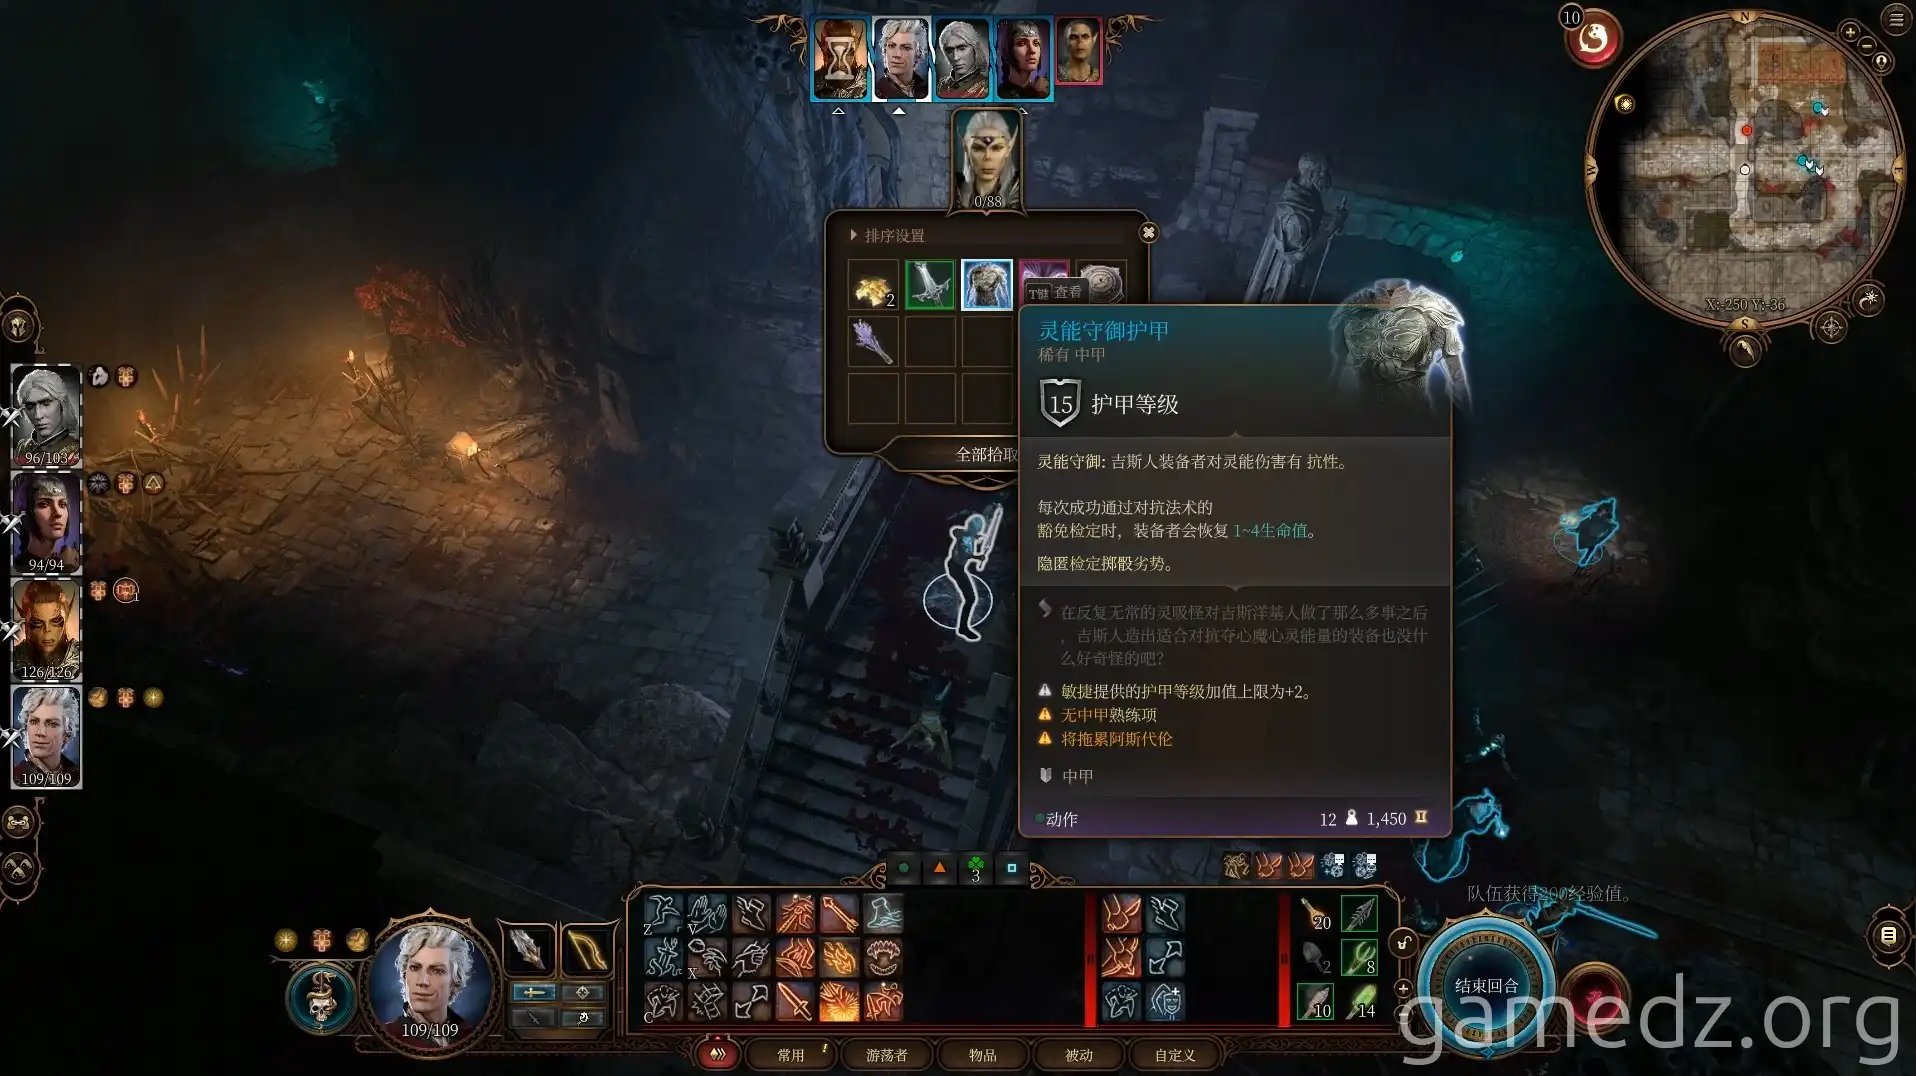
From the leading Githyanki Inquisitor, you can obtain the rare armor Armor of Psionic Warding.
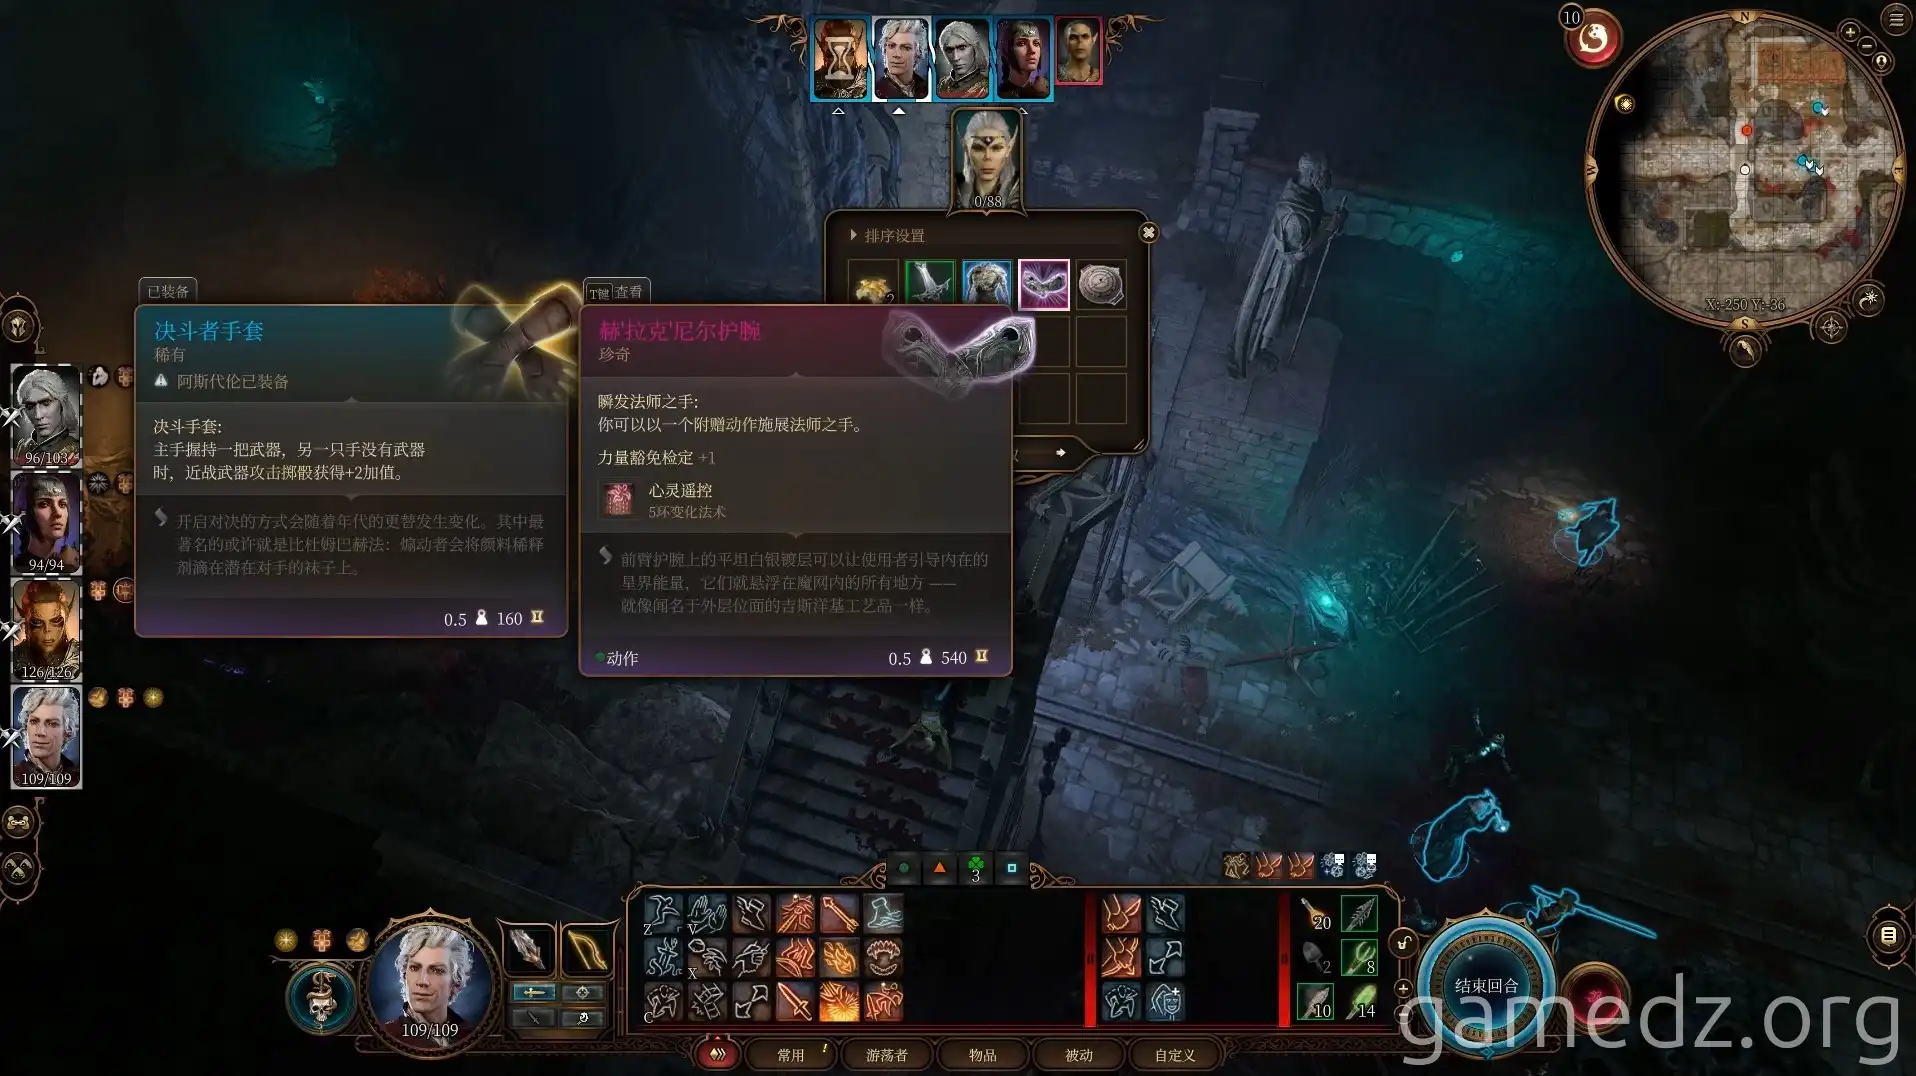
Additionally, you'll find the rare equipment H'raknir's Bracers.
Activate the Road to Baldur's Gate waypoint ahead and continue along the road to officially enter Chapter 3.
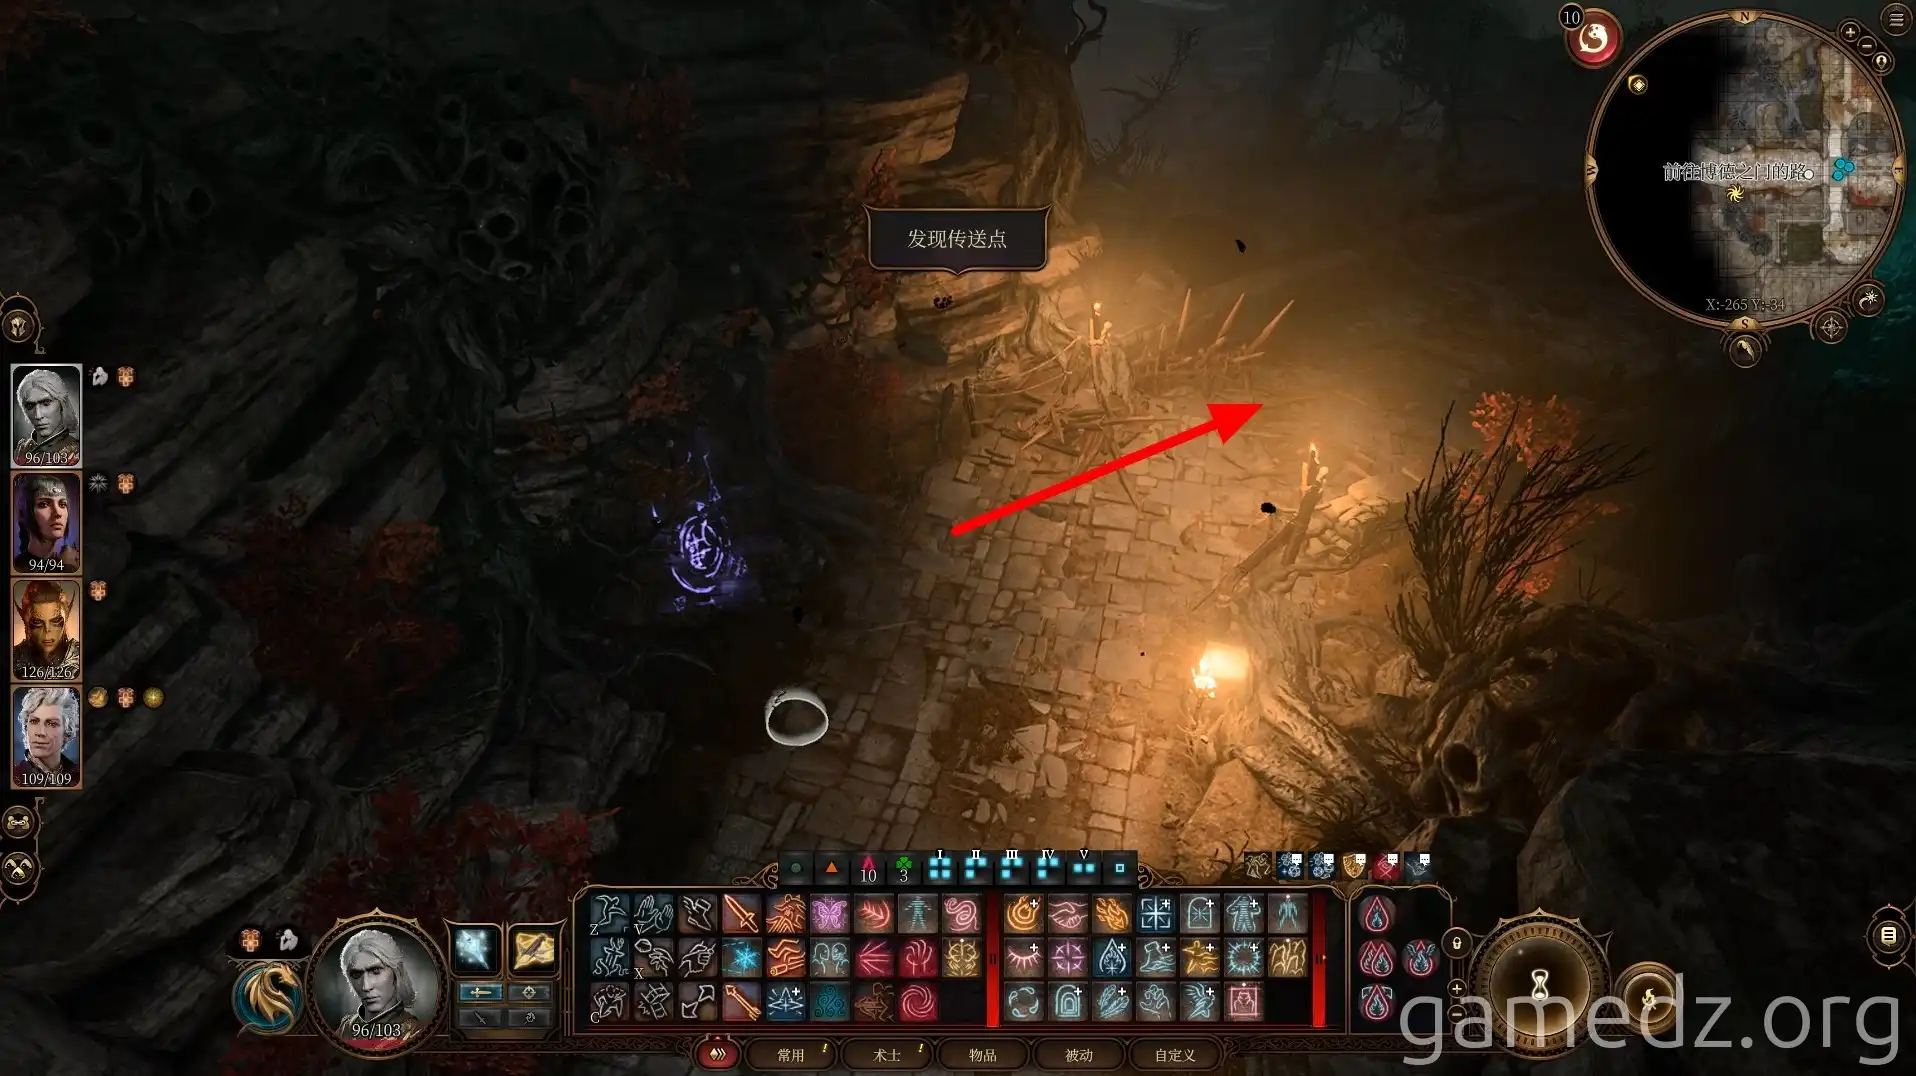
Upon entering Chapter 3, you'll see that the entire Shadow-Cursed Lands have been purified through your efforts, restoring peace and tranquility.
