
Baldur's Gate 3: West Lower City Walkthrough - Loot & Quests
This Baldur's Gate 3 guide details the West Lower City exploration, covering key quests, hidden loot like Belm and Gift of Karsus, and Shadowheart's personal questline.
Return to the Baldur's Gate Lower City fast travel point and take the small path south of the portal.
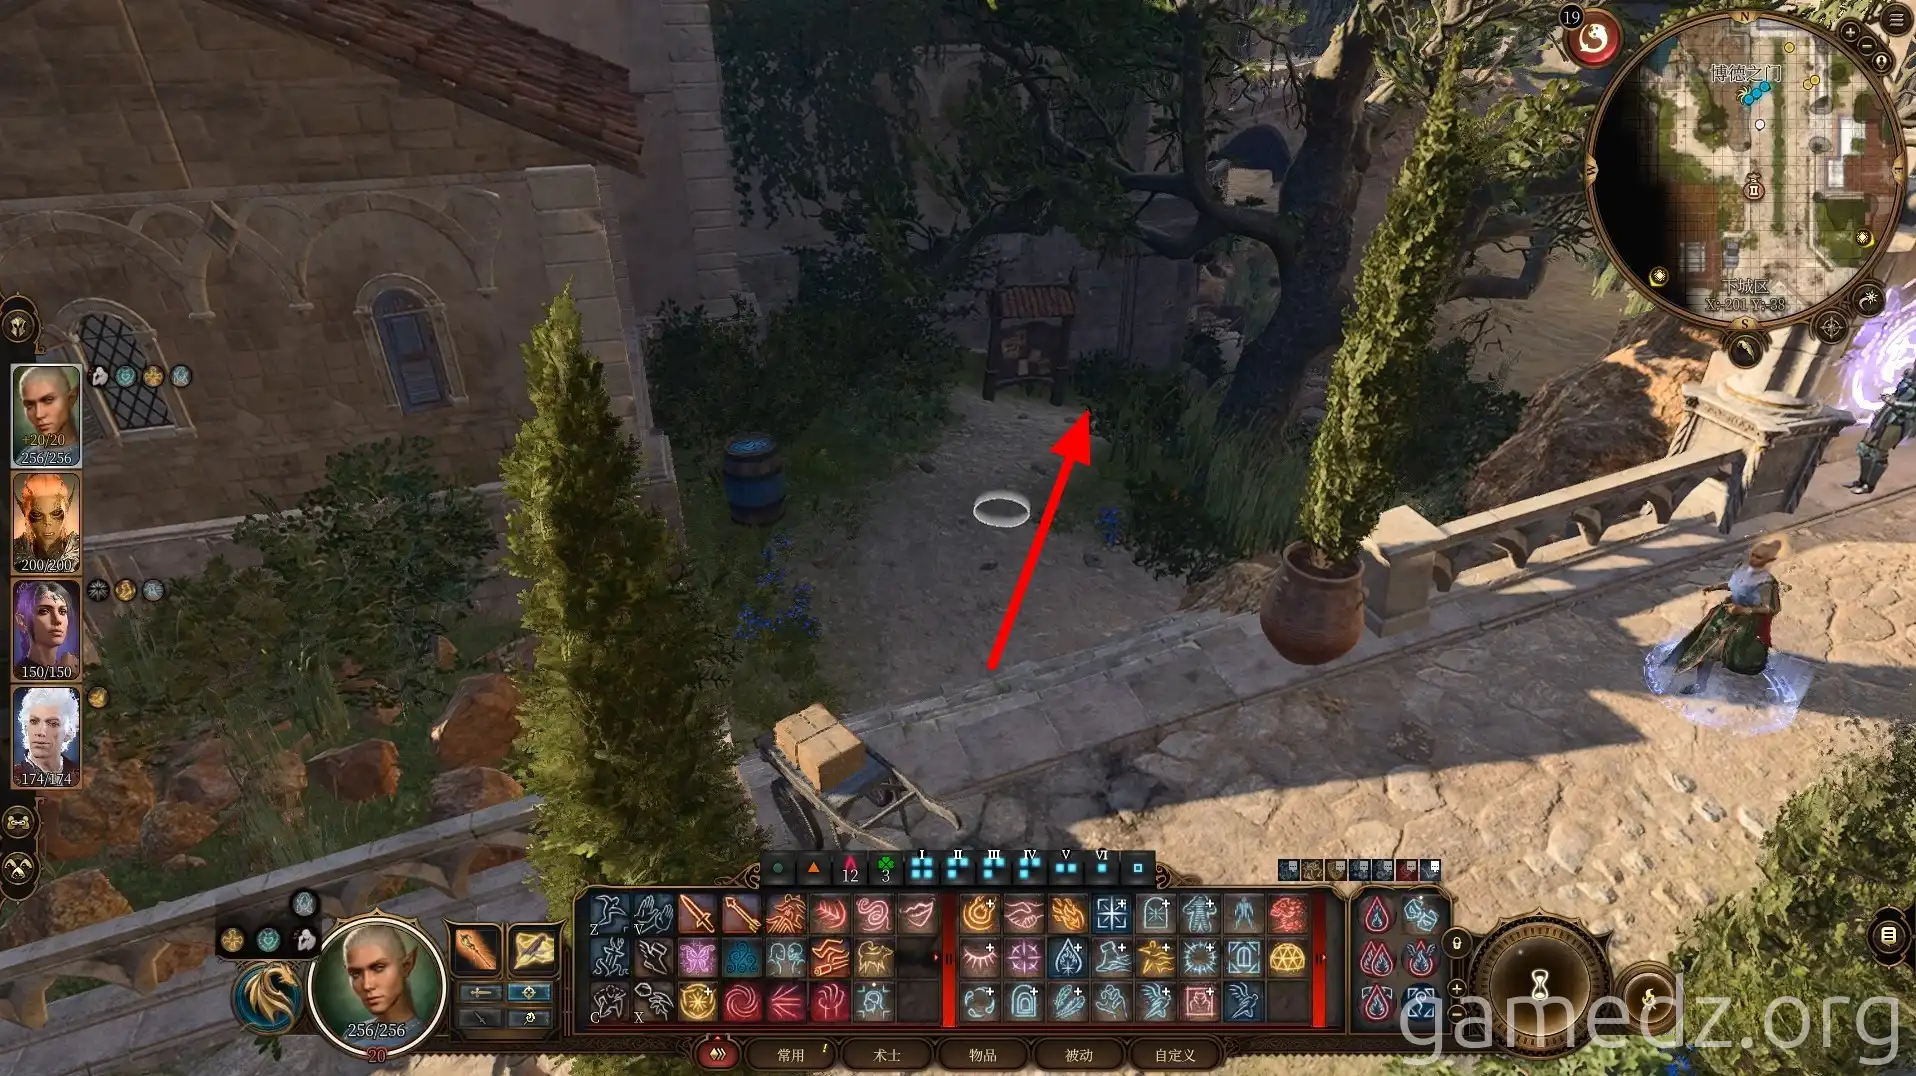
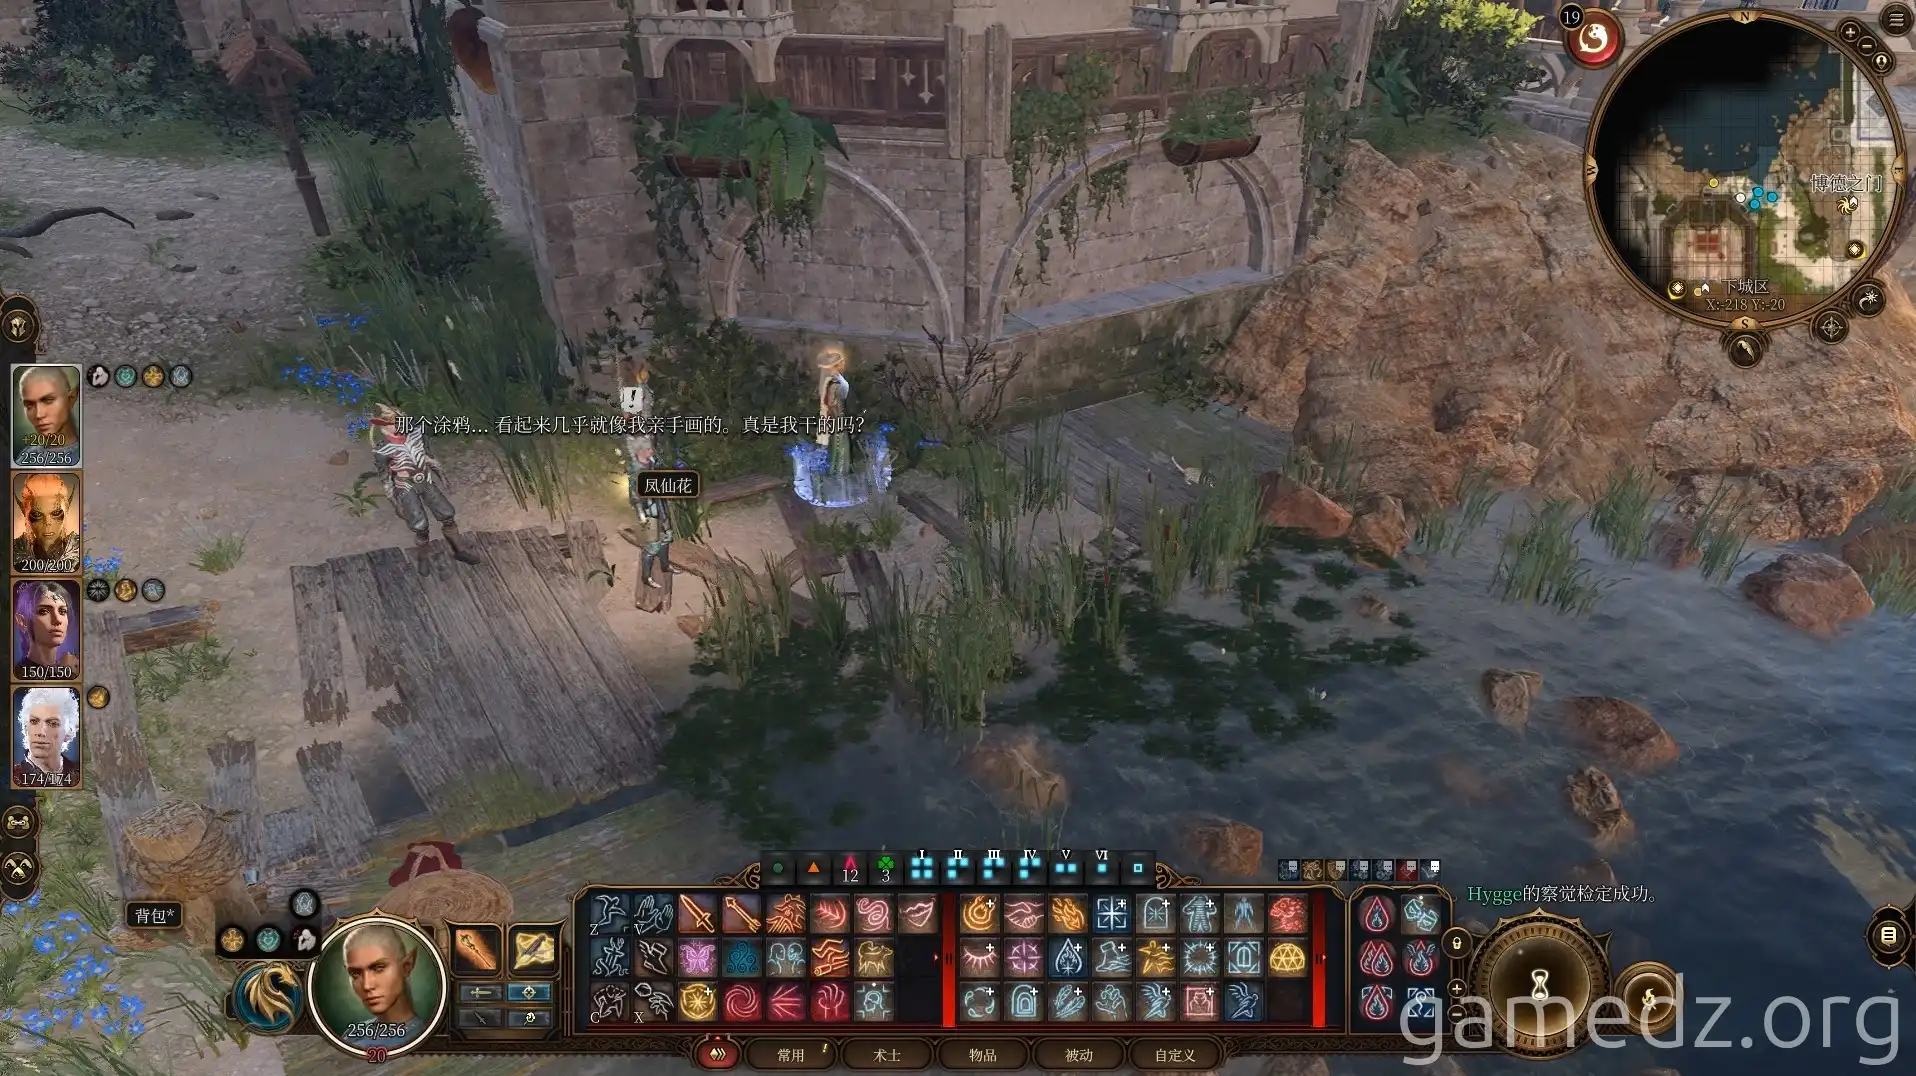
By the river, a successful Perception check will reveal graffiti, triggering a scene with Shadowheart.
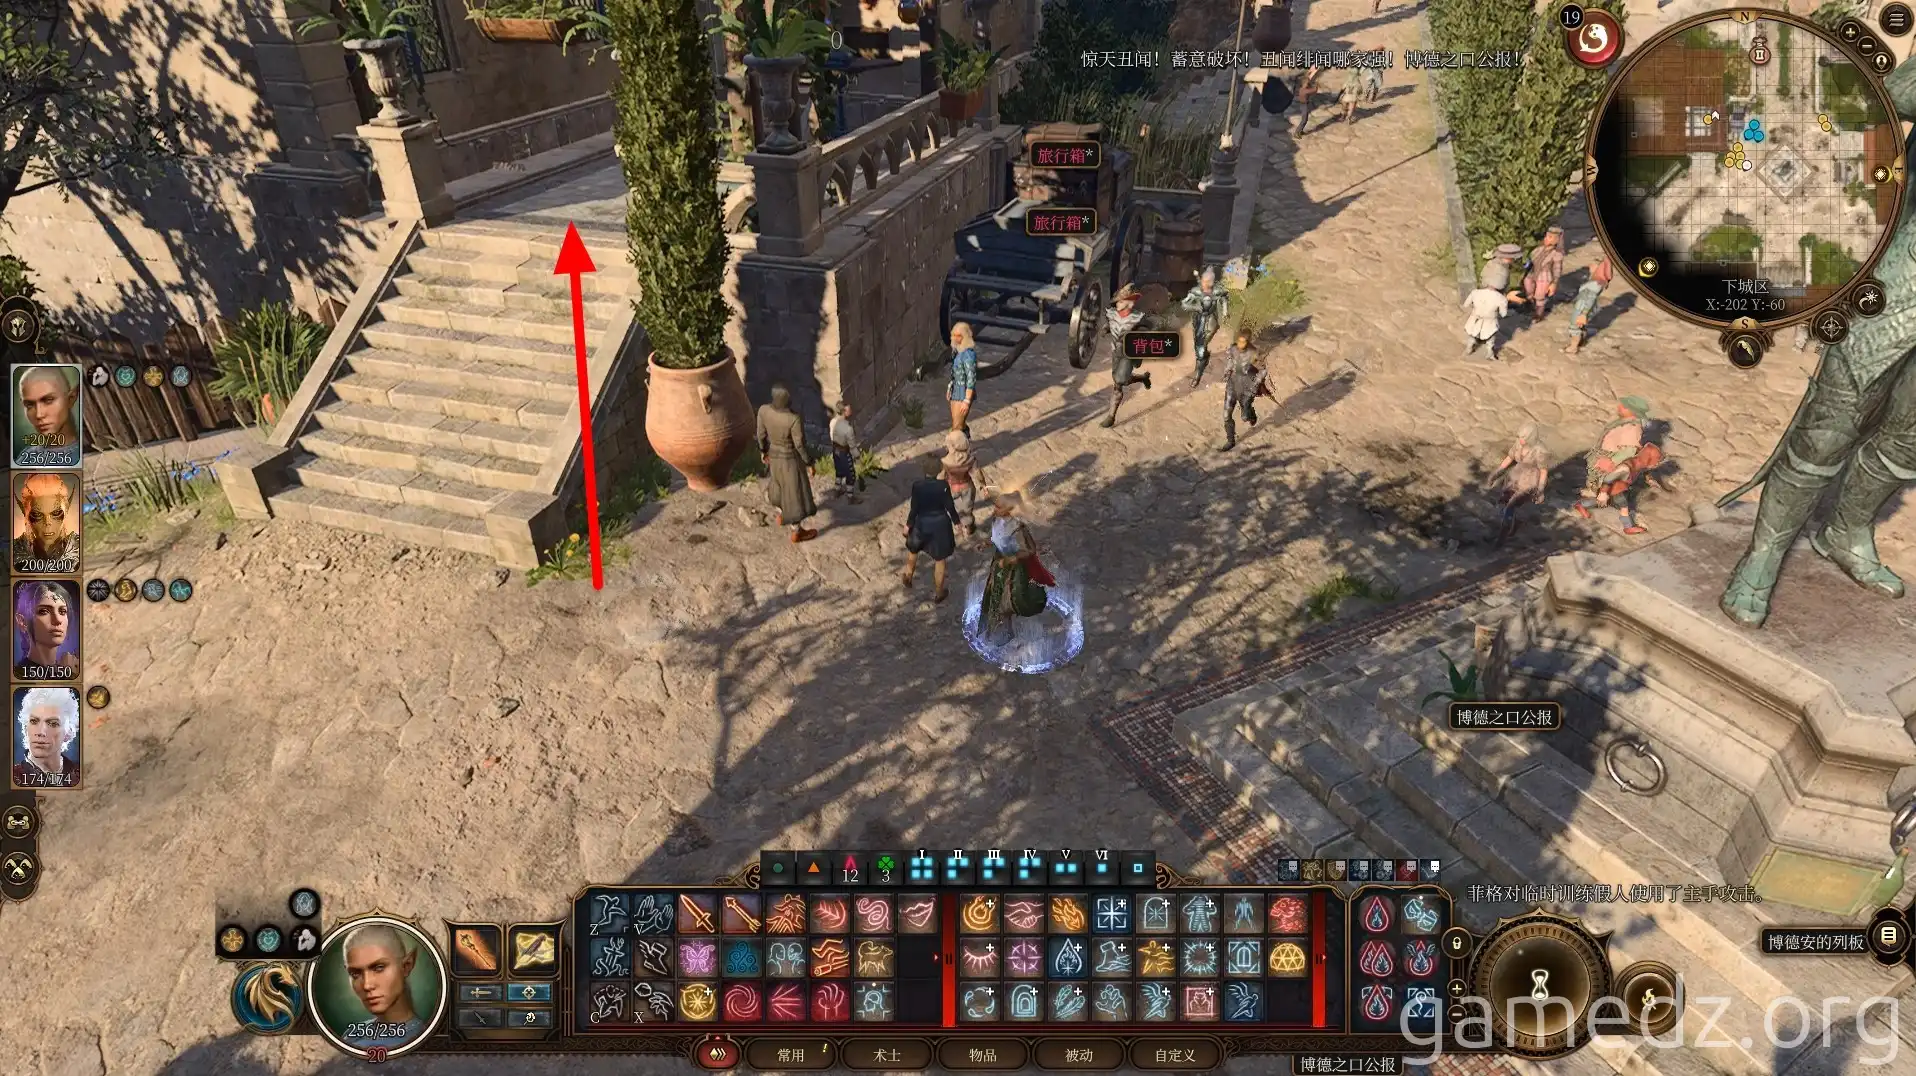
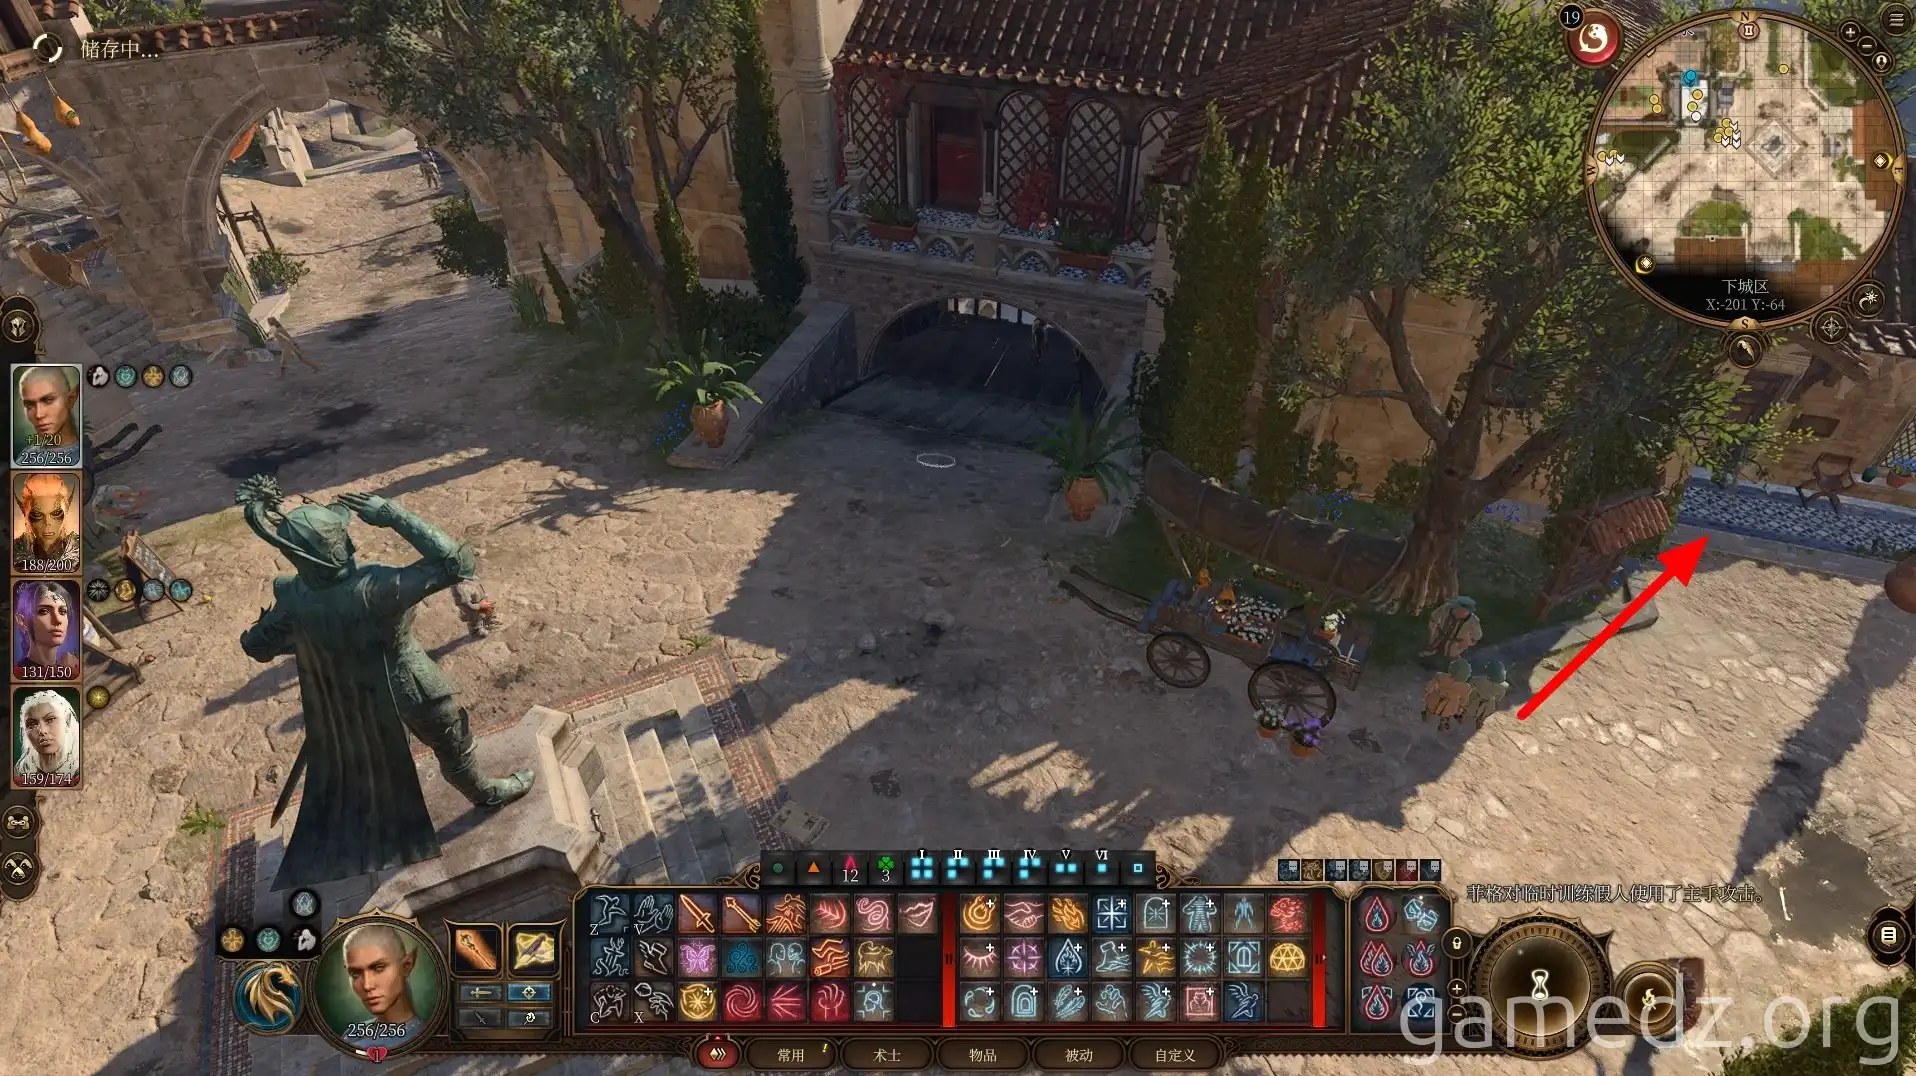
Continue south to the plaza and enter the room west of the statue.
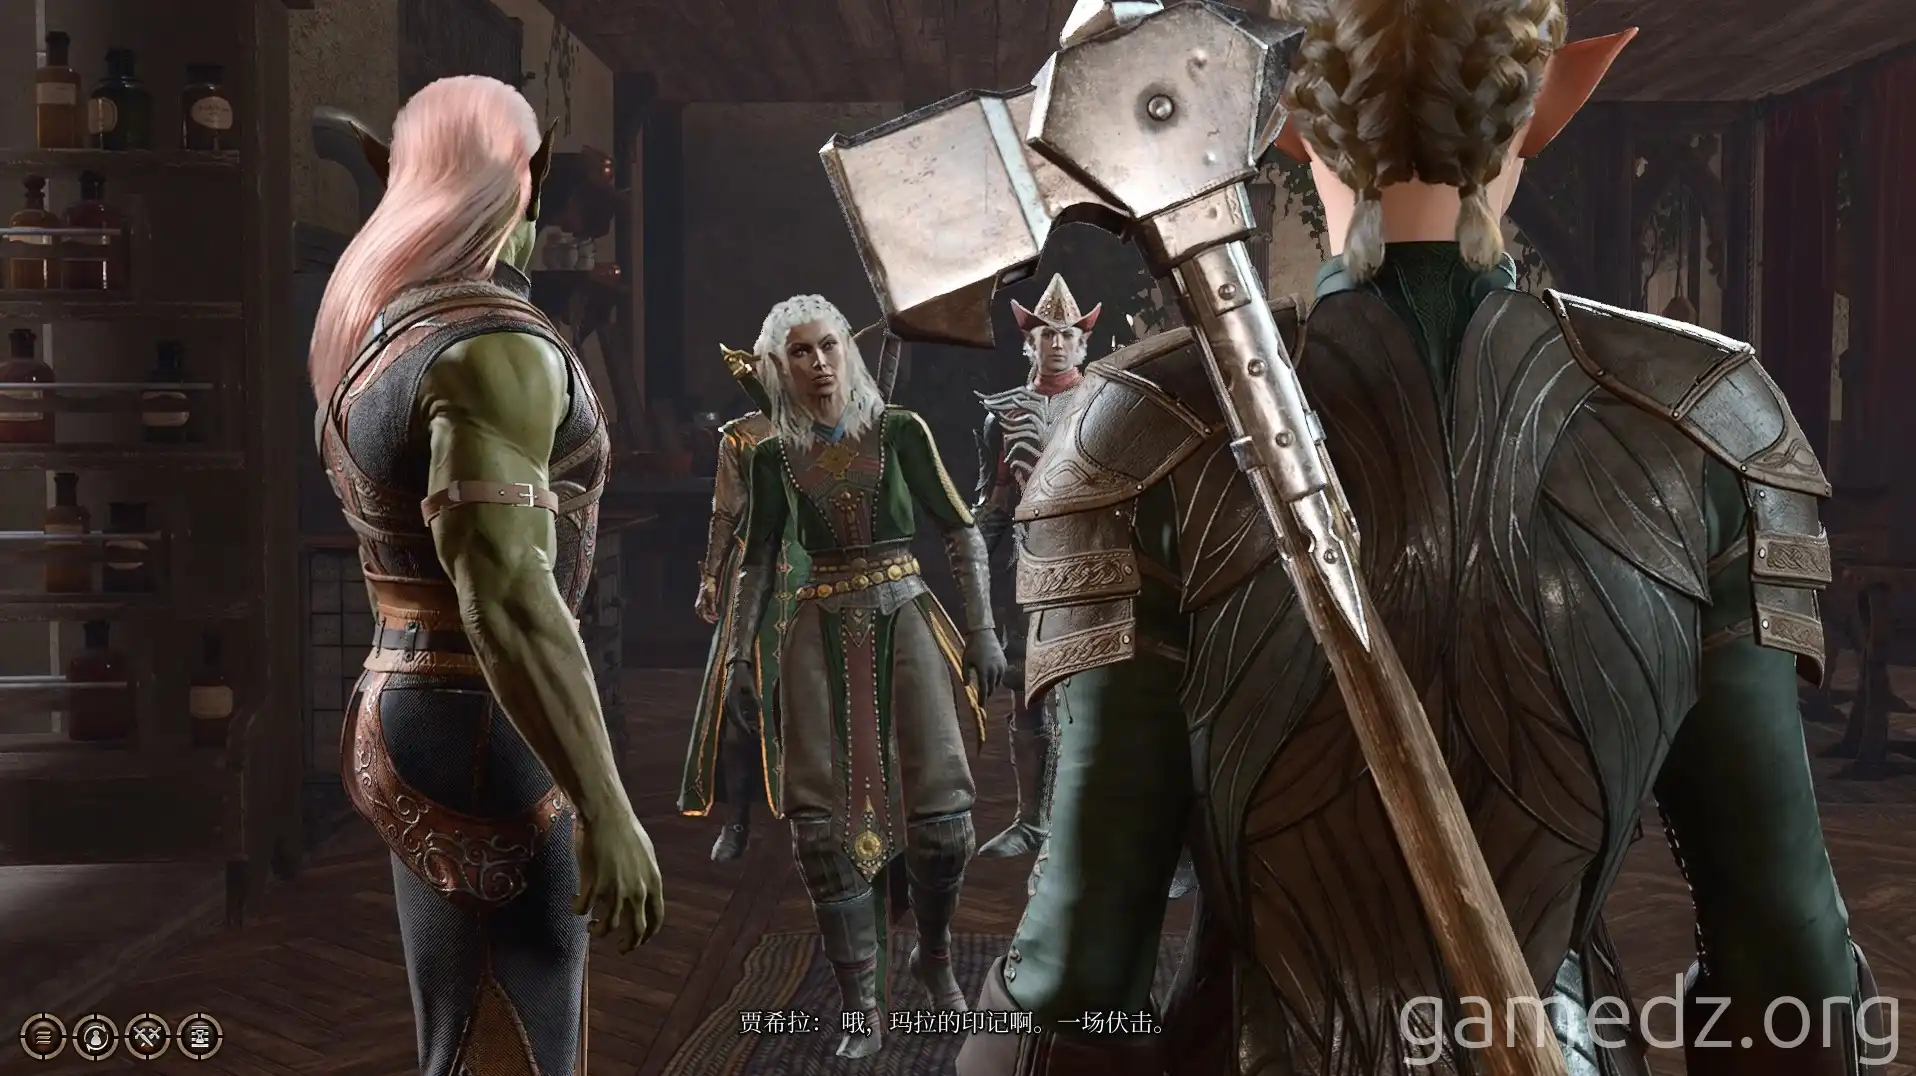
Bring Jaheira to speak with the Harpers in the room to trigger a scene.
Head to the second floor and speak with the young boy, Tate. After the conversation, you'll receive the Harp-Shaped Brooch.
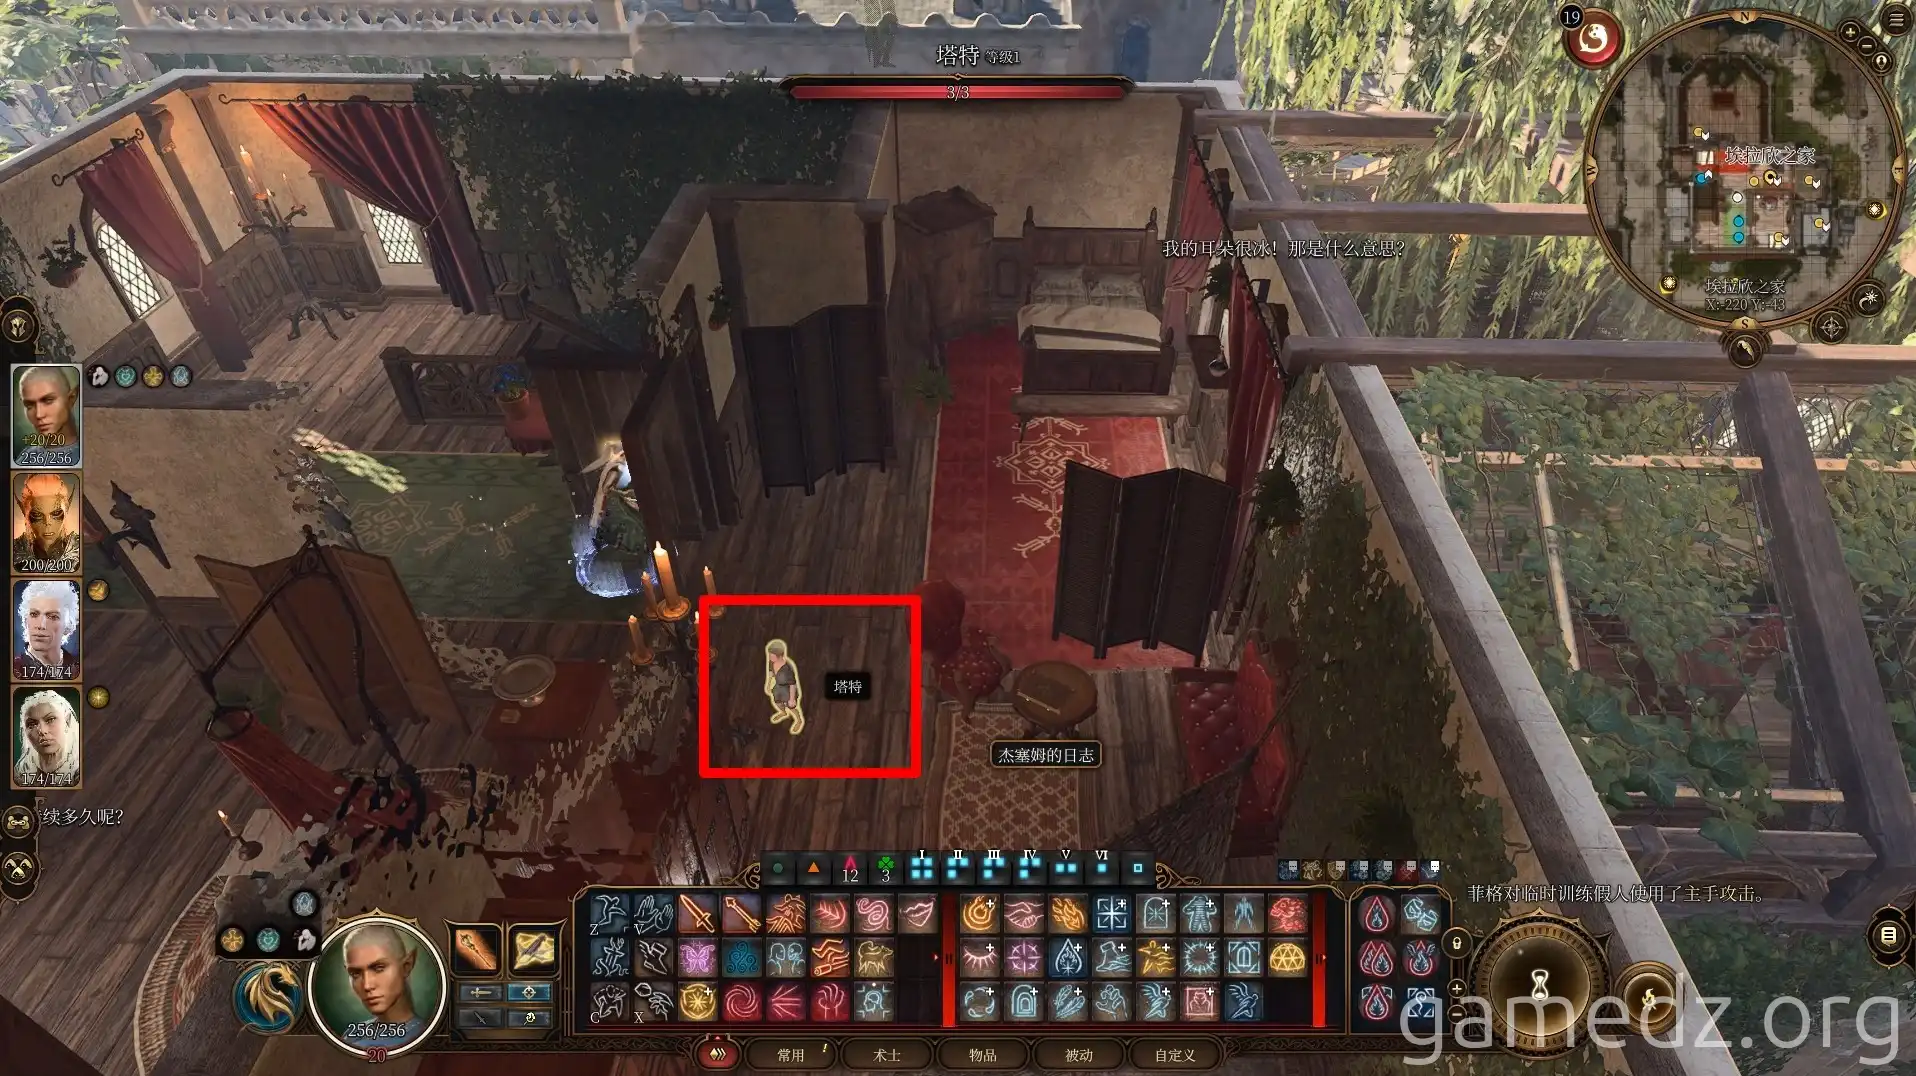
Go to the first-floor office and insert the Harp-Shaped Brooch into the slot to open the entrance to the basement.
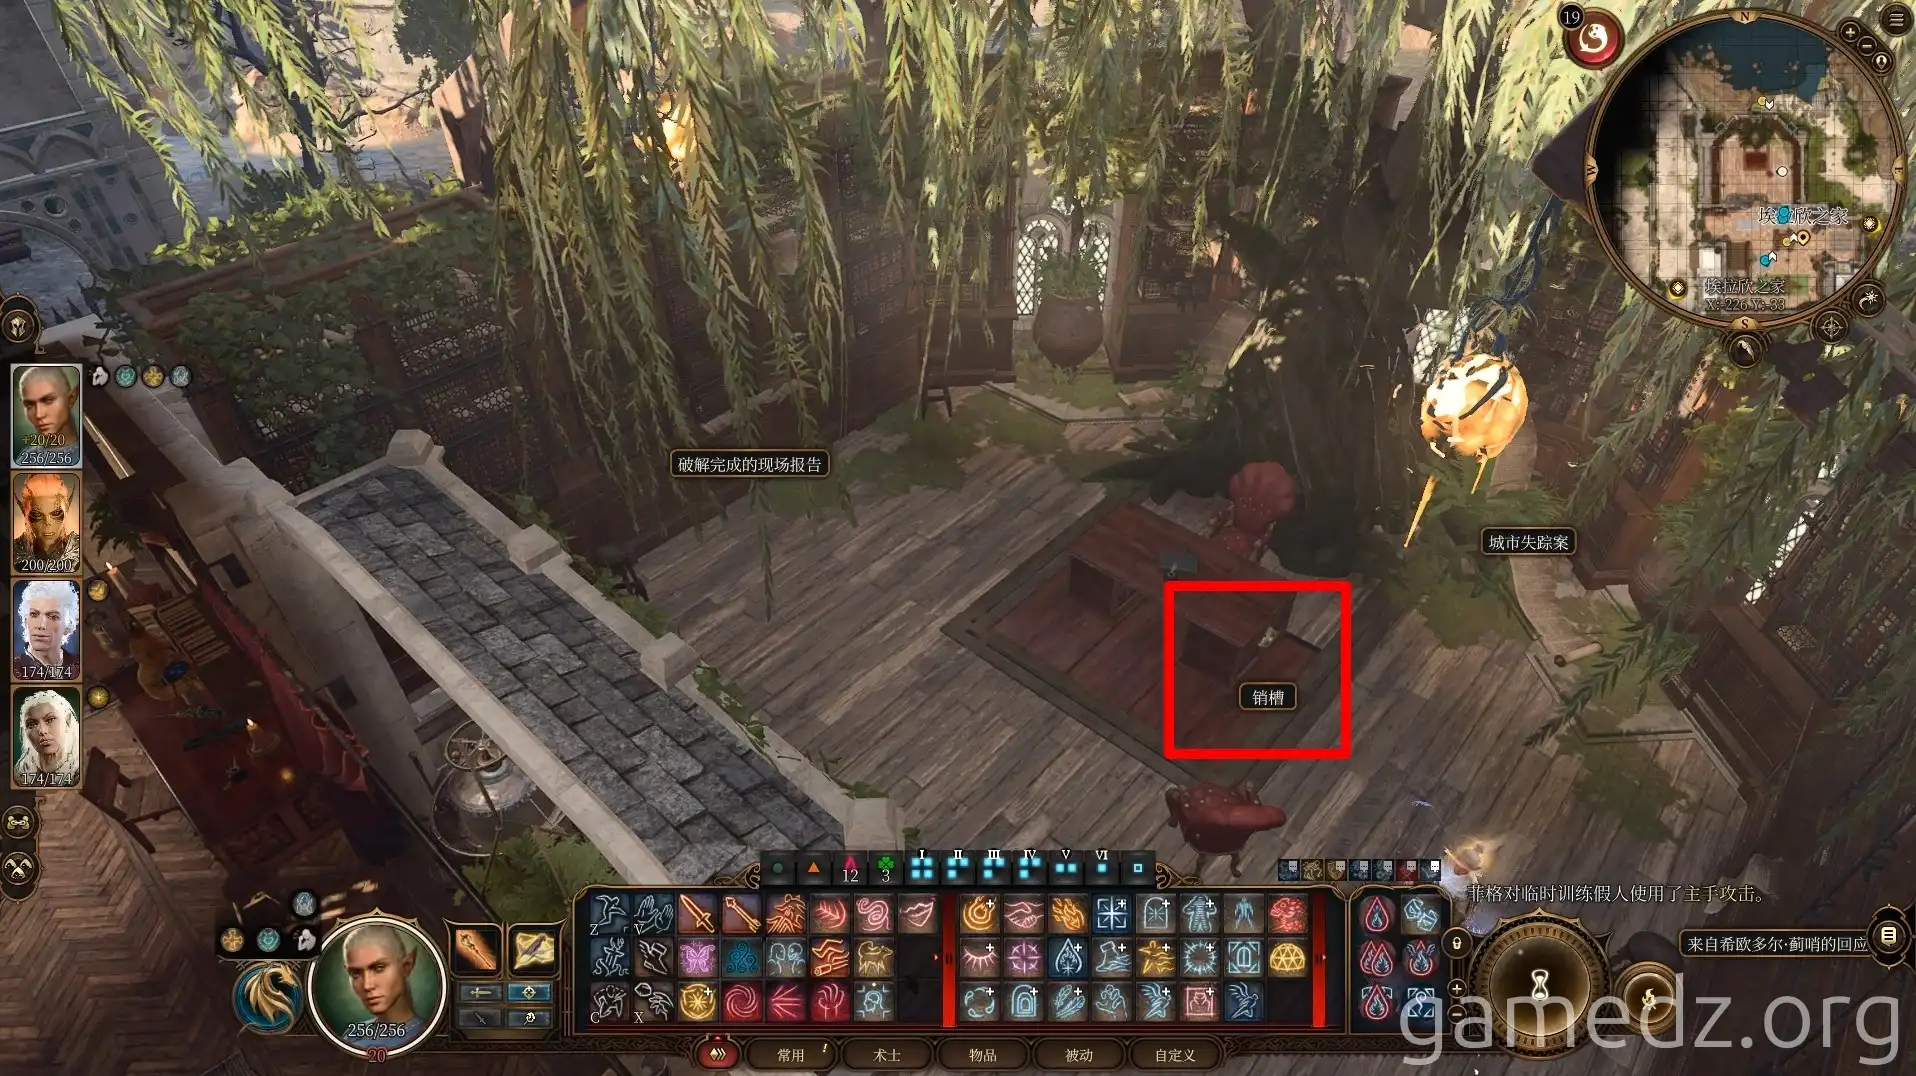
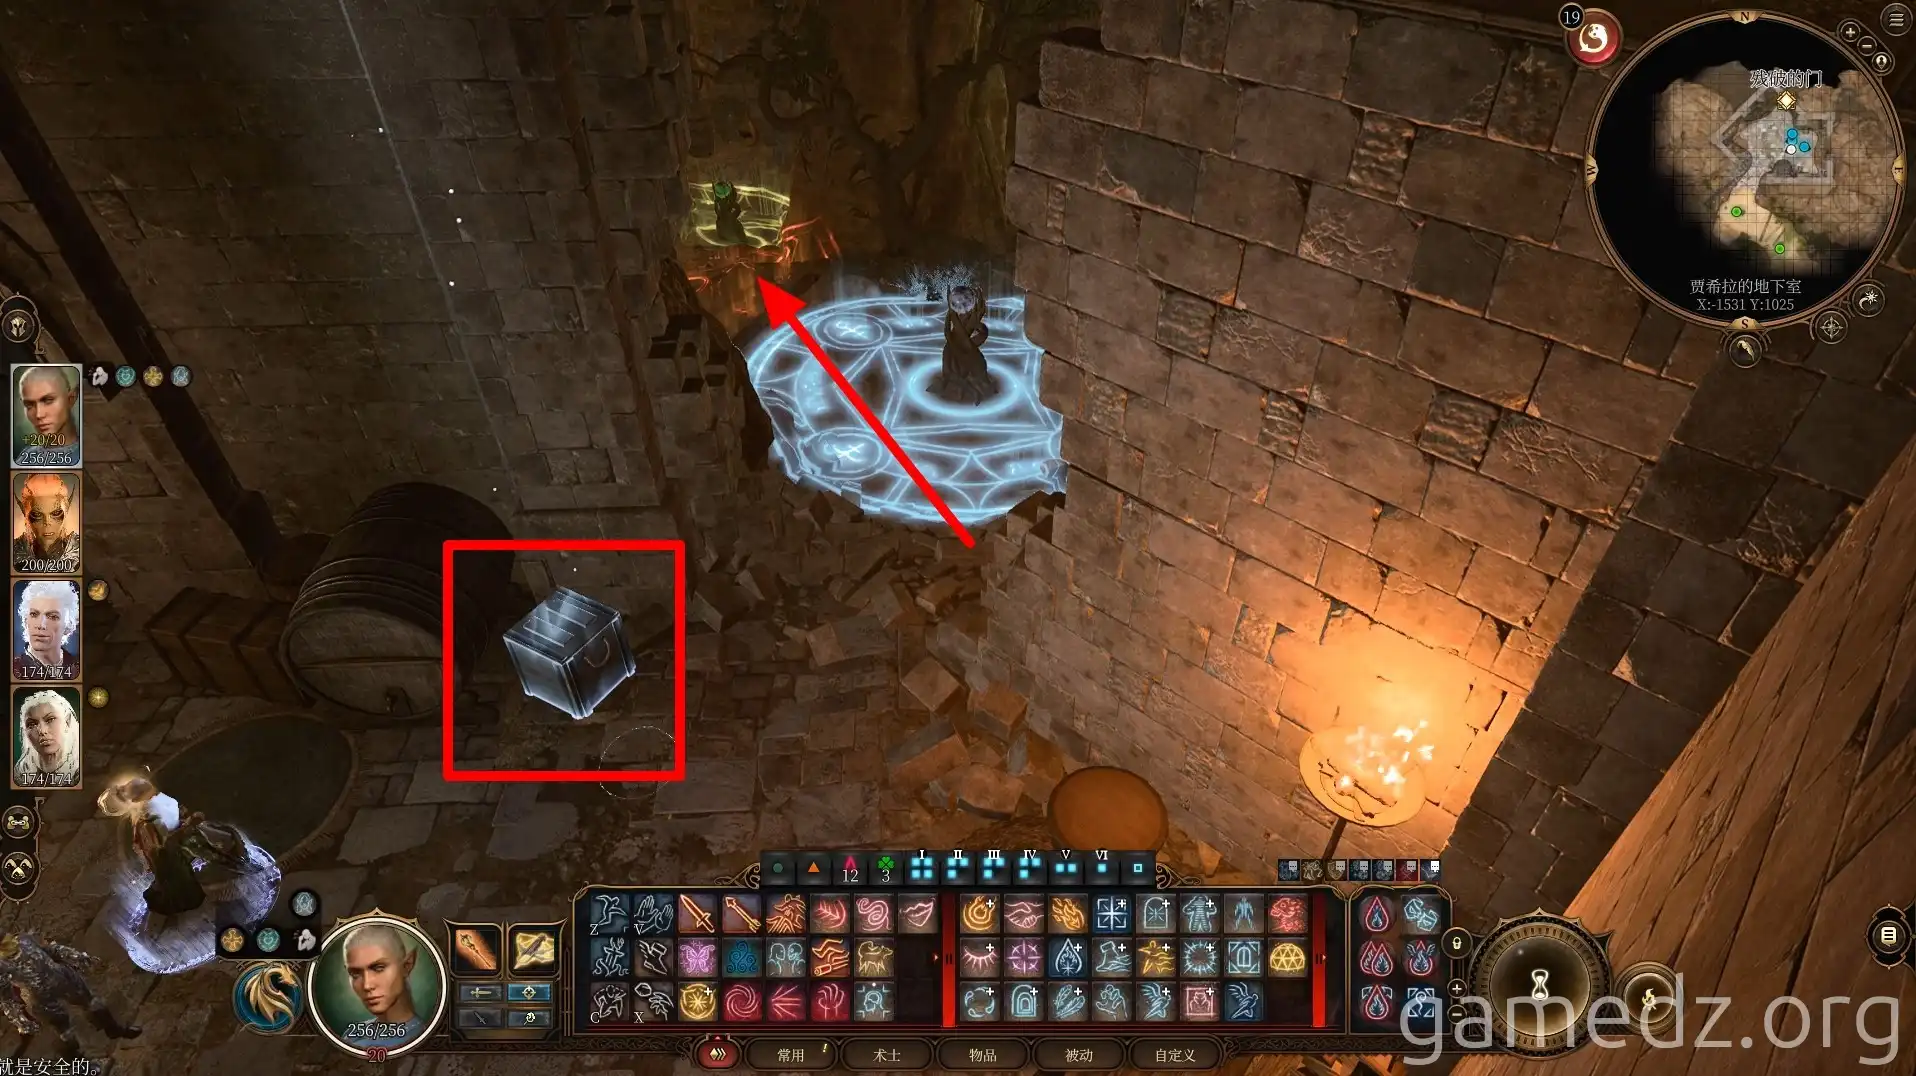
In the basement, first move the chest to disable the defensive magic circle, then you can safely proceed down the path ahead.
Enter the wooden cabin ahead, disarm the traps on the floor and bookshelf. You'll find the key to open the bookshelf under the floorboards.
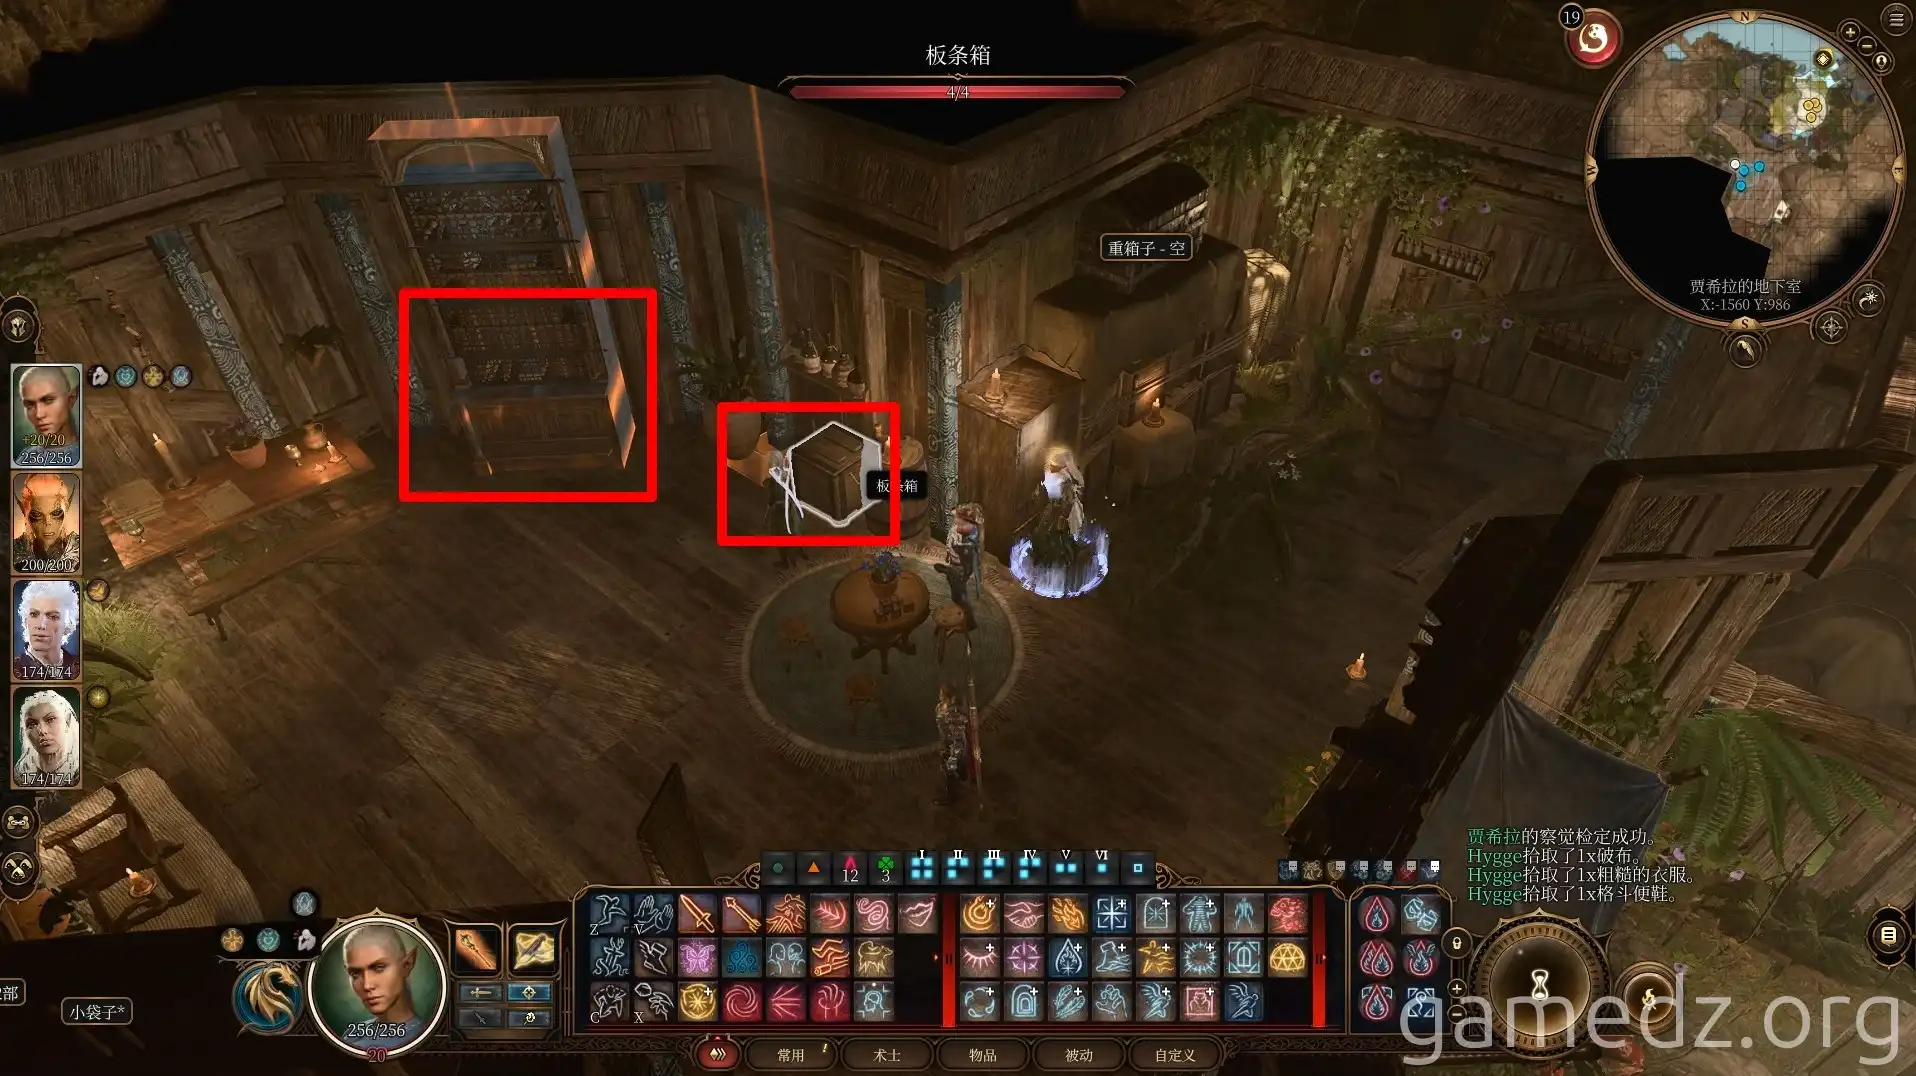
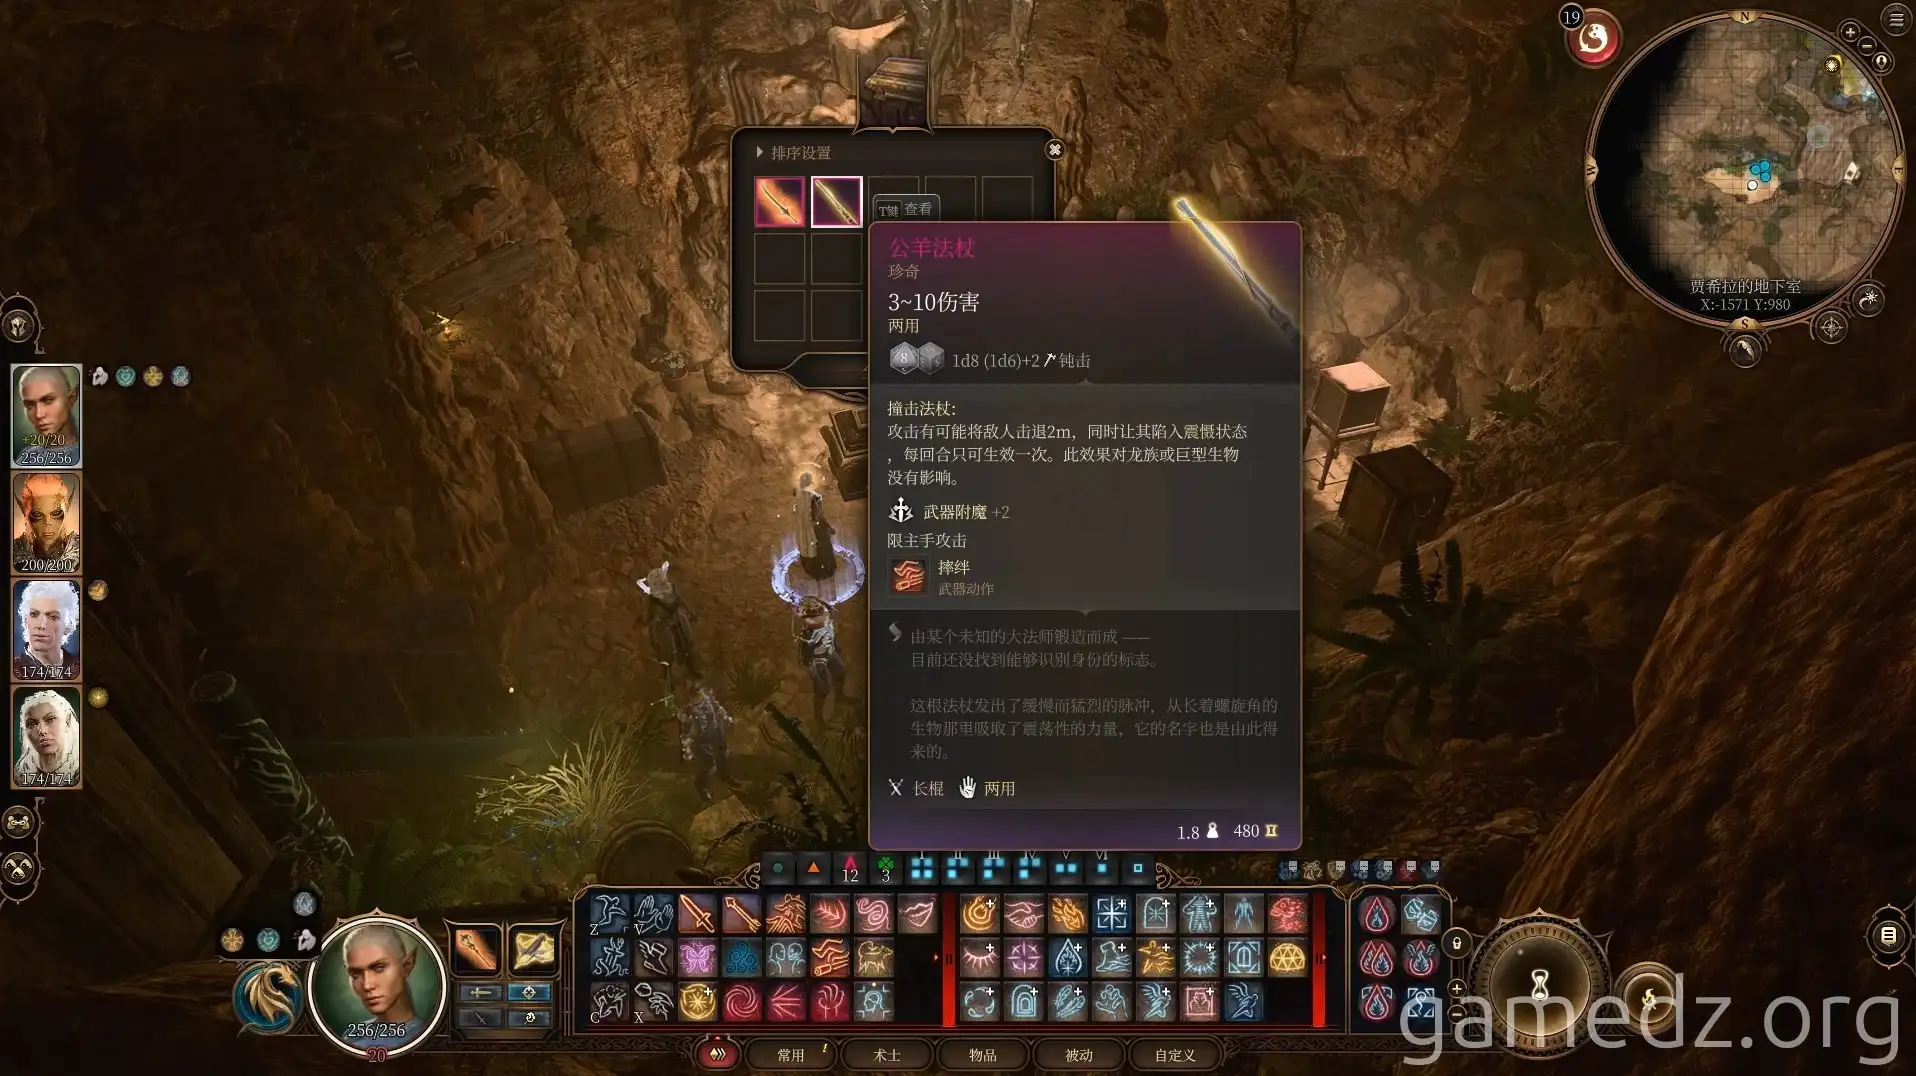
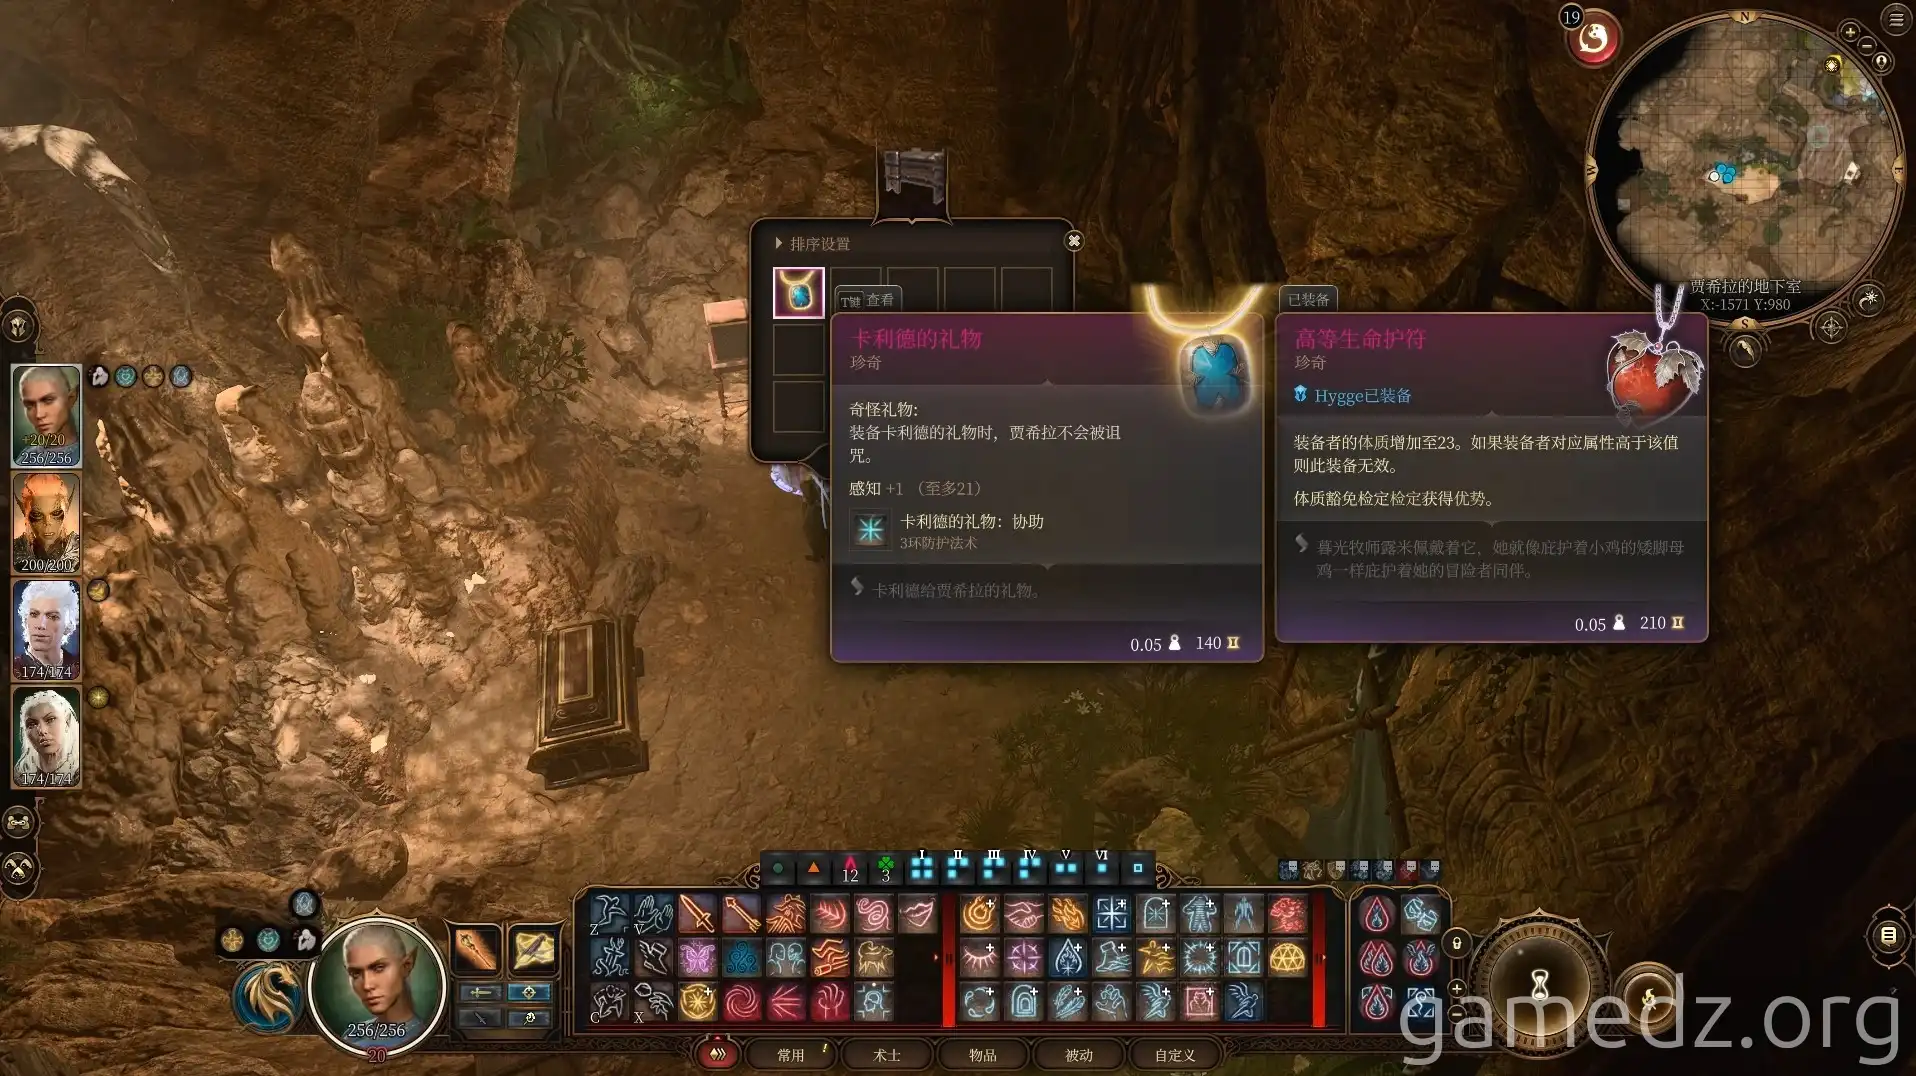
In the cave behind the bookshelf, you can find the rare weapons Belm and Ram Staff, as well as the rare accessory Gift of Karsus.
Additionally, reading the Ritual of the Unbroken Body on the altar will unlock a new scene with Jaheira.
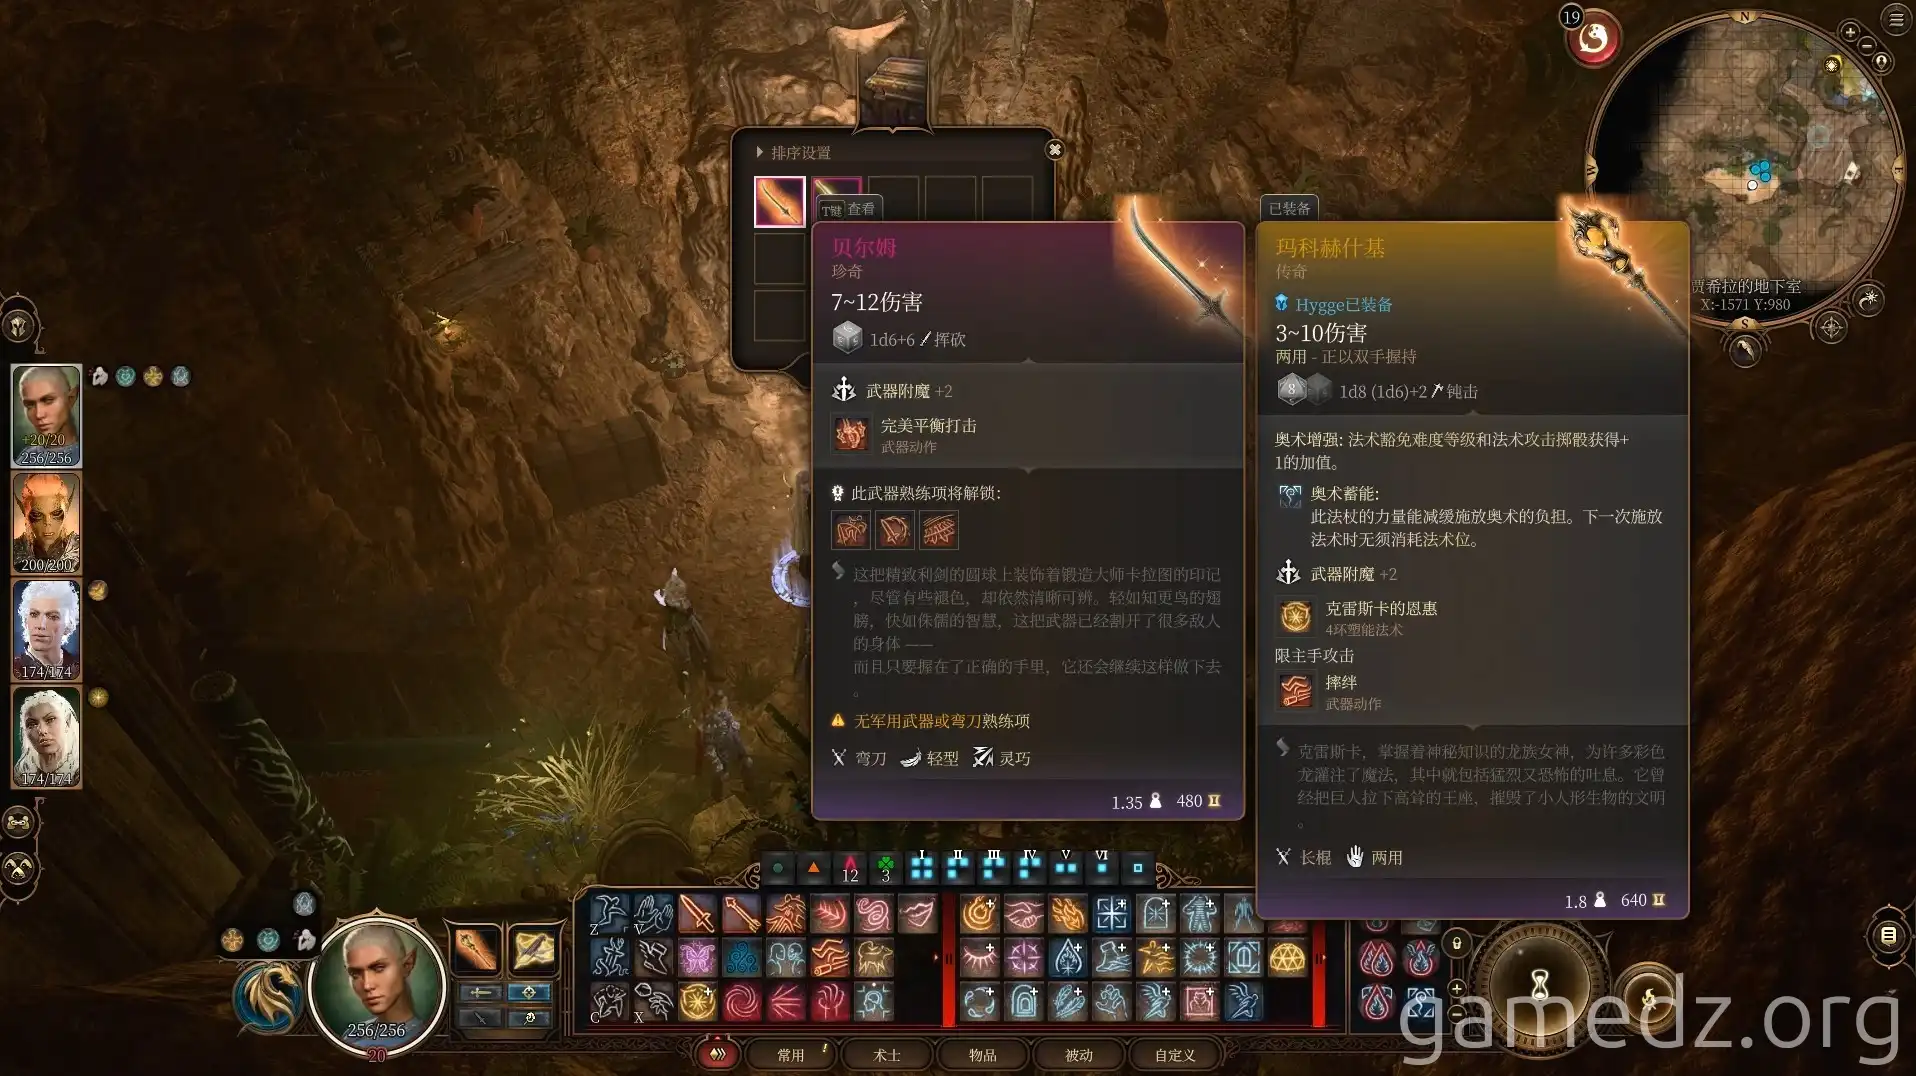
The stats for the Ram Staff are as follows:
The stats for the Gift of Karsus are as follows:
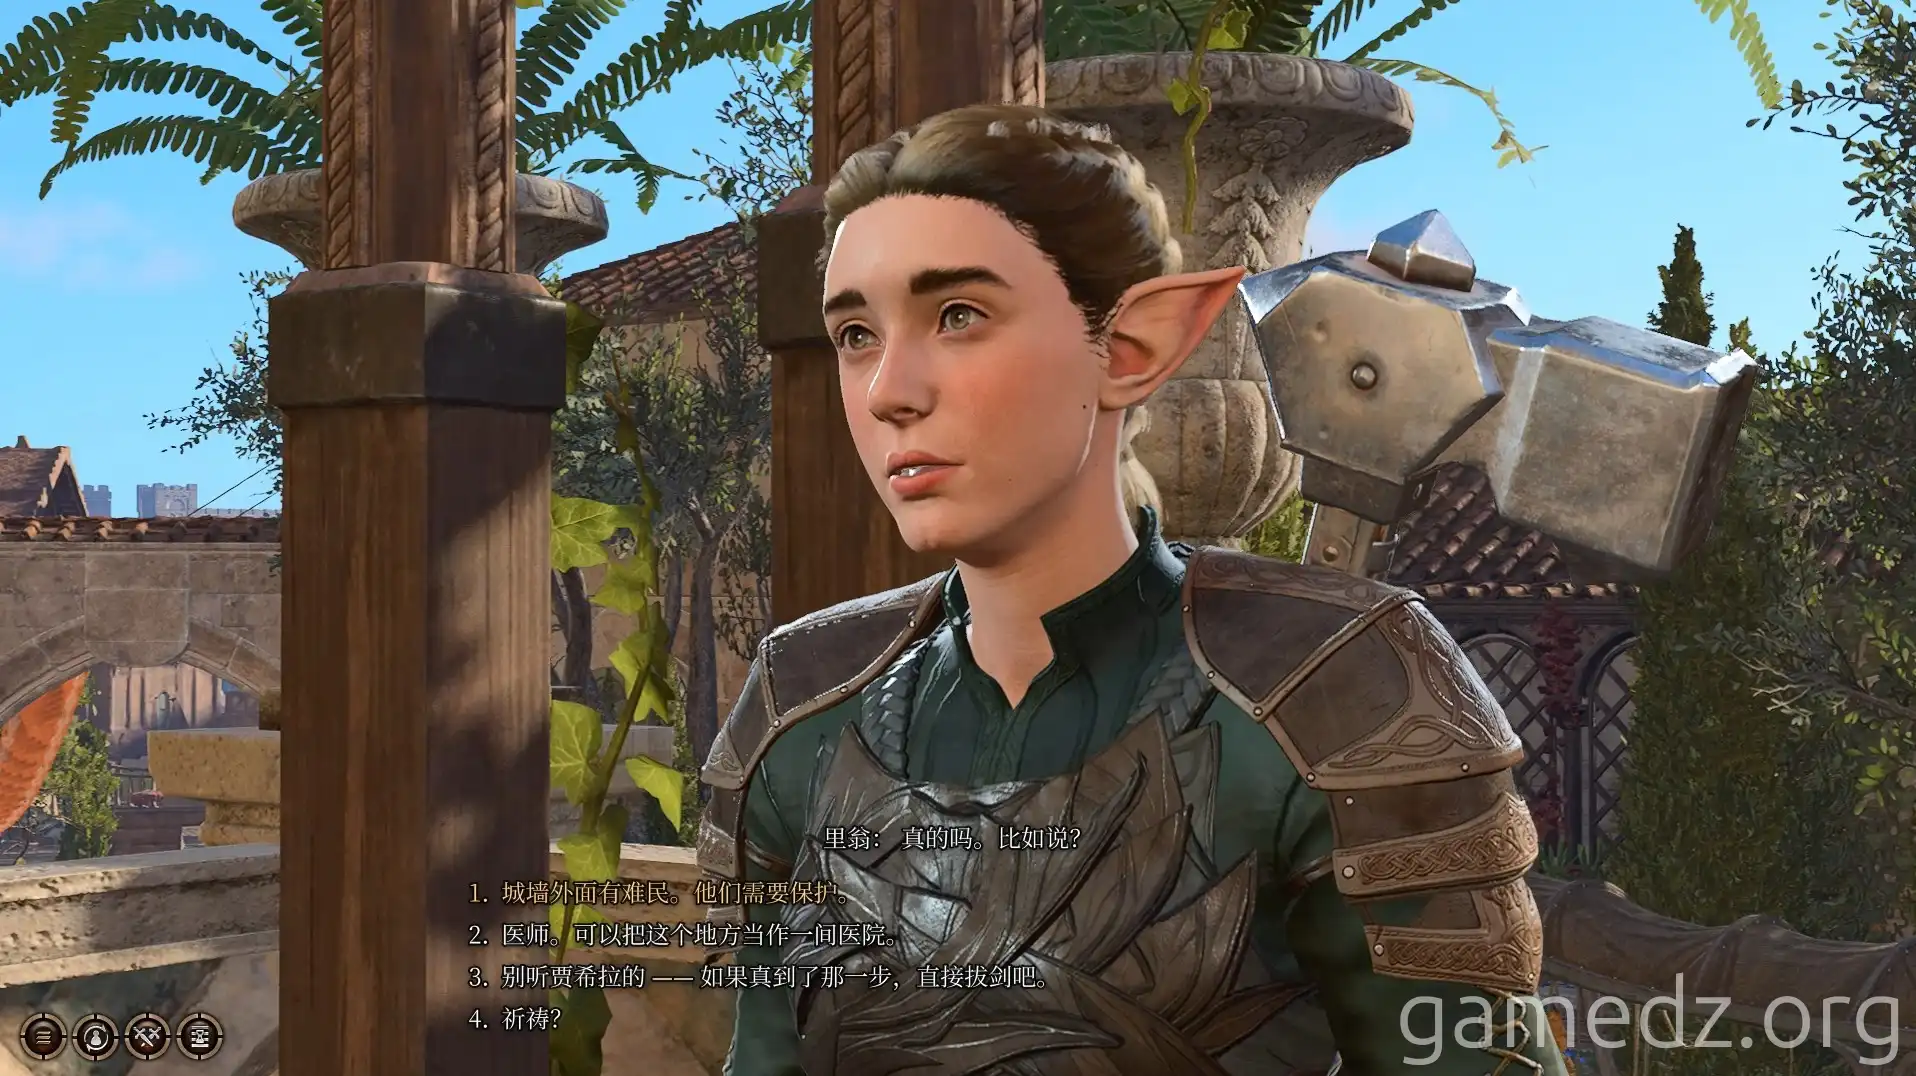
As you leave the house, you can ask the young Harper who wants to join the fight against the Absolute to do something else.
Then, enter the room opposite the statue through the small west door. This is the headquarters of the Guild of Light in Baldur's Gate.
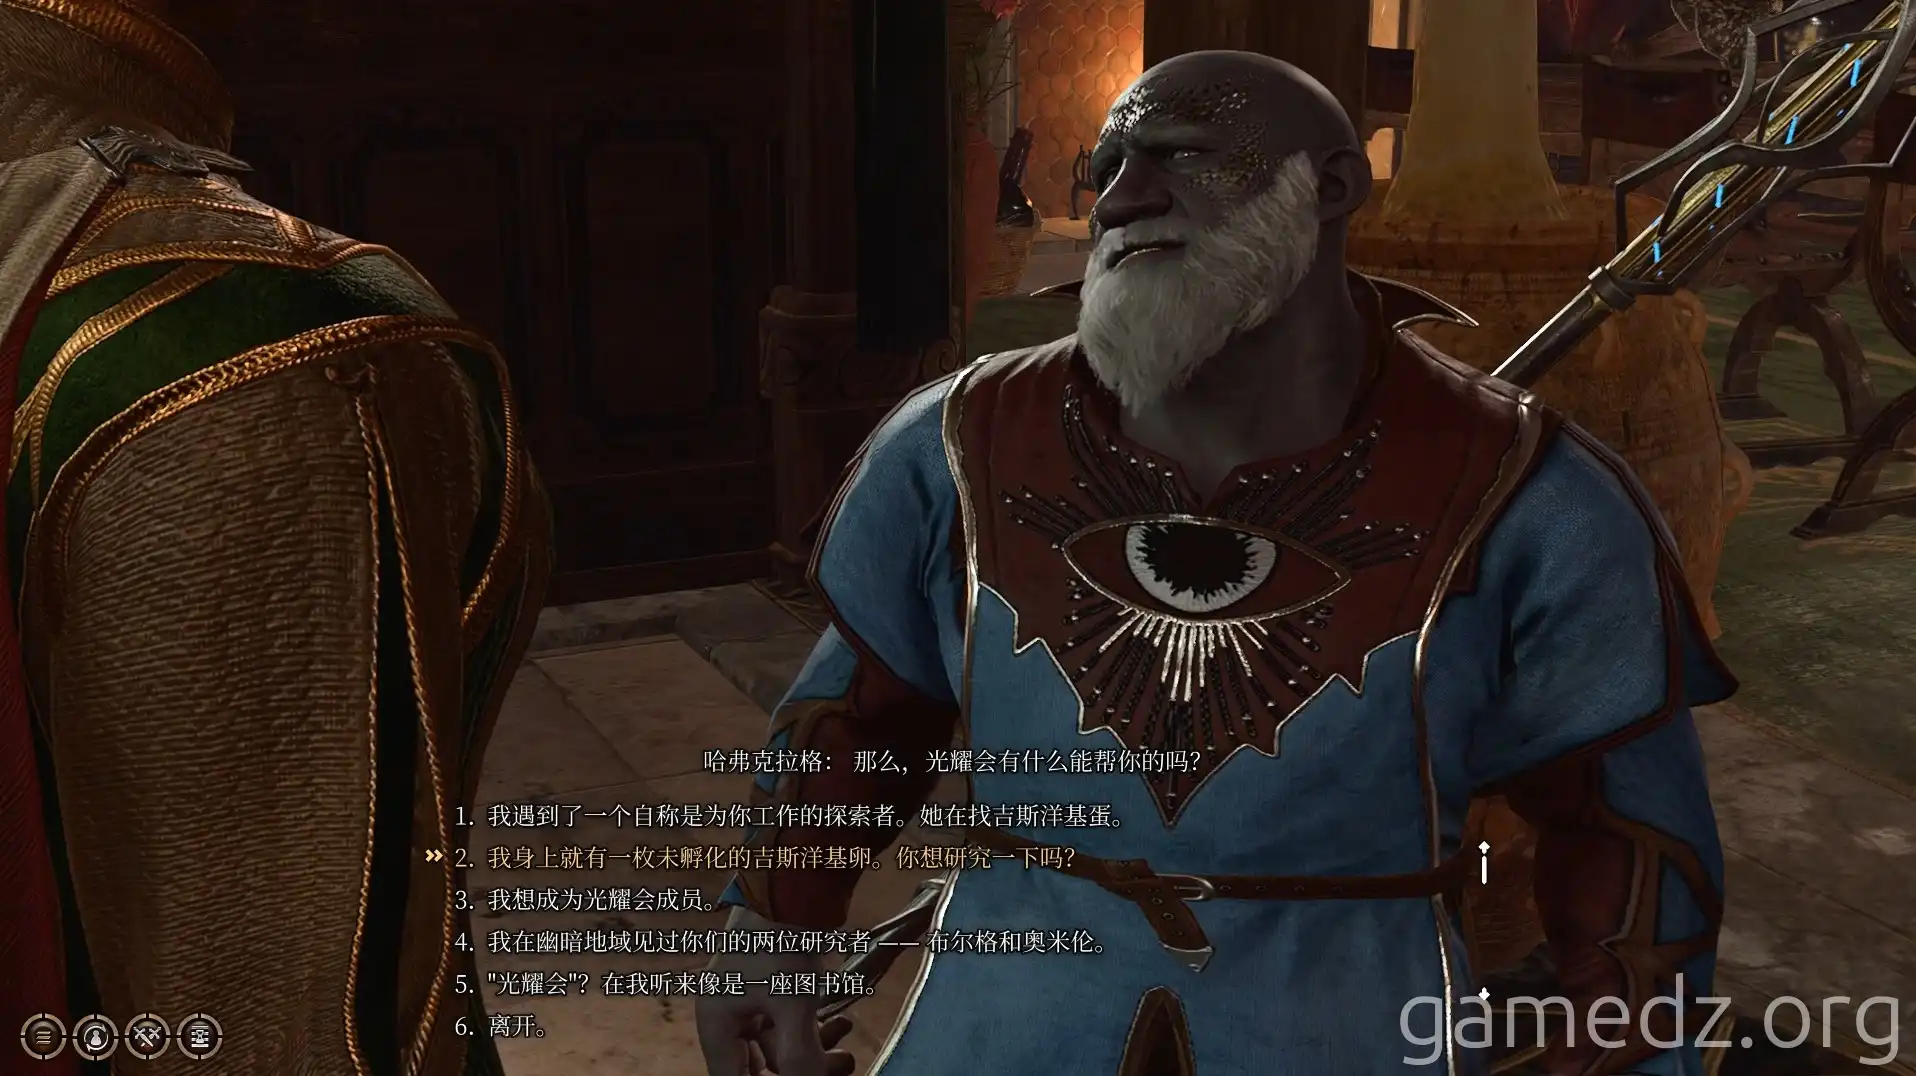
If you haven't handed over the Githyanki egg yet, you can give it directly to a Guild of Light member during the conversation. If you already handed it over, you'll find that all the Guild of Light members have been killed by Githyanki hatched from the egg.
In the dialogue, choosing "I want to join the Guild of Light" will grant you the privilege of free passage throughout the building, though you won't actually join. Characters with the Sage background will also receive an inspiration.
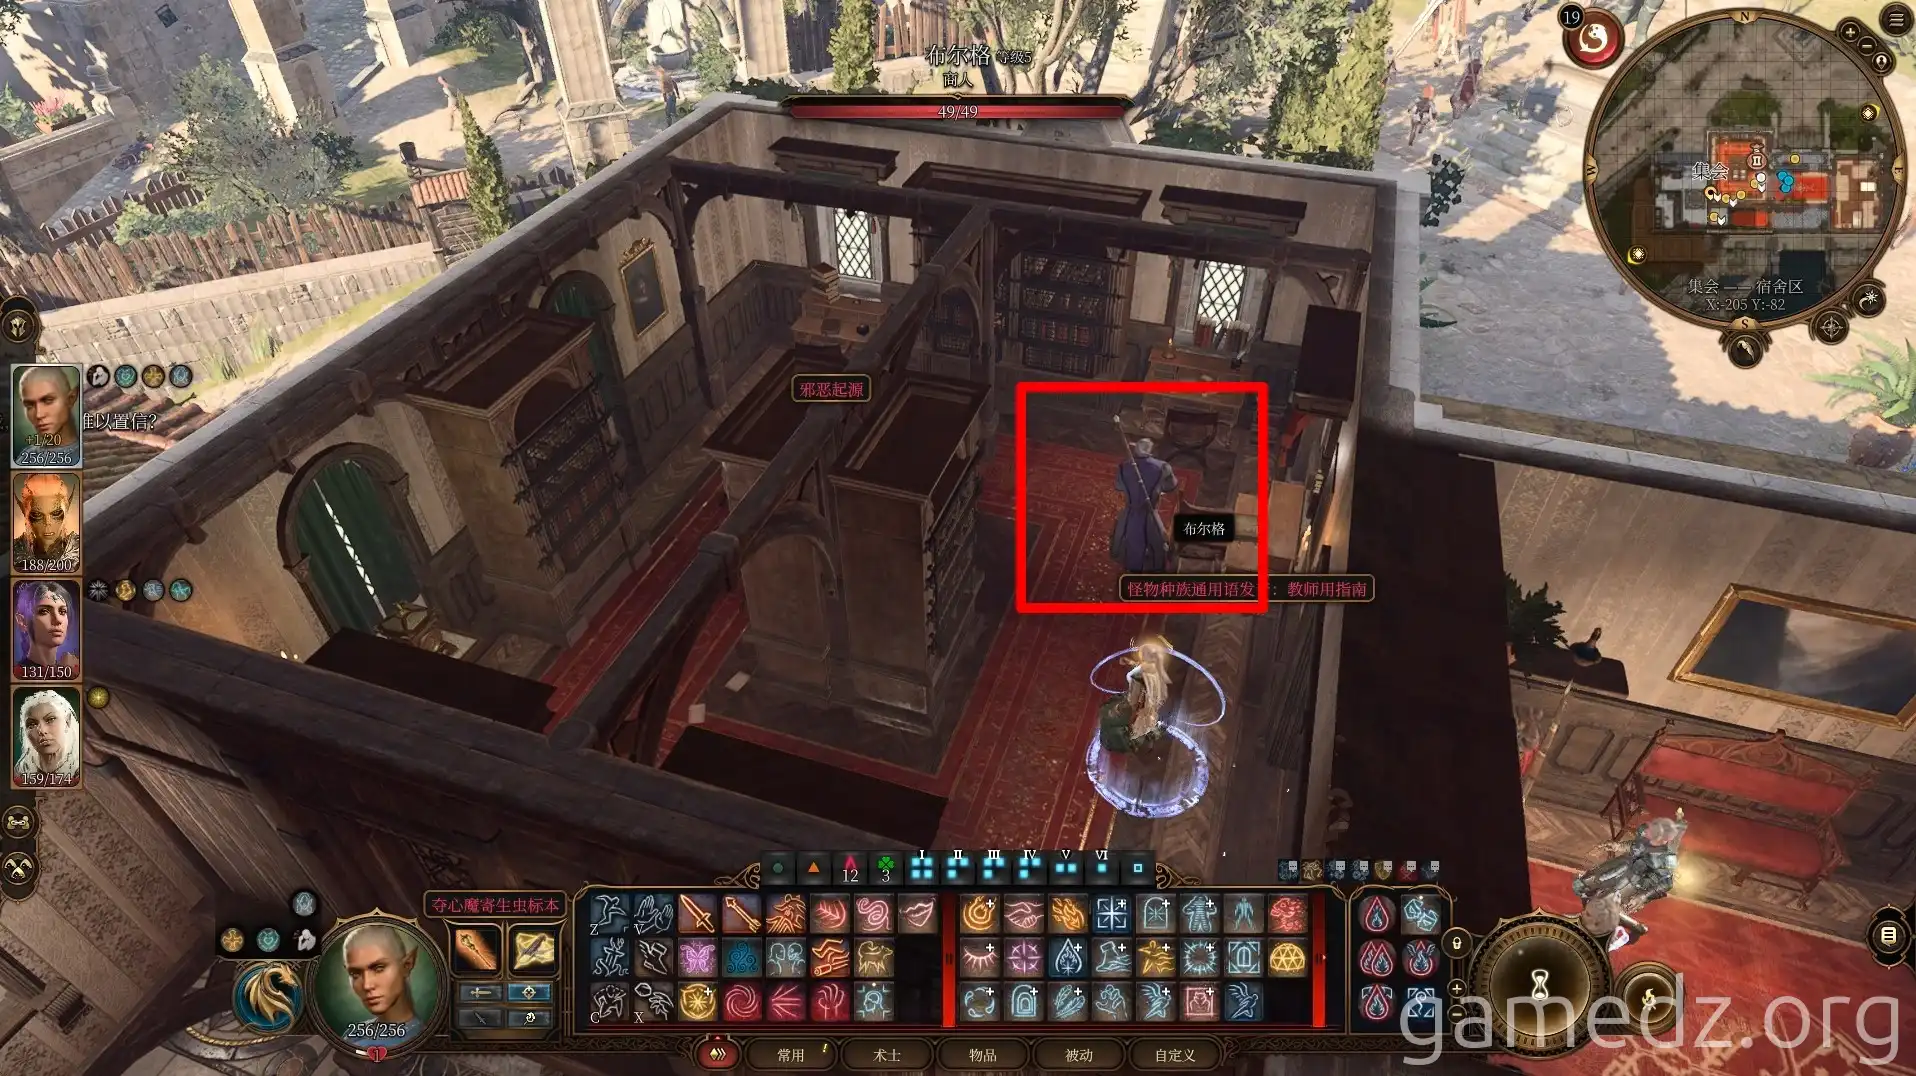
Upon reaching the second floor, you'll meet Kree again. Speaking with him will unlock the side quest Find the Artist.
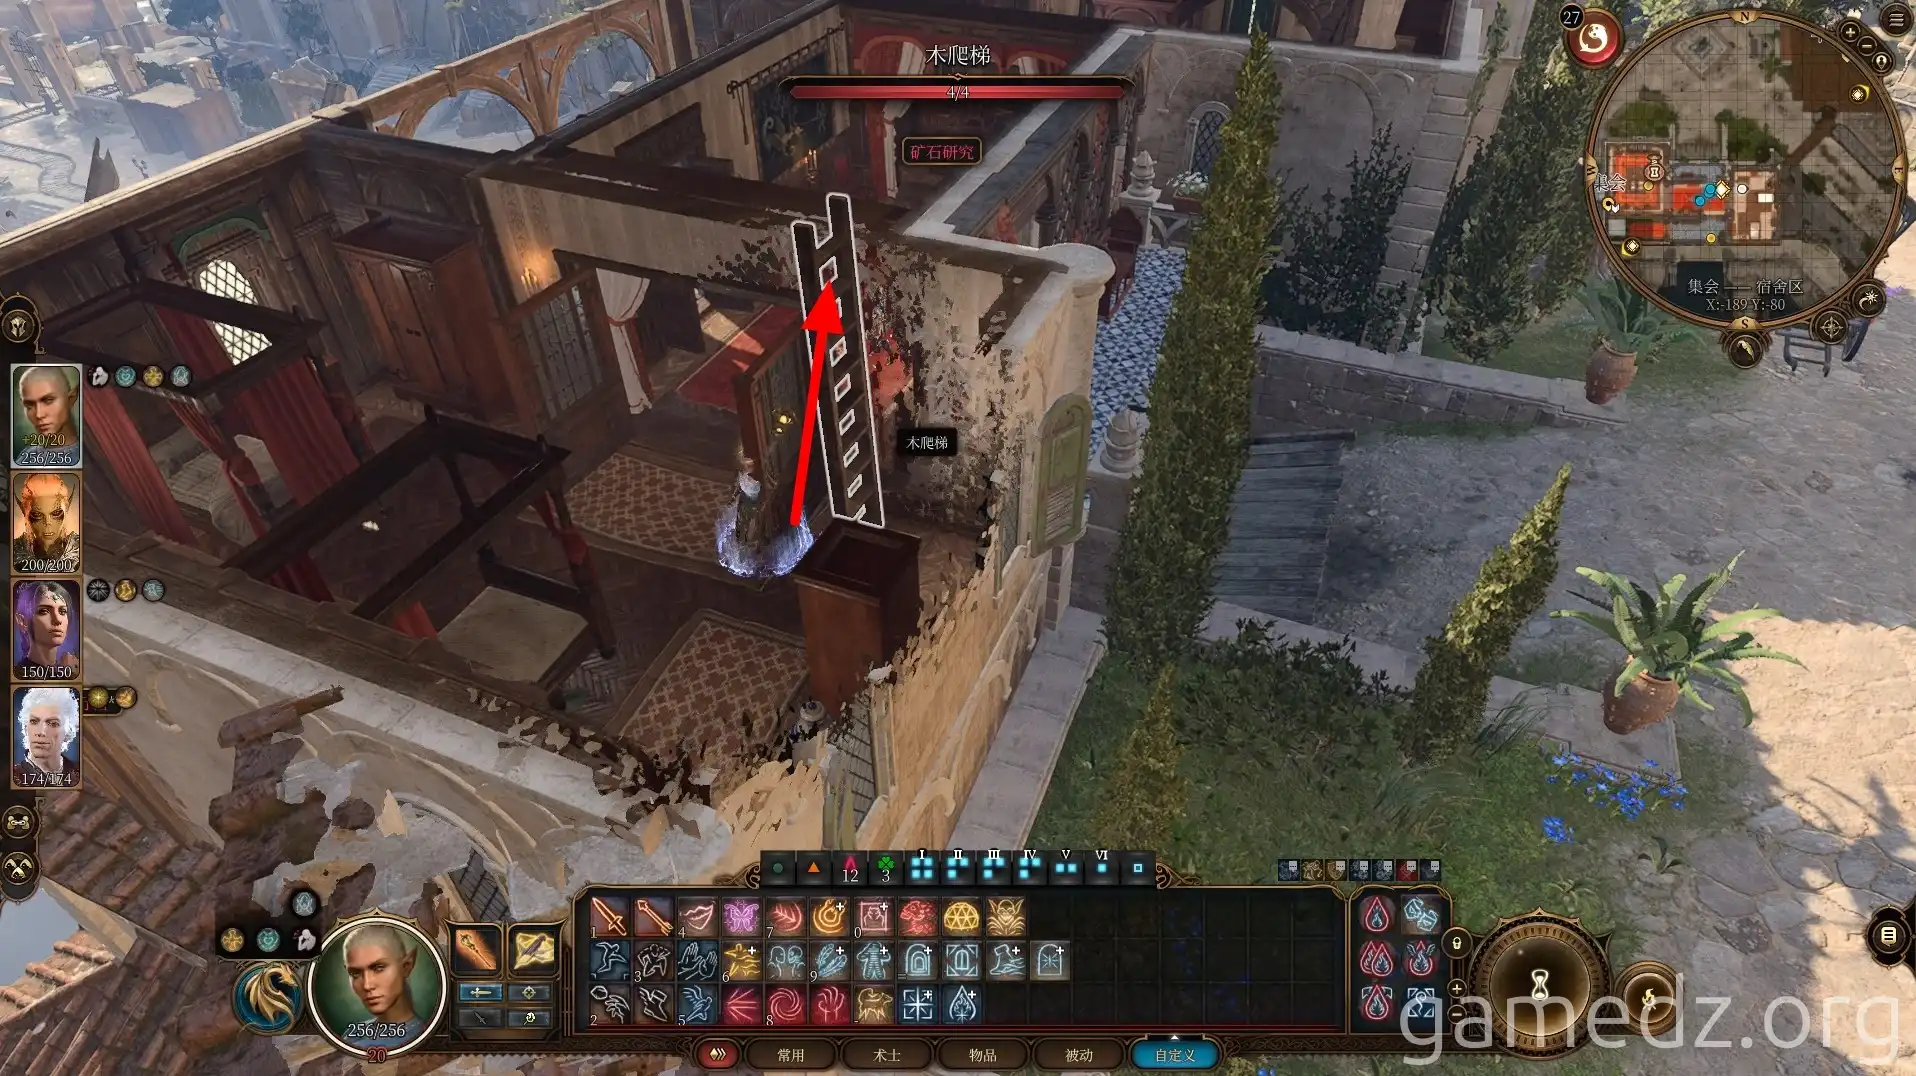
Head to the room on the east side of the second floor and go up via the ladder.
Interact with the painting A Wizard's Journey on the wall in the upper room.
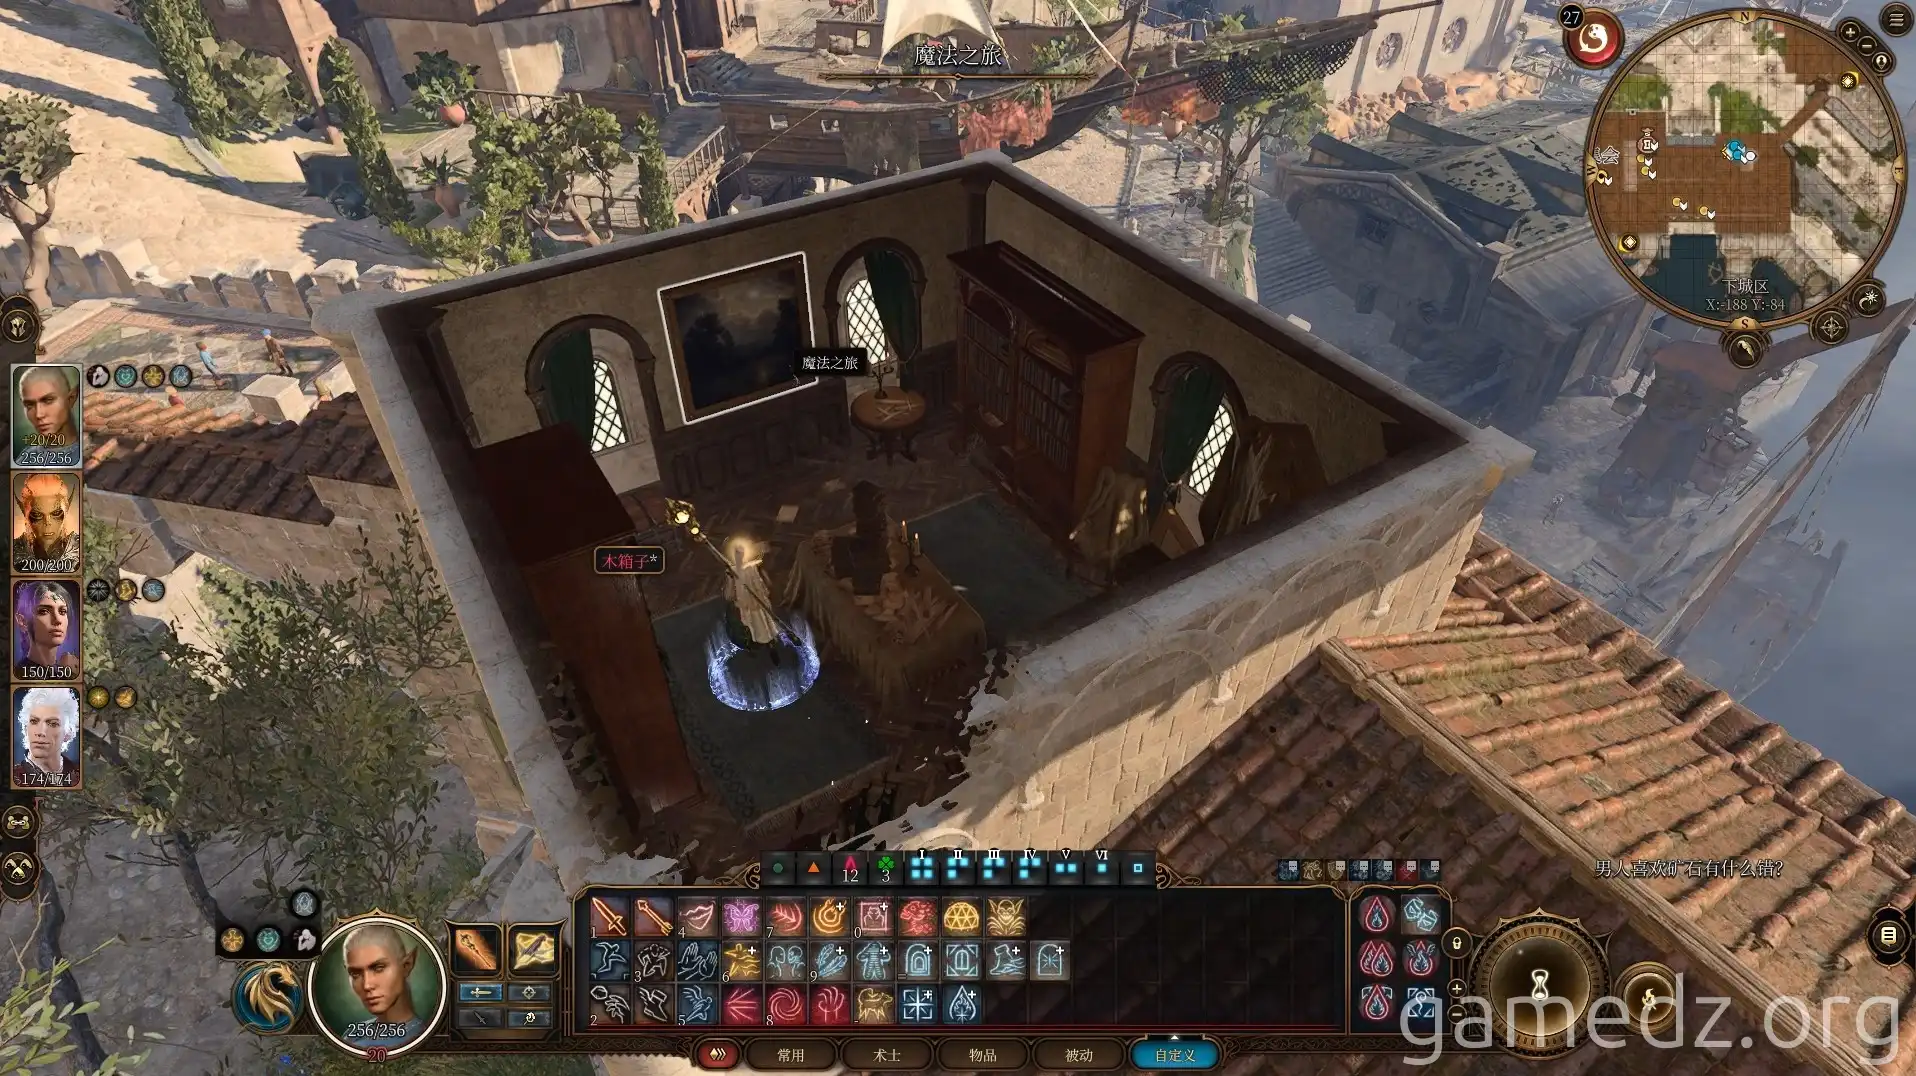
You'll then be transported to the lower room. Loot the area and then leave.
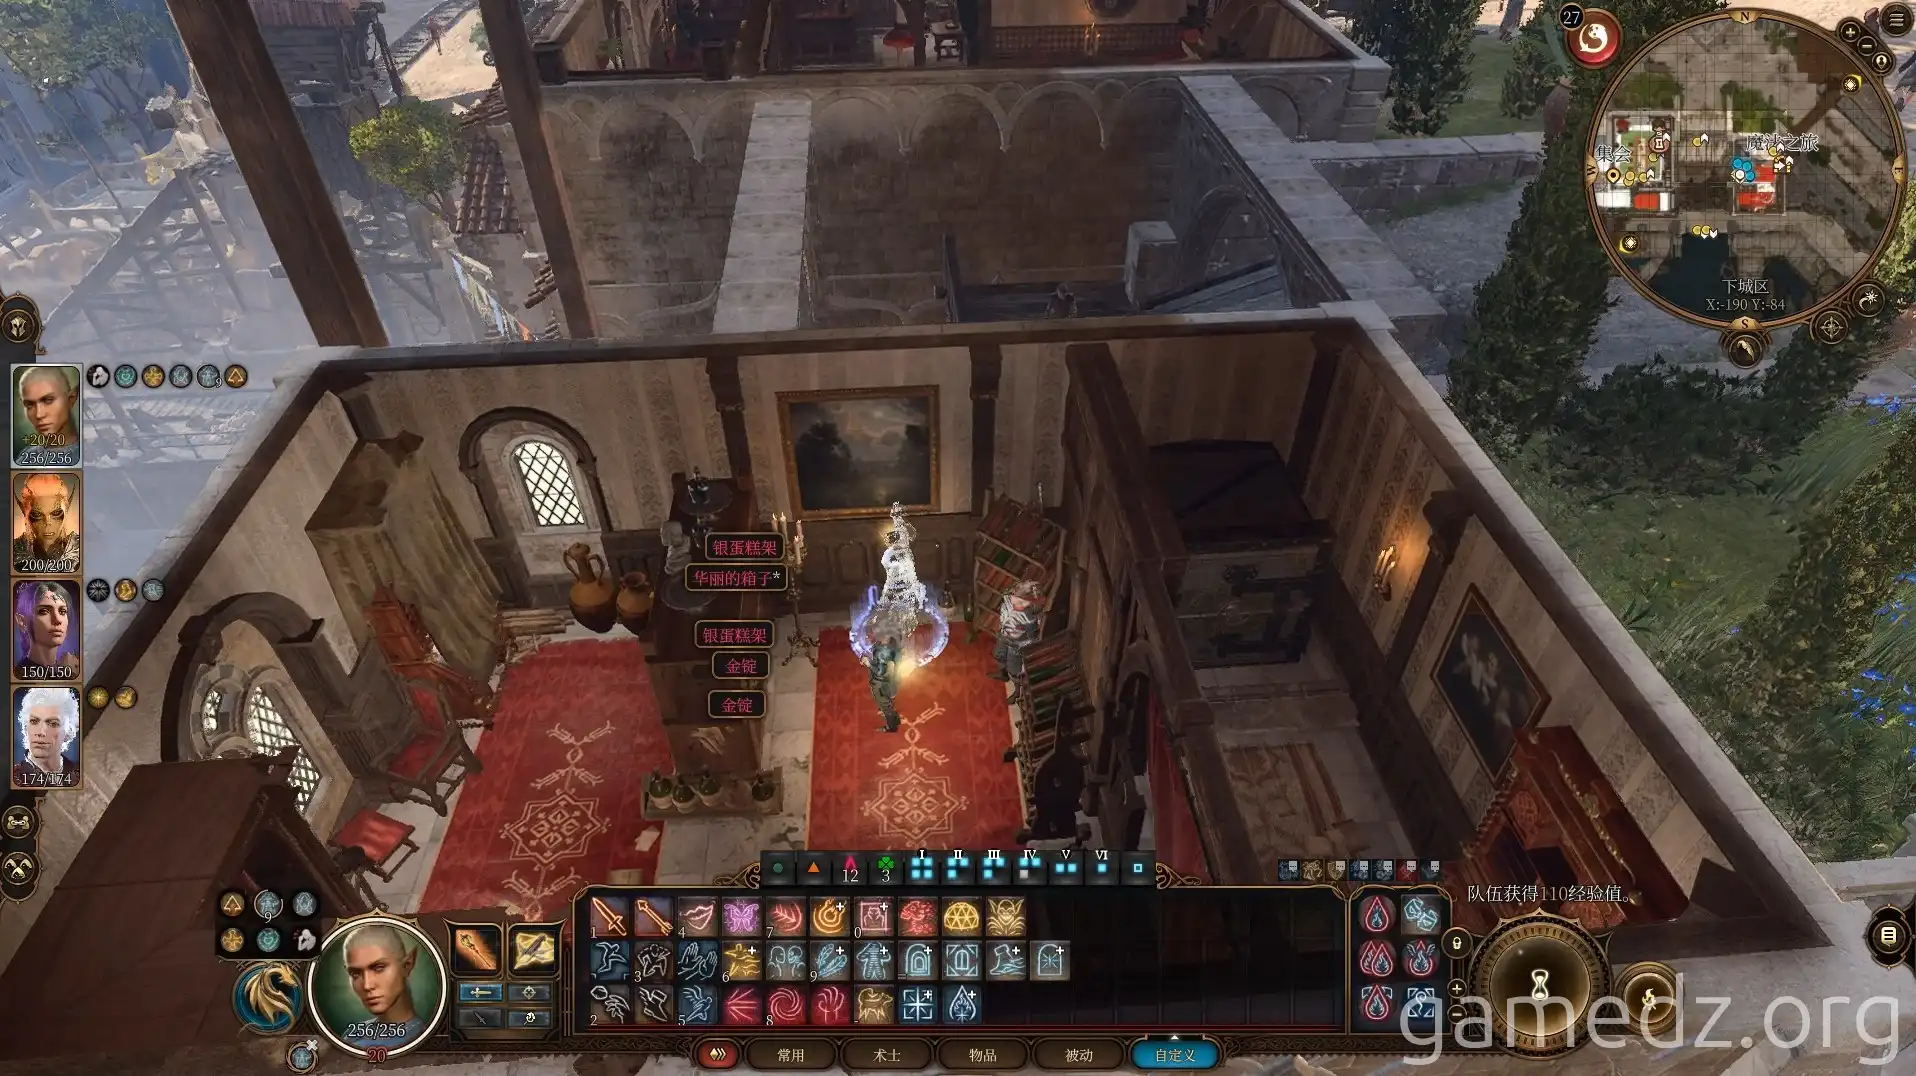
After leaving the Guild of Light, head northwest, pass through a small courtyard, and then go north along the path west of Jaheira's house.
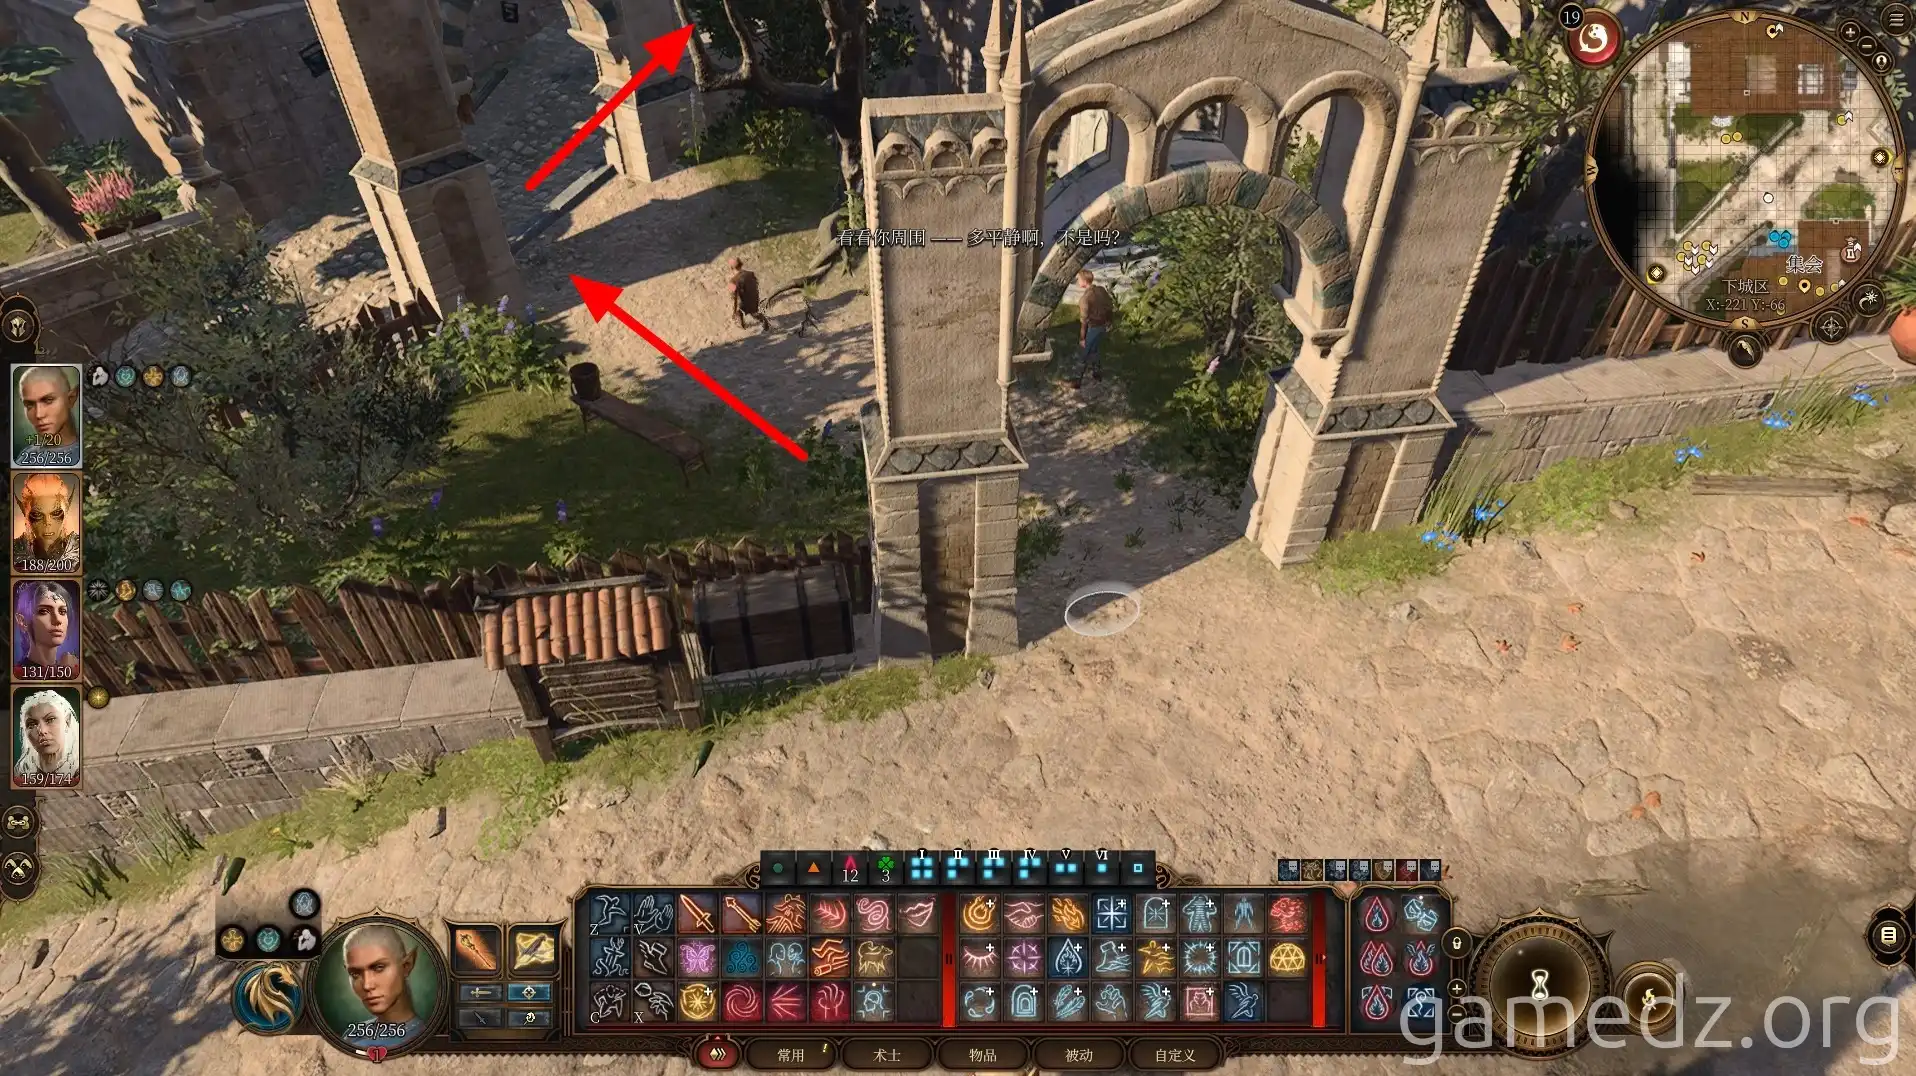
Cross the bridge and enter the House of Grief. This is the Sharran cultist stronghold you learned about in Rivington. Make sure to bring Shadowheart, or you'll miss out on a lot of content.
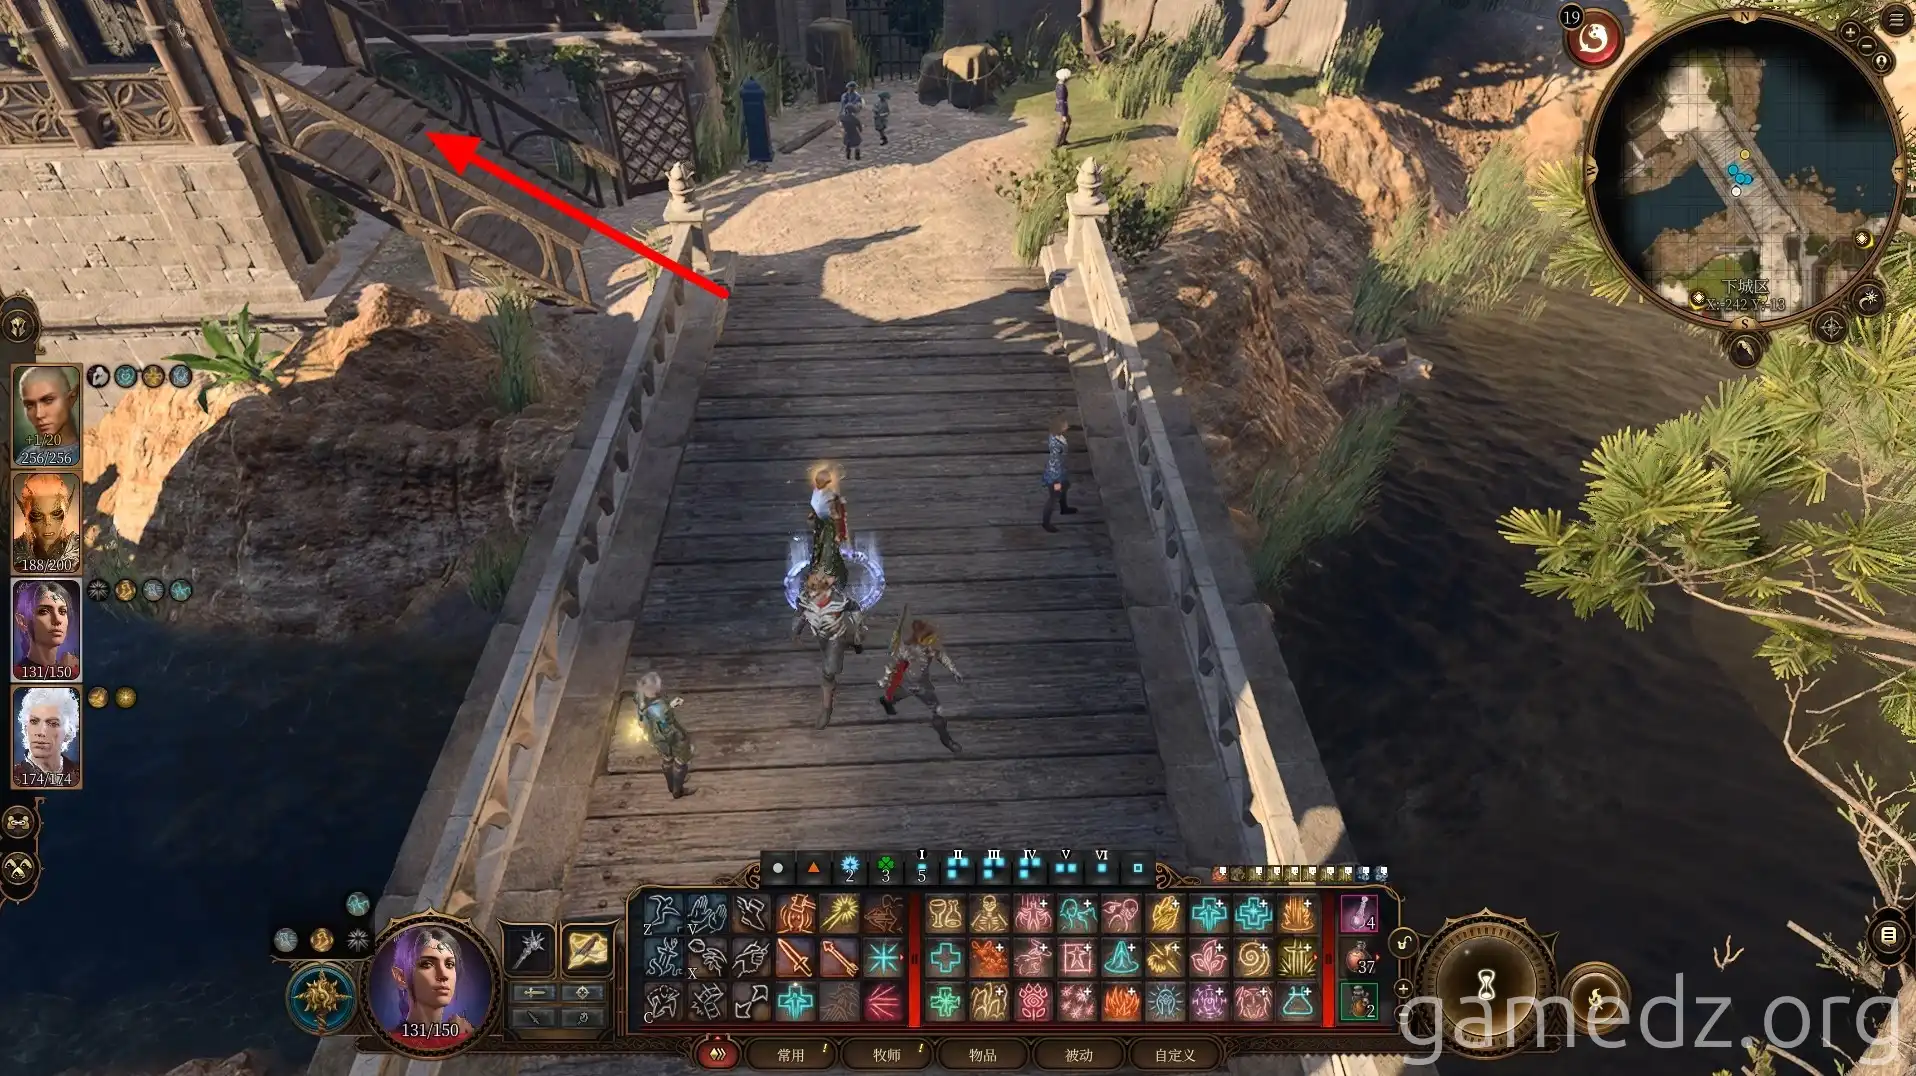
First, speak with the Sharran cultists around the room.
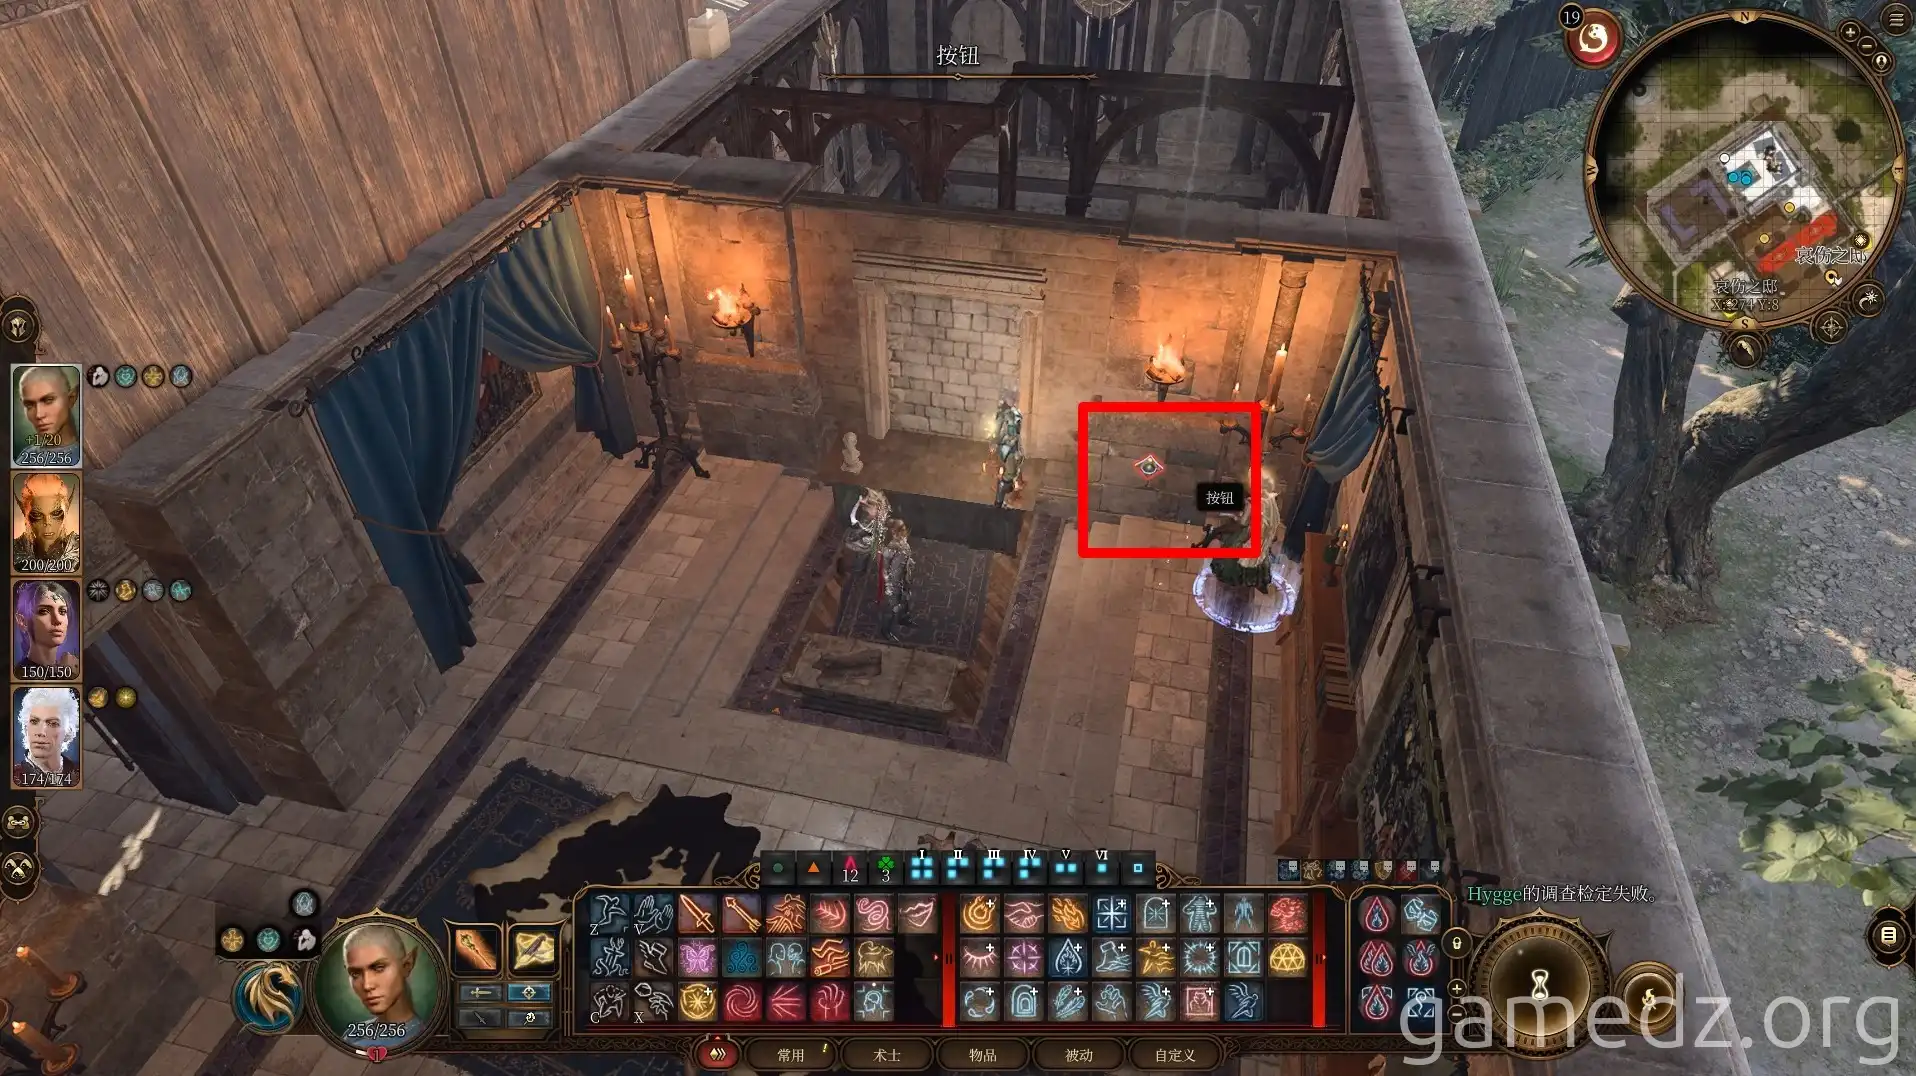
Inside the House of Grief, press the button on the wall to open a secret door leading to the Cloister of the Shrouded Soul.
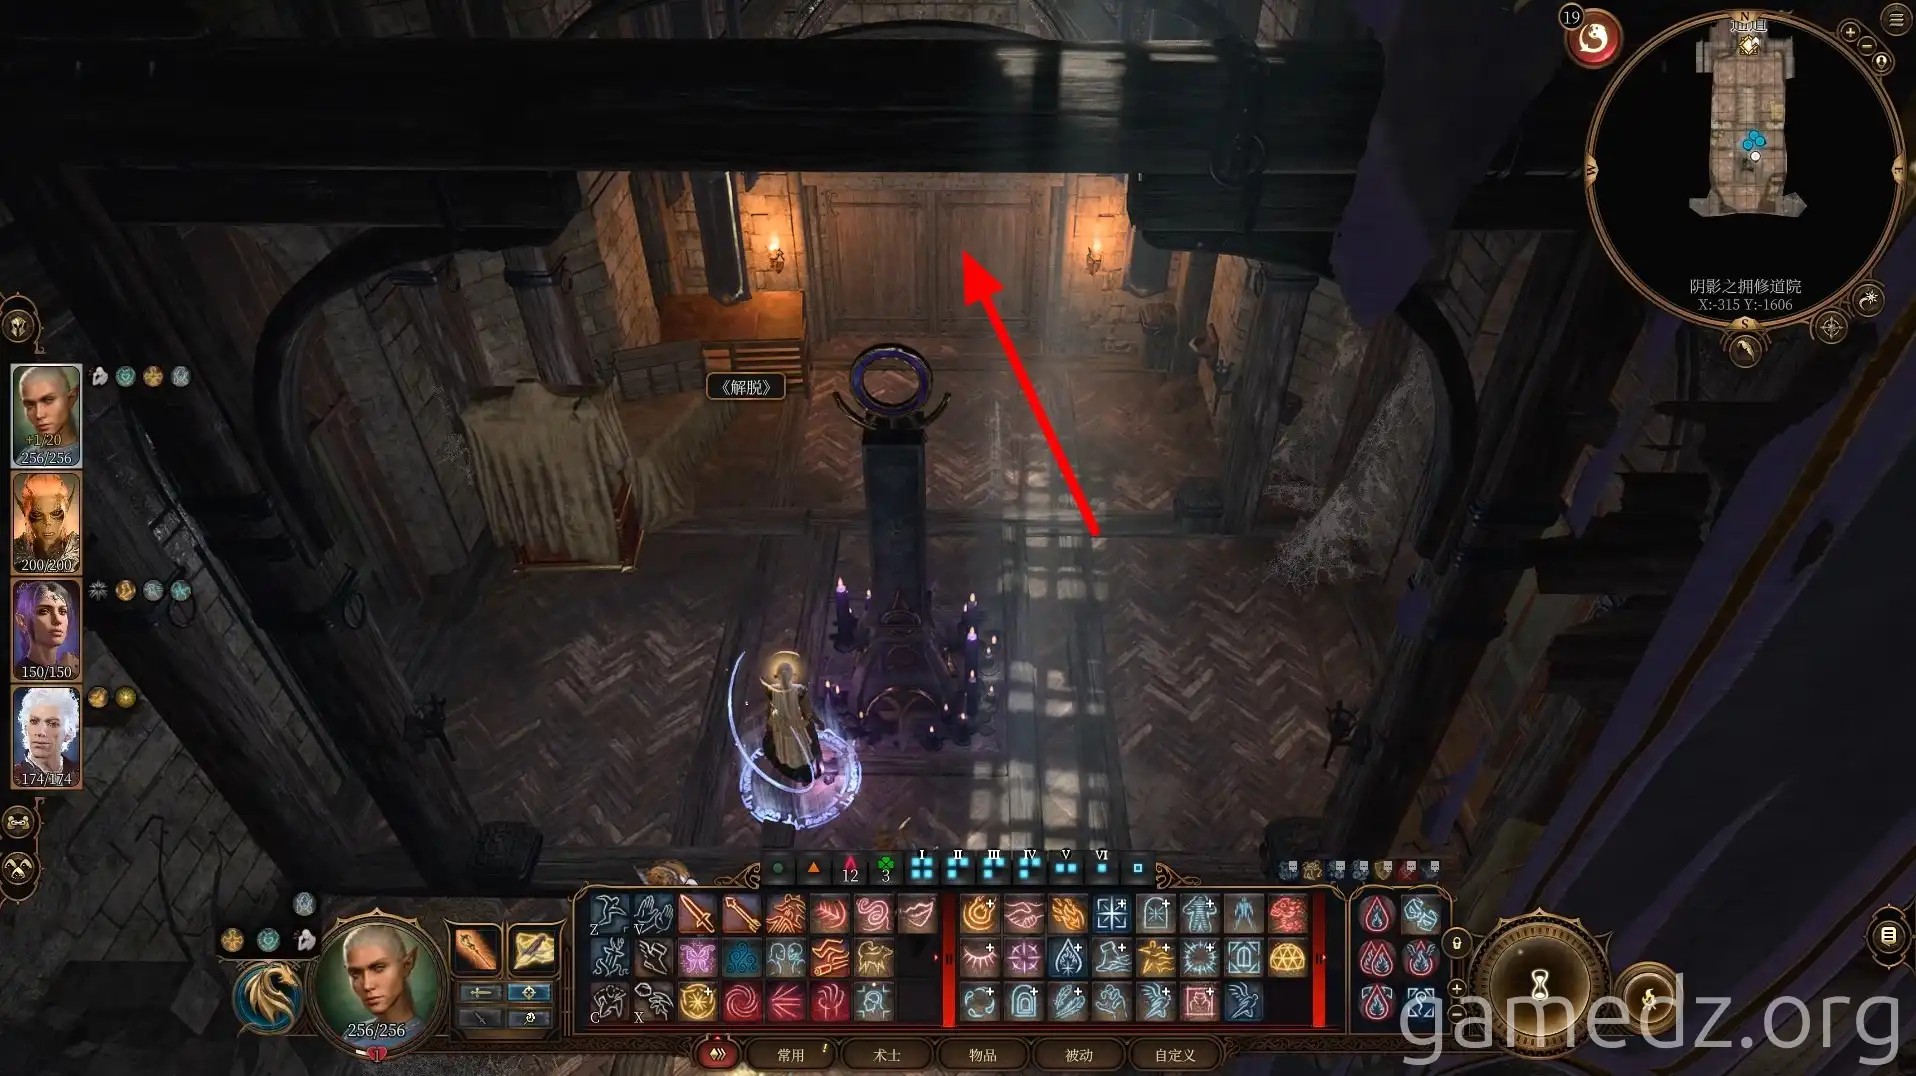
Once you reach the location shown in the image below, the training rooms on the east and west sides contain nothing of interest. Proceed directly south to delve deeper into the cloister.
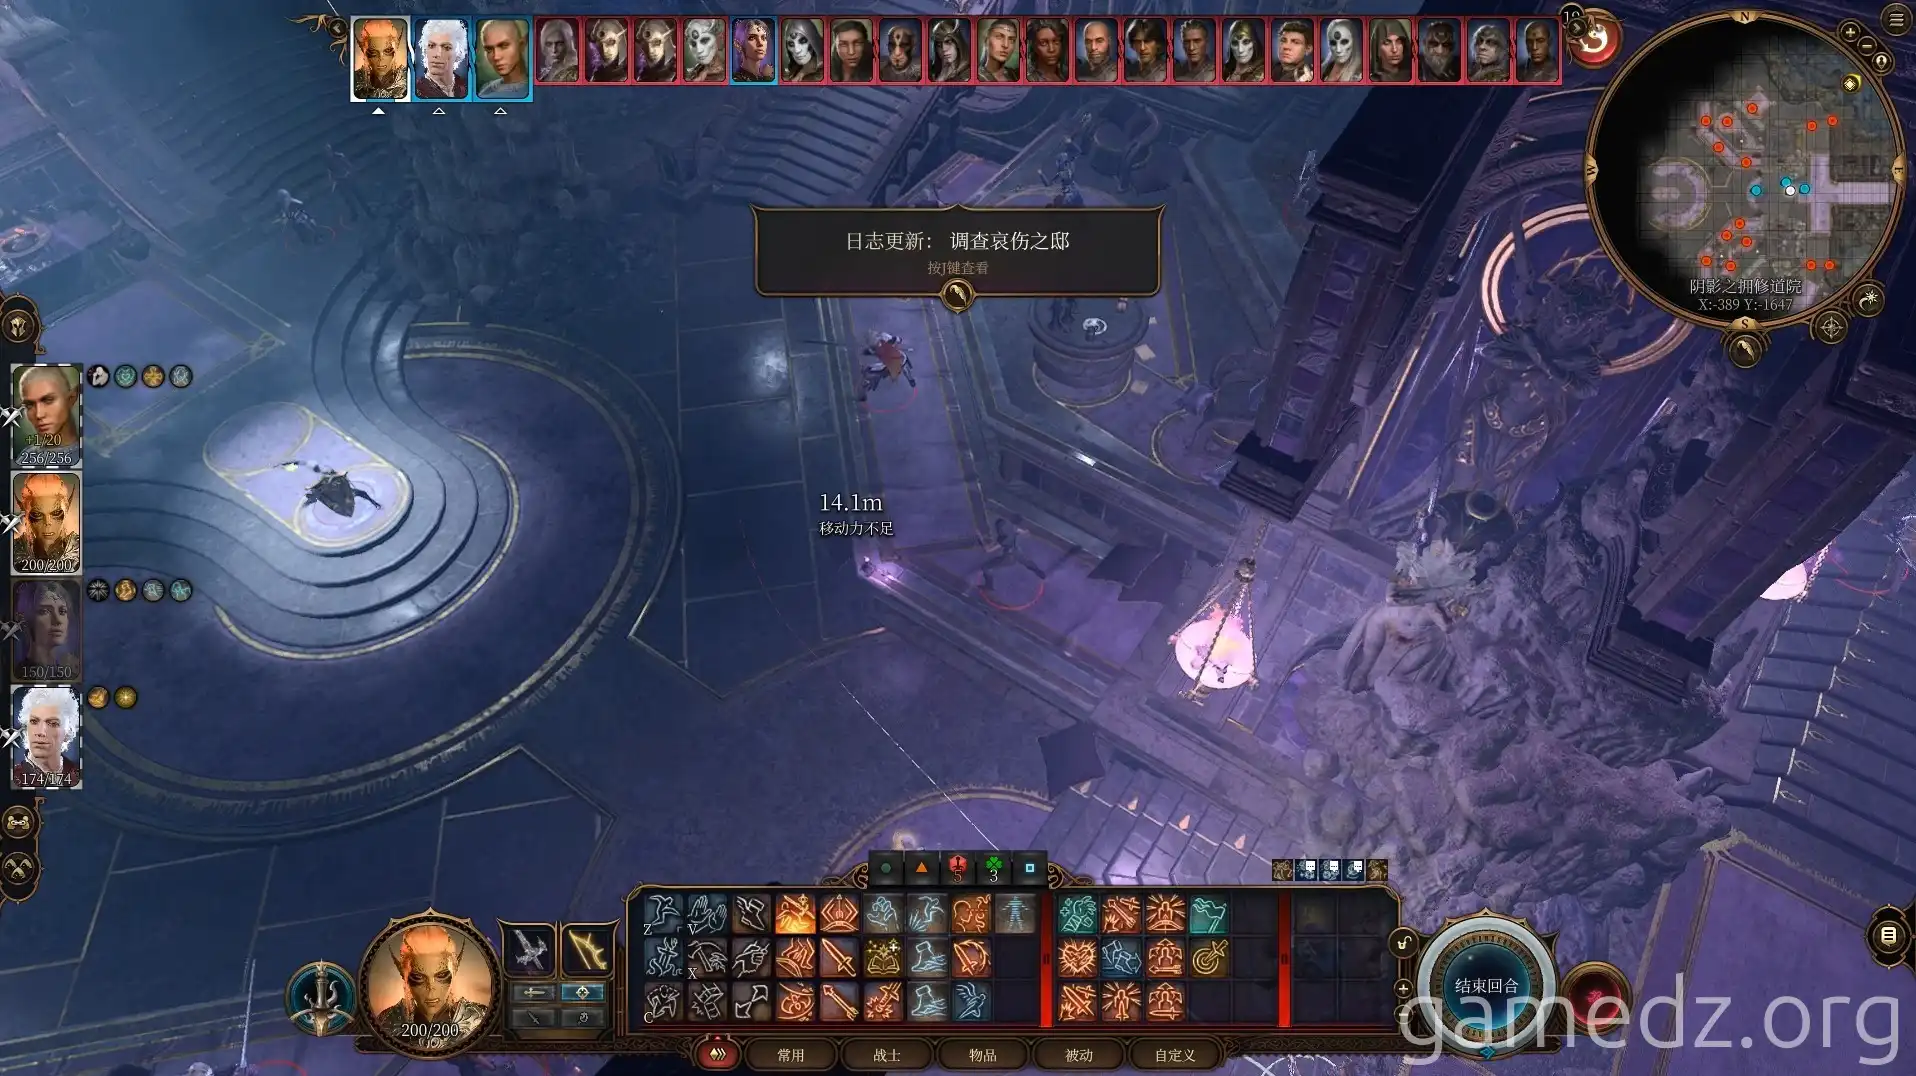
After a conversation with the Mother Superior in the depths of the cloister, you'll enter combat. Although there are many Sharran cultists here, their levels are generally low. Defeat them all.
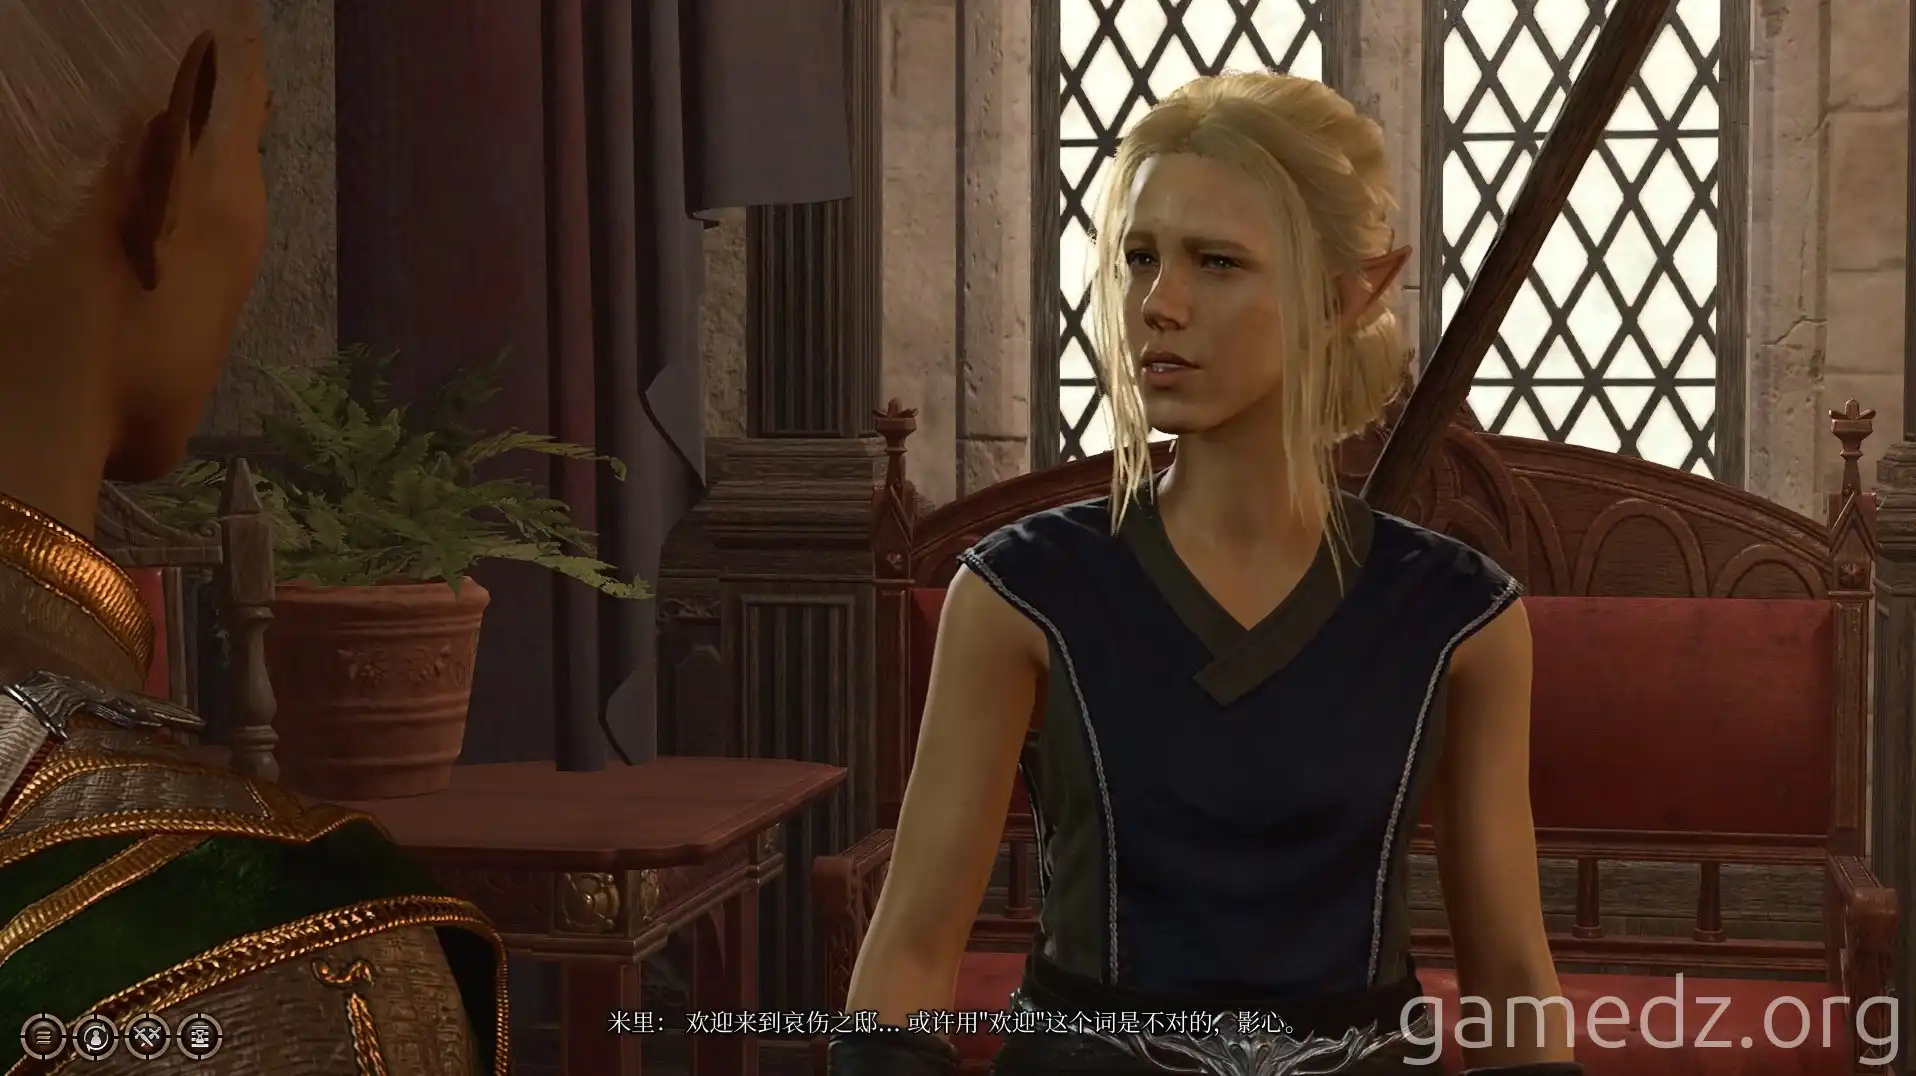
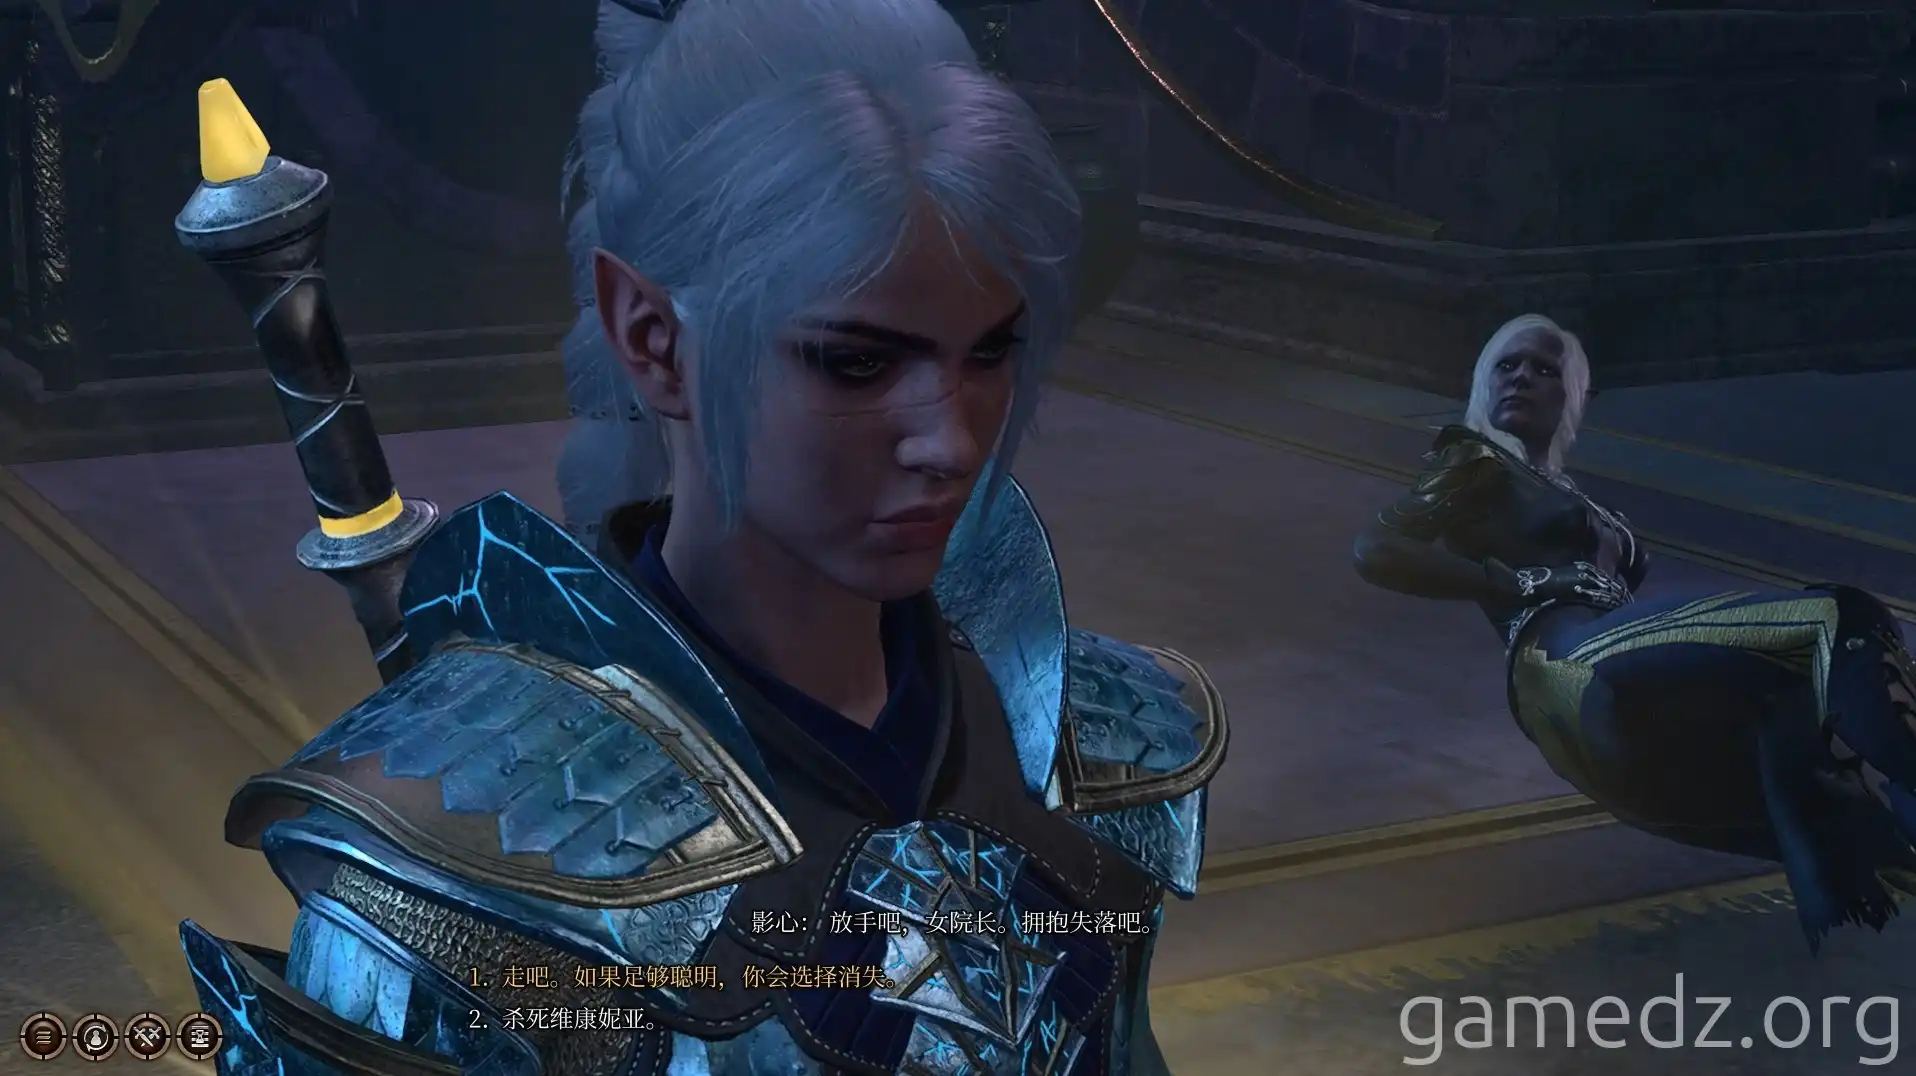
After defeating the Mother Superior, a dialogue with Shadowheart will trigger. At the end, you can choose whether to kill the Mother Superior.
The editor chose to kill the Mother Superior, which Astarion approved of, and characters with the Soldier background will receive an inspiration.
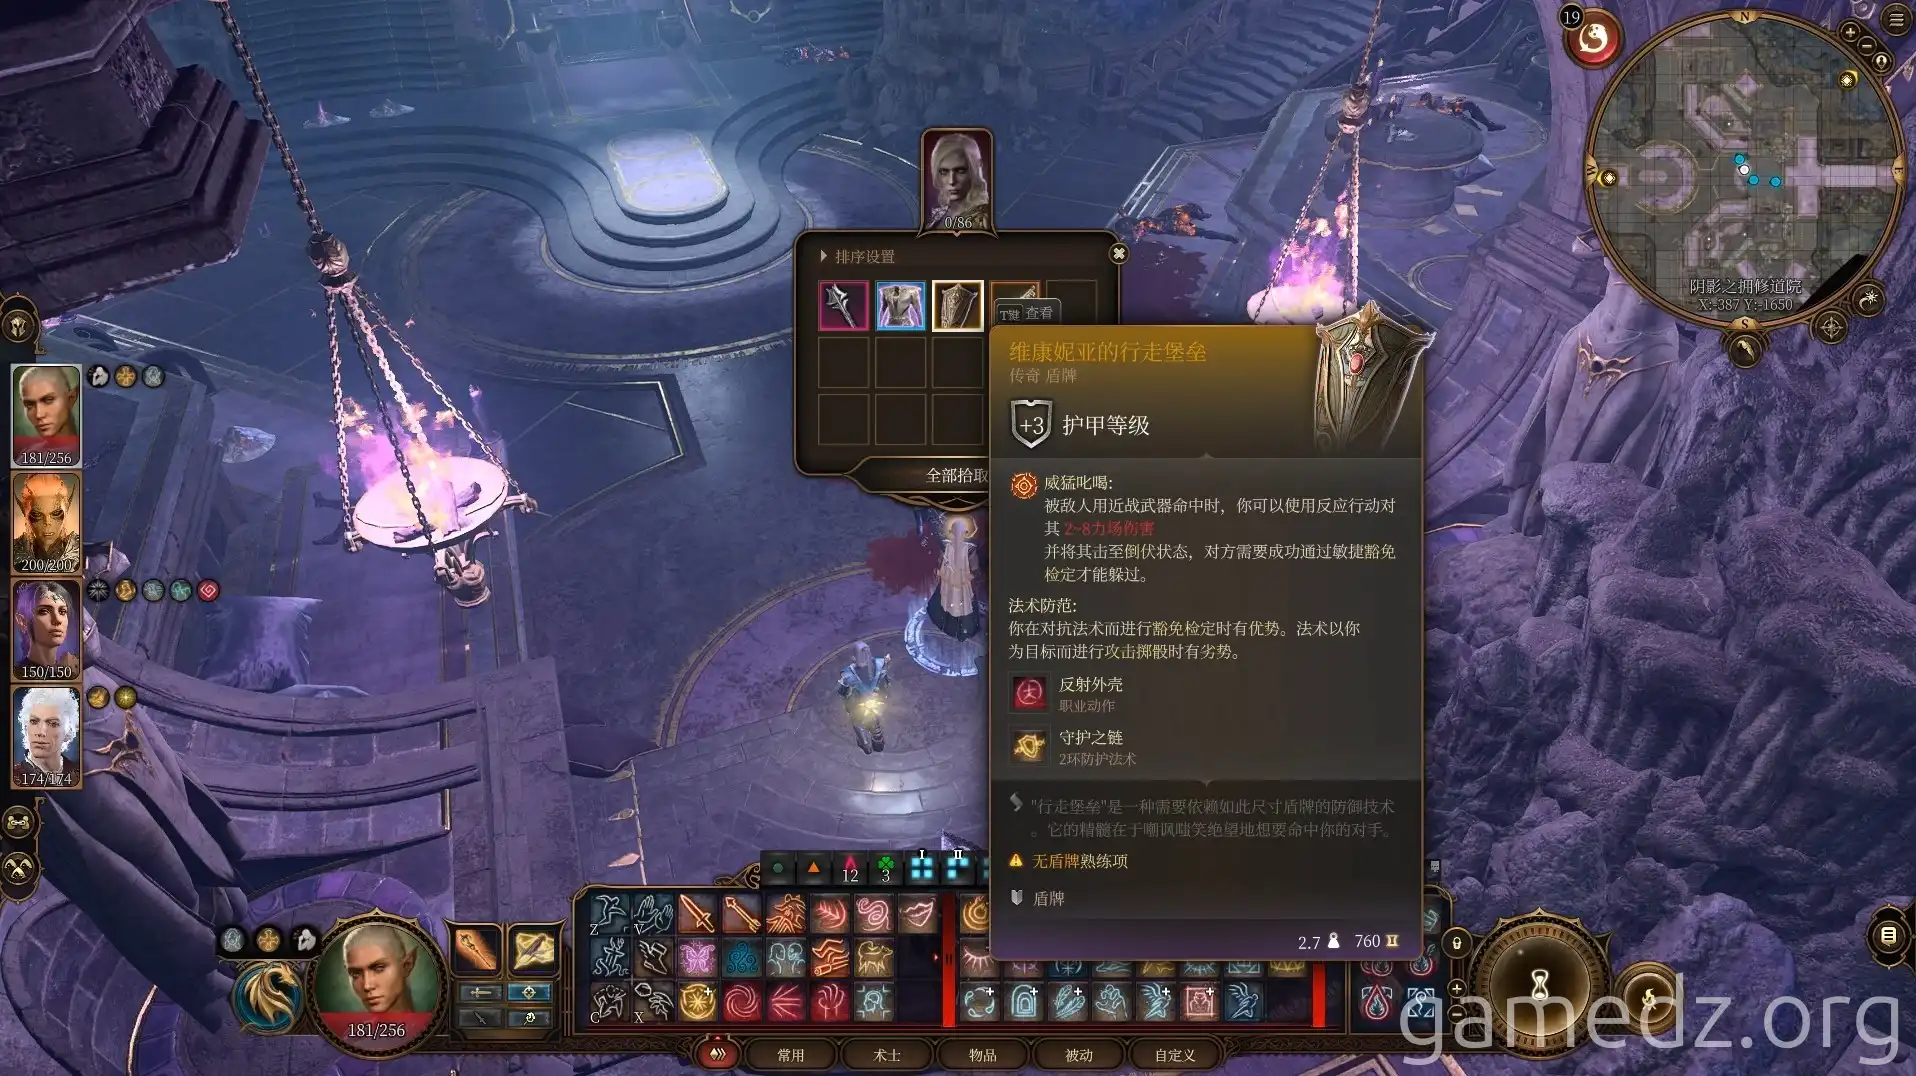
After killing the Mother Superior, you'll obtain the rare weapon Maiden's War Hammer, the rare armor Viconia's Priestess Robe, and the legendary shield Viconia's Walking Fortress.
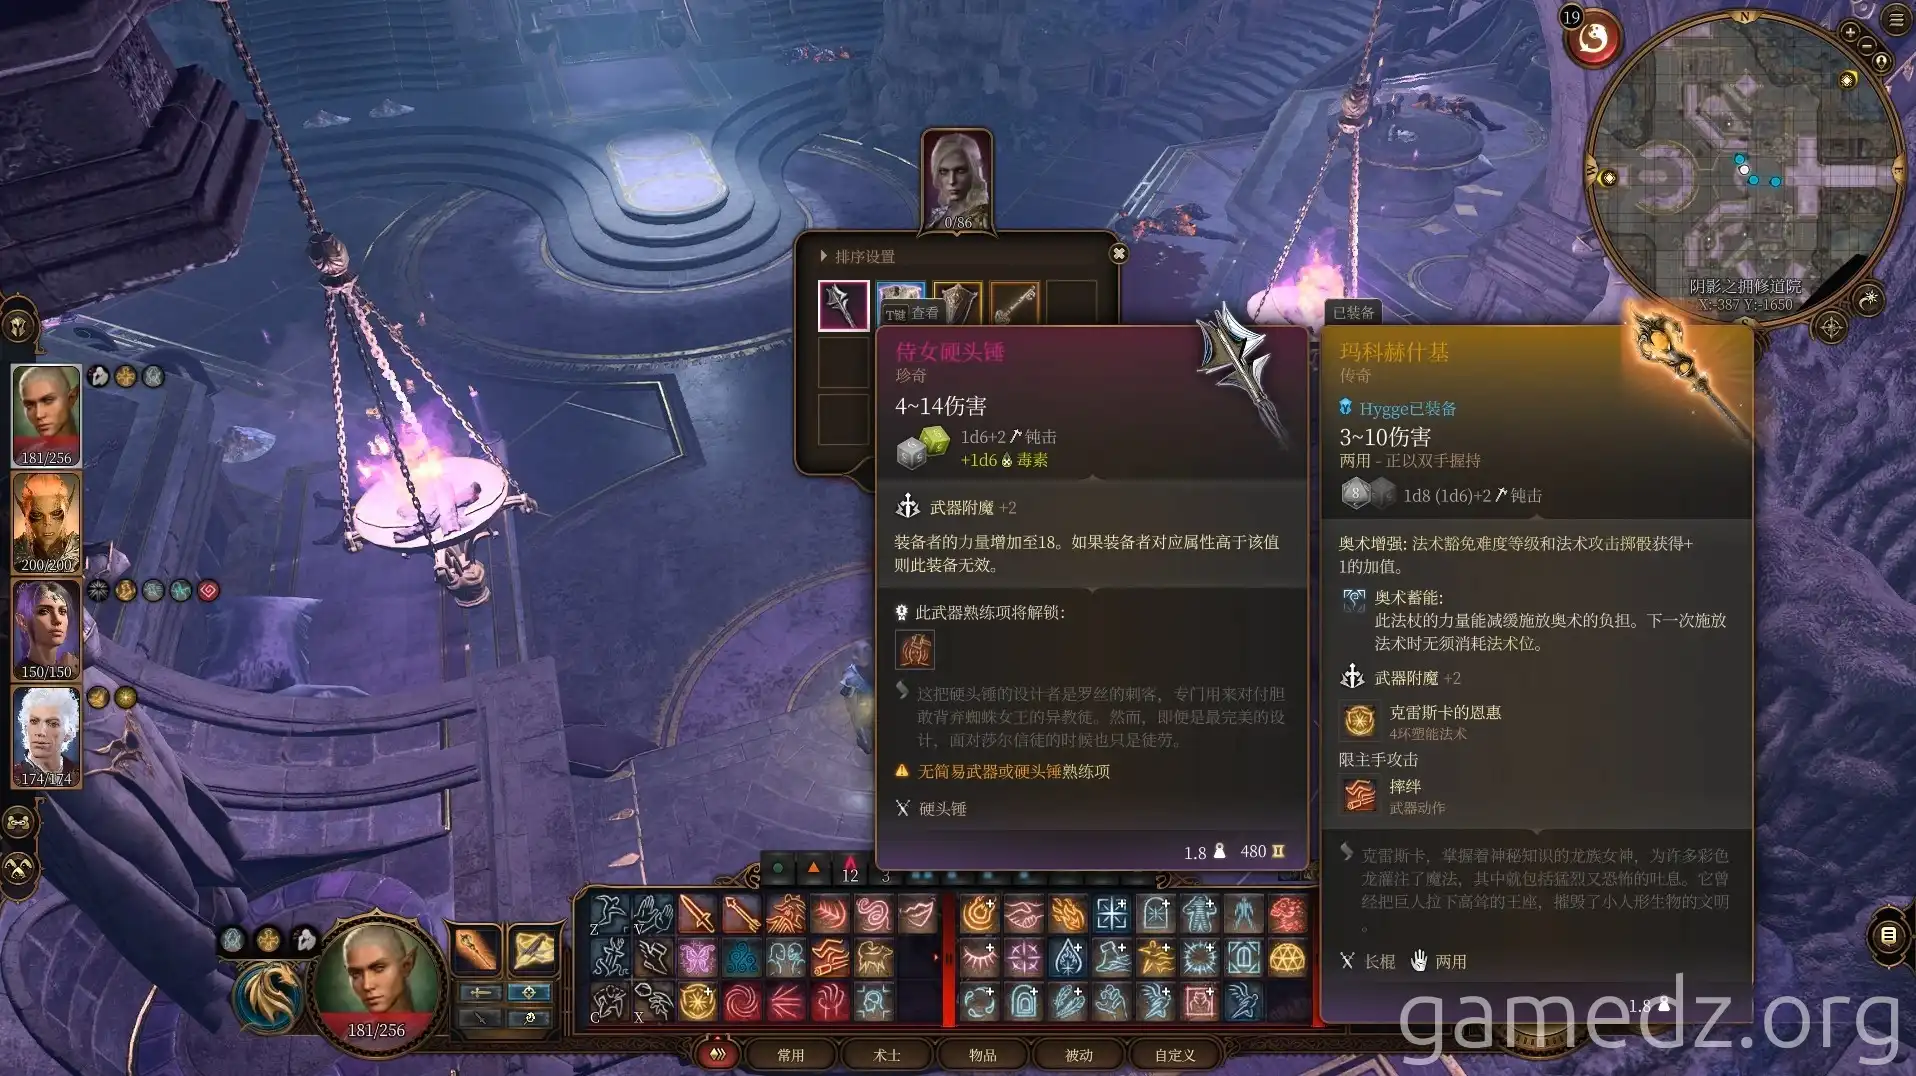
The stats for Viconia's Priestess Robe are as follows:
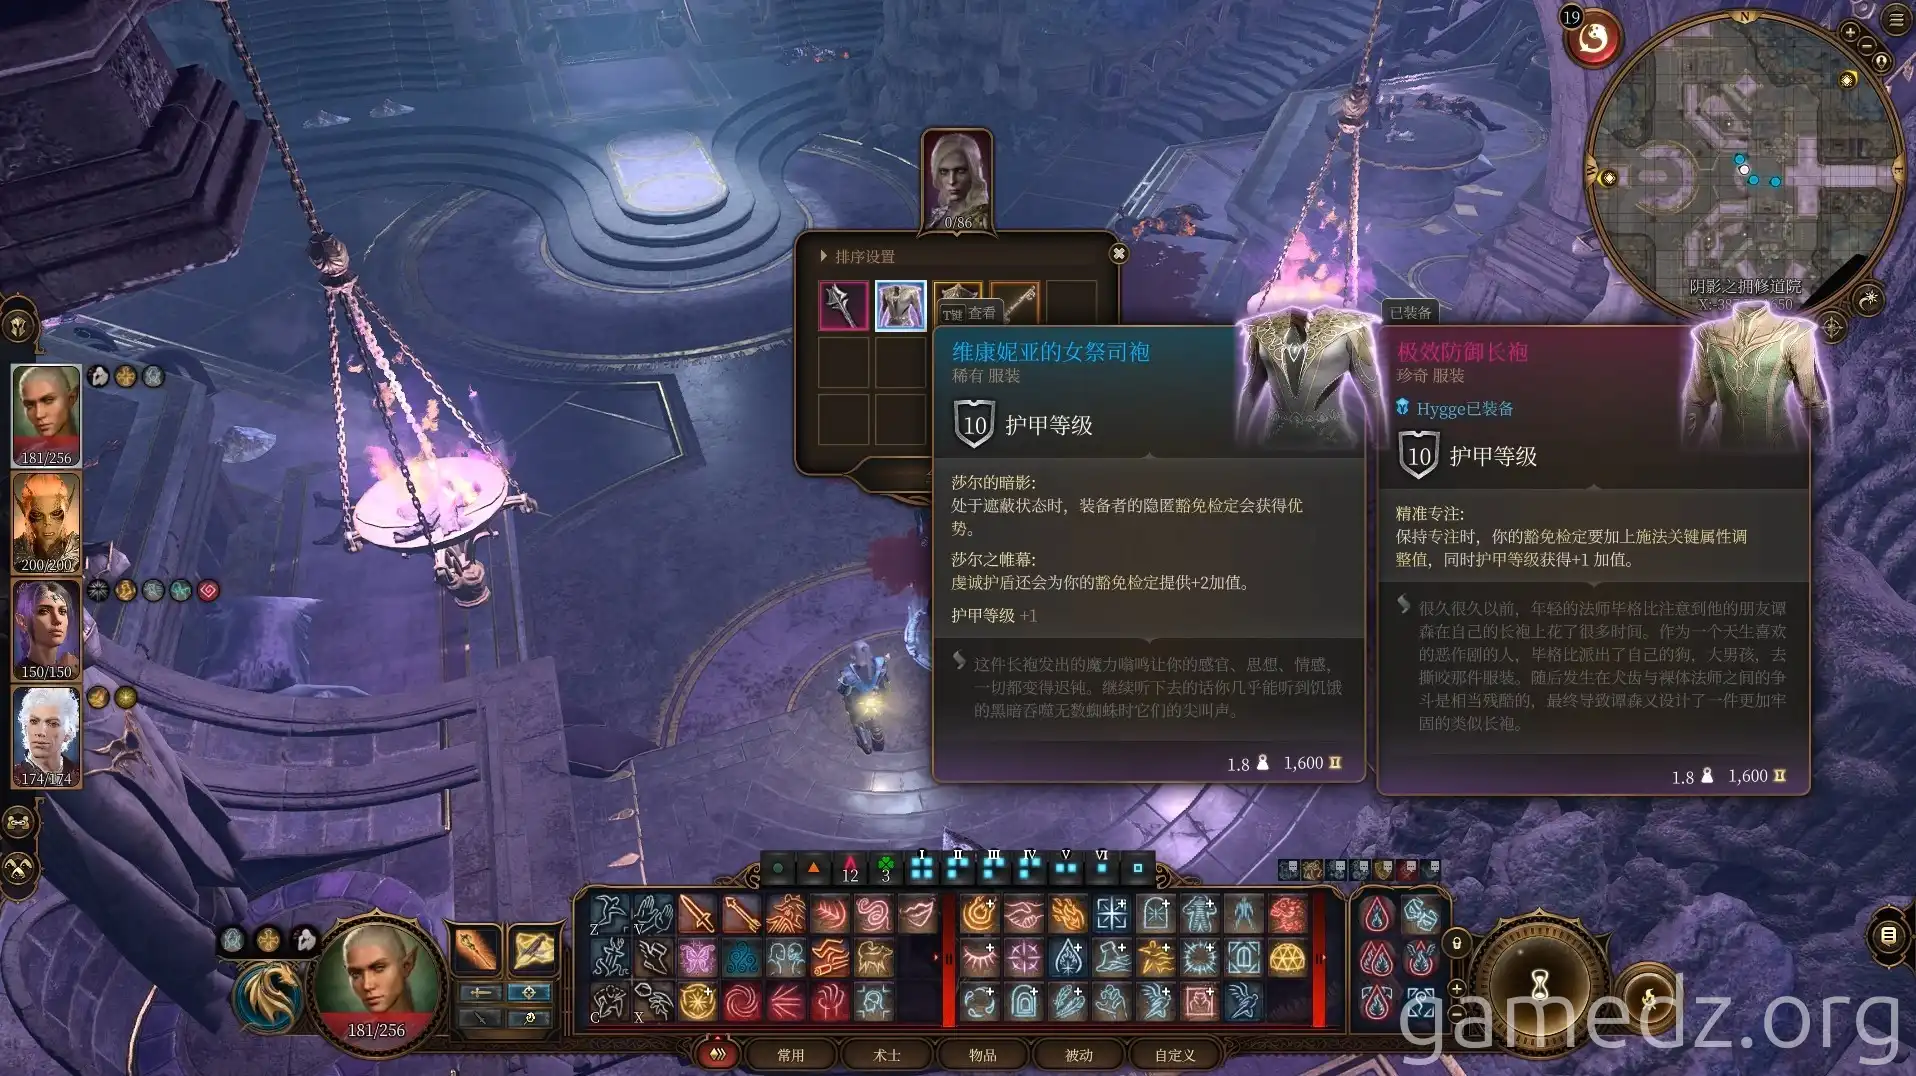
The stats for Viconia's Walking Fortress are as follows:
In the dormitory north of the main hall, you can meet Nocturne, a former friend of Shadowheart. After a conversation, you can purchase some items from her.
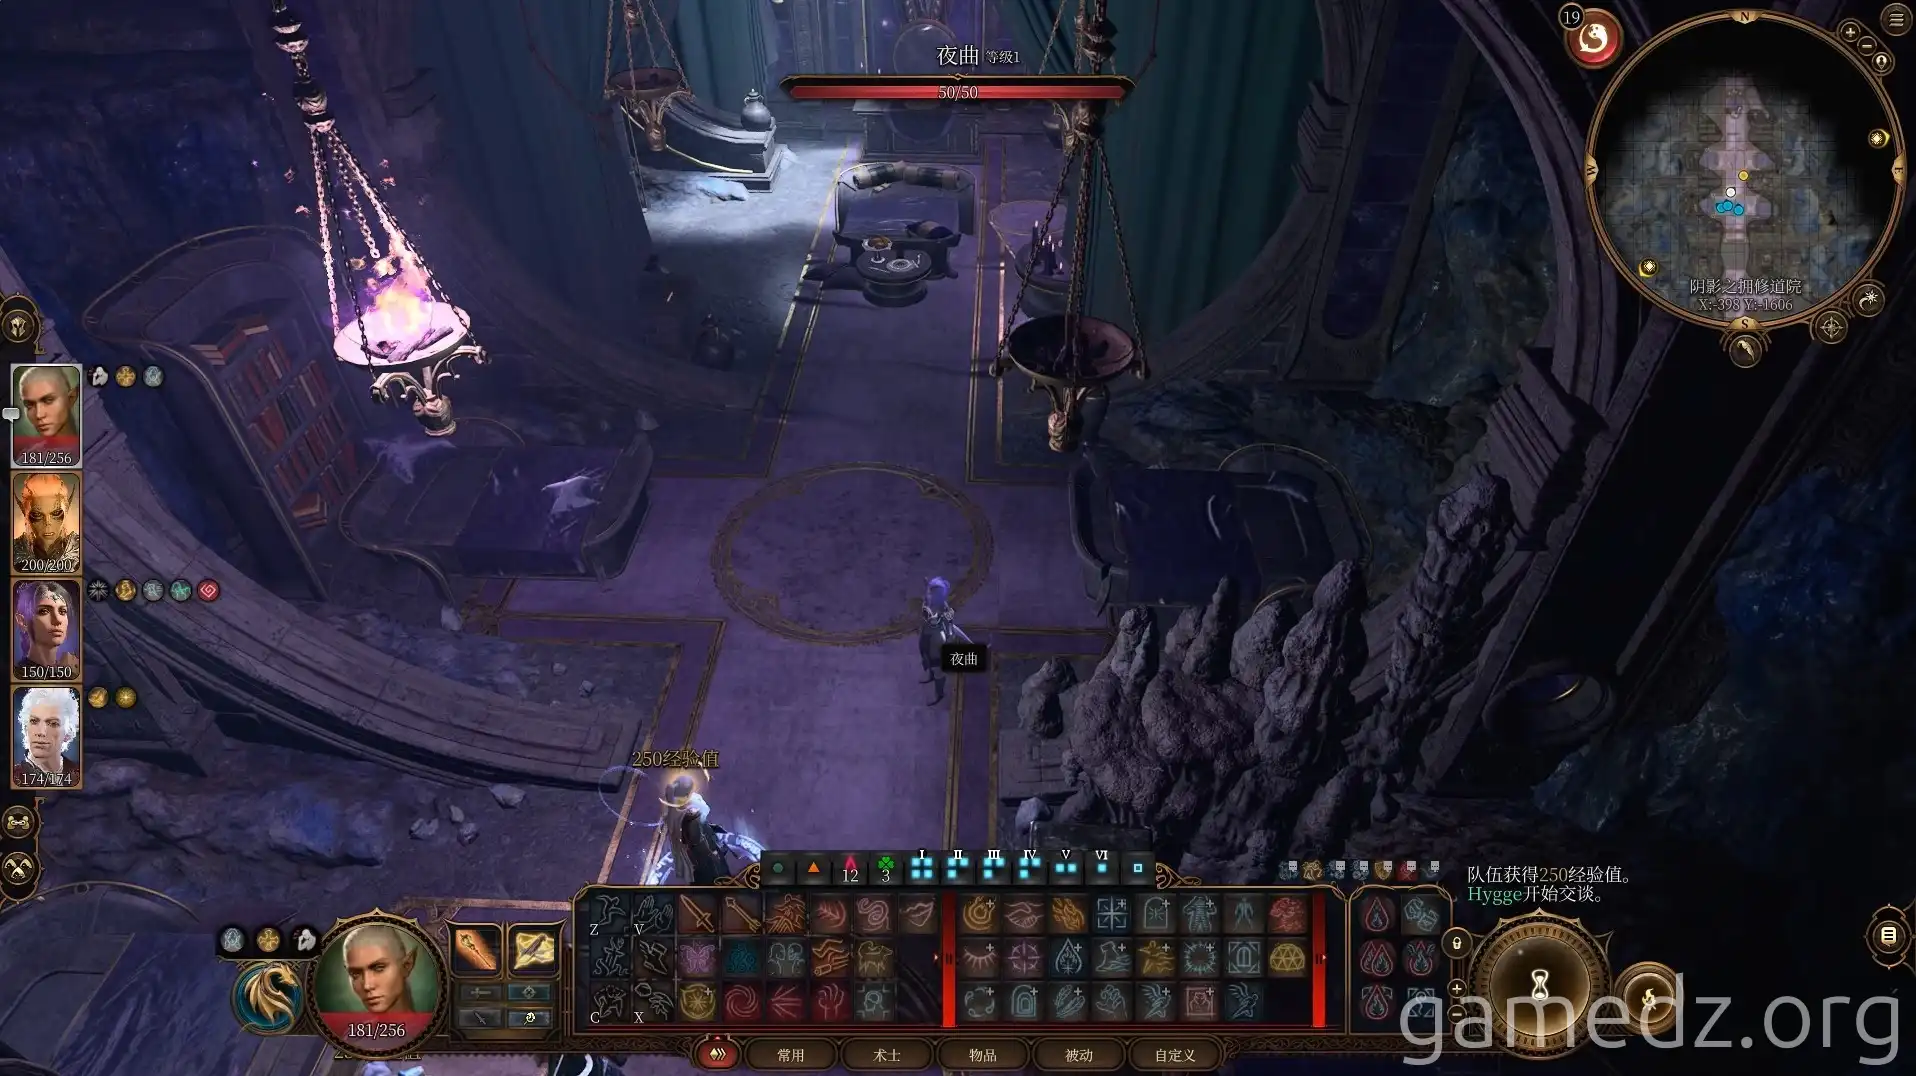
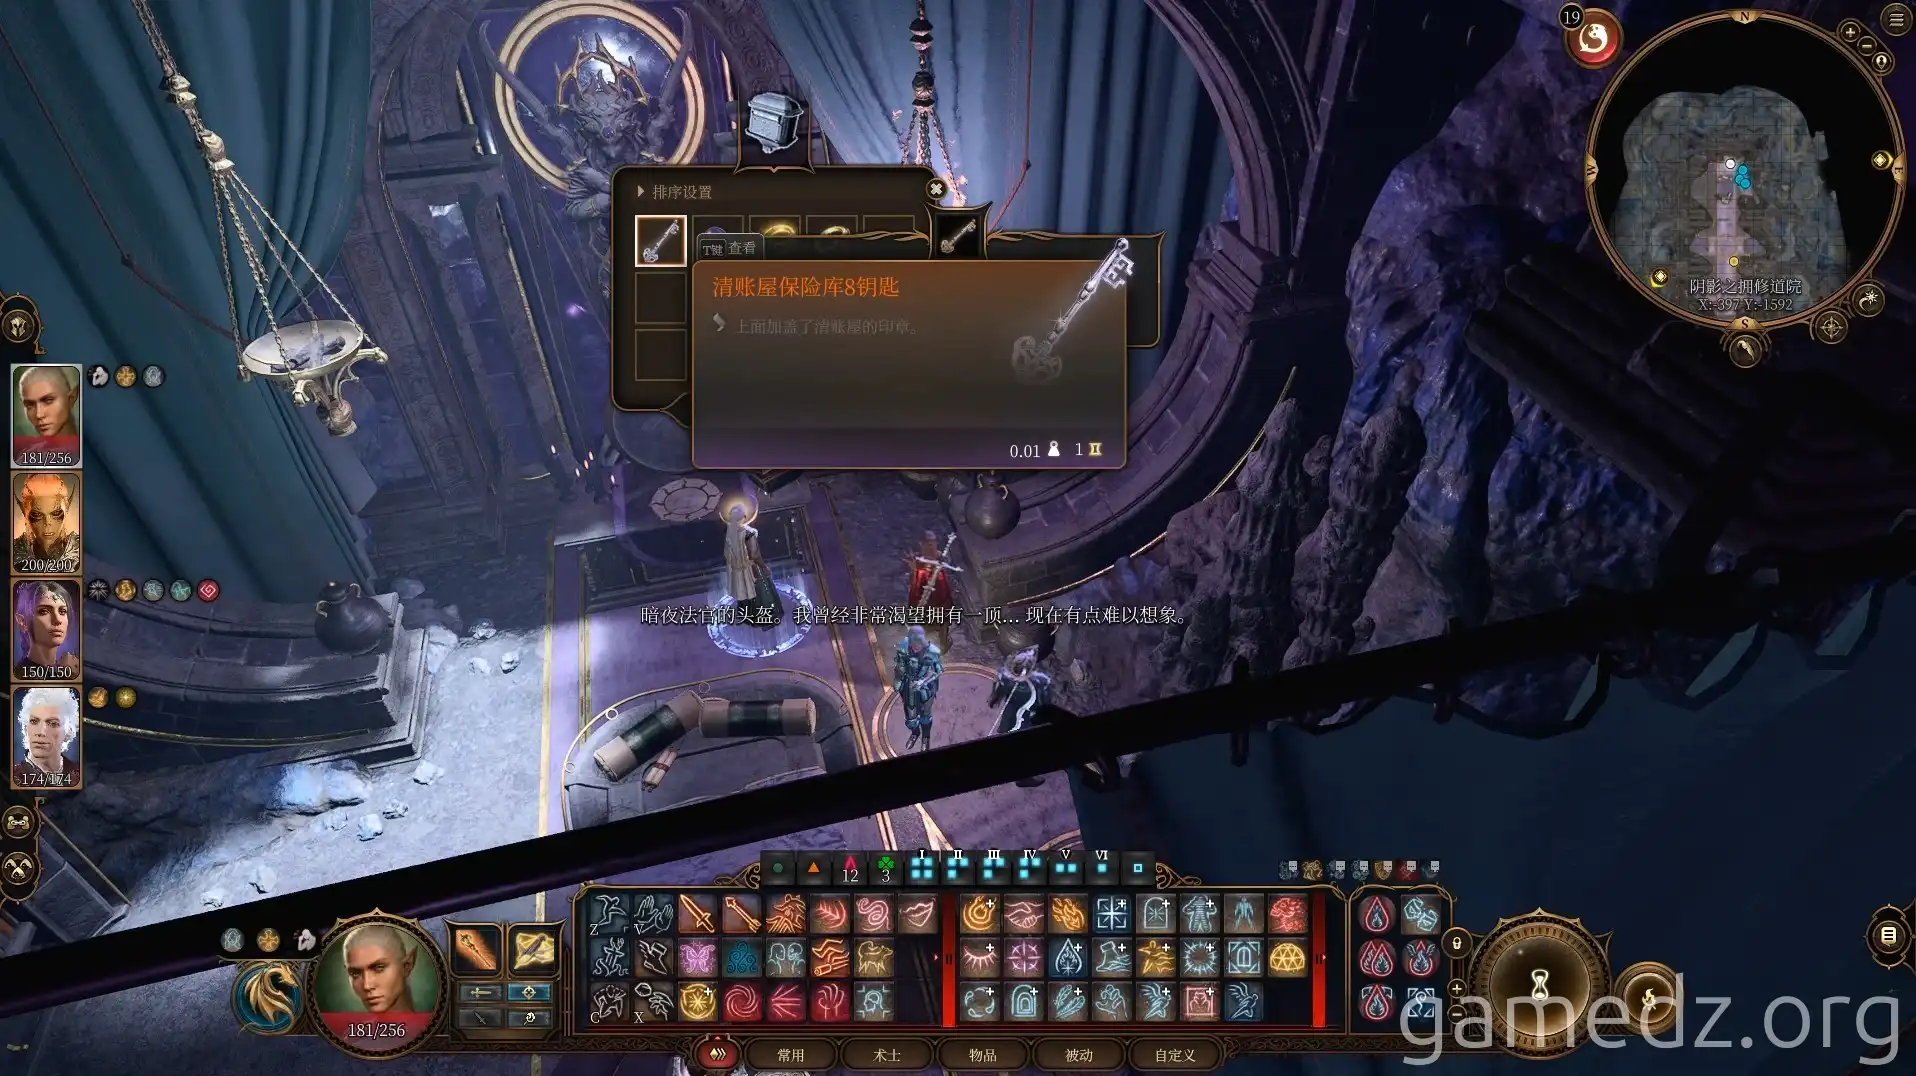
In the Mother Superior's chest in the room, you can find the Vault 8 Key for the Counting House. However, since you've already picked the lock on the vault, this key is now useless.
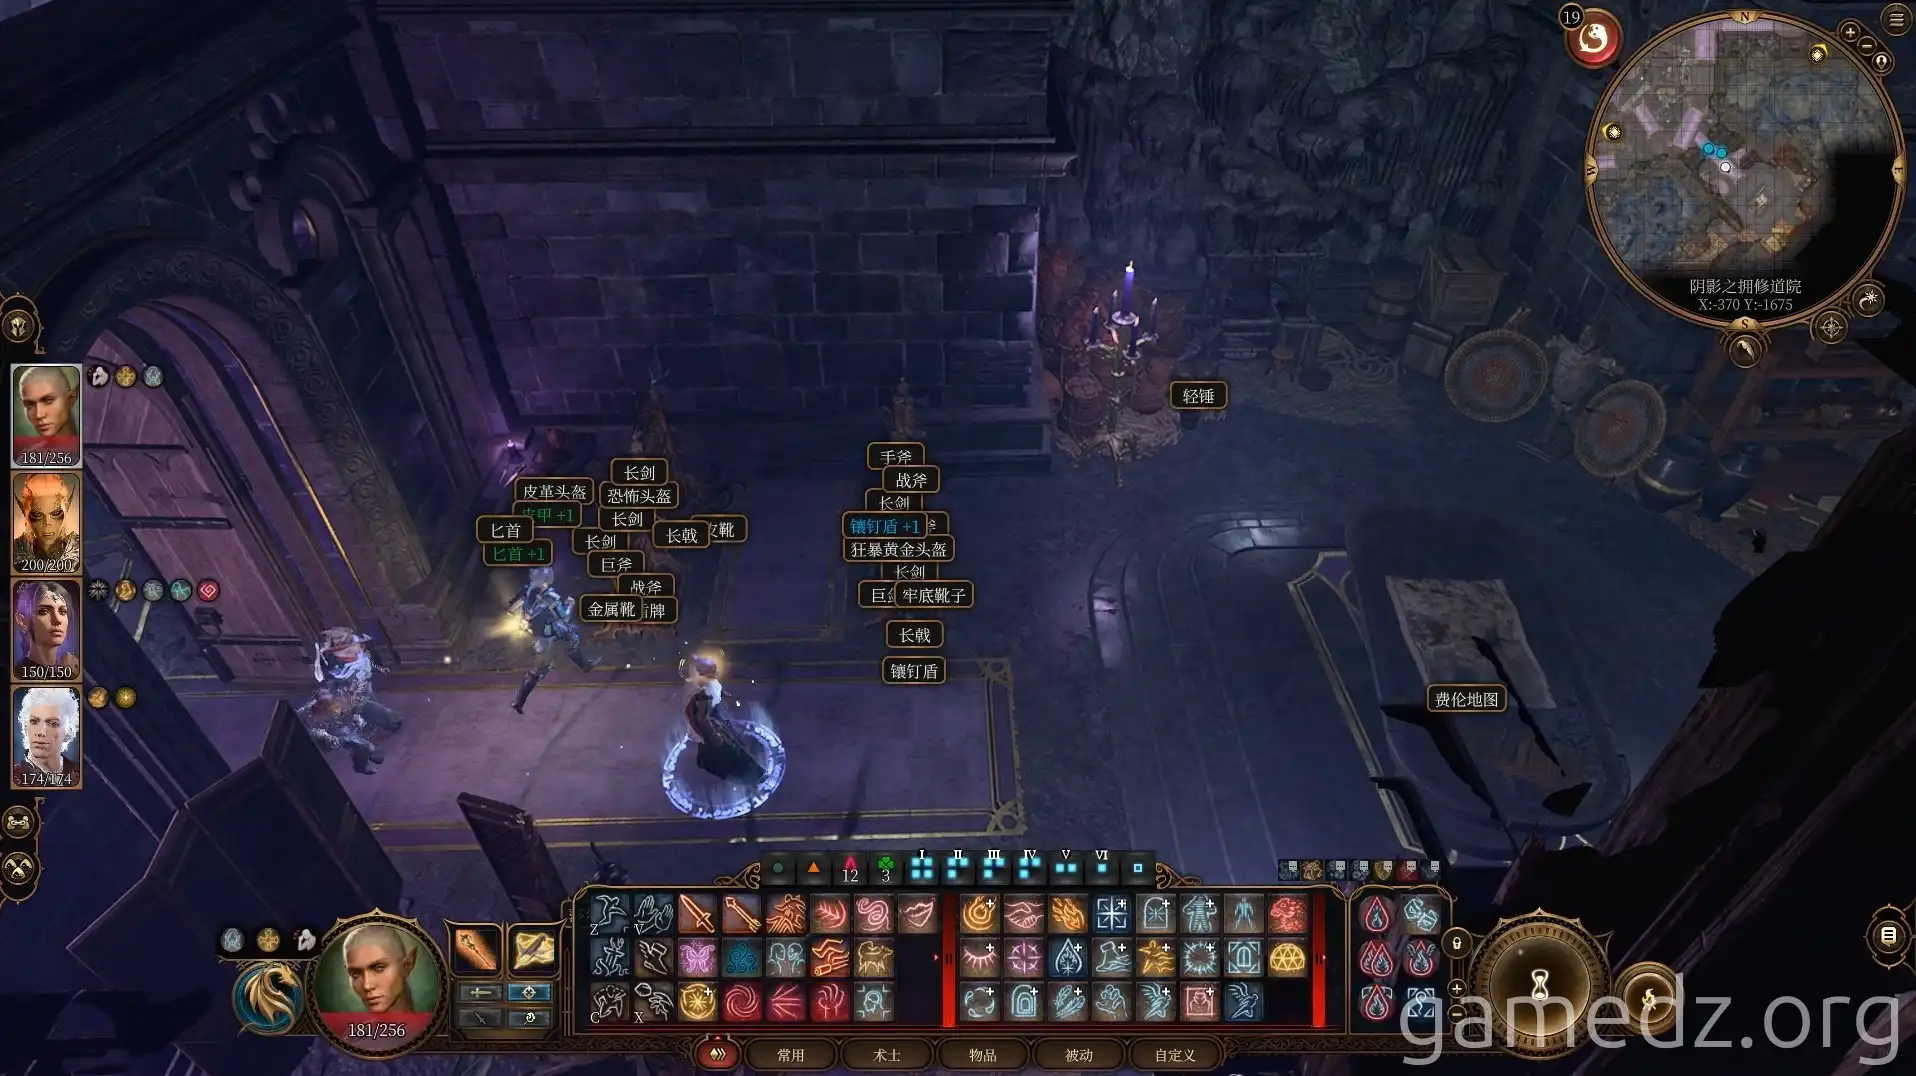
The armory in the southeast corner of the main hall contains a lot of common equipment.
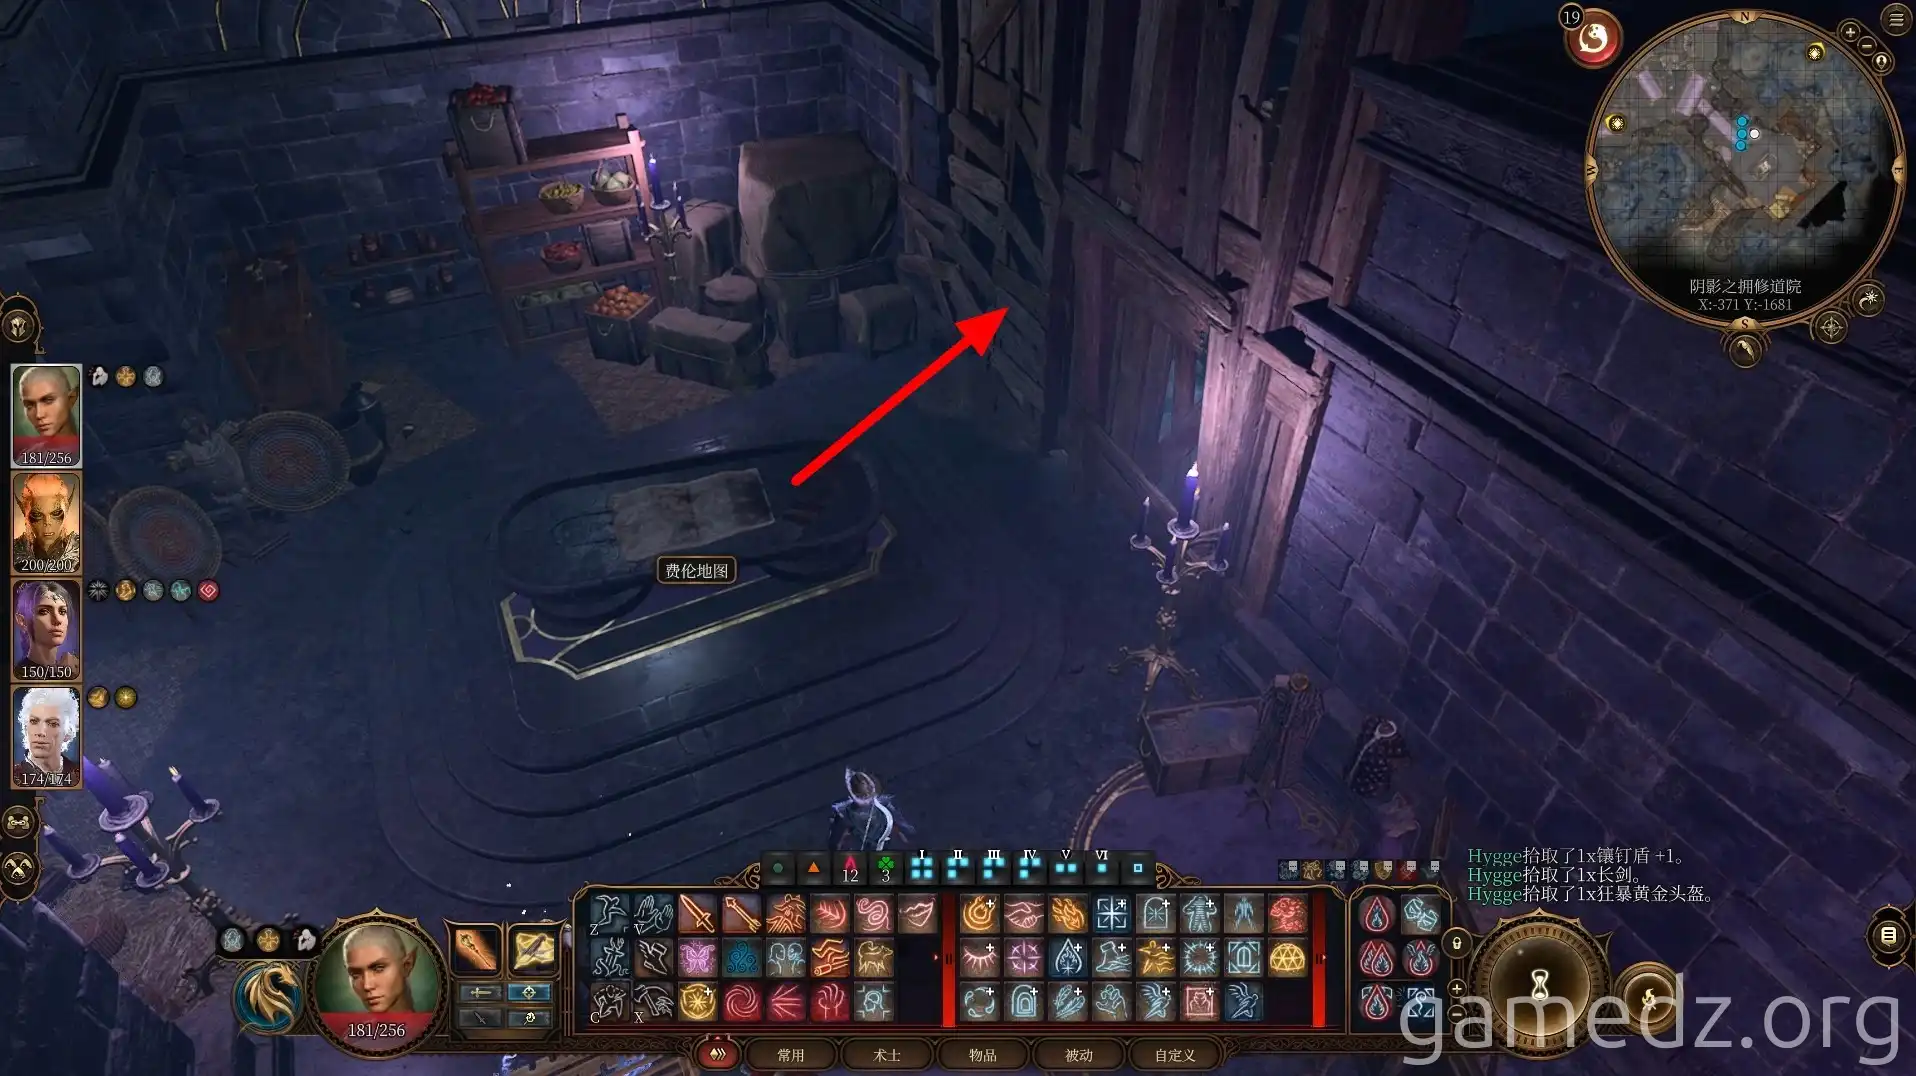
Break the wooden planks in the room to enter the area behind it.
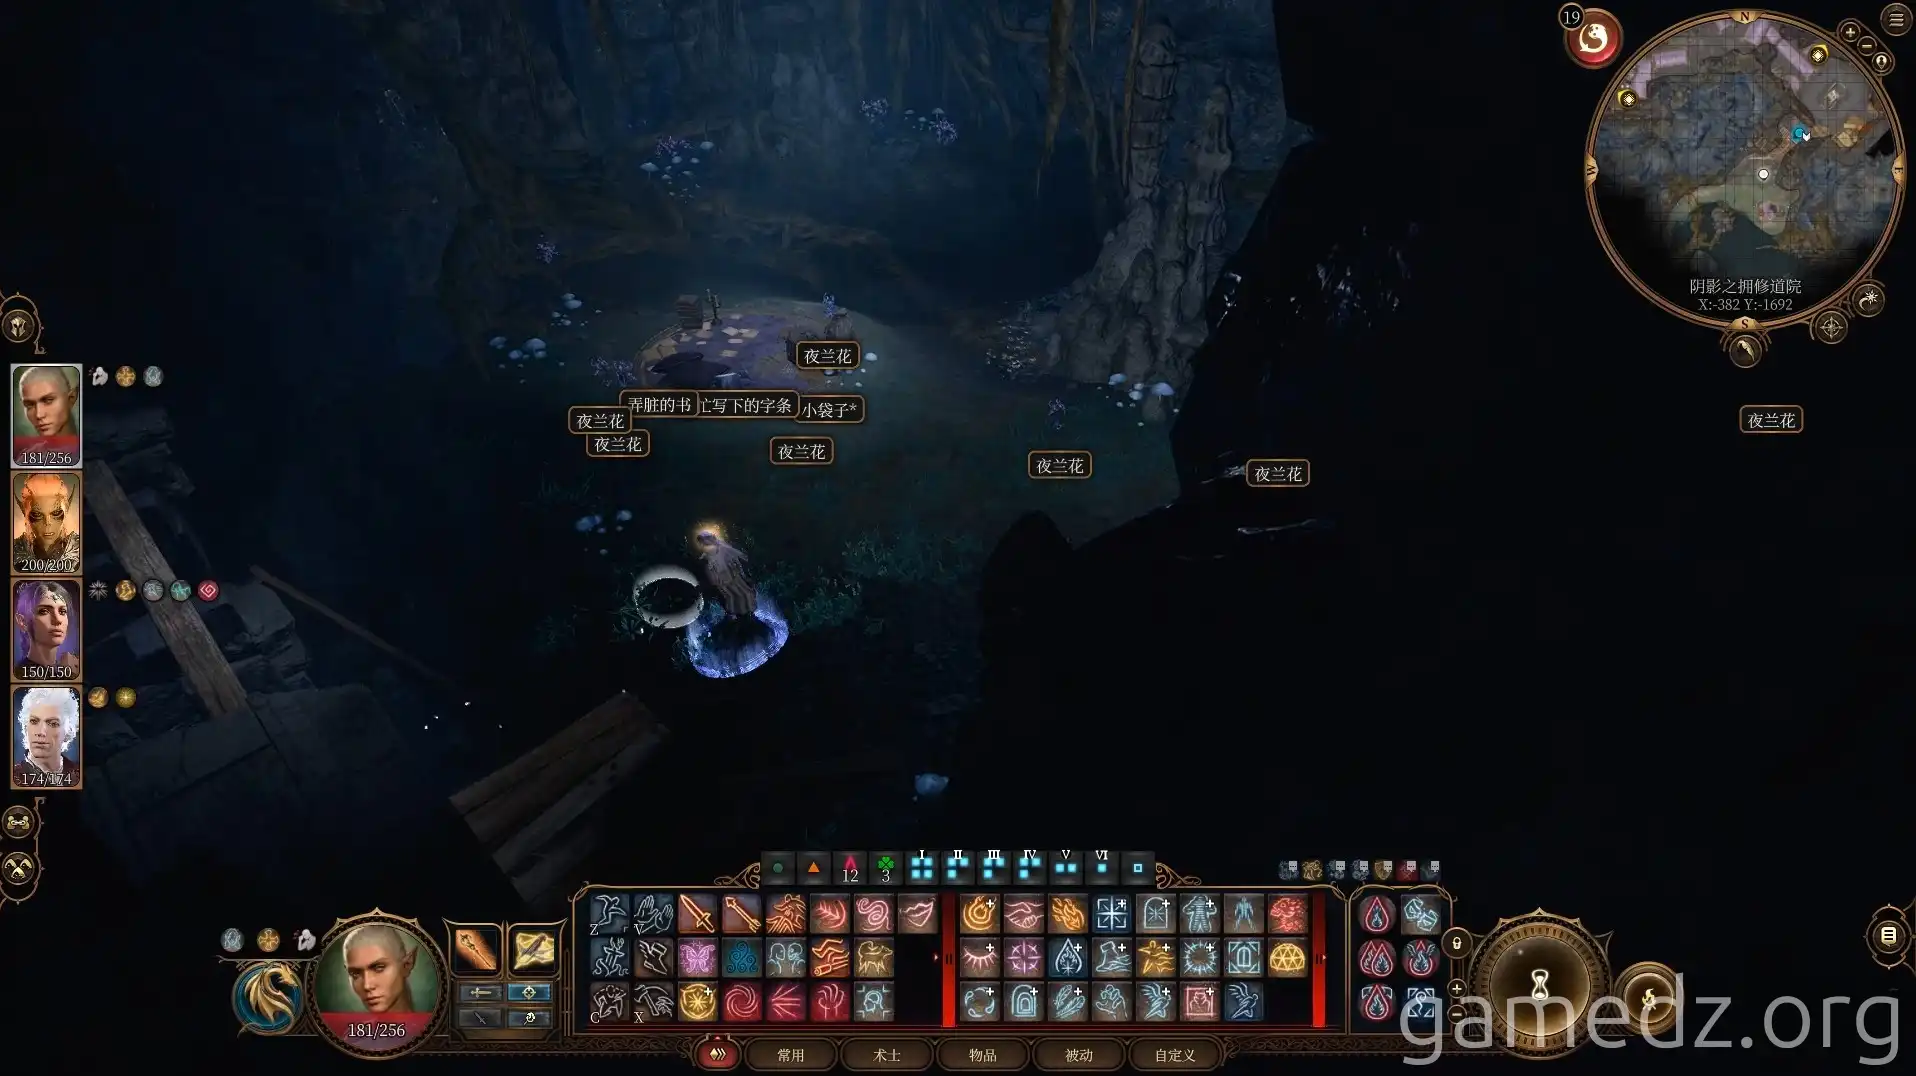
There are many Moonpetal flowers in the cave. Traces suggest this is where Shadowheart used to live.
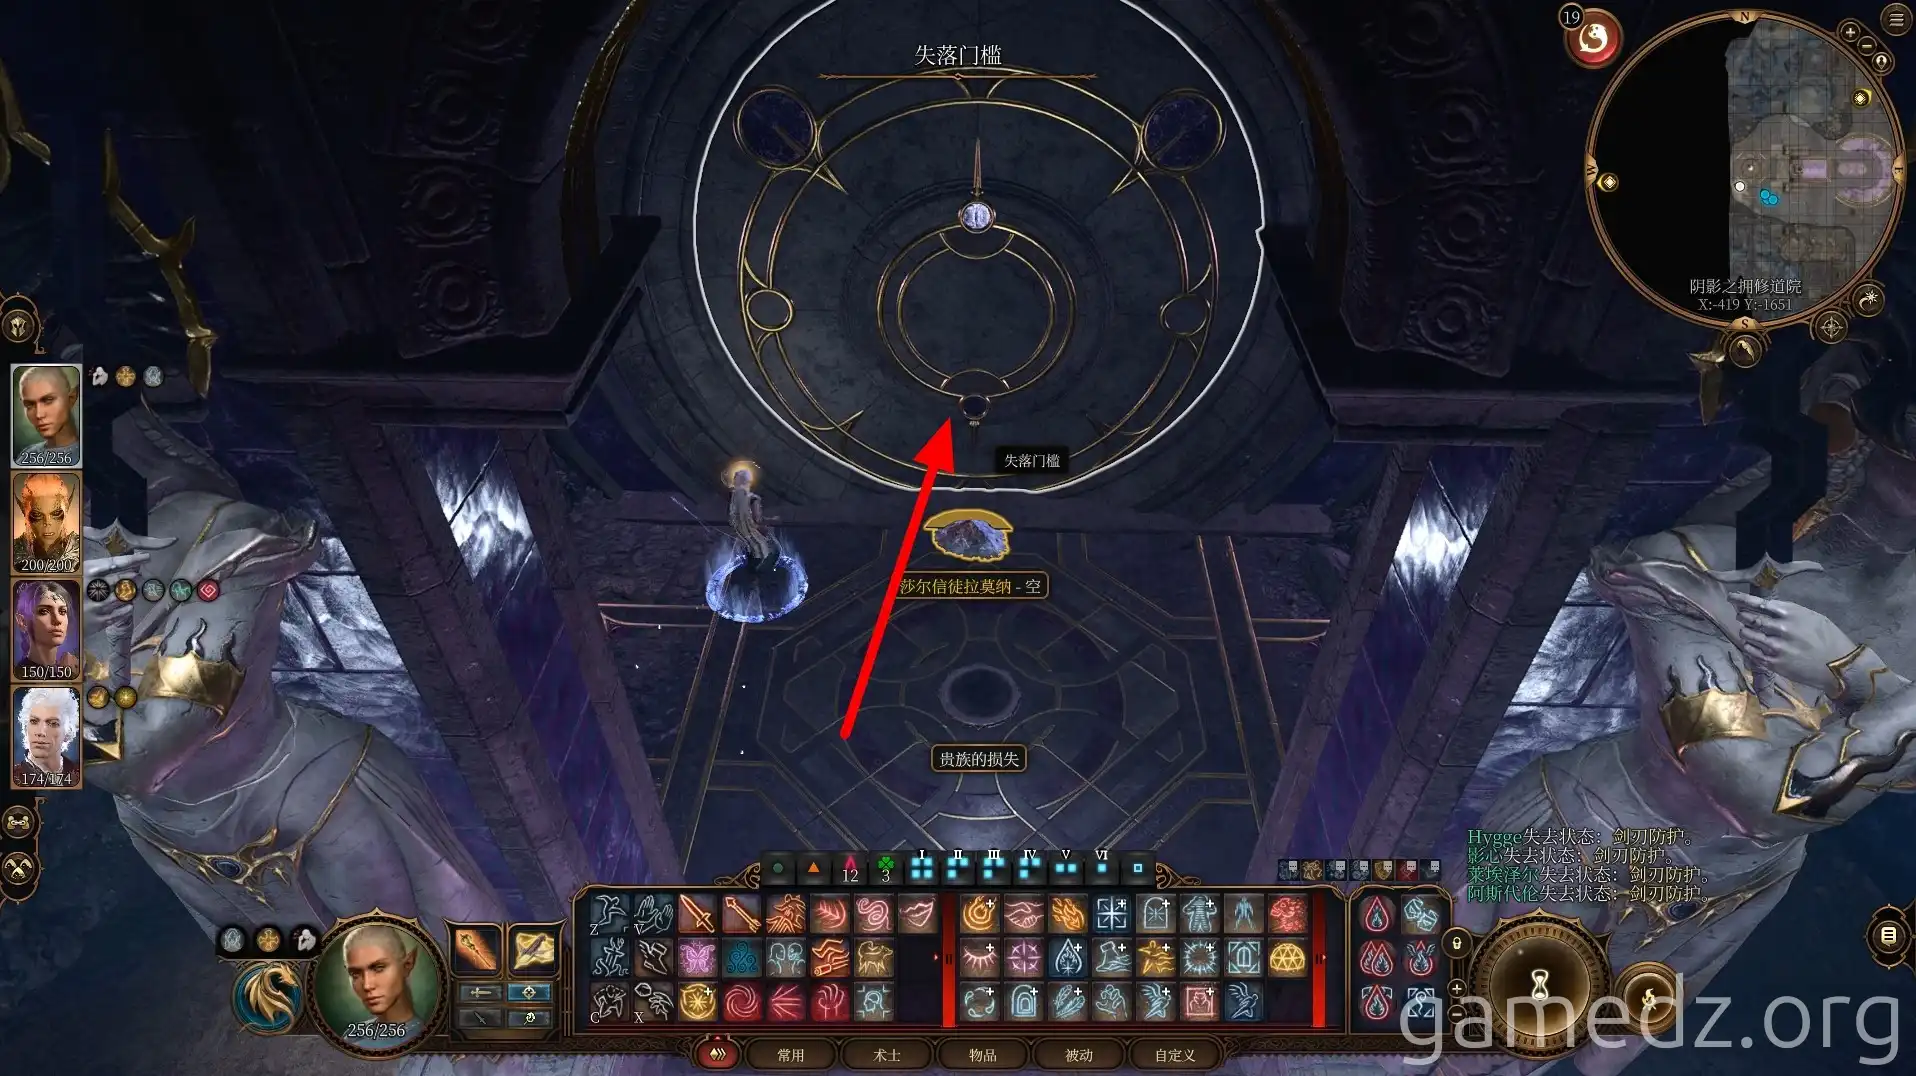
Then, use the silver key obtained from the cultists to open the Lost Threshold and enter the room west of the main hall.
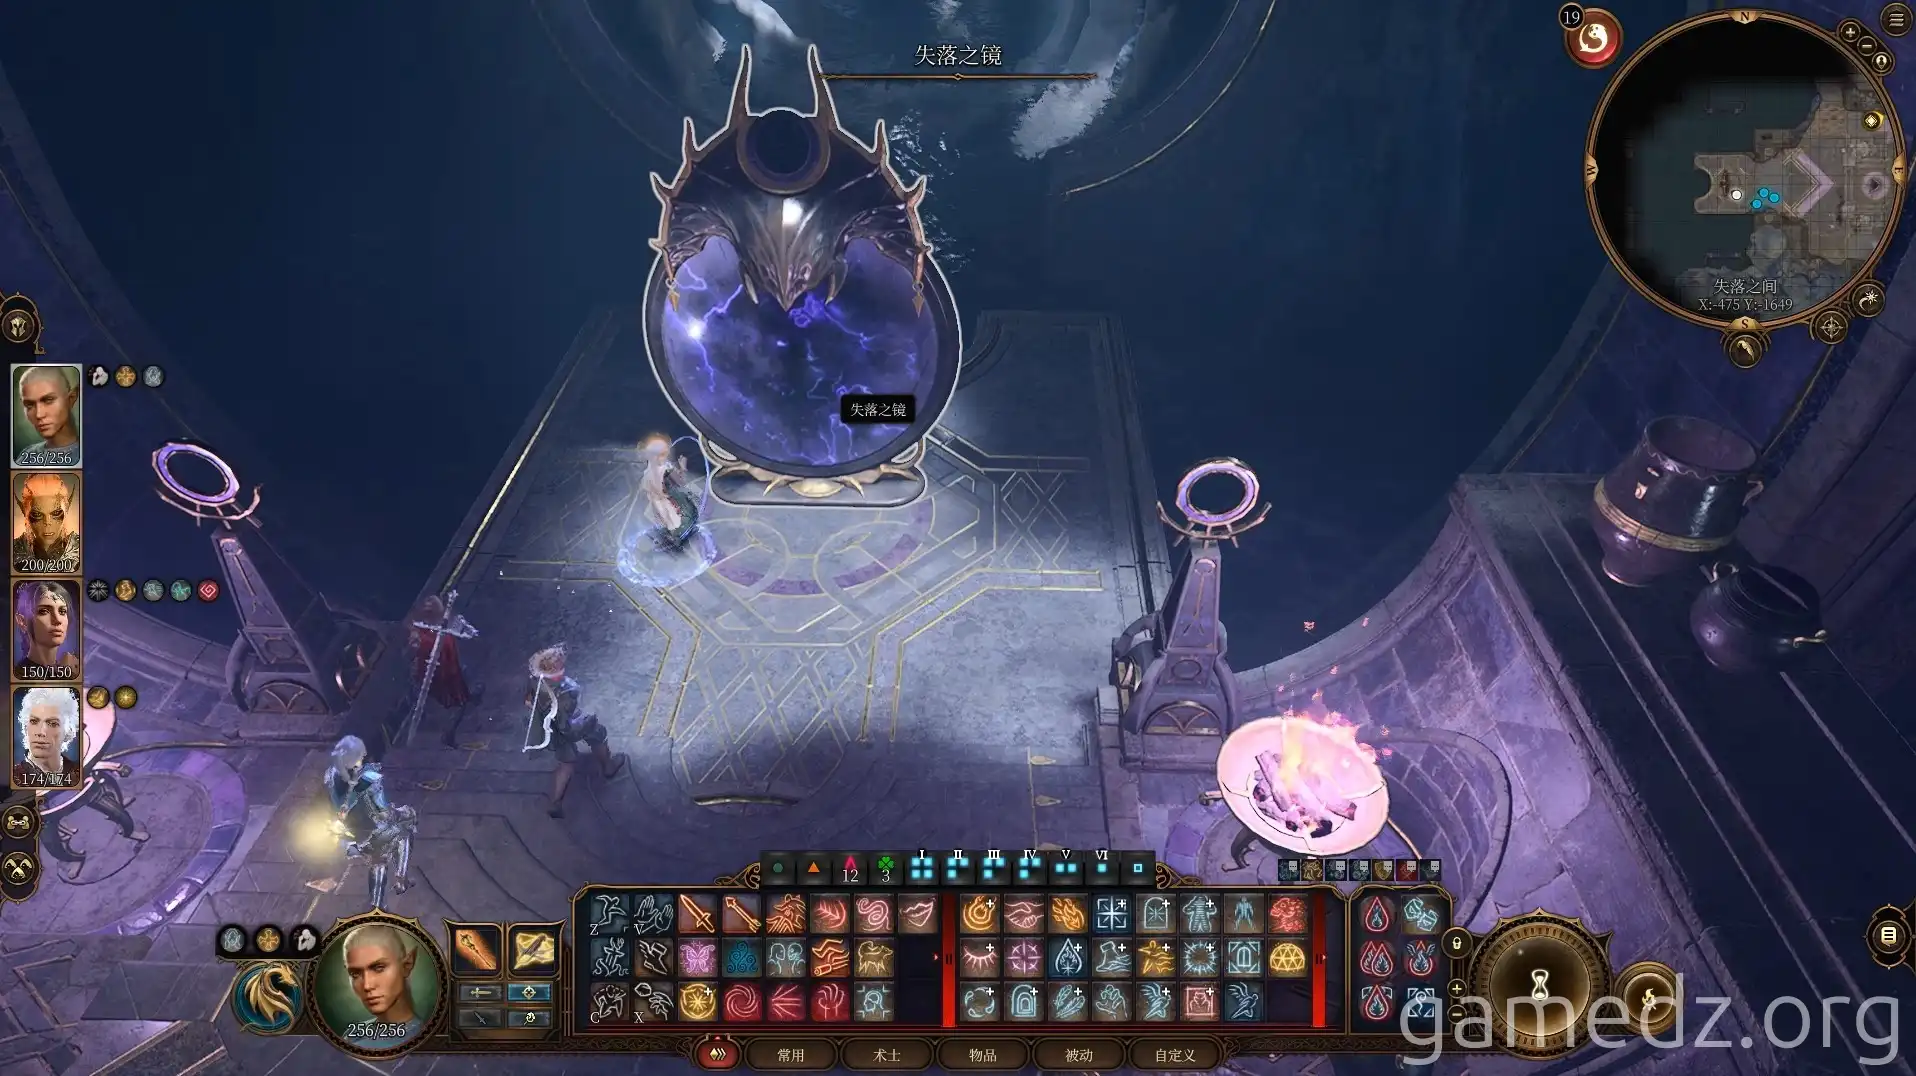
In the Lost Chamber, you'll finally find Shadowheart's parents. However, don't interact with them yet. Instead, go directly to the westernmost part of the room and investigate the Lost Mirror.
During the interaction with the mirror, you'll need to honestly relinquish a part of your memory. After doing so, your character will receive a curse, reducing a certain attribute by two points.
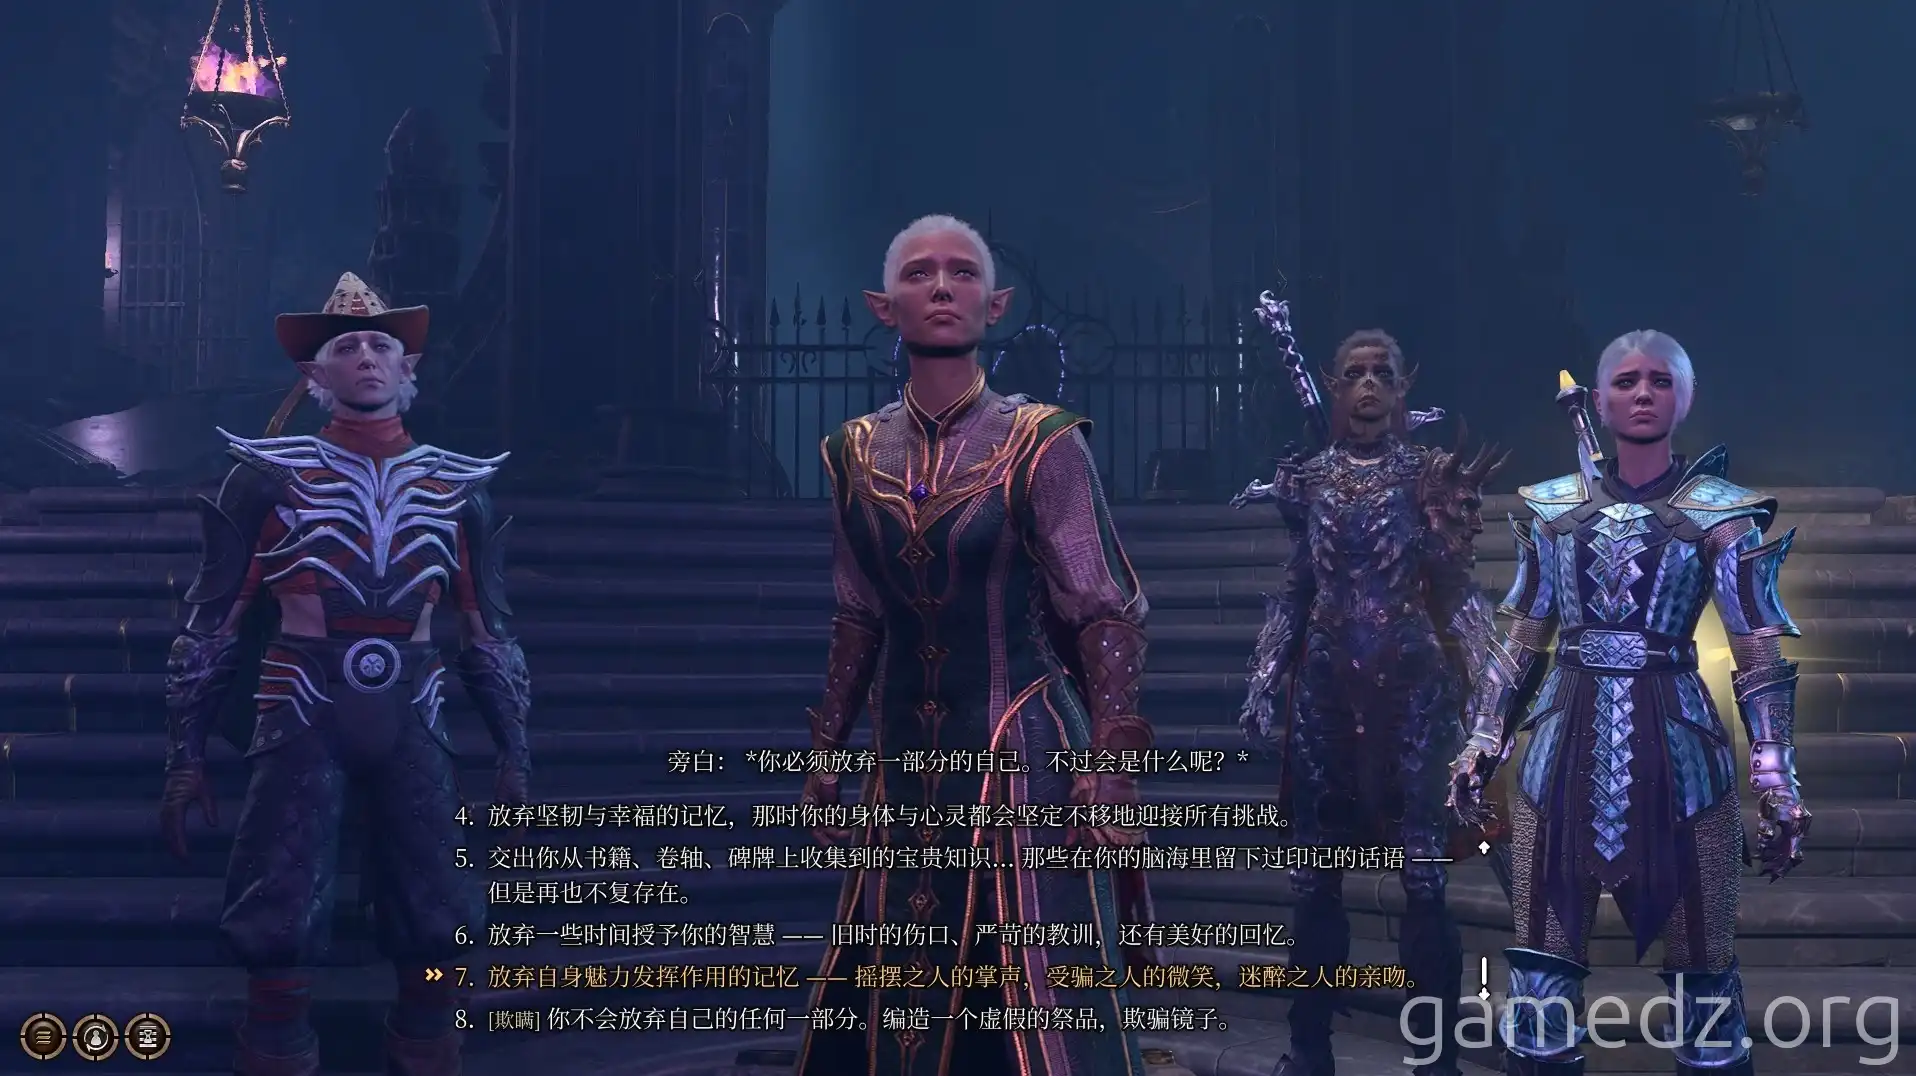
This part may require repeated attempts (SL) until the memory piques the mirror's interest. You can then choose to receive a memory from various classes.
You'll need to first roll for a Noble memory. Upon receiving it, you'll gain a permanent +1 to Charisma. Then, by relinquishing other memories, you can claim another class's memory to gain the corresponding two attribute points.
Finally, use spells like Remove Curse to lift the attribute reduction debuff.
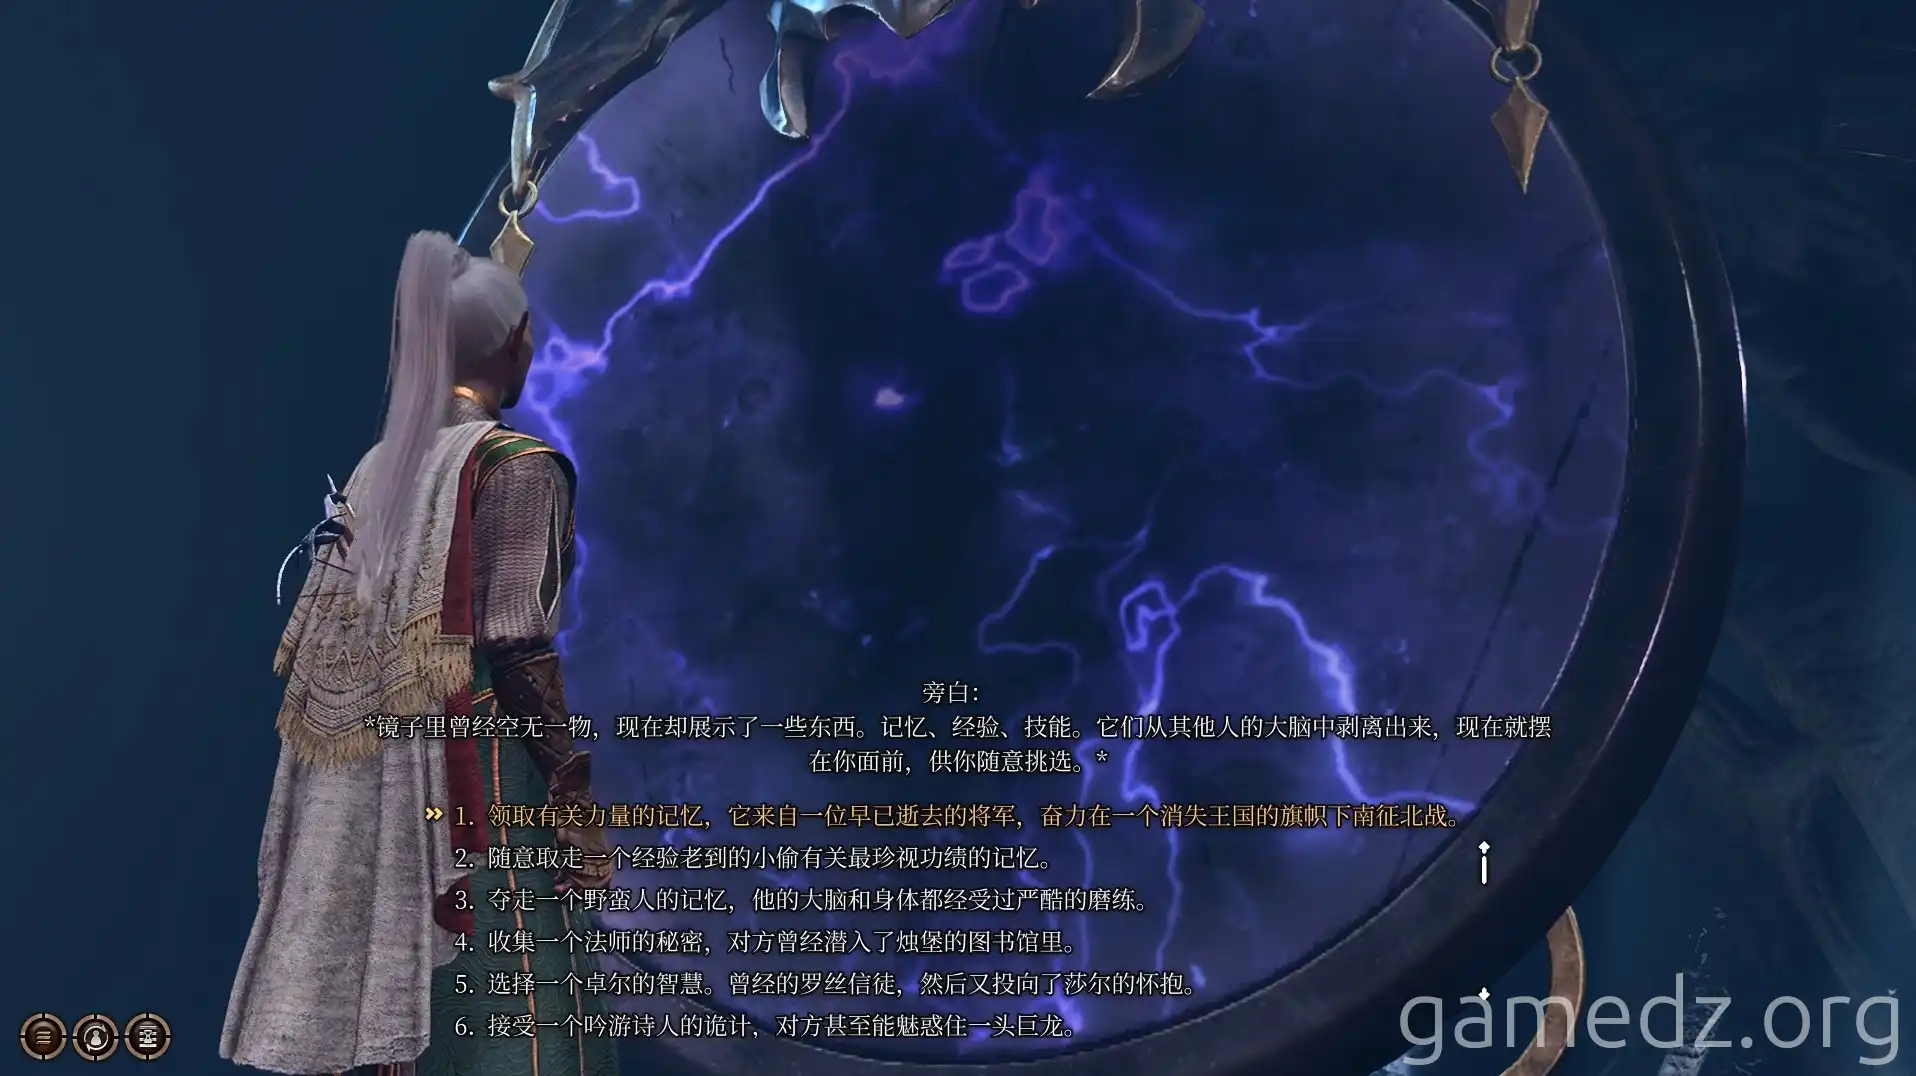
Afterward, return to the entrance of the Lost Chamber and speak with Shadowheart's parents. During the conversation, you must choose to kill Shadowheart's parents, allowing her to completely break free from Shar's control, or save them, condemning her to remain under Shar's grasp forever.
The editor chose to kill Shadowheart's parents. Their souls will then be watched over by Selûne, marking the end of Shadowheart's personal questline.
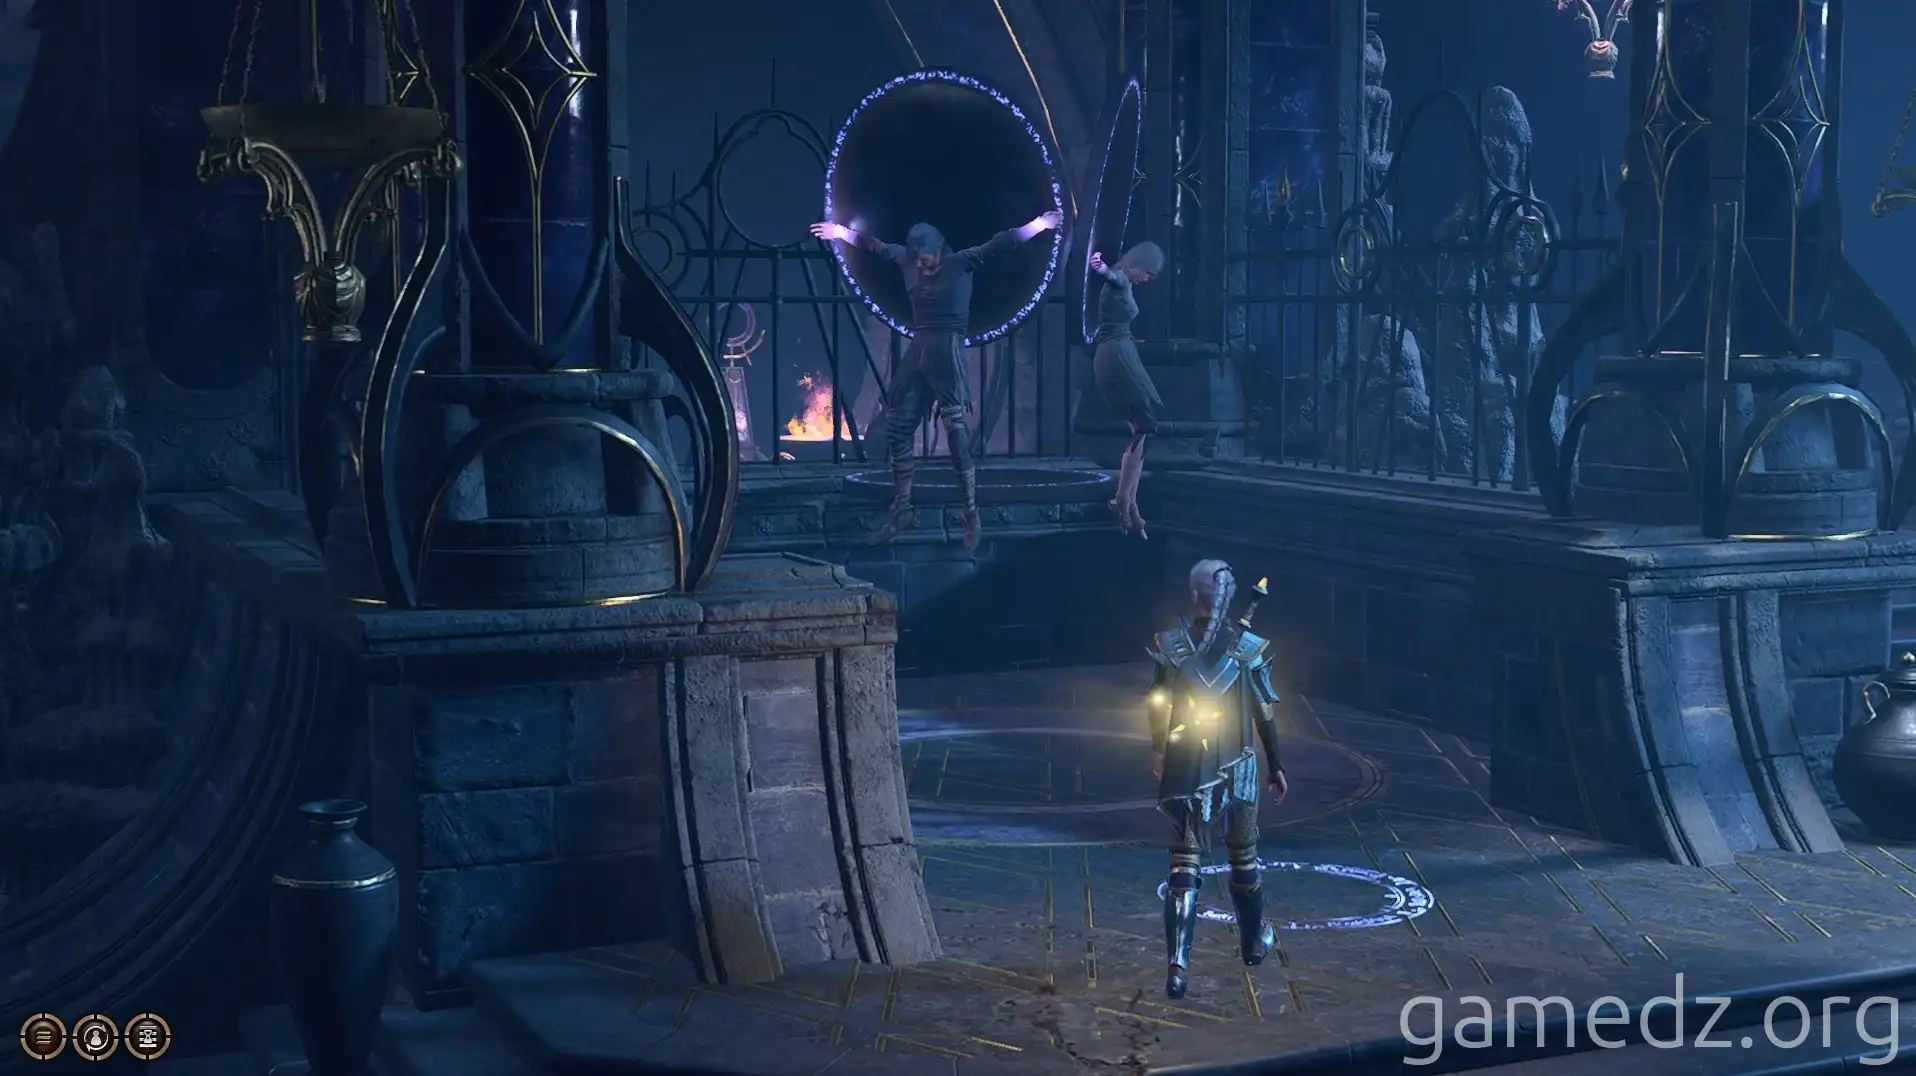
As you prepare to leave the cloister, you can use the keys obtained from the Sharran cultists' bodies to open the training rooms on either side. The familiar scenes will trigger some memories for Shadowheart.
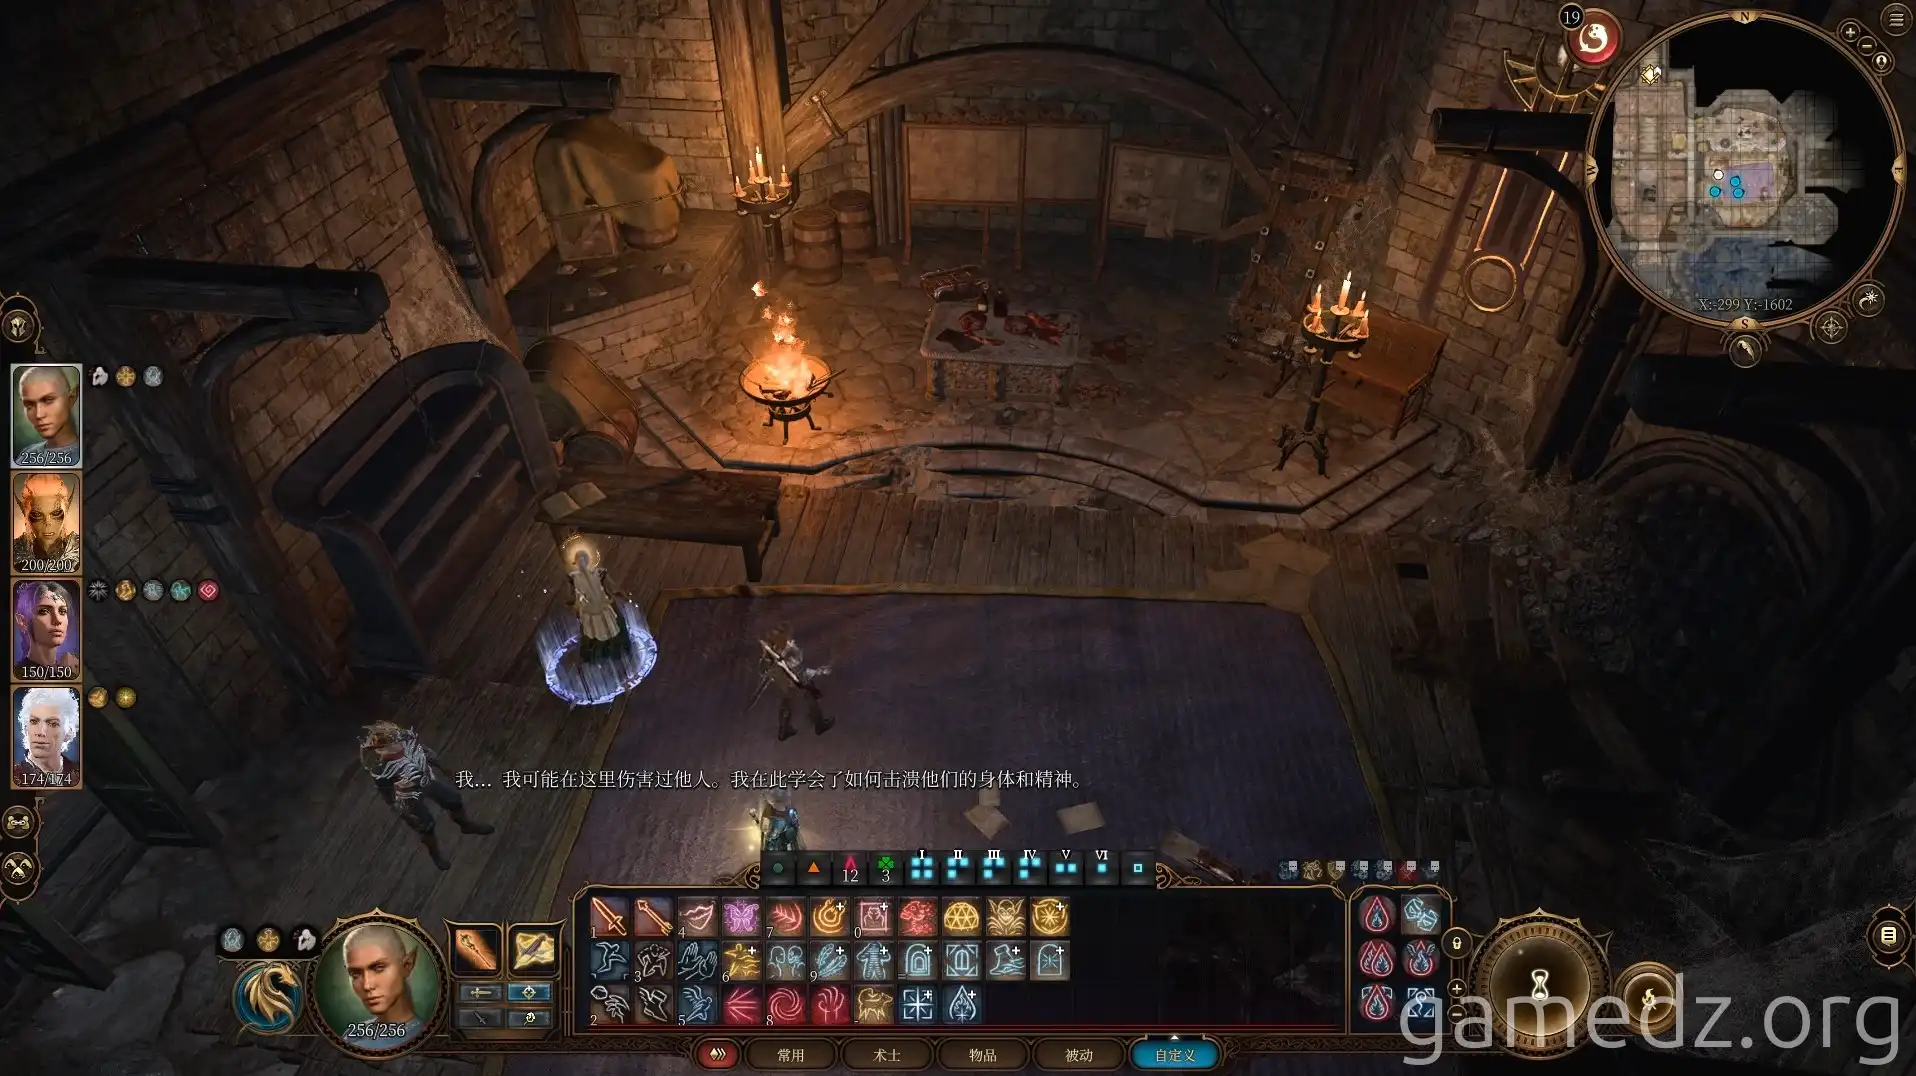
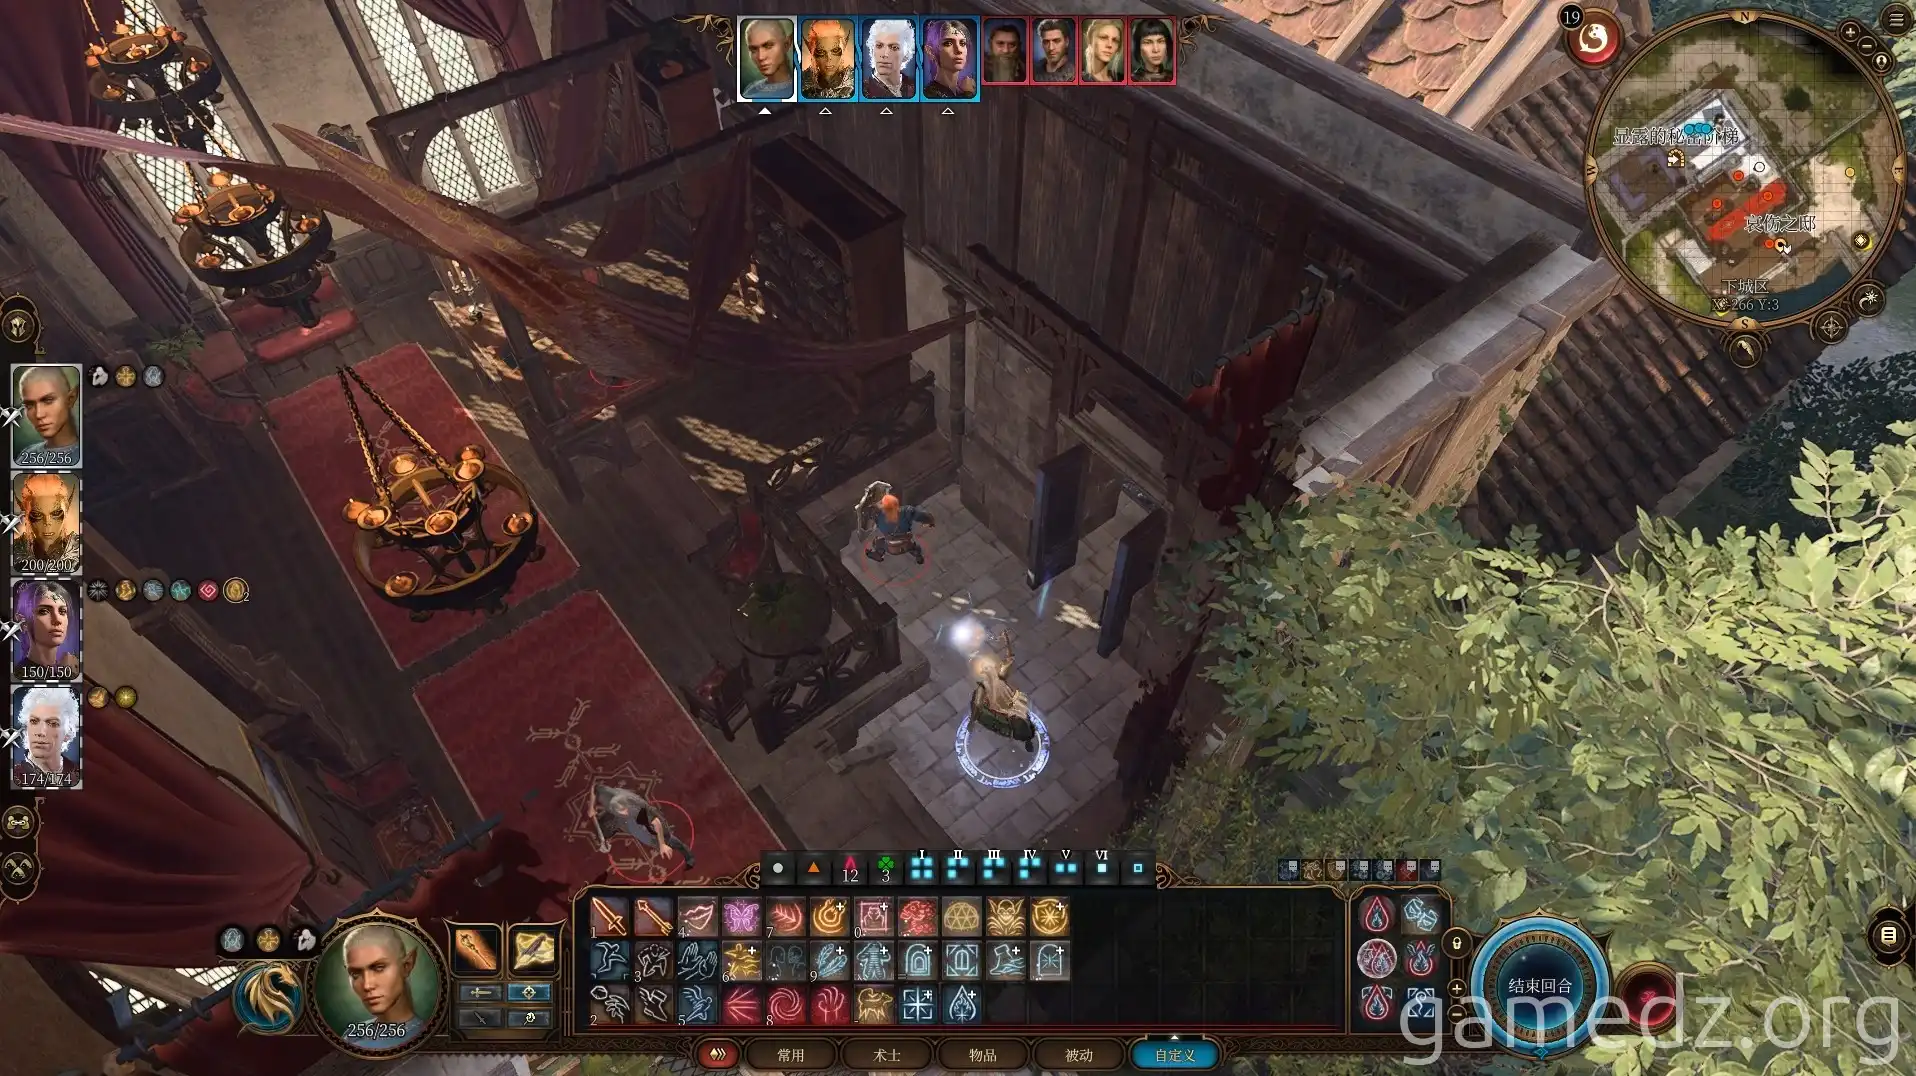
Upon returning to the surface, you'll need to eliminate all nearby Sharran cultists.
After freeing Shadowheart from Shar's control, a new scene will appear during a long rest.
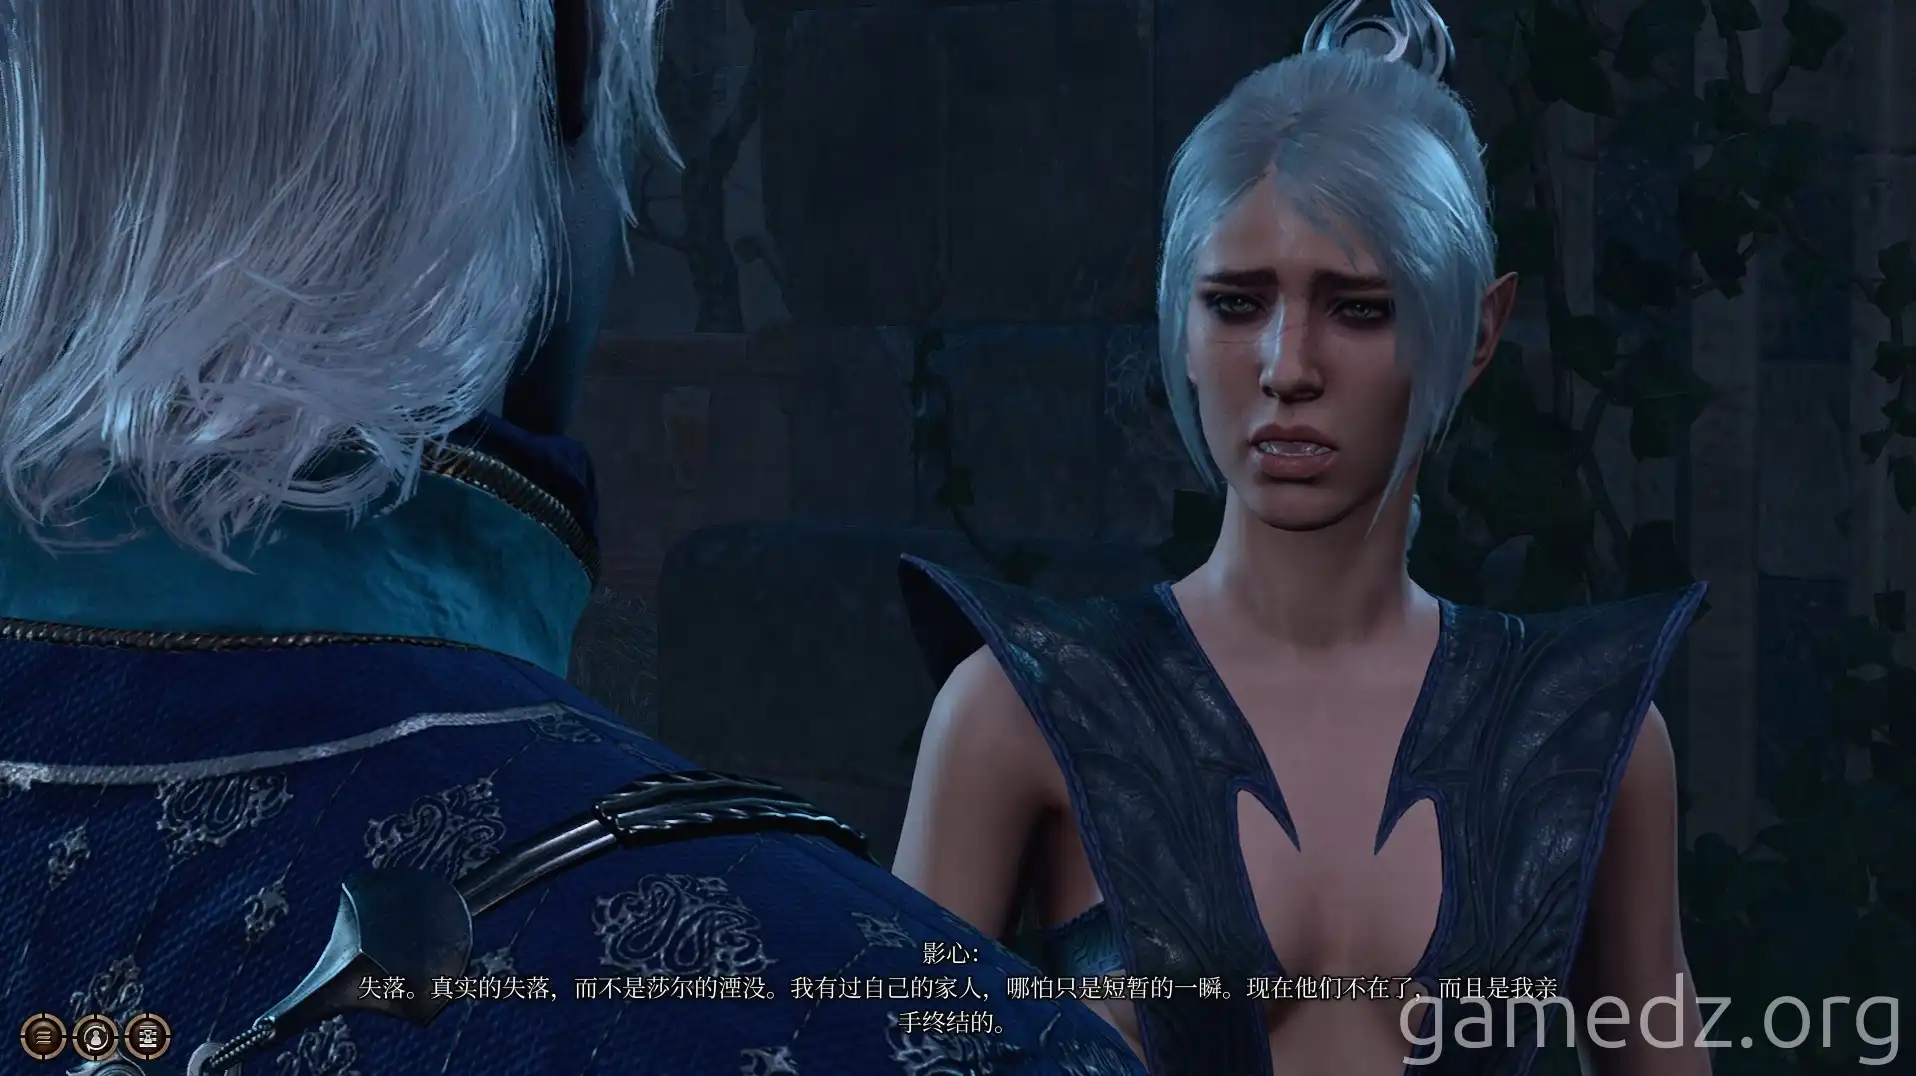
After leaving the House of Grief, head south along the road. Speak with Lady Jannath's butler by the roadside, and you'll gain free access to Jannath's Estate.
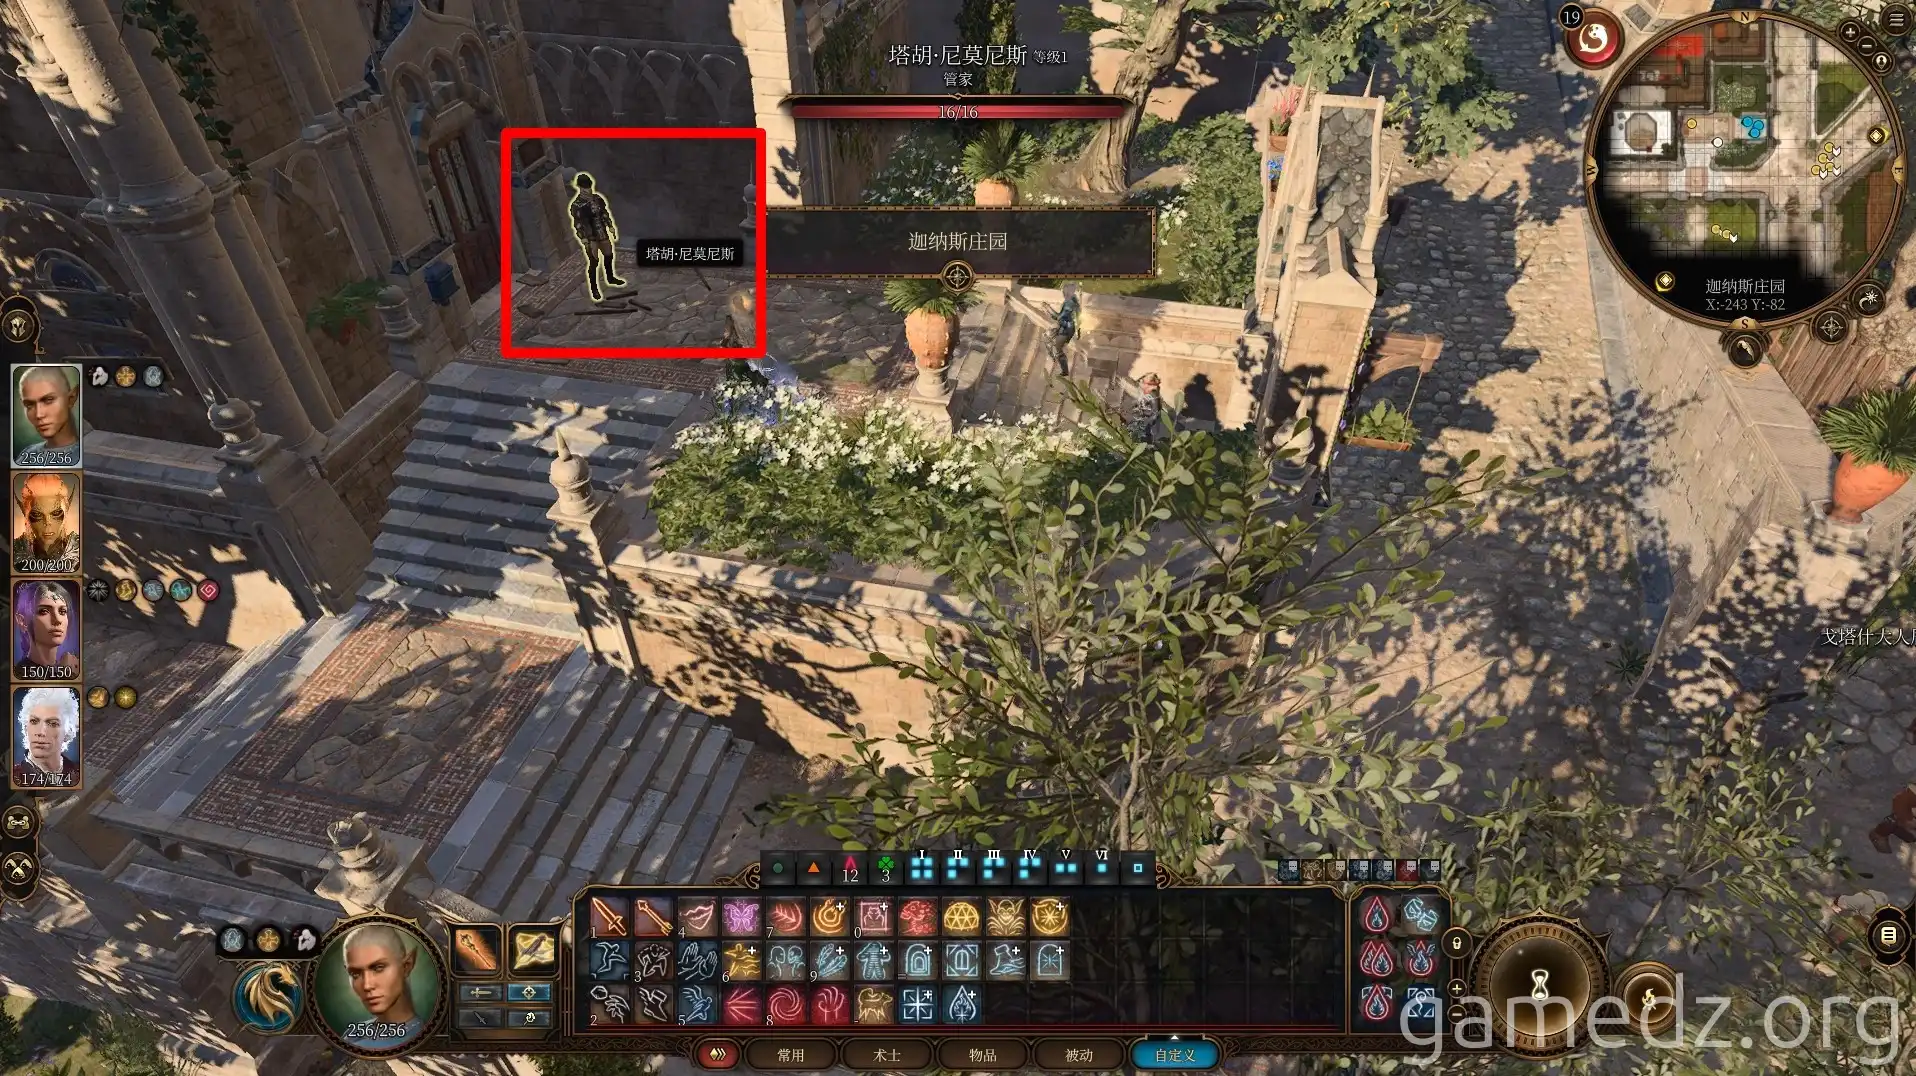
First, take the small path on the south side of the estate around to the west side, then head north.
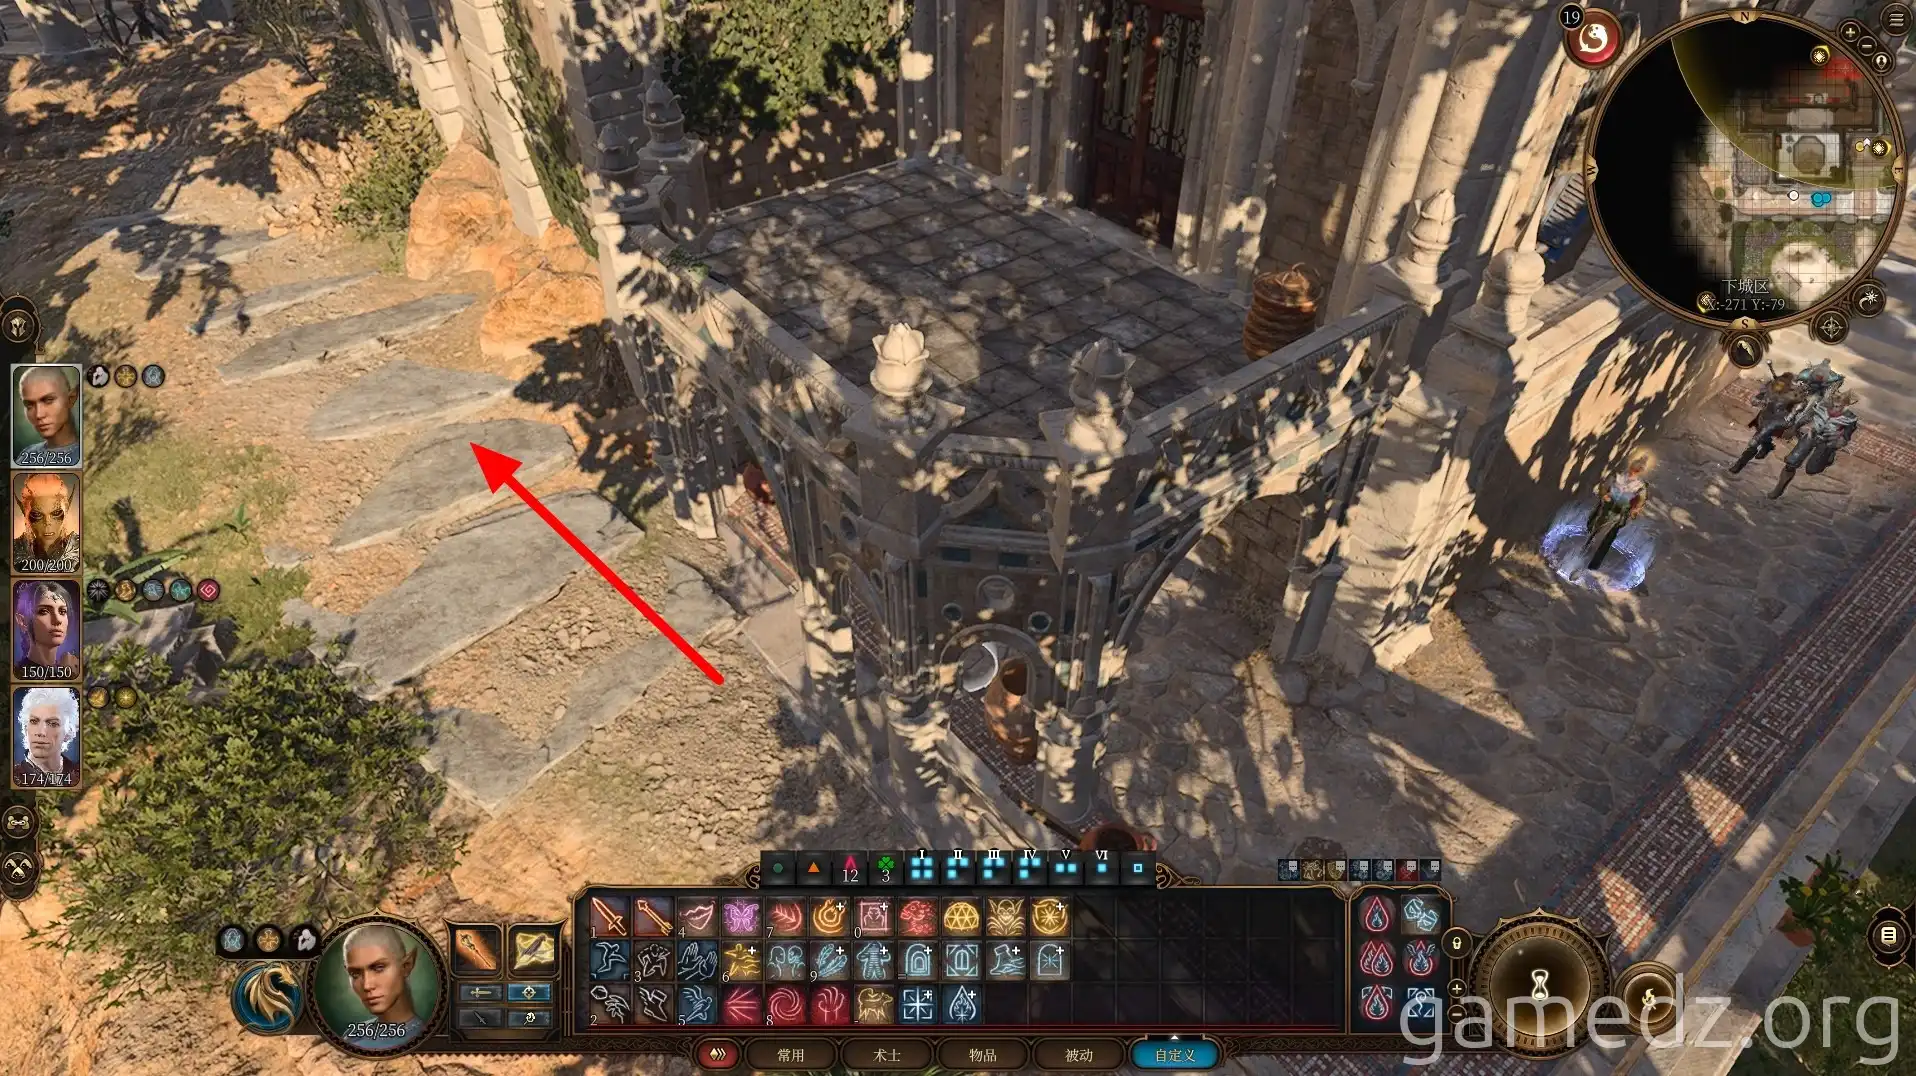
Under a tree north of the estate, you'll find a dirt mound with a buried chest.
Then, enter the mansion through any entrance. You'll discover that the house is experiencing paranormal activity.
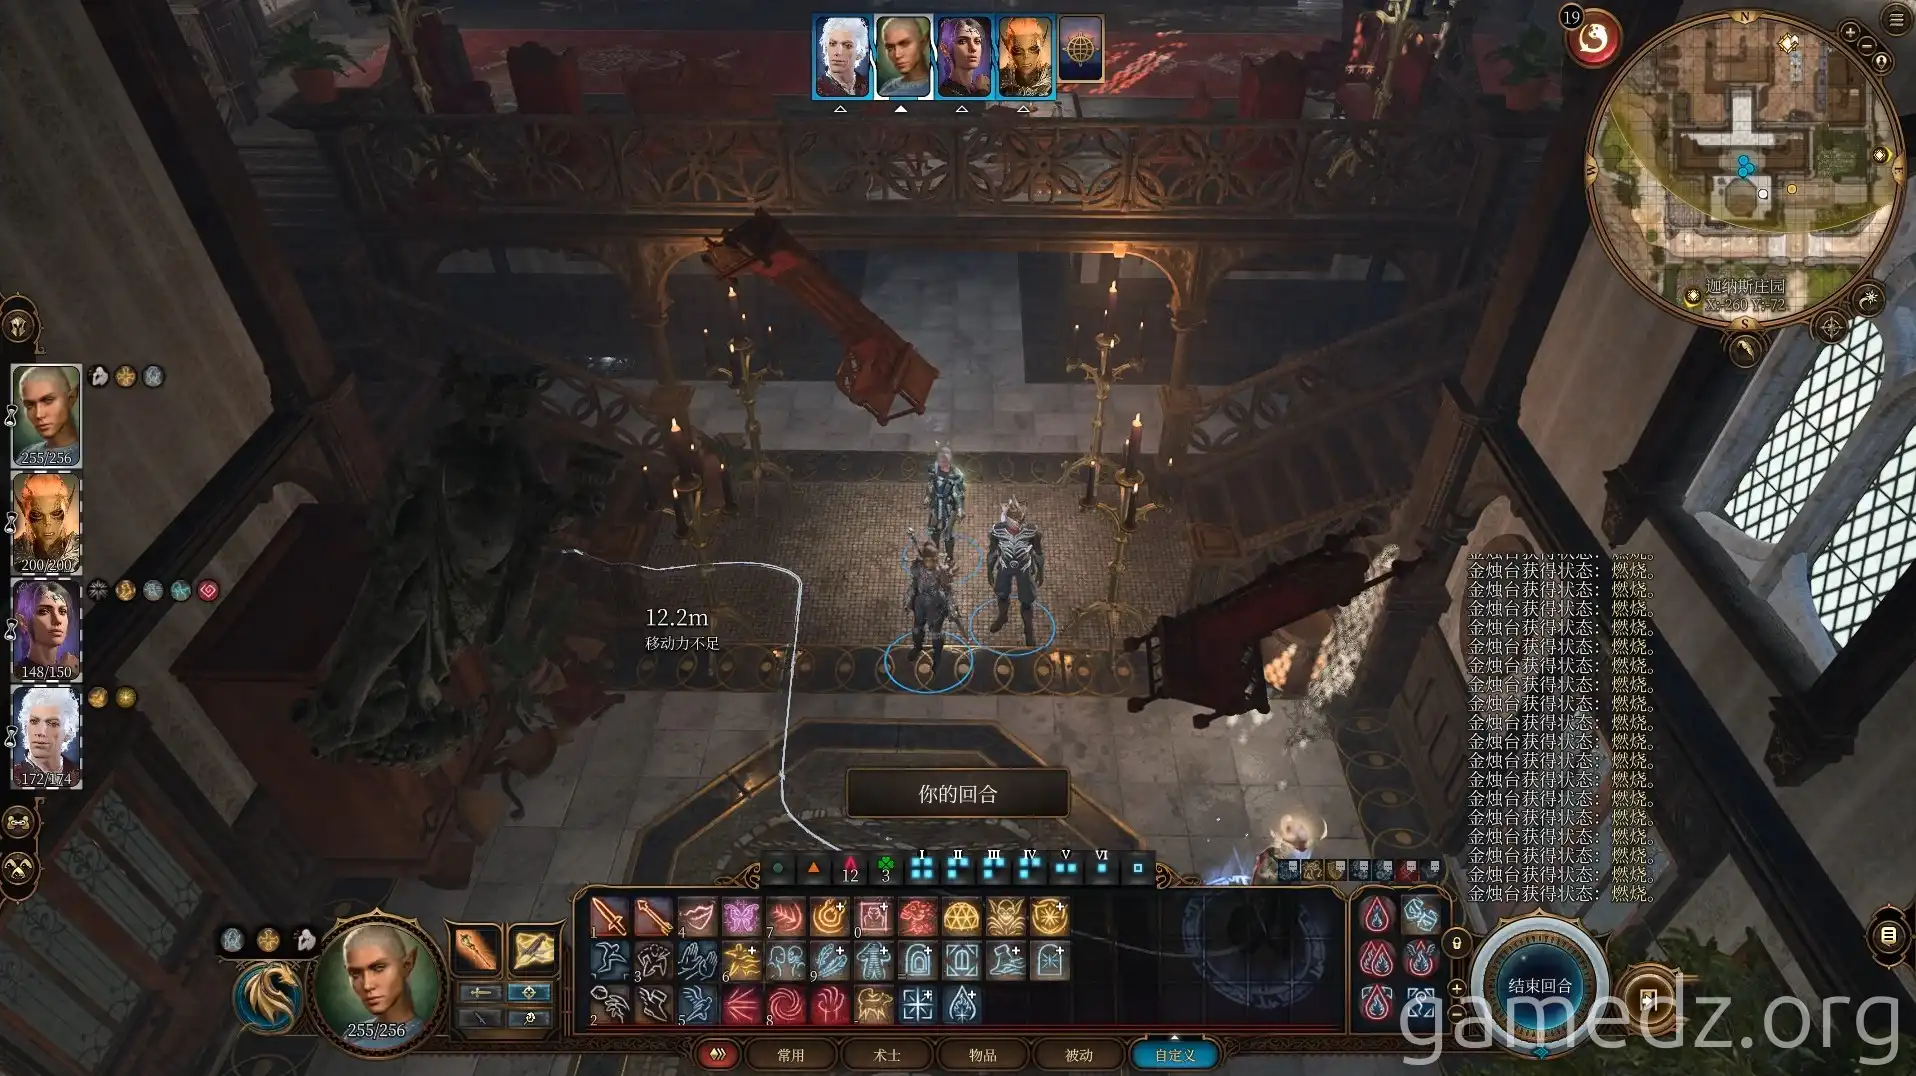
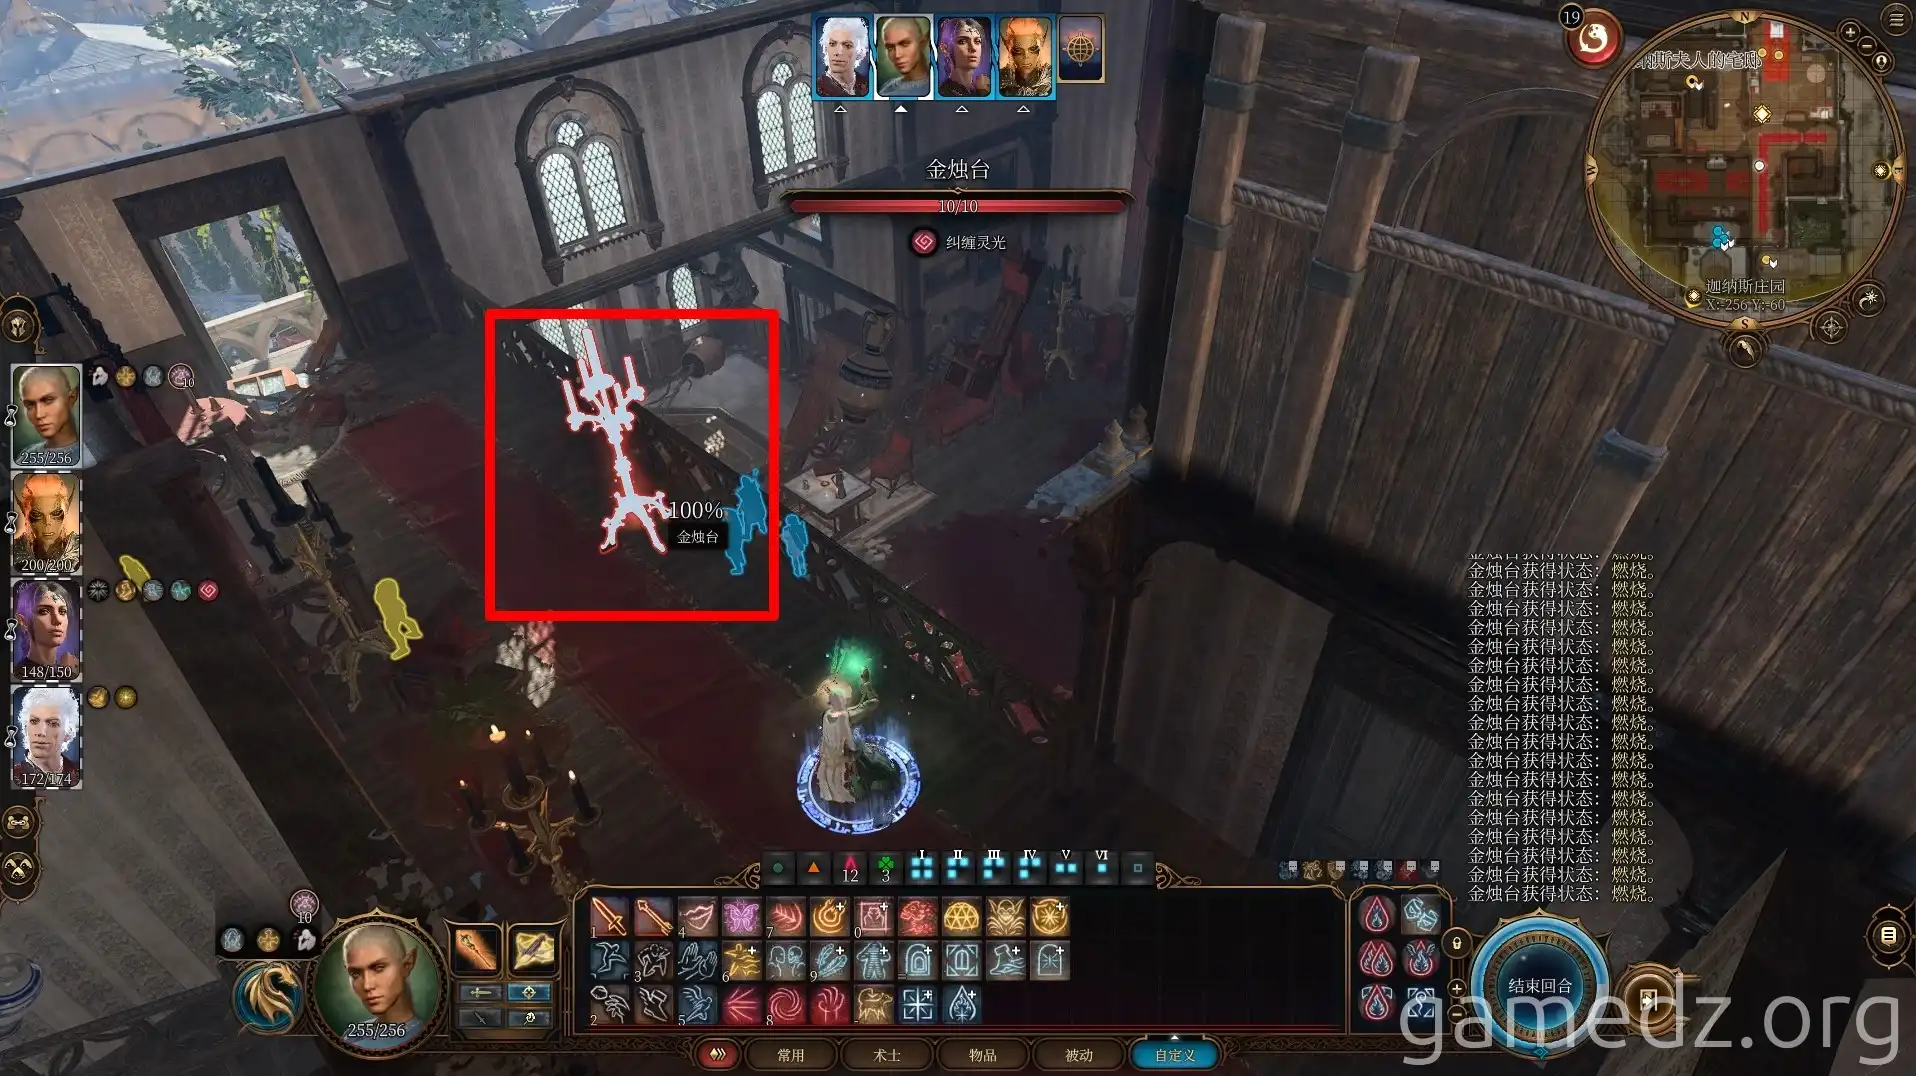
In the rooms, destroying the candelabra with the Entangling Aura buff will summon tormented souls. Eliminate them.
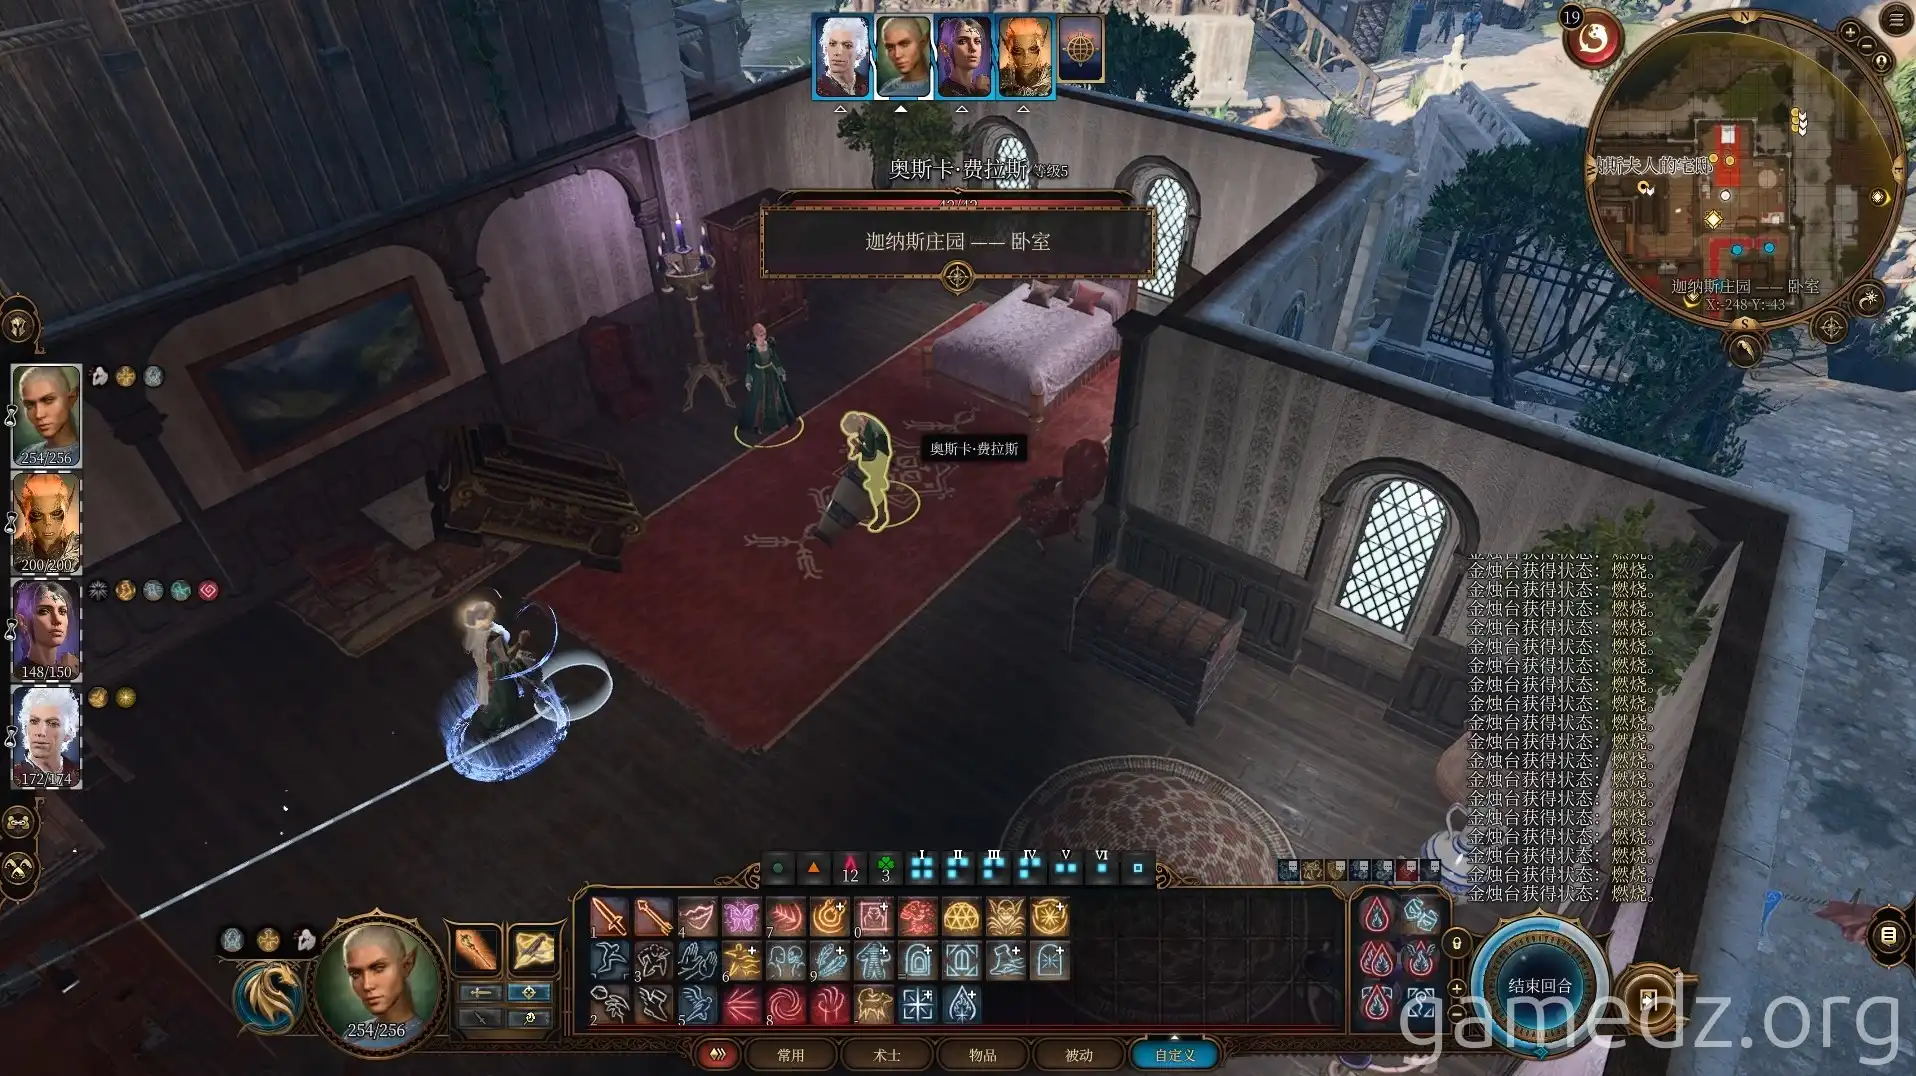
Upon reaching the second floor, you'll see the artist you rescued earlier and Lady Jannath. During the conversation, you'll discover that the artist is possessed by a ghost.
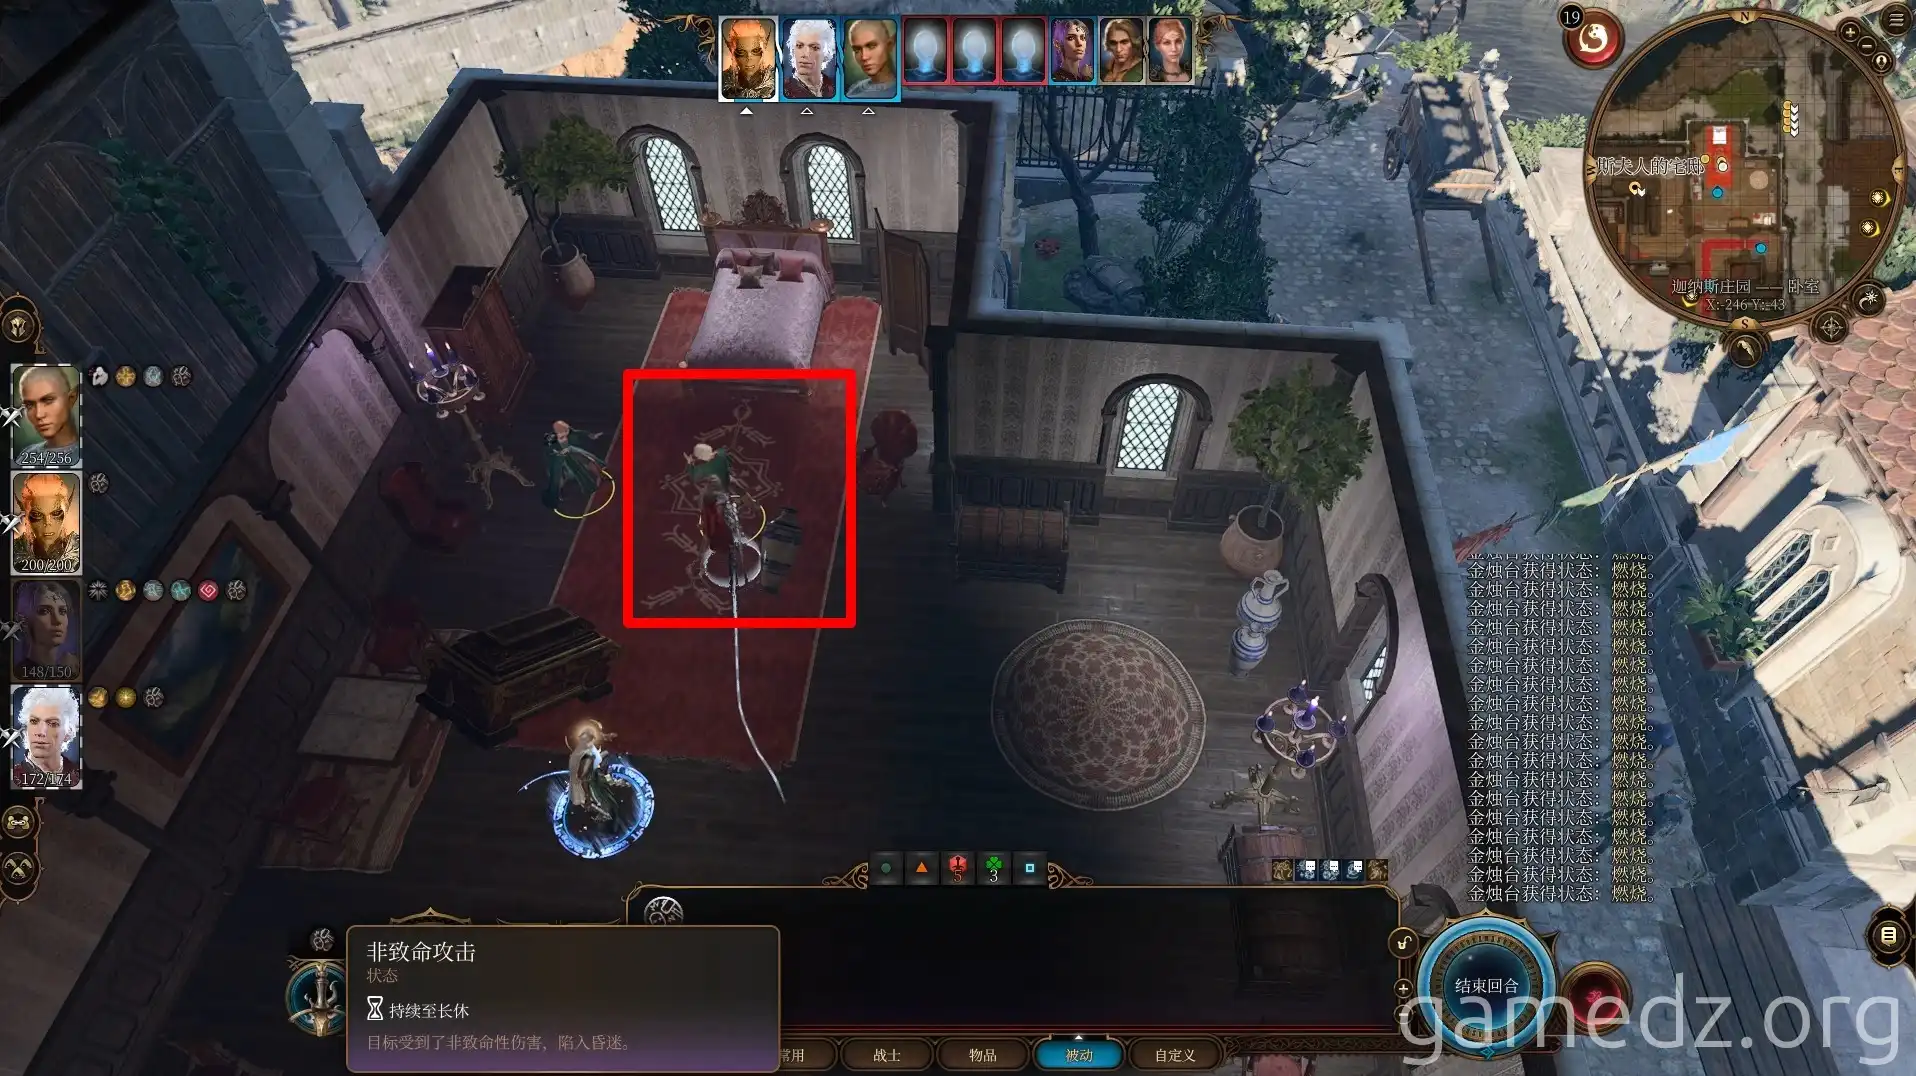
After the dialogue, combat will begin. Defeat the three mischievous spirits, then switch to non-lethal attacks to stun the artist.
Proceed to the third floor of the mansion. Destroy the cursed skulls you encounter along the way and defeat any ghosts you meet.
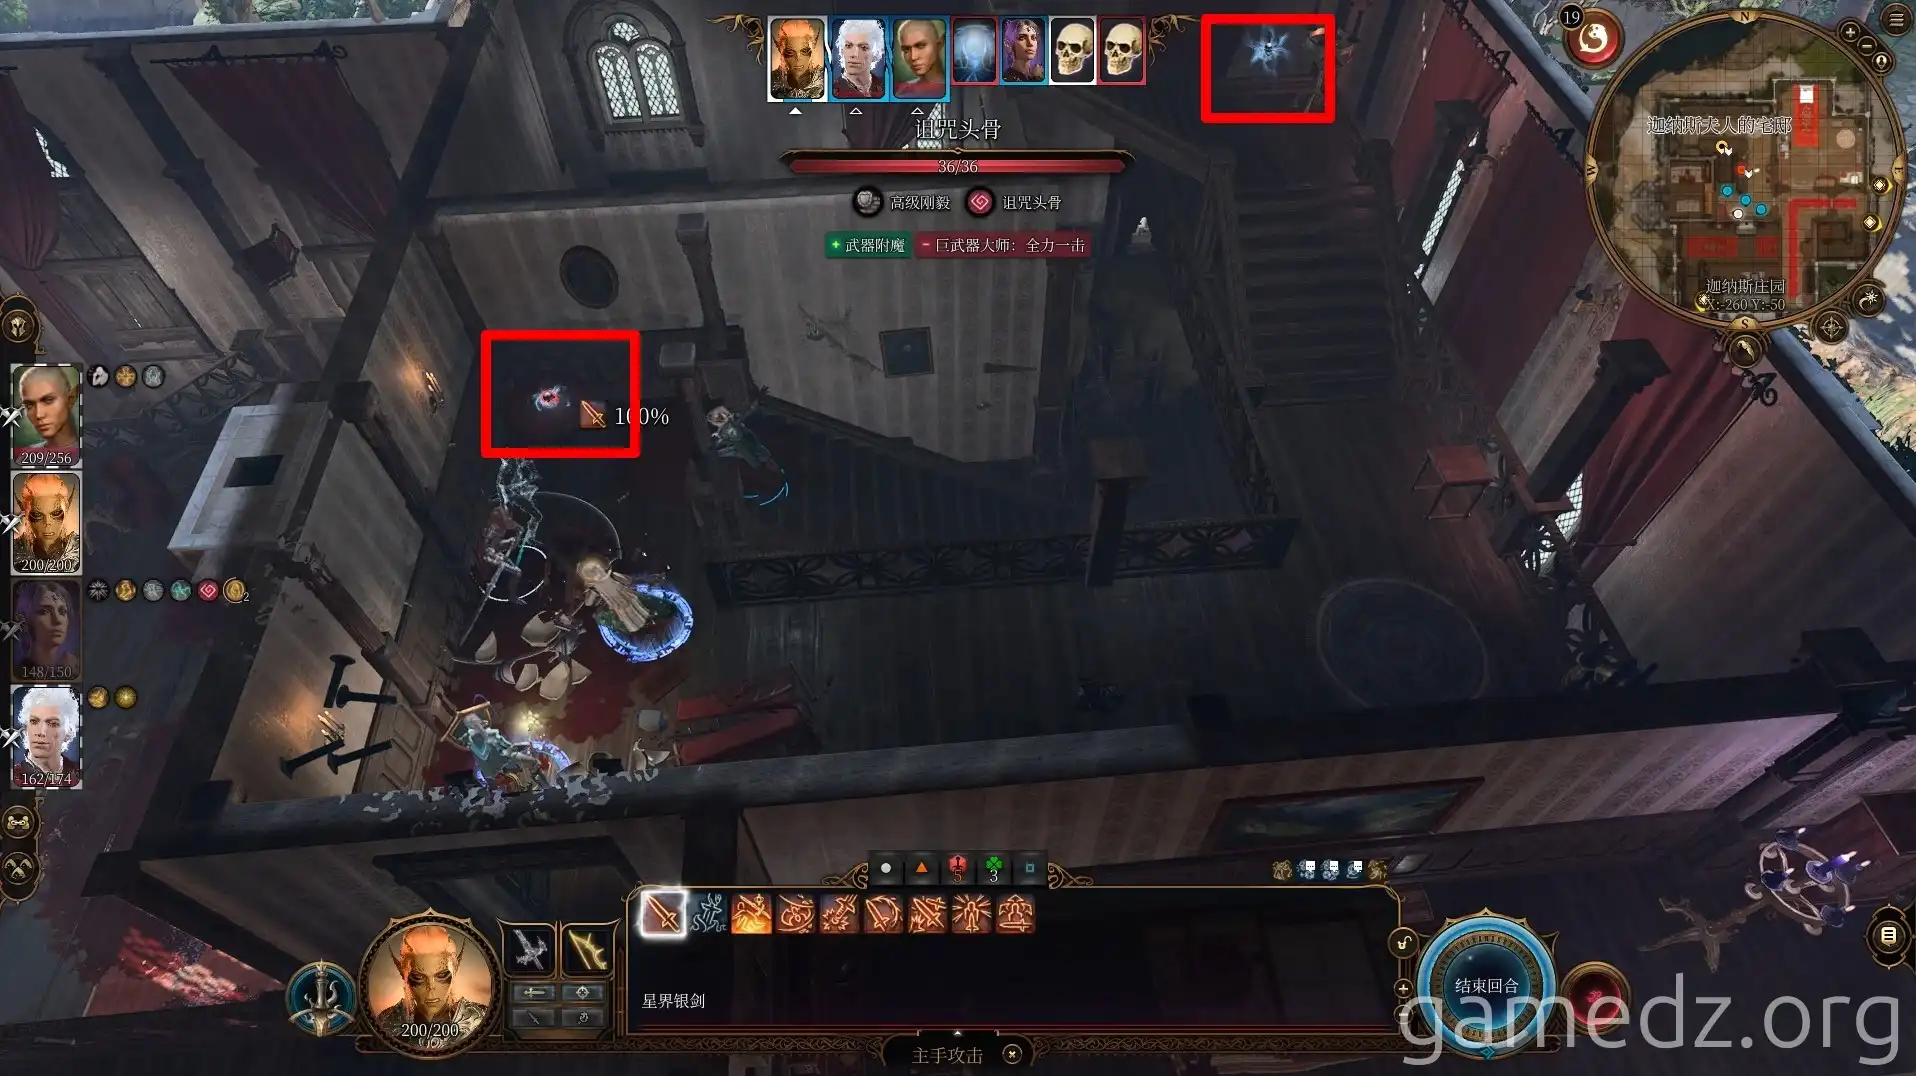
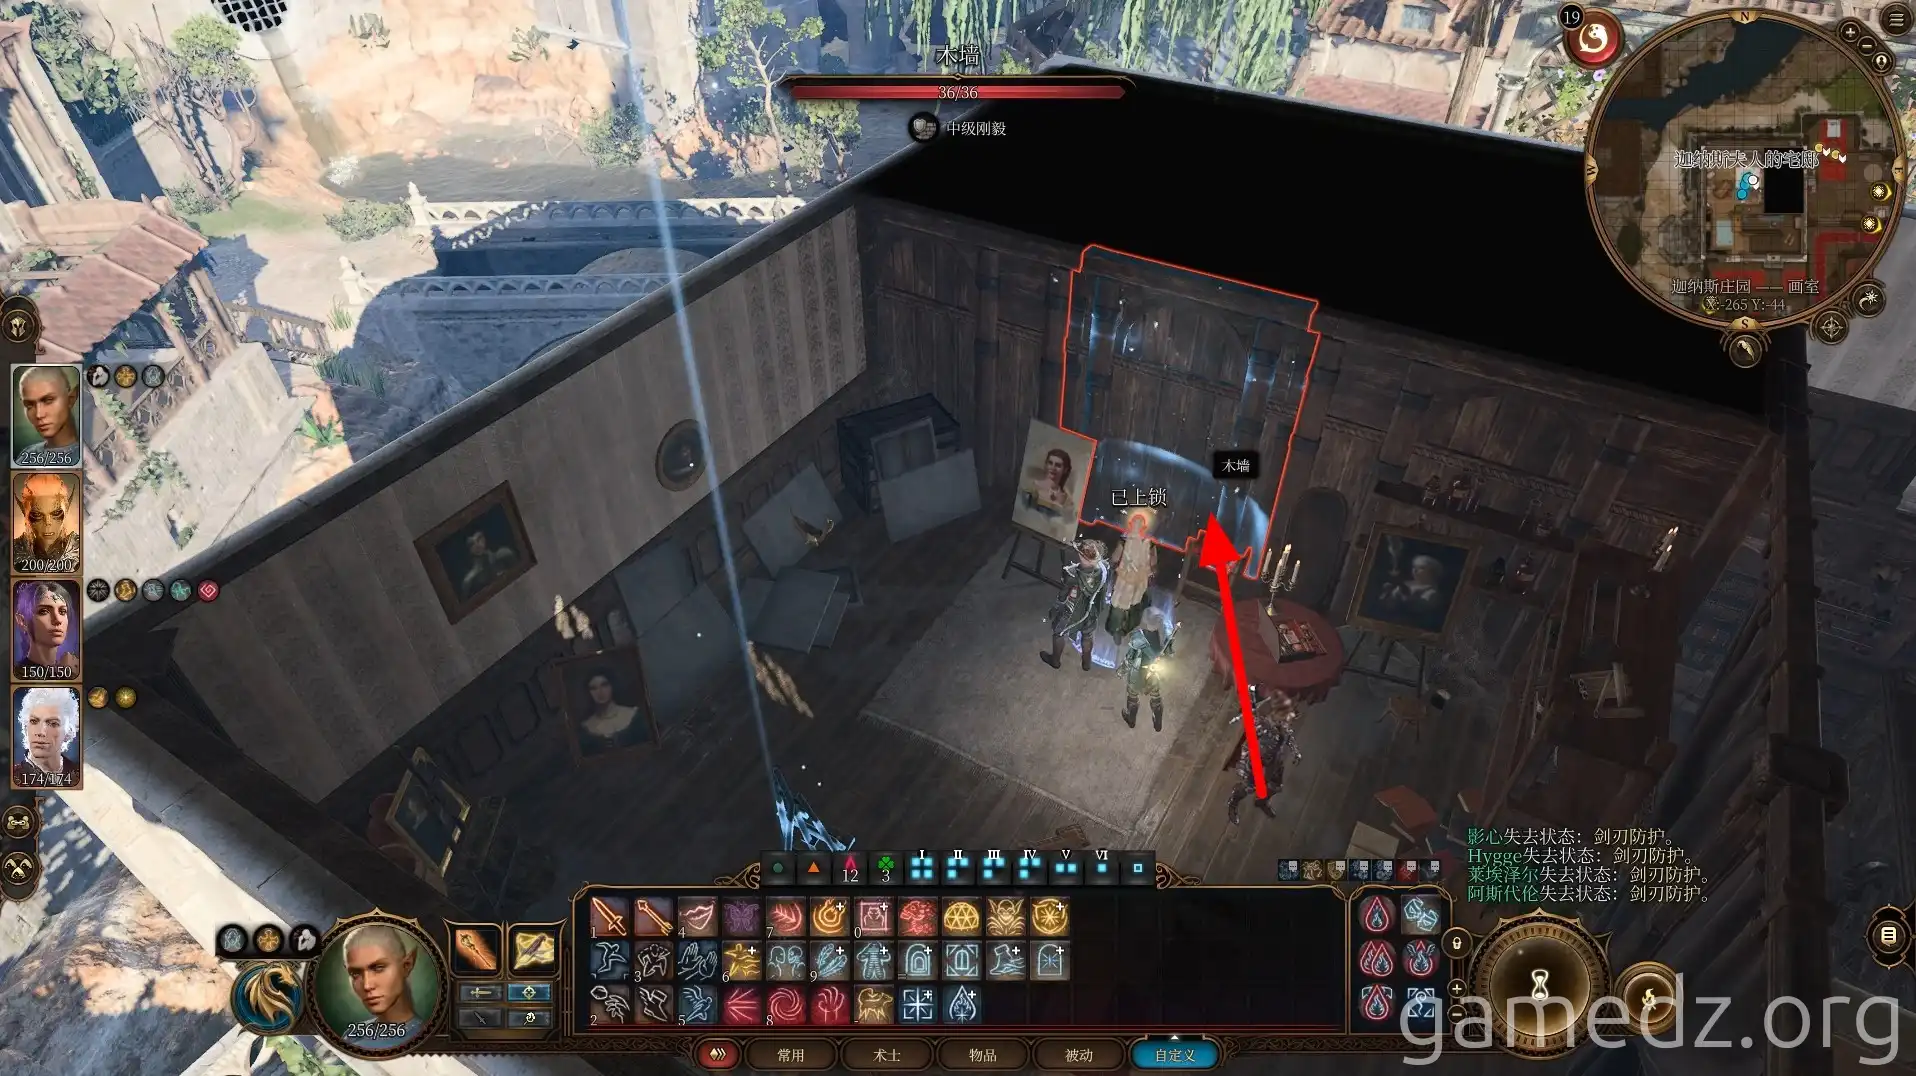
In the topmost art studio, a successful Perception check will reveal a secret door. Open it to enter a hidden chamber.
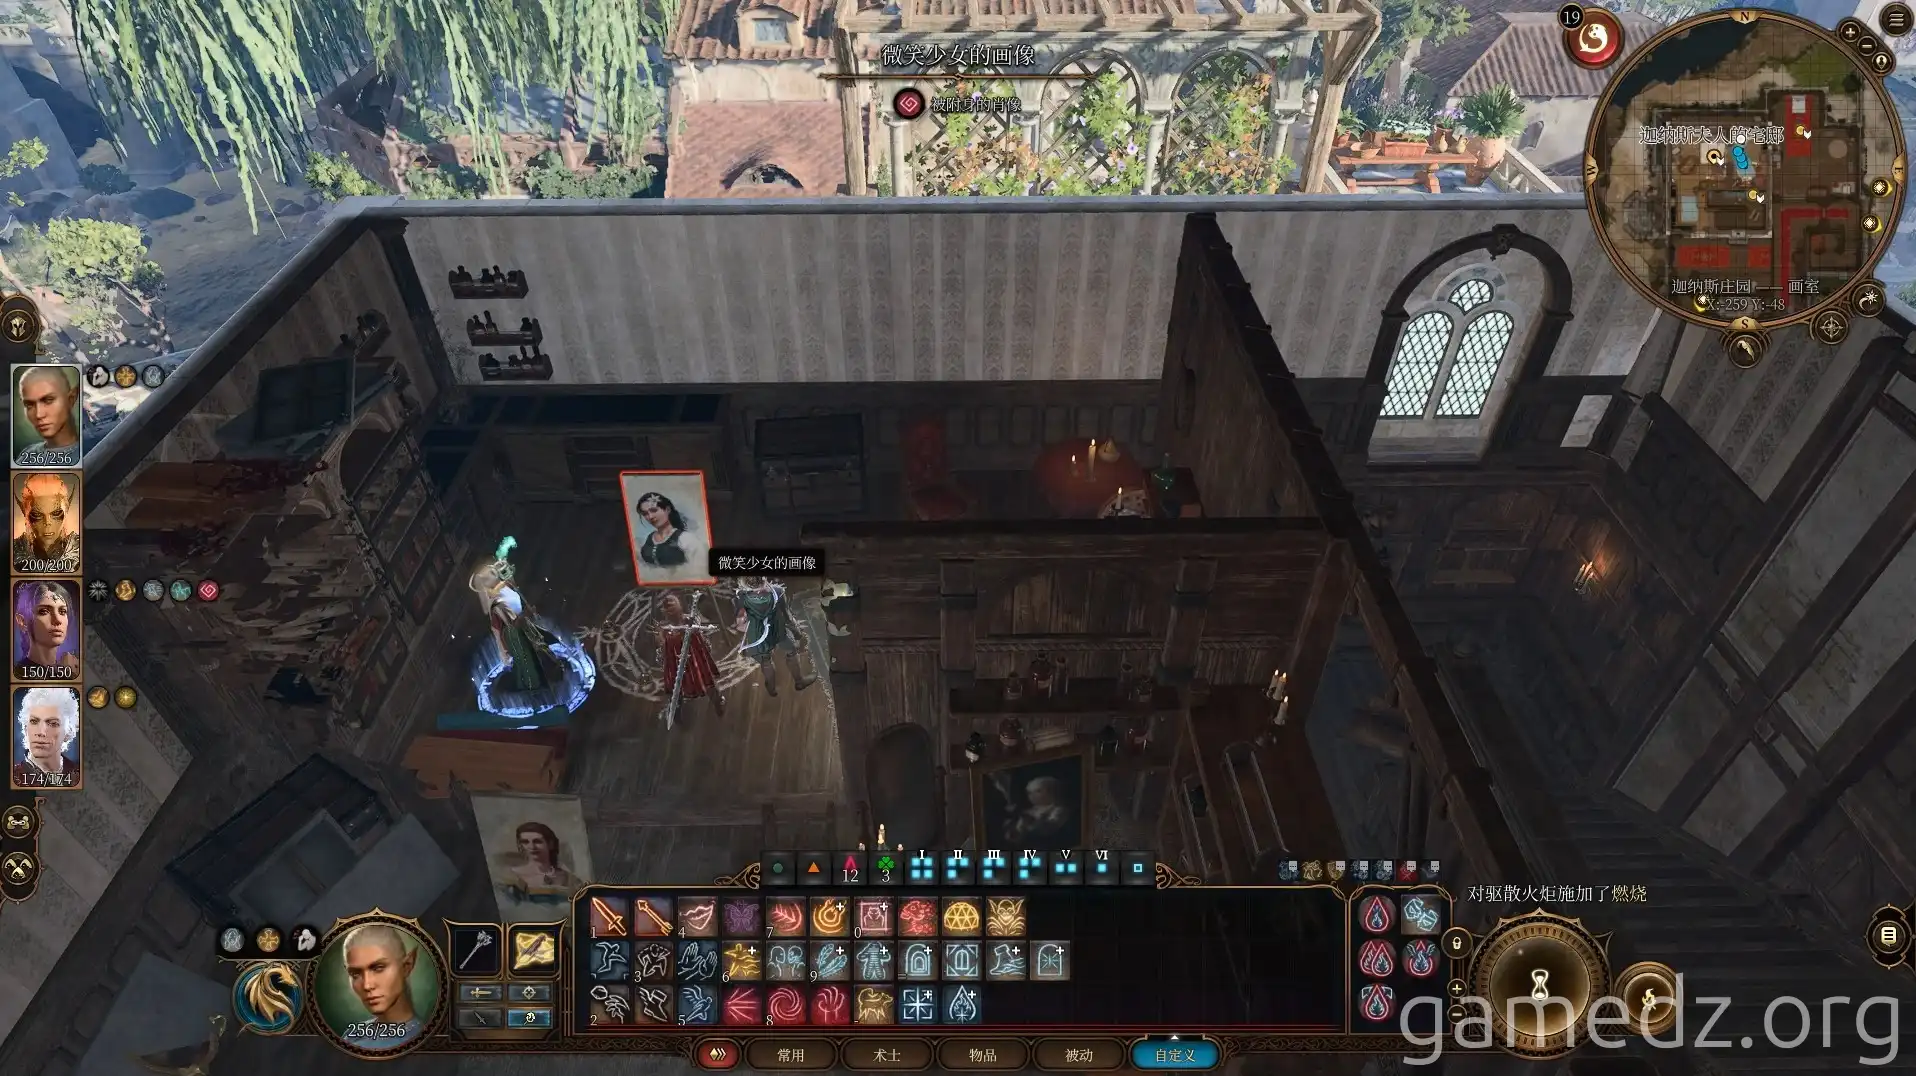
Equip the Dispelling Torch obtained after defeating Carrion, then interact with the Portrait of the Smiling Girl in the secret chamber to destroy it. Characters with the Sage background will also receive an inspiration.
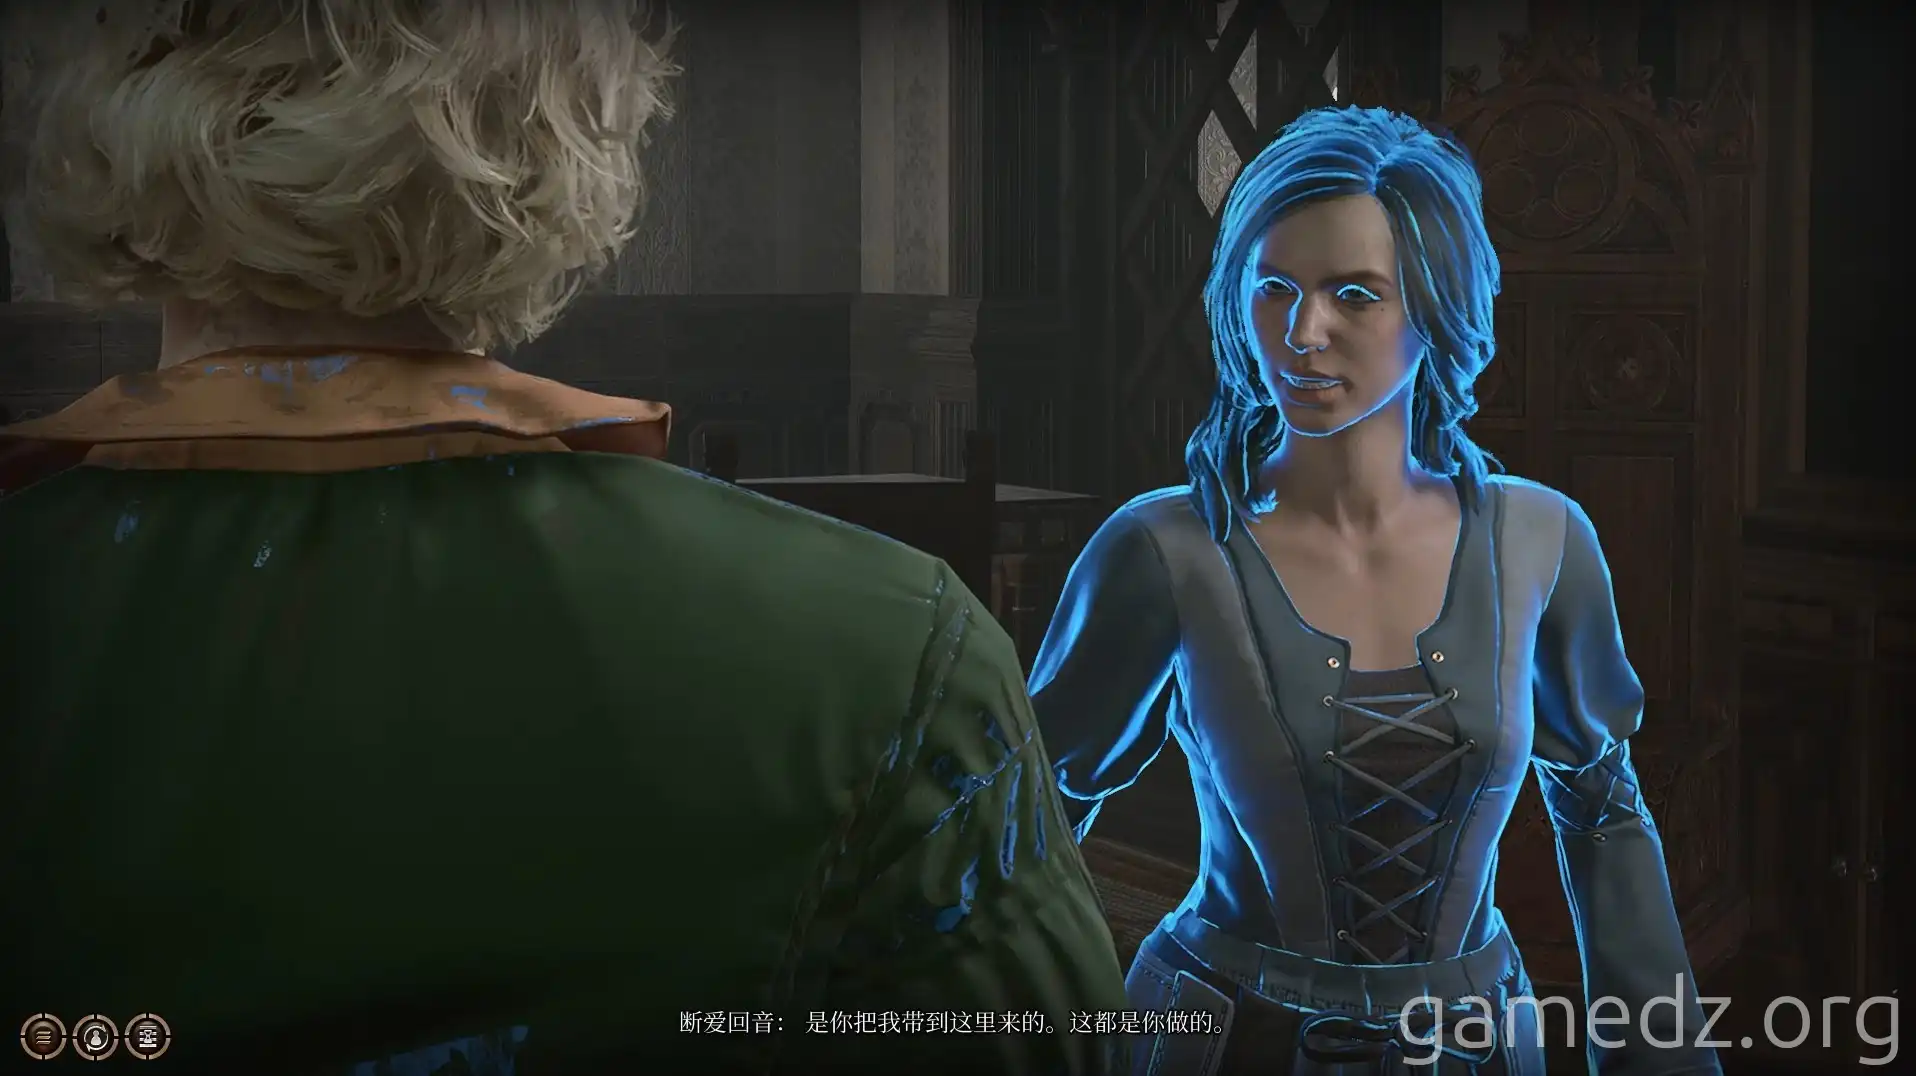
Then, return to the bedroom to confront the ghost and the artist. After a conversation, the ghost will be successfully dispelled.
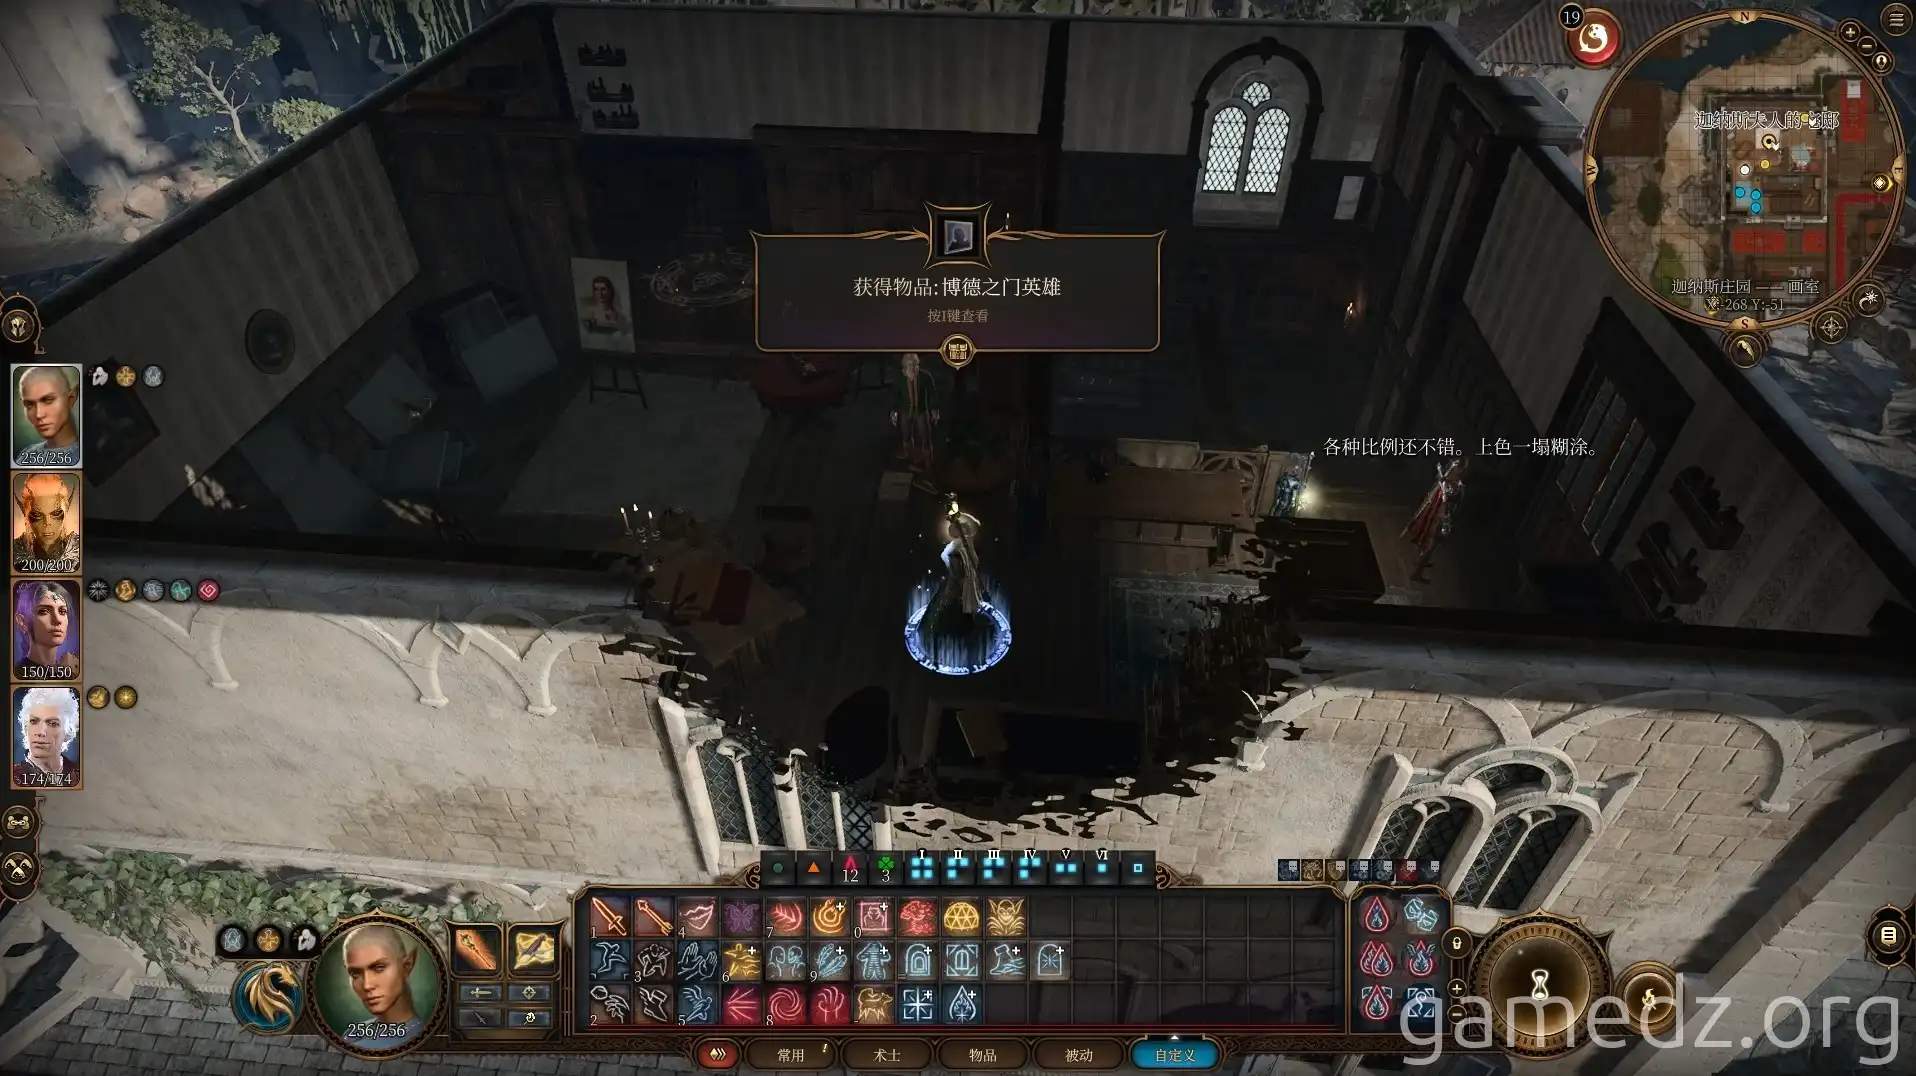
Follow the artist to the art studio. After the conversation, the side quest Save the Artist will be completed, and you'll receive a painting titled Heroes of Baldur's Gate.
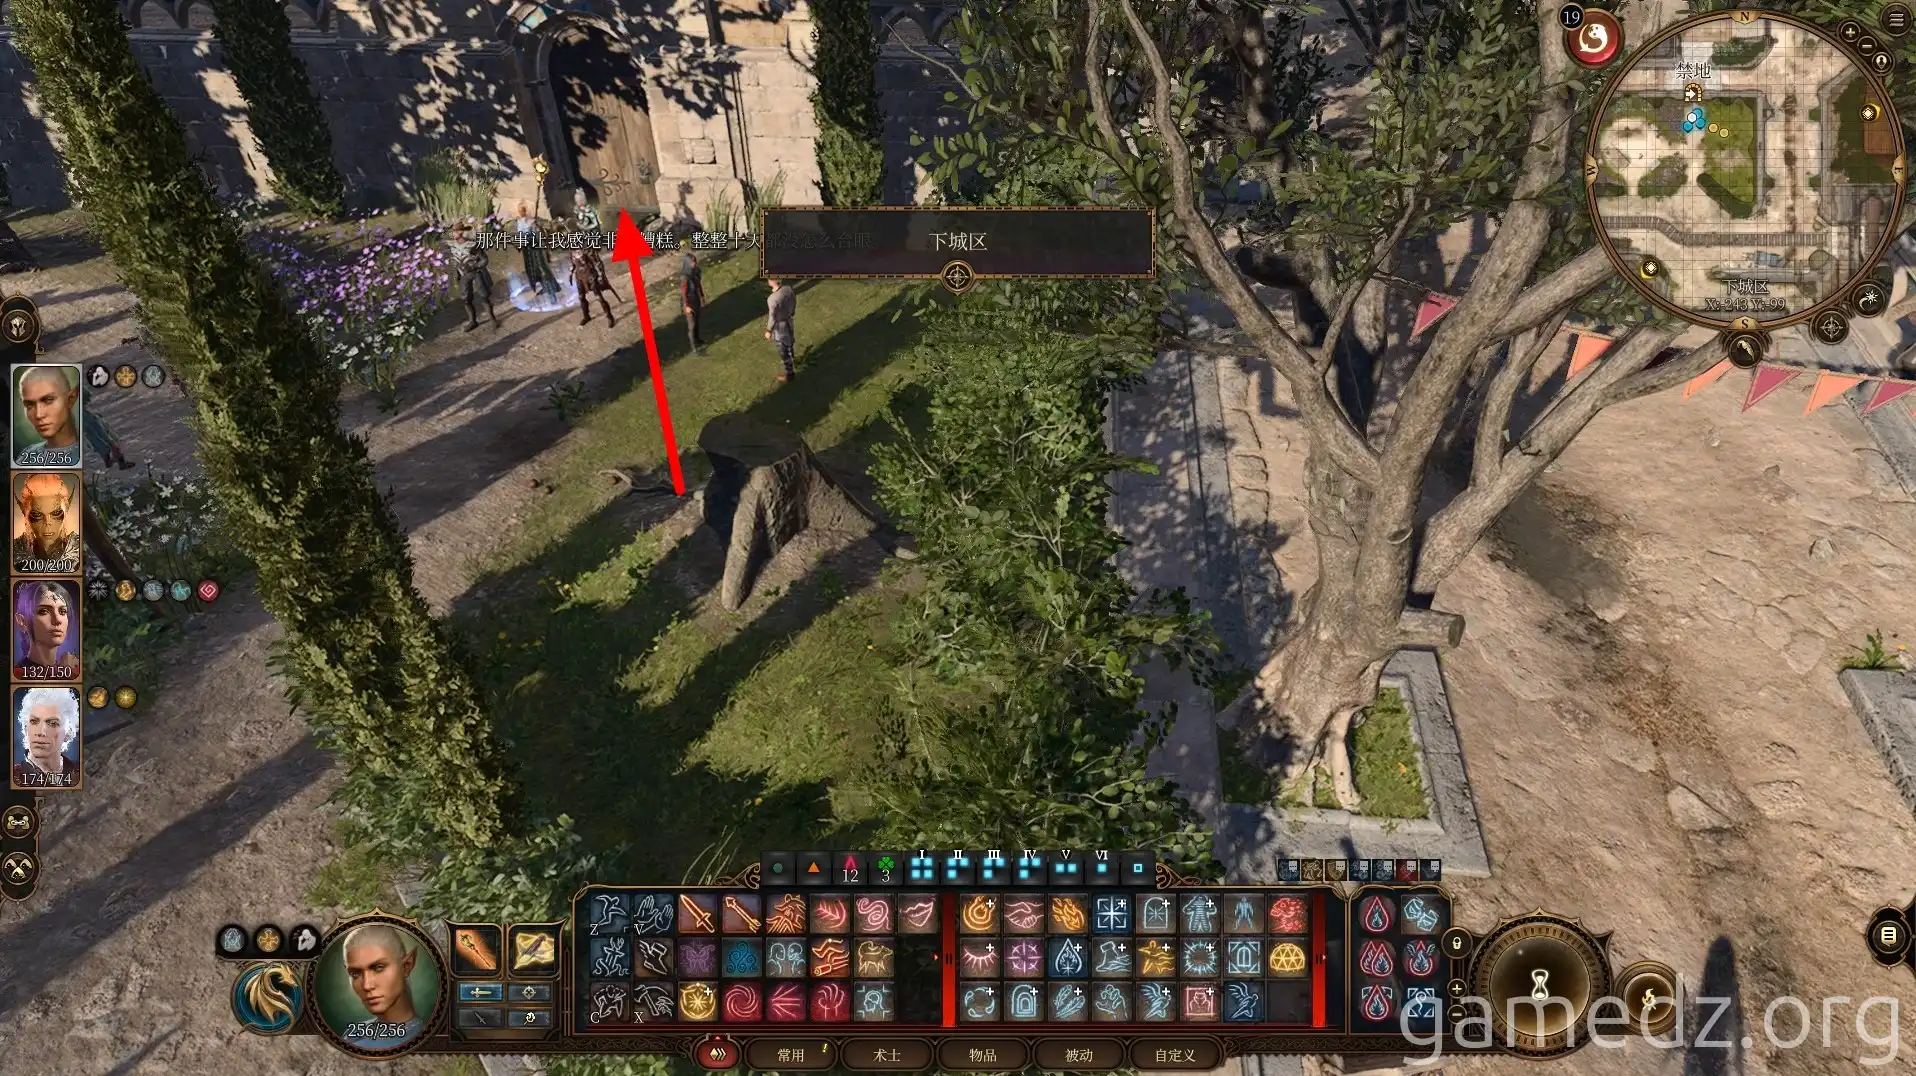
After leaving Jannath's Estate, continue south to the small park shown in the image. The gardener's shed in the park leads directly to the abandoned reservoir where you fought Minsc, but there's nothing of particular interest inside the shed itself.
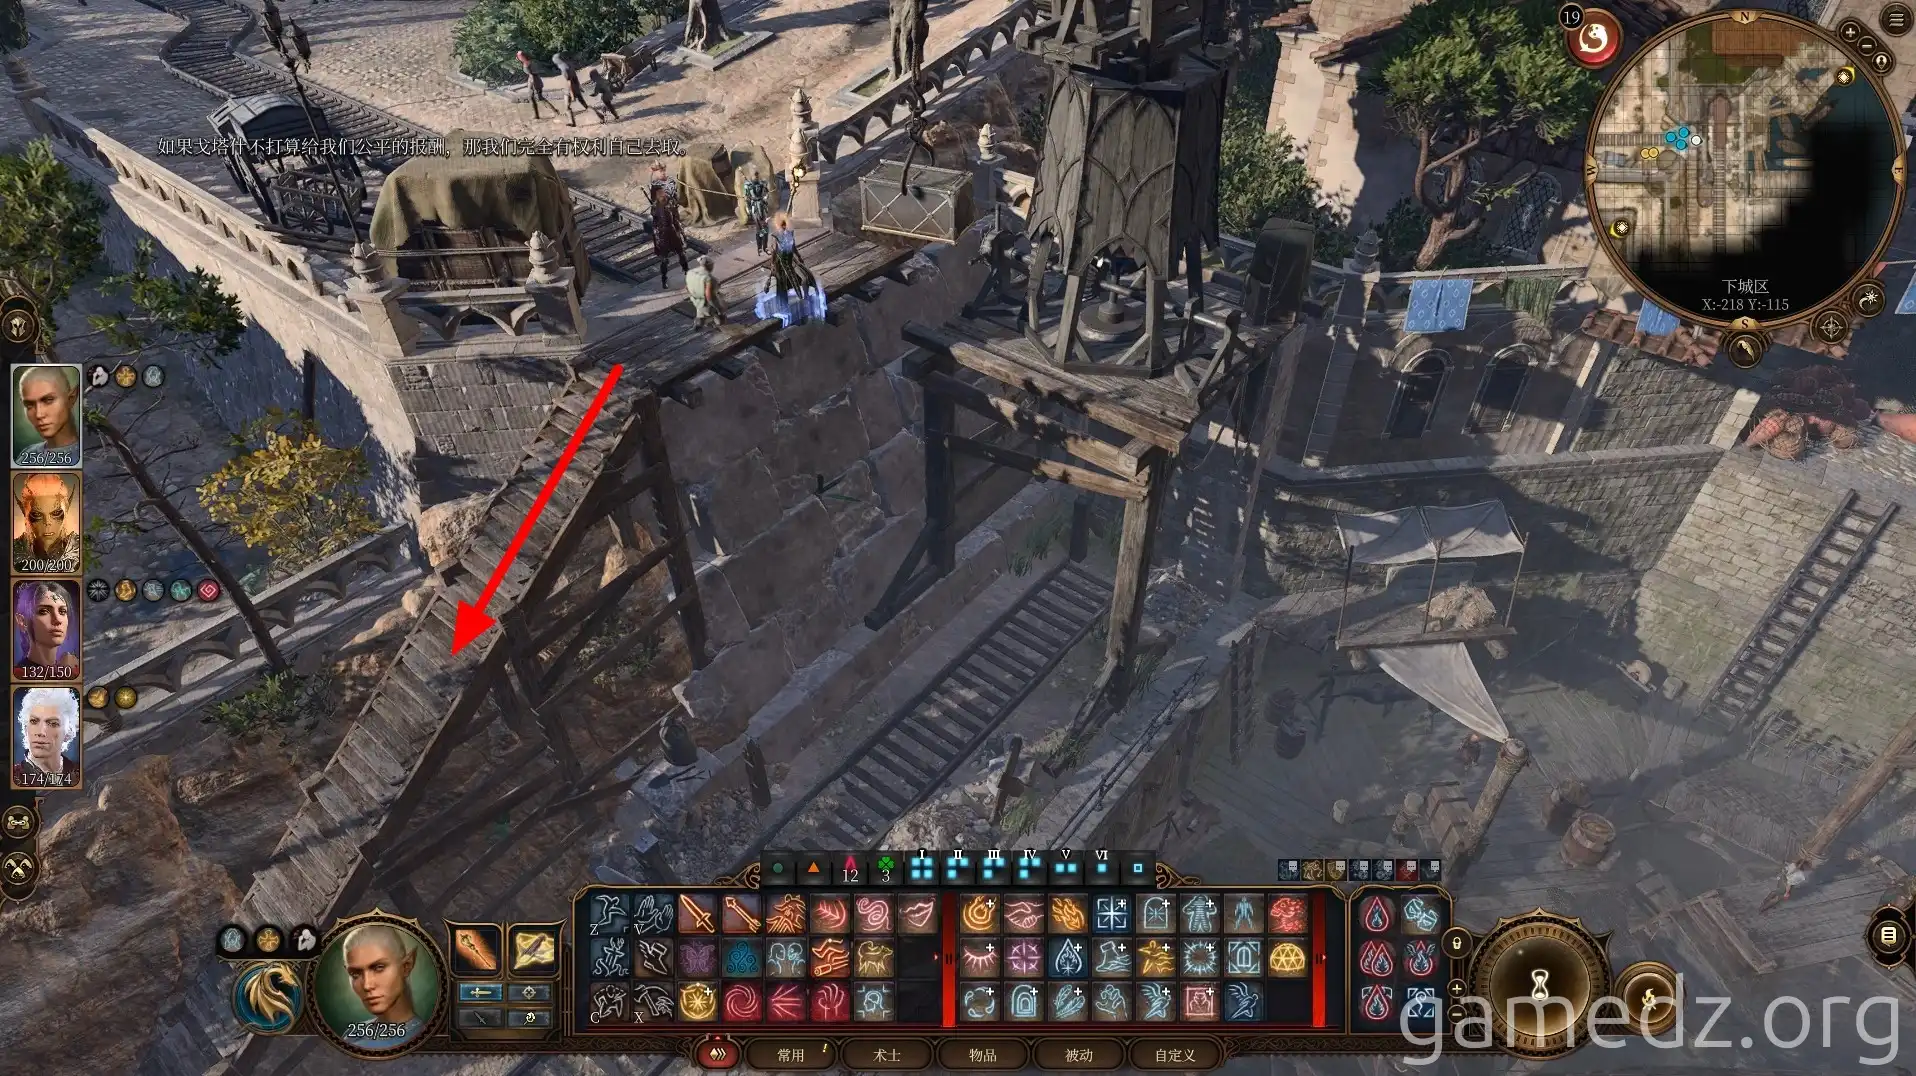
Descend to the dock area via the stairs on the east side of the small park.
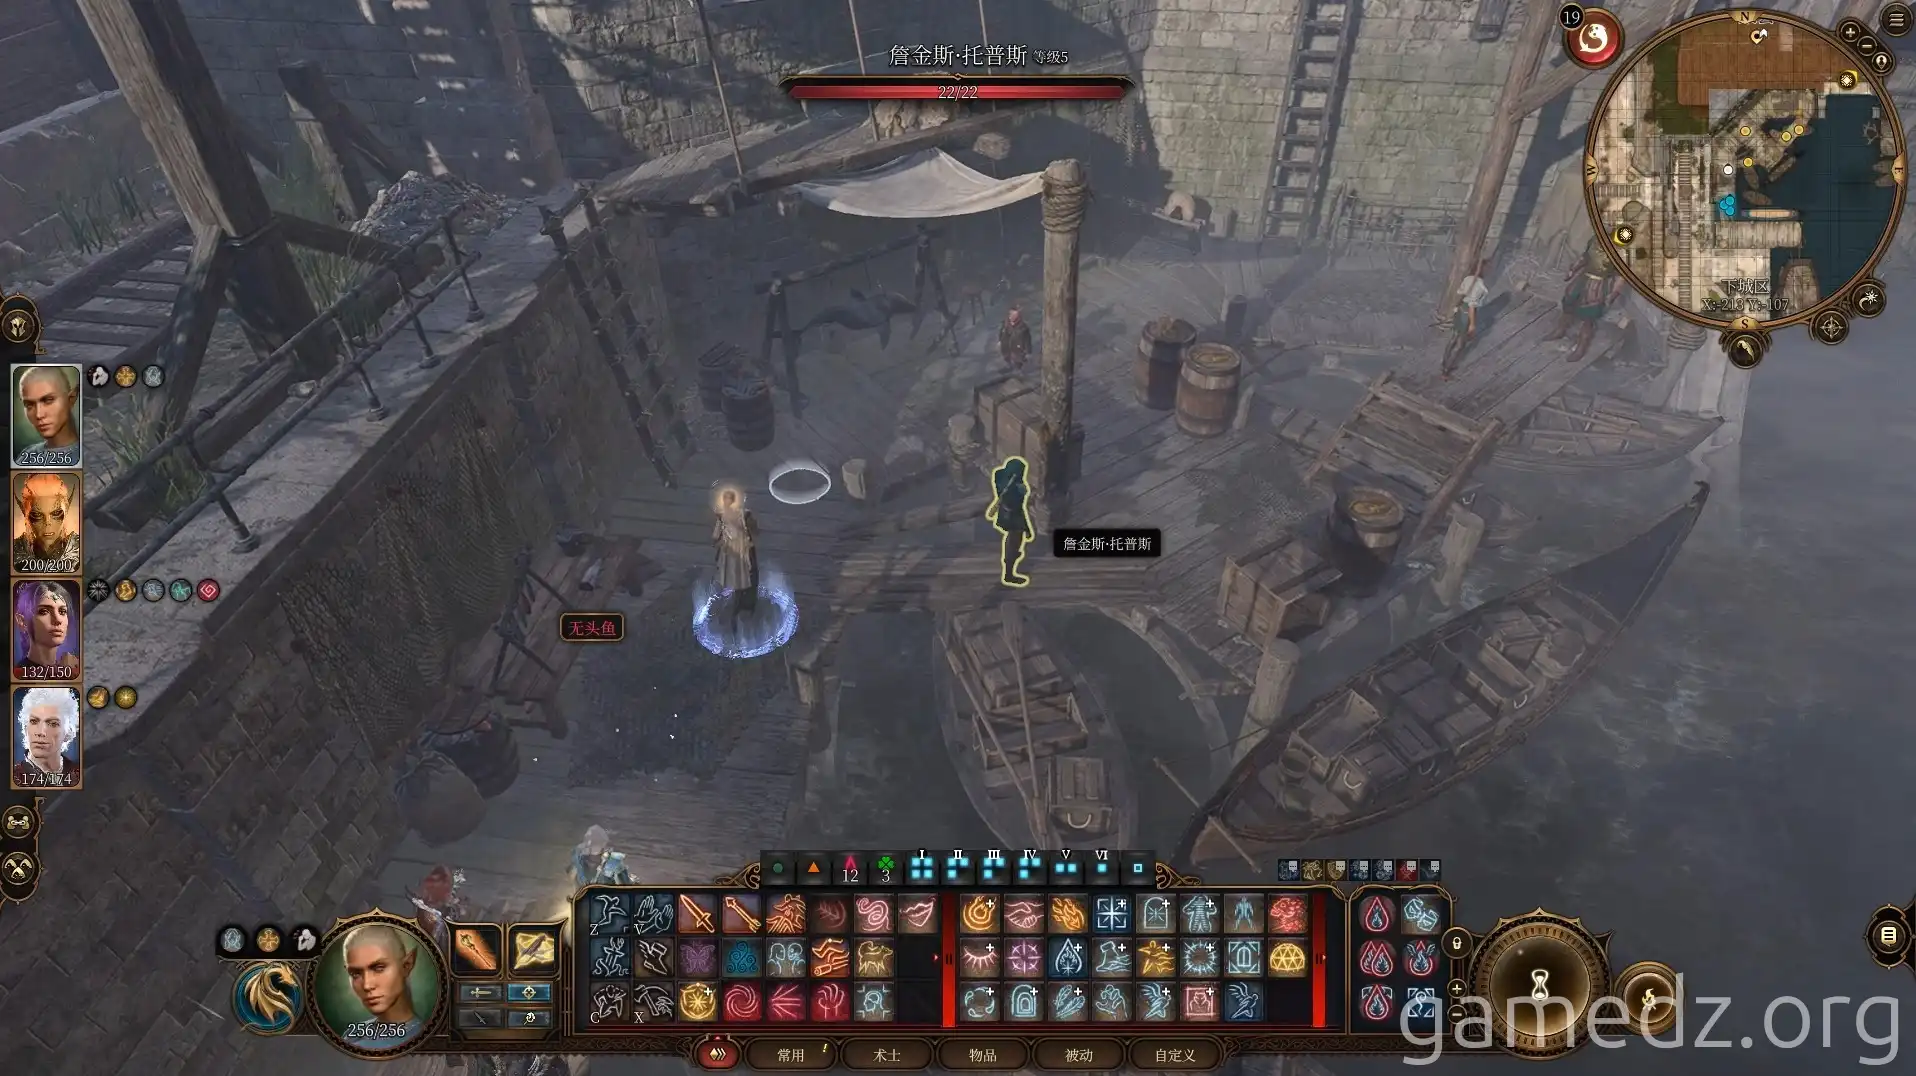
Head north from the docks and speak with the guild members. If you claim to be one of them and pay 1000 gold, you can take anything you want. However, the editor personally prefers to use stealth to steal.
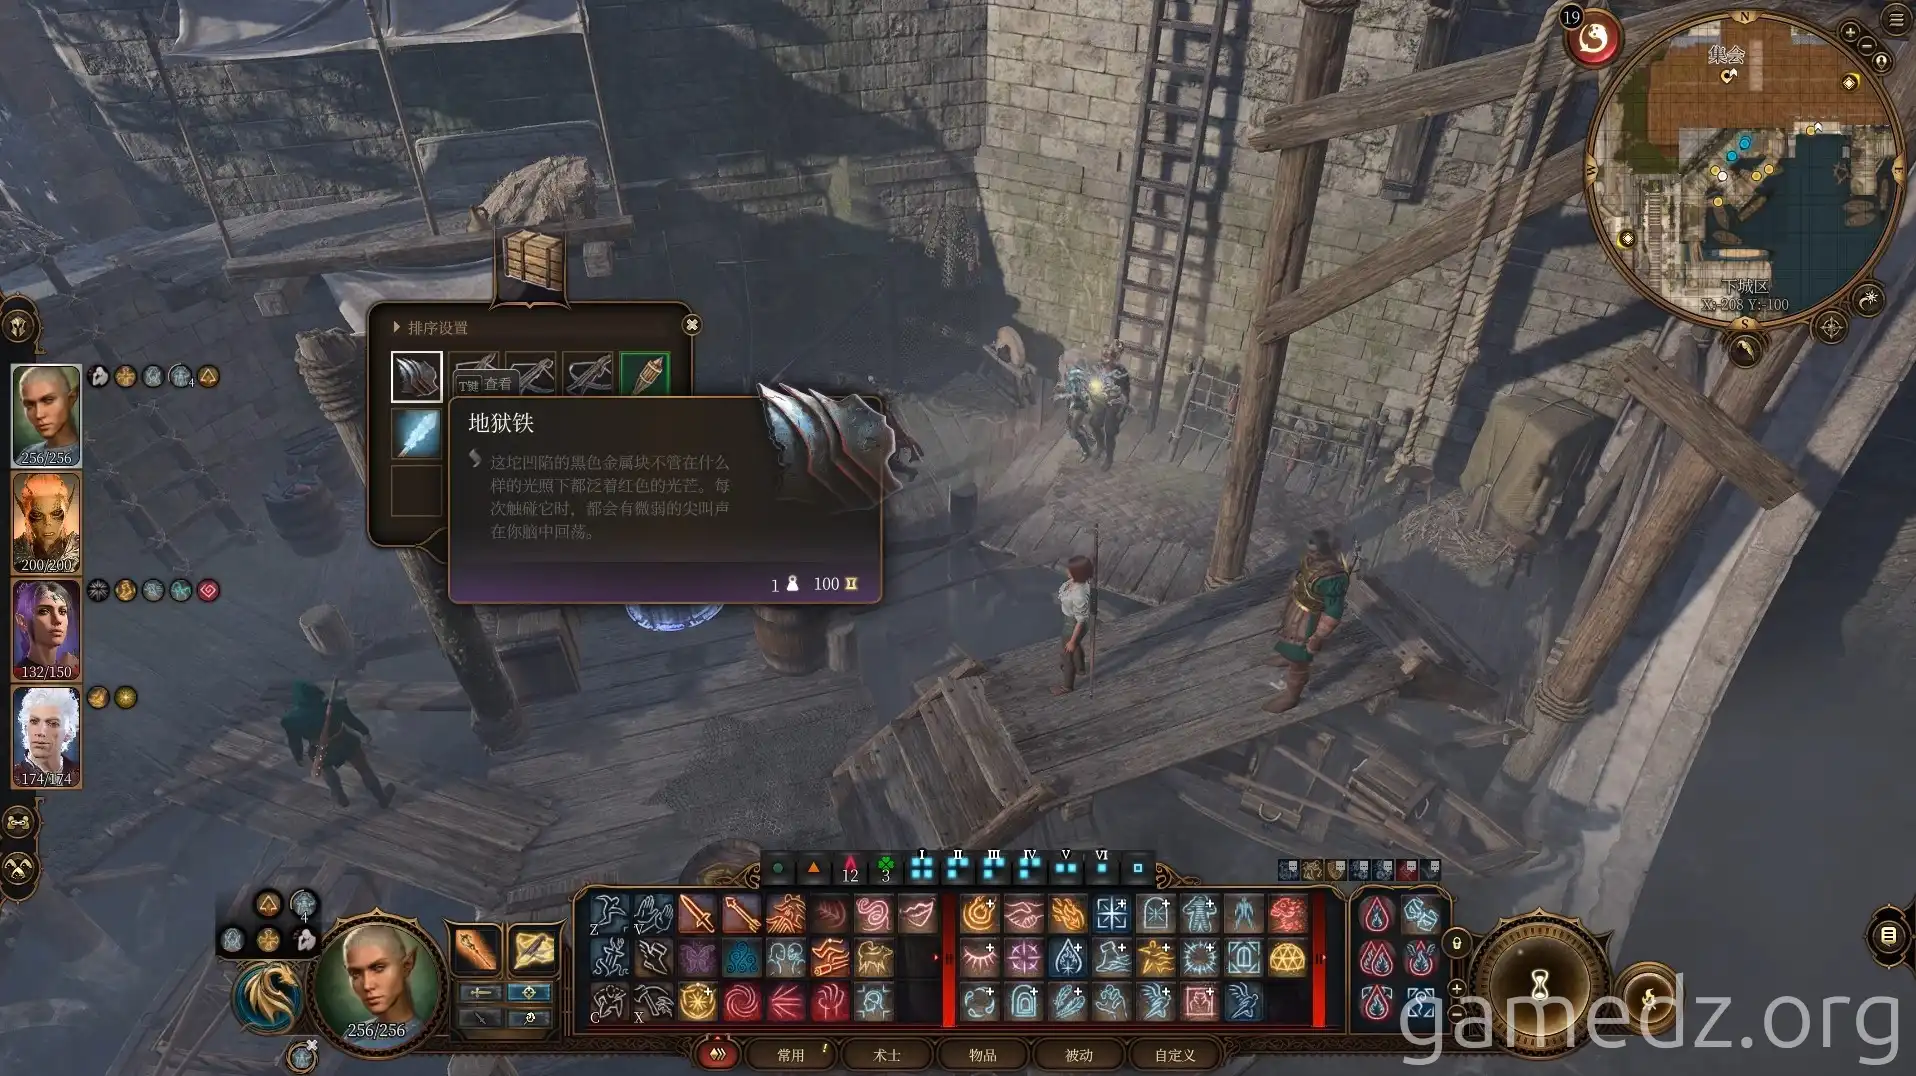
In the central chest, you can find a piece of Infernal Iron.
Then, continue south. Have one character use stealth to board the ship in front of the Steel Watcher, while the others wait nearby.
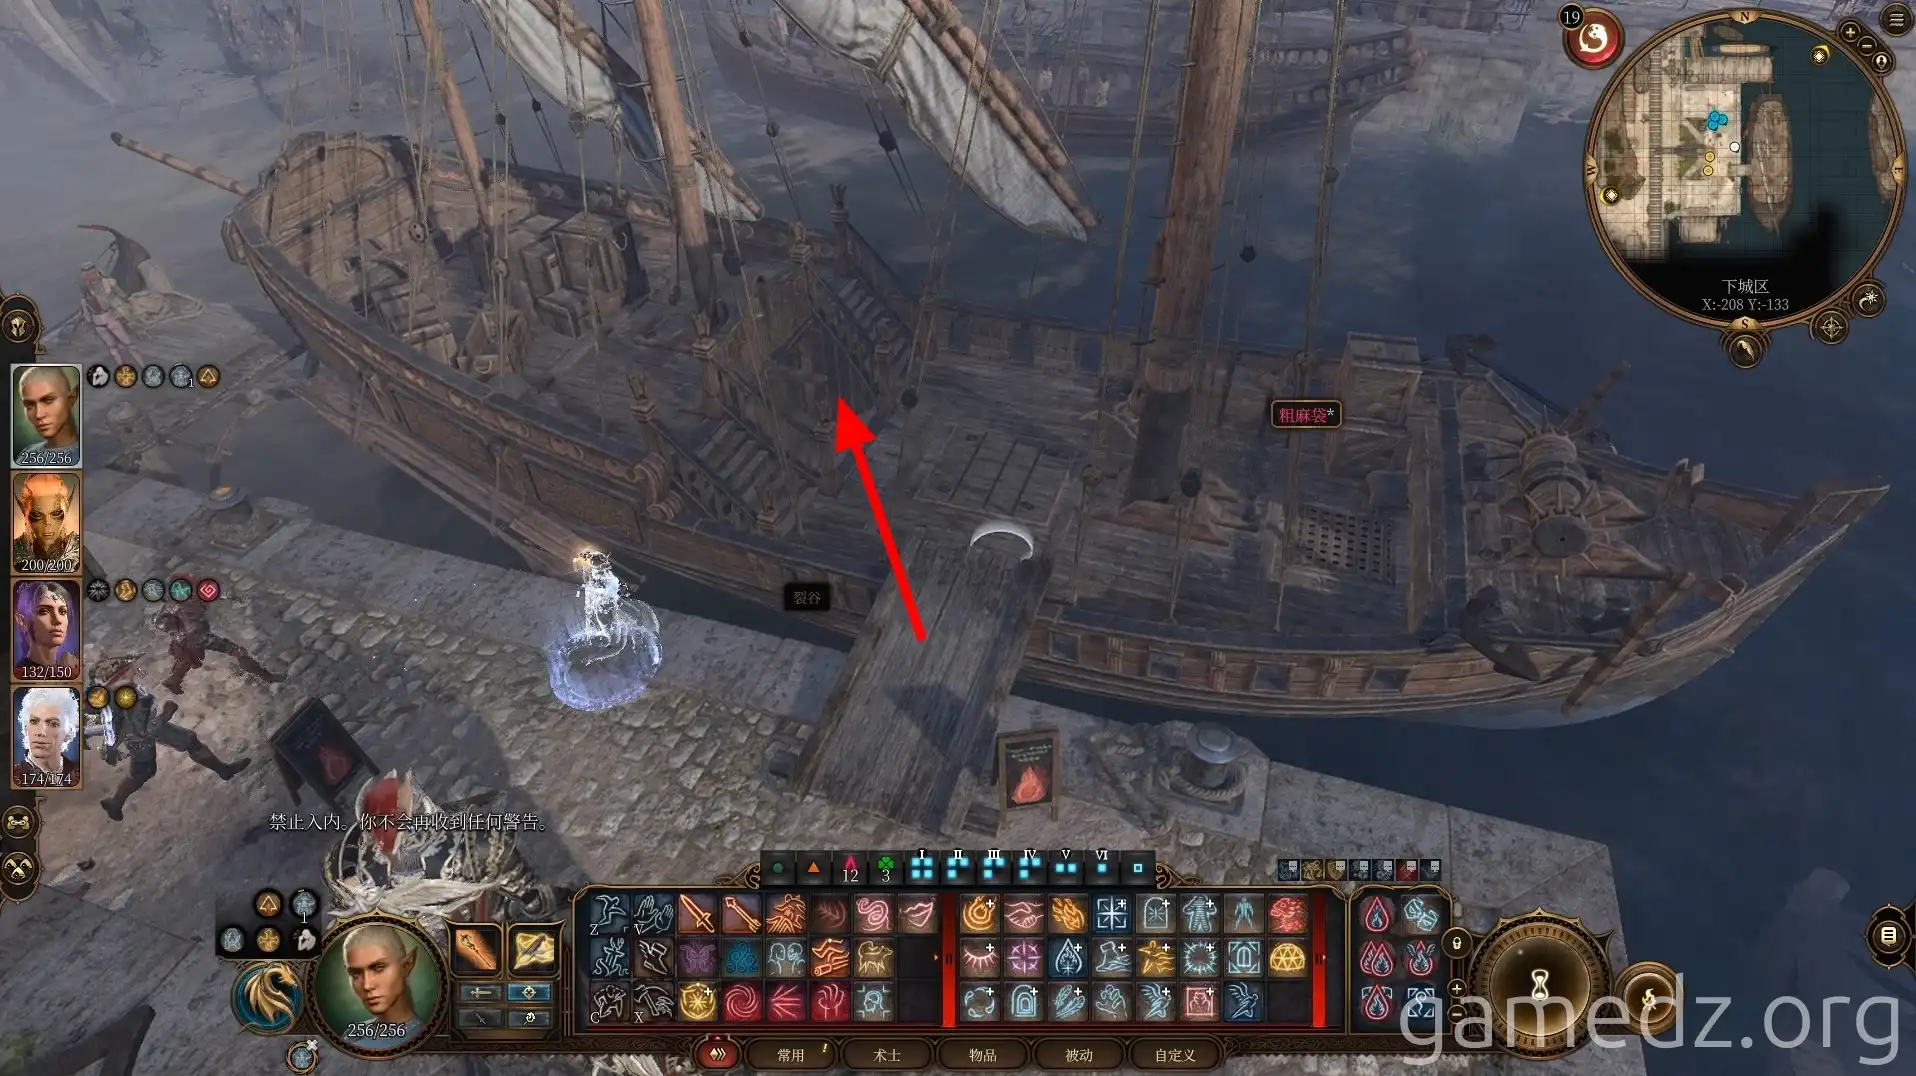
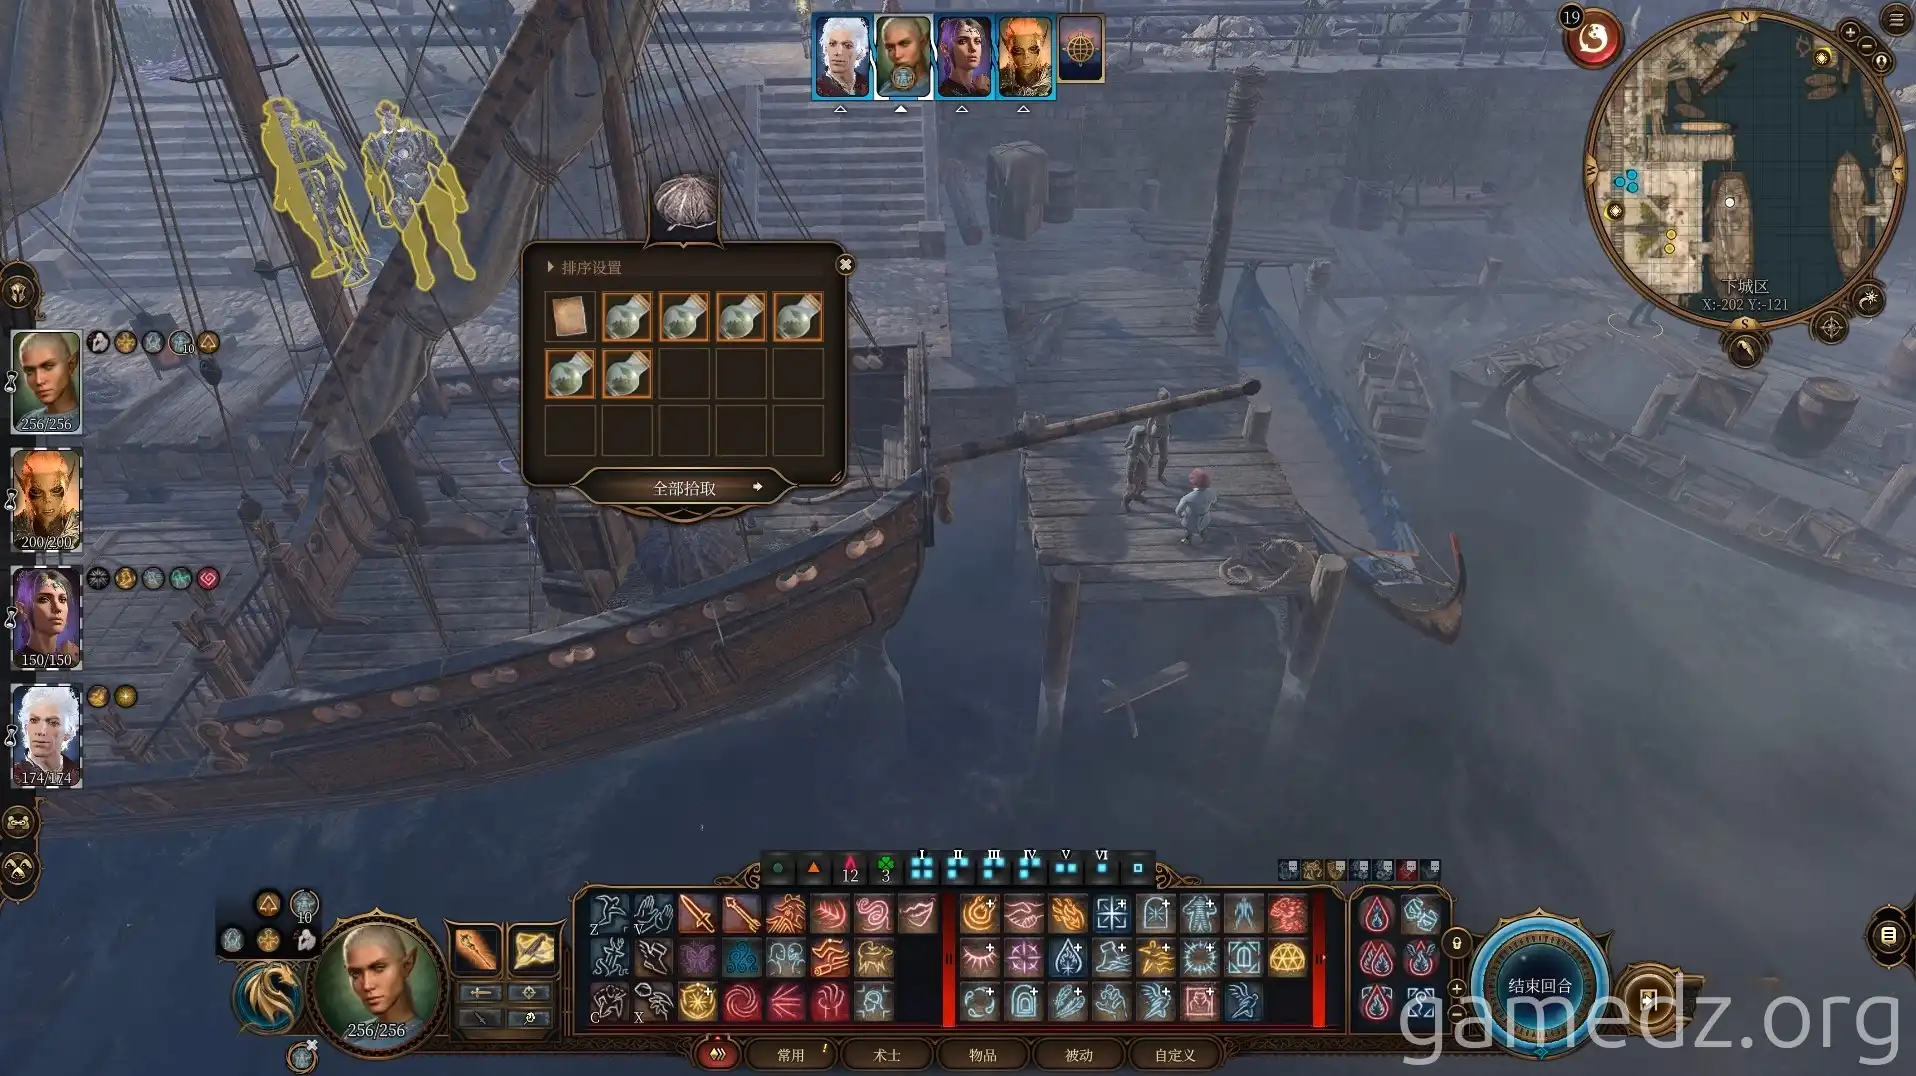
In the hidden cargo at the stern of the ship, you can find six Mind Flayer Parasite Specimens.
Continuing south, you'll encounter Absolute cultists disguised as civilians attempting to burn Valerius alive. Combat will ensue. Eliminate them all to save Valerius.
You can obtain a Mind Flayer Parasite Specimen from the enemies. After saving Valerius, characters with the Charlatan background will receive an inspiration.
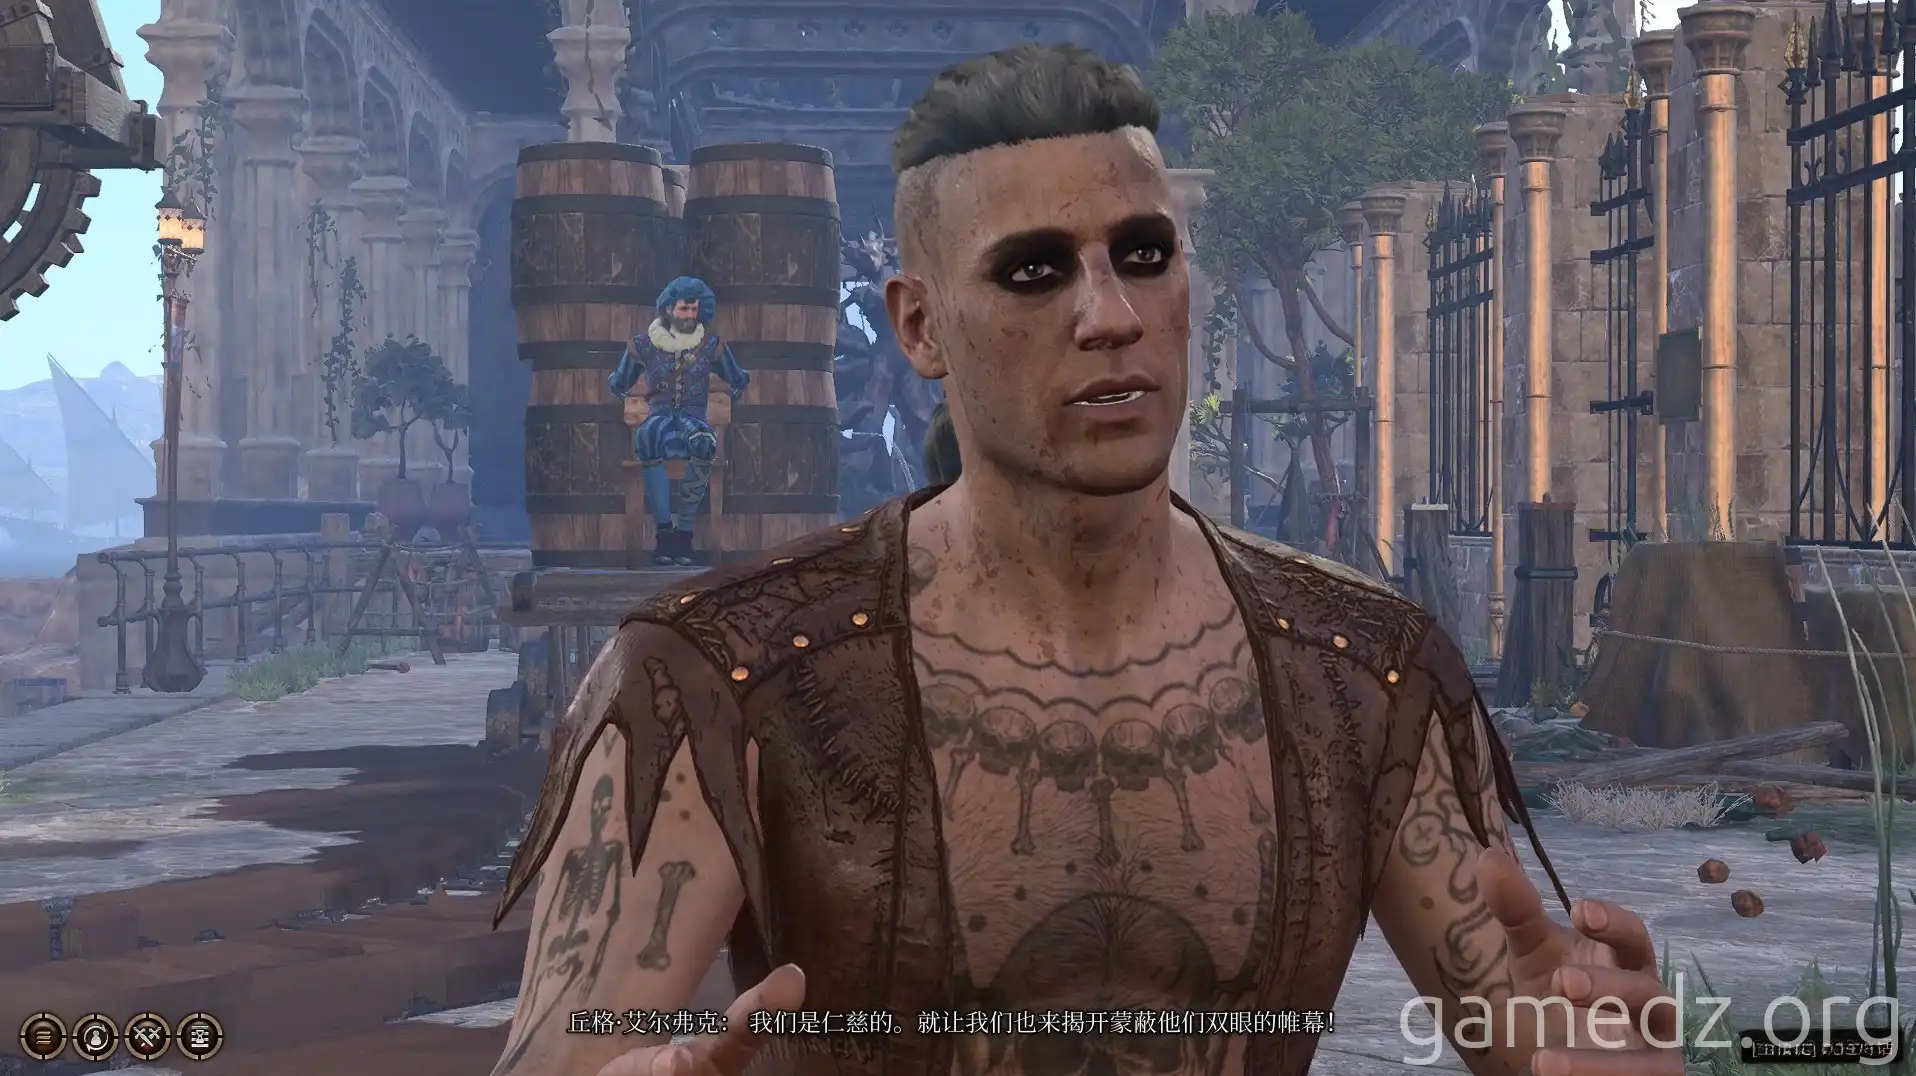
After the battle, Valerius will return to your camp.
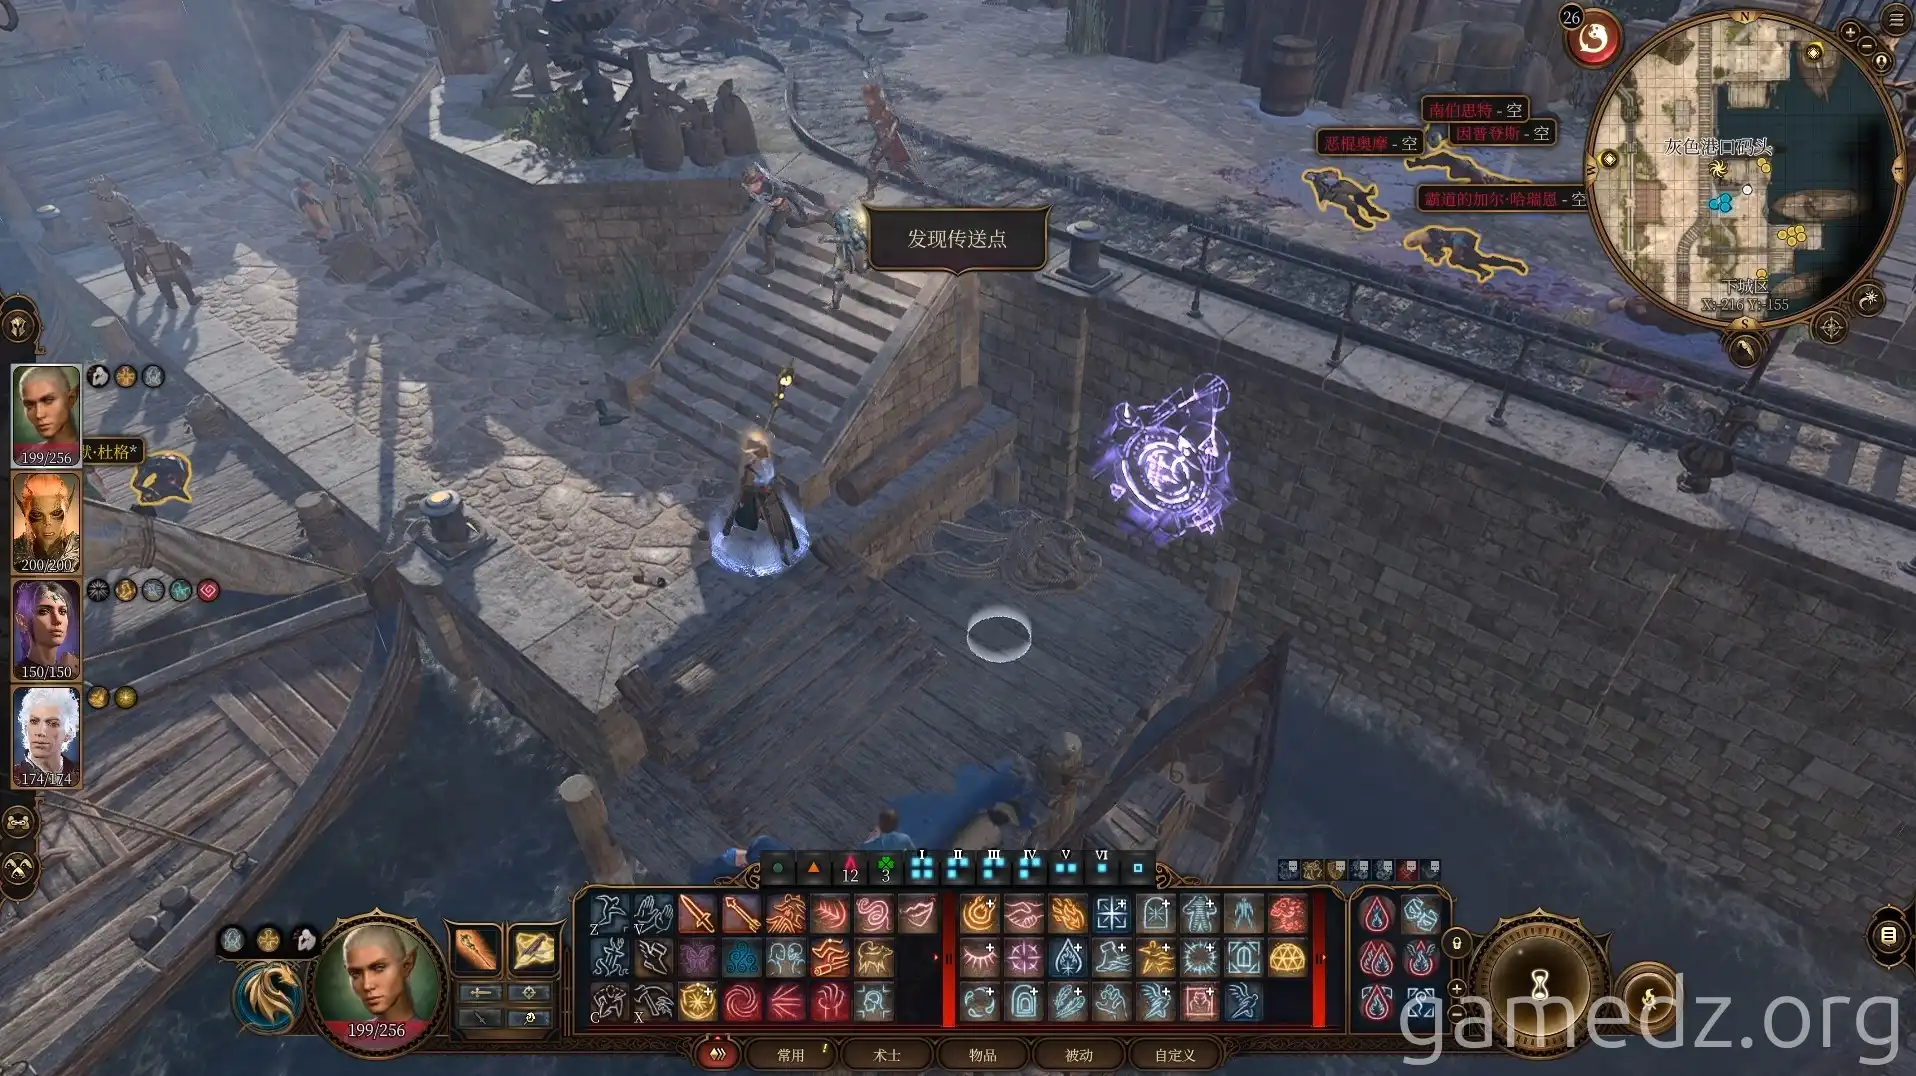
Go to the dock next to the battle site and activate the fast travel point, Gray Harbor Docks.
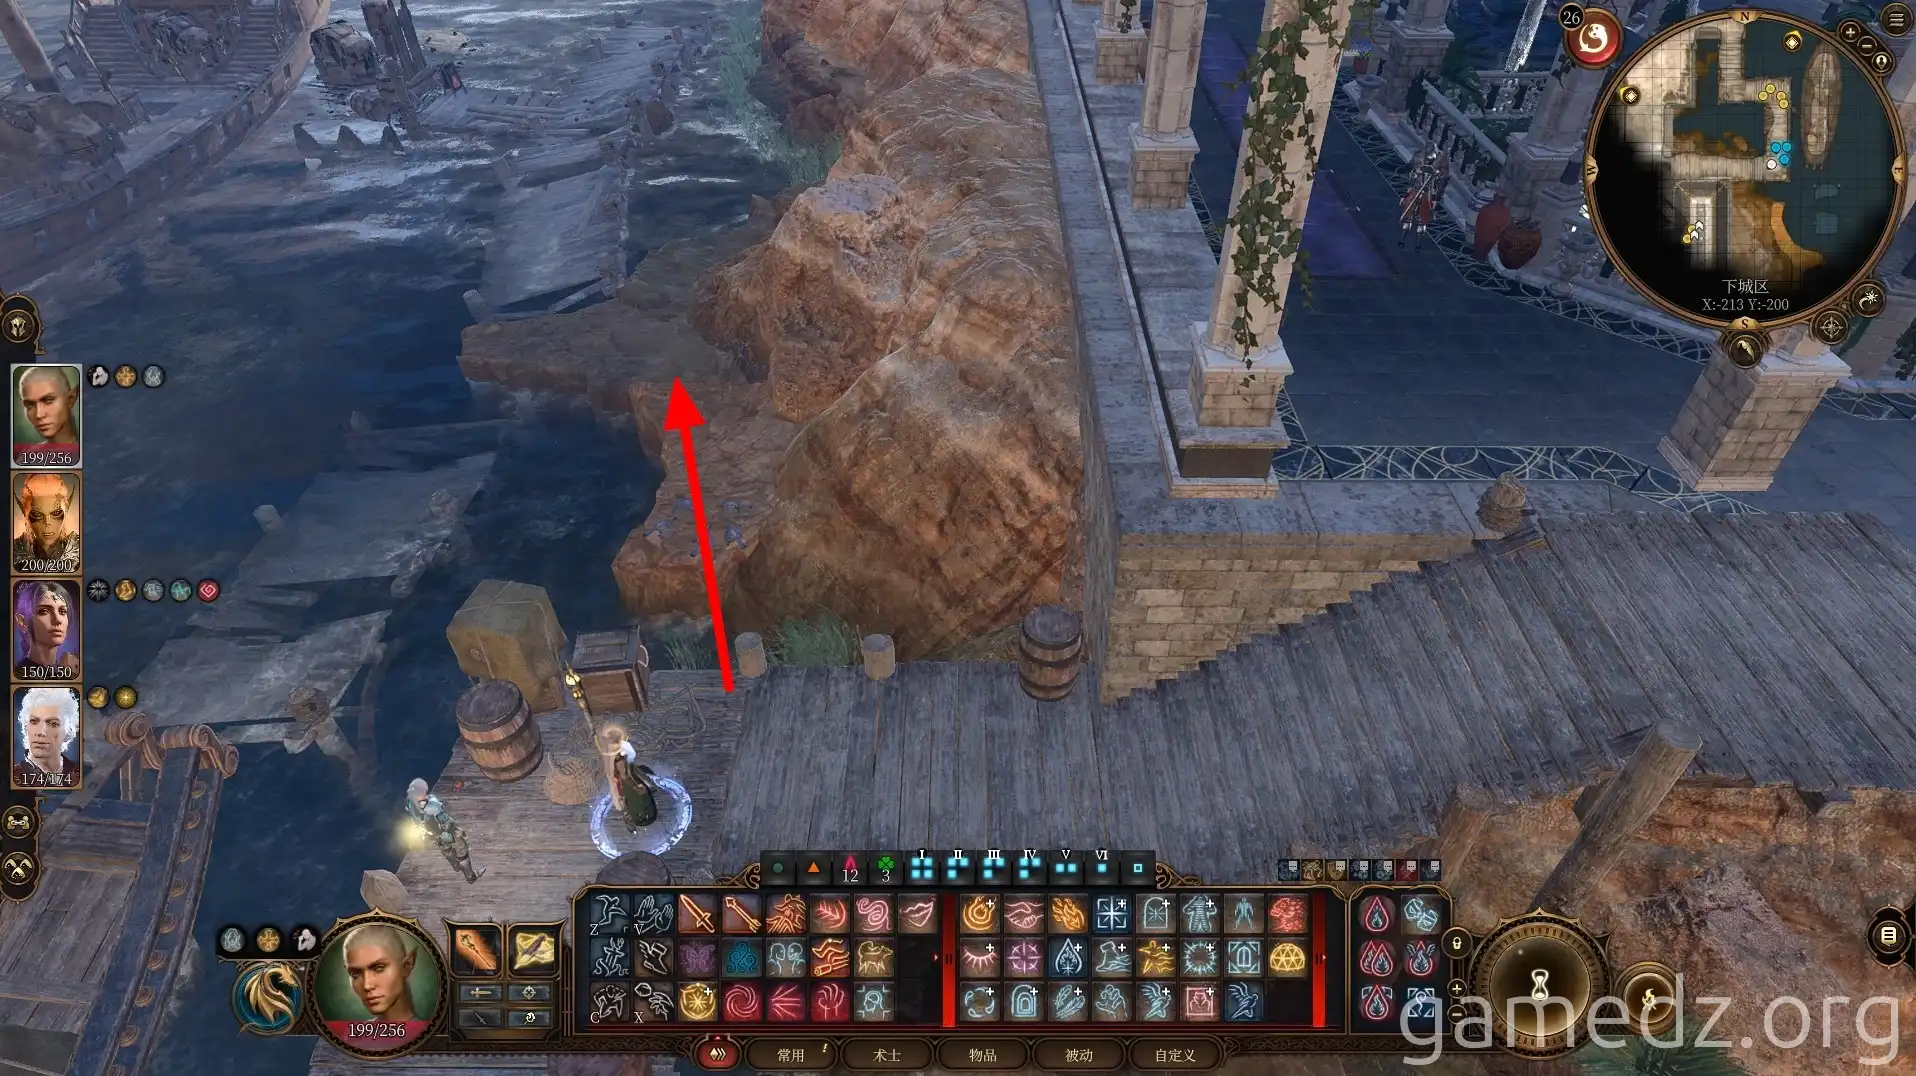
Take the small path south from the dock.
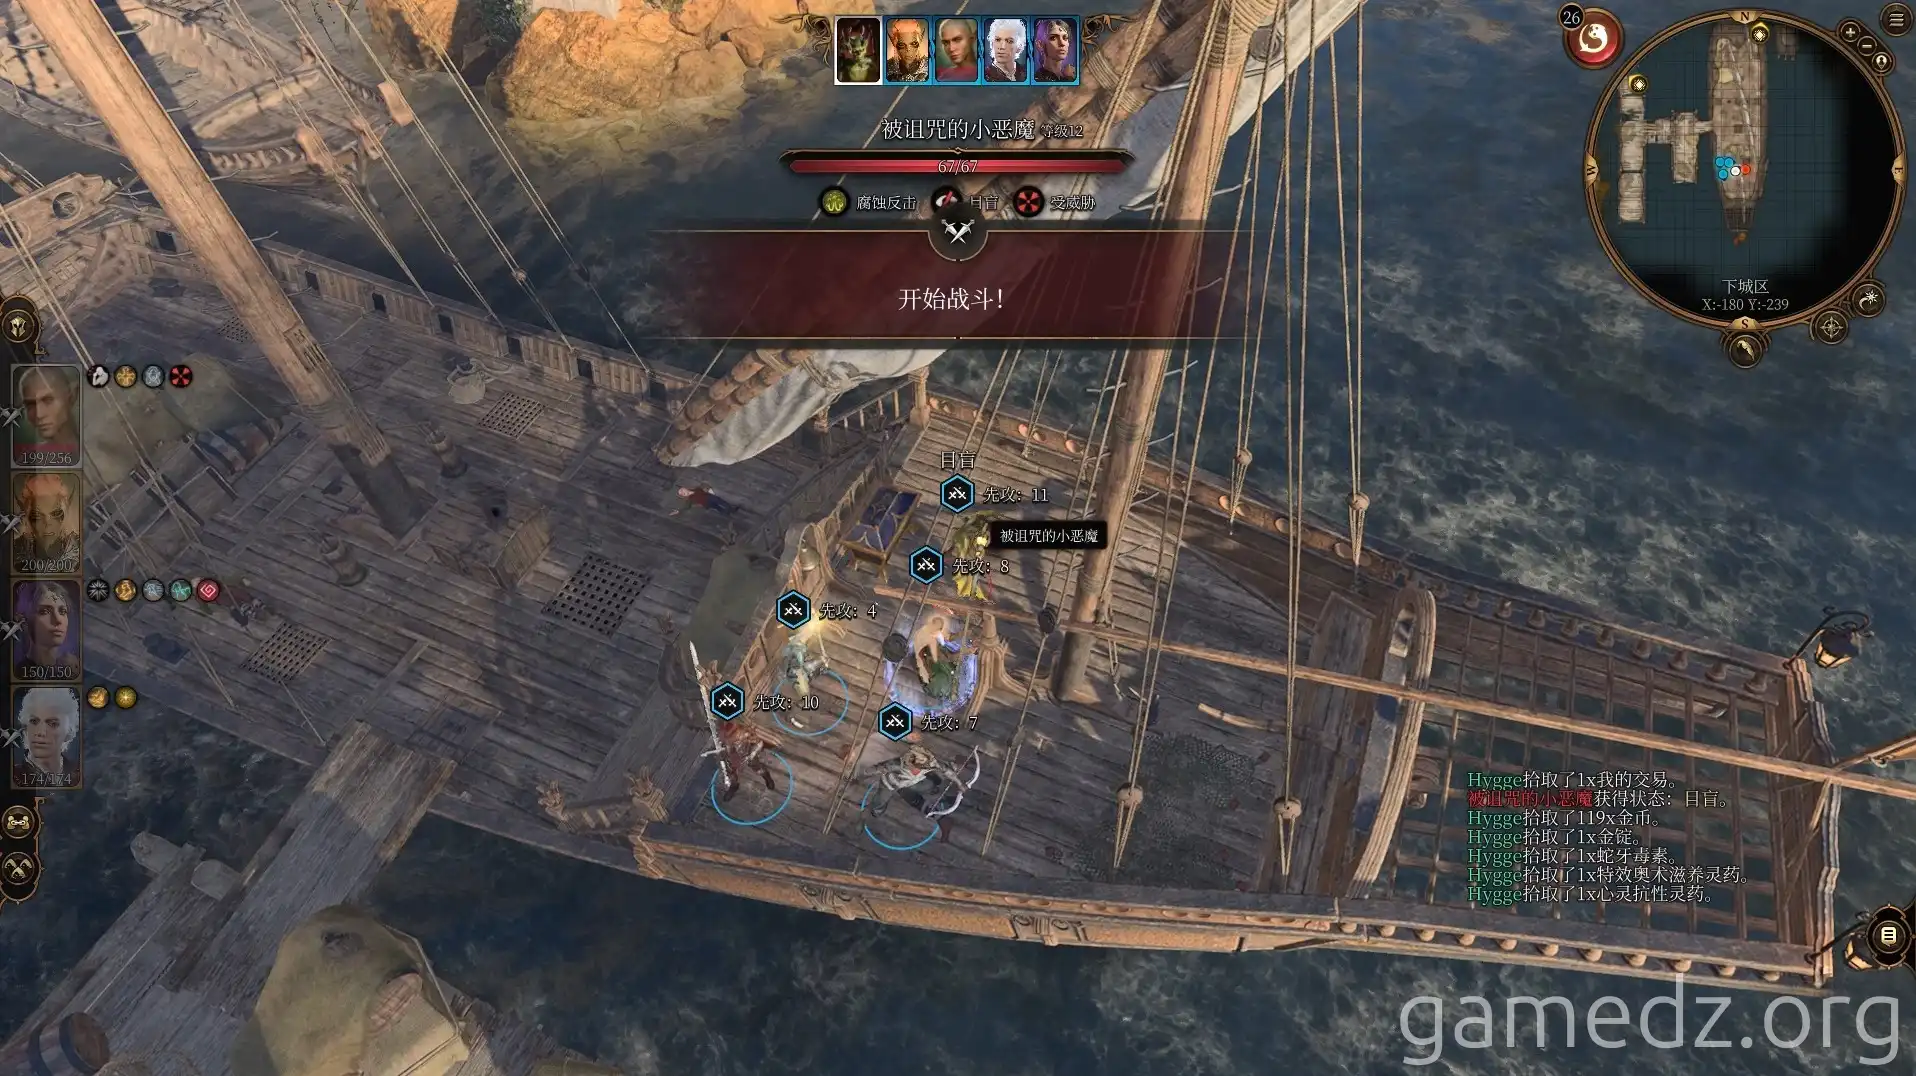
Open the chest at the stern of the ship, and a cursed imp will appear. It has triple the normal damage reflection, making it impossible to fight directly. It's recommended to use a push attack to shove it into the water.
Then, loot the corpses on the ship. If memory serves, you can find several books, each selling for 500 gold.
Next, use stealth to jump to the Counting House dock area across the way.
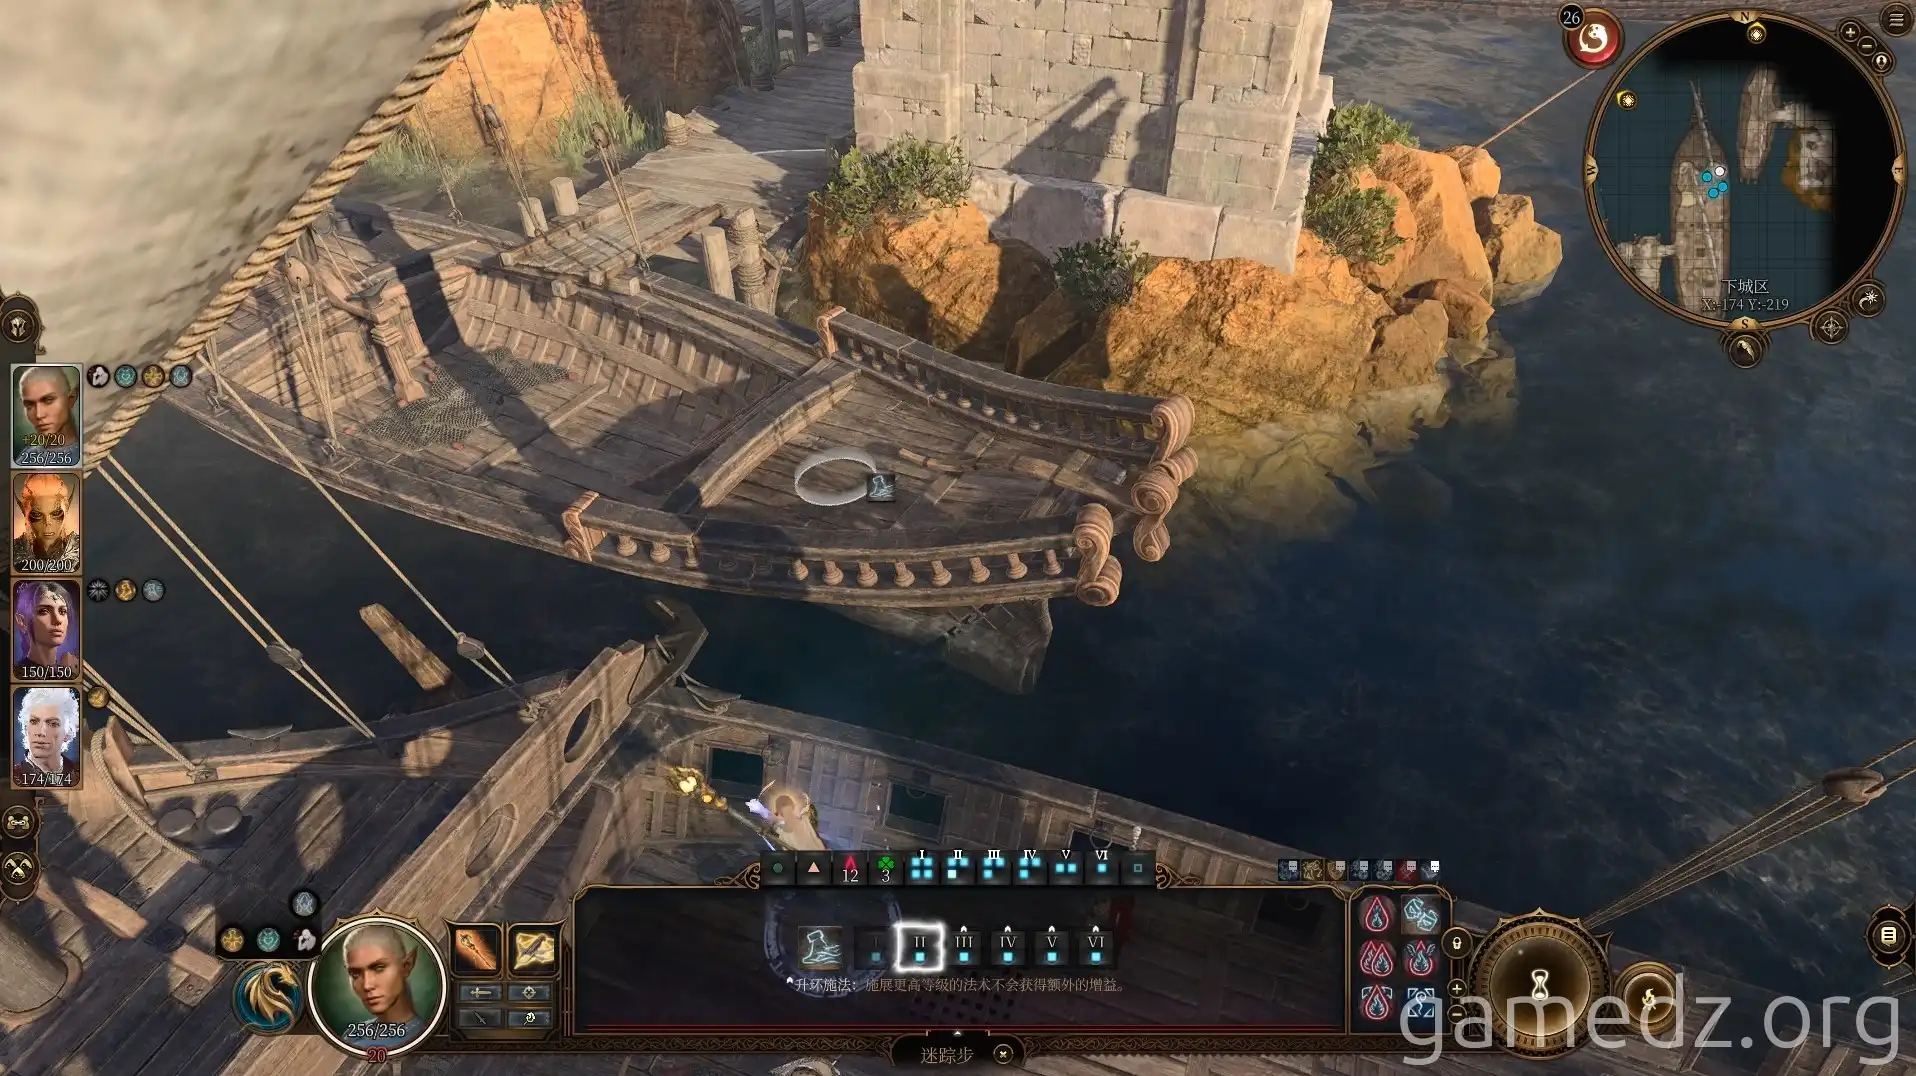
Next to the back door of the Counting House, there's a dirt mound with a buried chest. Additionally, the entire Counting House dock area is filled with scrolls, potions, and various other items. Take them all.
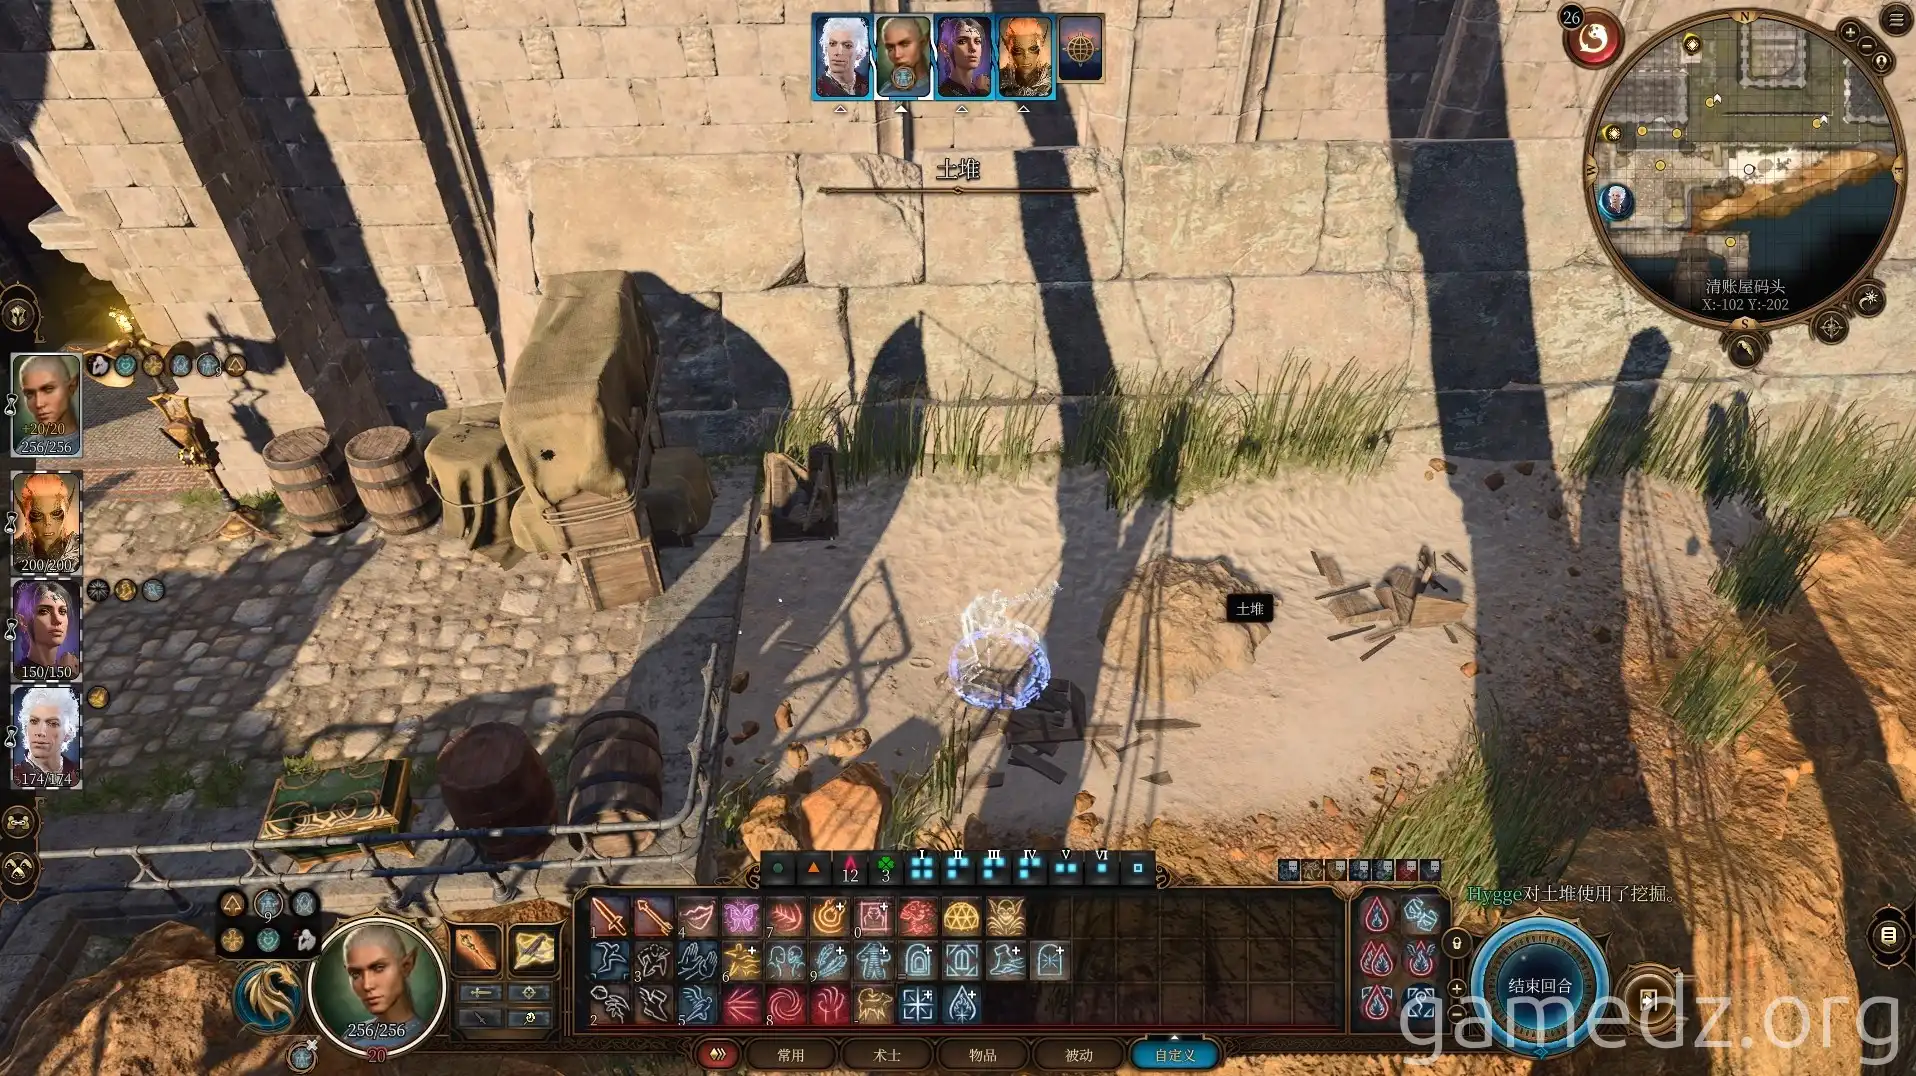
After looting the Counting House docks, return the way you came to the House of the Waning Moon. Speak with the cultists at the entrance, and you'll learn that one of their companions has just drowned.
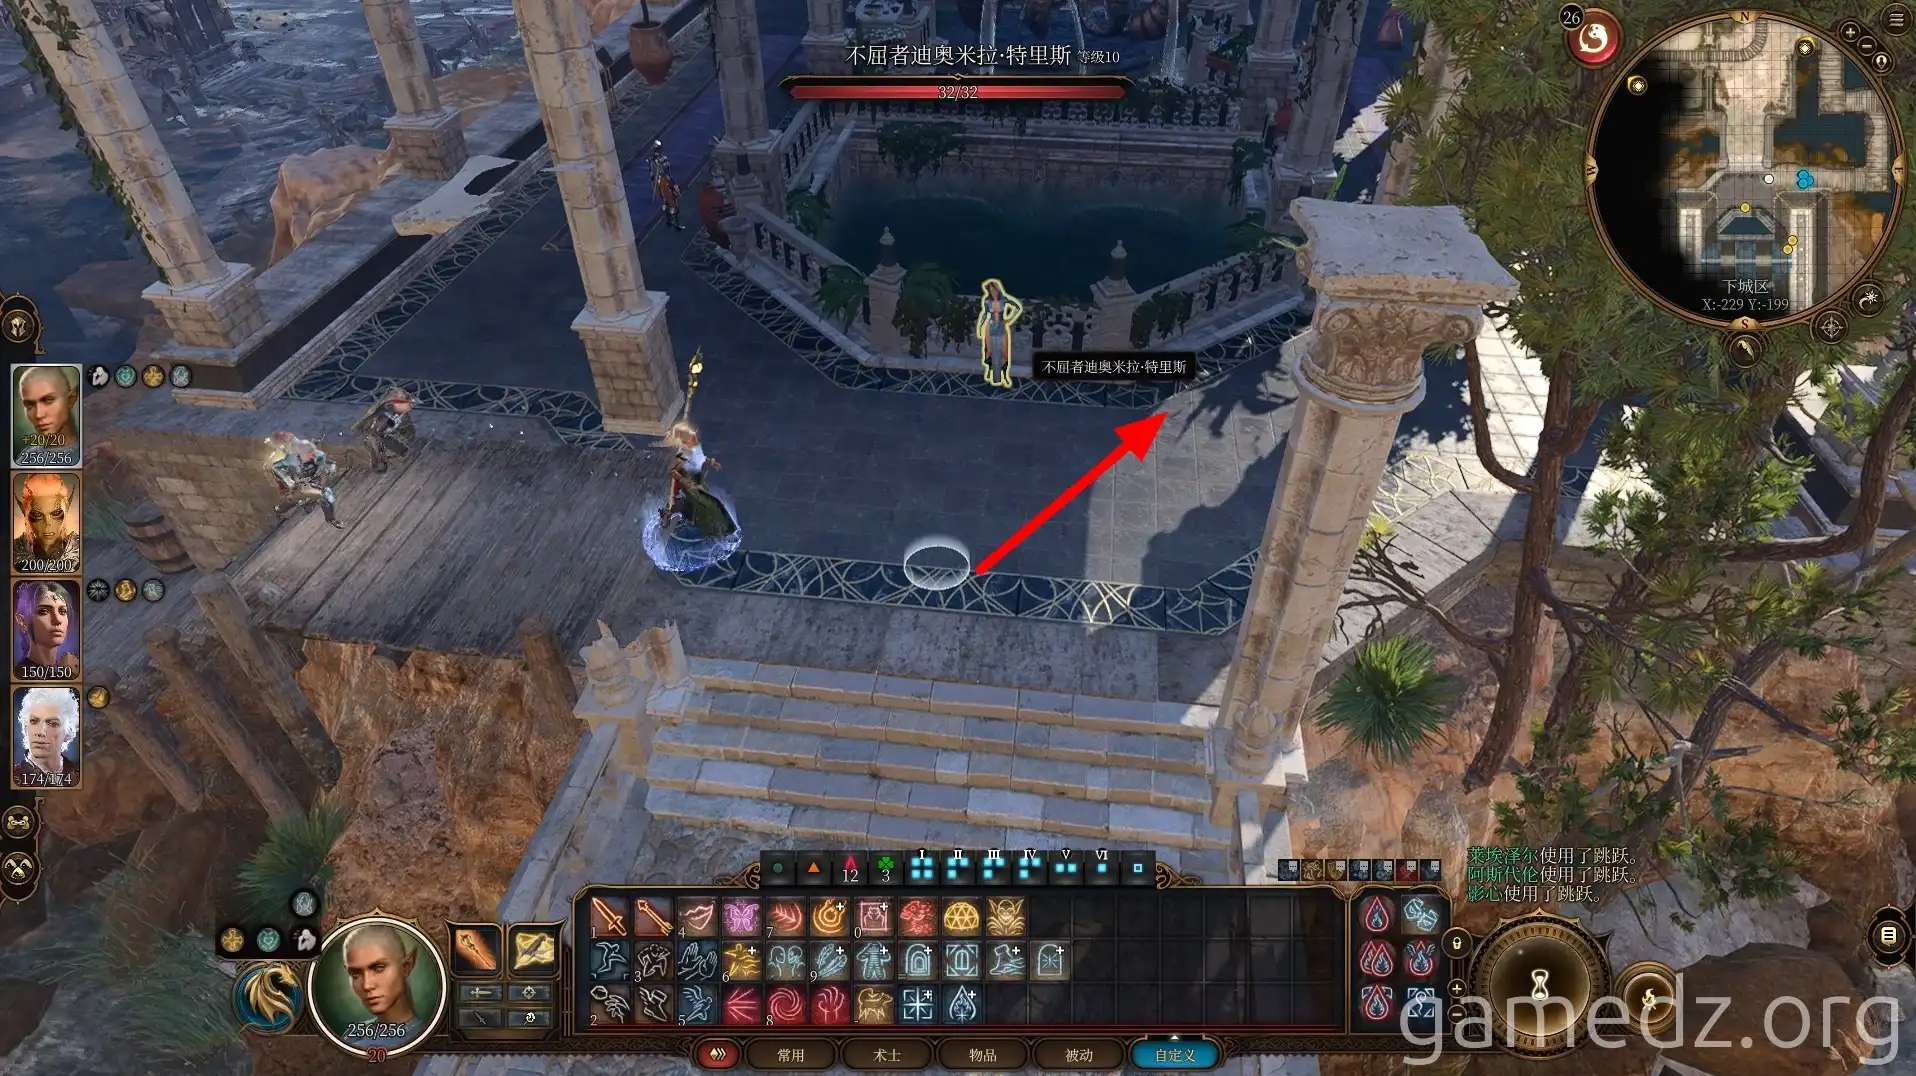
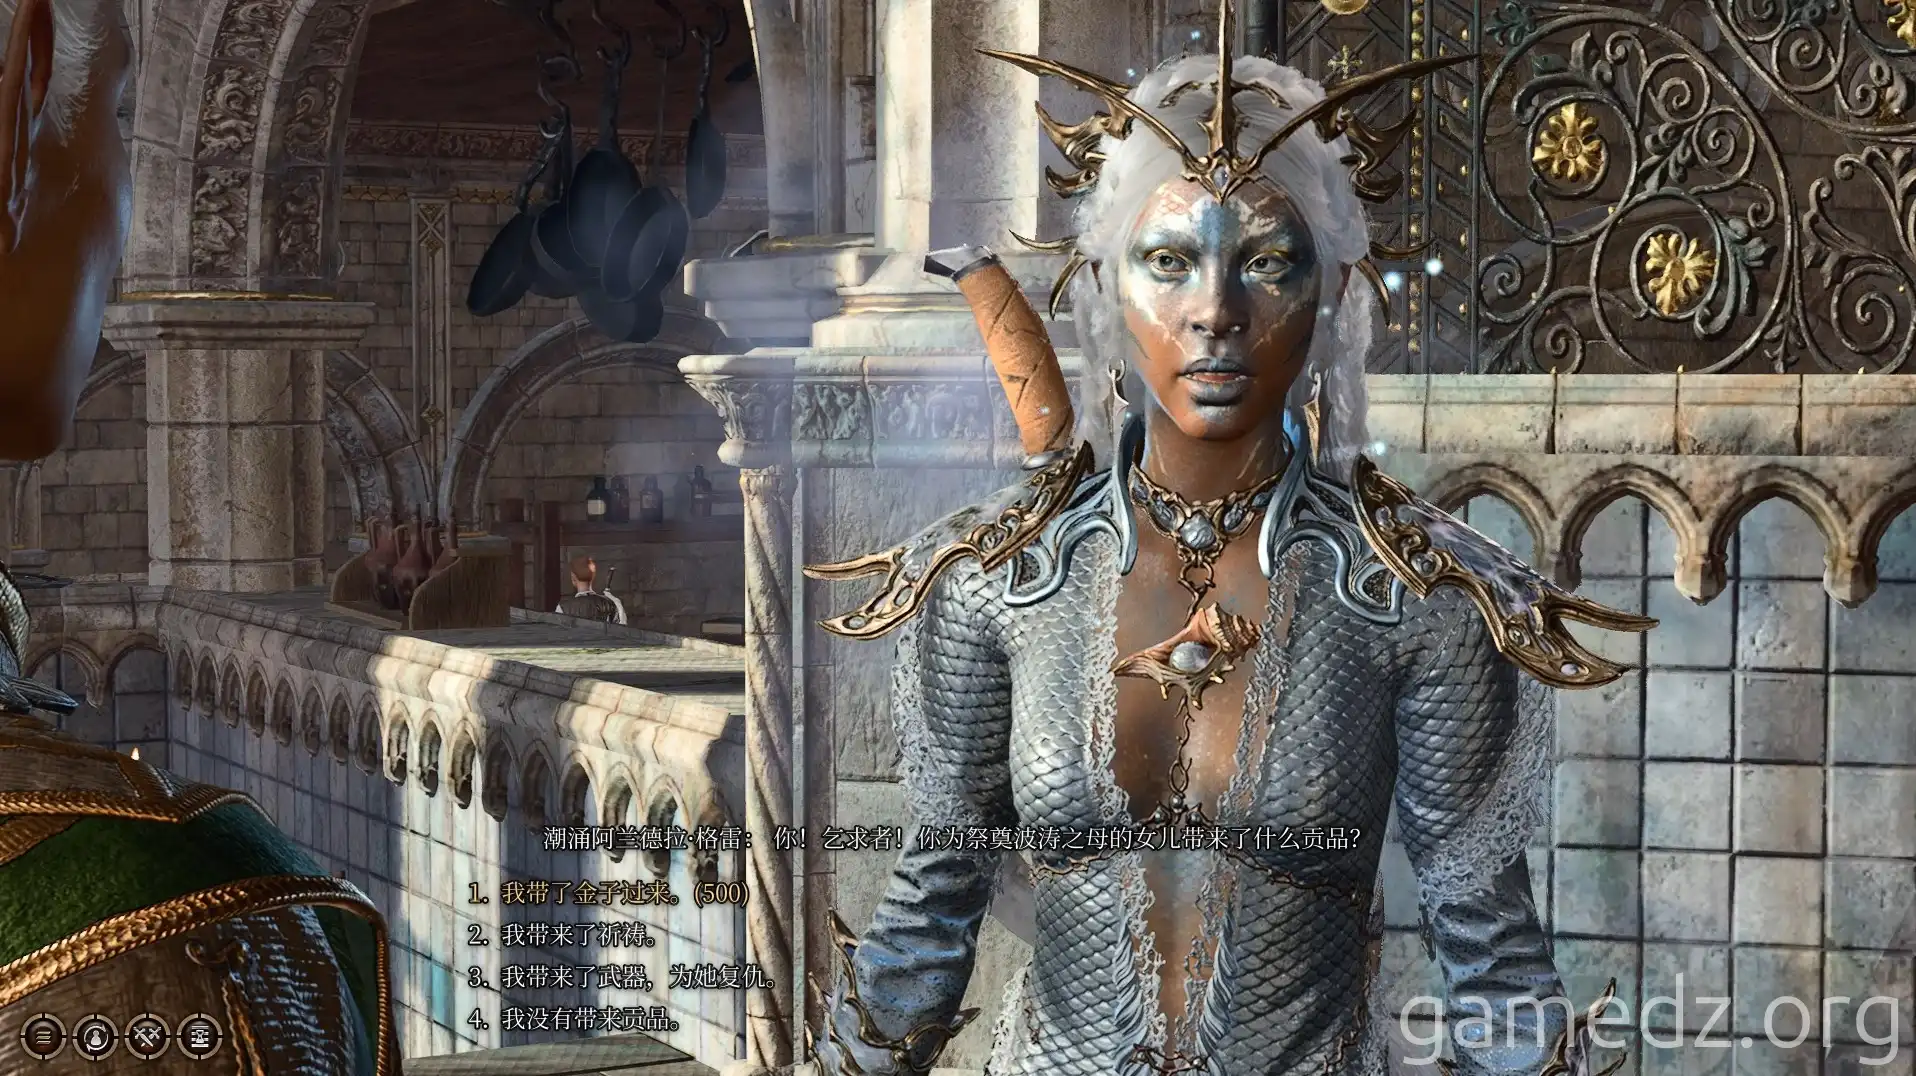
Proceed to the depths of the main hall and speak with Alondra Gray, who is performing a ritual. State that you will avenge the deceased to initiate the side quest Avenge the Drowned. Characters with the Acolyte background will also receive an inspiration.
Take the stairs on the southwest side of the main hall down to the beach. You'll find a dirt mound with a buried chest. Continue forward to enter the basement.
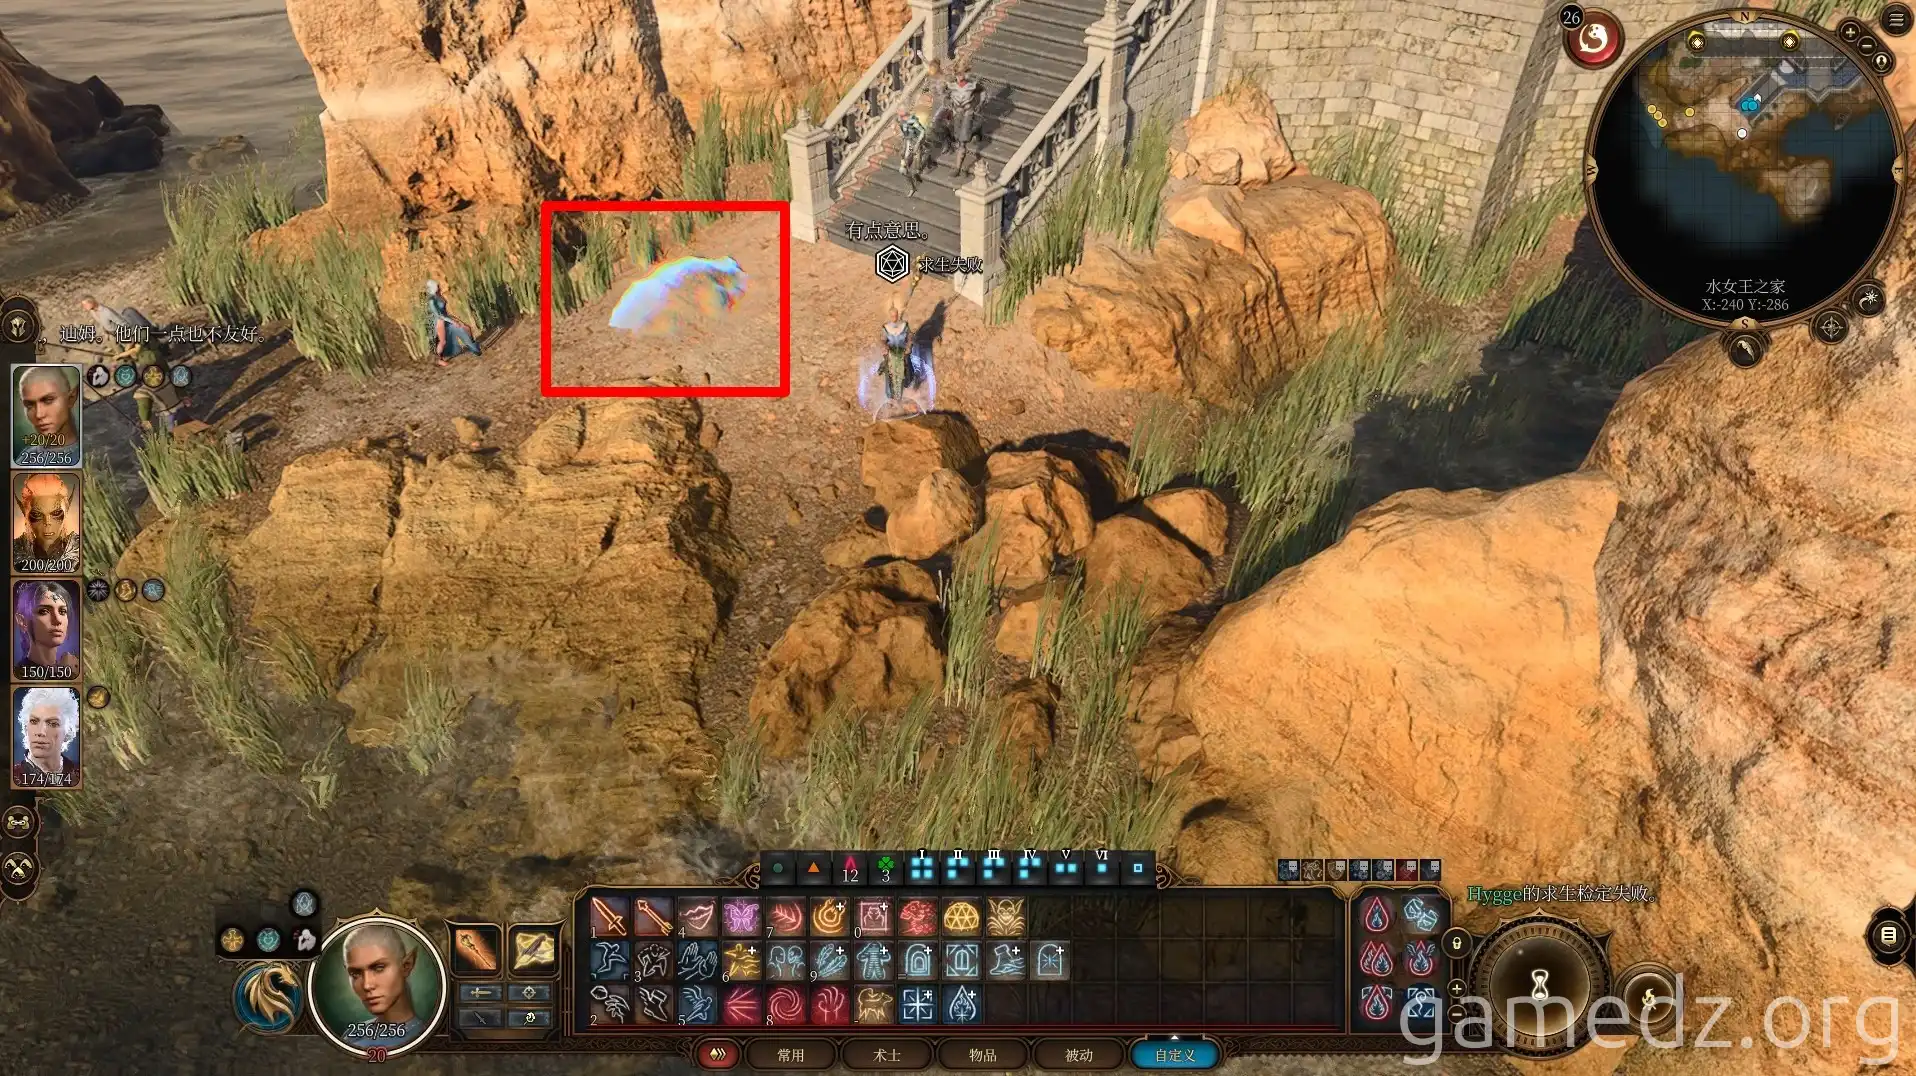
There's nothing of significance in the basement, and forcing your way in will decrease approval. A quick look around is all that's needed before leaving.
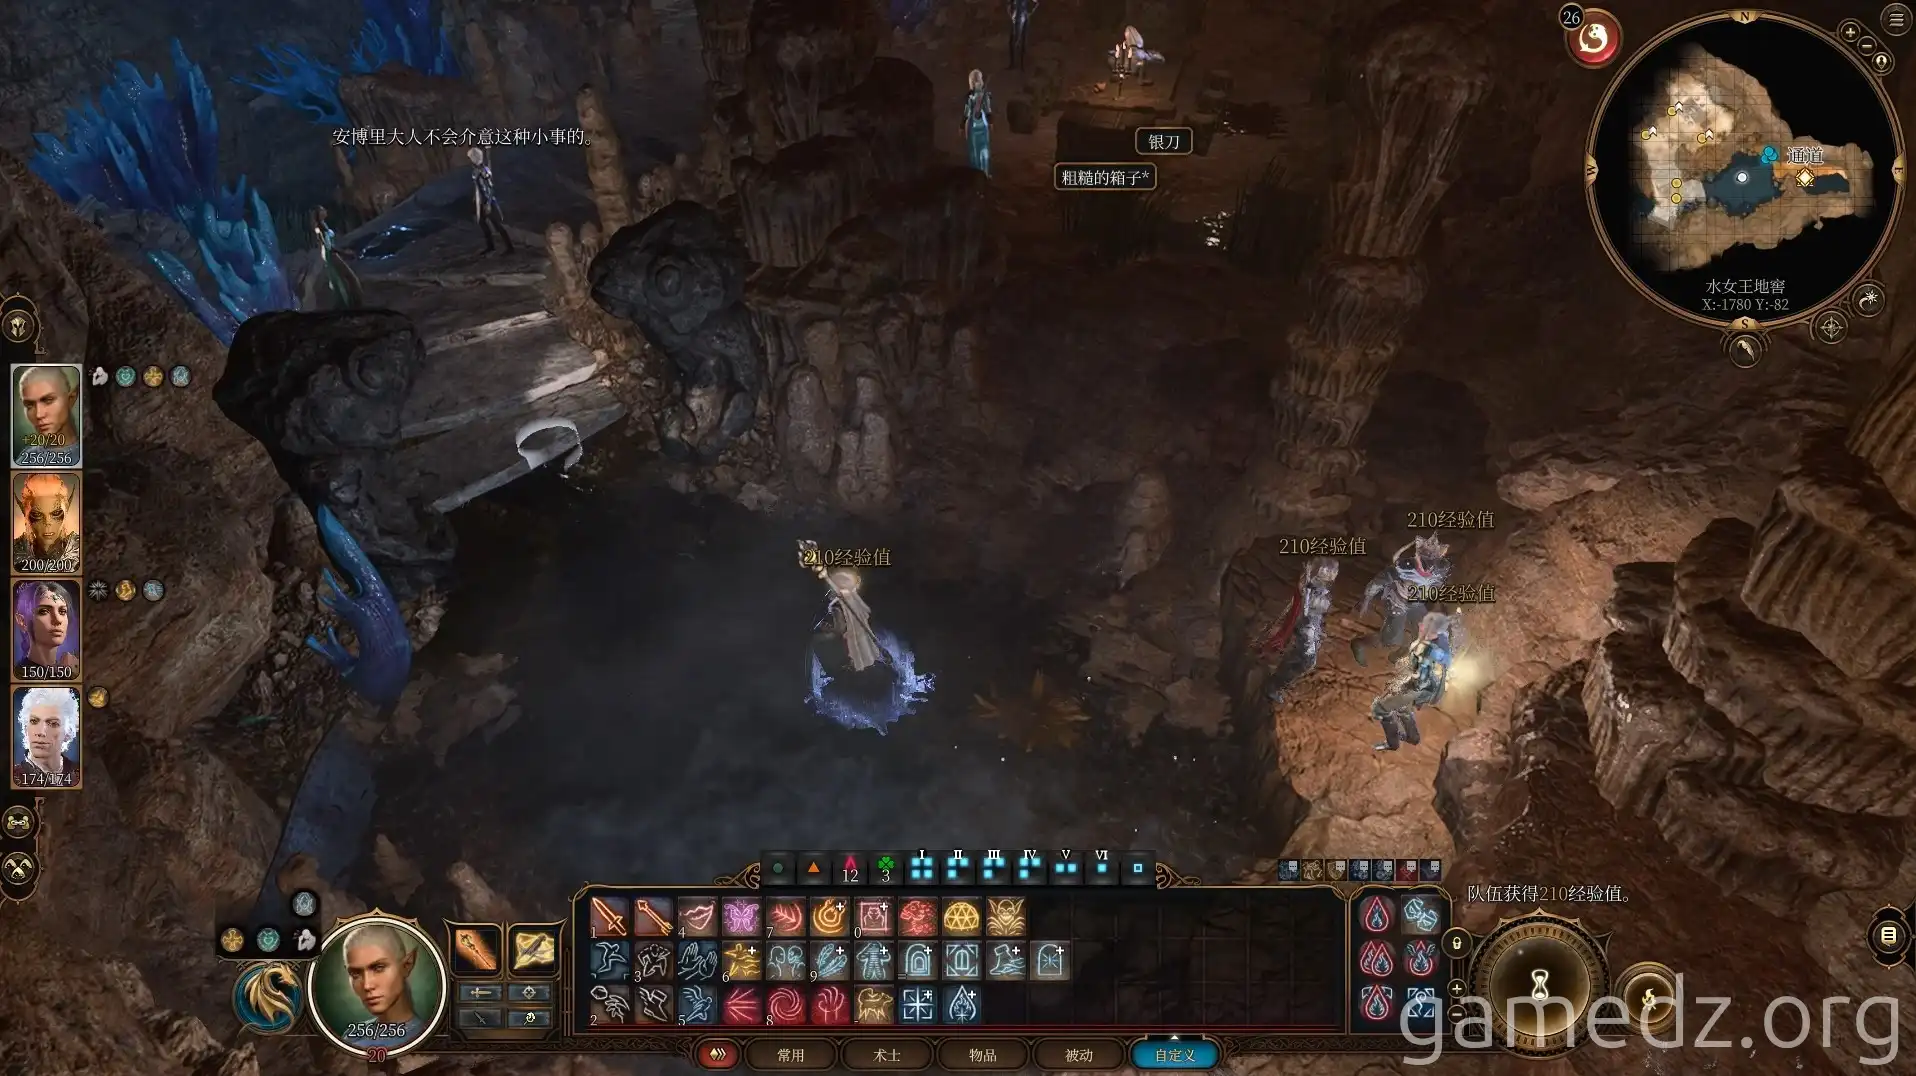
Return to the main hall and enter the second floor through the east door.
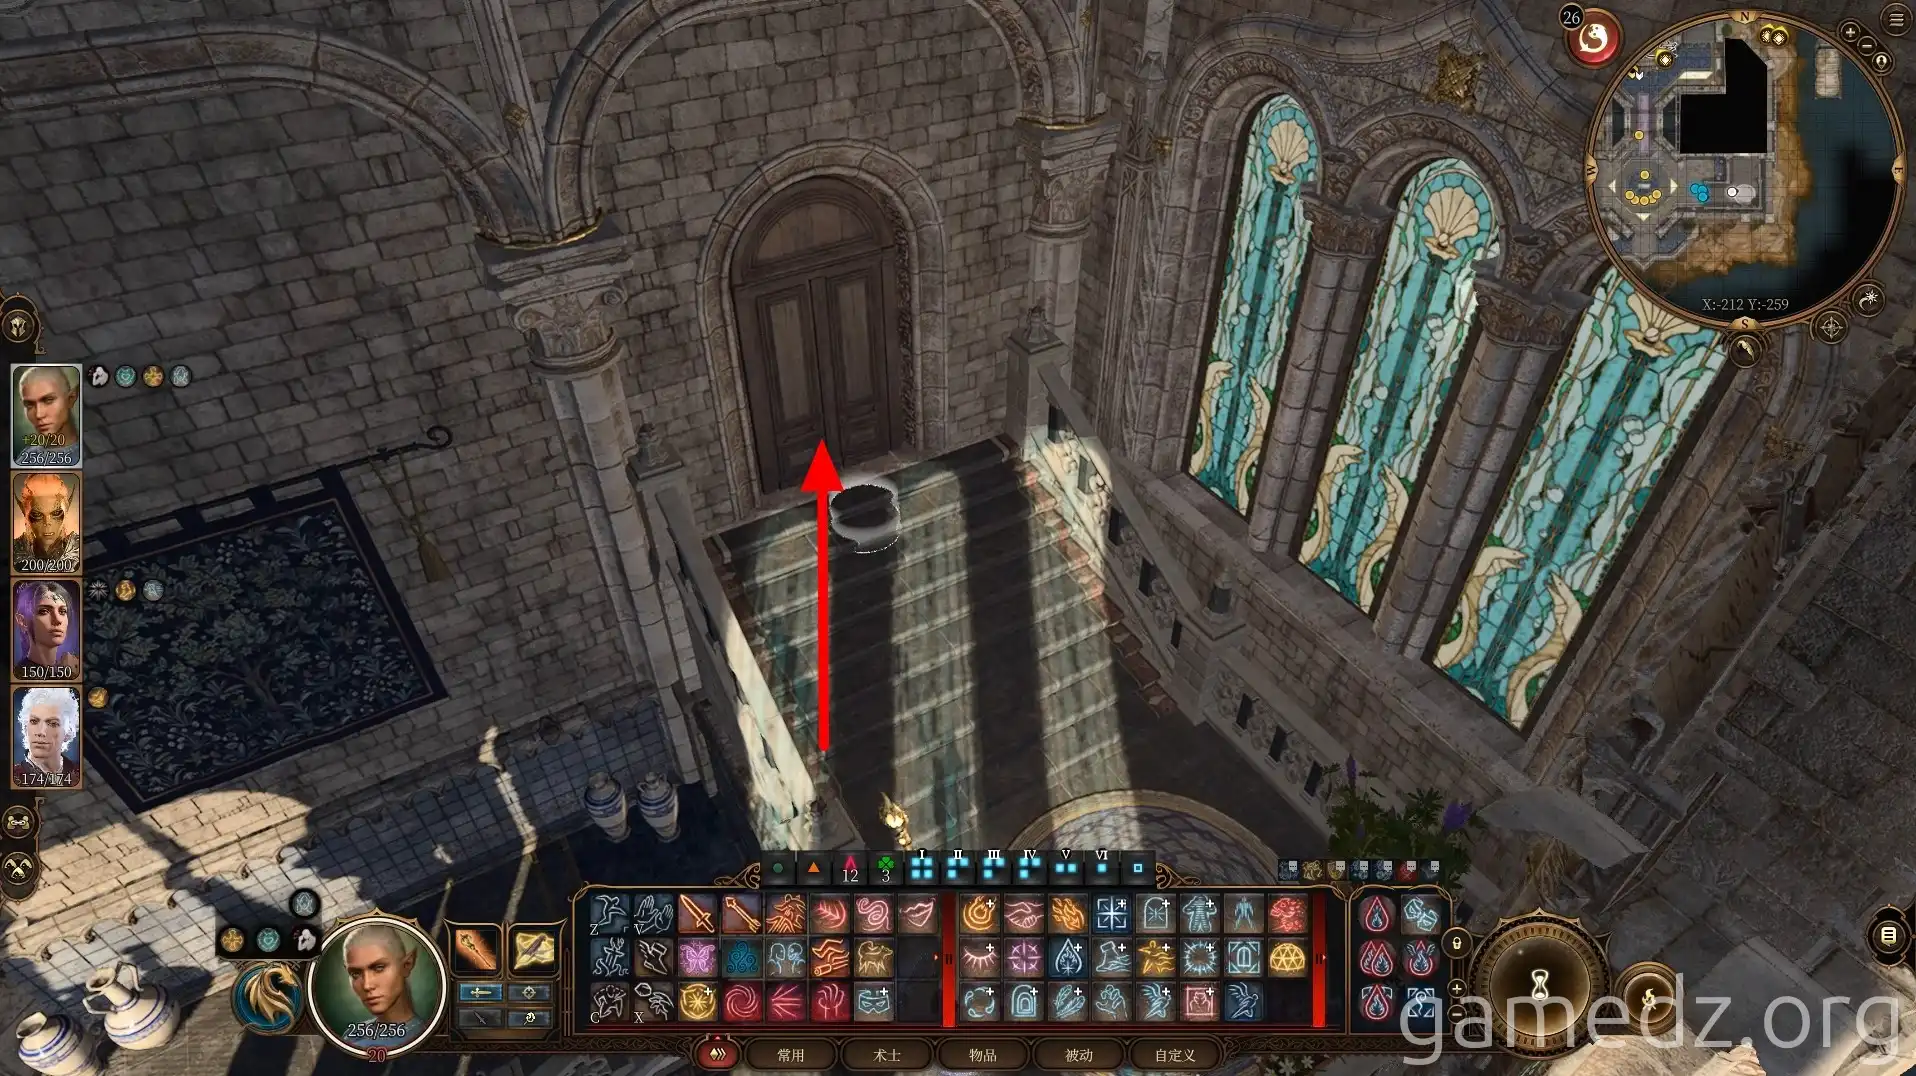
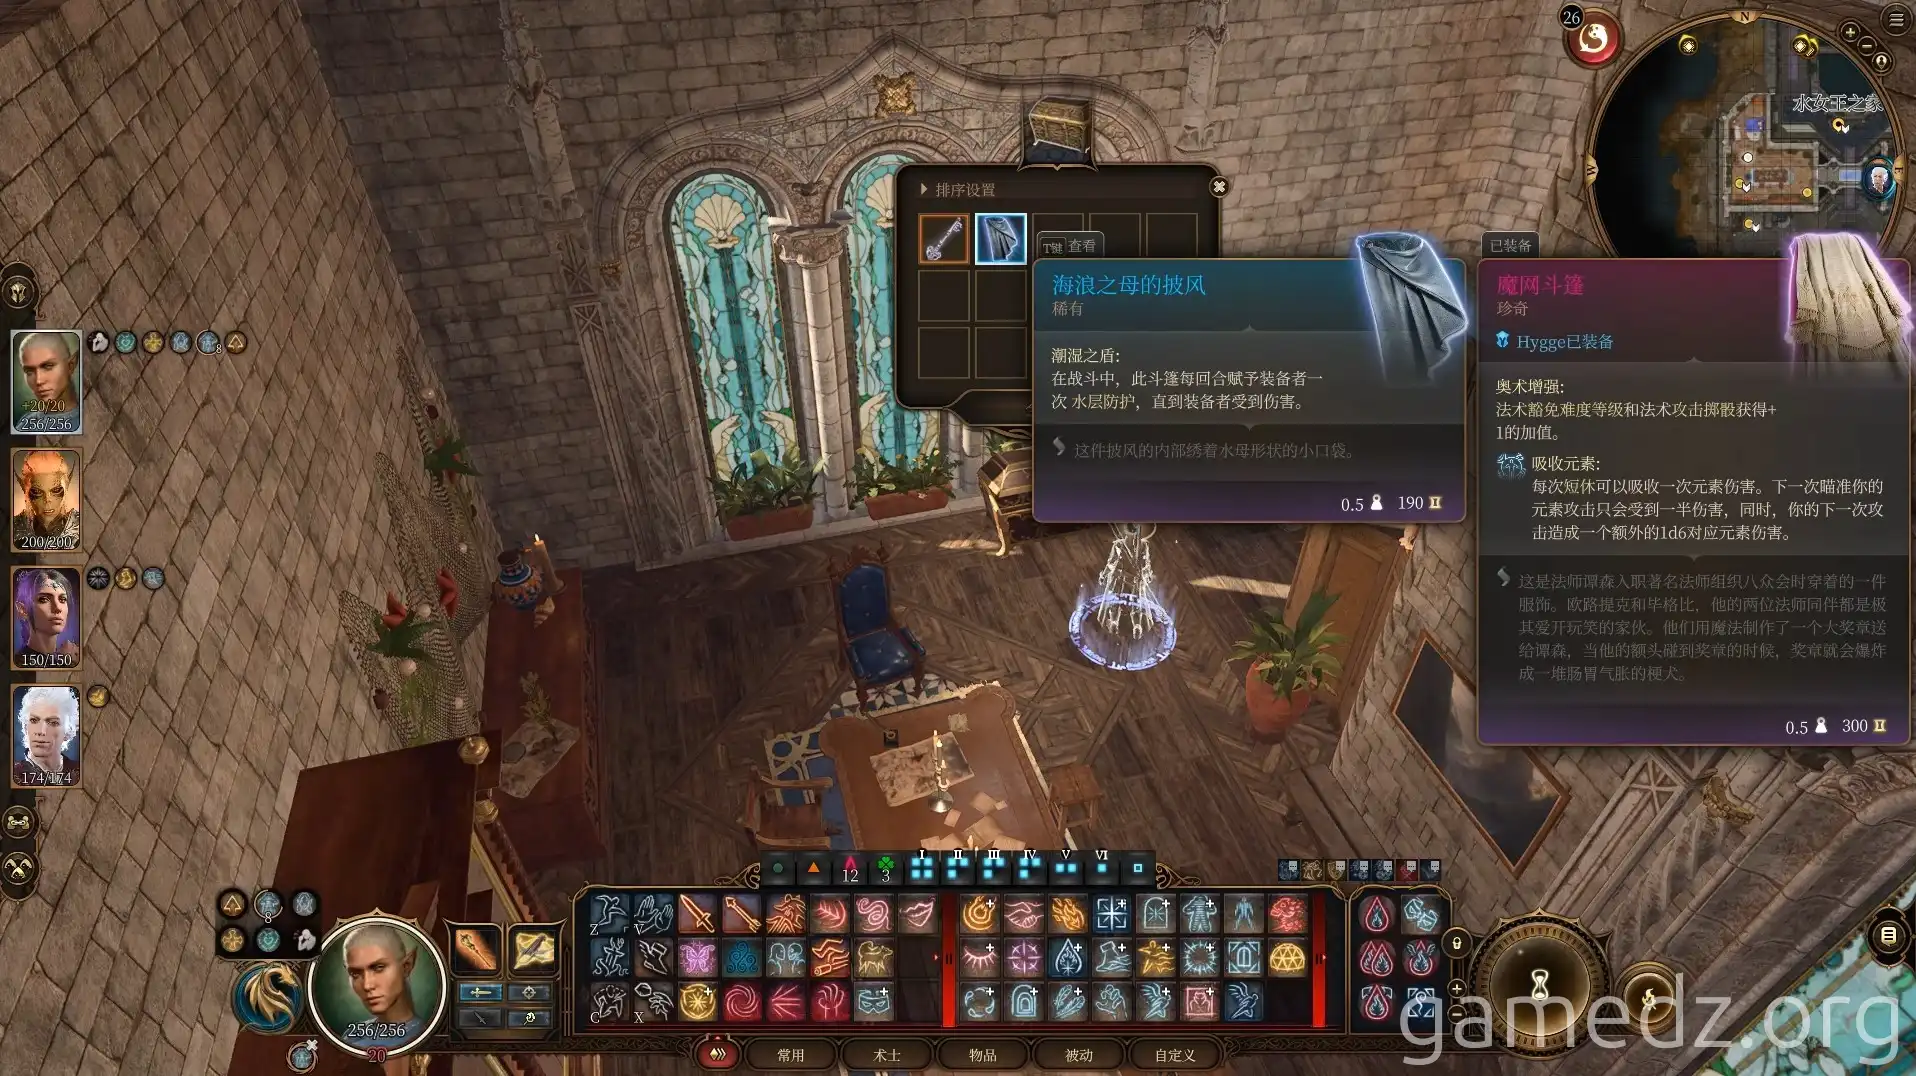
Use invisibility to reach the room on the west side of the second floor. In the ornate chest, you can find the rare armor Cloak of the Weavemother.
Go to the Gray Harbor Docks and speak with the worker next to the fast travel point. You'll learn that the dark figure who killed the Mother of Waves cultists has entered the cargo warehouse opposite.

