Baldur's Gate 3 Wyrm's Crossing South Wing: Full Walkthrough & Map
Comprehensive Baldur's Gate 3 walkthrough for Wyrm's Crossing South Wing. Discover quests, hidden items, Raphael's deals, and crucial clues for the Temple of Shar murder.
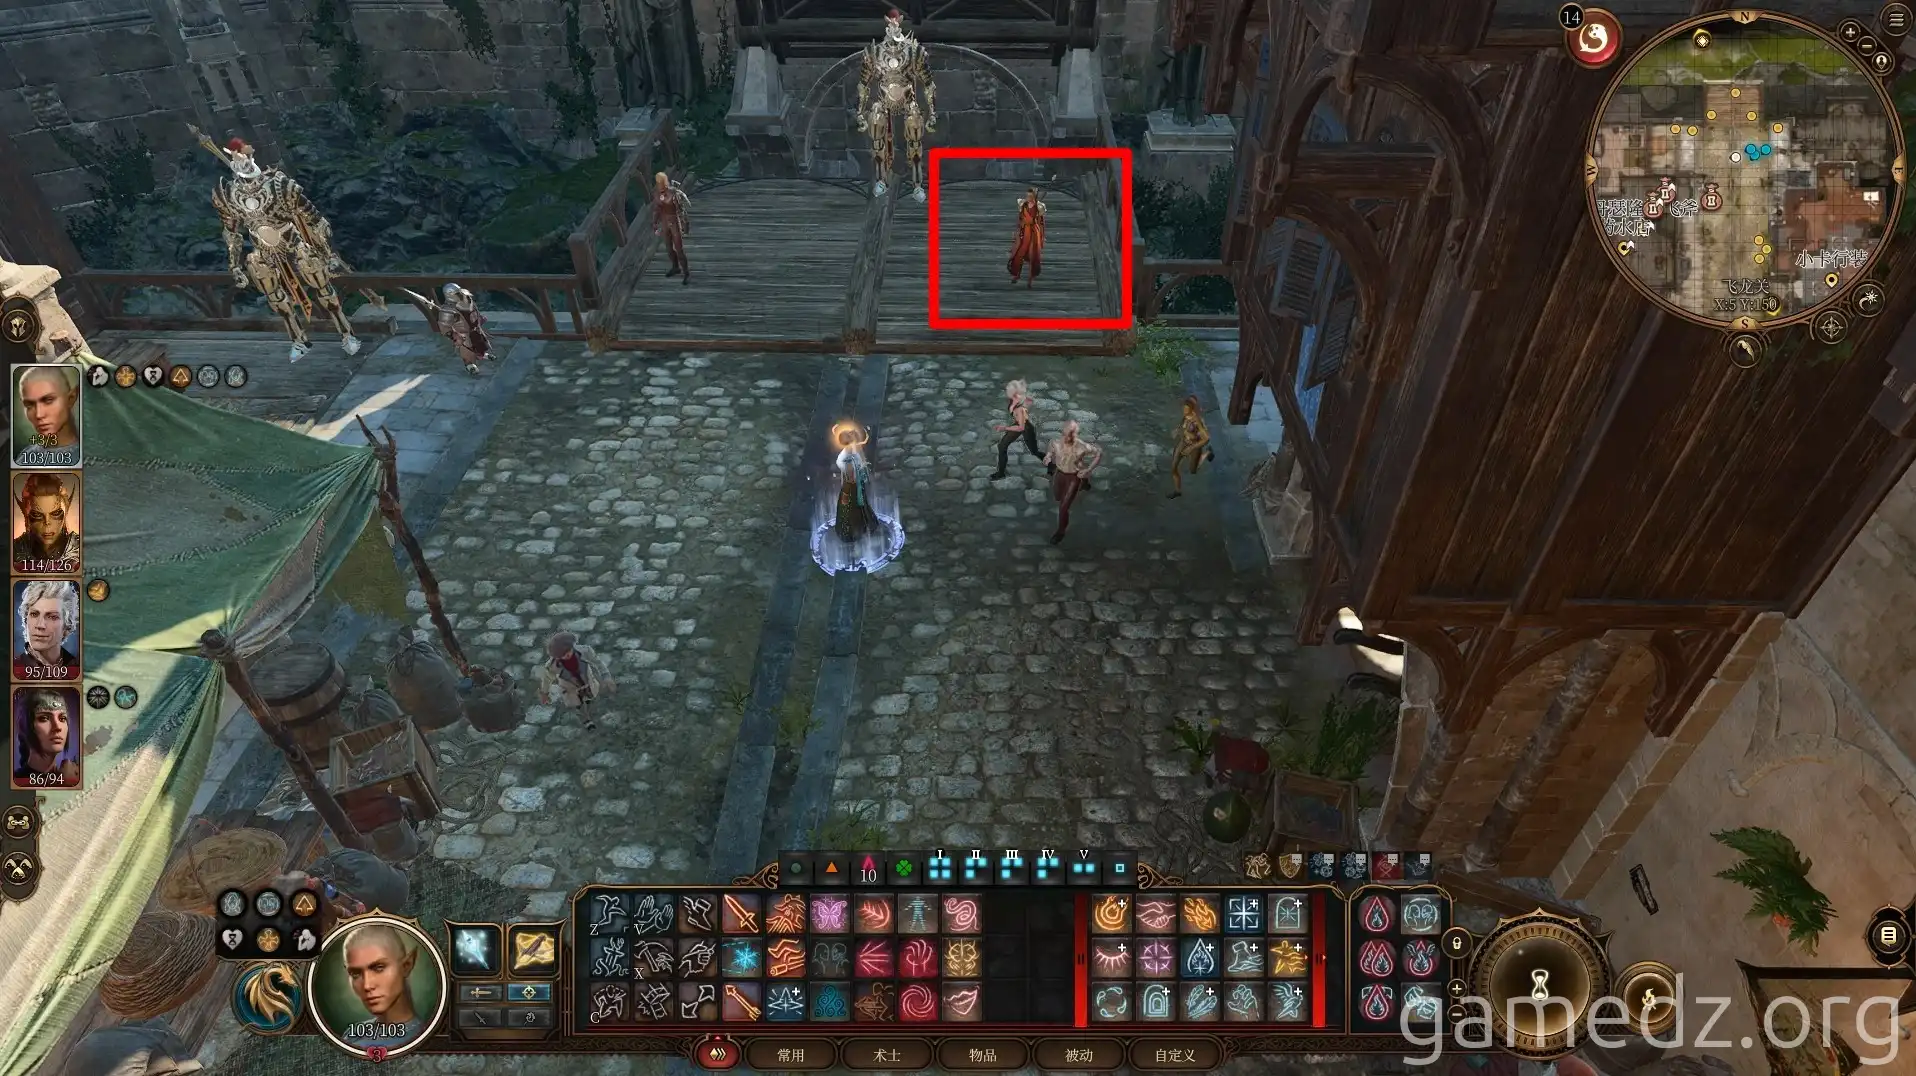
Upon entering the South Wing of Wyrm's Crossing, the portal to your right will immediately activate. Speaking with the Flaming Fist member opposite can initiate the side quest "Deal with the Gnomes." However, since our relationship with the gnomes is clearly better, you can ignore him and leave the quest unfinished.
The building next to the Flaming Fist is a guardhouse, but it doesn't contain anything of value, so you can skip it.
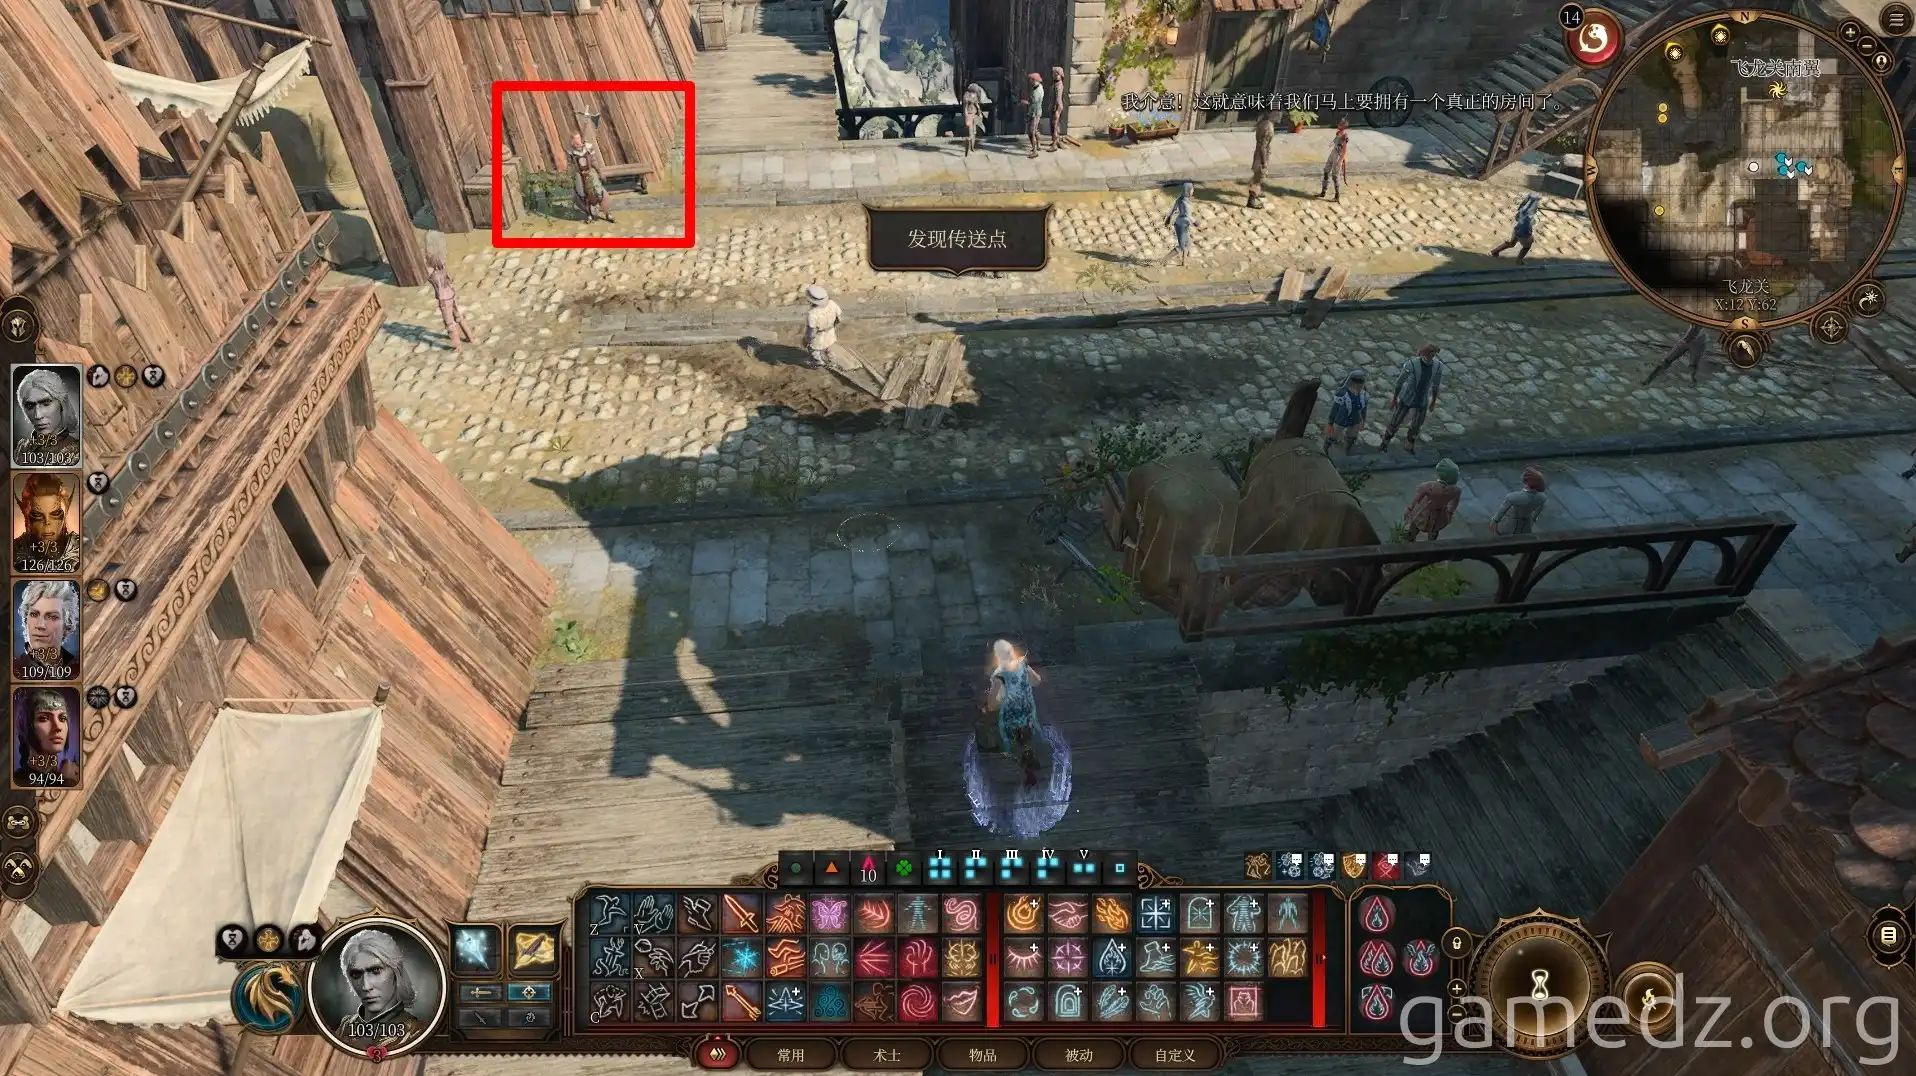
Enter the "Sharess's Caress" tavern next to the portal.
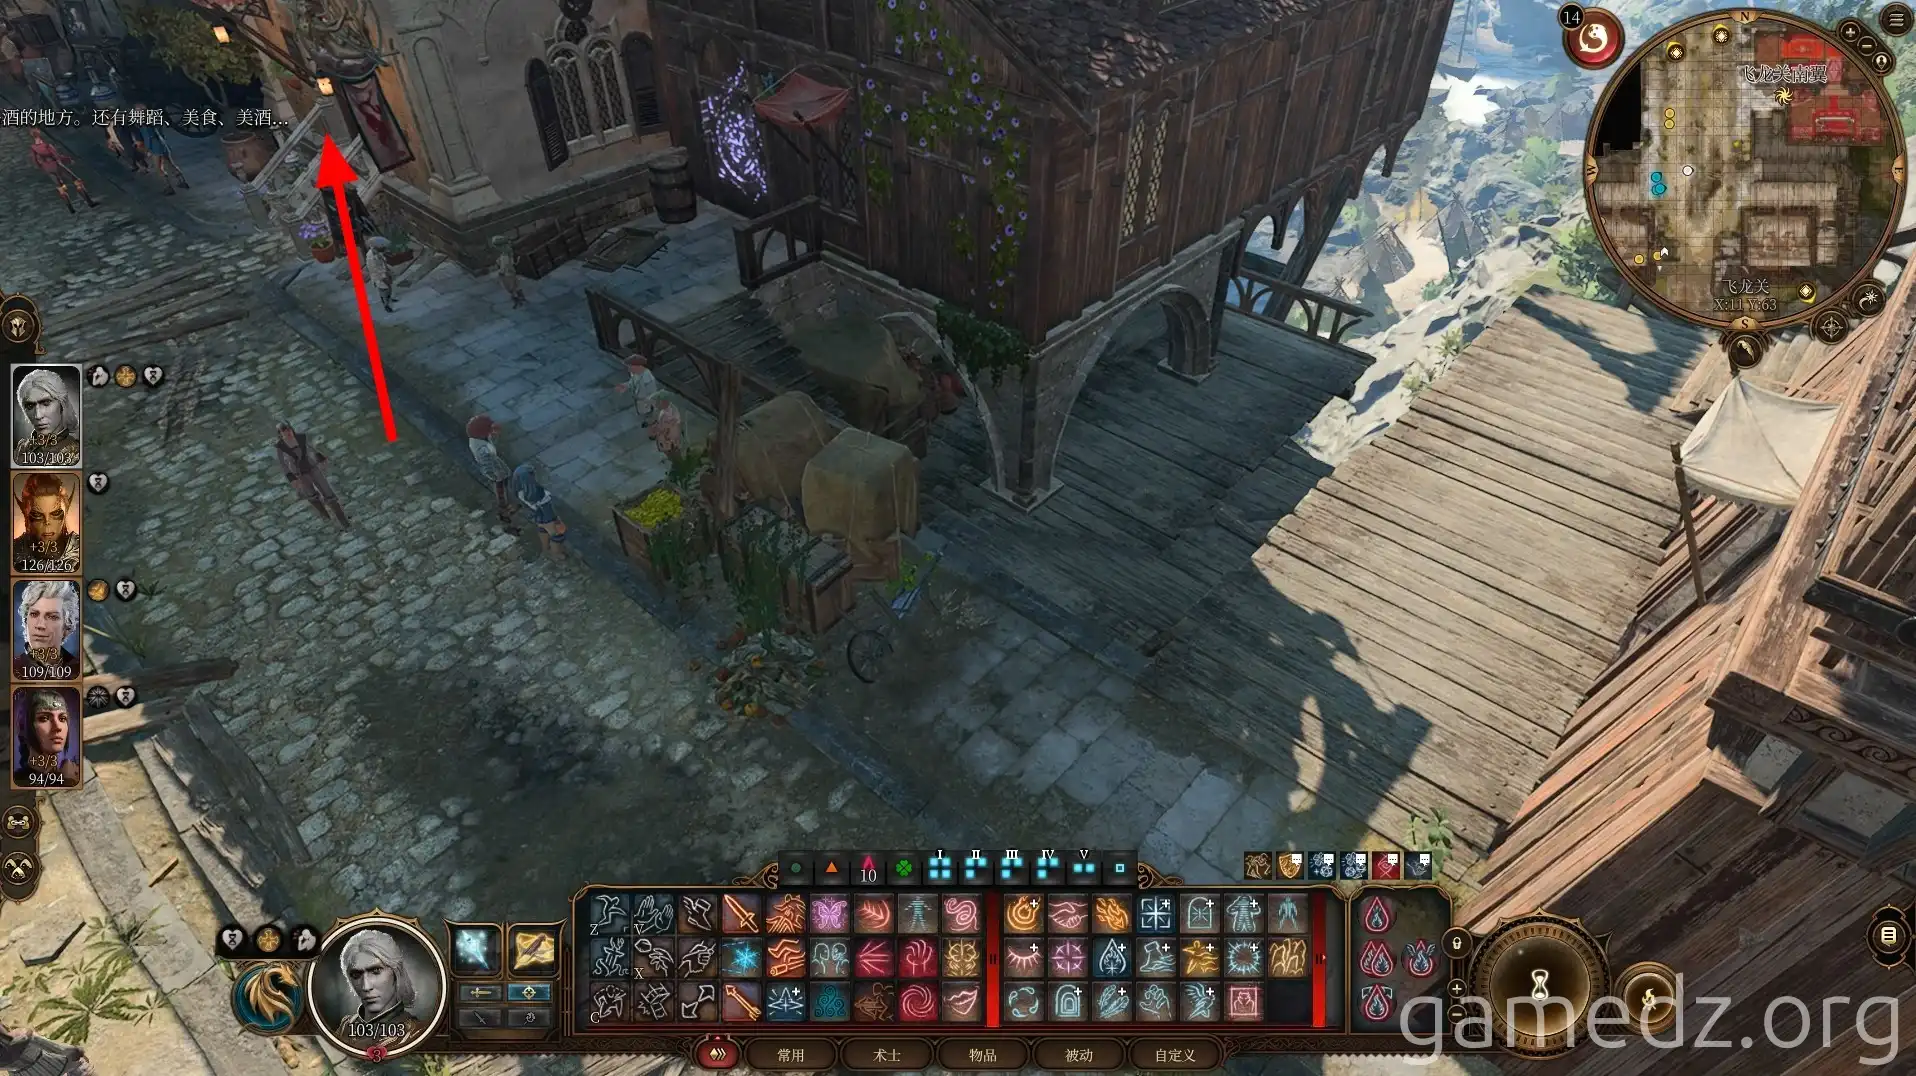
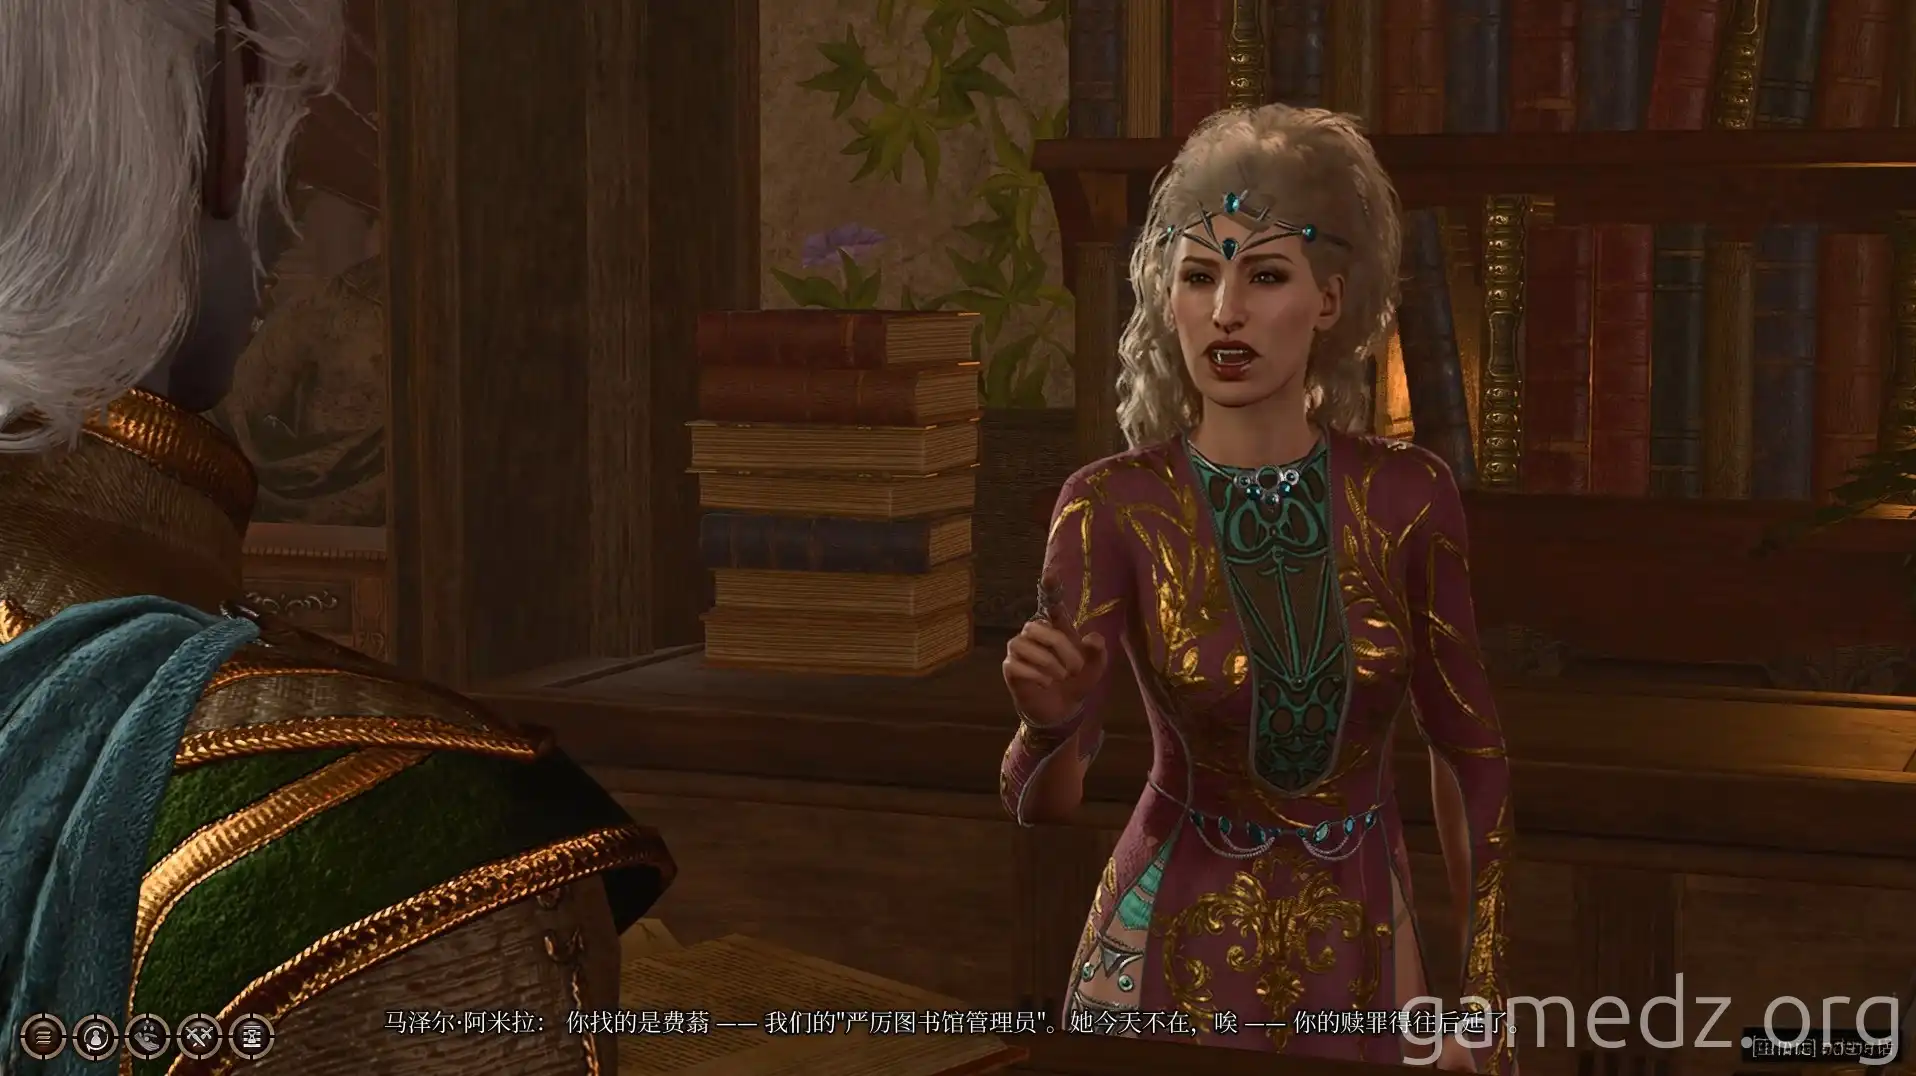
After entering, speak with the tavern's proprietress, Mazel, and learn that a woman named Felos has gone missing. Agreeing to help find her will trigger the side quest "Find the Stern Librarian, Felos."
You'll also learn that Raphael has a room here. Afterward, speak with the two men drinking nearby.
During the conversation, express your desire to find "Nine-Fingers." After passing a series of checks, you'll discover that the "Stone Lord's Gate" in the Lower City is connected to the Guild Hall.

In the room on the south side of the first floor, you'll find a drow brother and sister. You can engage in some... intimate activities with them.
The adjacent kitchen doesn't hold anything of interest, so head directly to the second floor.
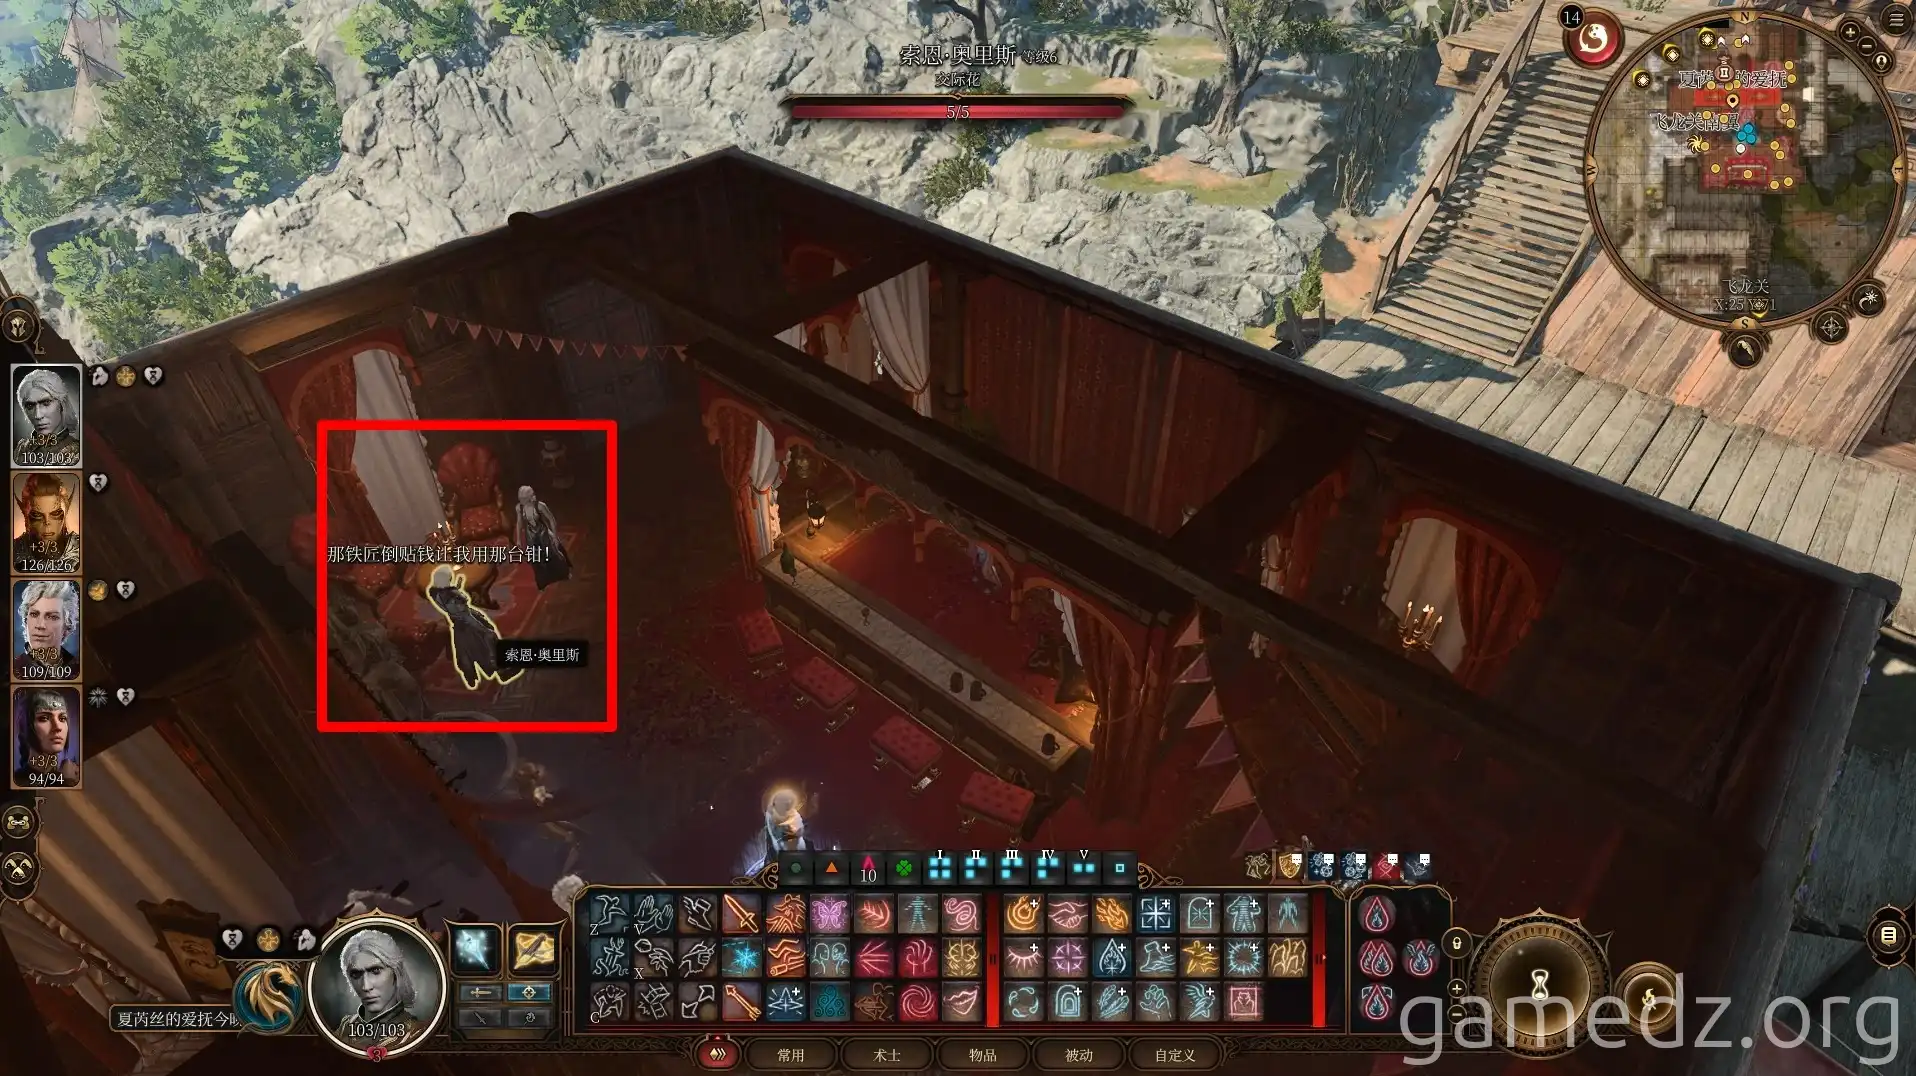
Upon reaching the second floor, you'll immediately spot the investigator for the Temple of Shar murder case. However, you don't have the crucial evidence yet, so you don't need to speak with them now.
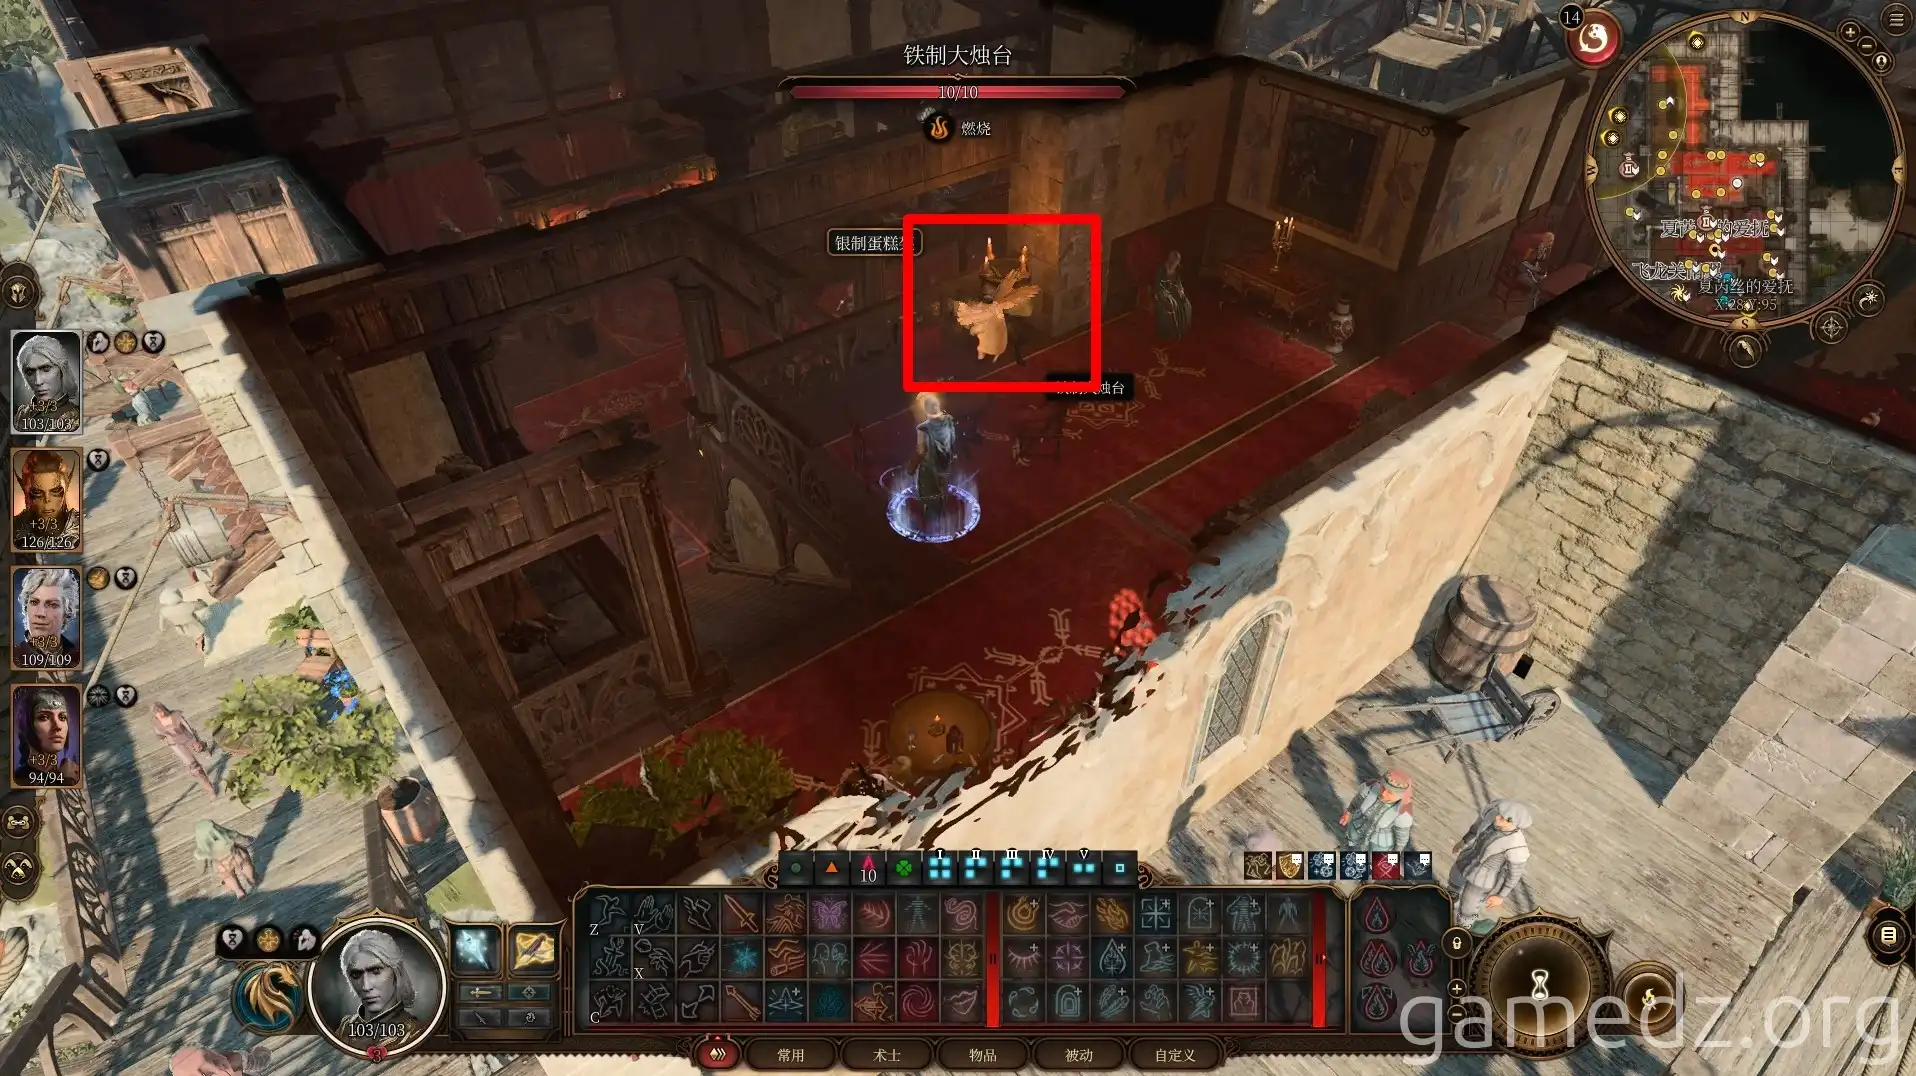
Proceed to the third floor and enter the first room with vines growing around the doorway.
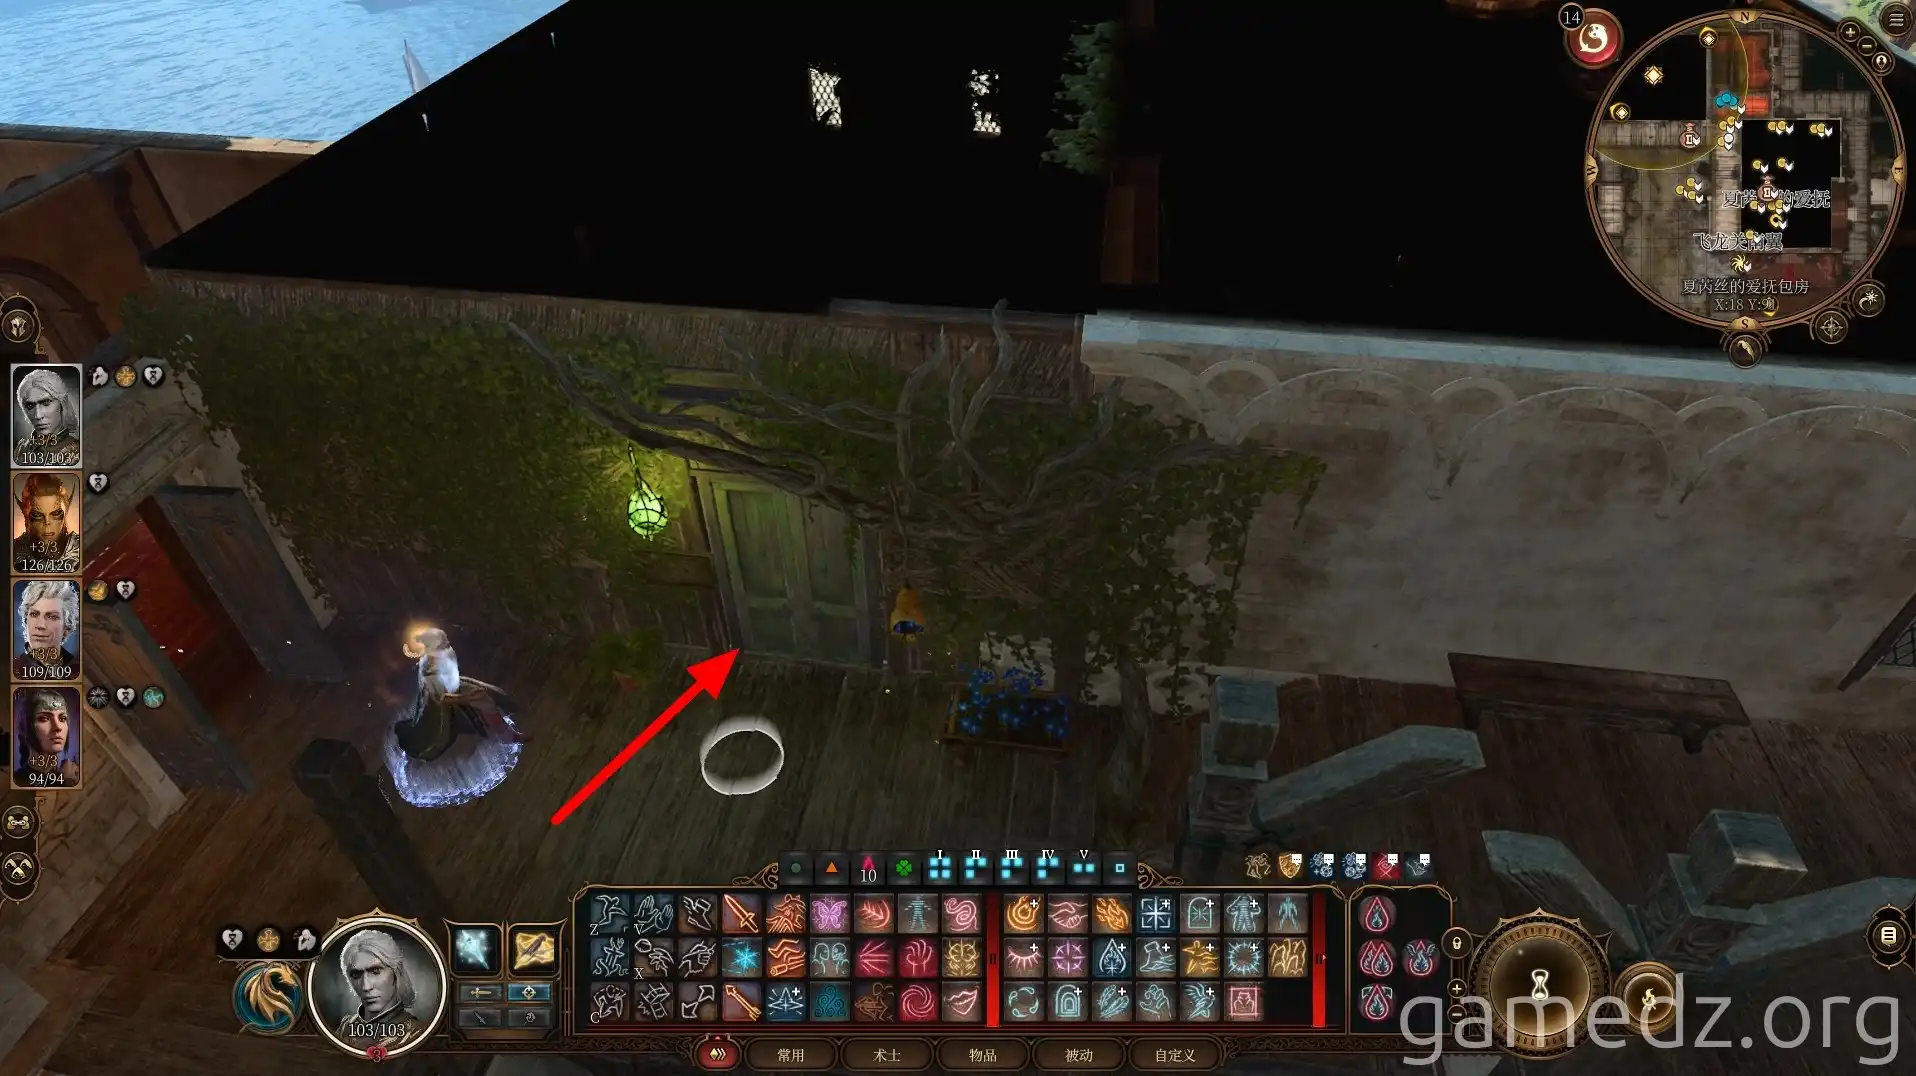
This room is Nysha's "Dryad's Grotto." There's also a Flaming Fist member present in the room.
As you enter, the Flaming Fist member will transform into a Mind Flayer, initiating combat. Defeating the Mind Flayer will grant an inspiration buff to Dark Urge characters who engage in intimate activities with Nysha.
Even if you're not a Dark Urge character, interacting with Nysha can grant you the "Ecstasy" buff, which lasts until your next Long Rest.
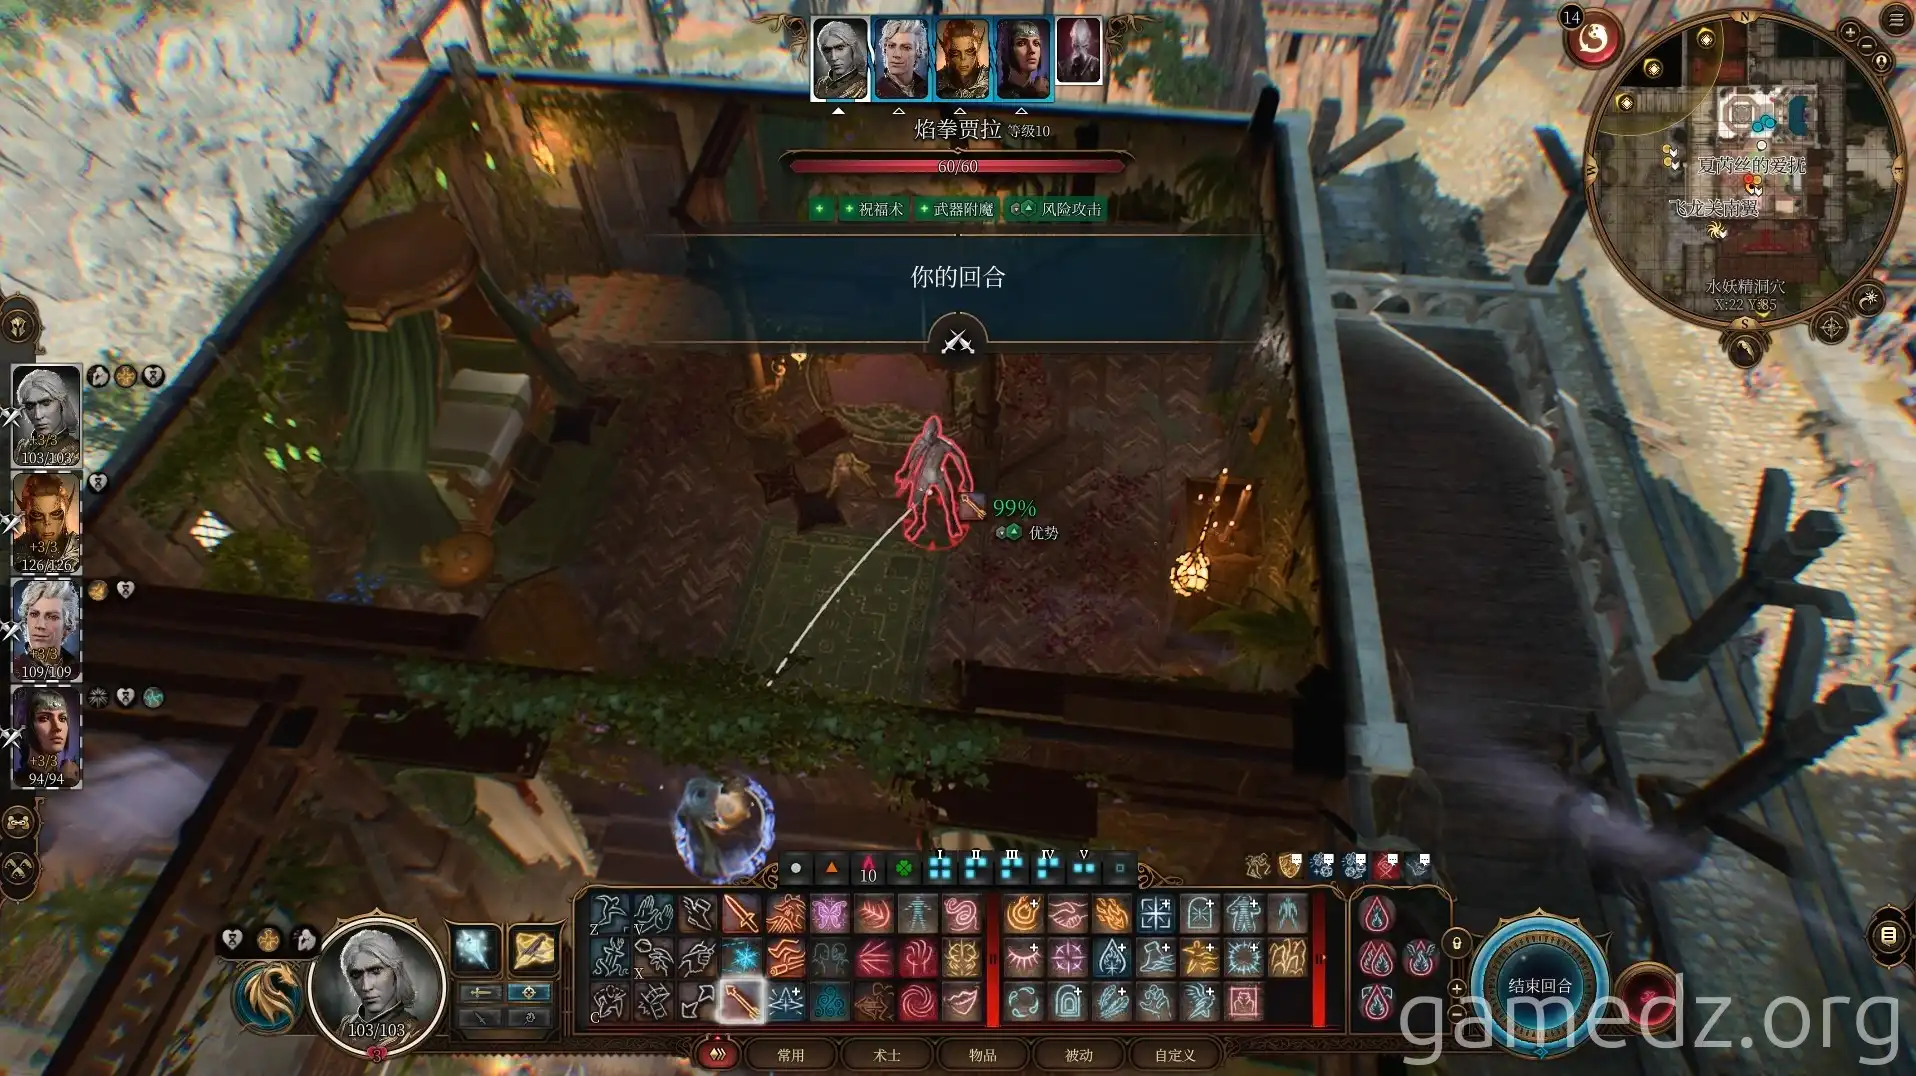
Return to the terrace and enter the room on the other side of the door.
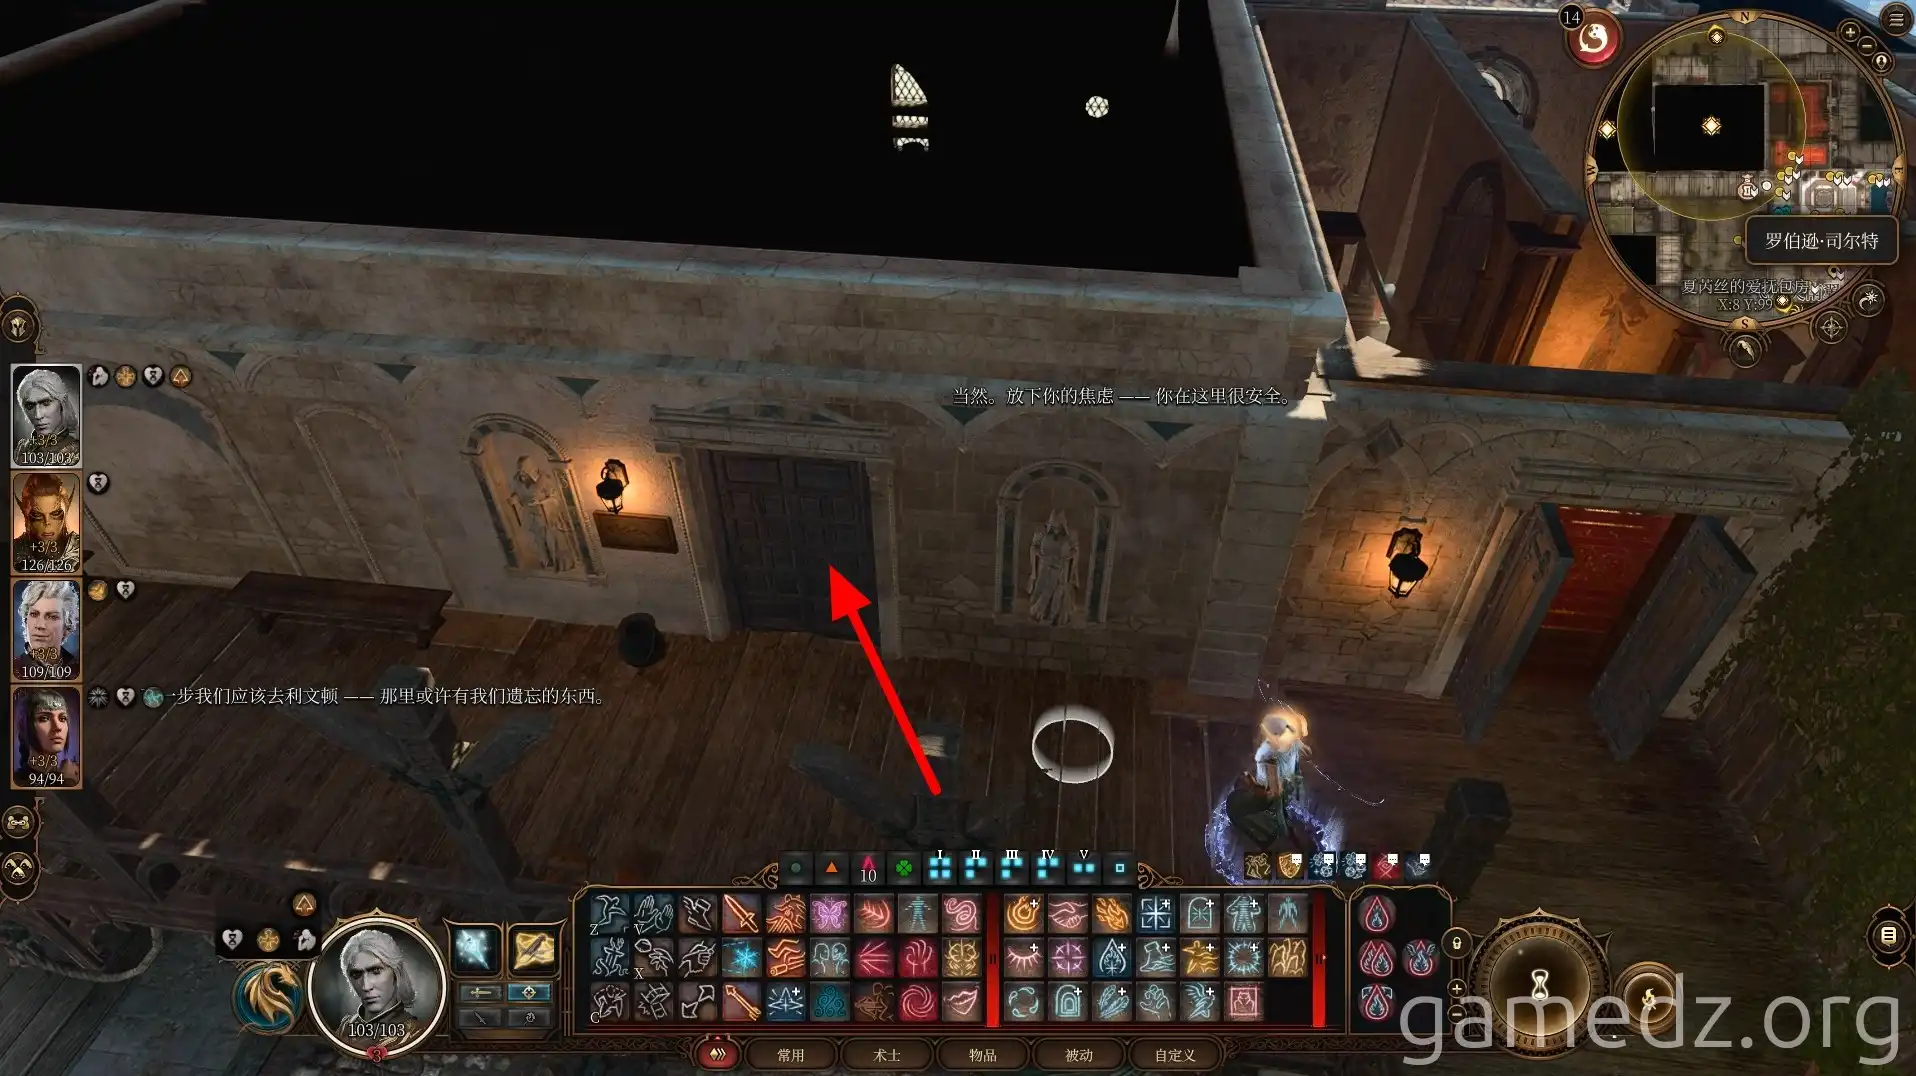
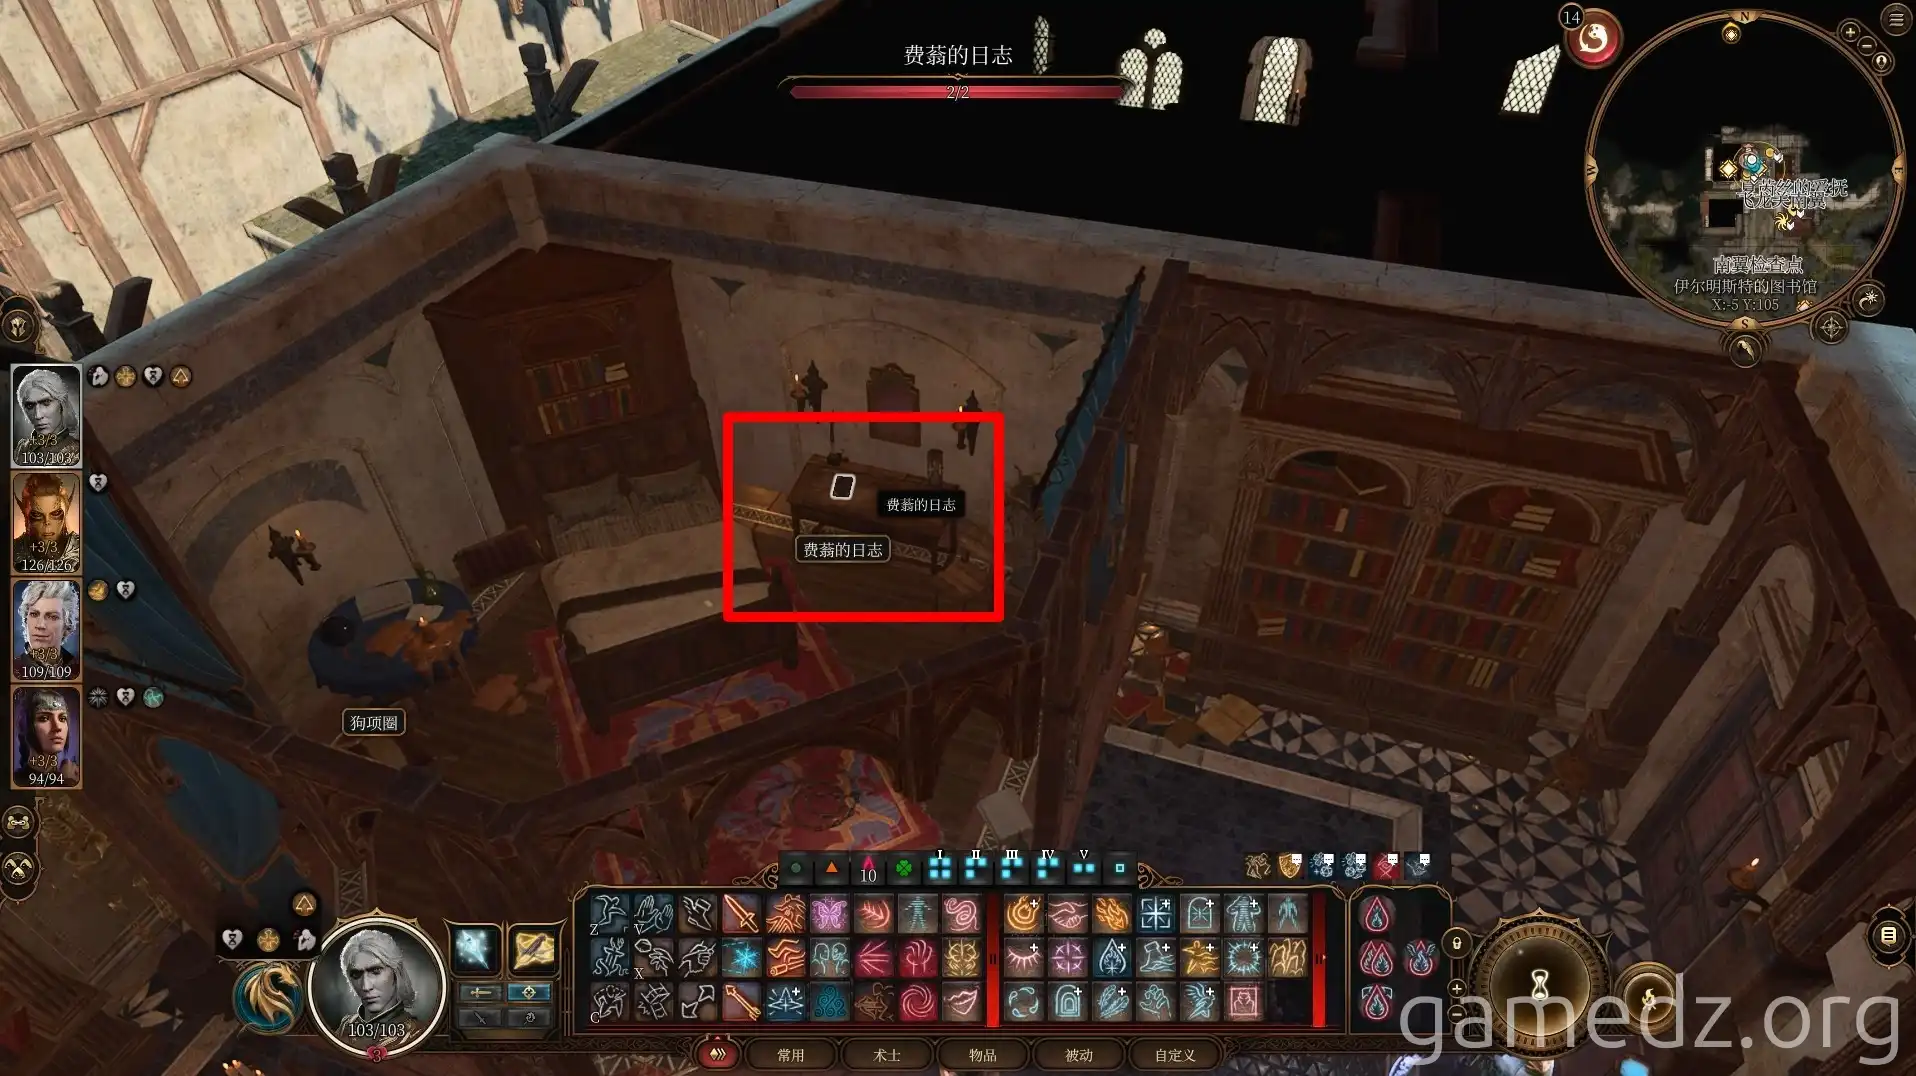
This room is Felos's "workstation." You can find Felos's journal by the bedside. Reading the journal reveals that she has been very worried about a loved one recently.
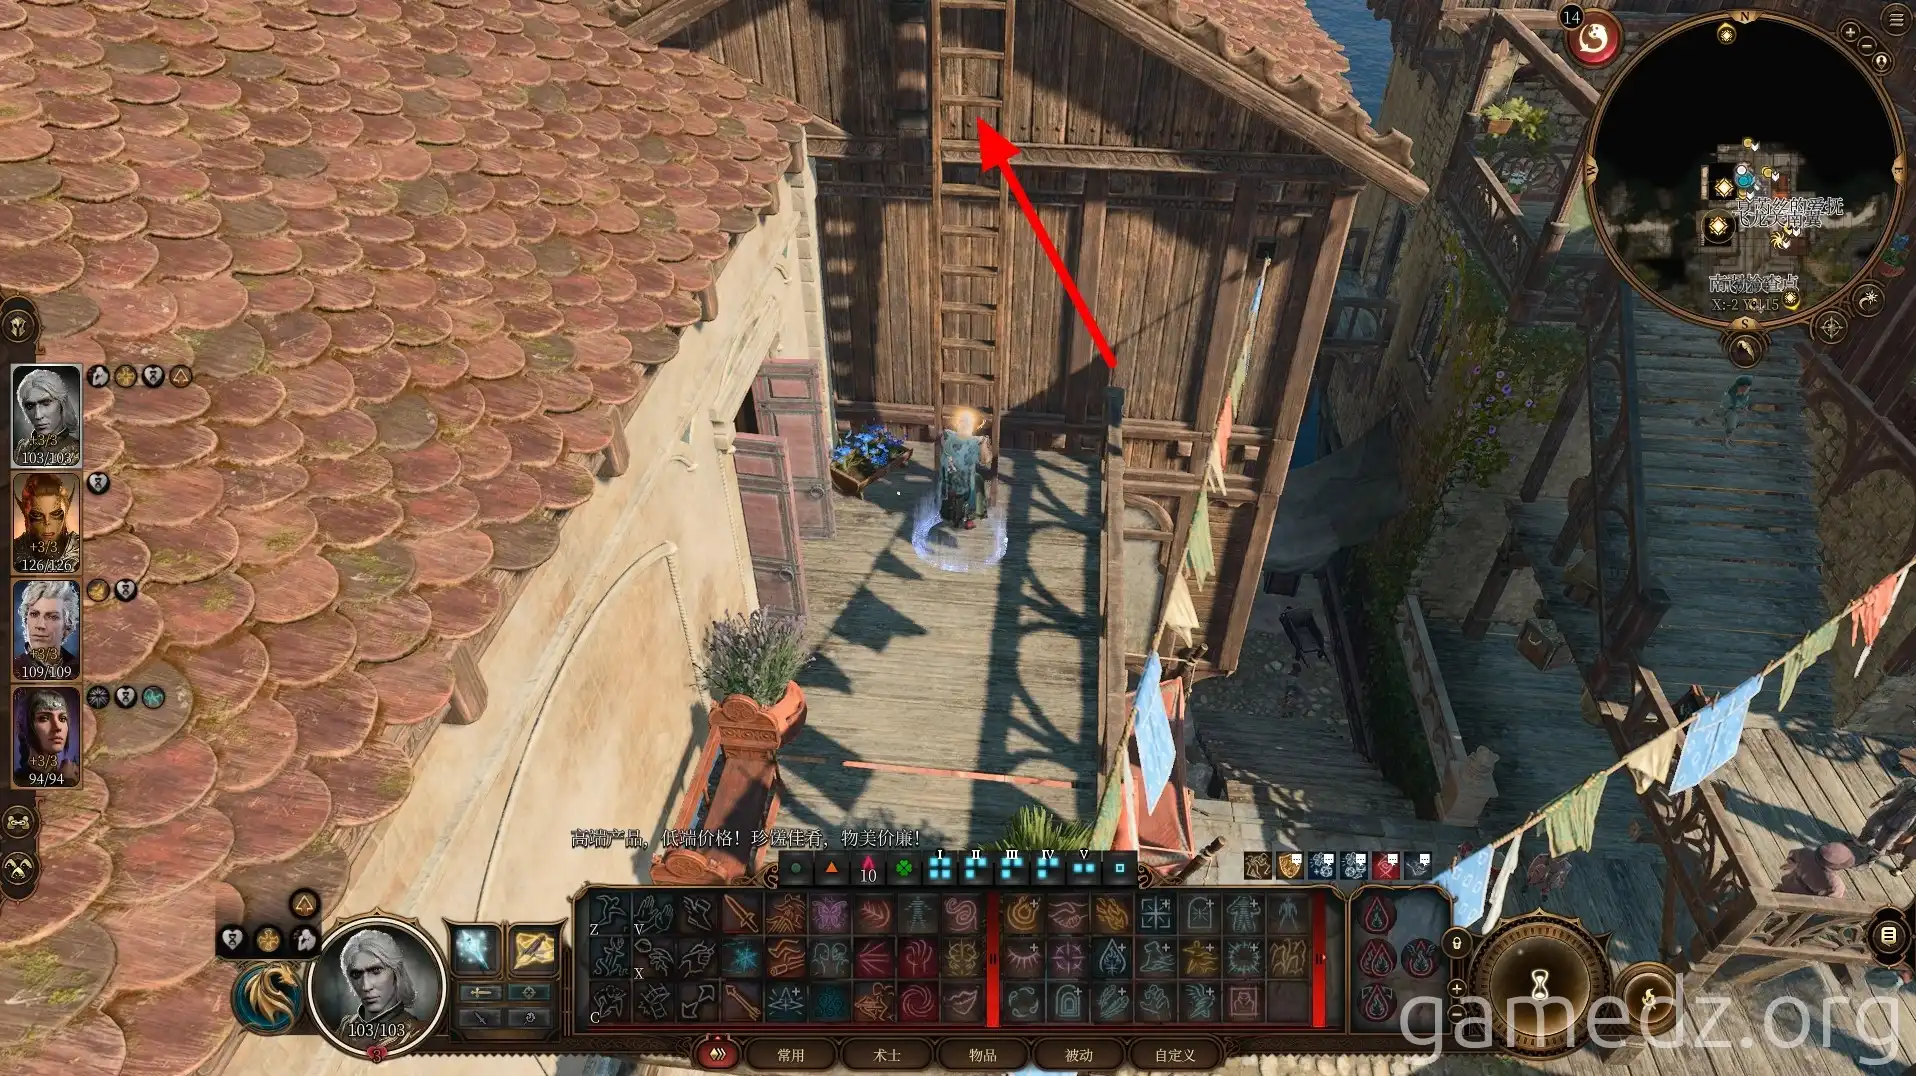
From the terrace behind the library, you can climb a ladder to the rooftop. However, there doesn't seem to be anything of interest on the roof at the moment.
The room adjacent to the library is Raphael's suite. Here, you'll encounter Commander Zhalk again.
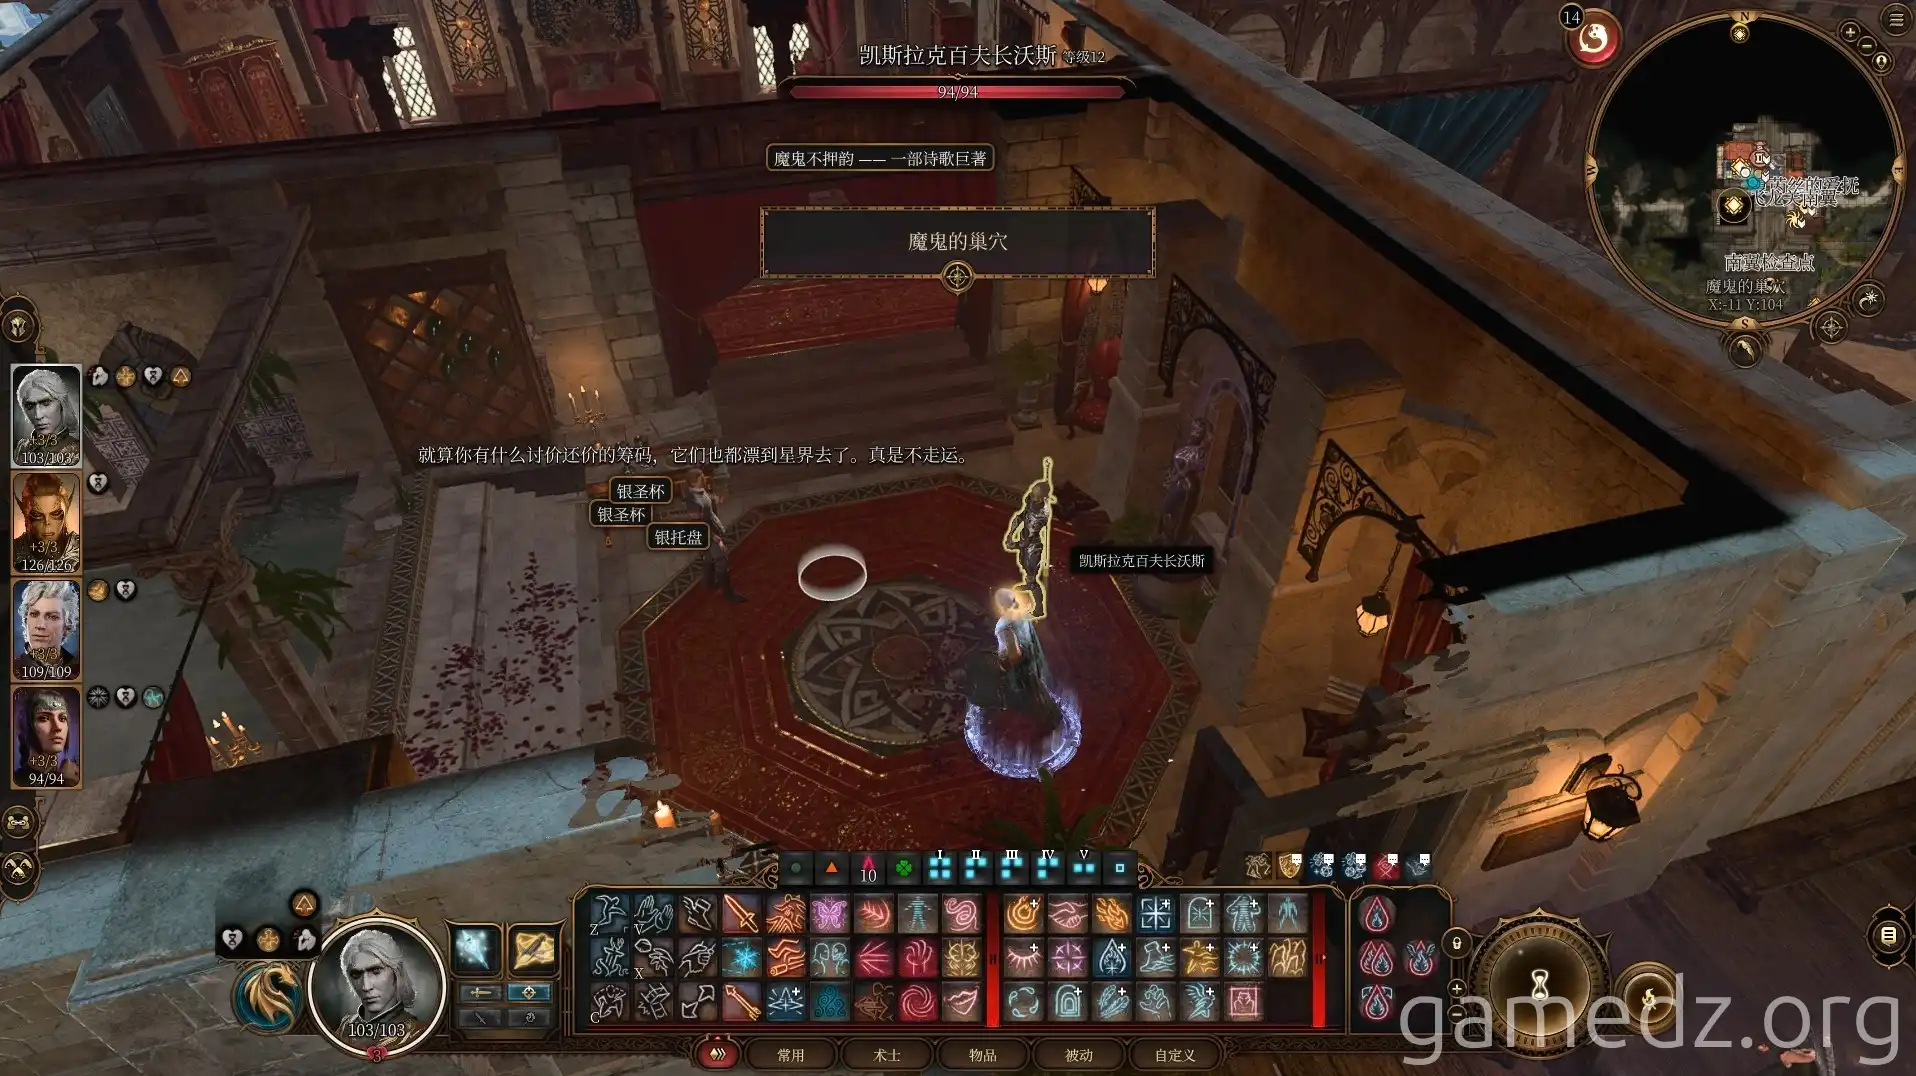
Subsequently, speak with Raphael. He claims to have a way to help you rescue the Astral Prism Prince, but he requires the crown controlling the Netherbrain in return.
Although the Guardian will later explicitly object, agree to Raphael's terms for now and sign the contract. By agreeing to Raphael's deal, you will receive the legendary weapon "Orpheus's Hammer."
After leaving Raphael's room, continue along the terrace to the drow siblings' room. There's nothing of note there, so head back to the second floor.
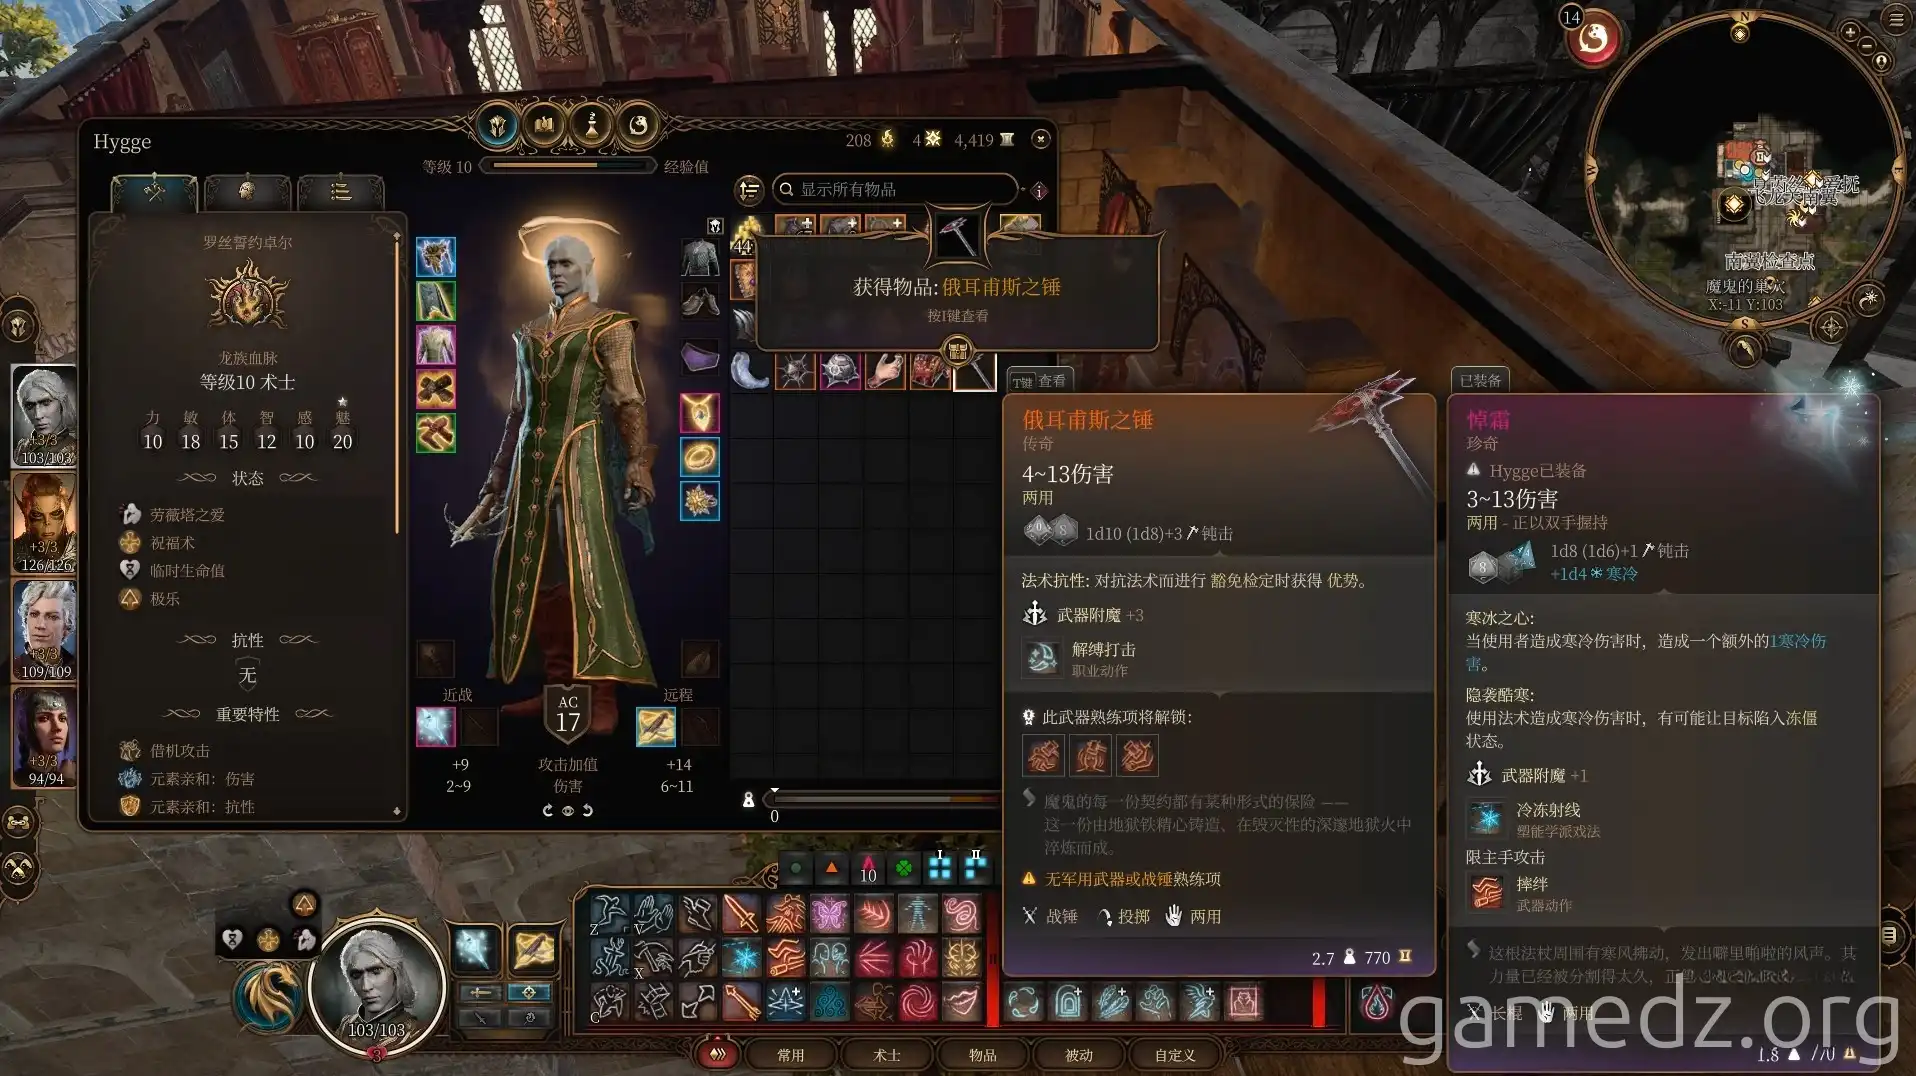
Return to the second floor and speak with Commander Zhalk, informing him that you will use the hammer to rescue the Astral Prism Prince.
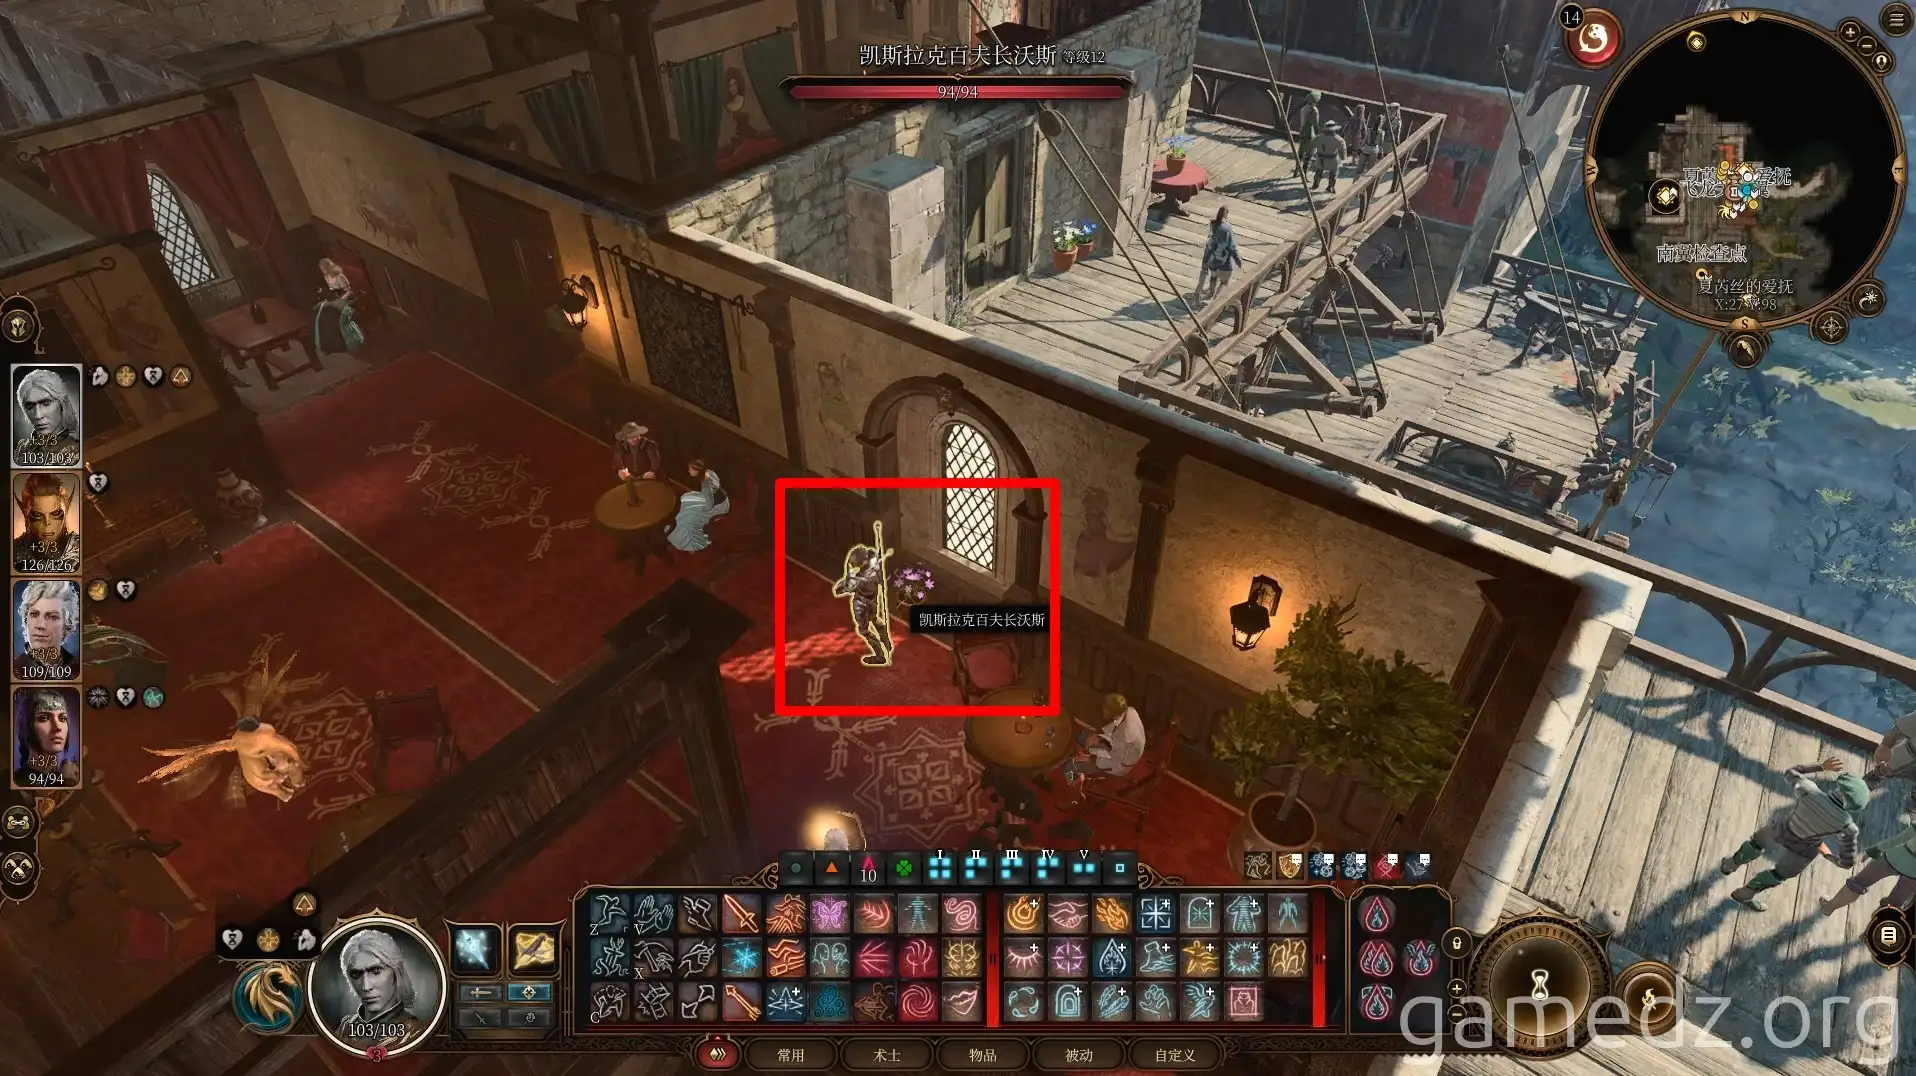
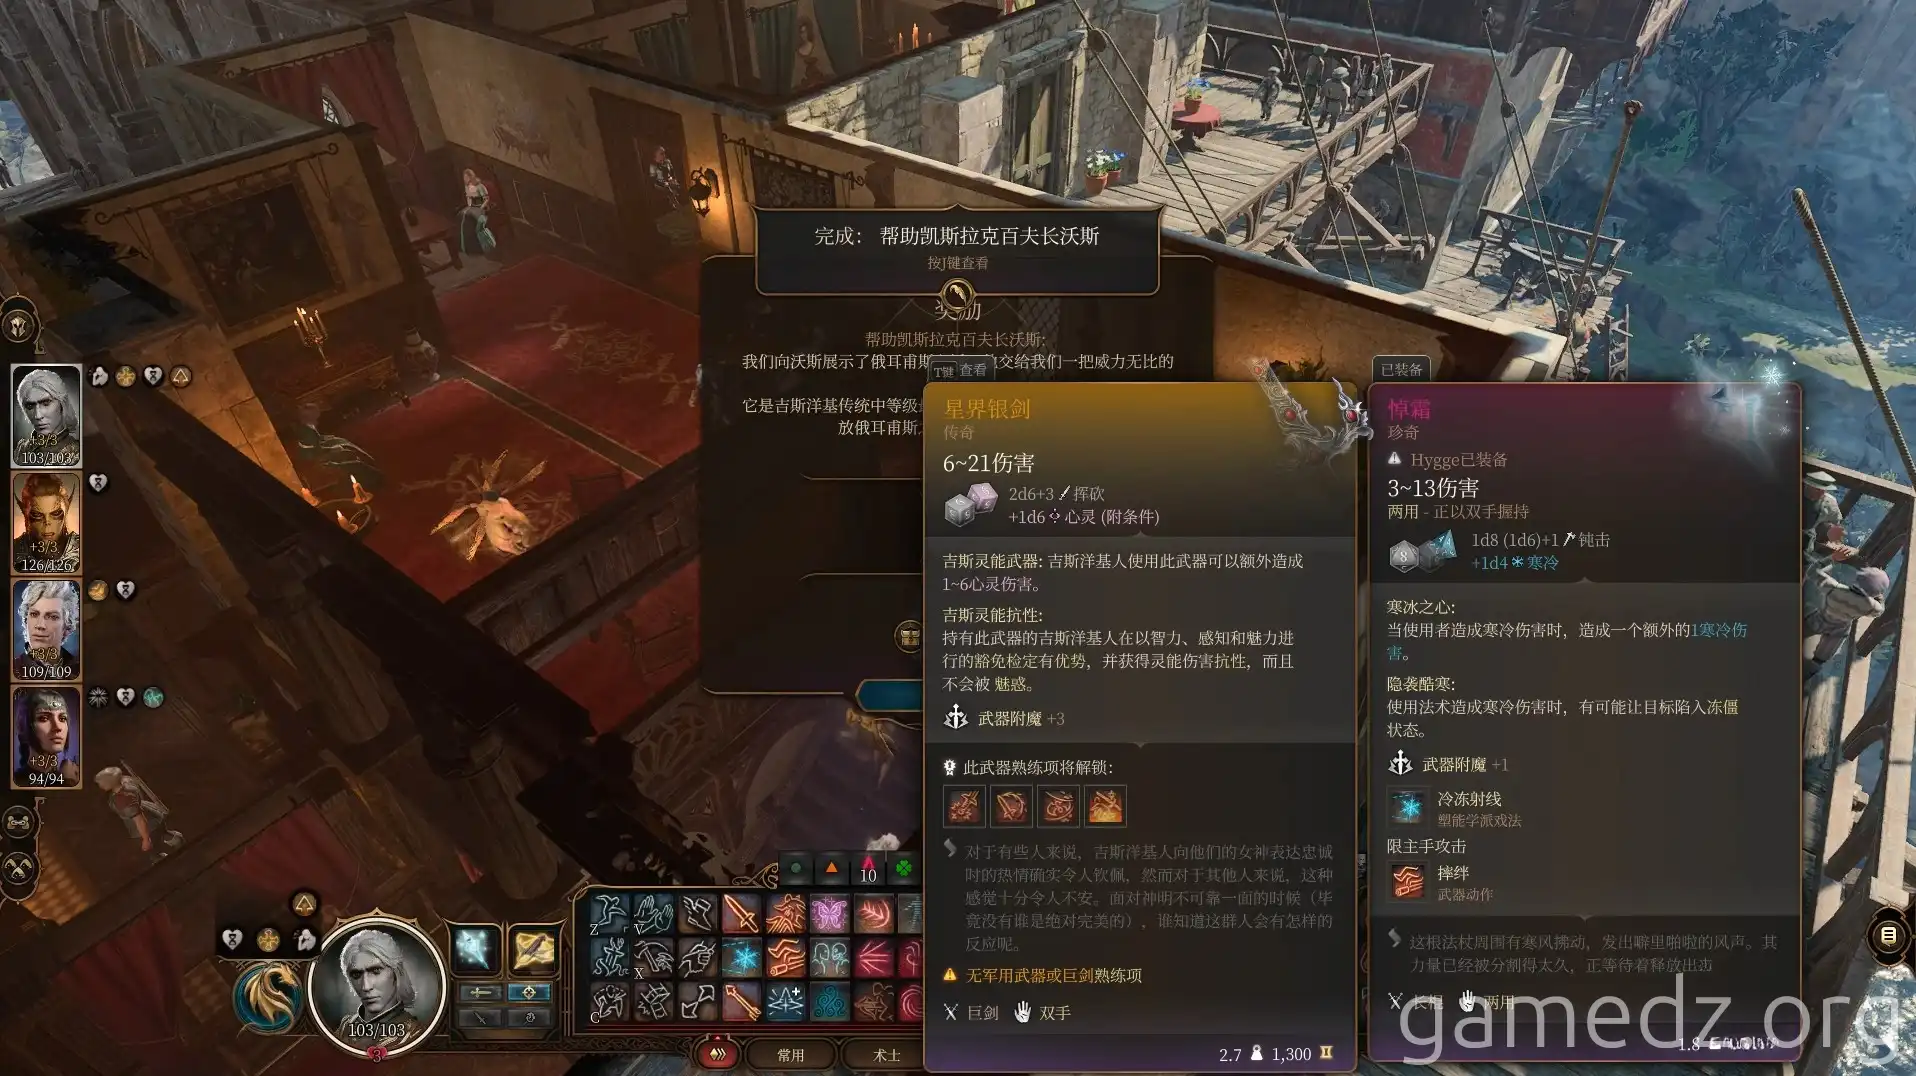
You can then obtain the legendary weapon "Starmetal Sword" from Commander Zhalk.
Go back to the first floor and speak with the bartender opposite the proprietress. Express your desire to try her drinks, and you'll receive a free glass of "Hogtie's Firewater," valued at 100 gold.
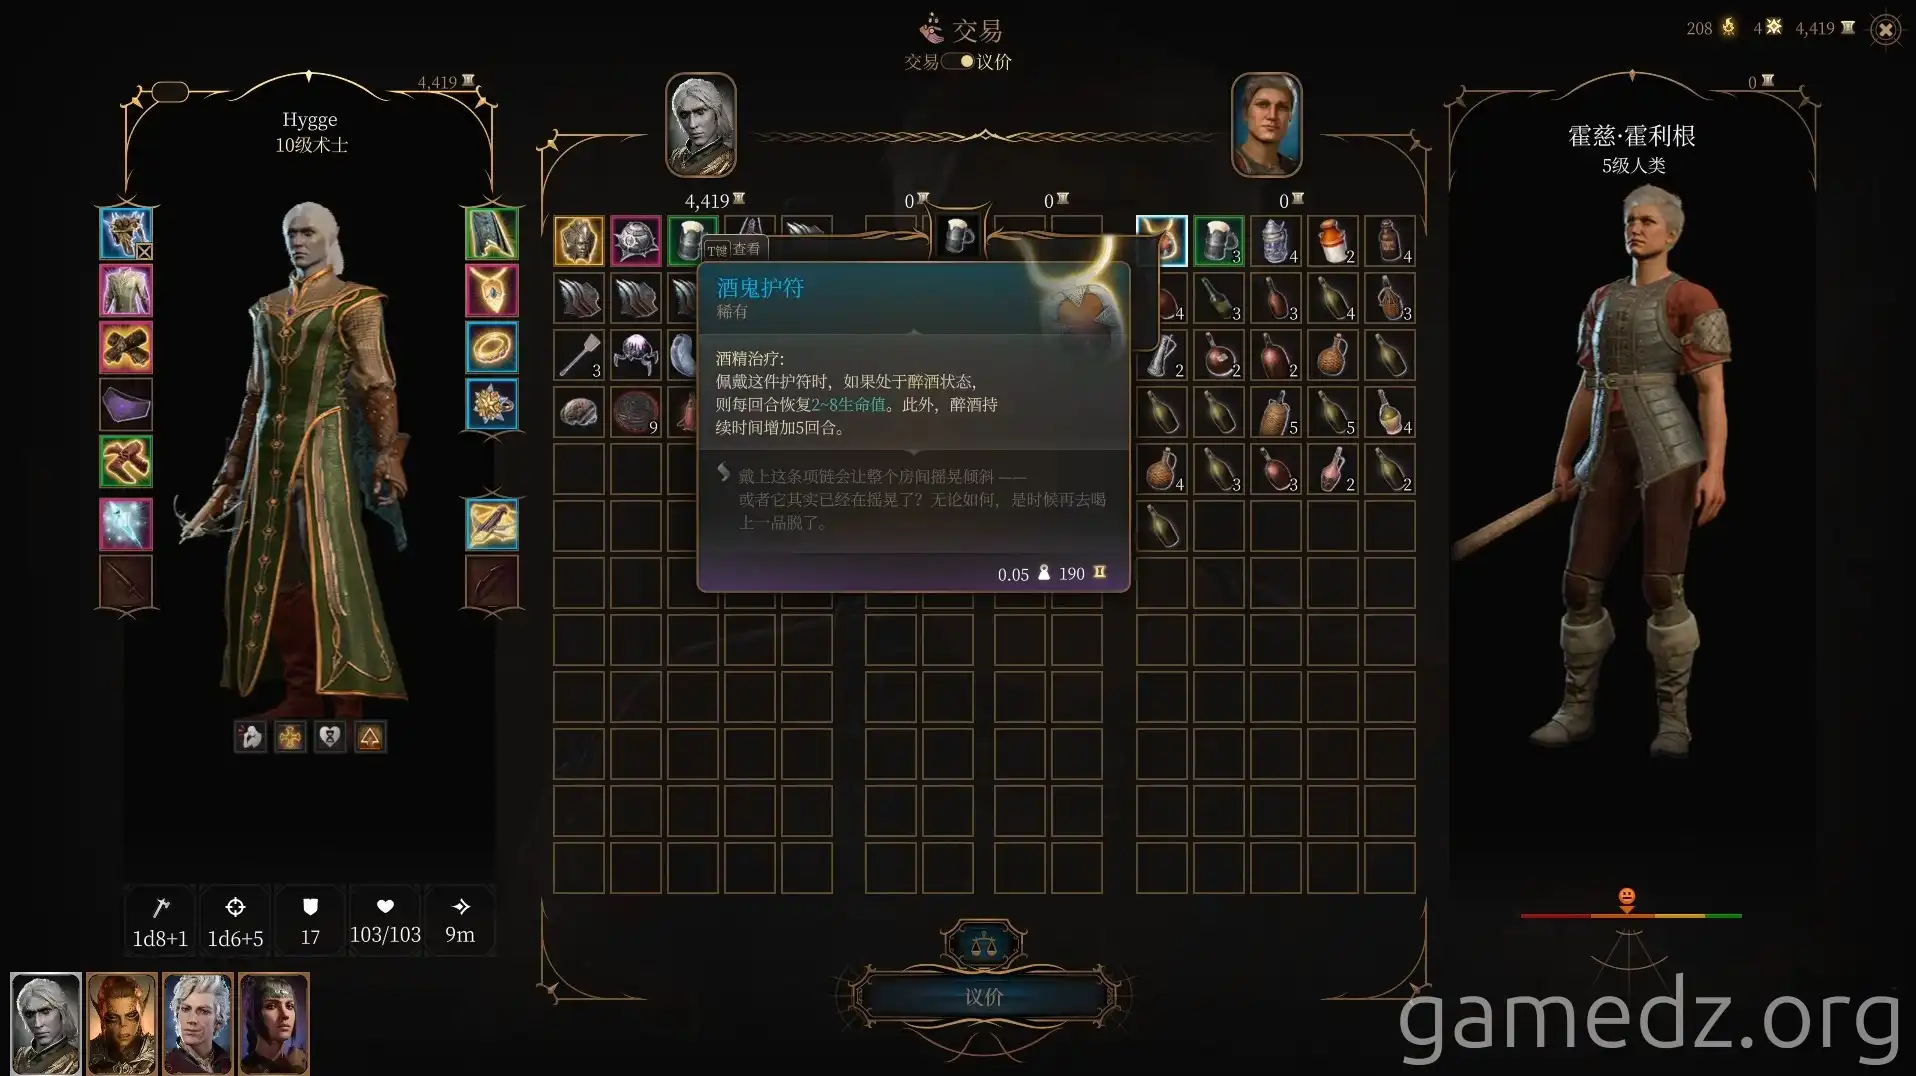
You can also purchase a rare accessory, the "Drunkard's Charm," from her.
Speak with Corilla at the bar. You'll learn that she is Raphael's attendant. Through persuasion or other means, you can gain information that a devil worshipper in Baldur's Gate knows how to enter Raphael's mansion.
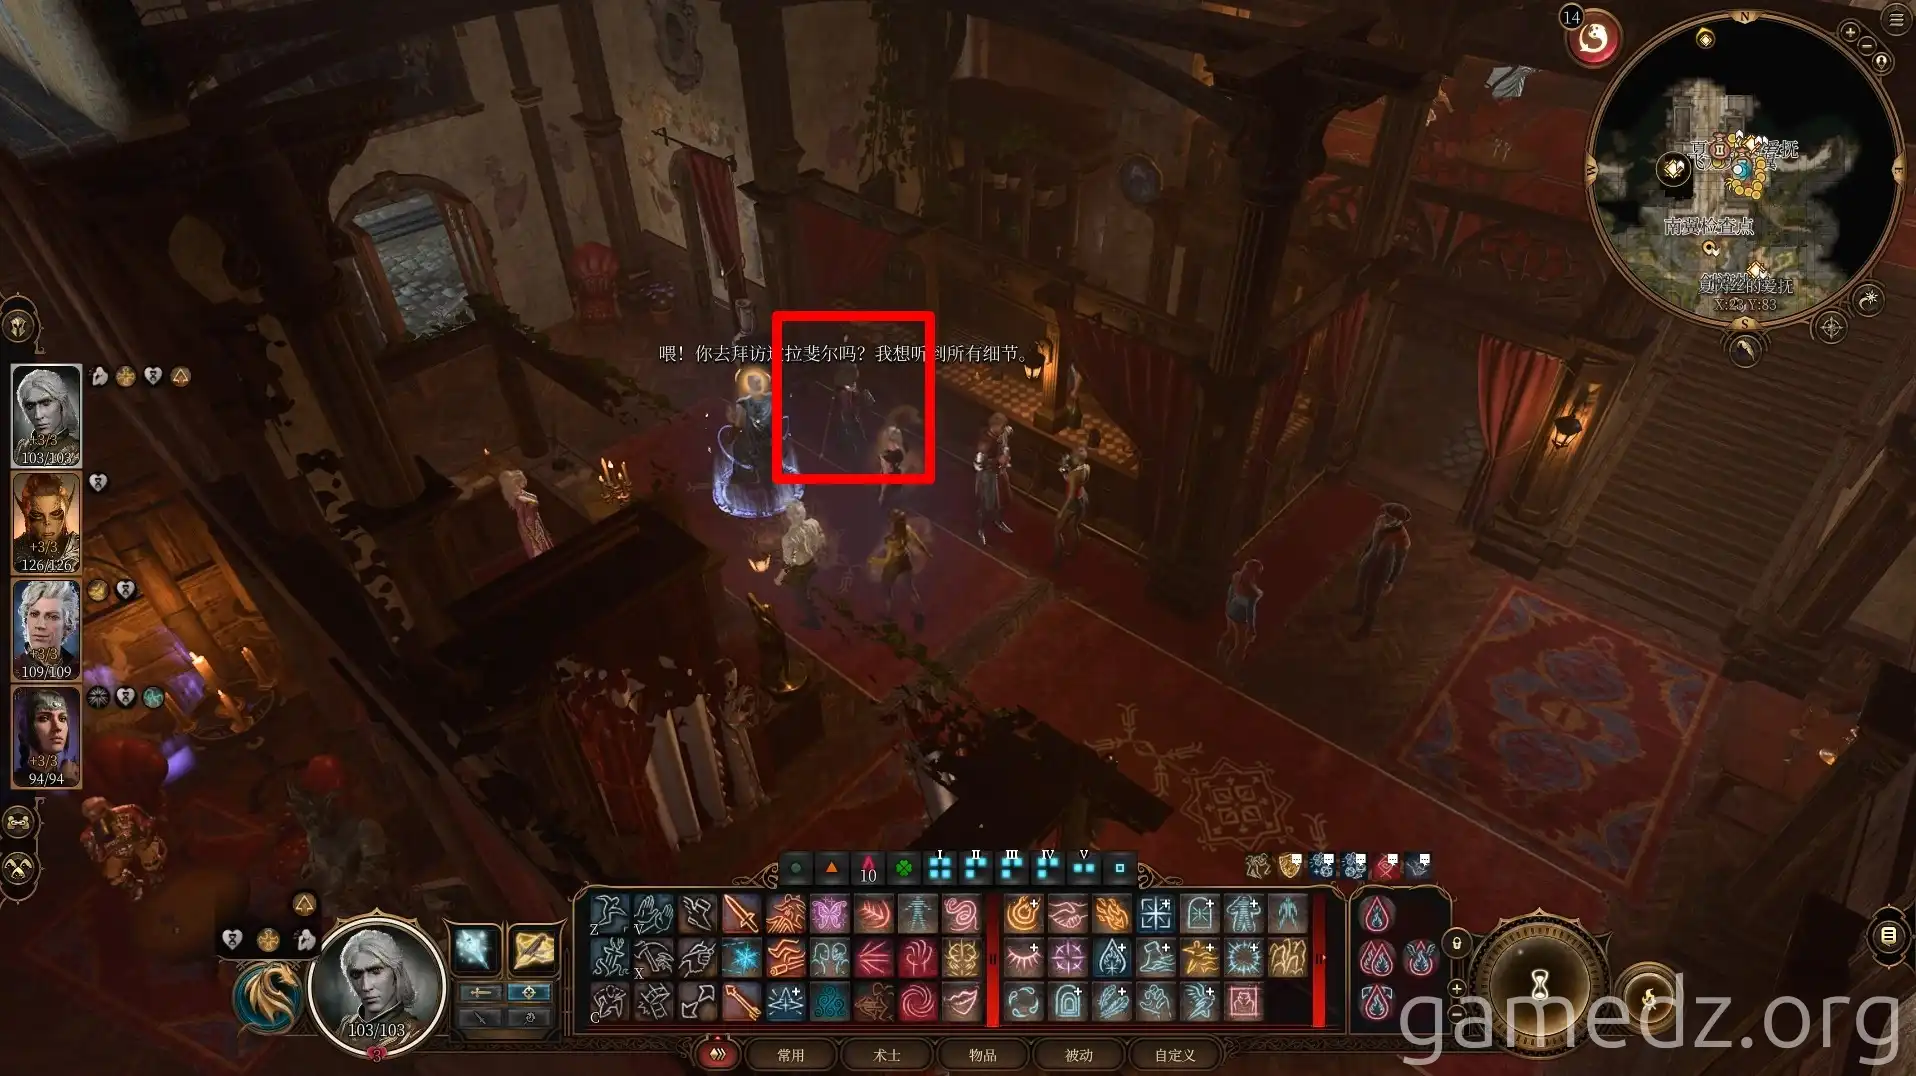
After leaving "Sharess's Caress," you'll find some merchants in the building next door, but they only sell miscellaneous items.
Proceed directly to the "Ferengos Inn" across the street.
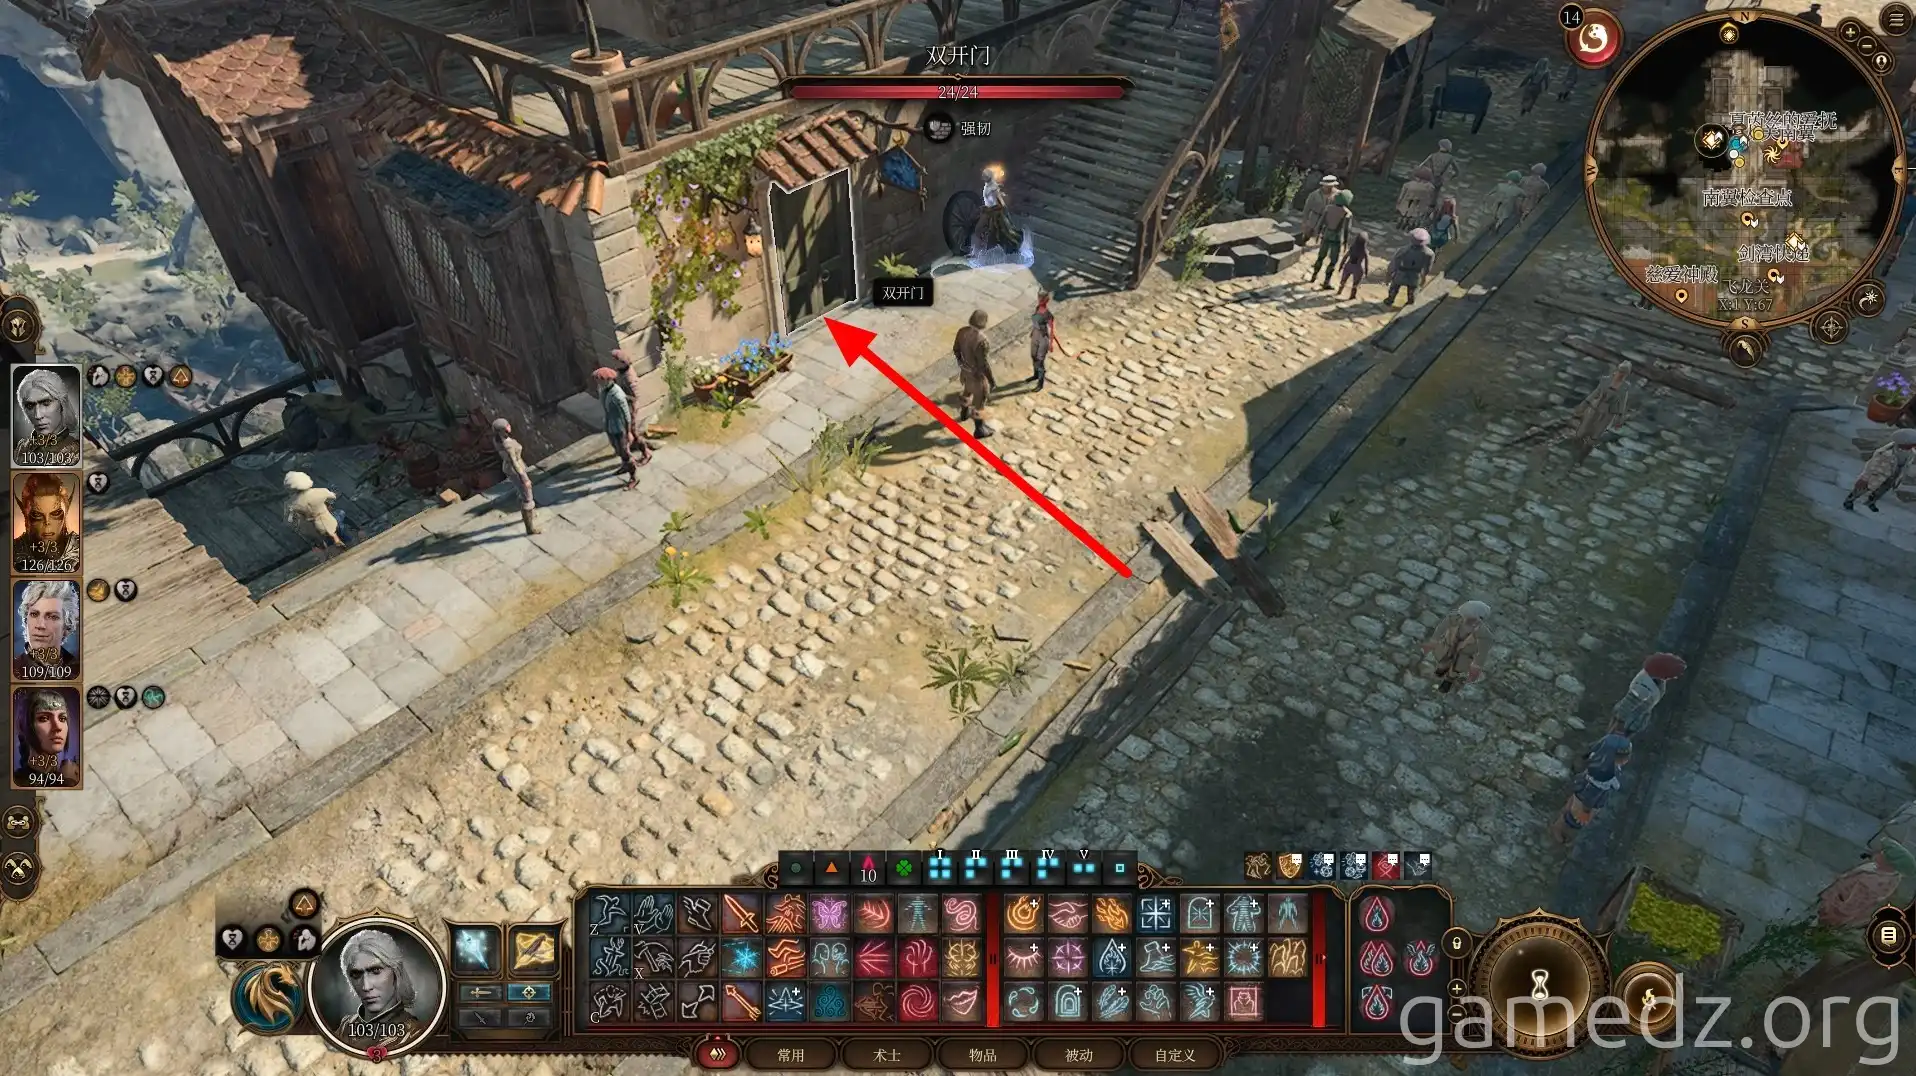
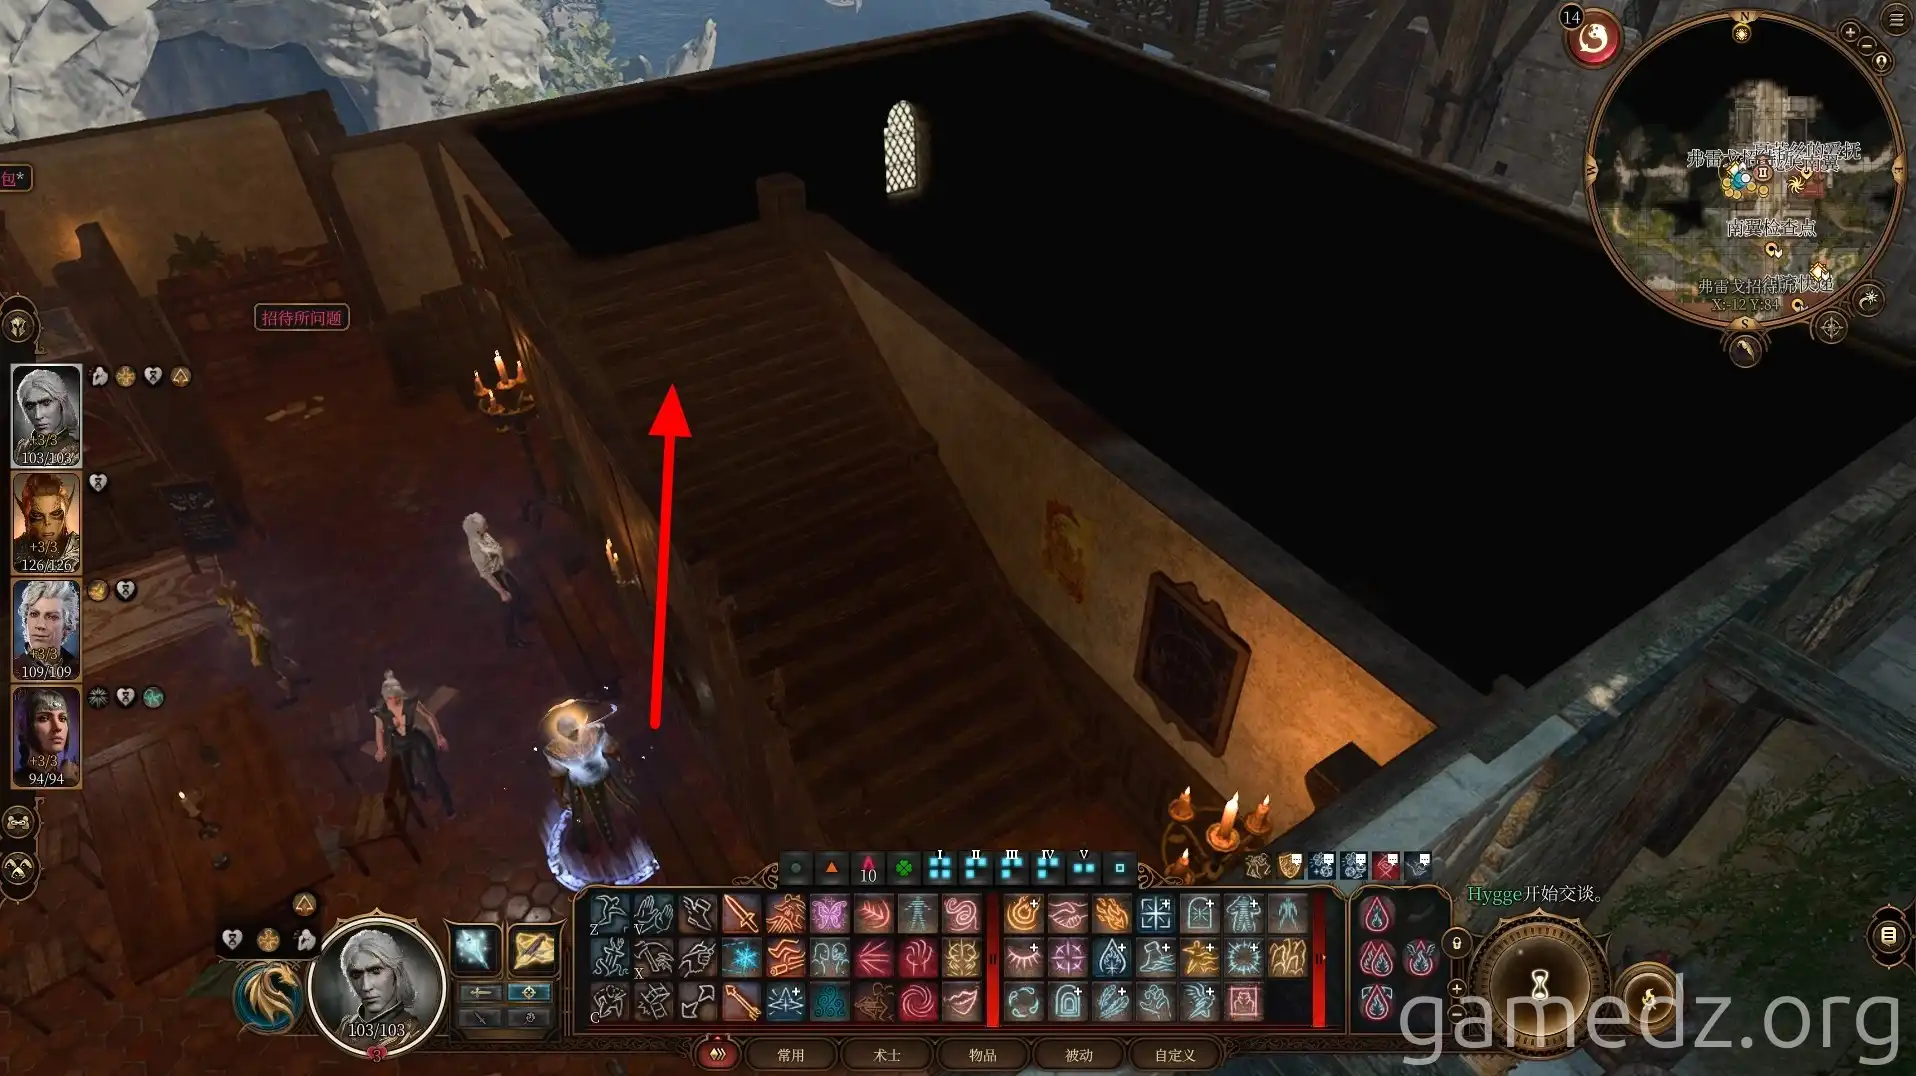
The room on the other side of the first floor is a kitchen with nothing of interest. Head directly up the stairs to the second floor.
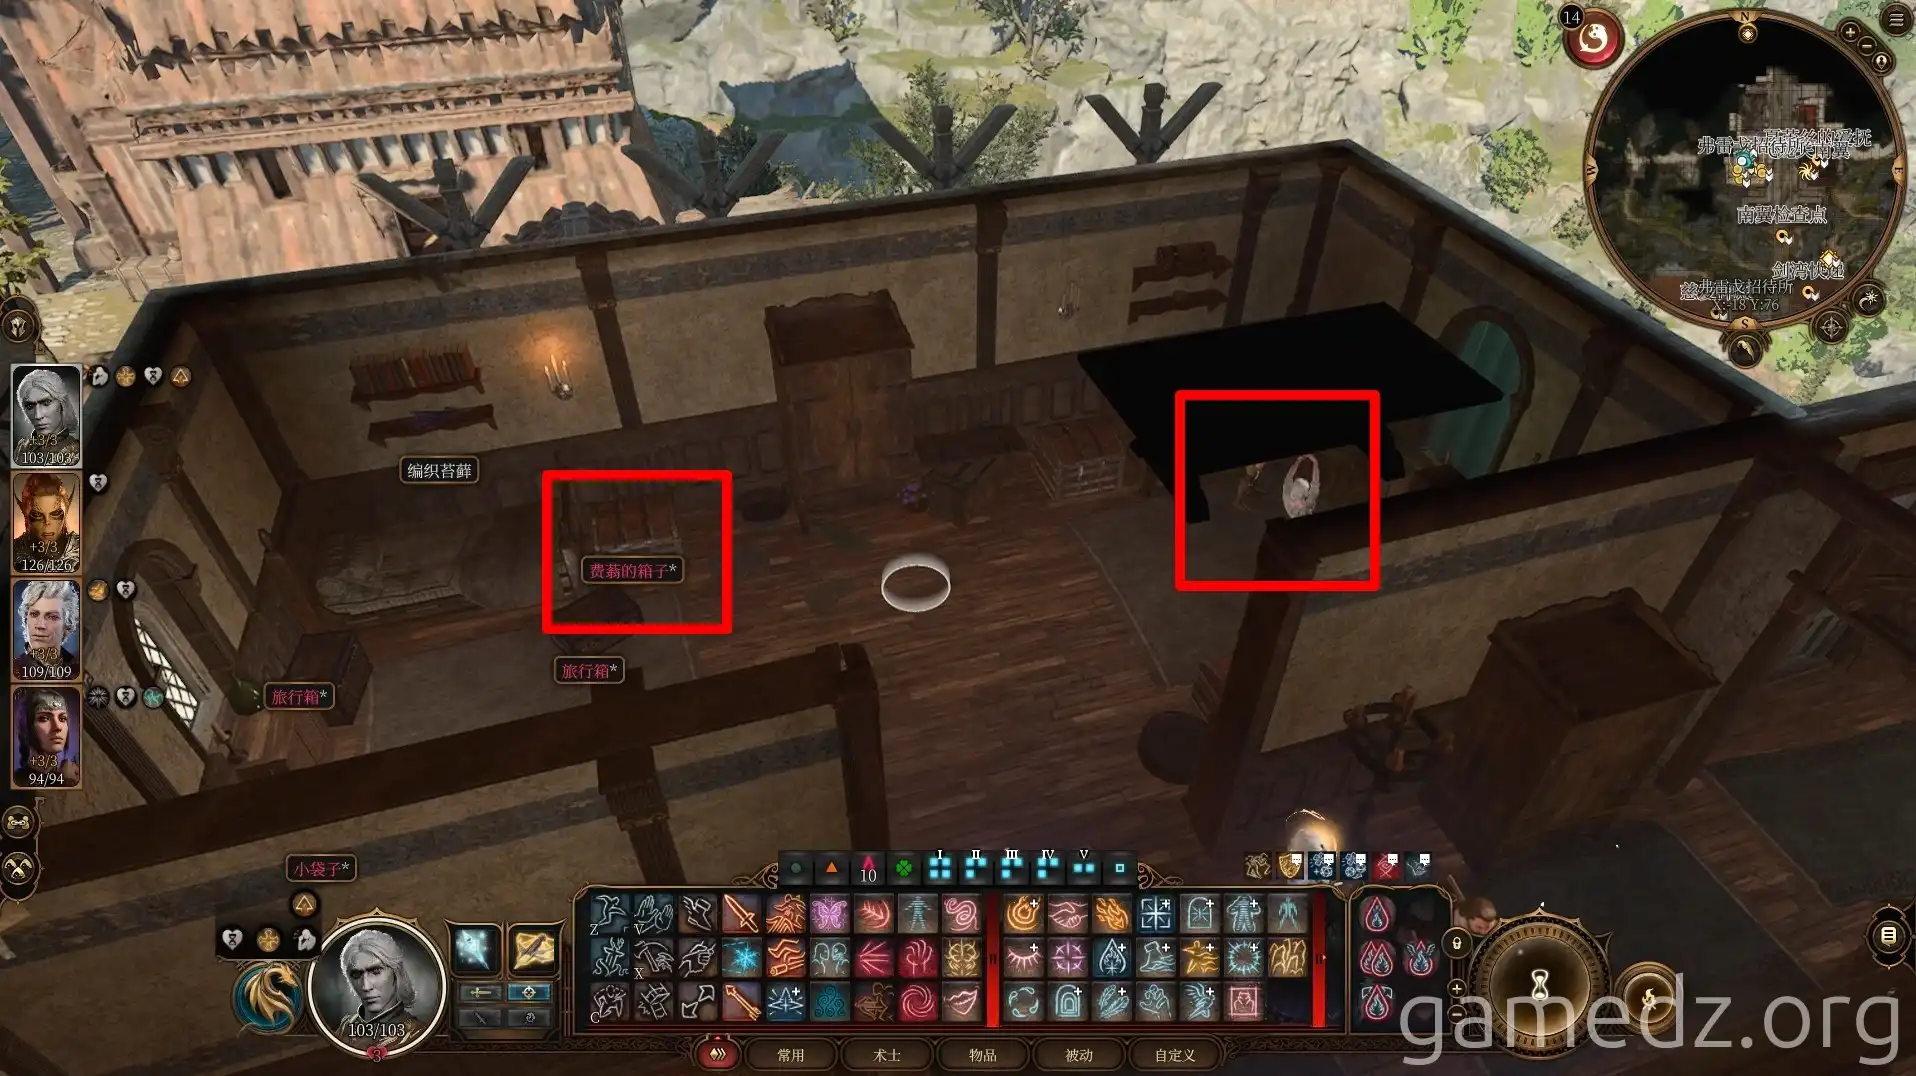
In a room on the second floor, you can find Felos's chest. Obtain more clues from the journal inside the chest.
The individuals nearby are also vampire spawn. Upon seeing you, they will immediately turn into mist and flee.
Then, use the ladder in the room to enter the attic.
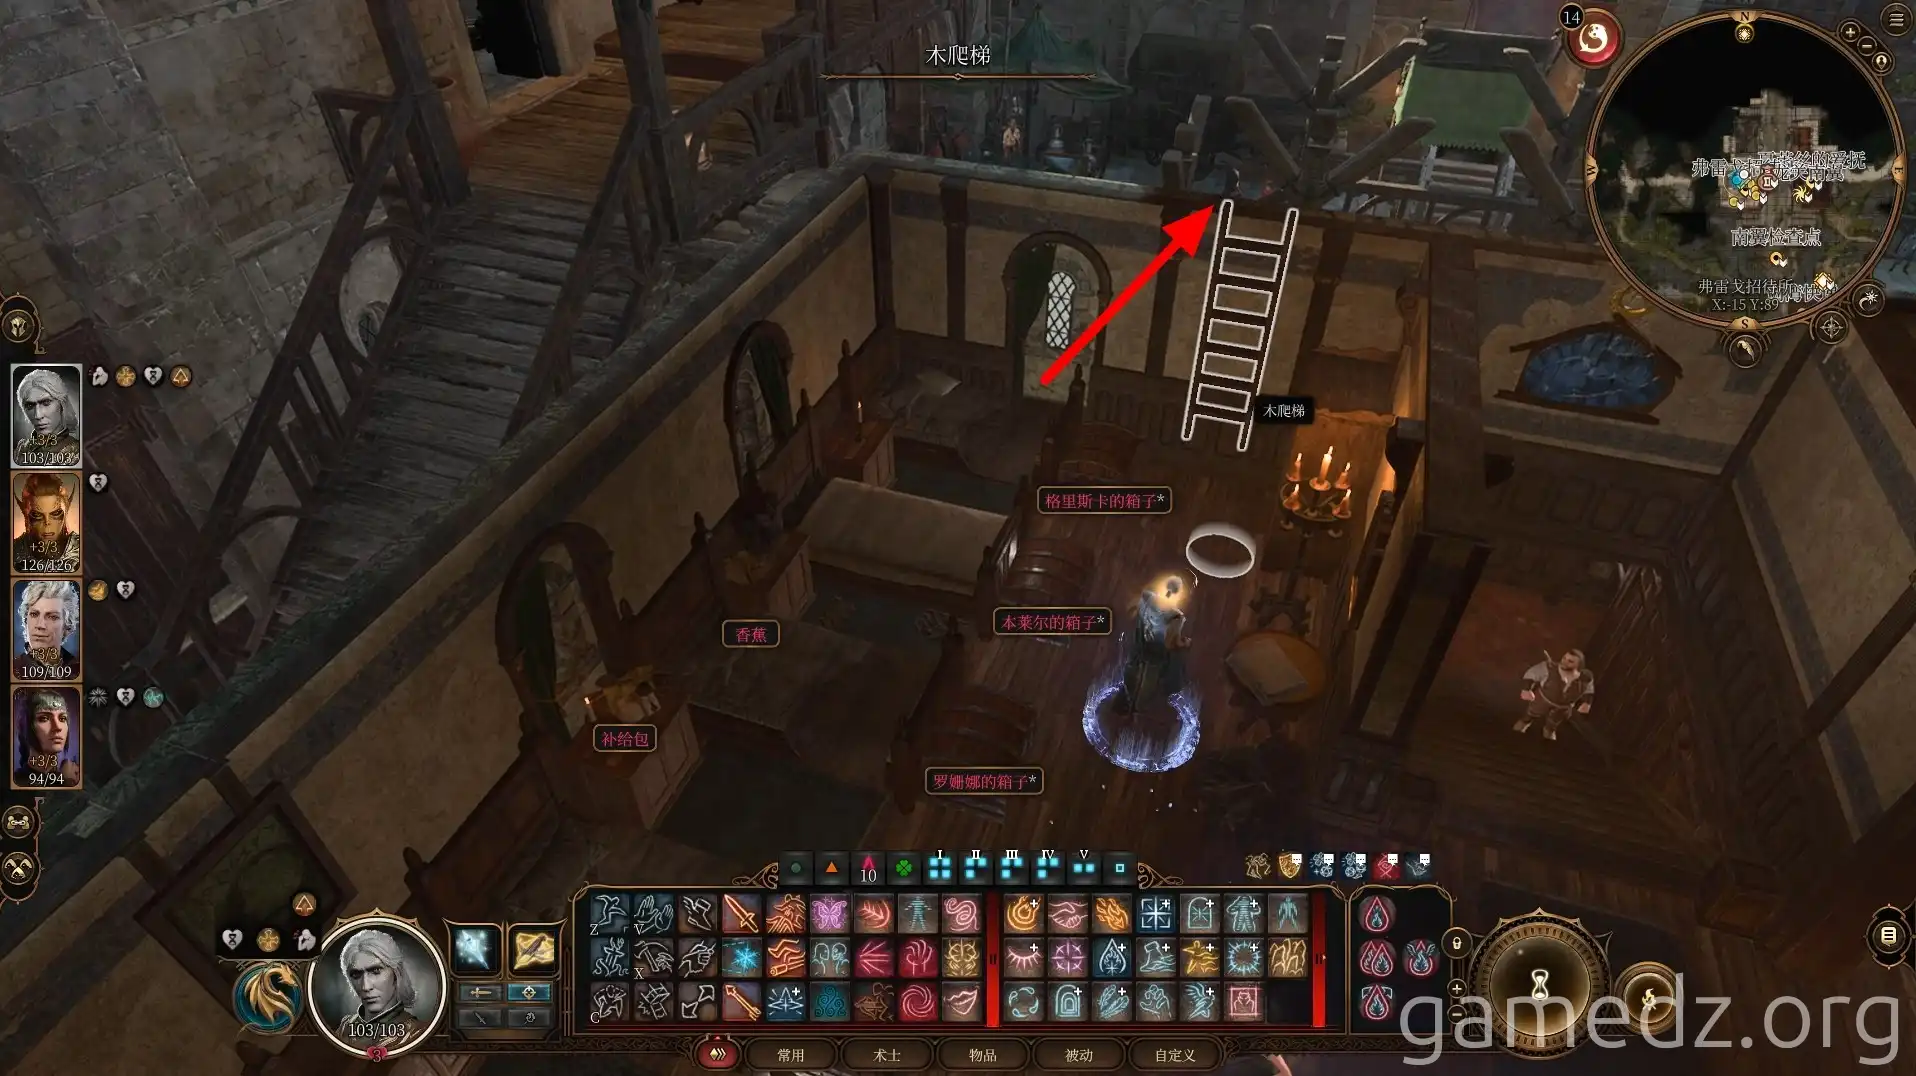
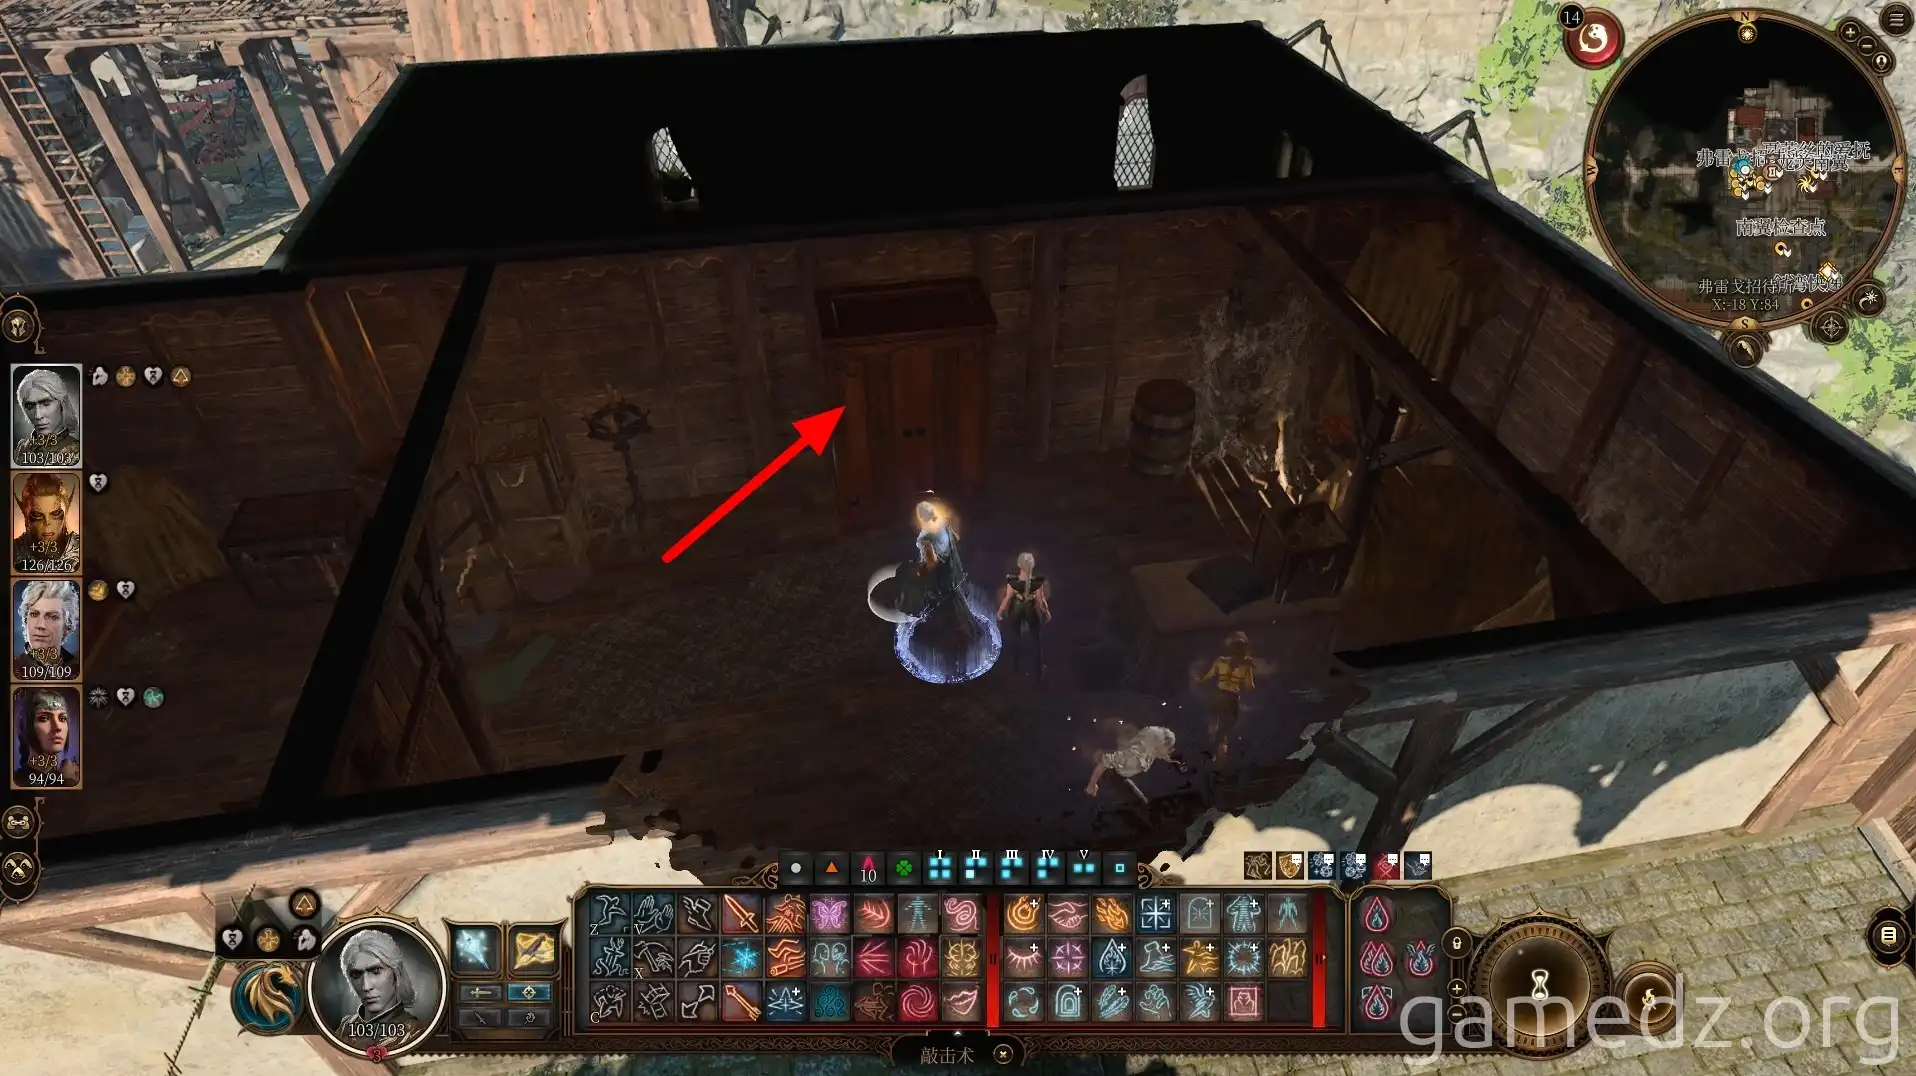
In the attic, click on the wardrobe to enter a secret room.
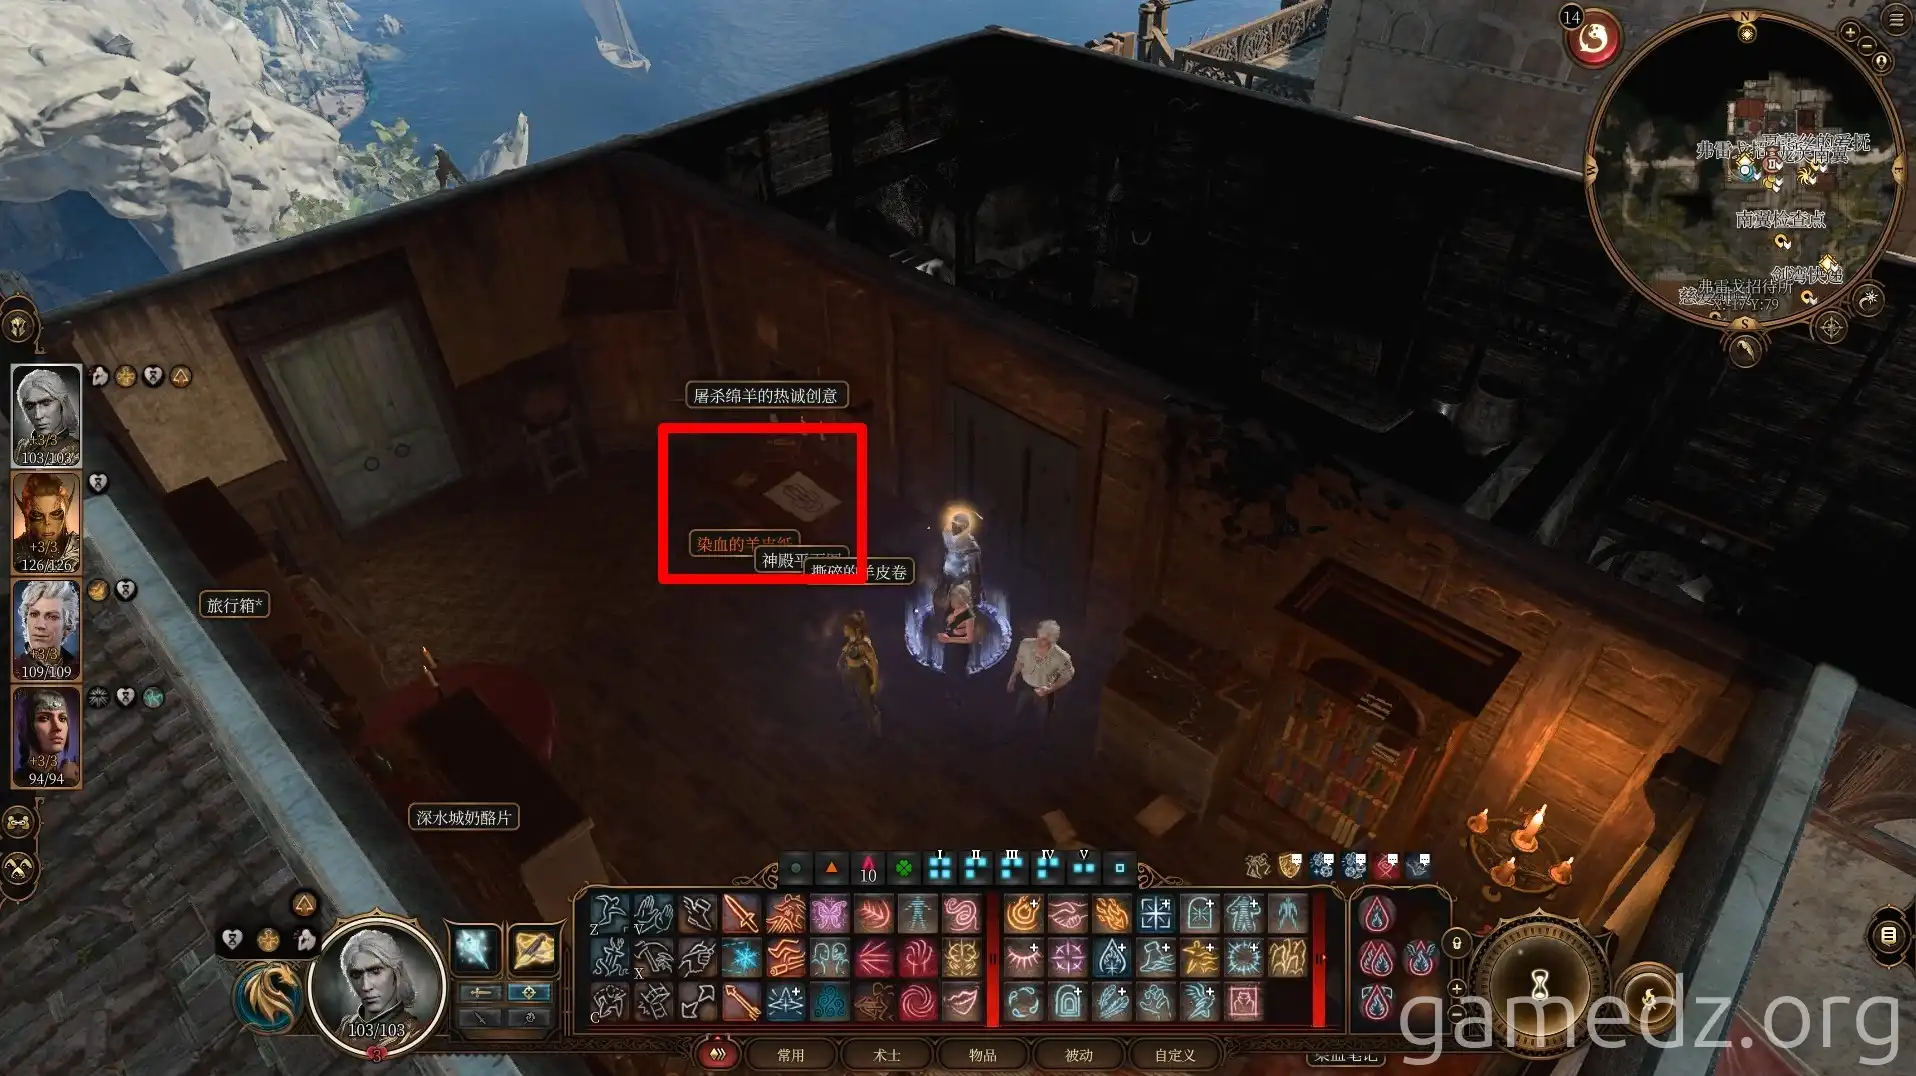
On the table in the secret room, the "Bloodstained Parchment" is the key clue to the Temple of Shar murder. Reading the parchment reveals an assassination list, with the recently deceased Duke Stelmane prominently featured.
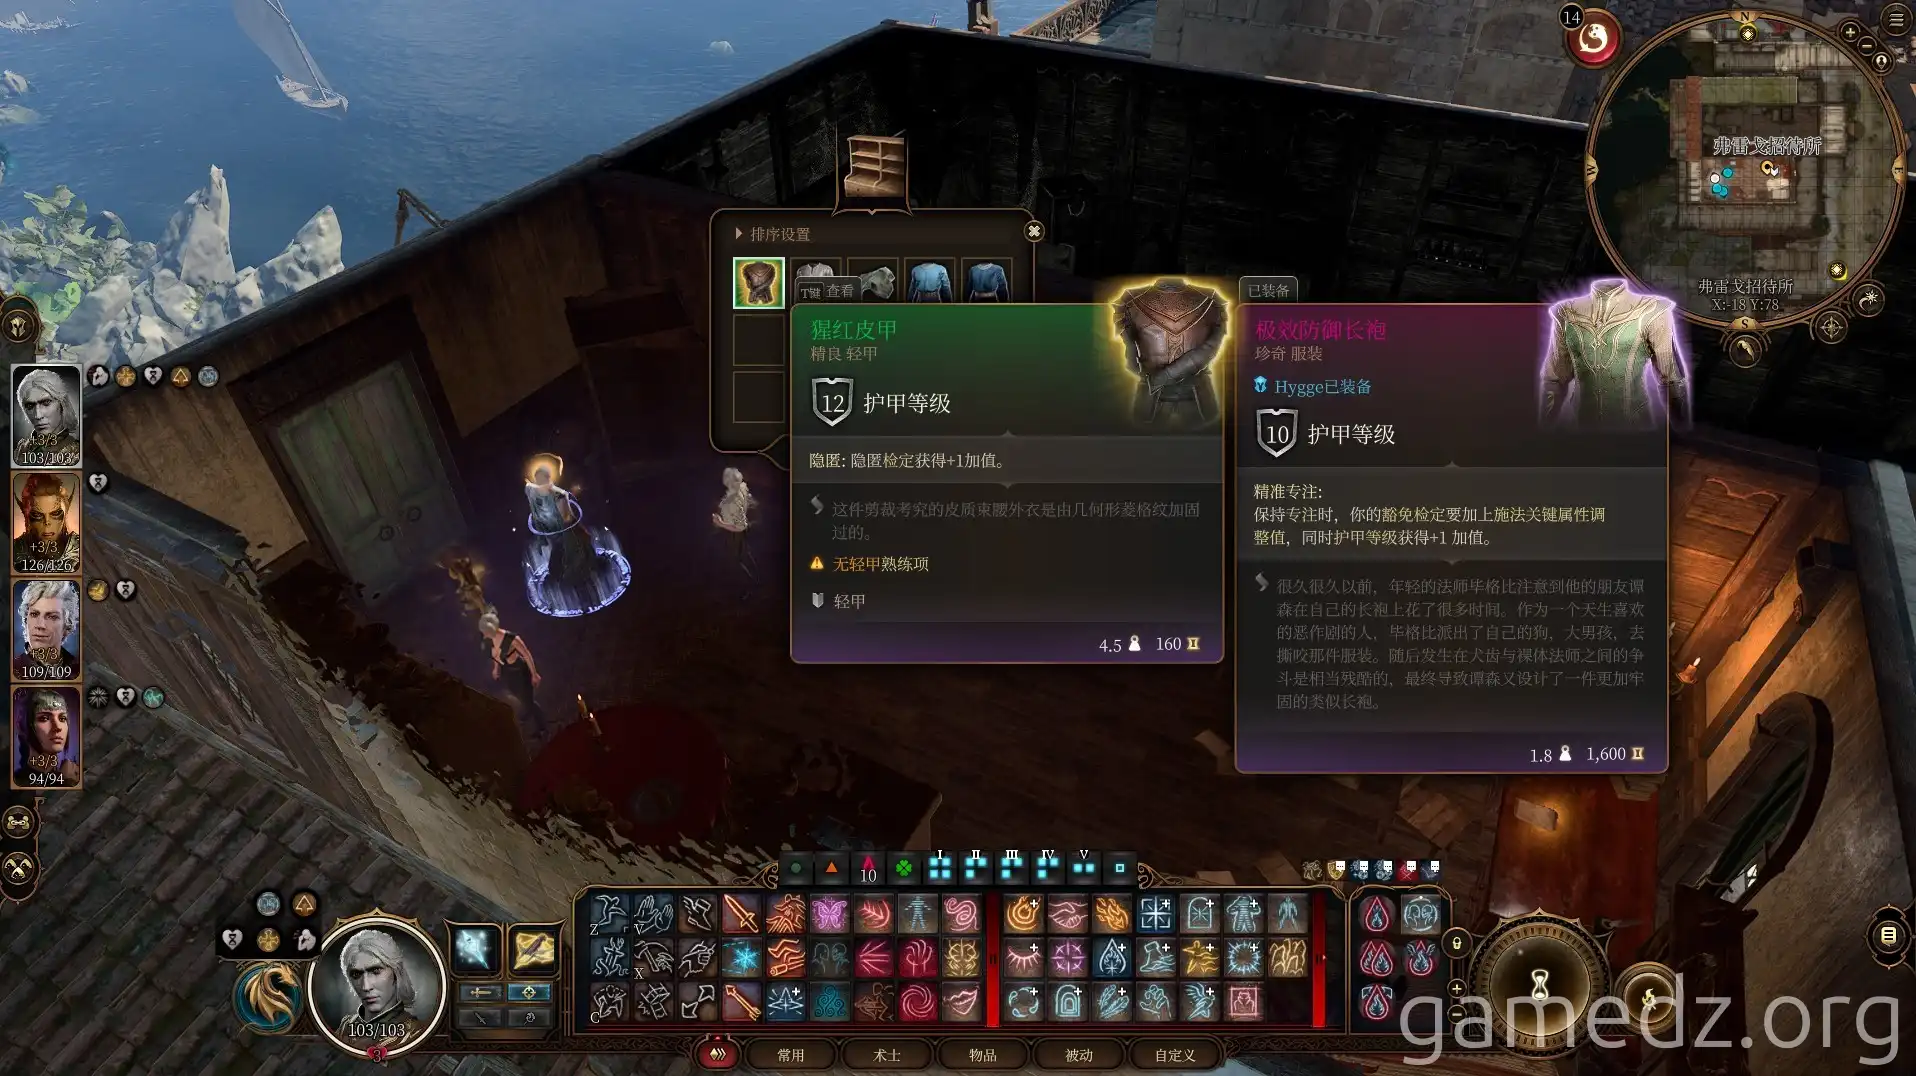
In the wardrobe in the room, you can obtain the excellent armor "Crimson Scale Mail."
Go to the bedside and use an Insight check. You'll discover Felos's body. Use the "Speak with Dead" spell to converse with Felos, learning that she was murdered by her son, "Dolo," whose description matches that of the killer who murdered Father Logan.
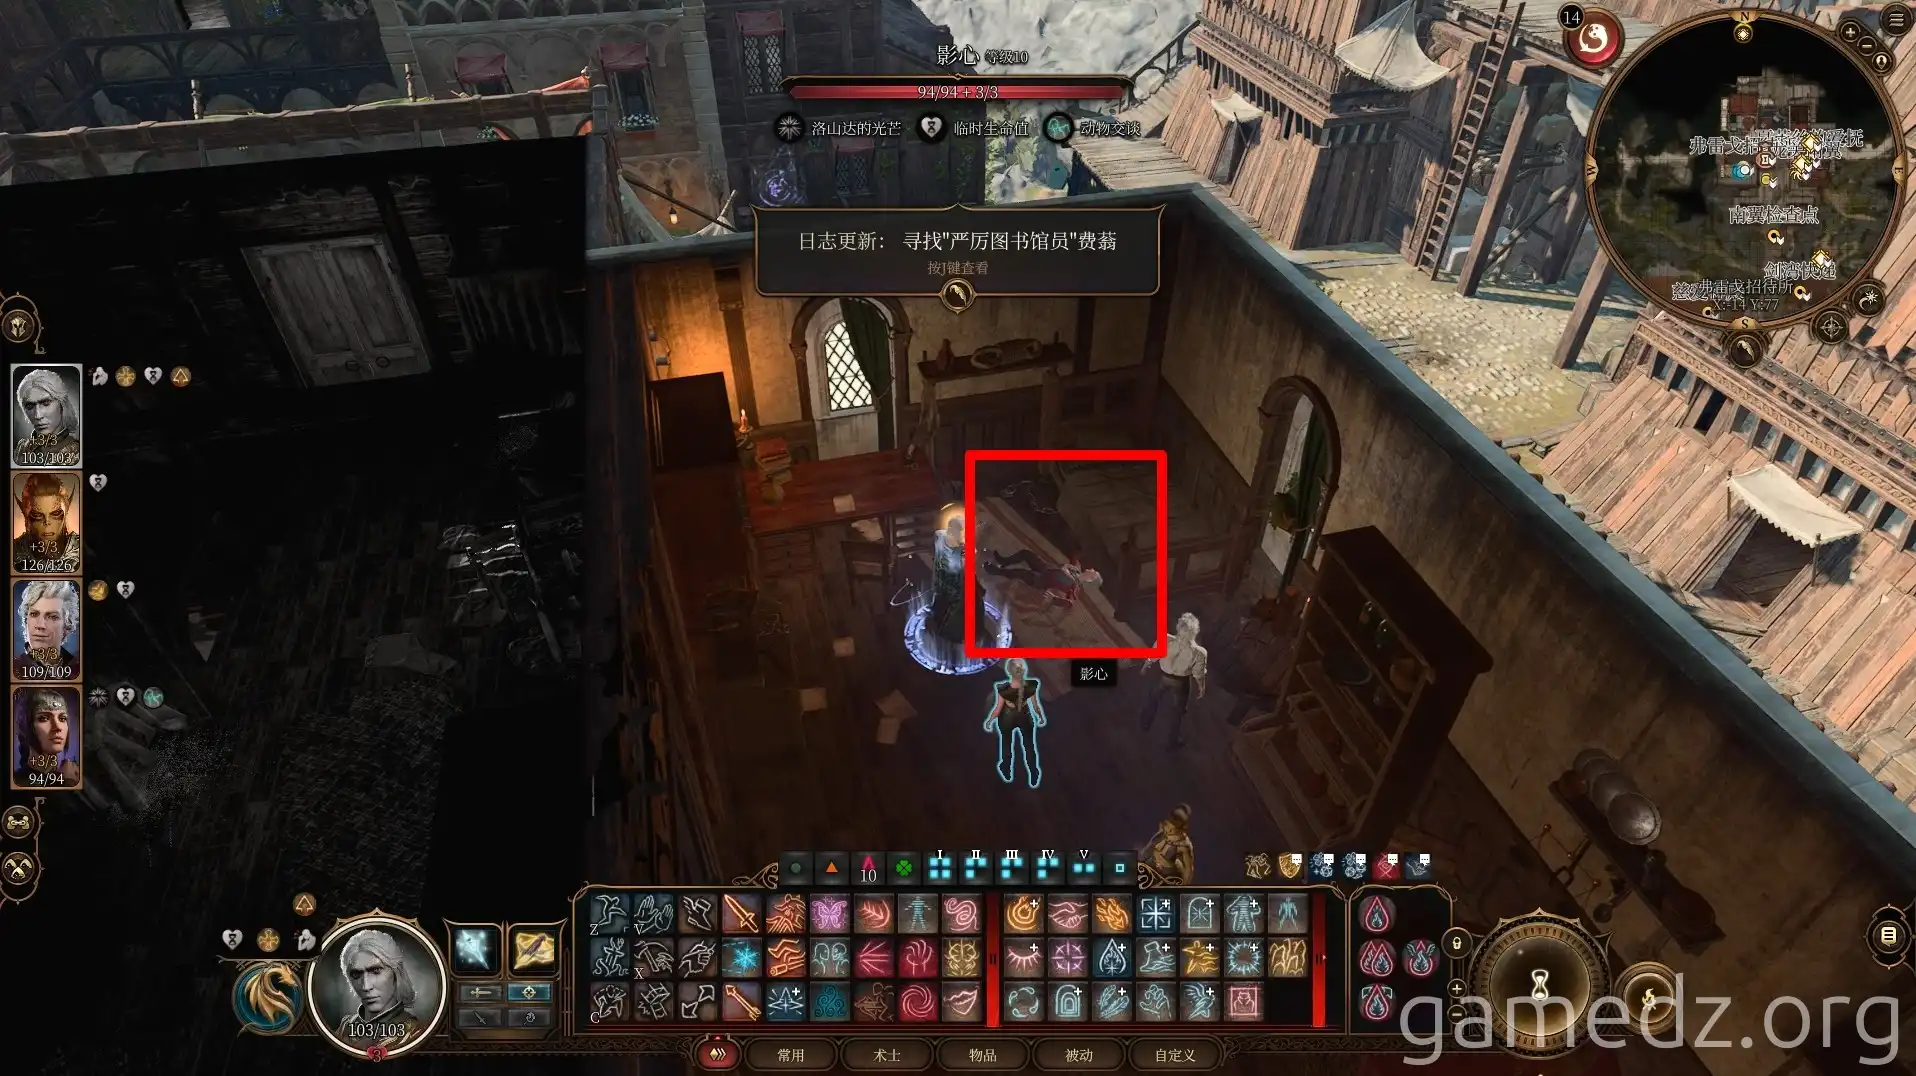
Return to "Sharess's Caress" and inform the proprietress, Mazel, of Felos's death. The reward she gives you is the opportunity to engage in intimate activities with the drow siblings.
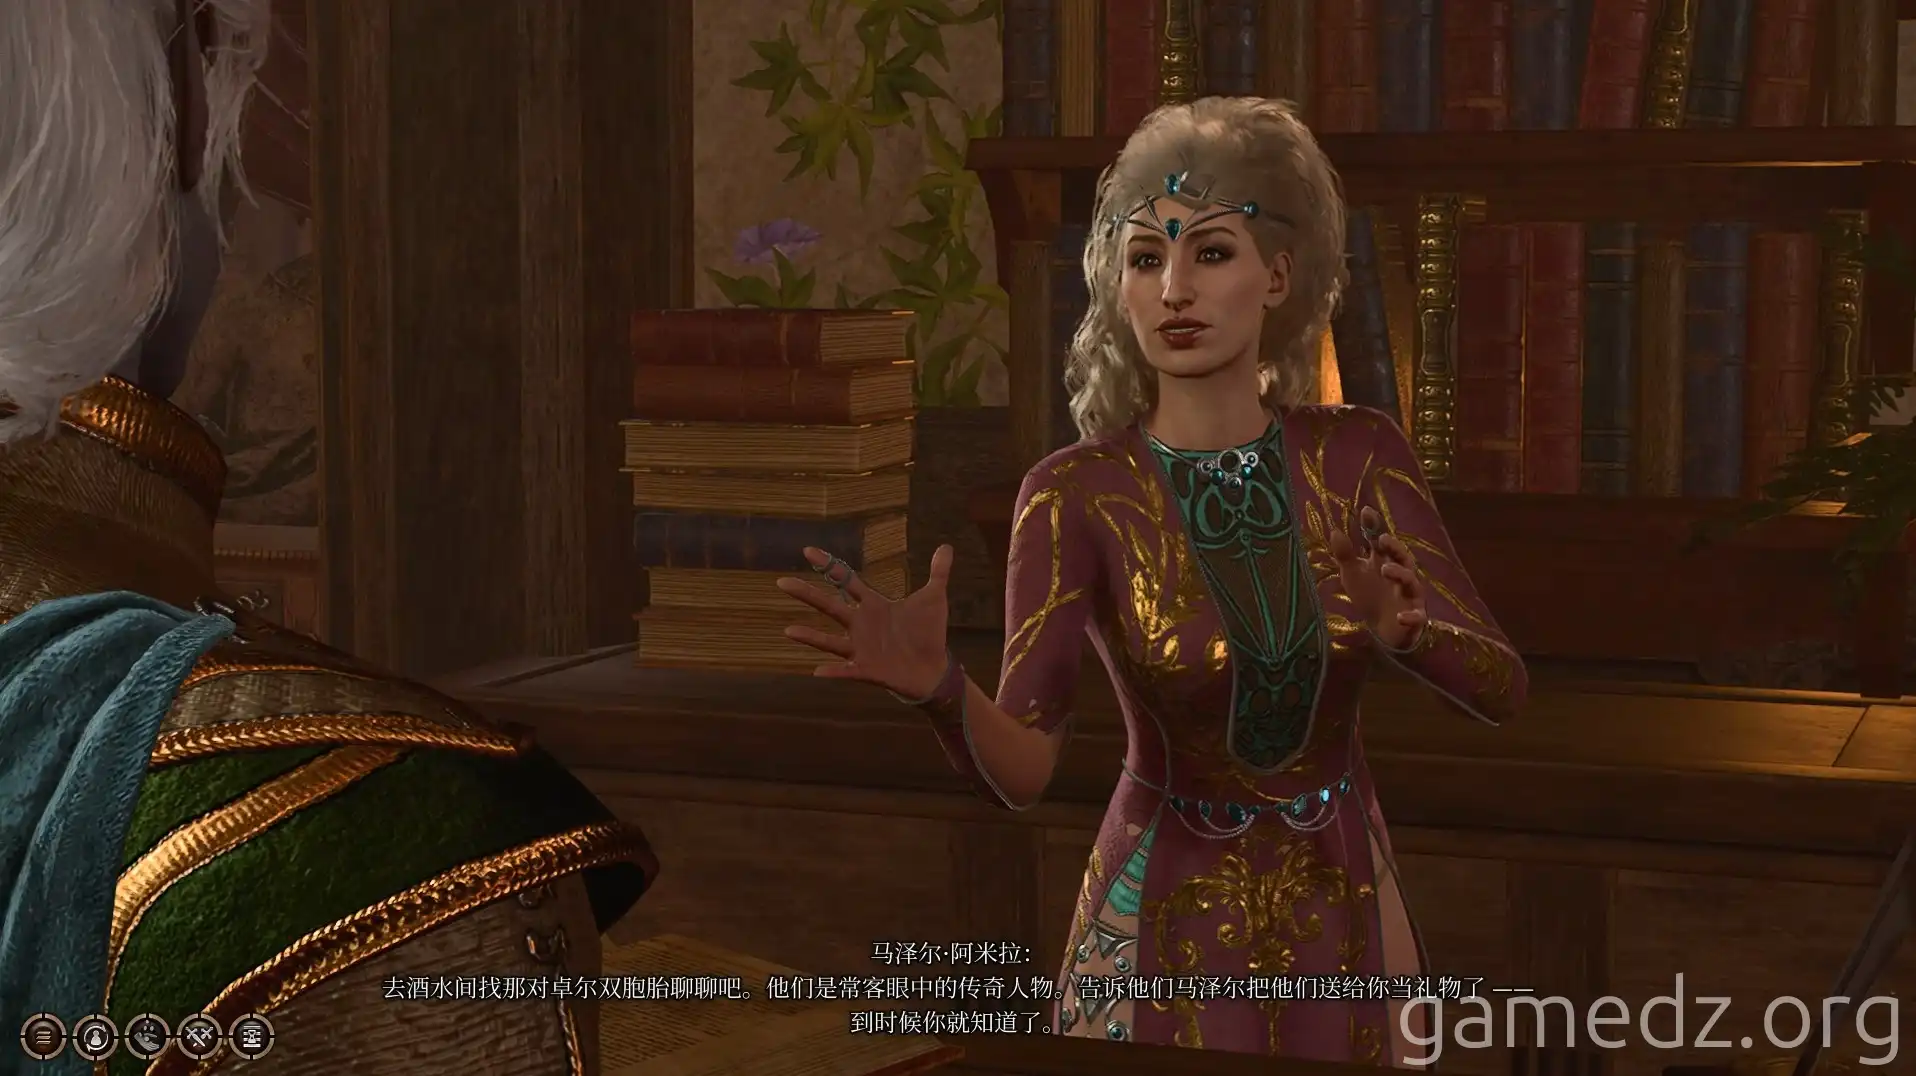
Show the list to the investigator. They will instruct you to go to the "Elfsong Tavern" in the Lower City and find the magistrate "Davilra." They will also provide you with a pass to enter the Lower City.
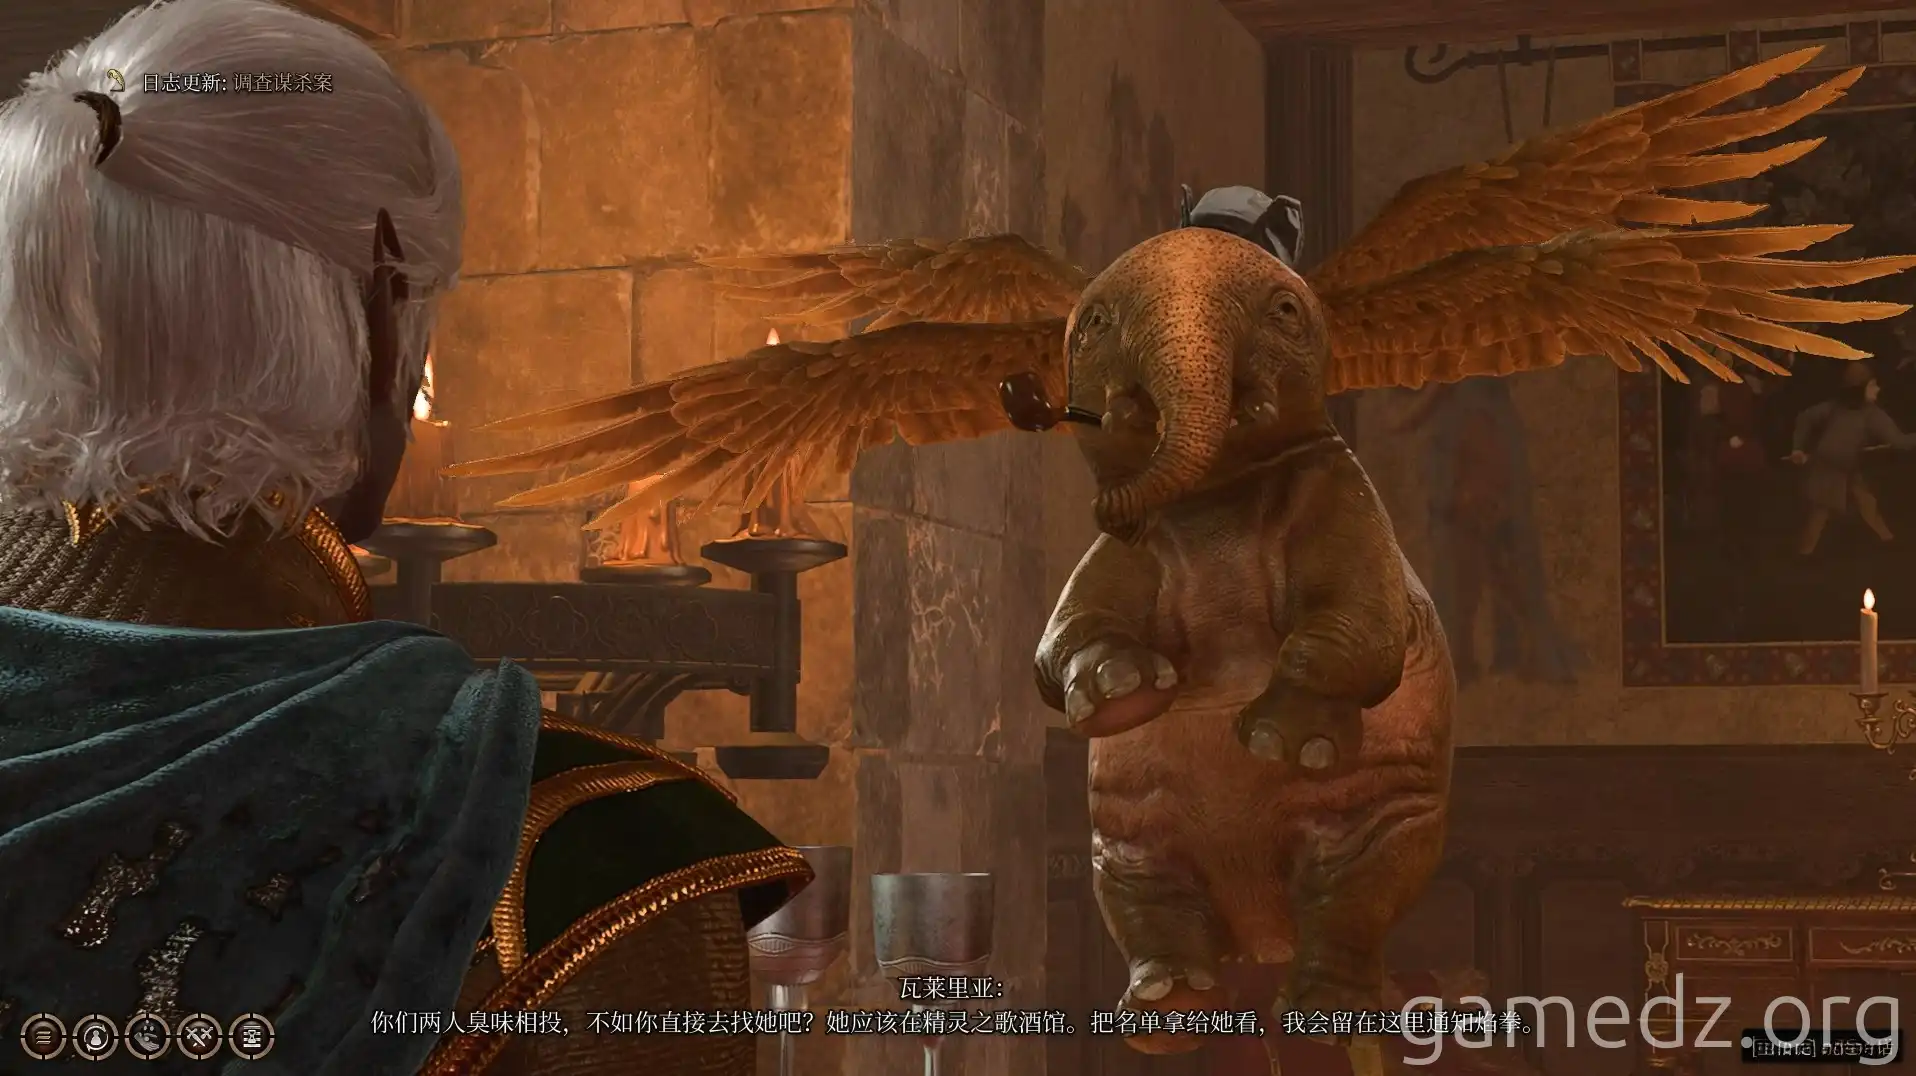
Proceed along the main road in the center. Enter the shop on the right, "Worn & Torn."
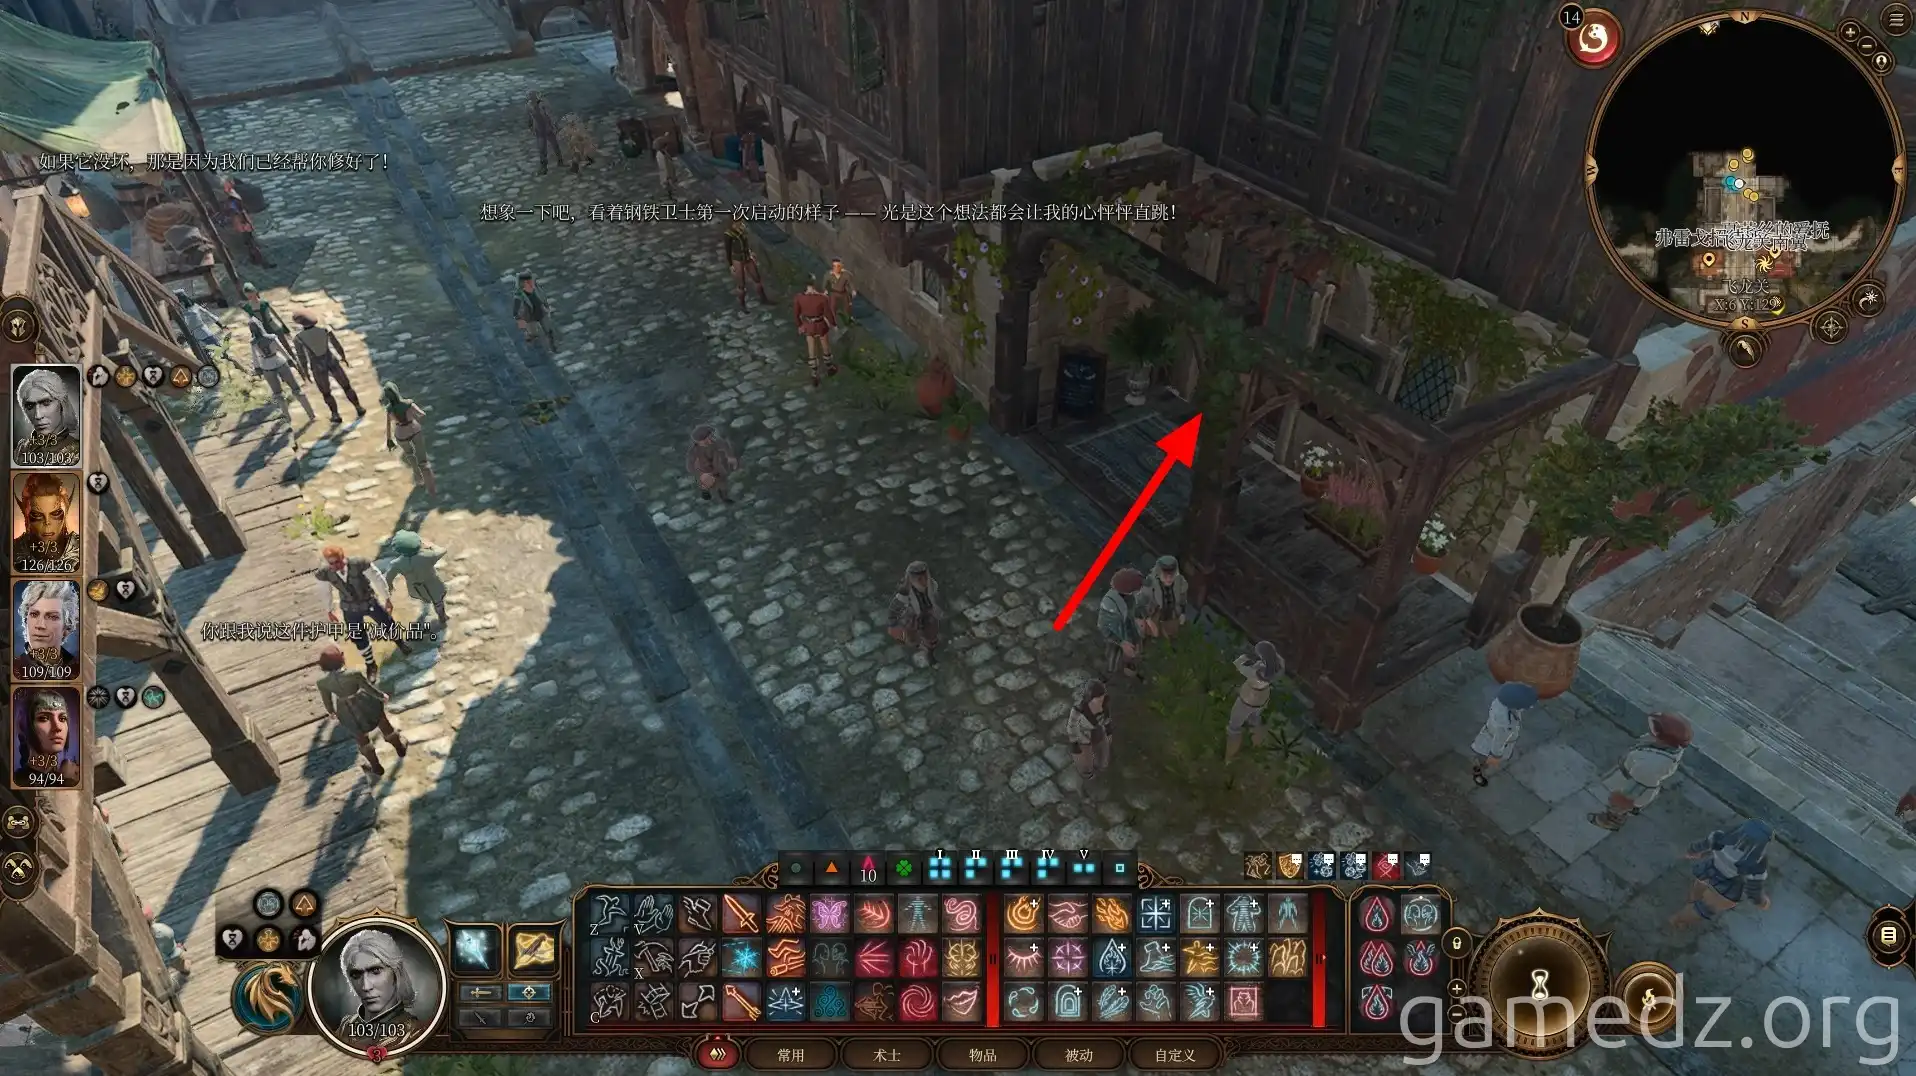
Inside the shop, you'll meet an NPC named "Naberel." Engage in role-playing games by repeatedly talking to him.
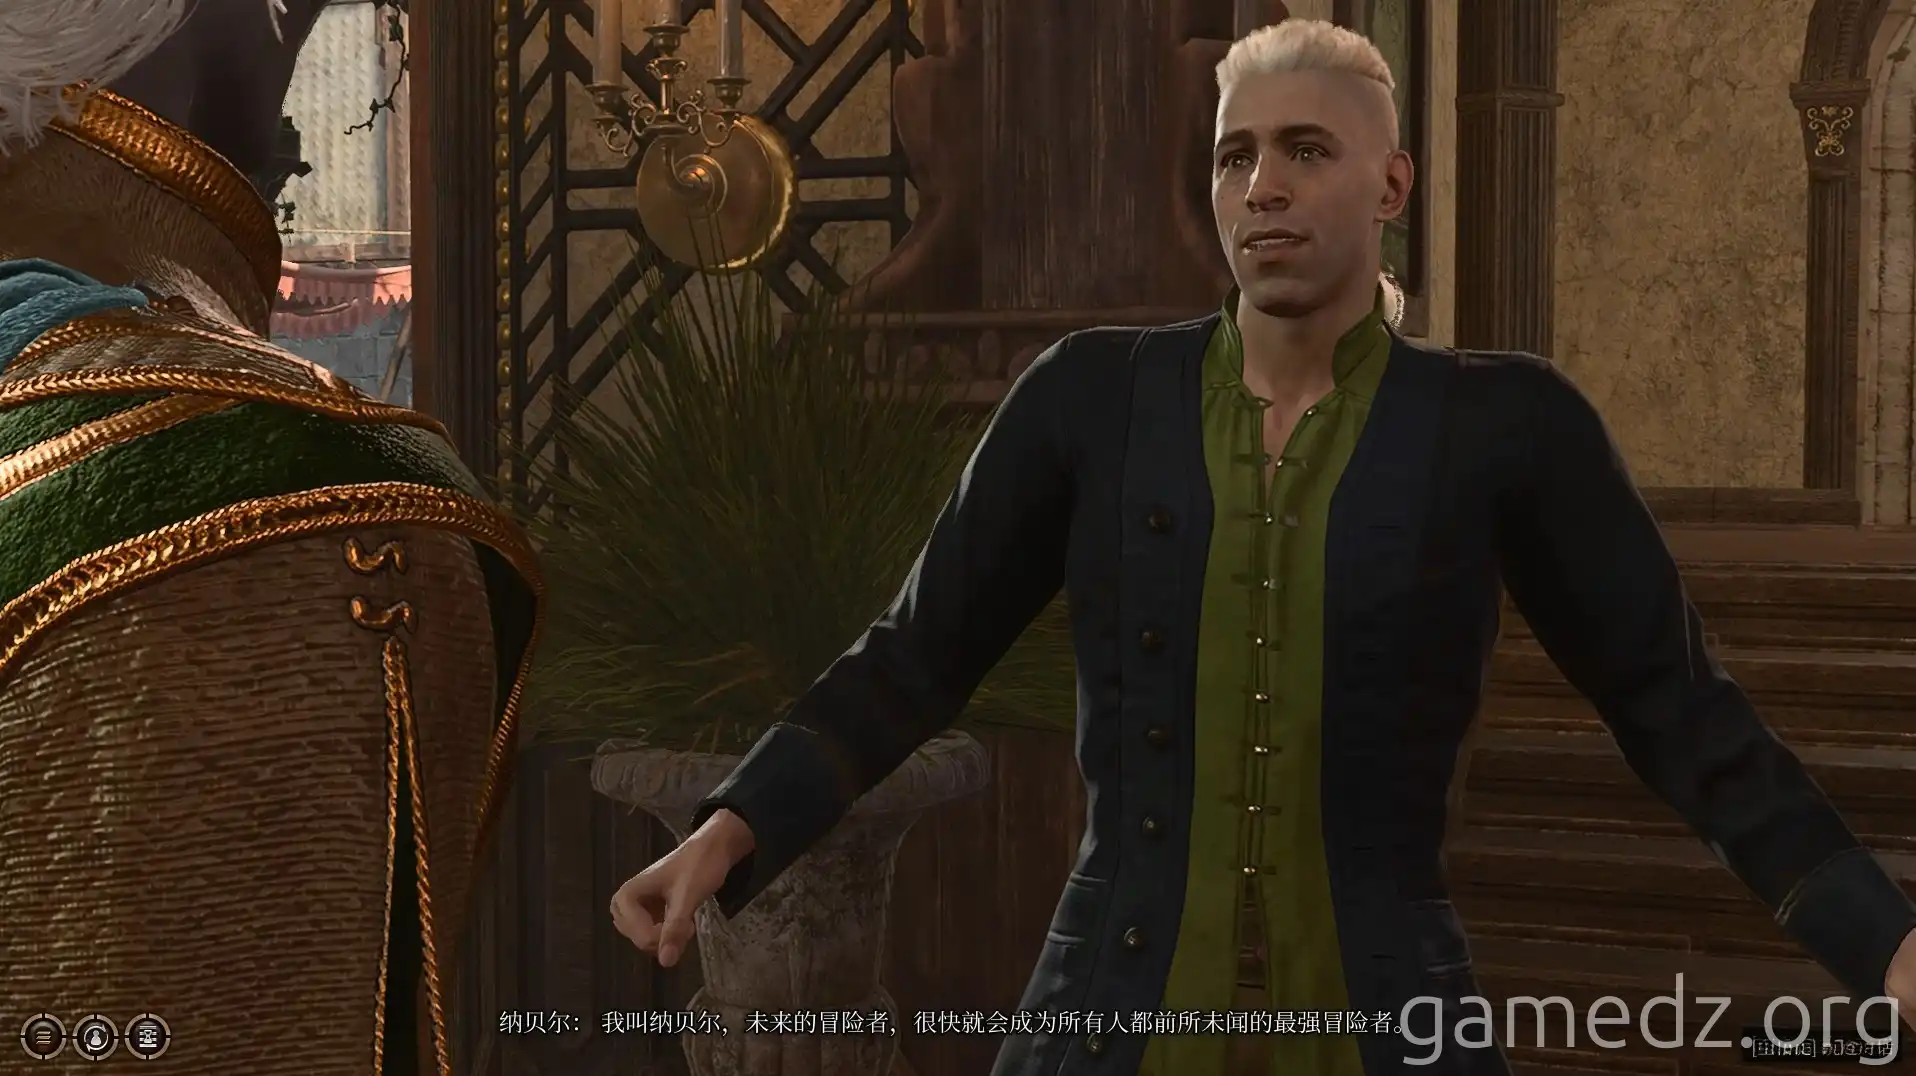
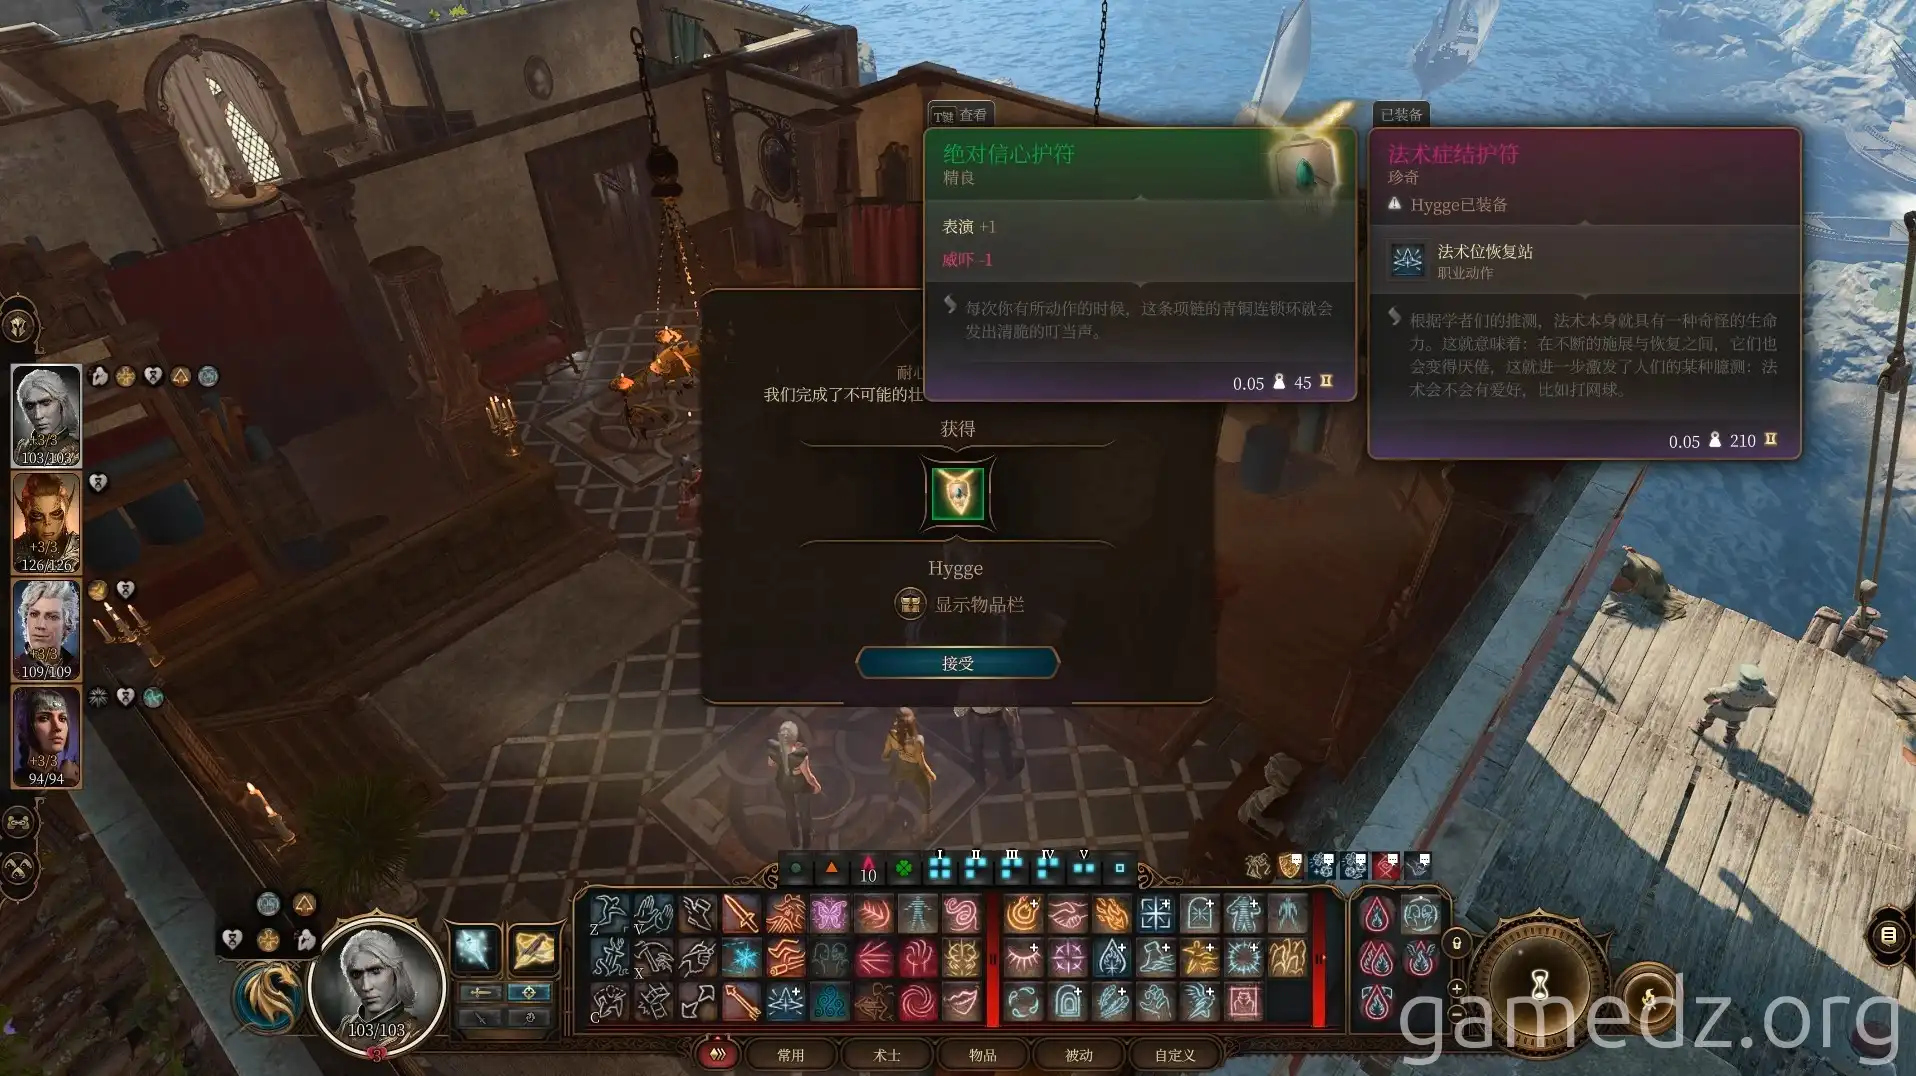
After several conversations, Naberel will express his gratitude and give you an excellent accessory, the "Amulet of Absolute Confidence."
Speak with the shopkeeper behind the counter. Inform her about her brother being on the assassination list, and you can purchase some dyes and nightgowns from her.
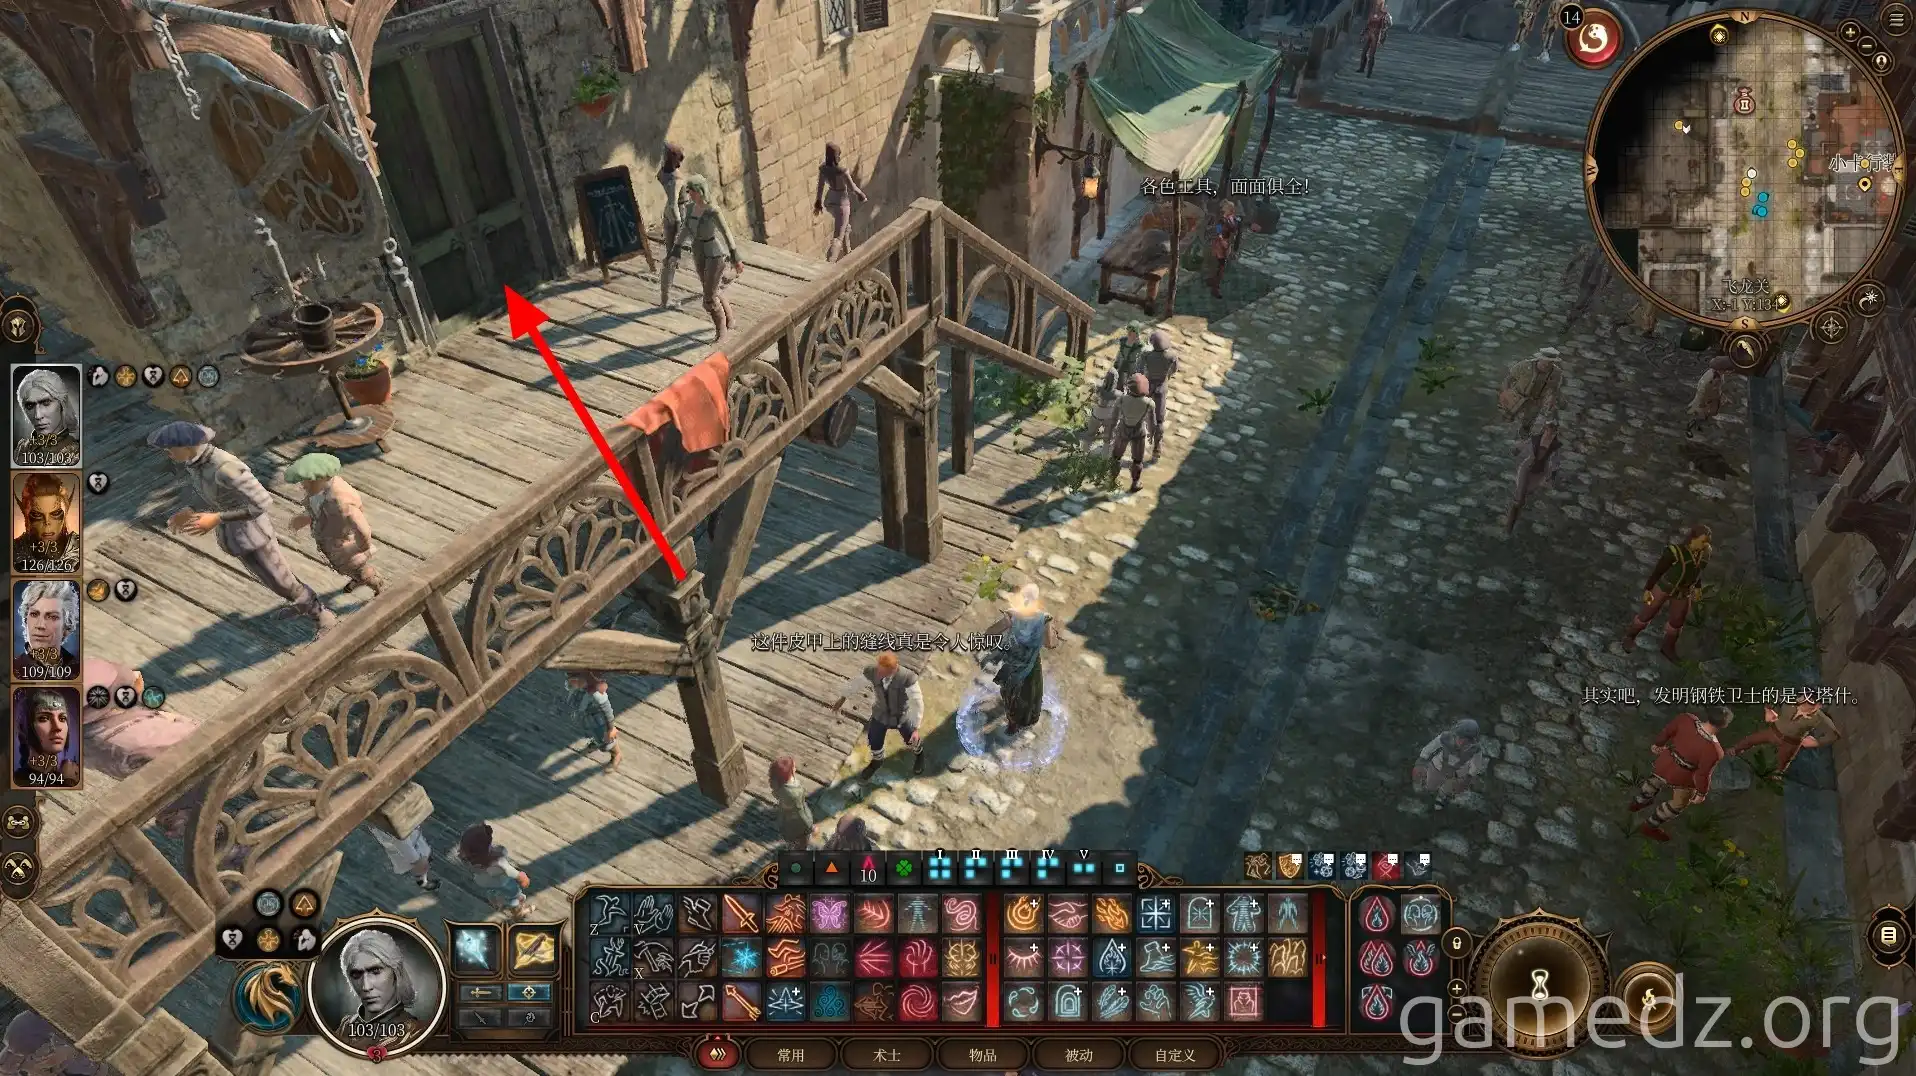
After leaving "Worn & Torn," enter "Dantharion's Folly" across the street.
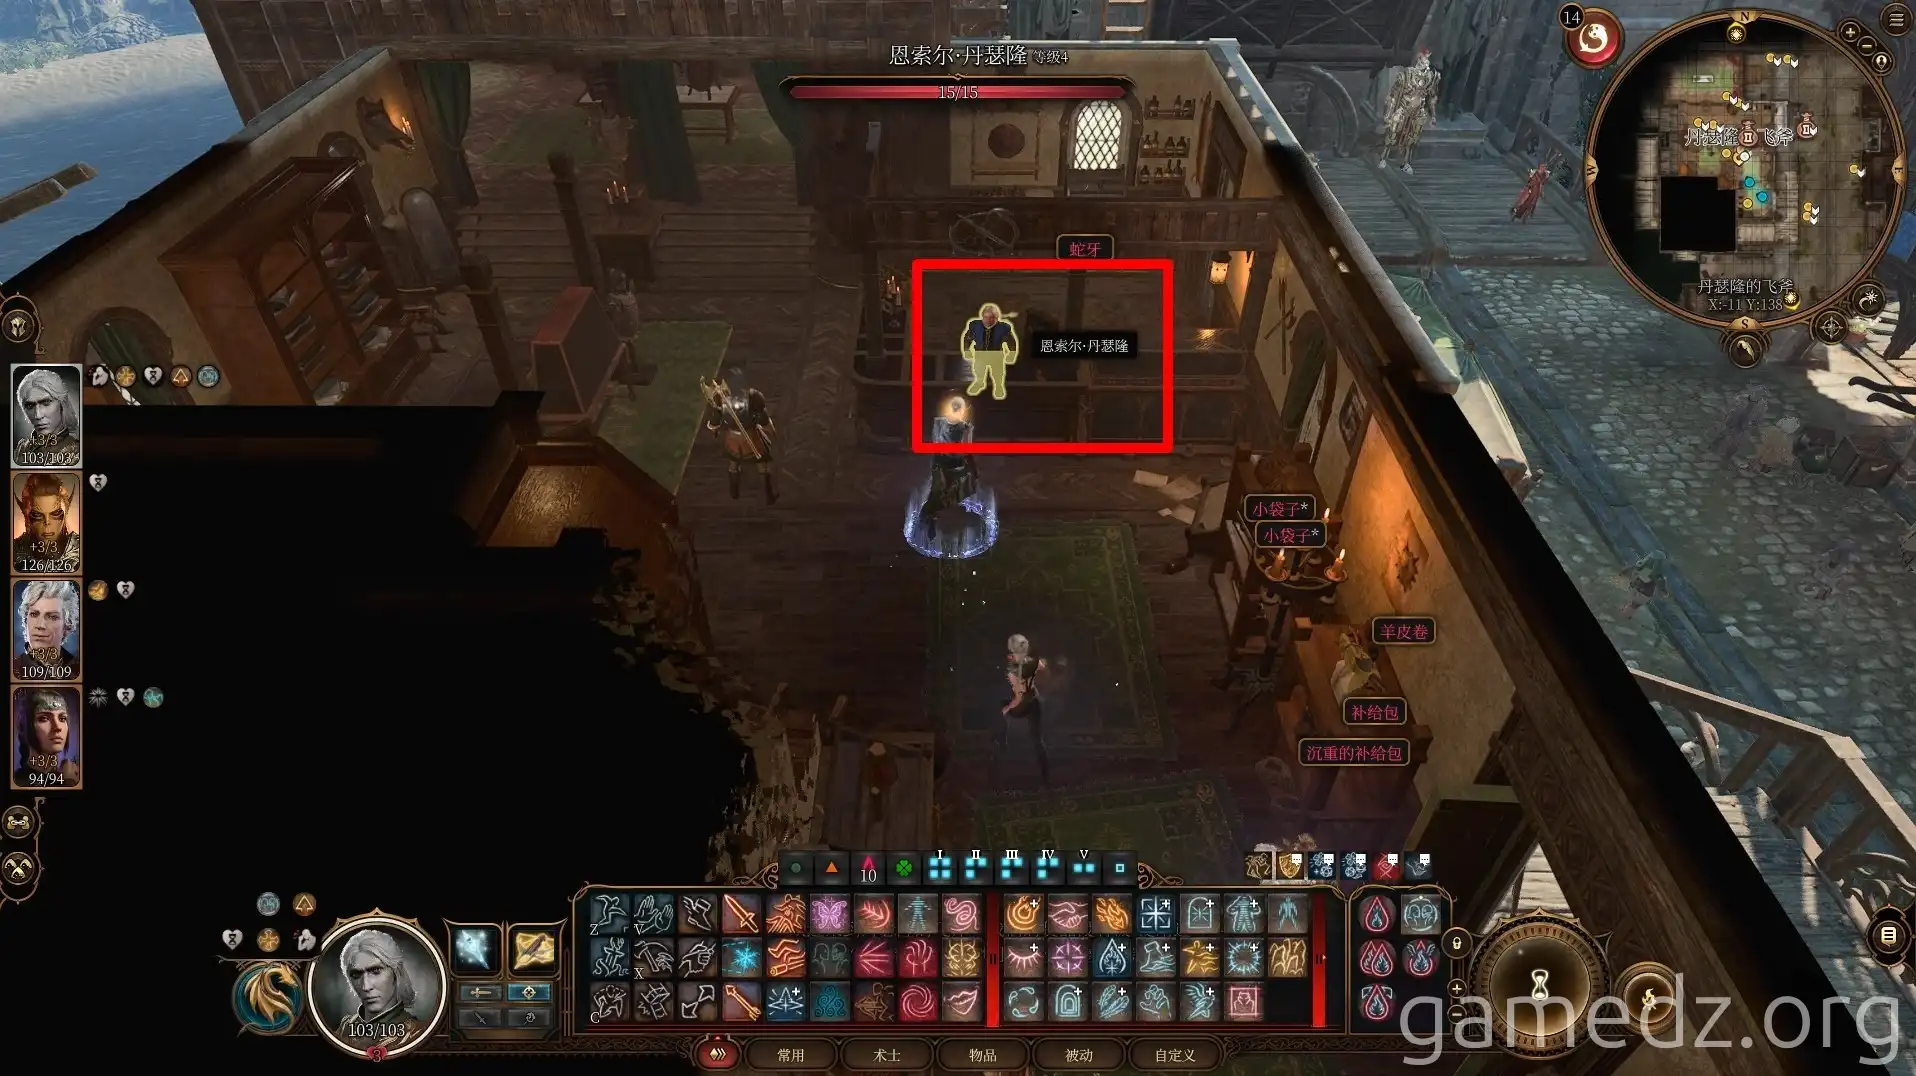
Speak with "Enthral Dantharion" behind the counter to purchase some equipment. After a bit of persuasion, he'll reveal that the Harpers are in the basement.
The unique equipment sold by Enthral Dantharion, along with their stats and a list, is as follows.

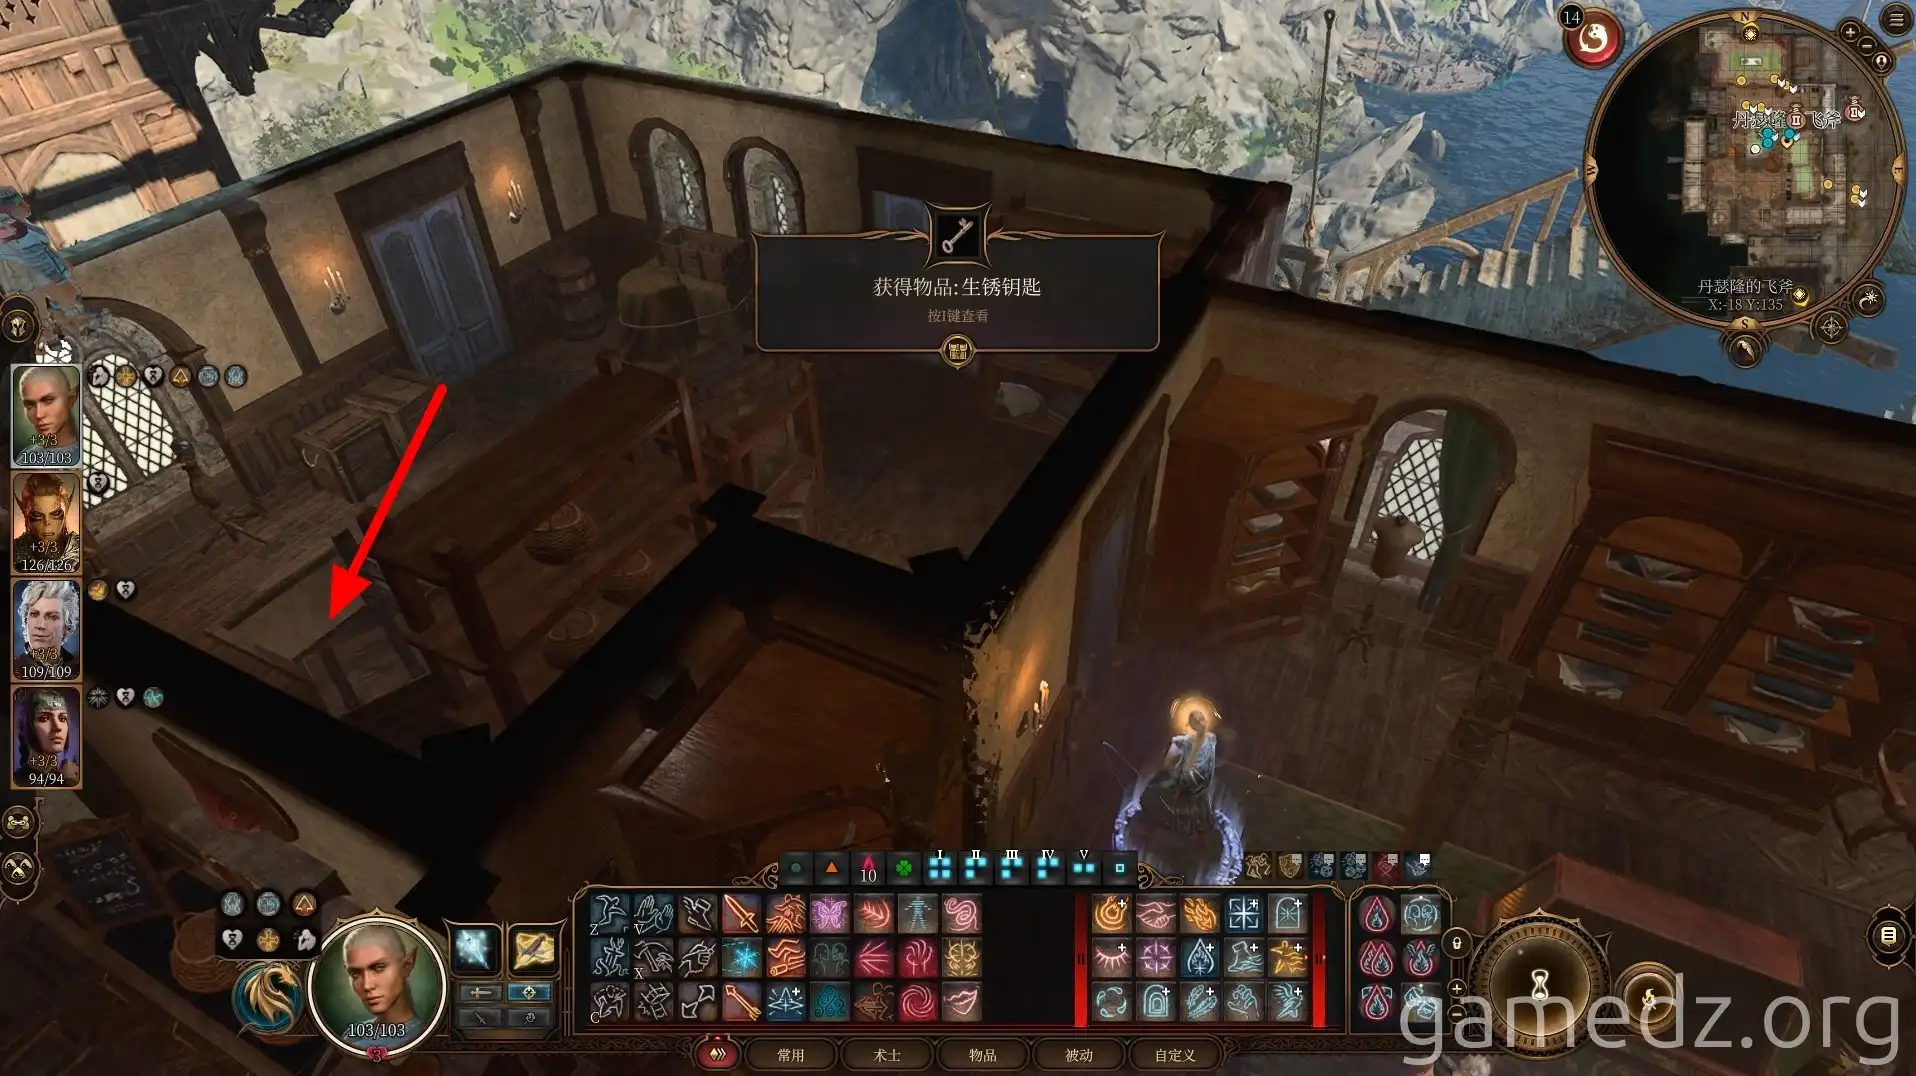
Then, use the key obtained from Enthral to open the room in the corner and descend into the basement via the ladder.
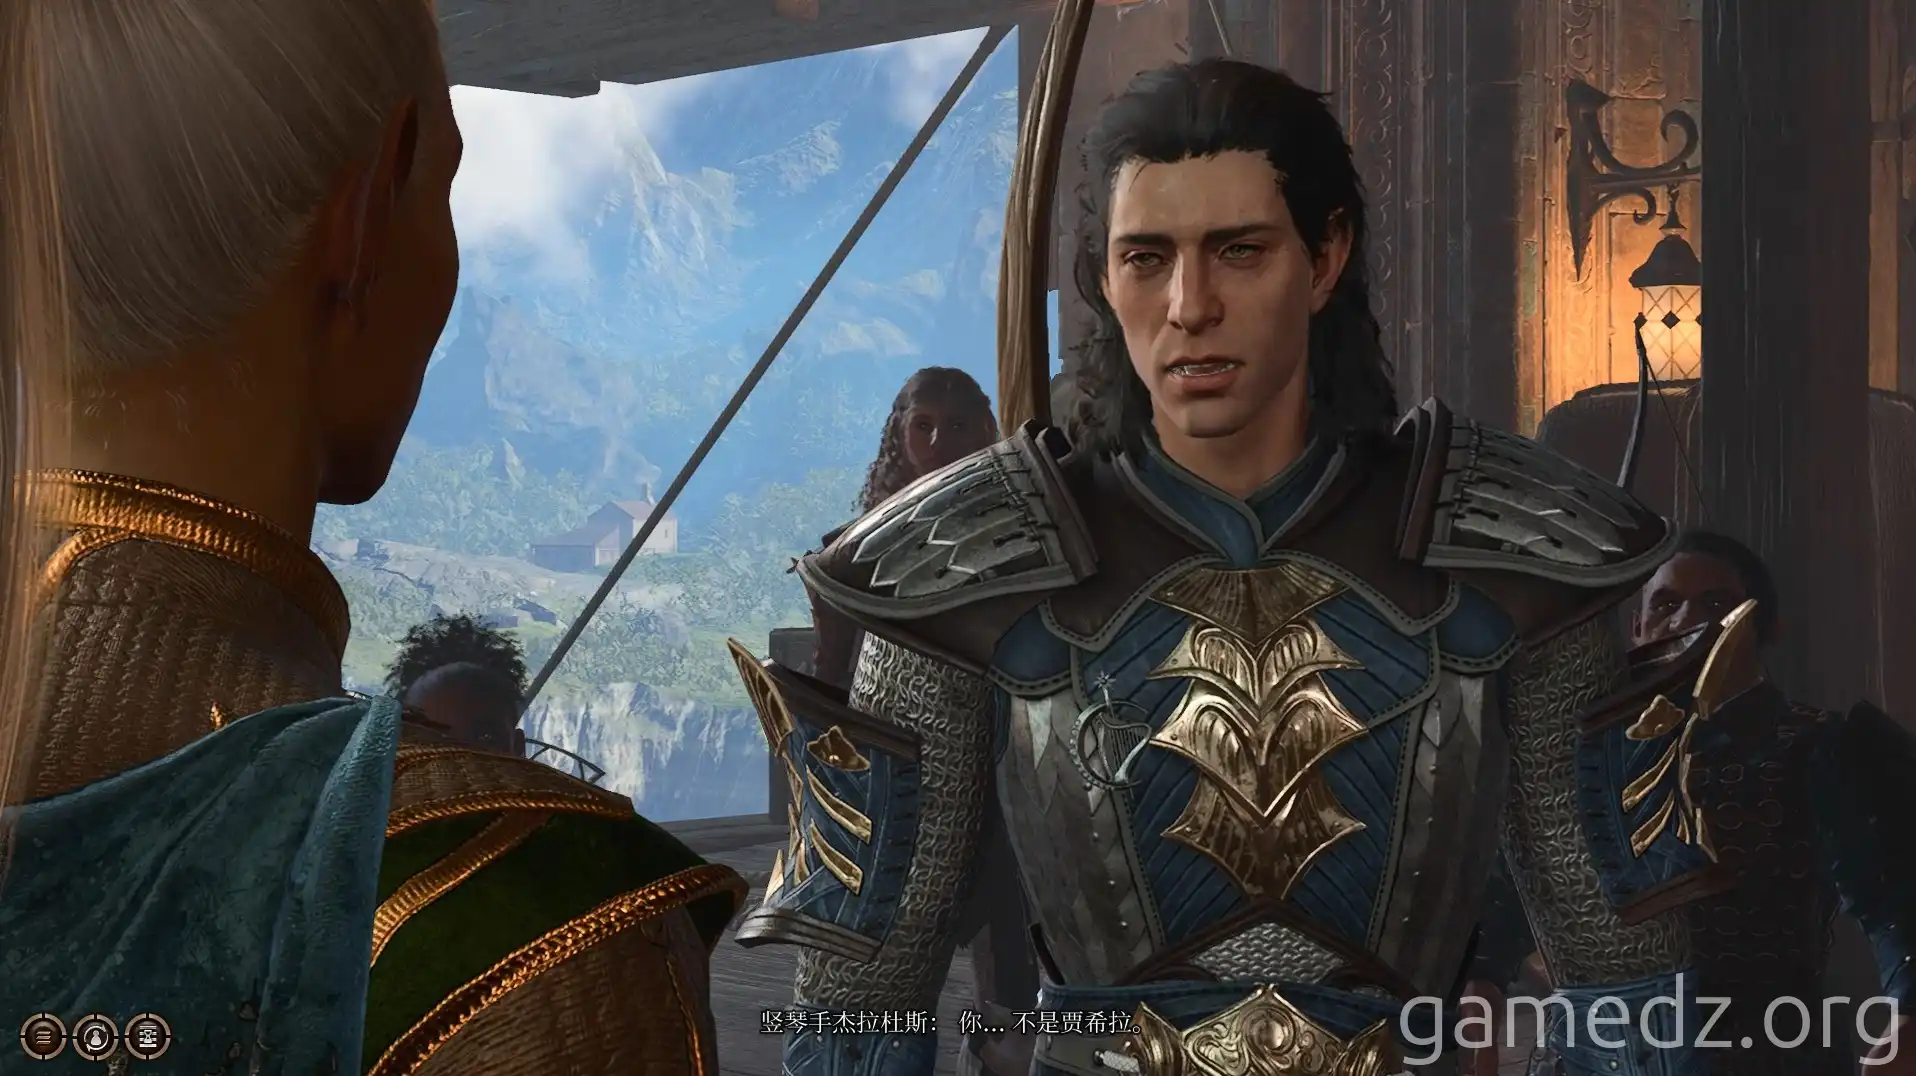
In the basement, speak with the Harper, Gerardus. Through an Insight check, you'll notice he seems fearful. Encourage him to tell the truth, and you'll discover that everyone here except him are disguised doppelgangers.
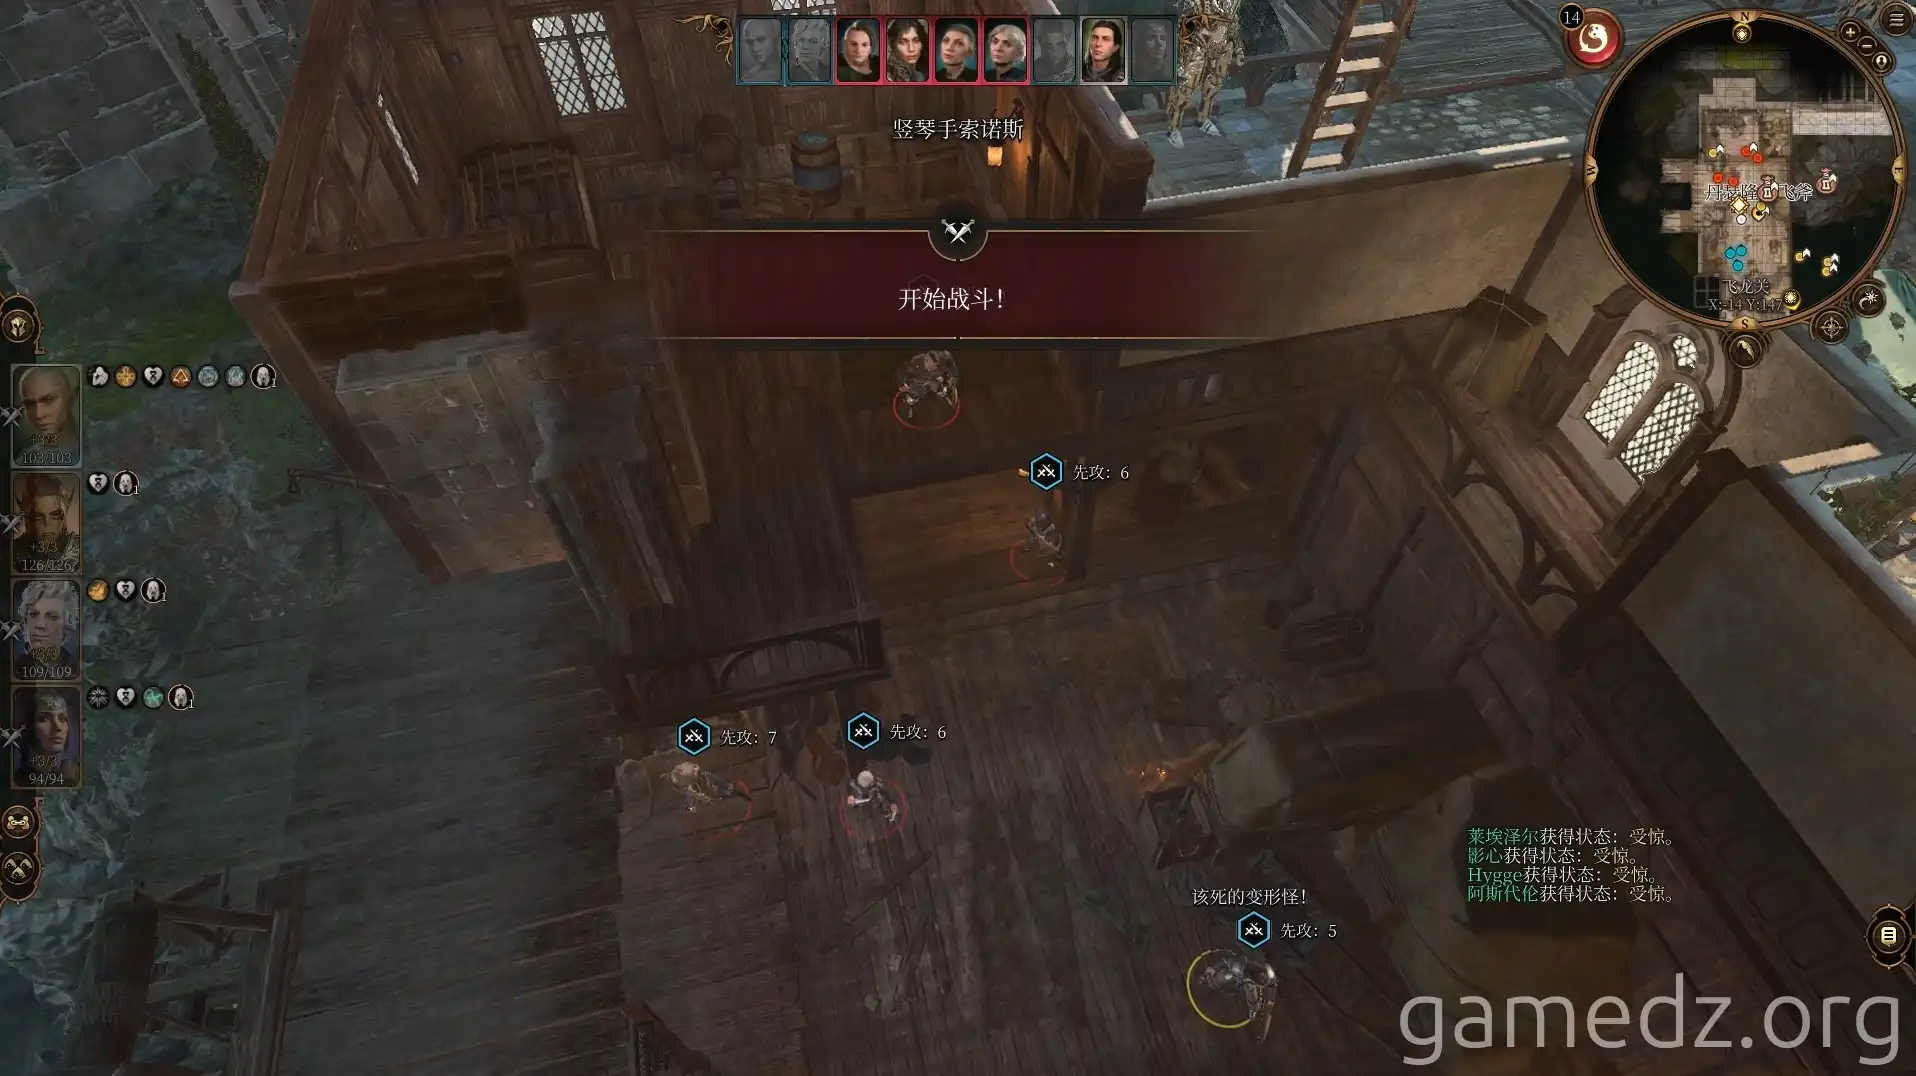
Subsequently, engage in combat and defeat all four doppelgangers in the area.
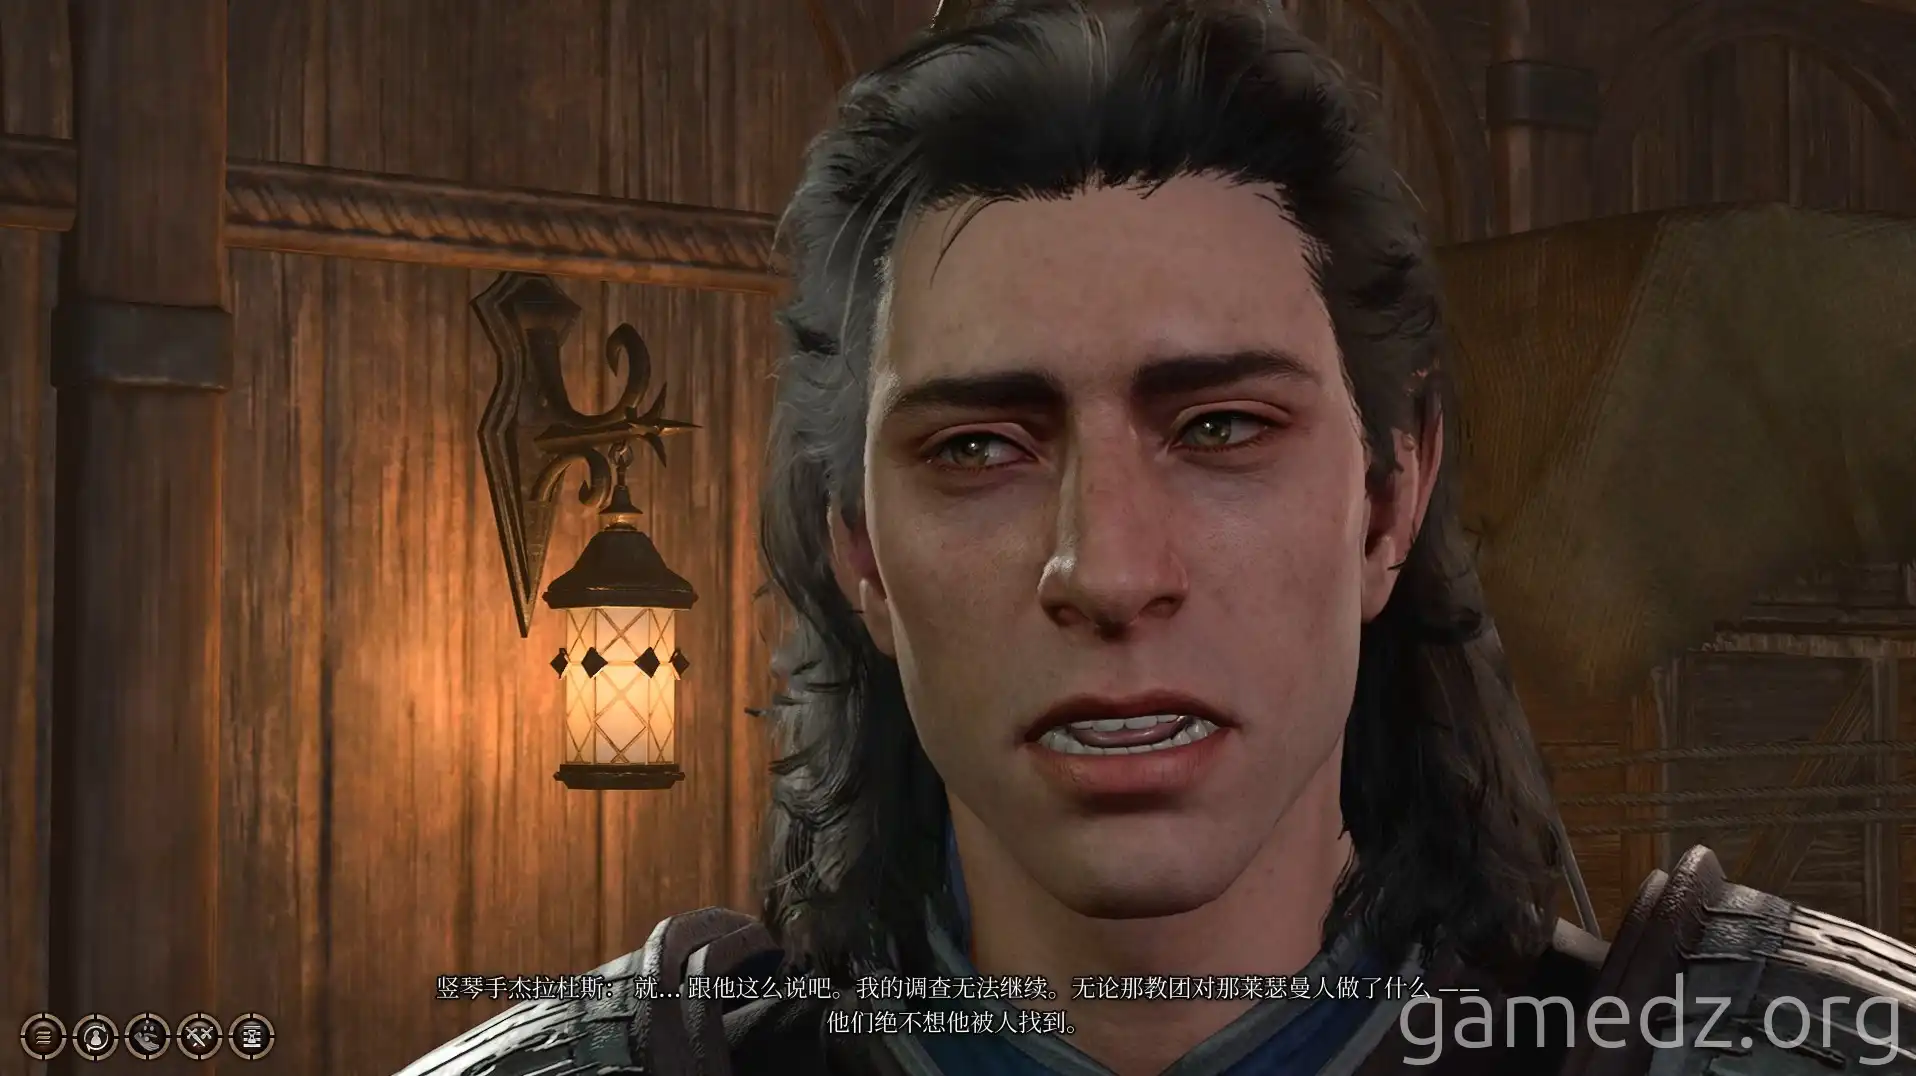
After the battle, speak with Gerardus. You'll learn that Jaheira found Minsc, the Rashemaar, but he has been taken. You need to continue searching for clues in the Lower City.
If Jaheira is not in your party, you can return to camp and speak with her to unlock some new story content.
After leaving "Dantharion's Folly," continue heading north and ascend to the second floor via the ladder.
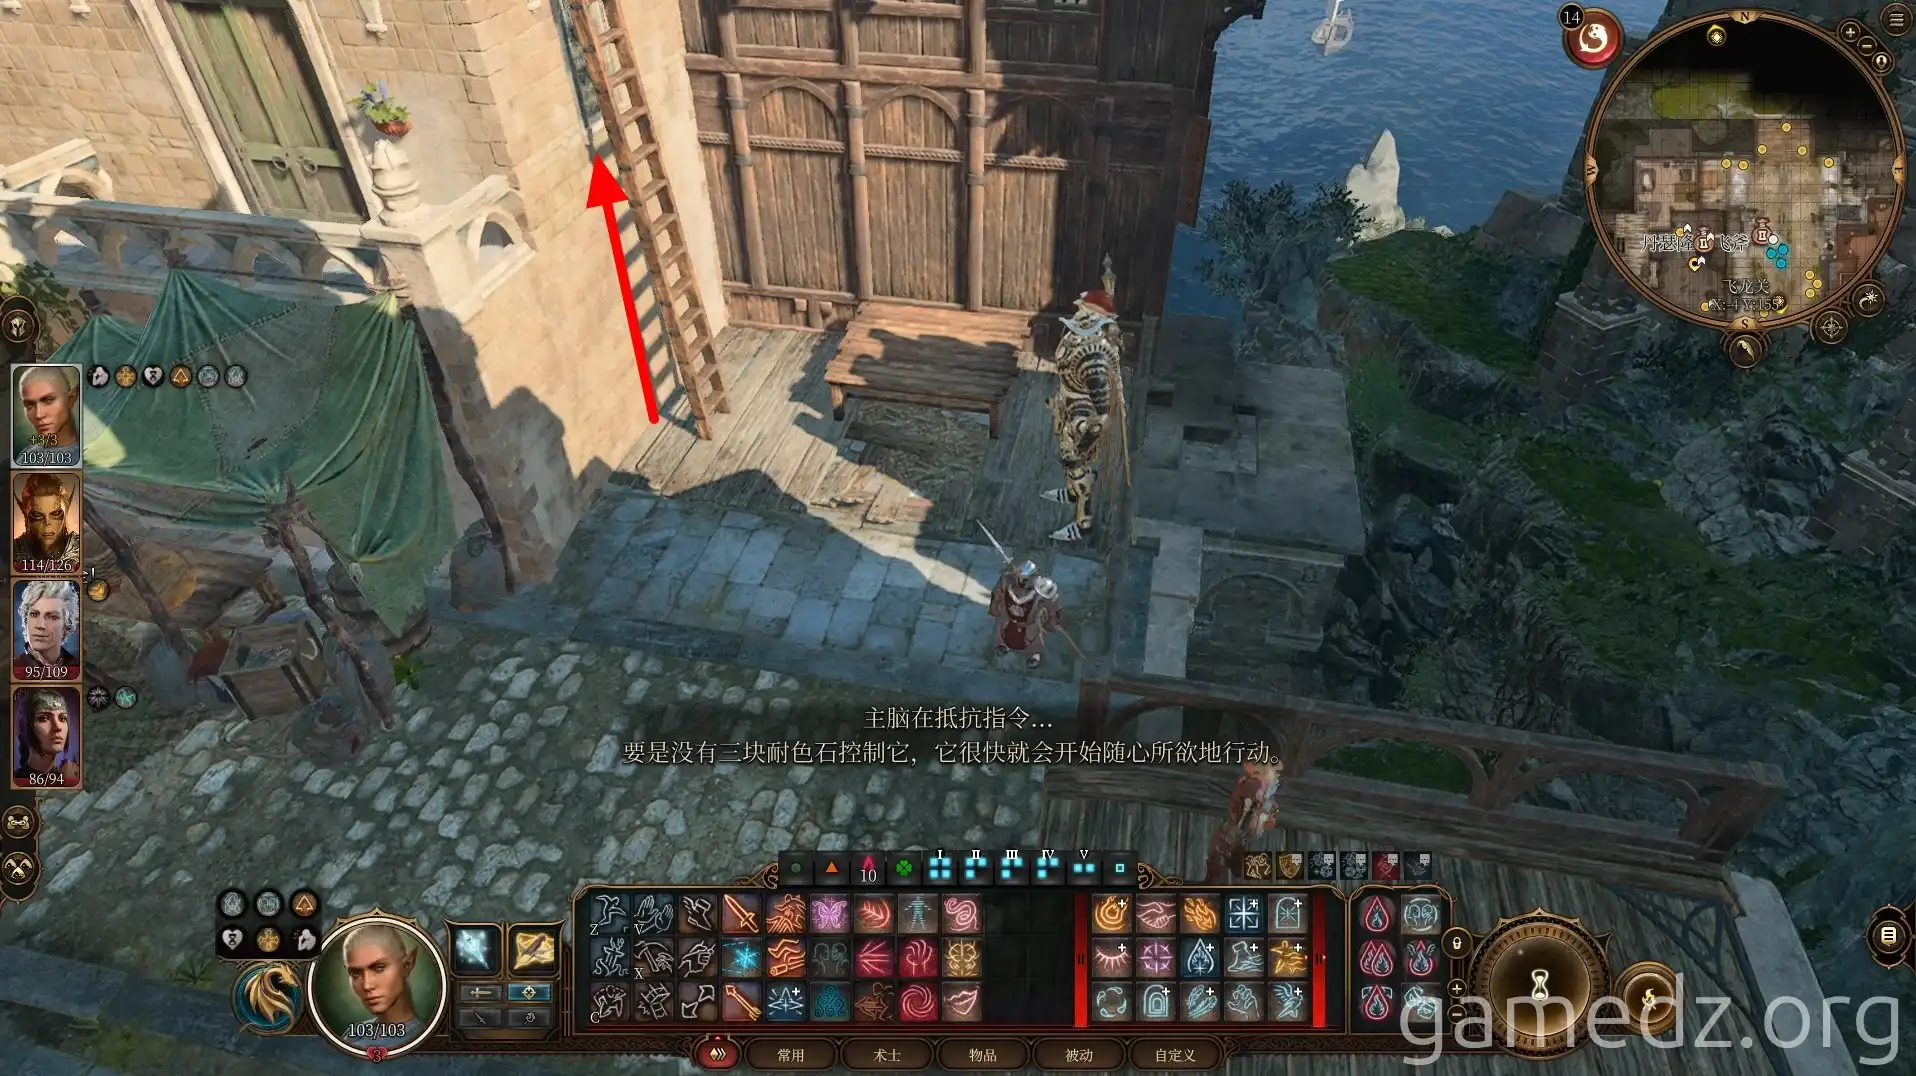
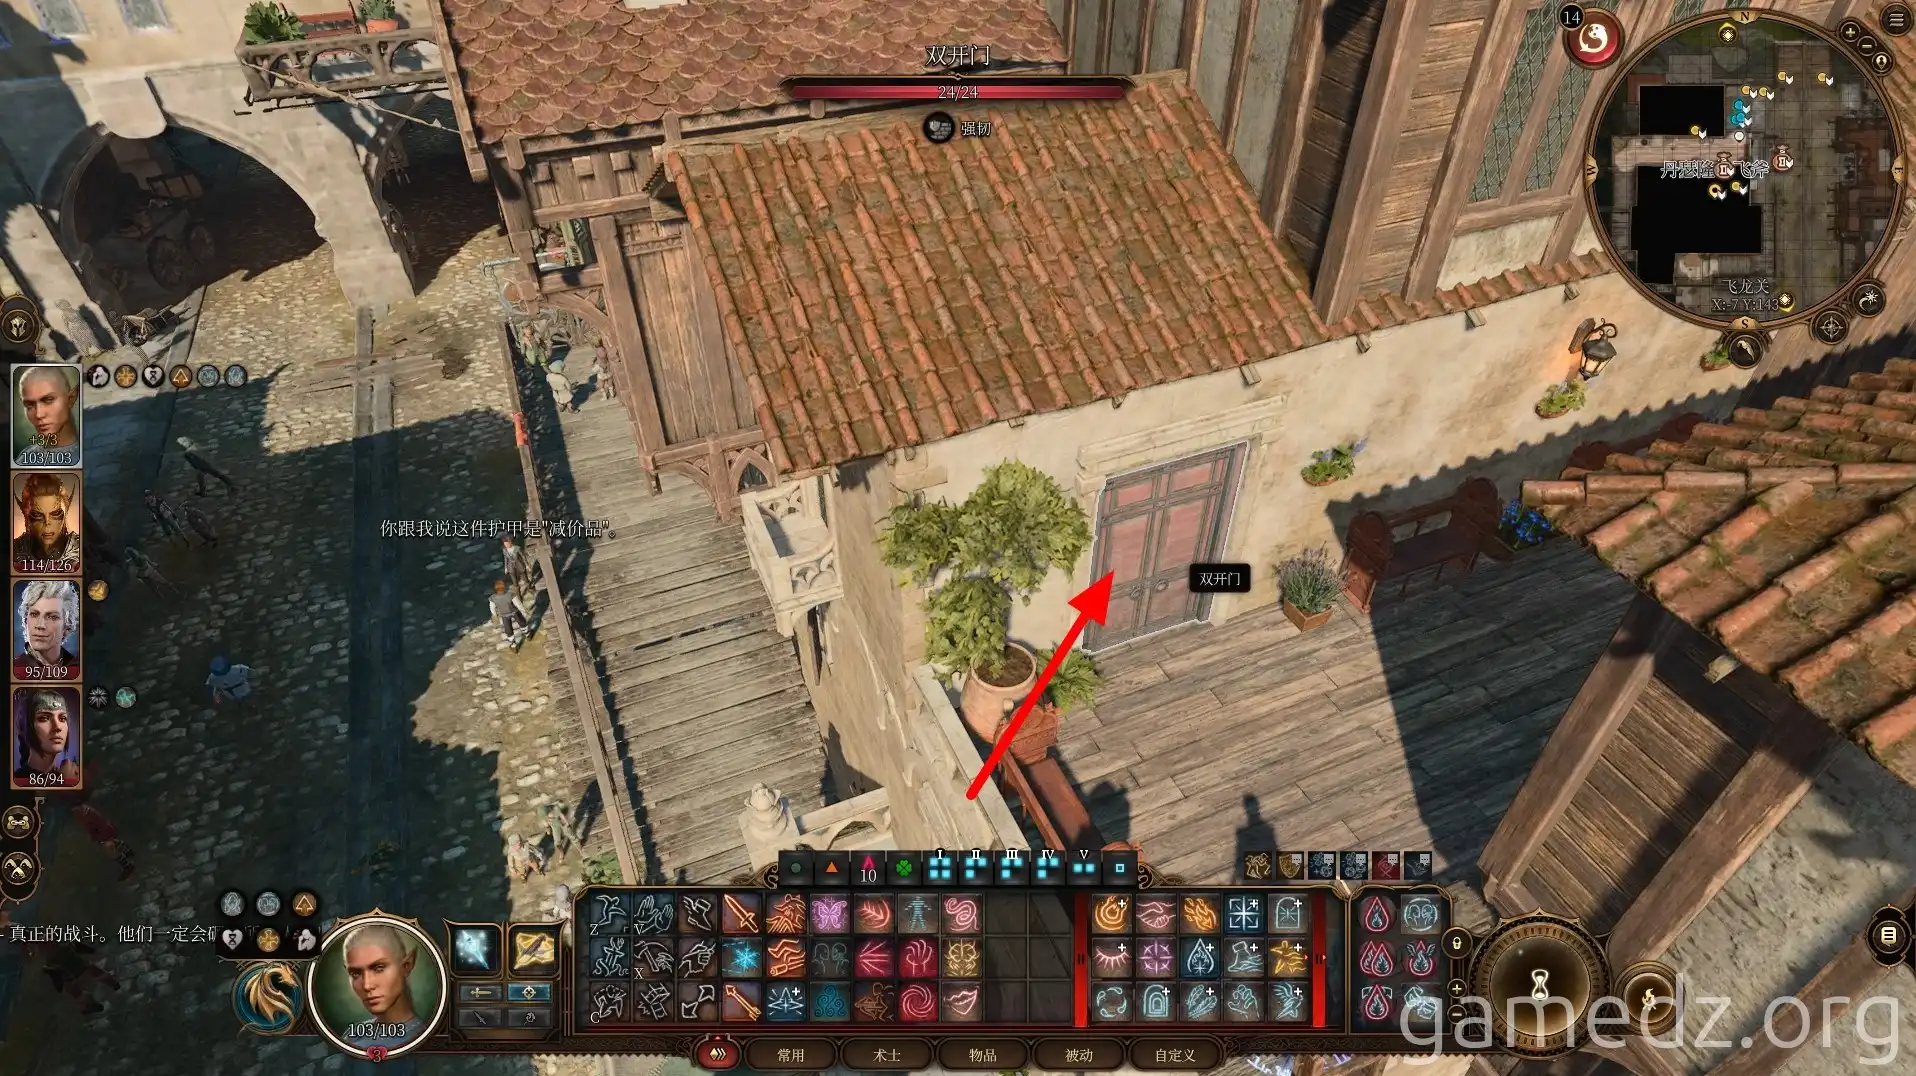
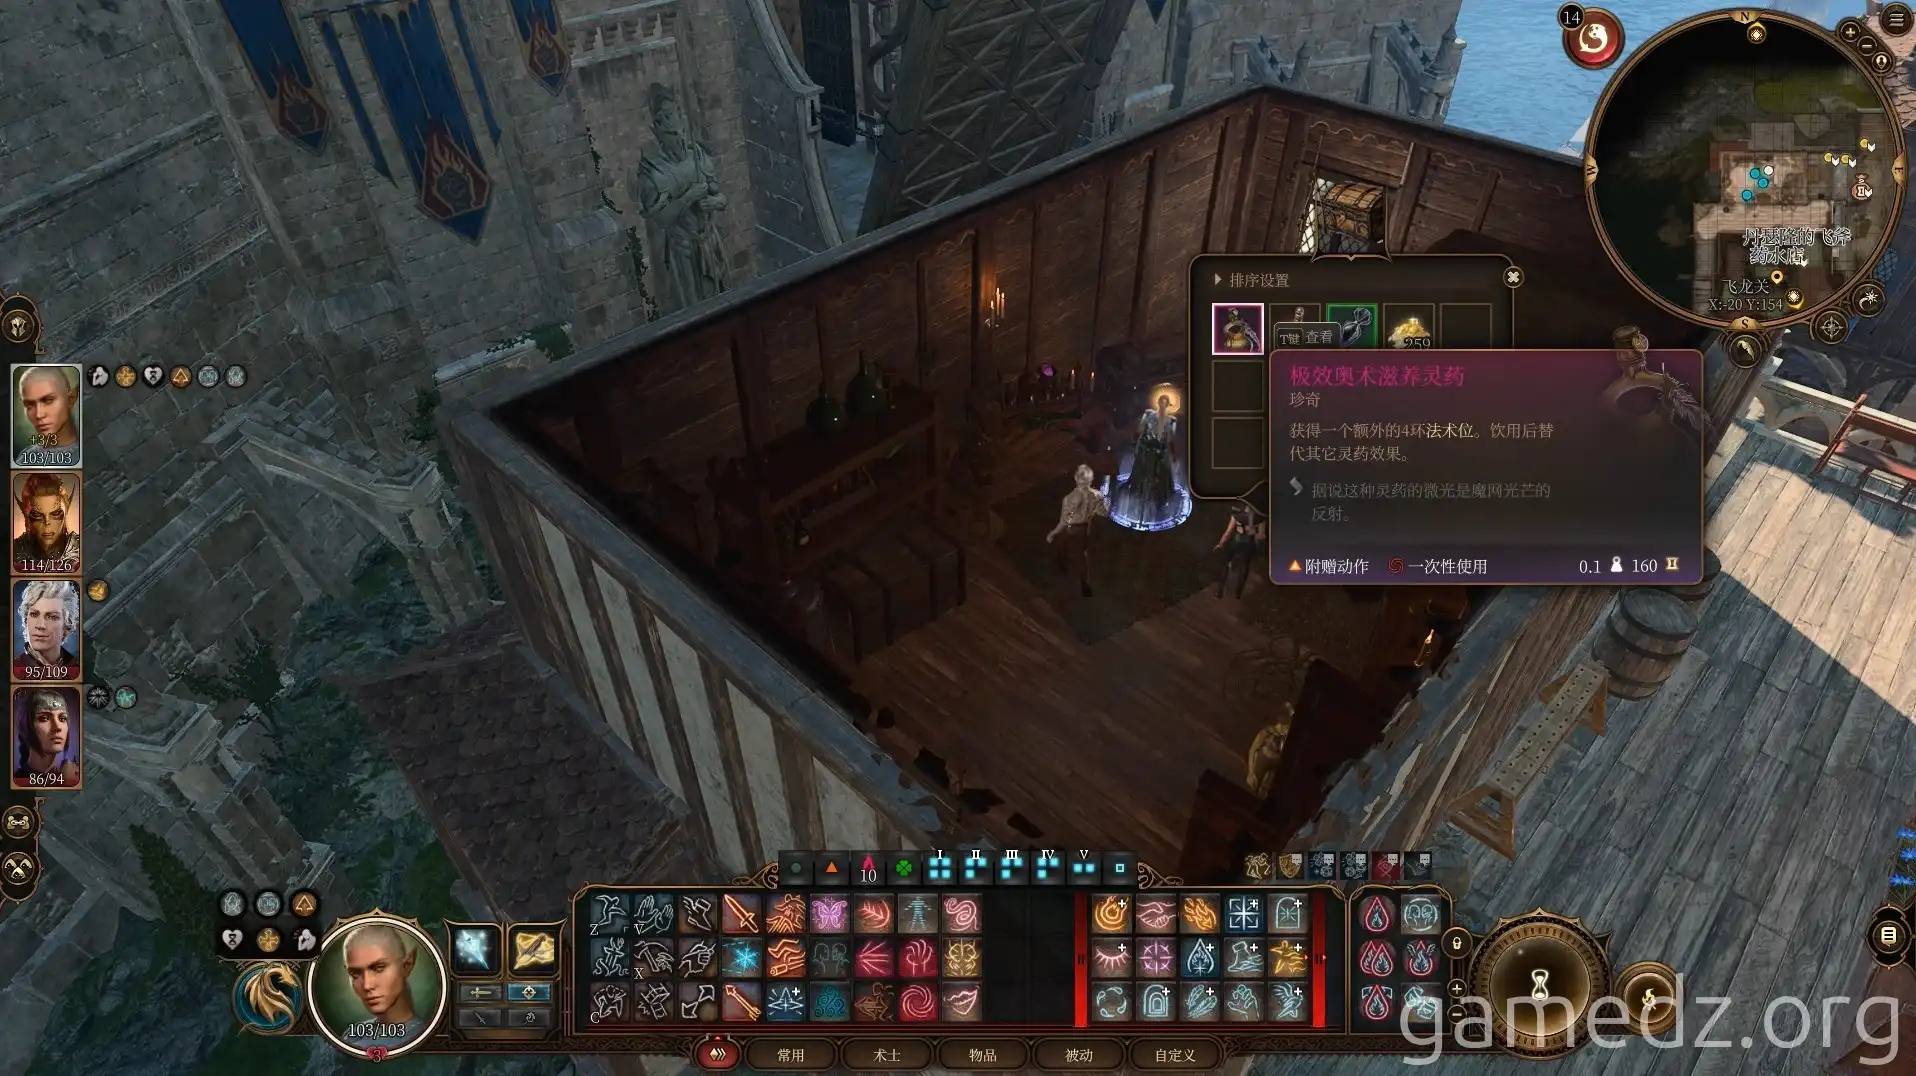
The double doors directly ahead lead to a potion shop.
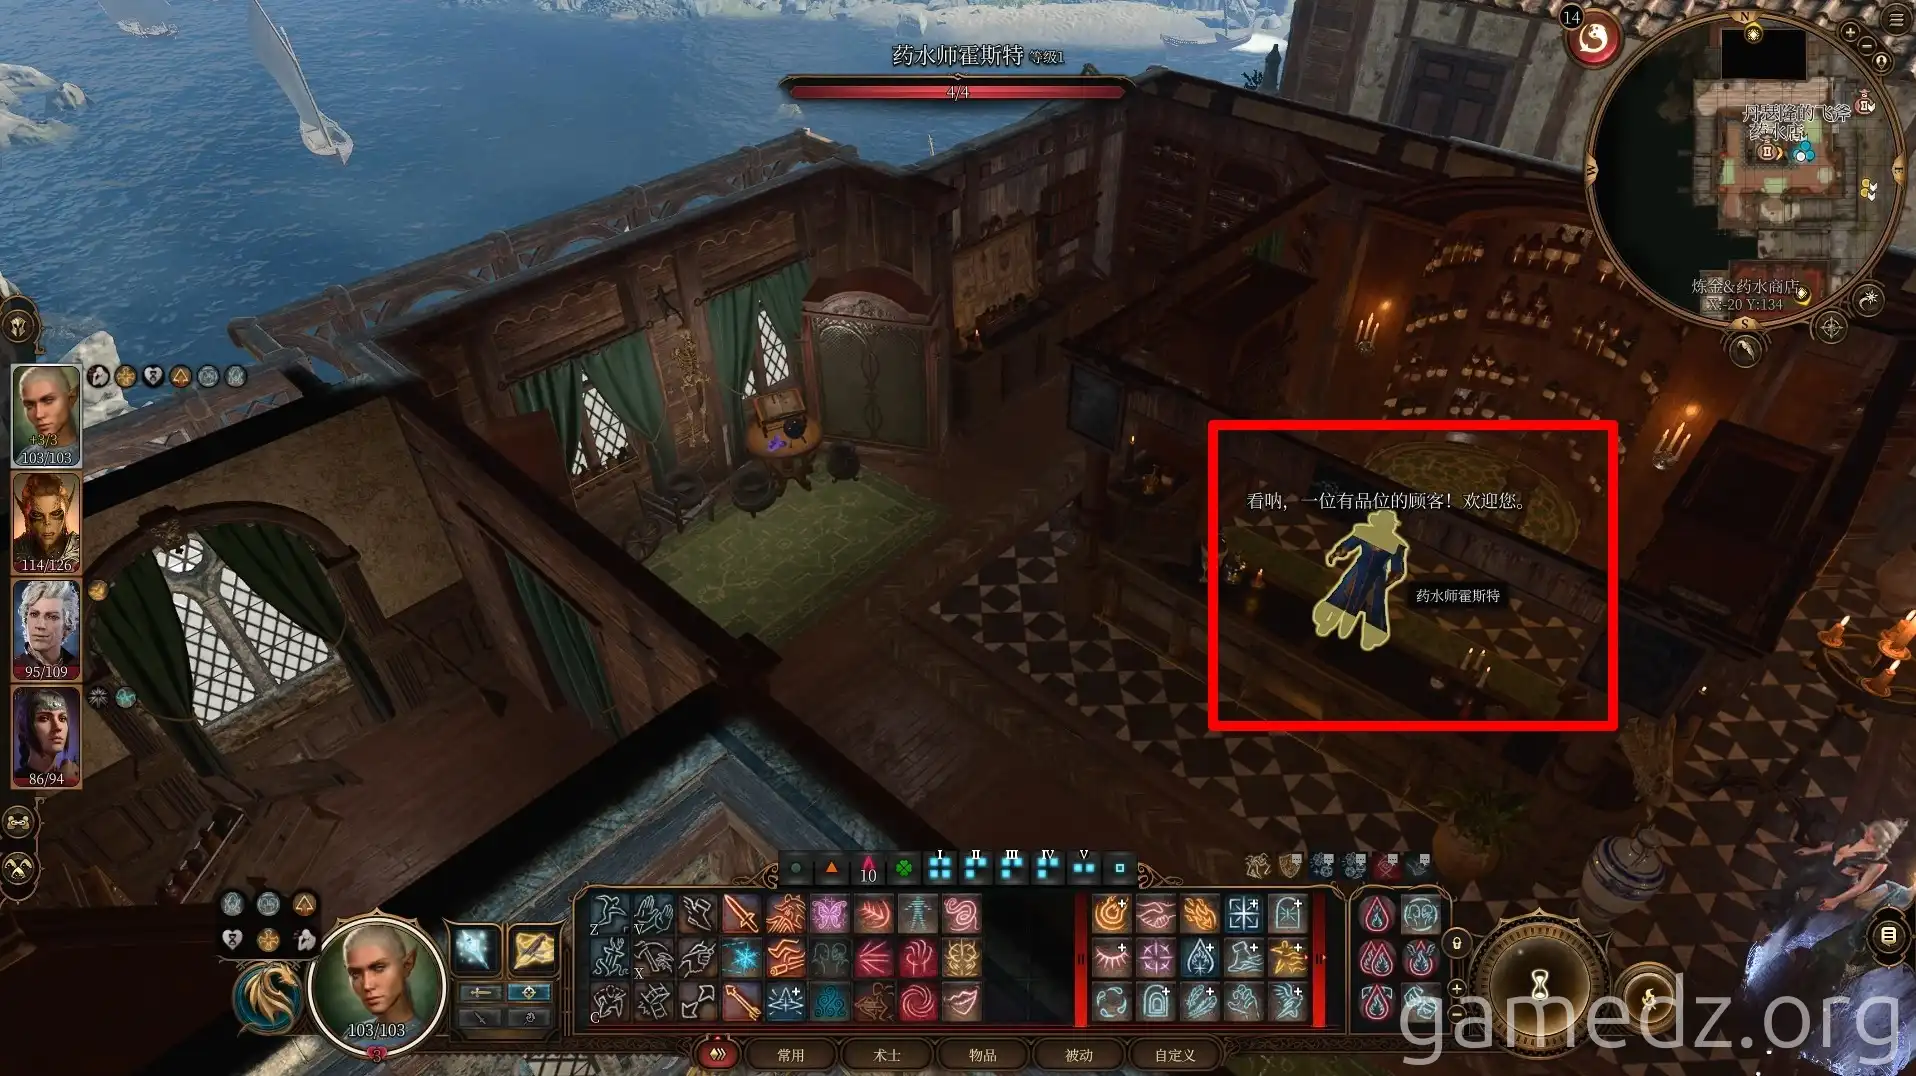
You can purchase some supplies from the potion vendor, "Horst."
Enter the small house opposite the potion shop.
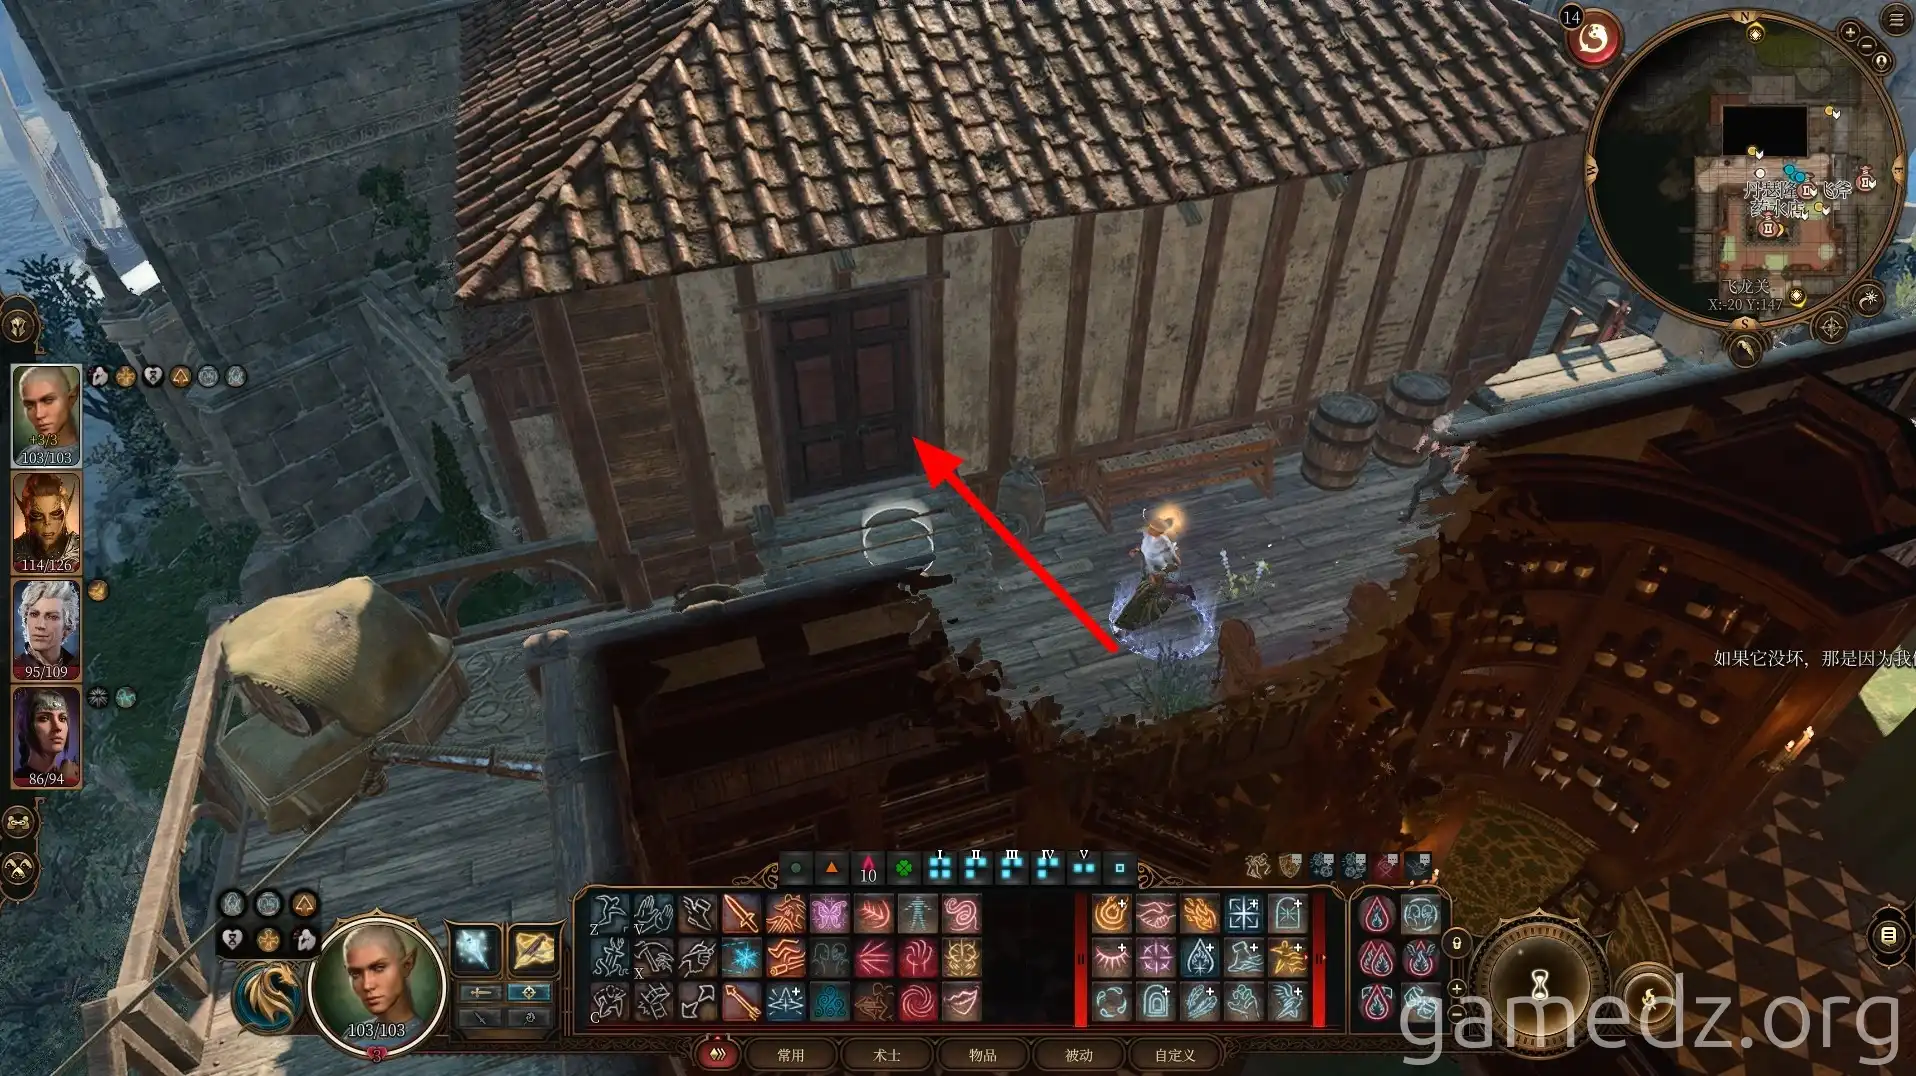
In the room, you can find some potions.
Then, speak with the Flaming Fist members guarding the bridge to enter Wyrmrock Fortress.
If you use persuasion to enter the fortress peacefully, characters with a Charlatan background will be inspired. Entering the fortress without any pass will inspire characters with a Noble background.
