Baldur's Gate 3: Wyrm's Crossing South Wing Walkthrough & Loot
This Baldur's Gate 3 walkthrough guides players through Wyrm's Crossing South Wing, detailing combat encounters, hidden caves, gnome strongholds, and valuable loot like the Amulet of Elemental Empowerment and Bone-Chilling Boots.
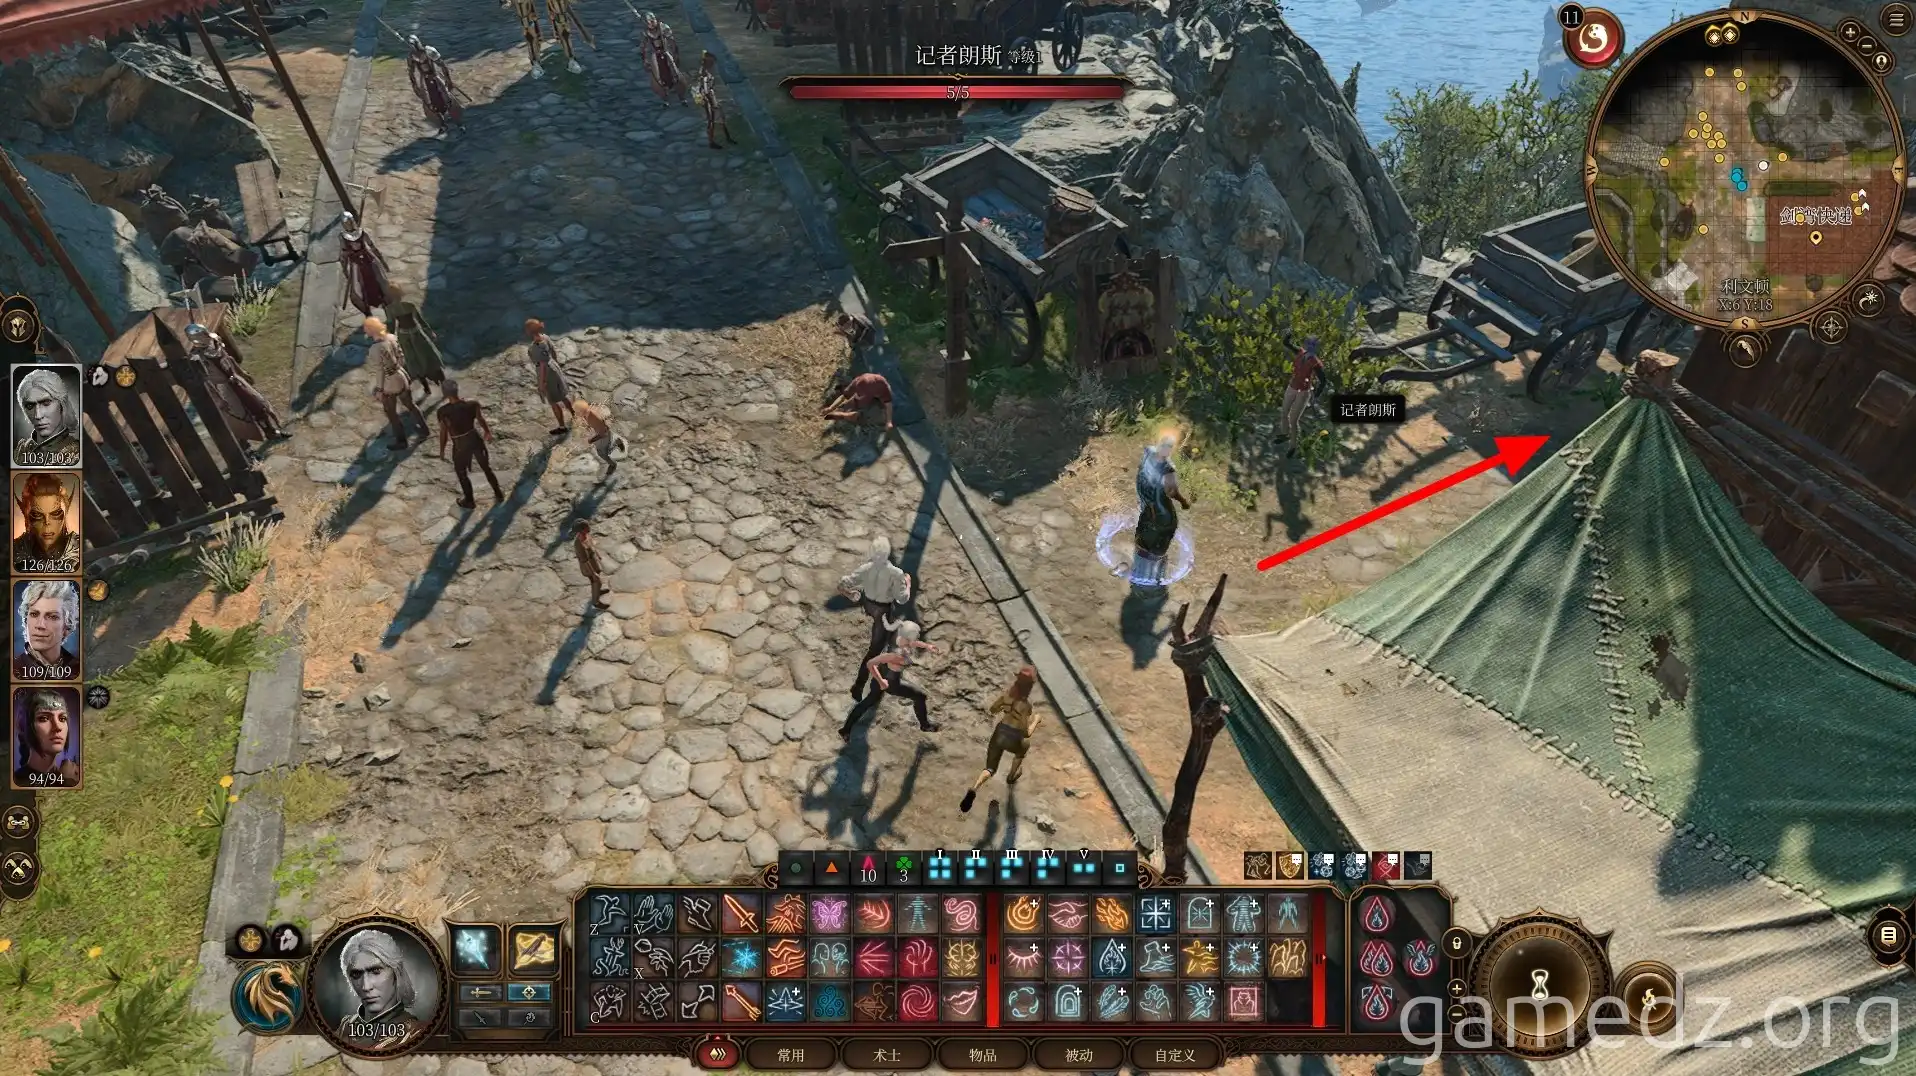
Continuing north along the road, you'll encounter guards at Wyrm's Crossing. During the conversation with the guards, your memories will be read by a Steel Watcher, exposing your double-dealing activities within the Absolute's church, which immediately triggers combat. Therefore, we'll first take the small path next to the reporter to the east side of Wyrm's Crossing.
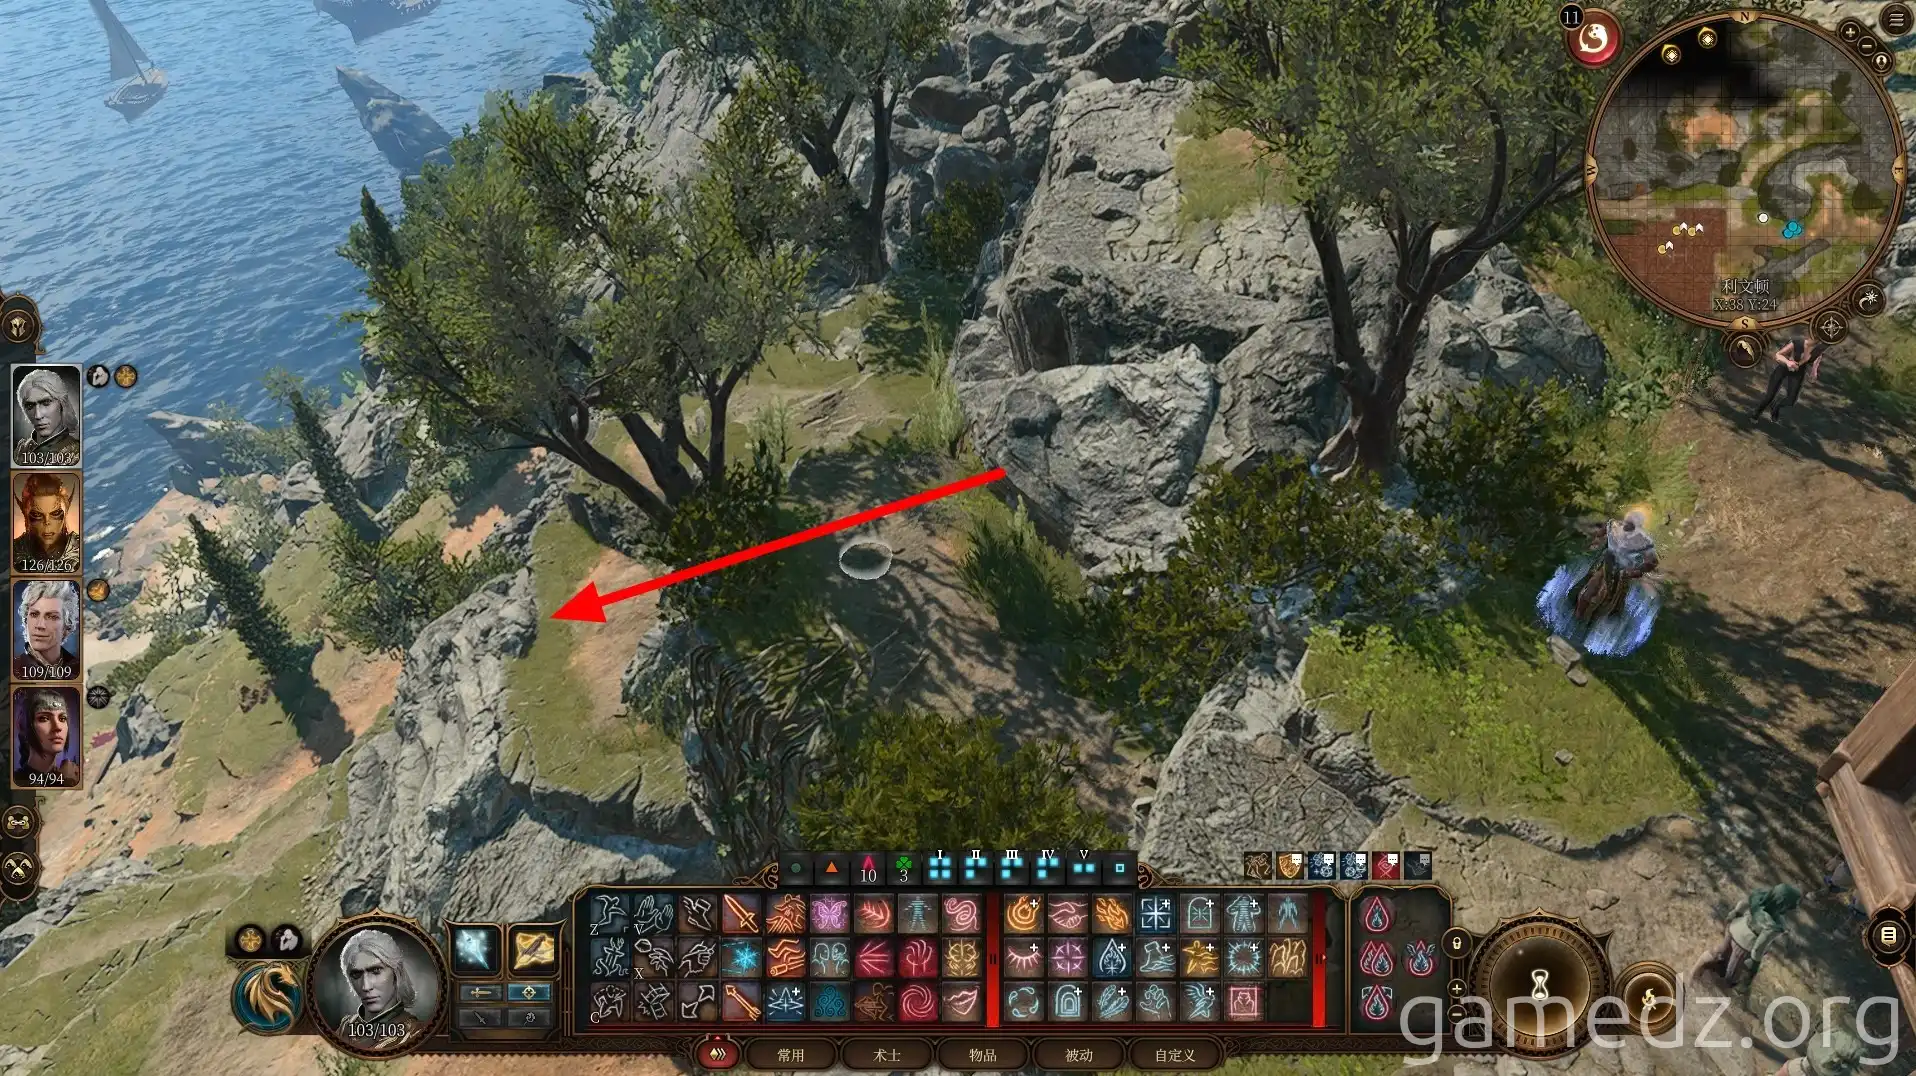
Next, proceed down the ramp towards the beach.
You'll find a cave halfway up the mountain. Enter it.
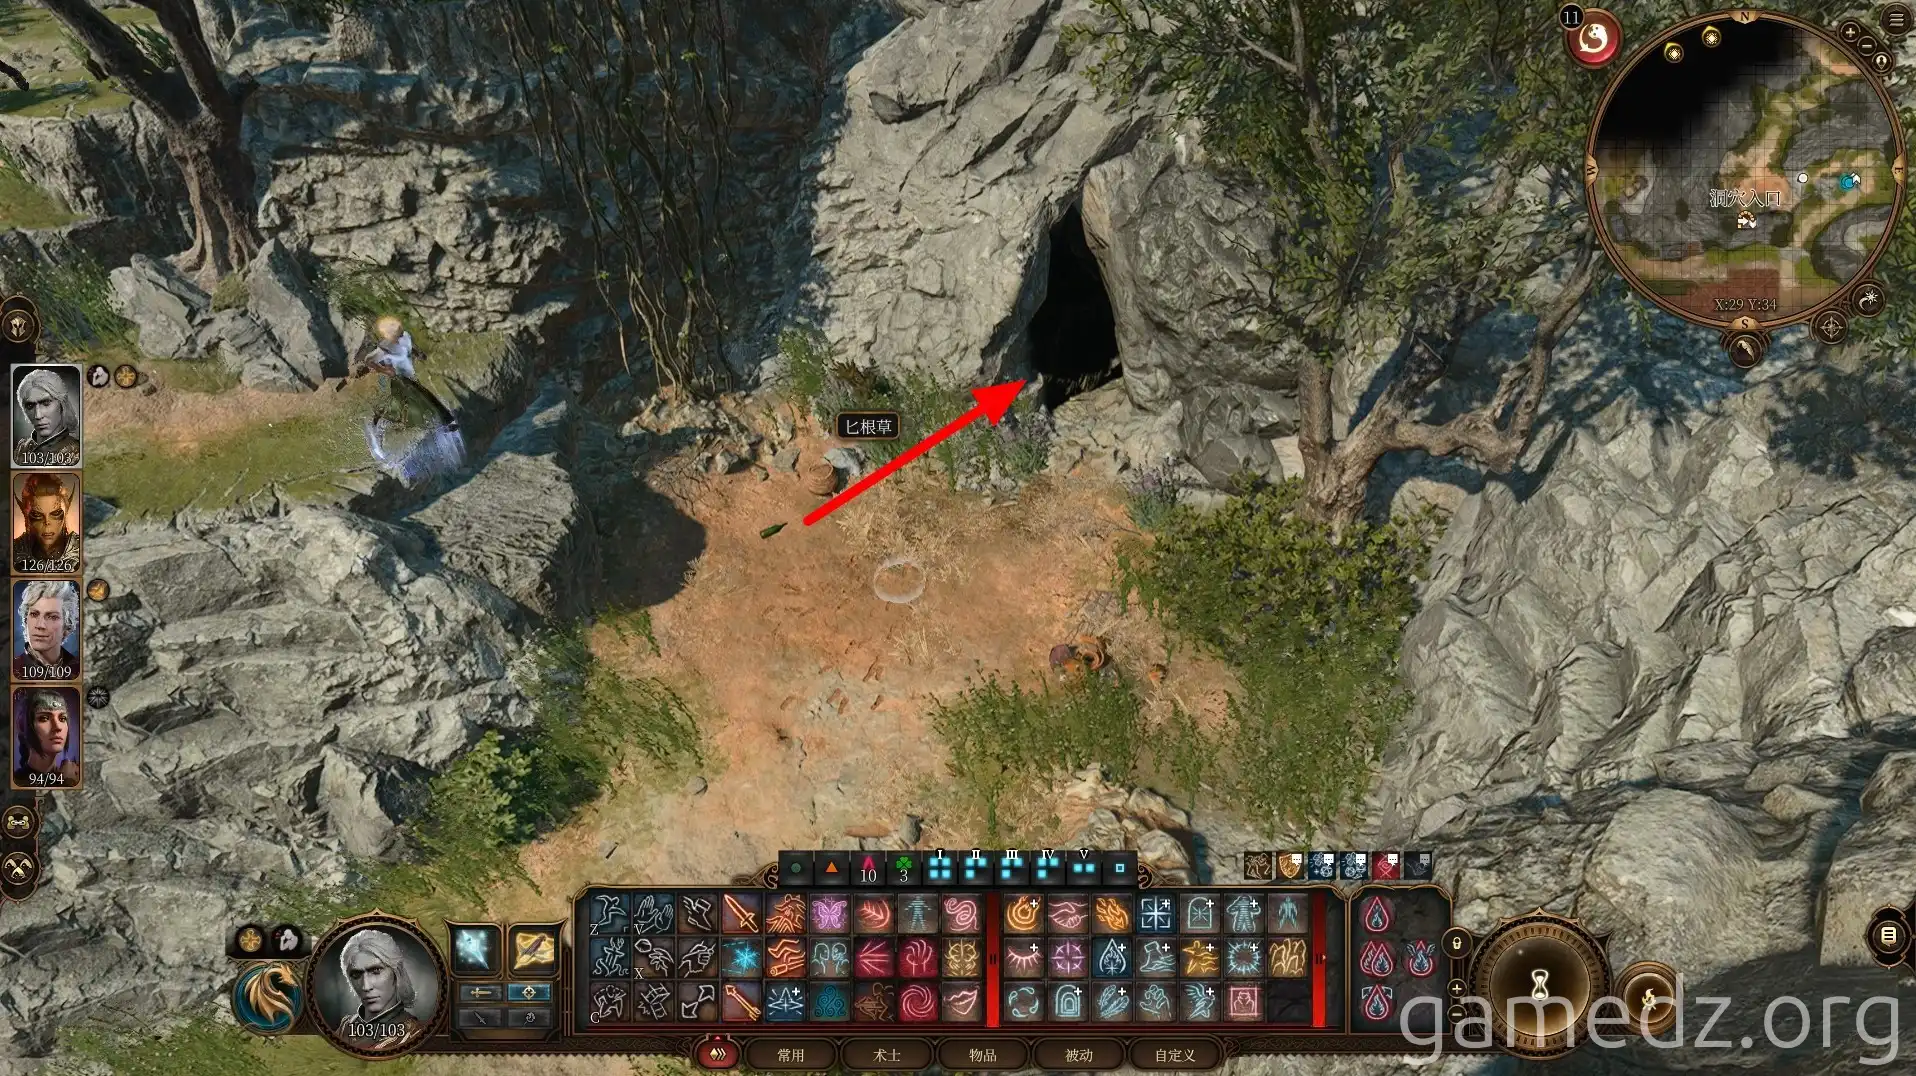
The cave is actually a gnome stronghold. You can purchase some items from Brem in the main hall.
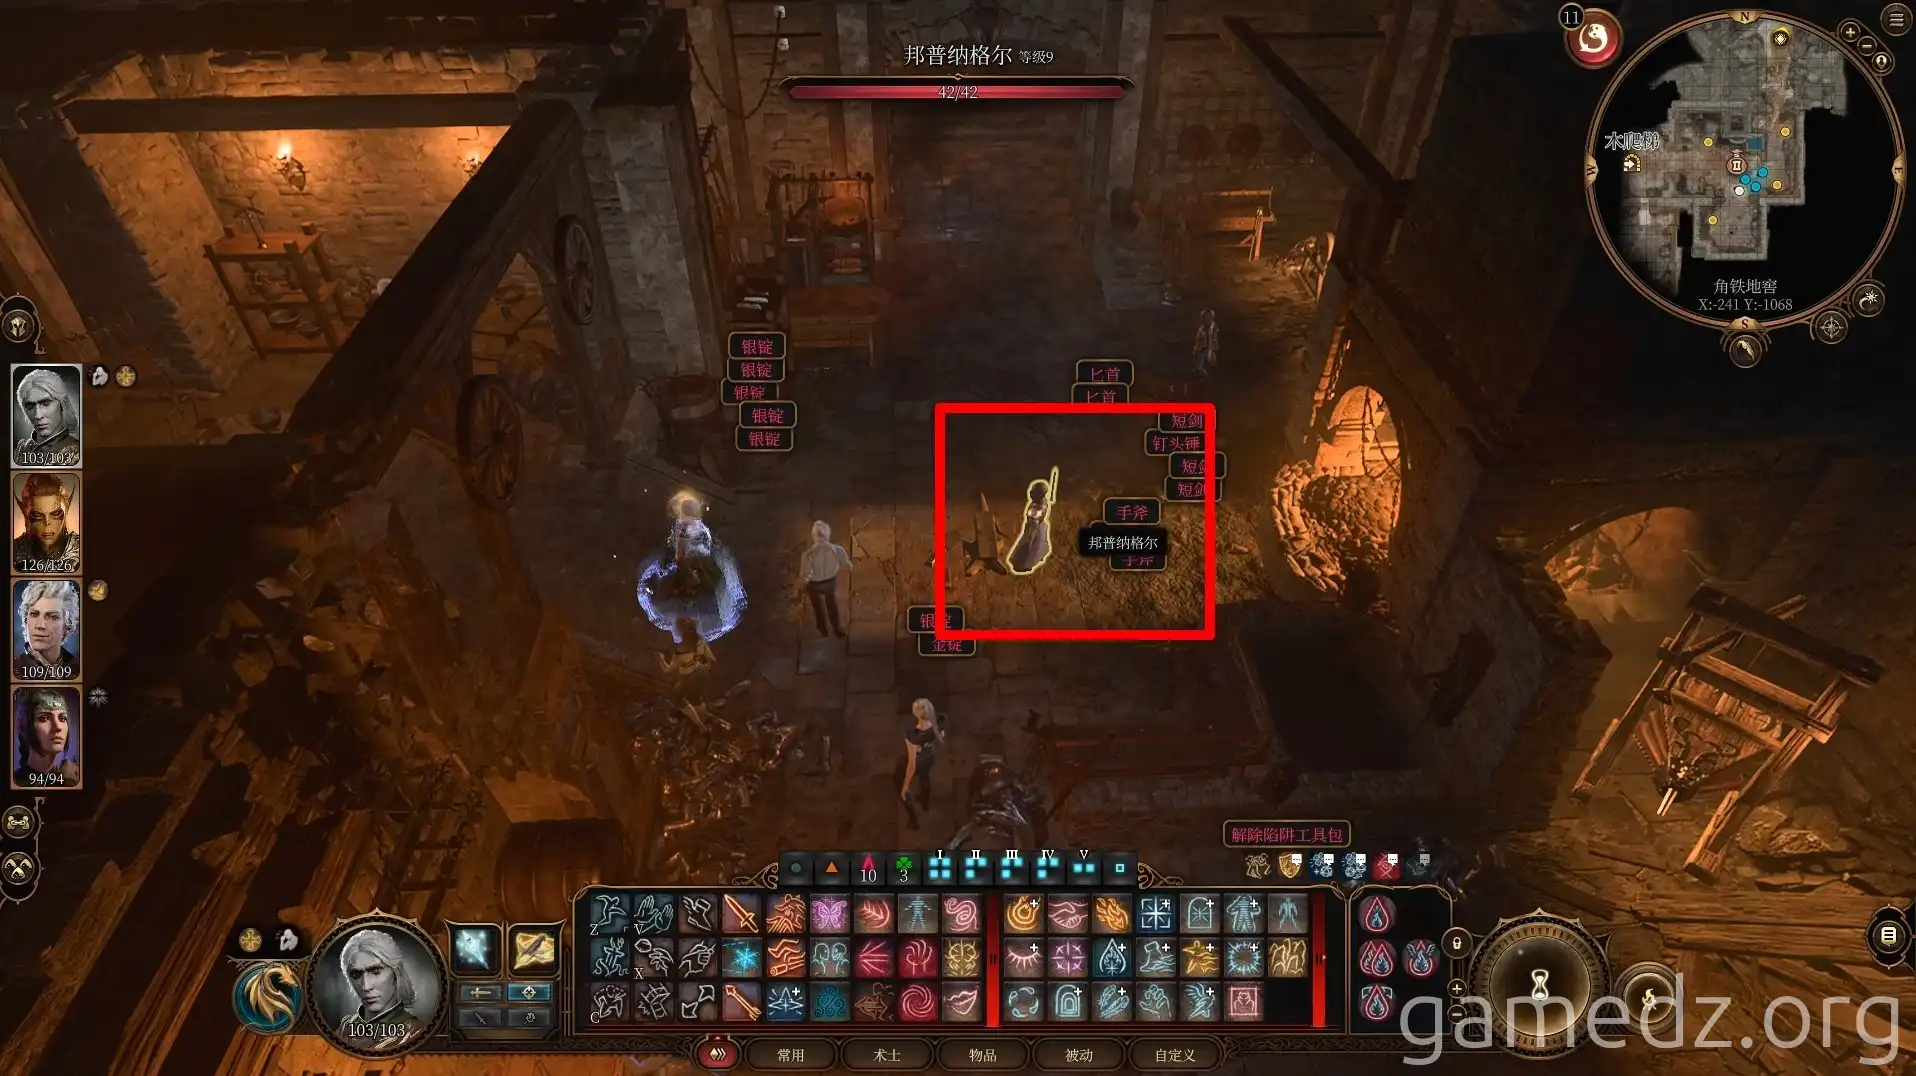
The unique equipment Brem sells, along with their stats and a list, is as follows. Additionally, there are four rare-quality throwing items: Flashbangs.

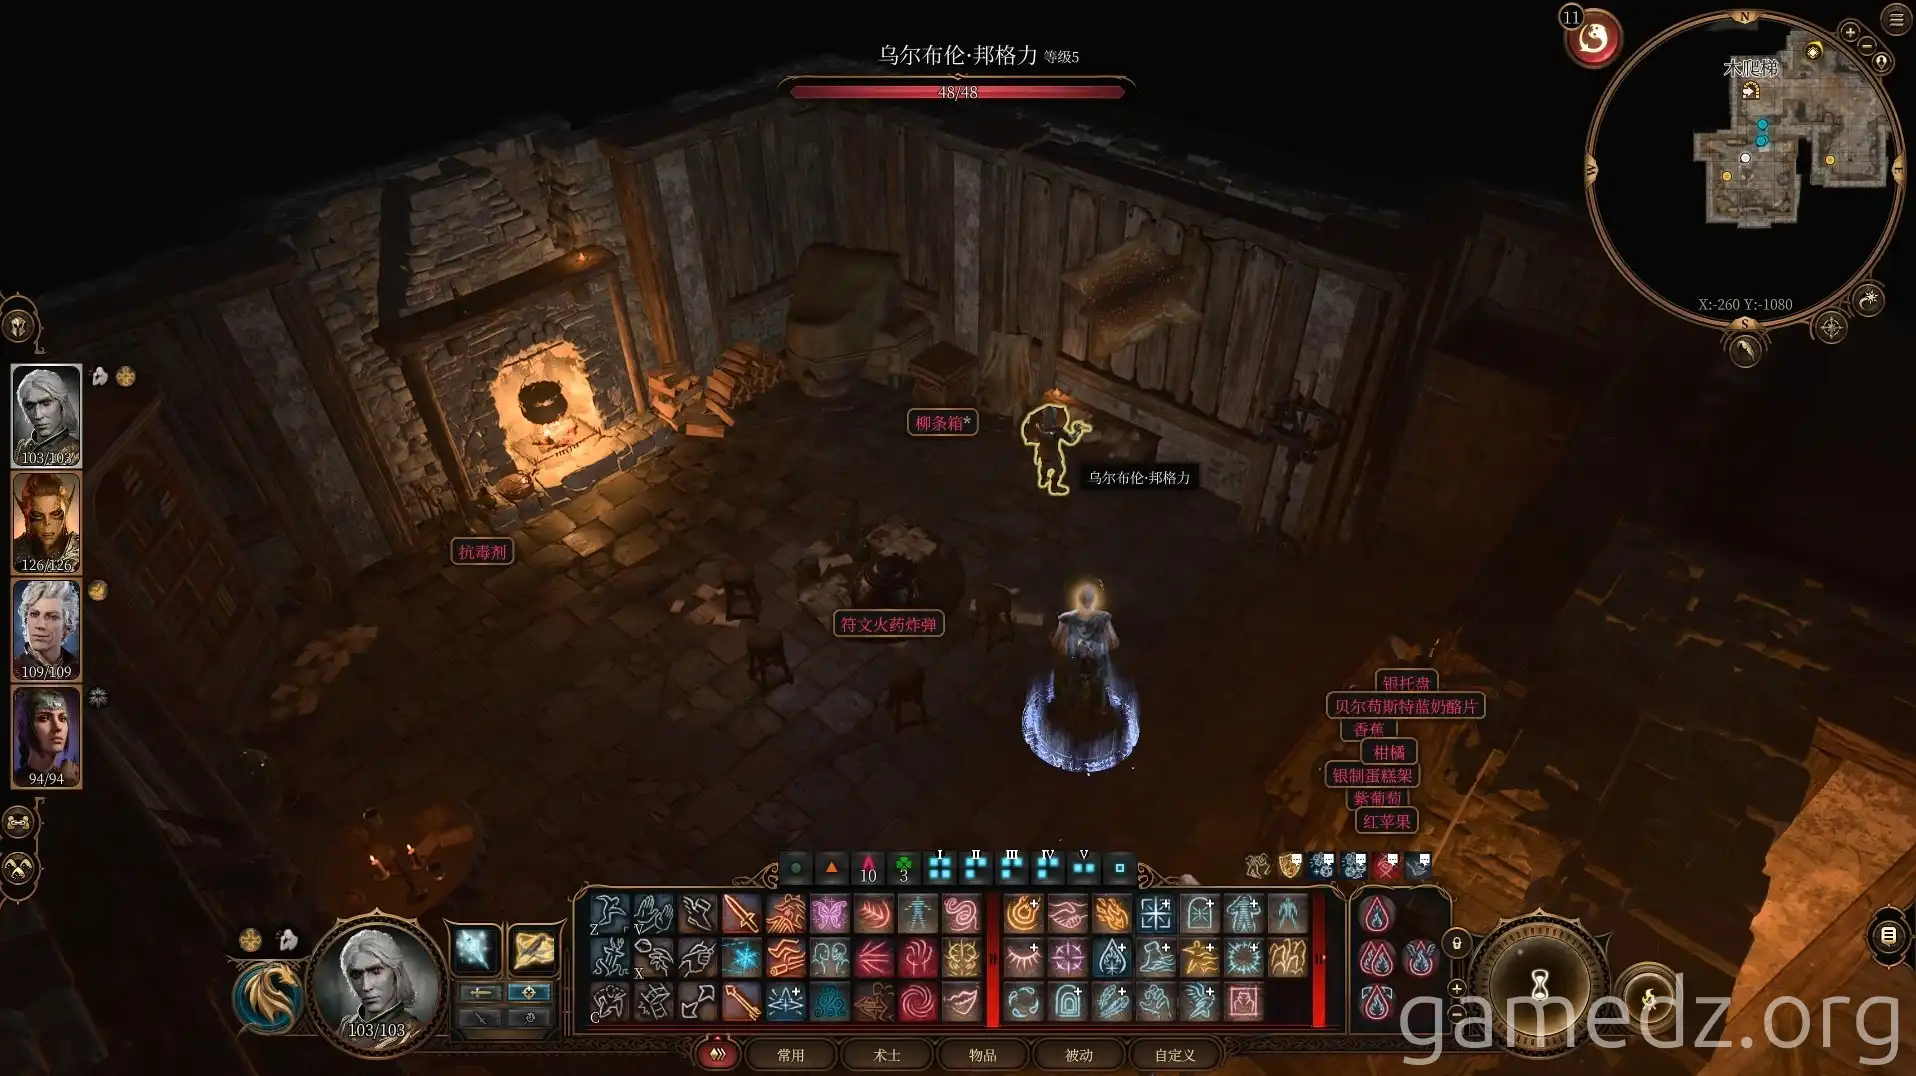
Deeper within the room, you'll meet Wulbren again. Speaking with him reveals that to overthrow Gortash's tyranny, you must first shut down the Steel Watch. After agreeing to help Wulbren, he will give you a rare-quality Runepowder Bomb to destroy the Steel Watch factory.
Upon obtaining the bomb, characters with the Entertainer background will receive an inspiration point. Truly, explosions are art.
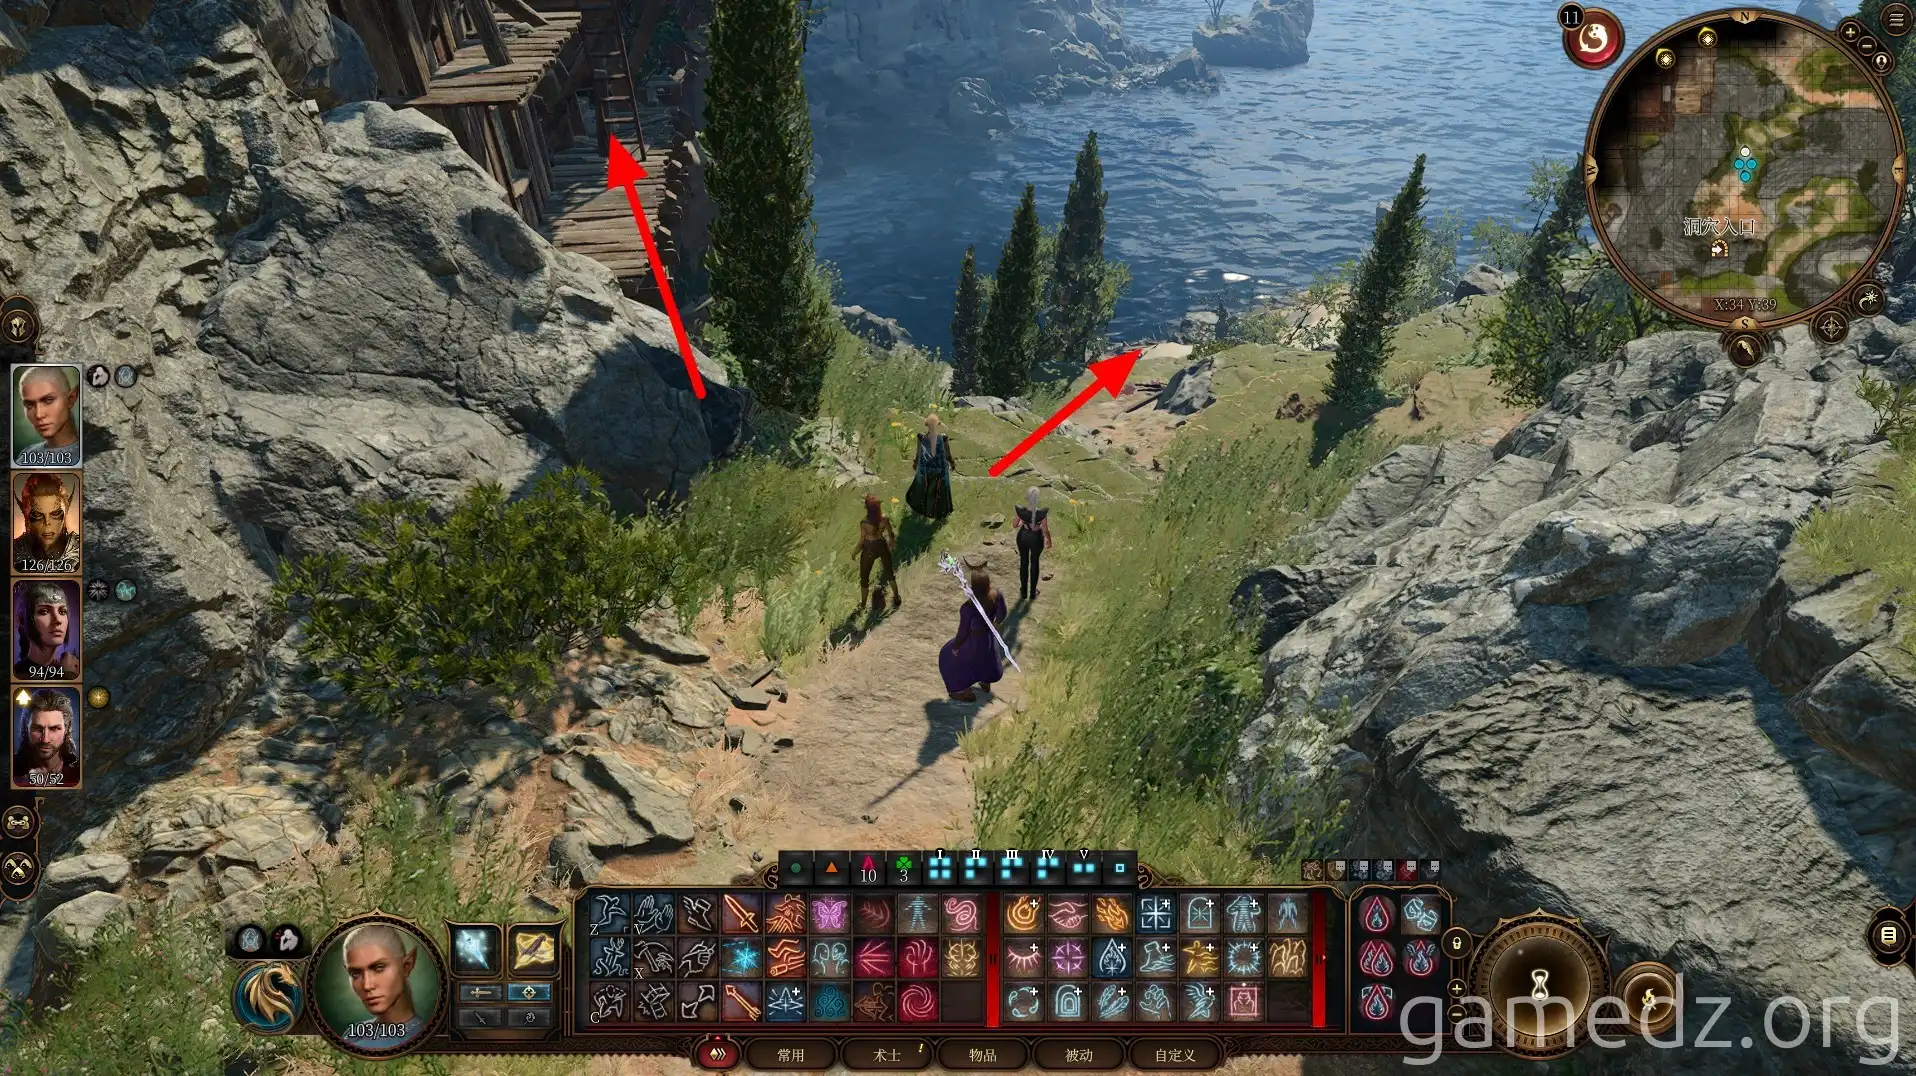
The ladder nearby leads directly to the Rivington General Store. Instead of returning, backtrack the way you came and continue down the slope.
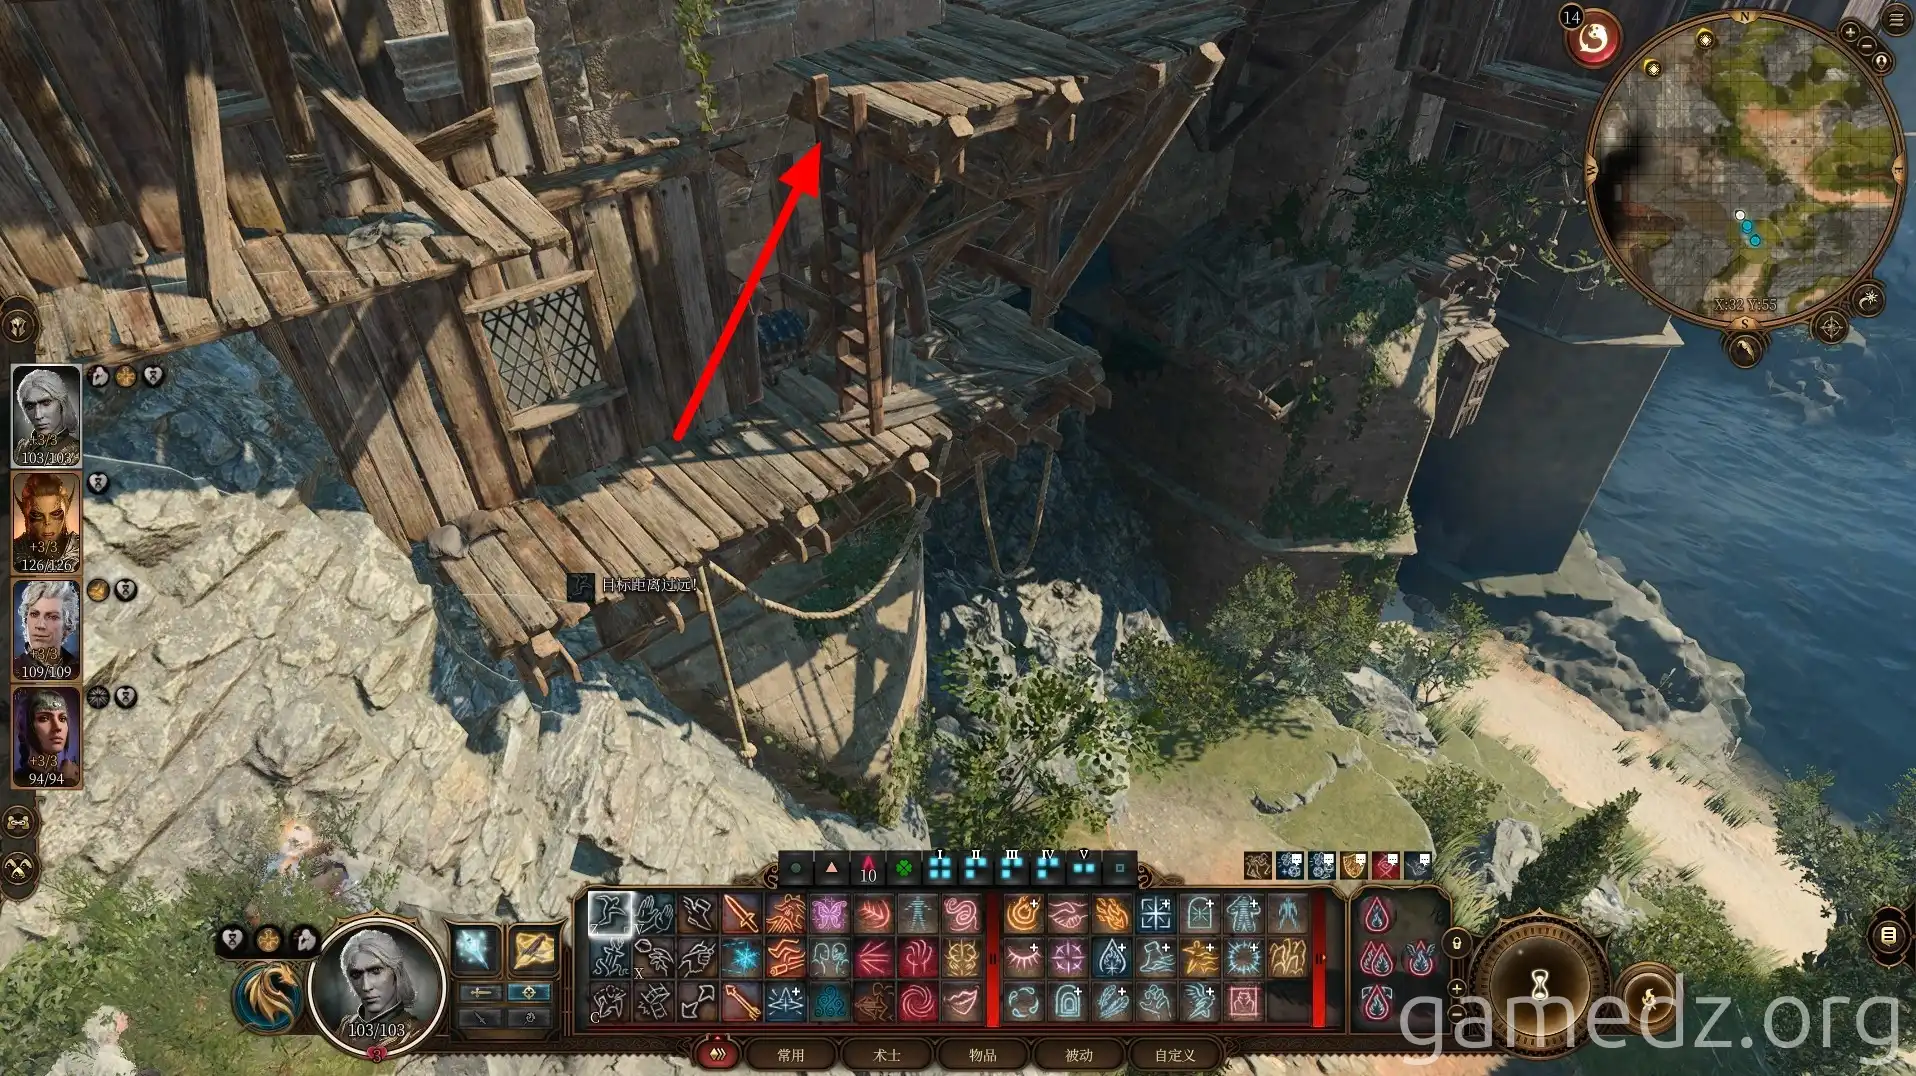
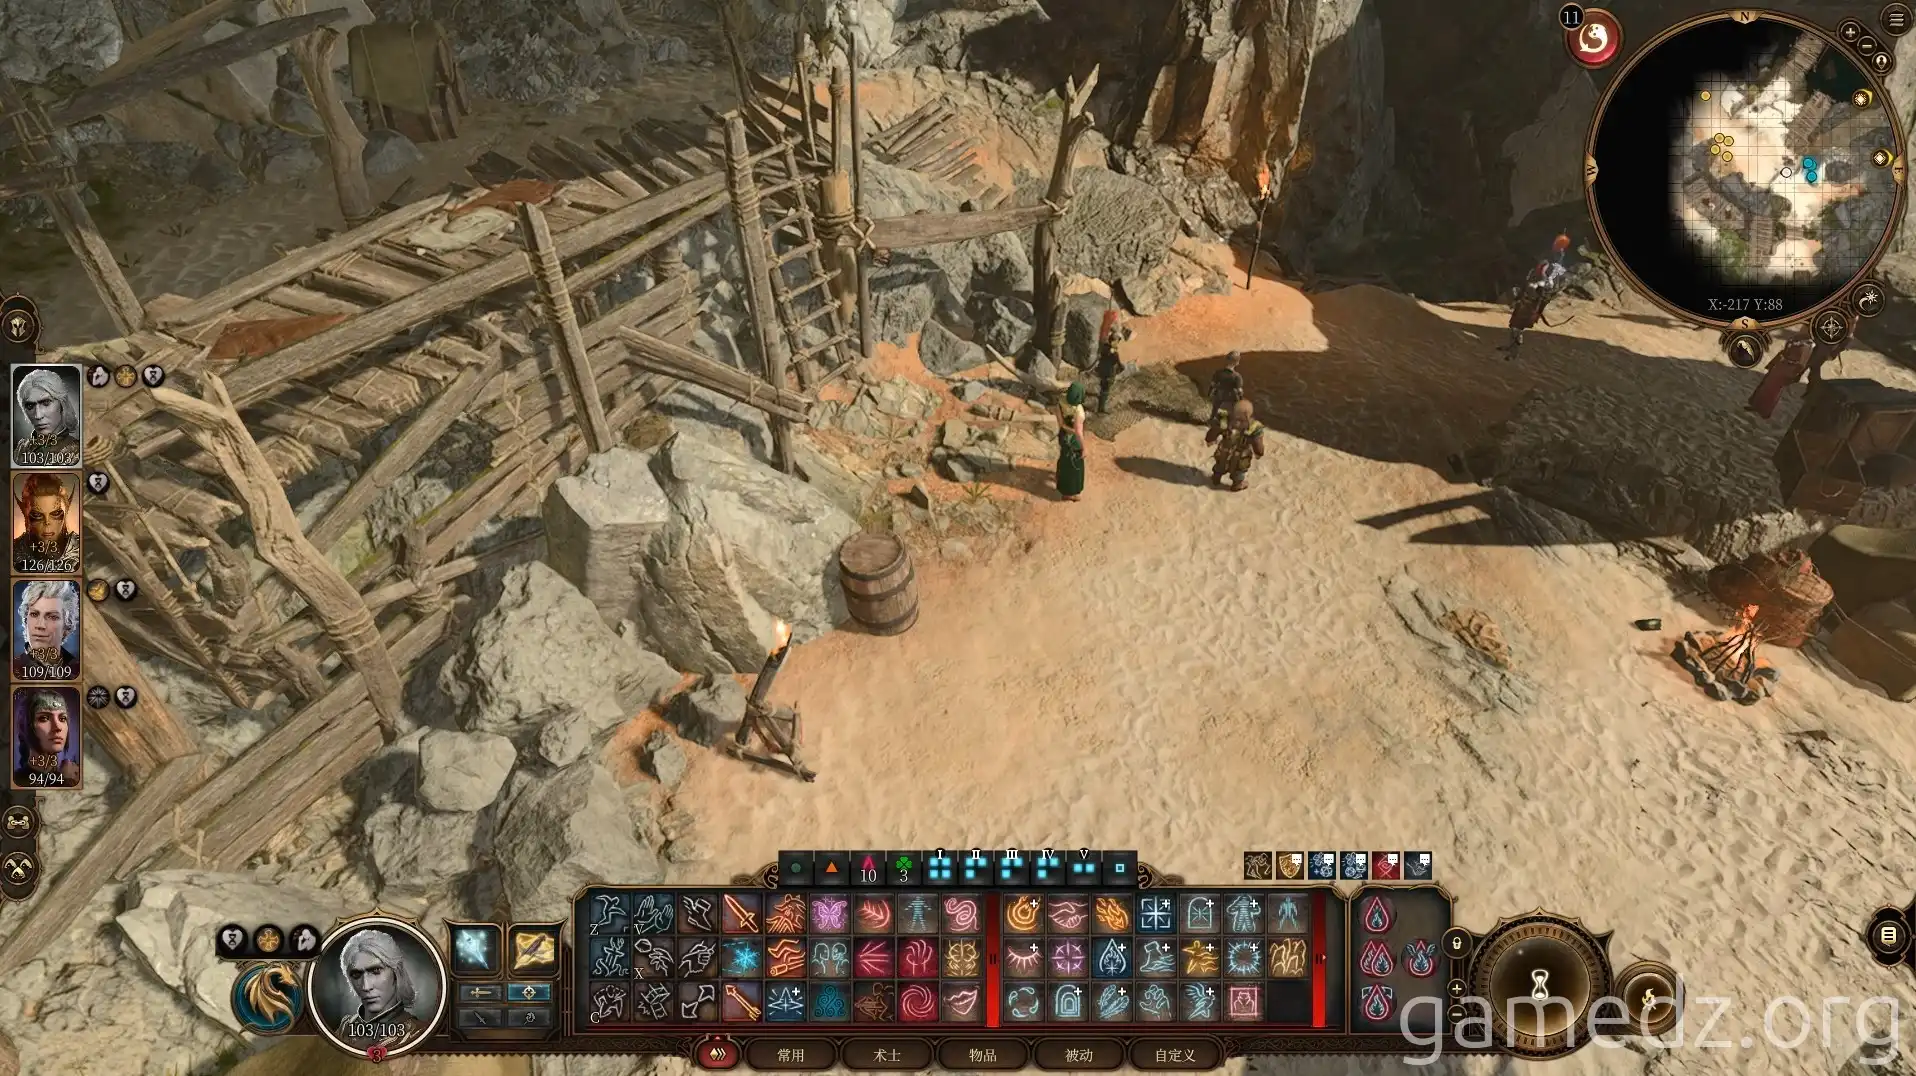
Outside the gnome hideout, you can bypass the guards by using the wooden scaffolding to enter the South Wing of Wyrm's Crossing. Remember this location, as you'll return here later. For now, continue down to the beach.
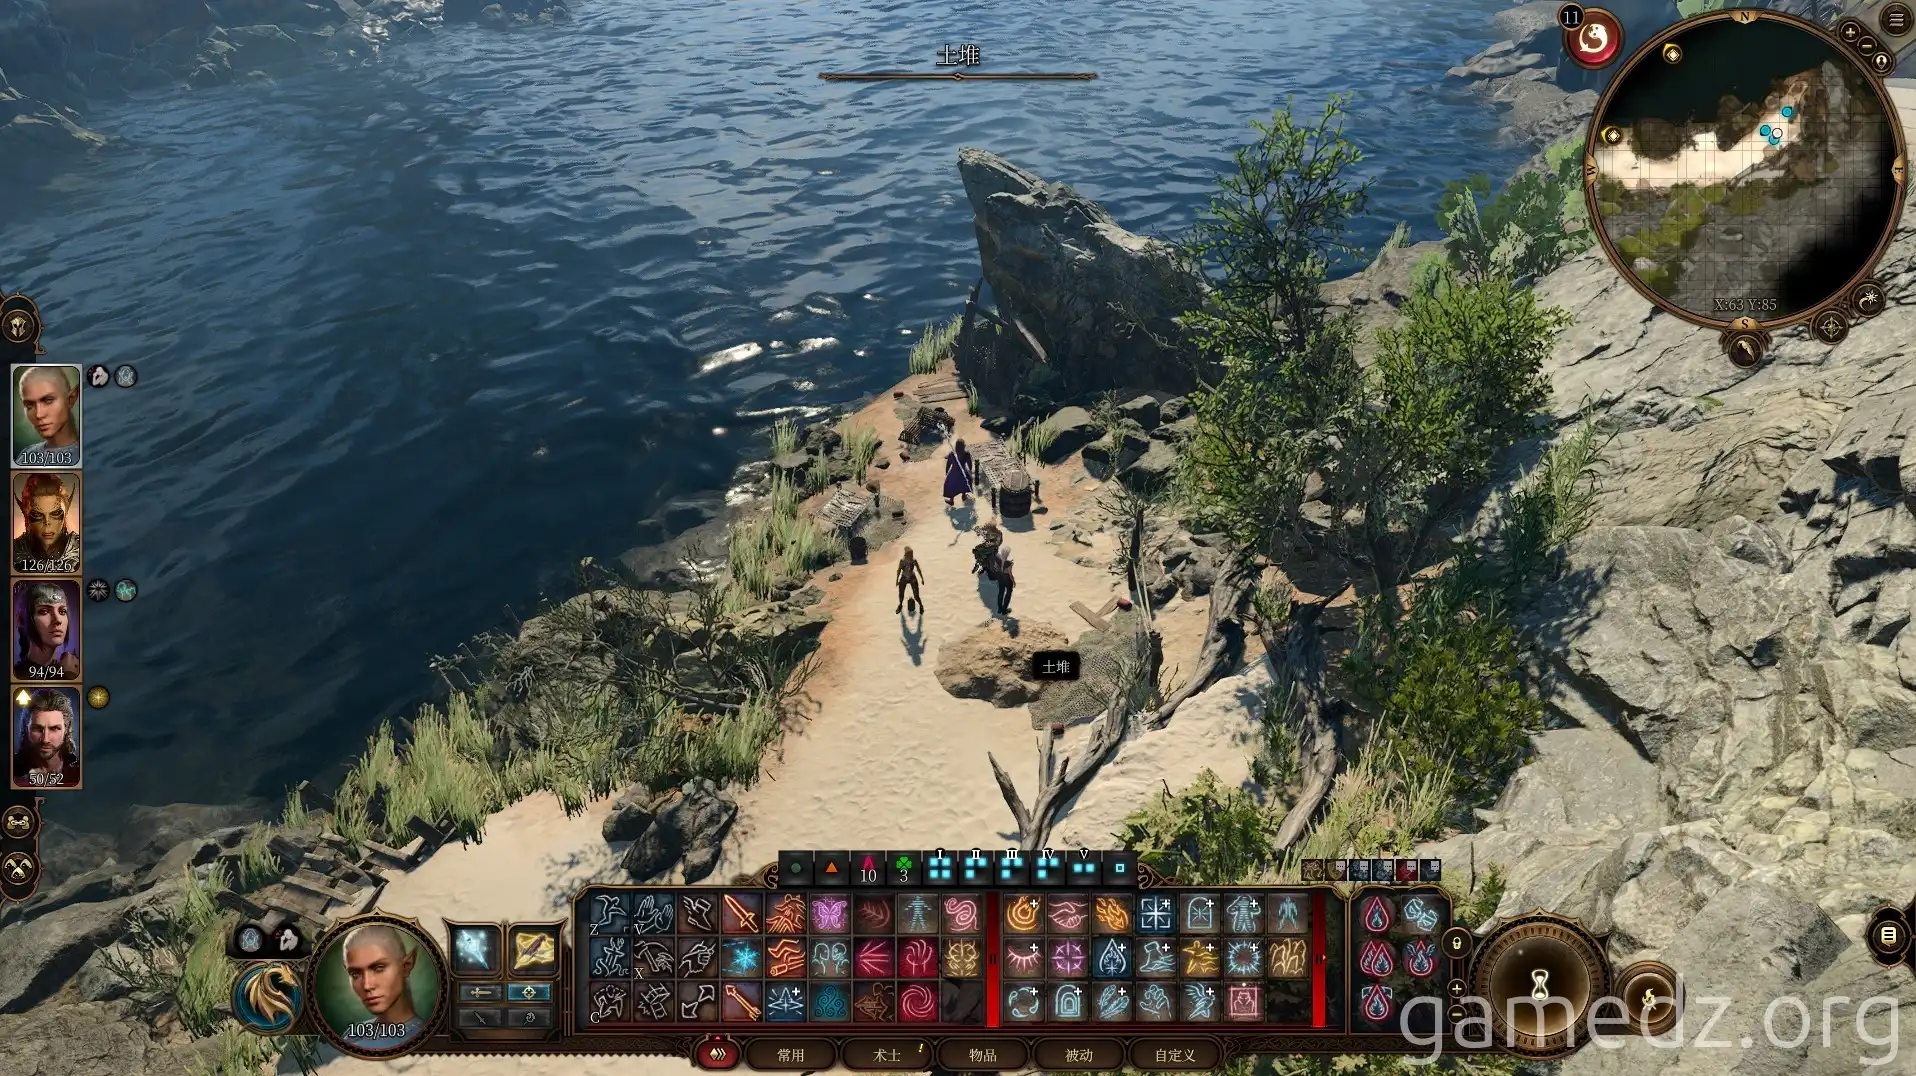
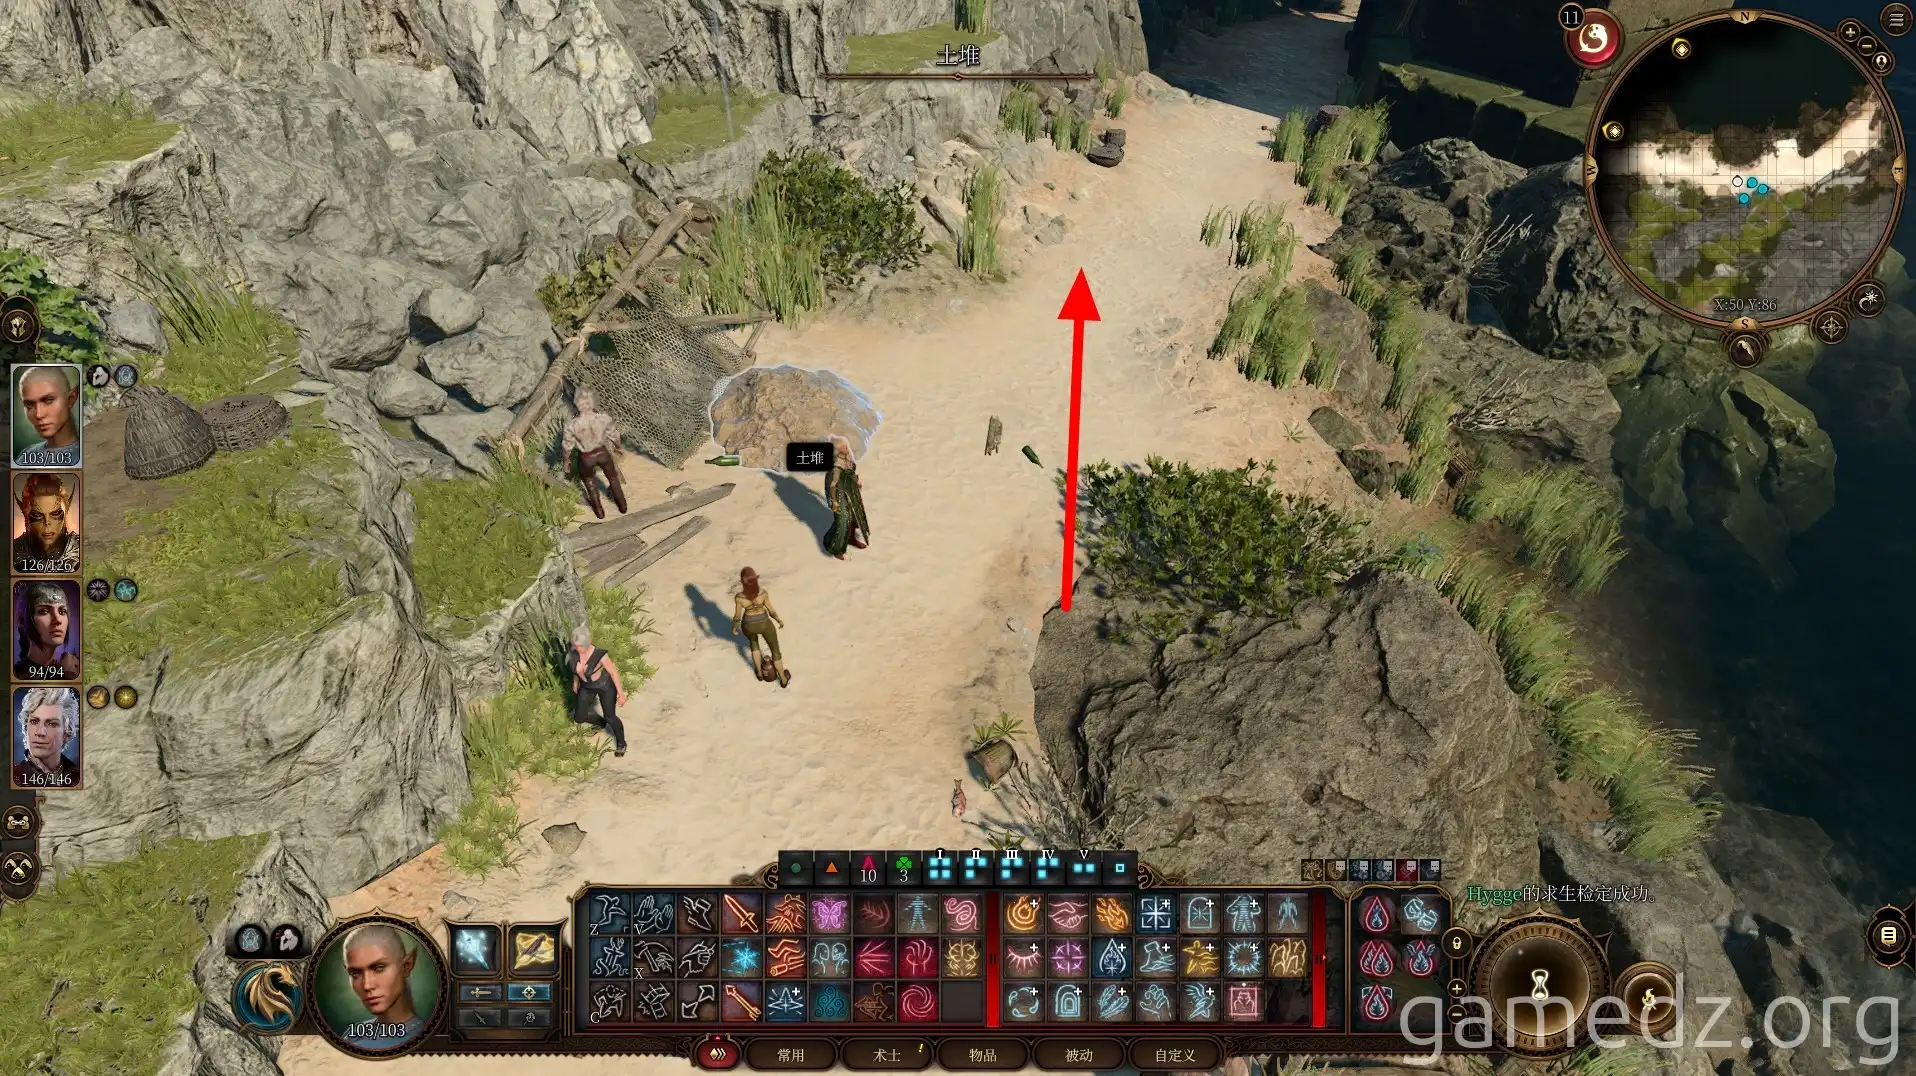
On the easternmost side of the beach, you'll find a mound of dirt with a buried chest.
Walk west along the riverbank. Next to some fishing nets by the roadside, there's another mound of dirt with a buried chest. Continue heading west.
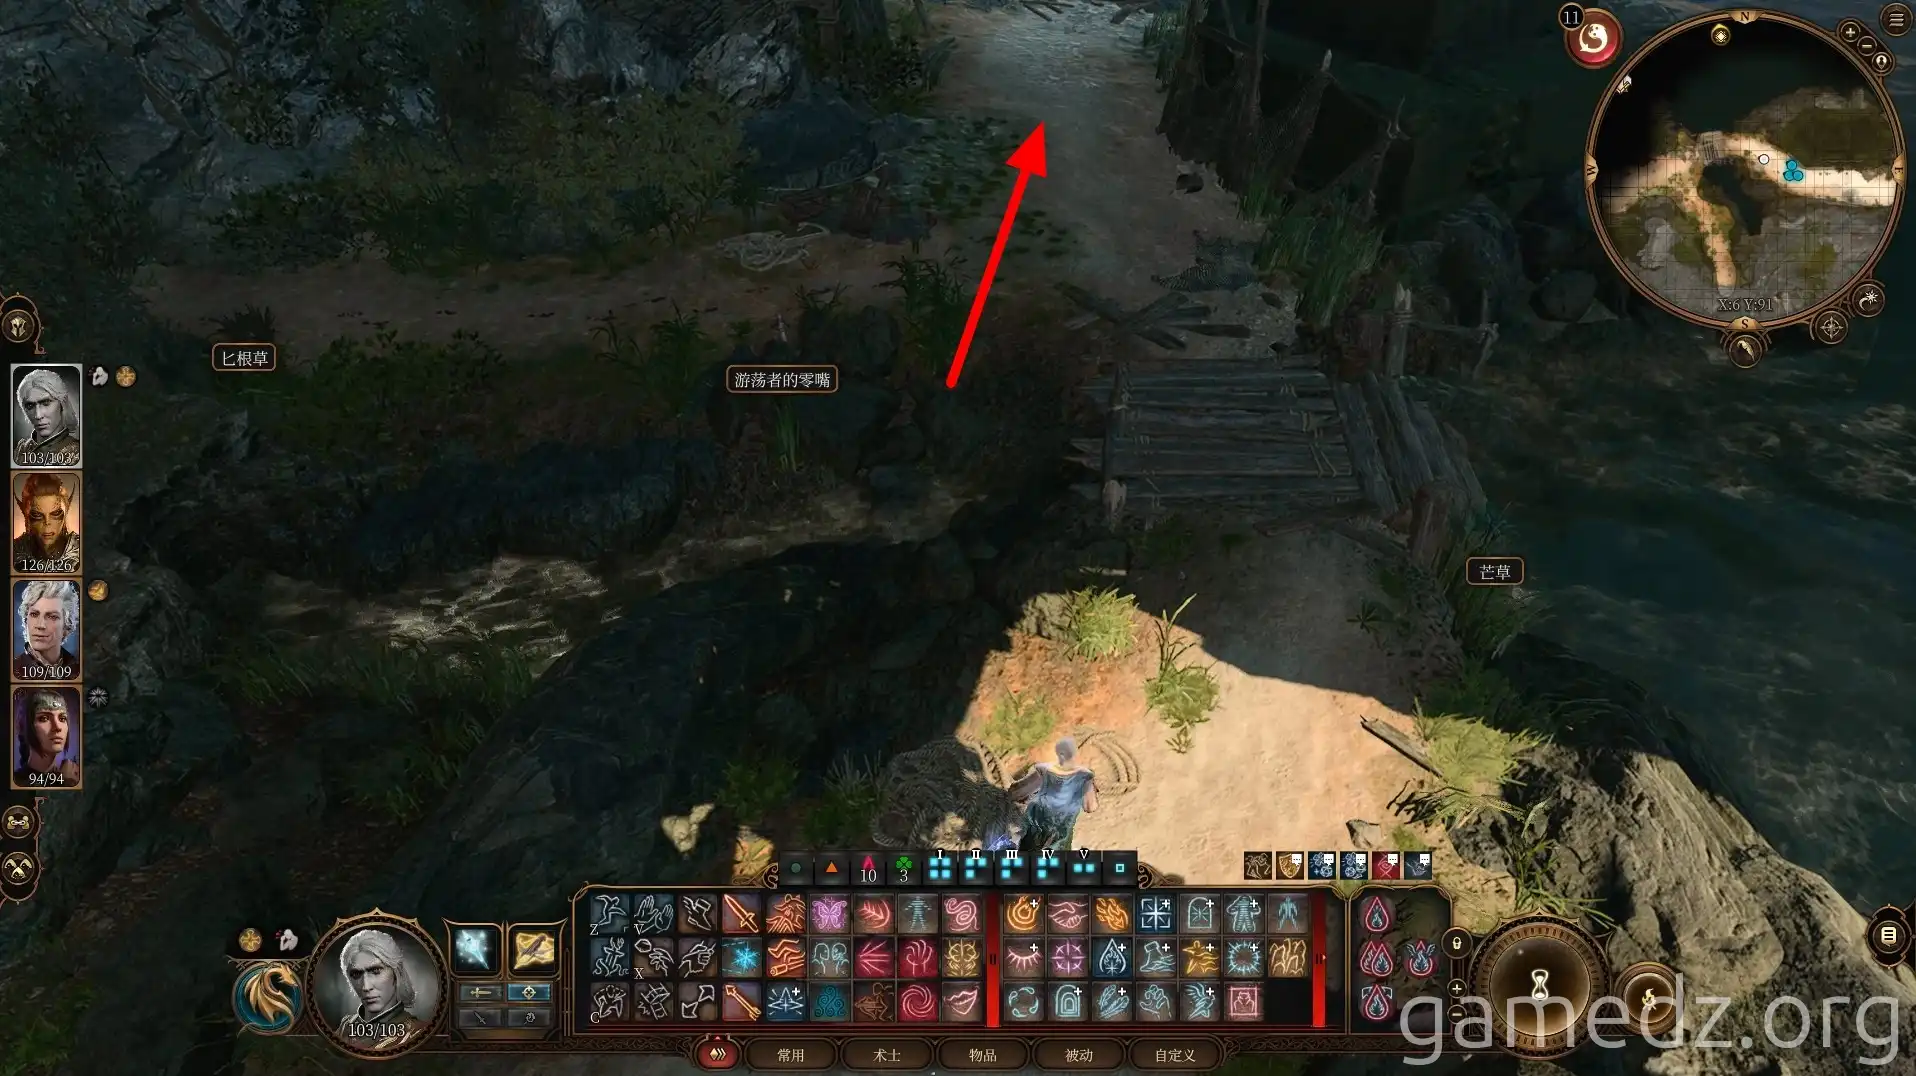
To the left of the wooden bridge ahead is the entrance to a secret passage leading to the Undercity of the Temple of Shar. Since it's already been explored, you don't need to go there again. Continue west.
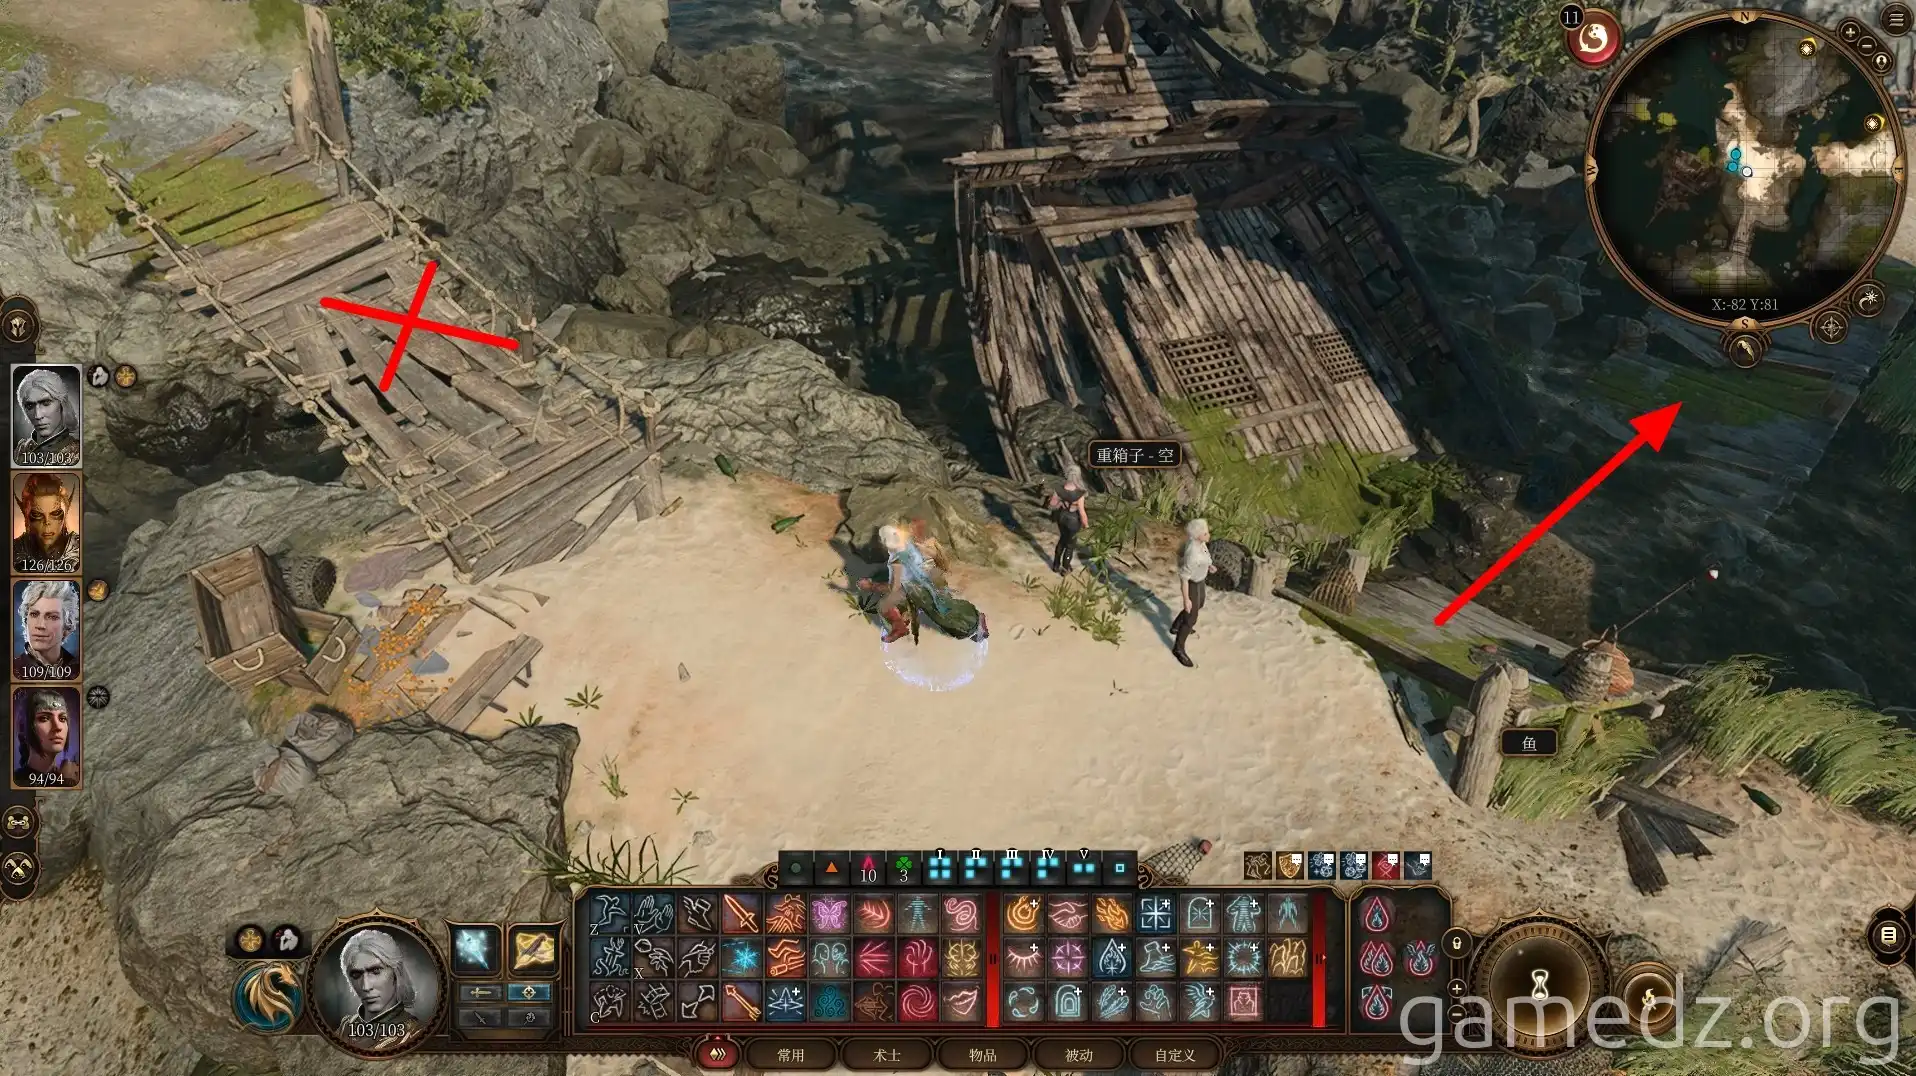
Arrive at the shipwreck ahead. Don't head south yet. After exploring the wreckage, continue west.
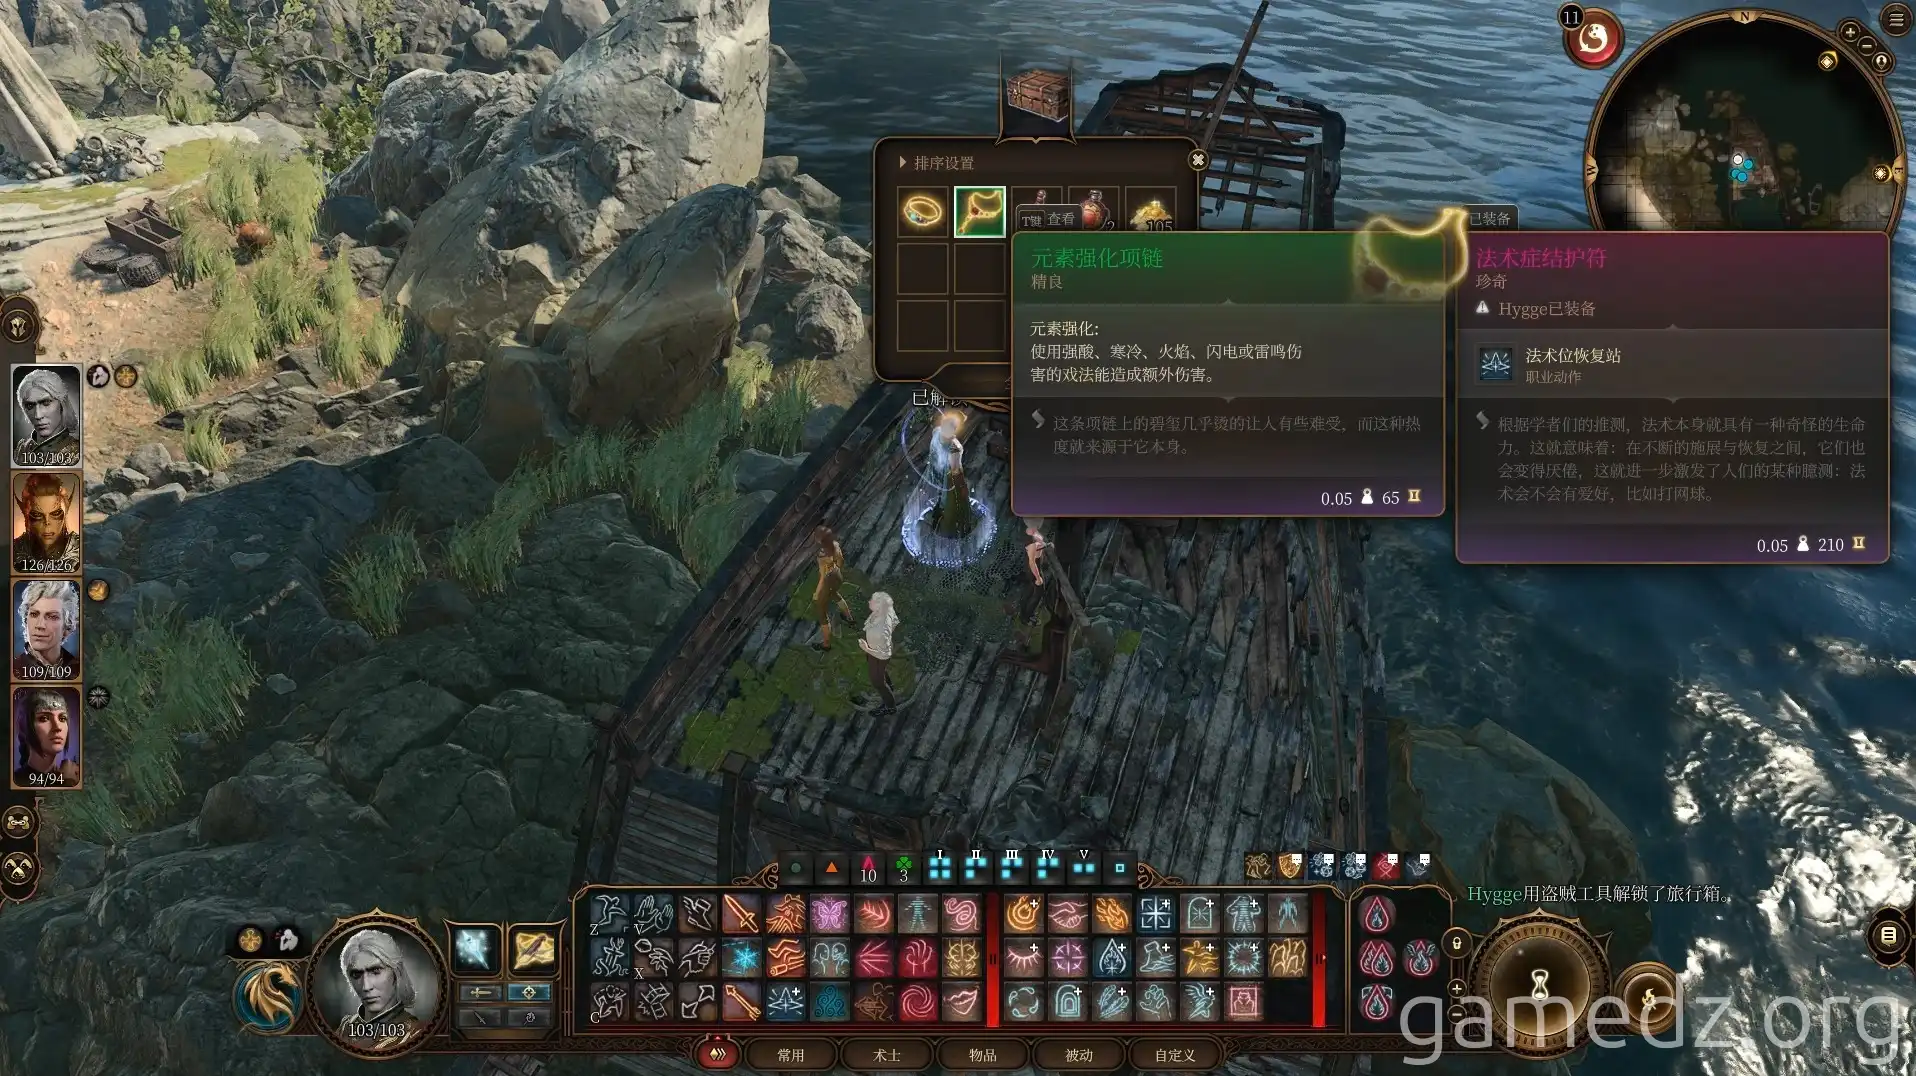
At the bow of the ship, you'll find a trapped travel chest. Disarm the trap, and opening the chest will reward you with the uncommon accessory, the Amulet of Elemental Empowerment.
The path ahead is riddled with traps, so be cautious.
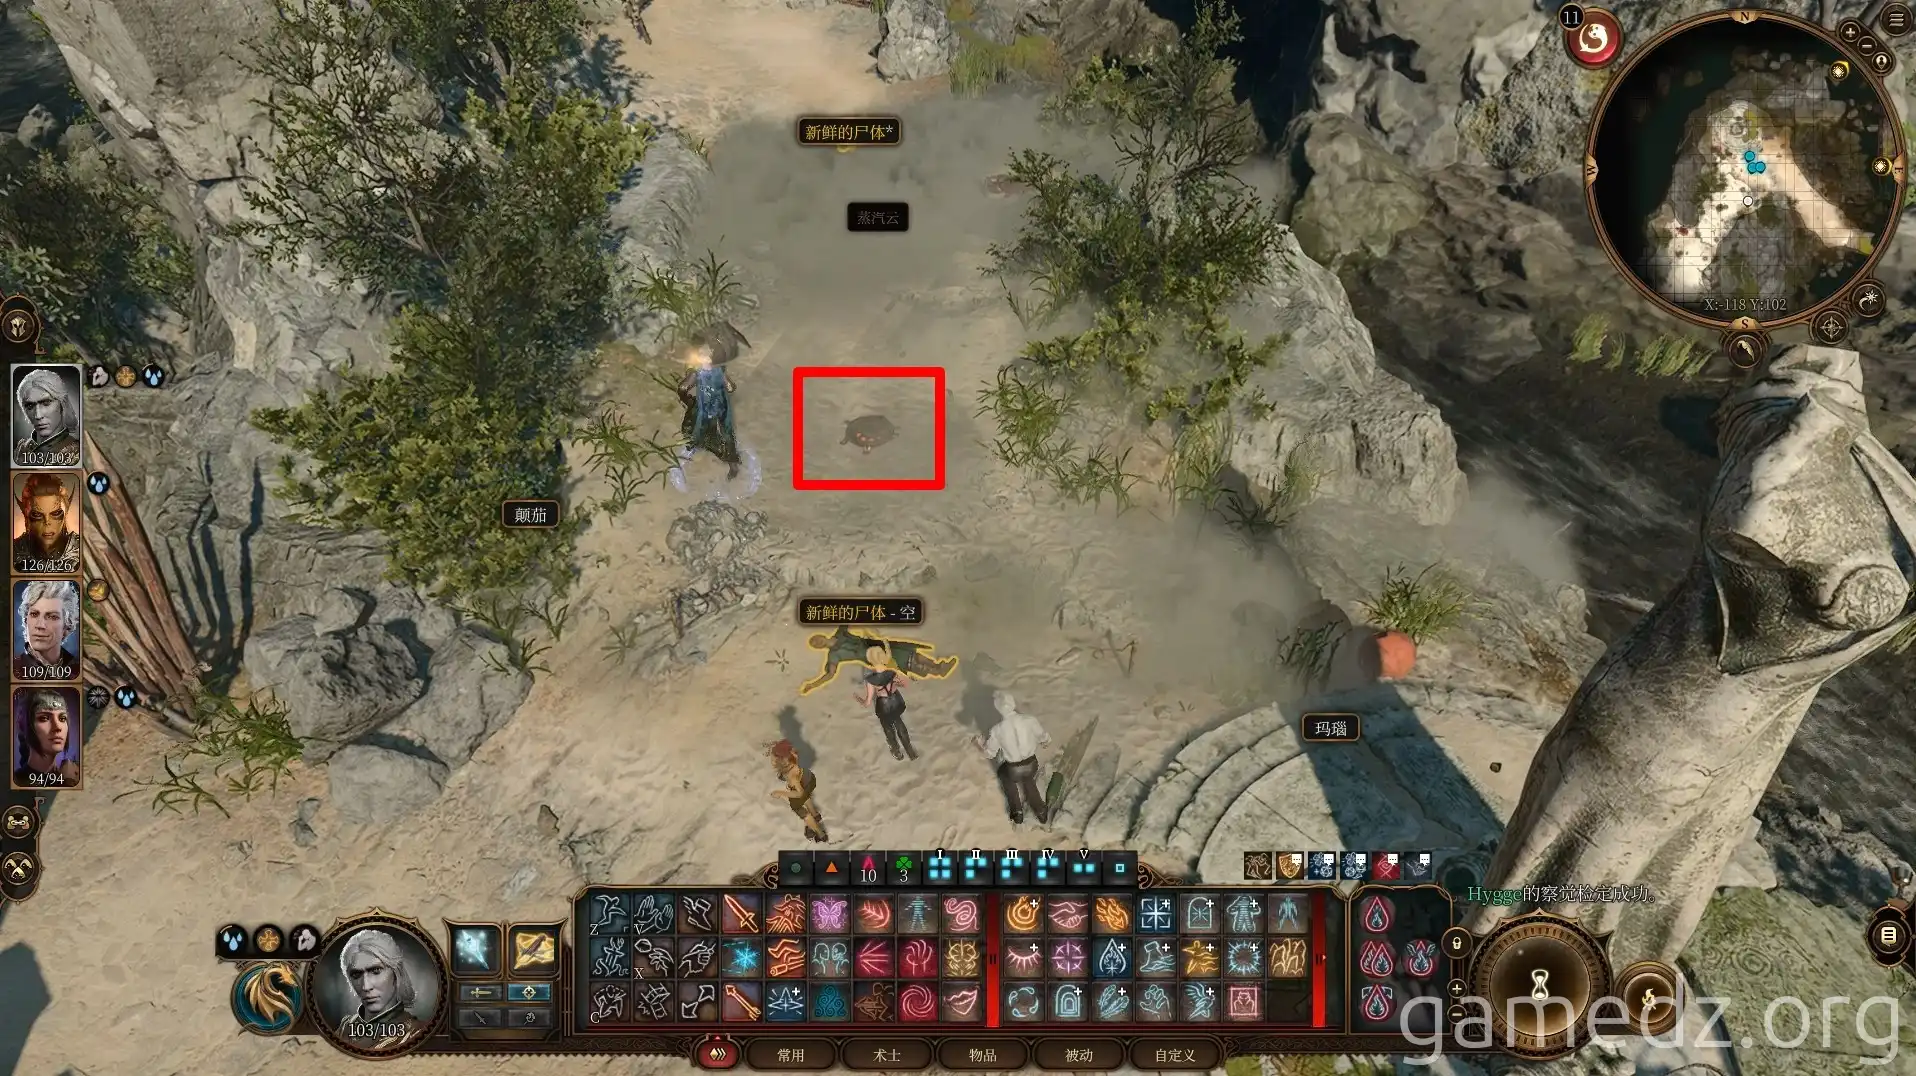
Speak with the dying person by the roadside. They reveal their loyalty to the so-called Stone Lord and that they had a conflict with members of the Guild here.
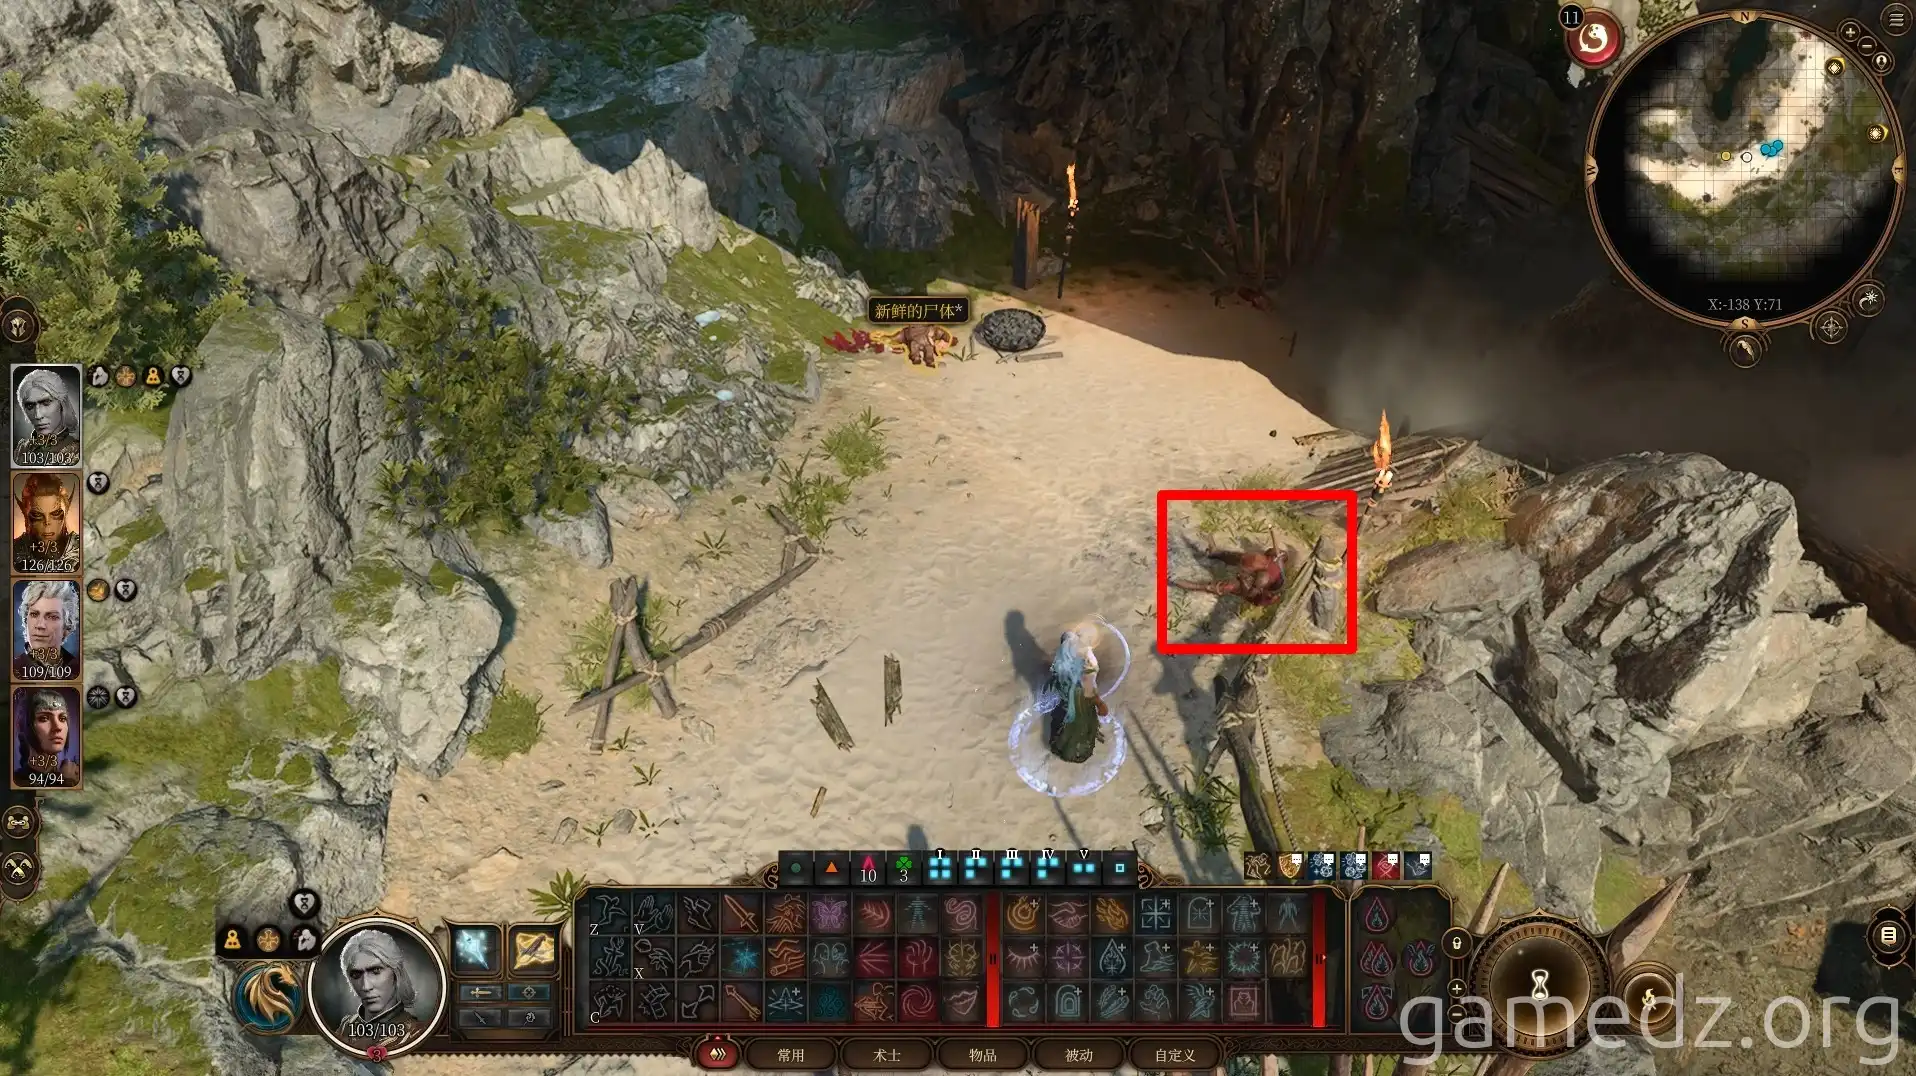
At the dock ahead, you'll see members of the Guild and the Stone Lord's faction confronting each other. The Guild members will then ask you to help them eliminate the opposition. Neither side is particularly good, but since there's additional story content later, it's recommended to help the Guild members here.
If you are playing an Orin character, you can choose to kill members from both sides to gain an inspiration point.
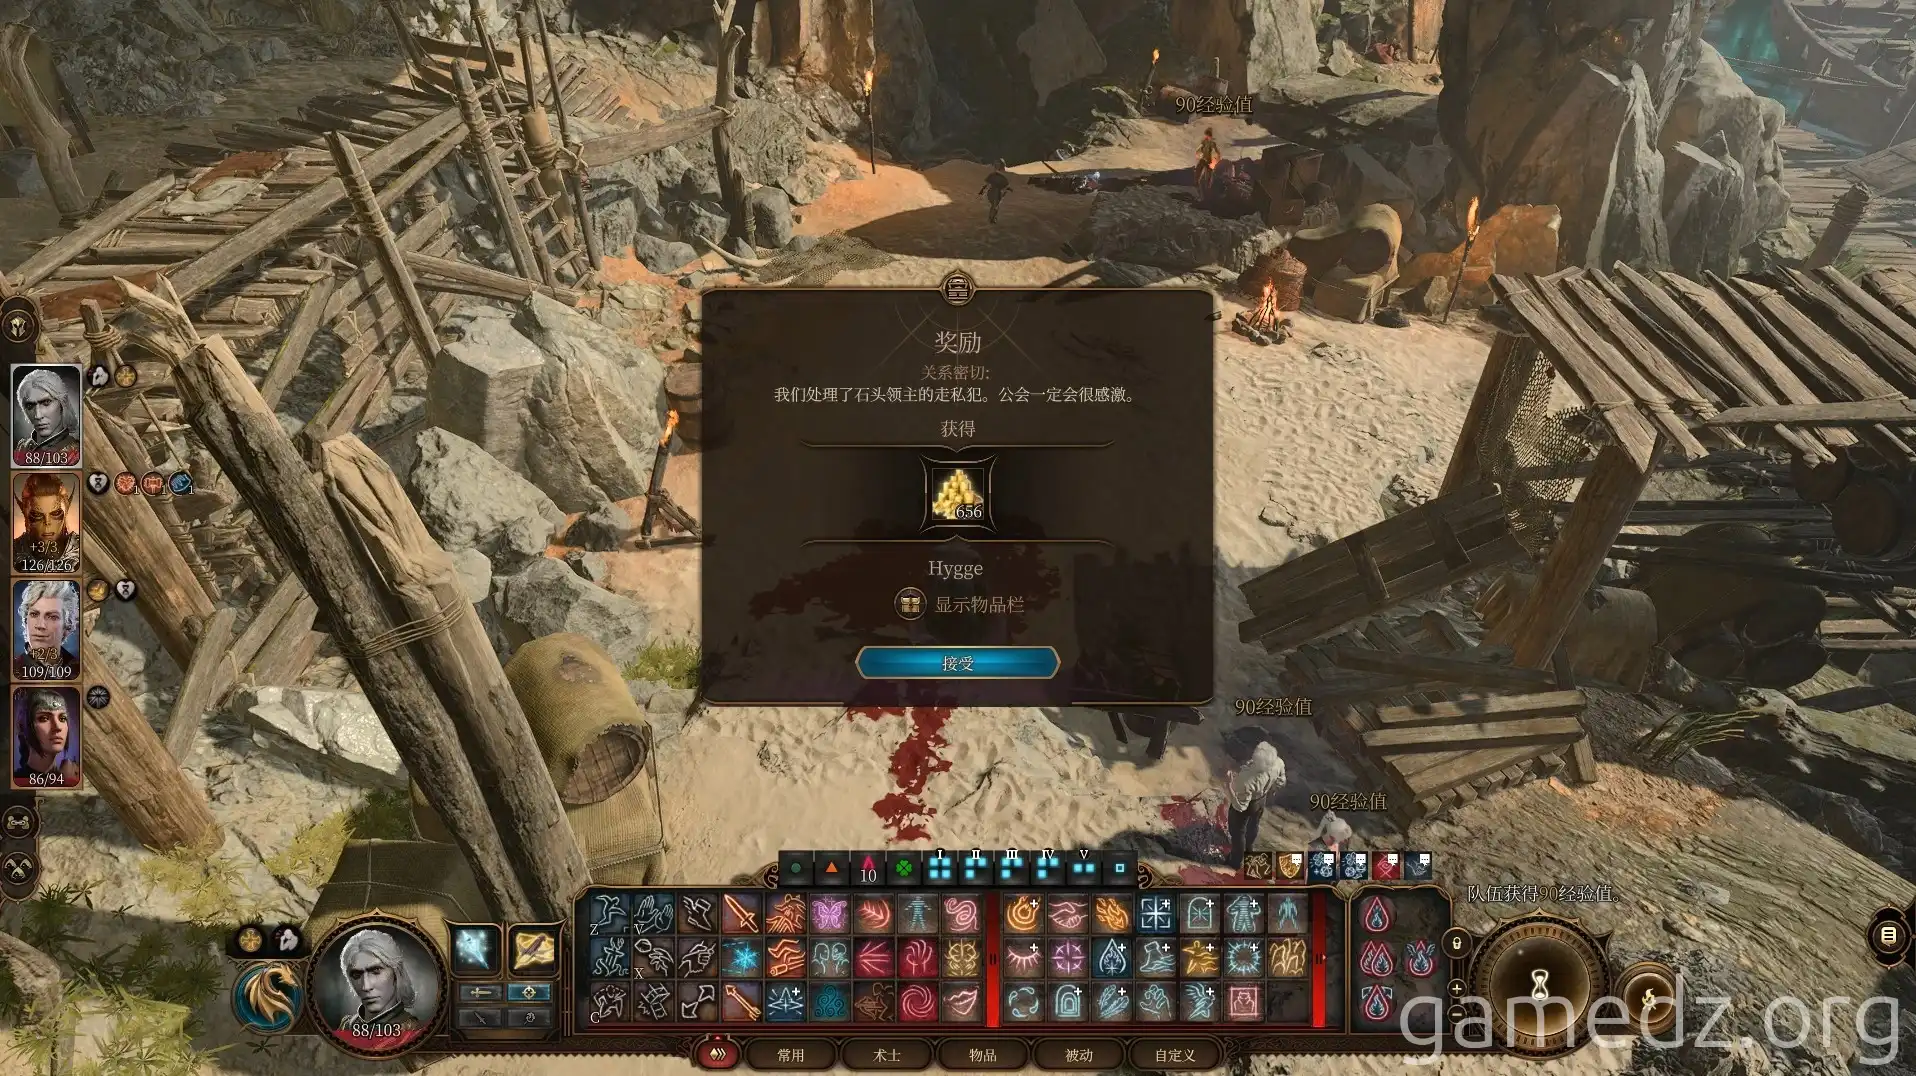
After eliminating all enemies, you'll receive a reward of several hundred gold.
In a corner of the dock, there's a cave.
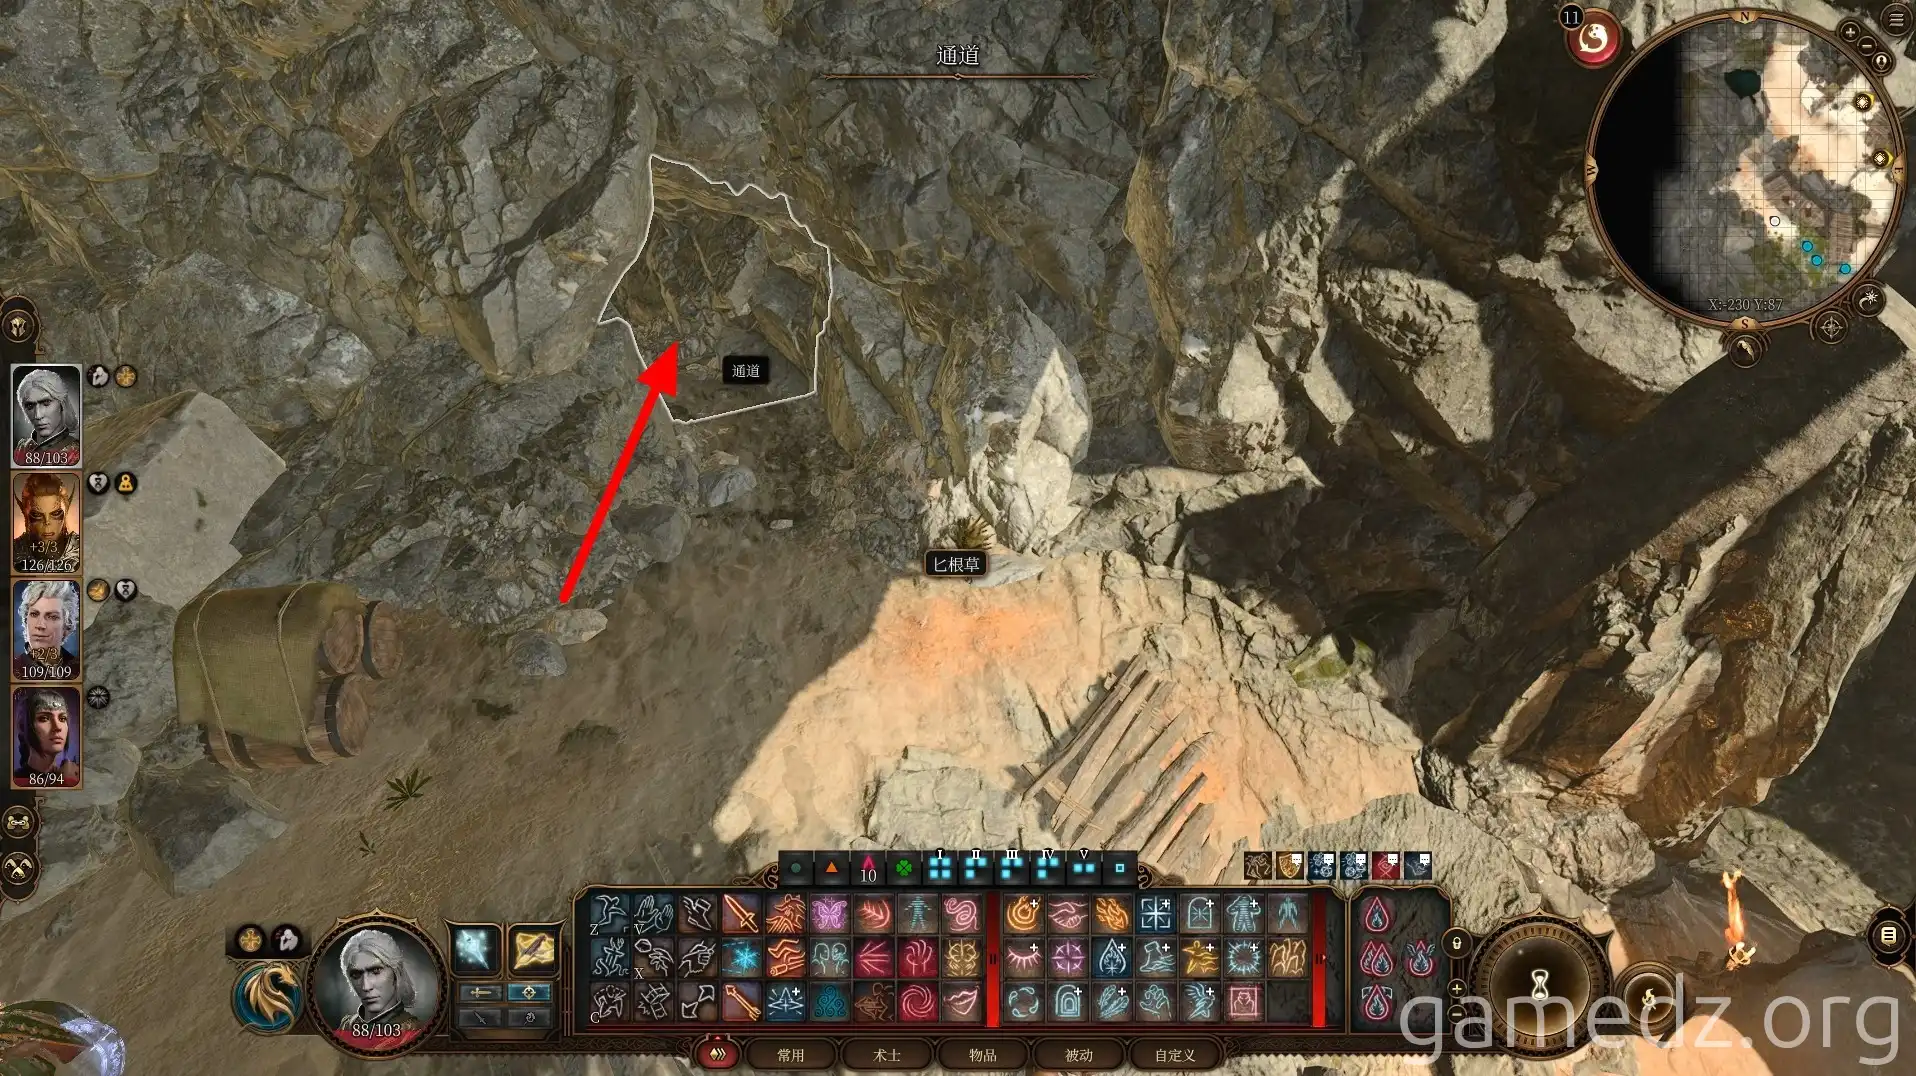
Inside the cave, within a trapped chest, you can find the rare equipment: Bone-Chilling Boots.
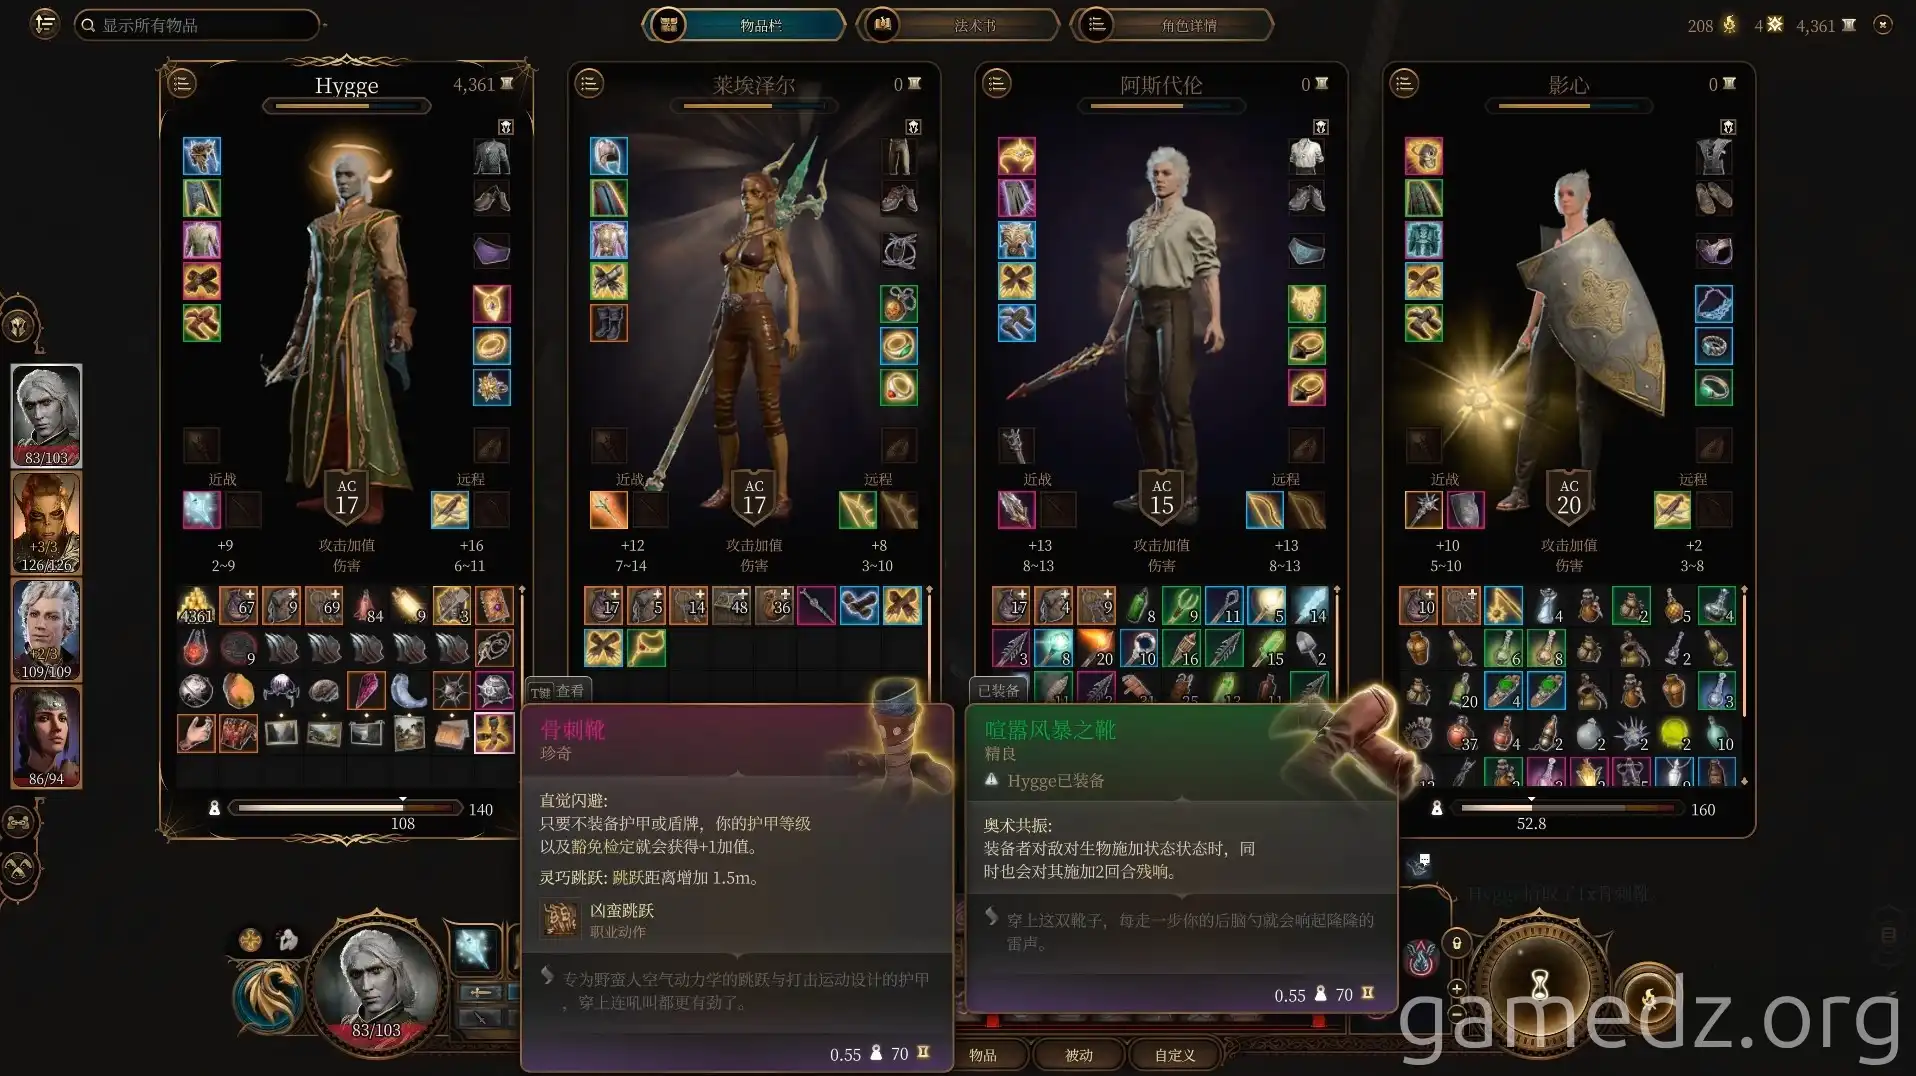
From the Stone Lord's members, you can obtain the rare weapon: Corpsegrinder.
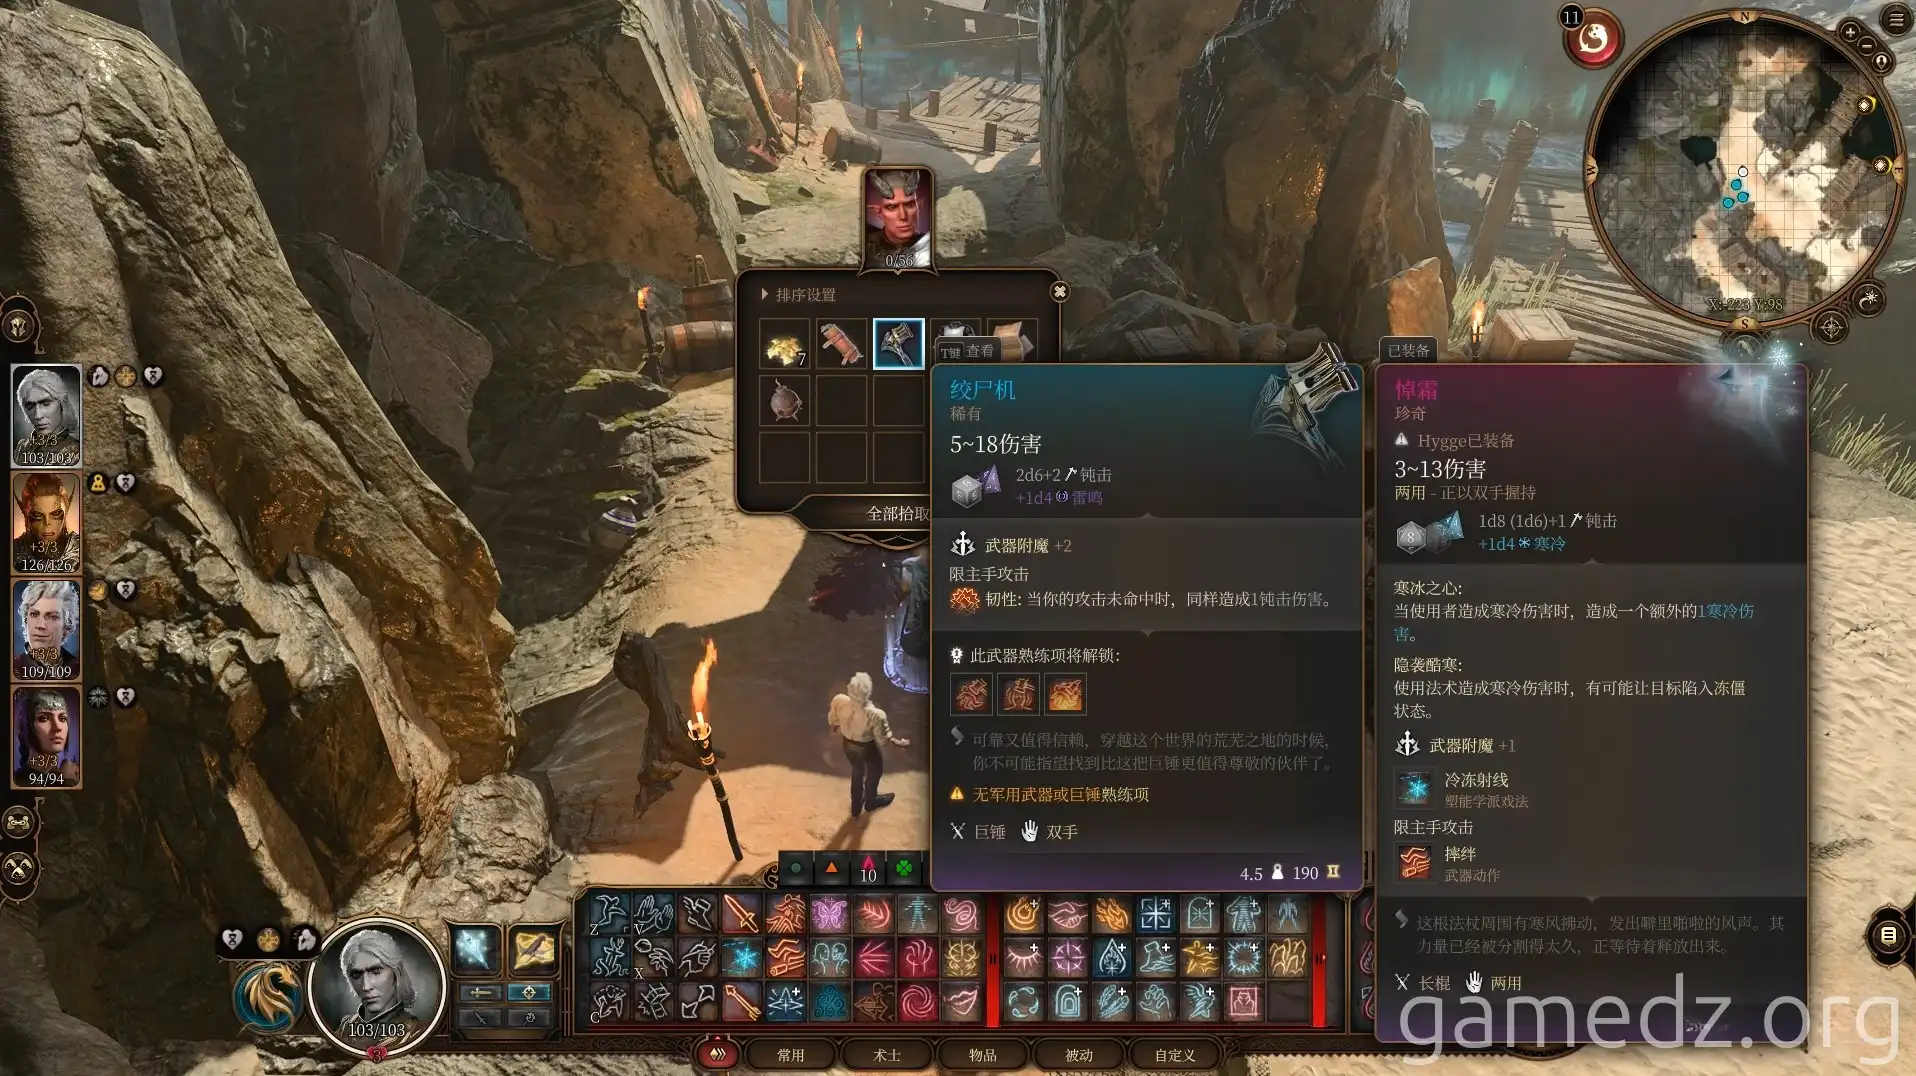
Nearby, there's also a Mind Flayer Parasite Specimen.
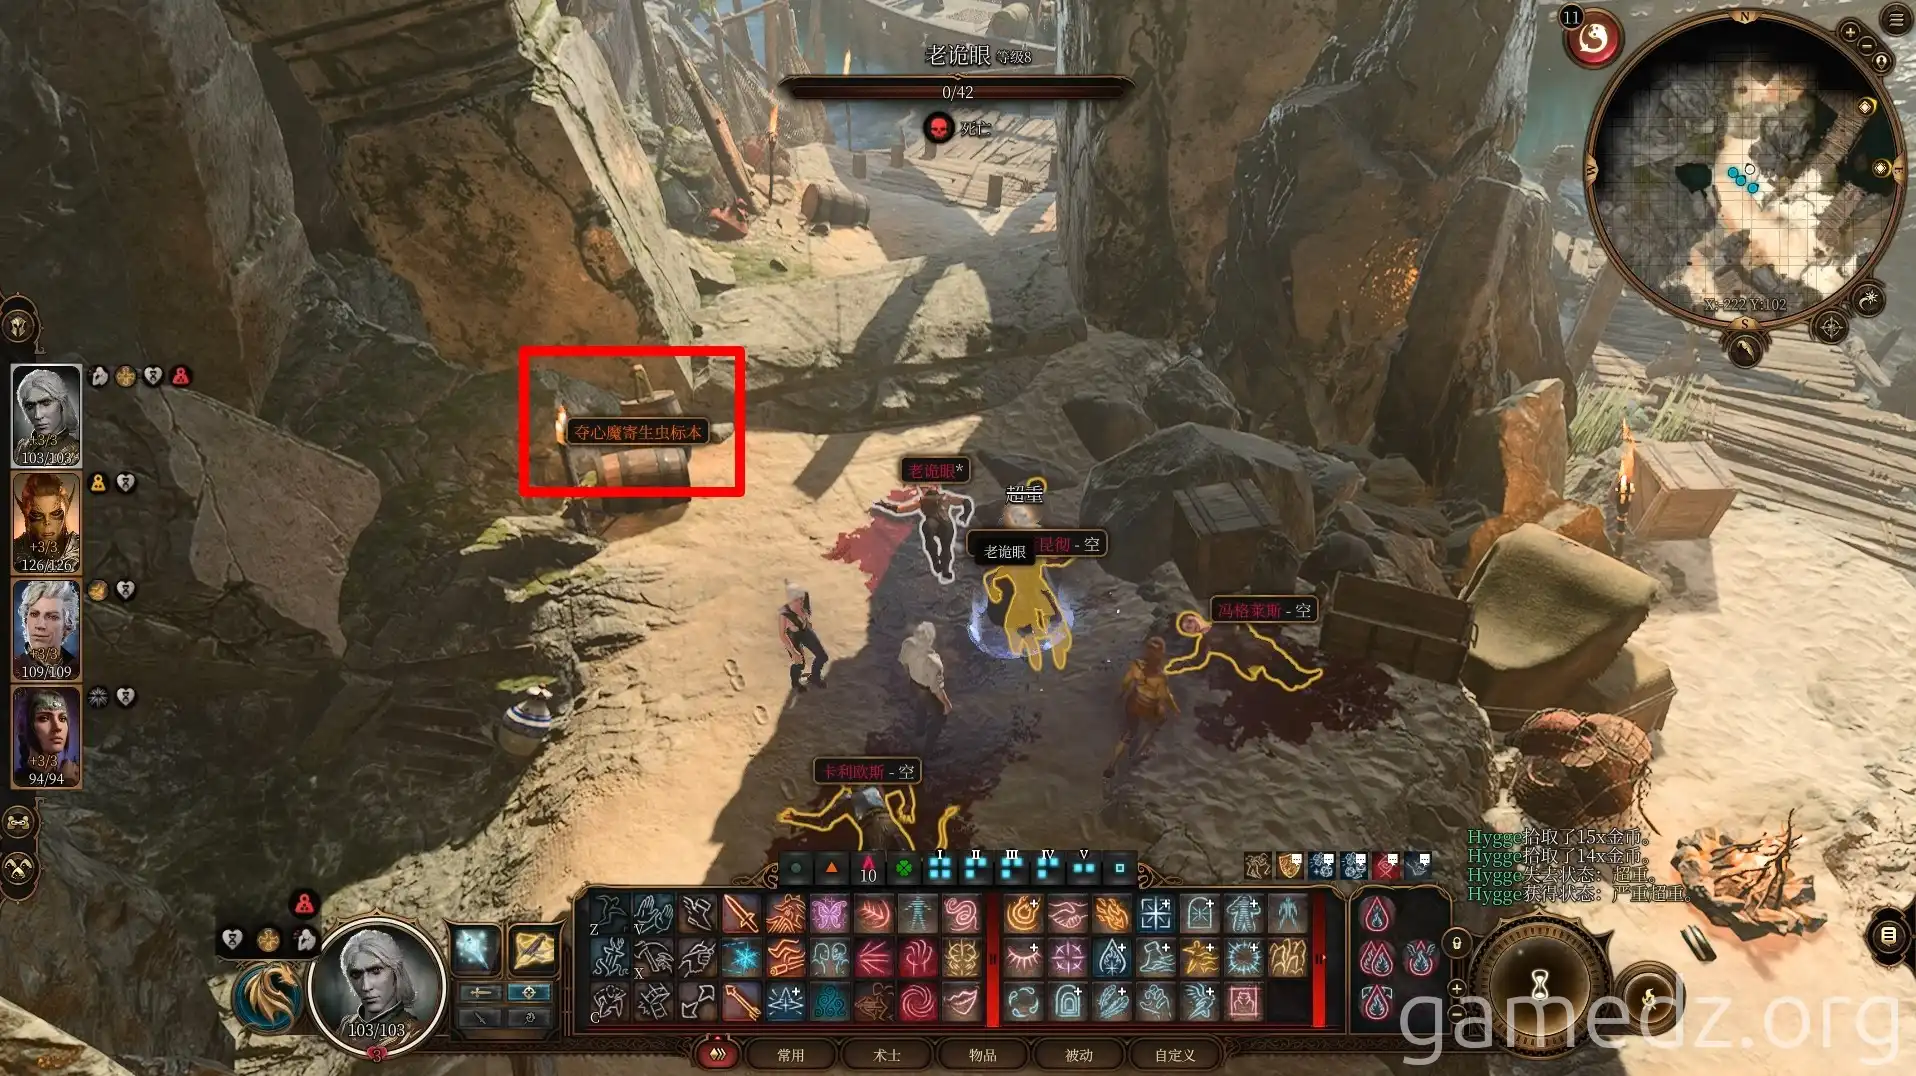
In the ship's hold, there are two more Mind Flayer Parasite Specimens.
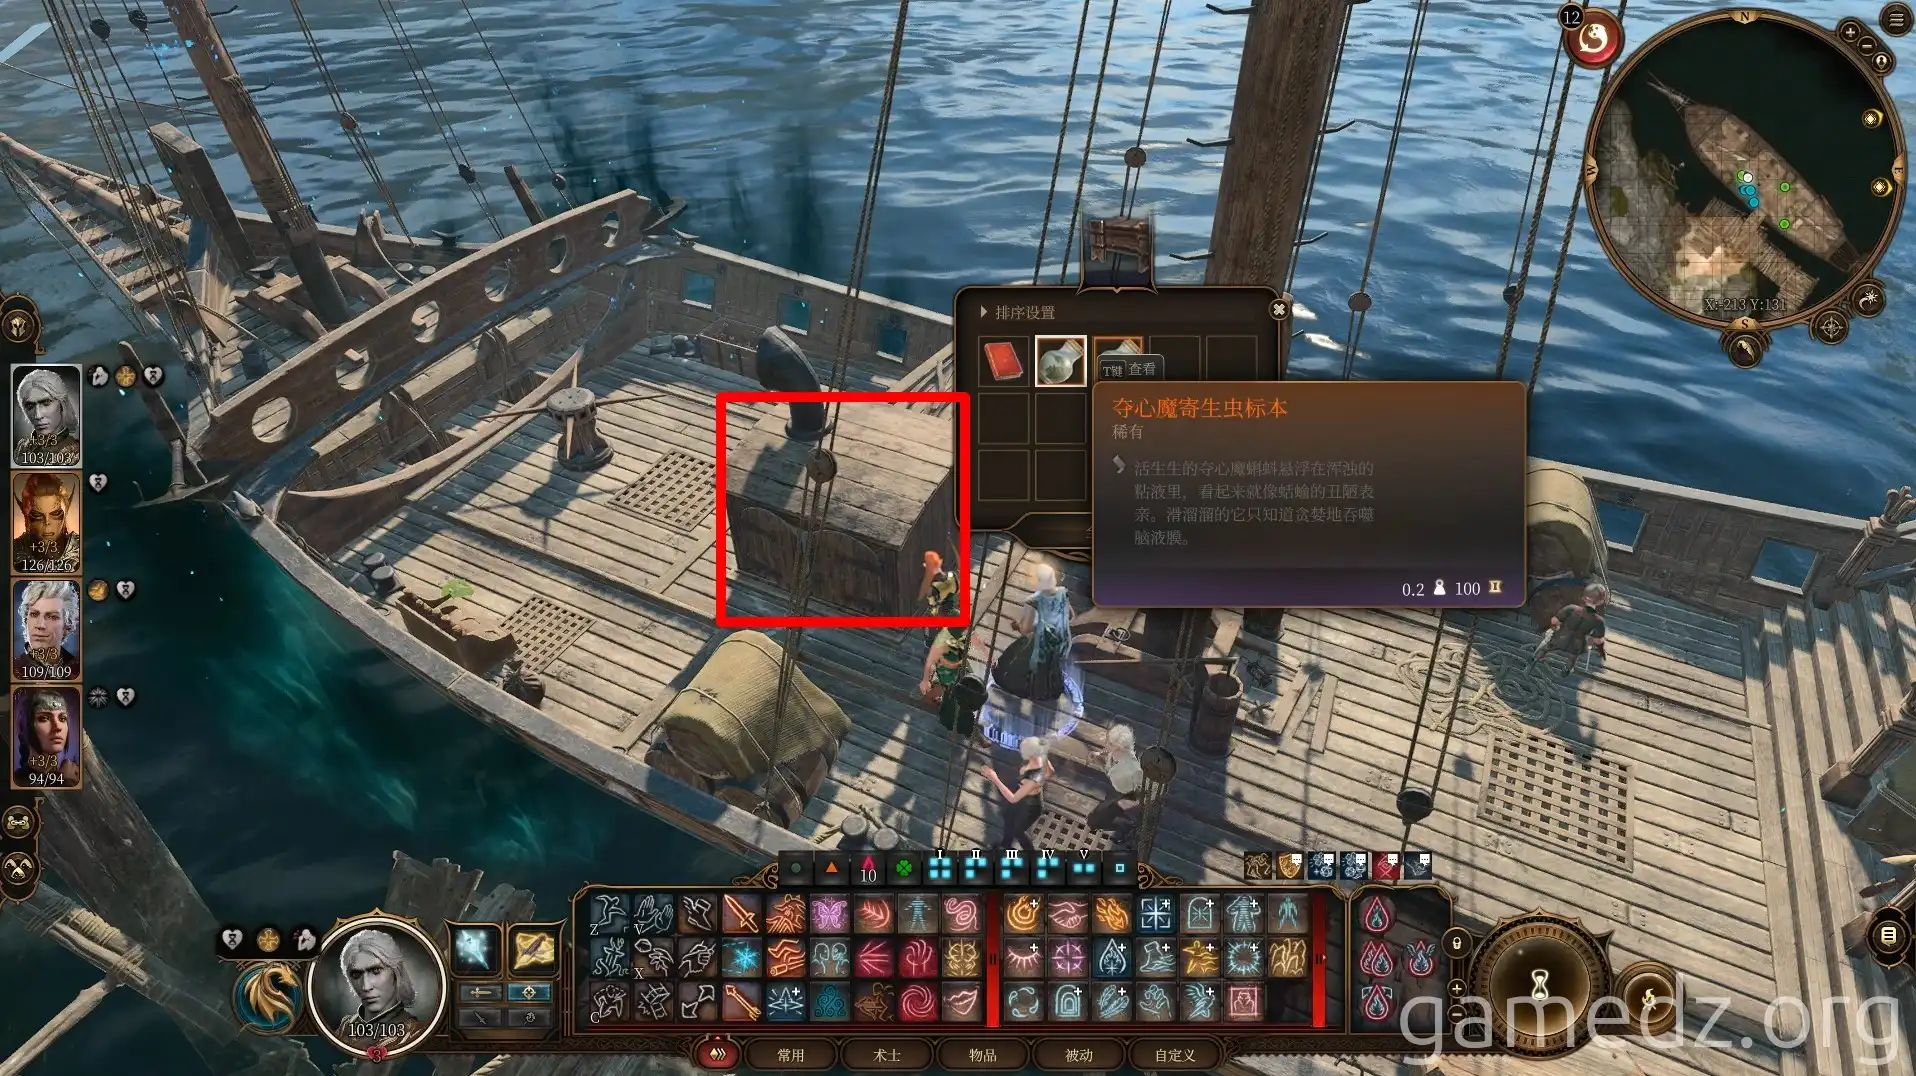
Return to the previous shipwreck and head south along the ramp.
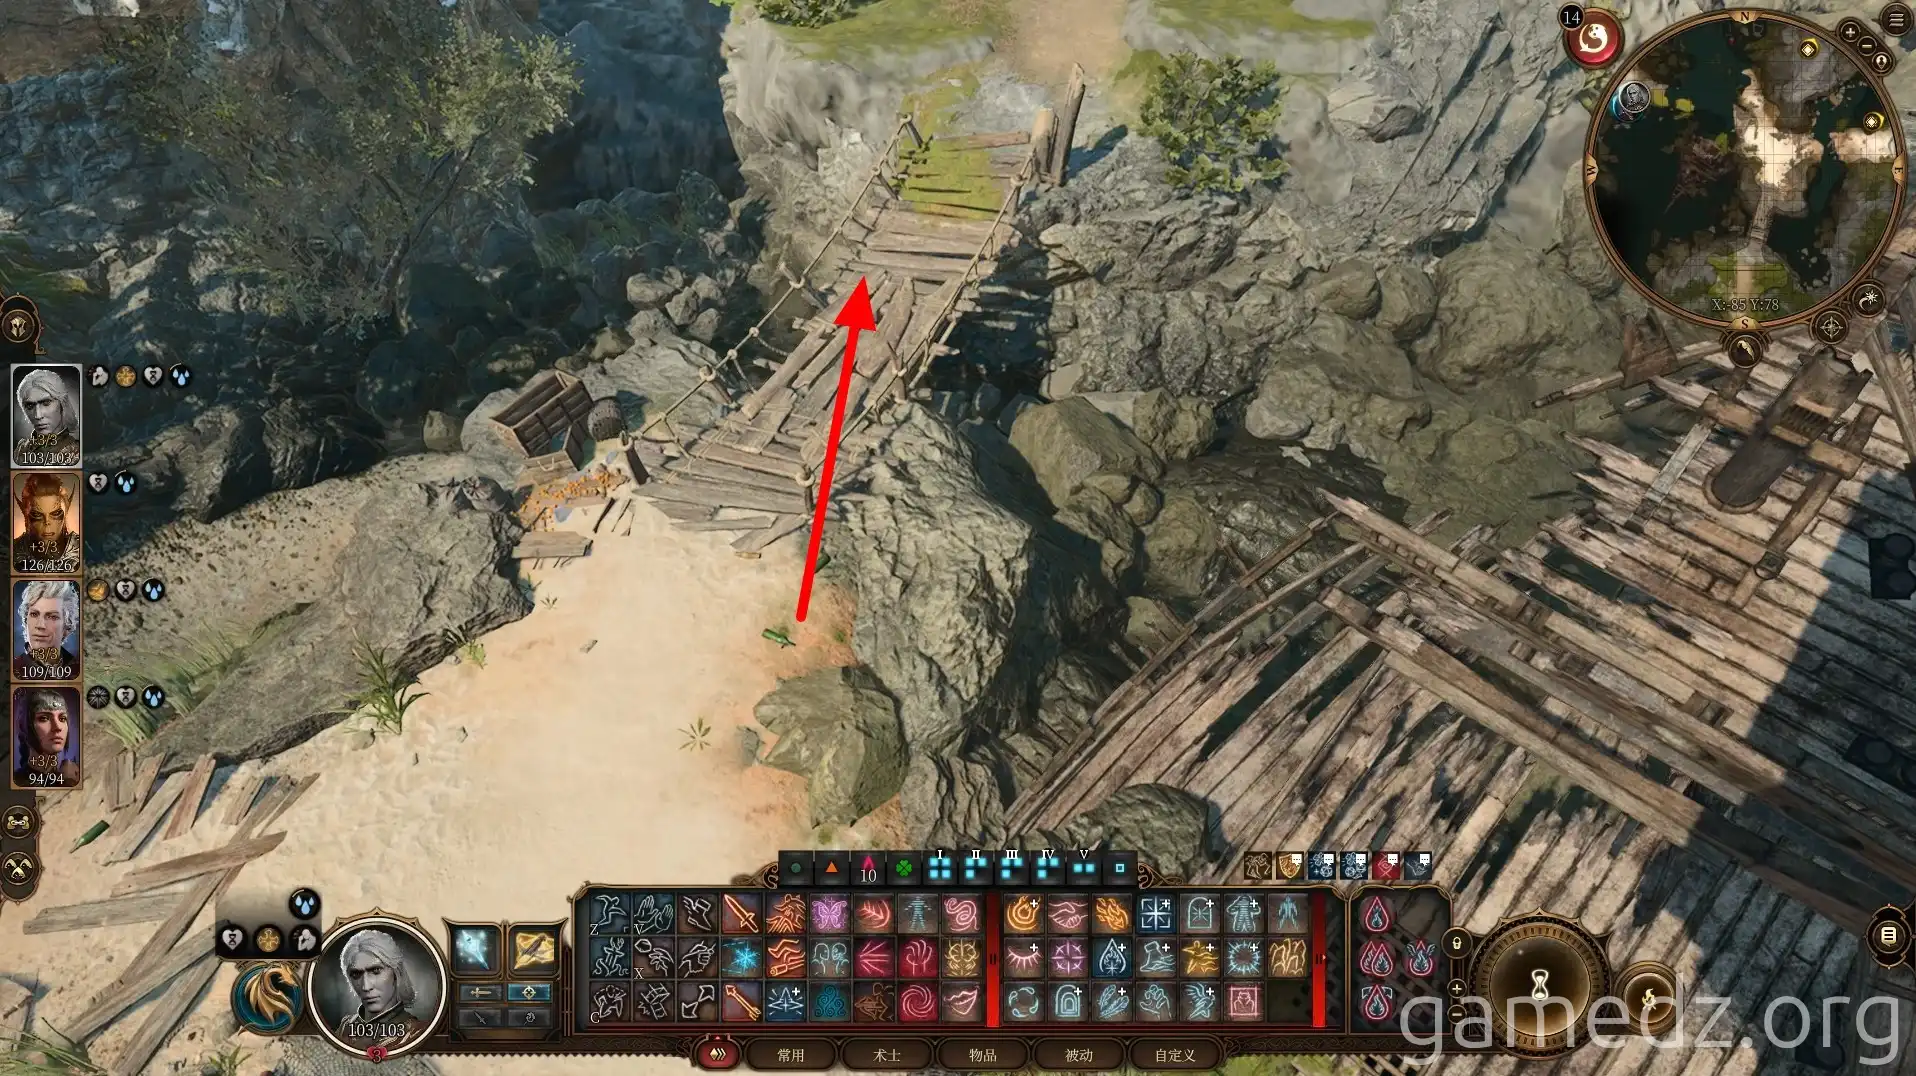
Midway up the mountain path, take the left turn.
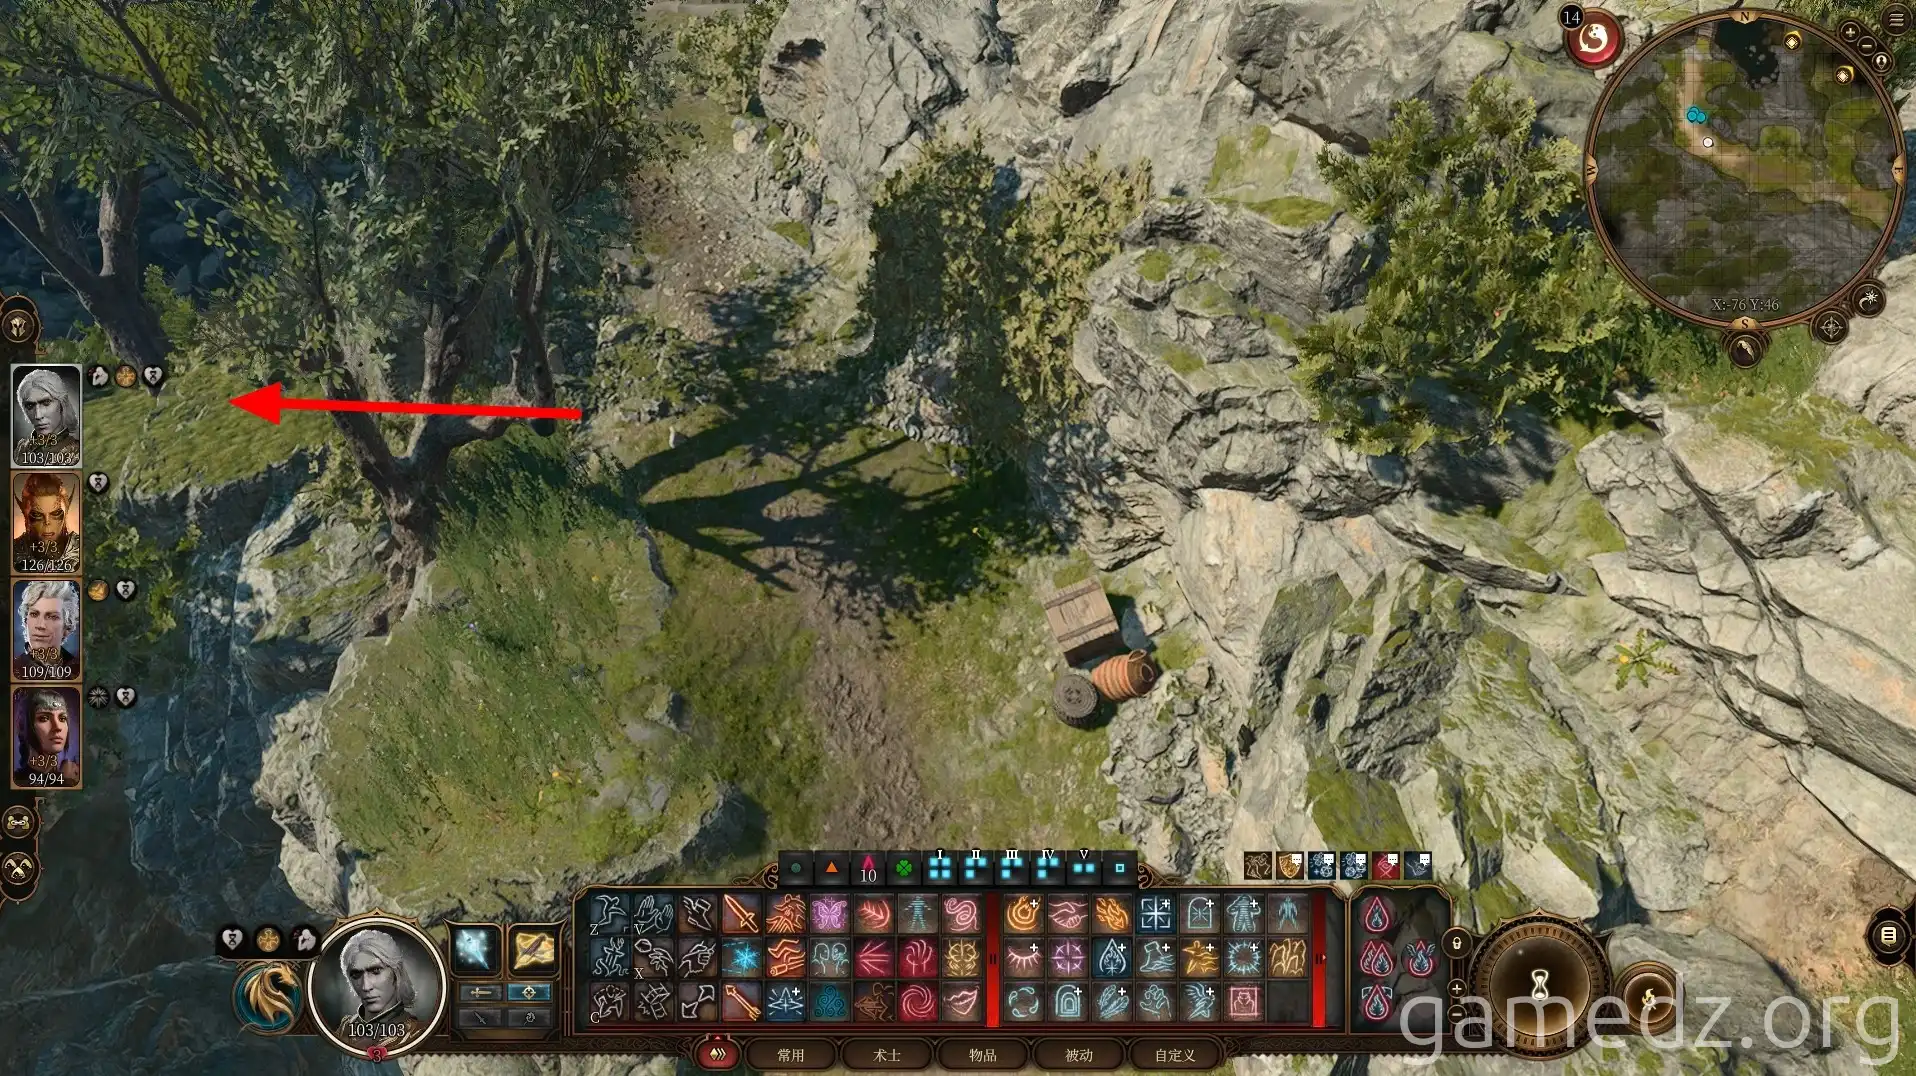
On the platform to the left, there's a mound of dirt with a buried chest.
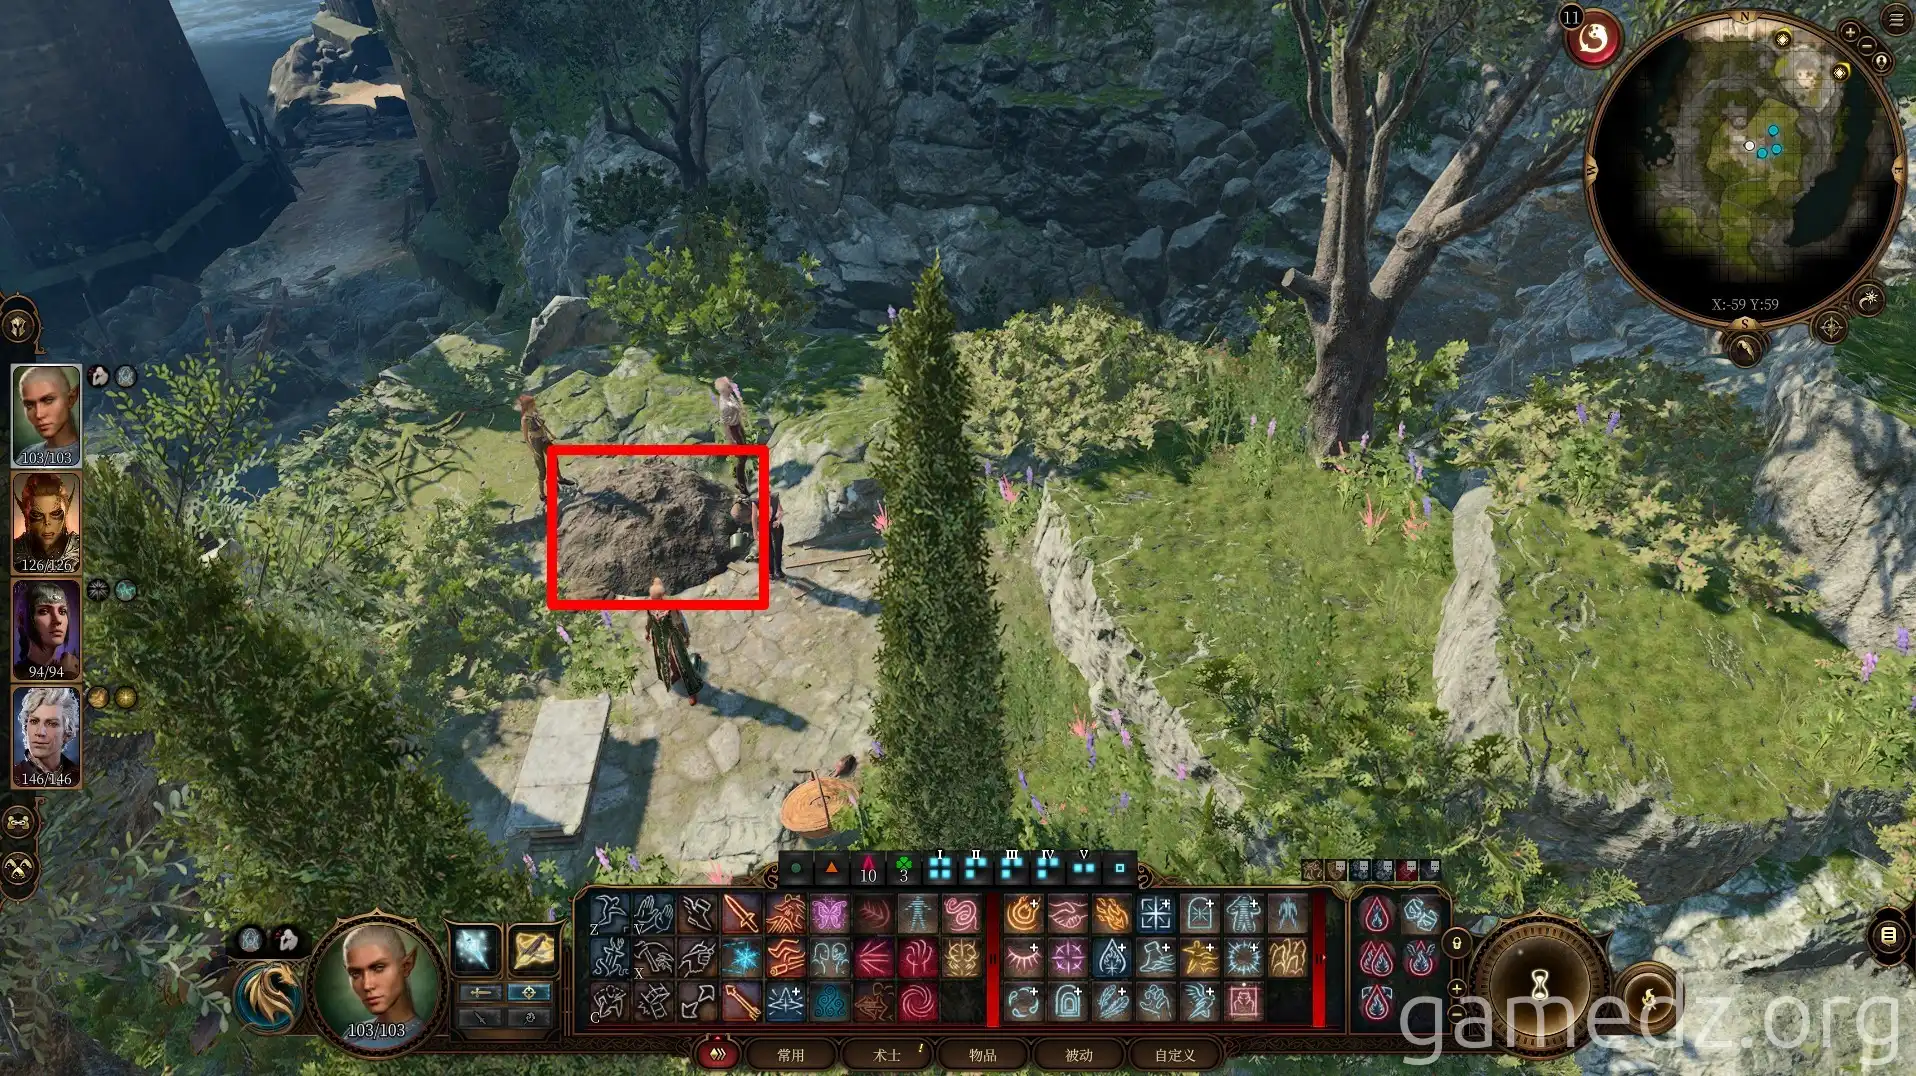
Continue along the mountain path to return to the entrance of Wyrm's Crossing.
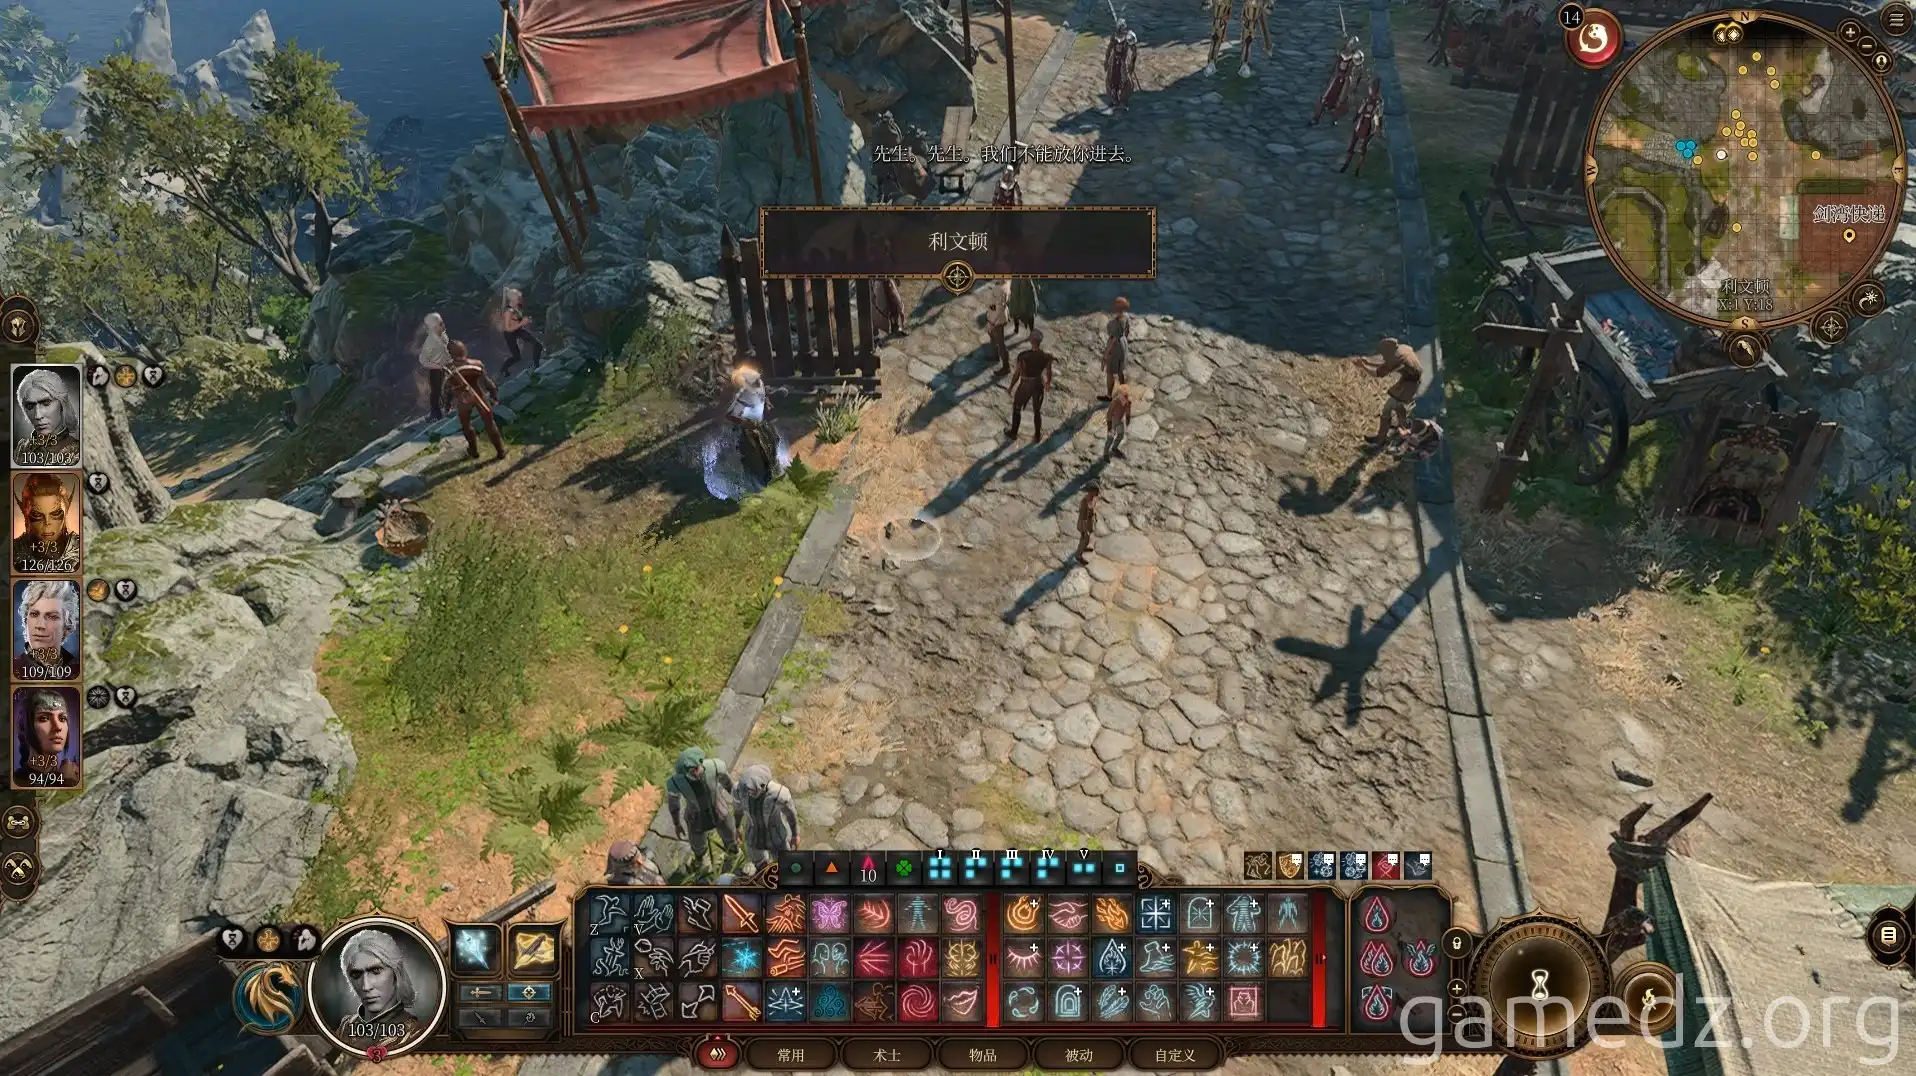
Go back to the entrance of the gnome hideout. Use the ladder and wooden scaffolding to enter the South Wing of Wyrm's Crossing. The chest next to the ladder contains some gold, which you can pick up.
