Baldur's Gate 3 Wyrm's Rock: Gortash & Ansur Boss Guide
This Baldur's Gate 3 walkthrough covers Wyrm's Rock Fortress, detailing boss fights against Gortash and Ansur, legendary item acquisition, and key story progression.
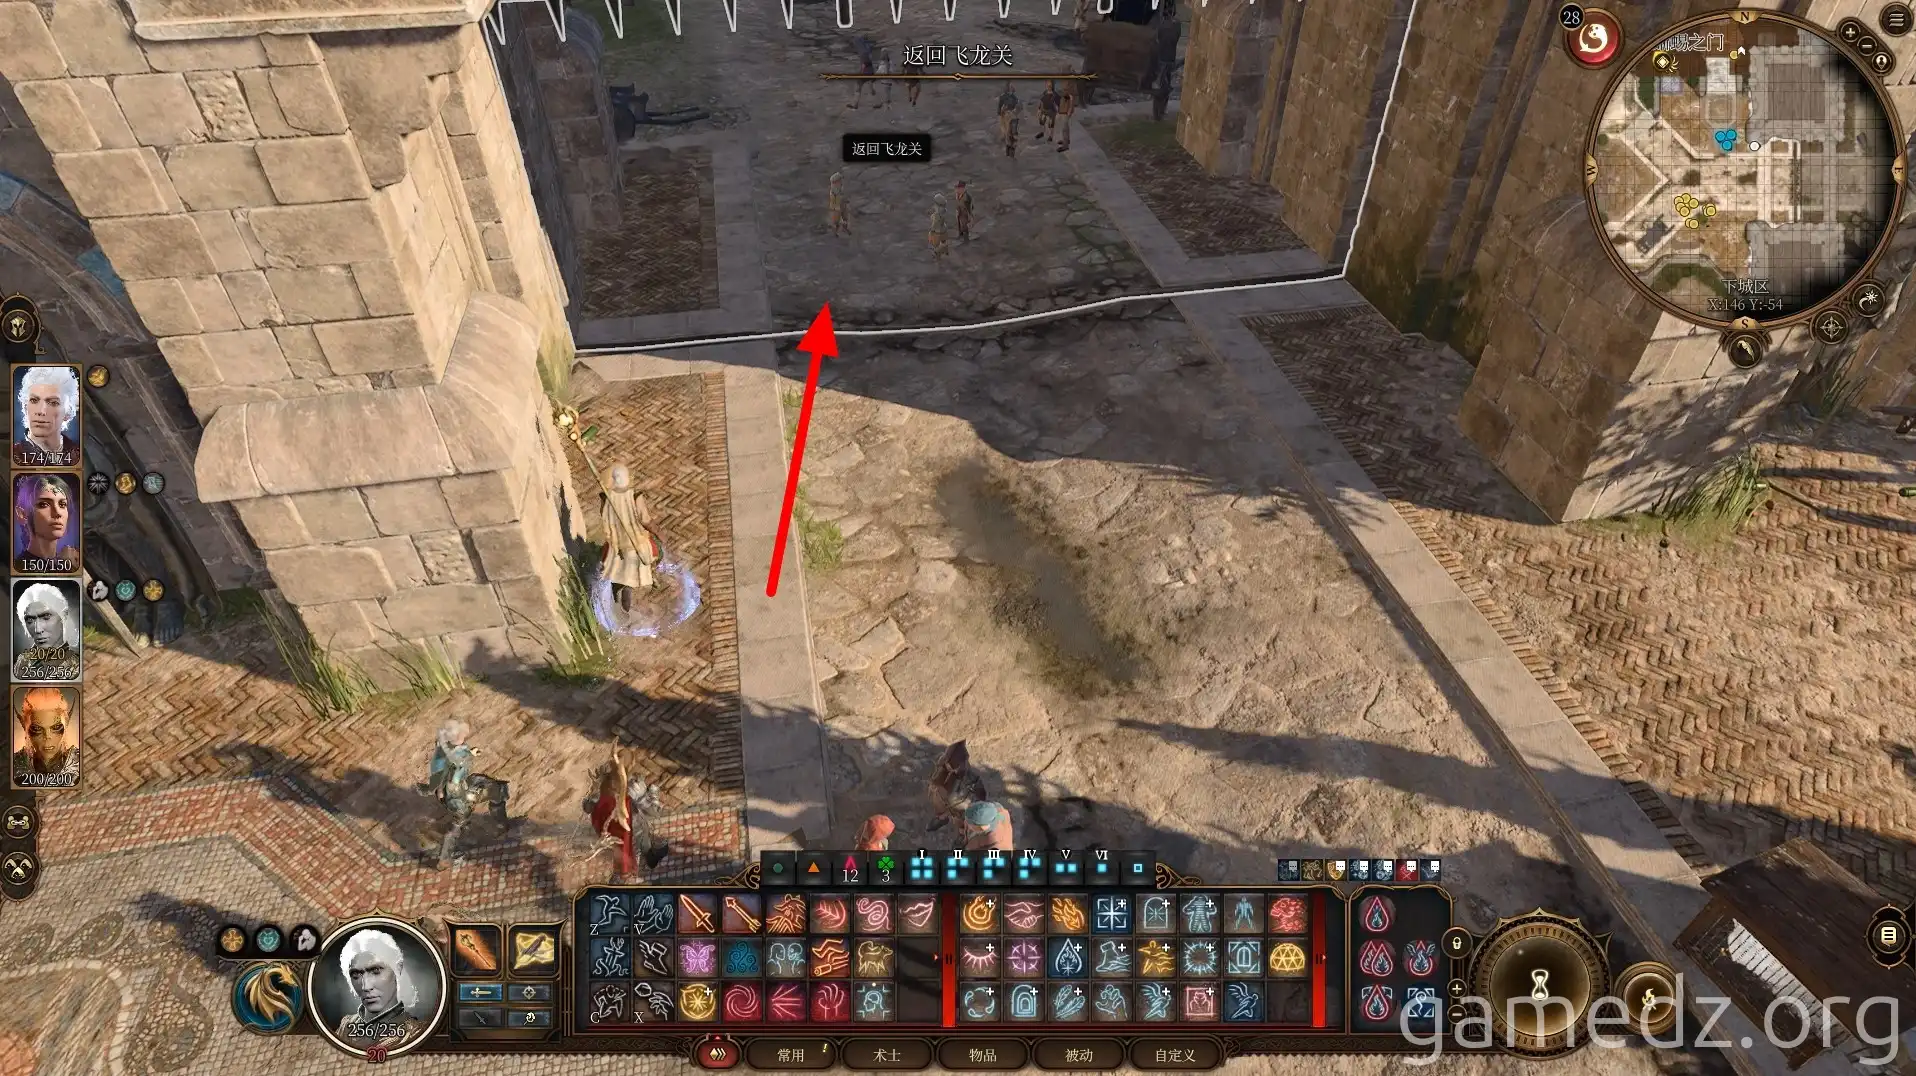
Return to the fortress via the Wyrm's Rock Fortress waypoint or the entrance near the Stone Lord's Gate.
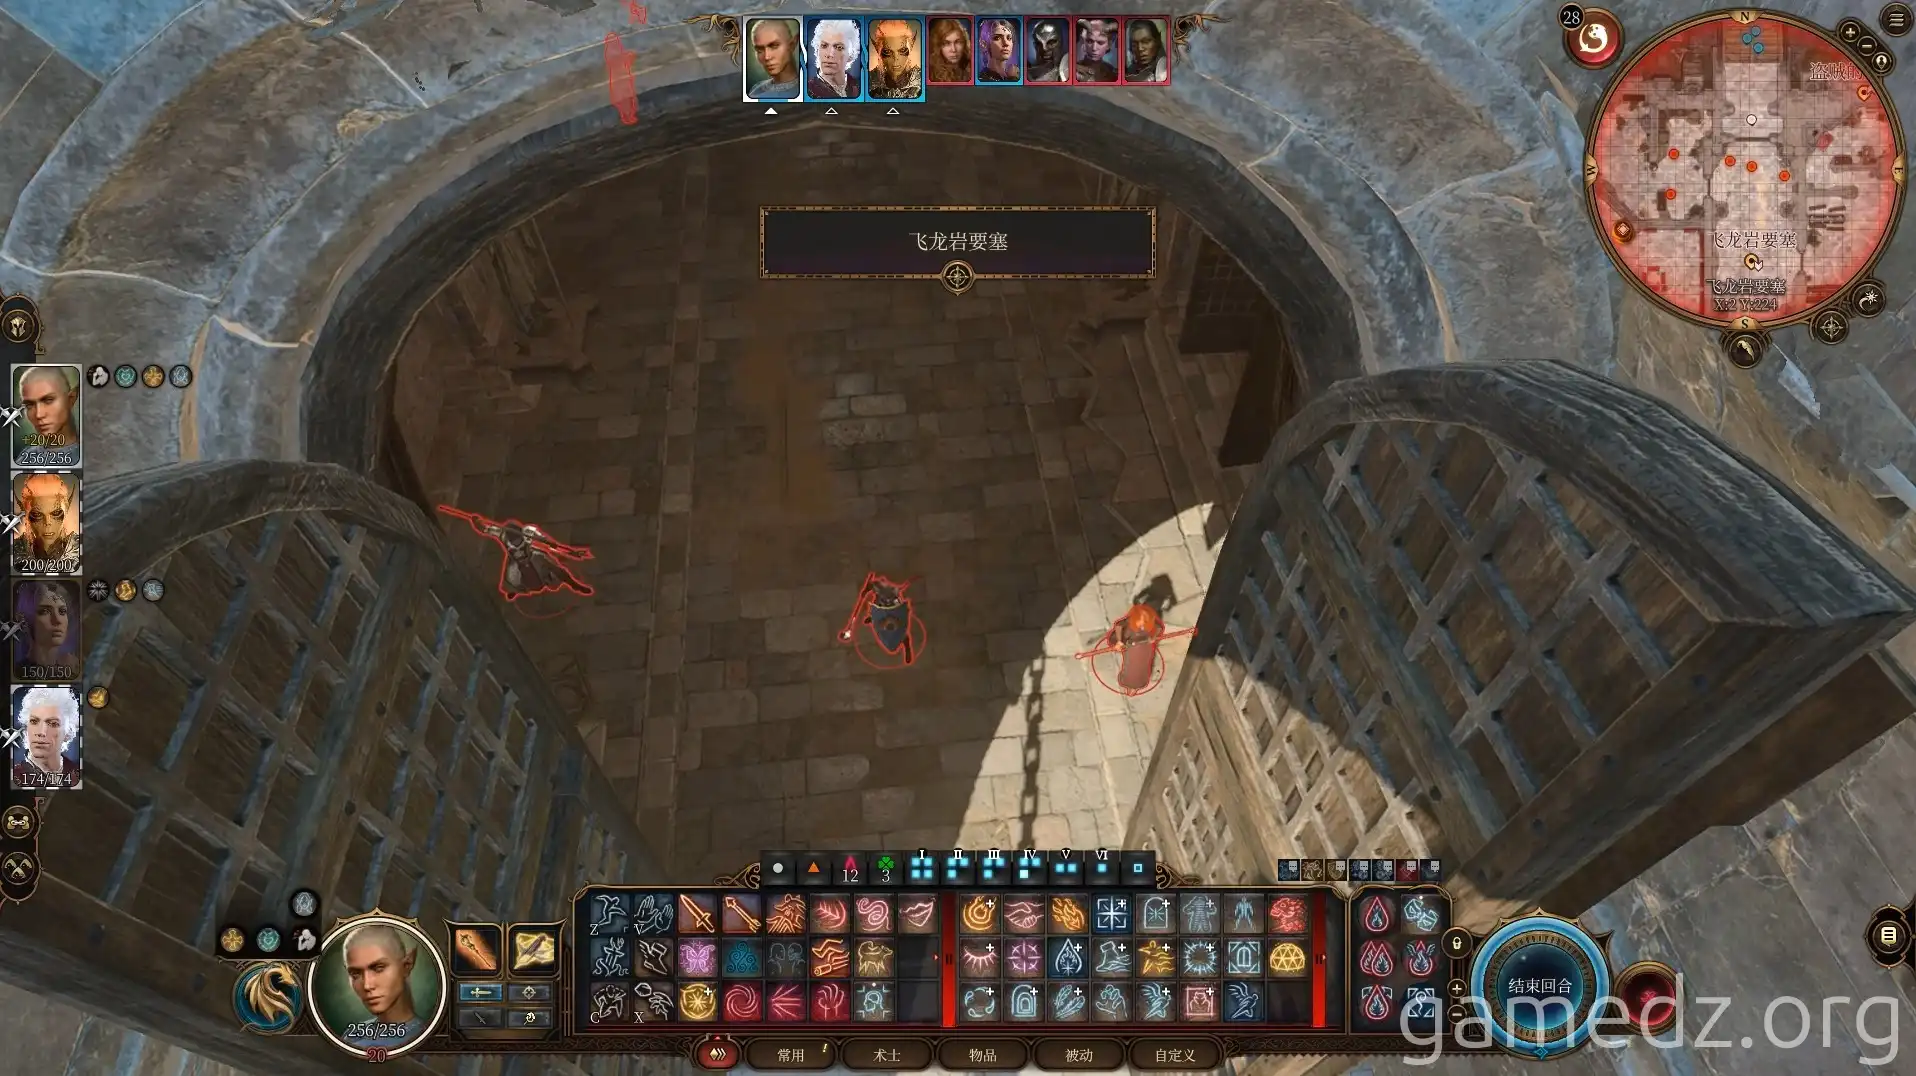
At this point, everyone in the fortress will be hostile. Fortunately, the Steel Watchers are all disabled. Your objective is to eliminate all the cultists.
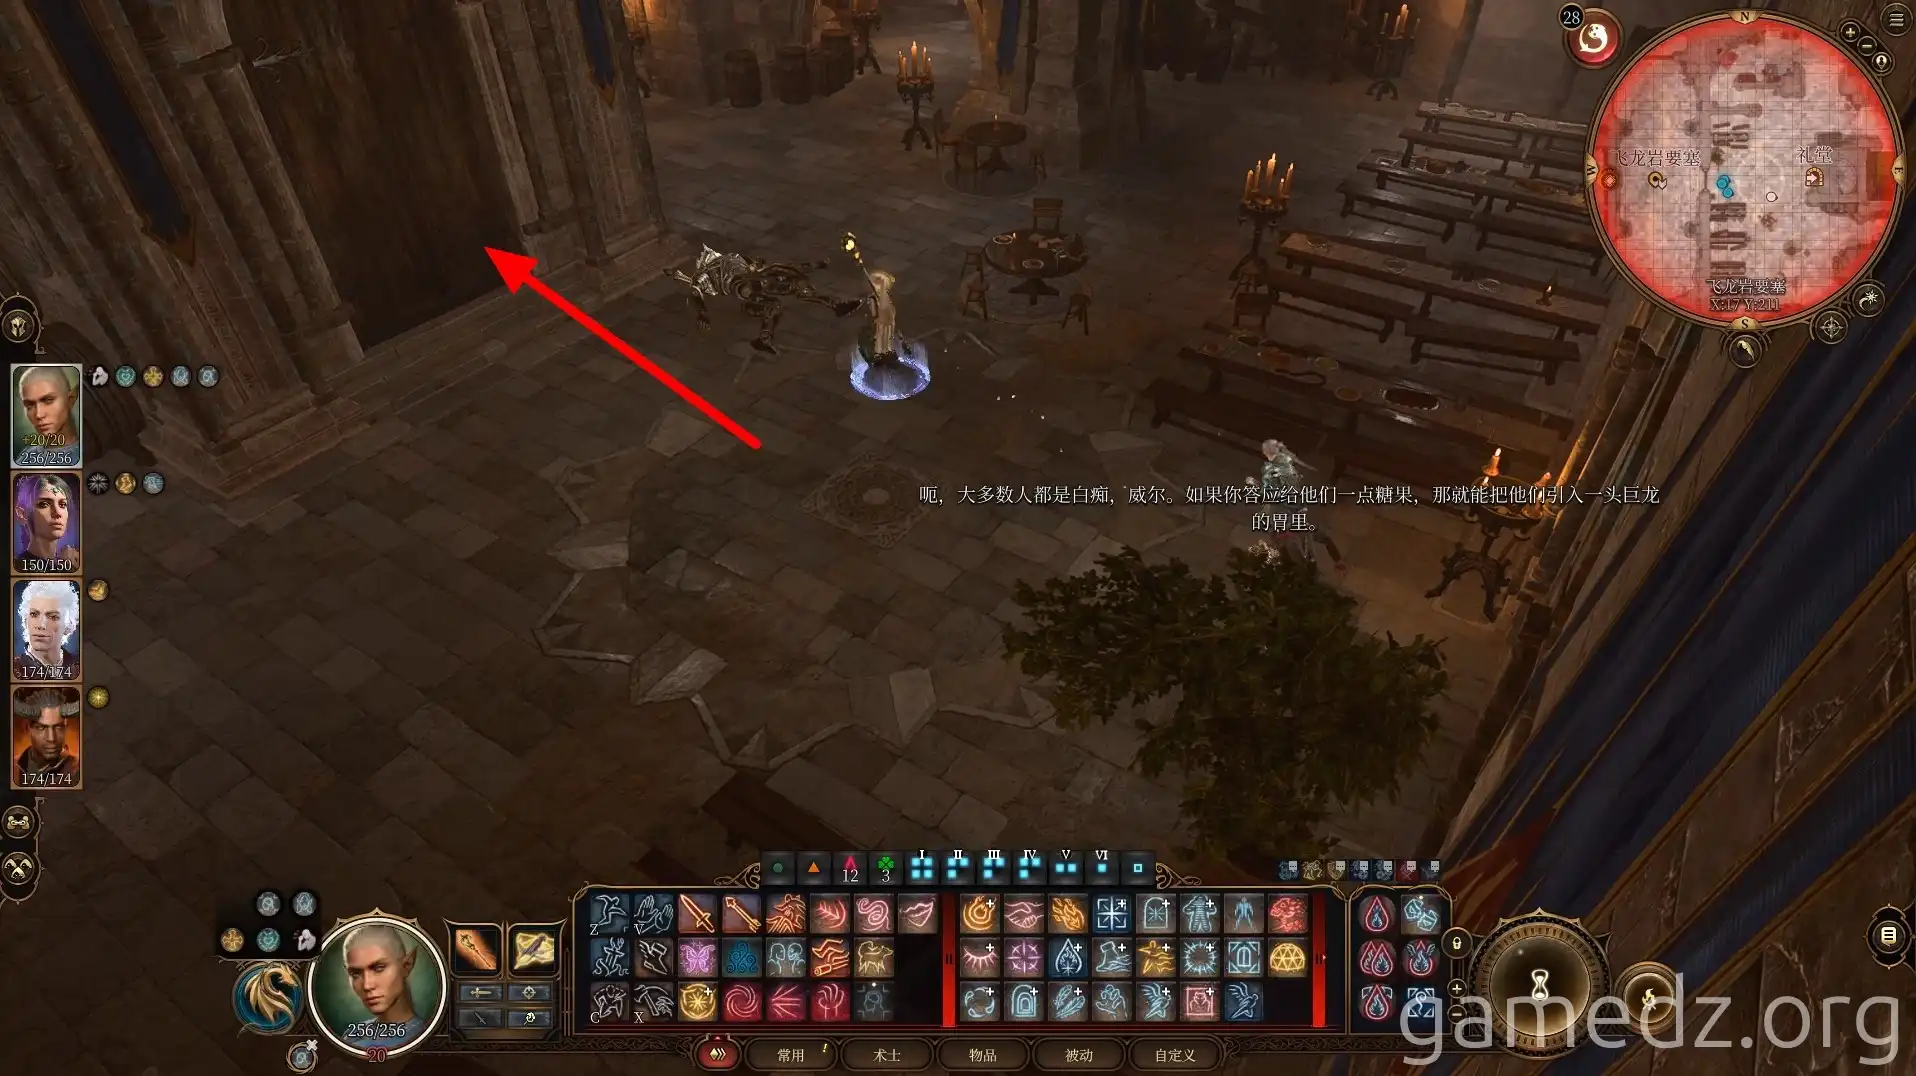
After clearing out all enemies on the first level, proceed to the Audience Hall to find Gortash. Alternatively, you can visit the dragon in the lower levels first and then return to confront Gortash.
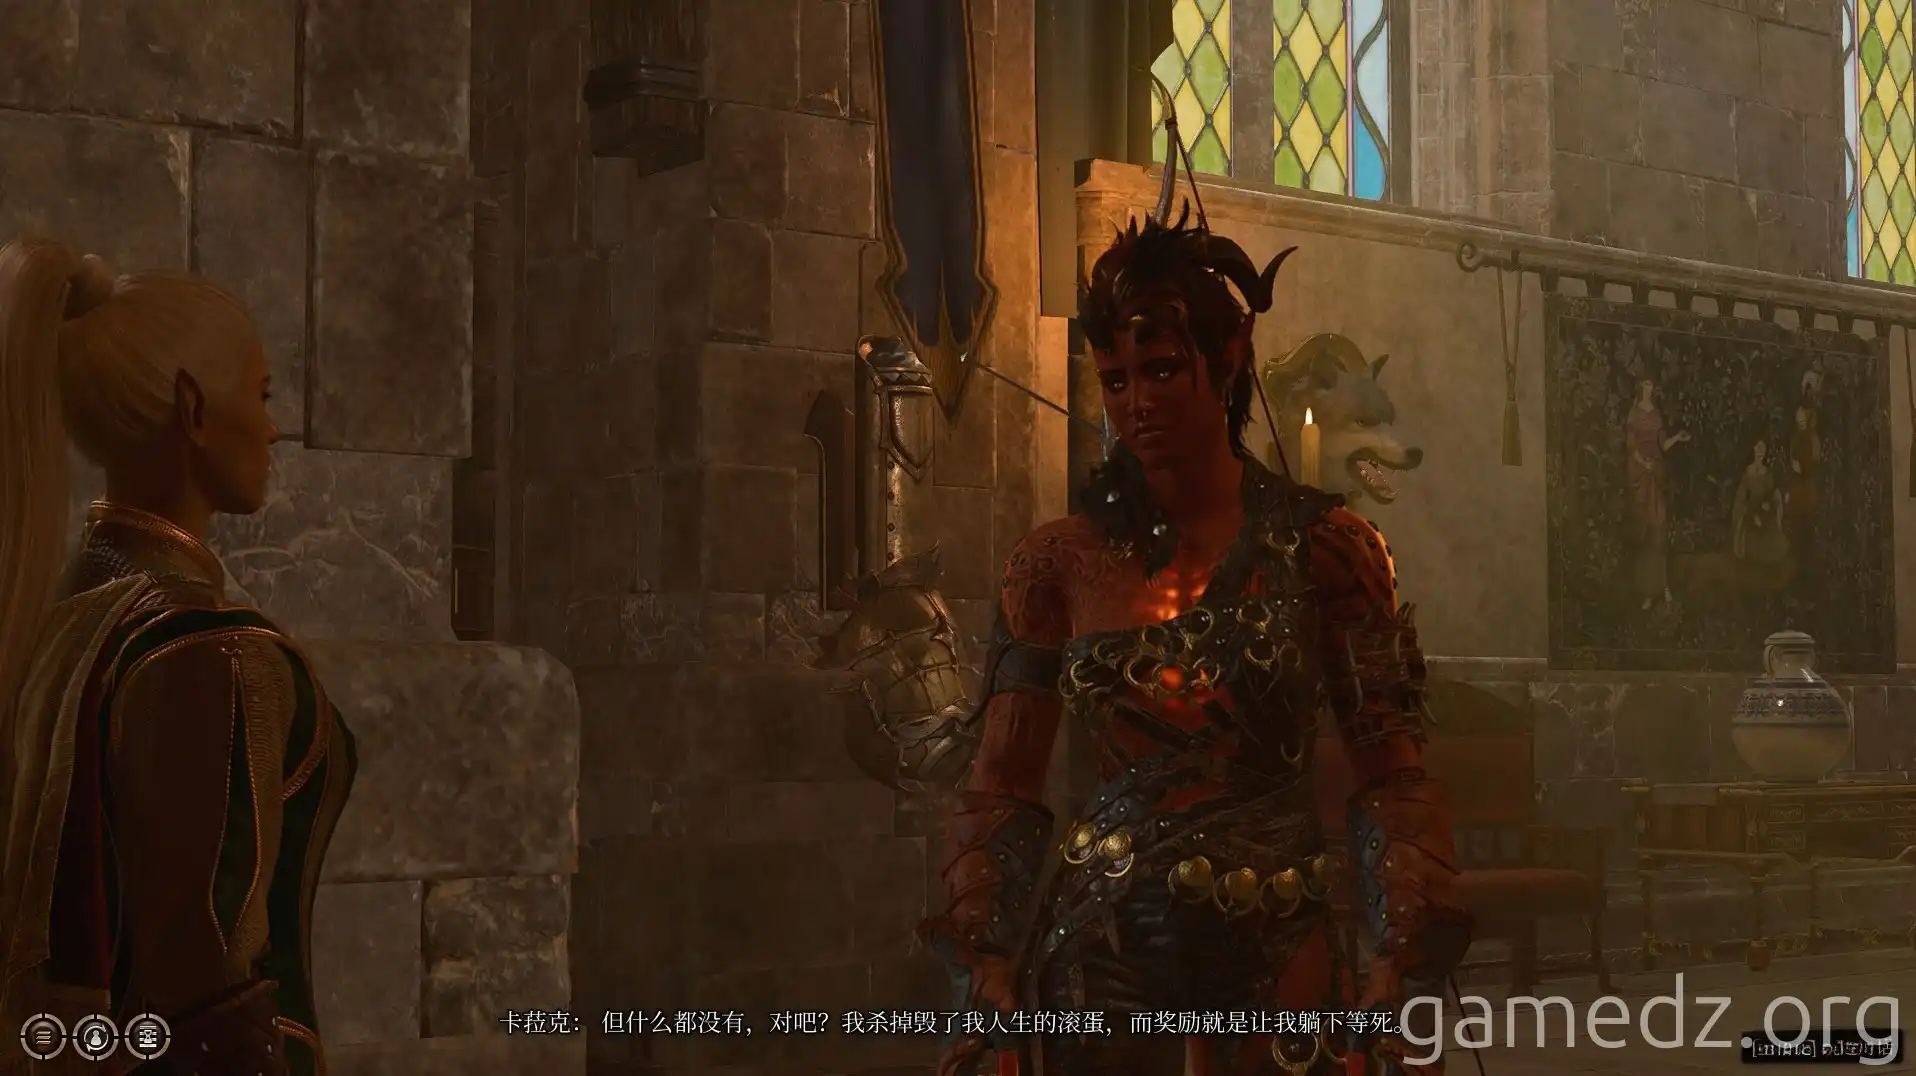
It's recommended to have Karlach in your party when you go to meet Gortash, otherwise, you'll miss out on some story content.
Upon arriving at the Audience Hall, you'll engage in another battle. The mechanisms on the walls will spew flames and throw bombs. Stay out of the red zones, and you can pick up the bombs to avoid taking damage.
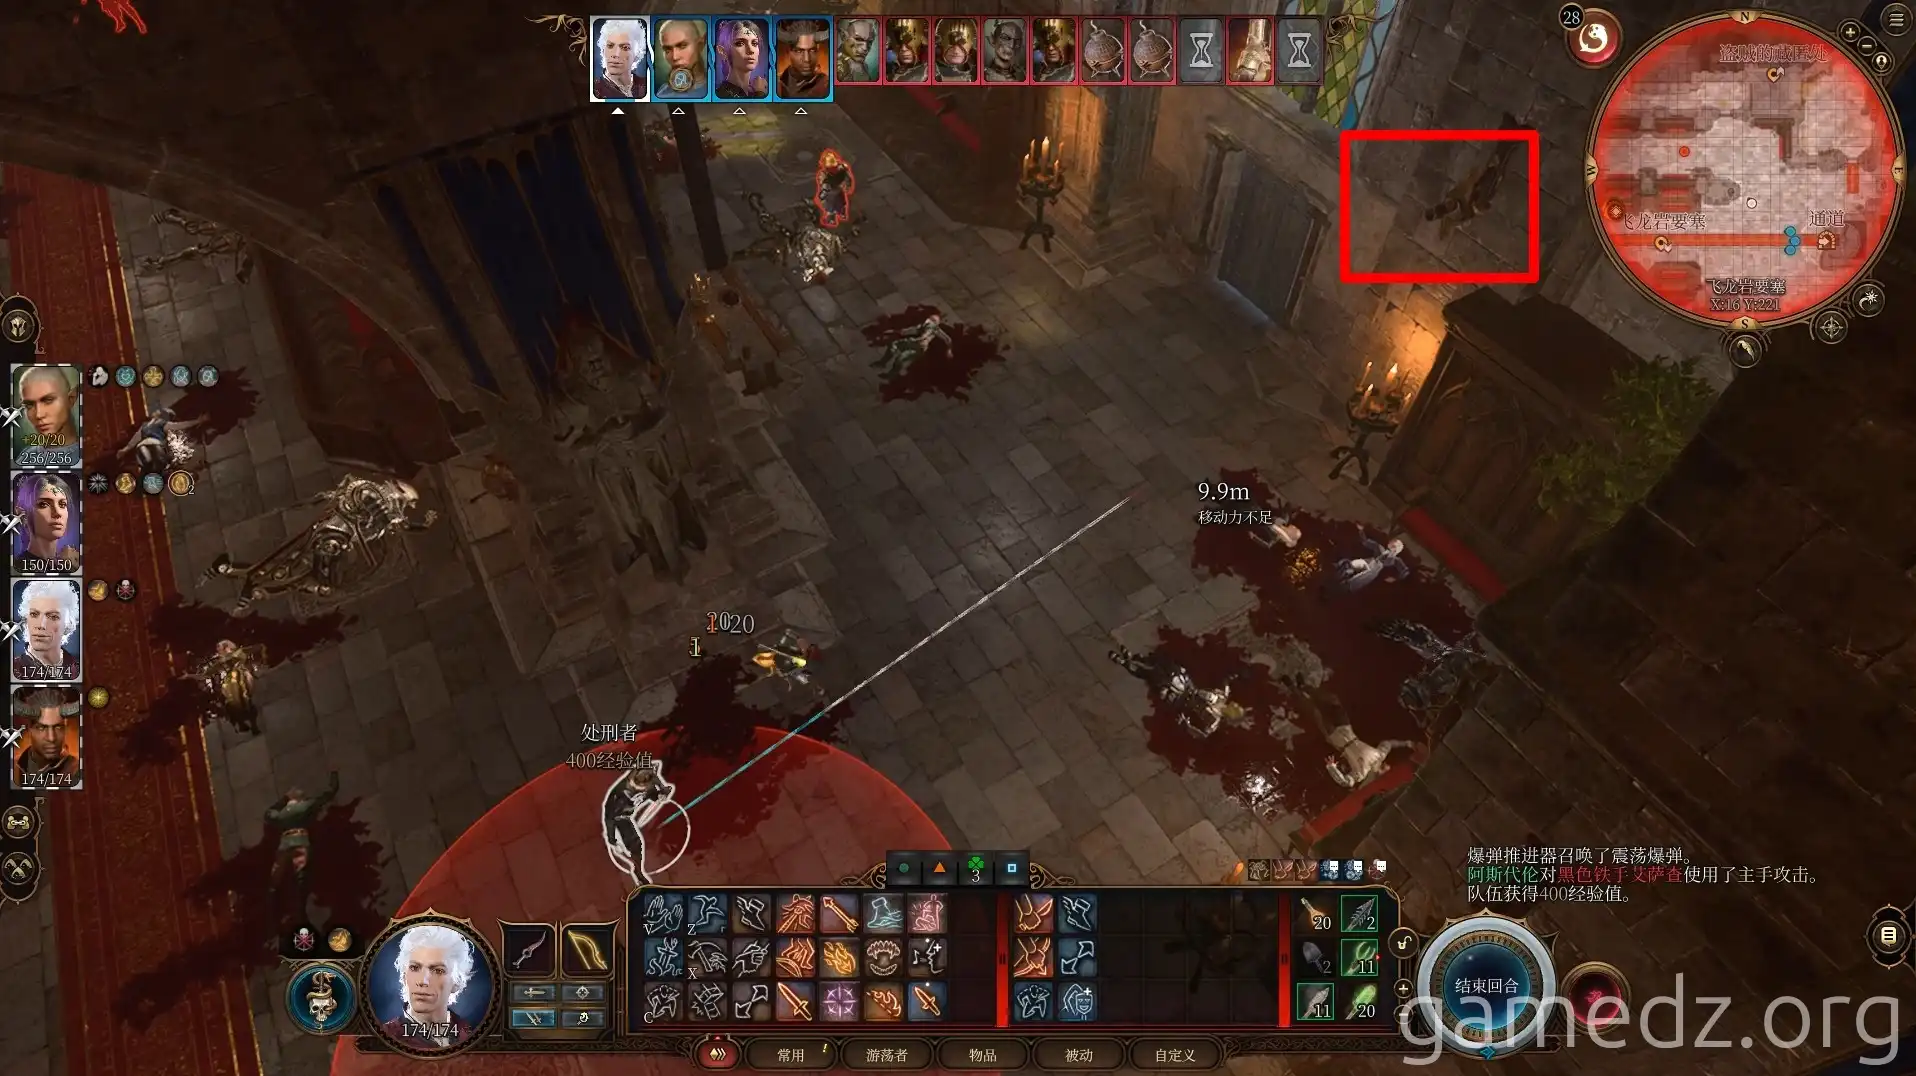
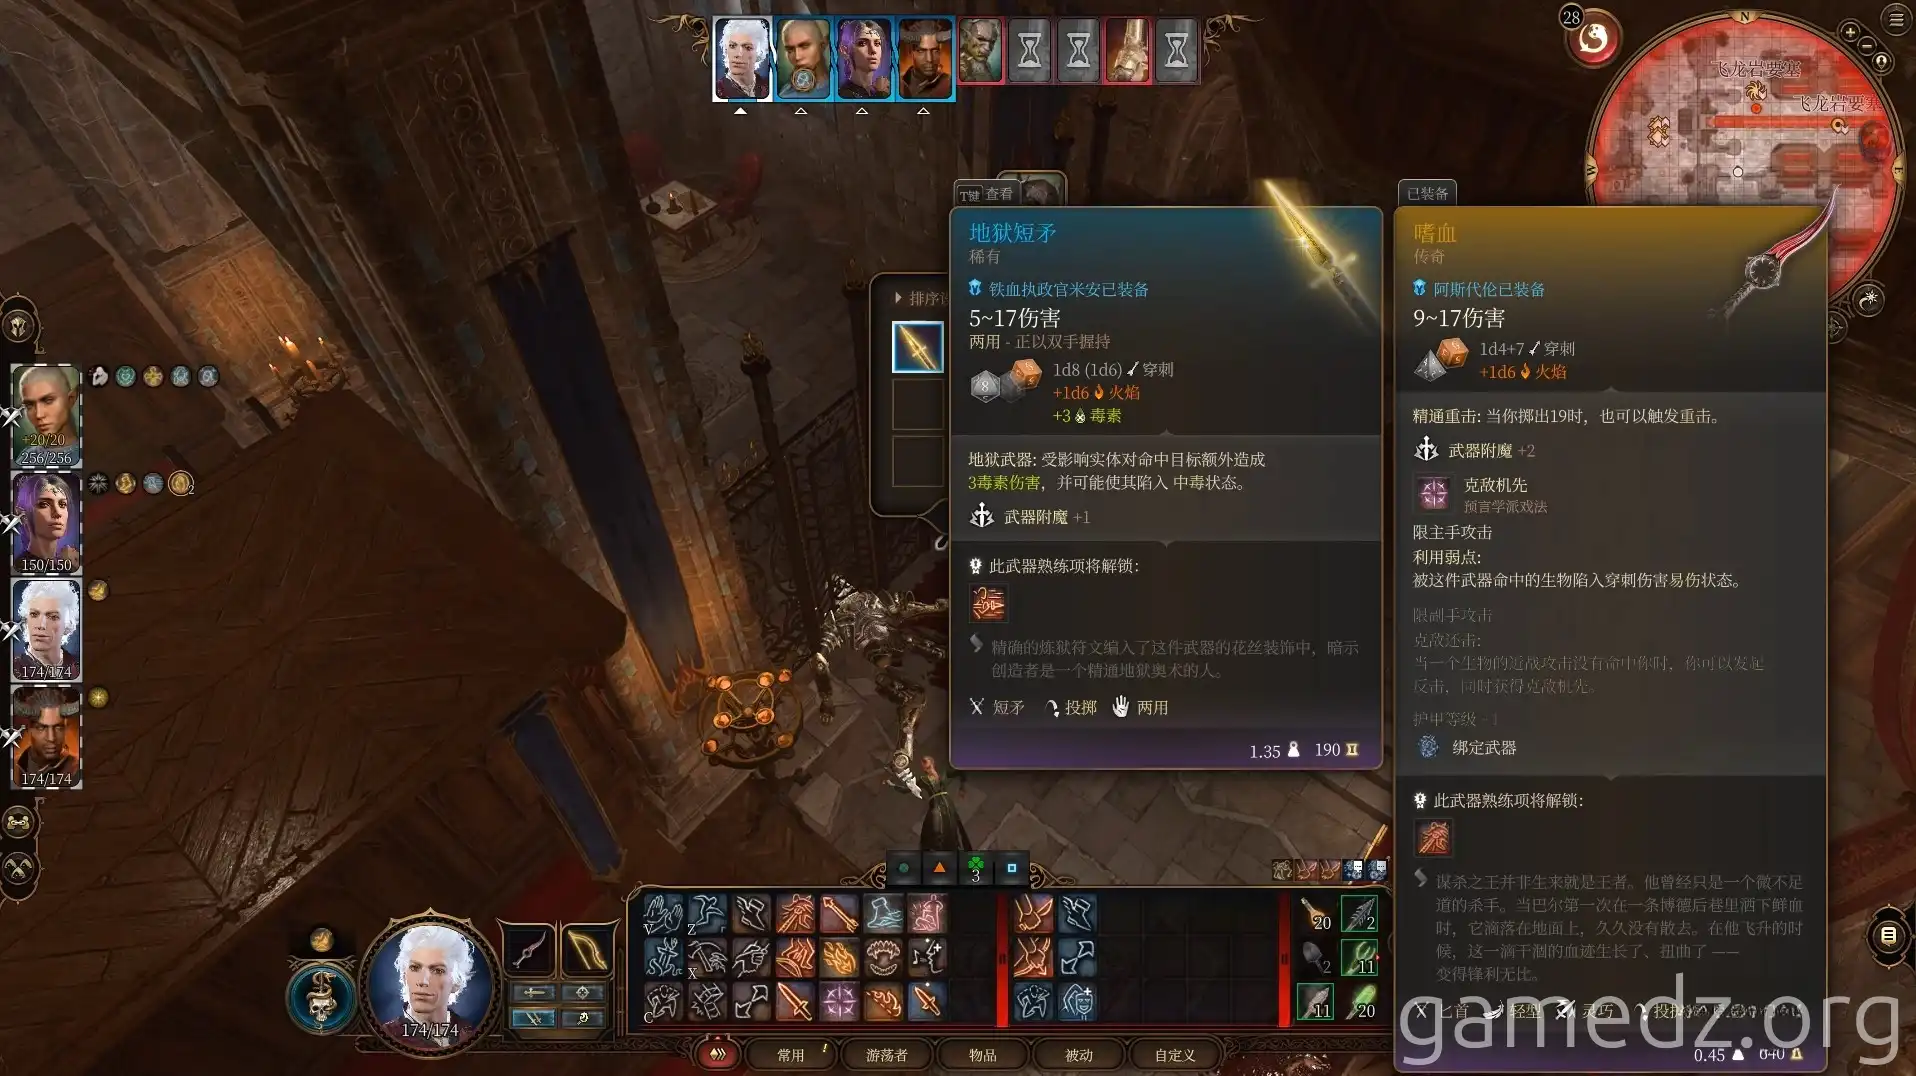
You can acquire the rare weapon, the Hellfire Greataxe, from Gortash's minions.
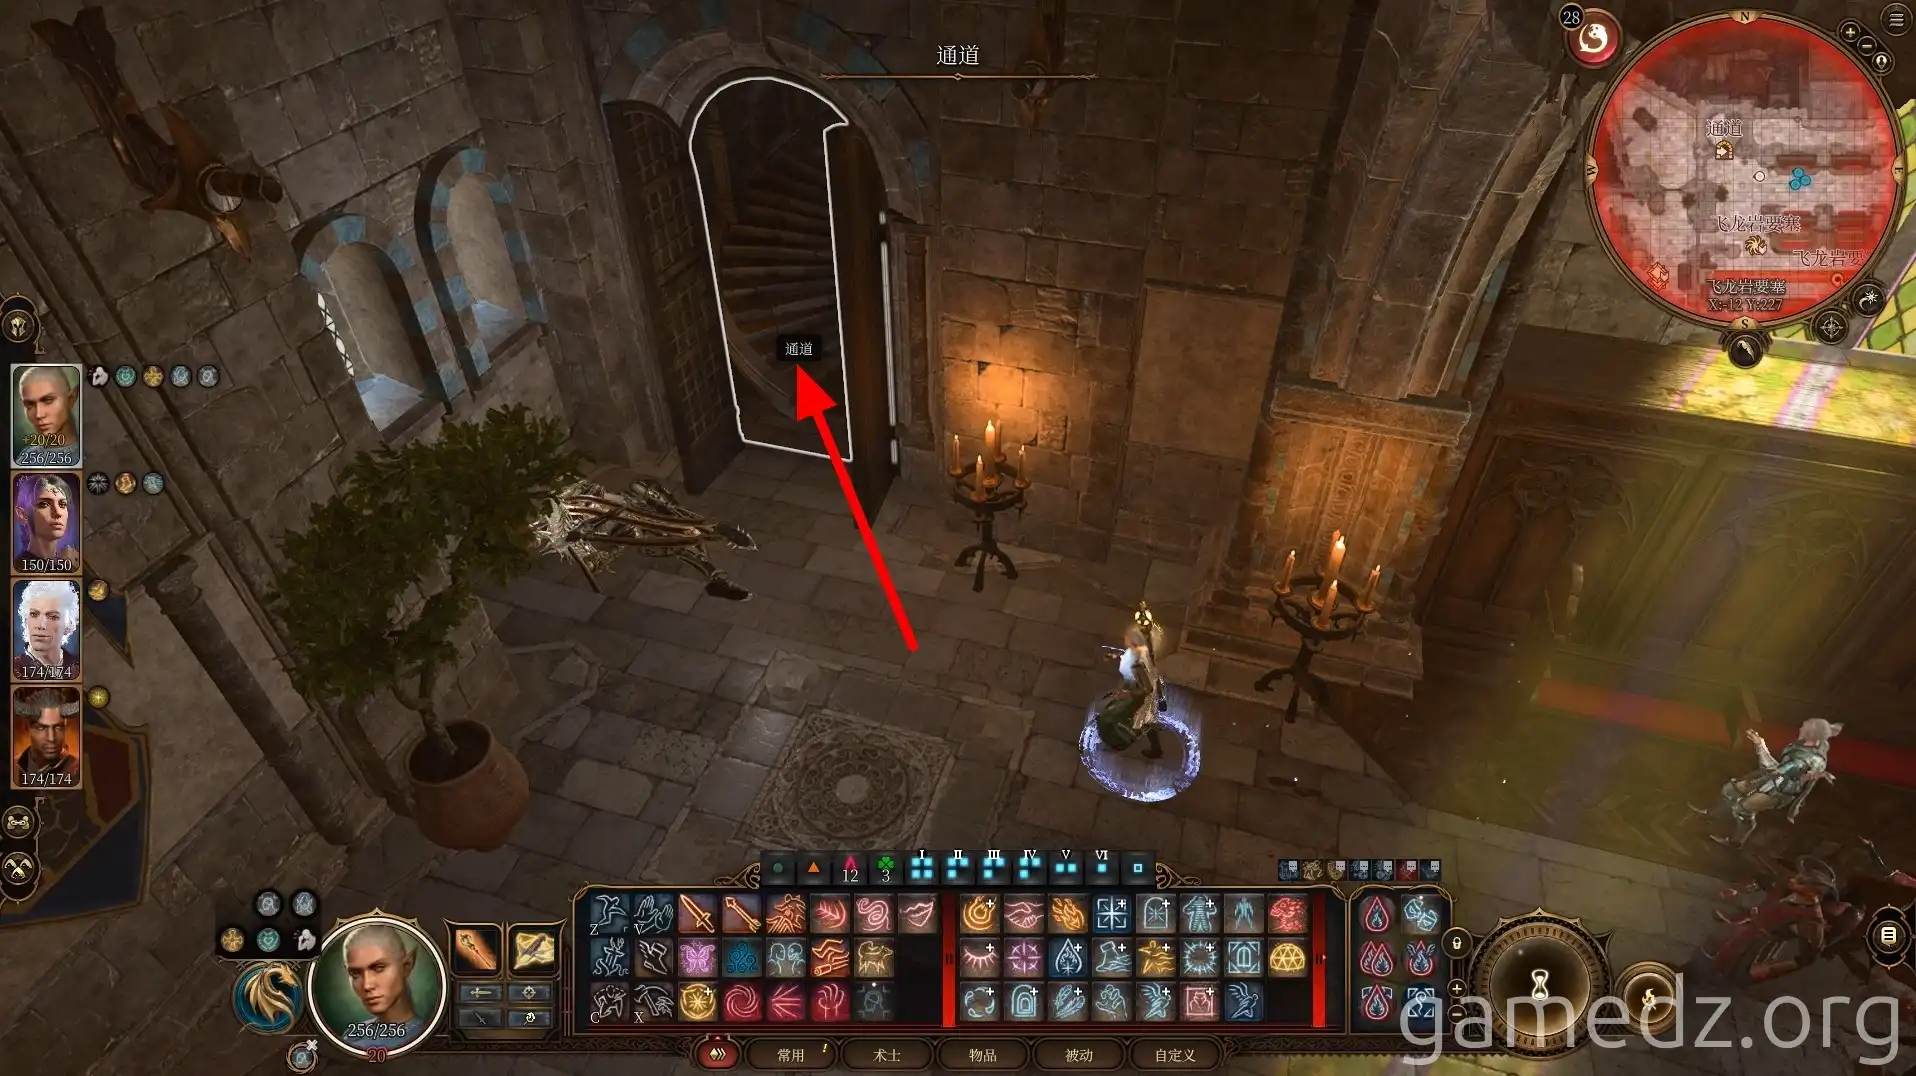
The surrounding balconies don't hold much of interest. After a quick sweep, head north through the passage in the northwest corner of the Audience Hall.
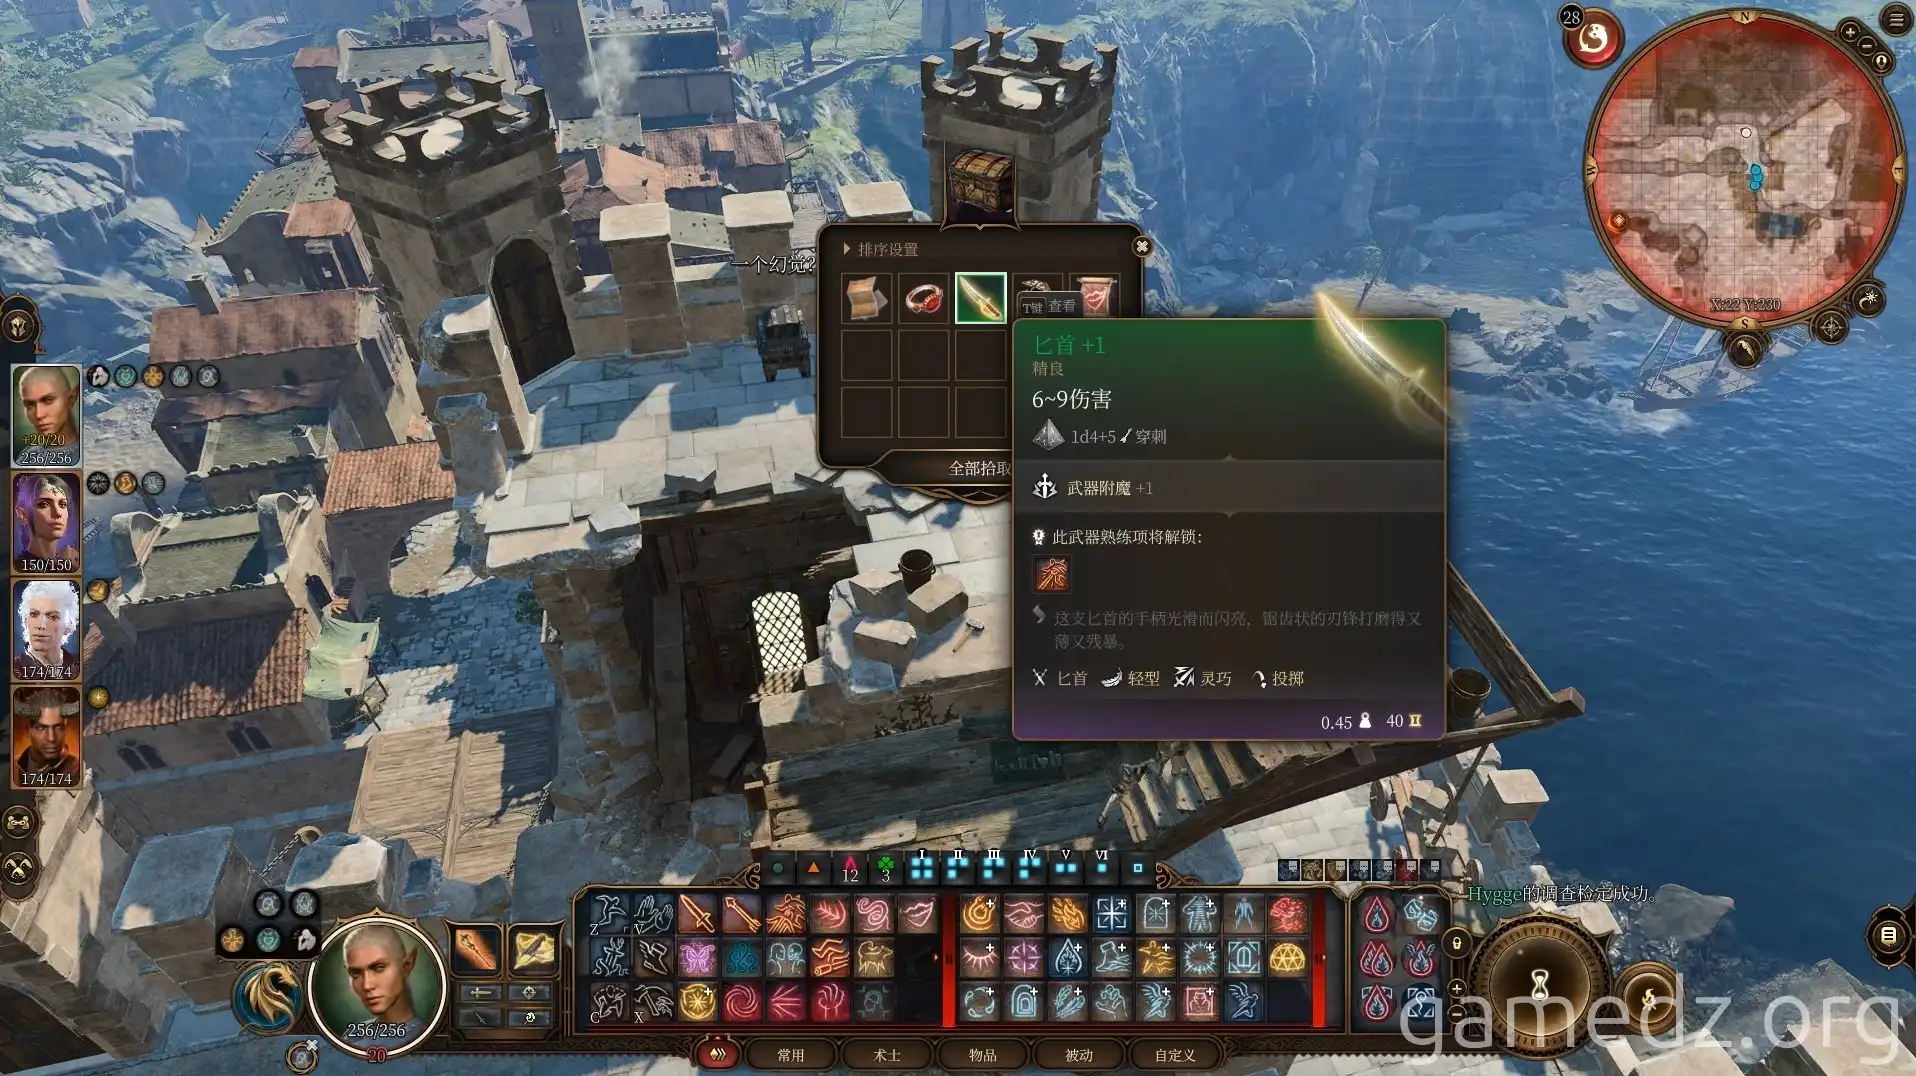
On the rooftop terrace, in the tower at the northeast corner, you can uncover an illusion to find the Thief's Treasure.
Next, proceed east into the room.
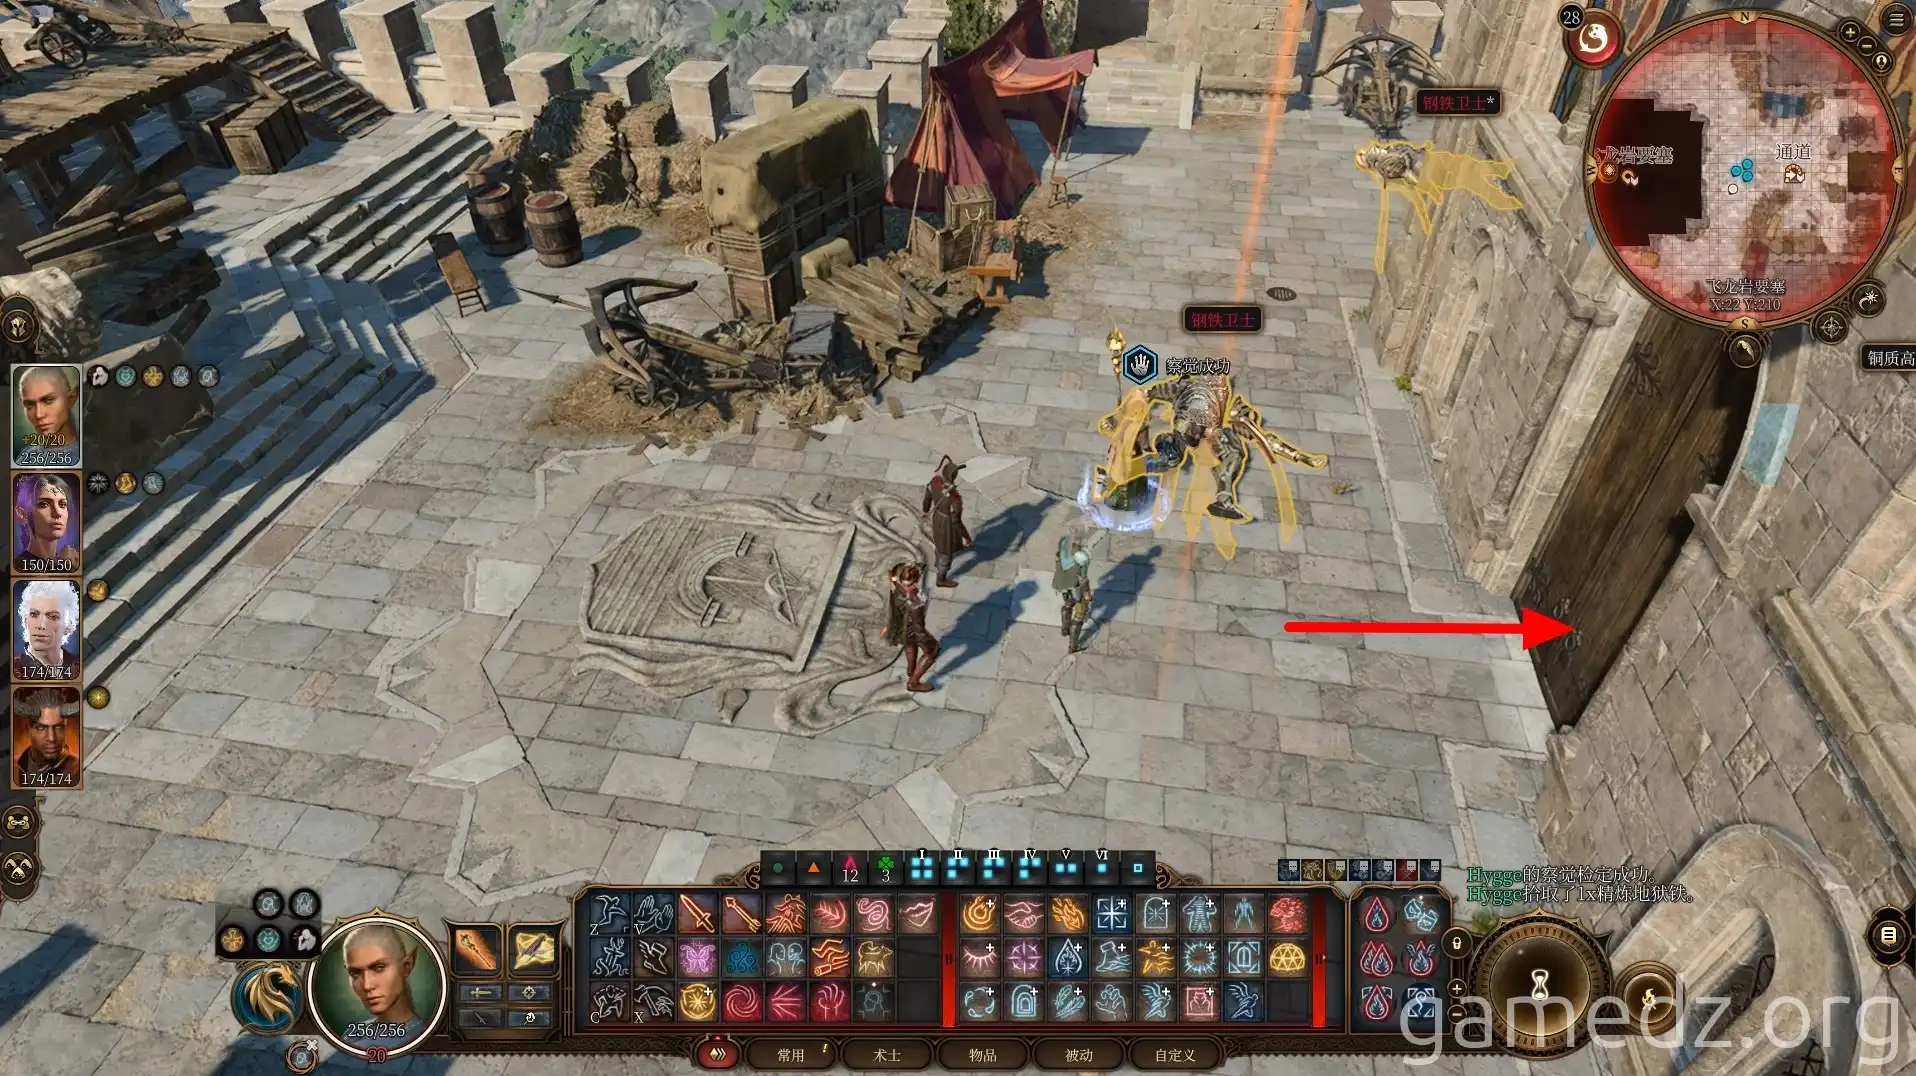
Inside the room, you'll confront Gortash, leading to a battle. You'll need to defeat Gortash and his three minions. This room also features bomb-throwing and flame-spewing traps, so be mindful of your positioning.
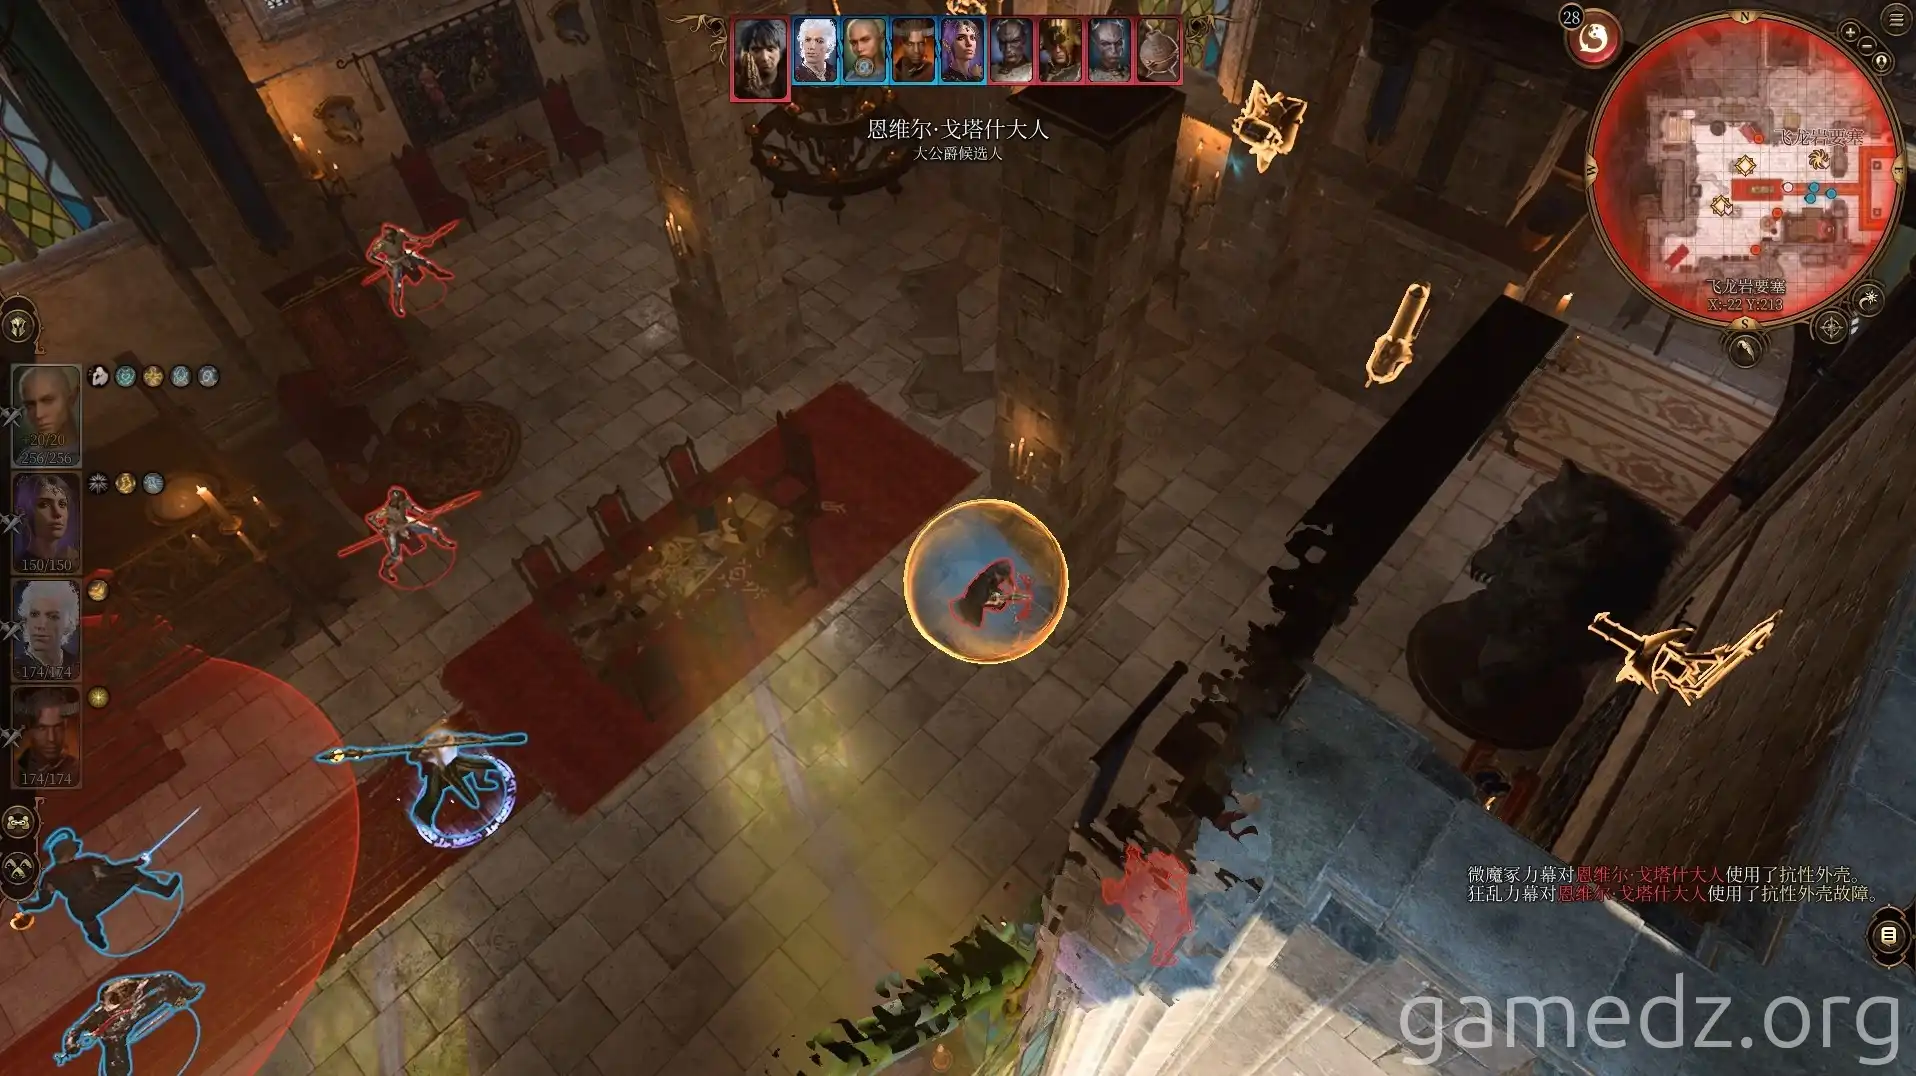
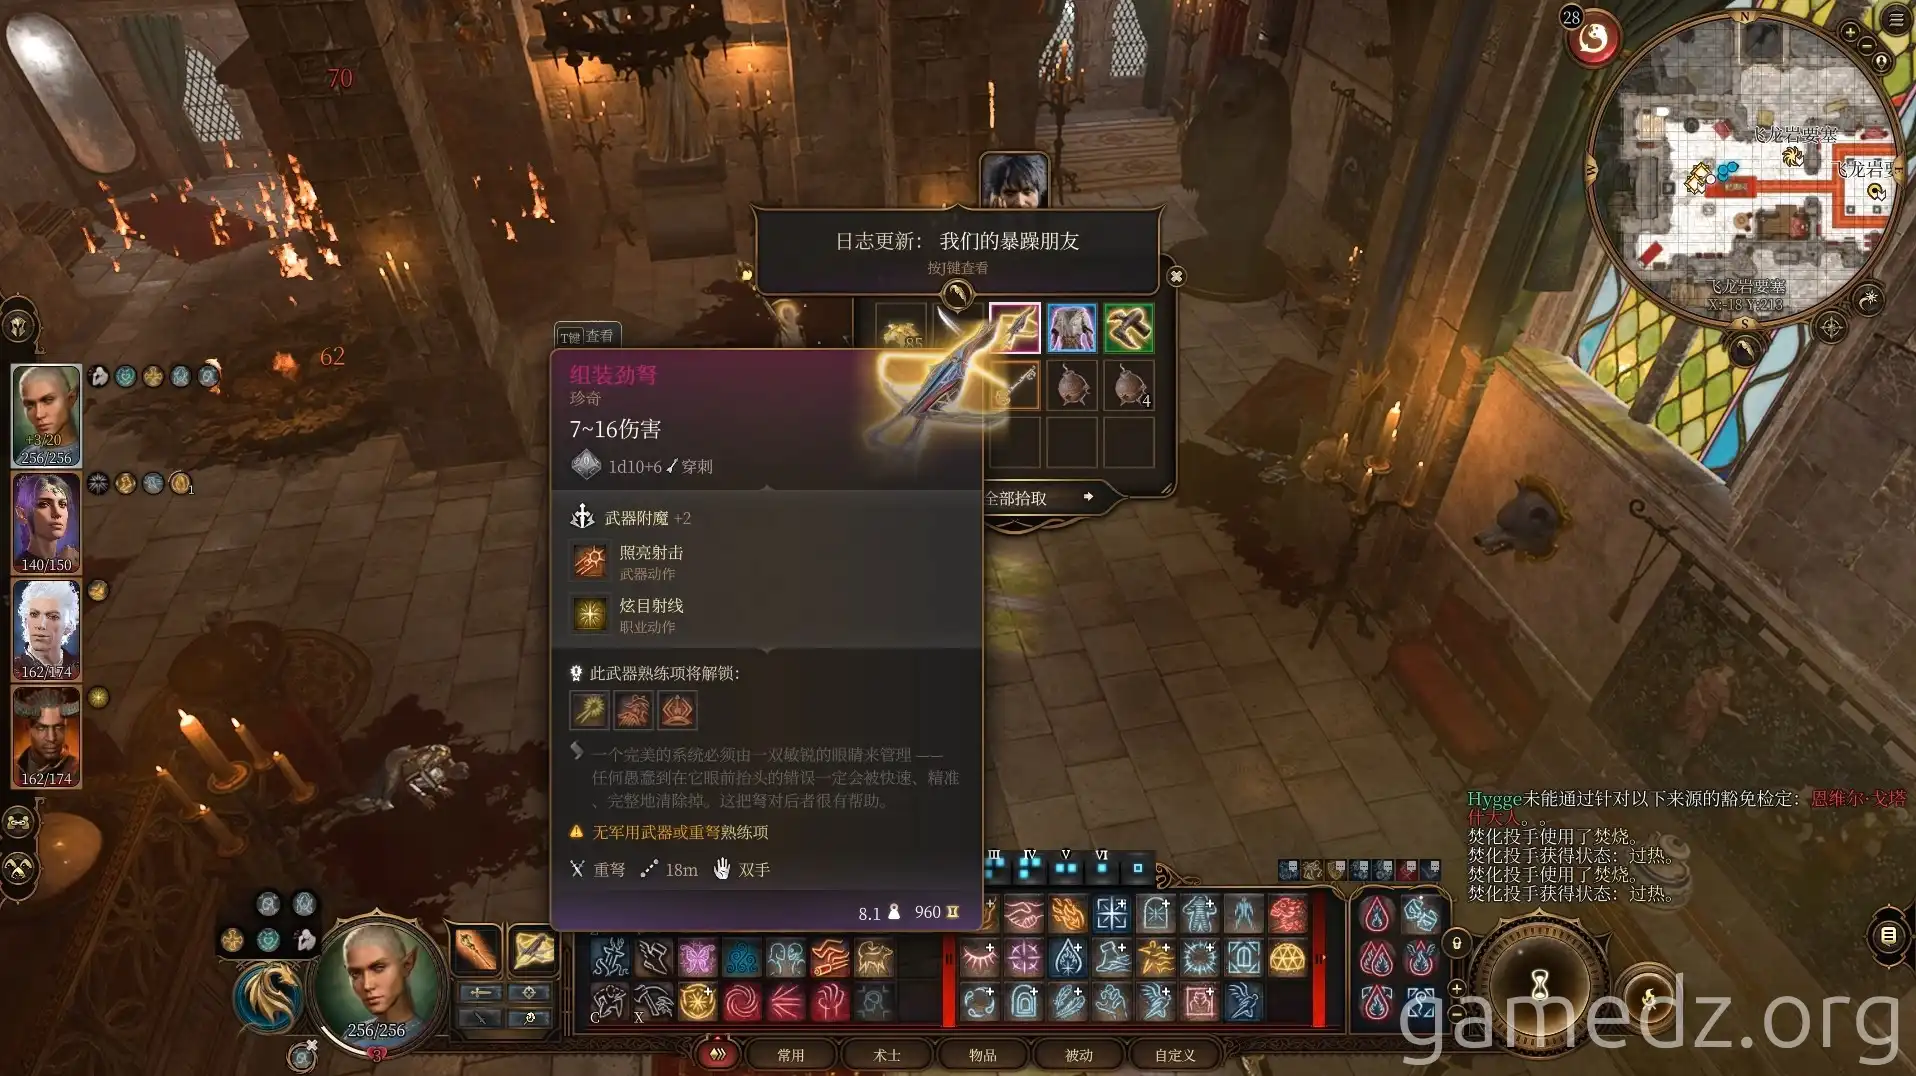
Upon defeating Gortash, you'll obtain the rare weapon "Bolt of Grinding," the rare armor "Netherspark Gauntlets," the rare armor "Amulet of the Devout," and the uncommon armor "Boots of Persistence."
Here are the stats for the Netherspark Gauntlets.
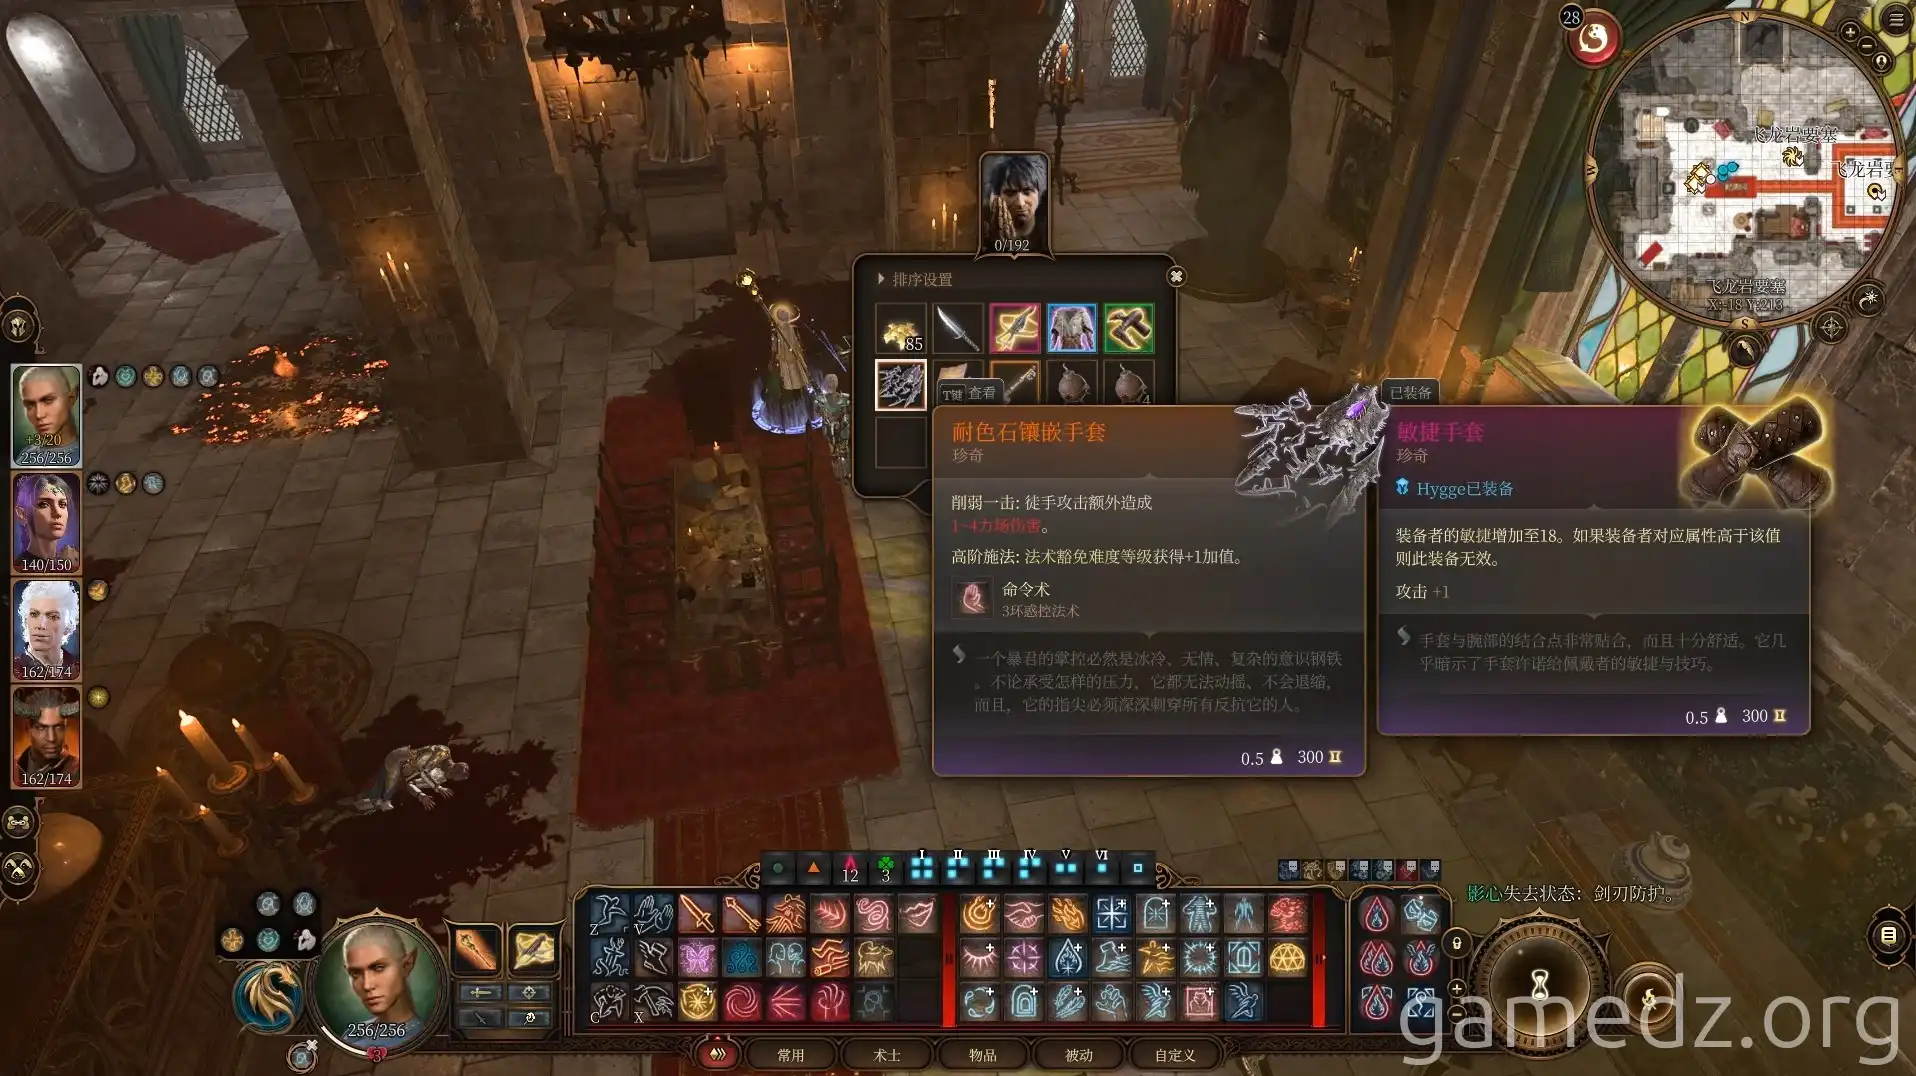
After taking the Netherstone, these gauntlets will transform into "Tyrant's Hand."
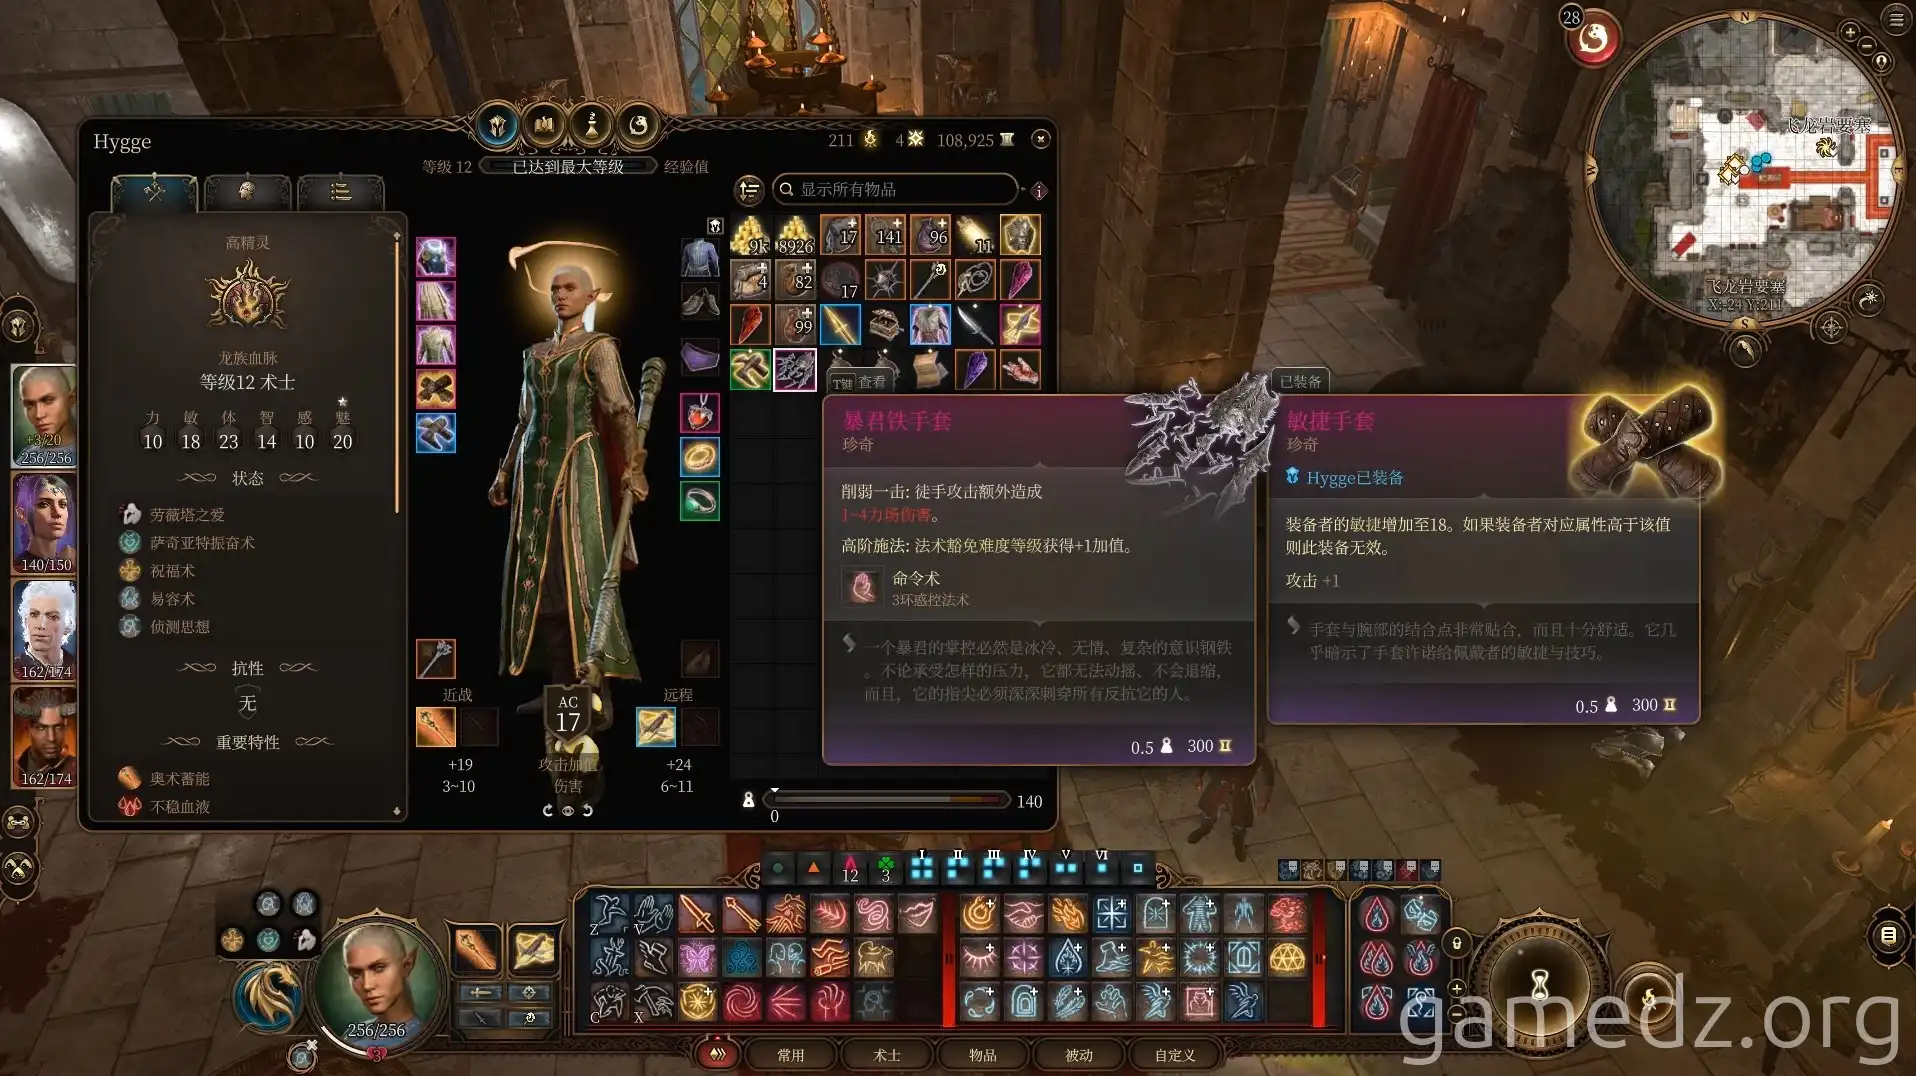
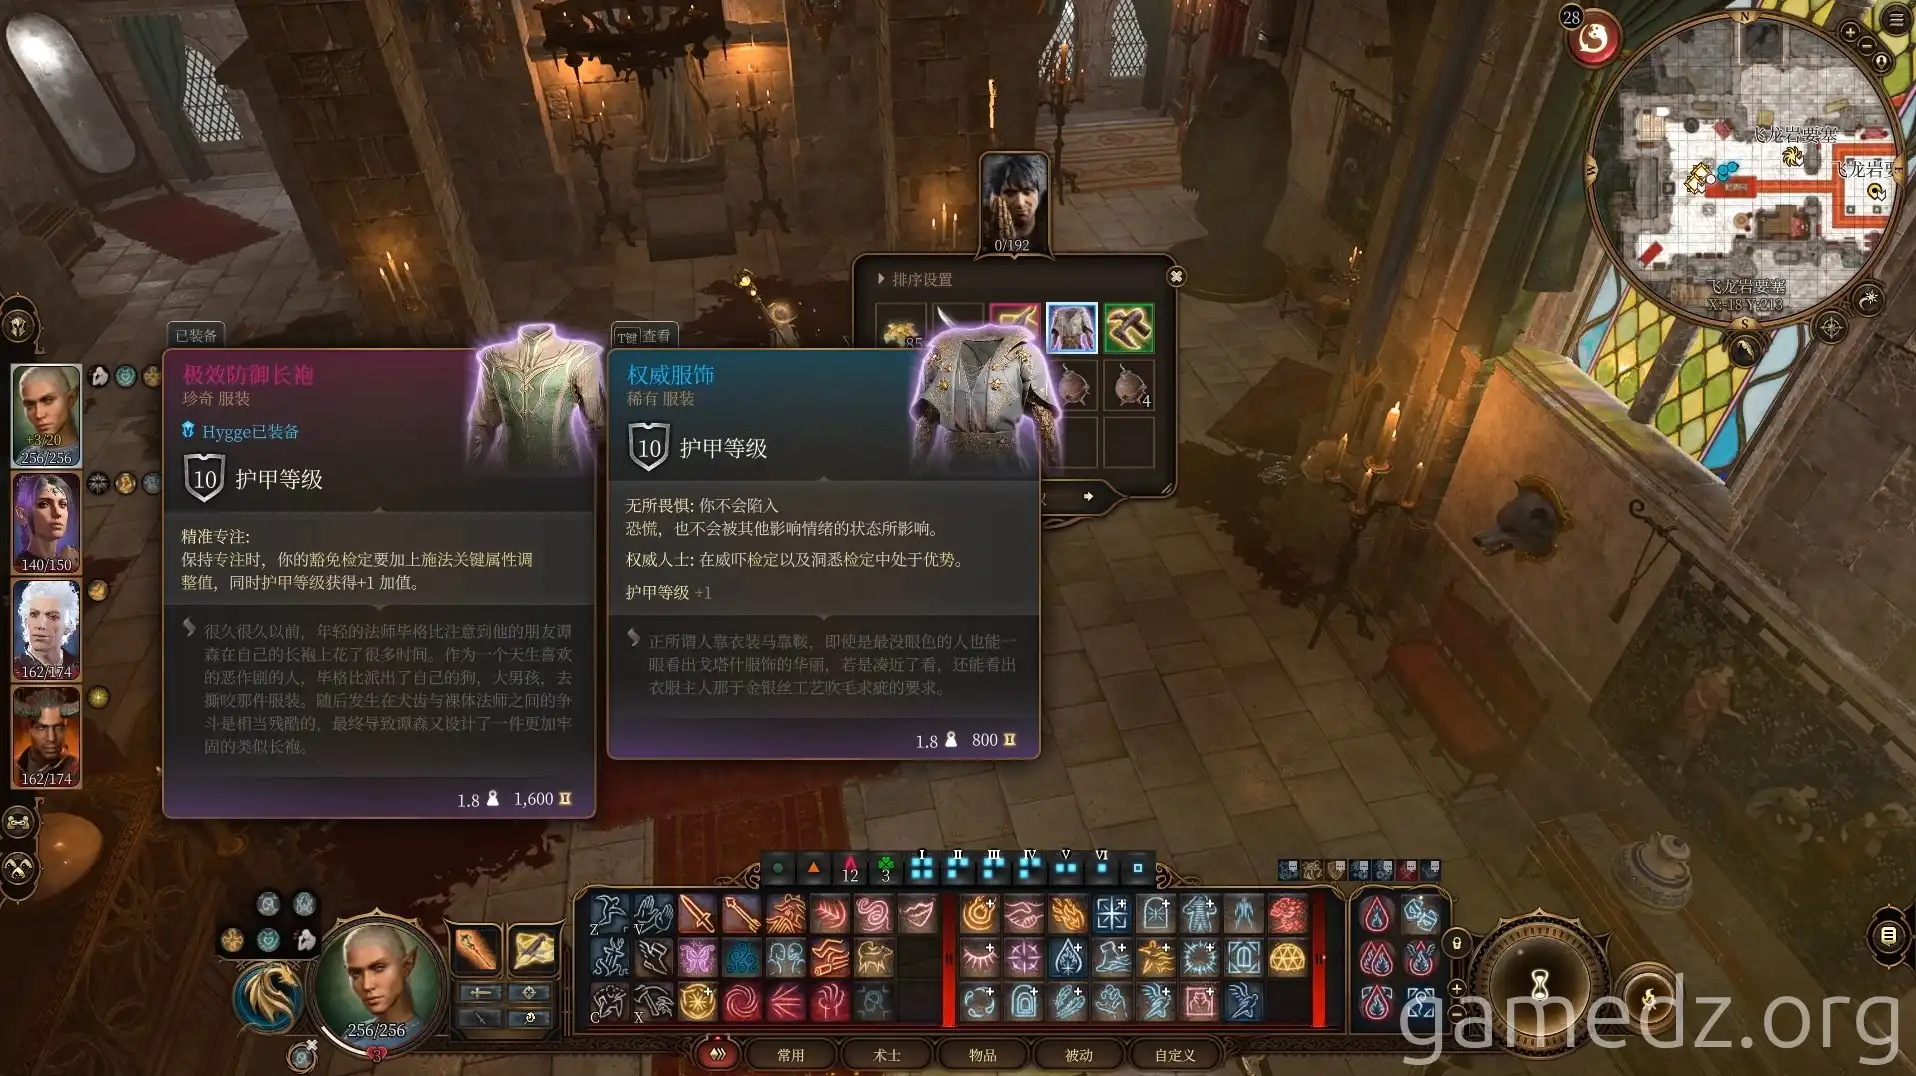
Here are the stats for the Amulet of the Devout.
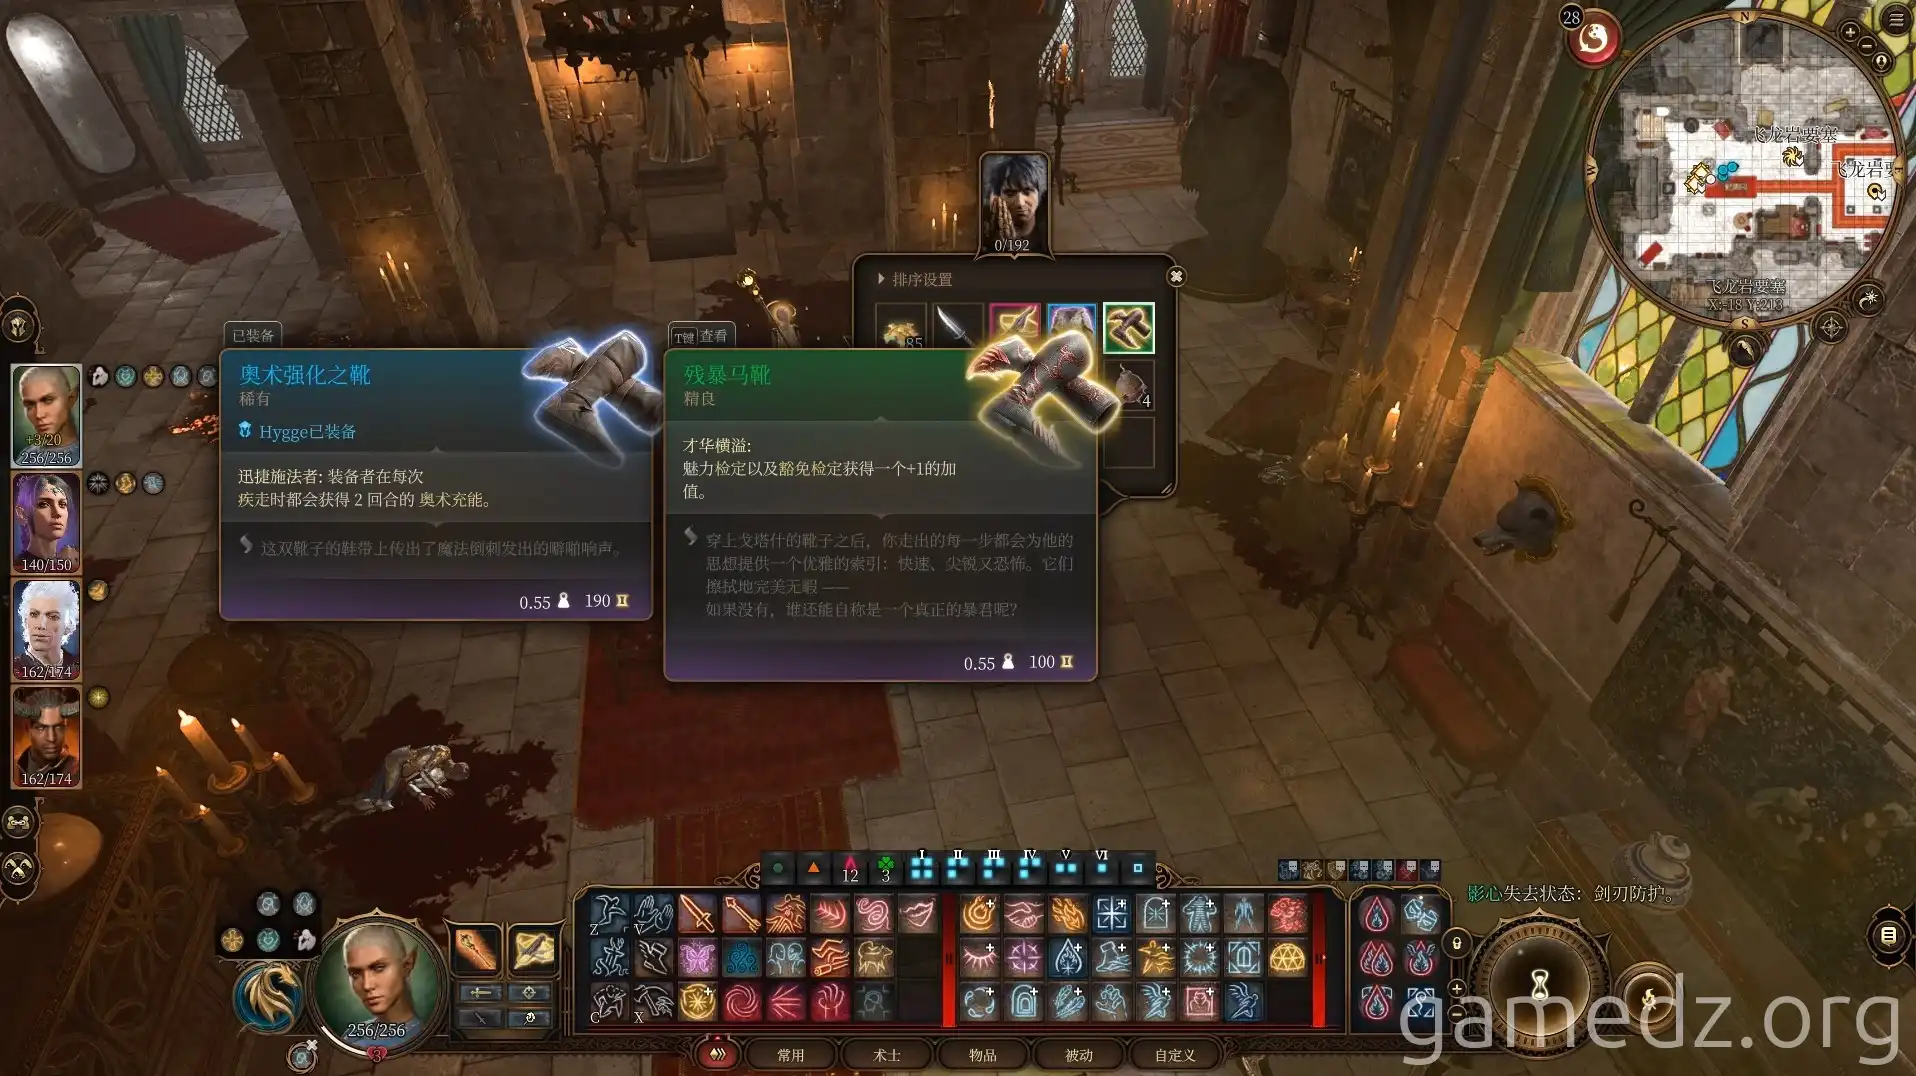
Here are the stats for the Boots of Persistence.
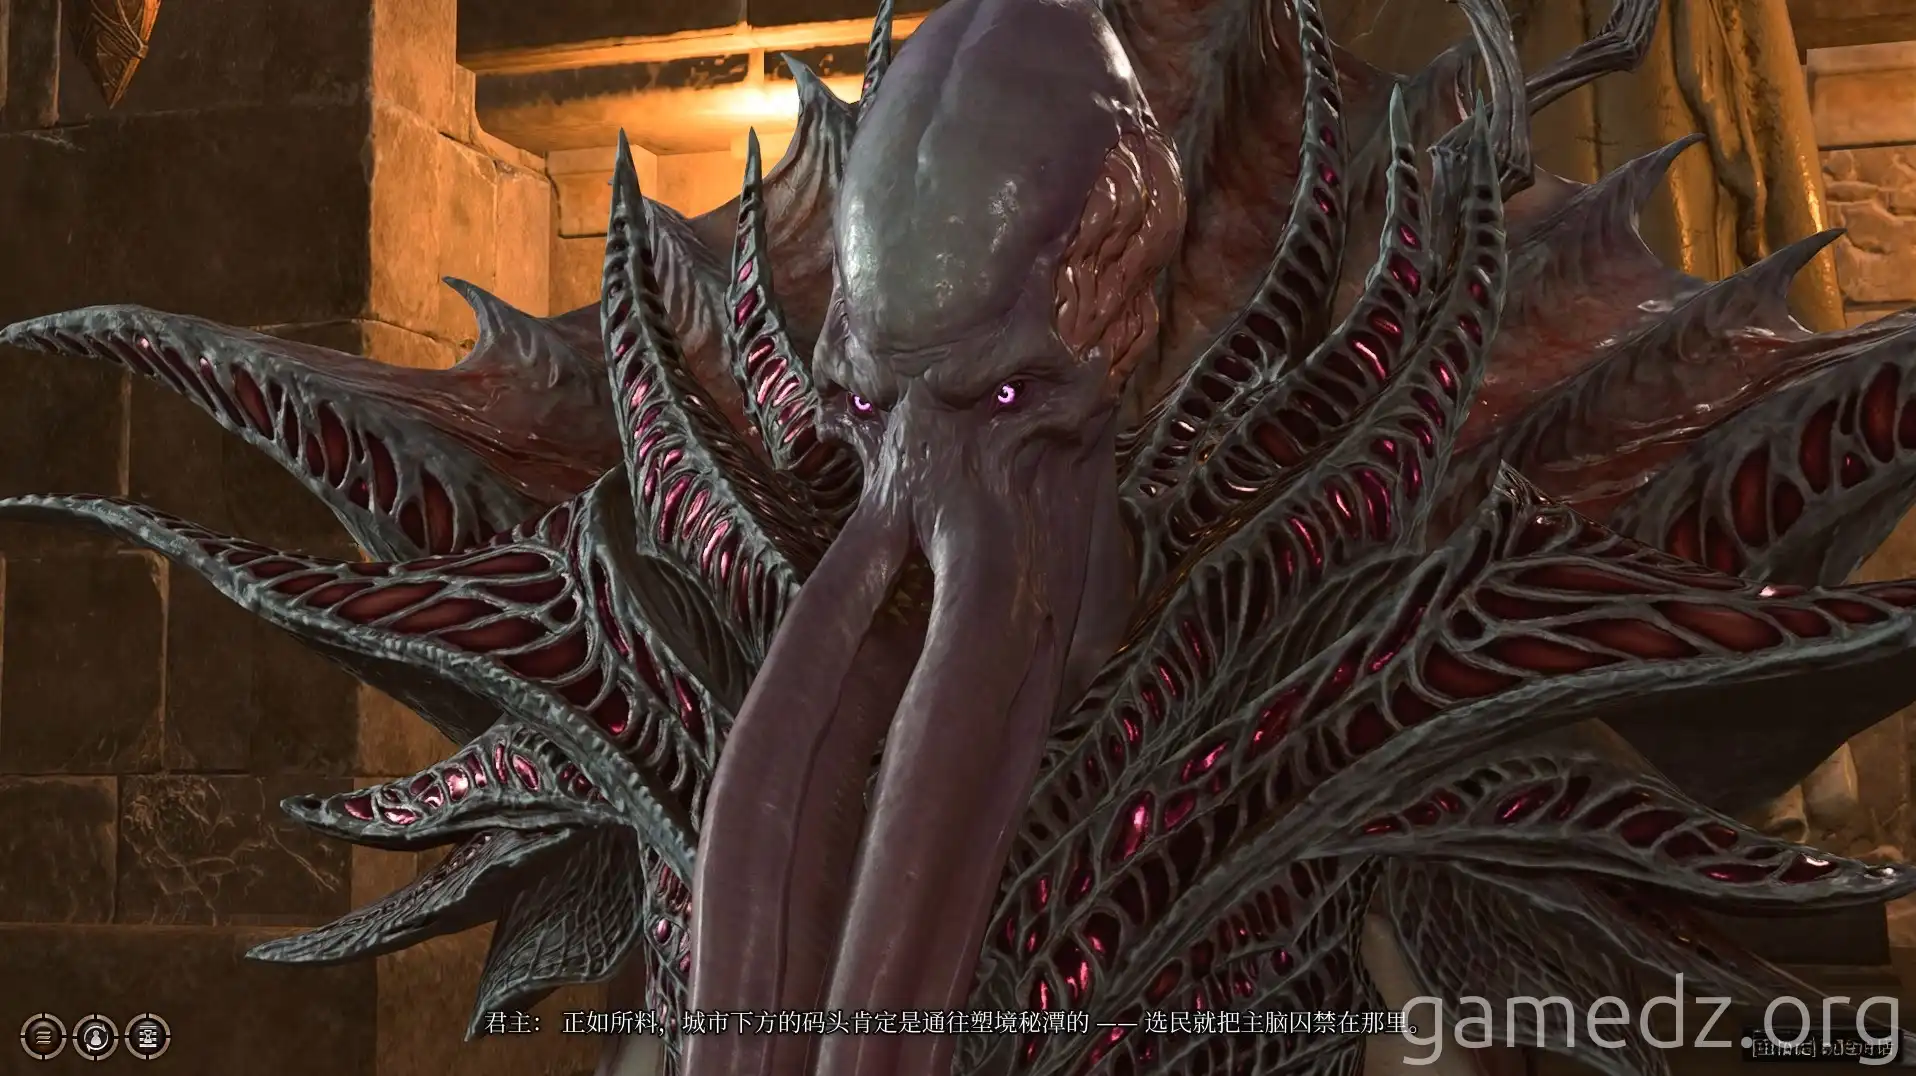
Once you've obtained the Netherstone, the Emperor will appear and inform you that the Absolute is located in the Astral Sea.
If Karlach wasn't in your party initially, make sure to bring her back to see Gortash's corpse after defeating him. While she might be displeased, the story can still progress.
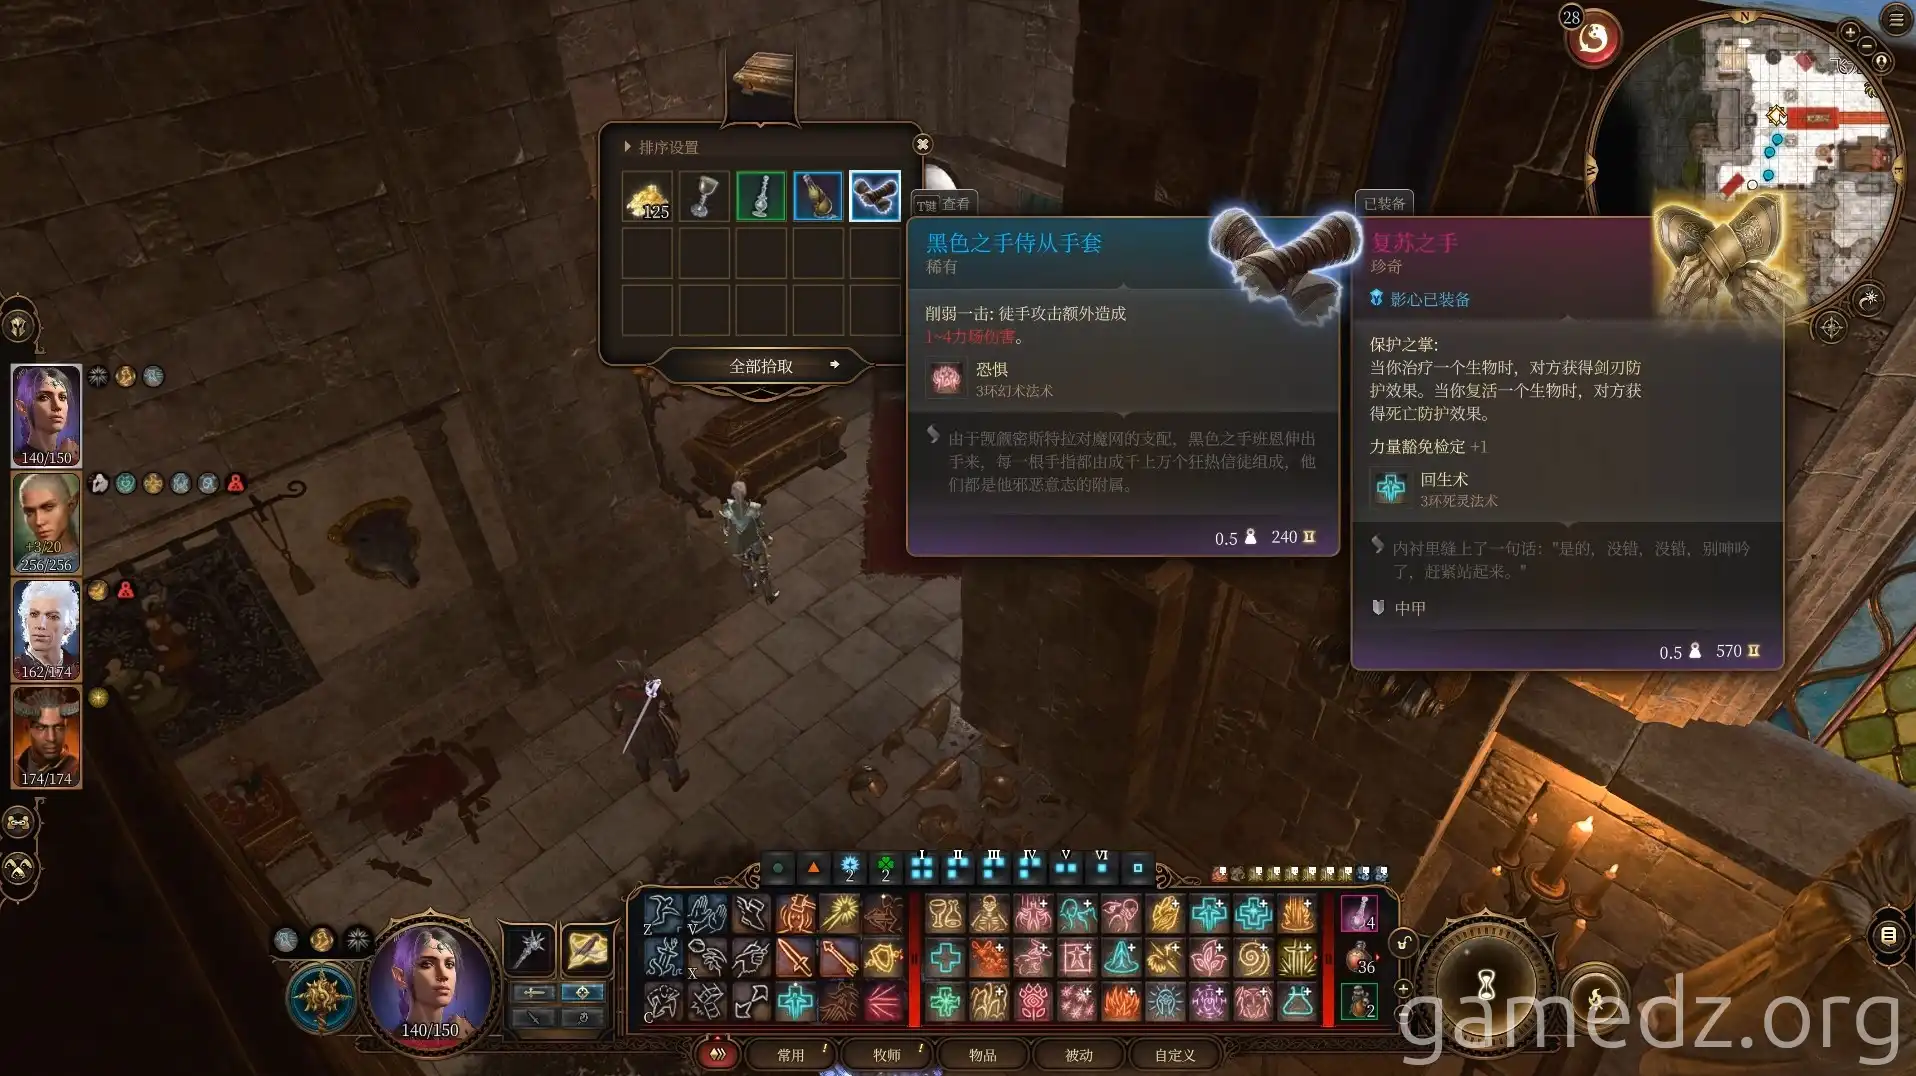
In a chest within the room, you can find the rare armor "Black Hand Gloves."
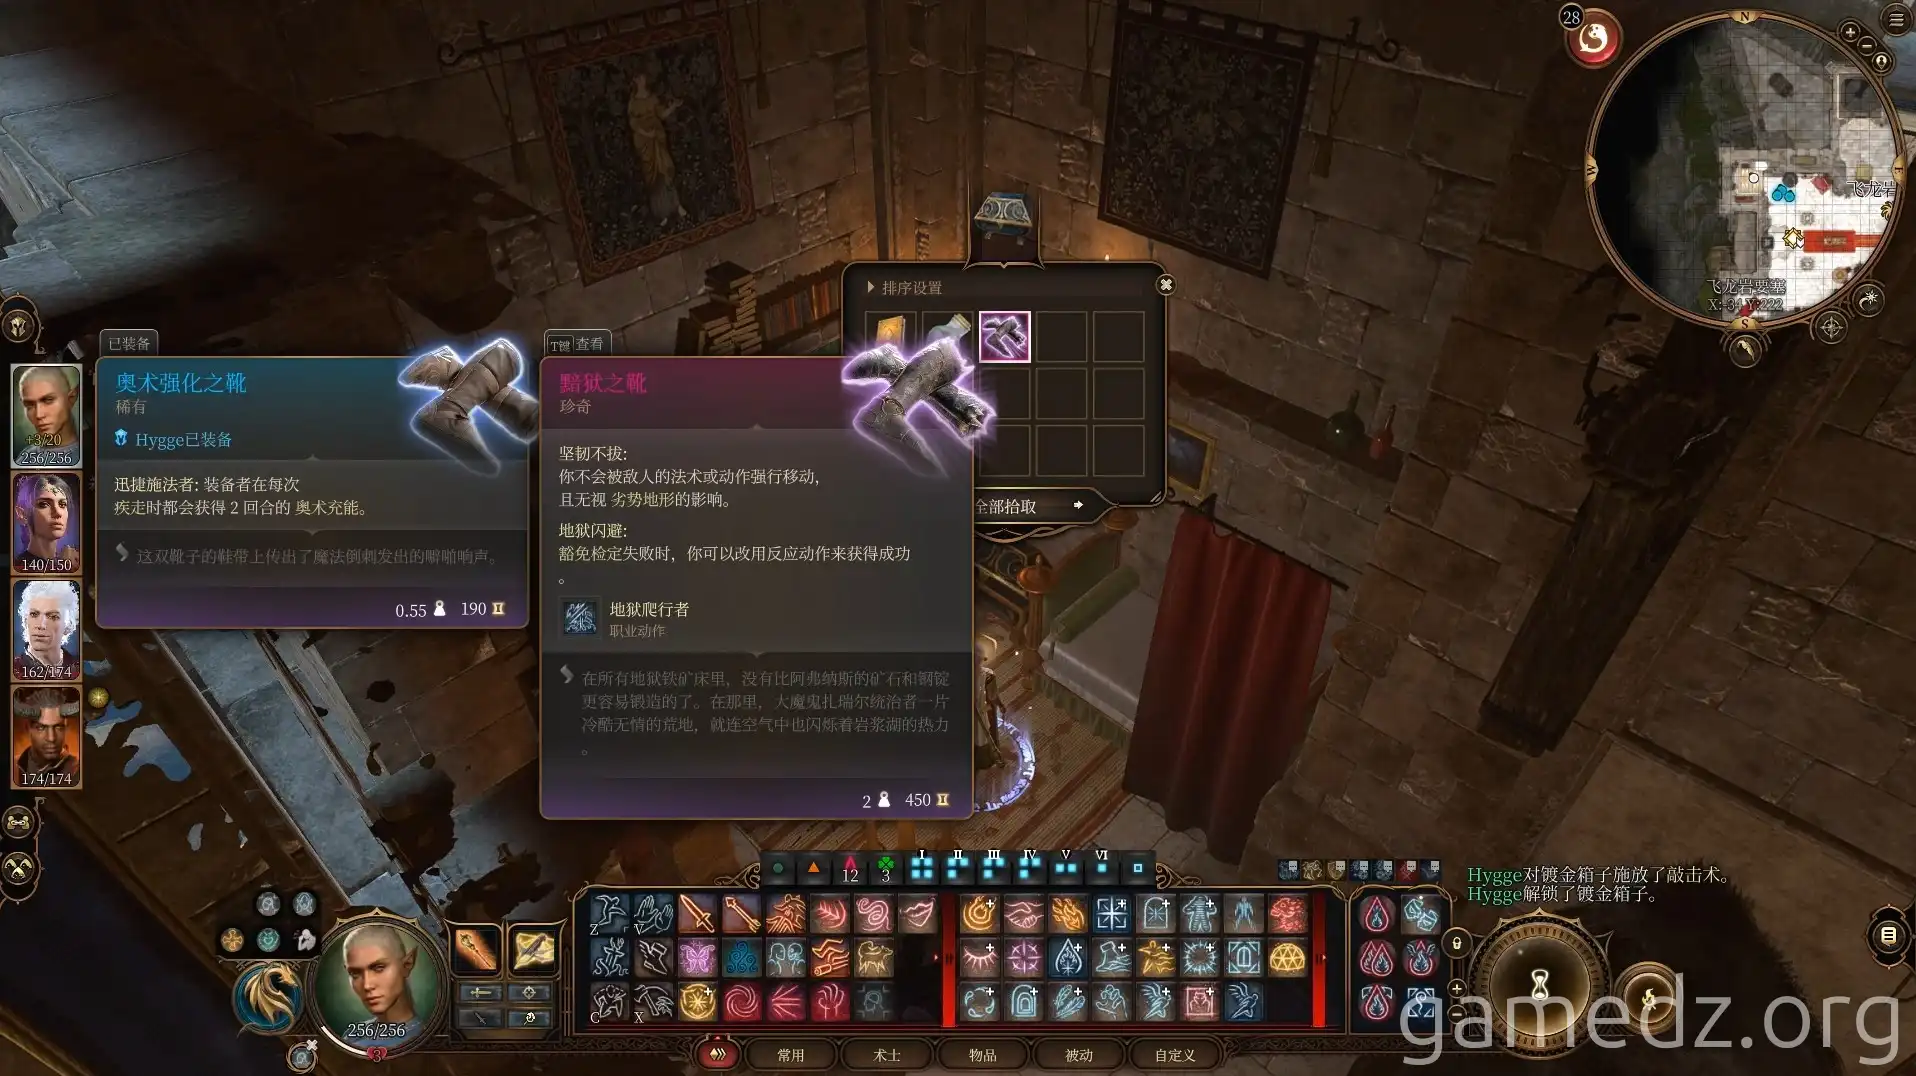
In the chest next to the bed, you'll find a rare armor piece, "Abyssal Greaves," and an Illithid Tadpole specimen.
Afterward, return to the rooftop terrace and head west via the path south of Gortash's room.
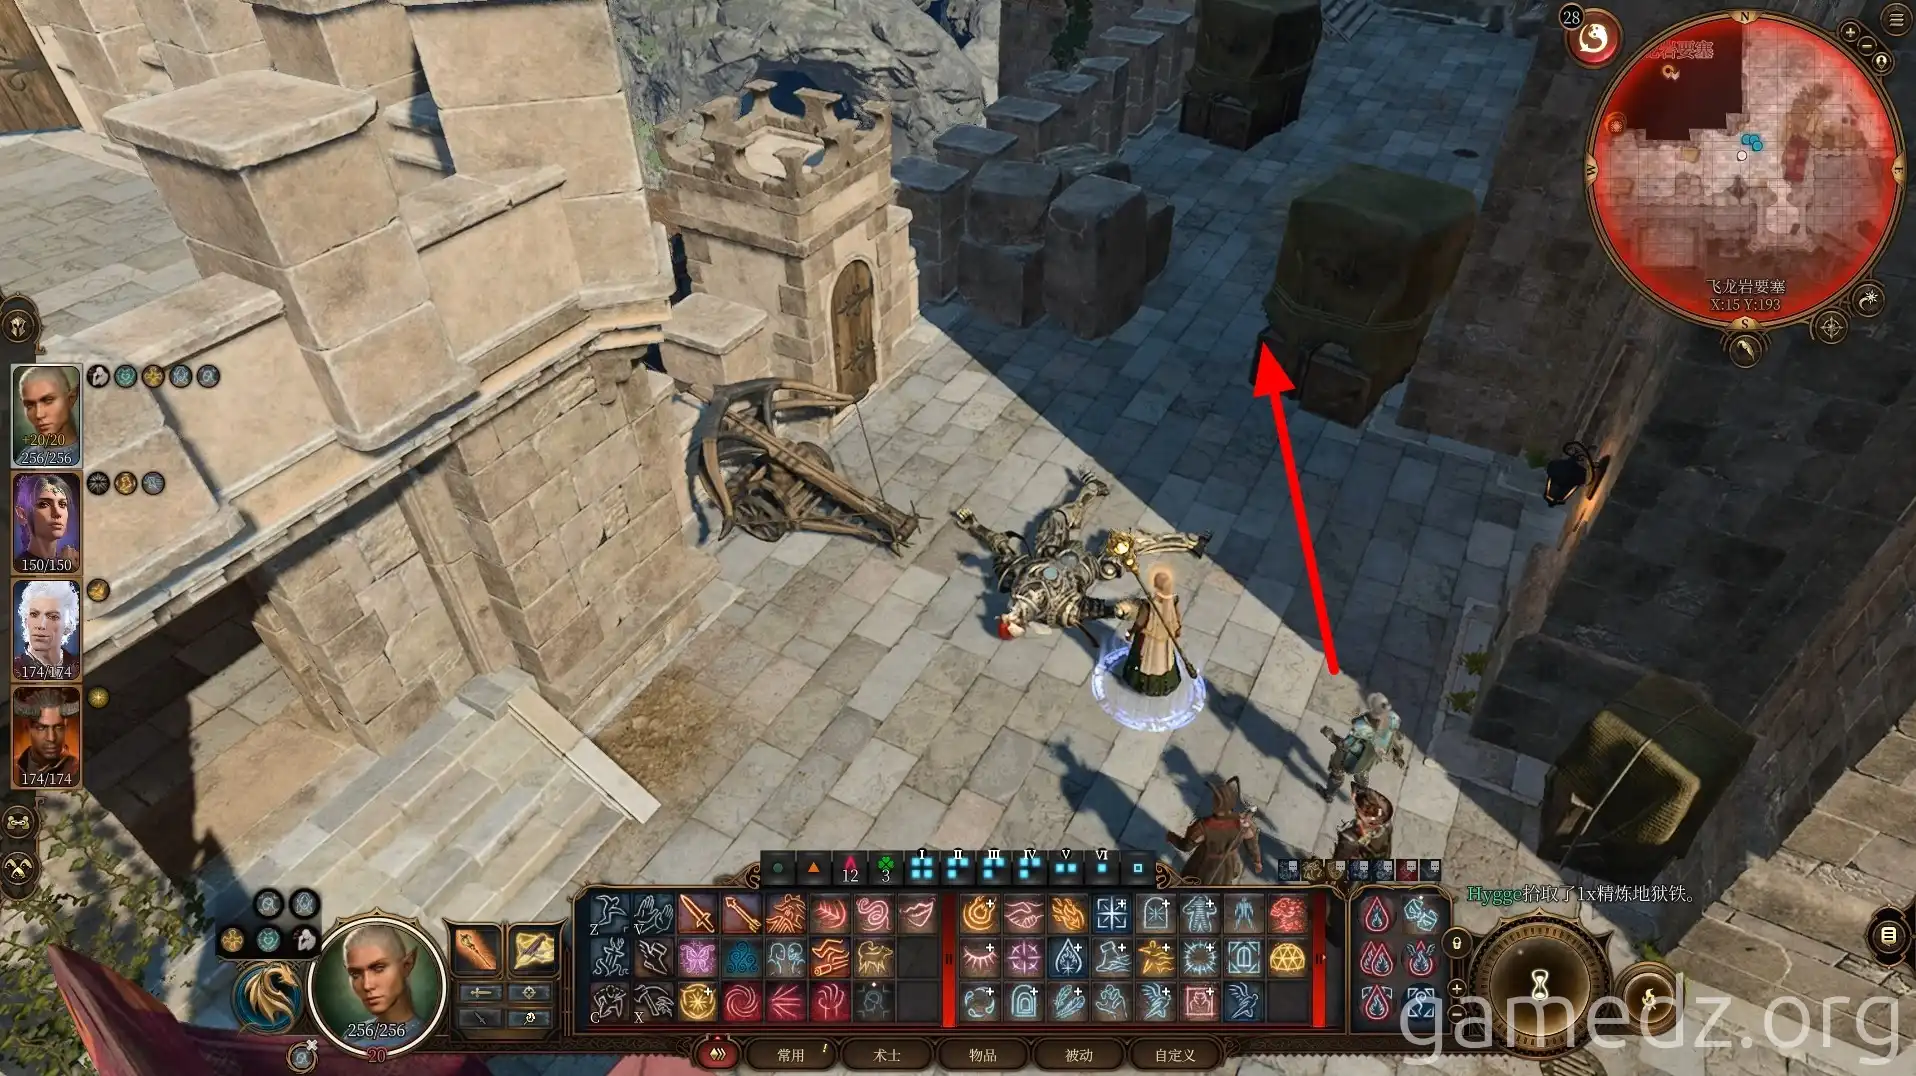
Spells like Fly and Misty Step can be used to reach the roof of Gortash's room.
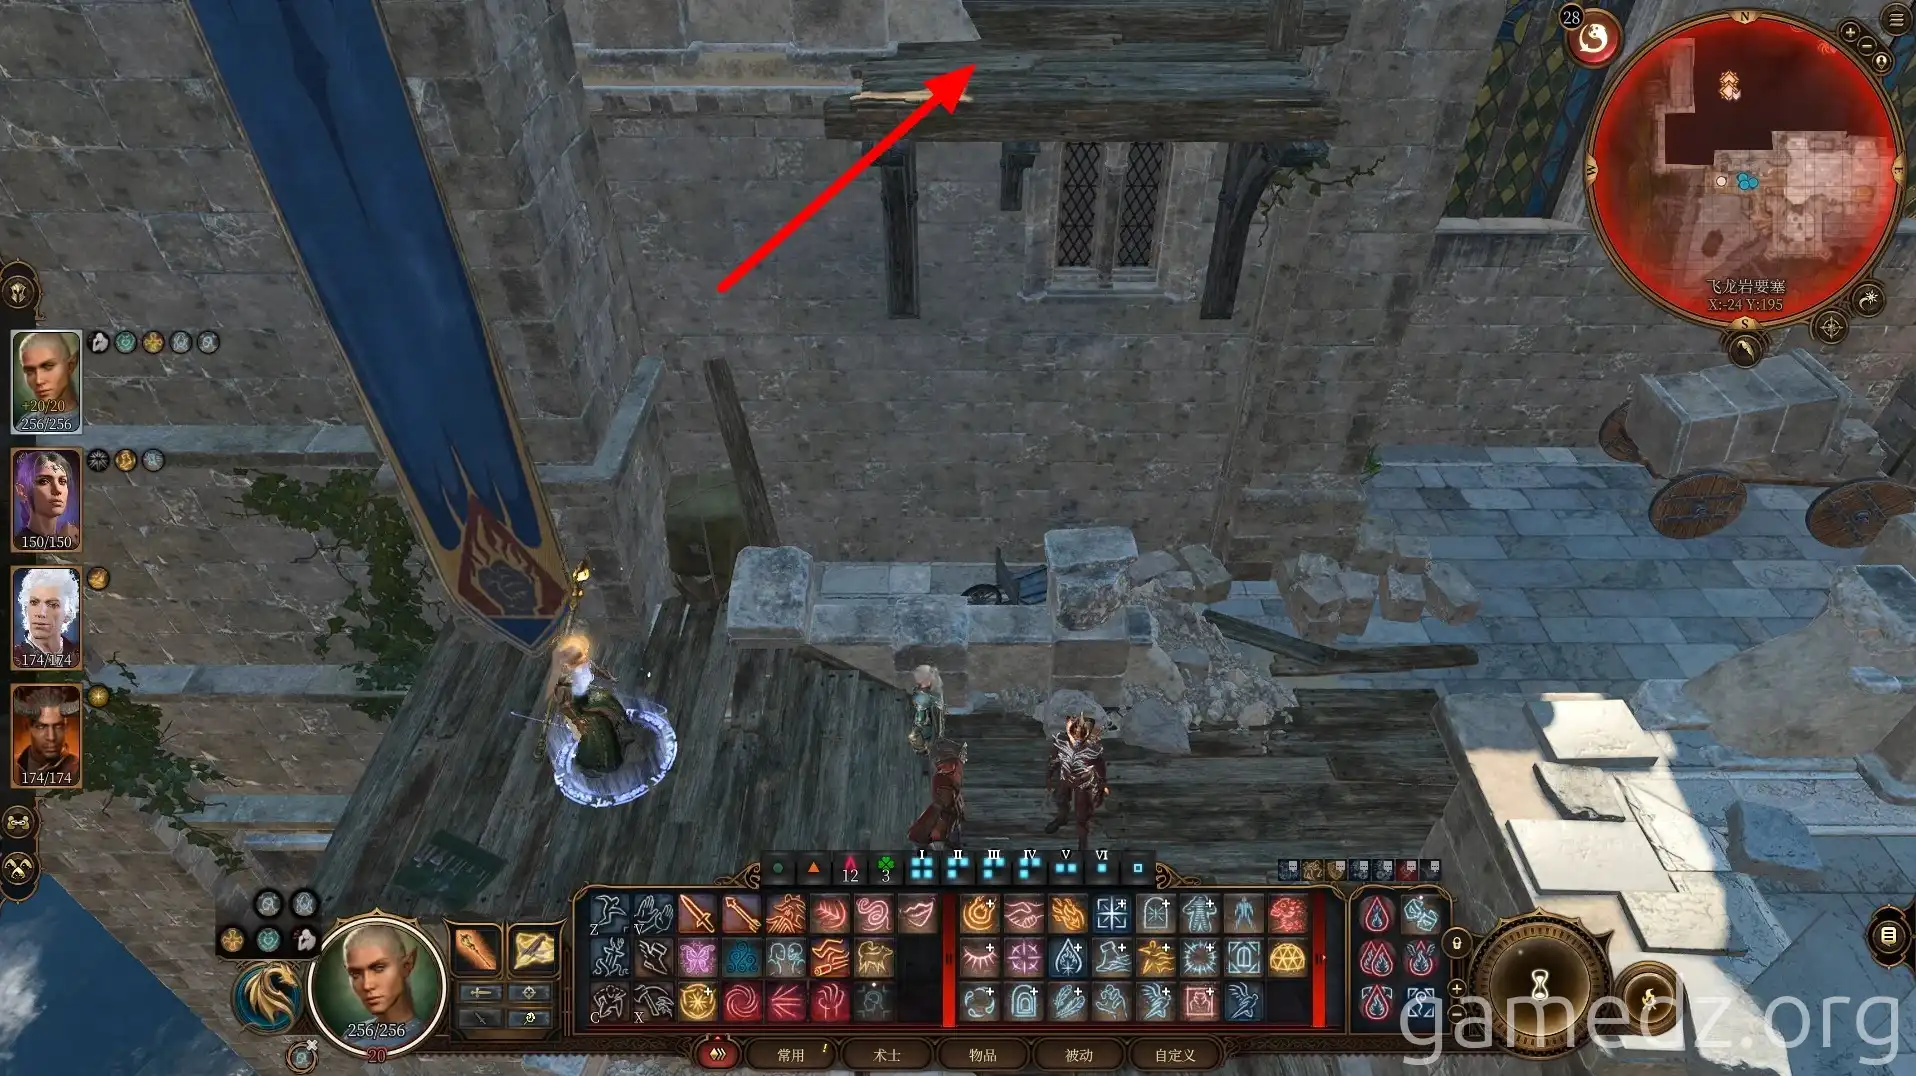
You can then access the upper level of Gortash's room. After looting, teleport back to the lower levels of Wyrm's Rock Fortress.
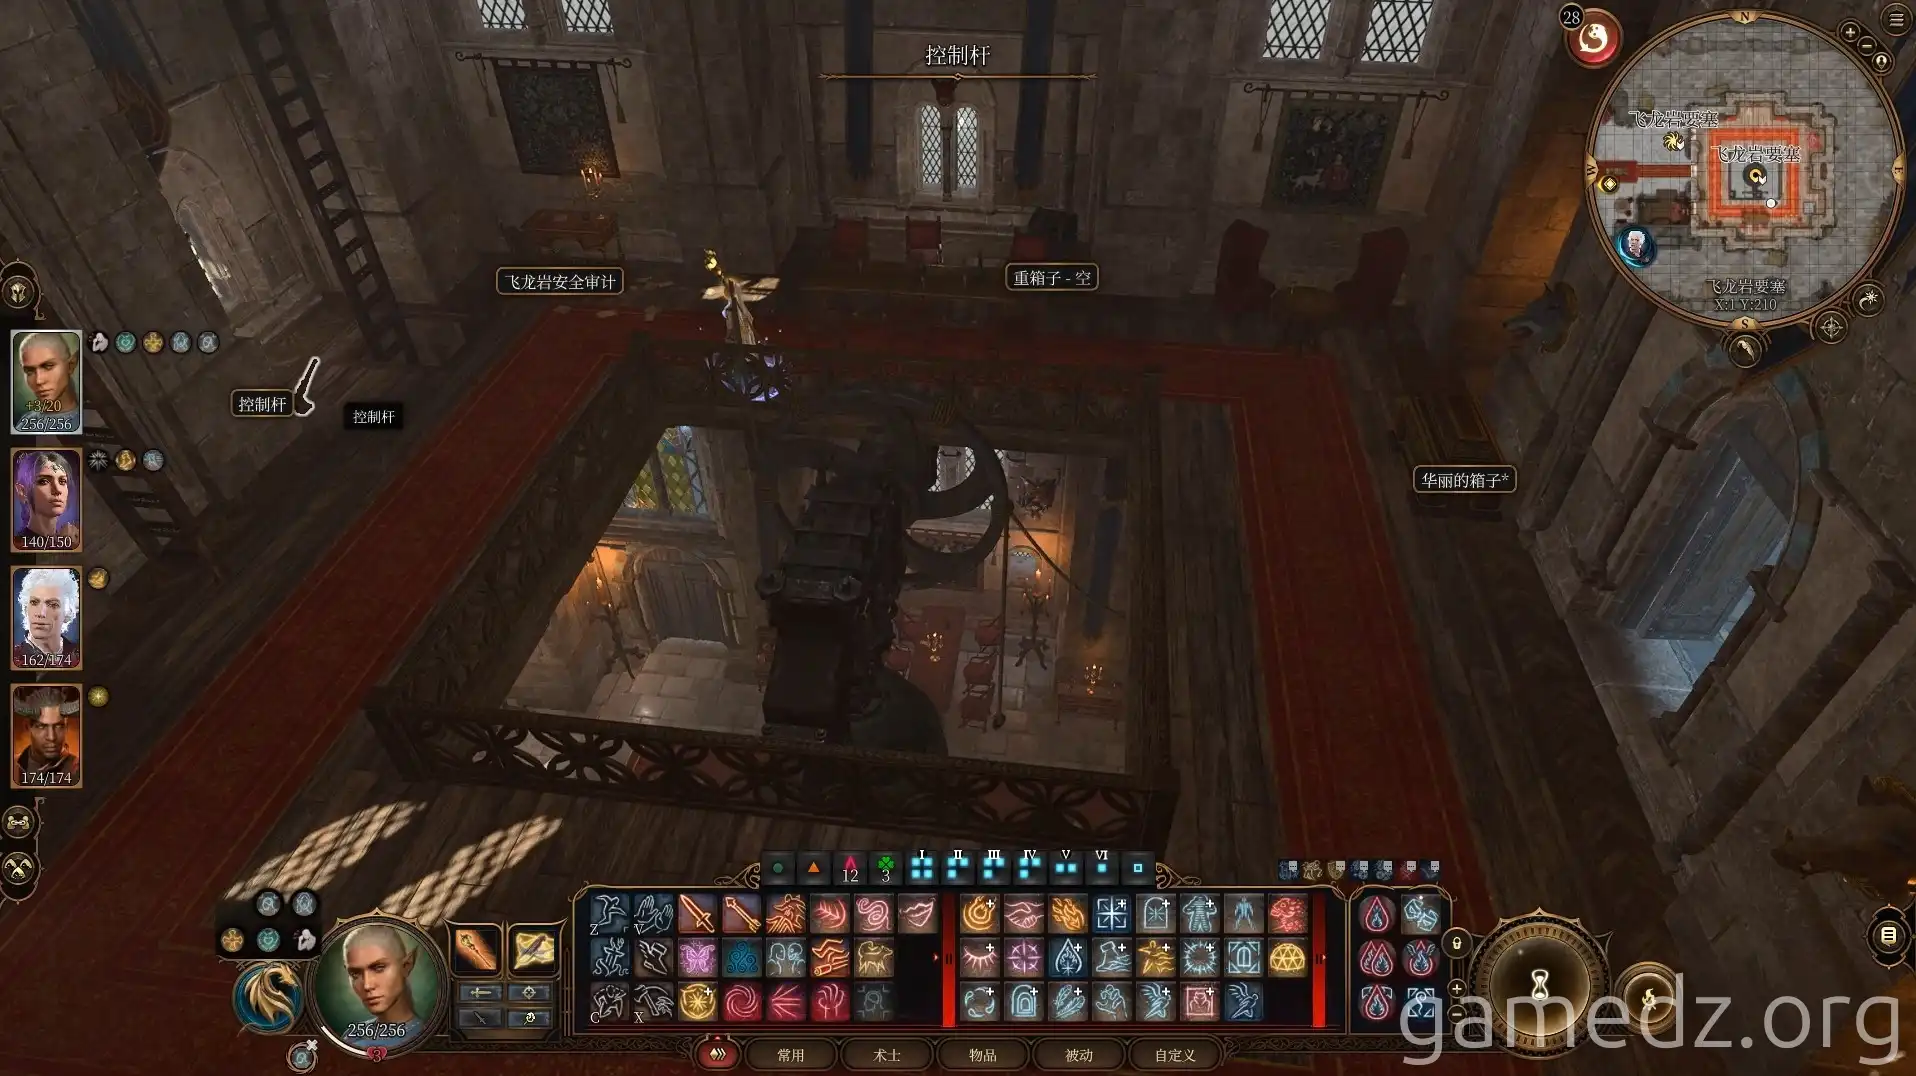
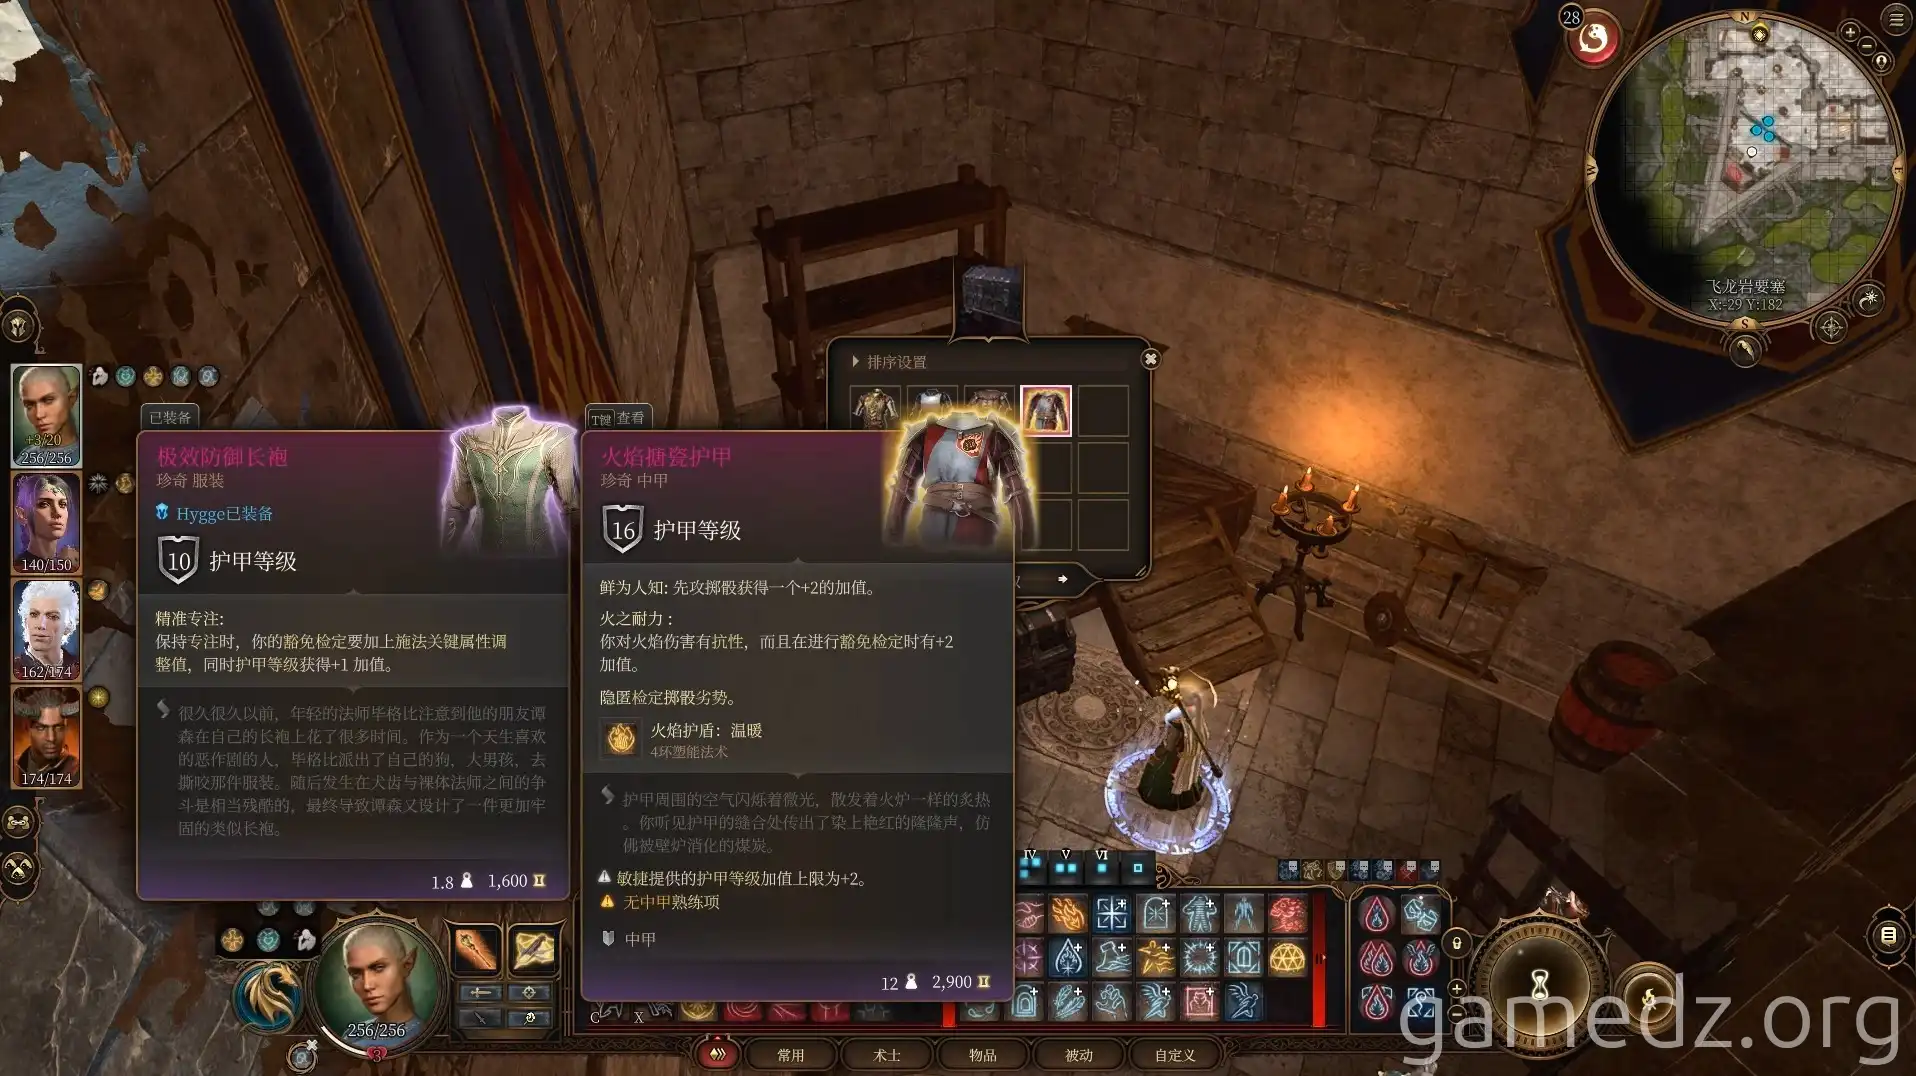
In the chest behind the Flaming Fist Quartermaster earlier, you can find the rare armor "Flame Enamelled Mail."
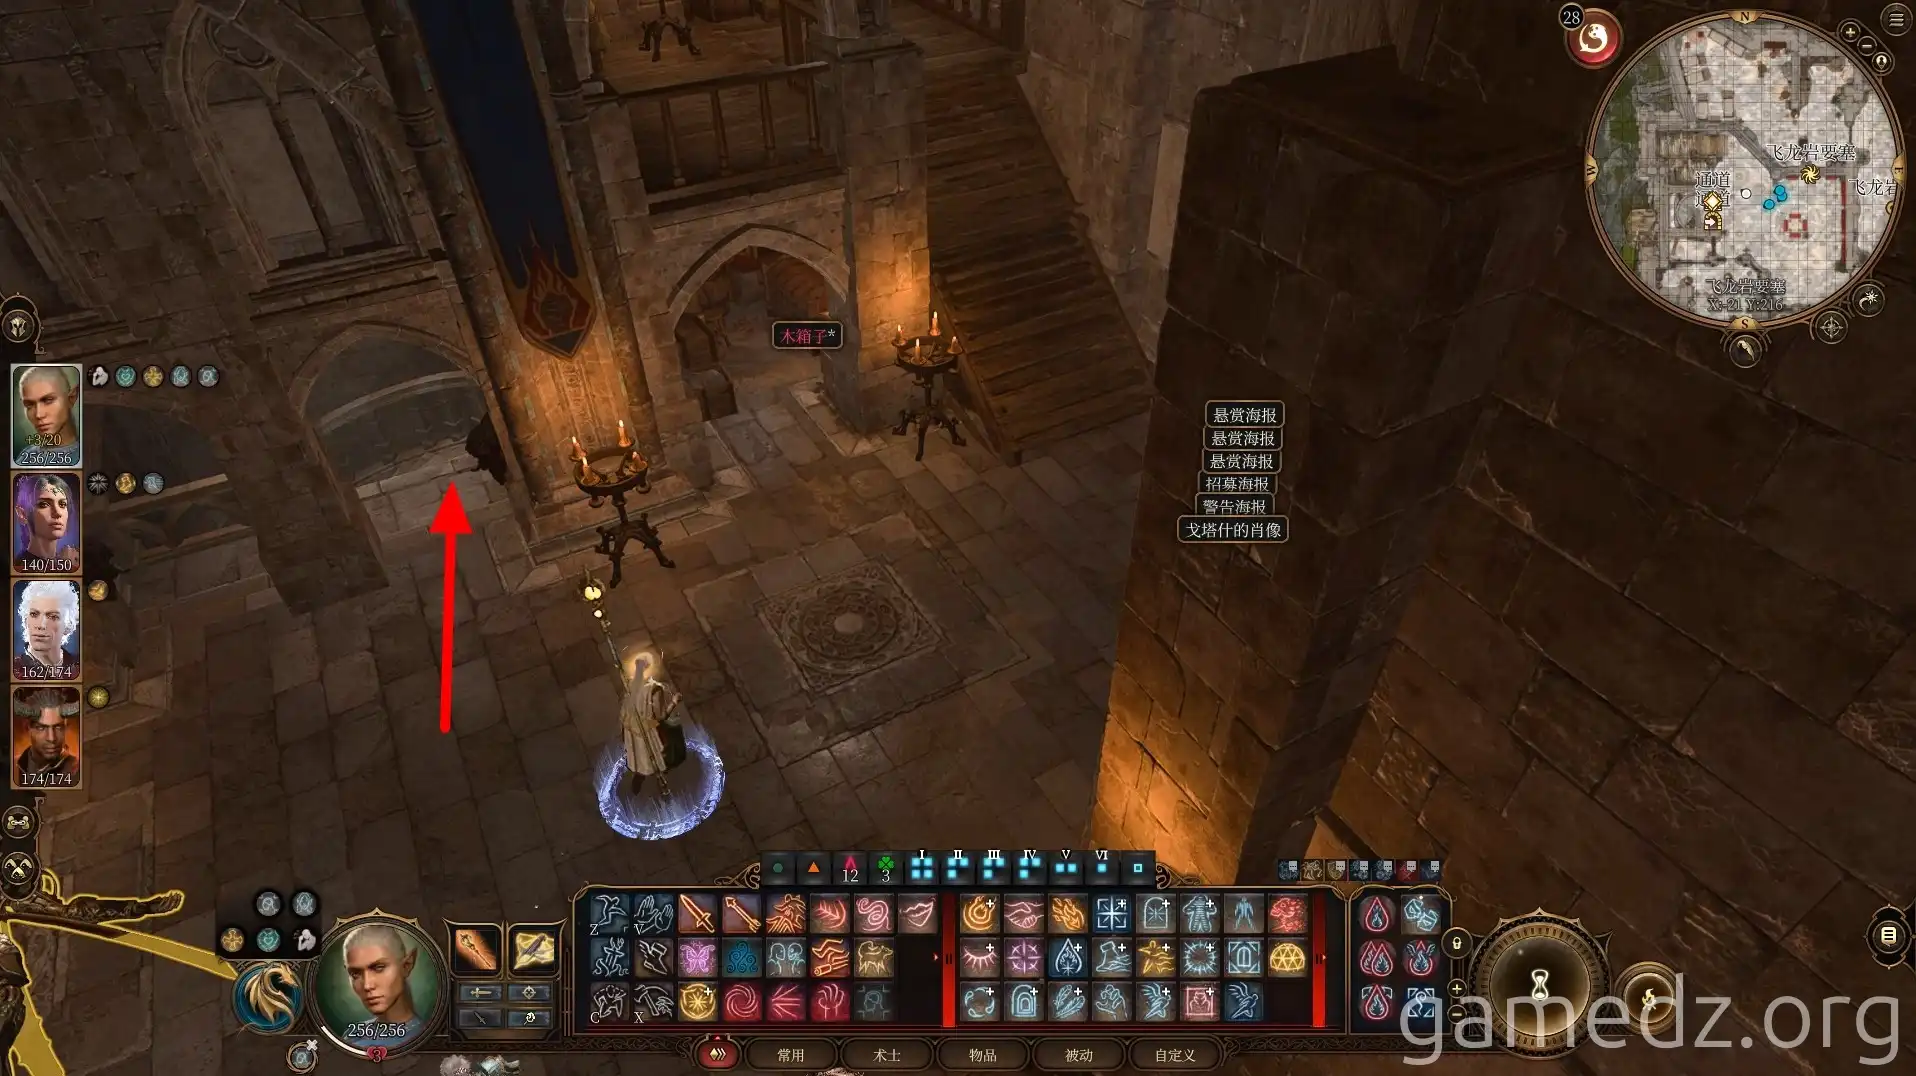
Enter Wyrm's Rock Prison through the passage next to the waypoint.
Once inside the prison, proceed to the western room and use lightning-based attacks on the two dragon-head torches on the wall.
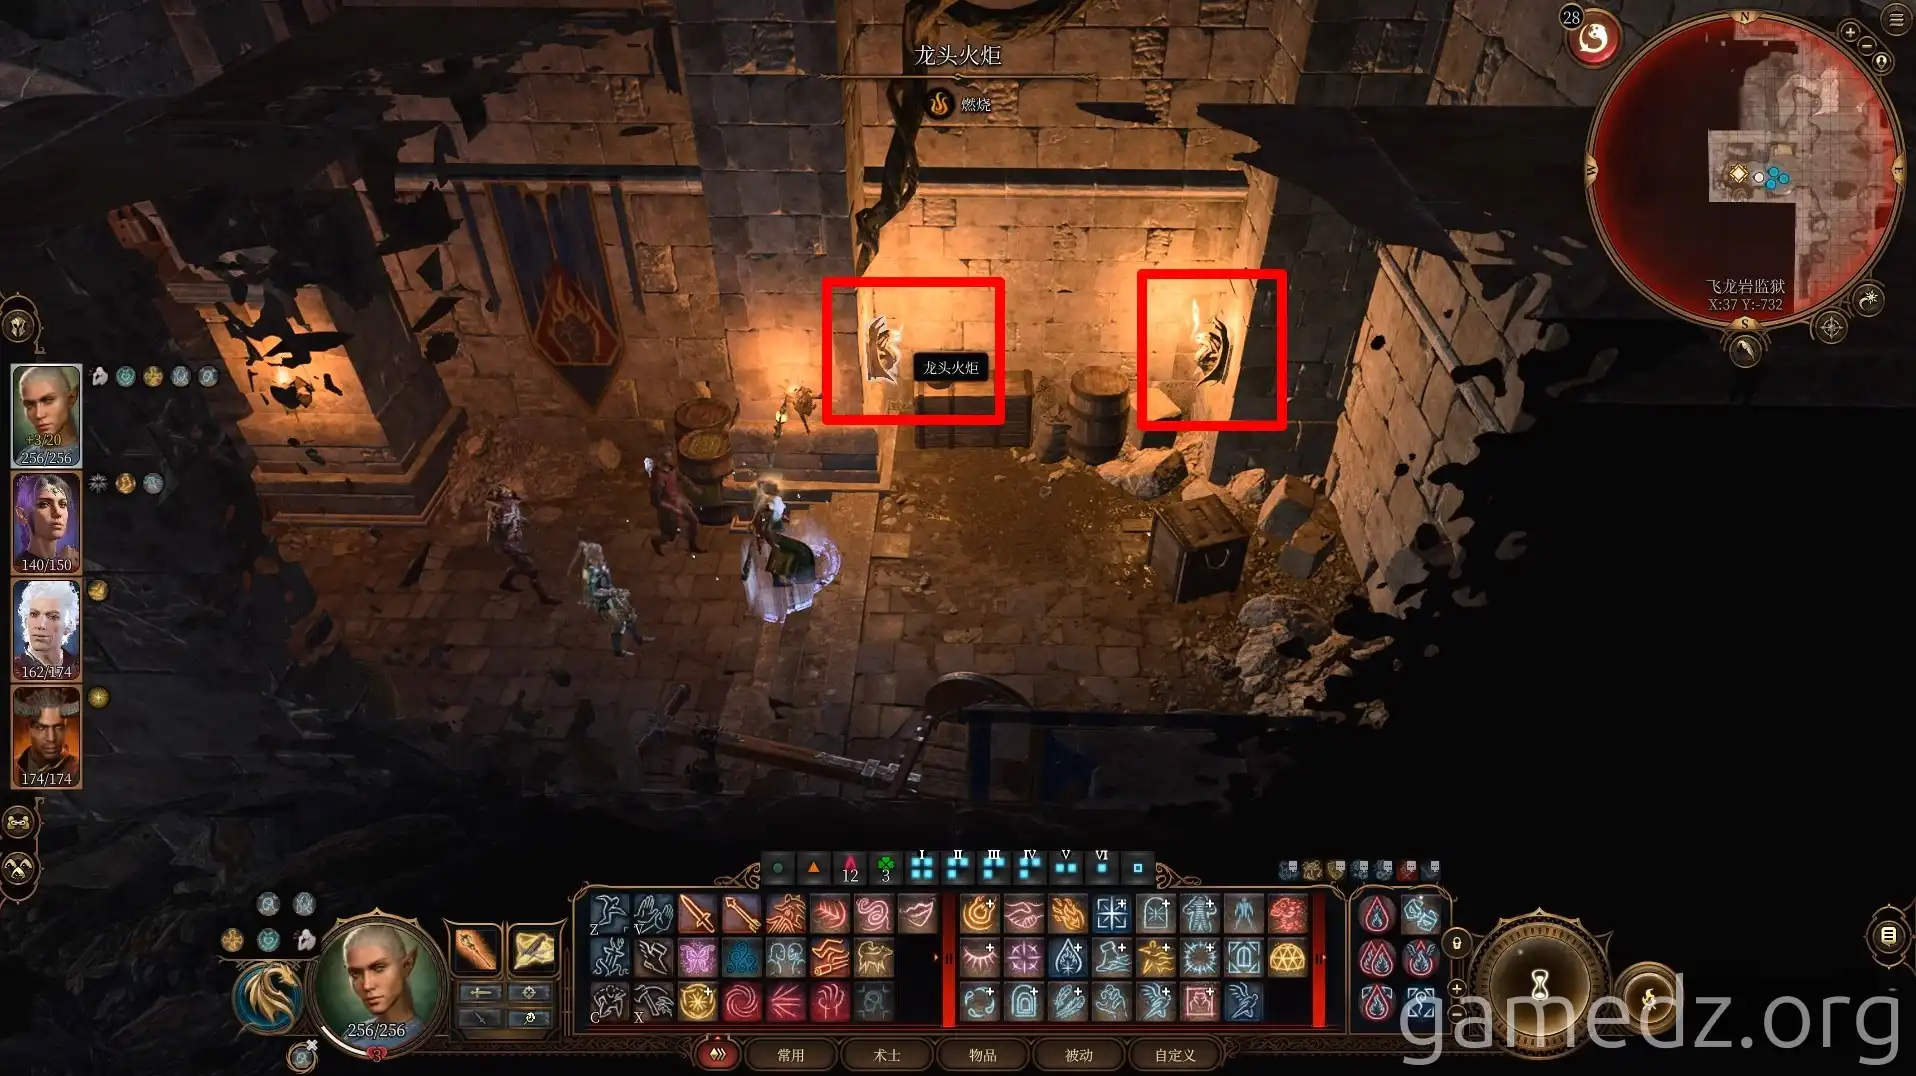
Successfully doing so will turn the two dragon-head torches blue, opening the wall in the center. Pass through the wall to continue deeper.
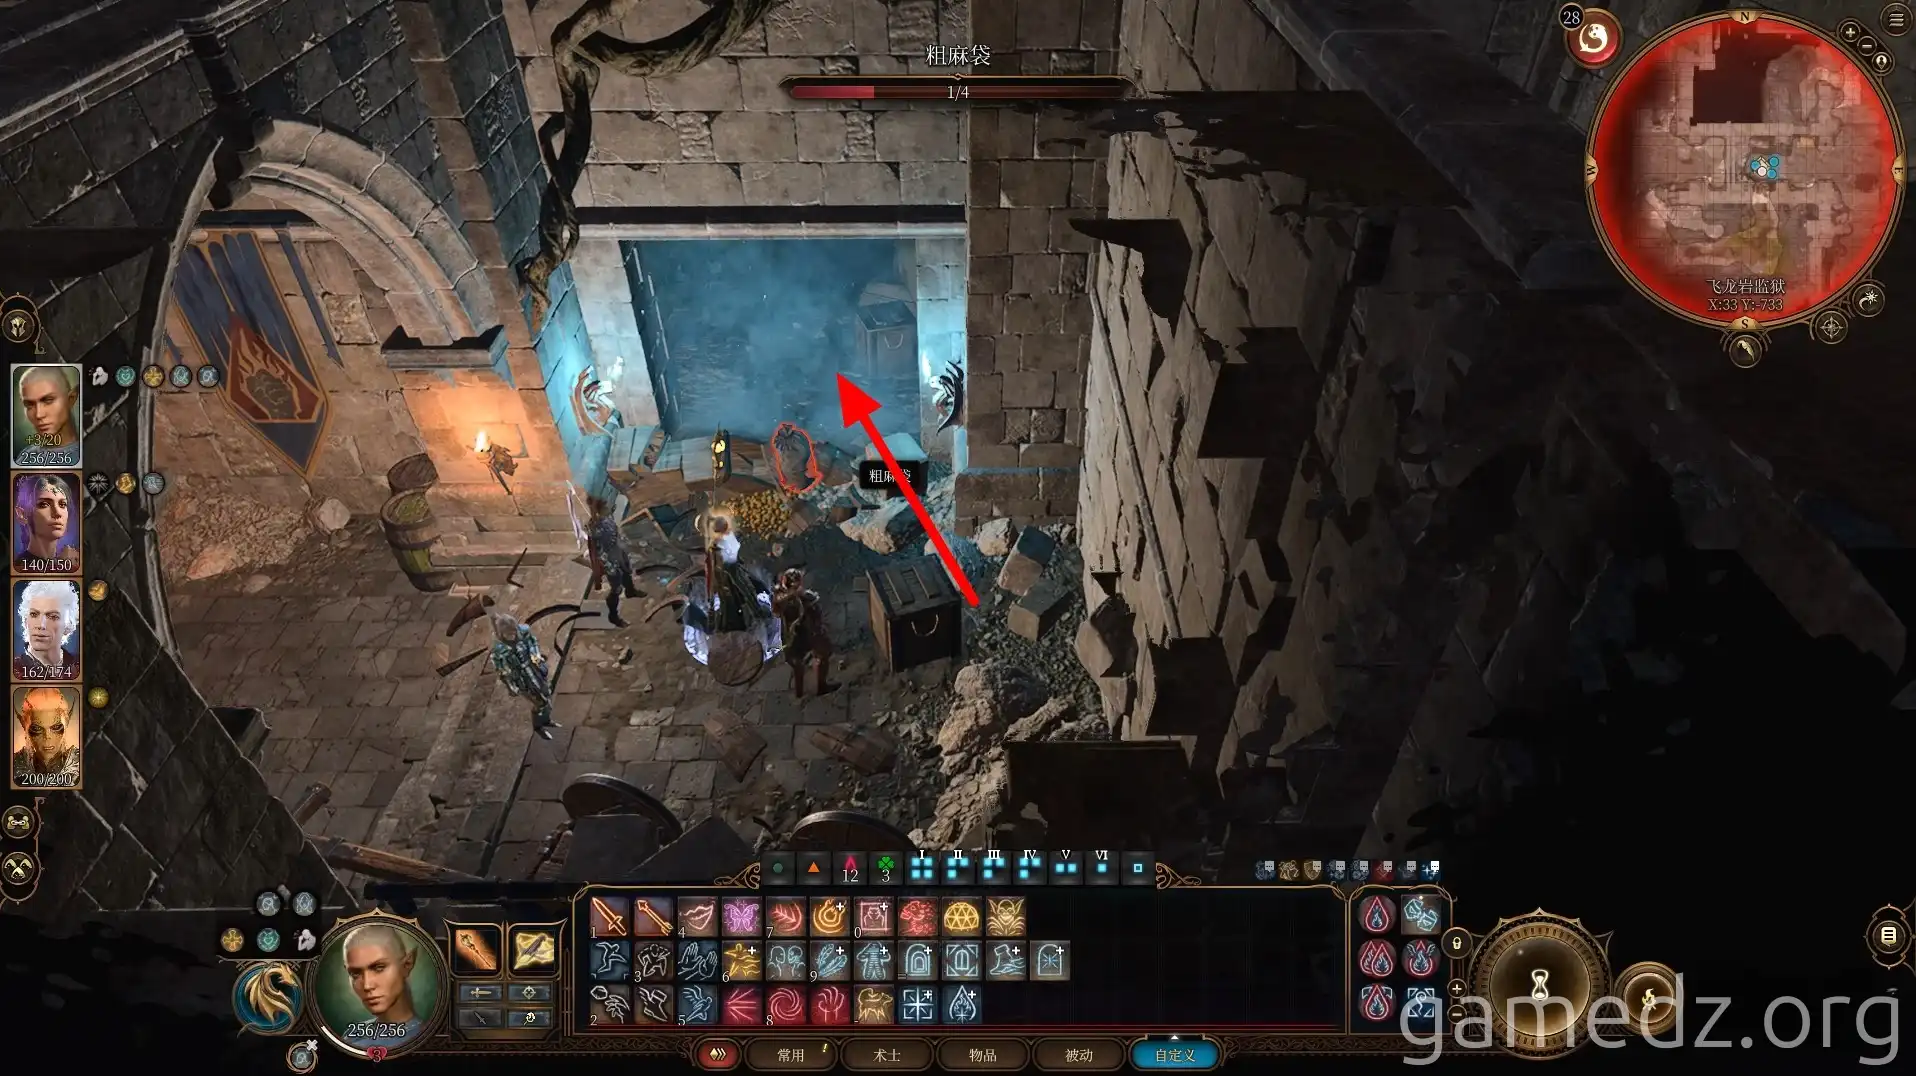
Follow the path straight ahead and enter the Ancient Dragon's Path through the iron gate at the very front.
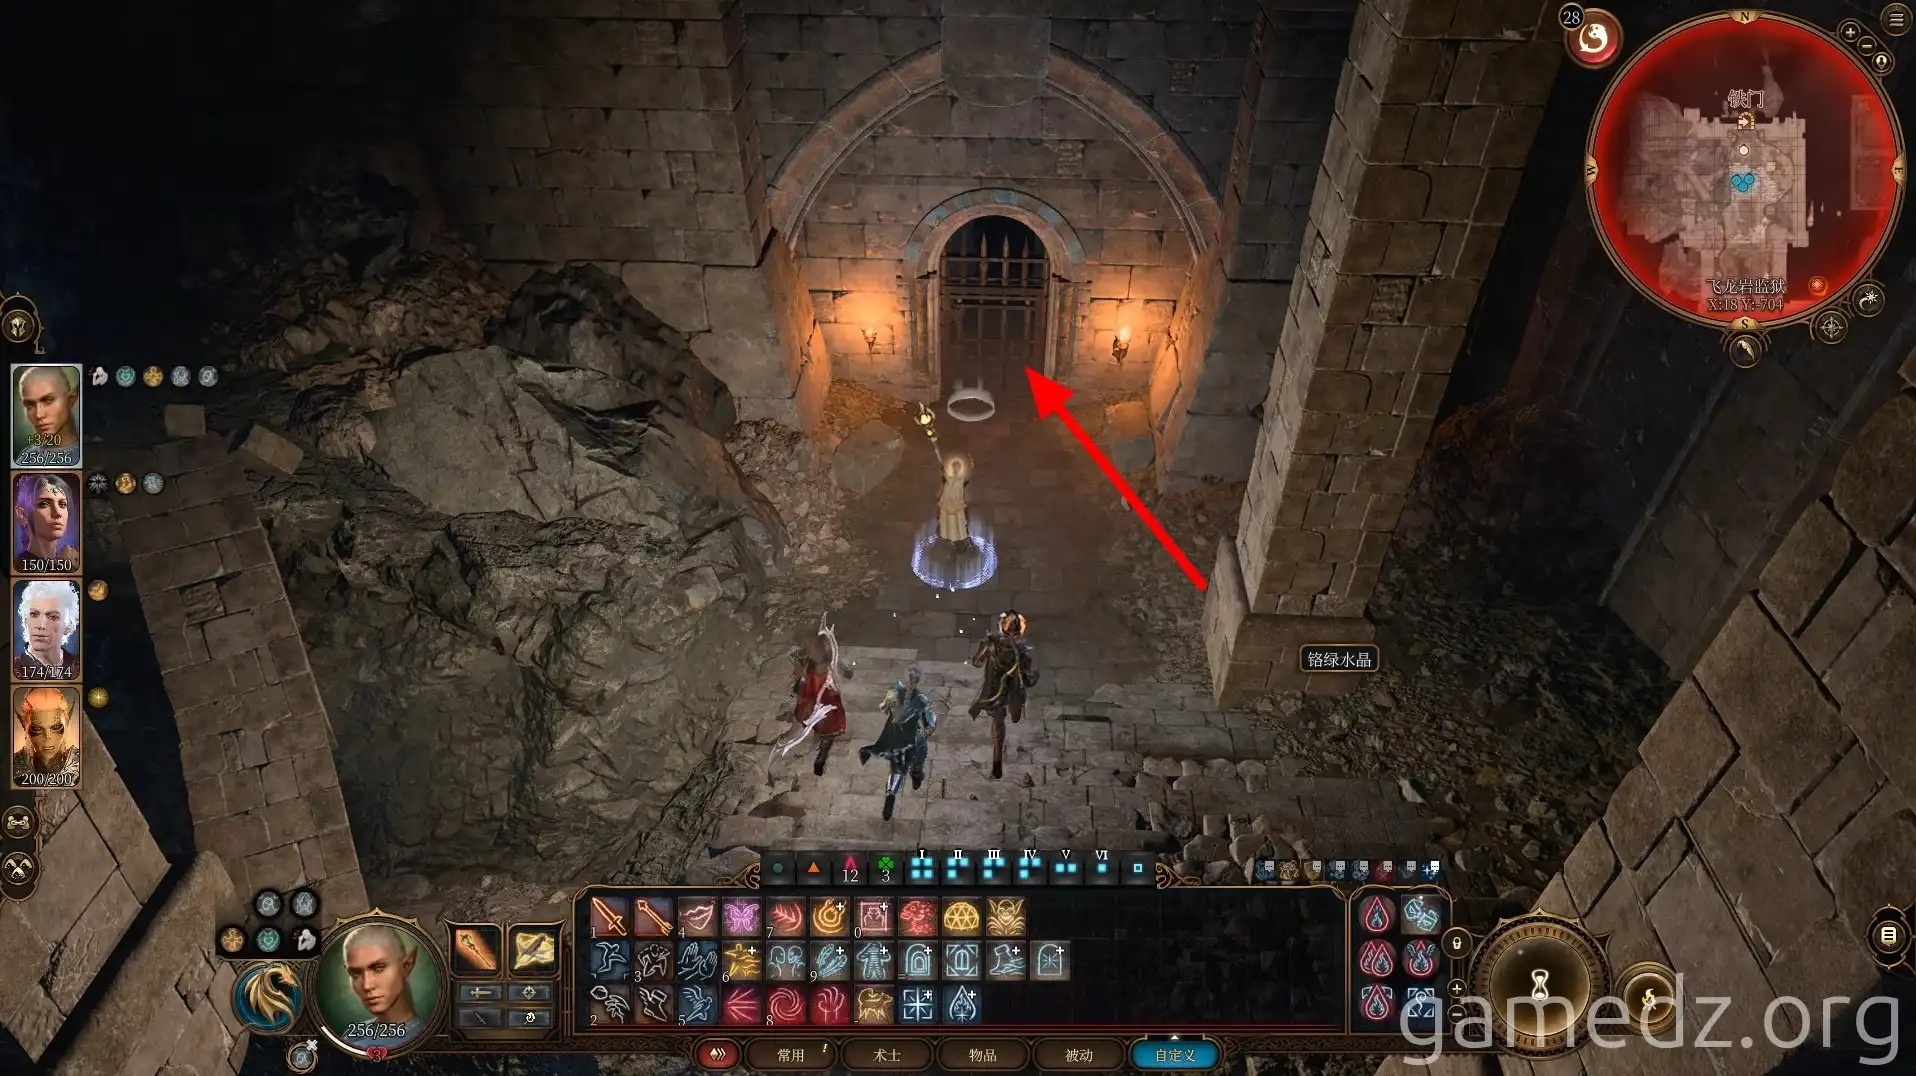
Interact with the Balduran statue in front of the main gate and declare yourself the legendary hero to proceed further.
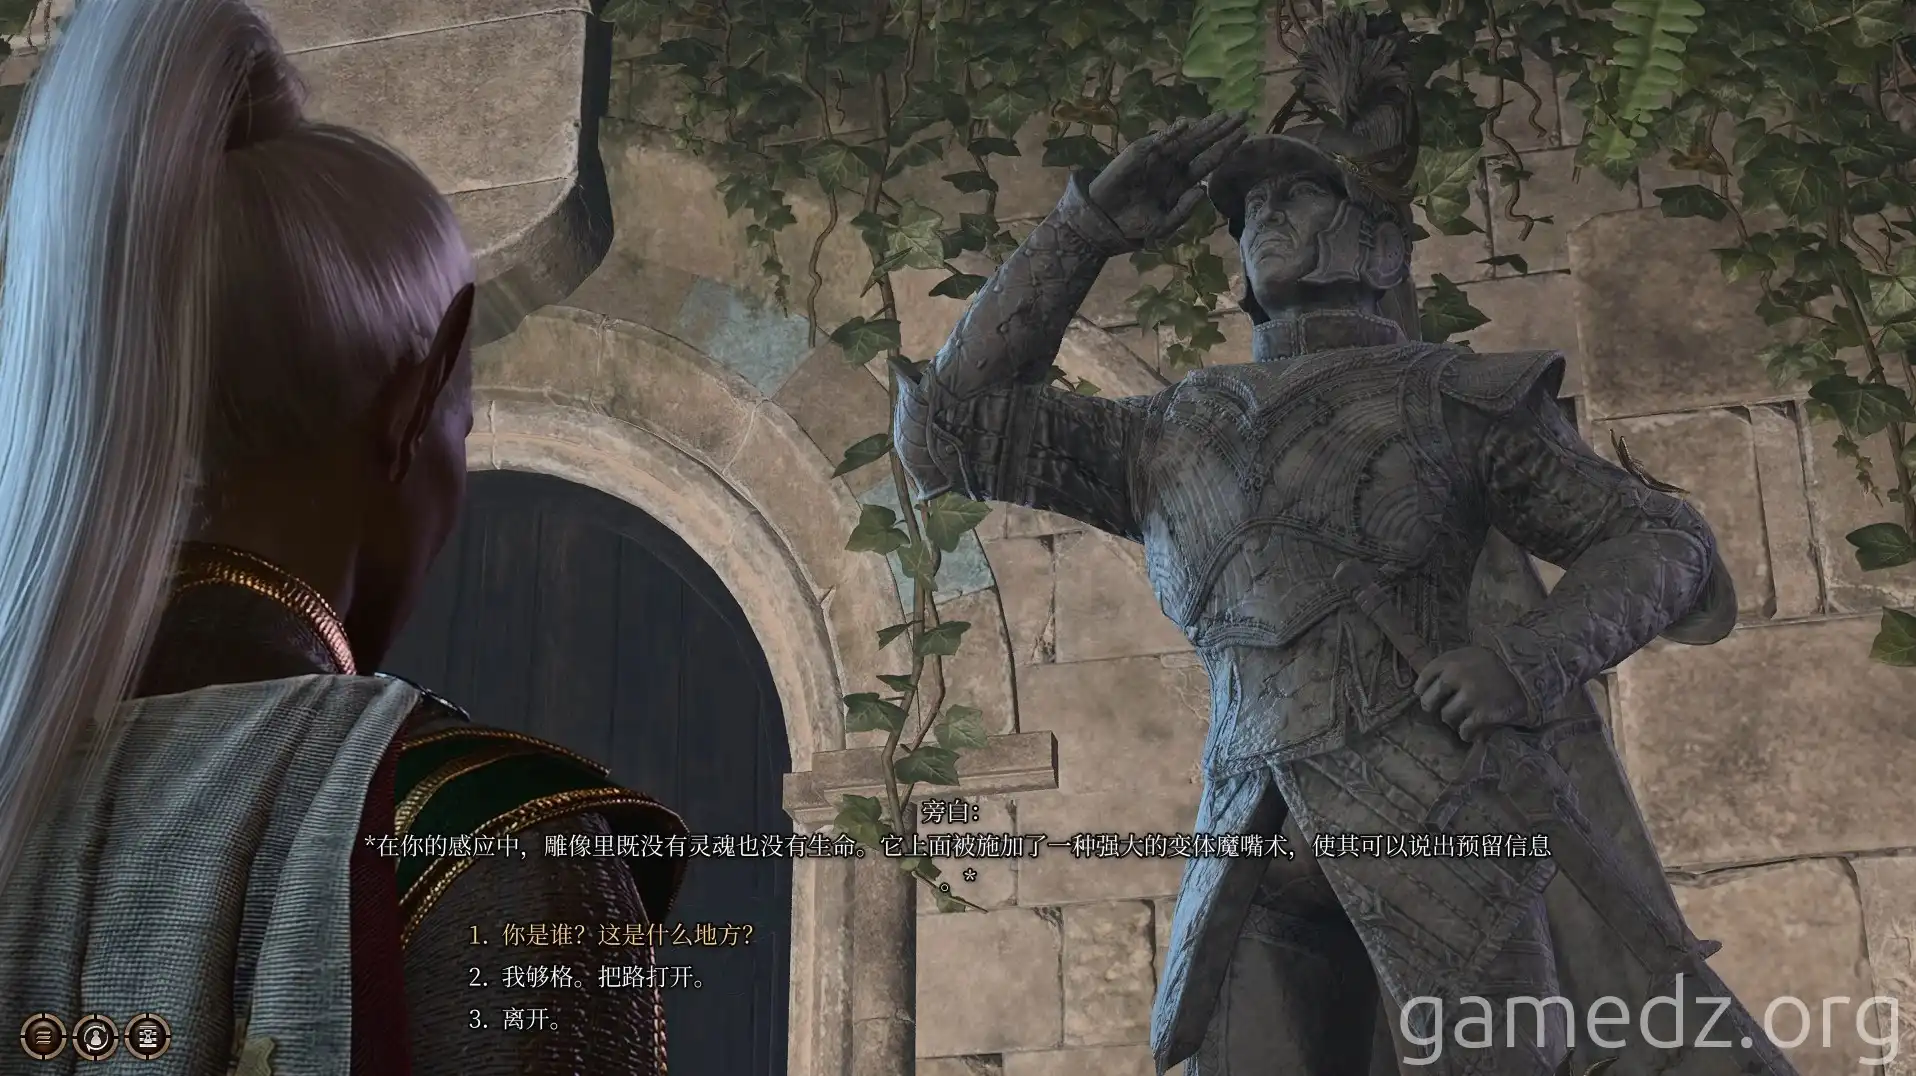
Upon reaching the hall shown below, the four paths on either side of the main entrance lead to four trials.
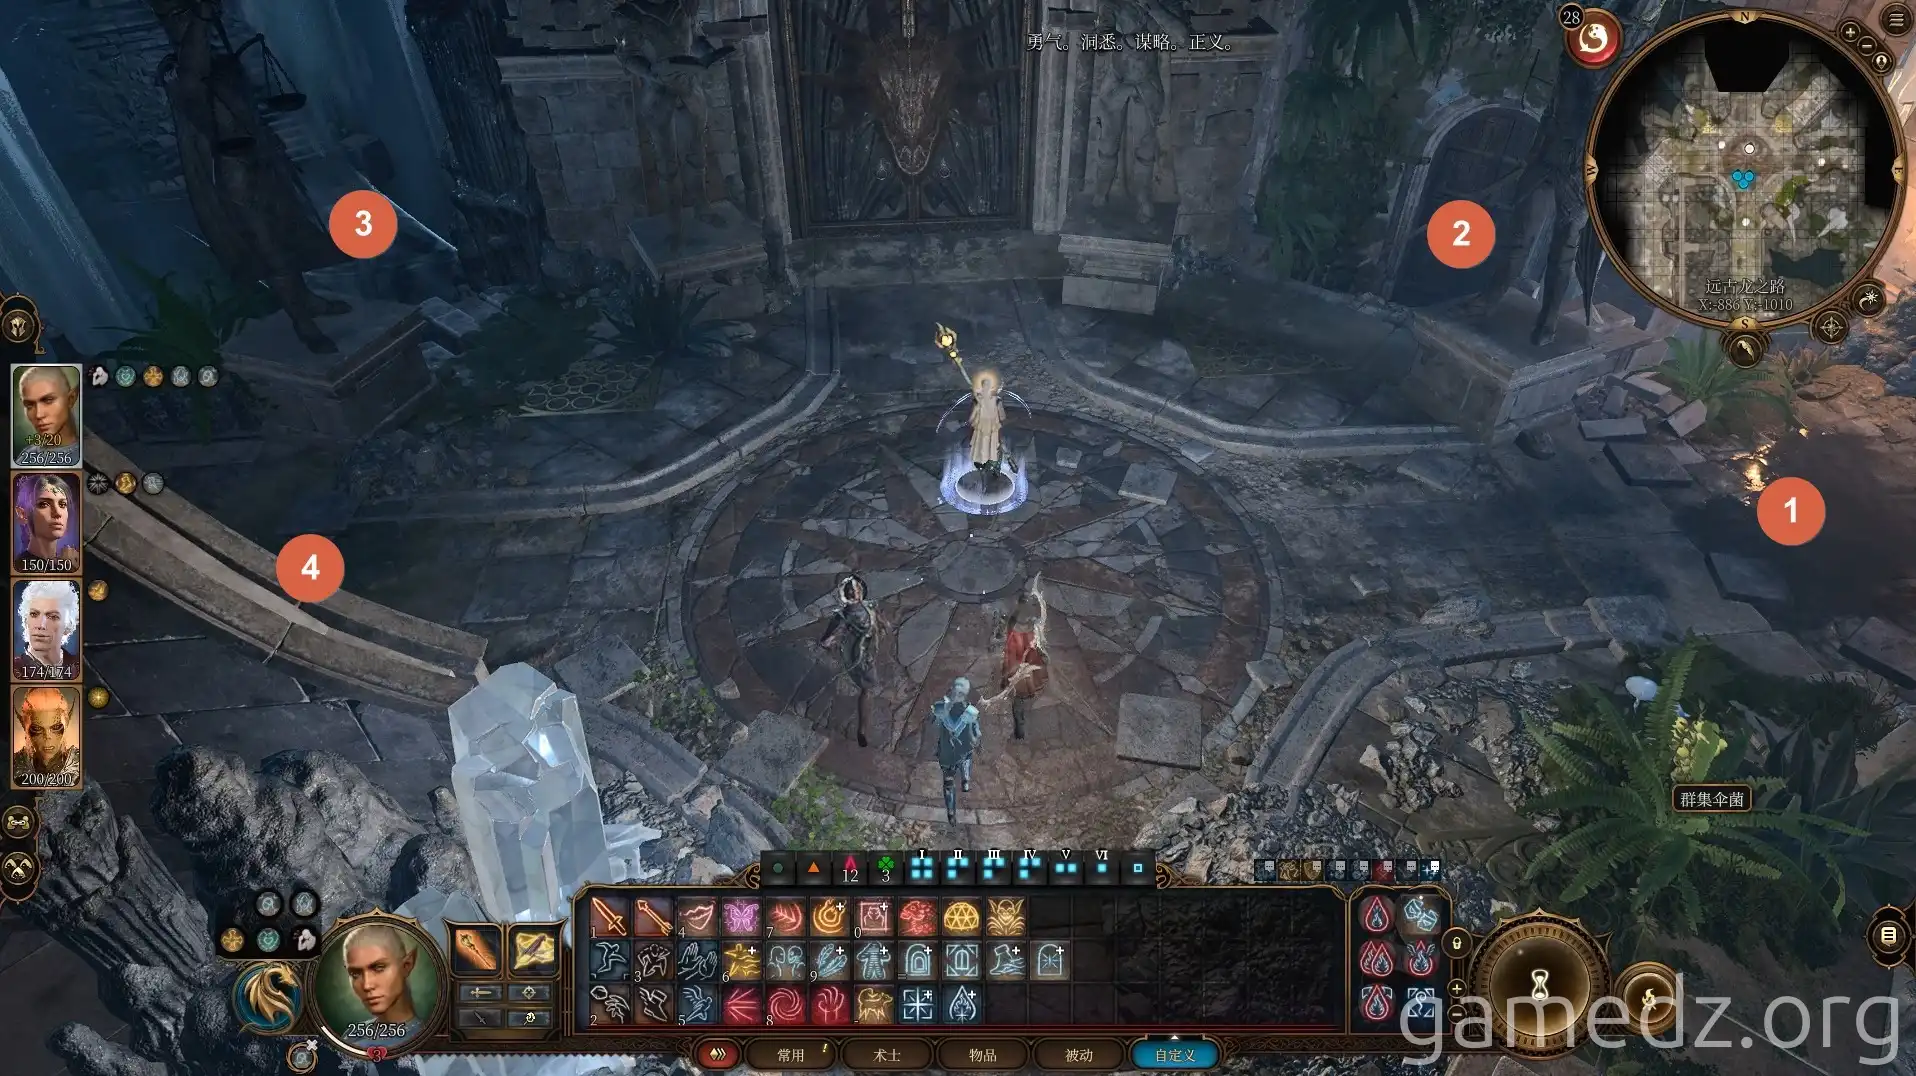
The first trial is the "Chamber of Courage." Interact with the statue and take the graveyard blue torch to begin the trial.
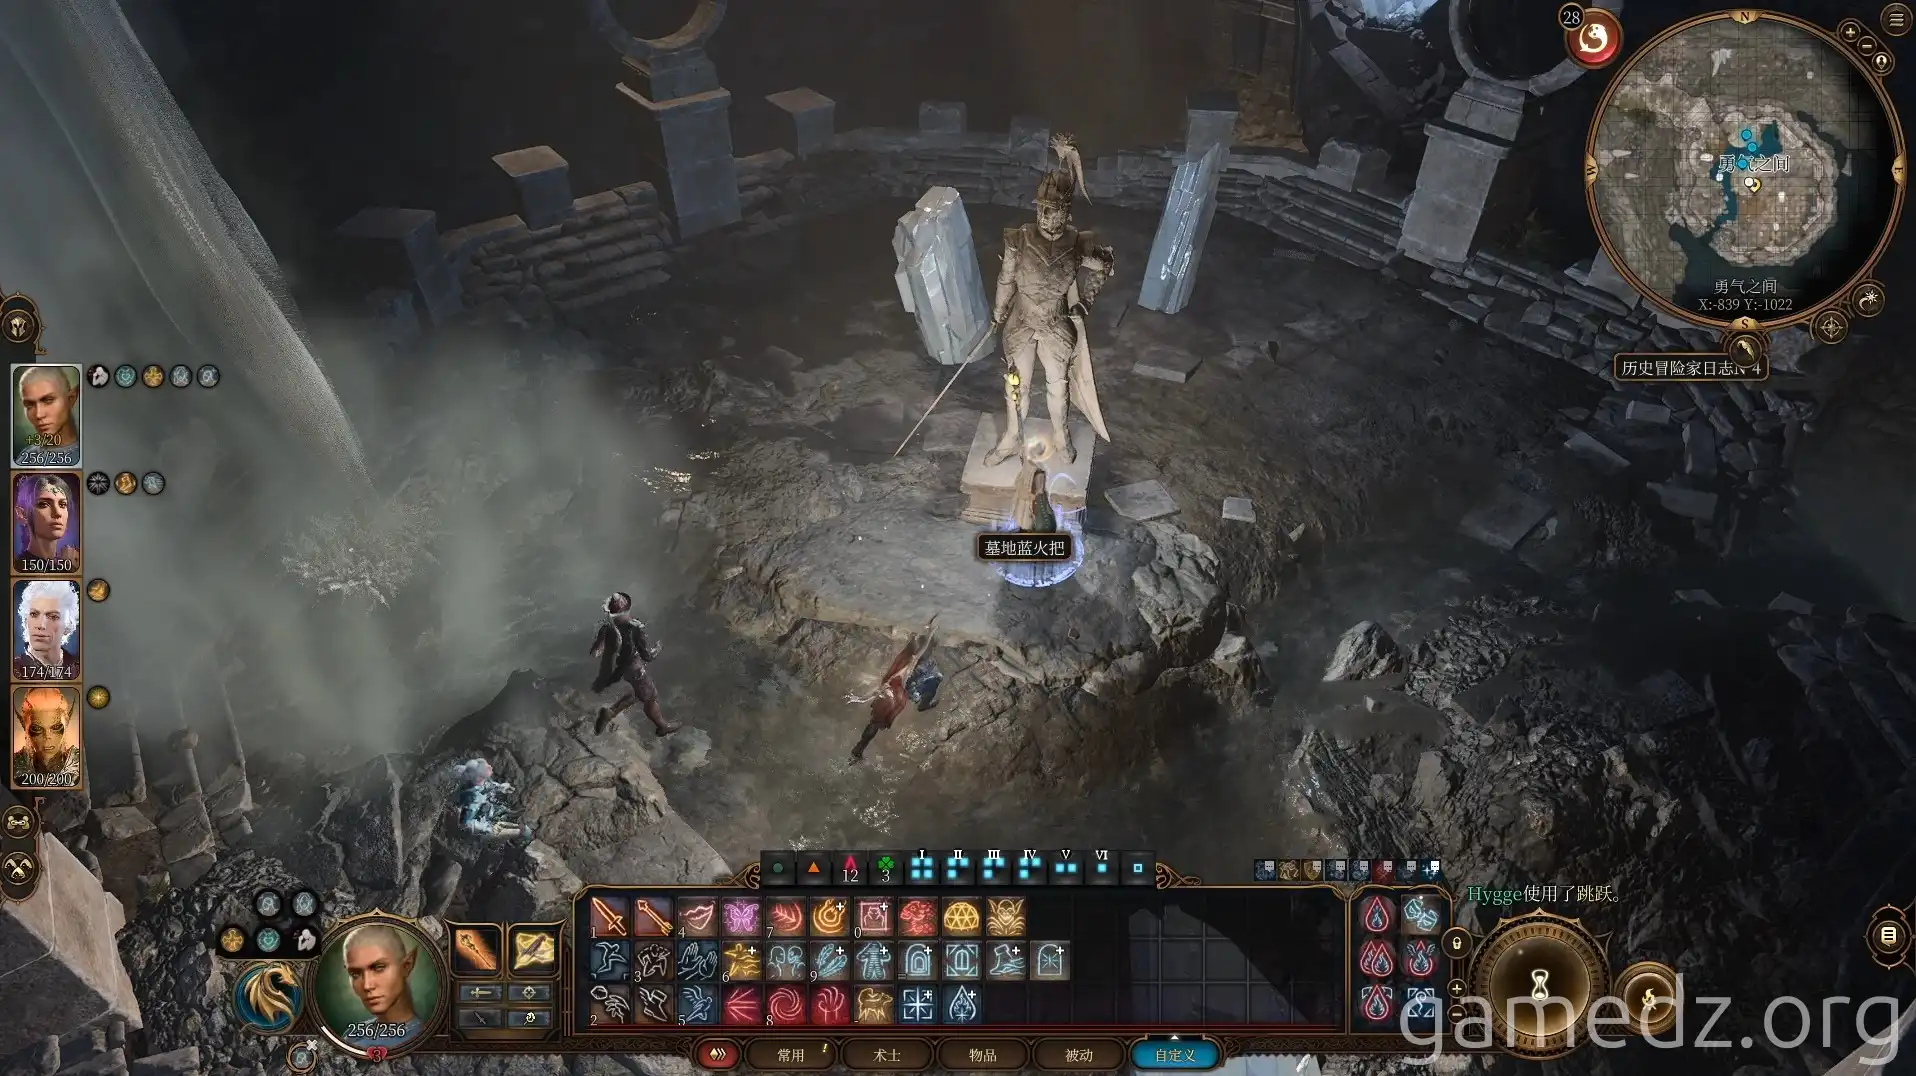
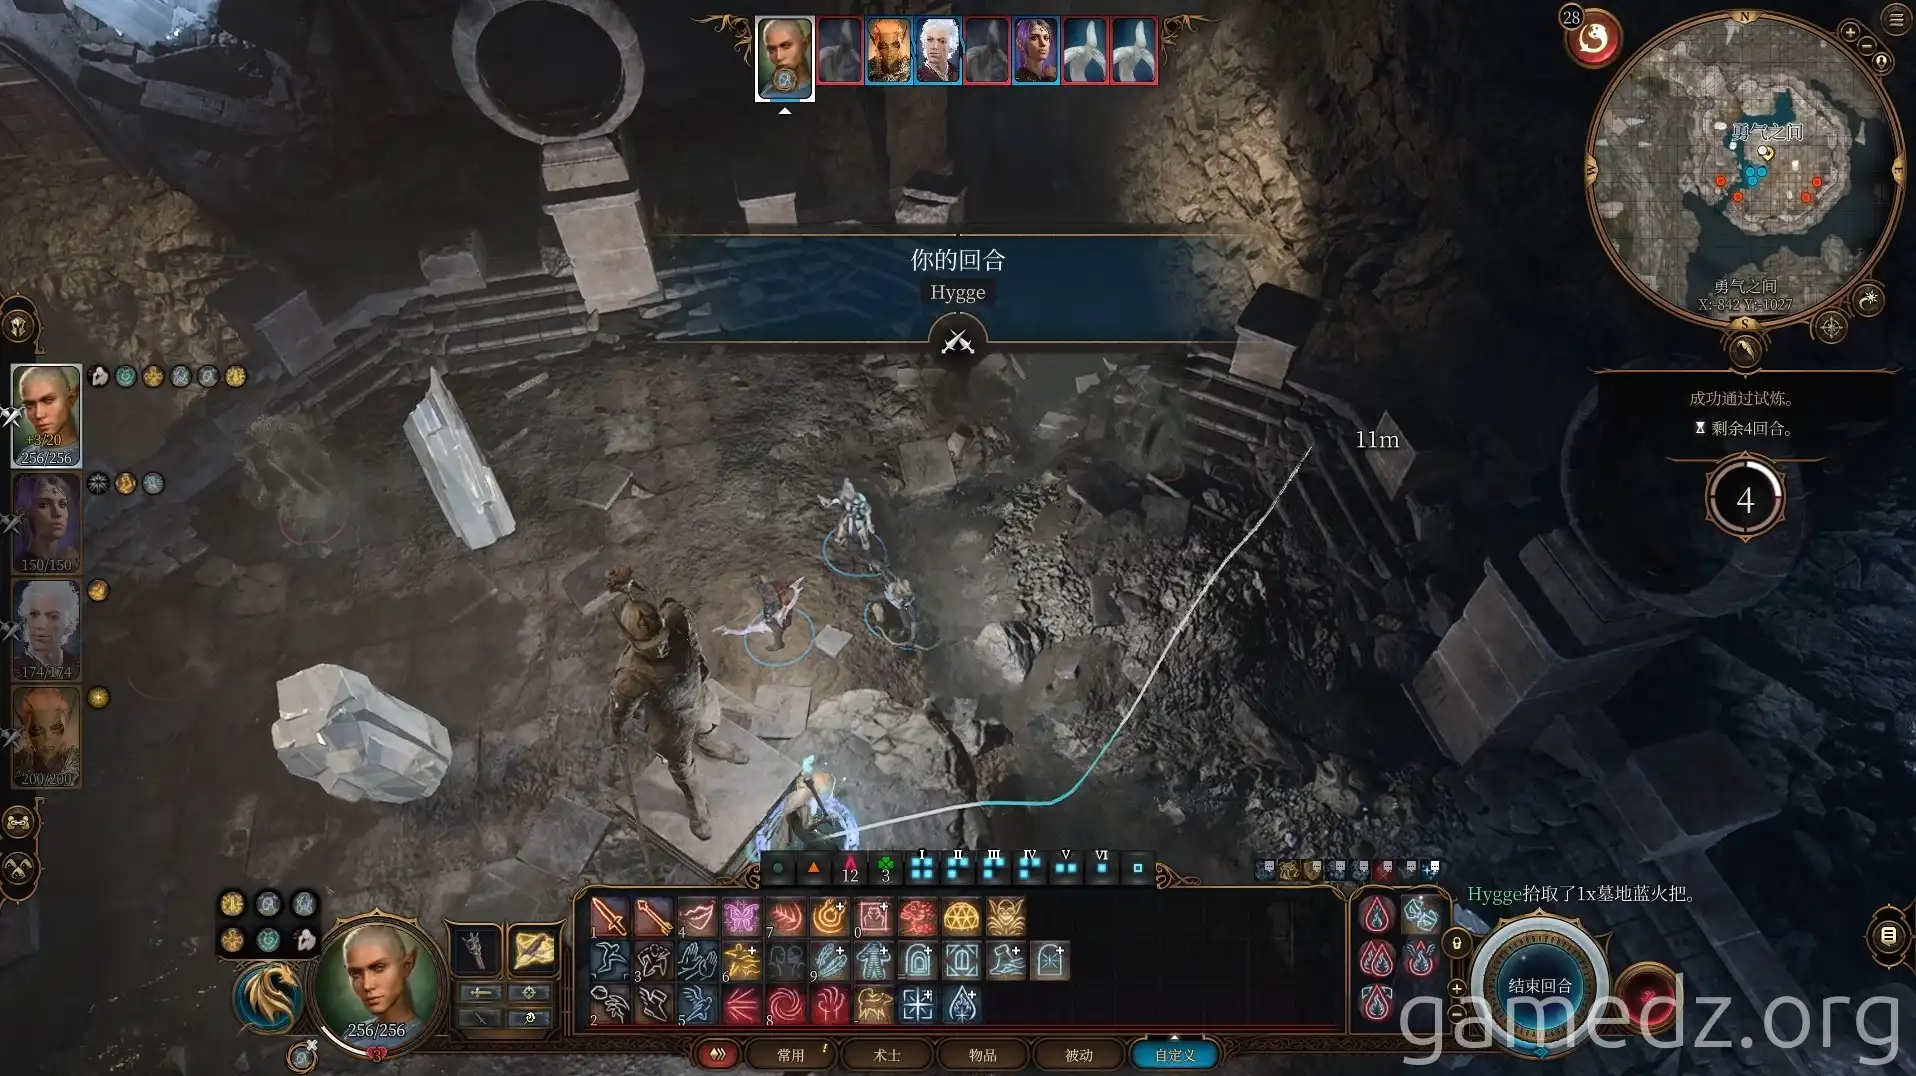
This trial requires you to defeat all the enemies that appear sequentially within four turns. There are a total of 8 enemies; defeating them all will complete the trial.
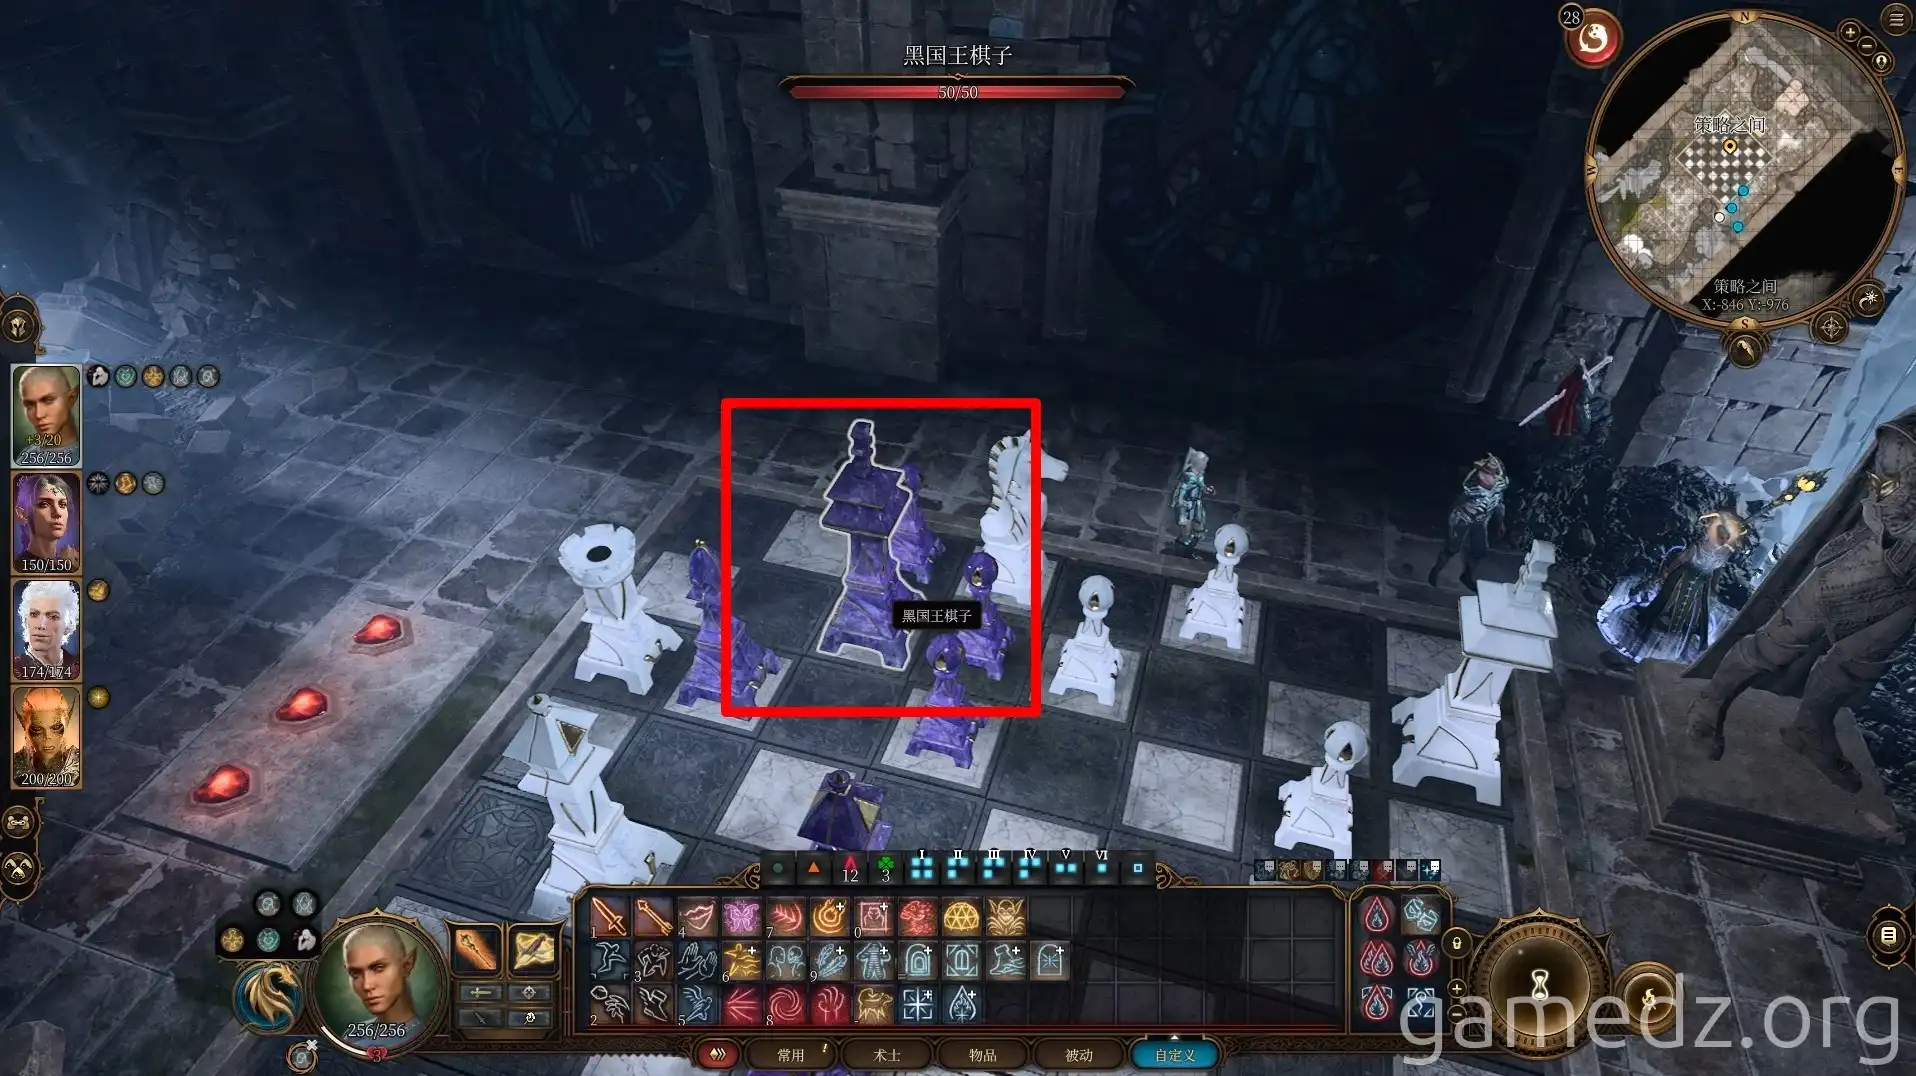
The second room is the "Chamber of Strategy." Upon entering, you'll first need to destroy the obstructing crystals with bludgeoning damage.
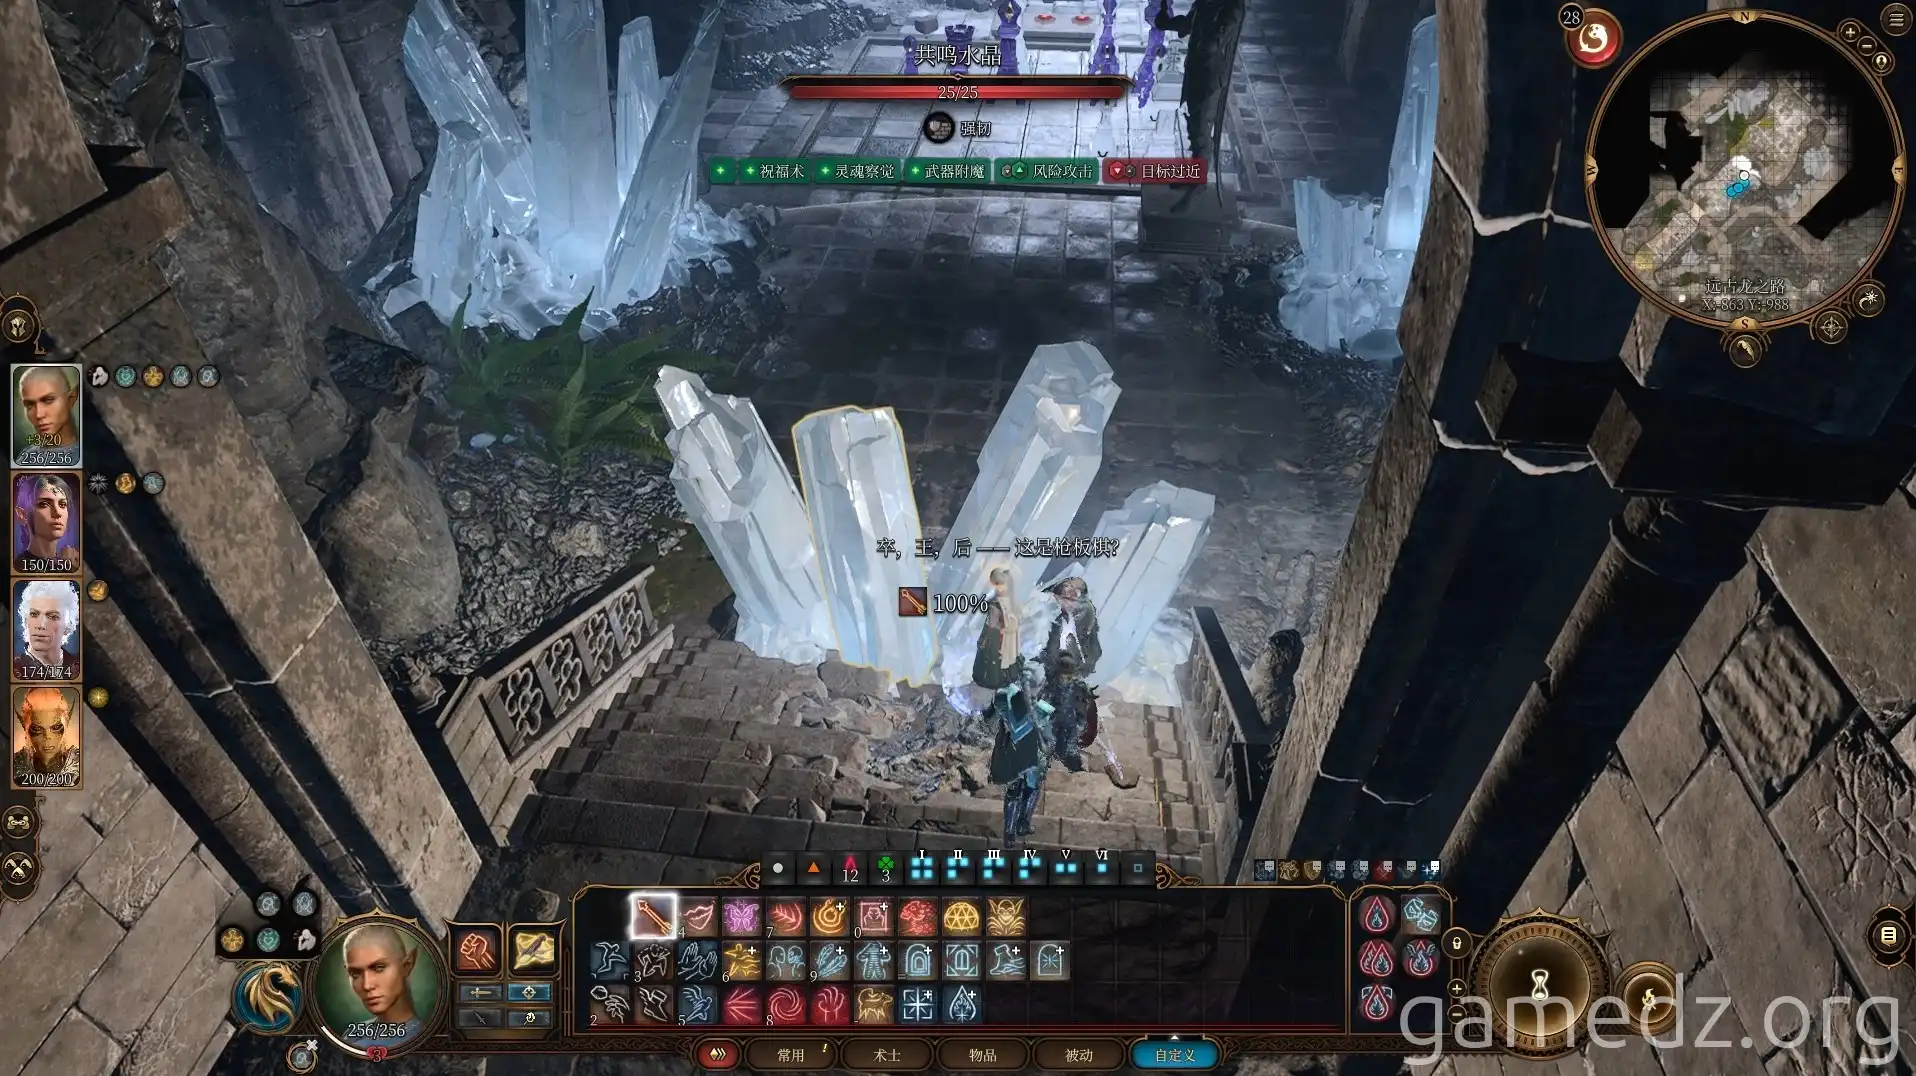
At the chessboard, simply use lightning damage attacks to destroy the Black King piece to pass the trial.
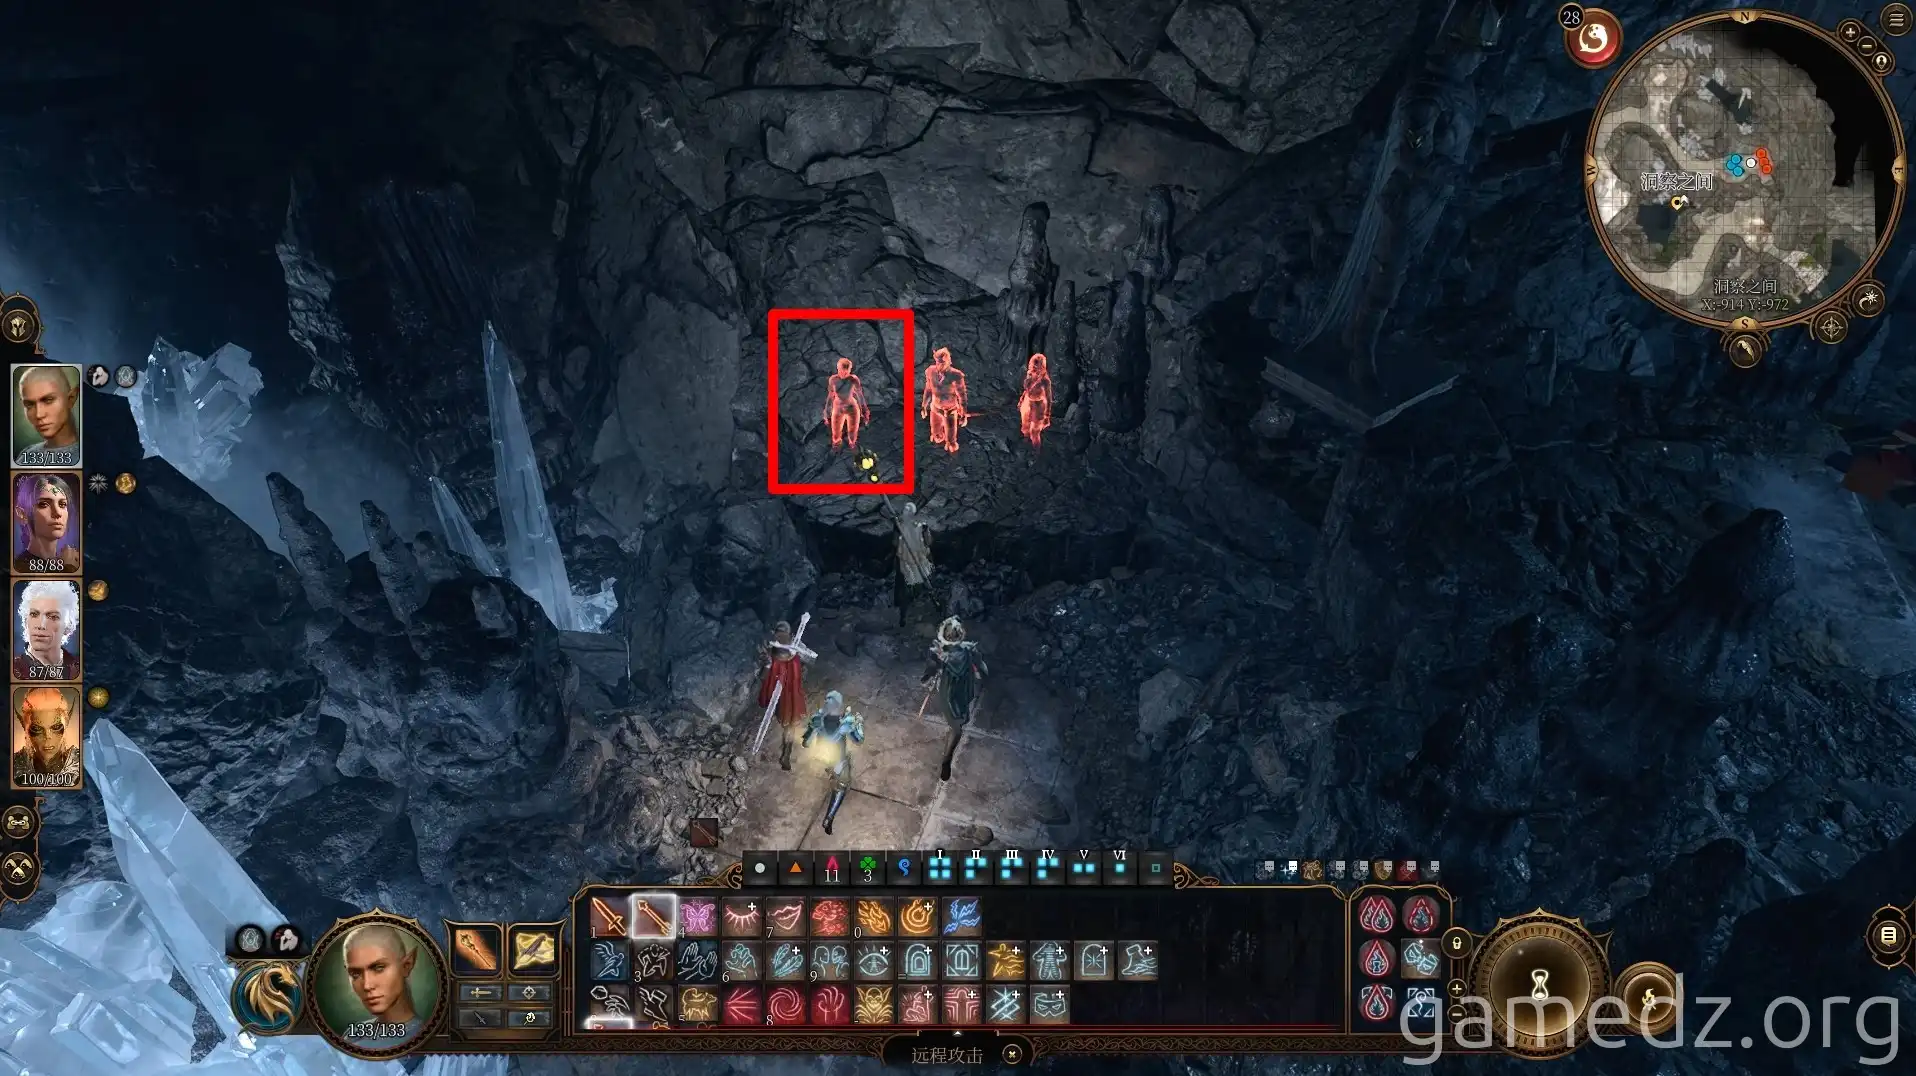
The third room is the "Chamber of Insight." Simply defeat the ghost on the far left.
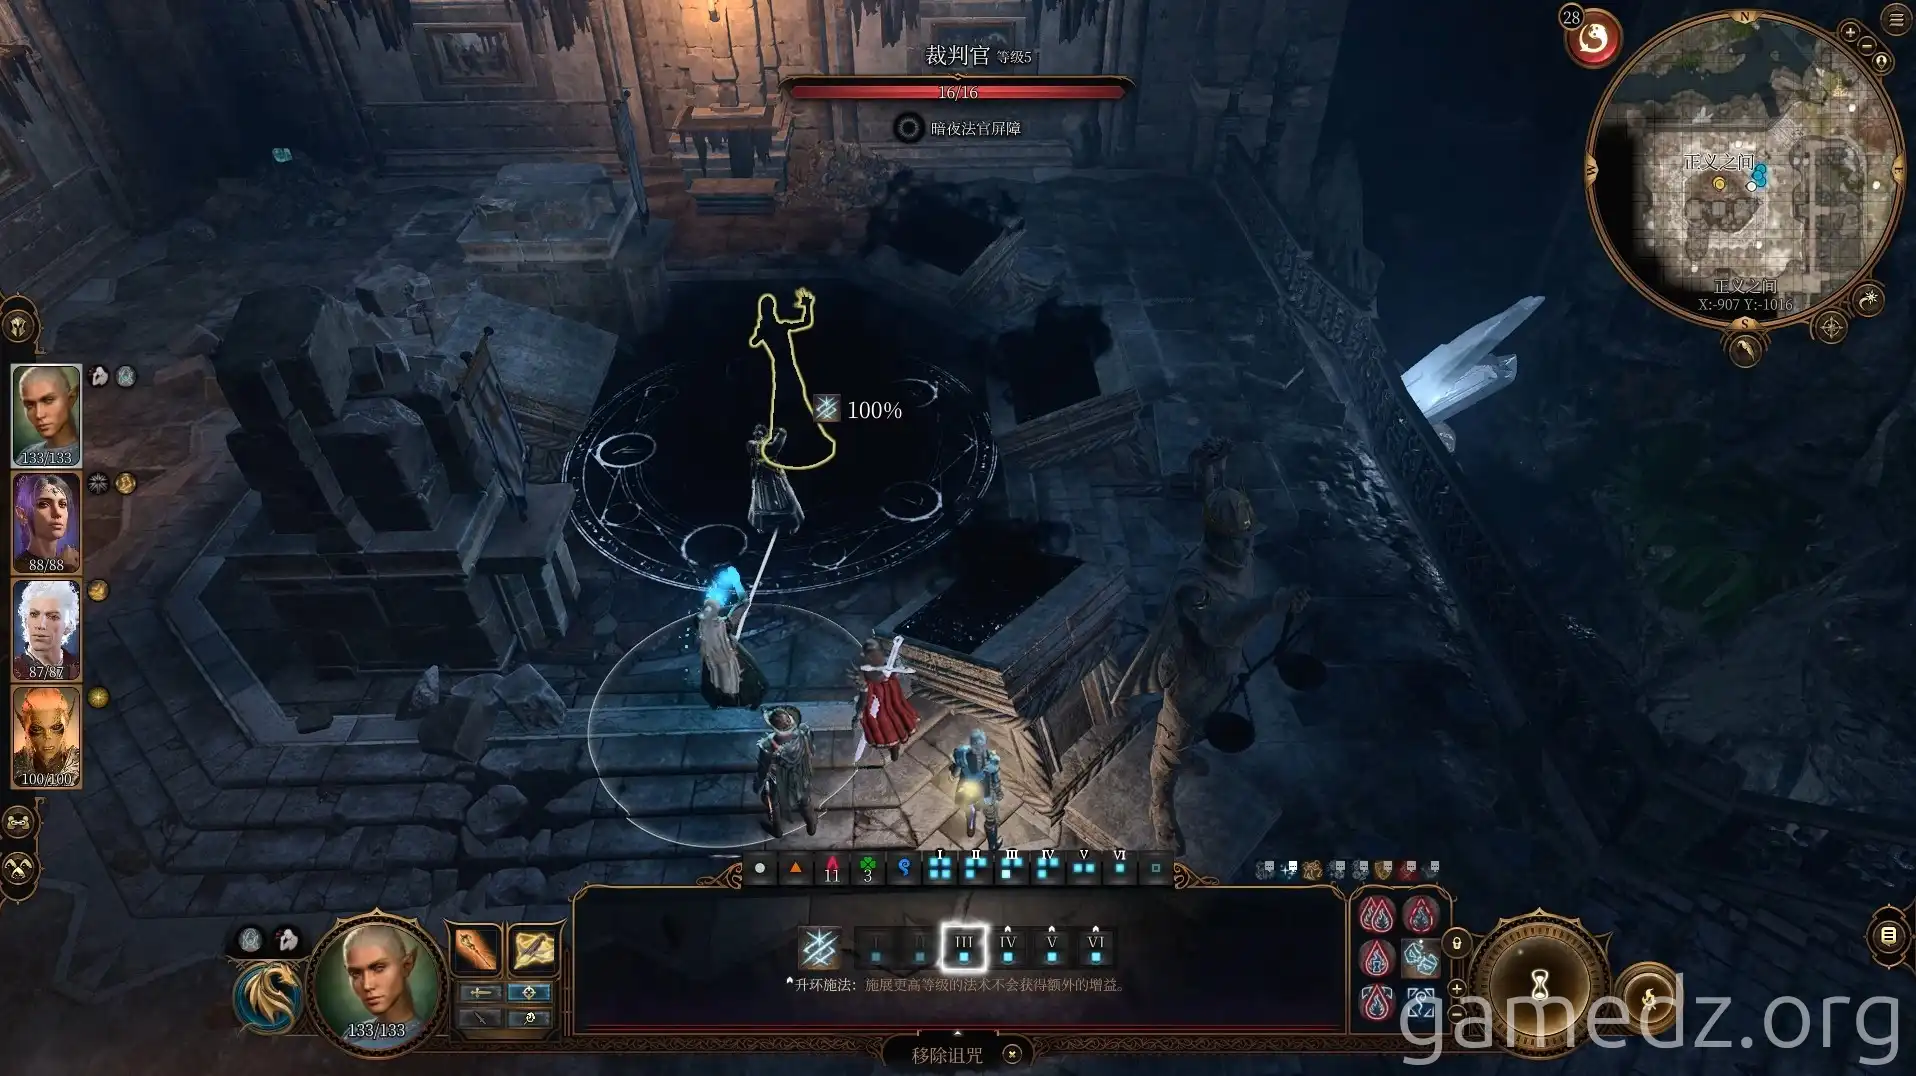
The final trial is the "Chamber of Justice." First, use dispelling spells like Remove Curse on the judge in the center.
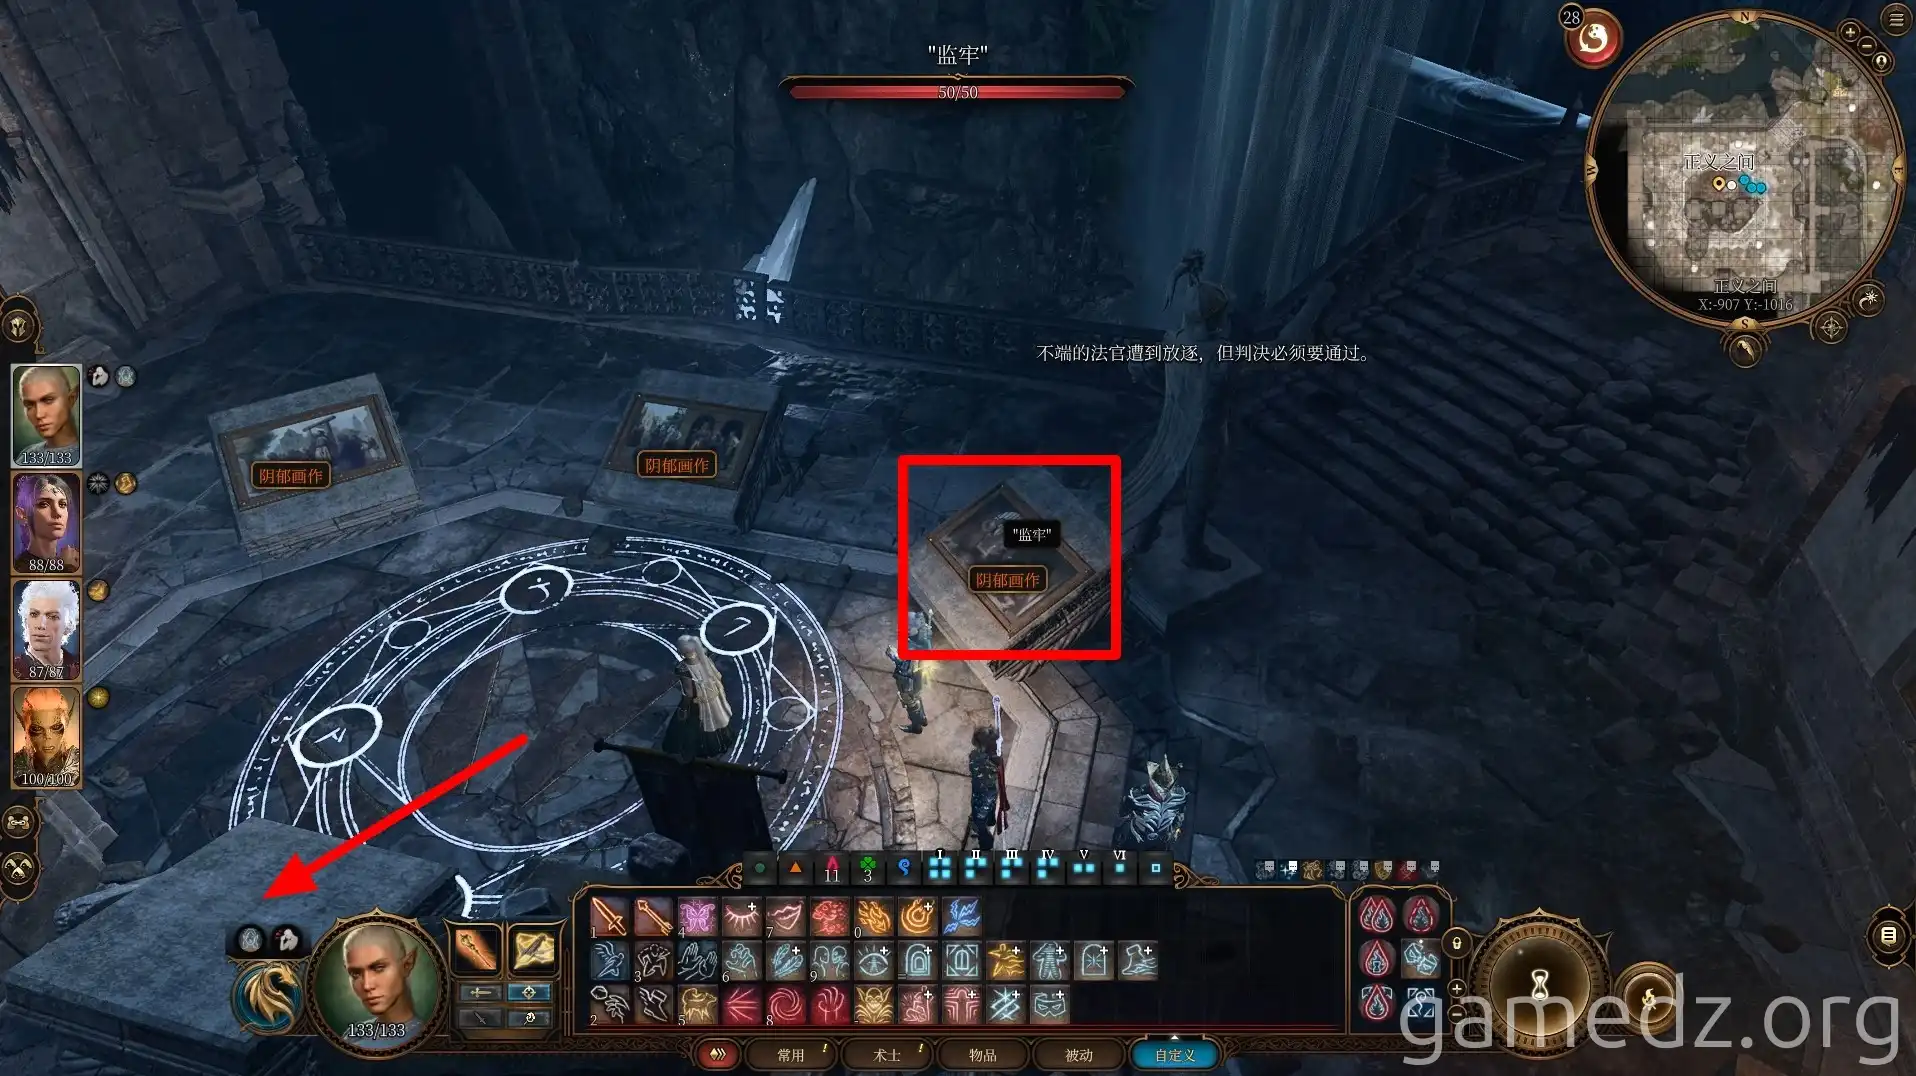
Then, place the painting titled "The Prison" onto the empty stone pedestal in the center to complete the trial.
Enter the Dragon's Vault through the door in the center of the hall.
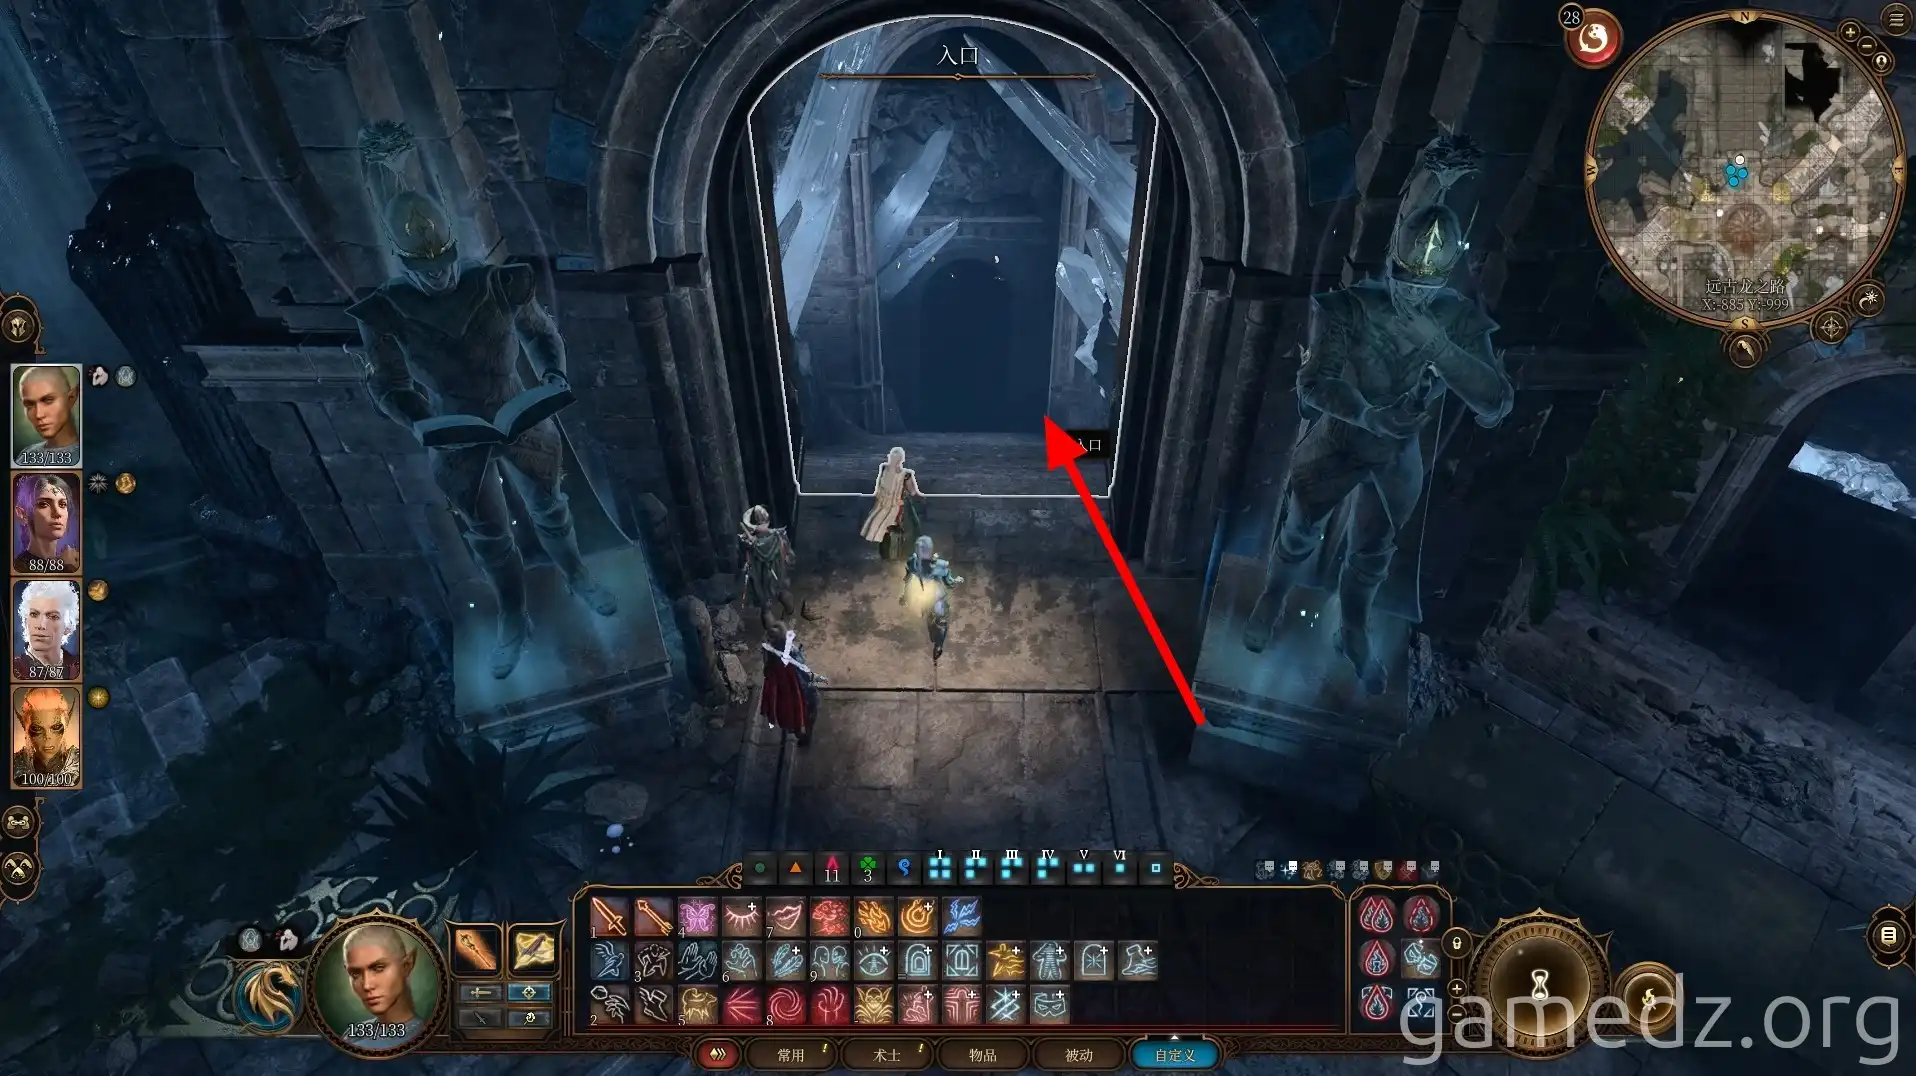
Upon arriving in the Dragon's Vault, you'll discover that the dragon Ansur's physical body is long dead, but his soul still lingers.
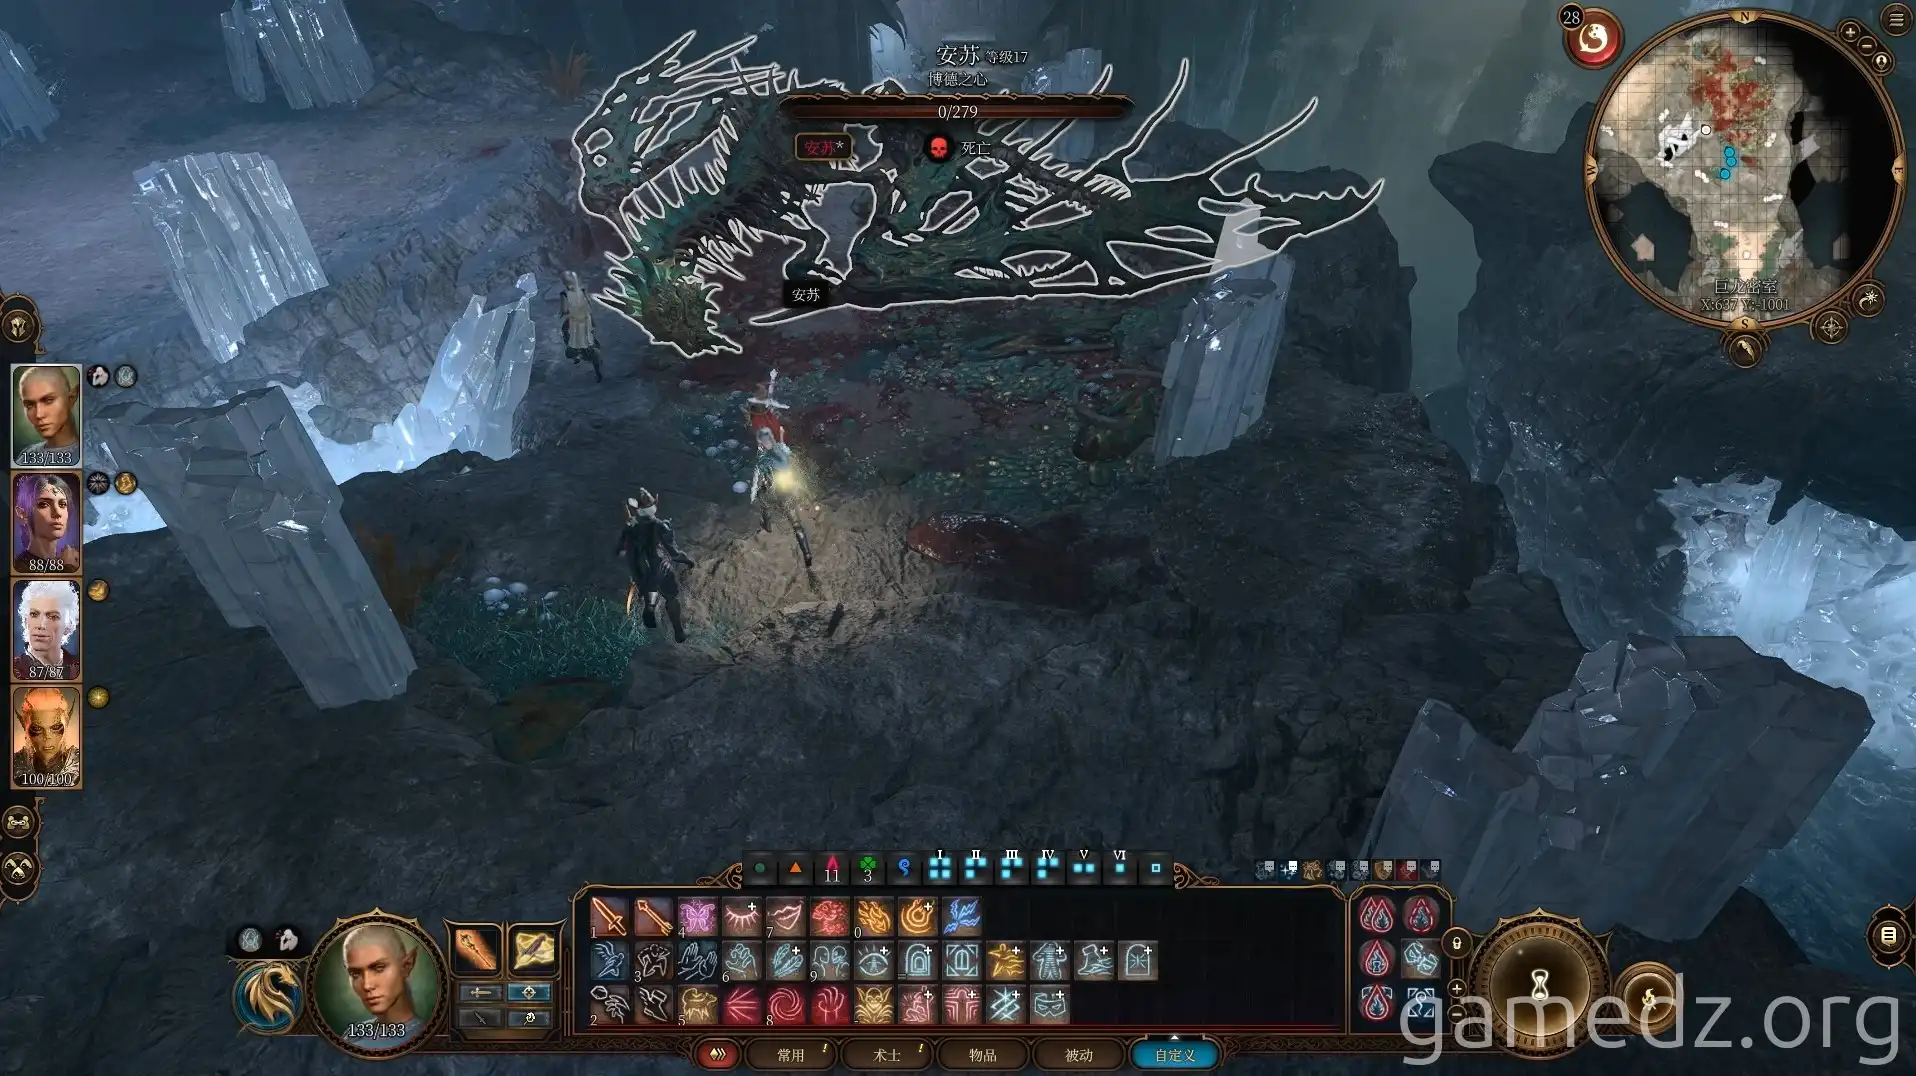
During your conversation with Ansur, you'll learn that the Emperor is actually the founder of Baldur's Gate, "Balduran," and that Ansur was killed by him personally.
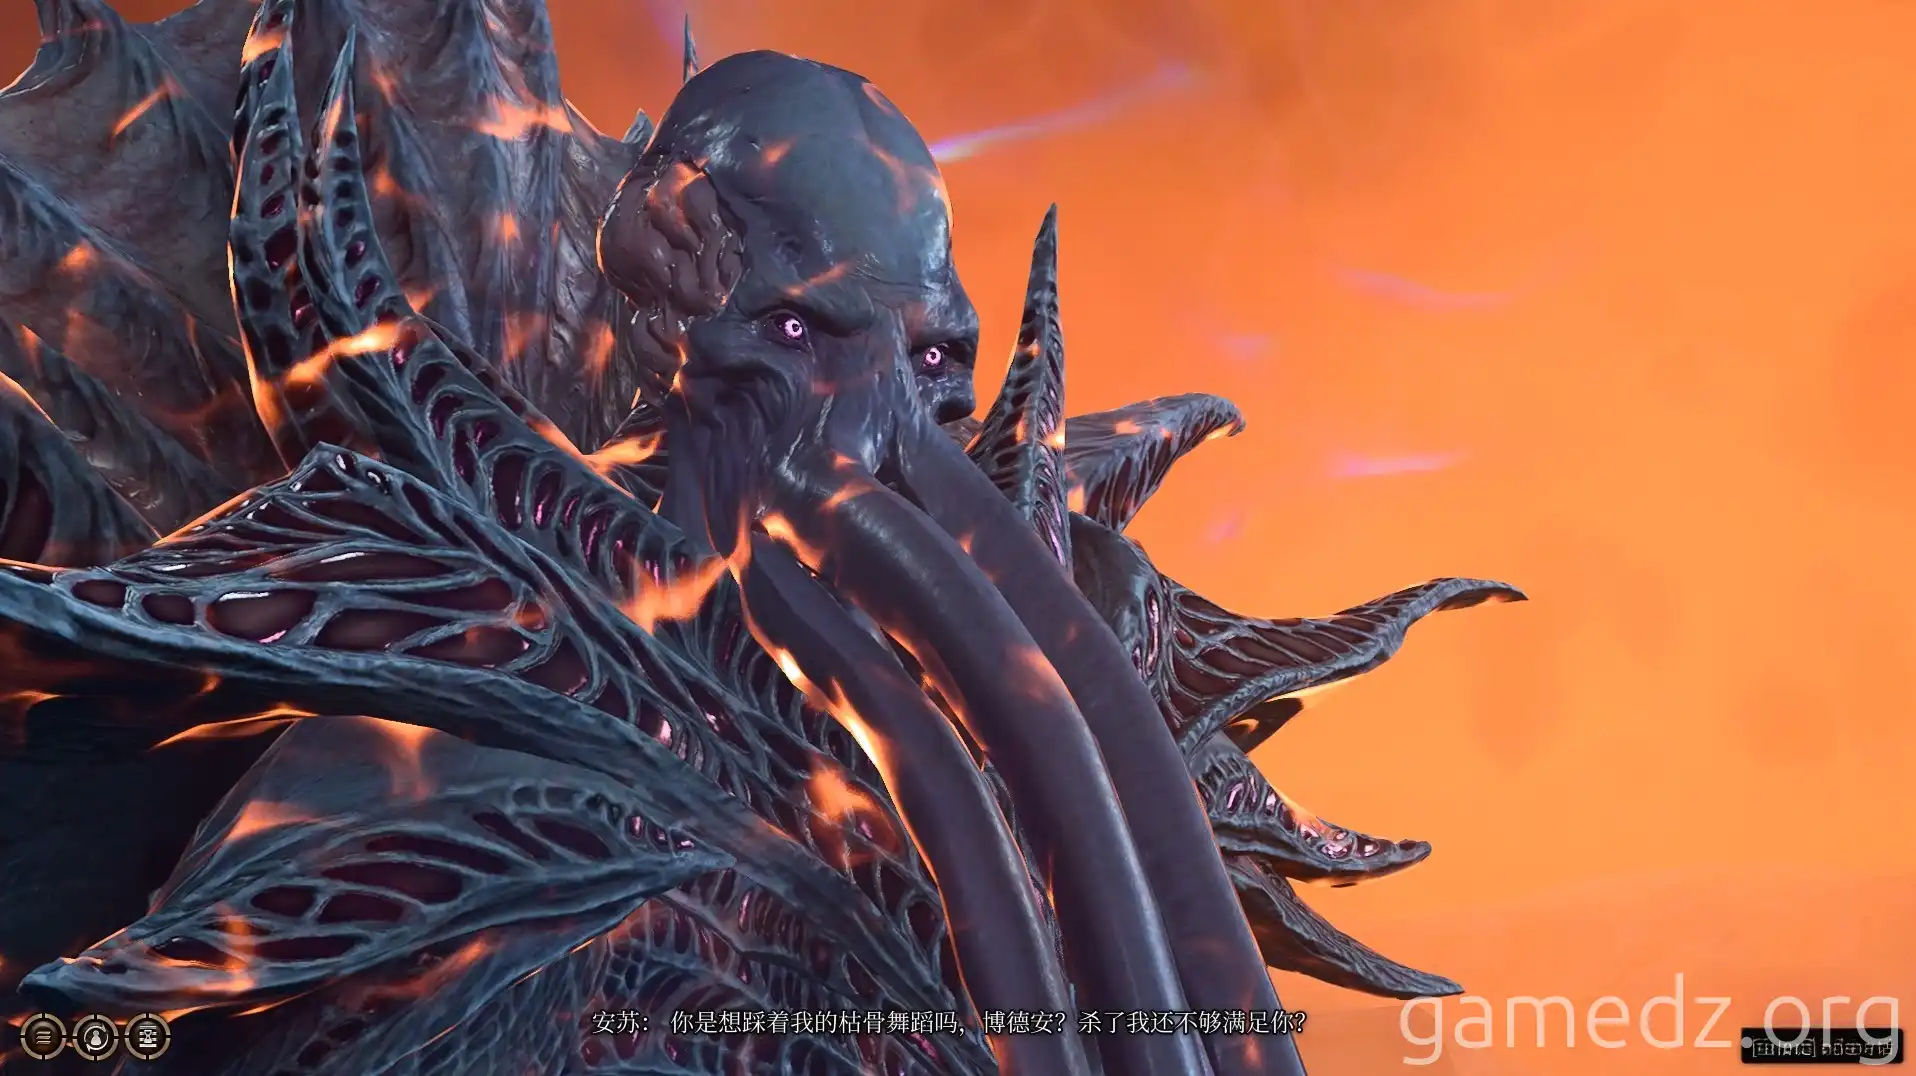
After the conversation, Ansur's physical body revives, and combat begins. Ansur will retaliate when attacked, so it's best to use high-damage skills to minimize his counter-attacks.
Equipping "Loth's Blood" can inflict blindness on him.
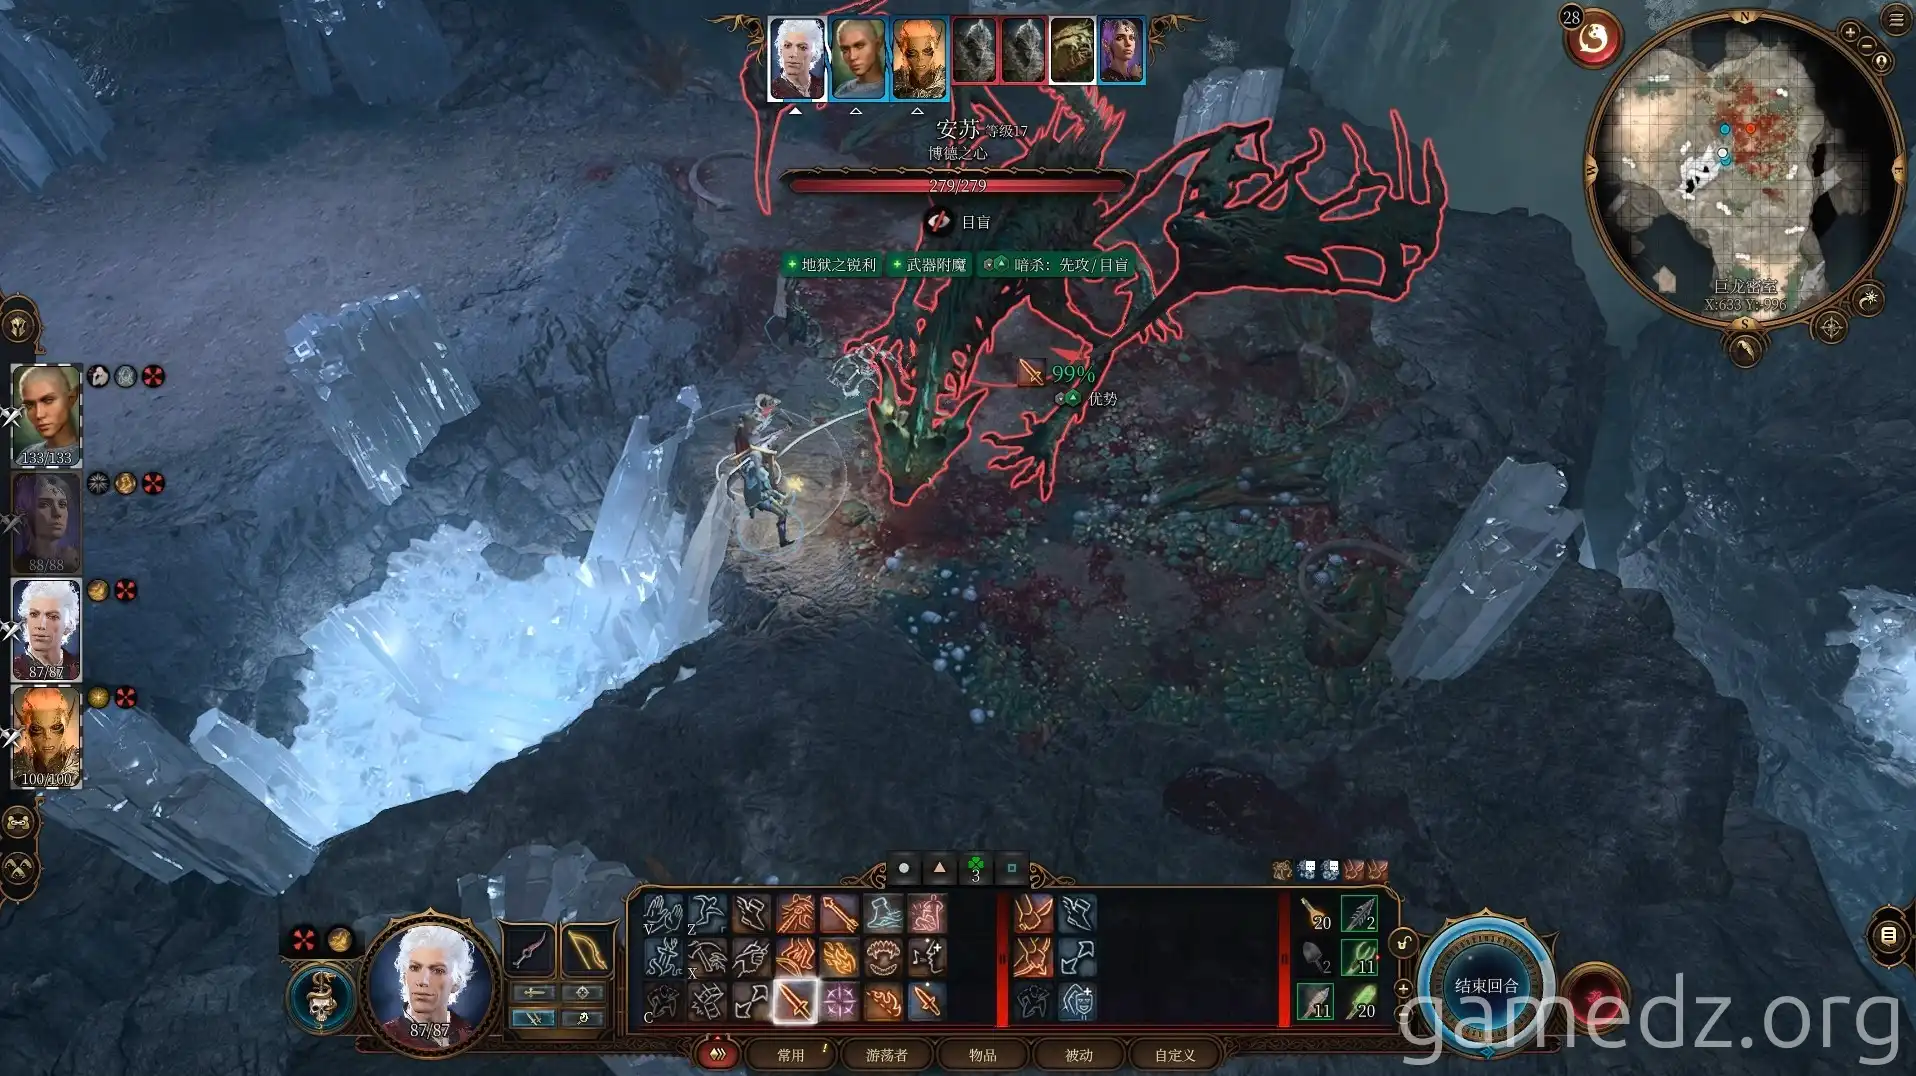
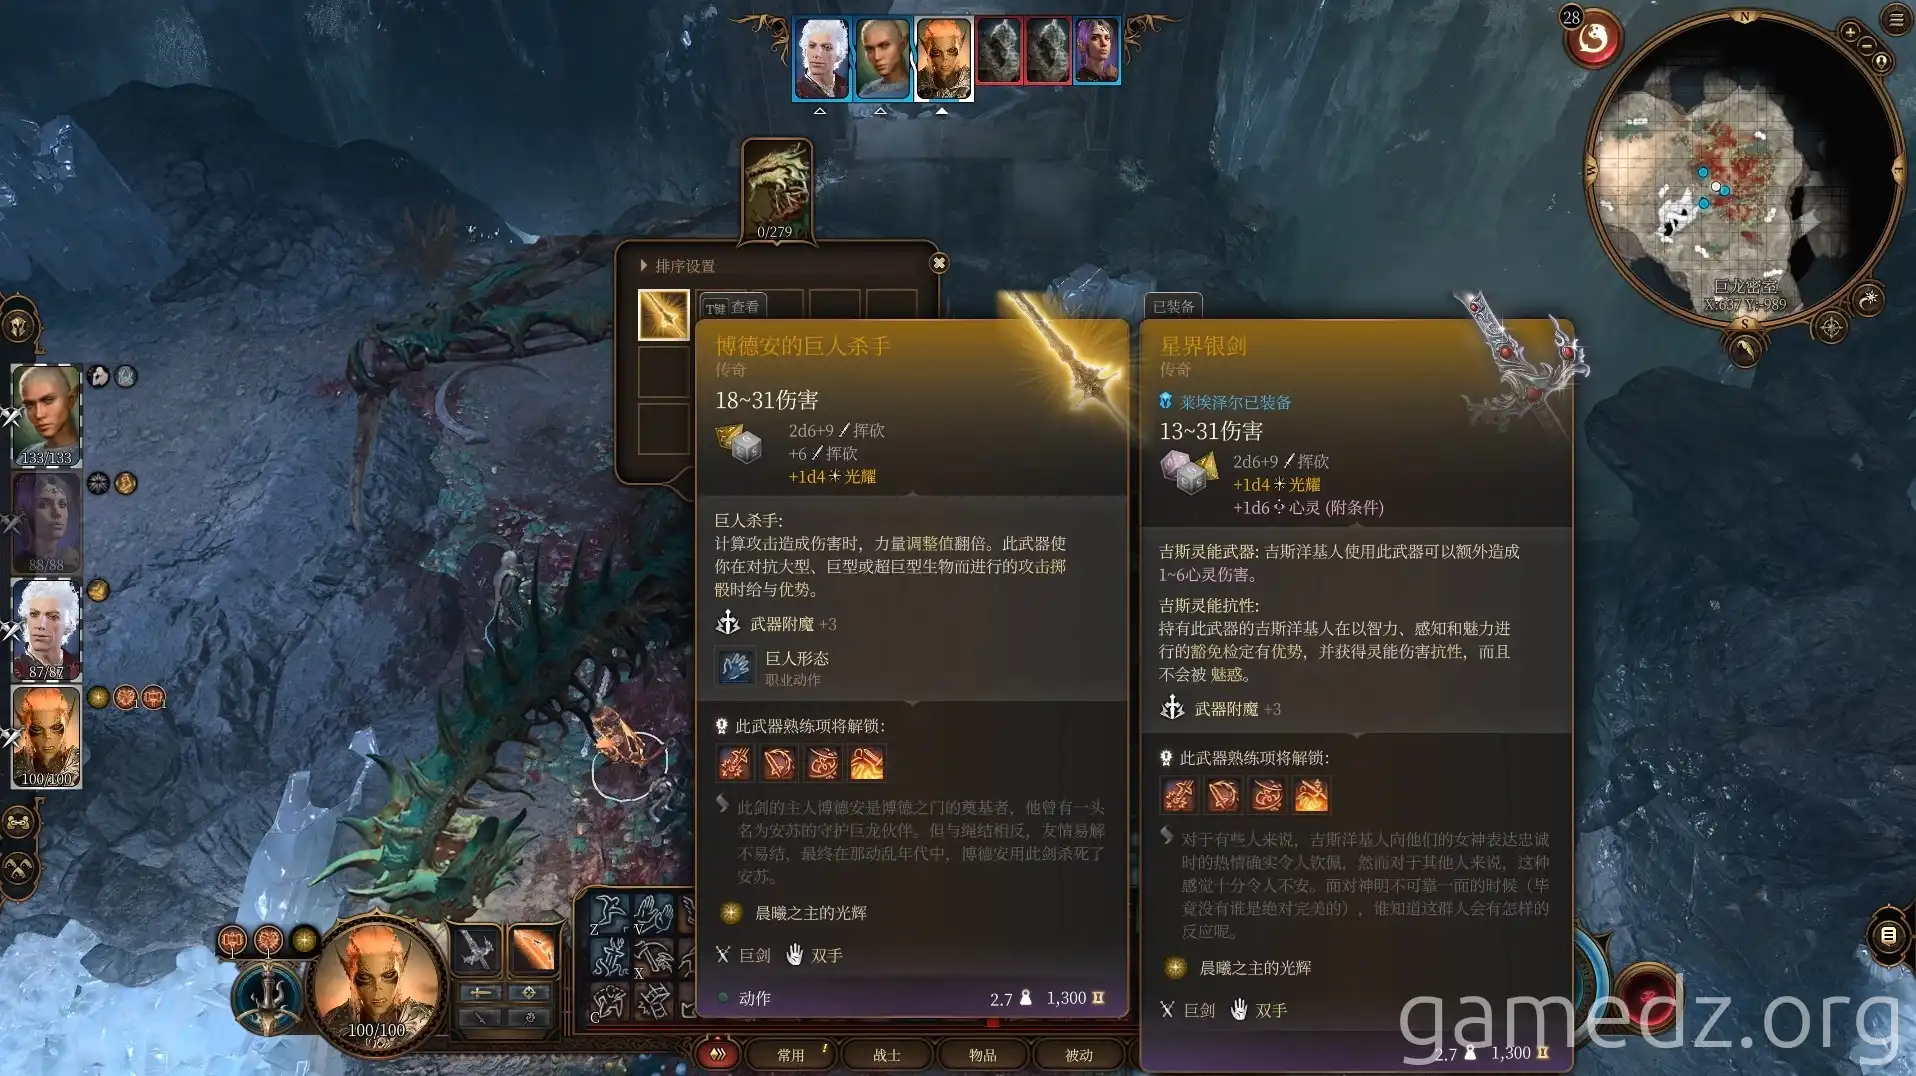
After defeating Ansur, you'll obtain the legendary weapon "Balduran's Greatsword."
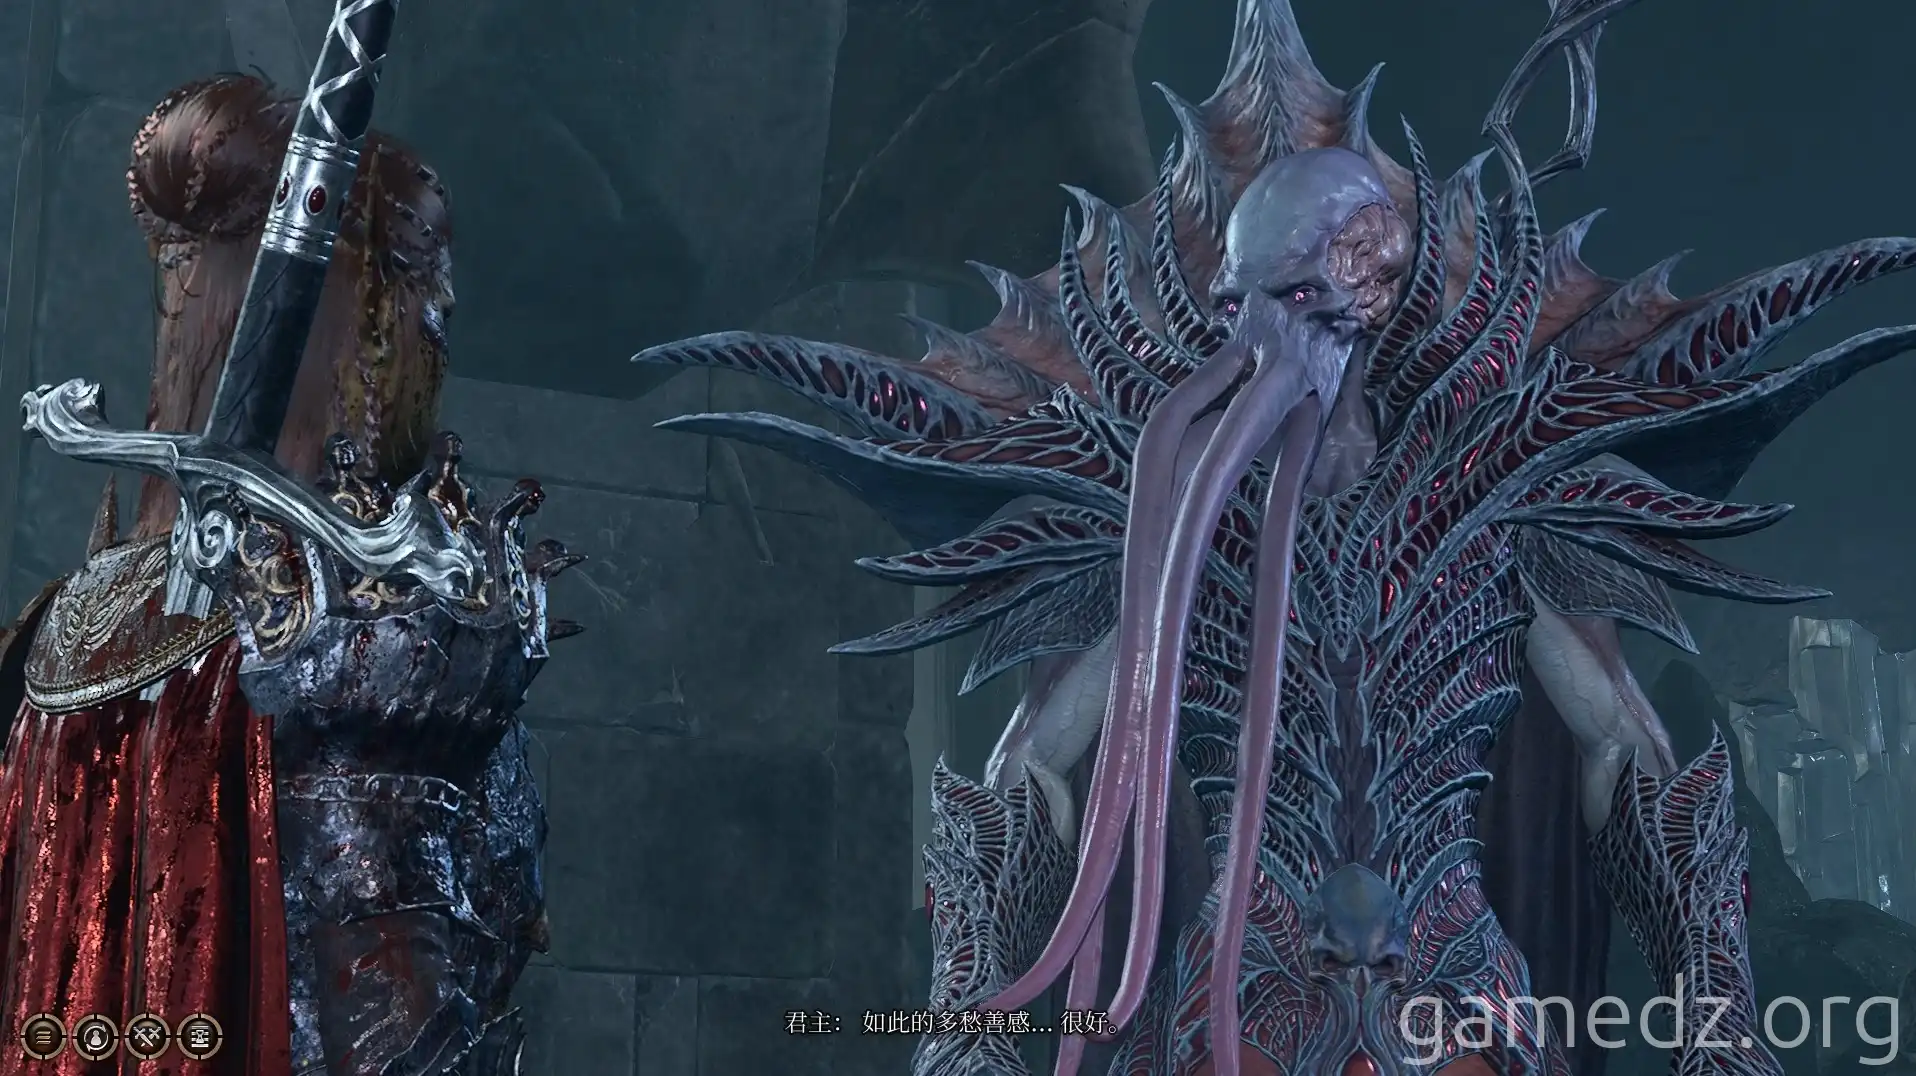
You can then listen to the Emperor recount his past stories.
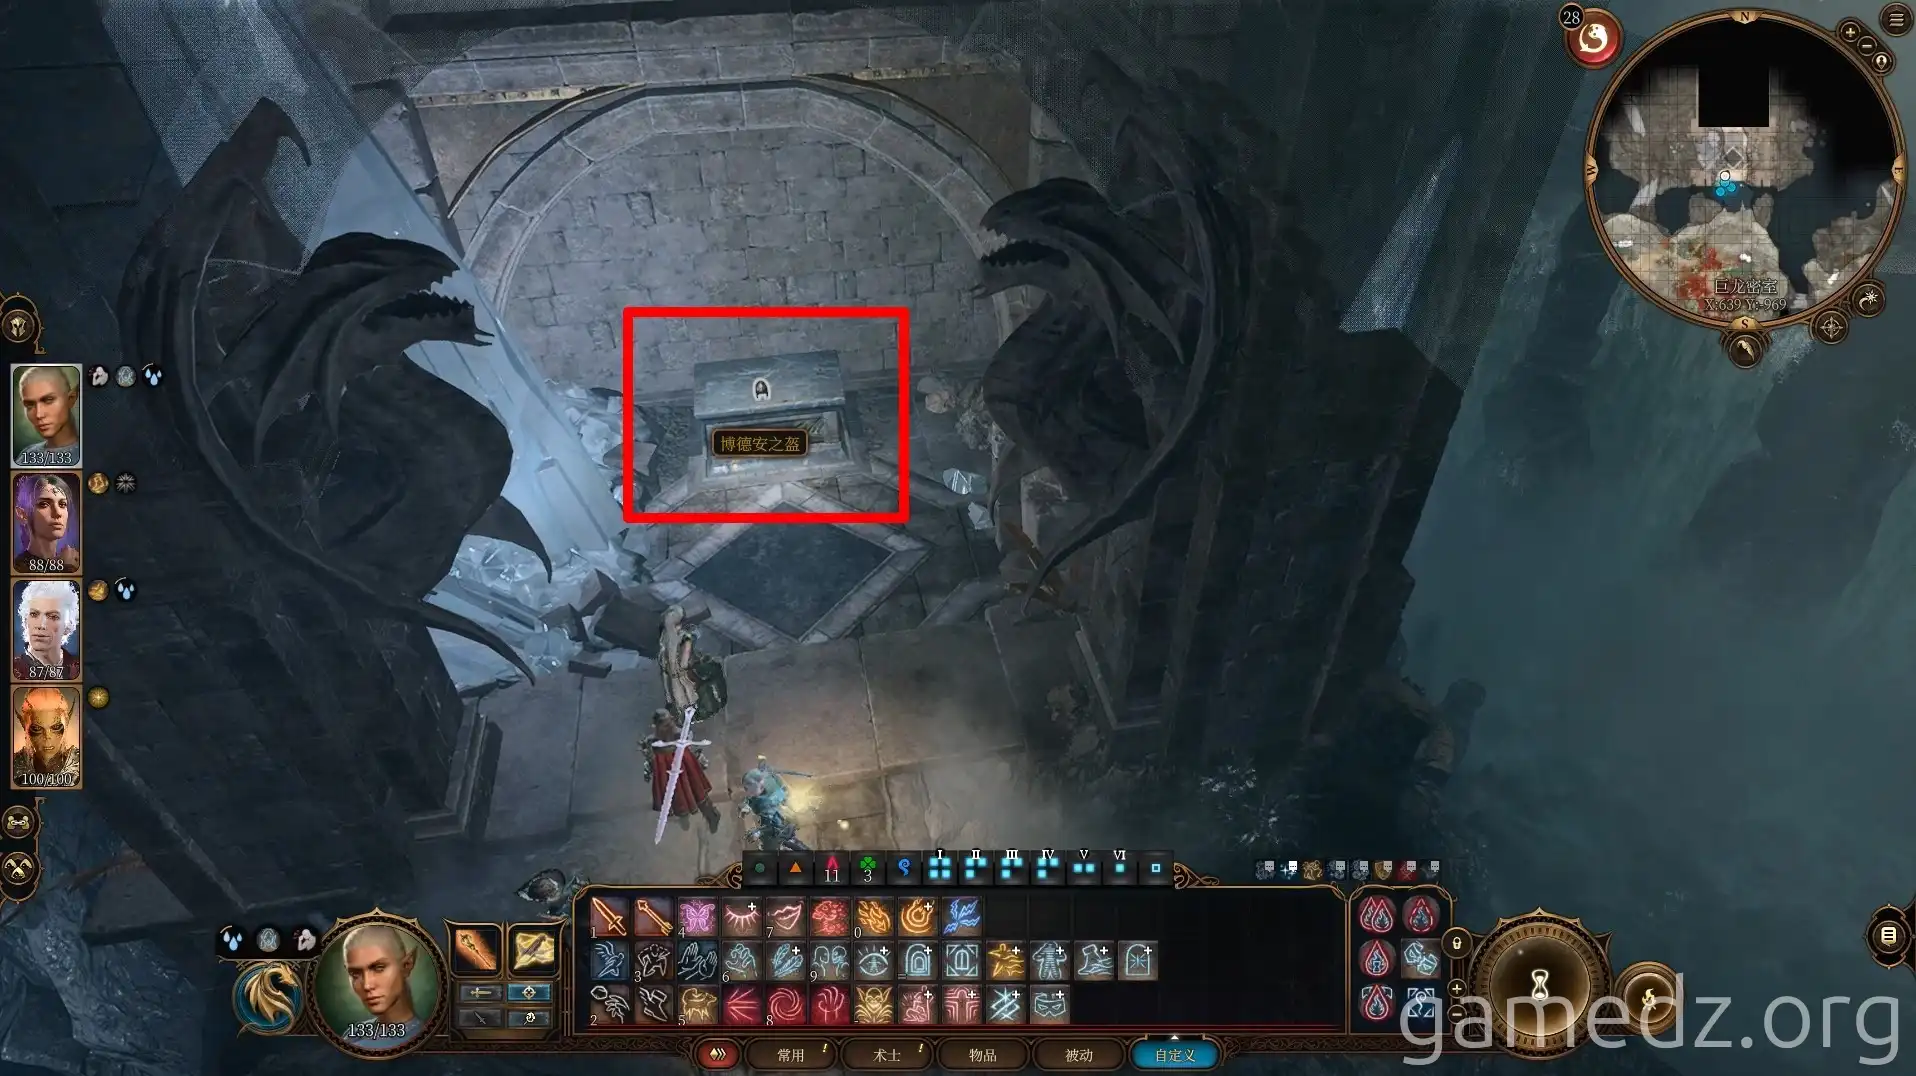
On the stone pedestal on the north side of the cave, you can find the legendary armor "Balduran's Helm." Wearing this helm will inspire characters with Sage or Soldier backgrounds.
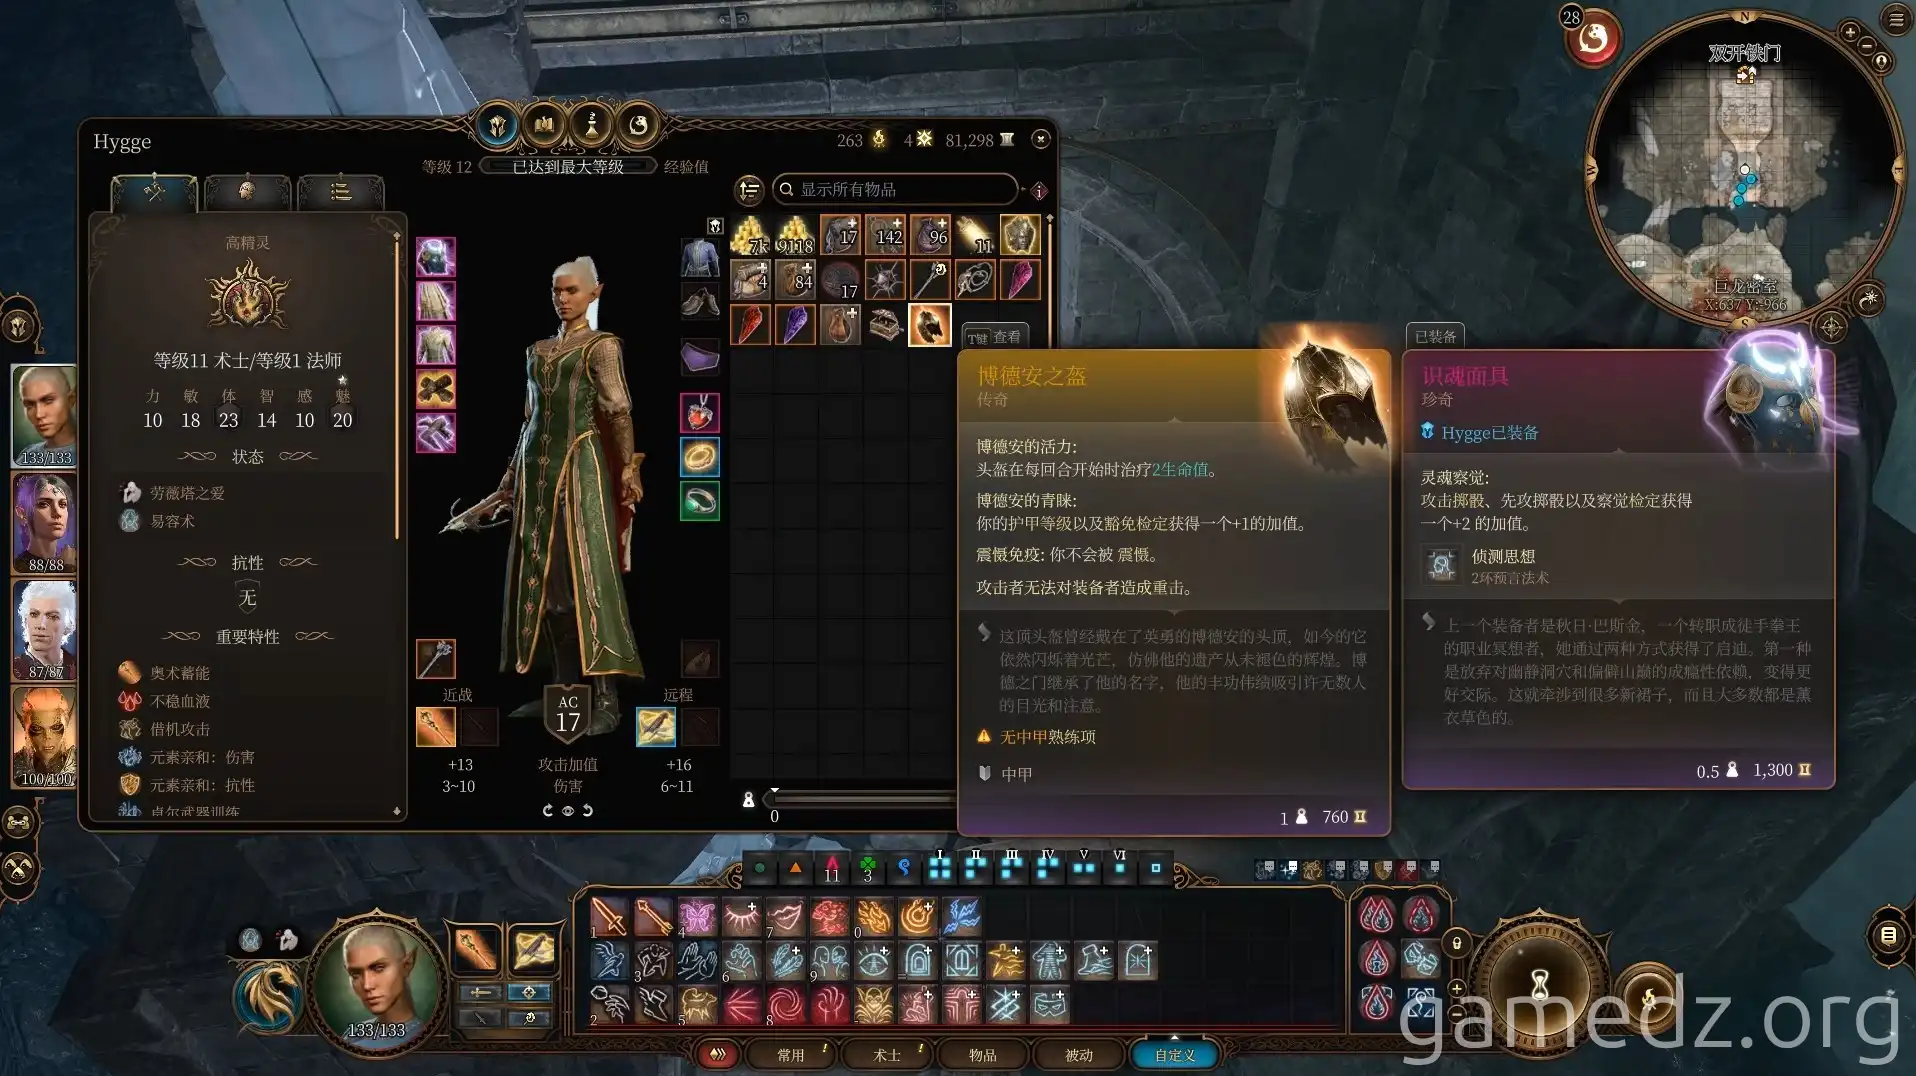
Here are the stats for Balduran's Helm.
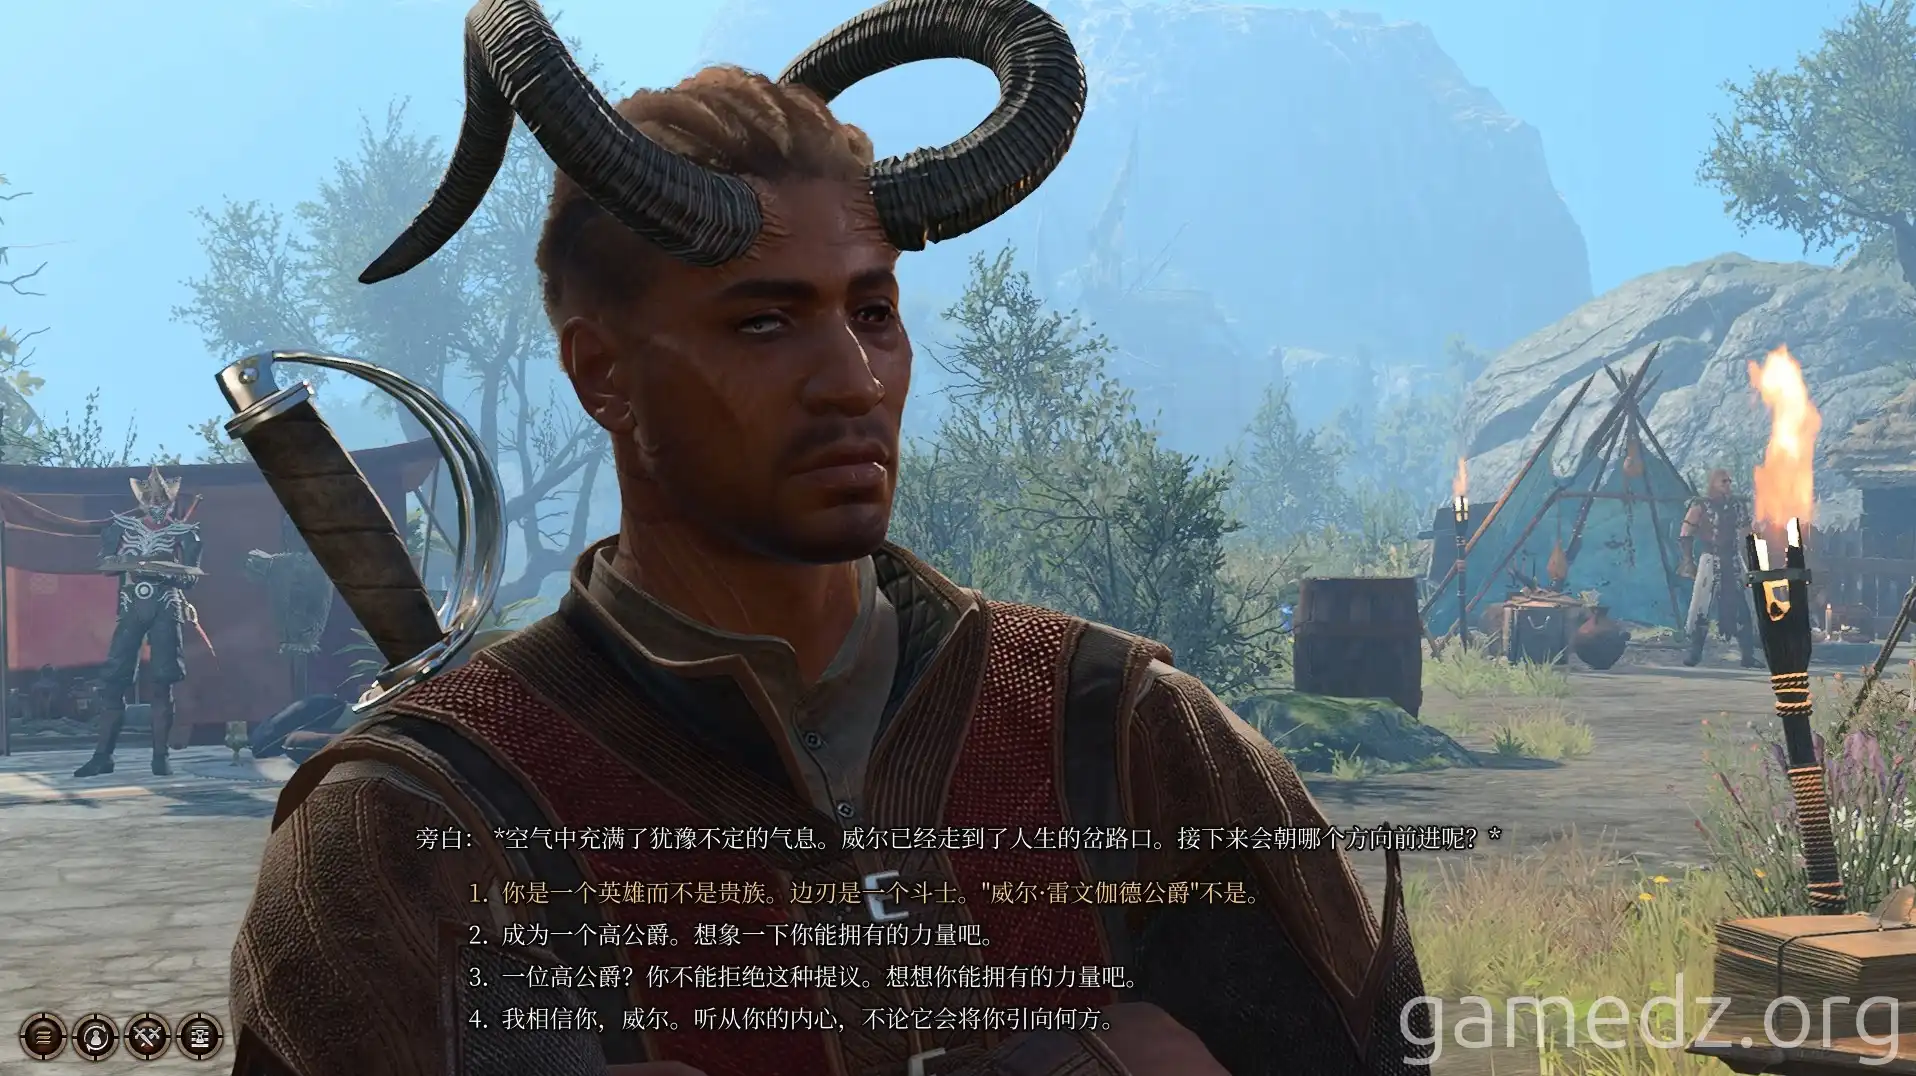
Return to camp and speak with Will. Inform him of the dragon's demise. During the conversation, you'll need to ensure Will becomes the Lord of the Flaming Fist, not the Duke of Baldur's Gate.
The dragon can no longer be of assistance; you must now rely on your own strength to face the Absolute. With this, all maps have been explored, and you are ready for the final confrontation.
