Baldur's Gate 3: Wyrm's Rock Observatory & Astral Plane Guide
Explore Wyrm's Rock Observatory and the Astral Plane in Baldur's Gate 3. This guide covers camp attacks, Githyanki battles, The Emperor's reveal, and Prince Orpheus.
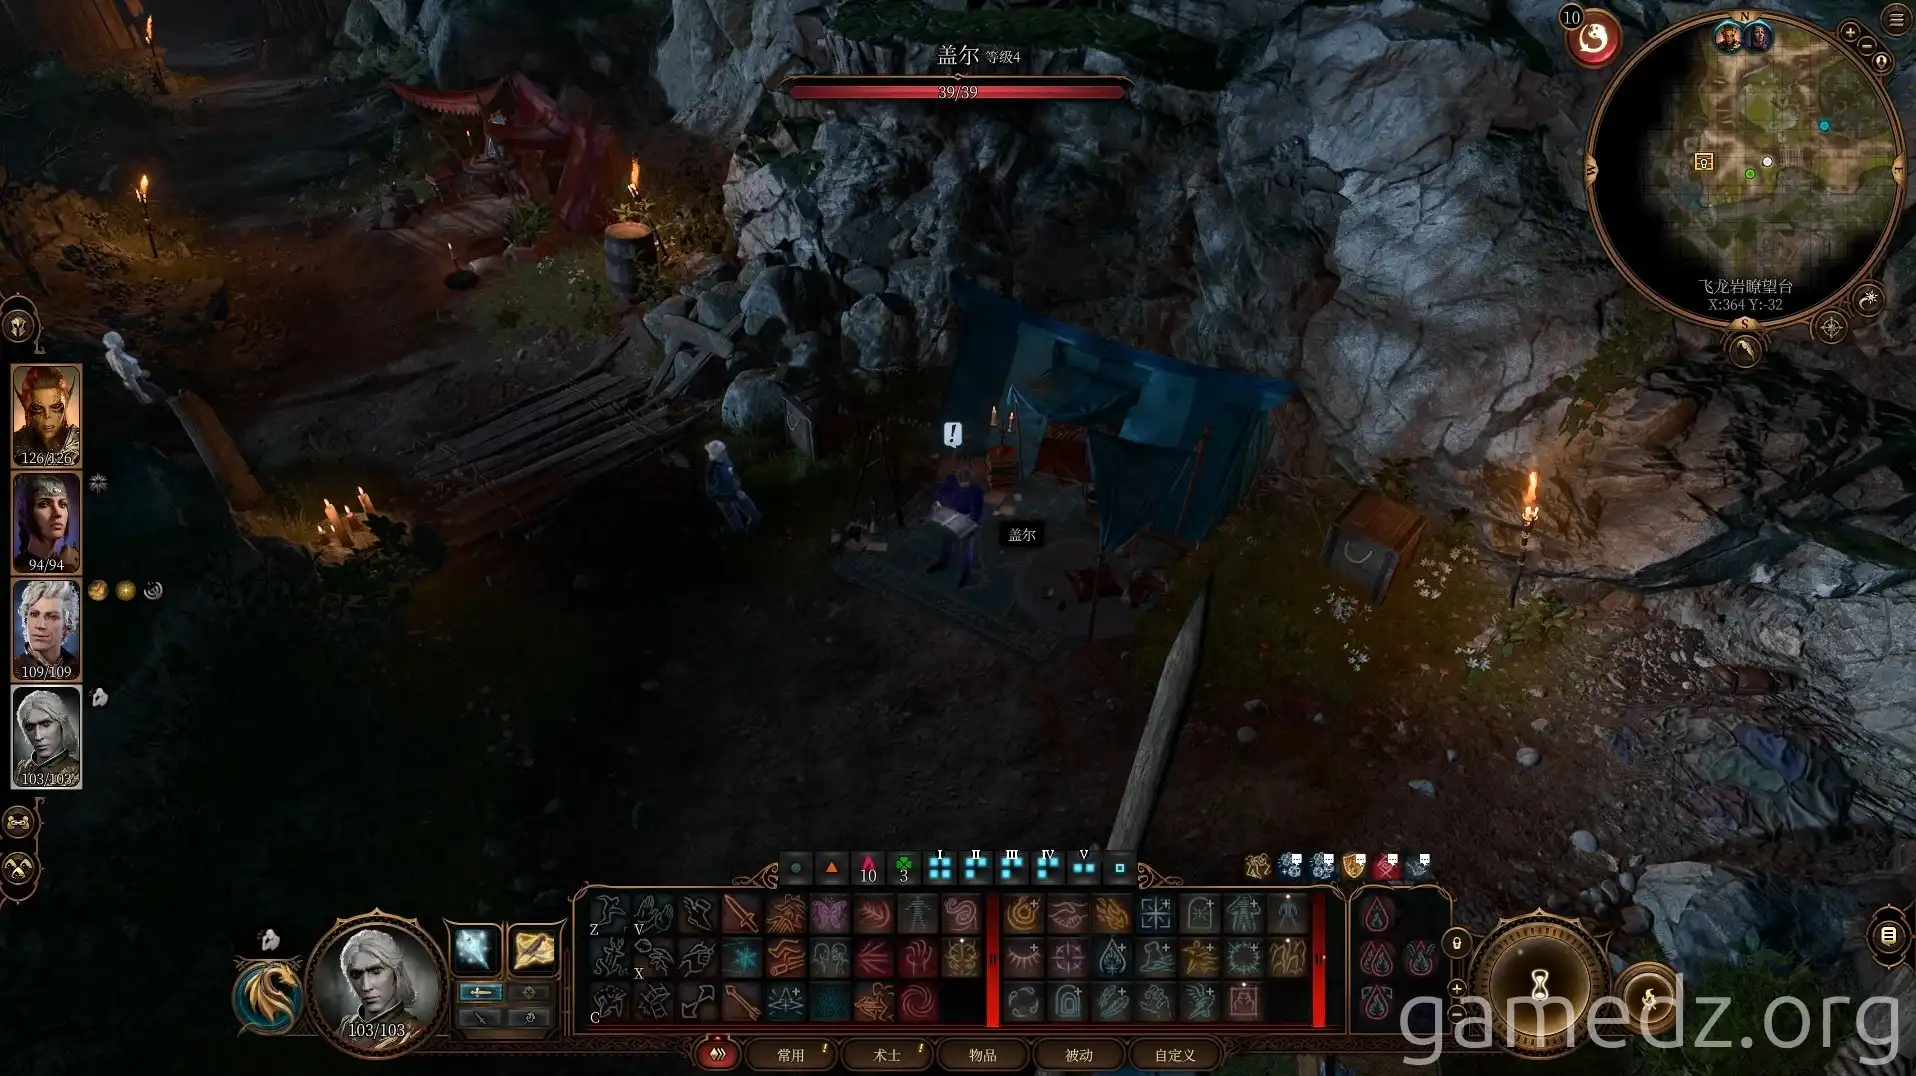
Upon entering Chapter 3, we'll first arrive at the Wyrm's Rock Observatory camp. After chatting with our companions, we'll rest.
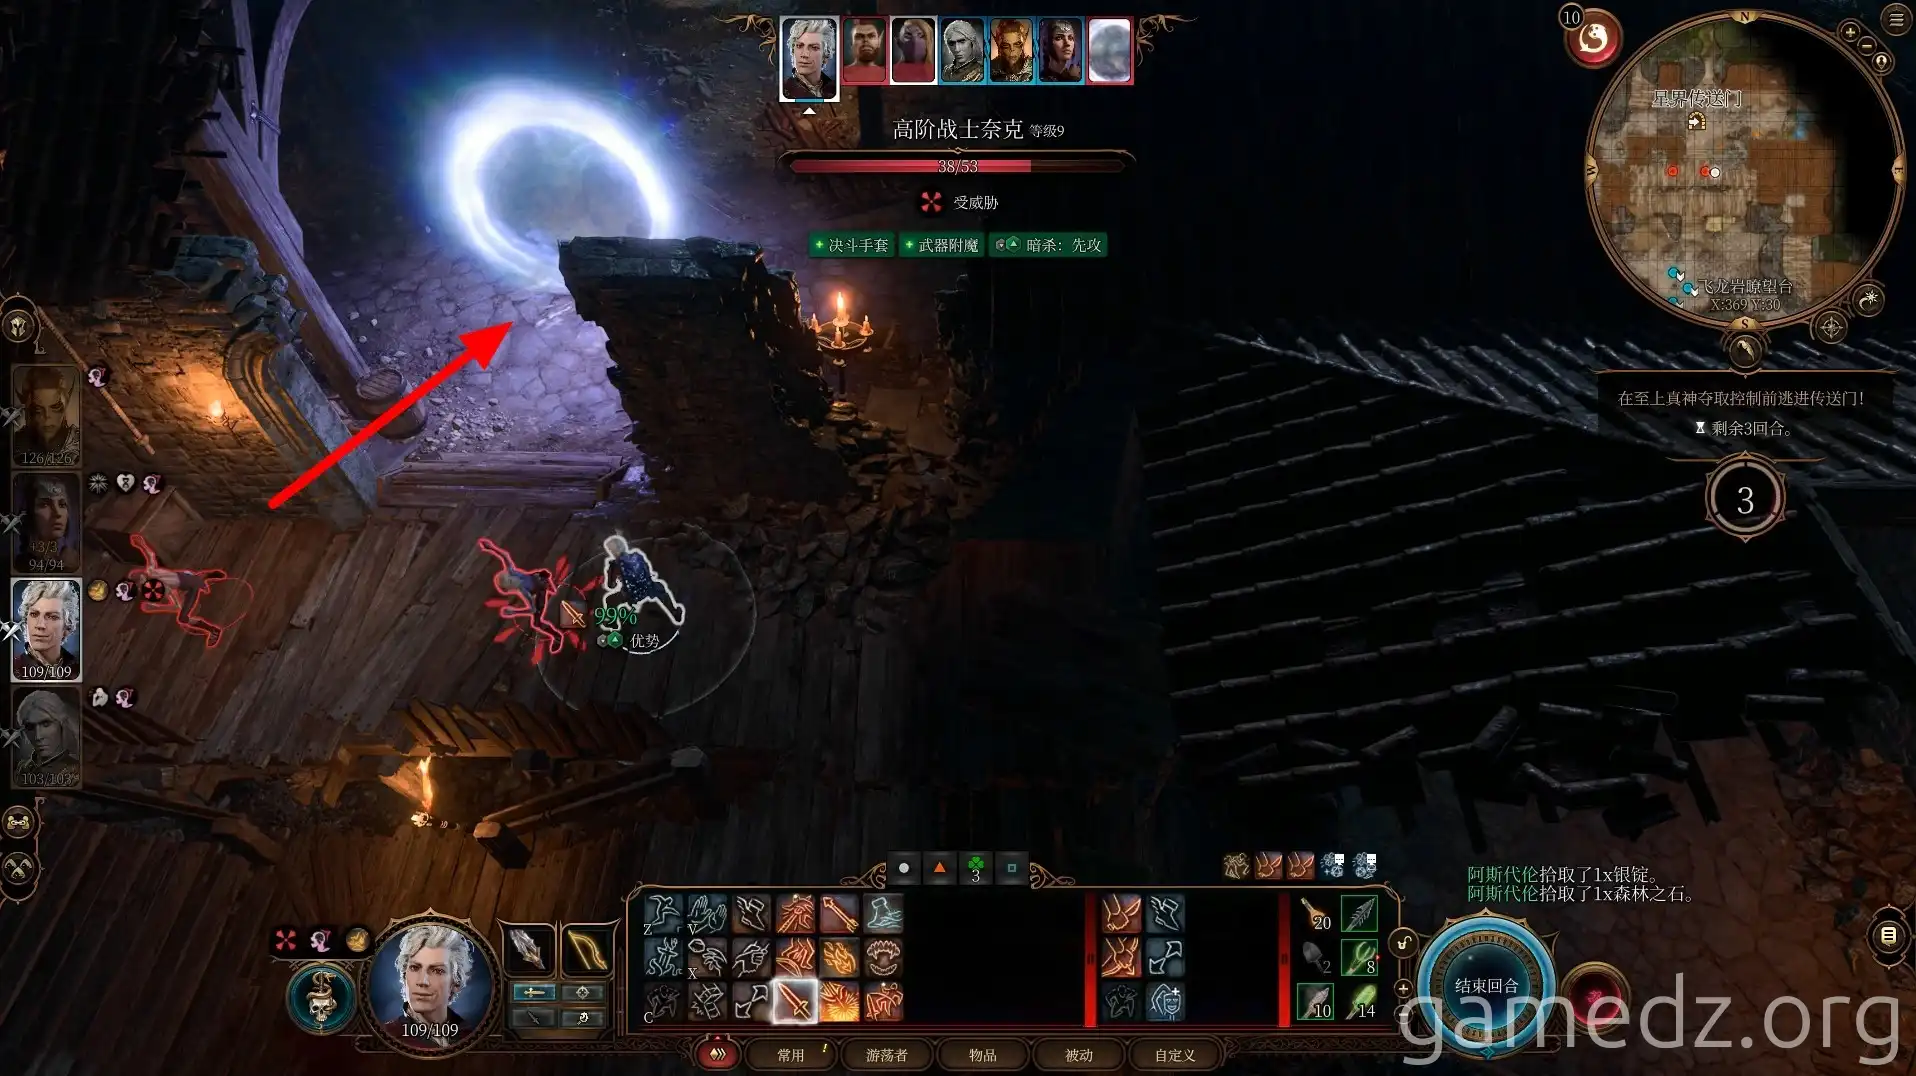
During our sleep, the camp will be attacked by followers of the Absolute. We must escape through a portal within three turns.
Through the portal, we'll arrive in the Astral Plane. Proceed along the path and defeat all Githyanki encountered along the way.
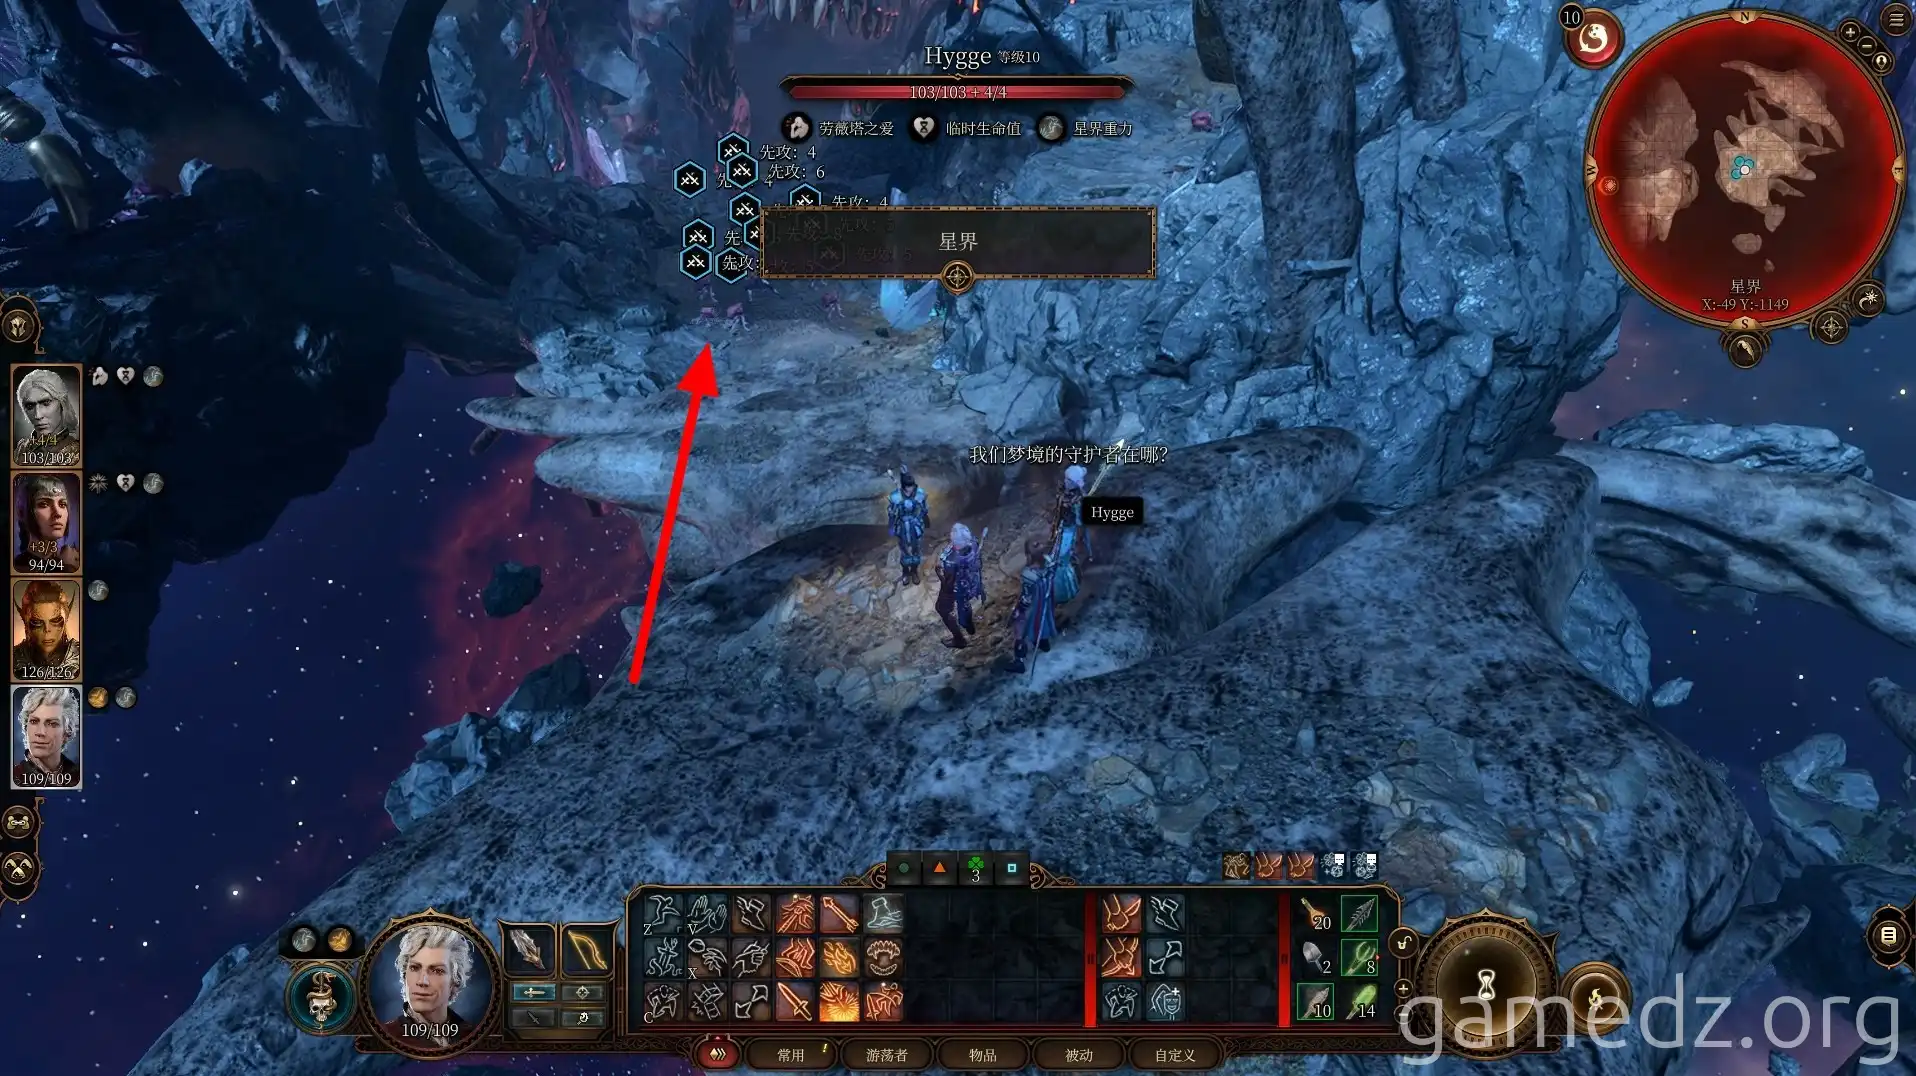
To the left at the location shown below, you can explore this area. However, aside from some item supplies, there's not much else of significance. Continue forward directly to the skull.
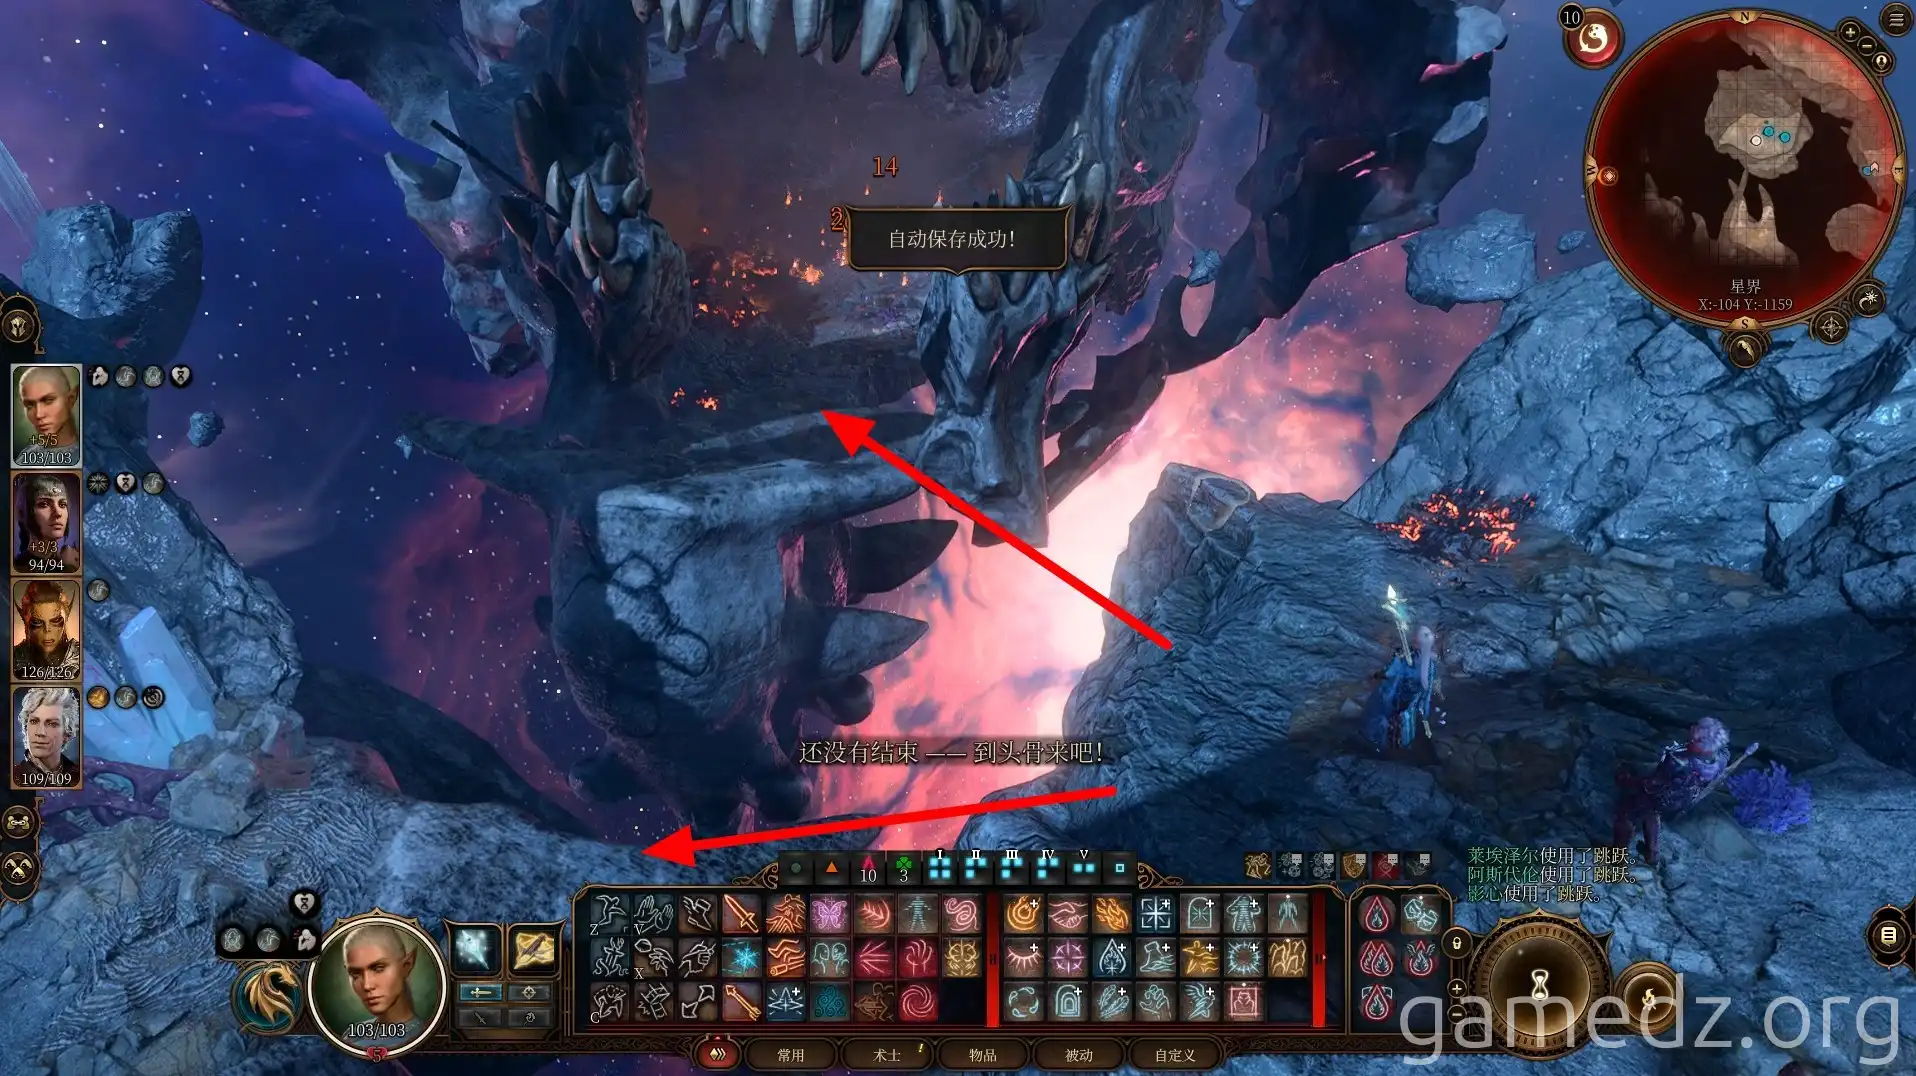
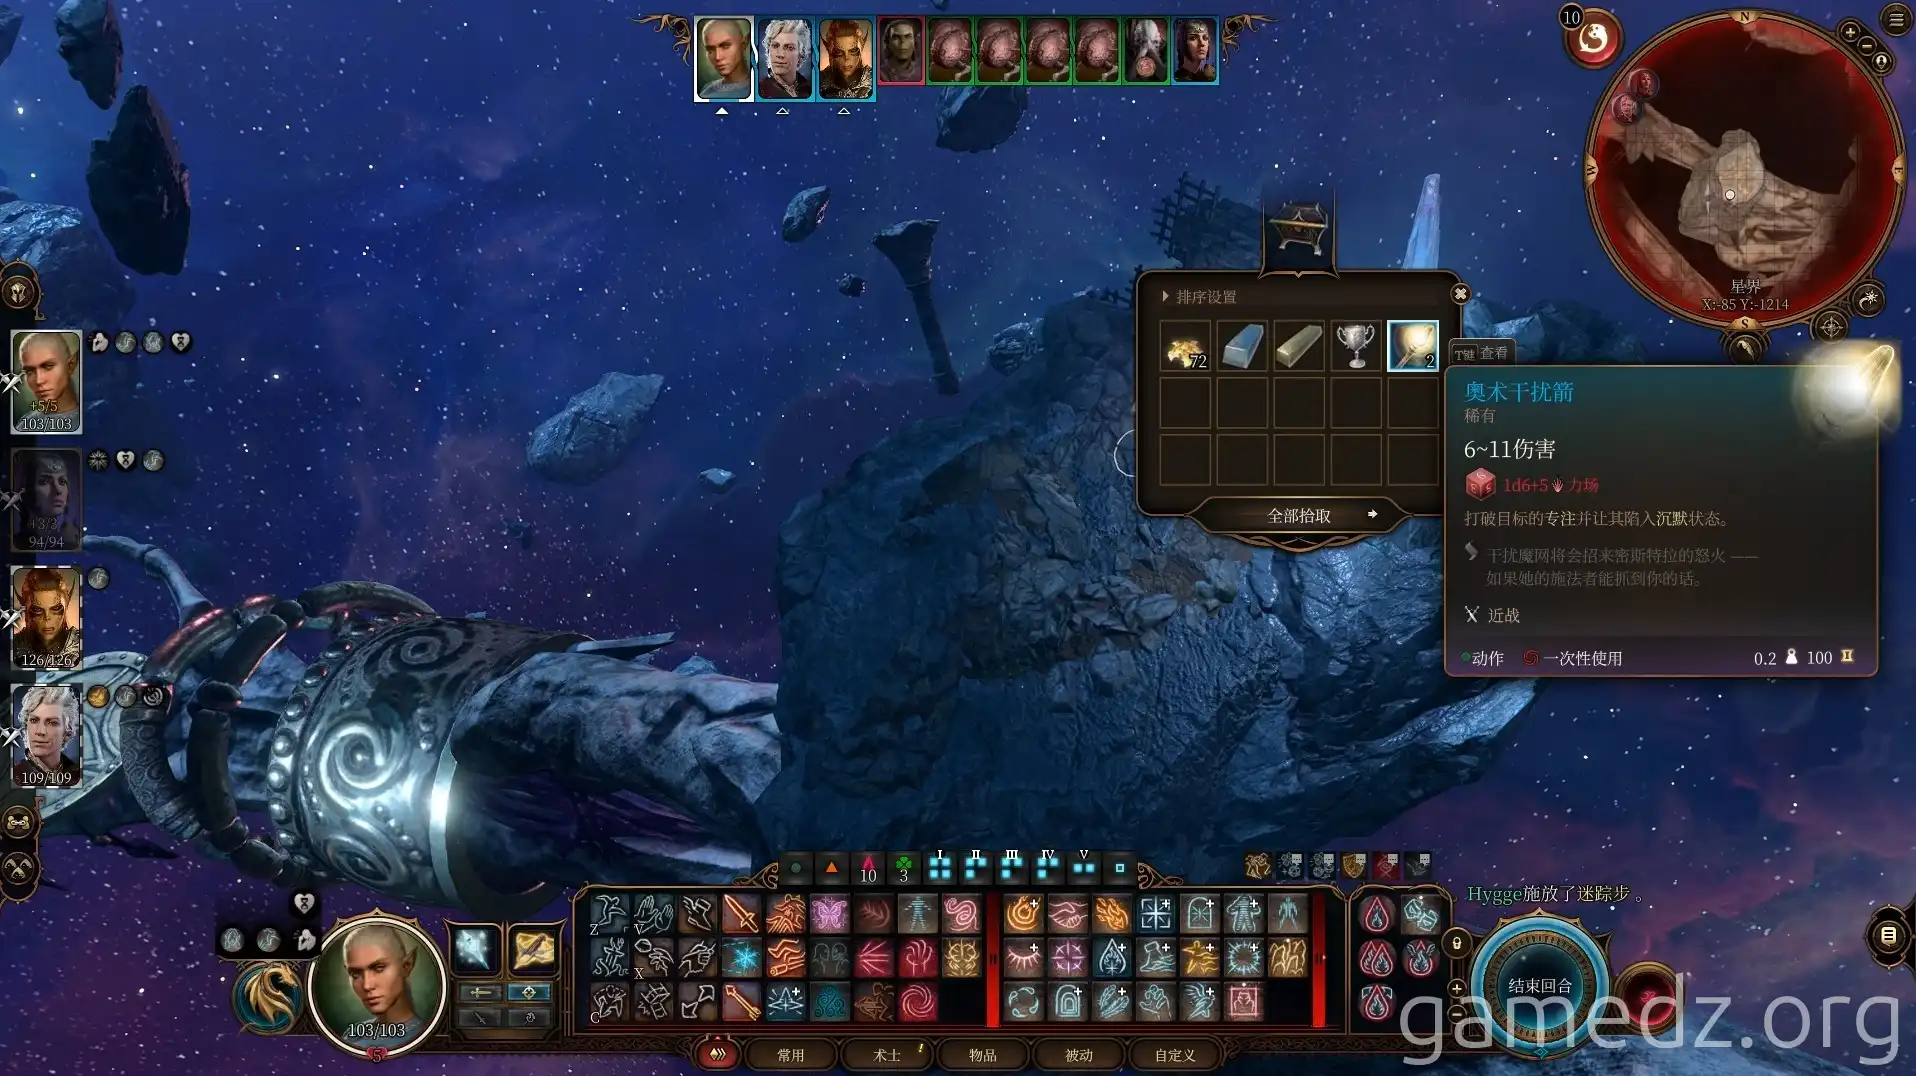
Some item supplies can be found in a chest on a platform above the arm.
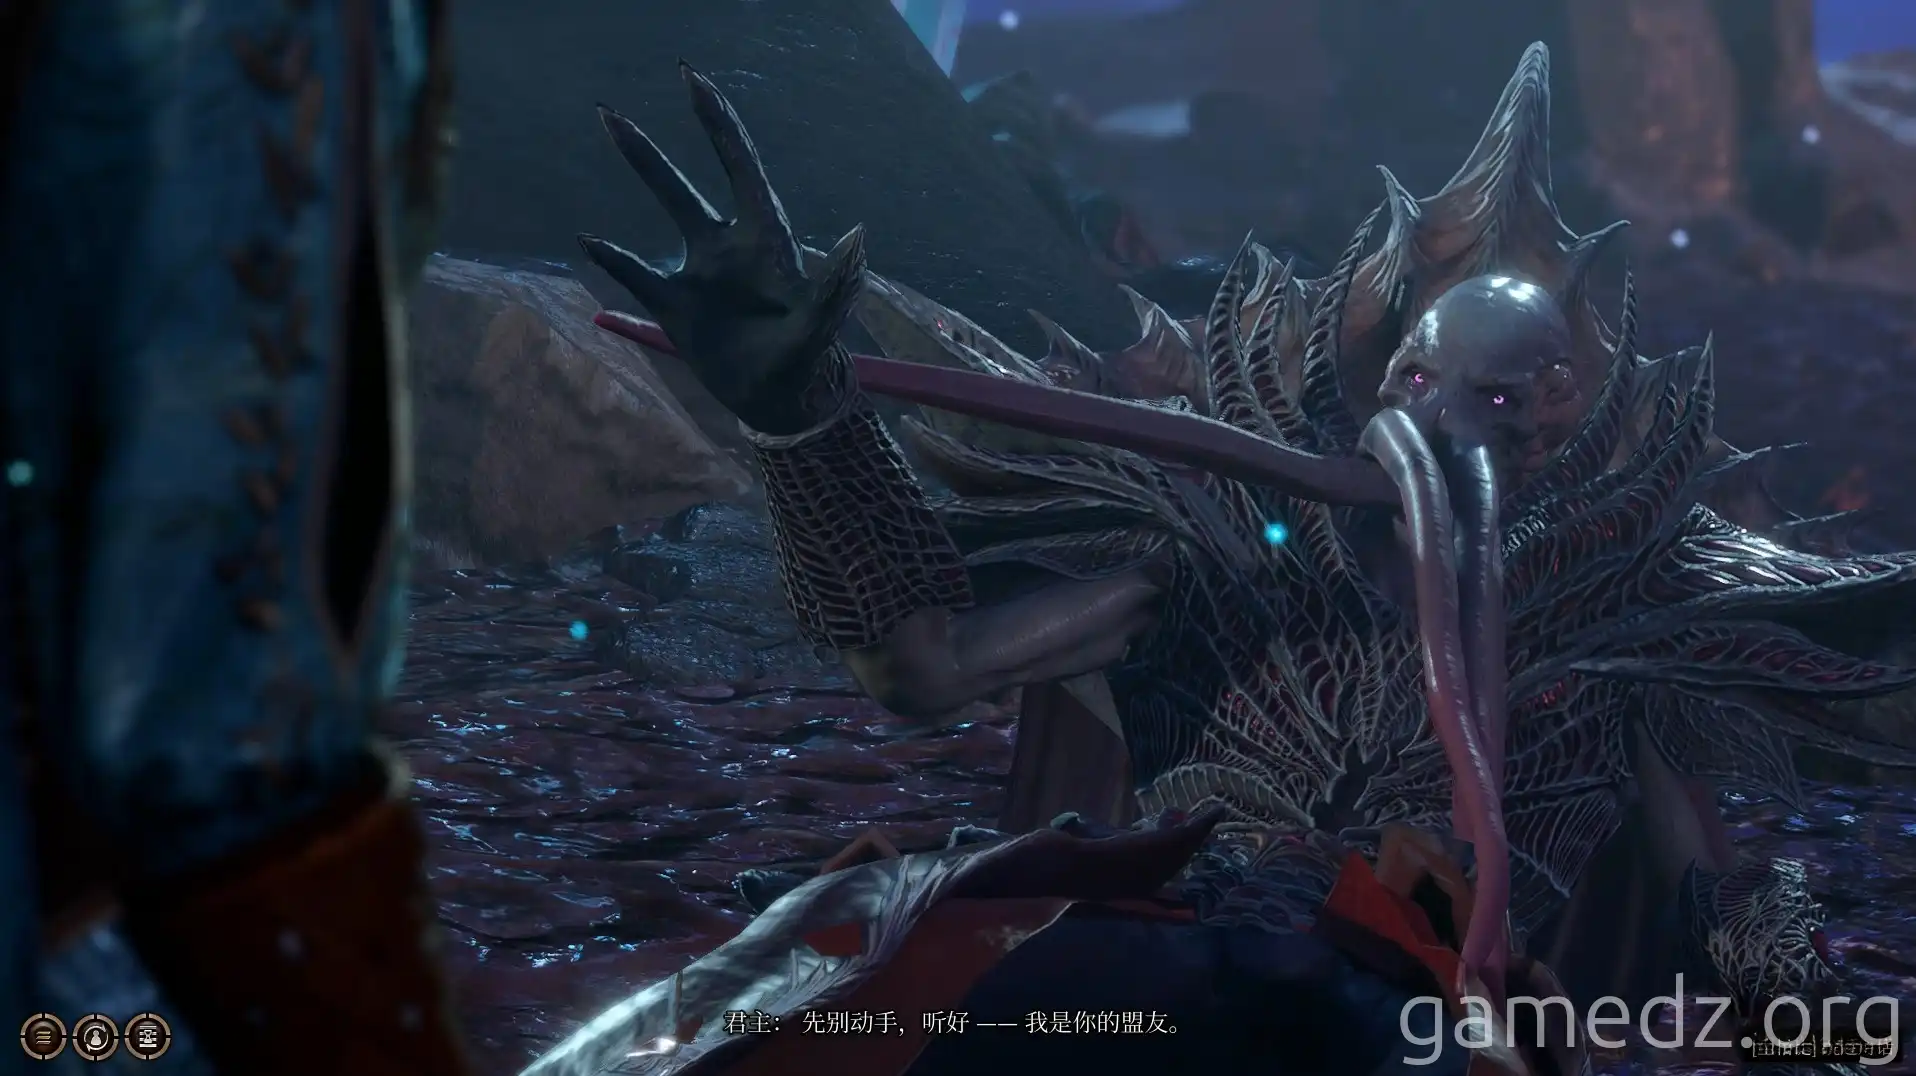
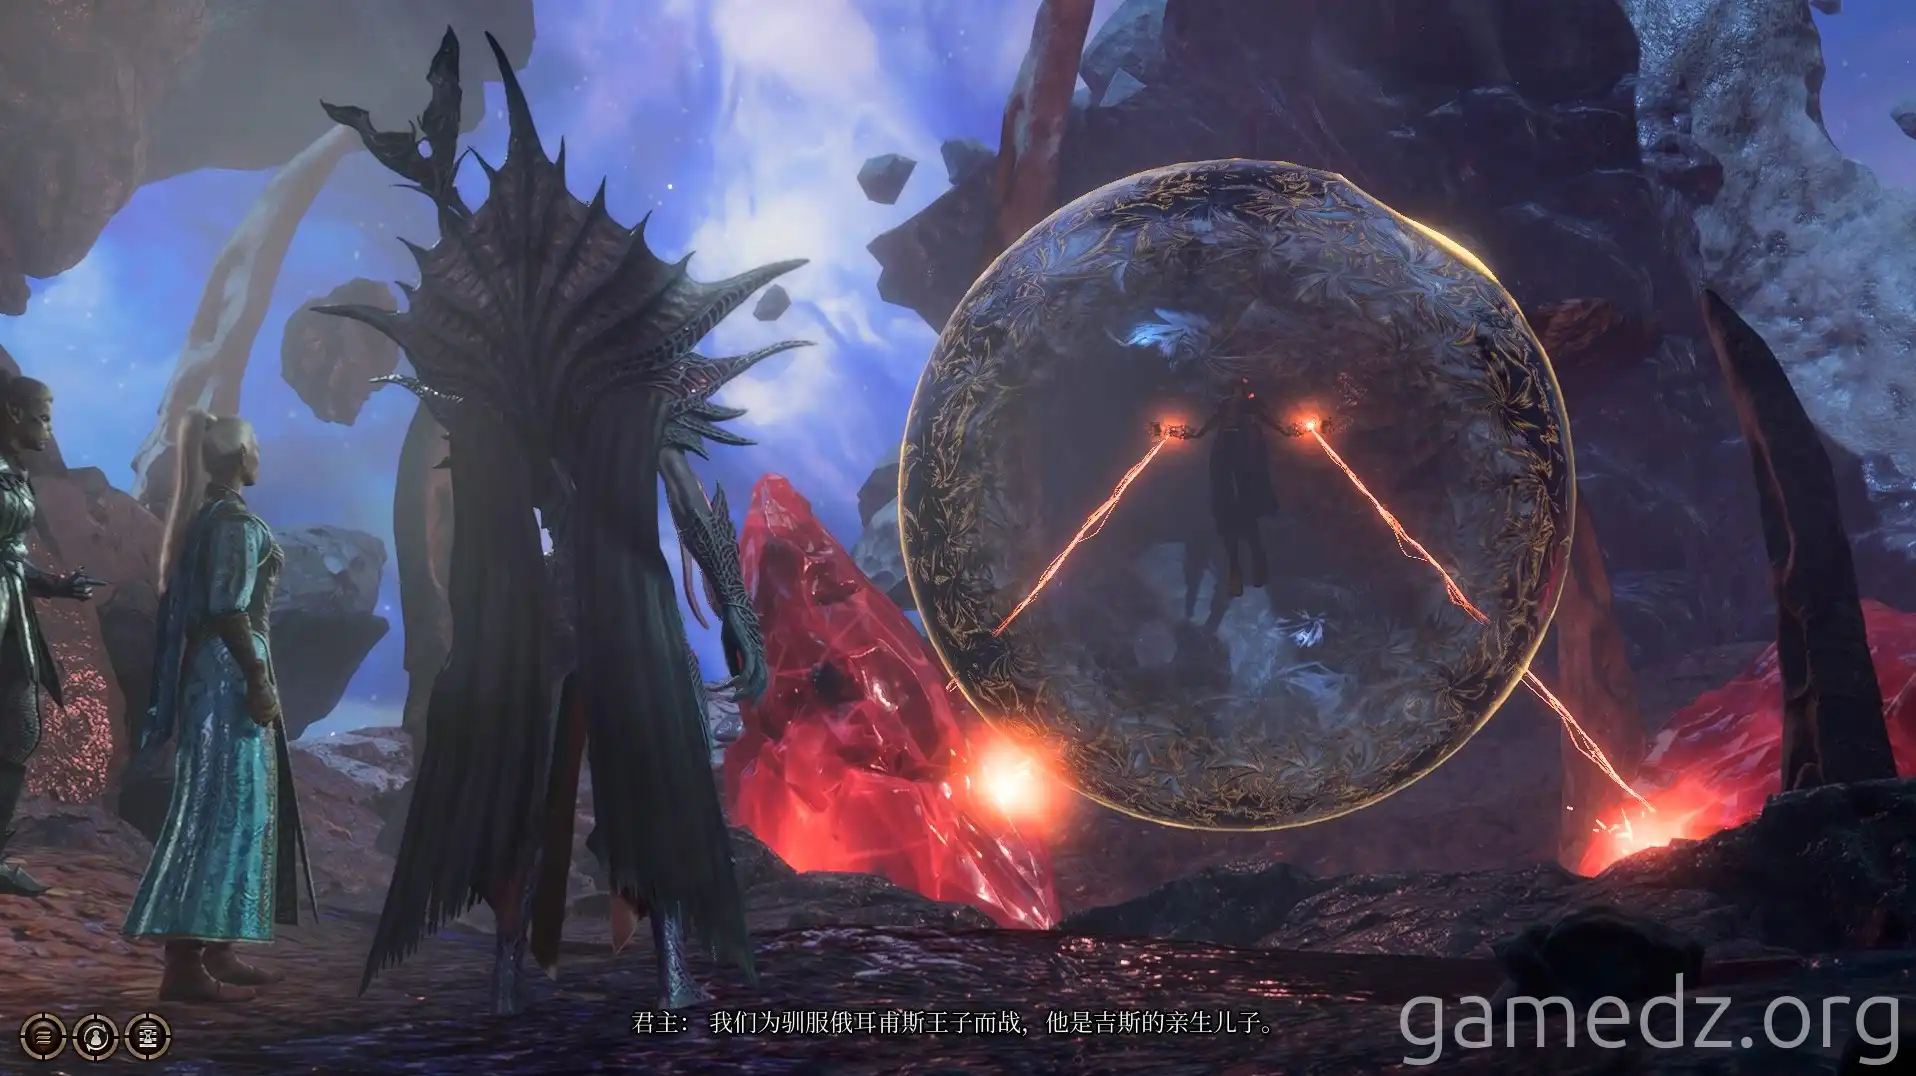
Upon reaching the skull, we discover that our Guardian's true form is actually a Mind Flayer named "The Emperor." However, the situation is critical, so we must first join forces with the Mind Flayer to defeat the Githyanki here.
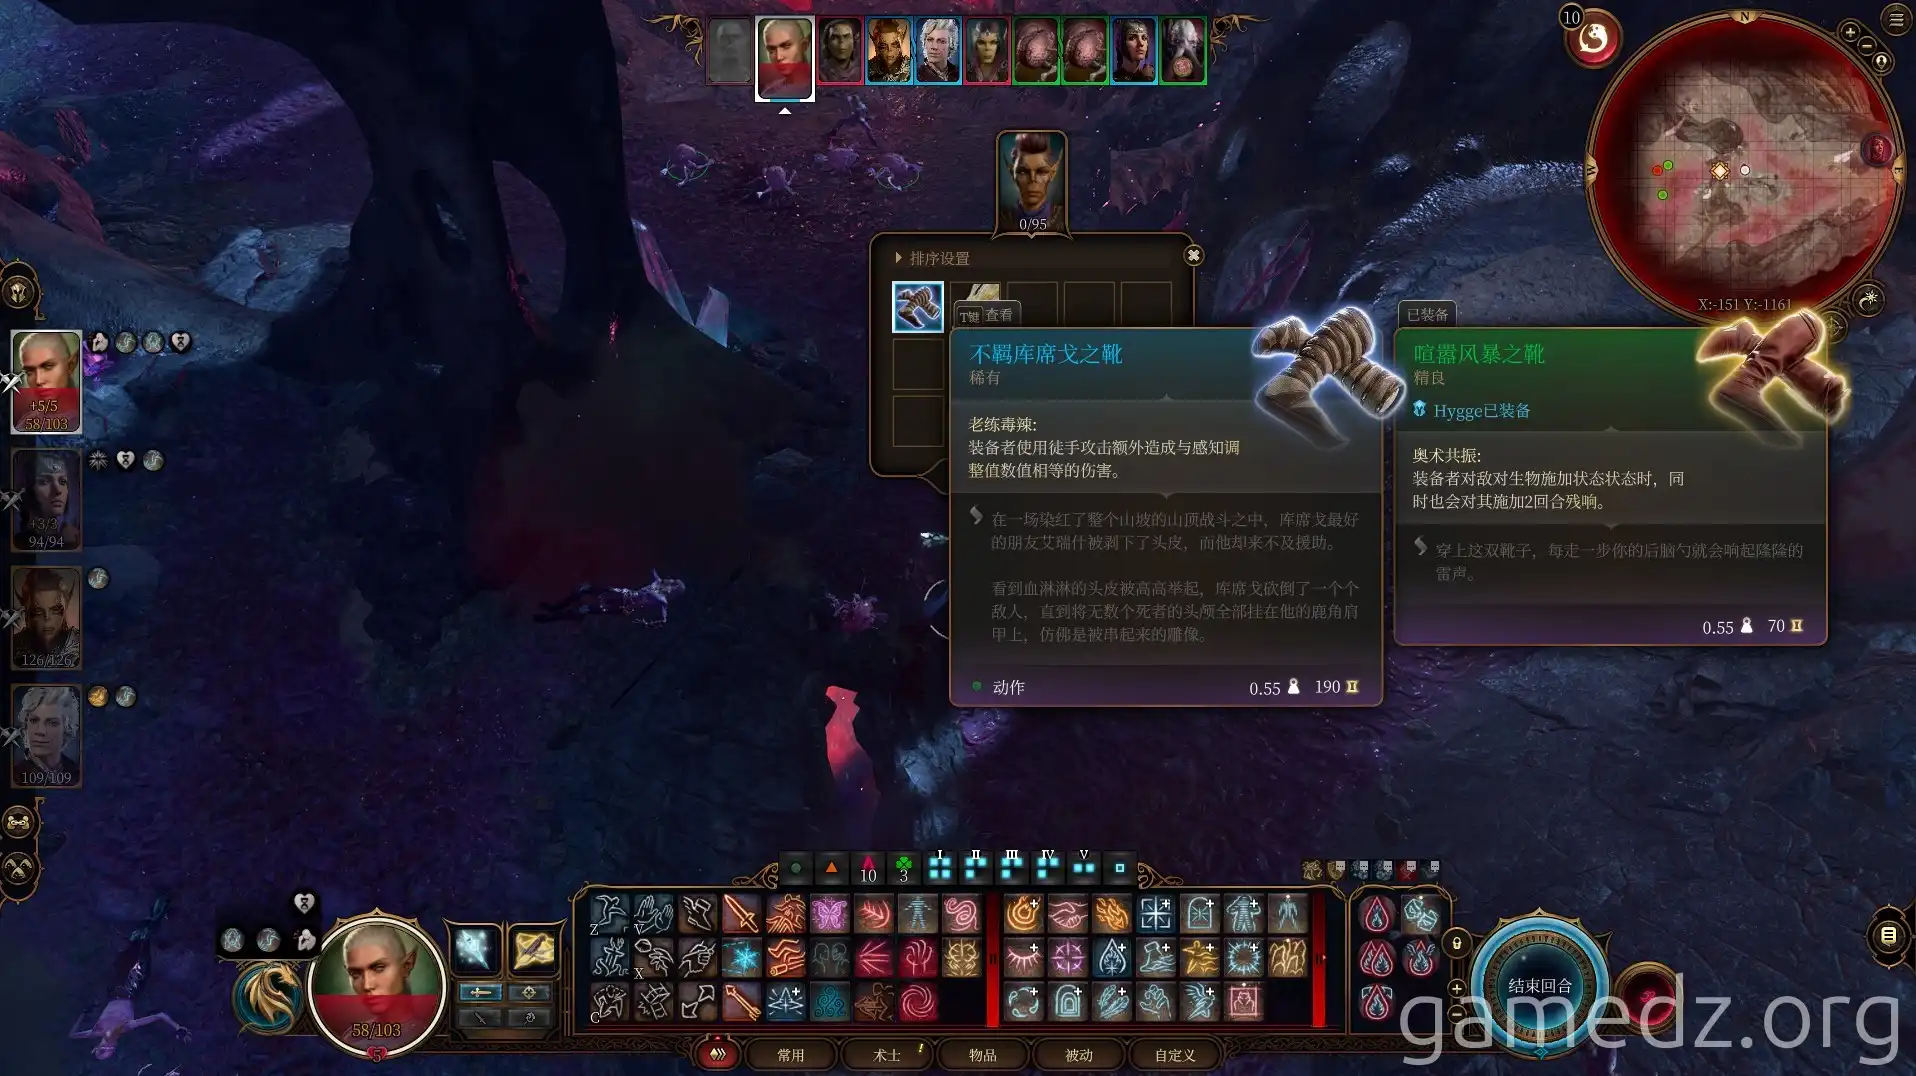
From the High Priest, you can obtain the rare equipment, the "Unruly Kith'rak Boots."
After defeating all the Githyanki, we learn from The Emperor that the Githyanki bound here are none other than the legendary and supposedly deceased "Prince Orpheus, the Comet Prince." It is Prince Orpheus's power that protects us from the Mind Flayer tadpoles.
From subsequent conversations with The Emperor, we learn that he was once a resident of Baldur's Gate and, along with Duchess Stelmane, established the largest commercial organization, the "Shield of the Hidden," and has been actively opposing the cult of the Absolute.
Queen Vlaakith is attempting to seize Orpheus's power, which is why the Queen previously ordered us to enter the prism and kill our Guardian.
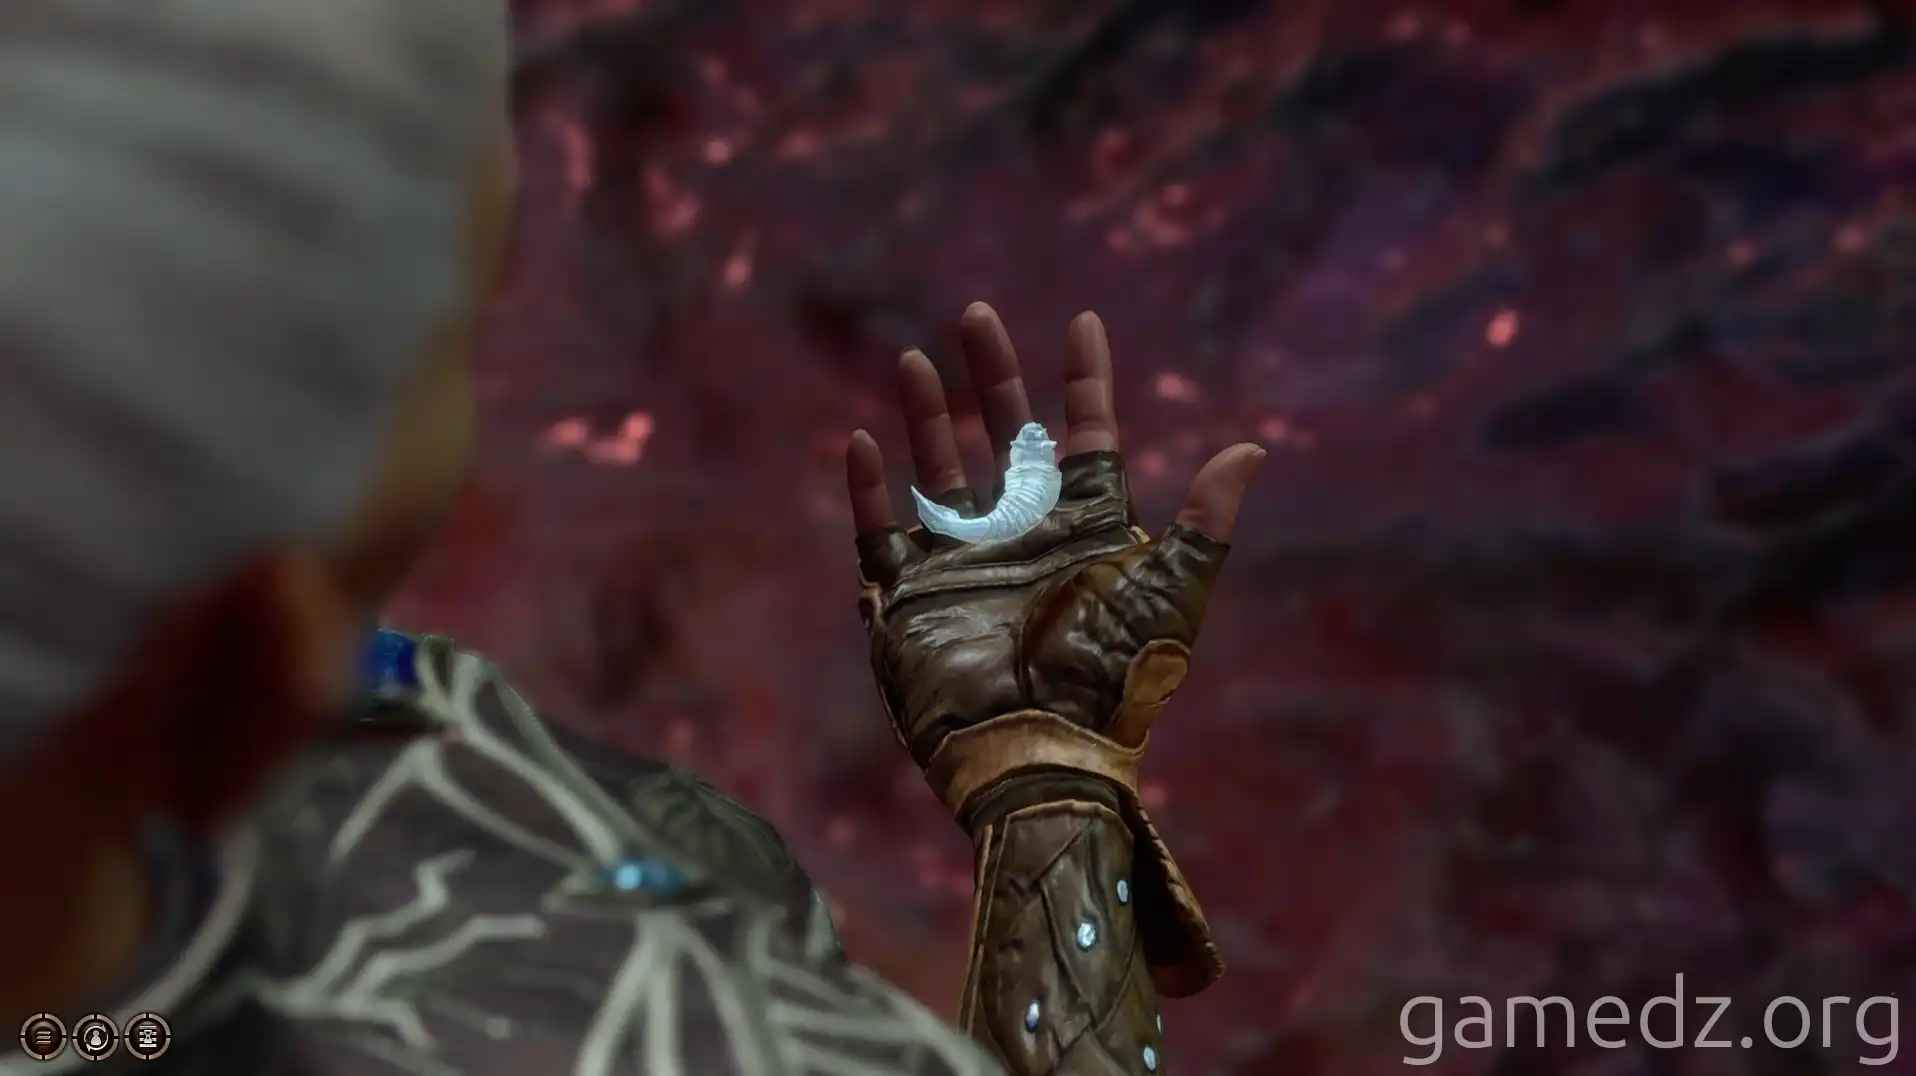
At the end of the conversation, The Emperor will give us an "Astral-Touched Tadpole." Using this tadpole will transform us into a half-Mind Flayer. Players can decide whether to consume it or not. If you choose not to consume it, the tadpole will remain with you, and you can use it later when you wish.
After the dialogue, we'll return to camp through the portal. After resting, we'll arrive in Rivington.
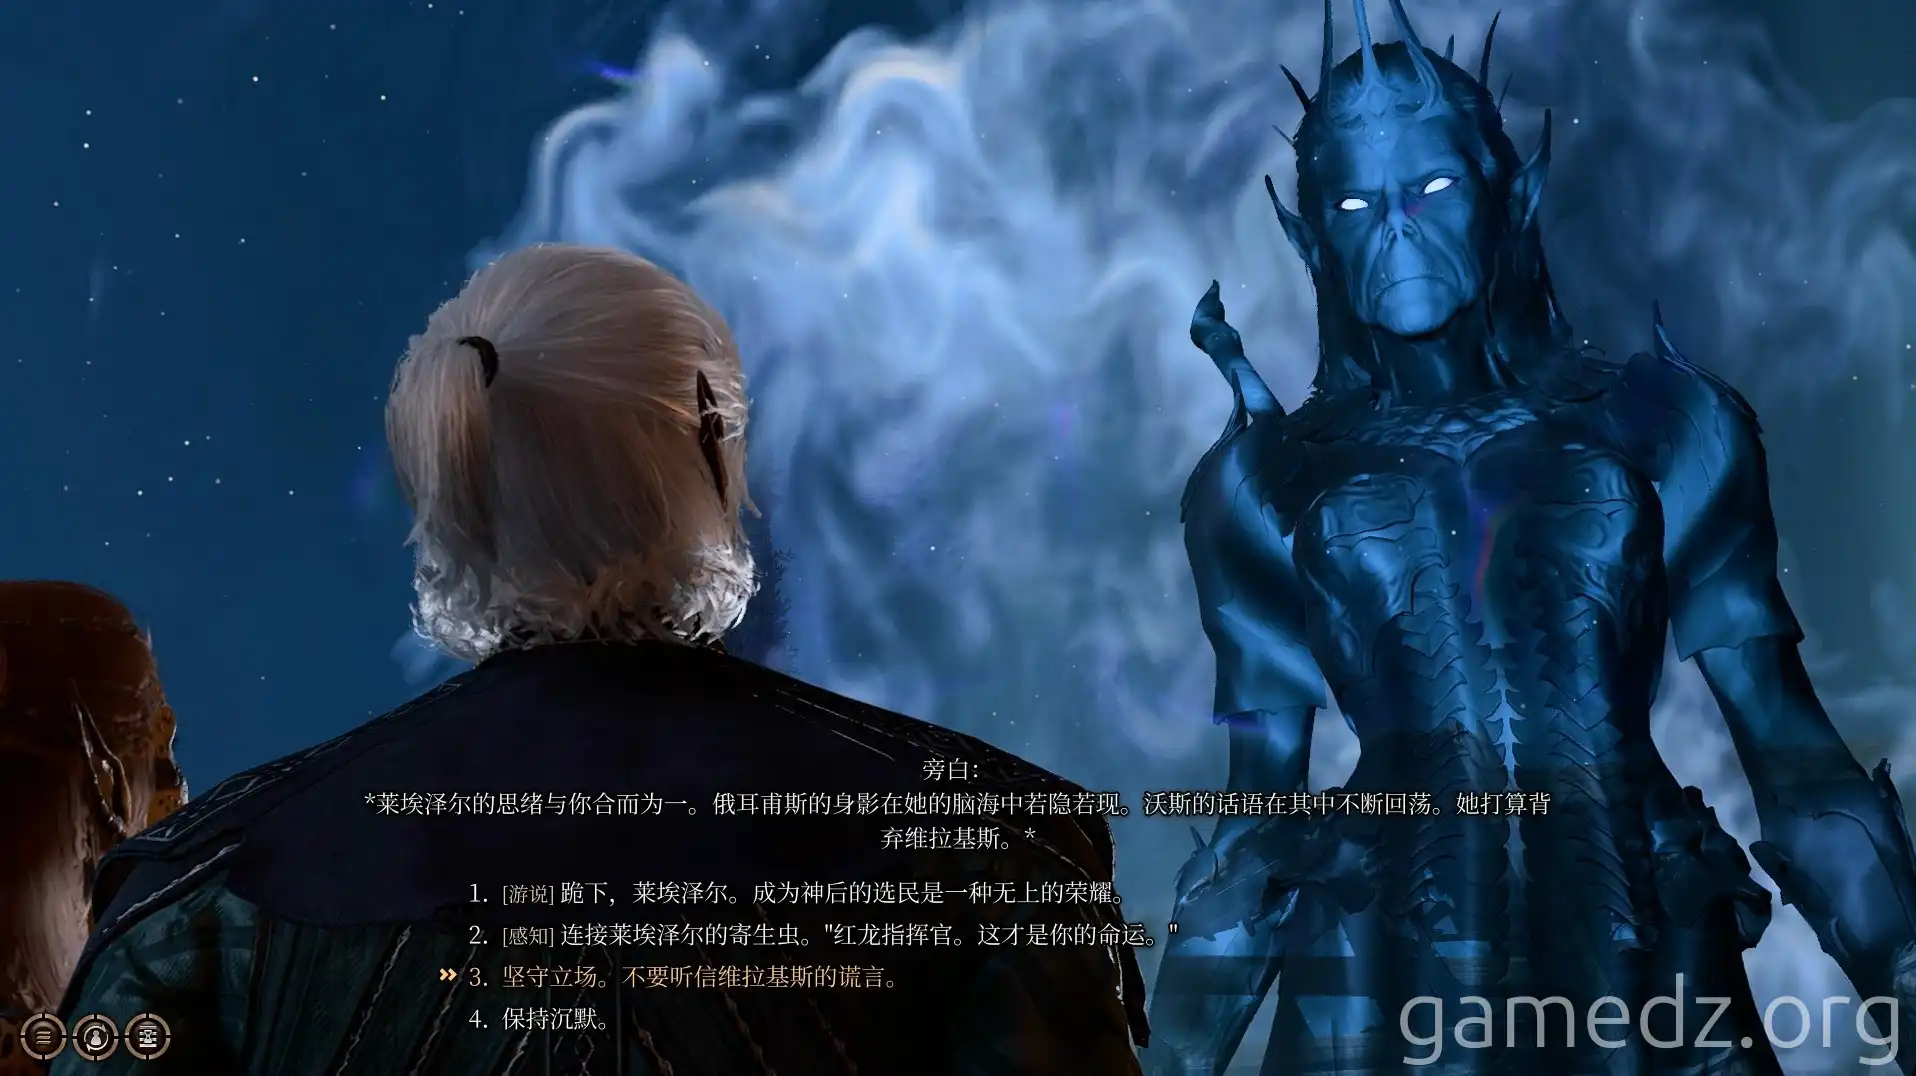
During our second long rest after leaving the Astral Plane, Vlaakith will appear. Lae'zel, now aware of the truth, officially decides to confront the Queen.
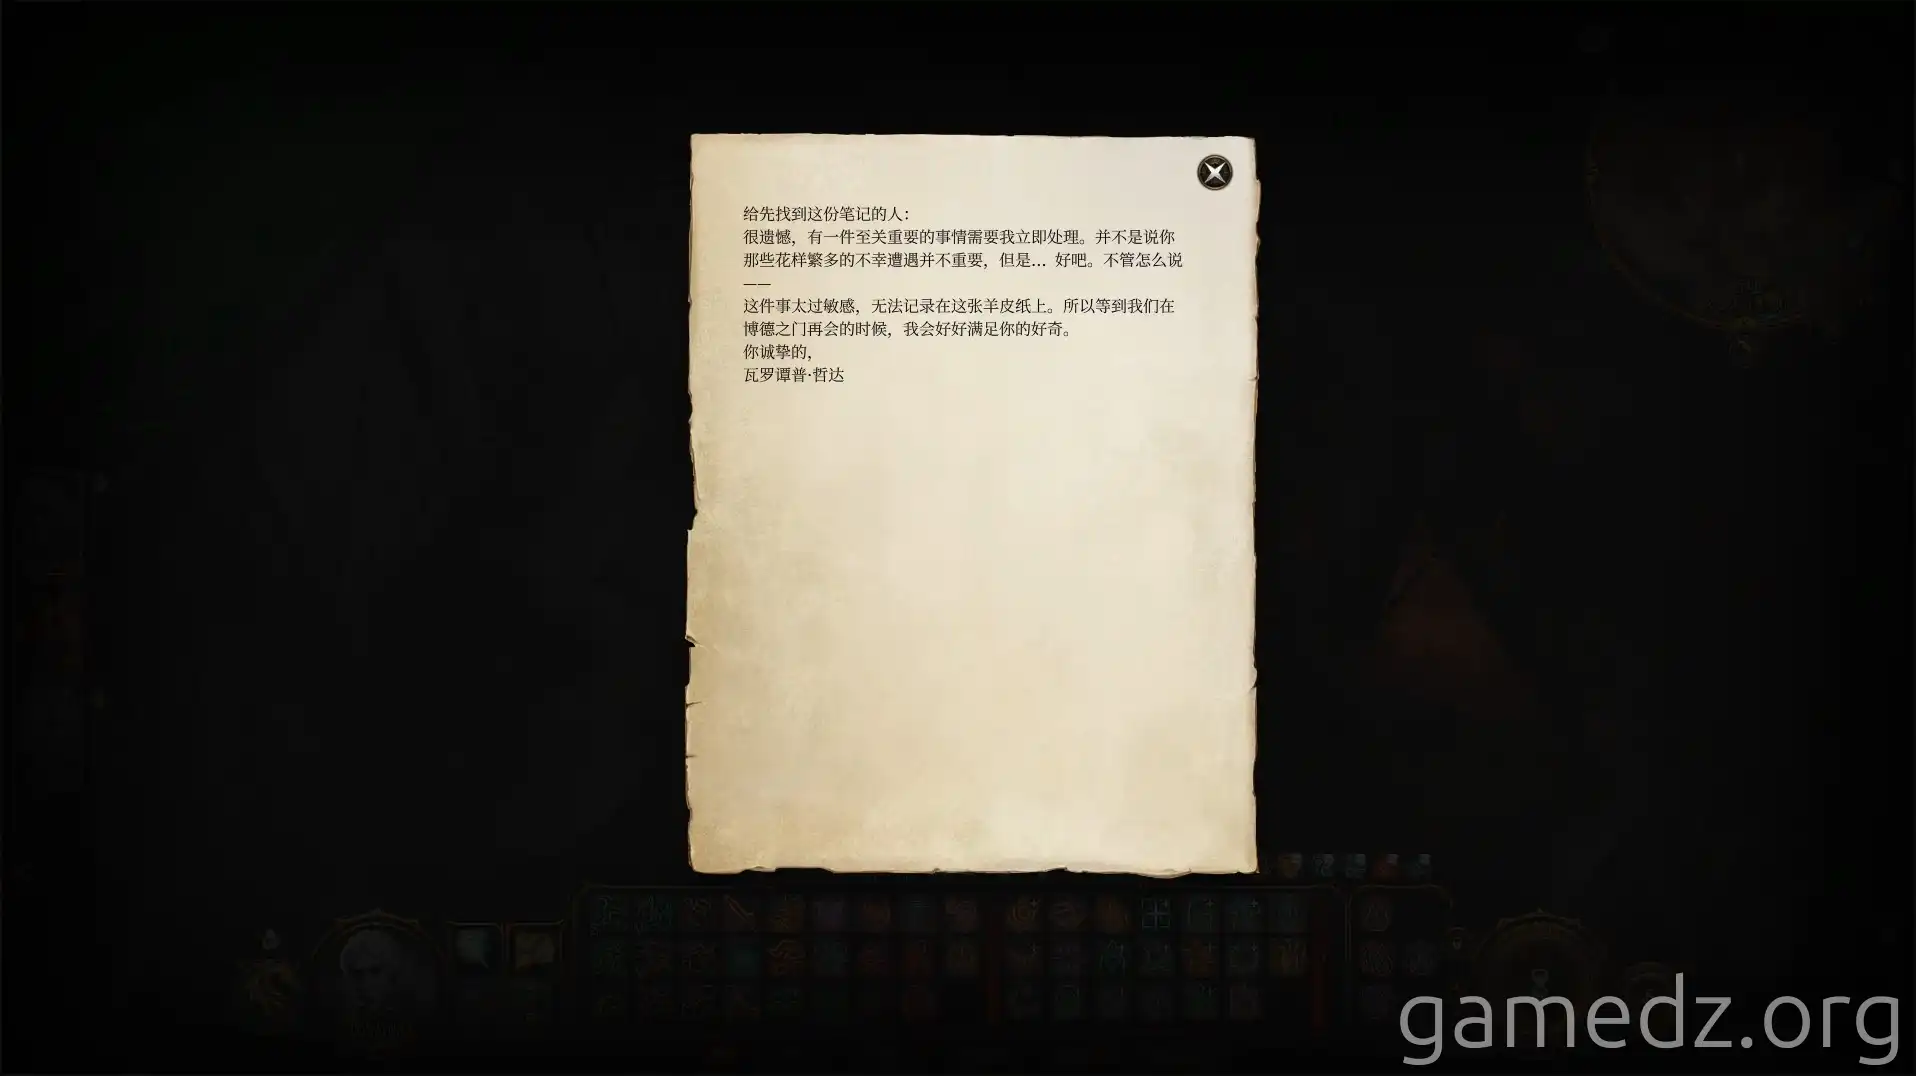
After waking up, Arabella and Wulbren will leave letters and depart from the party.
